by Kenneth Lieblich
Recently, I was given the opportunity to purchase a small group of pipes by master pipemaker, Mark Tinsky. How could I say no? The answer, of course, is that I could not and I happily acquired them. There are some real beauties here and I am going to restore them all and then turn them over to you. Interestingly, all of the pipes are in the Canadian family of pipe shapes. I’m sure you’ll enjoy seeing them, and here is a link to the first one and the second one, in case you missed them. Let’s move on to the third pipe.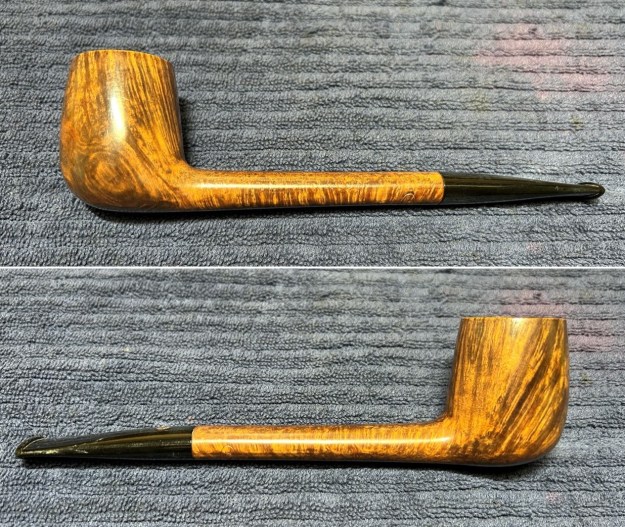
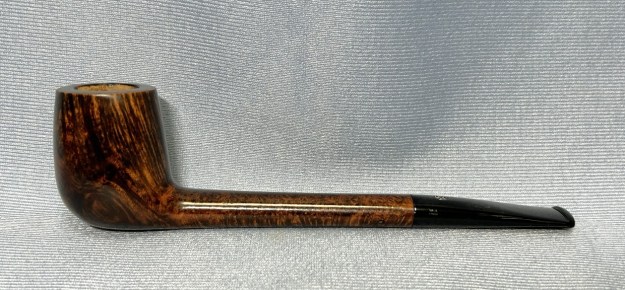
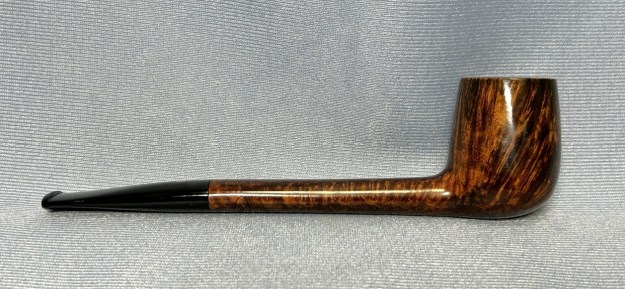
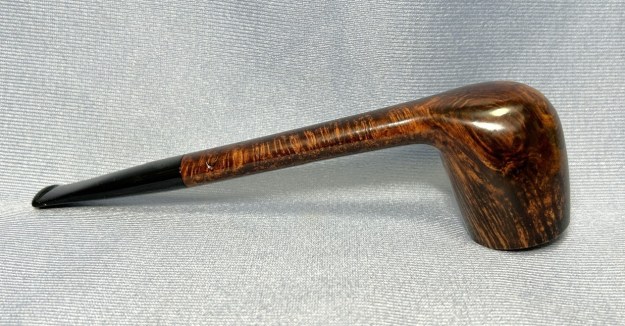
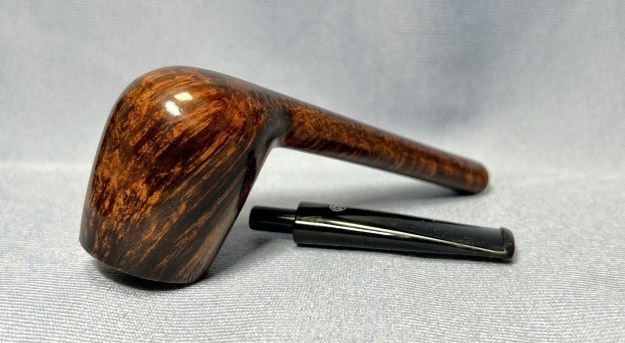
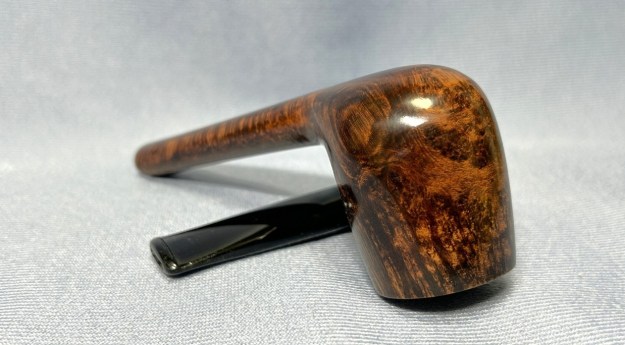
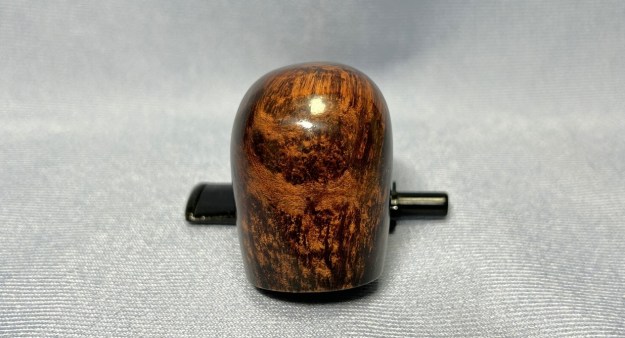
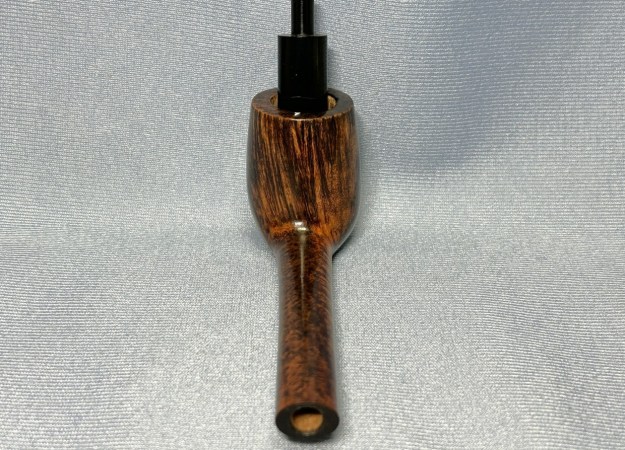
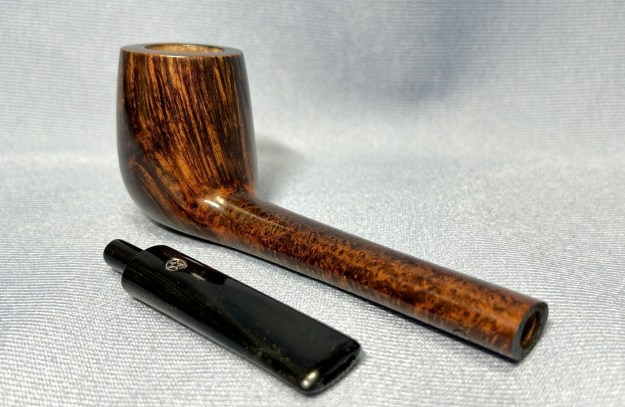
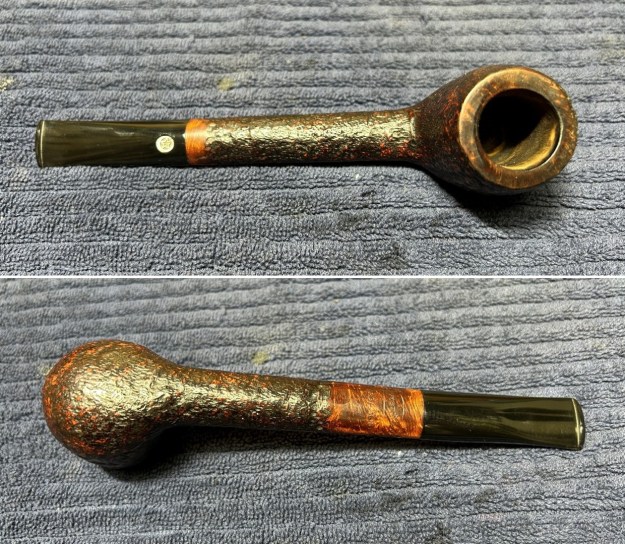
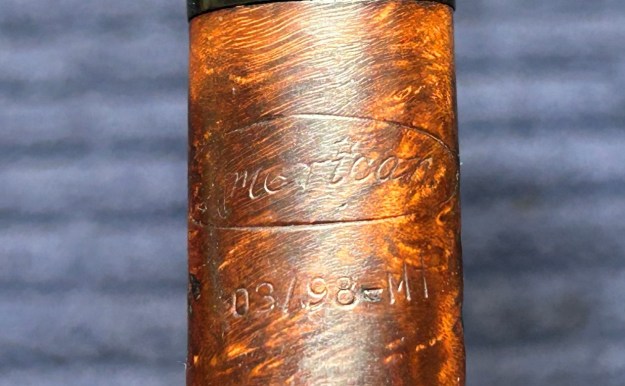
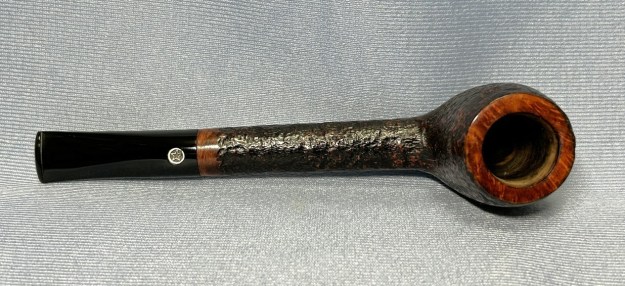
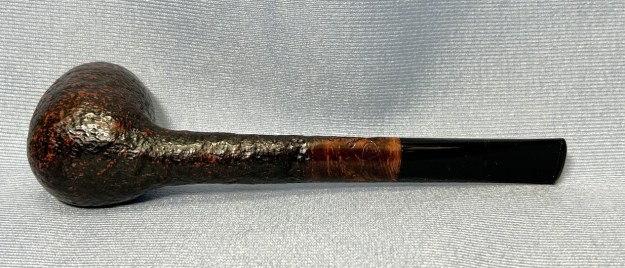
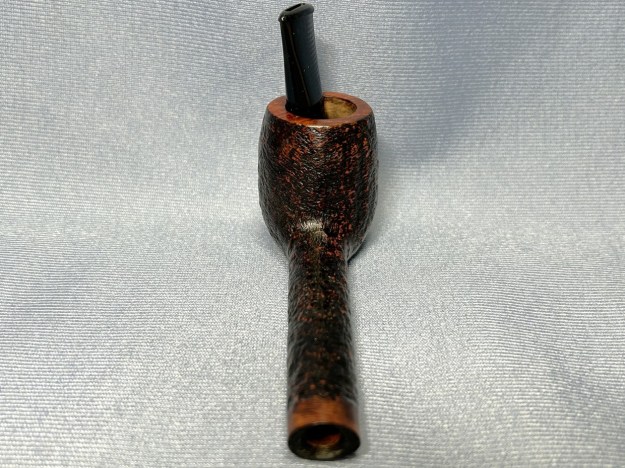
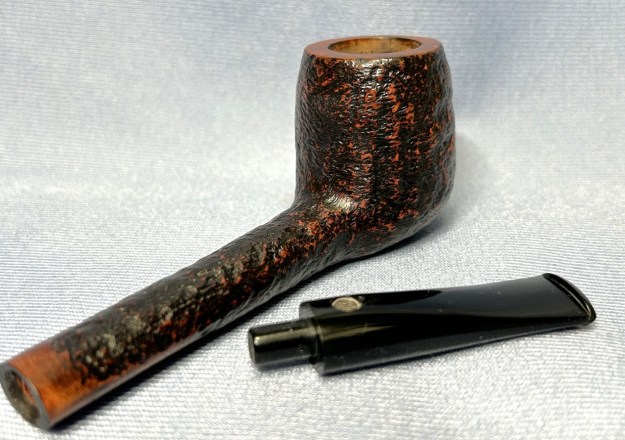
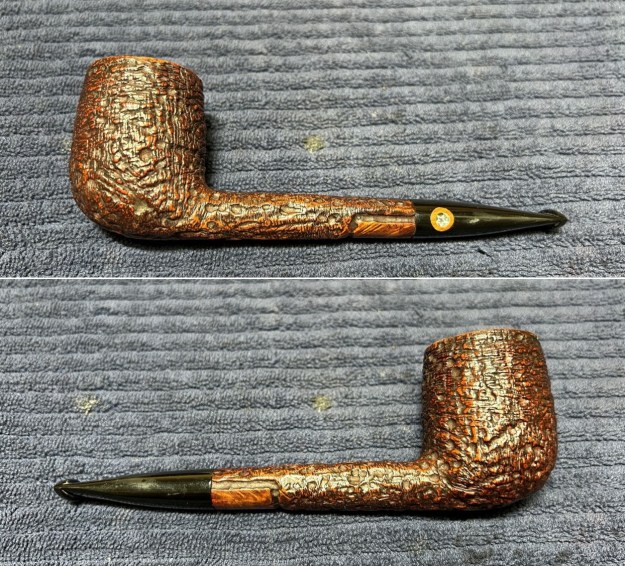
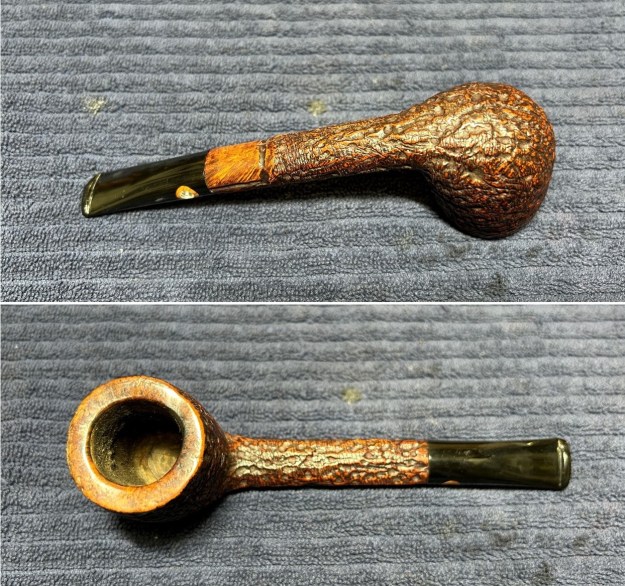
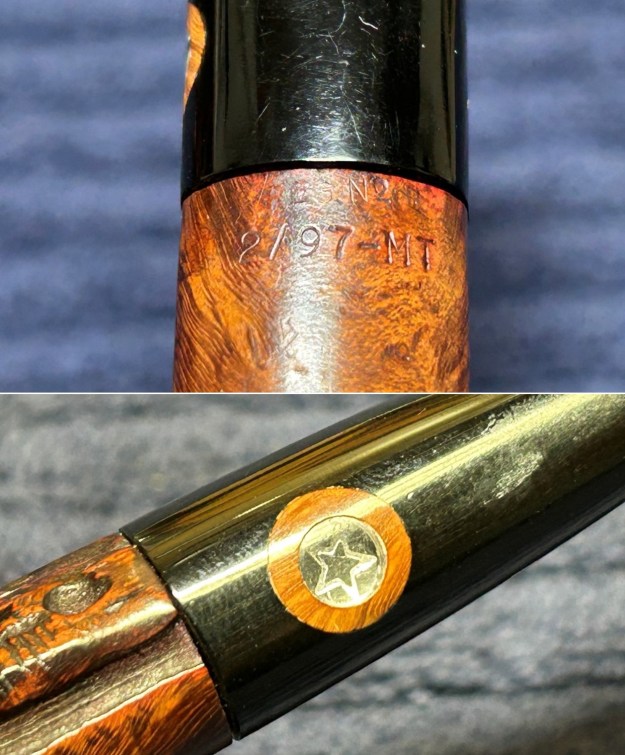
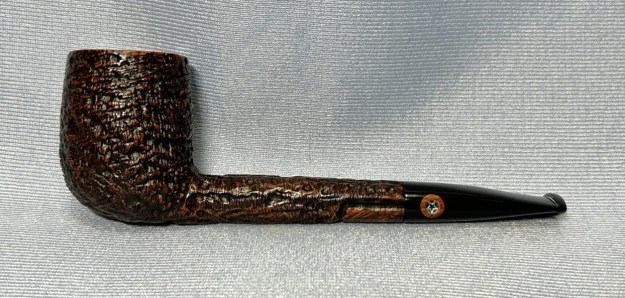
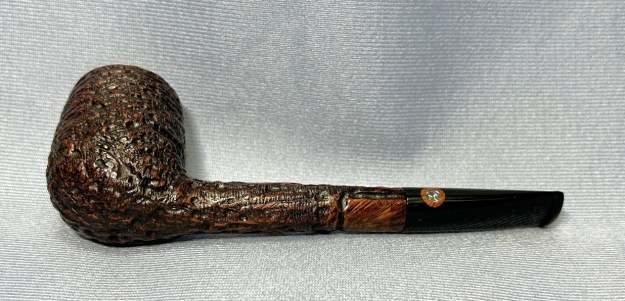
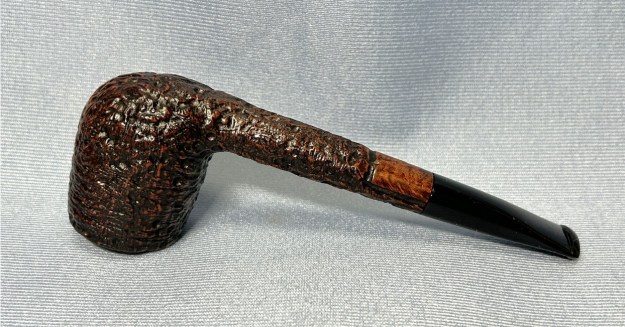
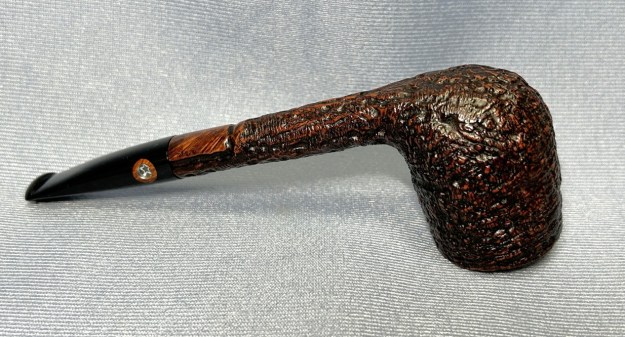
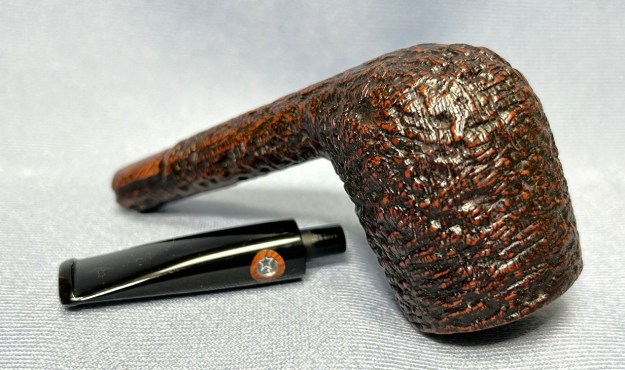
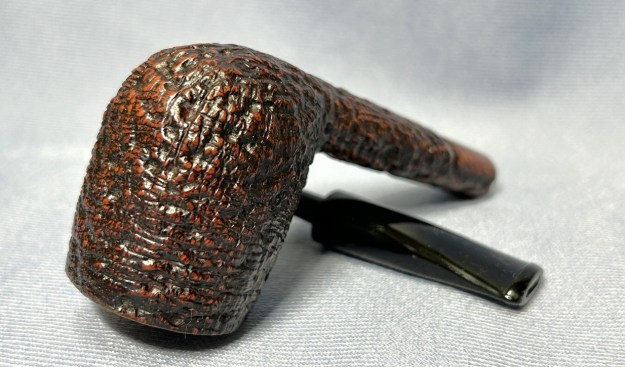
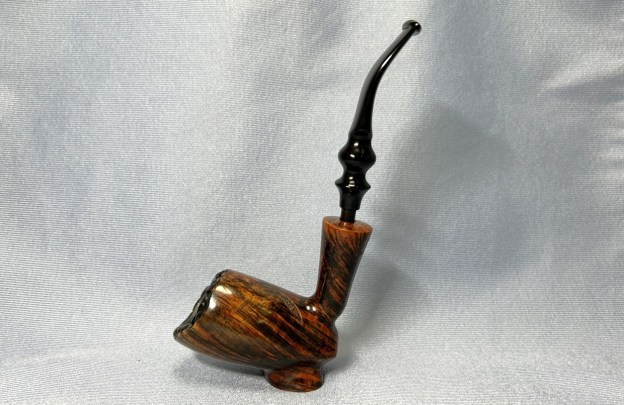
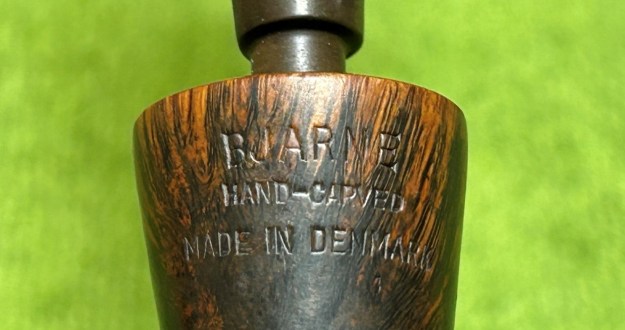
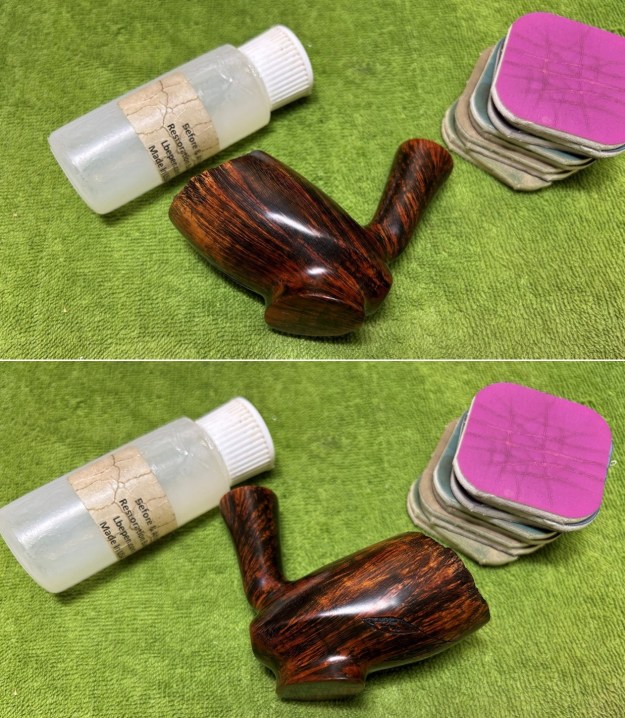
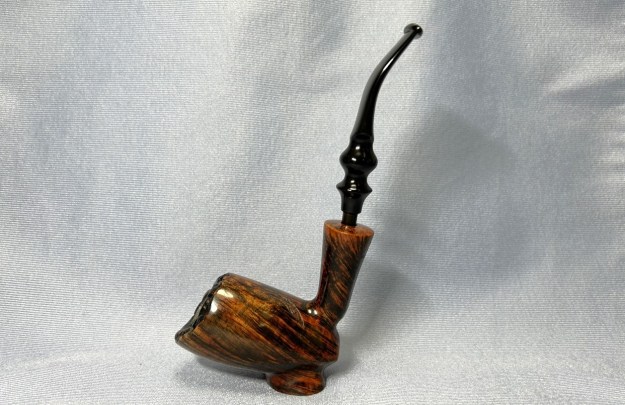
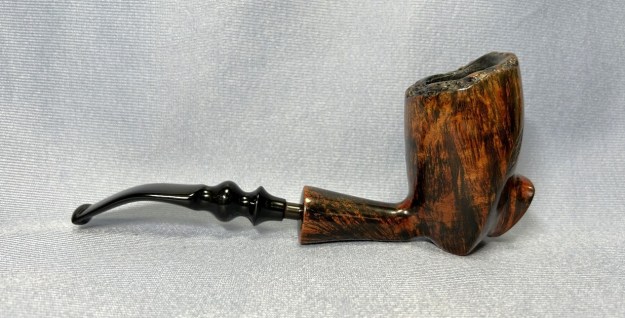
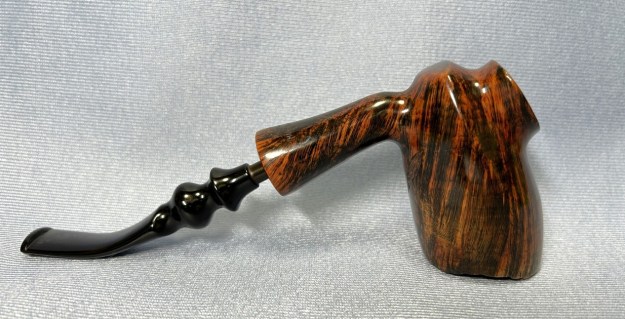
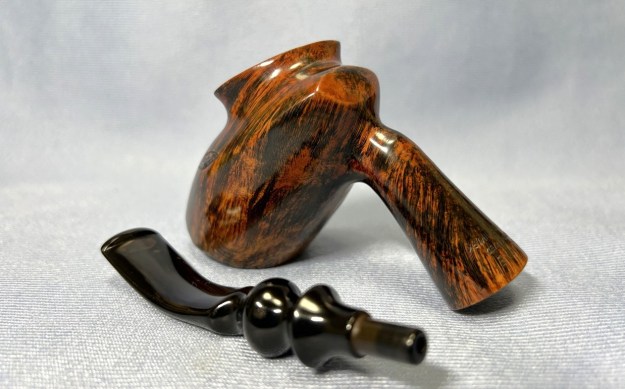
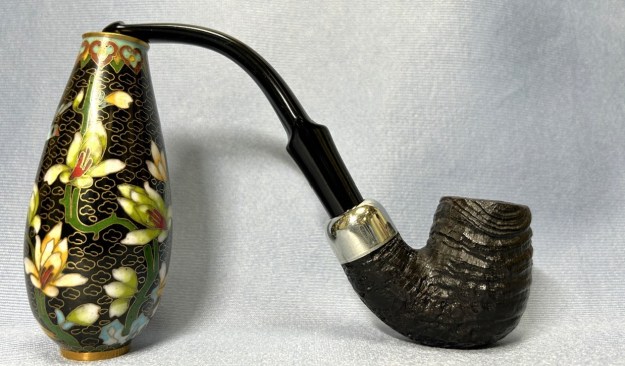
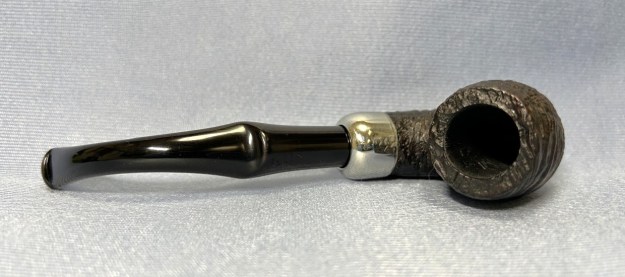
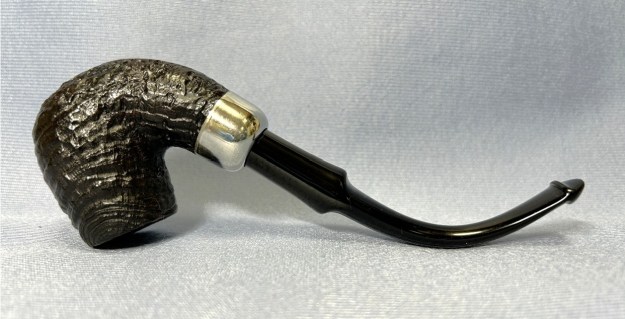
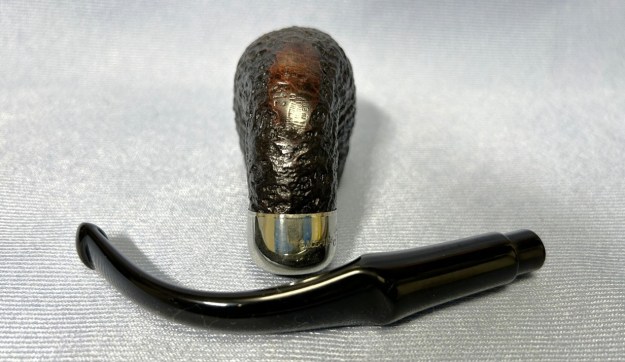
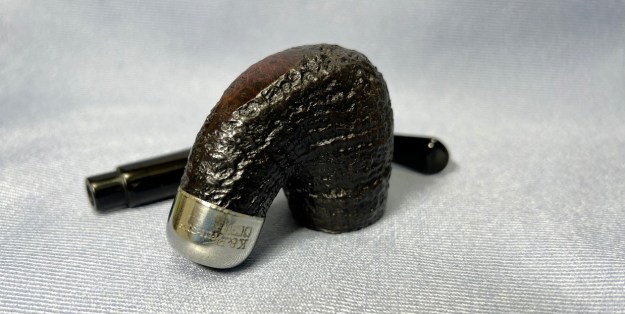
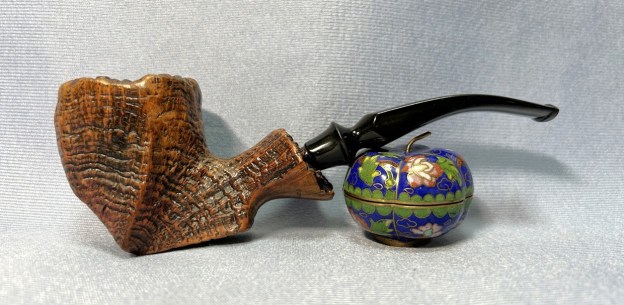
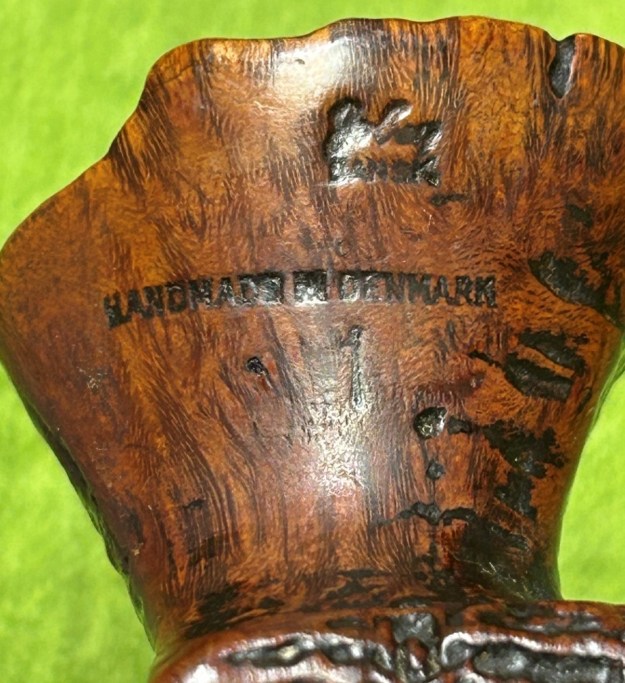
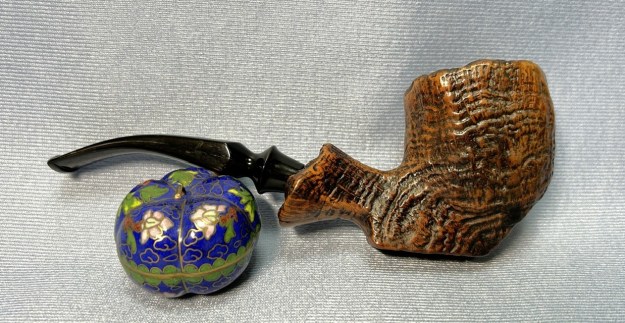
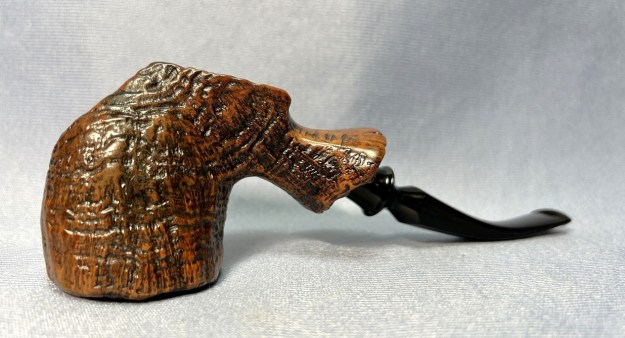
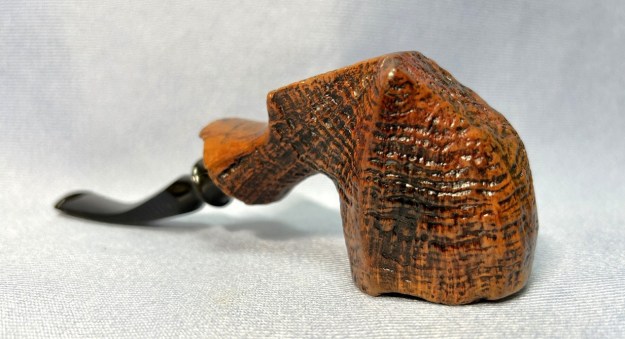
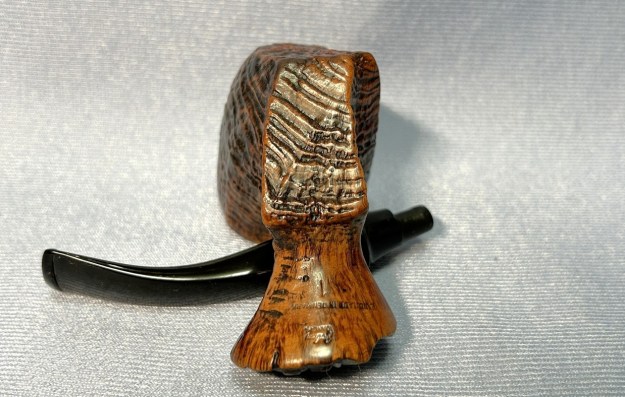
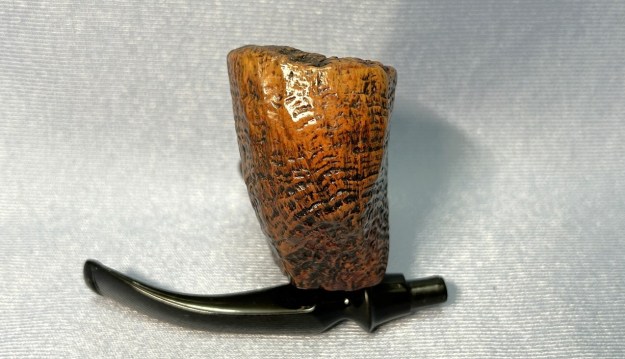
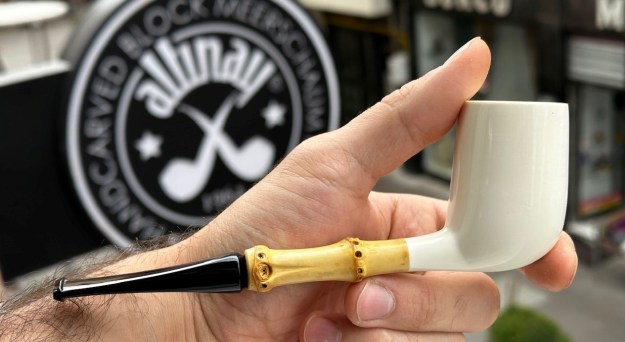
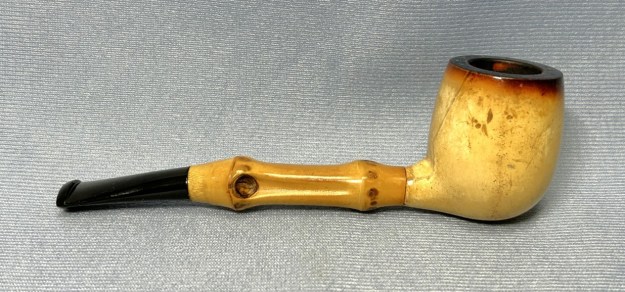
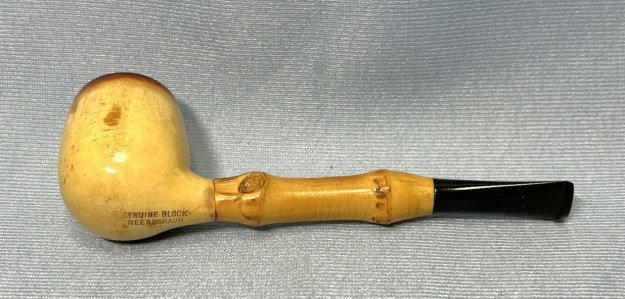
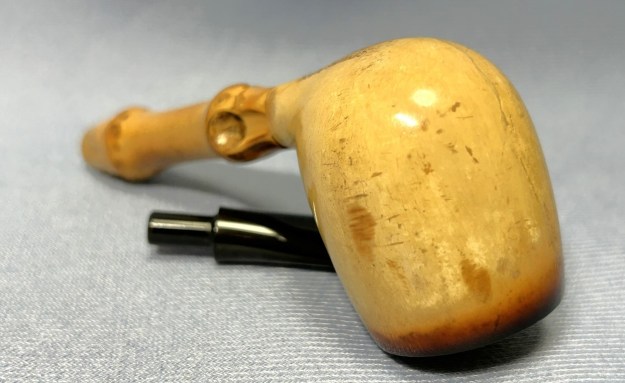
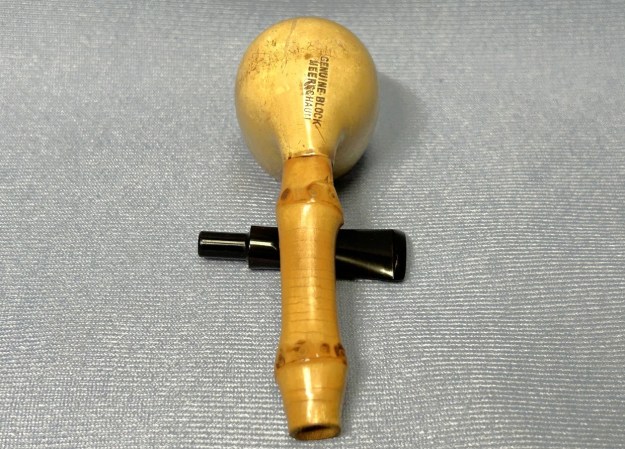
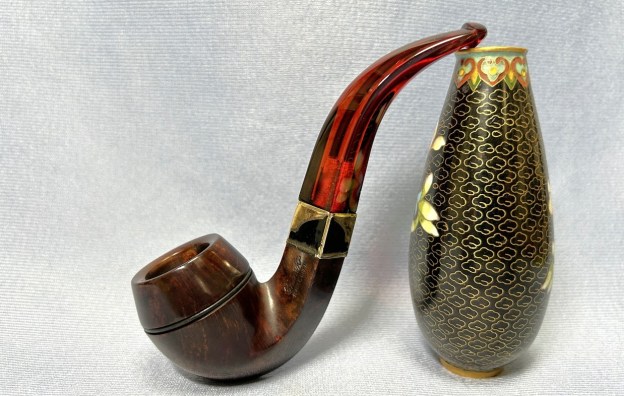
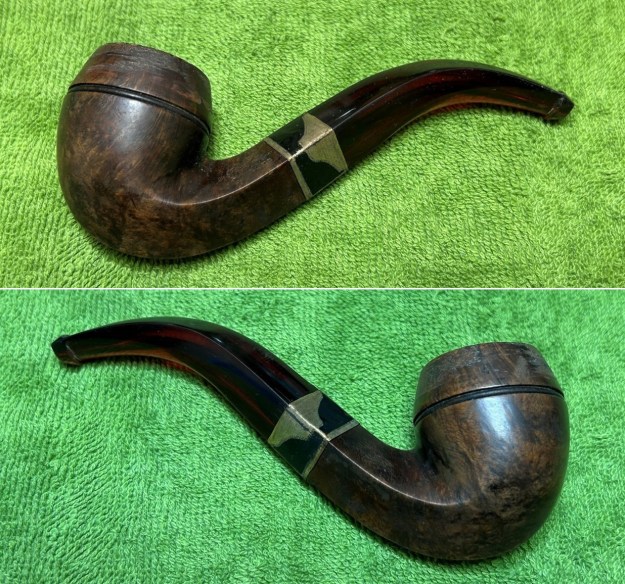
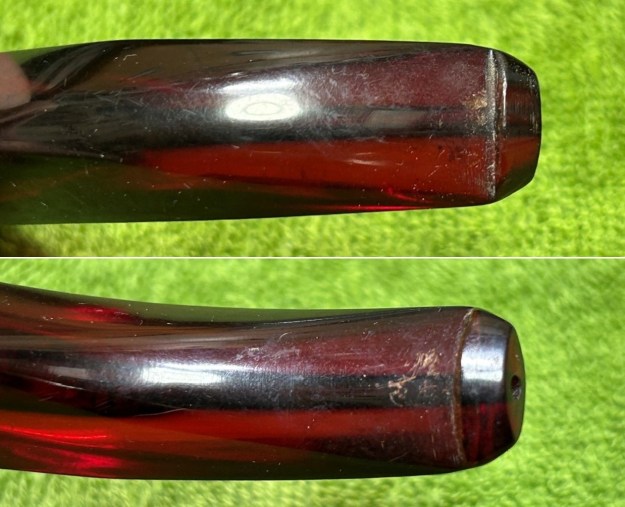
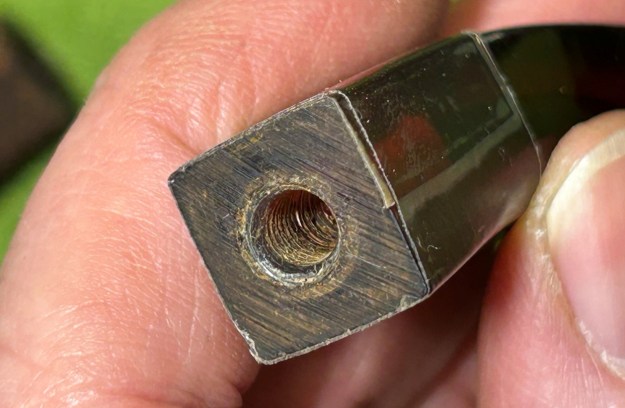
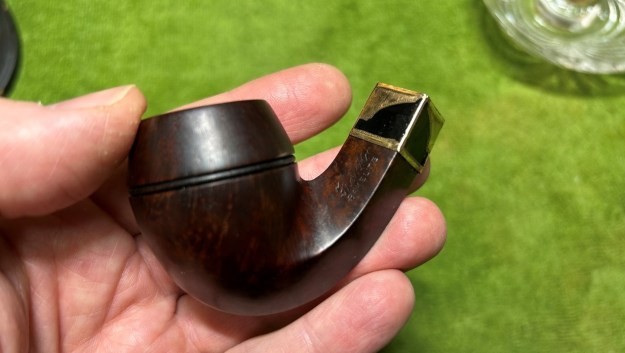
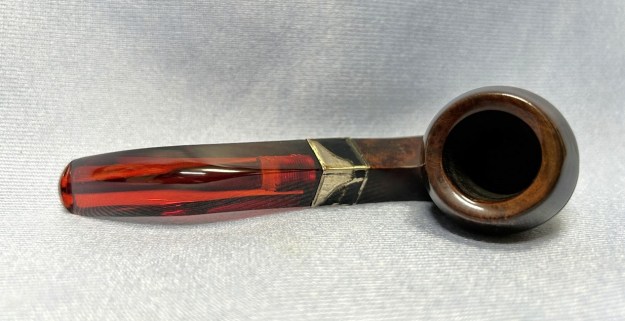
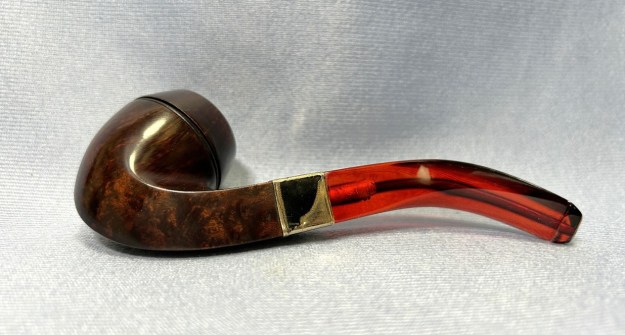
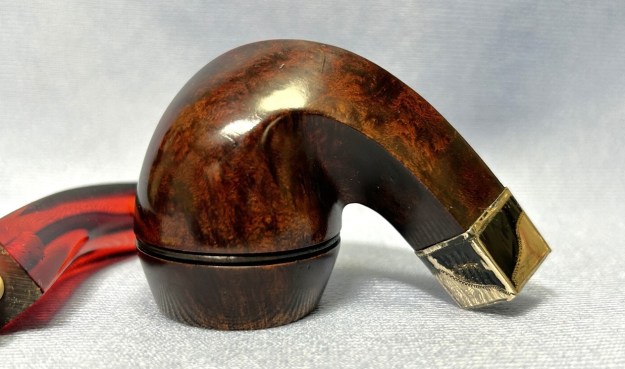
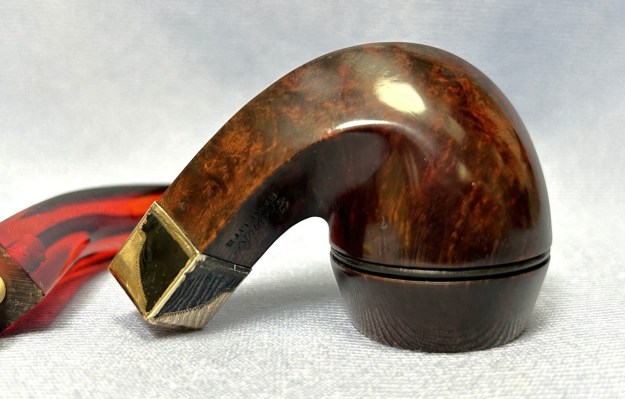
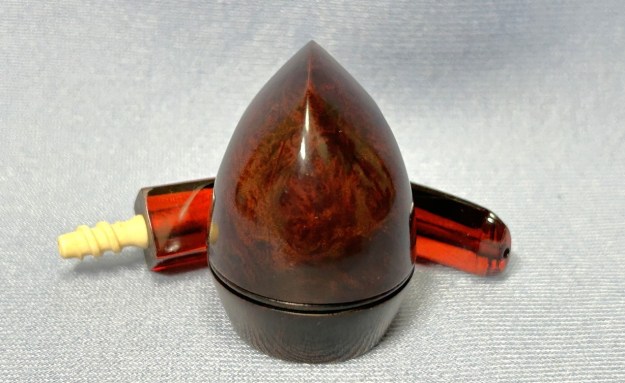
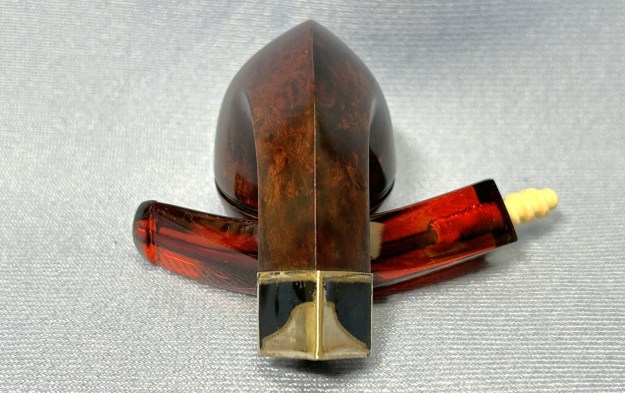
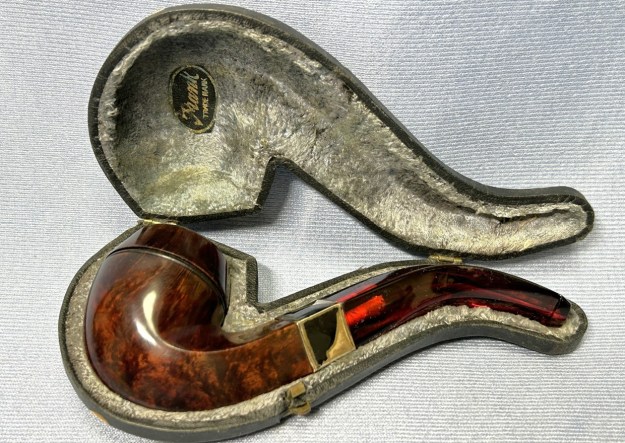
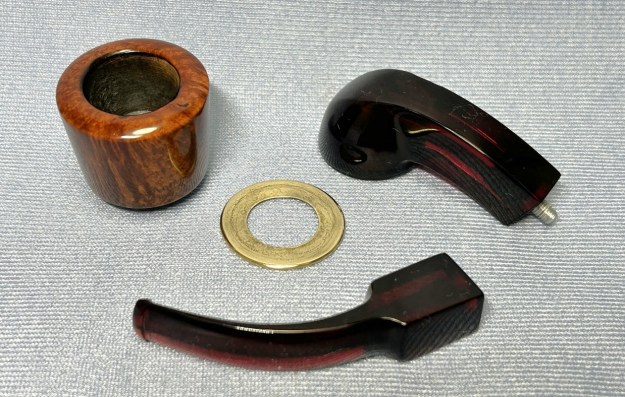
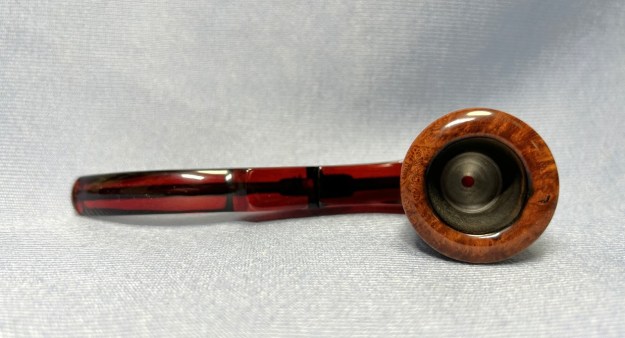
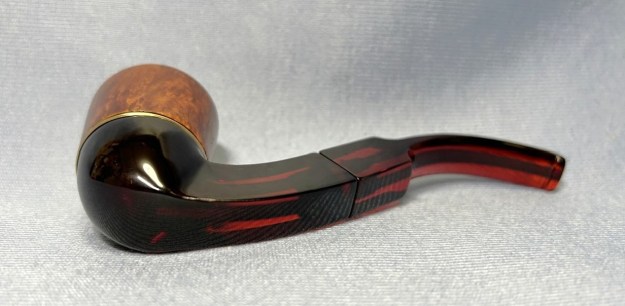
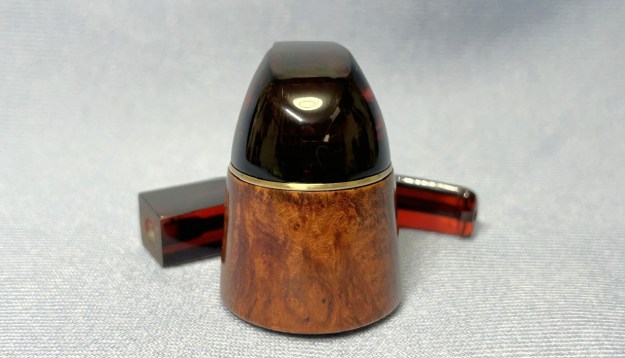
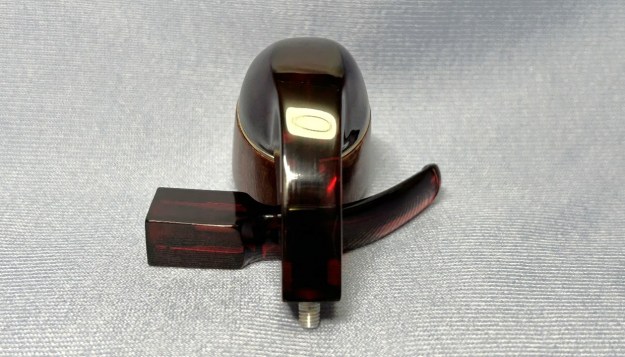
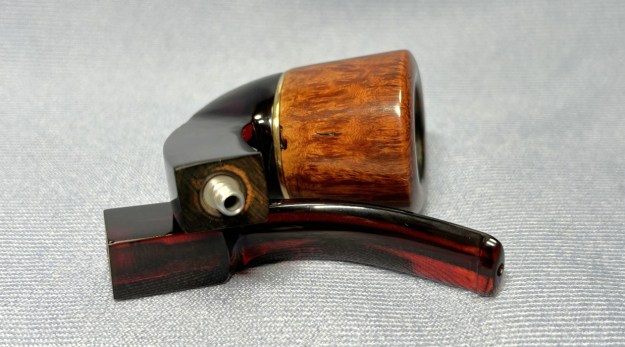
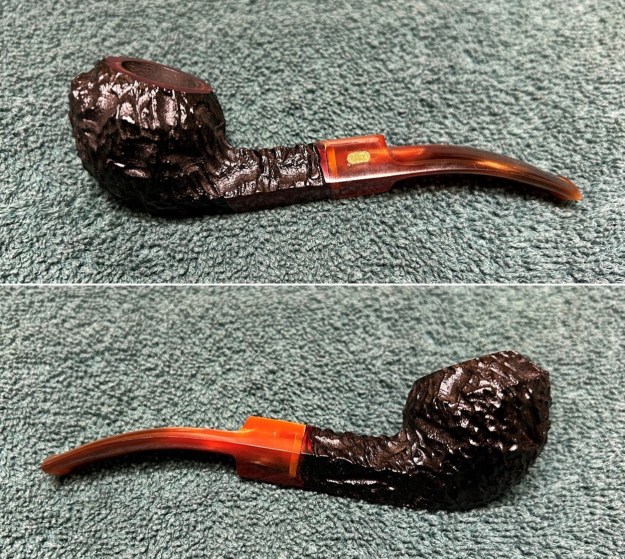
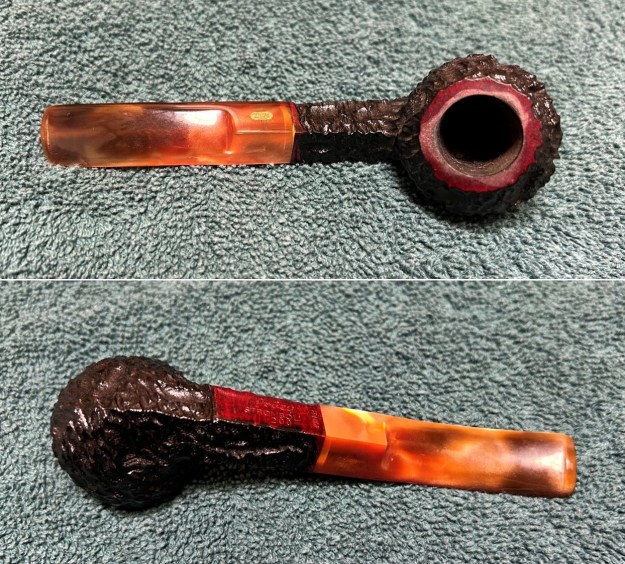
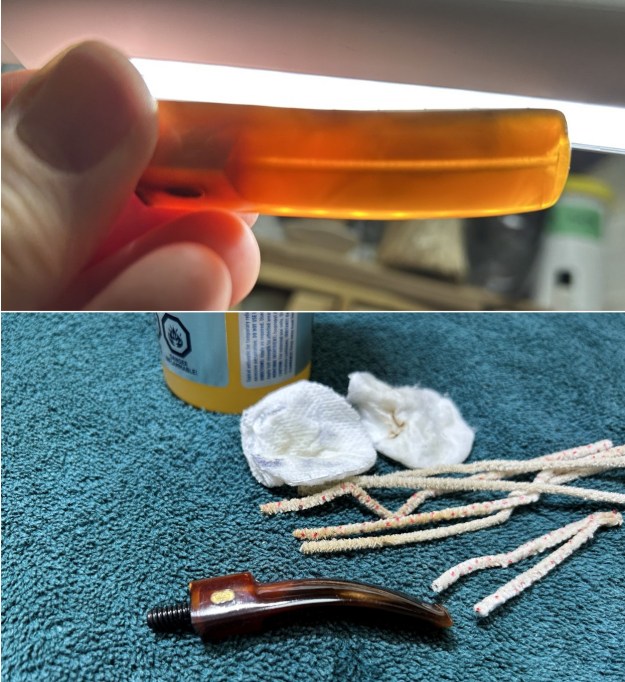
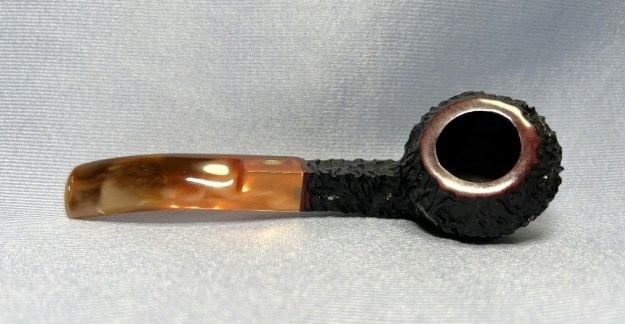
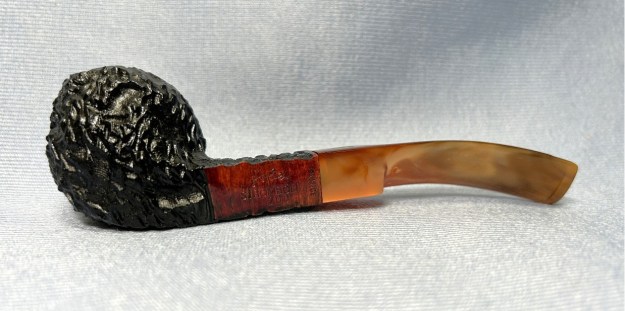
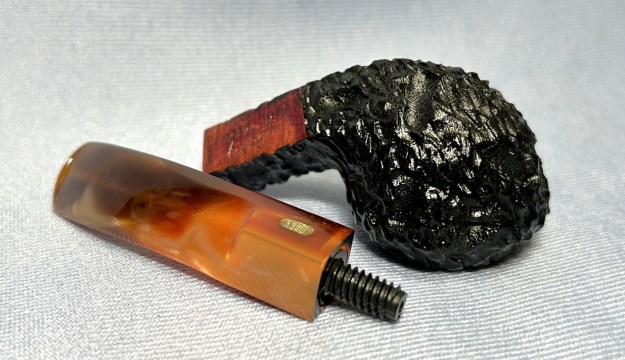
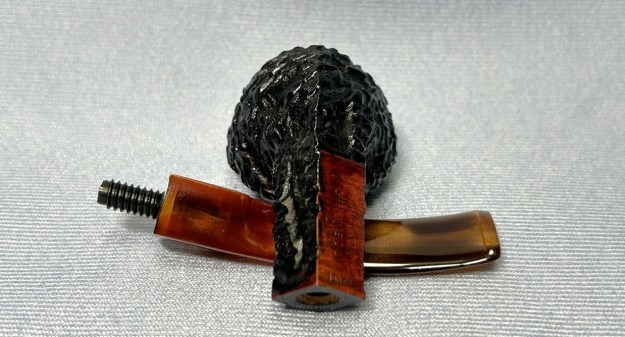
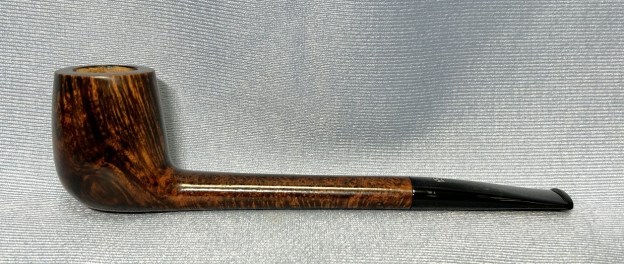
 This is a beautiful Canadian – well-proportioned bowl with a looooong, oval shank and a handsome taper stem made from acrylic. It’s even longer than the first two Tinsky pipes I worked on. It has a deep, rich brown colour to it and a lovely, smooth surface. There is a charming star logo on the top of the stem. Under the shank are the markings and they read: American [over] 06/98-MT. This tells us that the pipe was made in June 1998 by Mark Tinsky himself.
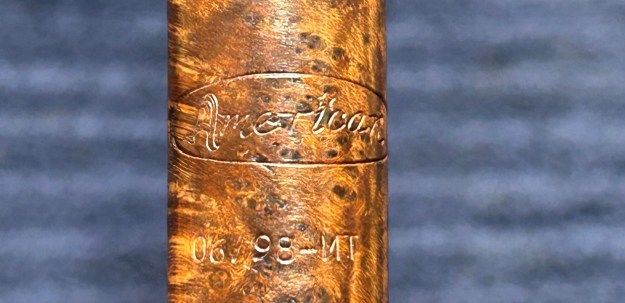 As I’m sure you know, Mark Tinsky is one of the great names in American pipe making. He is best summed up in this quotation from Erwin Van Hove:
His more than reasonable prices, and his good-natured personality, have made Mark [Tinsky] the favorite of many Americans. It is difficult to find an amateur who does not possess at least one pipe made by the American Smoking Pipe Company, that Tinsky founded in 1978 with his friend Curt Rollar. In 1990, after the departure of his associate, Tinsky continued on by himself building a solid reputation using quality briar from Greece and stem blanks imported from Italy, offering collectors a vast assortment of models and finishes. In short, his pipes are beautiful and well-made pieces that produce a taste beyond reproach. Neither off-the-shelf nor haute couture, they are solid hand mades for an affordable price.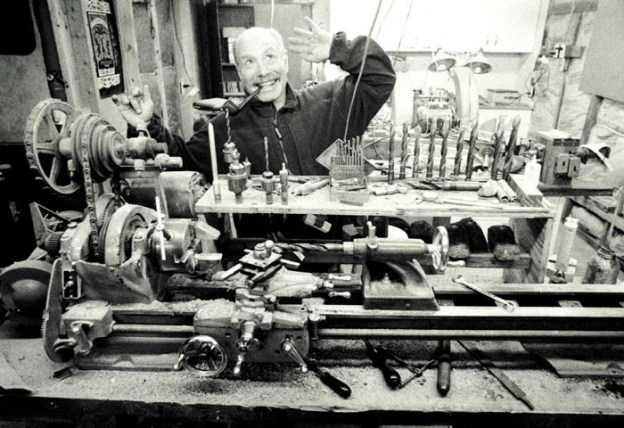 There is a wonderful and extensive article on Tinsky, Rollar, and the American Smoking Pipe Company at Pipedia. I highly recommend reading it here. You can also visit his website: http://www.amsmoke.com/. There’s also a small blurb about him at Pipephil:
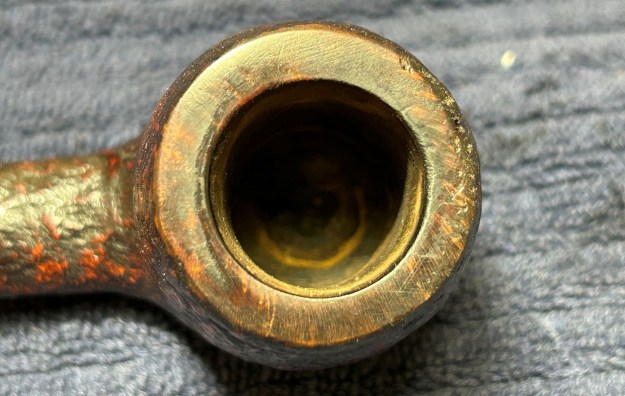
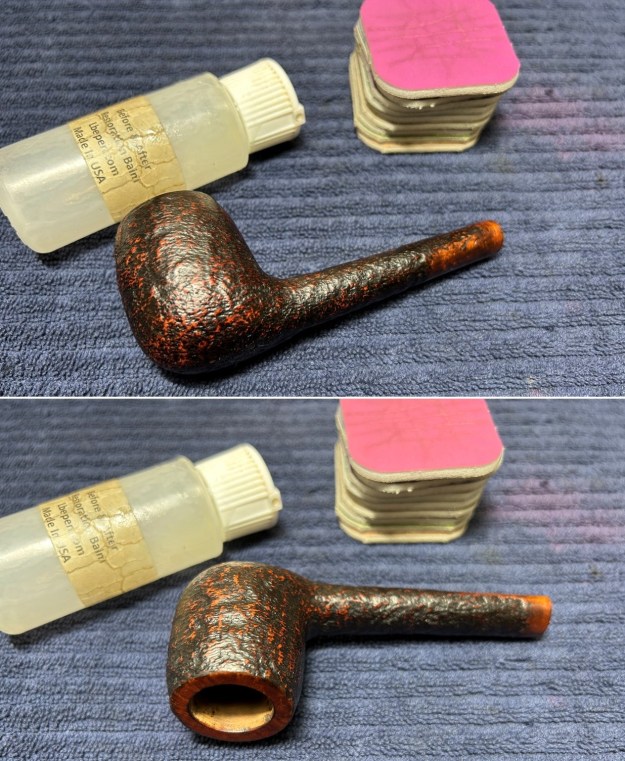
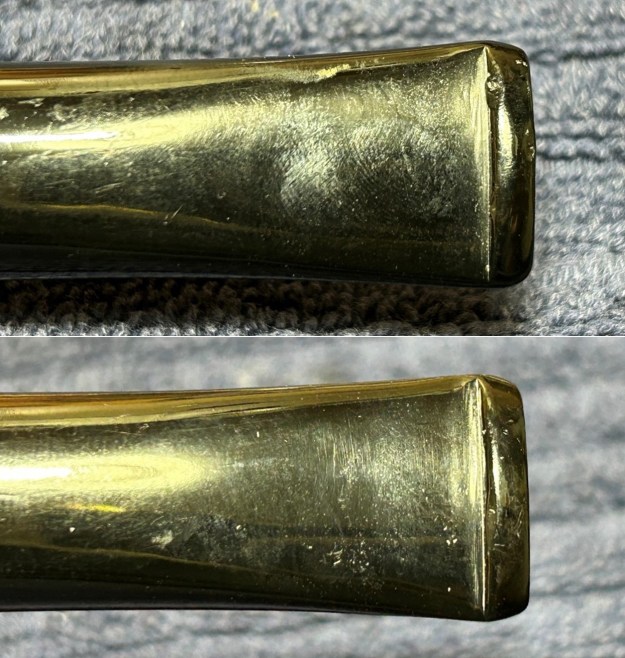
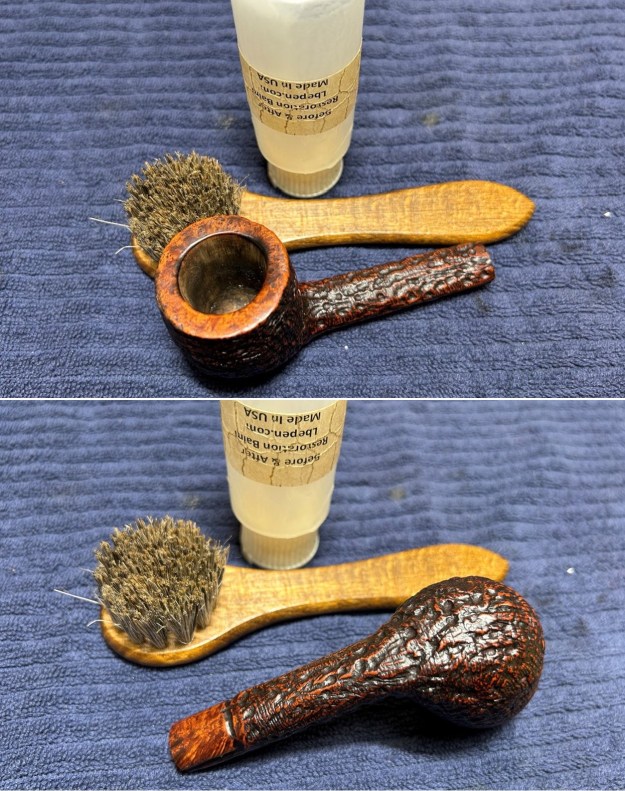
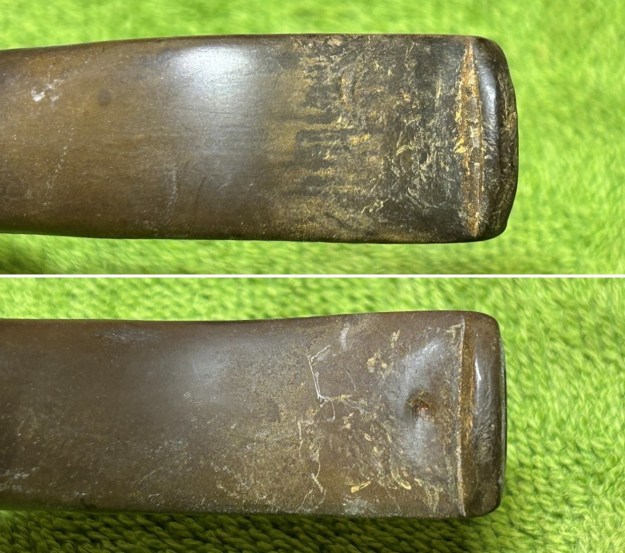
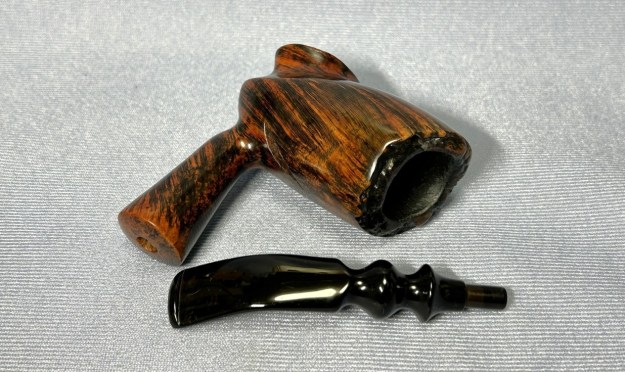
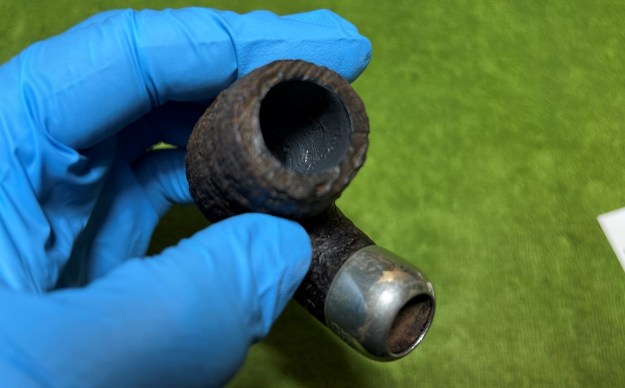
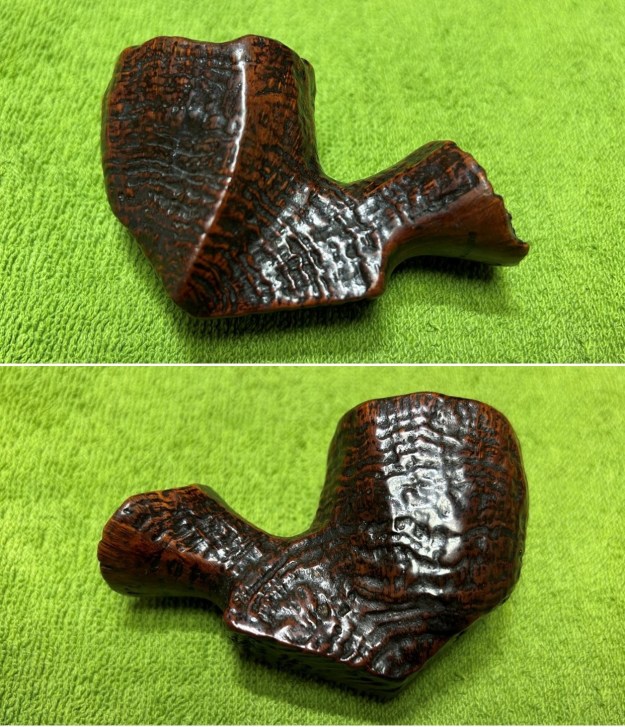
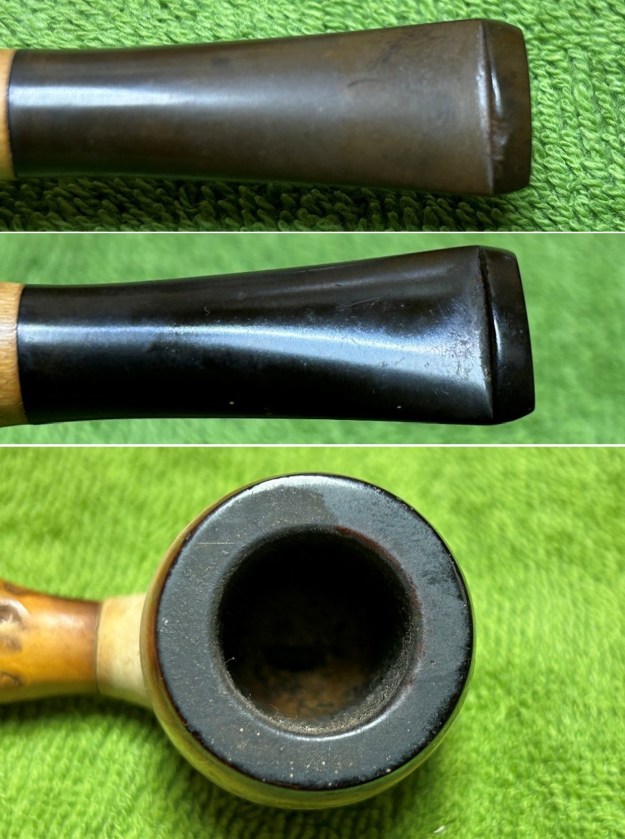
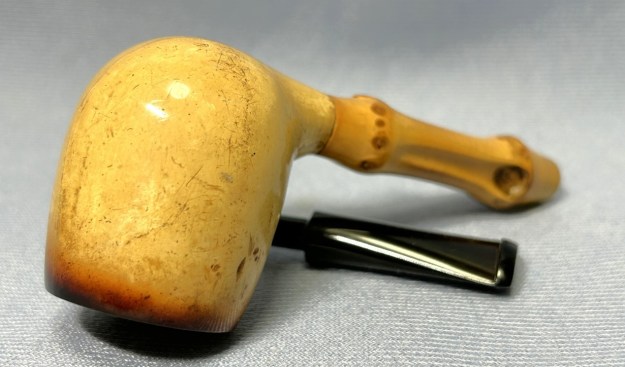
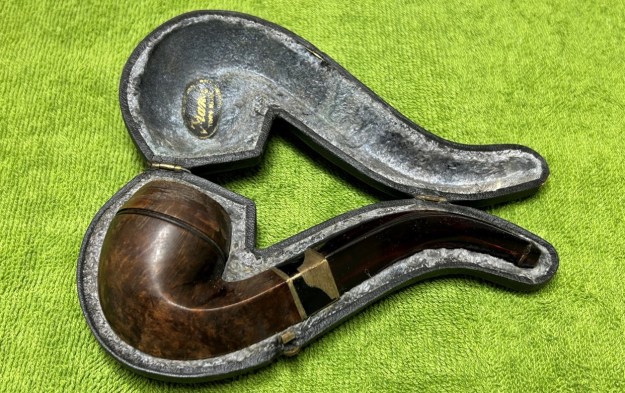
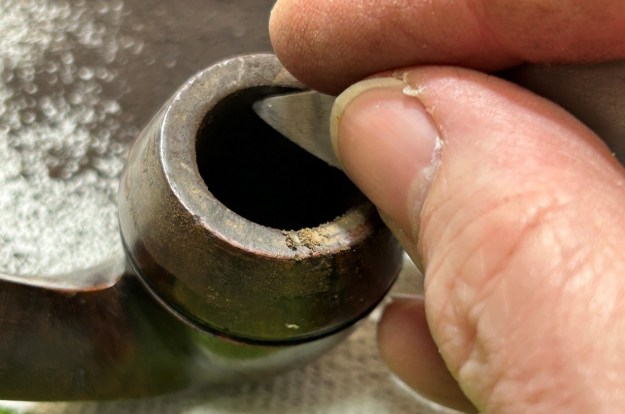
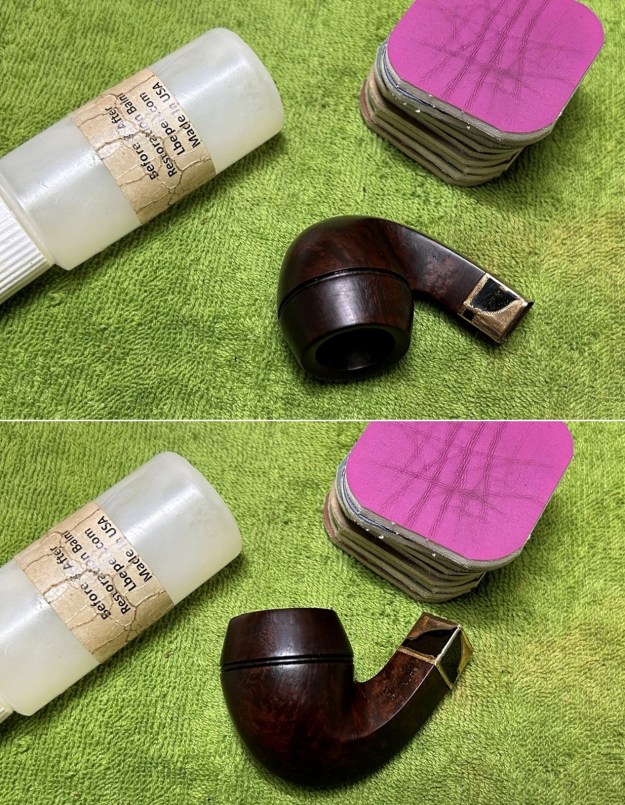
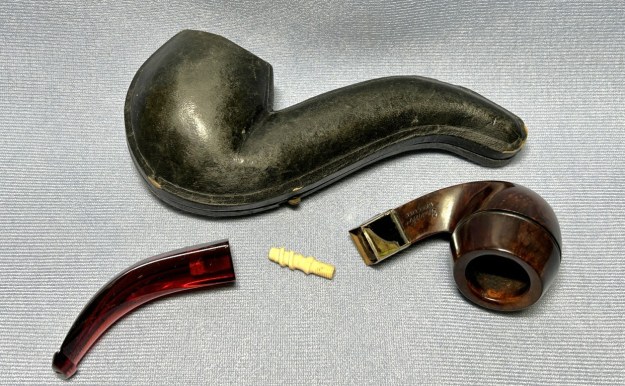
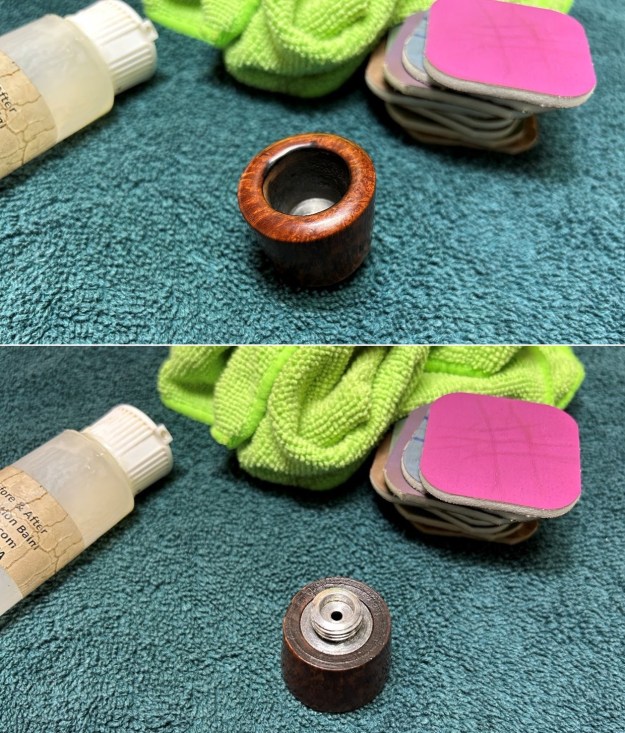
 This pipe was in generally very nice shape – there were a few nicks on the rim – but that didn’t require too much work. The stem was also in good shape – only very light wear.
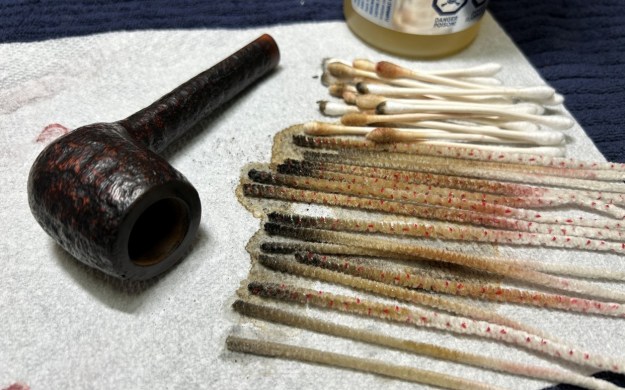
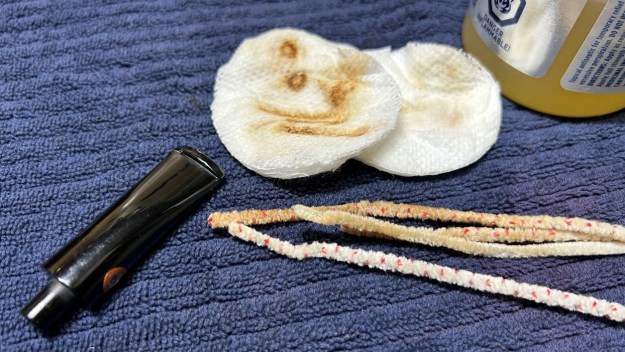
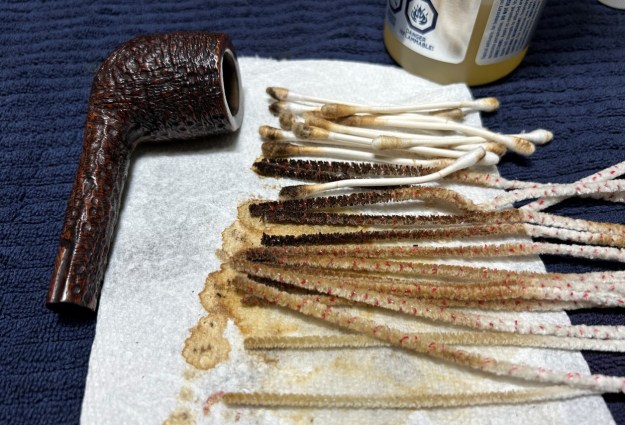
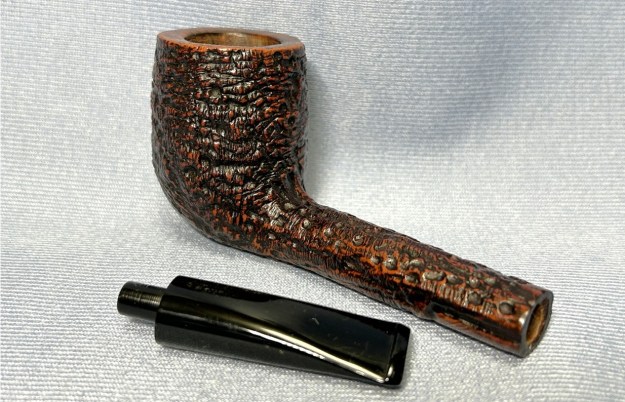
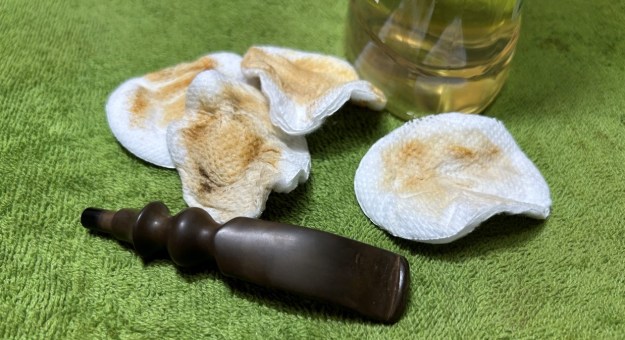
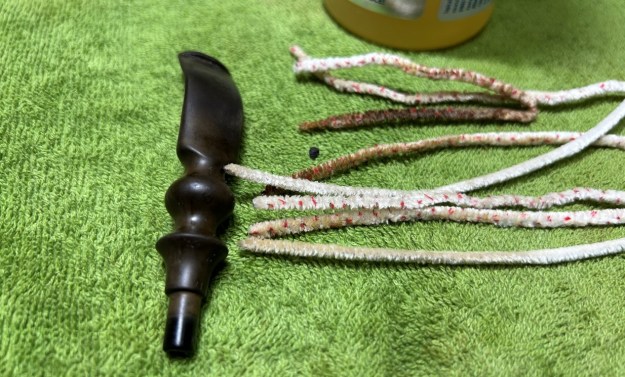
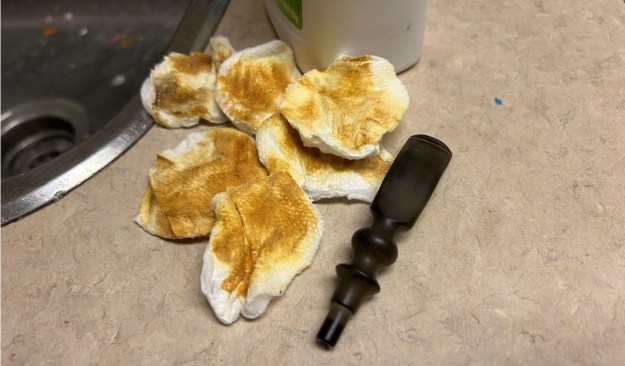
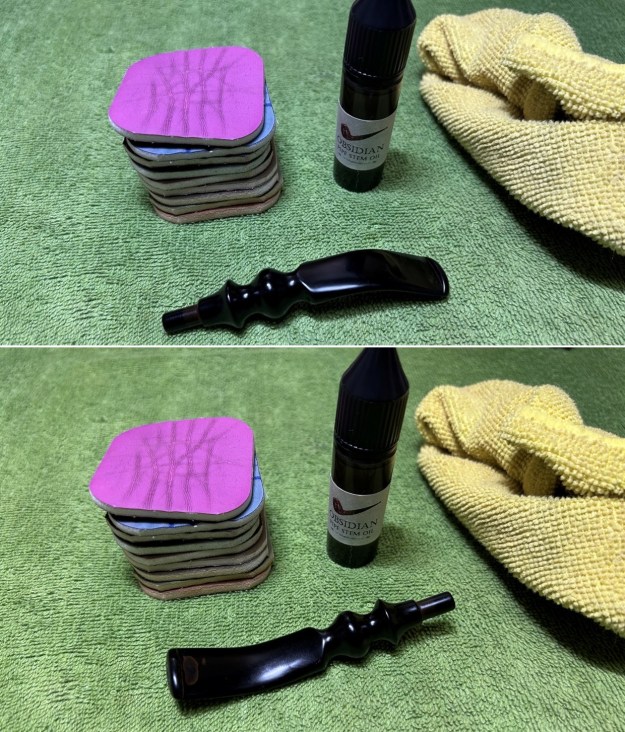
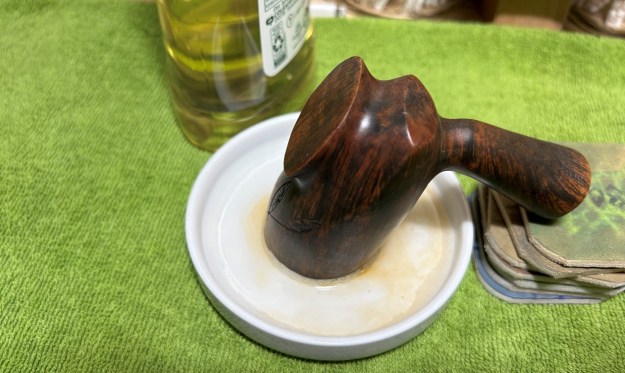
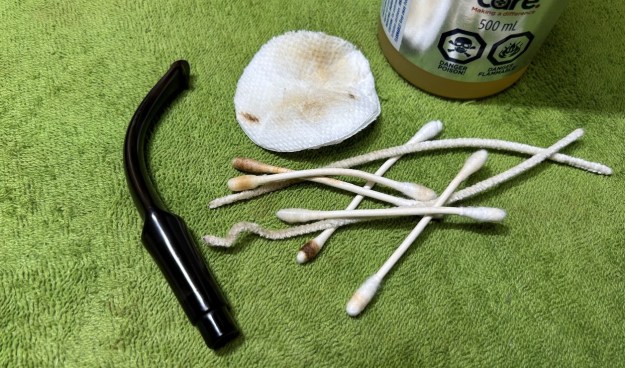
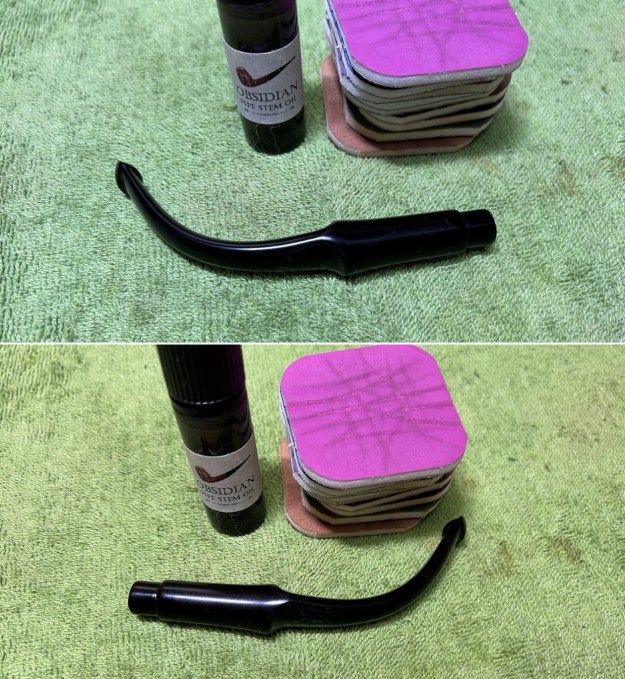
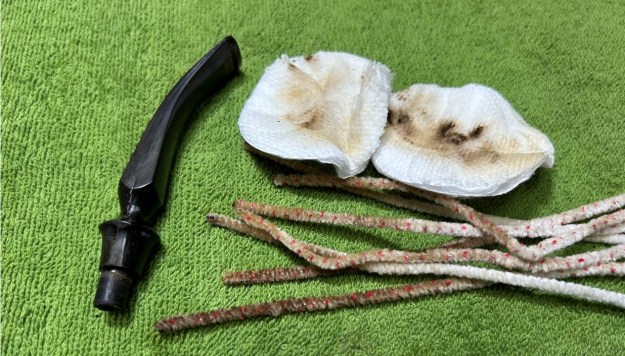
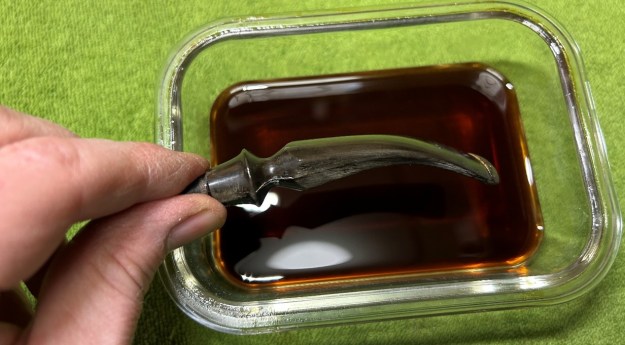
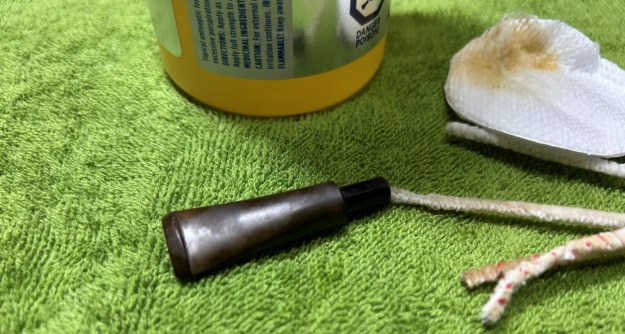
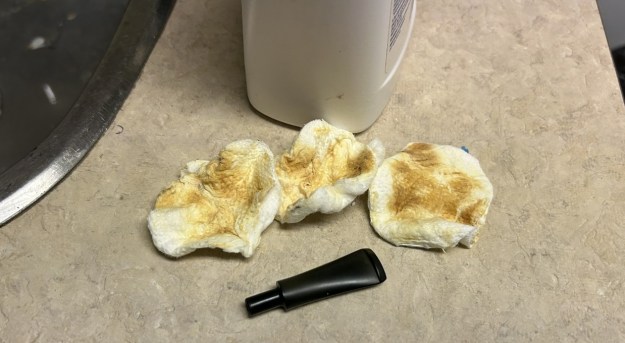
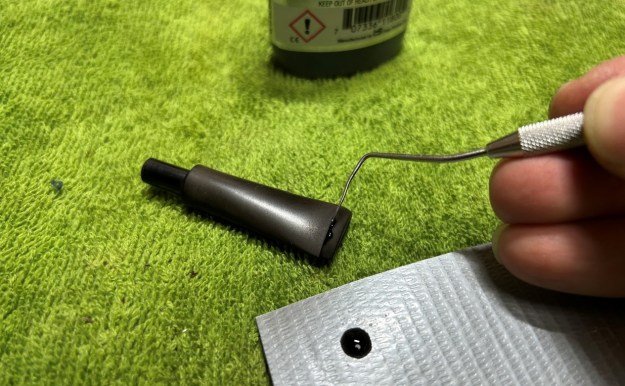
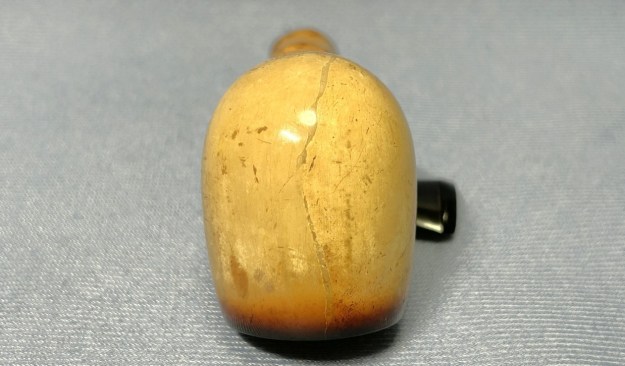
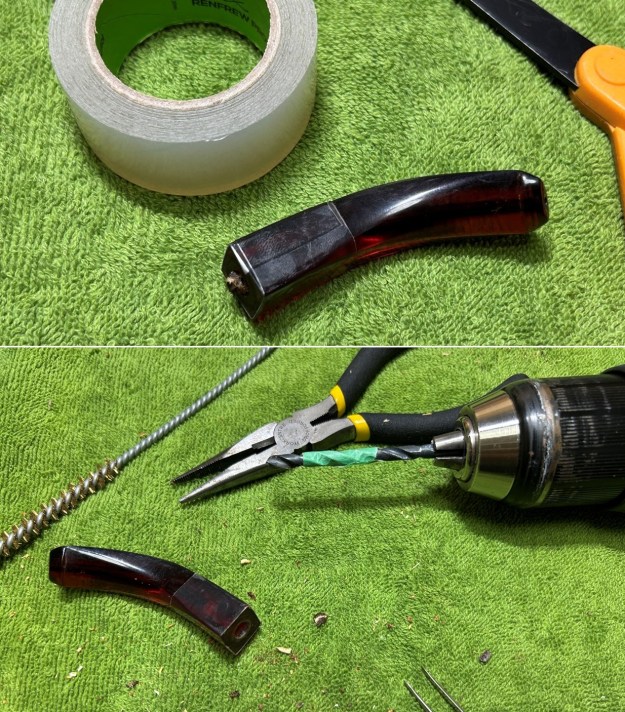
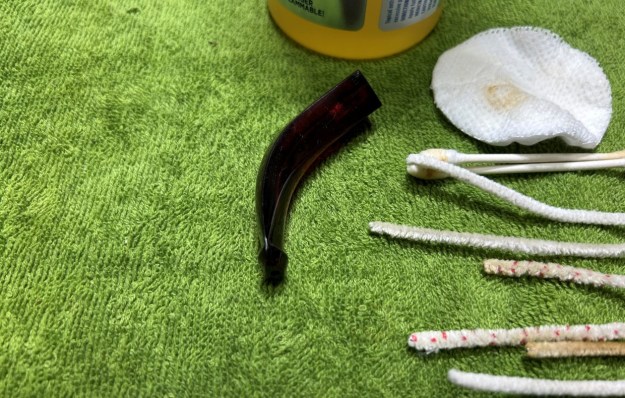
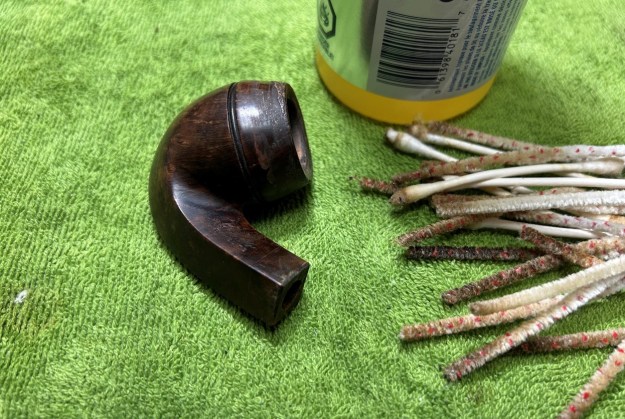
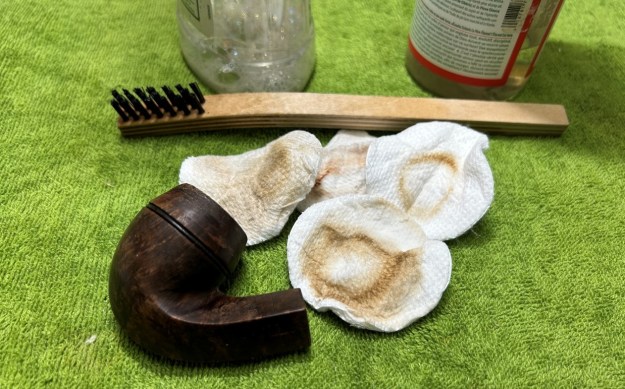
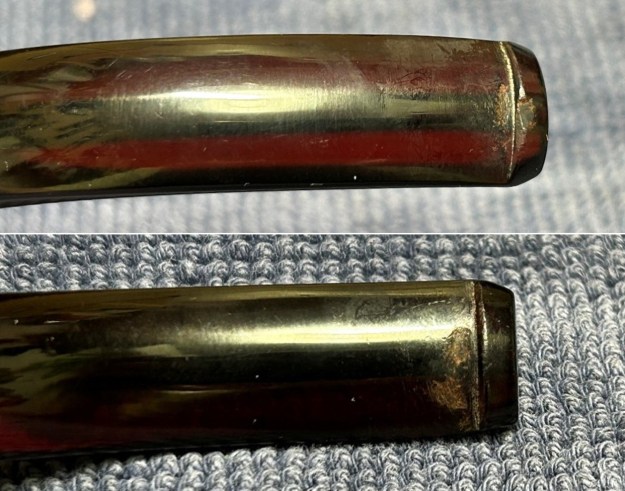
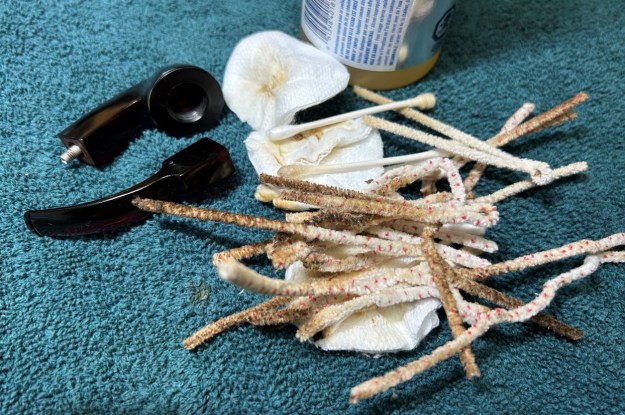
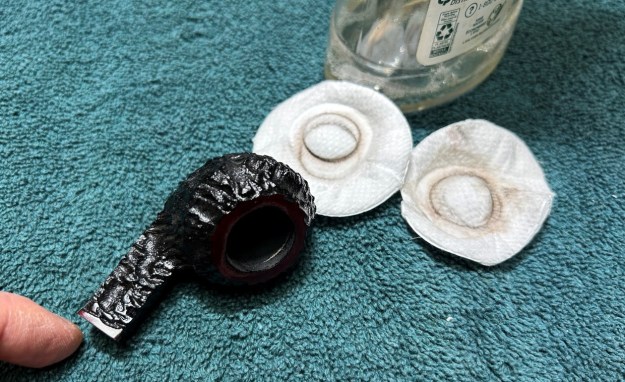
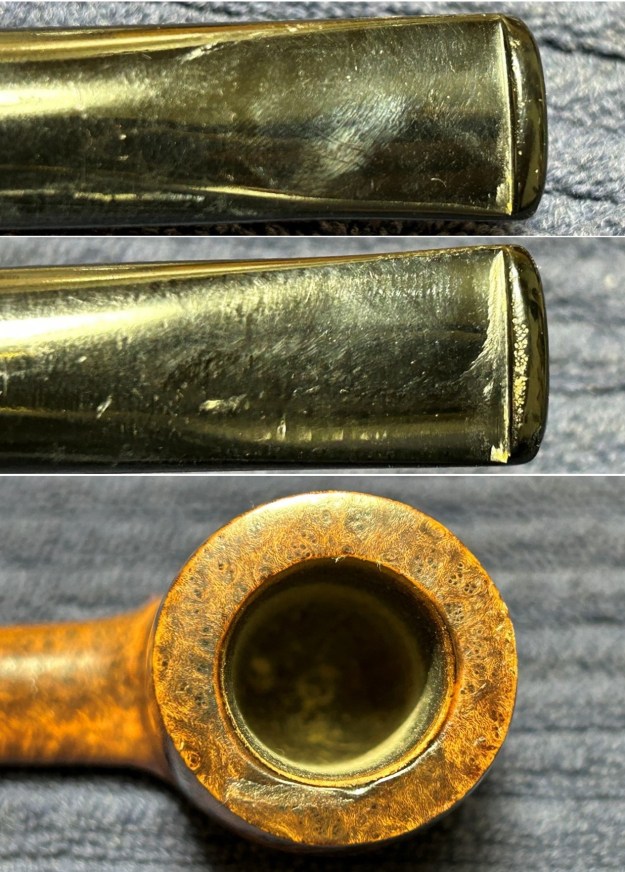 I used oil soap on a few cotton rounds and wiped down the stem to provide an initial cleaning before moving on to the next steps. The primary cleaning came next. I disinfected the inside of the stem with both pipe cleaners and cotton swabs dipped in lemon-infused 99% isopropyl alcohol. I scrubbed thoroughly to make sure the interior was very clean.
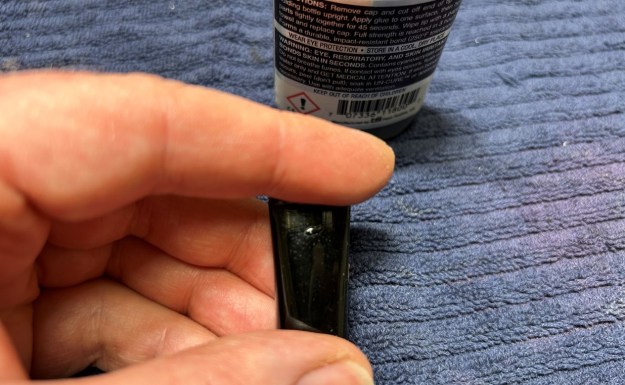
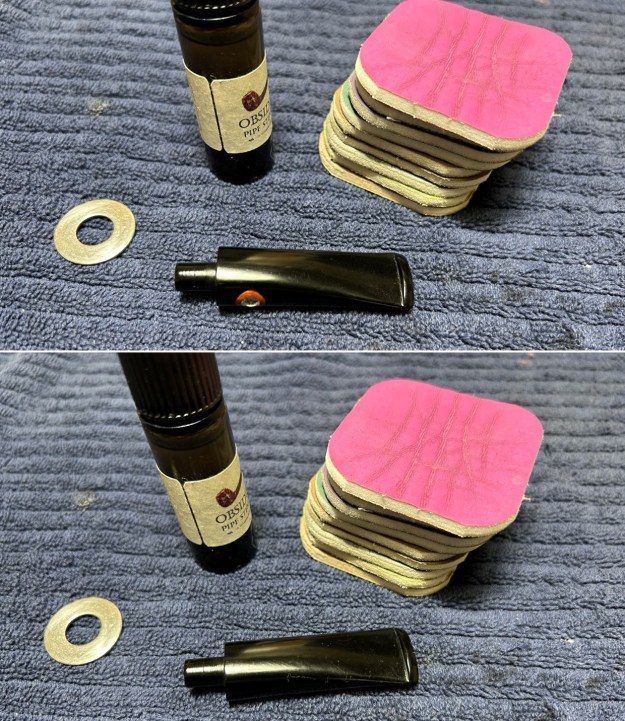
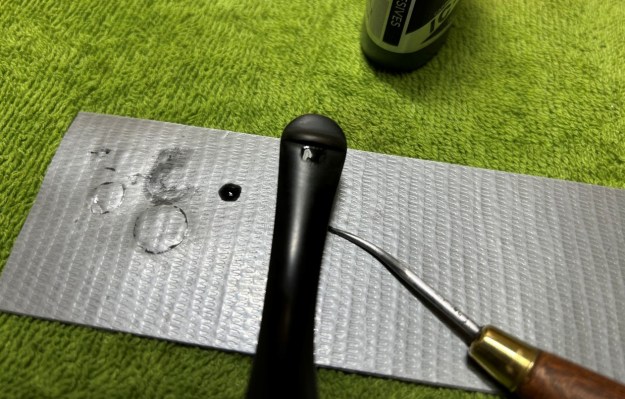
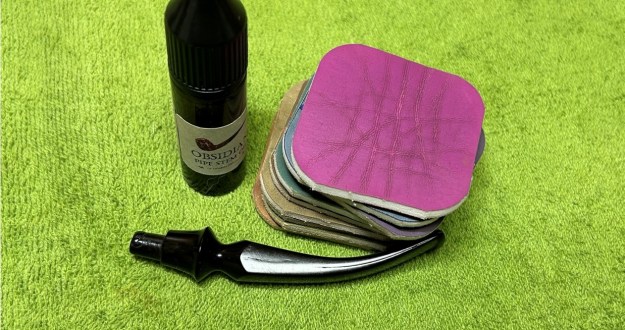
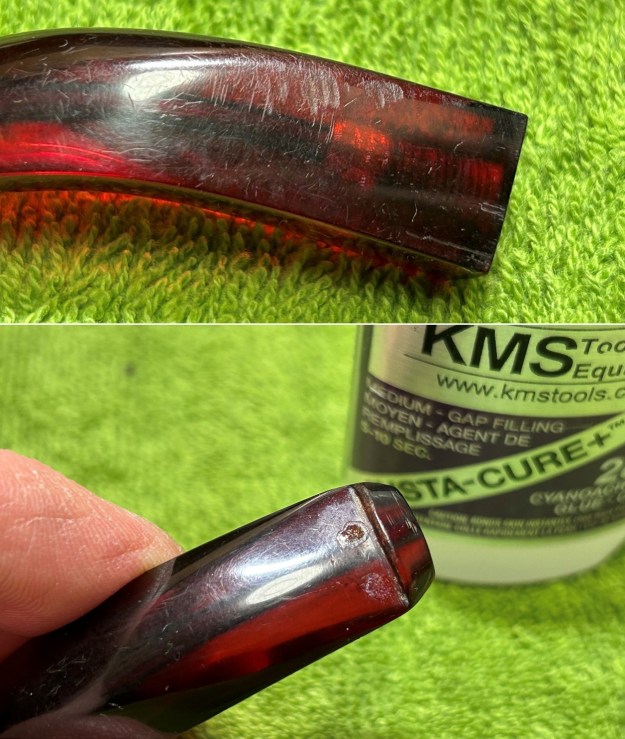
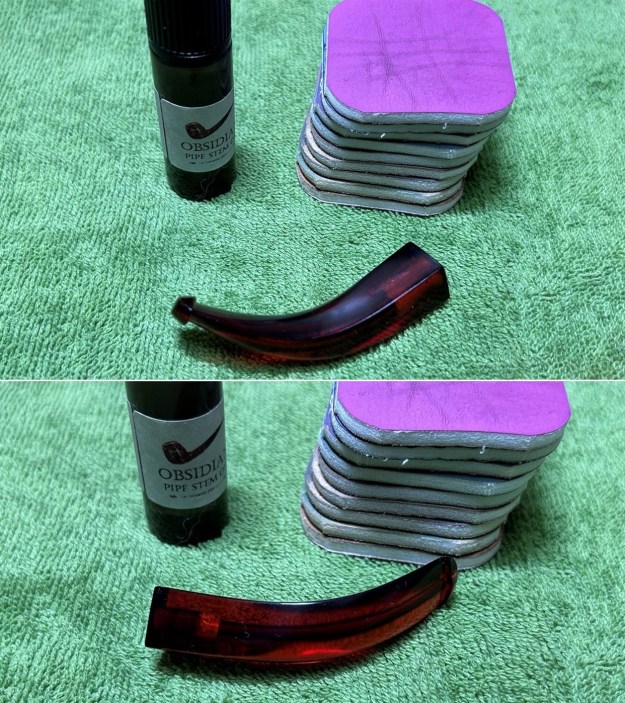
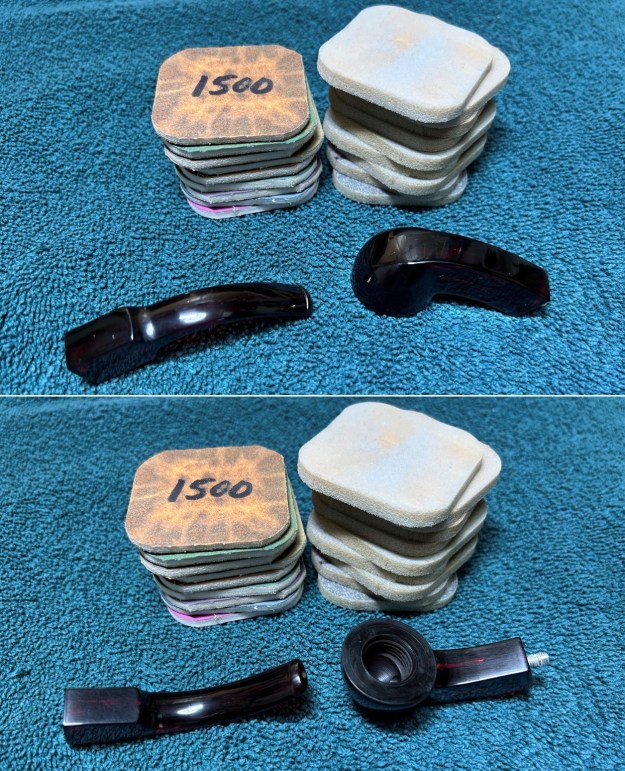
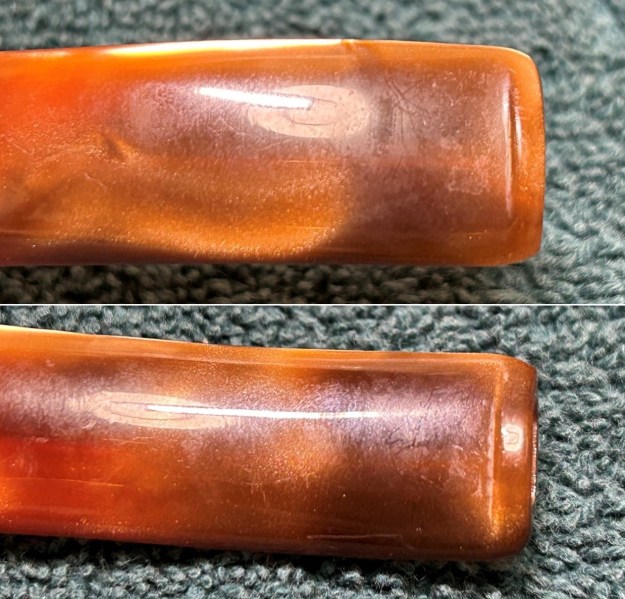
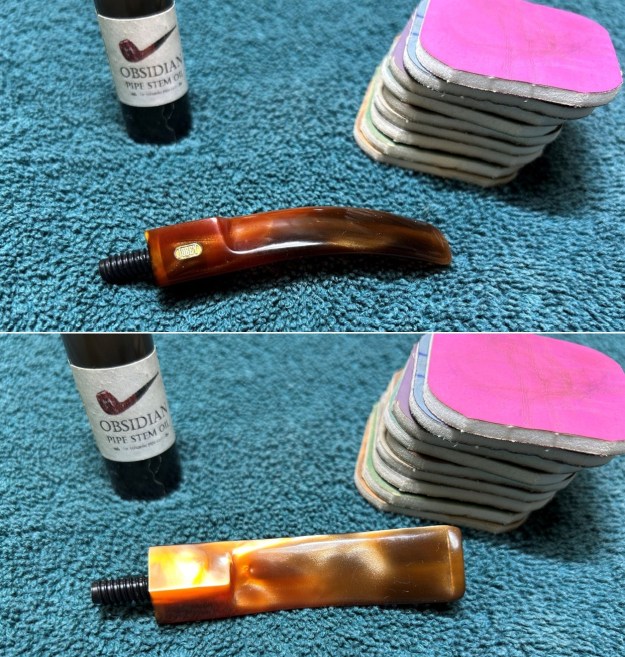
 Following that, I used all nine of the micromesh sanding pads (1,500 through 12,000 grit) to sand out flaws, even out the acrylic, and provide gentle polishing of the finished surface. I also applied pipe-stem oil while using the last five micromesh pads. There was a wonderful, deep black shine to the stem when I was done.
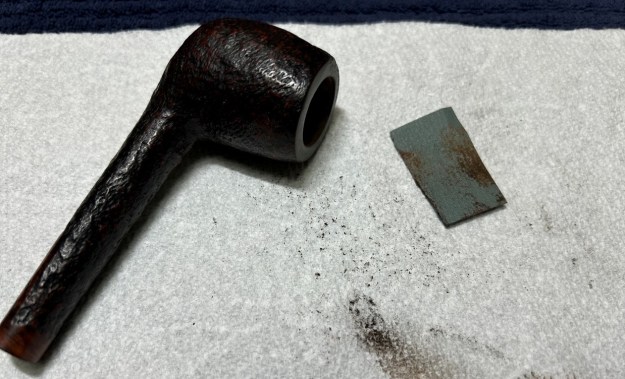
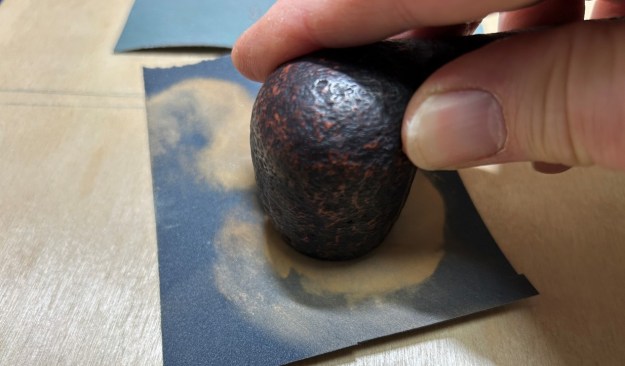
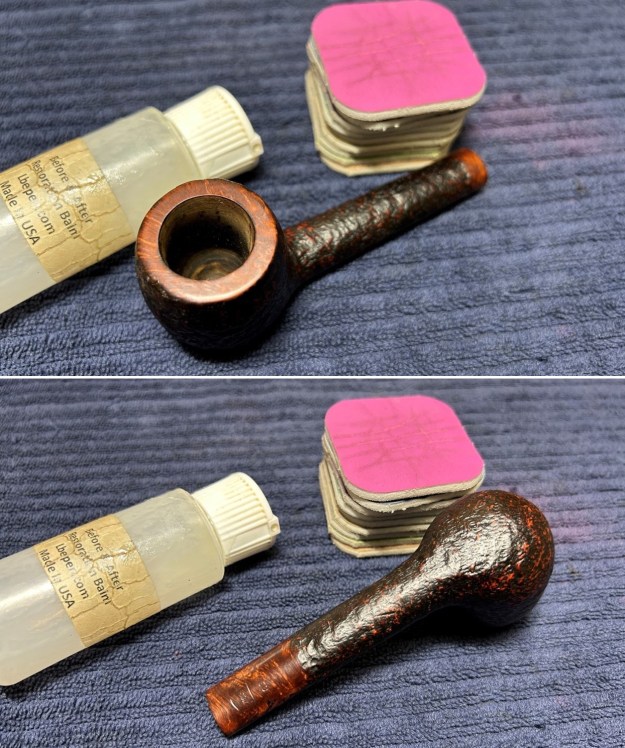
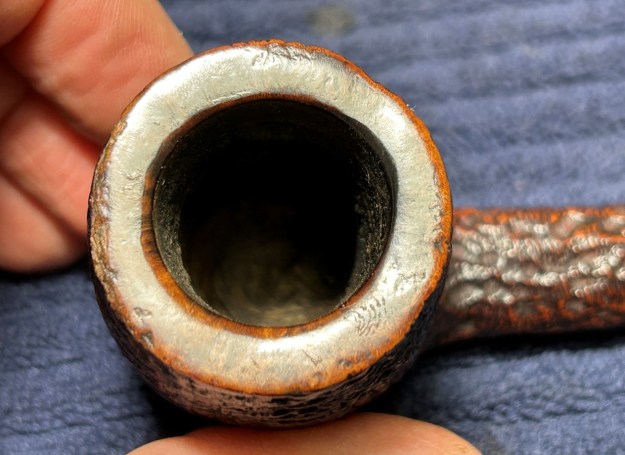
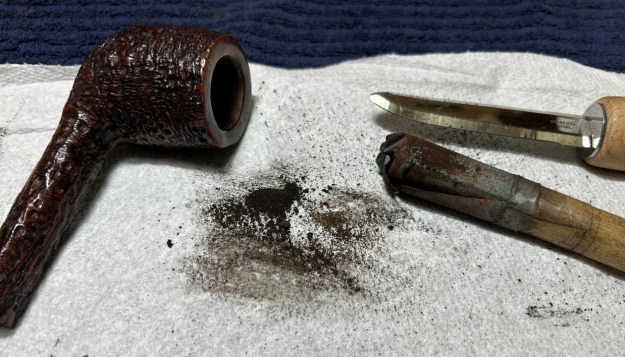
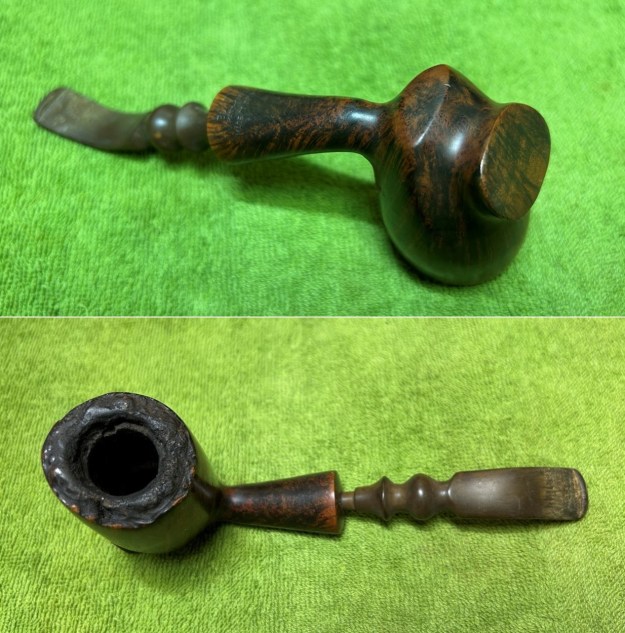
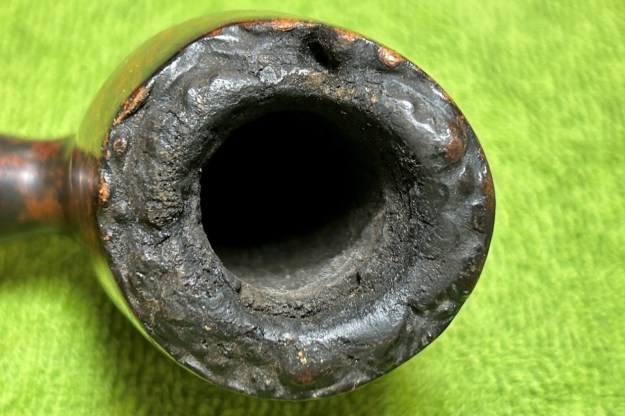
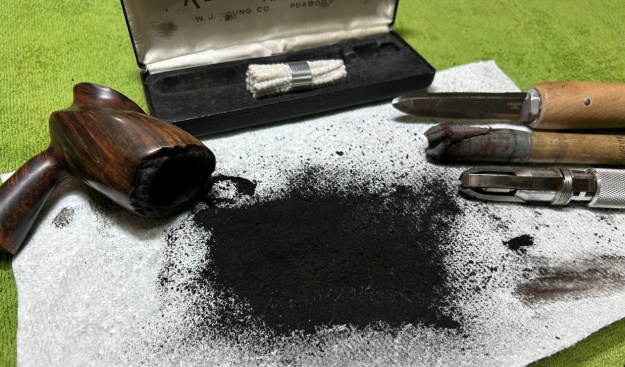
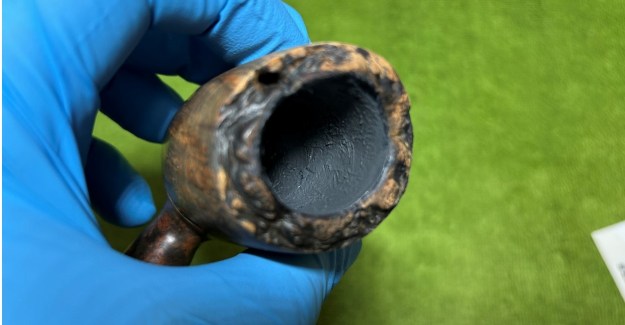
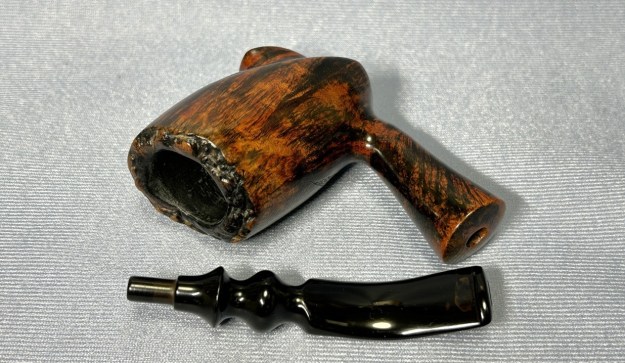
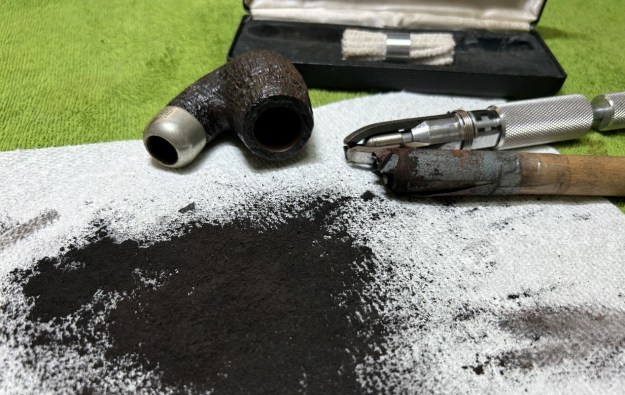
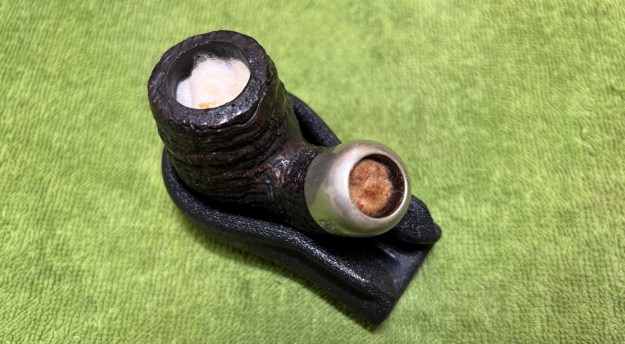
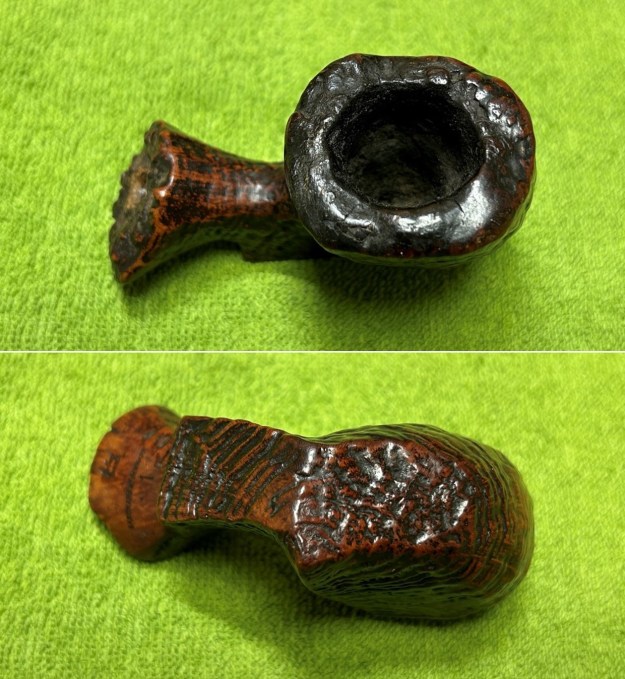
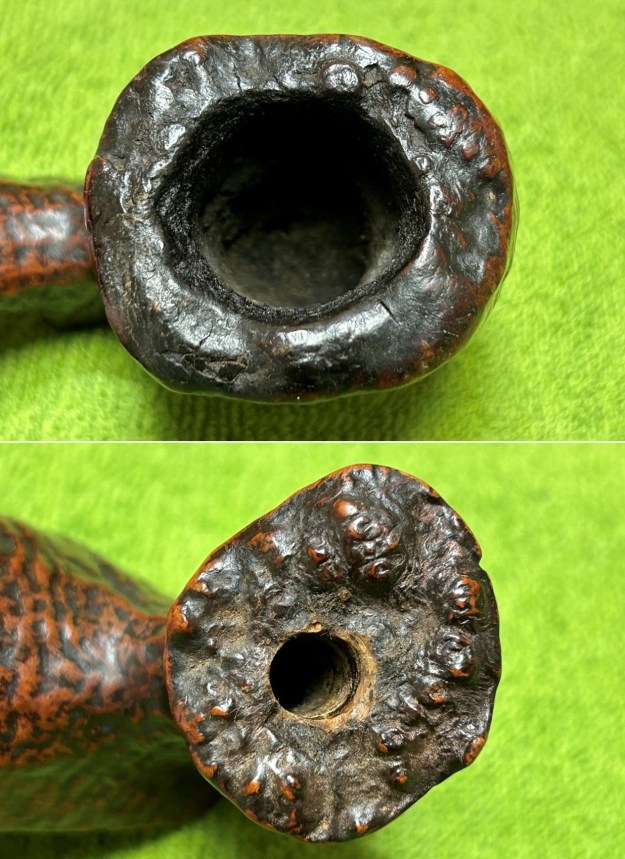
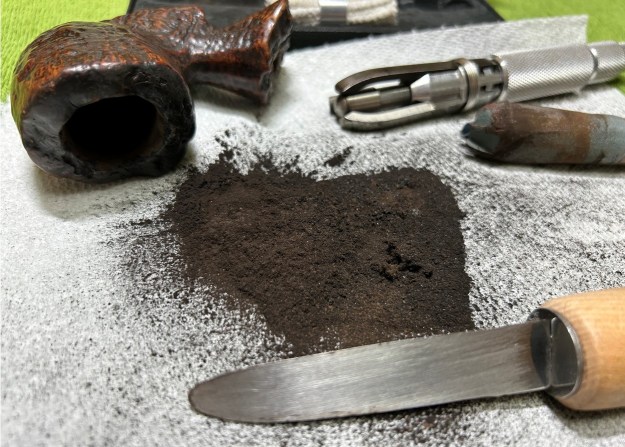
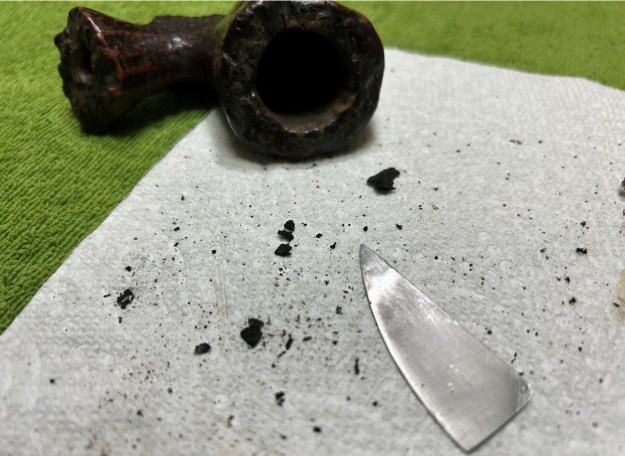
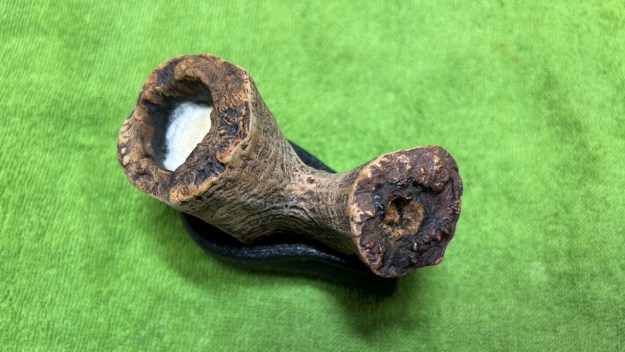
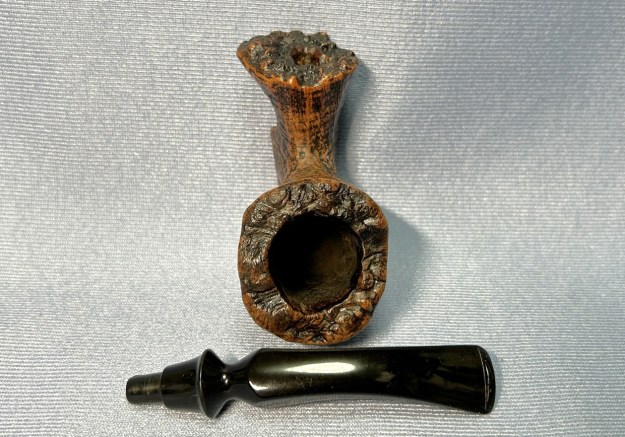
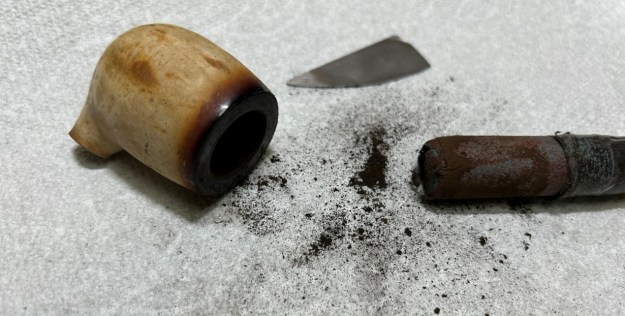
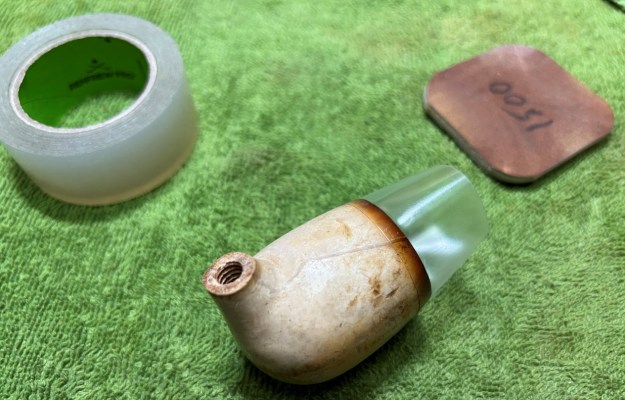
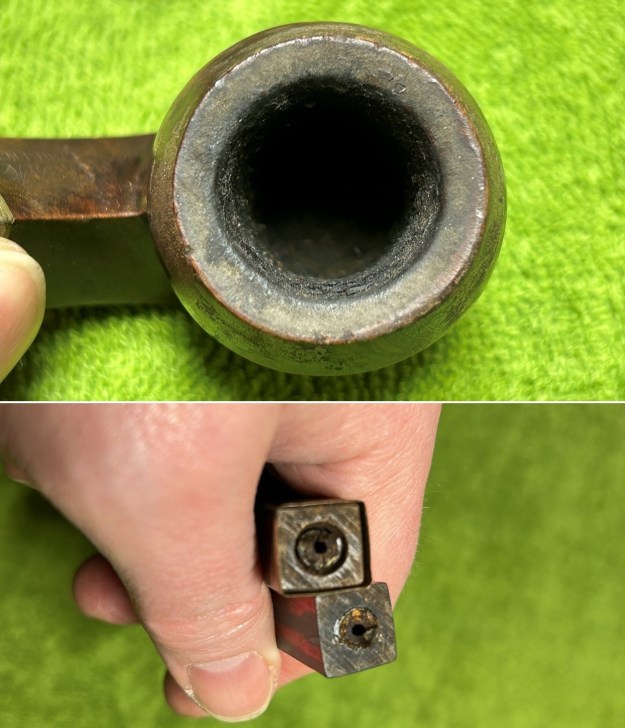
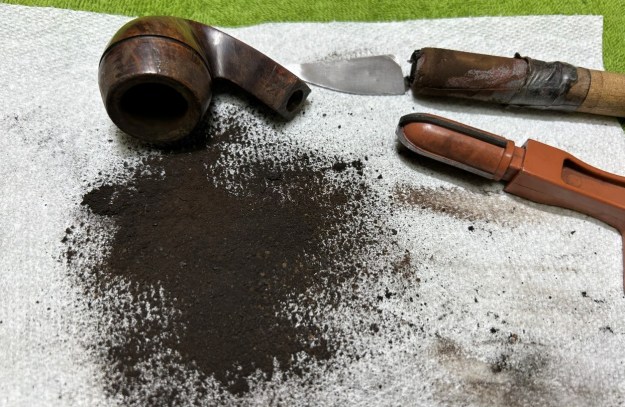
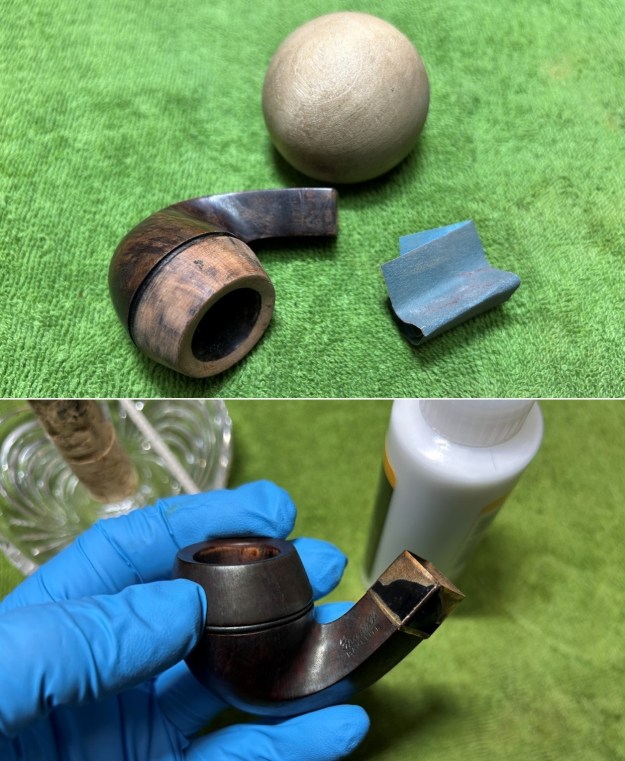
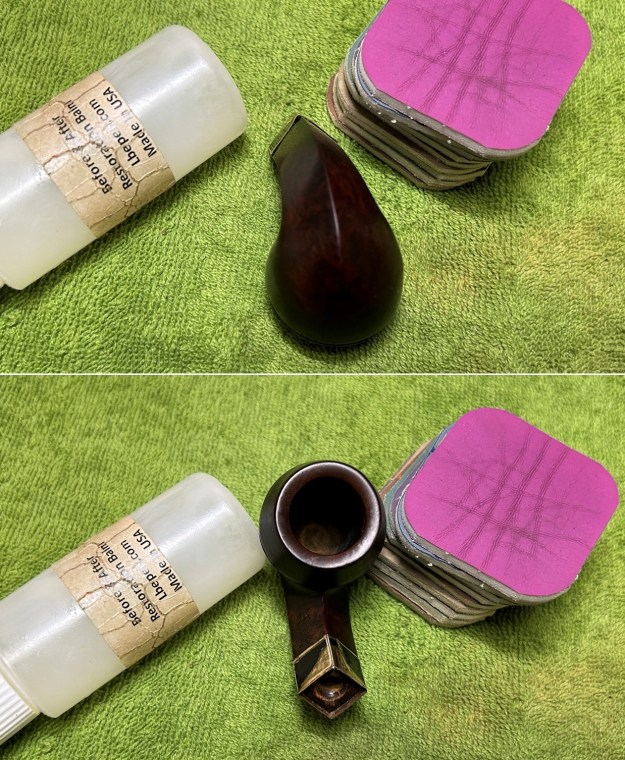
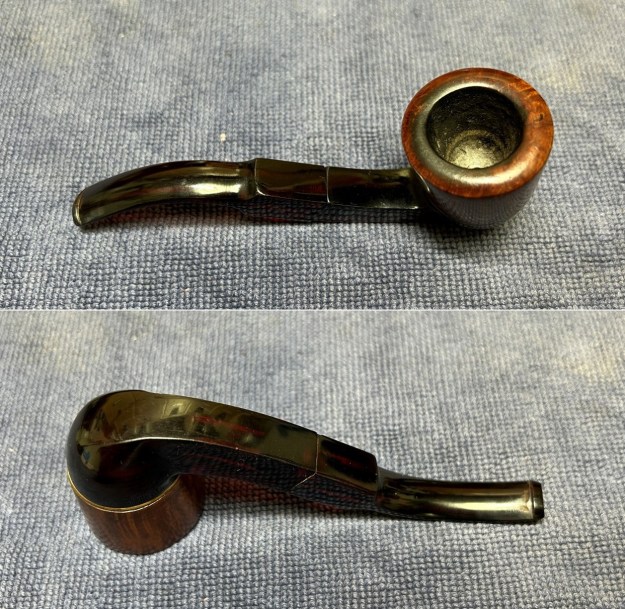
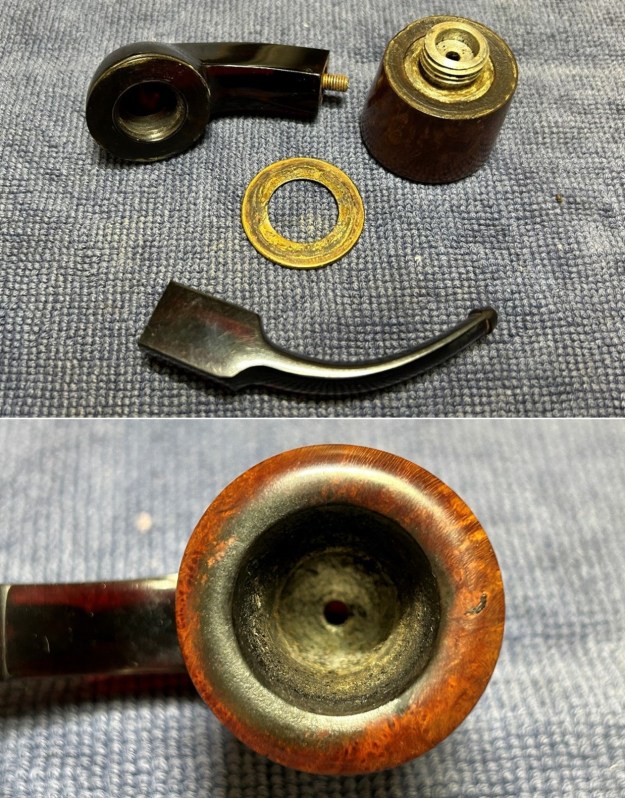
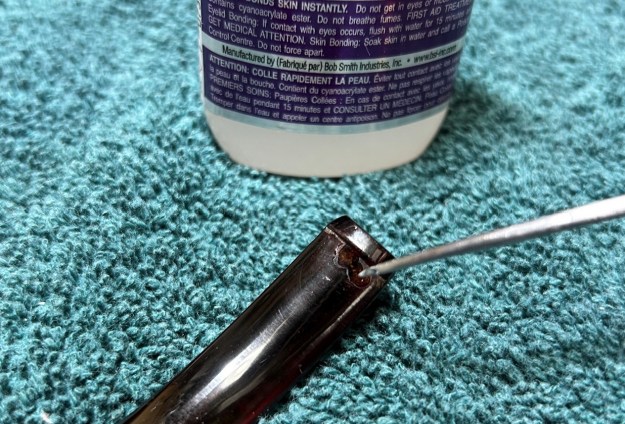
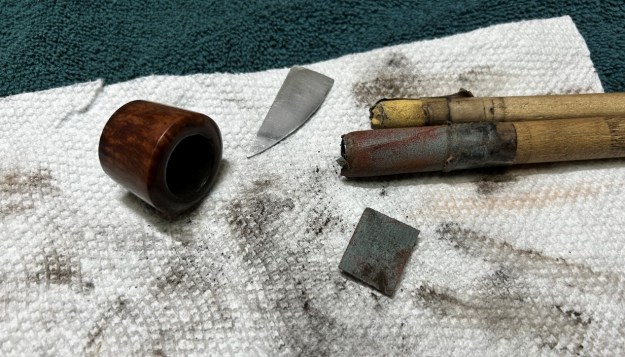
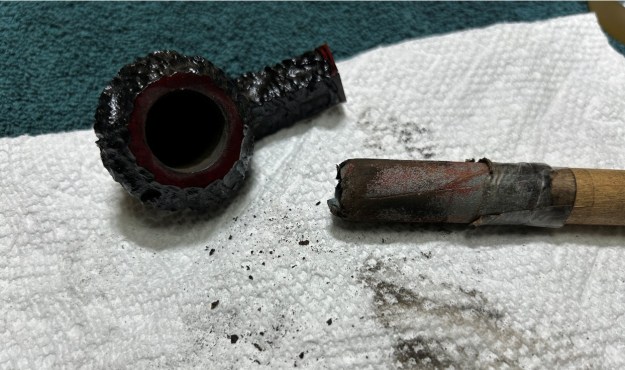
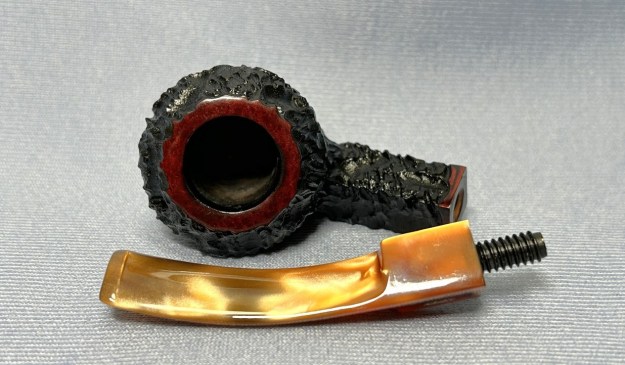
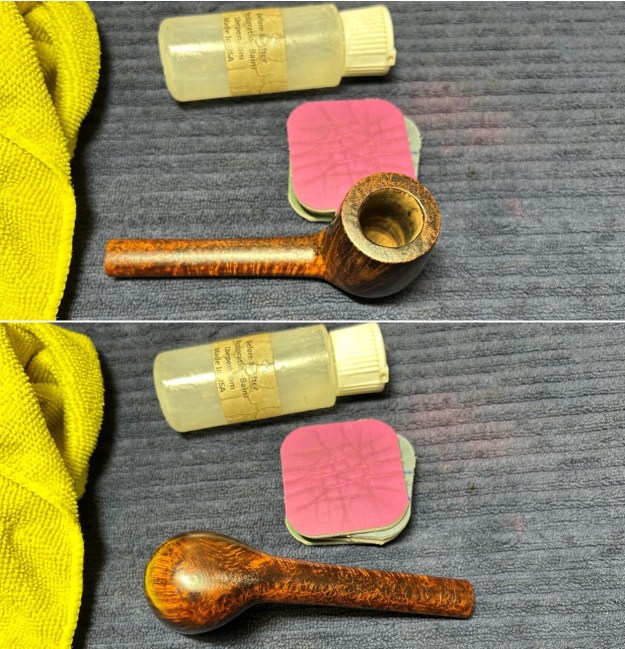
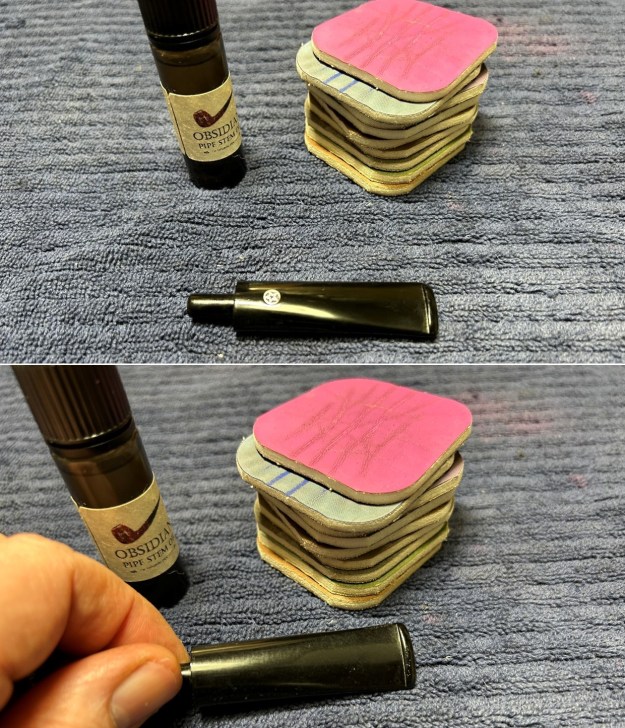 I moved straight on to the stummel. The first step was to ream out the bowl – that is to say, remove all the cake inside the bowl. This accomplished a couple of things. First (and most obviously), it cleaned the bowl and provided a refurbished chamber for future smoking. Second, when the old cake was removed, I could inspect the interior walls of the bowl and determine if there was damage or not. I used a piece of sandpaper taped to a wooden dowel. This ensured that the debris was removed – and it was very clean inside.
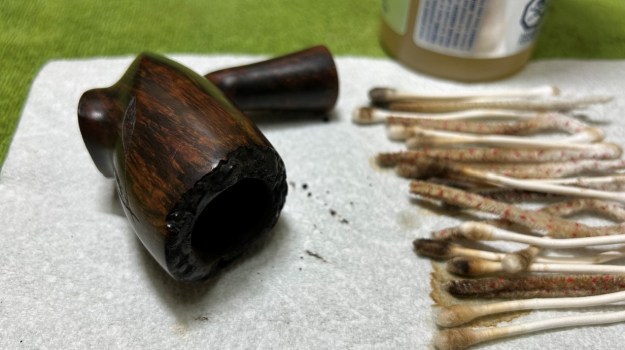
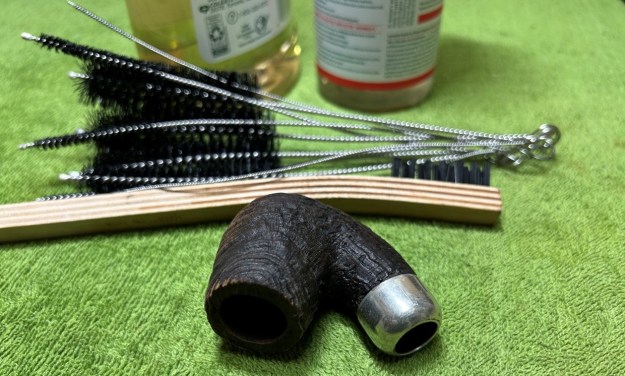
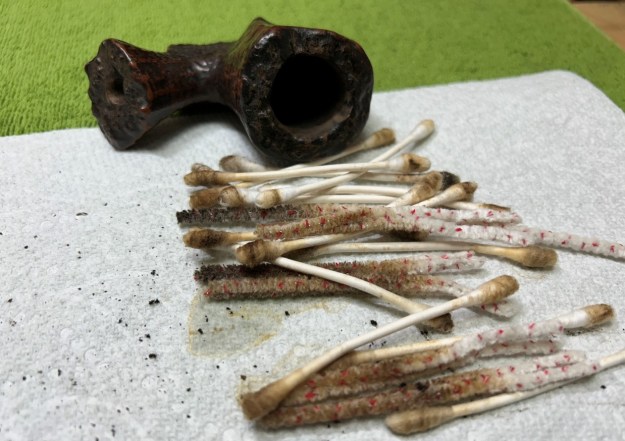
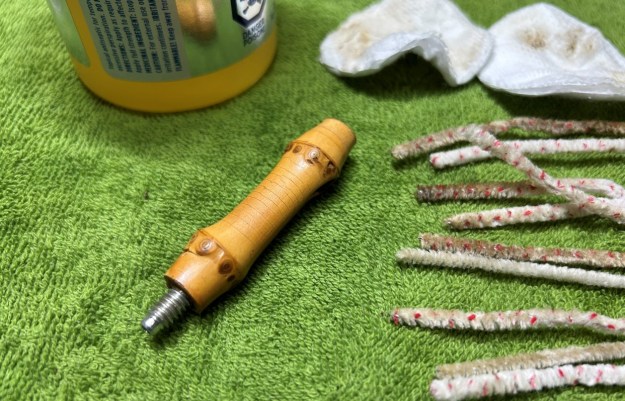
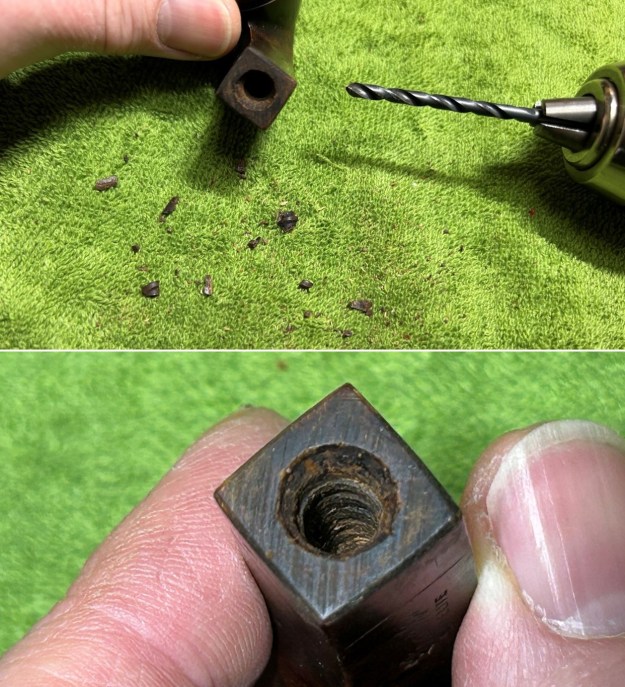
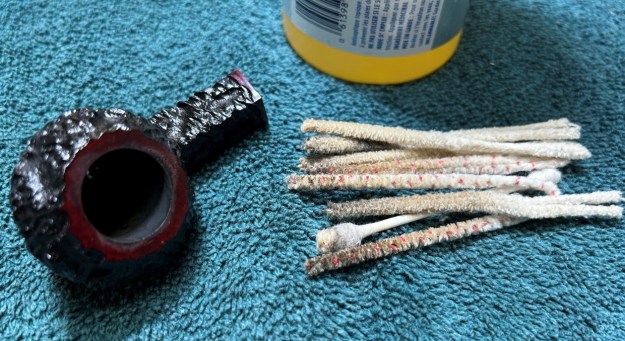
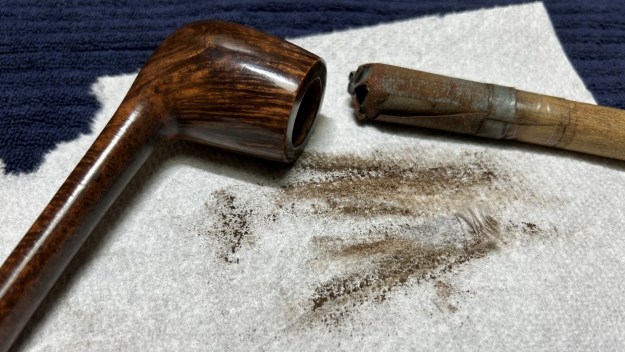 I then cleaned the stummel with both pipe cleaners and cotton swabs dipped in lemon-infused 99% isopropyl alcohol. It took quite a bit of cotton to get clean.
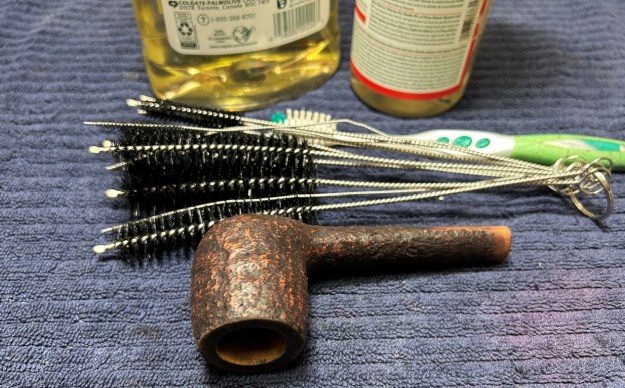
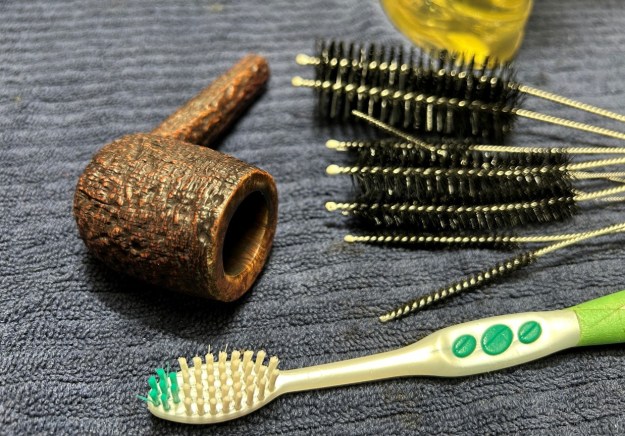
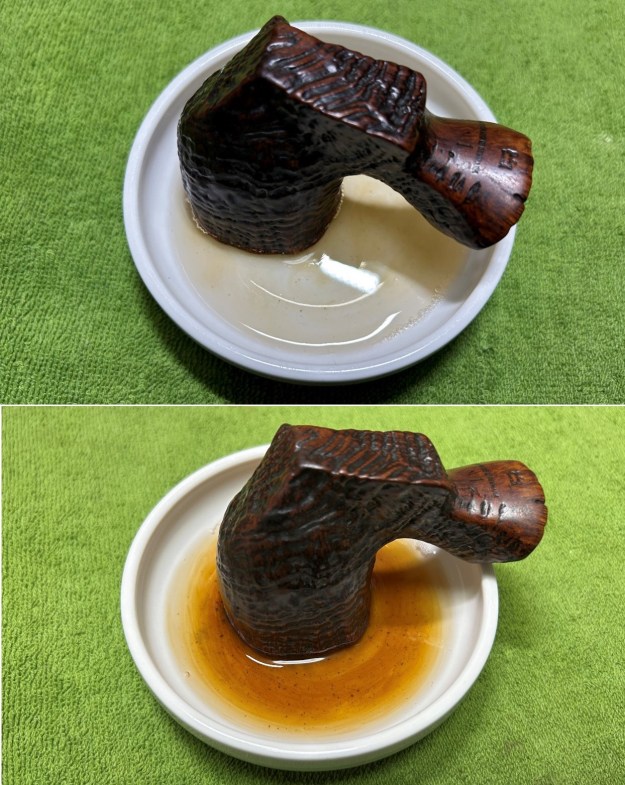
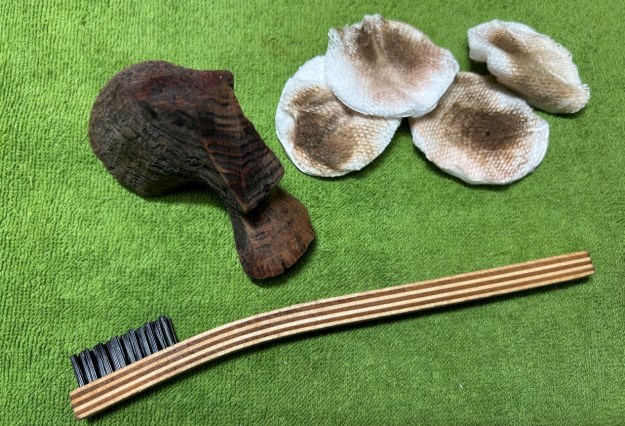
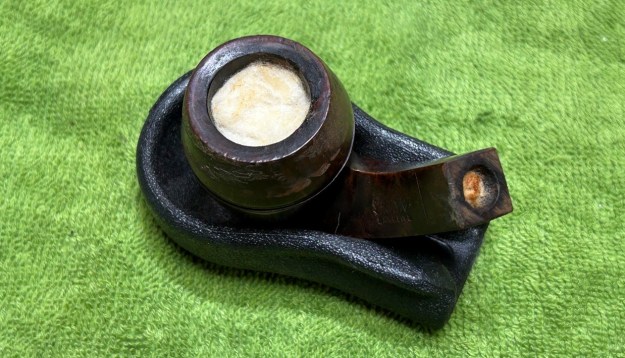
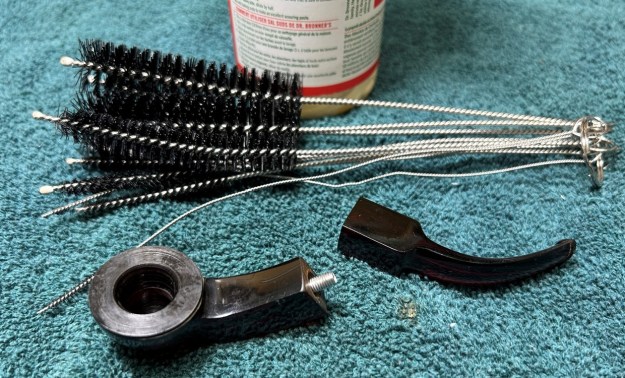
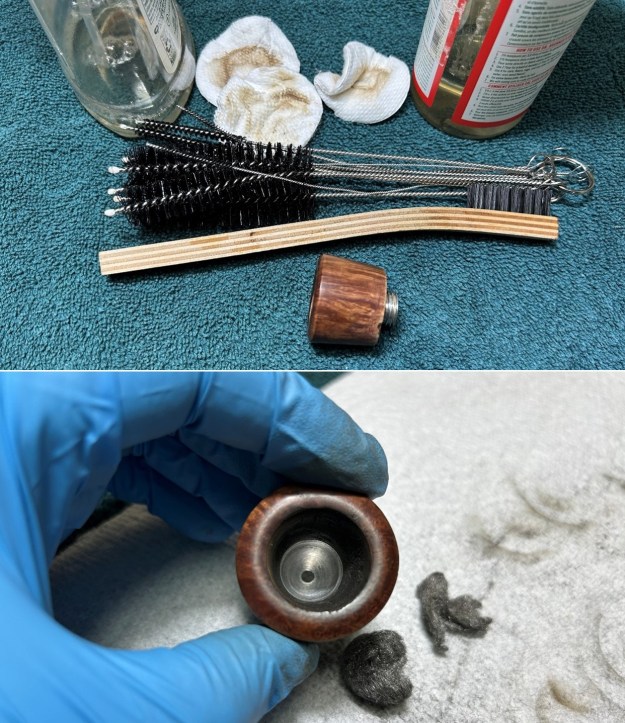
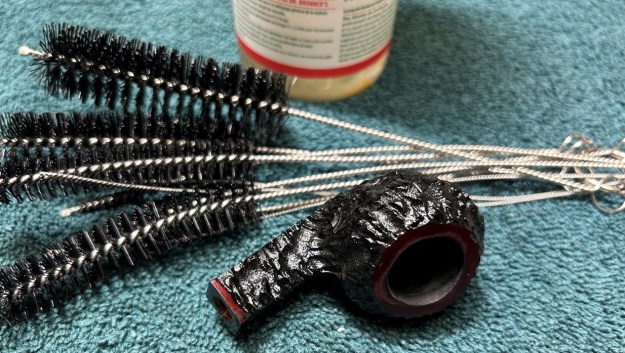
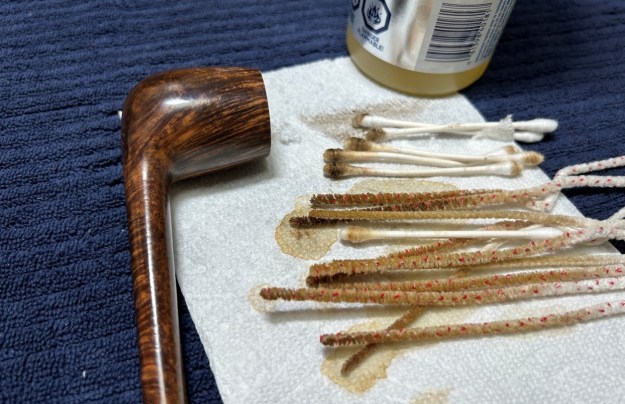 To tidy up the briar, I also wiped down the outside with some oil soap on cotton rounds and used a toothbrush in the crevices. This did a good job of cleaning any latent dirt on the surface of the briar. The last step of the cleaning process was to scour the inside of the stummel with some soap and tube brushes. This was the culmination of a lot of hard work in getting the pipe clean.
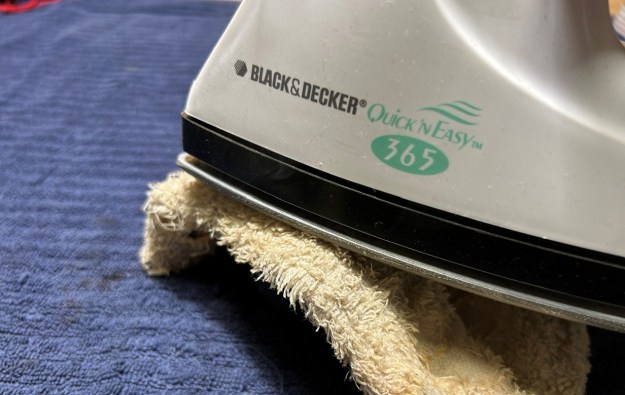
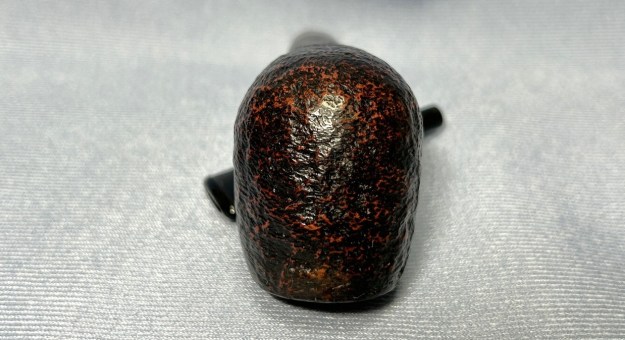
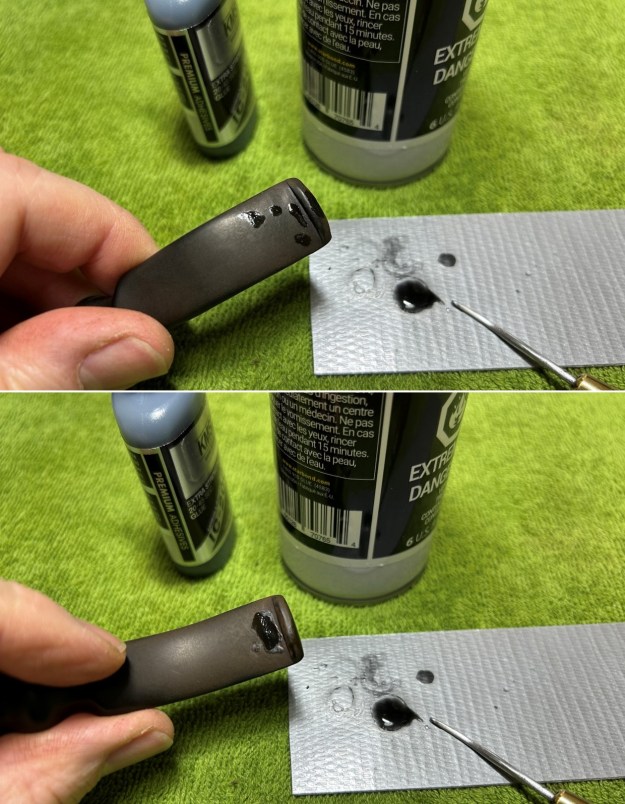
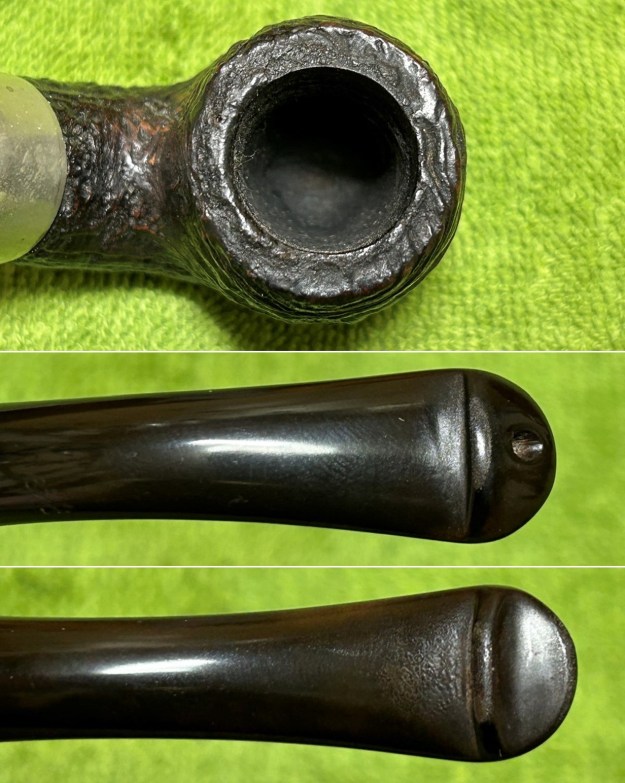
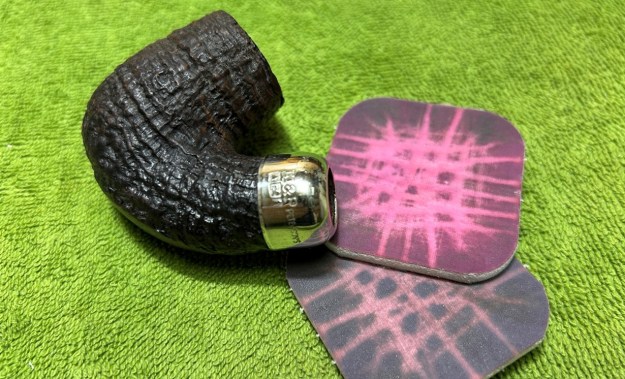
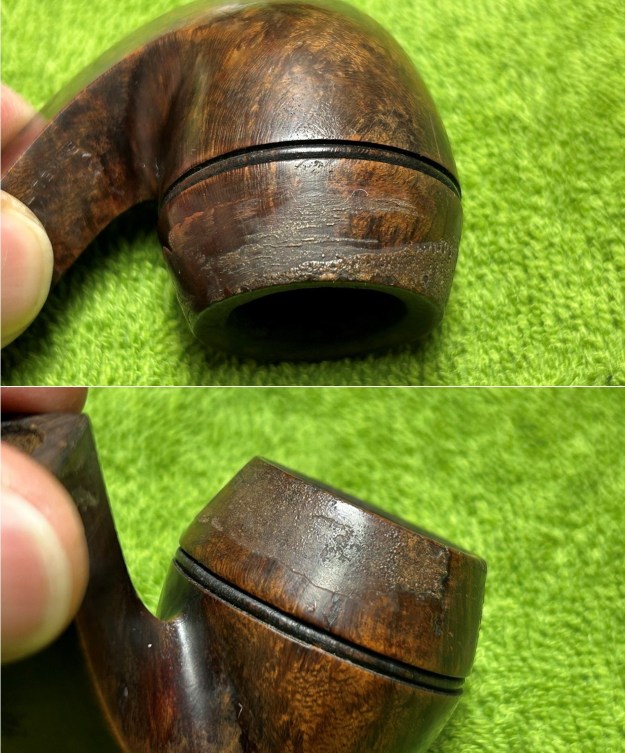
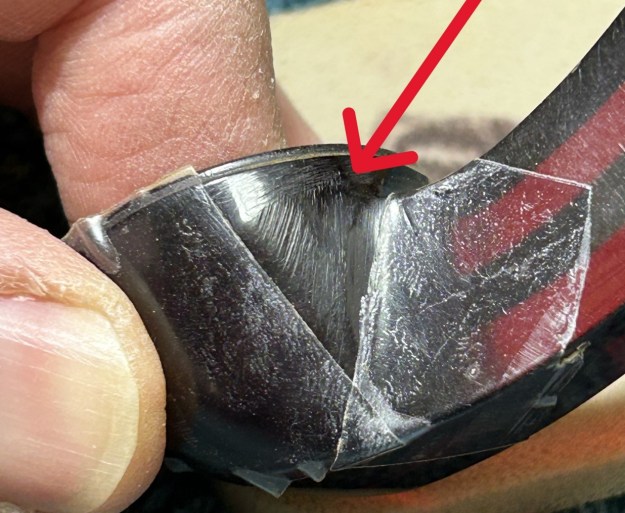
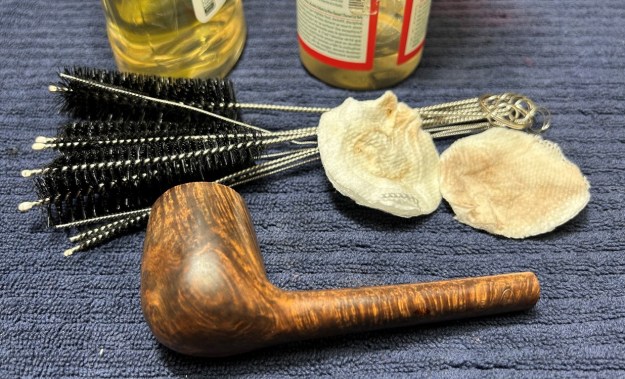 Having completed that, I was able to address the nicks on the rim. I dug out my iron and a damp cotton flannel cloth. By laying the cloth over the affected areas and applying the iron to it, the hot and moist steam can cause the wood to swell slightly and return to shape. This worked superbly well.
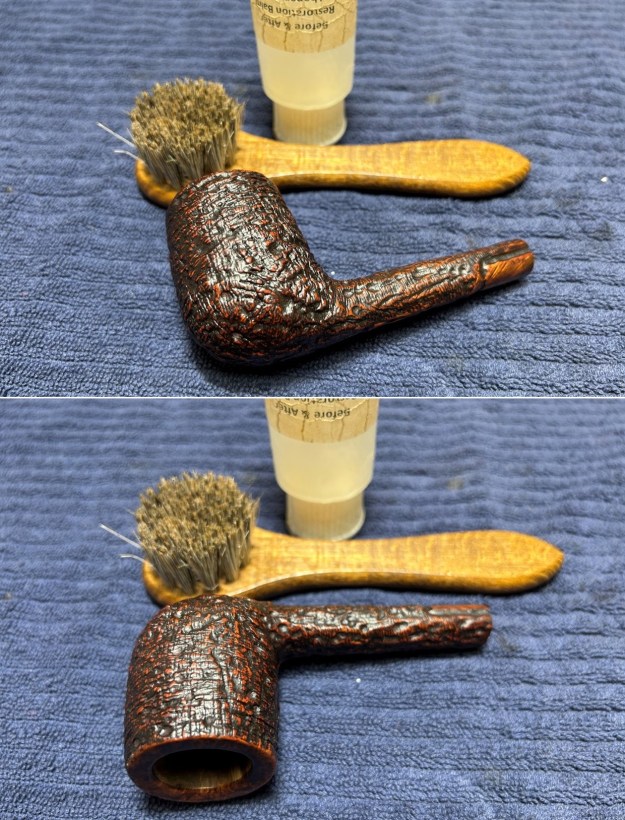
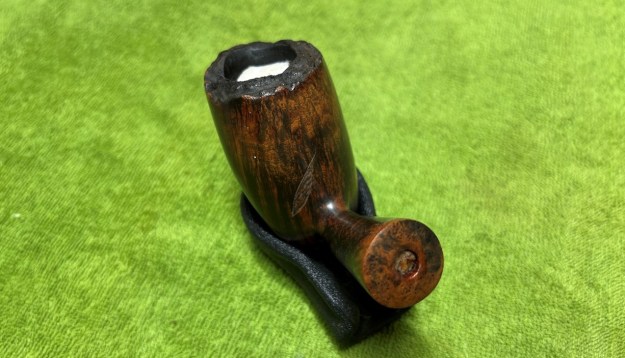
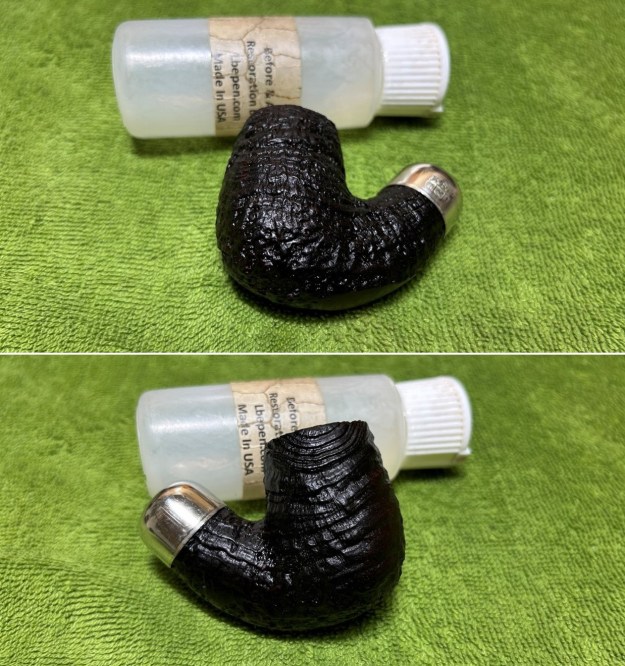
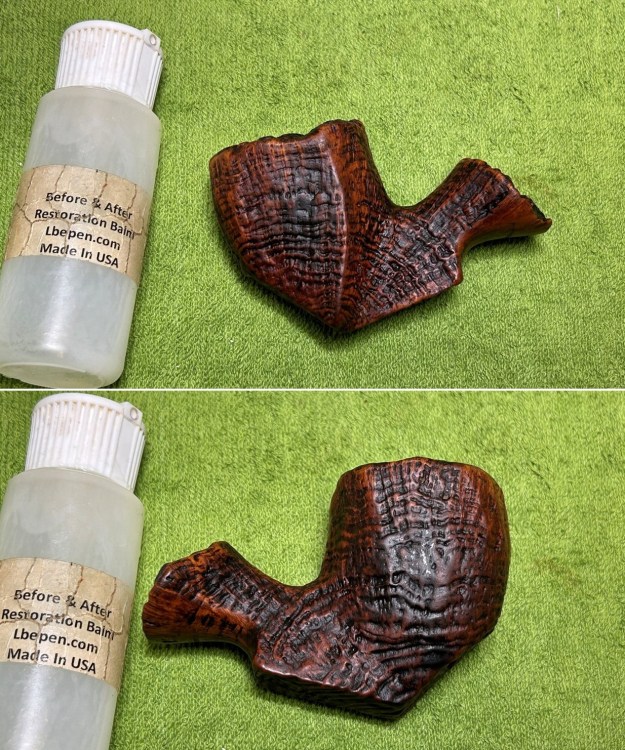
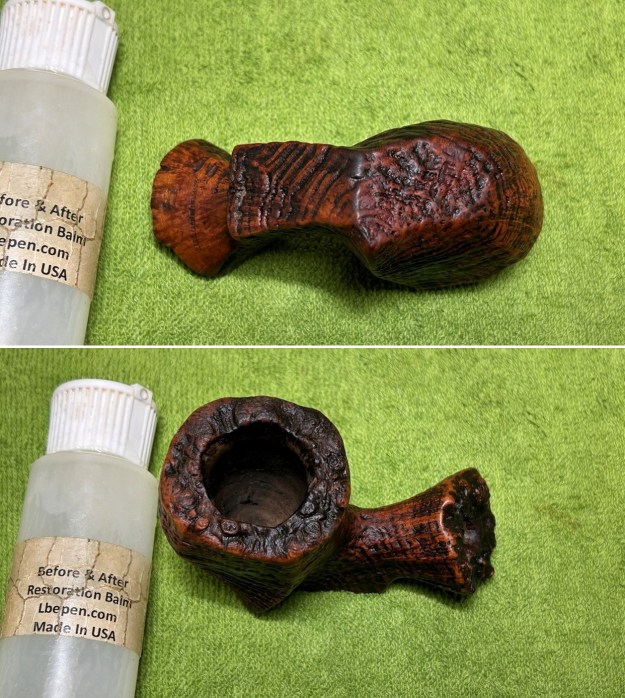
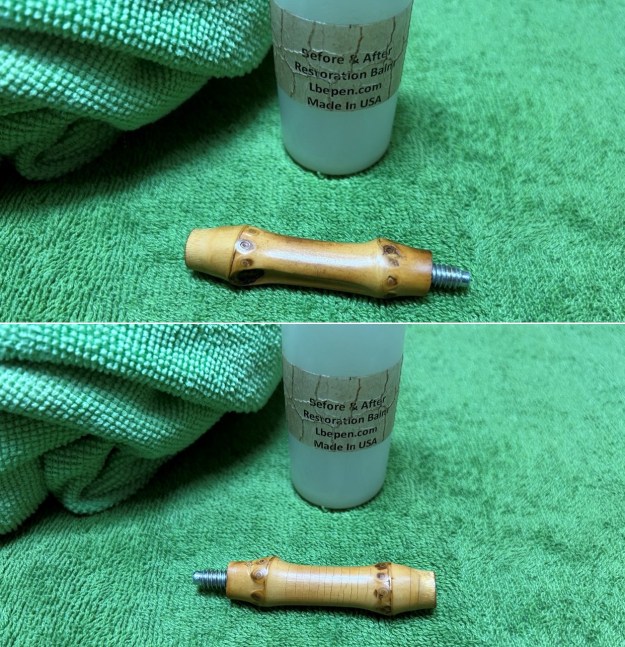
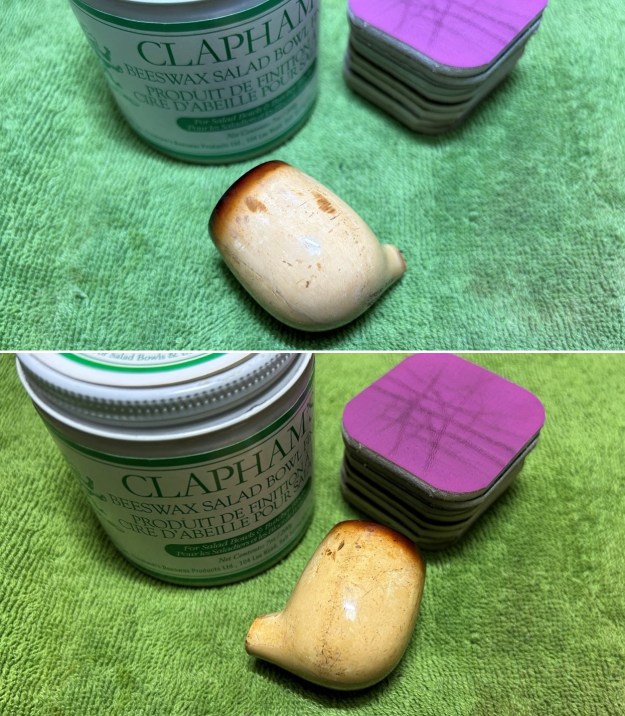
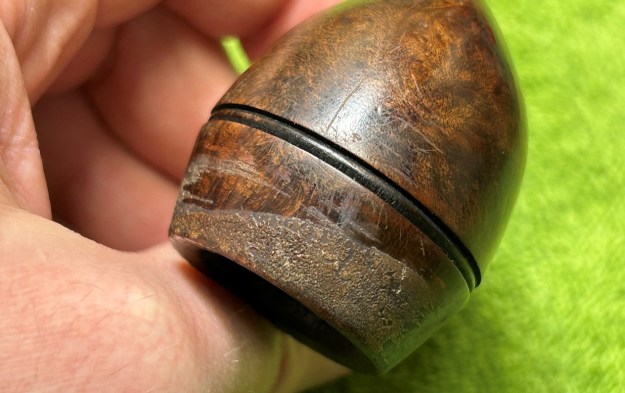
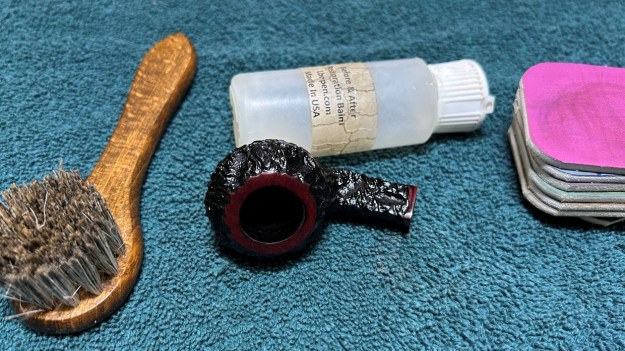
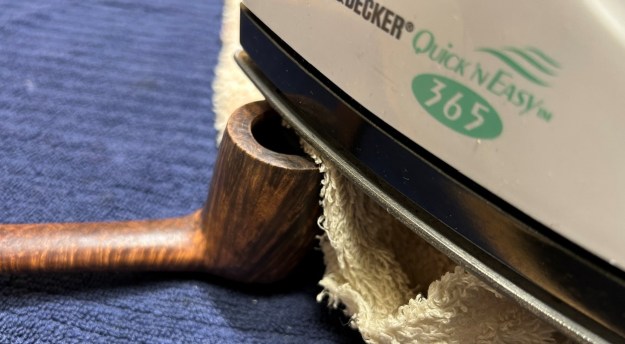 I used all nine micromesh pads (1,500 through 12,000 grit) to sand the whole stummel. This sanding minimizes flaws in the briar and provides a beautiful smoothness to the wood. I rubbed some LBE Before & After Restoration Balm into the briar and let it sit for 30 minutes or so. The balm moisturizes the wood and gives a beautiful depth to the briar. I then buffed the stummel with a microfibre cloth.
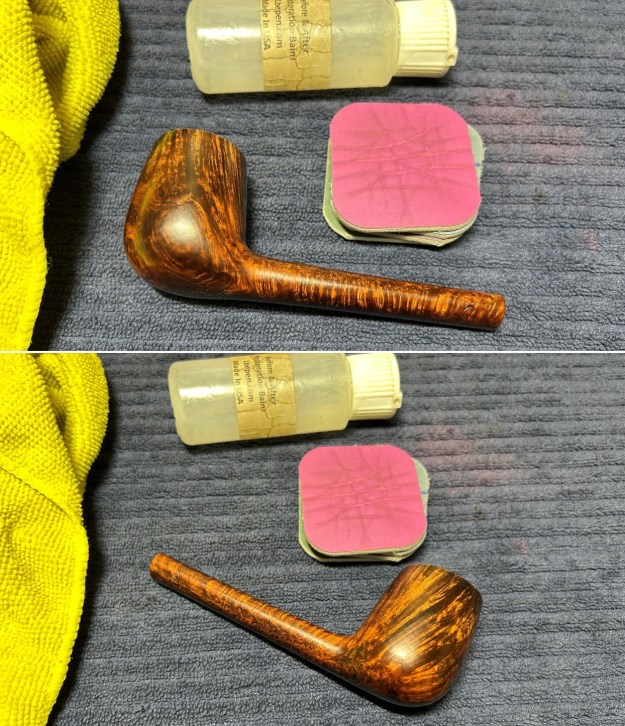
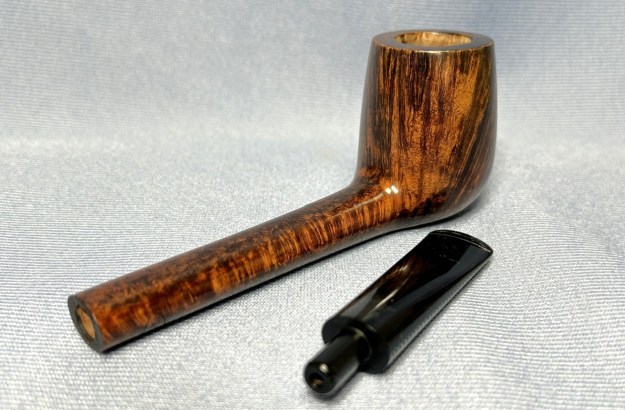
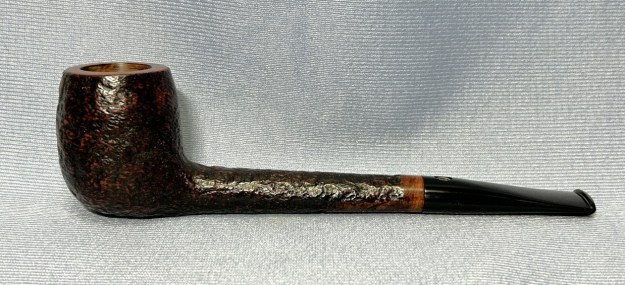
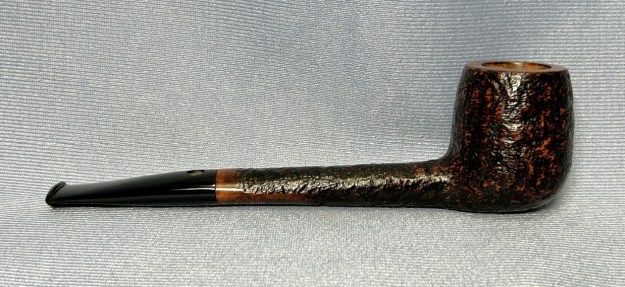
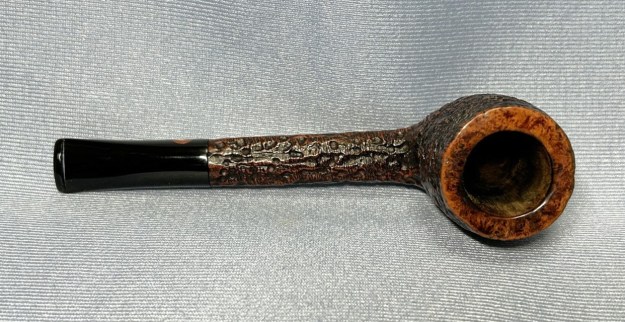
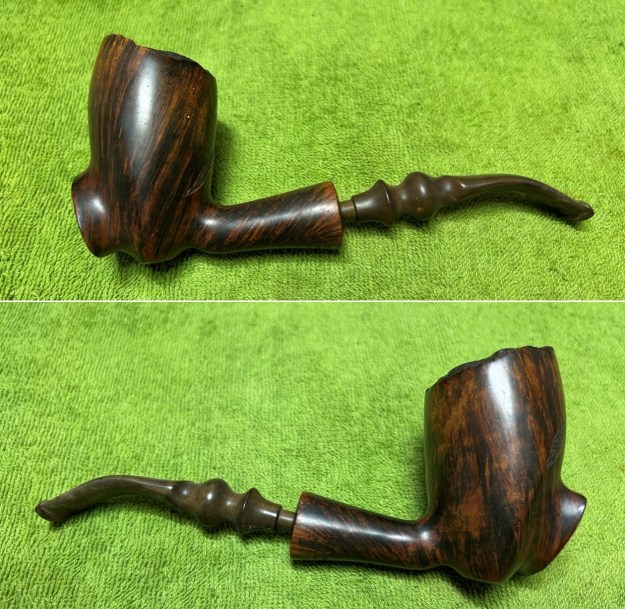
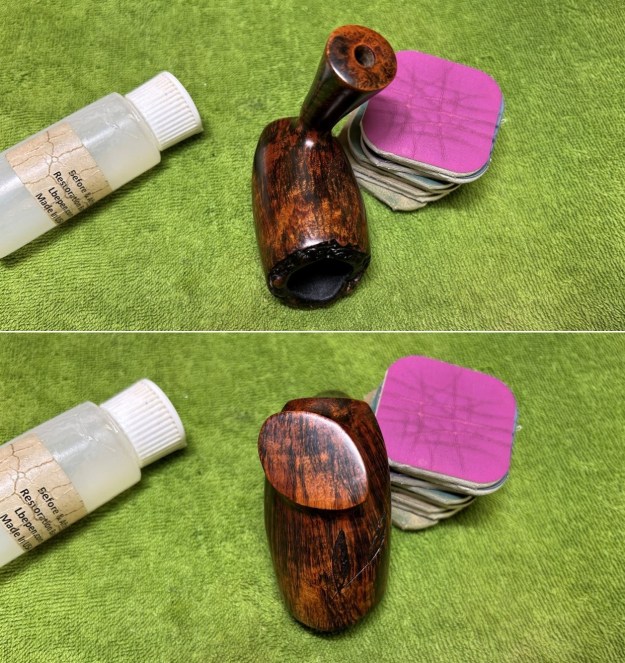
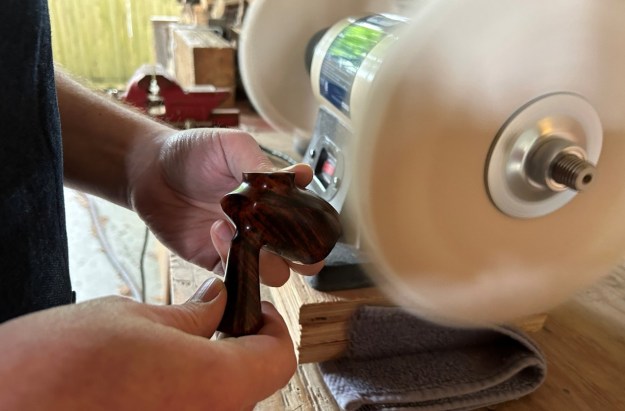
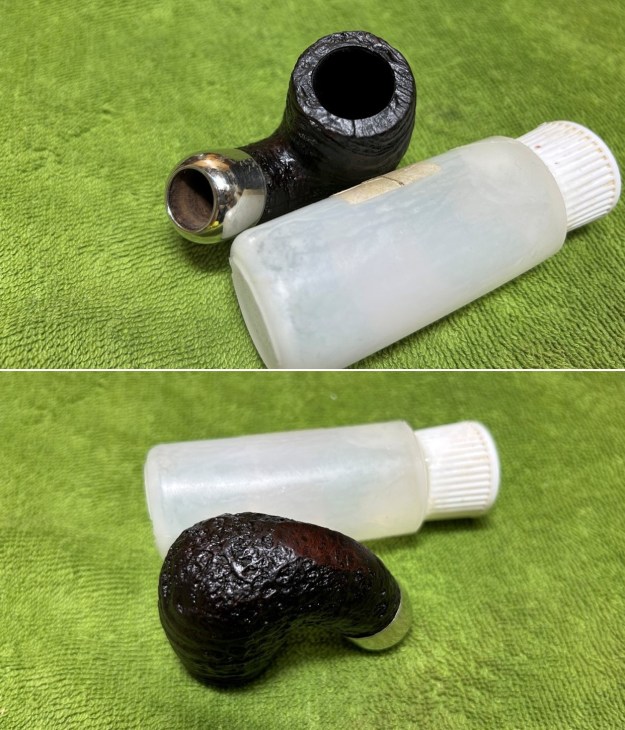
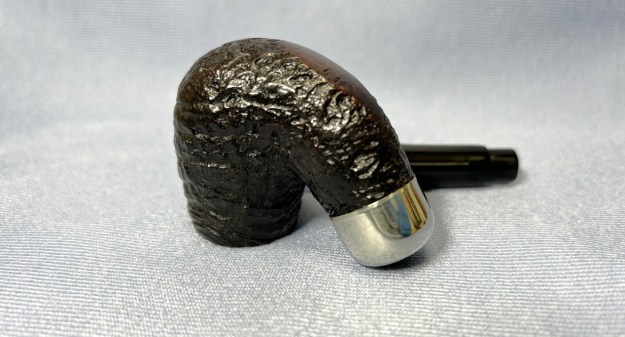
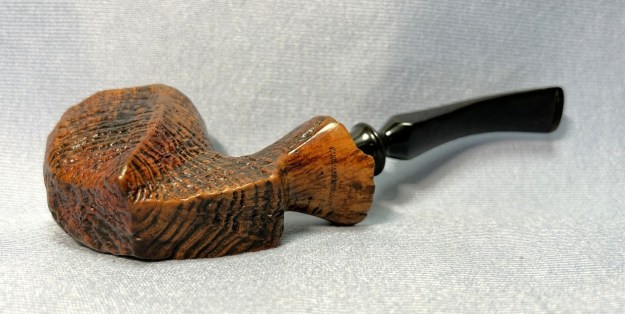
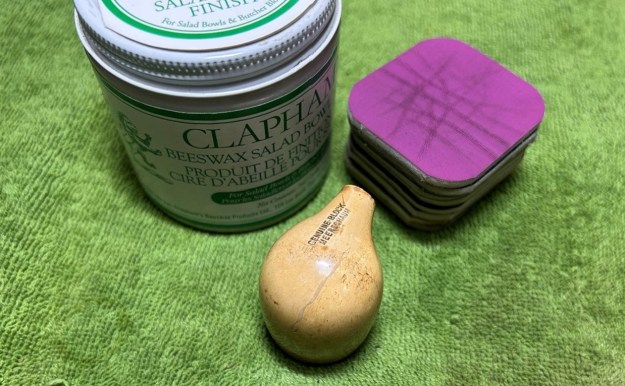
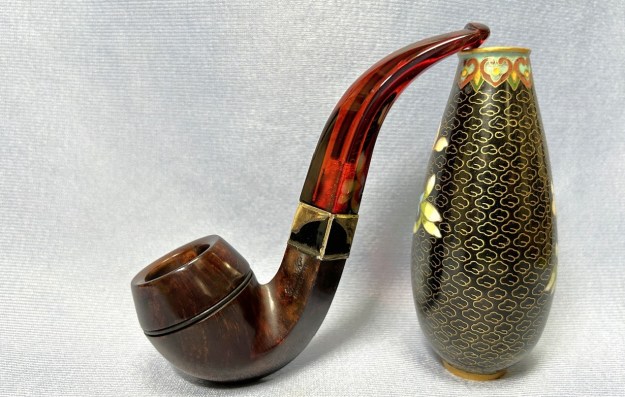
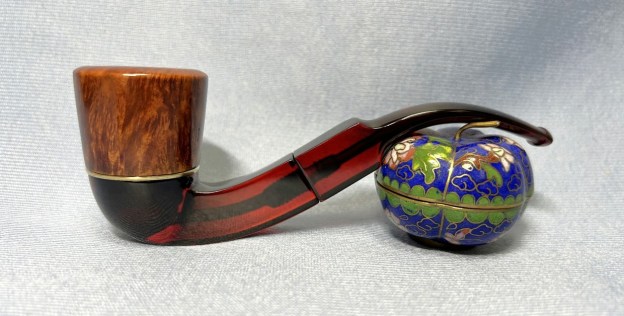
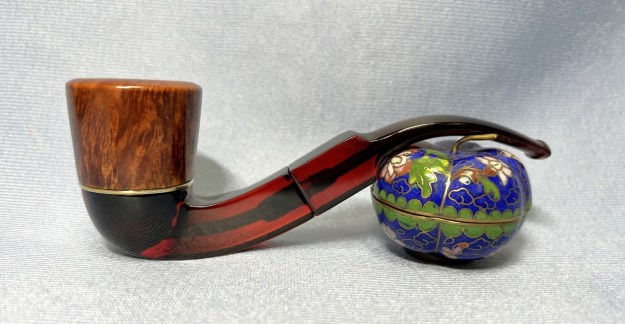
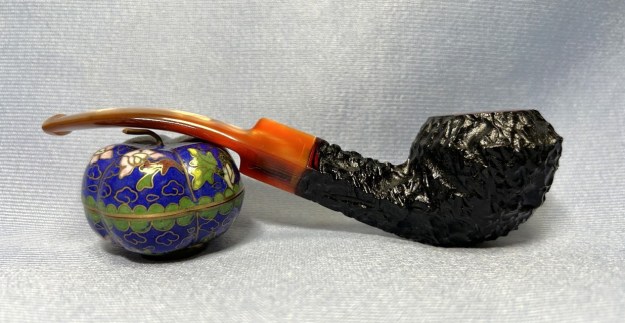
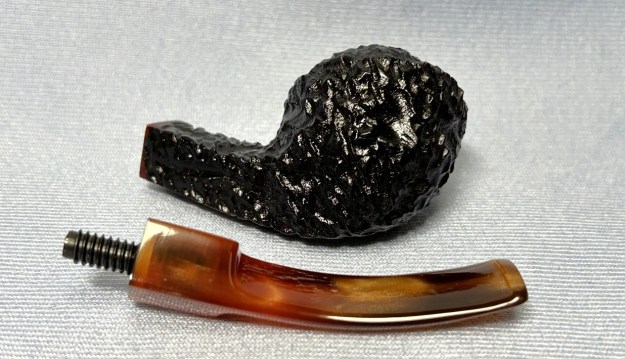
 For the final step, I took the pipe to my bench polisher and carefully buffed it – first with a blue diamond compound, then with three coats of carnauba wax. This procedure makes the pipe look its best – the stummel sings and the stem glows.
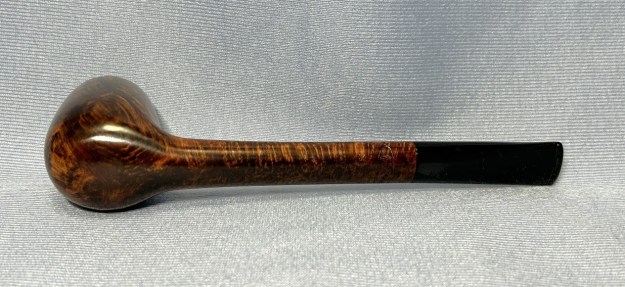
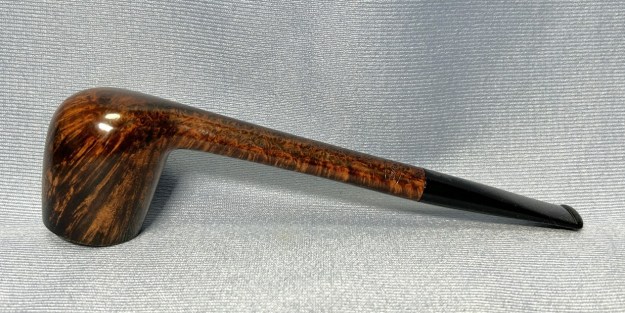
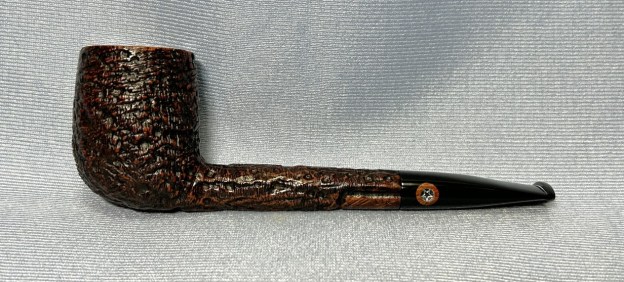
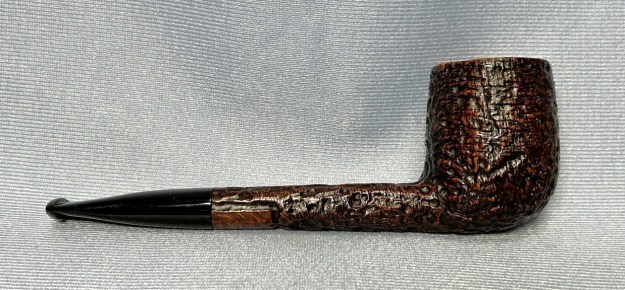
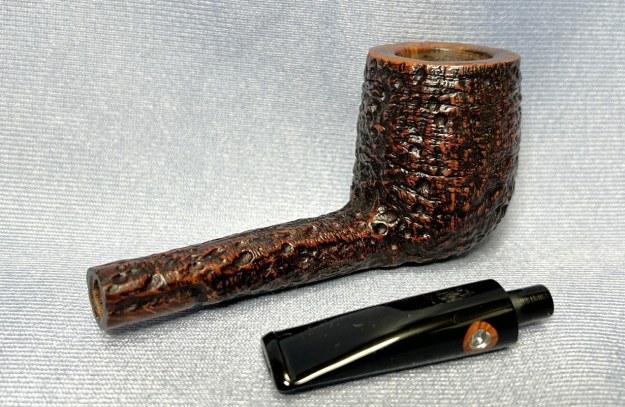
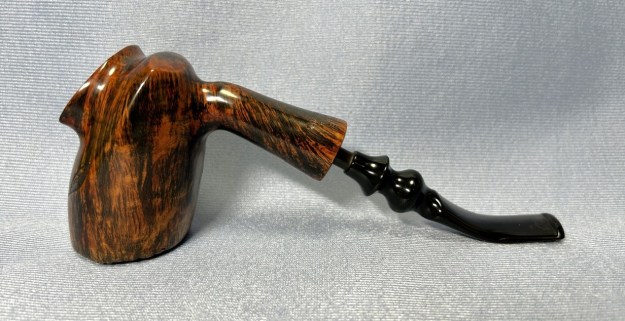
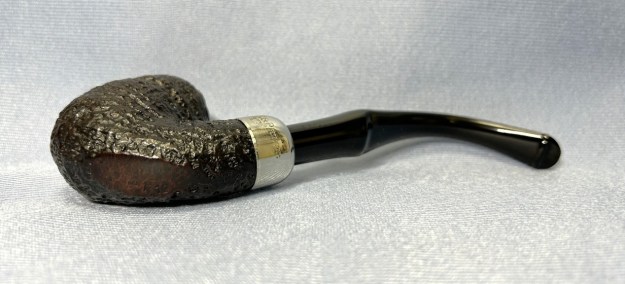
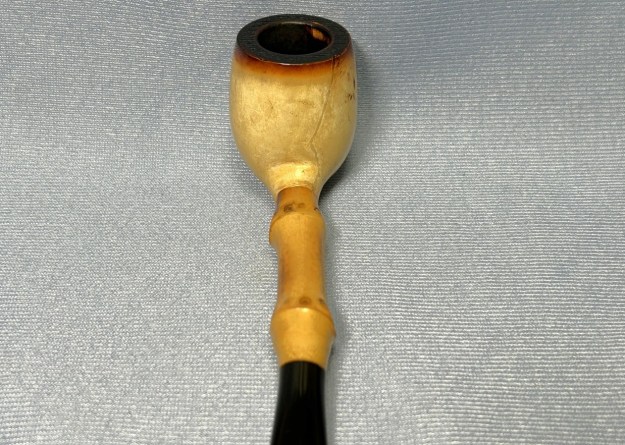
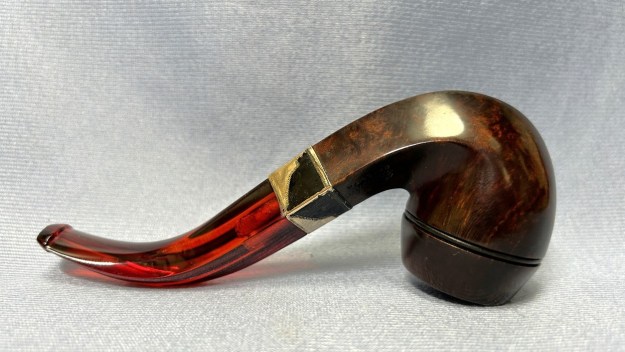
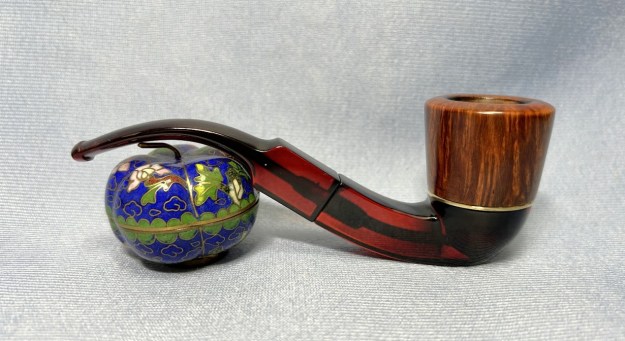
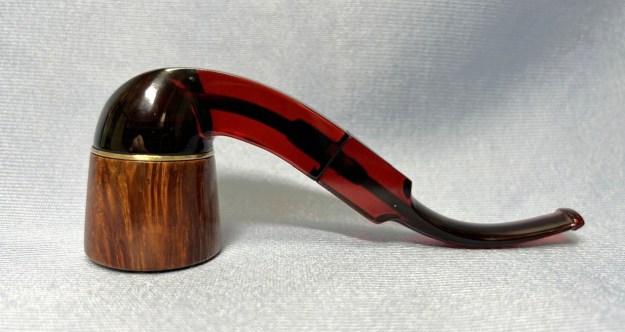
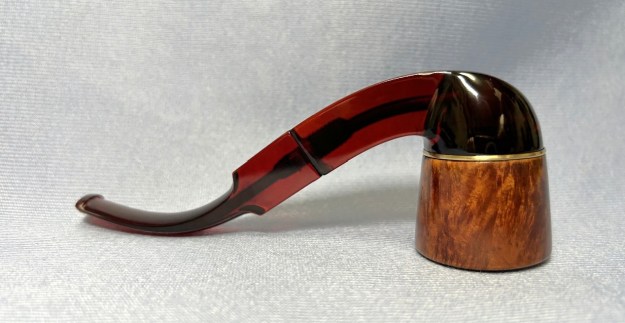
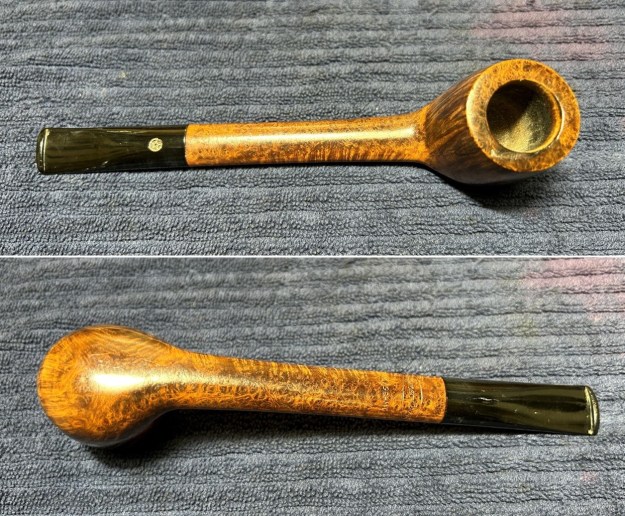
All done! This Mark Tinsky 06-98 smooth Canadian looks fantastic again and is ready to be enjoyed by its next owner. I am pleased to announce that this pipe is for sale! If you are interested in acquiring it for your collection, please have a look in the ‘American’ section of the store here on Steve’s website. You can also email me directly at kenneth@knightsofthepipe.com. The approximate dimensions of the pipe are as follows: length 7 in. (178 mm); height 1⅞ in. (49 mm); bowl diameter 1½ in. (38 mm); chamber diameter ¾ in. (20 mm). The weight of the pipe is 1¾ oz. (51 g). I hope you enjoyed reading the story of this pipe’s restoration as much as I enjoyed restoring it. If you are interested in more of my work, please follow me here on Steve’s website or send me an email. Thank you very much for reading and, as always, I welcome and encourage your comments.