by Steve Laug
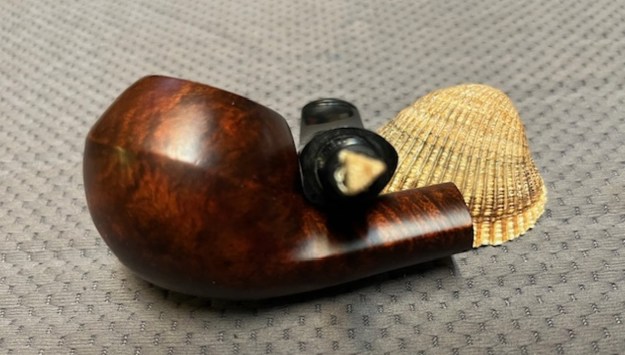
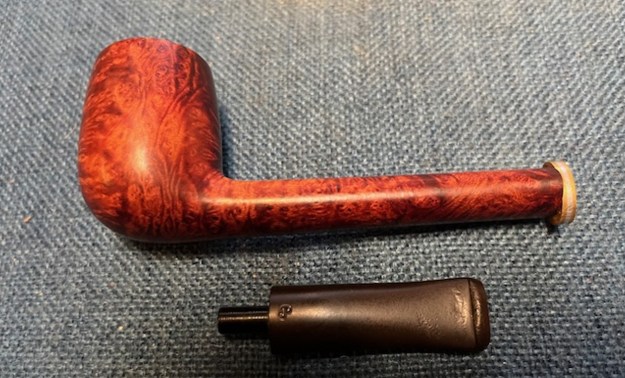
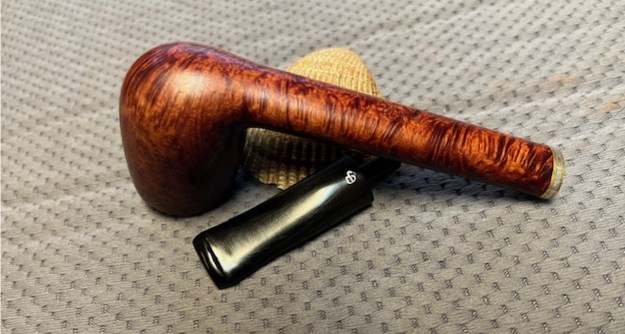
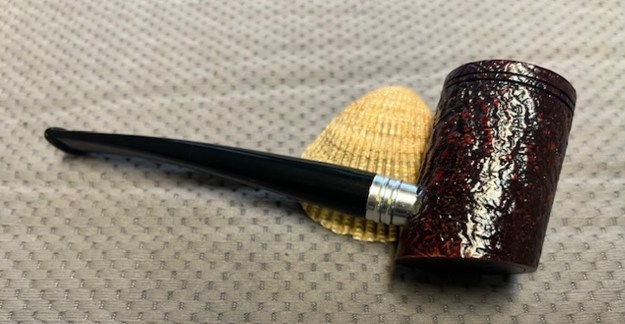
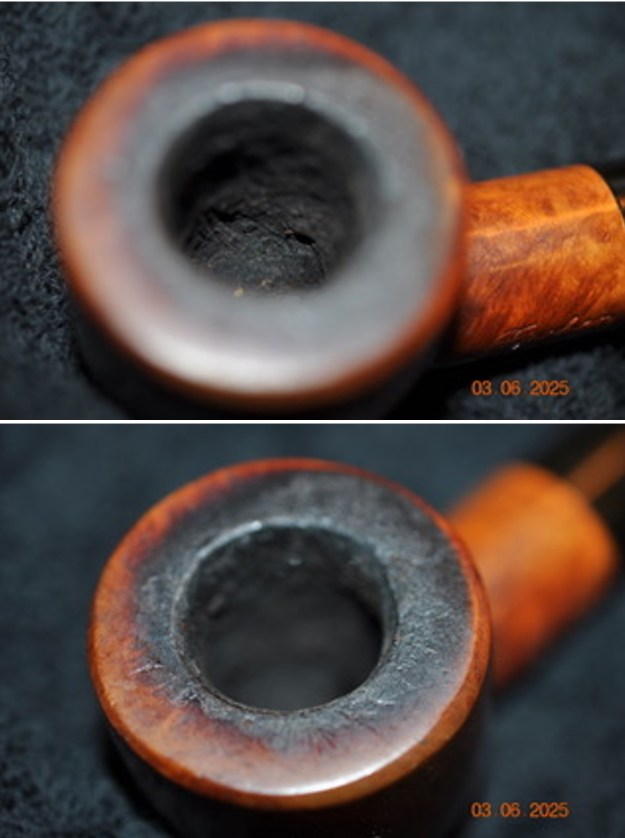
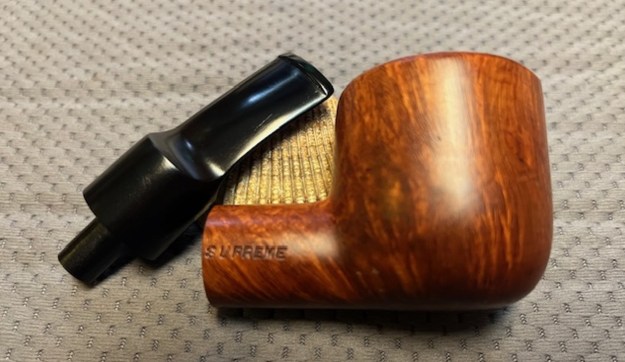
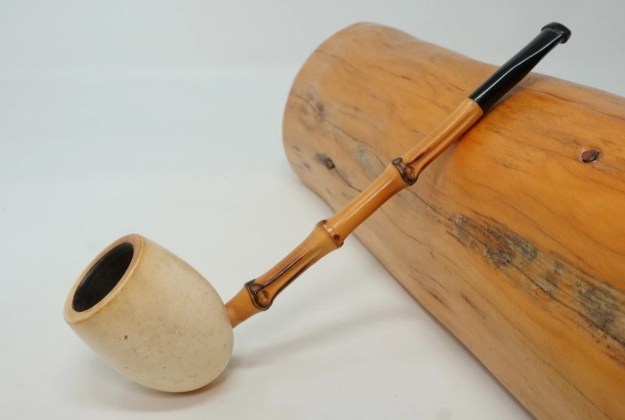
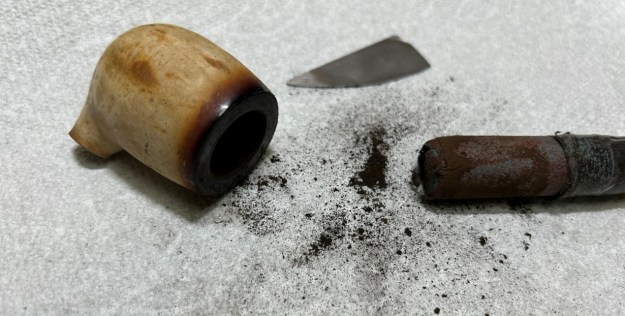
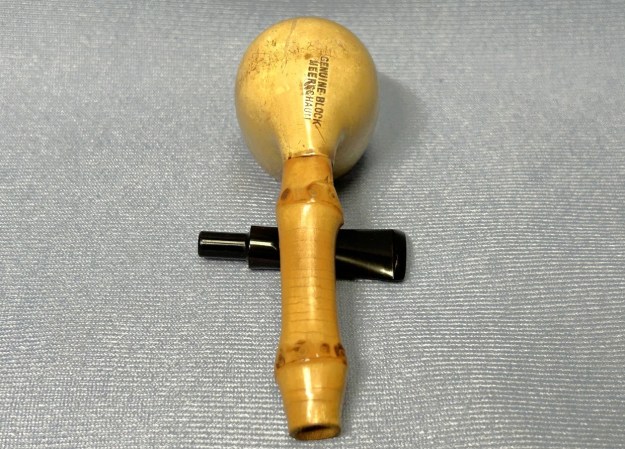
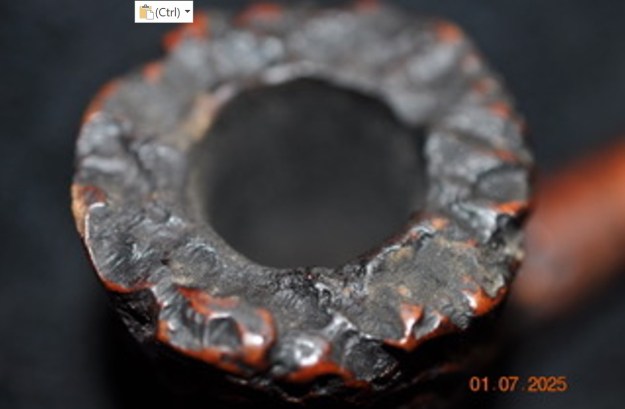
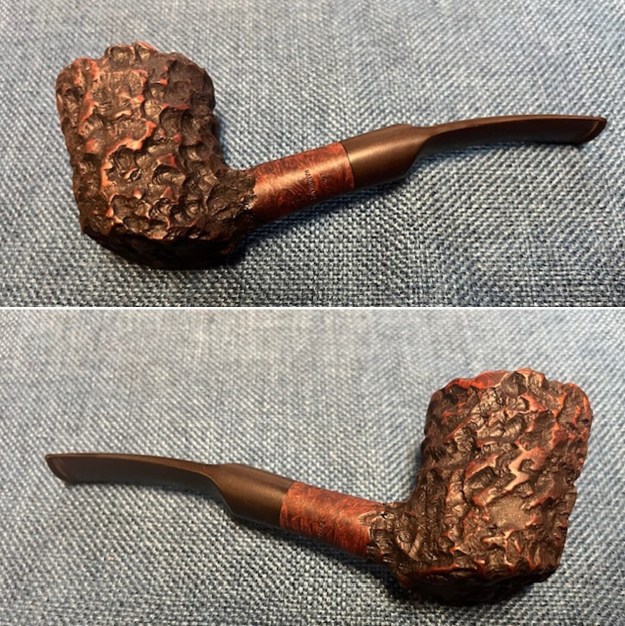
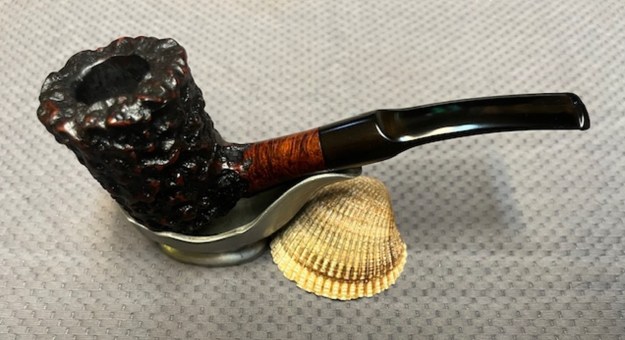
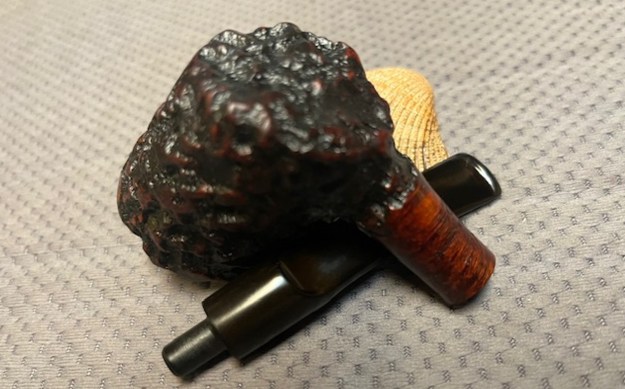
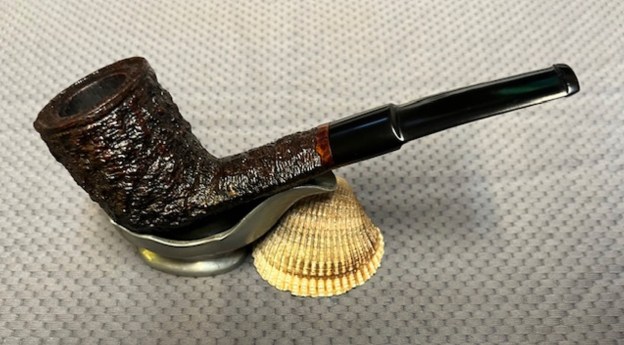
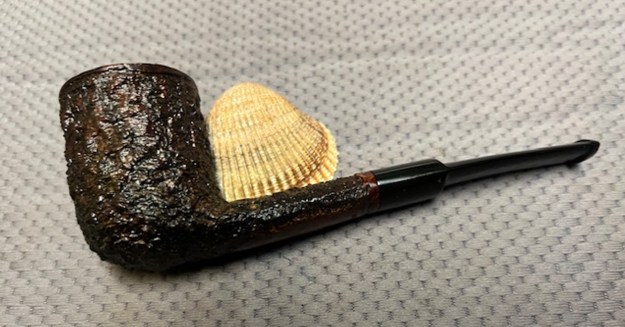
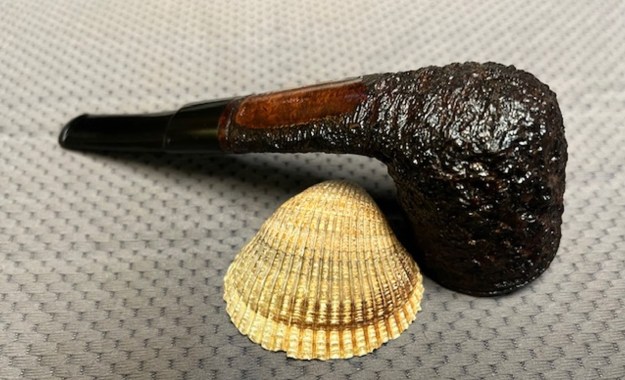
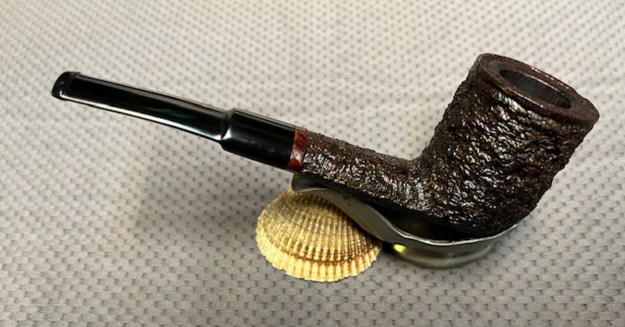
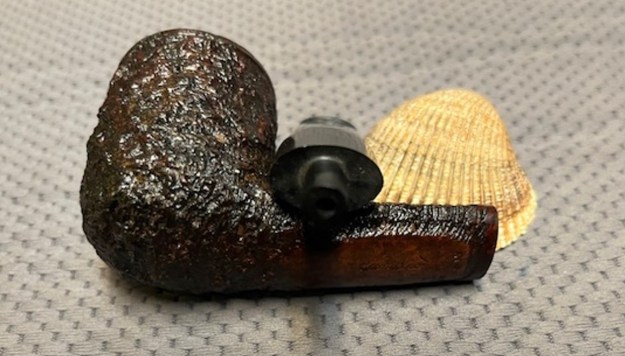
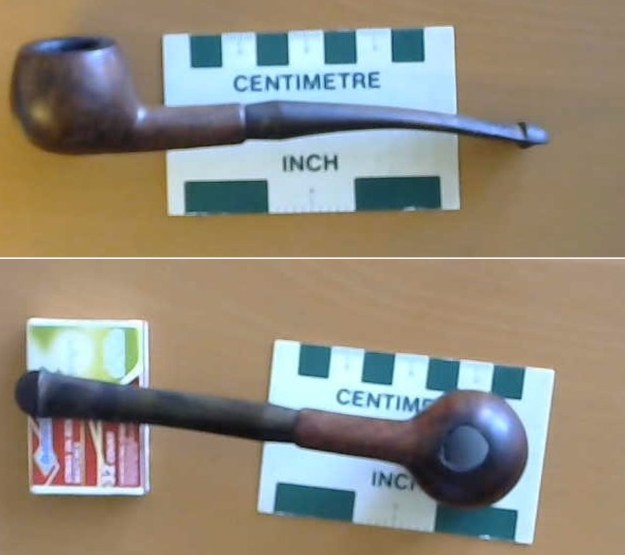
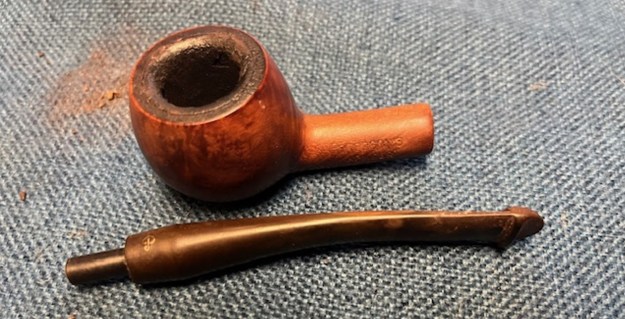
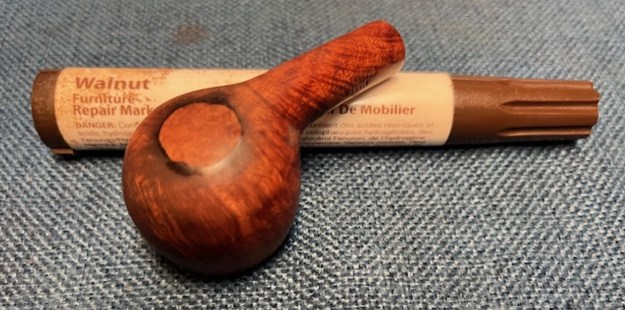
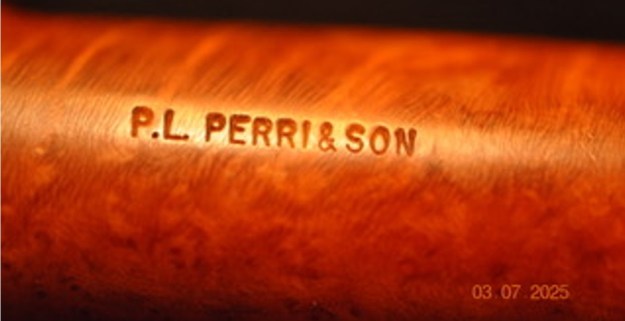
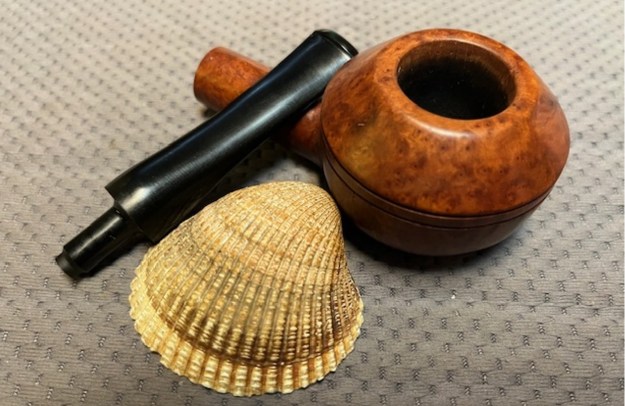
The next pipe on the table is an interesting Bulldog or Rhodesian without the rings and with a triangle shaped taper stem. Jeff purchased this pipe from an antique mall Ogden, Utah, USA on 03/25/2021. There was a moderate cake in bowl and the rim top looked amazingly good. The rim top and the inner edge were not damaged and showed no nicks or lava buildup. The finish was dull and had grime ground into the surface of the briar. Though hard to see there are a few fills in the bowl, but the stain and finish may be hiding them at this point in the process. The pipe is stamped on the underside of the shank and reads DUCA CARLO and at the shank/stem union it is stamped ITALY. I remembered that the pipe was a Savinelli made pipe but I could not remember much more than that about connection. I would need to check the blog to see what I had found when I worked on other Duca Carlo pipes. The stem was made for a 6mm Savinelli Balsa filter. It was lightly oxidized and had light tooth marks and chatter on both sides at the stem – both on the stem surface and on the button itself. Jeff took photos of the pipe before he started his clean up work.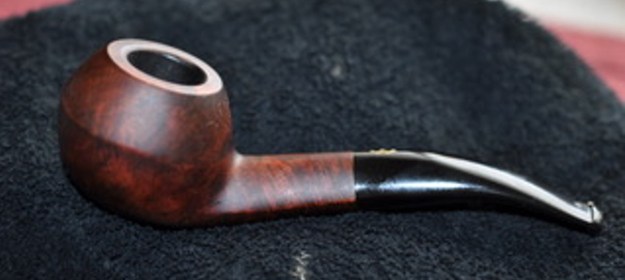
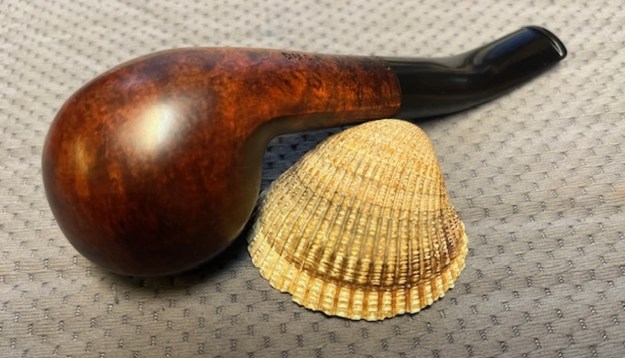
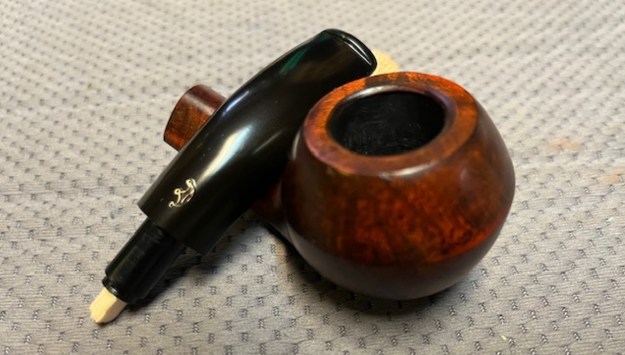
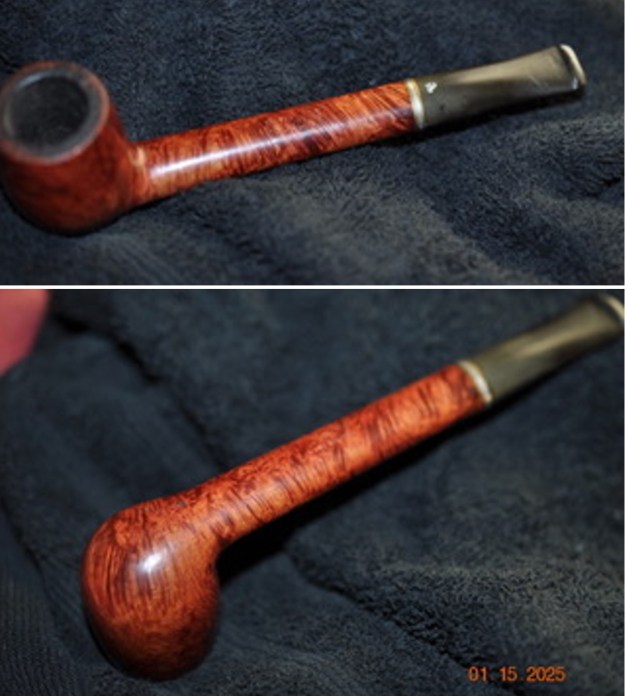
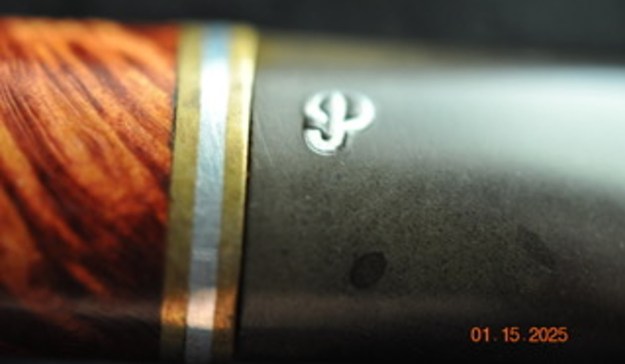
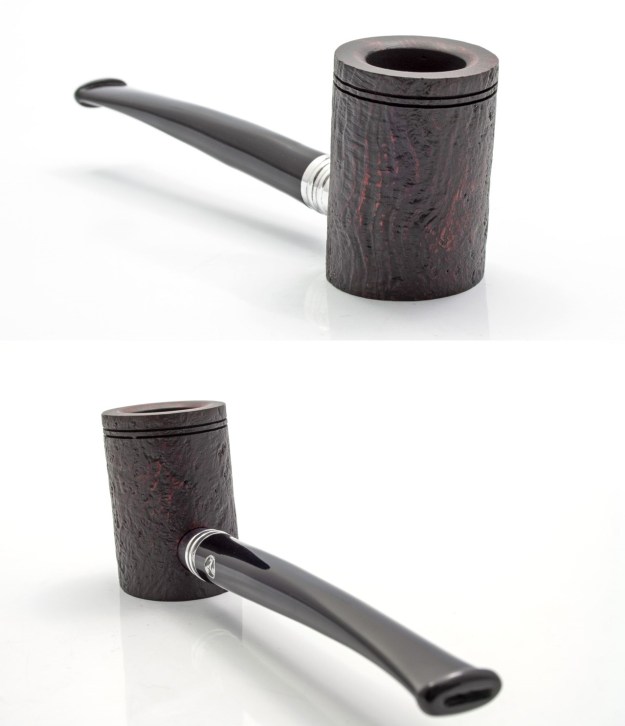
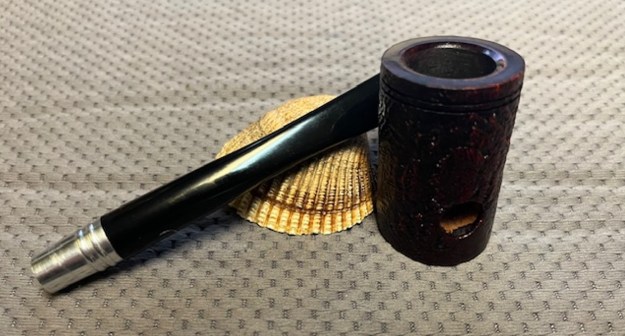
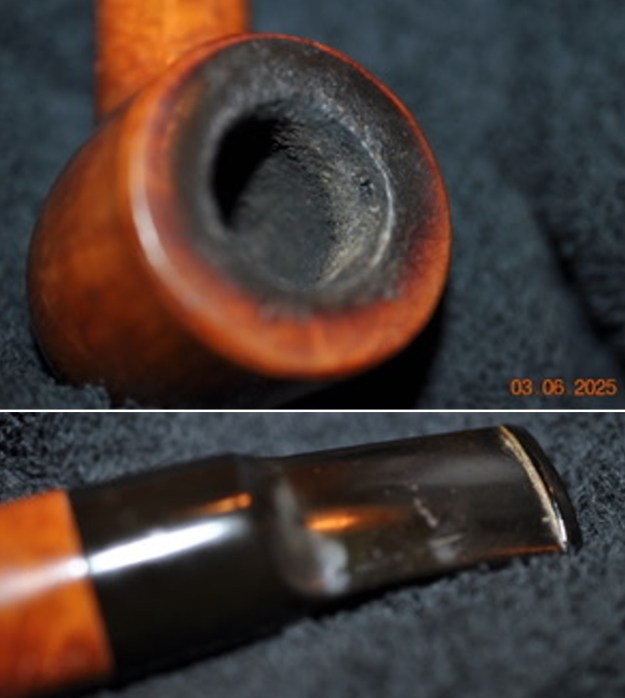
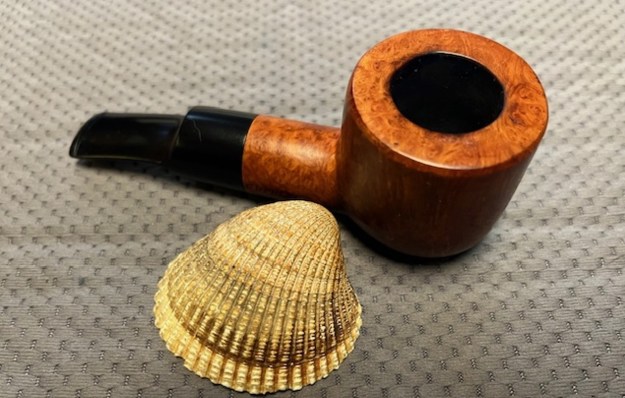
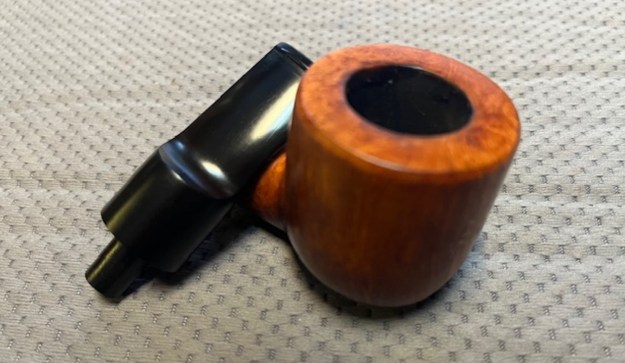
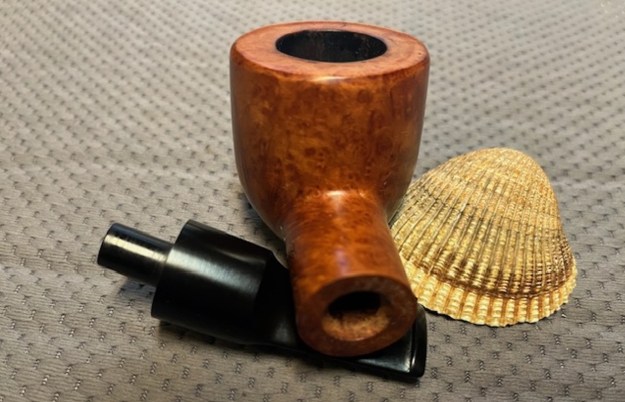
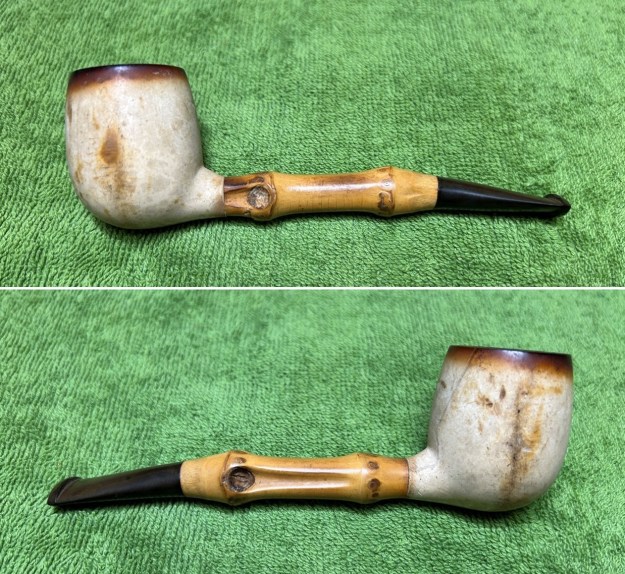
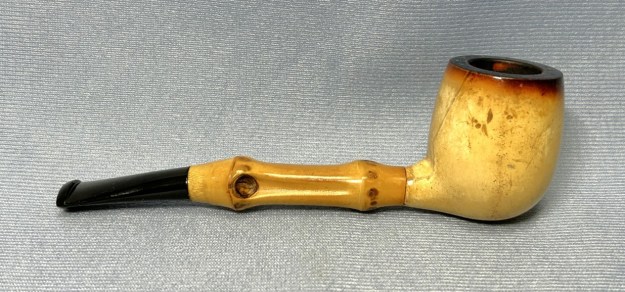
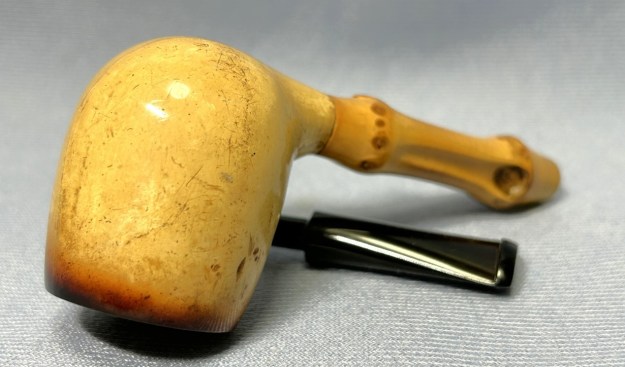
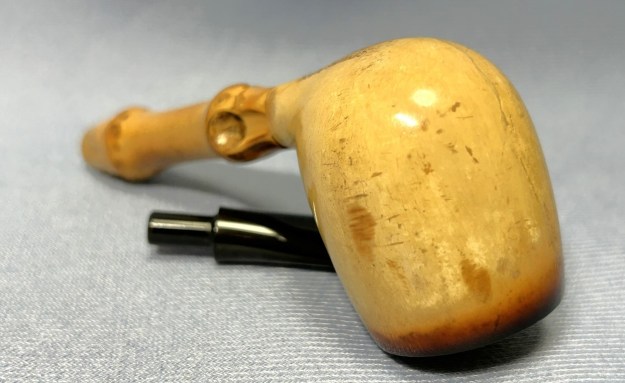
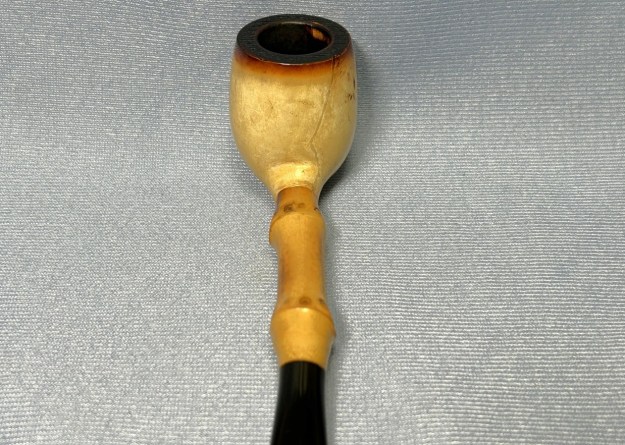
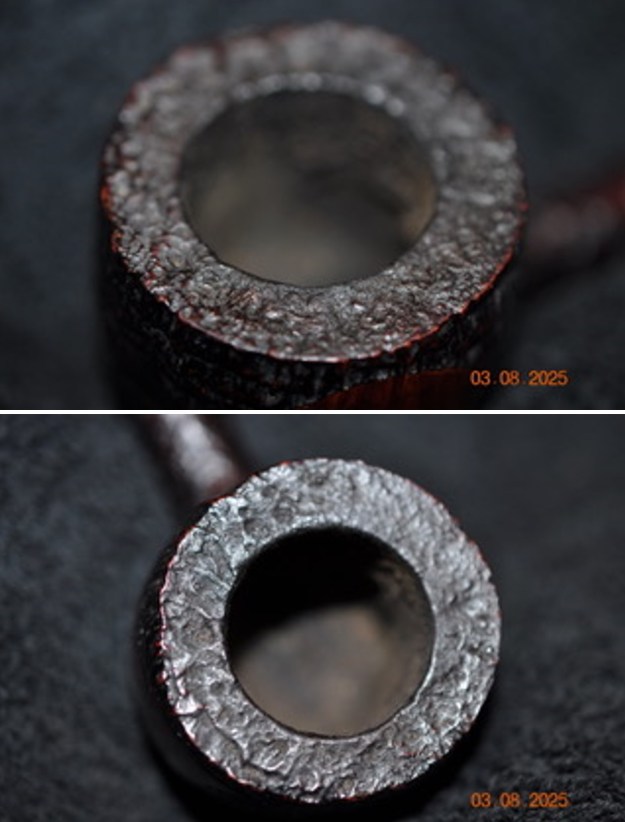
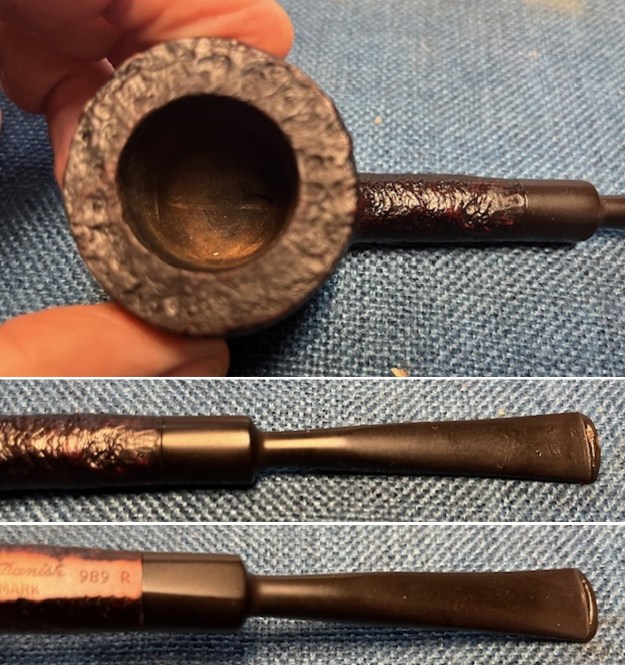
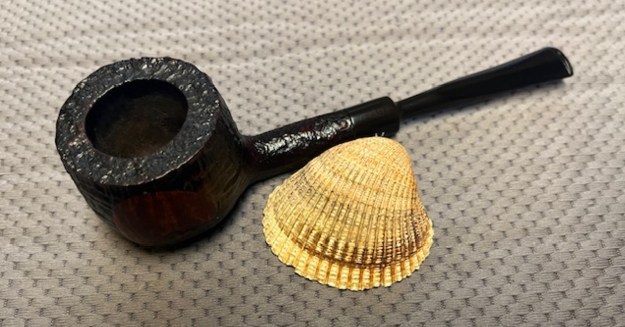
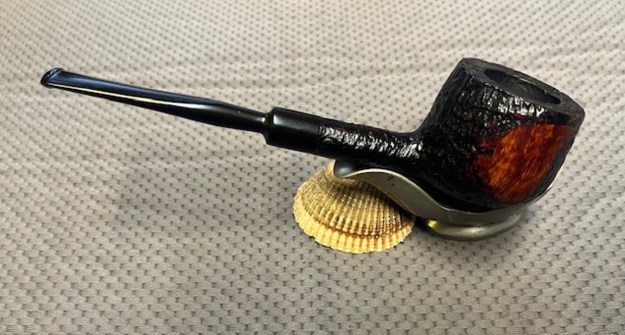
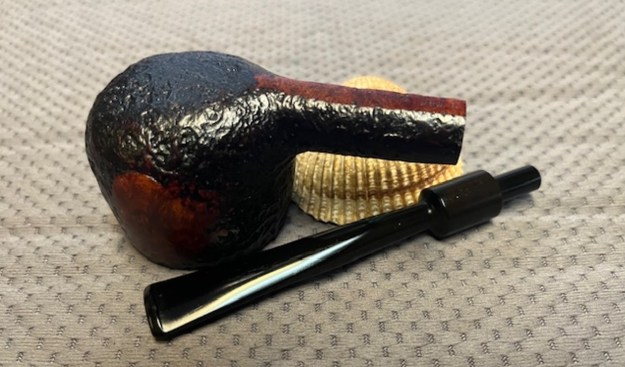
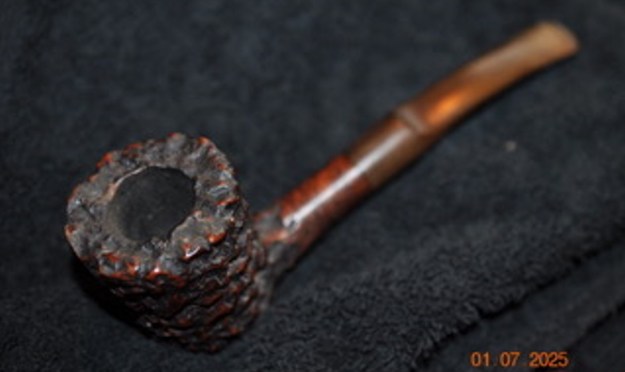
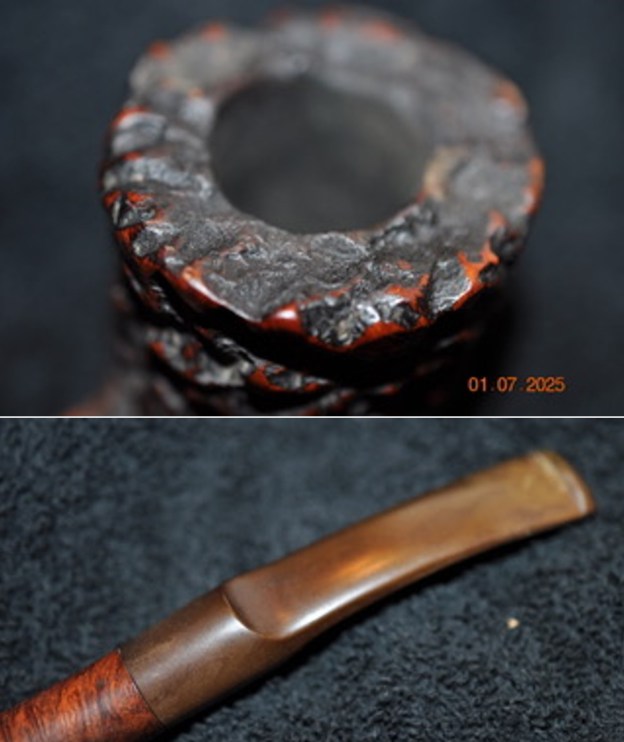
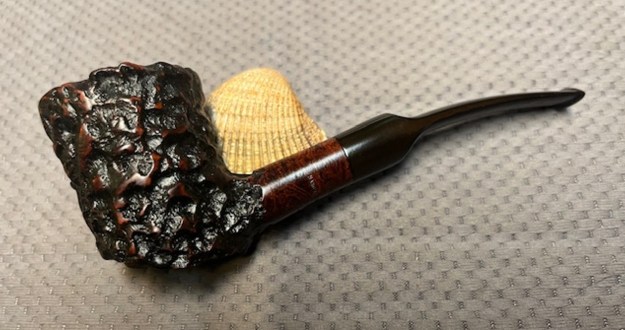
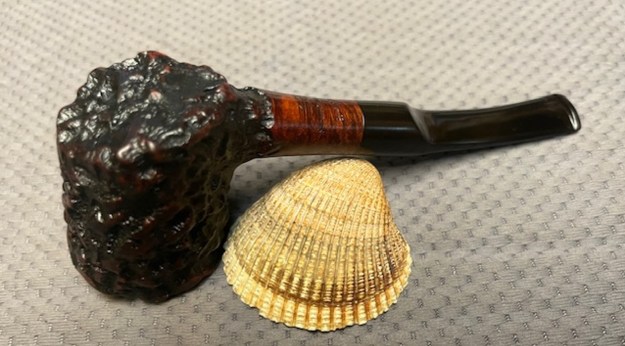
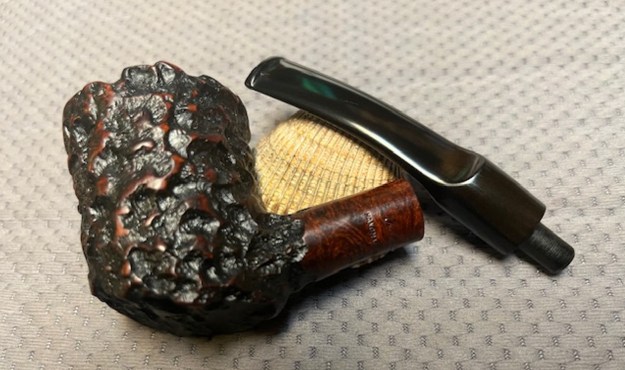
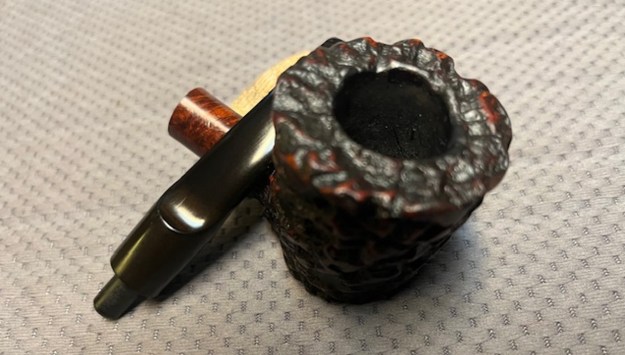
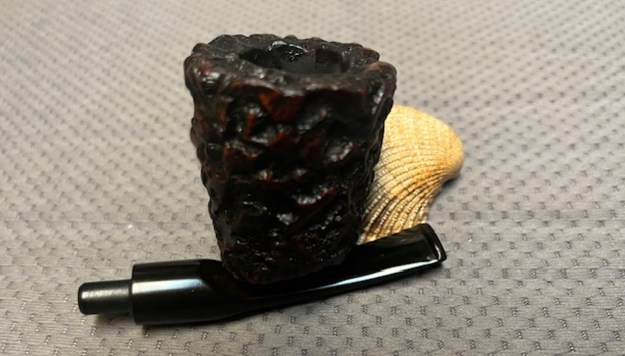
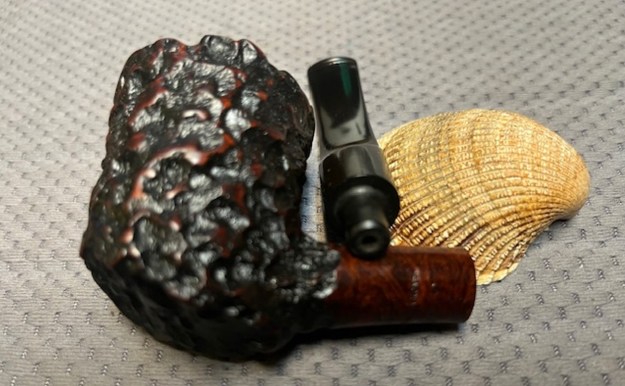
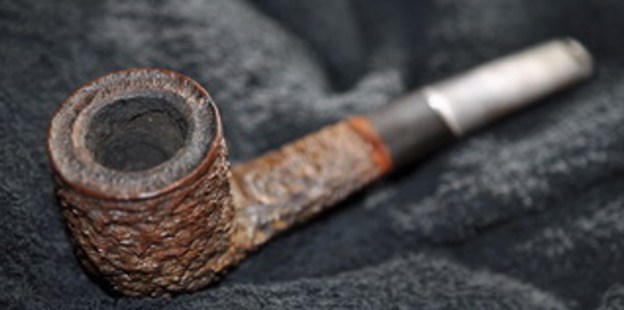
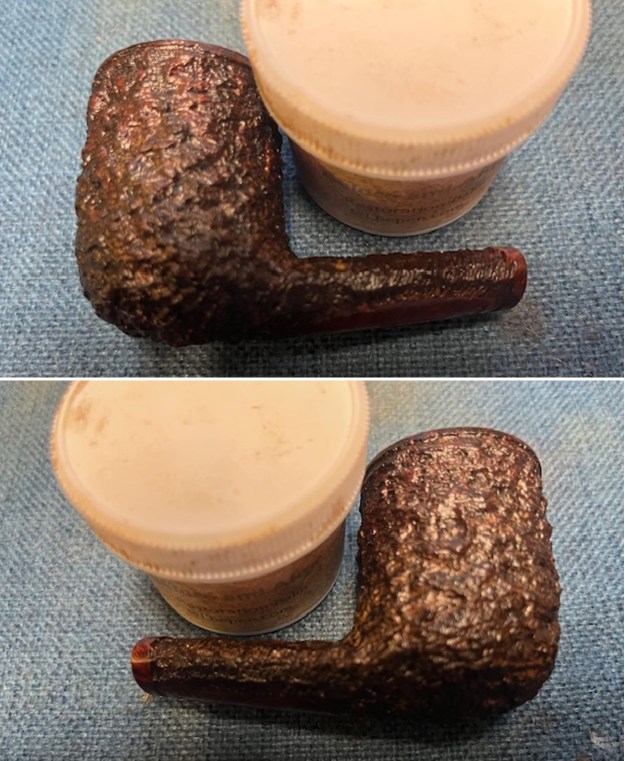
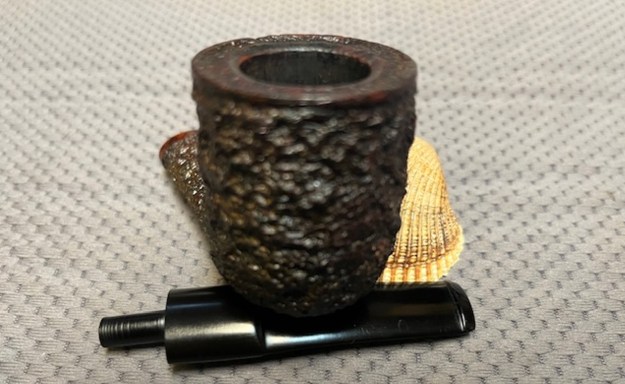
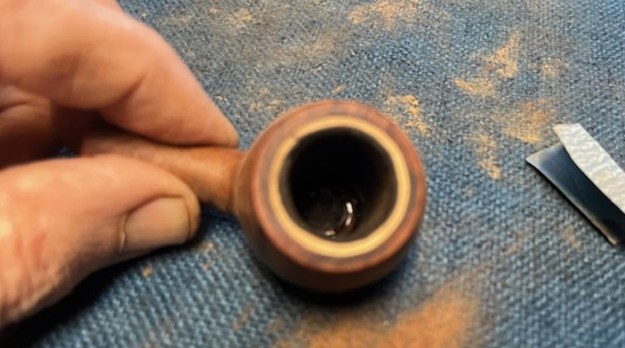
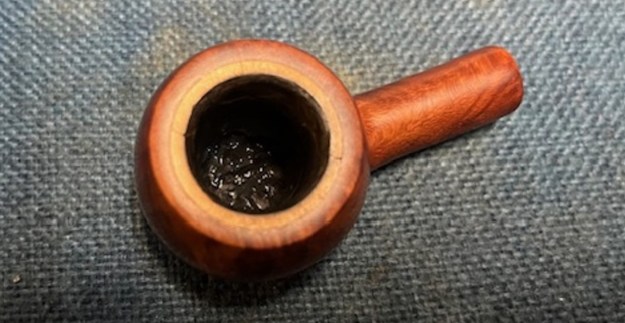
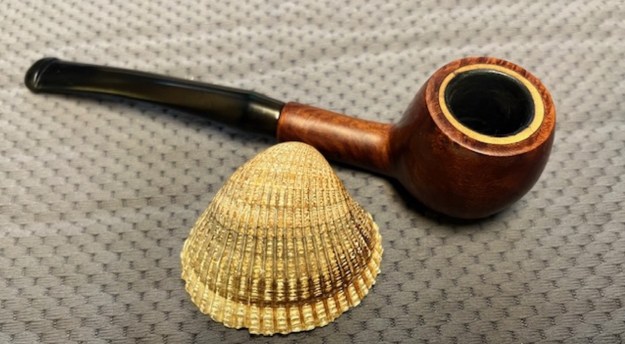
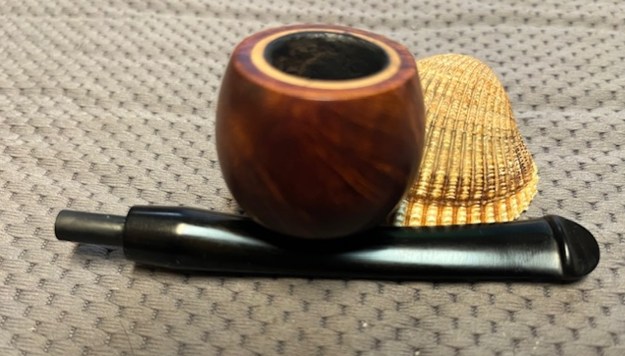
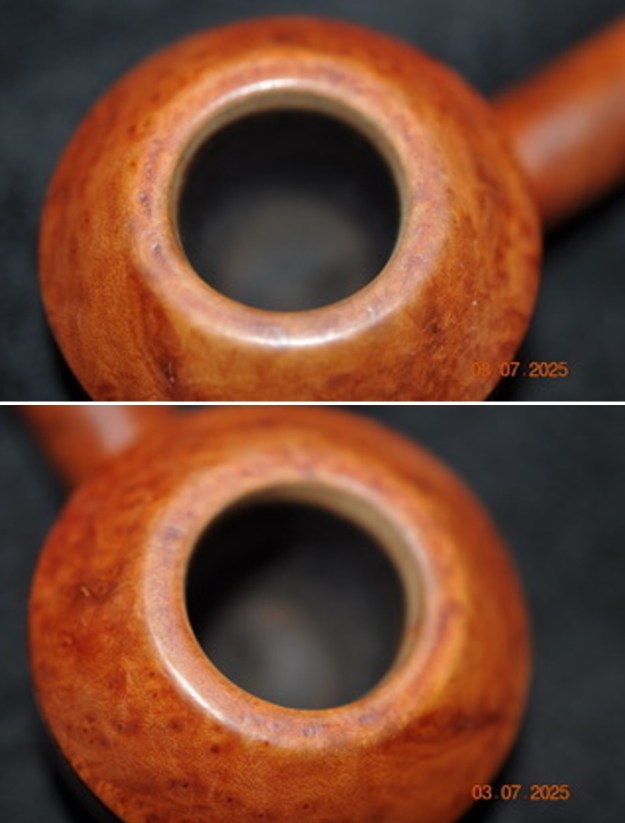
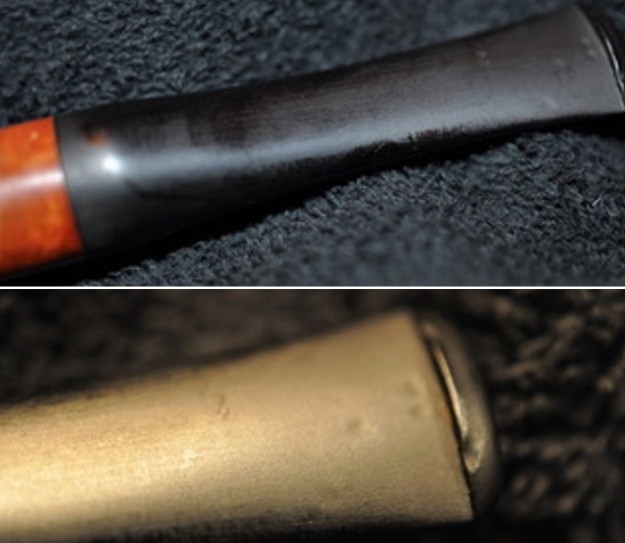
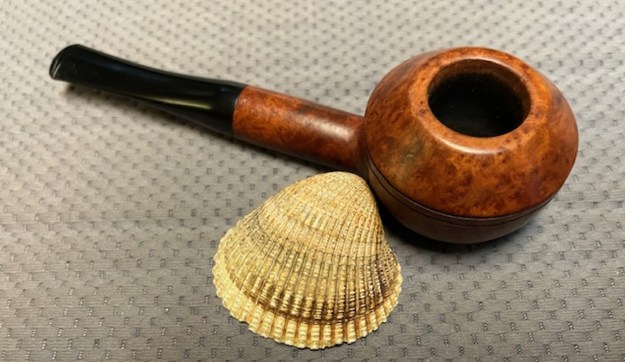
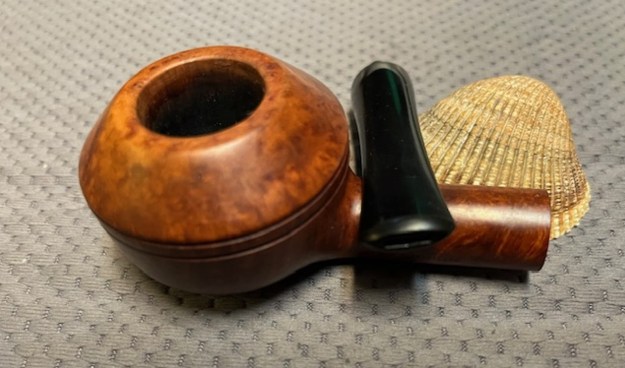
 I like to have an idea of how the pipe was smoked before we got it and what the bowl and rim top looked like. Jeff always takes some photos of the bowl and rim from various angles to show what it looked like. The stem looked very good under the oxidation. The was a gold crown logo on the topside of the stem.
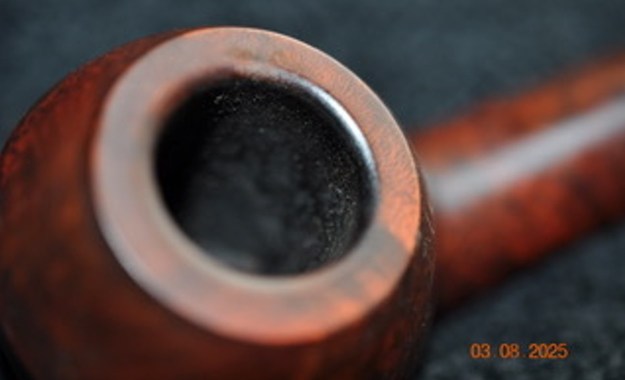

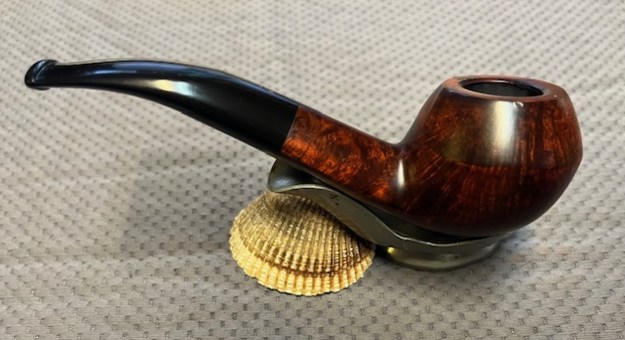
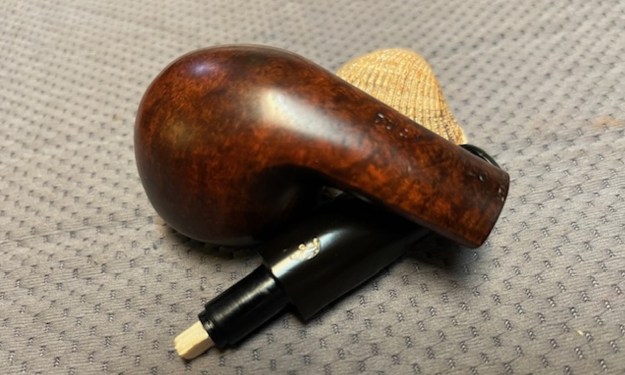
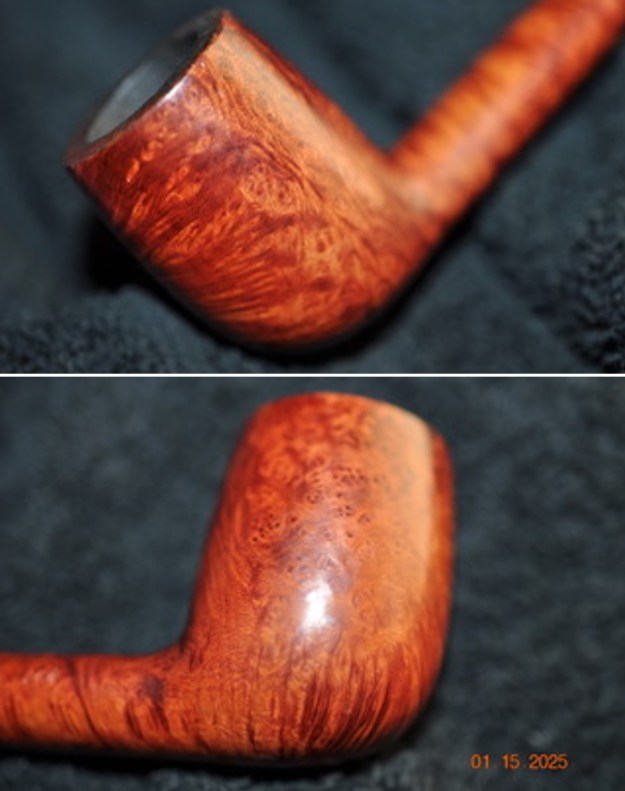
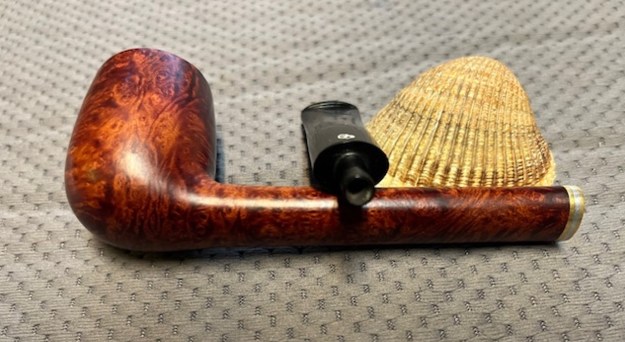
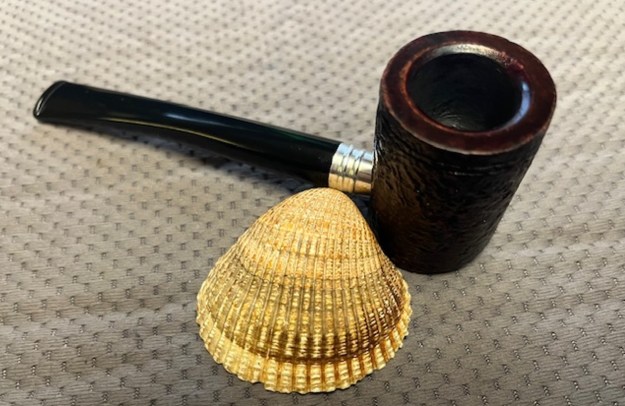
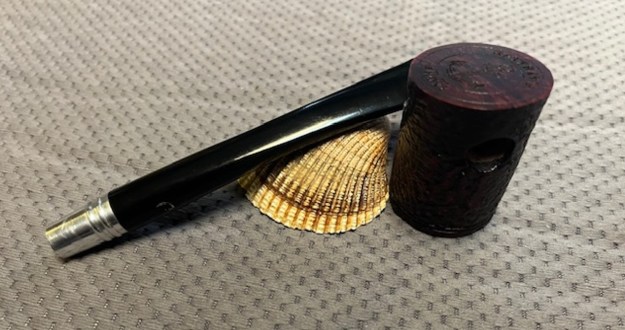
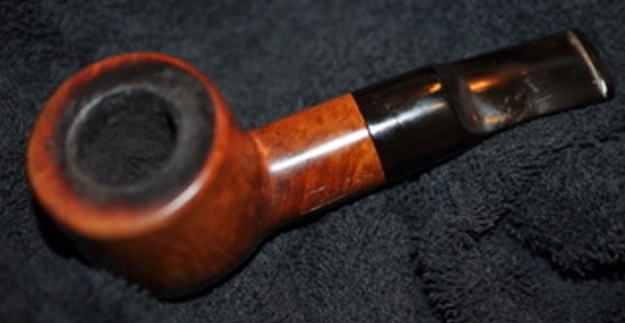
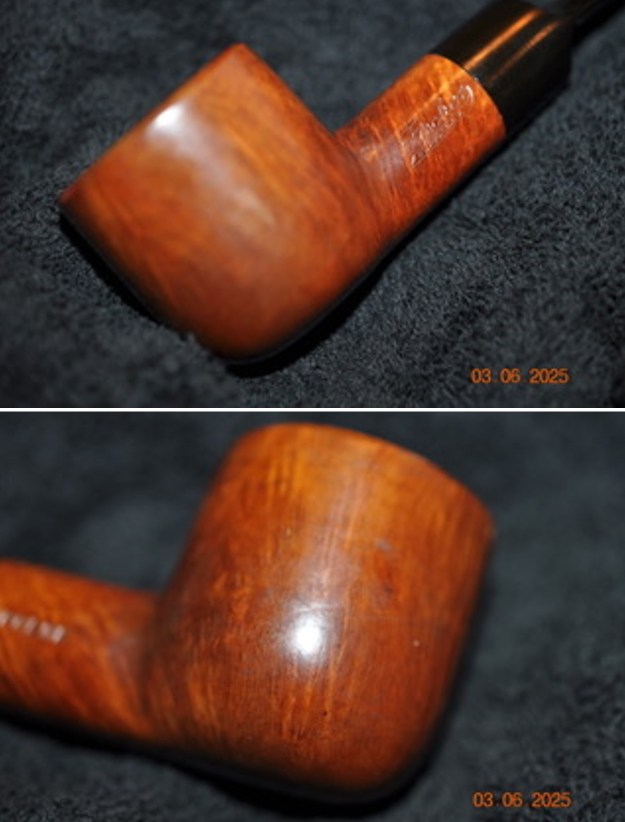
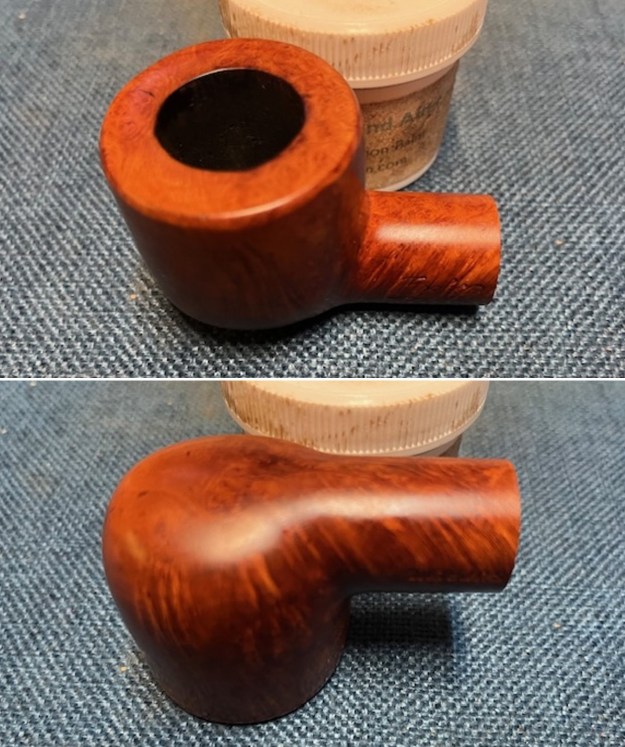
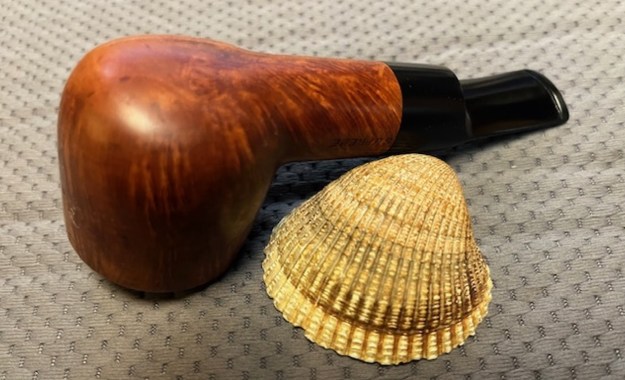
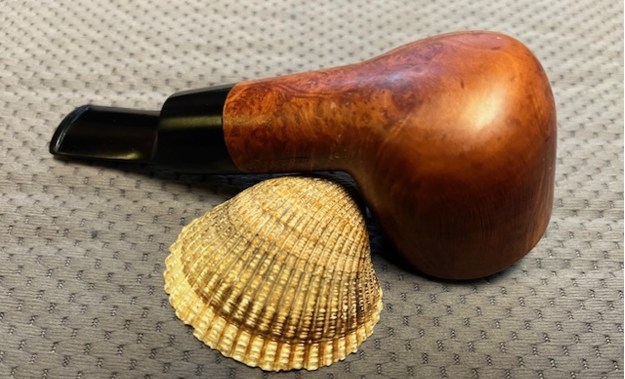
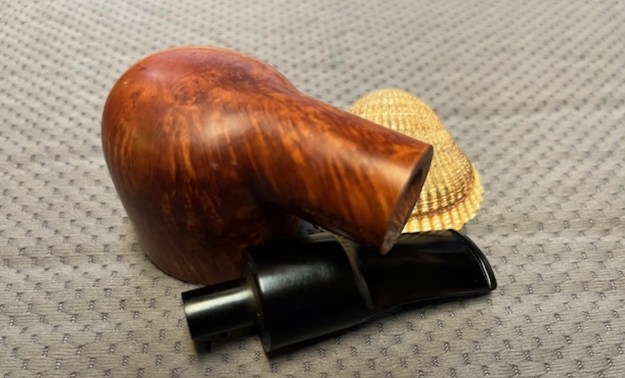
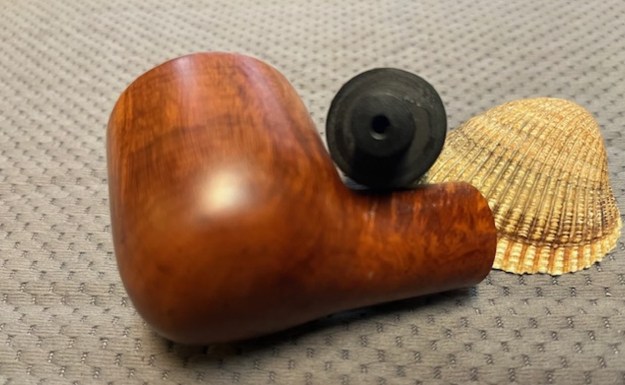
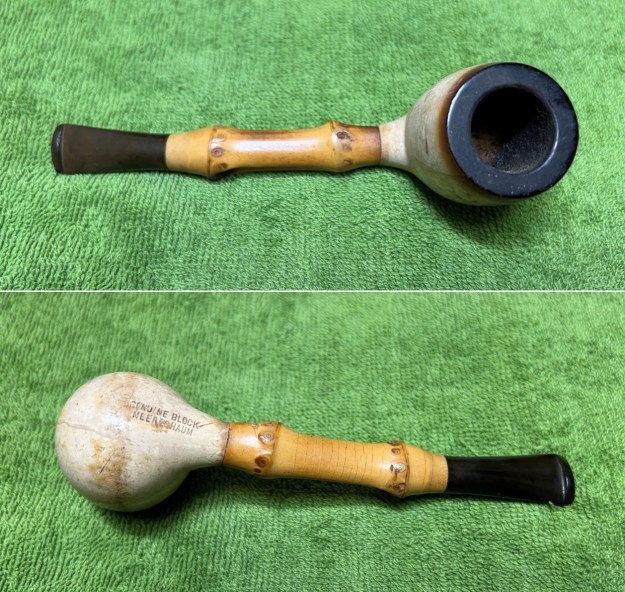
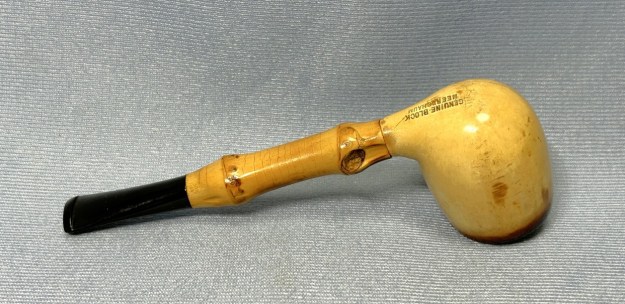
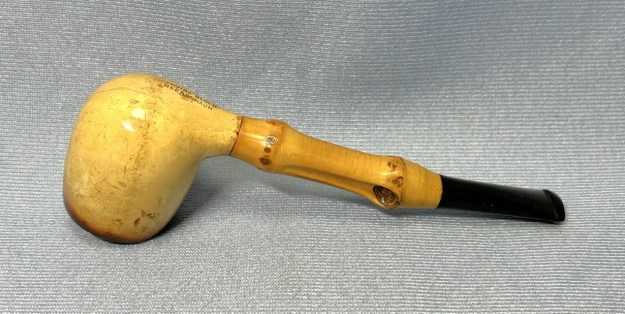
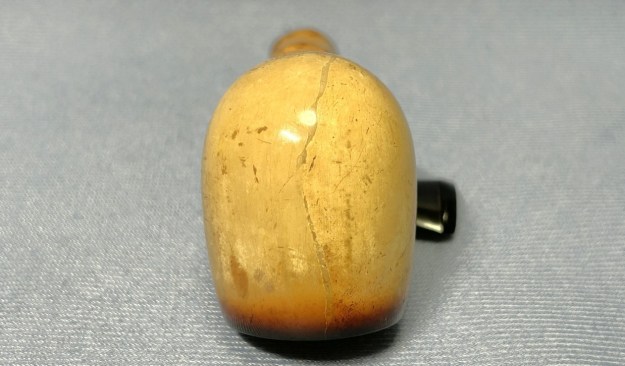
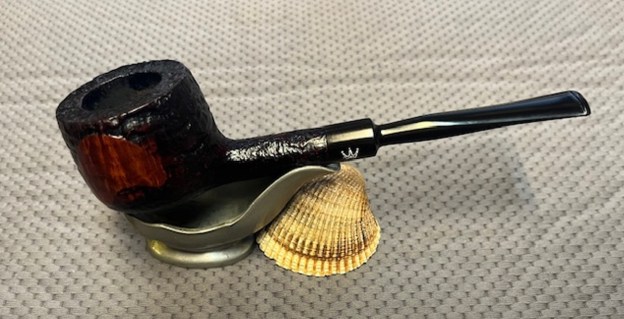
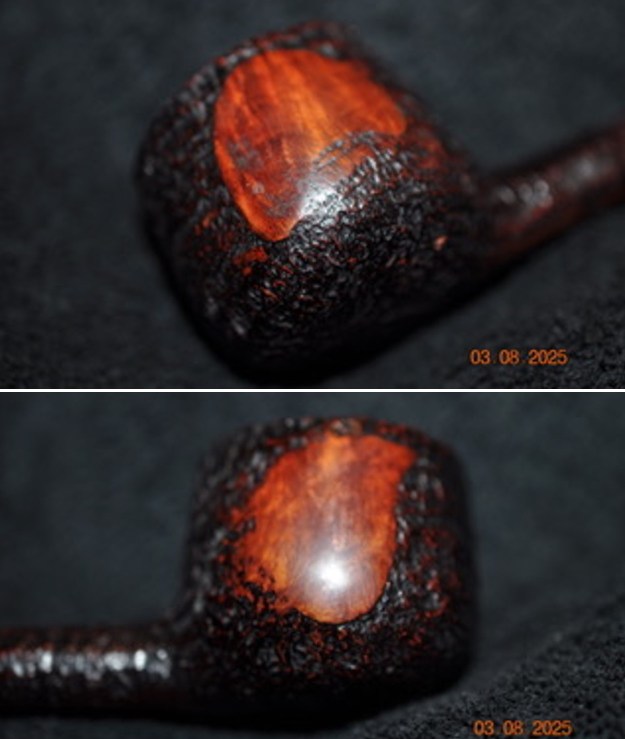
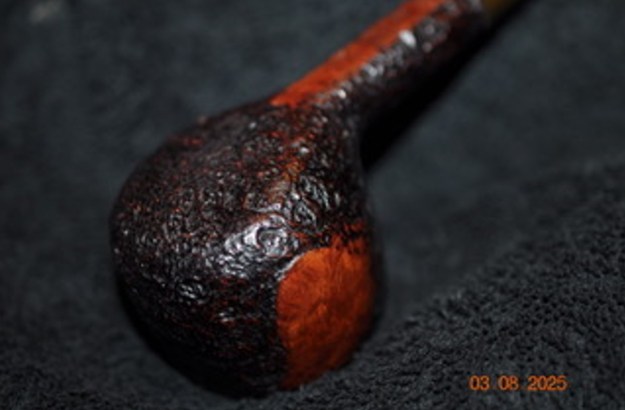
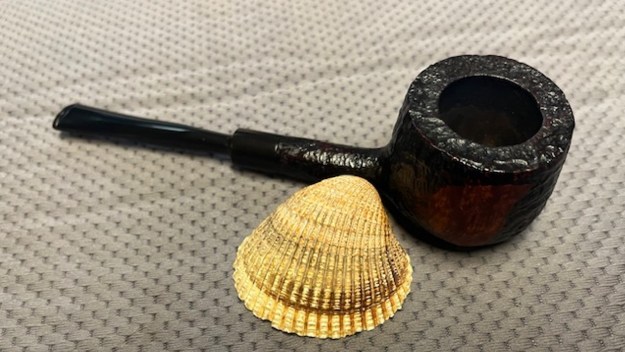
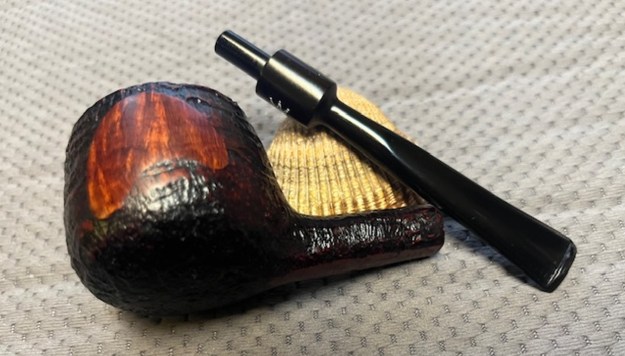
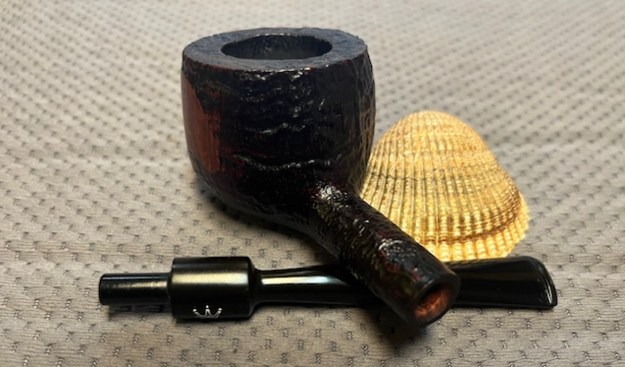
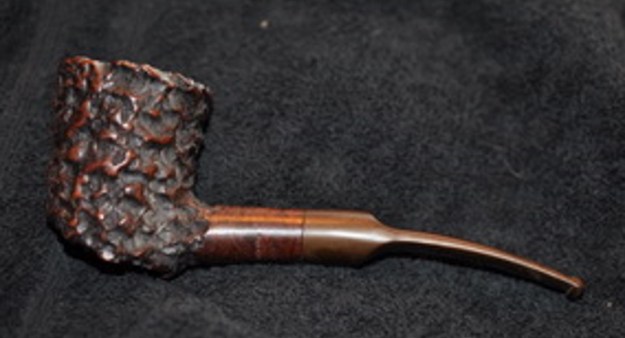
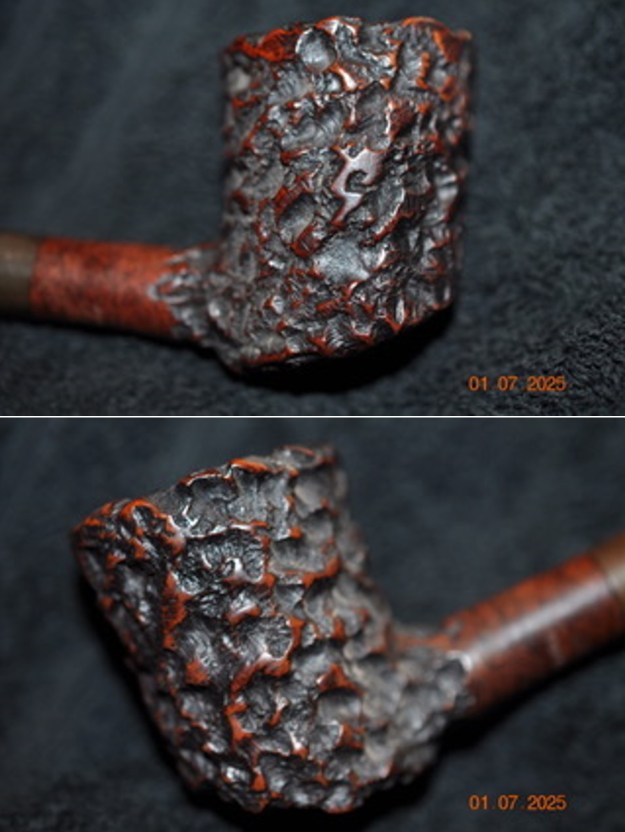
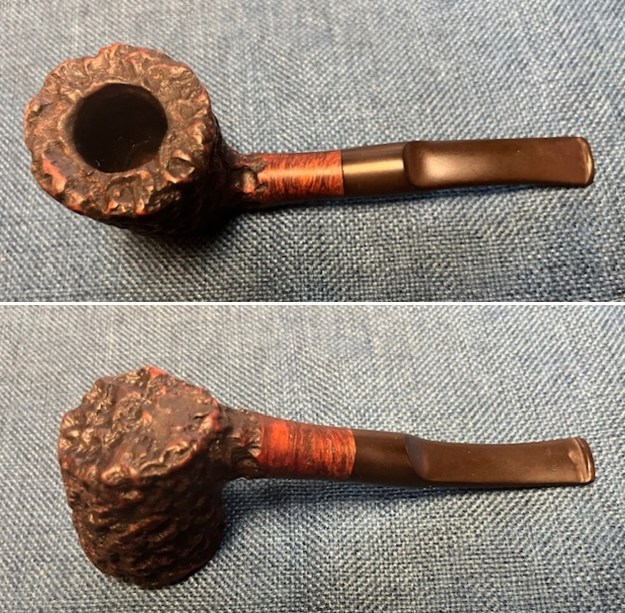
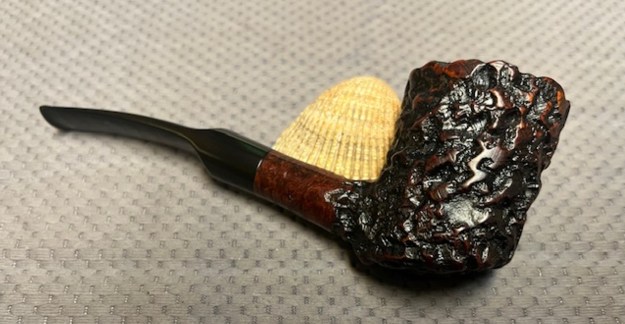
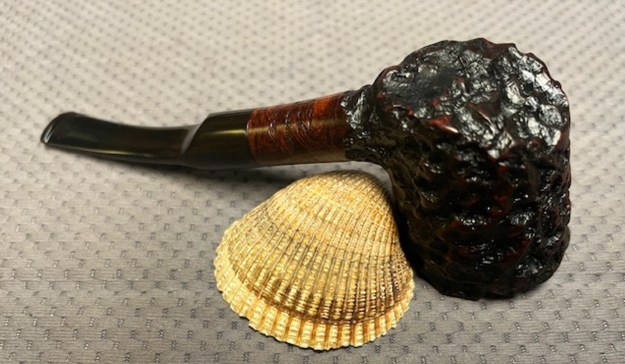
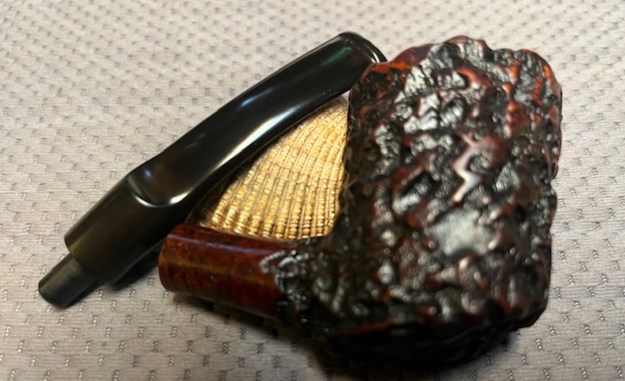
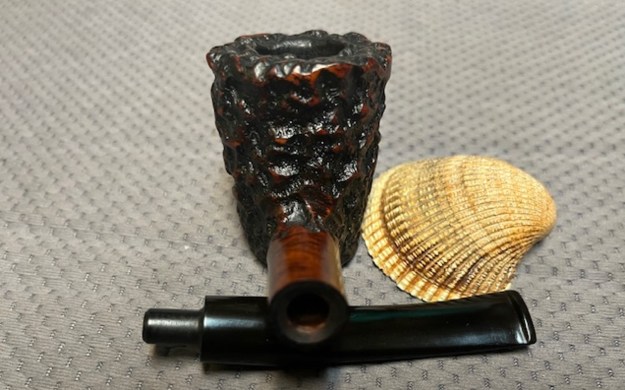
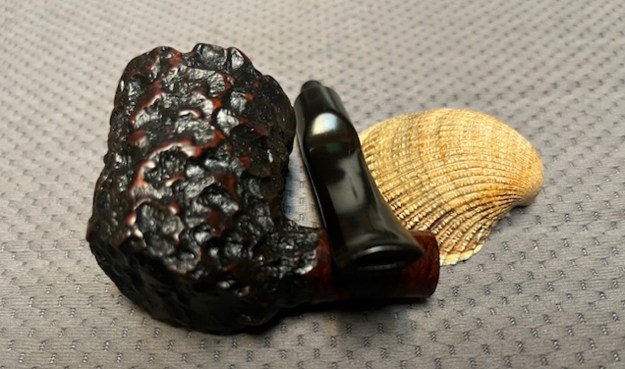
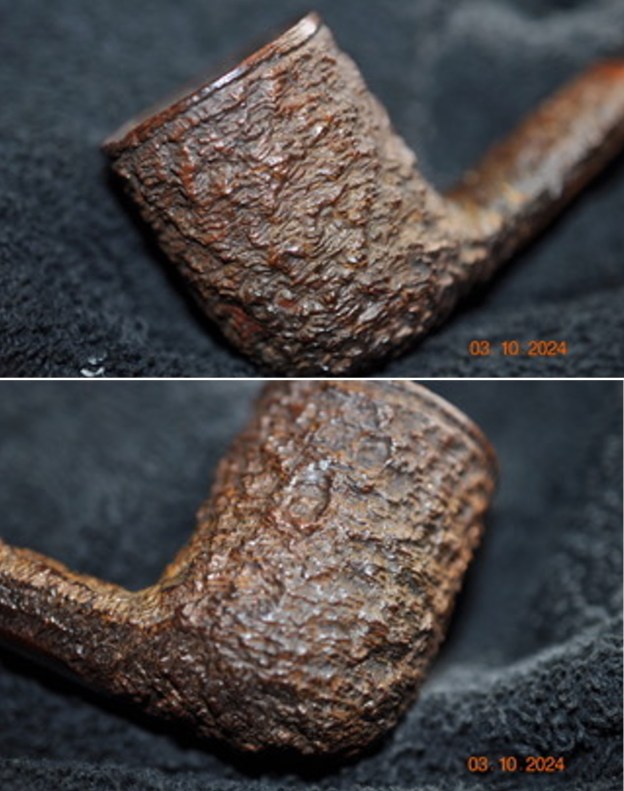
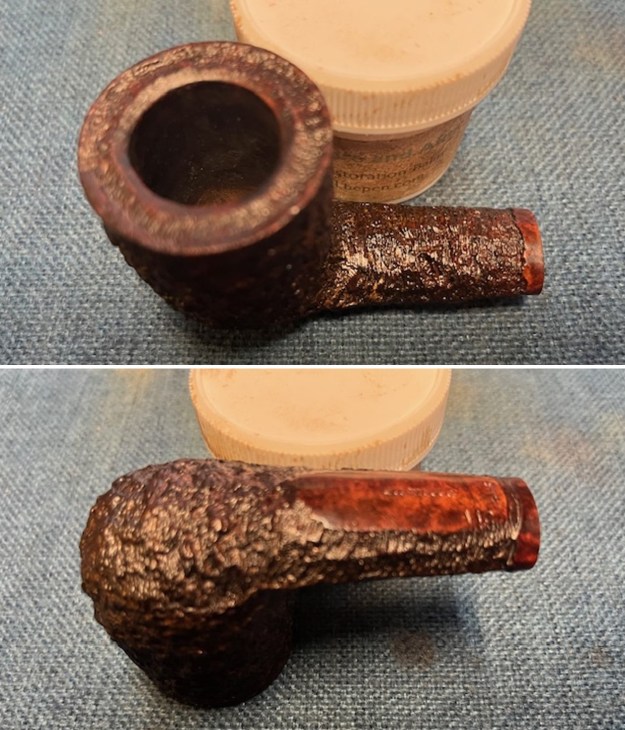
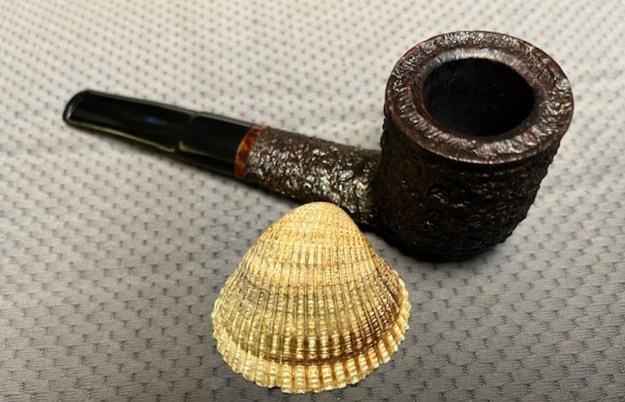
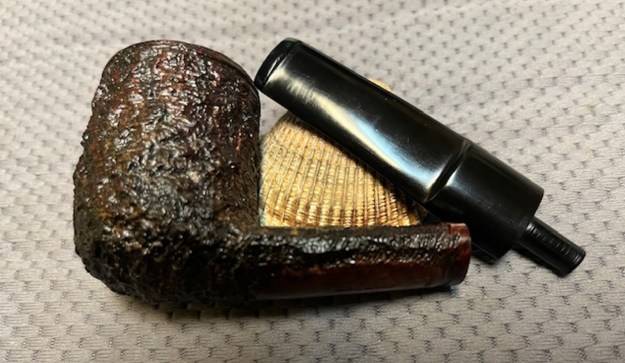
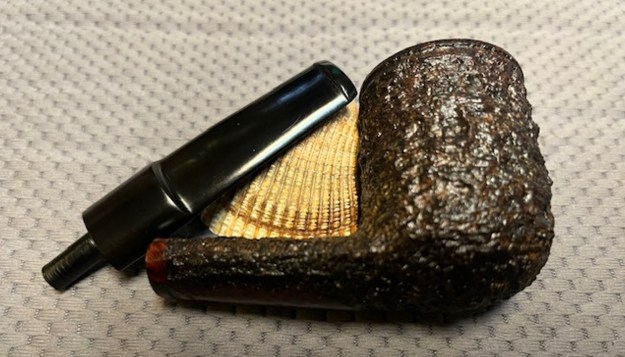
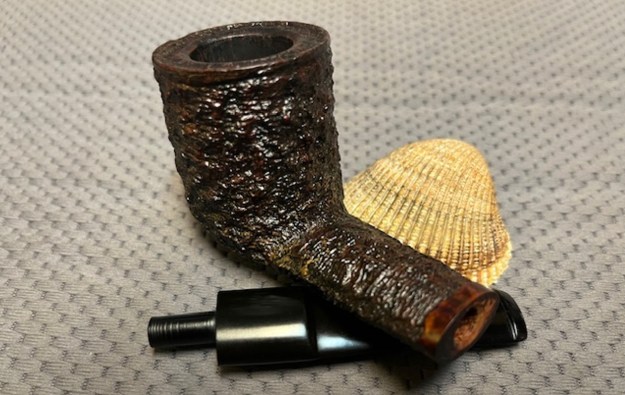
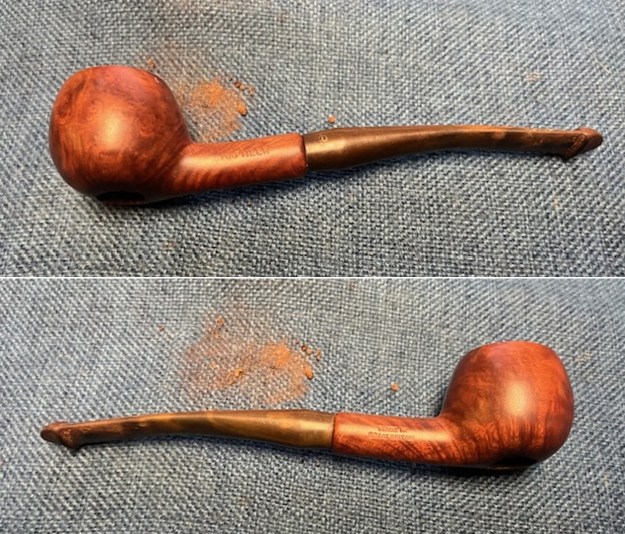
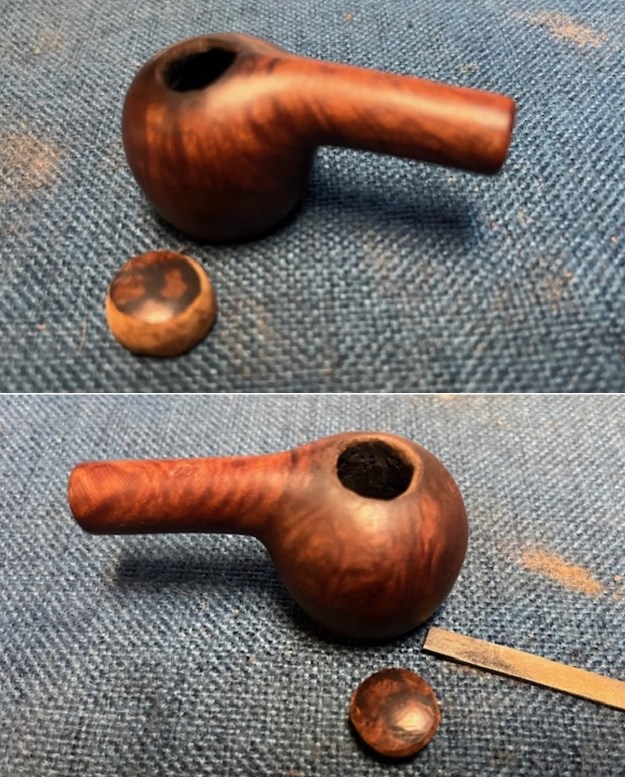
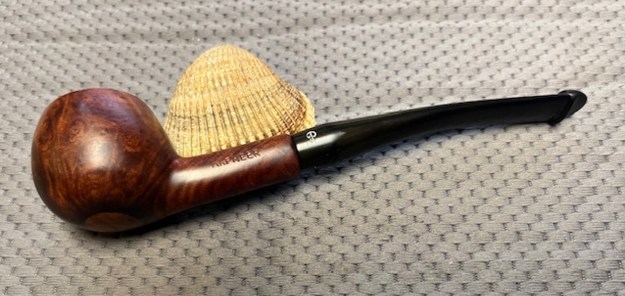
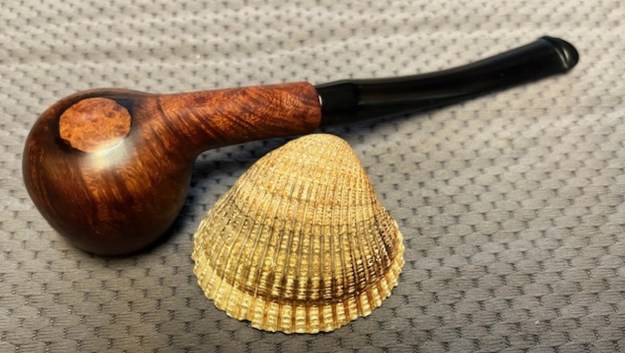
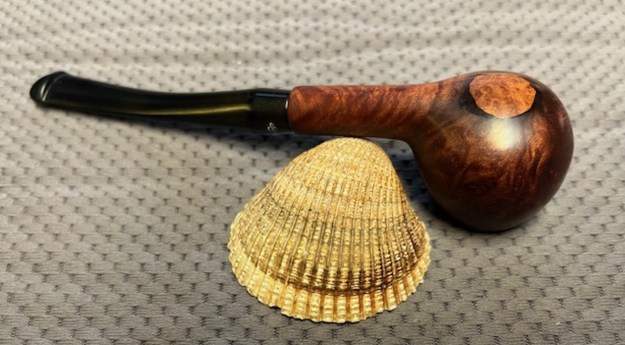
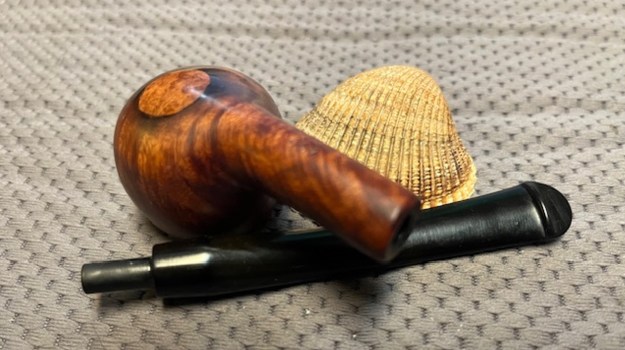
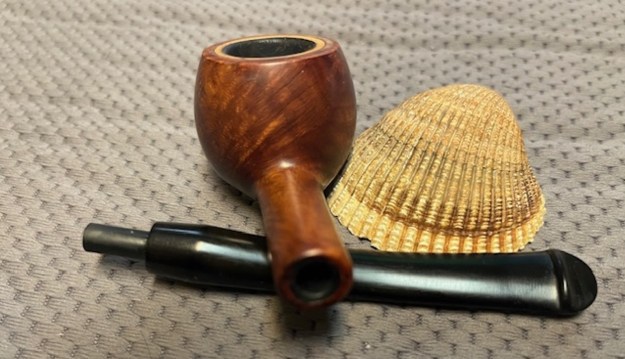
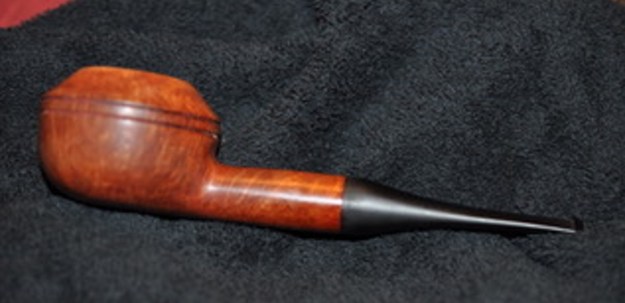
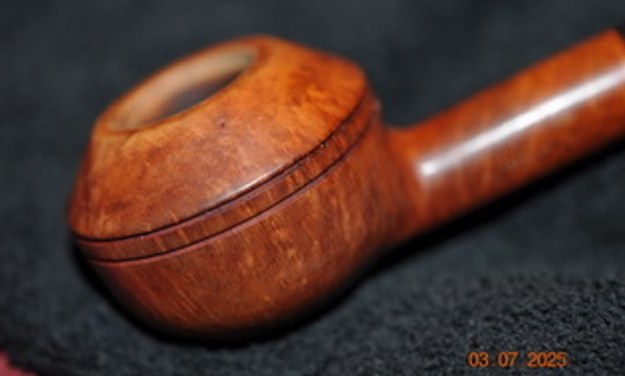
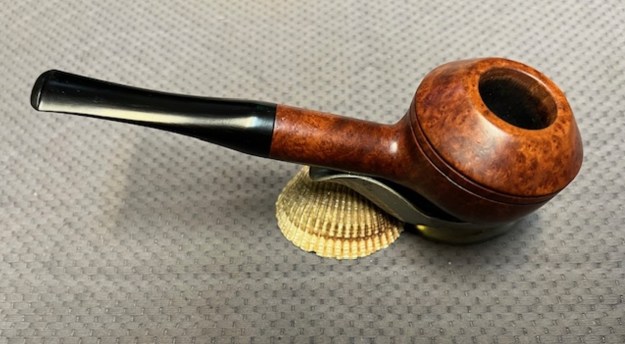
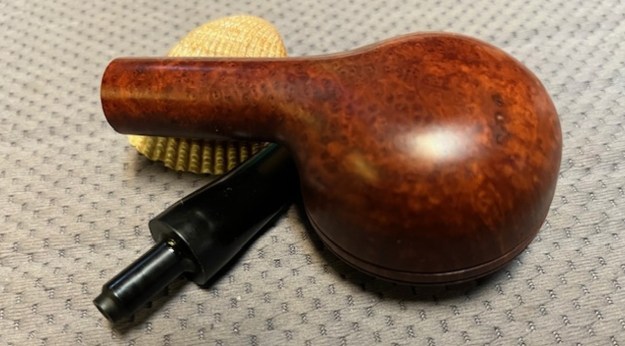
 He took photos of the sides and heel of the bowl to give a sense of the grain on the pipe. You can also see the fills on the right side of the bowl.
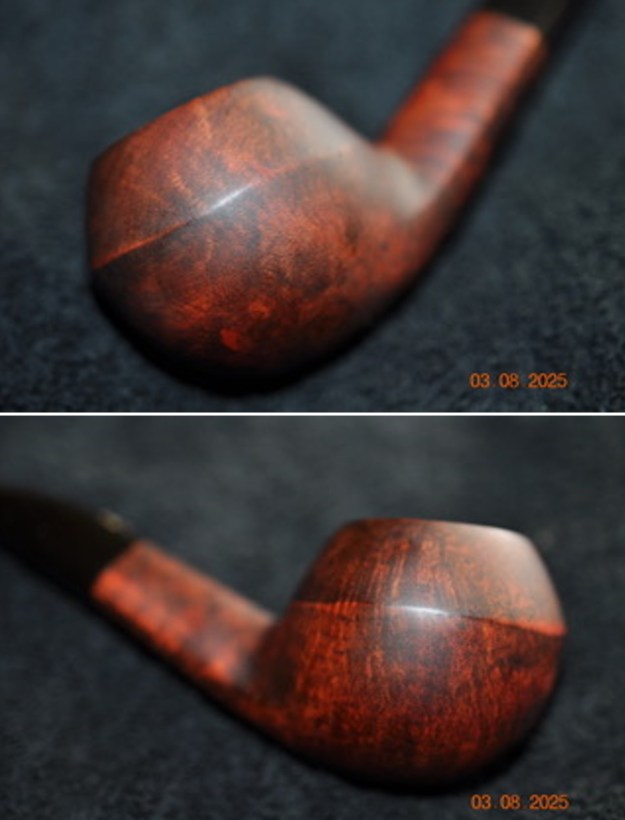
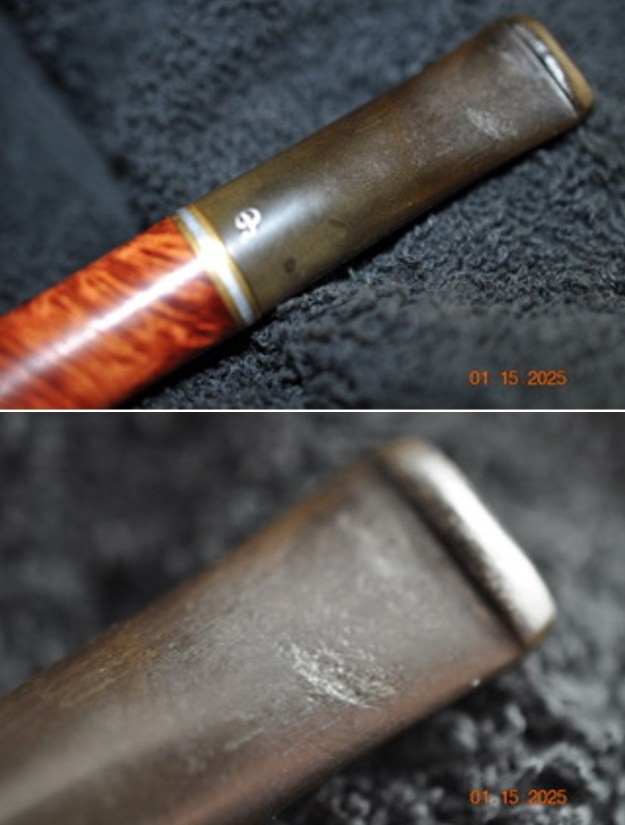
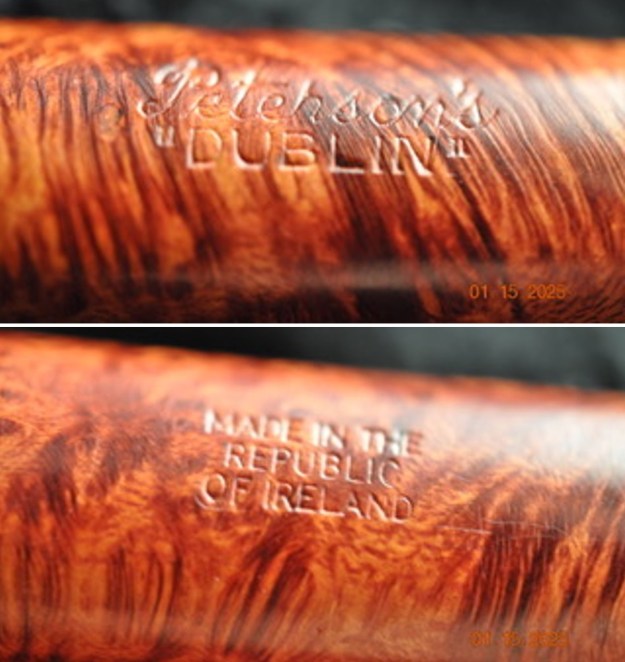
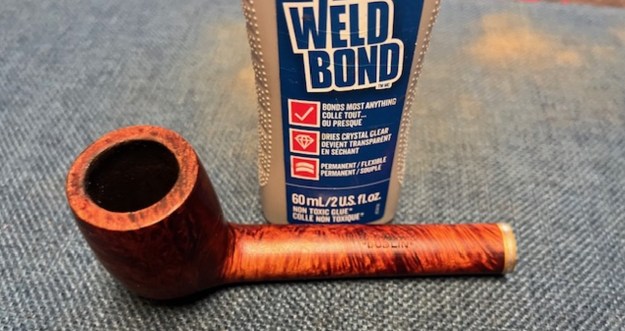
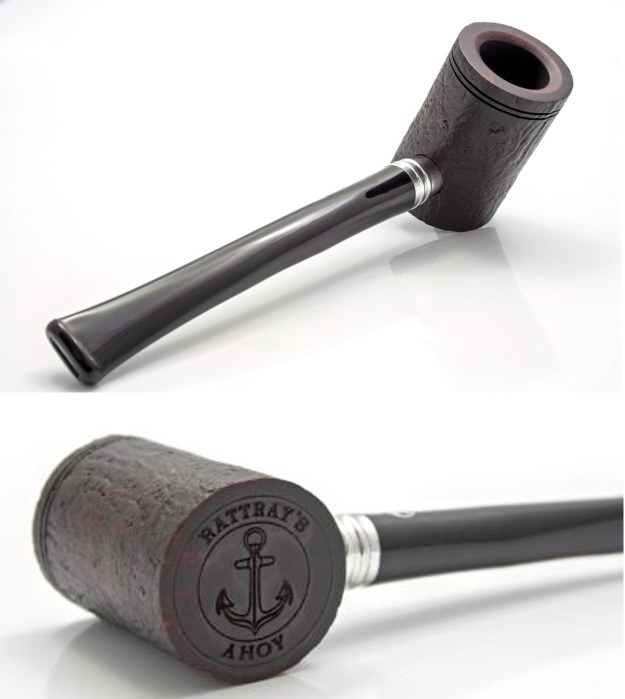
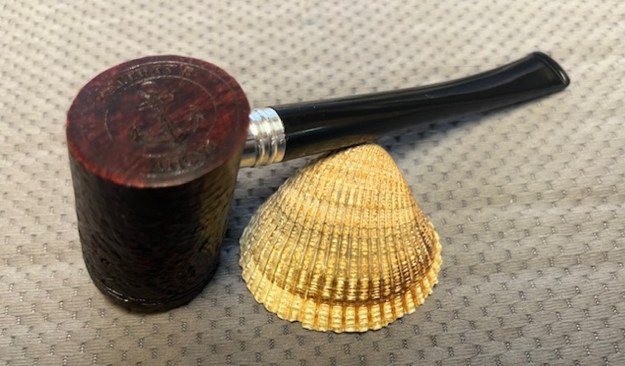
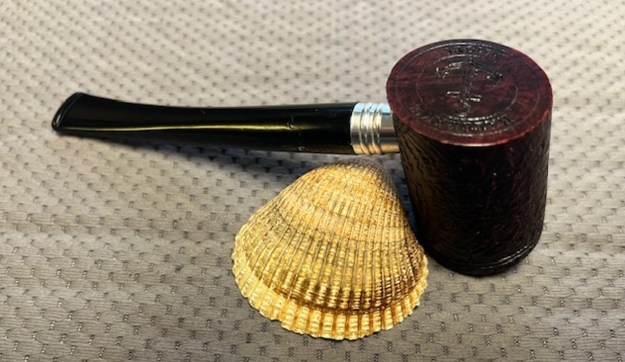
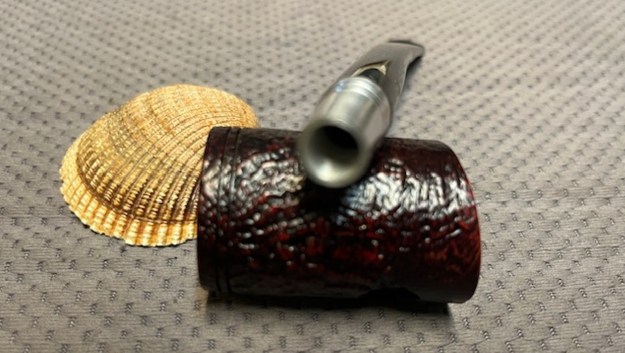
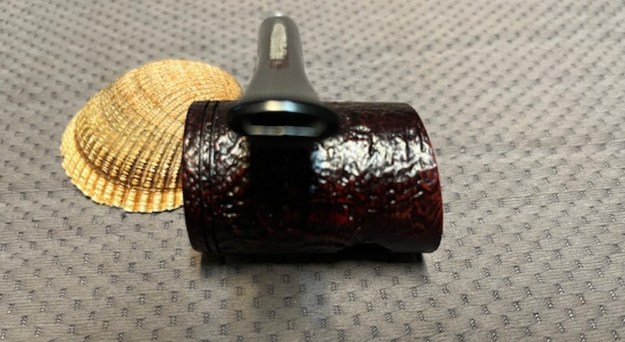
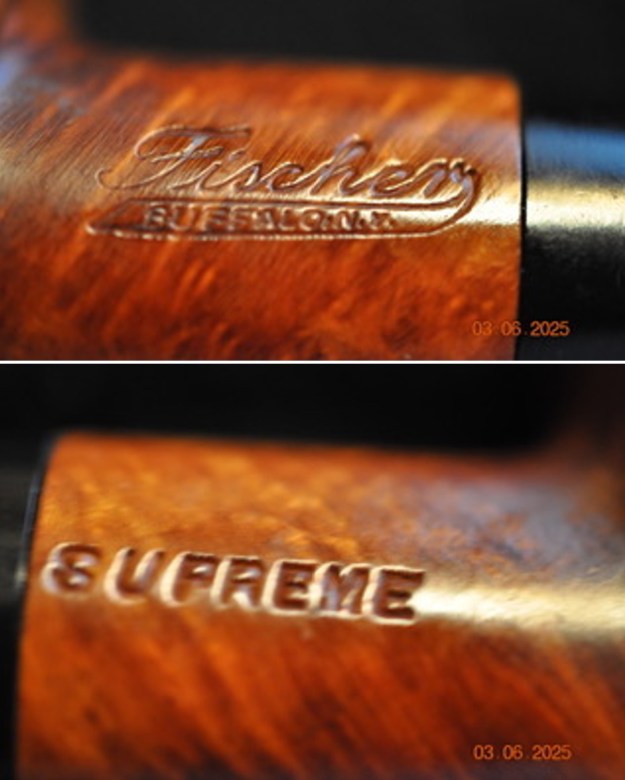
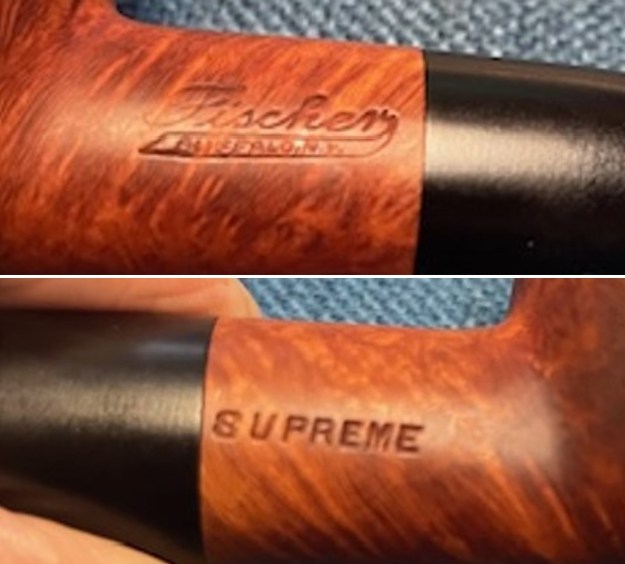
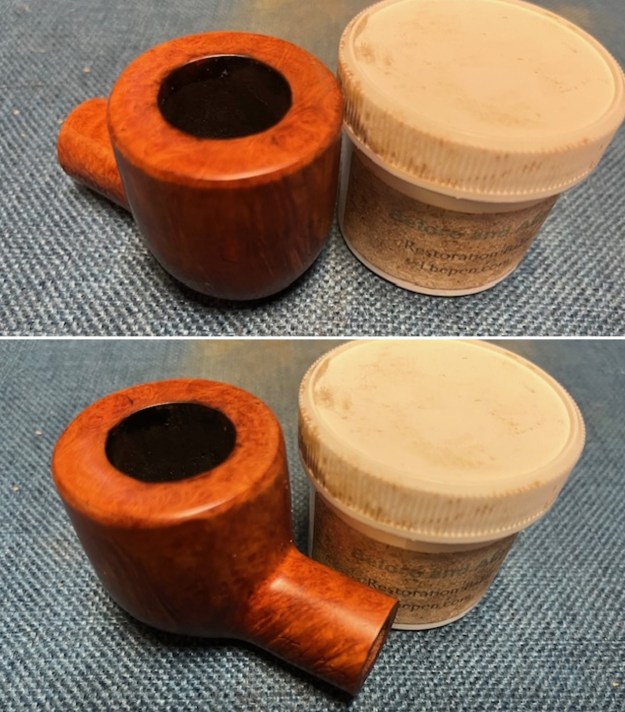
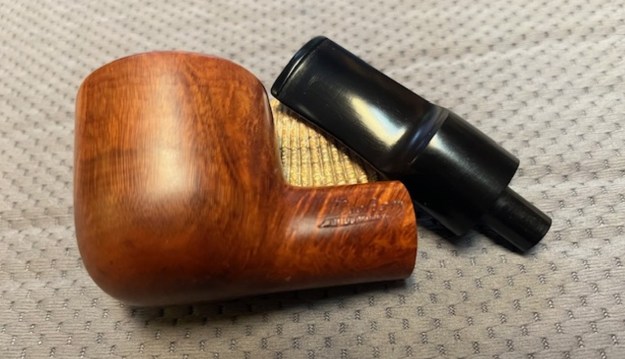
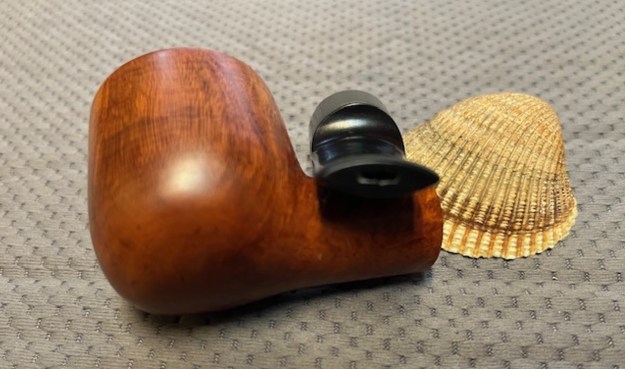
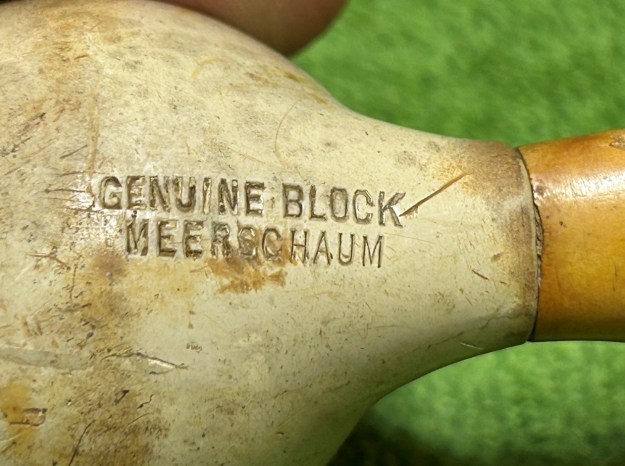
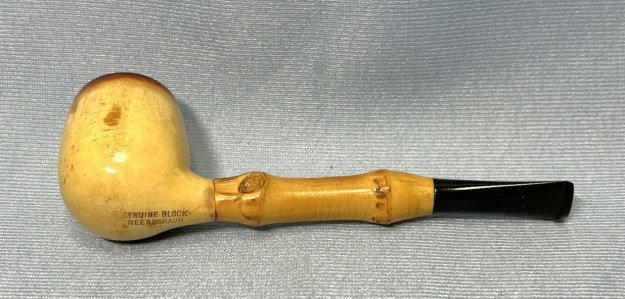
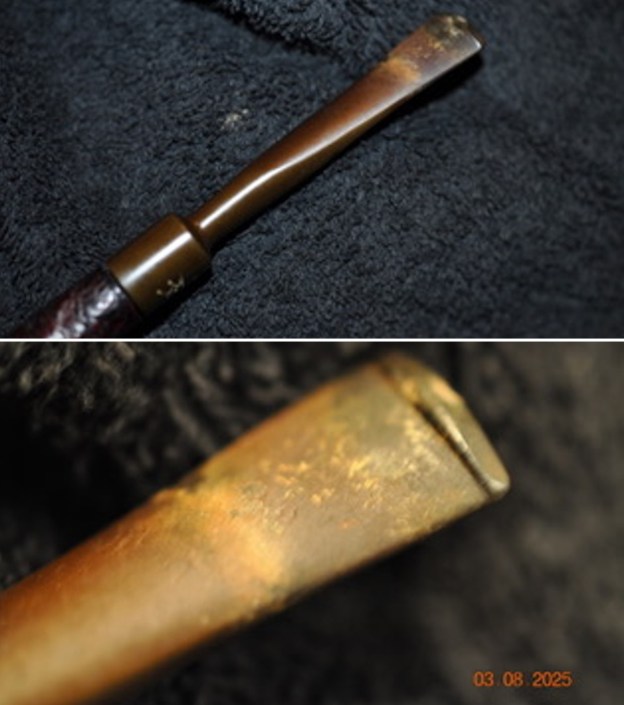
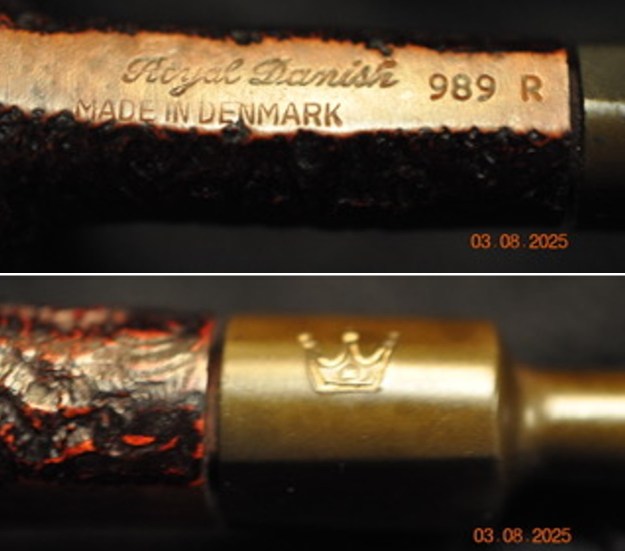
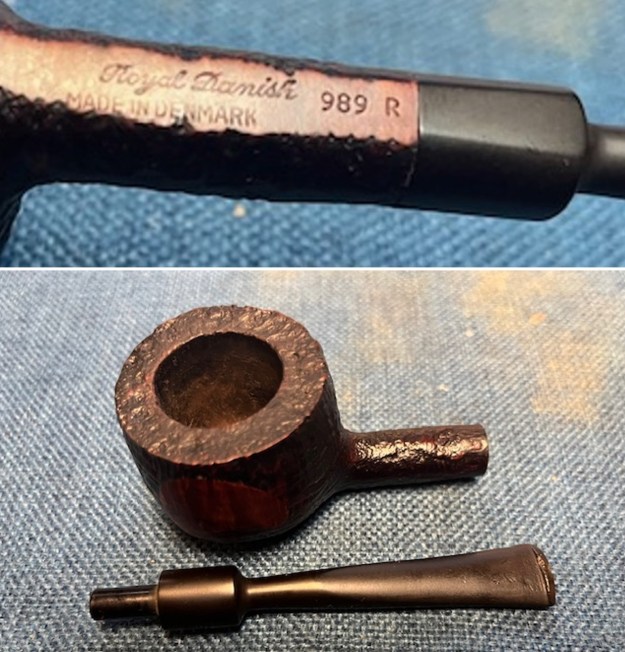
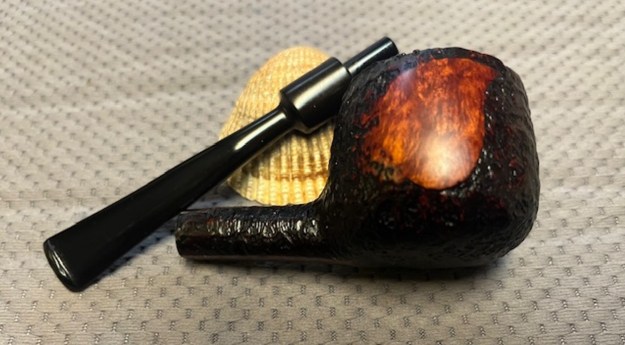
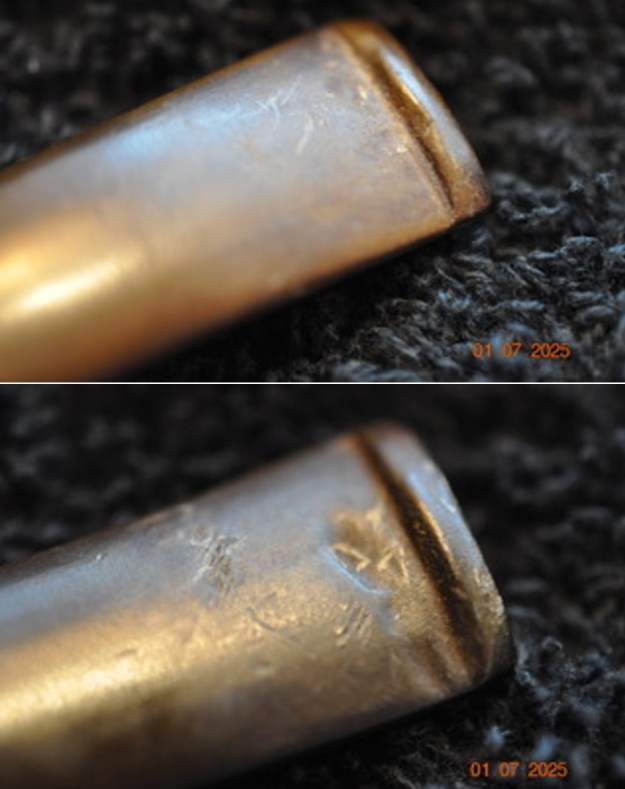
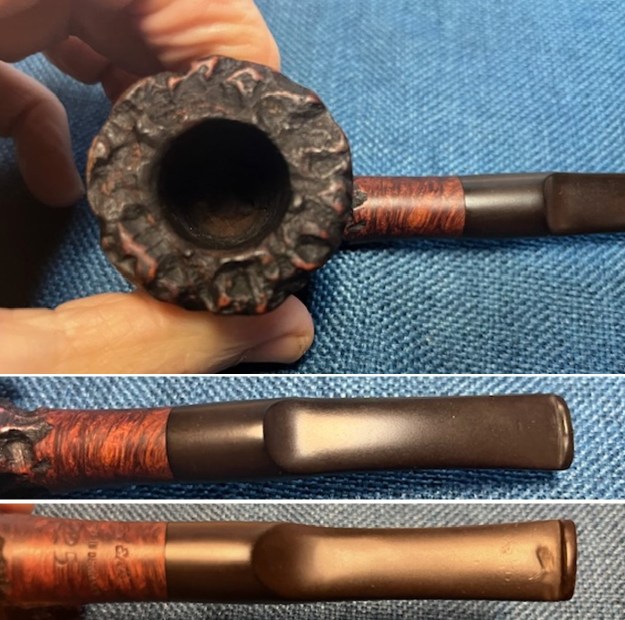
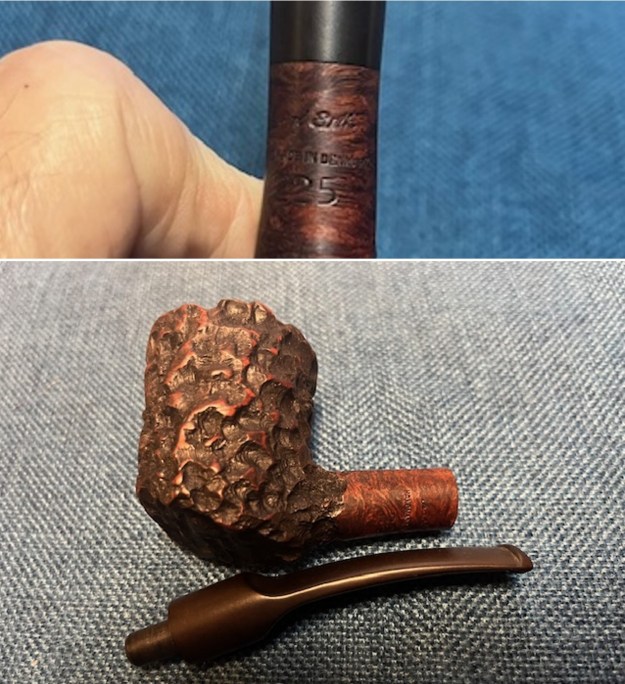
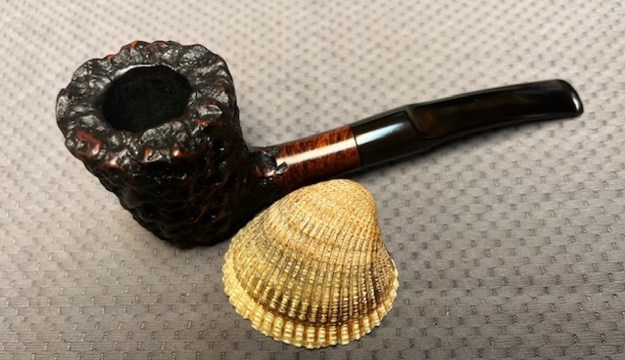
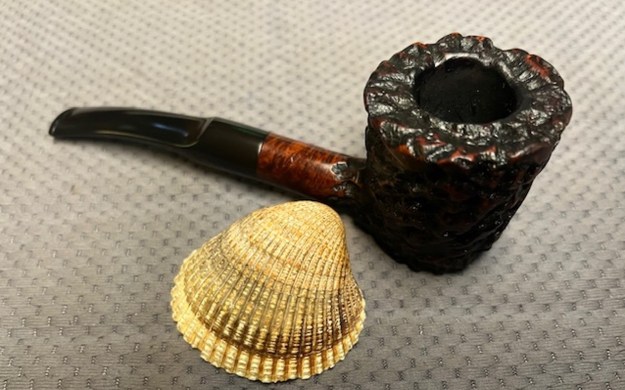
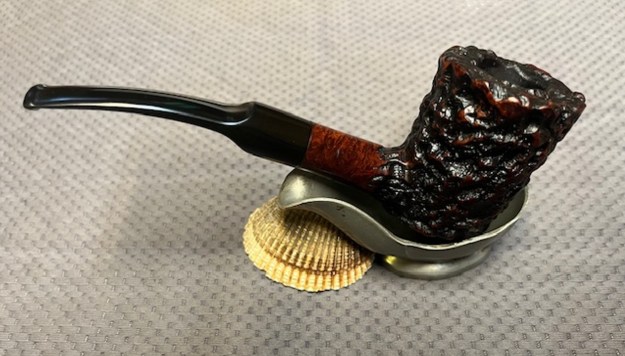
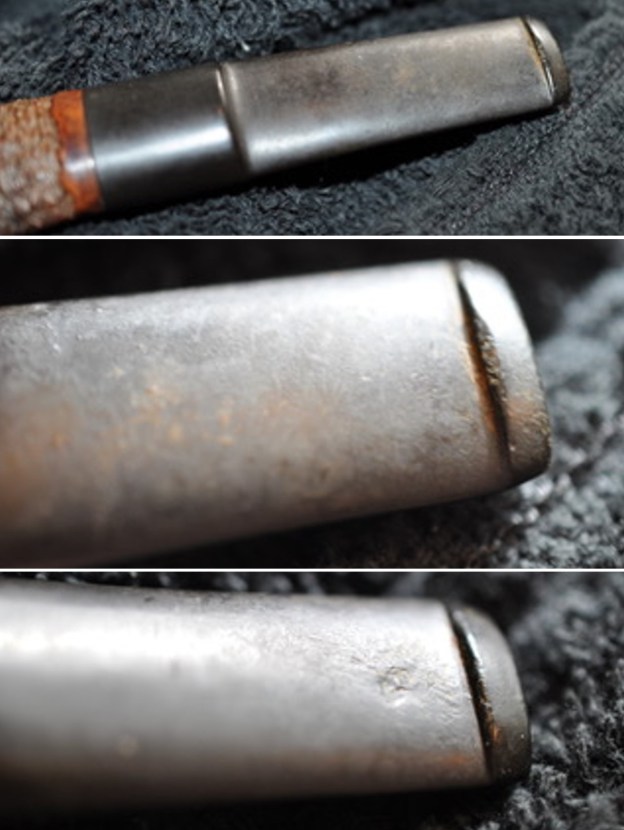
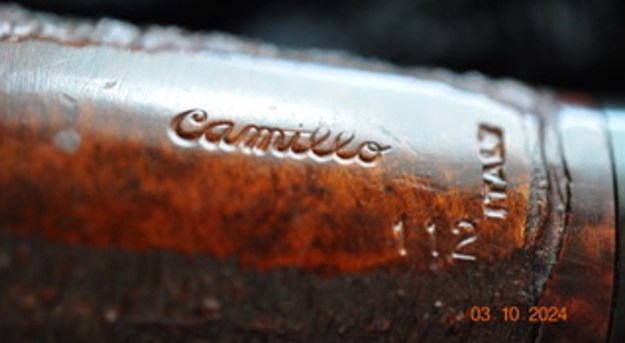
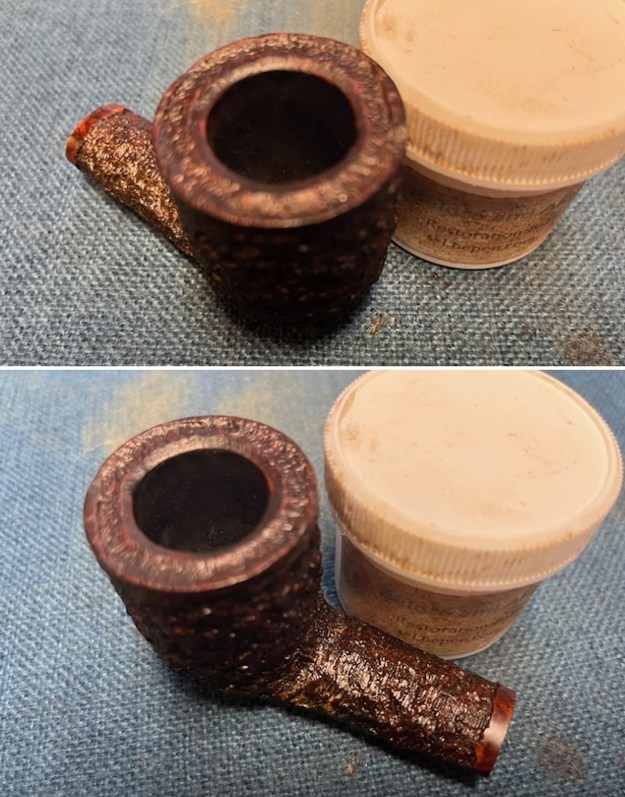
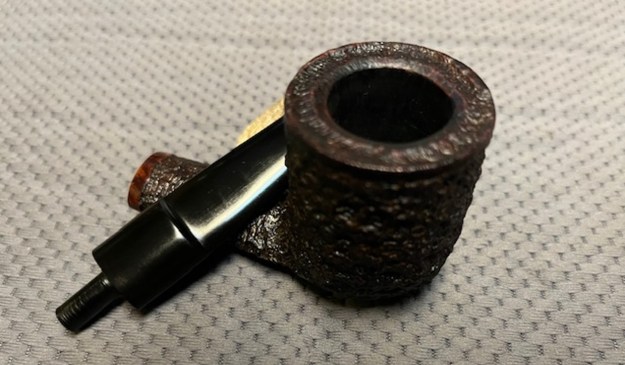
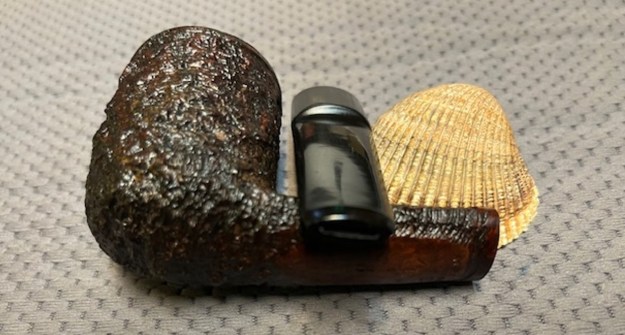
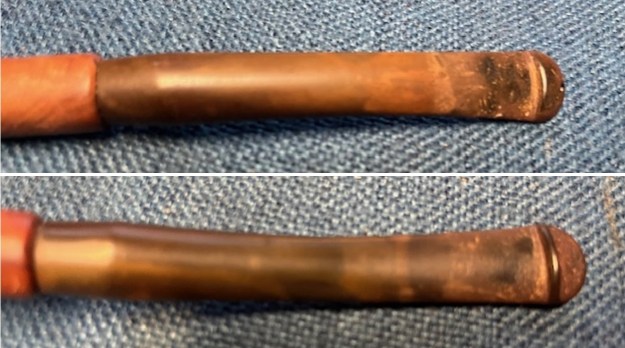
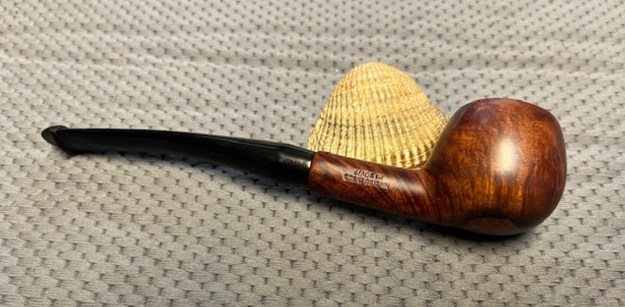
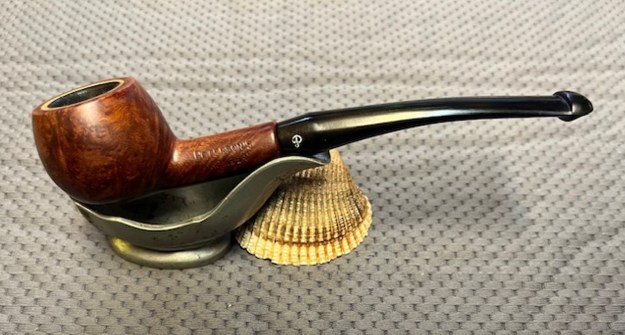
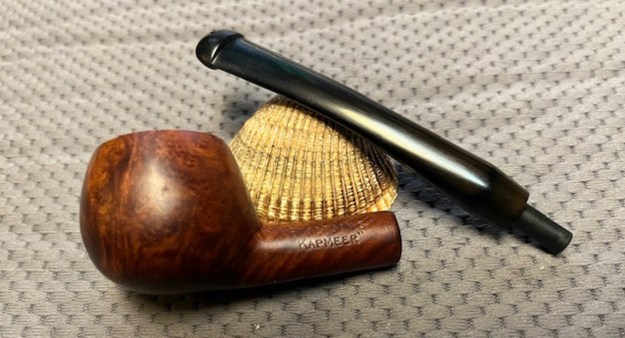
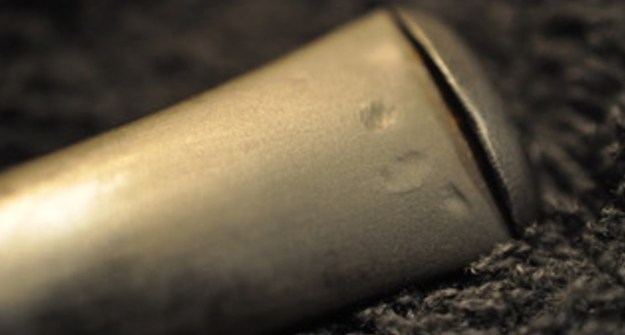
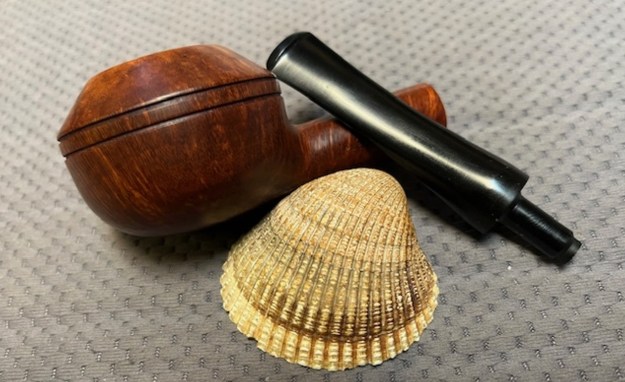
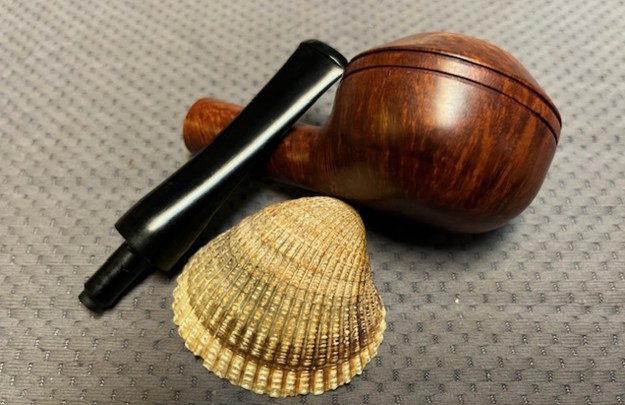
 The next two photos show the stamping on the underside of the shank. It is faint in spots but otherwise clear and readable as noted above. The gold crown on the stem top is in good shape.
 I did a quick scan of the rebornpipes blog and found a link to the Duca Carlo pipe that Dal Stanton had restored (https://thepipesteward.com/2021/05/04/liberating-the-grain-of-a-candy-apple-finish-a-savinelli-duca-carlo-poker-of-italy/). I always appreciate the research that Dal does when he works on pipes because it is what I like doing when I am restoring the pipes on my table. I quote from the portion of the blog that gives the background information on the brand. (Thanks Dal for the leg work on this one!)
 Whenever I work on a pipe, I’m always interested to know something of the pipe. My first stop at Pipedia reveals that the Duca Carlo is a second of Savinelli, the well-known Italian pipe manufacturer. Savinelli’s history as an Italian pipe maker goes back to 1876 – a rich history and tradition which can be read in Pipedia’s Savinelli article. The Duca Carlo is listed in the main Savinelli article within an extensive listing of “Savinelli made sub-brands, seconds & order productions”. The Duca (Duke) Carlo is listed with the Duca di Milano and Duca di Paolo giving the impression that Savinelli produced these as special lines commemorating these historical figures. With a quick internet search brings me to a Wikipedia article. Duca Carlo reveals an interesting story of a child that died of smallpox at age 3 (See: Carlo, Duke of Calabria):
 Carlo of Naples and Sicily (Italian: Carlo Tito Francesco Giuseppe; 4 January 1775 – 17 December 1778) was Duke of Calabria as heir to Naples and Sicily. Born at the Caserta Palace near Naples, he was known as the Duke of Calabria at birth as the heir apparent to his father’s throne. His mother was a daughter of Empress Maria Theresa and thus sister of Marie Antoinette.
A member of the House of Bourbon, he was a prince of Naples and Sicily by birth. He was the hereditary prince of Naples. His birth allowed his mother to have a place in the Council of State, pursuant to his parents’ marriage contract.
Carlo died of smallpox[1] aged 3. Six of his younger siblings would die of smallpox also: Princess Maria Anna (in 1780), Prince Giuseppe (in 1783), Prince Gennaro (in 1789), Prince Carlo Gennaro (also in 1789), Princess Maria Clotilde (in 1792) and Princess Maria Enricheta (also in 1792). He was buried at the Church of Santa Chiara in Naples.
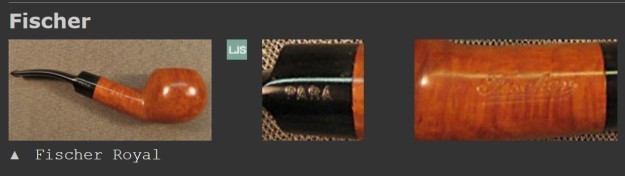
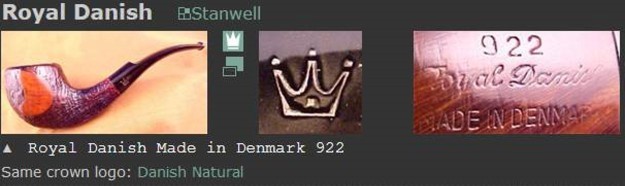
The only other reference to the Duca series in the Savinelli Pipedia article comes from a photo that does not mention a name, but the stem stamping is clearly from the Duca series of pipes listed. No dating on the picture can be seen.  The Savinelli Duca line is confirmed by my next stop. Pipephil (http://pipephil.eu/logos/en/logo-d9.html) gives two examples of Savinelli Ducas – a Duca Carlo and Duca Eraldo. Consistent between each example is the crown stem stamping.
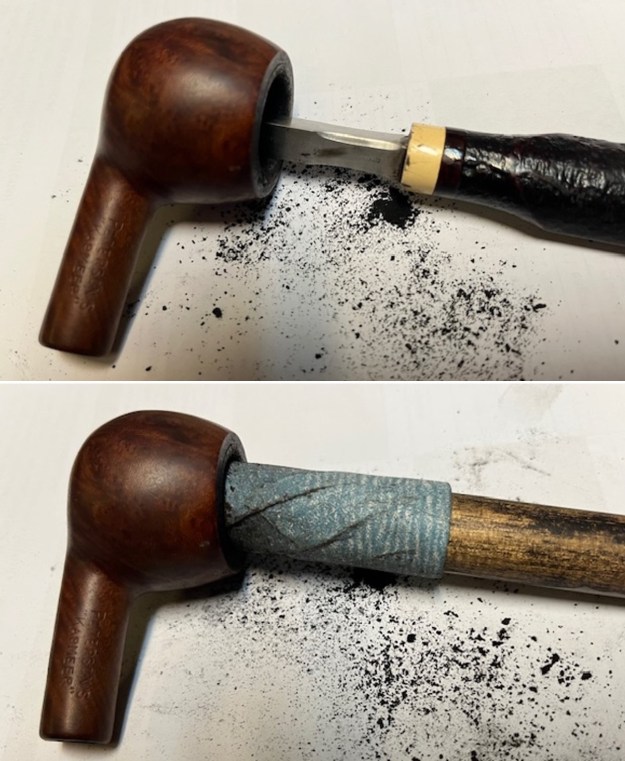
  Armed with the information that I had gleaned from Dal’s blog, I turned my attention to the pipe itself. Jeff had done a great cleanup on the pipe. He reamed the bowl with a PipNet pipe reamer and followed up with a Savinelli Fitsall pipe knife to remove the cake. He scrubbed out the mortise and the airway in the shank and the stem with alcohol, cotton swabs, shank brushes and pipe cleaners. He scrubbed the bowl exterior with a tooth brush and undiluted Murphy’s Oil Soap to remove the grime on the finish of the bowl and the rim top. He rinsed it under running water. One of the benefits of this scrub is that it also tends to lift some of the scratches and nicks in the surface of the briar. He dried it off with a soft cloth. He cleaned the internals and externals of the stem with alcohol, pipe cleaners and cotton swabs. He soaked the stem in Briarville’s Pipe Stem Deoxidizer and rinsed it off with warm water and cleaned out the airway in the stem with alcohol. When I received it the pipe looked very good.
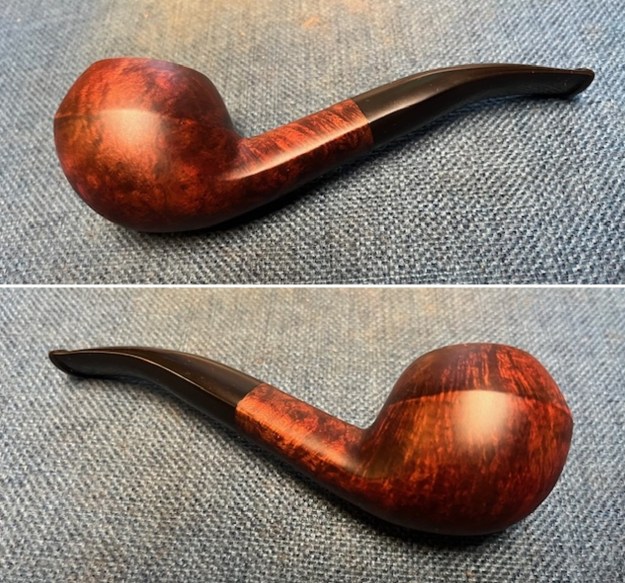
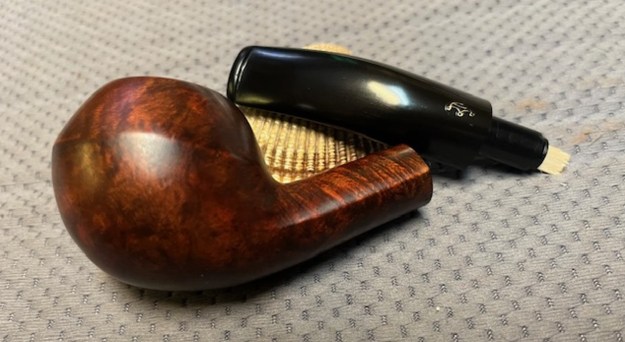
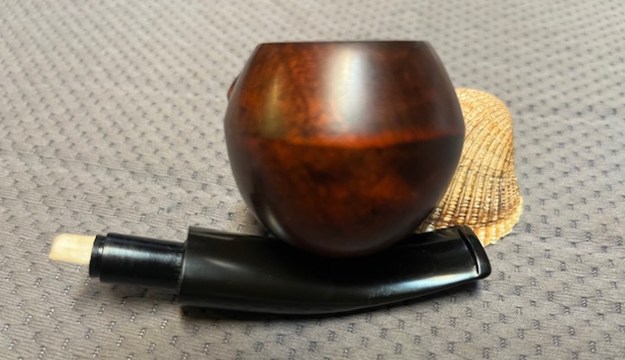
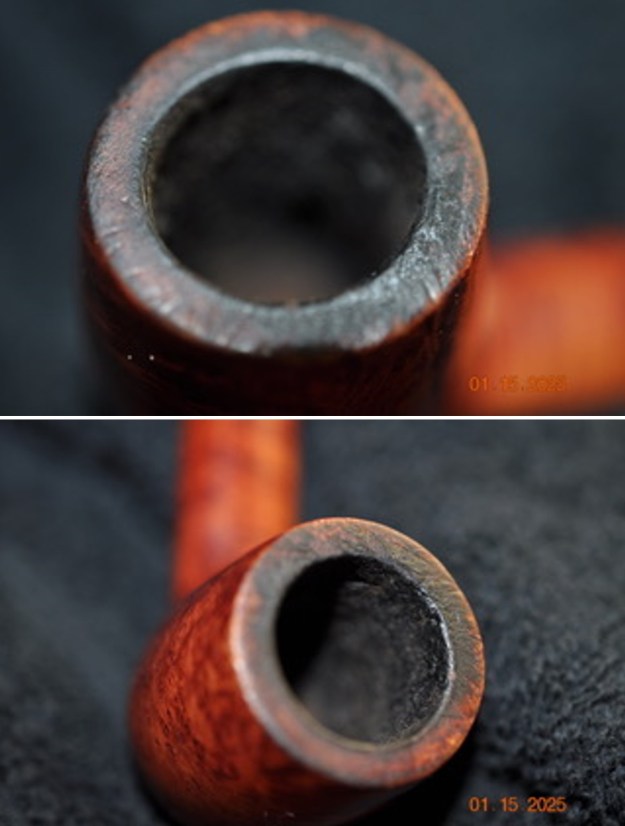
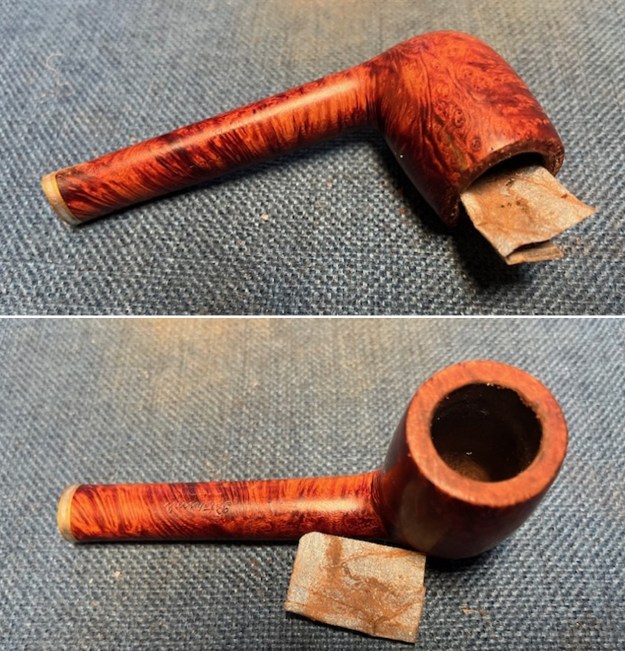
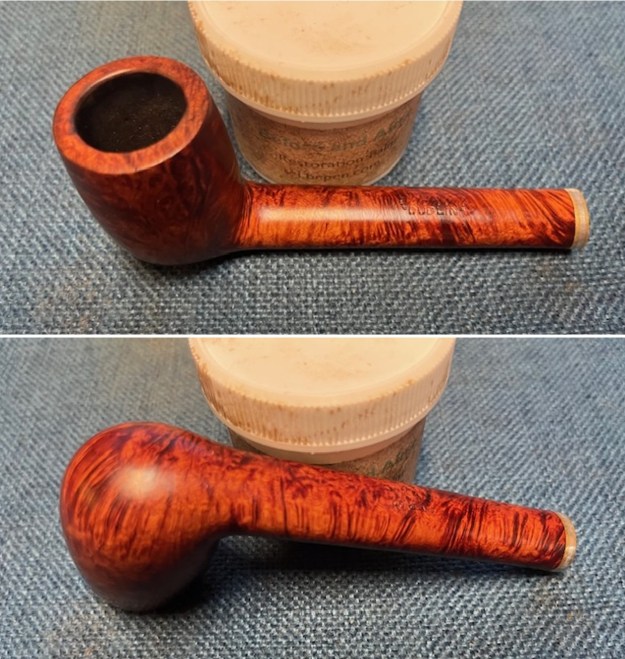
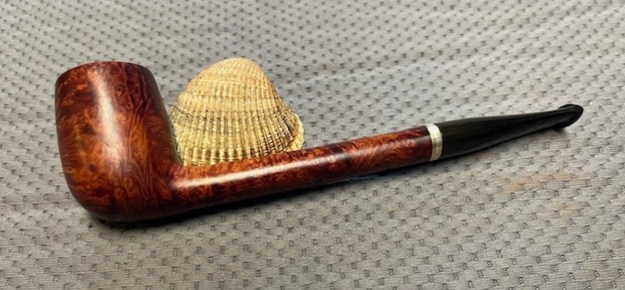
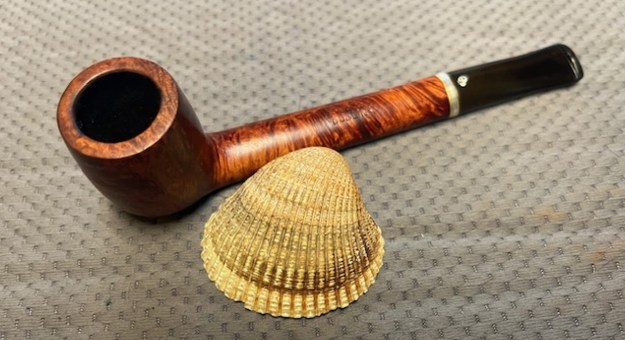
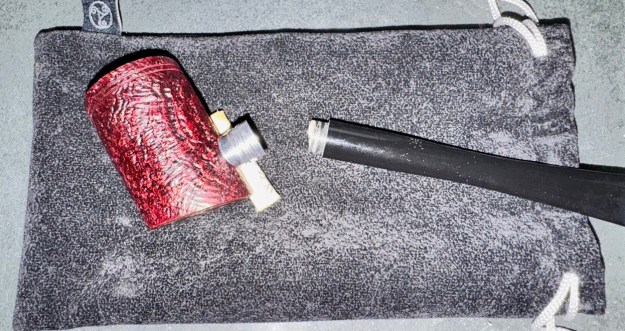
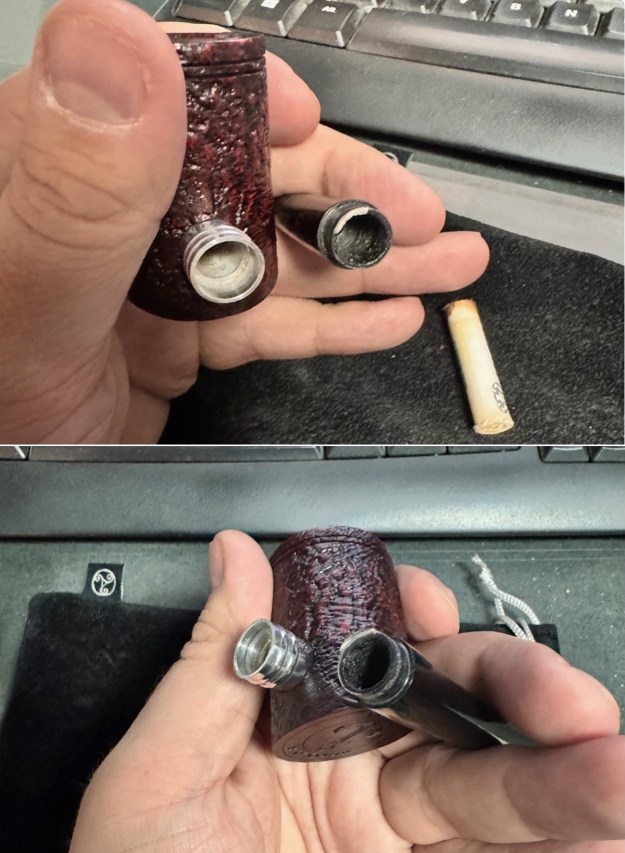
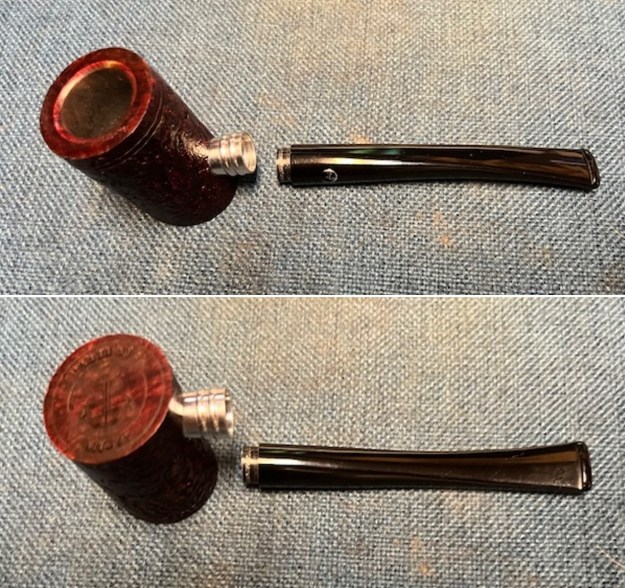
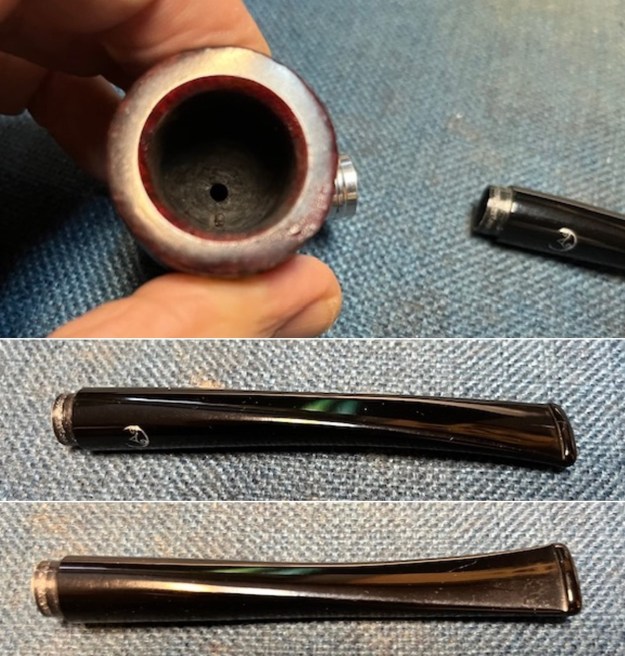
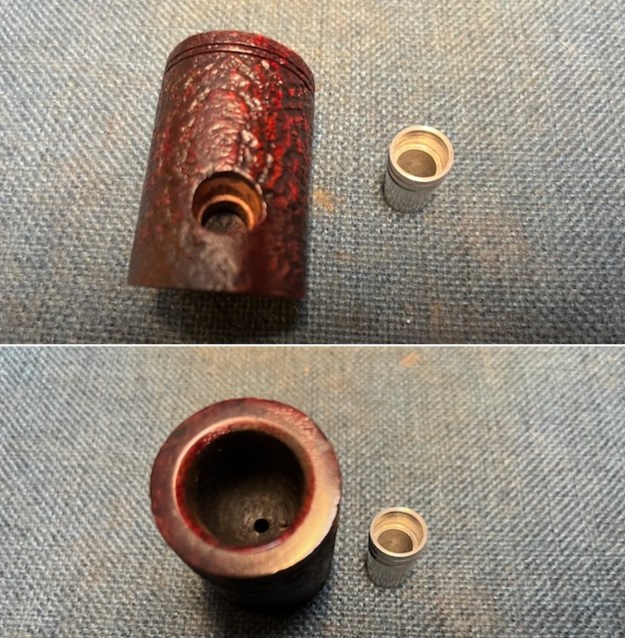
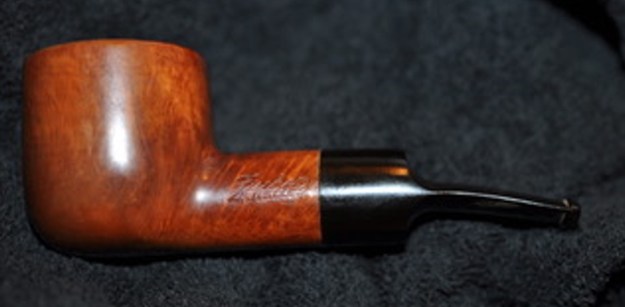
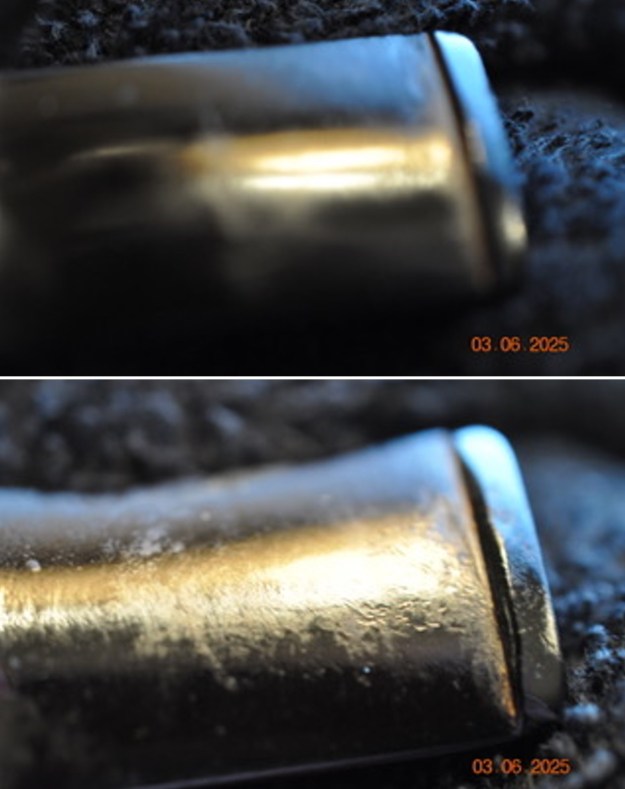
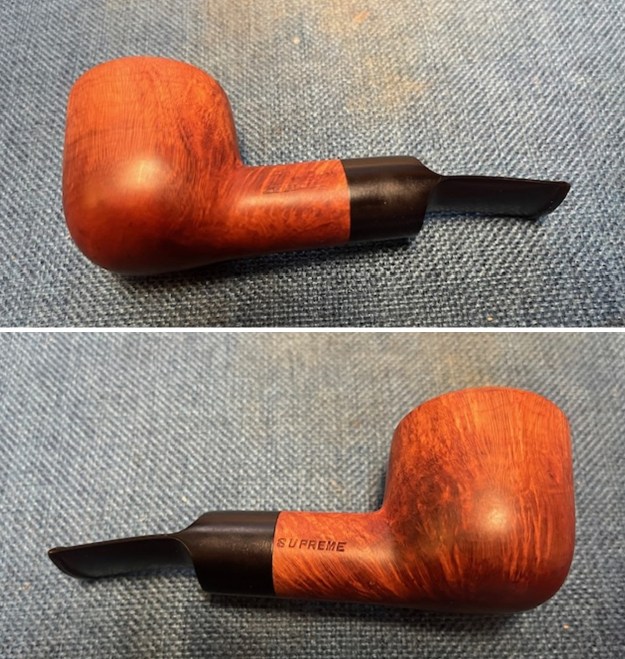
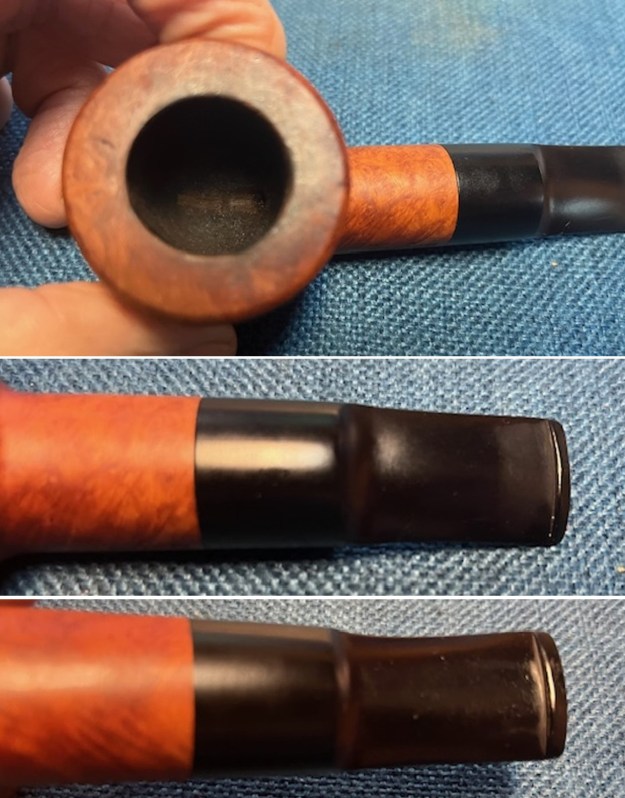
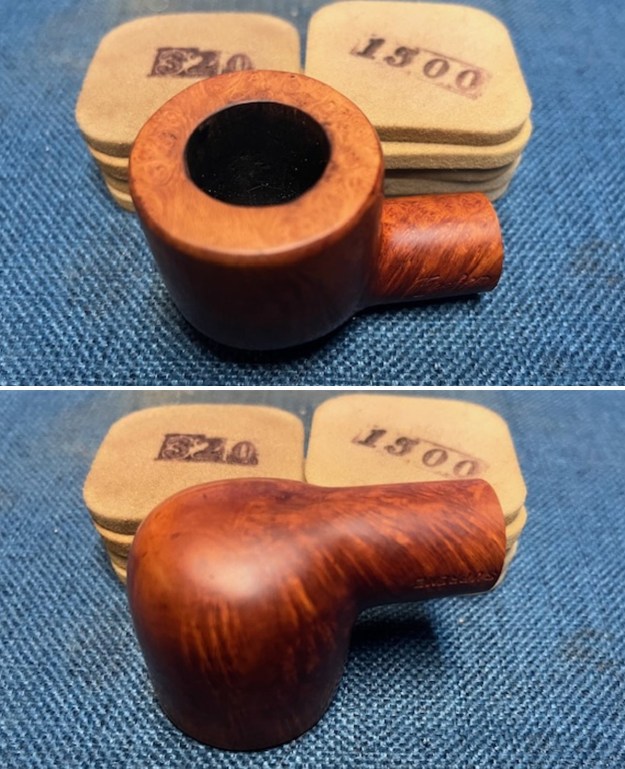
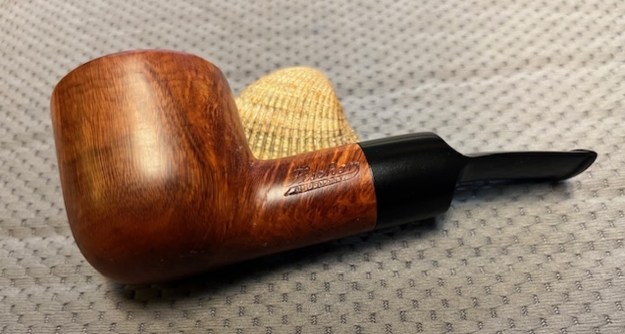
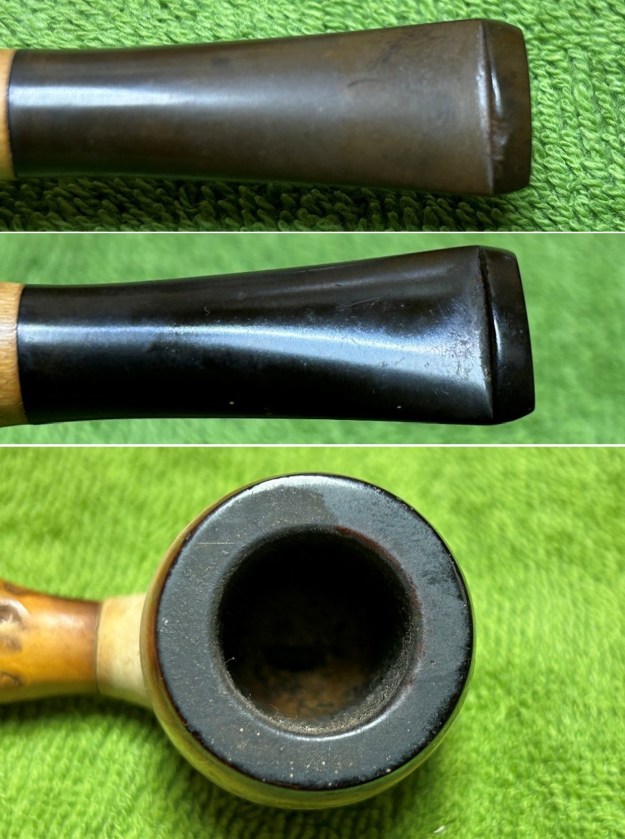
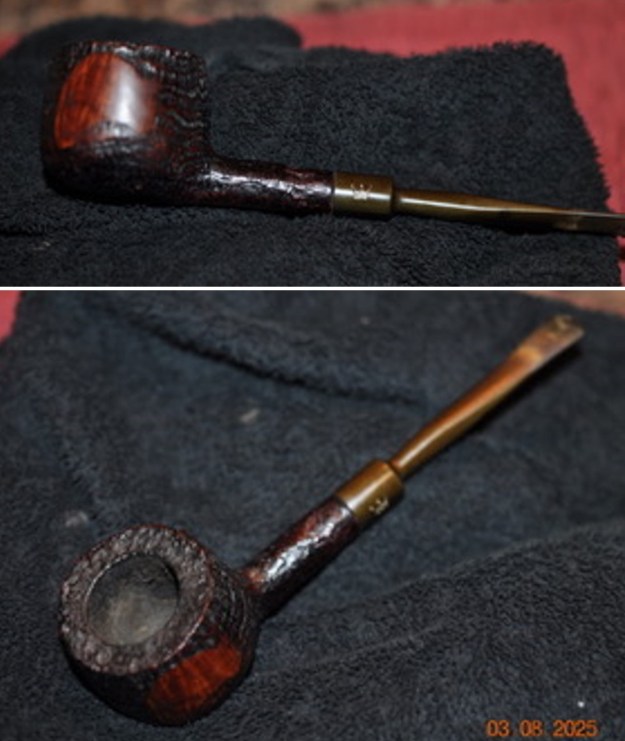
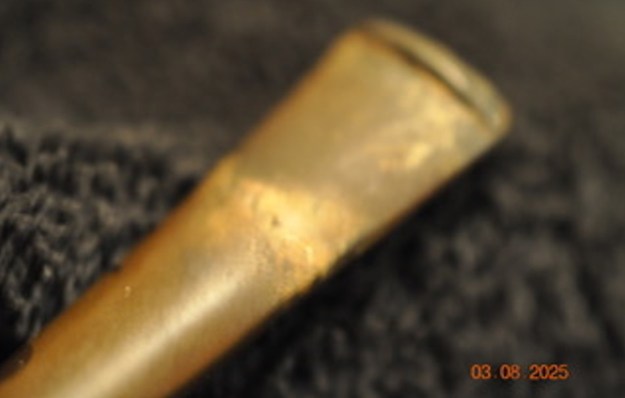
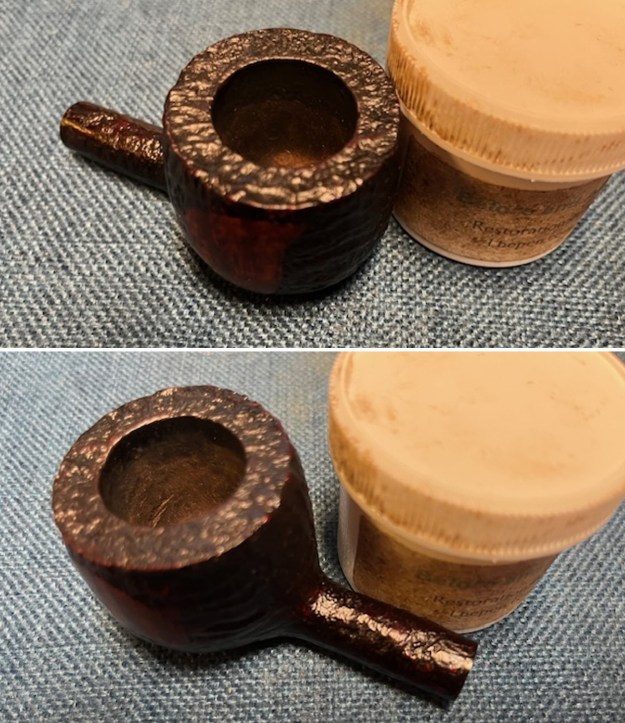
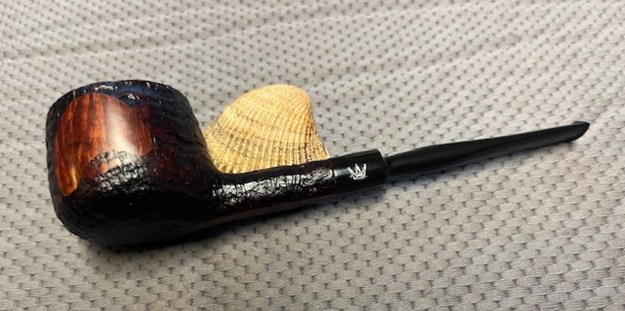
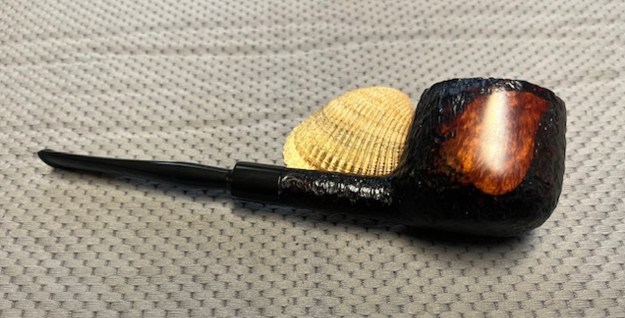
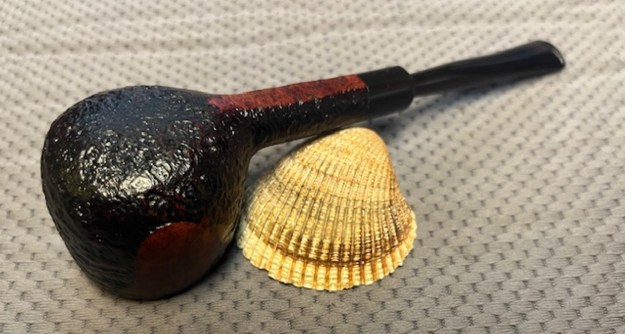
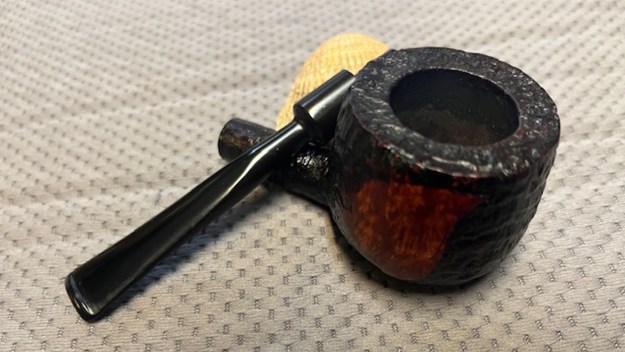
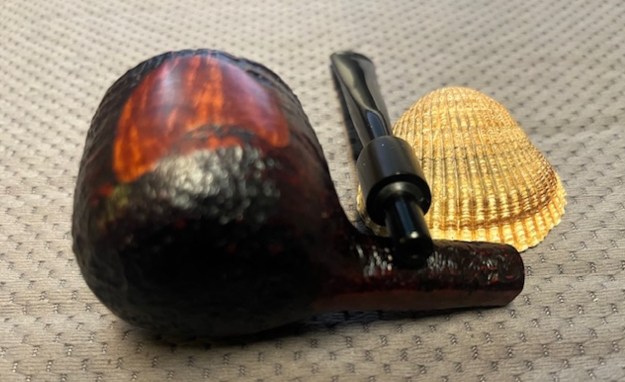
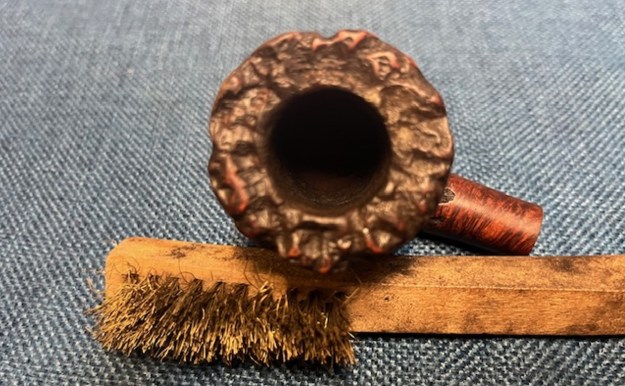
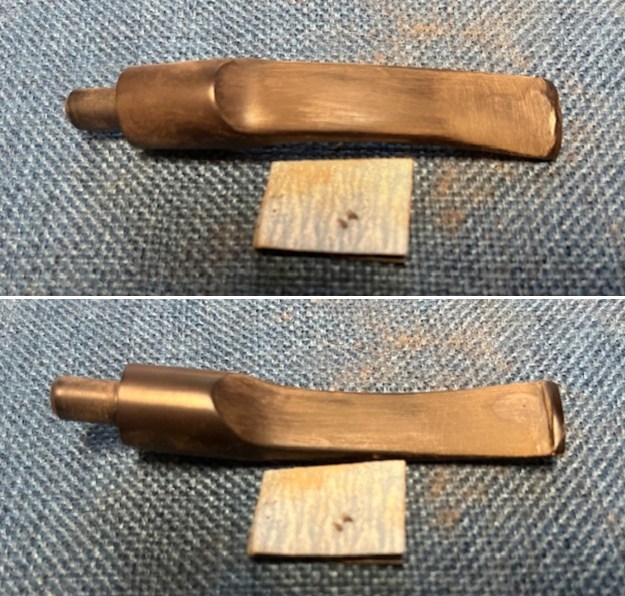
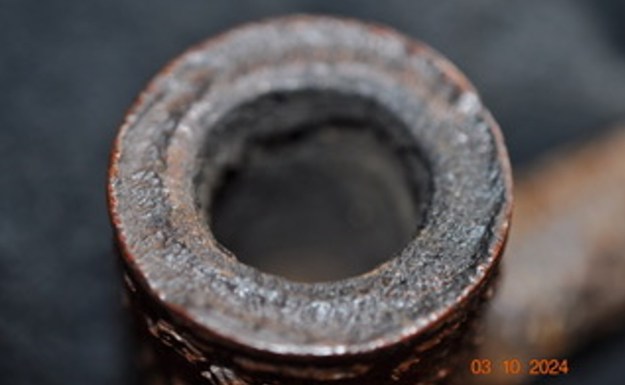
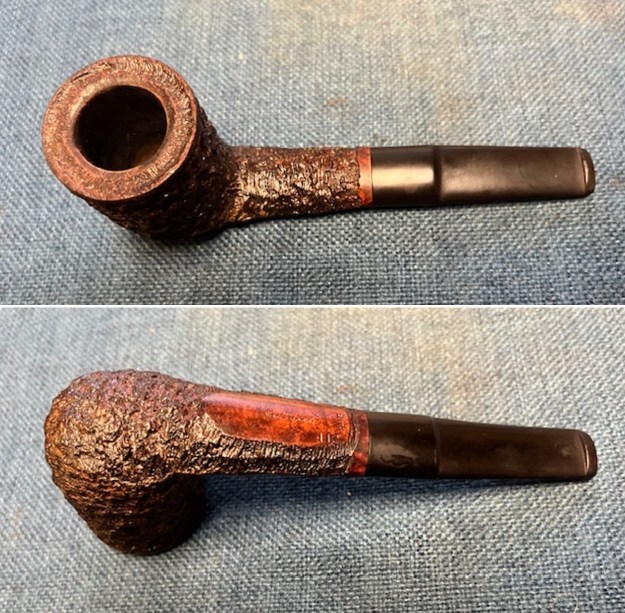
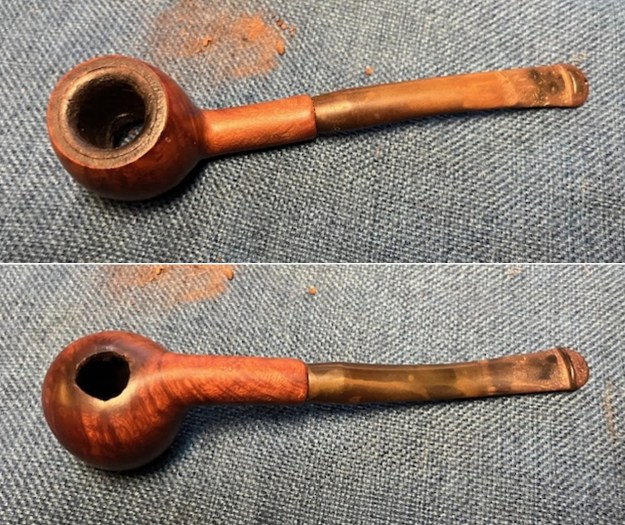
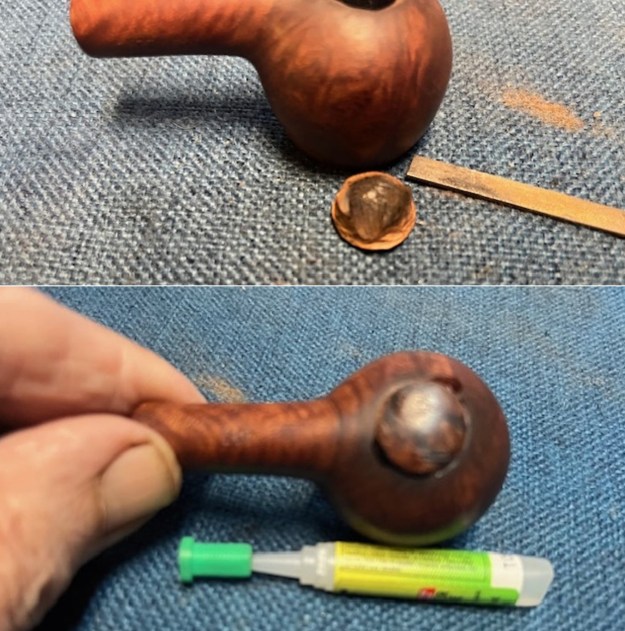
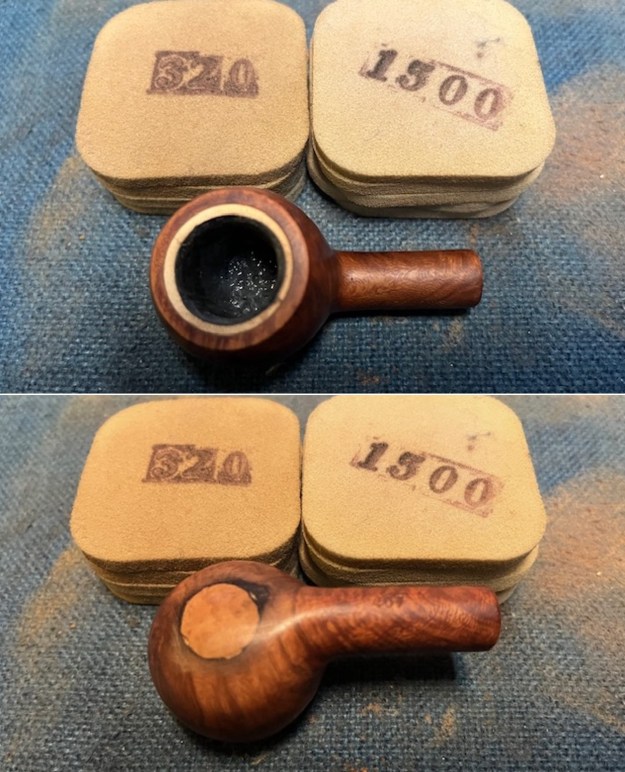
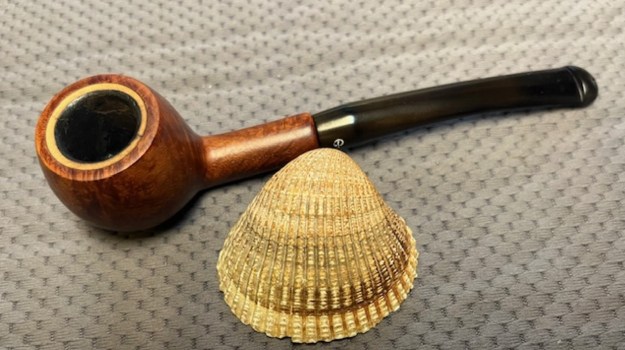
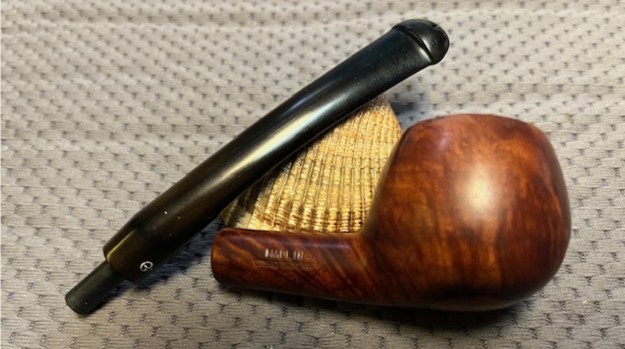
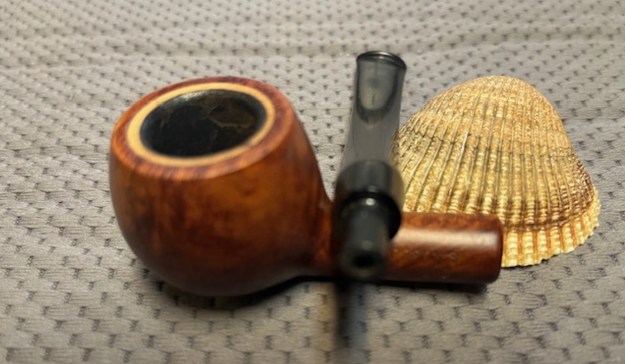
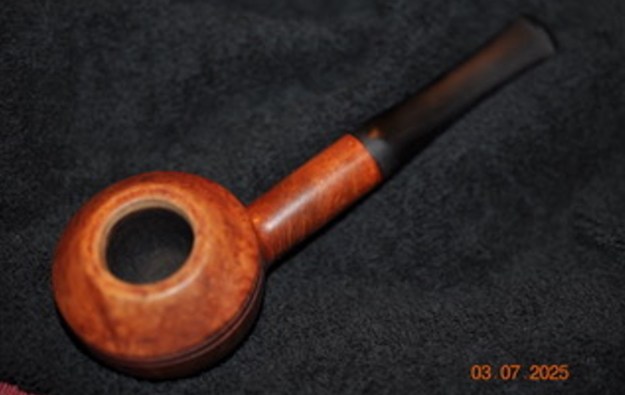
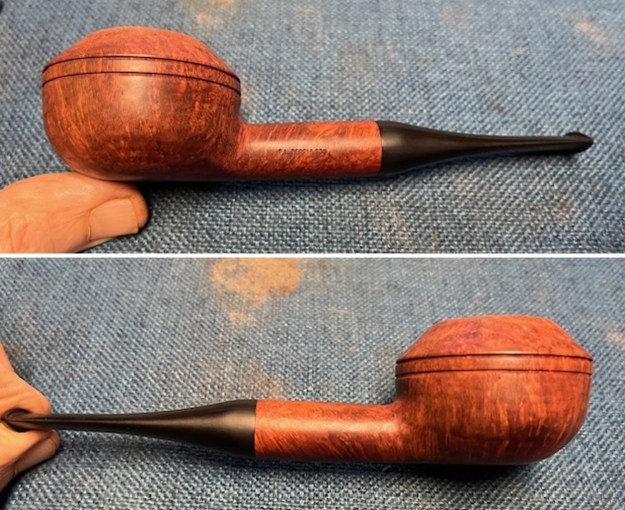
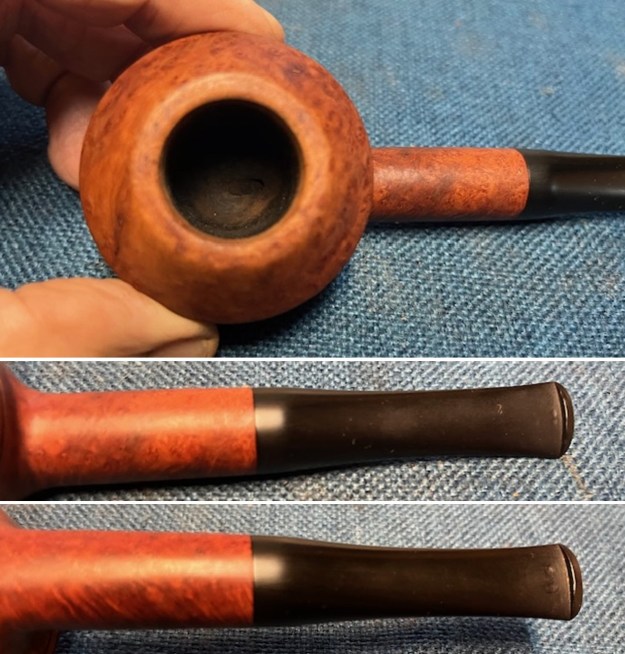
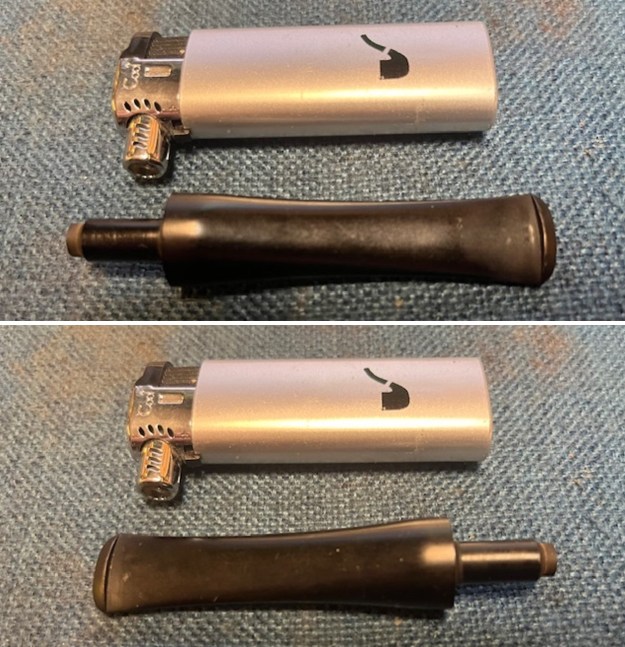
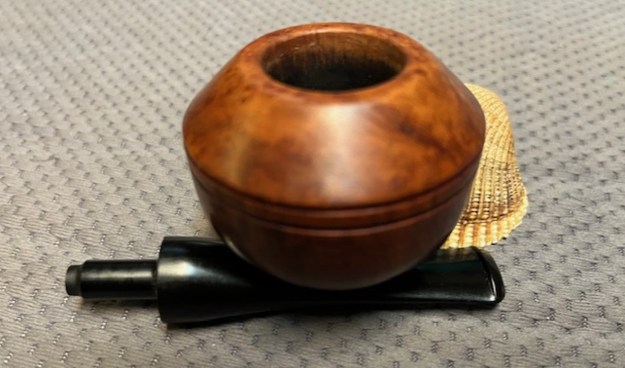
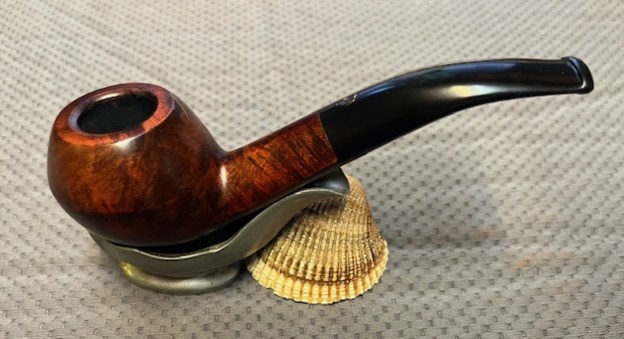
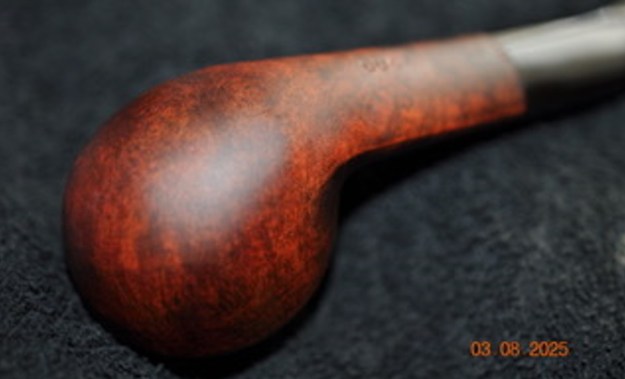
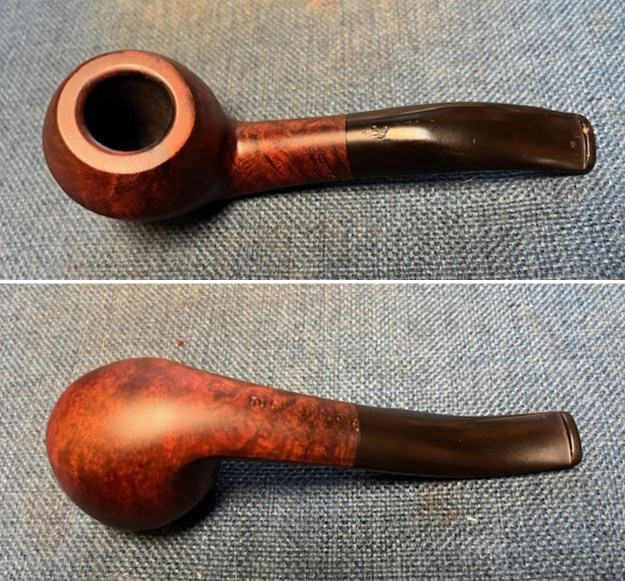 I took a photo of the rim top and stem to show the condition. The rim top and the inner edge of the bowl were in good condition. The stem was vulcanite and there were some tooth marks and chatter on both sides ahead of the button and on the button surface. The gold crown had lost some of its lustre in the clean up and would need to be touched up.
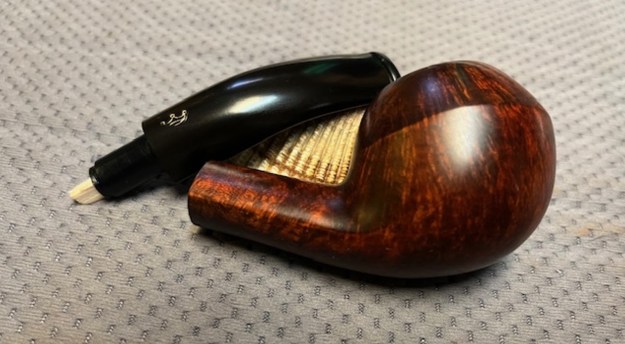
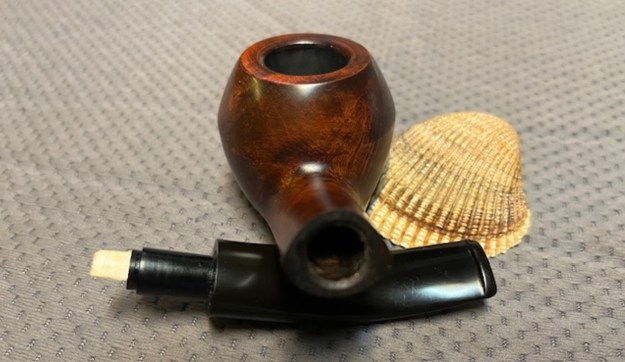
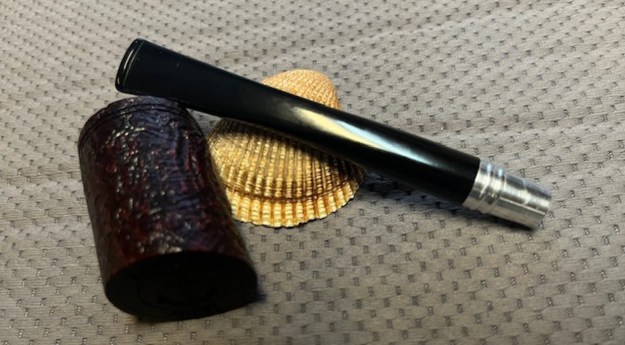
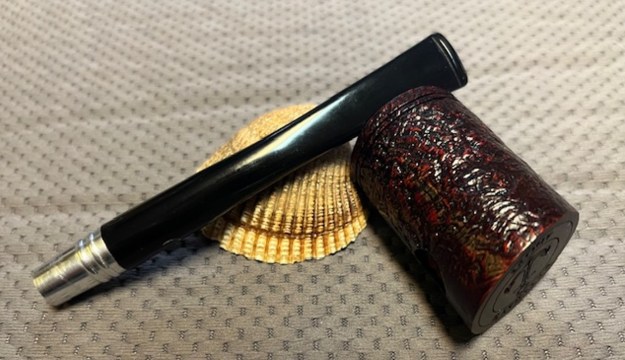
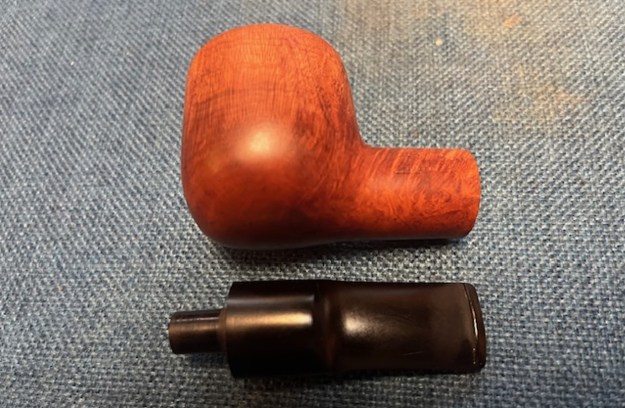
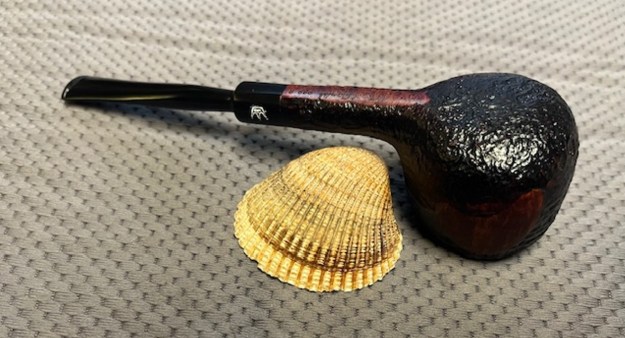
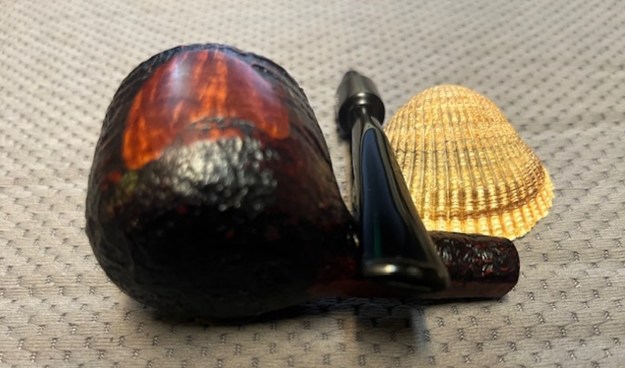
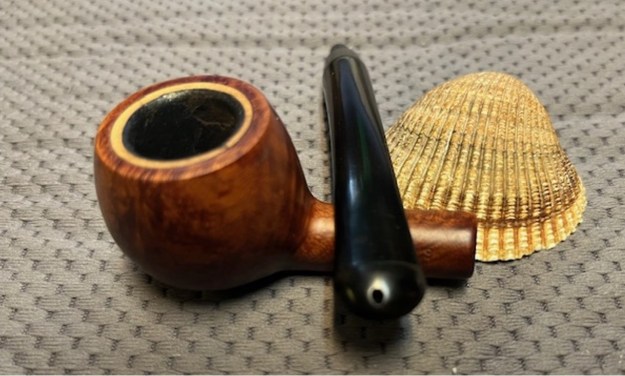
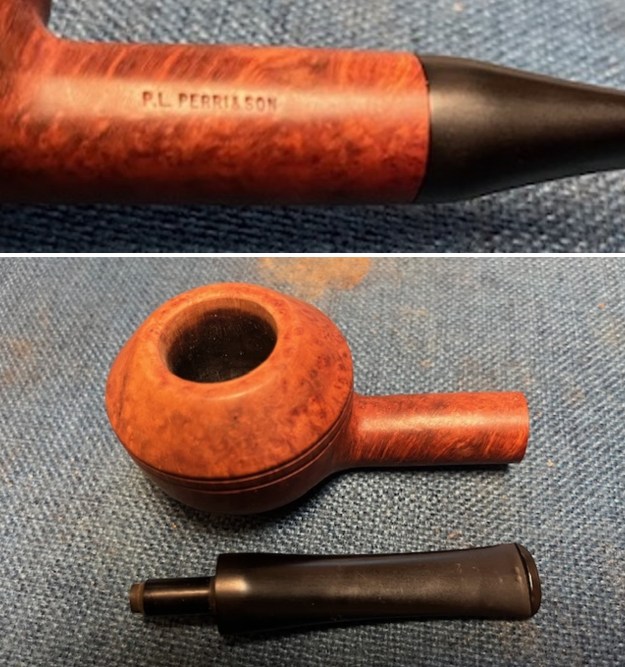
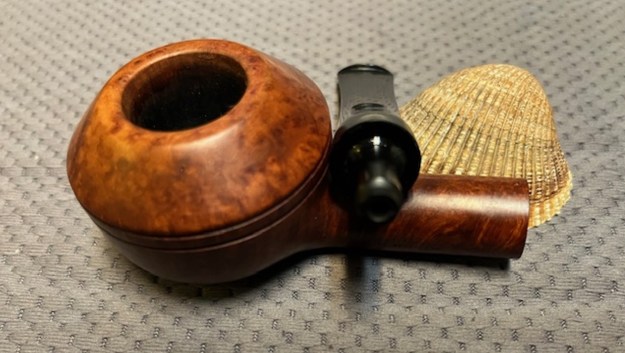
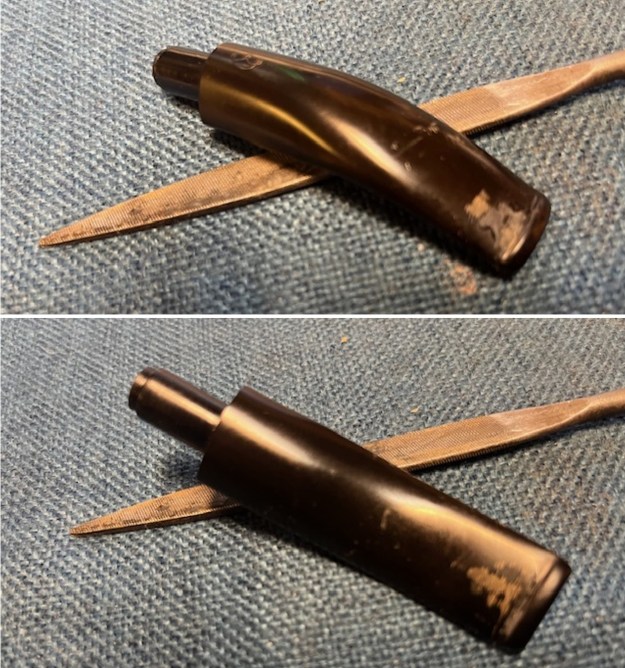
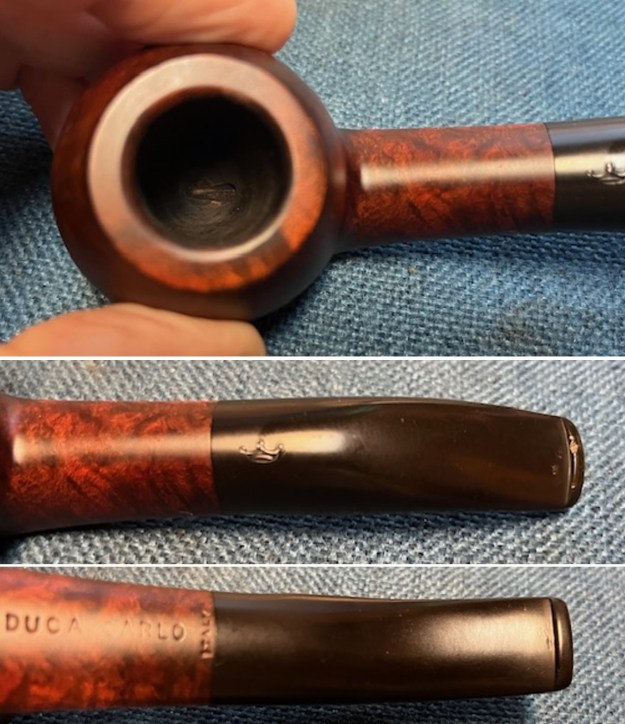 The stamping on the pipe is faint in spots but still is clear and readable as noted above. I removed the stem from the shank and took a photo of the pipe to give a sense of the whole.
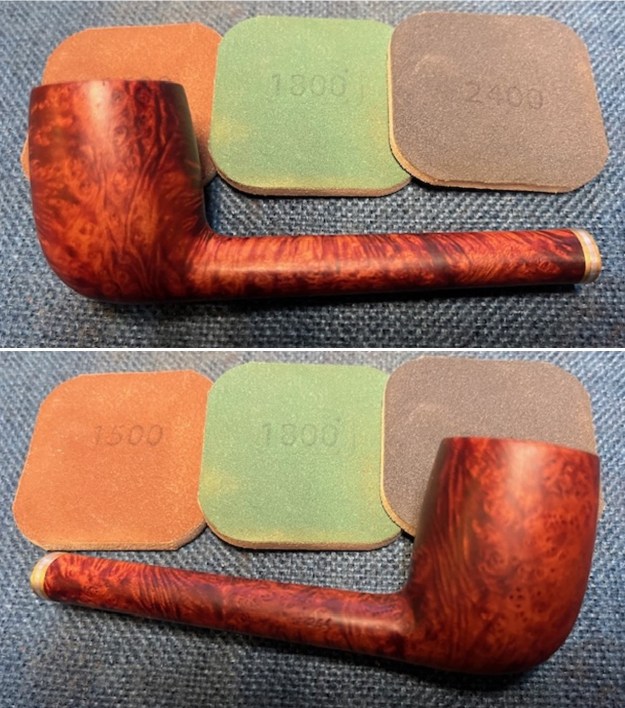
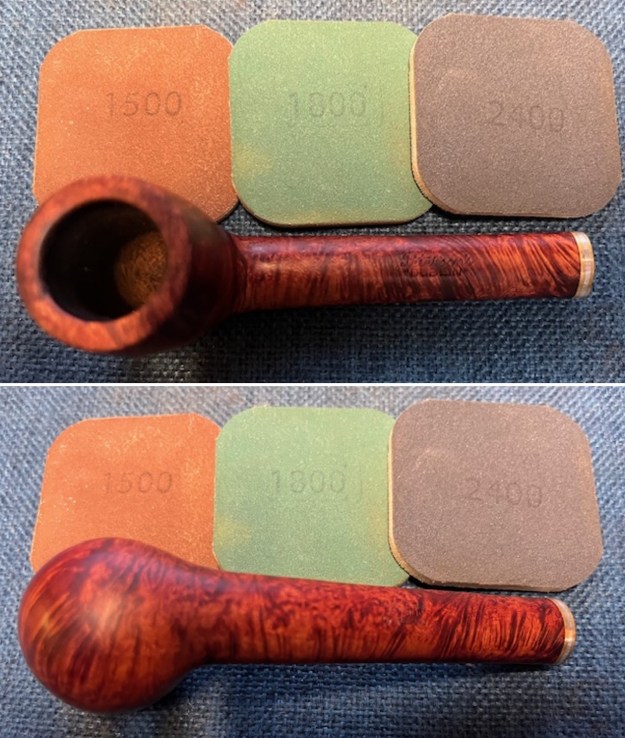
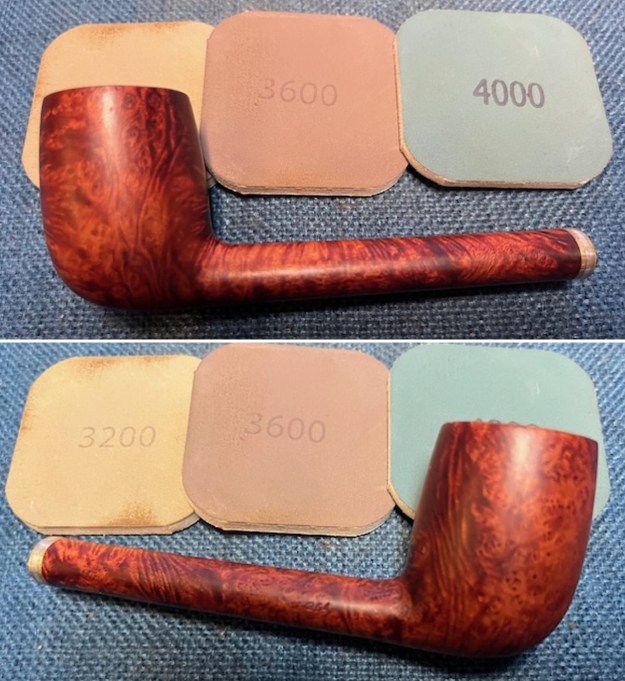
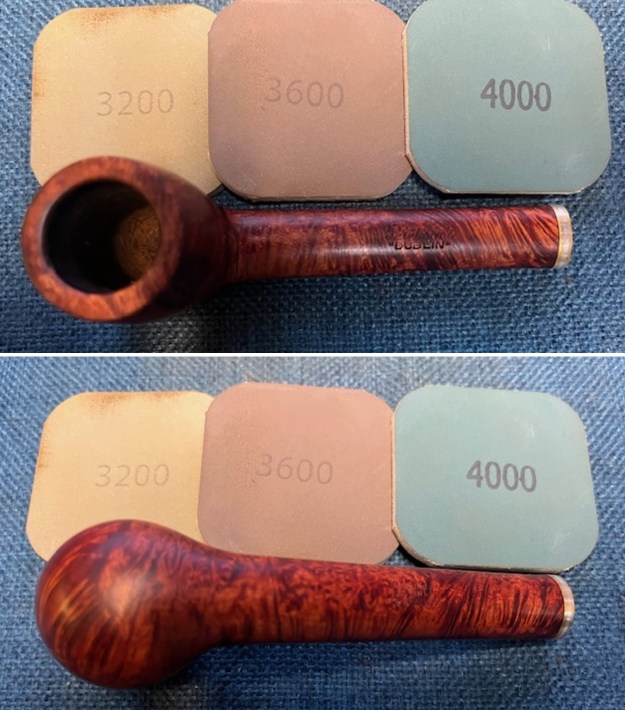
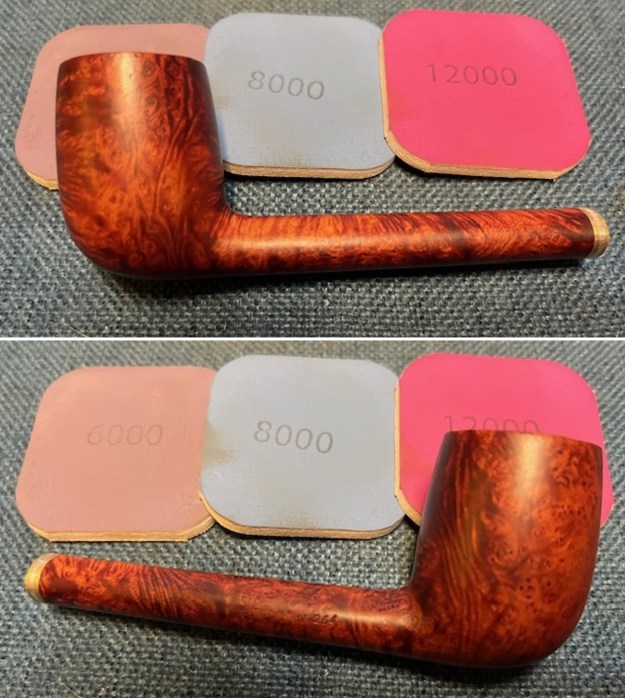
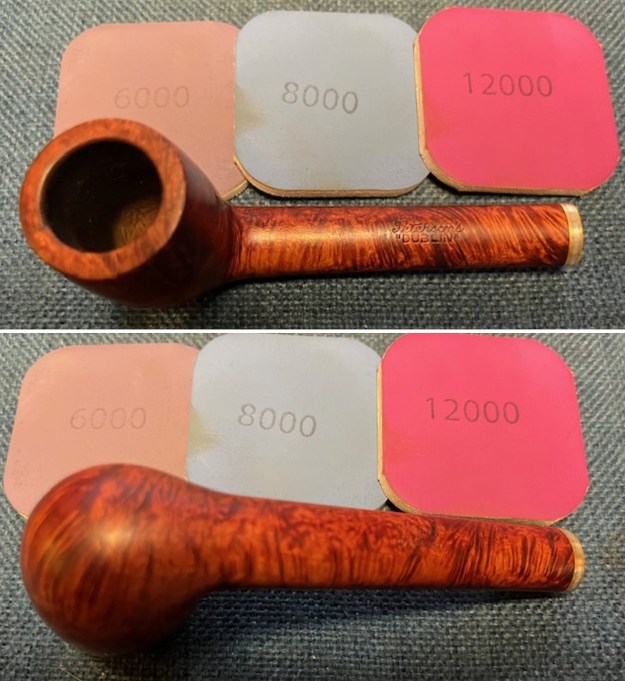
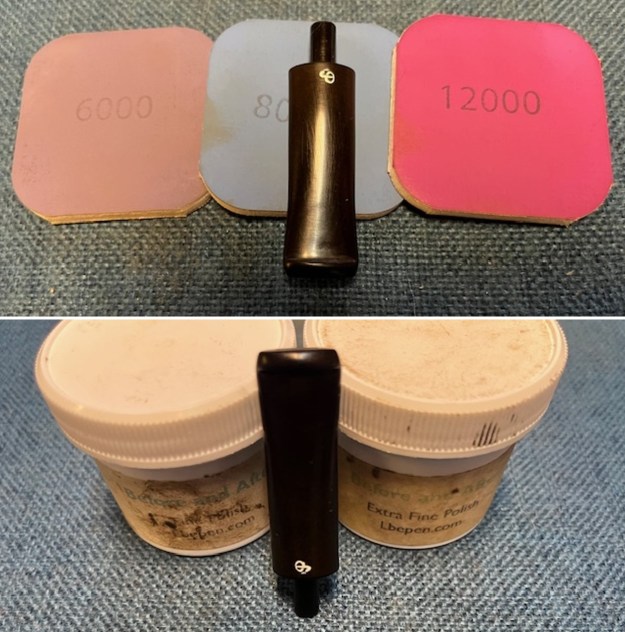
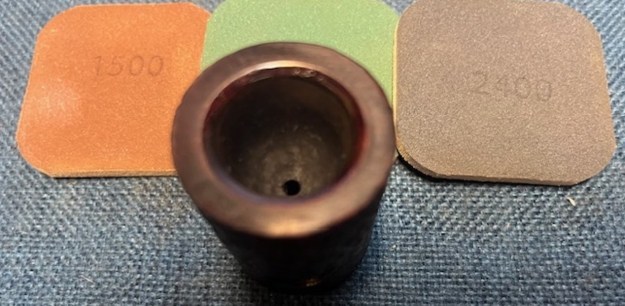
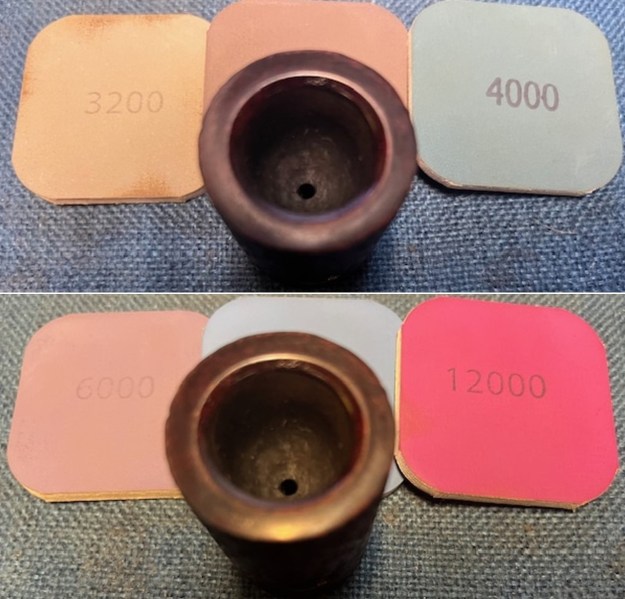
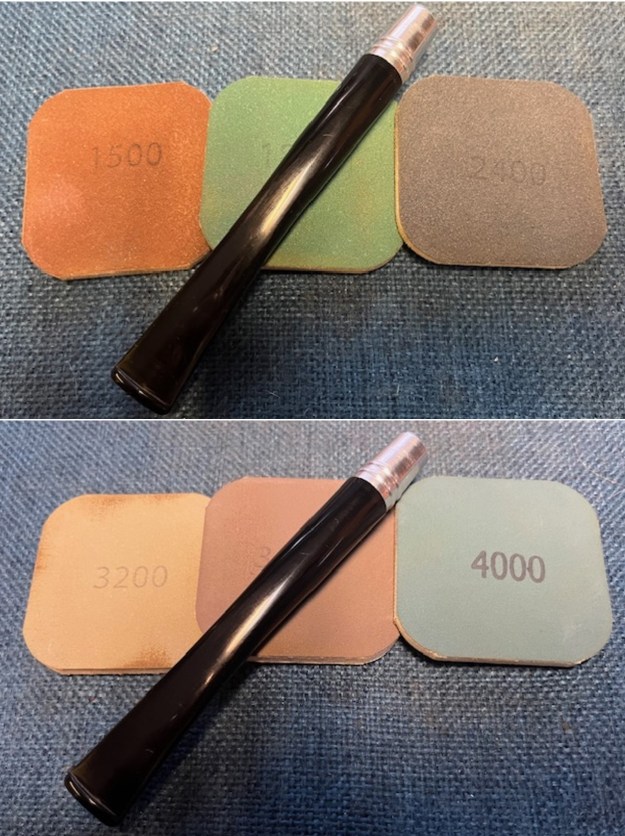
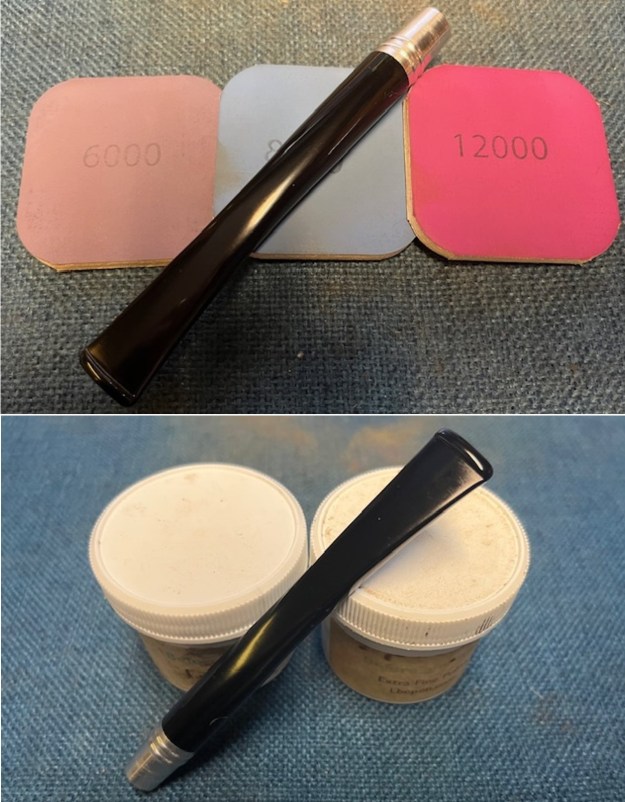
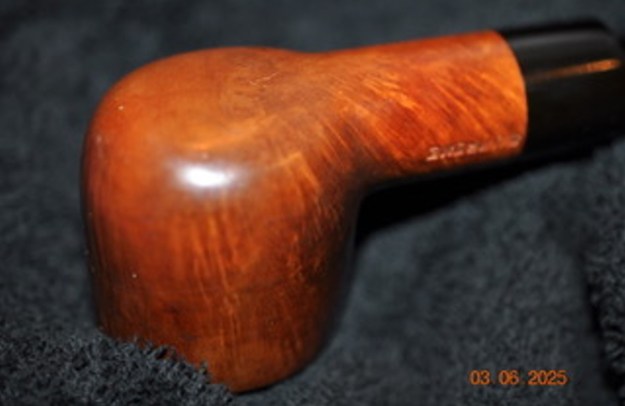
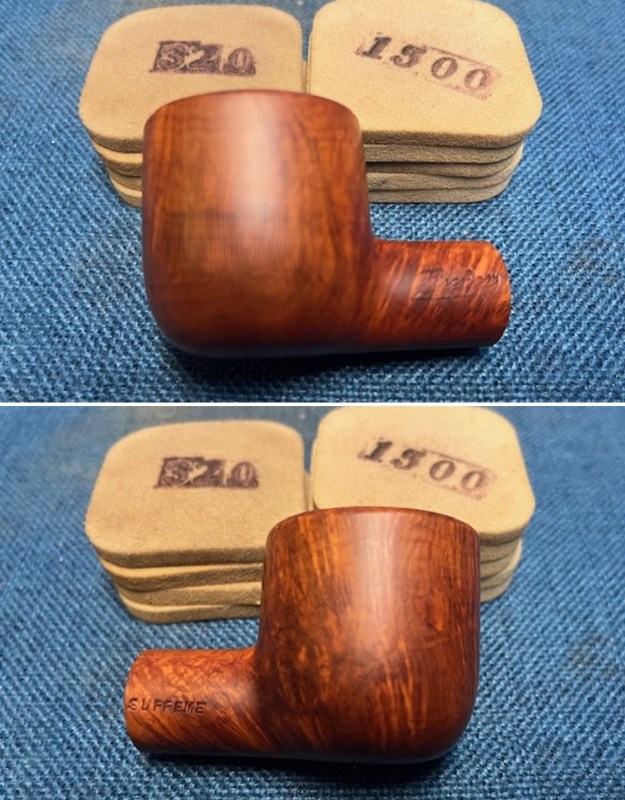
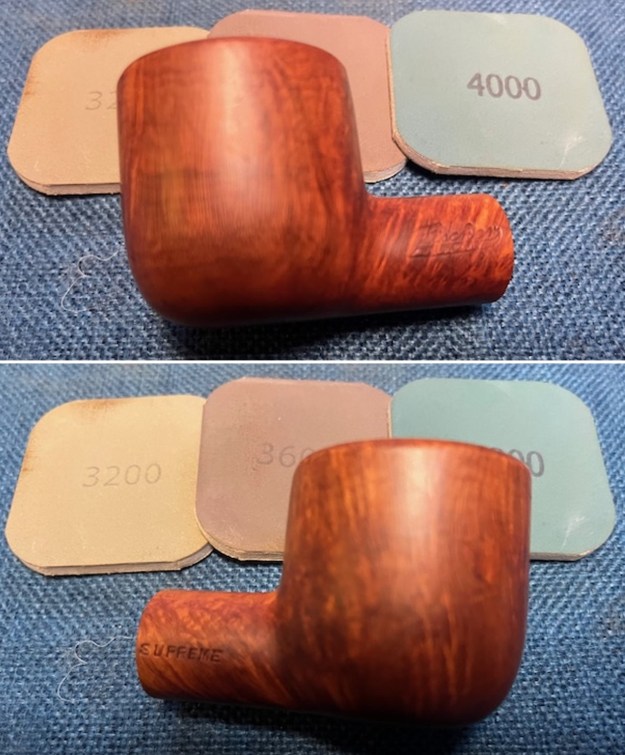
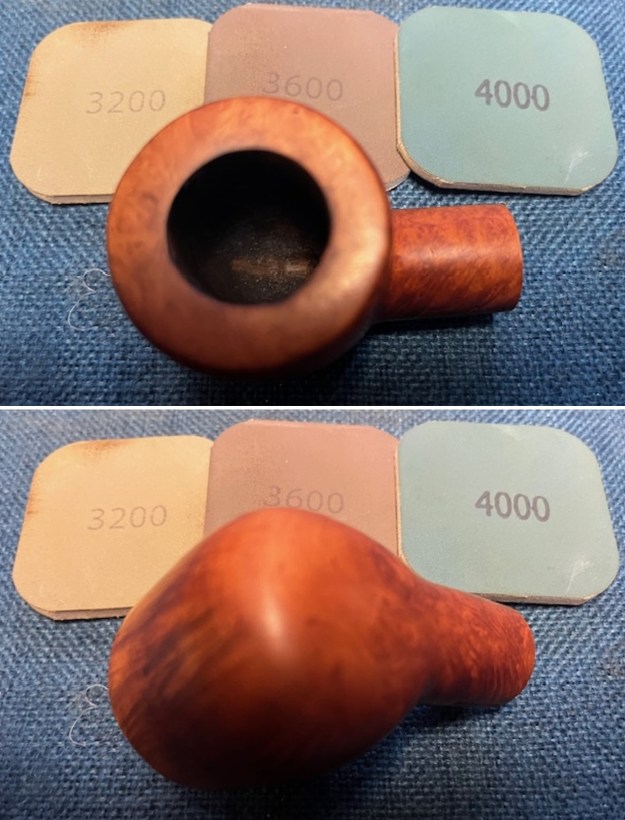
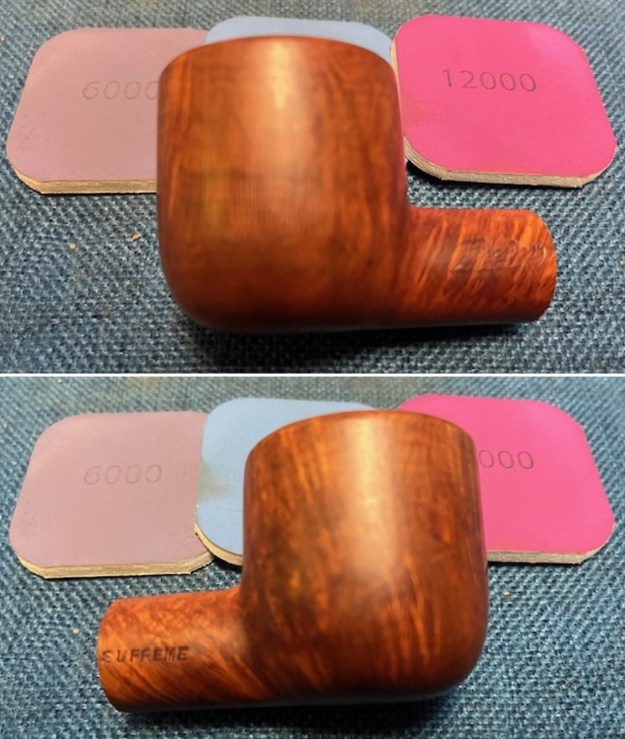
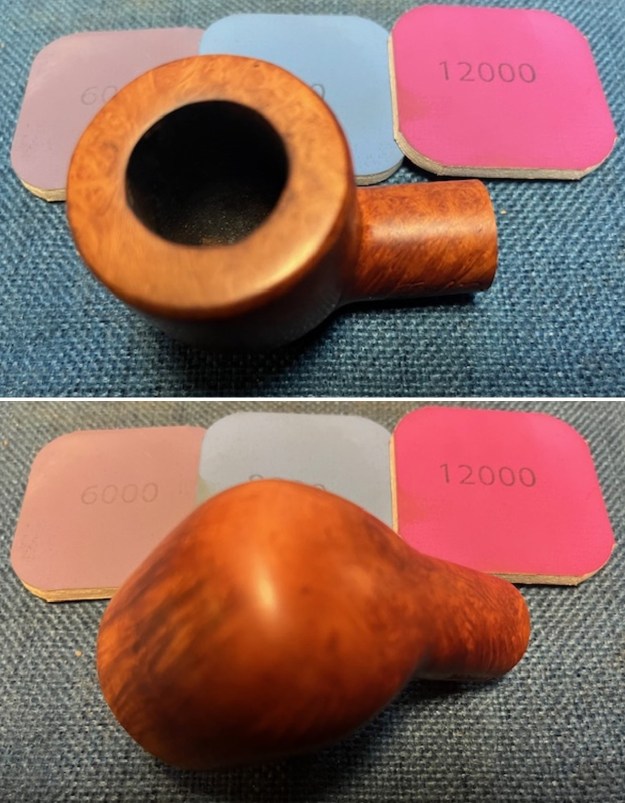
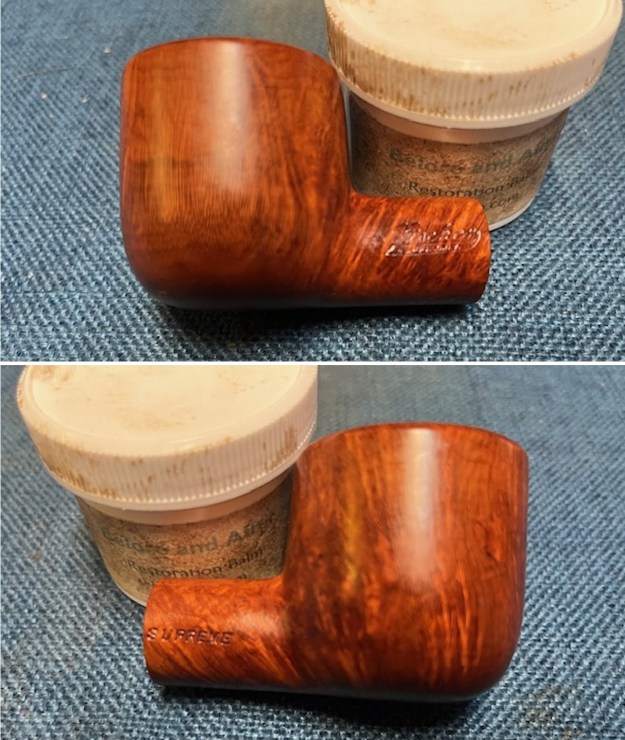
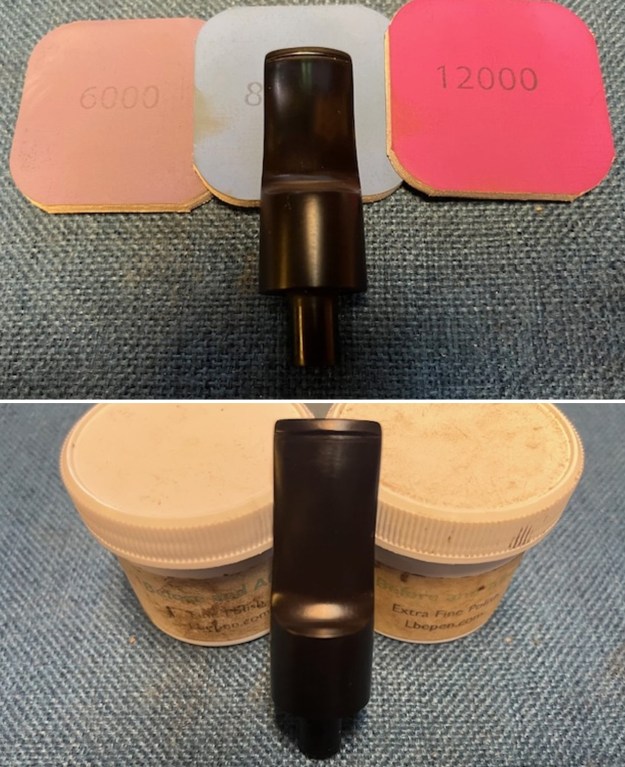
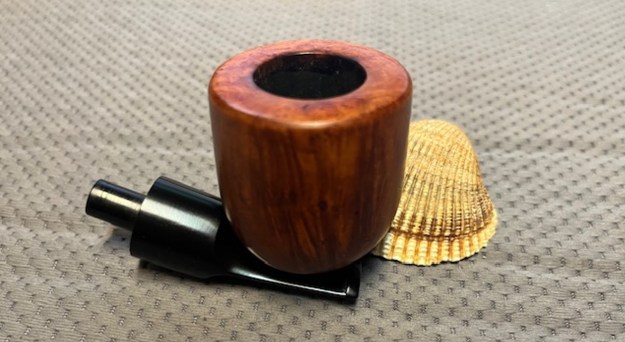
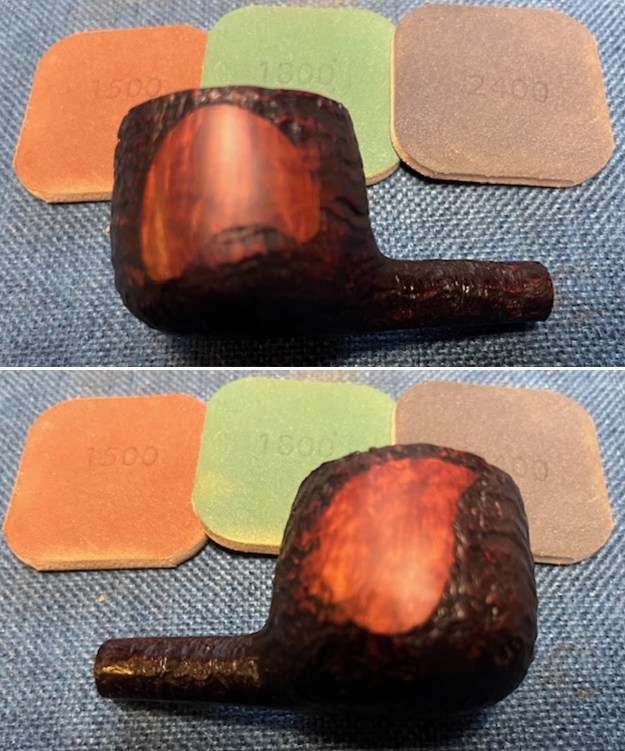
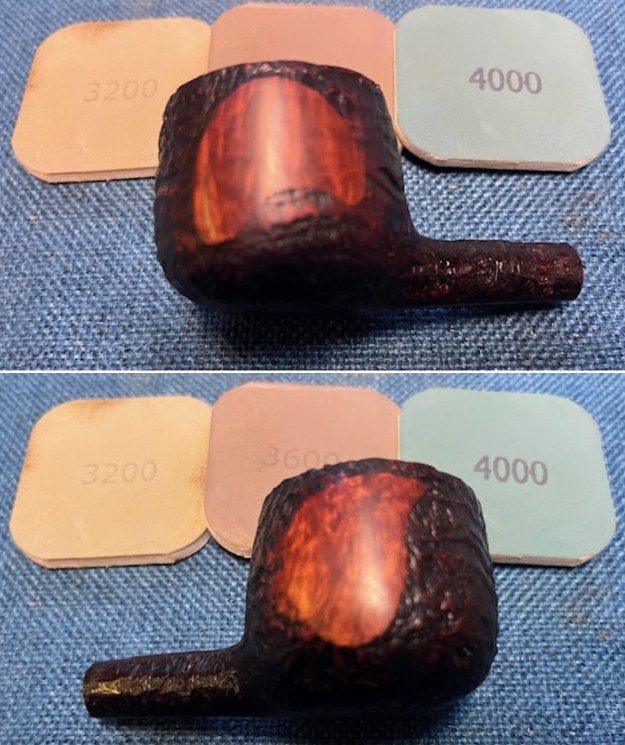
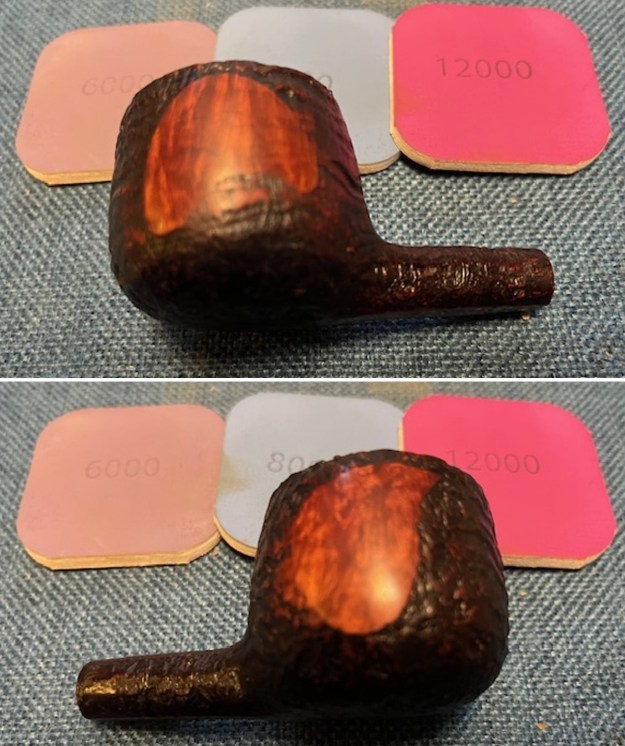
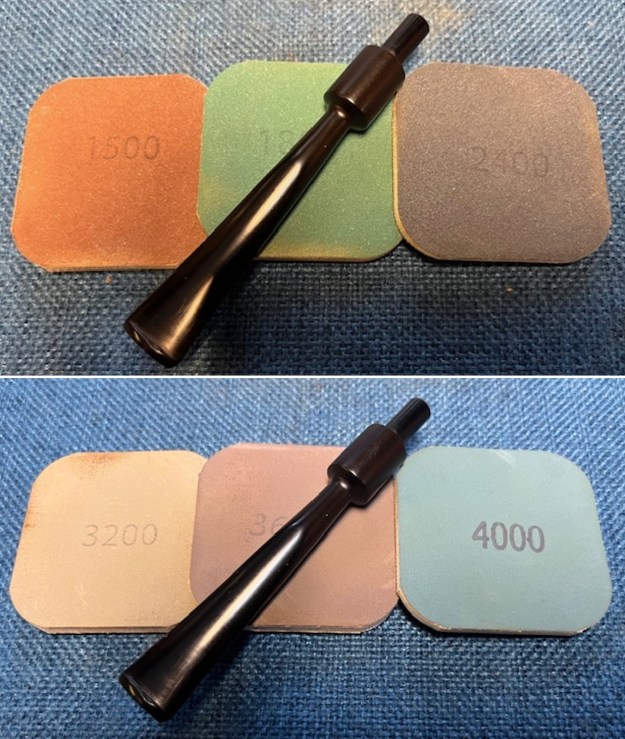
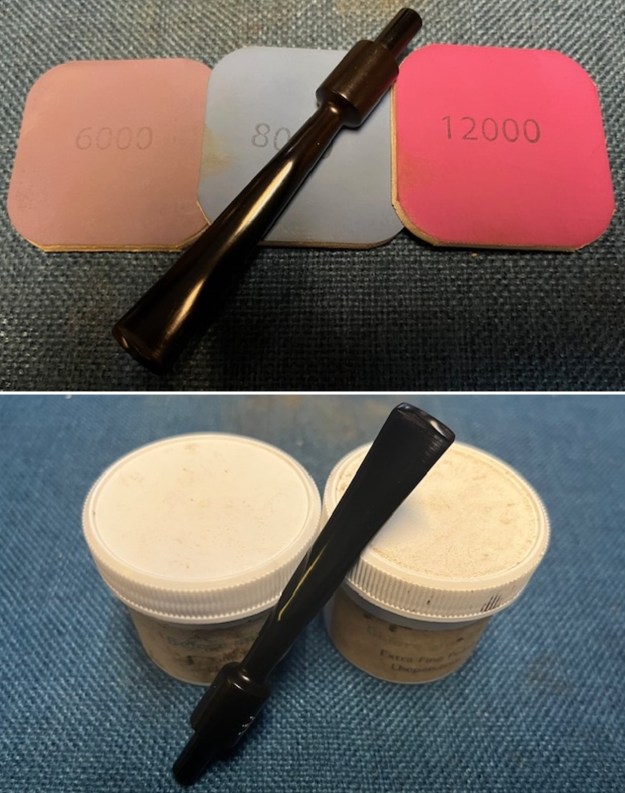
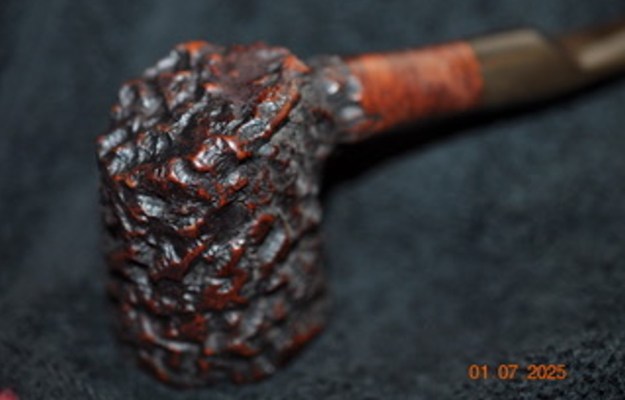
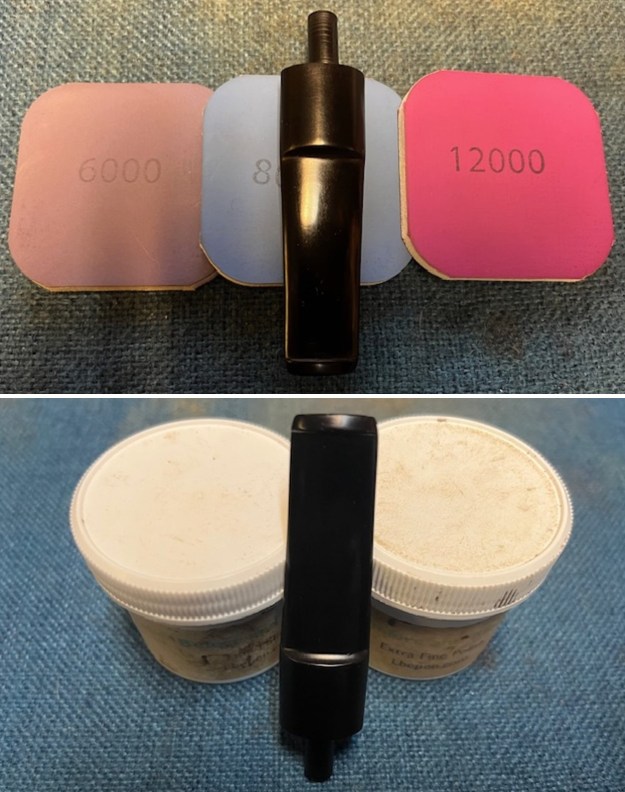
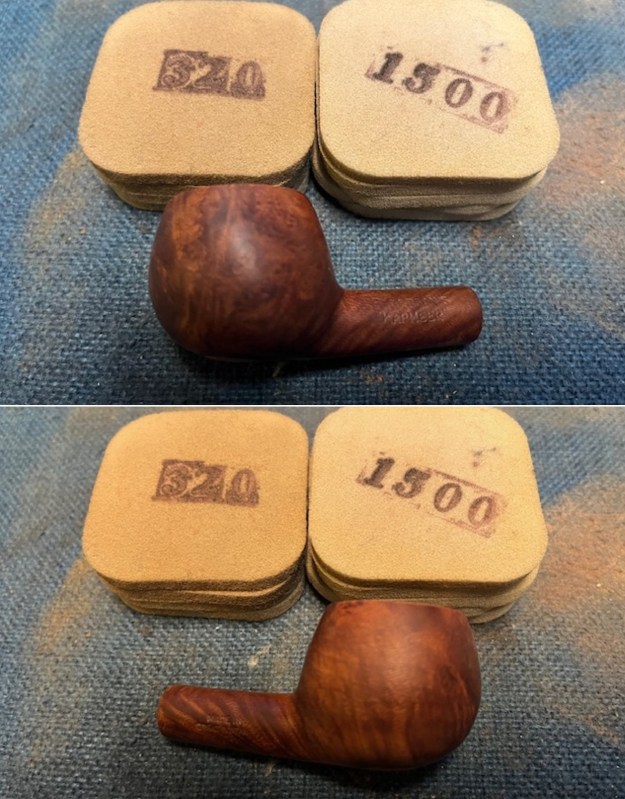
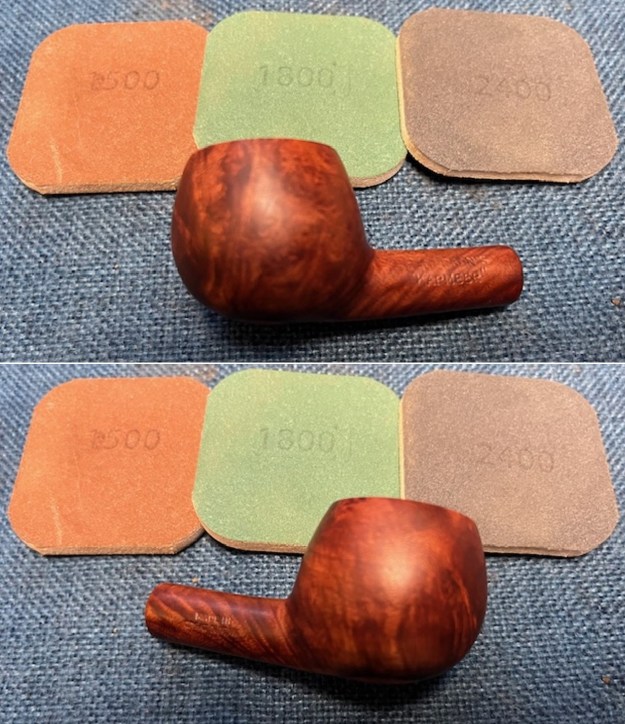
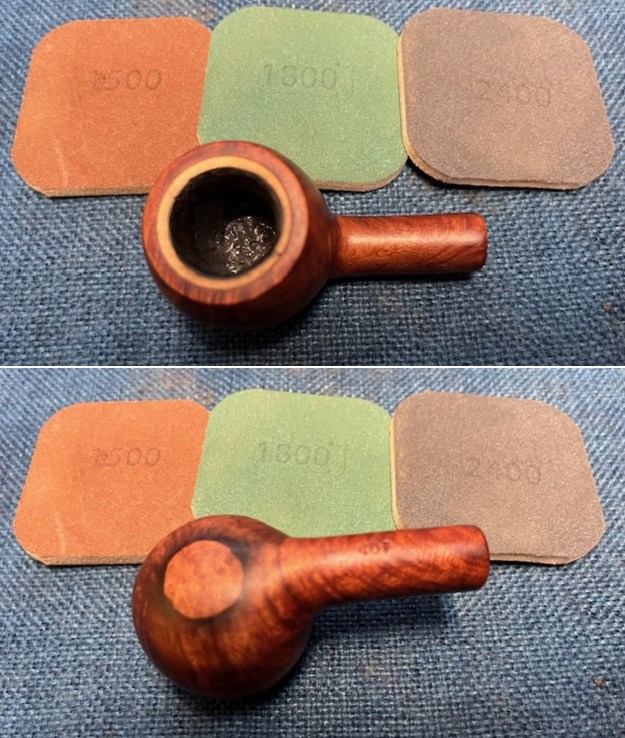
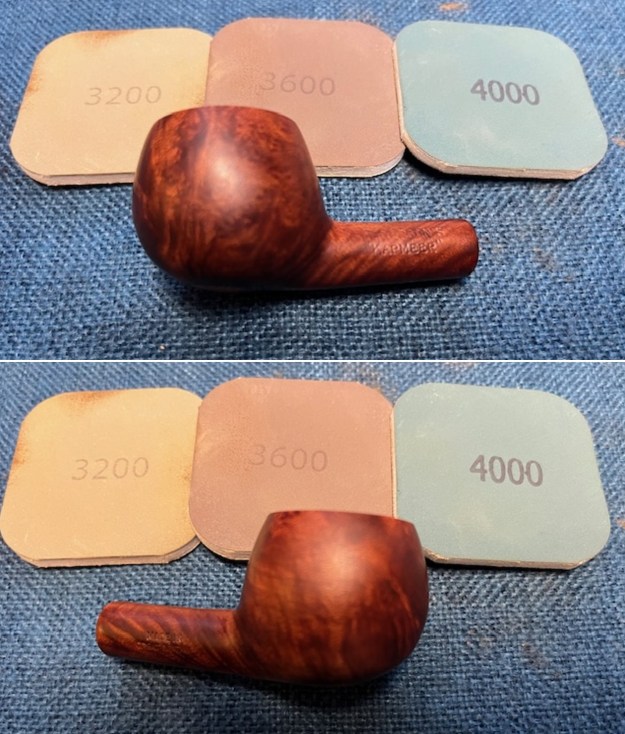
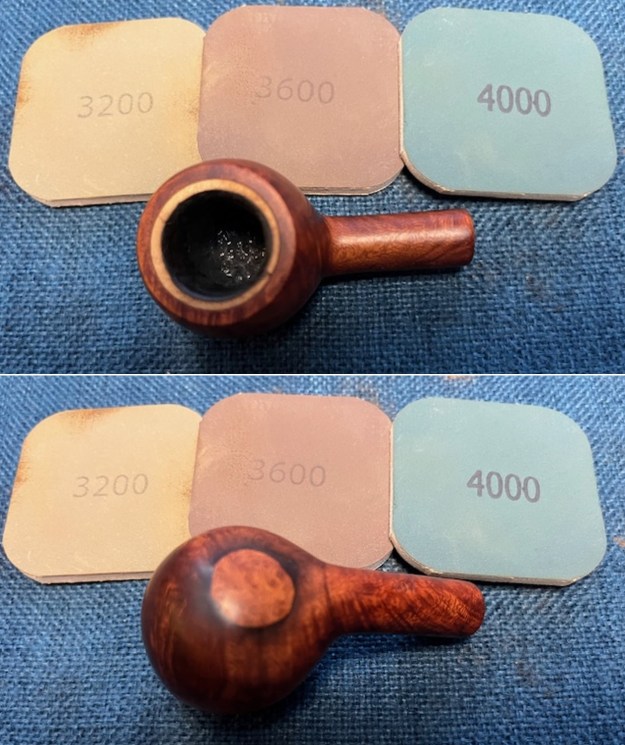
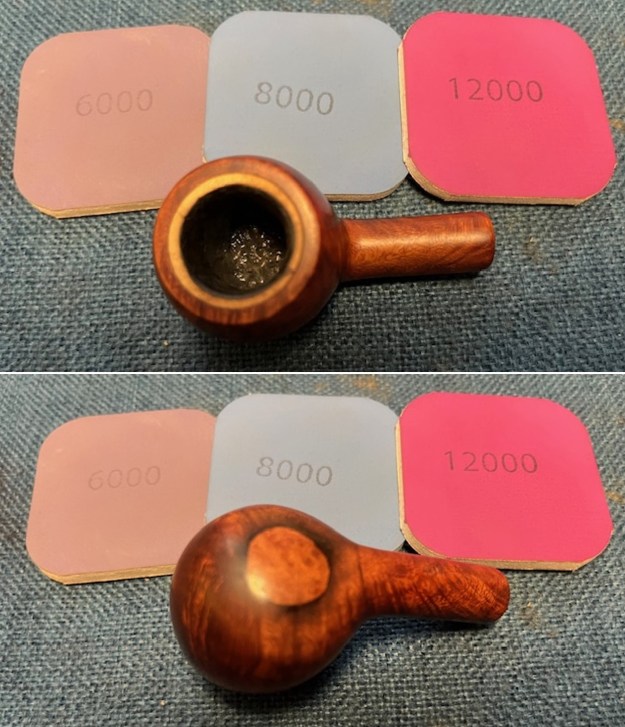
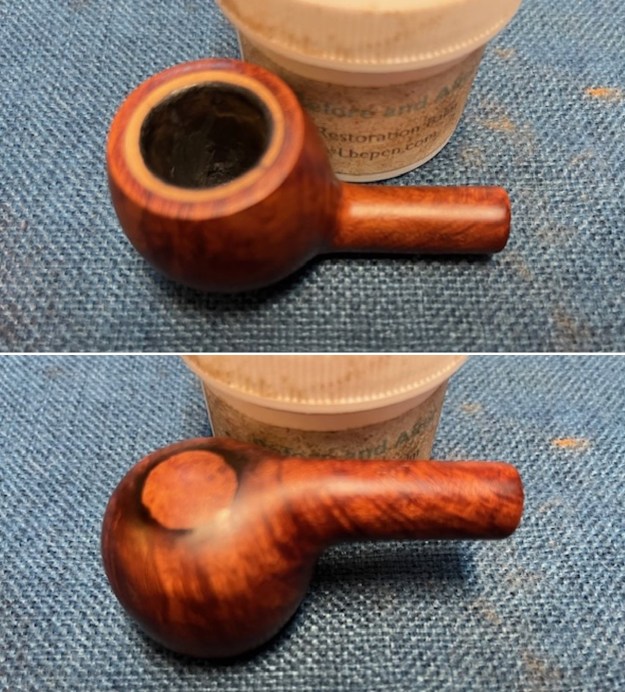
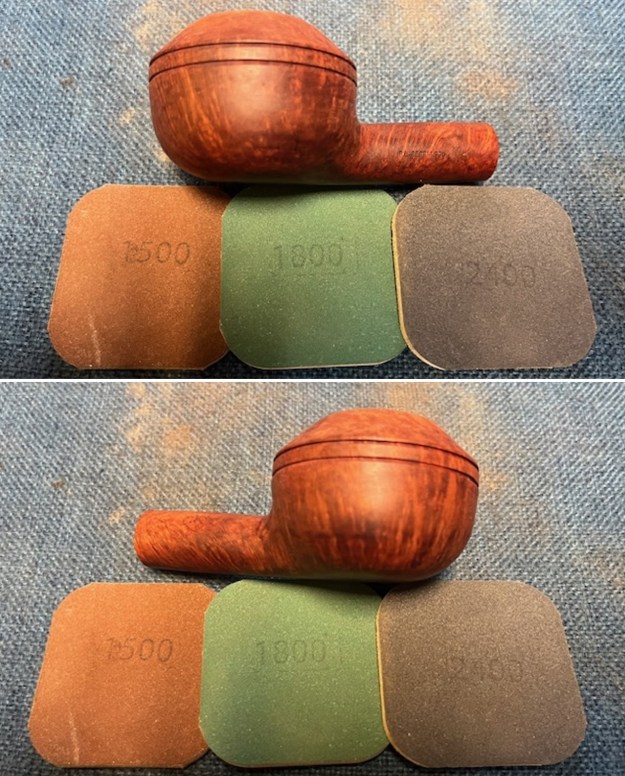
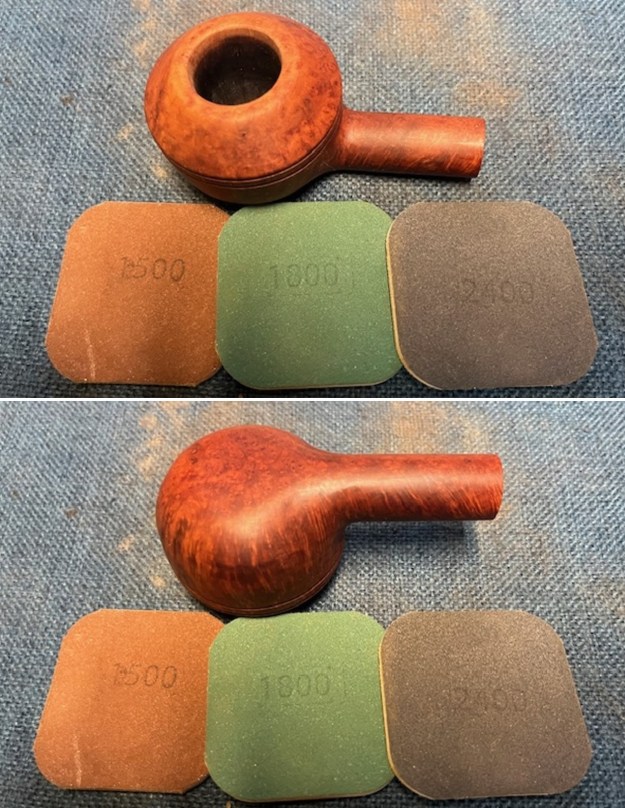
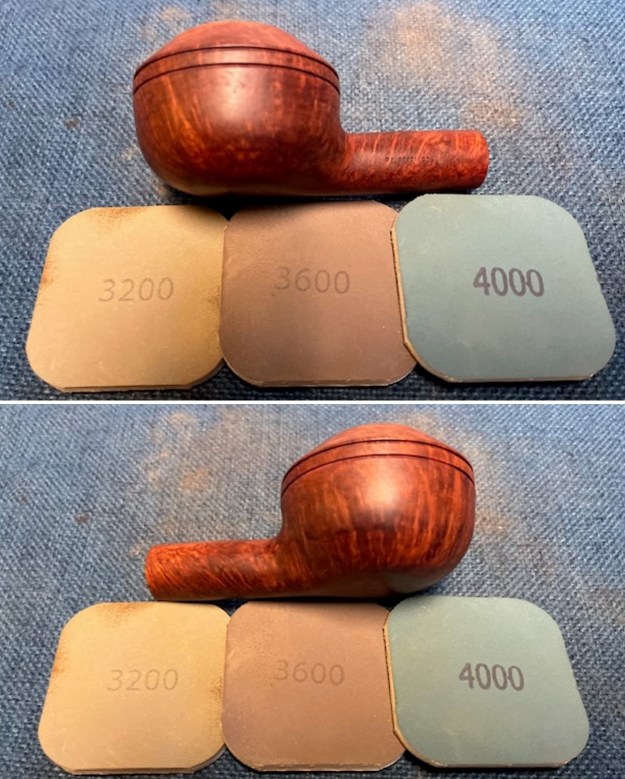
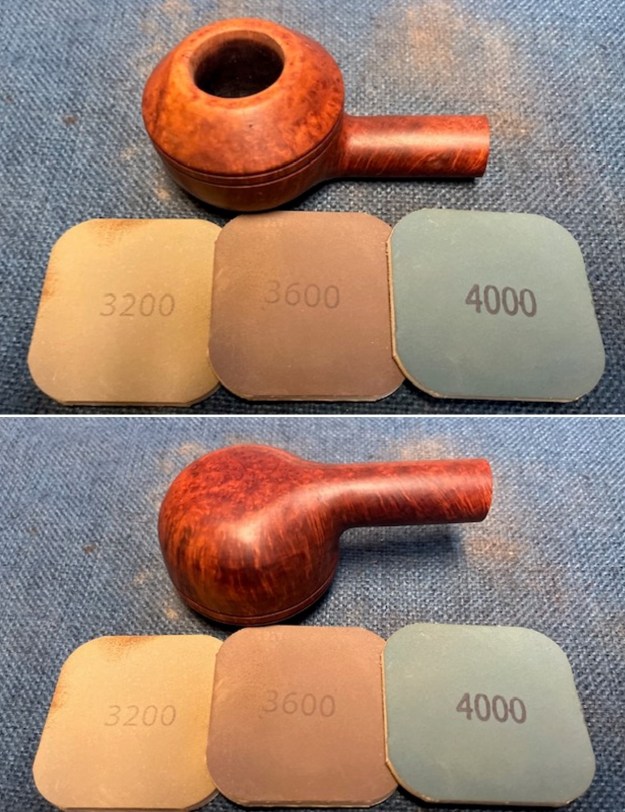
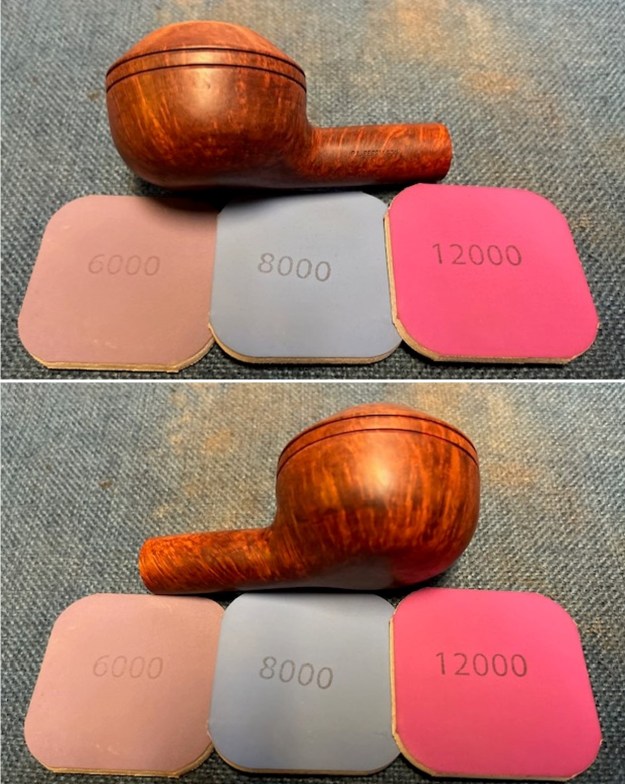
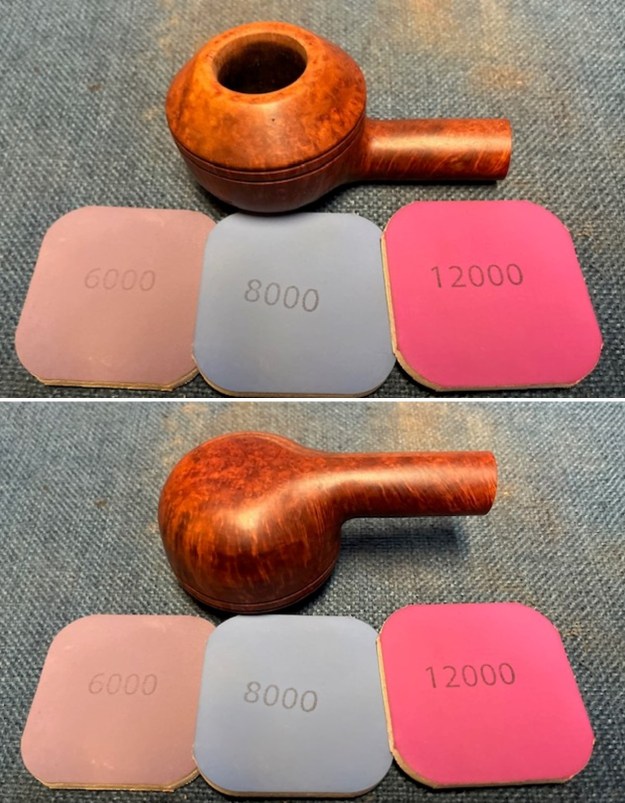
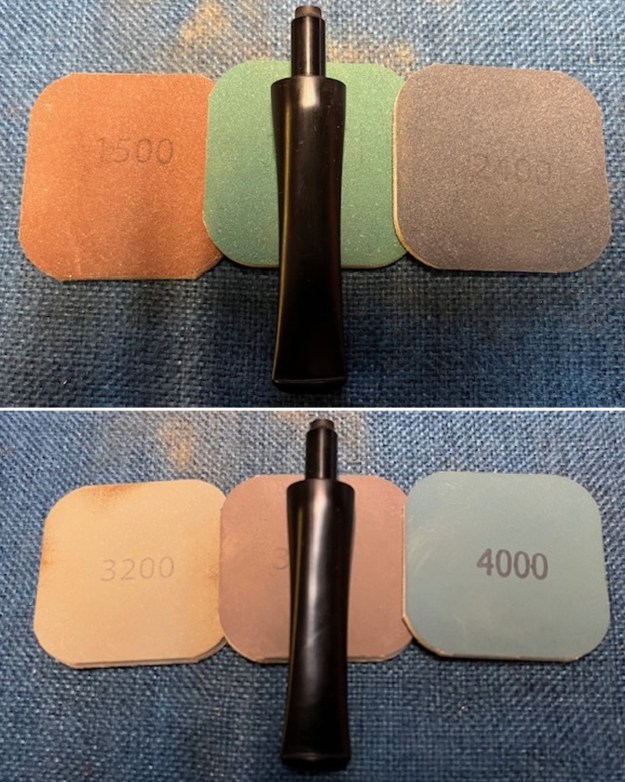
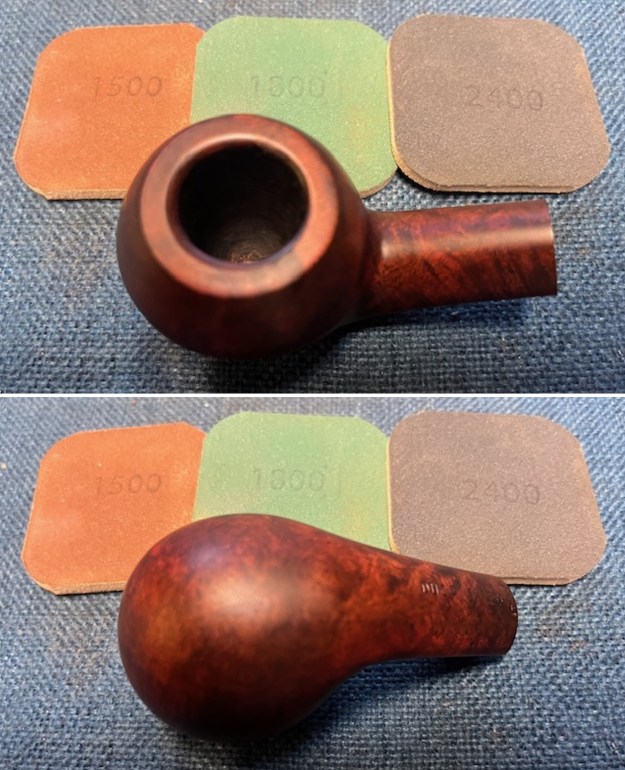
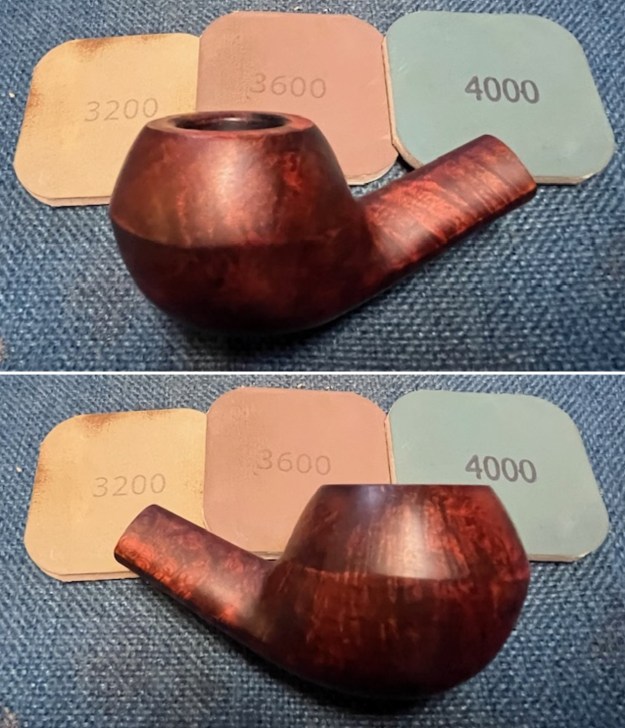
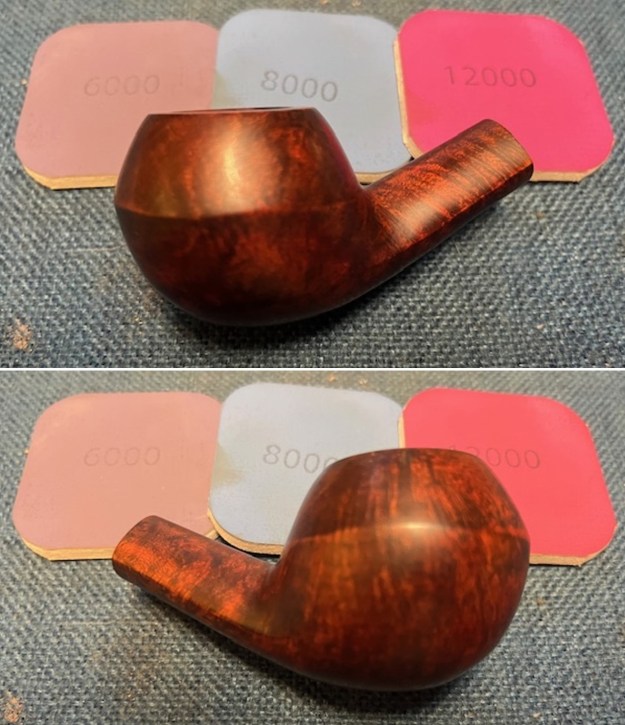
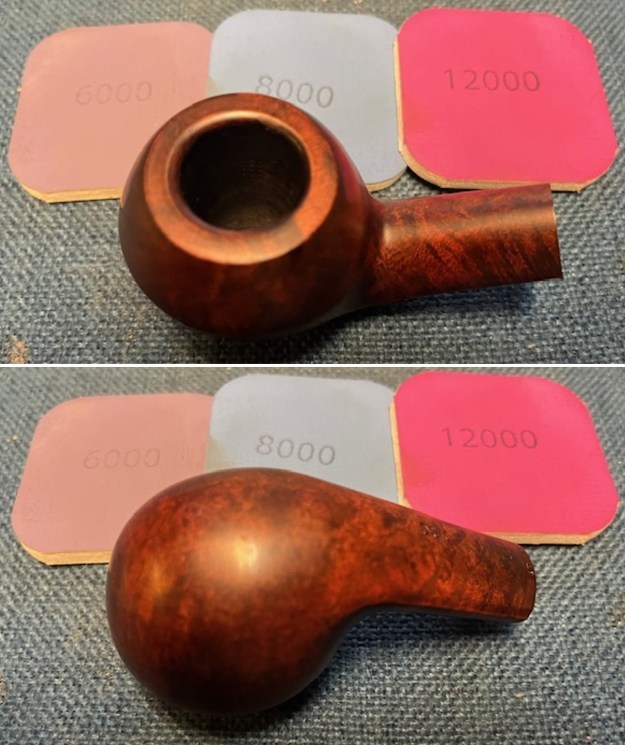
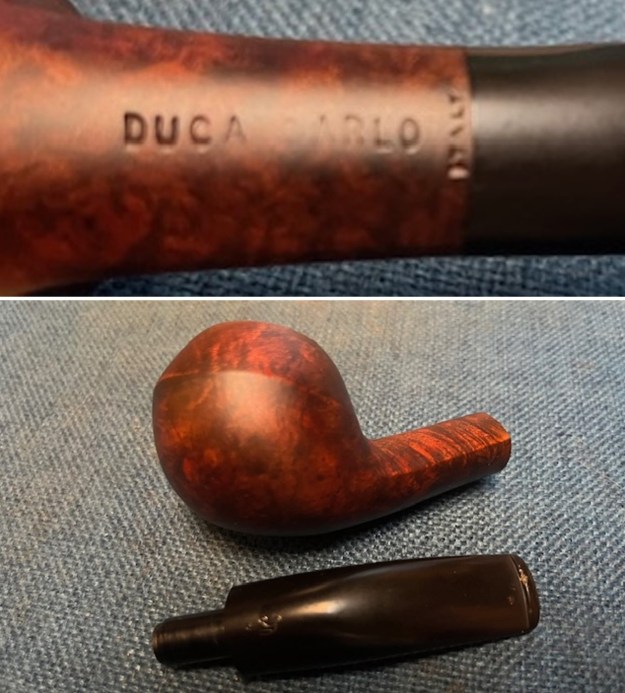 I polished the briar with micromesh sanding pads – dry sanding with 1500-12000 grit sanding pads. I wiped the bowl down with a damp cloth after each sanding pad.

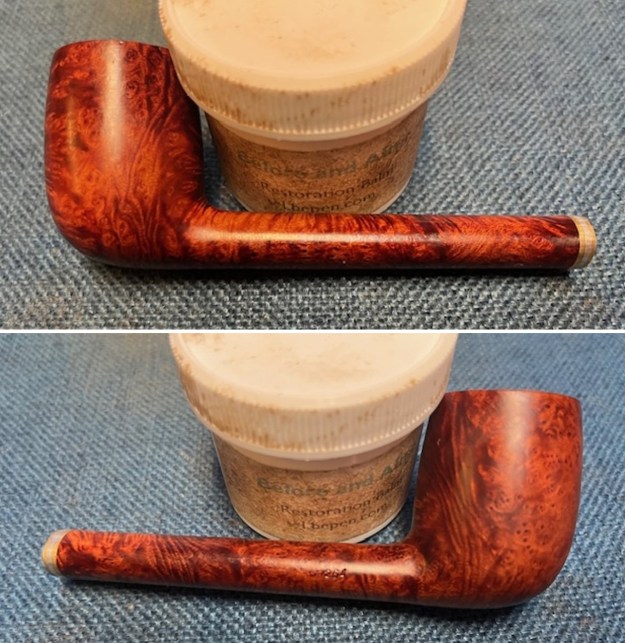
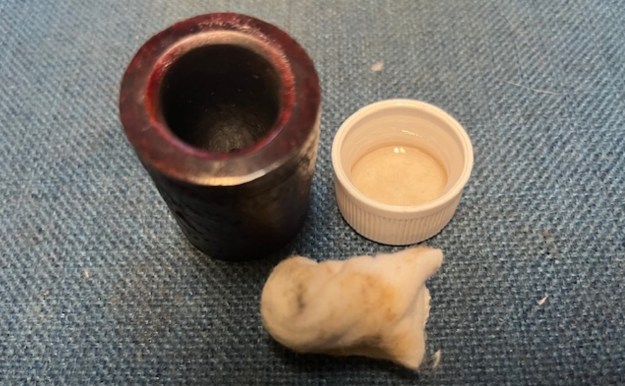
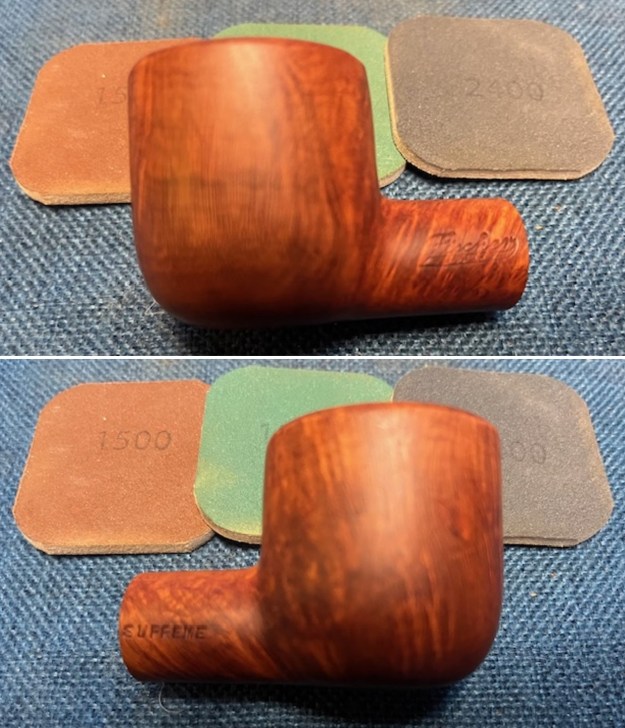
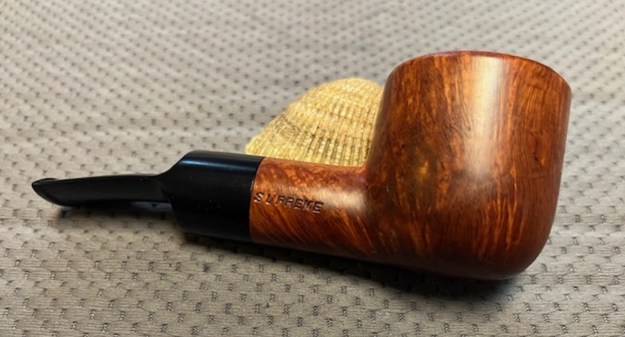
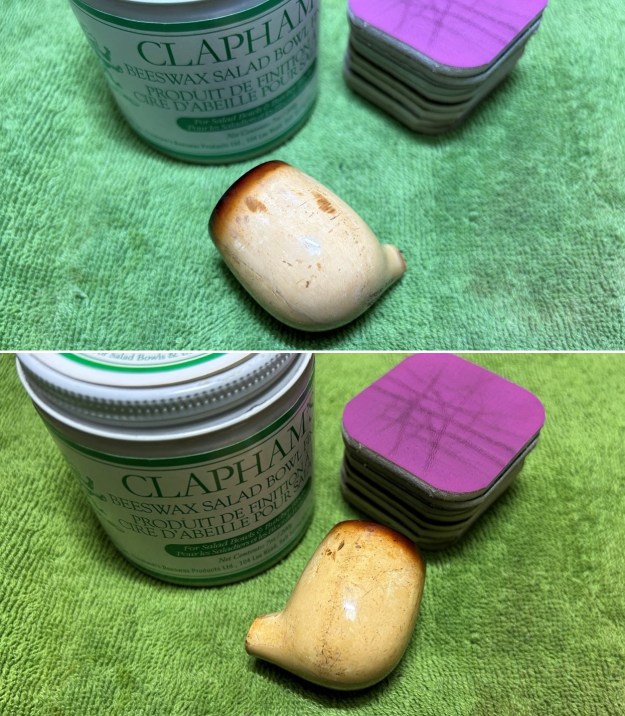
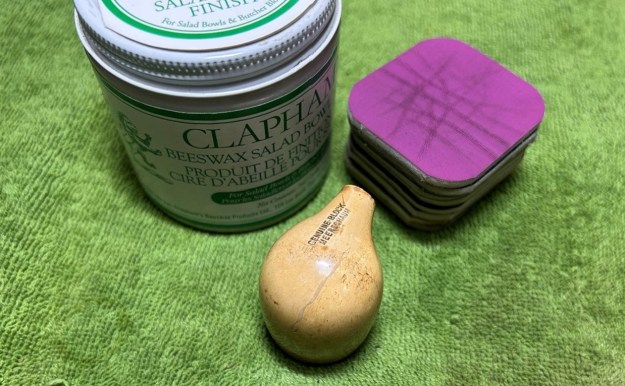
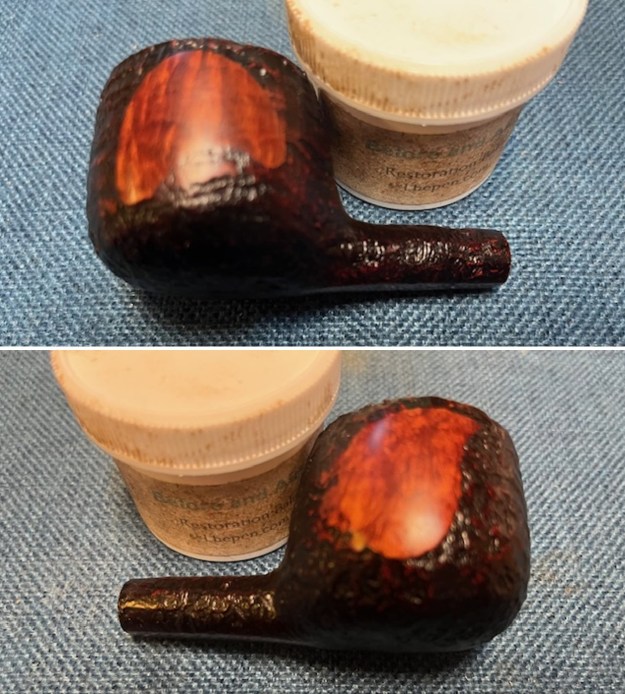
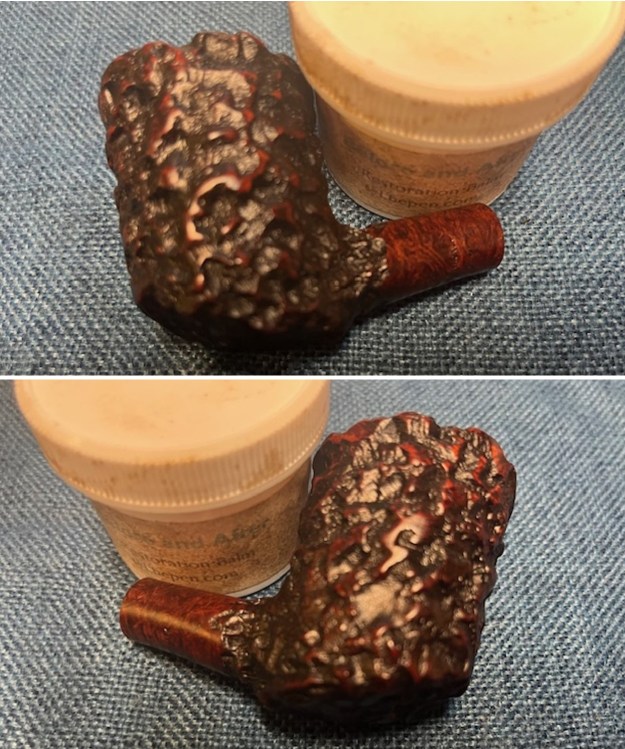
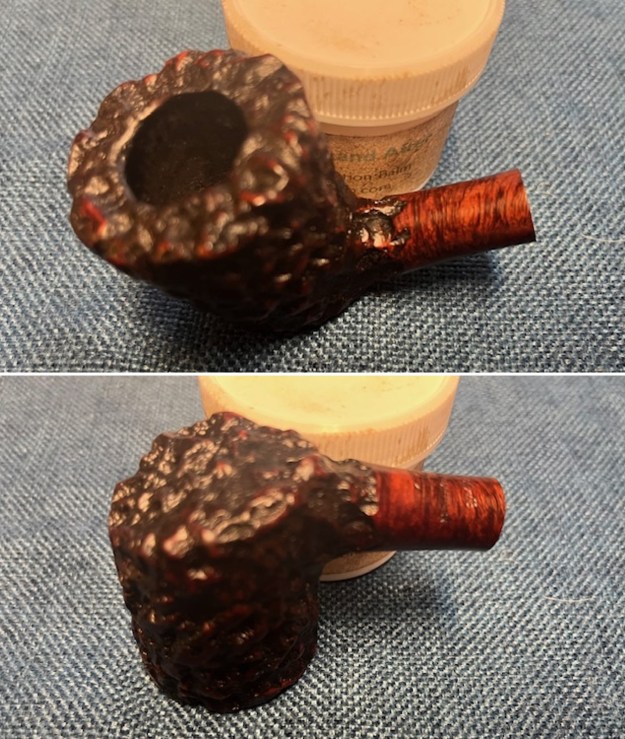
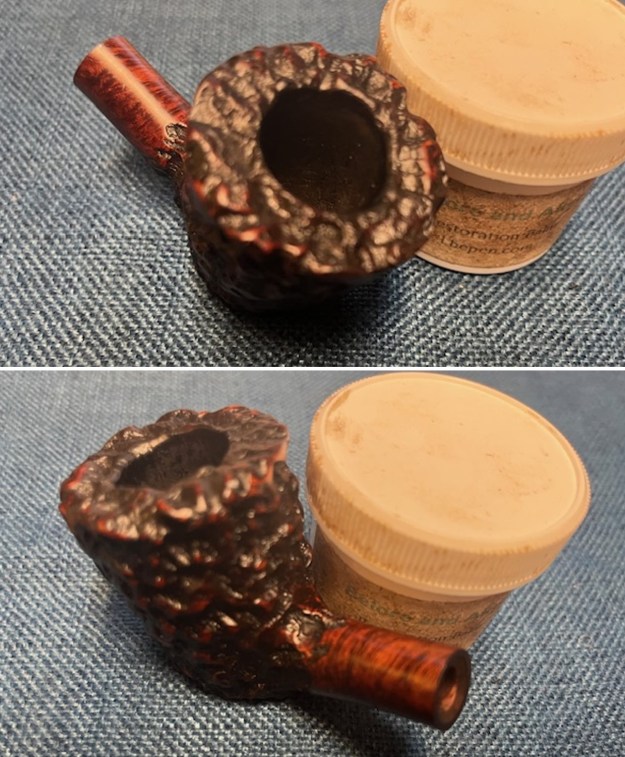
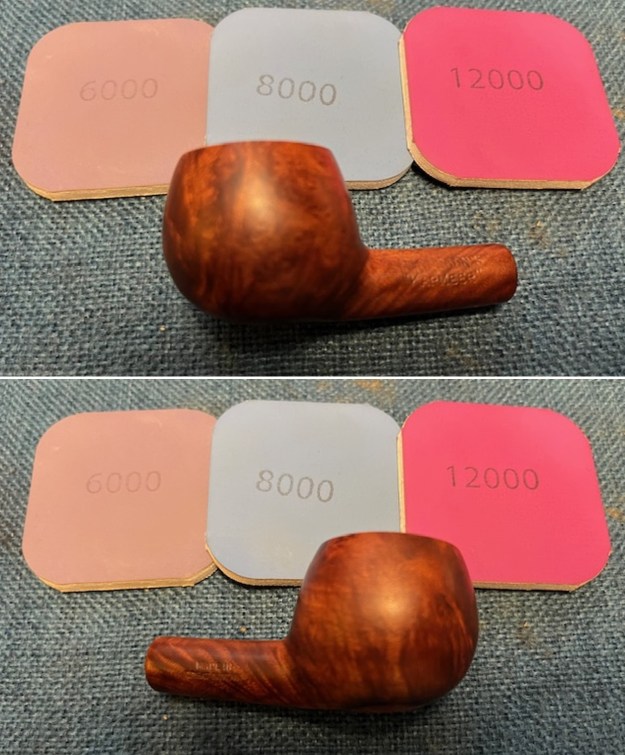
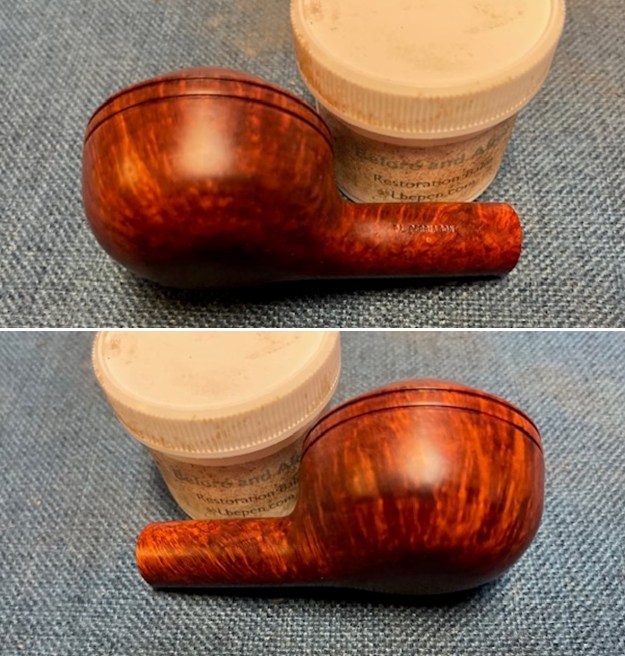
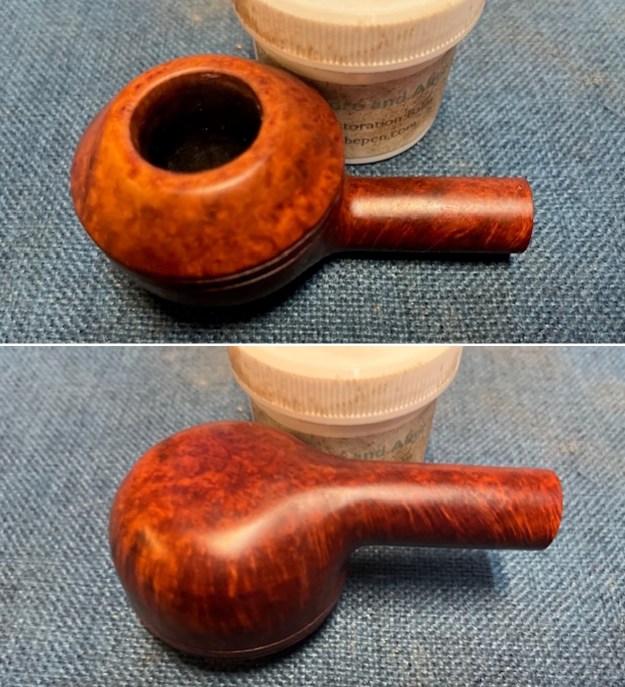
 I worked some Before & After Restoration Balm into the surface of the briar with my fingertips. It works to clean, enliven and protect the briar. I let it sit for 15 minutes then buffed it off with a soft cloth and raised the shine. The bowl looks great at this point.

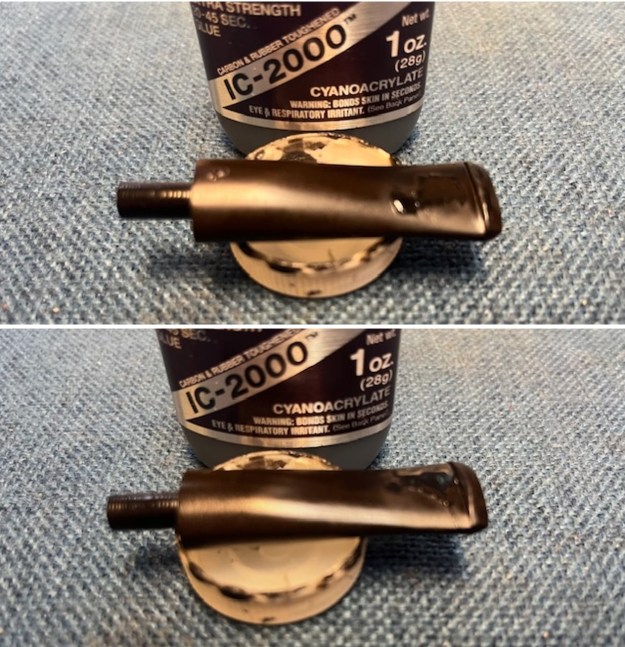
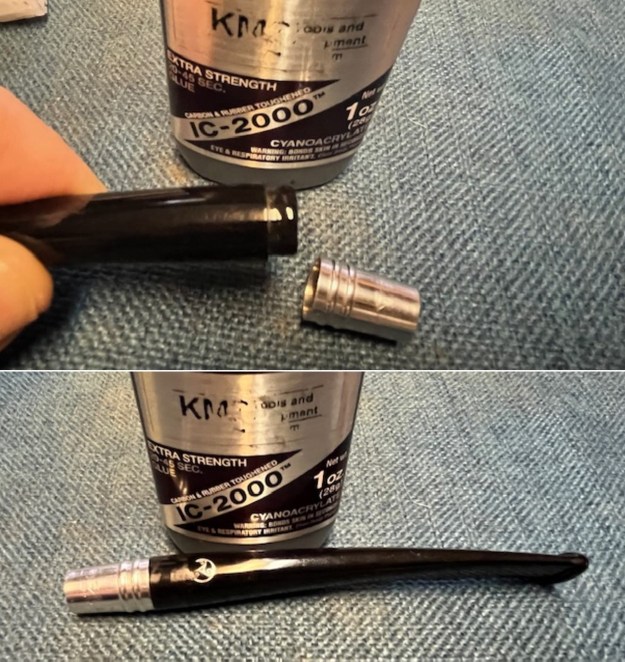
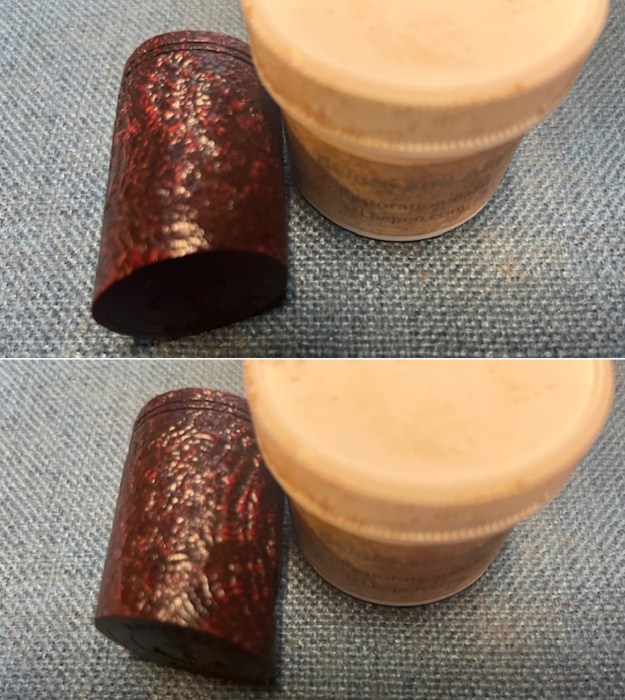
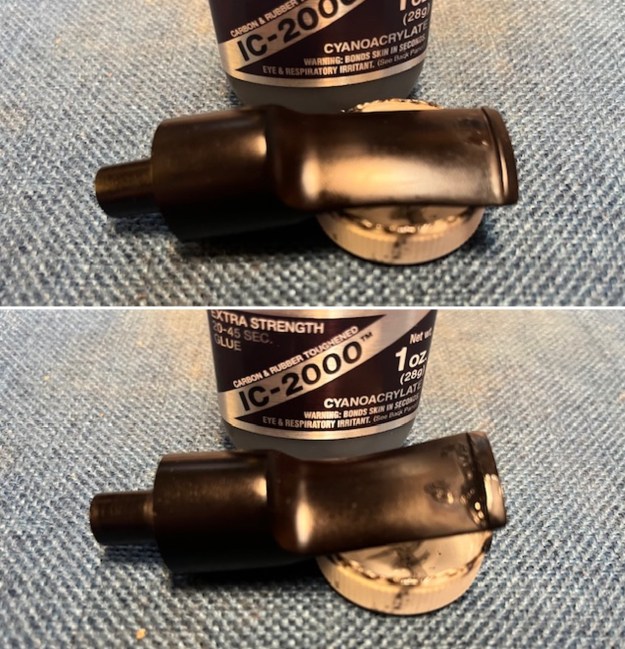
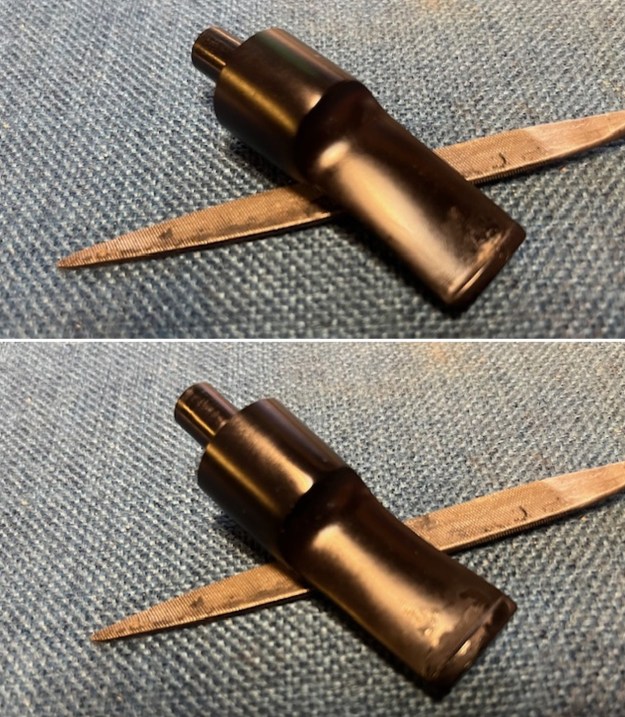
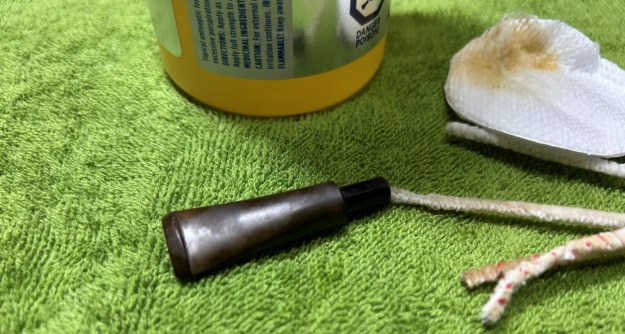
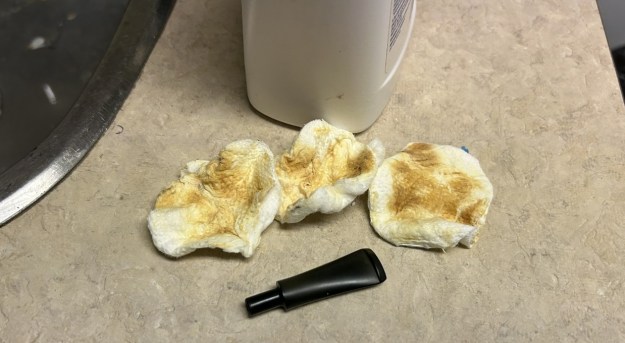
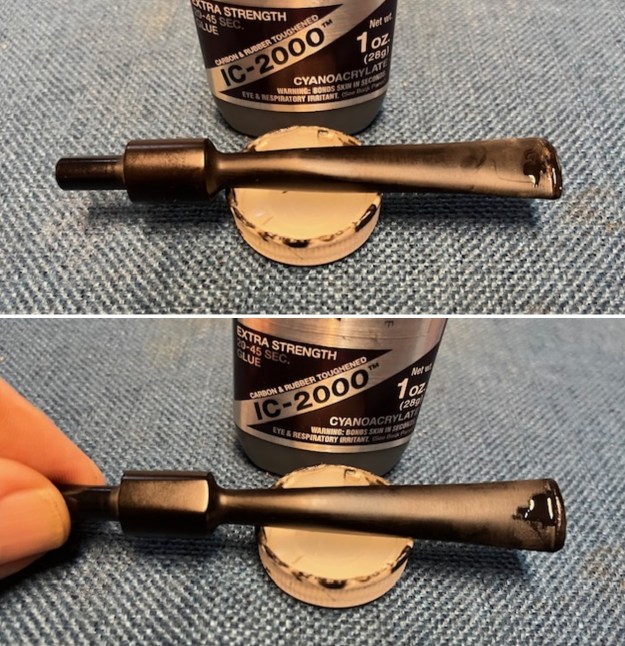
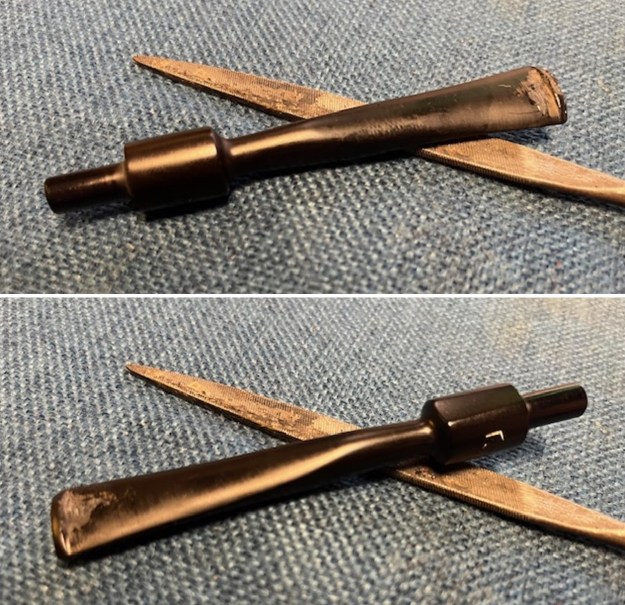
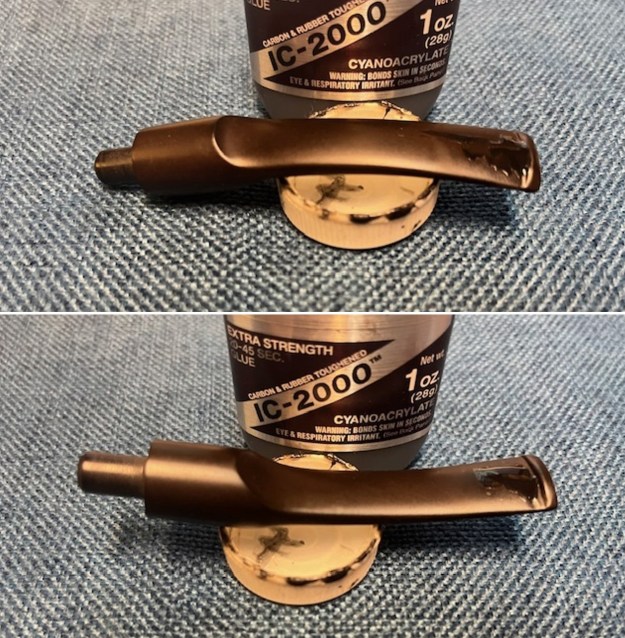
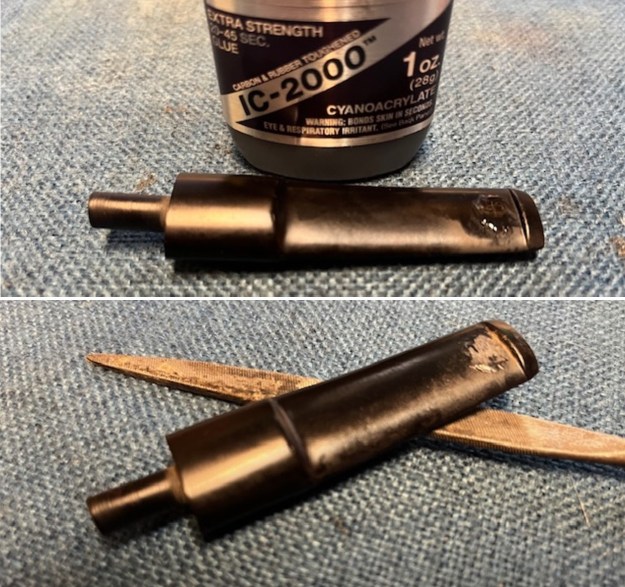
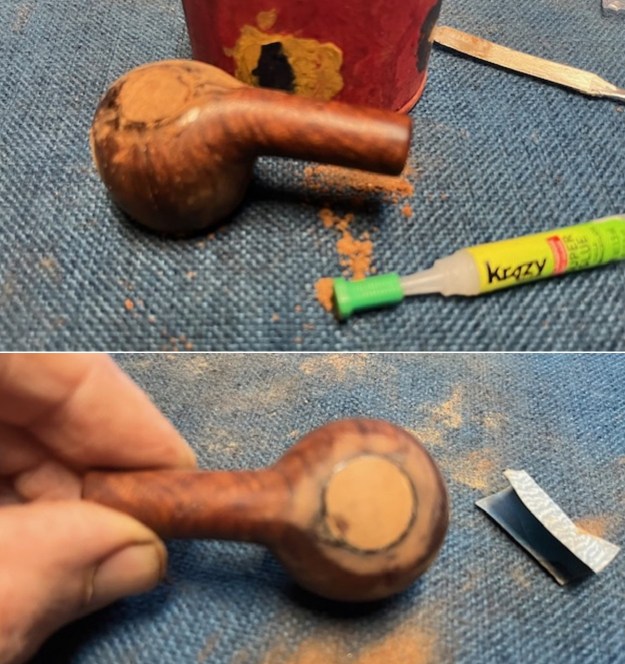
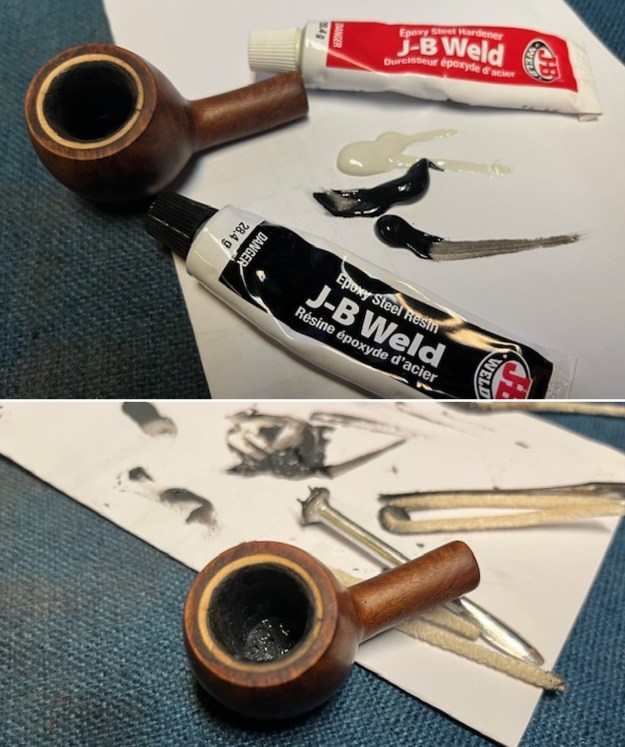
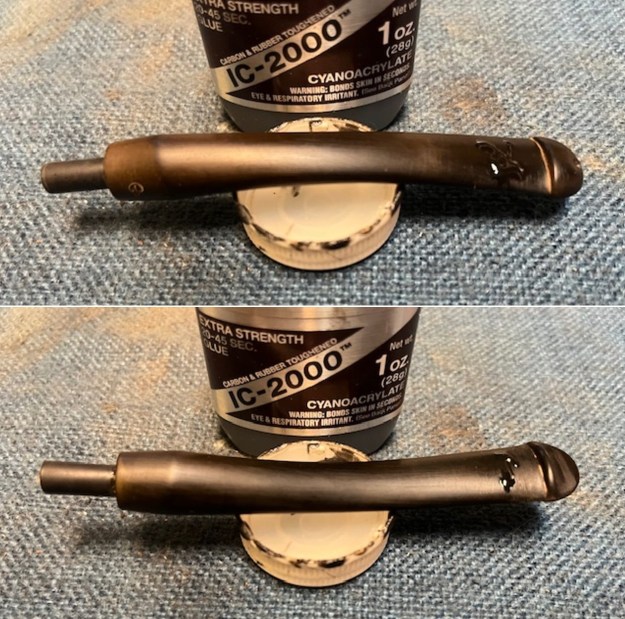
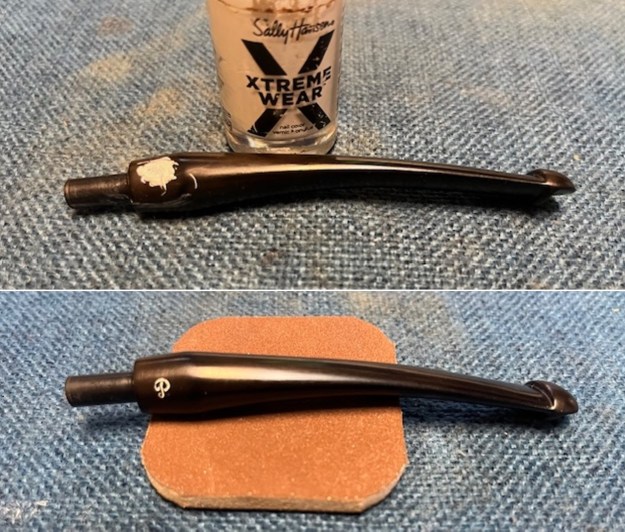
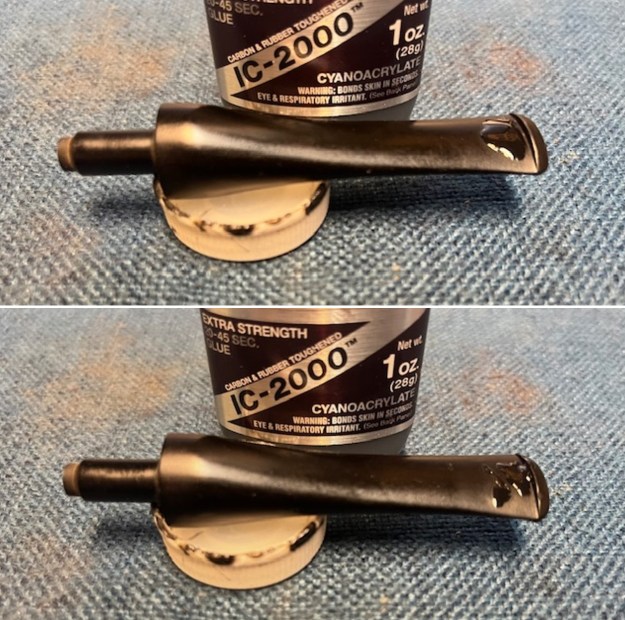
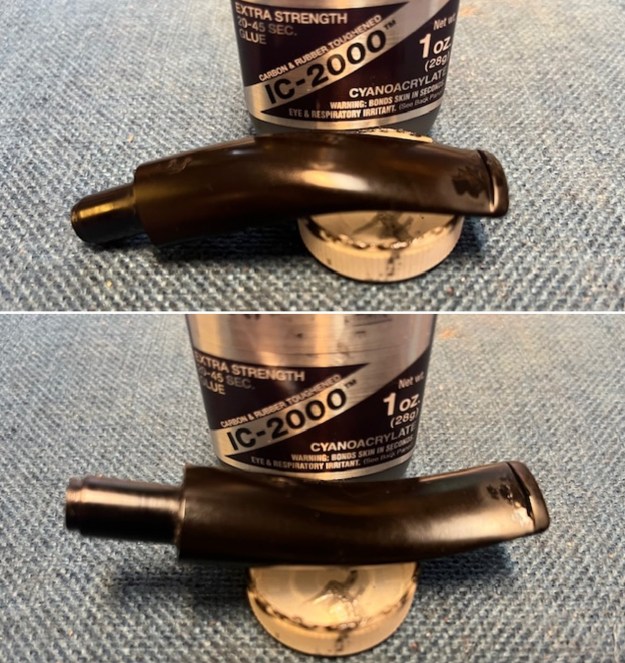
 I set the bowl aside and turned my attention to the stem. I “painted” the tooth marks and chatter on the stem and was able to raise most of it. I filled in what remained with black, rubberized CA glue. Once it hardened I flattened the repairs with a flat file. I cleaned up the repairs and blended them into the surface of the stem with 220 grit sandpaper.
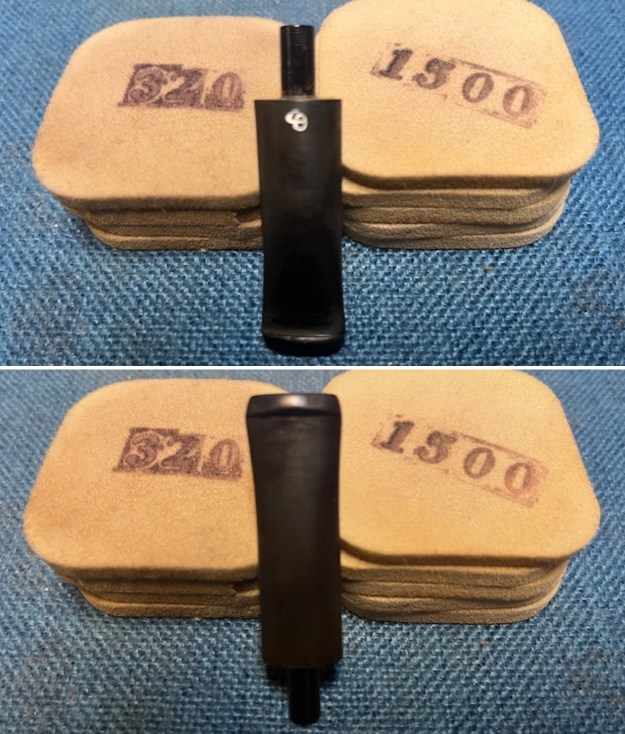
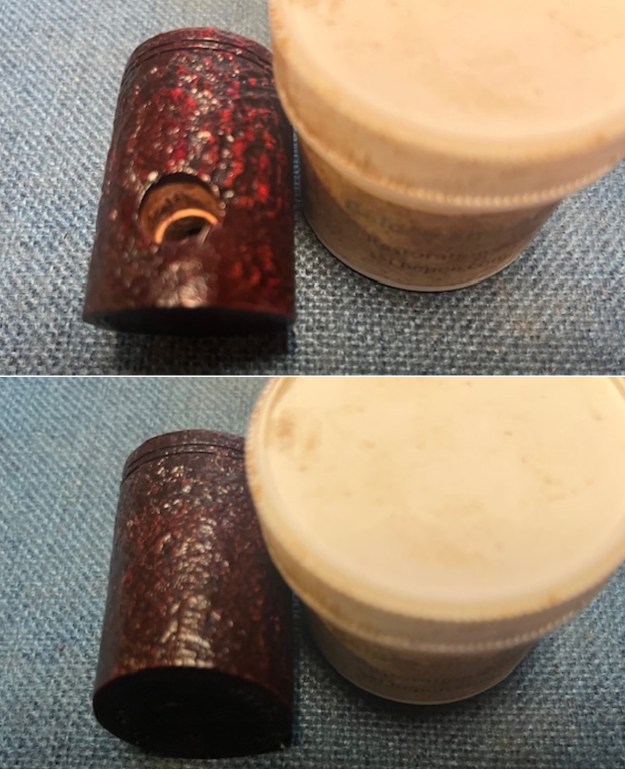
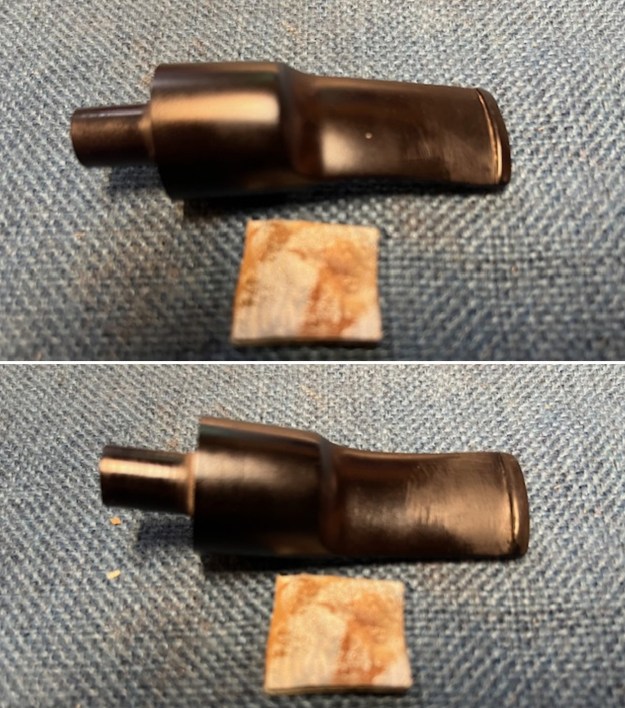
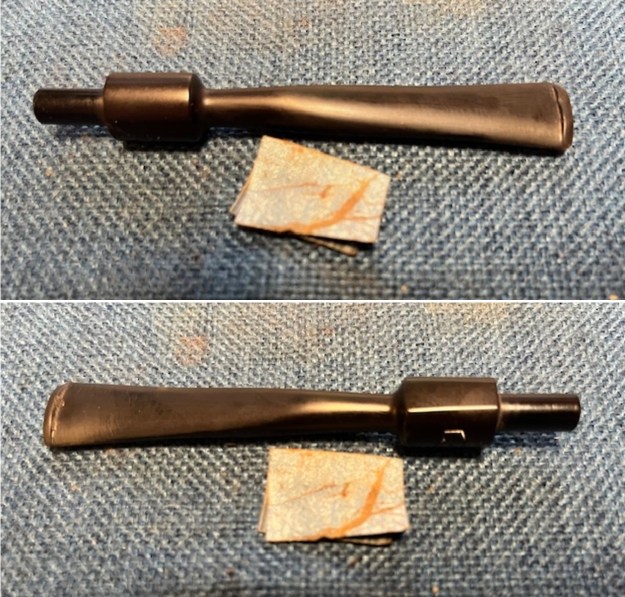
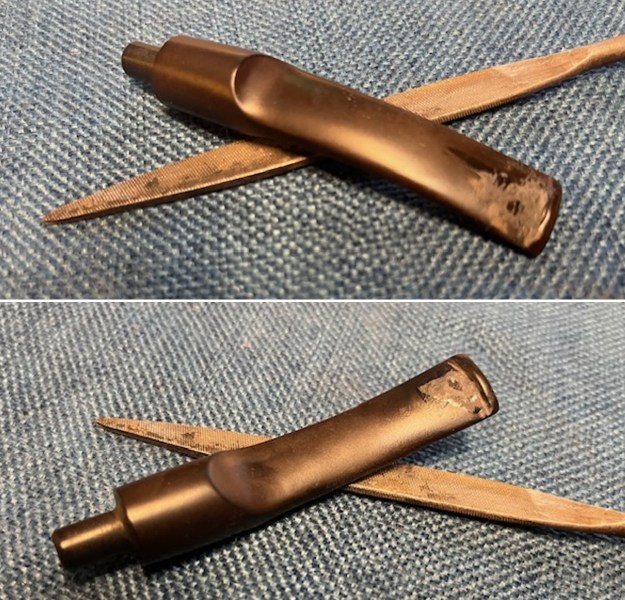
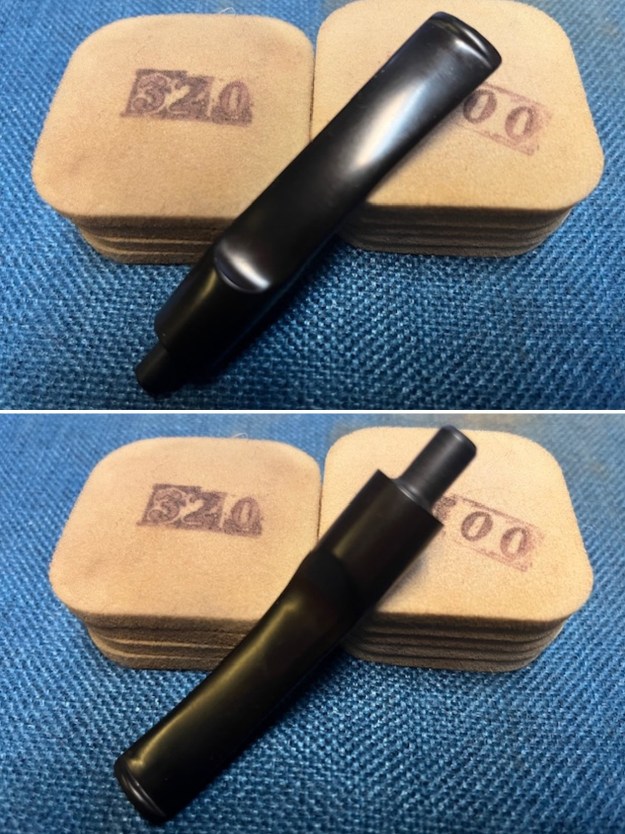
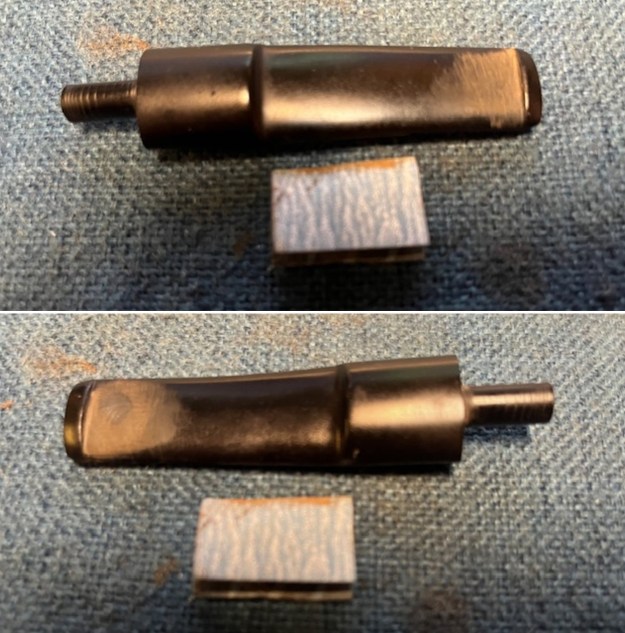
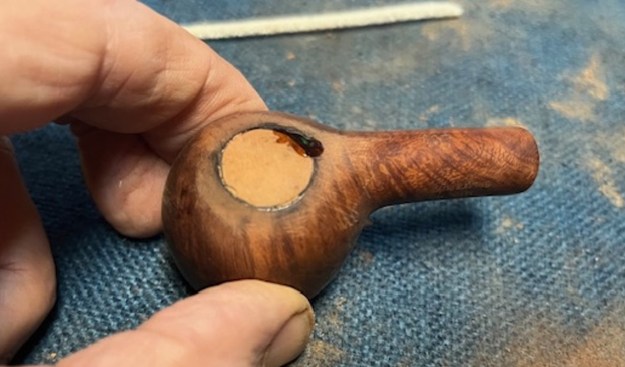
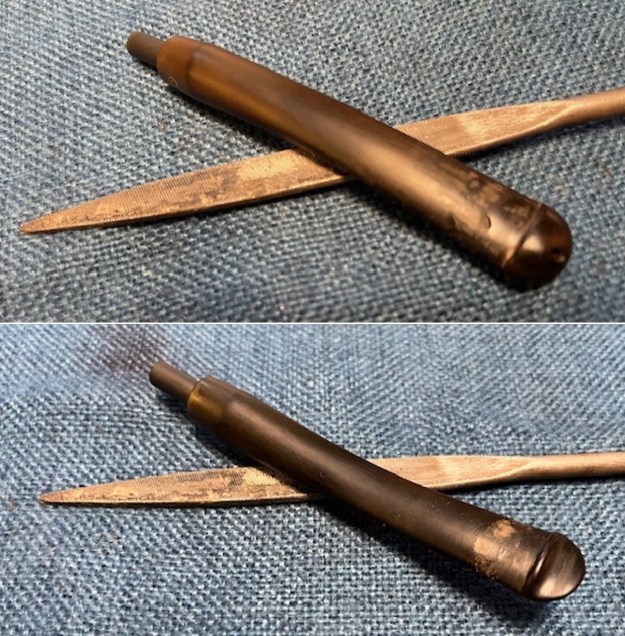
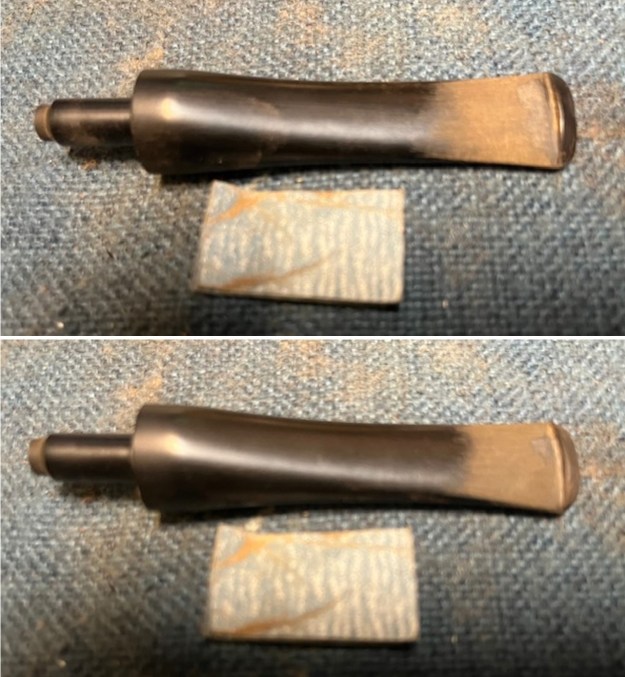
 I sanded the stem with 320-3500 grit sandpaper to further blend in the repairs on the surface. I wiped the stem down with an Obsidian Oil cloth after each sanding pad. It began to look very good.
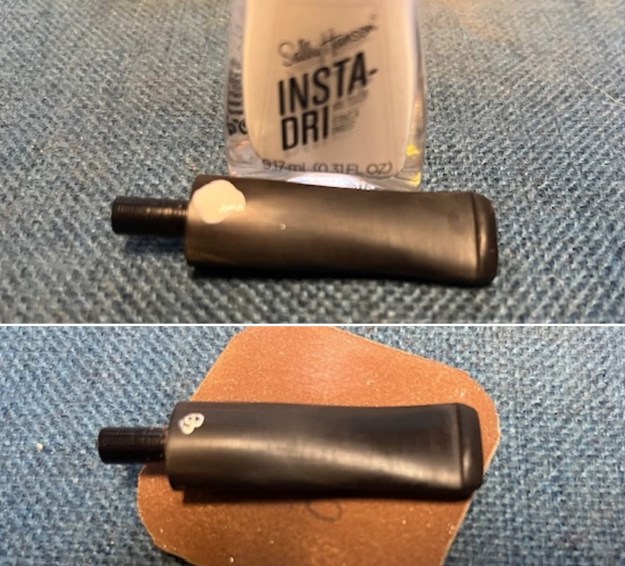
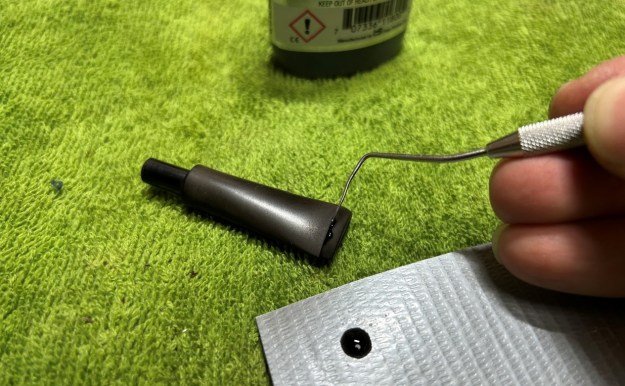
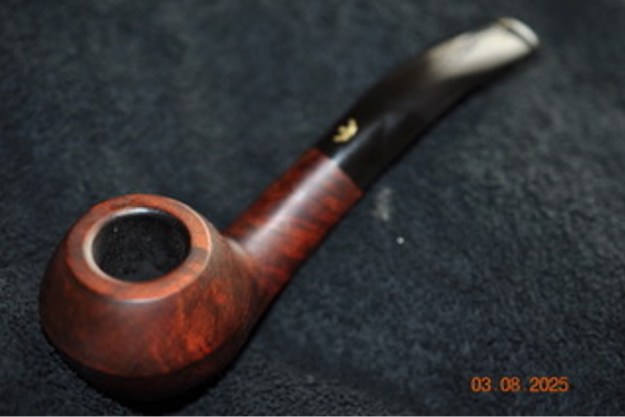
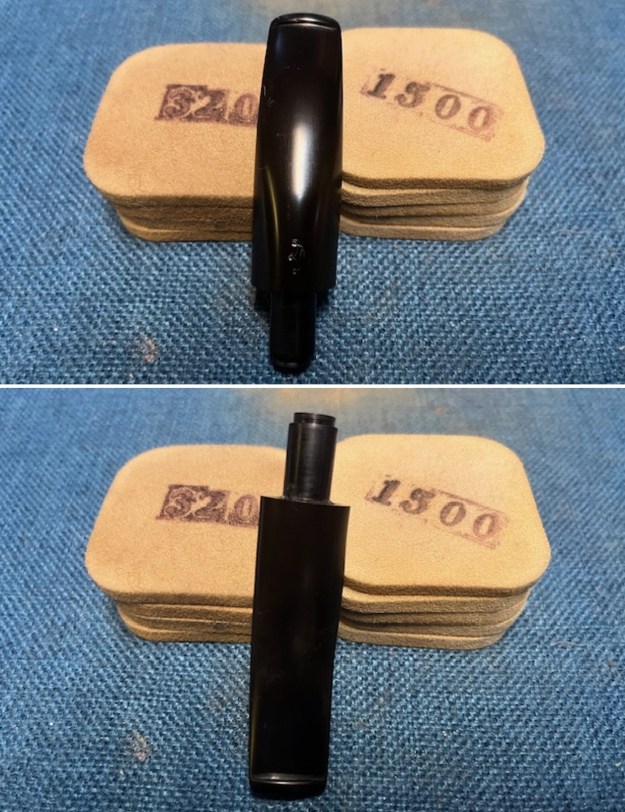 I touched up the Crown logo stamp on the topside of the triangle taper stem with Rub’n Buff Antique Gold. I worked it into the stamp with a toothpick. I buffed off the excess with a paper towel and polished the stem with some Obsidian Oil.
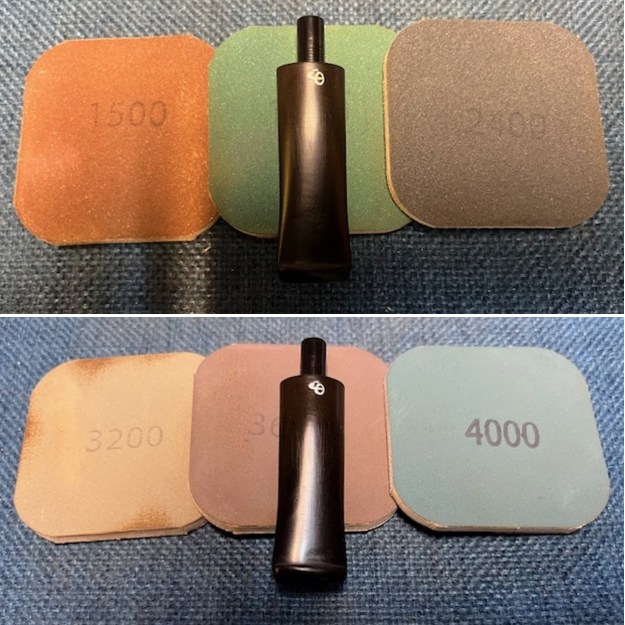
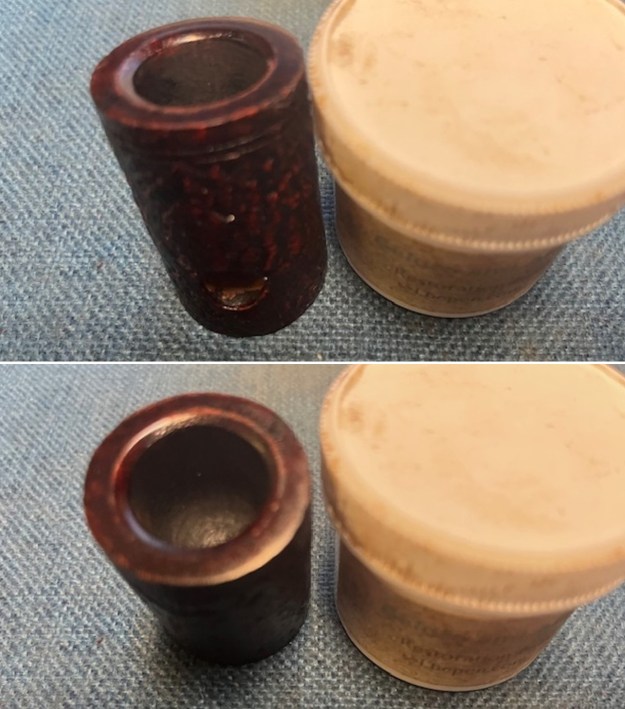
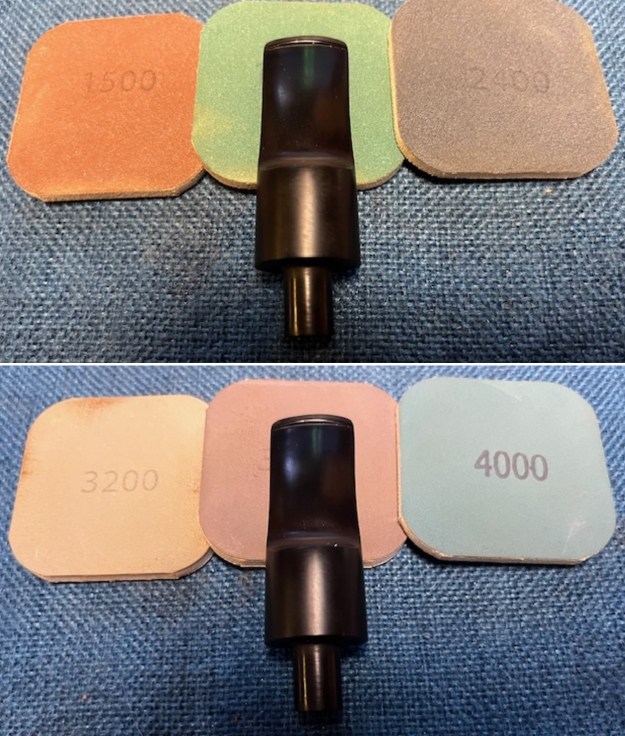
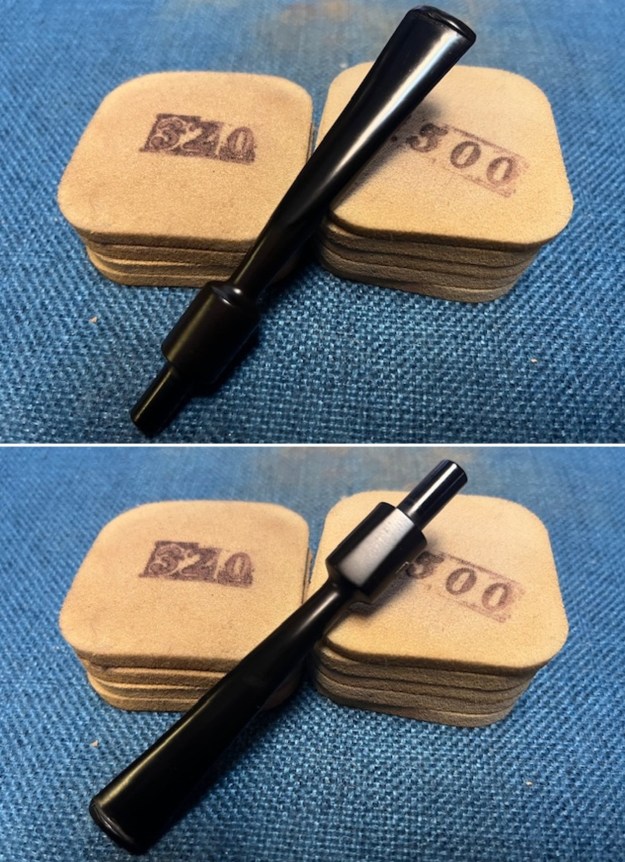
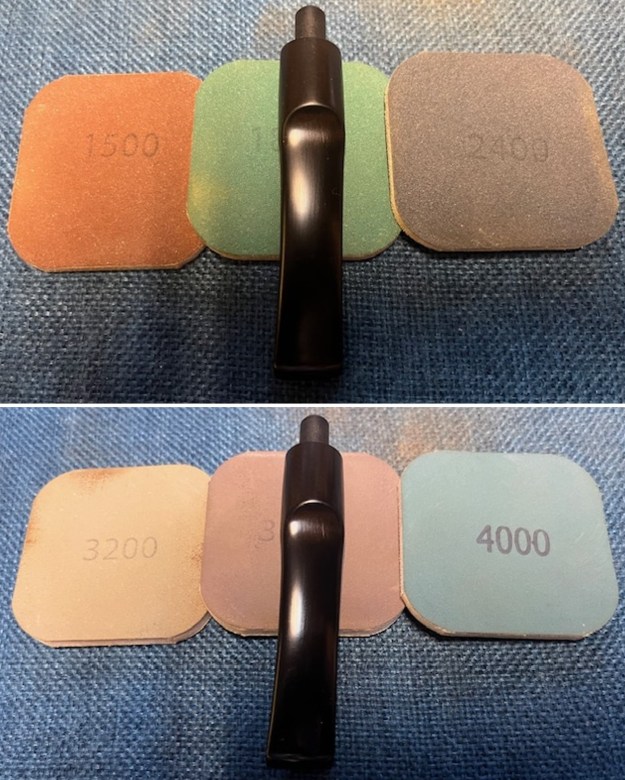
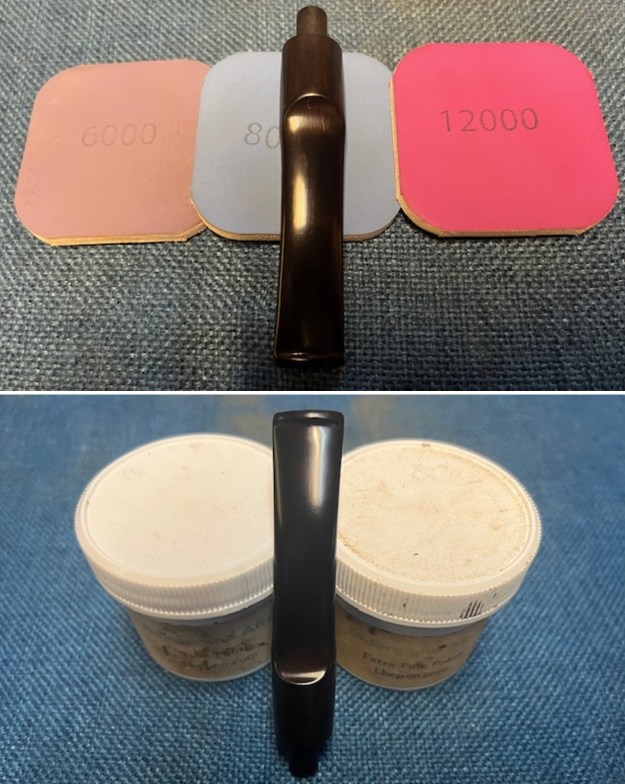
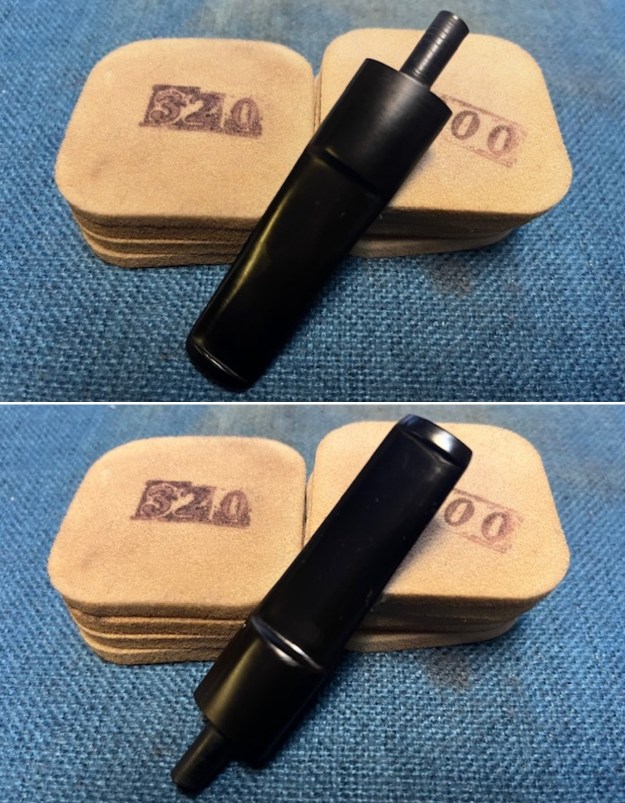
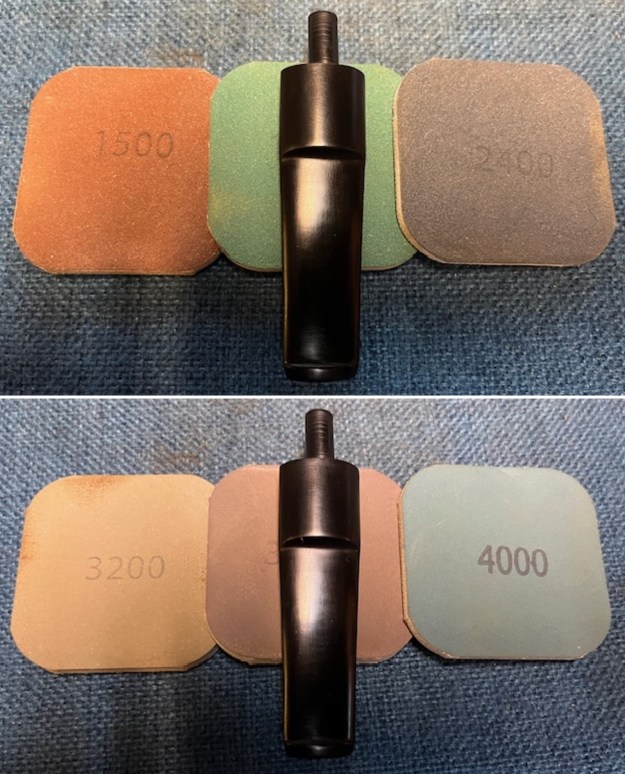
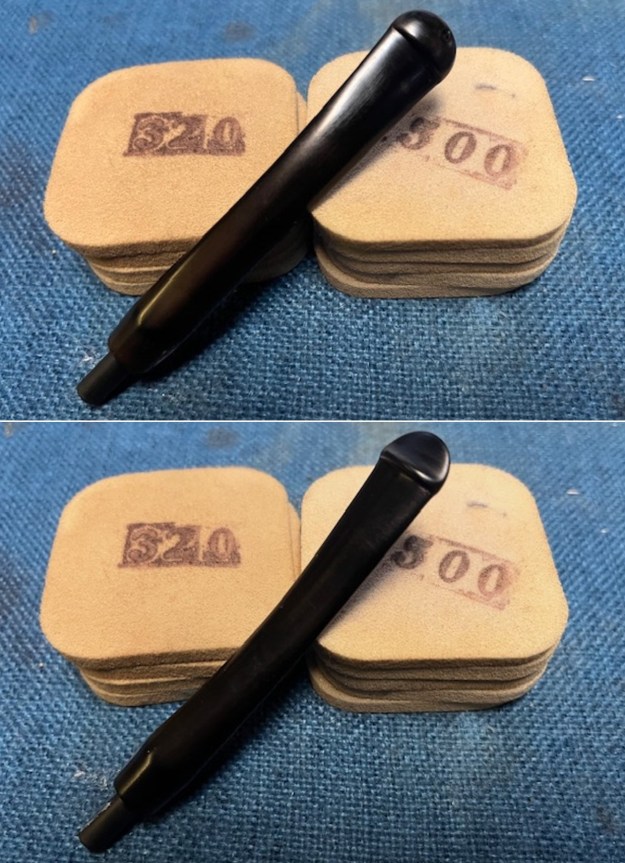
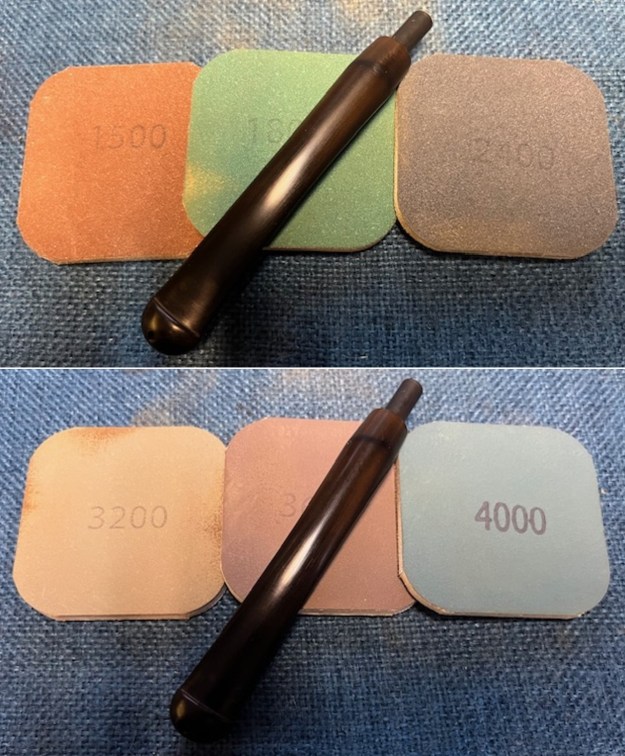
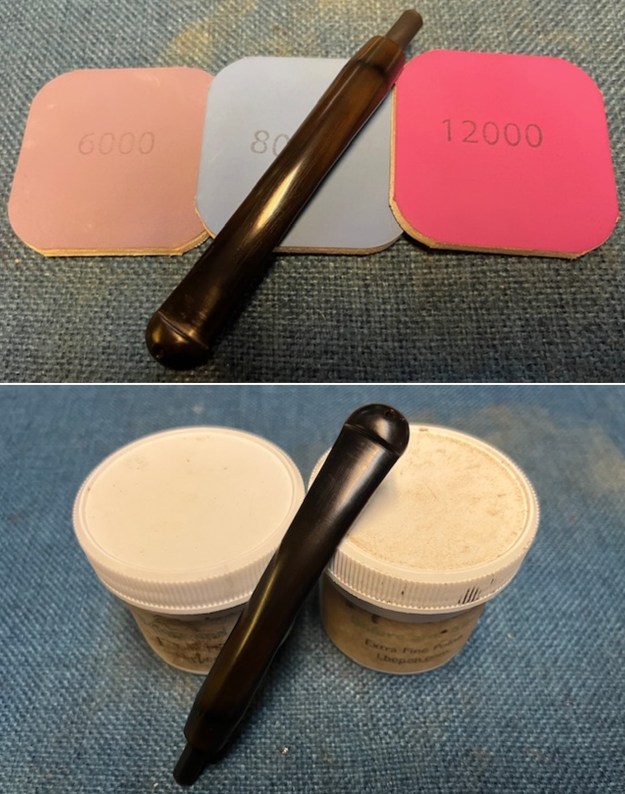
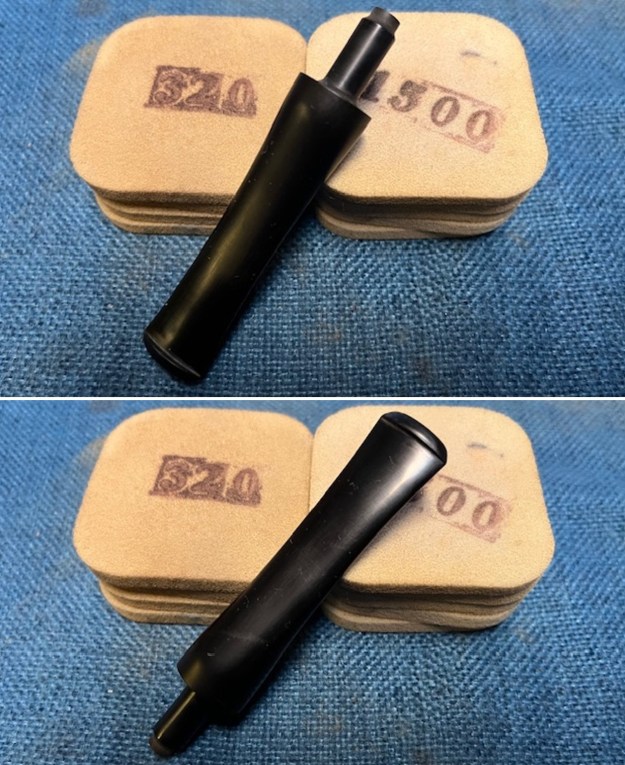
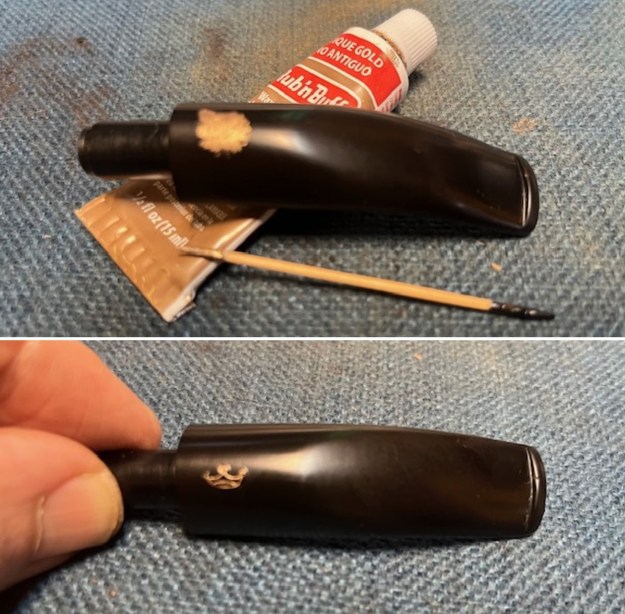 I polished it with micromesh sanding pads – 1500-12000 grit pads. I wiped it down with Obsidian Oil after each sanding pad. I used Before & After Pipe Polish – both Fine and Extra Fine to further polish the stem. The photos below show the polished stem.
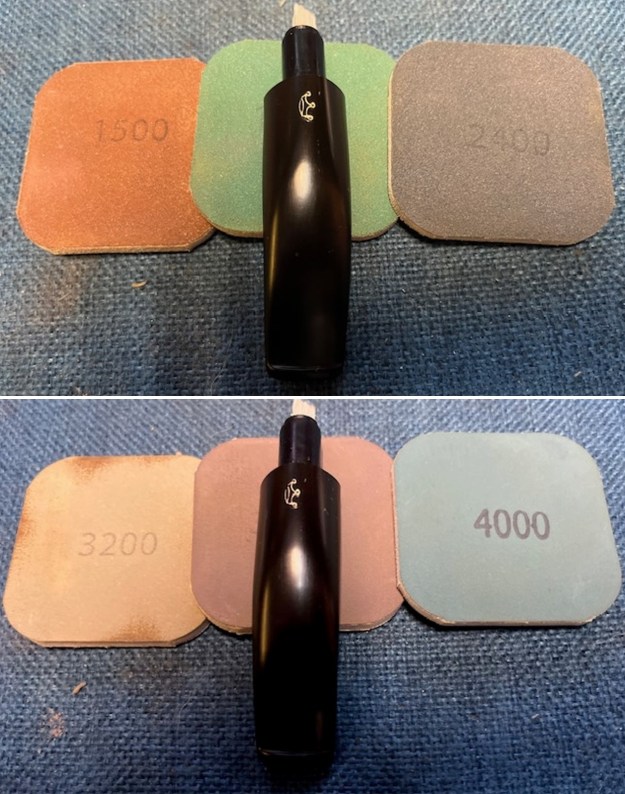
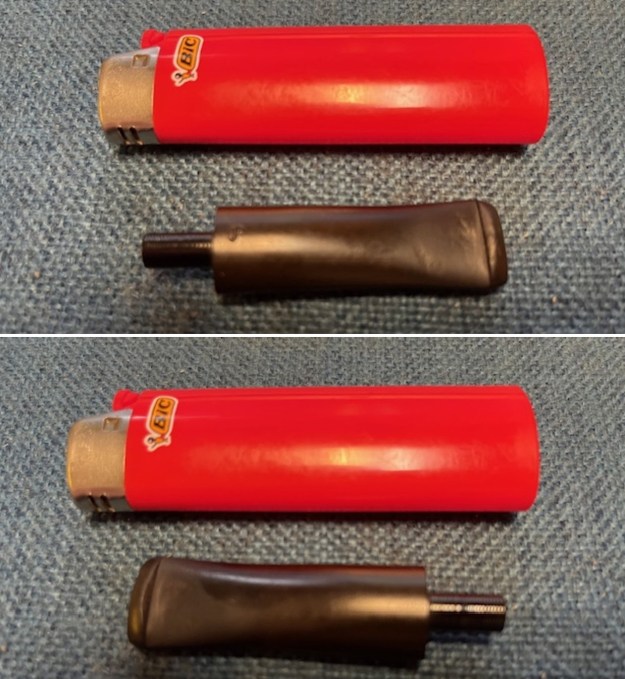
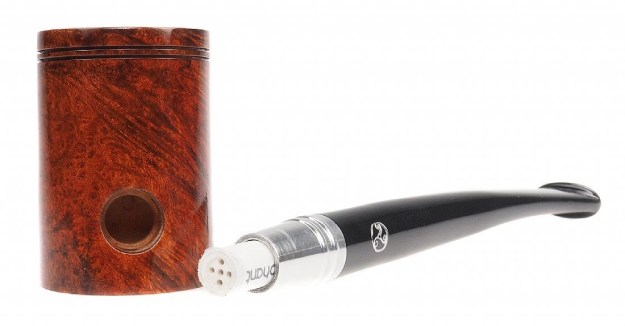
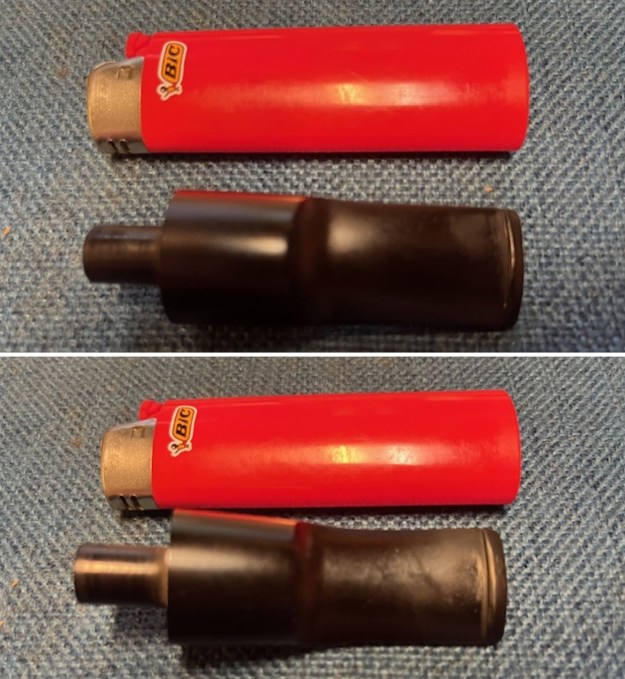
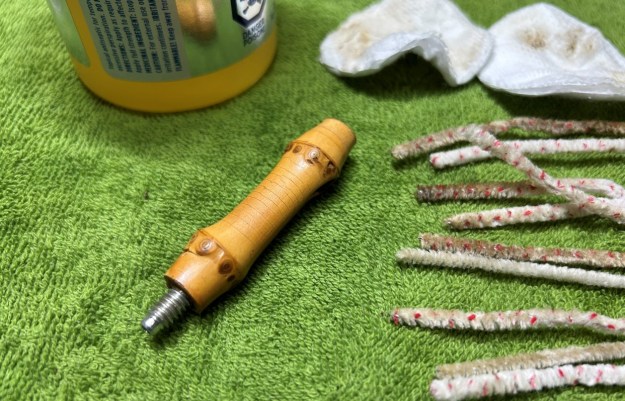
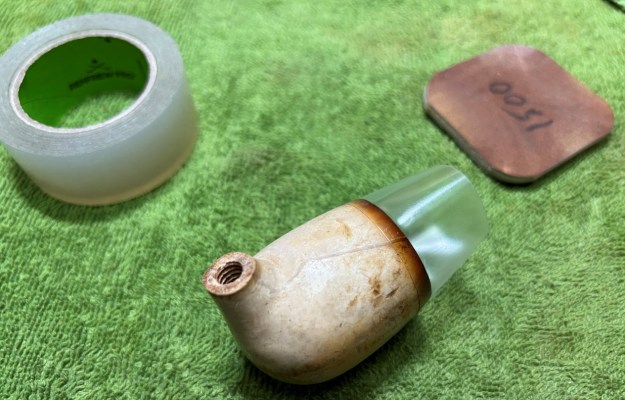
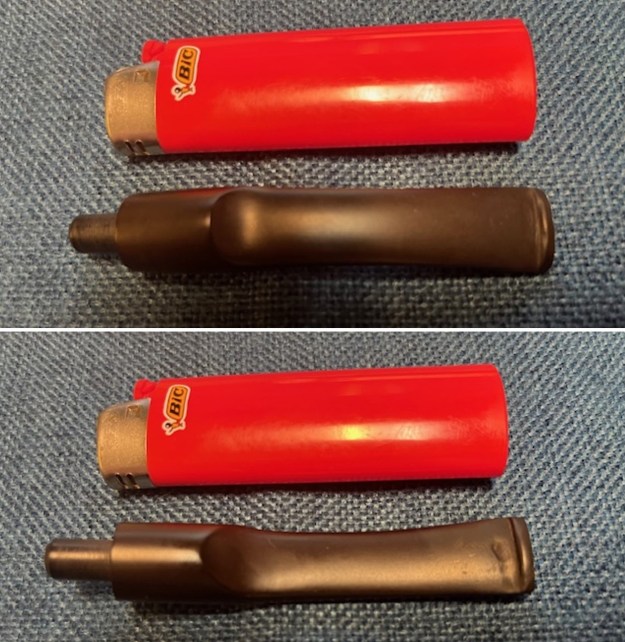
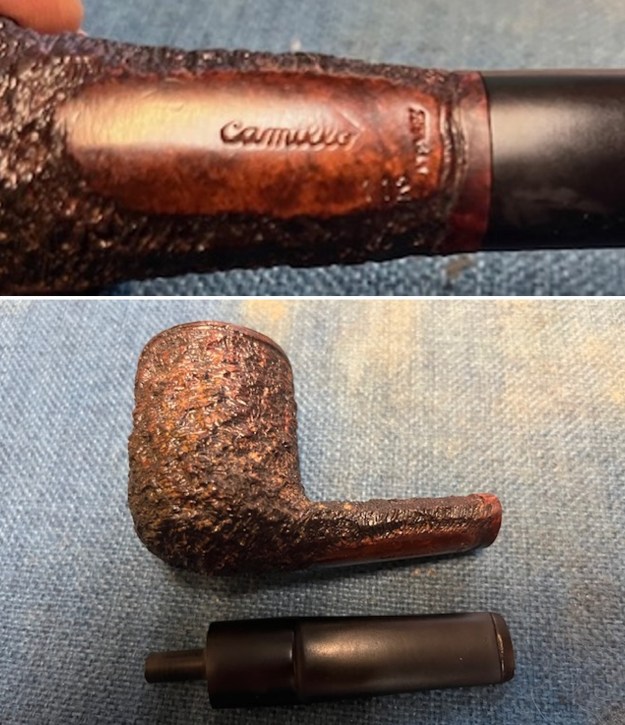
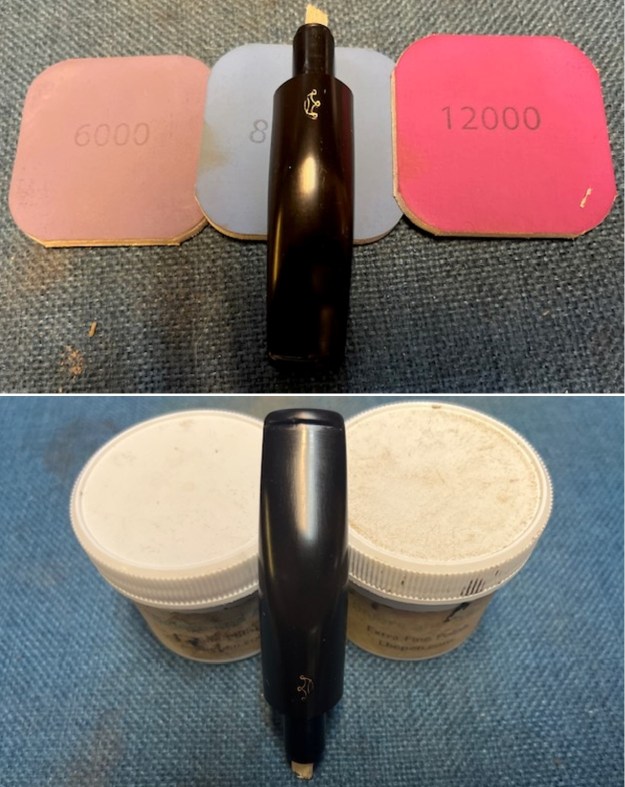 I fit the stem with a Savinelli 6mm Balsa System filter. The fit was perfect and the draw seems remarkably open.
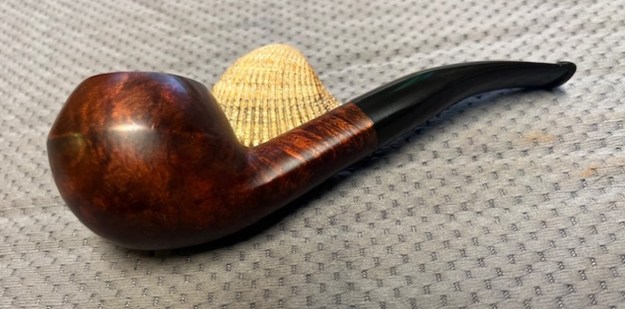
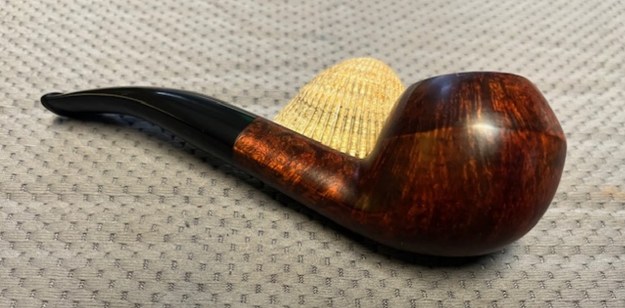
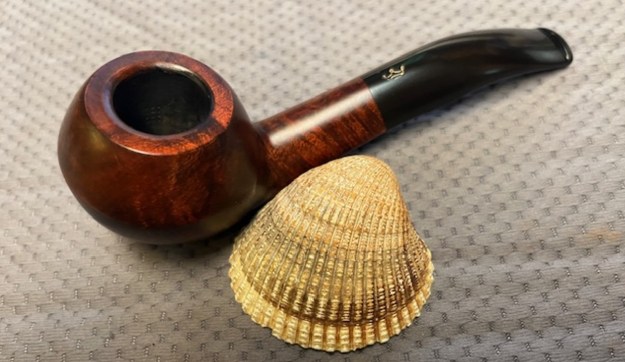
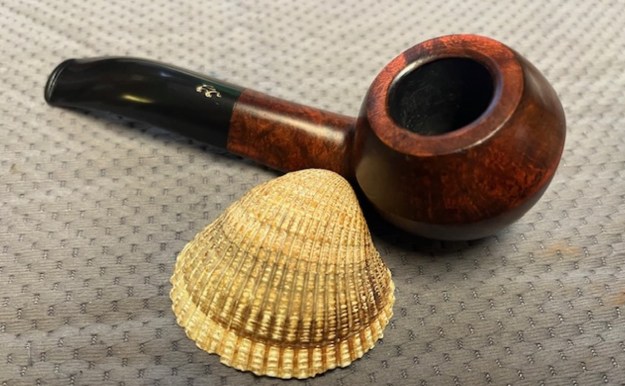
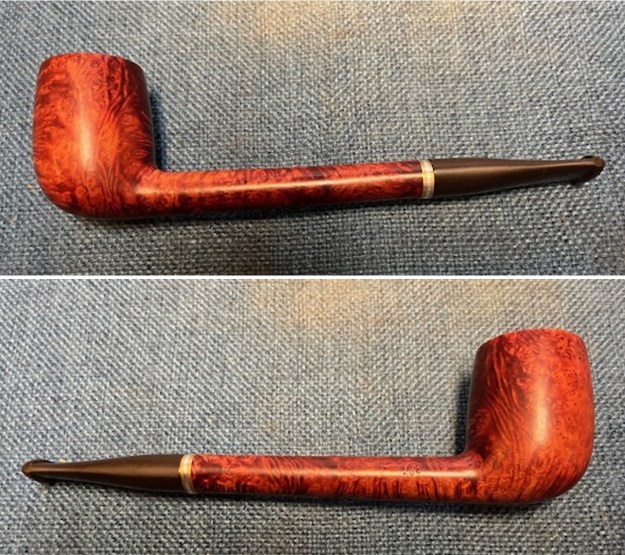
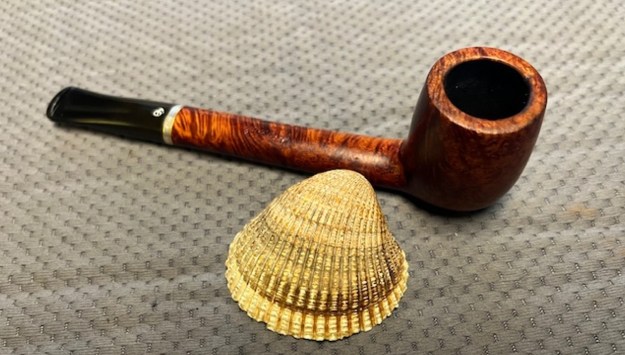
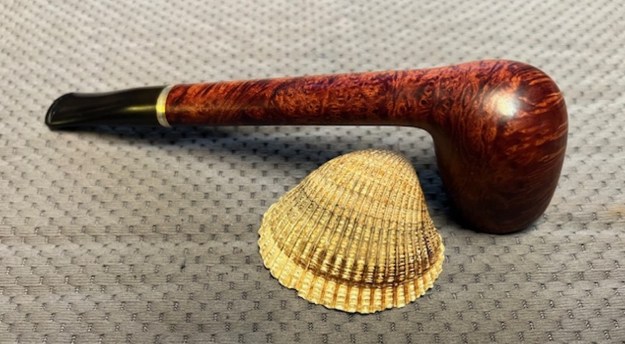
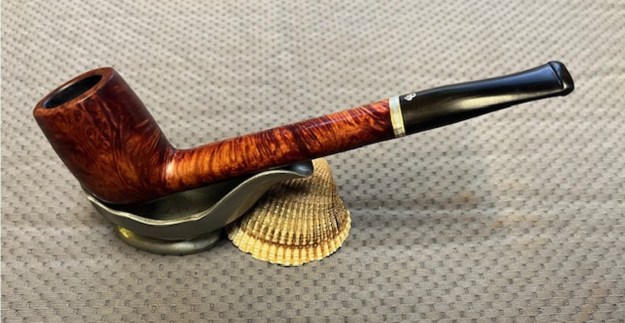
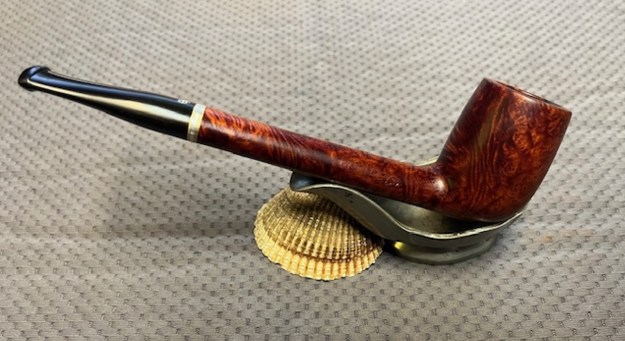
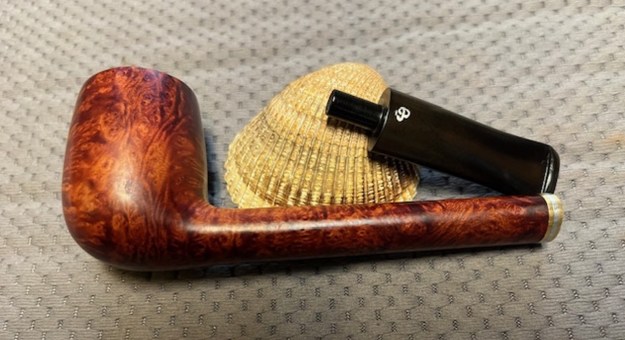
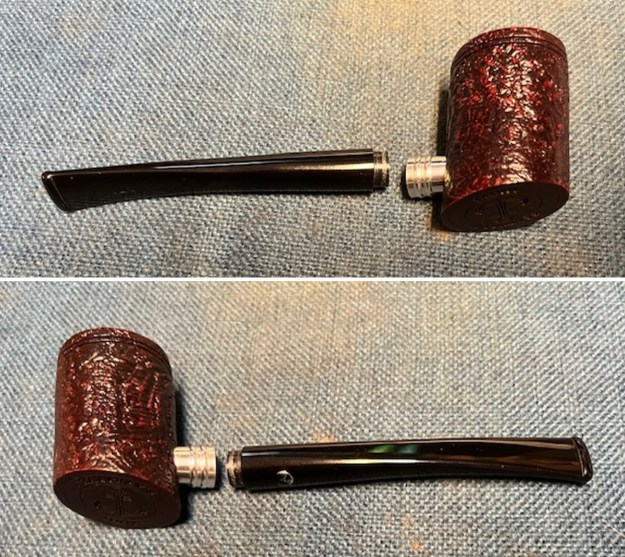
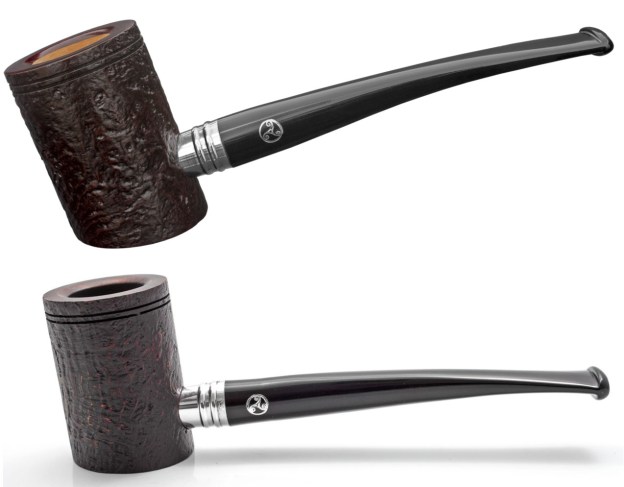
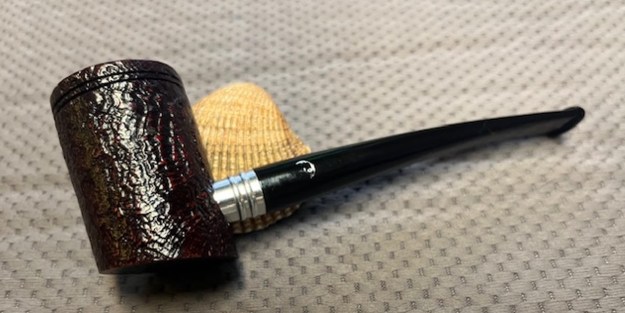
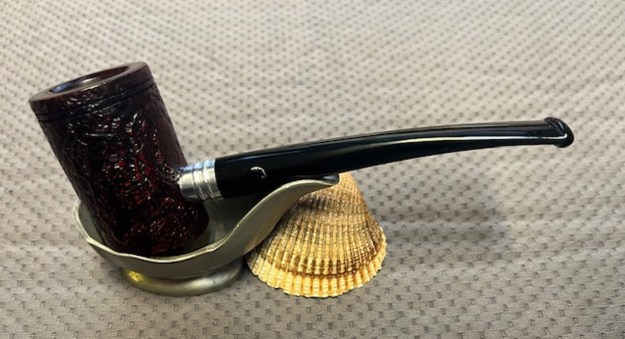
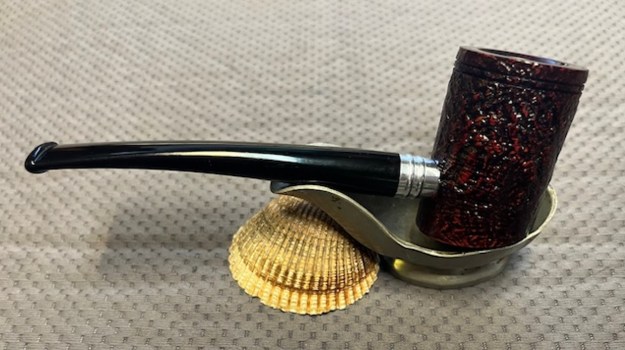
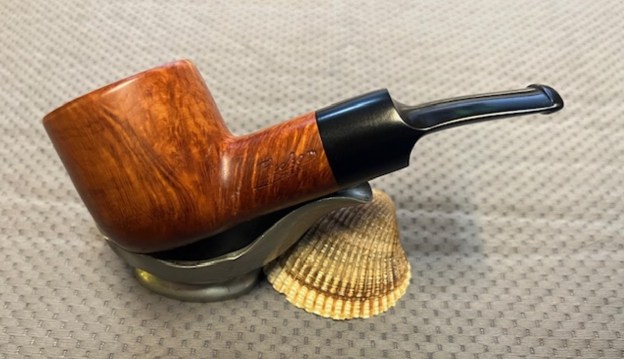
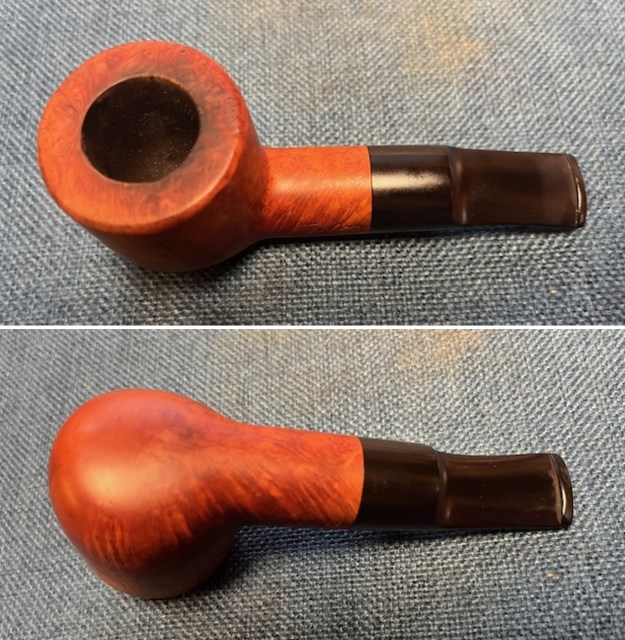
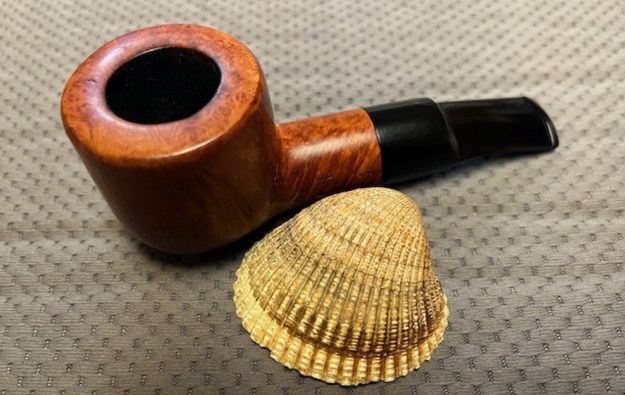
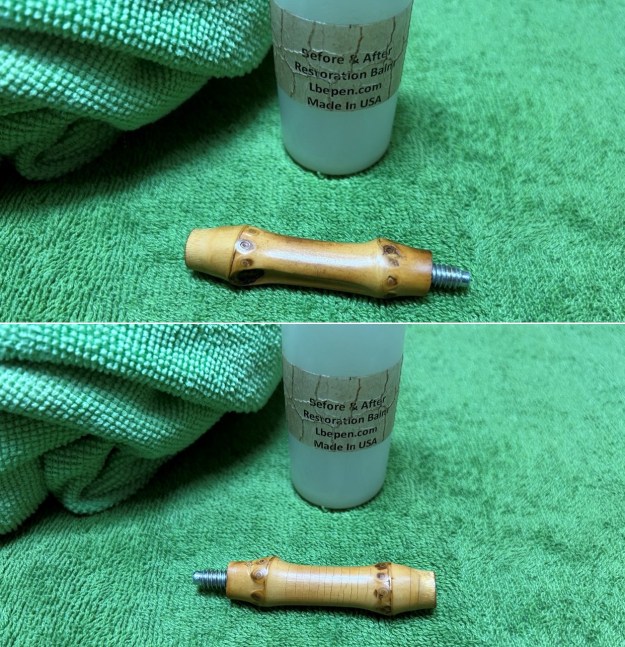
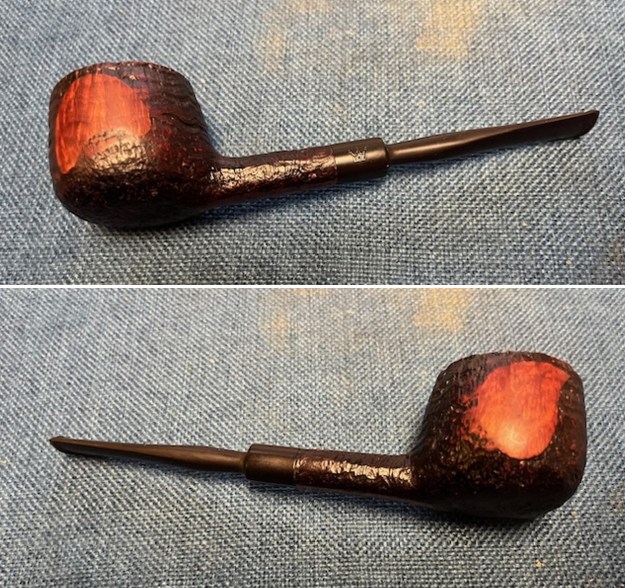
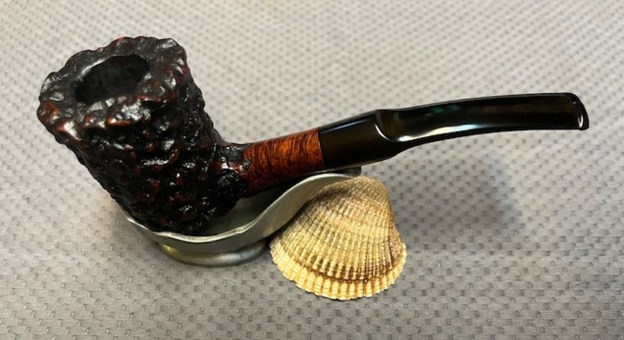
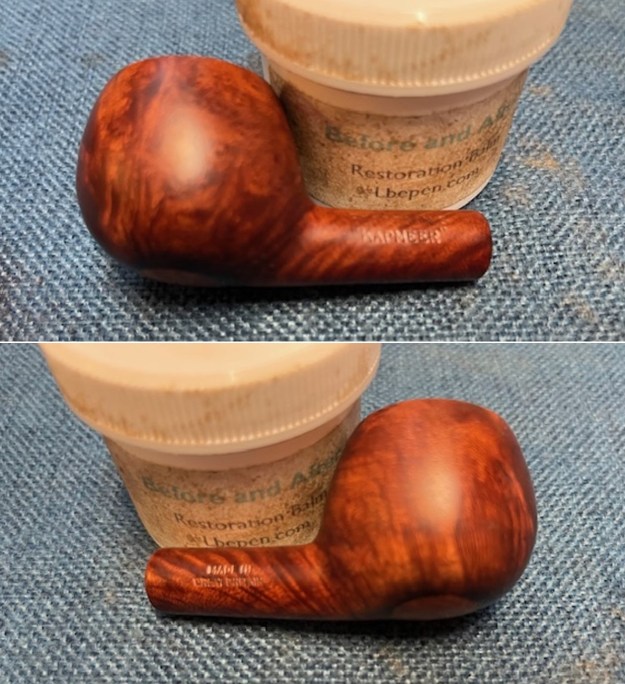
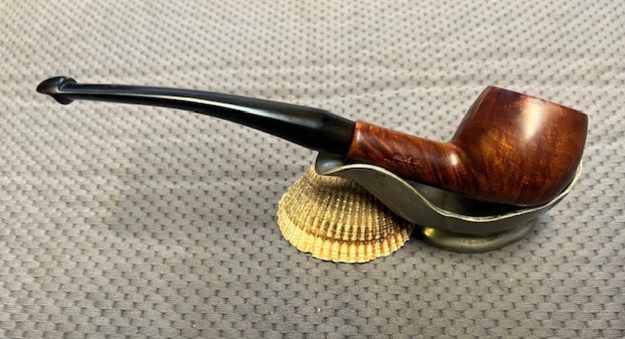
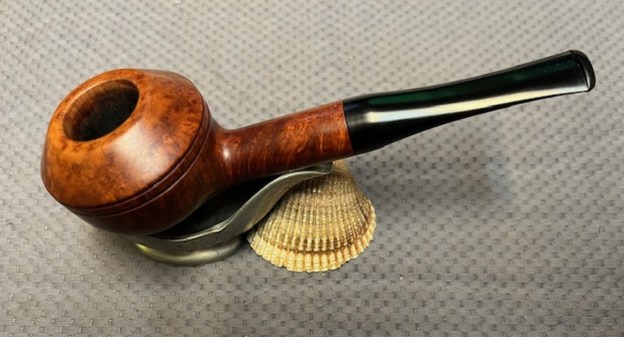
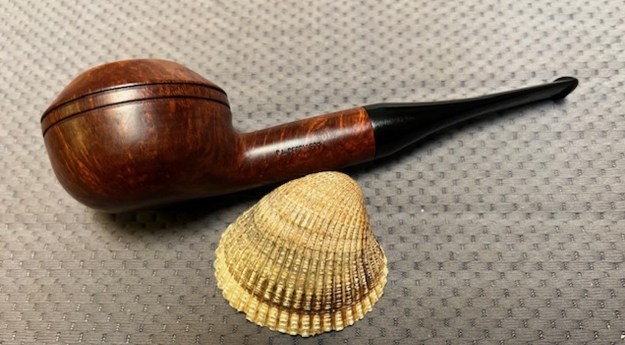
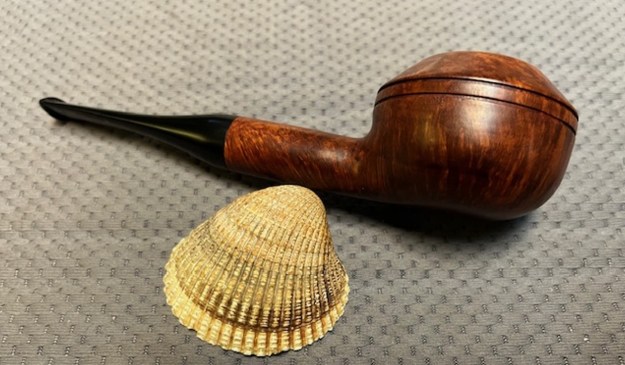
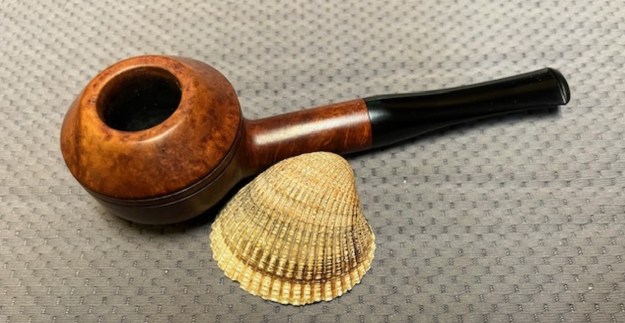
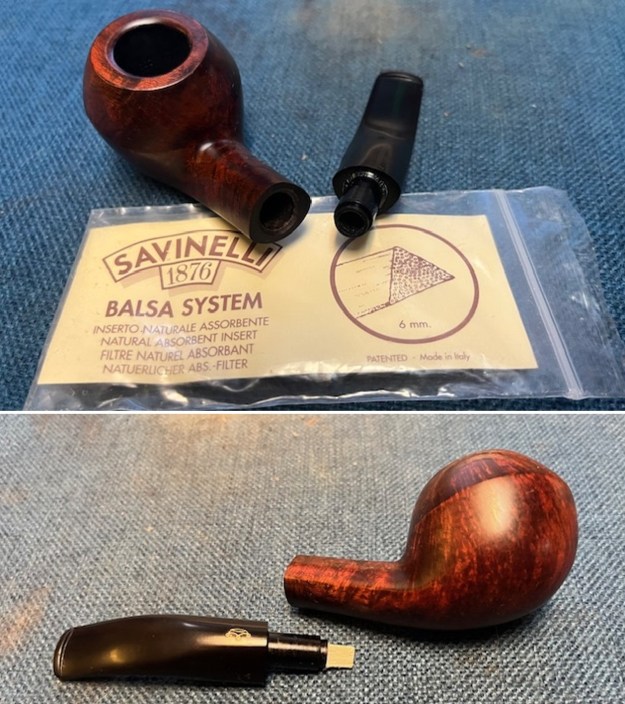 This Savinelli Made Duca Carlo Italian Bent Rhodesian with a vulcanite saddle stem is a great looking pipe now that it has been restored. The rich browns and blacks of the contrasting stains came alive with the polishing and waxing. I put the stem back on the bowl and carefully buffed the pipe with Blue Diamond on the buffing wheel using a light touch on the briar. I gave the bowl and the stem multiple coats of carnauba wax on the buffing wheel and followed that by buffing the entire pipe with a clean buffing pad. I hand buffed the pipe with a microfiber cloth to deepen the shine. The finished Duca Carlo Rhodesian is a beauty and fits nicely in the hand and looks very good. Give the finished pipe a look in the photos below. The dimensions of the pipe are Length: 5 ½ inches, Height: 1 ¾ inches, Outside diameter of the bowl: 1 ¼ inches, Chamber diameter: ¾ of an inch. The weight of the pipe is 1.87 ounces/53 grams. This beauty will be going on the rebornpipes store in the Italian Pipe Makers section. Let me know if you are interested in adding it to your collection. Thanks for reading this blog and my reflections on the pipe while I worked on it. There are many more to come!