
Blog by Steve Laug
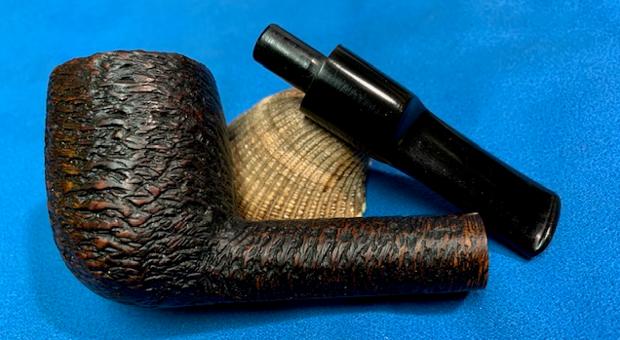
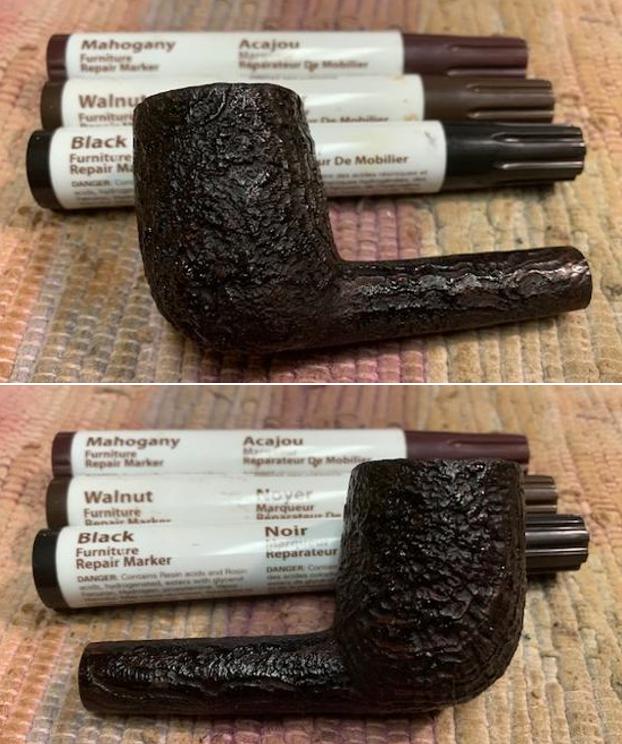
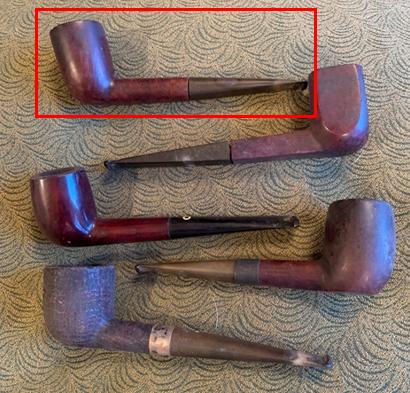
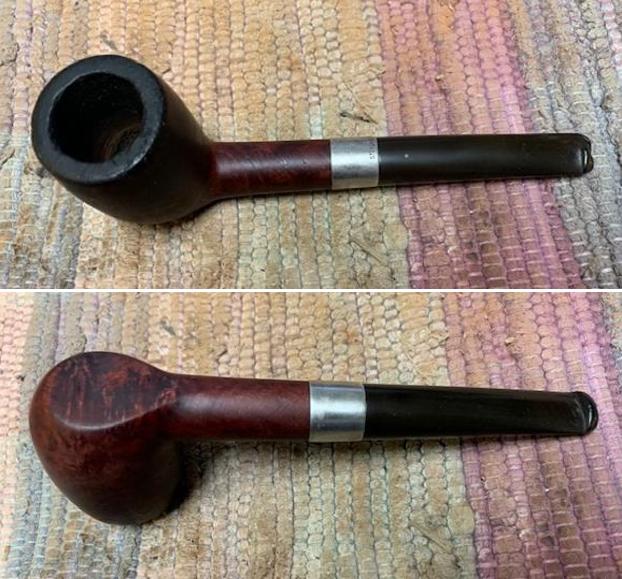
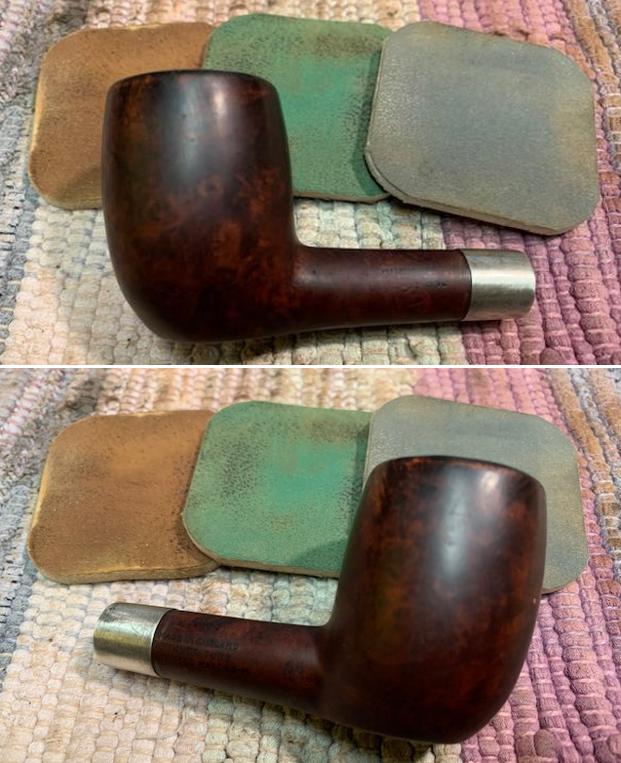
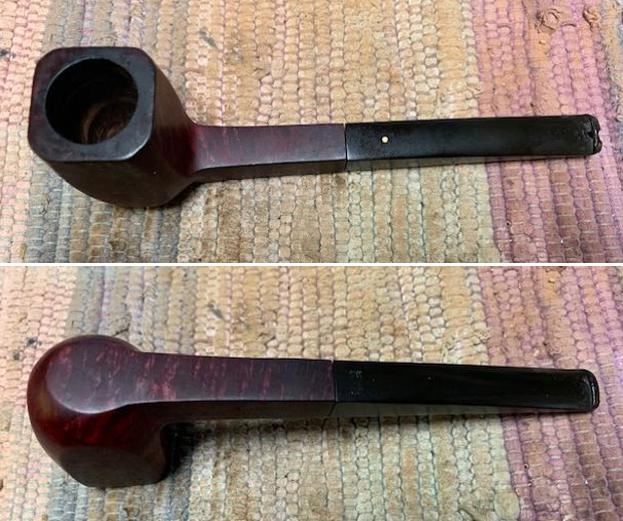
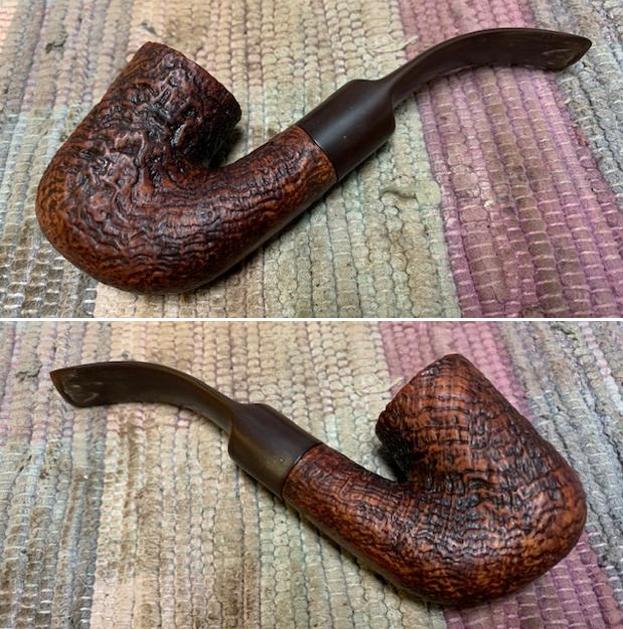
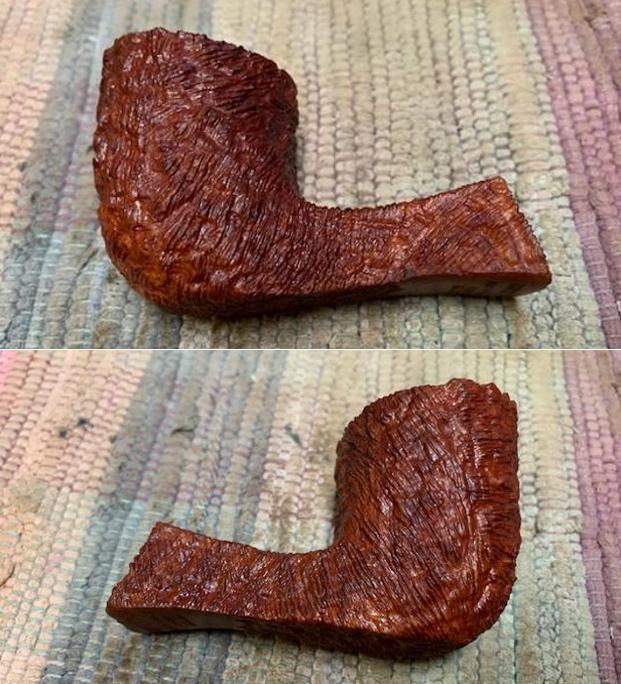
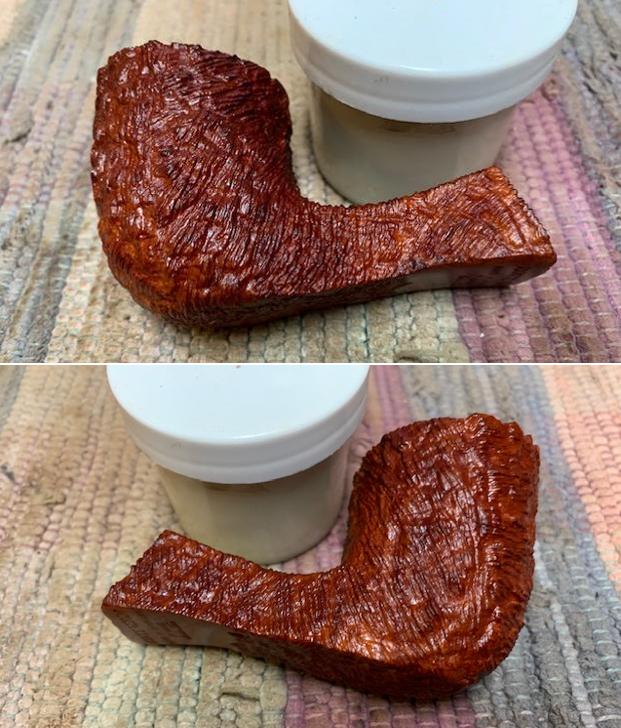
The next pipe on the work table is a Sasieni Made Rusticated Lovat that we purchased in 2016 from an antique store on the Oregon Coast, USA. It is a rusticated pipe a shape that I would call a Lovat from the flow of the stem and shank. It is stamped on the underside of the shank and reads 755SR [over] Berkley Club [over] London Made. Toward the heel it is stamped Made in England in a Rugby Ball shaped stamp. The bowl had a thick cake and lava overflow on the rim. It was hard to estimate the condition of the rim top with the cake and lava coat but I was hoping it had been protected from damage. It appeared that there was a lot of damage on the outer edge with the heaviest damage on the back and left side. The finish was a classic Sasieni rustication. The finish was dusty and tired but had some nice grain under the grime and the finish appeared to be in good condition. A lot would be revealed once Jeff had worked his magic on it. The stem was dirty, oxidized, calcified and had tooth chatter and tooth marks near the button on both sides. Jeff took photos of the pipe before he started his cleanup work. 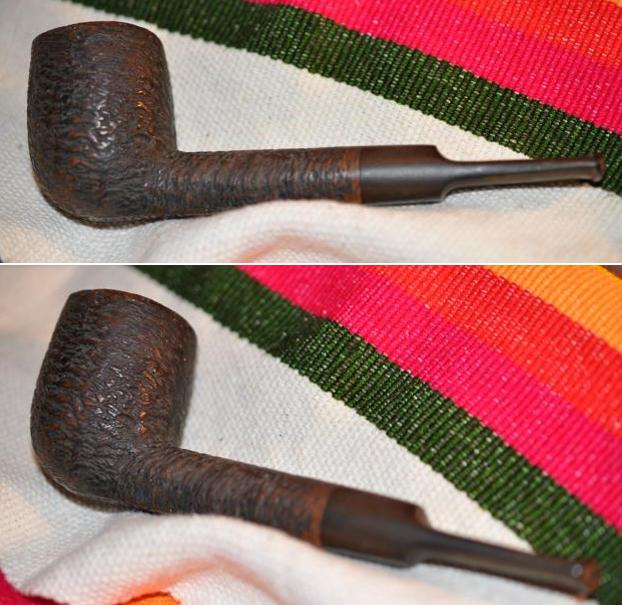
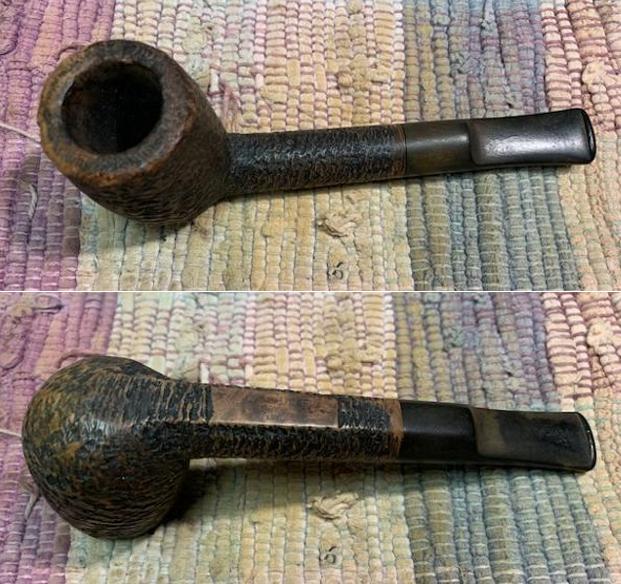
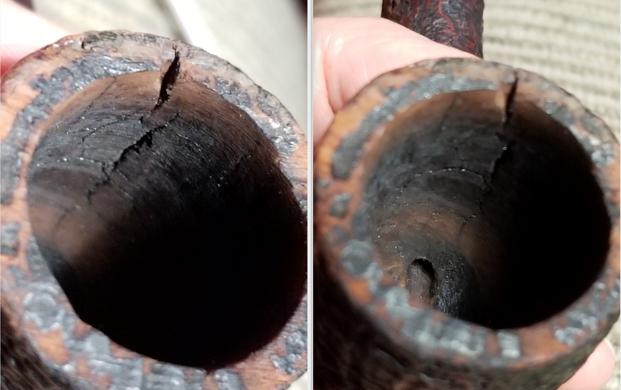
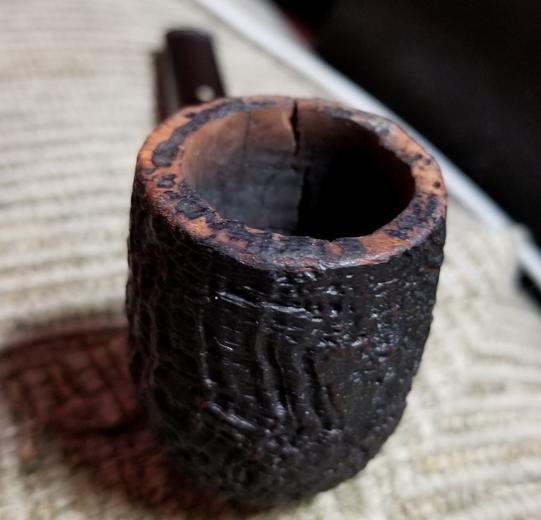
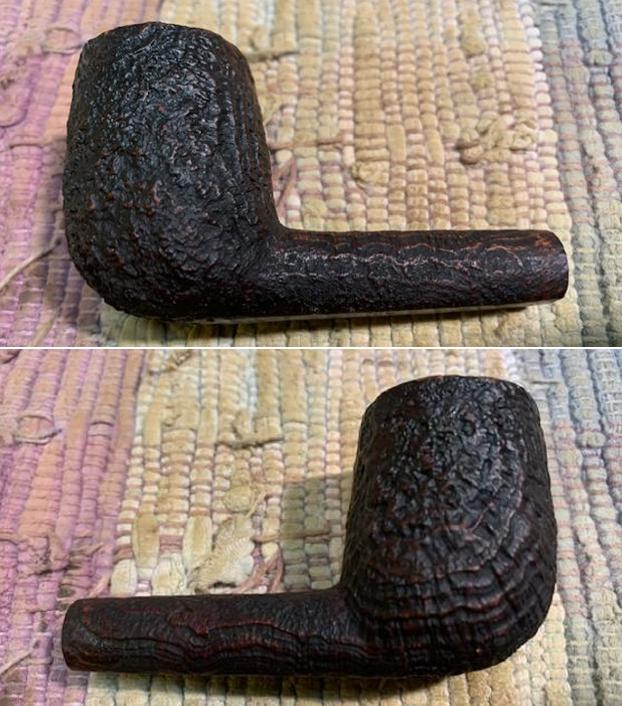
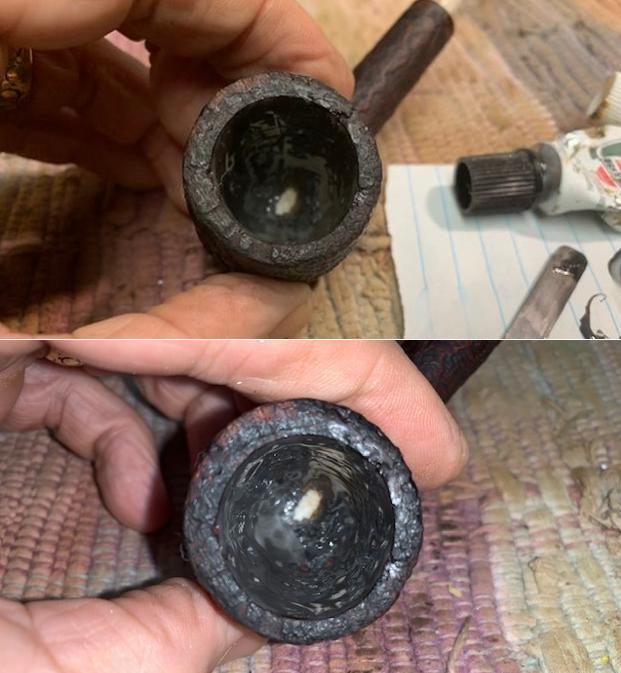
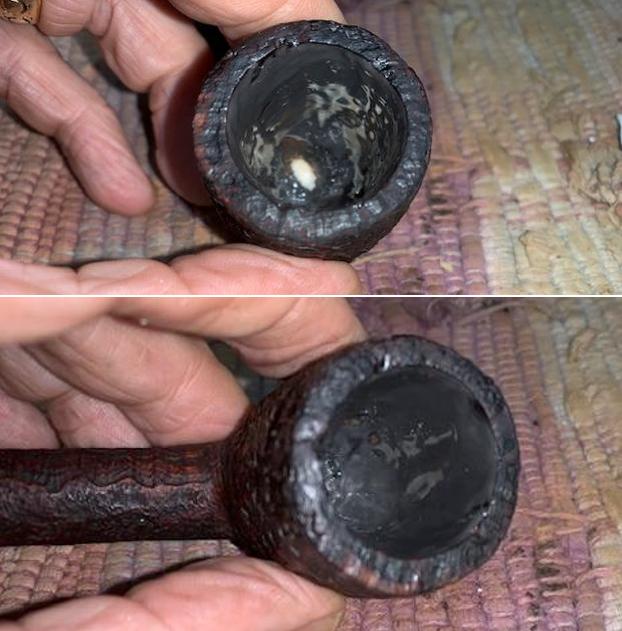
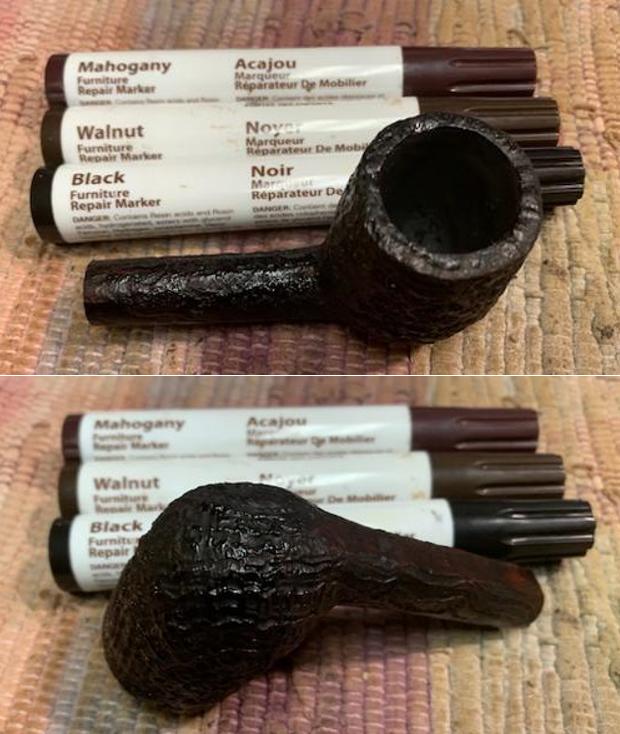
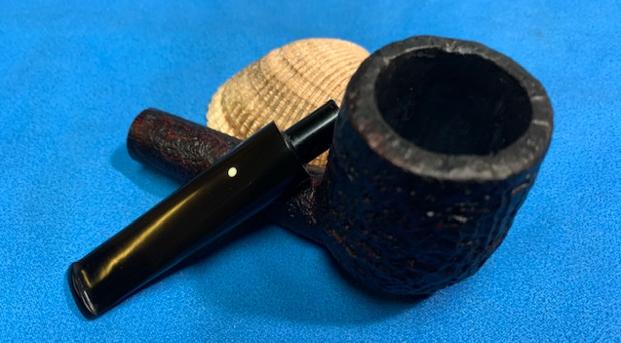
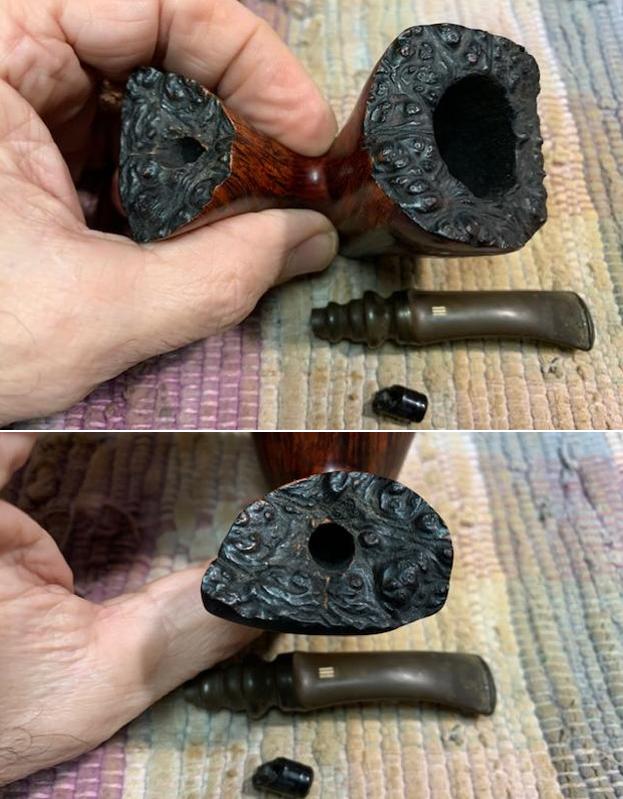
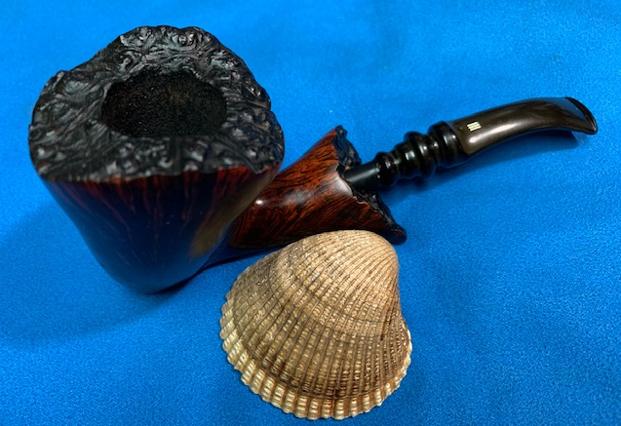
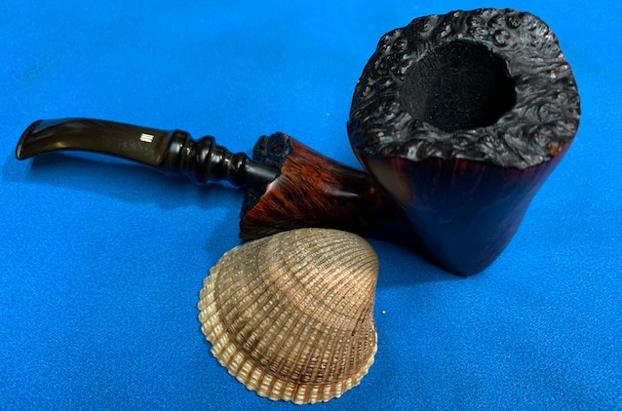
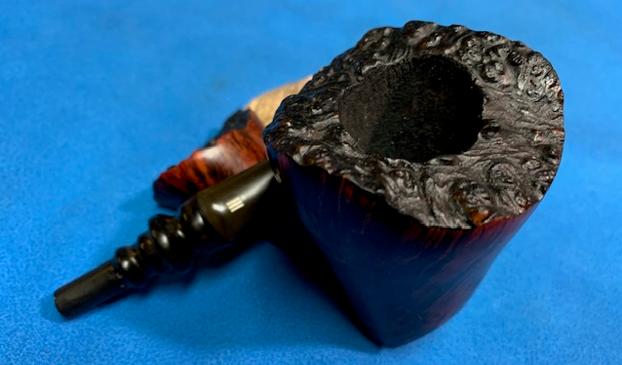
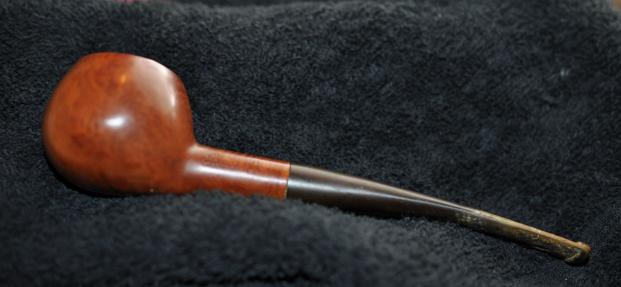
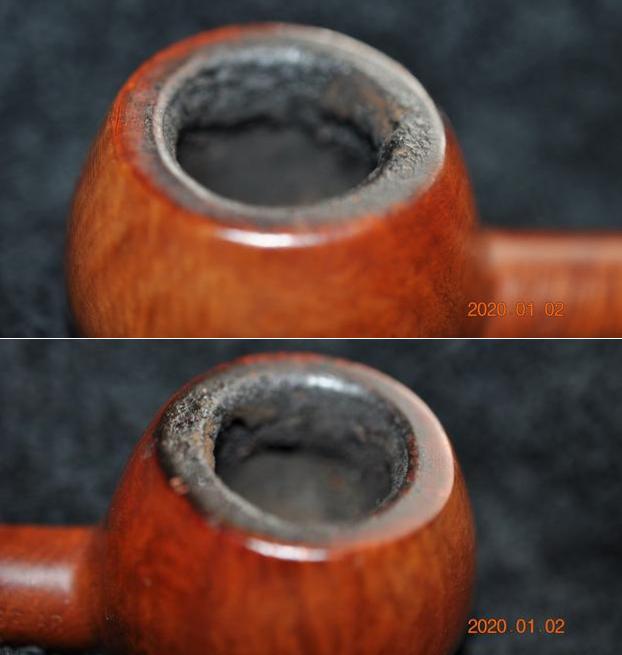
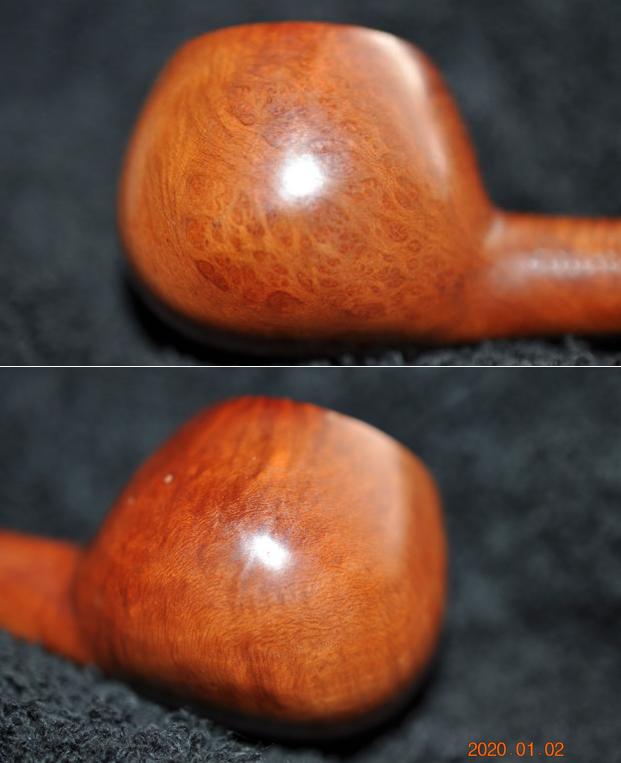
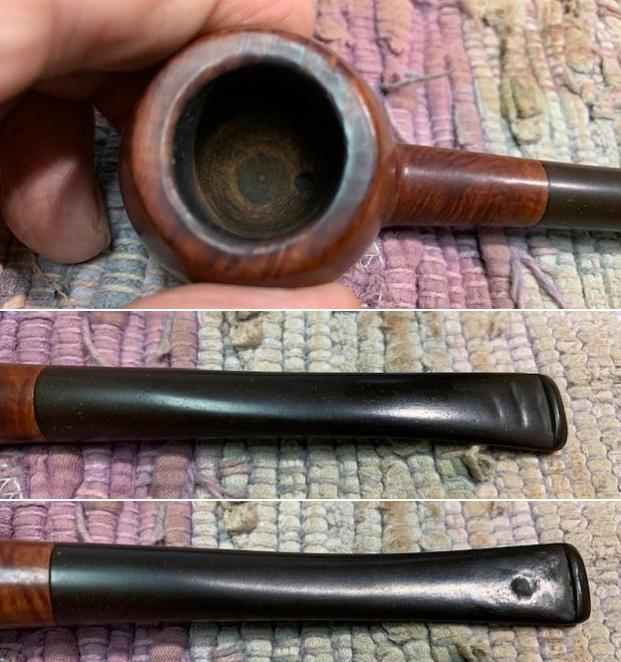
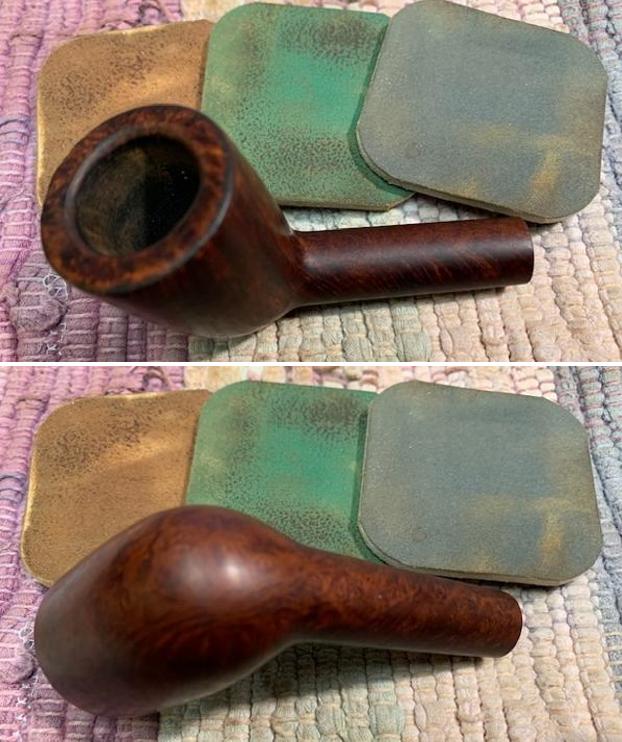
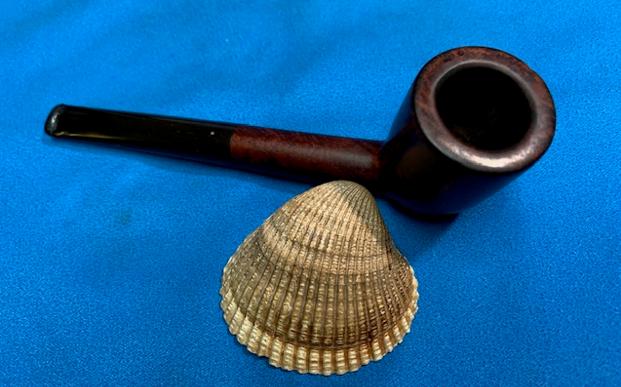
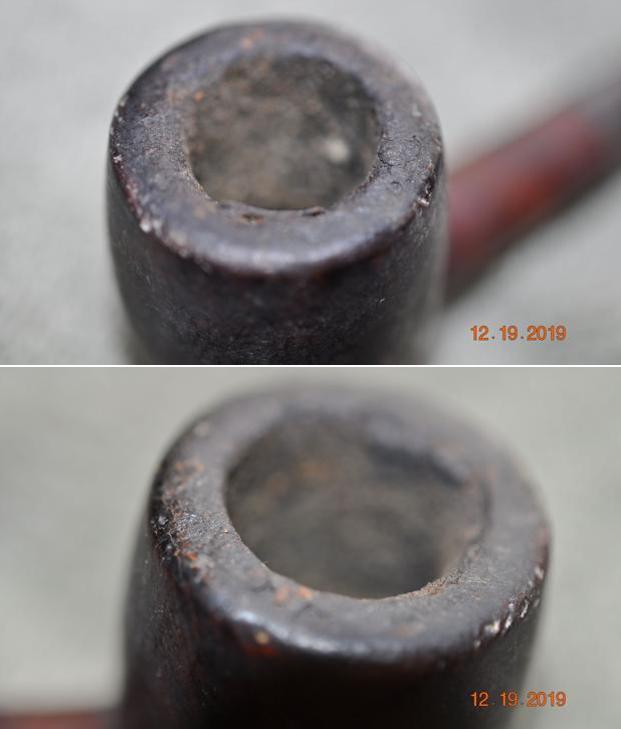
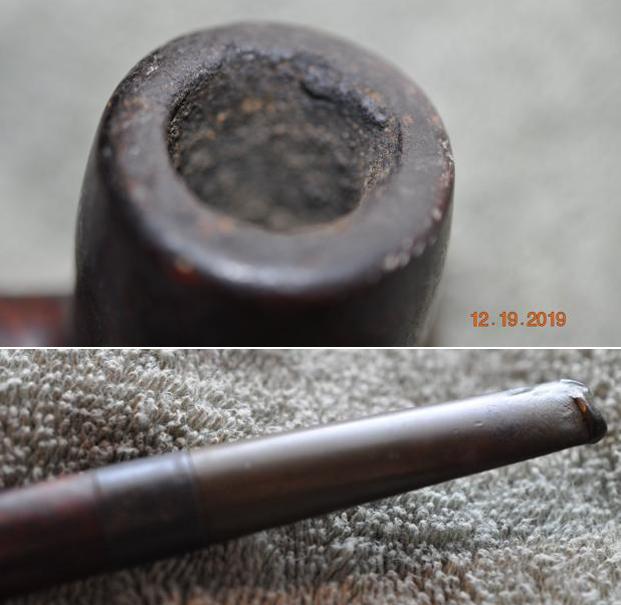
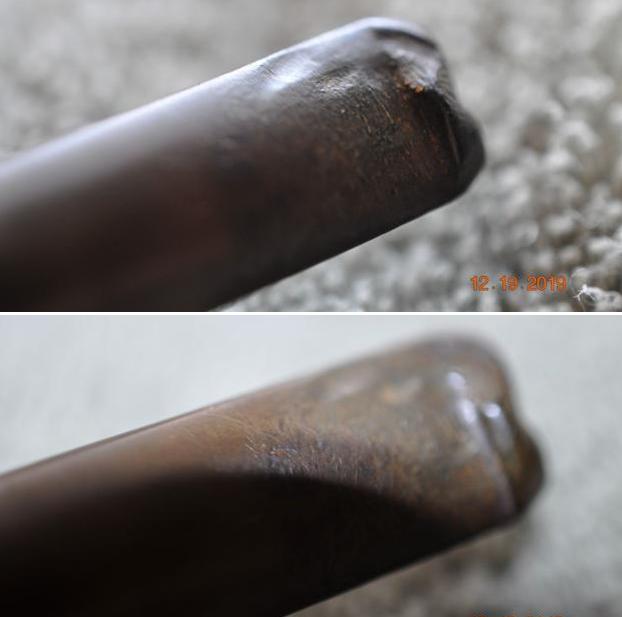
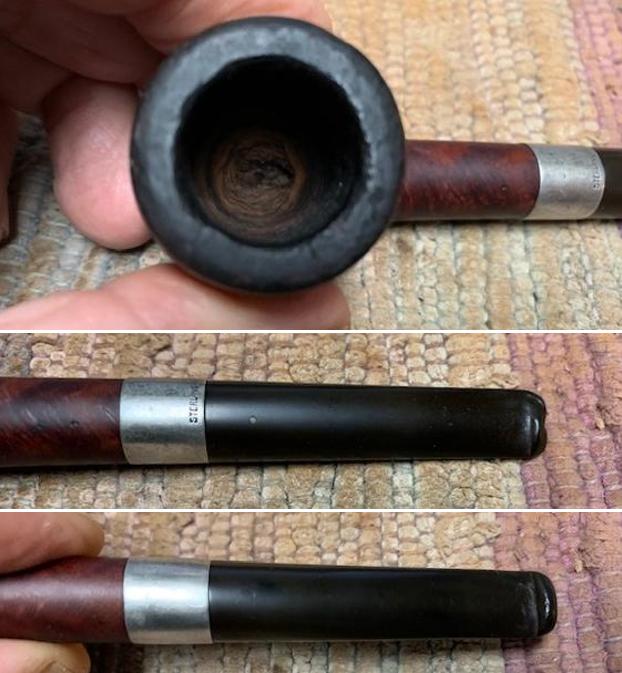
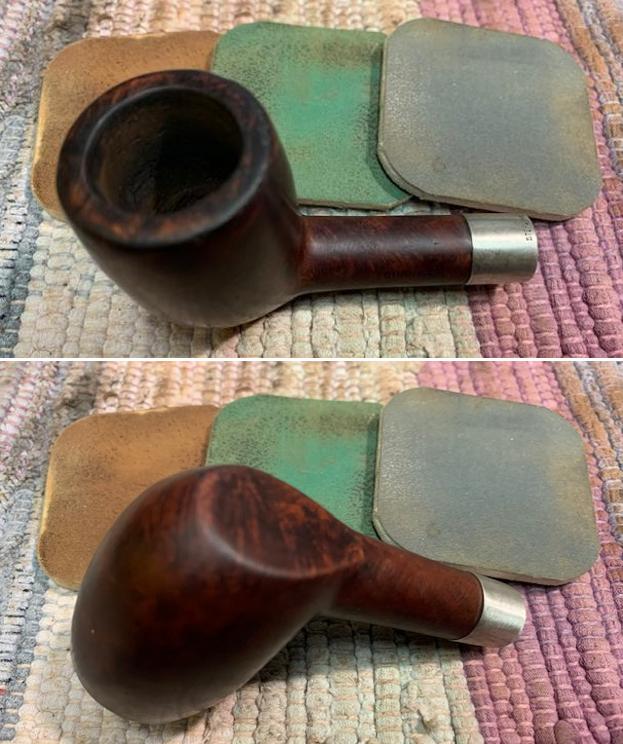
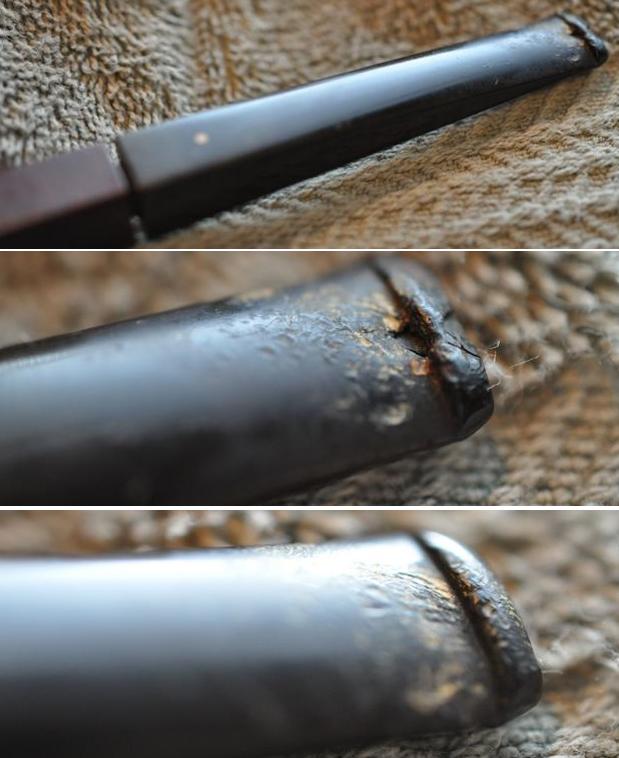
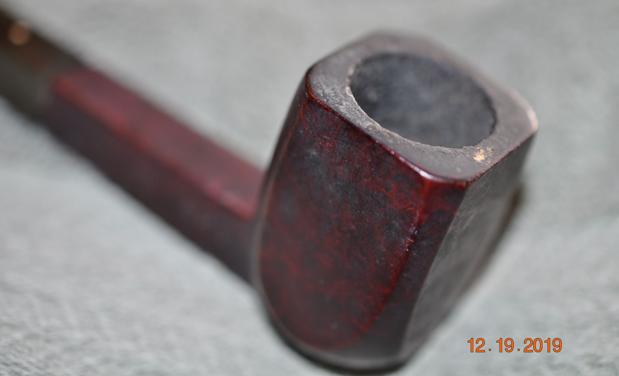
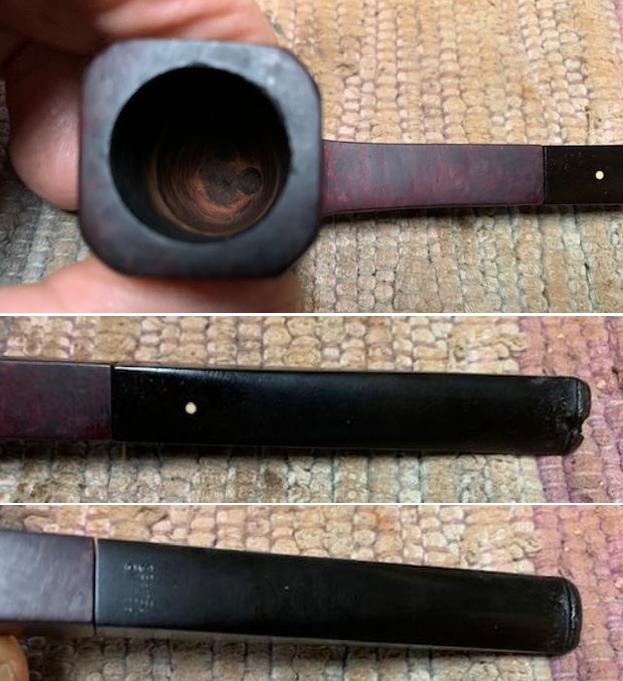
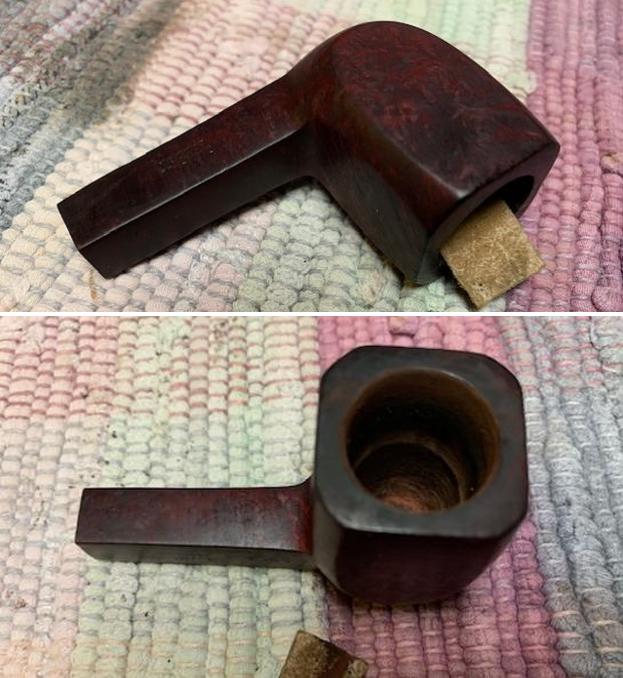
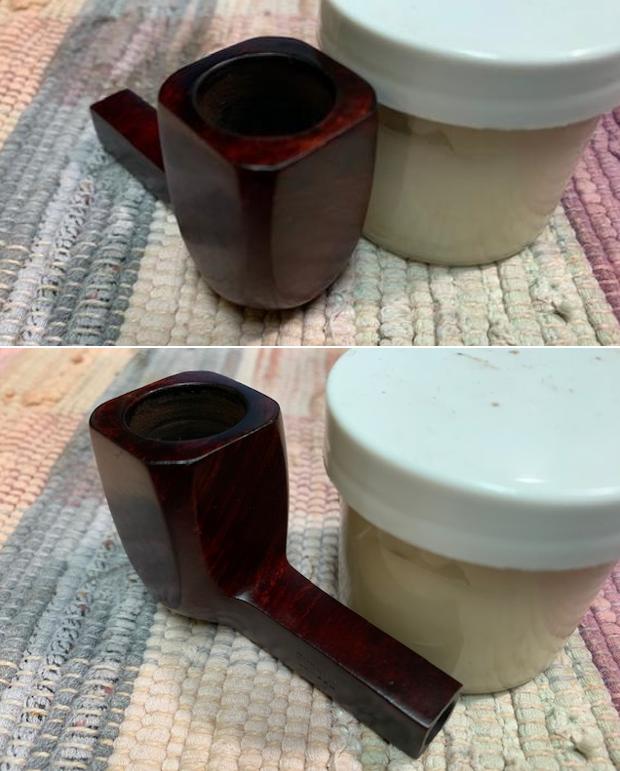
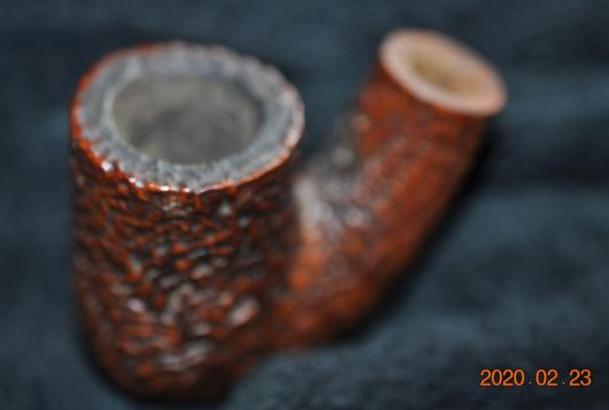
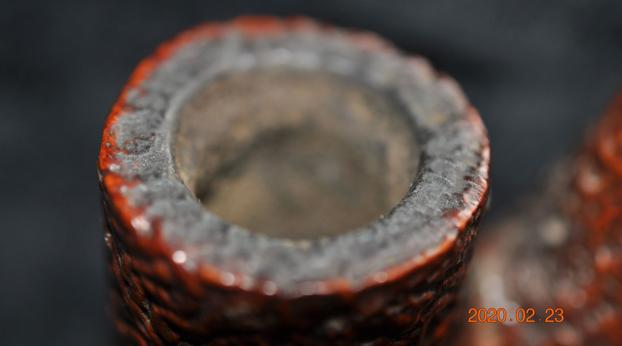
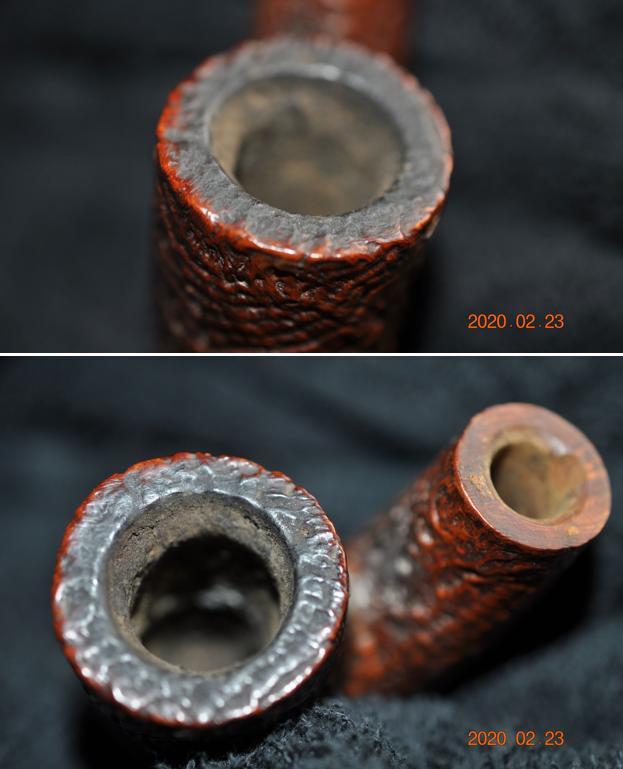
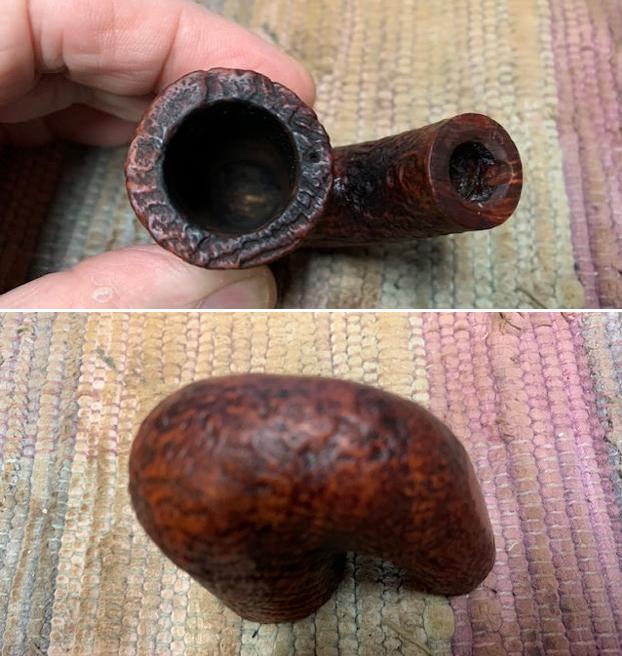
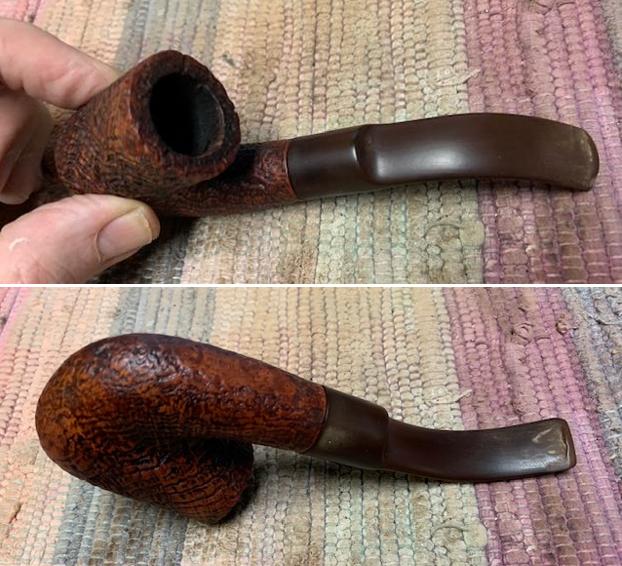
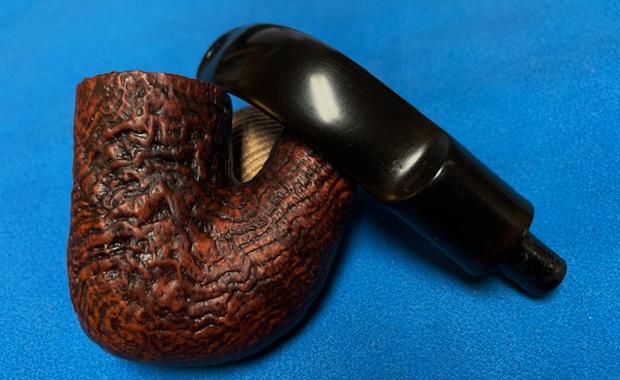
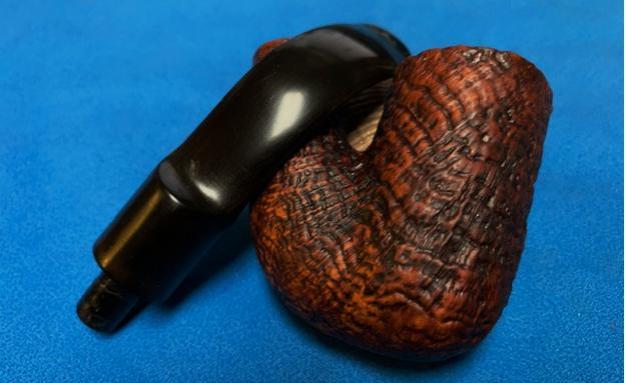
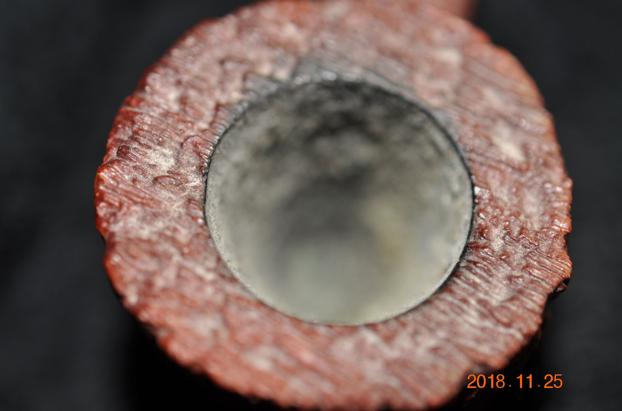
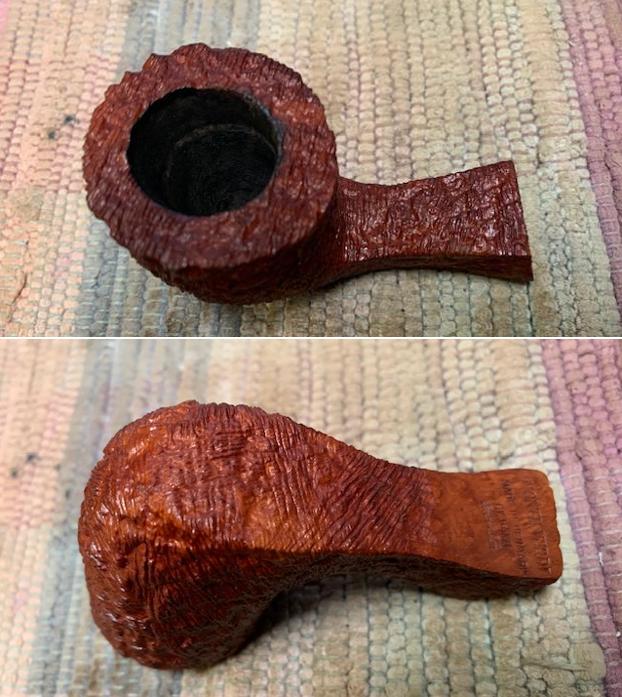
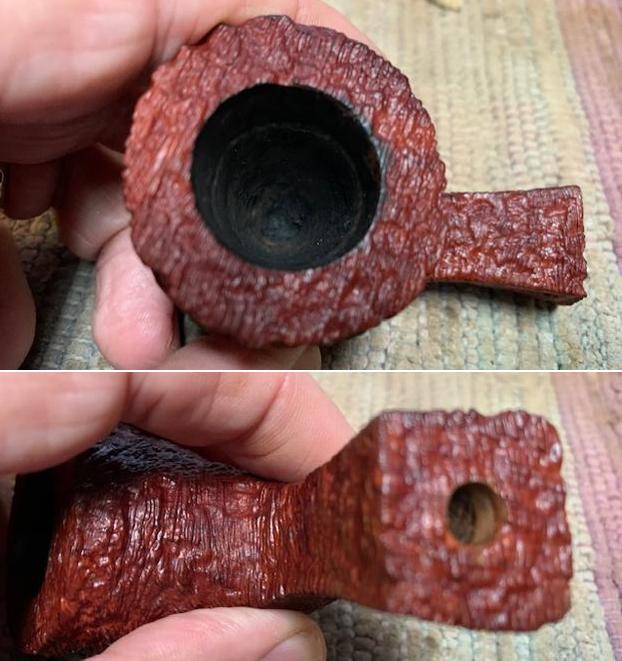
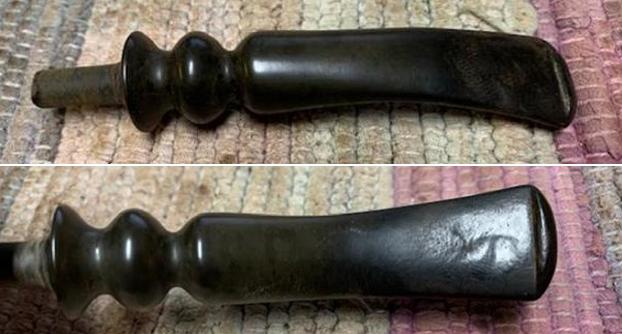
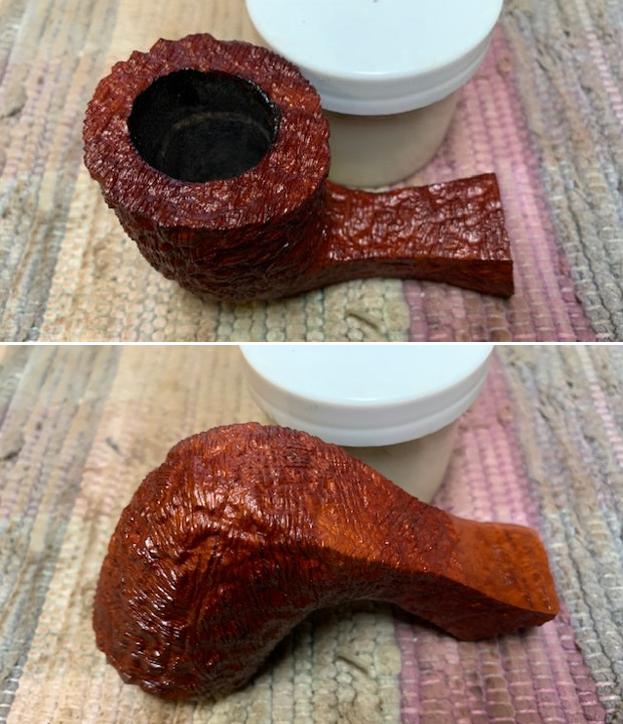
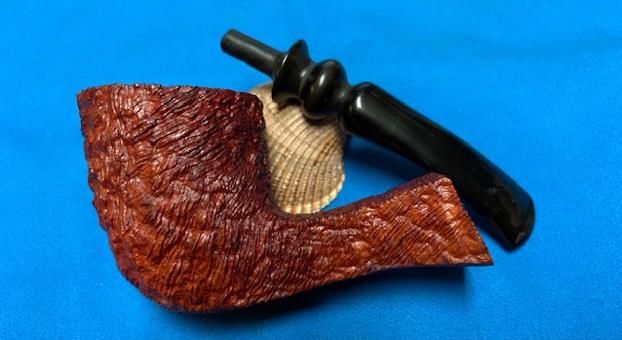
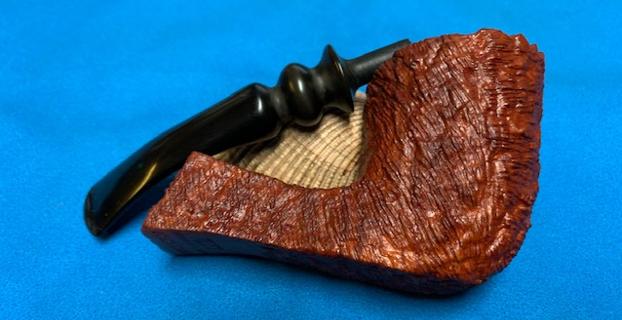
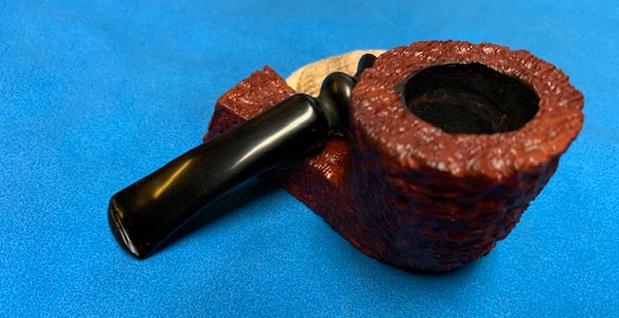
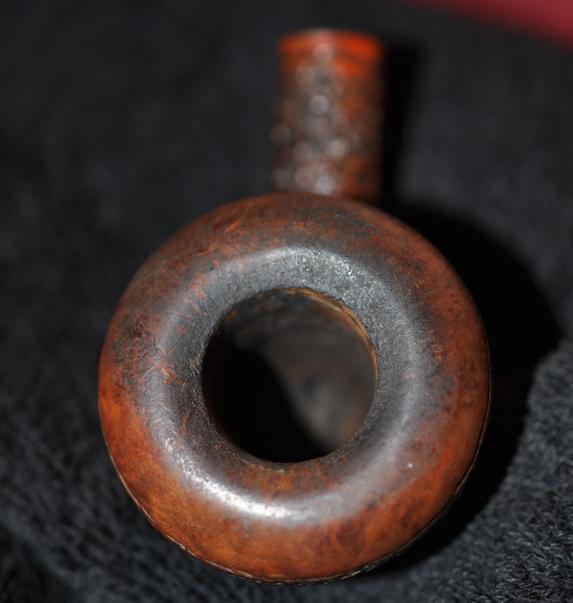
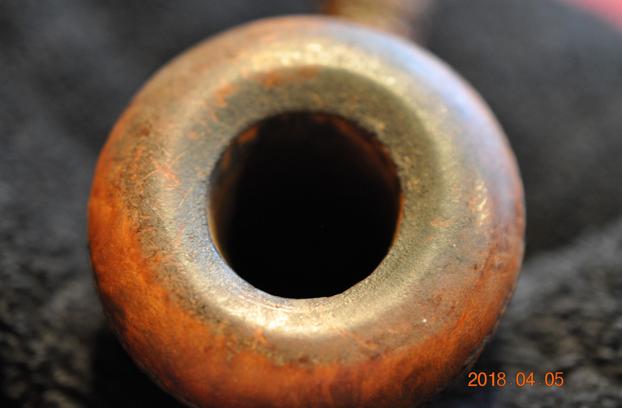
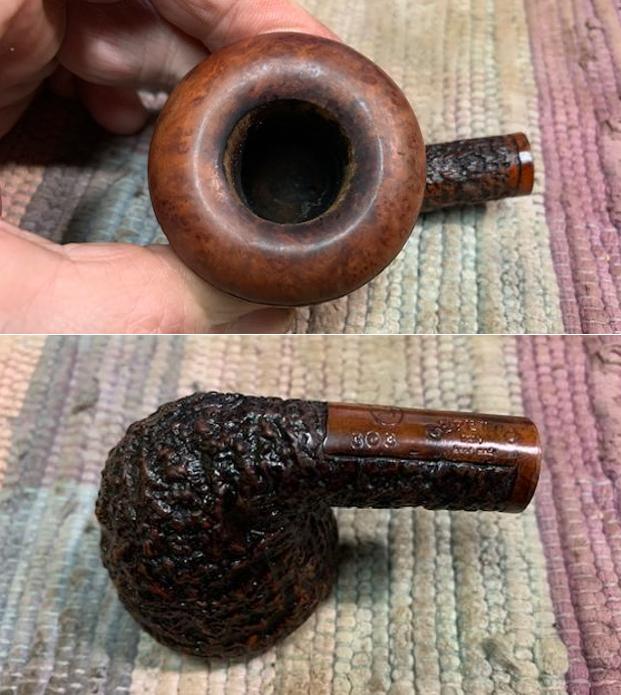
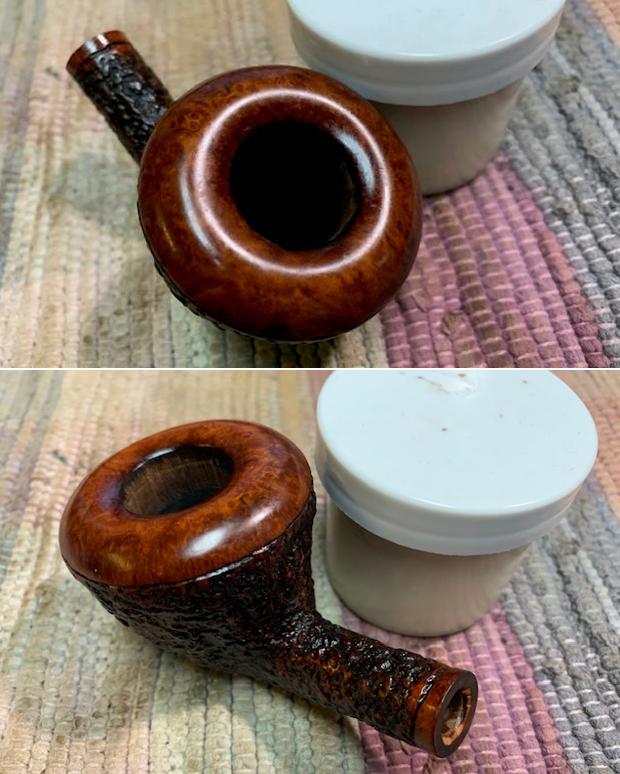
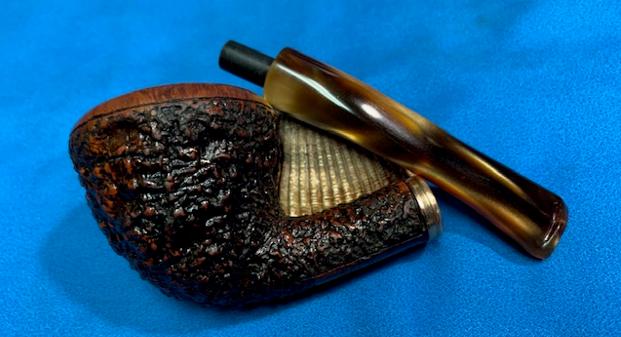
 Jeff captured the condition of the bowl and rim top with the next series of photos. You can see the work that is ahead of us in the photos. The cake is very thick and heavy. The next two photos of the stem show the top and underside of the stem. It is oxidized and calcified an you can see the tooth marks and chatter on the surface of both sides.
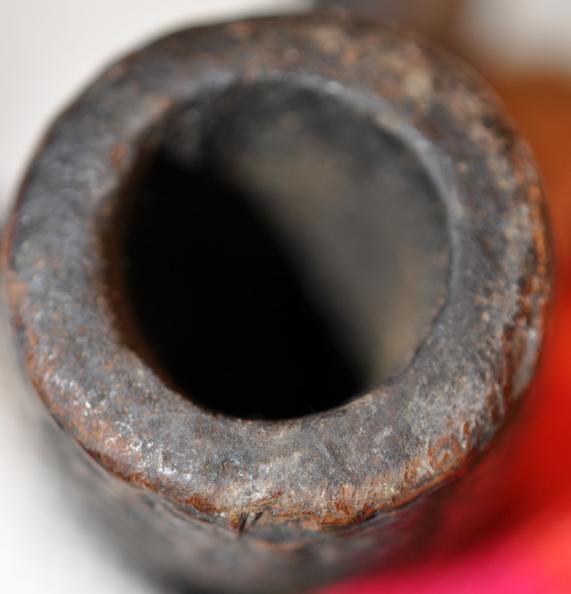
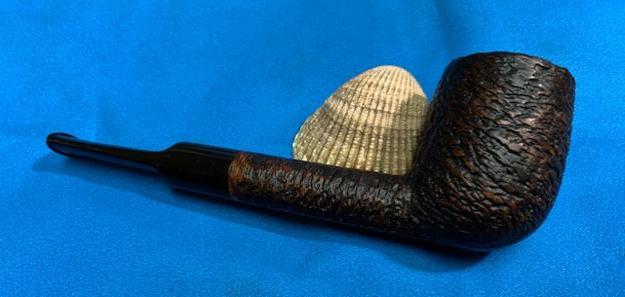
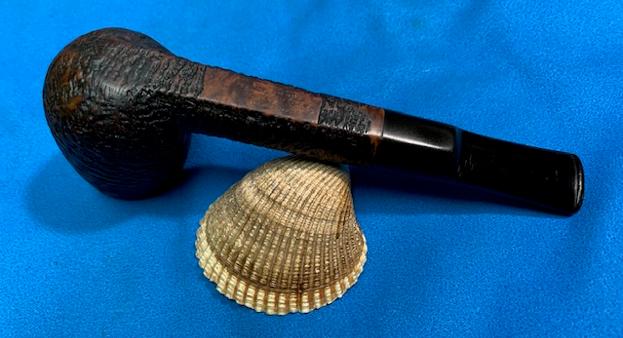
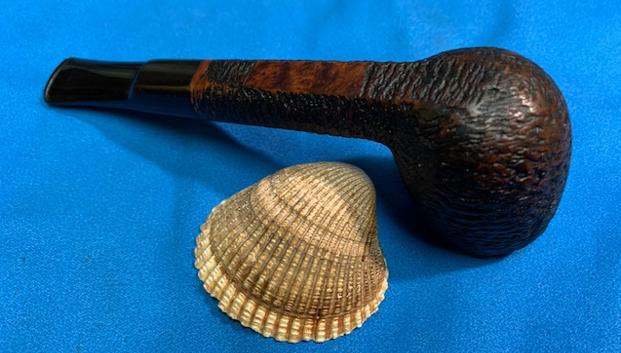
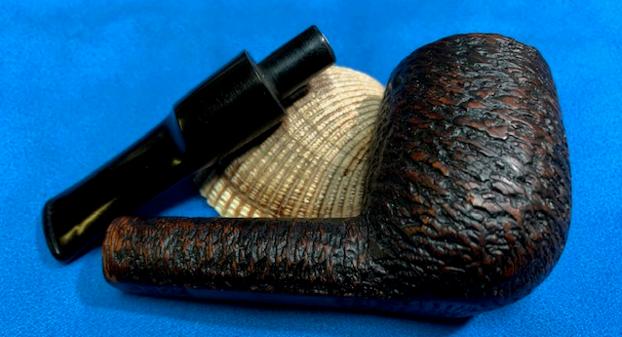
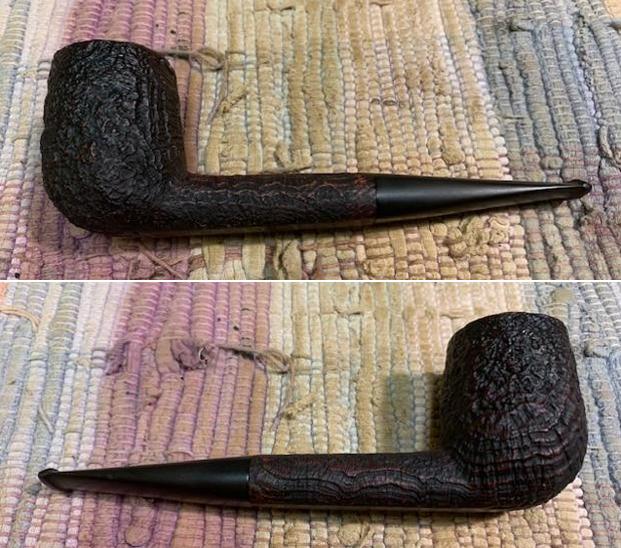
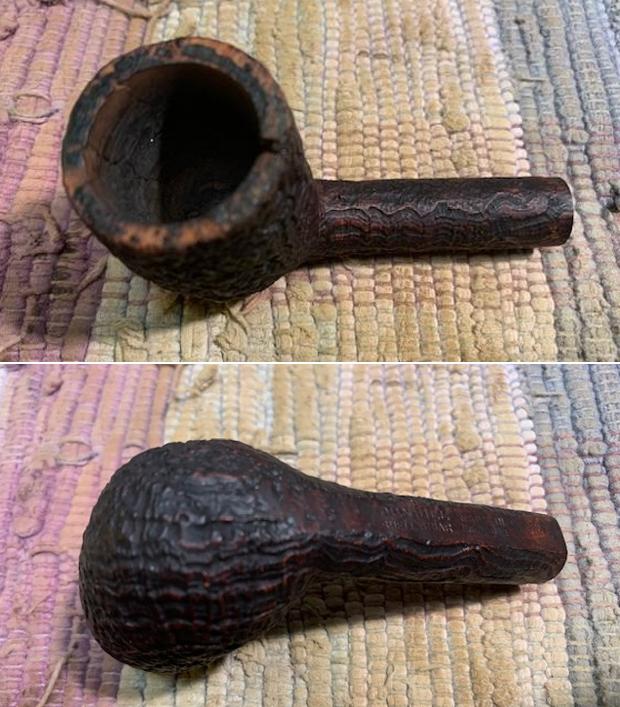
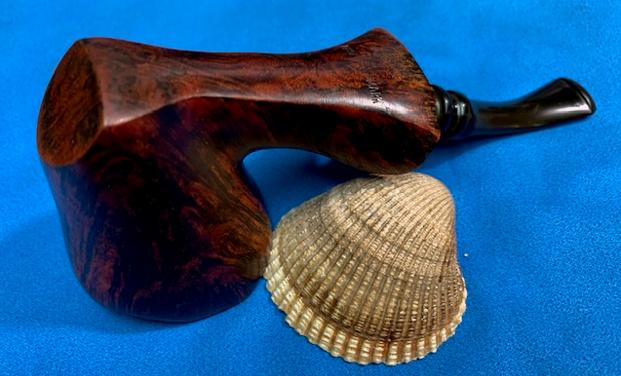
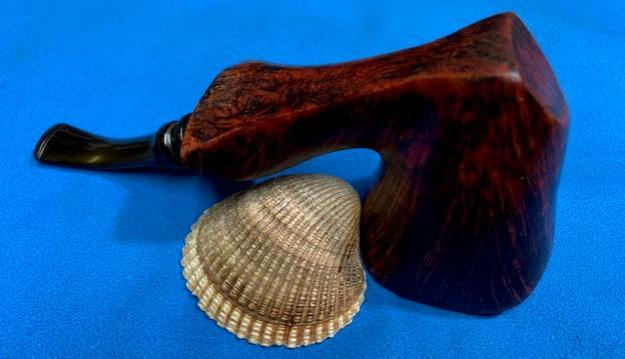
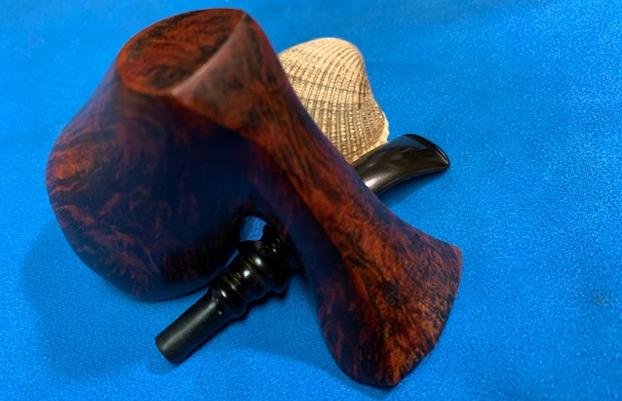
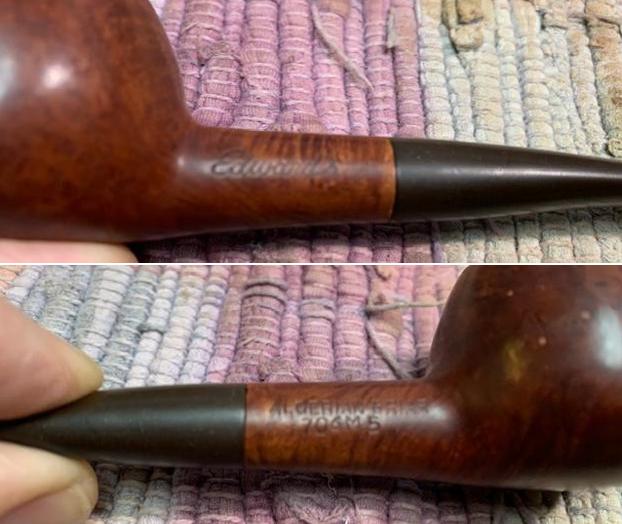
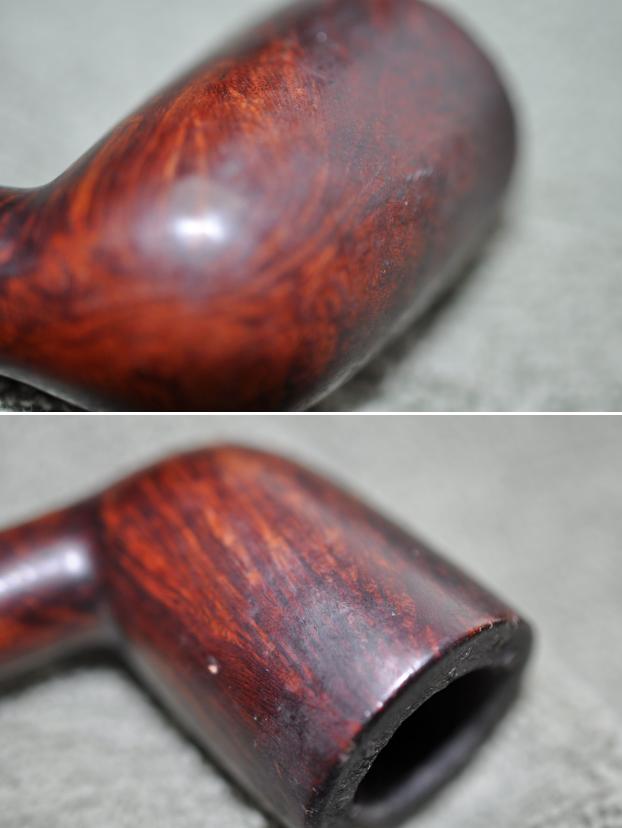
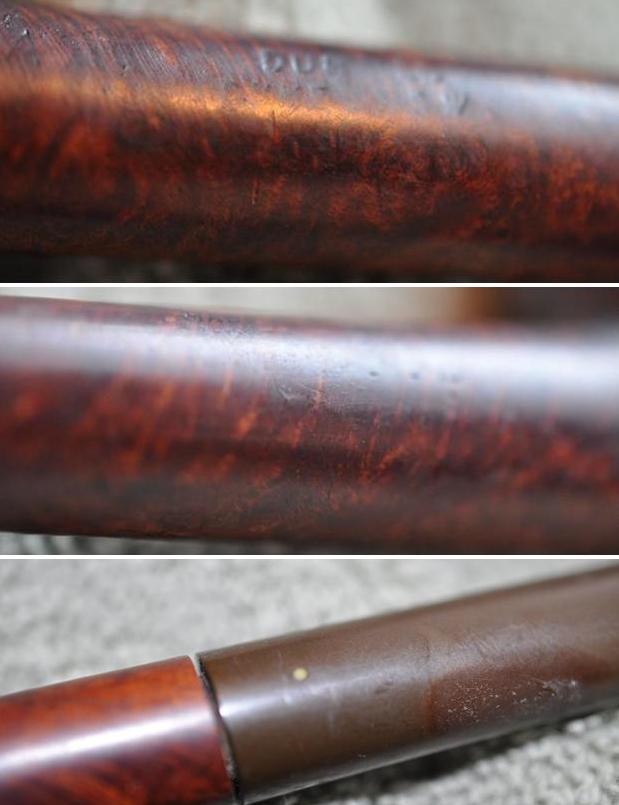
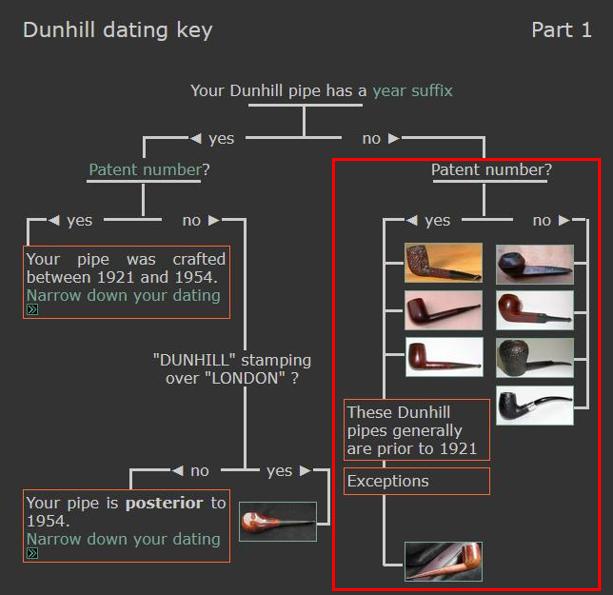
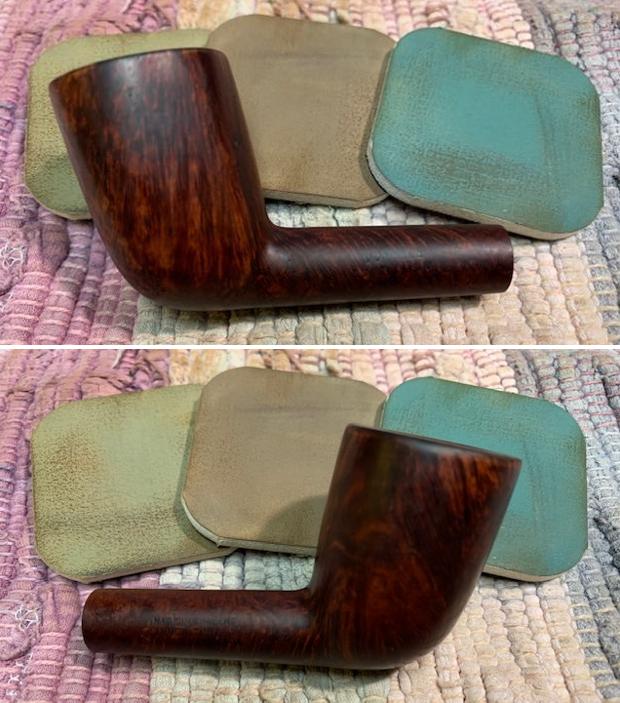
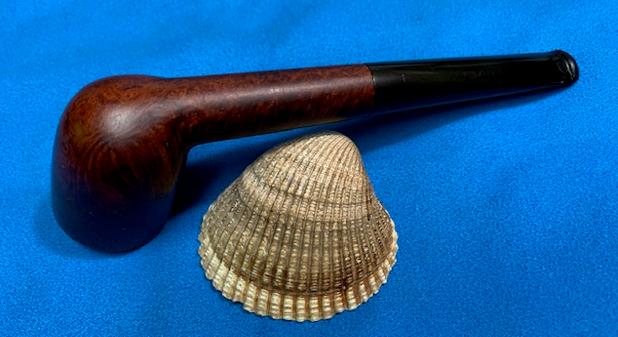
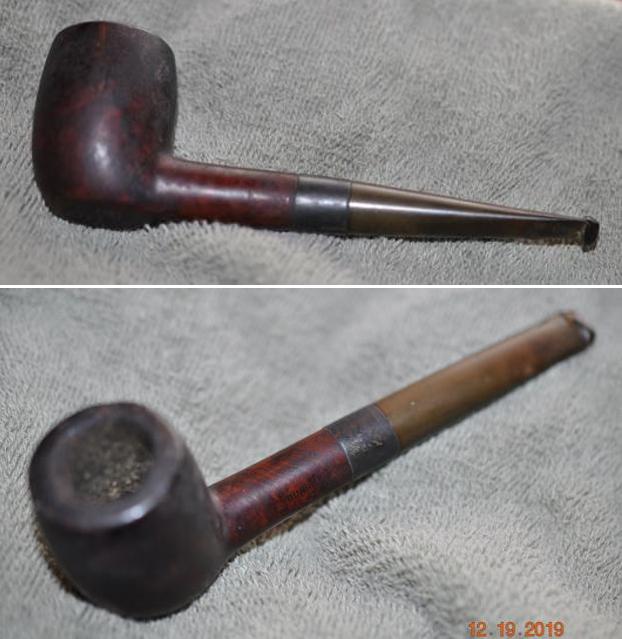
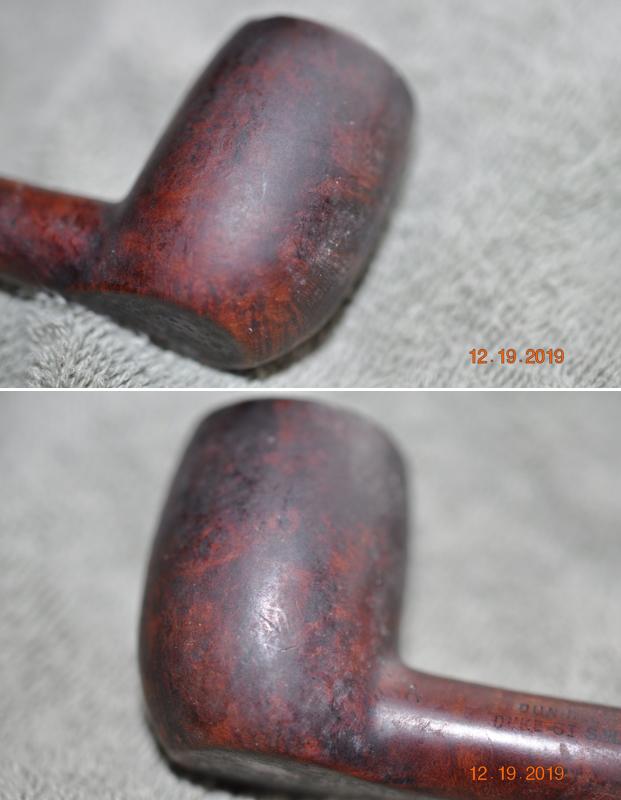
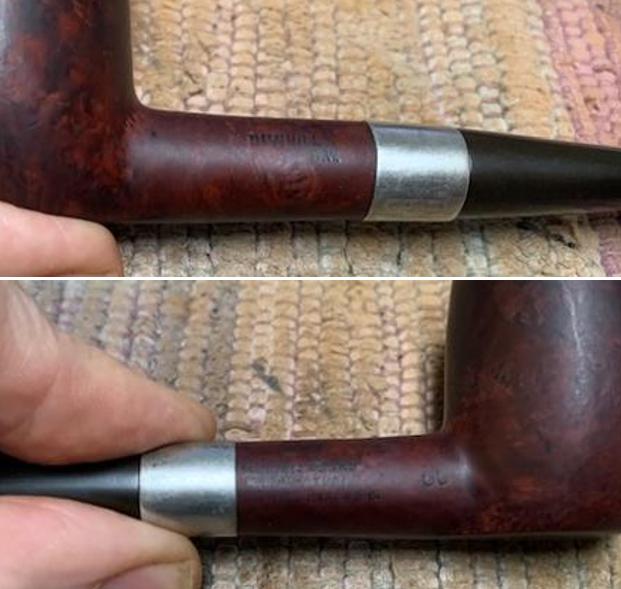
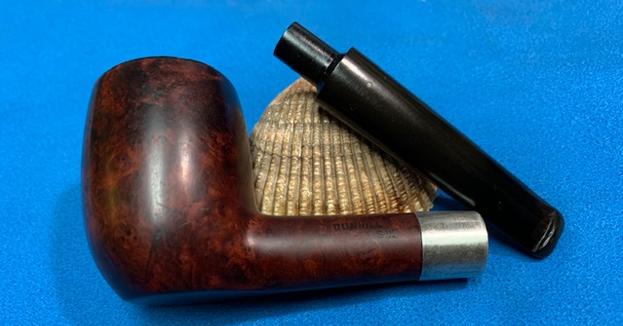
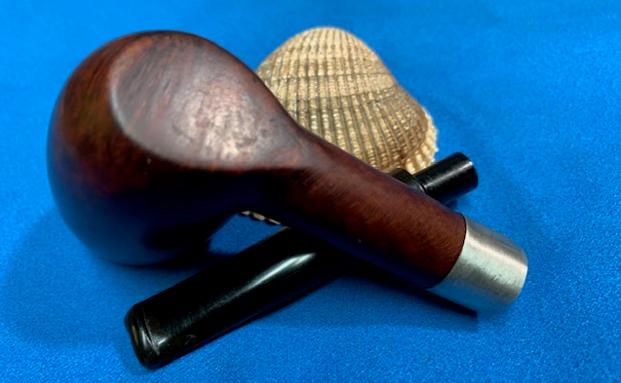
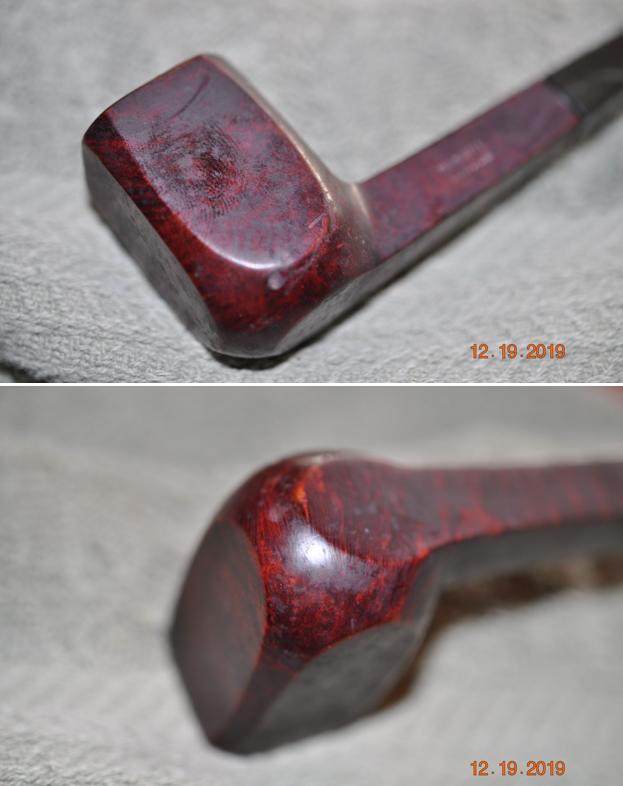
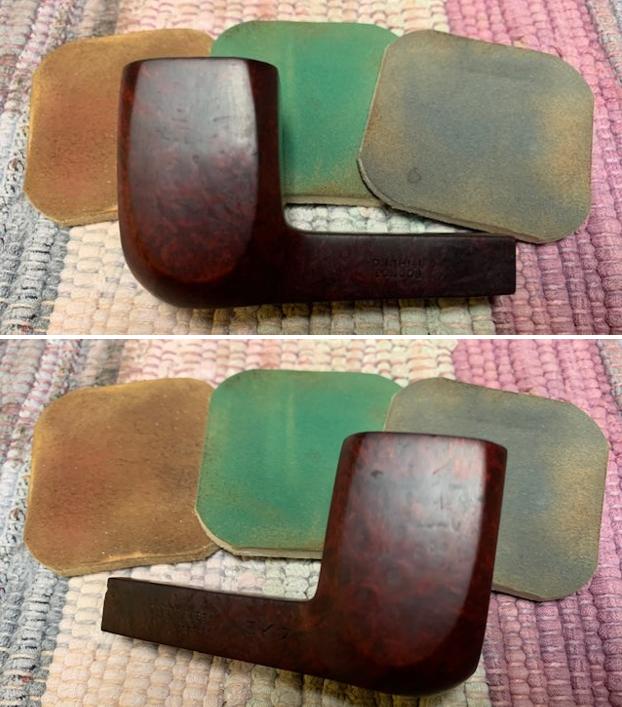
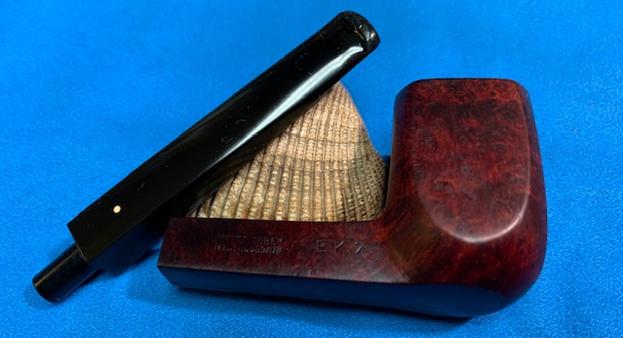
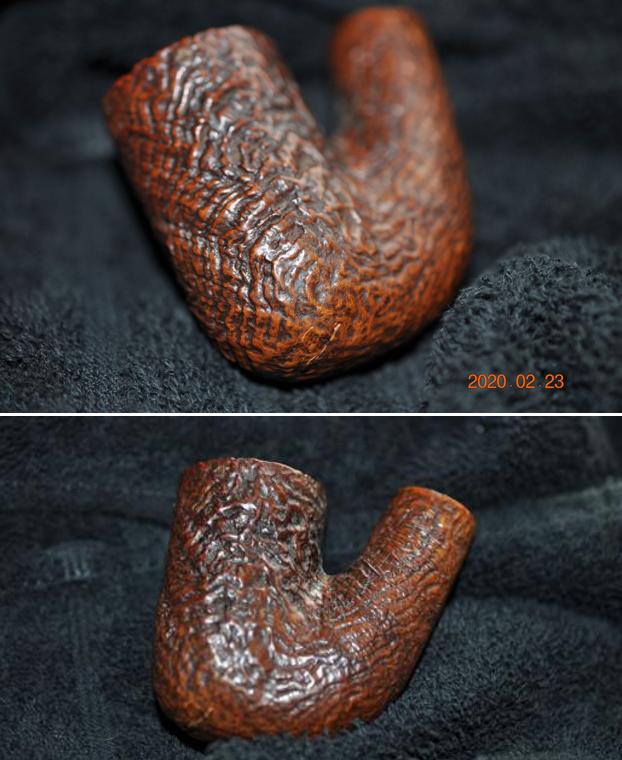
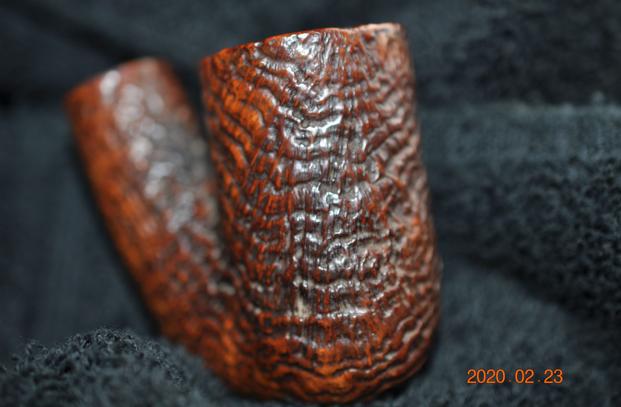
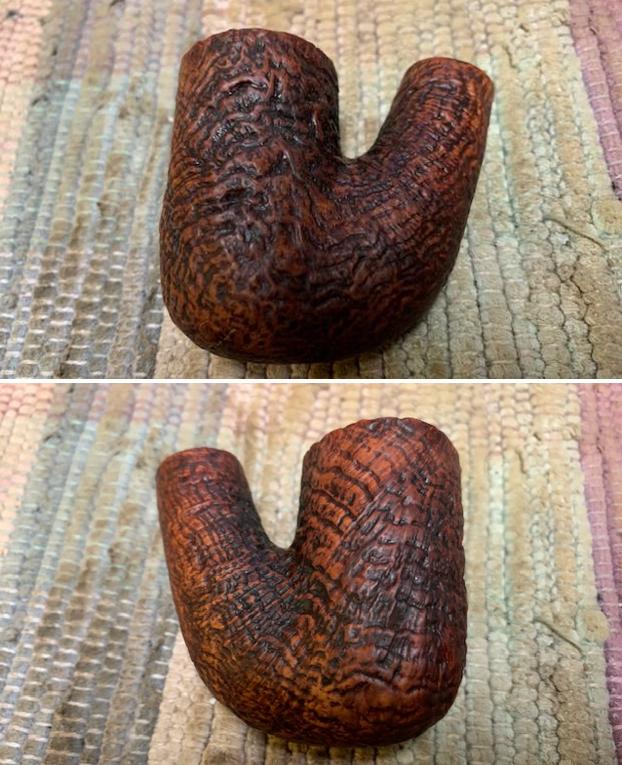
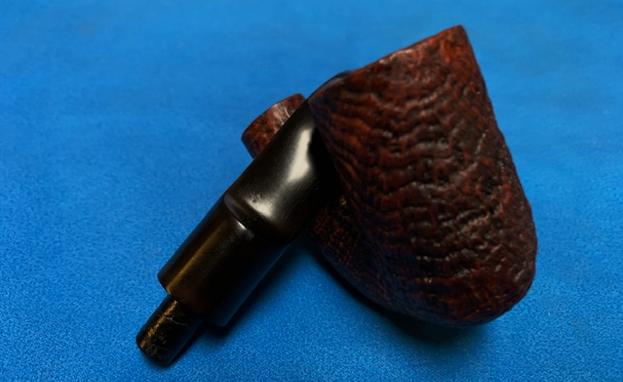
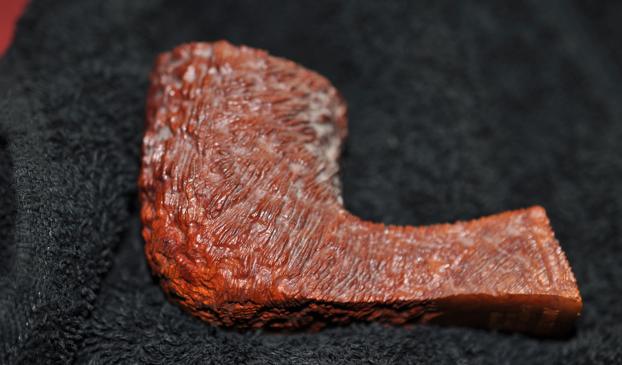
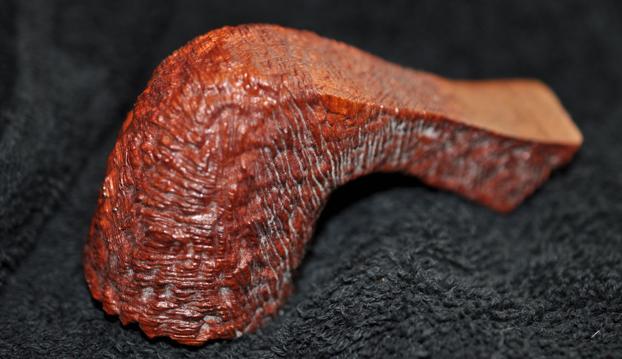
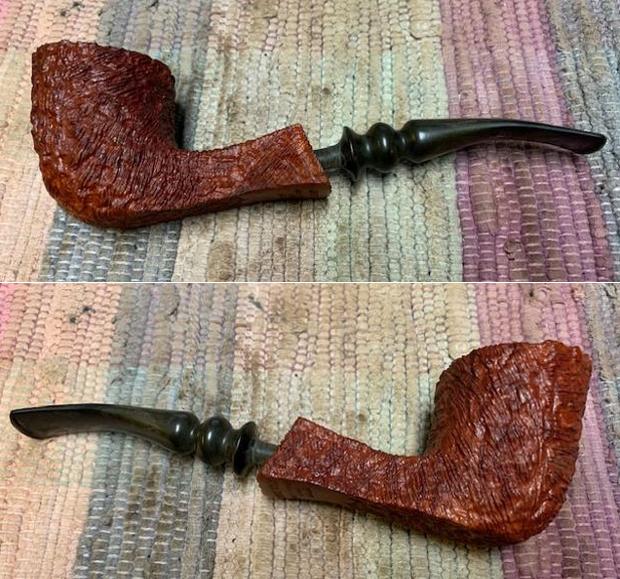
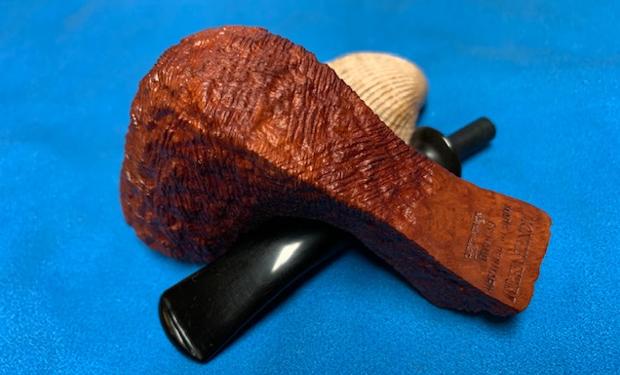
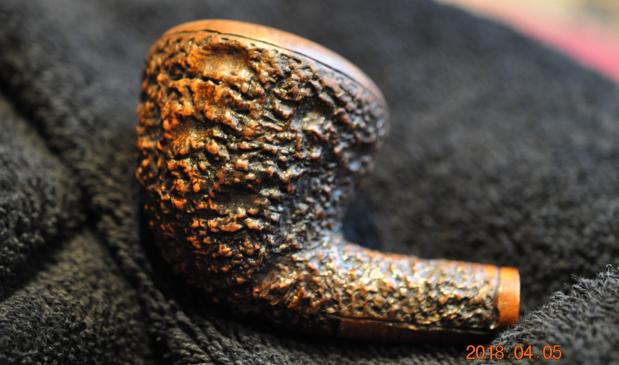
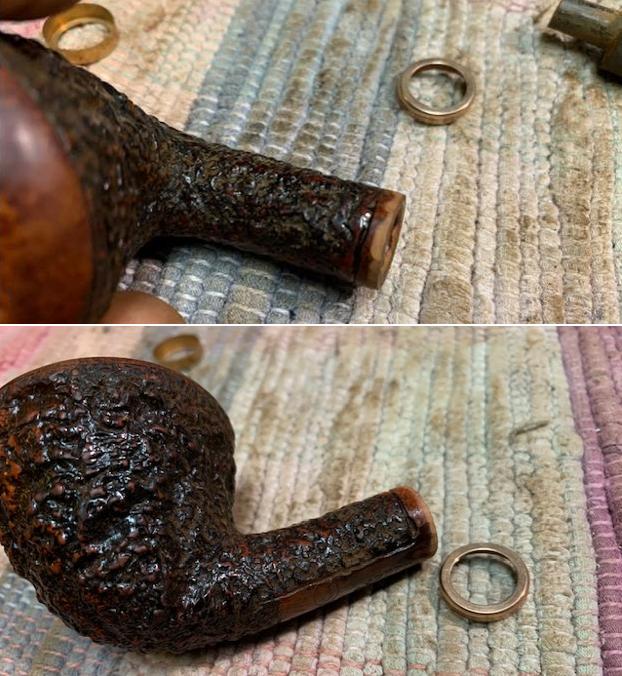
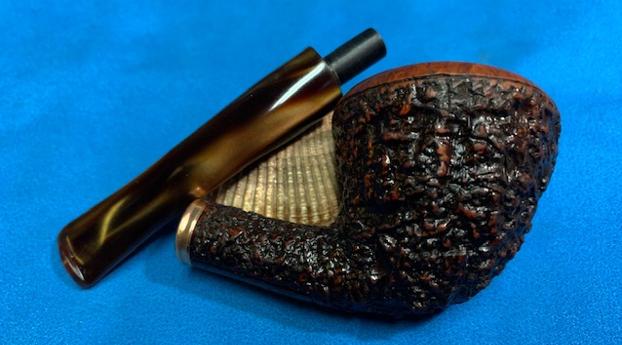
 Jeff took a photo of the side of the bowl and heel showing the worn finish and what is underneath the grime and debris of time and use. It will be interesting to see what happens as the pipe is cleaned and restored.
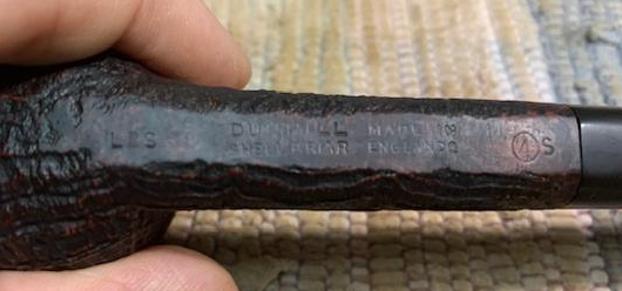
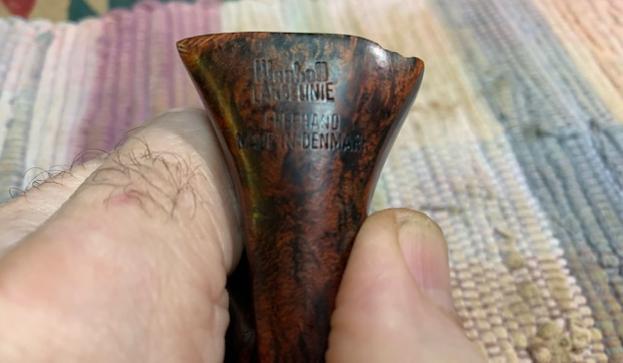
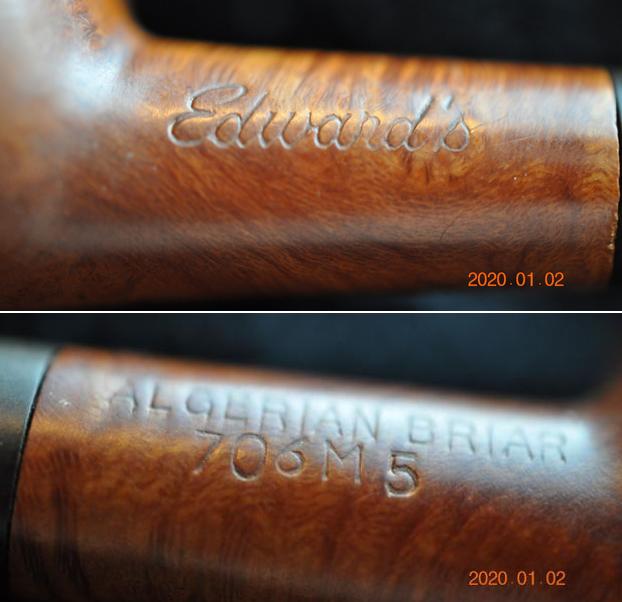
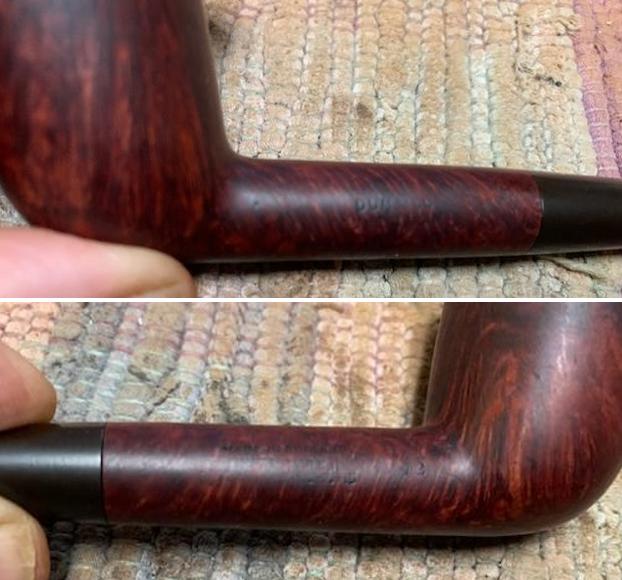
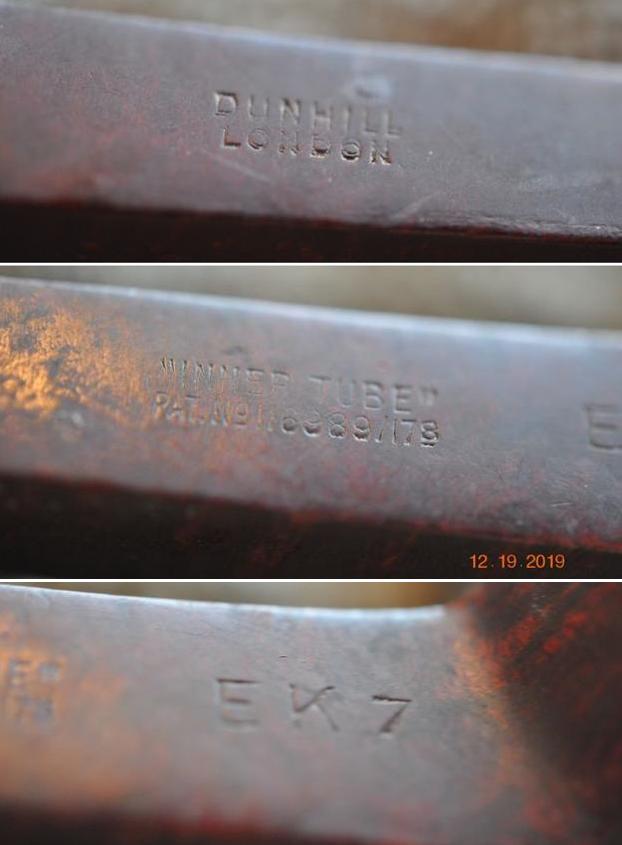
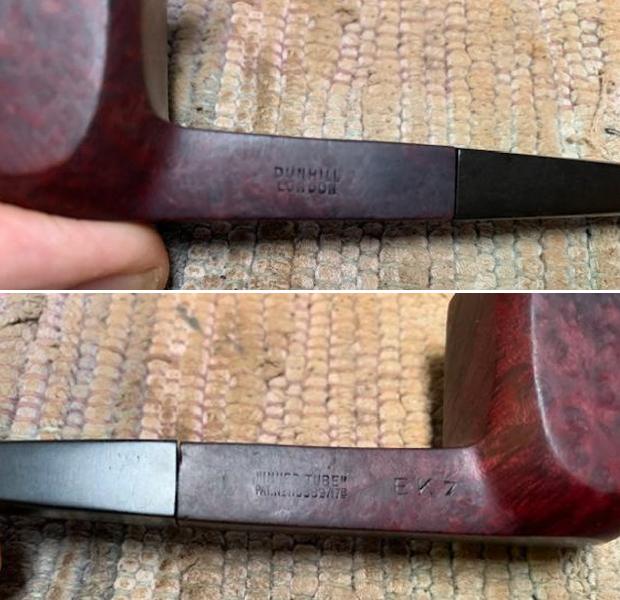
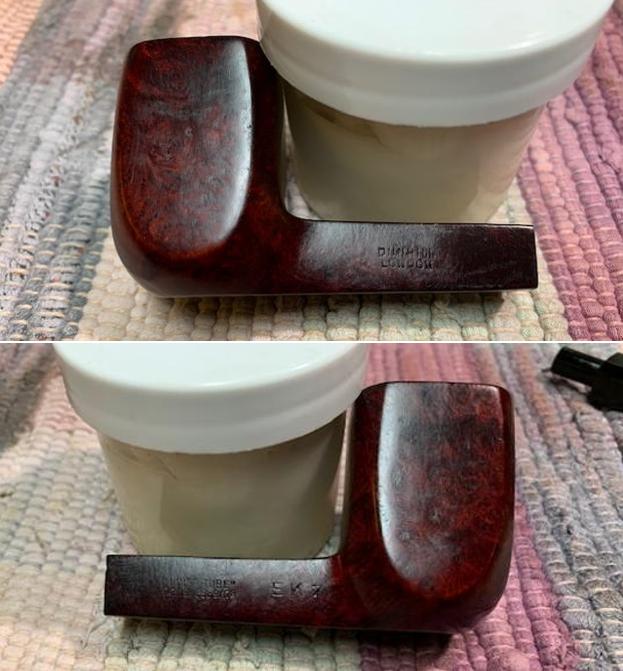
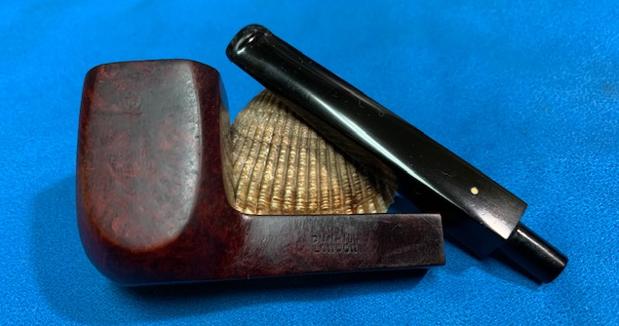
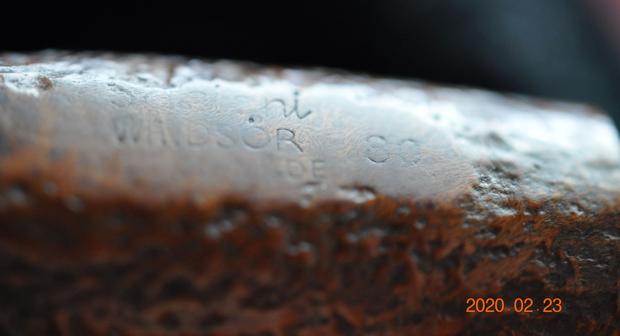
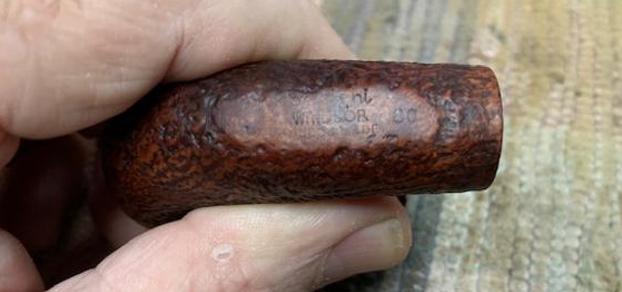
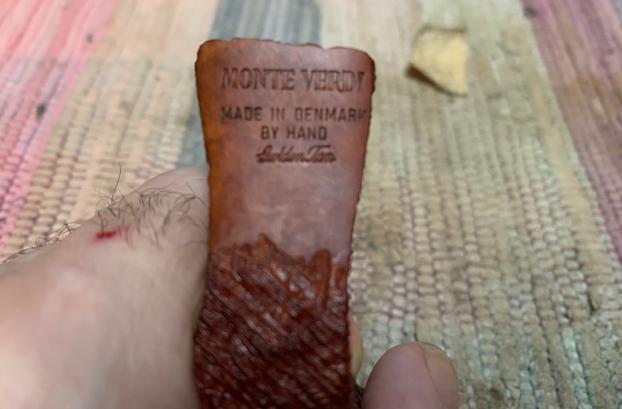
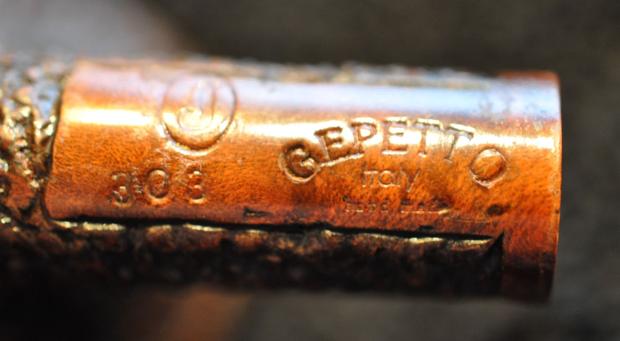
 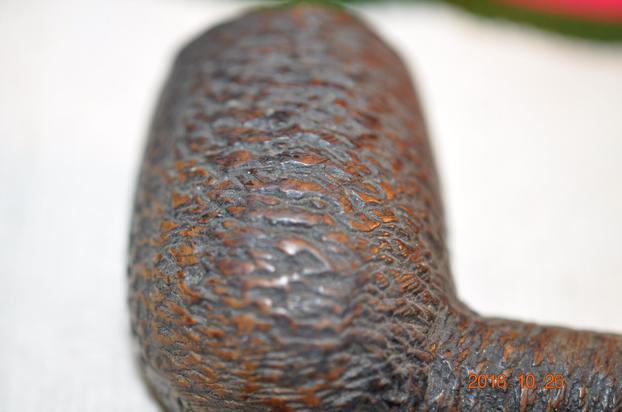 He captured the stamping on the underside of the shank. They are clear and readable. It reads as noted above.
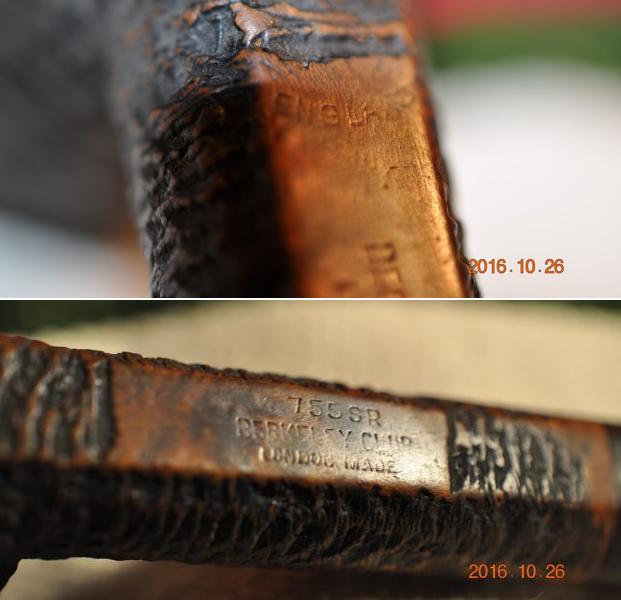 I have worked on Berkley Club pipes in the past. The most recent Berkley Club I worked on was a billiard. I turned to the blog on that pipe (https://rebornpipes.com/tag/berkeley-club-pipes/) that was written in July 31, 2016. I quote the information on the brand from that blog below.
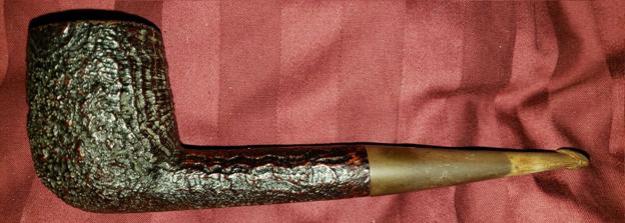
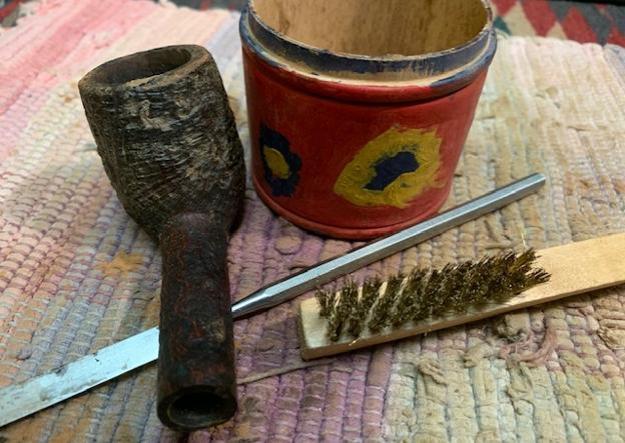
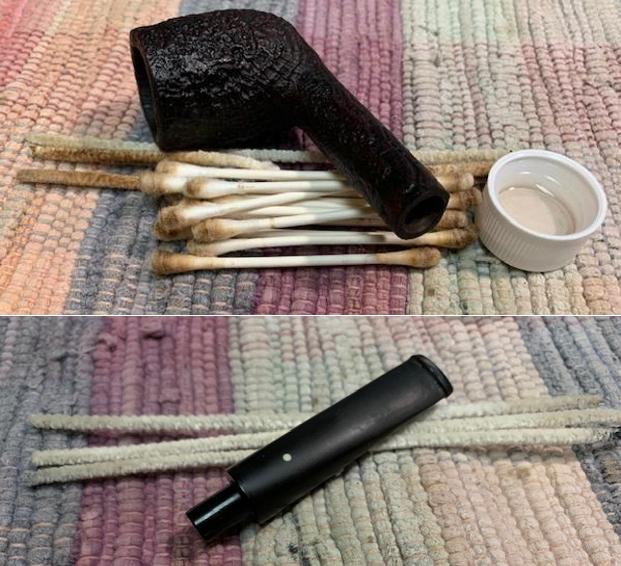
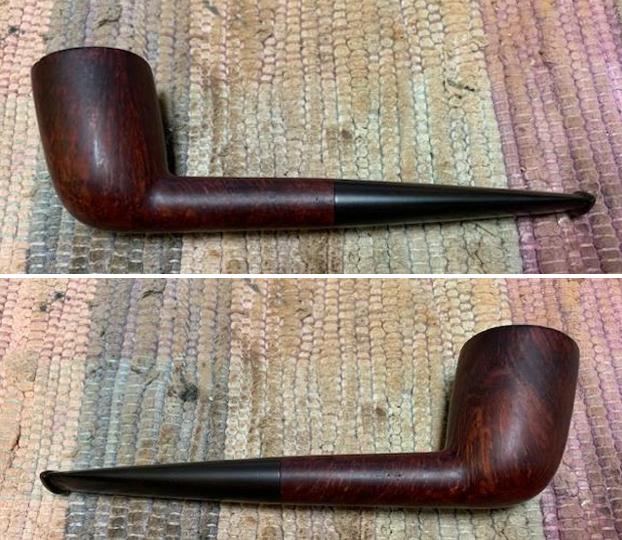
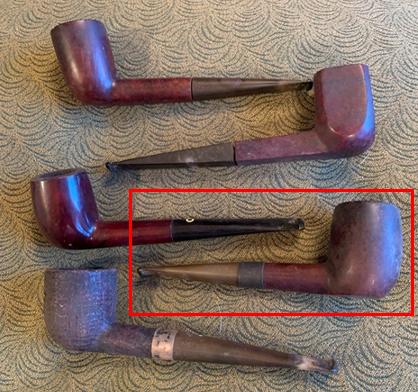
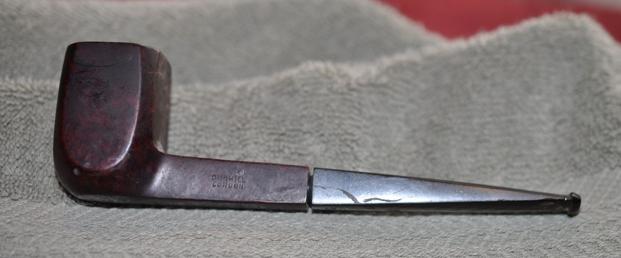
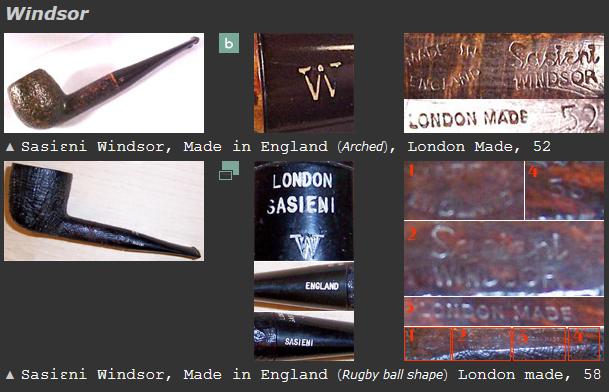
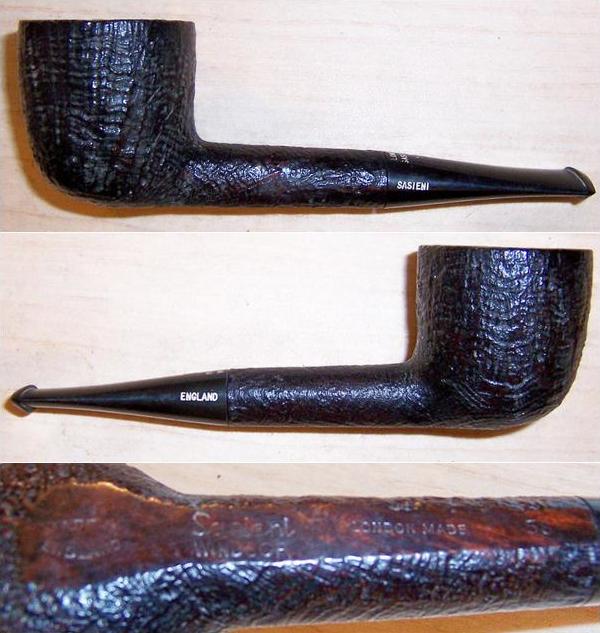
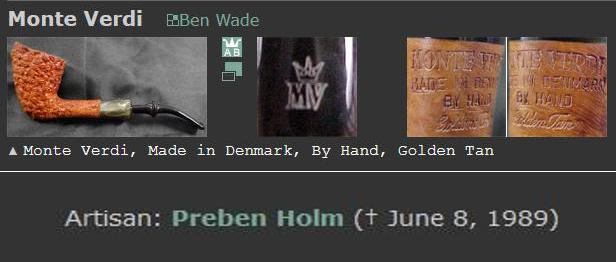
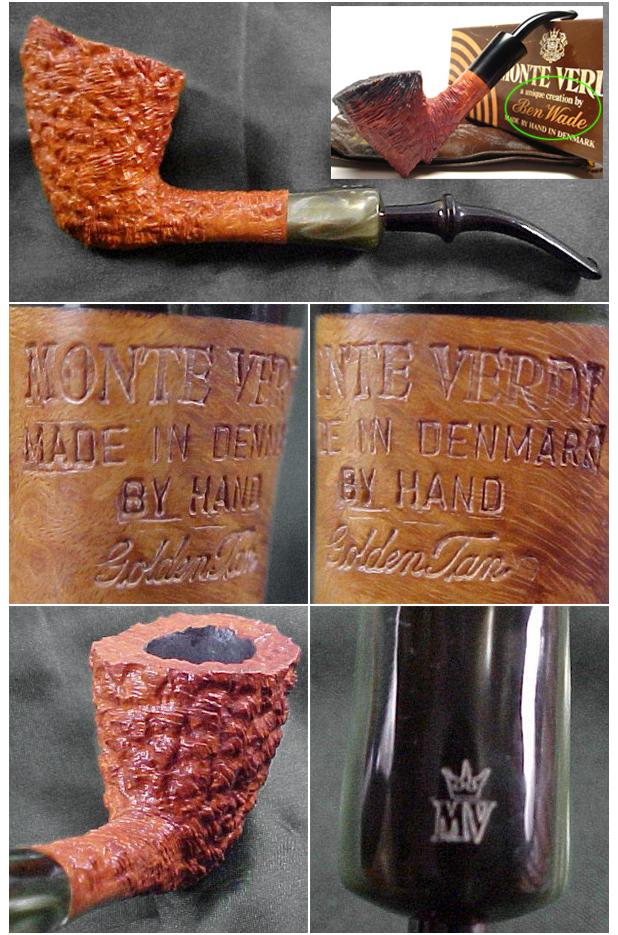
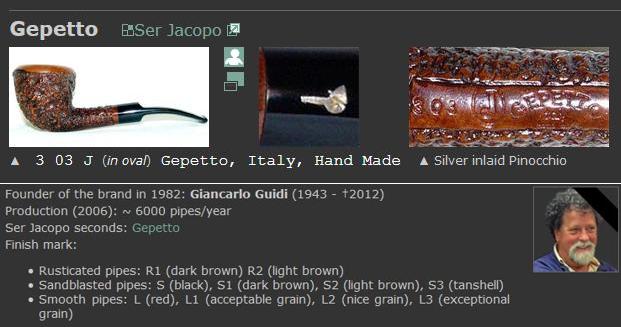
I went online to Pipephil’s site Logos and Stampings (http://www.pipephil.eu/logos/en/logo-b4.html) and found the brand and the reminder that had niggled at the back of mind. The Berkeley Club with this stamping was made by Sasieni. The photo below came from that website and shows the same finish and the same stamping on both the shank and the stem. The pipe has been here for a few years now so it is about time I worked on it. I took it out of the box where I had stored it and looked it over. It was amazingly clean and looked like a different pipe. He reamed it with a PipNet pipe reamer and cleaned up the reaming with a Savinelli Fitsall Pipe Knife. He scrubbed out the internals with alcohol, pipe cleaners and cotton swabs until the pipe was clean. He scrubbed the exterior of the bowl with Murphy’s Oil Soap and a tooth brush to remove the grime and grit on the briar and the lava on the rim top. The bowl looked very good. The rim top showed a lot of darkening but the inner bevel was in good condition. Jeff scrubbed the stem with Soft Scrub to remove the grime and soaked it in Before & After Deoxidizer. When he took it out of the soak it came out looking far better. I took photos before I started my part of the work.
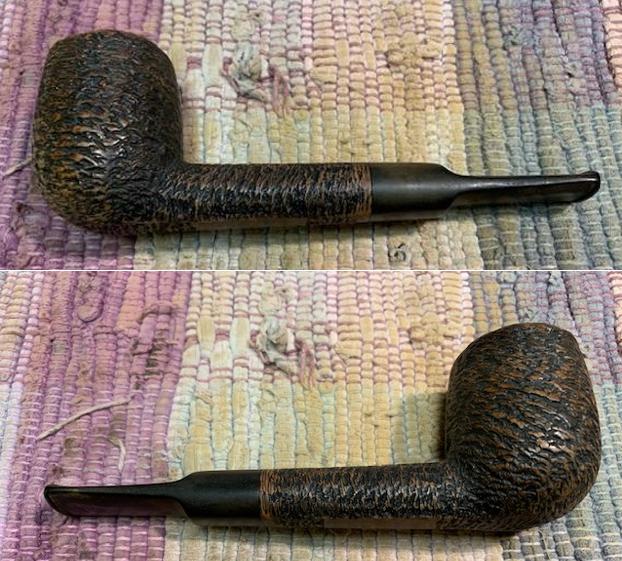
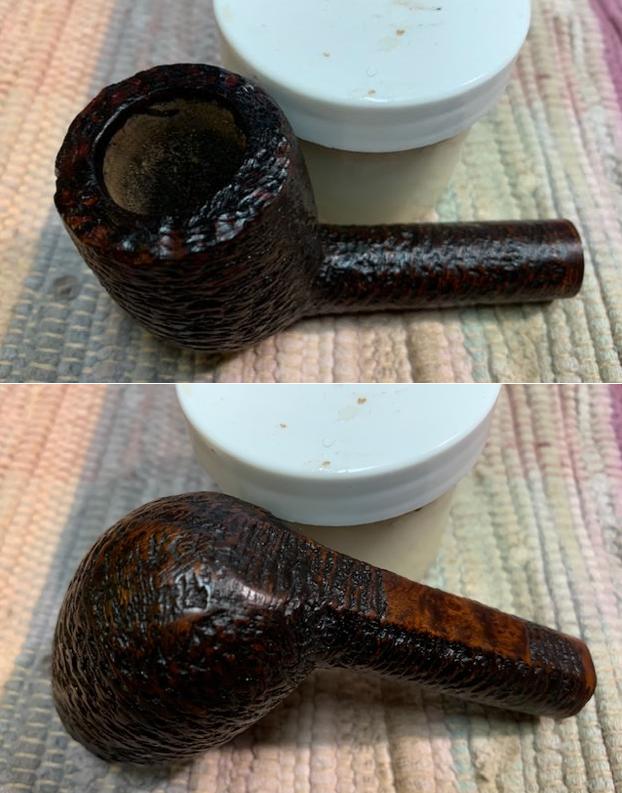
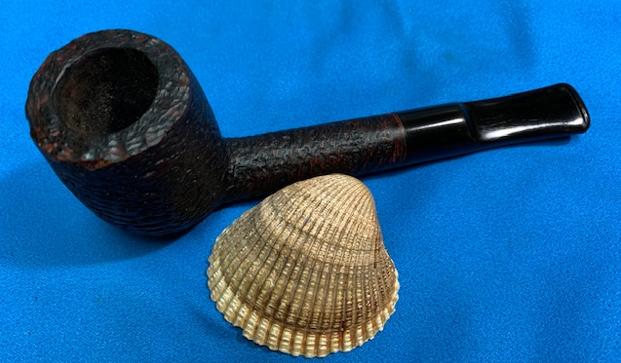
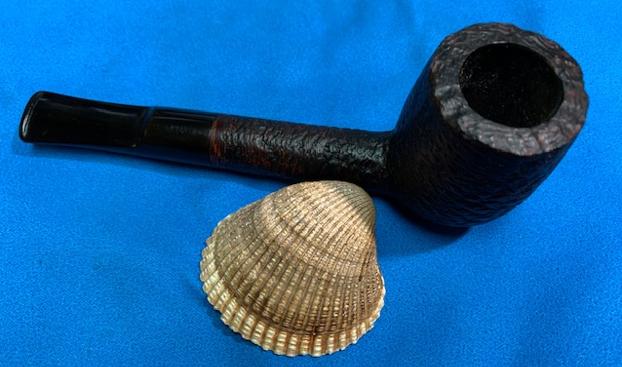
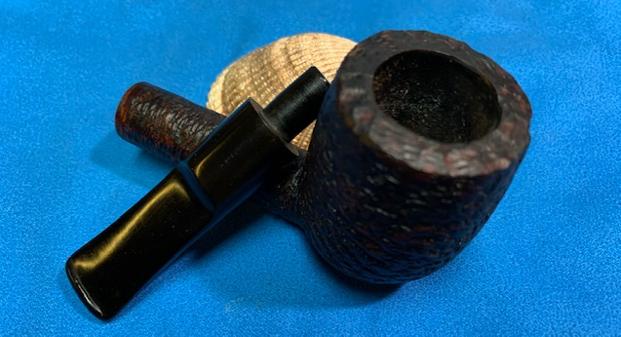
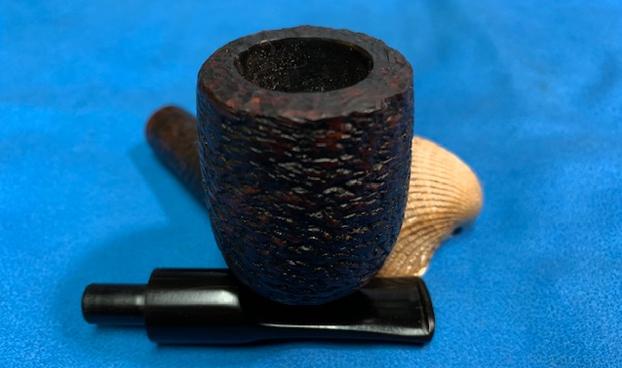
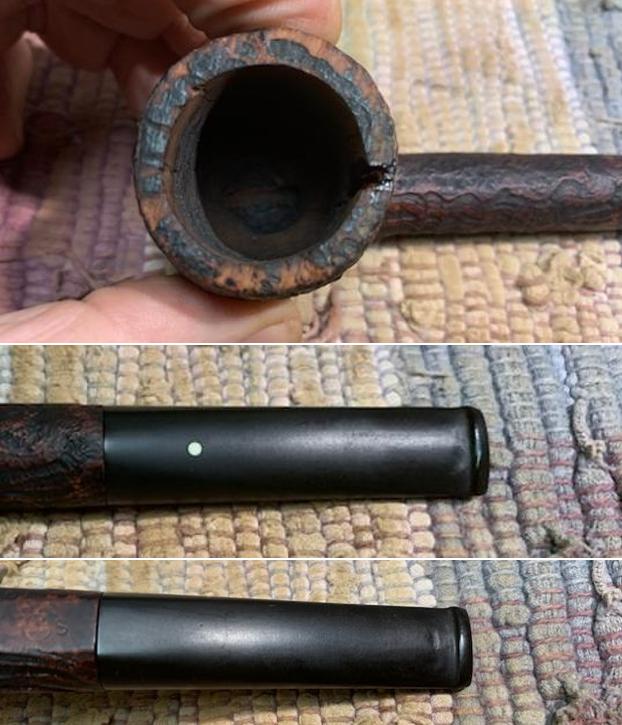
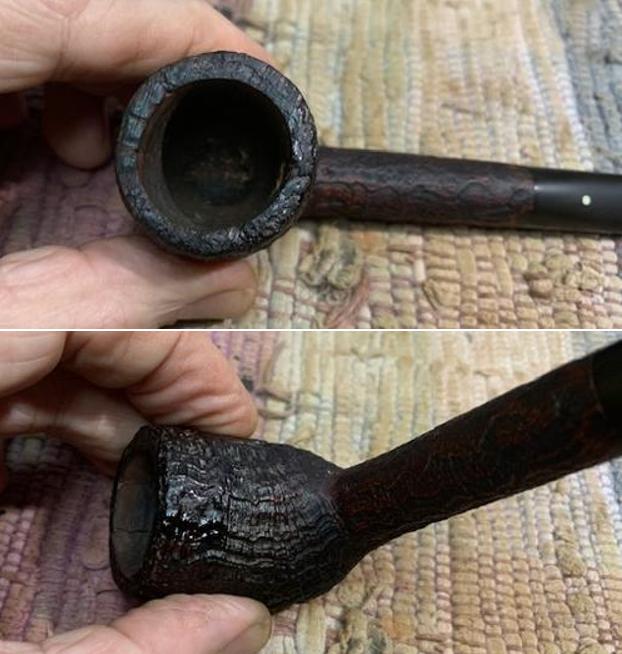
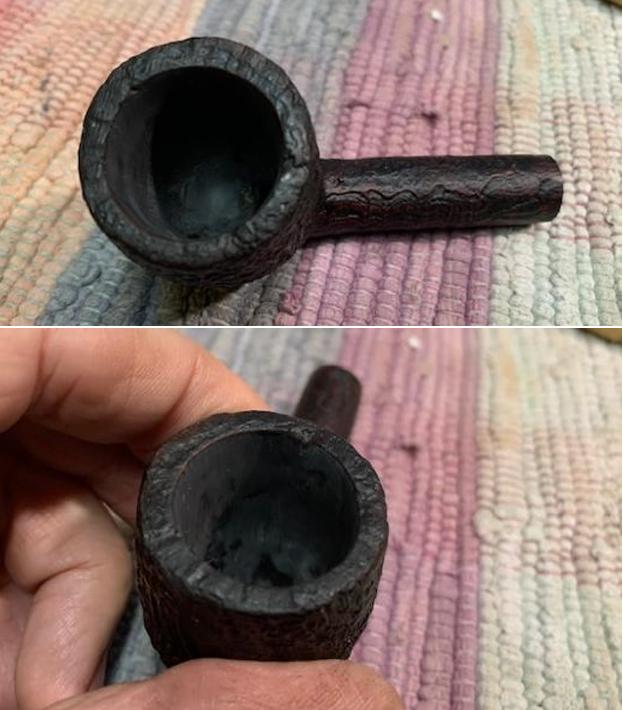
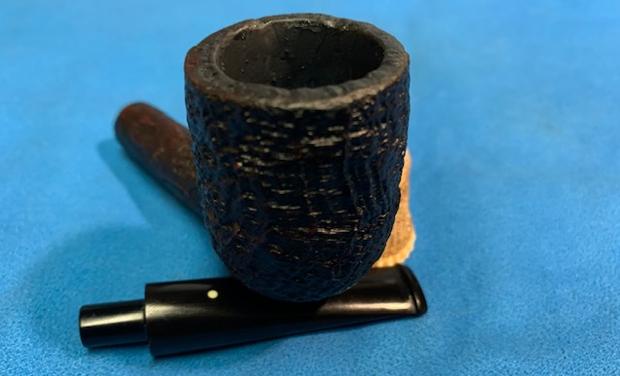
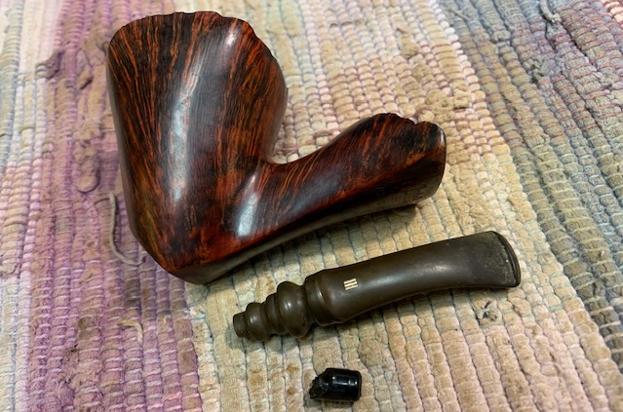
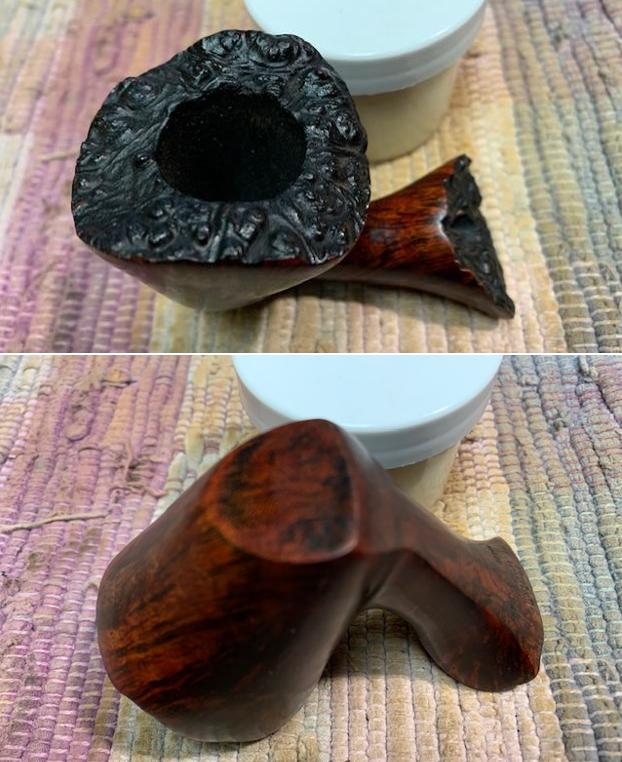
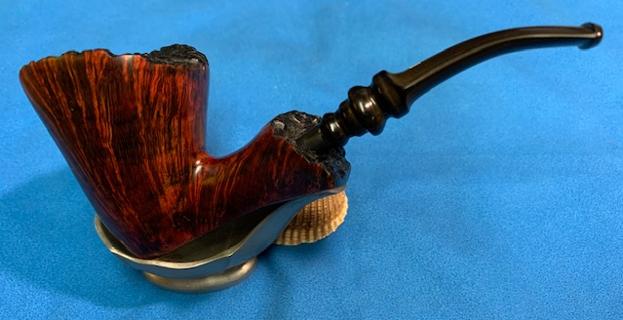
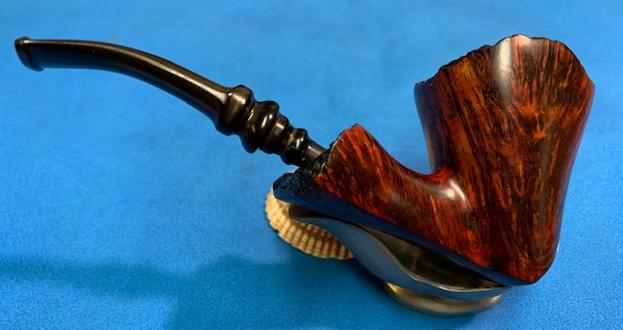
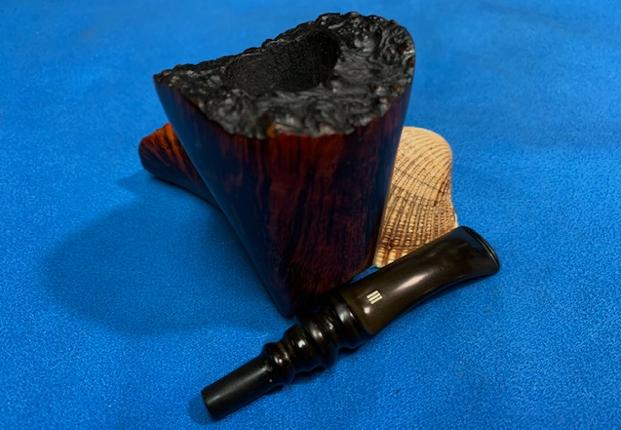
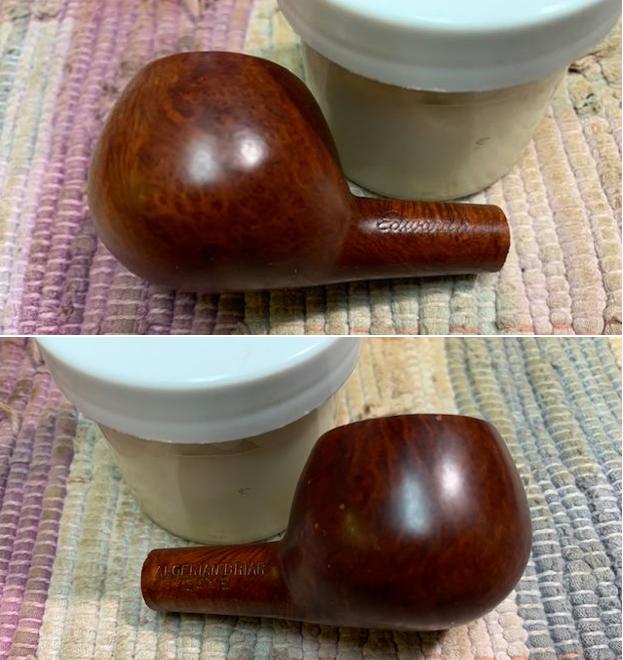
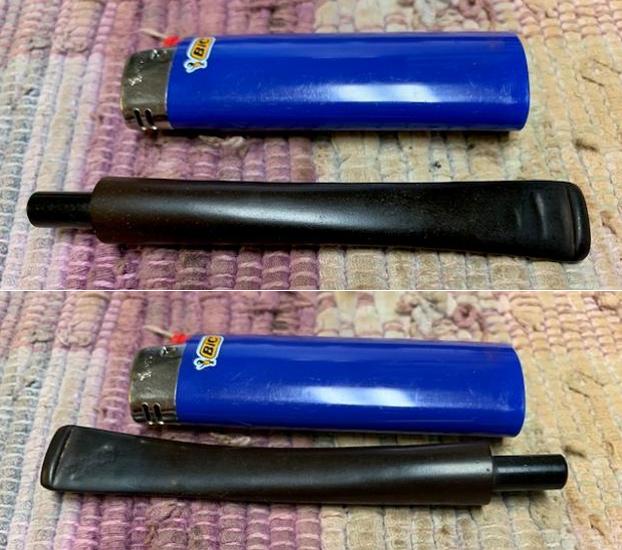
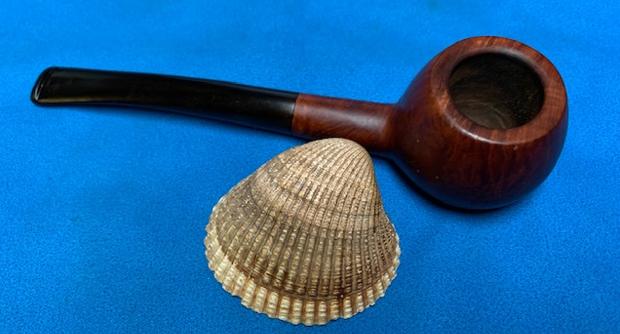
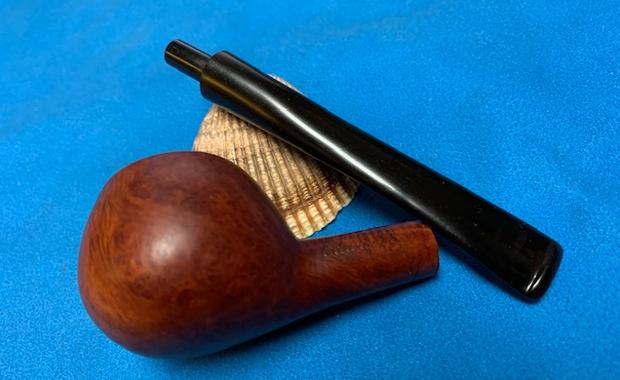
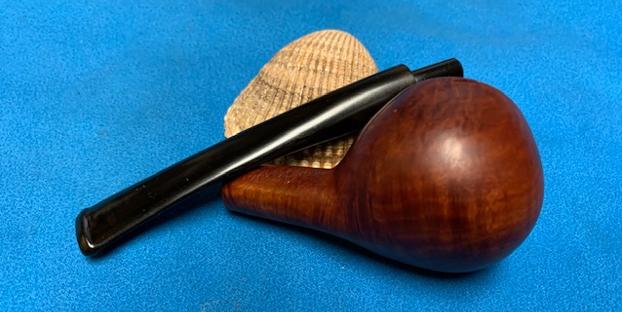
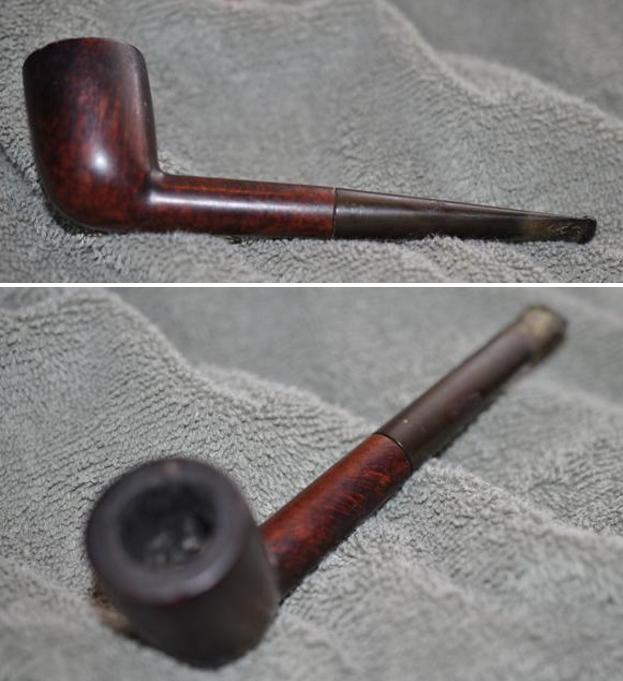
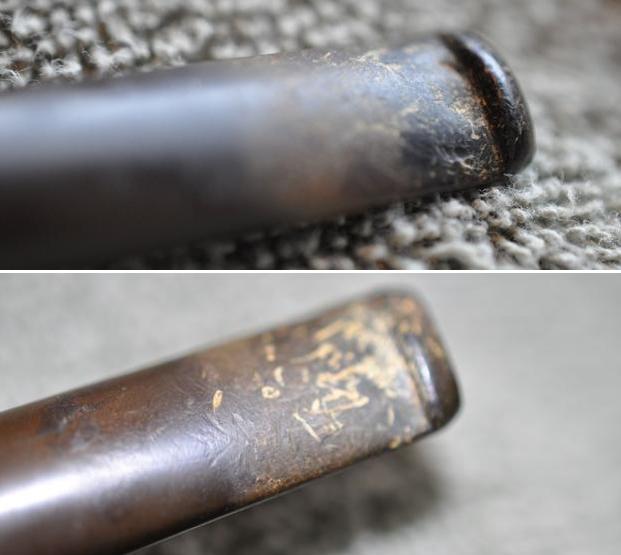
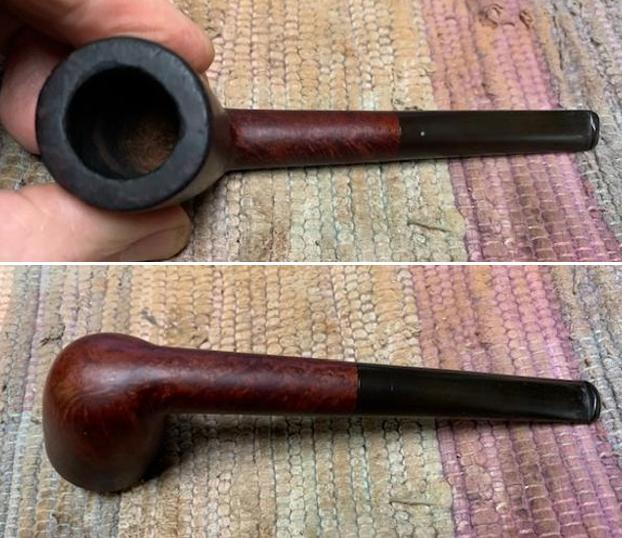
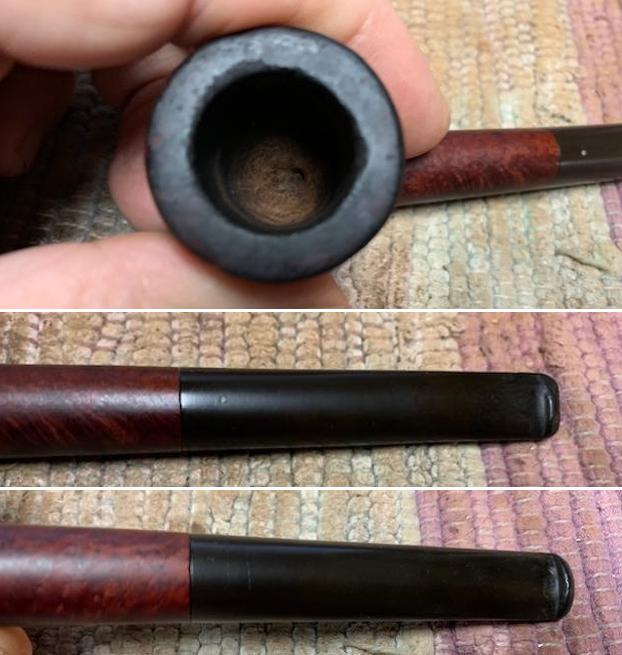
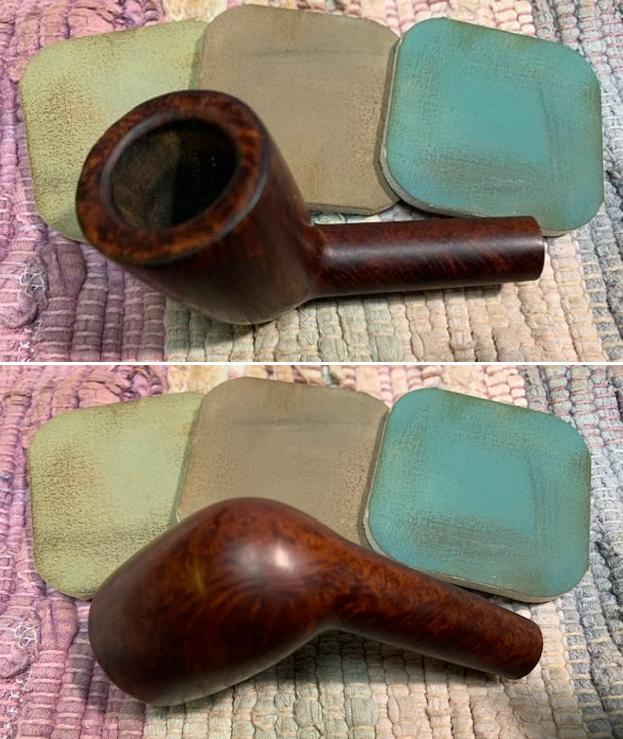
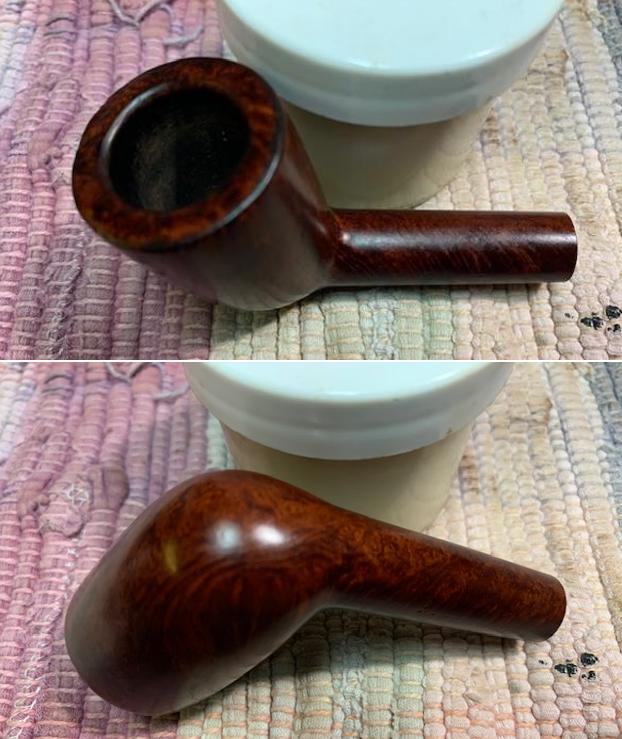
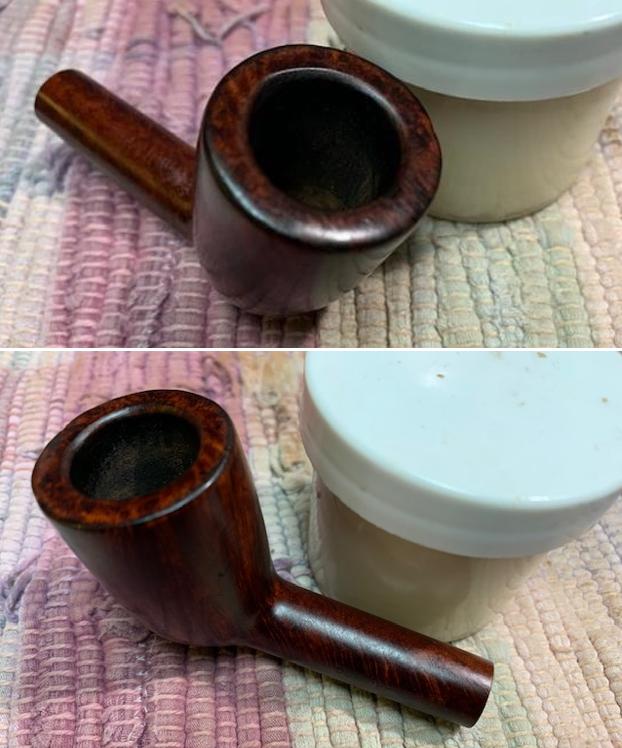
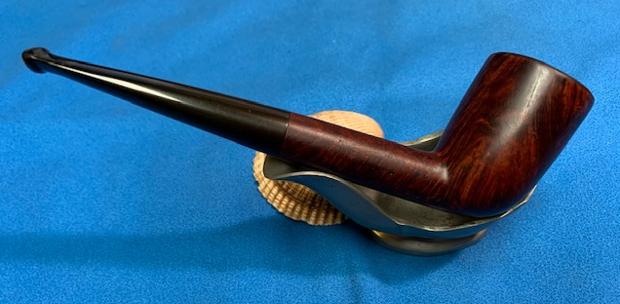
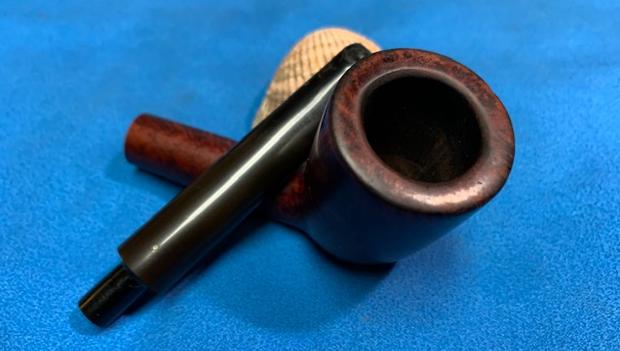
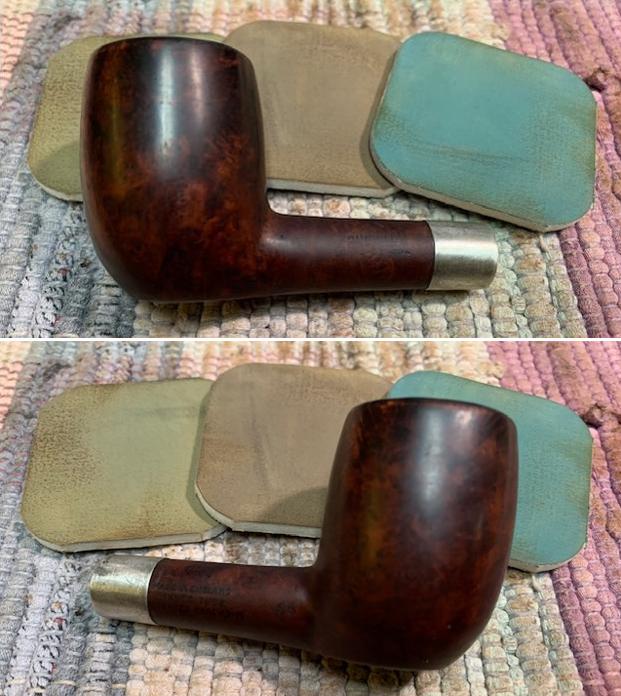
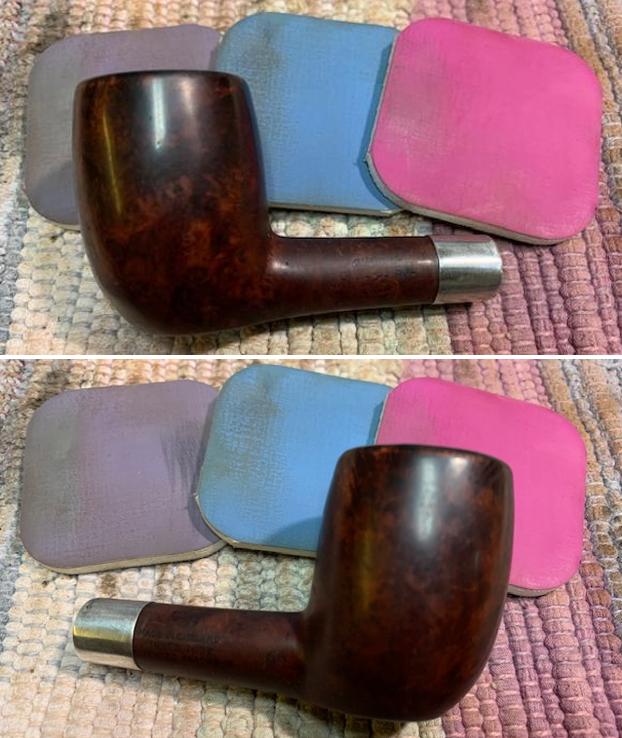
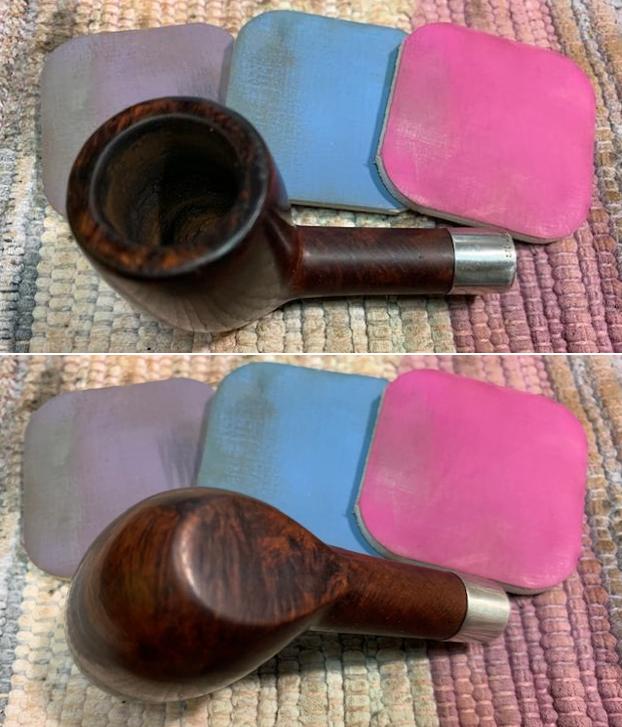
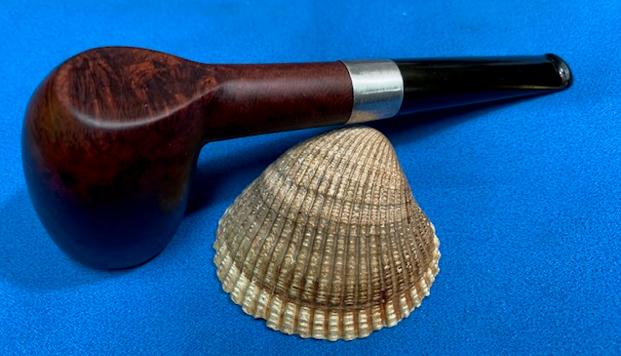
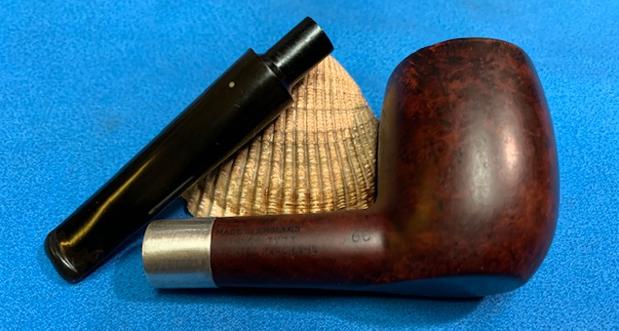
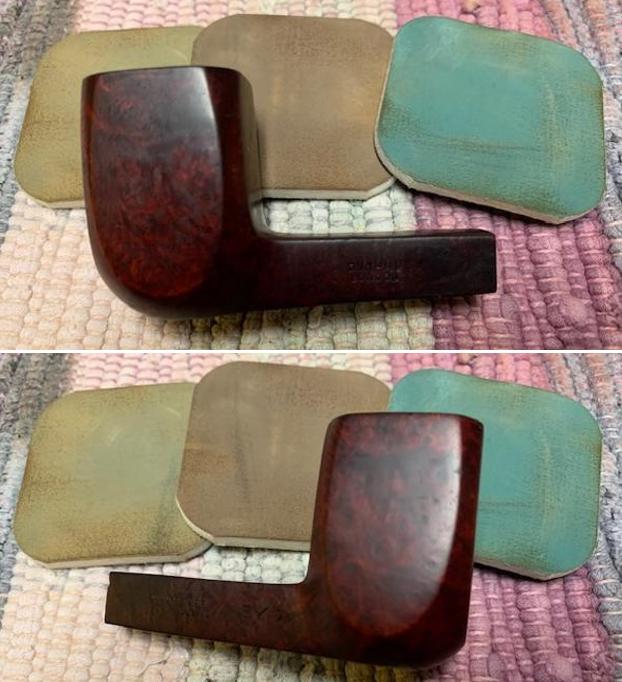
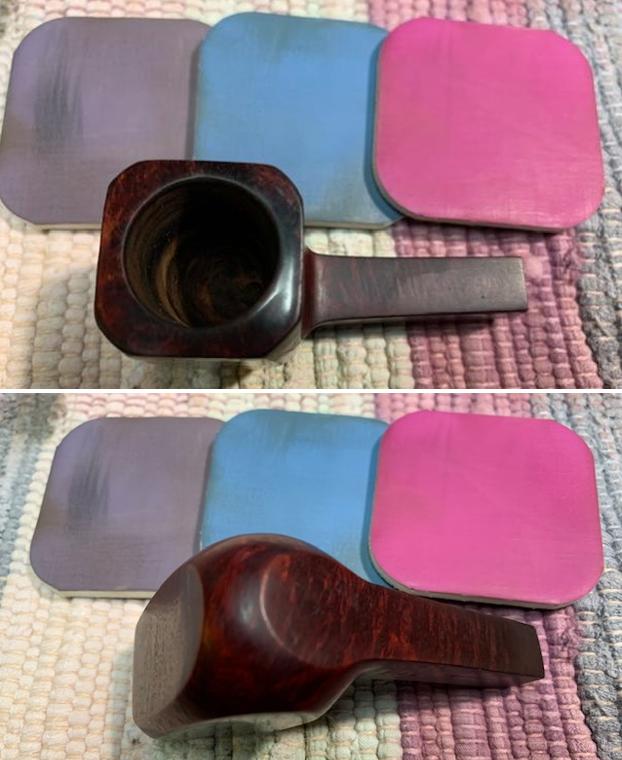
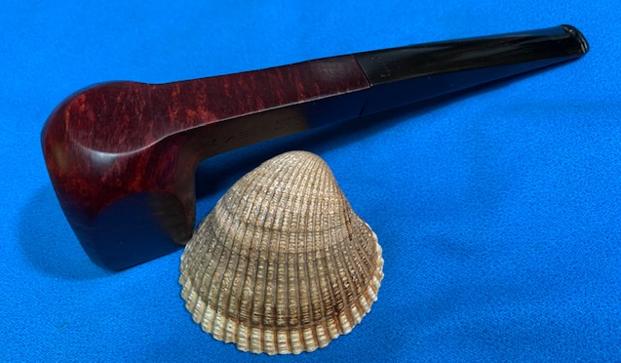
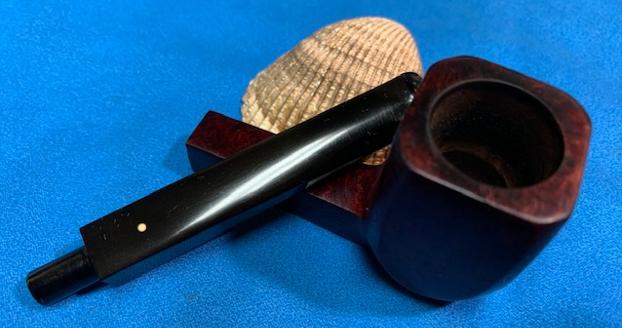
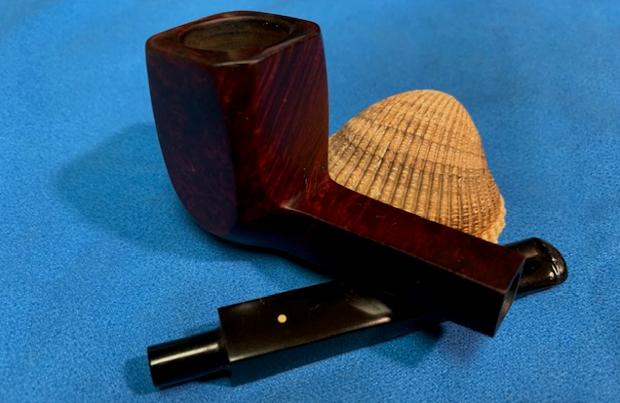
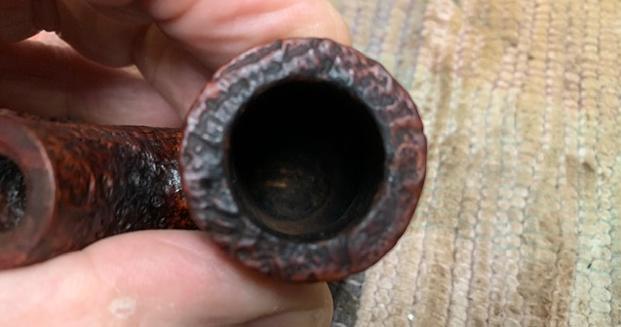
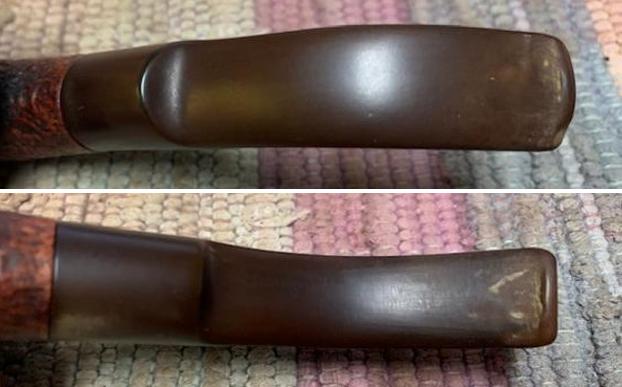
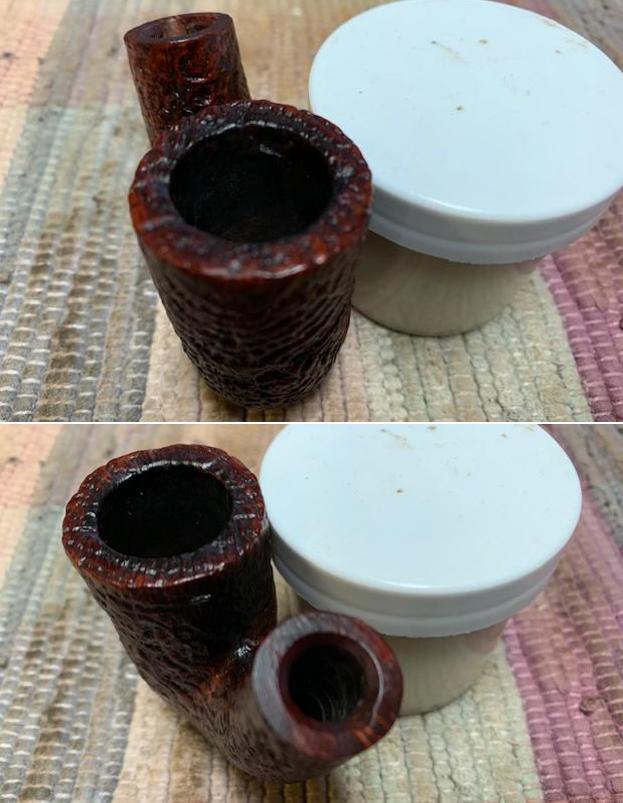
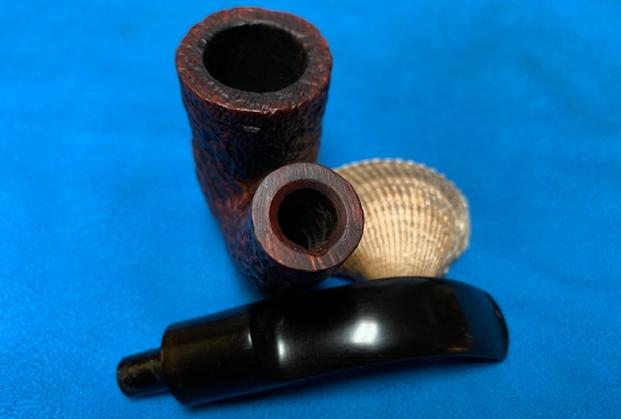
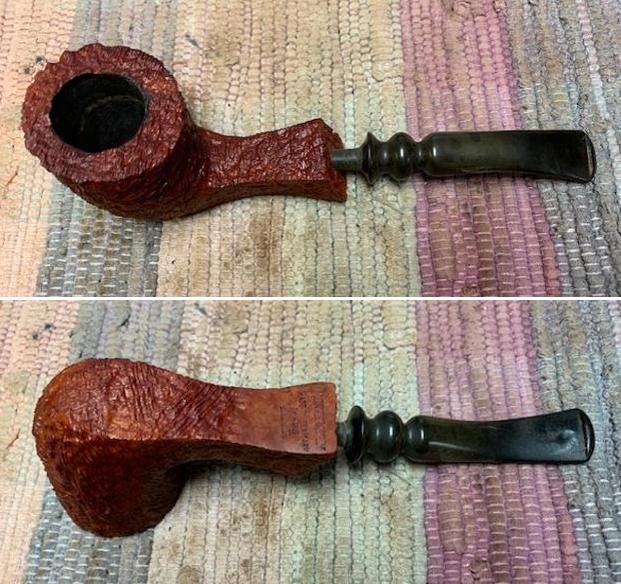
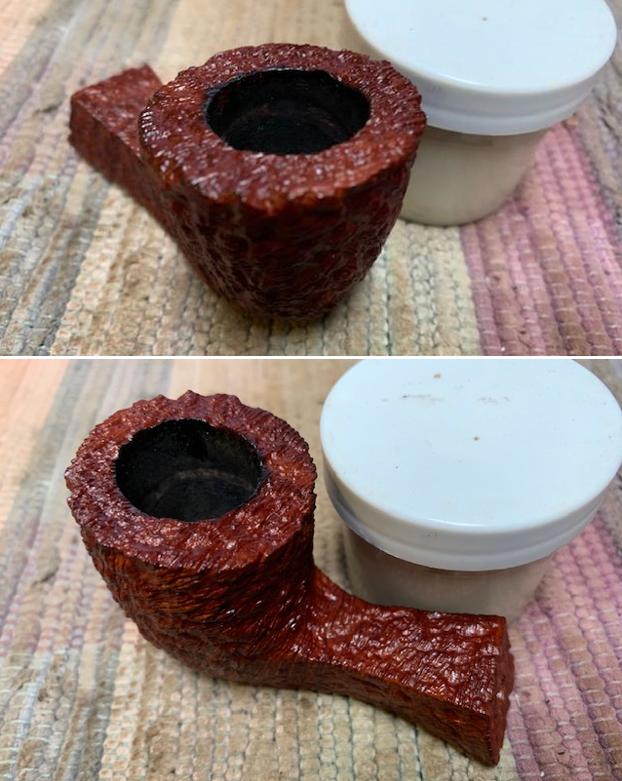
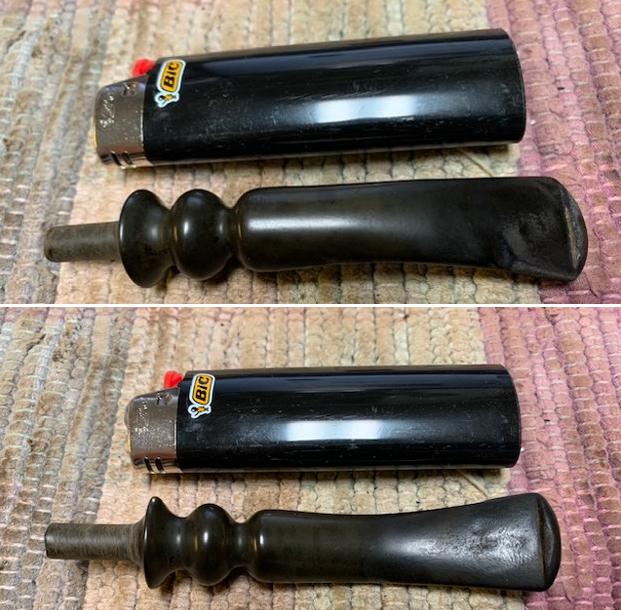
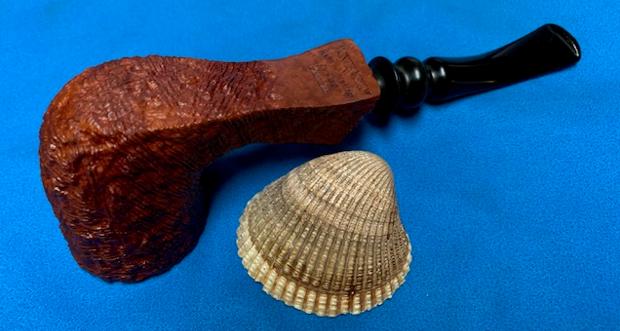
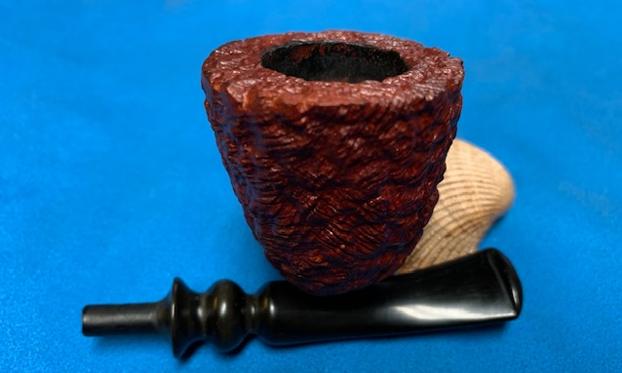
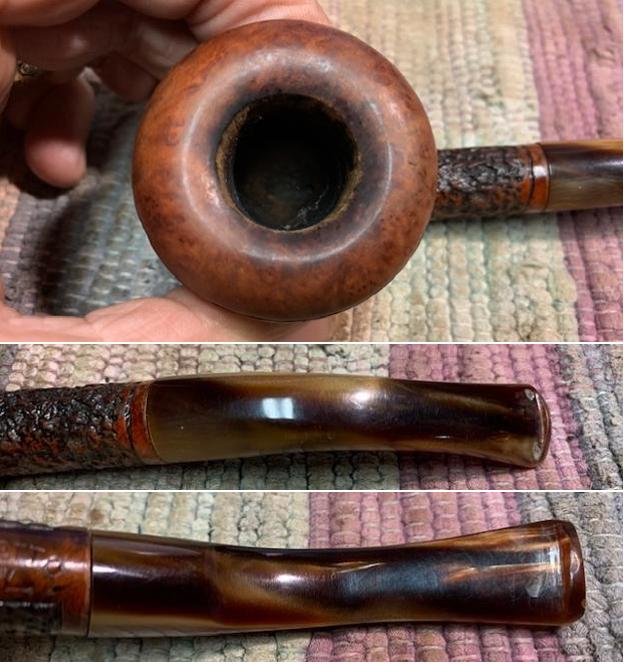
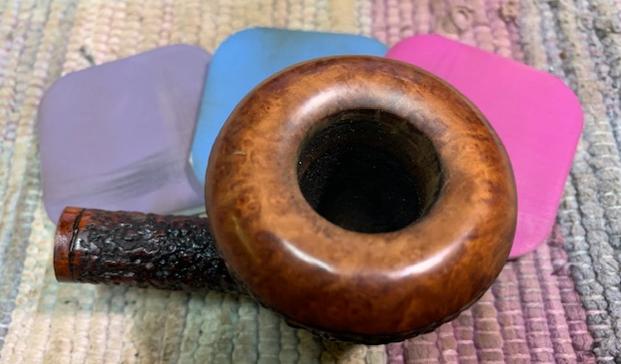
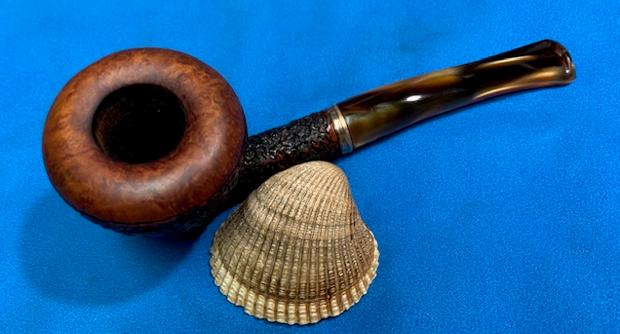
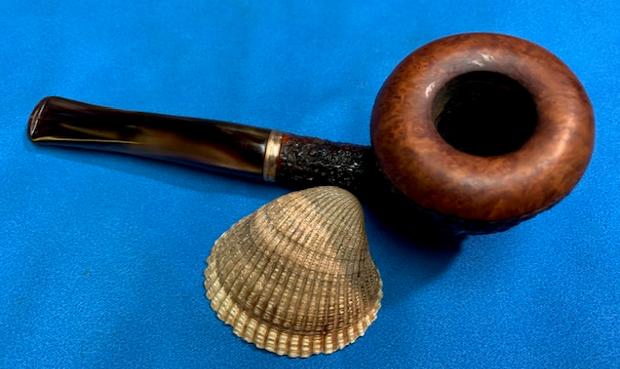
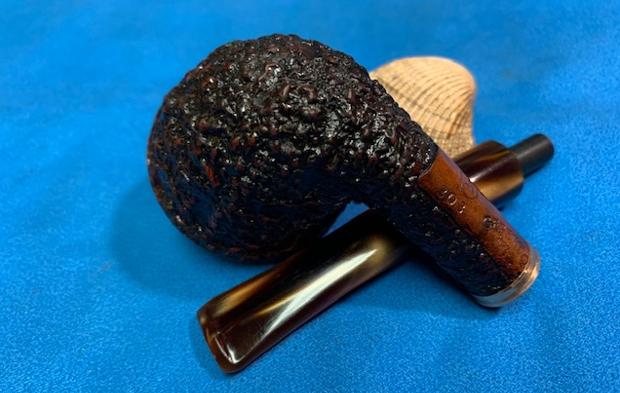
 I took some photos of the rim top and stem. The rim top is clean but there is a lot of darkening around the top and edges. The bowl itself looks very clean. The close up photos of the stem show that is it very clean and the deep tooth marks are very visible.
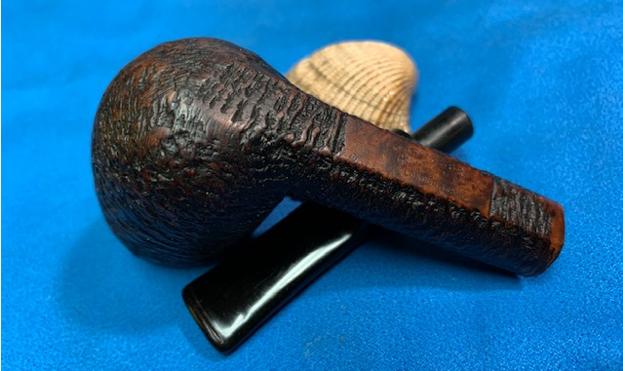
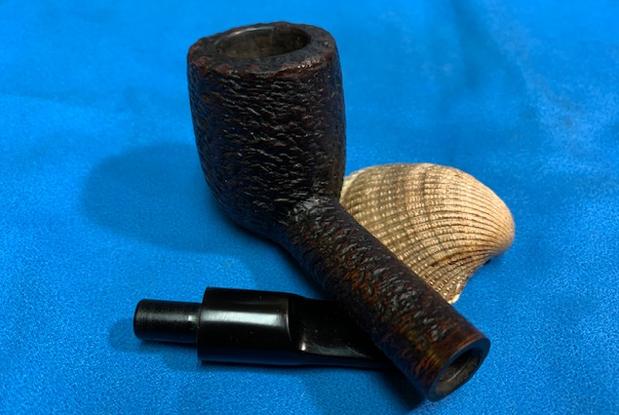
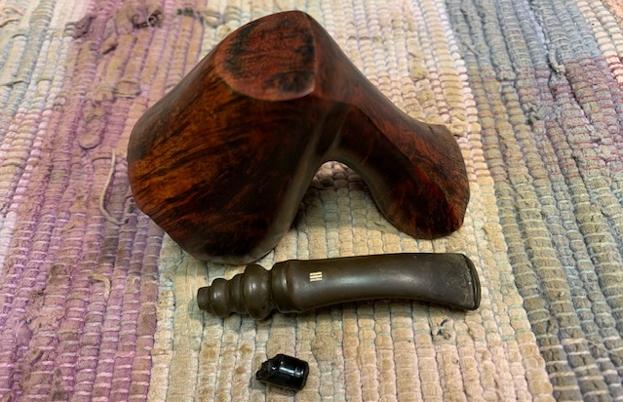
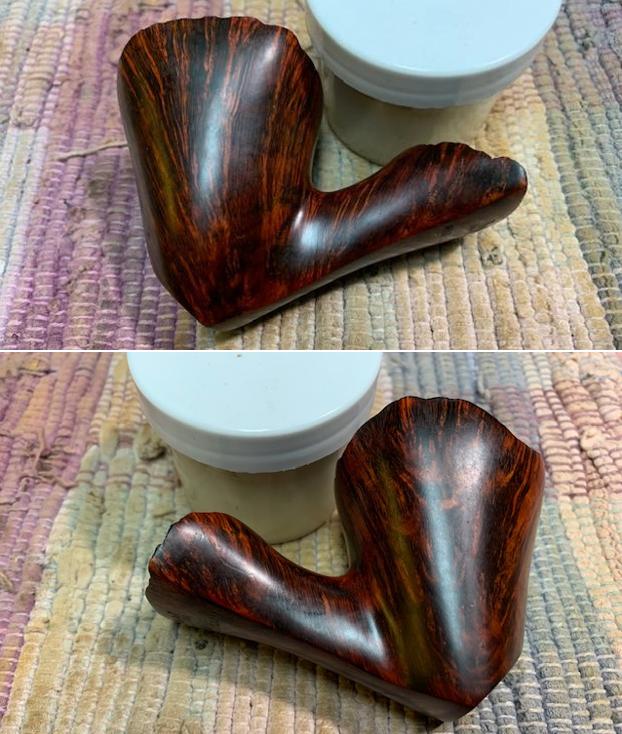
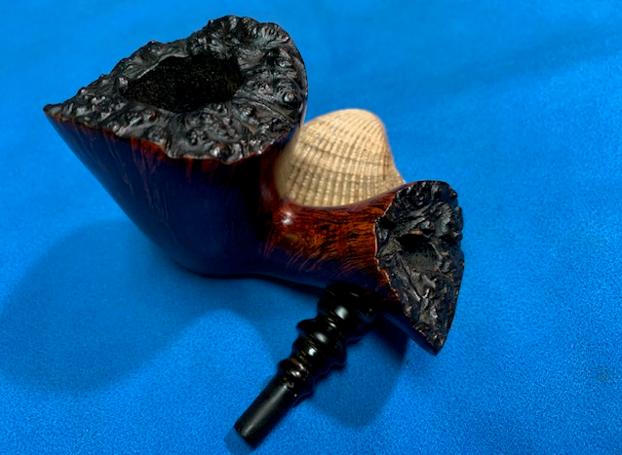
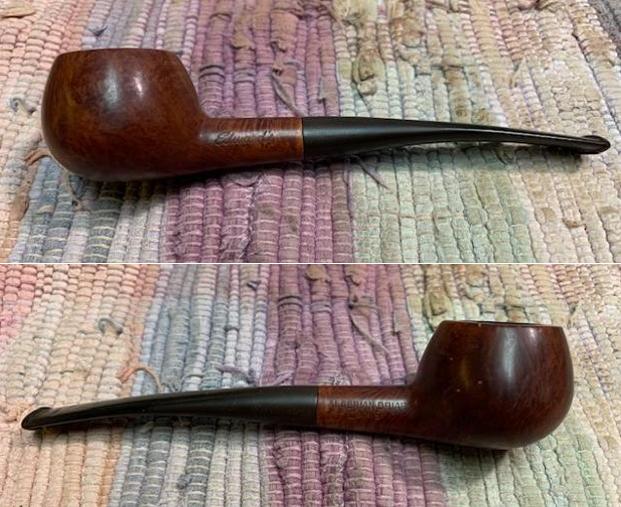
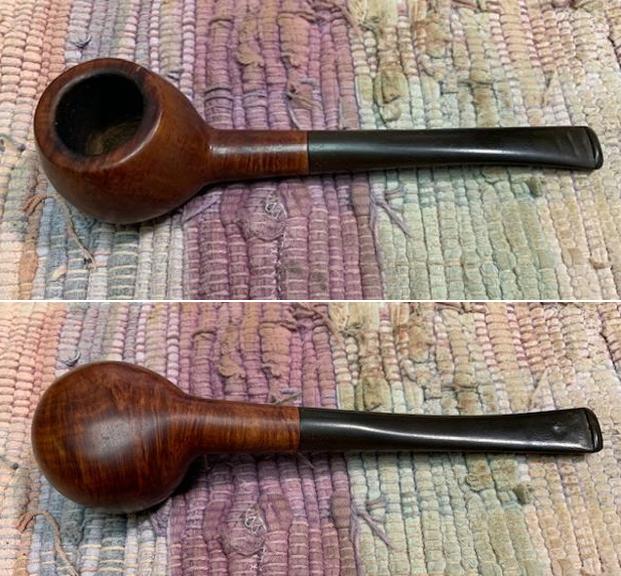
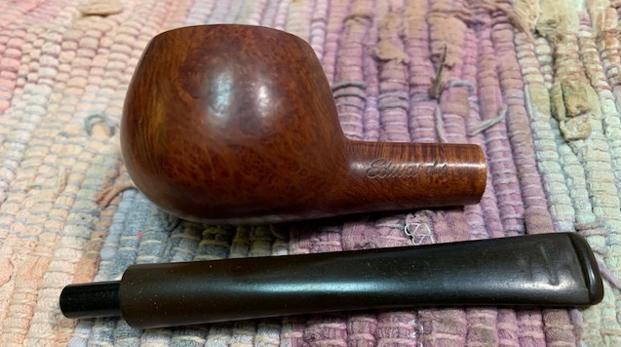
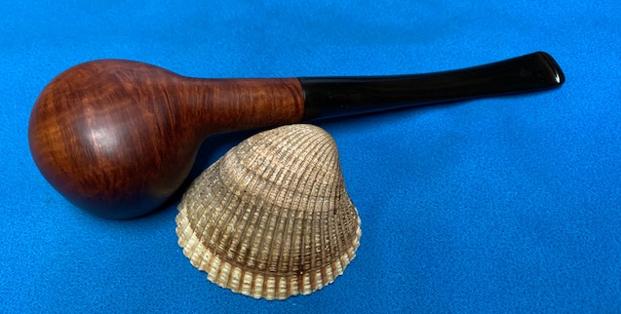
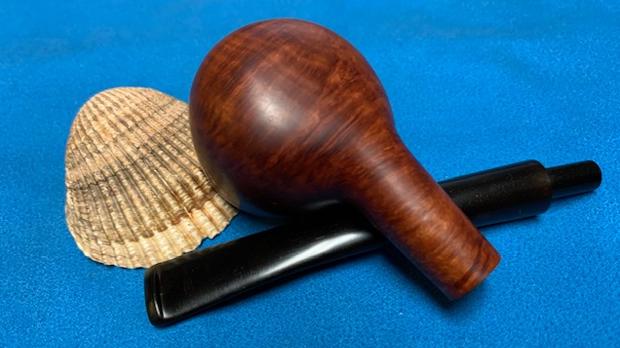
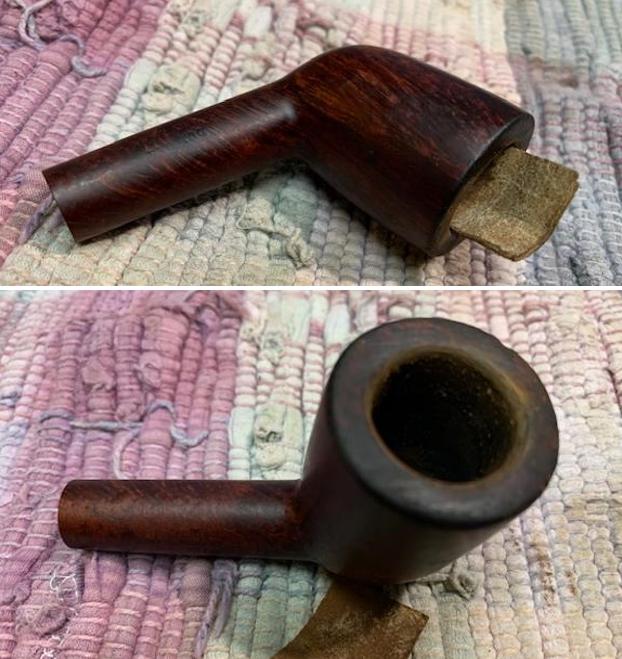
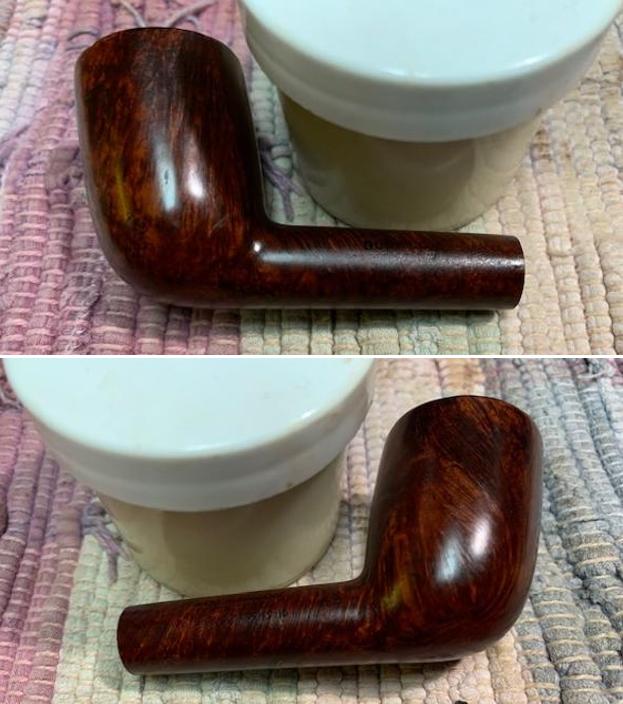
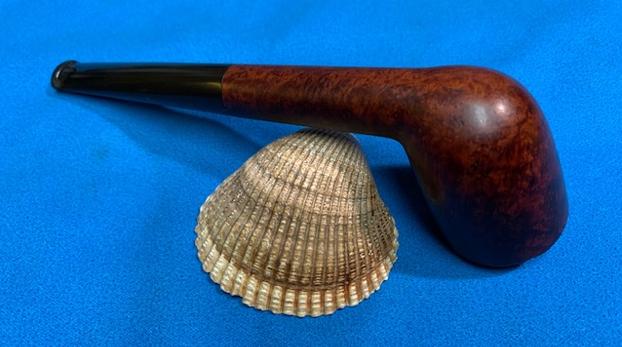
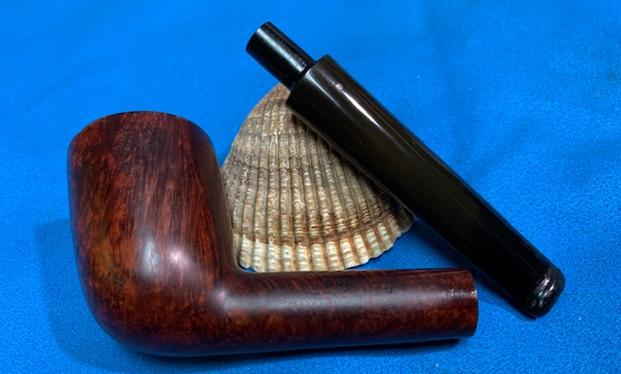
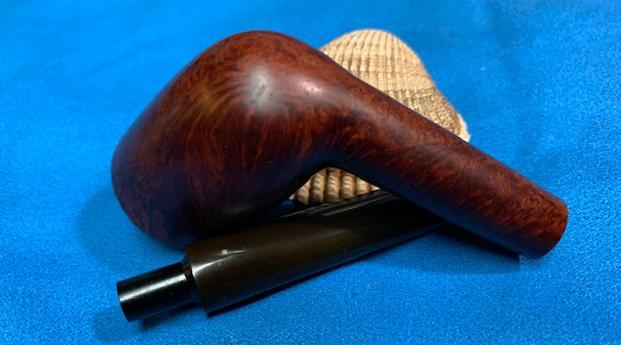
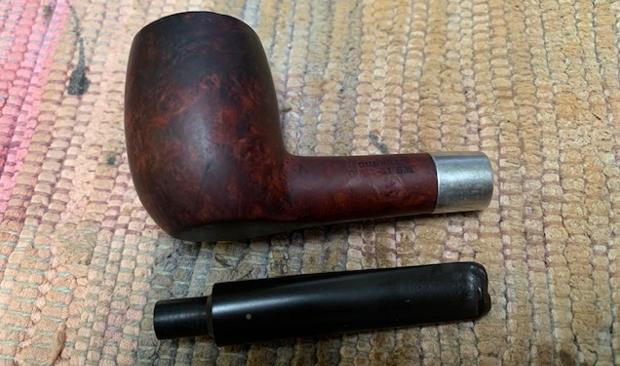
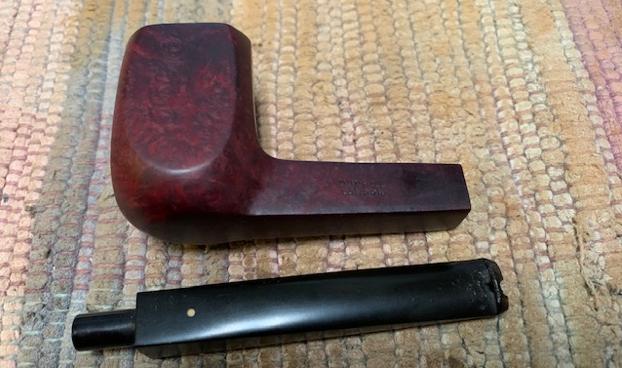
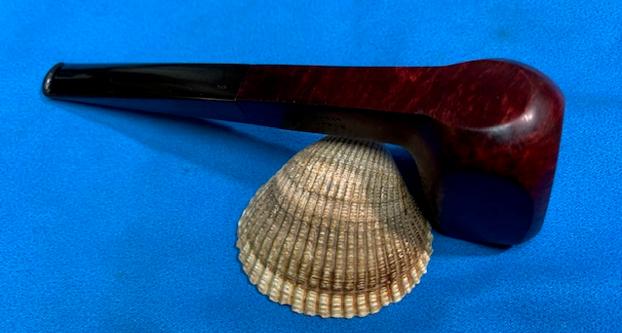
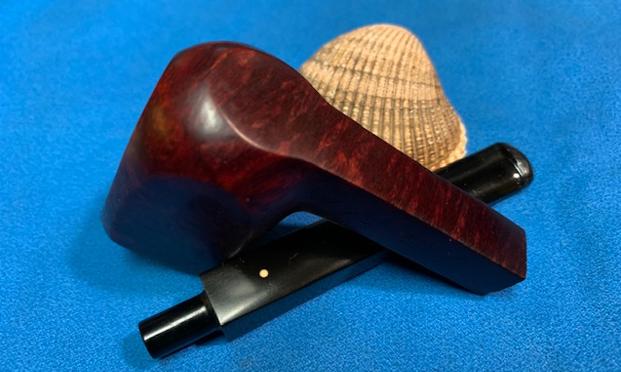
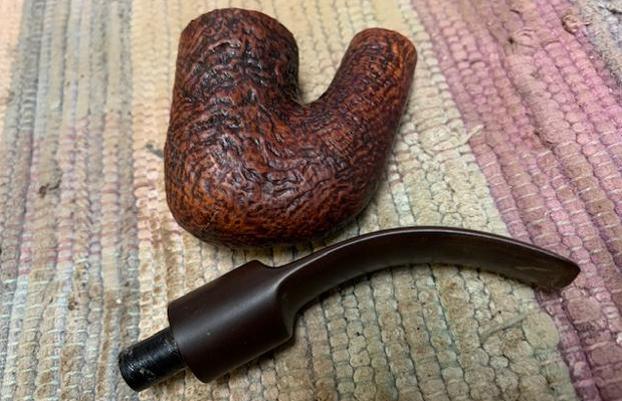
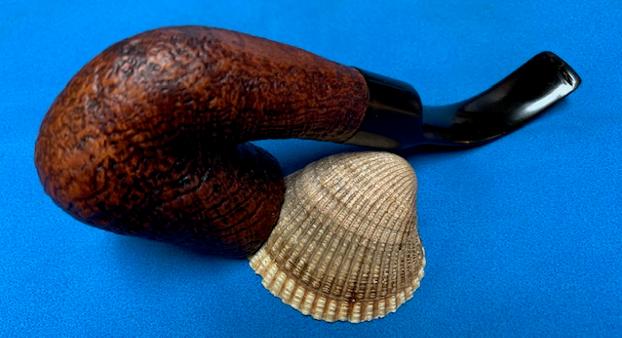
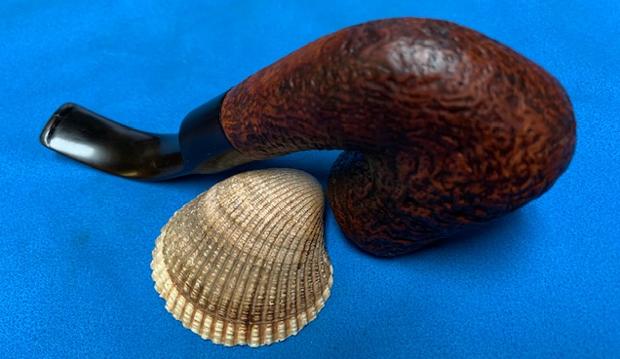
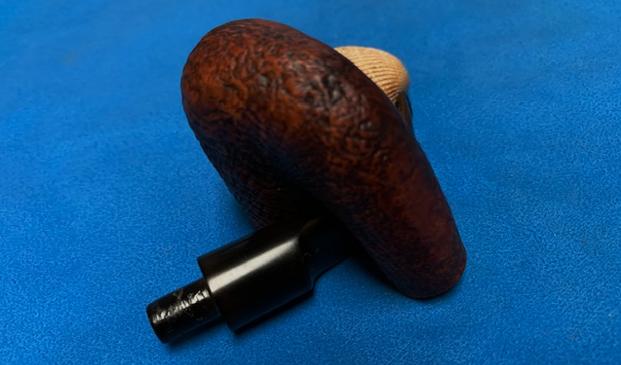
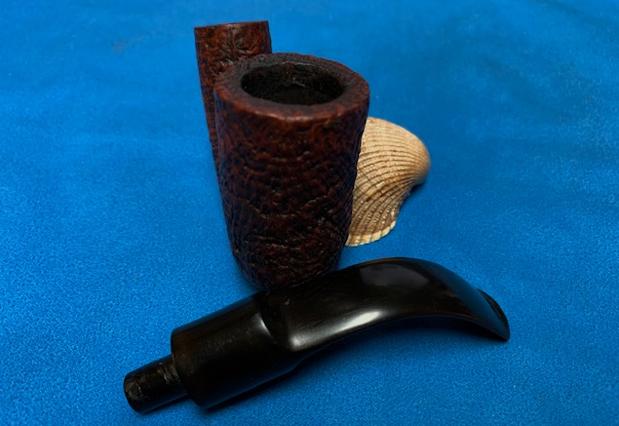
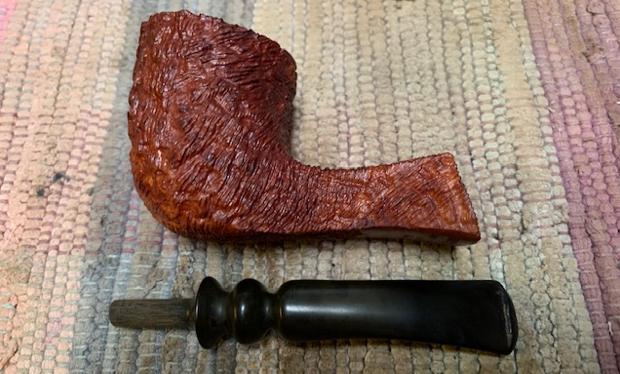
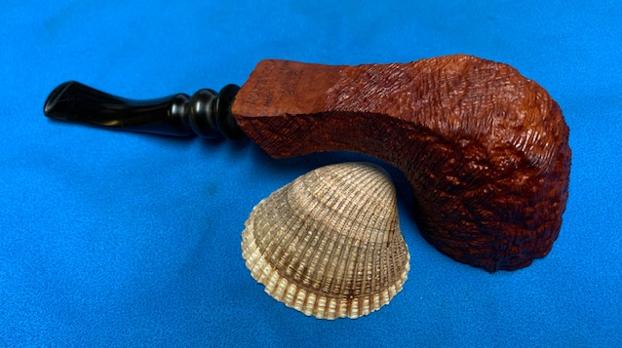
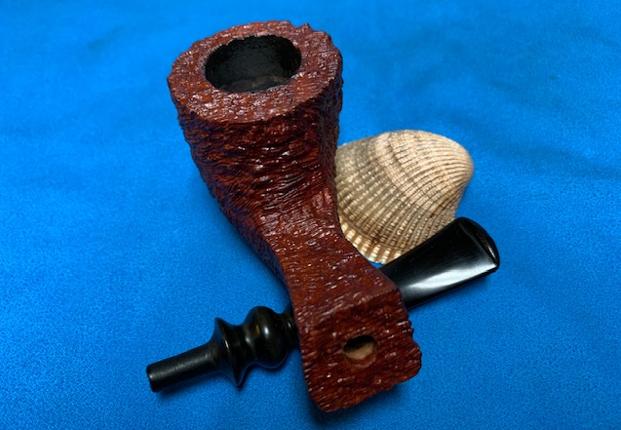
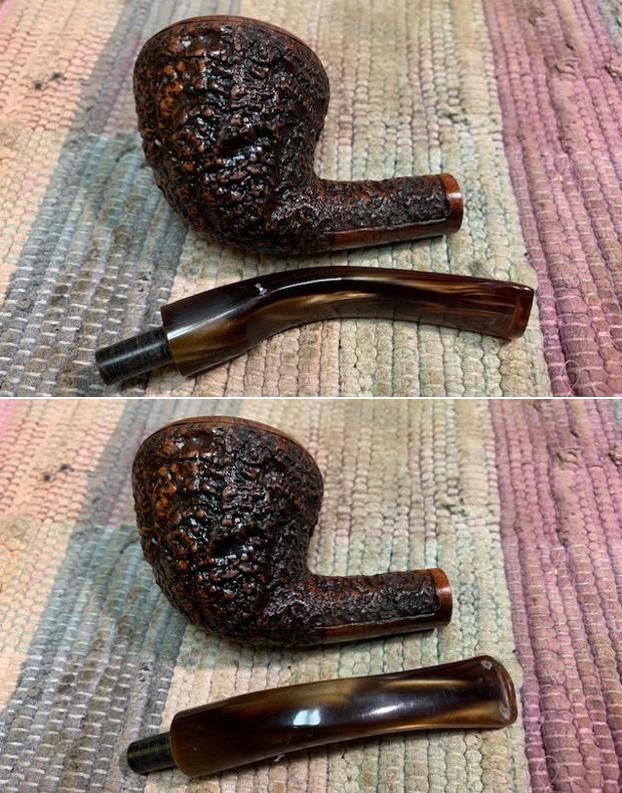
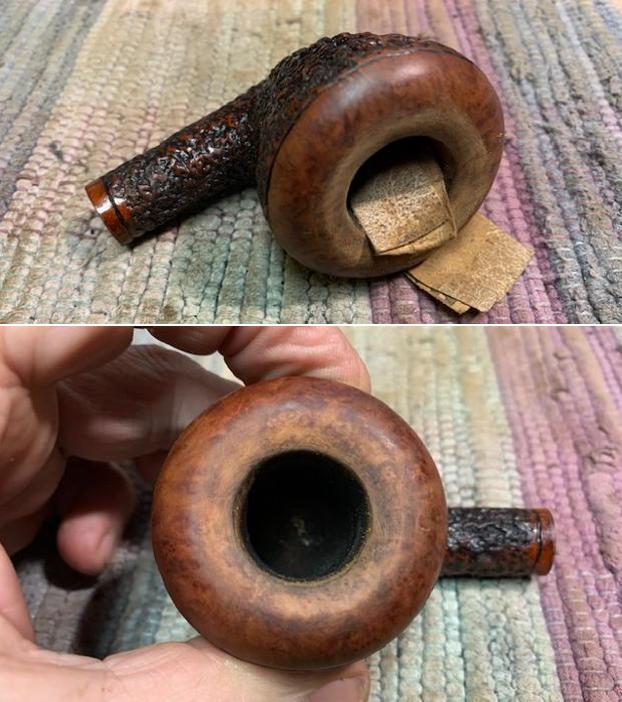
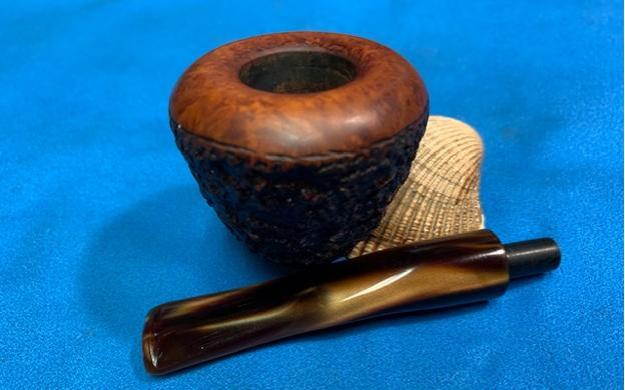
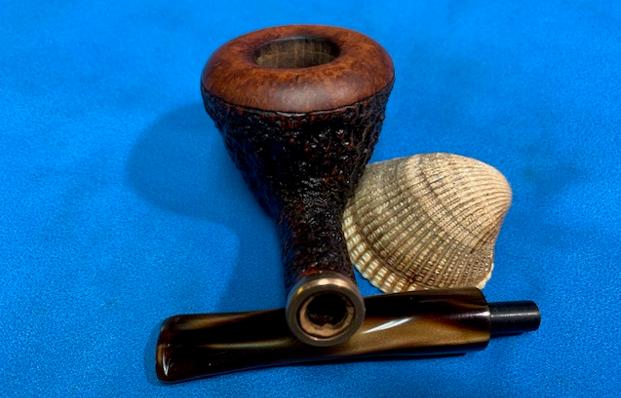
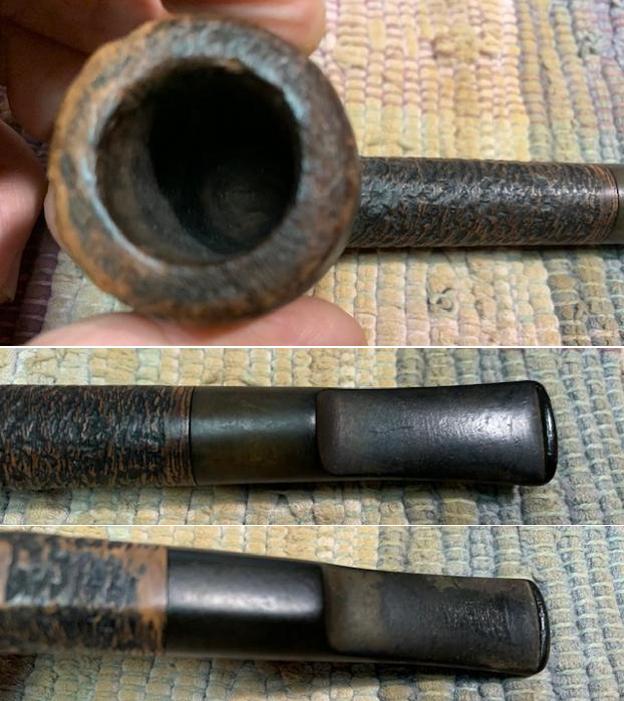 I removed the stem from the shank and took a photo of the bowl and to give a sense of the proportion of the pipe. It is a nice looking Lovat.
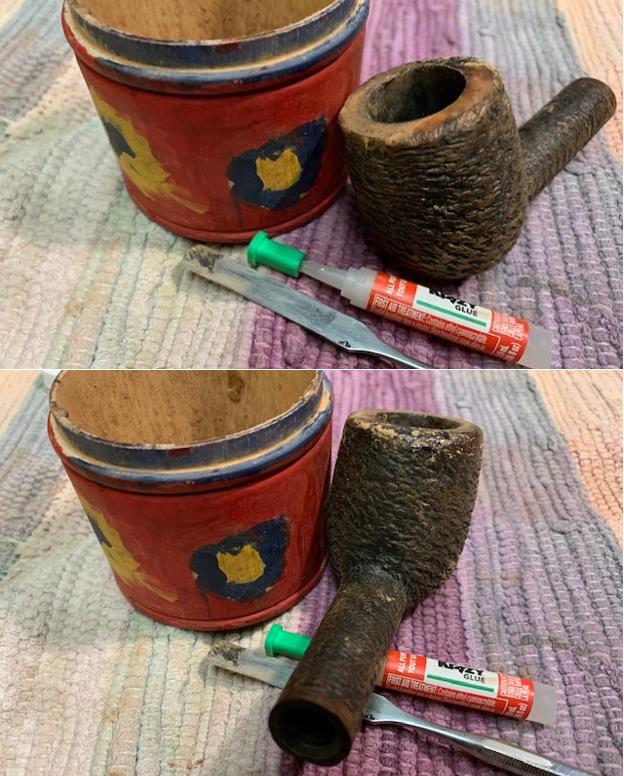
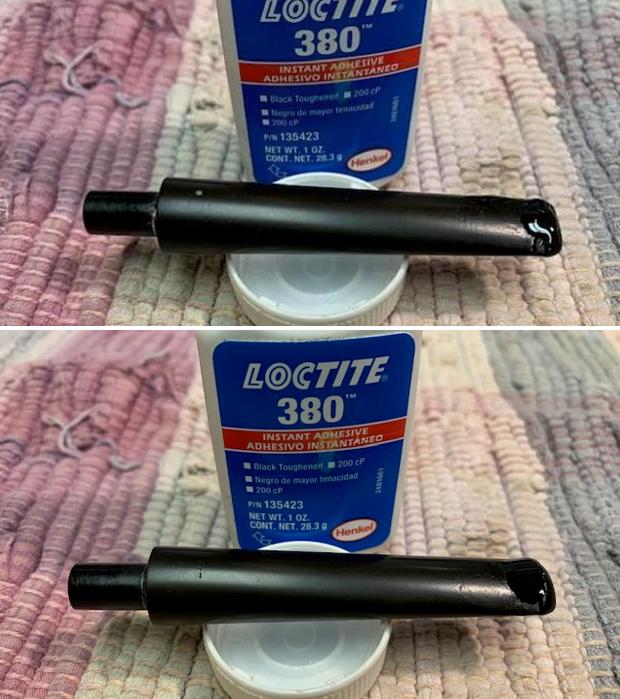
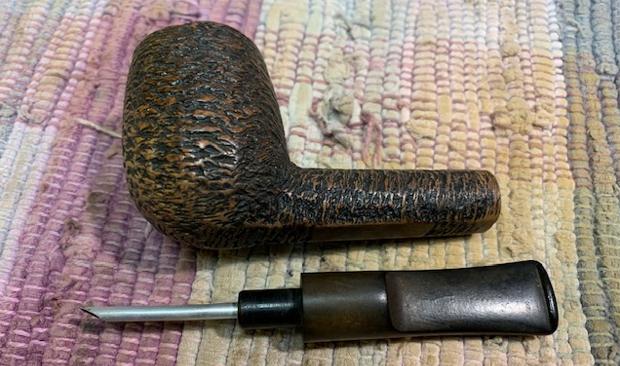 I decided to take care of the damage on the rim top and inner edge first. I topped the bowl to give it a smooth surface. I built up the damaged areas on the outer edge with super glue and briar dust to take care of the damage.
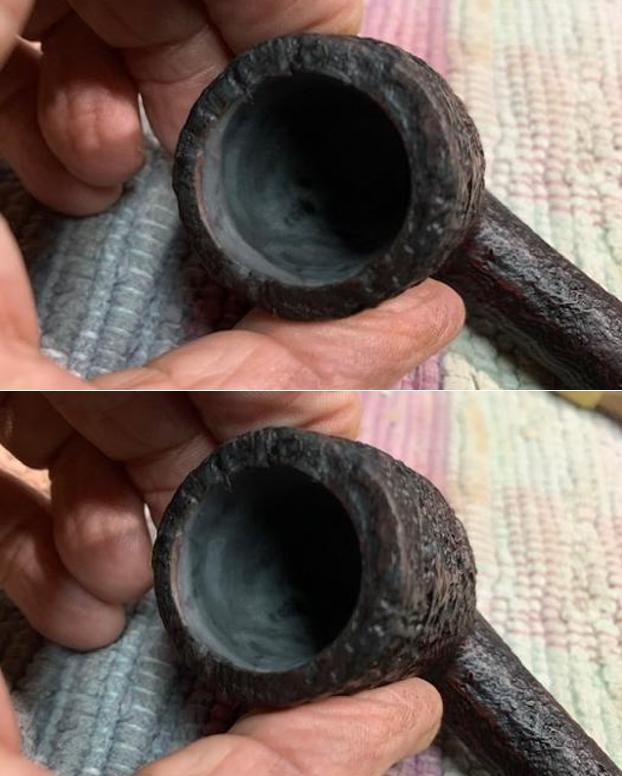
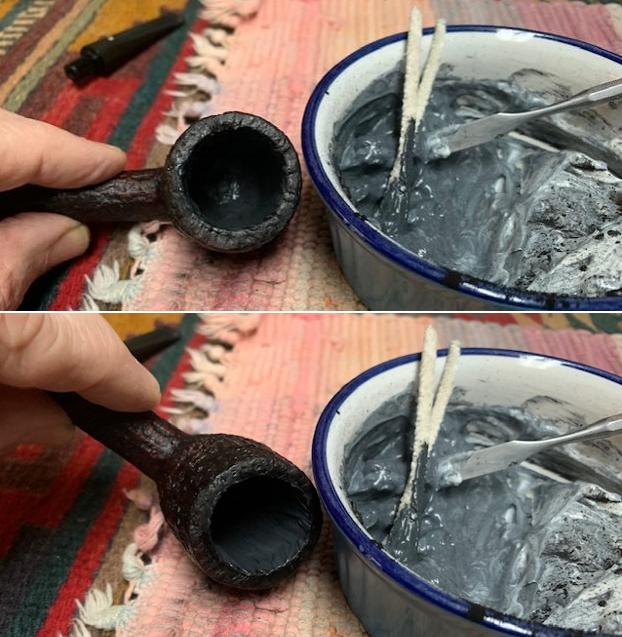
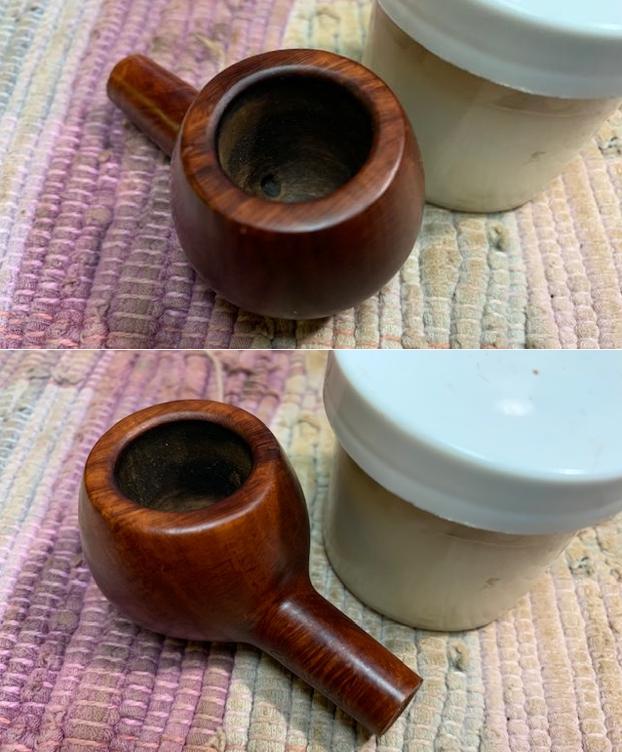
 I cleaned up the inner edge of the rim with a folded piece of 220 grit sandpaper. The second photo below show the inner edge of the rim after the work.
 I topped it on a topping board with 220 grit sandpaper to prepare the surface for the rustication I planned to do to bring it back to what it looked like originally.
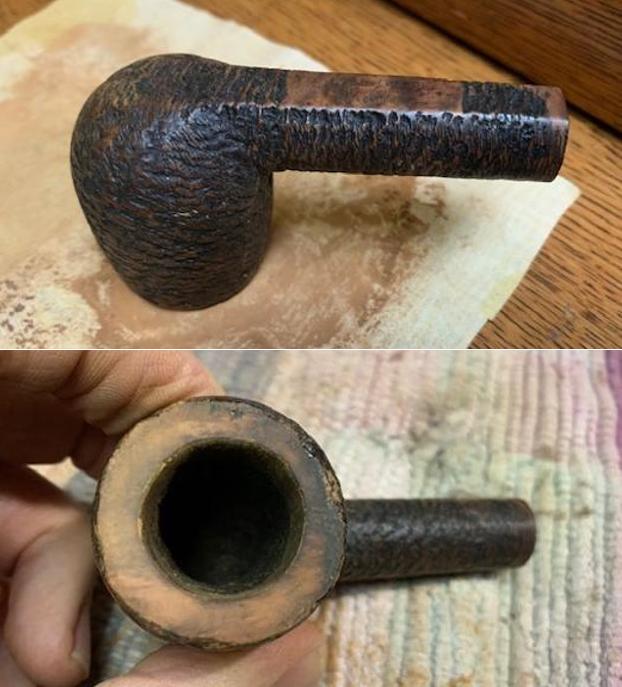 I then used my Dremel and a series of burrs and dental burrs to replicate the original rustication on the rim surface from photos I found online of a similar rim top. I worked through each burr carving a patter in the smooth rim surface and blending in the damaged areas on the front left and the repaired back of the bowl. I was very happy with the rustication once I finished.
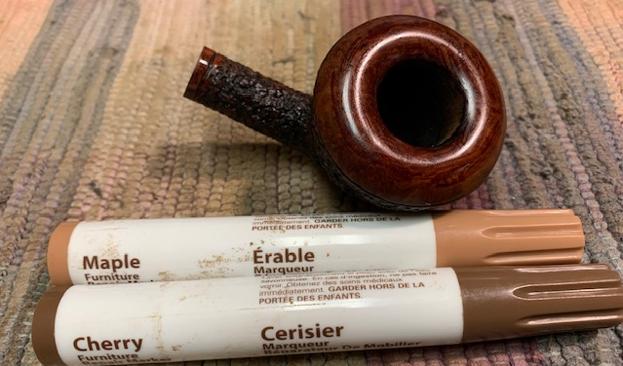
 I stained the rim top with a combination of Walnut, Maple and Cherry stain pens to match the colour around the sides of the bowl and shank.
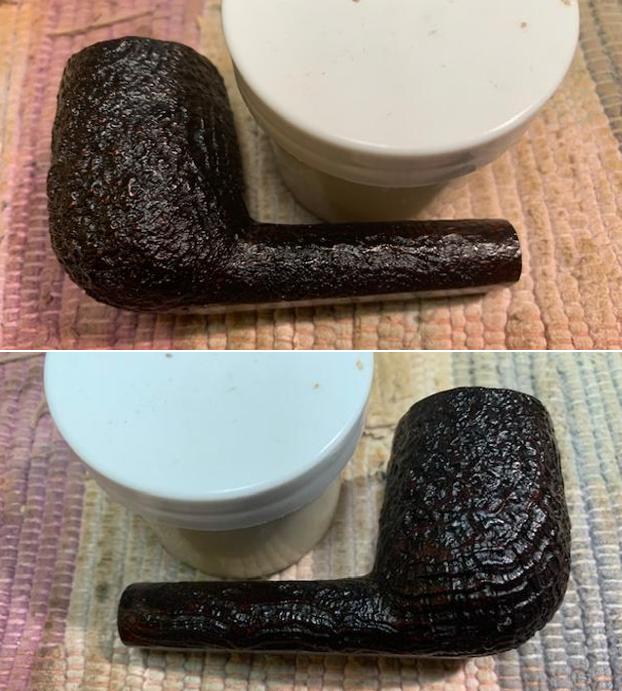
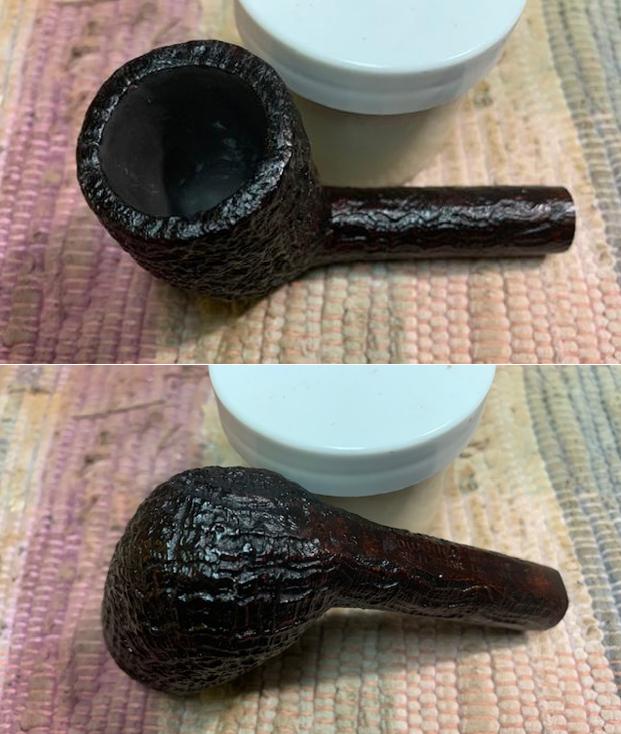
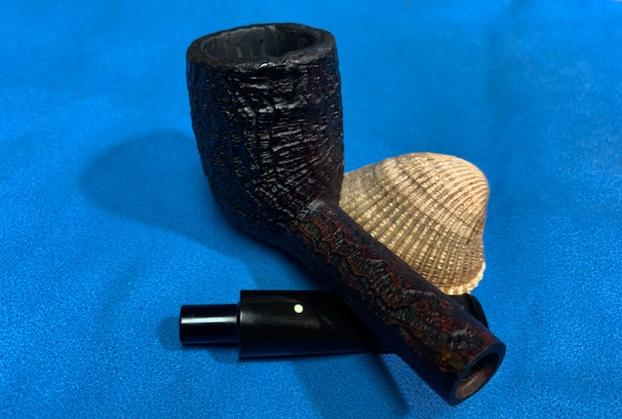
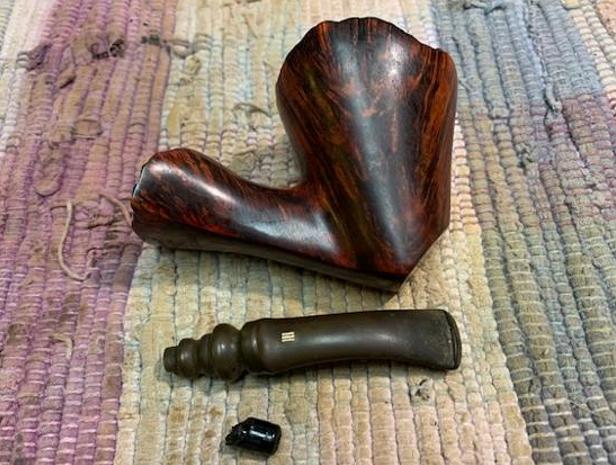
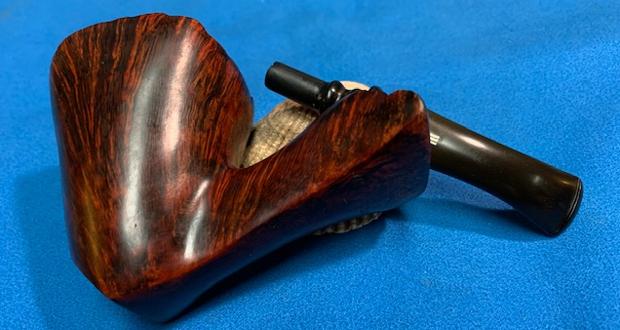
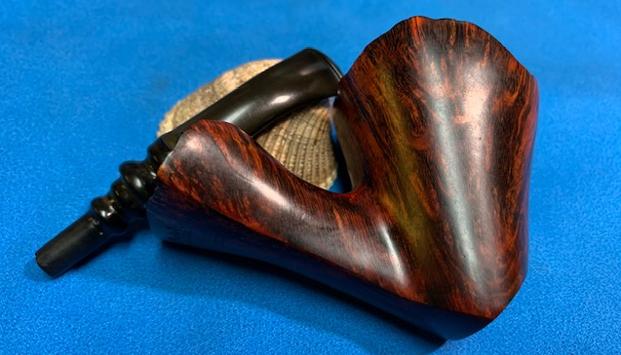
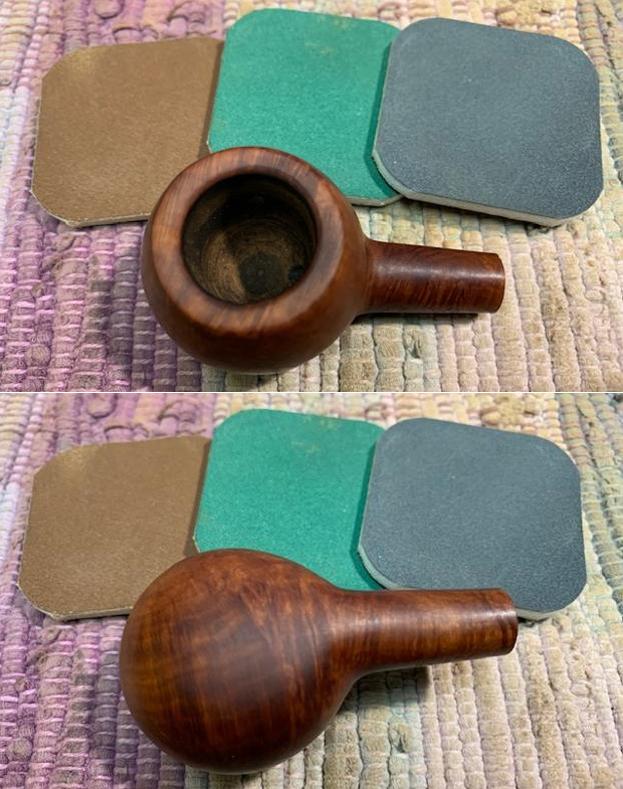
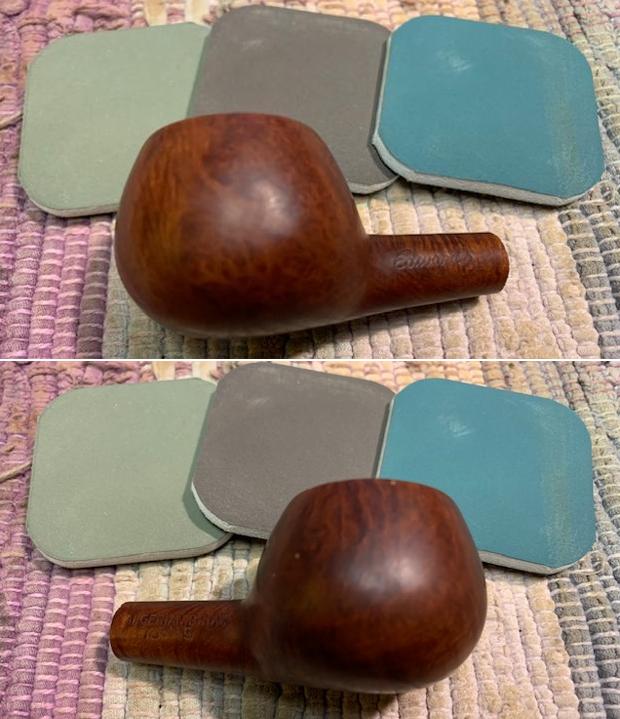
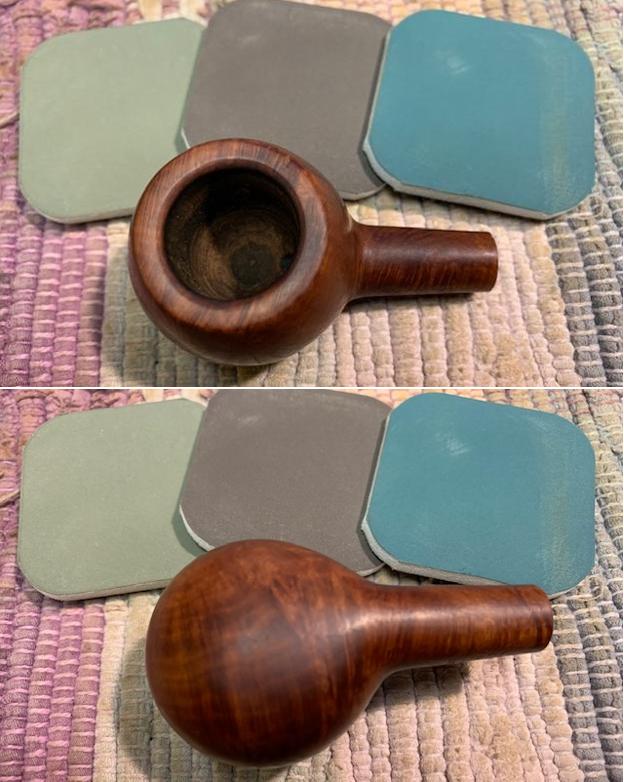
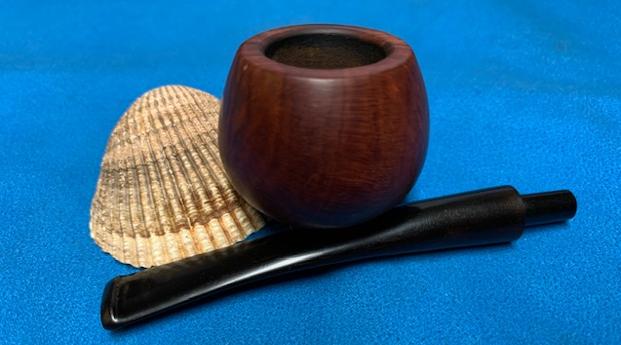
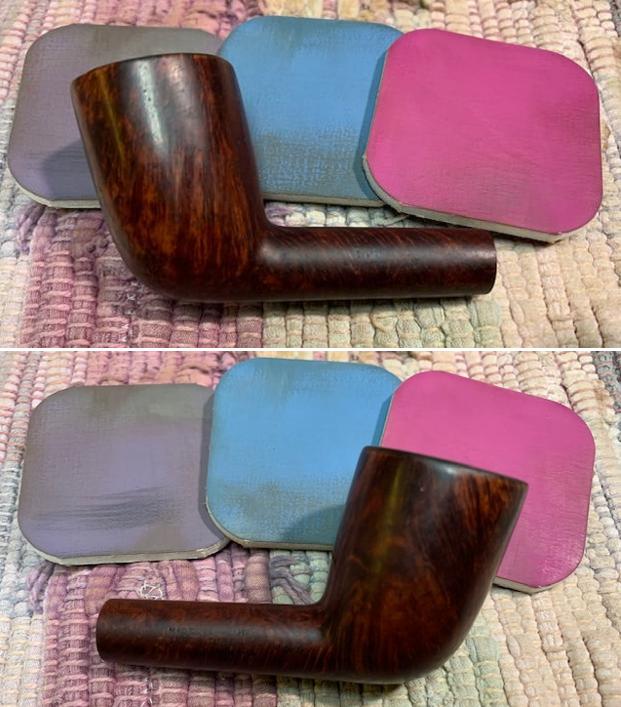
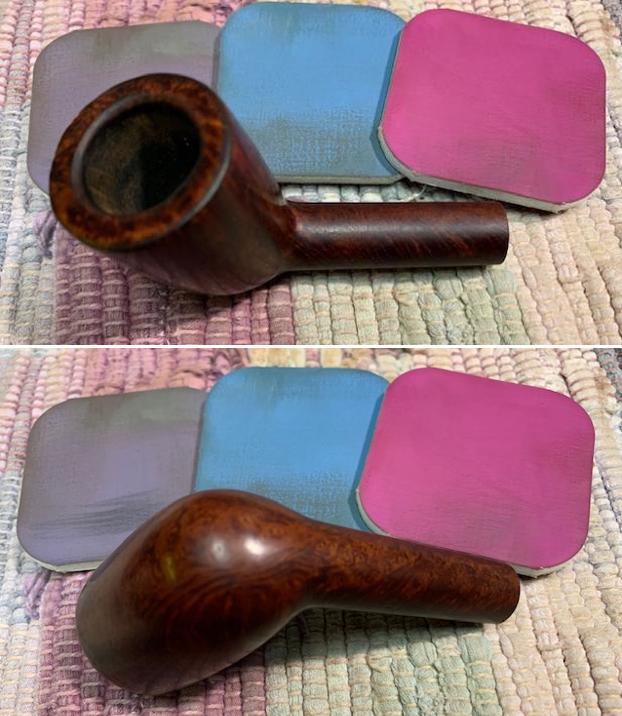
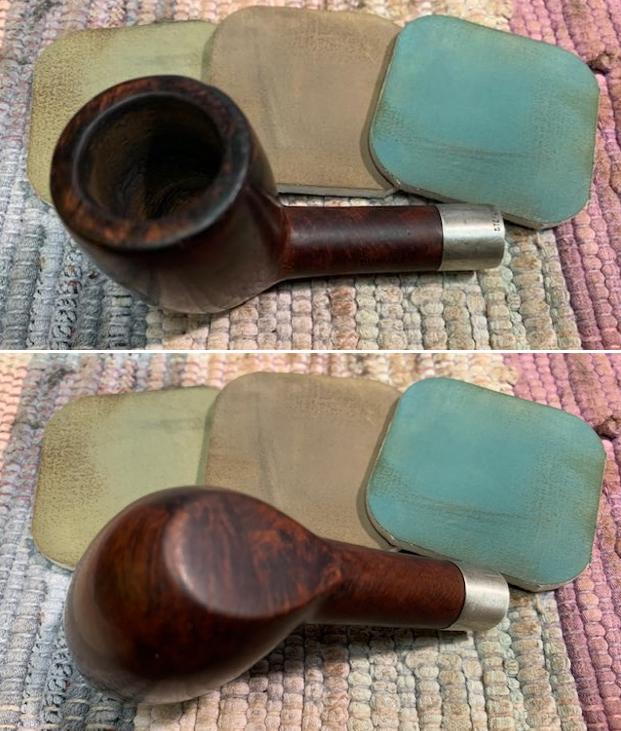
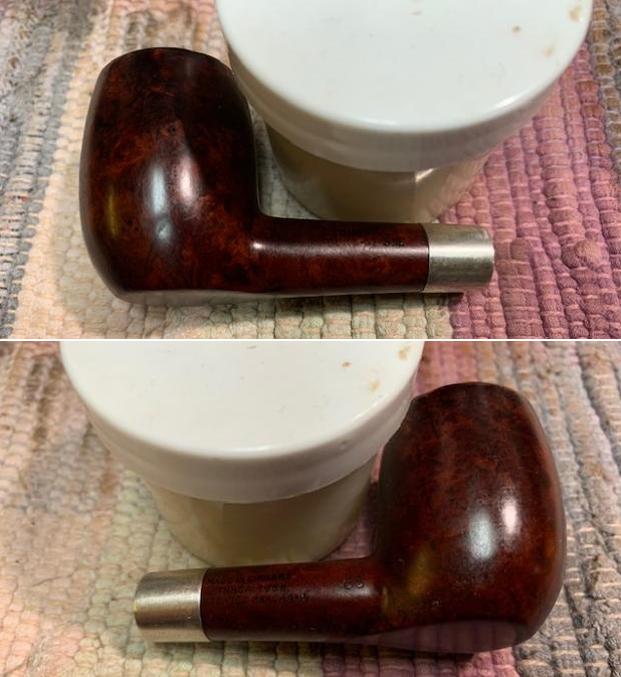
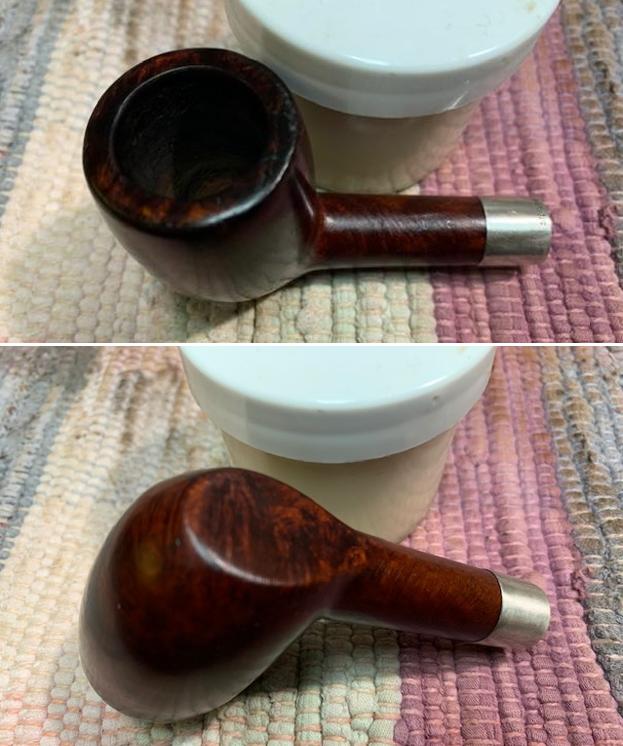
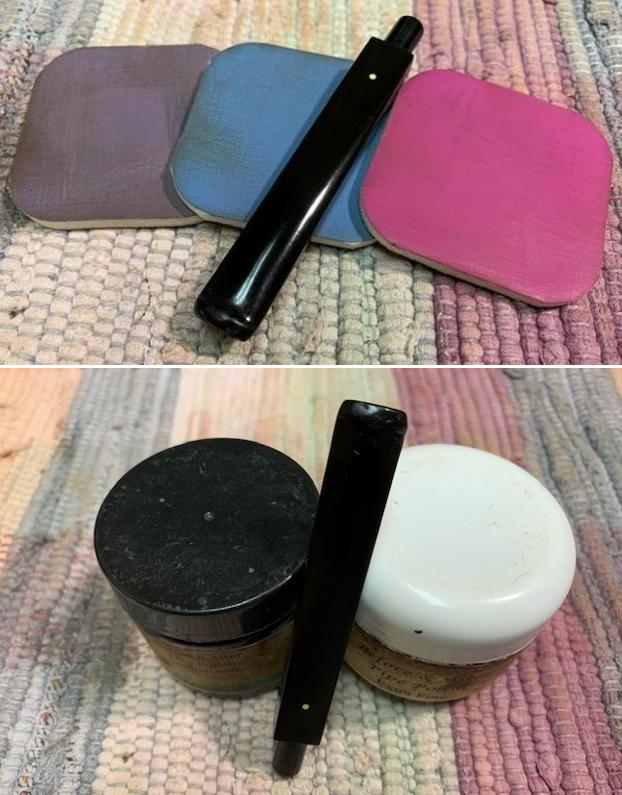
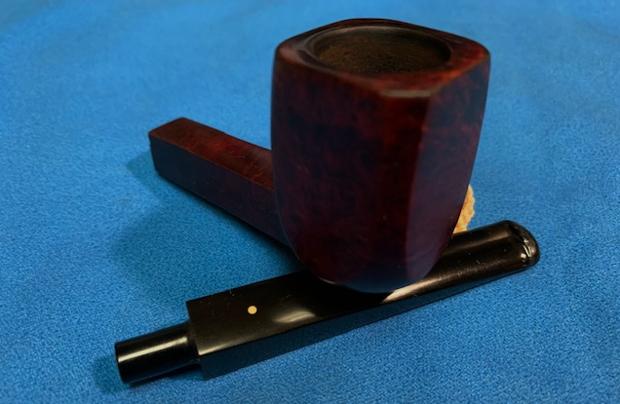
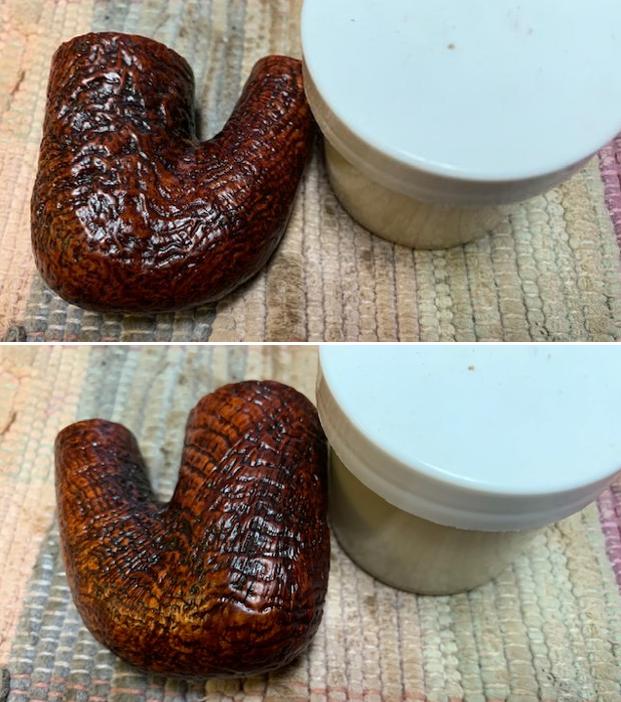
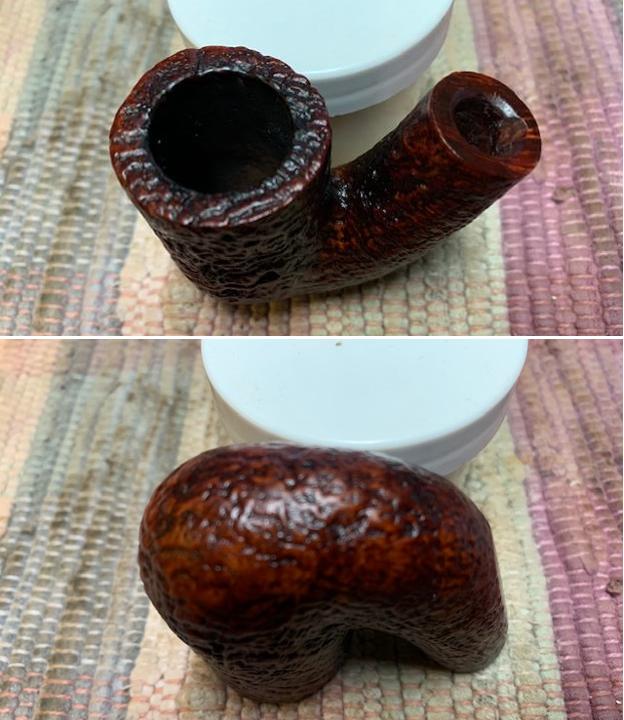
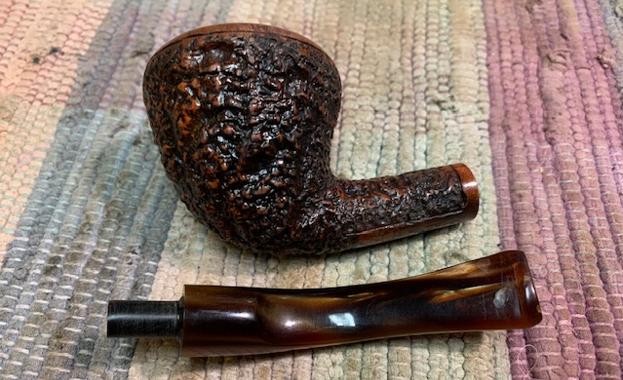
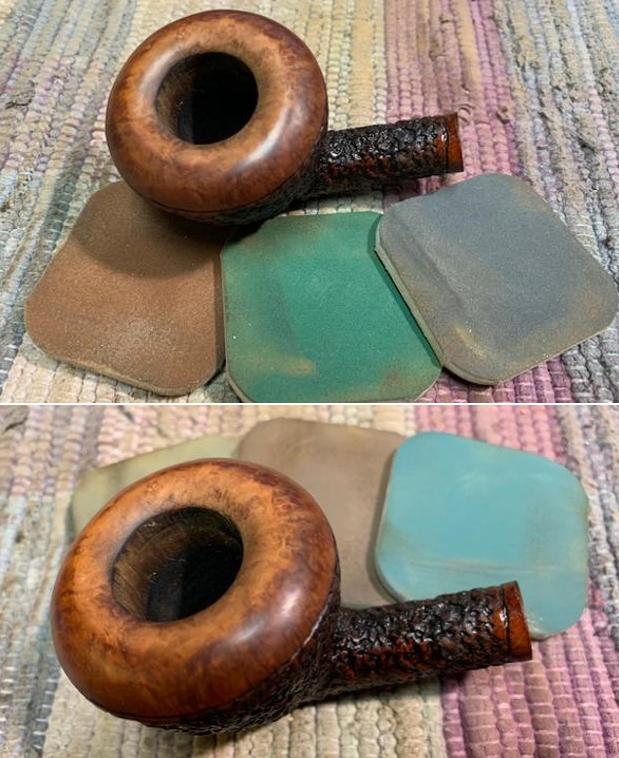
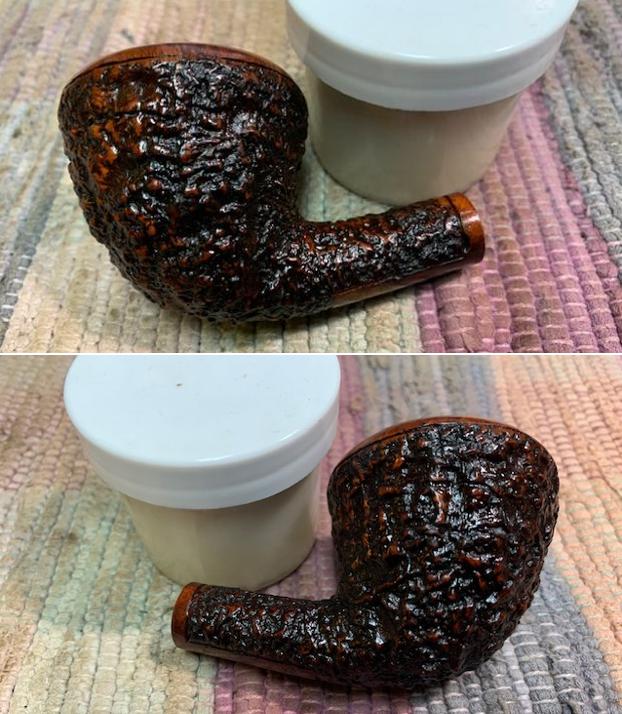
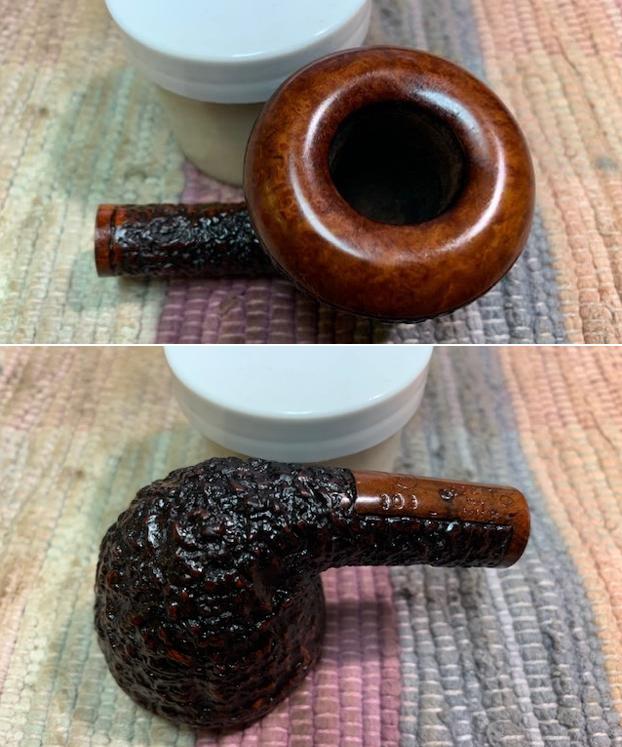
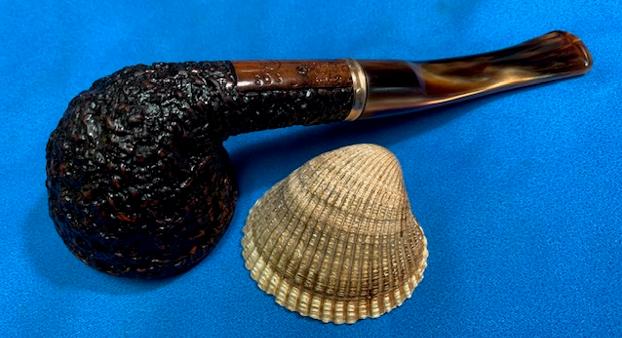
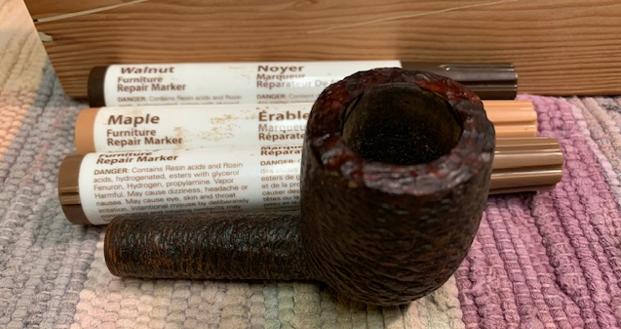 I worked some Before & After Restoration Balm into the surface of the smooth briar with my fingertips. The product works to clean, enliven and protect the briar. I let the balm sit for fifteen minutes and then buffed with a cotton cloth to raise the shine. The photos show the bowl at this point in the restoration process.
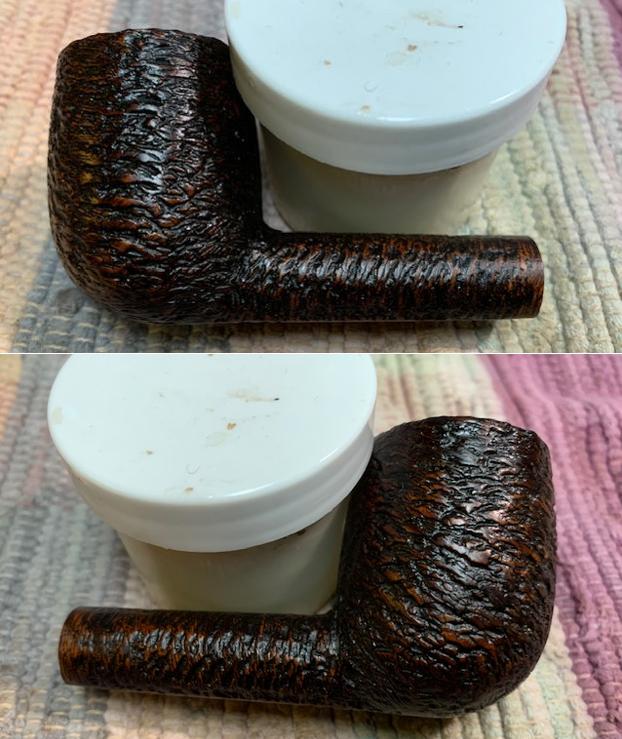
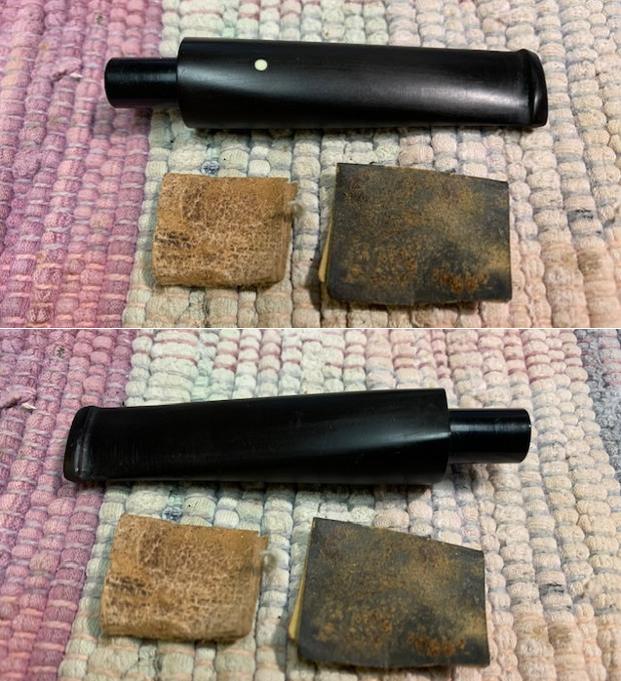
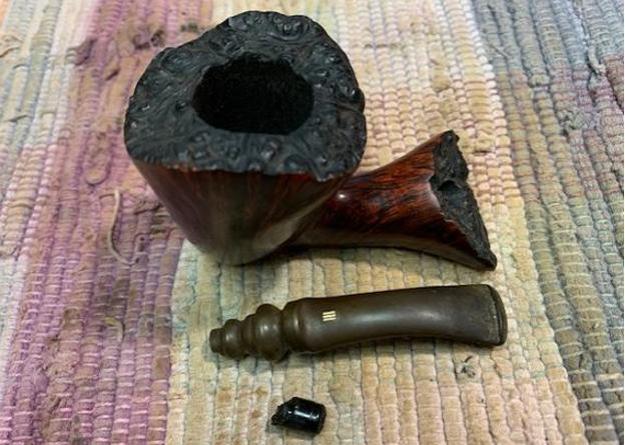
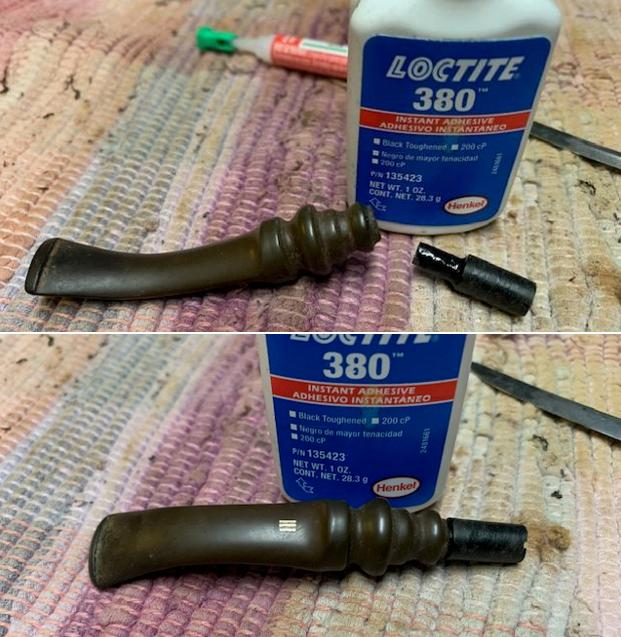
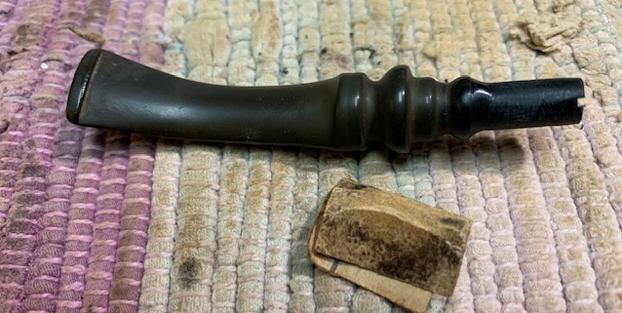
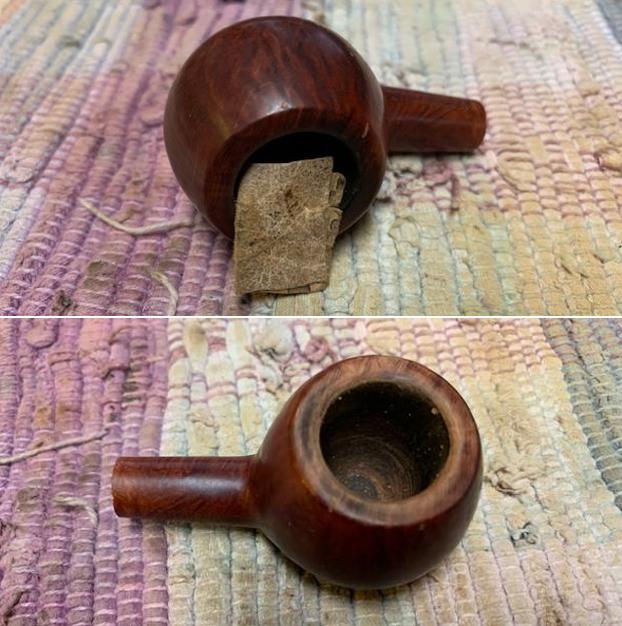
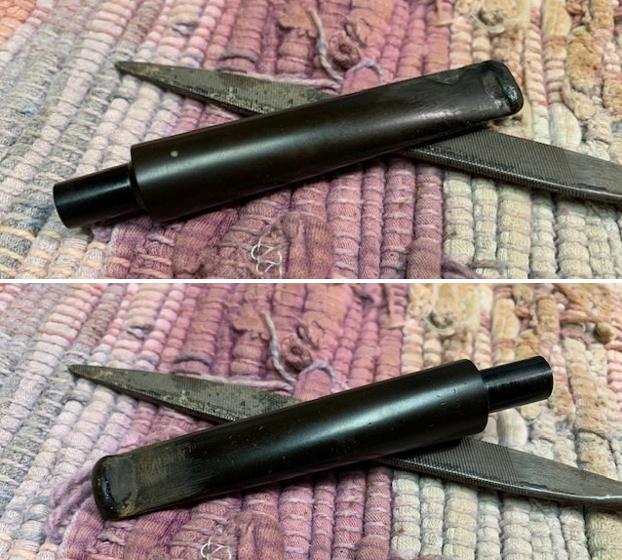
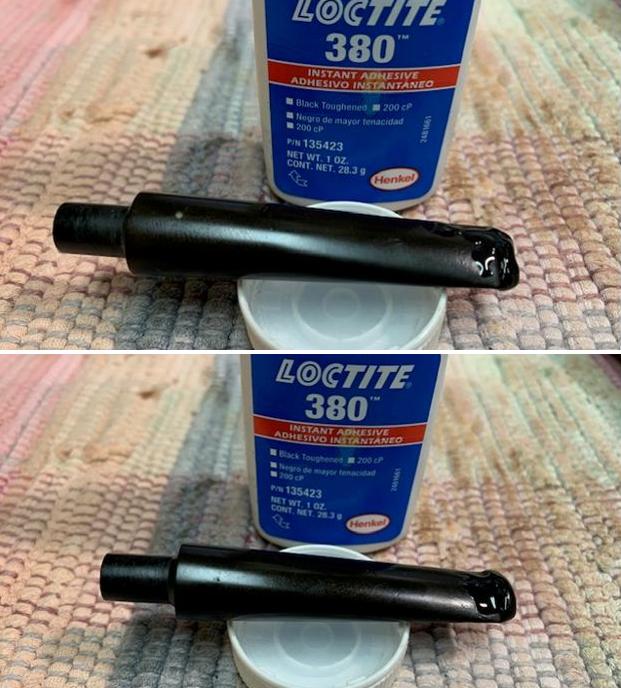
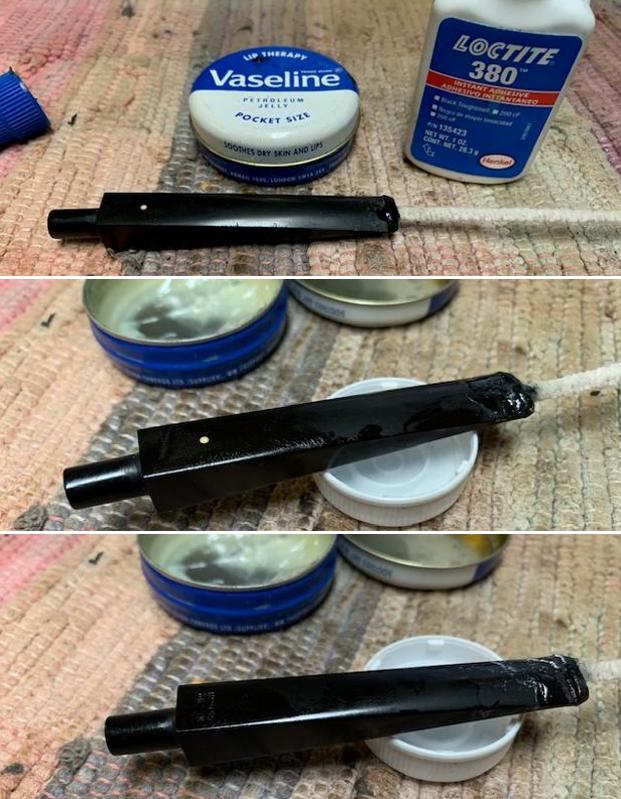
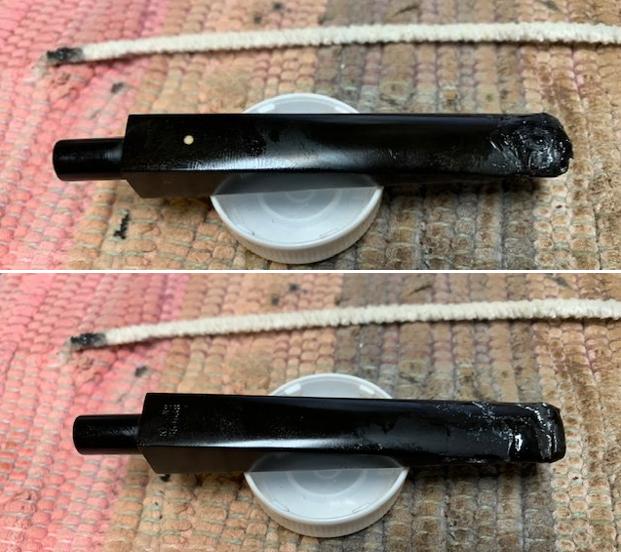
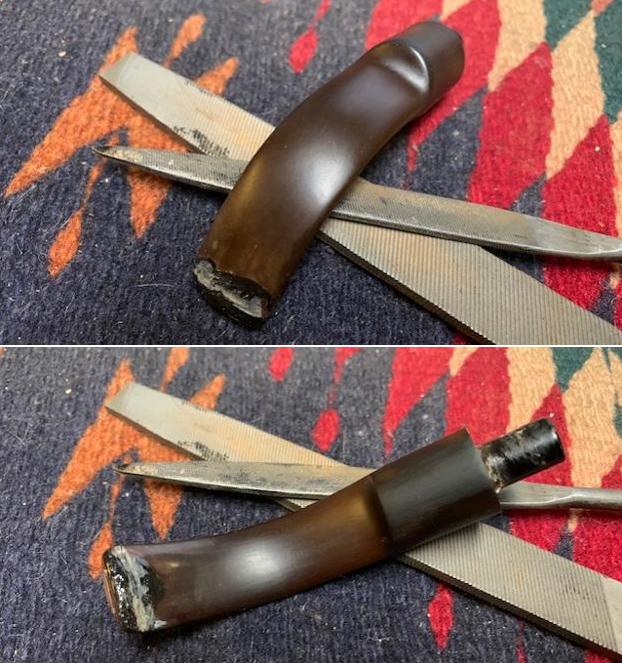
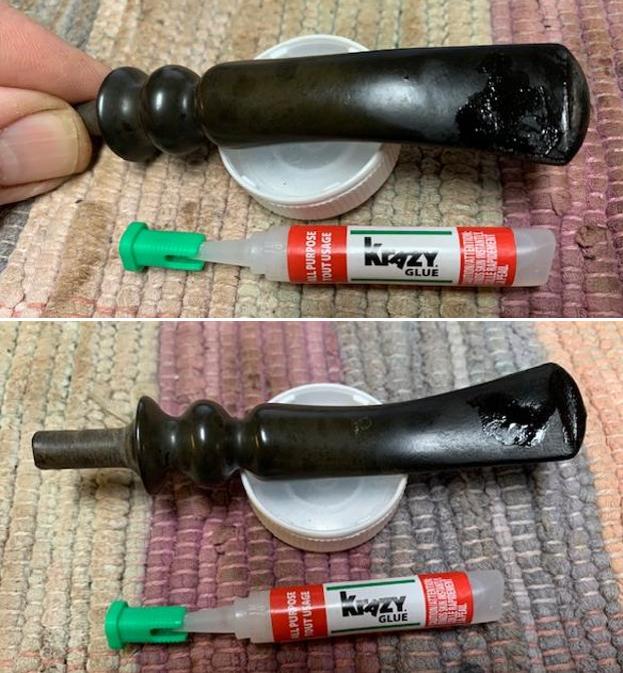
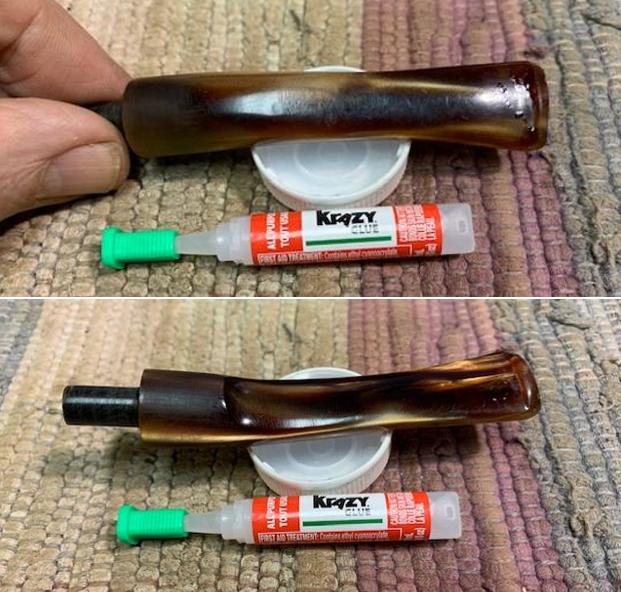
 I set the bowl aside and turned to deal with the stem. The stem had an inner tube that was bound in the shank and when I heated and carefully pulled on it to remove it the tube snapped. I flattened on the tenon end with sandpaper to make the break smooth.
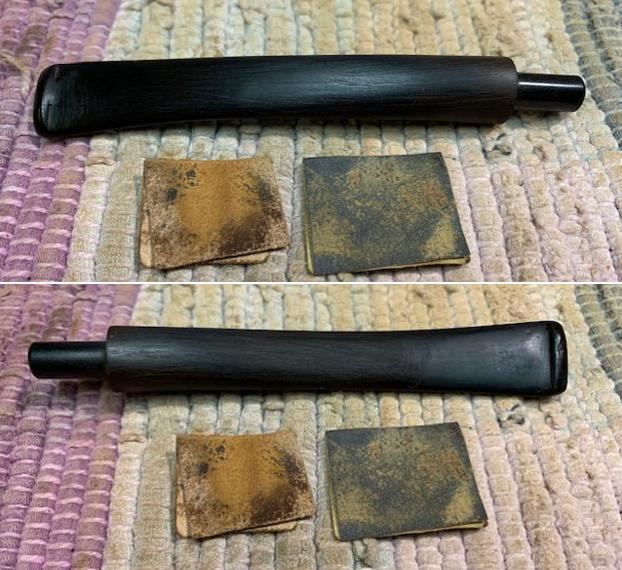
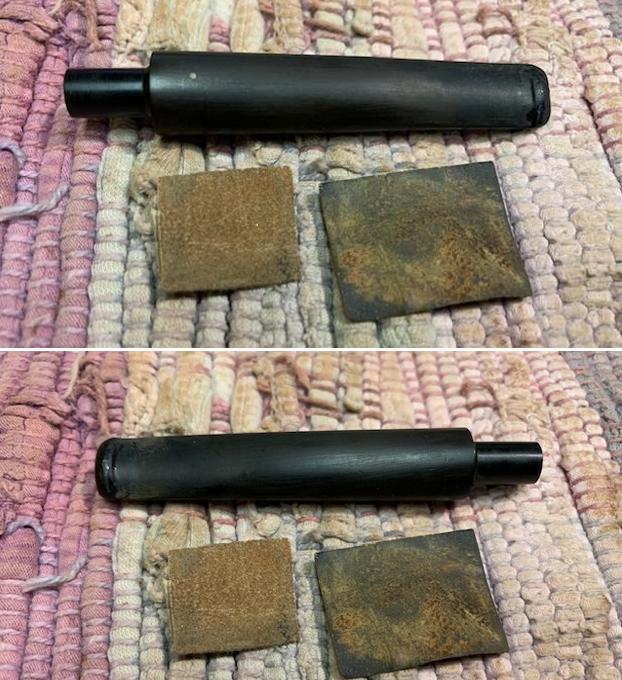
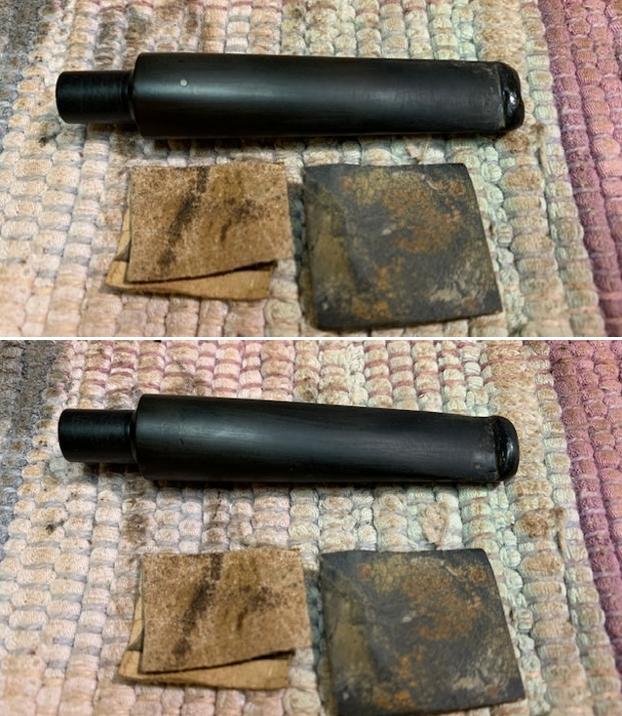
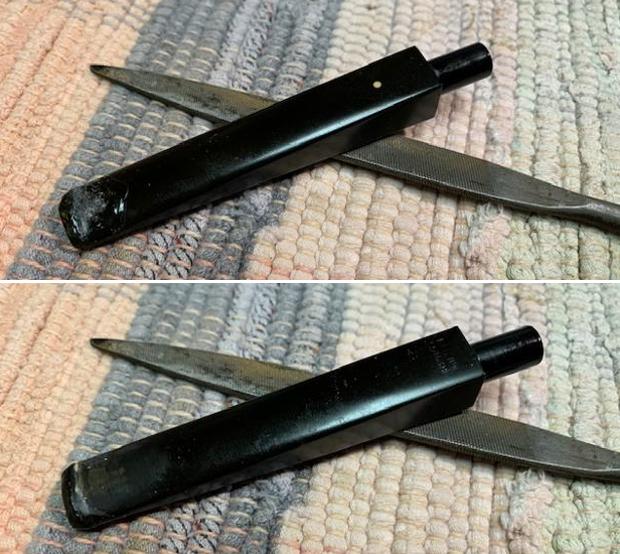
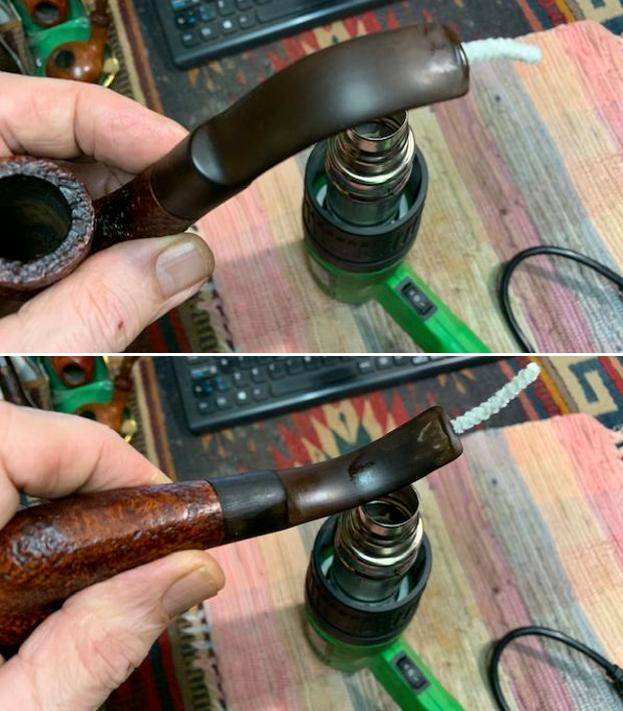
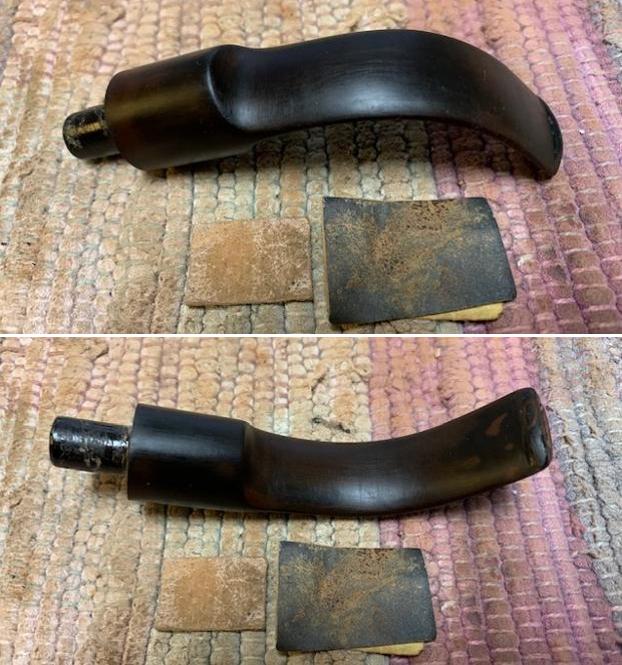
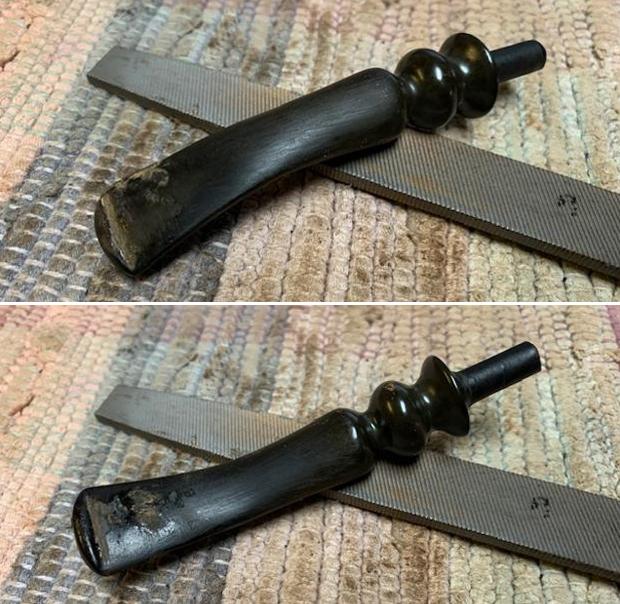
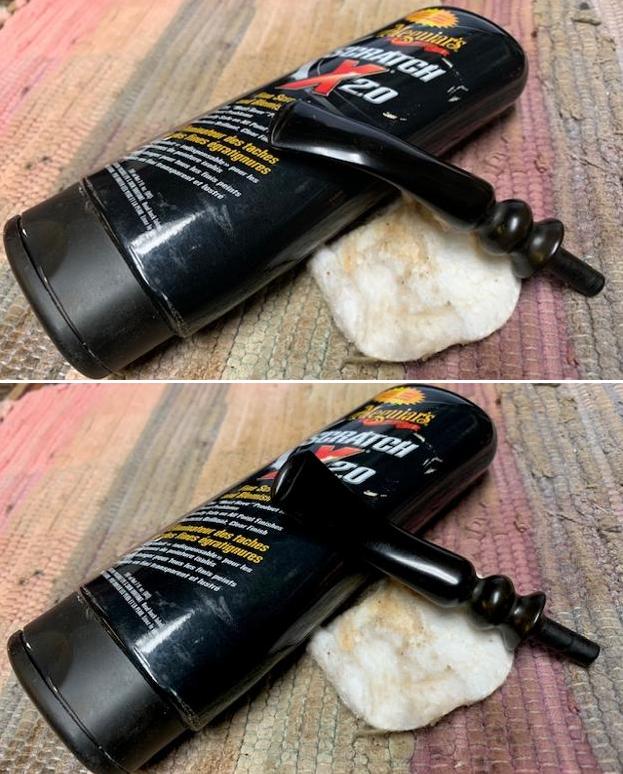
 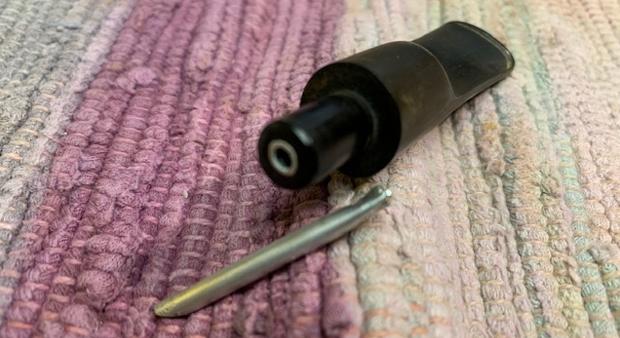 I sanded out the oxidation and tooth marks on the stem surface with a folded piece of 220 grit sandpaper. Once I had smoothed them out and broken up the remaining oxidation I started polishing the stem with 400 grit wet dry sandpaper.
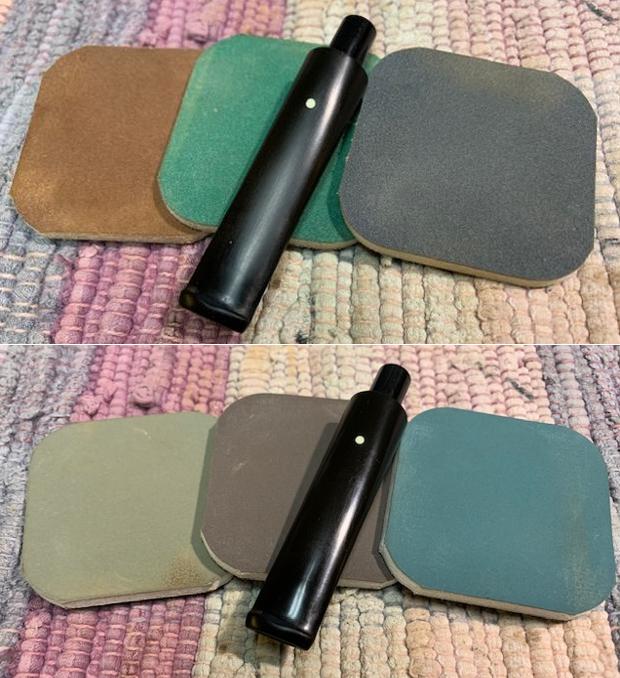
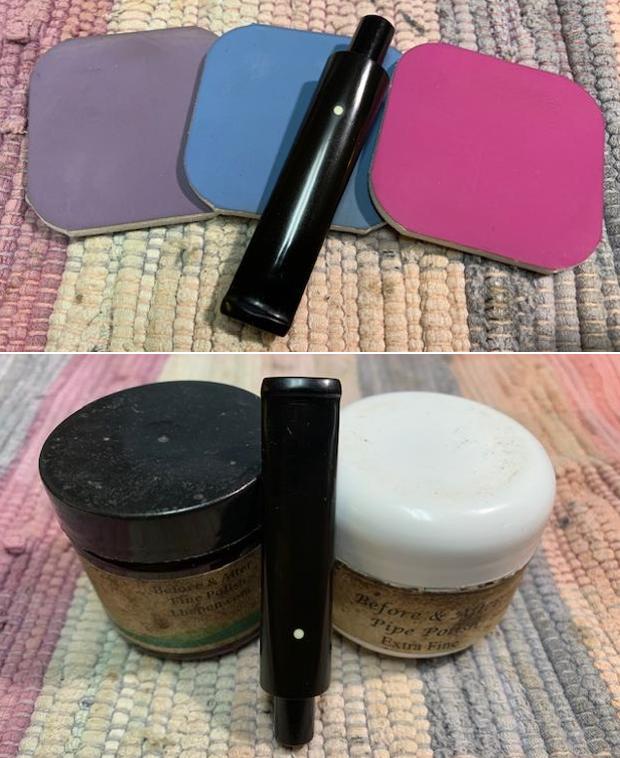
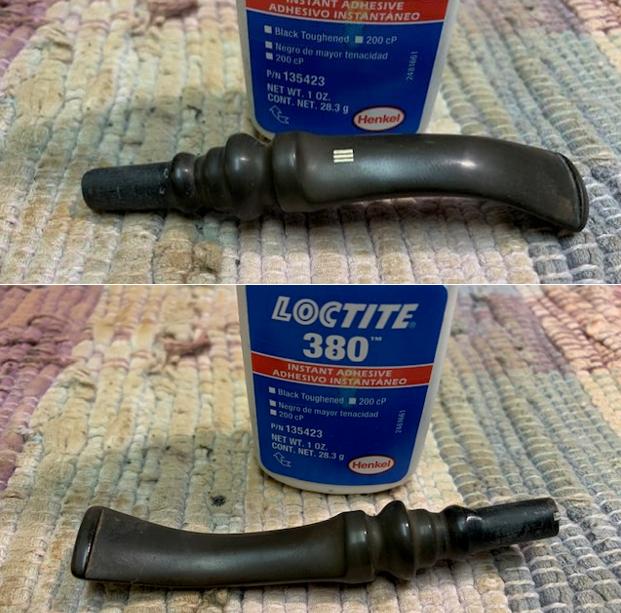
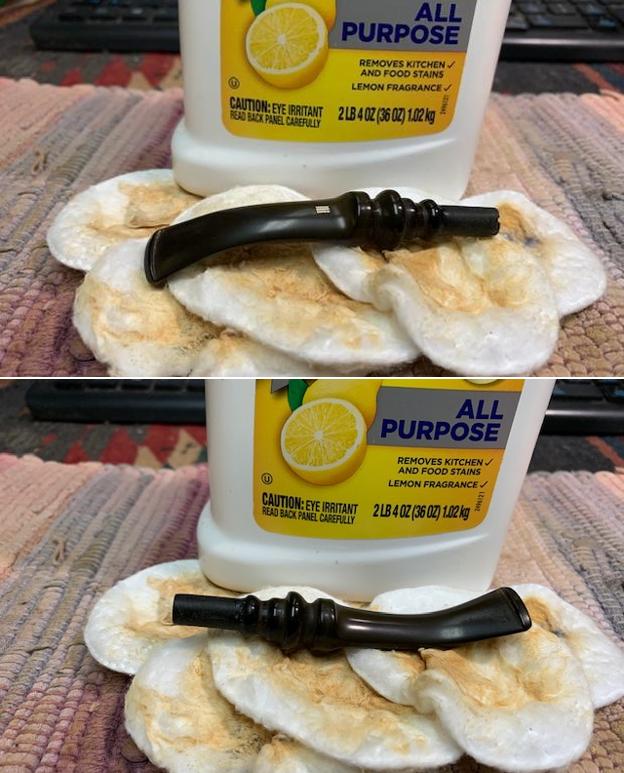
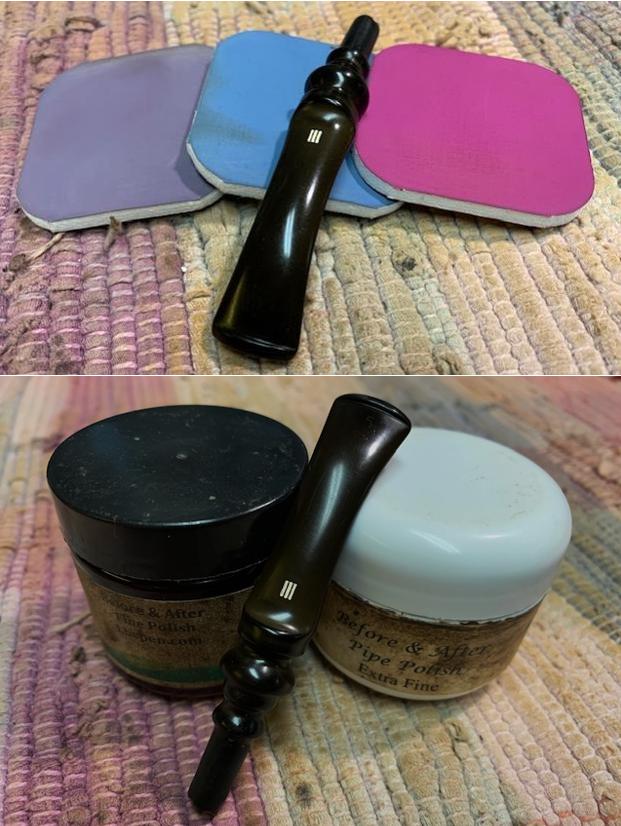
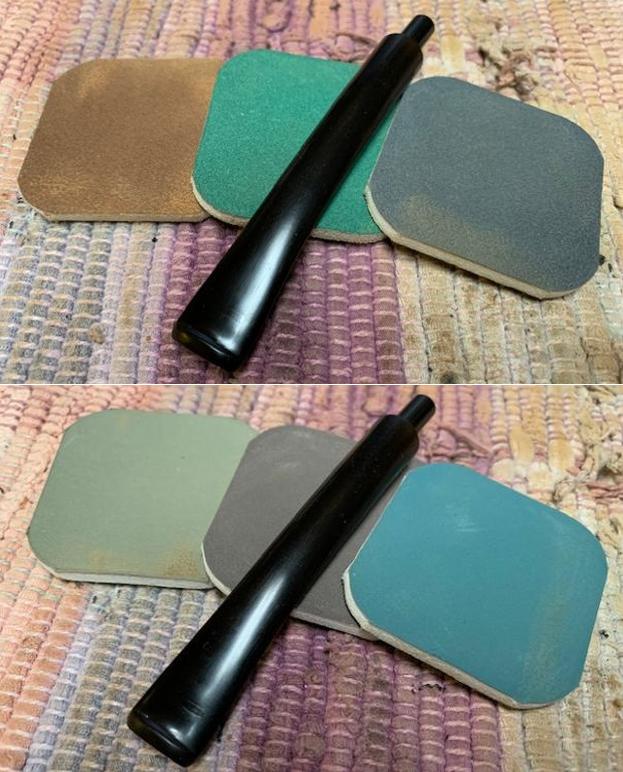
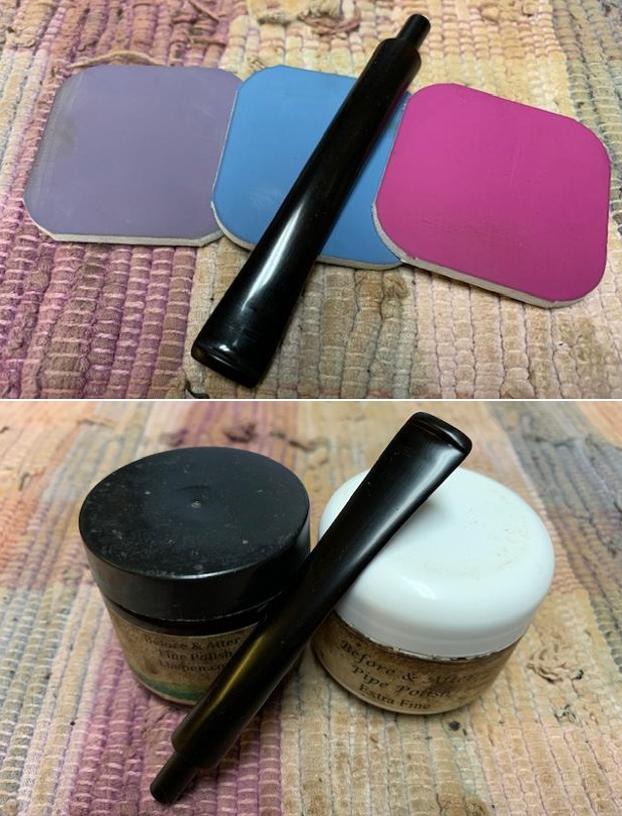
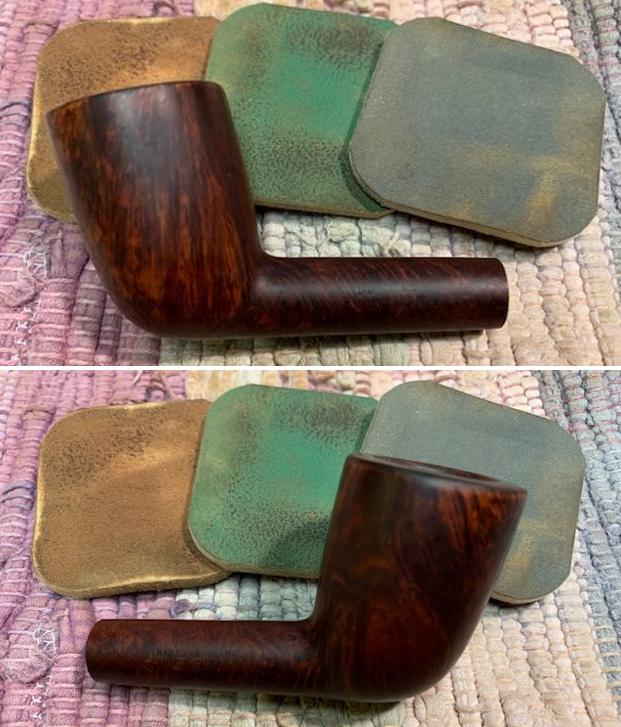
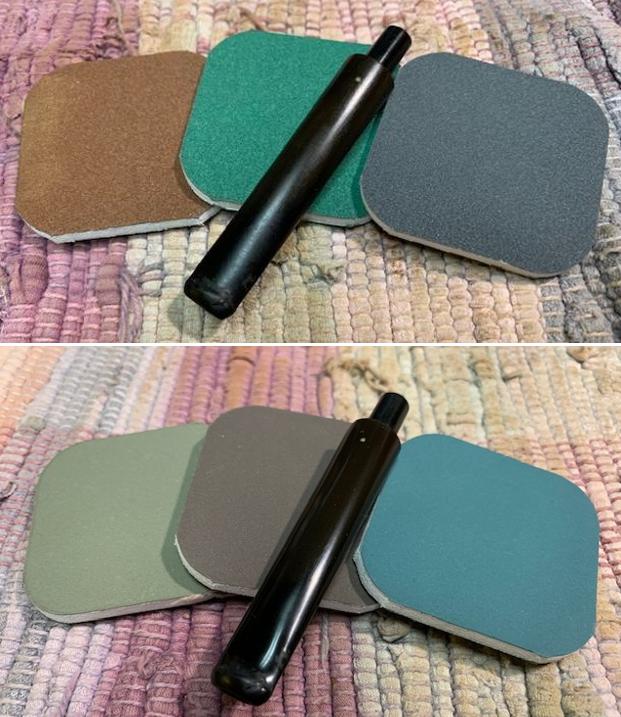
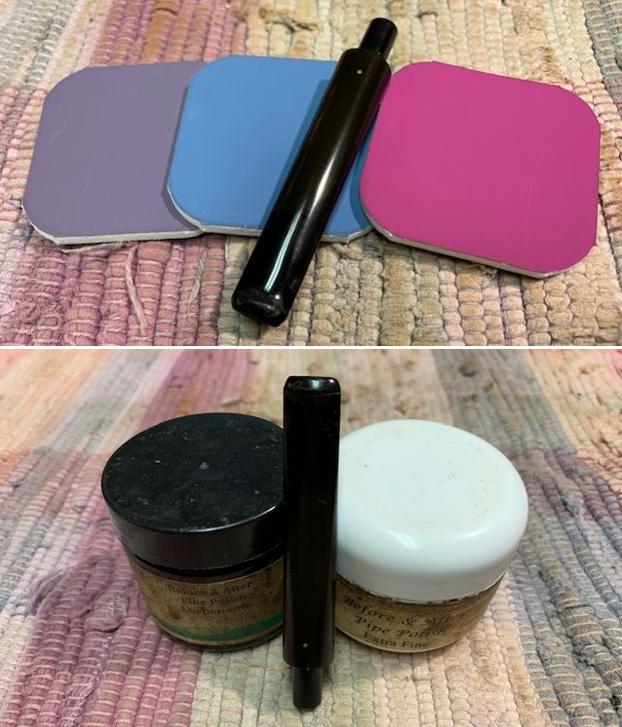
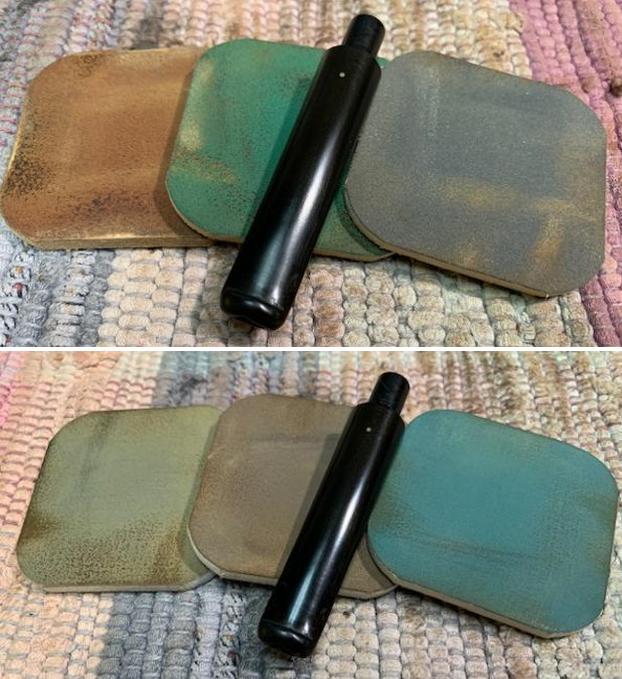
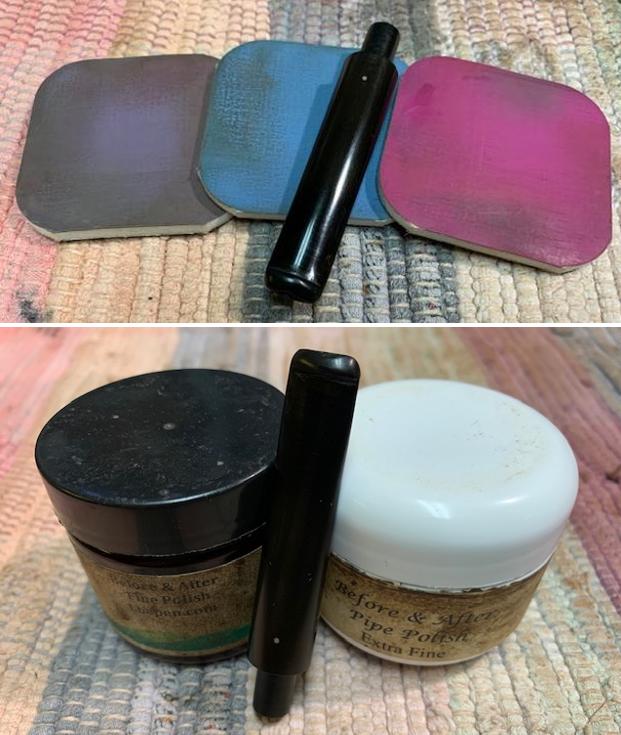
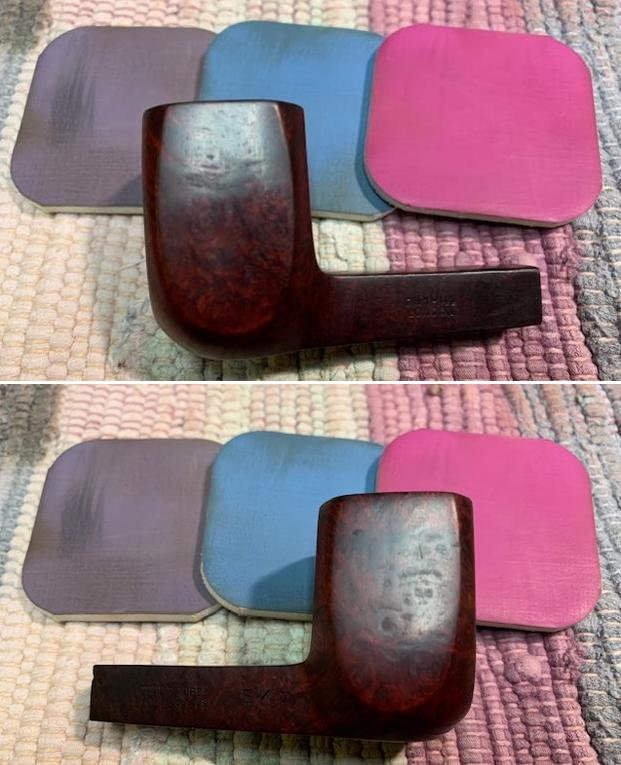
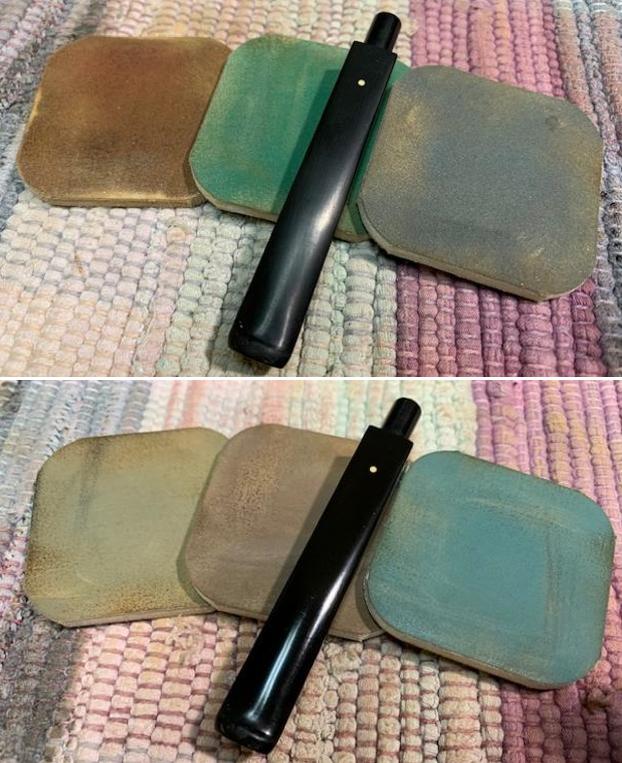
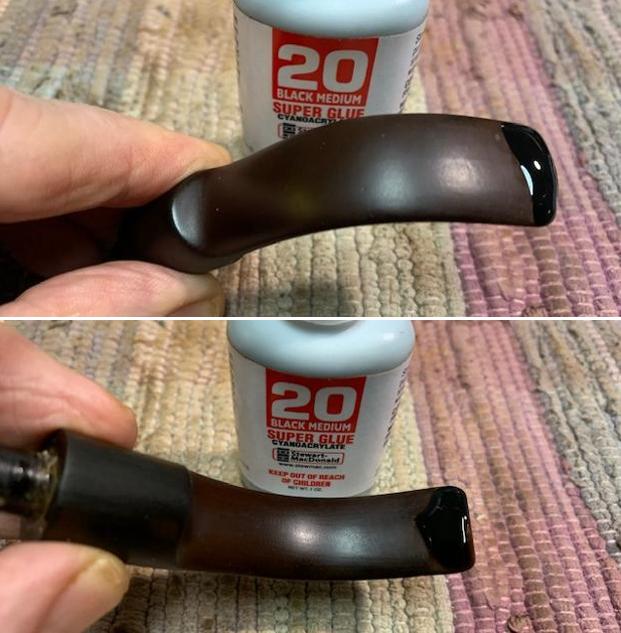
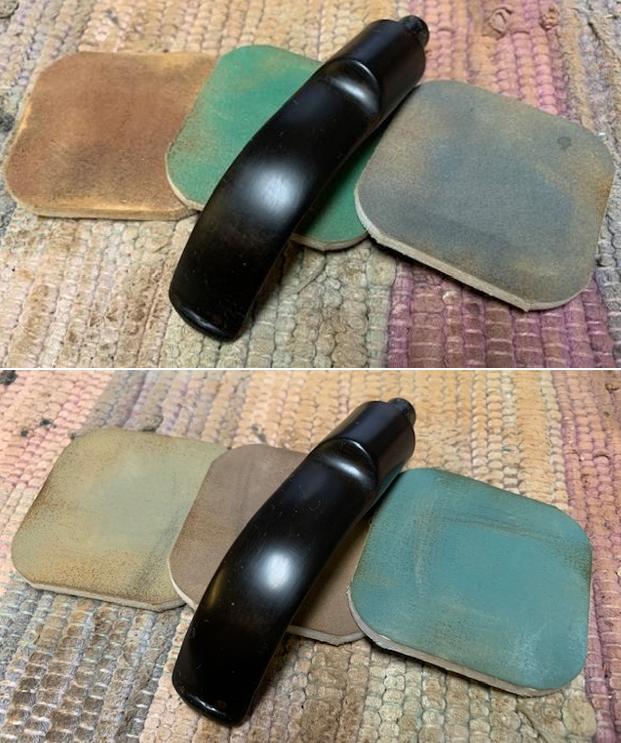
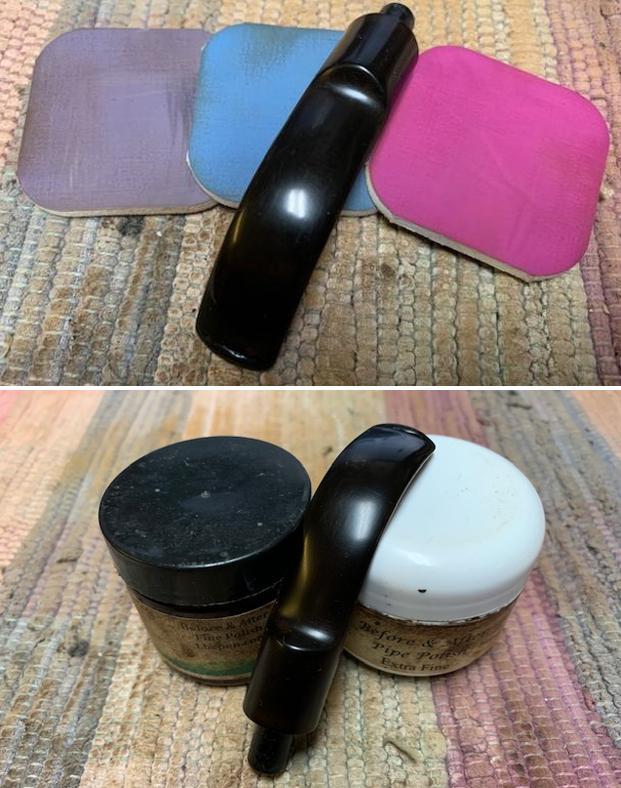
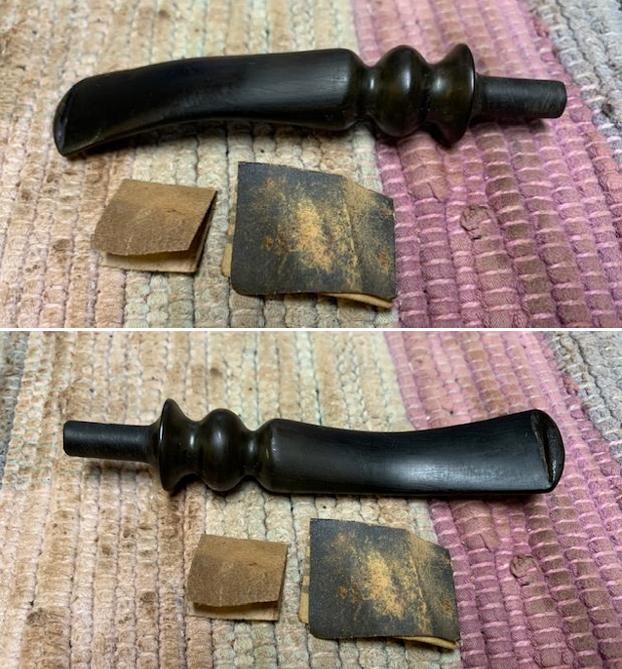
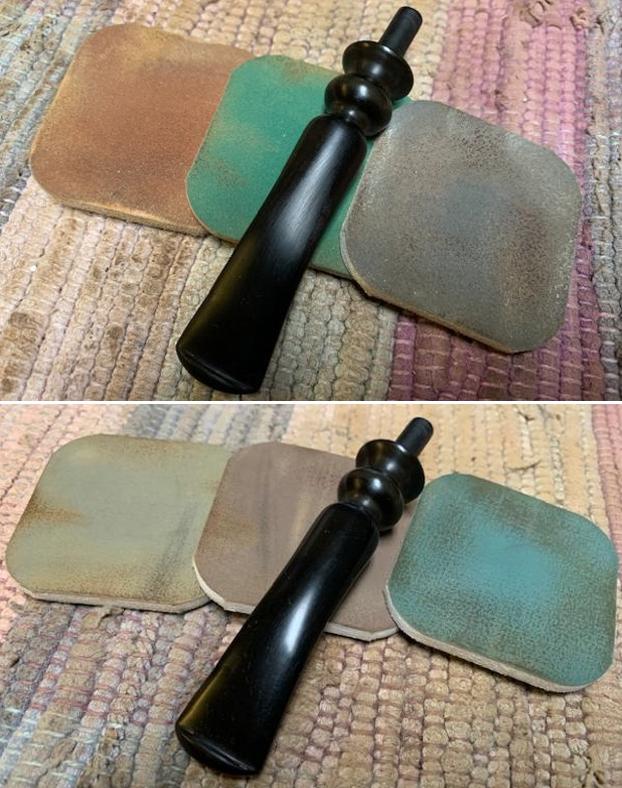
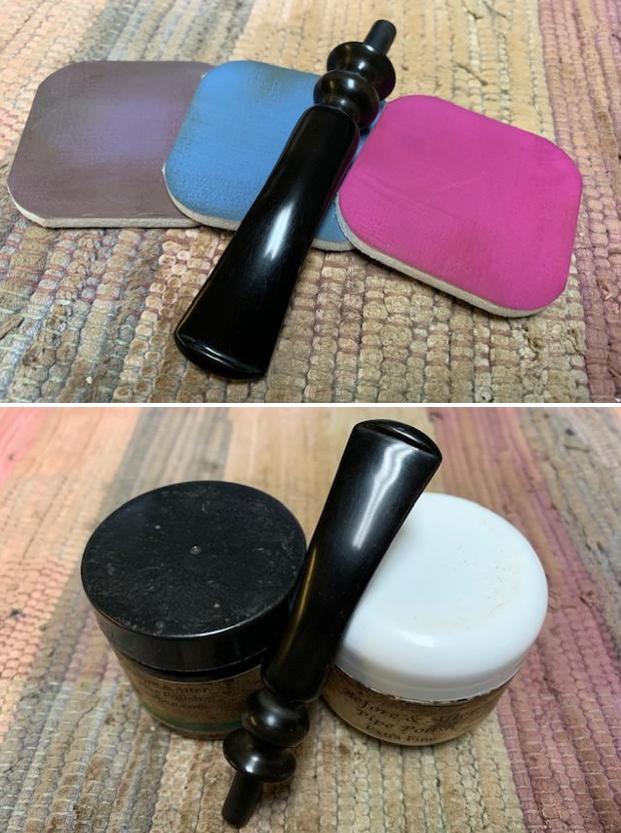
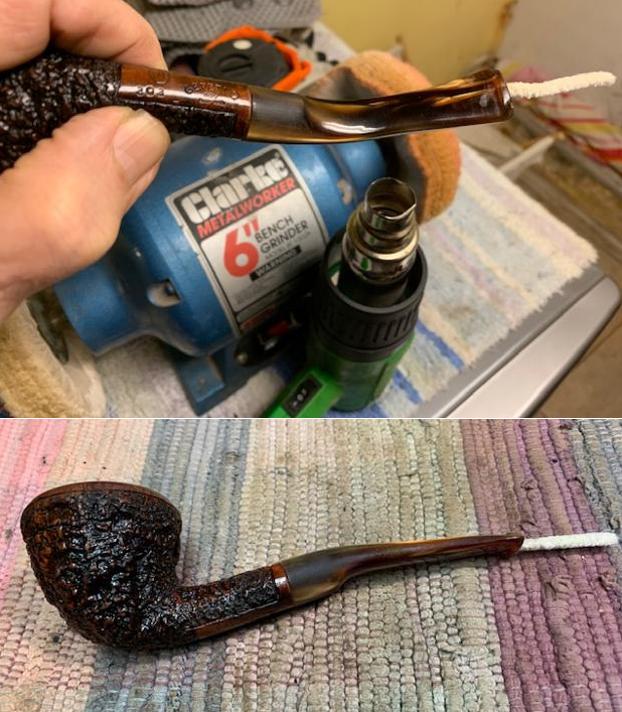
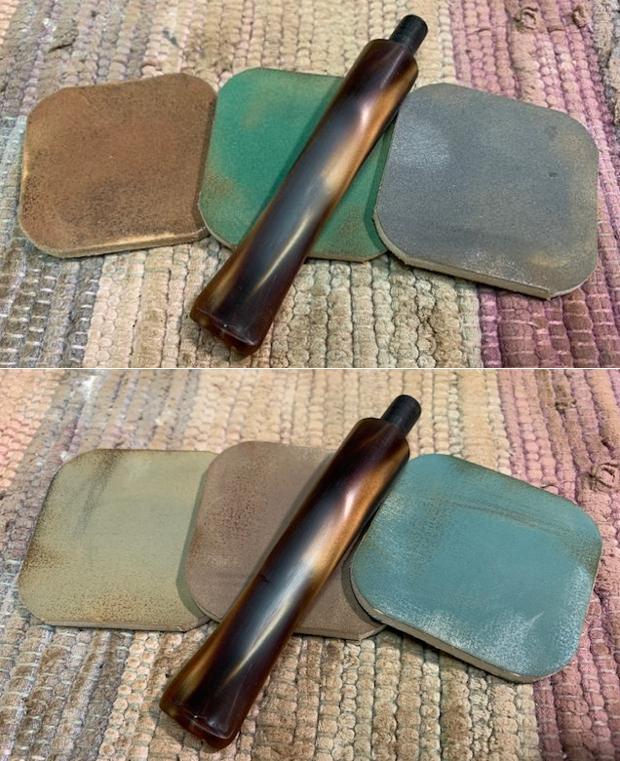
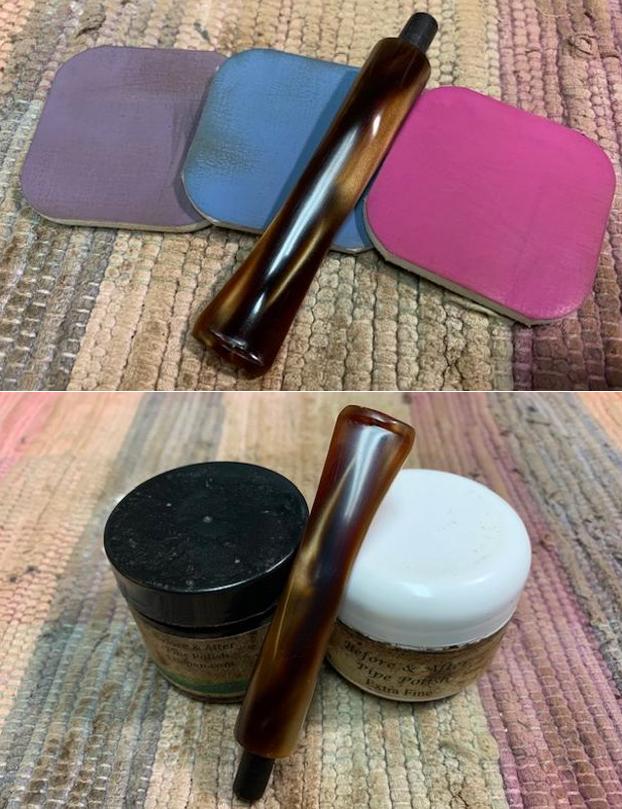
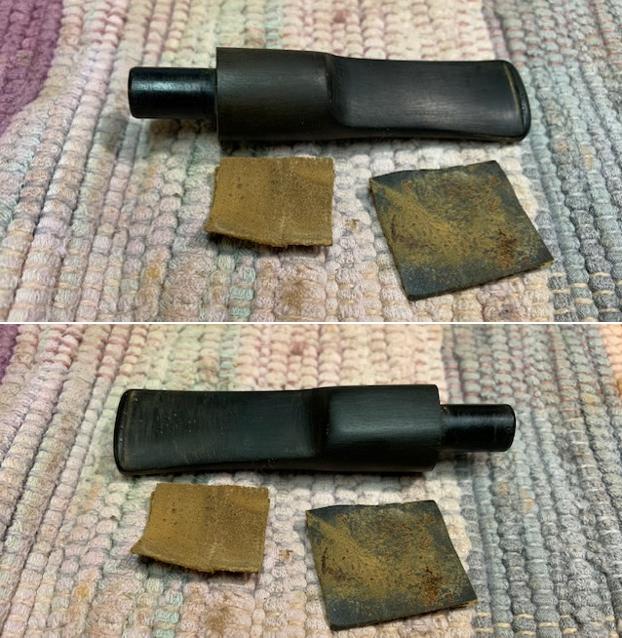 I polished the vulcanite stem with micromesh sanding pads – dry sanding with 1500-12000 grit sanding pads. I wiped it down after each sanding pad with a cloth containing some Obsidian Oil. I finished polishing it with Before & After Pipe Stem Polish – both Fine and Extra Fine and buffed it off with a cotton cloth. I gave the stem a final coat of Obsidian Oil to preserve and protect it.
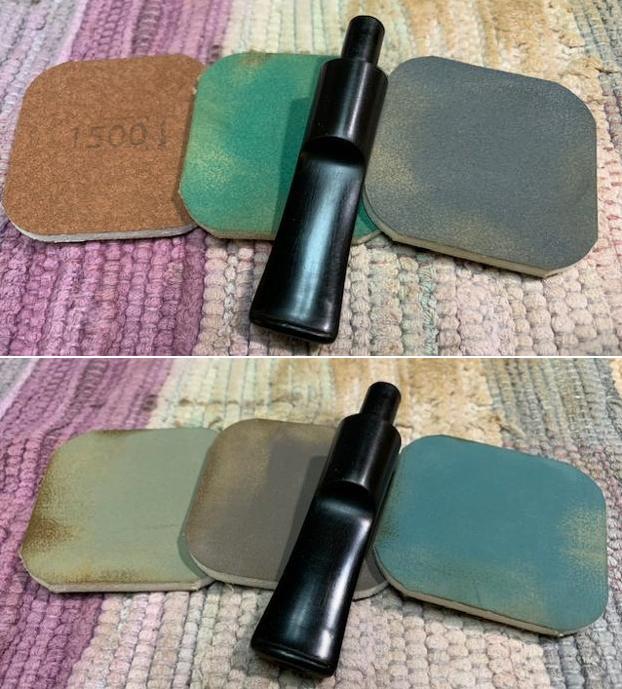
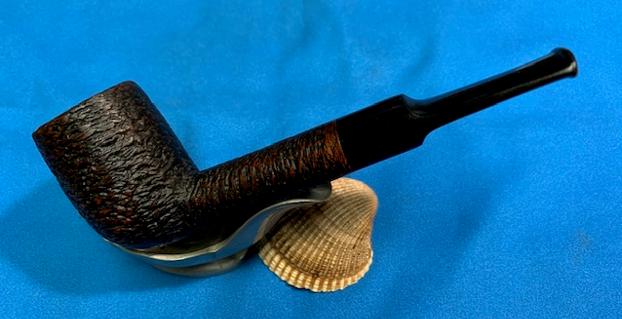
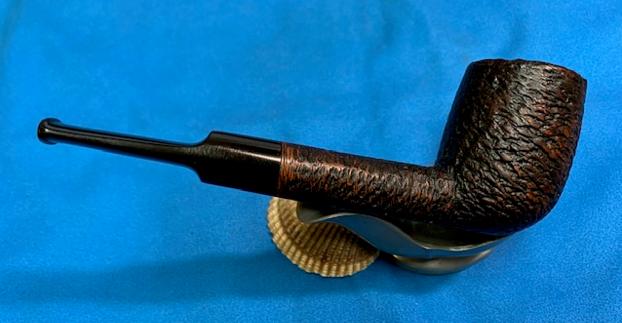
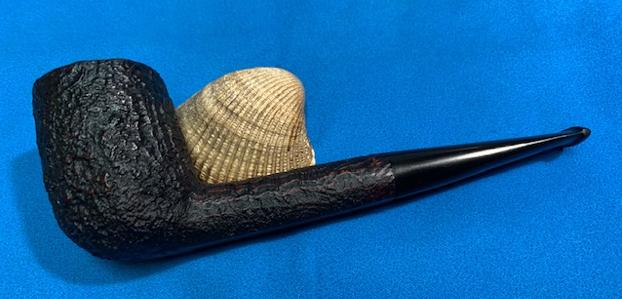
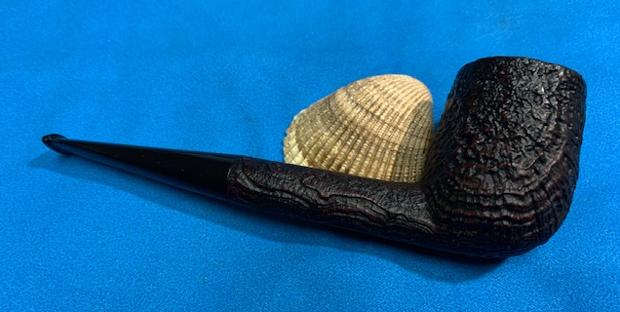
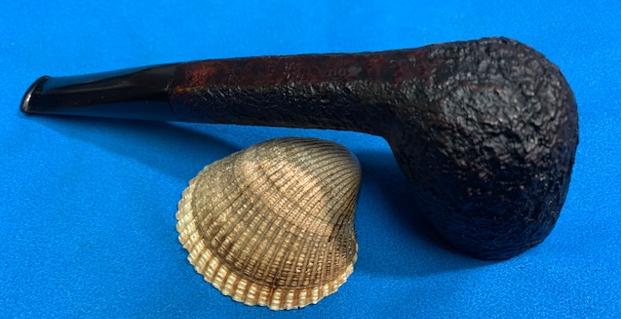
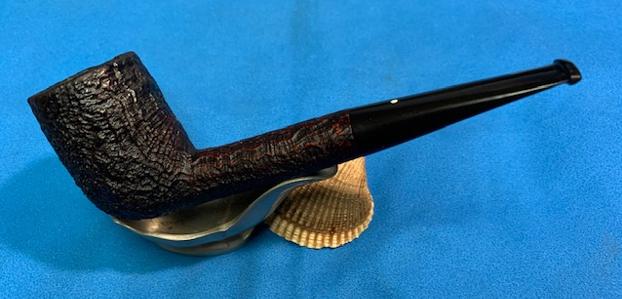
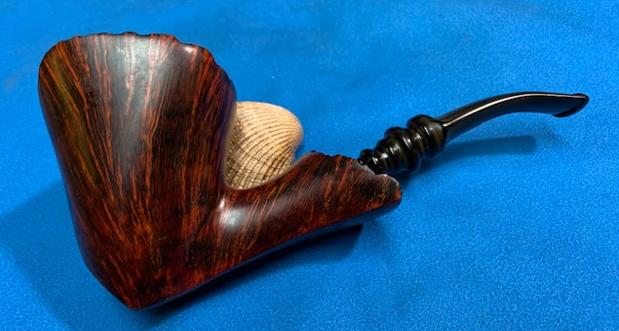
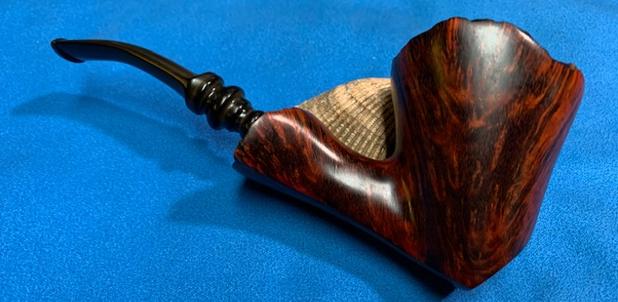
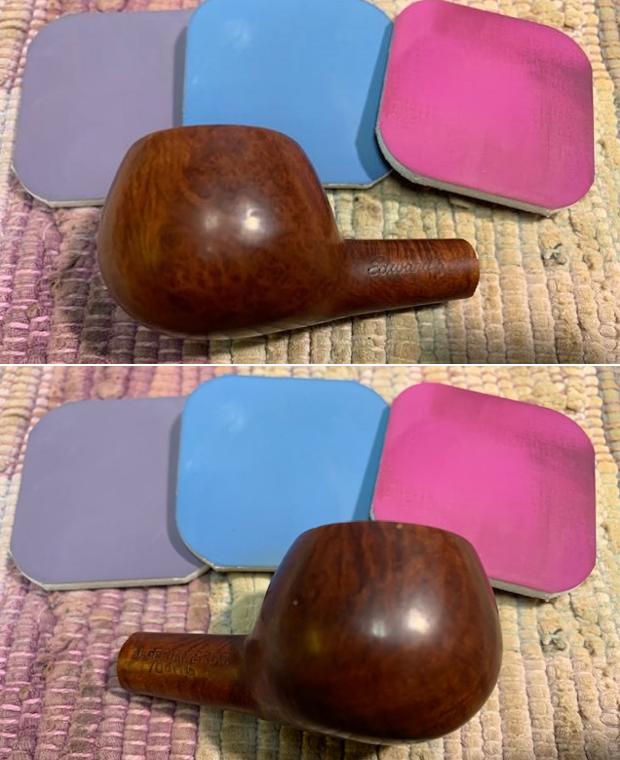
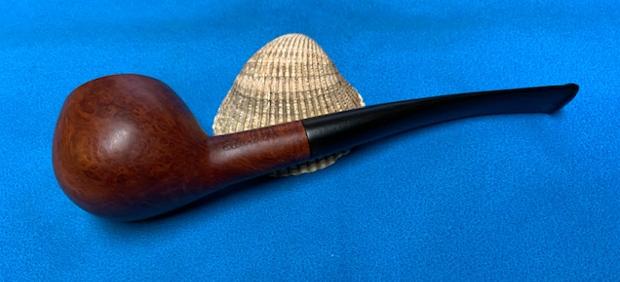
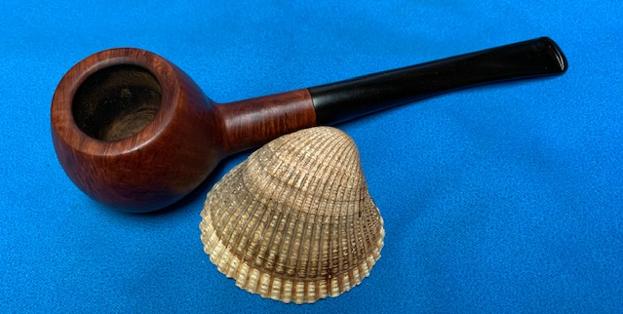
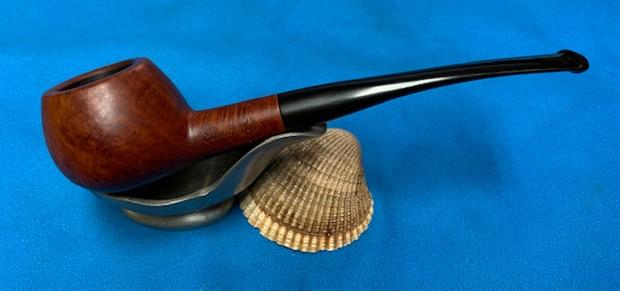
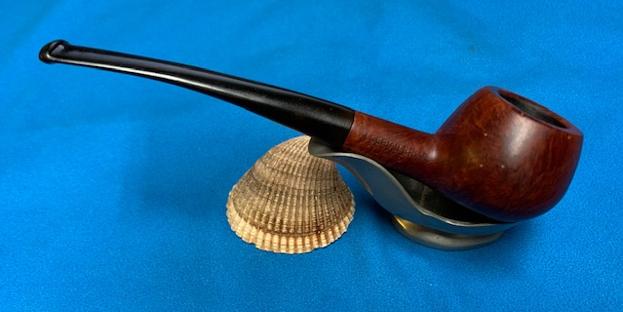
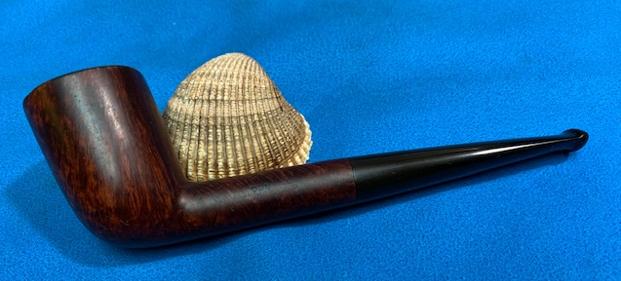
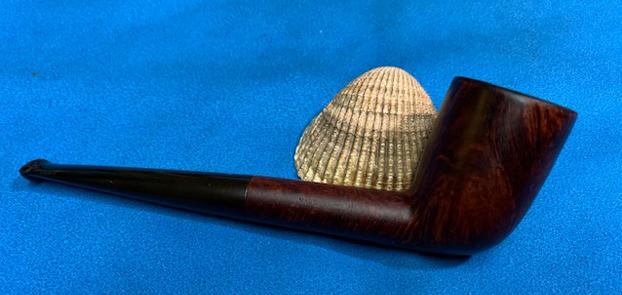
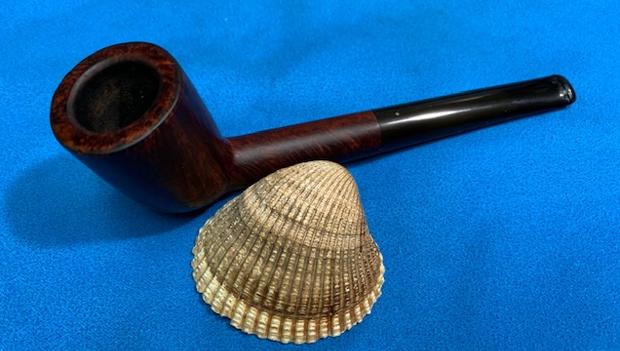
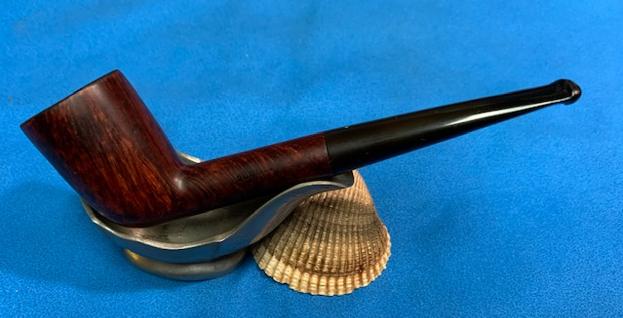
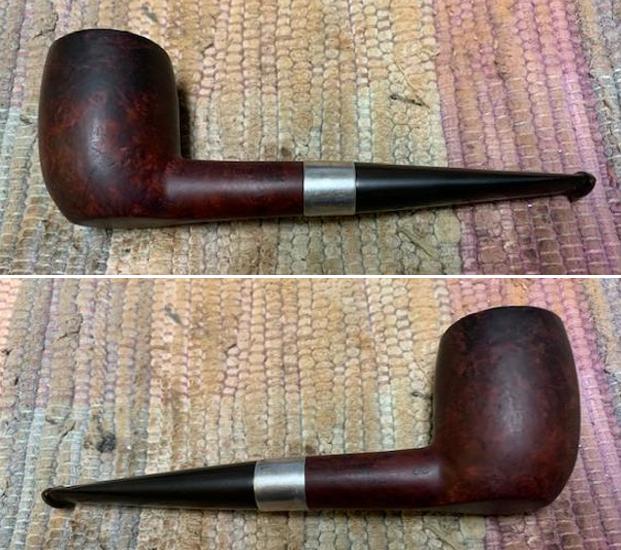
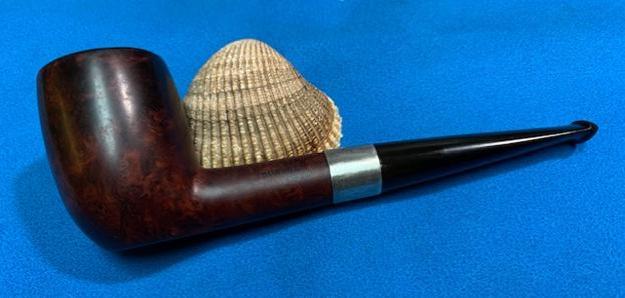
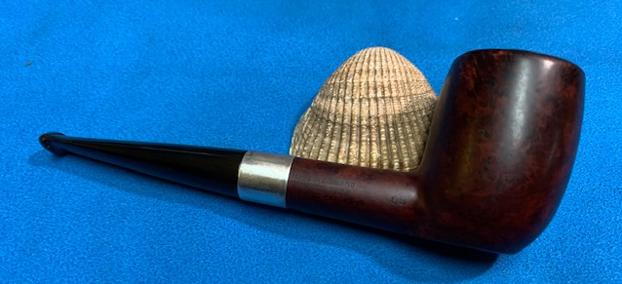
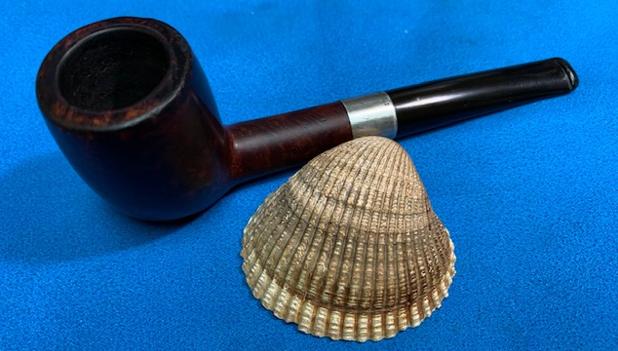
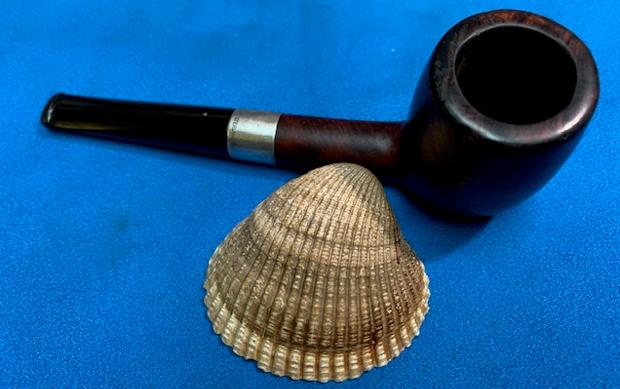
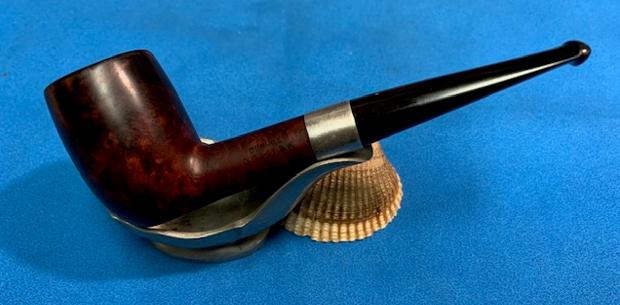
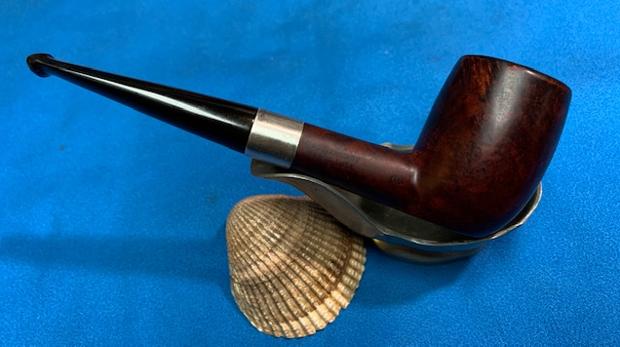
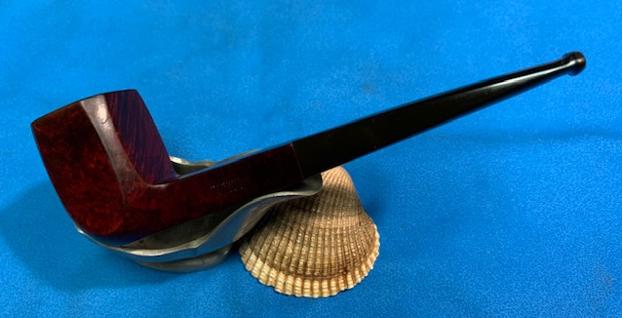
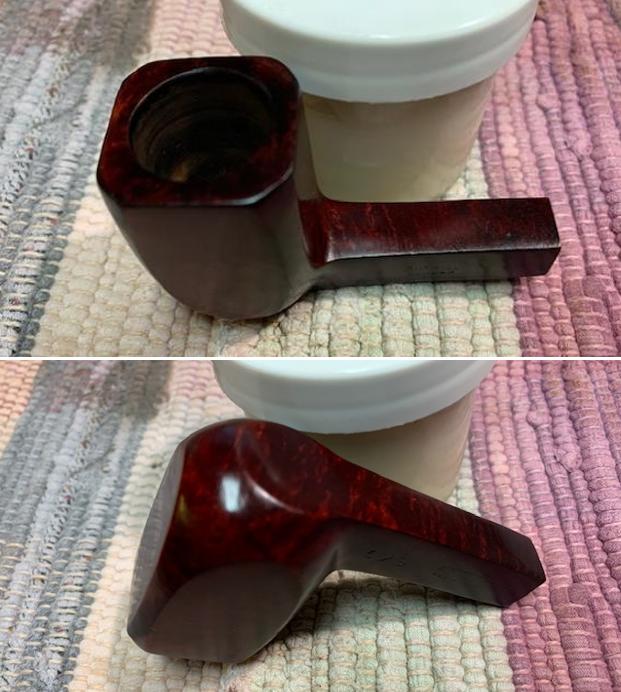
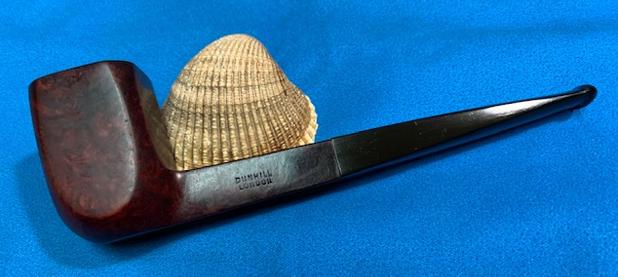
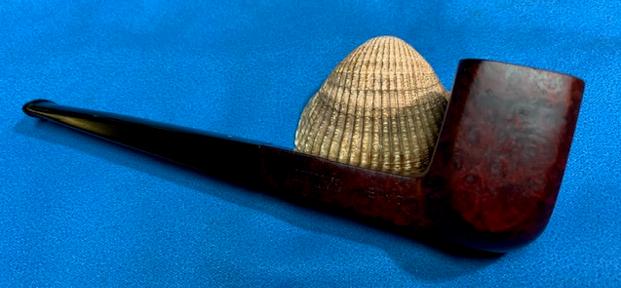
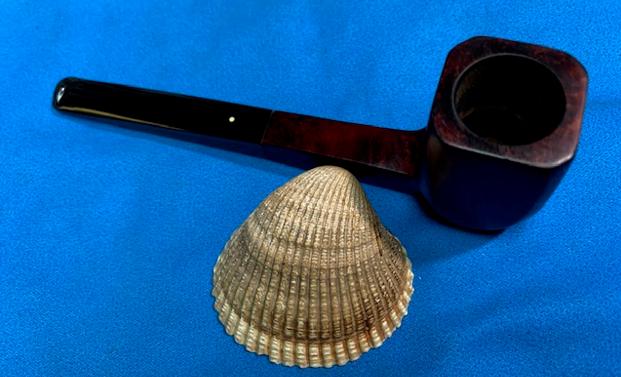
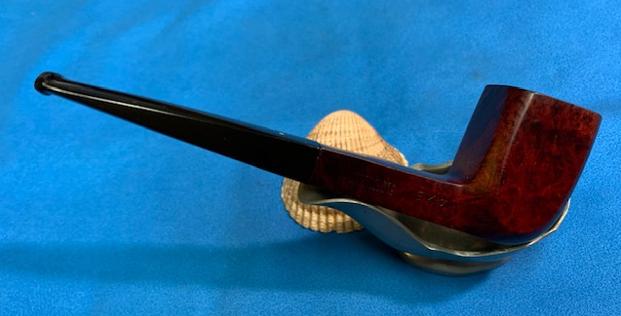
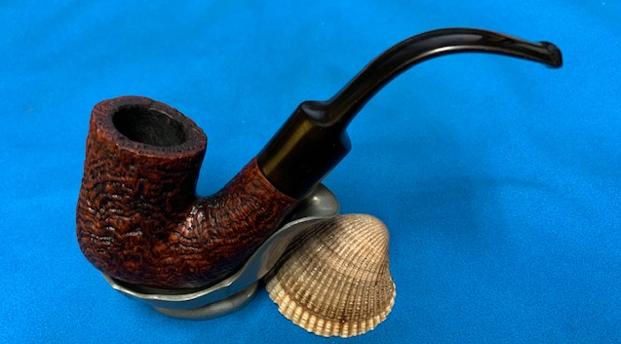
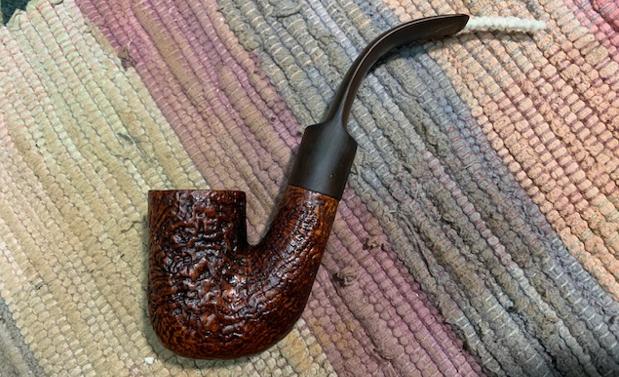
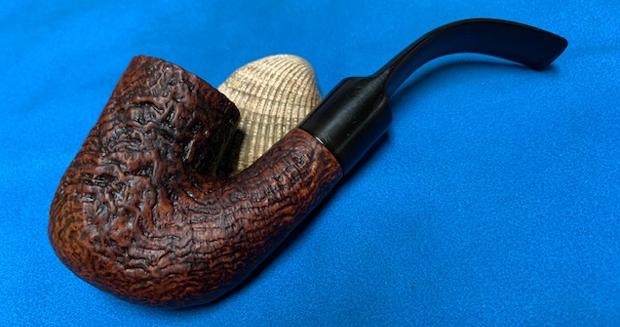
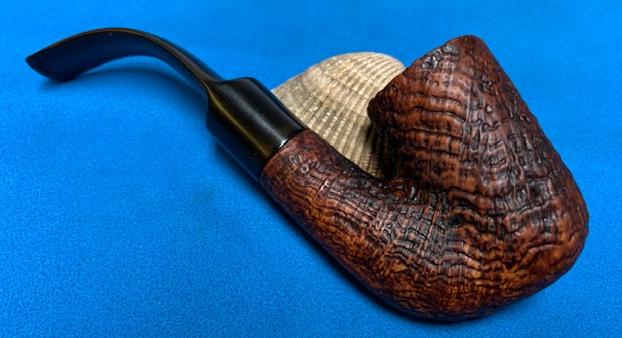
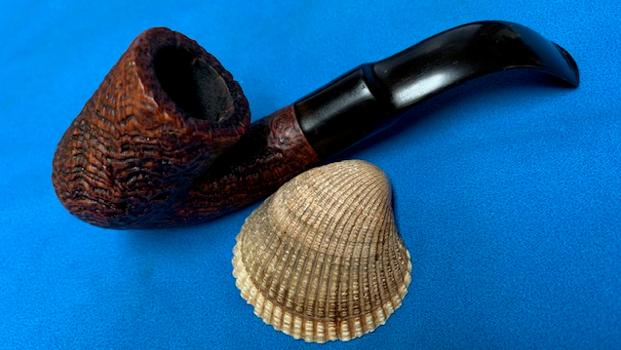
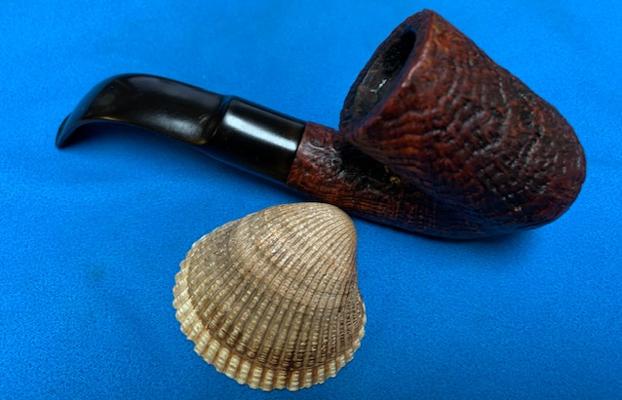
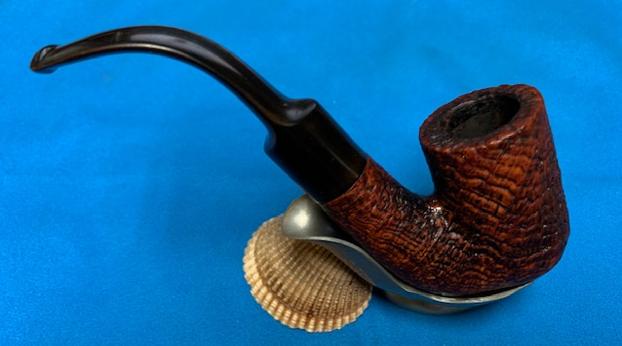
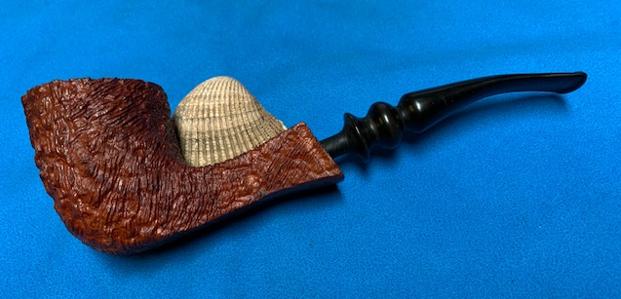
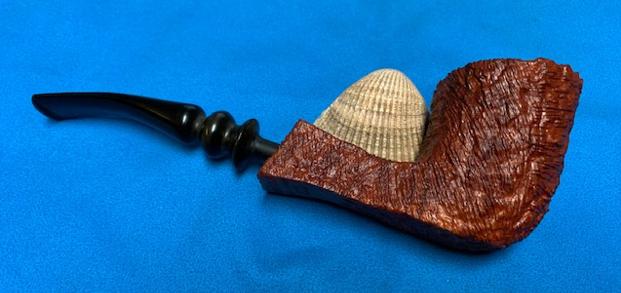
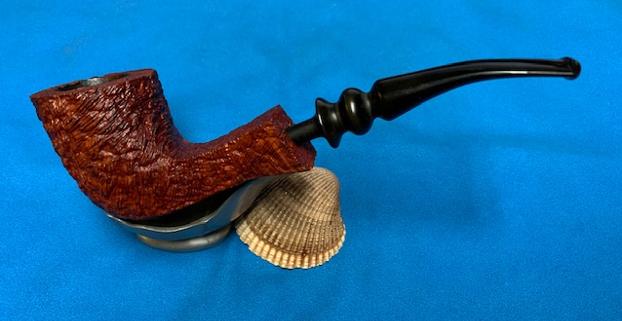
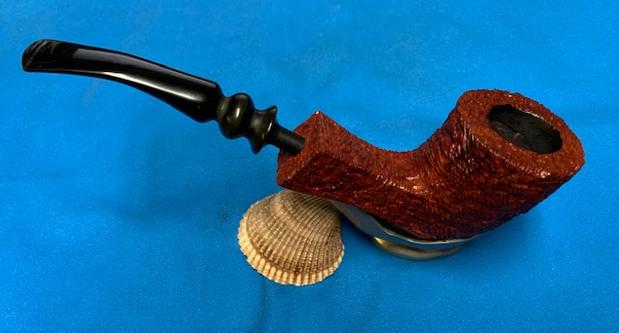
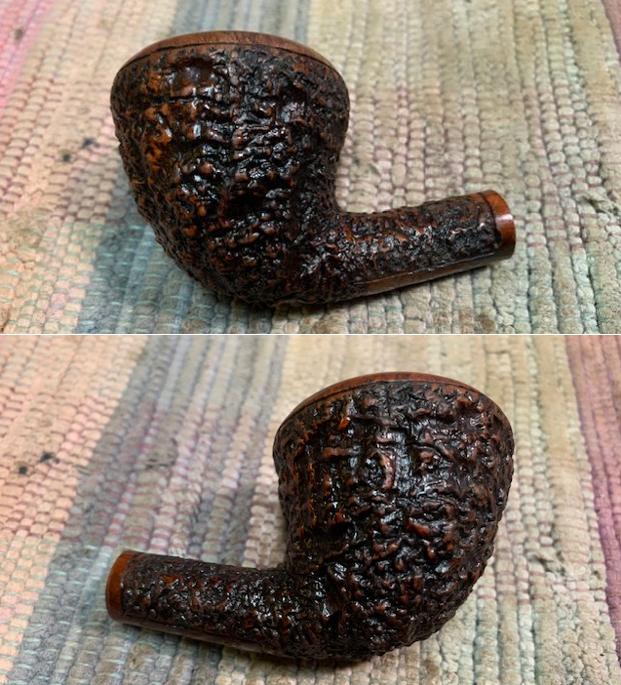
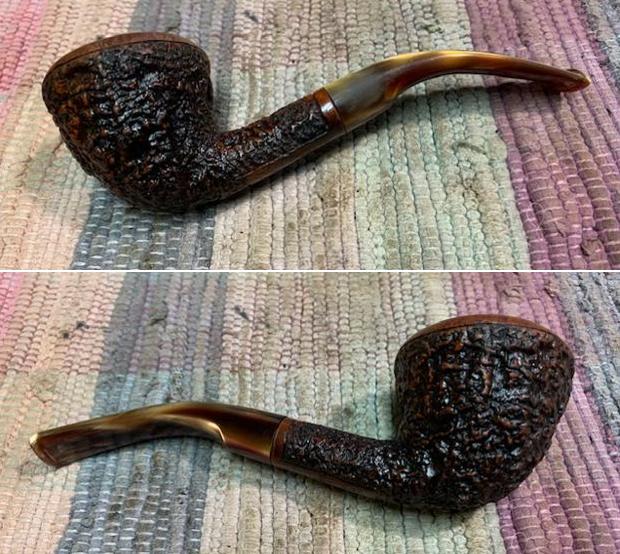
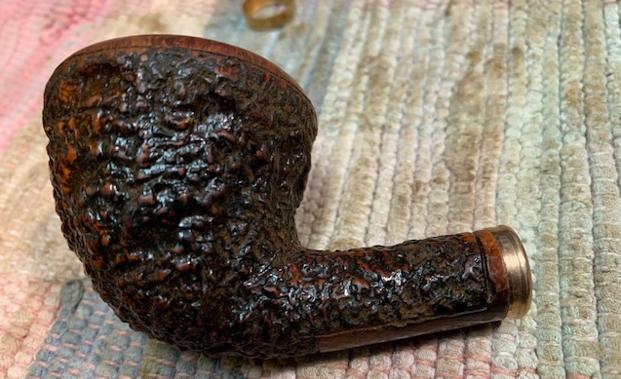
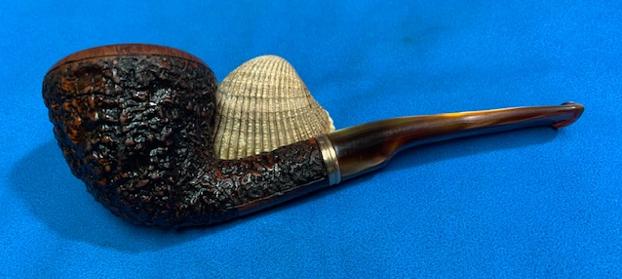
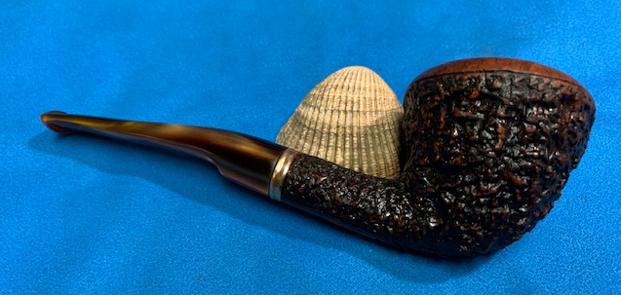
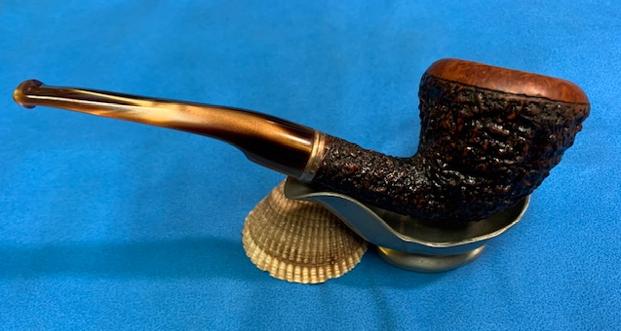
 This Sasieni Made Berkley Club 755SR London Made Lovat was another fun pipe to work on and I really was looking forward to seeing it come back together again. With the grime and debris gone from the finish and the rim top cleaned up and rusticated it was a beauty and the colours in the rustication are beautiful. I put the stem back on the bowl and buffed the pipe with Blue Diamond on the buffing wheel. I carefully avoided the stamping on the shank during the process. I gave the bowl and the stem multiple coats of carnauba wax on the buffing wheel and followed that by buffing it with a clean buffing pad on the buffer. I hand buffed the pipe with a microfiber cloth to deepen the shine. The rich natural finish on the bowl looks really good with the polished black vulcanite stem. It is very well done. Give the finished Lovat a look in the photos below. I can only tell you that it is much prettier in person than the photos capture. The dimensions of the pipe are Length: 5 ½ inches, Height: 2 inches, Outside diameter of the bowl: 1 ¼ inches, Chamber diameter: ¾ of an inch. The weight of the pipe is 49grams/1.73oz. This is truly a great looking Sasieni Made Berkley Club London Lovat. Thanks for walking through the restoration with me as I worked over another beautiful pipe. I will be adding it to the Italian Pipe Makers section of the rebornpipes store soon. If you want to add it to your collection send me an email or a message! Thanks for your time.
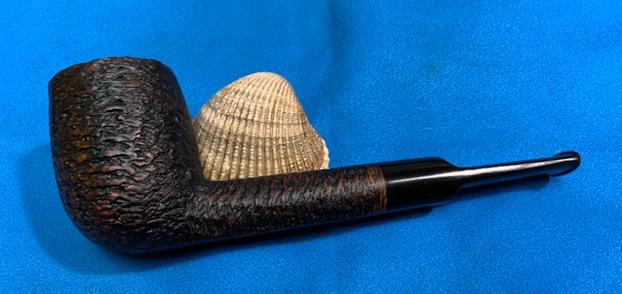


