Blog by Steve Laug
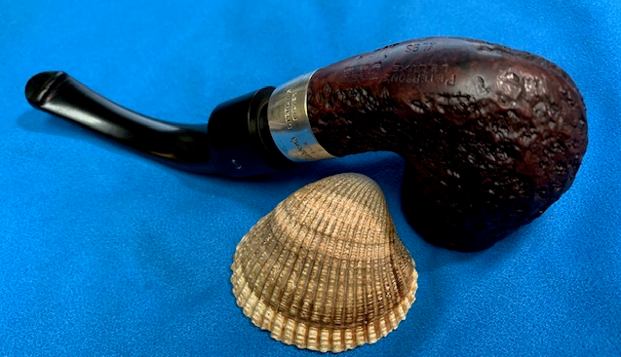
The next pipe I have chosen is a Peterson’s De Luxe XL9S sandblast bent Billiard. It came to us from an antique store in Pocatello, Idaho, USA back in 10/20/17. The finish is deeply sandblasted and dirty but there is some great grain around the bowl sides and shank. The finish is otherwise in great shape. It was stamped on the underside of the shank and read Peterson’s [over] De Luxe [over] the shape number XL9S. That is followed by a three line stamp MADE IN THE [over] REPUBLIC [over] OF IRELAND. It was filthy when Jeff brought it to the table. There was a thick cake in the bowl and a thick overflow of lava on the rim top and the inner edge of the bowl. It was hard to know what the condition of the rim top and bowl were under that thick lava coat. The Sterling Silver band is heavily tarnished. It is stamped as well and reads Peterson’s [over] Dublin on the top left. Further down the left side of the band it is stamped Sterling Silver. On the underside and starting up the right side it has three hallmarks – Hibernia, a Harp and the lower case letter “n”. The stem had a “P” stamped on the left side of the saddle and was oxidized and had tooth marks and chatter on the top and underside on and near the button. Jeff took photos of the pipe before his cleanup work. 
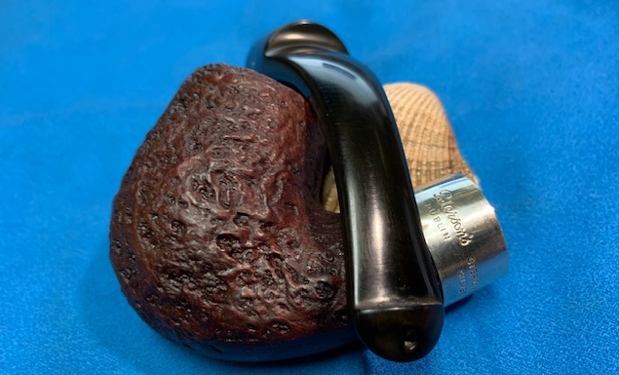
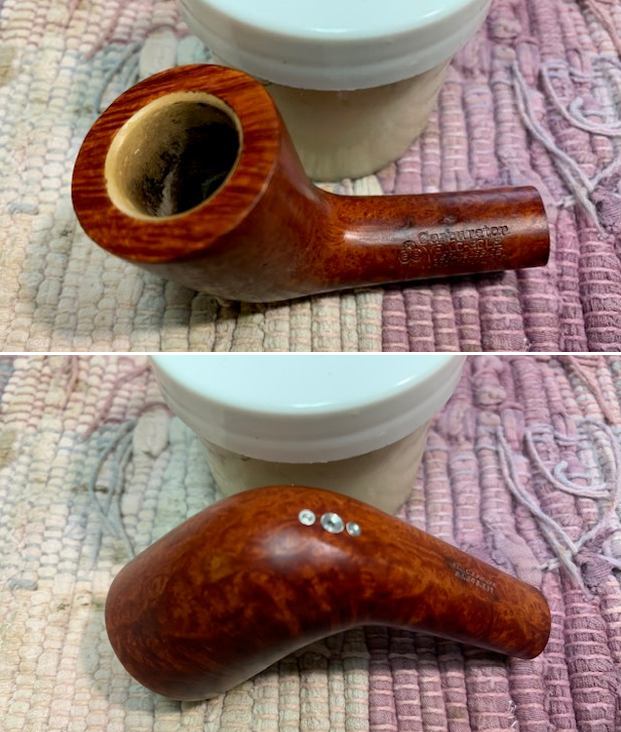
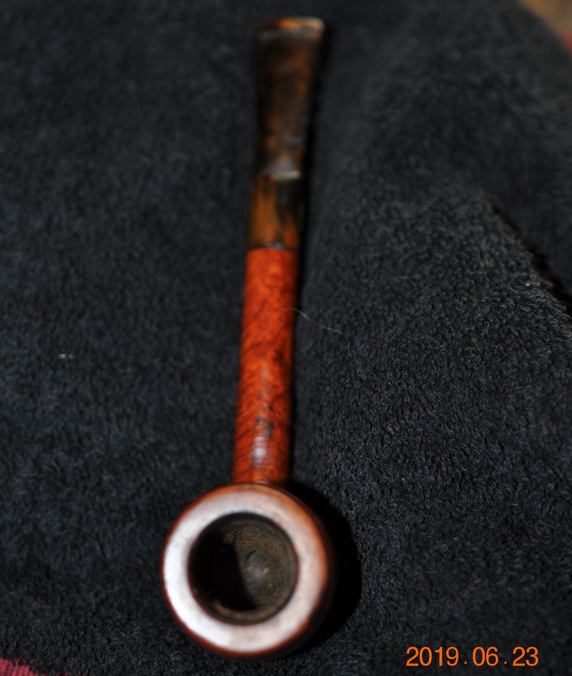
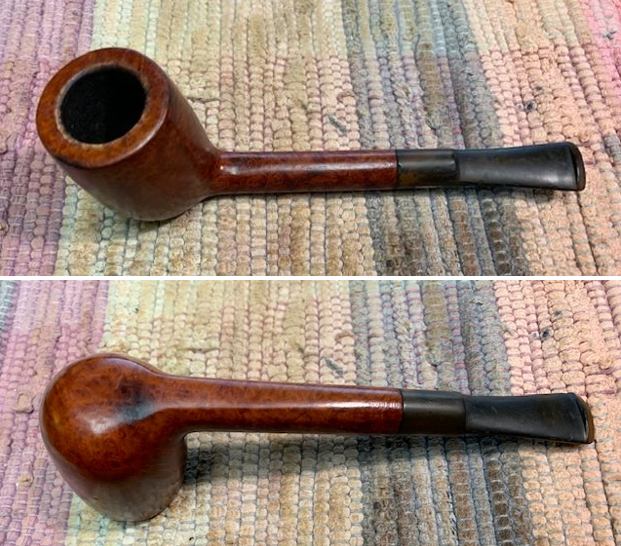
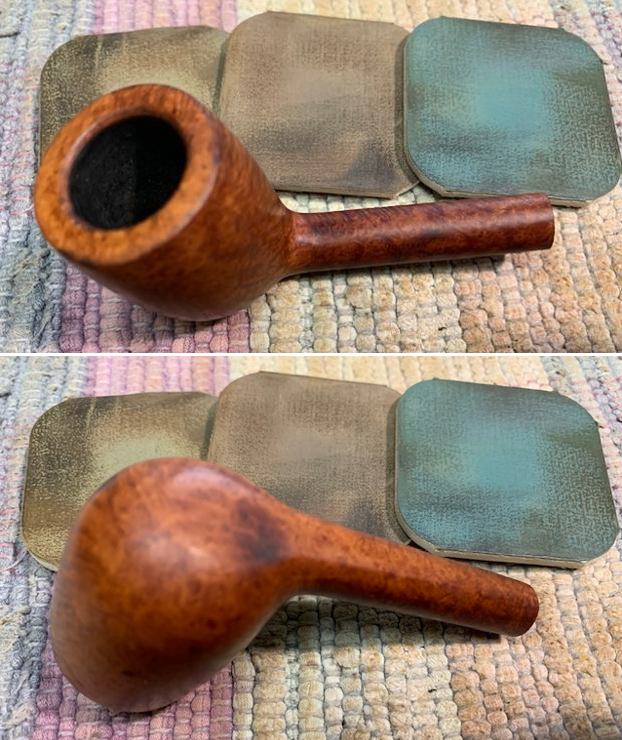
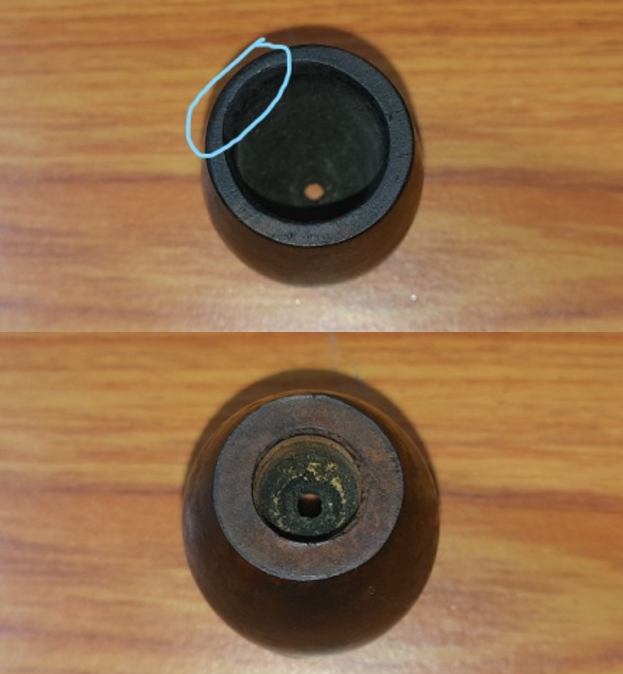
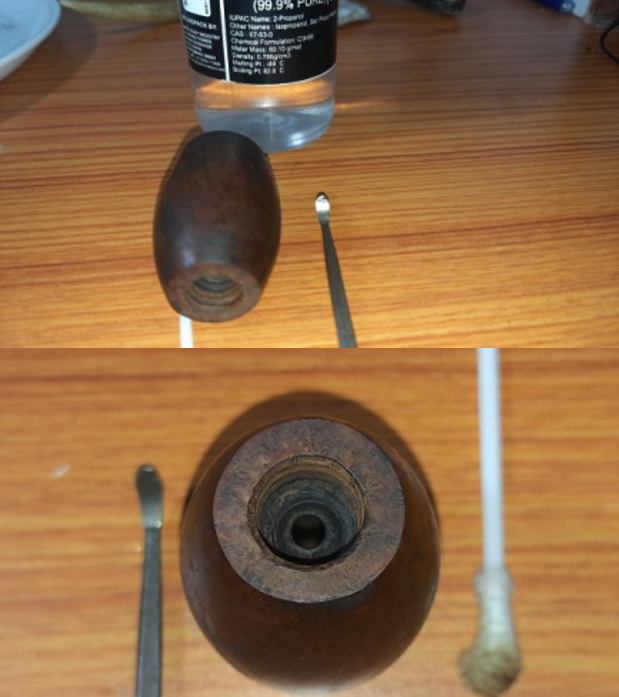
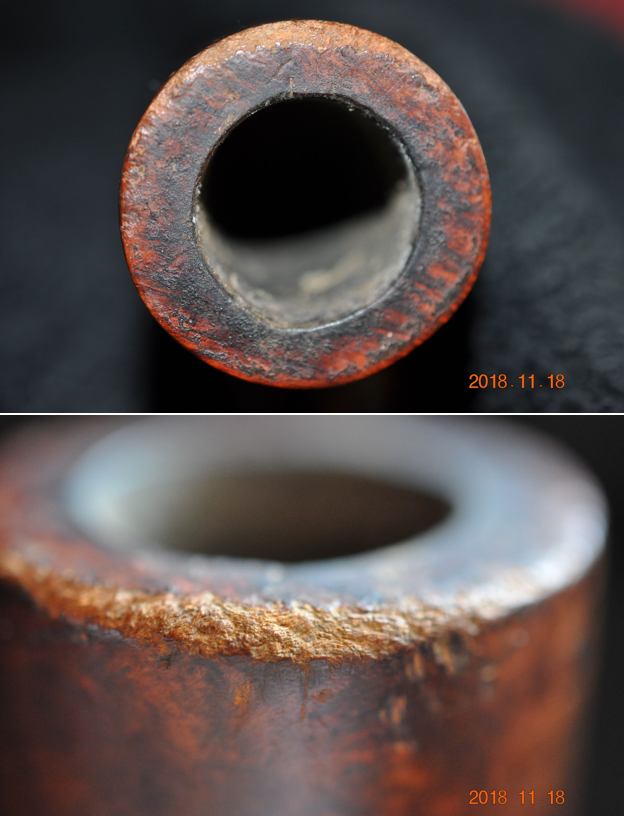
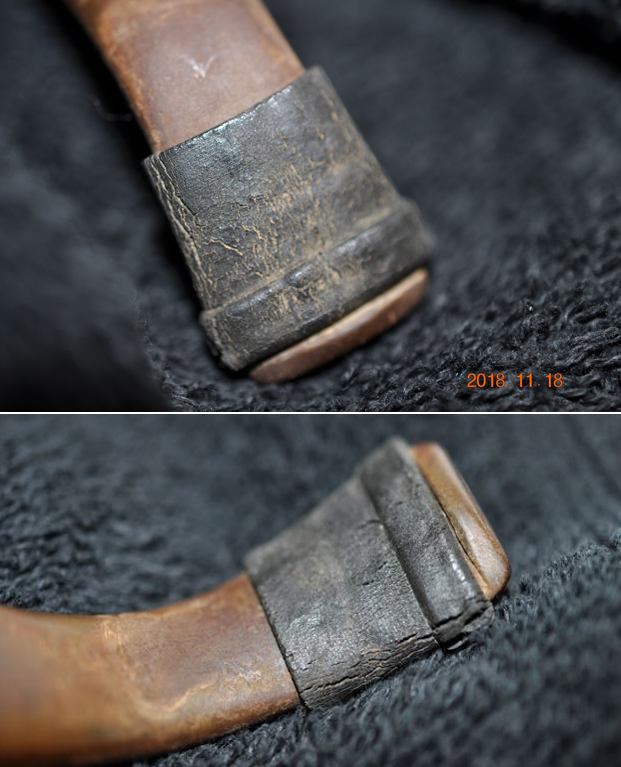
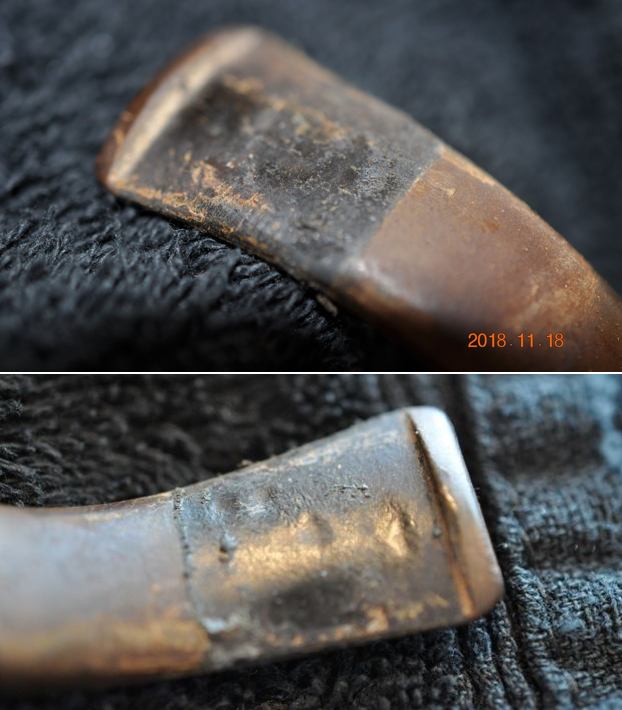
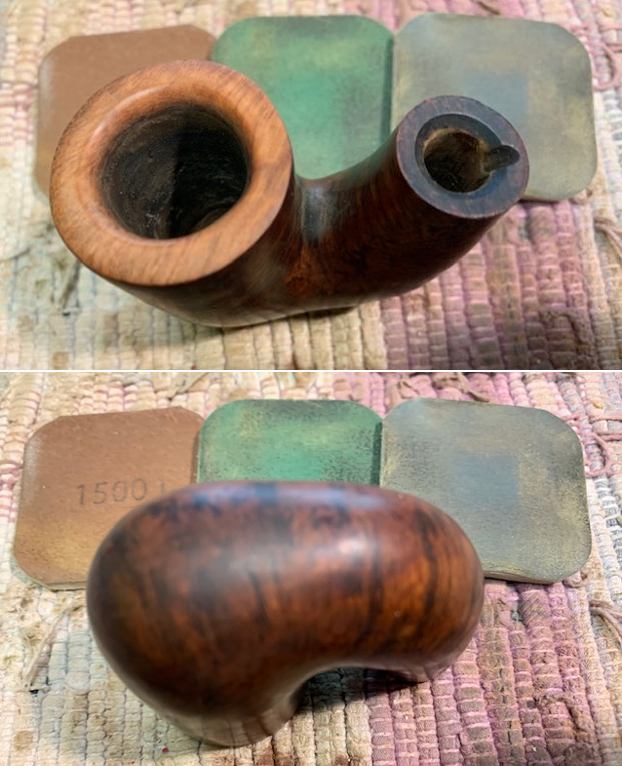
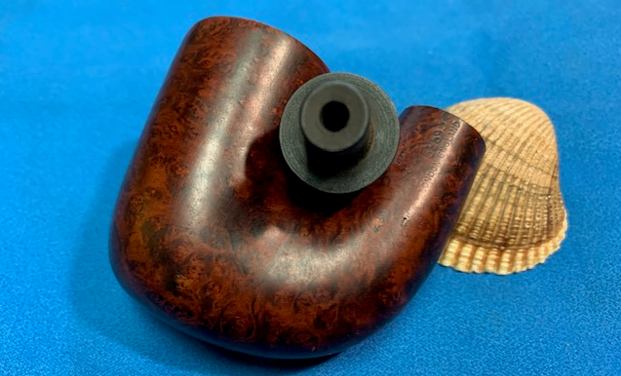
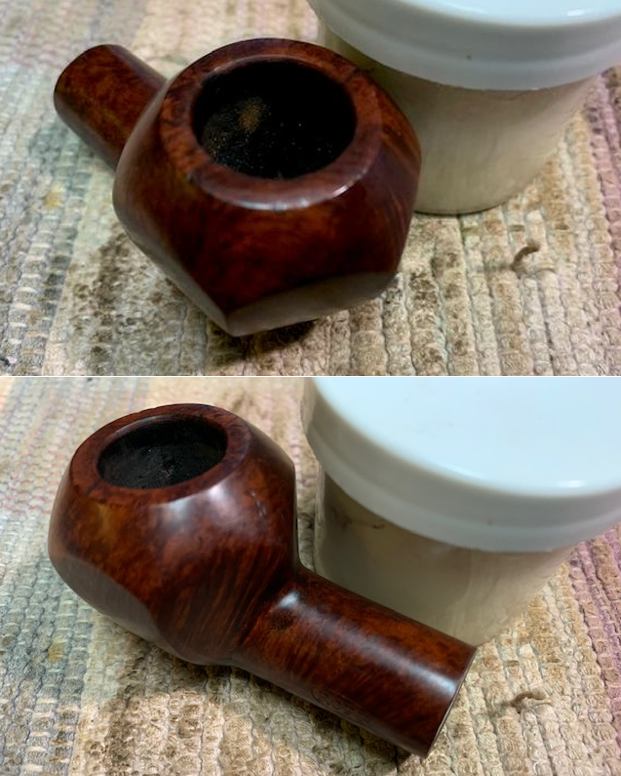
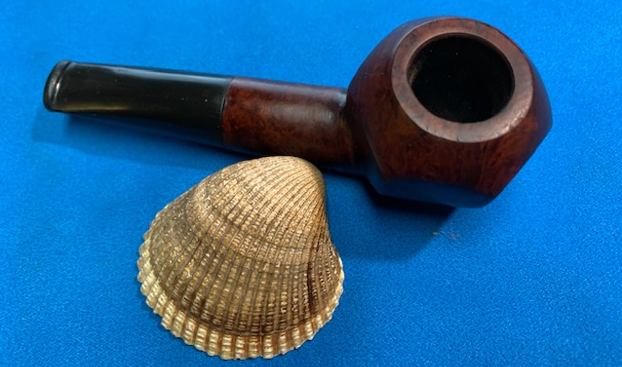
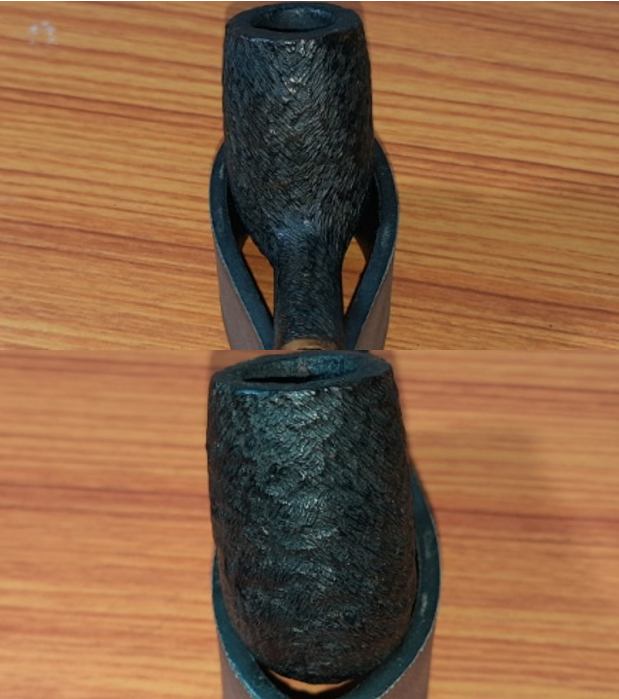
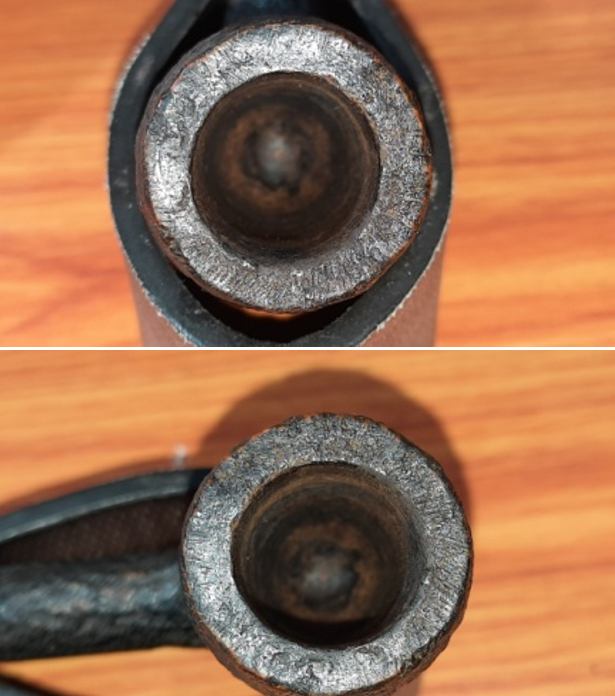
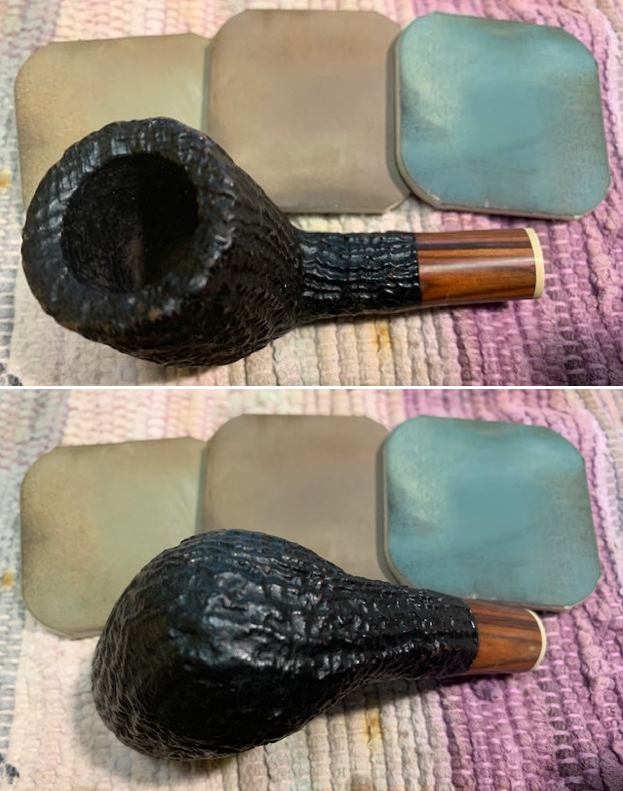
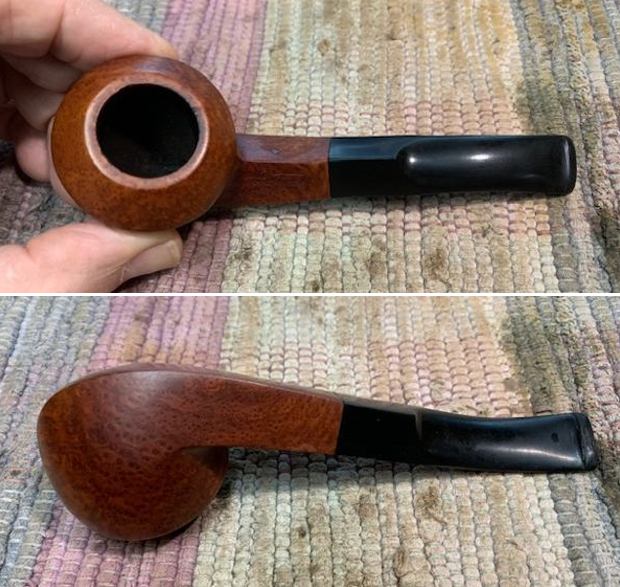
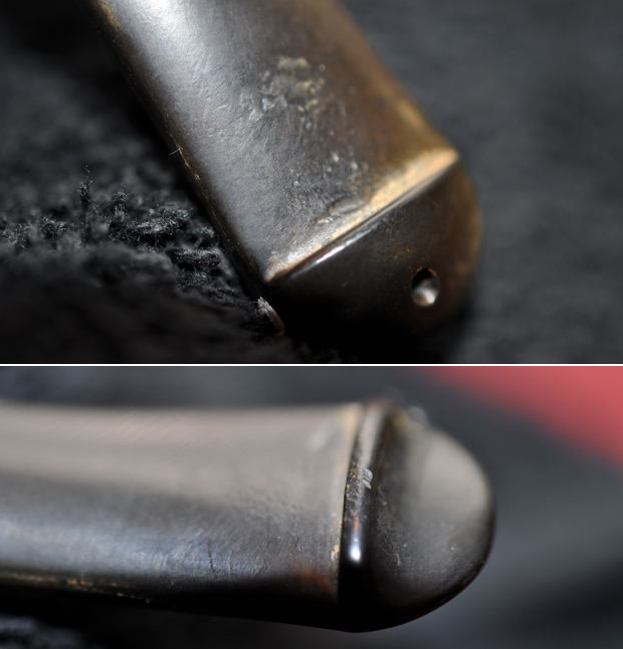
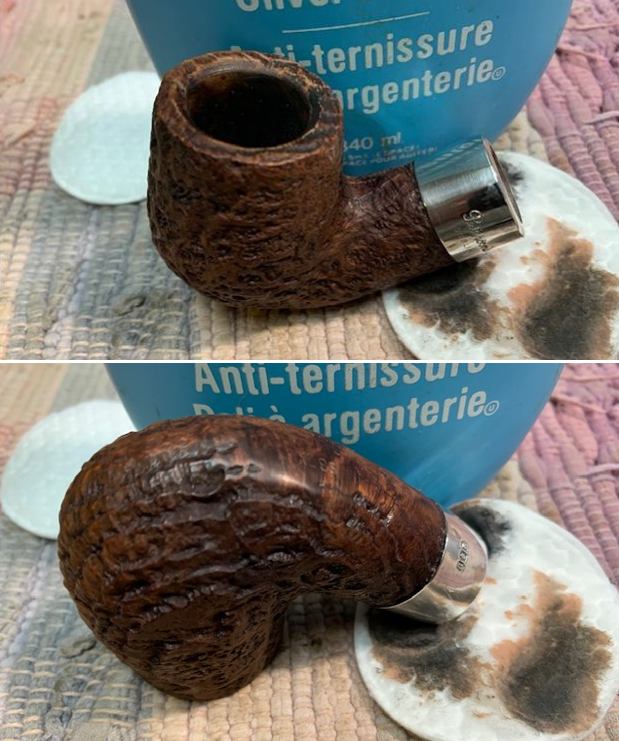
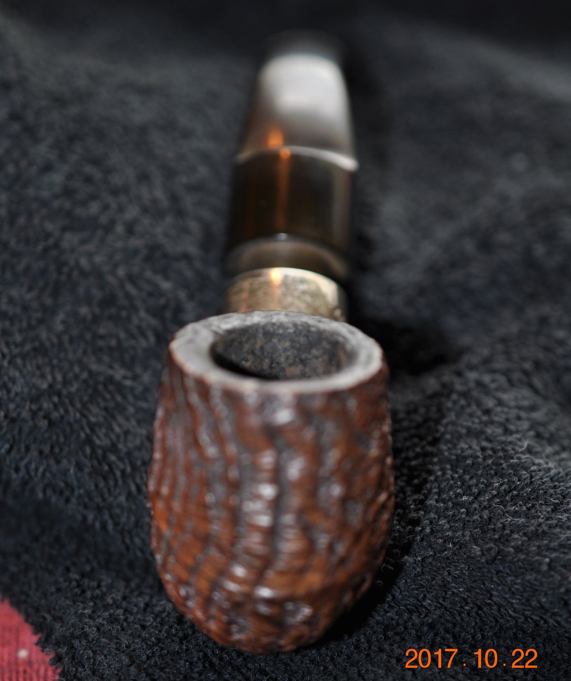 Jeff took photos of the rim top and stem to show the general condition of the pipe. The bowl is heavily caked and the rim top and edges have a thick lava overflow. The stem is lightly oxidized and has tooth marks on the top and underside near the button.
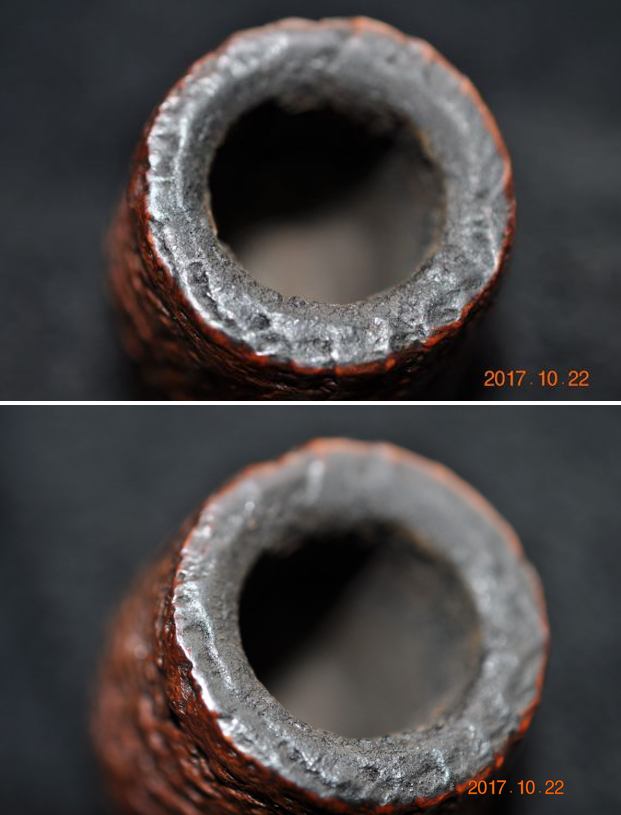
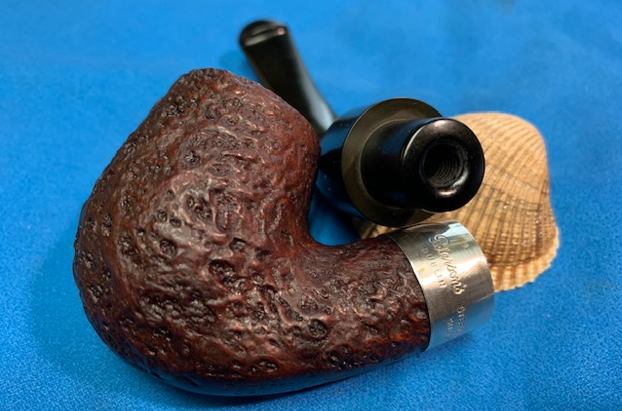
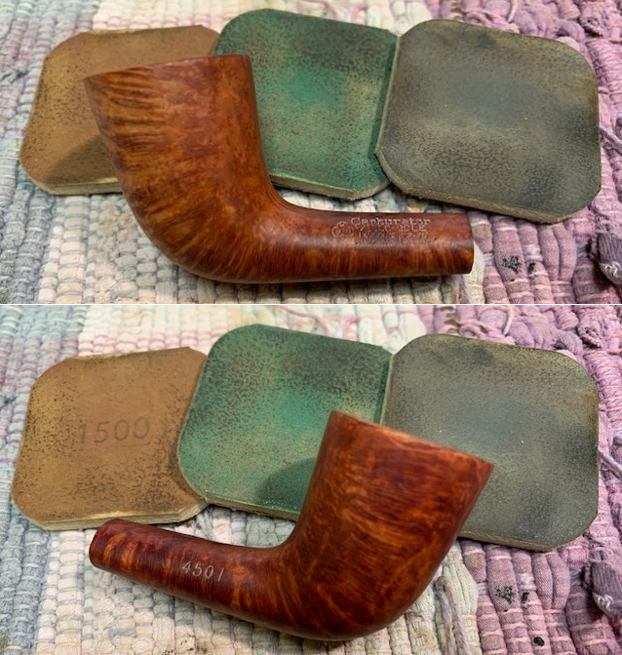
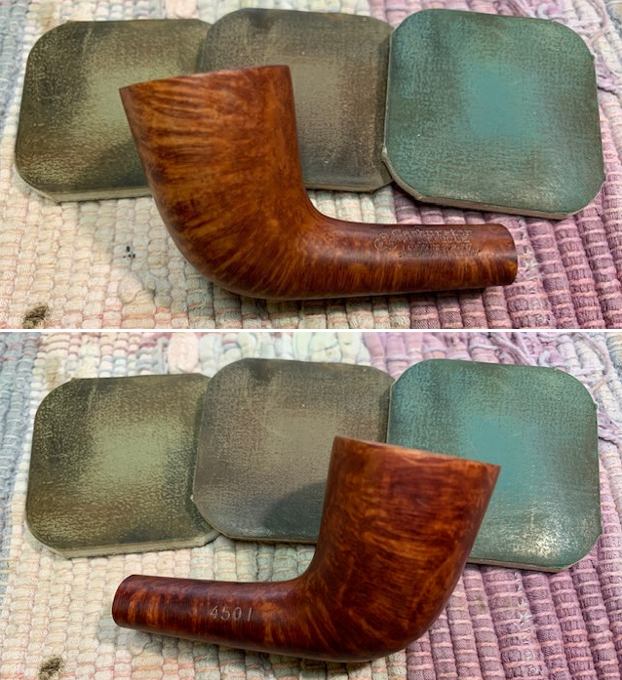
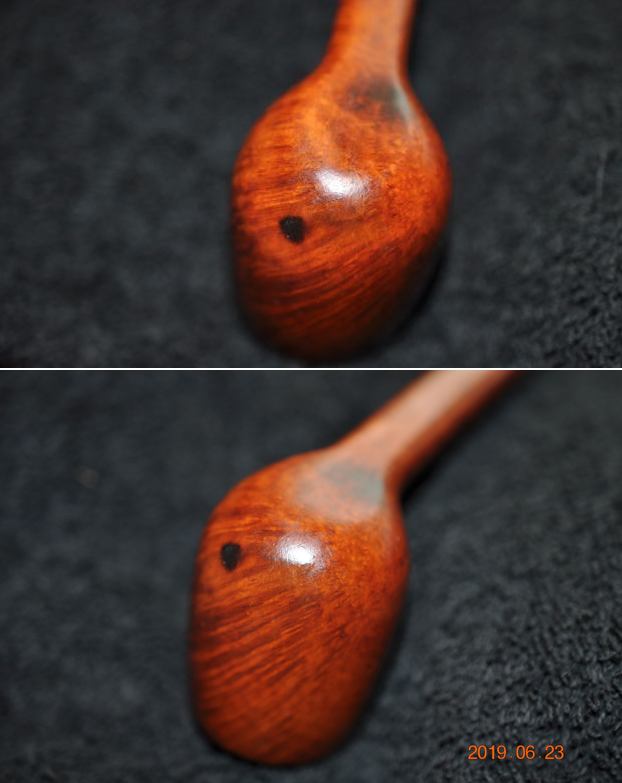
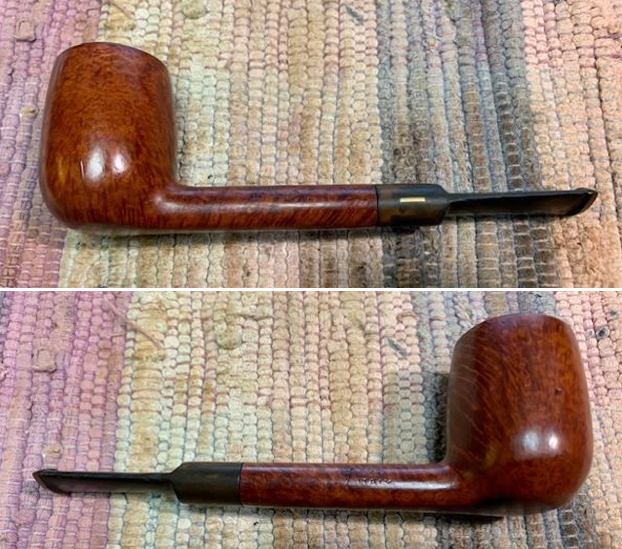
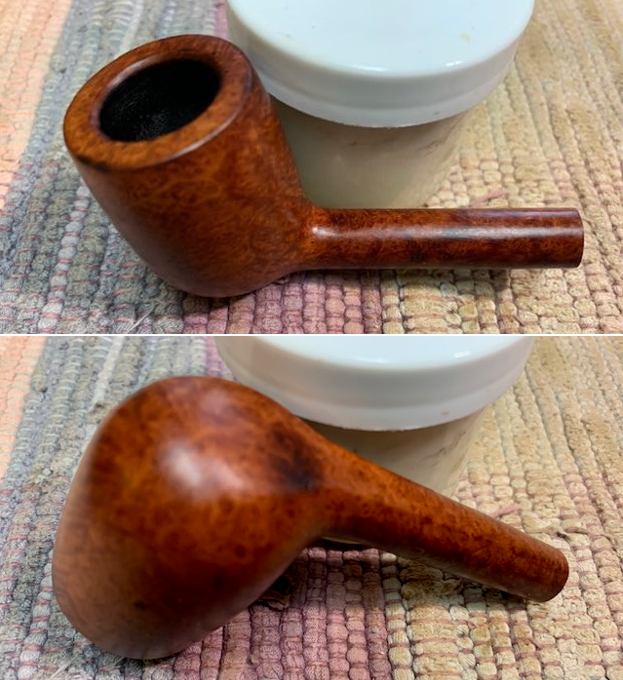
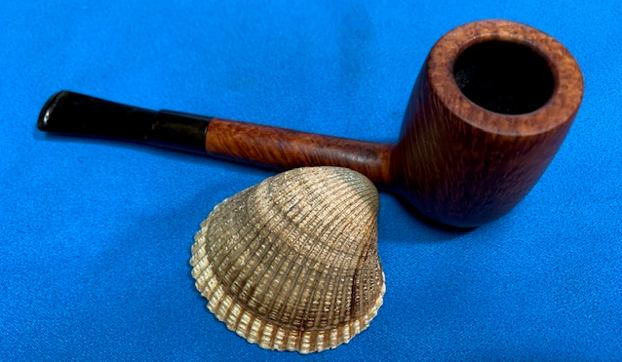
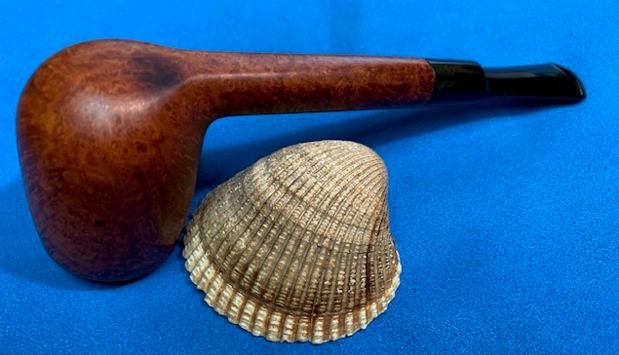
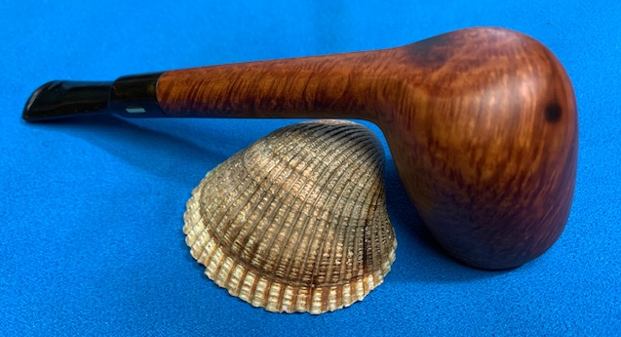
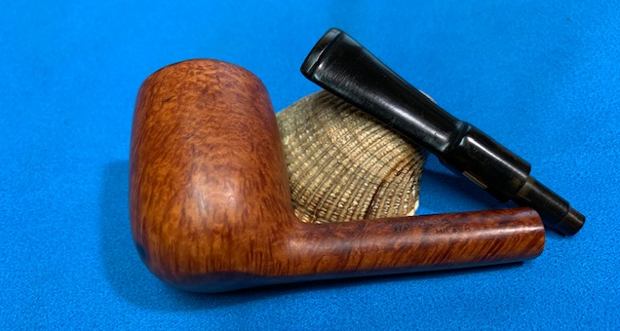
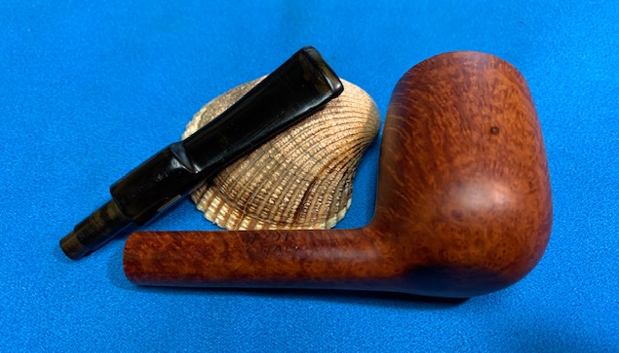
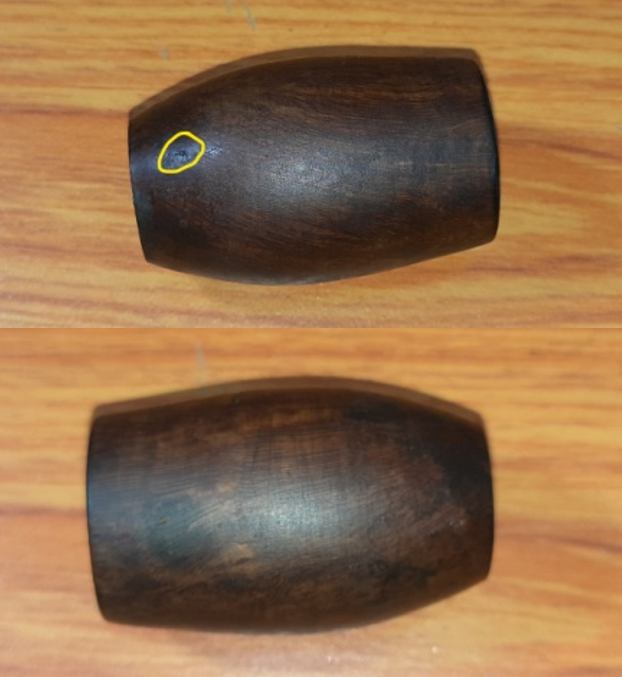
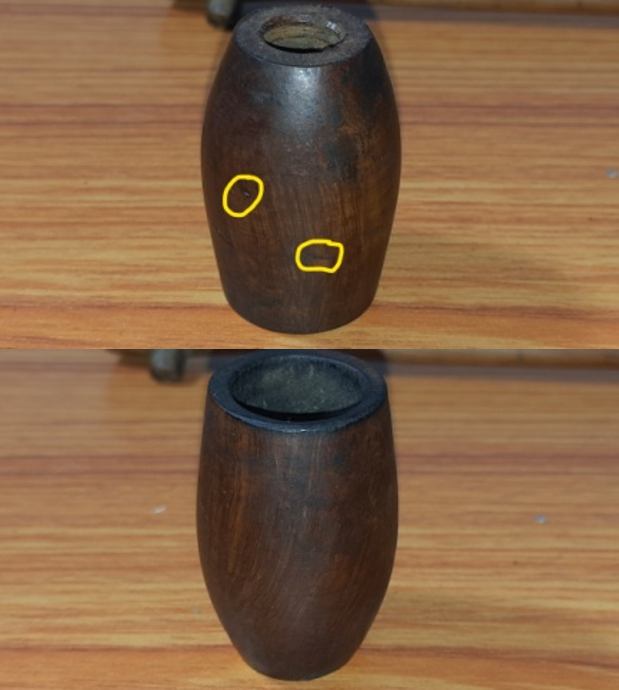
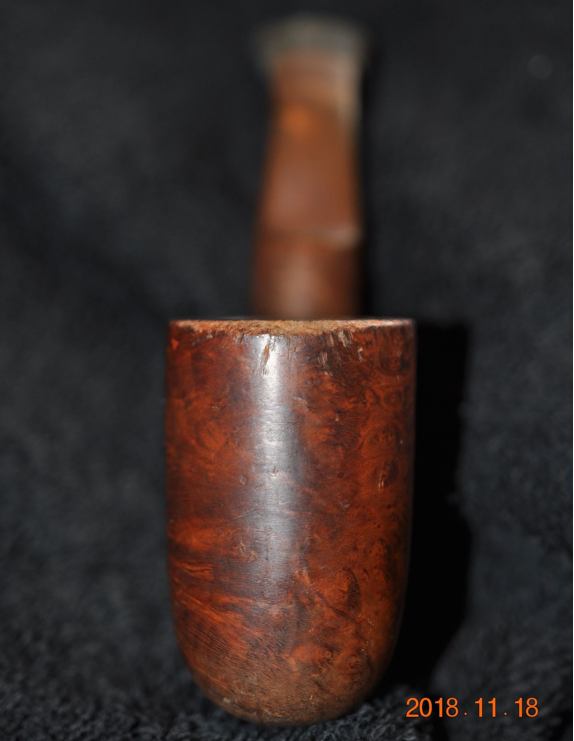
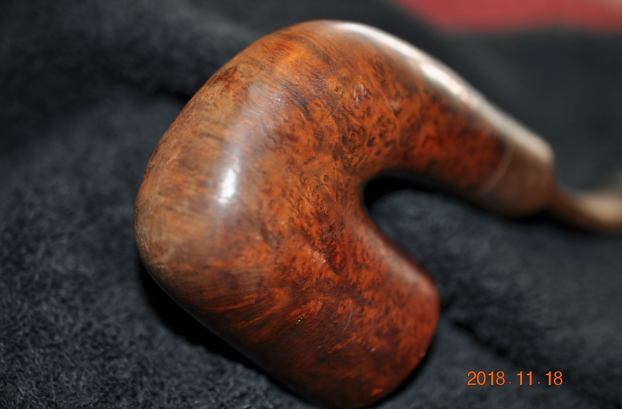
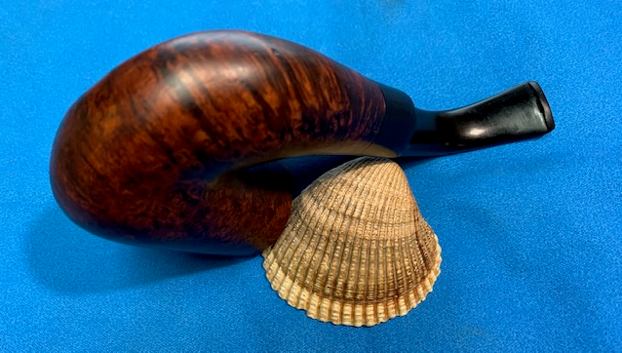
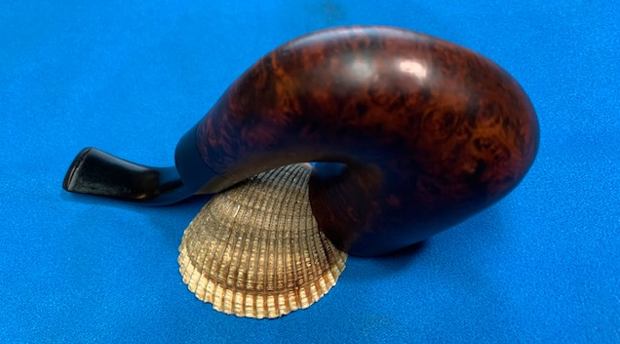
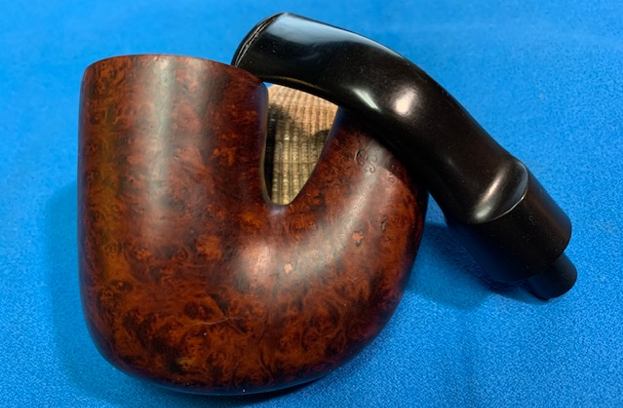
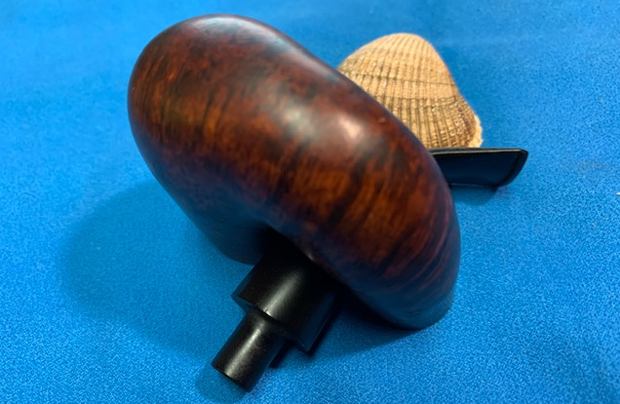
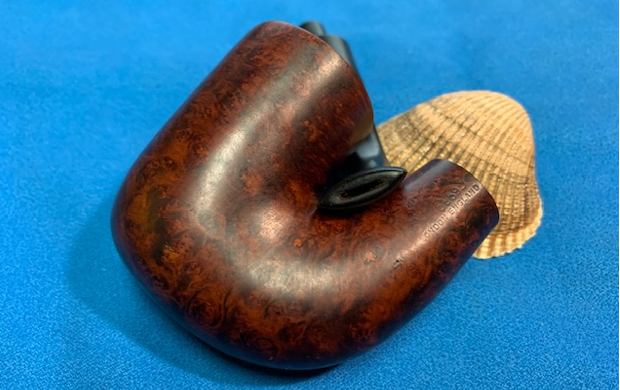
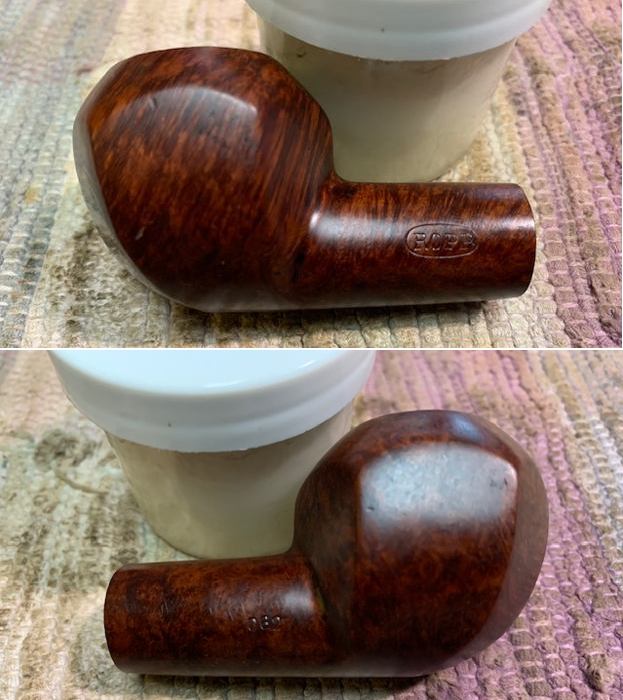
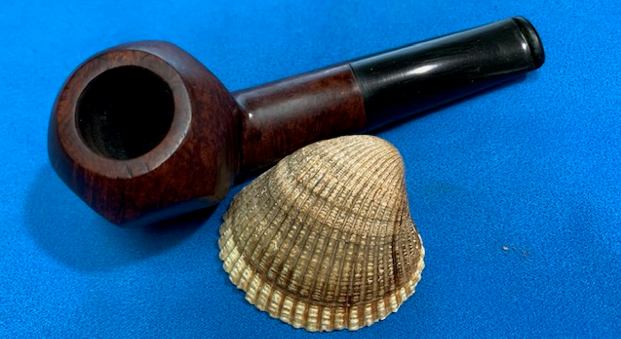
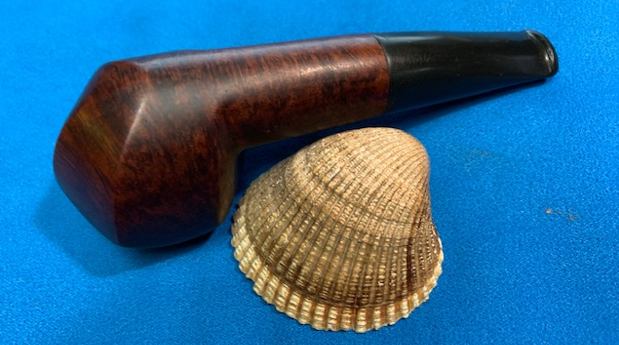
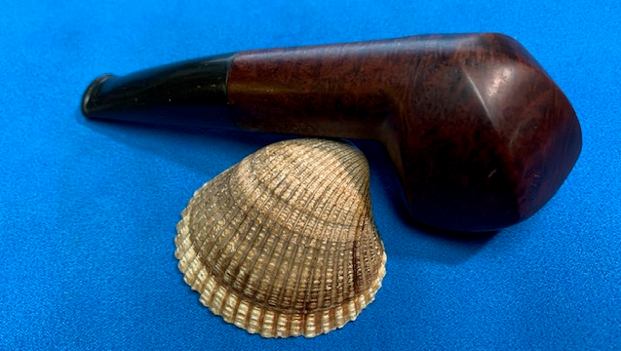
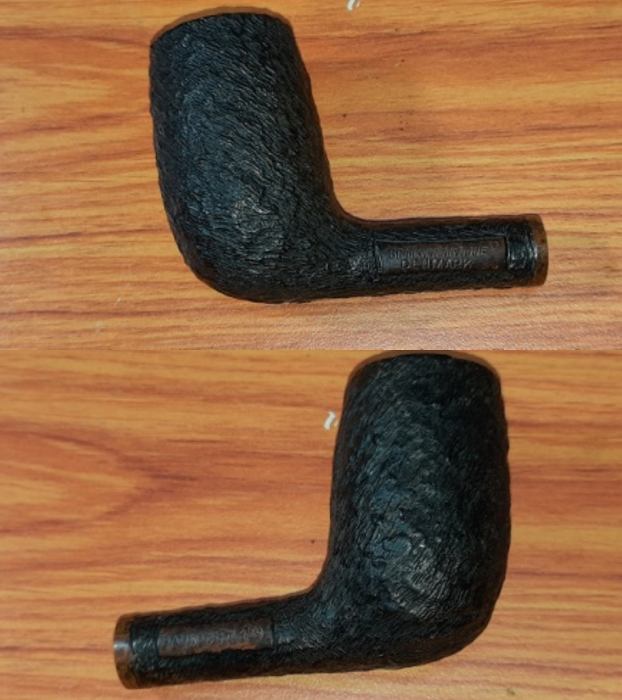
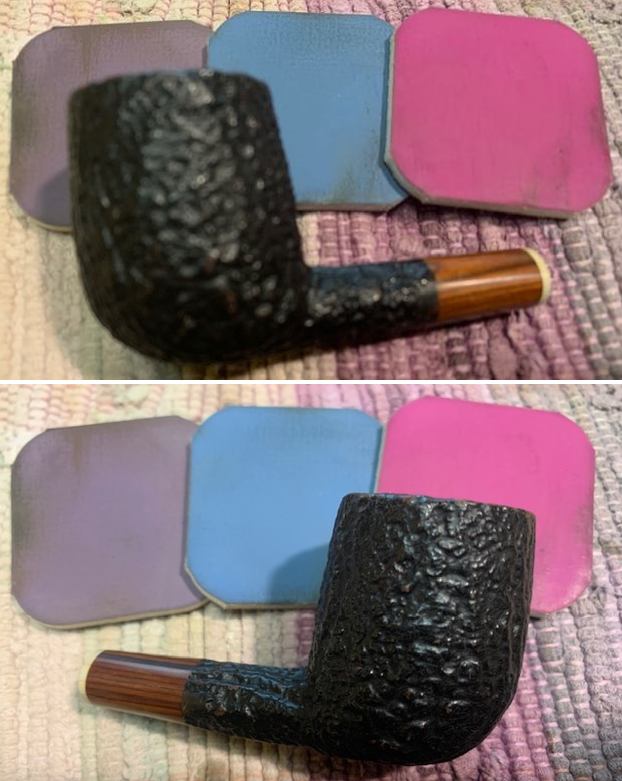
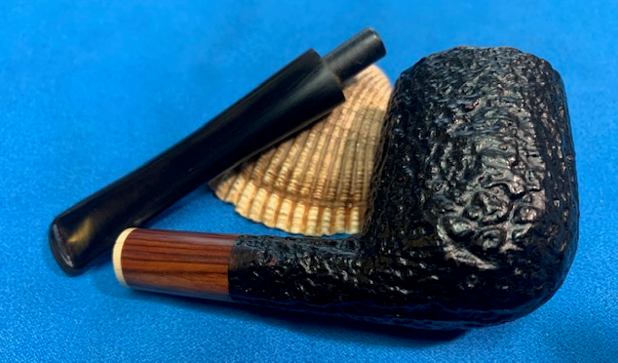
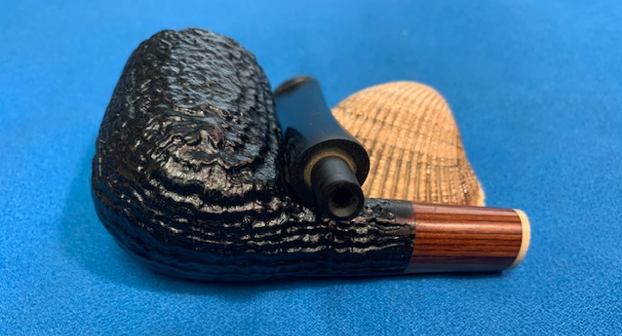
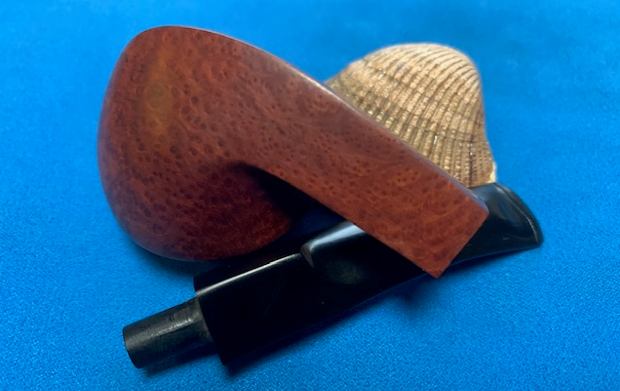
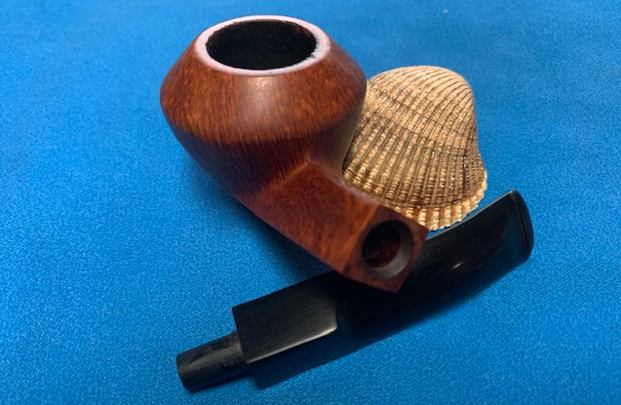
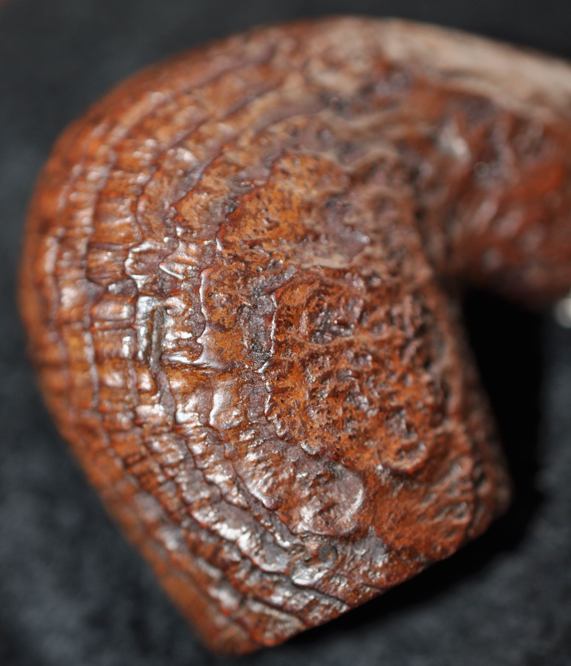
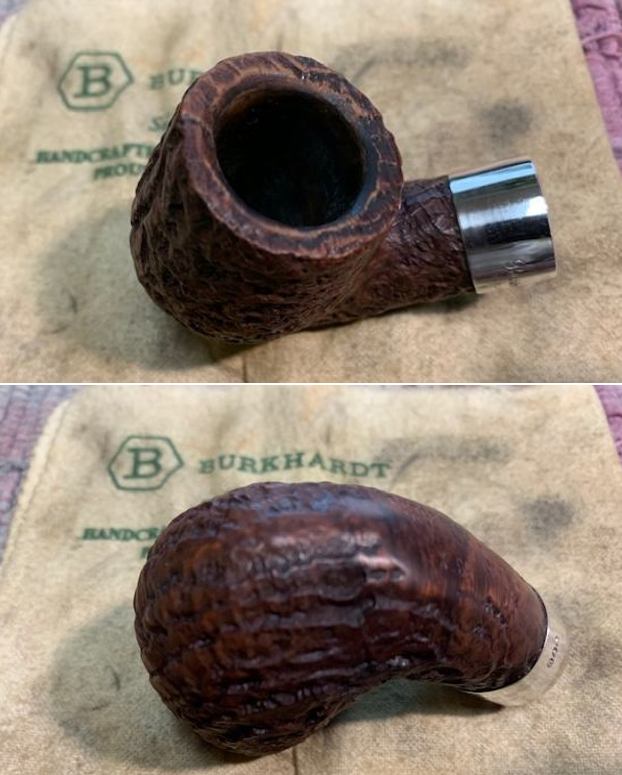
 Jeff took photos of the bowl sides and heel to show the grain that was around this bowl. It is a nice looking pipe. The blast is quite deep and attractive.
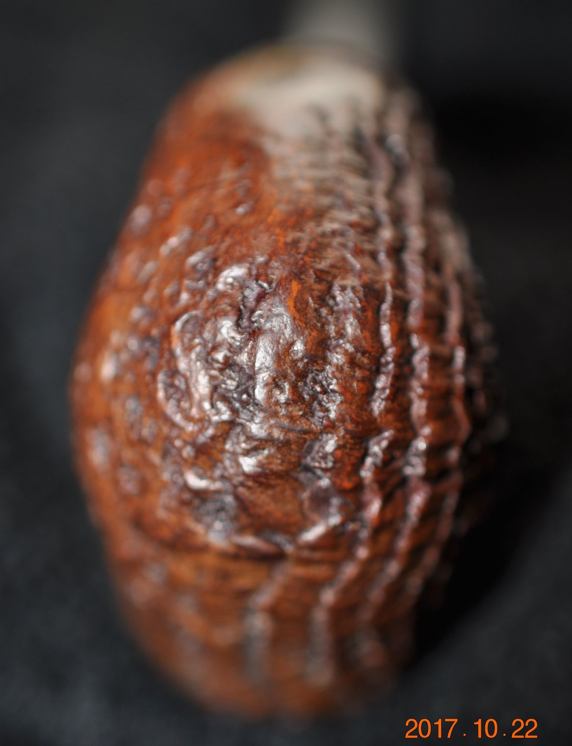
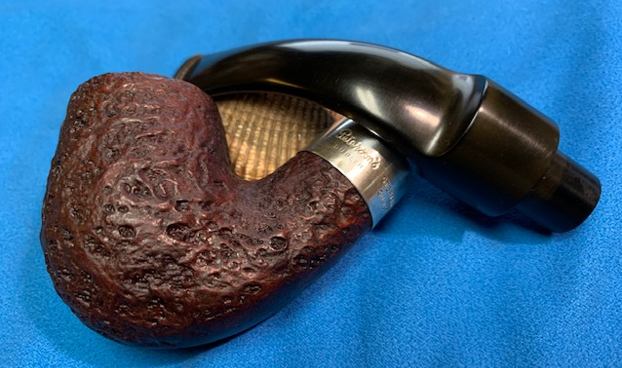
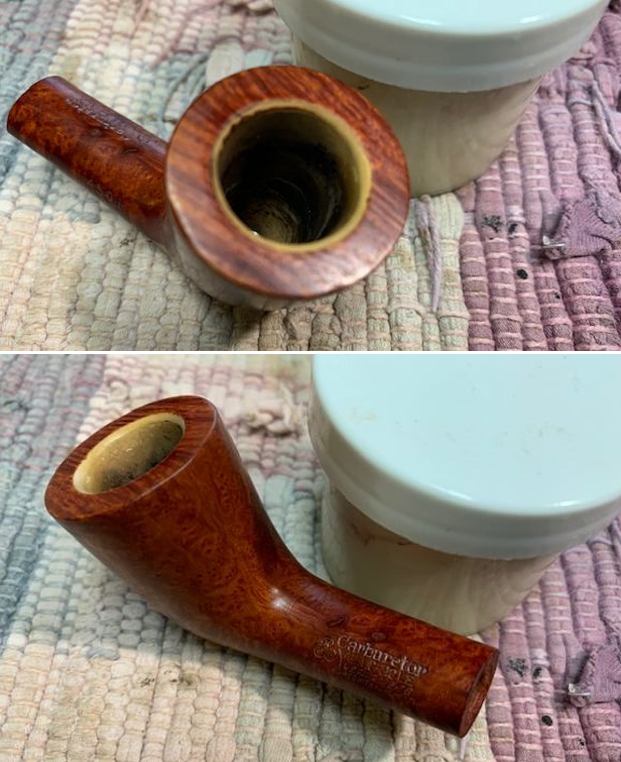
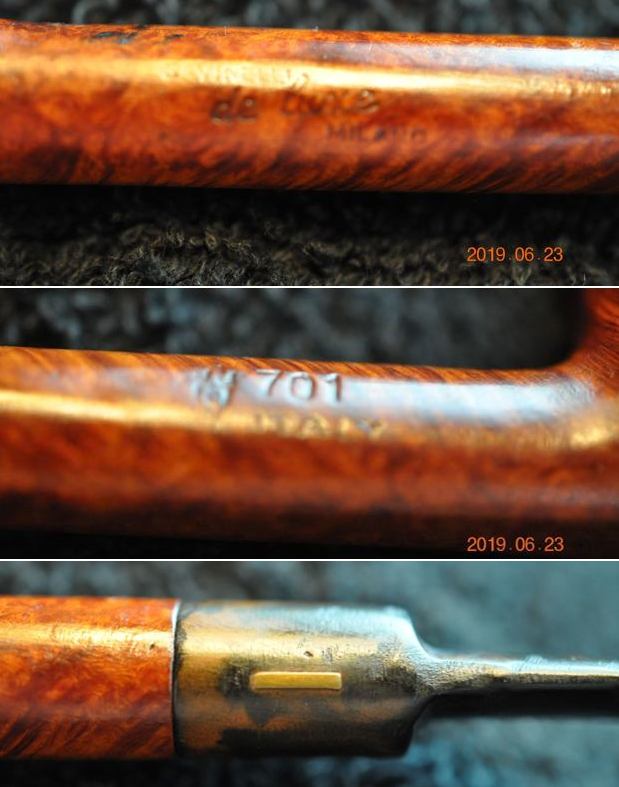
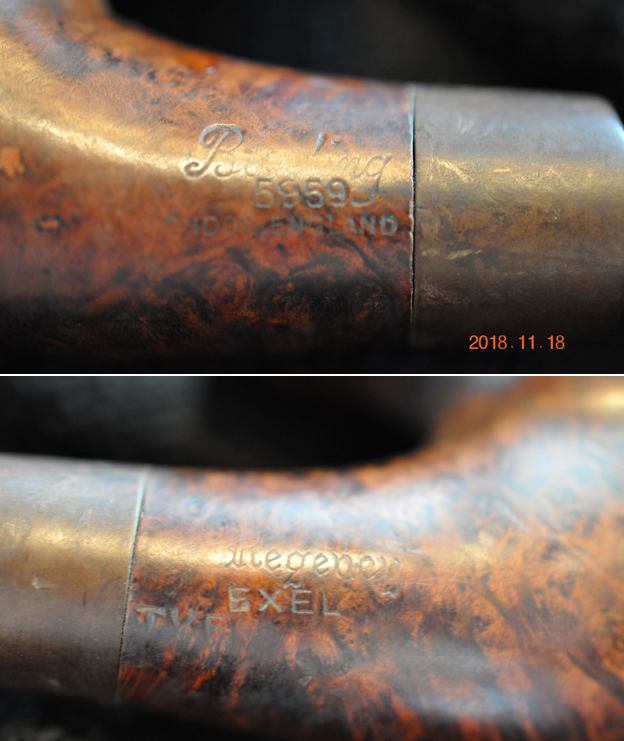
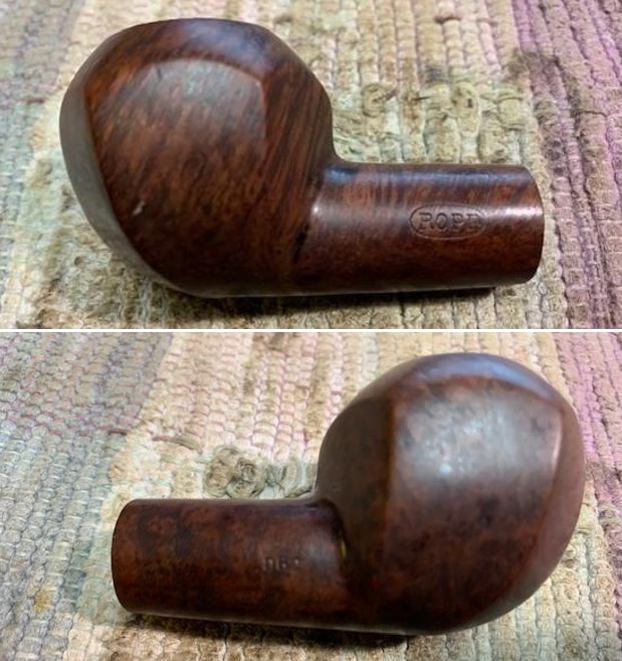
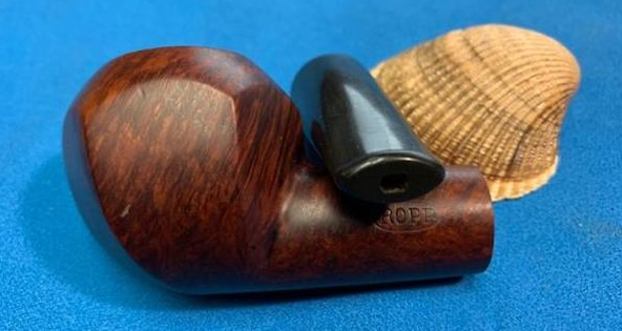
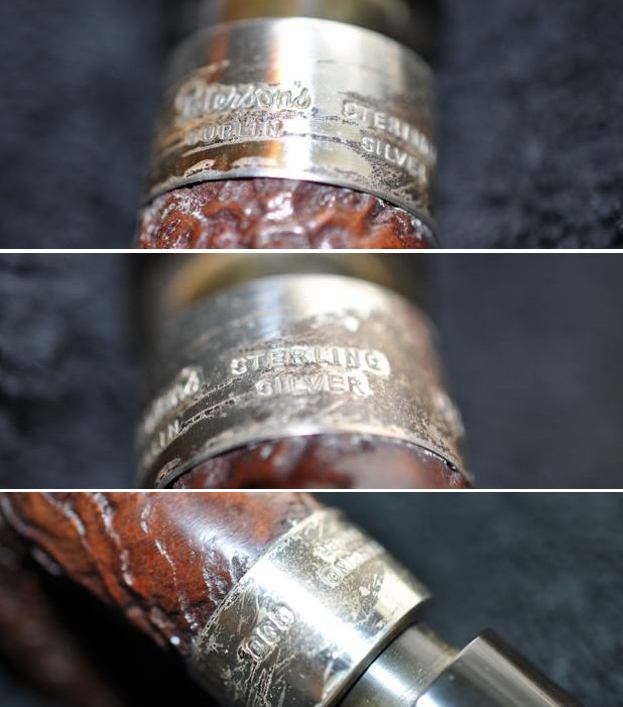
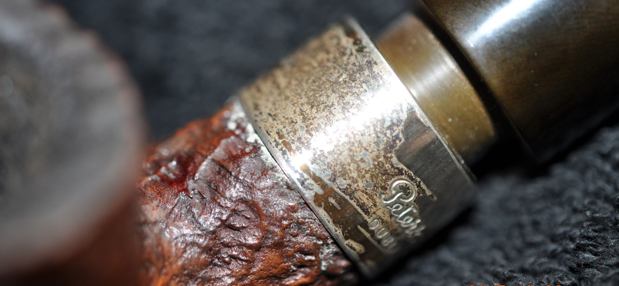
 He took photos of the underside of the shank to show the stamping. The stamping is readable in the photos below and is as noted above. He also captured the stamping on the silver band.
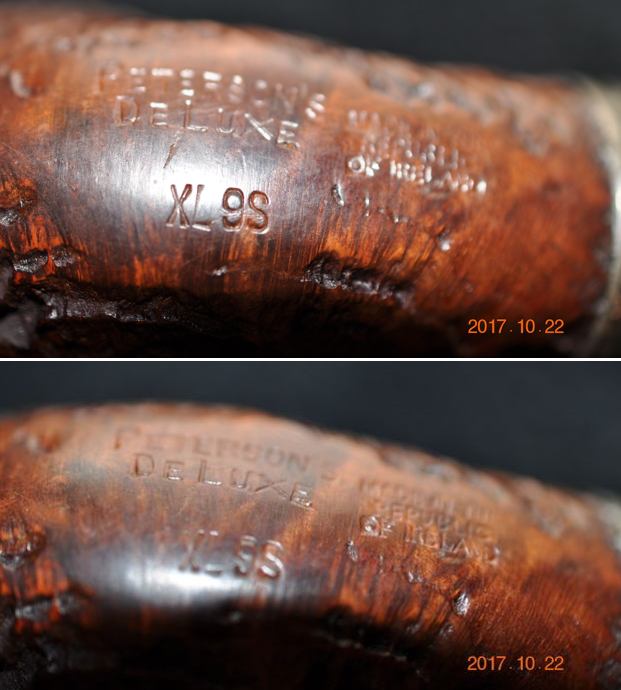
 I am including the link to the Pipedia’s article on Peterson pipes. It is a great read in terms of the history of the brand (https://pipedia.org/wiki/Peterson).
I turned to “The Peterson Pipe” by Mark Irwin and Gary Malmberg to get some background on the Peterson’s Deluxe Line. On page 297 it had the following information.
De Luxe (1915-) Introduced in newspaper advertising in 1916, production of this high-grade smooth finish model may have been stalled by the Great War and domestic disturbance. It will not appear in Peterson catalogs until ’37. Specimens documented from 1915 to the thirties are extremely rare and confined to extra-large house pipes and occasionally medium sized pipe with unconventional shapes. Specimens from 1930-1950 appear in a wide selection of Classic Range shapes, often as Canadians. Catalogs from 1937-50 list it as the ‘the finest possible quality obtainable.’ After ’50 the Supreme would supplant the De Luxe as the top of the line model, and to this day the De Luxe is a high quality pipe but not the highest. Early models often have no COM. Models from the twenties until the sixties will be stamped IRISH over FREE STATE, EIRE, LONDON MADE over ENGLAND, MADE IN over IRELAND (forming a circle) or MADE IN THE over REPUBLIC over OF IRELAND. The last three COM stamps, used from ‘38 through ’68 when no hallmarks were stamped on Peterson mountings, can never be precisely dated. If a De Luxe was made in ’69 or later it will be hallmarked with a date designator and always have a Republic COM. See also Special De Luxe.
Judging from the description above, the pipe I am working on is stamped with the stamp noted in red above. It reads MADE IN THE REPUBLIC OF IRELAND in three lines which narrows the date to between approximately 1938 and the present. It also has a silver Hallmark that make it a pipe made after 1969. Now it was time to narrow down the date further.
I turned to a blog I wrote on rebornpipes that had a Peterson’s catalogue and a hallmarking chart (https://rebornpipes.com/tag/peterson-hallmark-chart/). I have included it below. On the chart I looked for a lower case “n” in a hexagonal cartouche. I also included a enlargement of the chart and drawn a box around the “n” in red. It dates the pipe to 1979.
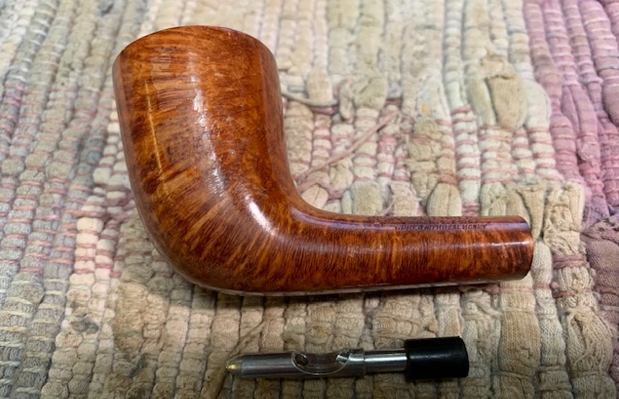
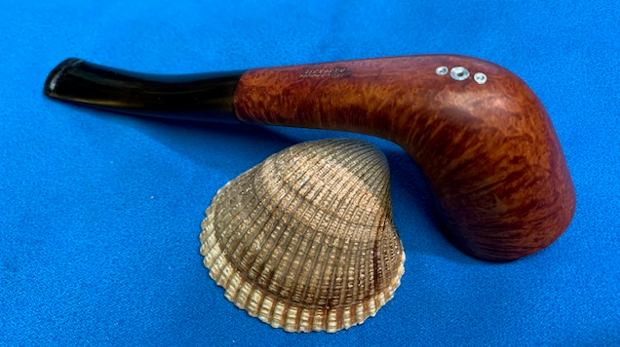
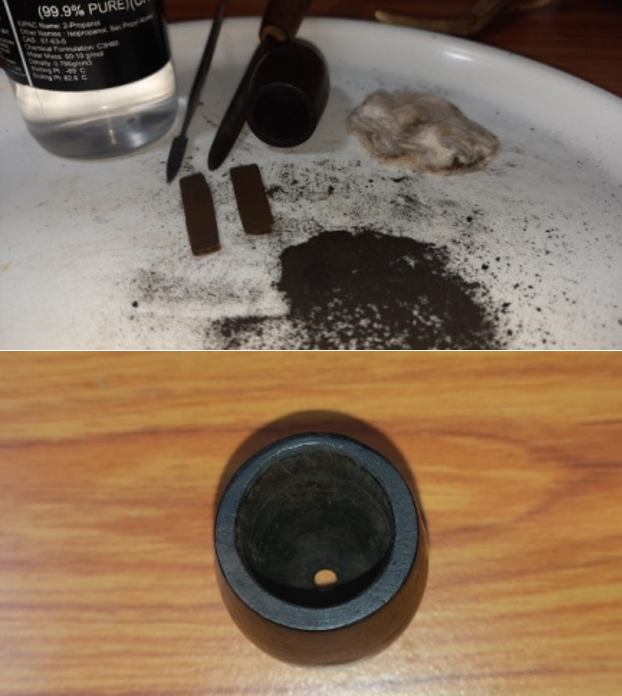
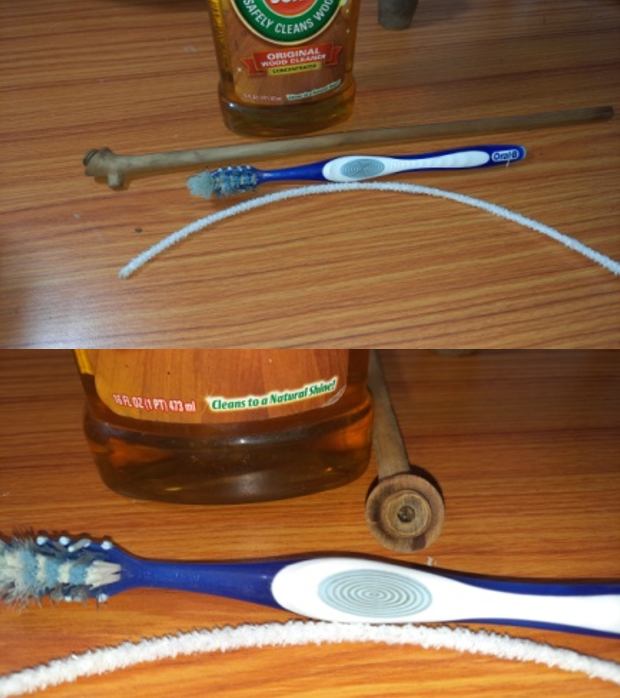
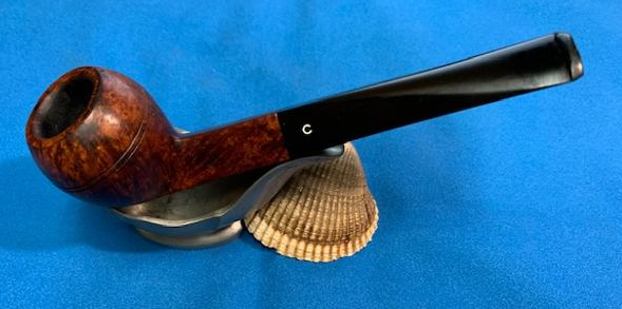
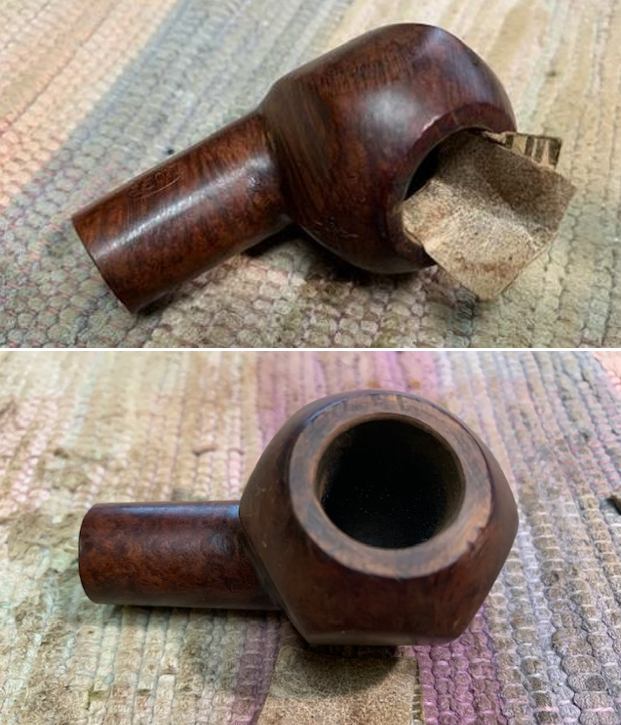
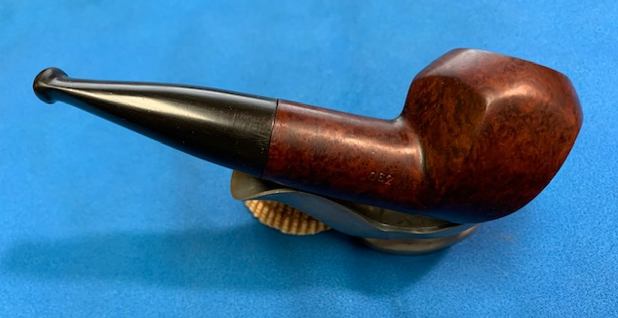
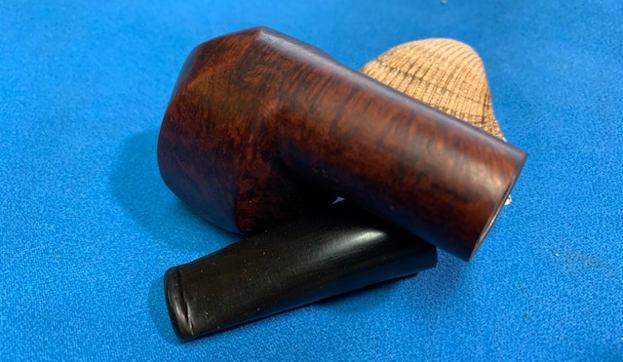
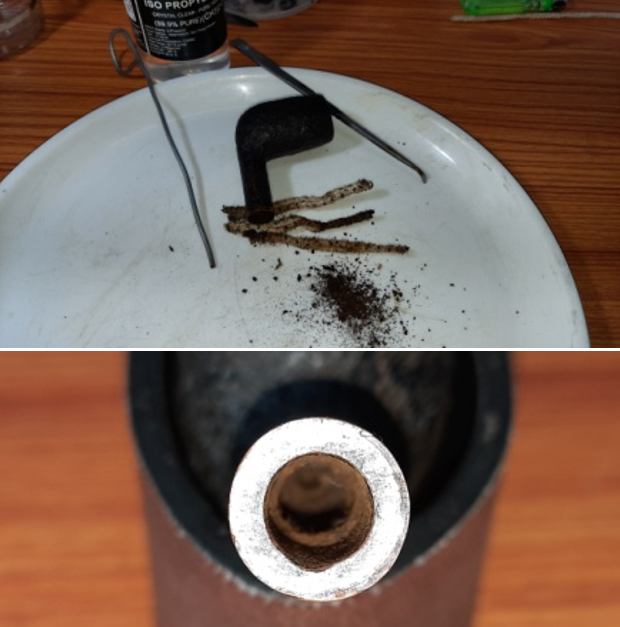
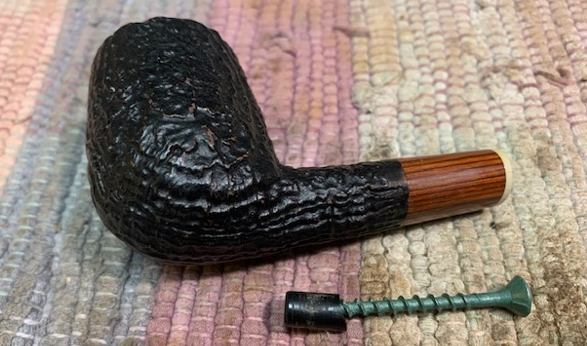
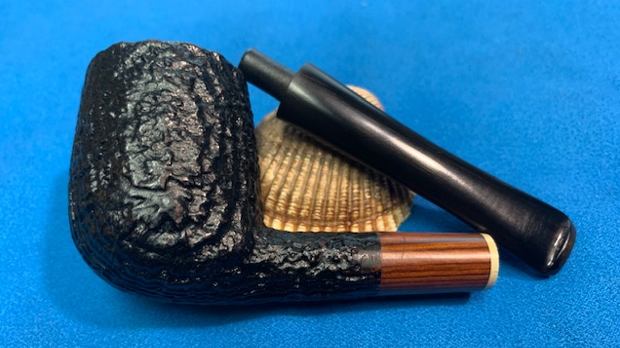
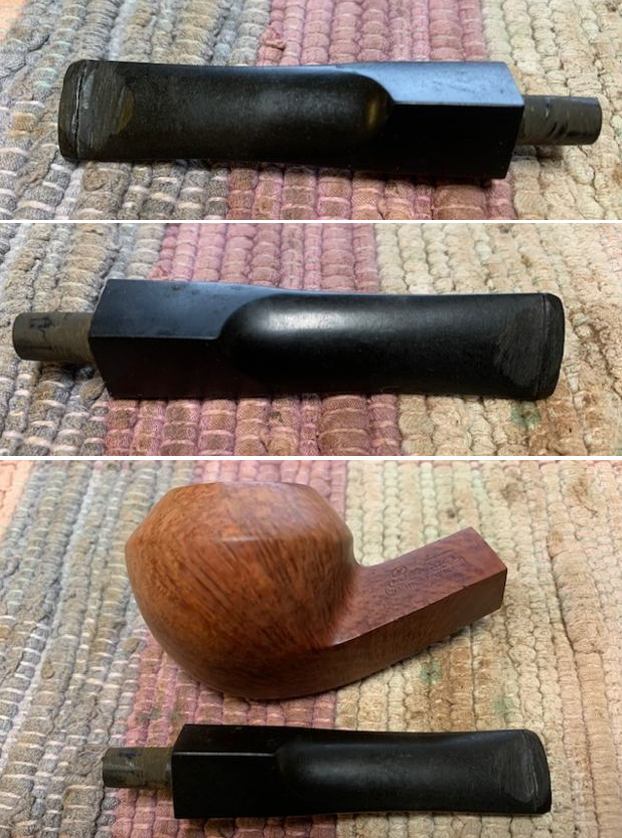
 Jeff had done a great job cleaning up this 1979 Peterson’s De Luxe pipe. He reamed the pipe with a PipNet reamer and cut back the cake back to the bare briar. He cleaned up the walls with a Savinelli Fitsall Pipe Knife. He scrubbed the interior of the bowl and shank with pipe cleaners, cotton swabs and alcohol to remove the tars and oils. He scrubbed the exterior of the pipe with Murphy’s Oil Soap and a tooth brush to remove the grime from the finish. He worked on the rim top lava and darkening with the soap and tooth brush. He scrubbed the inside of the stem with alcohol and pipe cleaners. He scrubbed the exterior with Soft Scrub and then soaked it in Before & After’s Pipe Stem Deoxidizer. He washed it off with warm water to remove the Deoxidizer. I took photos of the pipe when I brought it to the work table.
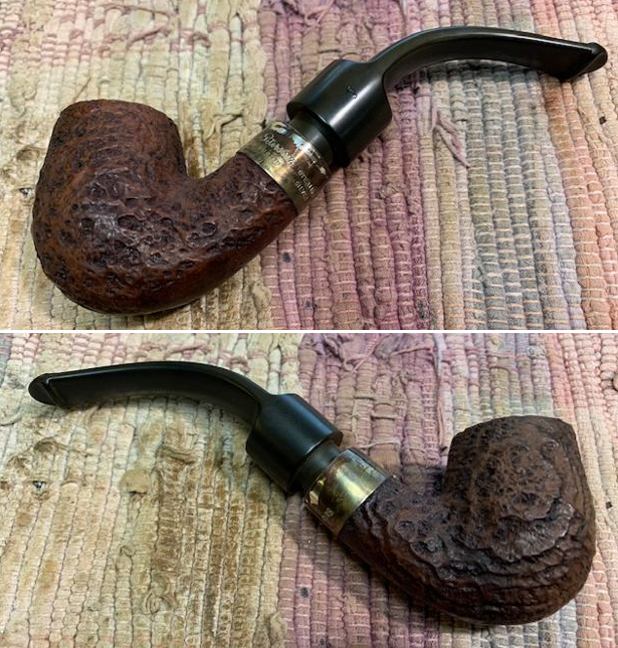
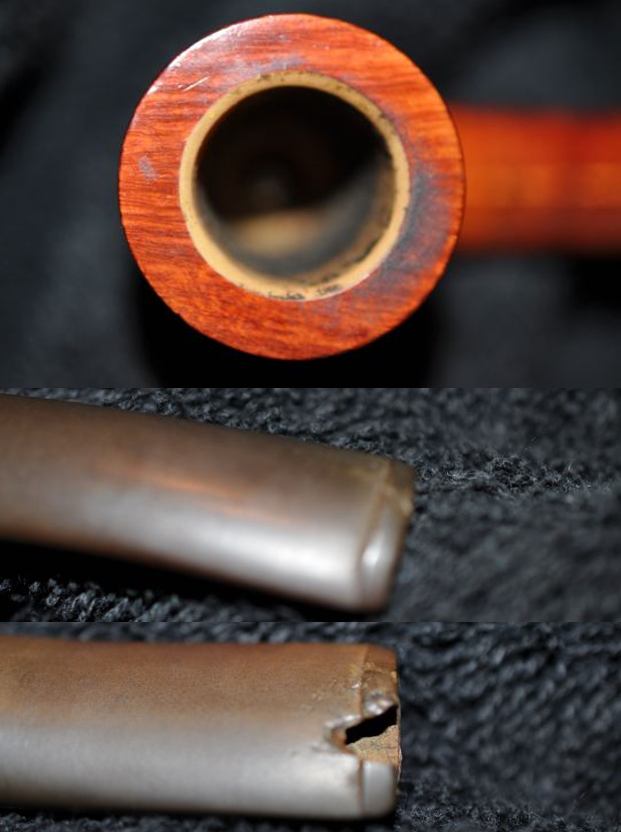
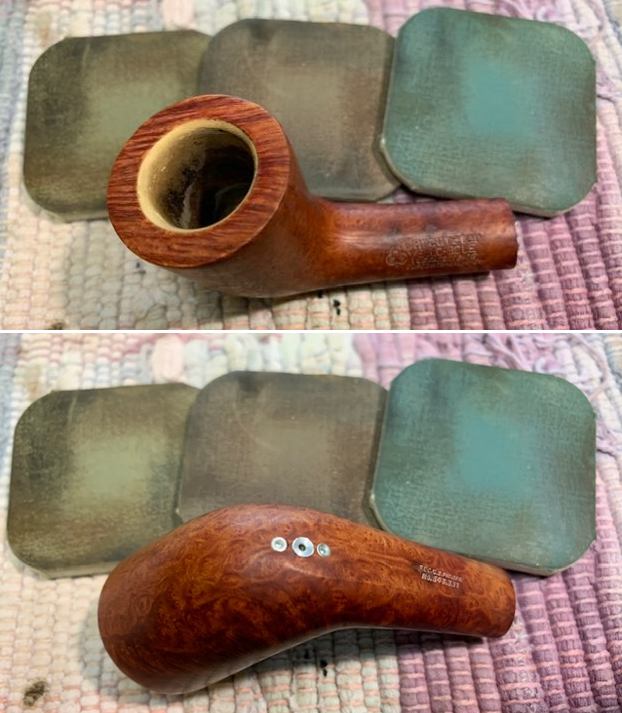
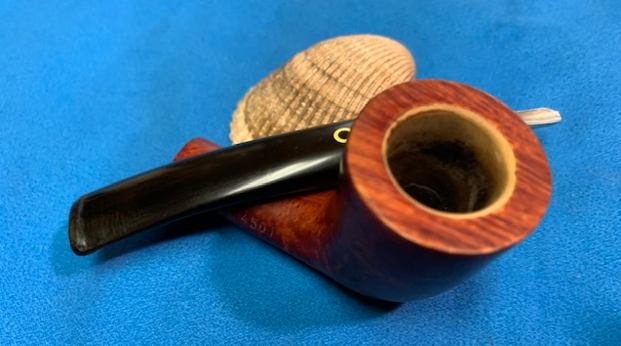
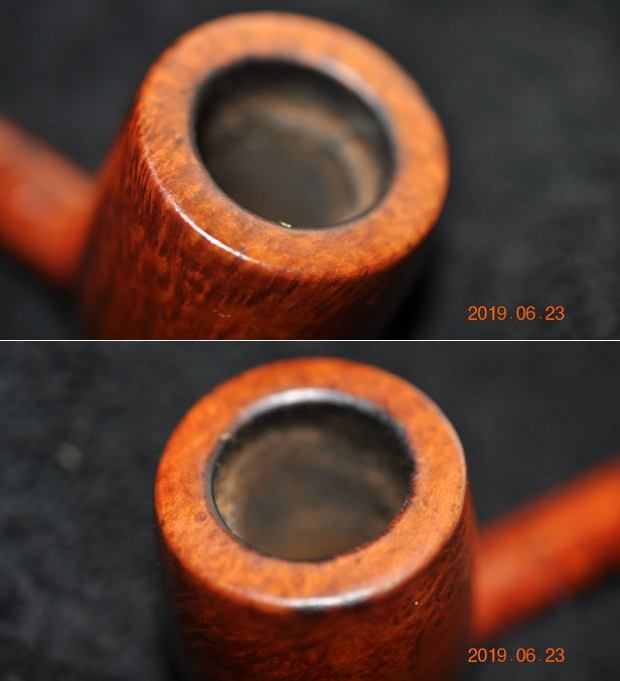
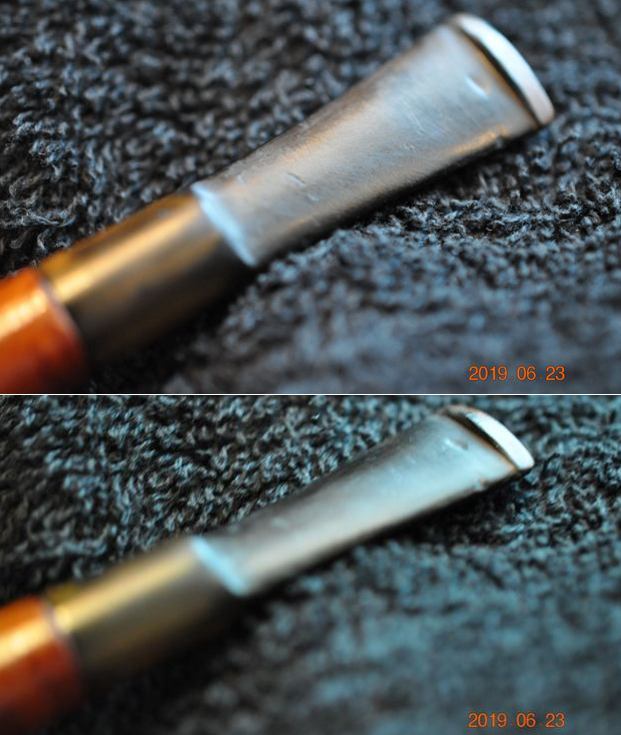
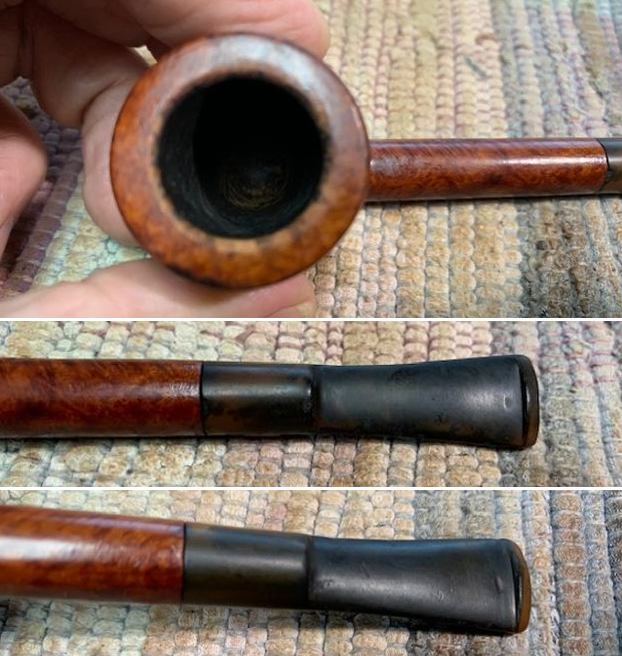
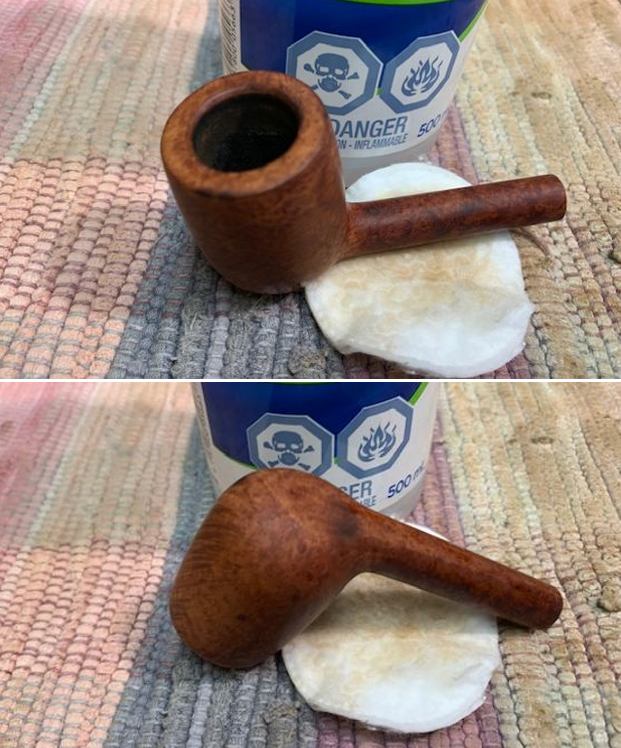
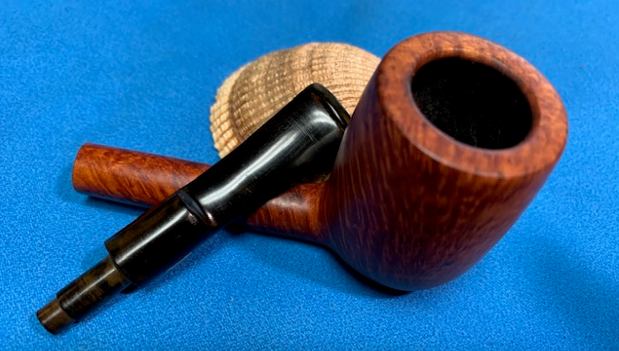
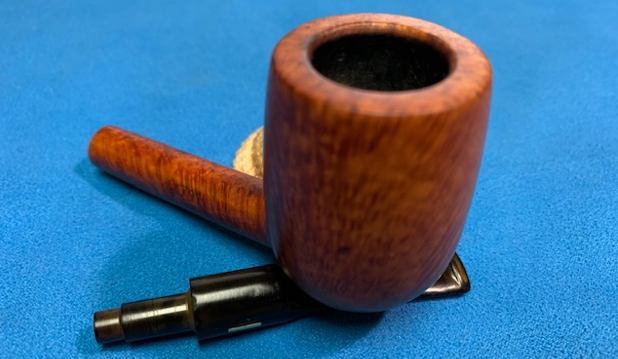
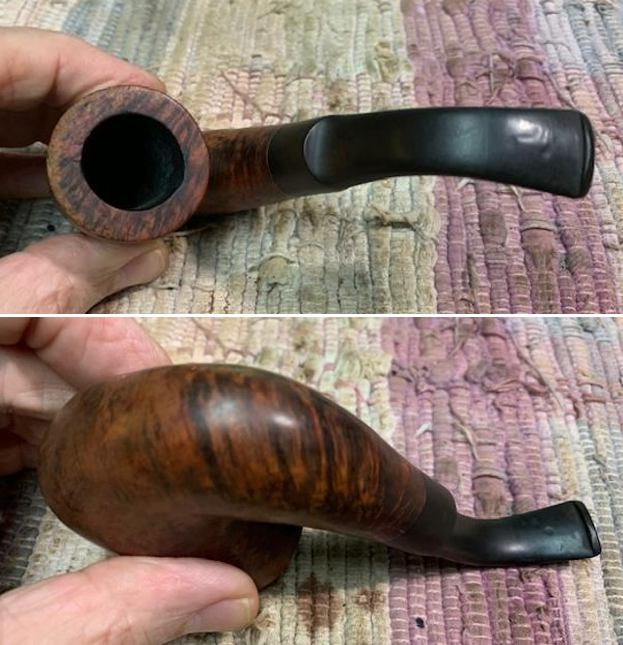
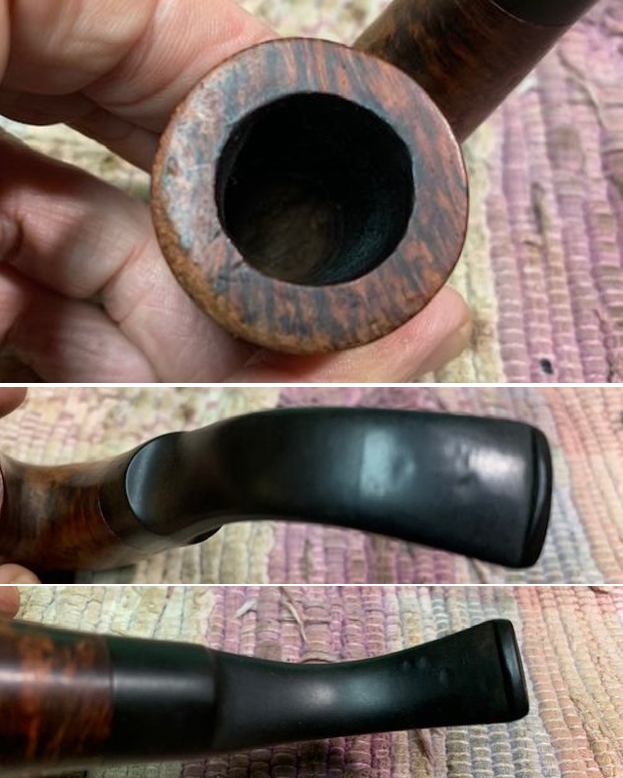
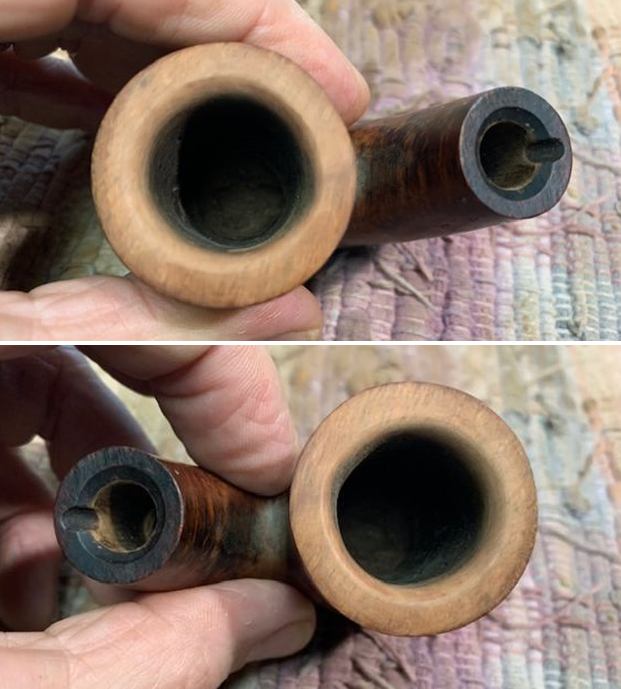
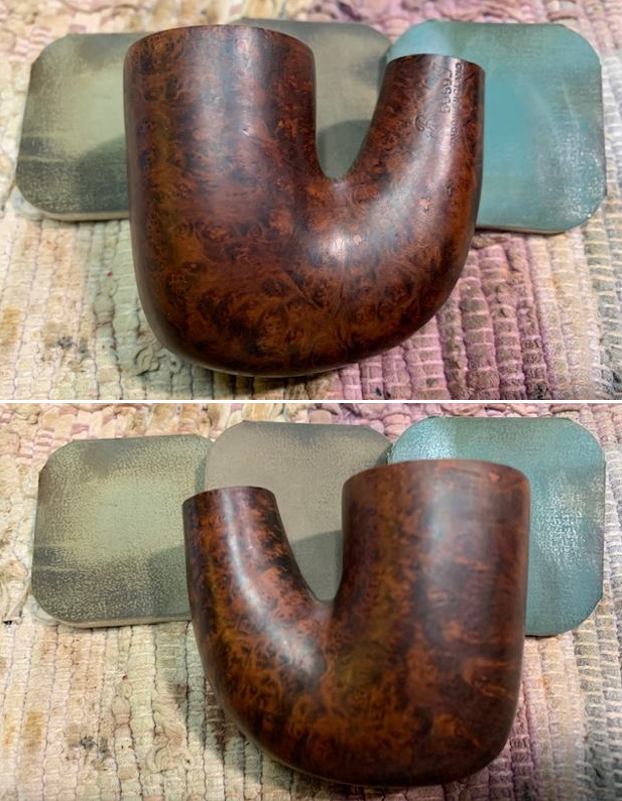
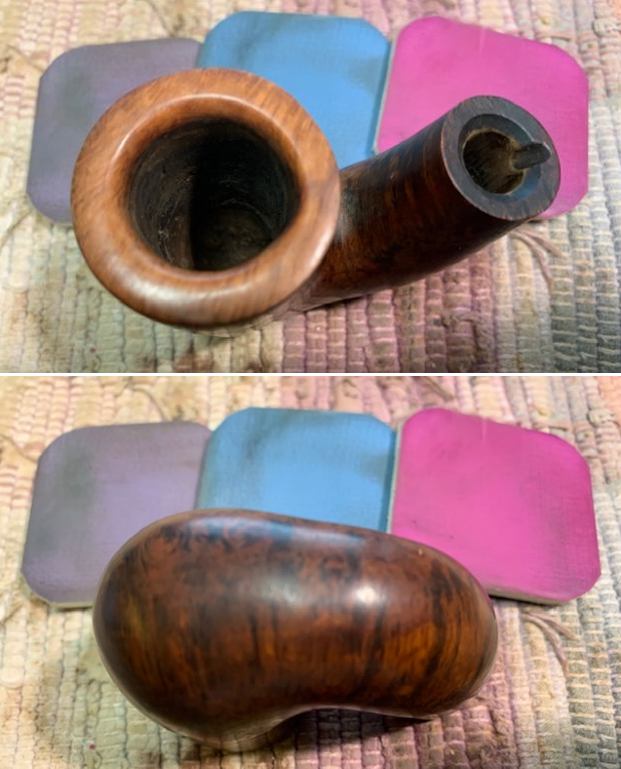
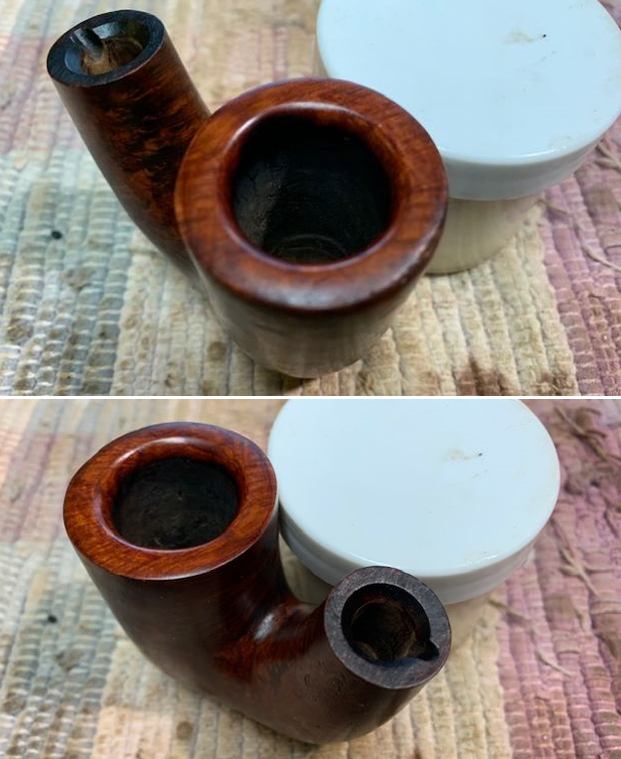
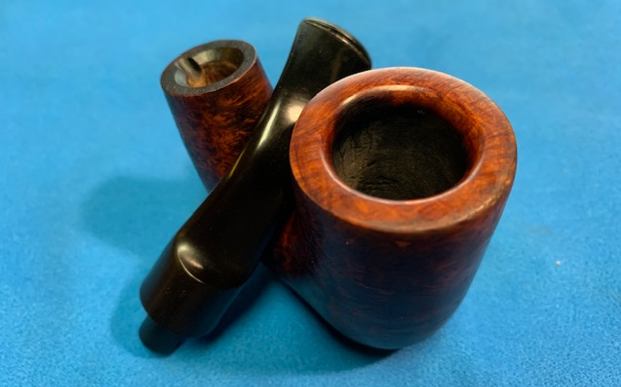
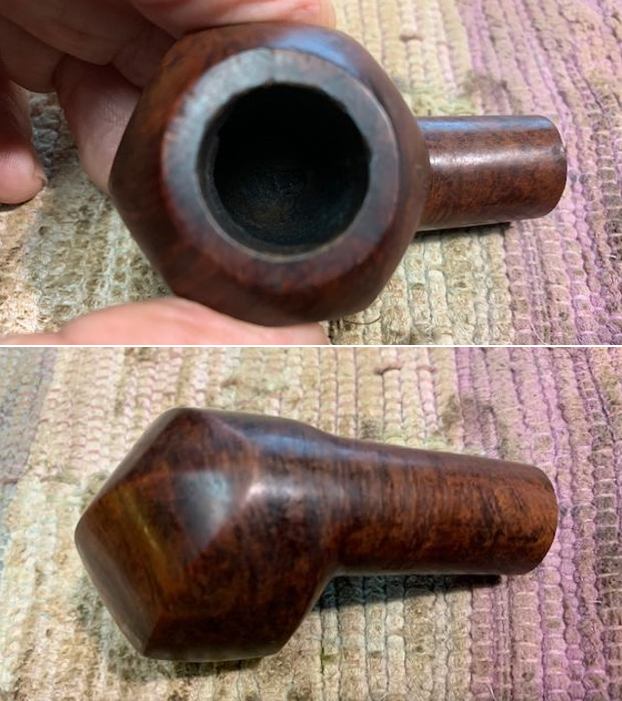
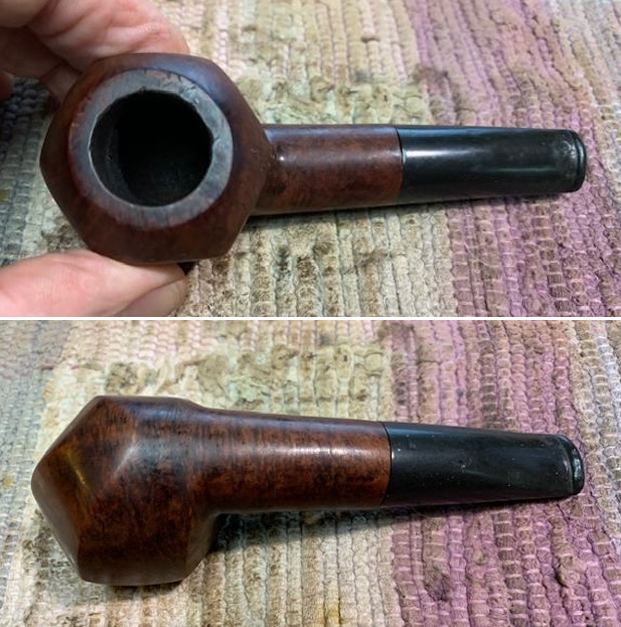
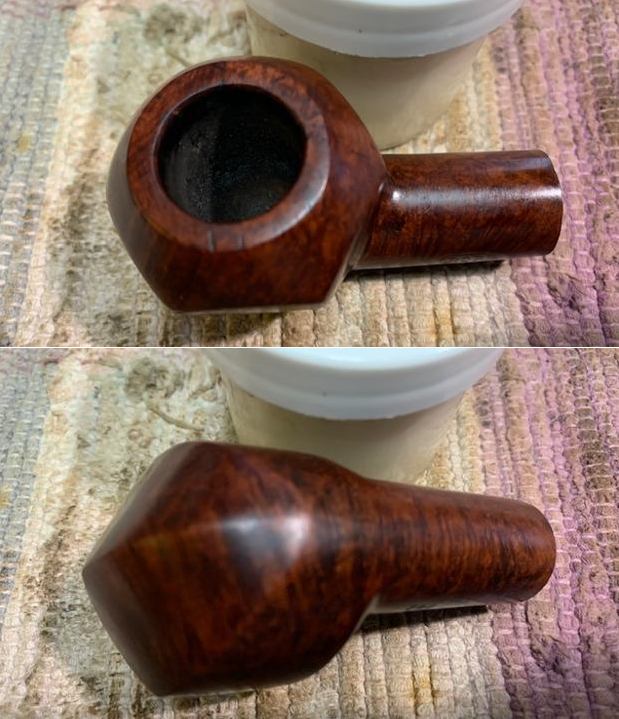
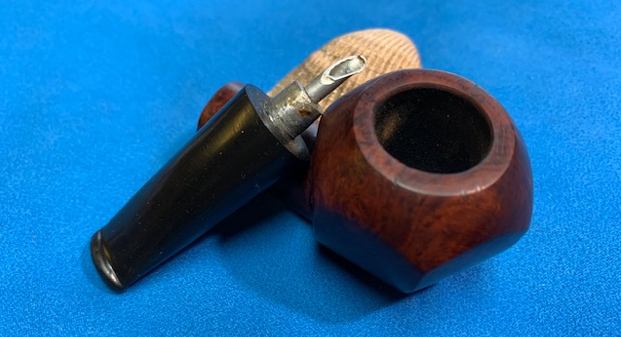
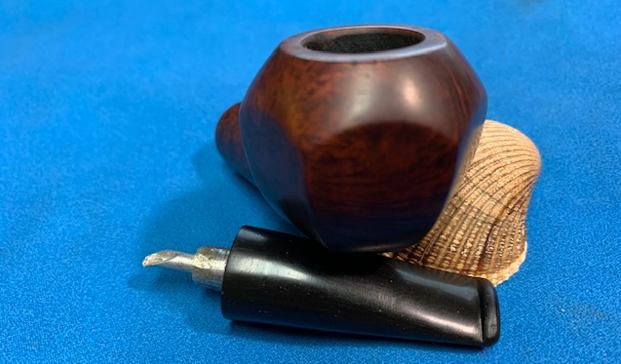
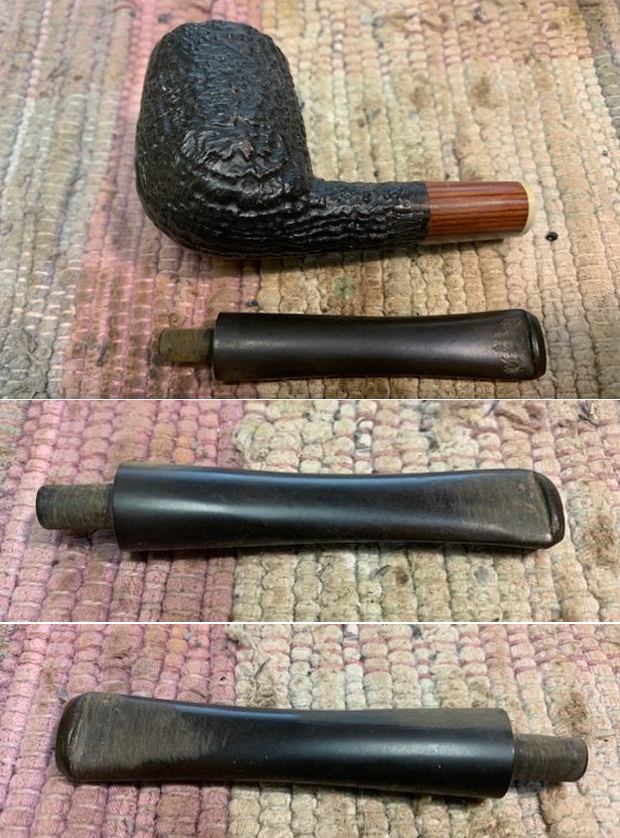
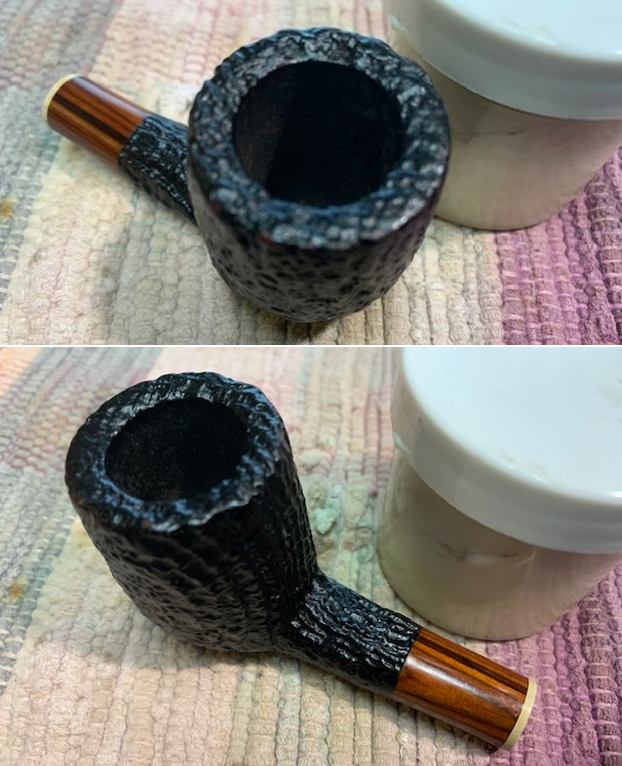
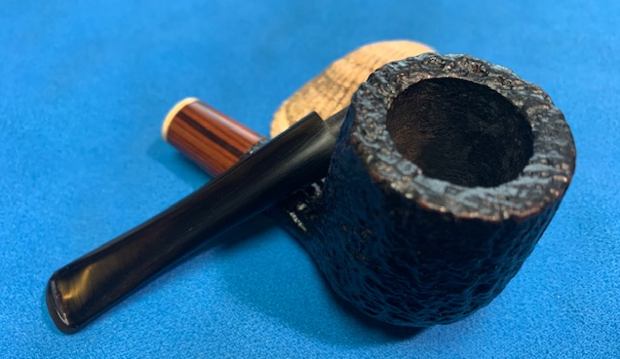
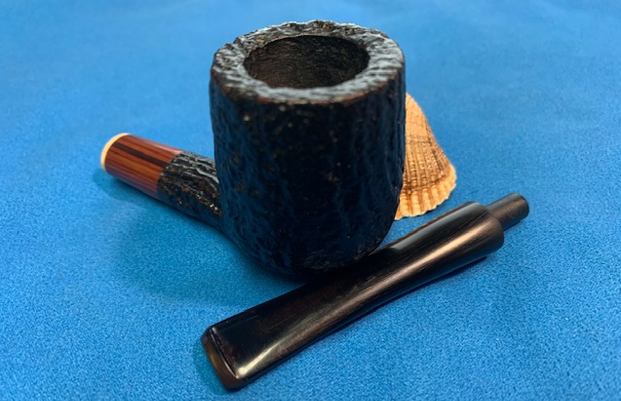
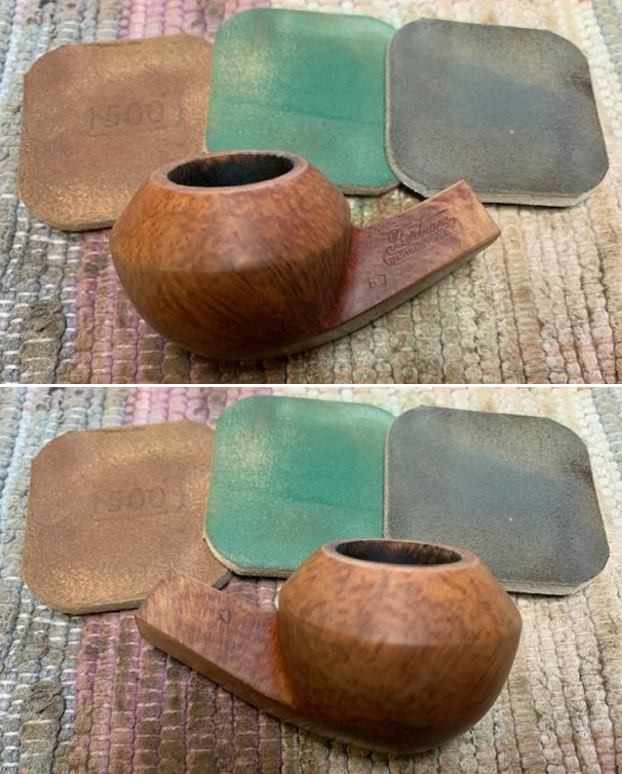
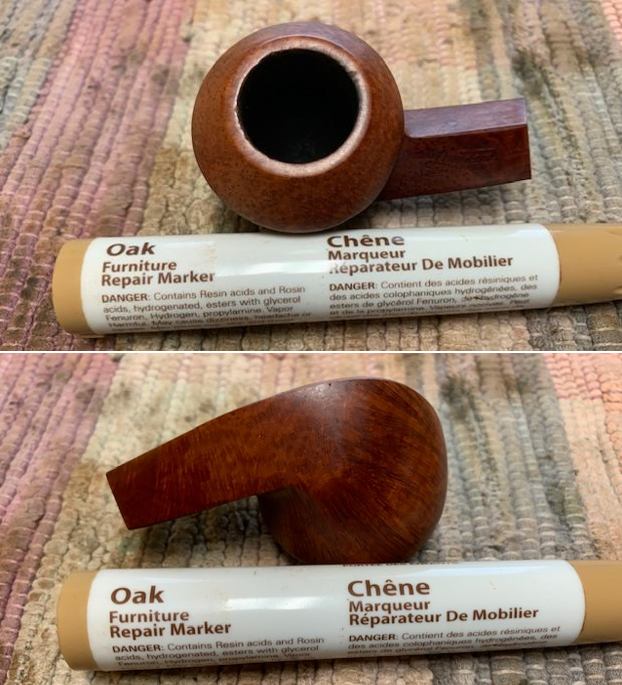
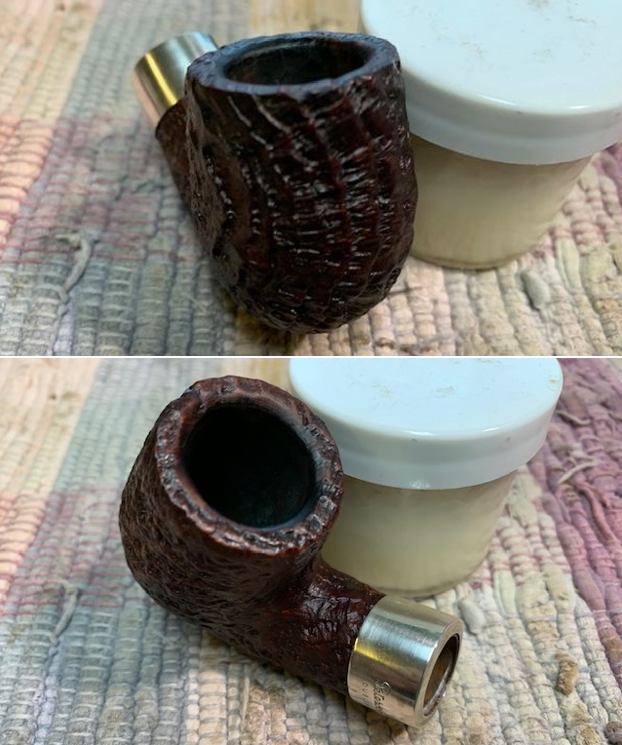
 I took some close up photos of the rim top and also of the stem surface. I wanted to show how well it had cleaned up. The rim top and inner edges around the bowl looked very good. I also took close up photos of the stem to show the tooth marks on the surface near the button.
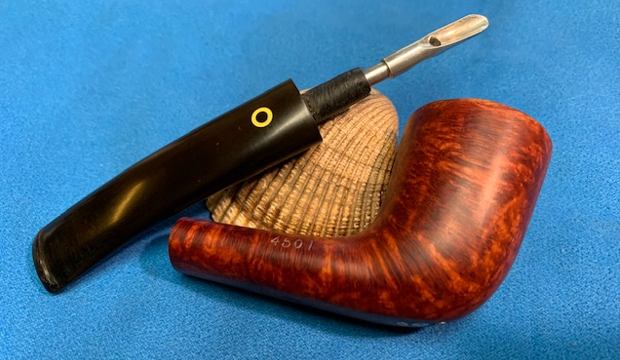
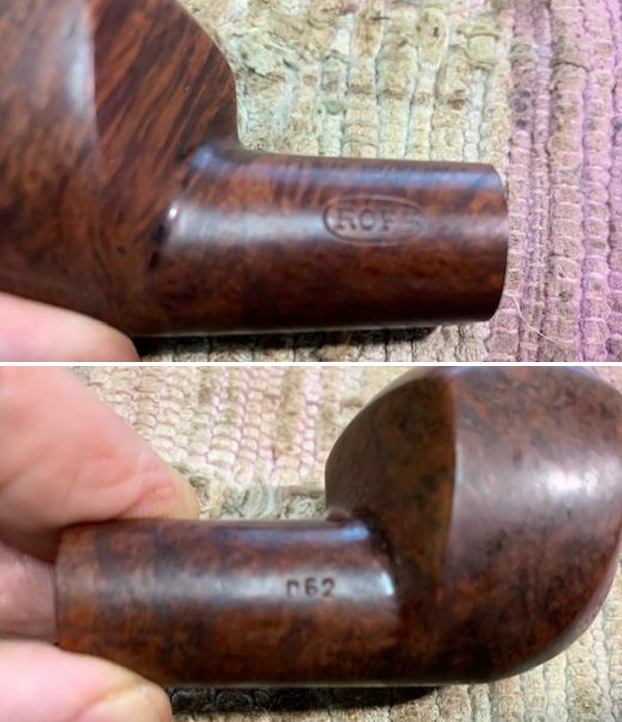
 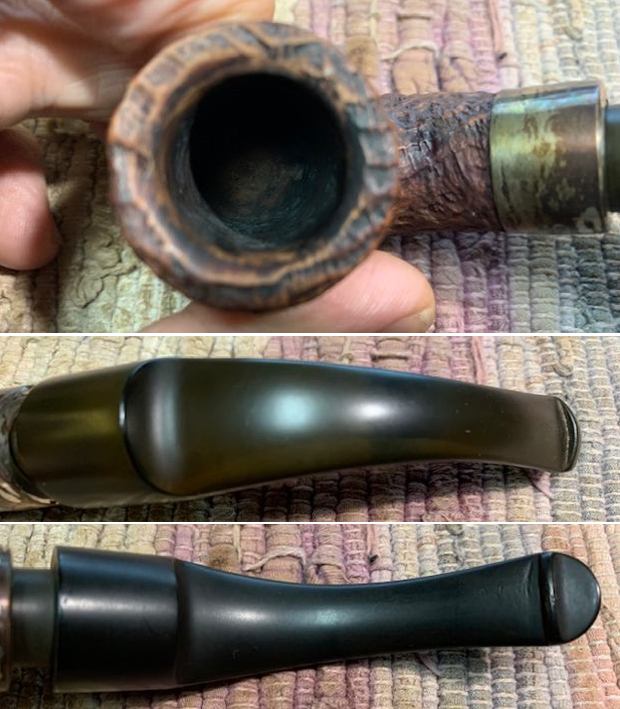 I took a photo of the stamping on the underside of the shank. It reads as noted above. I also took a photo of the band and the stamp on the left side of the saddle stem.
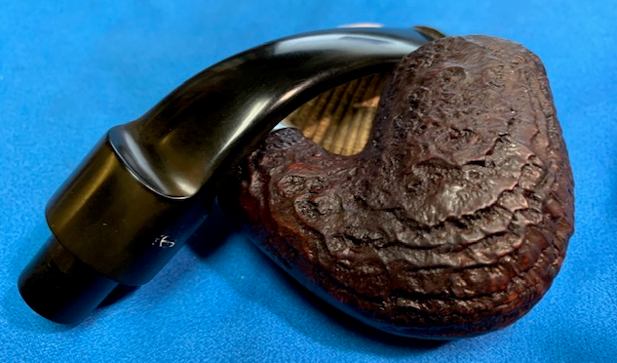
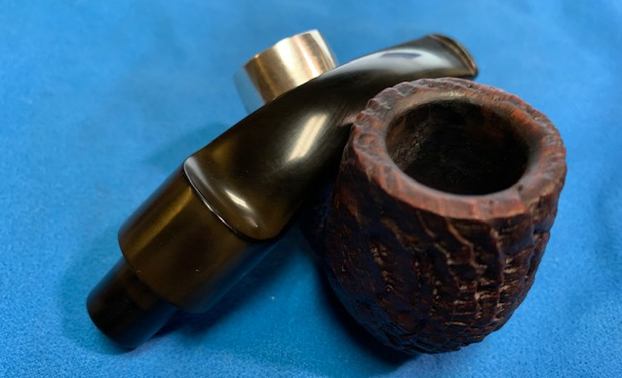
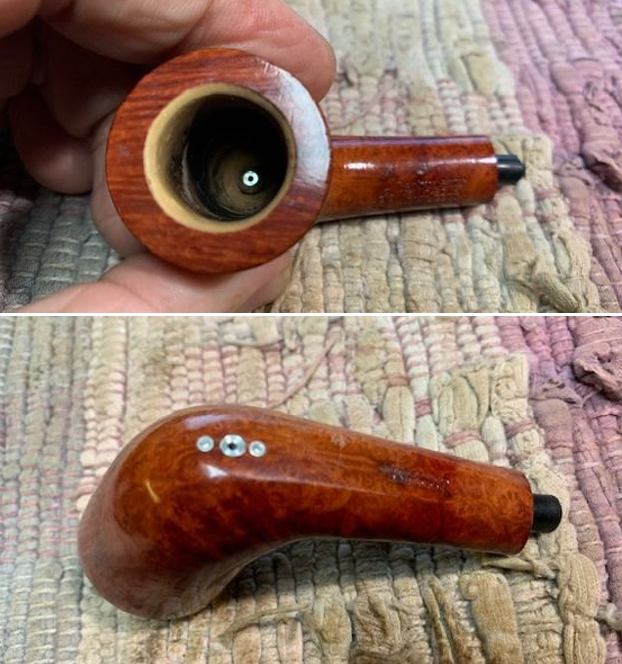
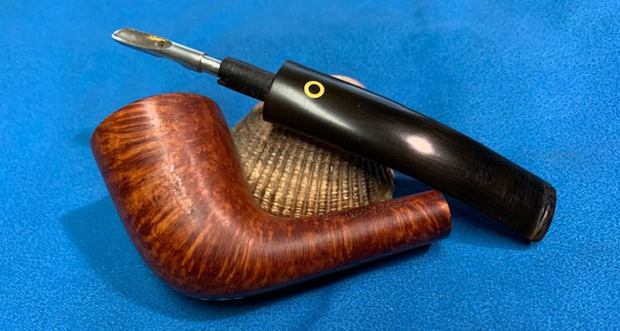
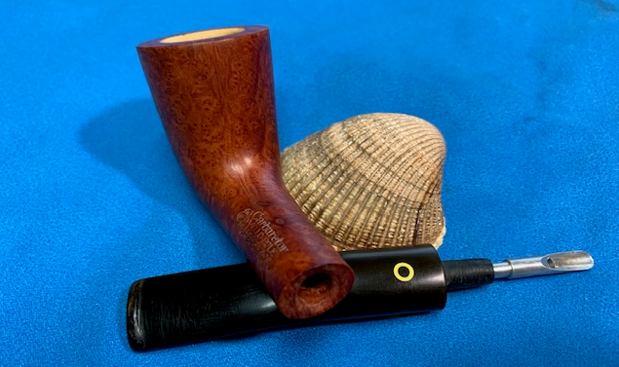
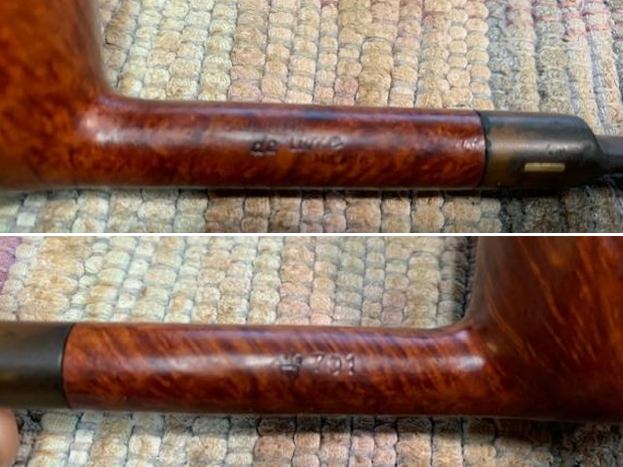
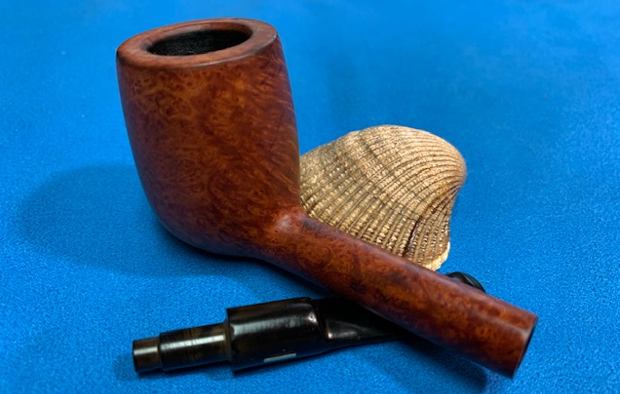
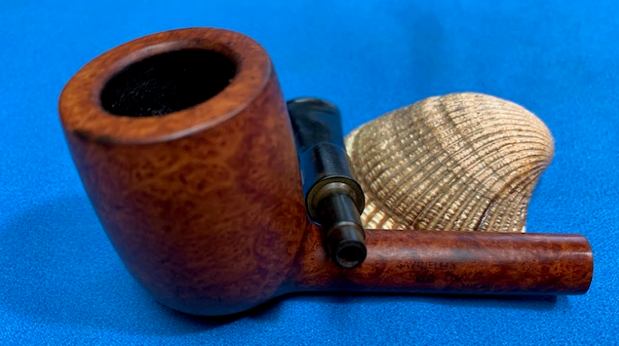
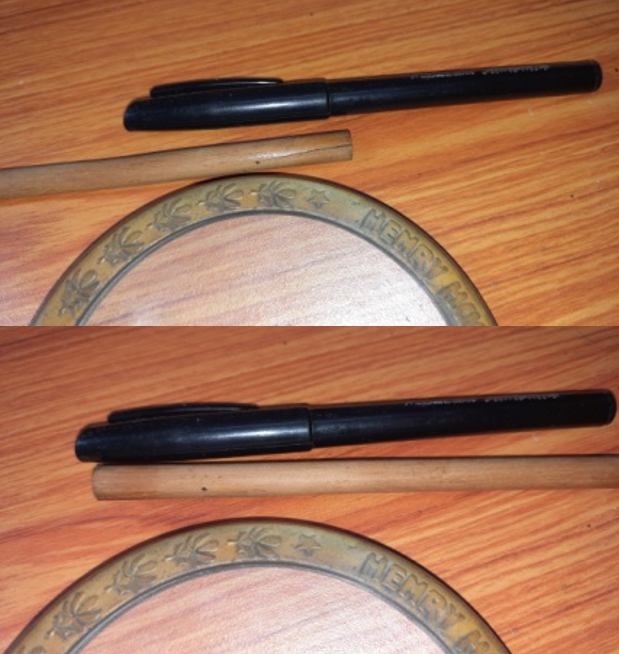
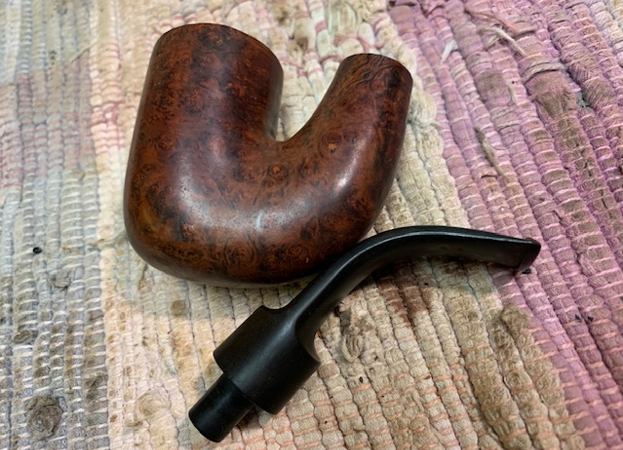
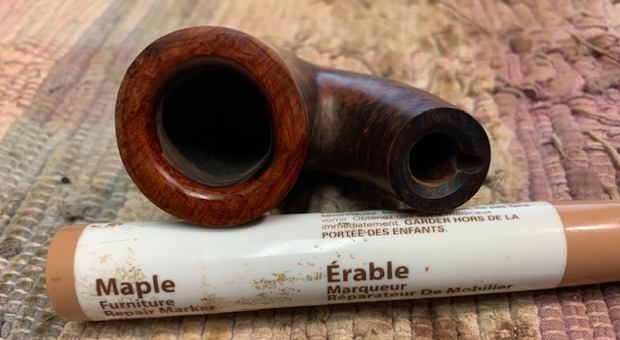
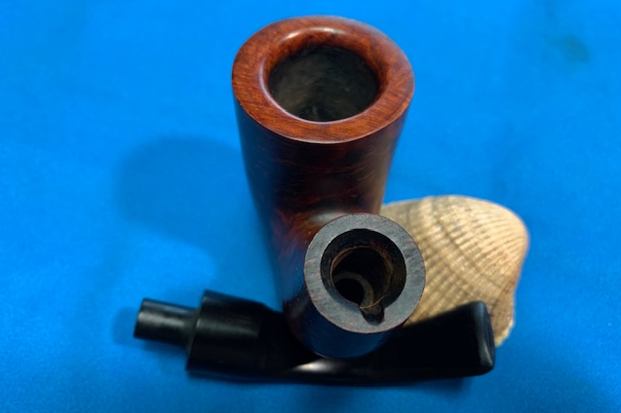
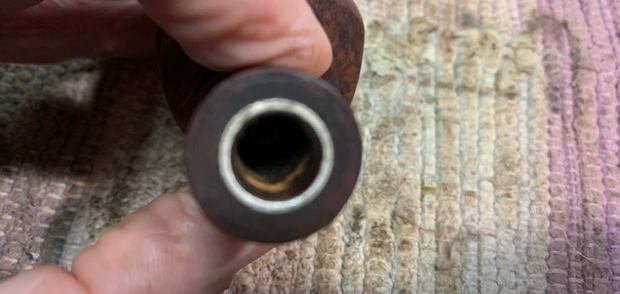
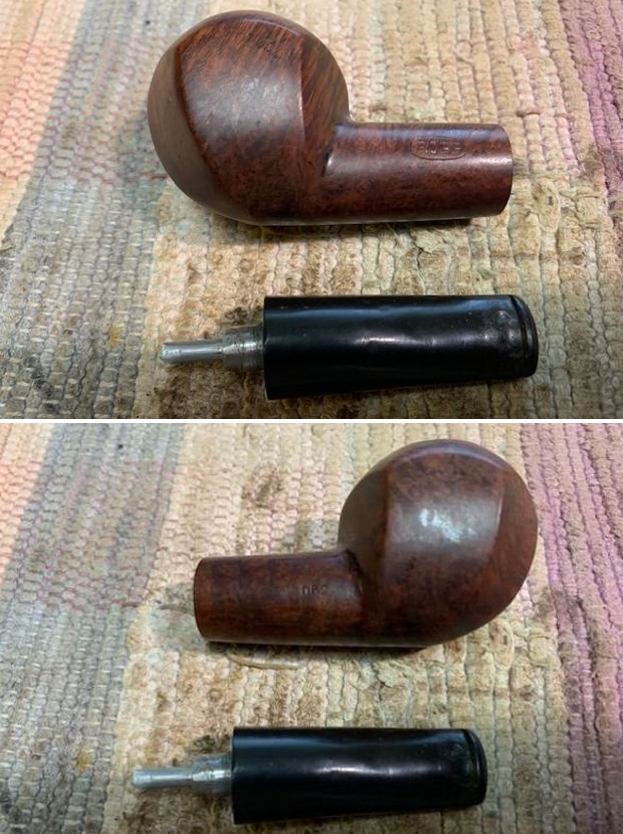
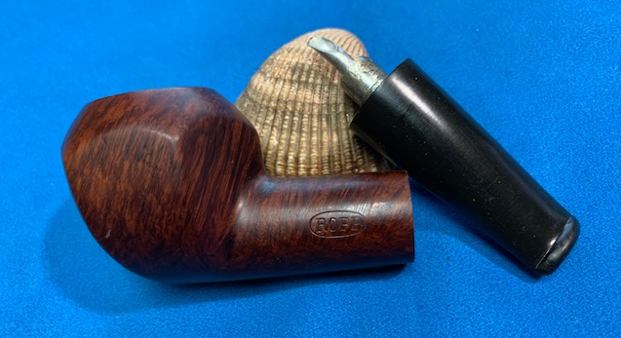
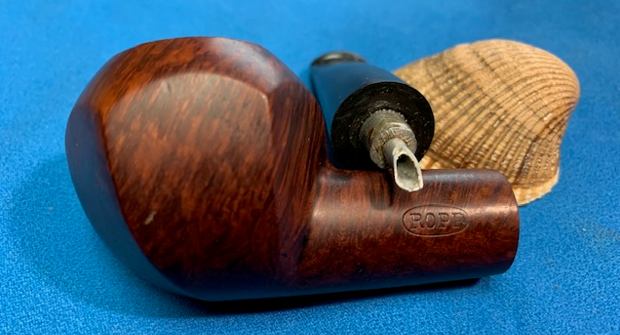
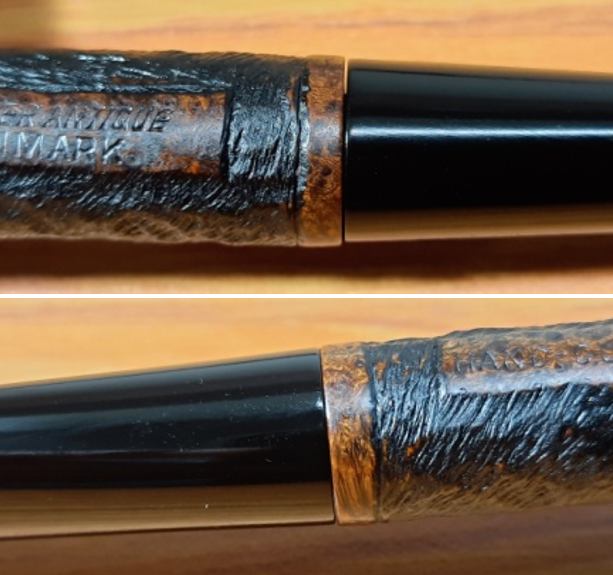
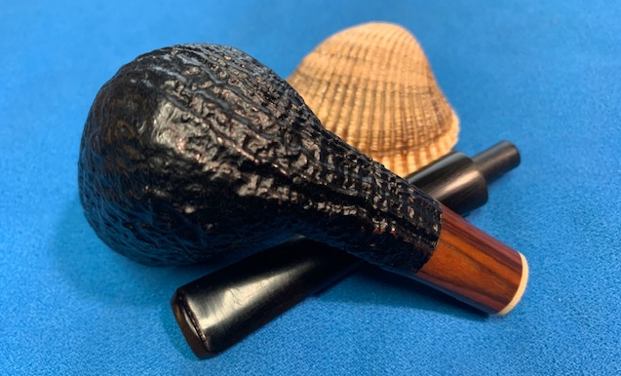
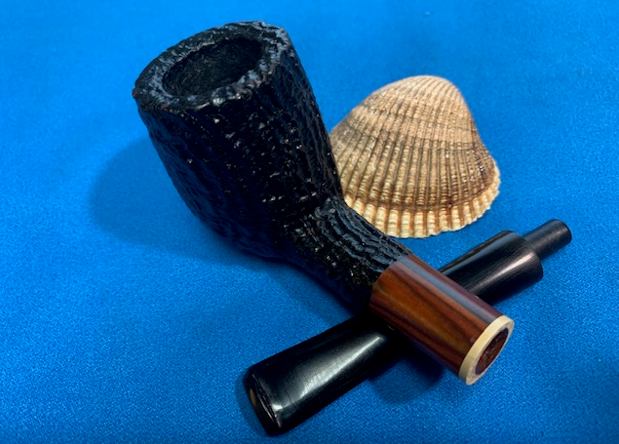
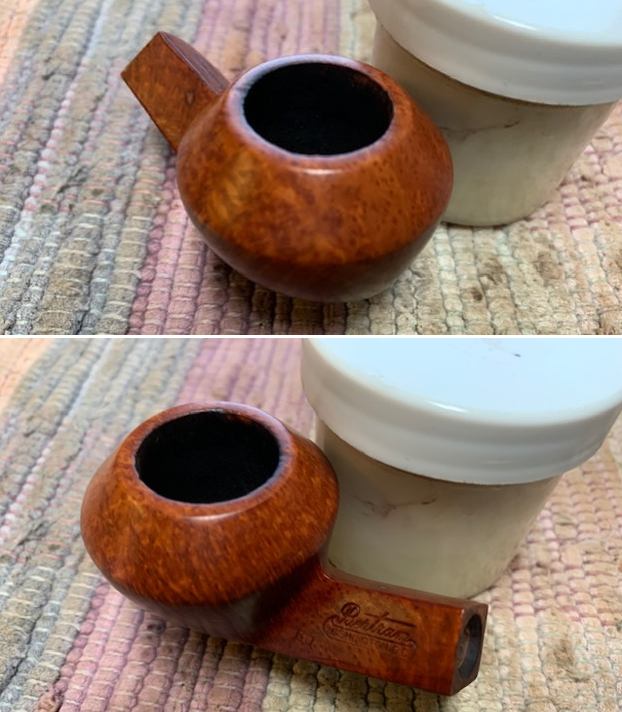
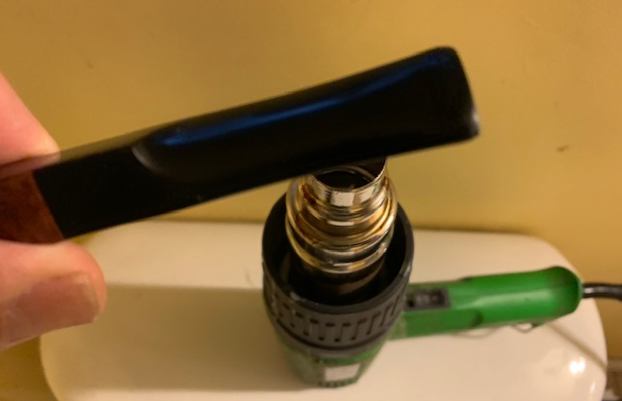
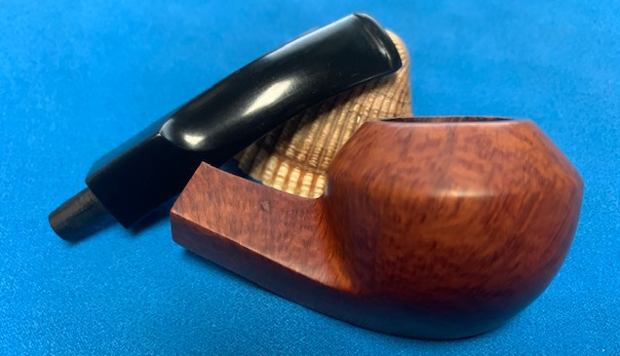
 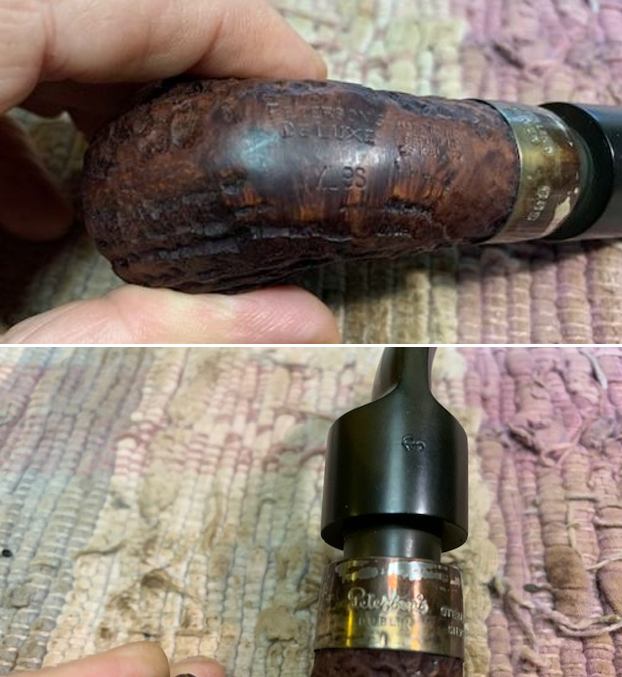 I removed the stem and took a photo of the pipe to have a look at the parts and overall look.
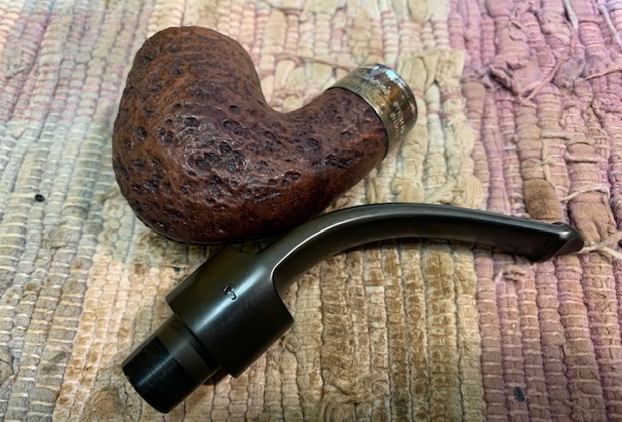 I decided to address the tarnish on the silver band of the pipe first. I scrubbed it with some tarnish remover and finished with a jeweler’s cloth. The silver looked very good.
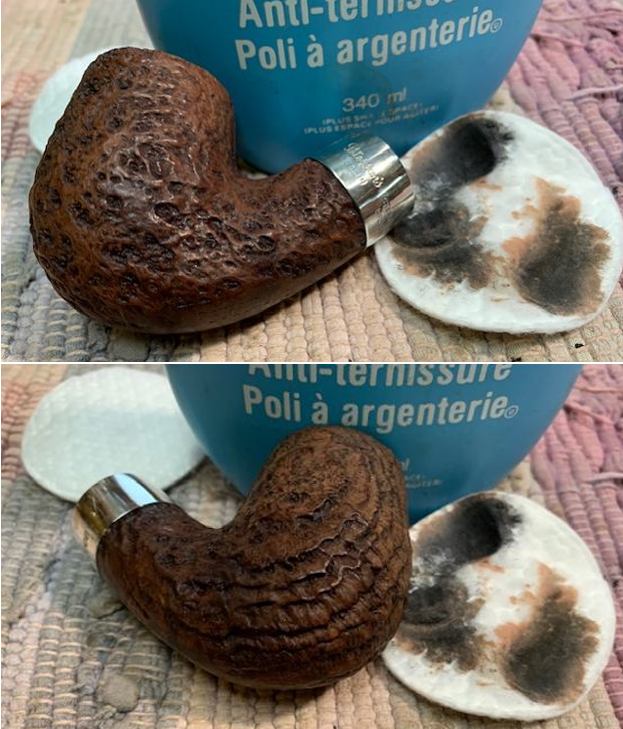
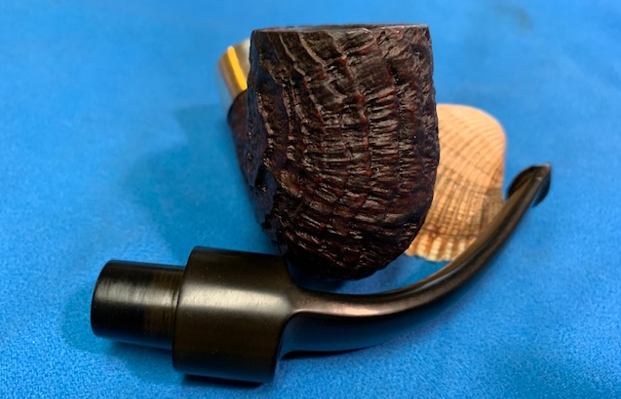
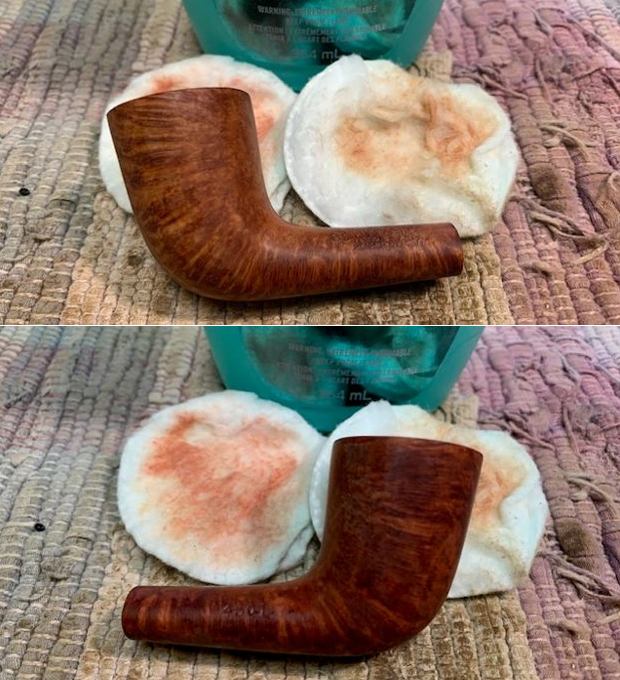
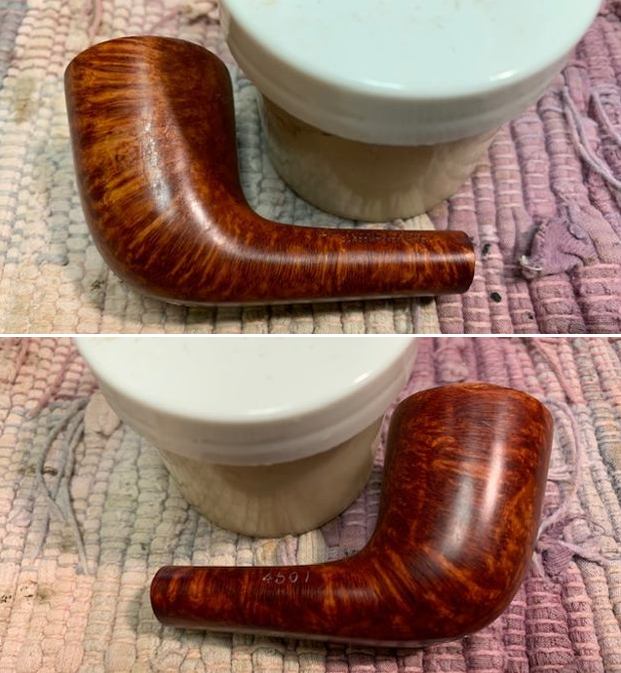
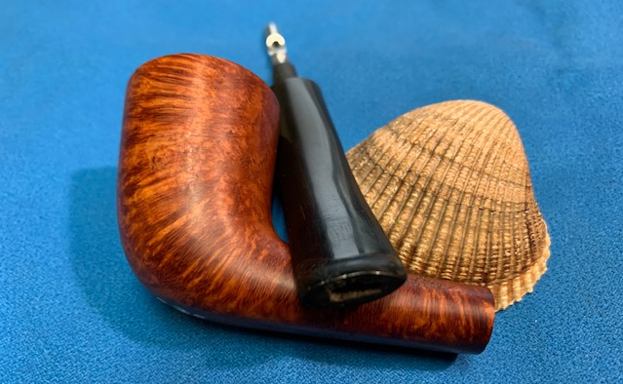
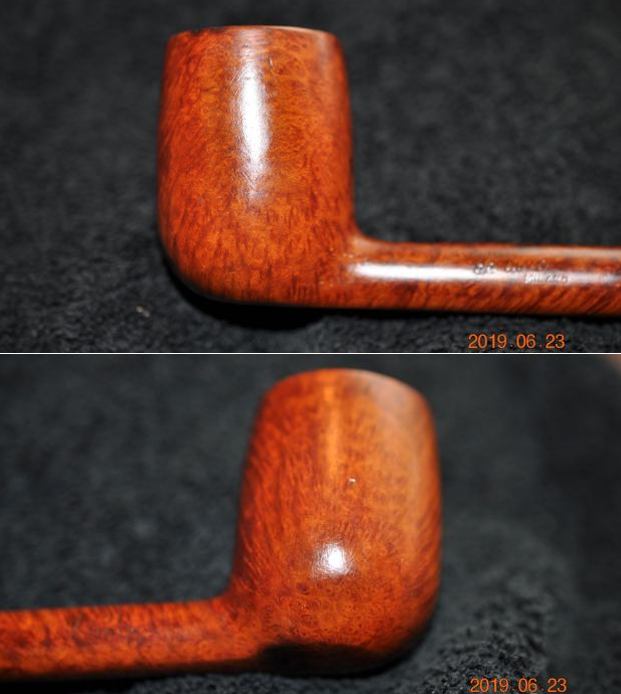
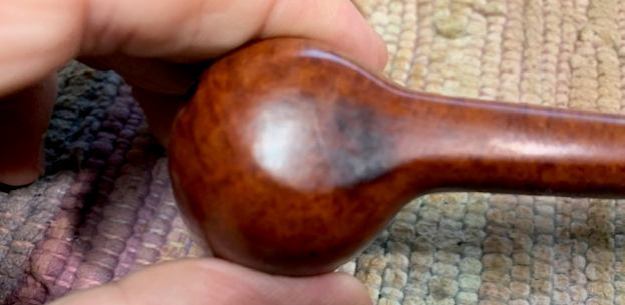
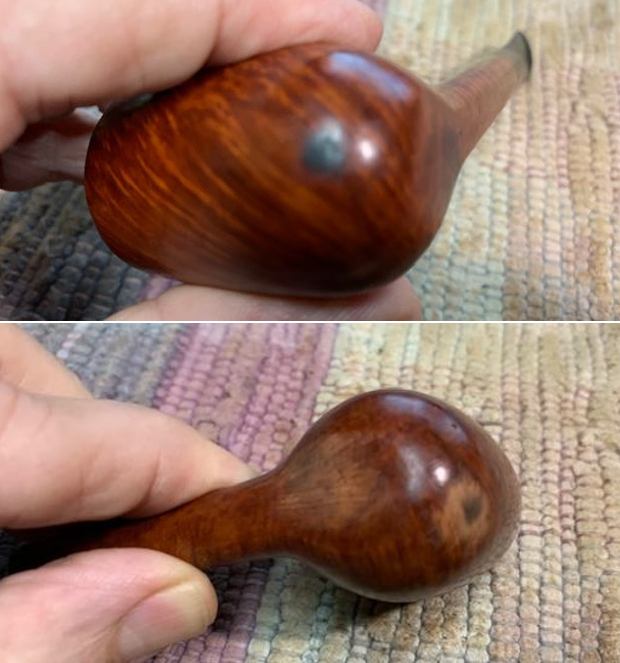
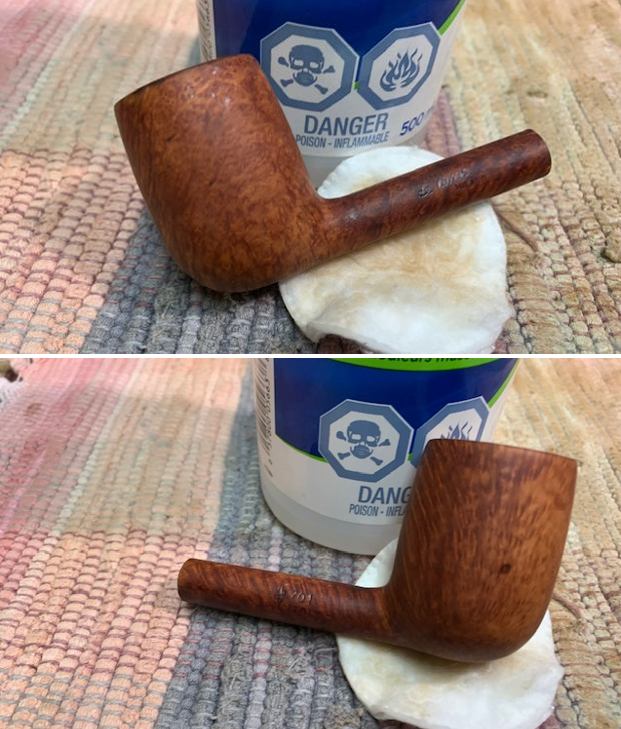
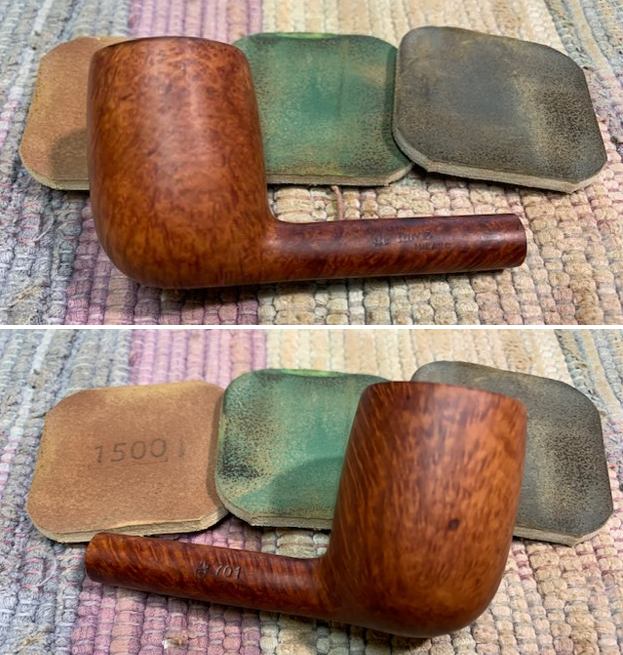
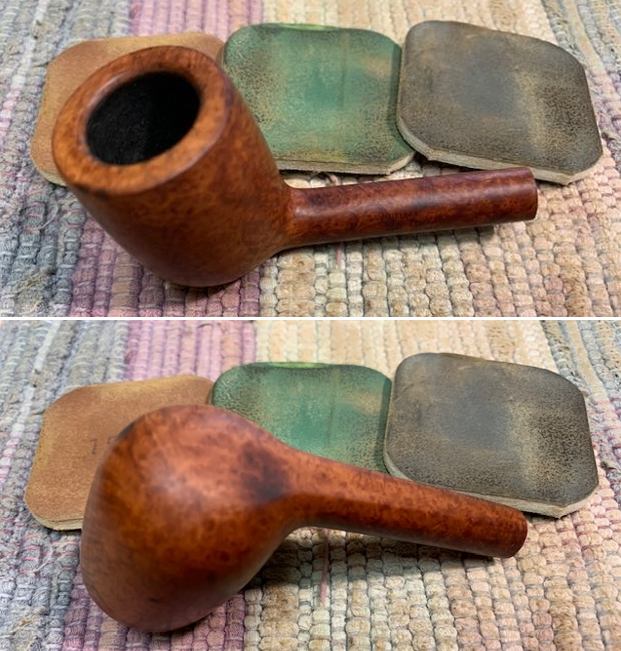
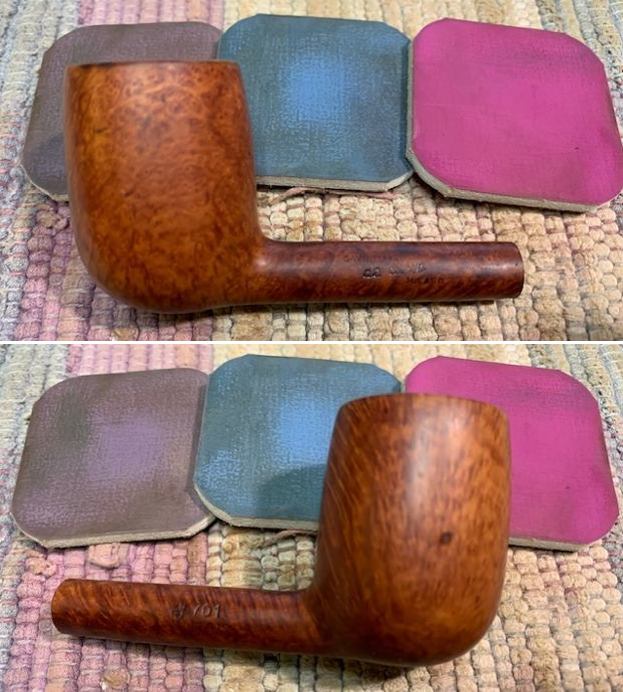
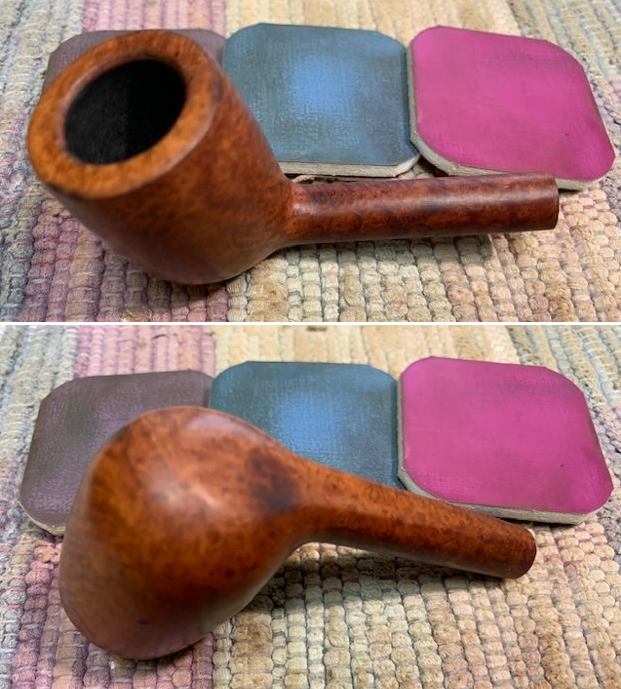
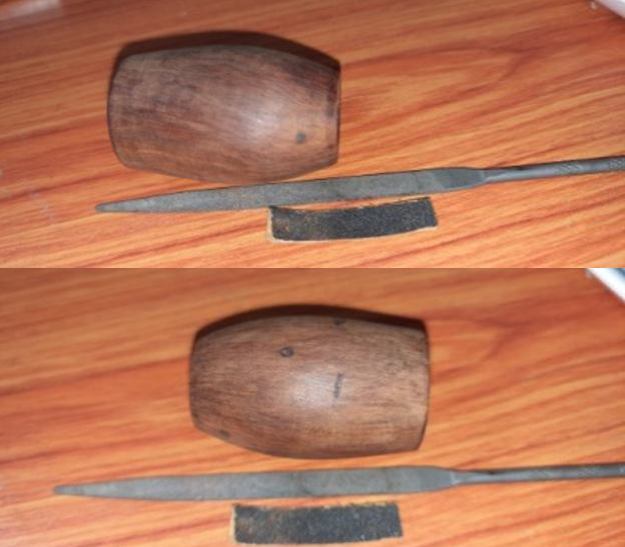
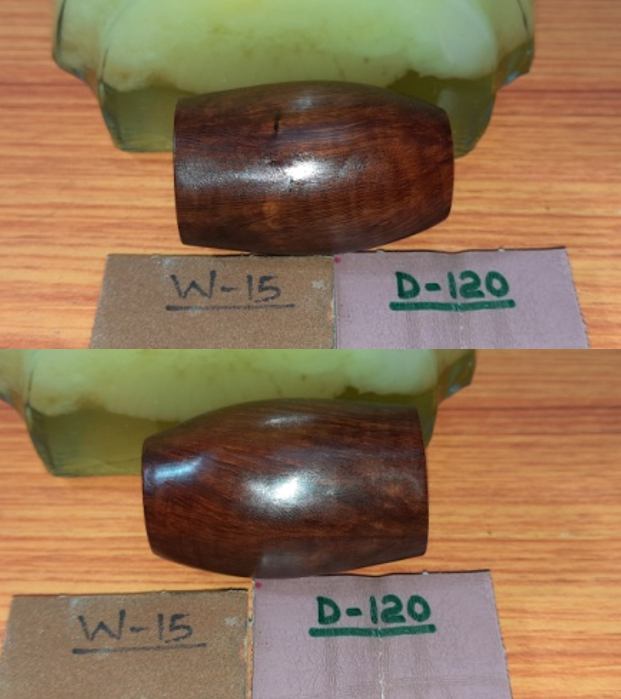
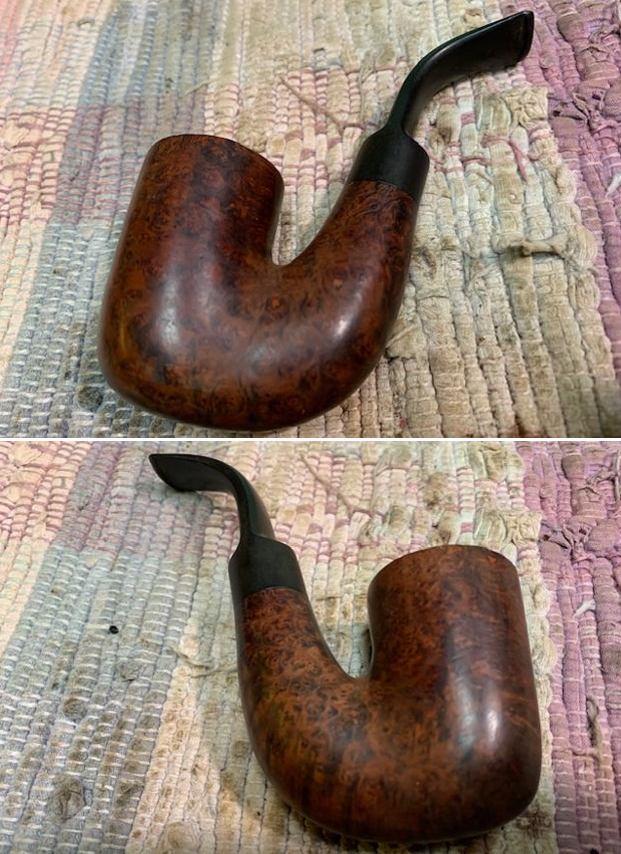
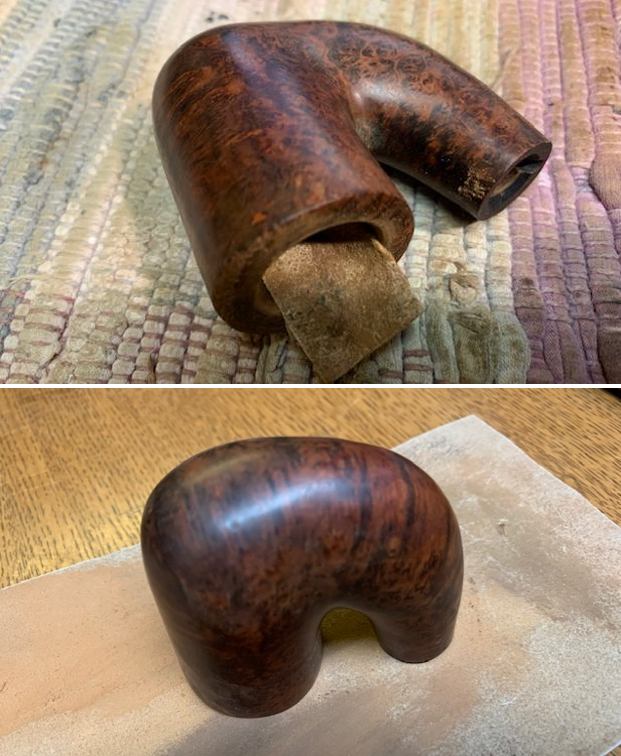
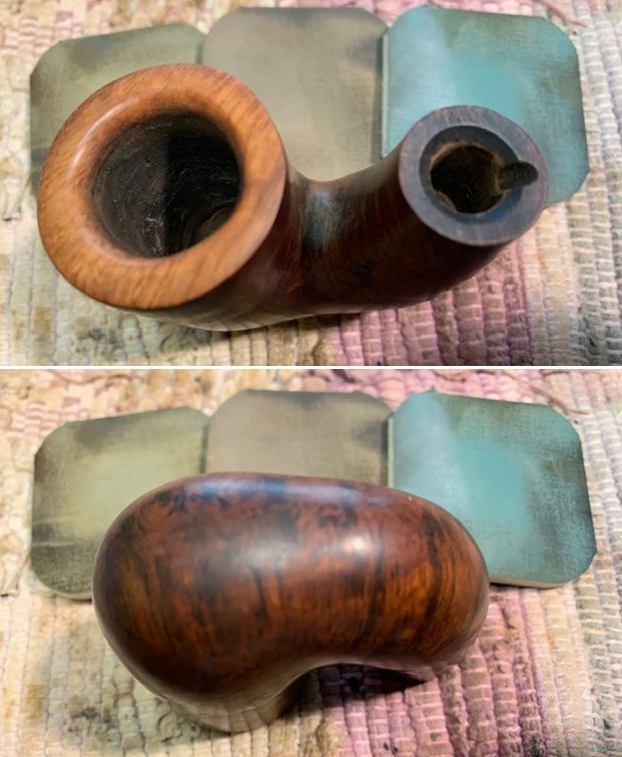
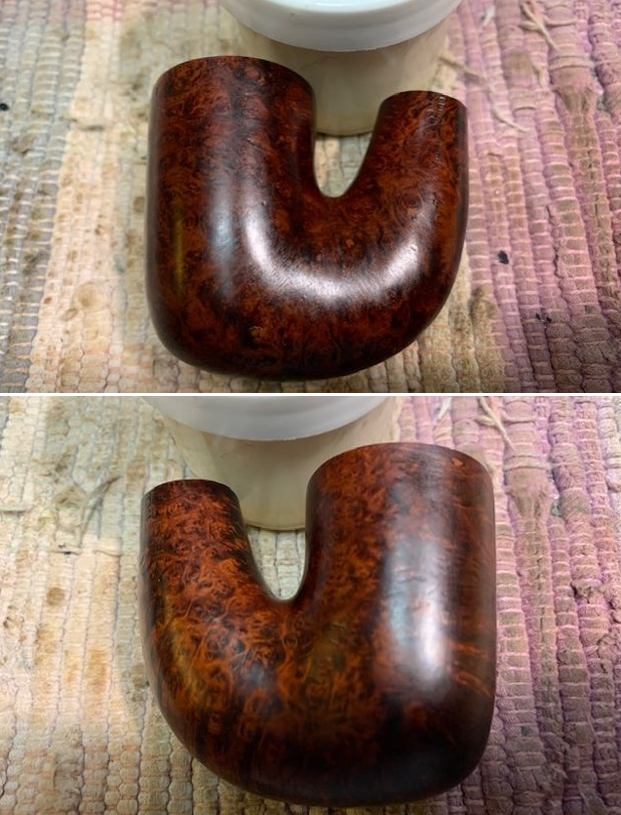
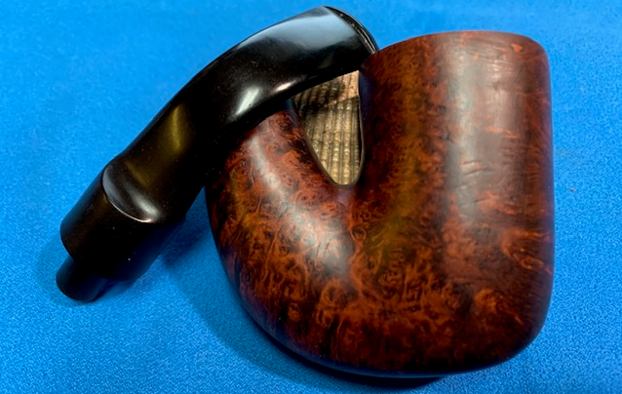
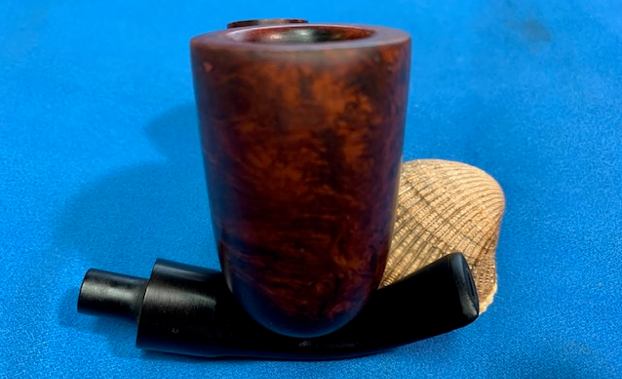
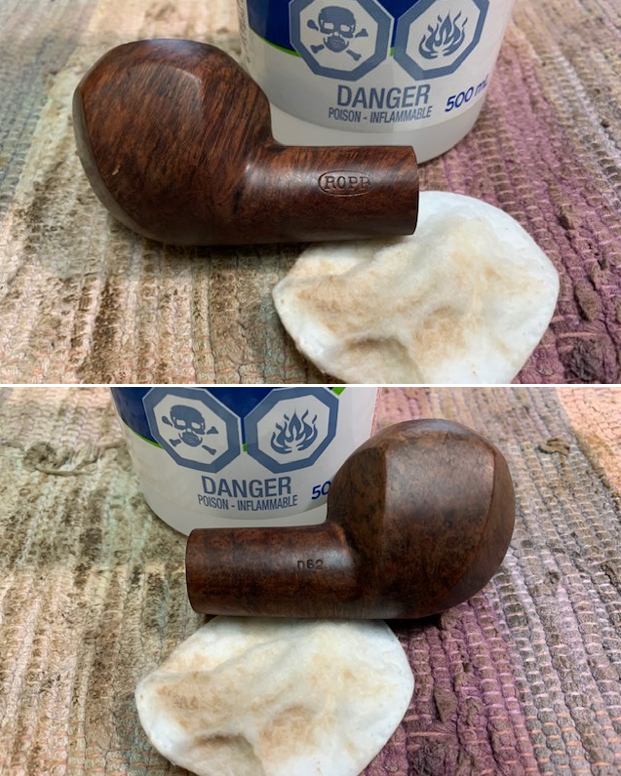
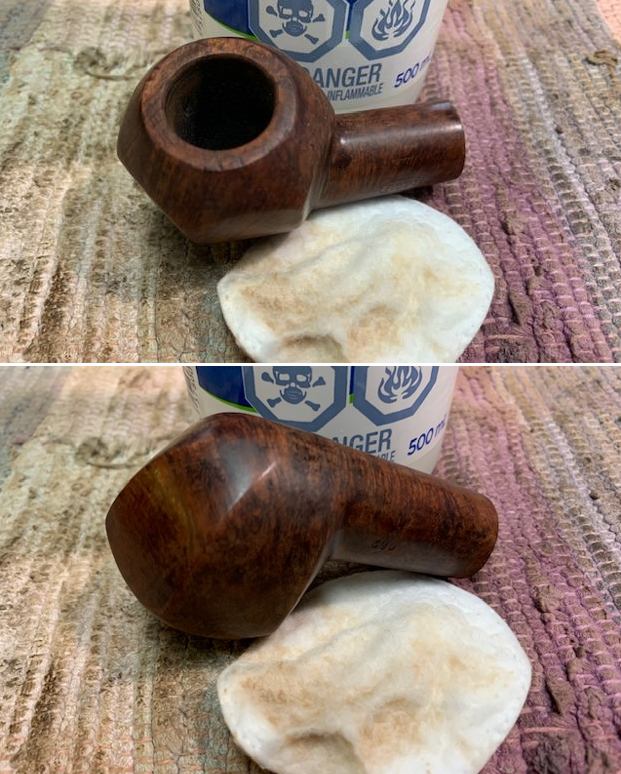
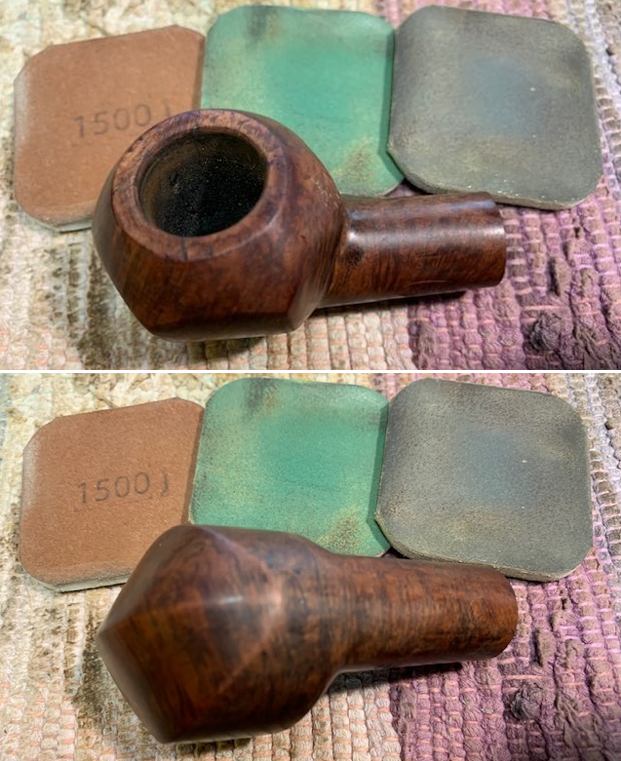
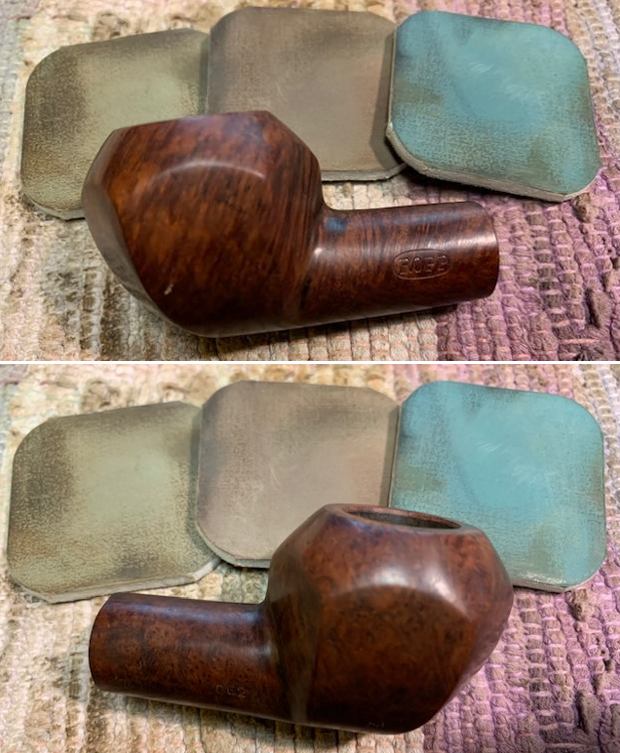
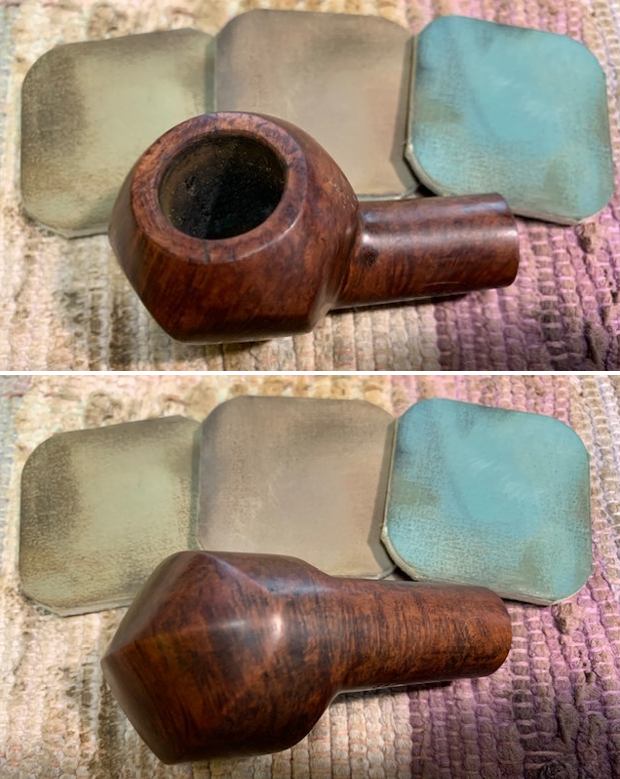
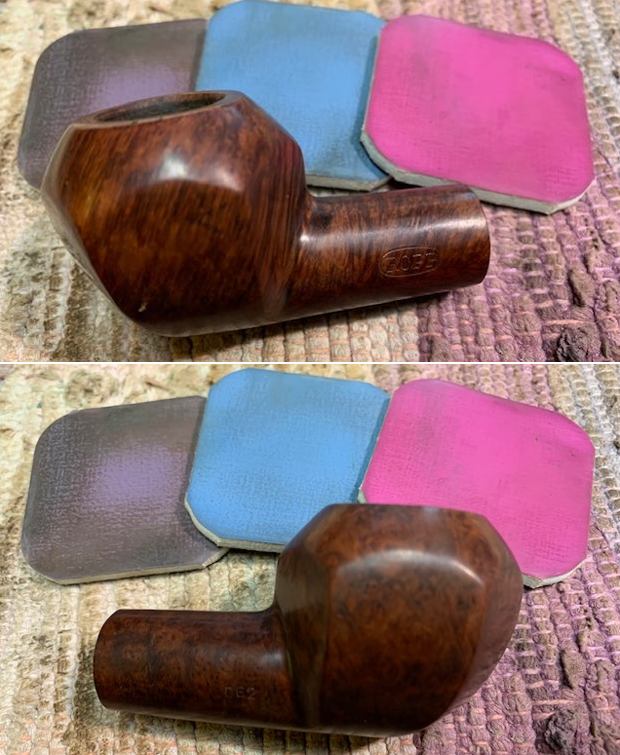
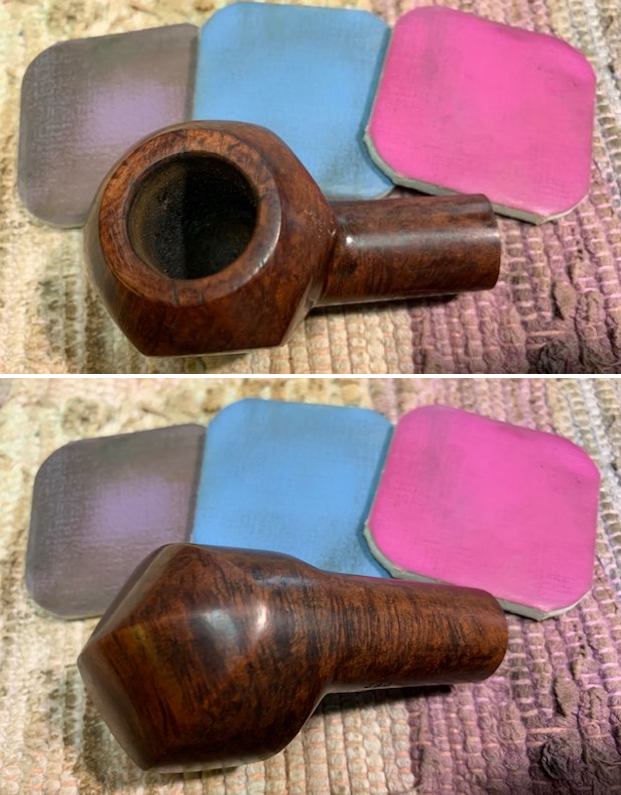
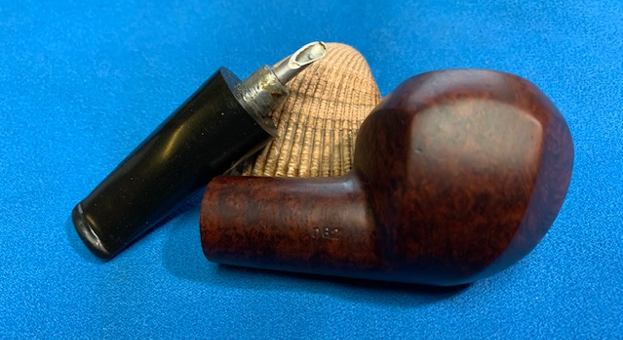
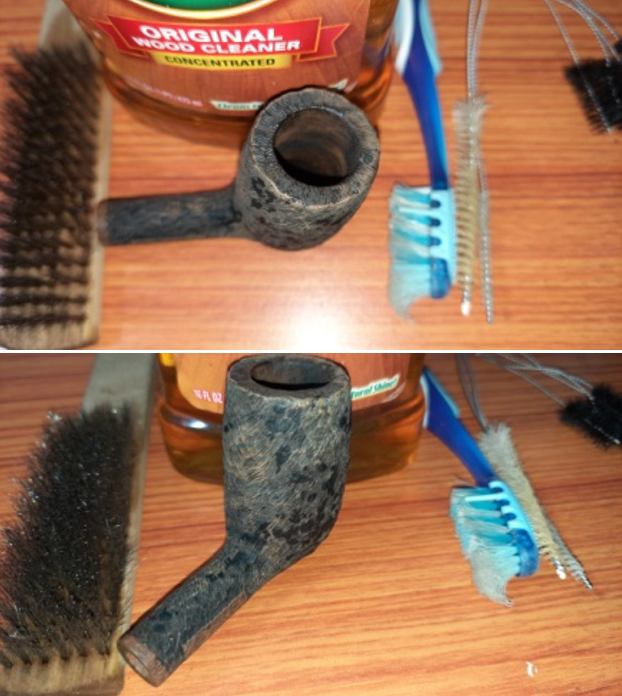
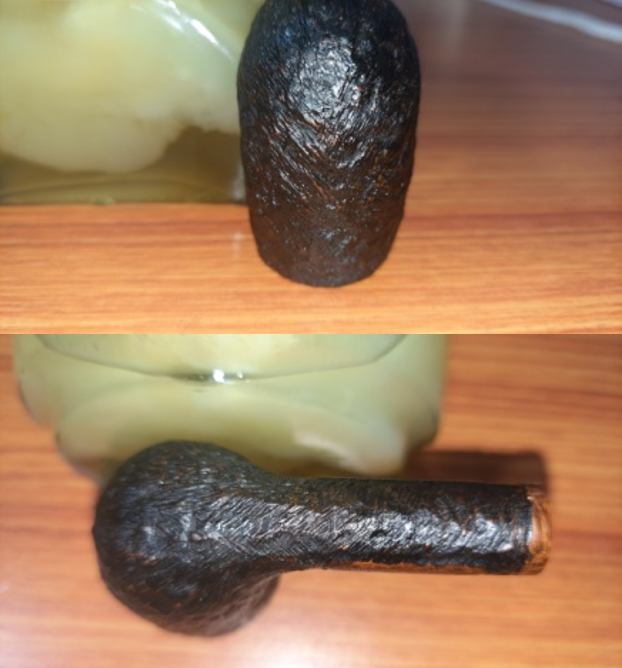
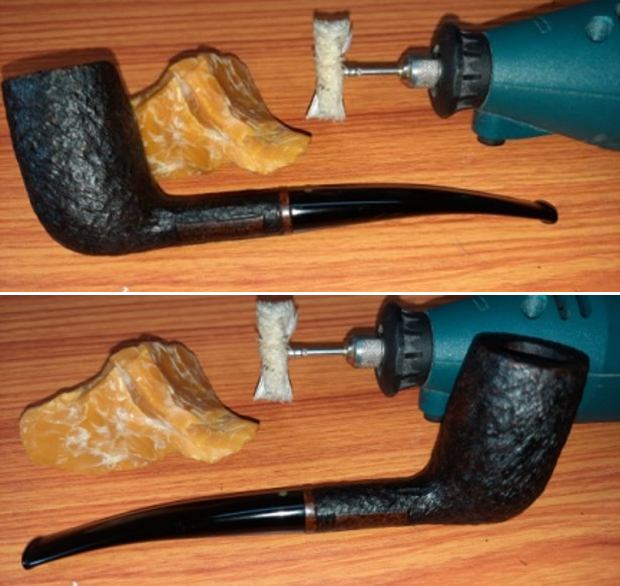
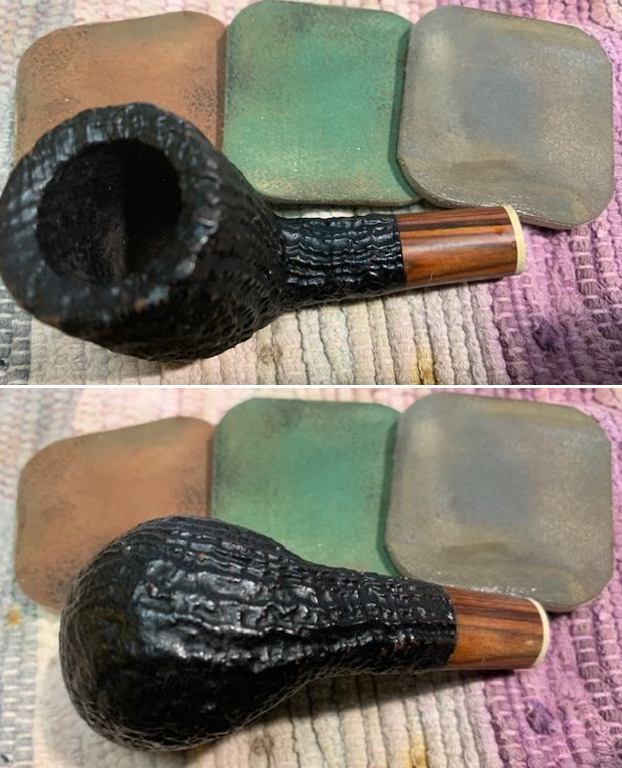
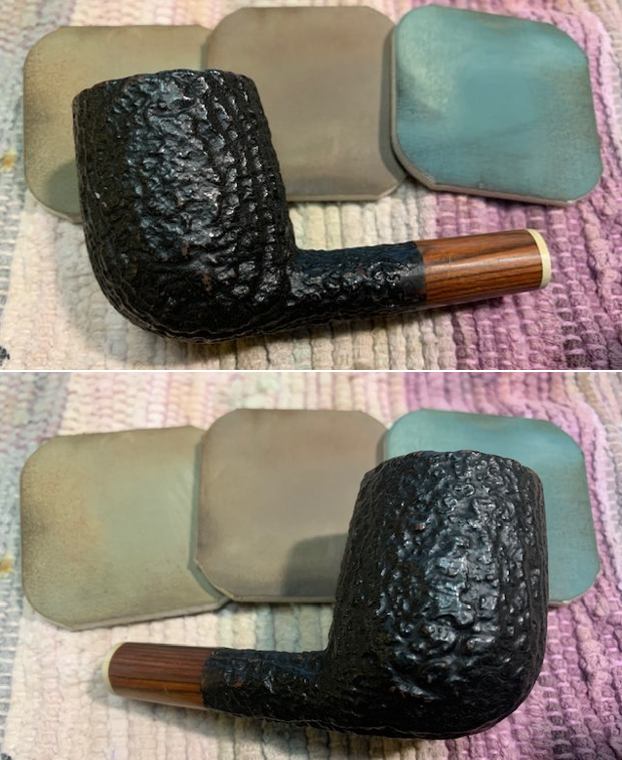
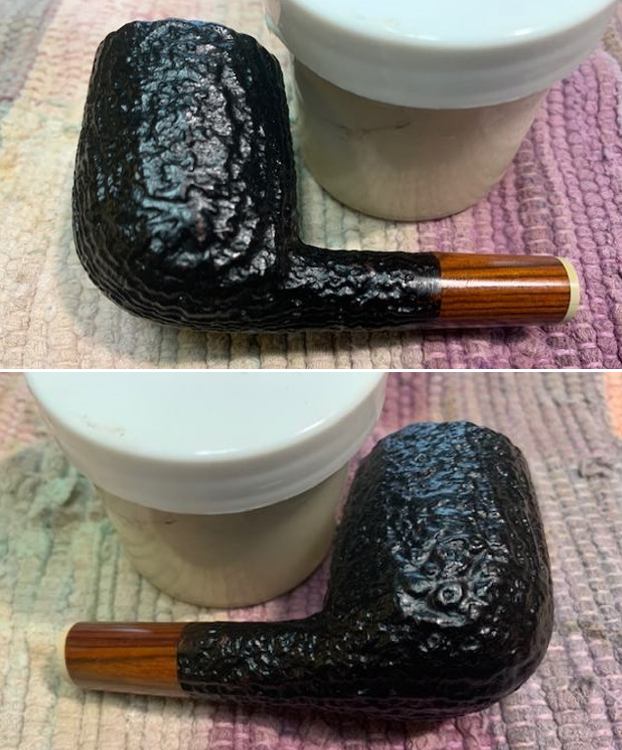
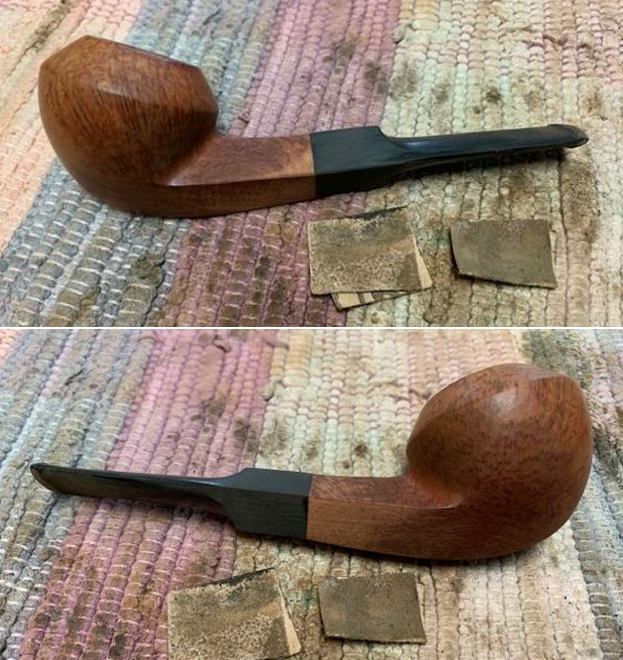
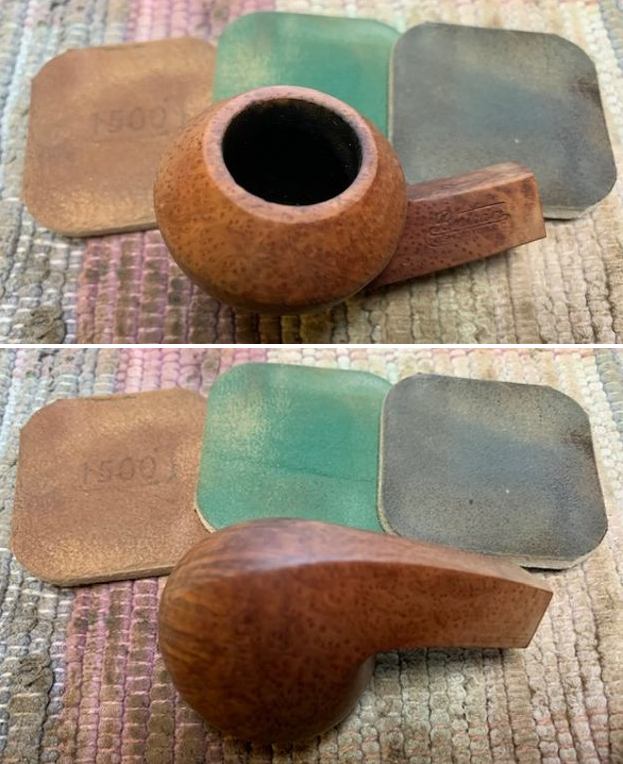
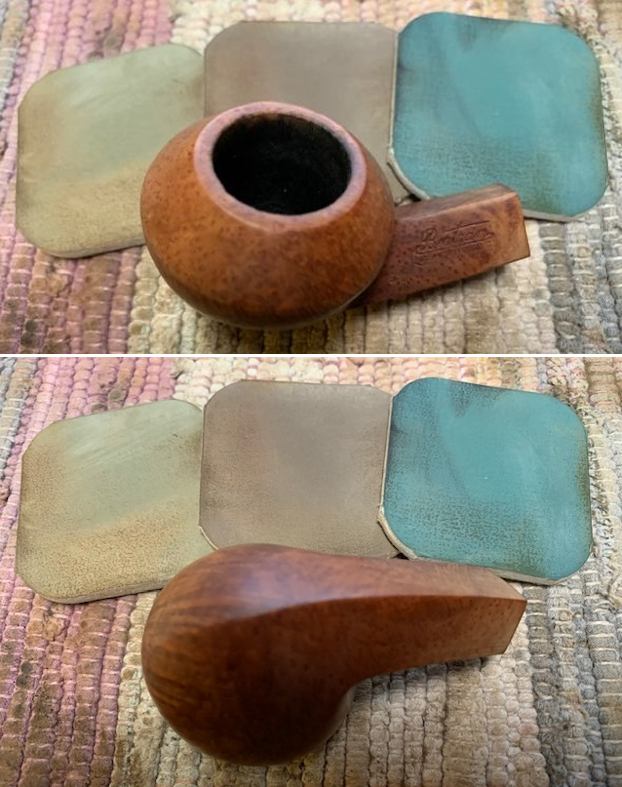
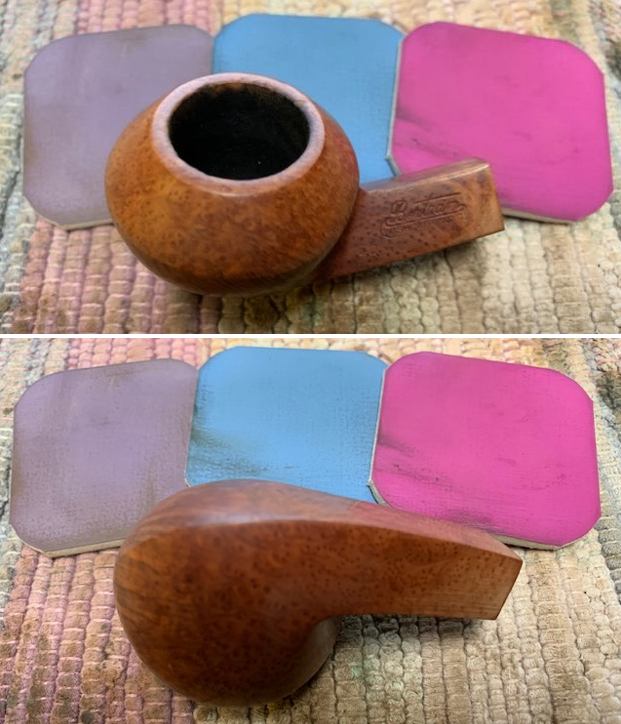
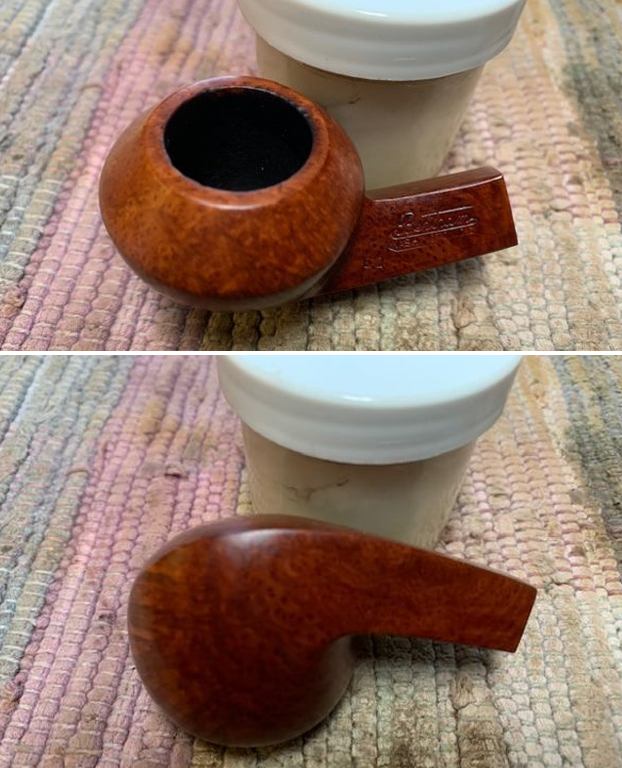
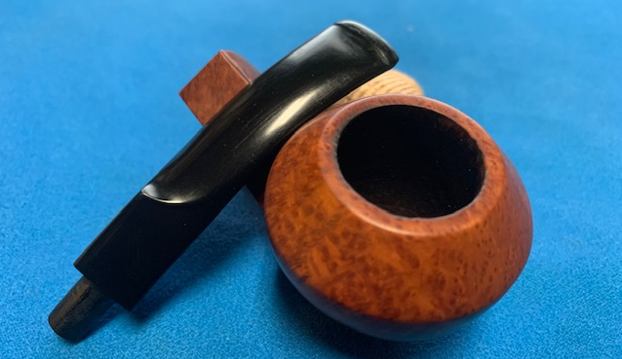
 I worked some Before & After Restoration Balm into the surface of the briar with my fingertips and a horsehair shoe brush to clean, enliven and protect the briar. I let the balm sit for 15 minutes and then buffed with a cotton cloth to raise the shine. The photos show the bowl at this point in the restoration process.
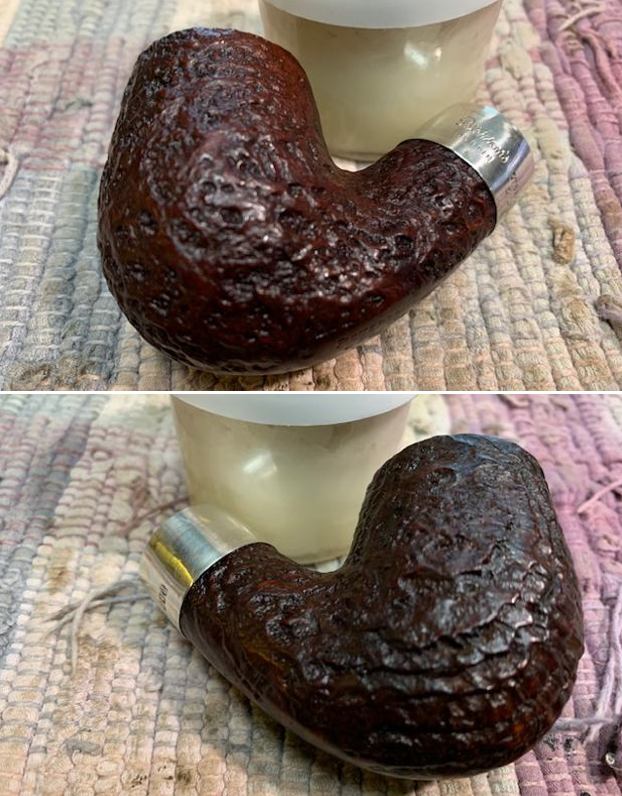
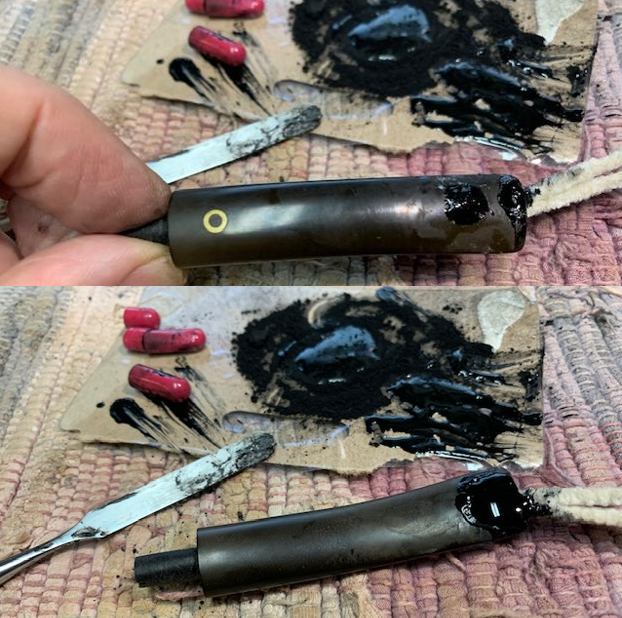
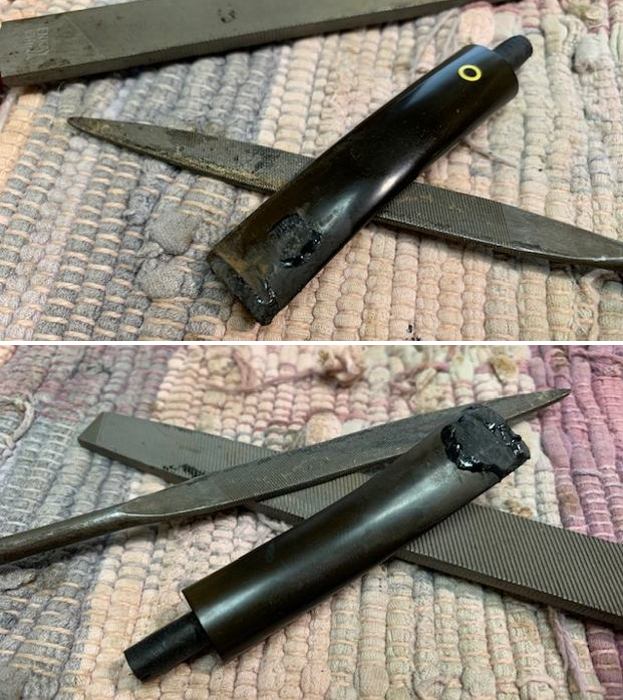
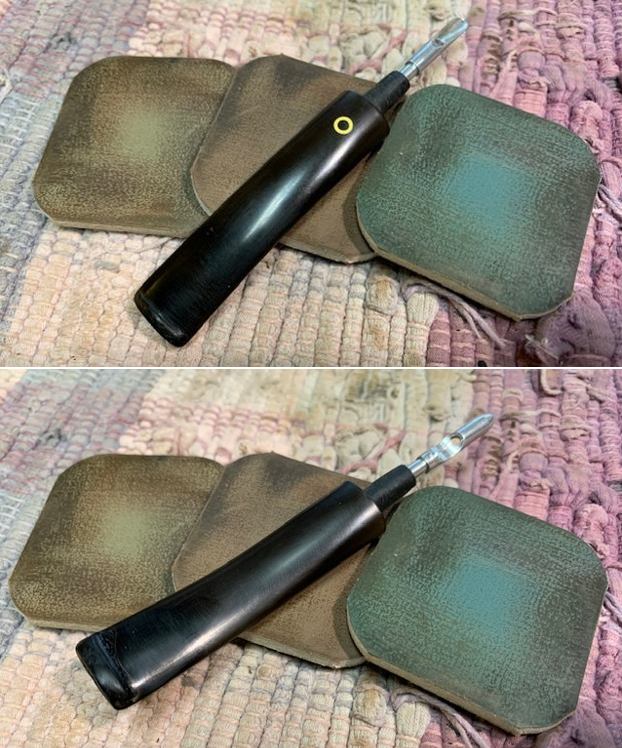
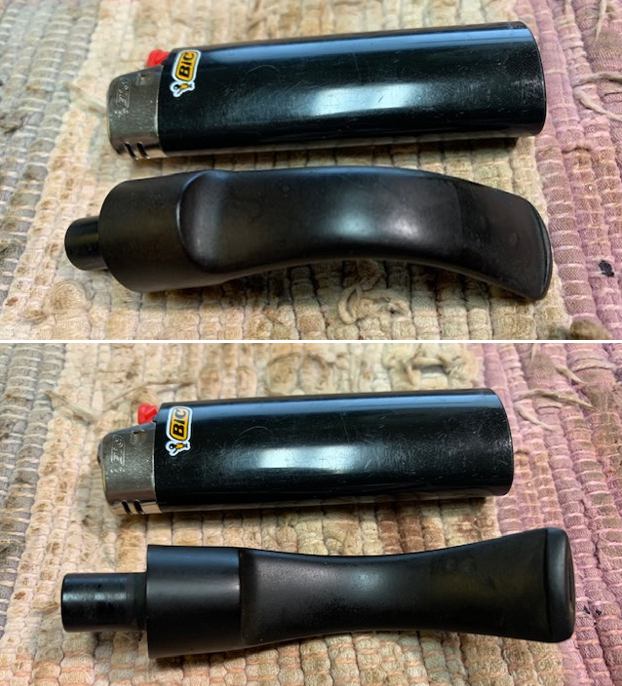
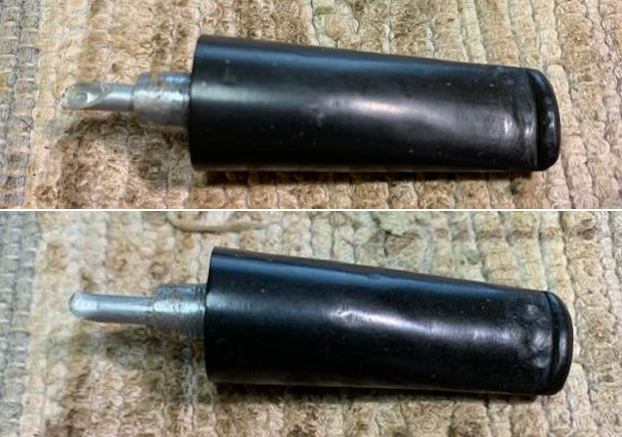
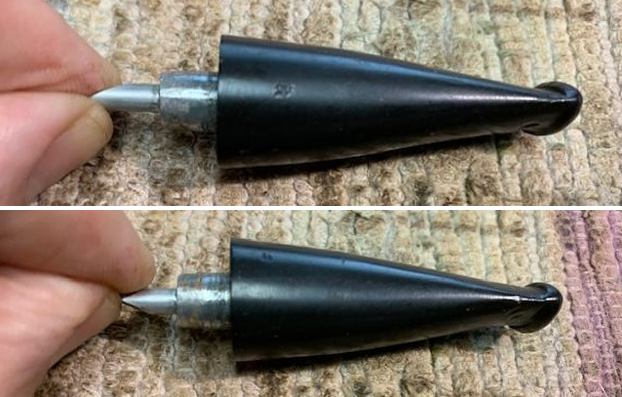
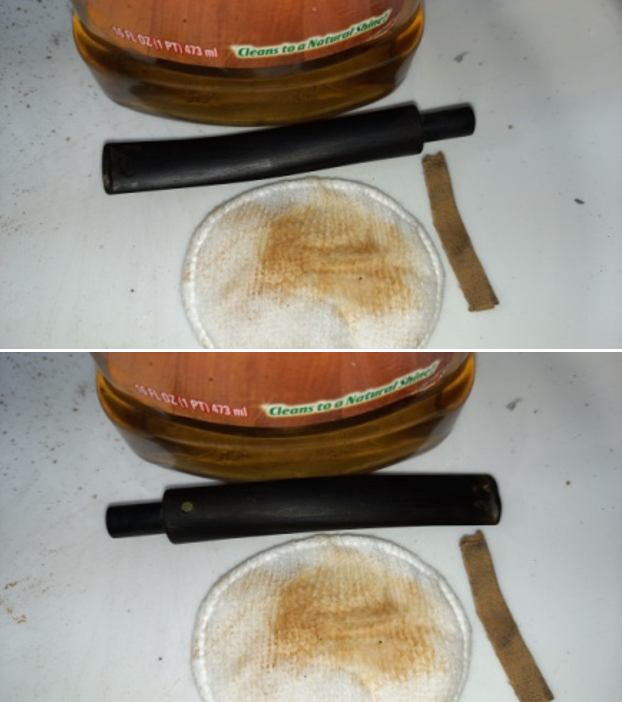
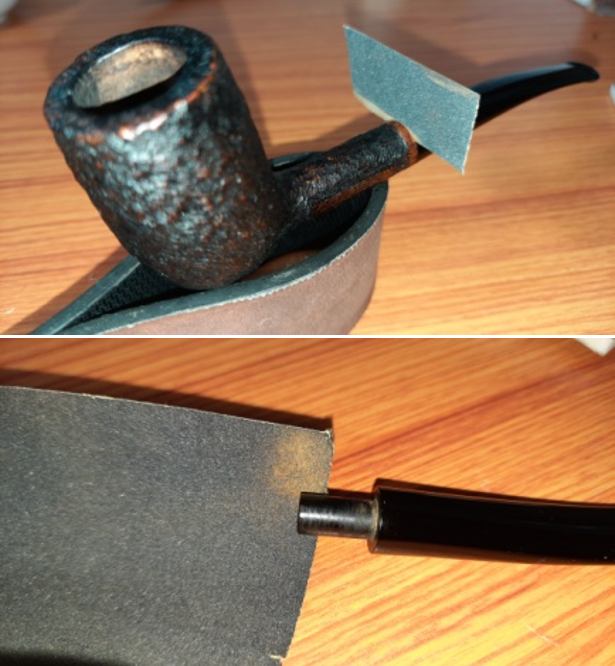
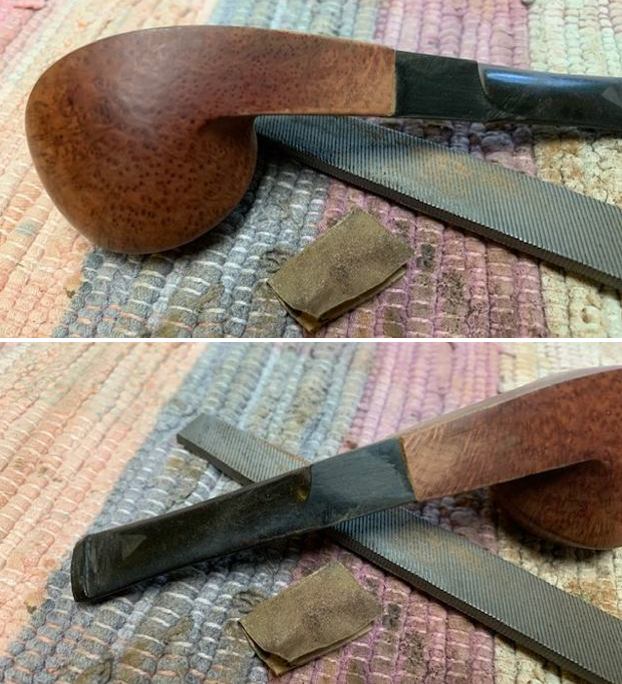
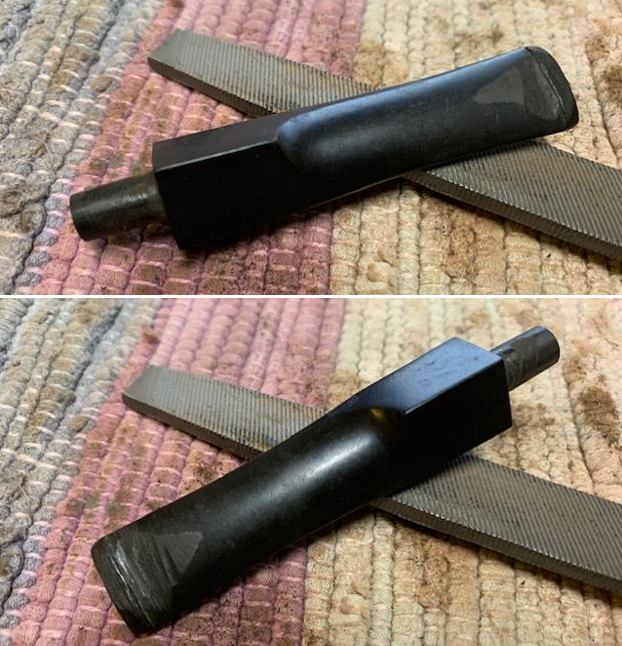
 I scrubbed the surface of the stem with Soft Scrub Cleanser to remove the oxidation on the surface of the vulcanite.
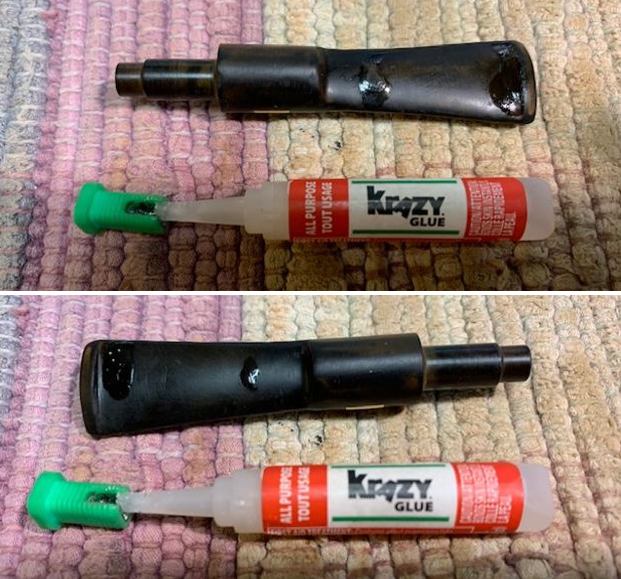
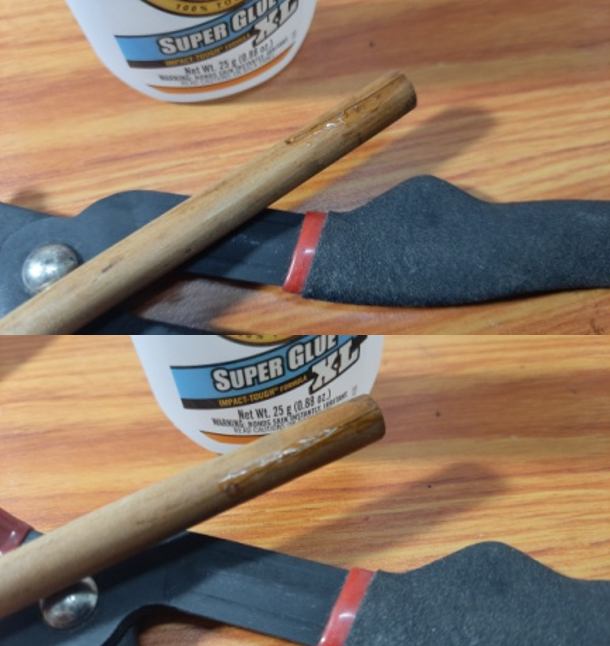
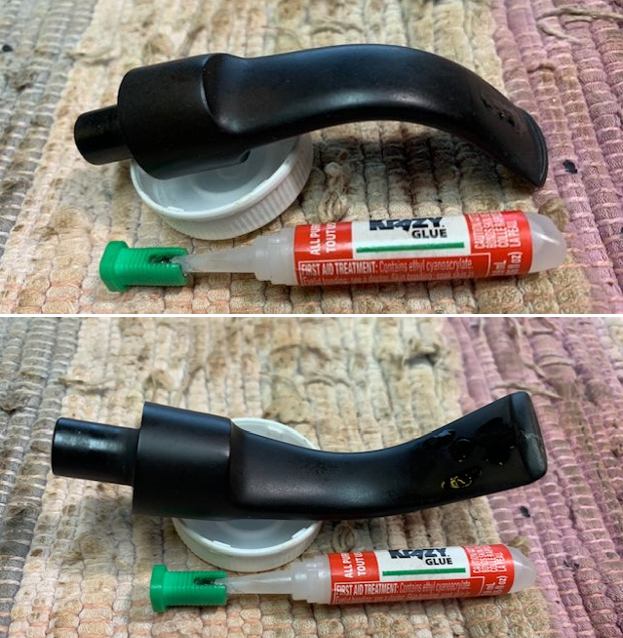
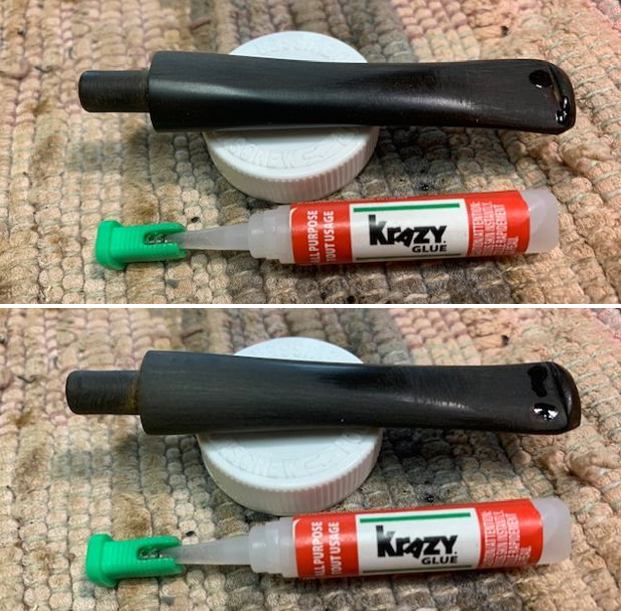
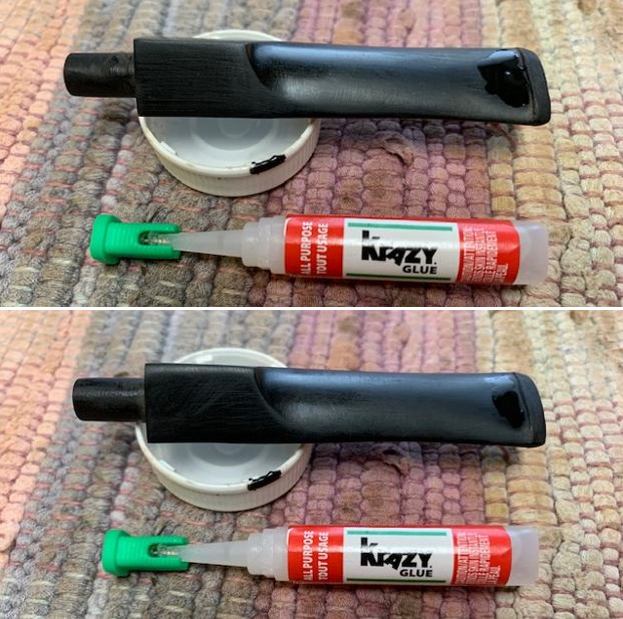
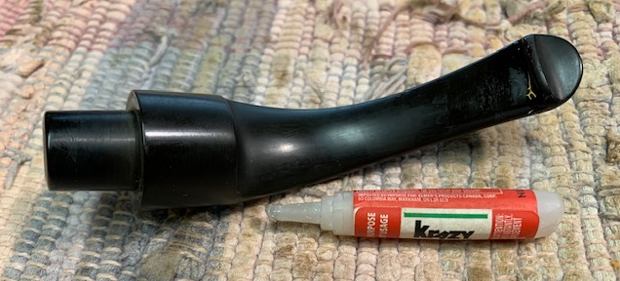
 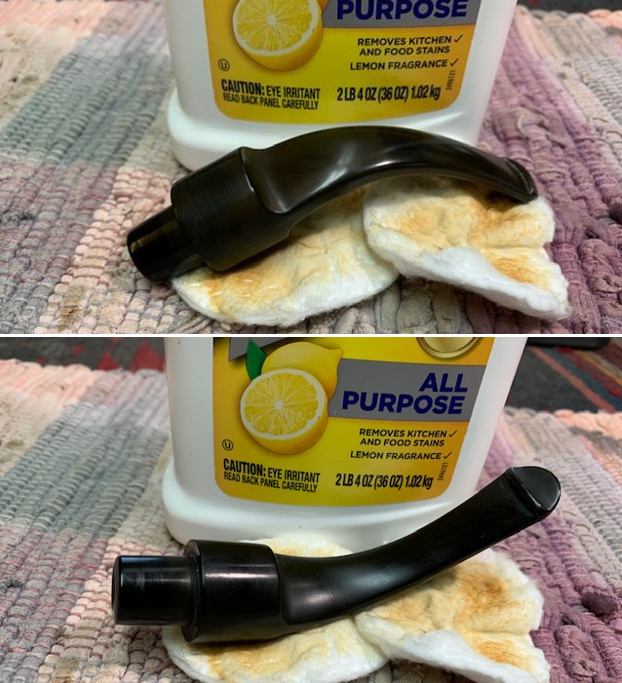 I “painted” the tooth marks on the vulcanite with the flame of a lighter and was able to lift all of them on the topside. There was one against the edge of the button on the underside that did not lift all the way. I filled it in with a drop of clear CA glue and set it aside to cure.
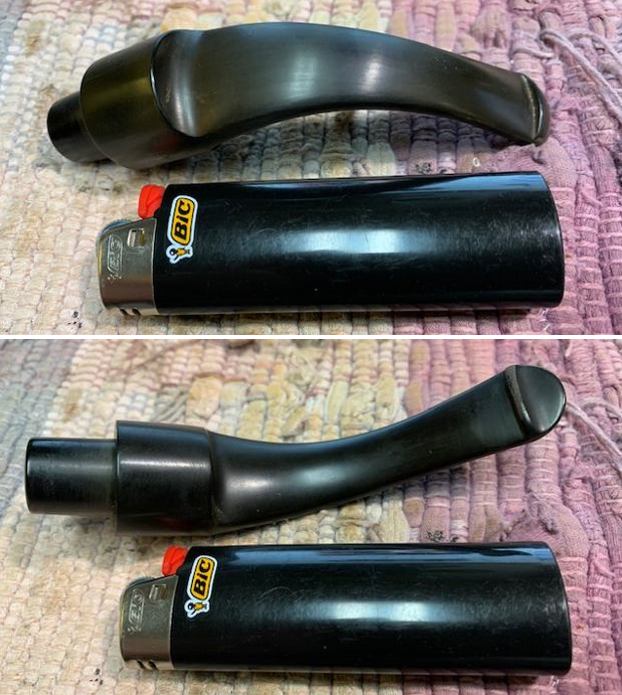
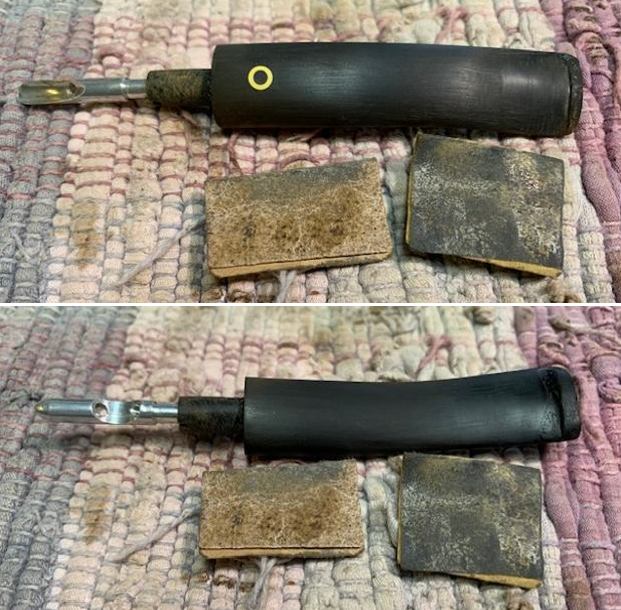
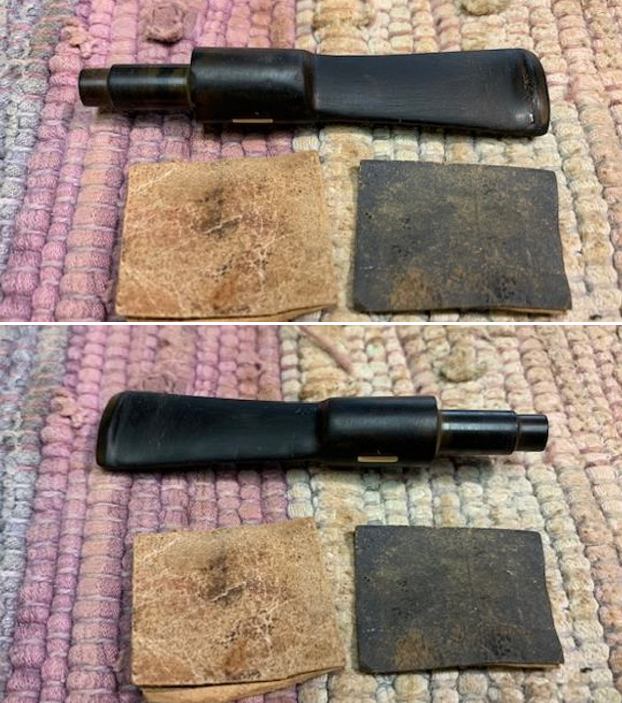
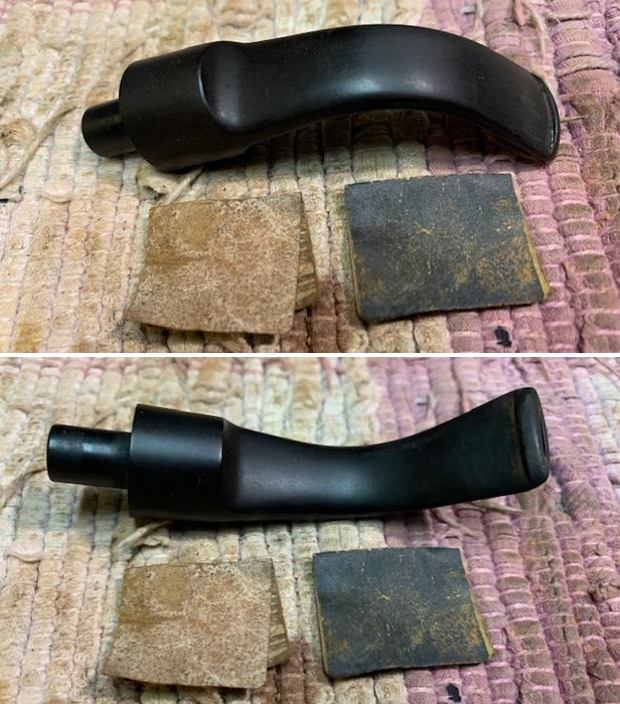
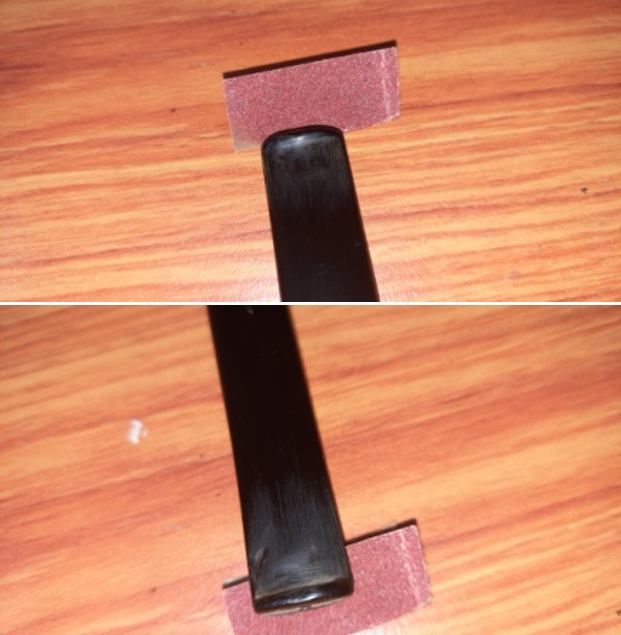
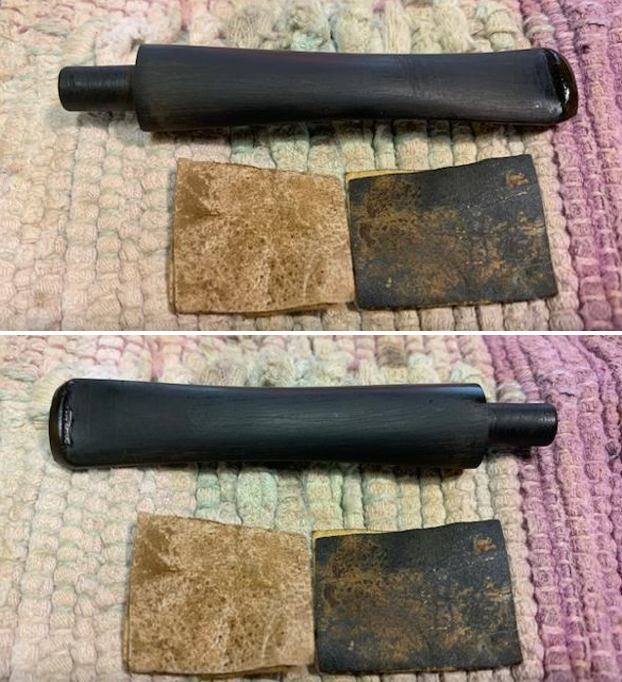
 I used a folded piece of 220 grit sandpaper to smooth out the repair and then started polishing it with 400 grit wet dry sandpaper.
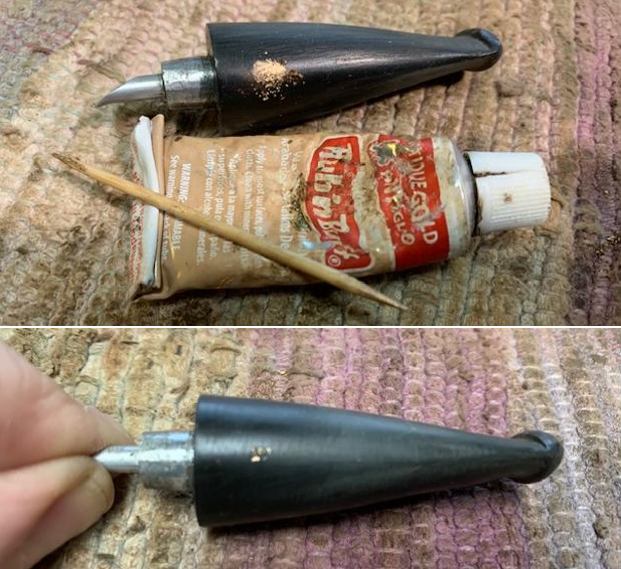
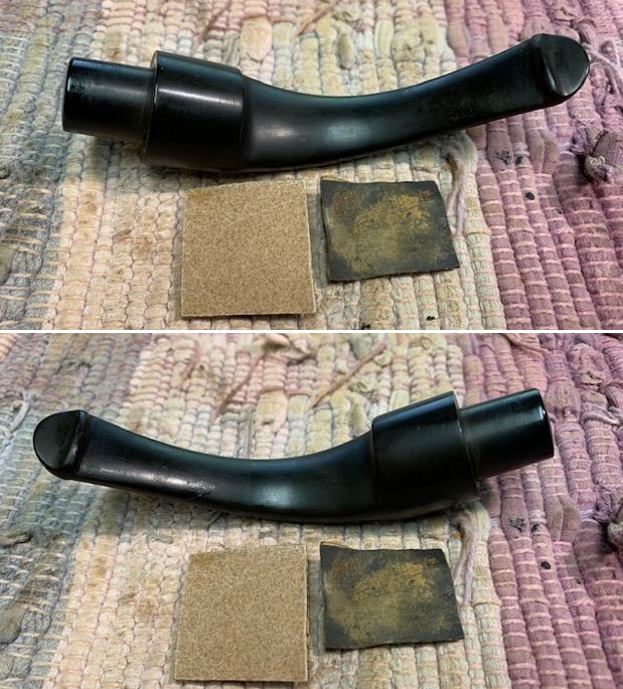 I painted the “P” stamp on the left side of the saddle stem with white acrylic fingernail polish. I worked it into the stamp with a tooth pick. I scratched off the excess acrylic with the tooth pick and a fingernail. It looked better though the curve of the right side of the “P” was faint.
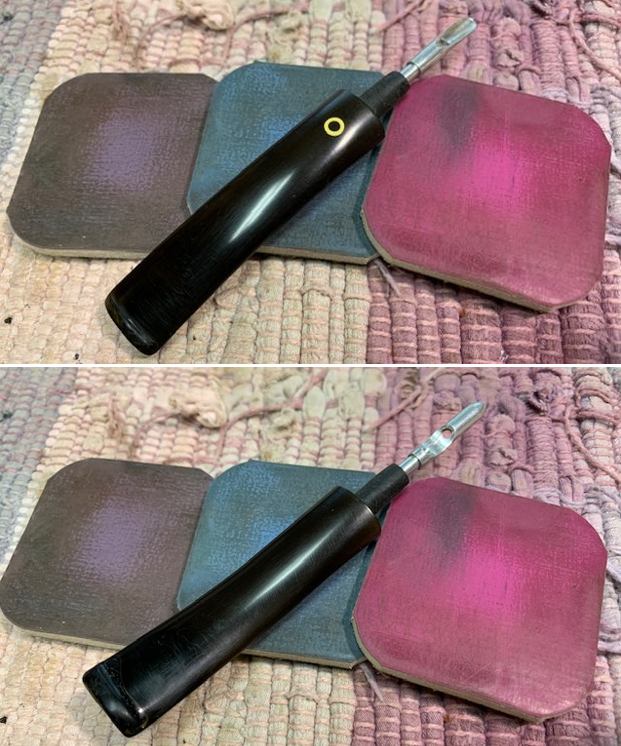
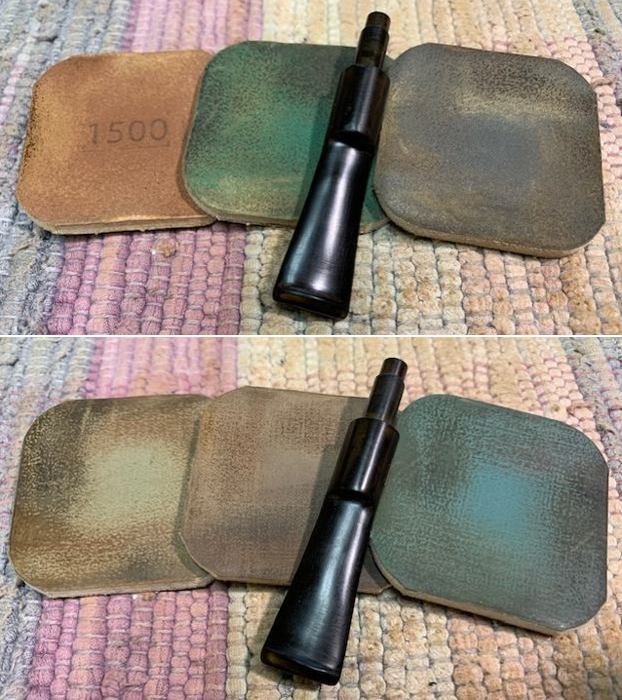
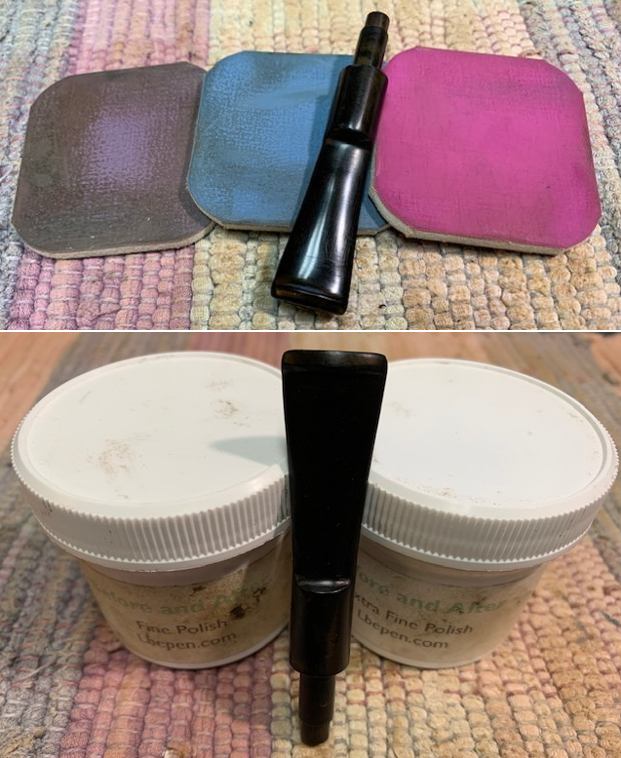
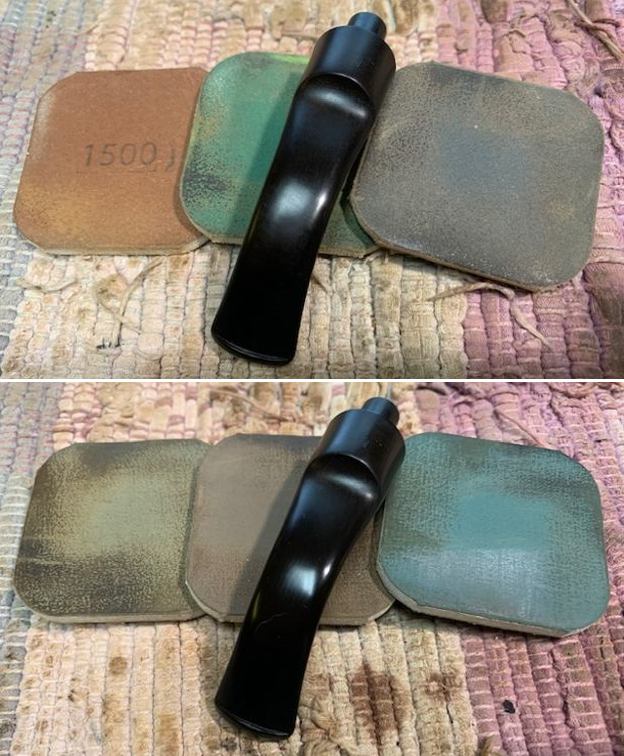
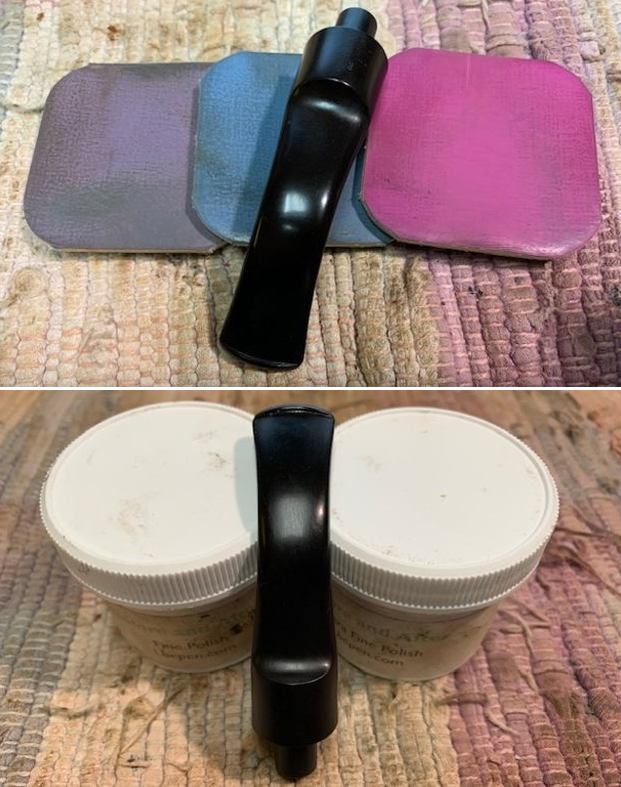
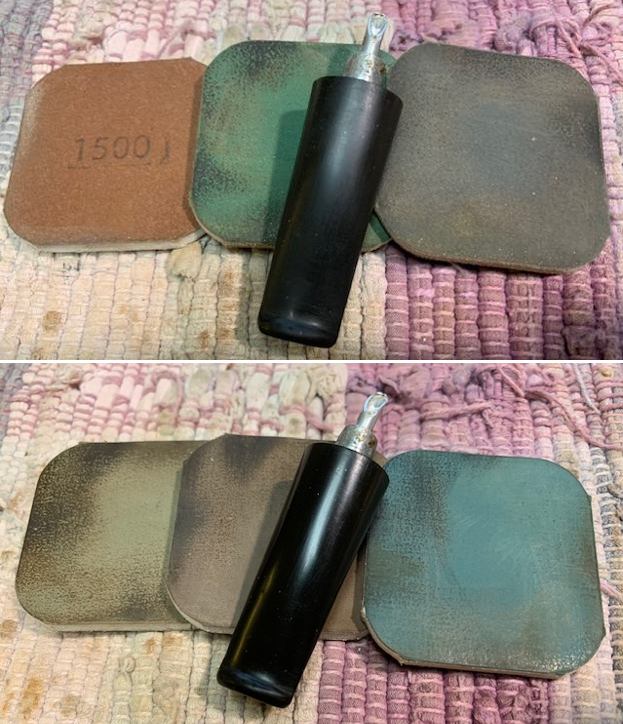
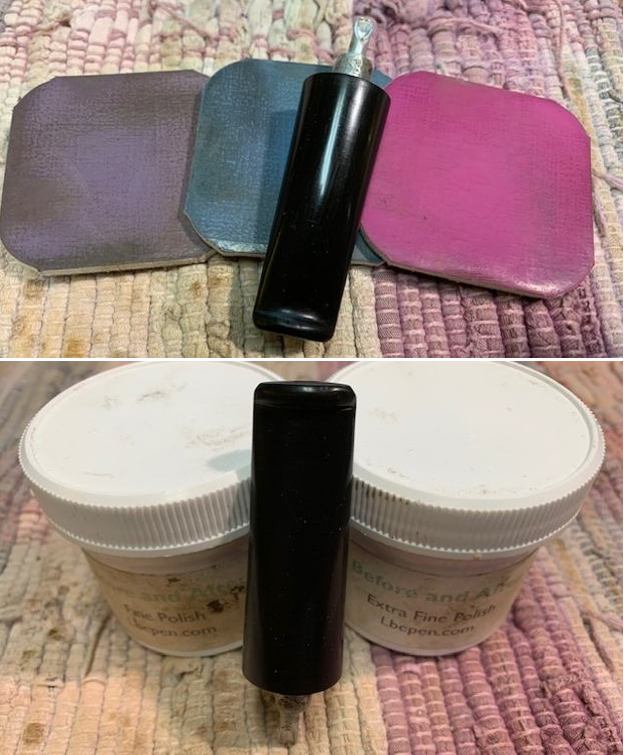
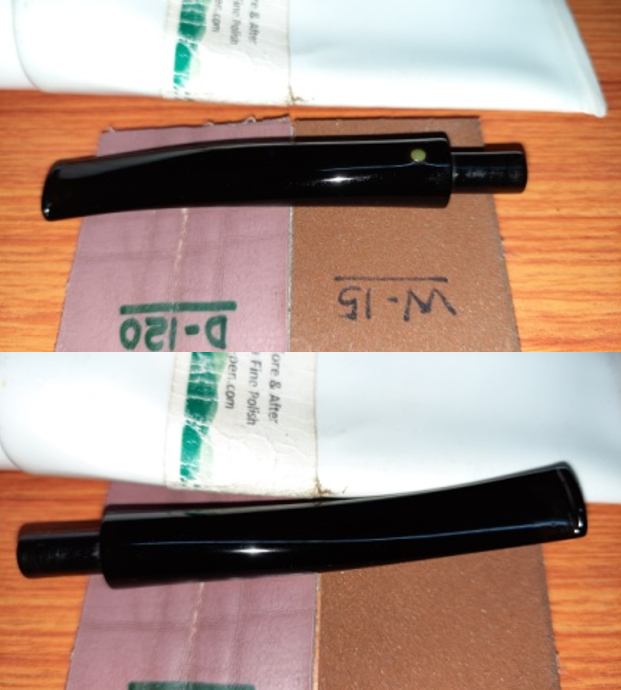
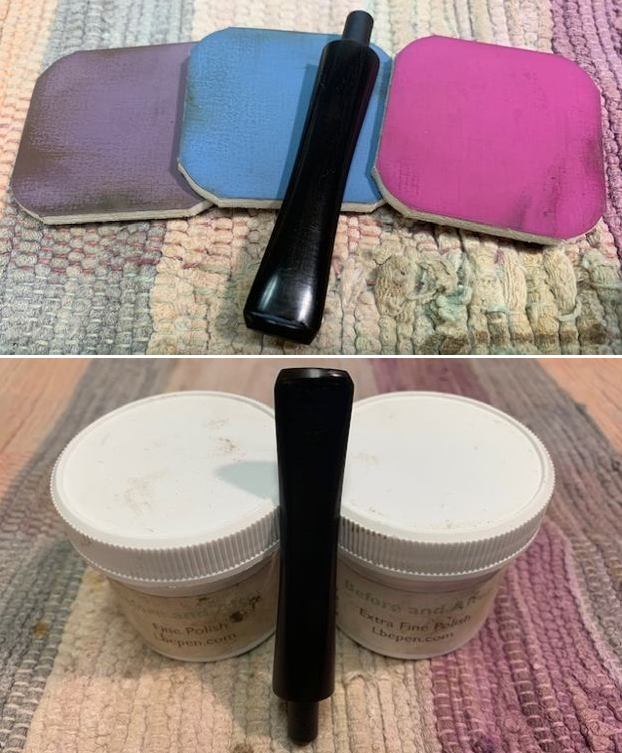
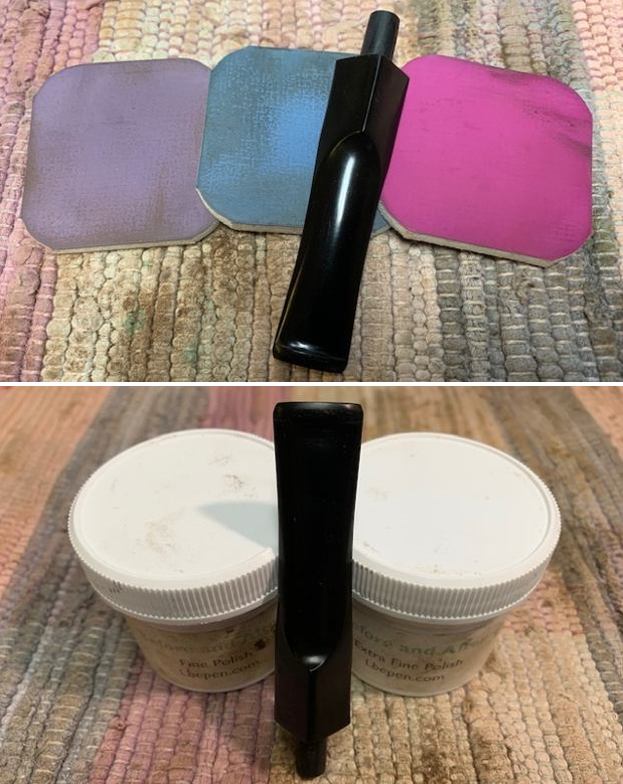
 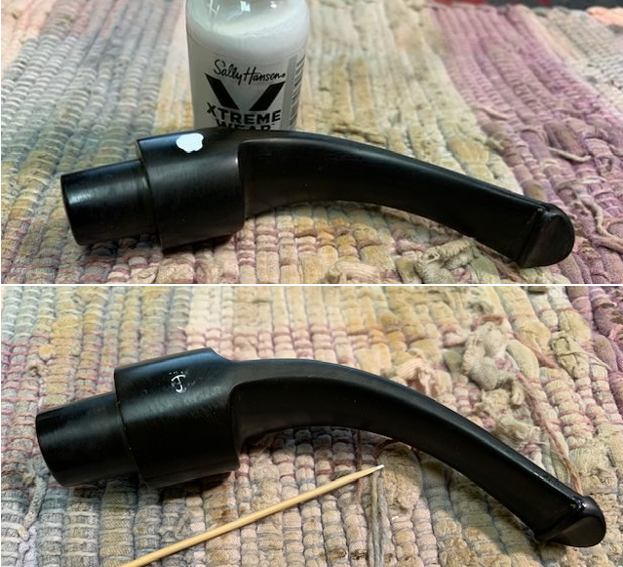 I polished the stem with micromesh sanding pads – wet sanding with 1500-12000 grit sanding pads. I wiped it down after each sanding pad with Obsidian Oil. I polished it with Before & After Pipe Stem Polish – both Fine and Extra Fine.
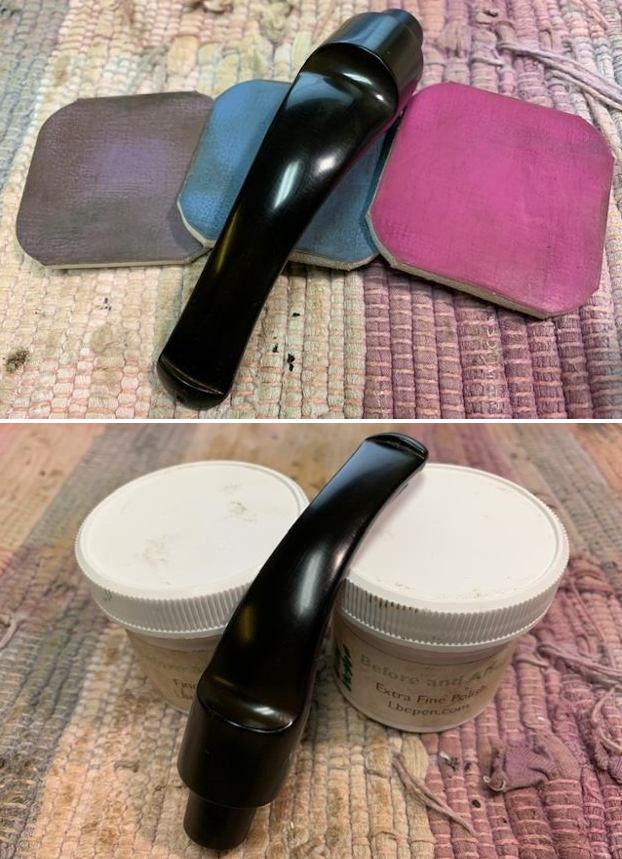
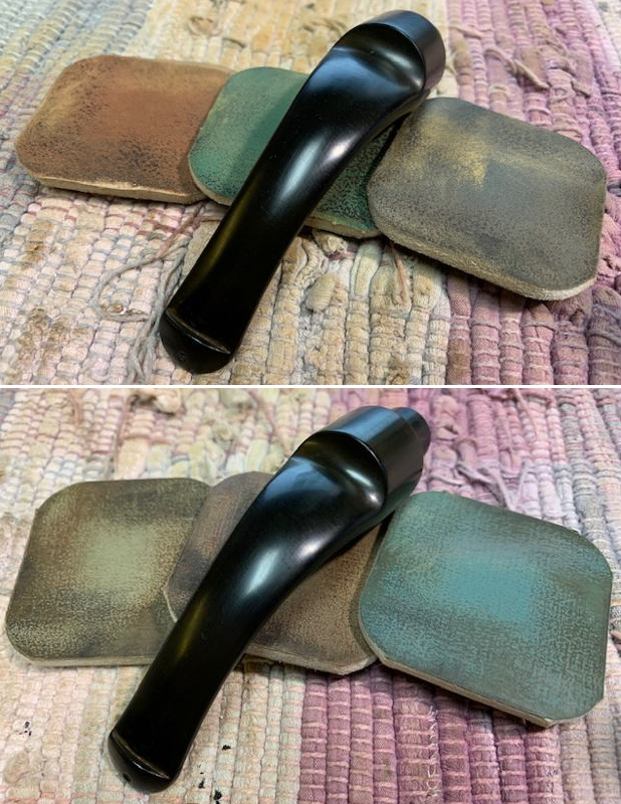
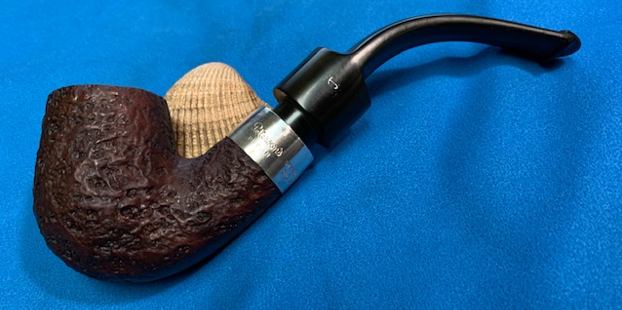
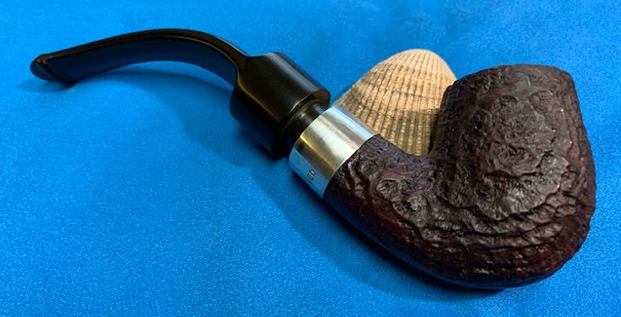
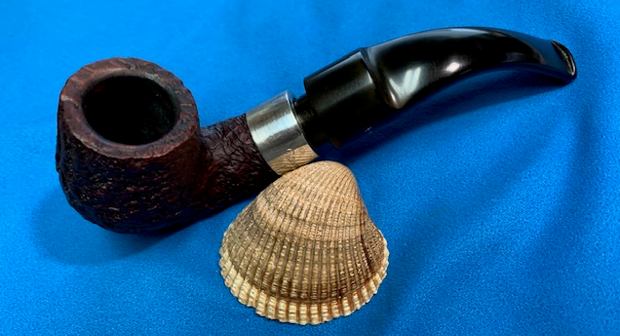
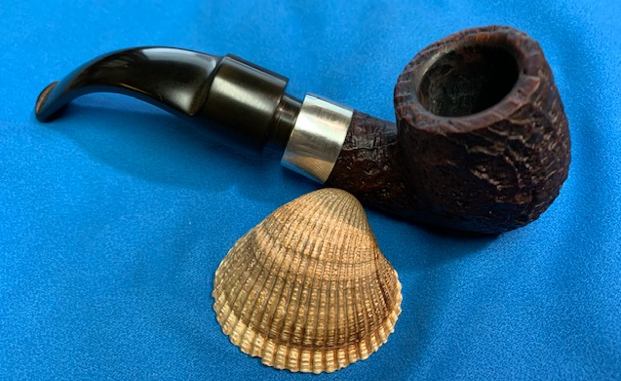
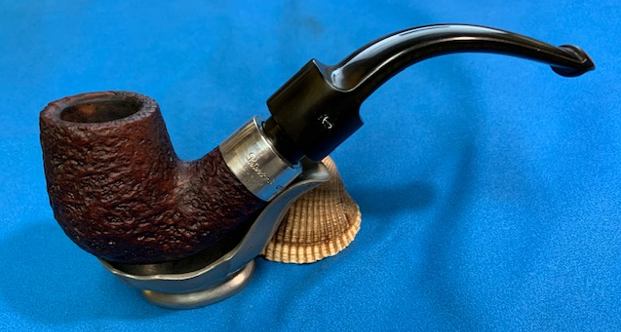
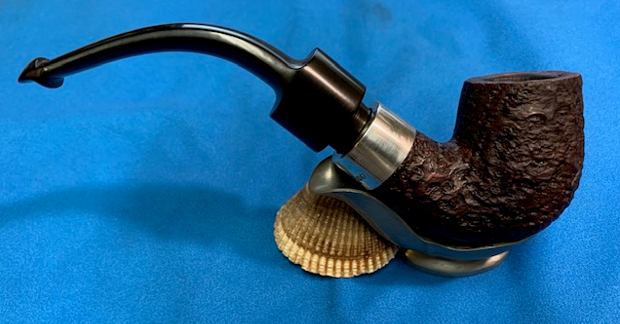
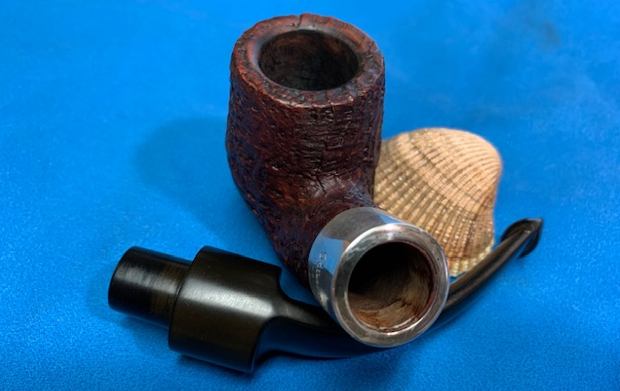
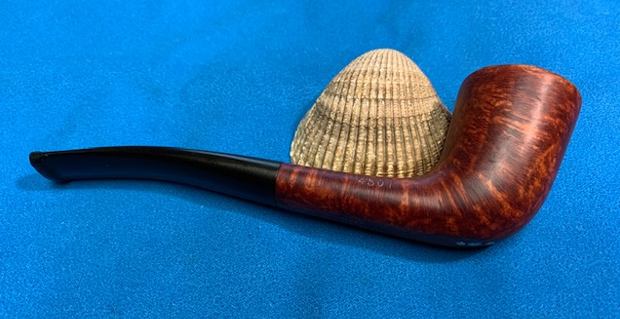
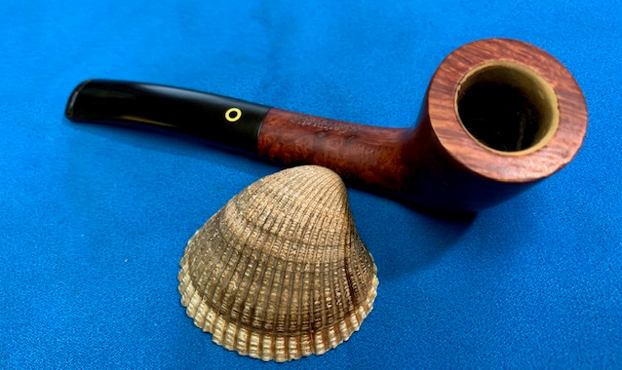
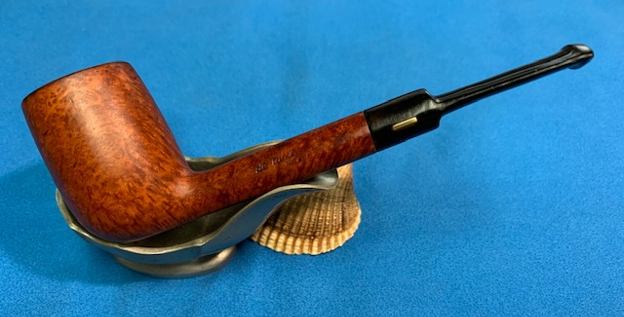
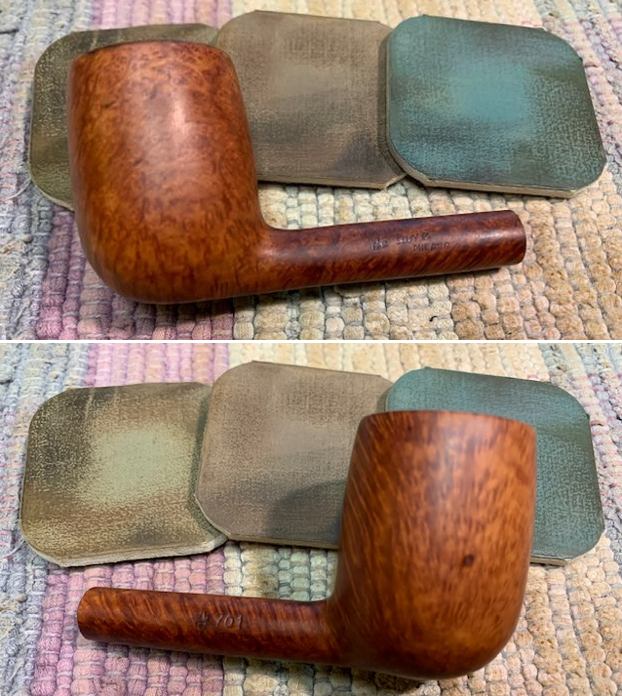
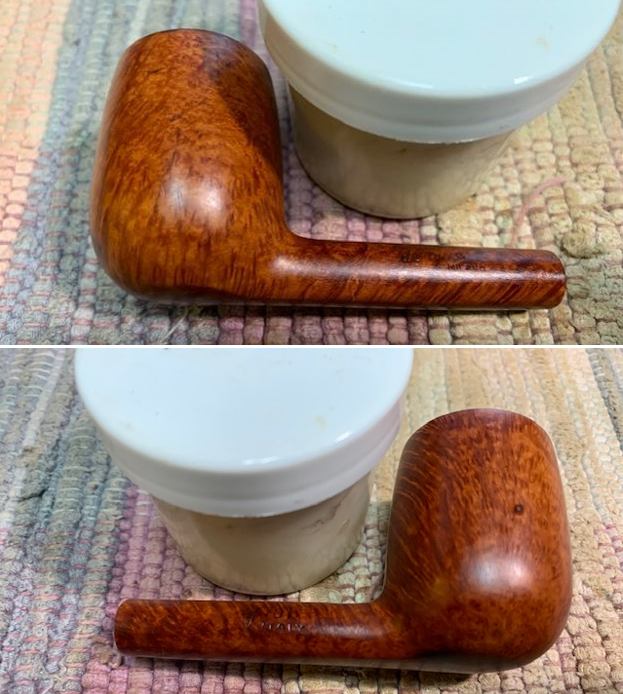
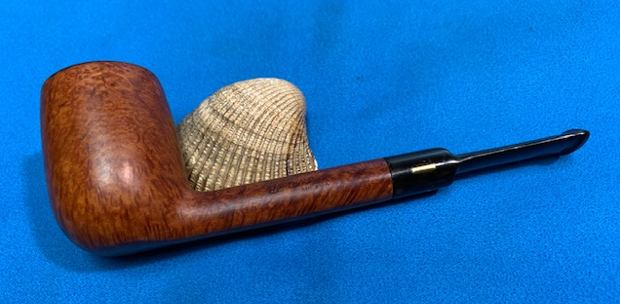
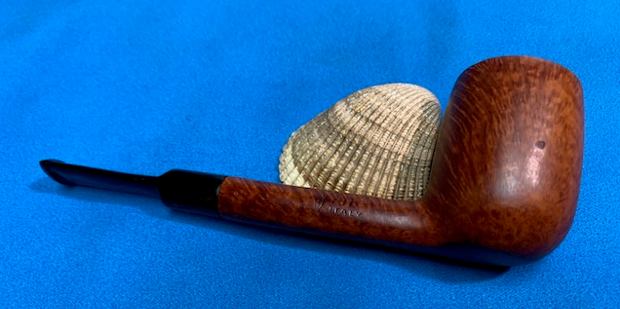
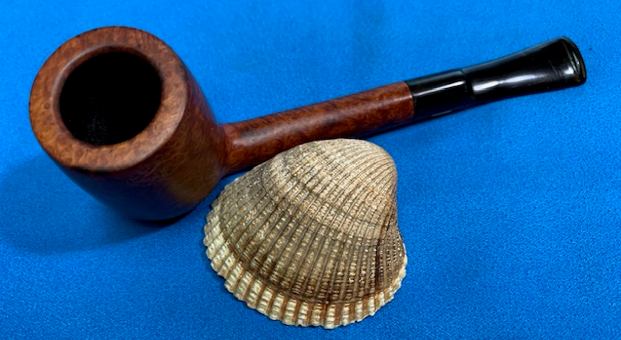
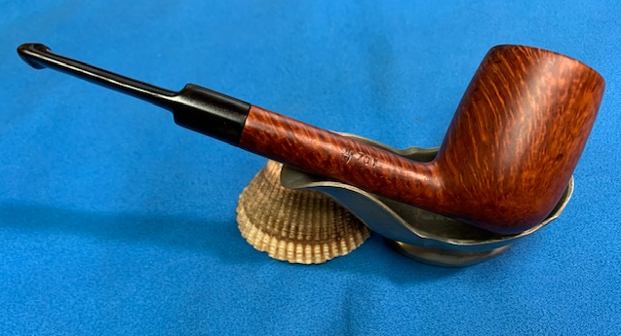
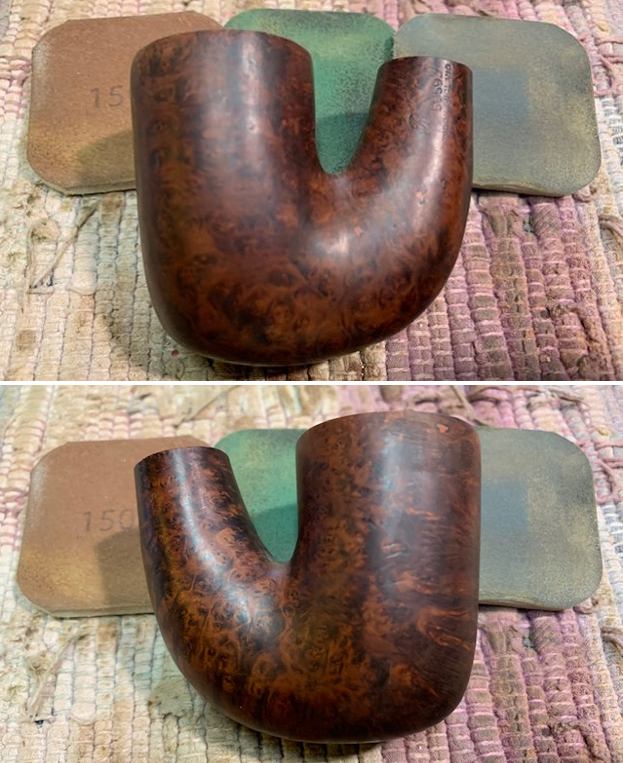
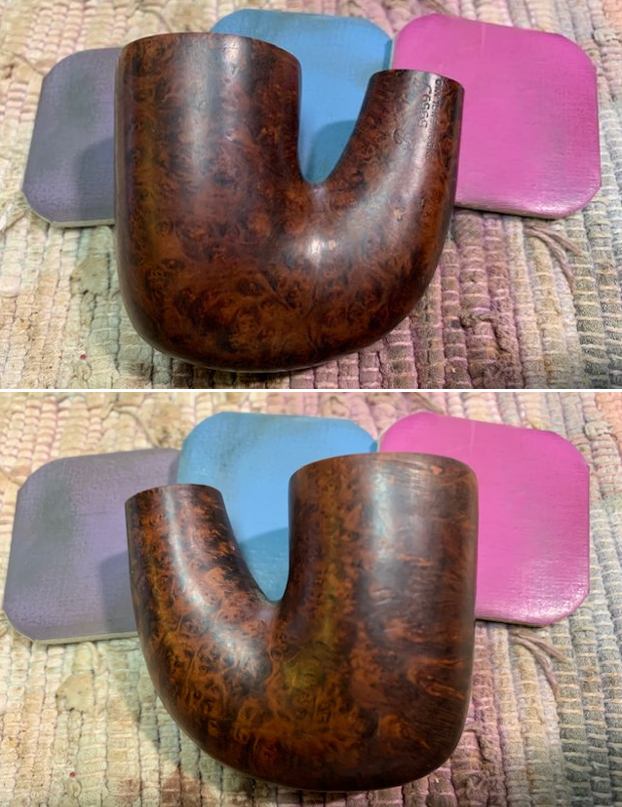
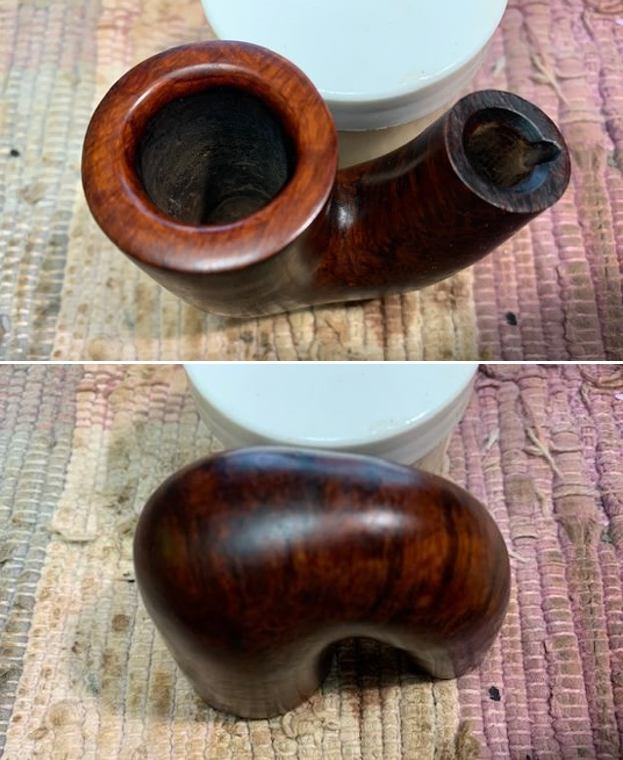
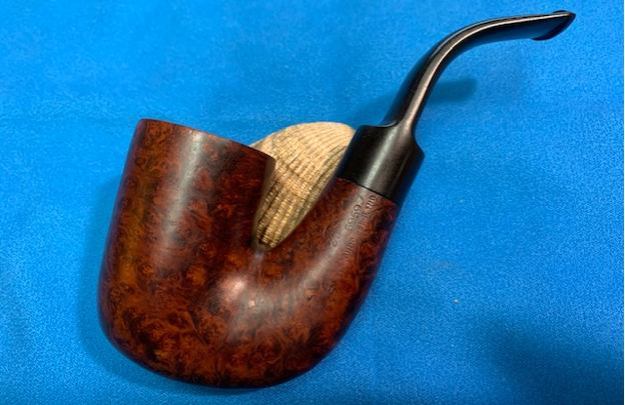
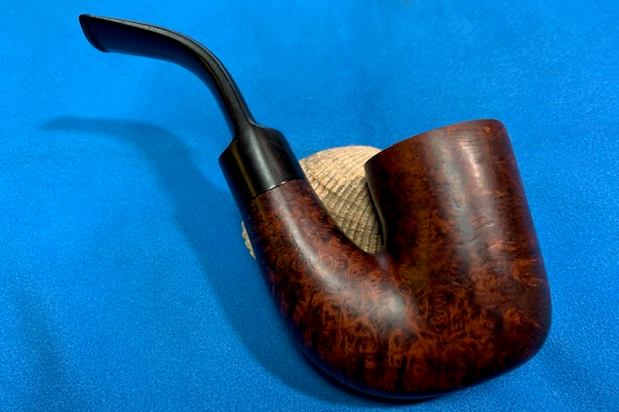
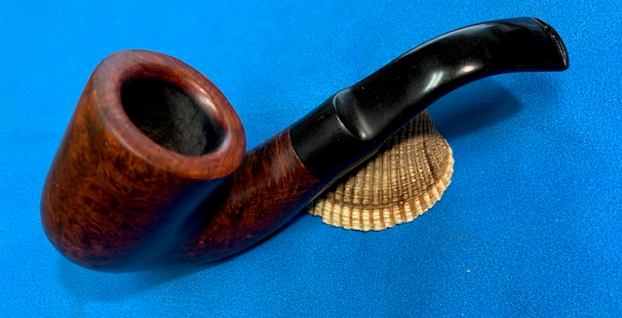
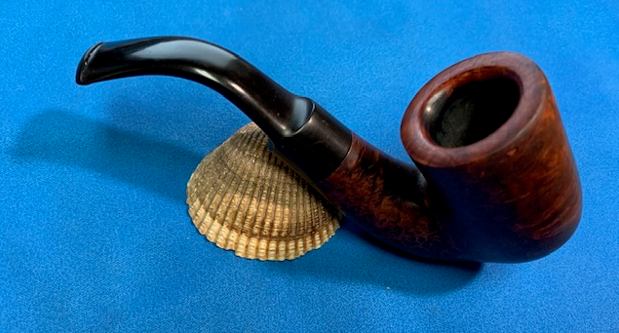
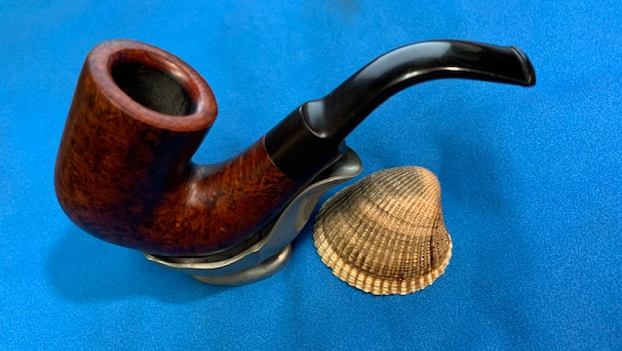
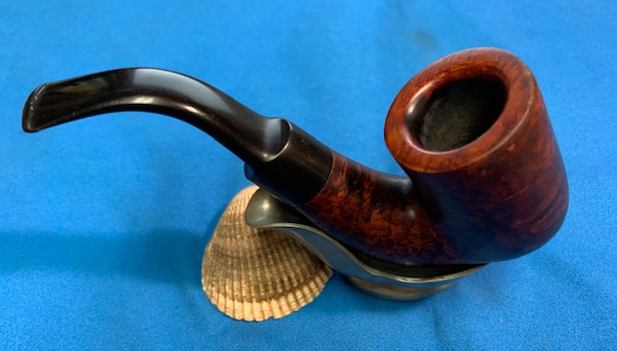
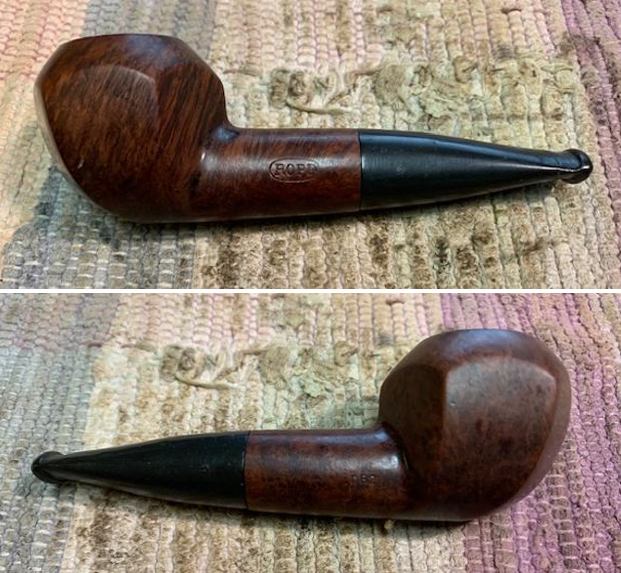
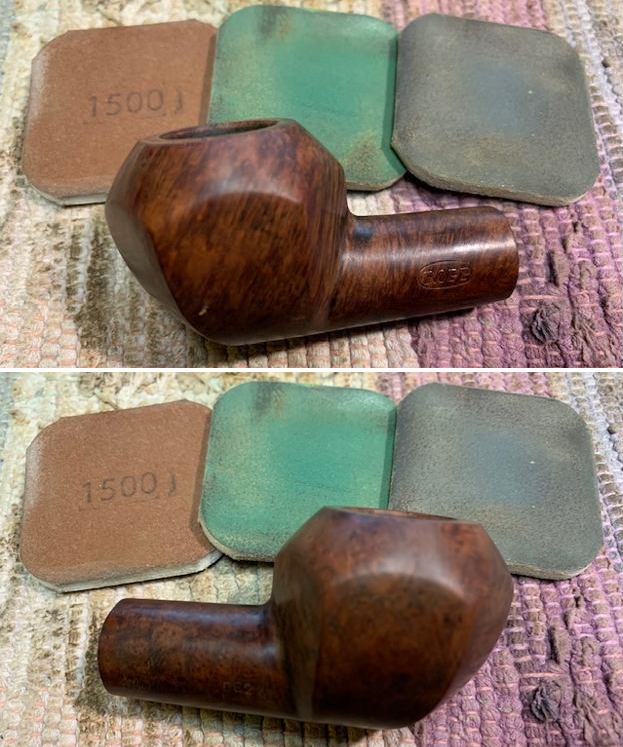
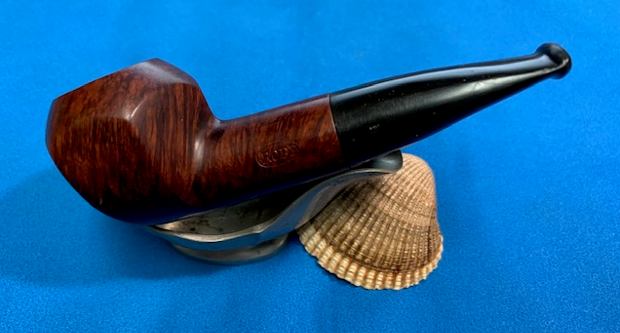
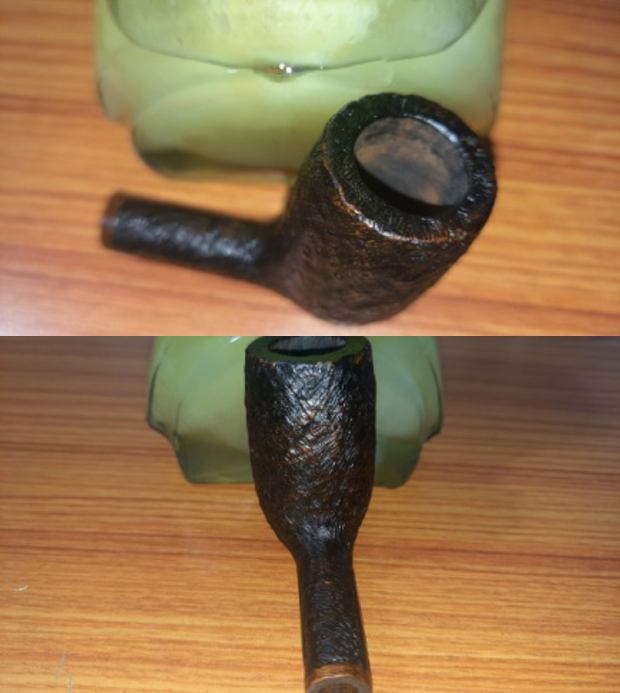
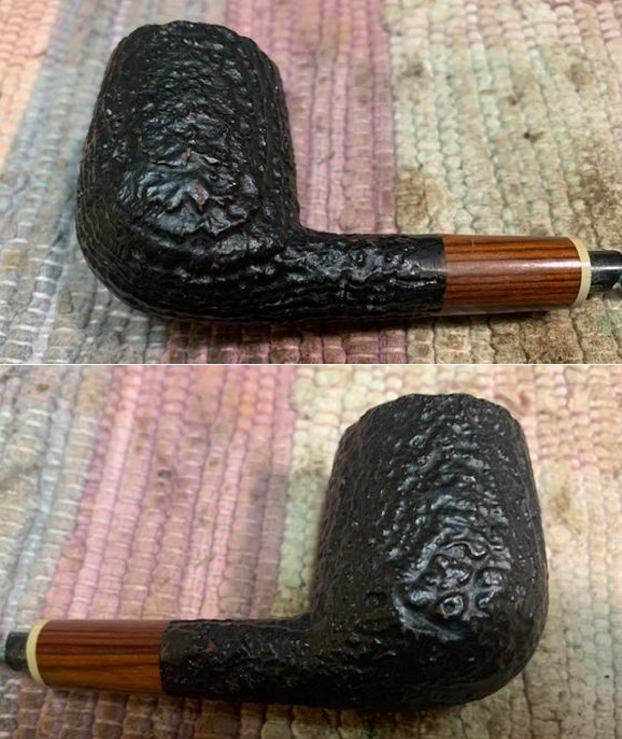
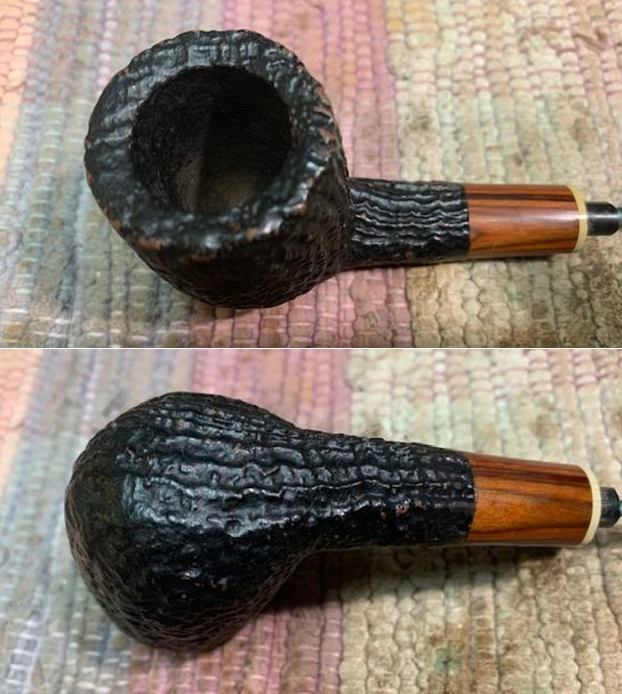
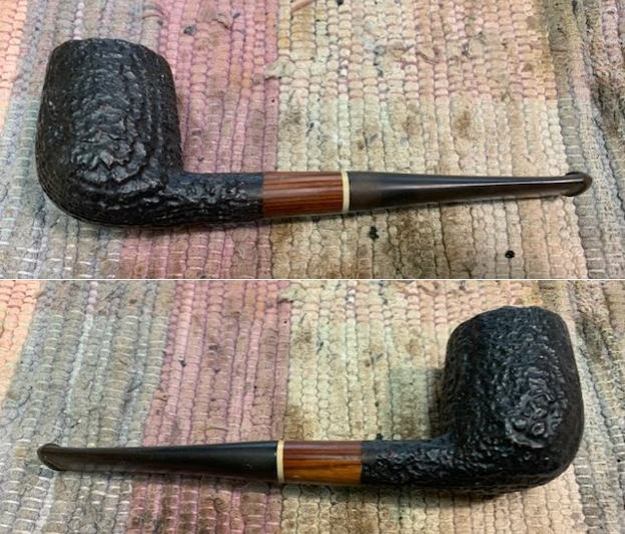
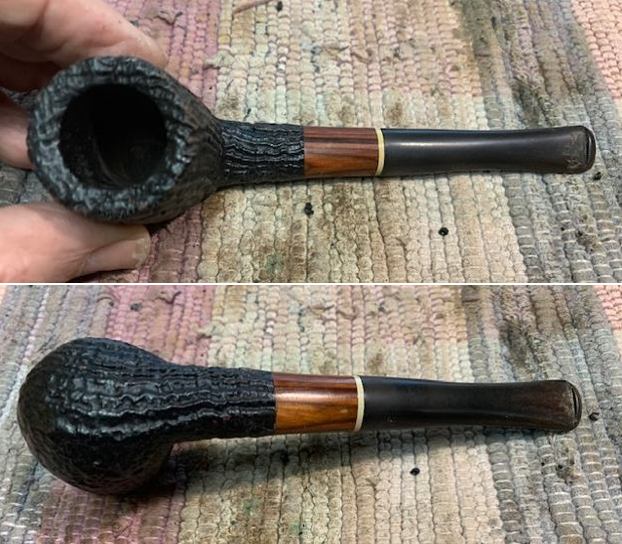
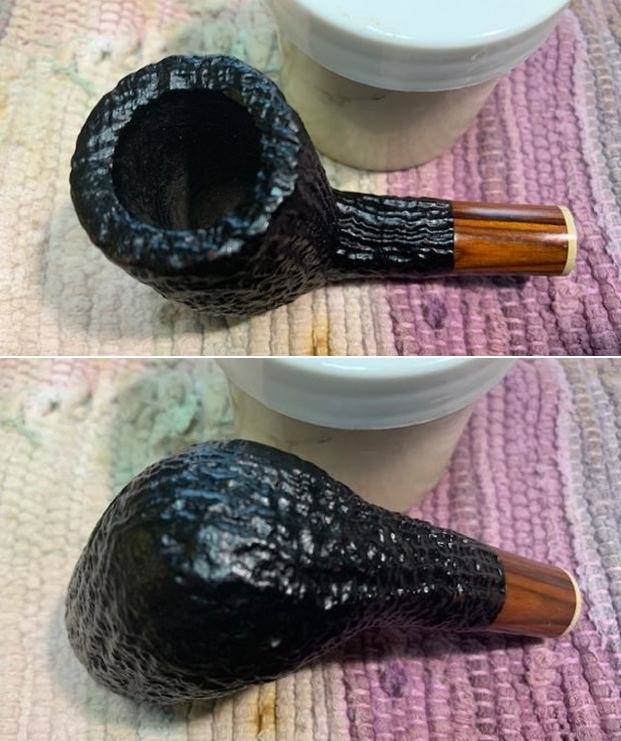
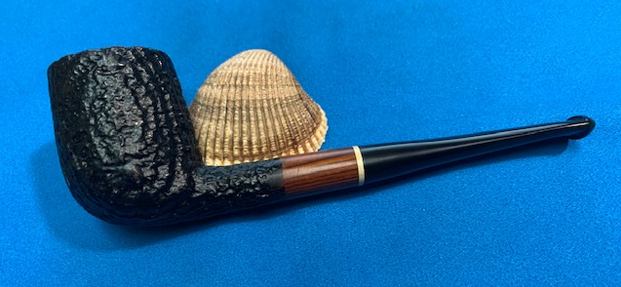
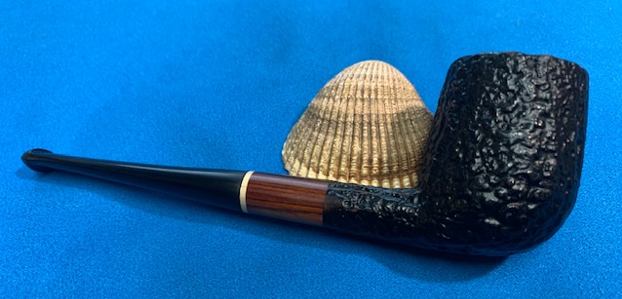
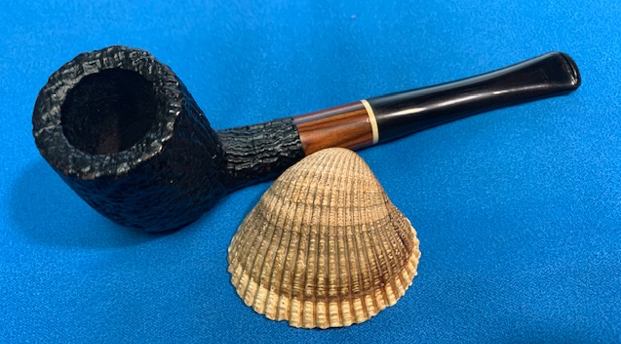
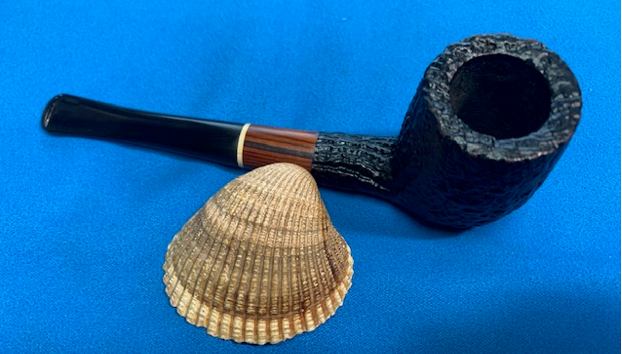
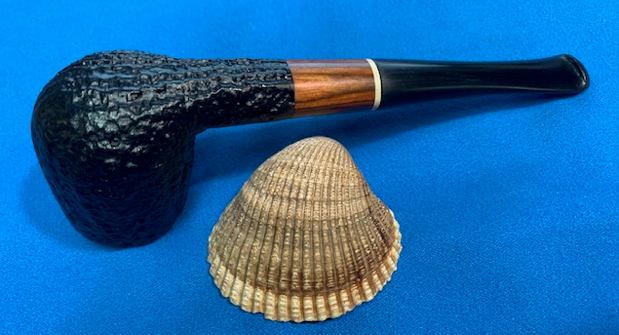
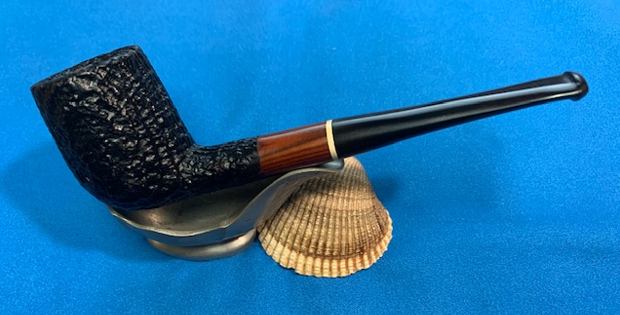
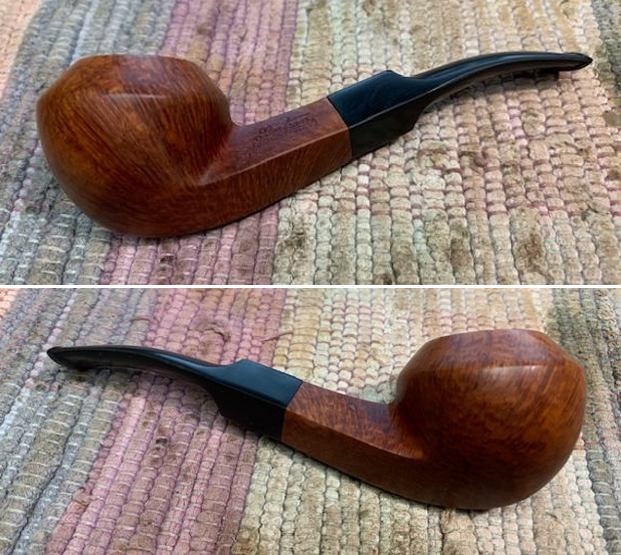
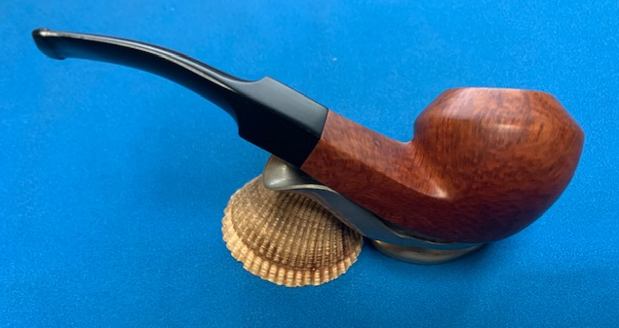
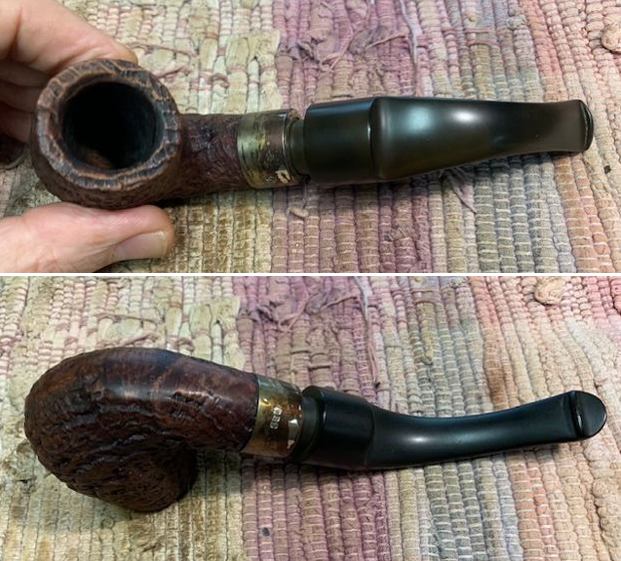
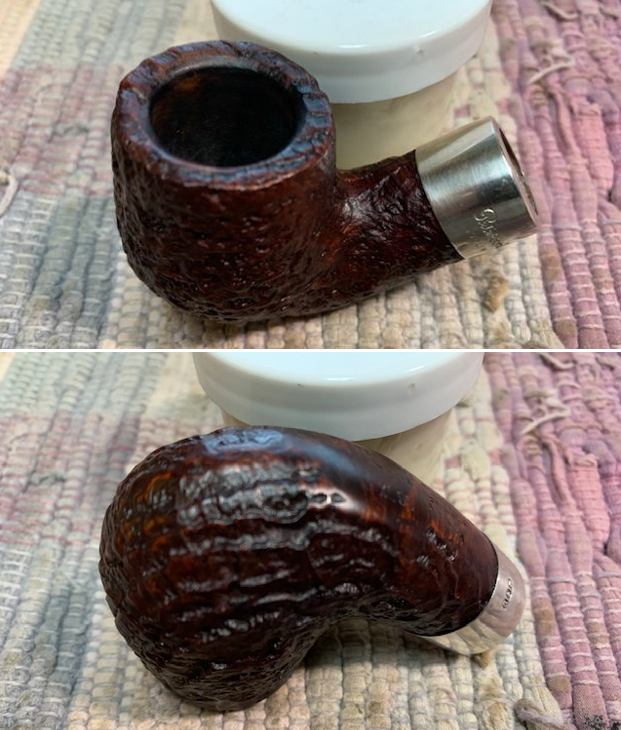
 I am excited to finish this Republic Era Peterson’s Deluxe XL9S Bent Billiard. I put the pipe back together and buffed it with Blue Diamond on the buffing wheel. I gave the bowl multiple coats of Conservator’s Wax and the stem multiple coats of carnauba wax. I buffed the pipe with a clean buffing pad to raise the shine. I hand buffed the pipe with a microfiber cloth to deepen the shine. It is fun to see what the polished bowl looks like with deep sandblast all around it. Added to that the polished black vulcanite stem was beautiful. This sandblast De Luxe XL9S is great looking and the pipe feels great in my hand. It is light and well balanced. Have a look at it with the photos below. The dimensions are Length: 6 ½ inches, Height: 2 inches, Outside diameter of the bowl: 1 ¼ inches, Chamber diameter: ¾ of an inch. The weight of the pipe is 61grams/2.15oz. It is a beautiful pipe and one that will soon be on the rebornpipes store in the Irish Pipe Makers Section of the store. If you want to add it to your collection let me know. Thanks for walking through the restoration with me as I worked over this pipe. Thanks to each of you who are reading this blog.