Blog by Paresh Deshpande
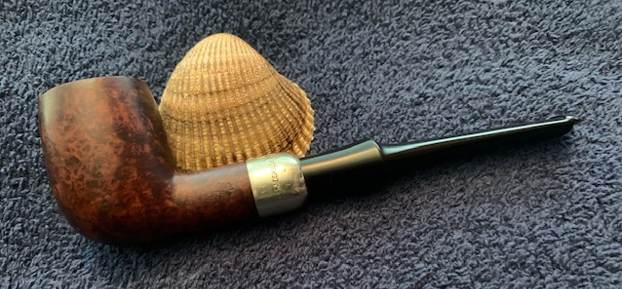
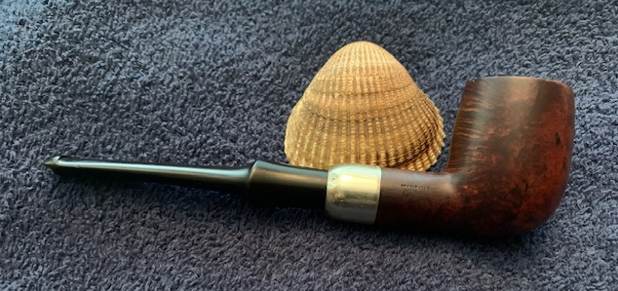
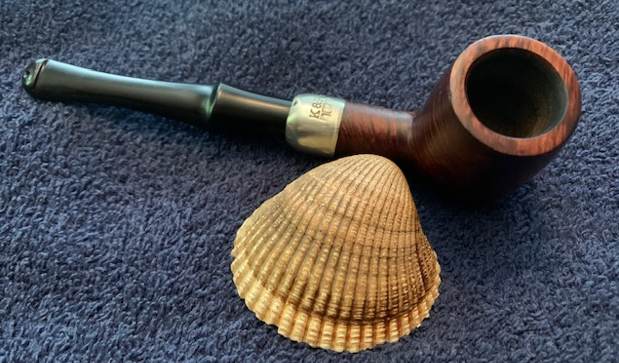
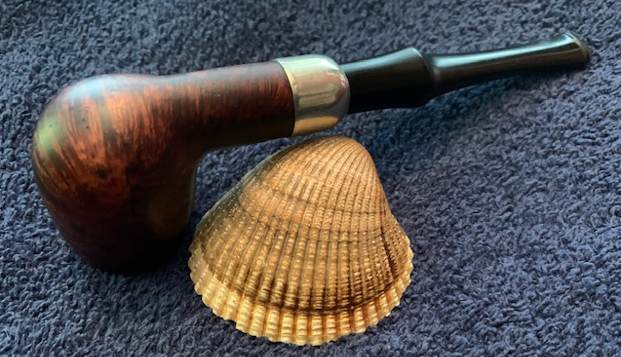
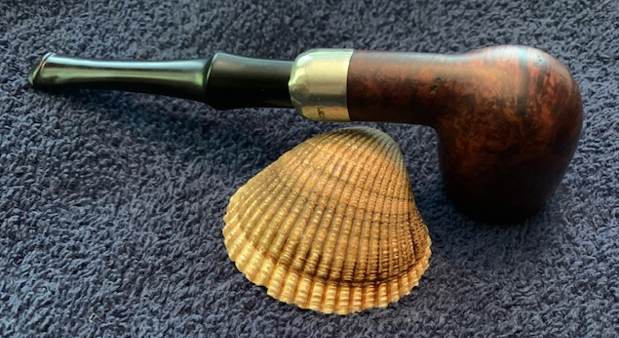
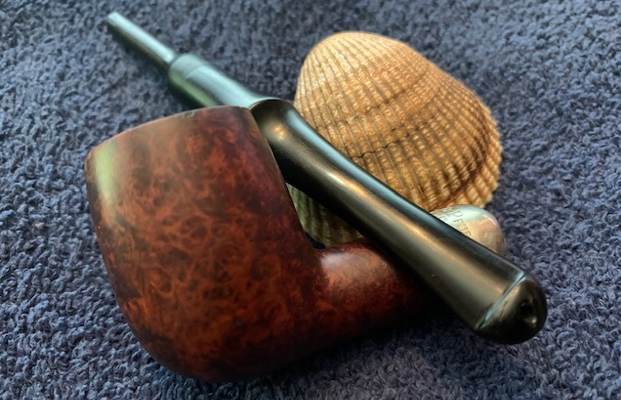
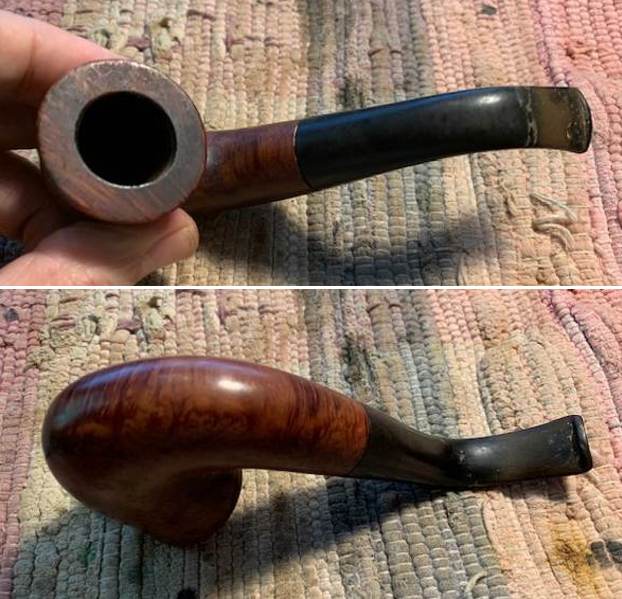
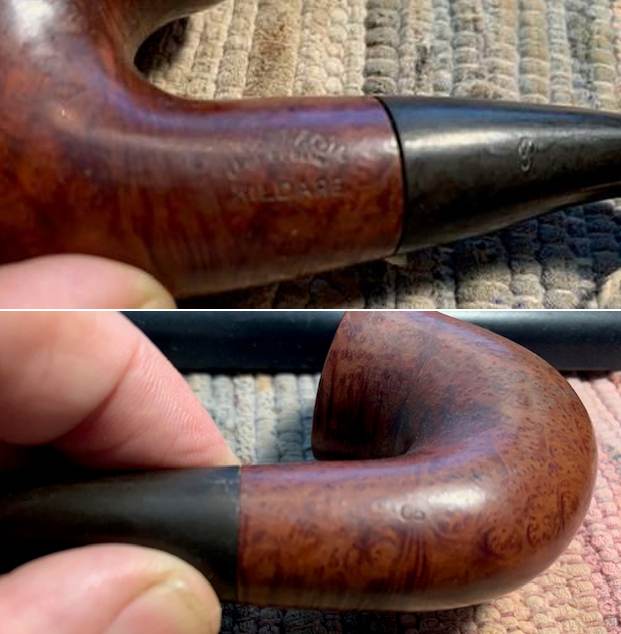
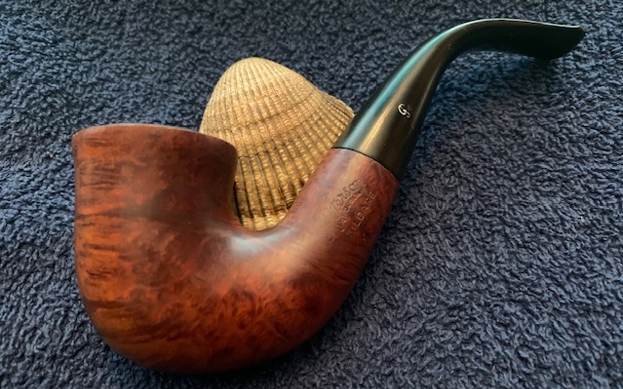
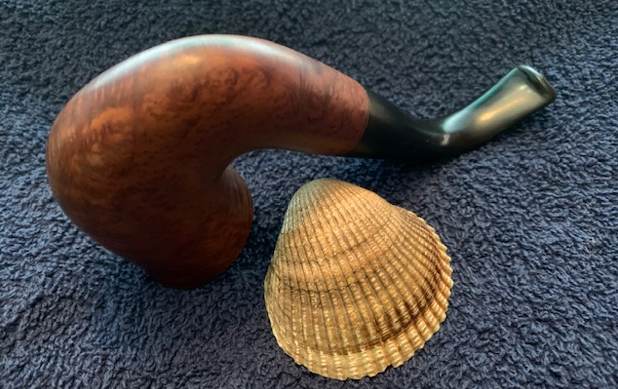
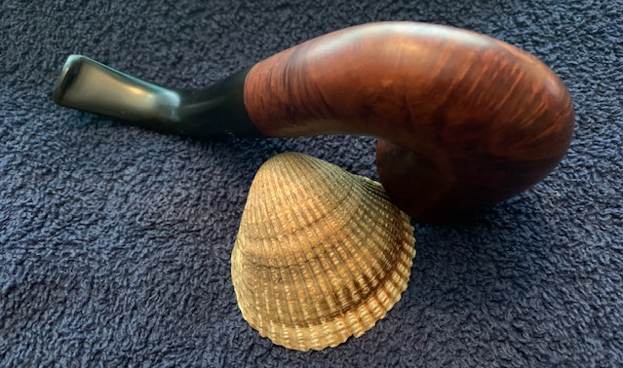
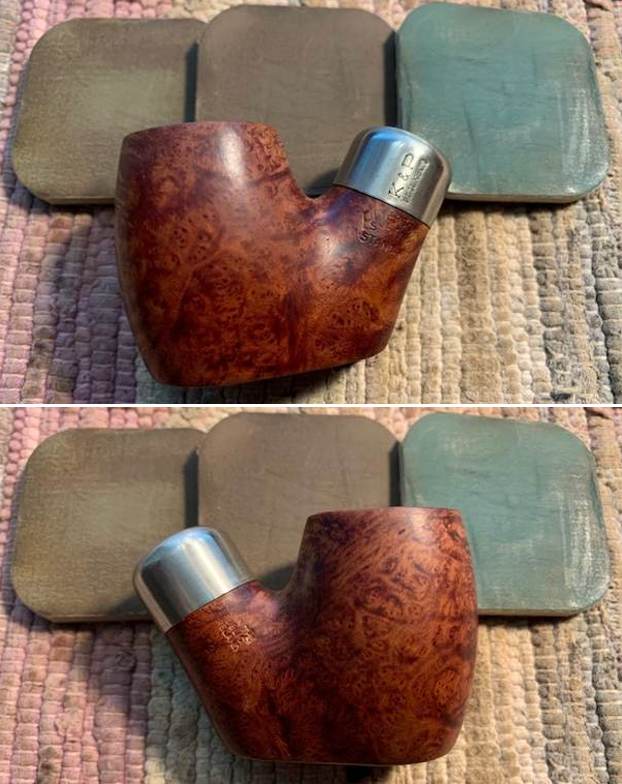
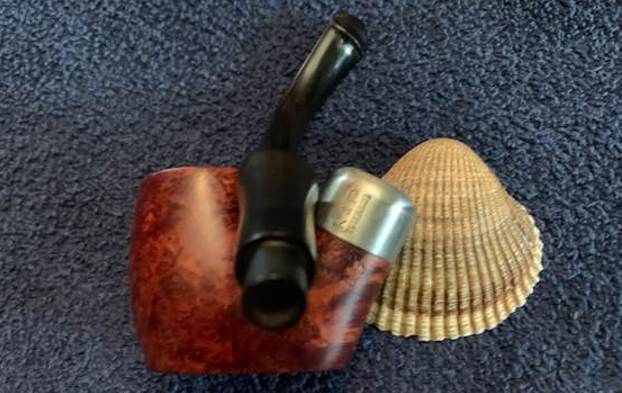
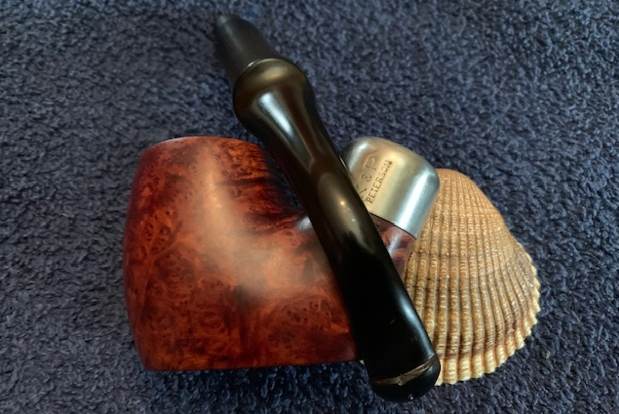
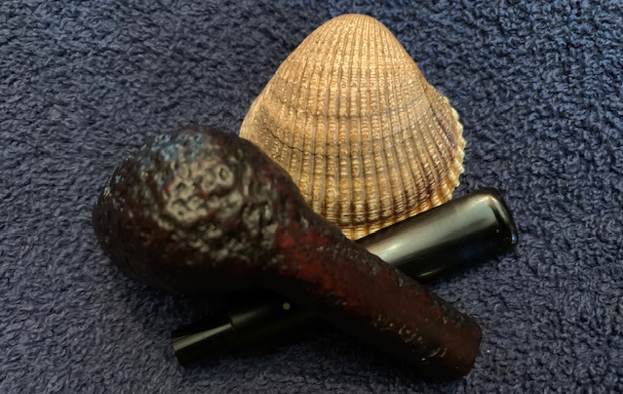
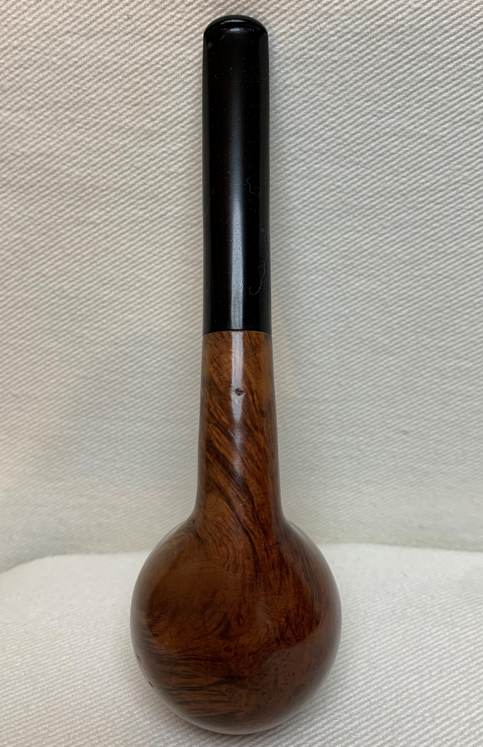
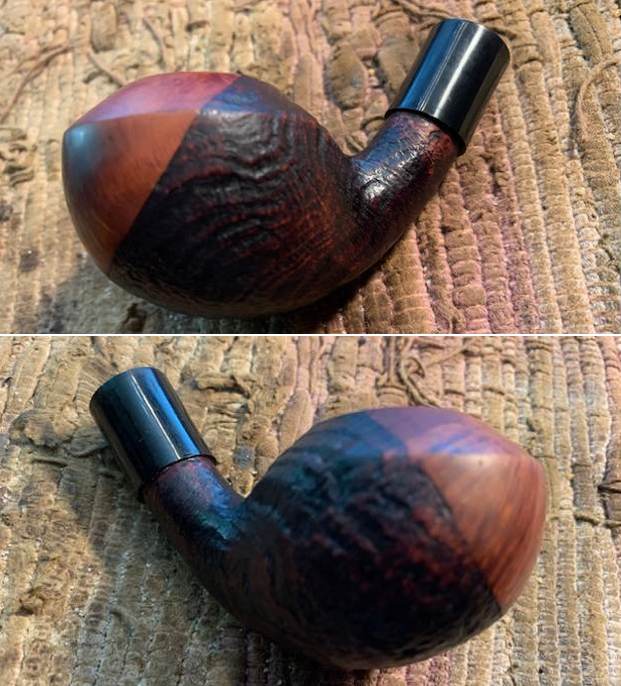
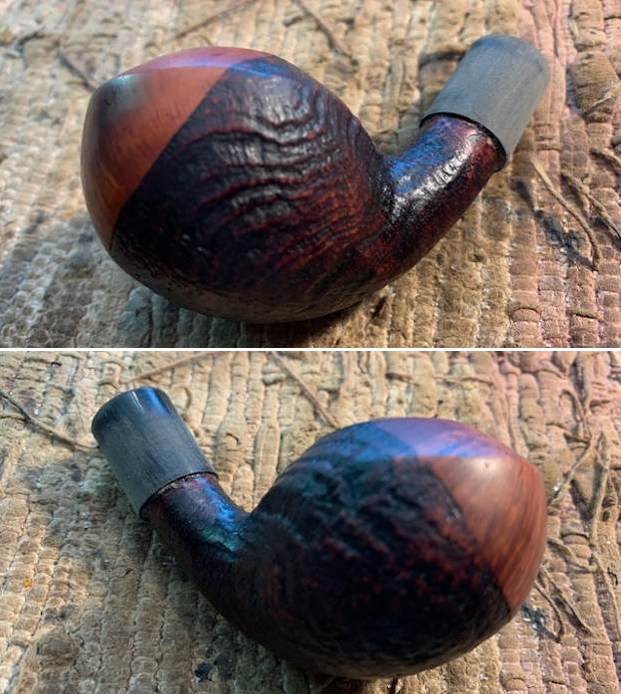
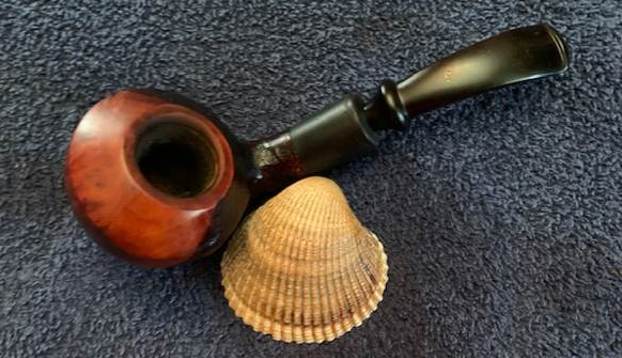
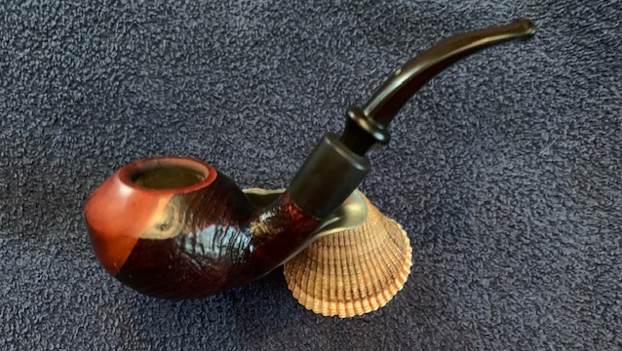
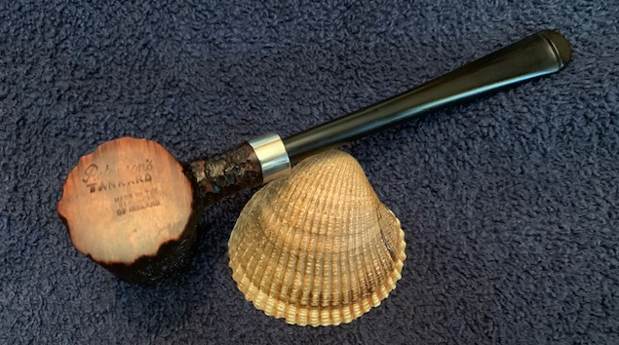
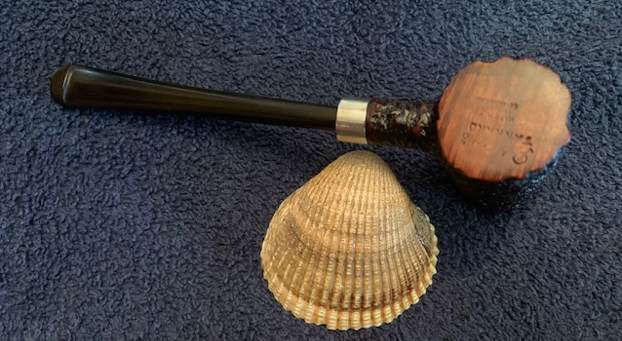
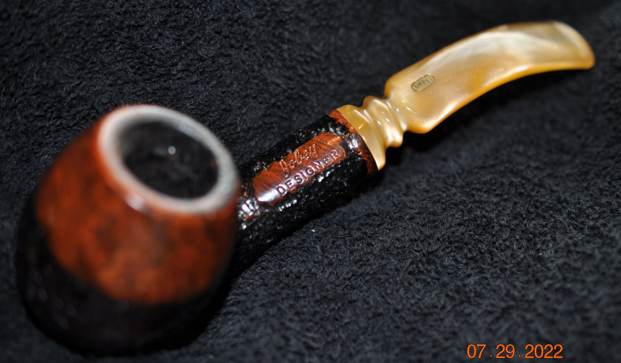
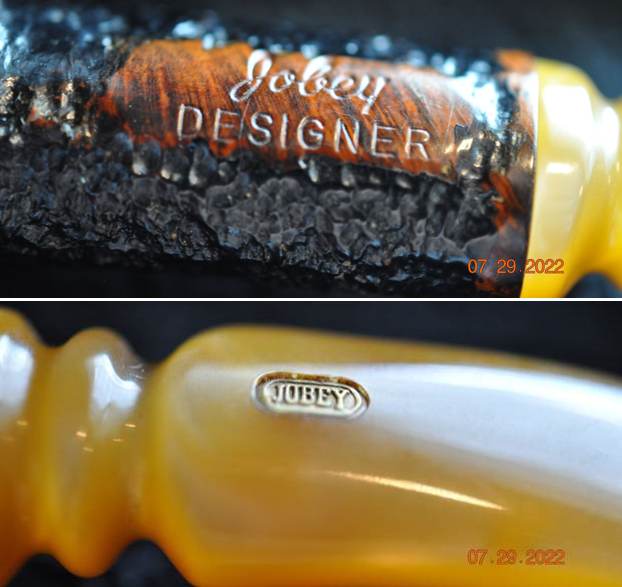
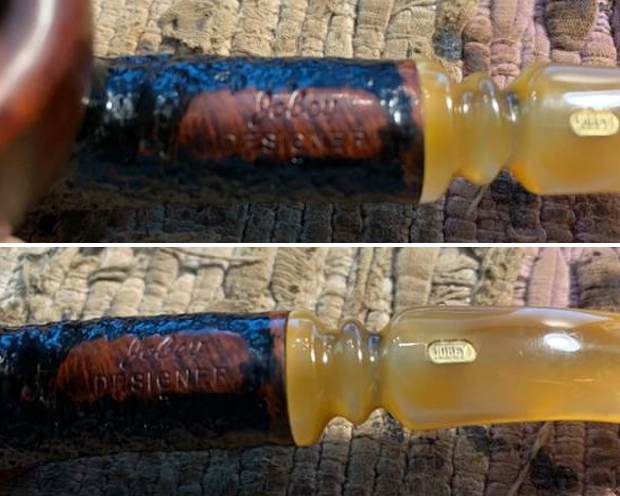
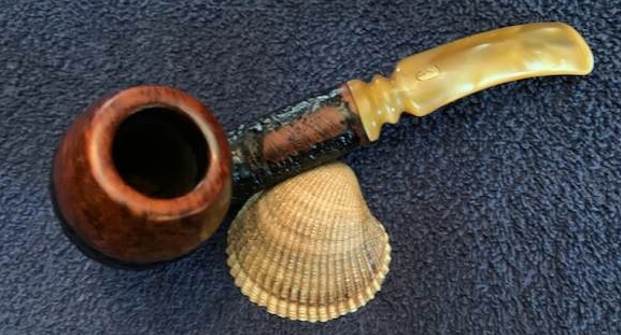
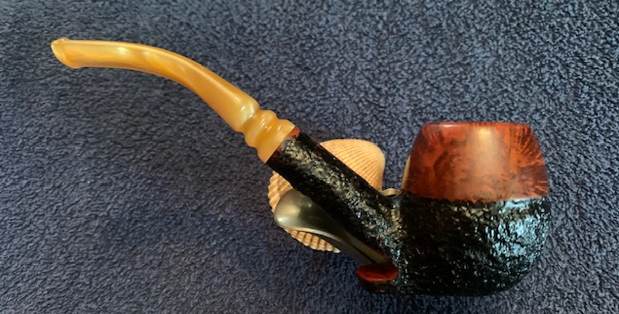
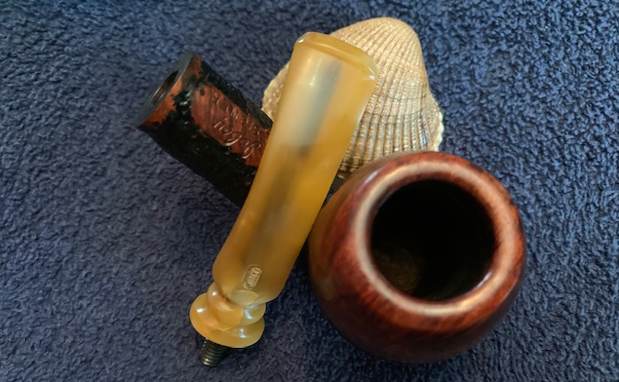
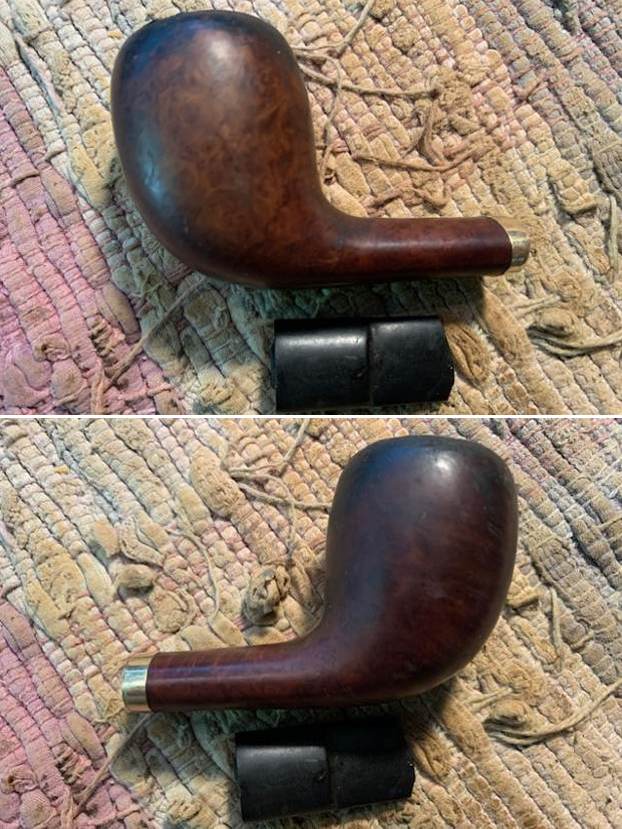
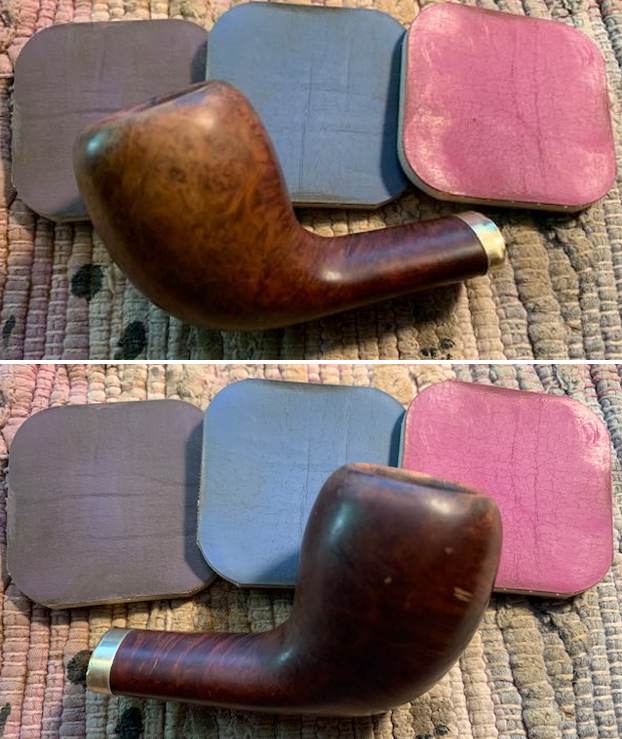
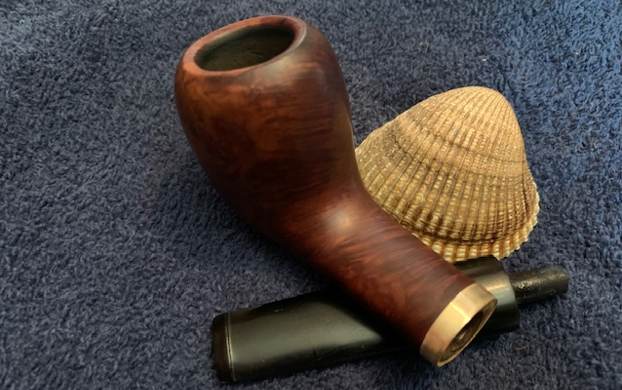
The next pipe is also from my inheritance and is similar to the “THE GOLDEN ARROW” that I had worked on earlier. This too is a large Canadian with an oval shank and flat stem. The stummel is covered in dirt and grime accumulated over the long years of uncared for storage. Through all the grime, beautiful cross grains and swirls can be seen and are waiting to be unraveled. This pipe is stamped on the top flat surface of the oval shank as “L & Co” in a lozenge while the right side of the shank edge is stamped as “LOEWE” over “LONDON. W”. The bottom of the oval shank is stamped “SLOANE”. The stem is sans any stampings.  I have worked on Loewe & Co. pipes before and also have many in my personal collection and I am fairly well versed with this brand. However, I visited pipedia.org and refreshed my memory with the history of the pipe, dating guide and shape names. The 1930s Loewe catalog is an interesting read and also has a pipe stamped exactly as the one currently on my work table. Here is the link to the catalog: (https://pipedia.org/images/8/88/Loewe_pipes_1930.pdf).
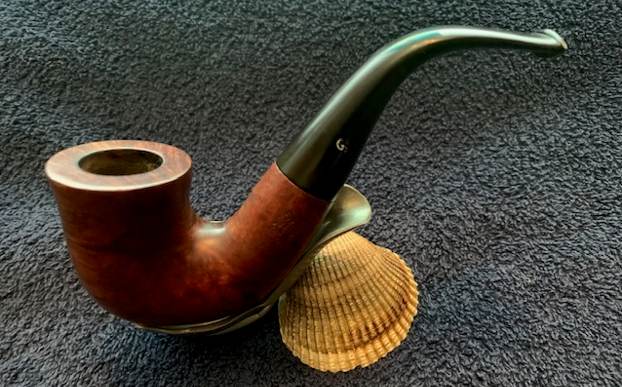
However, further down on pipedia.org is a link to the 1967 Loewe catalog and it has no mention of the shape name SLOANE!
I have reproduced the details relevant to dating this pipe as found on pipedia.org below.
1920-1955 middle Haymarket era
Left shank: – L & Co. (in oval)
Right shank: – Loewe London W.
Underside of shank: – shape name Made in England (encircled) this may just have been on export pipes
*Prior to 1955 Loewe had no series, stamping only the shape name on the underside of the shank.
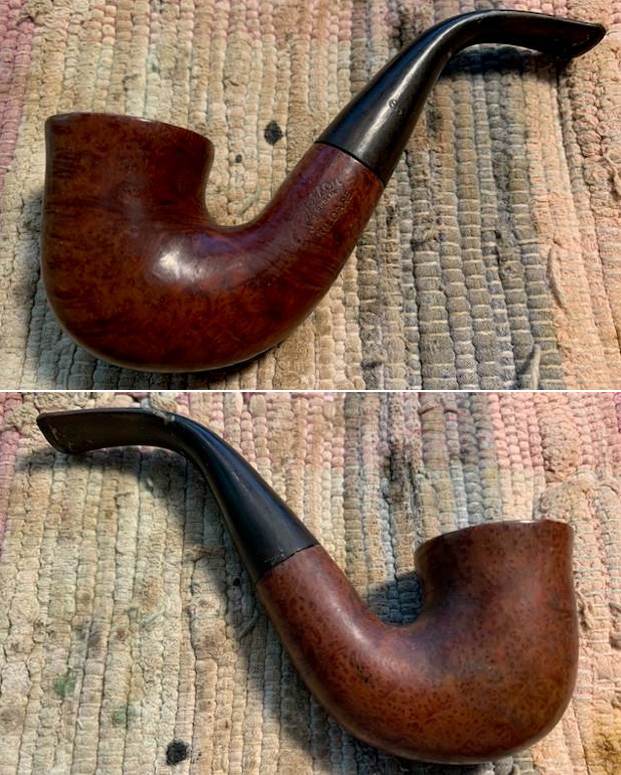
Thus, the pipe currently on my work table dates to pre-1955.
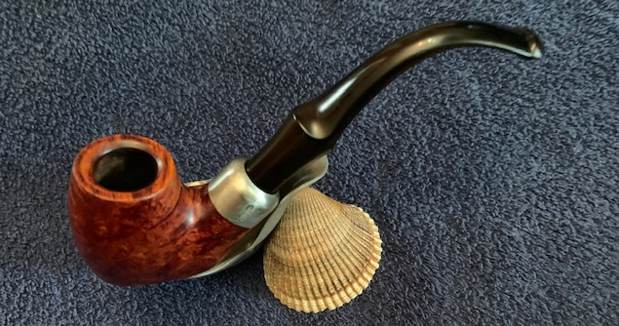
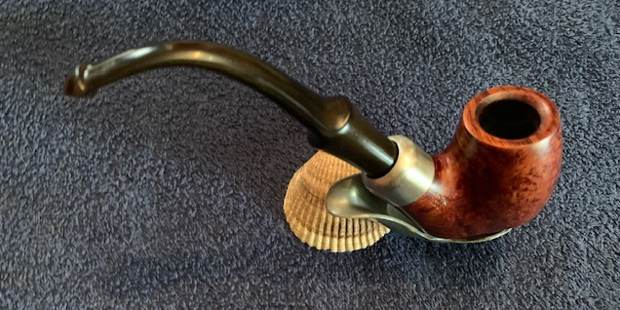
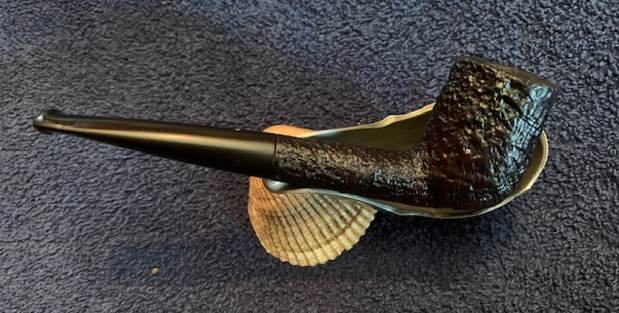
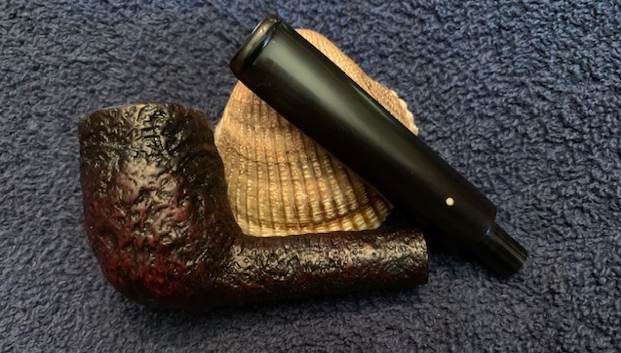
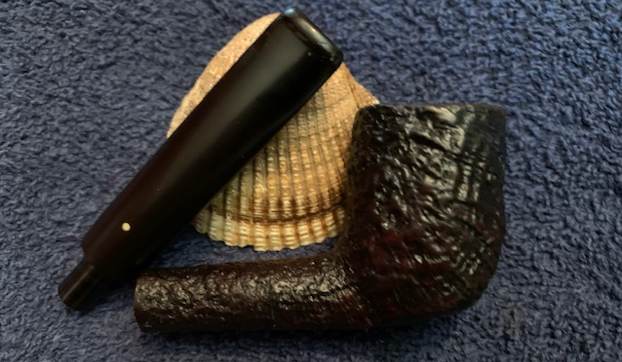
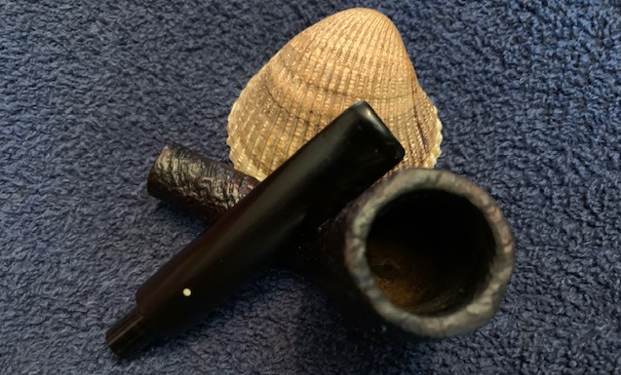
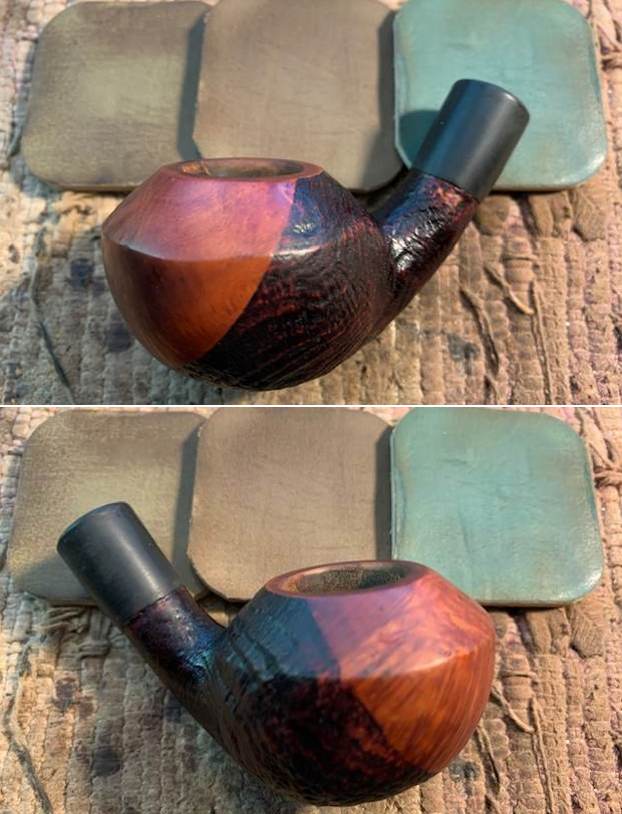
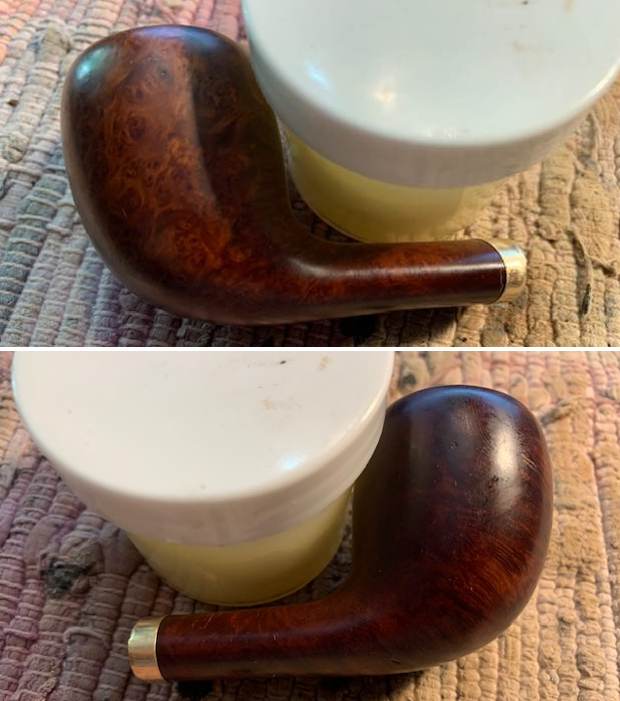
Initial Visual Inspection
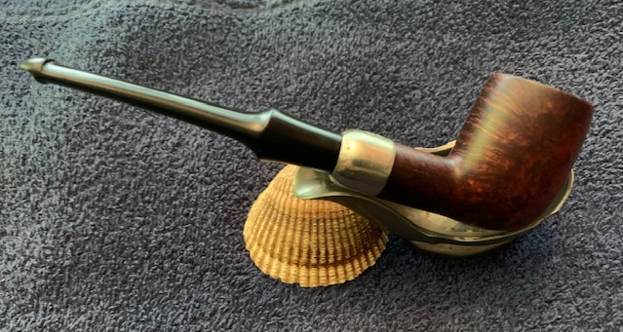
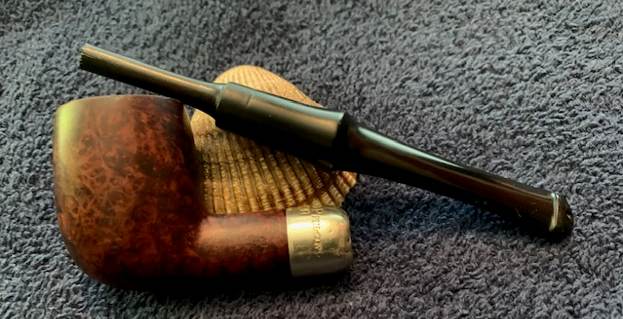
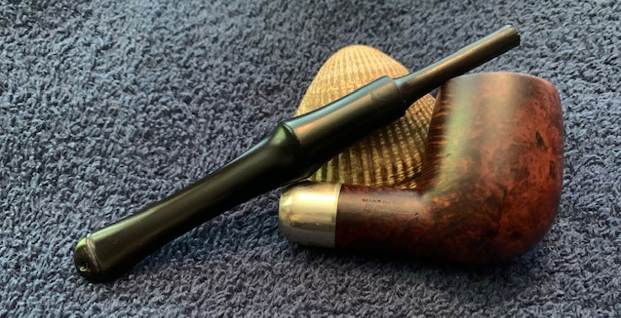
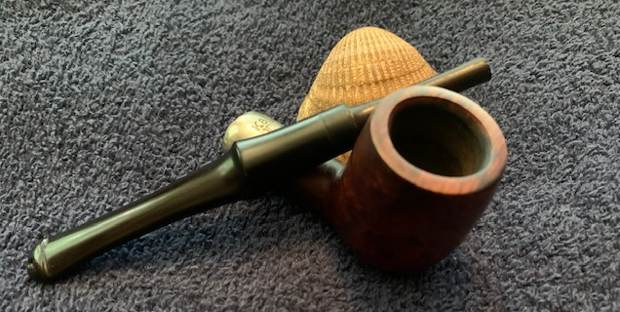
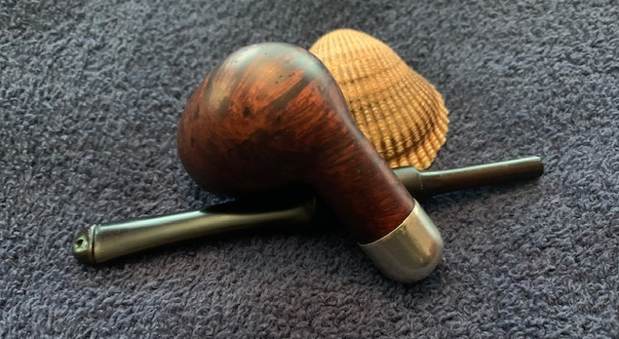
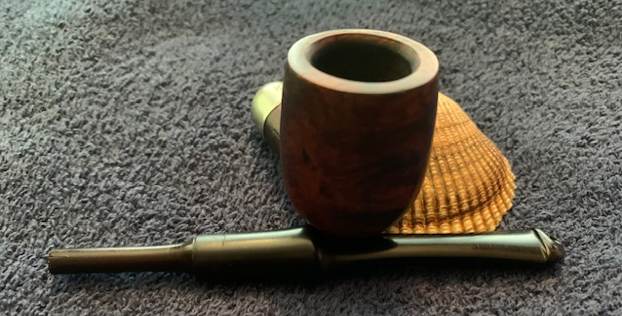
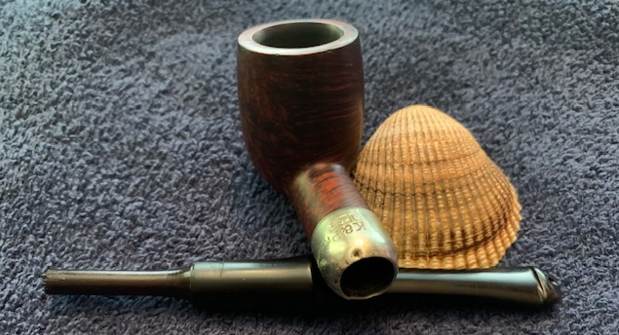
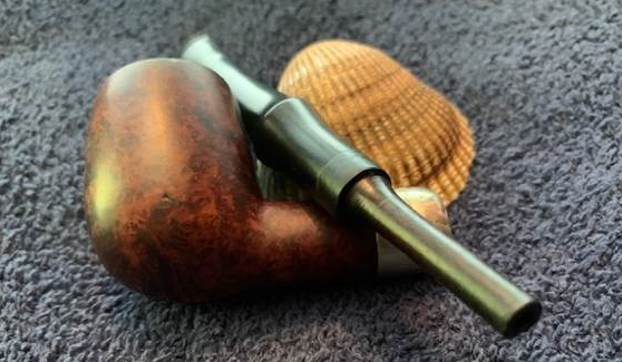
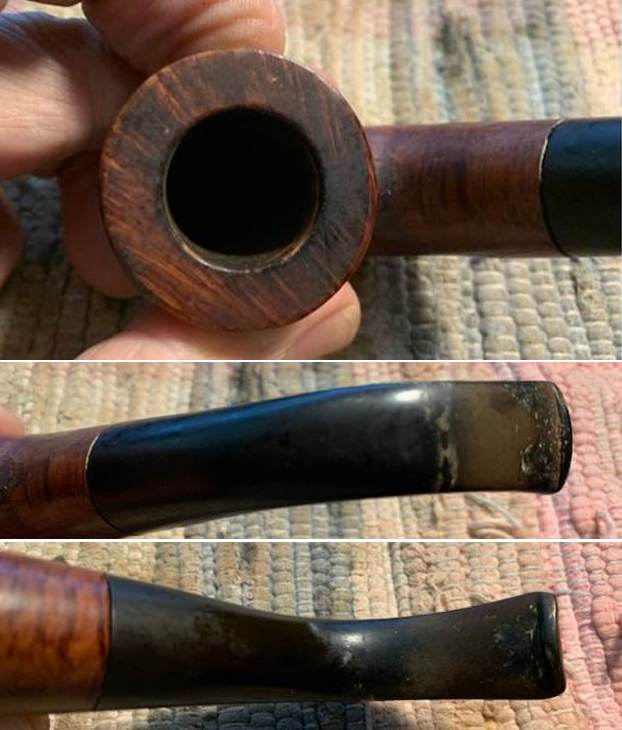
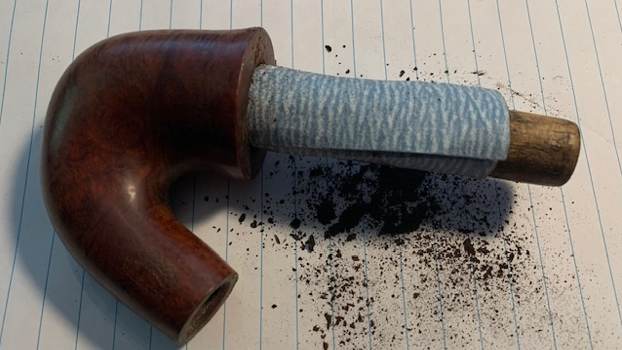
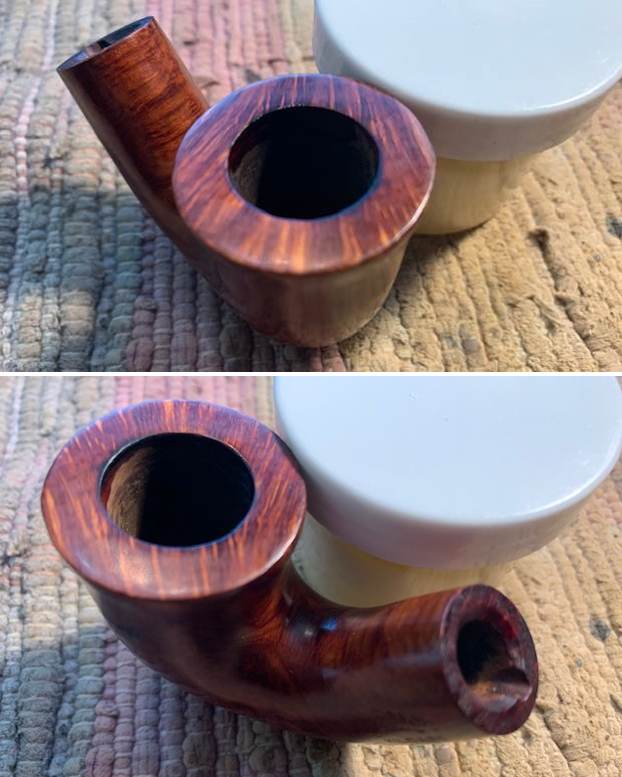
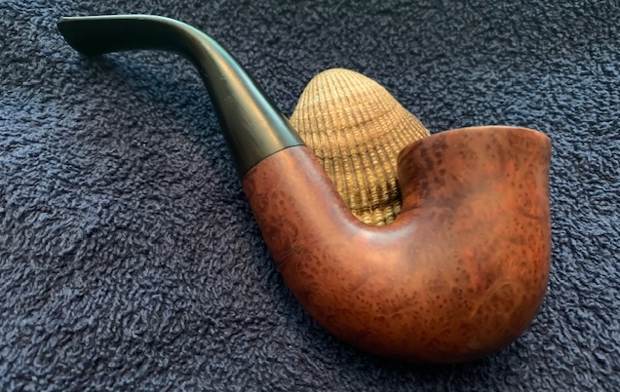
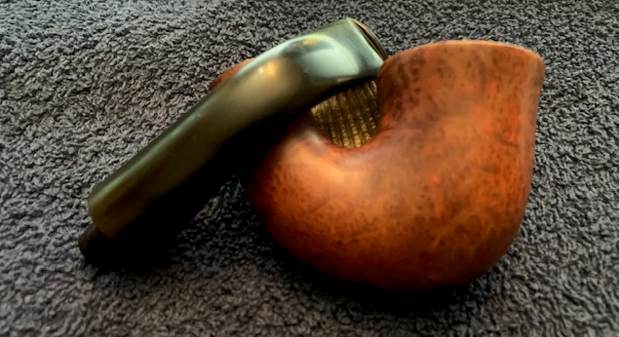
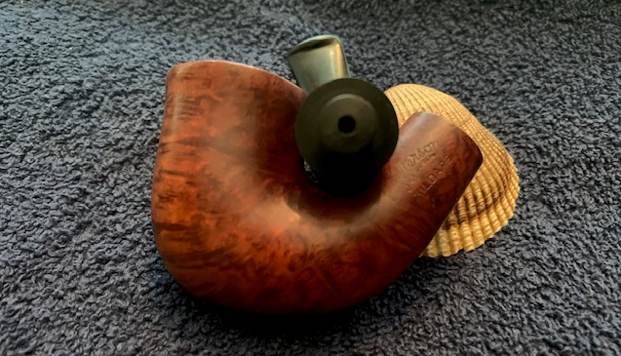
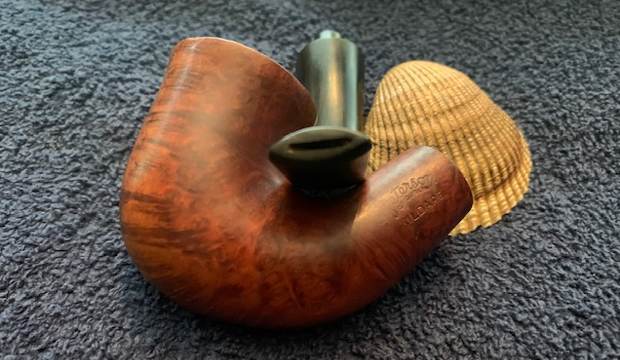
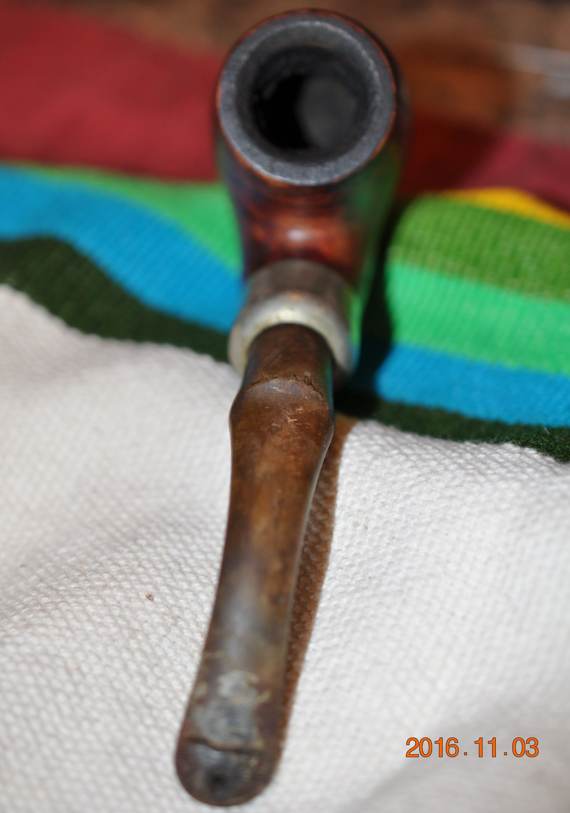
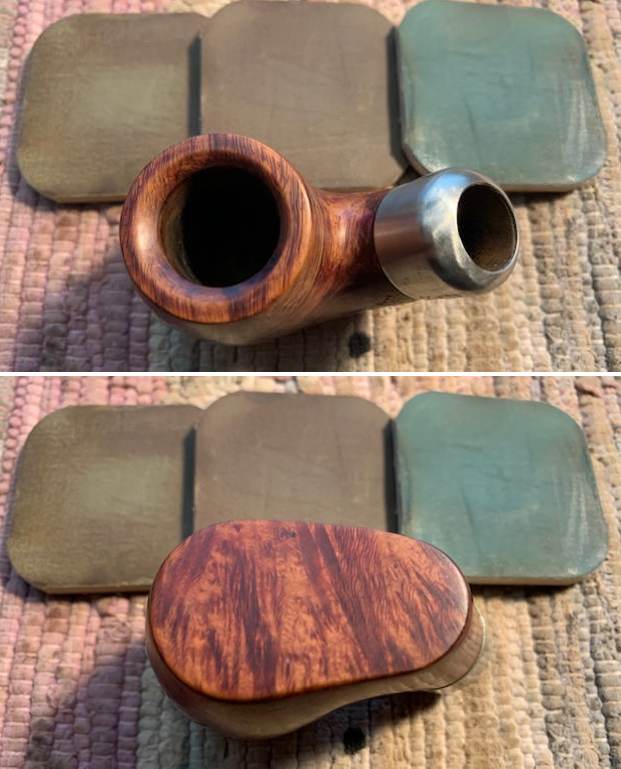
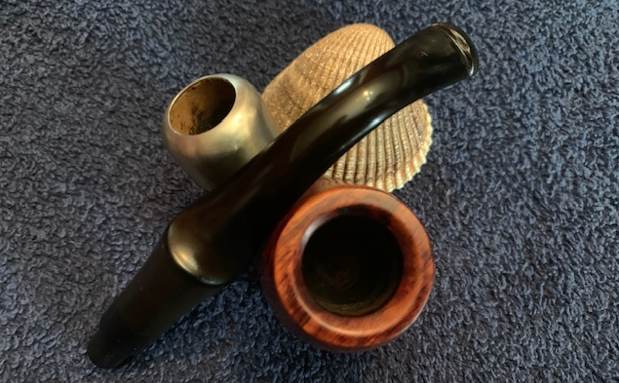
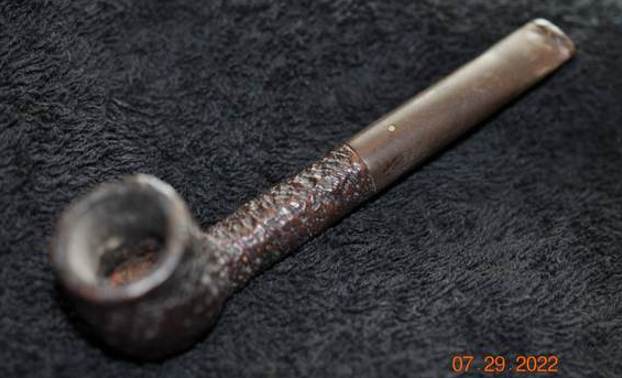
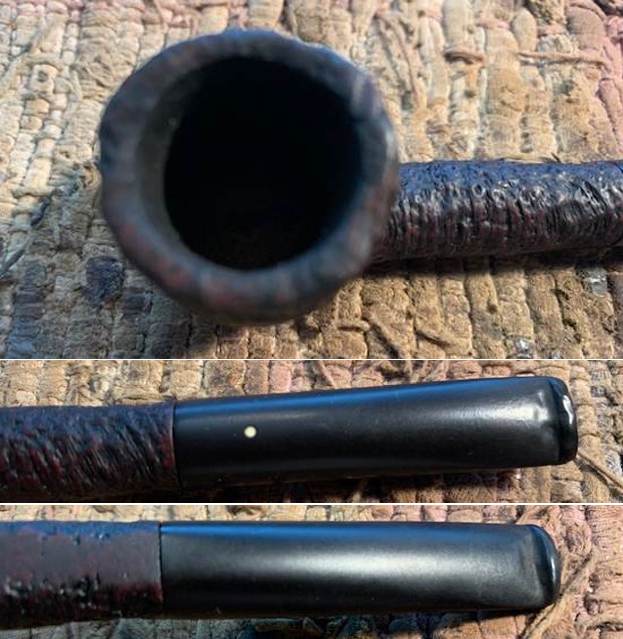
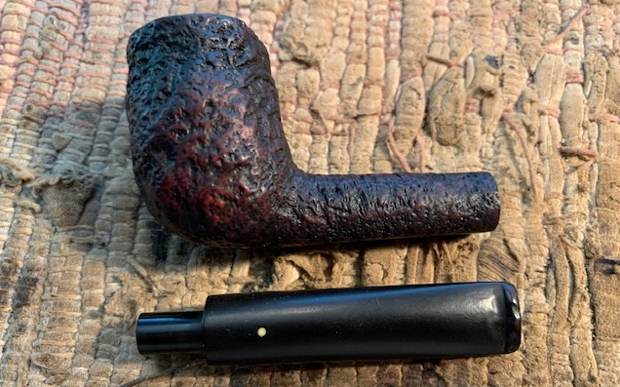
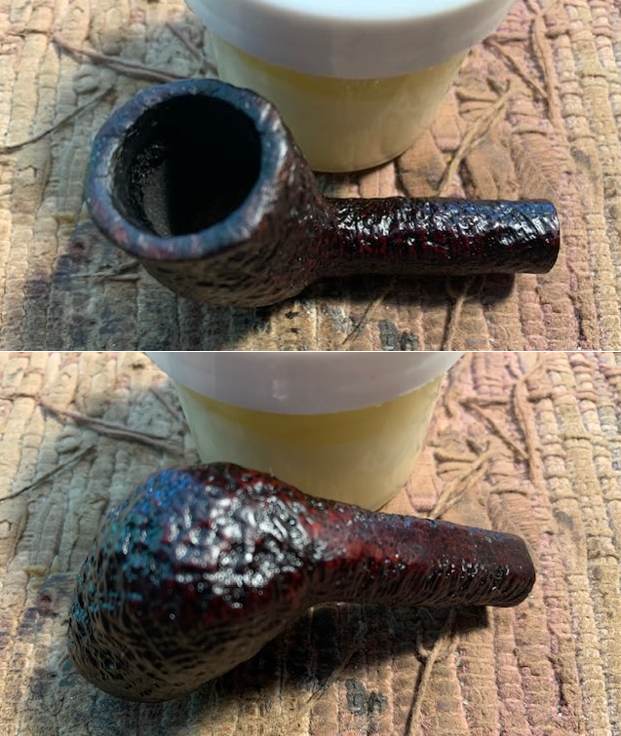
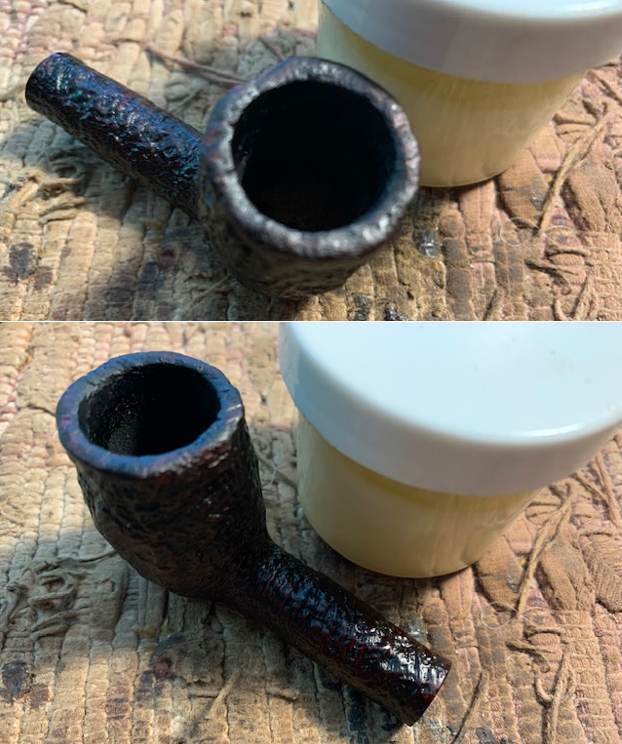
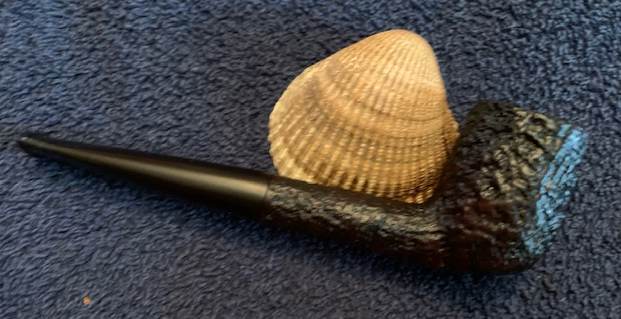
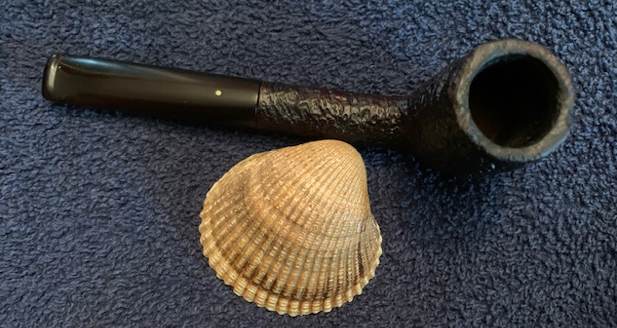
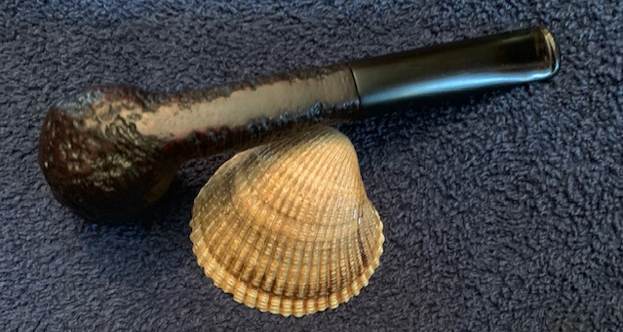
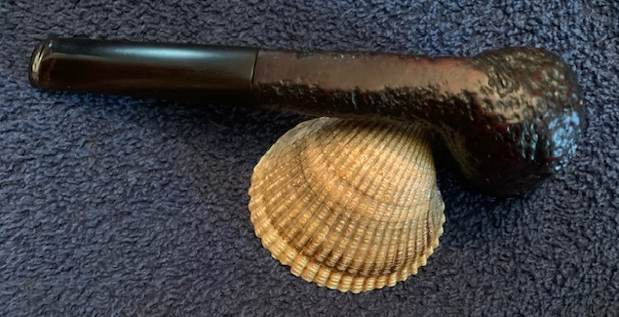
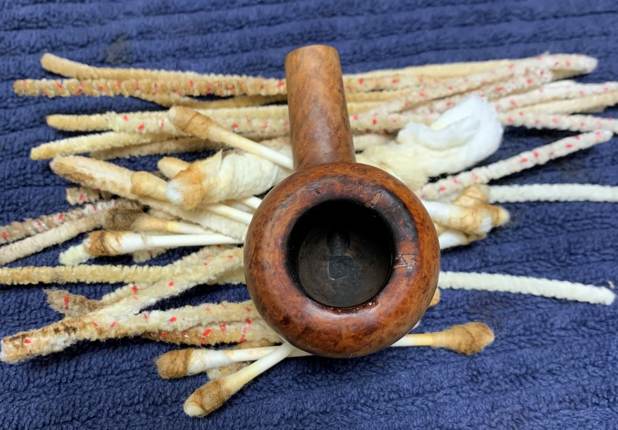
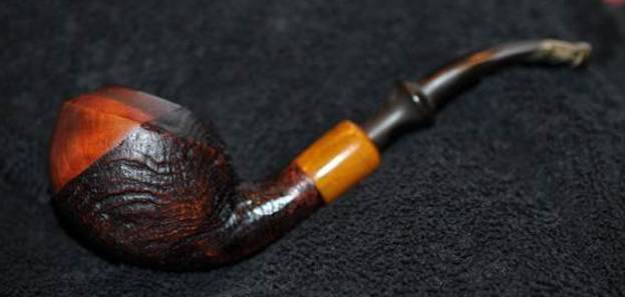
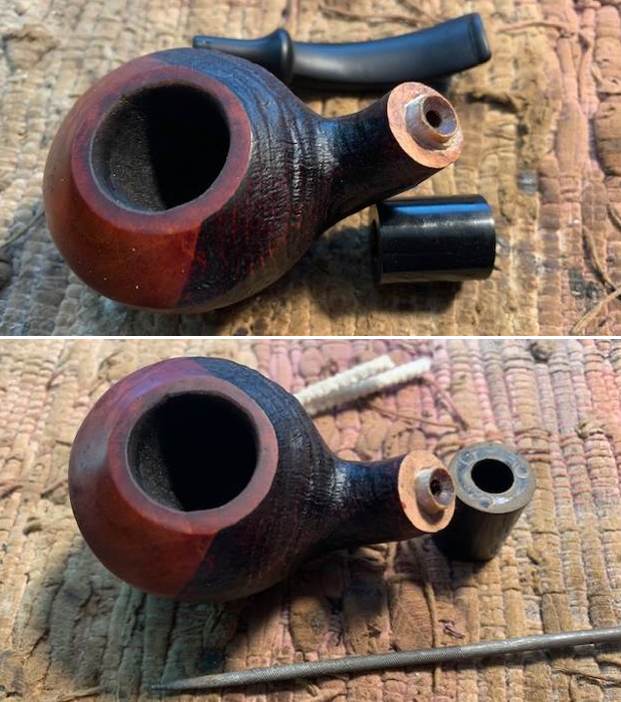
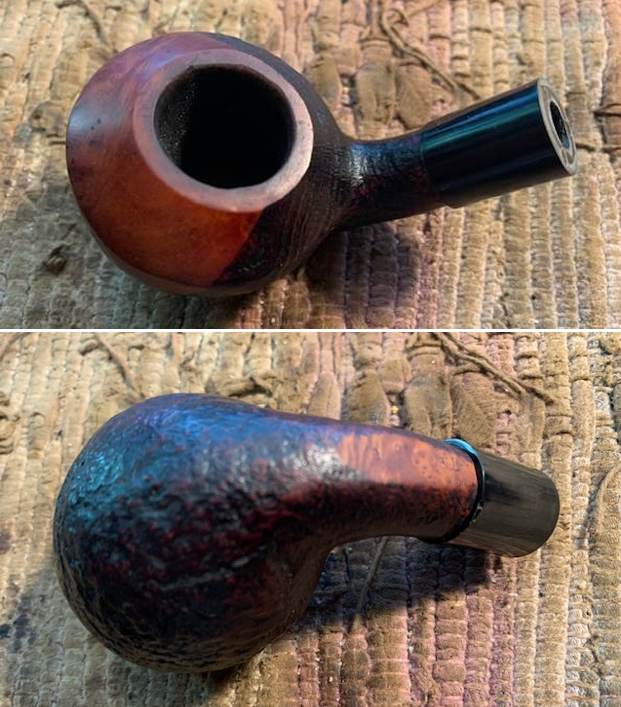
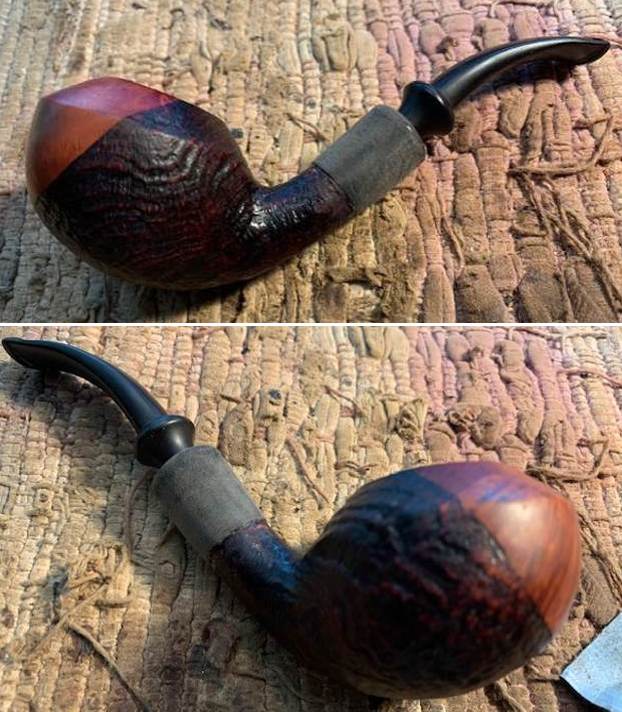
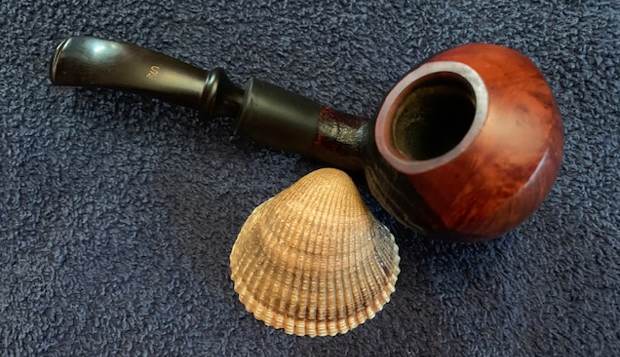
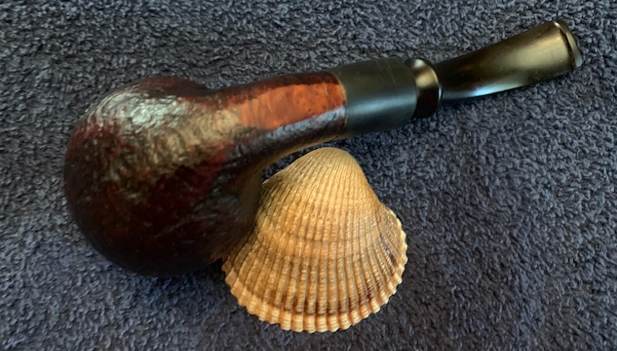
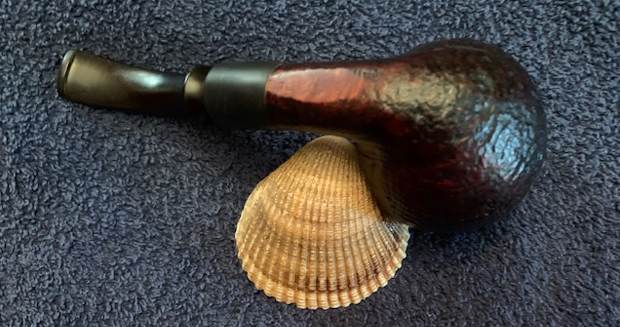
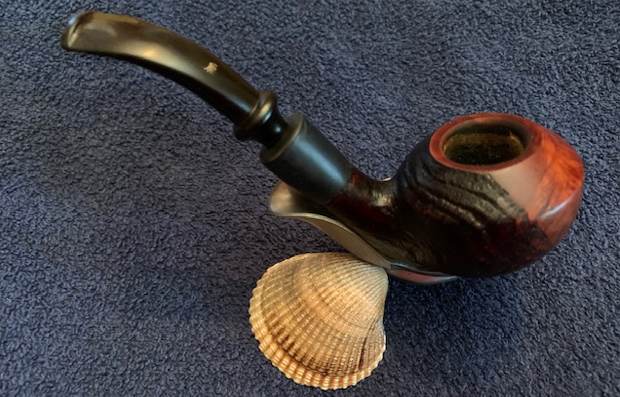
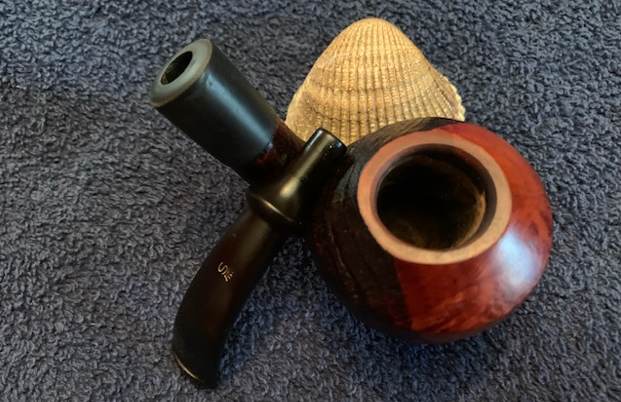
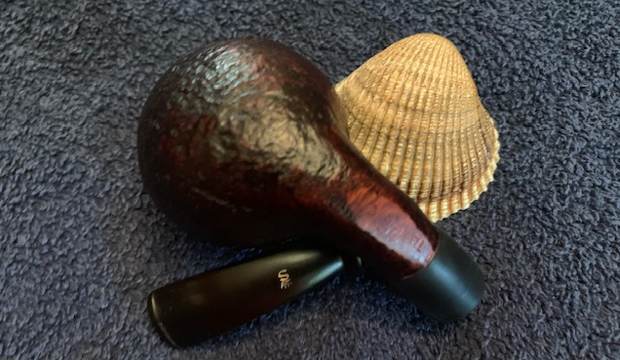
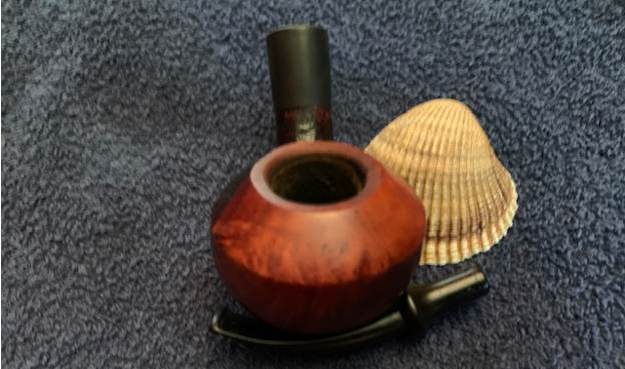
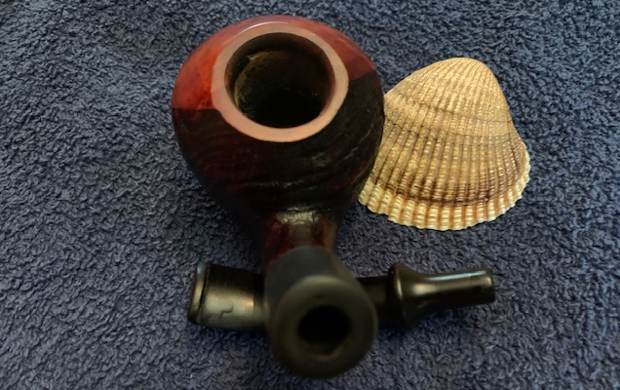
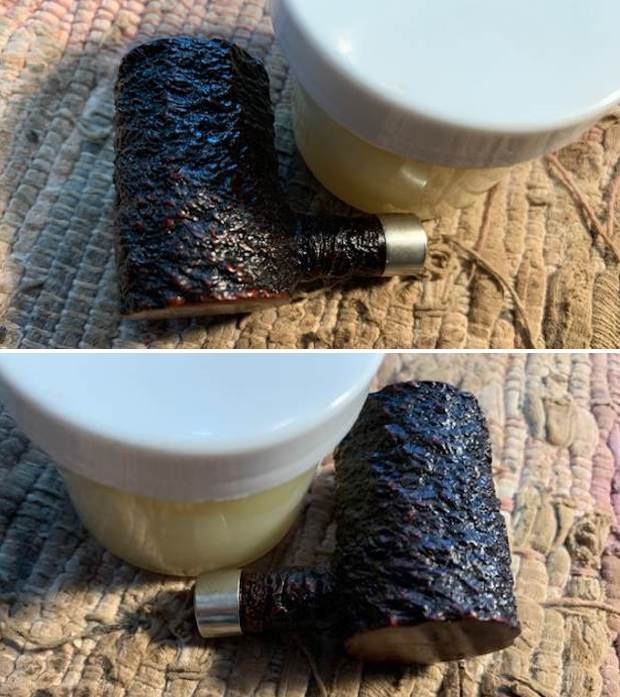
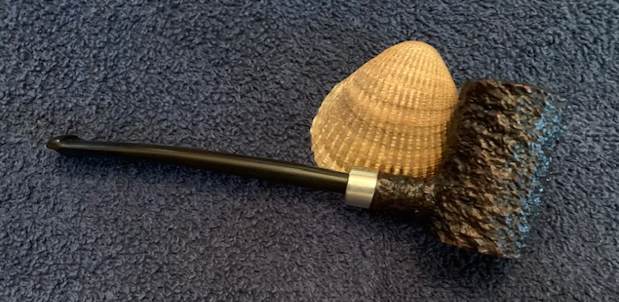
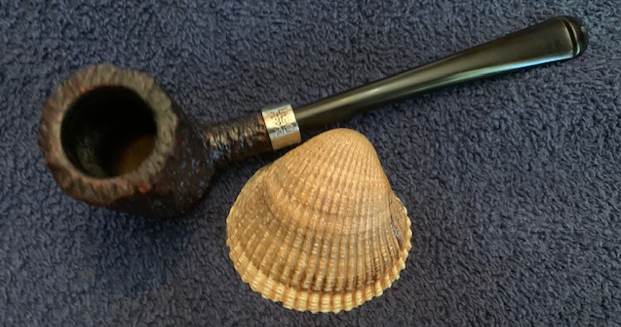
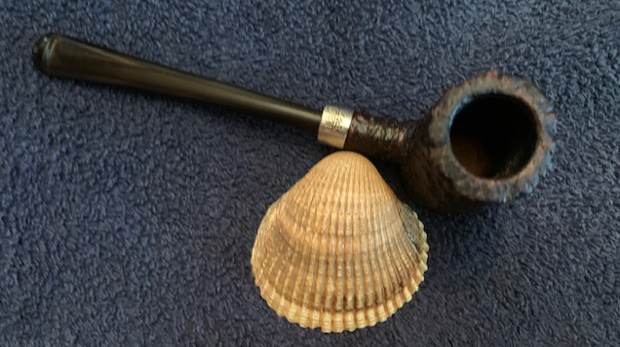
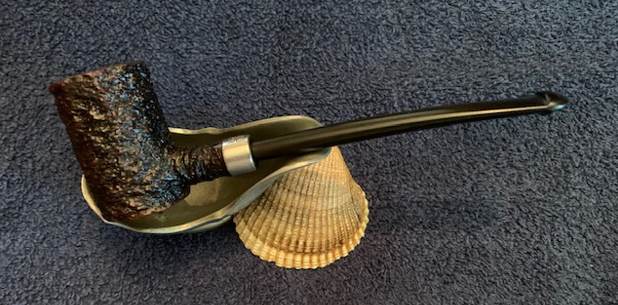
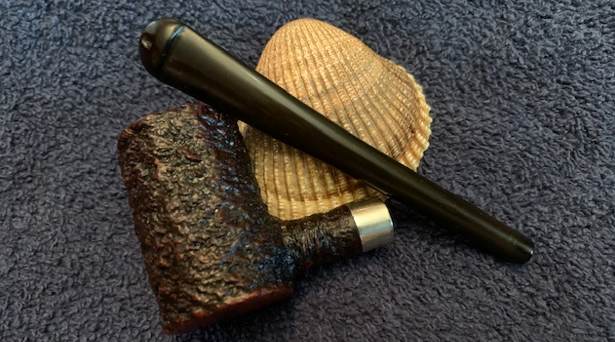
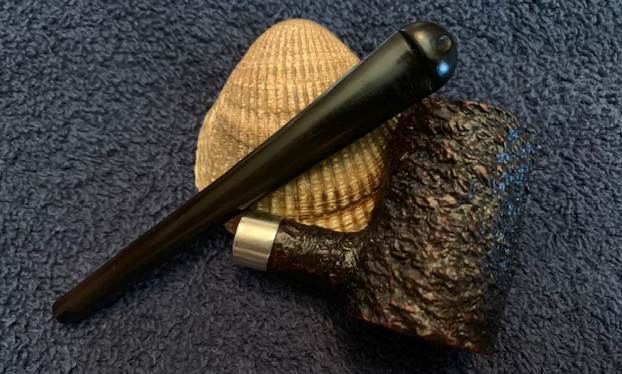
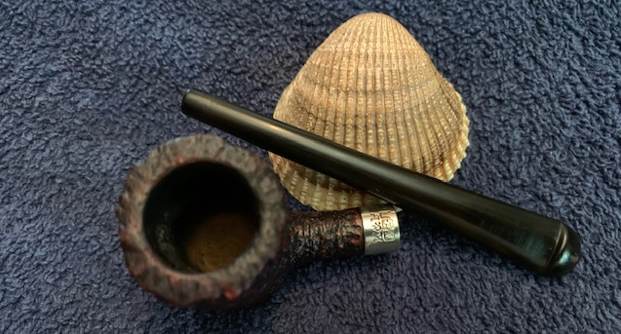
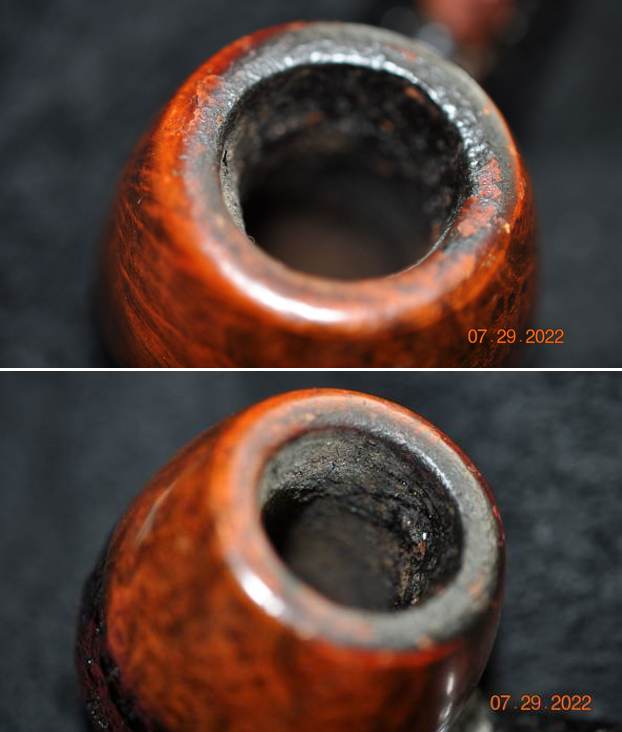
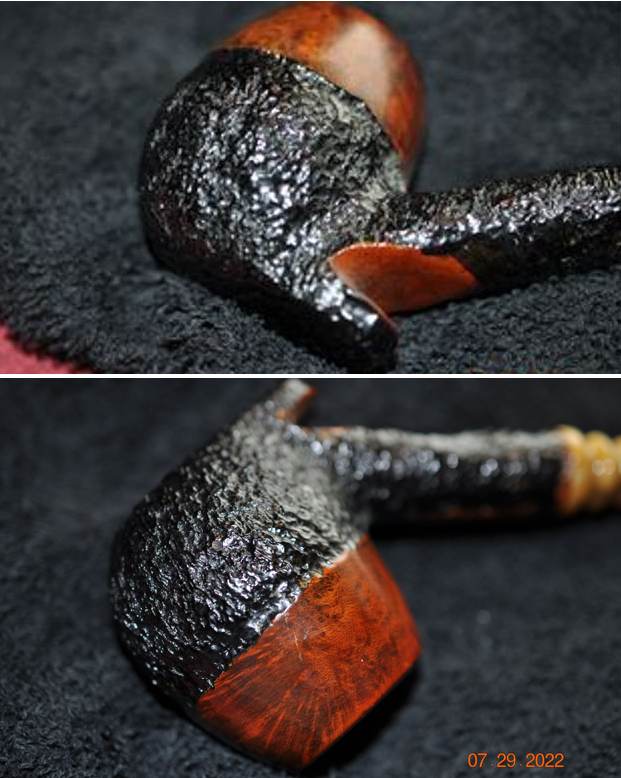
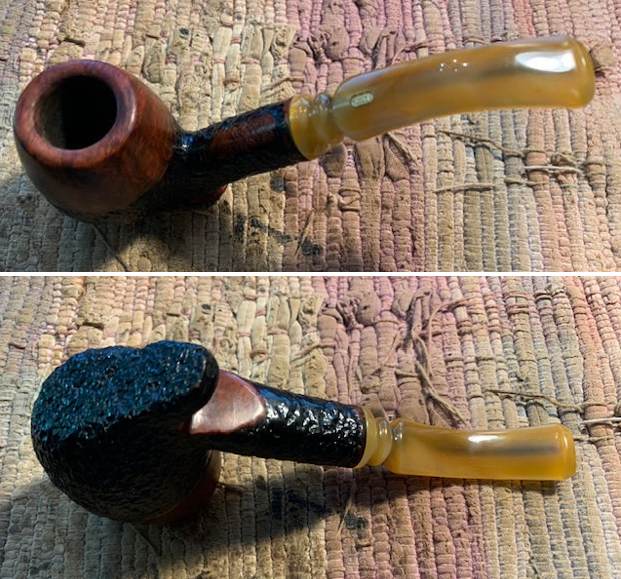
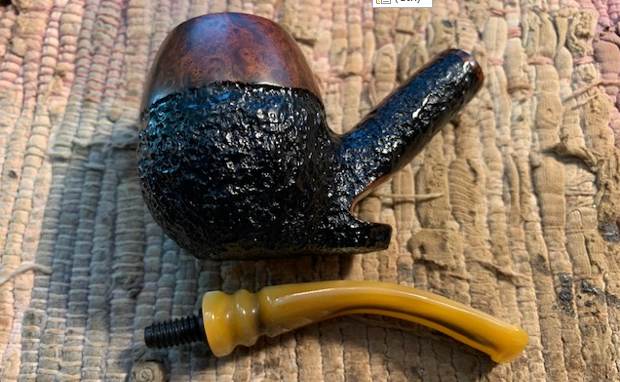
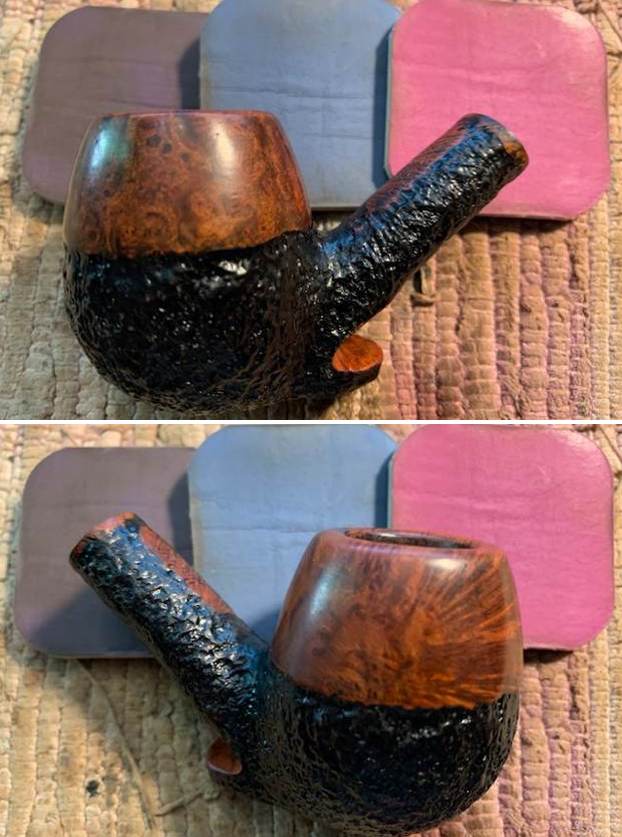
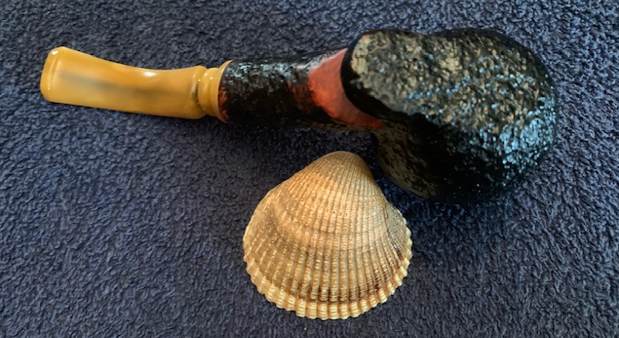
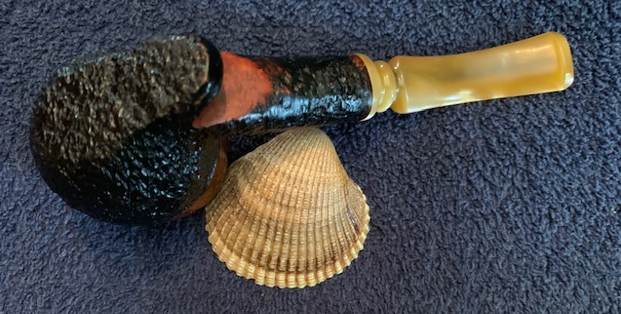
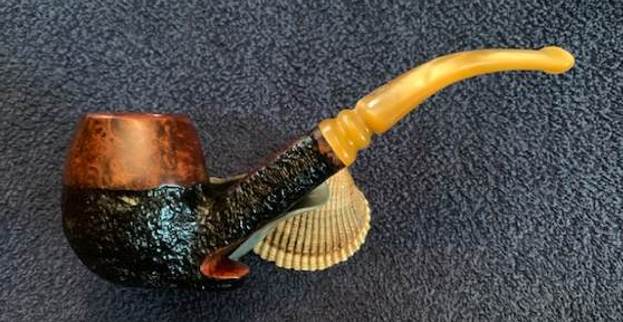
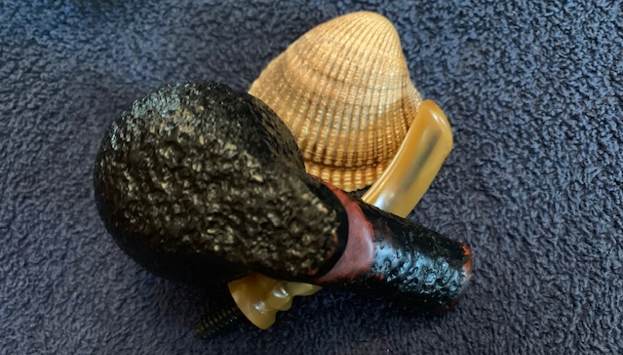
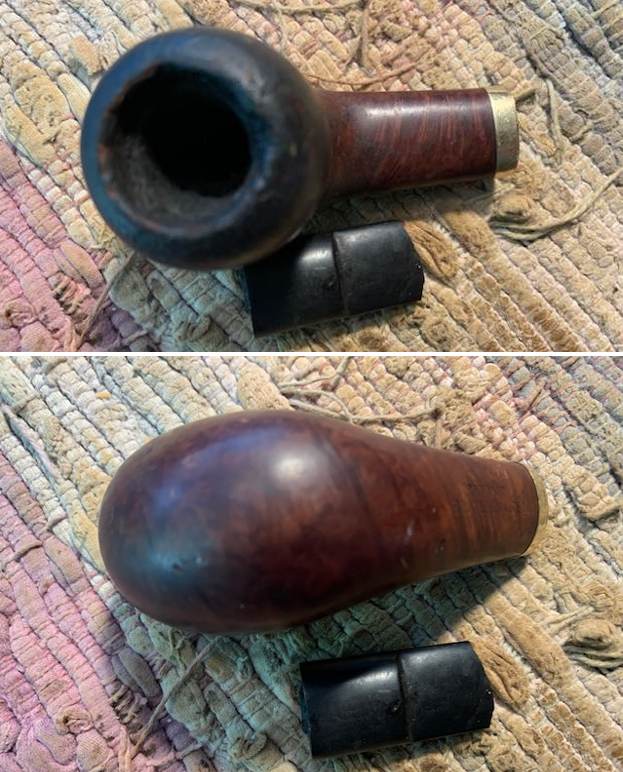
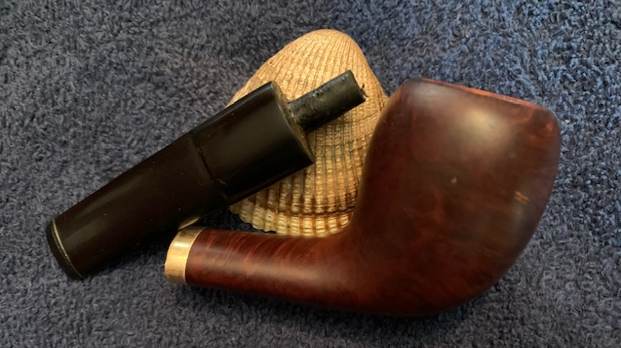
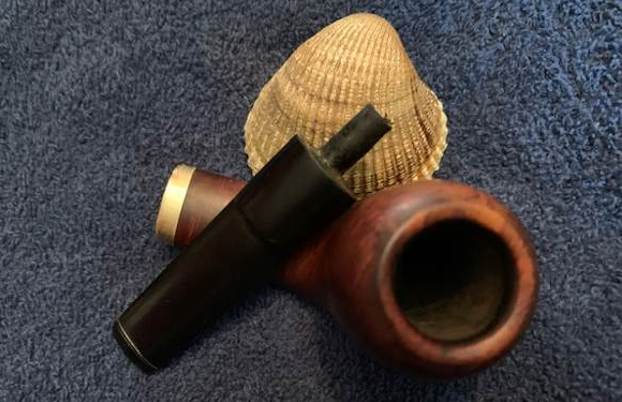
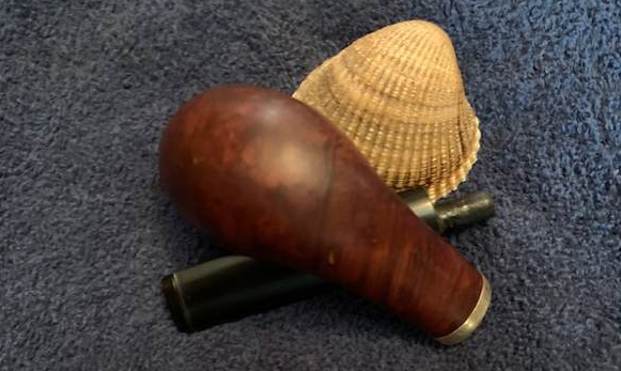
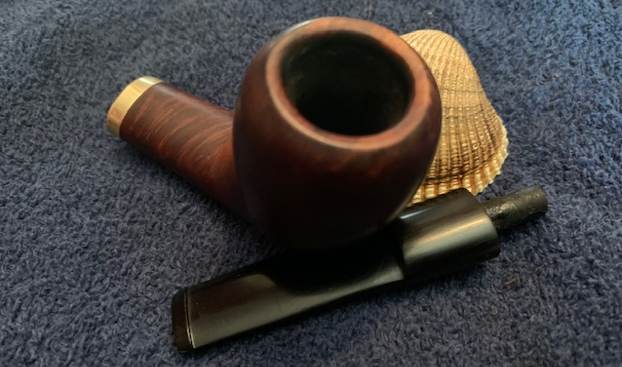
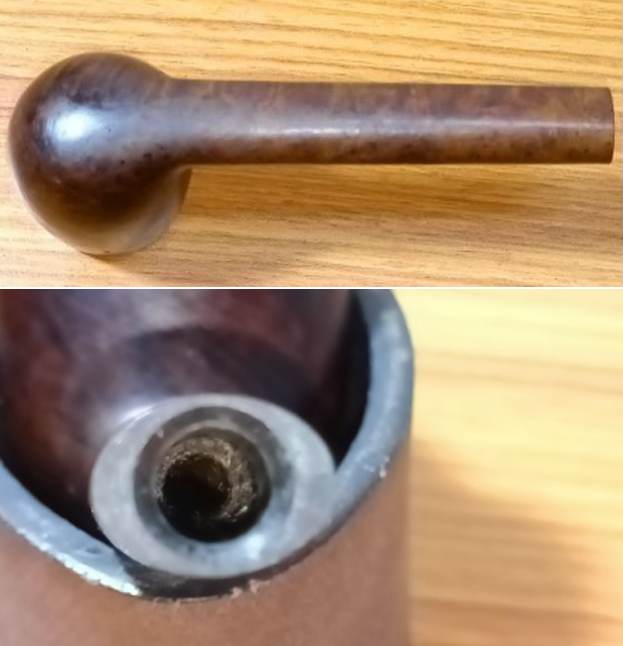
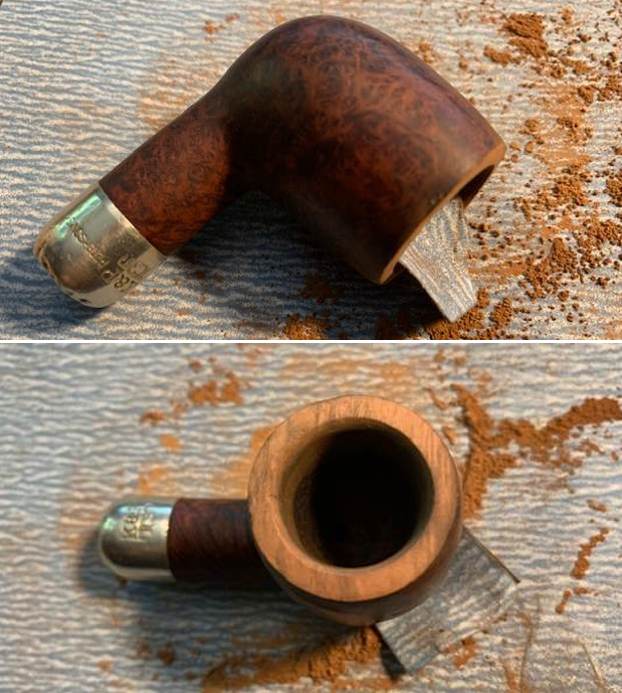
The entire pipe is covered in dirt and grime and is sticky to the touch. There are dark patches on either sides of the bowl that would need to be checked thoroughly. There is a thick layer of cake in the chamber with lava overflowing the rim top surface. The inner rim edge is chipped and damaged giving the chamber an out of round appearance. The outer rim edge too has a number of minor chipped surfaces. The mortise is clogged and the vulcanite stem is deeply oxidized with deep tooth indentations in the bite zone. The button edges are damaged due to bite marks and would need to be rebuilt and reshaped. The pictures below would give you the general idea as to the condition of the pipe.

 Detailed Inspection
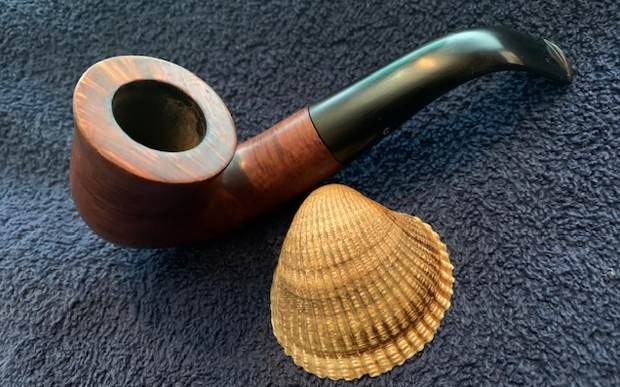
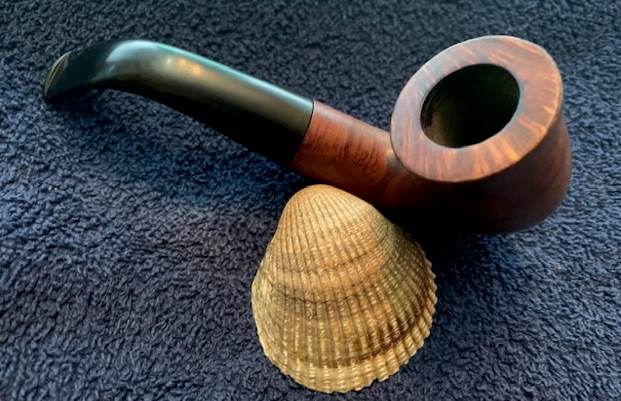
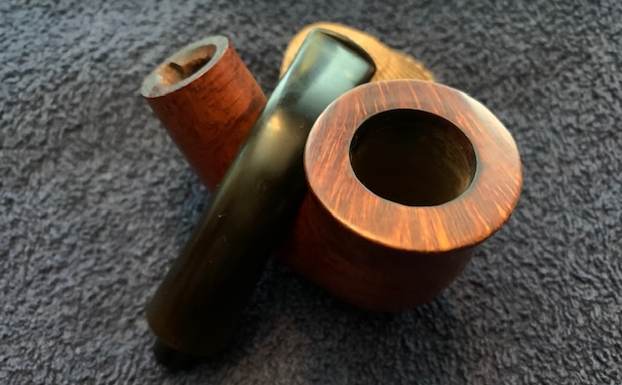
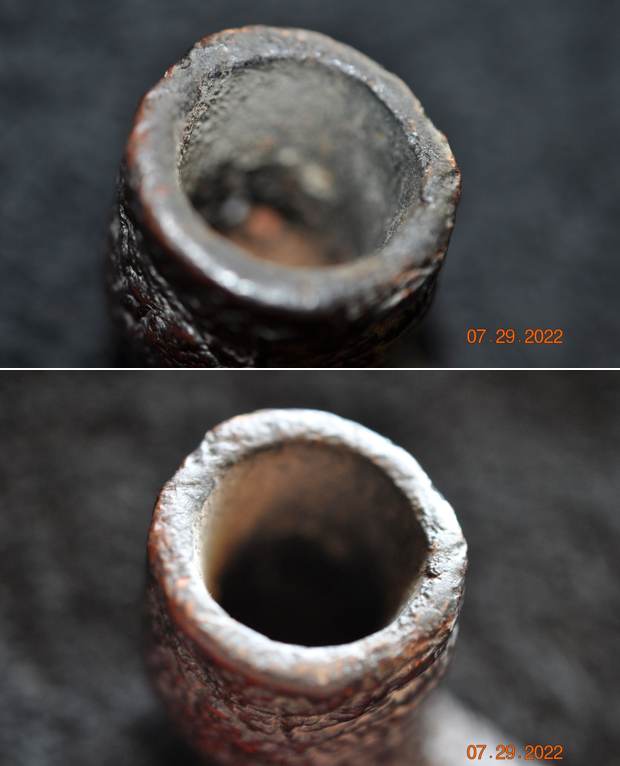
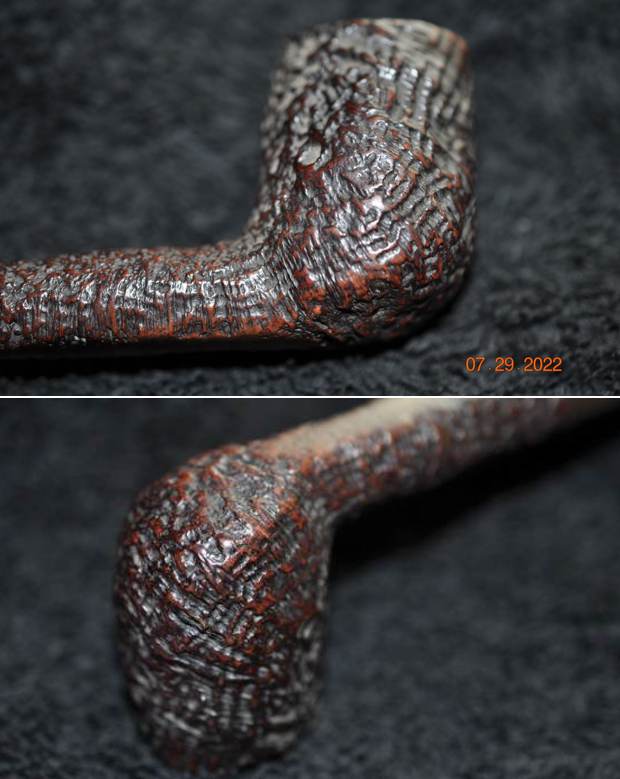
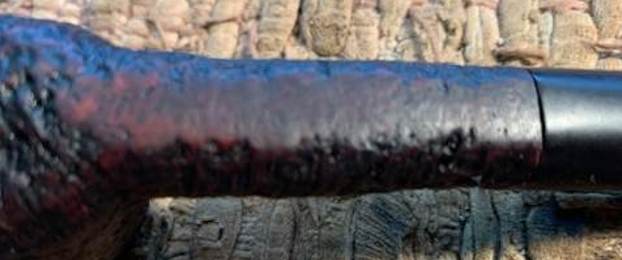
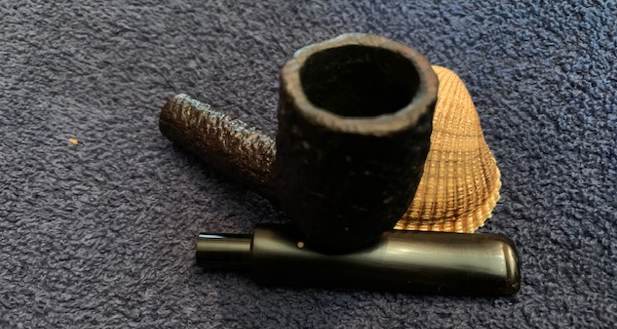
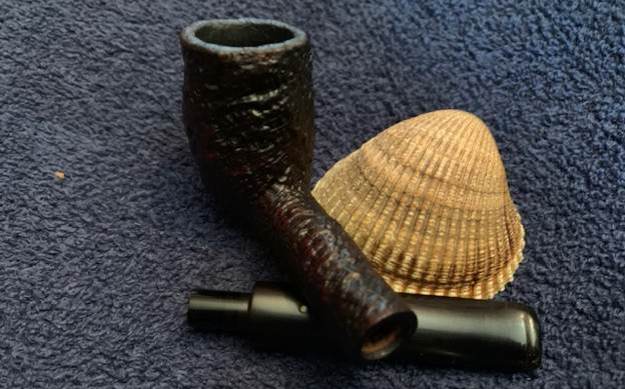
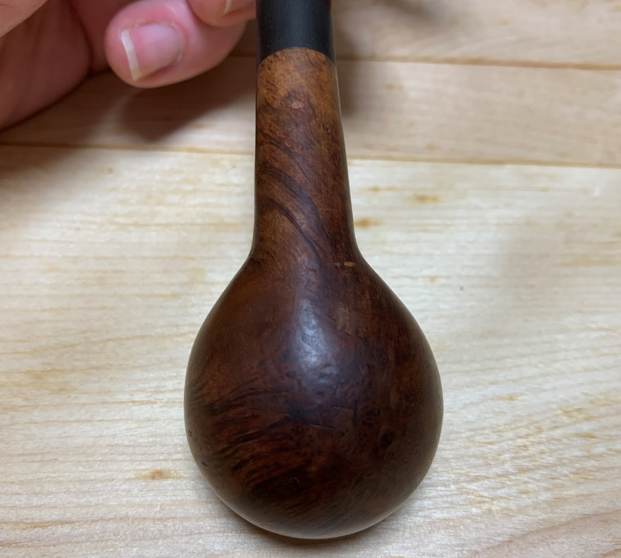
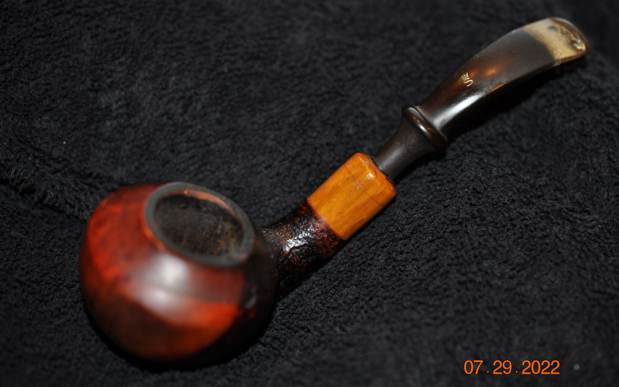
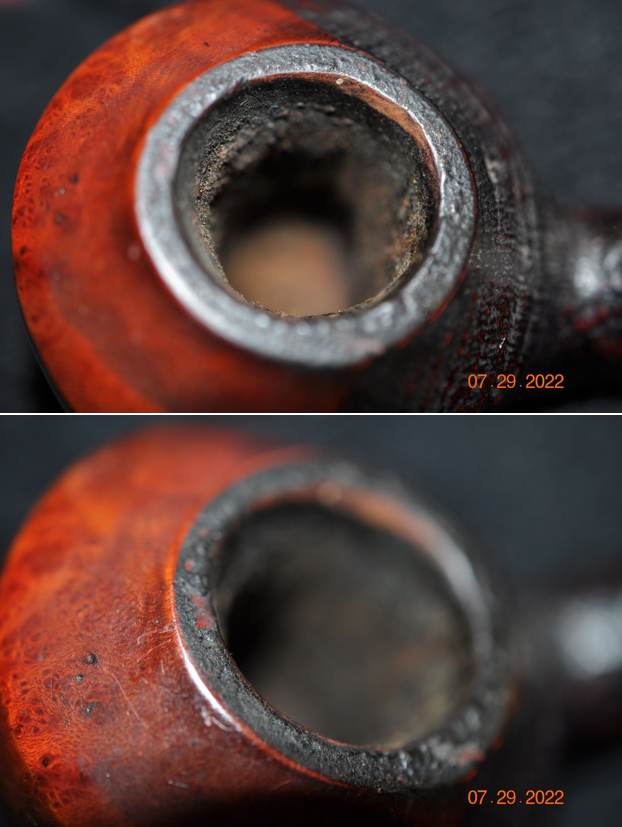
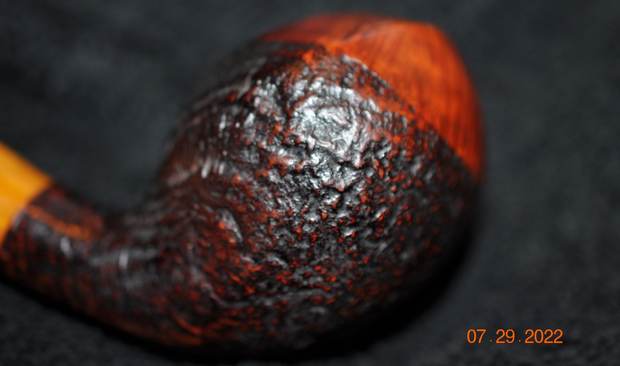
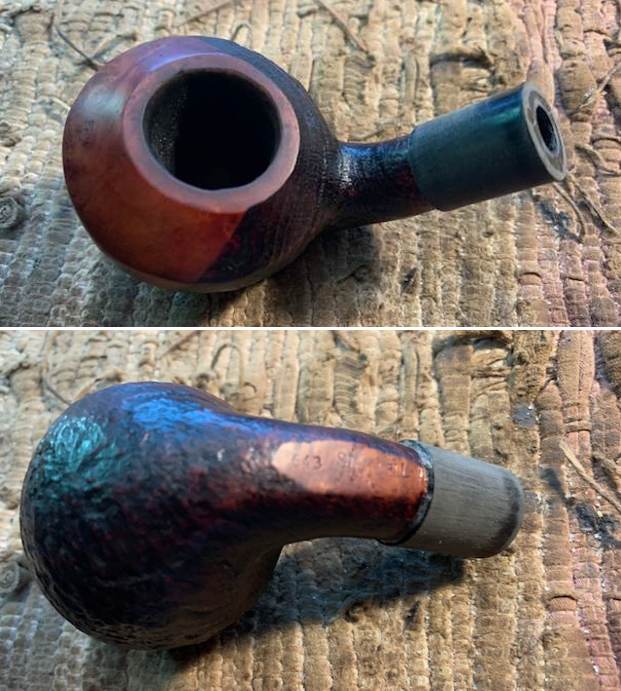
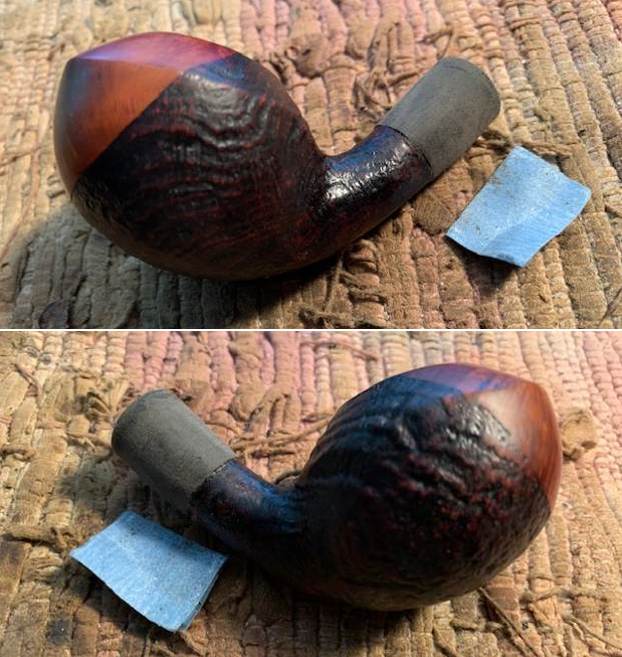
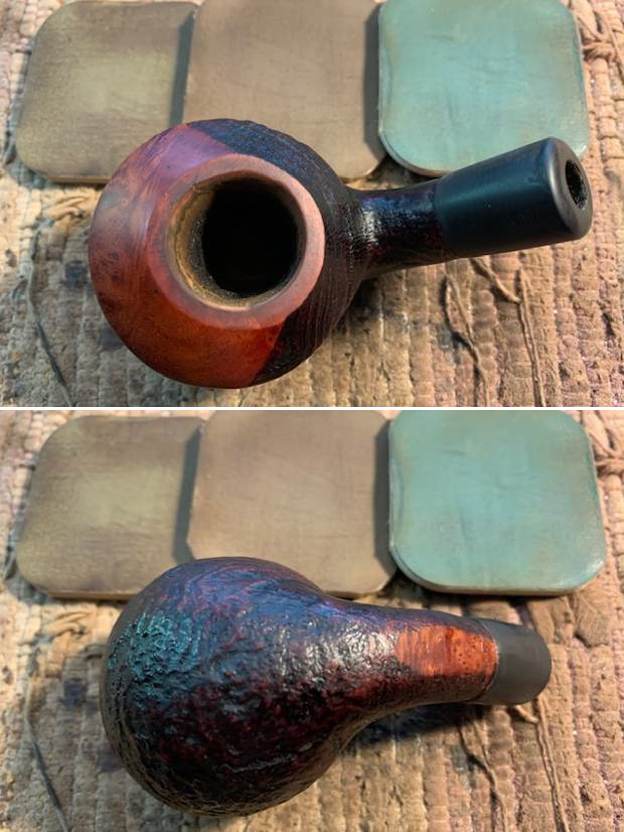
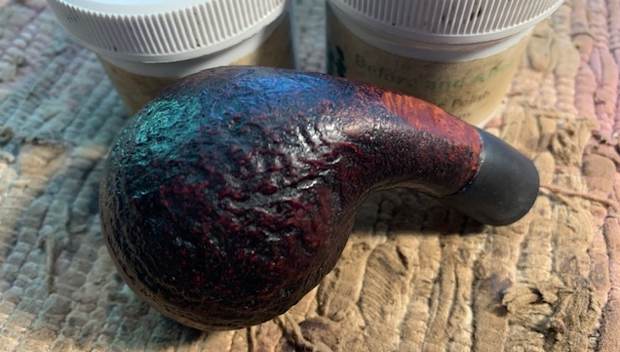
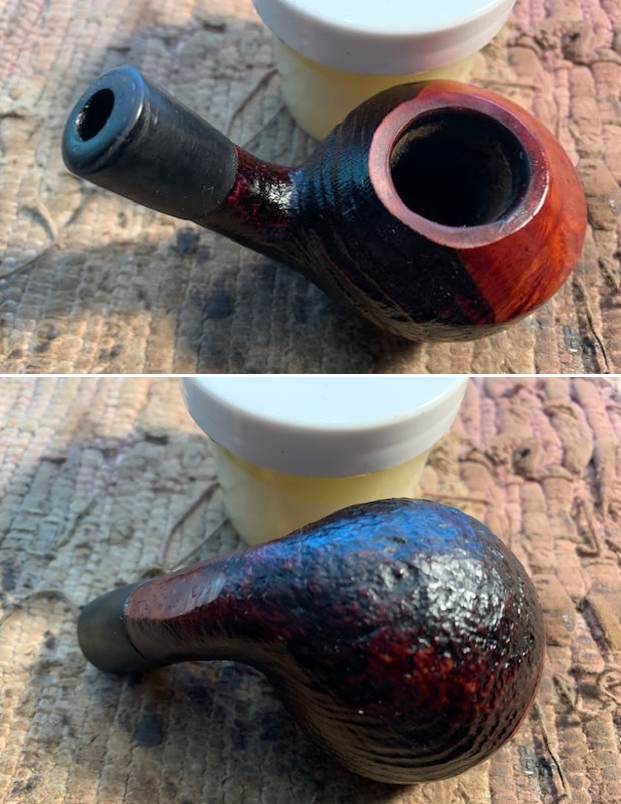
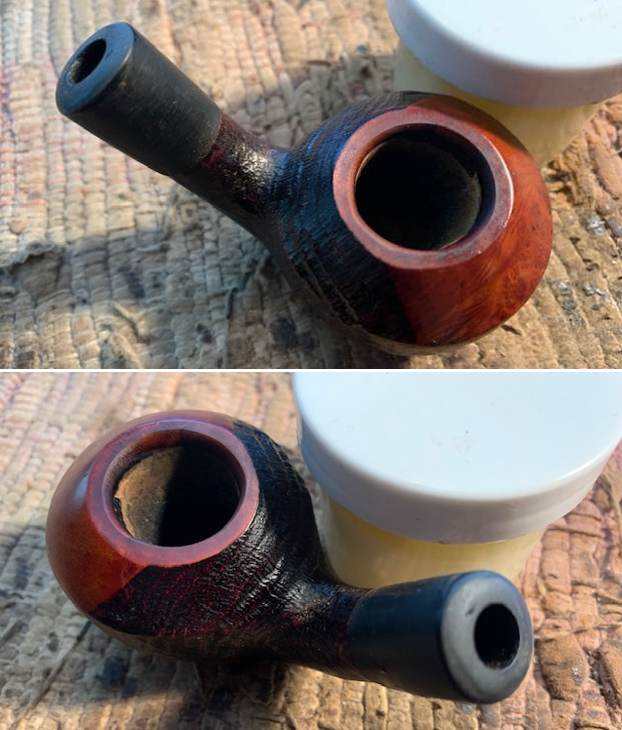
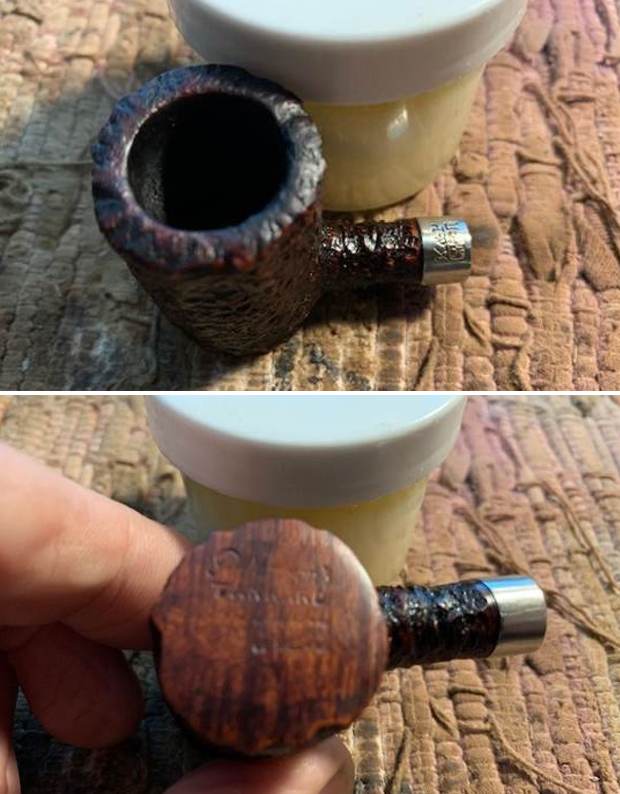
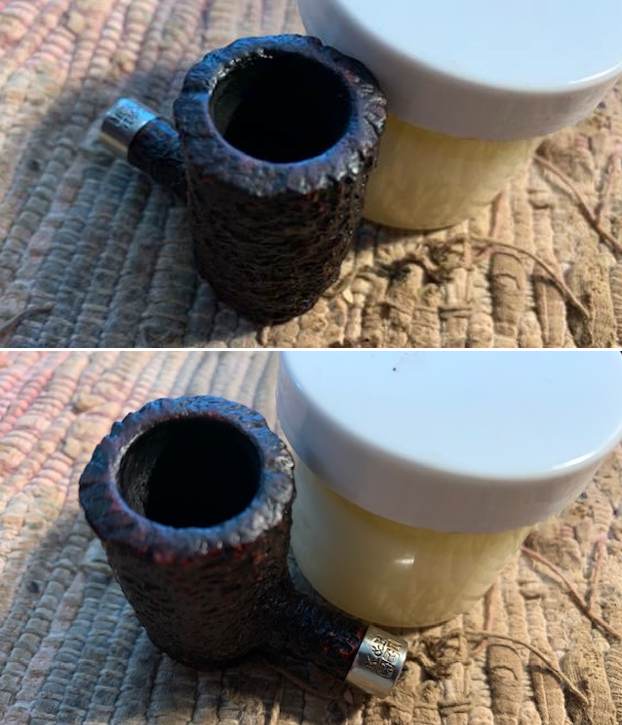
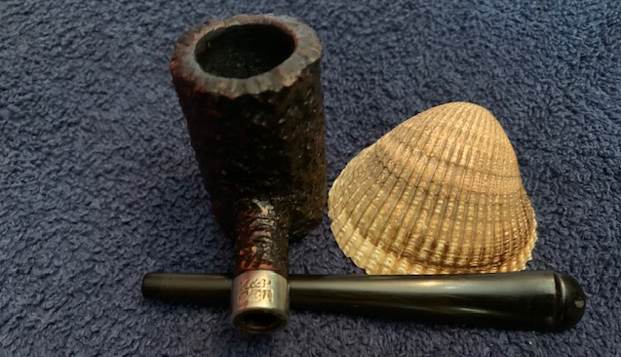
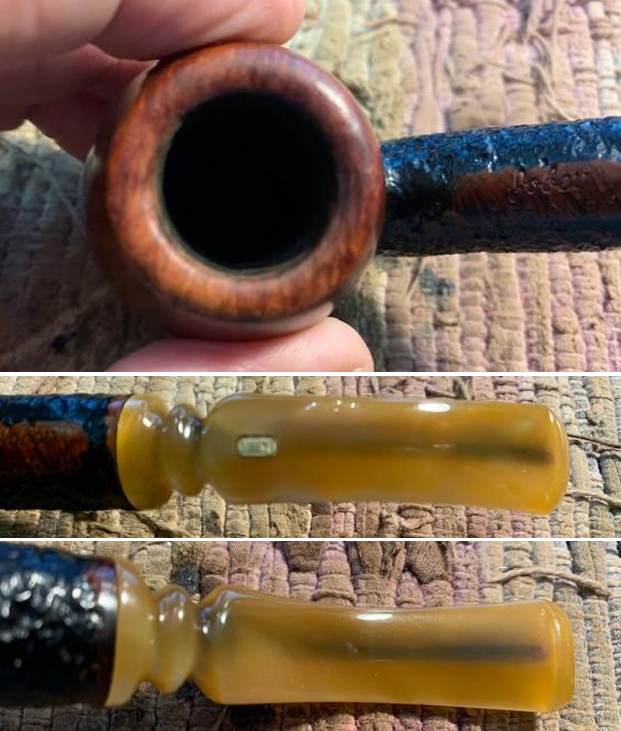
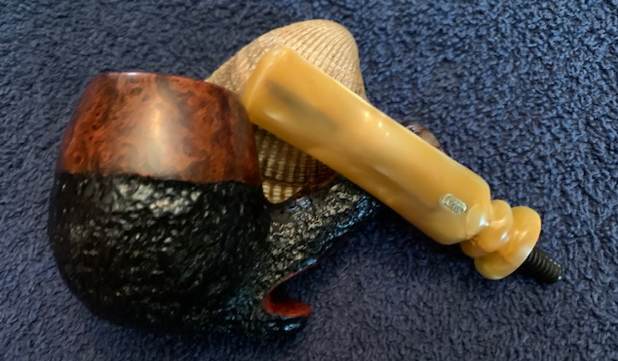
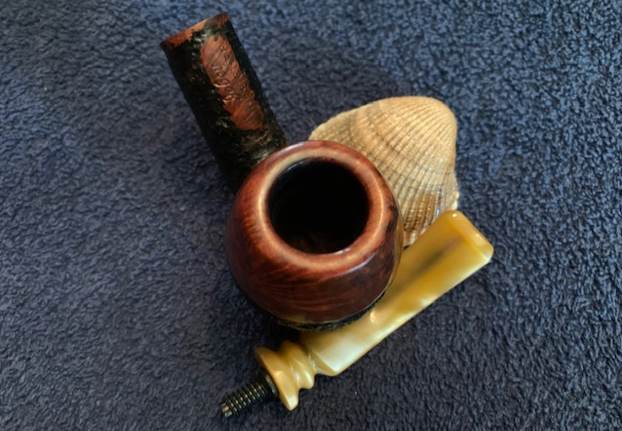
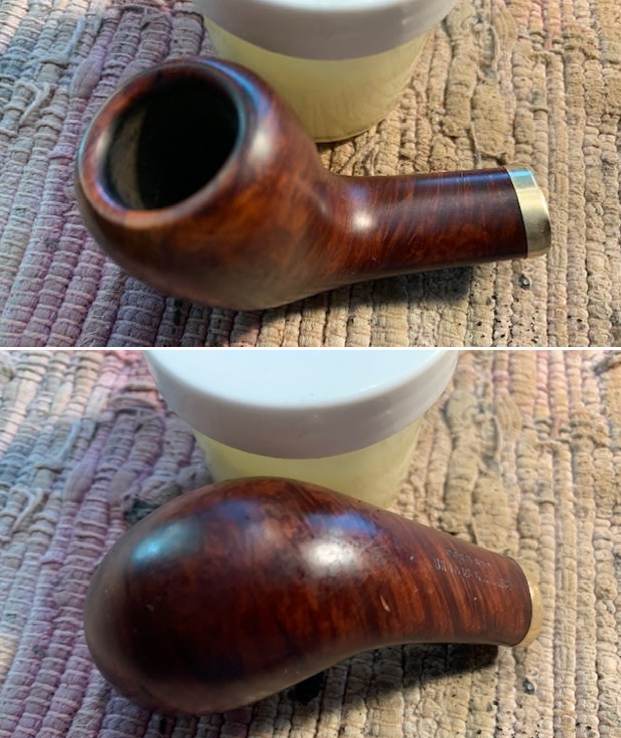
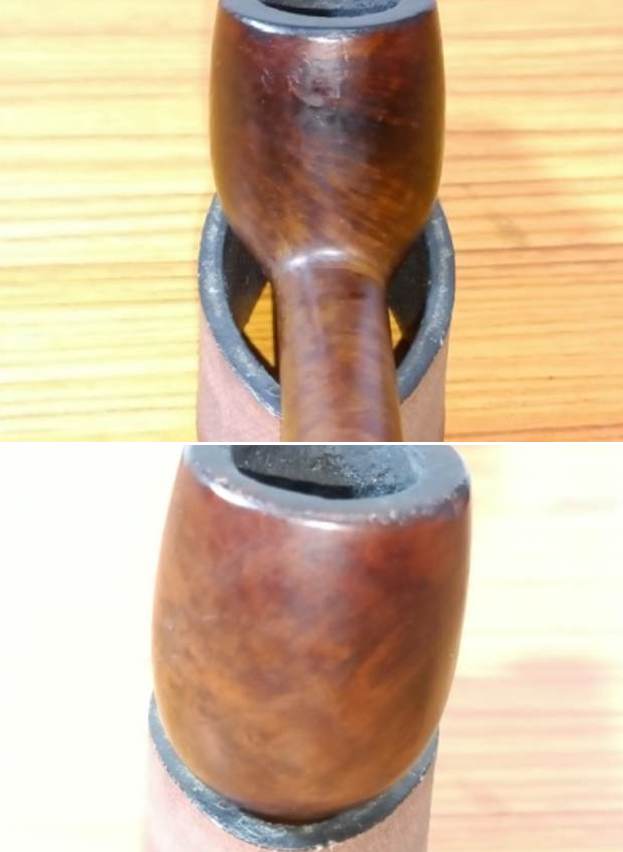
The chamber has a thick layer of even cake with overflow of carbon over the rim top surface. The condition of this Loewe, like all other Loewe pipes that I have inherited, has seen extensive use. Such extensive use, without proper care and maintenance, may cause heat related issues along the chamber walls. Here, the condition of the chamber wall will be known once the cake is taken down to bare briar. The inner rim edge is uneven and has suspected charring at 6 o’clock direction and between 9 o’ clock to 11 o’ clock on the left and also between 1 o’ clock and 3 o’ clock directions on the right side. The inner rim damage is encircled in yellow. The outer rim edge too has not been spared any punishment. There are minor dents/ dings and chipped surfaces all along the outer rim edge, likely as a result of knocking against a hard surface to remove the dottle. The outer rim damage is encircled in red. The extent of the damage to the chamber walls and rim of this pipe will be clear once the cake is completely taken down to the bare briar and the rim top surface is free of all the accumulated crud. The ghost smell are very strong and would need to be addressed. The stummel surface is covered in dirt/ grime and feels sticky to the touch. The surface has darkened considerably on either side of the bowl (enclosed in pastel blue) and at the rear and would need to be examined up close once the stummel is thoroughly cleaned both internally as well as externally. I suspect there is a crack (encircled in green) on the right side of the bowl within the darkened area (or it could even be a scratch) and needs to be verified. However, beneath the dull grime layer, beautiful cross and bird’s eye grain await being brought to the fore. Heavy accumulation of old oils, tars, ash and gunk is seen in the mortise as expected.
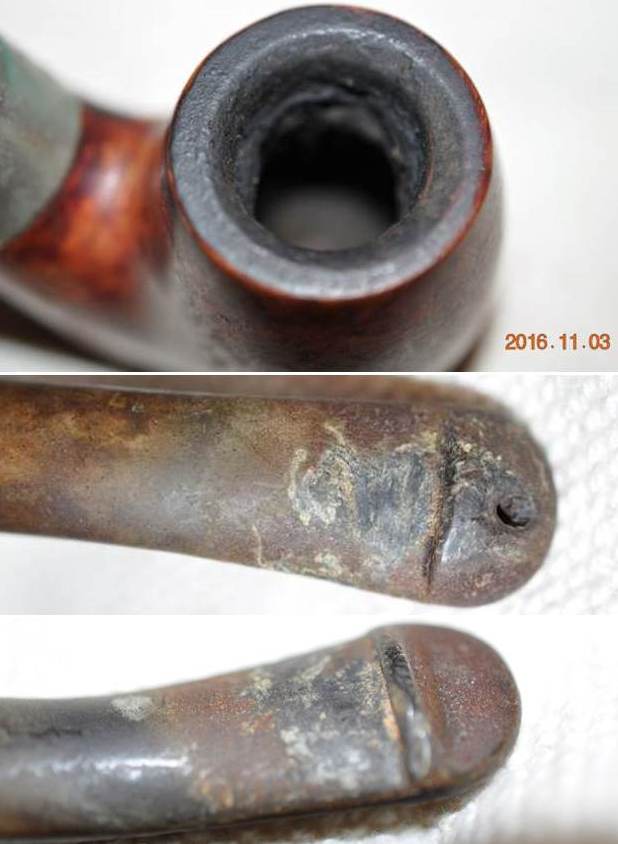
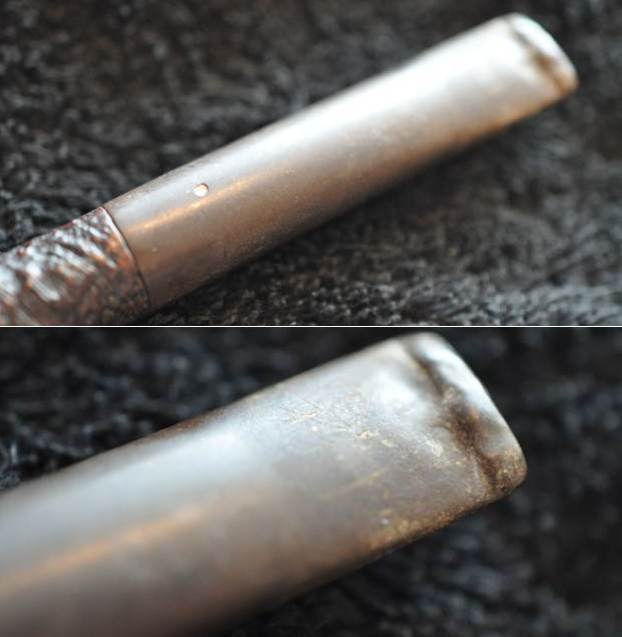
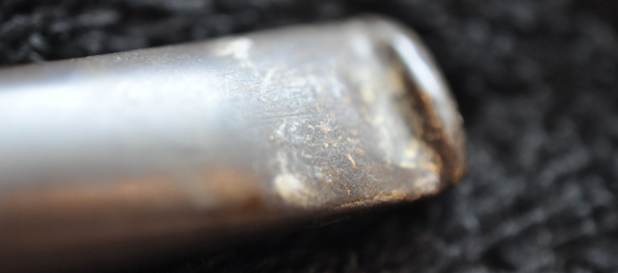
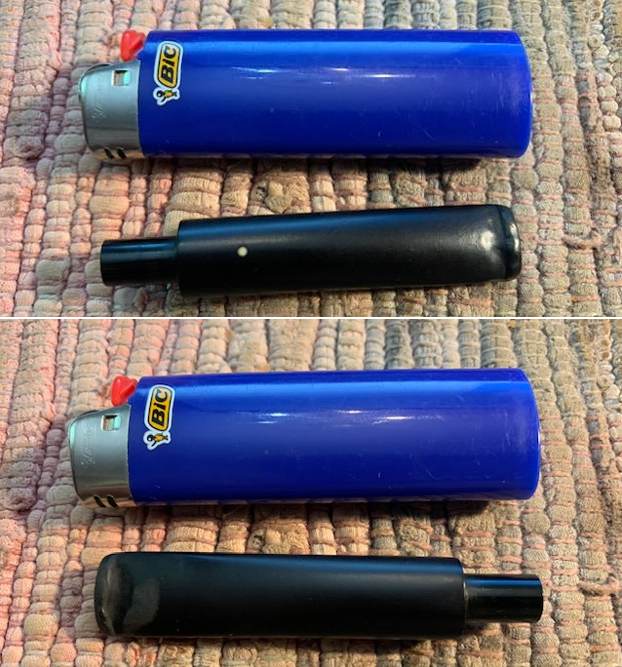
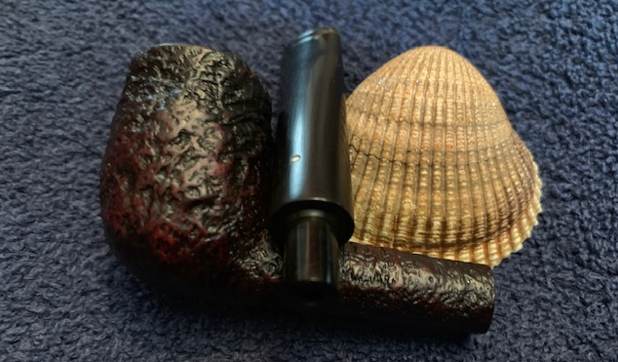
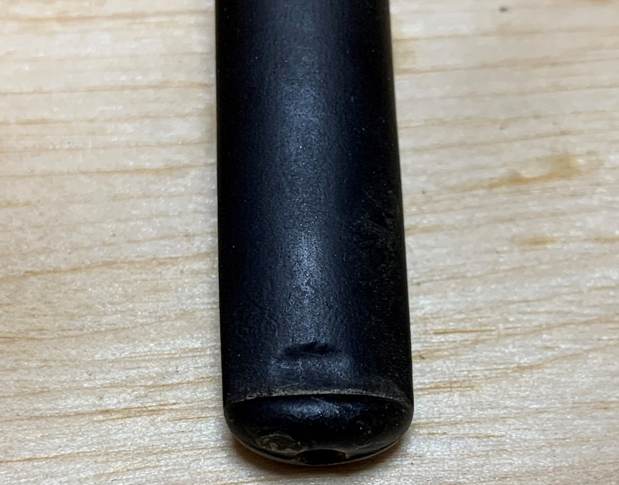
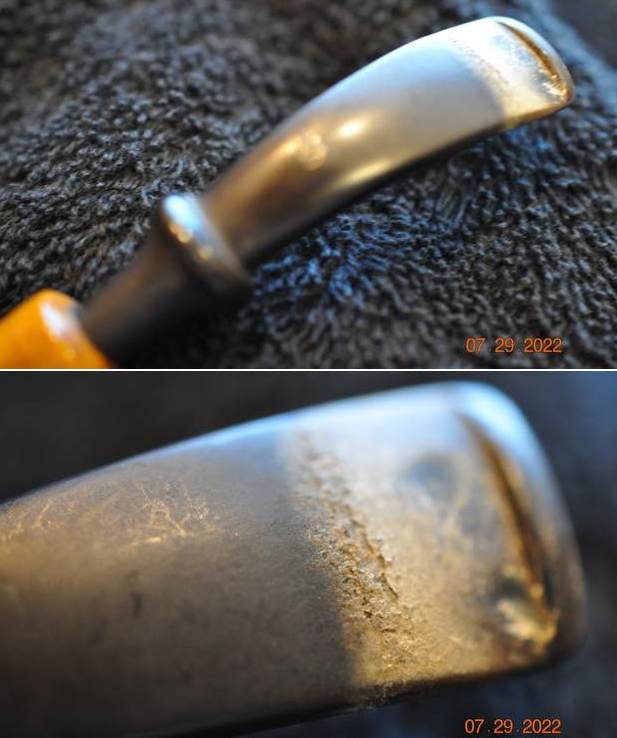
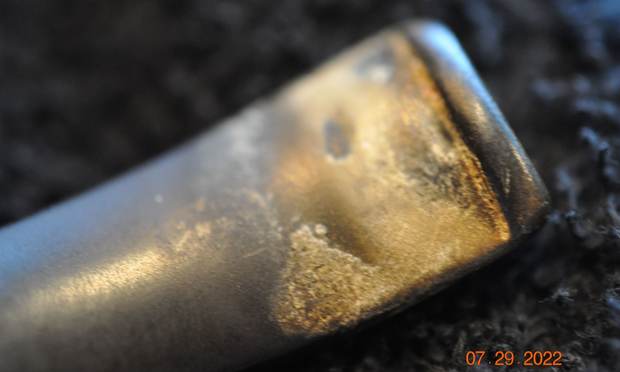
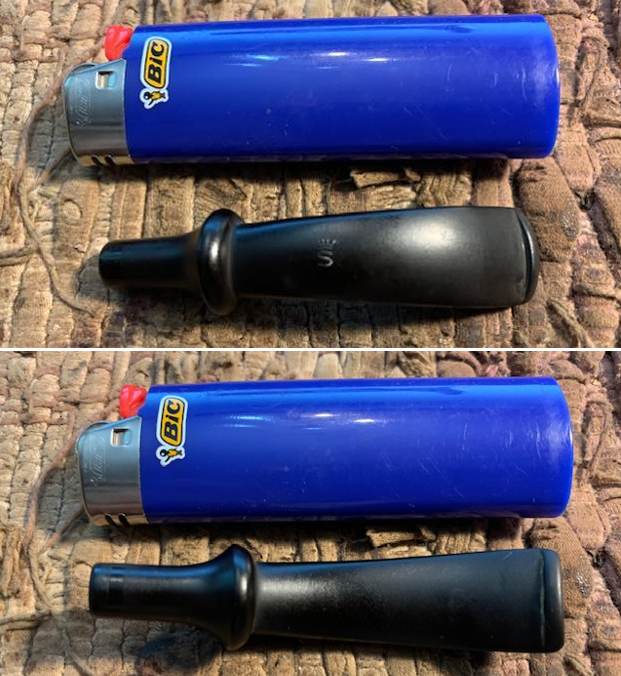
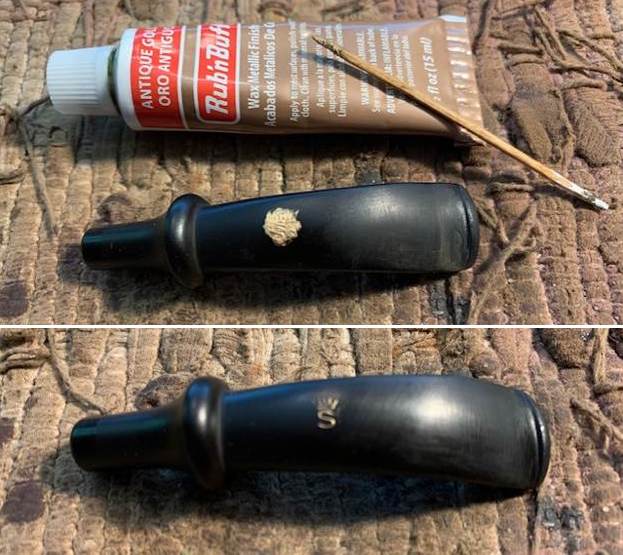
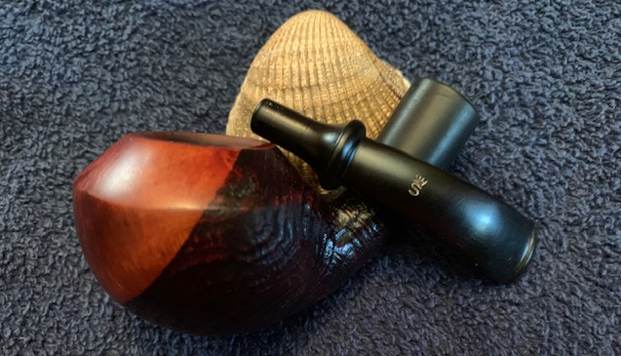
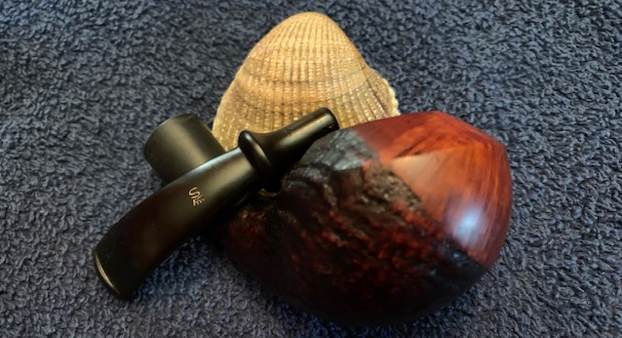
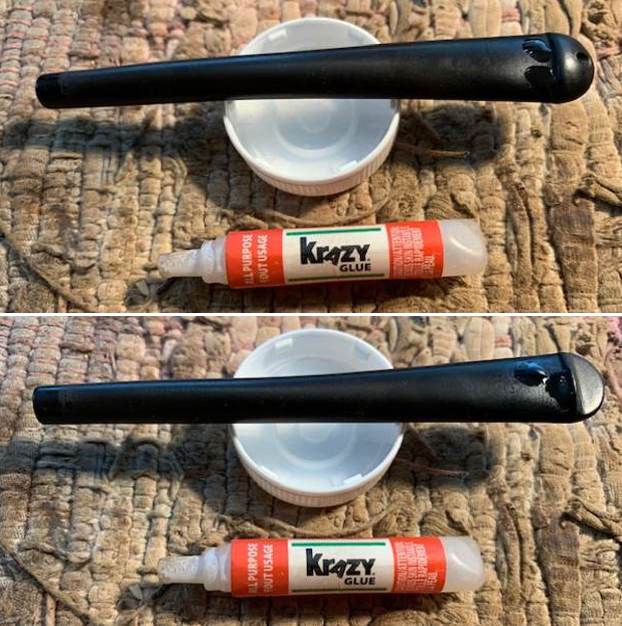
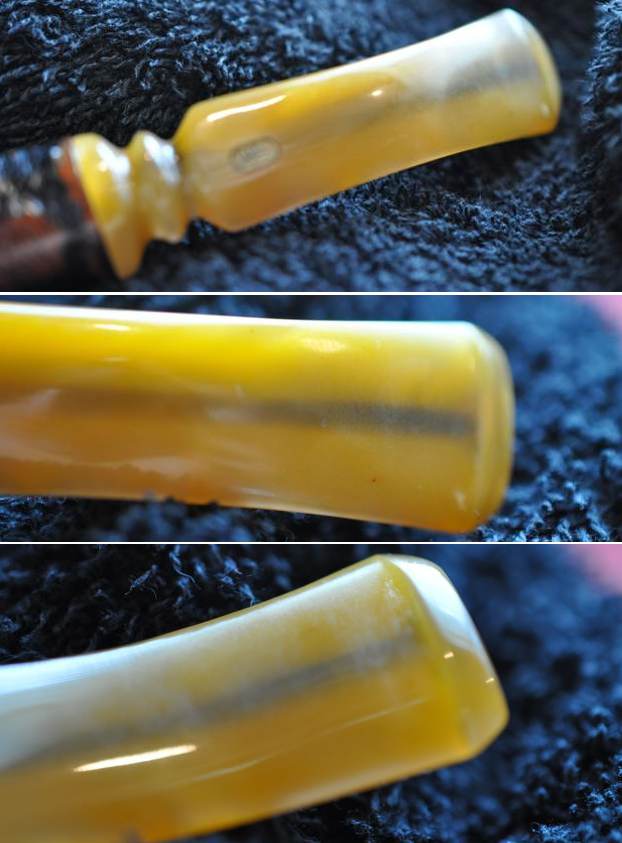
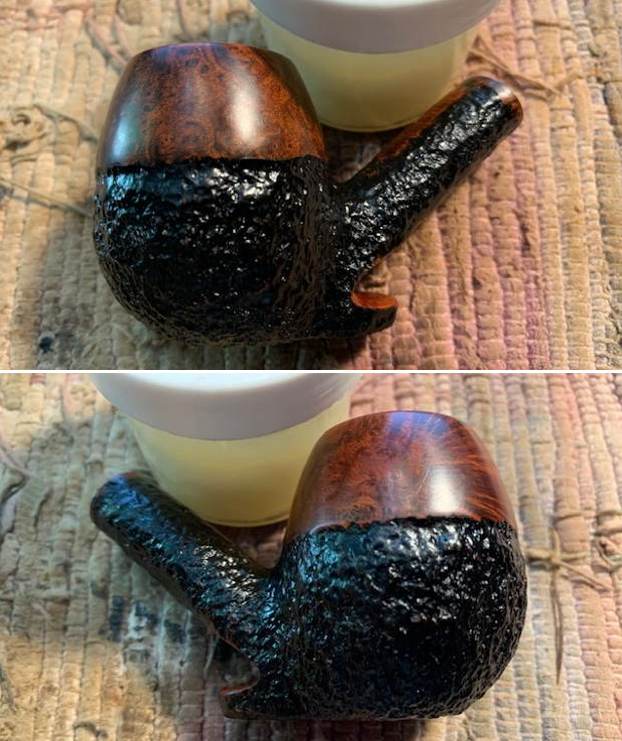
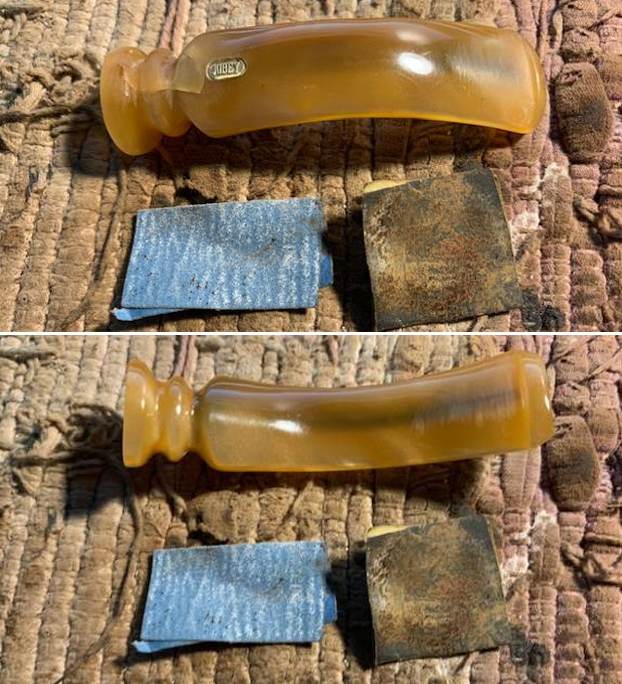
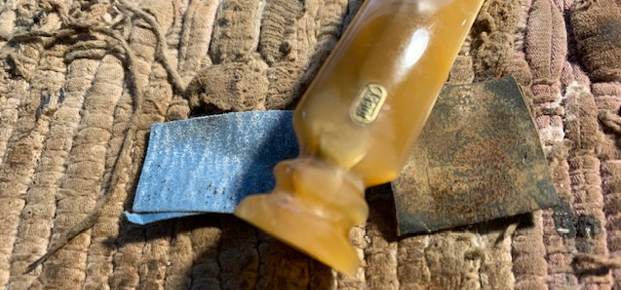
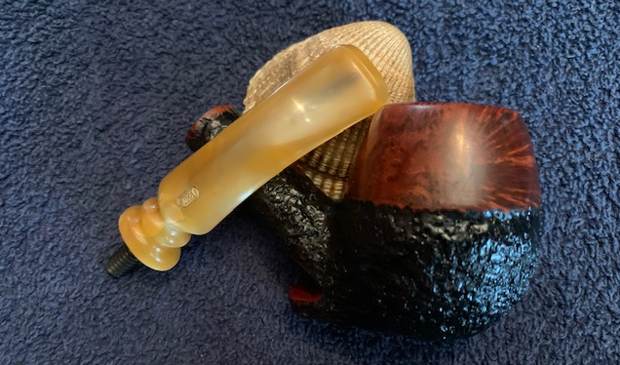
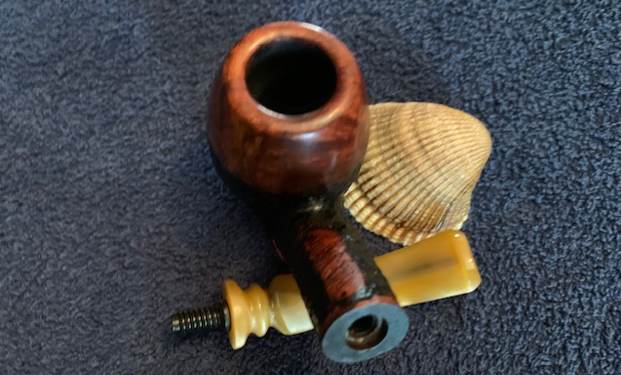
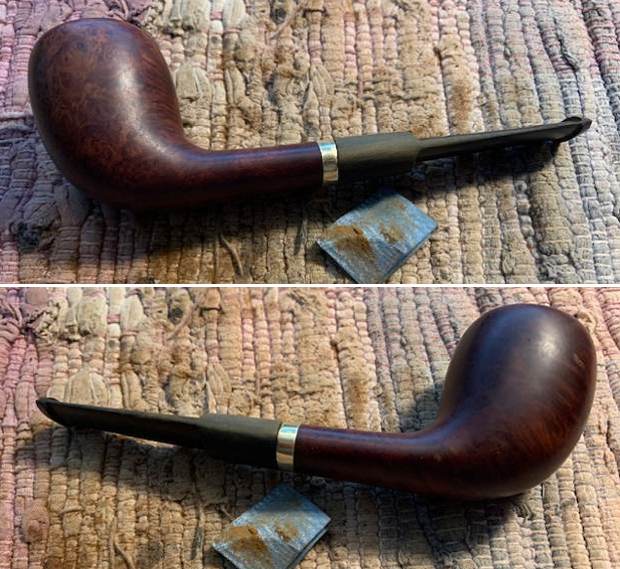
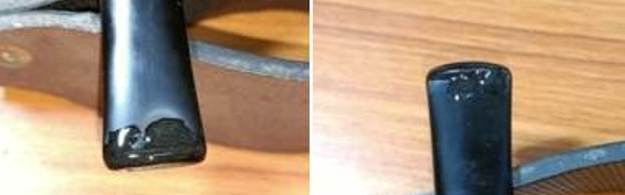
 The tapered vulcanite stem is heavily oxidized and has deep bite marks on both the lower and upper surface in the bite zone. The button edges are deformed as a result of these tooth indentations and would need to be reconstructed. My last project had thrown up some bad experiences about the end results of using the Gorilla superglue that I had recently purchased and will try it out again this time around. If the results are not up to standard, this and the other tubes will find their way out the door. The slot and tenon end show presence of dried gunk and would need to be thoroughly cleaned.
  The Process
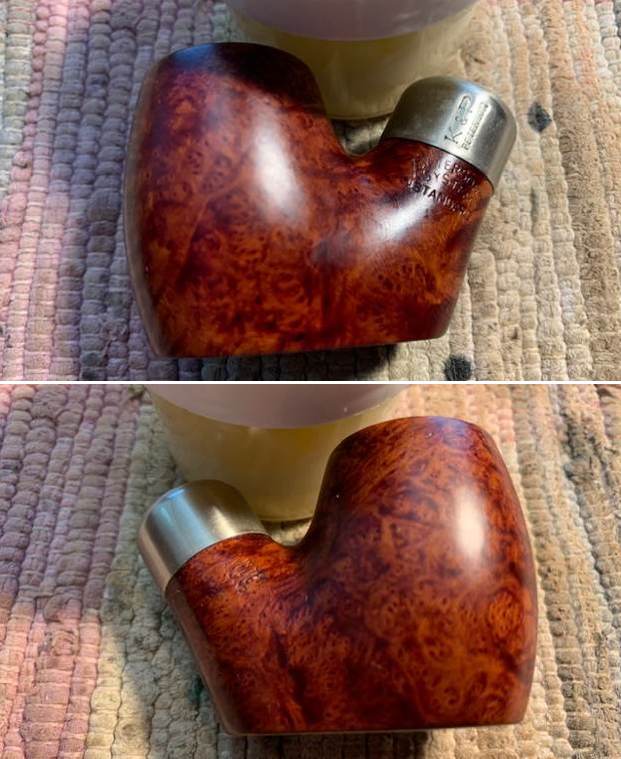
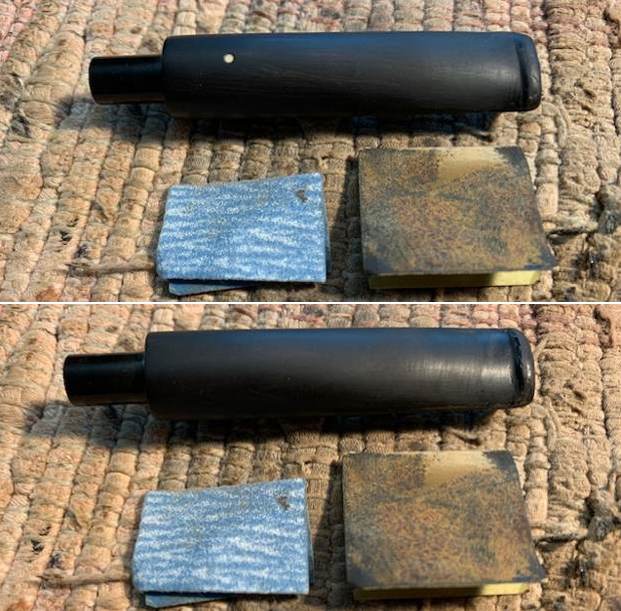
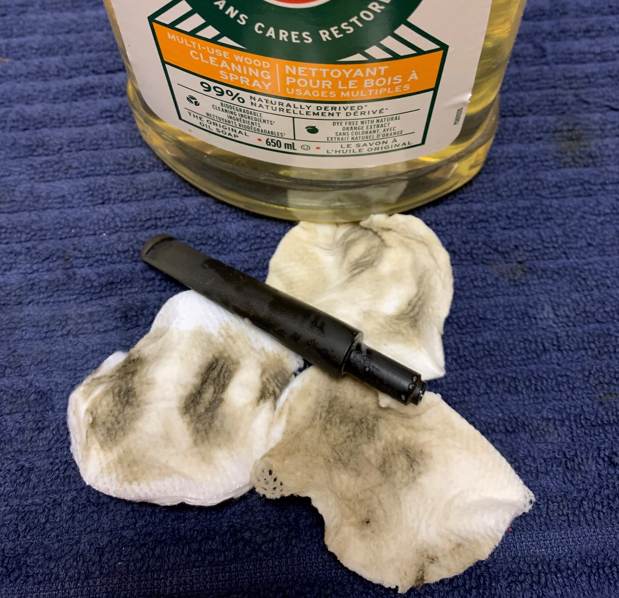
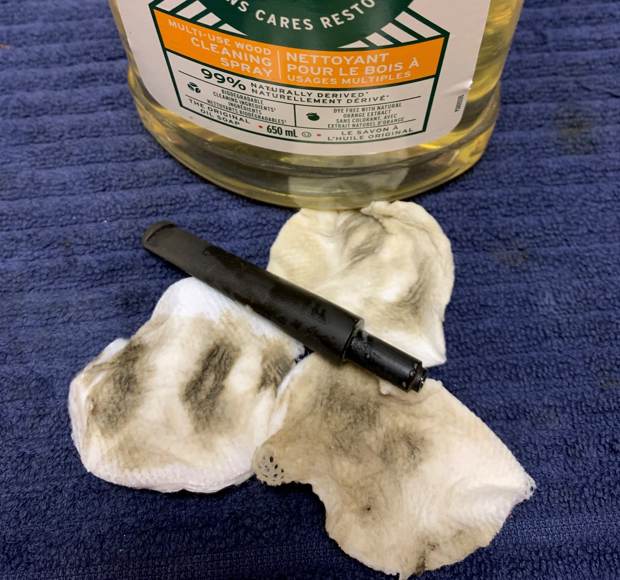
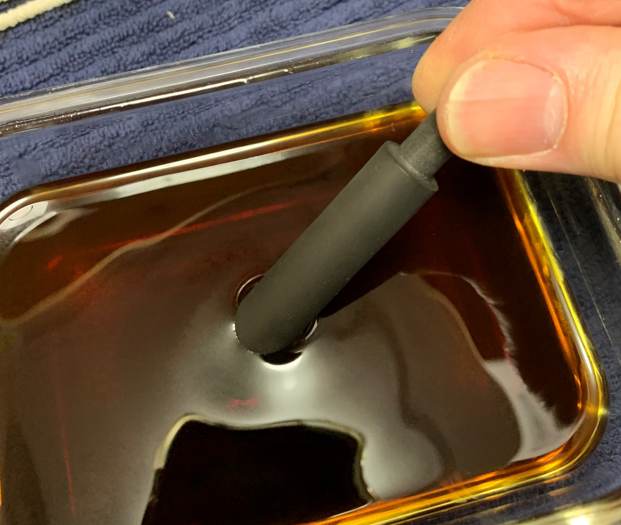
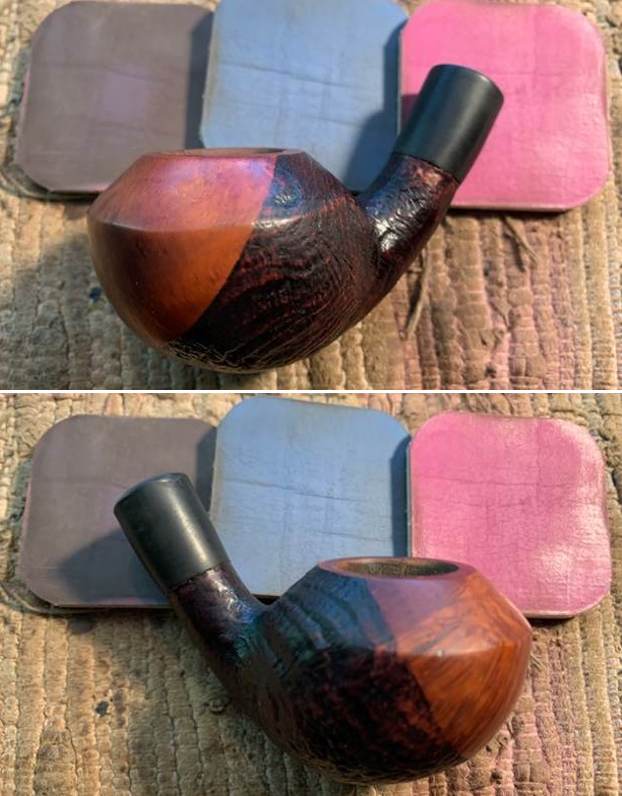
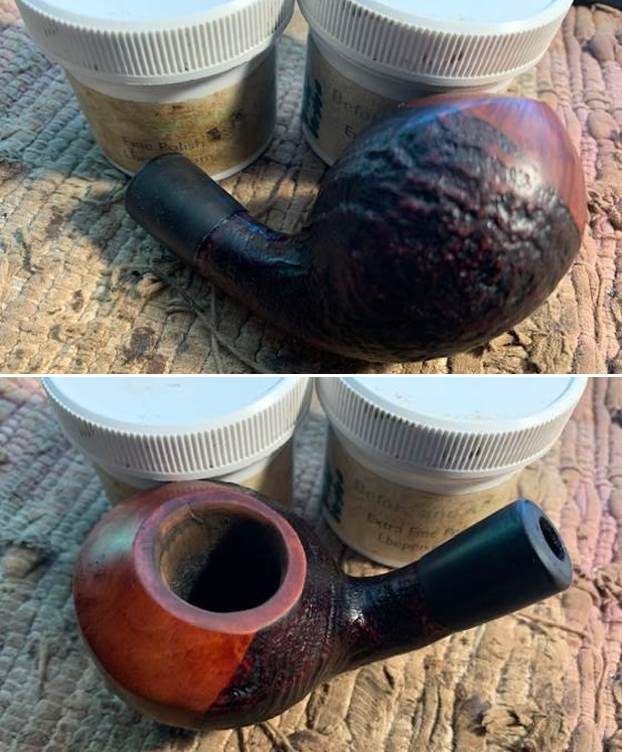
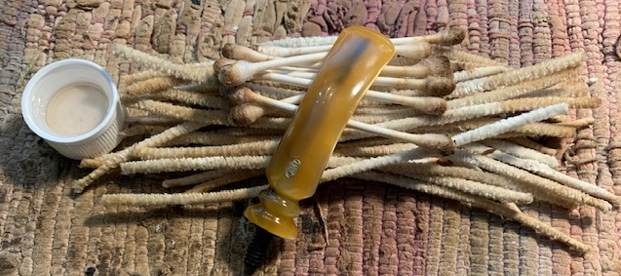
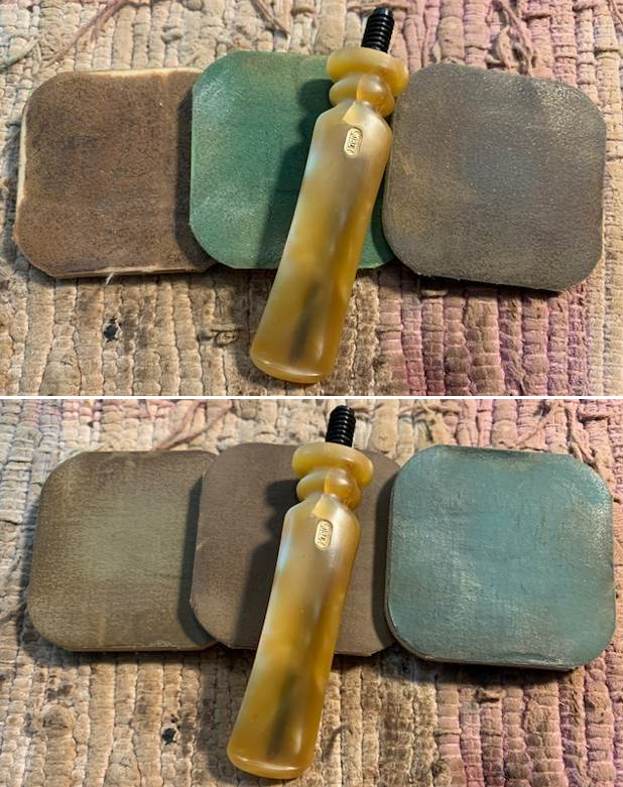
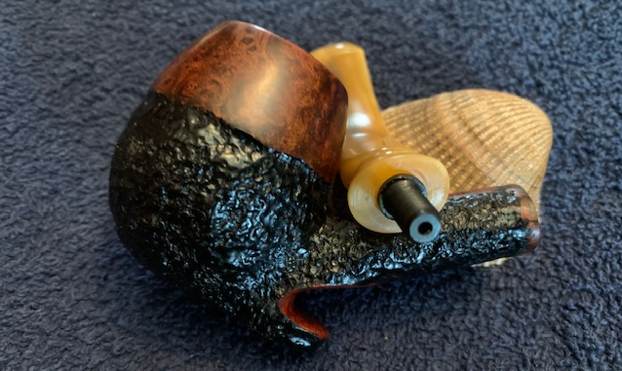
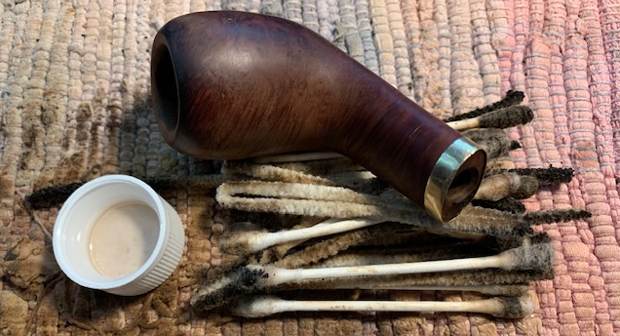
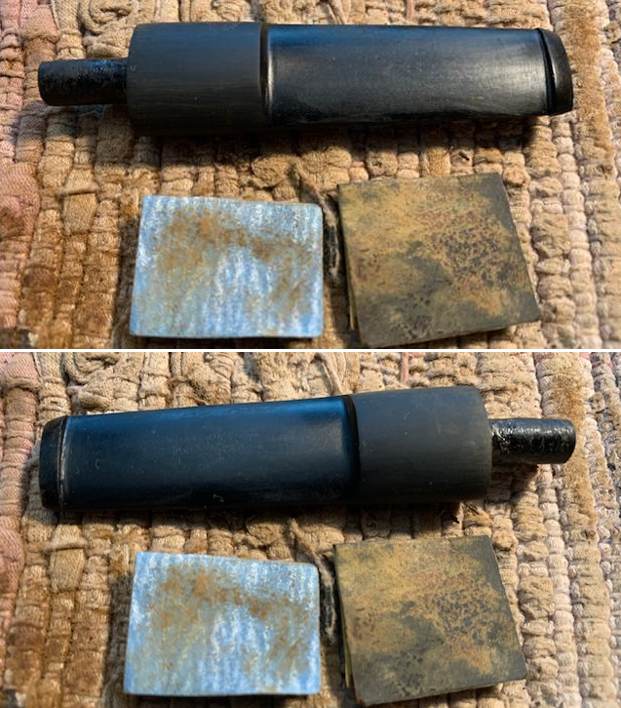
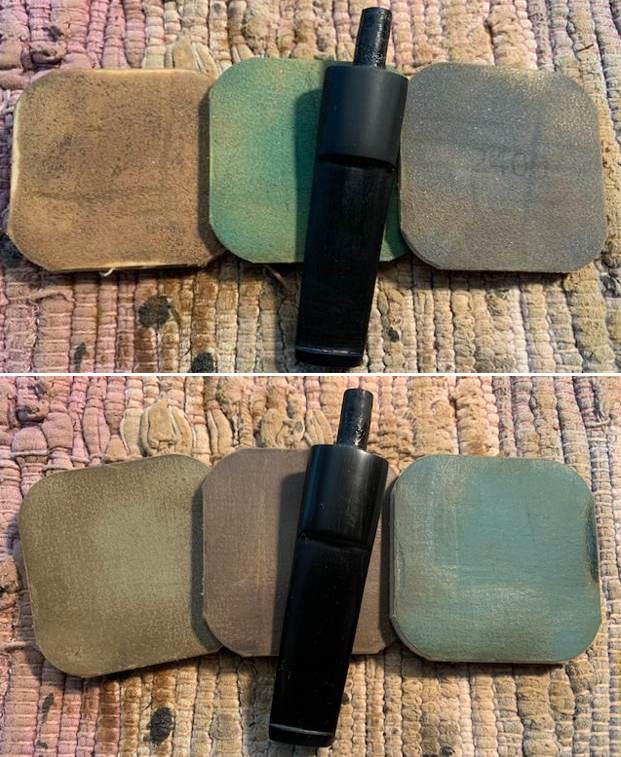
I started the process of restoration by first cleaning the stem internals with anti-oil dish cleaning soap and thin shank brushes. I scrubbed the stem surface with the soap using a Scotch Brite pad, firstly to rid the surface of old oils and gunk and secondly to remove the loose surface oxidation. I ran a couple of pipe cleaners through the stem airway to remove all the traces of soap and dry out the stem internals. Next, I moved to external cleaning of the stem surface by dunking the stem into “Before and After Deoxidizer” solution developed by my friend Mark Hoover. The solution helps to draw out heavy oxidation to the surface making it’s further removal a breeze while the minor oxidation is eliminated to a very great extent. I usually dunk stems of 5-7 pipes that are in-line for restoration and the LOEWE SLOANE is marked in blue arrow. I generally allow the stems to soak in this solution overnight for the solution to do its work.
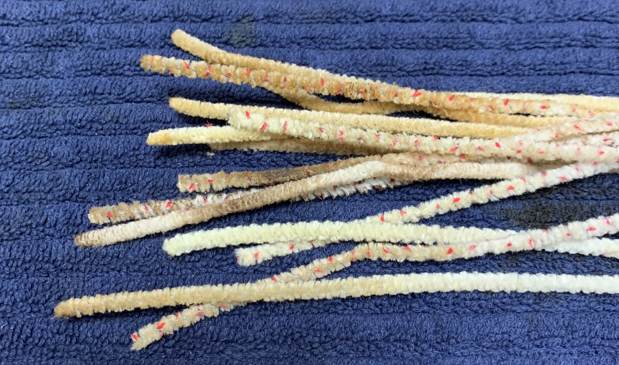
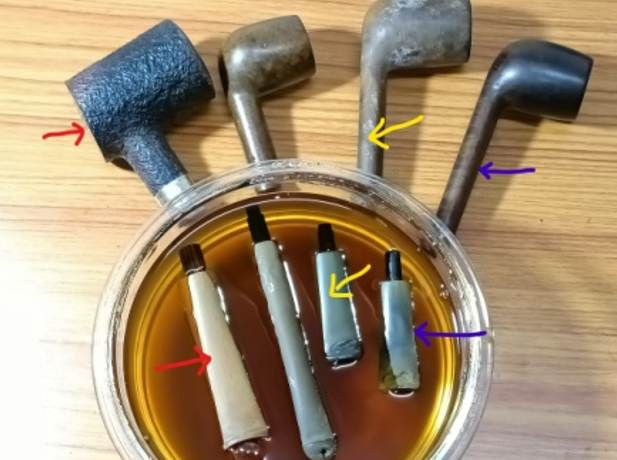 The next afternoon, Abha fished out the stem from the deoxidizer solution and scrubbed it with a Scotch Brite pad to get rid of the loosened oxidation from the surface. She followed this scrub with a second scrub using 0000 grade steel wool and this helped in further removal of raised oxidation from the surface and even out the minor scratches resulting from using the Scotch Brite pad. She rinsed the stem under warm running water to completely remove the solution from the airway and slot end. She ran a couple of pipe cleaners to remove the last traces of residual deoxidizer solution from the airway and dry out the airway.
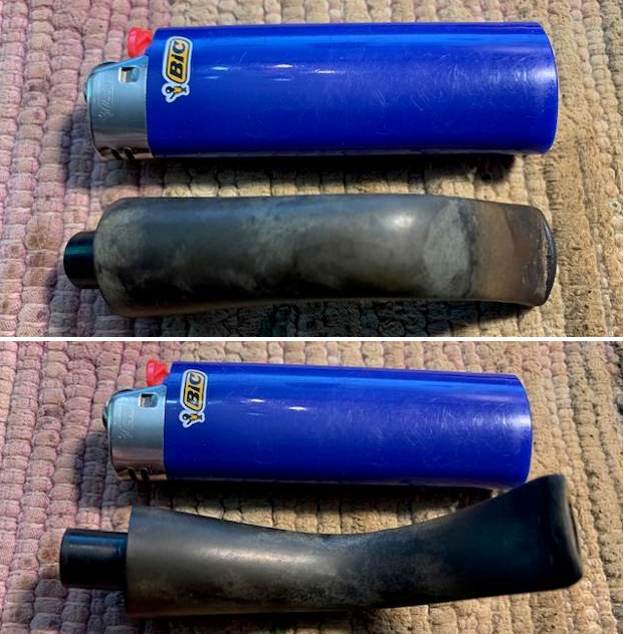
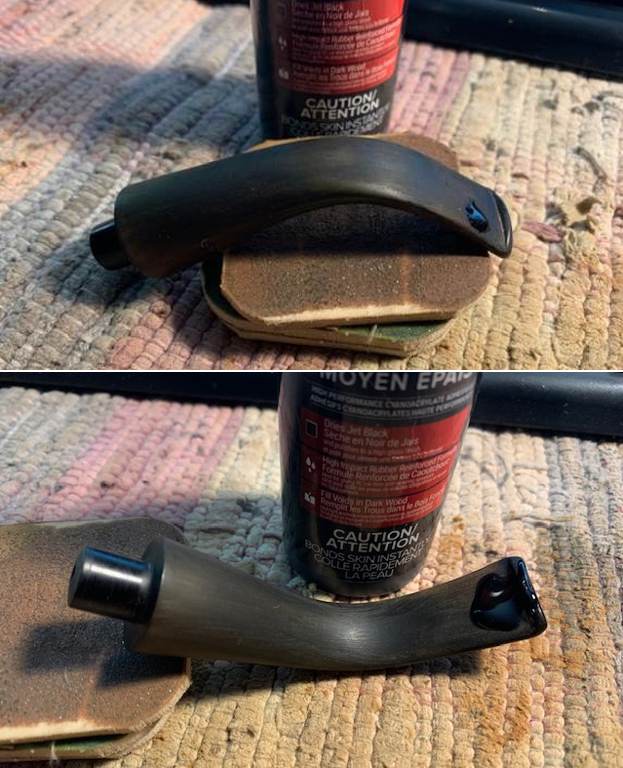
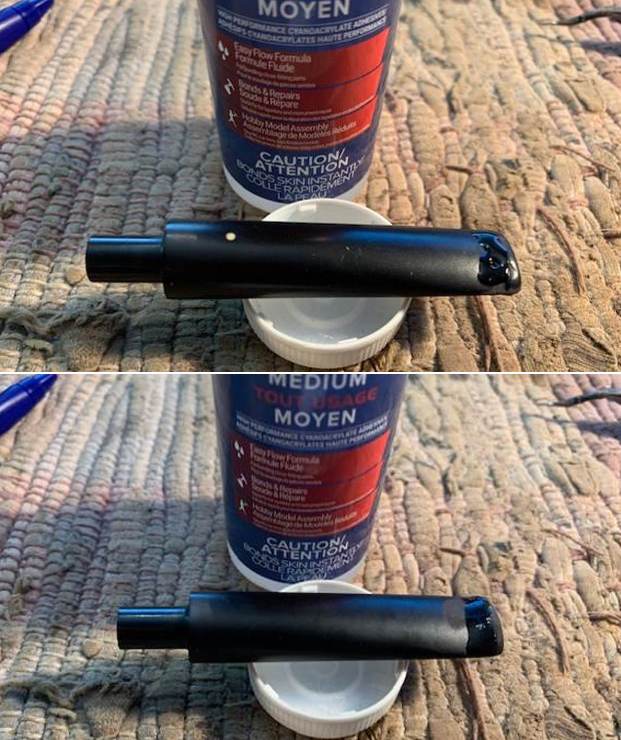
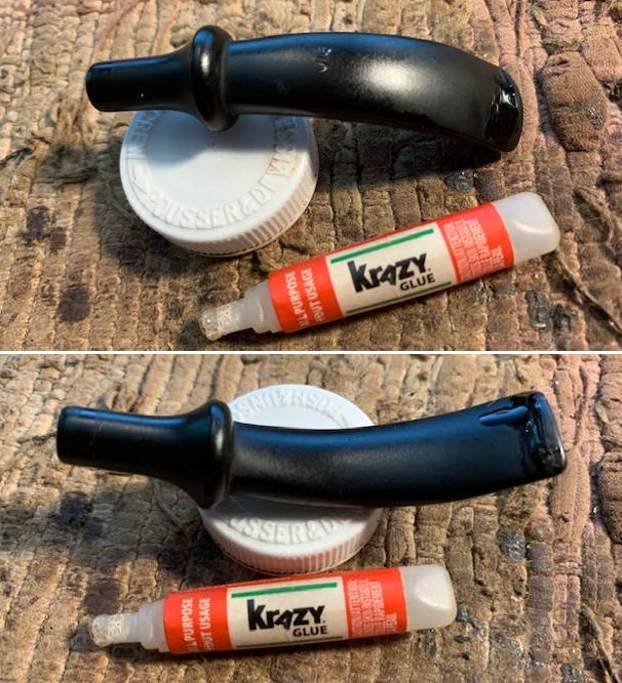
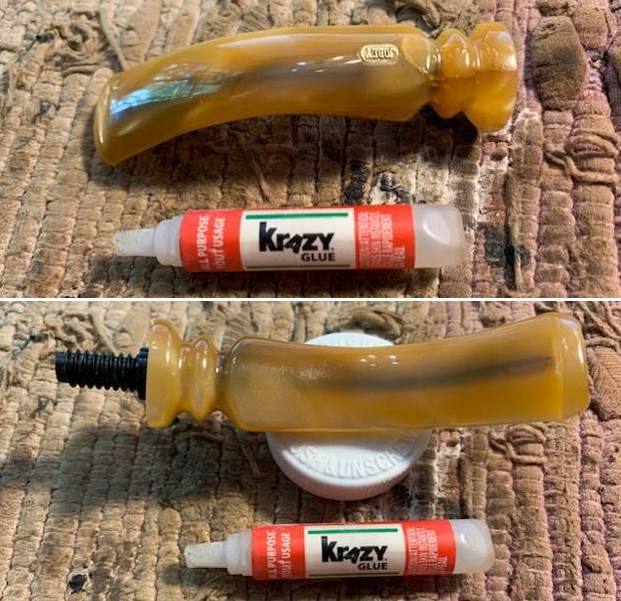
 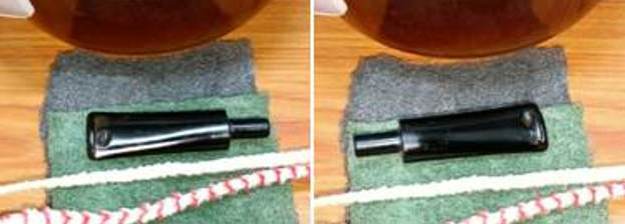 With the external and internal cleaning of the stem completed, Abha handed over the stem to me to complete the repairs. Continuing with the stem refurbishing, I heated the bite zone with the flame of a lighter to raise the tooth indentations to the surface. Though the results were not what were expected, the vulcanite was raised a little leaving behind two deep tooth compressions on either surfaces. The button edges and deeper tooth indentations on either surfaces of the stem were filled with a mix of CA Gorilla superglue and activated charcoal powder and set aside for the fill to cure. I really hope that this time around I get better results with using this new CA glue.
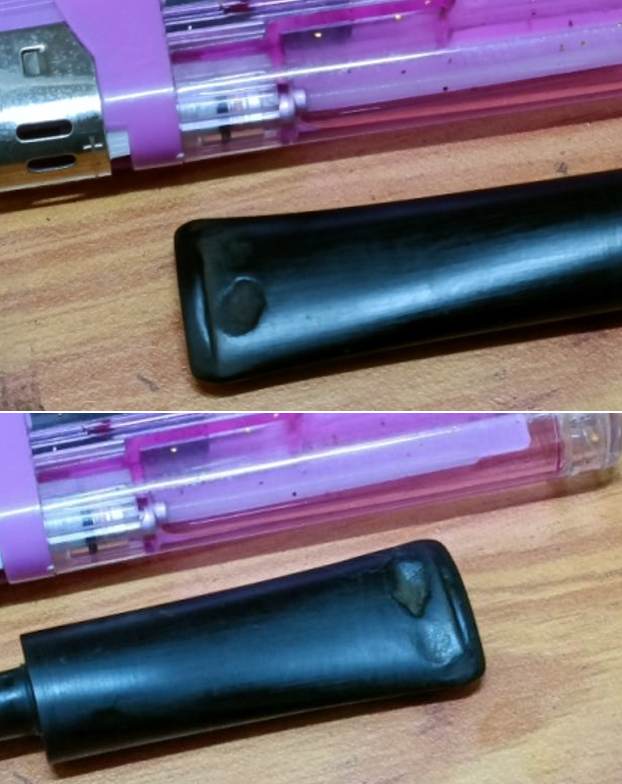
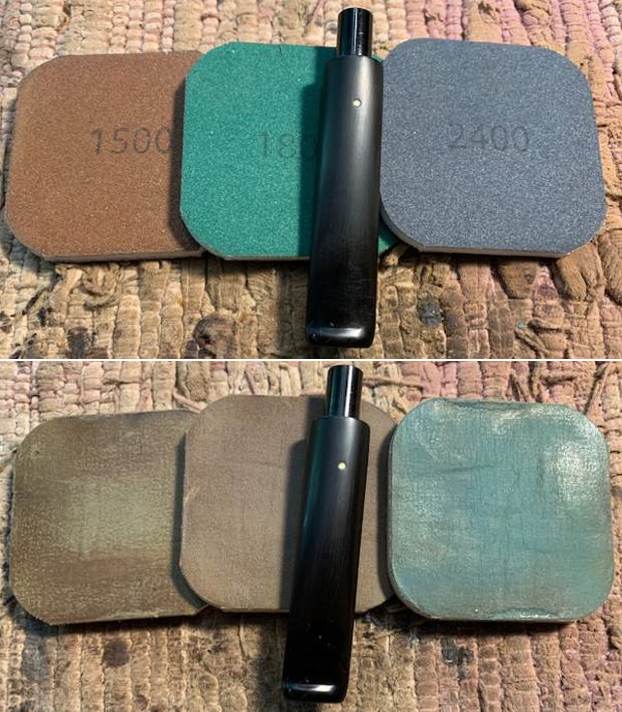
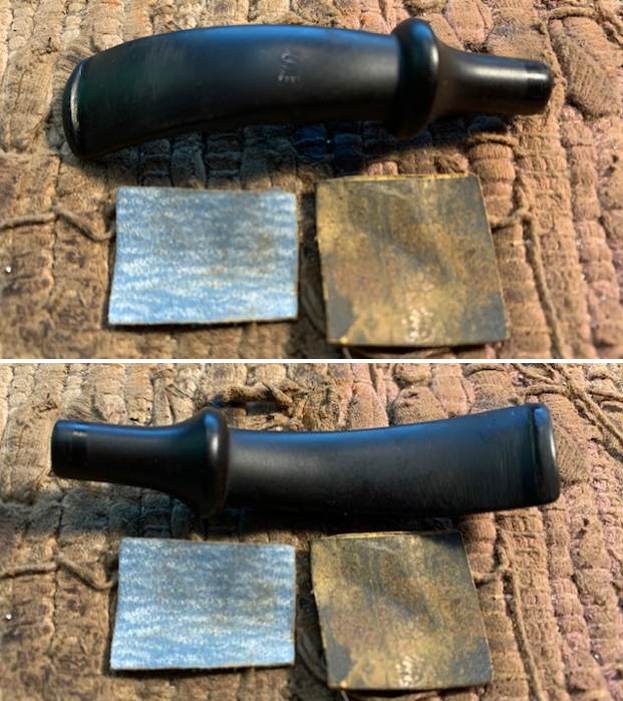
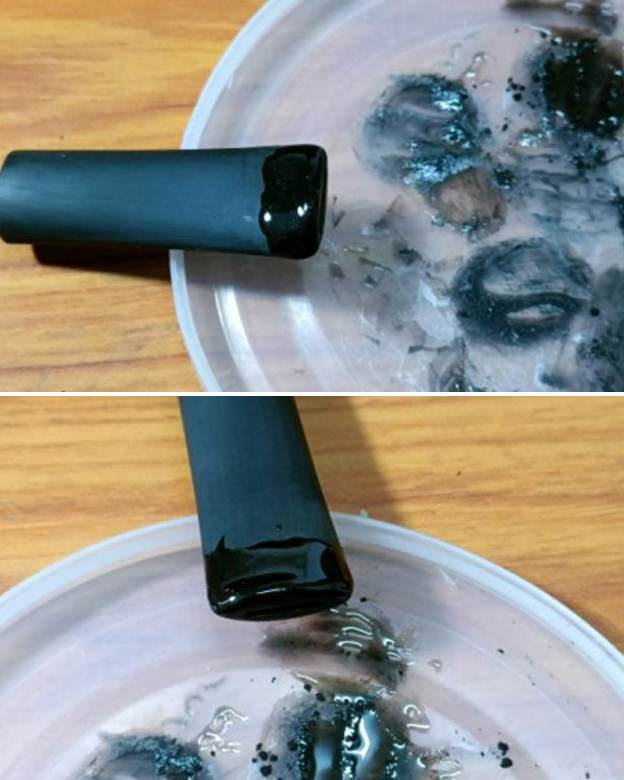 Once the stem fills had cured completely, I moved ahead with the process of filing and shaping the button end with a flat head needle file. For a better blending, I further sanded the entire stem with 220. However, my worst fears came true…..I saw grey patches with air pockets, just as I had observed earlier while working on The Golden Arrow. I think the Gorilla glue does not work for me and I shall discard it after I get my regular brand of superglue in next few days.
 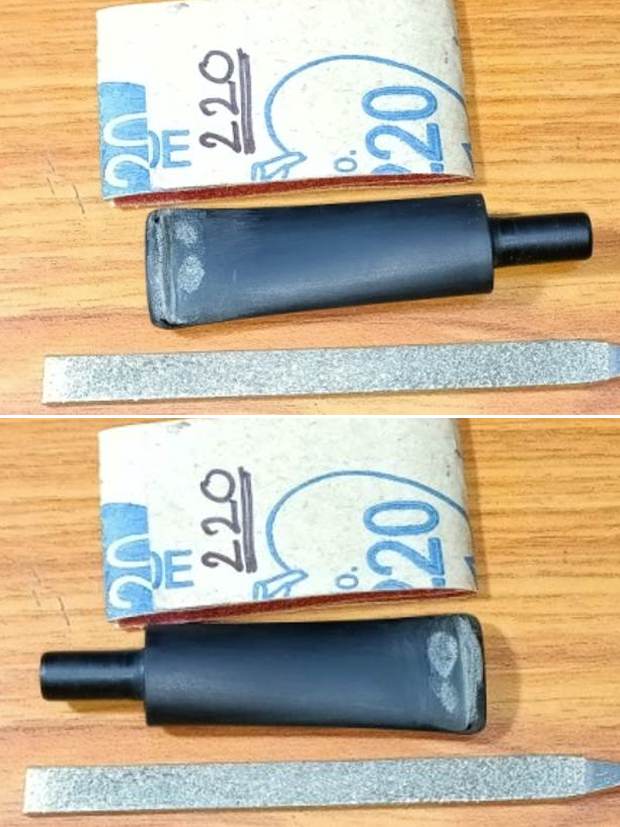 I continued to dry sand the entire stem with a folded piece of 400 followed by 600 and 800 grit sandpaper and further progressed to wet sanding with 1000, 1500 and 2000 grit sand papers. However, the fills still appear dirty grey and a closer look showed the entire filled surface peppered with numerous tiny air pockets. I refilled the patches with a fresh mix of CA superglue gel and activated charcoal and set the stem aside.
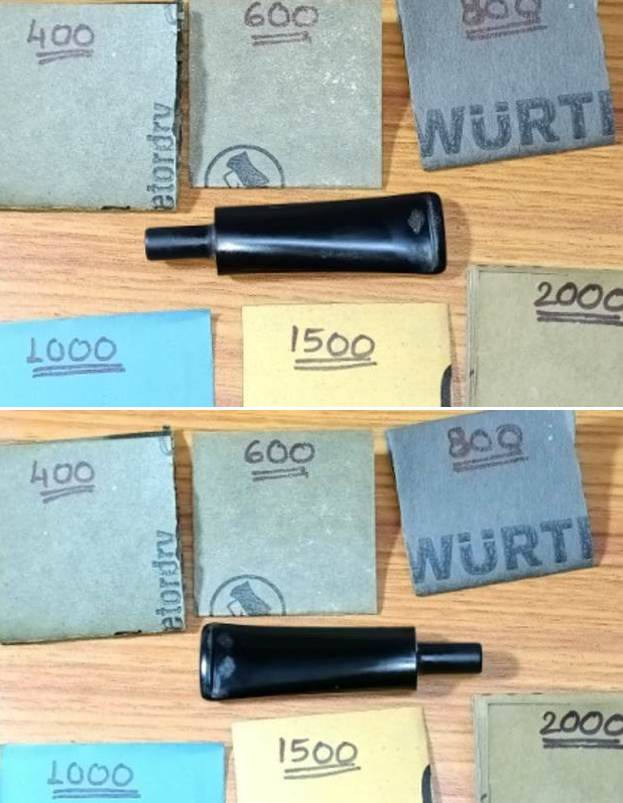

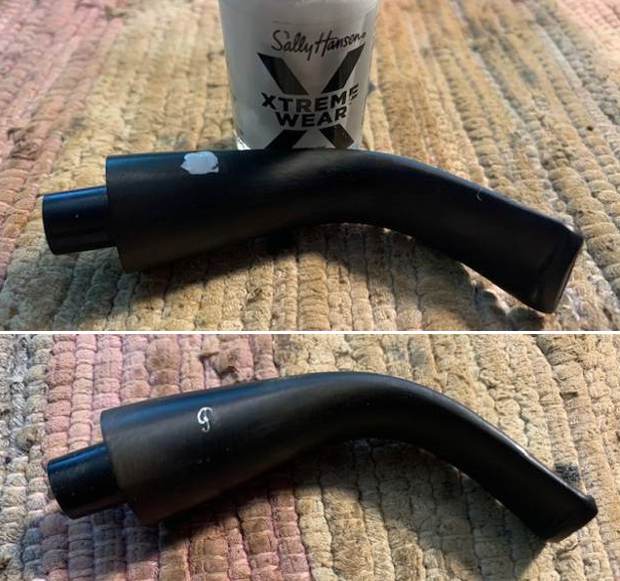
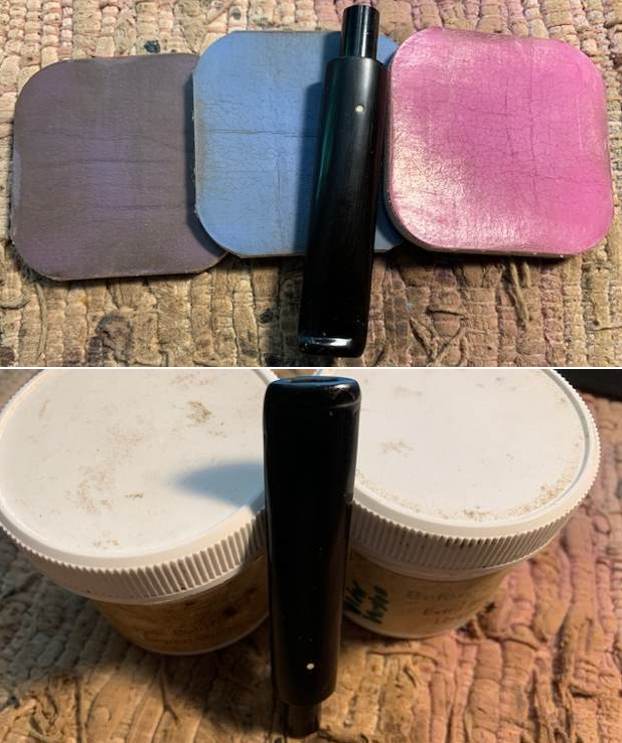
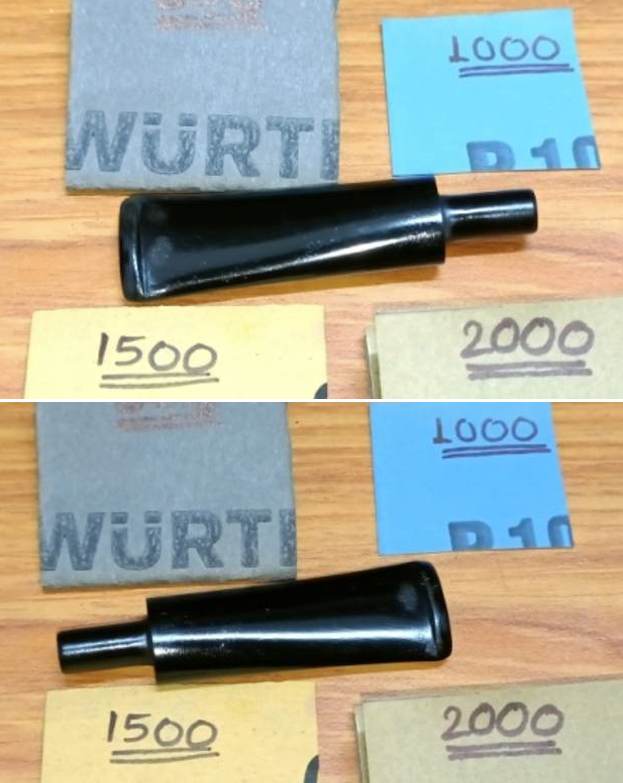
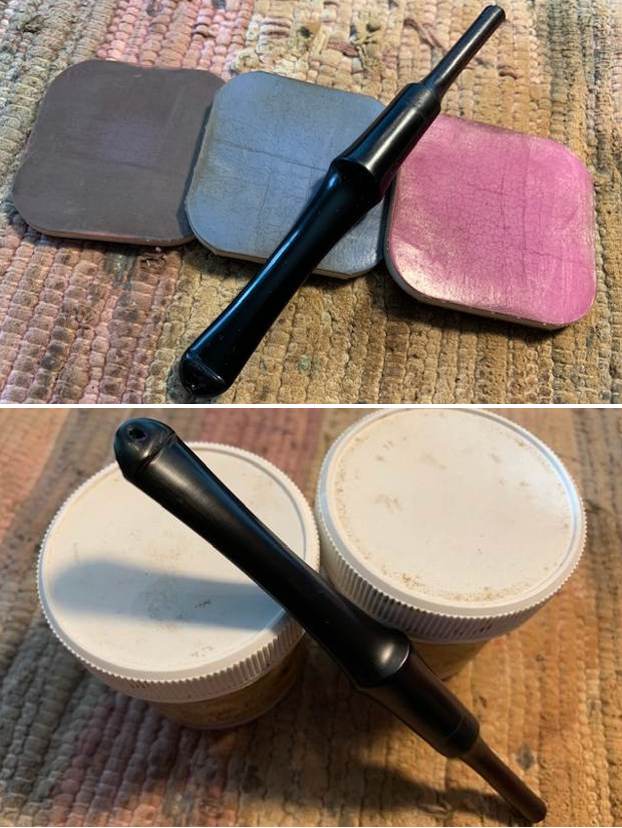
 After the stem refills had cured completely, I went through the complete process of sanding and shaping the fills using a needle file followed by sanding with sandpapers as described above. Though the finish is better this time around, the coloration of the patch still remains a light shade of grey and easily discernible against the rest of the stem surface. It should be noted here that just like The Golden Arrow that I had restored earlier, I had to go through the complete repairs six times before this attempt and for the sake of brevity, I deliberately kept it short. Yet, the results are not what I expected and have been achieving consistently with other brands of superglue. I rubbed a small quantity of EVO into the stem surface and set it aside for the vulcanite to absorb and hydrate.
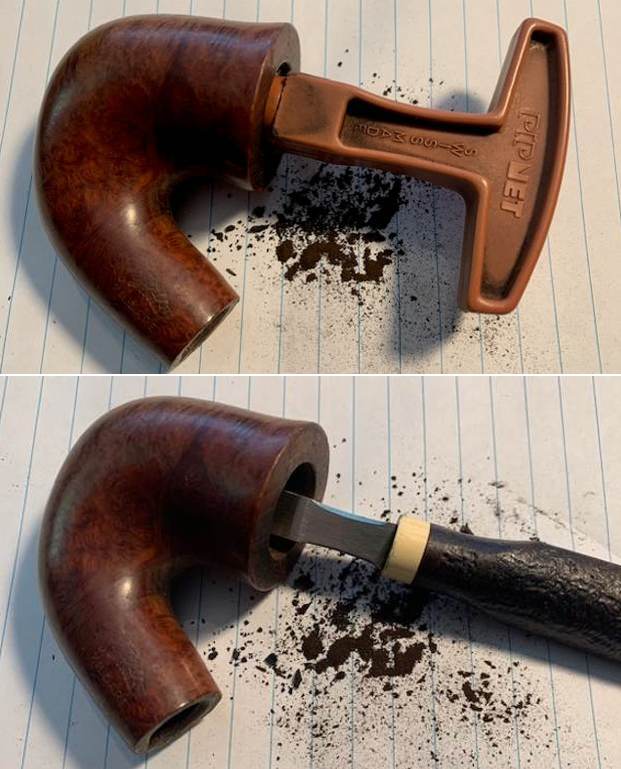
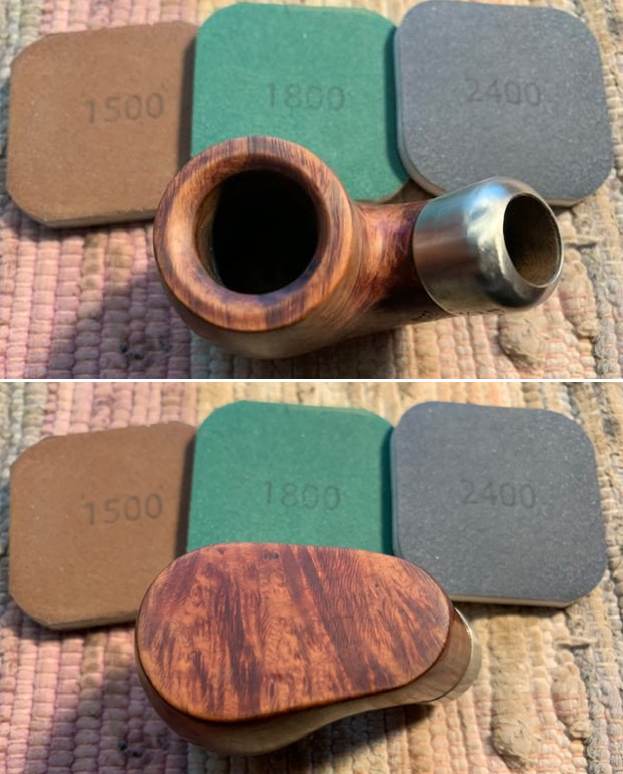
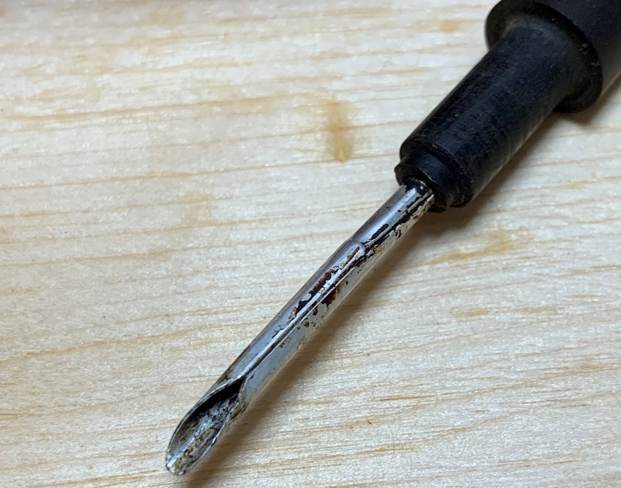
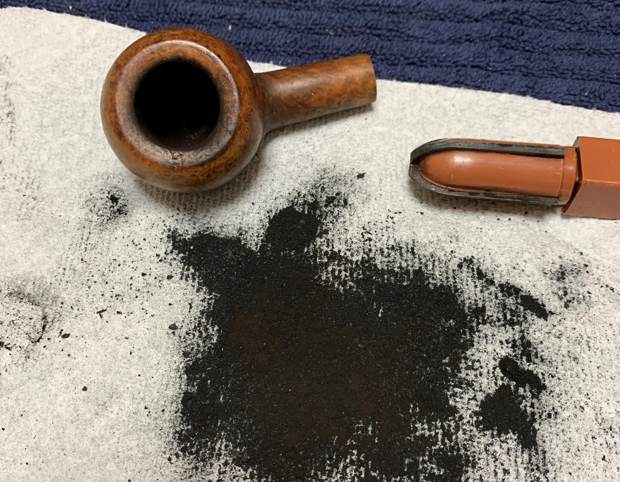
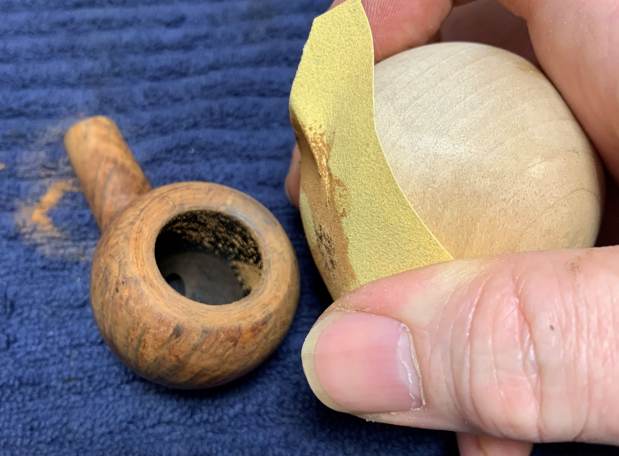
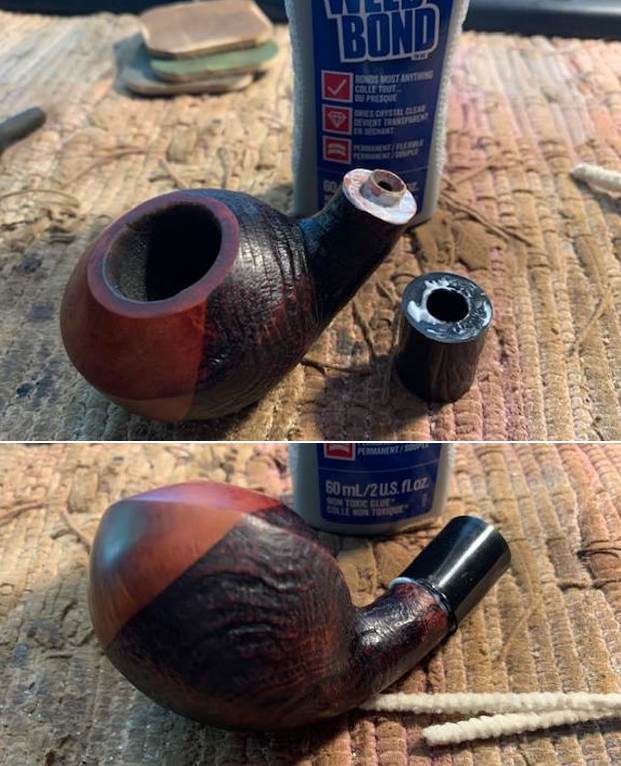
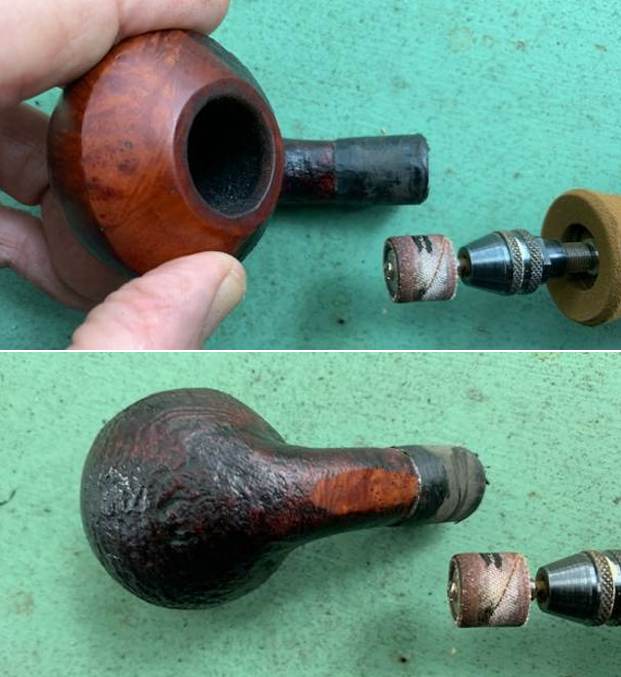
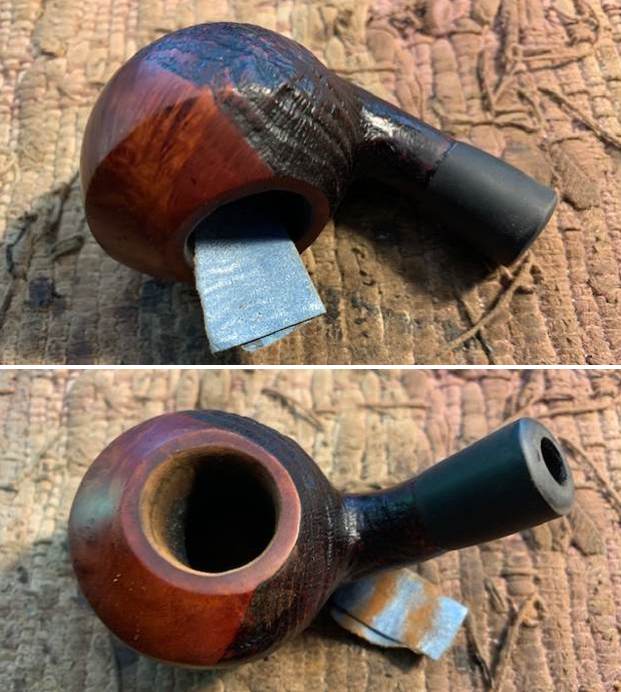
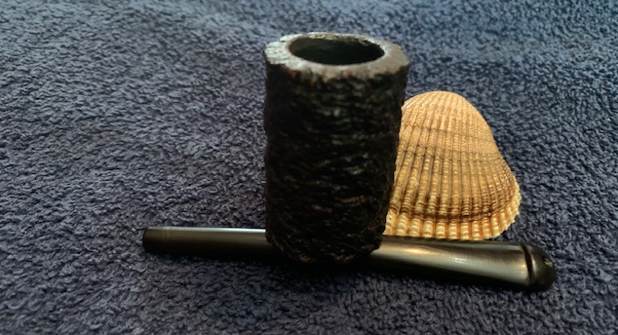
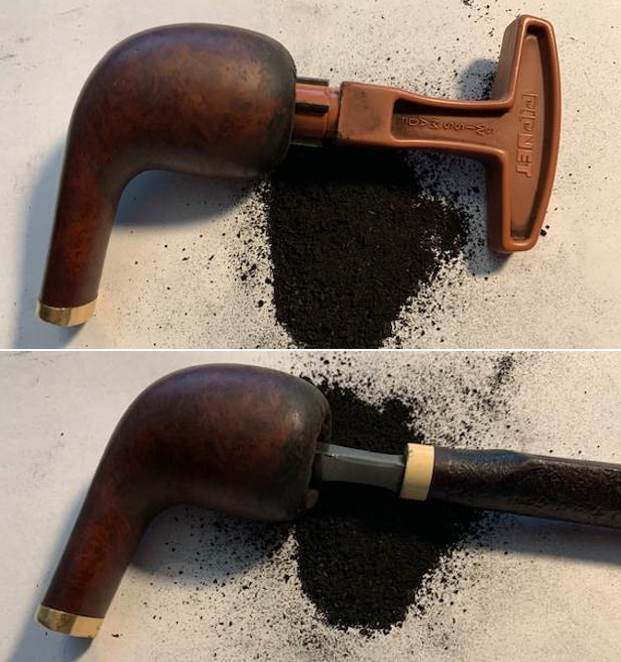
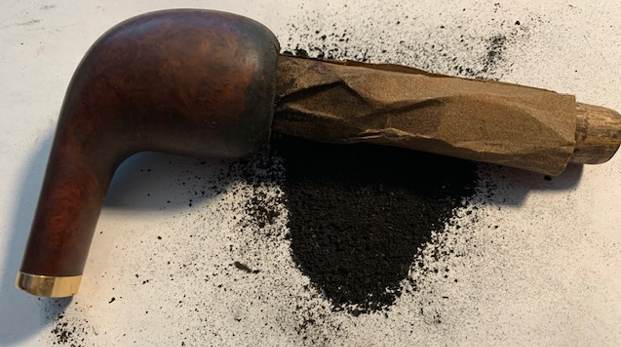
 With the stem repairs completed, save for the polishing cycle, I started with the stummel repairs. I started with reaming the chamber with my PipNet pipe reamer using head size 1 of the PipNet reamer blade and progressed through to head size 2. I used my fabricated knife to remove cake from areas inaccessible to the reamer blades and completed the process by sanding the walls smooth with a folded piece of 180 grit sandpaper. I wiped the chamber with a cotton swab wetted with alcohol to clean the residual carbon dust. The reasons for darkened sides of the bowl that I had noted during my detailed inspection were now evident. There are signs of charring to the walls of the chamber on the sides and at the bottom of the bowl. Also there are a few heat lines along the walls of the chamber. All these issues are indicated by green arrows.
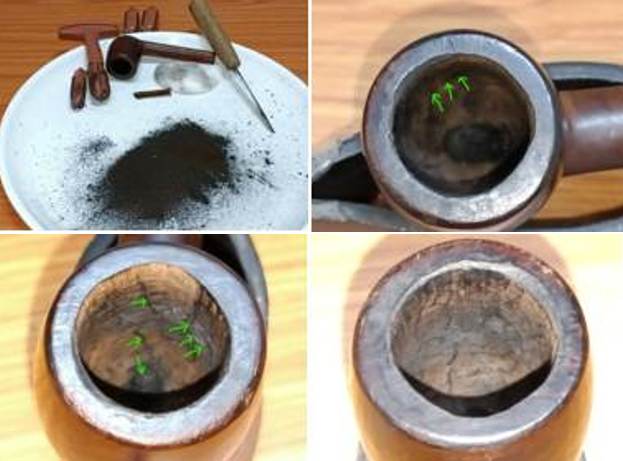 I gave a preliminary cleaning to the mortise and shank internals using q-tips and pipe cleaners dipped in alcohol. I shall continue with thorough cleaning of the shank internals during the external cleaning of the stummel.
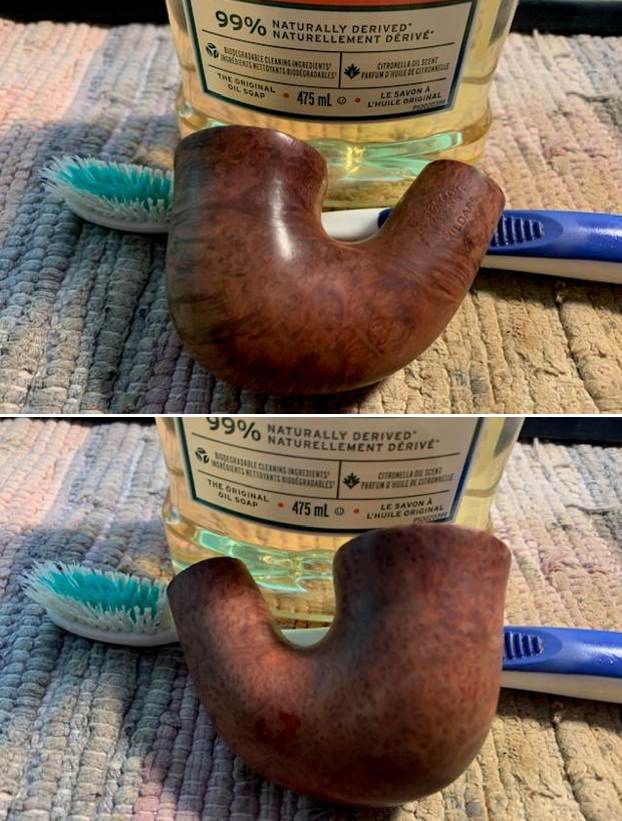
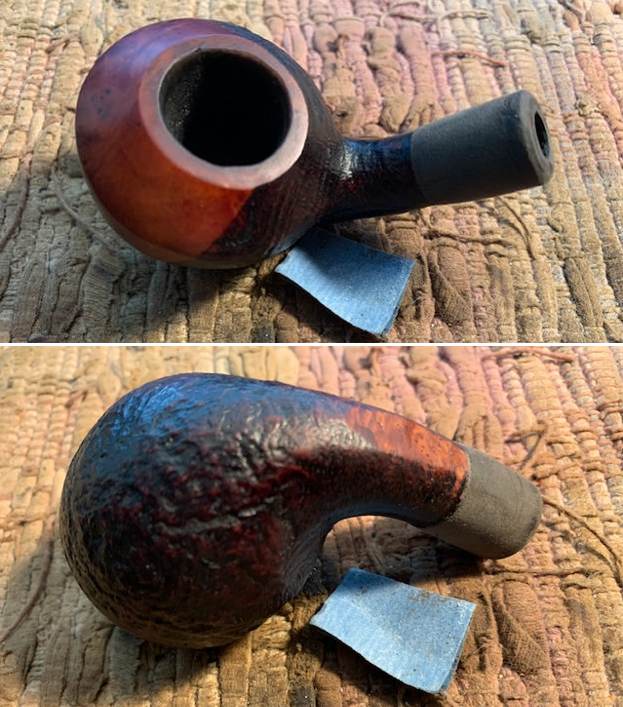
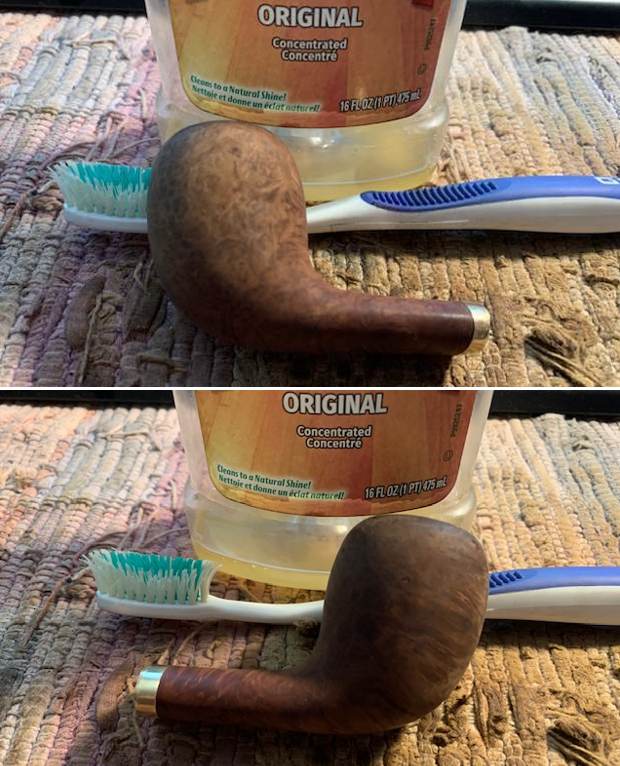
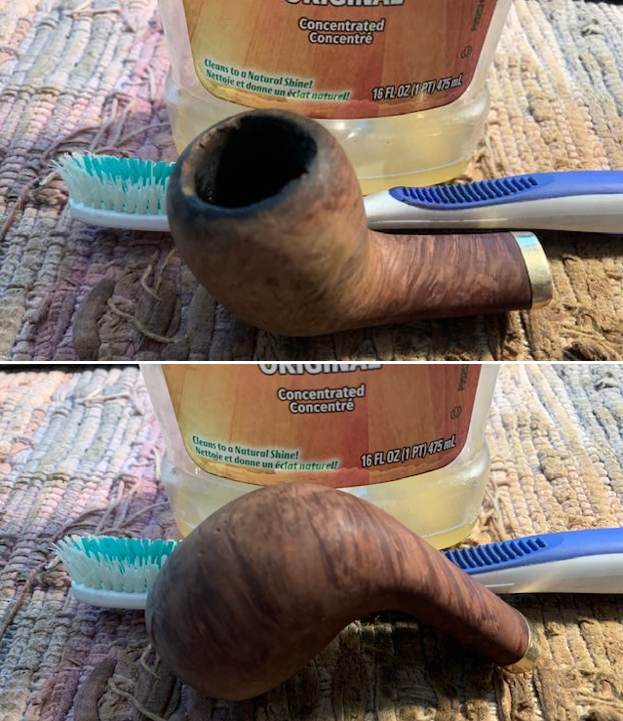
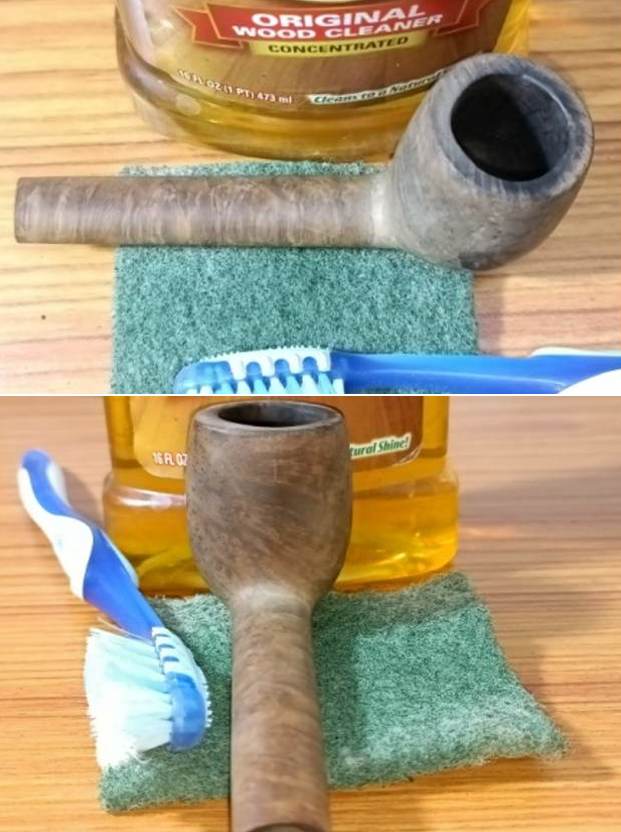
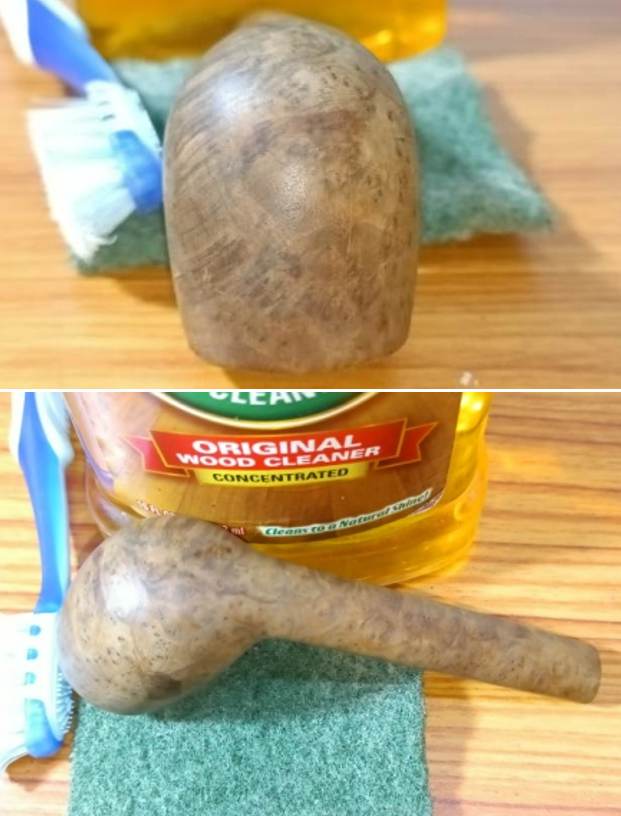
 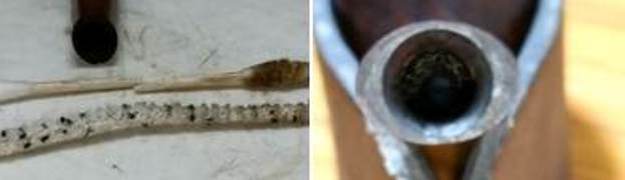 Next, I cleaned the external surface of the stummel with undiluted Murphy’s oil soap and a hard bristled toothbrush. I cleaned the smooth rim top surface with the soap and Scotch Brite pad. The darkened areas over both sides of the stummel and the rim top surface are now clean, exposing the gremlins hidden beneath the layer of dirt.
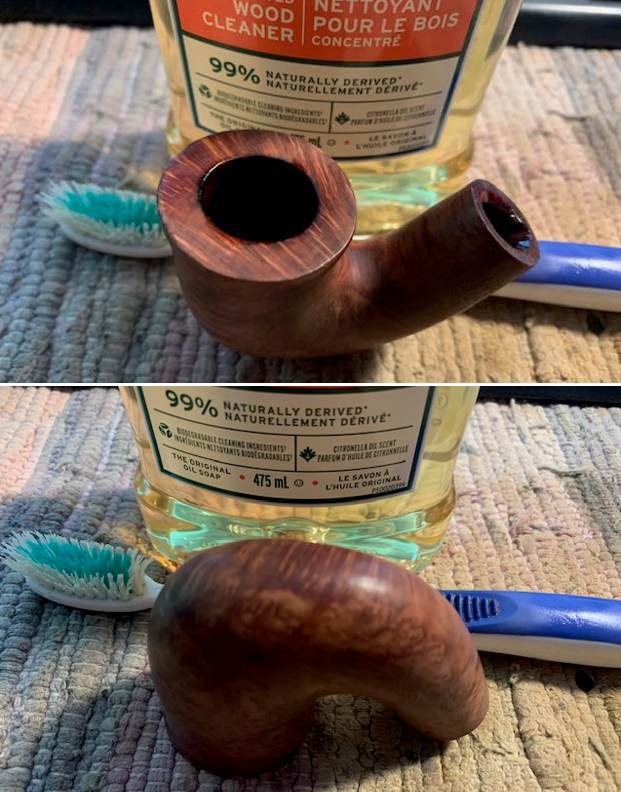
 I followed up the external cleaning of the stummel with internal cleaning of the mortise and shank using anti oil soap and shank brushes.
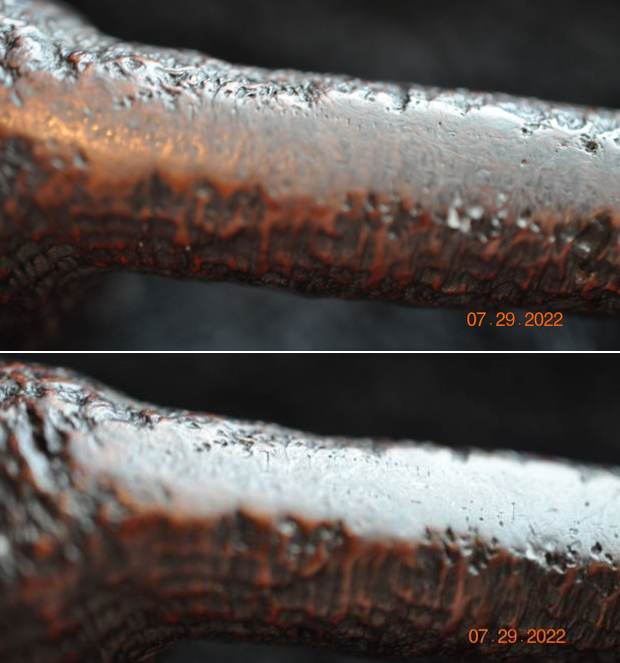
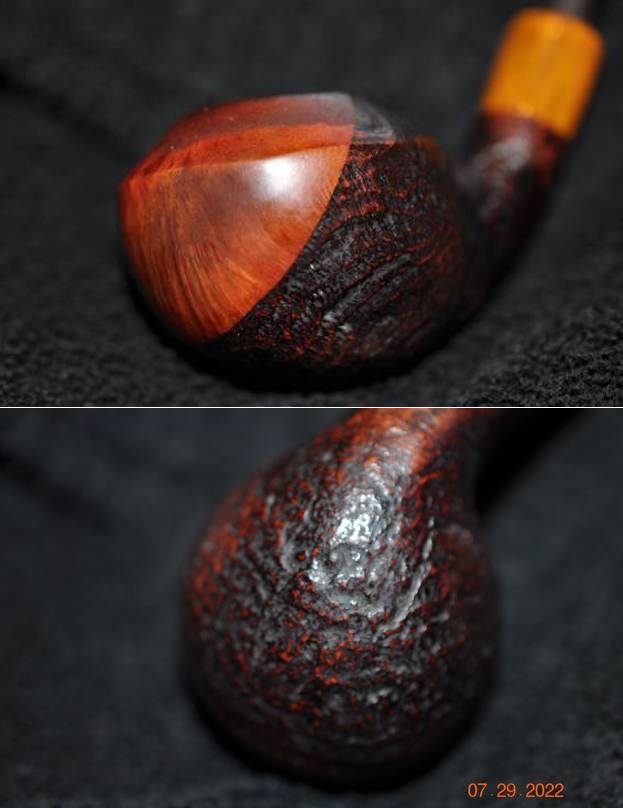
 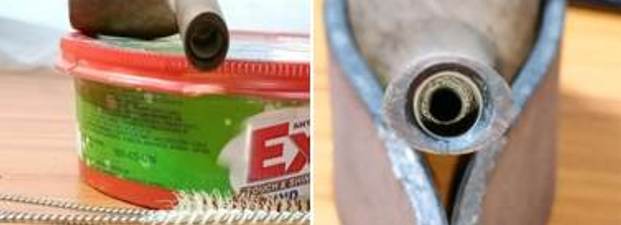 This external cleaning of the stummel has now clearly defined the suspected crack that I had noted during my detailed inspection (encircled in yellow). Also the internal cleaning of the chamber has brought the charring of the sides of the chamber walls to the fore (encircled in green). I now need to ascertain if this external crack is a direct result of the observed damage to the walls of the chamber. If it is so, it’s a clear sign of this crack developing into a burn out due to the thinning of the chamber walls.
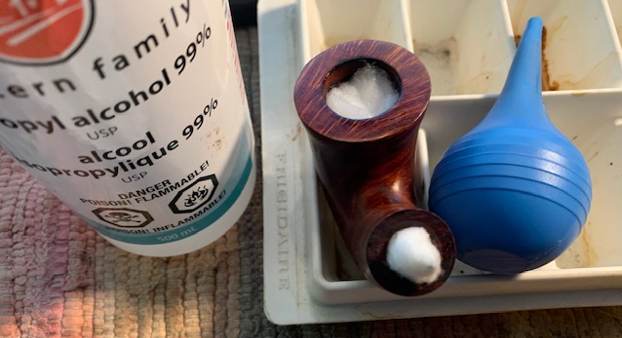
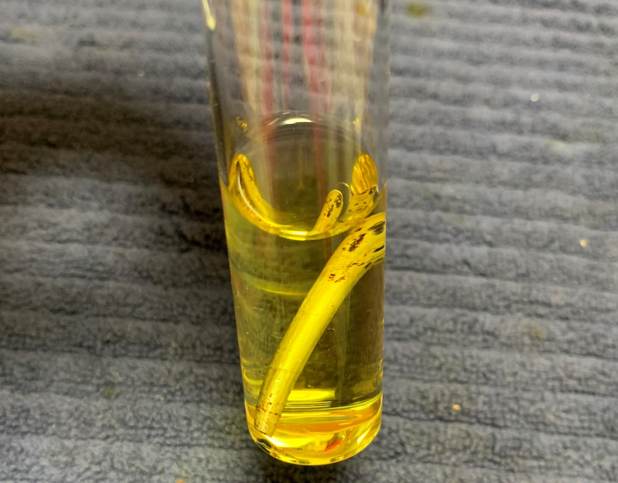
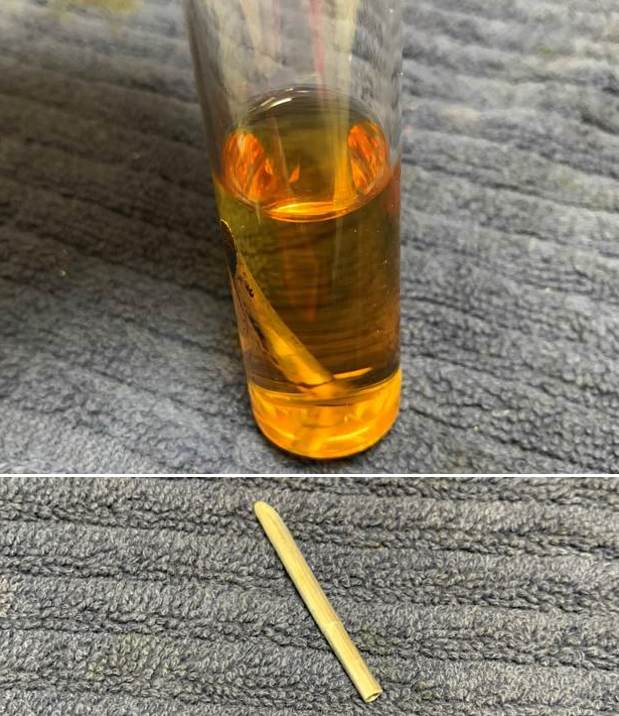
  Continuing with the internal cleaning of the chamber and mortise and also to ascertain if the external crack over the stummel surface is a result of the damage to the chamber walls, I subjected it to a salt and alcohol bath. I used cotton balls which is an at par substitute as I have realized over the years. I drew out a wick from the cotton and along with a folded regular pipe cleaner; inserted it into the mortise and through the draught hole and further into the chamber. Thereafter, I packed the chamber with cotton balls to about quarter of an inch below the rim inner edge and soaked the cotton balls with isopropyl alcohol up to the brim. About half an hour later, the level of alcohol had gone down, having being absorbed by the cotton. I observed that the alcohol had seeped out from the crack (encircled in yellow) as can be seen from the picture below. This needs to be addressed. However for now, I topped it up once again and set it aside overnight.
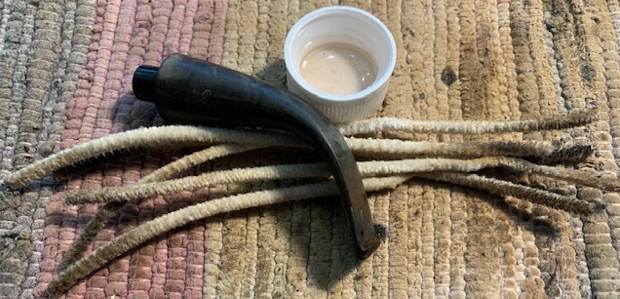
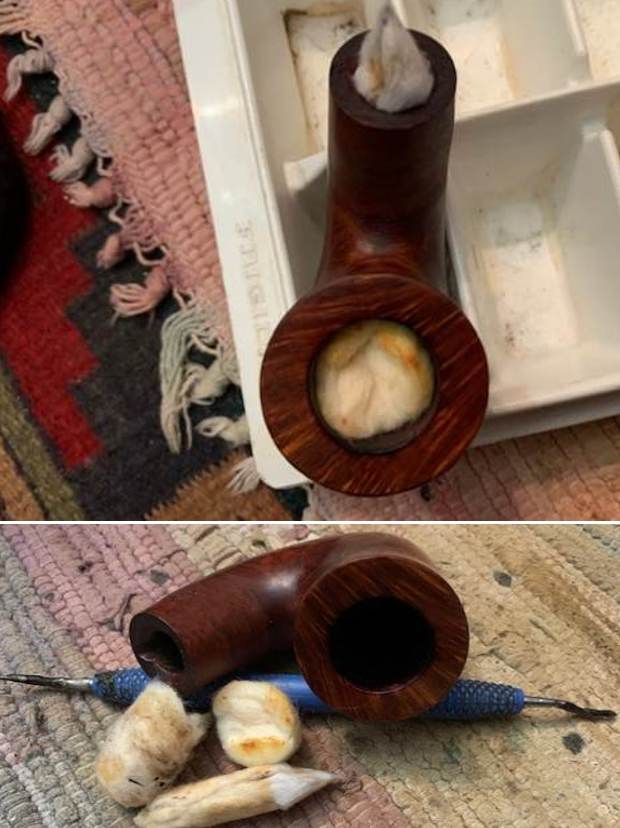
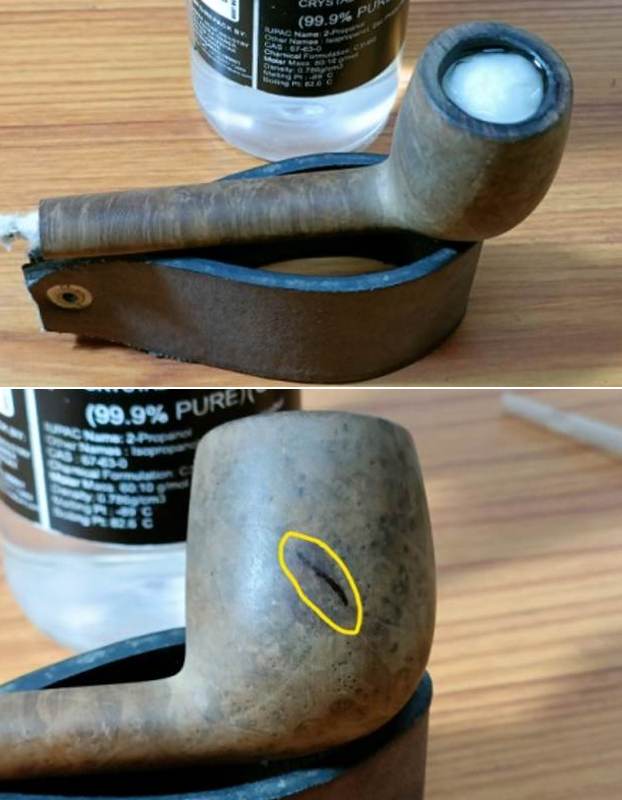 By next afternoon, the cotton and alcohol had drawn out all the remaining oils/ tars from the chamber and mortise and loosened out any residual cake and tar build up, fulfilling its intended task. I removed the cotton balls and ran pipe cleaners through the mortise to clean out all the loosened tars and gunk. Using my fabricated tool, I scraped out the entire loosed gunk from the mortise and further cleaned it with alcohol and q-tips.
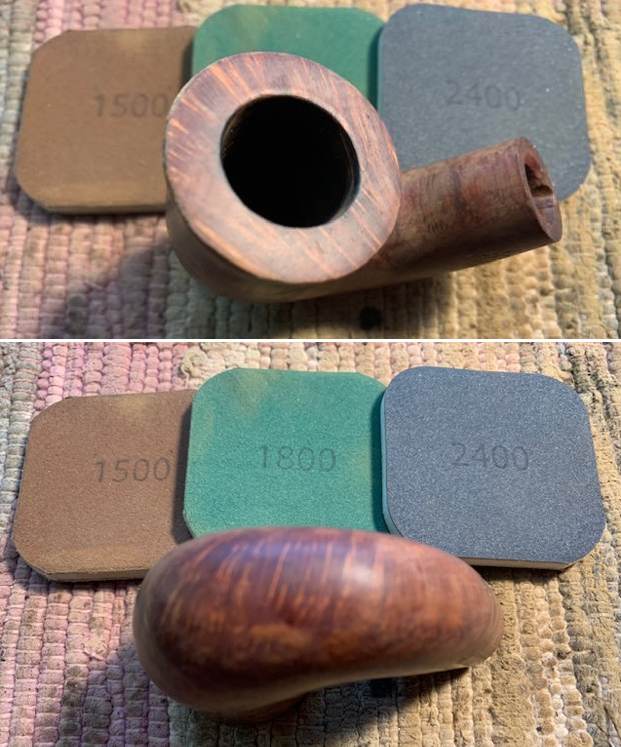
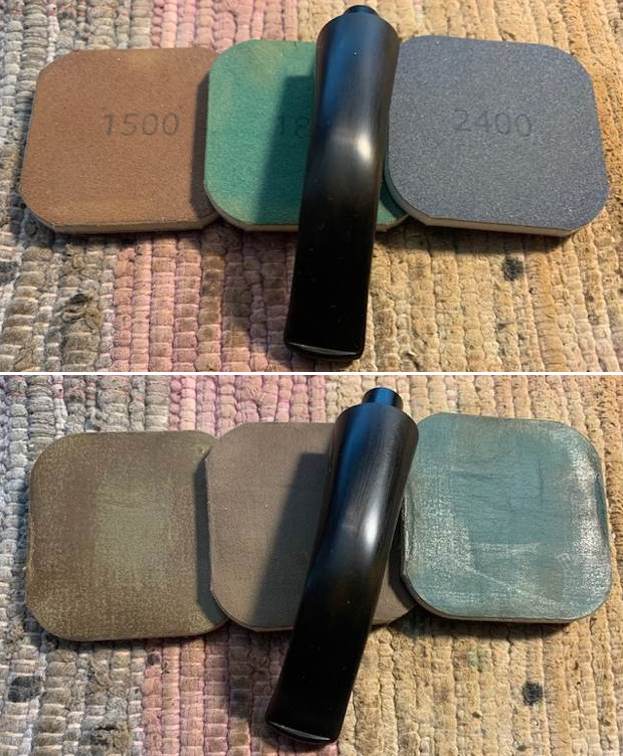
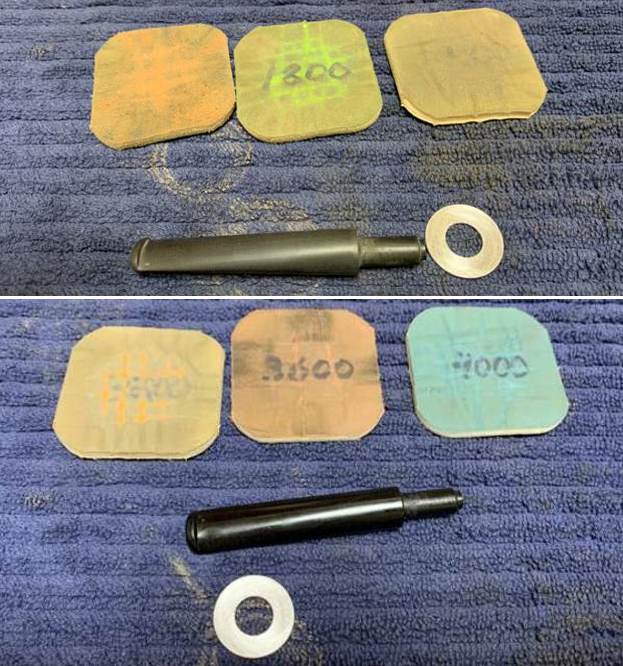
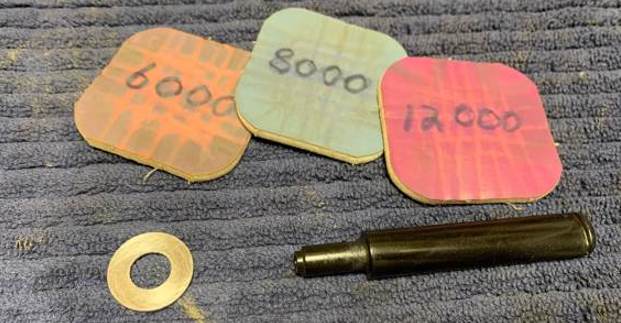
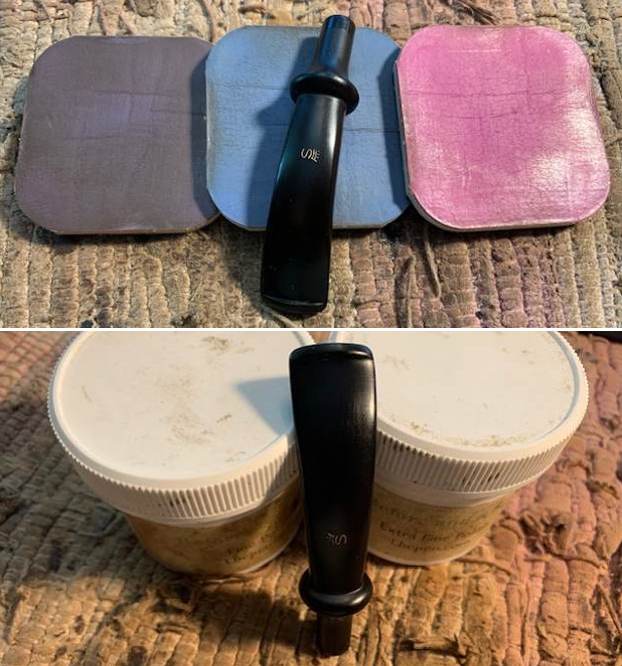
 While I was working on the stummel, Abha polished the stem by wet sanding the surface with 1500 to 12000 grit micromesh pads. She applied a little EVO to the stem surface for it to be absorbed in to the rubber. Though the grey repair patches are visible in the pictures, it is not so glaring in person.
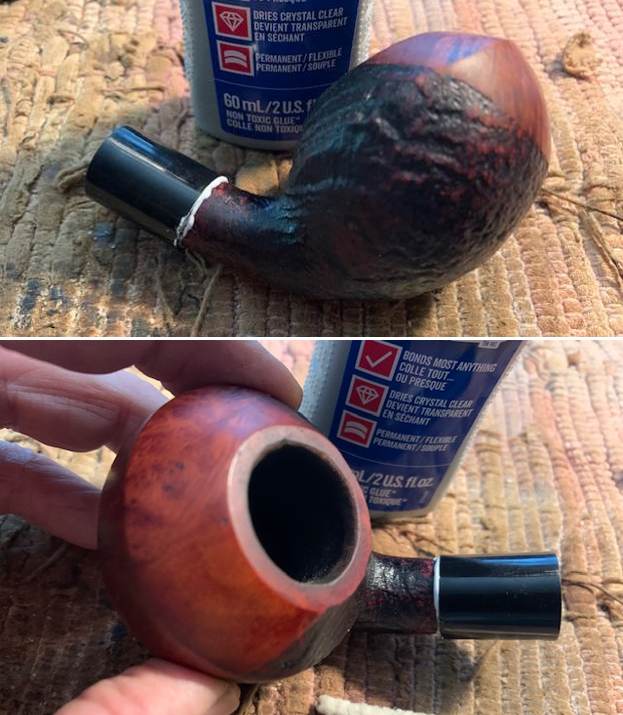
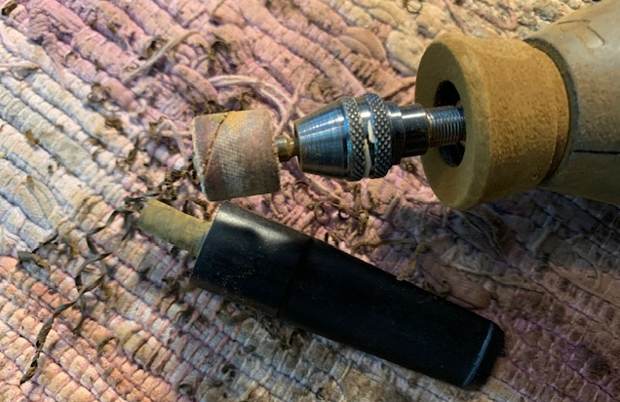
 Staying with the stummel repairs, I first decided to stabilize the crack. I marked the end points of the cracks and drilled counter- holes using 1 mm drill bit mounted on a hand held rotary tool. I filled the crack and counter-holes with clear CA superglue and set it aside to cure.
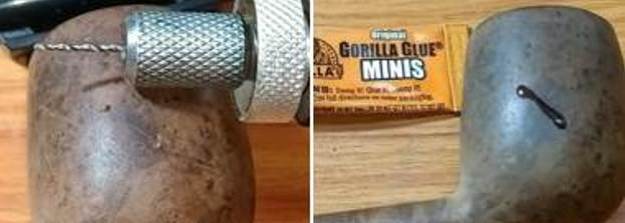 A while later, once the crack fills had sufficiently hardened; I addressed the rim top darkening and unevenness by topping the surface on a piece of 220 grit sandpaper. I frequently checked the progress being made as I hate to lose briar more than what is absolutely necessary. The chamber now appears more out of round than before and would be addressed by creating a bevel over the inner rim edge.
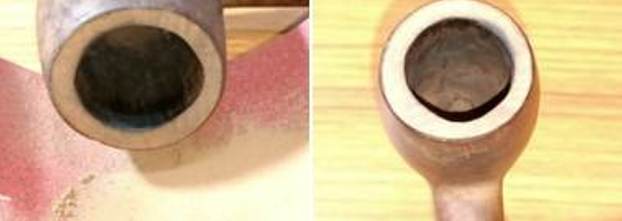 With a folded piece of 220 grit sandpaper pinched between my forefinger and thumb, I imparted a nice bevel to the inner rim edge. This masked the out of round appearance of the chamber and also eliminated the minor charring over the edges.
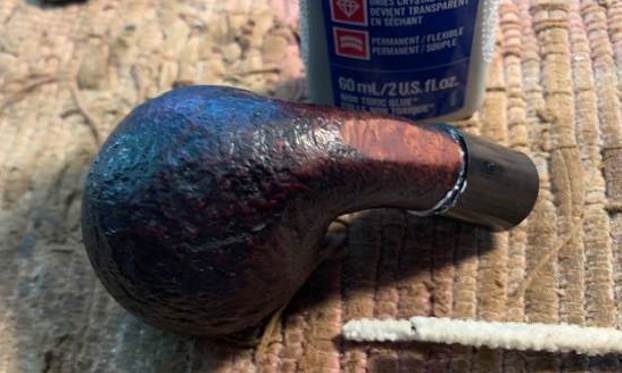
  Next, to protect and isolate the chamber walls from coming into direct contact with the burning tobacco and prevent a burn out, I coated the walls of the chamber with an even layer of J B Weld. J B Weld is a two-part epoxy Cold Weld in two tubes; hardener and steel which are mixed in two equal parts (ratio of 1:1) with hardening time of 5-6 minutes and complete curing time of 6-8 hours. I poured the contents of the two tubes on to a plastic sheet and mixed it well. I inserted a petroleum jelly coated regular pipe cleaner through the draught hole to prevent it from getting blocked due to the J B Weld mix. I applied this mix, as evenly as possible, over the entire chamber wall surface. I worked fast to ensure an even coat over the chamber walls before the weld could harden and set the stummel aside for the application to harden and cure overnight.
 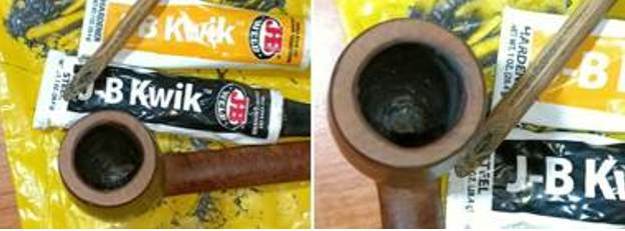 The J B Weld coat had hardened completely by next day evening. I mounted a sanding drum onto my hand held rotary tool and setting the speed to half of the full RPM, I sanded the excess coat from the chamber walls. To further fine tune and keep the coat to a minimum thickness, I further sanded the coat with a 220 grit sand paper till I had a coat of a thickness that was just sufficient to protect the briar underneath. Here is how the chamber appeared at this stage.
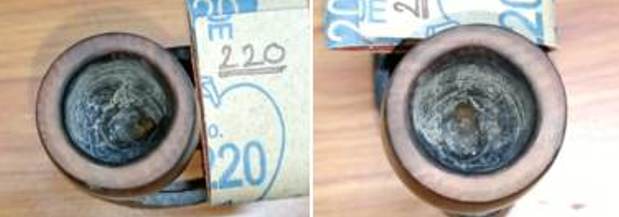 At this same stage, I also sanded and evened out the fills over the crack with a flat needle file and further matched it by sanding it with a piece of 220 grit sandpaper. Unfortunately, I missed out on taking pictures of this process.
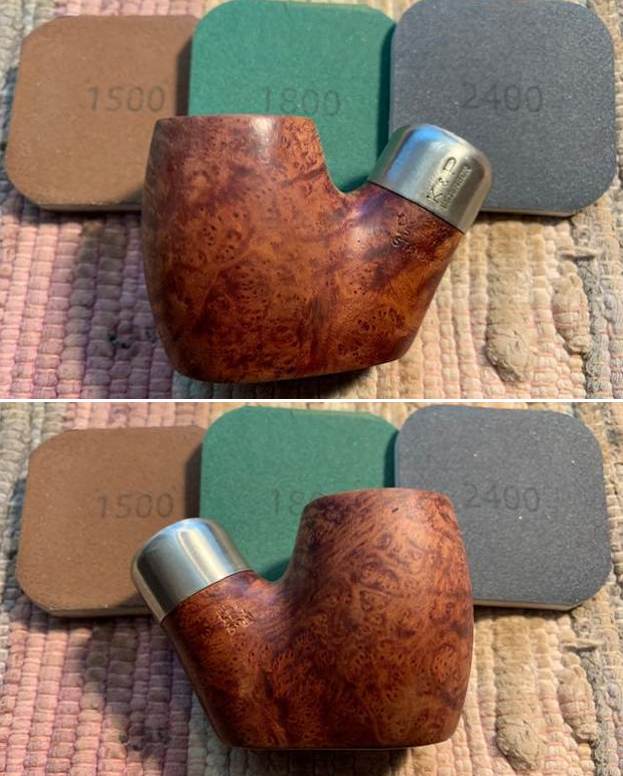
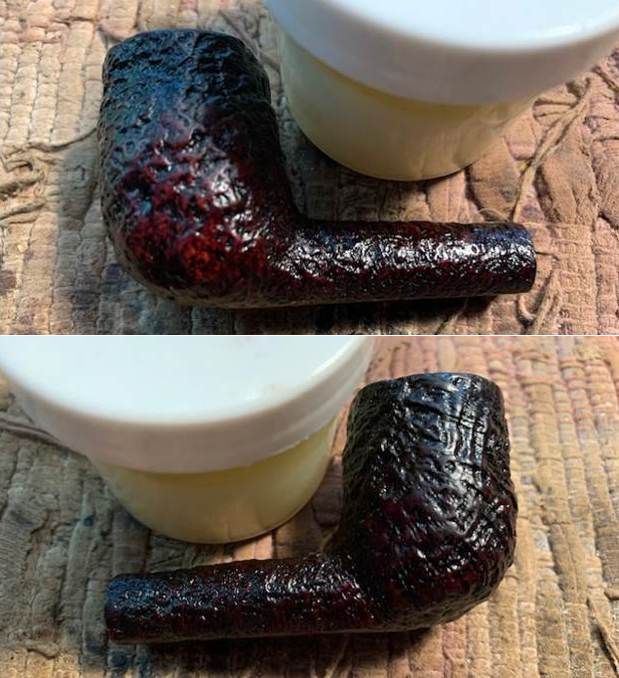
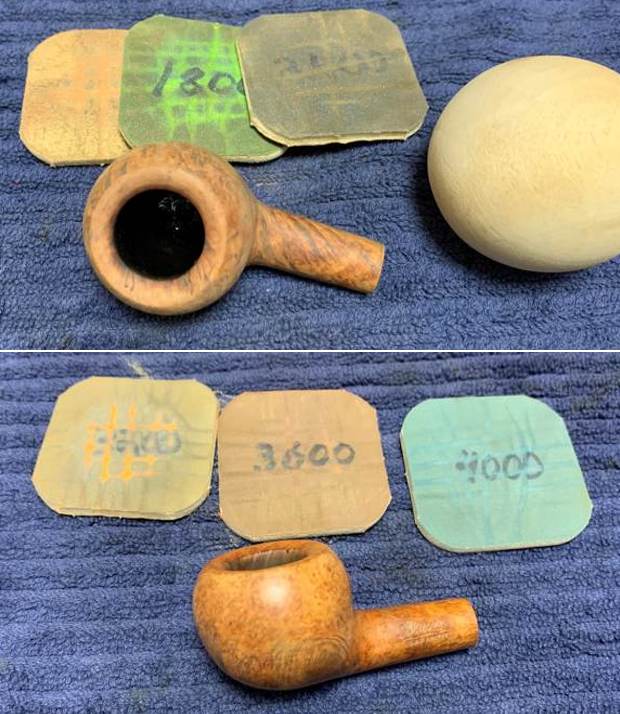
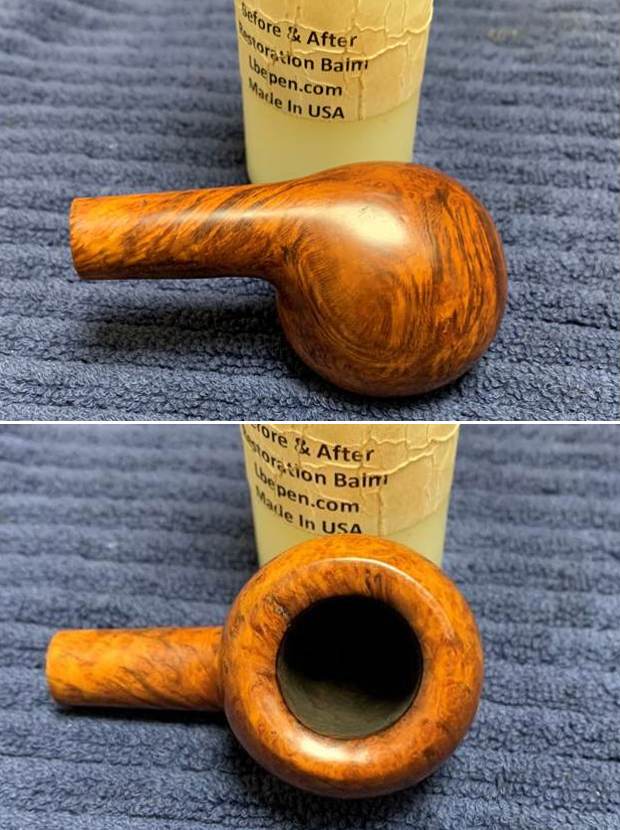
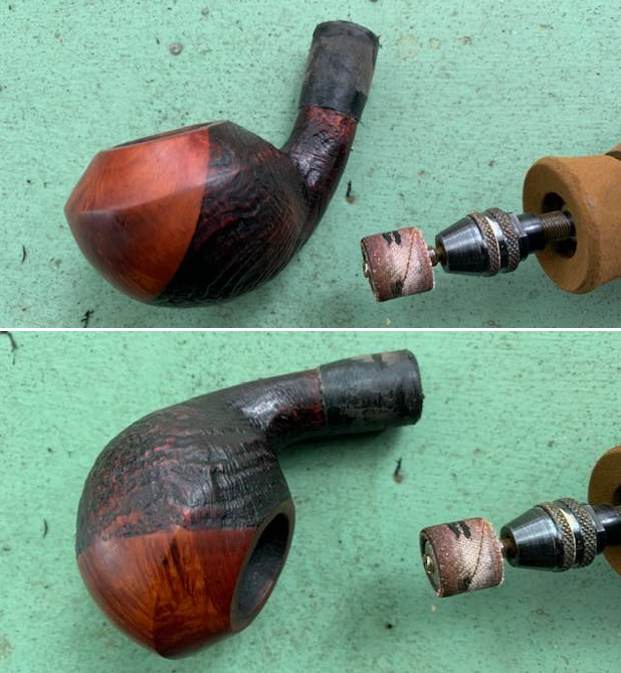
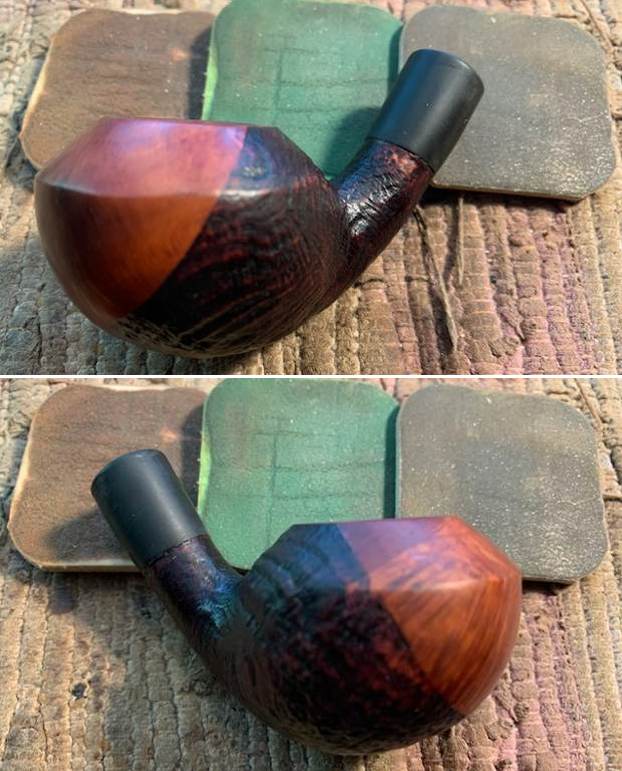
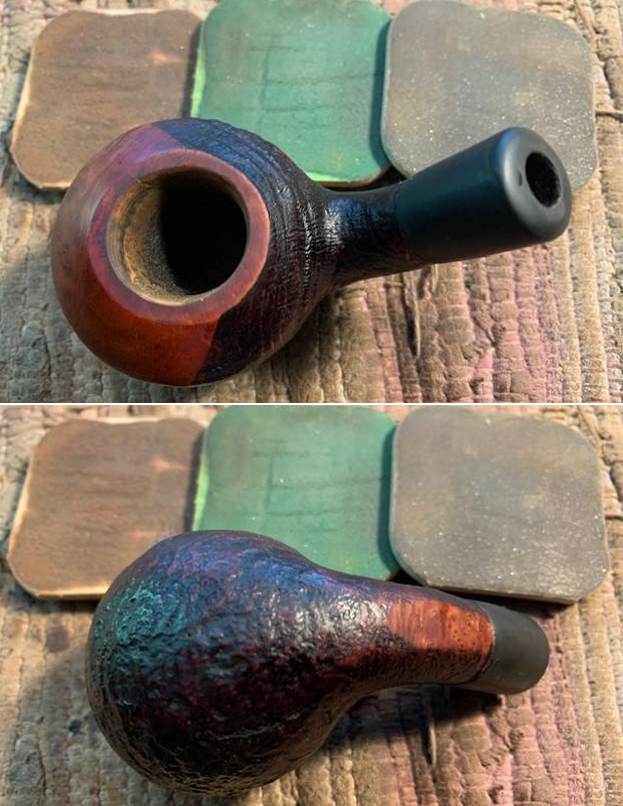
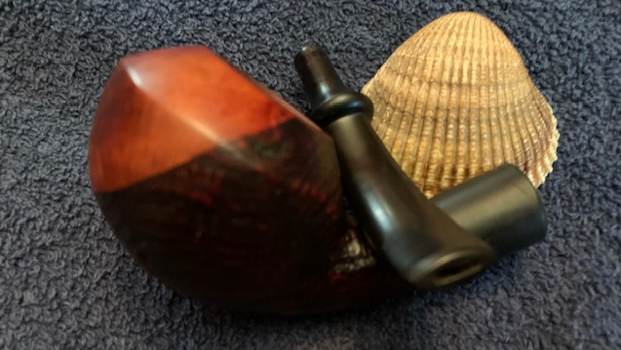
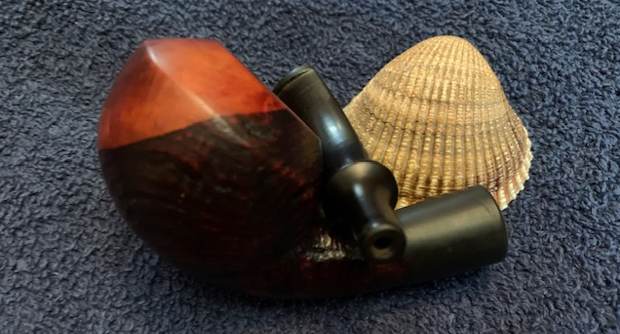
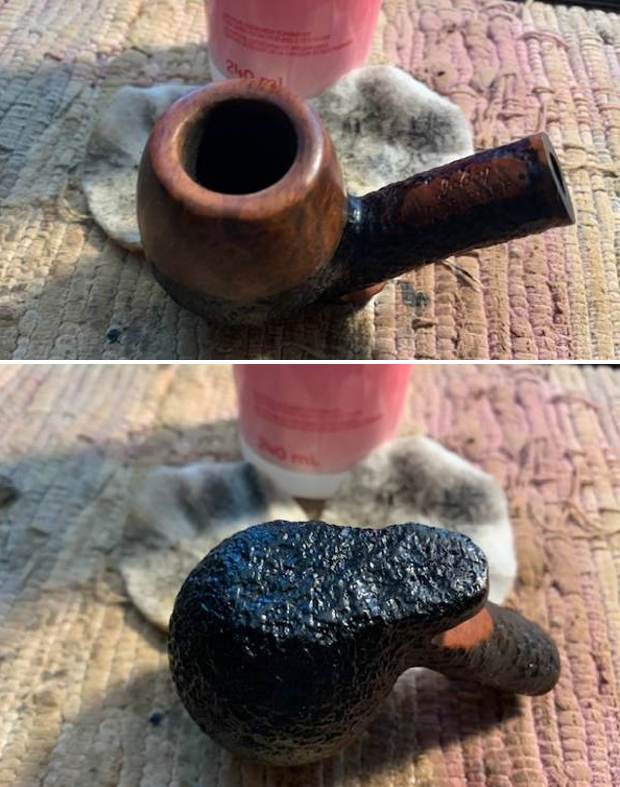
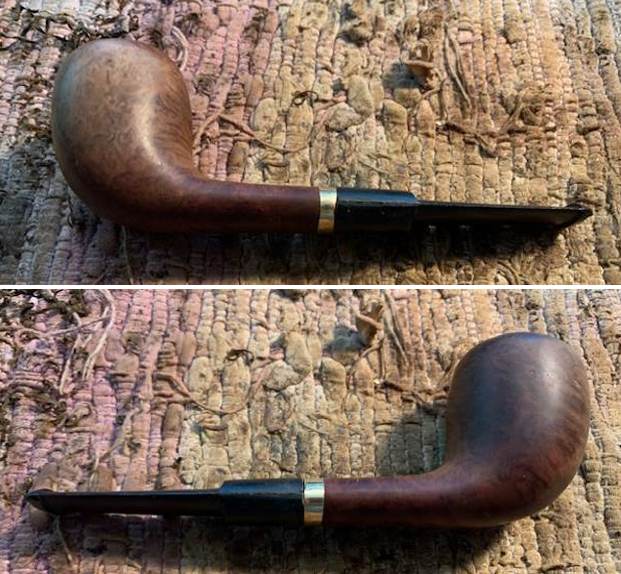
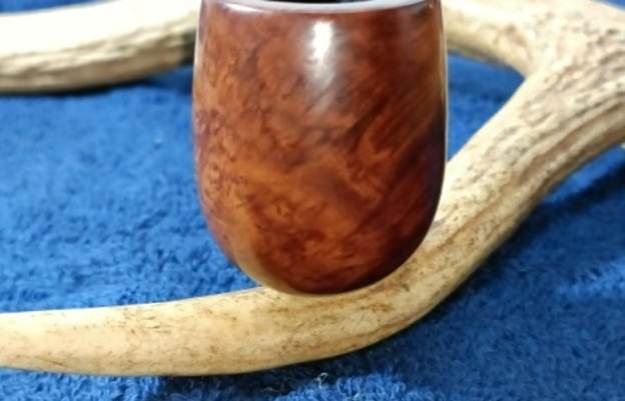
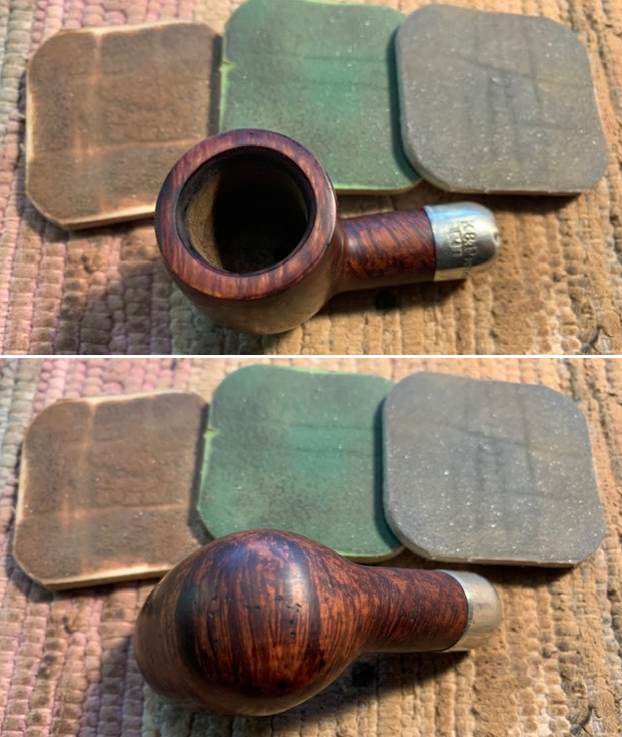
Abha completed the polishing of the stummel by wet sanding the surface with 1500 to 12000 grit micromesh pads. She wiped the stummel with a moist cloth in between the pads to gauge the progress being made. She massaged a small quantity of Before & After Restoration balm and set it aside for 10 minutes for the briar to rehydrate. Thereafter, she gave a rigorous hand rub using a microfiber cloth. The stummel now has a nice vibrant shine to it with the beautiful cross grains and bird’s eye grains resplendent in all their glory. I just can’t thank Abha enough for her help in polishing the stems and stummel of all the pipes that I restore.

 After I had protected the heel and the walls of the chamber with a coat of J B Weld, it was necessary to prevent this coat from coming into contact with the burning tobacco. I addressed this by mixing activated charcoal and plain yogurt to a thicker consistency, just enough that it would spread easily and applied it evenly all along the chamber walls after inserting a folded pipe cleaner through the draught hole to keep it open. Once dry and set, this will not only protect the walls but also aid in faster buildup of cake. I set the bowl aside for the bowl coat to cure for 72 hours.
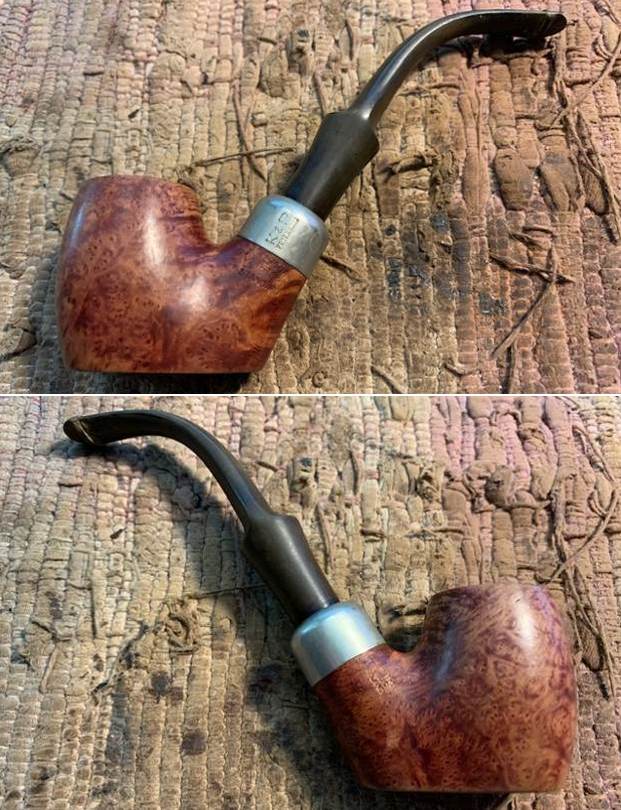
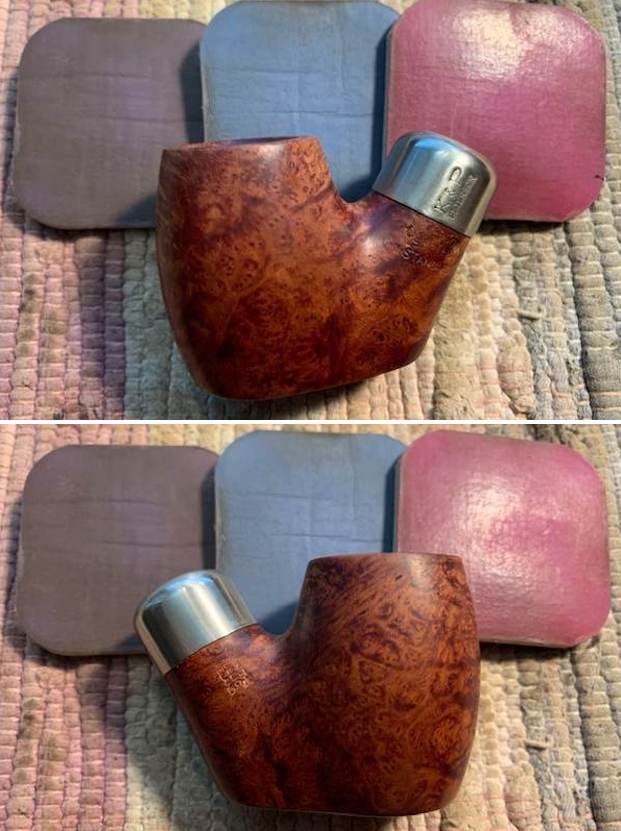
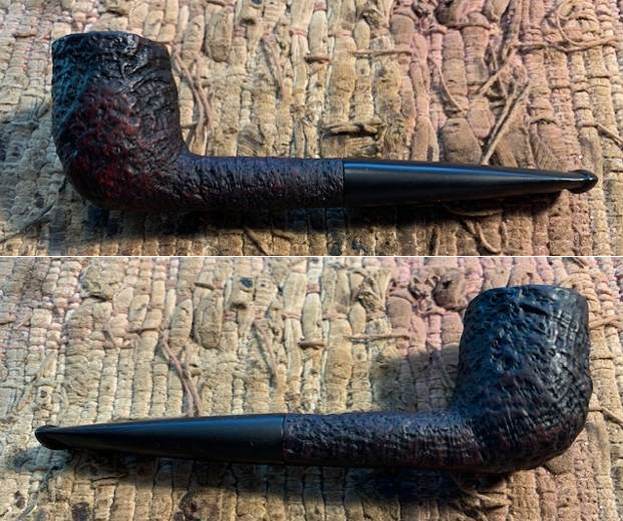
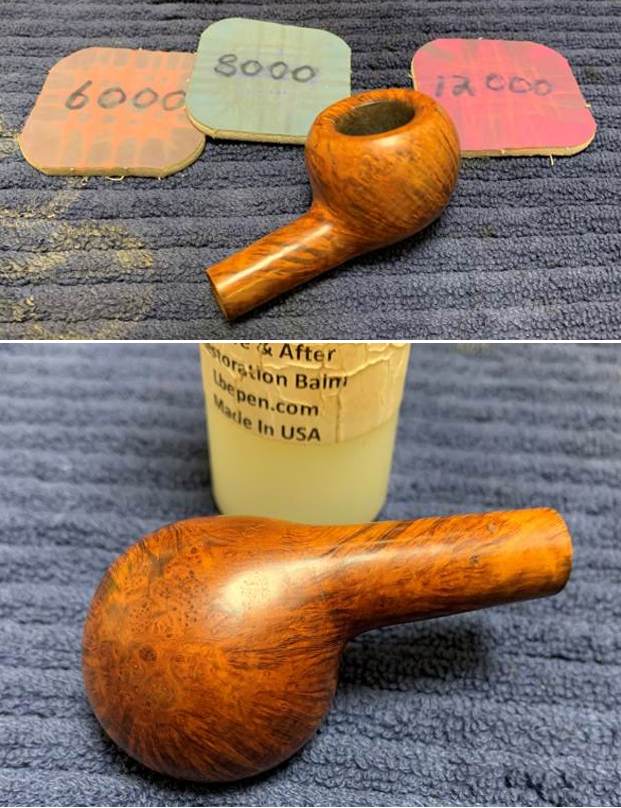
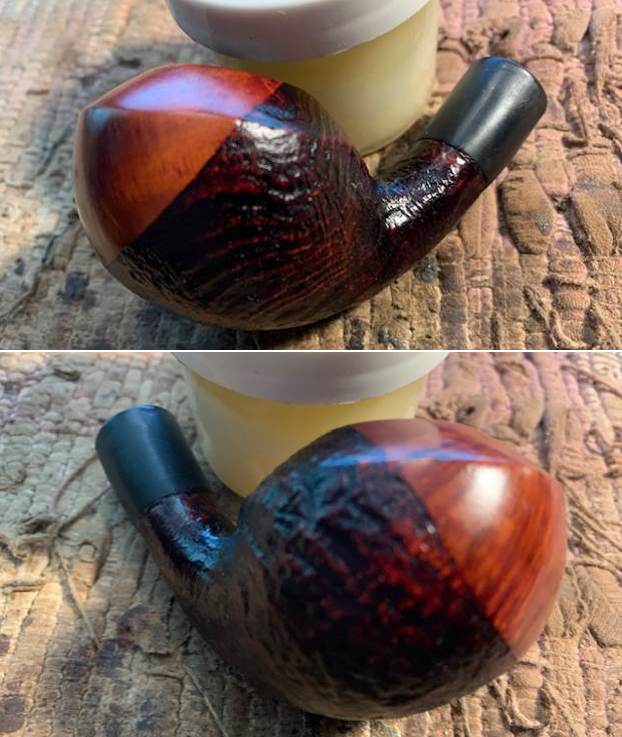
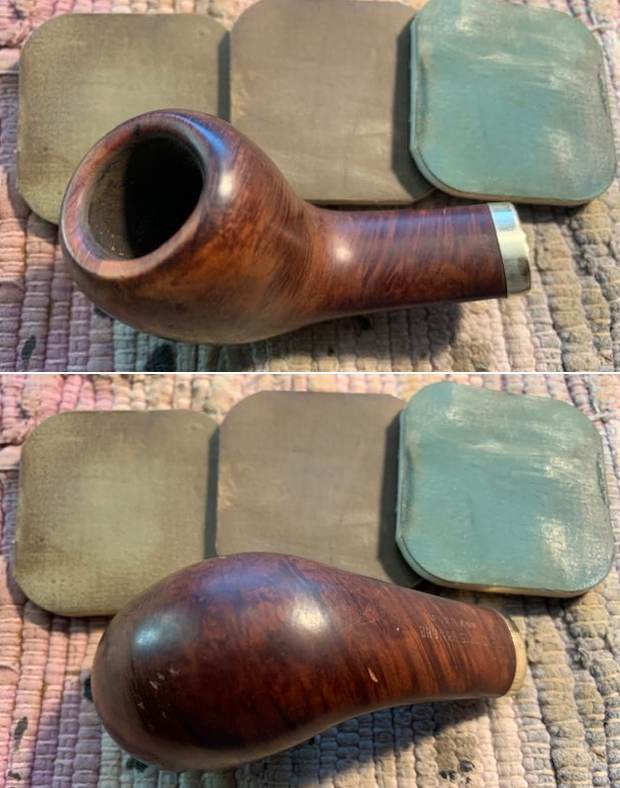
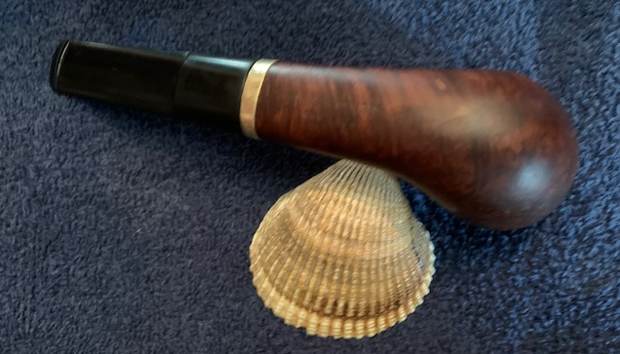
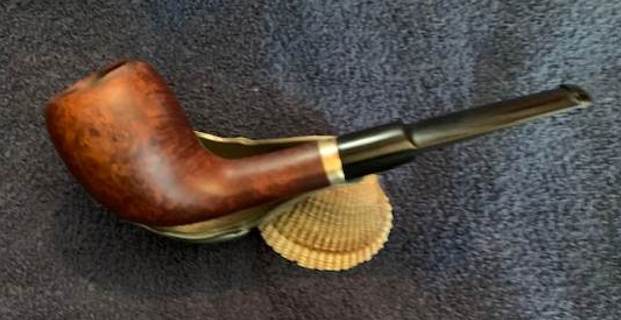
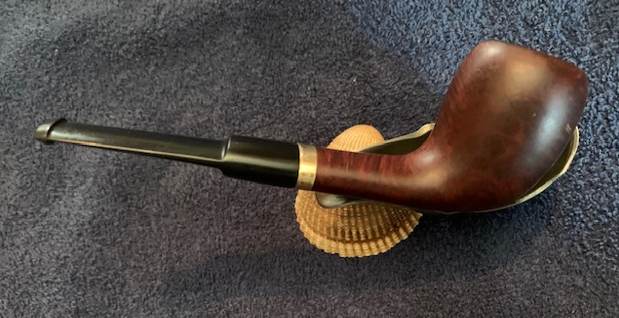
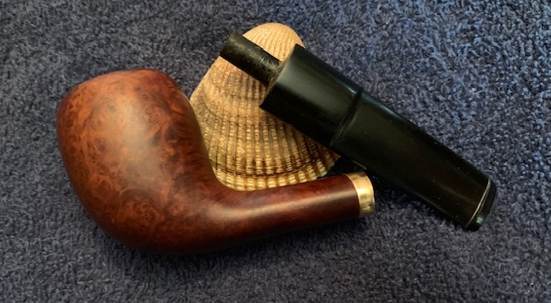
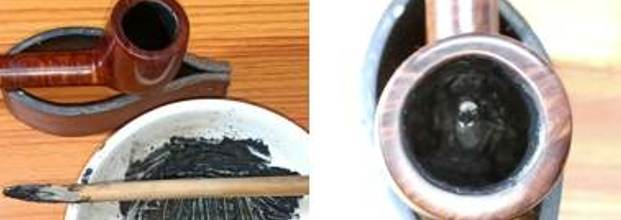 72 hours later, to apply the finishing touches, I mounted a cotton cloth buffing wheel onto my hand held rotary tool and applied a coat of Blue Diamond to the stummel and the stem to polish out the minor scratches. Next, I mounted a cotton cloth buffing wheel and setting the speed to ¼ of the full power, I applied a coat of carnauba wax over the stummel and the stem. I worked the complete pipe till the time all the wax was used up for polishing the stummel and the stem. The pipe now boasts of a beautiful and lustrous shine. I vigorously rubbed the pipe with a microfiber cloth to deepen the shine and also to clean away any residual wax that had been left behind. I am very happy with the way this beauty has turned out.
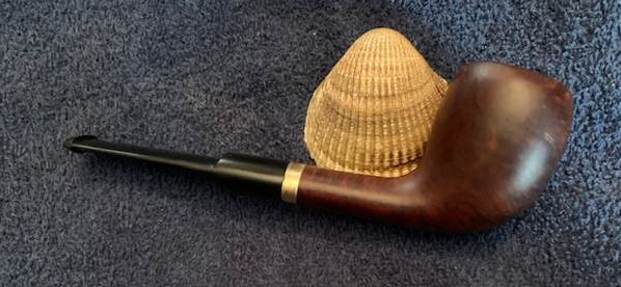
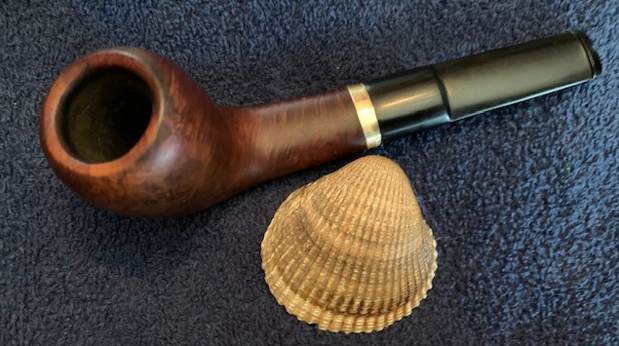
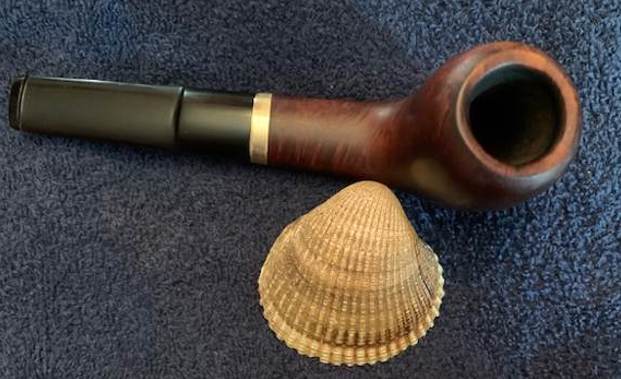
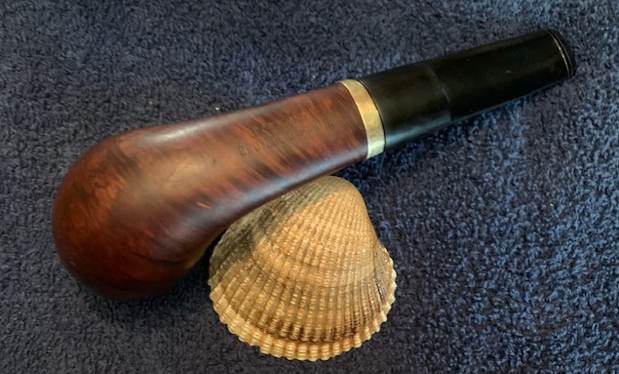


 P.S. – I am personally not happy with the way the stem repairs have turned out and will surely rework on it once the CA glue that I regularly use reaches me in next couple of weeks. A big thank you to all the readers of this write up for sparing your valuable time and hope for your continued patronage. Until the next write up, be safe and healthy…
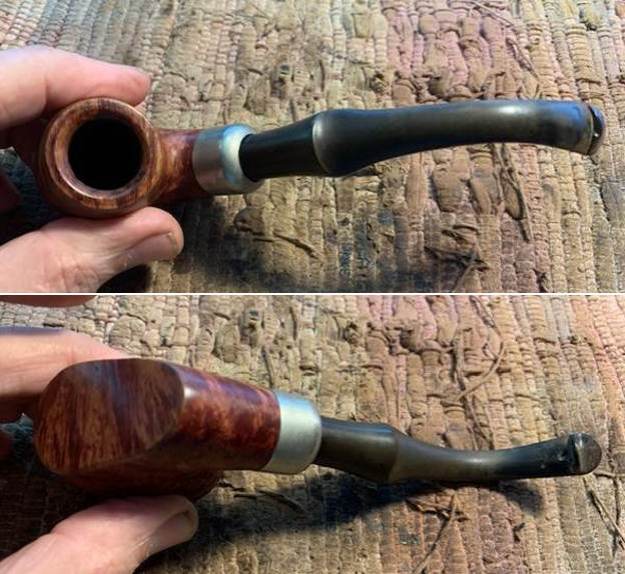
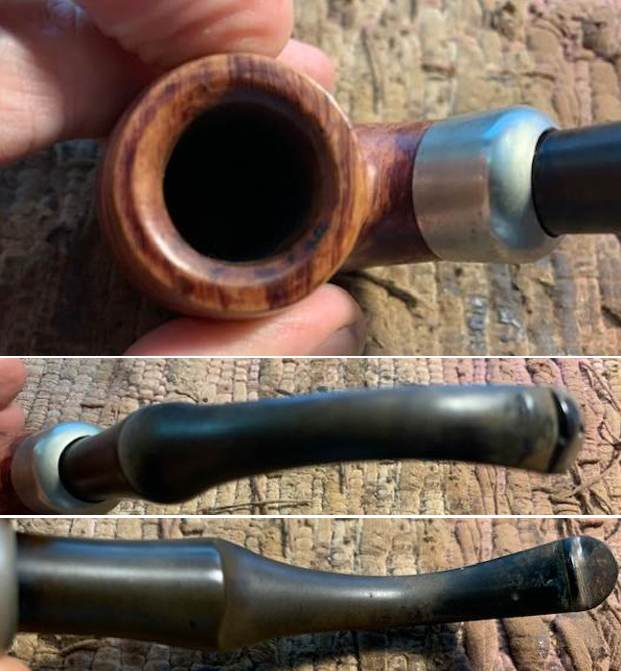
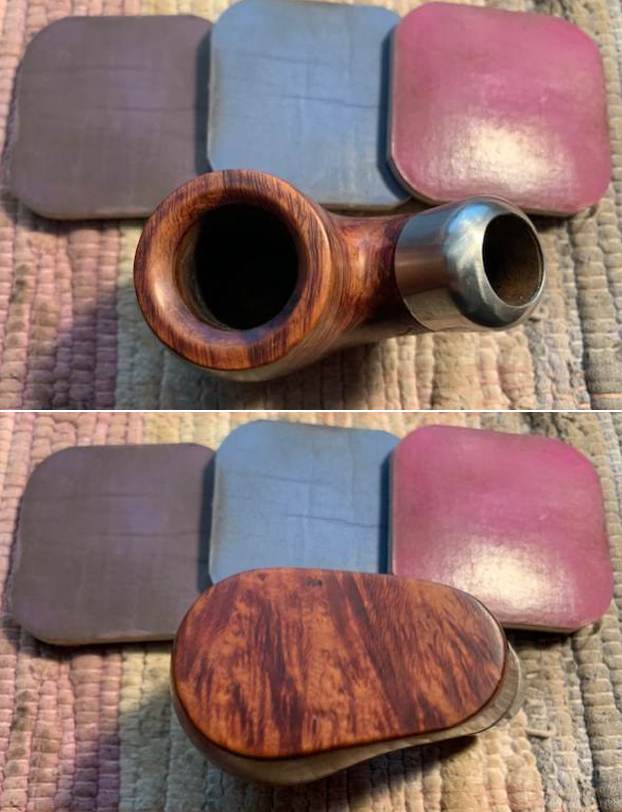
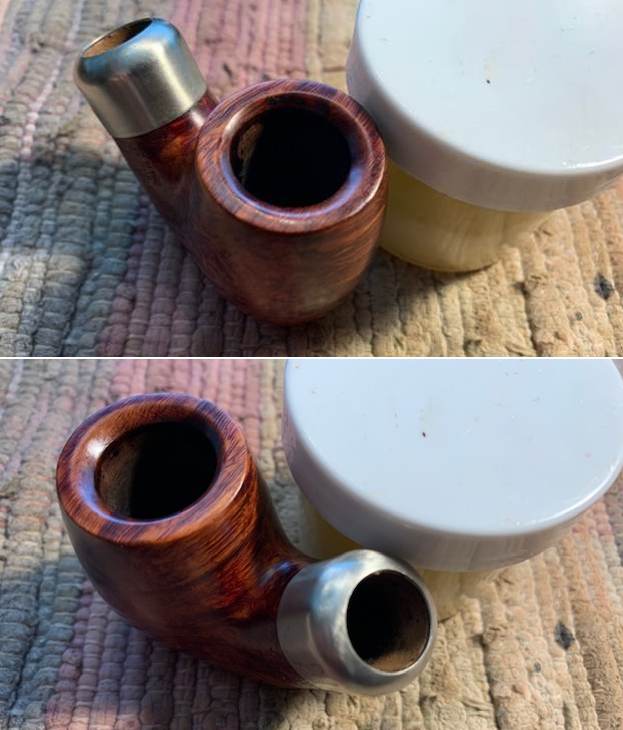
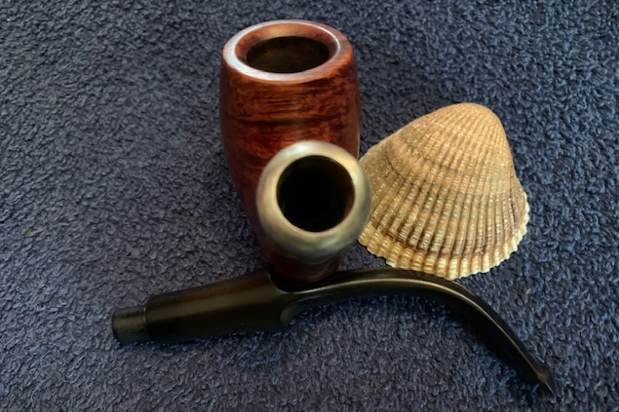
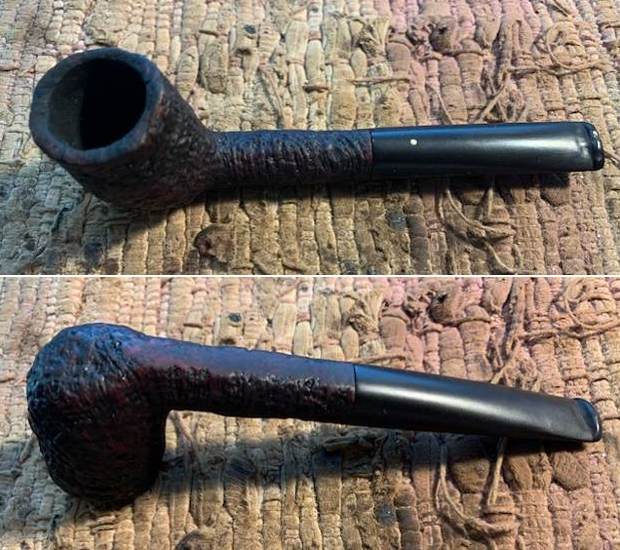
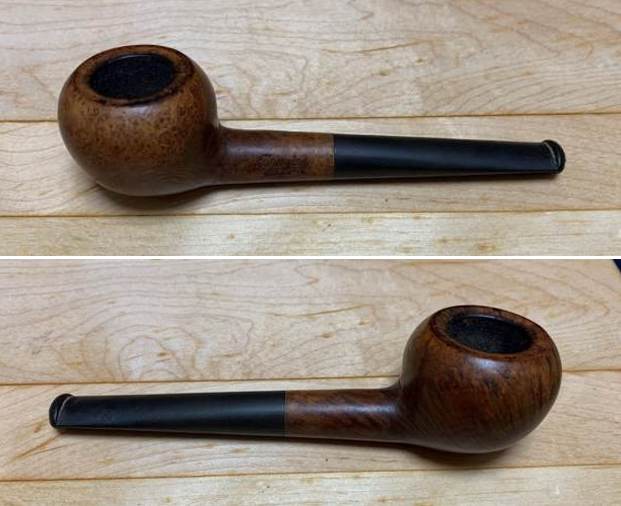
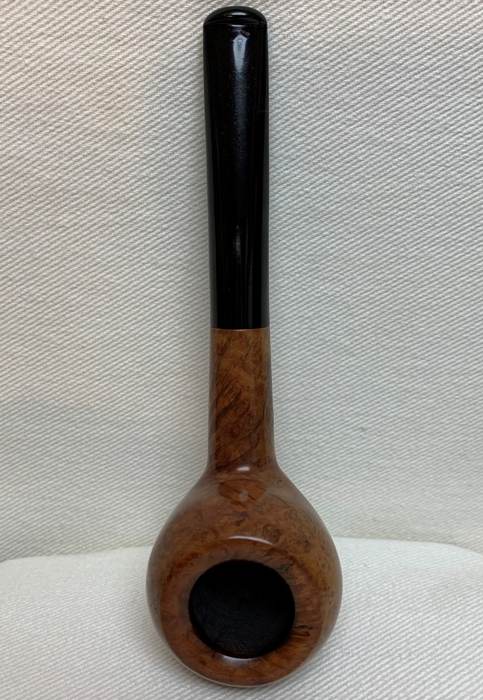
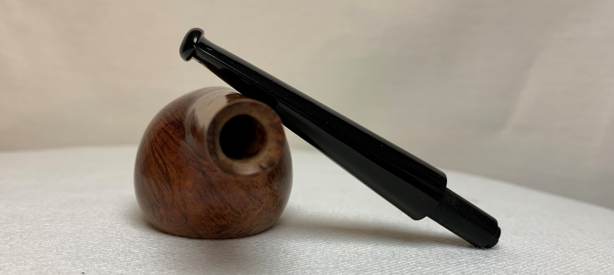
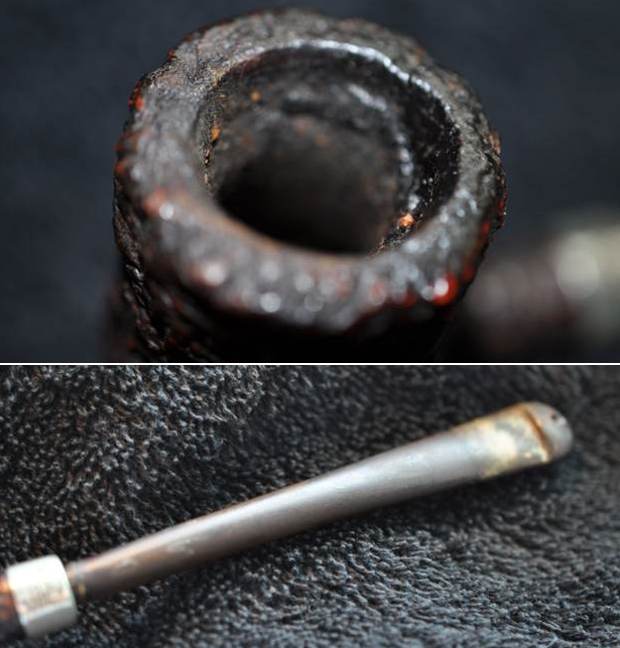
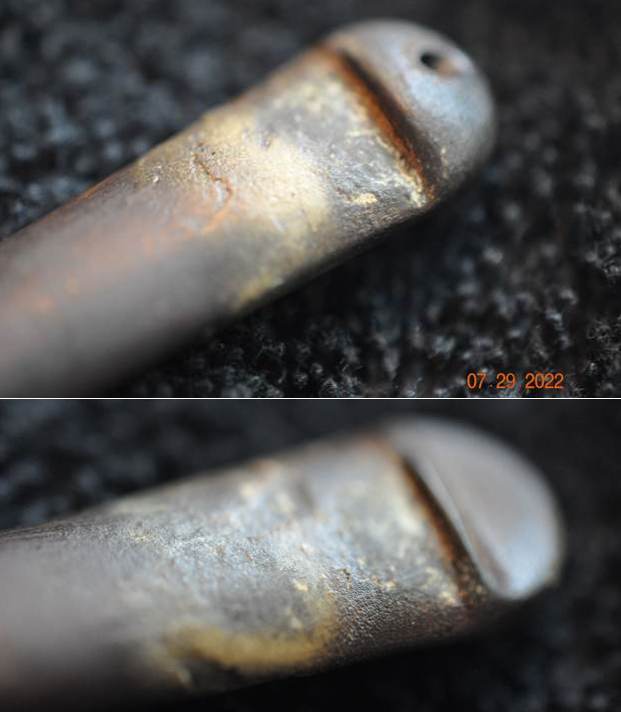
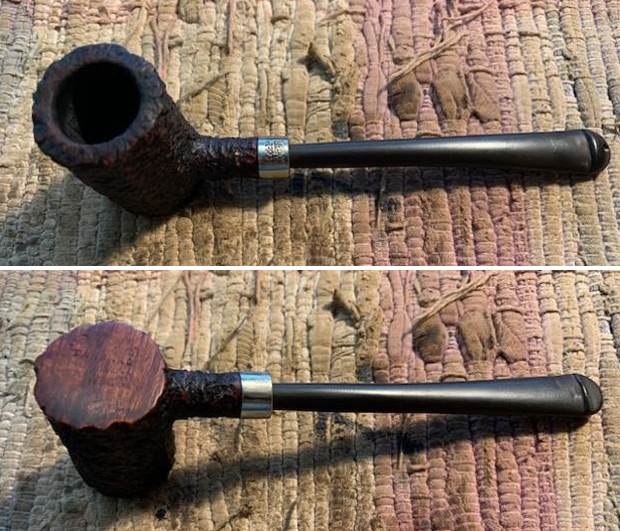
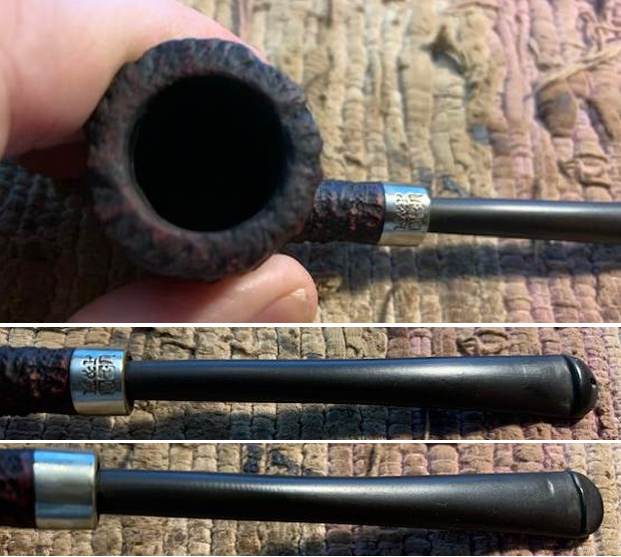
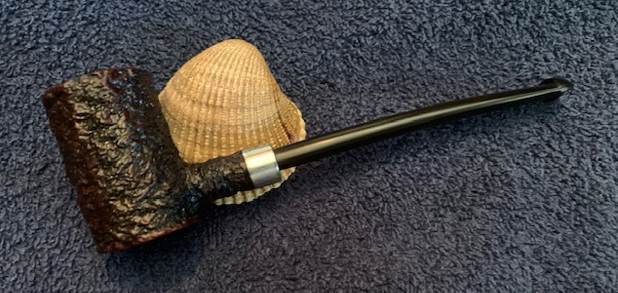
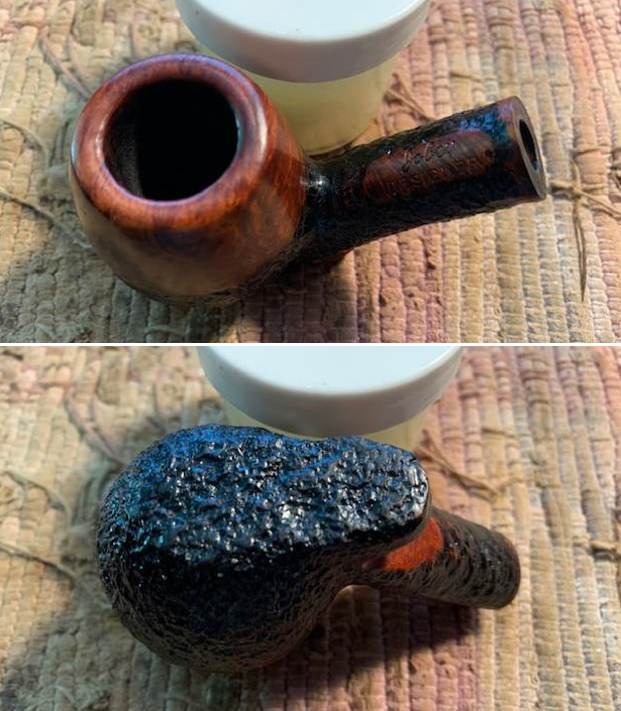
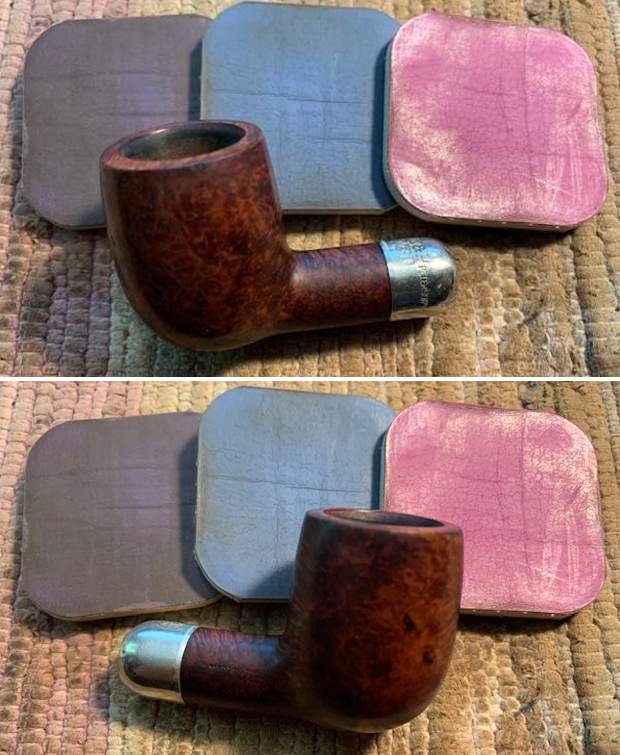
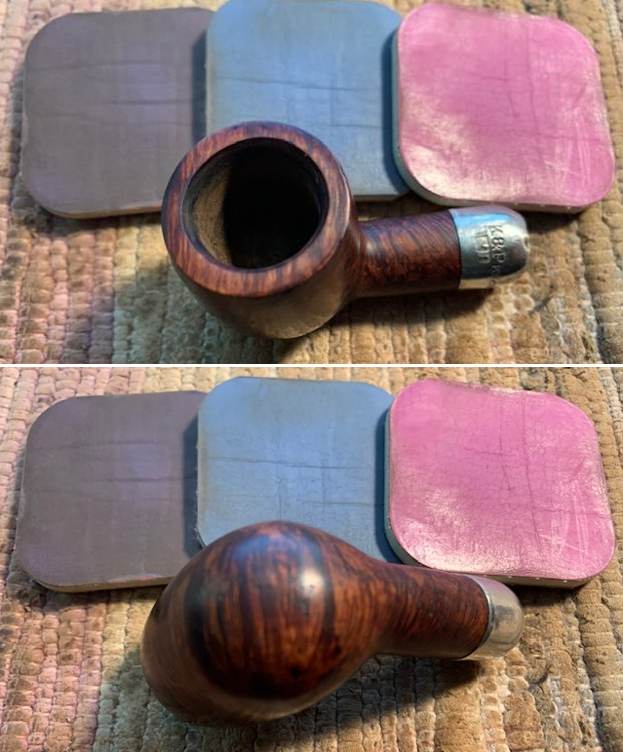
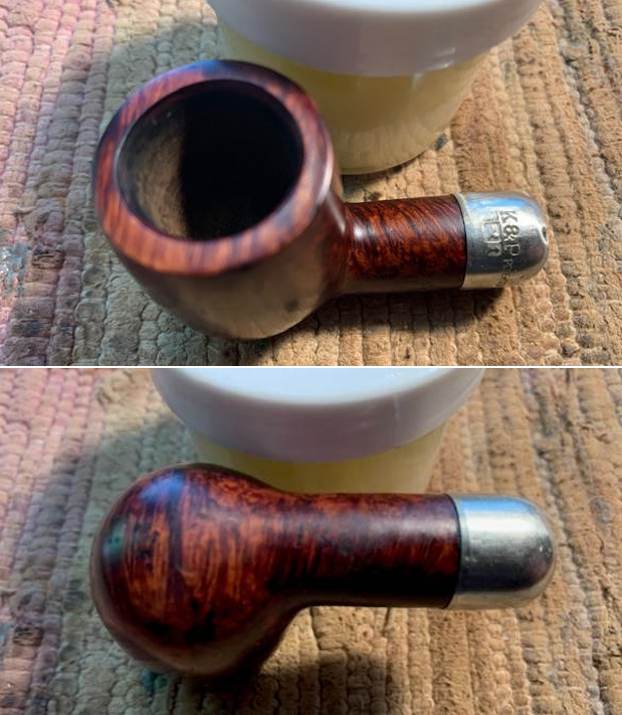
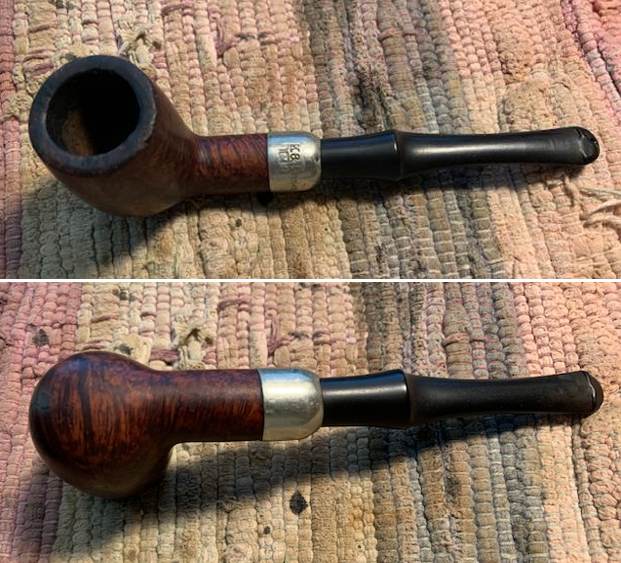 I took close up photos of the bowl and the stem. You can see the reamed bowl and the darkening and light lava on the rim top. The bowl reeked of aromatic tobaccos. The stem surface was clean but there are deep tooth marks and chatter on both sides on and ahead of the button.
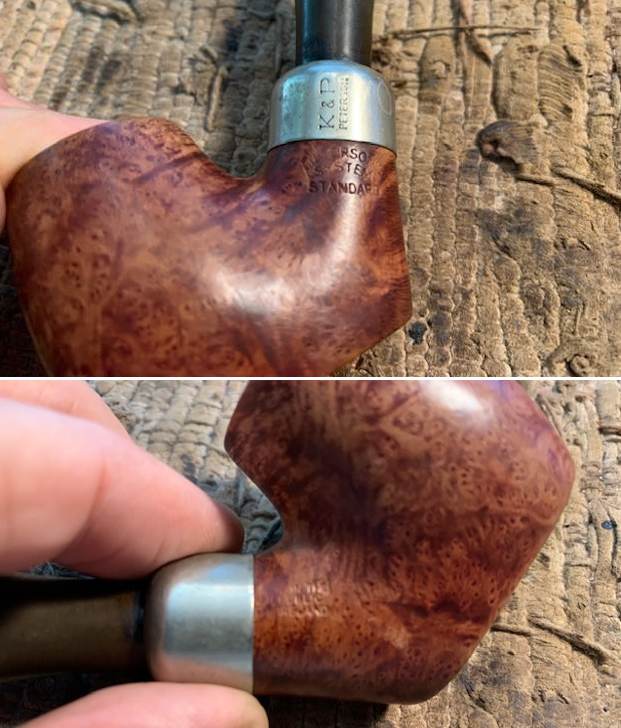
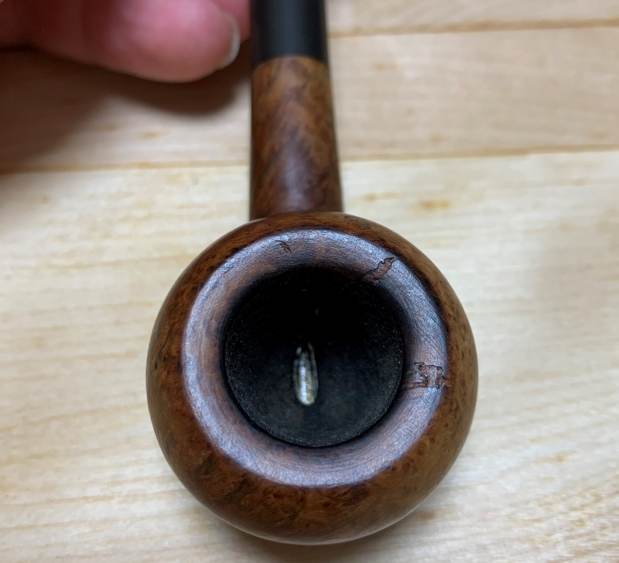
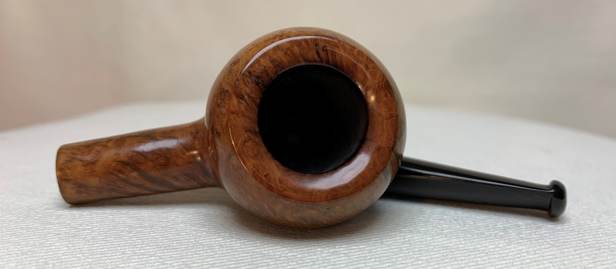
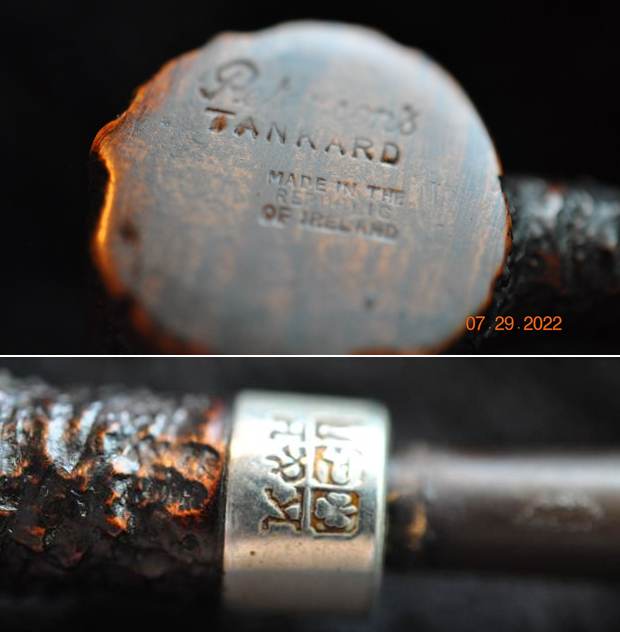
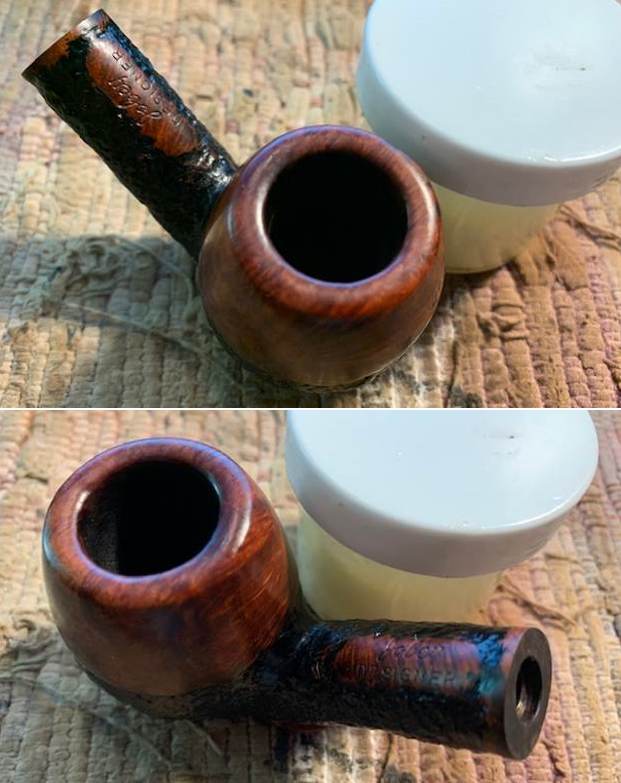
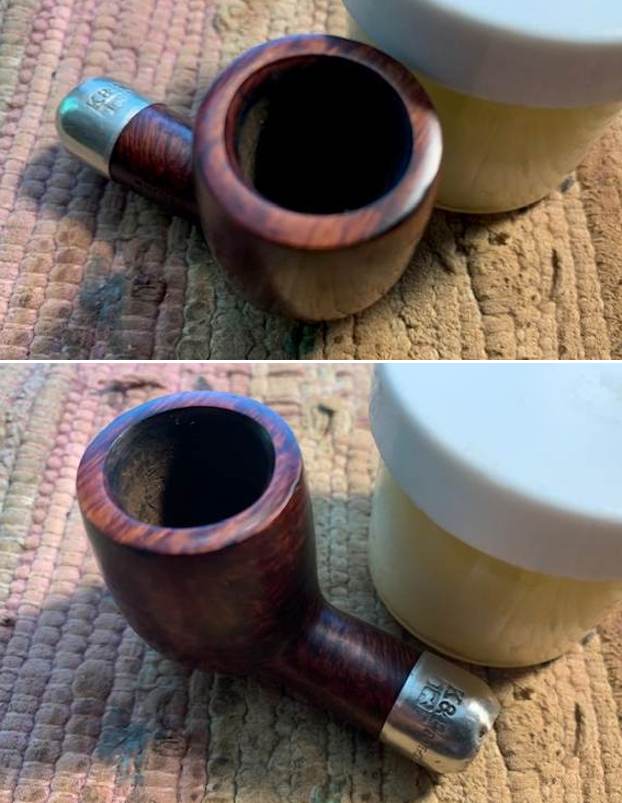
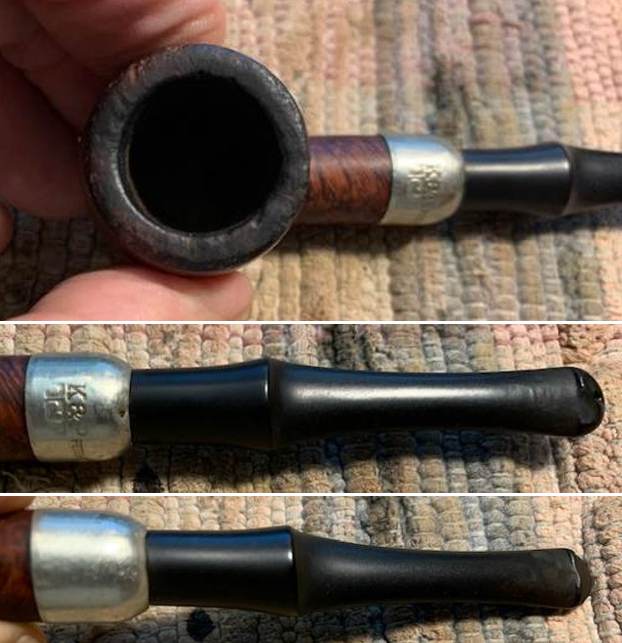 I took a photo of the stamping on the sides of the bowl and shank. It is clear and readable as noted above.
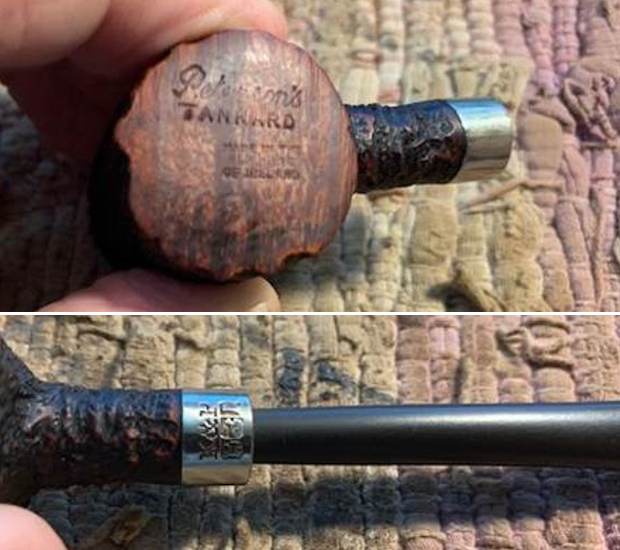
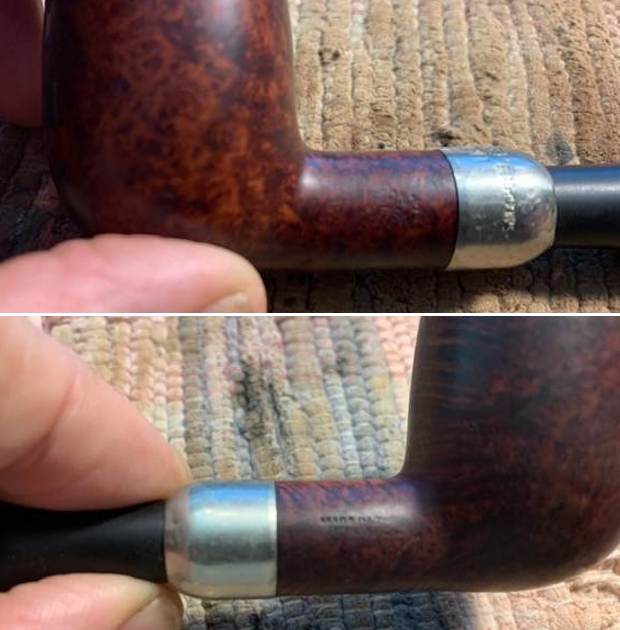
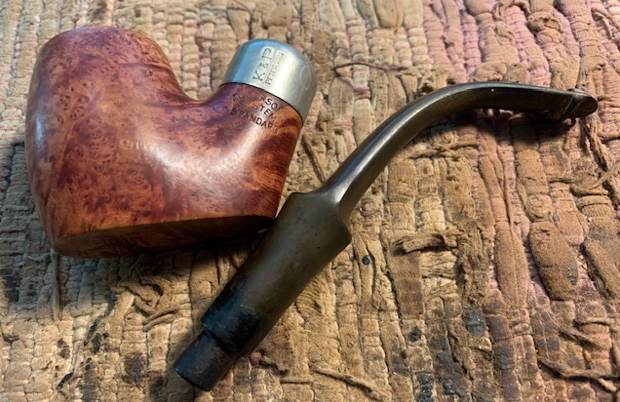
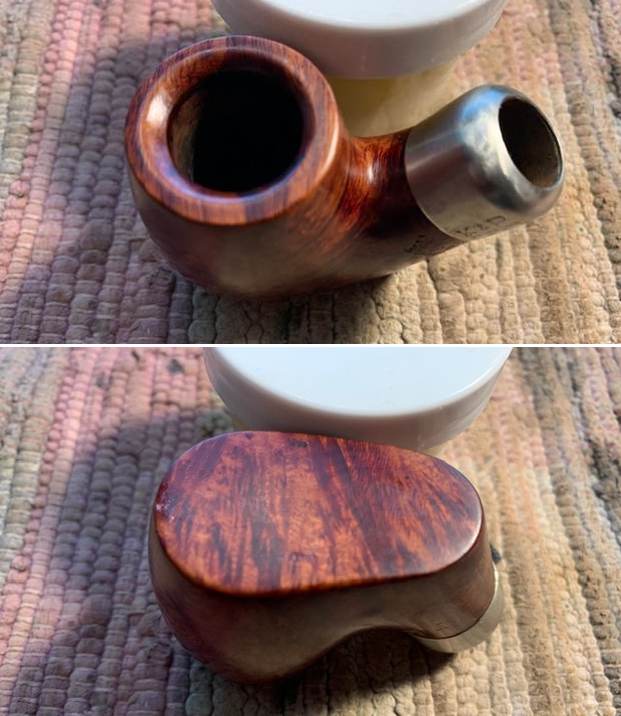
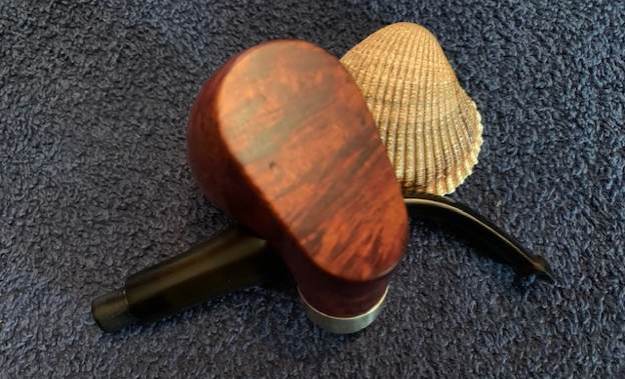
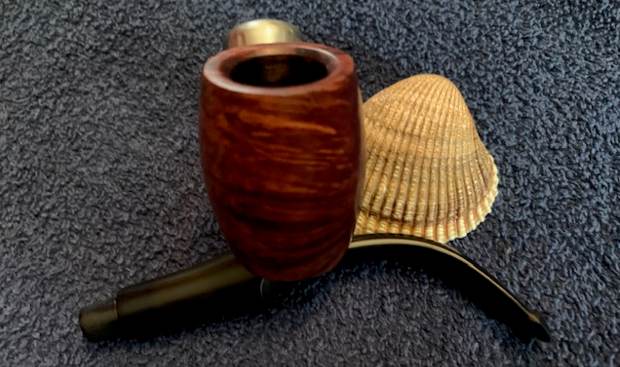
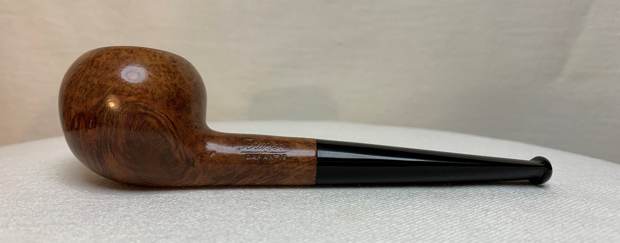
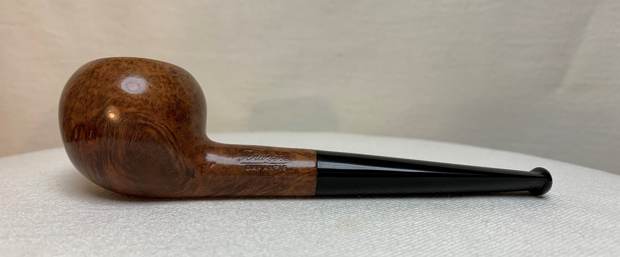
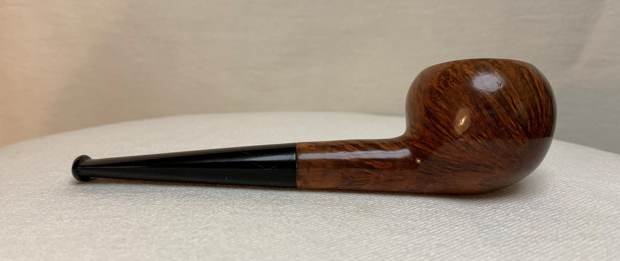
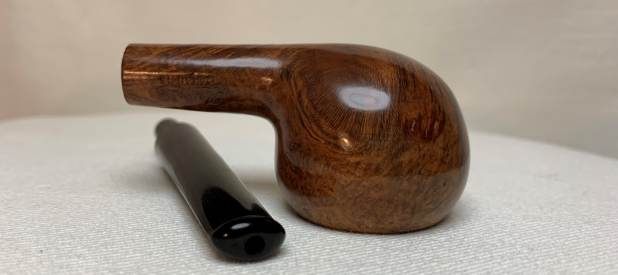
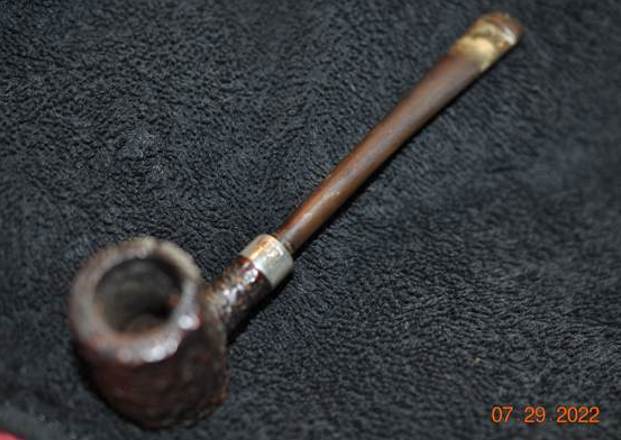
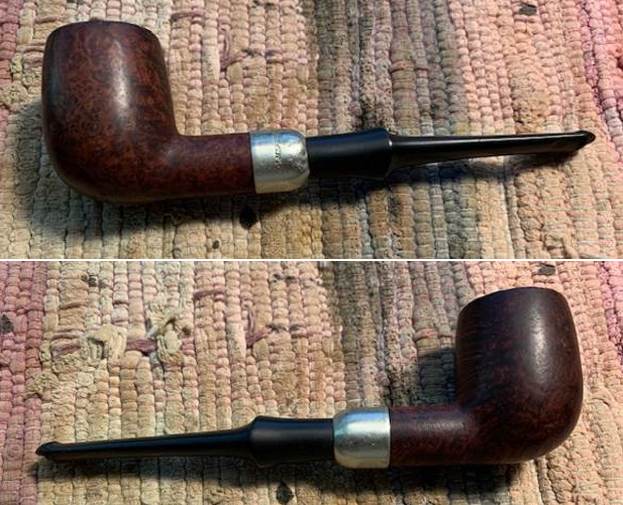
 I removed the stem from the shank and took a photo to give a sense of the proportions of the pipe. It is really quite nice looking.
 I am including the information from Pipedia’s article on Peterson pipes. It is a great read in terms of the history of the brand (https://pipedia.org/wiki/Peterson). I have included a bit of the pertinent history here.
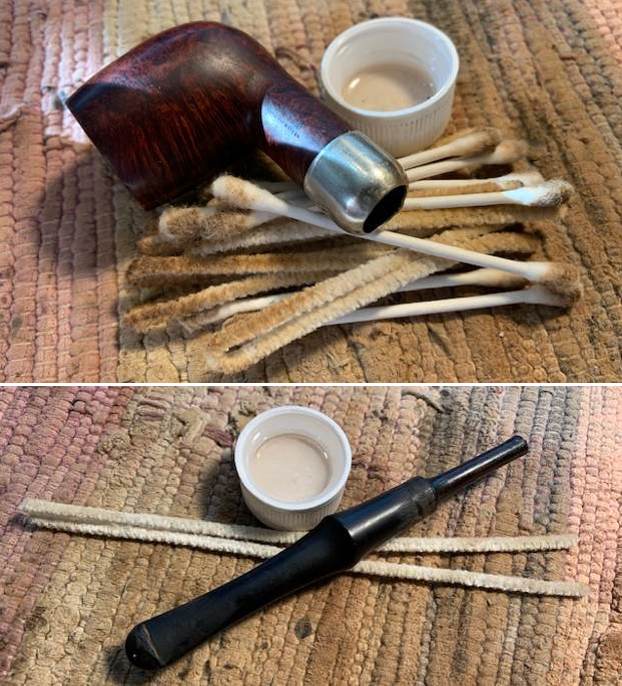 I topped the damaged rim top on a topping board with 220 grit sandpaper to remove the damage on the rim top and edges of the bowl. I used a folded piece of 220 grit sandpaper to smooth out the inner edge of the bowl. I gave the inner edge of the bowl a slight bevel.
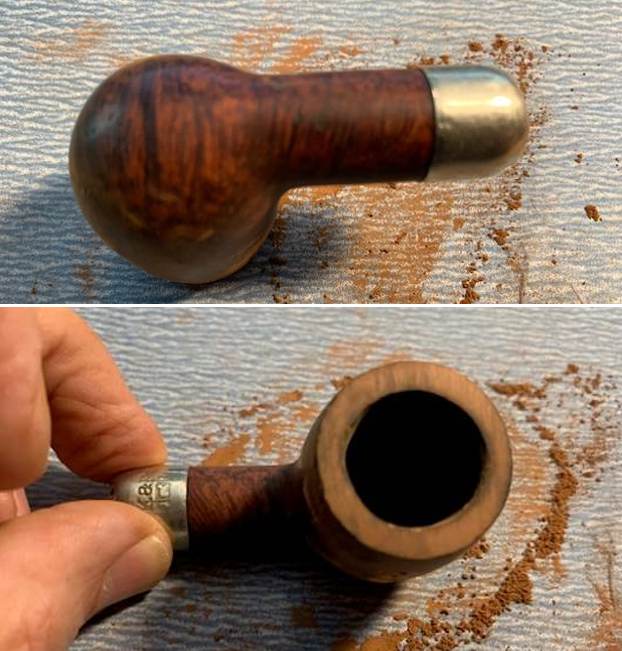
 I filled in some of the deep gouges in the briar on the right side and heel of the bowl with some clear CA glue. Once the repairs cured I sanded the briar surface with 220 grit sandpaper to smooth it out and blend it into the surrounding briar.
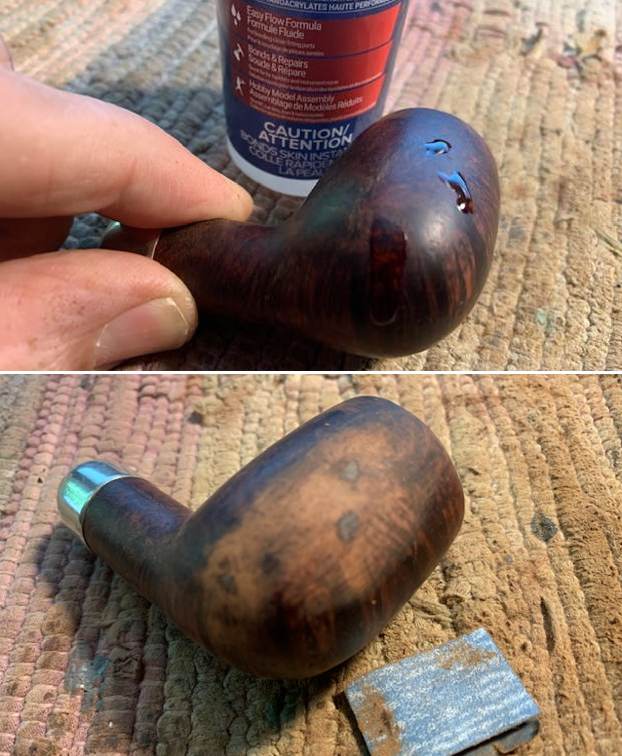 I stained the sanded area on the bowl side and the rim top with a Cherry stain pen to lay a base coat and then did a top coat of Mahogany stain pen.
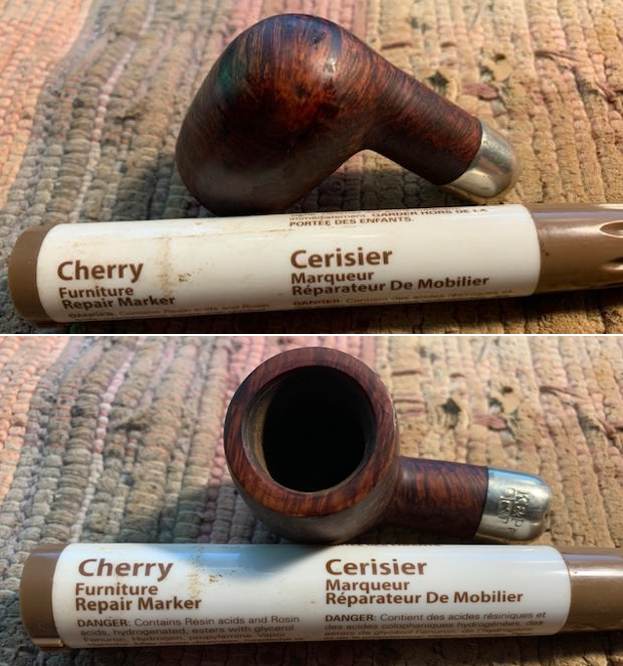
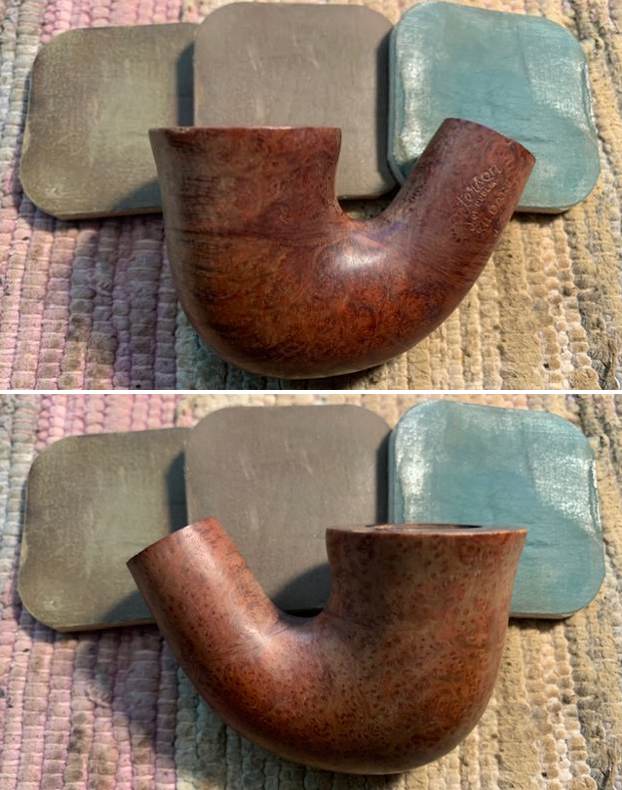
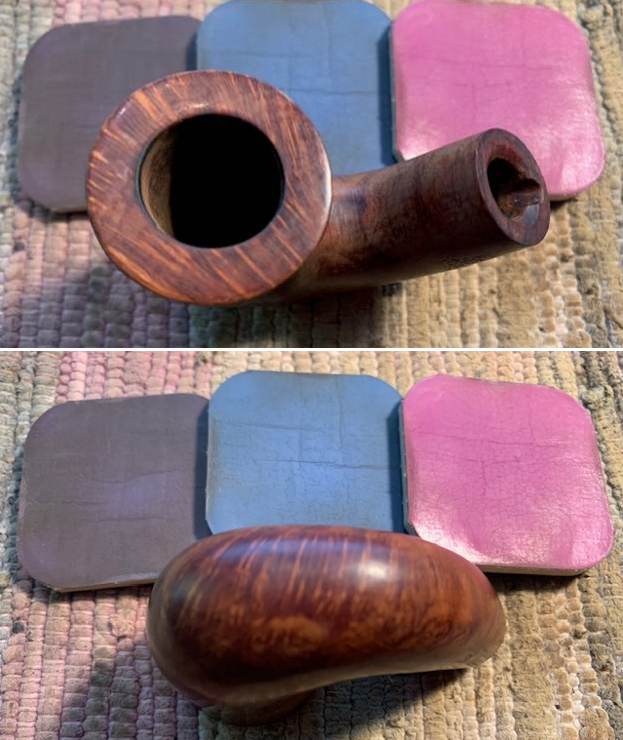
 I polished the rim top and edges with micromesh sanding pads – dry sanding with 1500-12000 grit pads to raise a shine. I wiped it down with a damp cotton pad to wipe off the debris after each sanding pad.
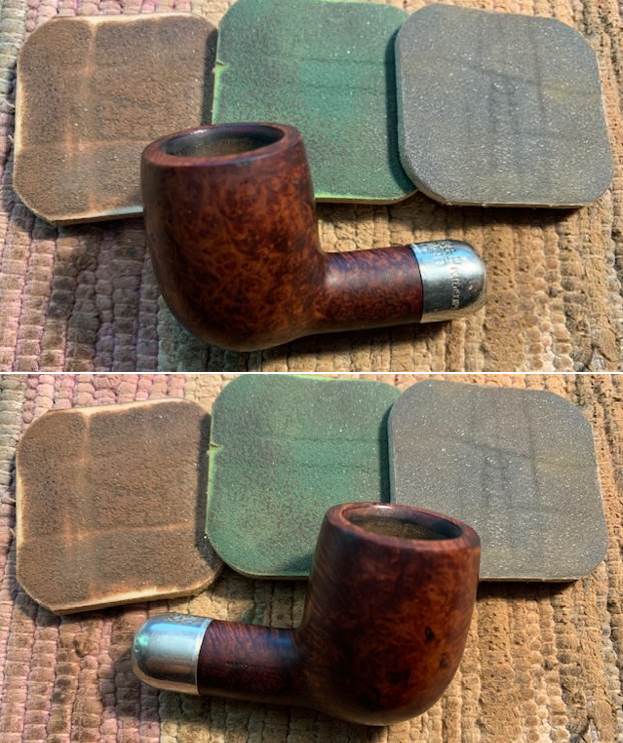


 I worked some Before & After Restoration Balm into the surface of the briar with my fingertips. It works to clean, enliven and protect the briar. I let it sit for 15 minutes then buffed it off with a soft cloth and raised the shine. The bowl looks great at this point.
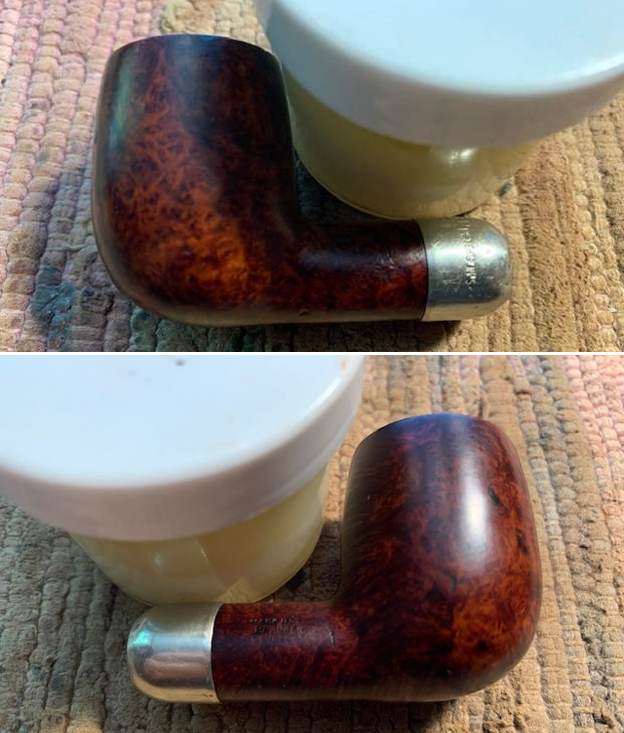
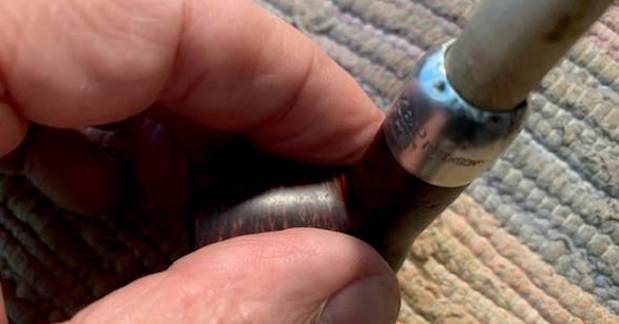
 The nickel ferrule was out of round and dented. It was solidly connected to the shank end so I did not want to removed it. Instead I fit a dowel into the end of the ferrule that was round and heated the nickel with a lighter to soften it. Once it was softened I used a small furniture hammer to bring the ferrule end back to round. I repeated the process until the opening in the ferrule was round and the stem fit well. It was not perfect but it was better than when I started.
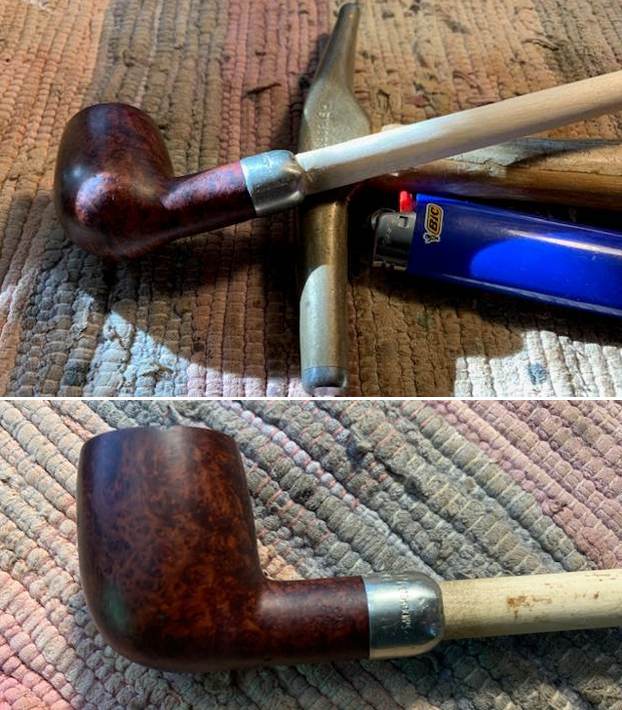
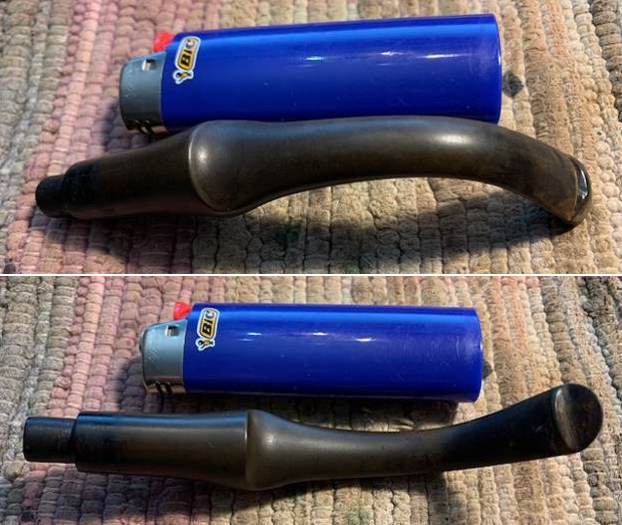
 I set the bowl aside and worked on the stem. I “painted” the stem with the flame of a Bic lighter to lift the tooth marks in the stem. I was able to raise them slightly. I filled in the remaining marks with Black CA glue. Once the repairs cured I sanded it smooth with 120 grit sandpaper and started polishing it with 400 grit wet dry sandpaper.
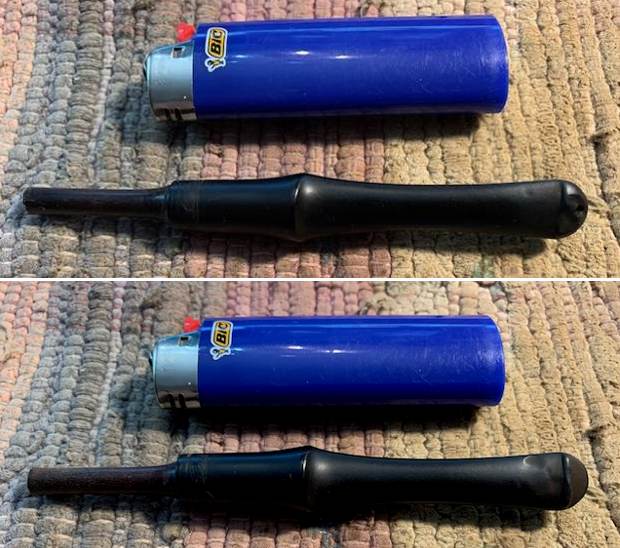
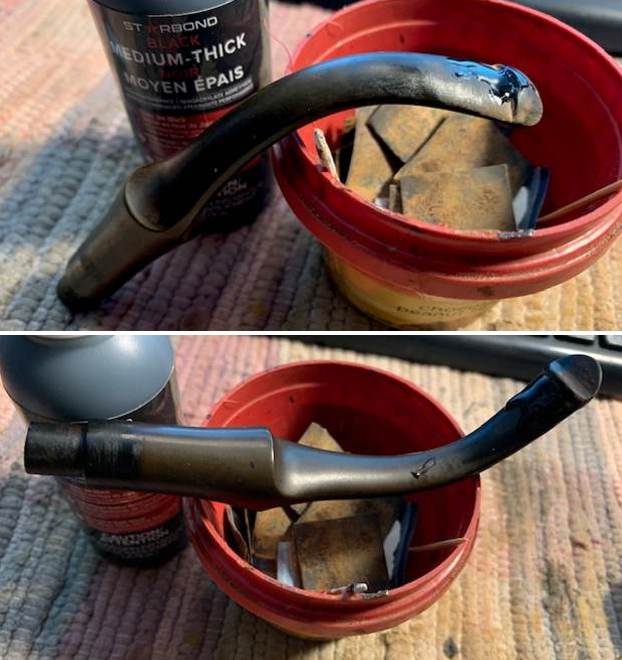
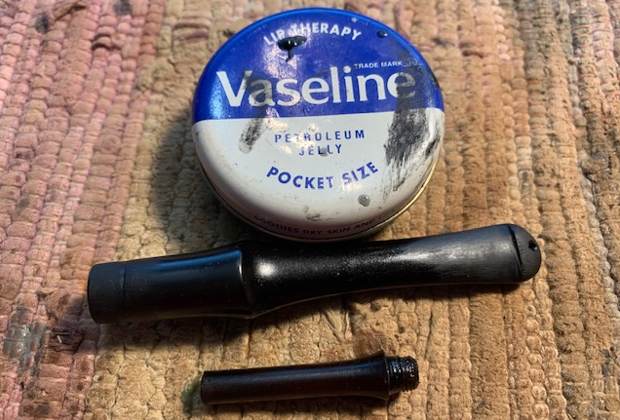
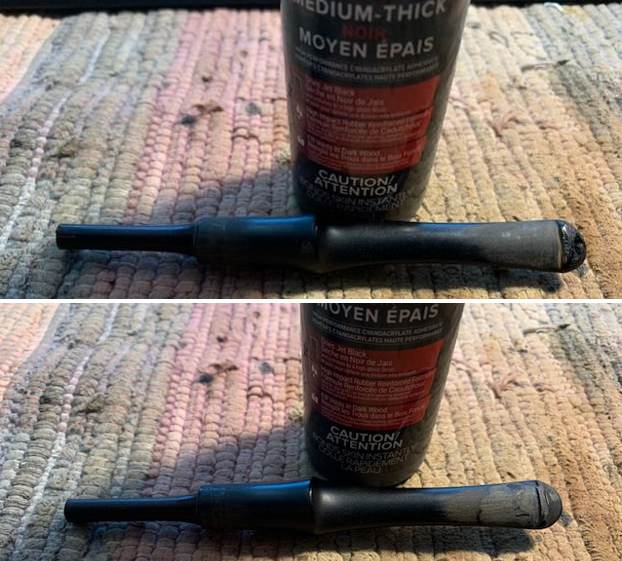 I unscrewed the extension tube from the end of the stem. I cleaned up the threads on the extension and inside the stem with pipe cleaners, cotton swabs and isopropyl alcohol. It did not take long to clean it. I coated the threads on the extension with Vaseline and screwed the extension back into the stem.
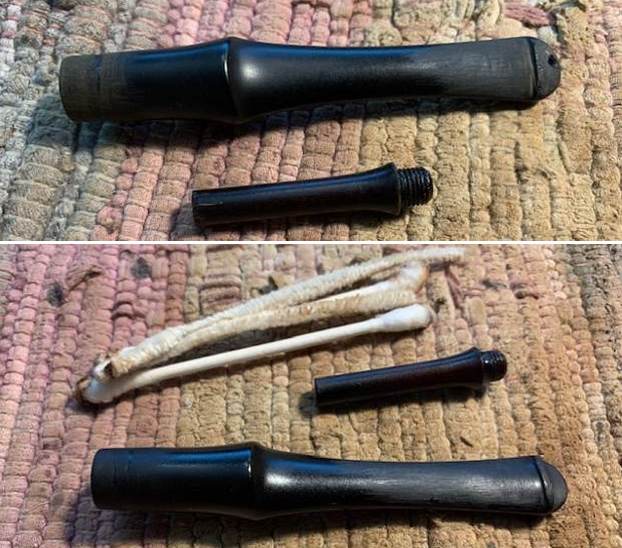
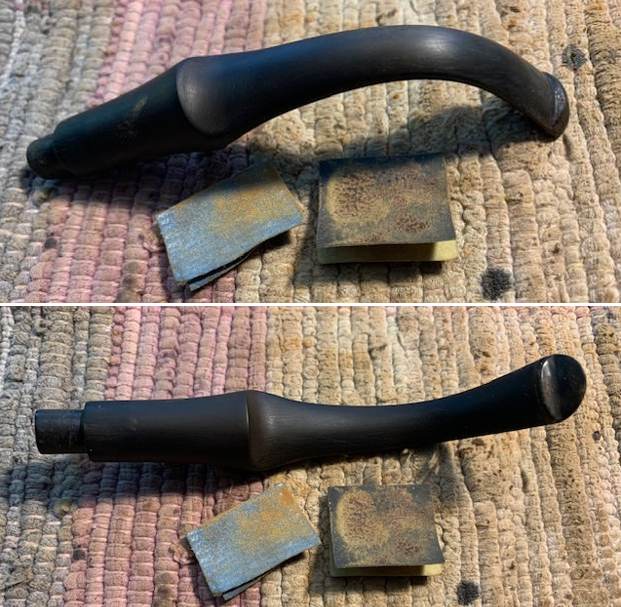
 I worked on the stem to further smooth and reshape the button and stem with the 220 grit sandpaper and the 400 grit wet dry sandpaper.
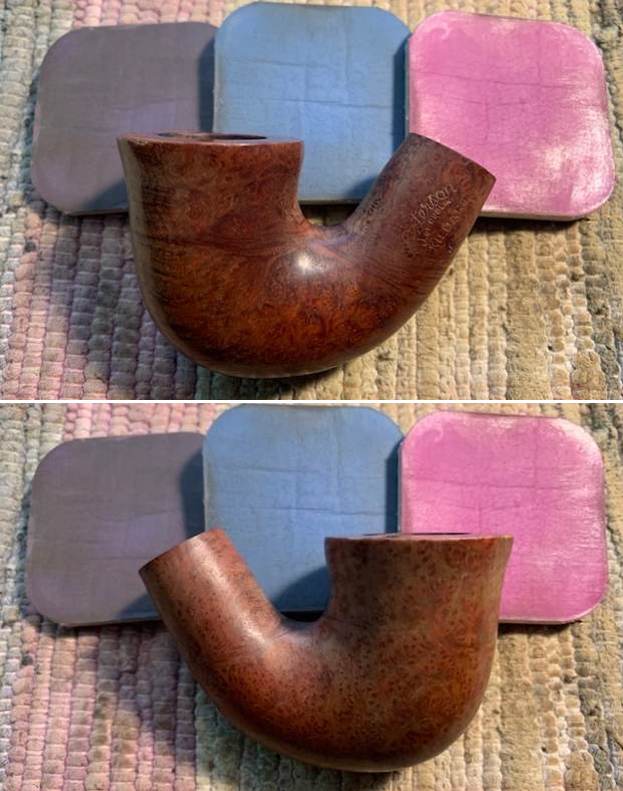
 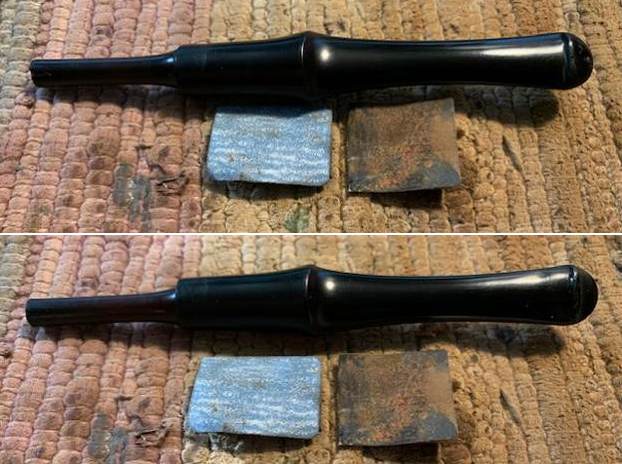 I polished the stem with micromesh sanding pads – dry sanding it with 1500-12000 grit pads. I wiped the stem down with Obsidian Oil after each pad. I polished it with Before & After Pipe Polish – both Fine and Extra Fine and gave it a final coat and set it aside to dry.
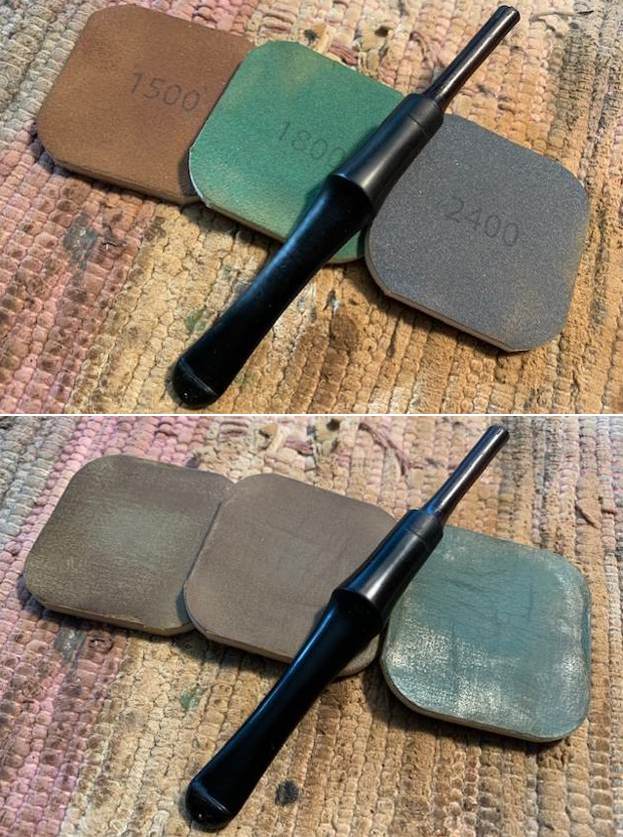
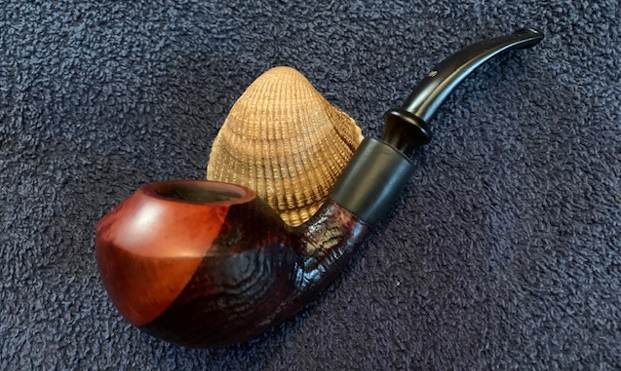
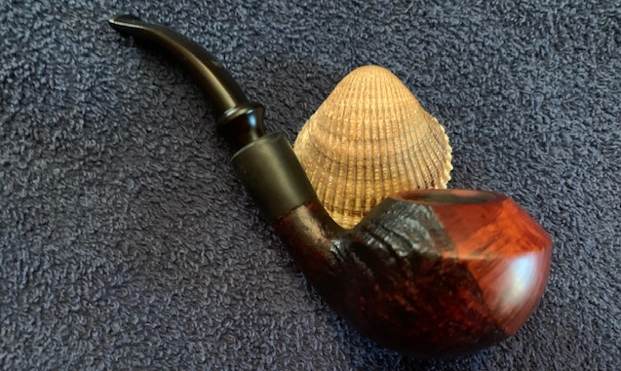
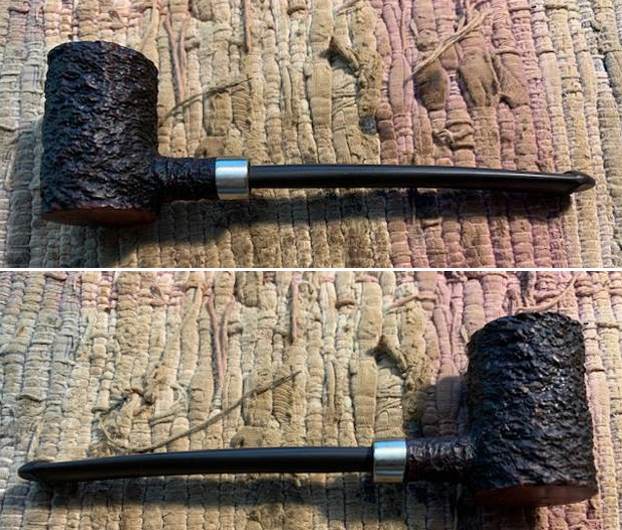
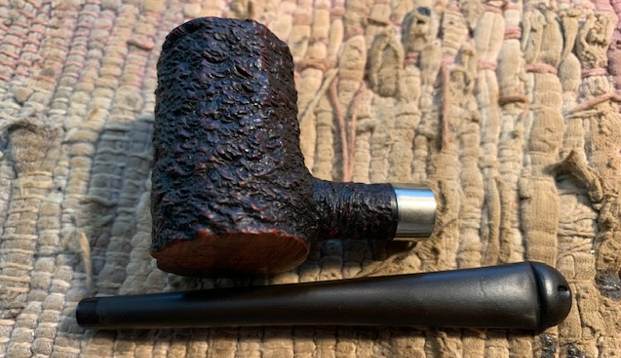
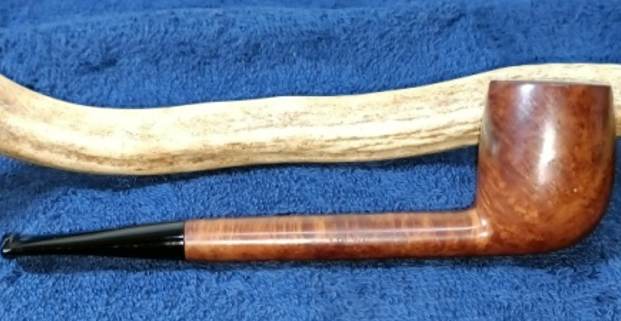
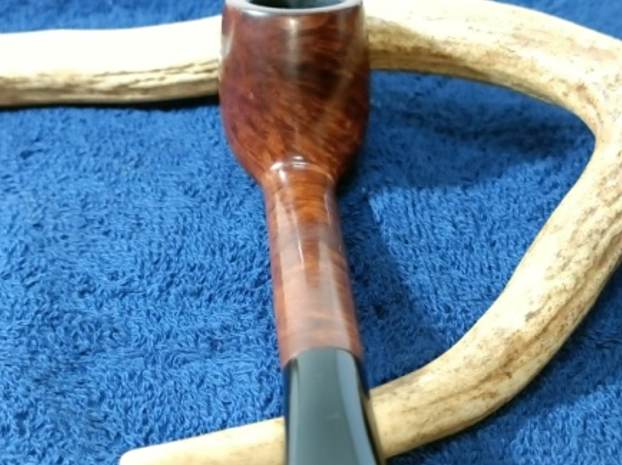
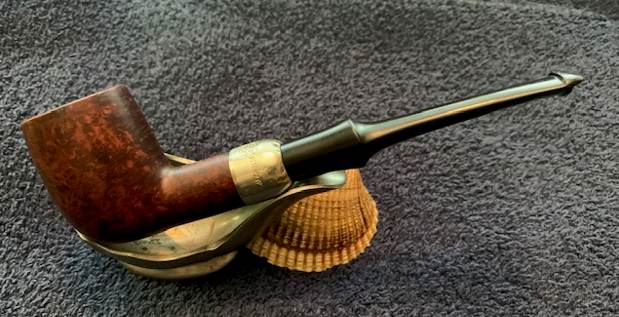
 I put the stem back on the Peterson’s System 31 Straight Billiard and buffed the pipe with Blue Diamond on the buffing wheel. I polished the briar and the vulcanite of the stem until there was a rich shine. This classic Peterson’s shape and finish really highlights a proportionally well carved pipe. Once I buffed the pipe the briar came alive and popped with polishing. The black vulcanite stem has a rich glow. This Peterson’s System Straight Billiard fits well in the hand and sits right in the mouth. Have a look at it with the photos below. The dimensions are Length: 5 ½ inches, Height: 1 ½ inches, Outside diameter of the bowl: 1 1/8 inches, Chamber diameter: ¾ of and inch. The weight of the pipe is 1.23 ounces/35 grams. This beauty will be going on the rebornpipes online store in the Irish Pipemakers Section. If you are interested let me know. Thanks for walking through the restoration with me as it was a pleasure to work on.