by Steve Laug
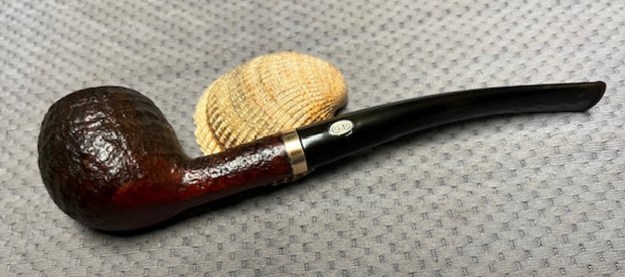
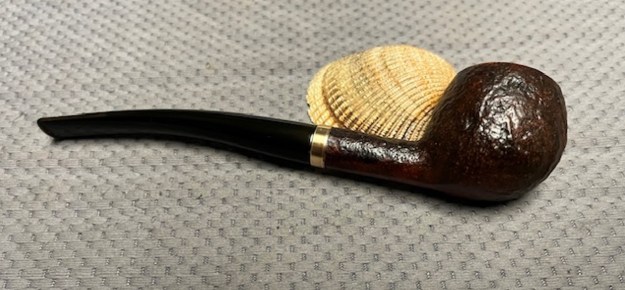
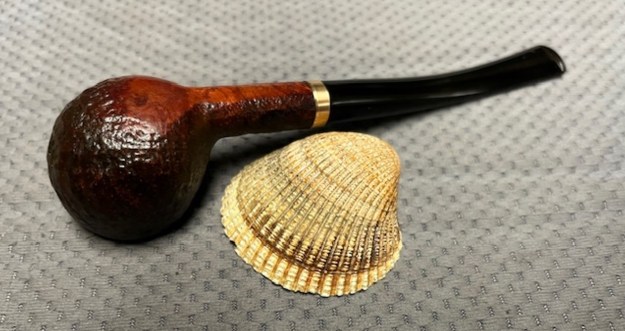
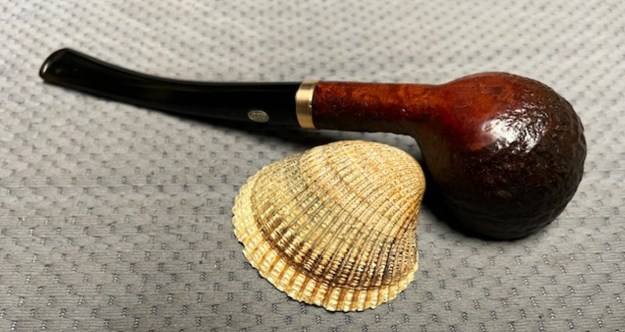
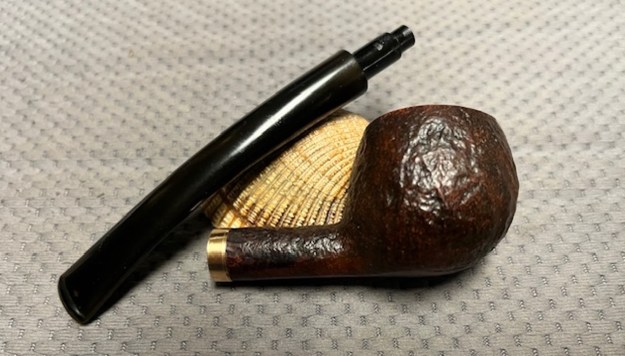
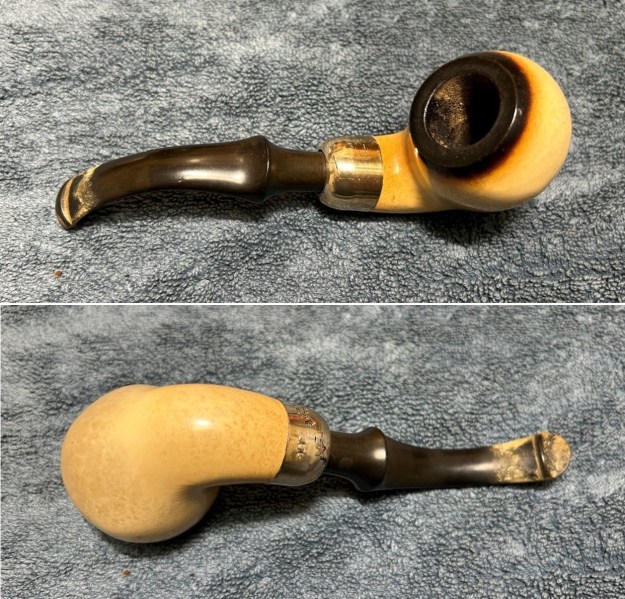
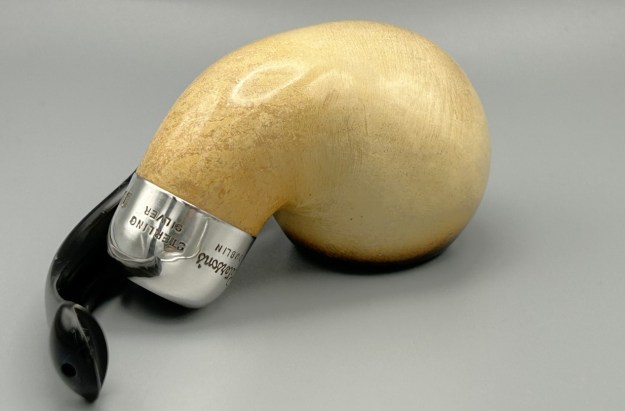
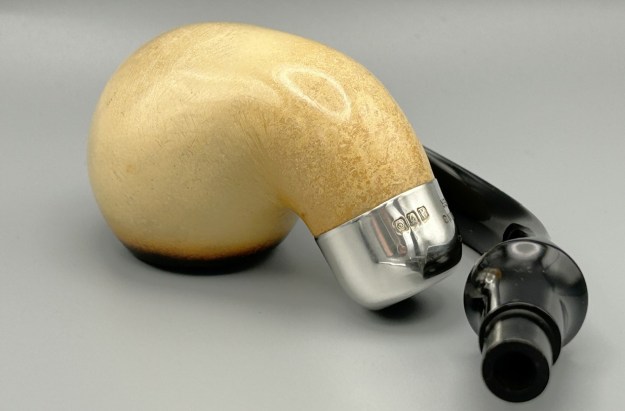
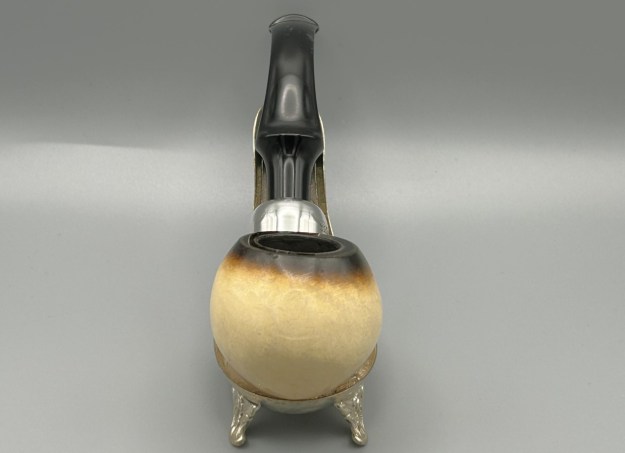
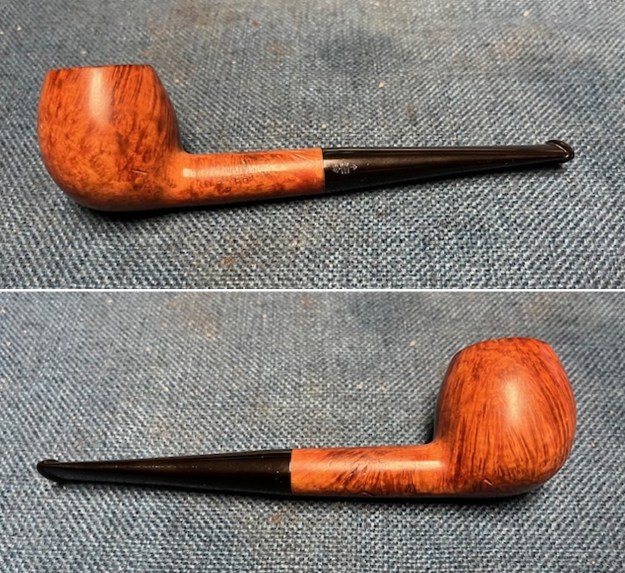
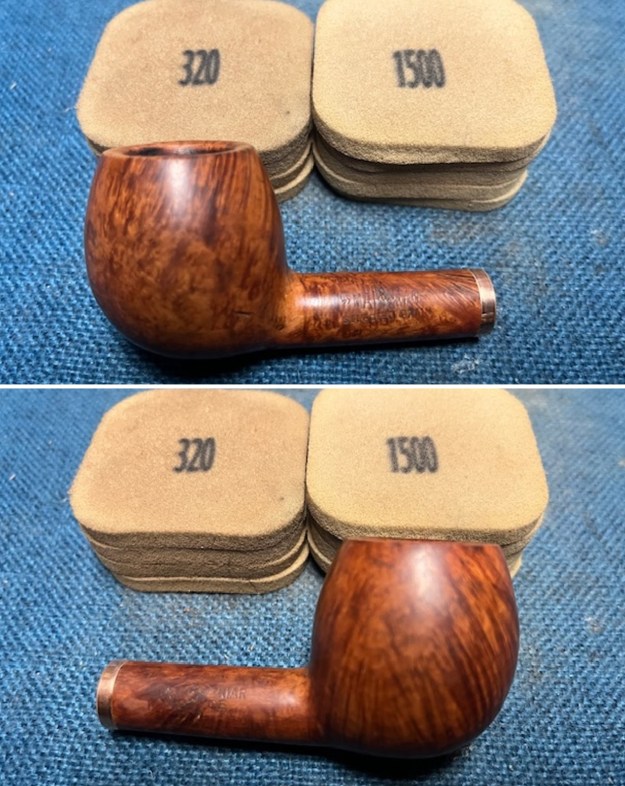
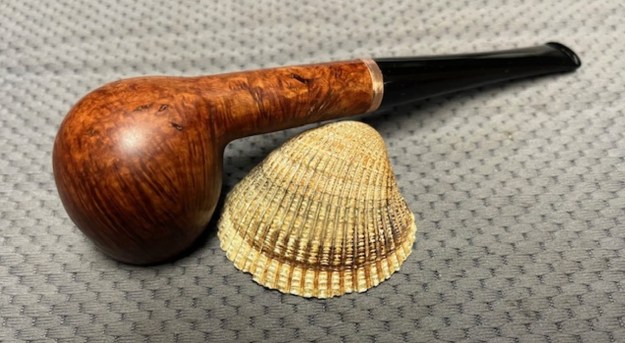
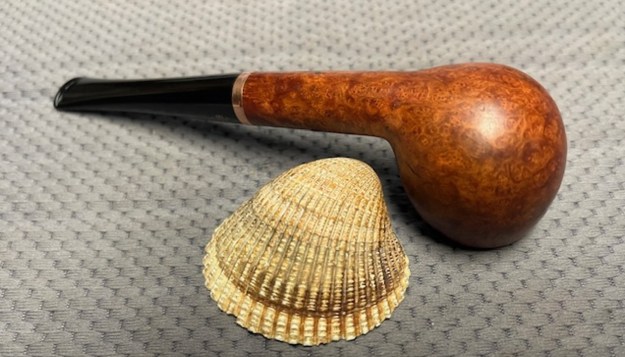
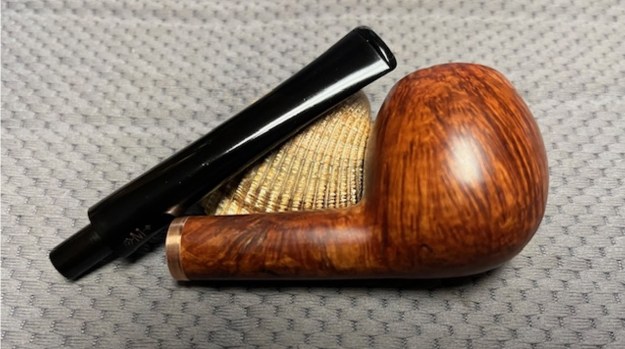
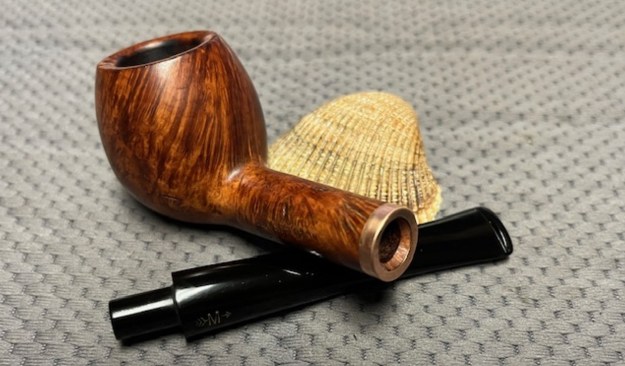
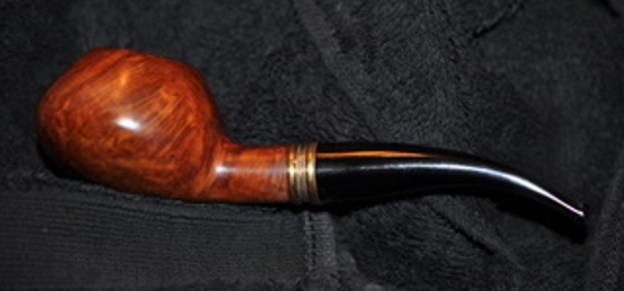
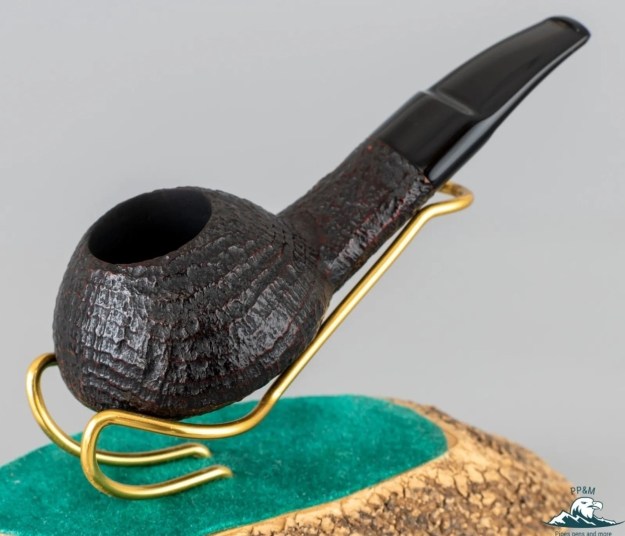
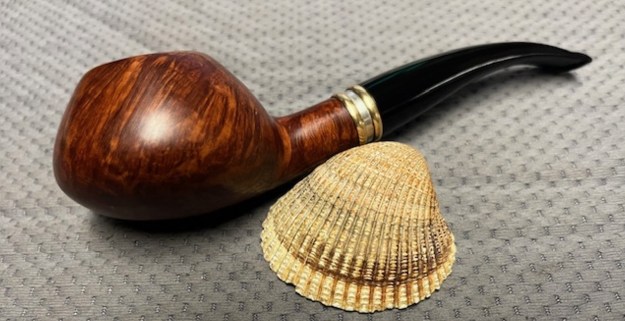
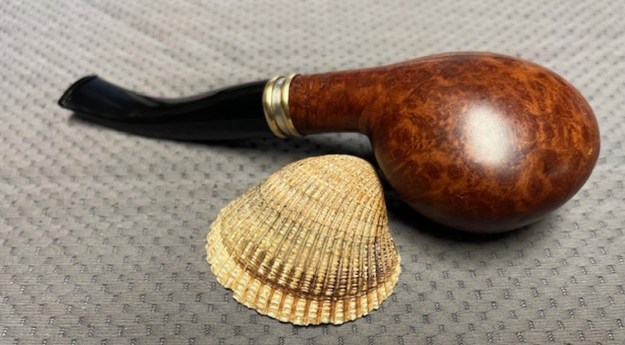
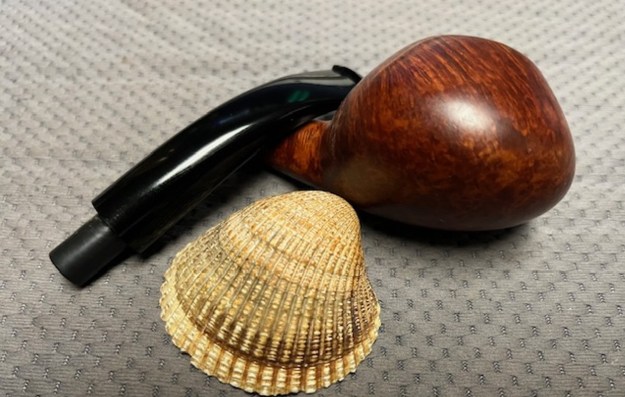
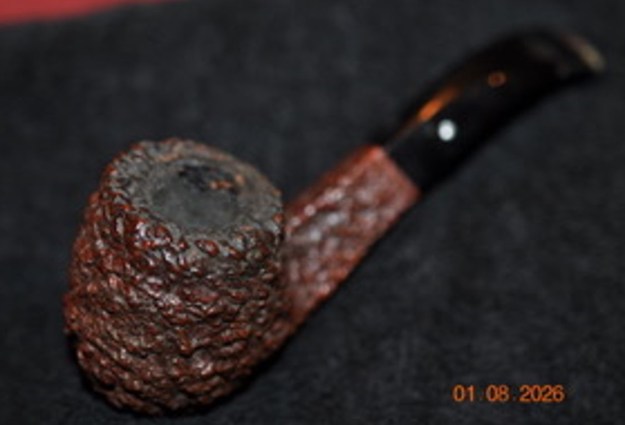
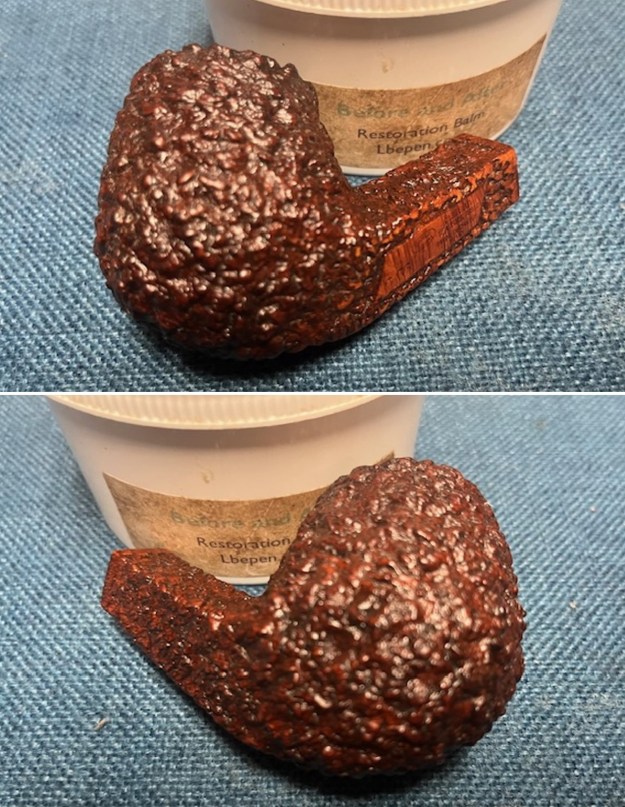
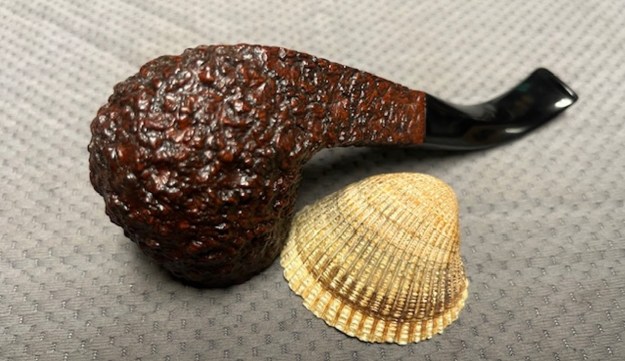
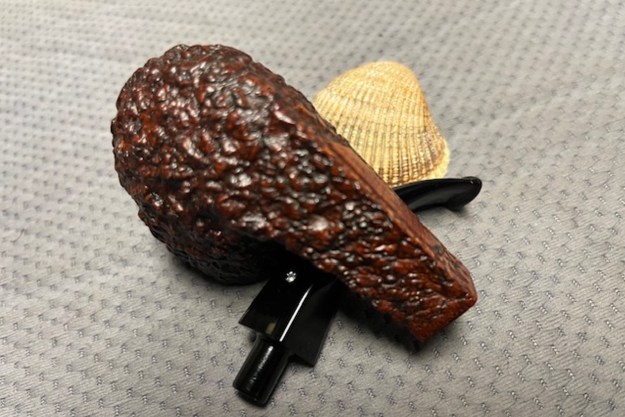
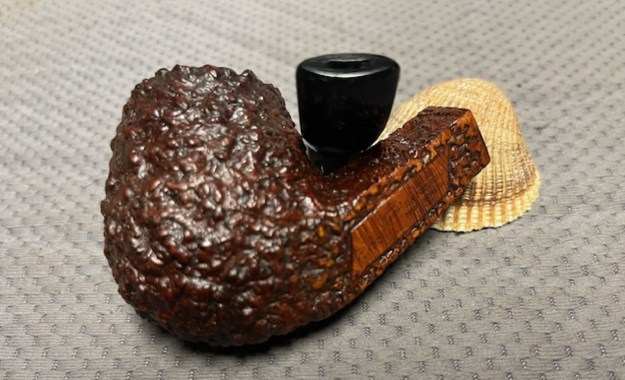
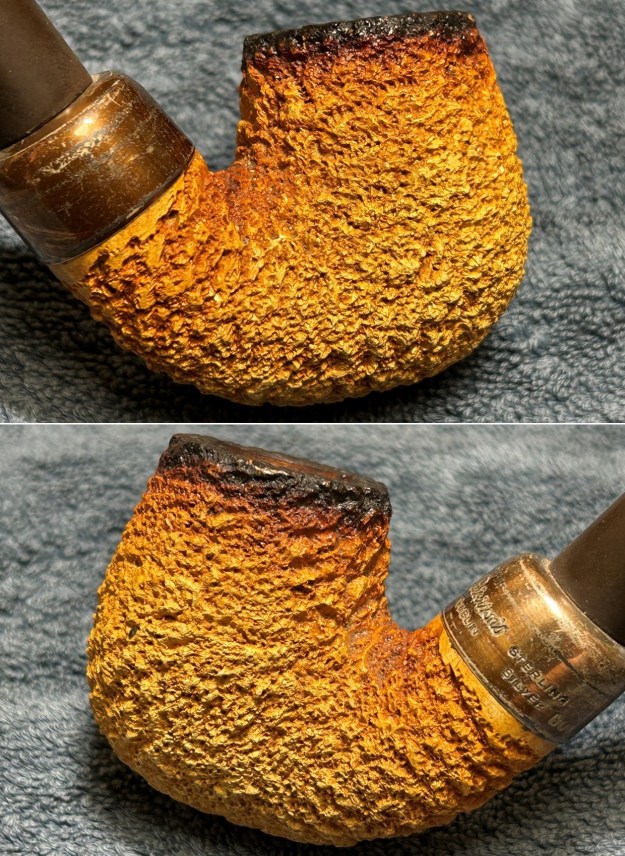
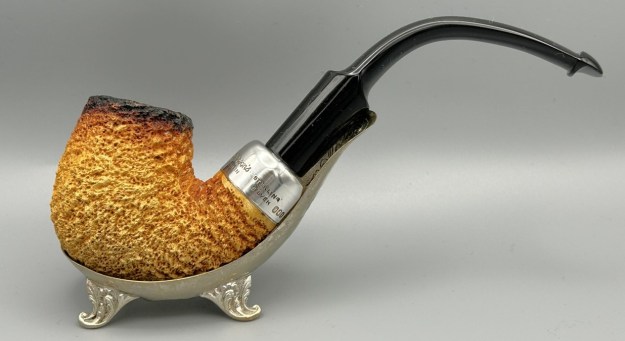
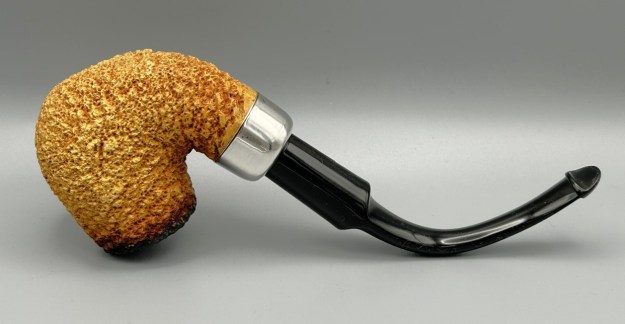
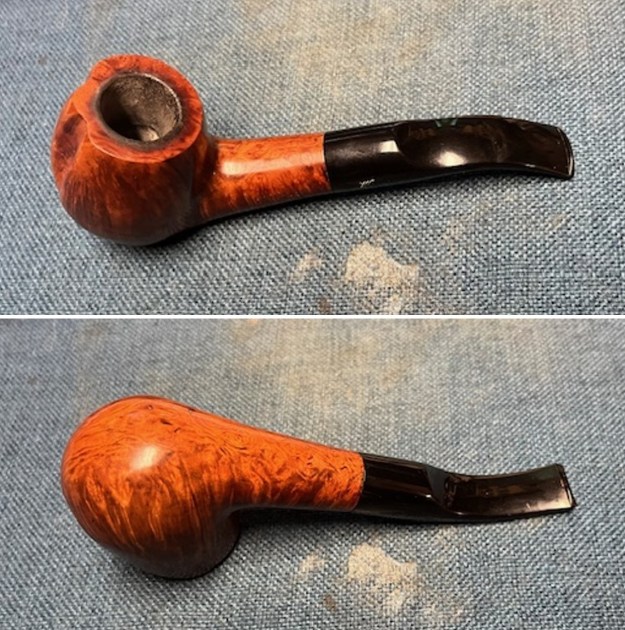
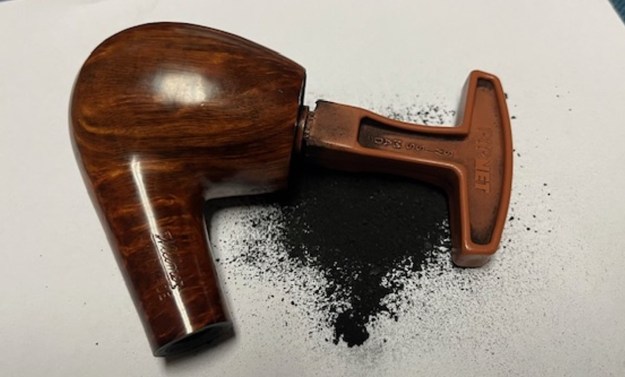
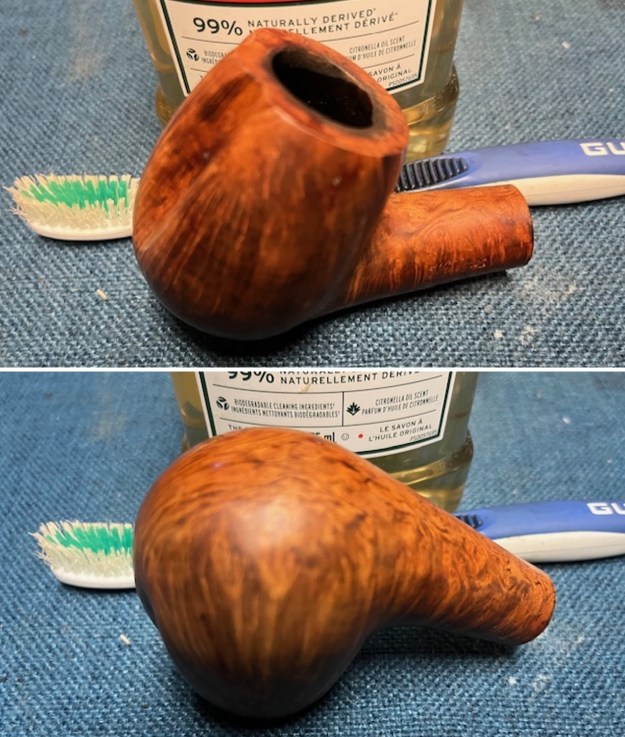
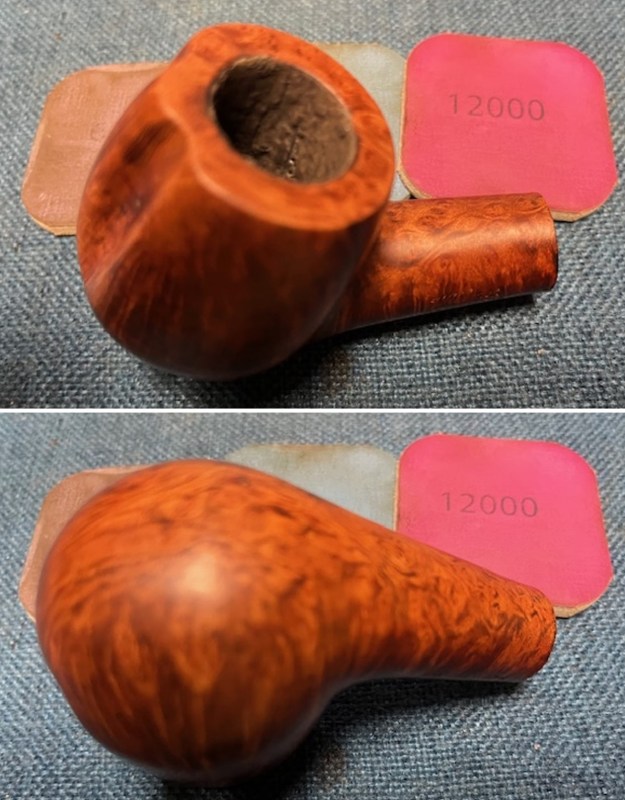
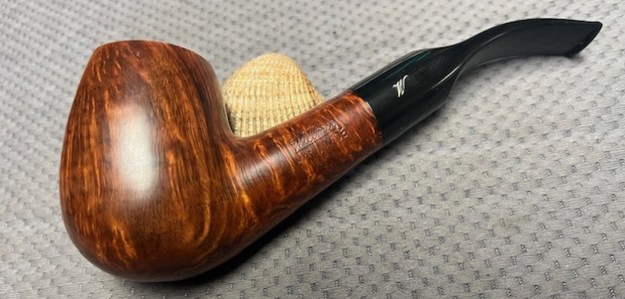
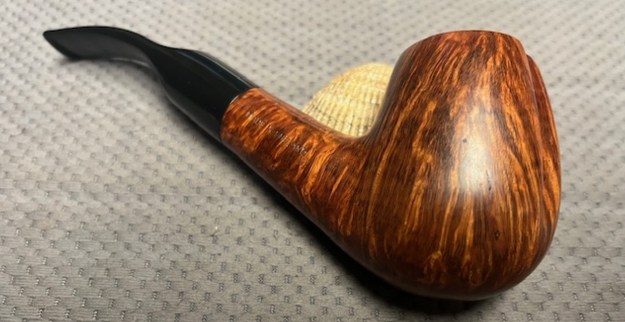
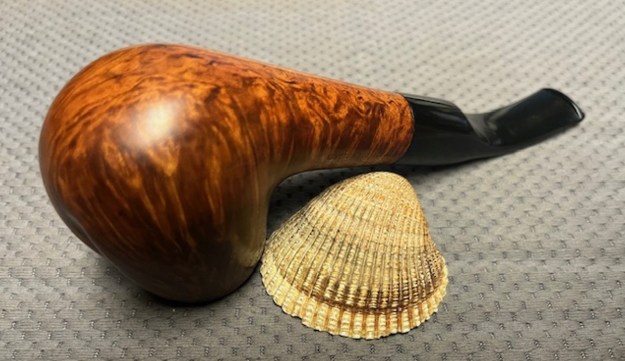
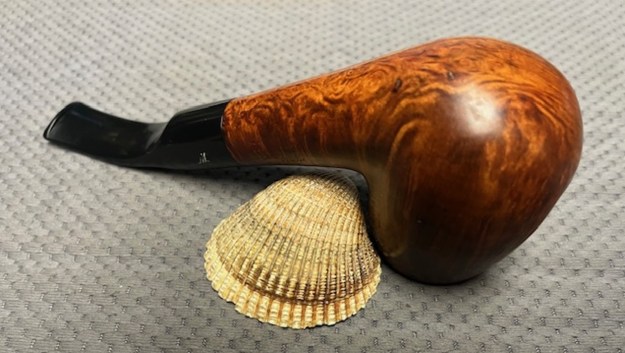
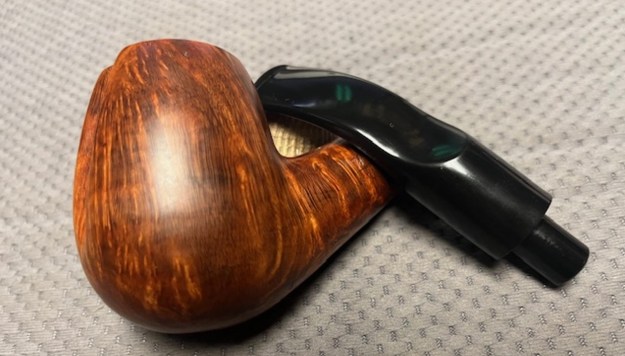
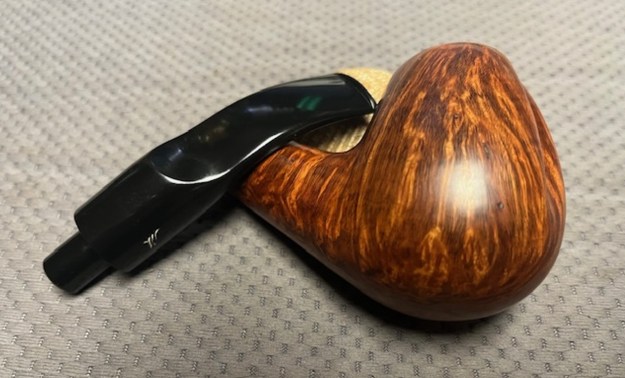
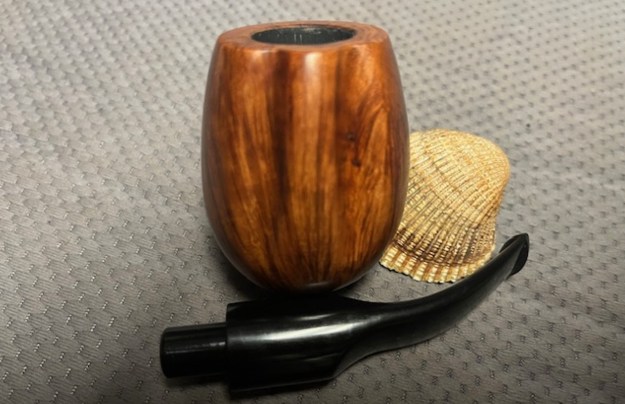
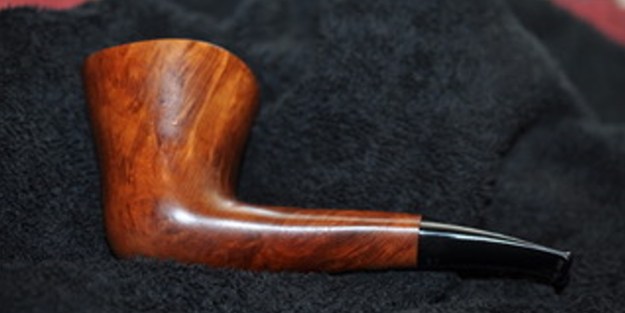
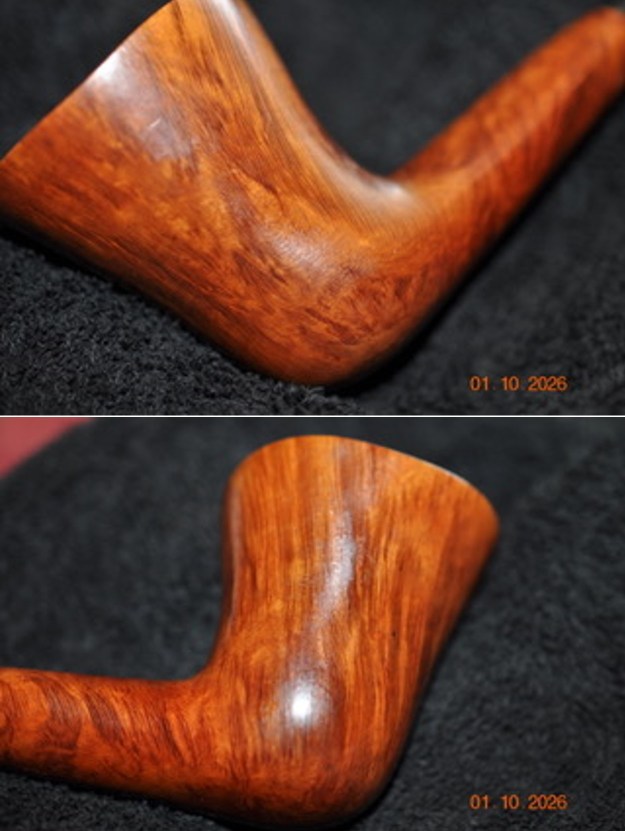
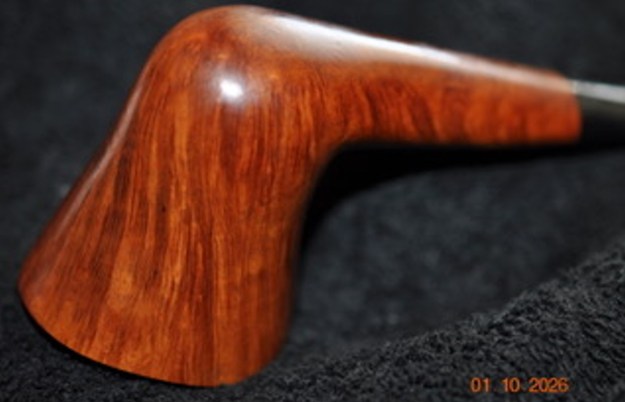
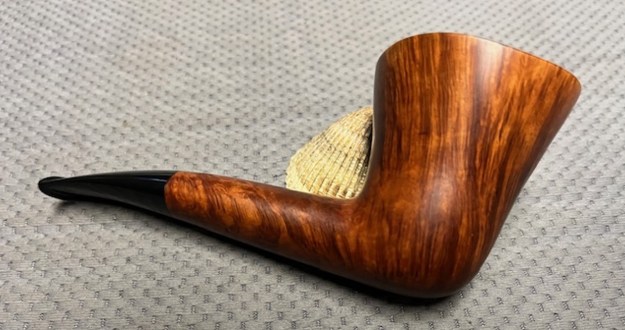
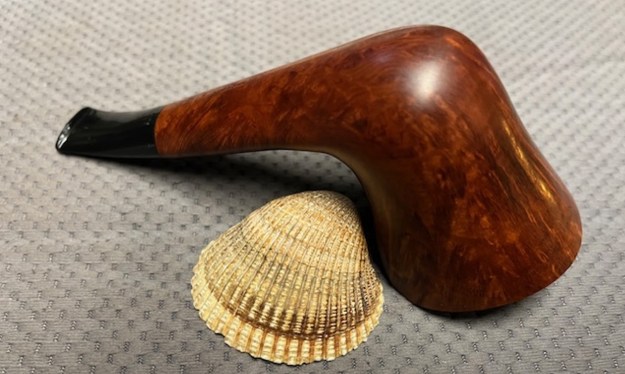
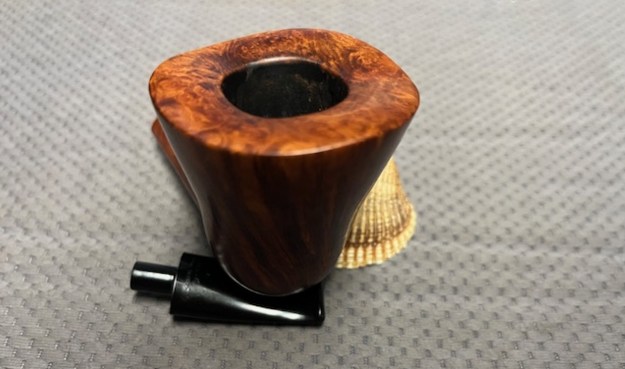
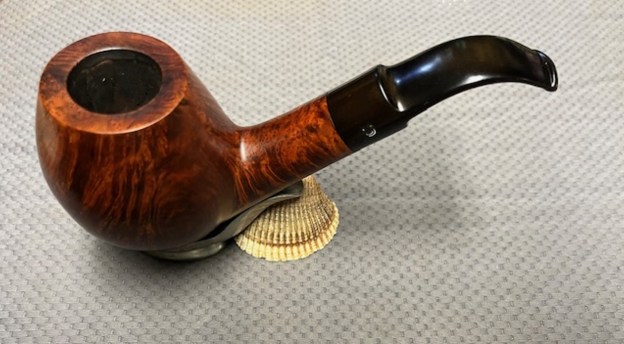
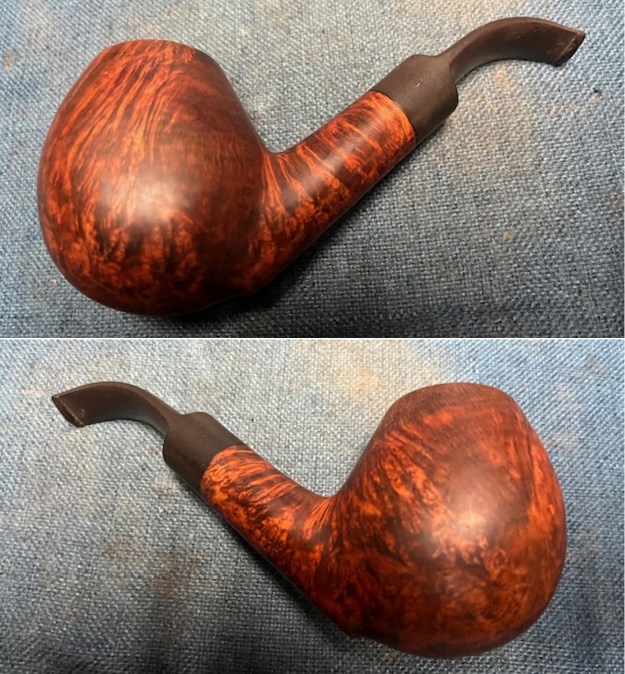
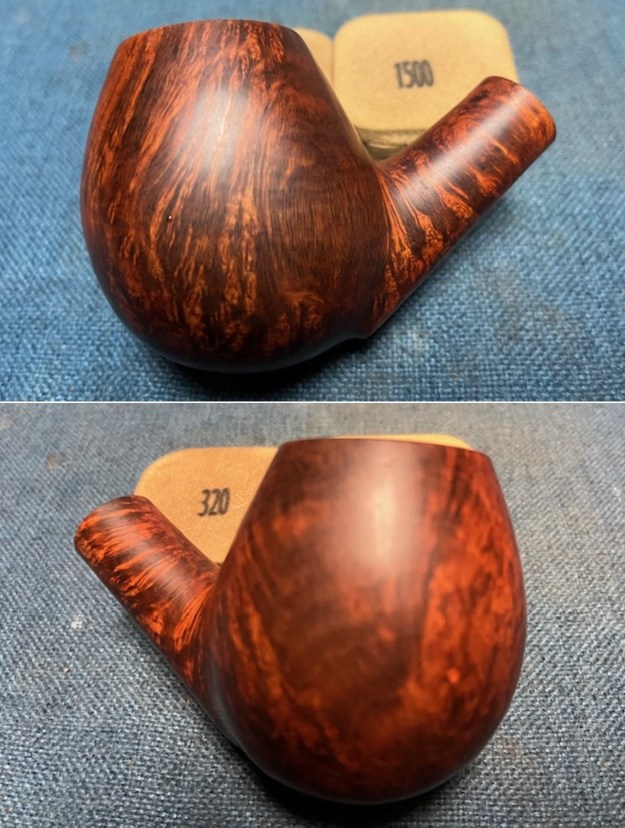
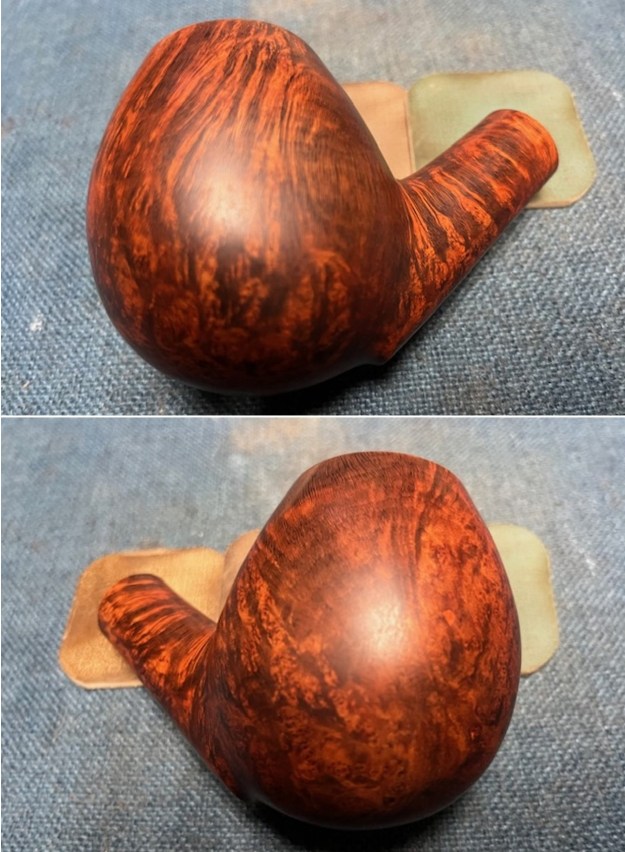
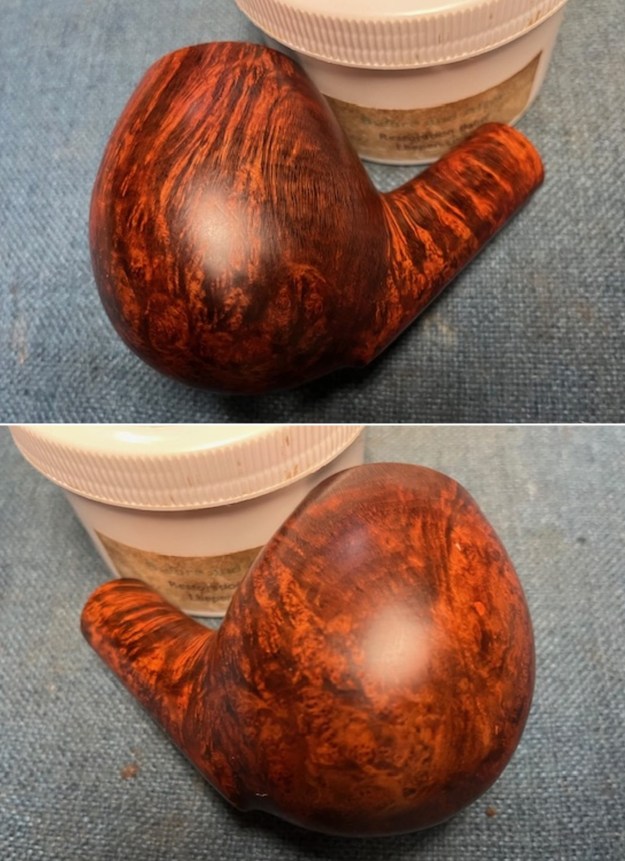
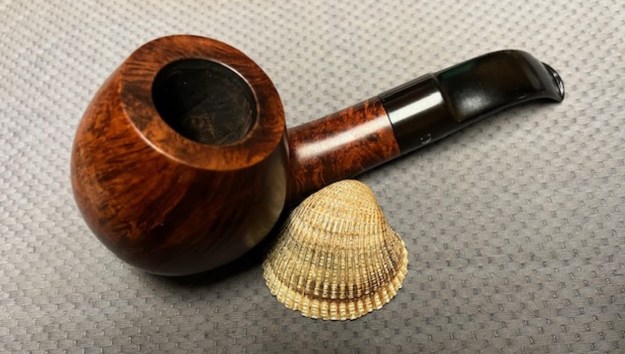
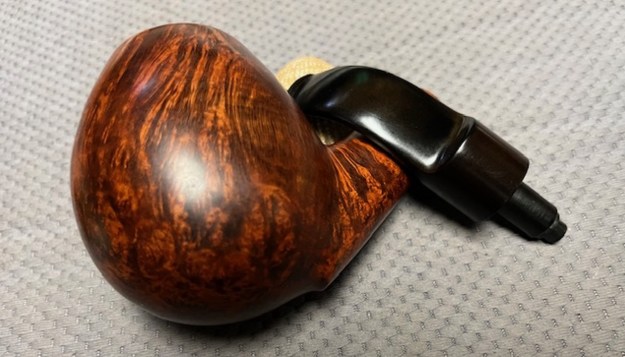
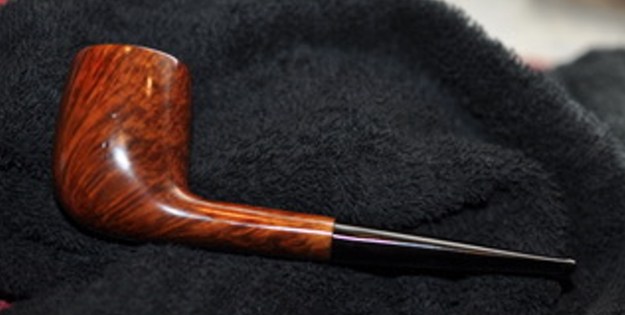
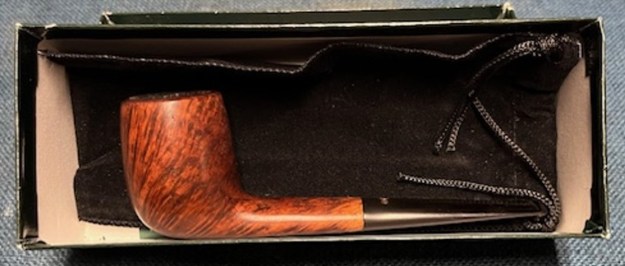
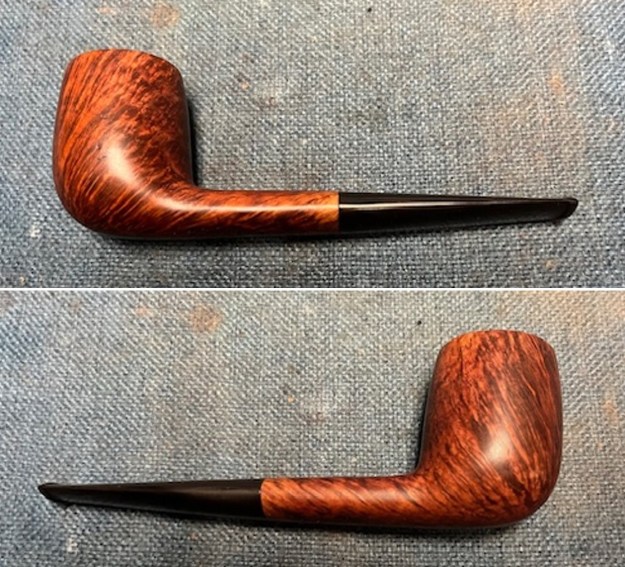
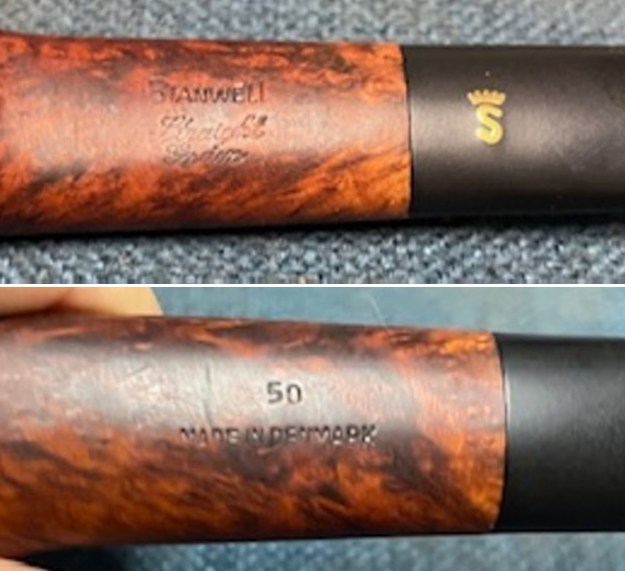
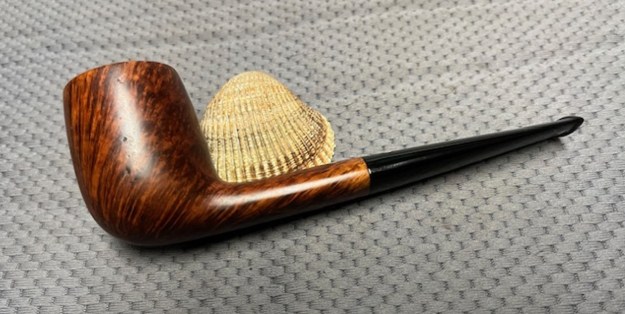
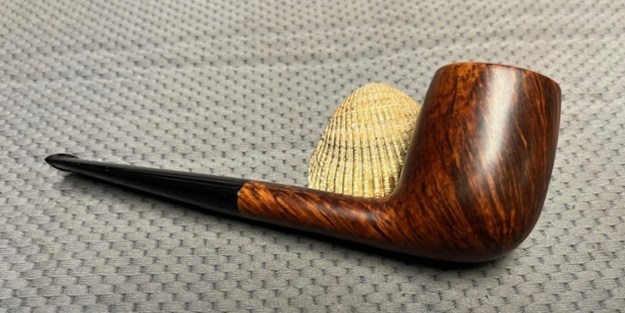
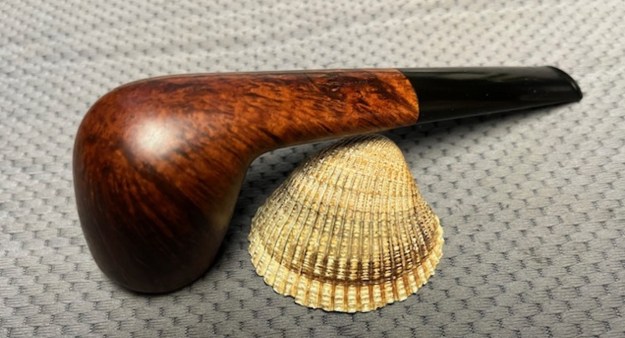
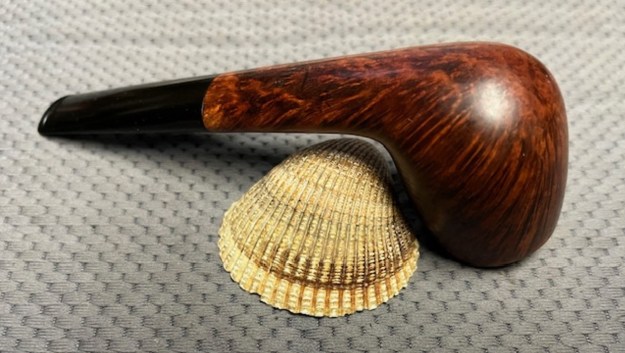
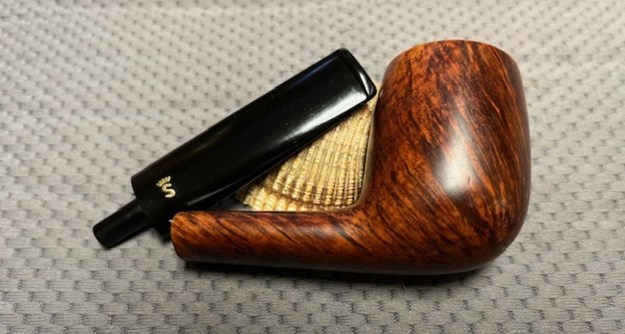
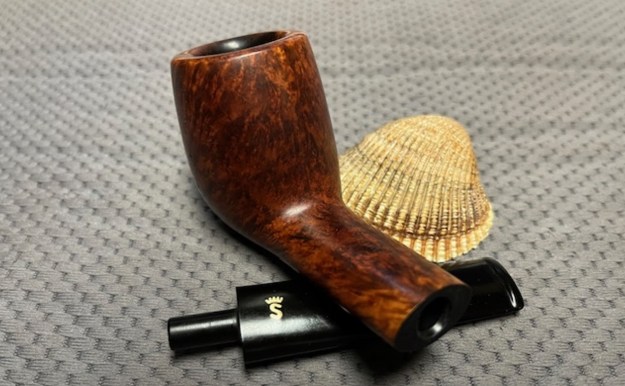
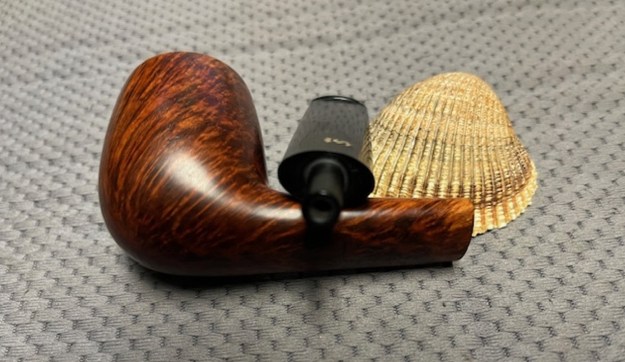
About a week ago or so I was chatting with Chris about a pipe I had shipped him, a lovely GBD International Prince and he was enjoying it he loves GBD Princes and had a New Standard with a cracked shank that he had picked up from a seller on eBay. He wasn’t clear if it was cracked when he picked it up or if it had happened since. He had tried to repair it and it had not worked. It extended about ¼ inch midshank on the right side. It had some remnants of glue on the shank in the sandblast. I told him to send it up and I would have a look at it for him. It arrived last evening. Here is what I saw when I opened the package. It is a great looking sandblast Prince that is stamped on the underside on a smooth panel on the shank and read GBD in an oval [over] New Standard in script. That is followed by London England and then a little below the London stamp with the Shape number 357CC. The crack was on the left side of the shank and there was some darkening on the inwardly beveled rim top and inner edge of the bowl. The stem was lightly oxidized and had some light tooth marks near the button edge. I took photos of the pipe before I started working on it.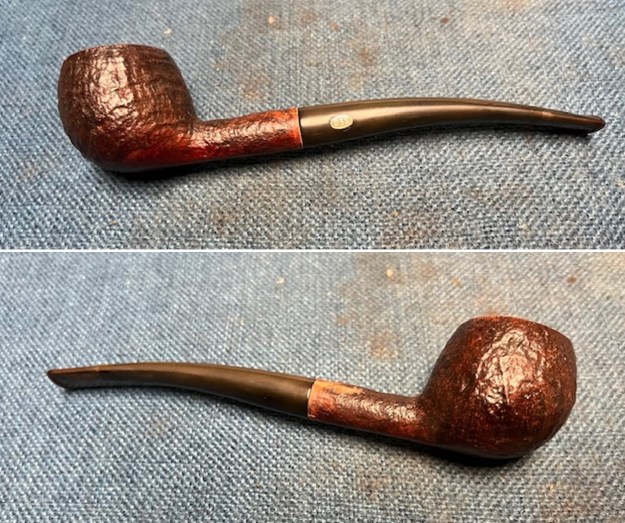
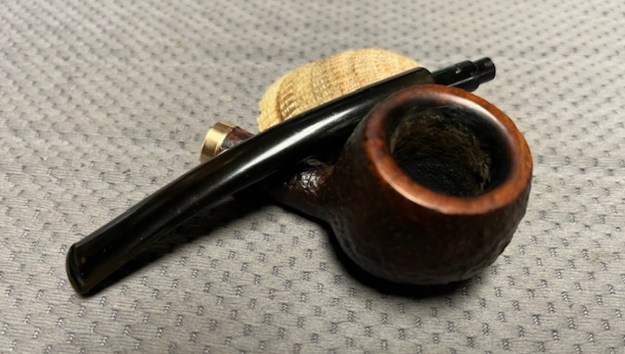
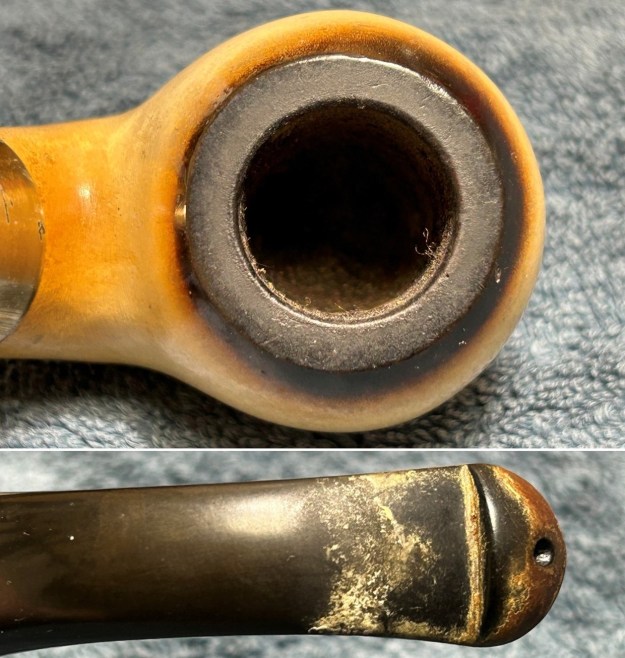
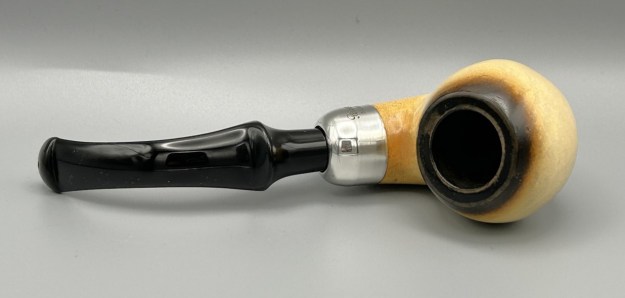
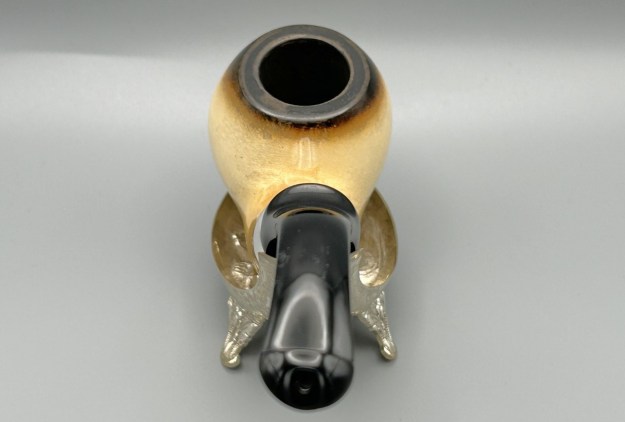
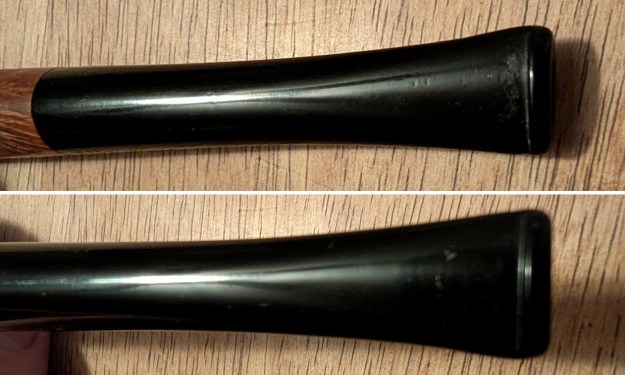
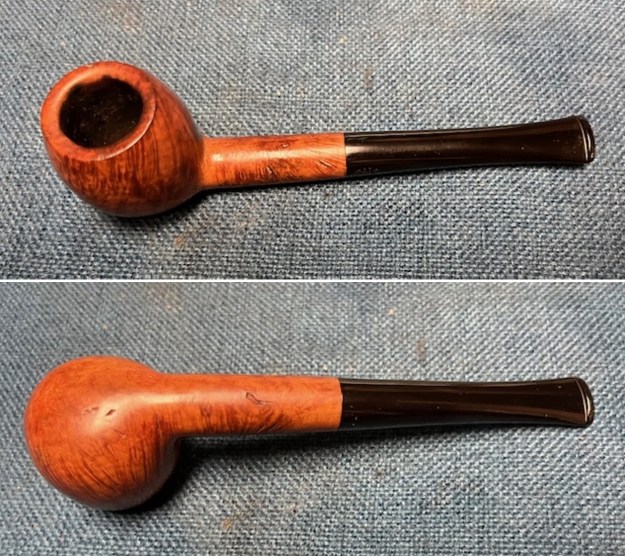
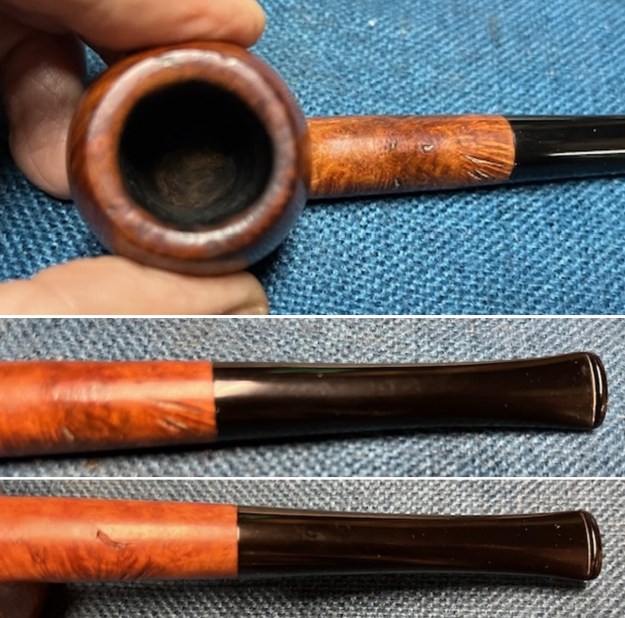
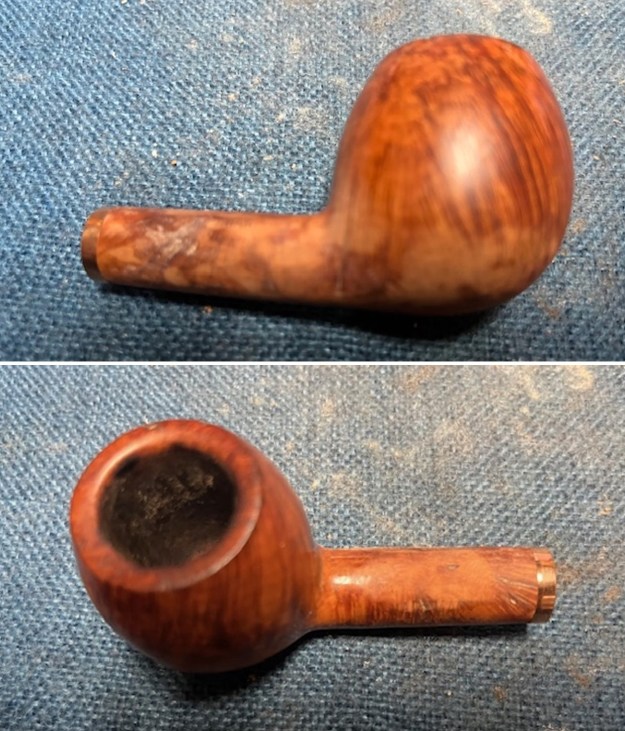
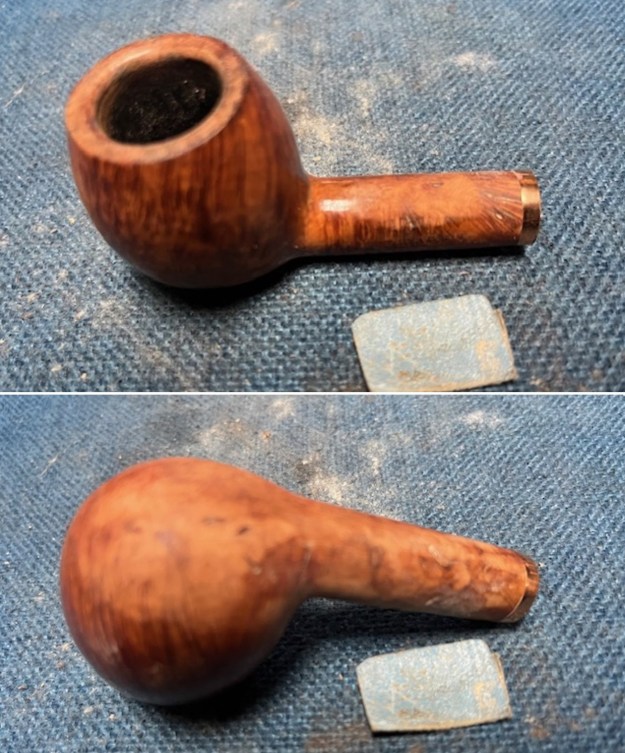
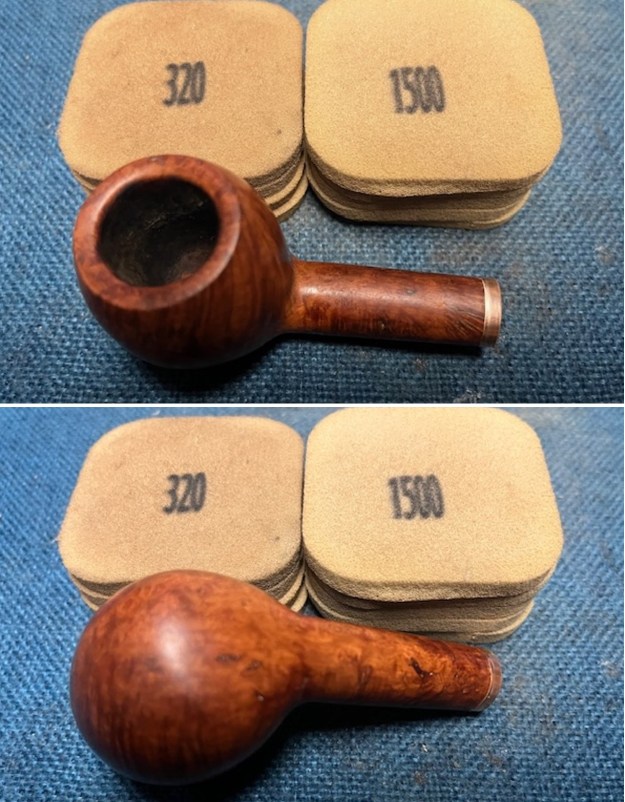
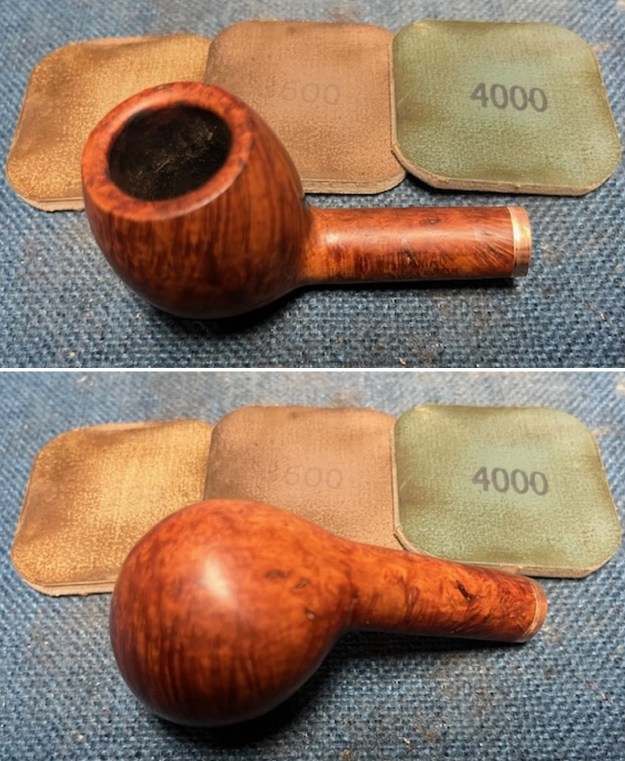
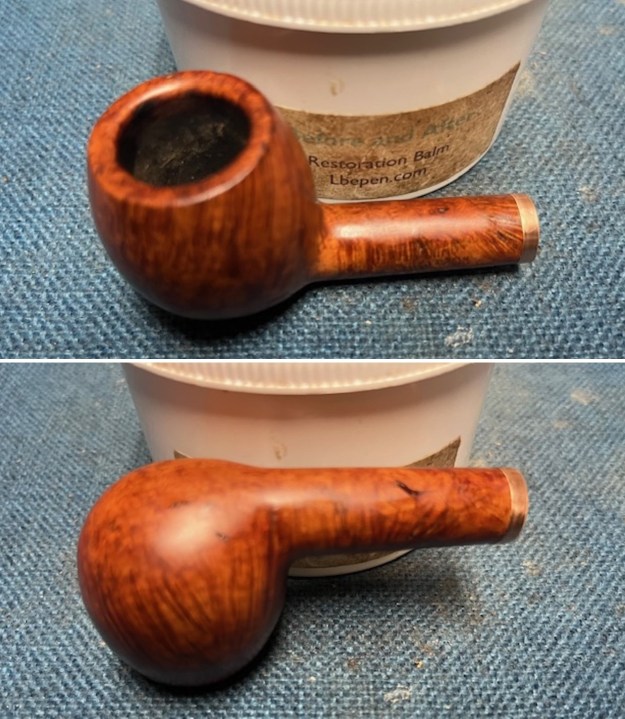
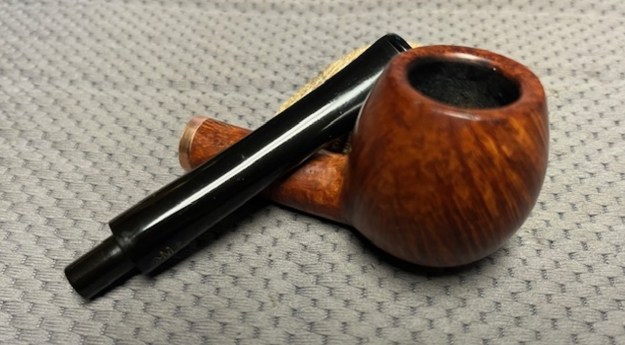
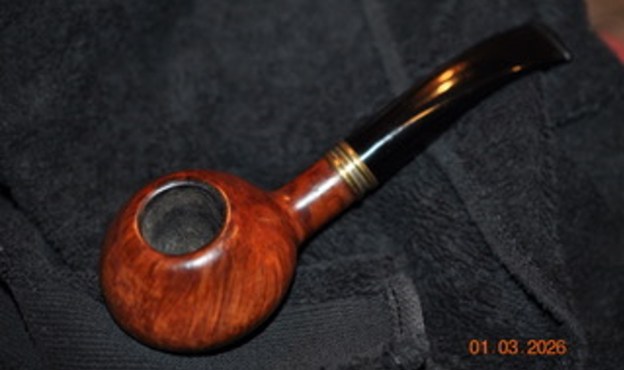
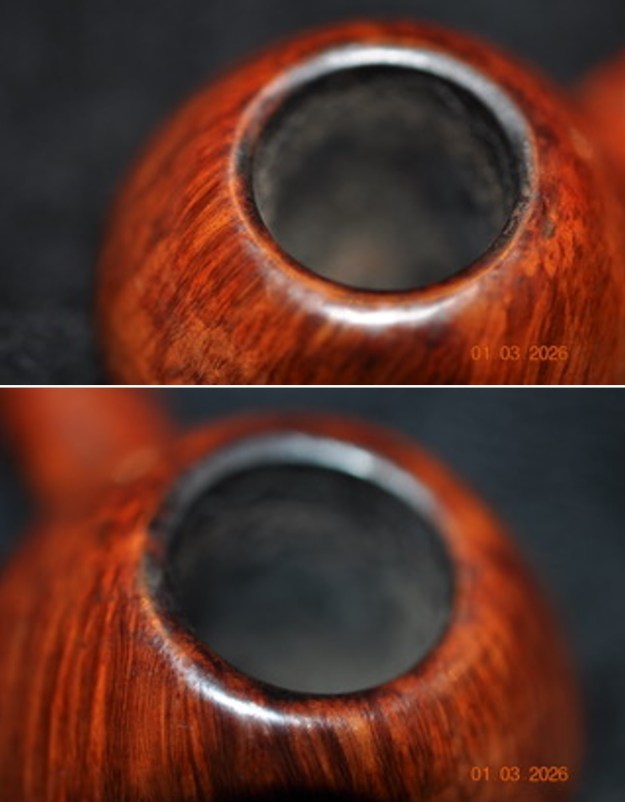
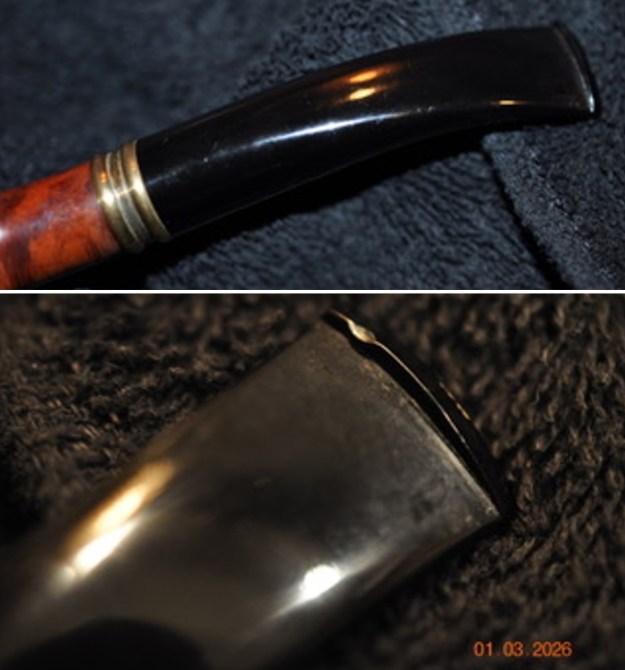
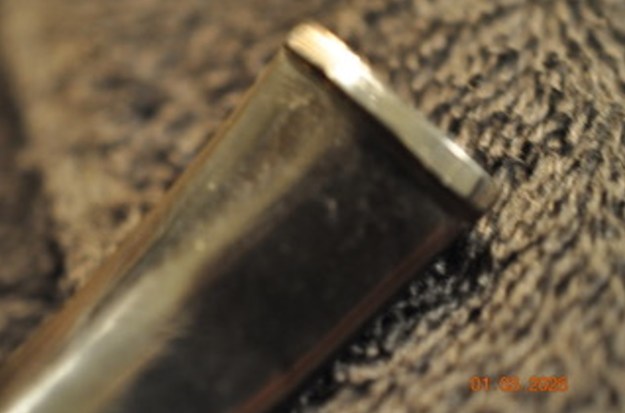
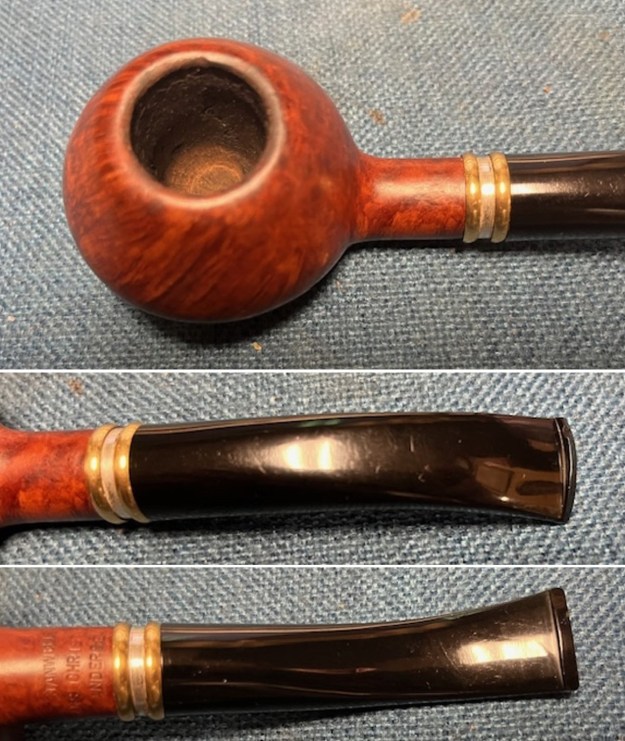
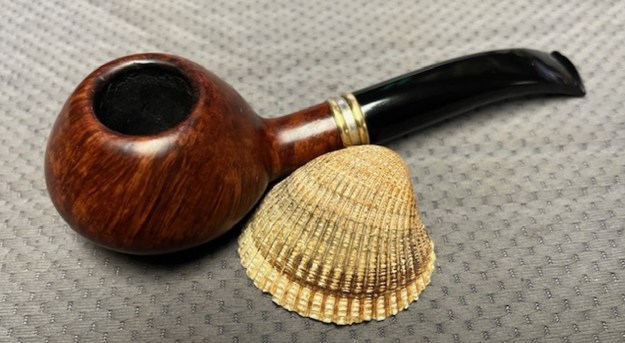
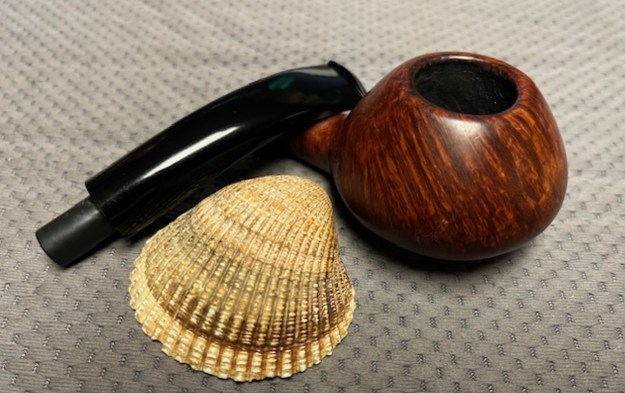
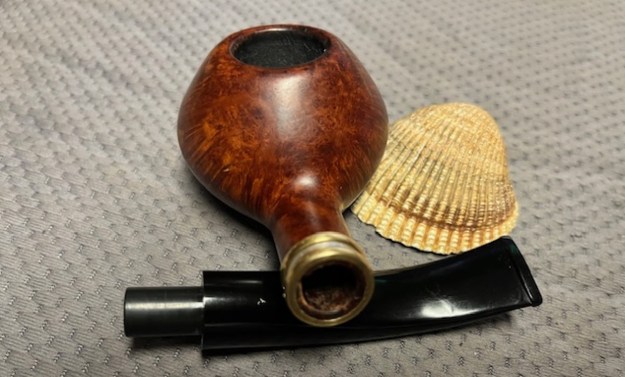
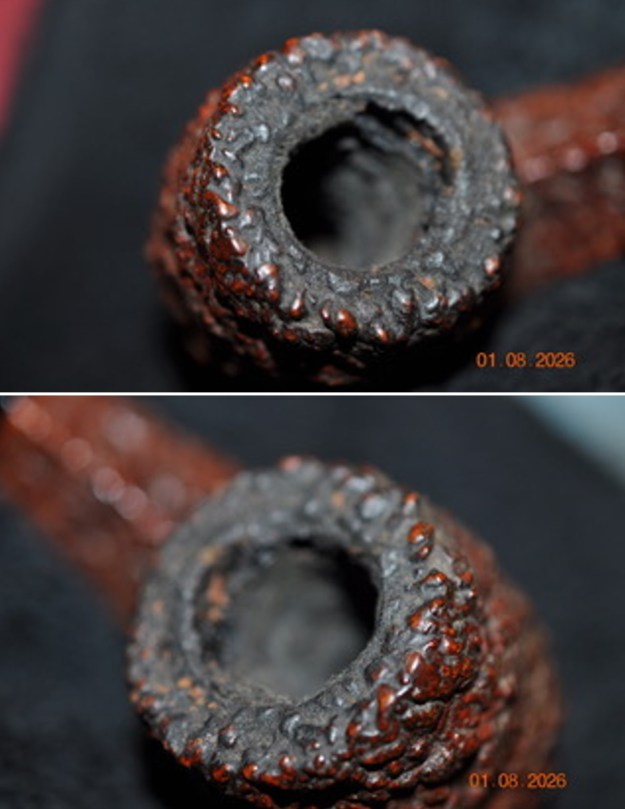
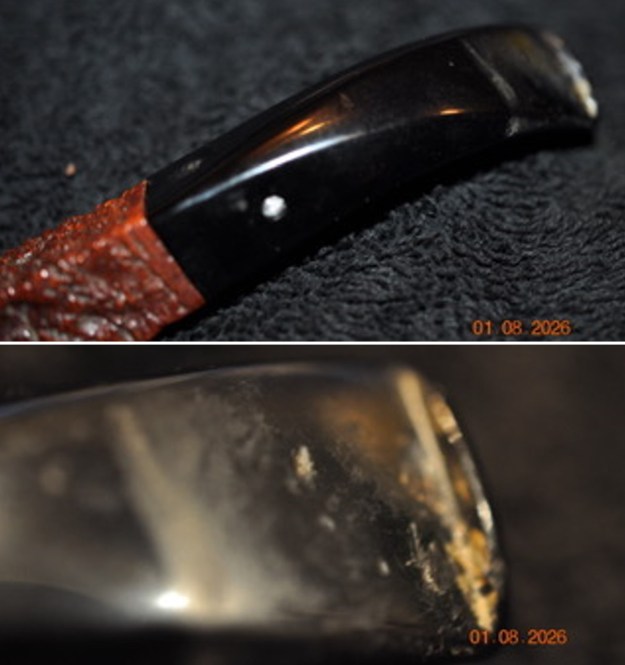
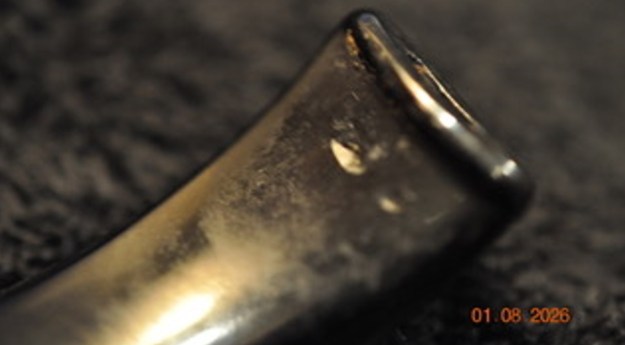
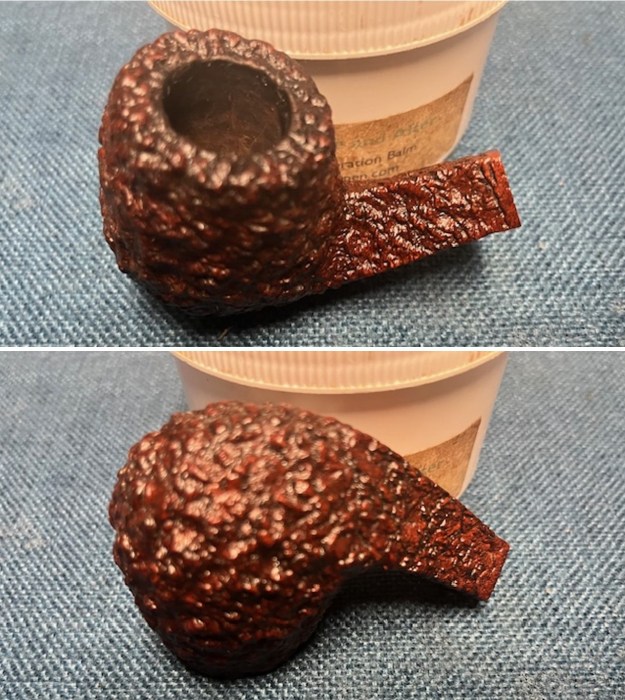
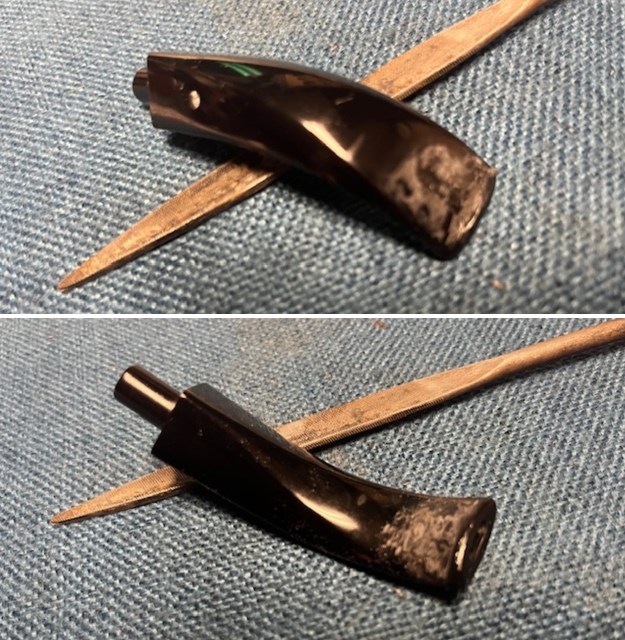
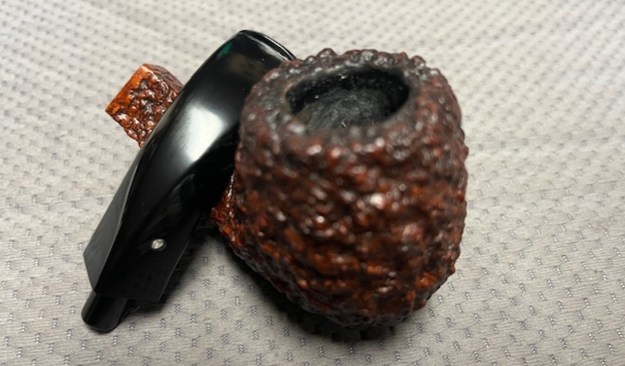
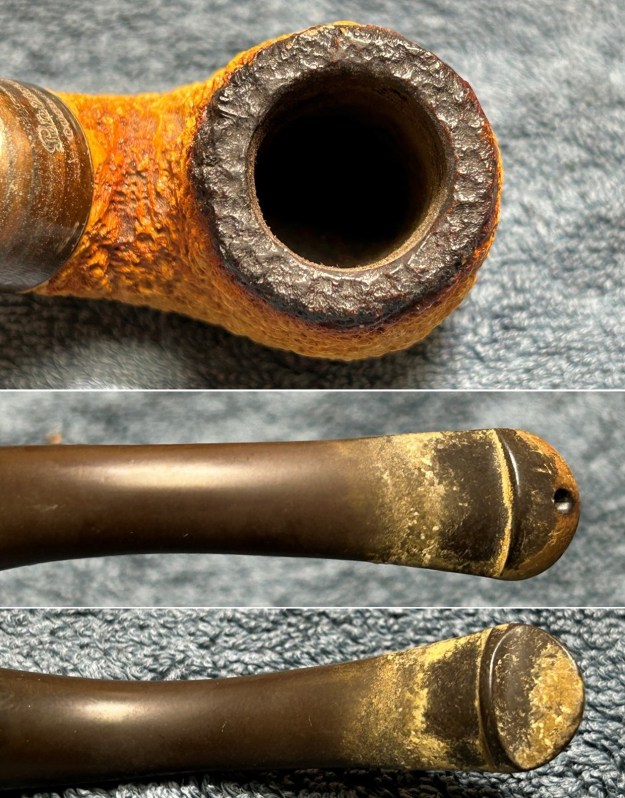
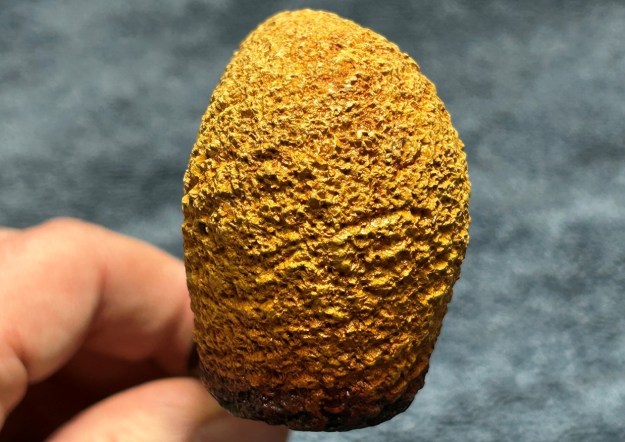
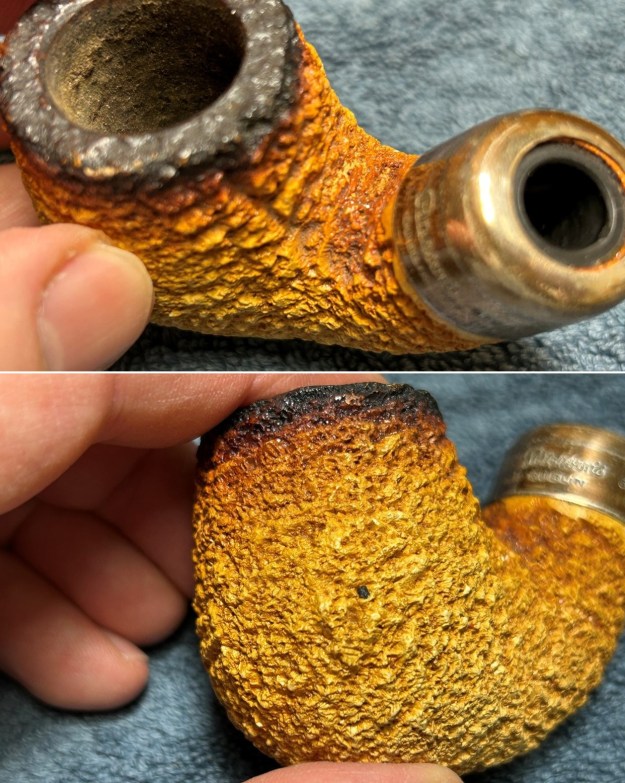
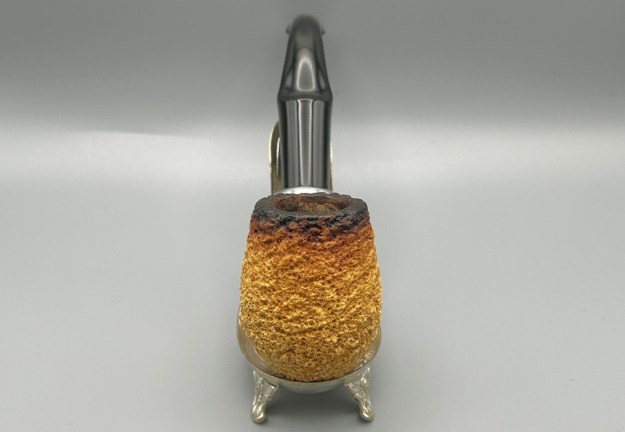
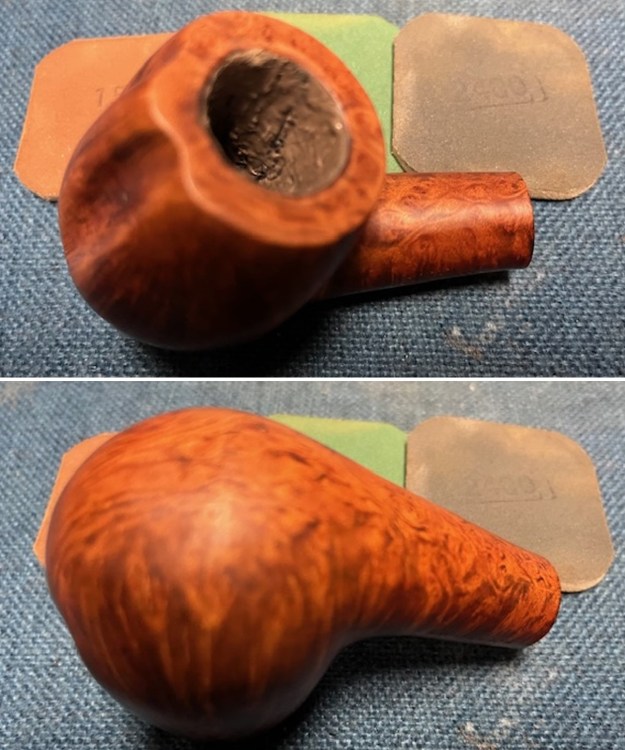
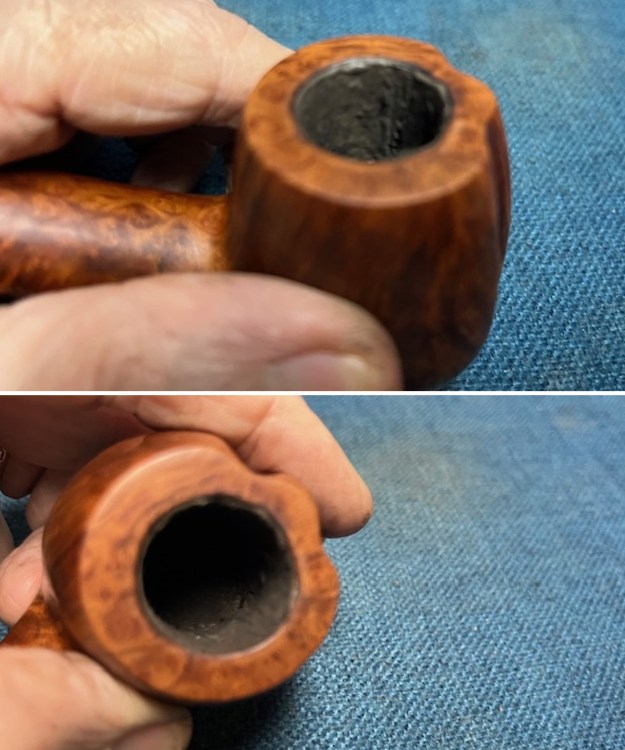
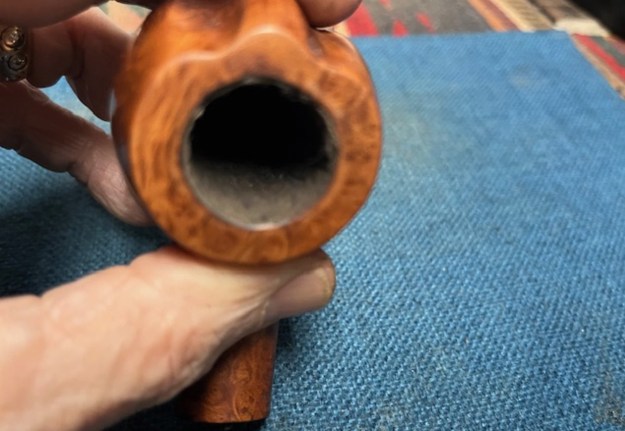
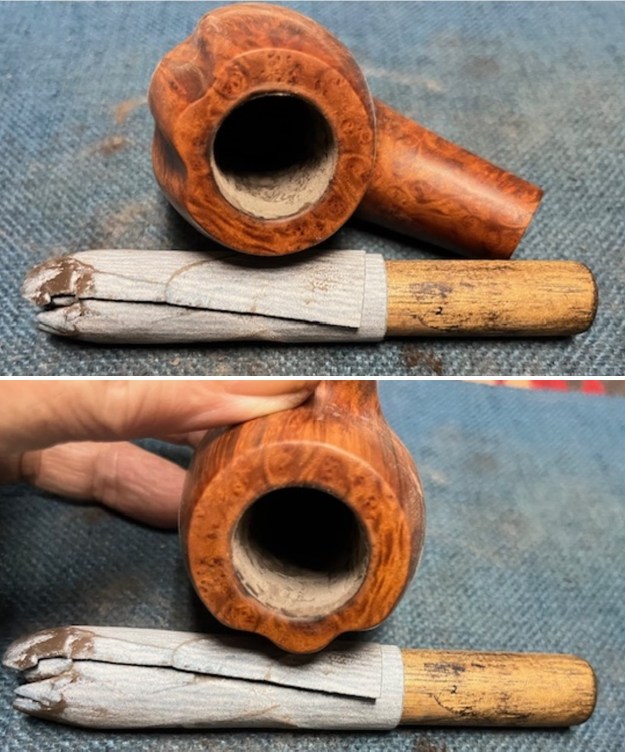
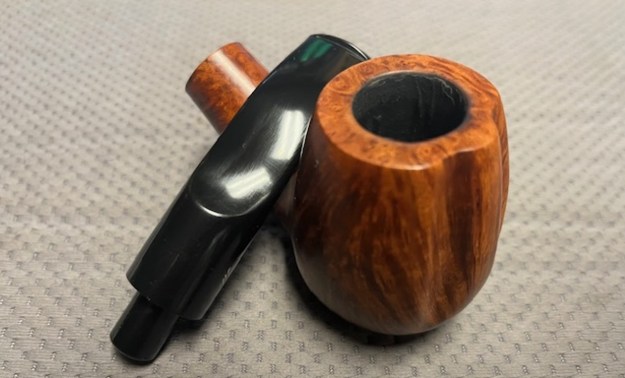
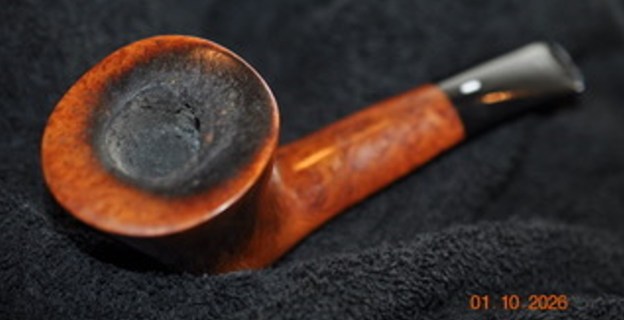
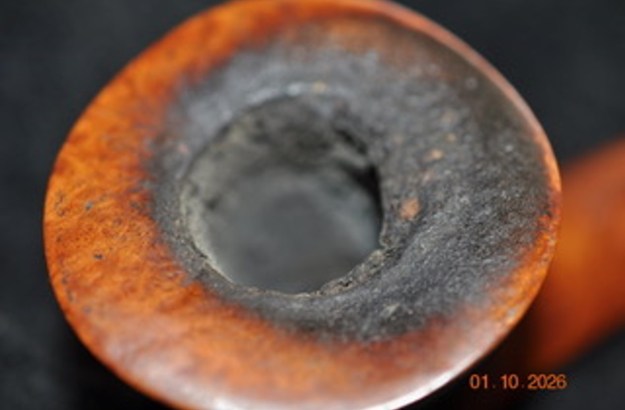
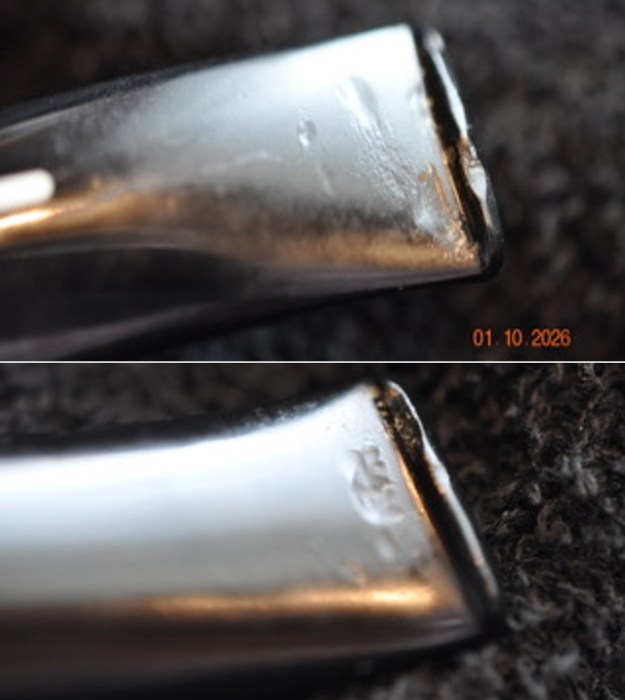
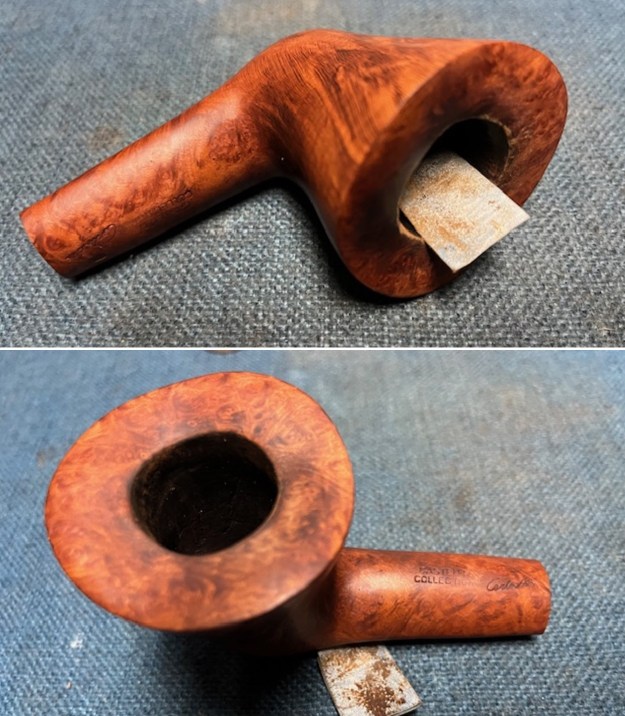
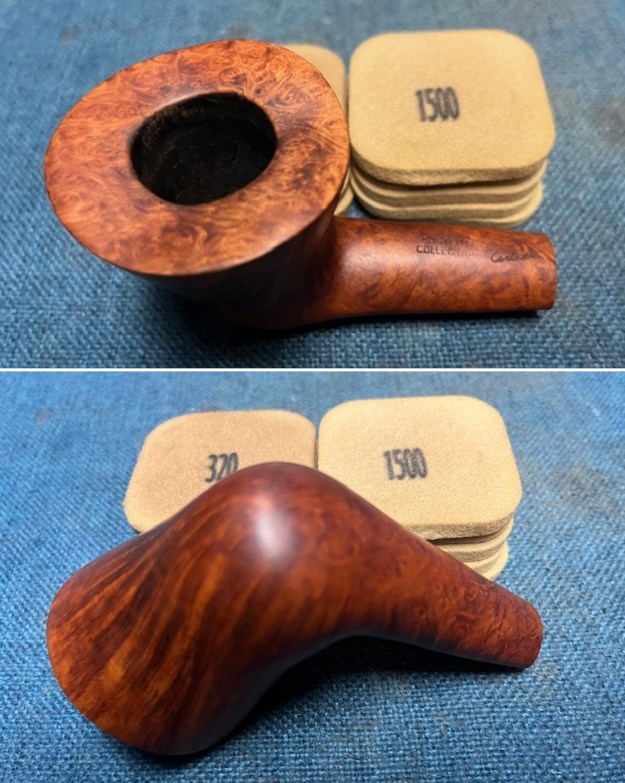
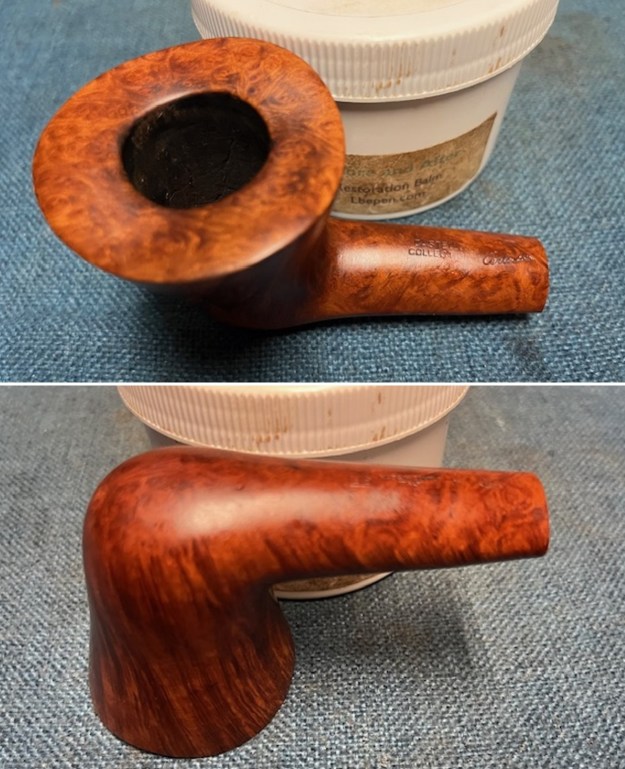
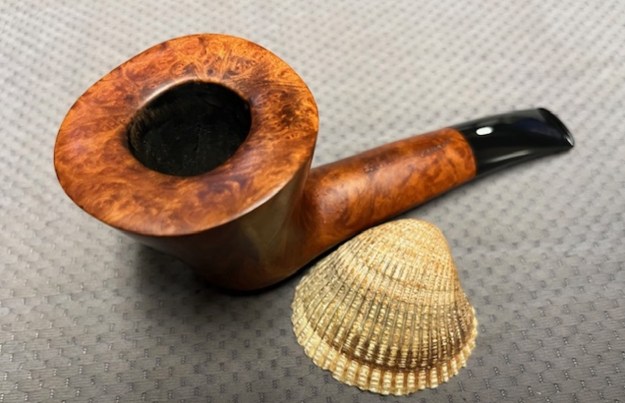
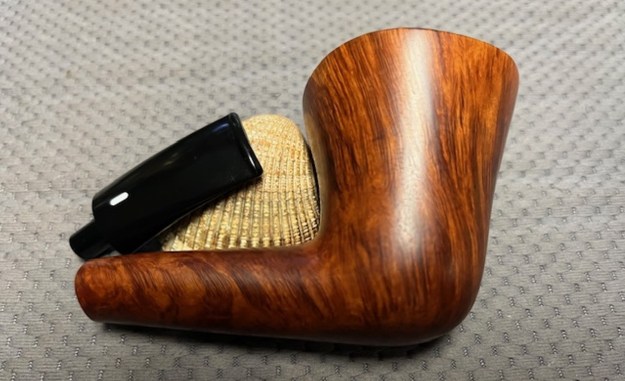
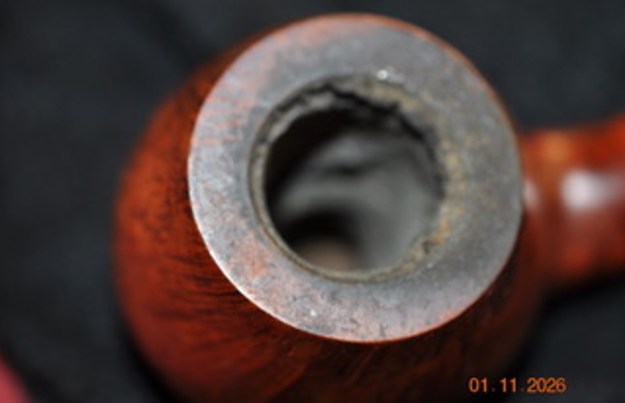
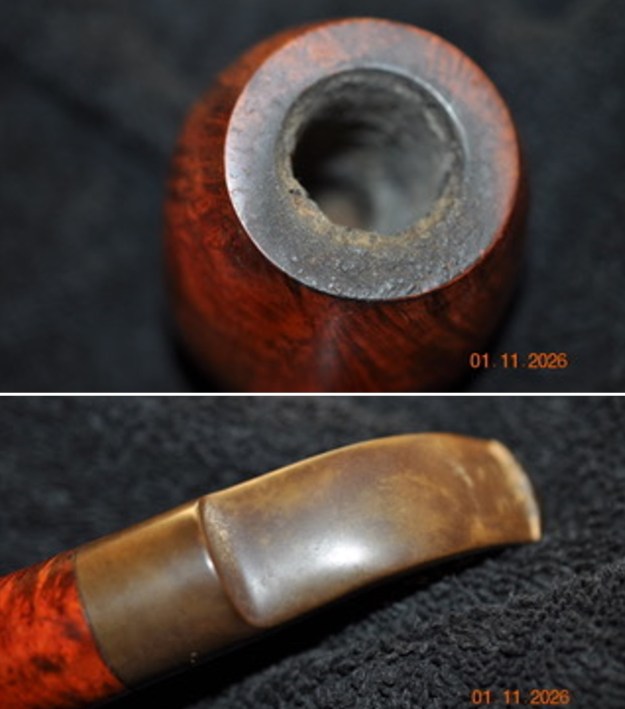
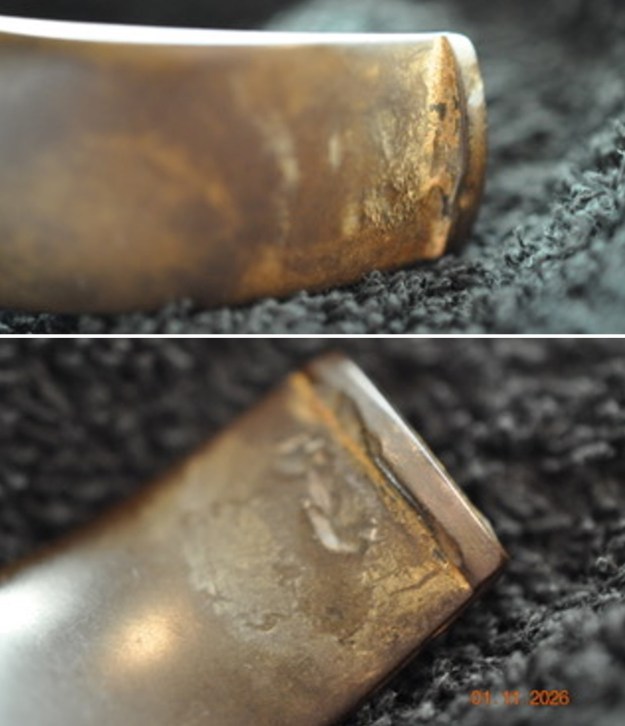
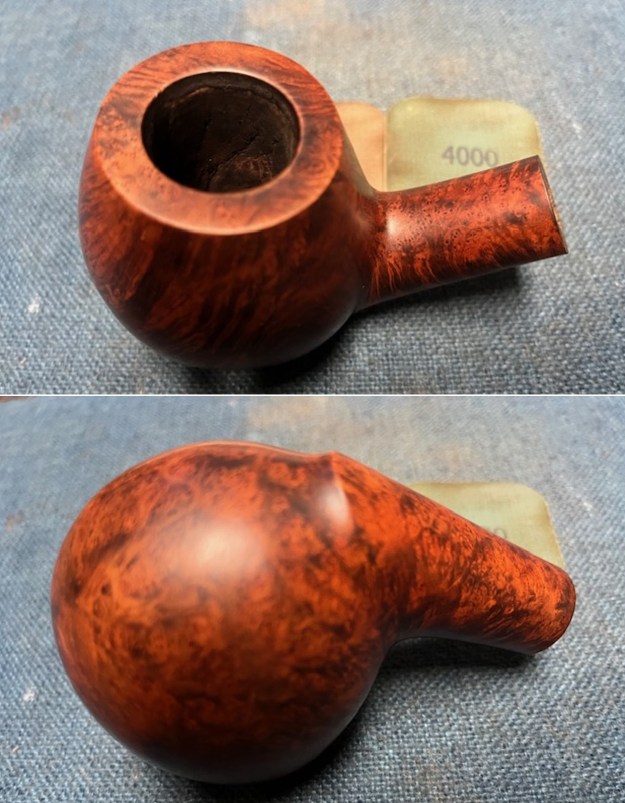
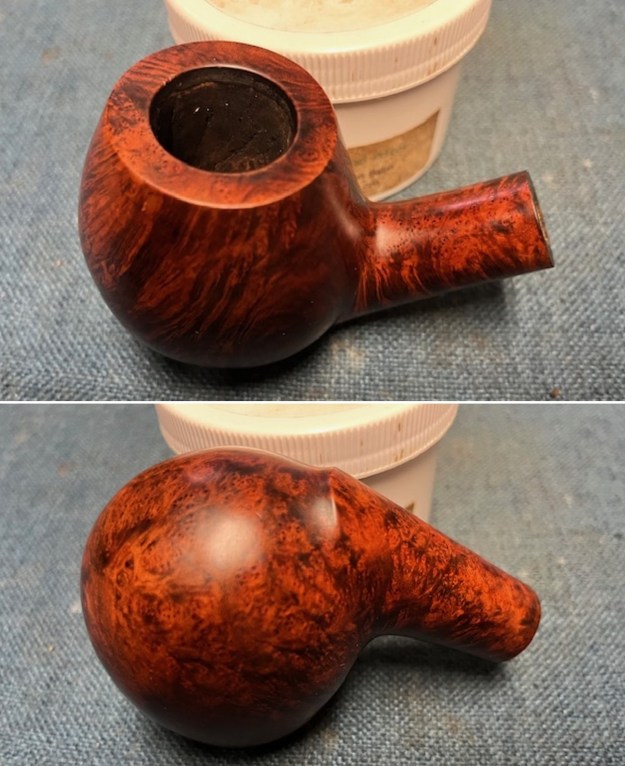
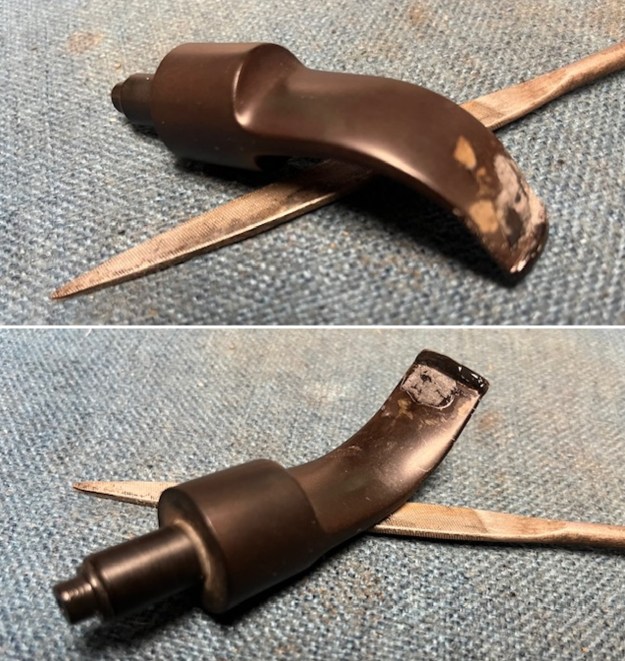
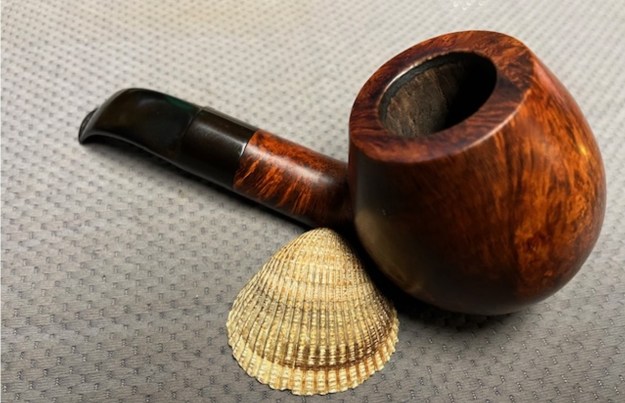
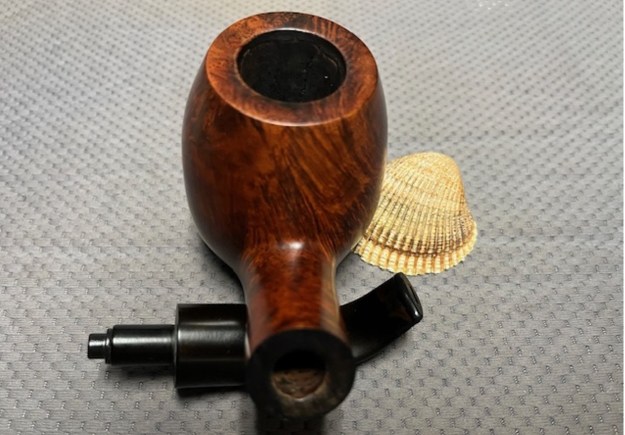
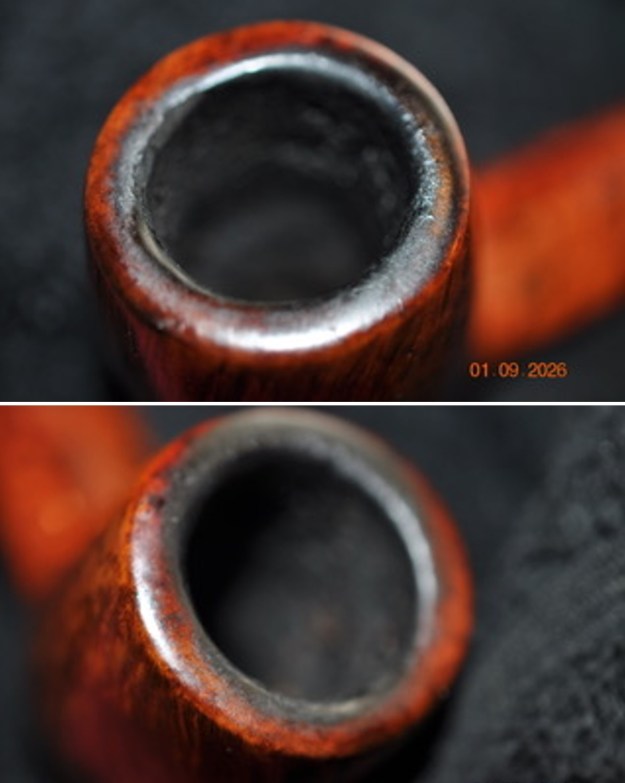
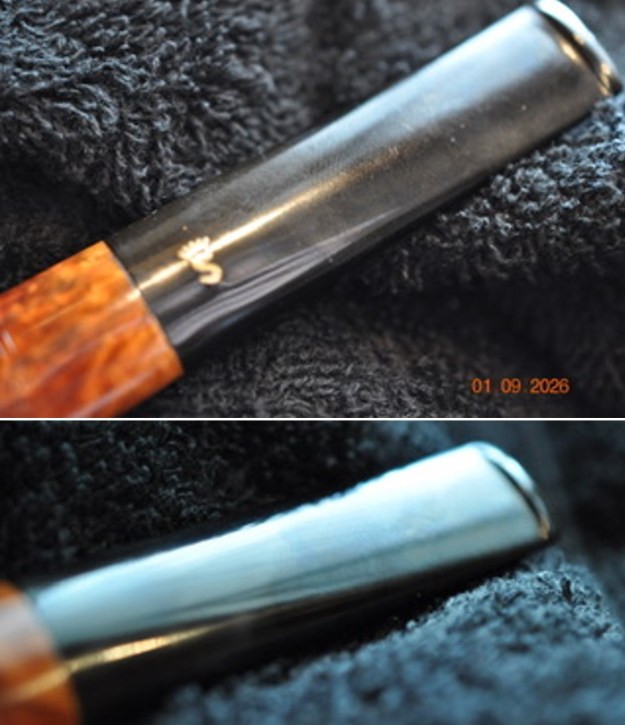
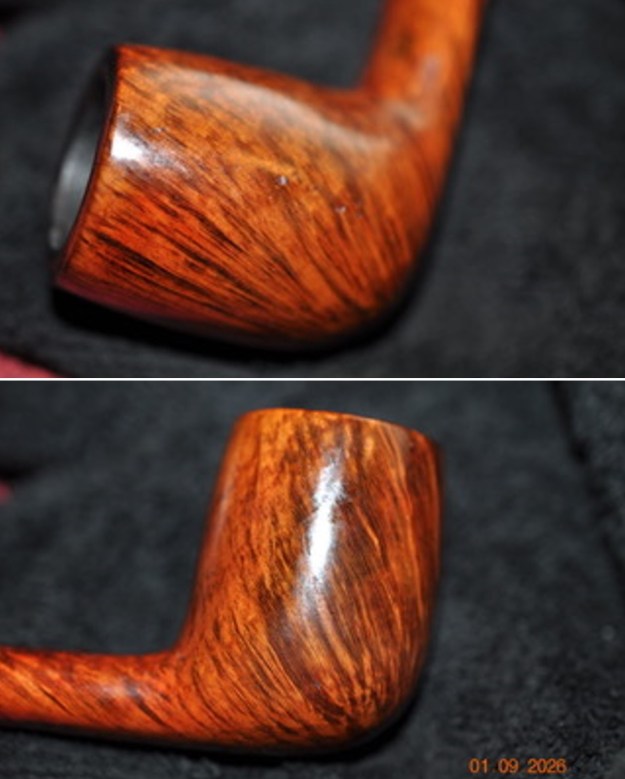
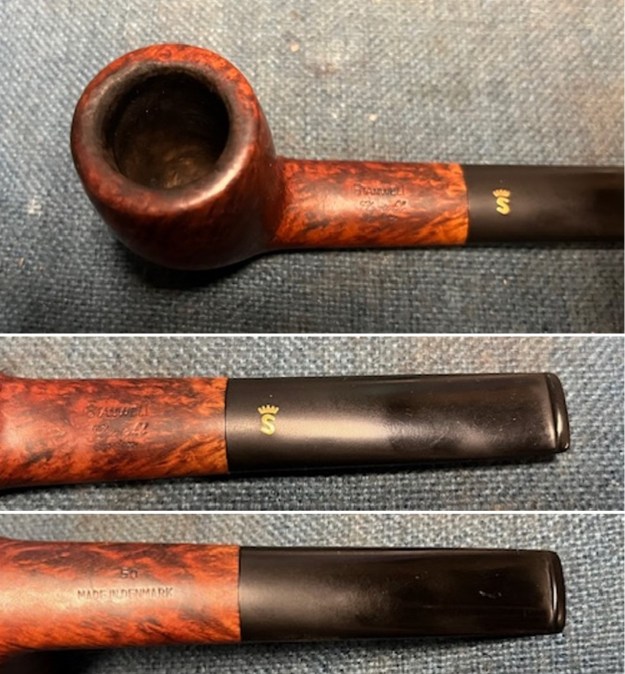
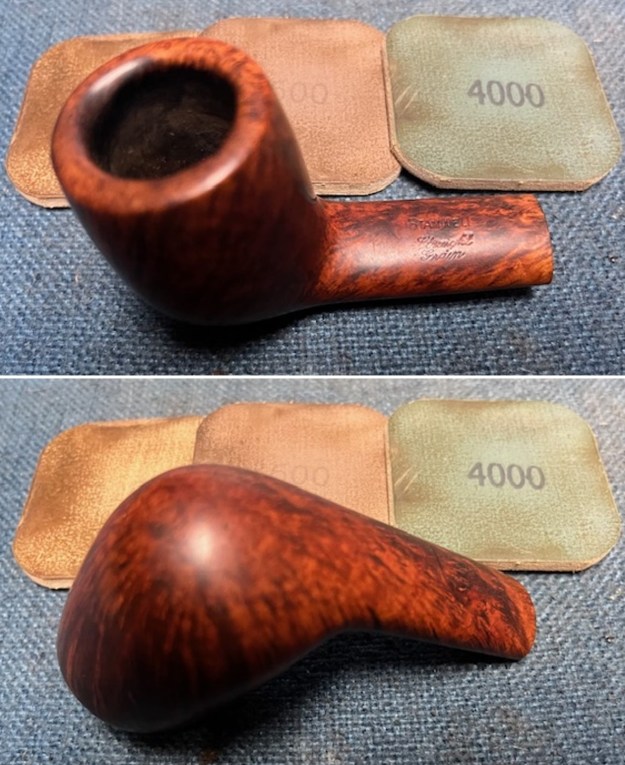
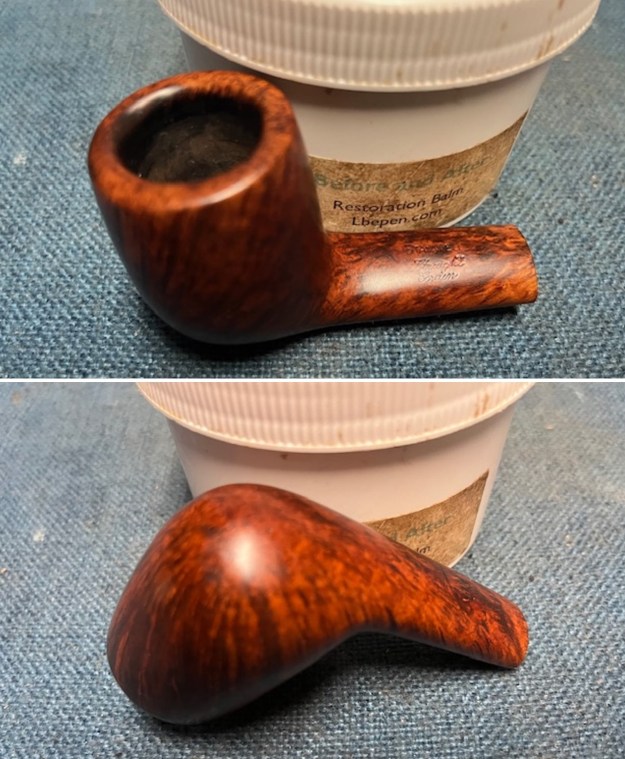
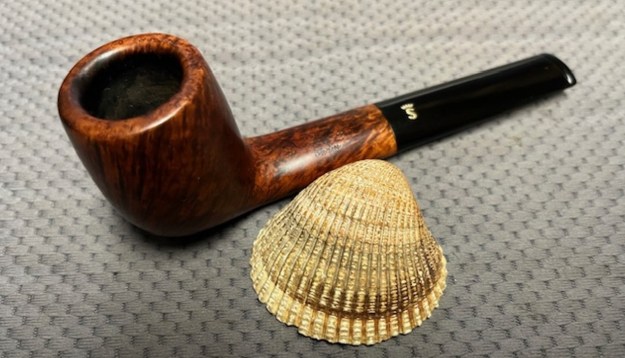
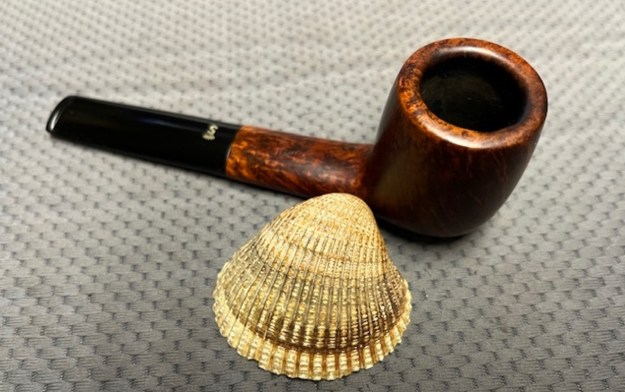
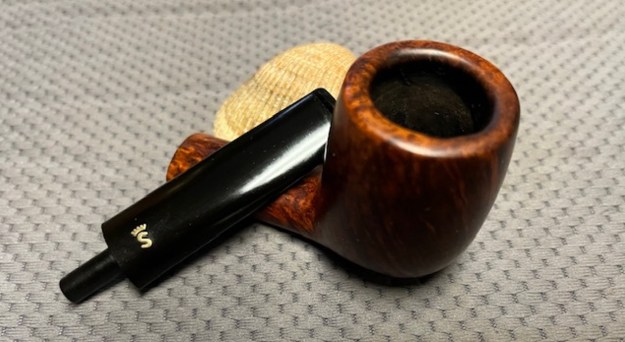
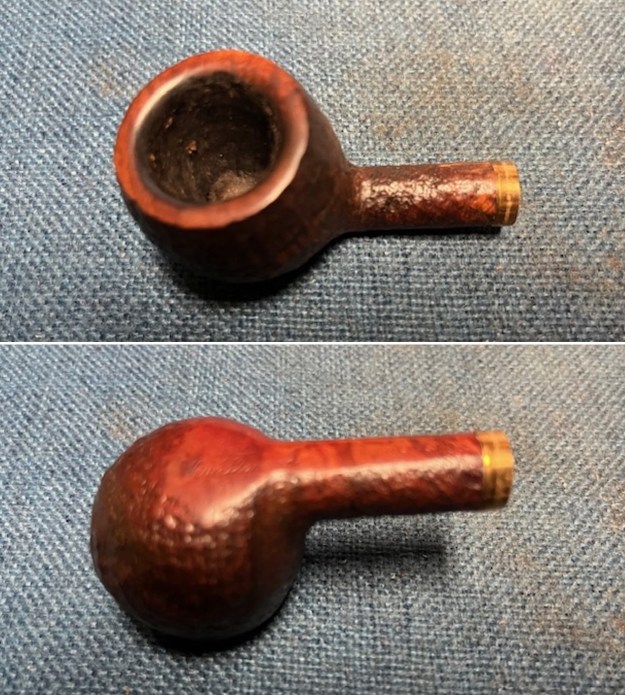
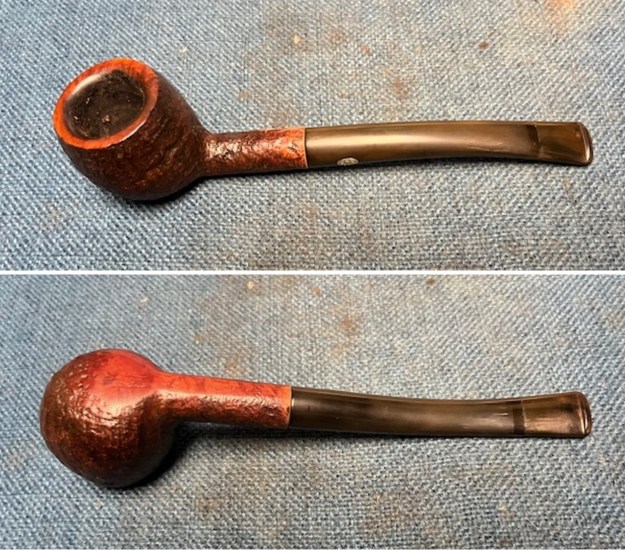 I took photos of the rim top and bowl as well as the stem showing the condition of both sides and the tooth marks against the button. The bowl was quite clean other than darkening on the inner edge and the top of the bowl. It also showed what looked like a line on the surface for a rubber bite guard.
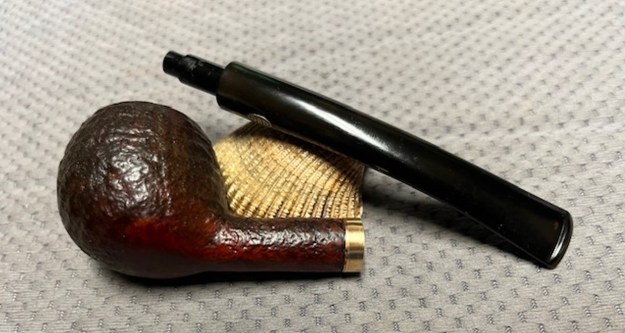
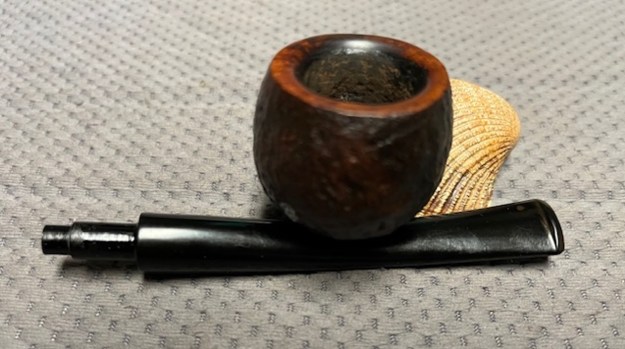
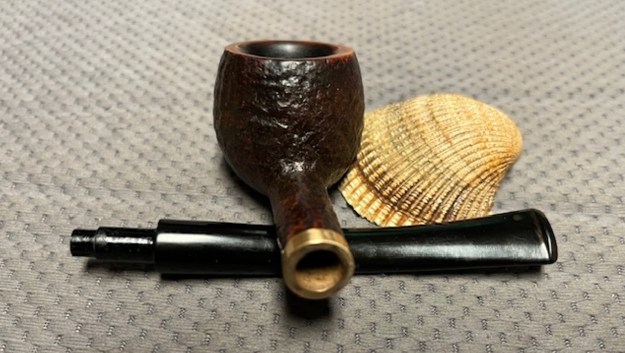
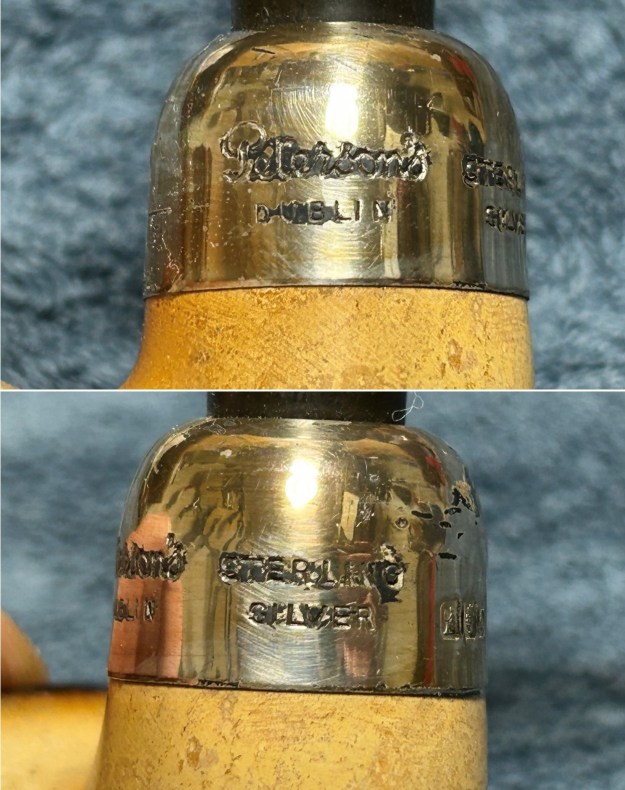
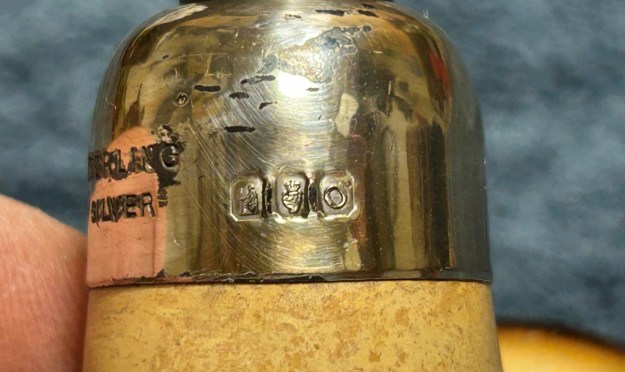
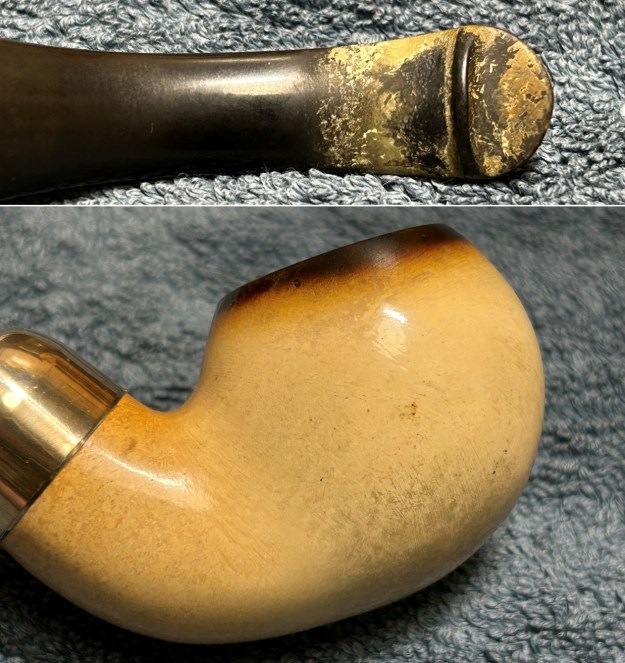
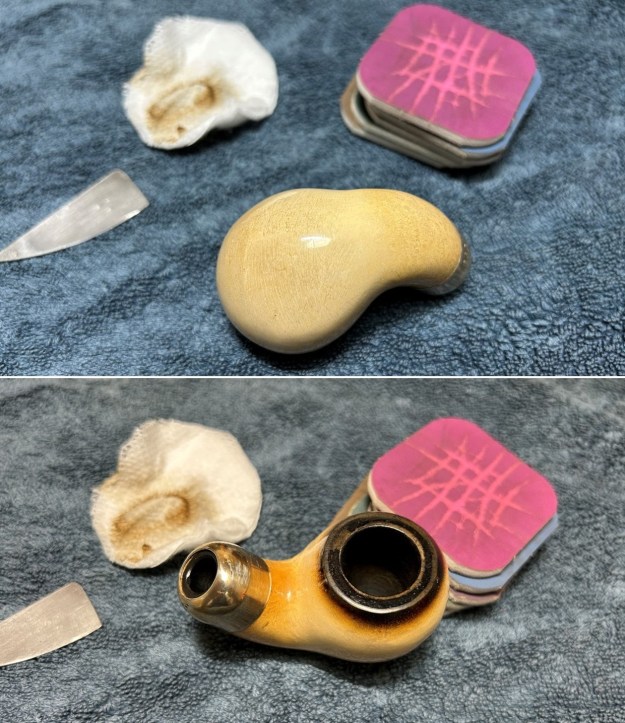
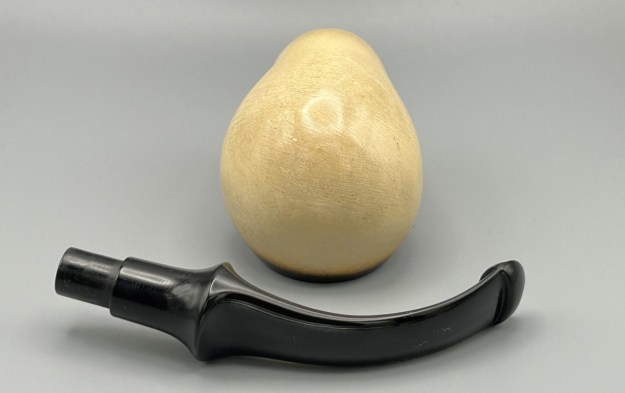
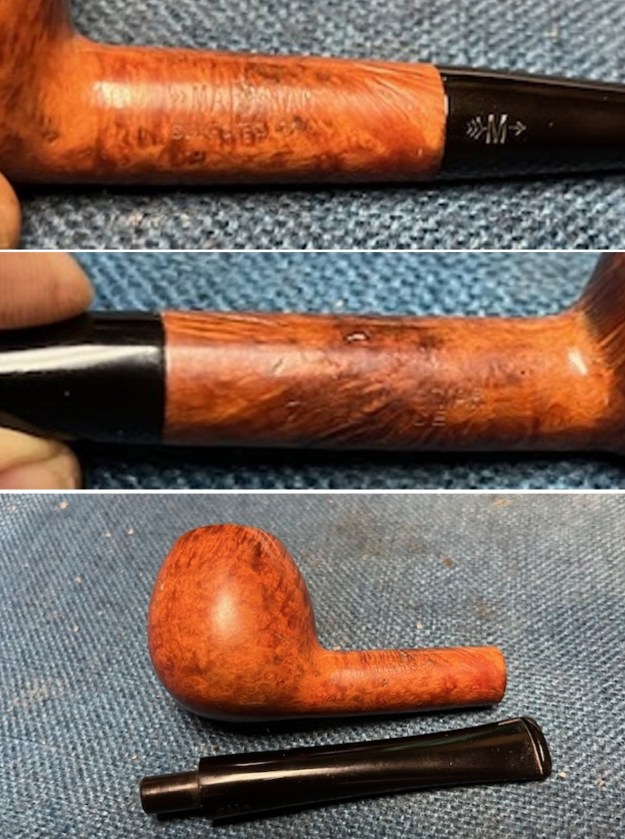
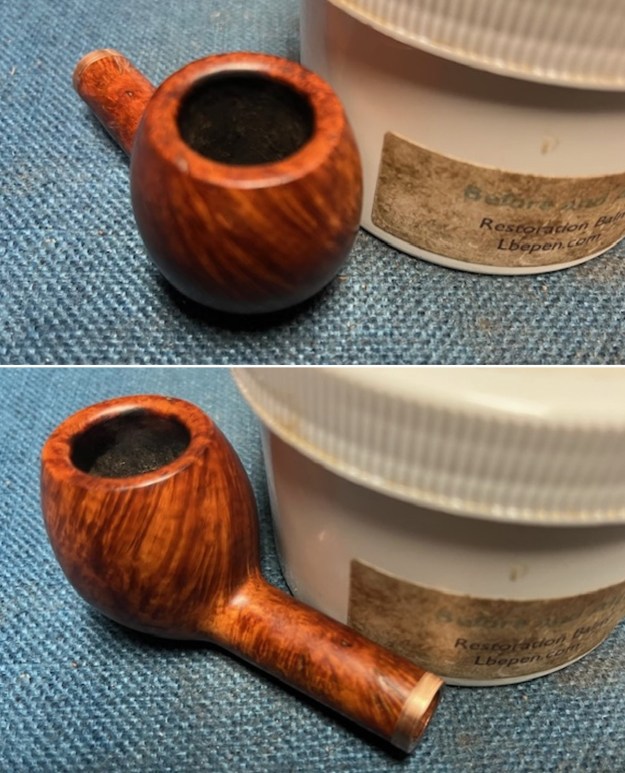
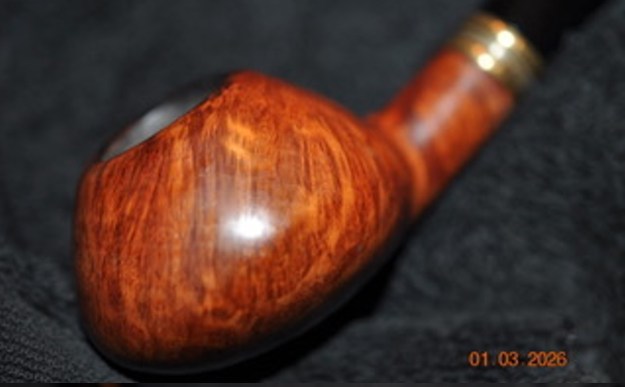
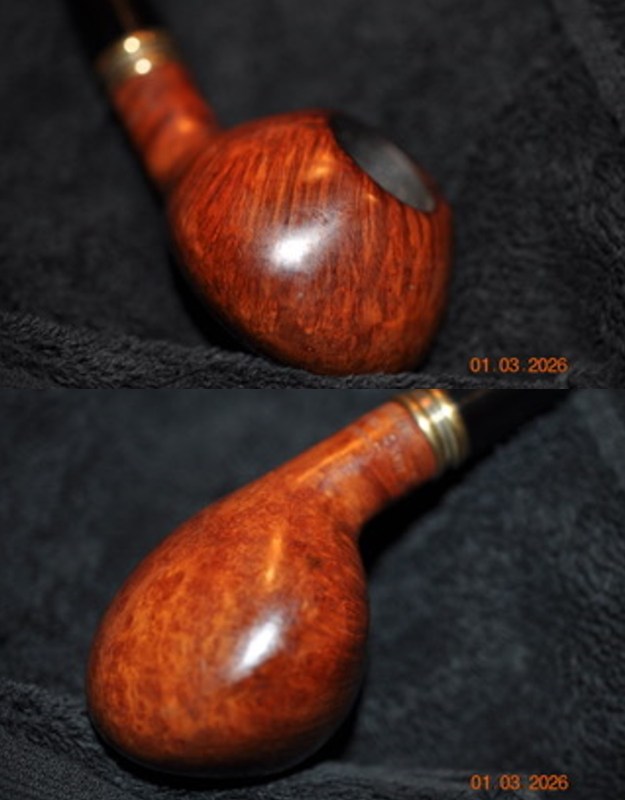
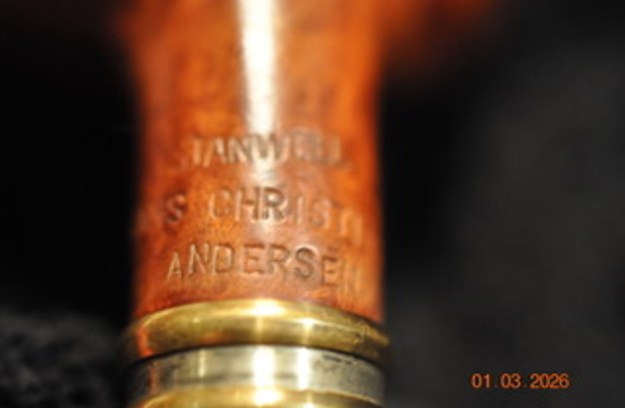
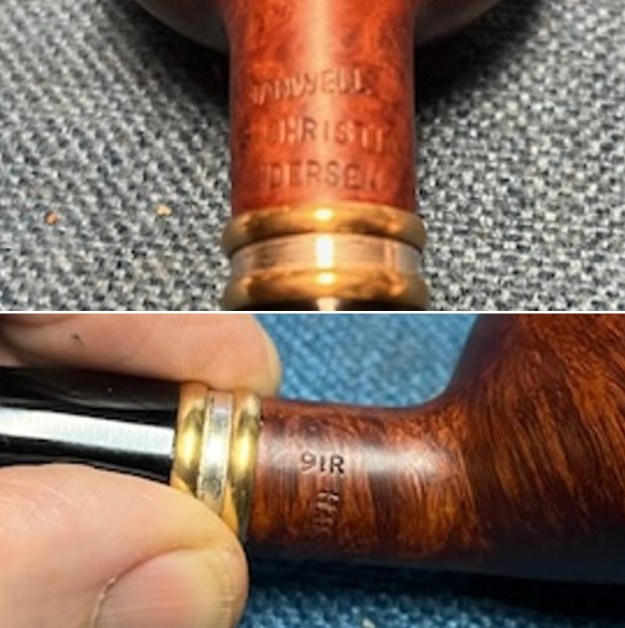
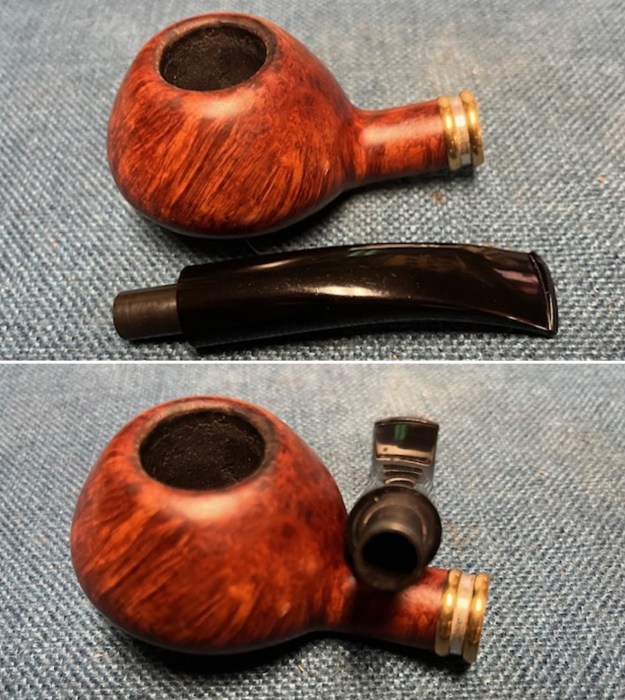
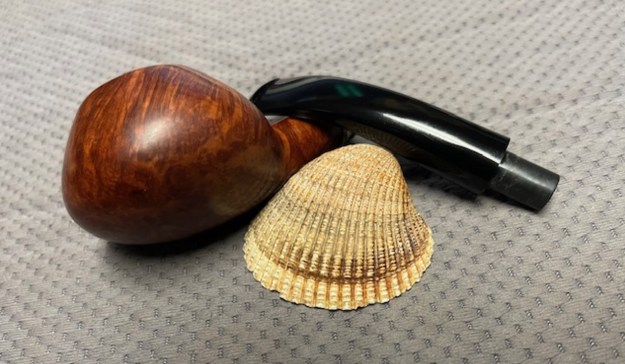
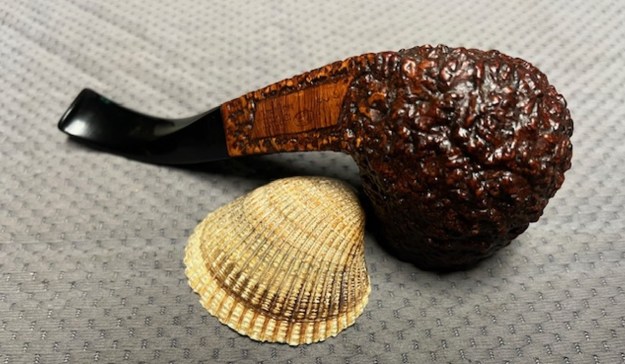
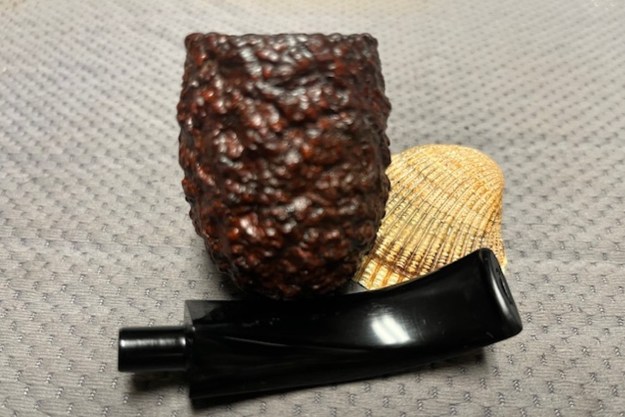
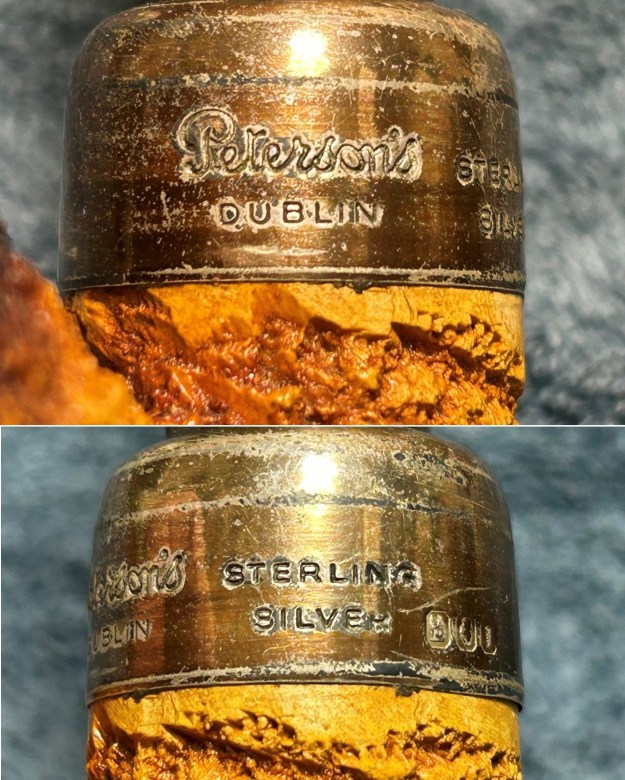
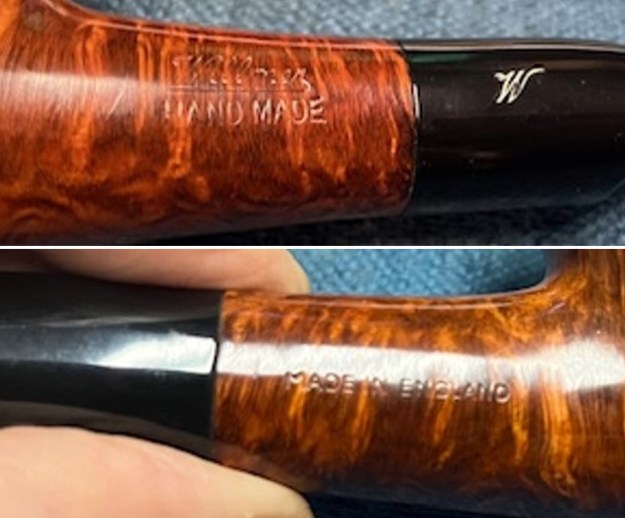
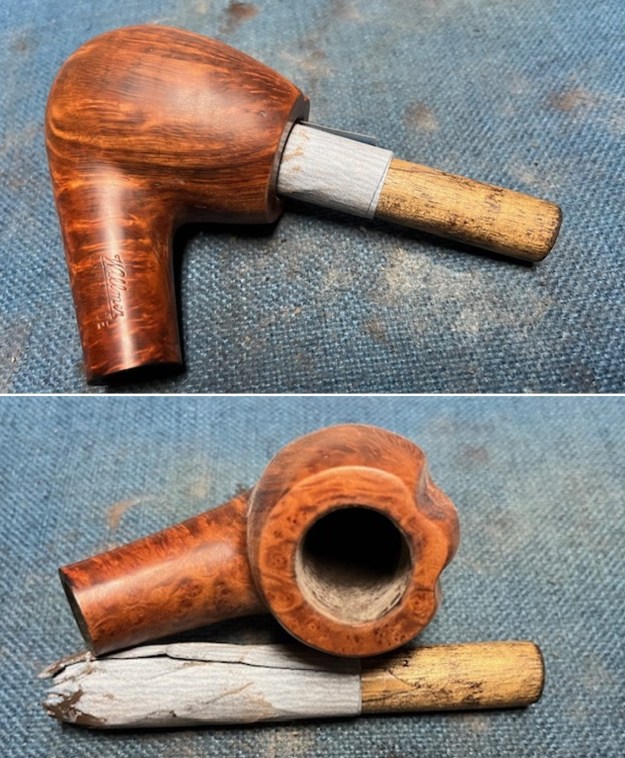
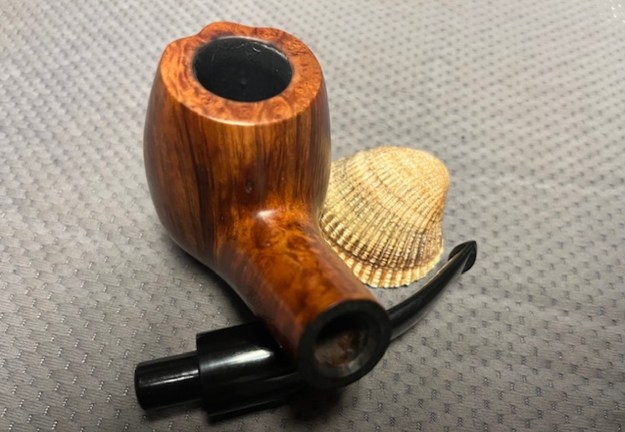
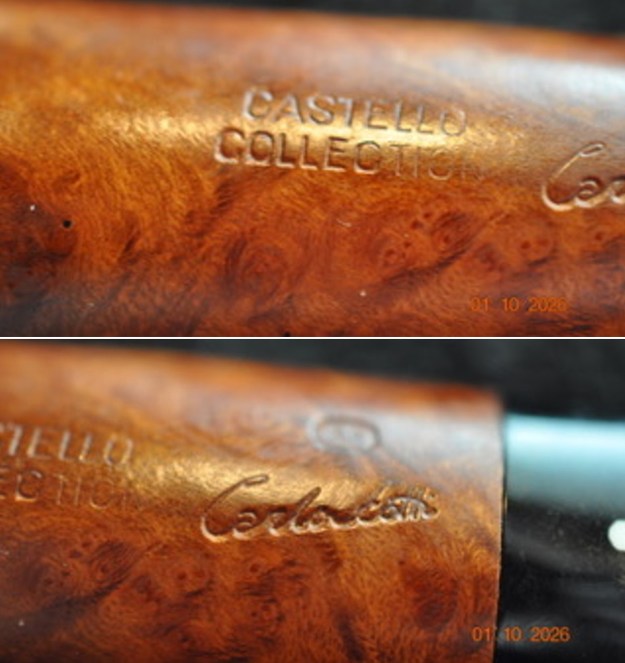
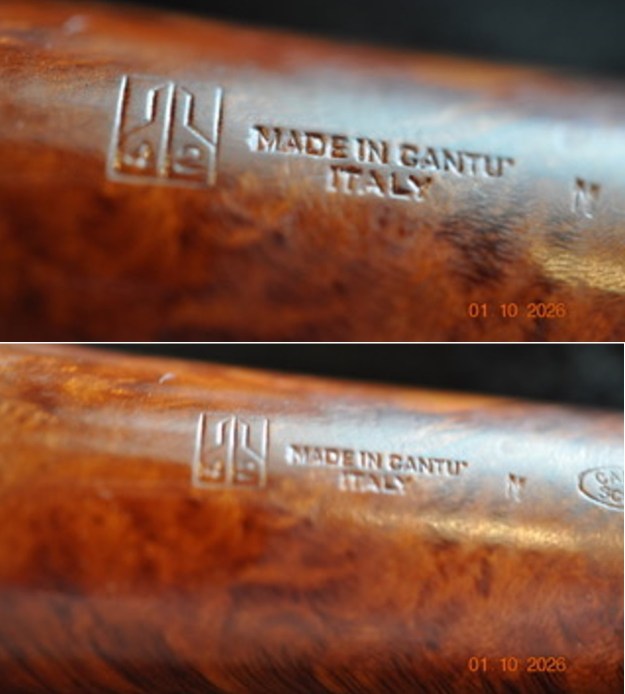
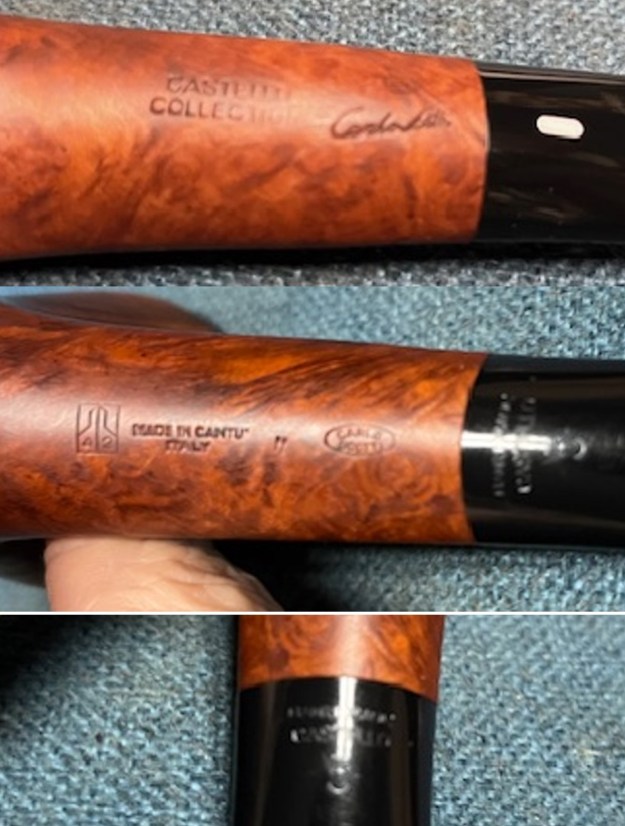
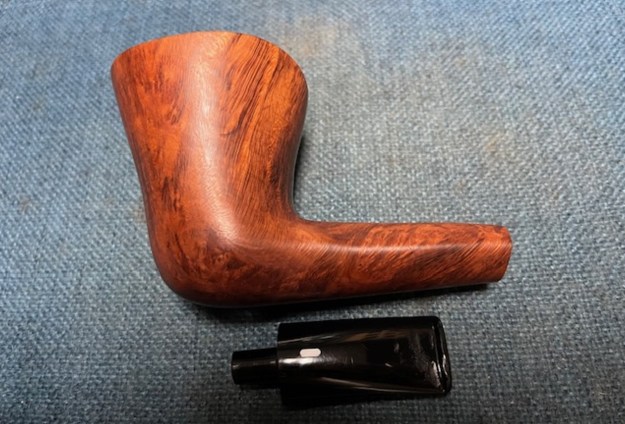
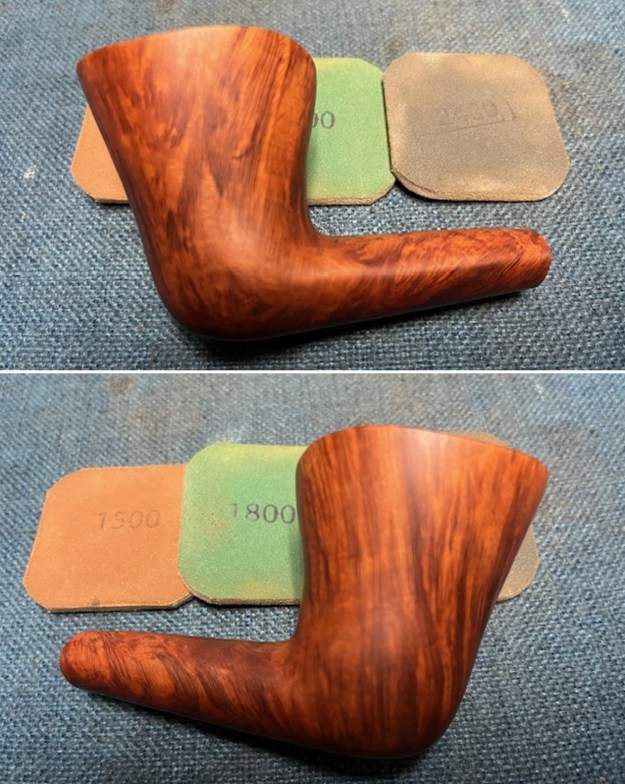
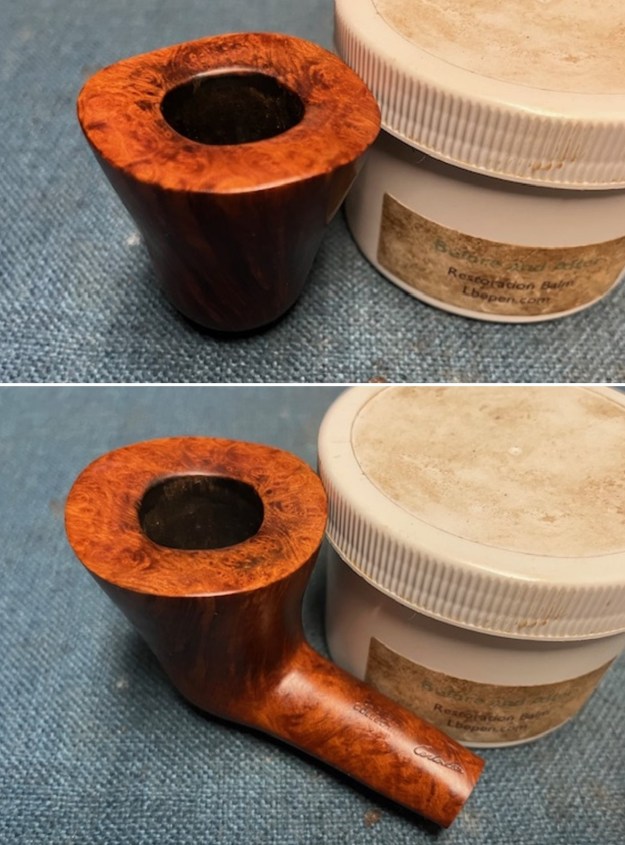
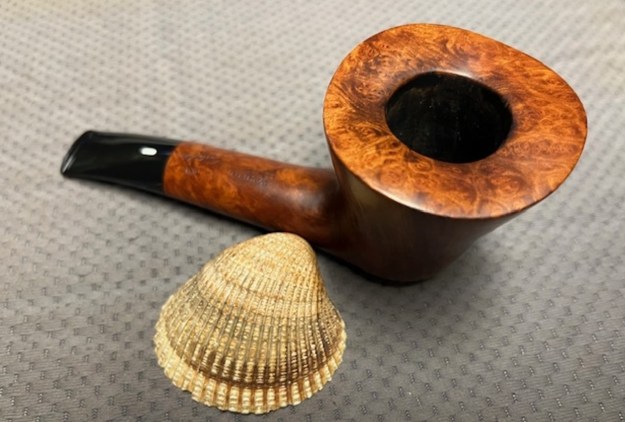
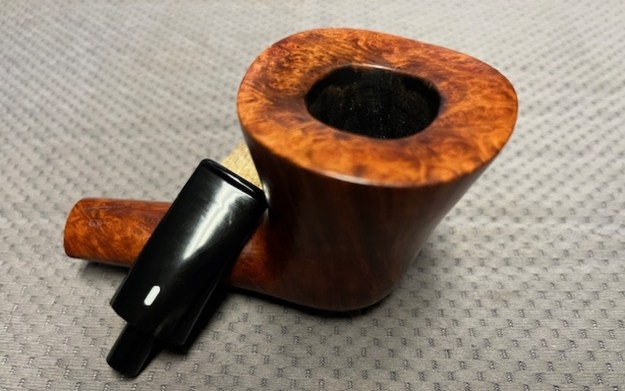
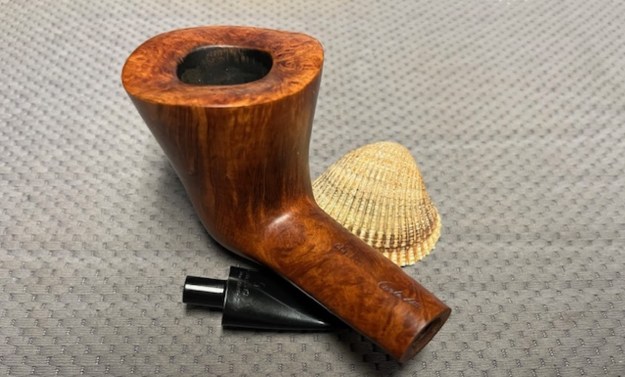
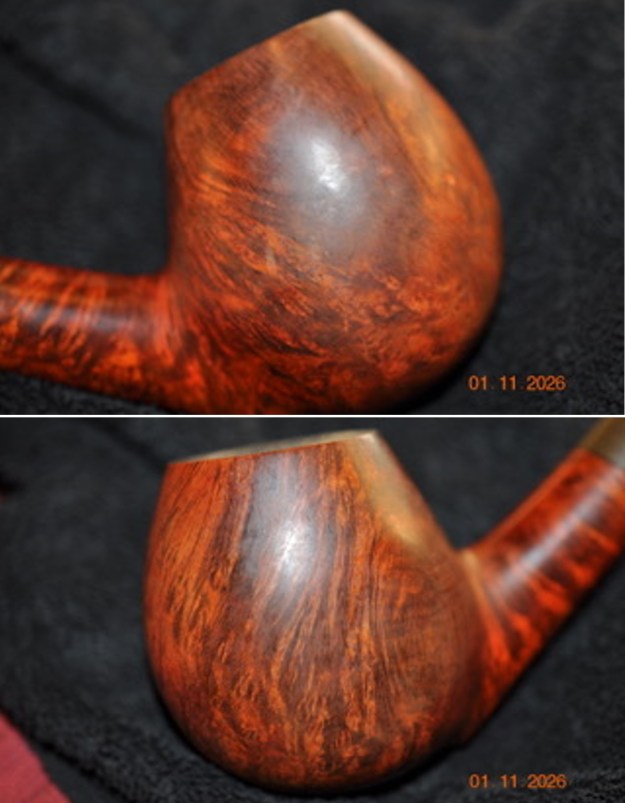
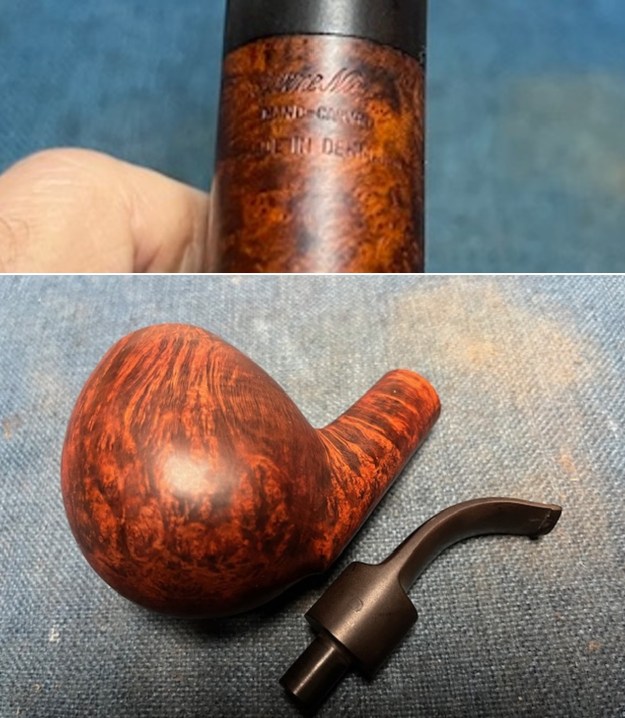
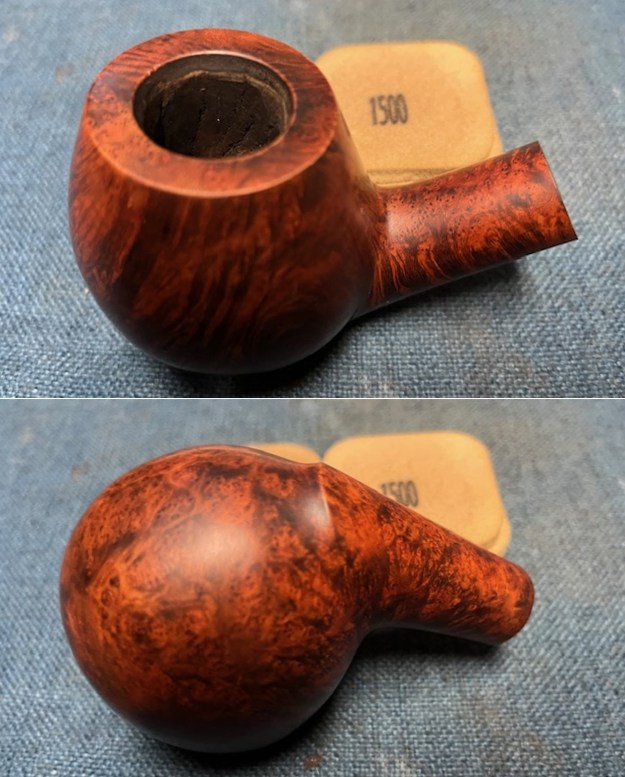
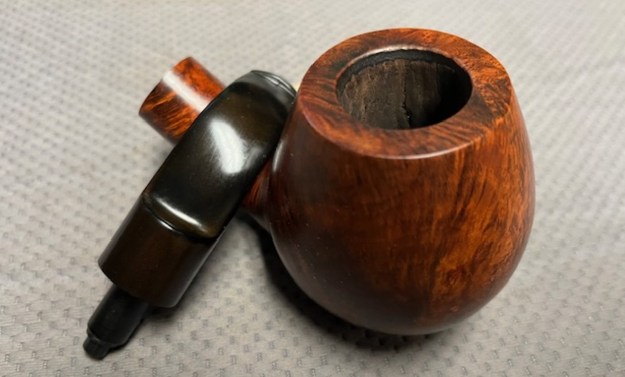
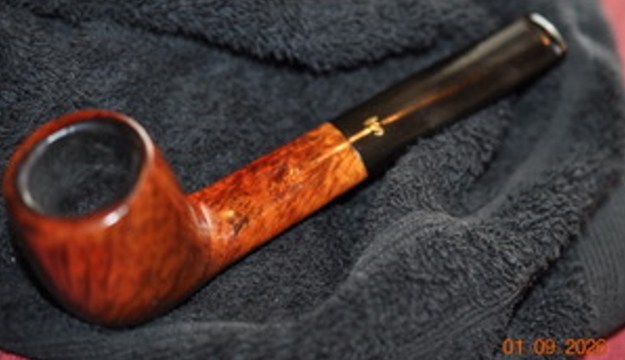
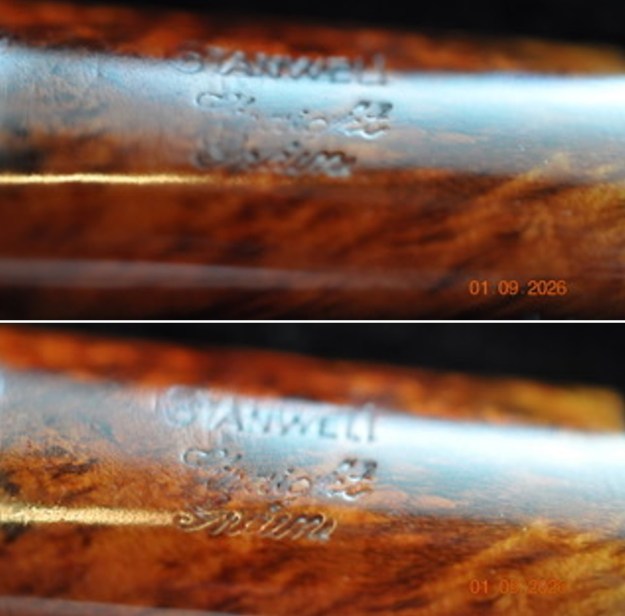
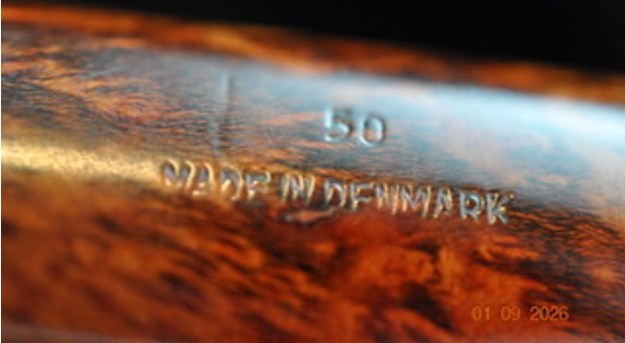
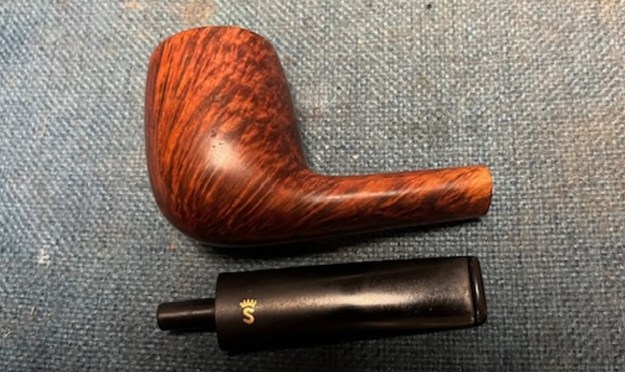
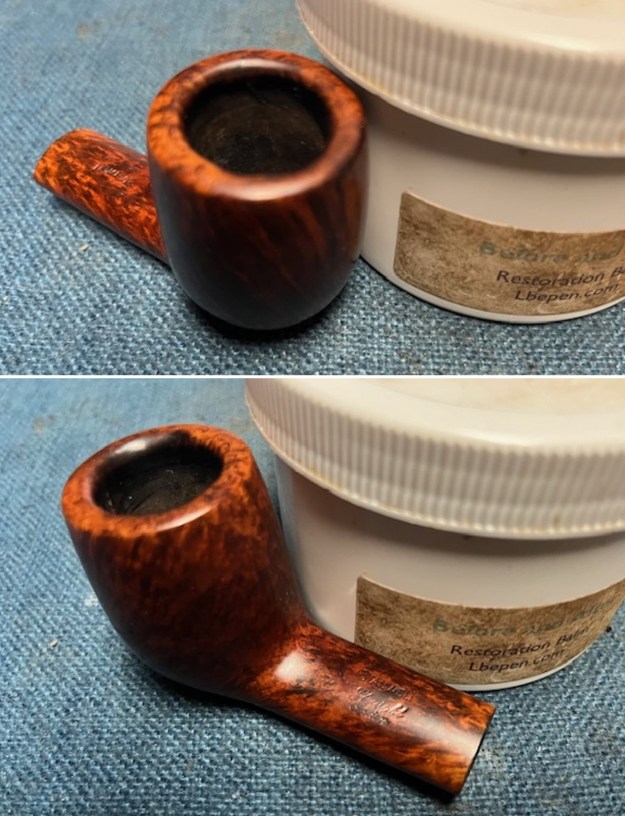
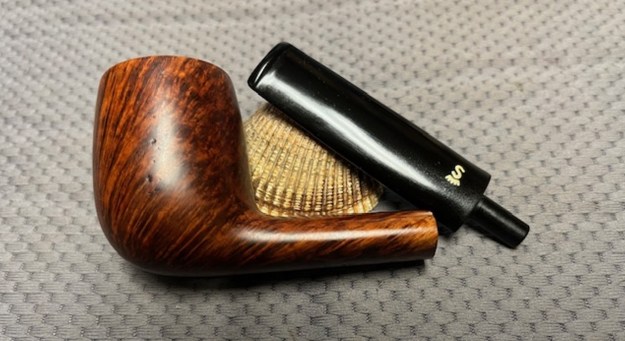
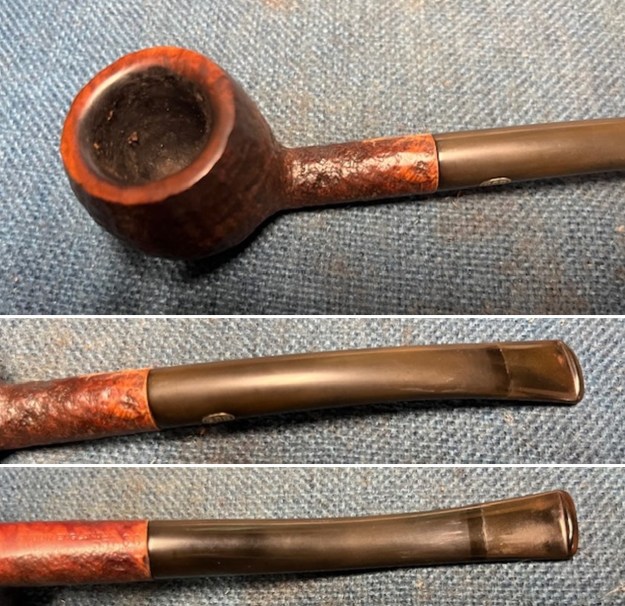 I took a photo of the underside of the shank. It shows the stamping on the shank and though it is faint in spots it is readable. I removed the stem from the shank and took a photo the looks of this GBD Prince.
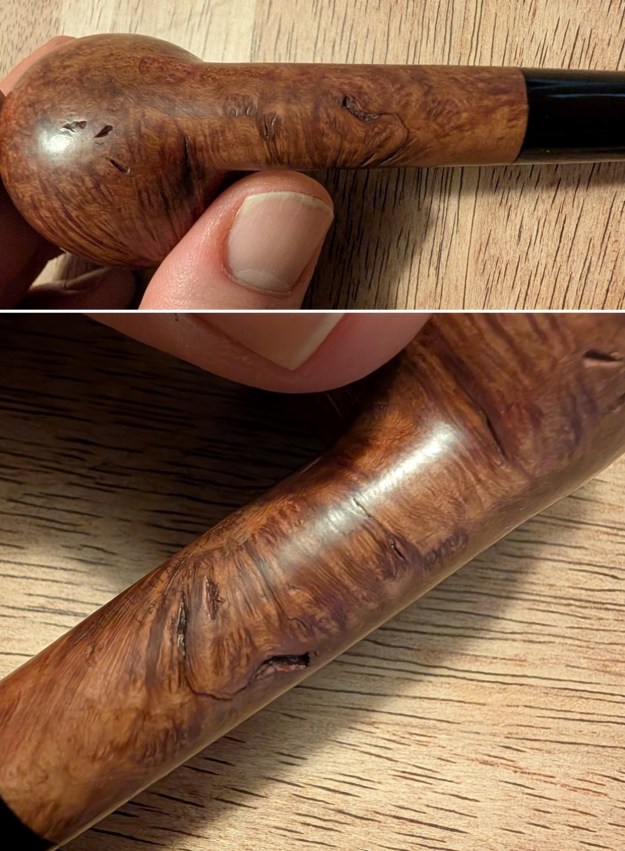
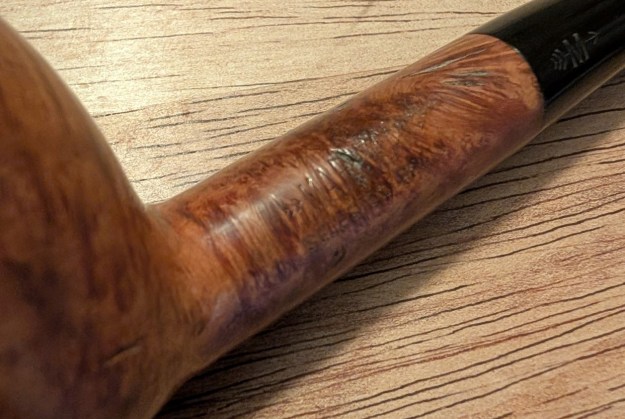
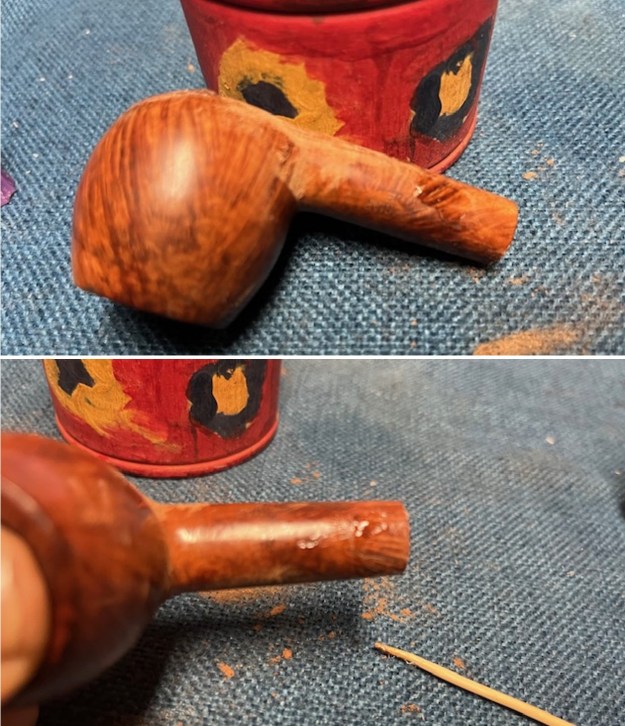
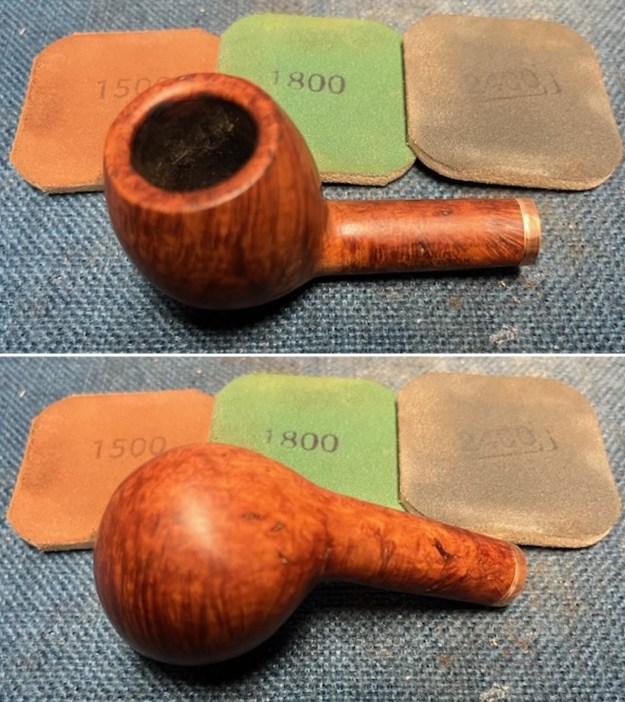
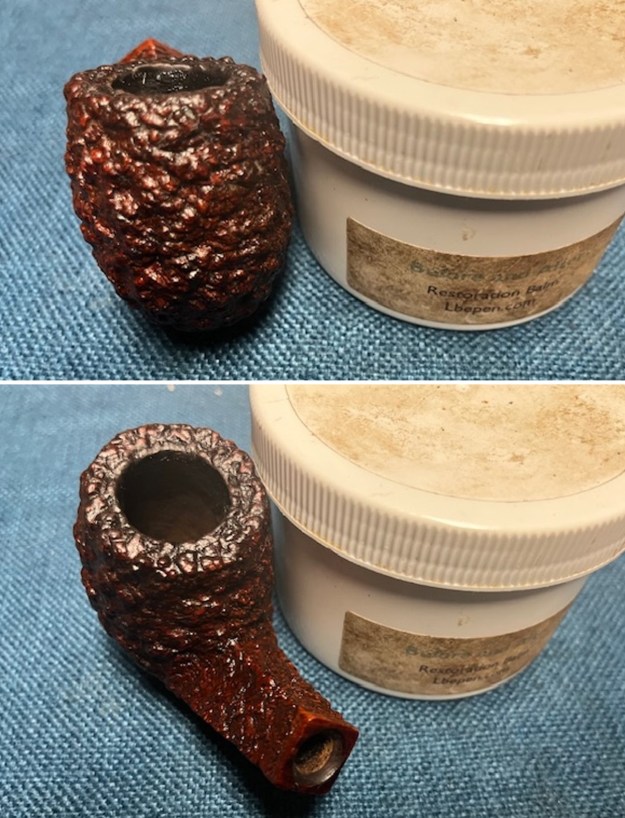
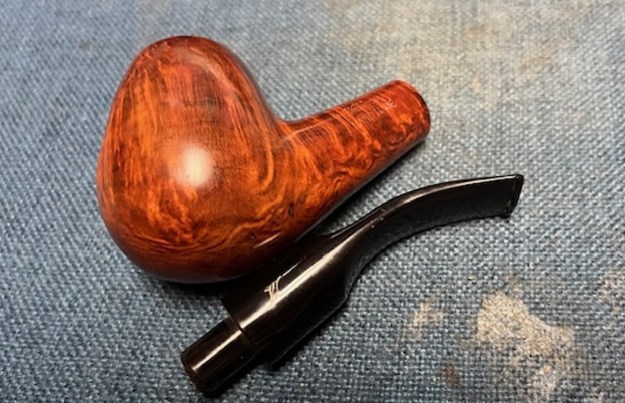
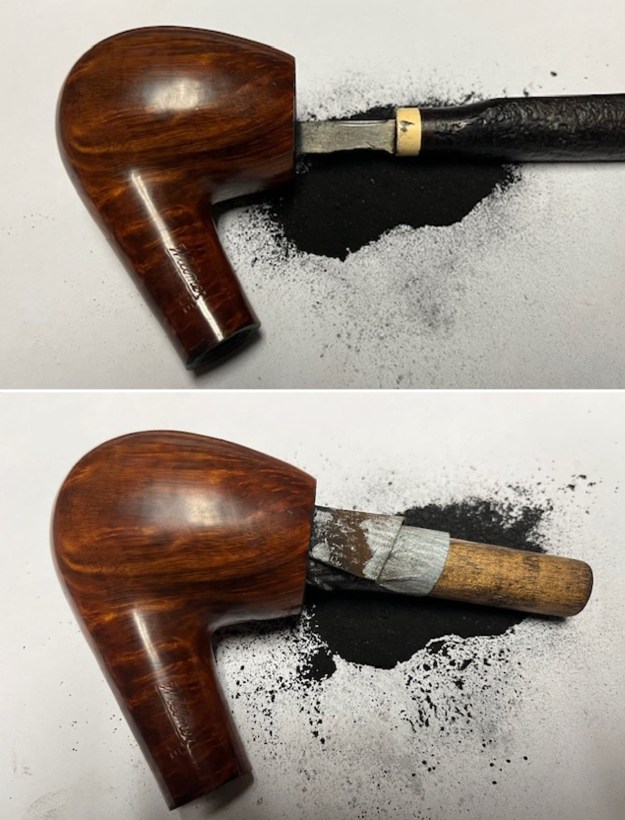
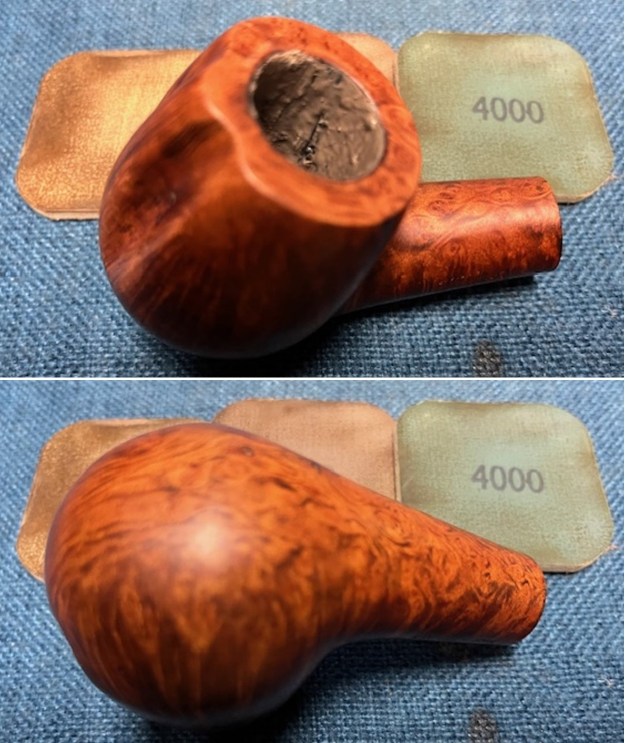
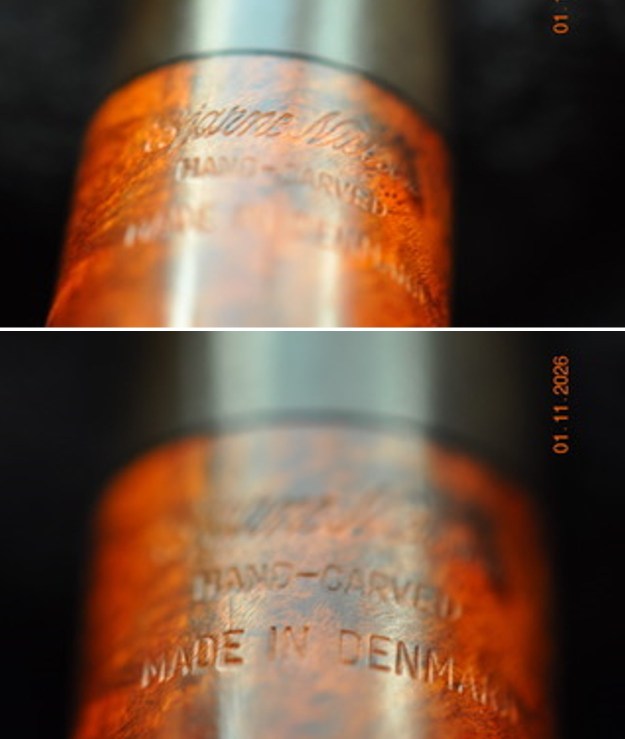
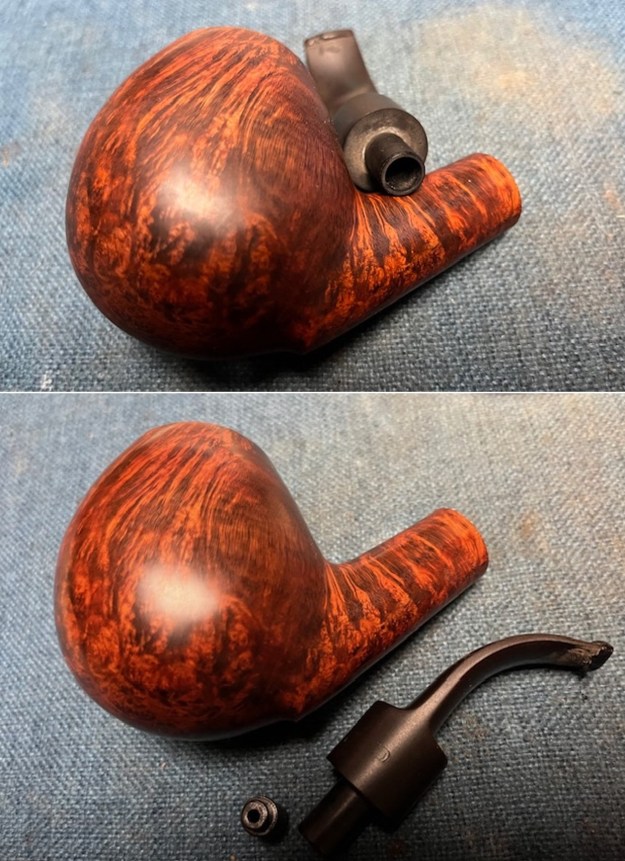
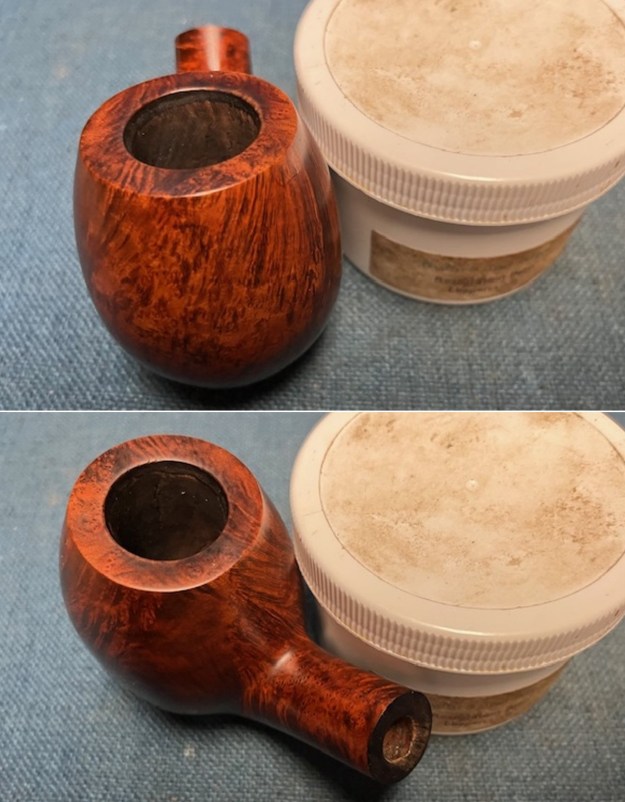
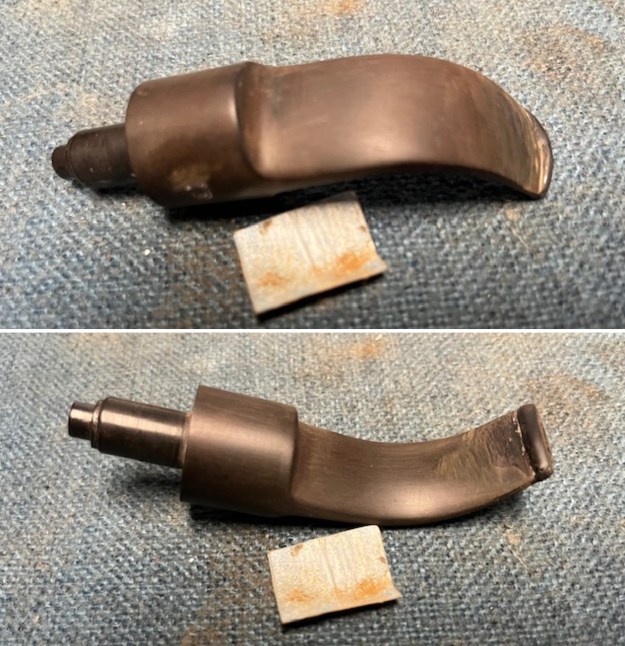
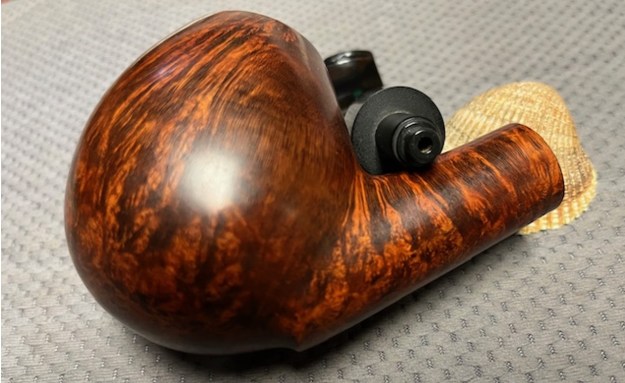
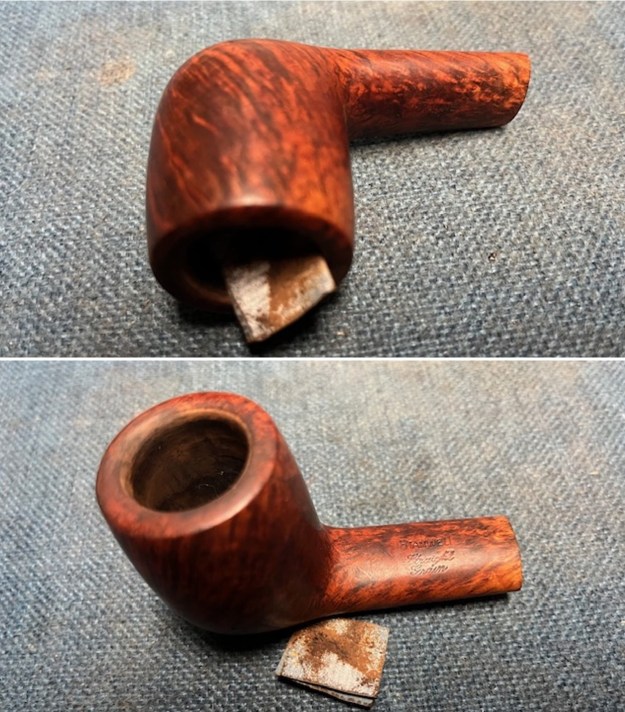
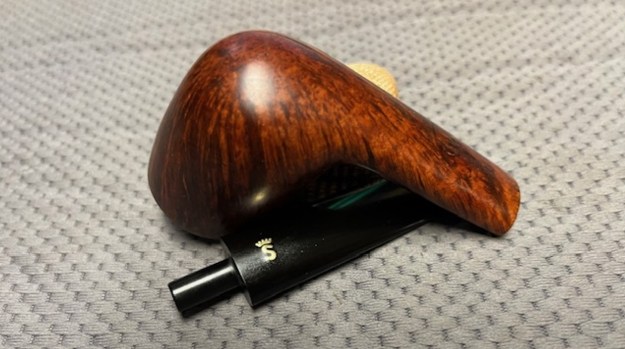
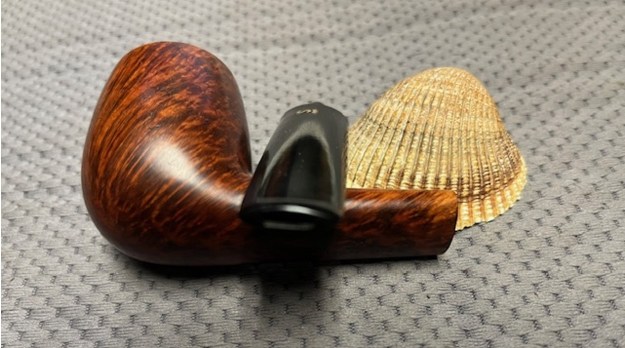
 I took a photo of the crack on the right side of the shank. You can see the glue residue in the sandblast finish.
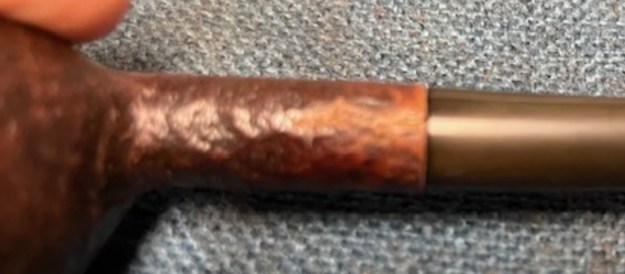 Now it was time to address the crack. I decided to clean up the repair with a brass bristle wire brush. I knocked off the glue and damaged areas on the shank side with the wire brush. The crack is clear and visible in the photo below.
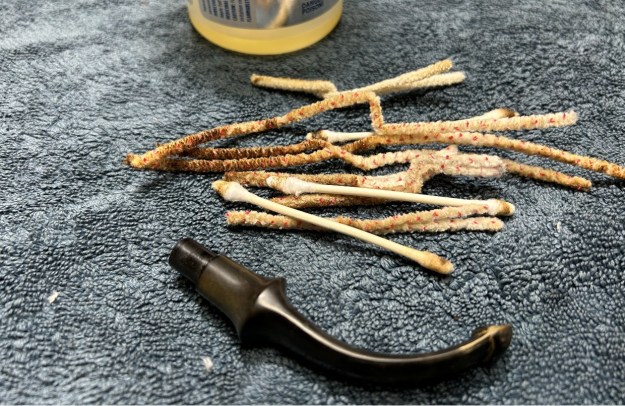
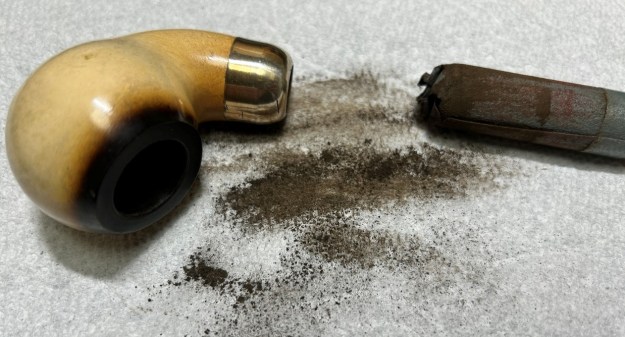
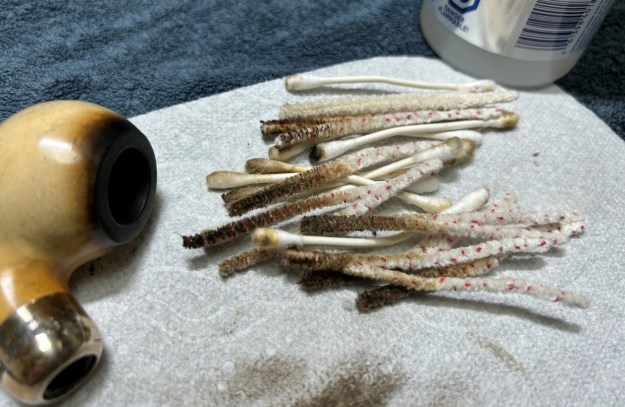
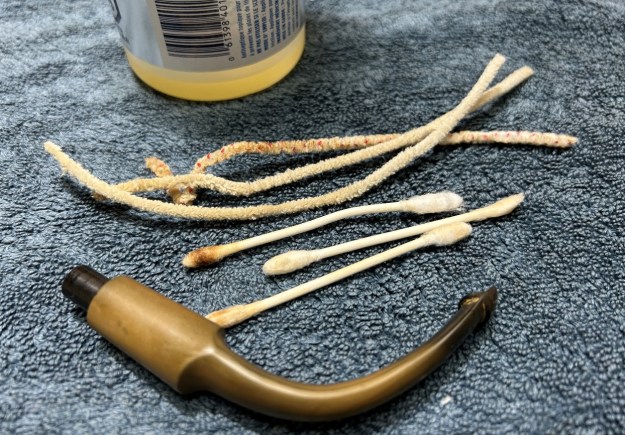
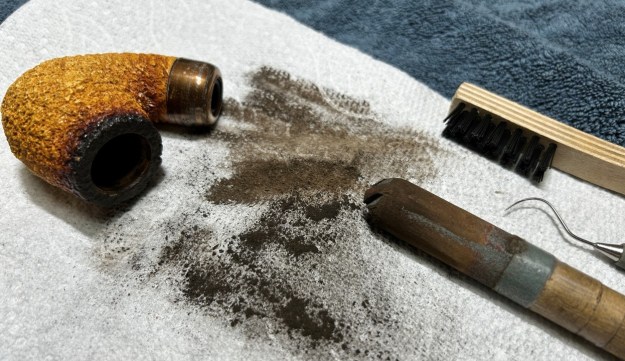
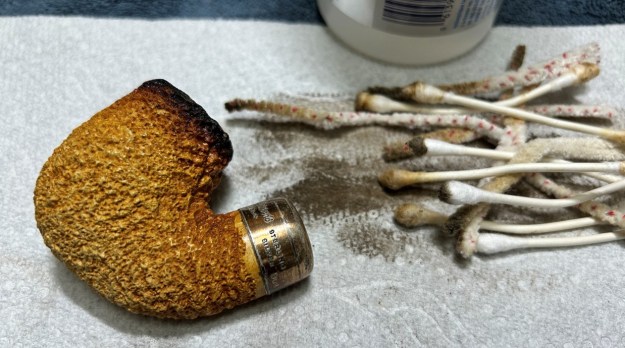
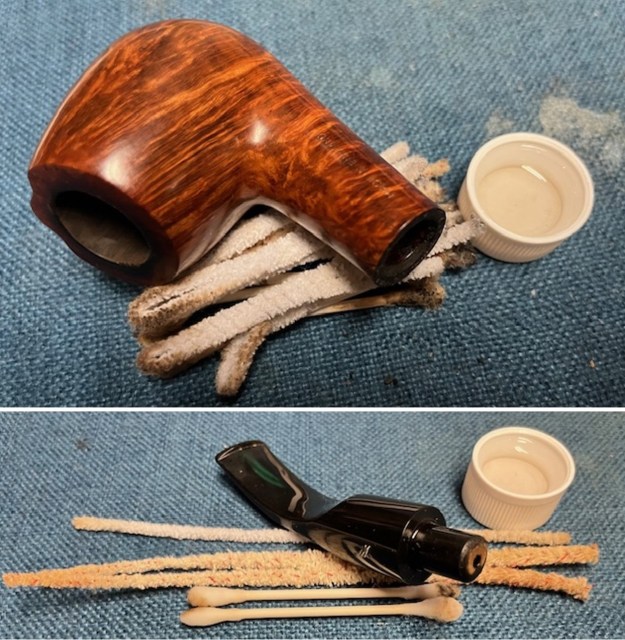
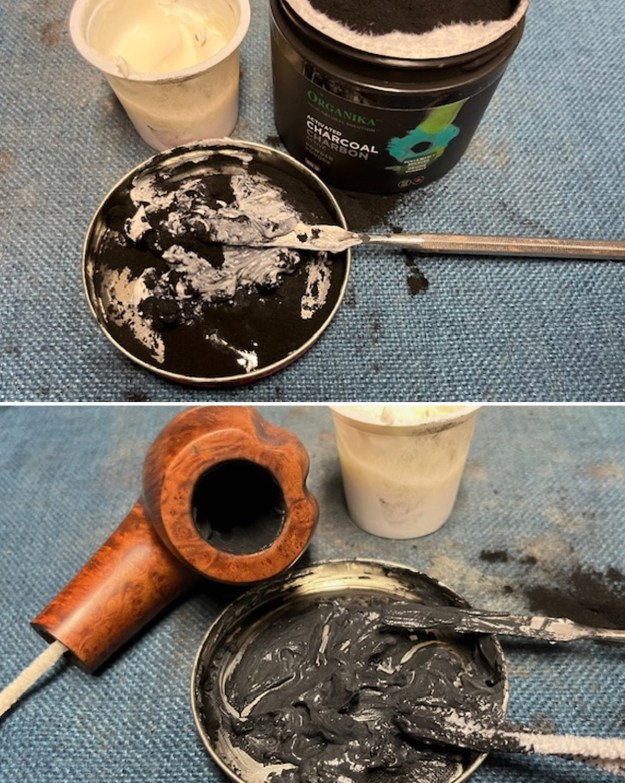
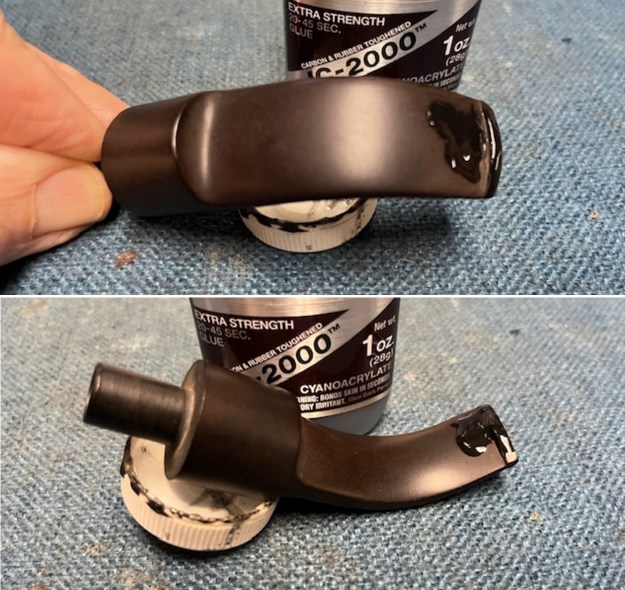
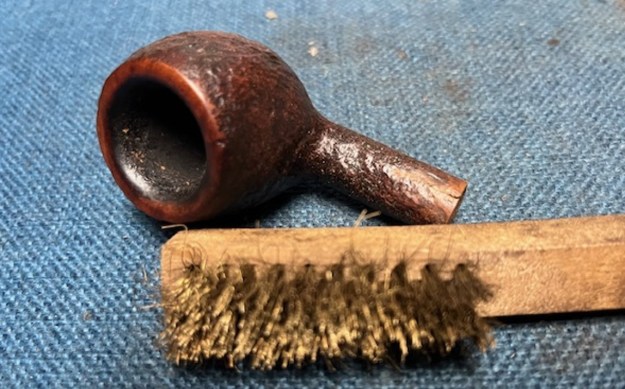 The first step in the repair is to clean out the shank and the airway in the stem with pipe cleaners – both bristle and smooth as well as qtips and alcohol. I always want to clean up the oils and tars in the shank before regluing and banding it.
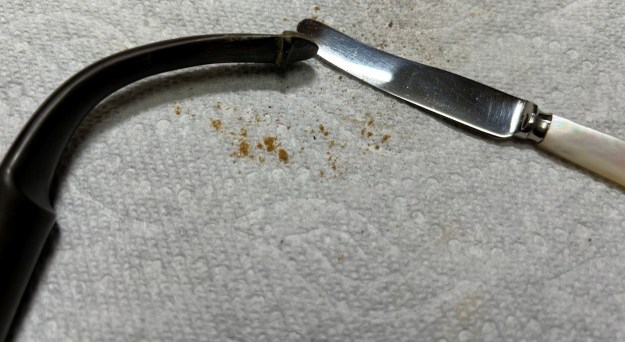
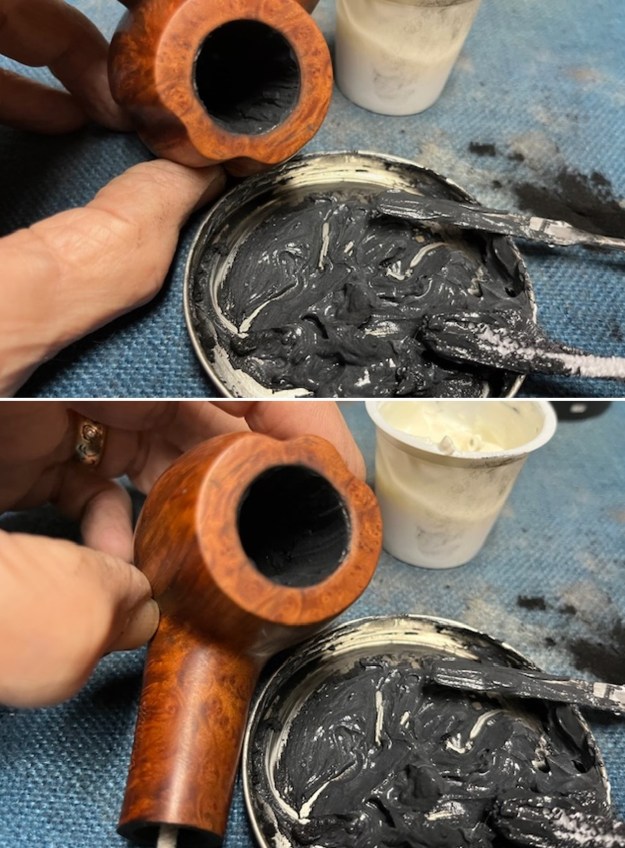
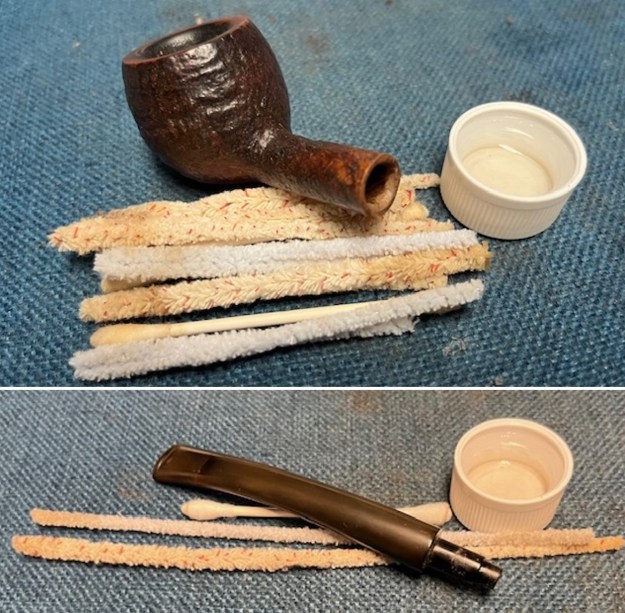 I used a tooth pick and all purpose white glue to fill in the crack on the shank side and to put a bead around the shank end. I pressed the brass band onto the shank end and wiped off the excess blue.
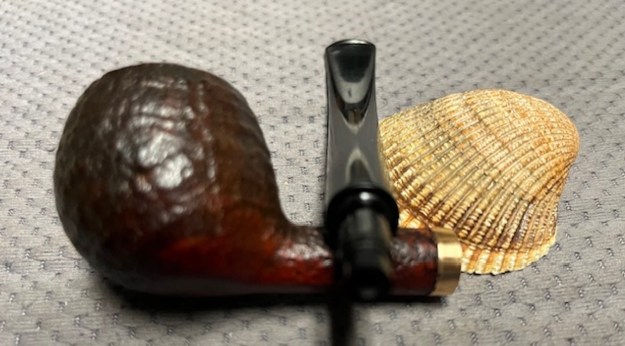
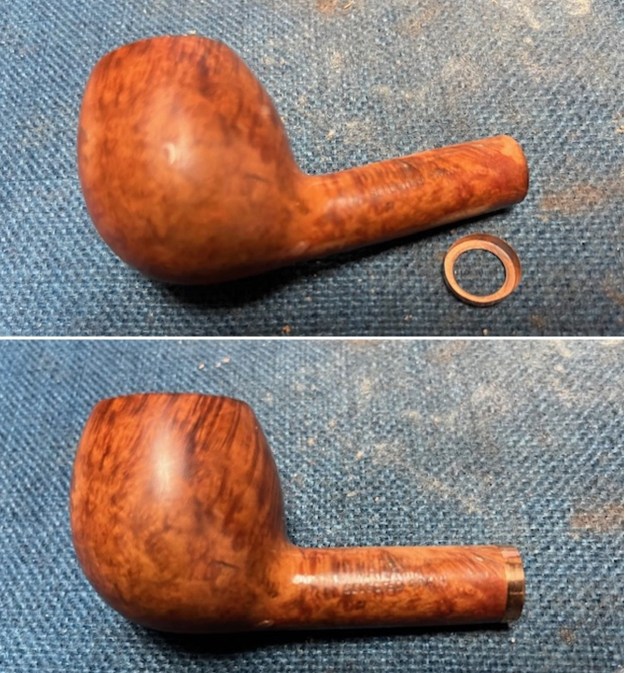
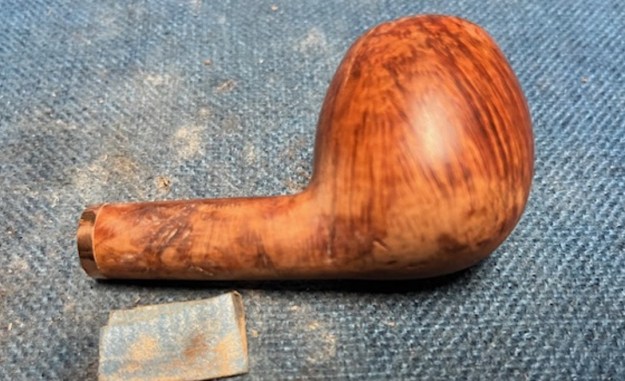
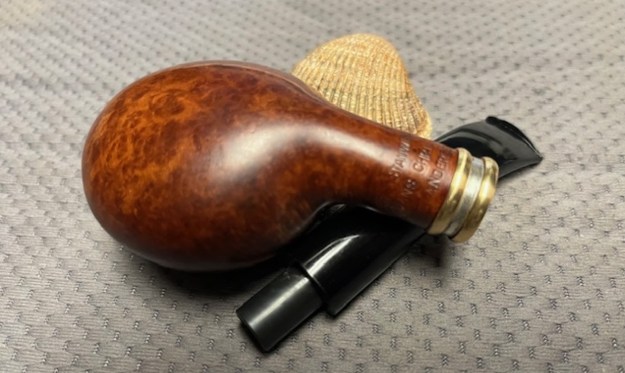
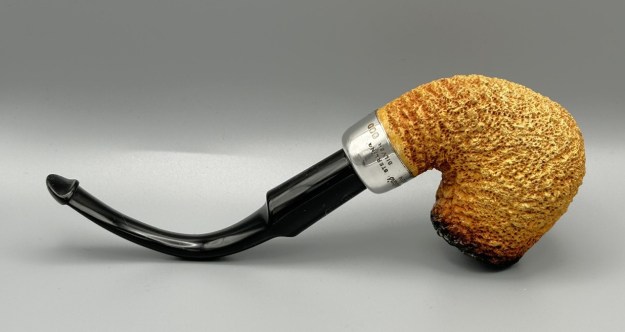
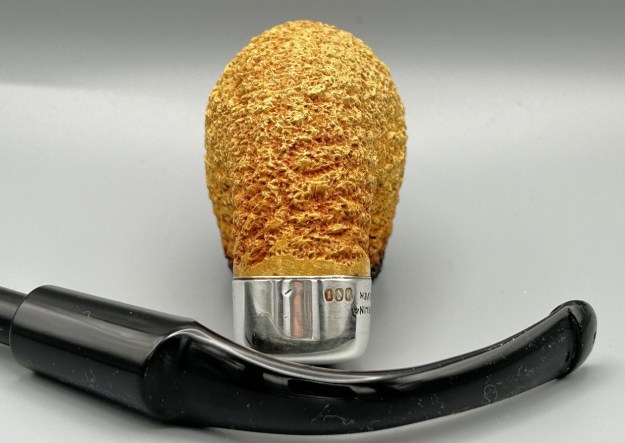
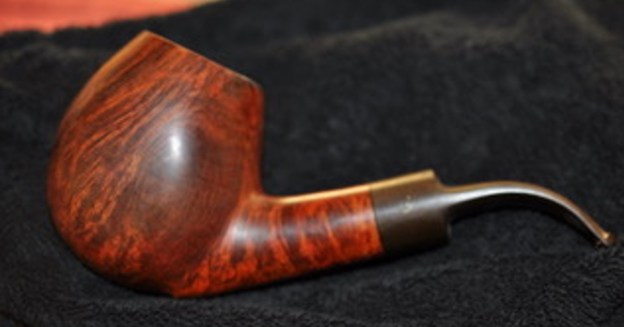
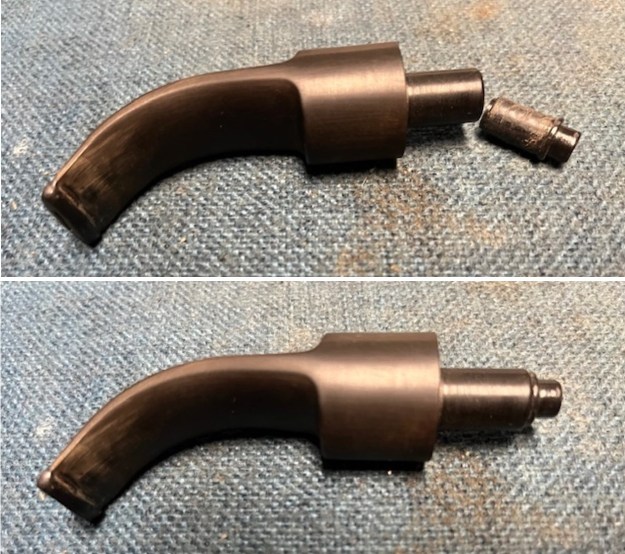
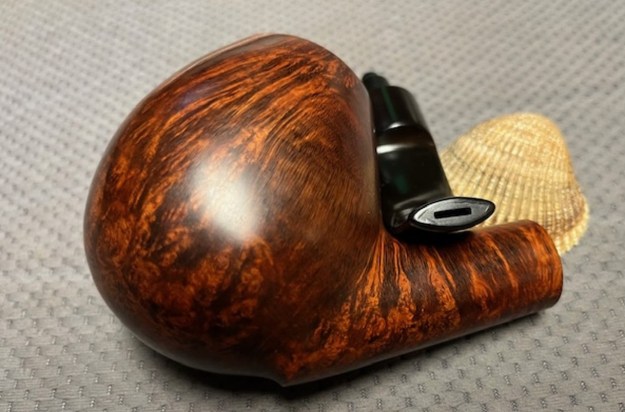
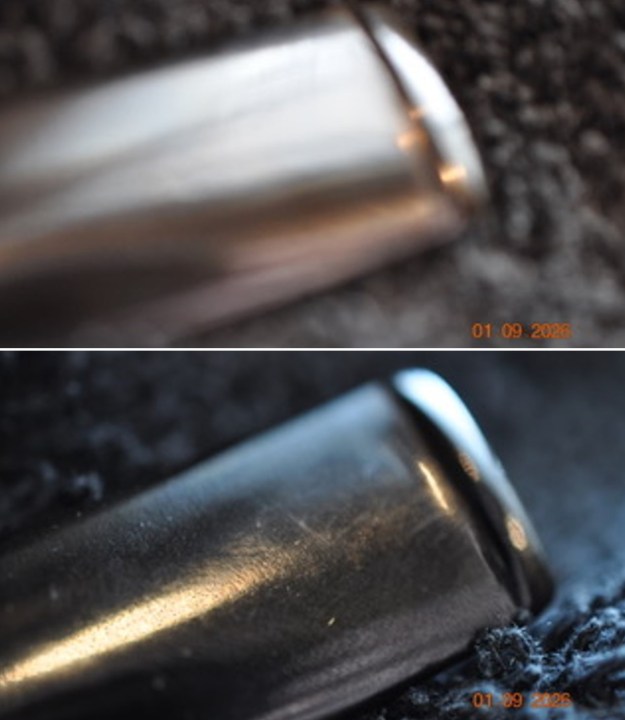
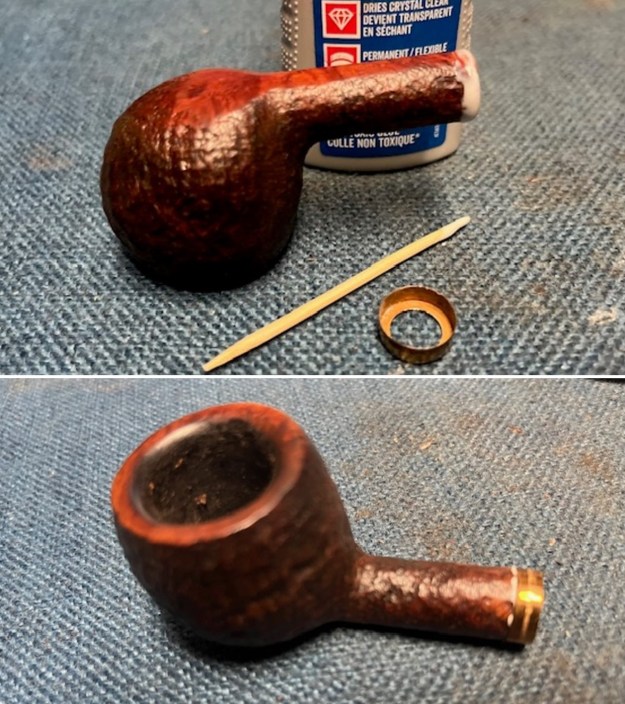 I took photos of the newly banded shank and repair on the right side. It looked very good at this point.
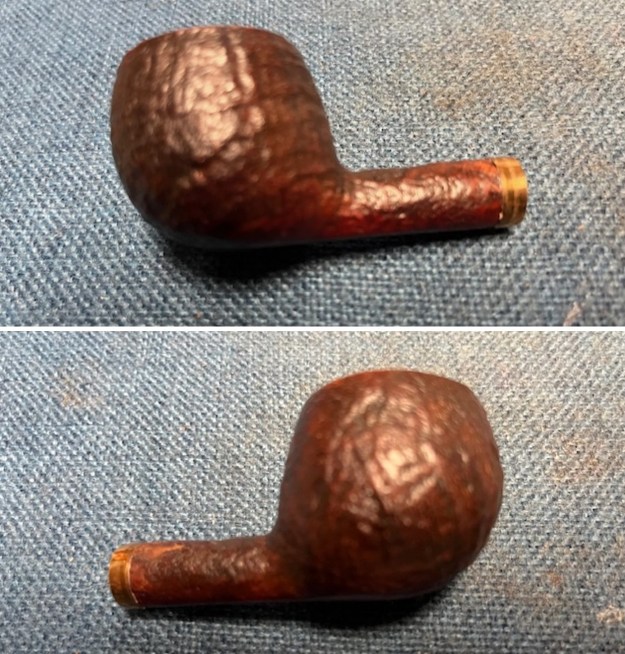
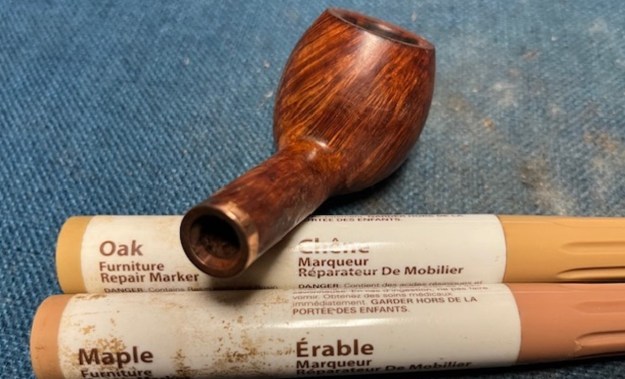
 I stained the repaired shank end with a Mahogany stain pen to blend it into the rest of the bowl and shank. It looked very good to my eye and the match of the colour was perfect.
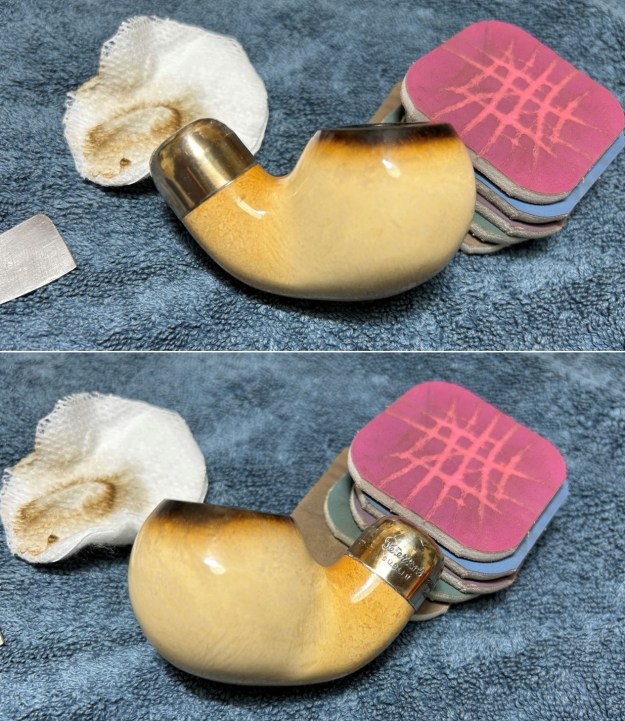
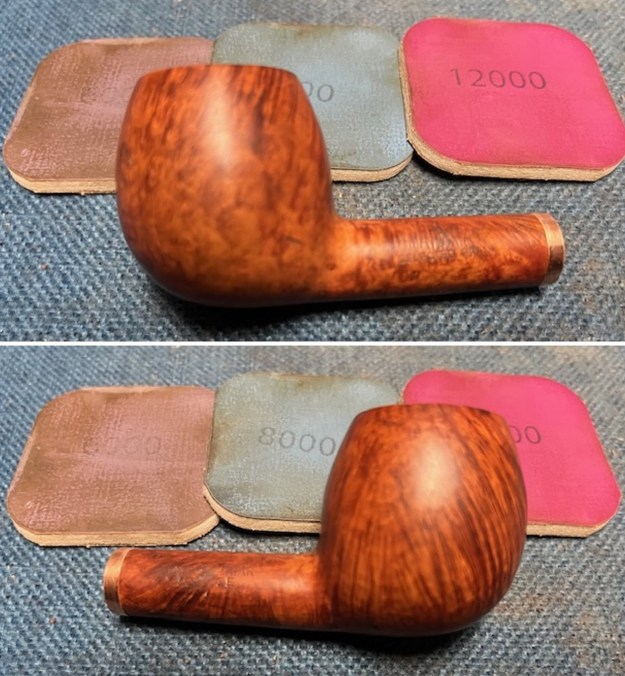
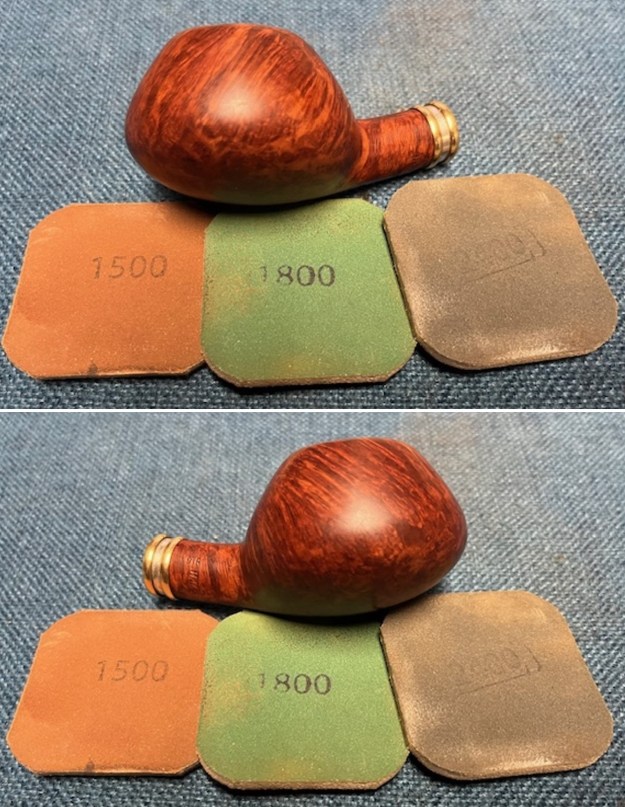
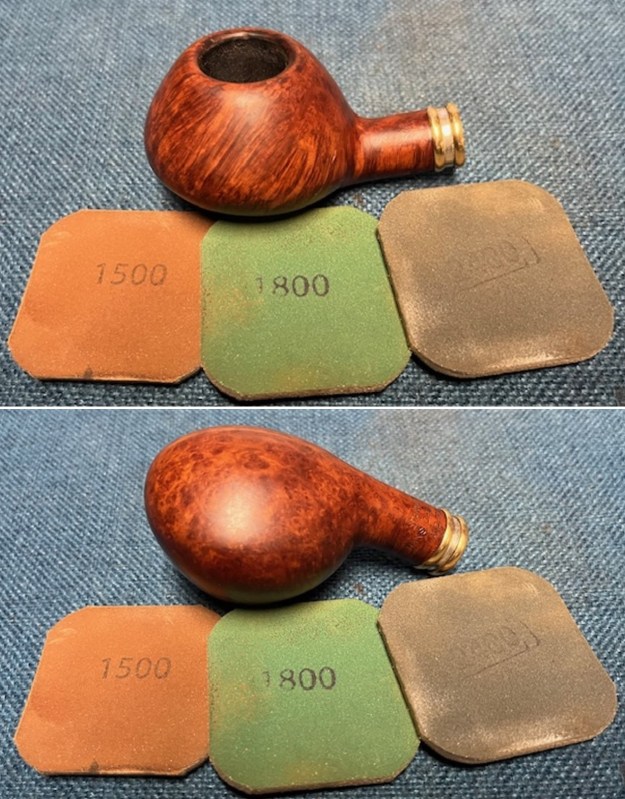
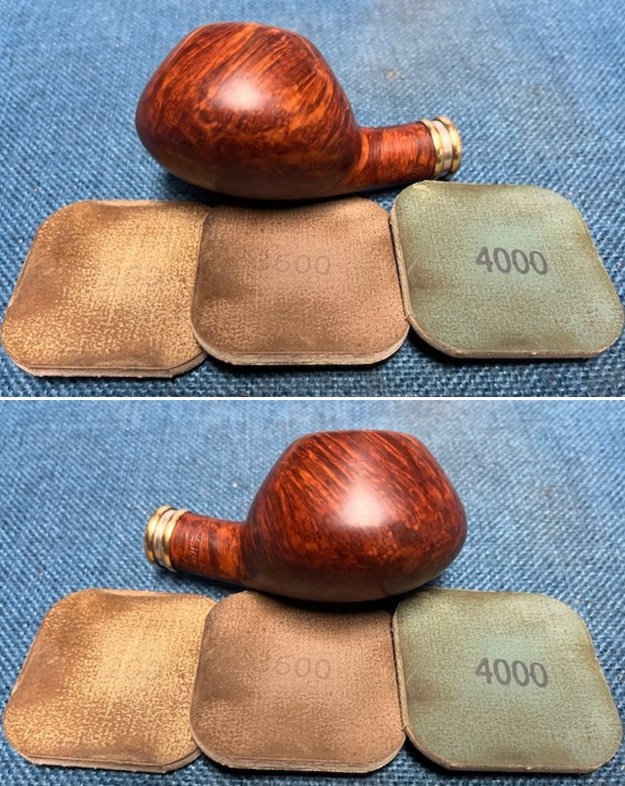
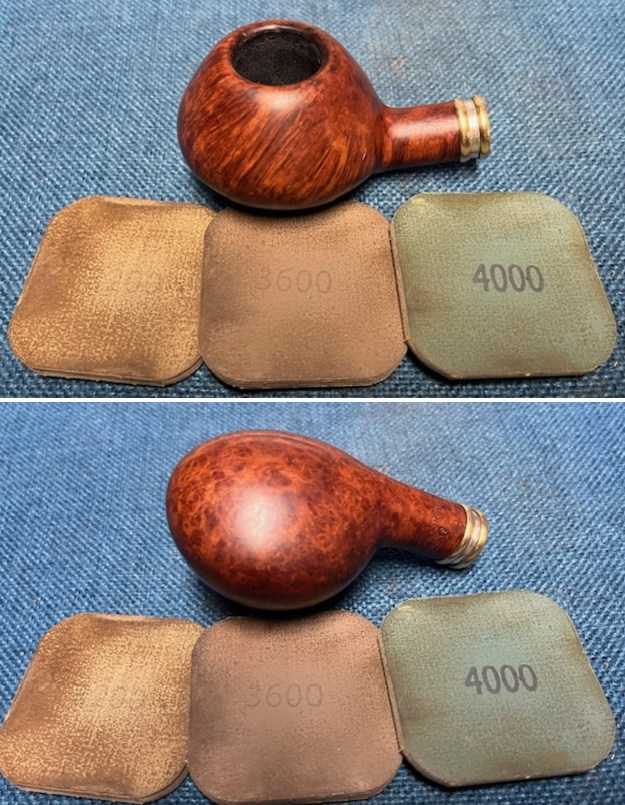
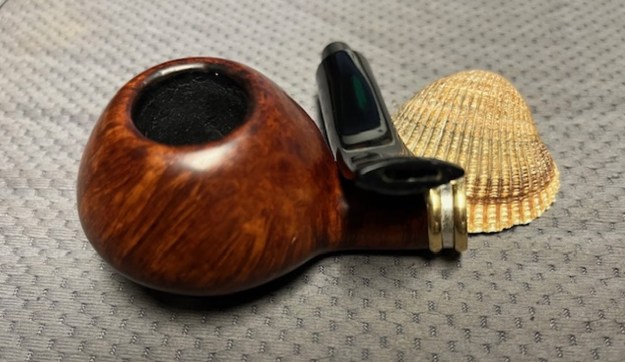
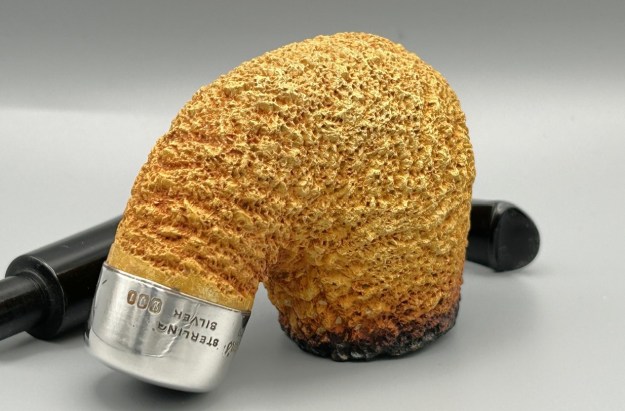
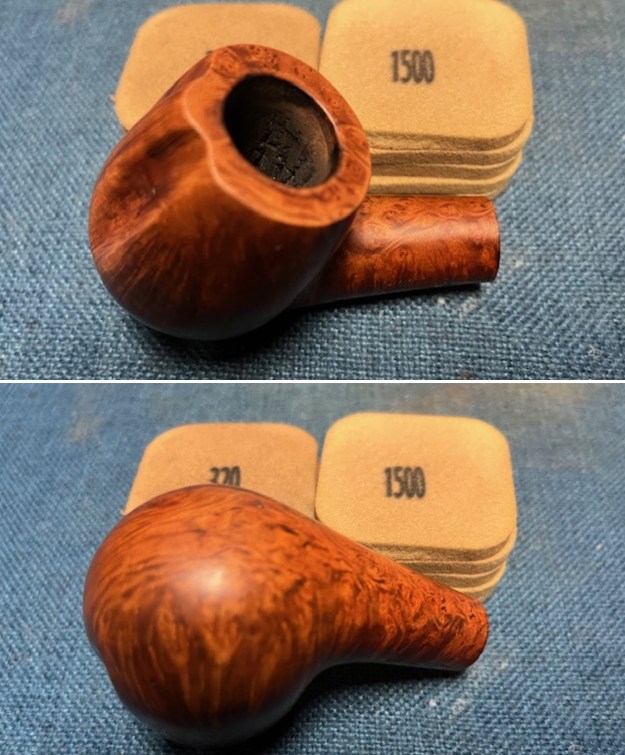
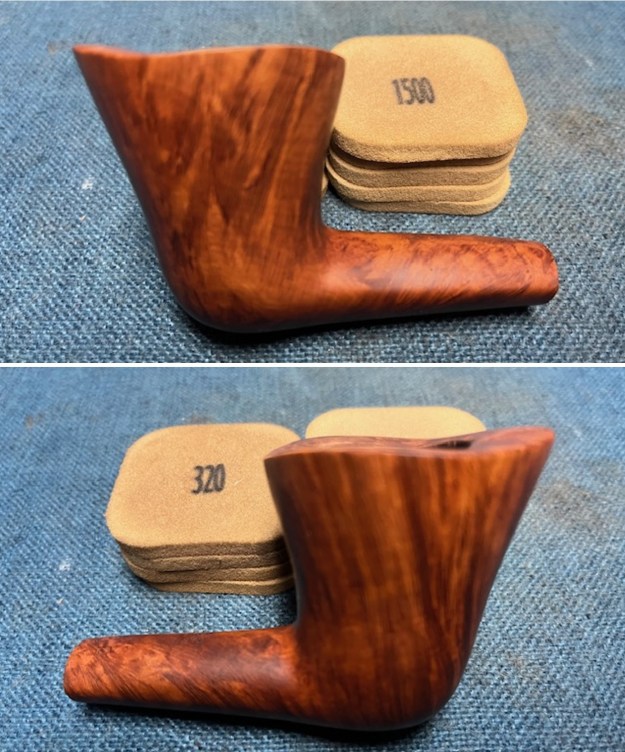
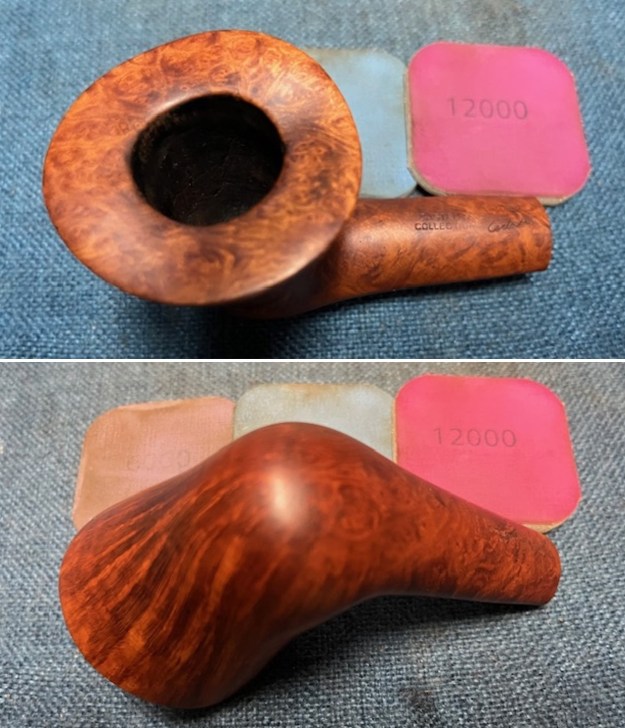
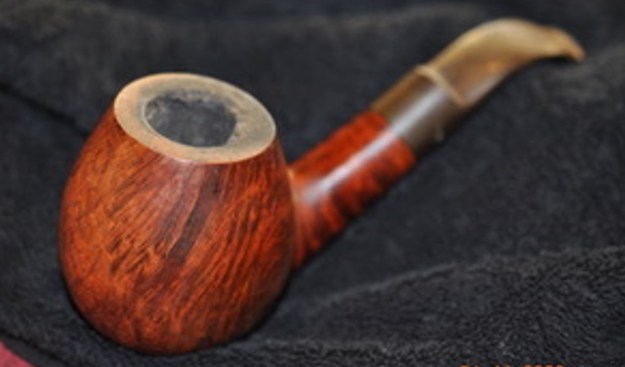
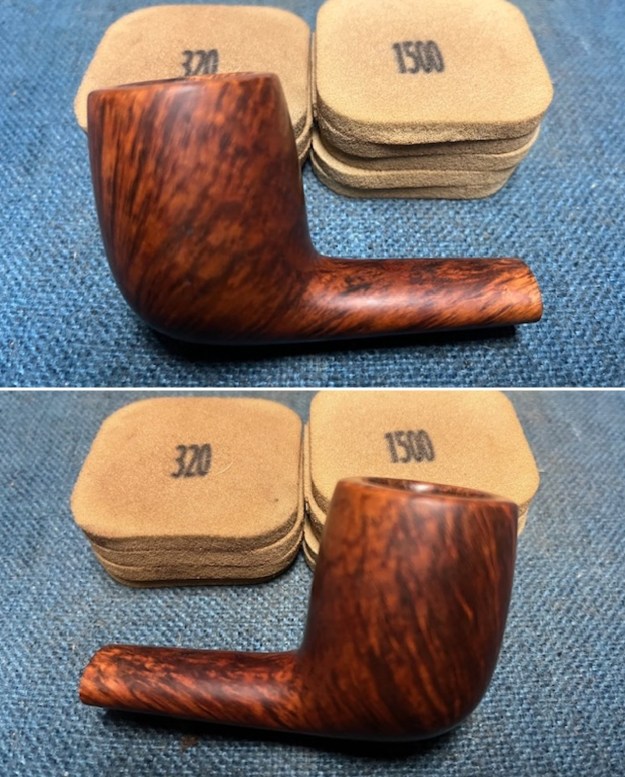
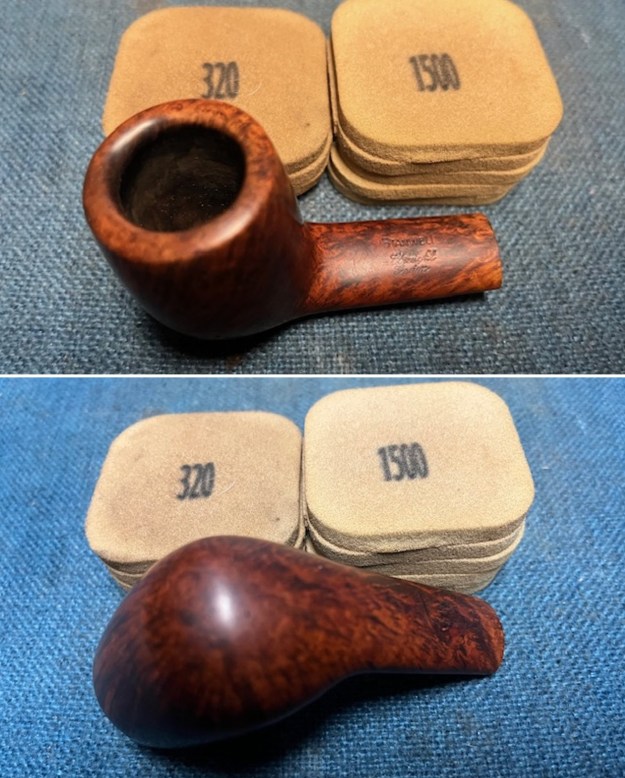
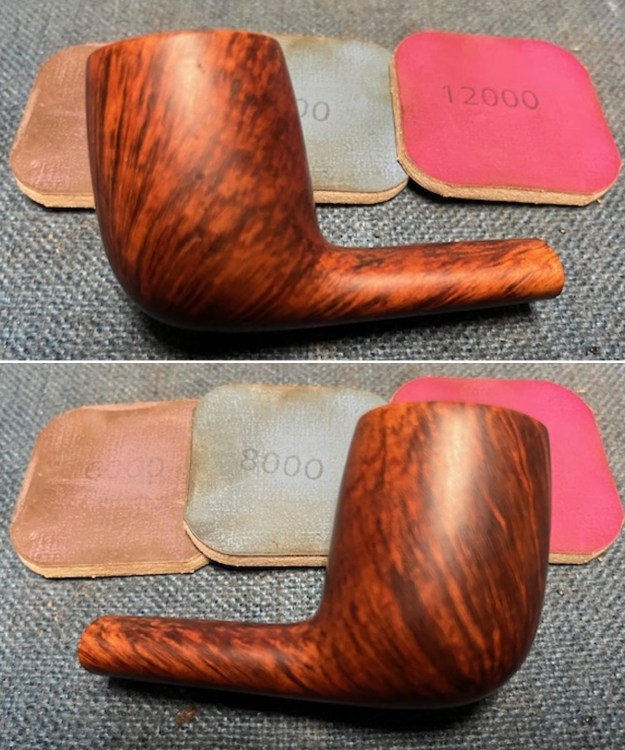
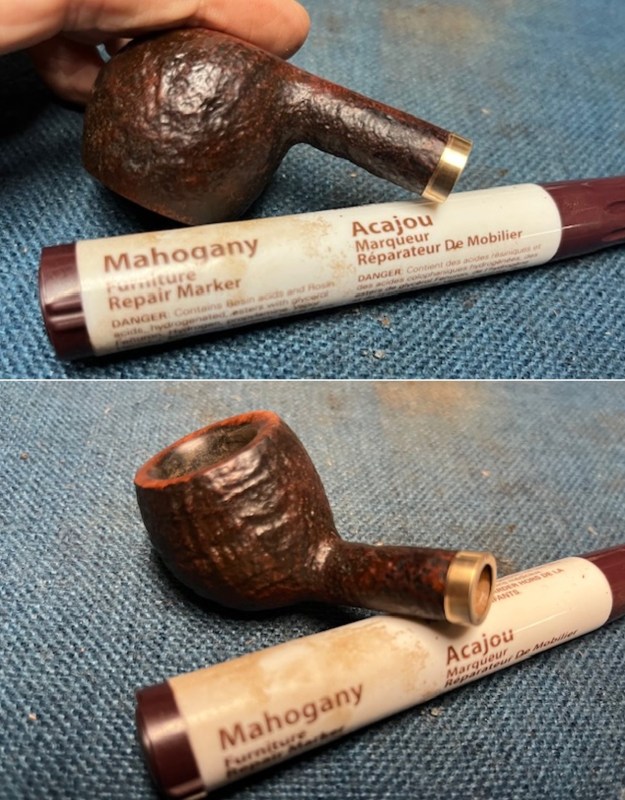 I polished the brass band and the smooth inward bevelled rim top with 320-3500 grit sanding pads. The brass took on a rich shine and the rim top looked much better. I took a photo of the pipe at this point.
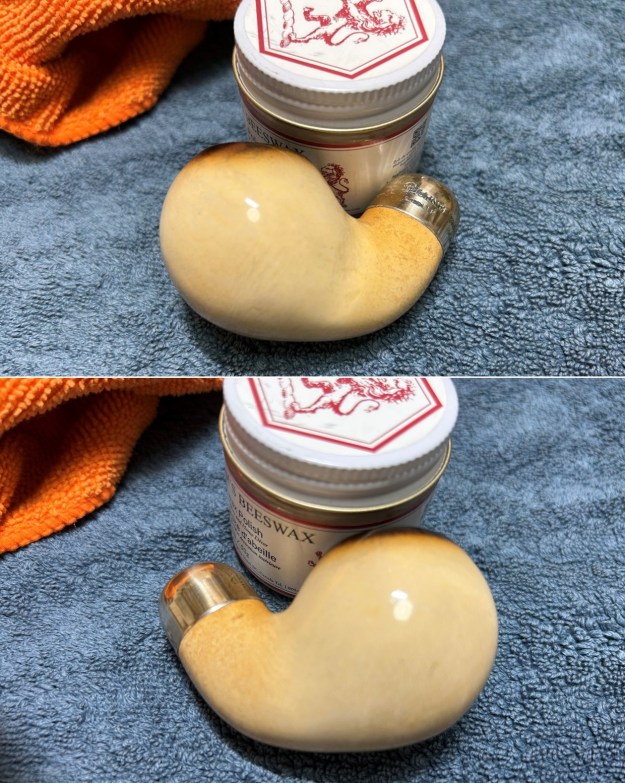
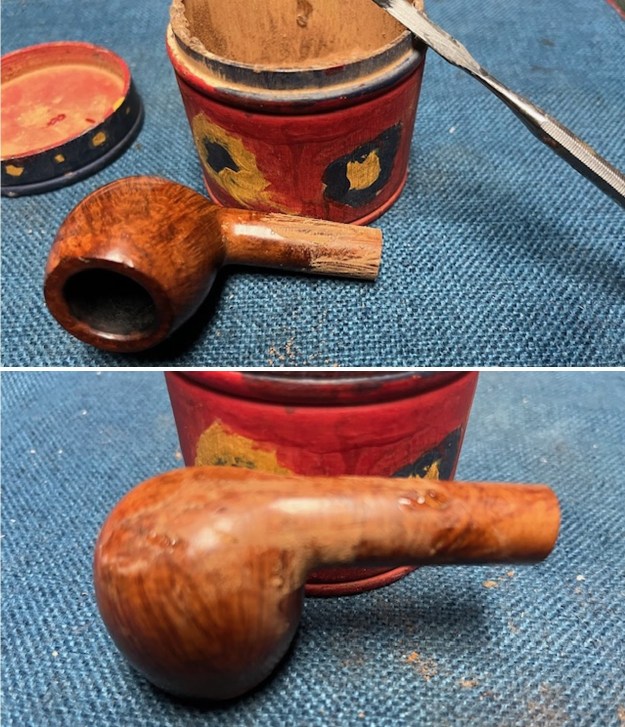
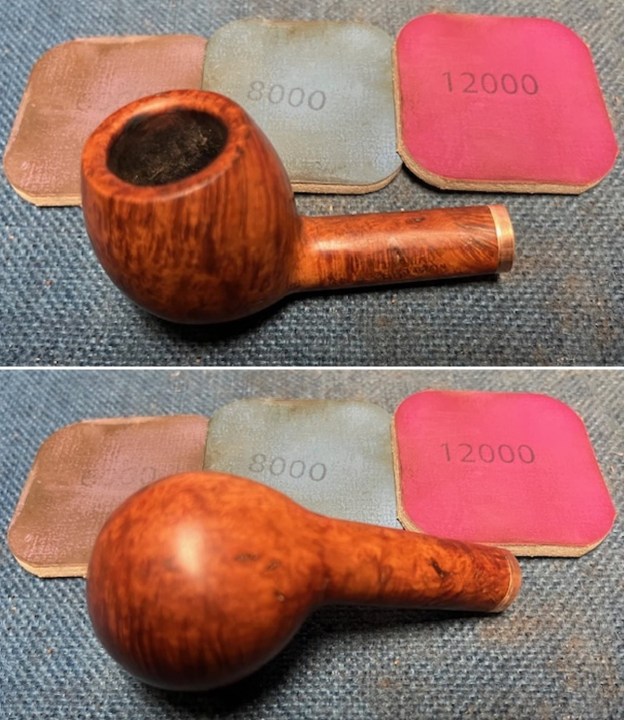
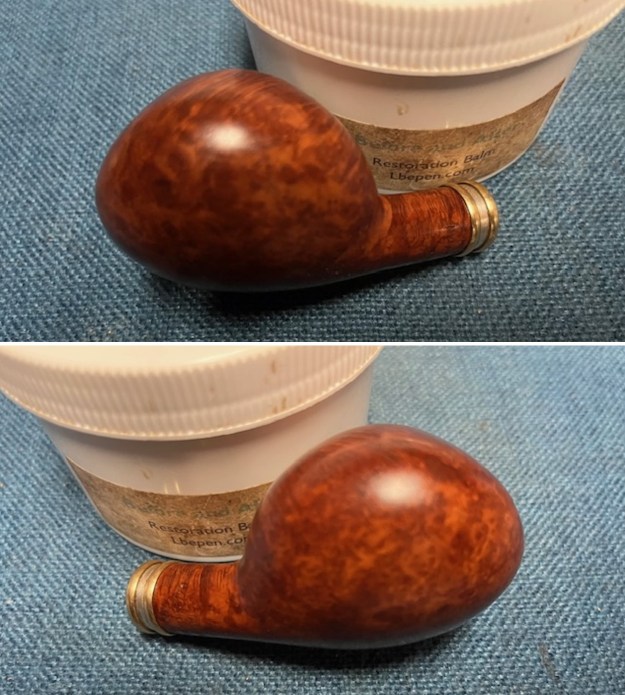
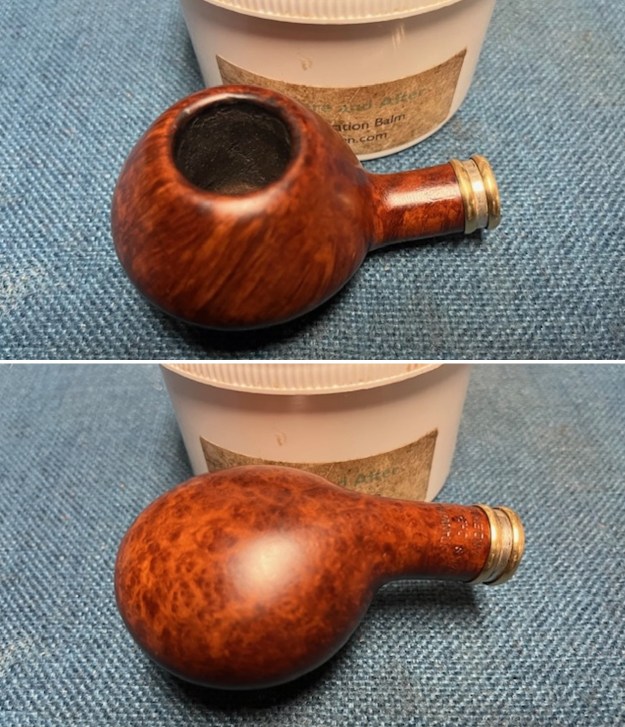
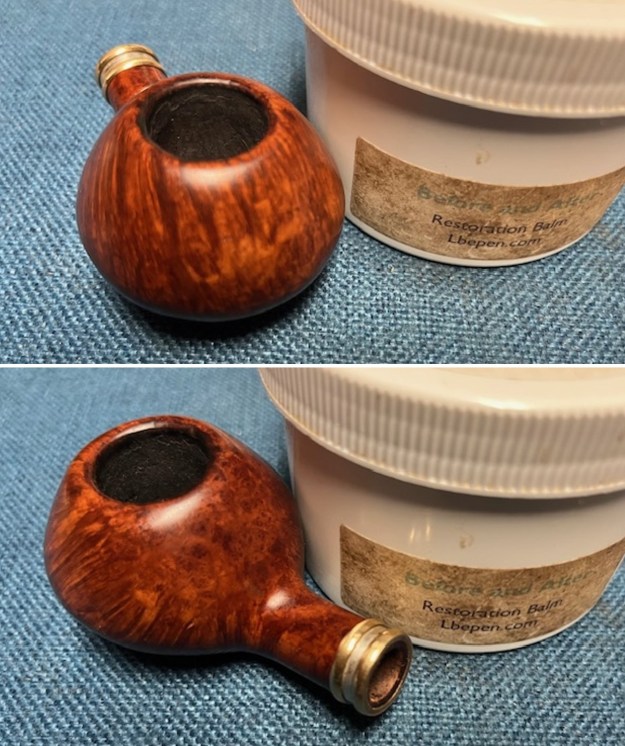
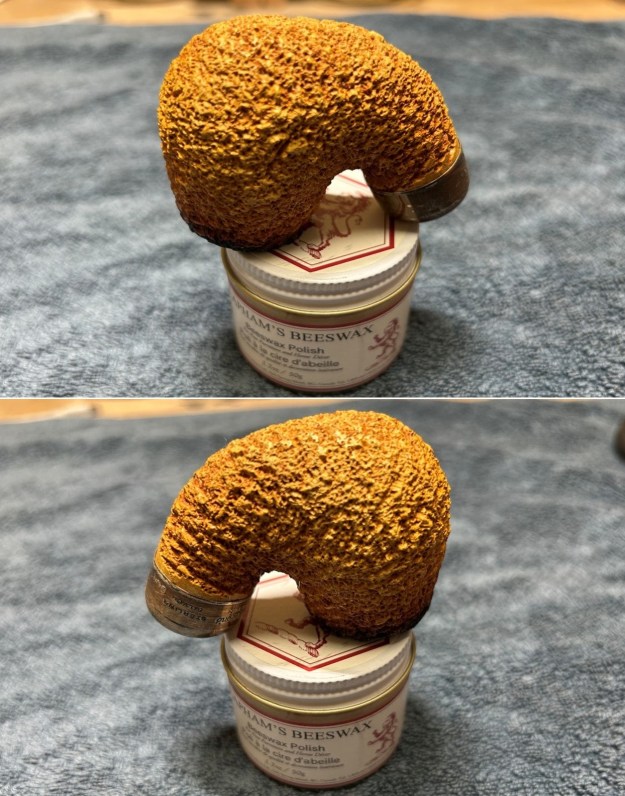
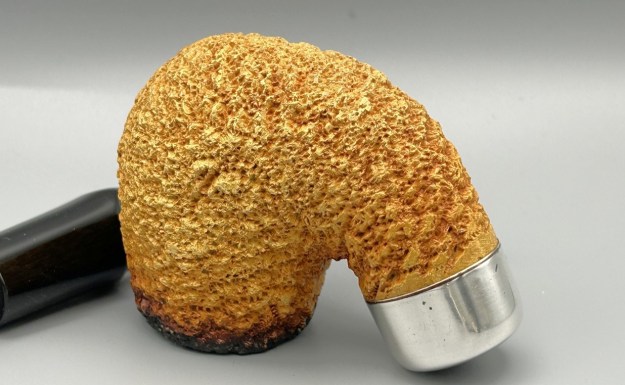
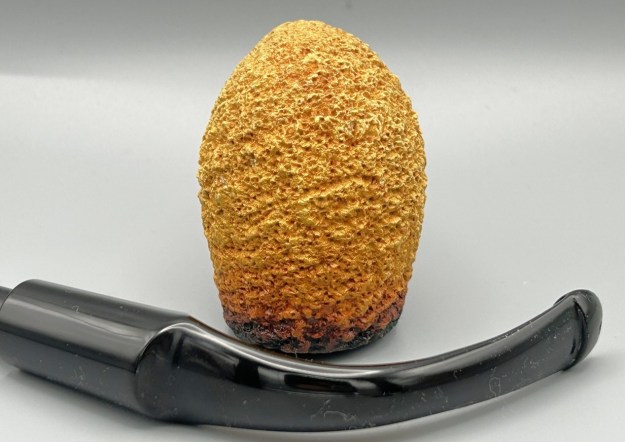
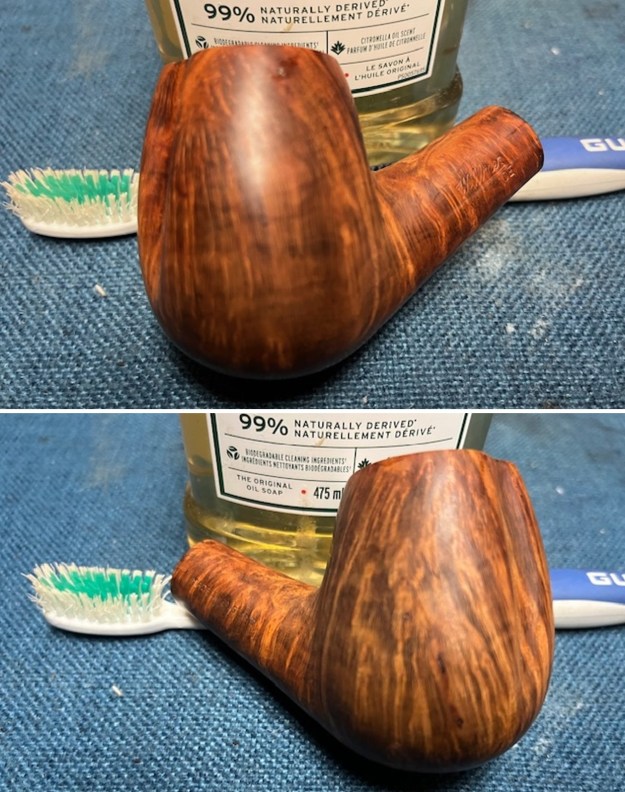
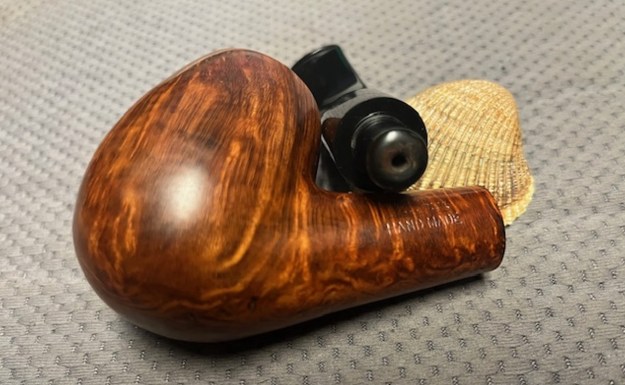
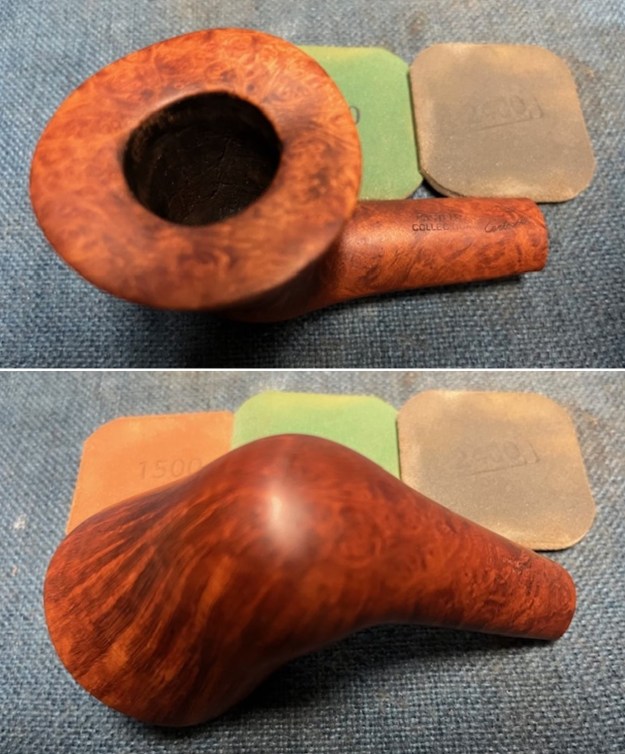
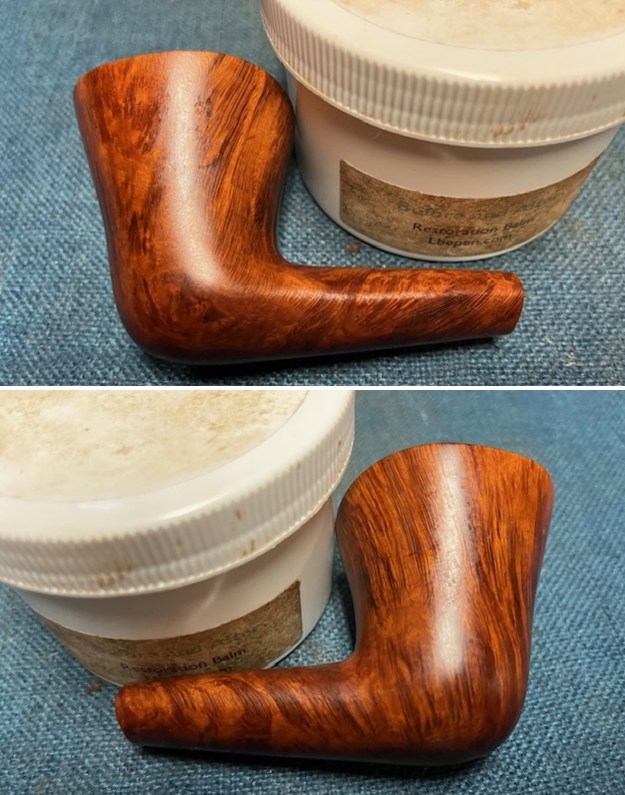
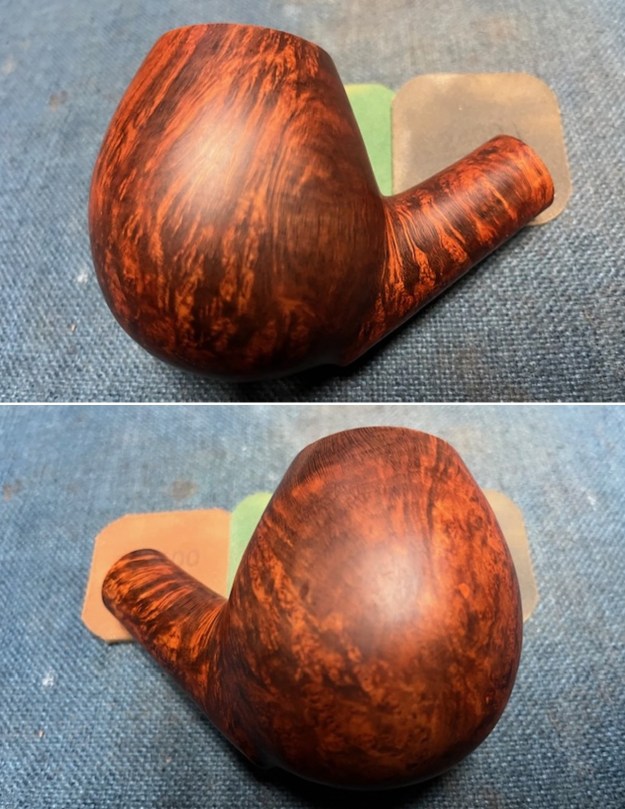
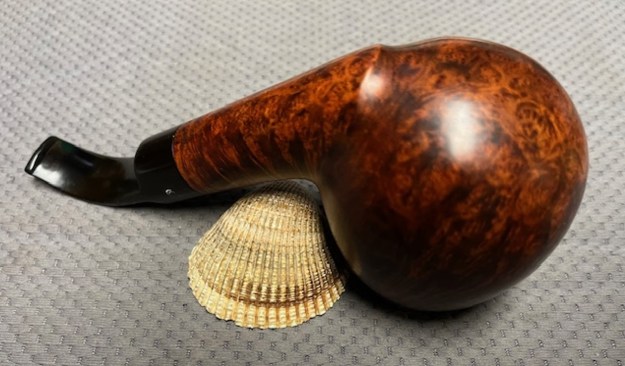
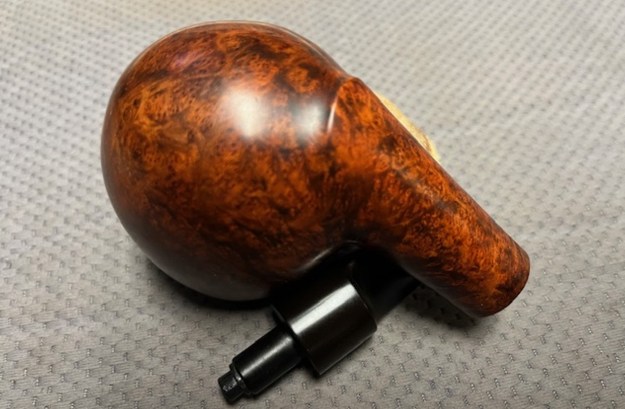
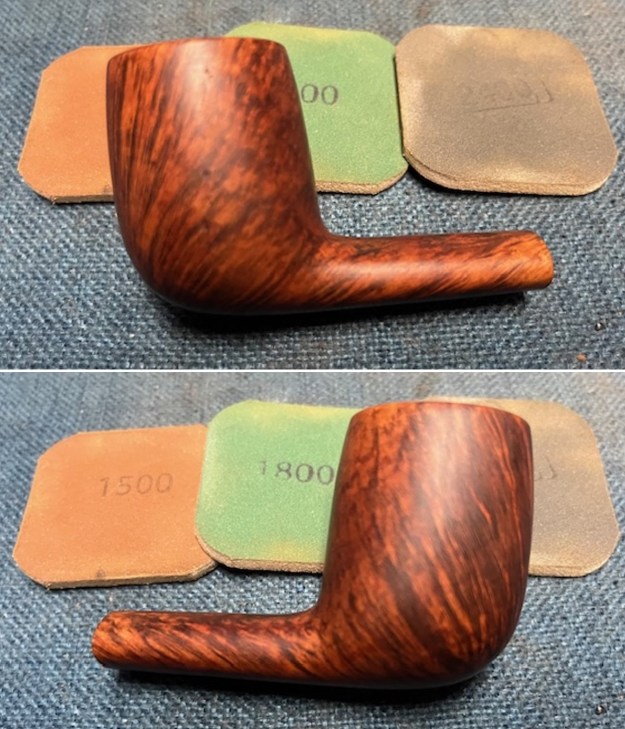
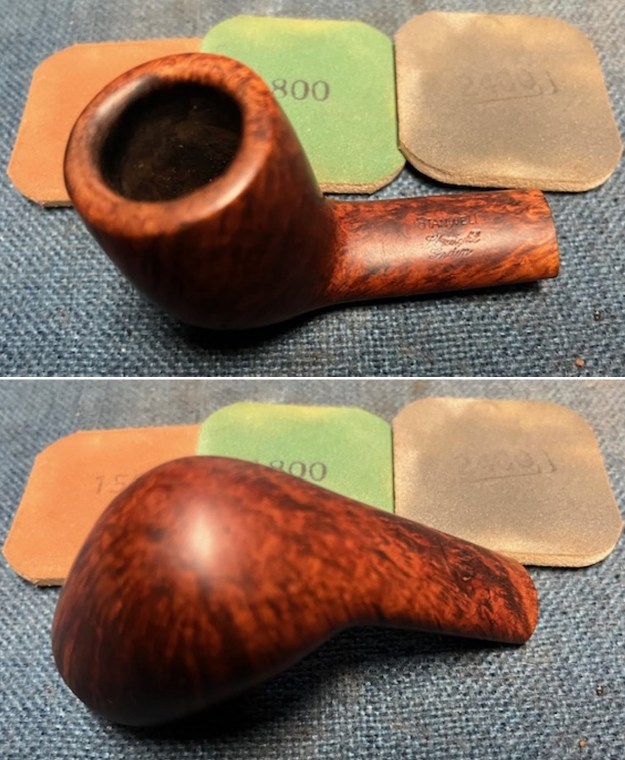
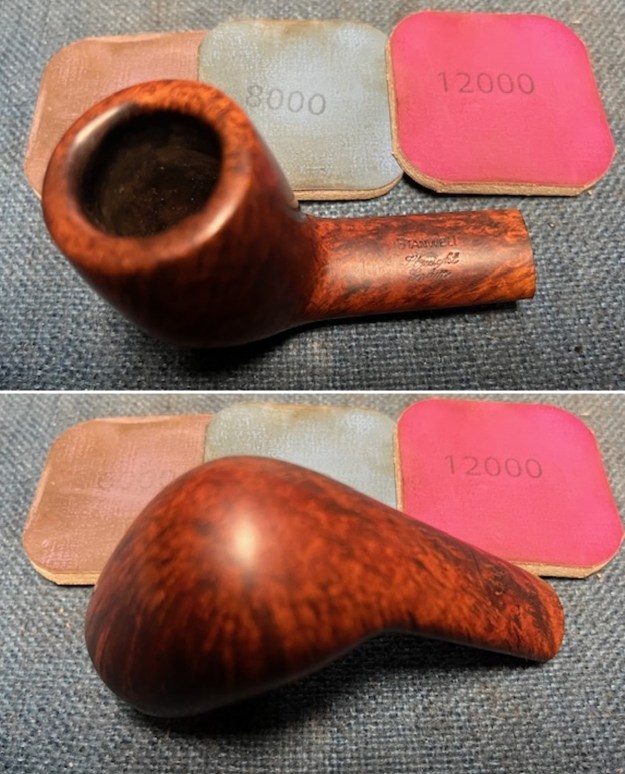
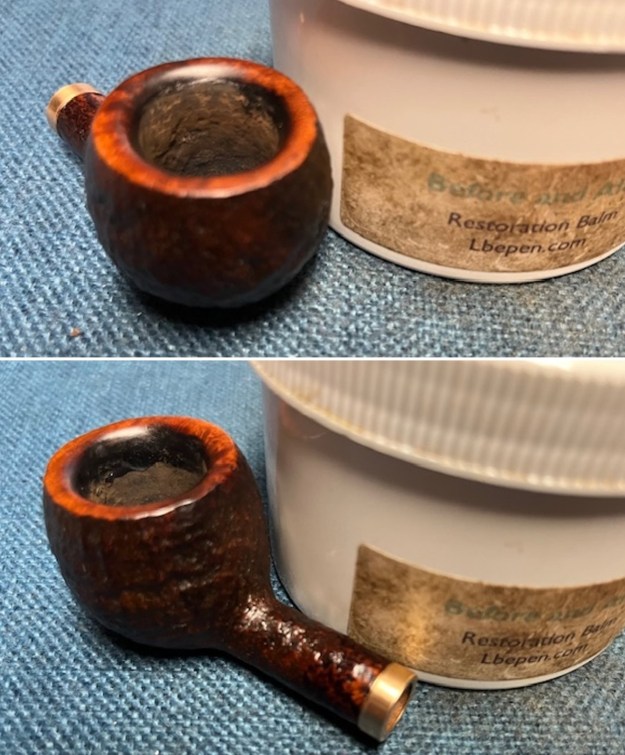
 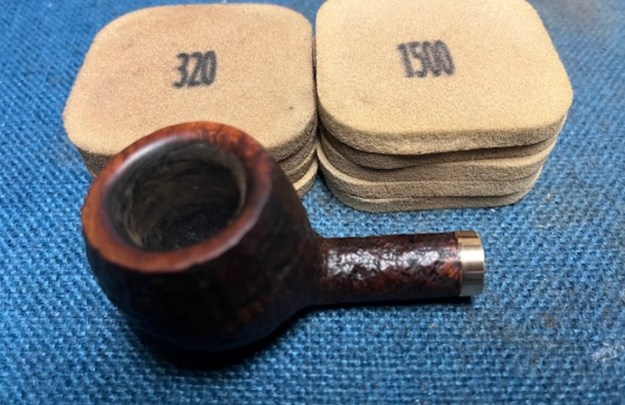 I rubbed the briar down with Before & After Restoration Balm and worked it into the sandblast briar and the repaired areas. The product works to clean, enliven and preserve the briar and give it a rich lustre. The briar came alive and the blast really pops.

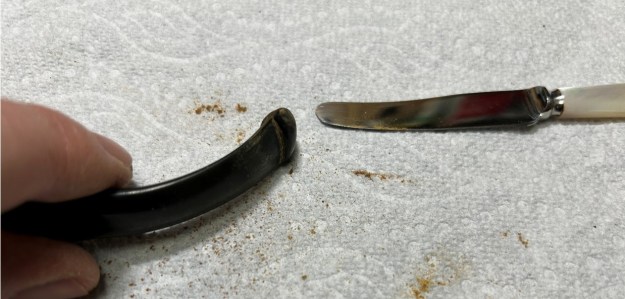
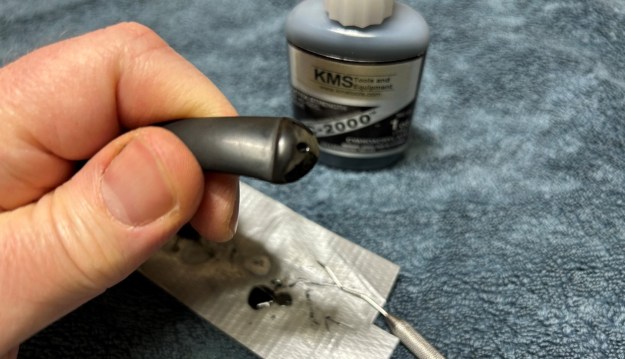
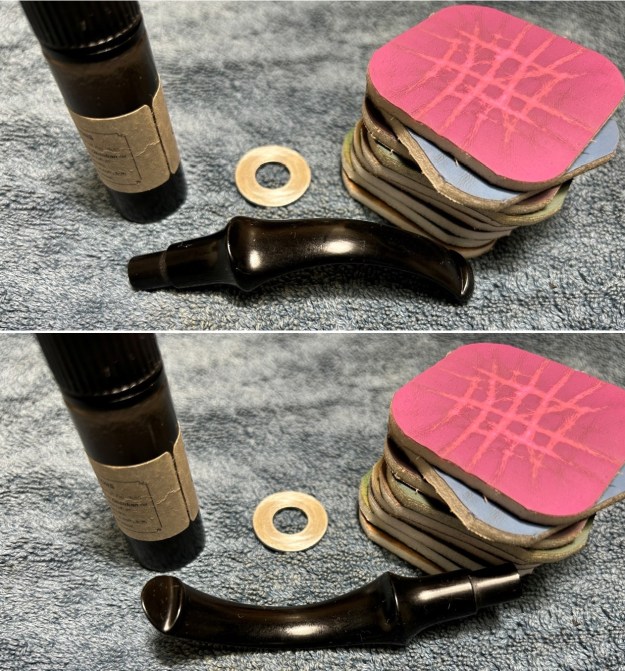
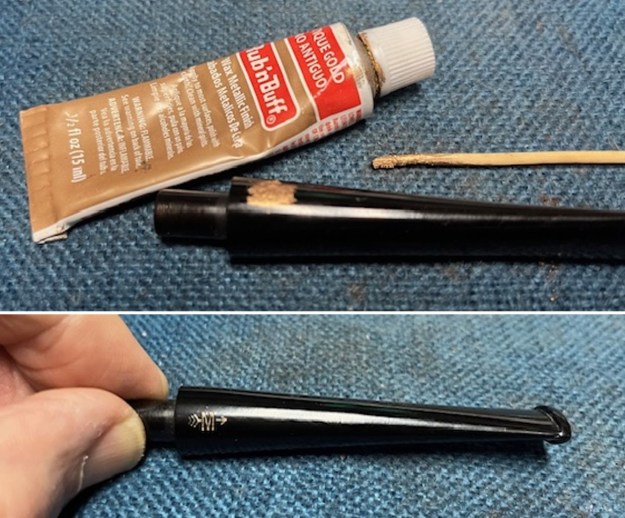
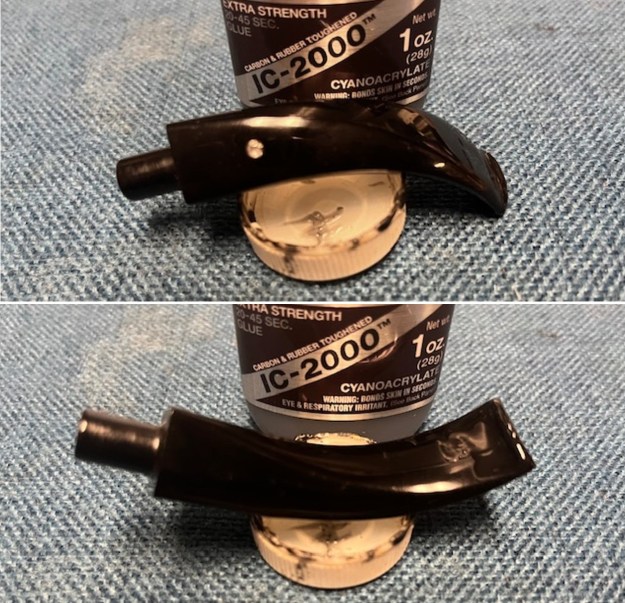
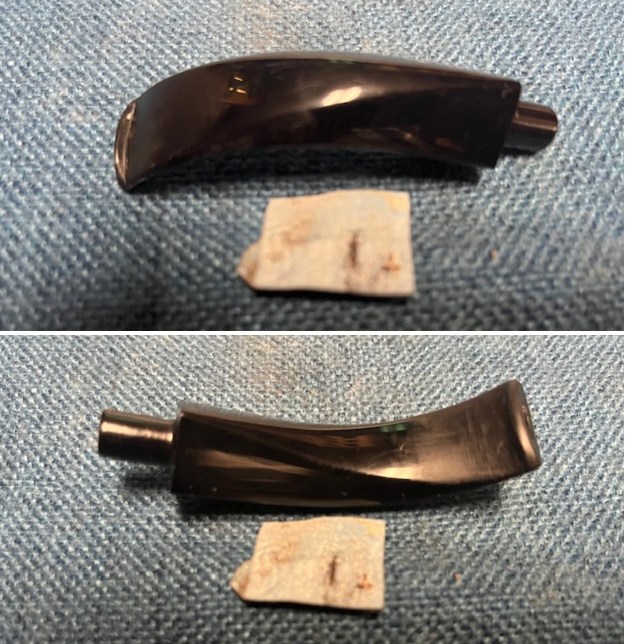
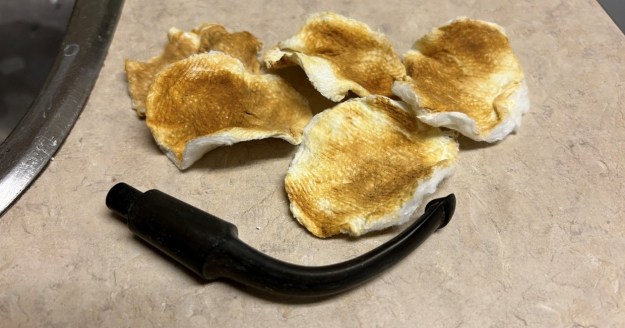
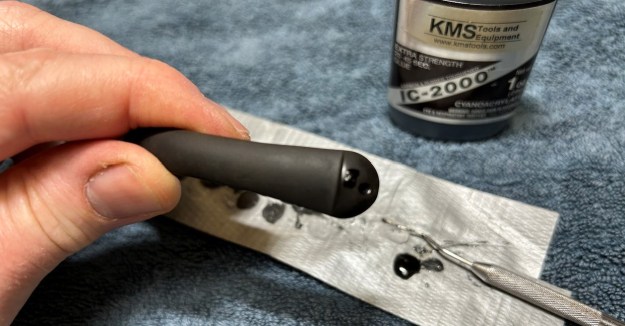
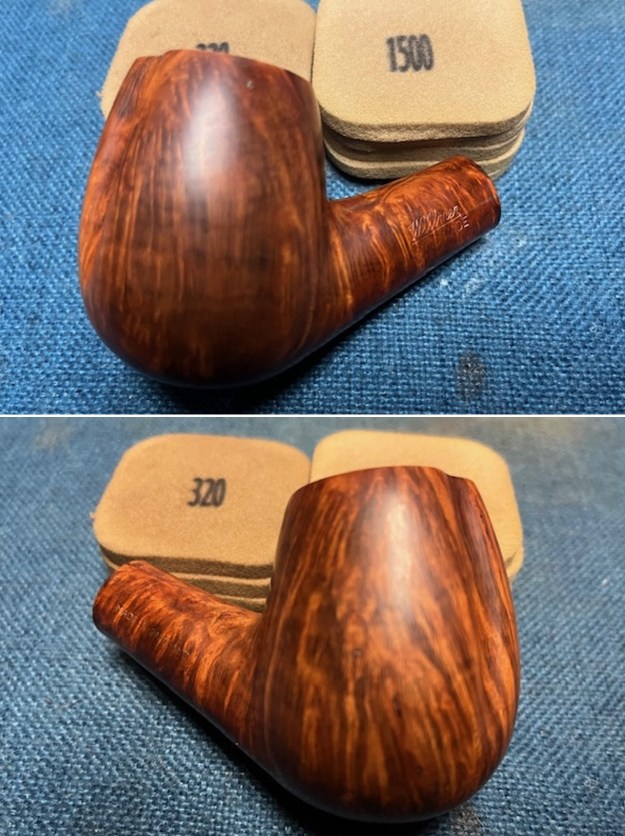
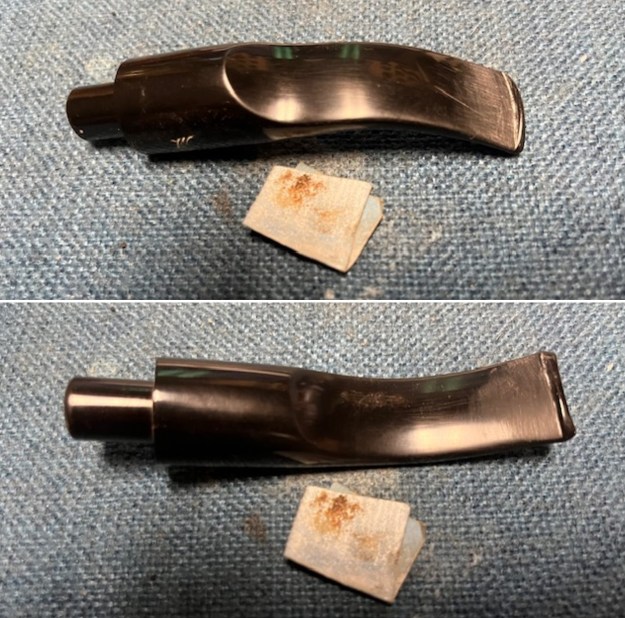
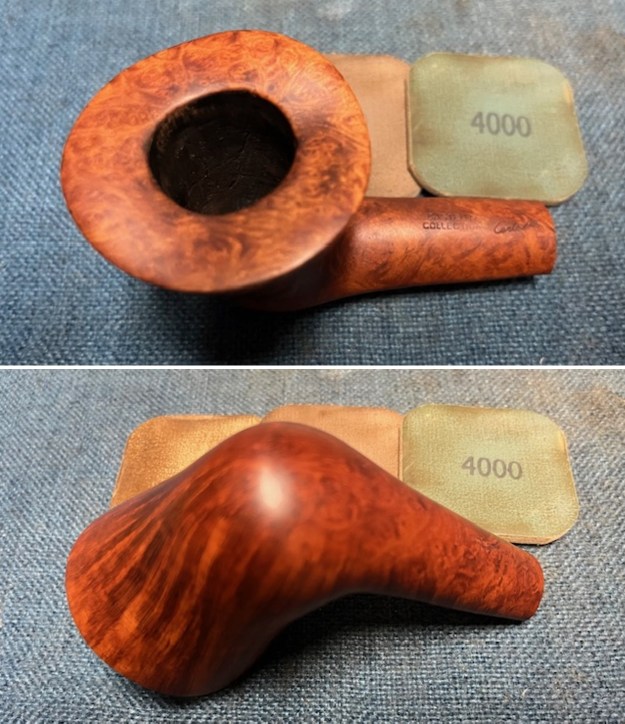
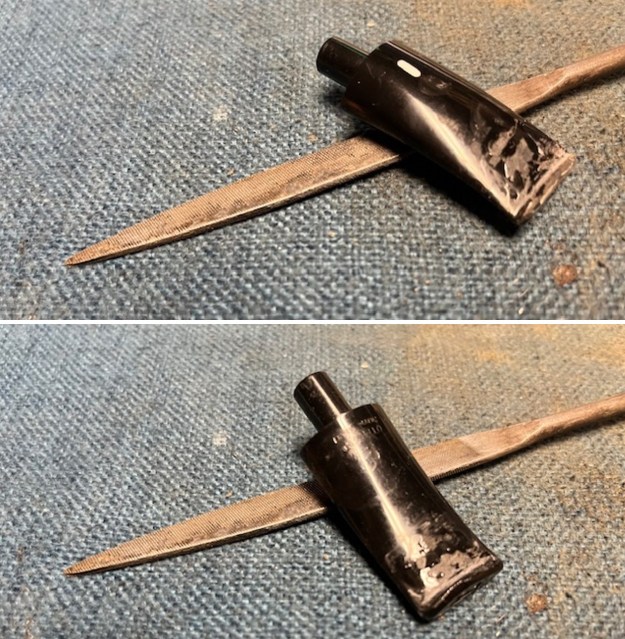
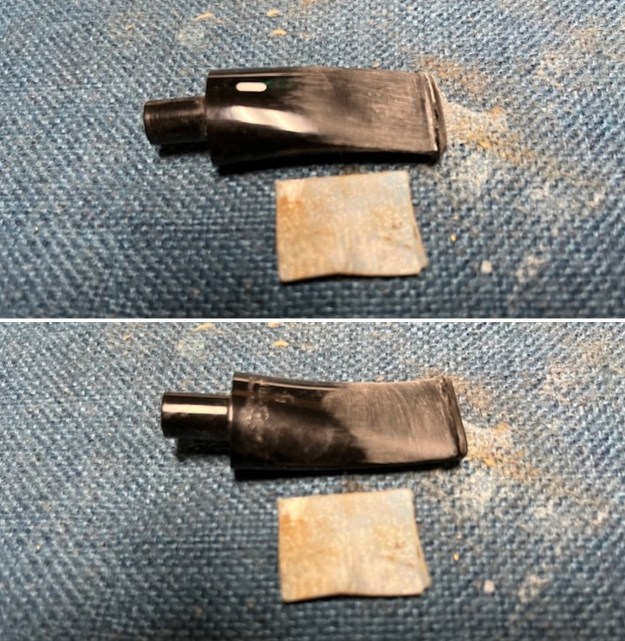
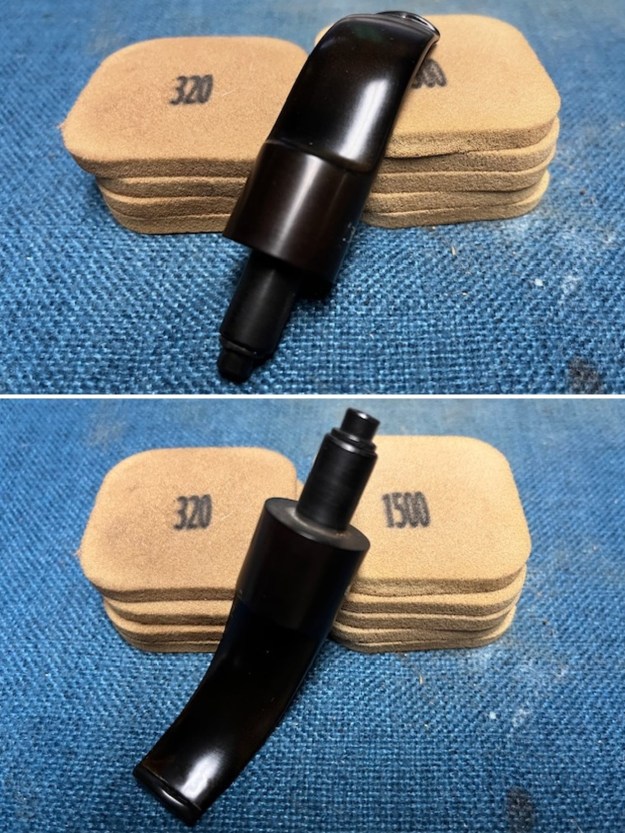
 I set the bowl aside and turned my attention to the stem. I sanded the stem surface with 320 grit sandpaper to remove the oxidation on the stem and the tooth marks on the surface ahead of the button on both sides.
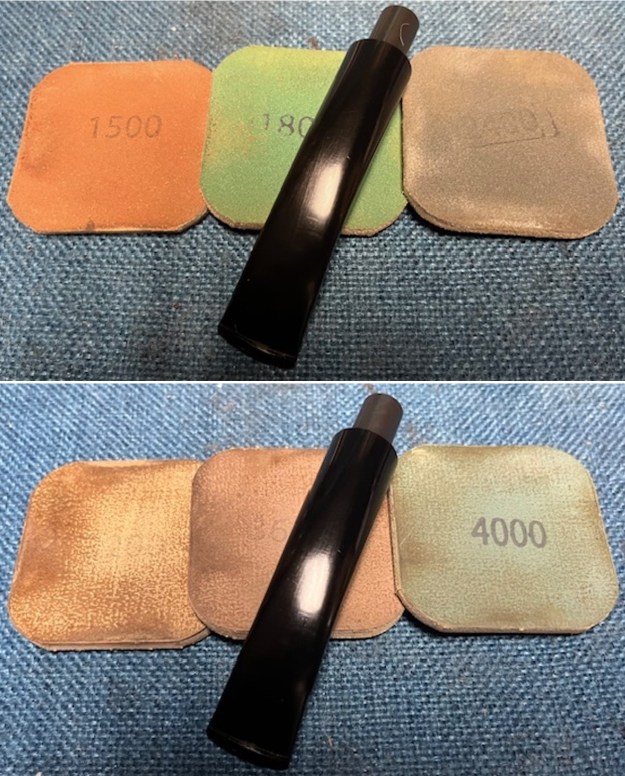
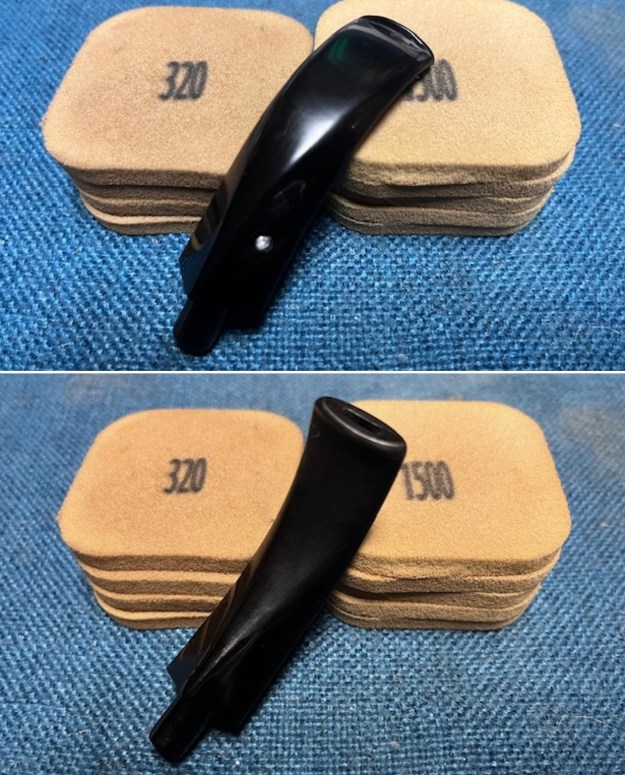
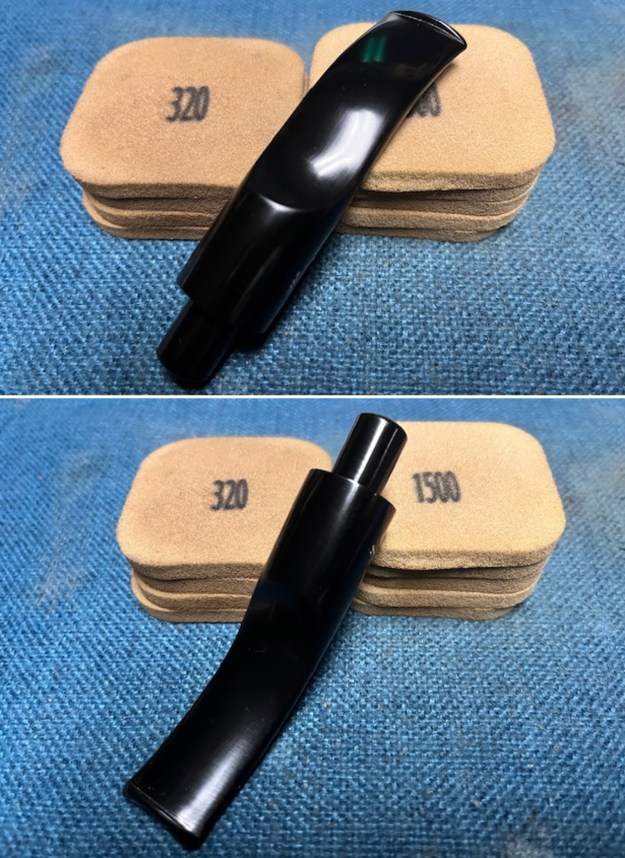
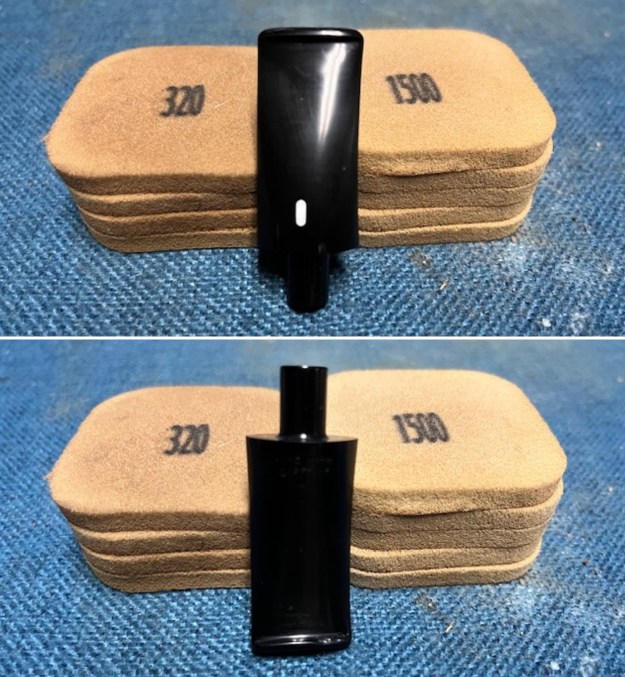
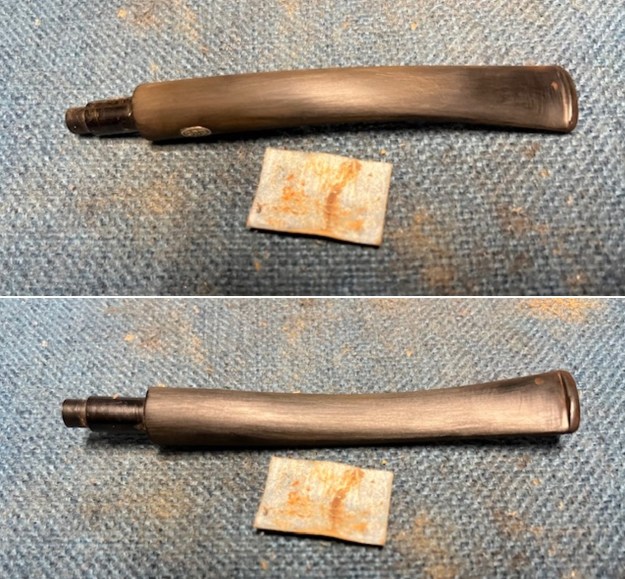 I sanded the stem surface with 320-3500 grit 2×2 inch sanding pads. I wiped it down after each sanding pad to remove the debris. It really began to take on a shine.
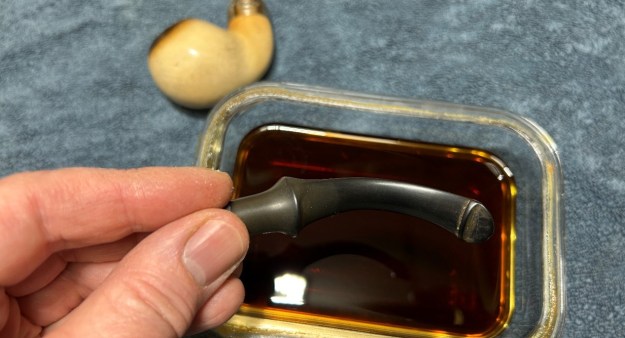
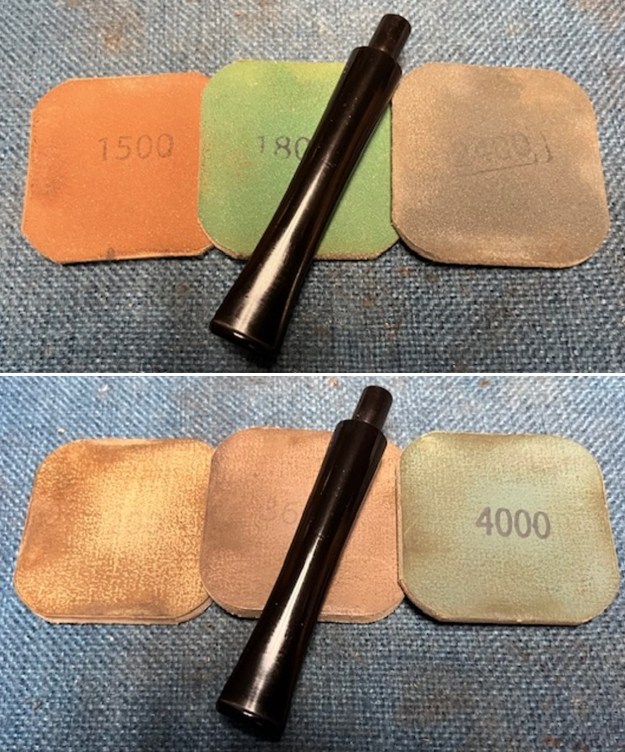
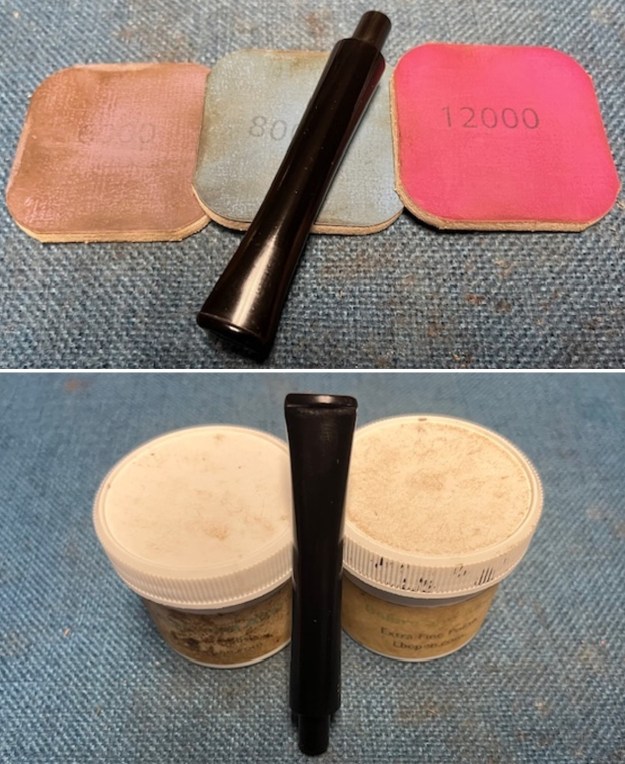
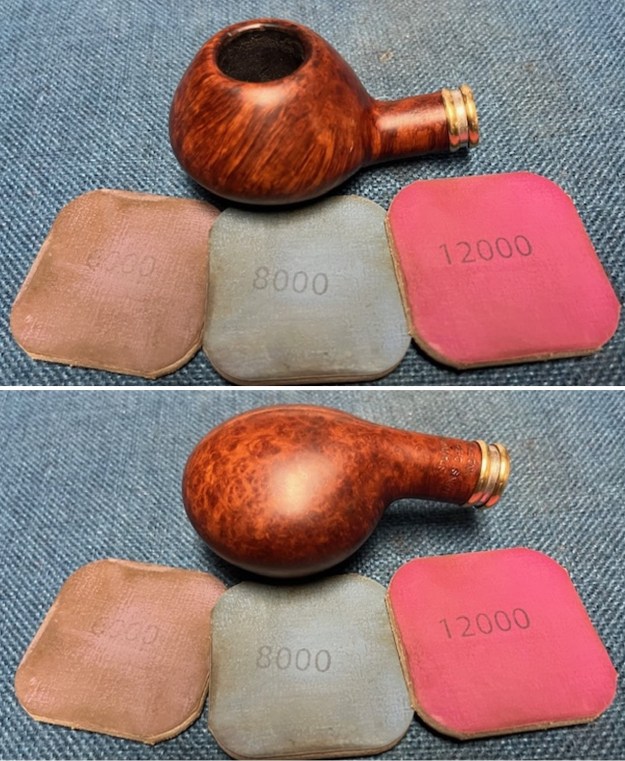
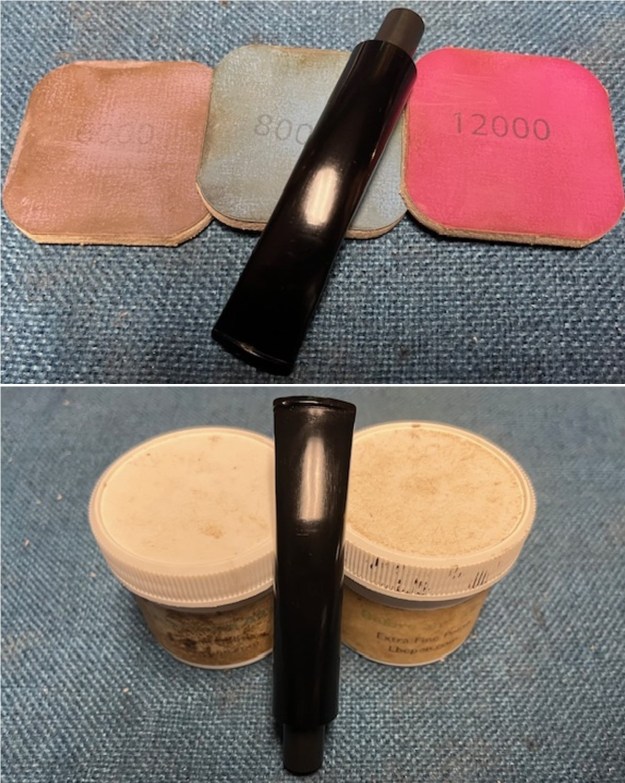
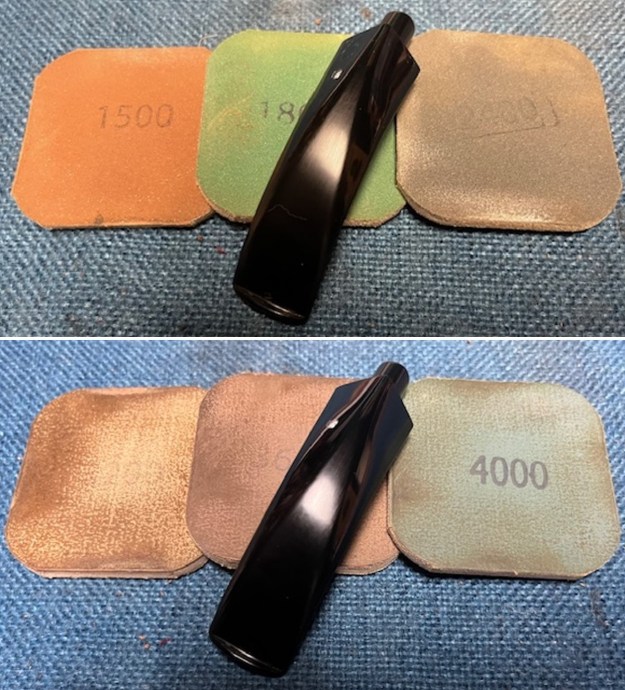
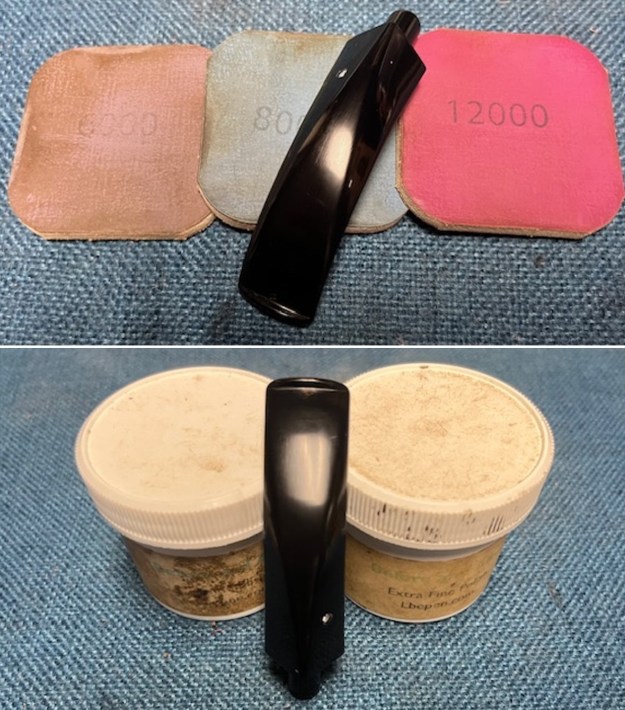
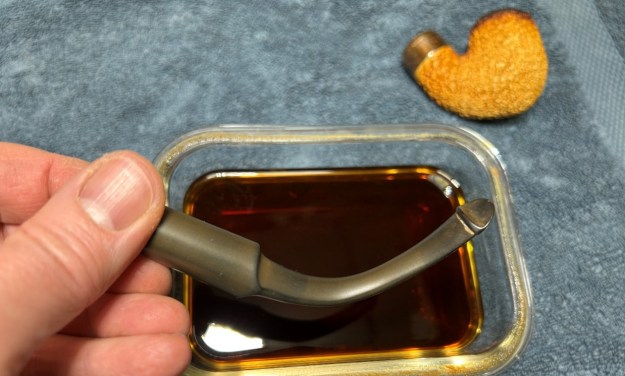
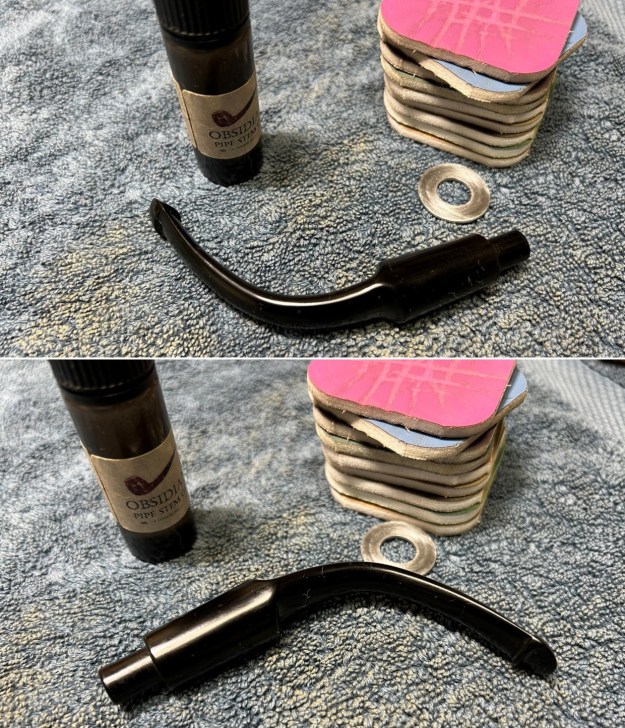
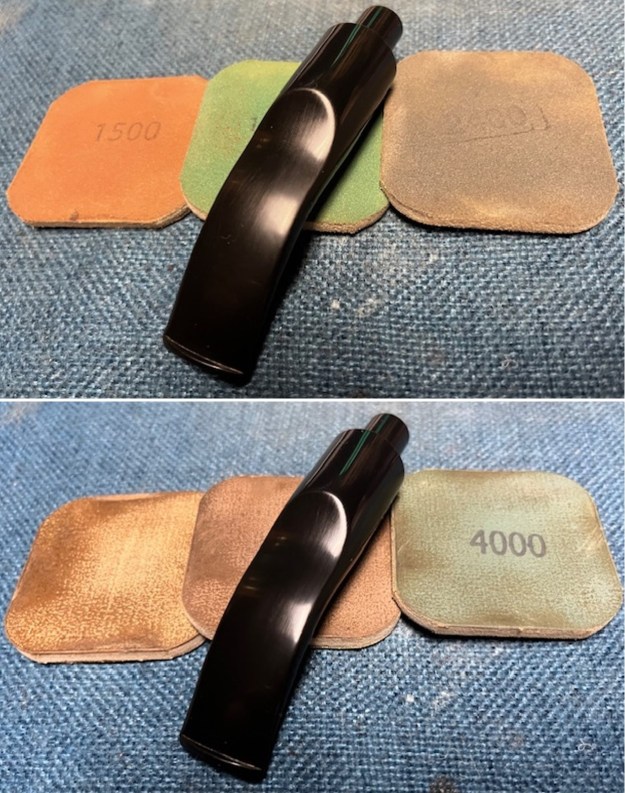
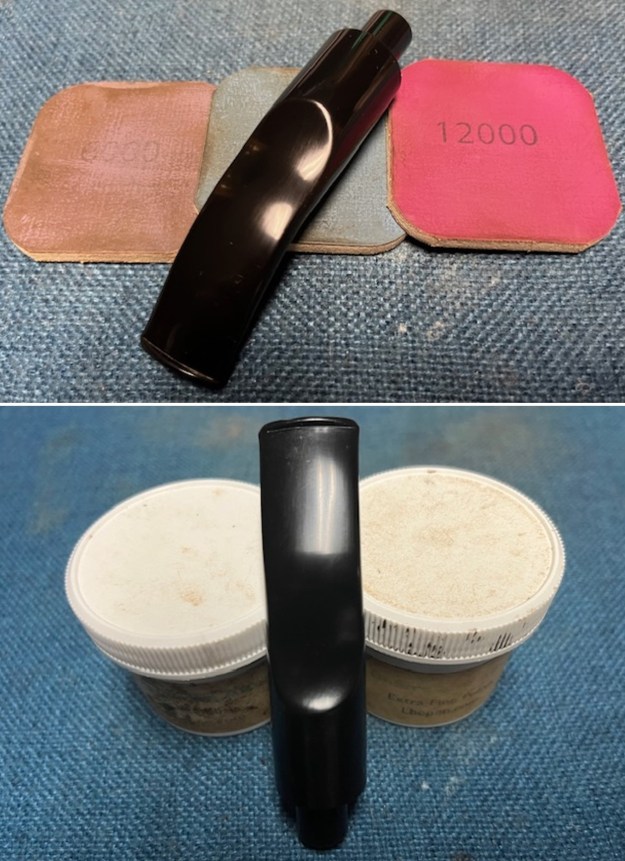
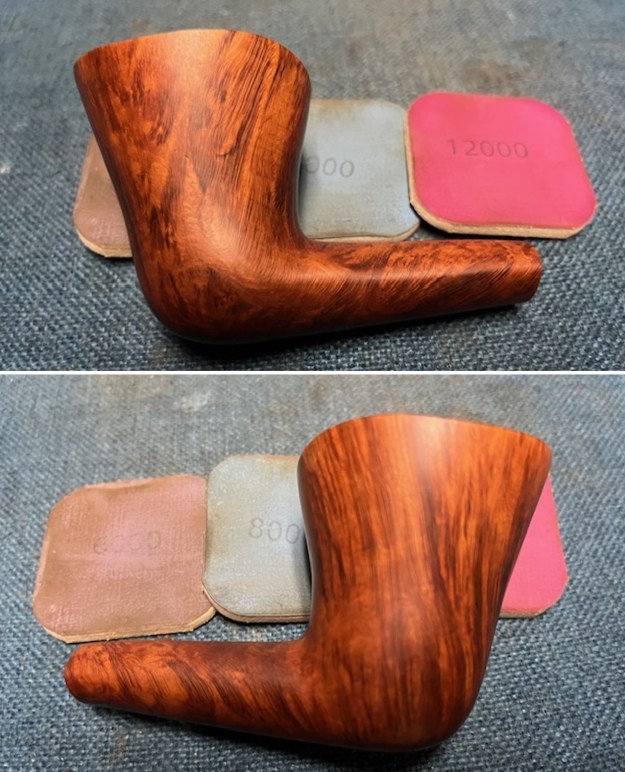
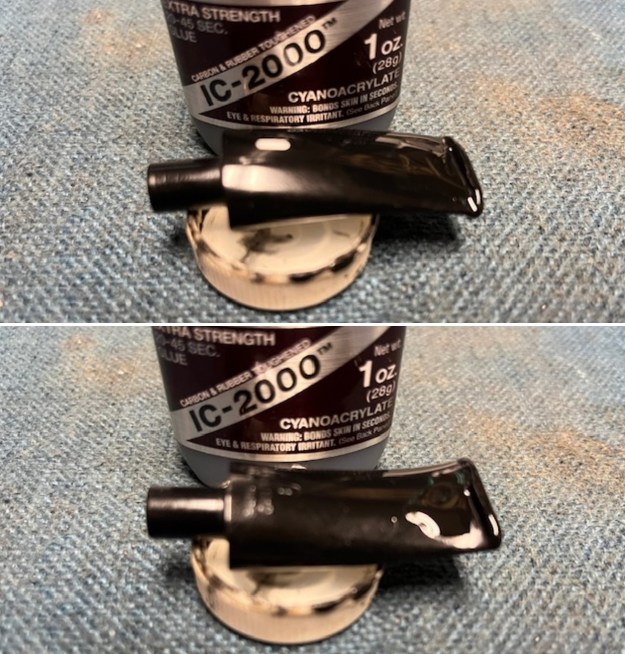
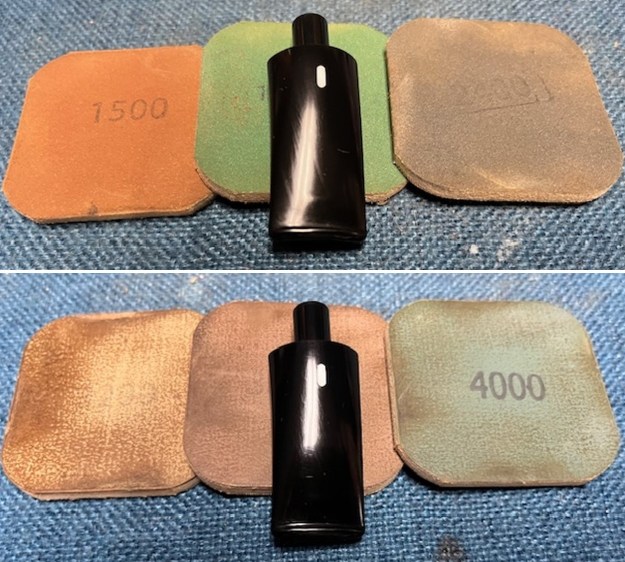
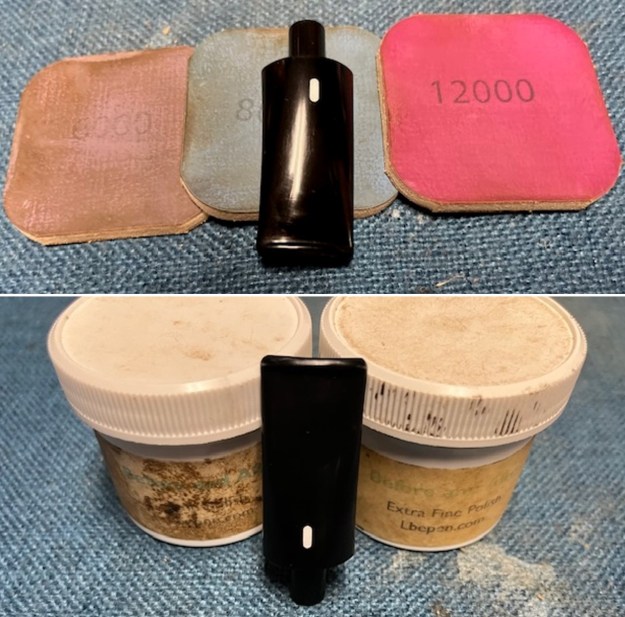
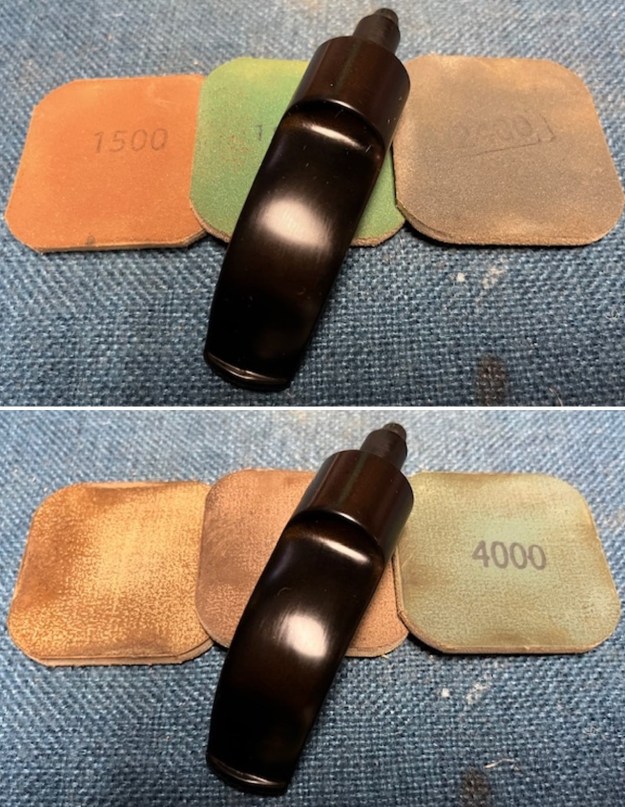
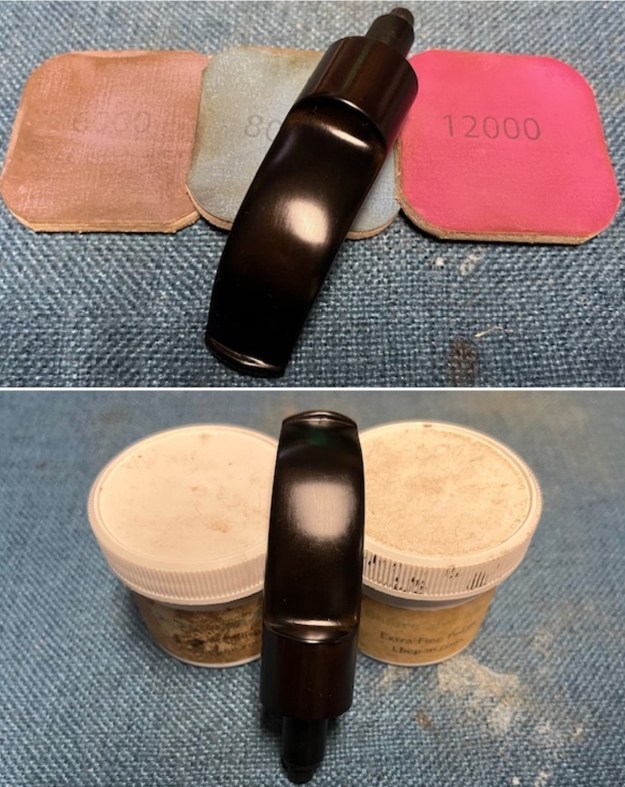
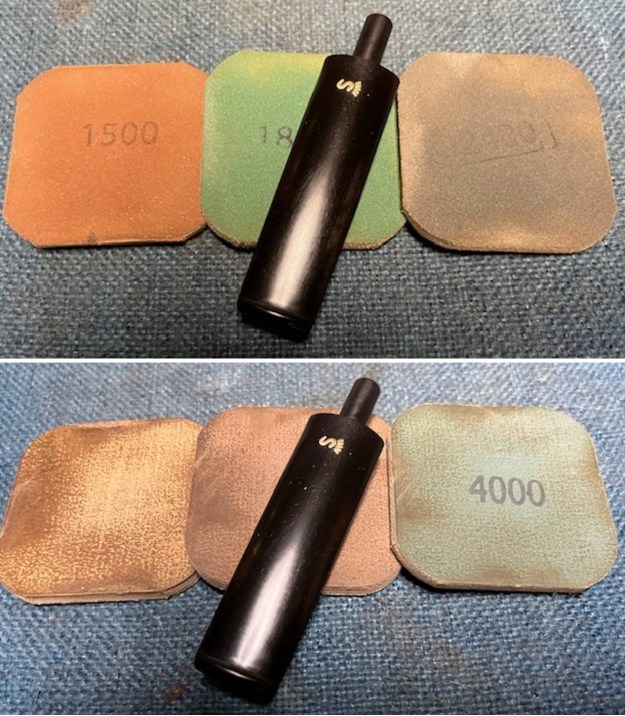
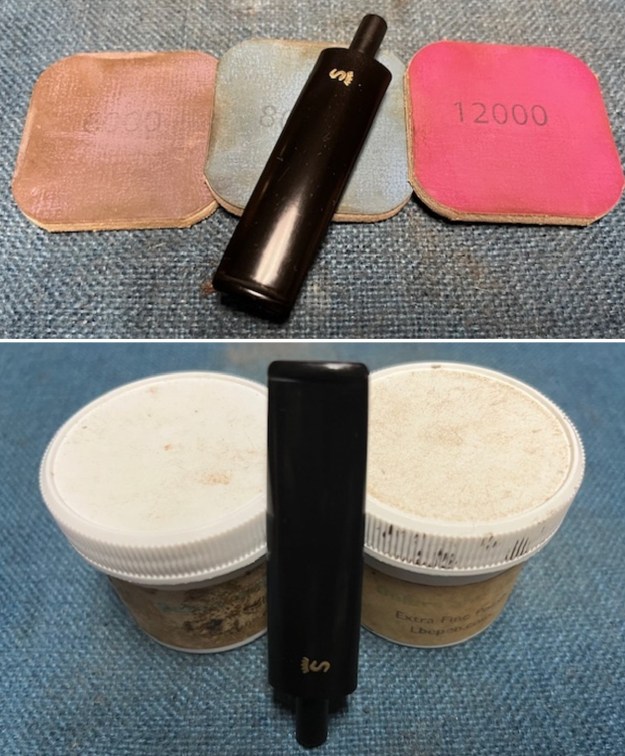
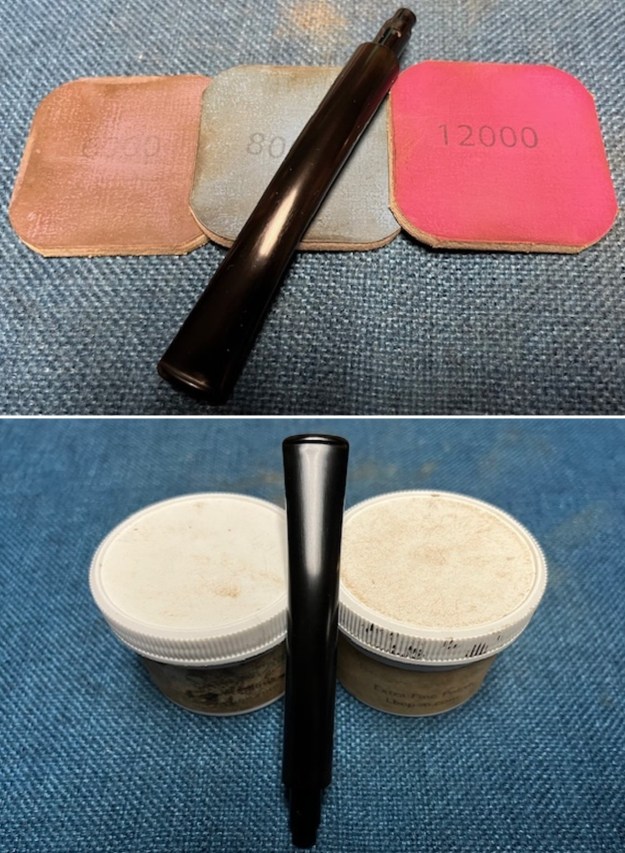
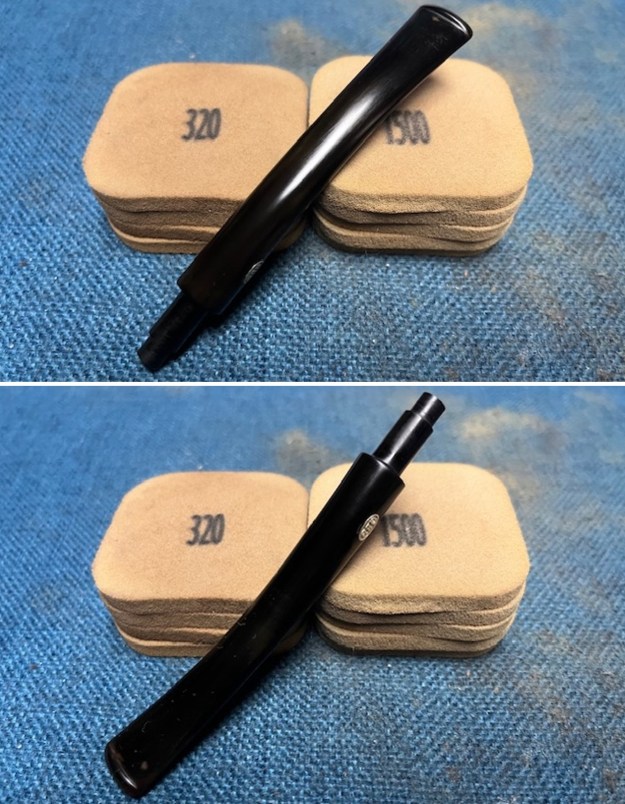 I polished the vulcanite with micromesh sanding pads – 1500-12000 grit pads. I wiped it down with Obsidian Oil after each sanding pad. I used Before & After Pipe Polish – both Fine and Extra Fine to further polish the stem.
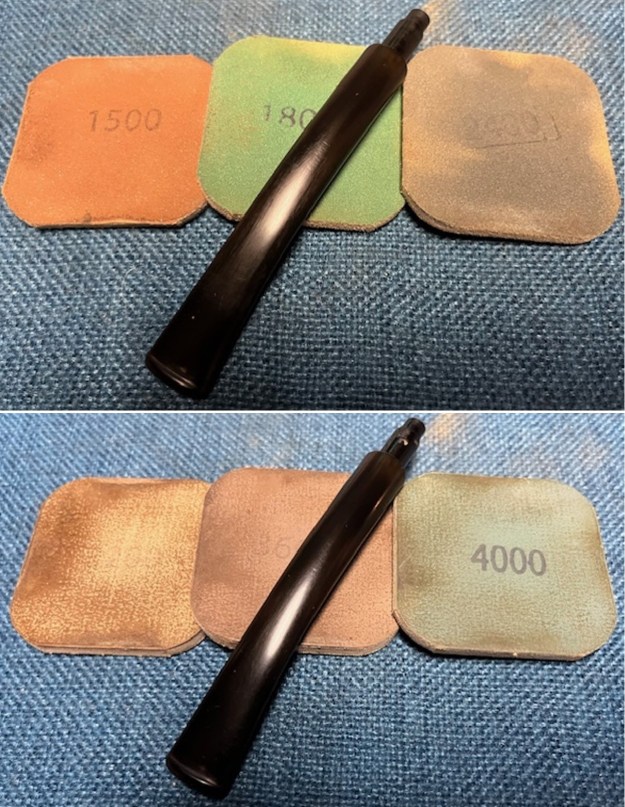
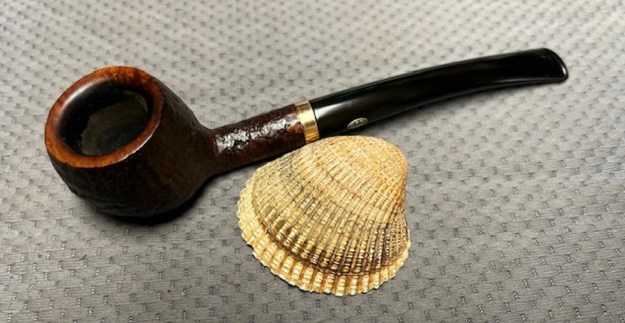
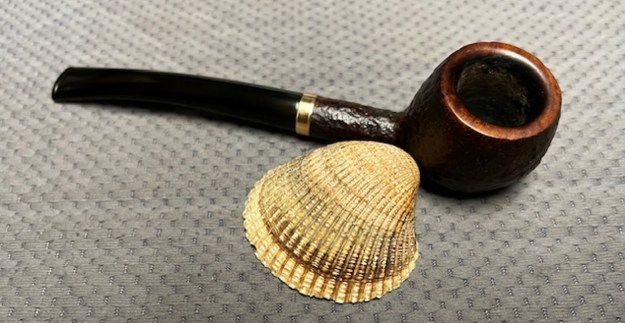
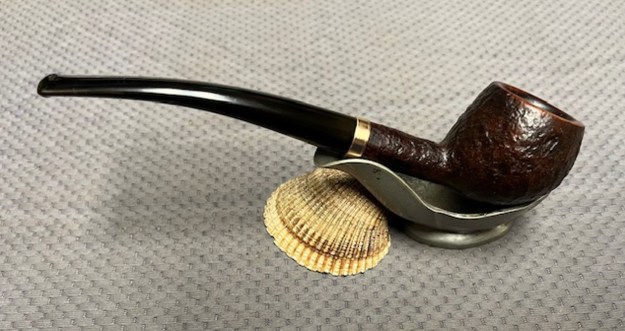
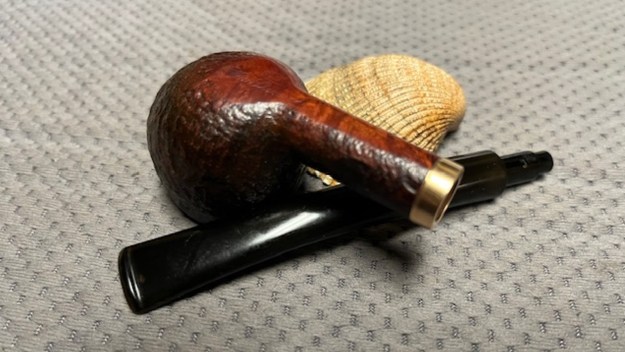
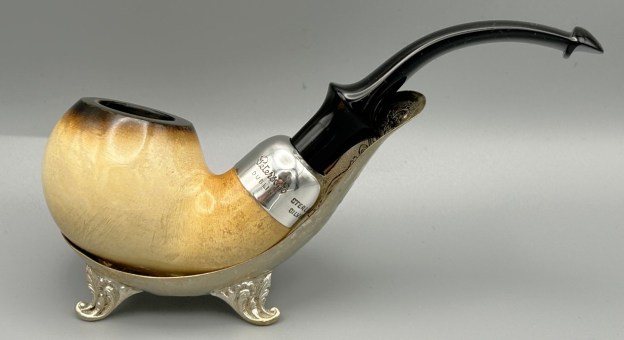
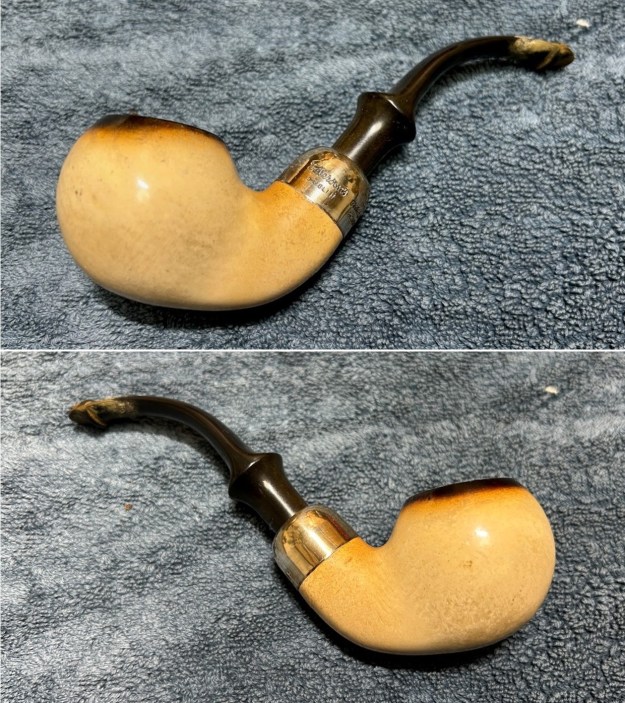
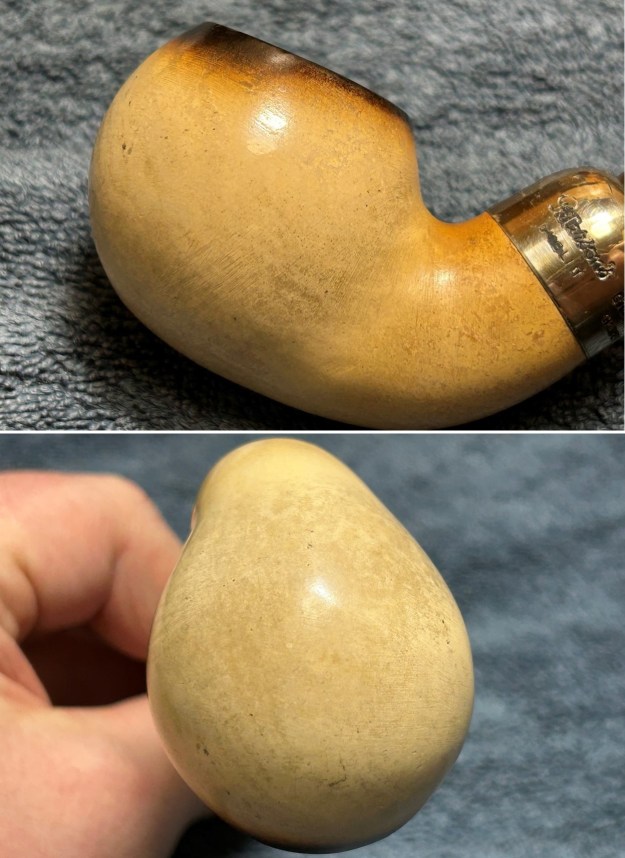
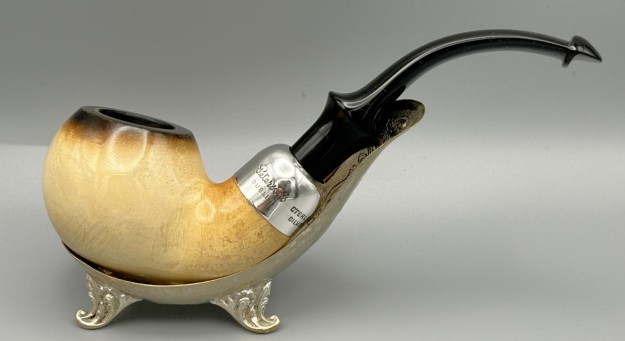
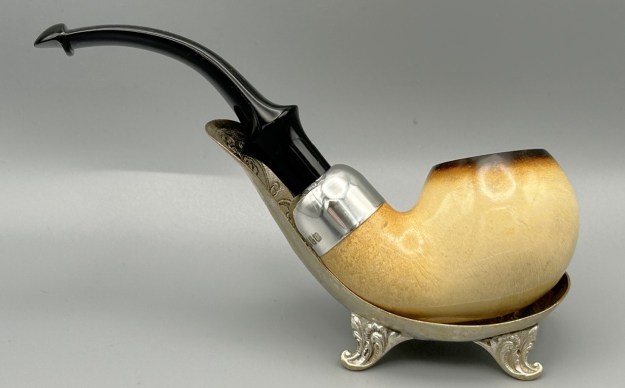
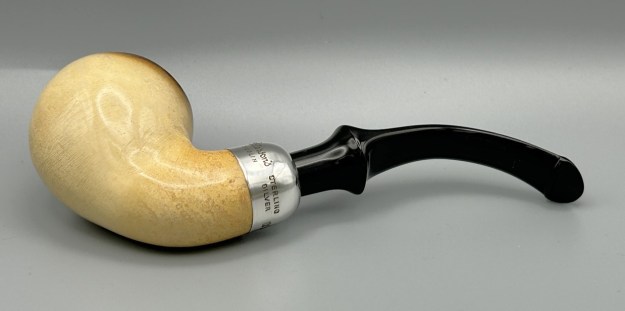
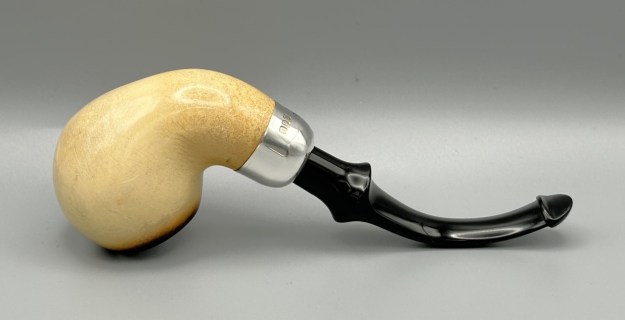
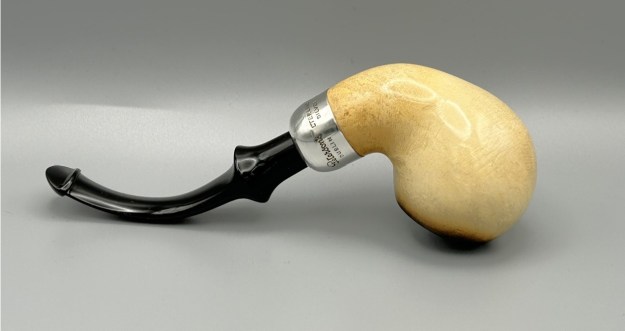
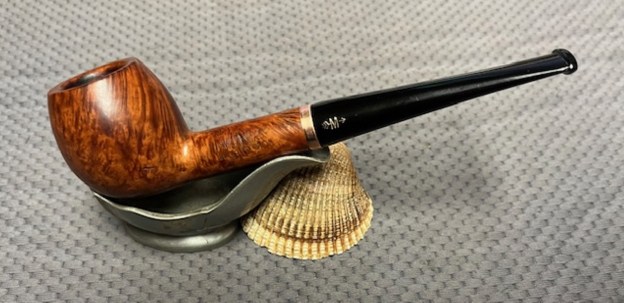
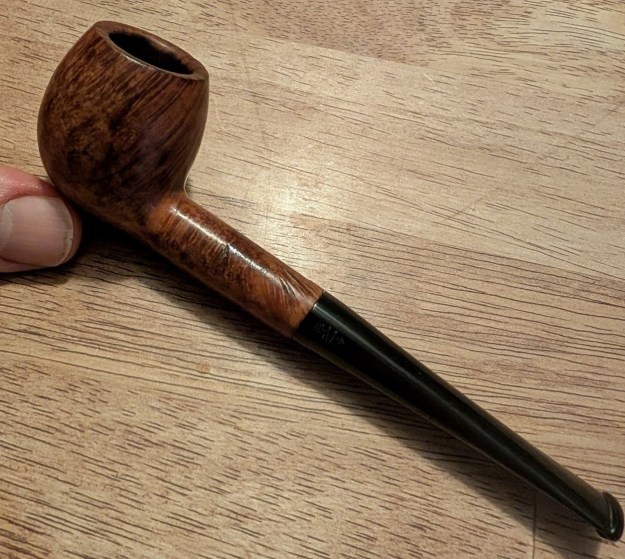
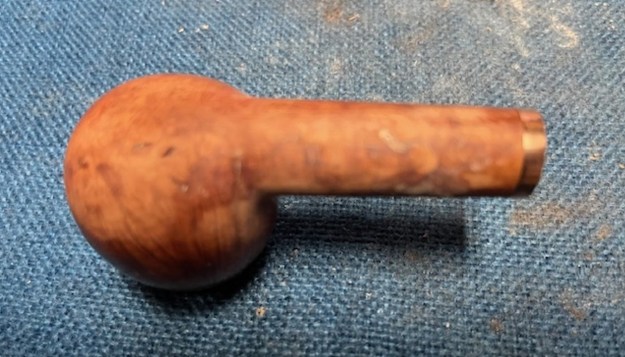
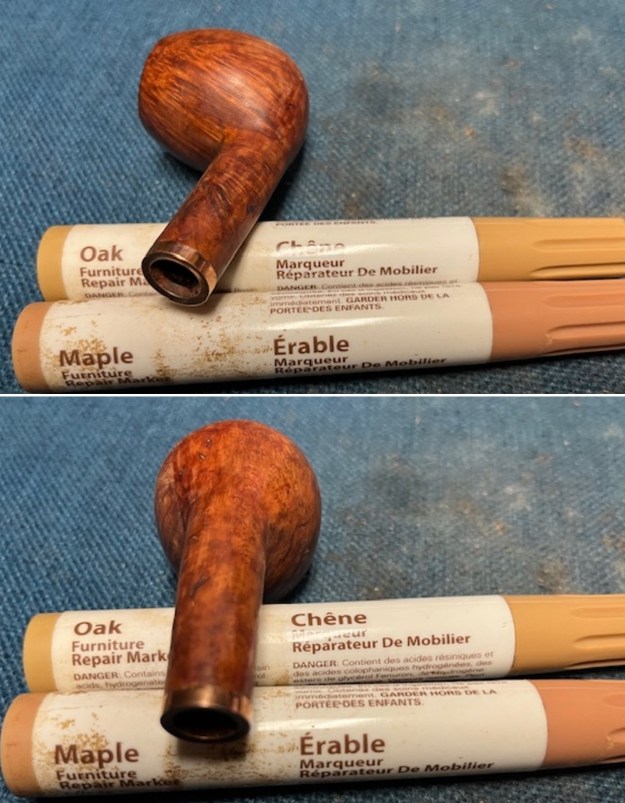
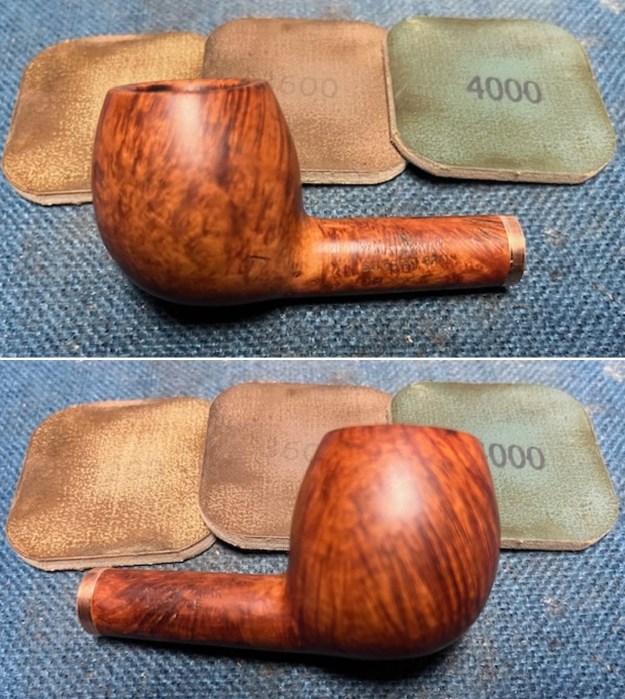
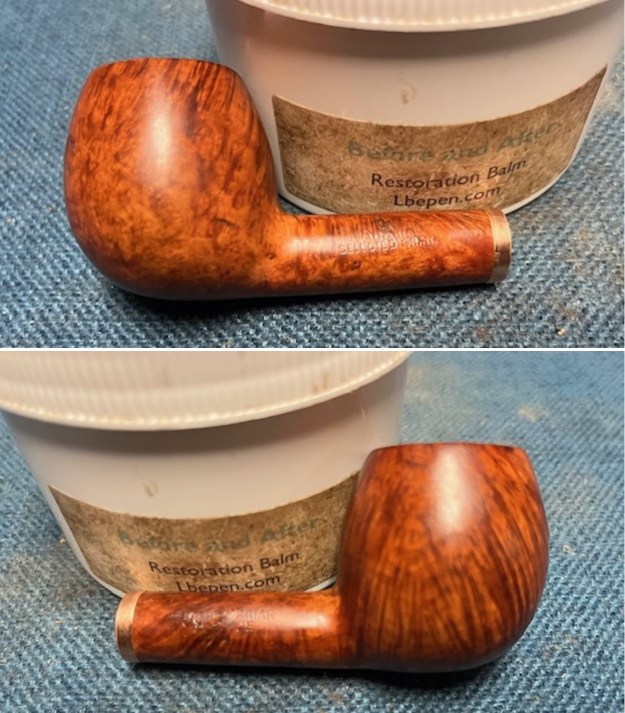
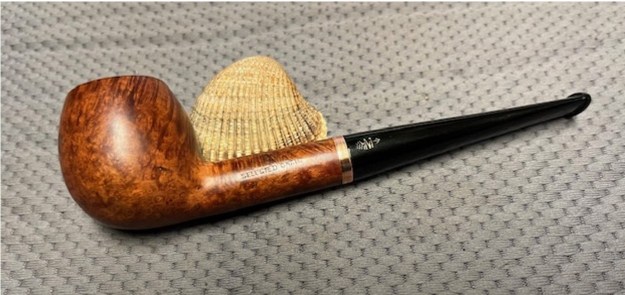
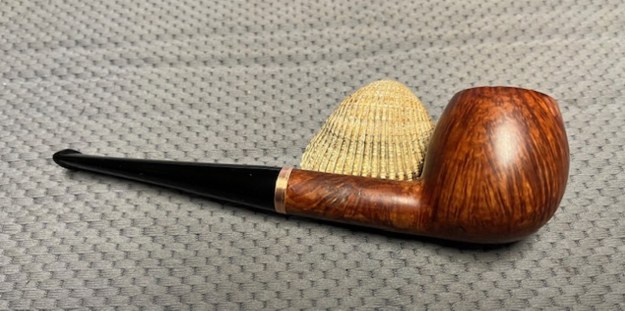
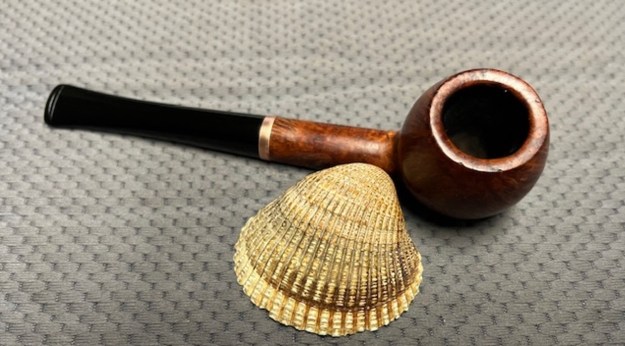
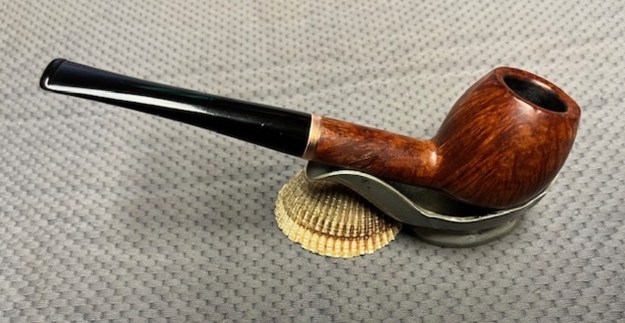
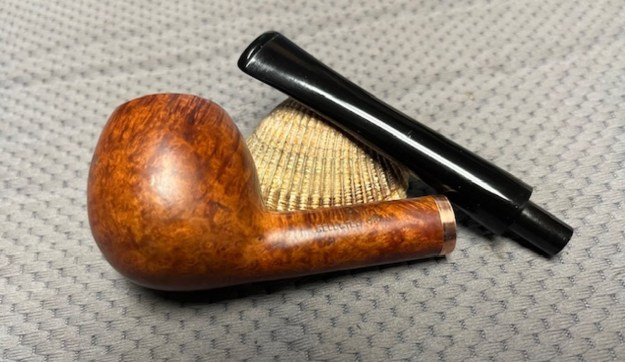
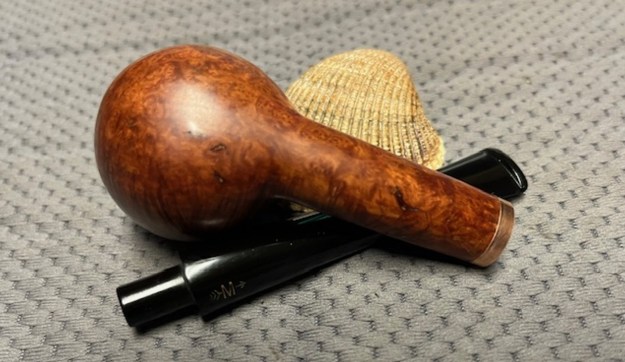
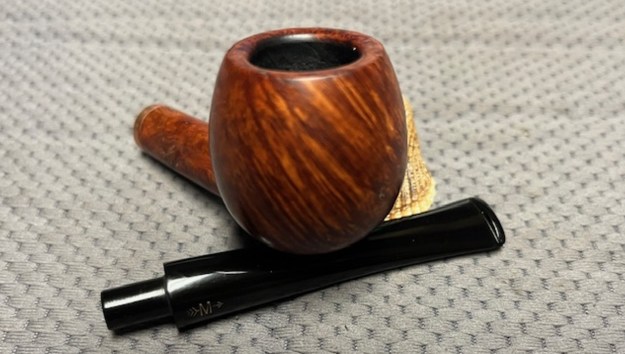
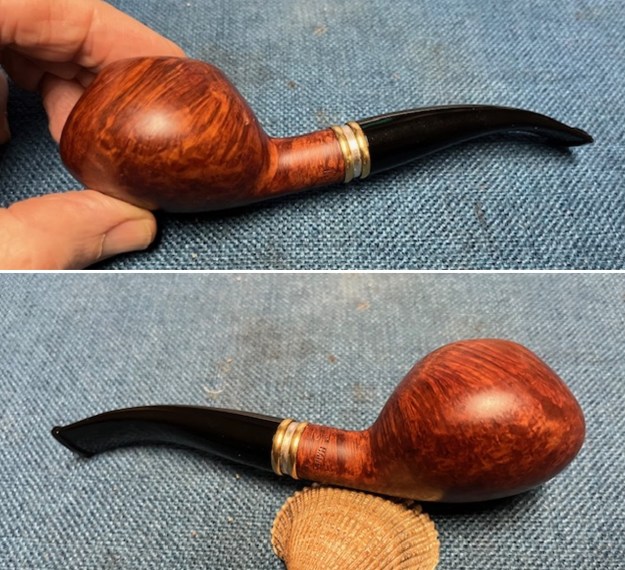
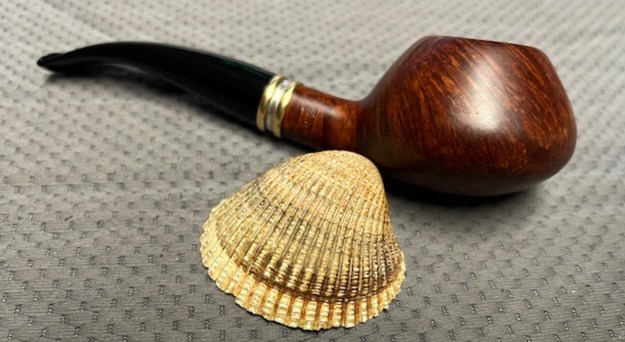
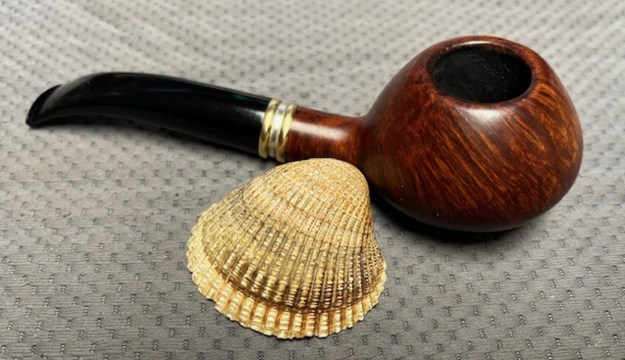
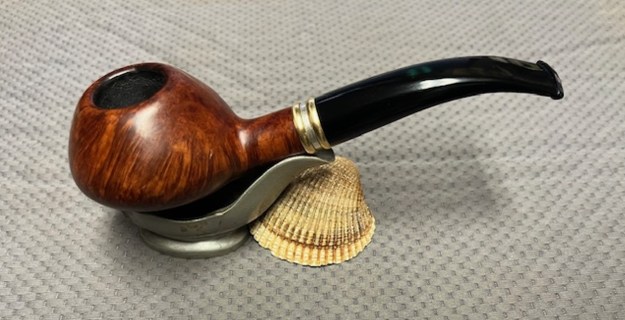
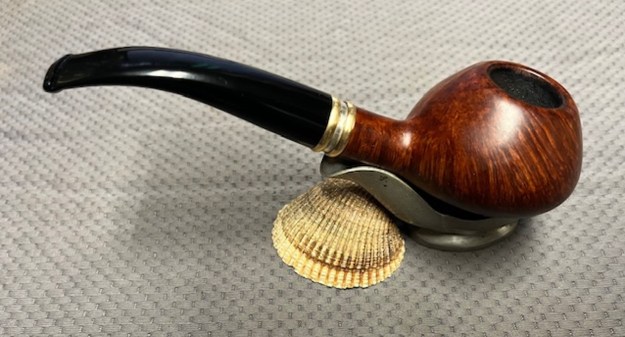
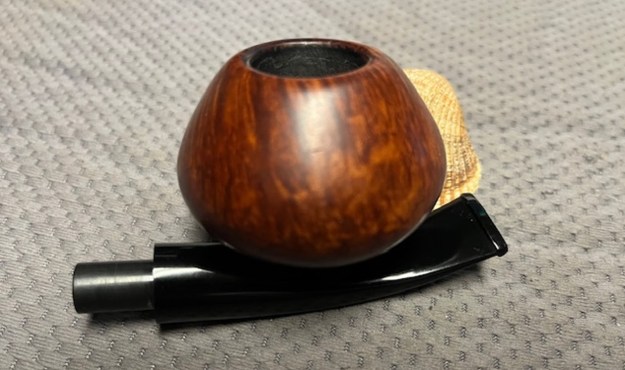
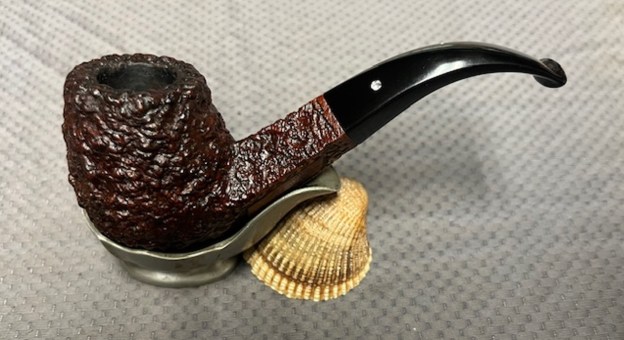
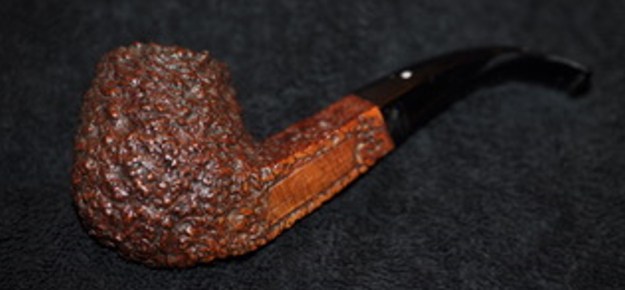
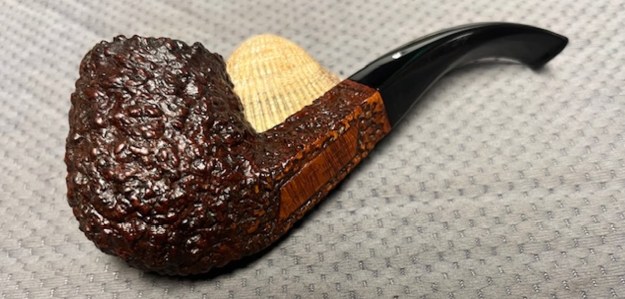
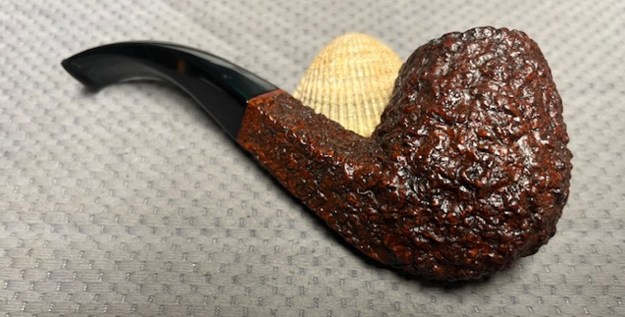
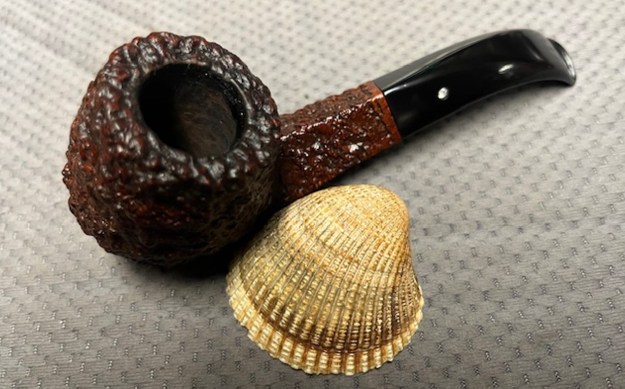
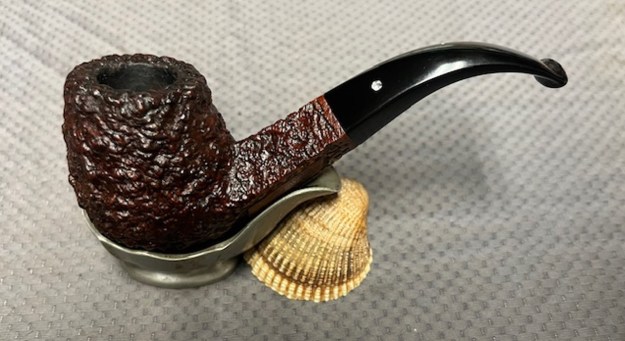
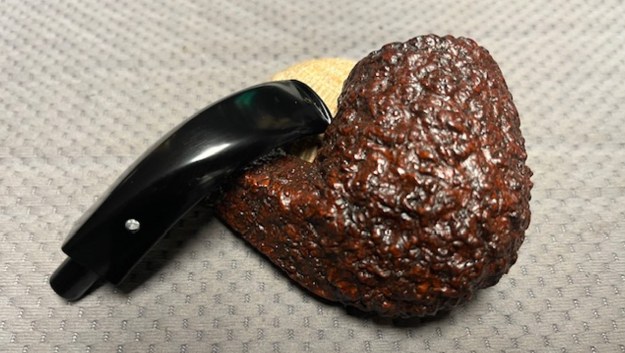
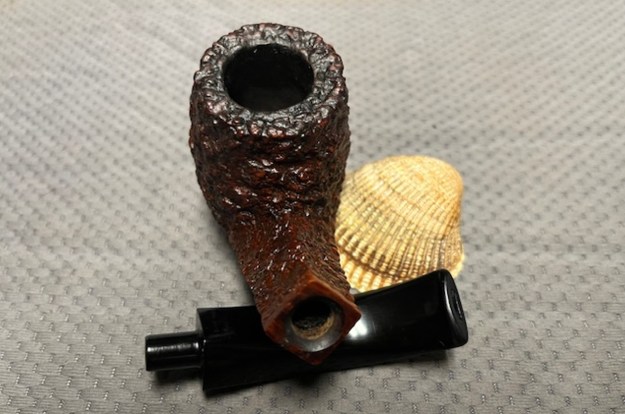
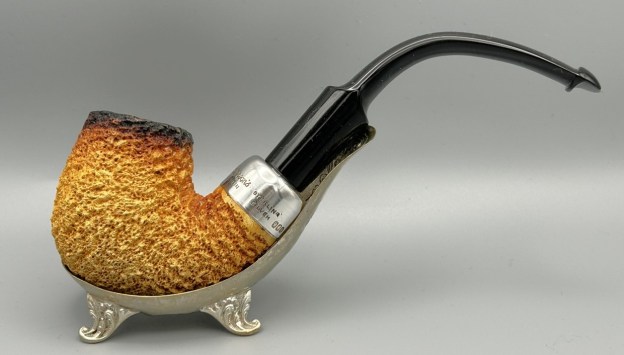
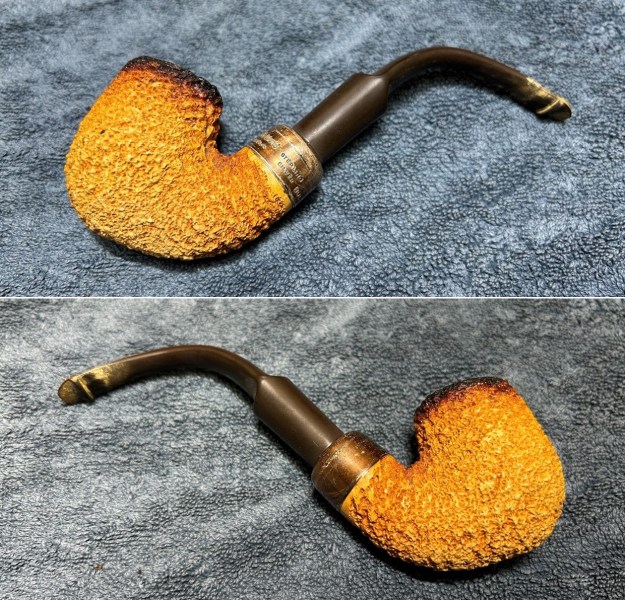
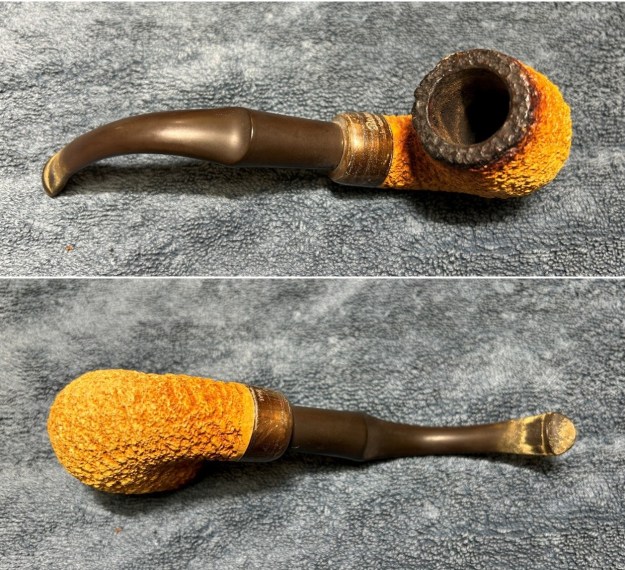
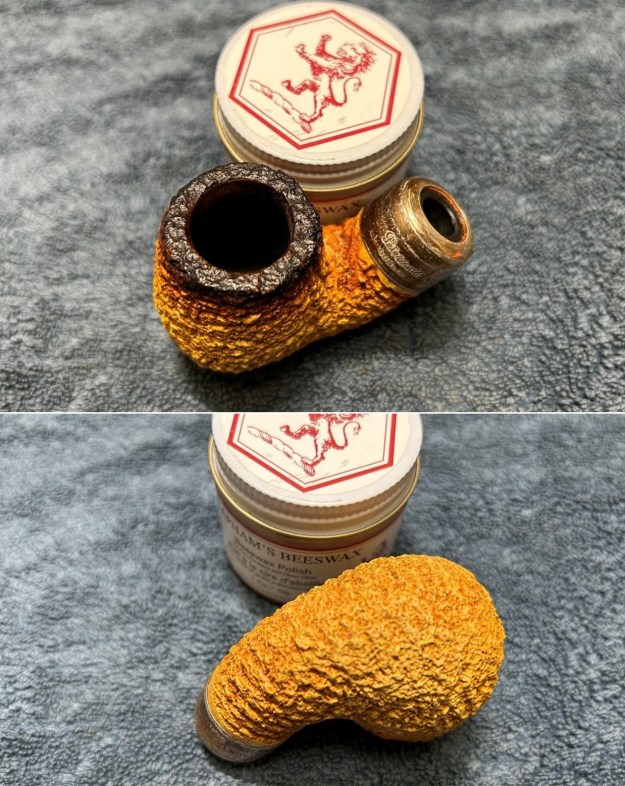
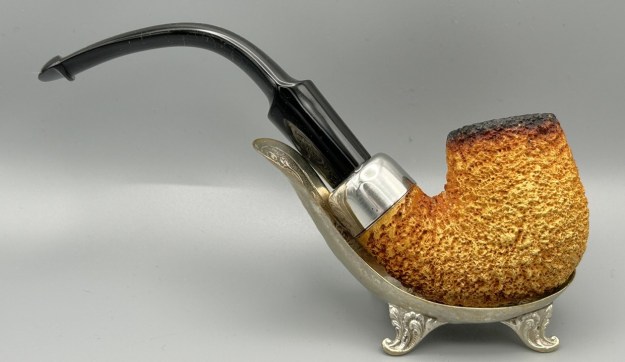
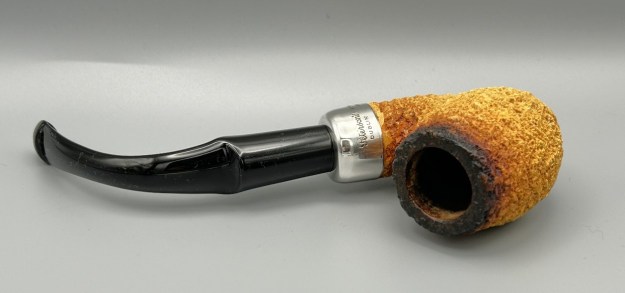
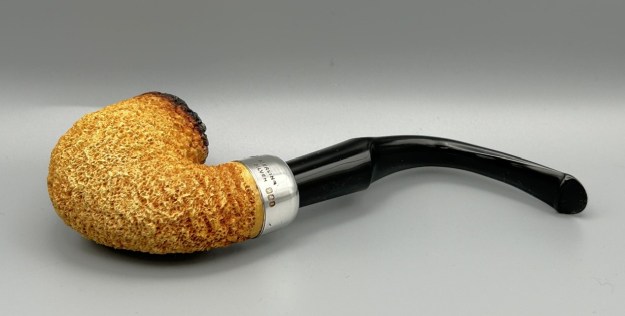
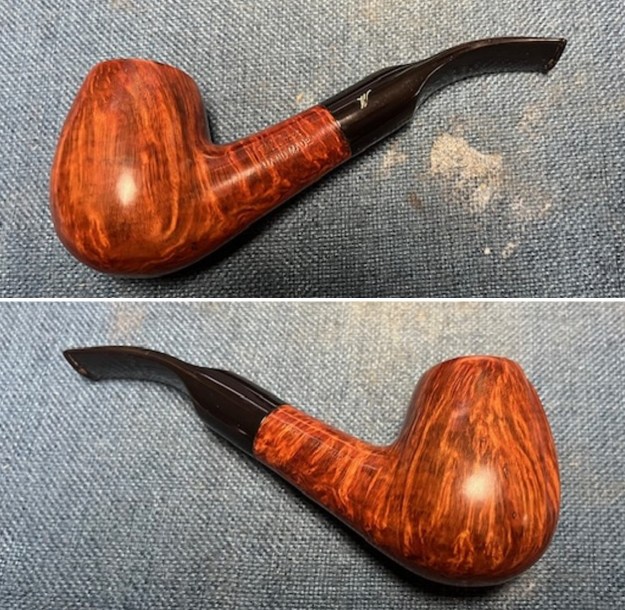
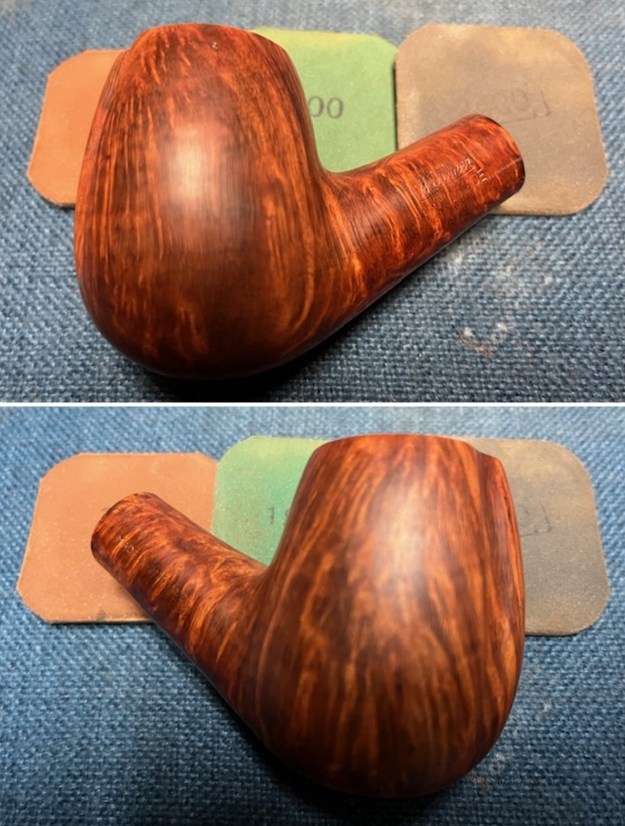
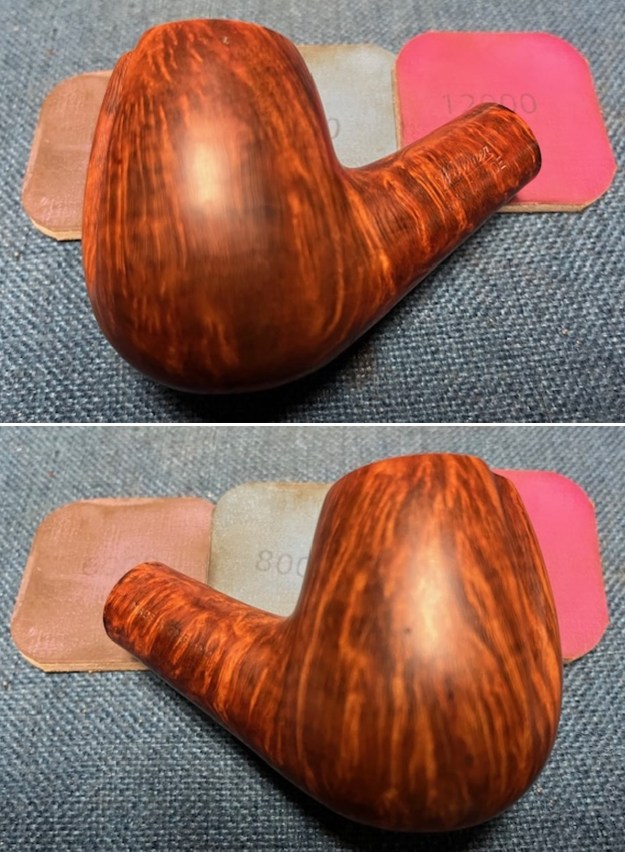
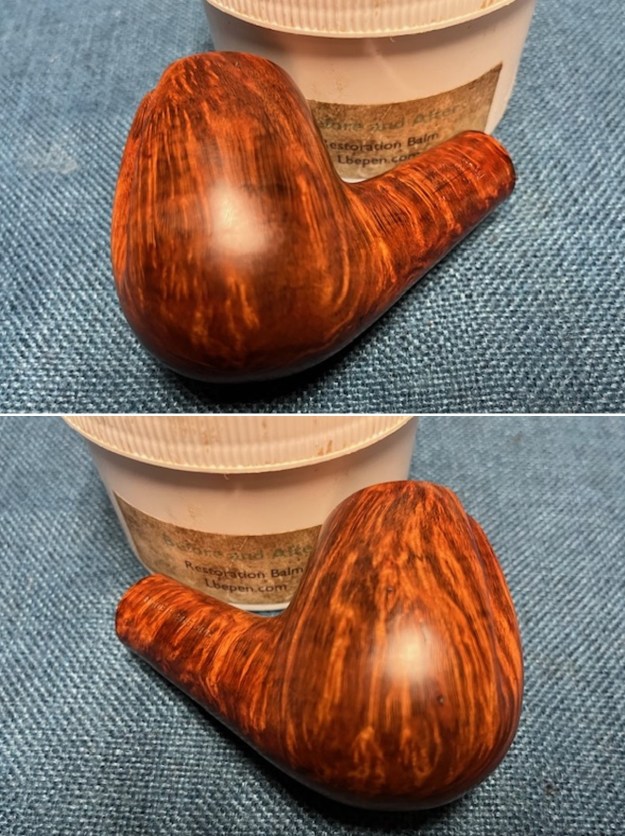
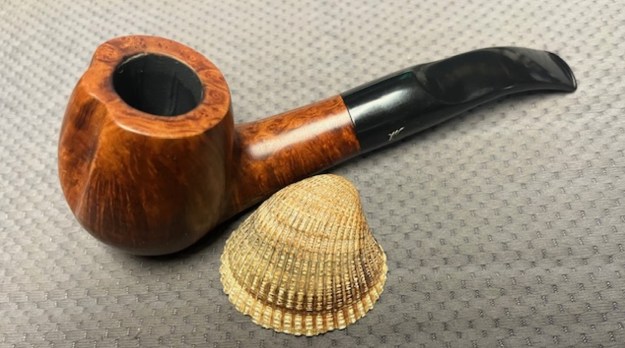
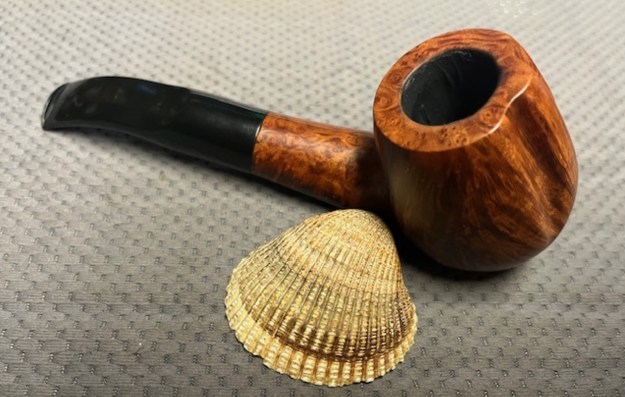
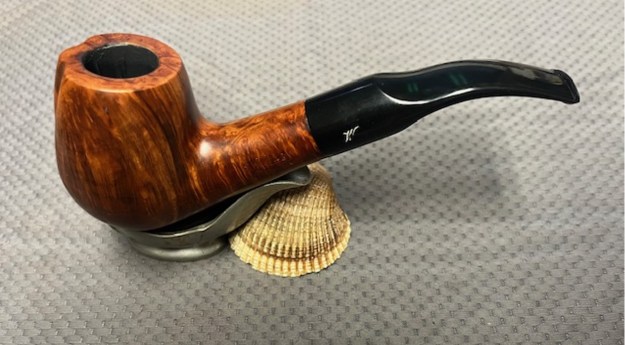
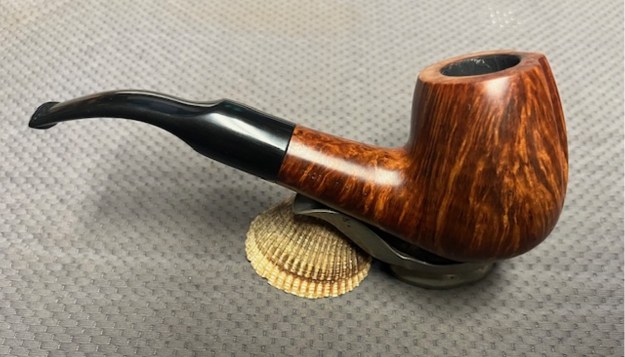
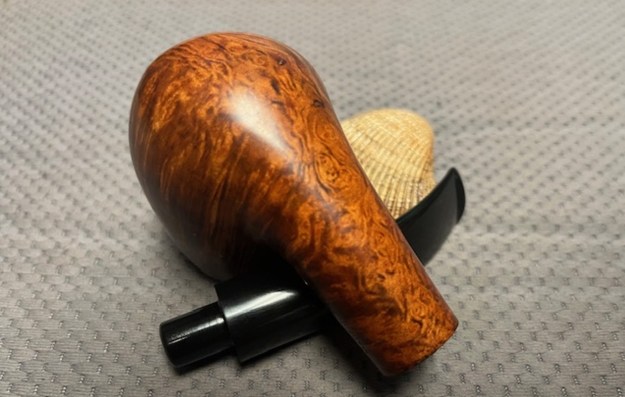
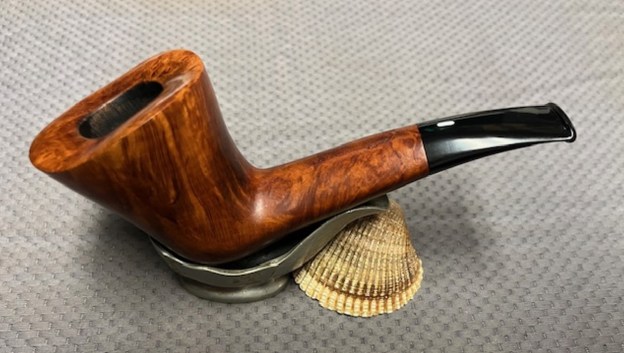
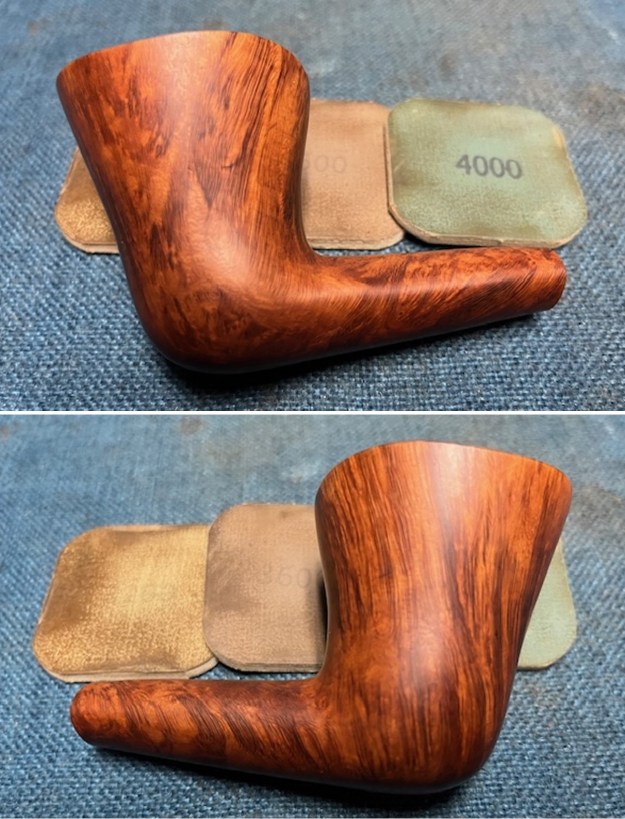
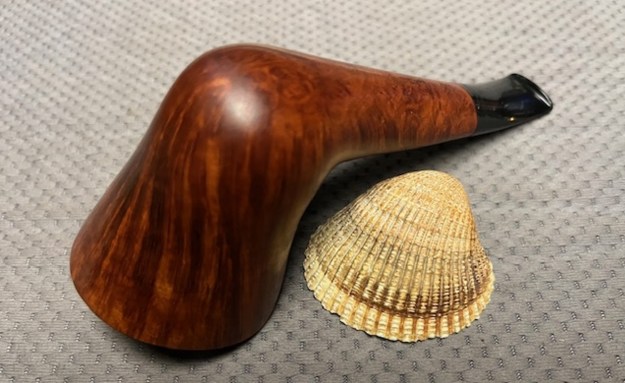
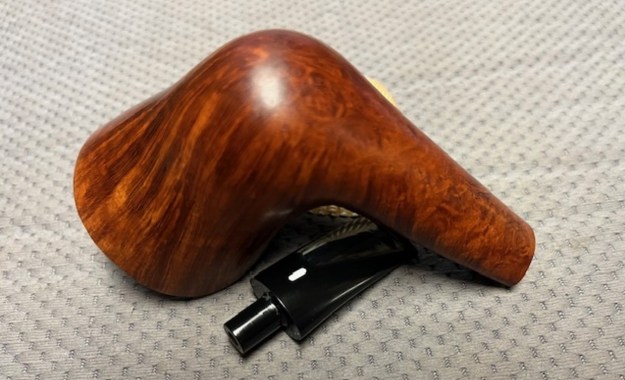
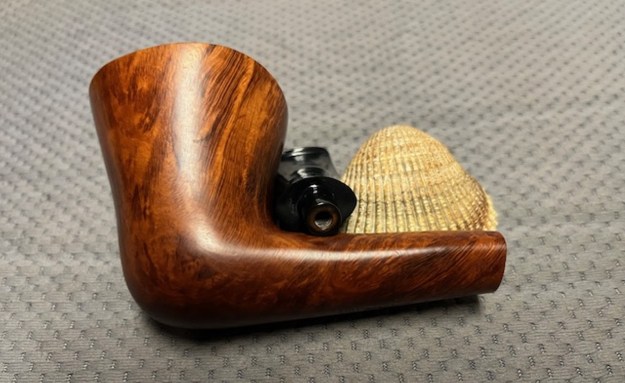
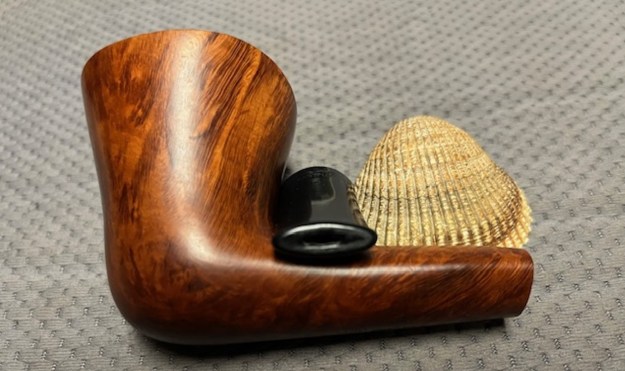
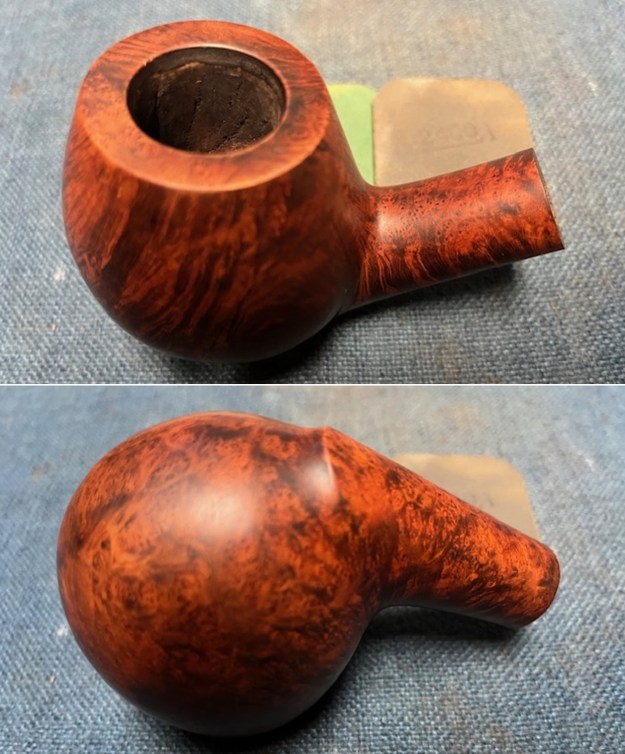
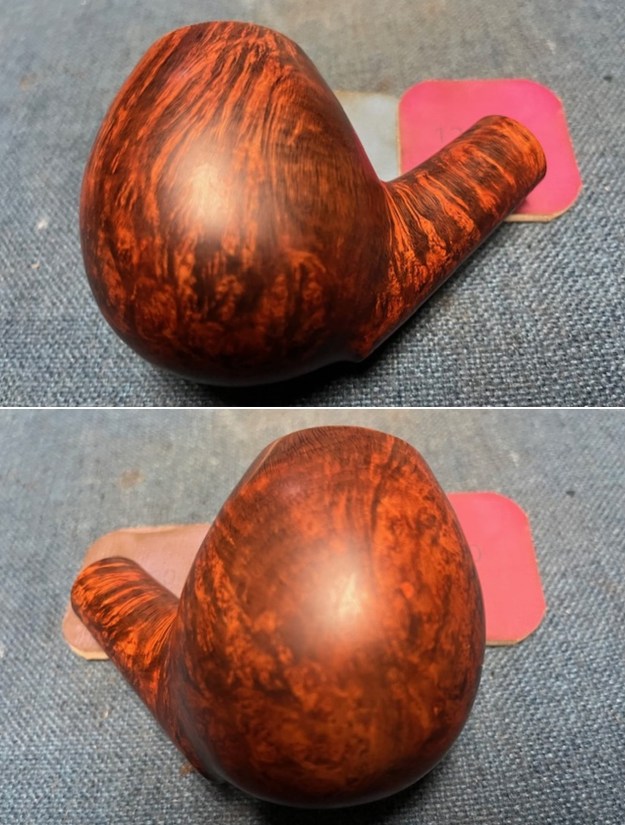
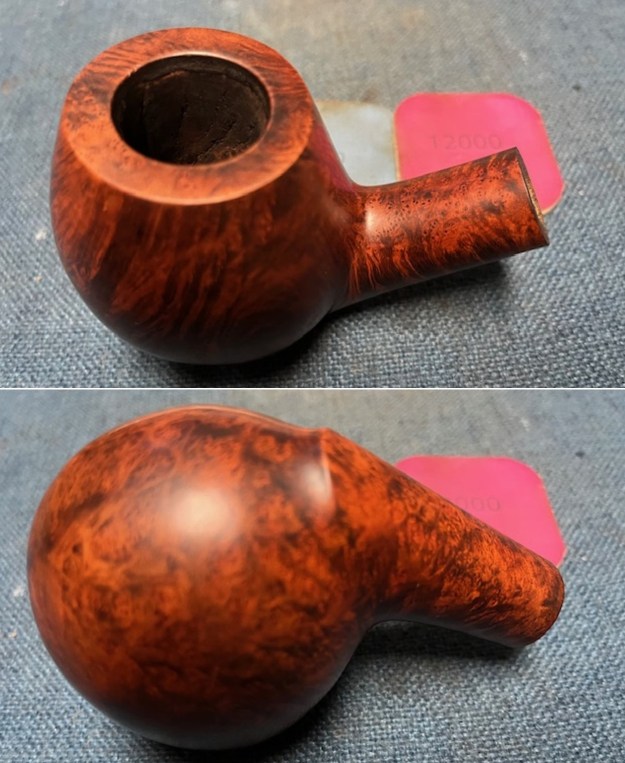
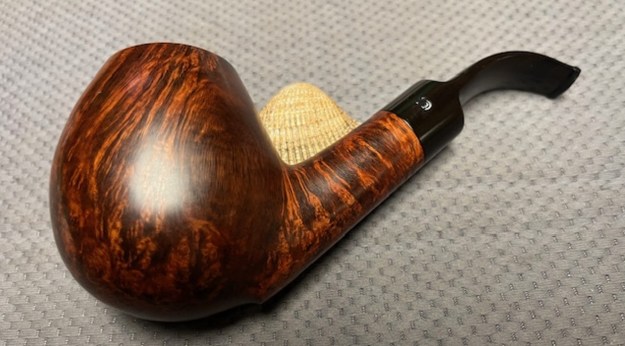
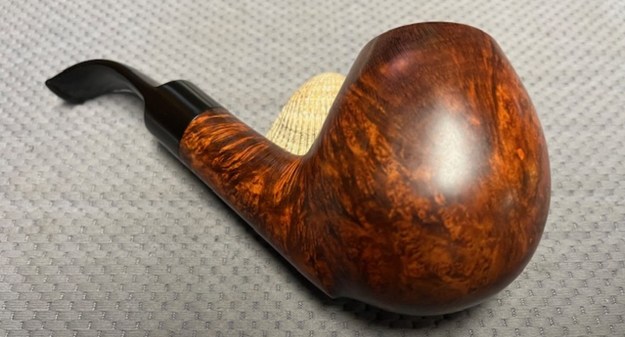
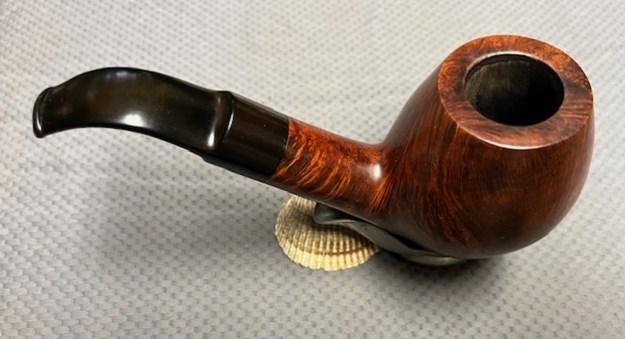
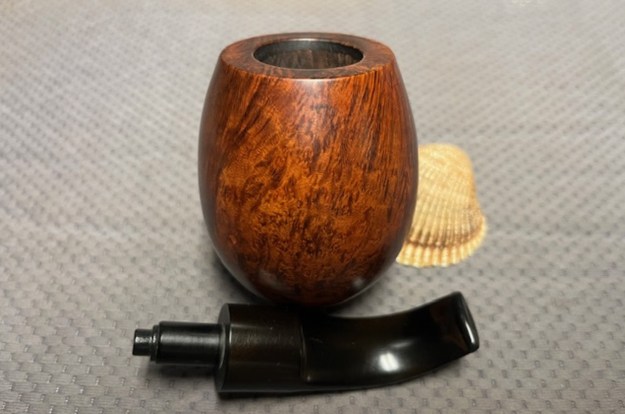
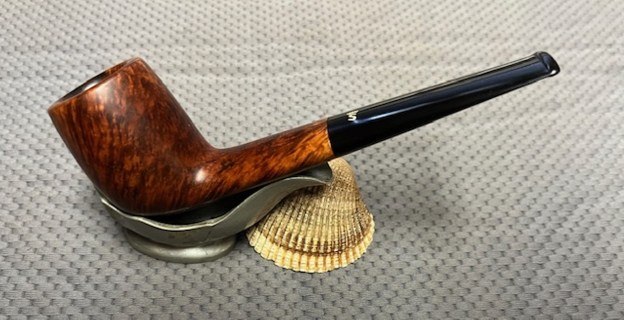
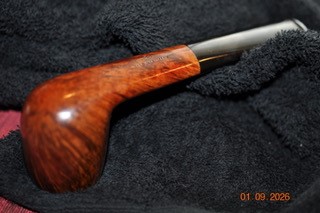
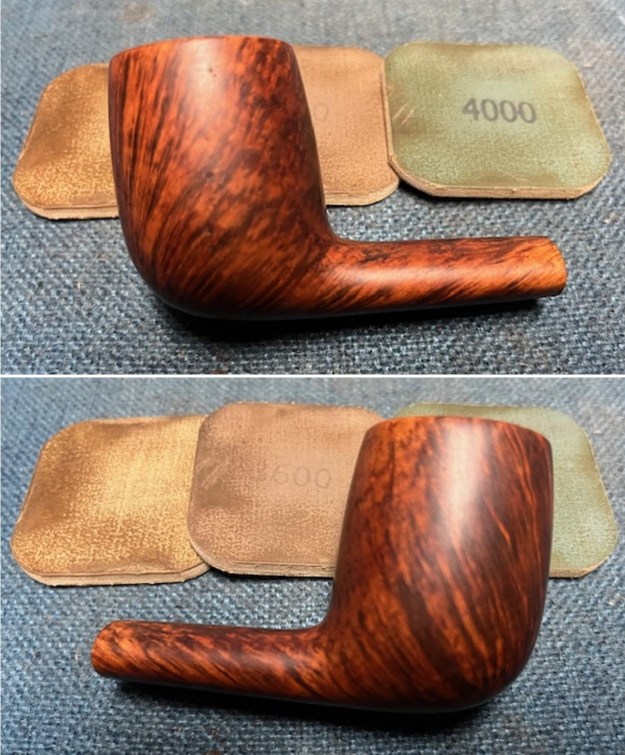
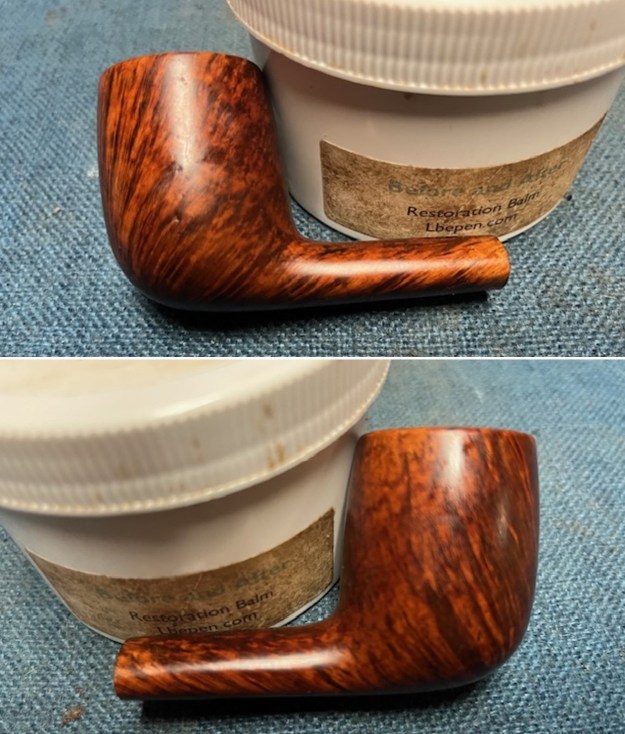
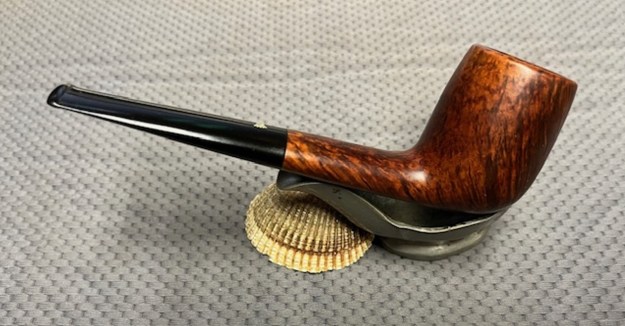
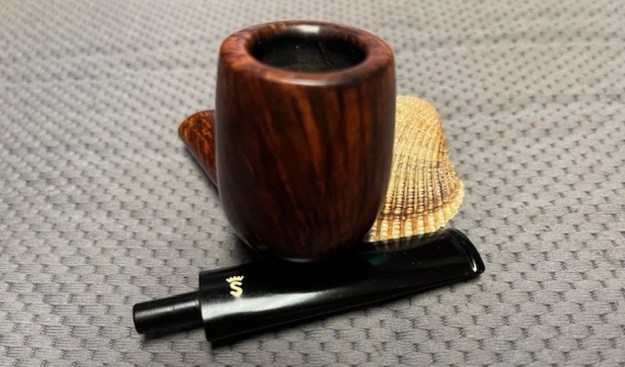
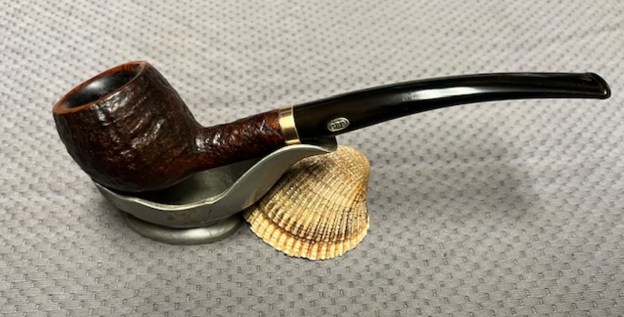
 This interestingly stamped GBD New Standard 357CC London England Prince with a vulcanite taper stem is a great looking pipe now that it has been repaired with a thin brass band. The rich browns and blacks of the contrasting stains on the sandblast came alive with the polishing and waxing. I put the stem back on the bowl and carefully buffed the pipe with Blue Diamond on the buffing wheel using a light touch on the briar. I gave the bowl and the stem multiple coats of carnauba wax on the buffing wheel and followed that by buffing the entire pipe with a clean buffing pad. I hand buffed the pipe with a microfiber cloth to deepen the shine. The finished GBD New Standard 357 CC Prince is a beauty and fits nicely in the hand and looks very good. Give the finished pipe a look in the photos below. The dimensions of the pipe are Length: 6 inches, Height: 1 ¼ inches, Outside diameter of the bowl: 1 ¼ inches, Chamber diameter: 7/8 of an inch. The weight of the pipe is 33 grams/1.16 ounces. I will be sending it back to Chris early this week. Thanks for reading this blog and my reflections on the pipe while I worked on it. There are many more to come!