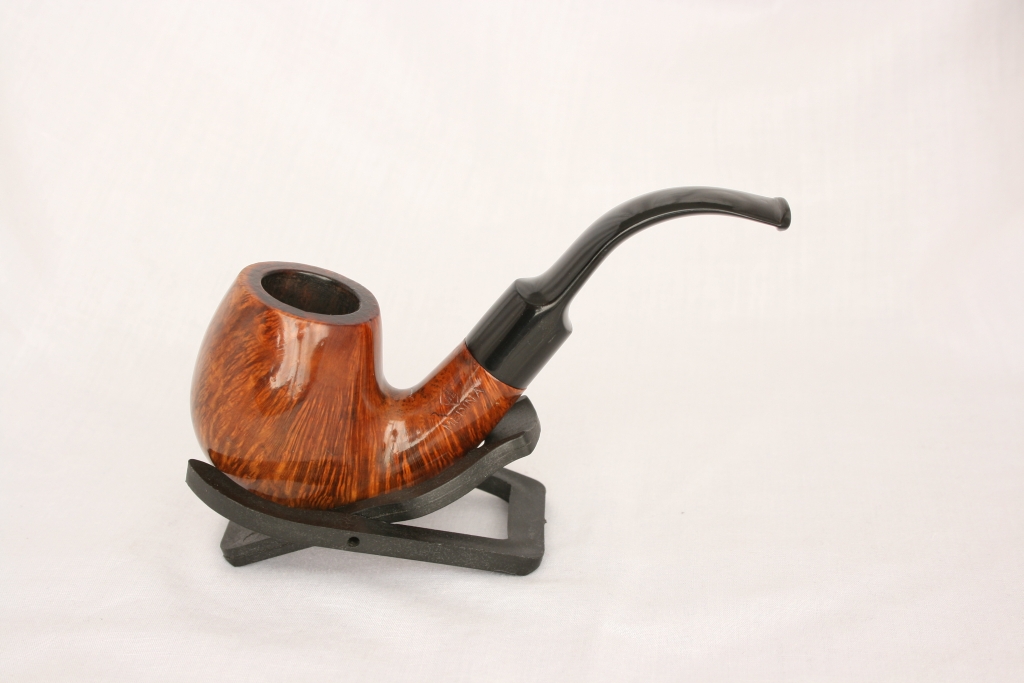
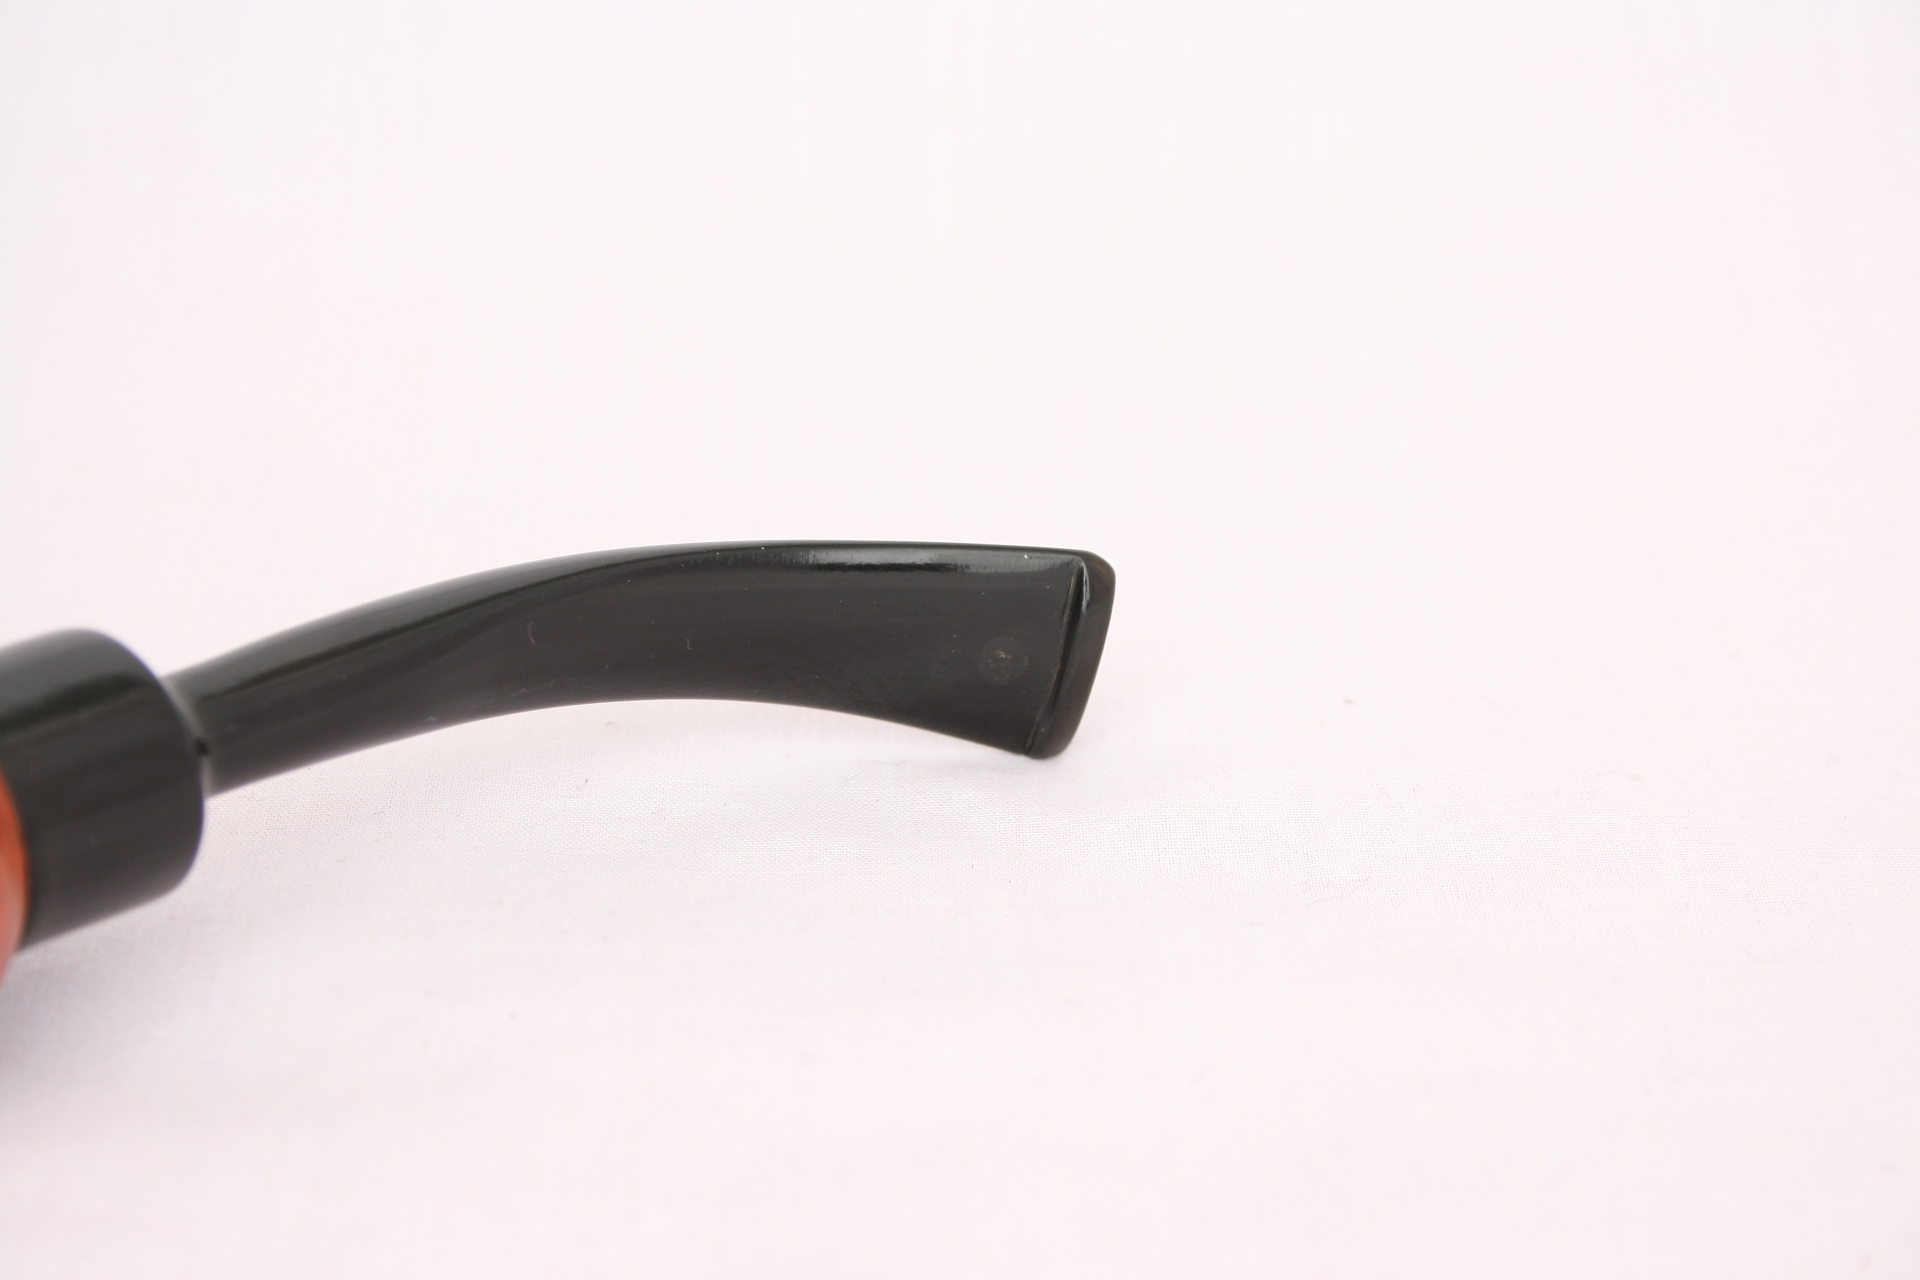
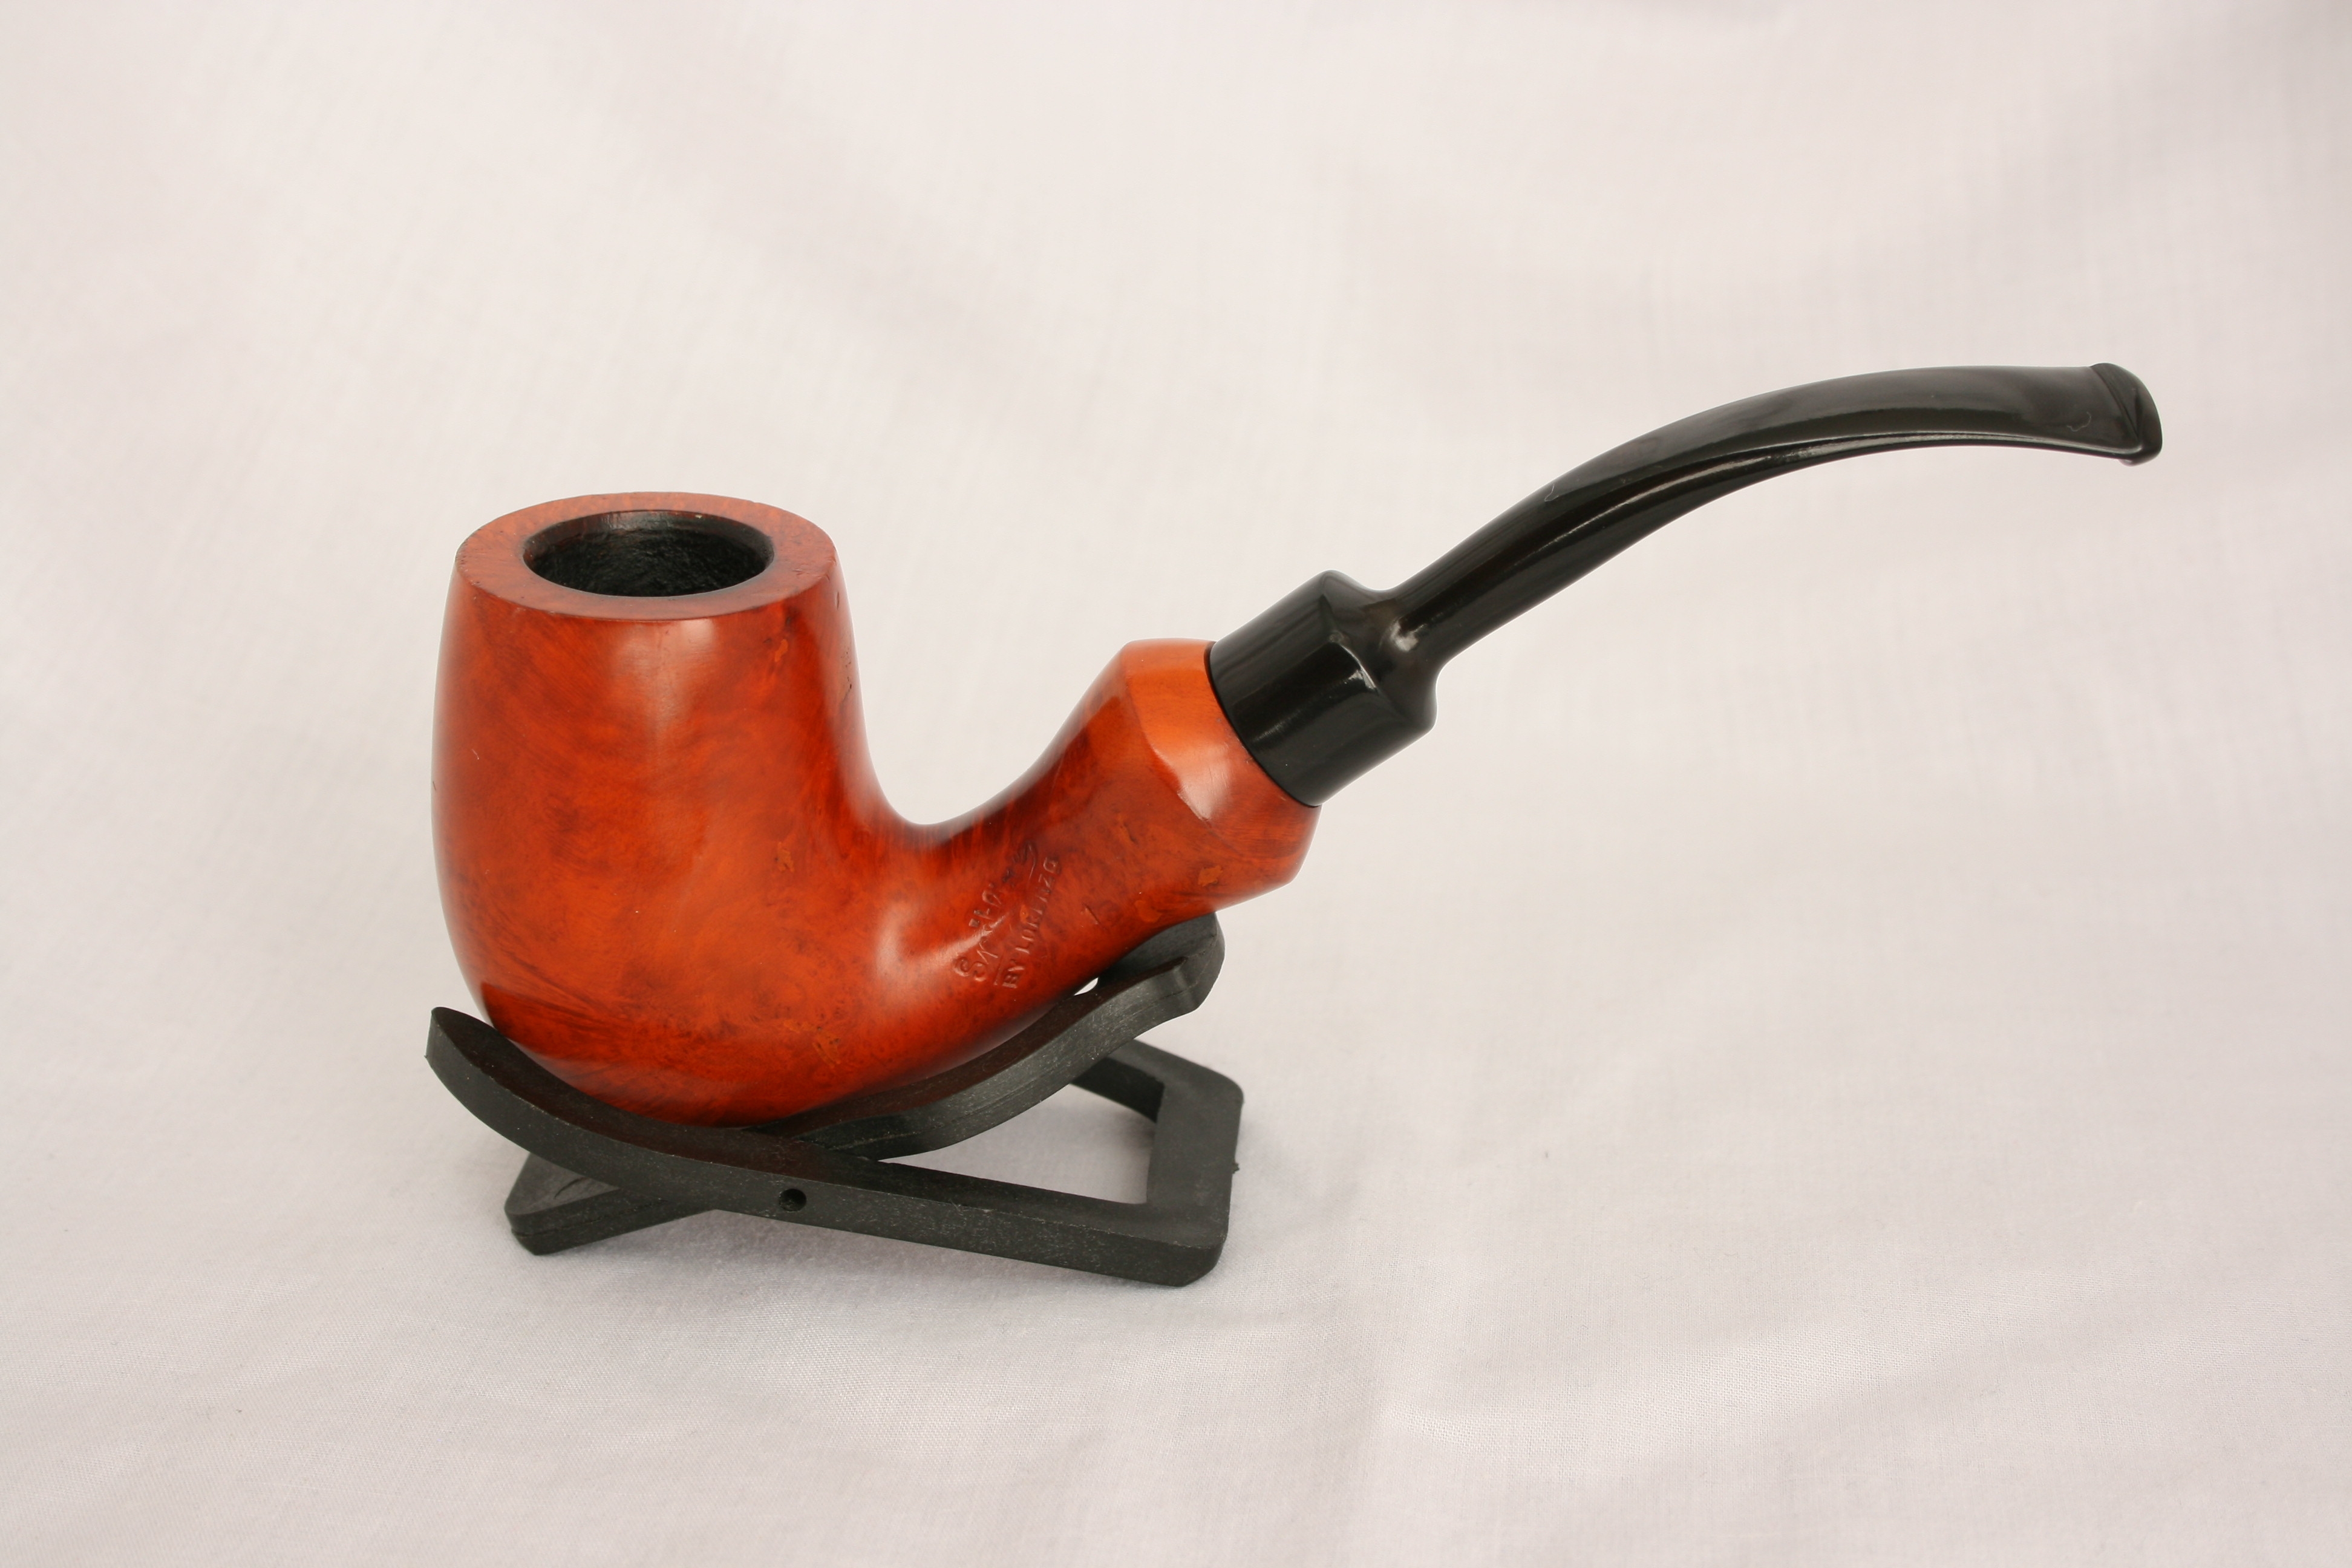
Tag Archives: stem work

An Ultrasonic Stem Cleaning Experiment – AJ Verstraten (aka Bananabox-Ninja)


What follows is another article by AJ on his use of the ultrasonic cleaning machine. He has written it in response to the many who asked to hear more about it after his first article here on rebornpipes. I wish to thank AJ for his contributions to the blog and to encourage him to continue to write for us. It is a pleasure to post his next contribution. Thank you AJ.

Greetings, when using a new technique I can’t help but experiment like a mad scientist. So when I heard of the ultra sonic cleaning from my fellow cleaner on the PRF (The Dutch Flemish pipe smoking forum) named ‘Meindert’ I dove into it, because science! One of the first try-outs was posted in my first article and I was carefully optimistic about the end result. During the course of this clean-up I learned why I was not completely happy about it.

When I read the comments on my first article, Mark Domingues mentioned the Oxyclean method. To be honest I never heard of Oxyclean but it triggered a mention done by another fellow PRF-er named ‘annie69’. Who once told me he used hand warm water and Oxi-Action to remove the heavy oxidation on a stem. I tried this method a few months ago, but was not very happy with the end results as it left the stems slippery and gooey, which in my eyes prevented the rest of the oxy-water reaching the stem.

As an ultrasonic vibrates the water I thought: “What if the water is in motion, would it remove the goo from the stem during the soak and so give a deeper penetration?” followed by: “What if I combine the oxy-method with the ultrasonic?” So I set up a test with two almost similar oxidized stems which are from my ‘bit-box’ of pipe heads and stems that are missing their counterpart.

Oh, I should mention I work for a company that supplies laboratory equipment and some of the tools are old stock that was distributed to personnel, hence the use of a magnetic stirrer.

First the stems: The one on the left for the ultrasonic, the one on the right for the stirrer.
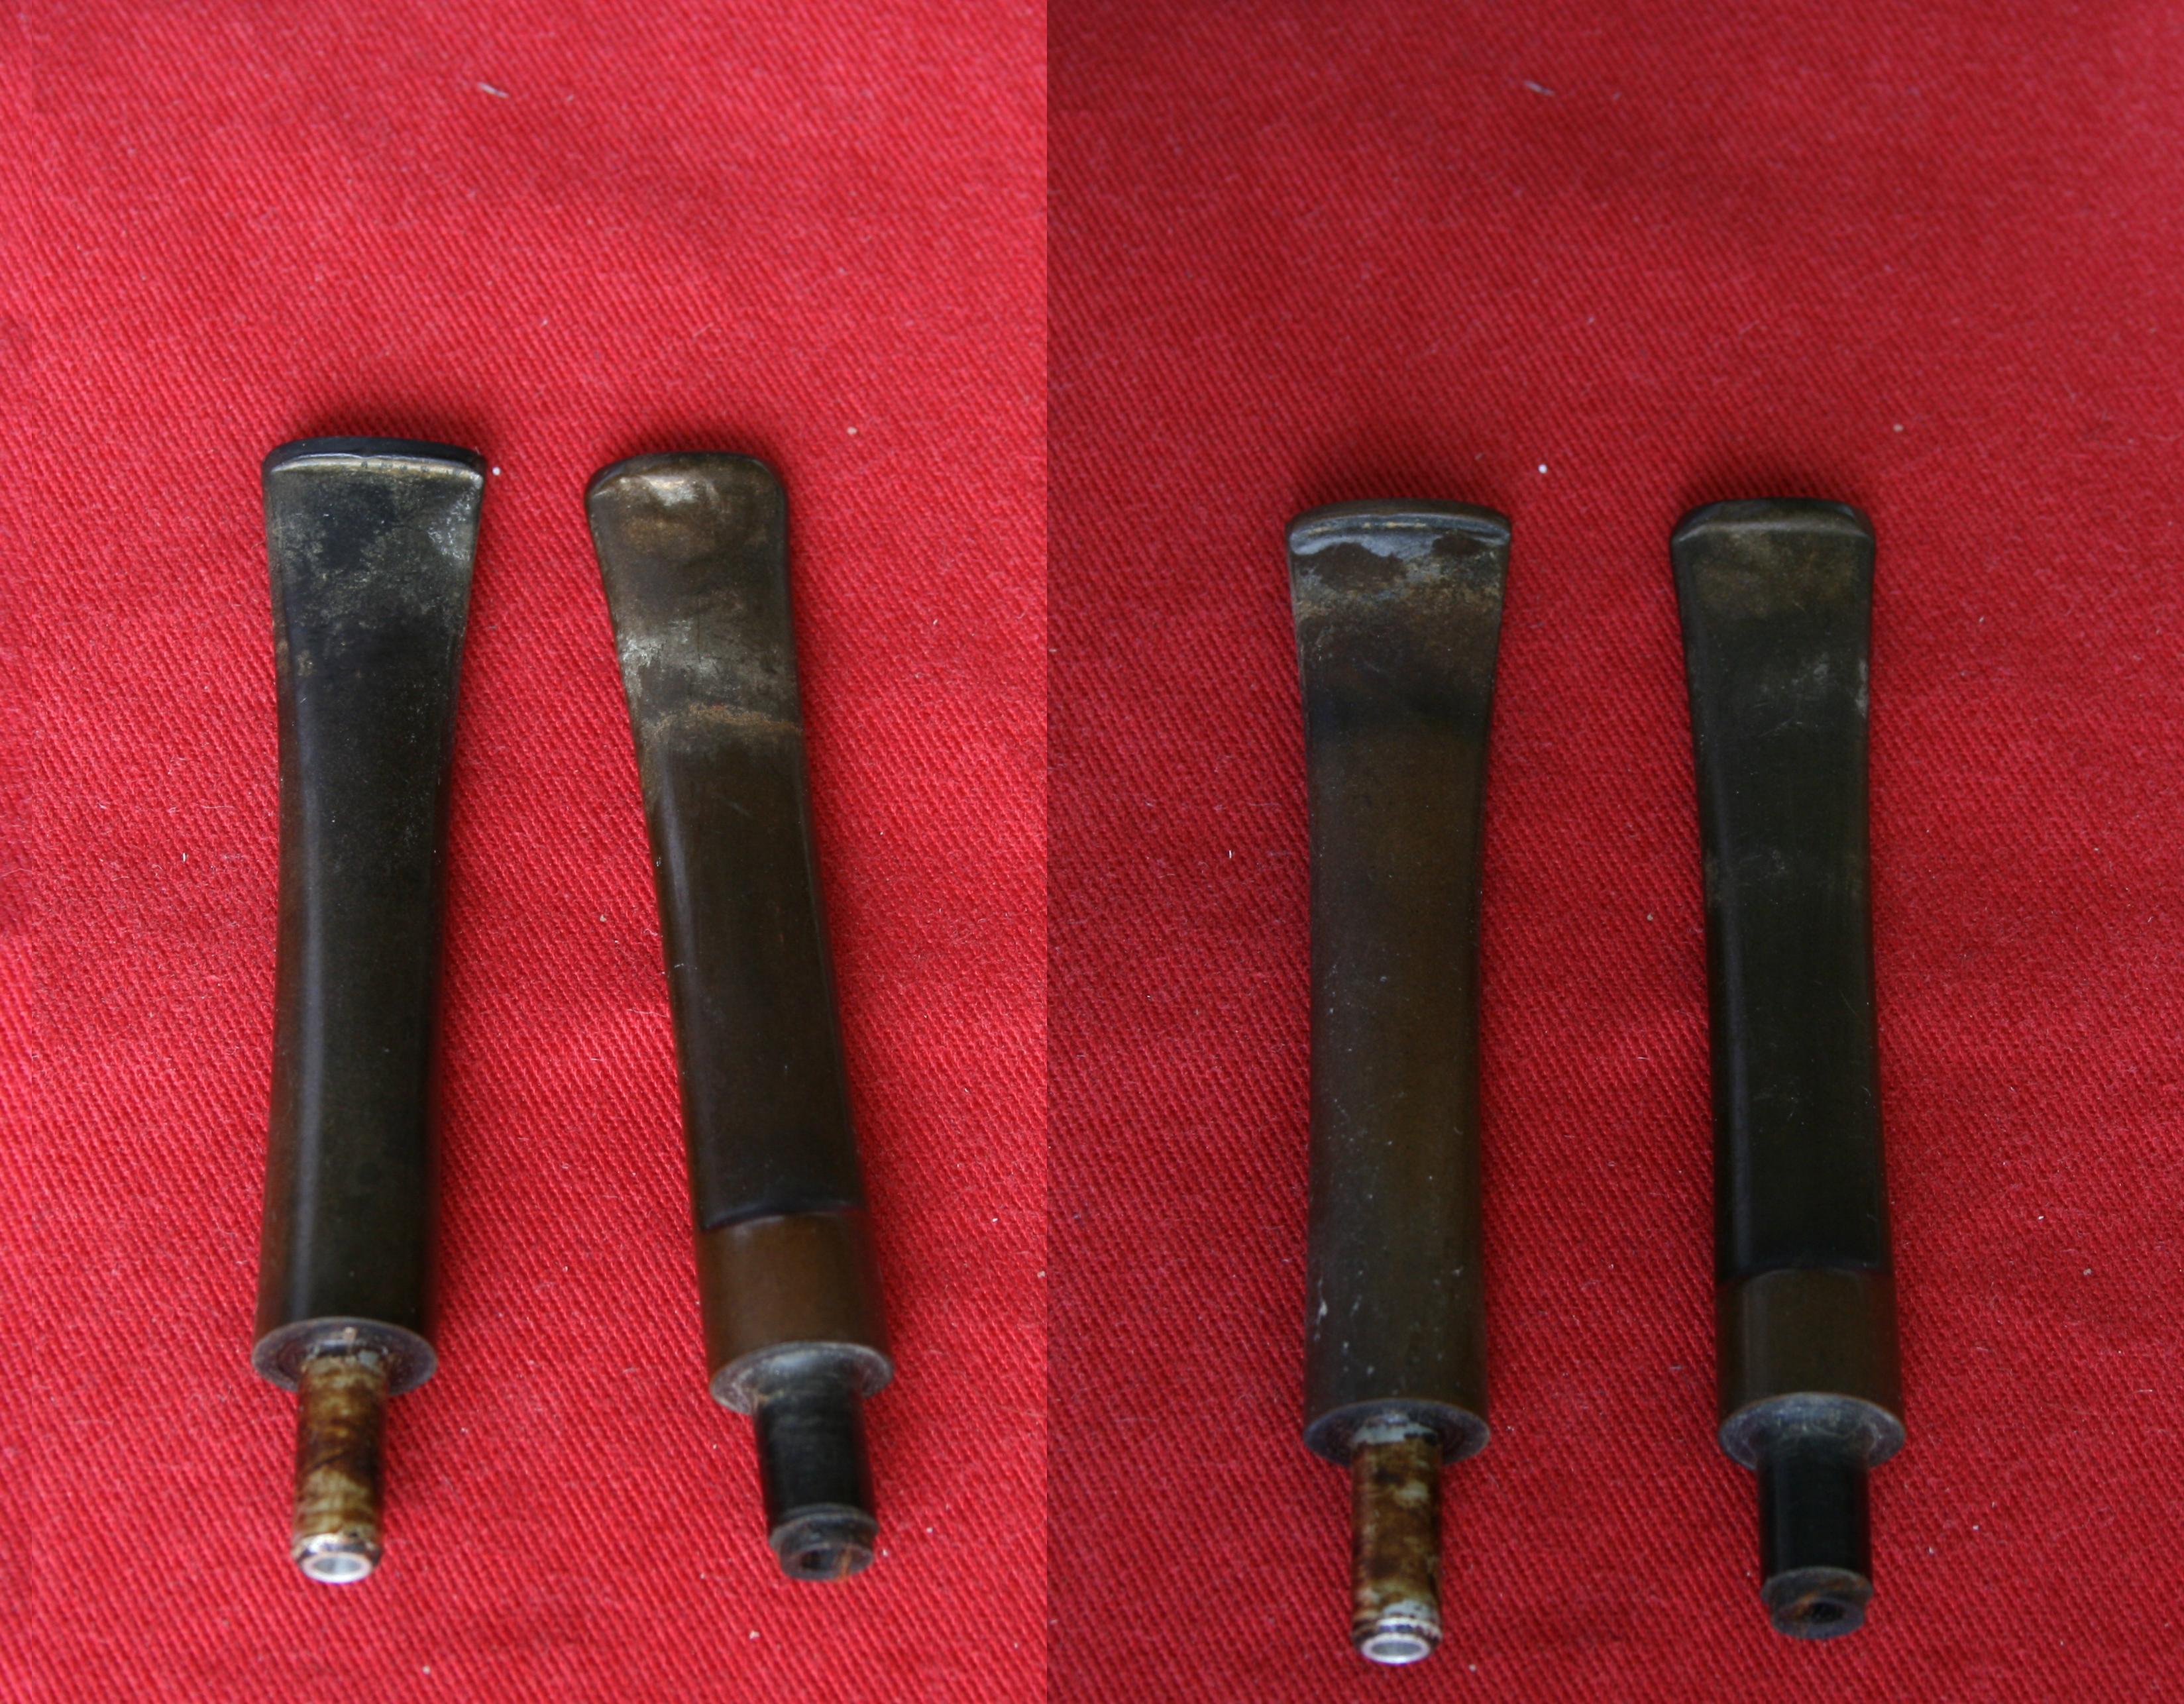
001 The stems

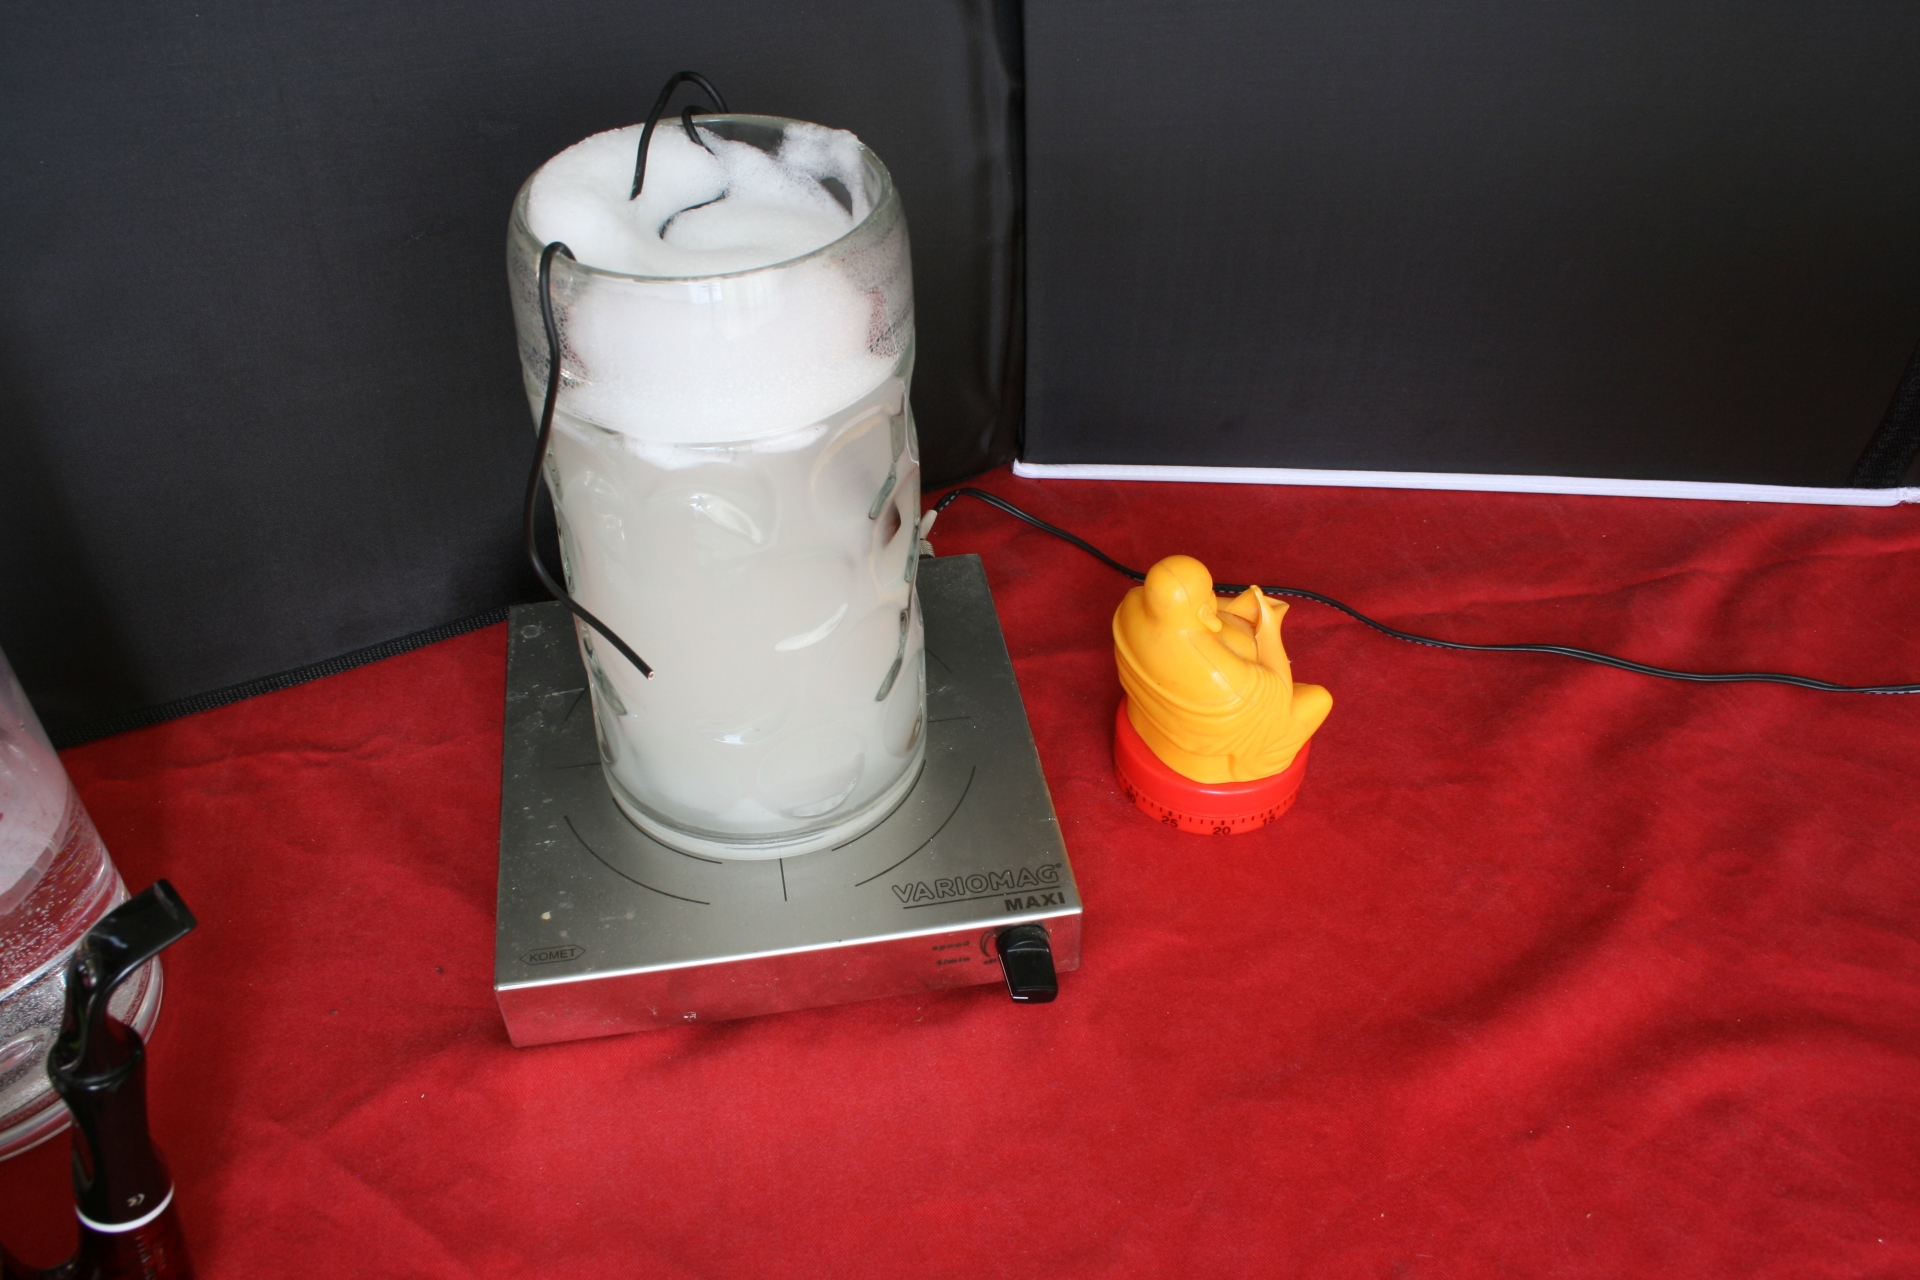
The stirrer setup: A glass on a magnetic stirrer, hand warm water, stirrer, amount of Oxi-Action and the stem.
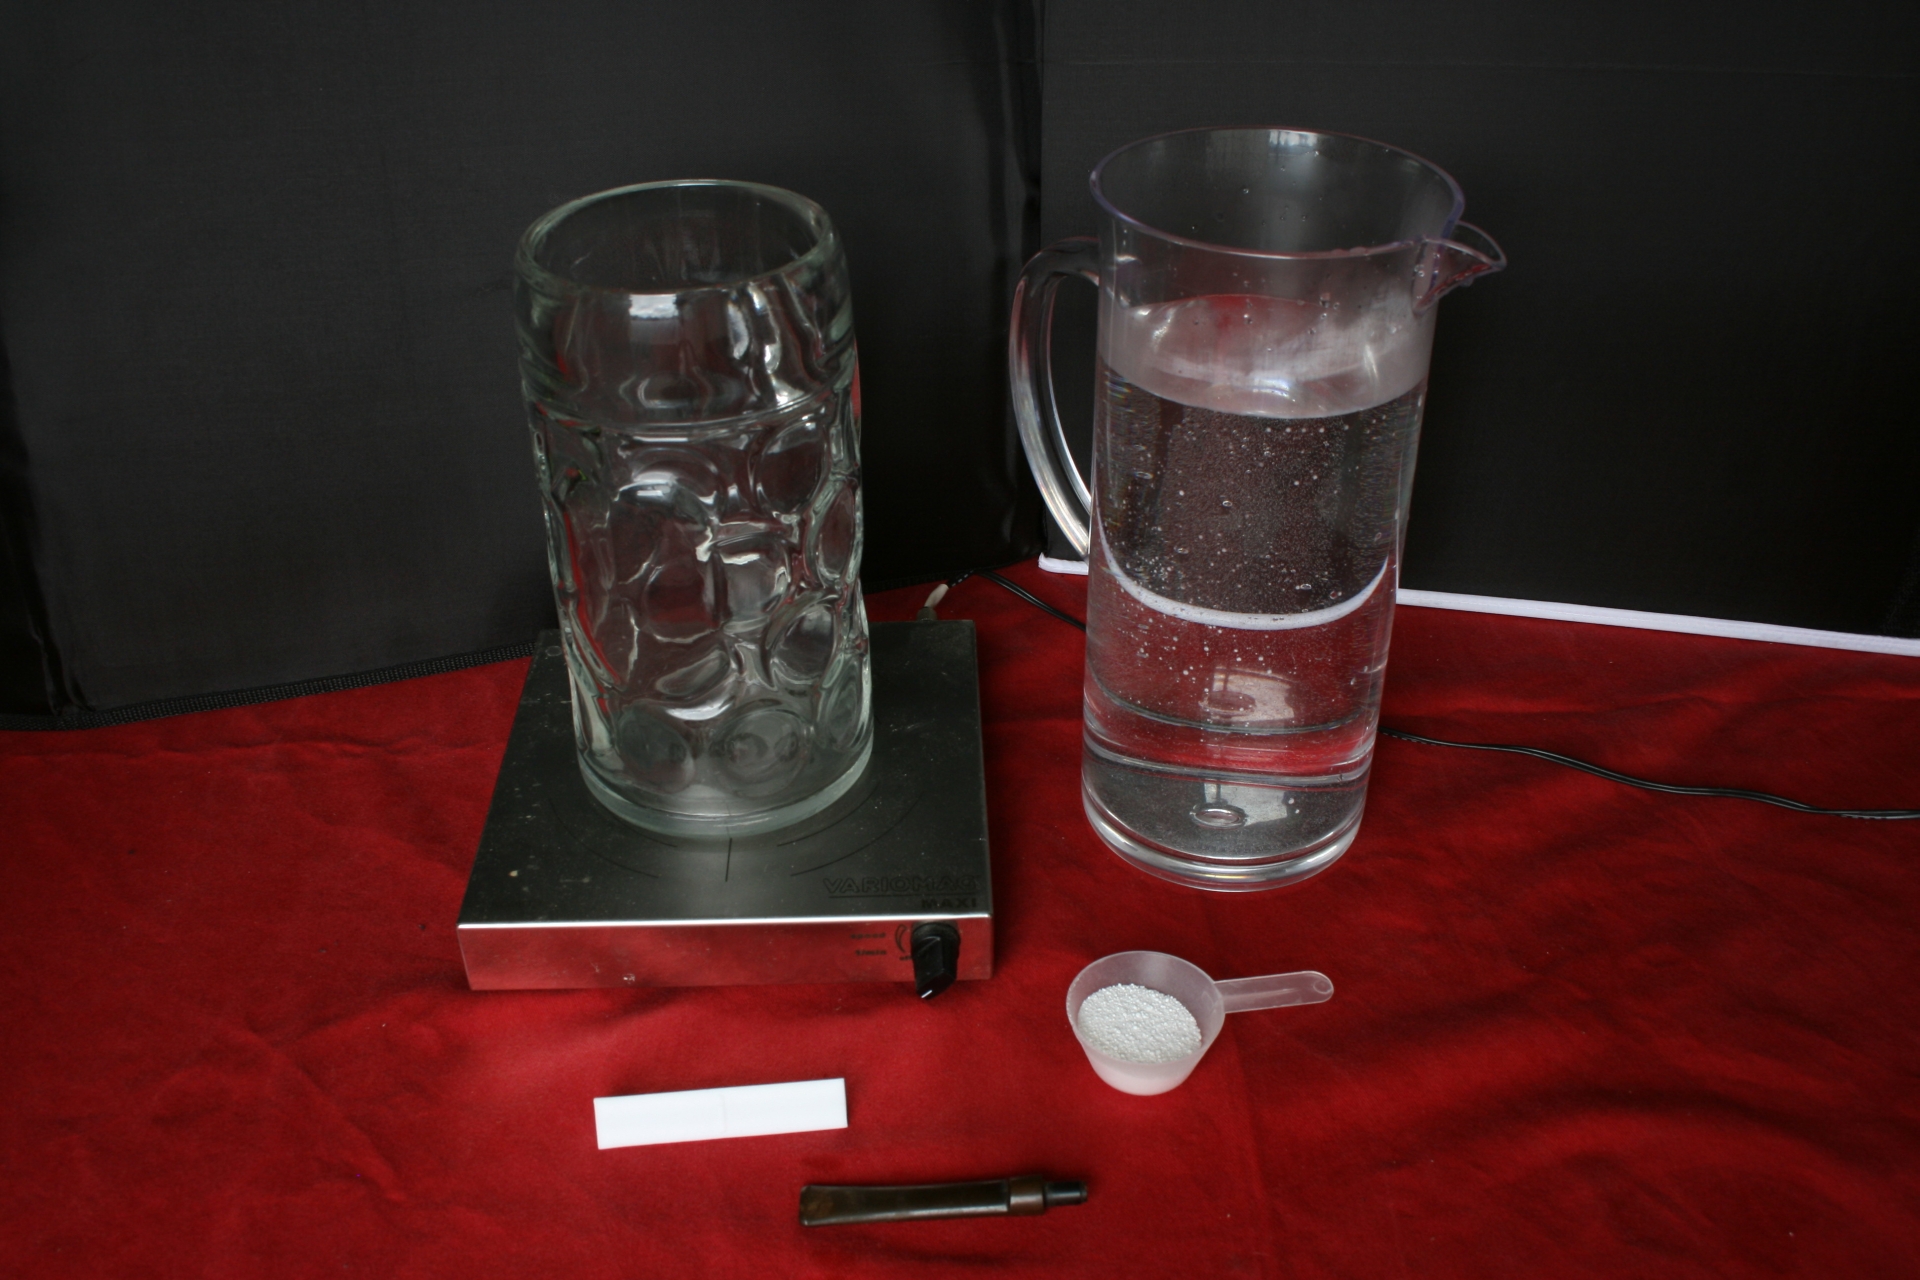
002 Stirrer set up

To keep the stem in the liquid I used a bent electric wire and hung it in the glass.
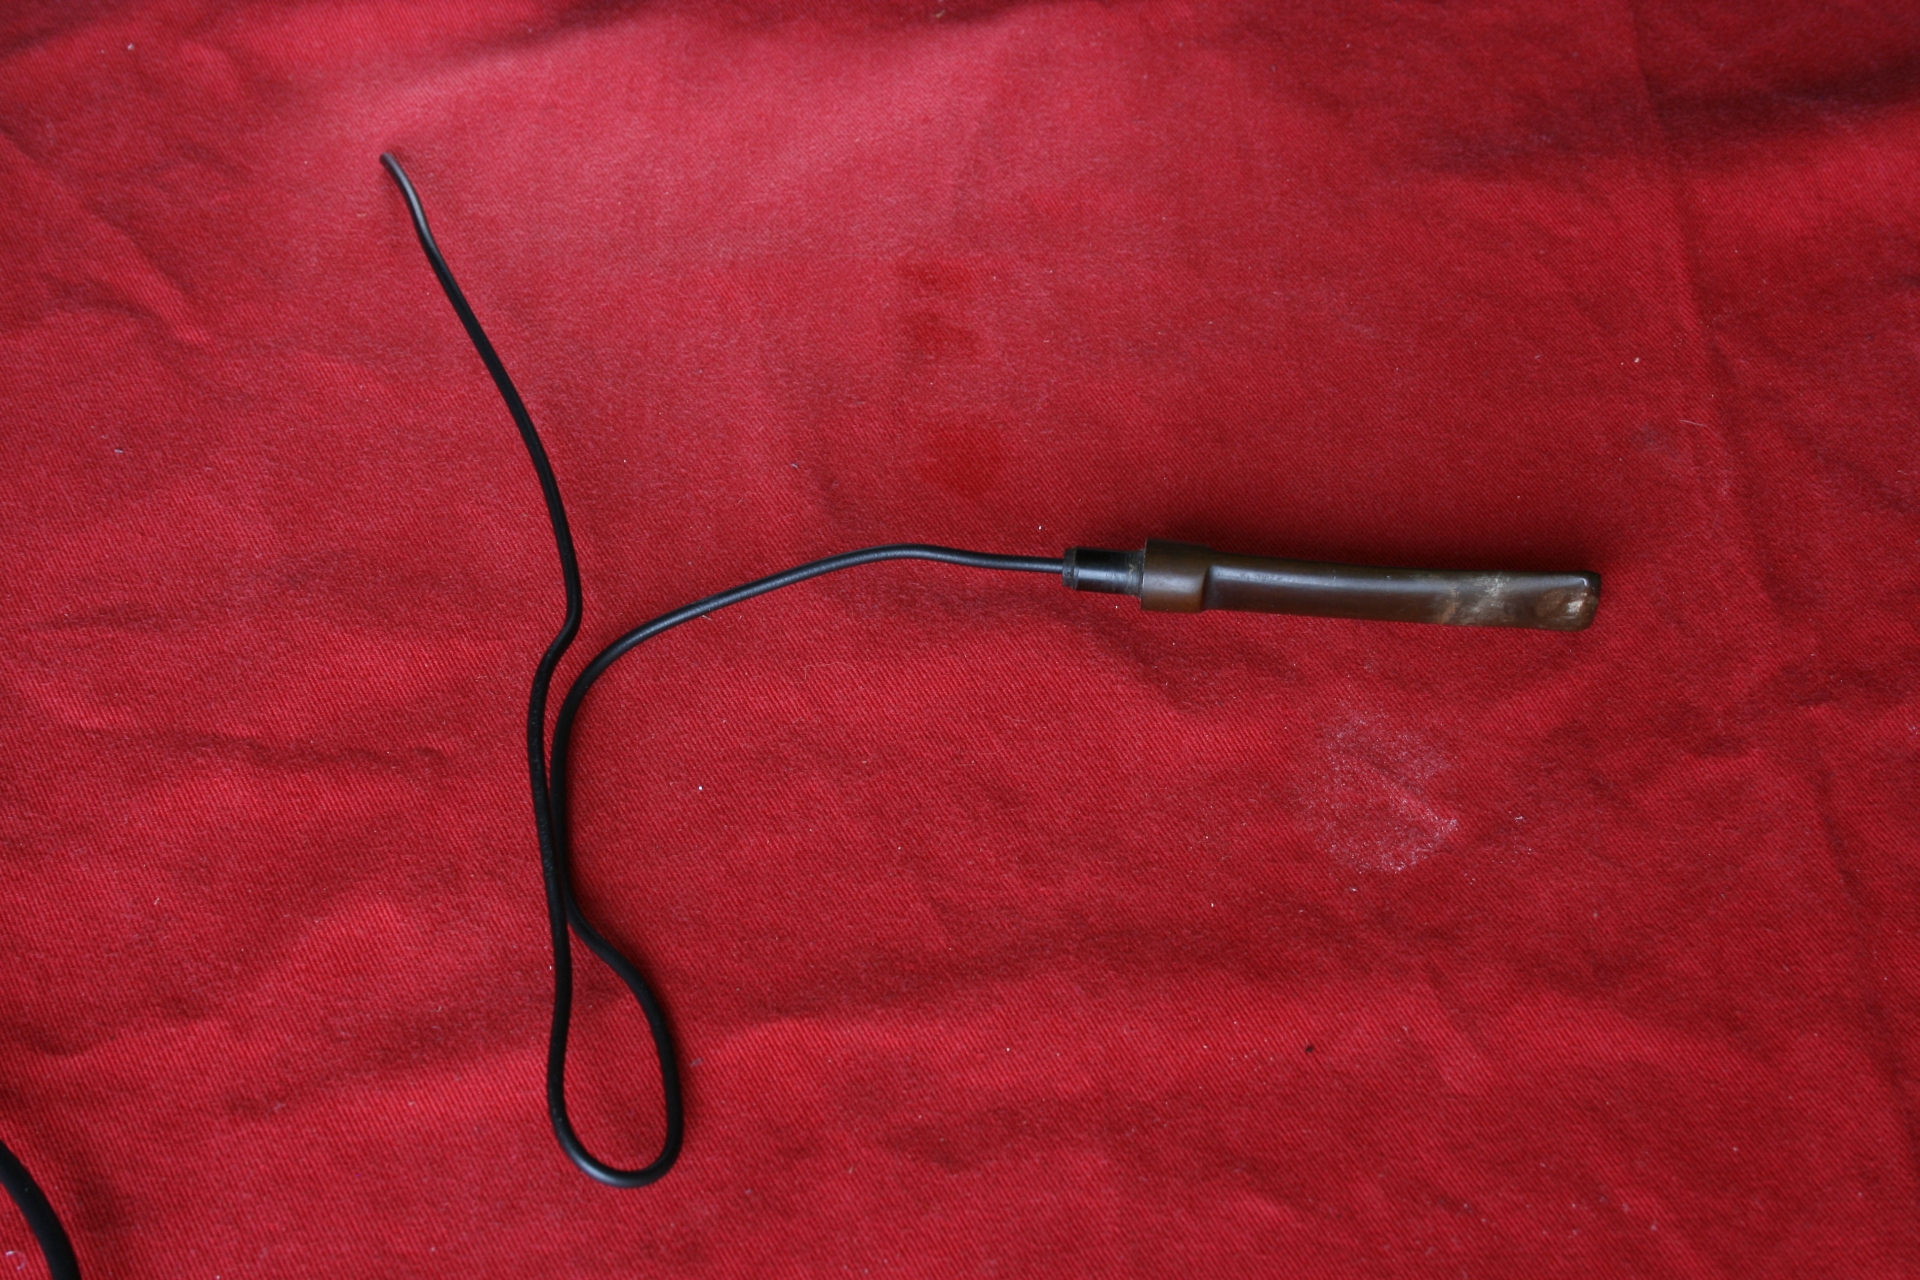
003 Stem holder

So I poured the hand warm water, the Oxi-Action, and the stirrer in the glass, hung the stem in the mixture and set the timer for 20 minutes.
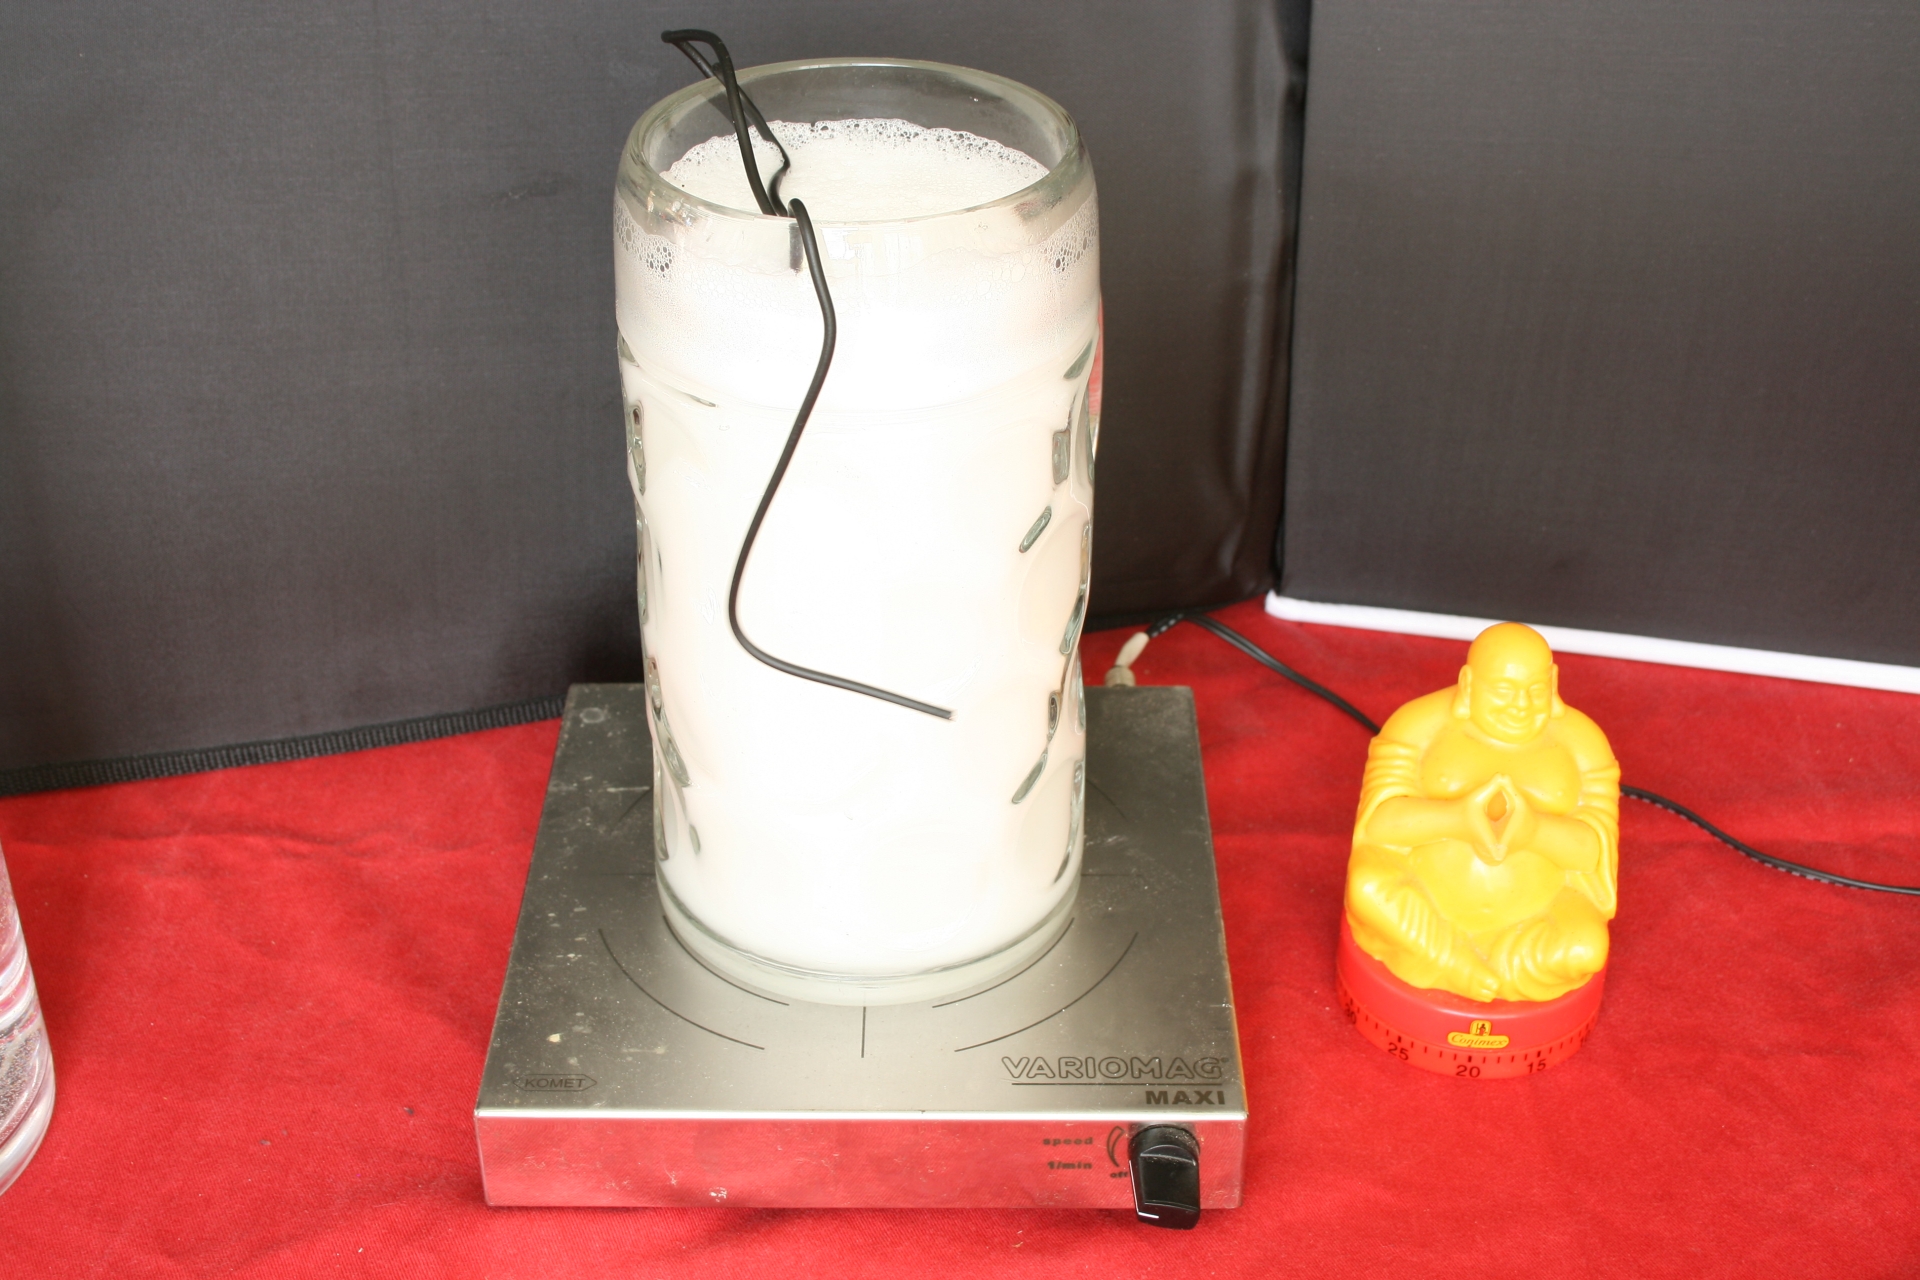
004 Here we go

005 20Minutes later

What happens is that a rotating magnetic field lets the stir bar rotate in the liquid, creating a whirlpool inside the glass. Thus the water is in motion and hopefully rinses off the goo that is formed on the stem by the Oxi-Action.

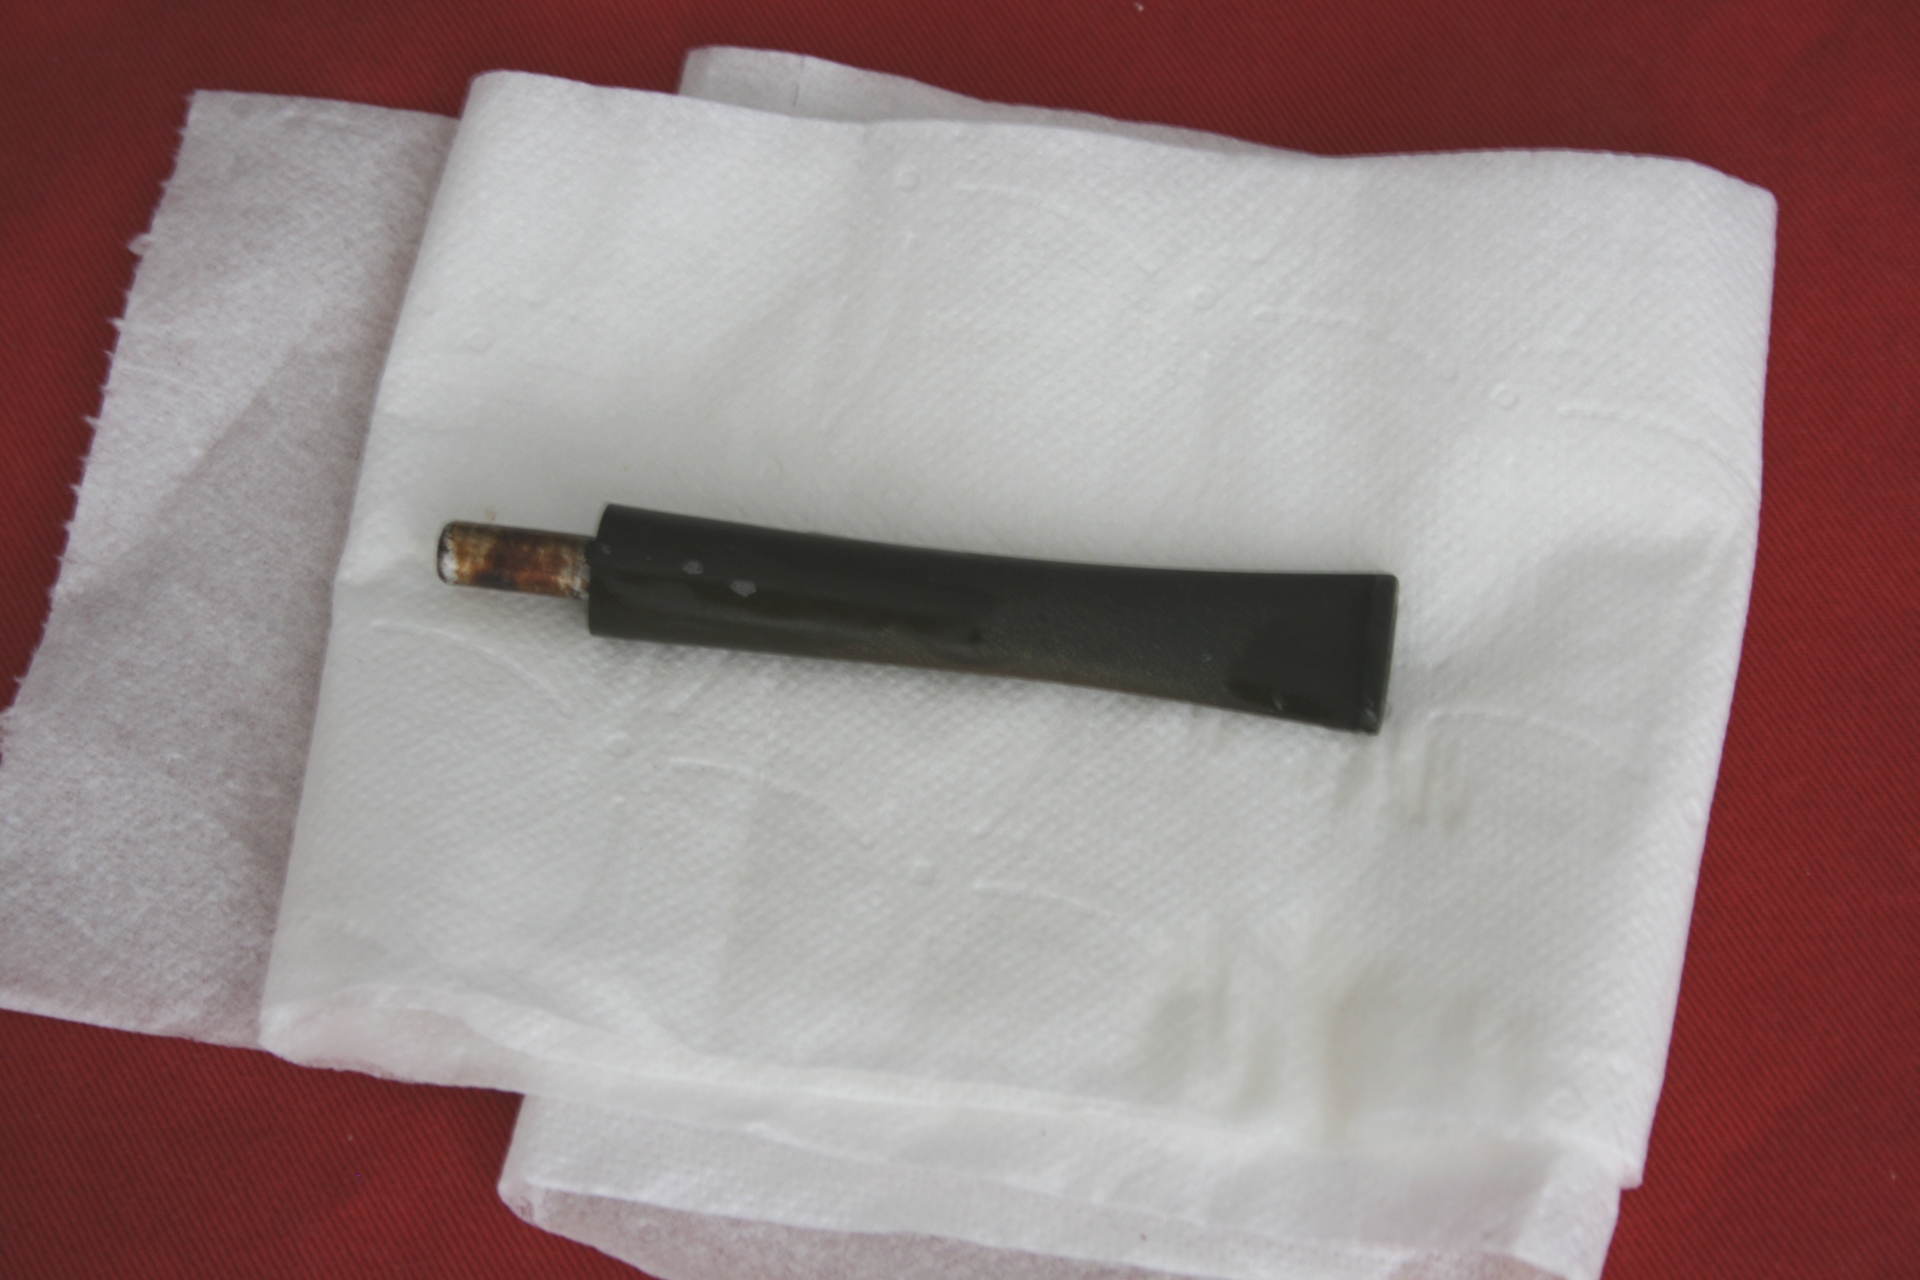
When I retrieved the stem and it was as I expected, greenish brown from the Oxi-Action. But not as gooey as before, so it worked to some degree.
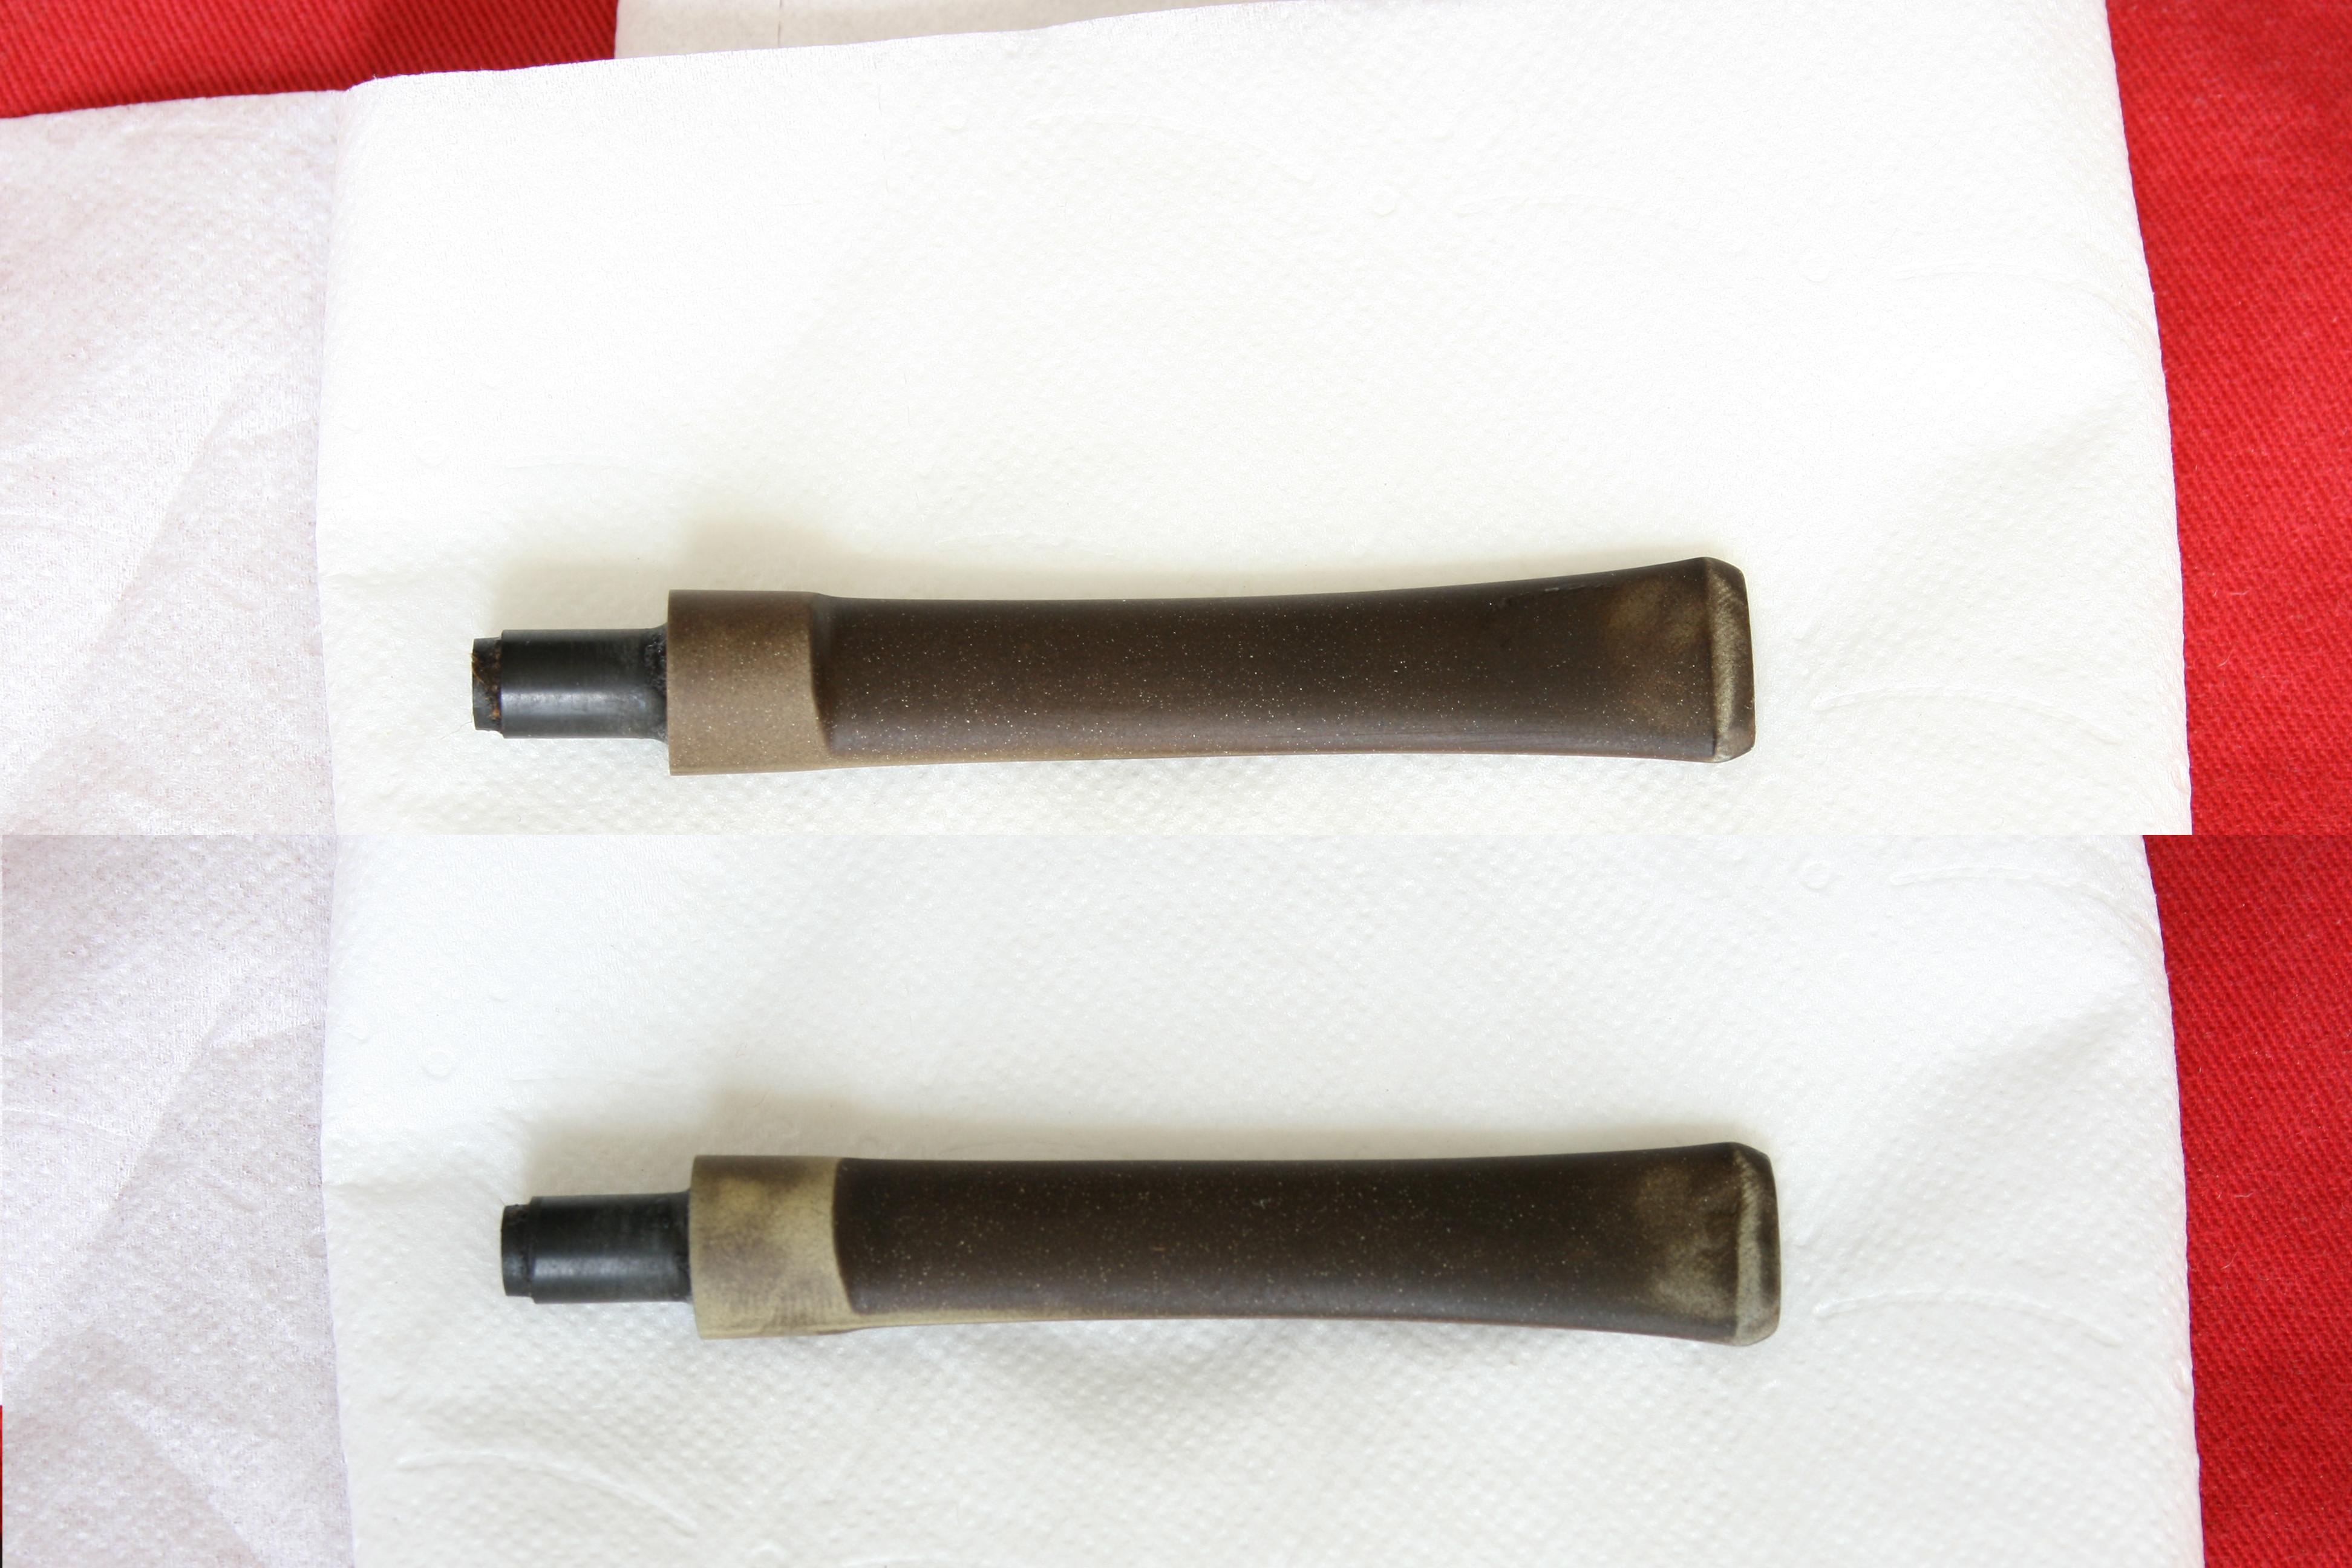
006 Dried

Then I put the stem to the grind wheel and it came out as normal.
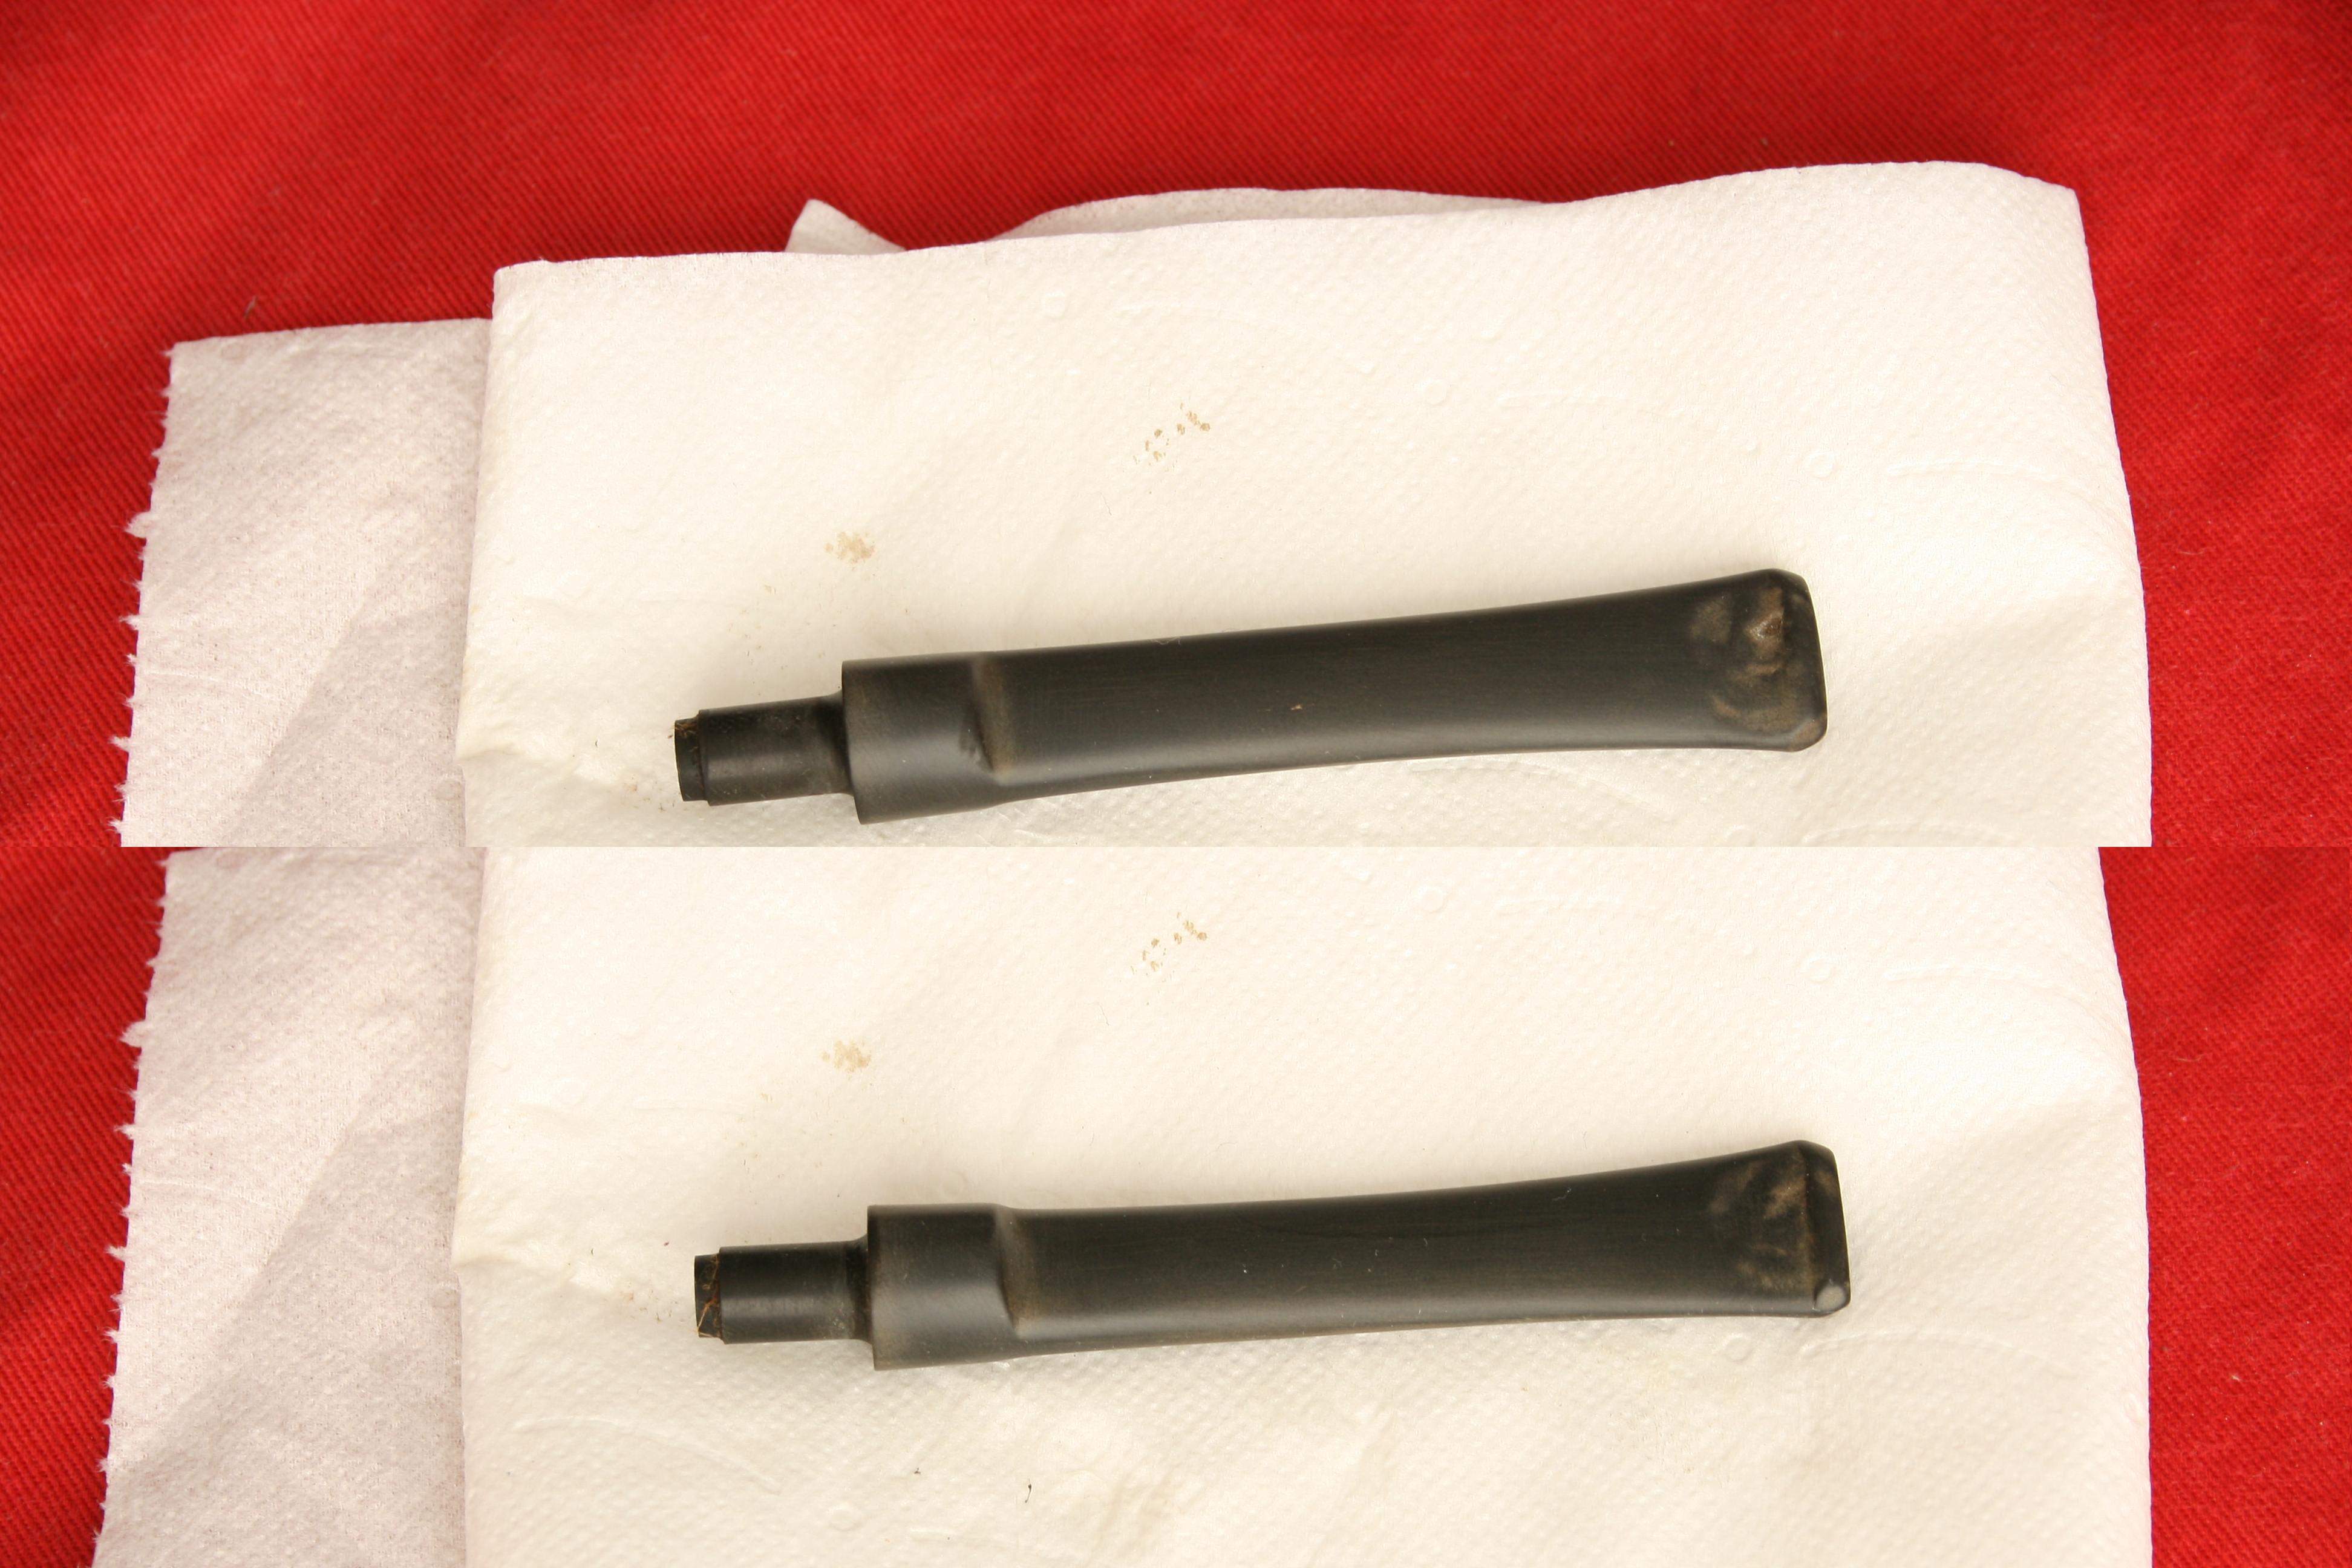
007 after the grind

The light brown patches are hard to reach for the wheel and I normally do those by hand.
To be honest, I was not really happy with the end result and did not finish all the way through with polishing and buffing the stem. In all it only saved me a little time and was a headache to set up right.

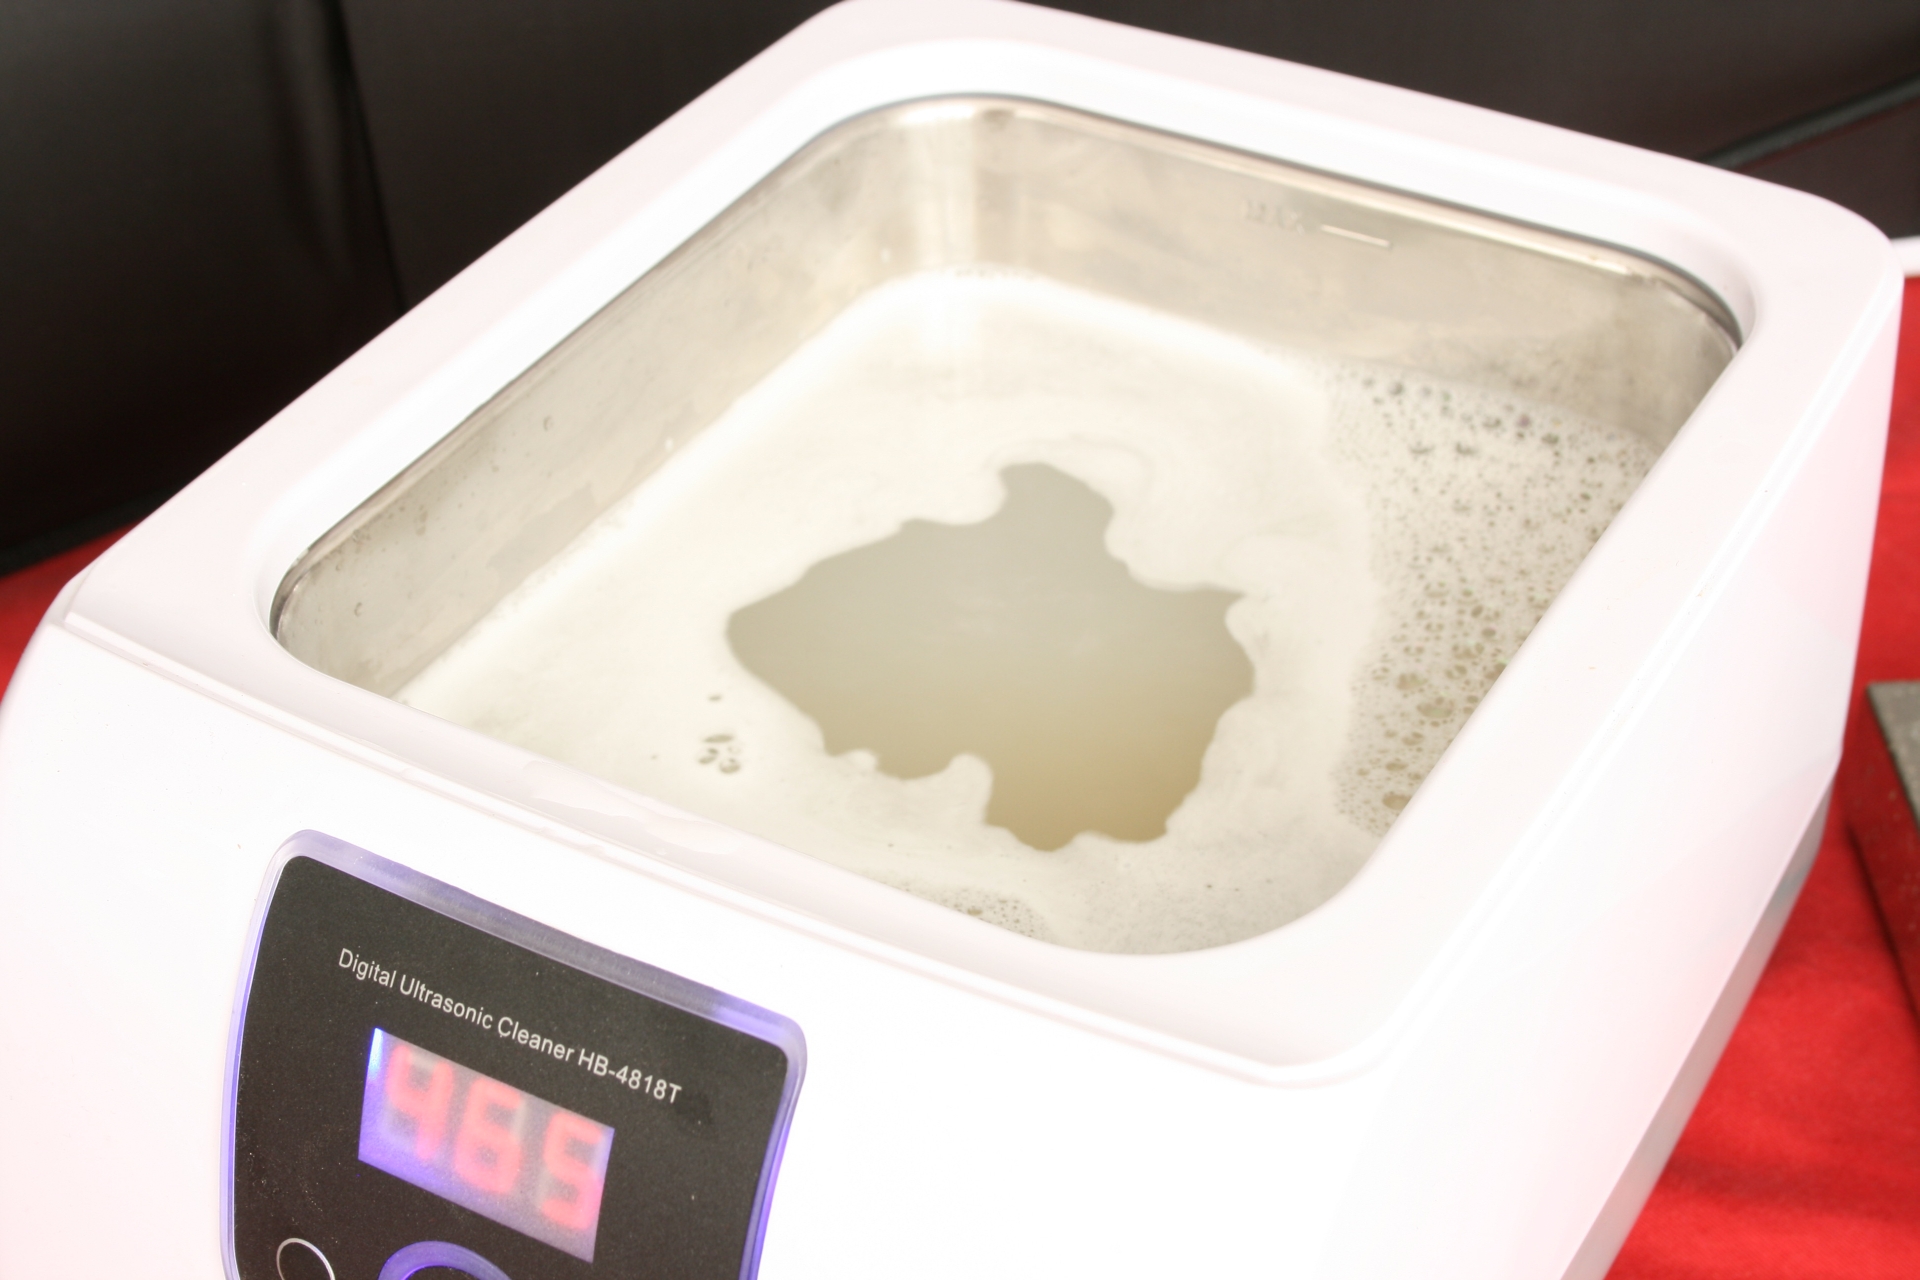
While I worked the previous stem on the grind wheel I let the ultrasonic do its thing. Again the setup: Warm water, ultrasonic with Oxi-Action and the stem.
008 Ultrasnic setup

The ultrasonic in action.
009 Look at her go

The stem just removed from the bath.
010 On to something

When I retrieved the stem I was blown away by the result, the stem came out cleaner than with the normal soak method and less gooey as with the stirring method. (However the photo did not show this, so I had to lighten it to make it clearer.) Also when I put the stem to the grind wheel I found that the liquid was a deeper brown colour instead of the golden light-brown colour I usually get when grinding.

The result after grinding.
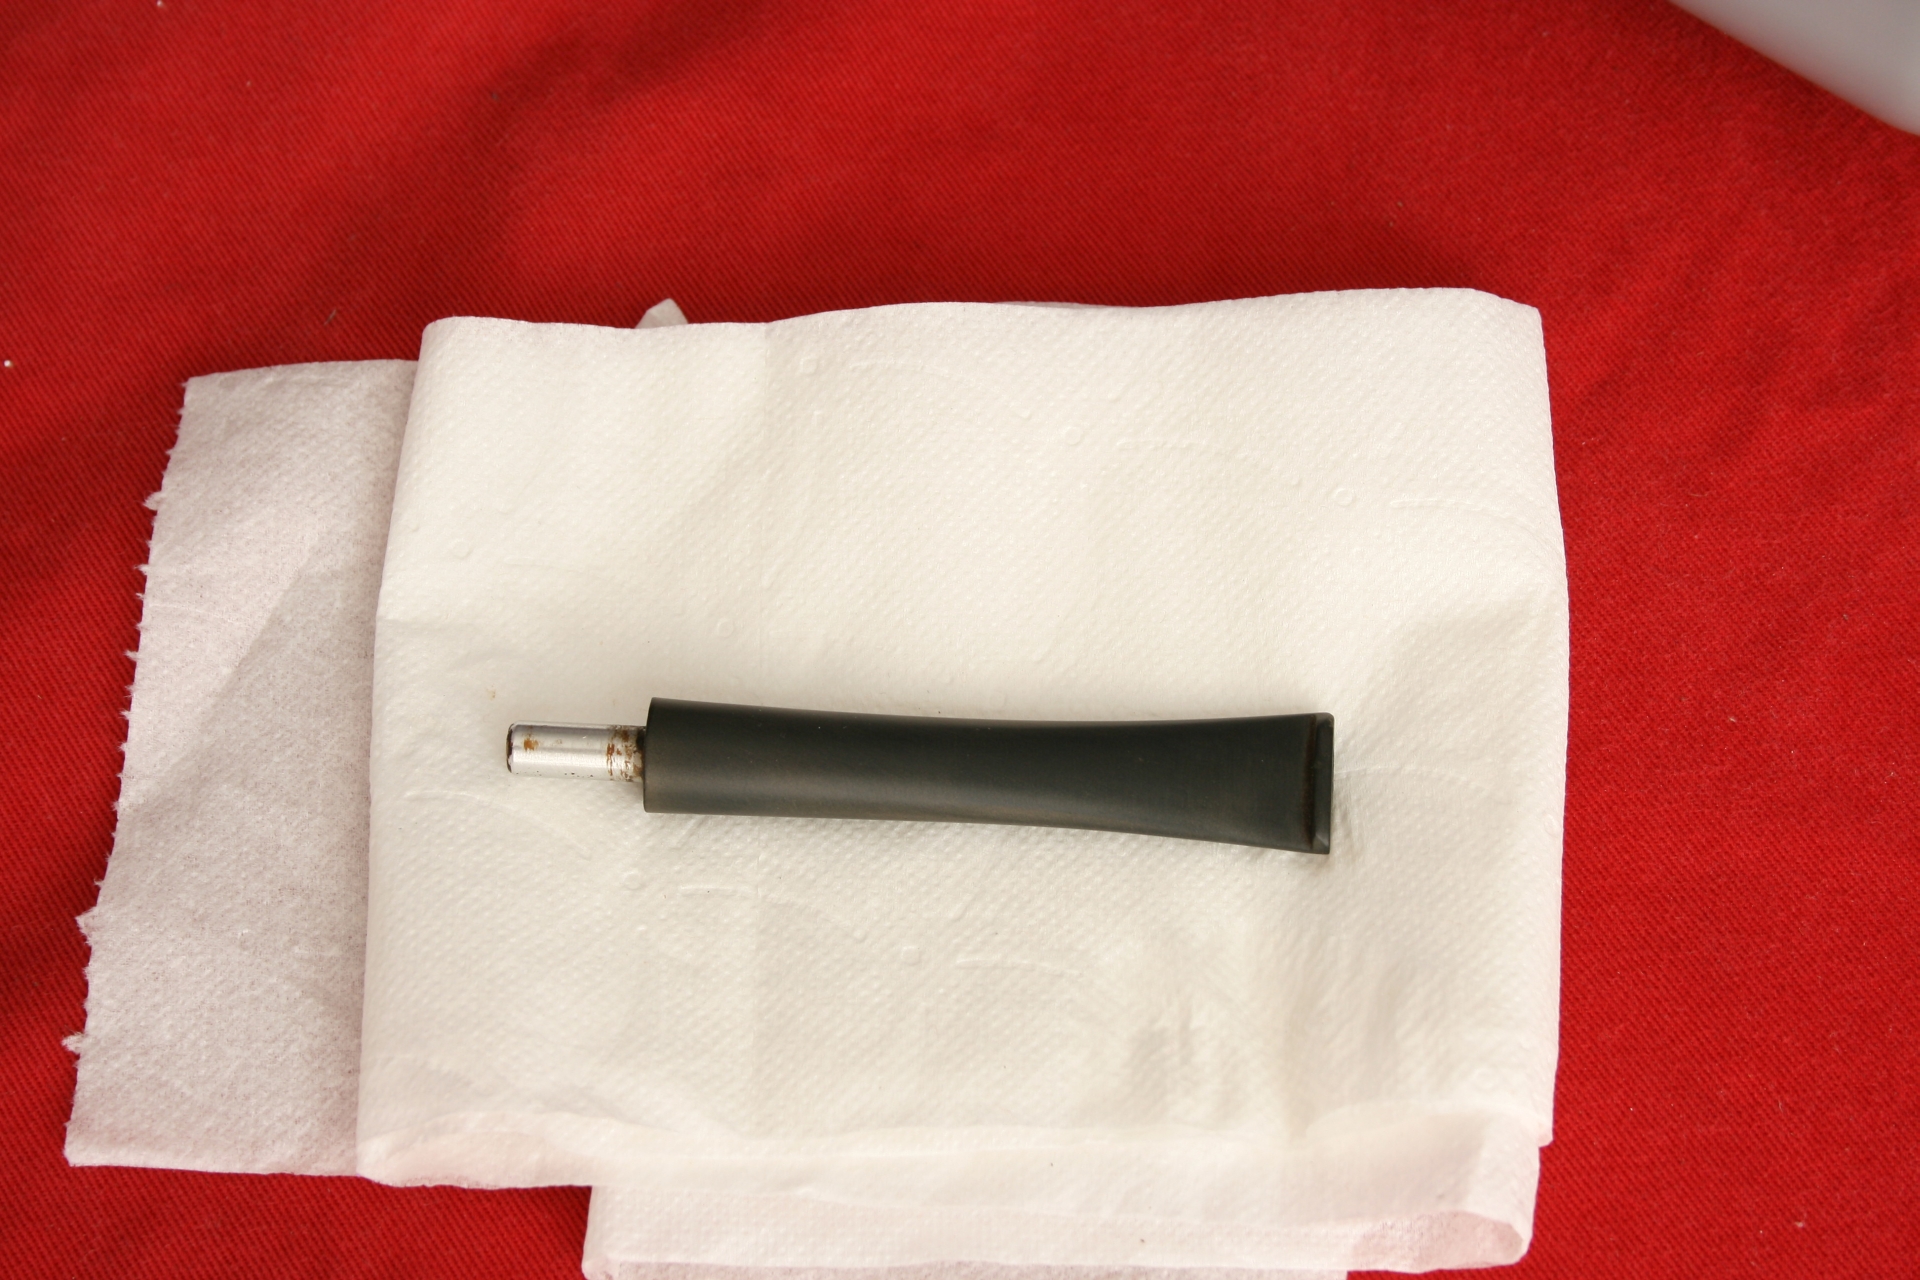
011 After the grind

Was I on to something or was it a fluke with this particular stem? I decided to leave the stems as is, find another stem in my ‘bit-box’ and try the ultrasonic again to see if I could duplicate the result. I found a stem without its tenon and dunked it in the ultrasonic.
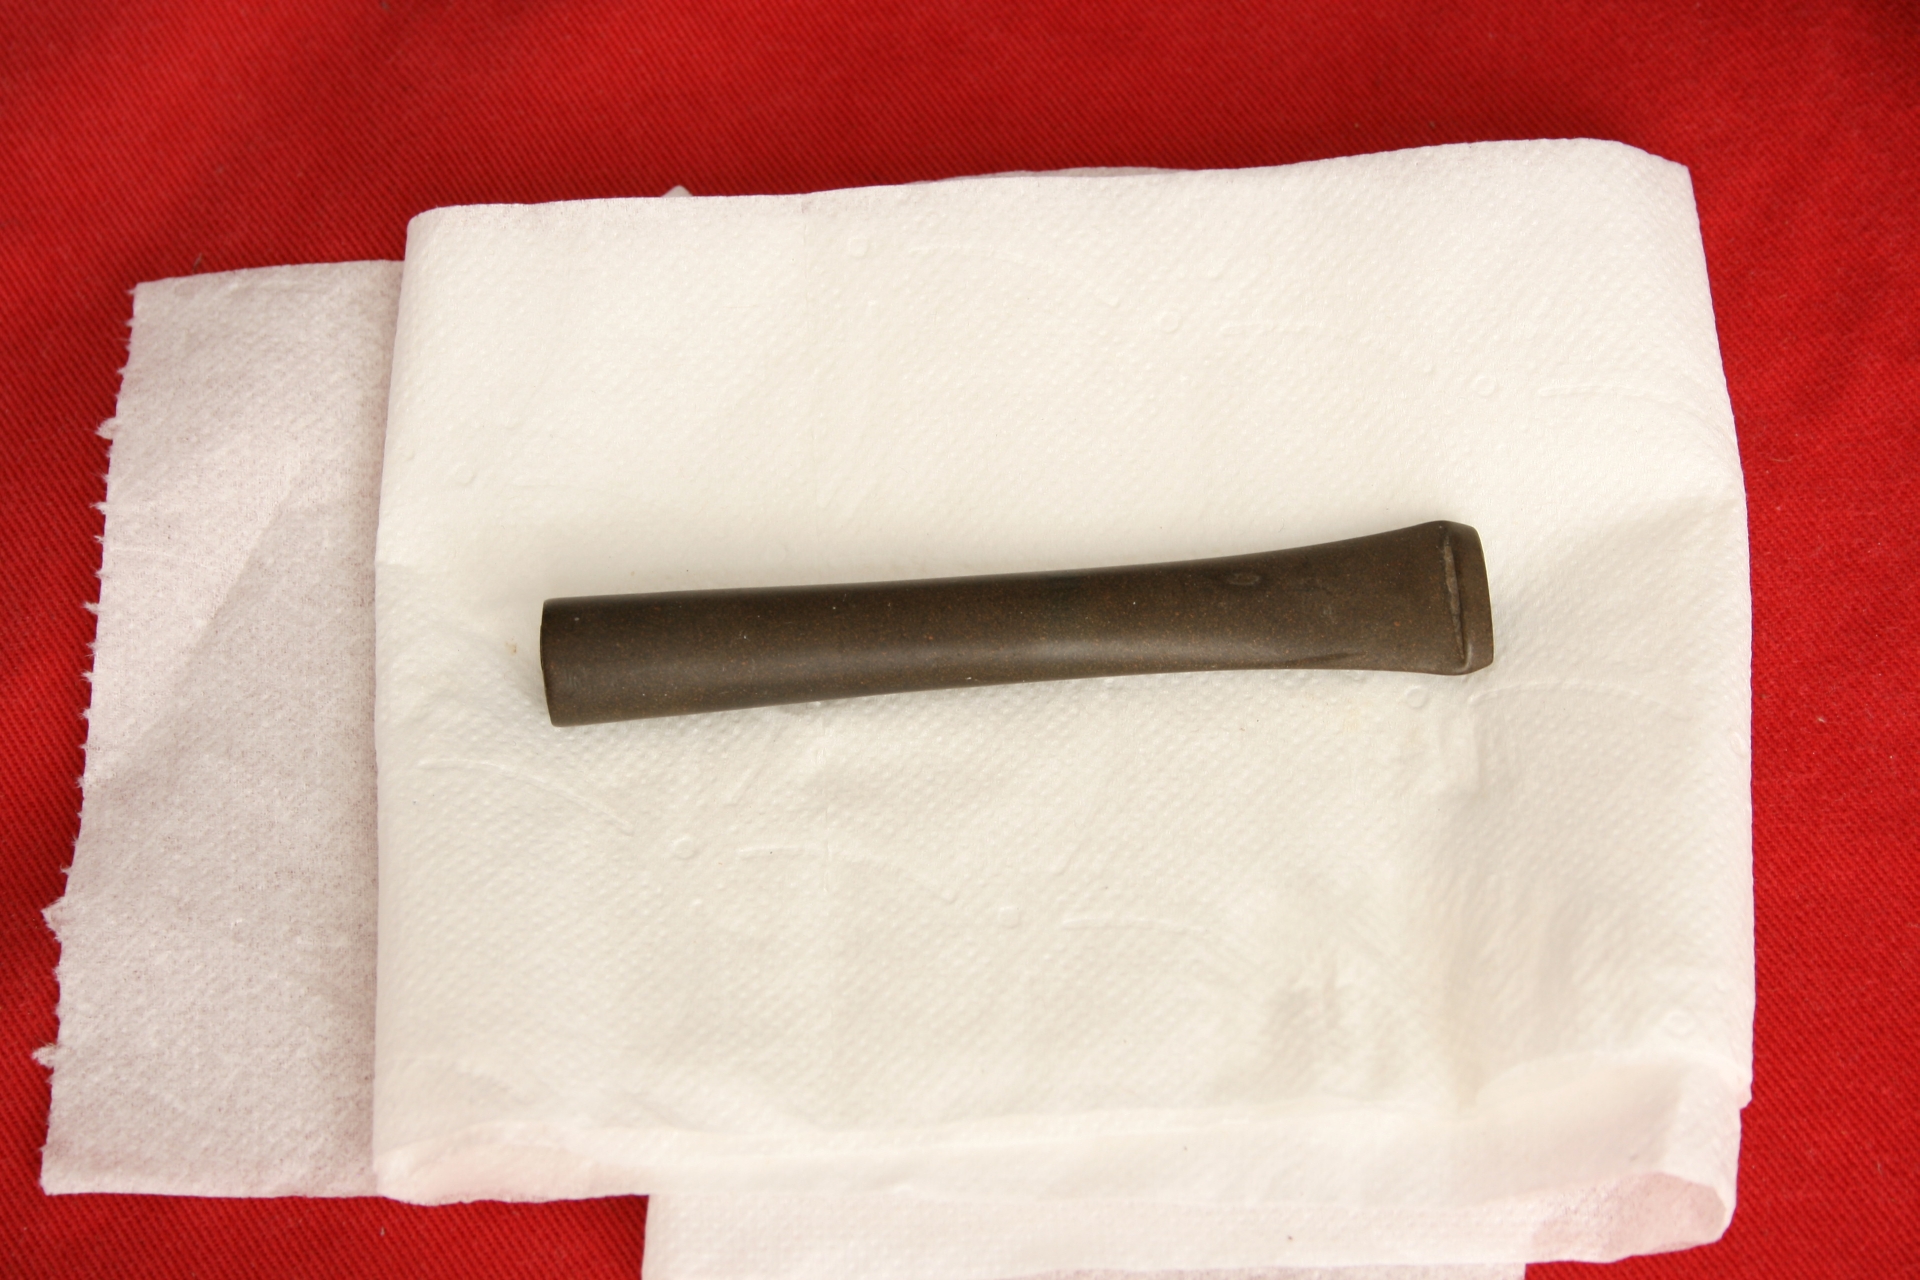
012 Before

While this was going on I Googled about ultrasonic cleaning and I stumbled on a very well written site: http://www.tmasc.com/qa%20process.htm by an unknown author. In it I found a certain line that made me stop the ultrasonic and reconfigure it, namely this:

‘Parts should be racked in a basket or work holder designed to handle your specific part. This is very important in high-end cleaning systems where you want the cleanest part possible. You should always use a stainless steel basket, as softer materials will absorb the ultrasonic energy. Never use plastic or other soft materials. If your part is easily damaged or scratched, stainless steel racks with Nylobond or Teflon coatings are available.’

Now if you look in the previous pictures you will notice I left the basket out of the cleaner thinking it was not needed for my purposes. Boy was I wrong. Having the stems in contact with the bottom meant that the sonic vibrations were interrupted and as such the cleaning was not optimum. Whoops. So I put the basket that came with the cleaner, put the stem in and let it go for 8 minutes. The end result really surprised me.
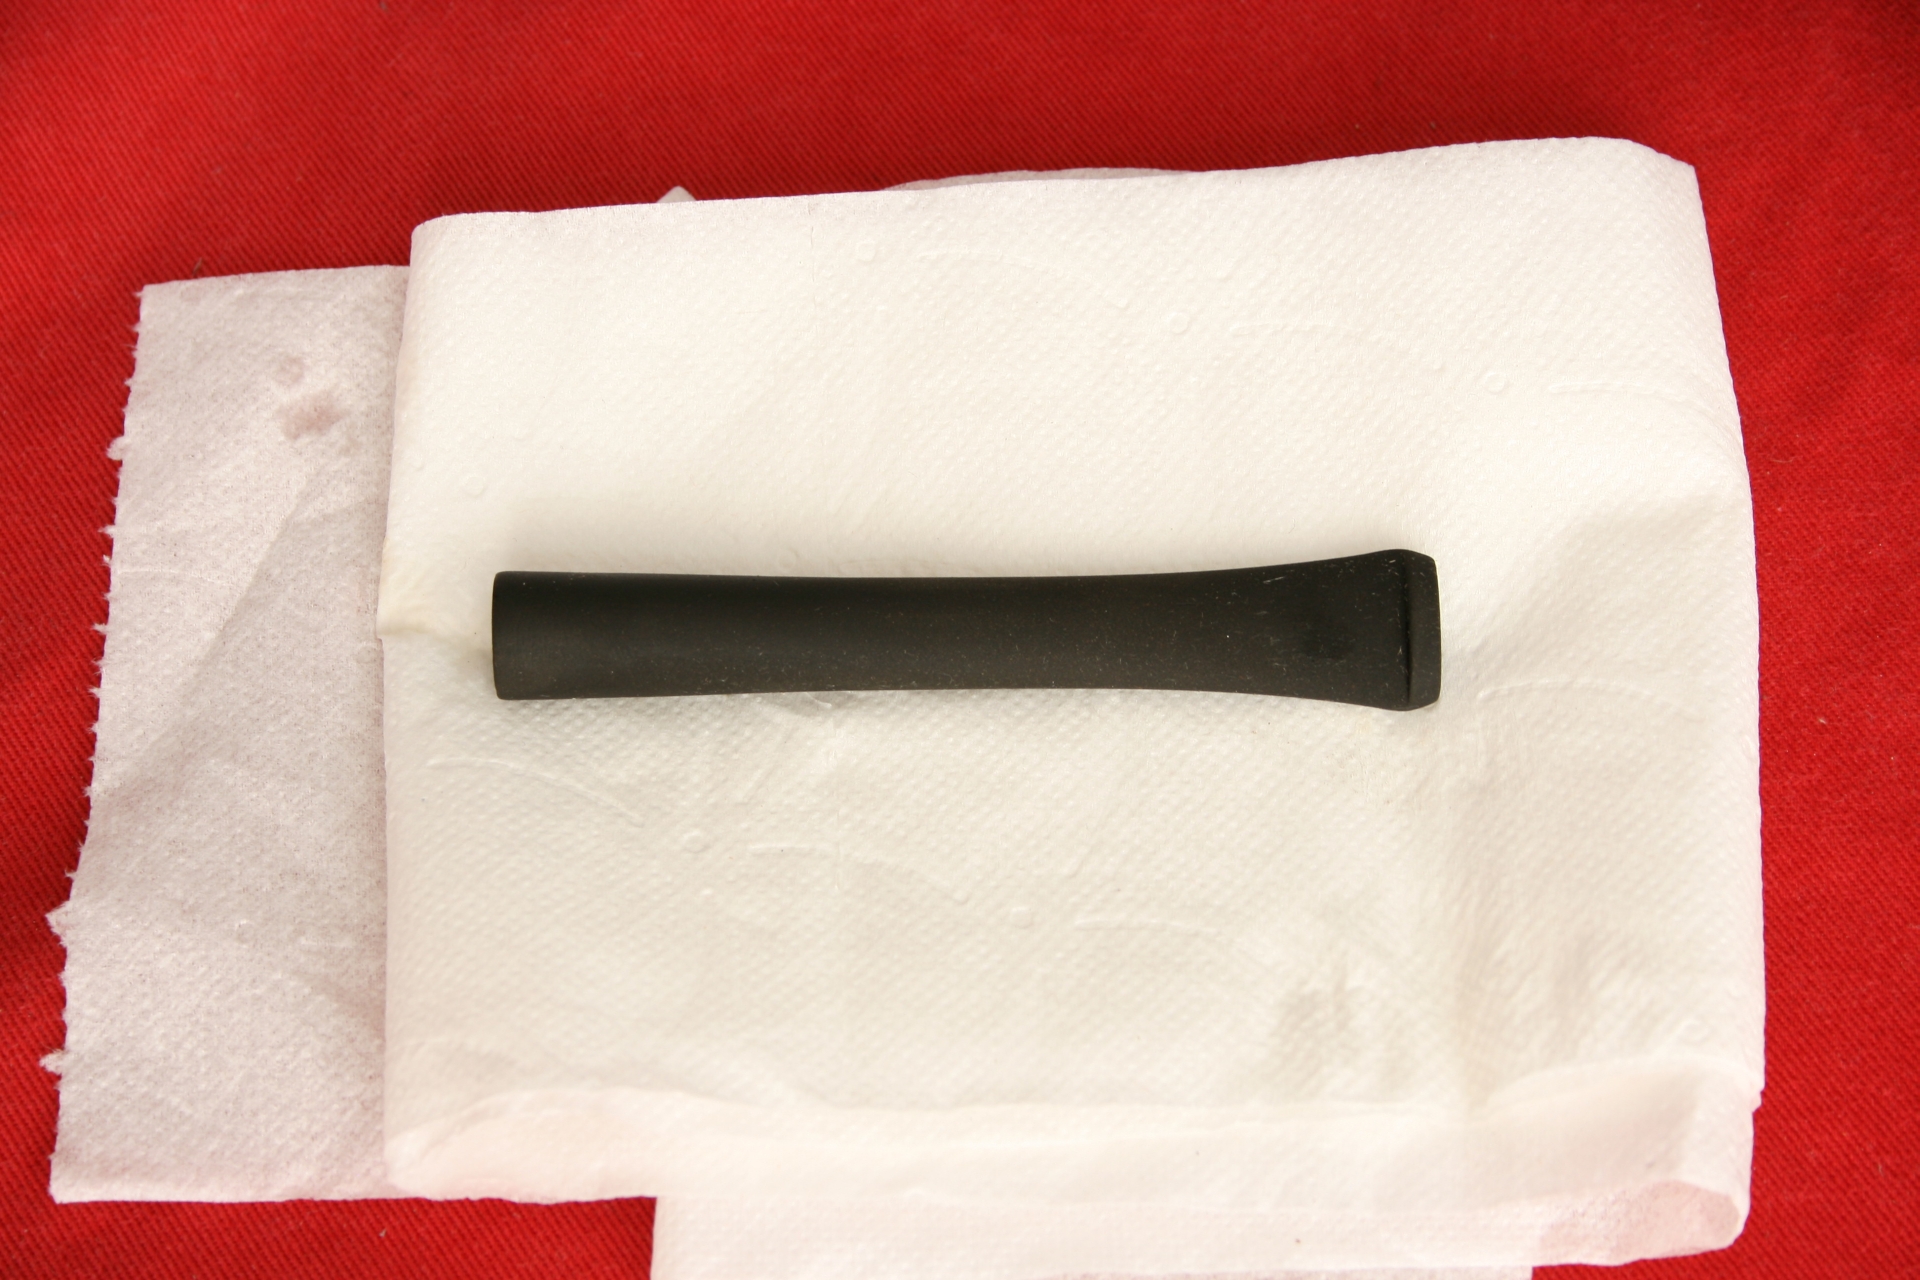
013 After

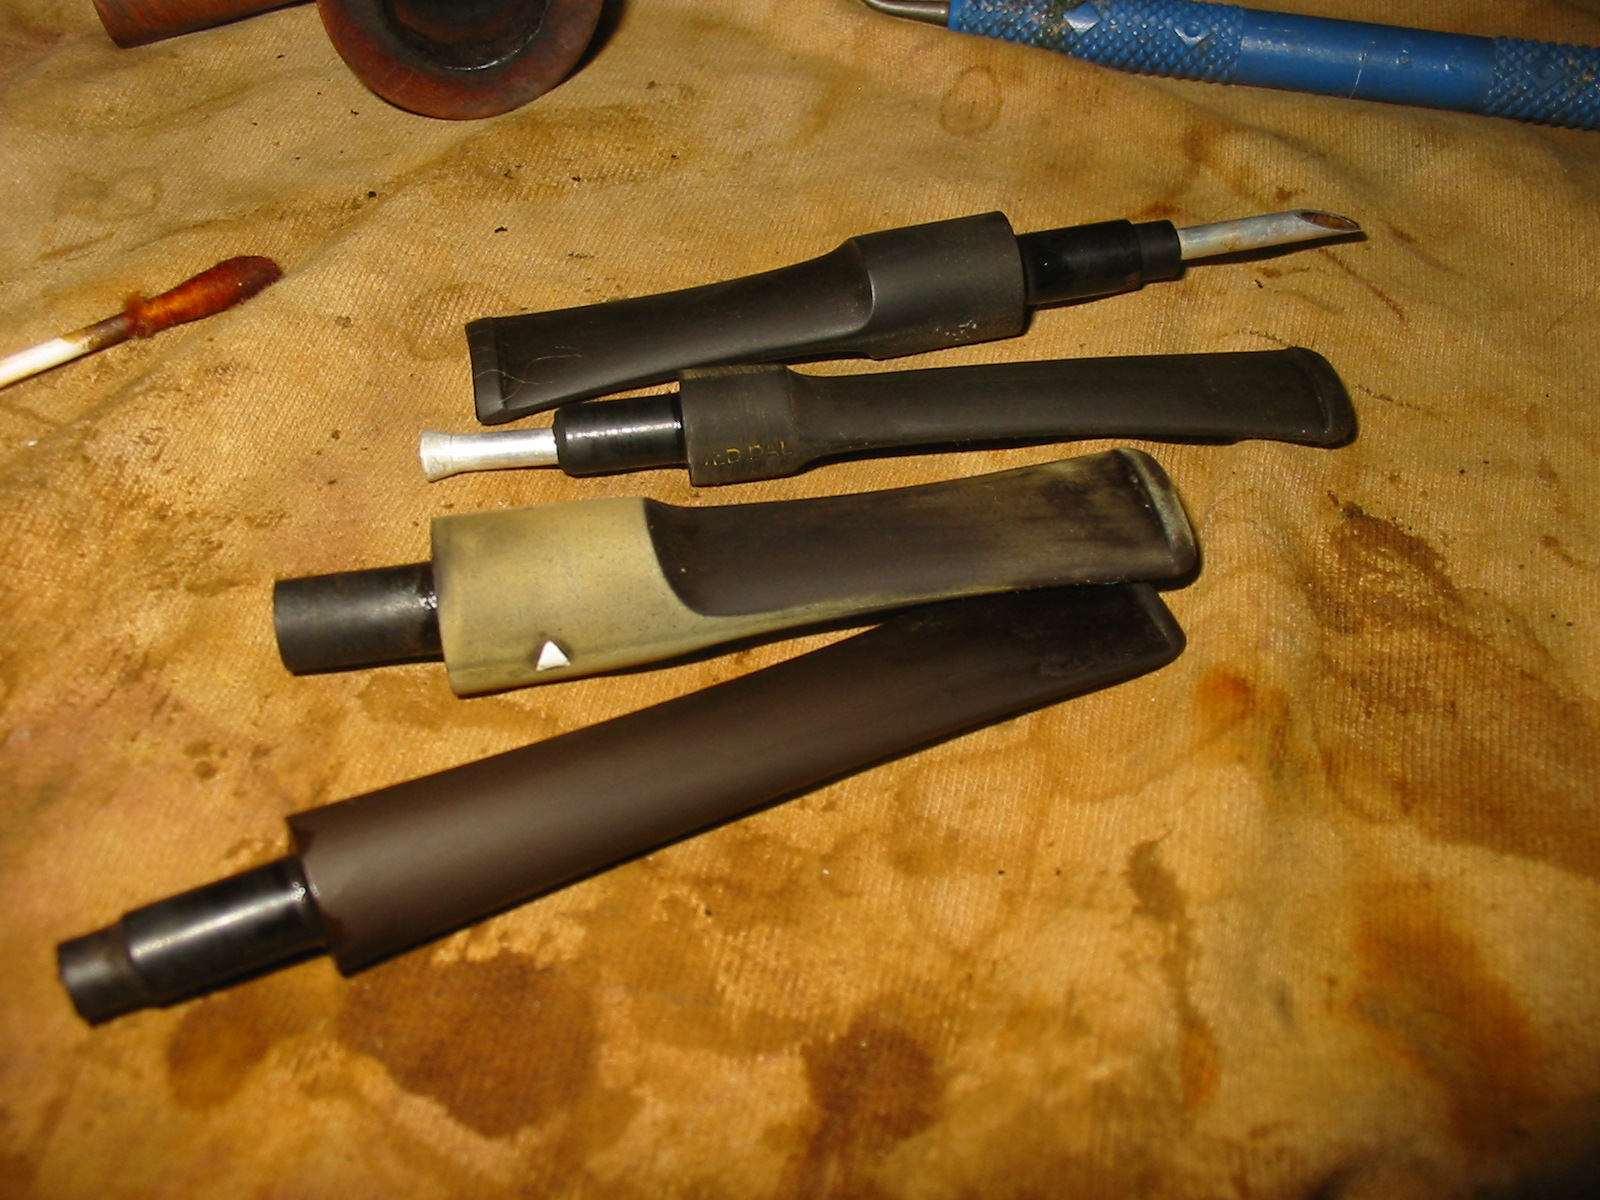
When I used the grind wheel on it the liquid was almost black. Here are the stems next to each other.
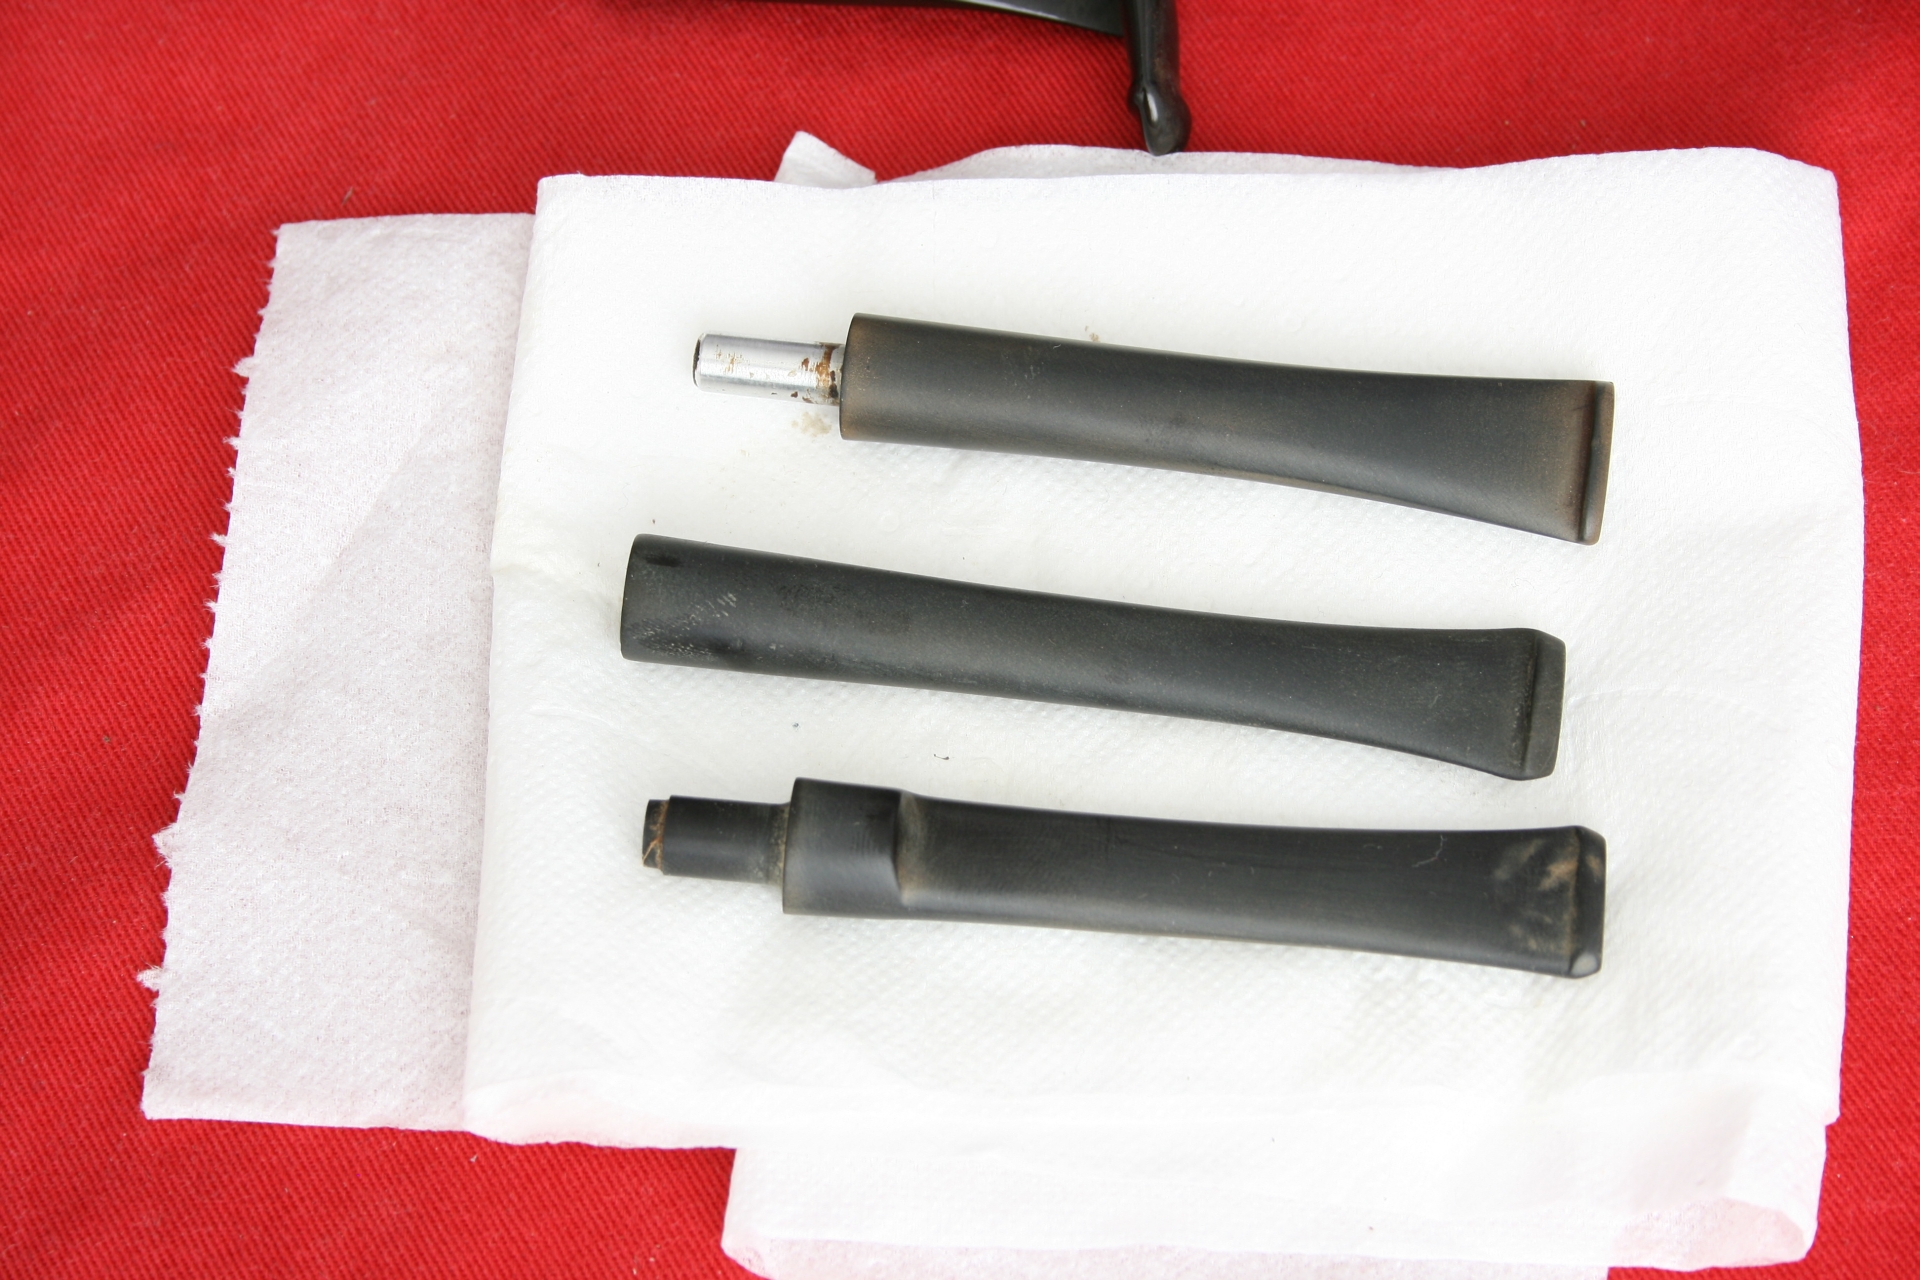
014 All three stems

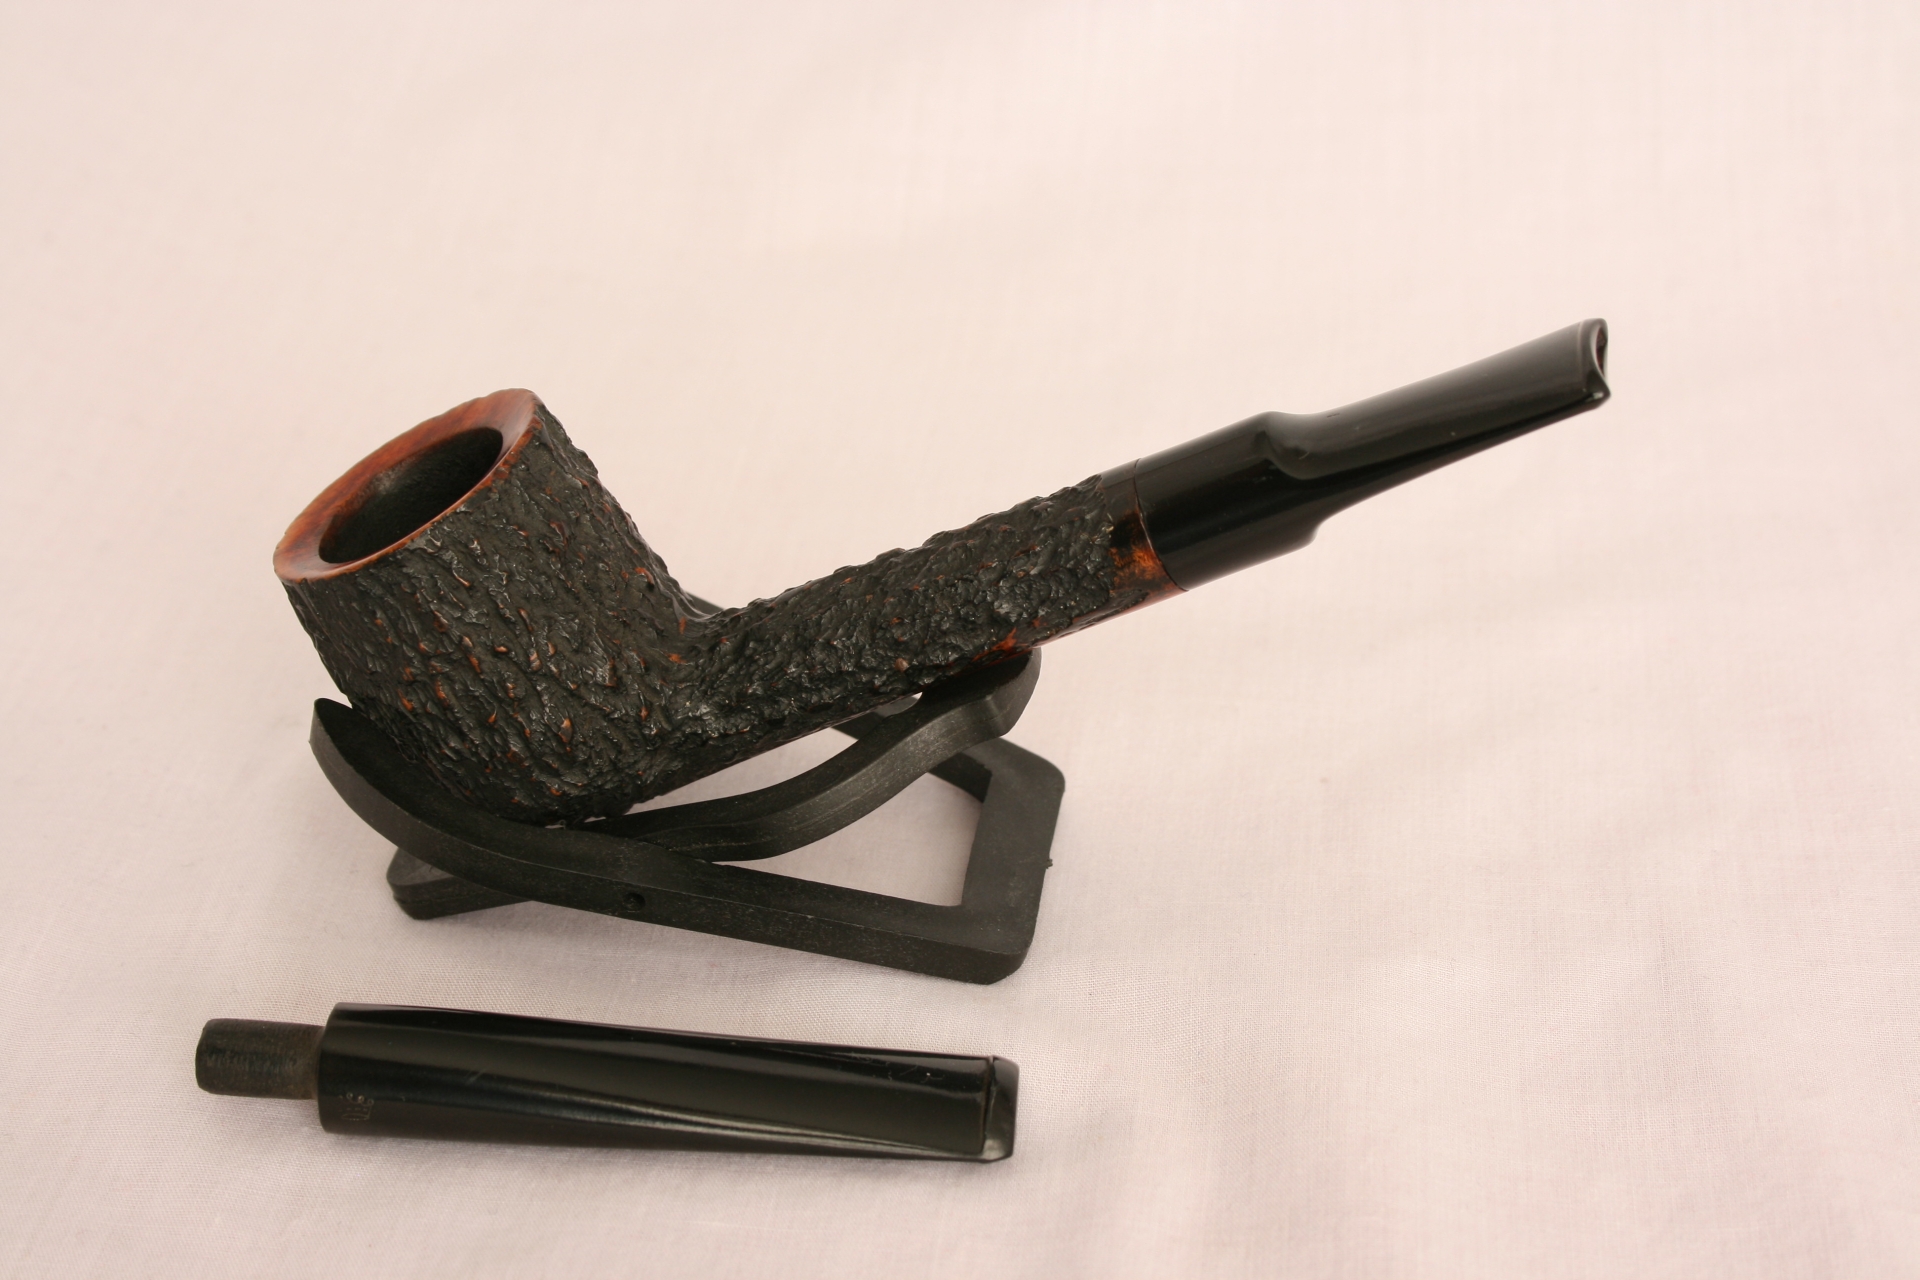
You can clearly see that the middle one has had more oxidation removed than the other two and in the case of the upper stem I blame my inexperience with the ultrasonic. Still the end result for me was quite exciting and I wanted to try it in a complete cleaning process. So I rummaged through my pipe- and bit-boxes to find almost equally oxidized stems. I found a ‘Belmont Grain London Style’ pipe and a loose stem.
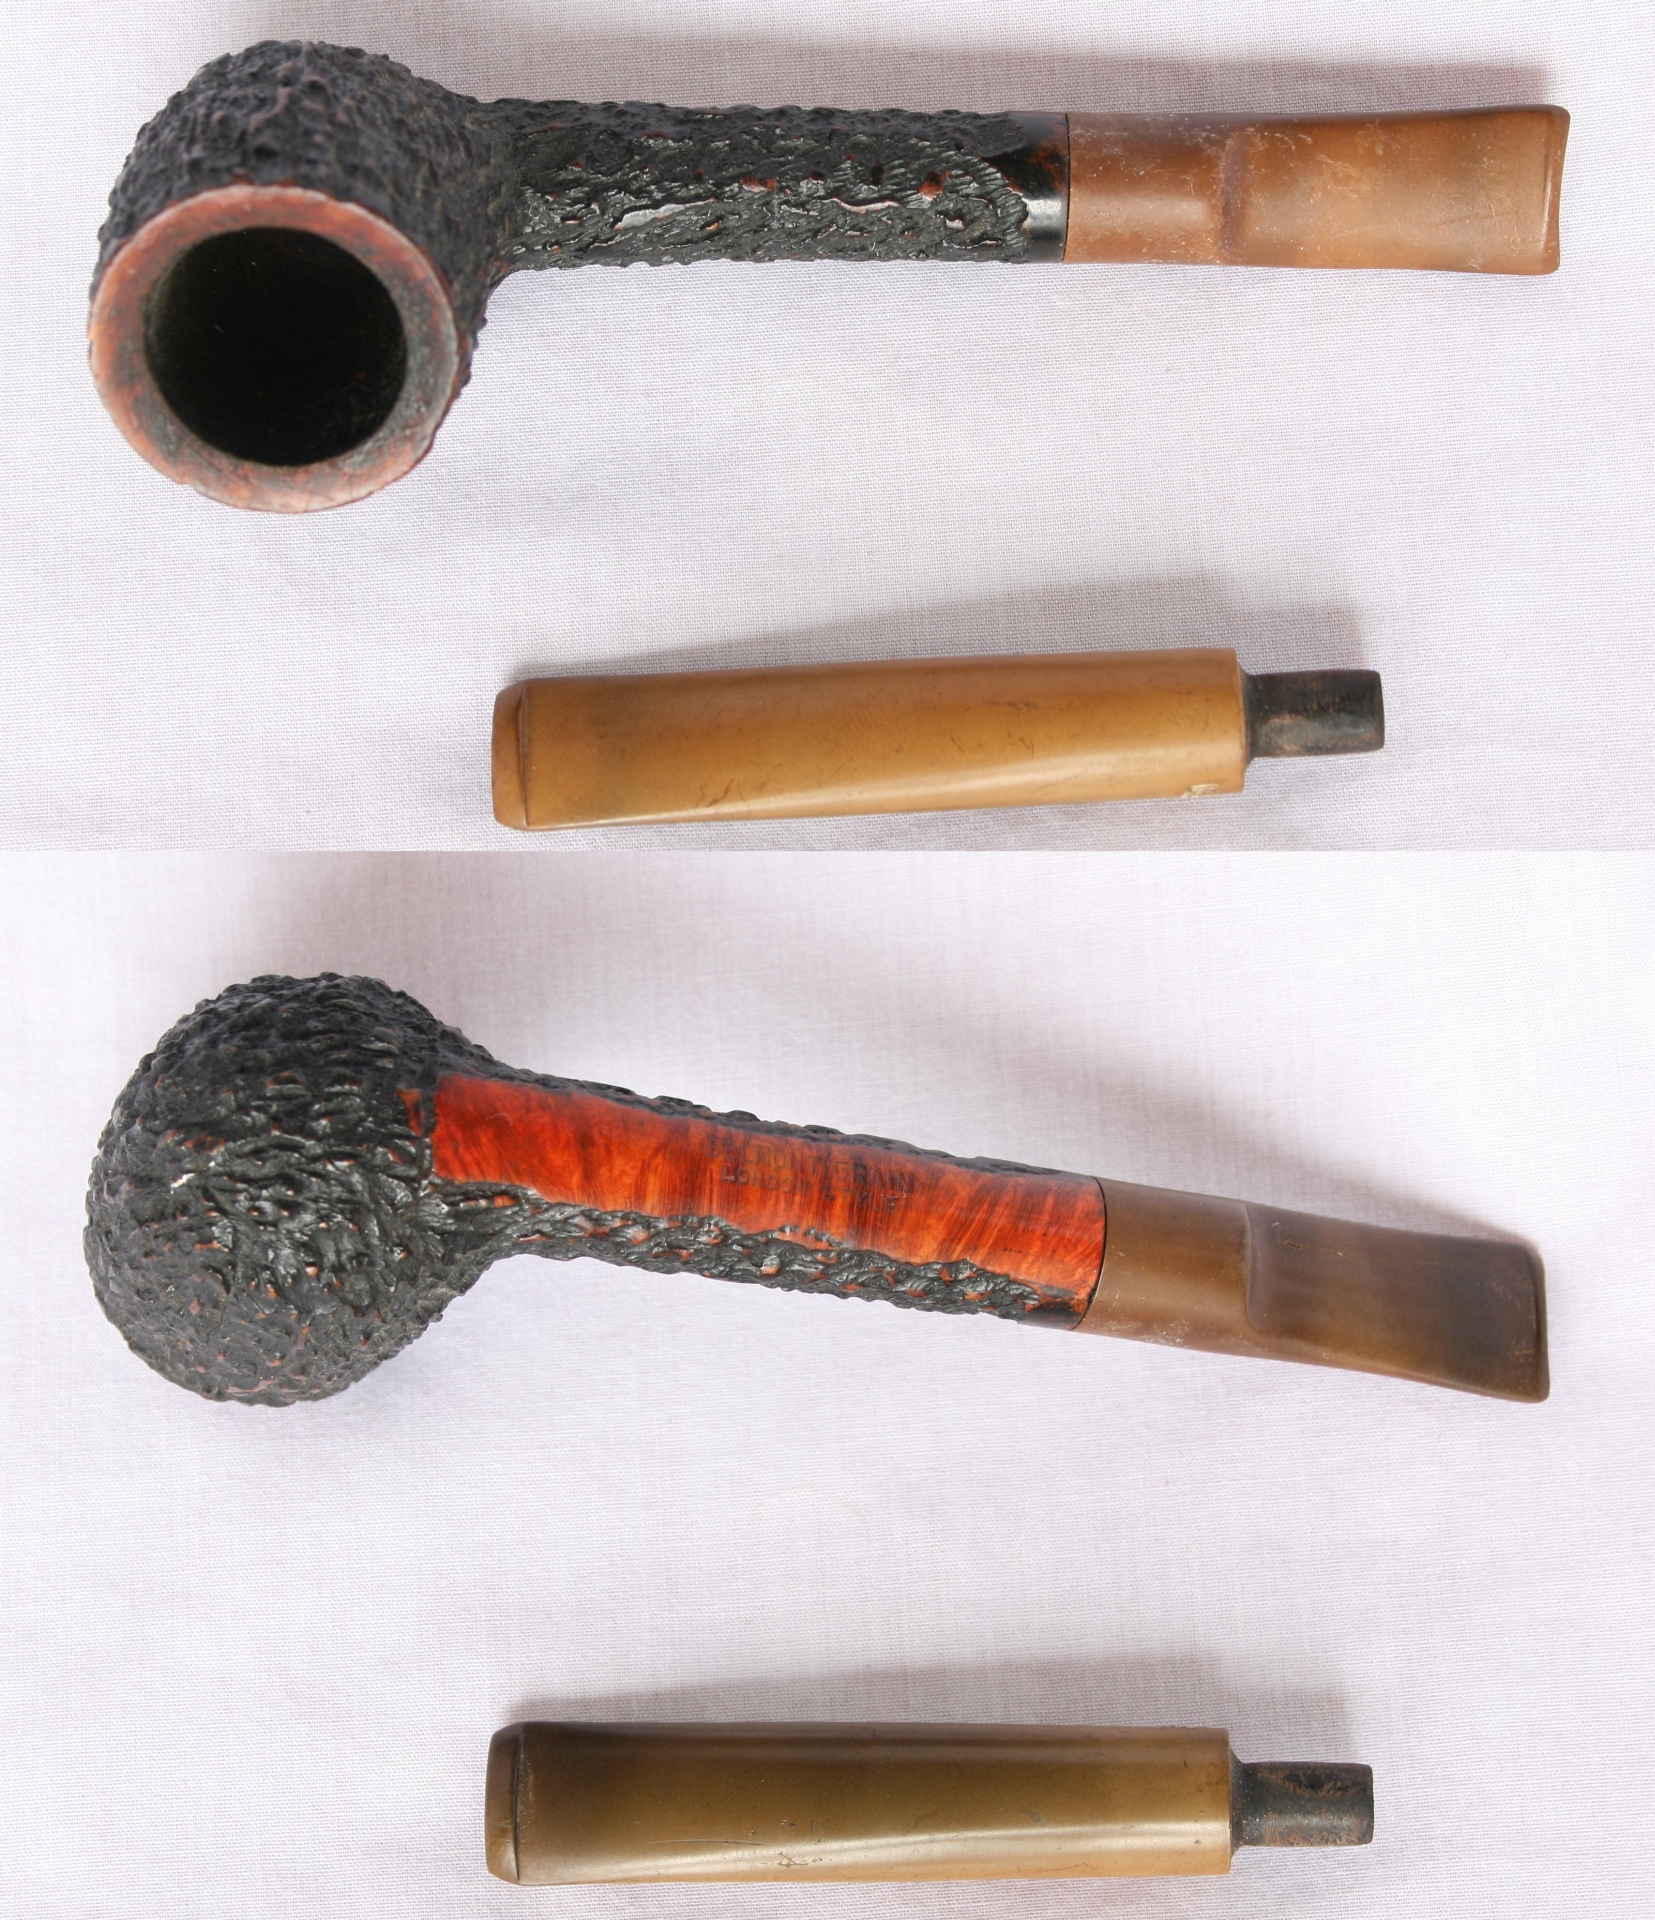
015 Pipe and stem

First I cleaned the inside using 96% alcohol and pipe cleaners, they came out pretty clean indicating that the stems were not heavily used.
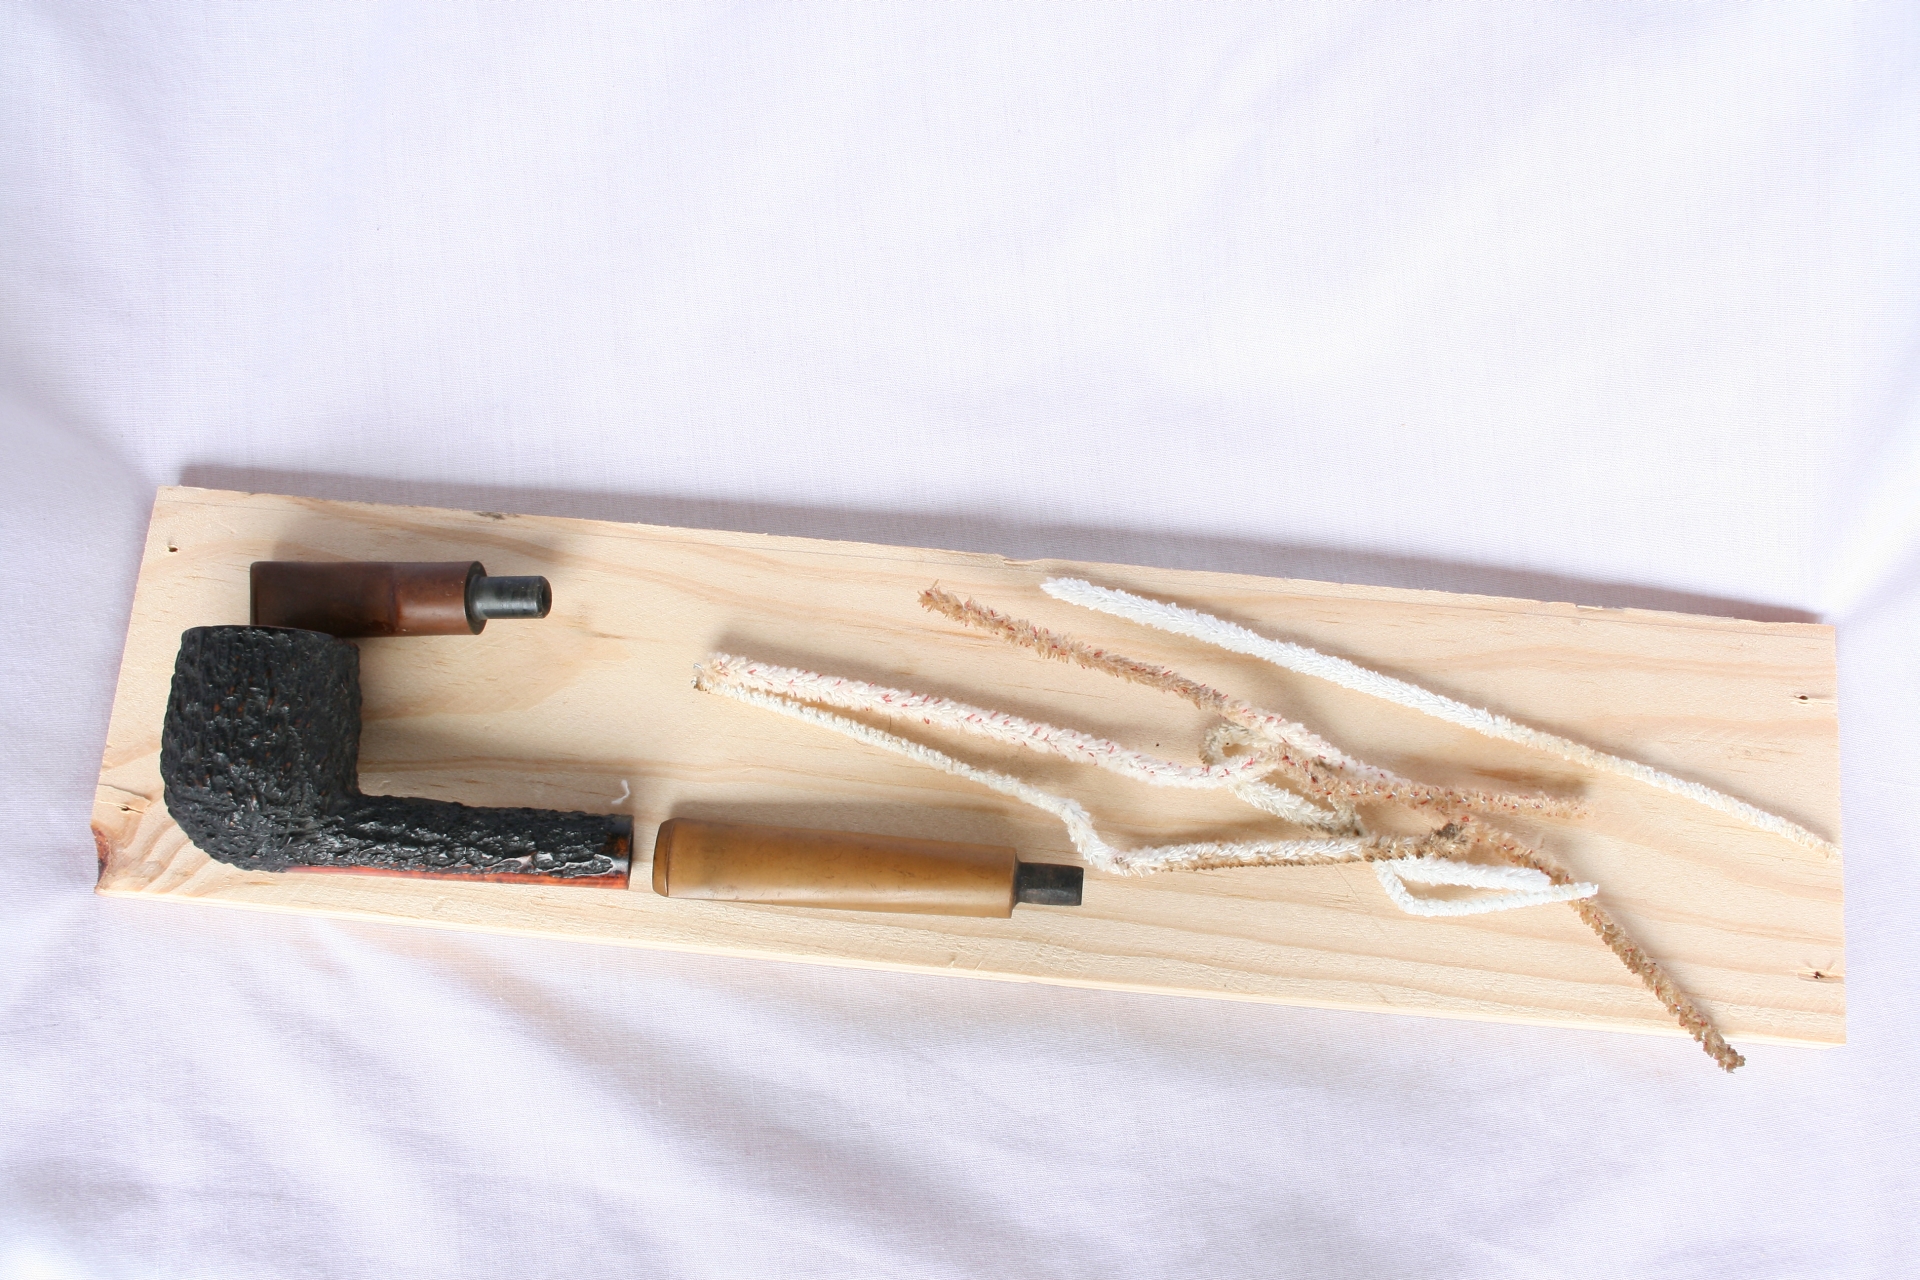
016 Cleaning inside

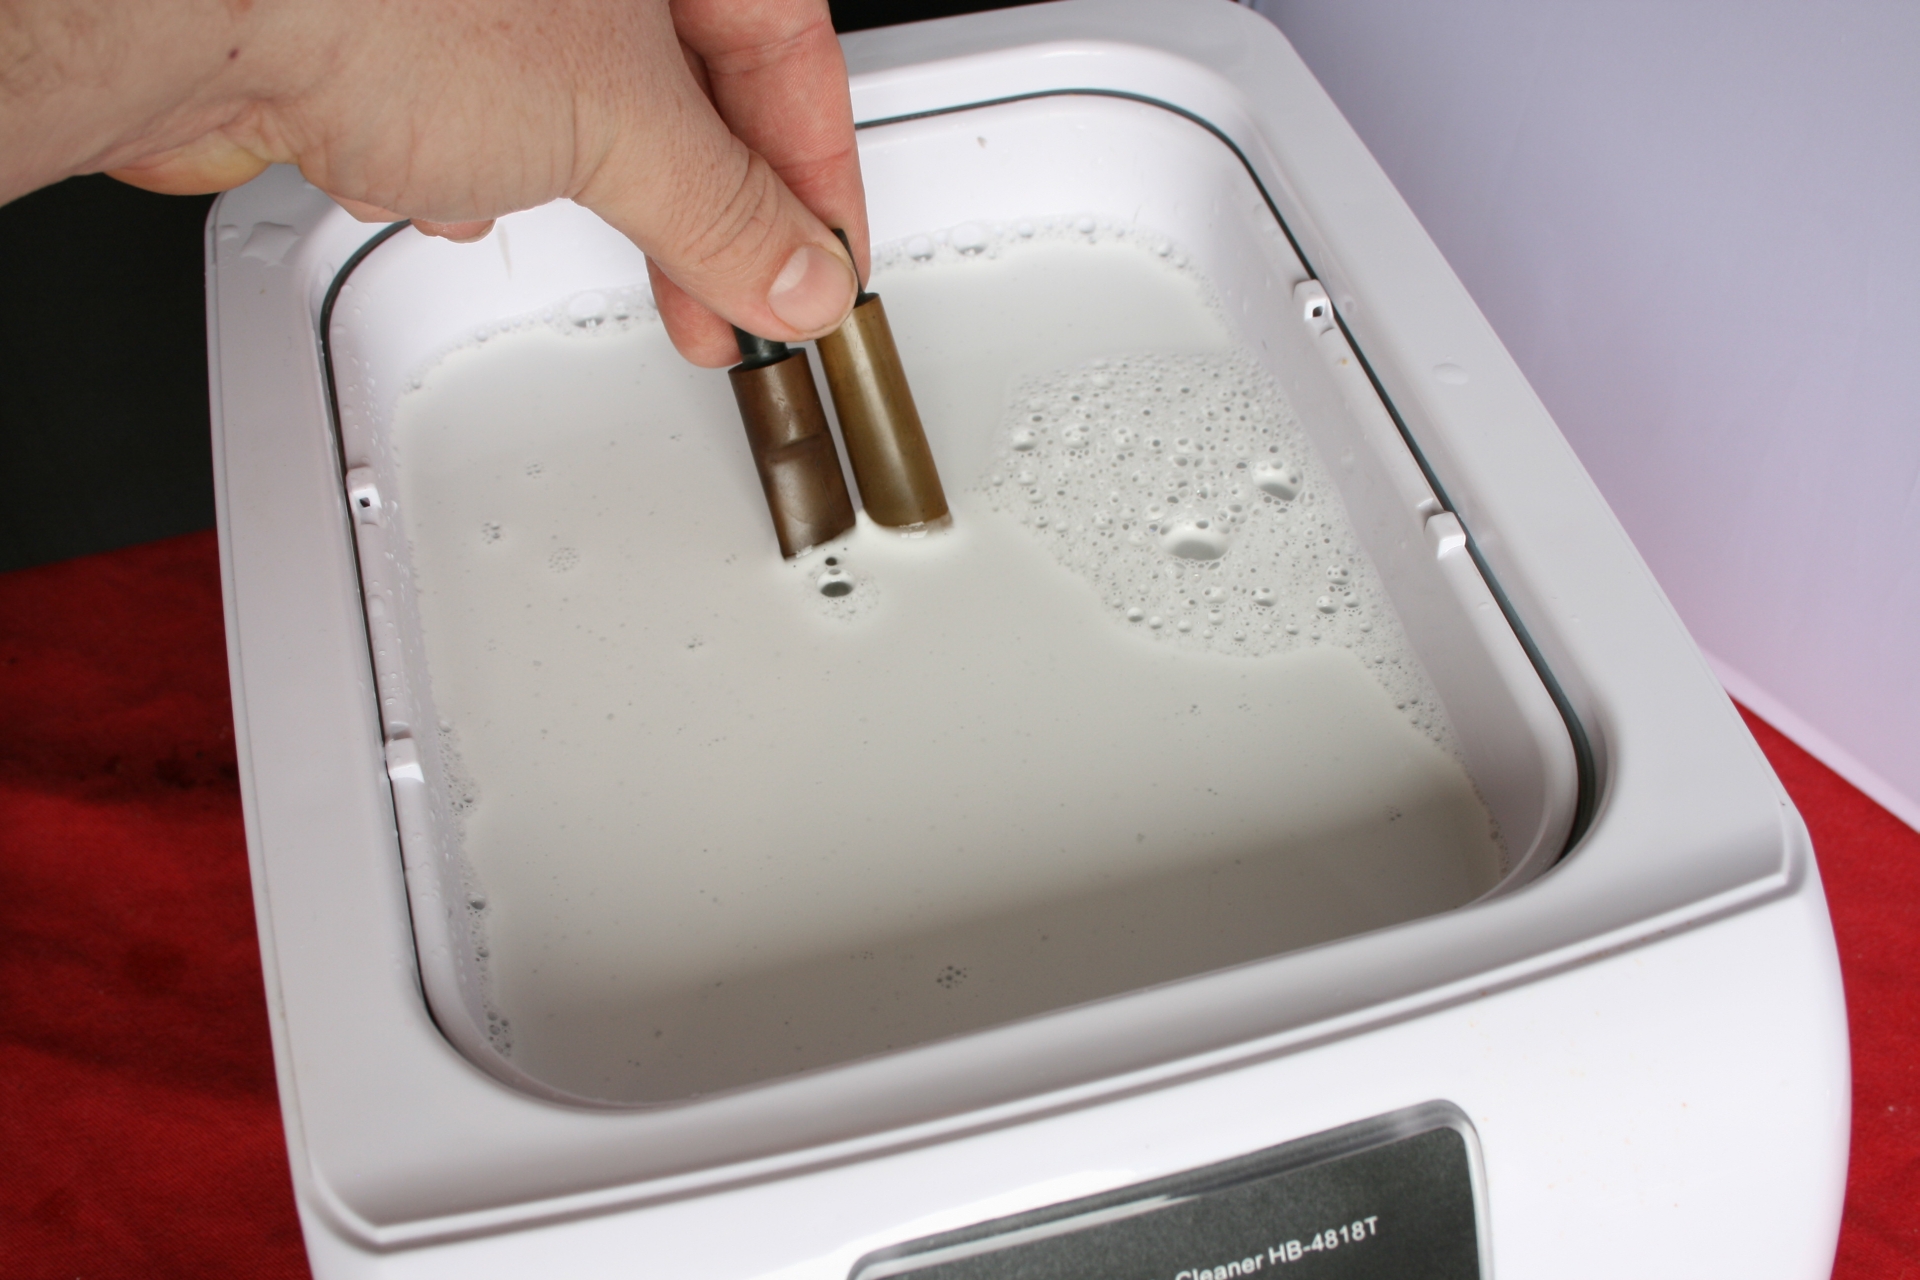
Then I set up the ultrasonic again with the Oxi-Action solution, warm water and the basket in place. The stems were placed in the basket and I let her go for 8 minutes.
017 Setup

018 In they go

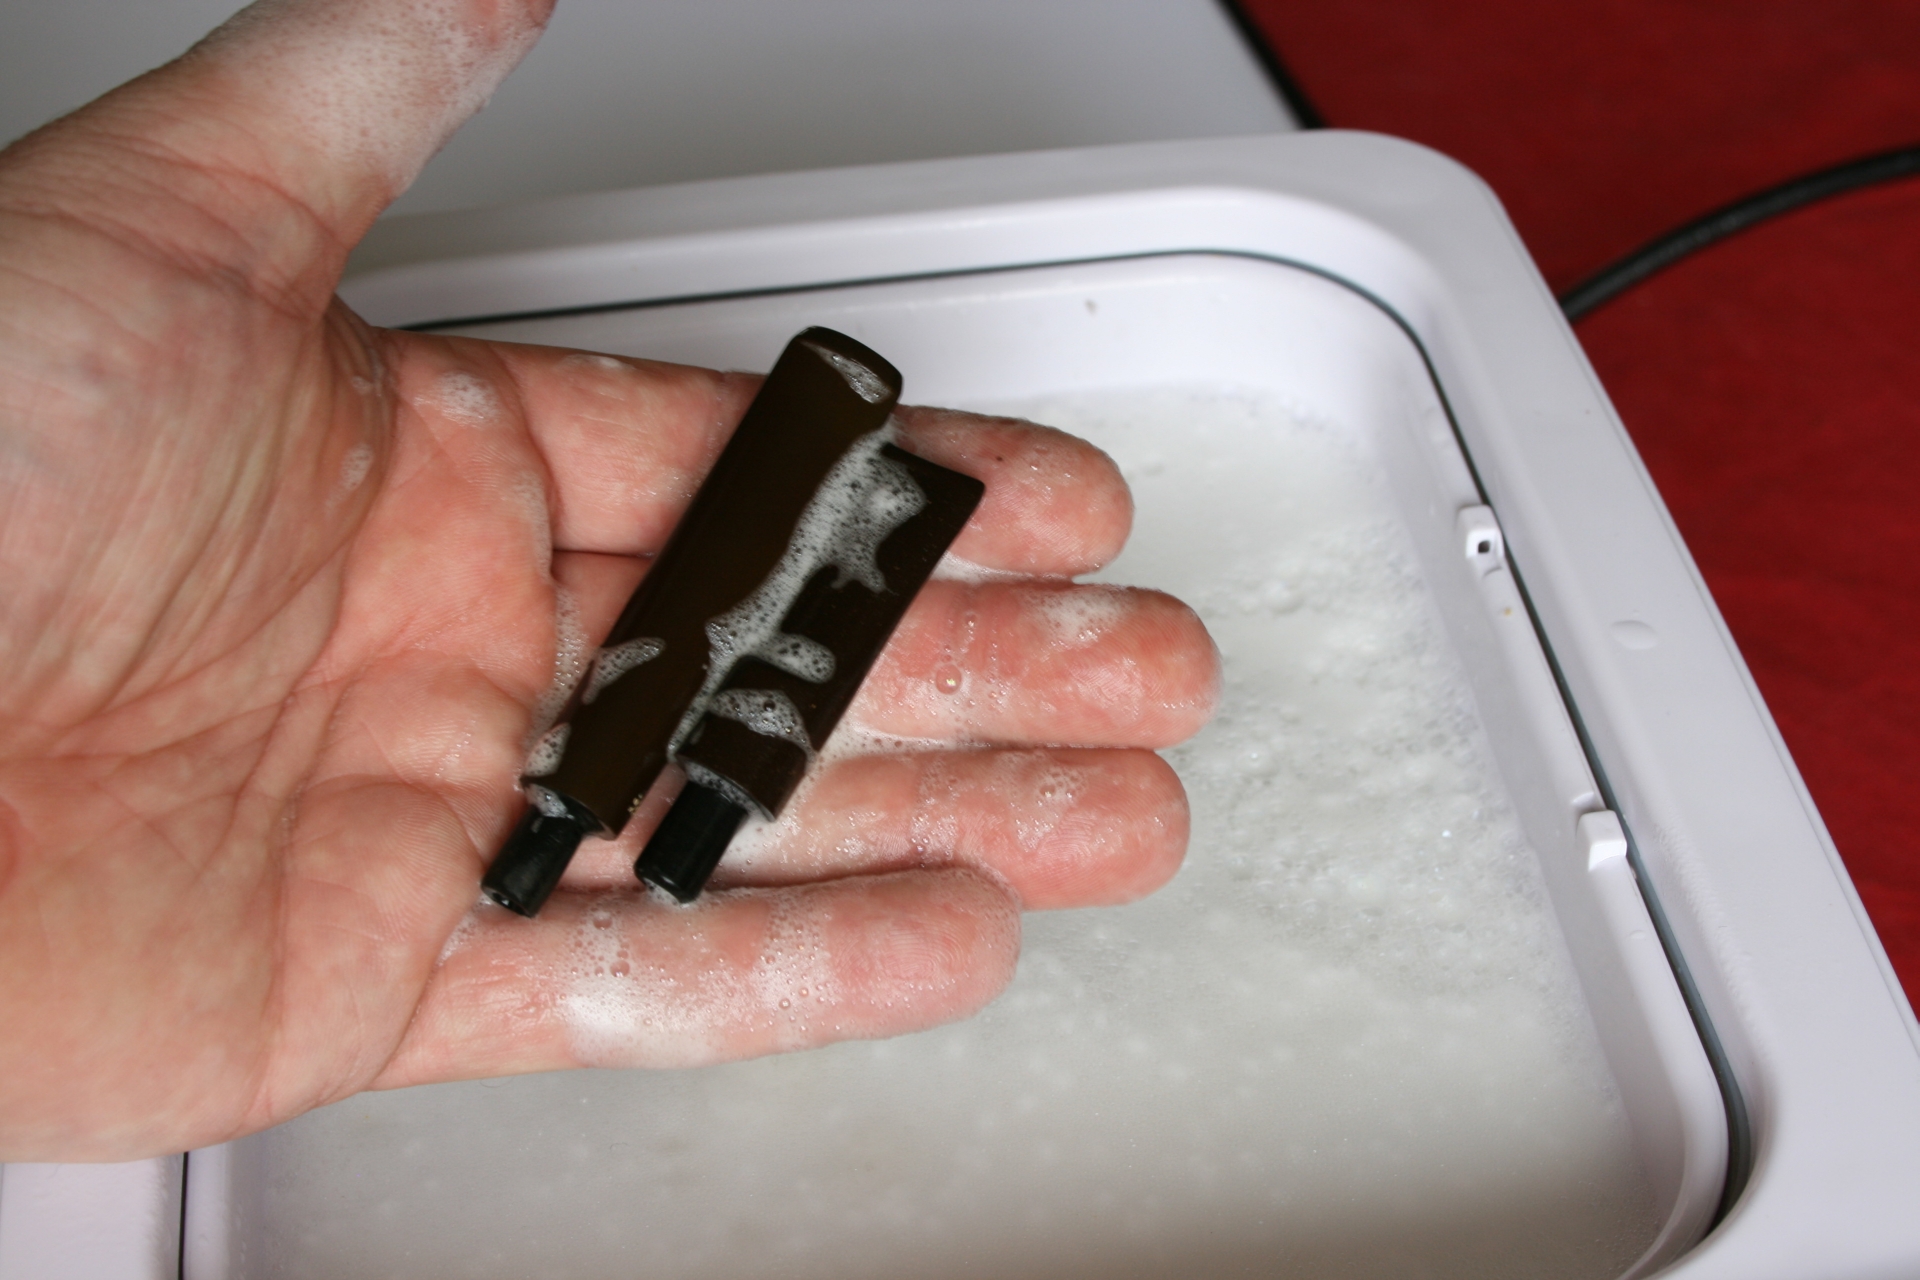
019 Retrieved

When I retrieved the stems, the first thing I noticed was that they were not as gooey as I was used to and the water smelled rather…..well….like oxidation but more moist. There is no good way to describe it.

I put the stems to the grind wheel and the oxidation came off way faster than if I would not have soaked them. Also the liquid that came off the wheel and stems was way darker as I mentioned before. At this time I also sanded the hard to get edges with 600 grit paper wrapped around a modelling file.
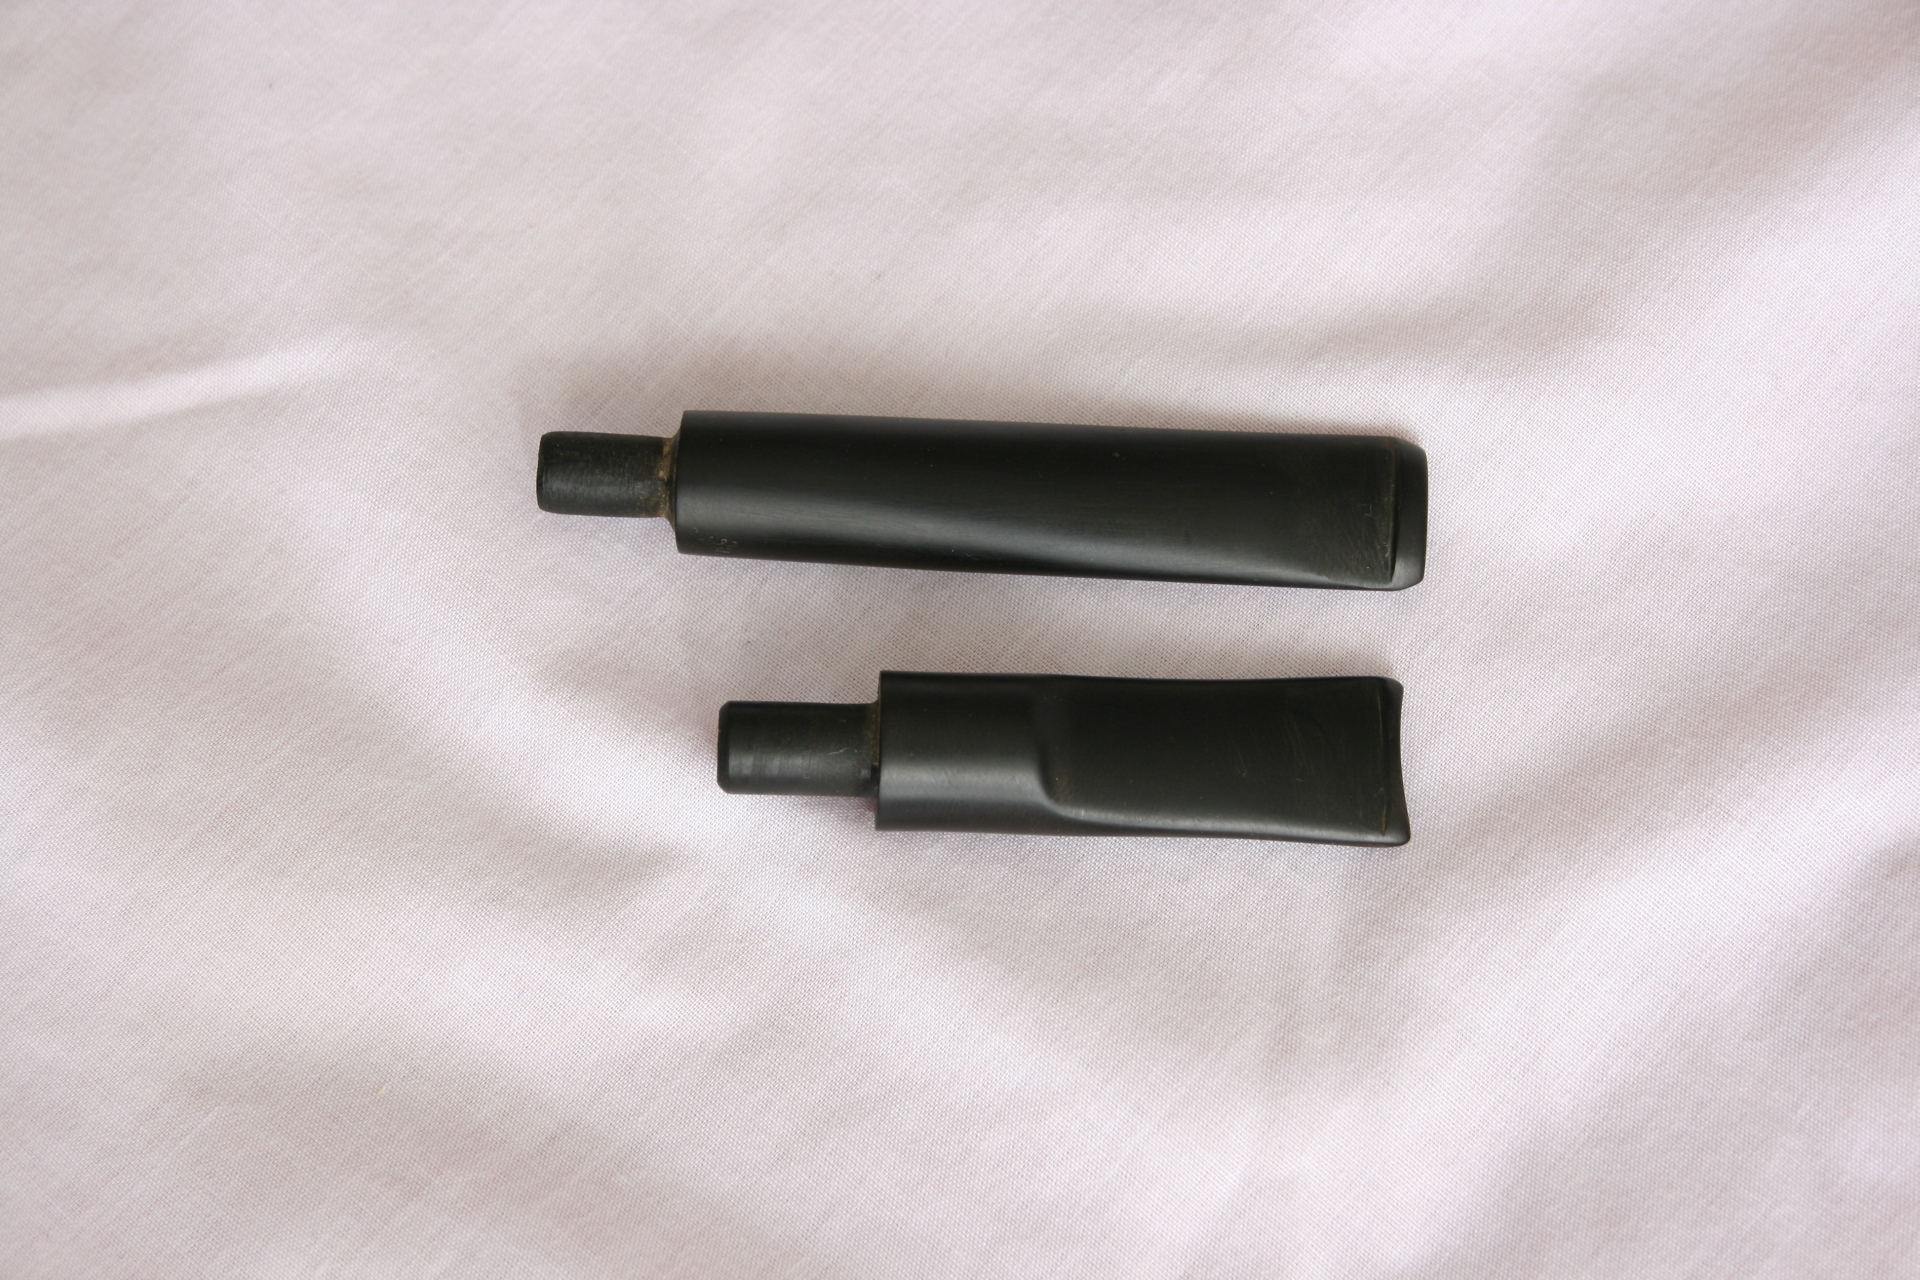
020 After the grind

021 After sanding

Then I proceeded to empty the ultrasonic and put in the 50-50 alcohol and water mixture with a dash of disinfectant.
022 Ultra cleaning

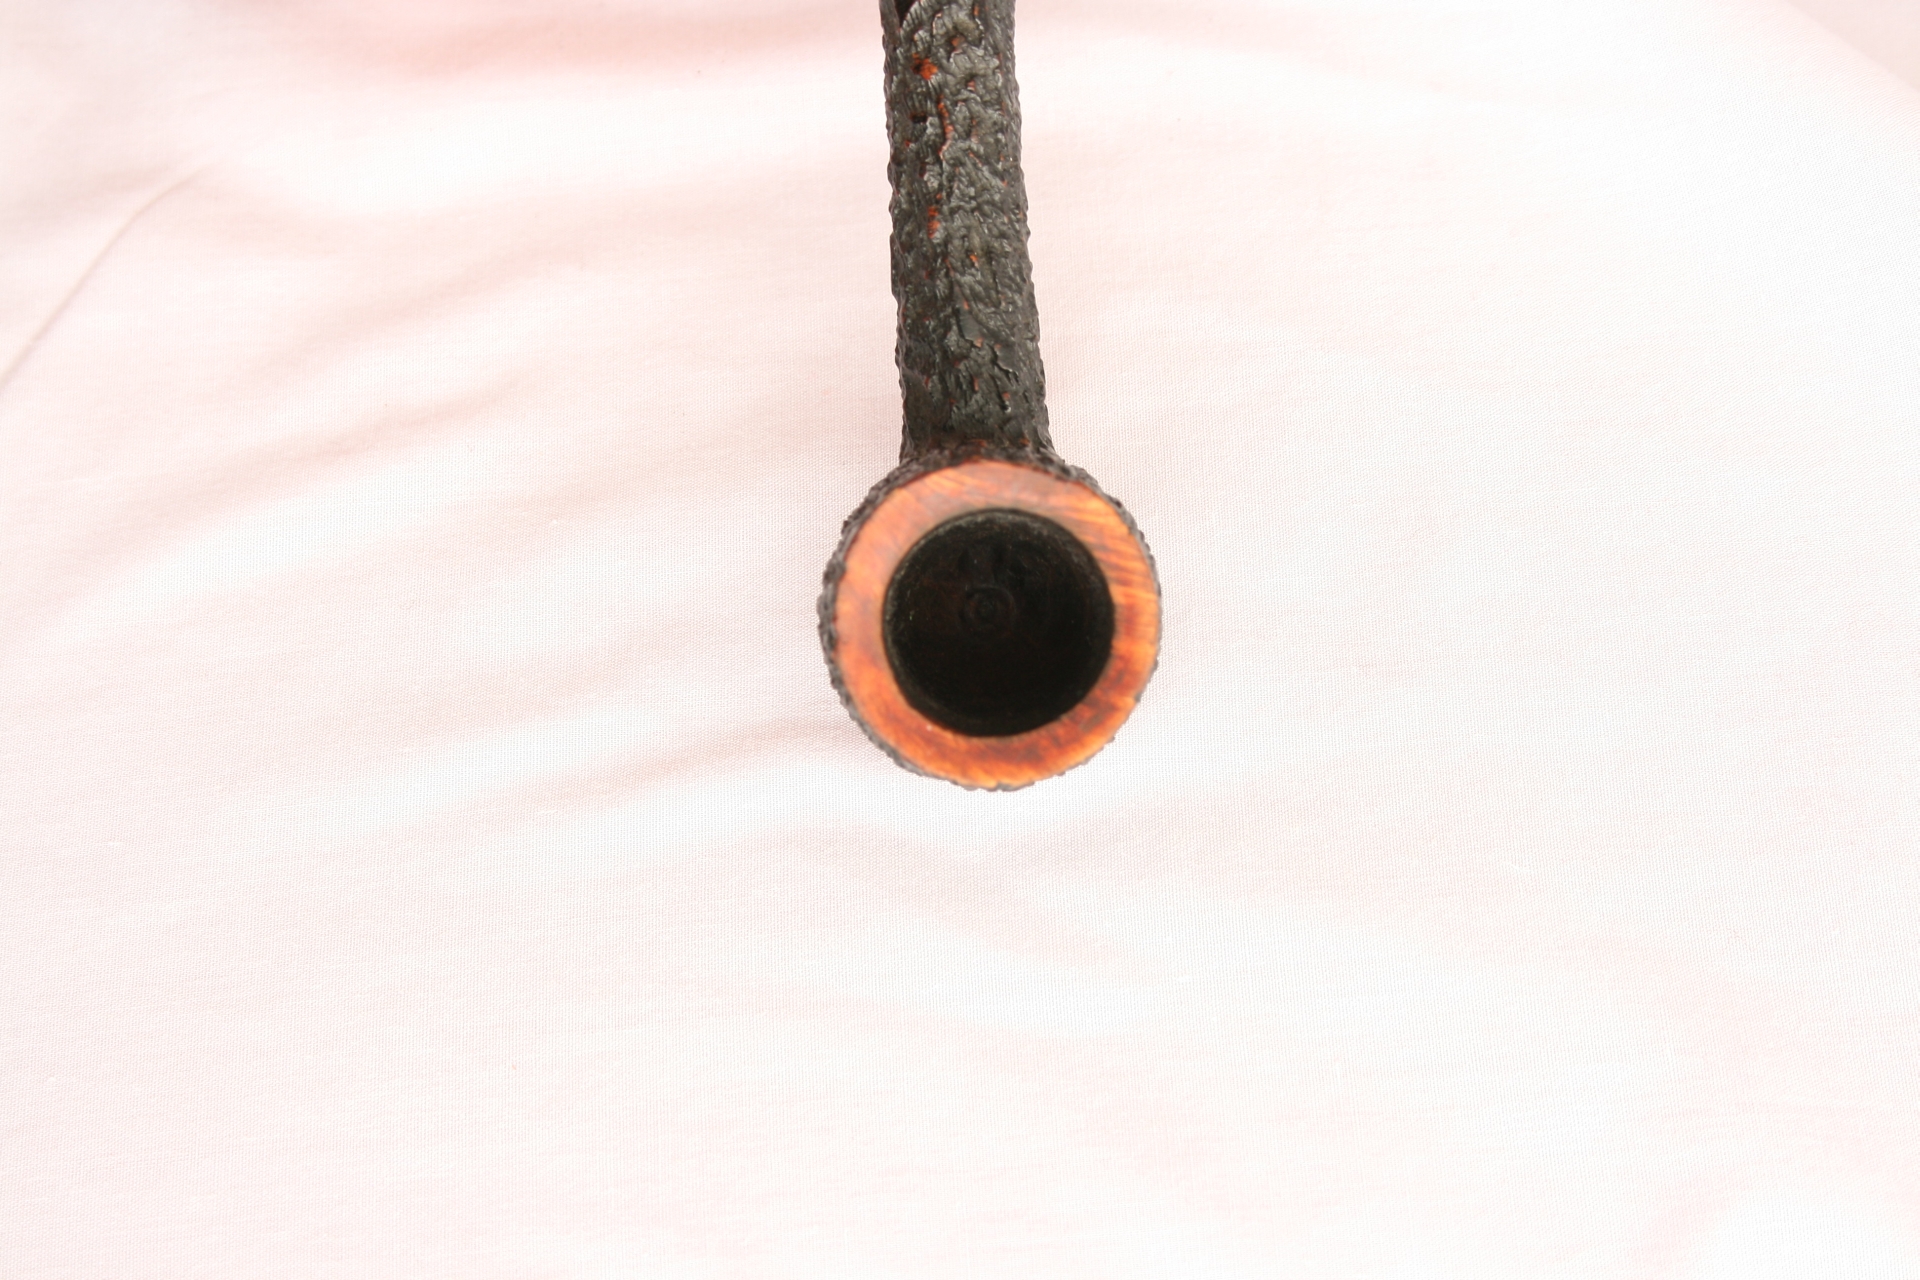
One of the positive things of the ultrasonic is that it goes on a timer and you have your hand free to do another thing until it is done, so I proceeded to clear the top of the bowl of its soot using a sock, salvia and the abrasive pads. Using the sock I got most of the soot build-up off the bowl and used the 1800 grit to get the thicker and harder pieces off.
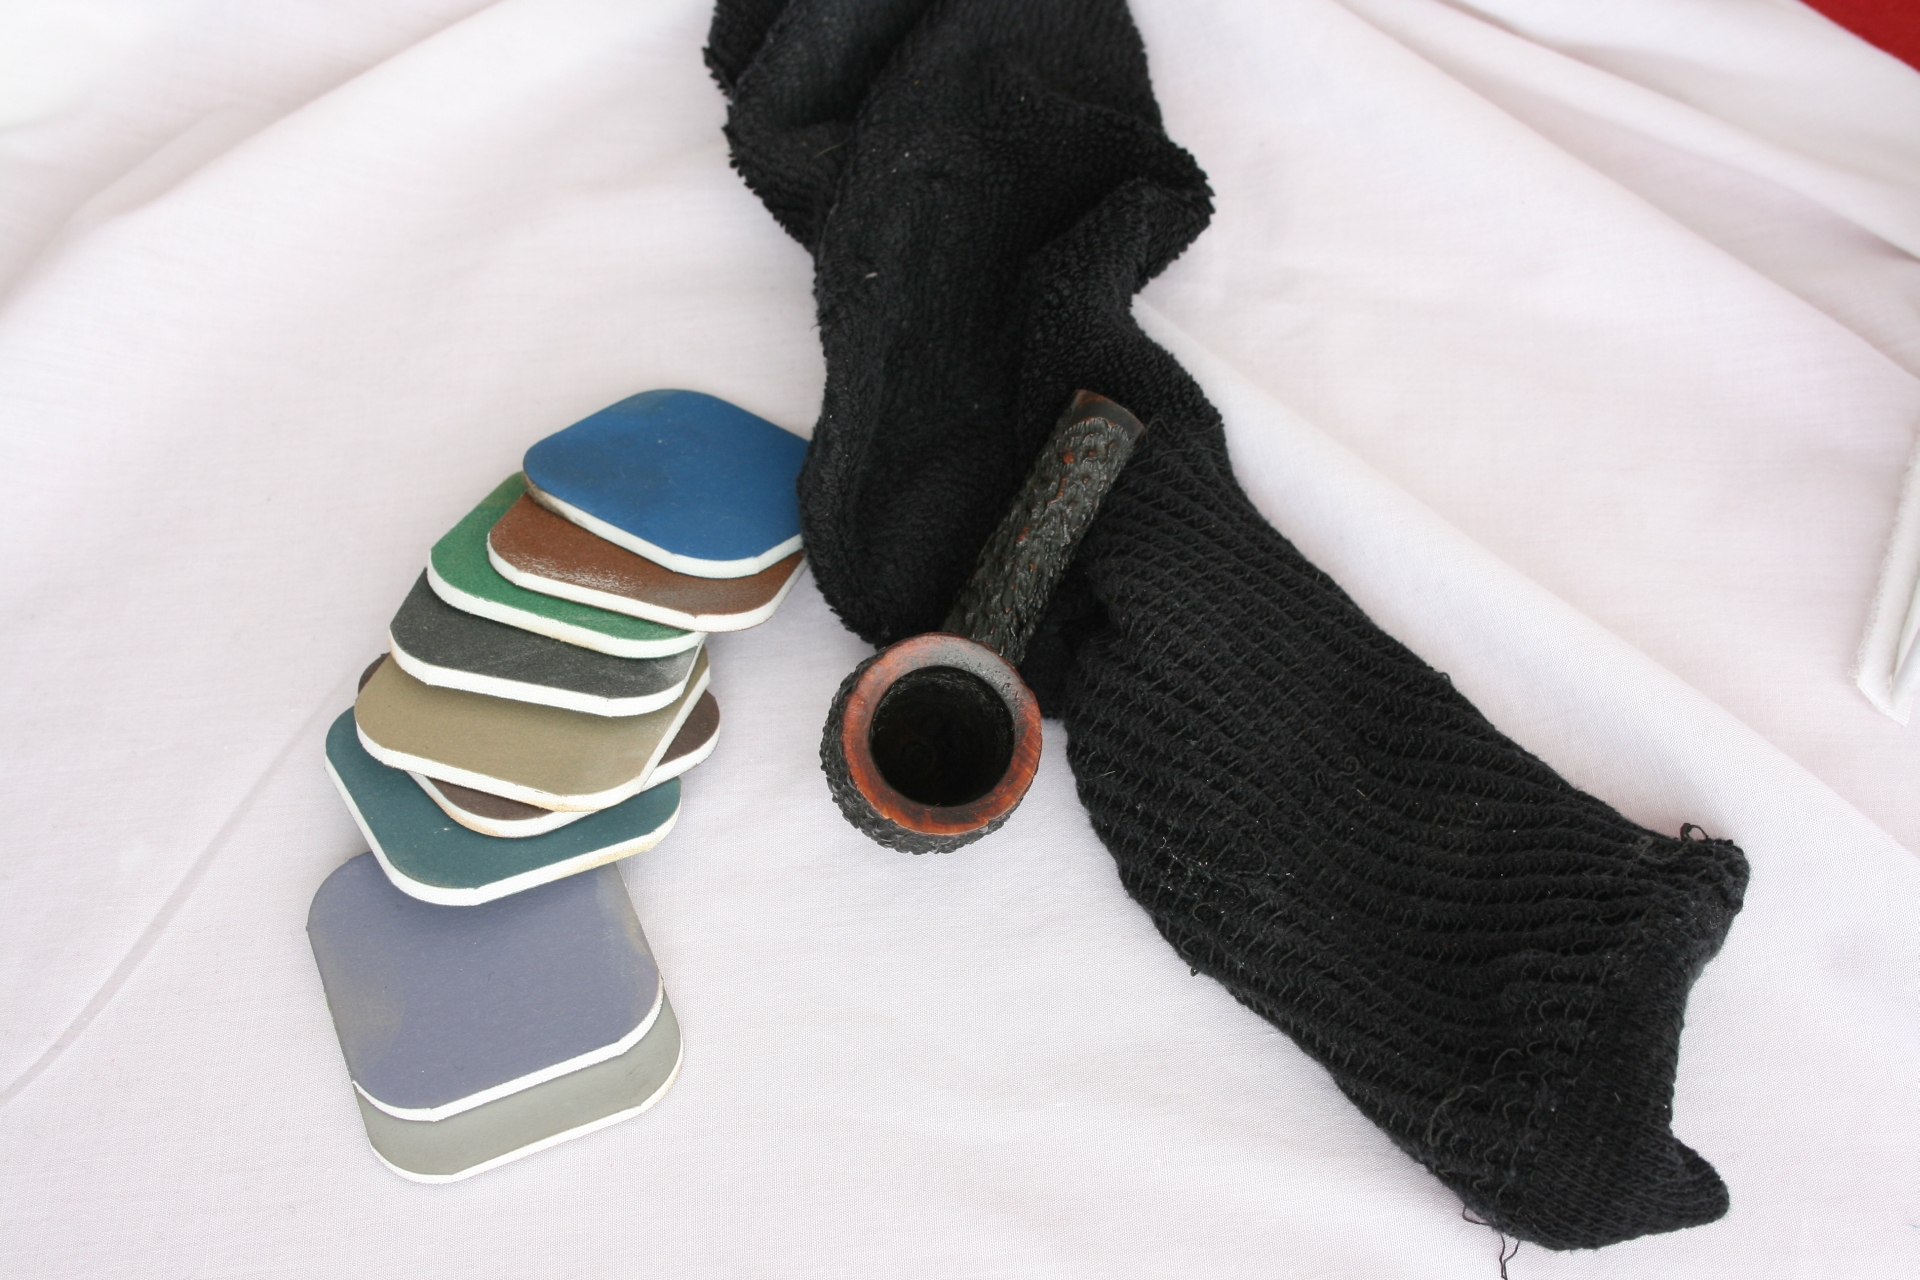
023 Bowl before

024 Bowl after

Then it was time to retrieve the stems. They came out nice and clean and when dried were a little dull. I pulled pipe cleaners through them and as you can see they were only a little brown at the beginning (right side).
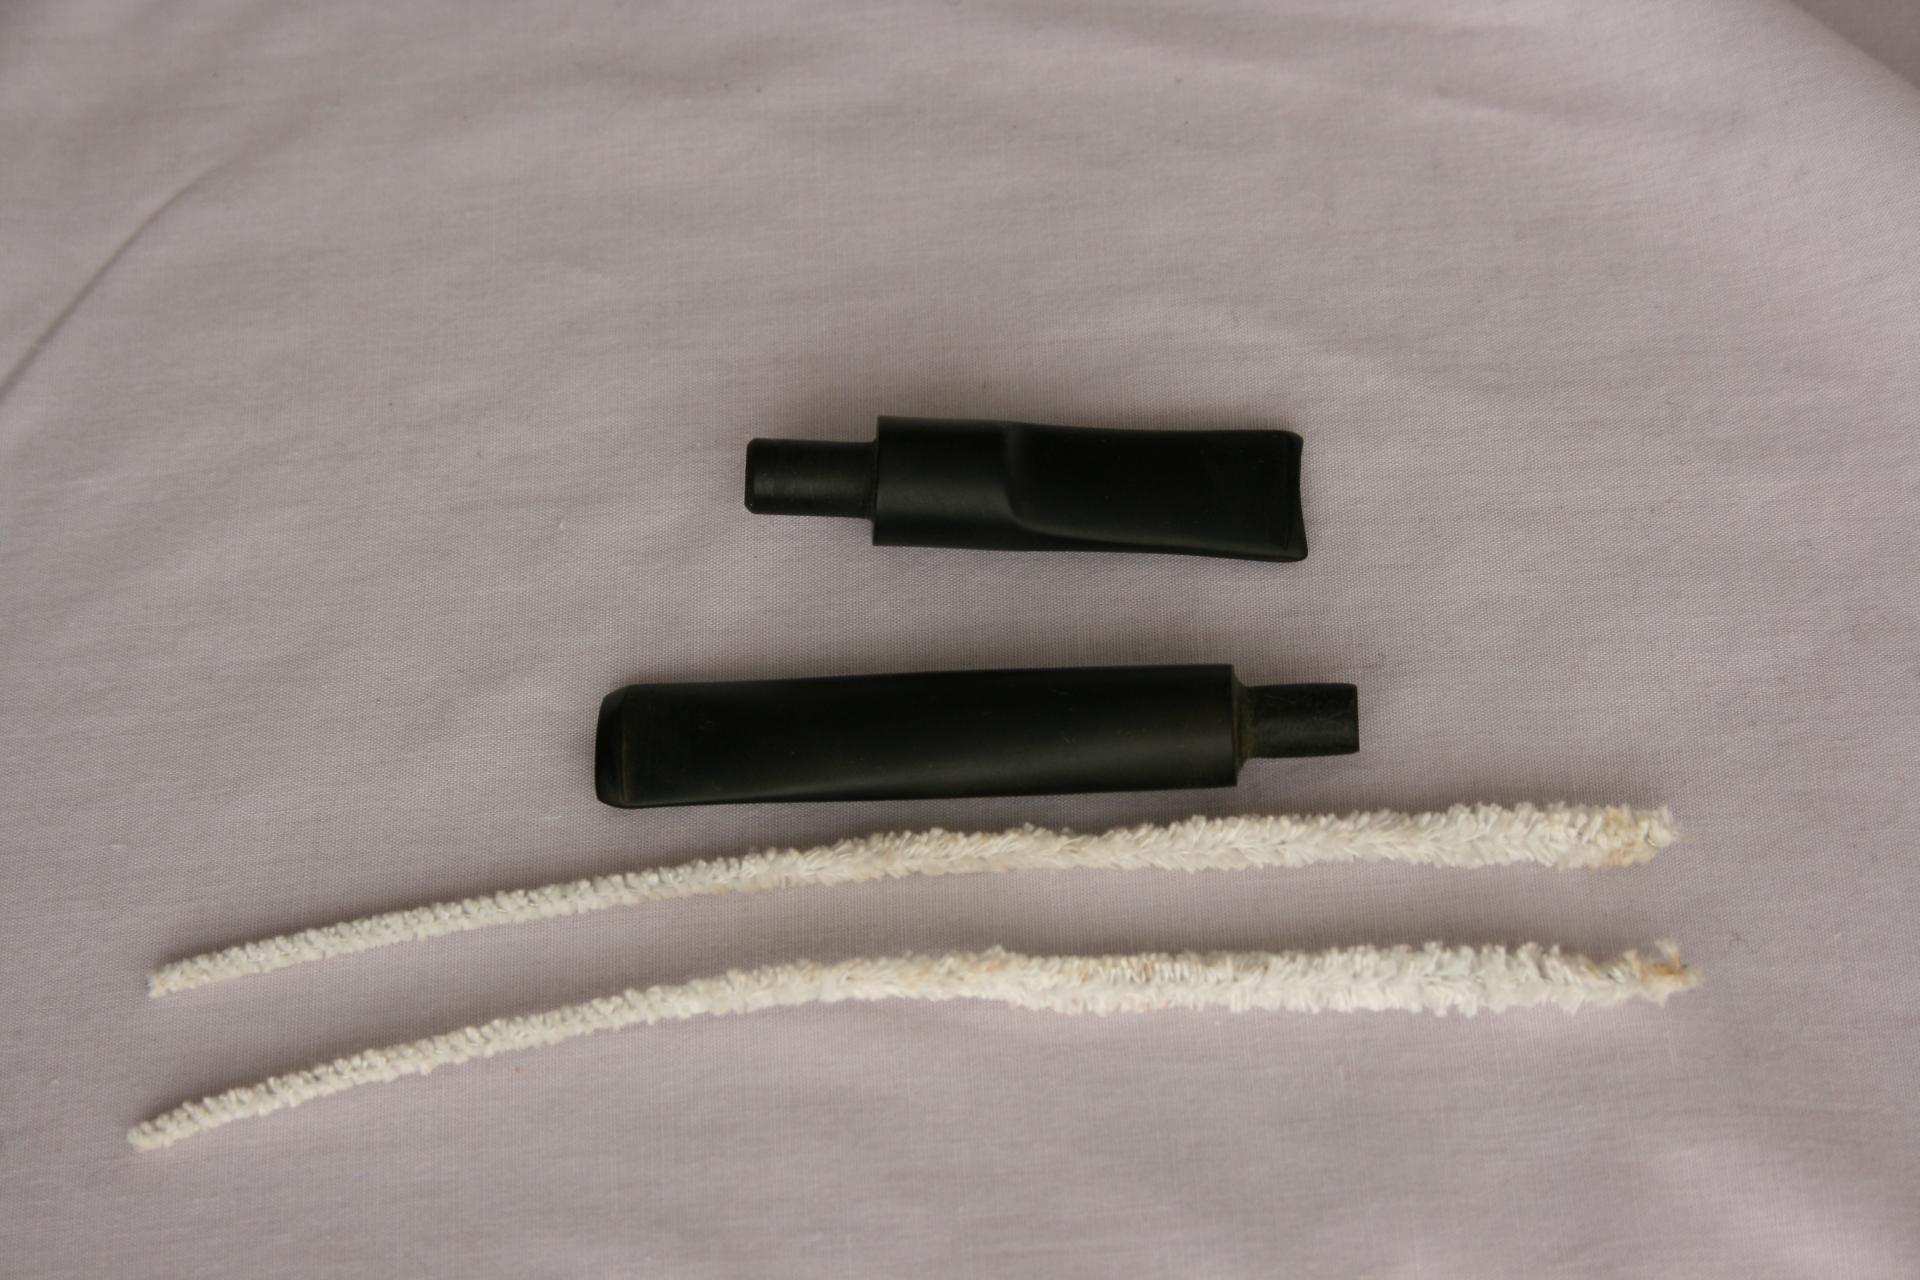
025 Pipe cleaners

Replacing the stem on the pipe I used the muslin buff wheels and polishing wheels to buff the stems to get a nice shine on them.
026 Attached

027 Done

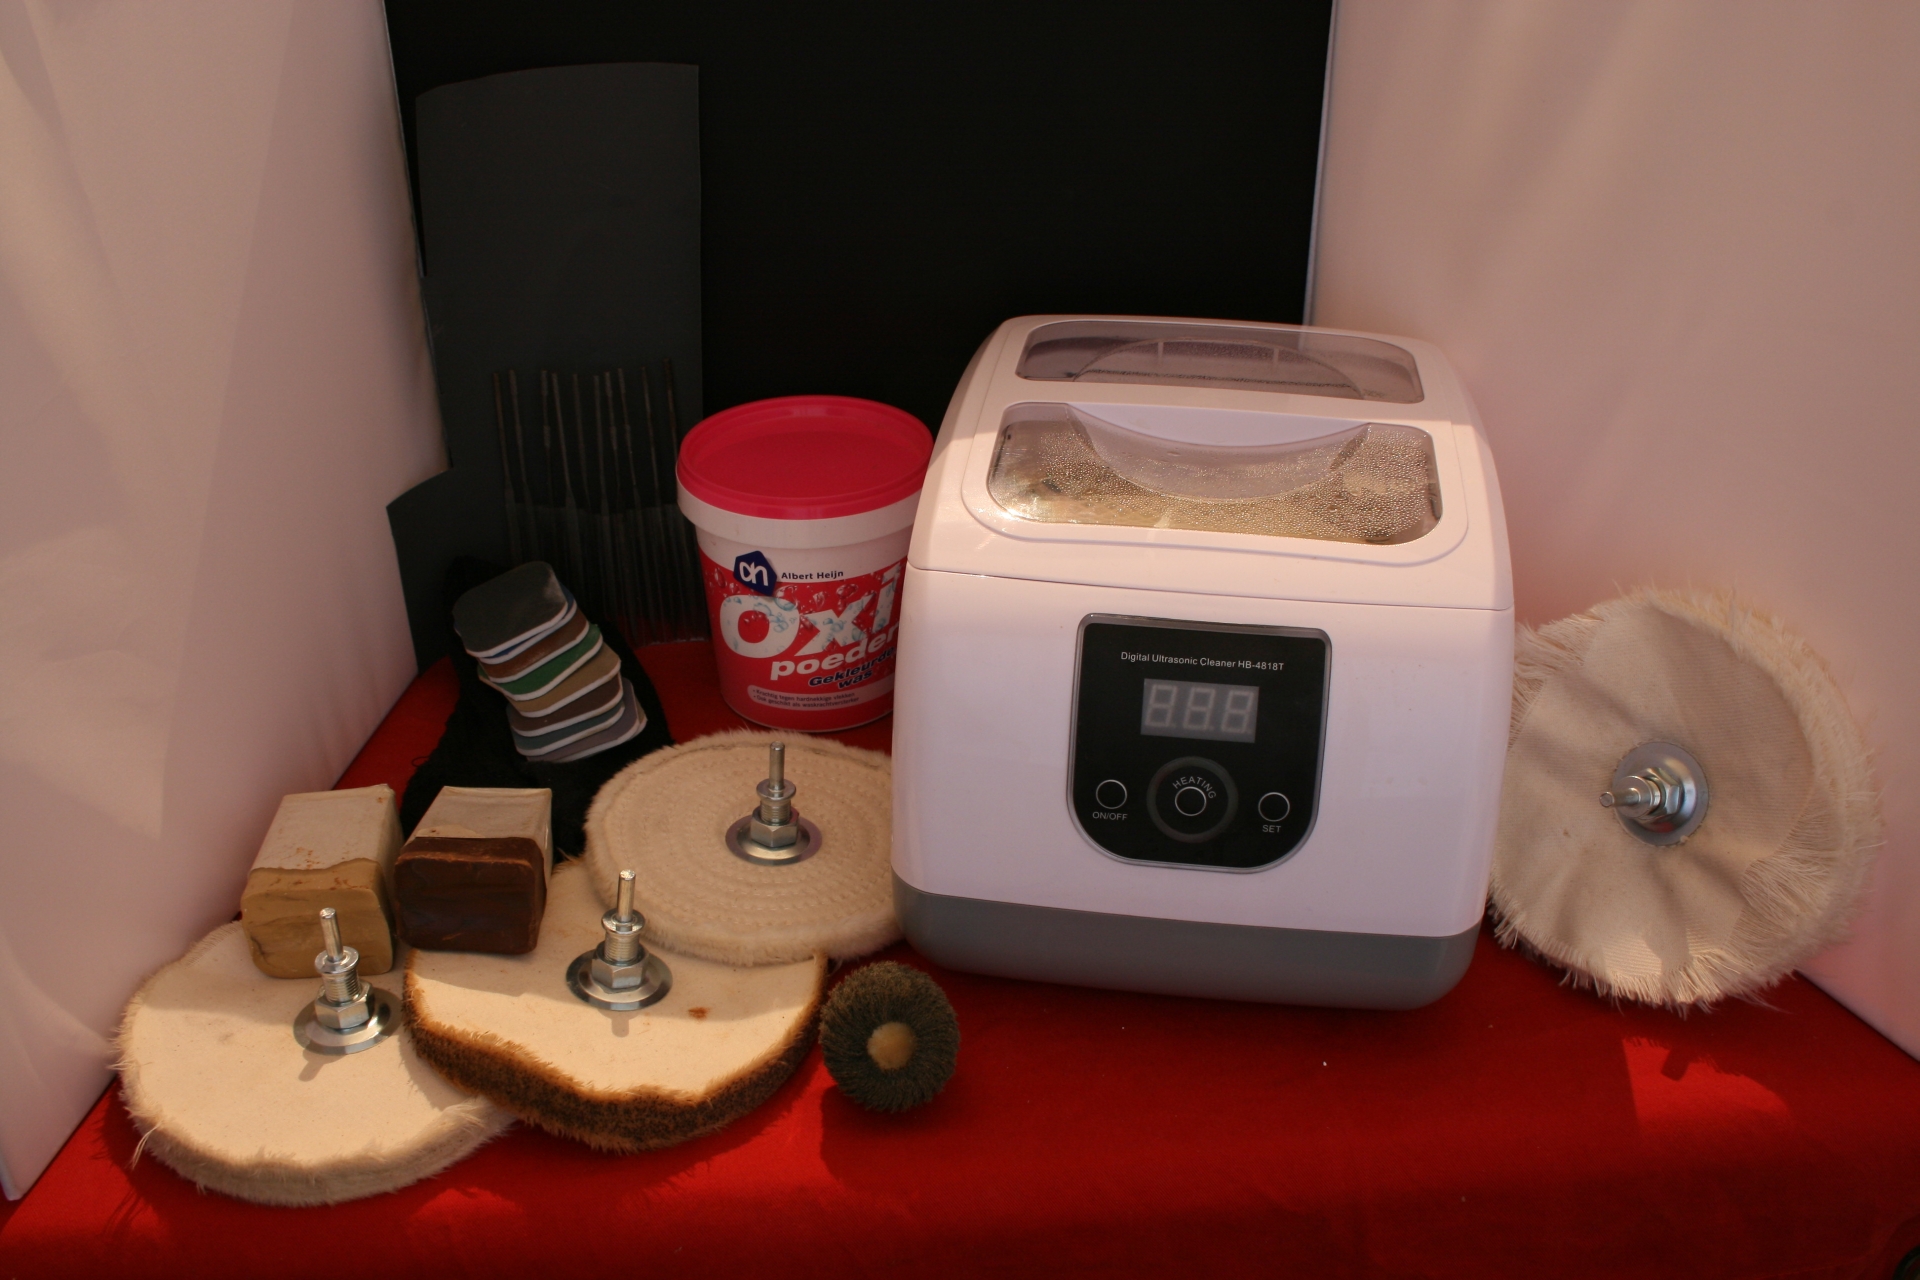
And the final pictures of the tools used in the experiment and the cleaning.
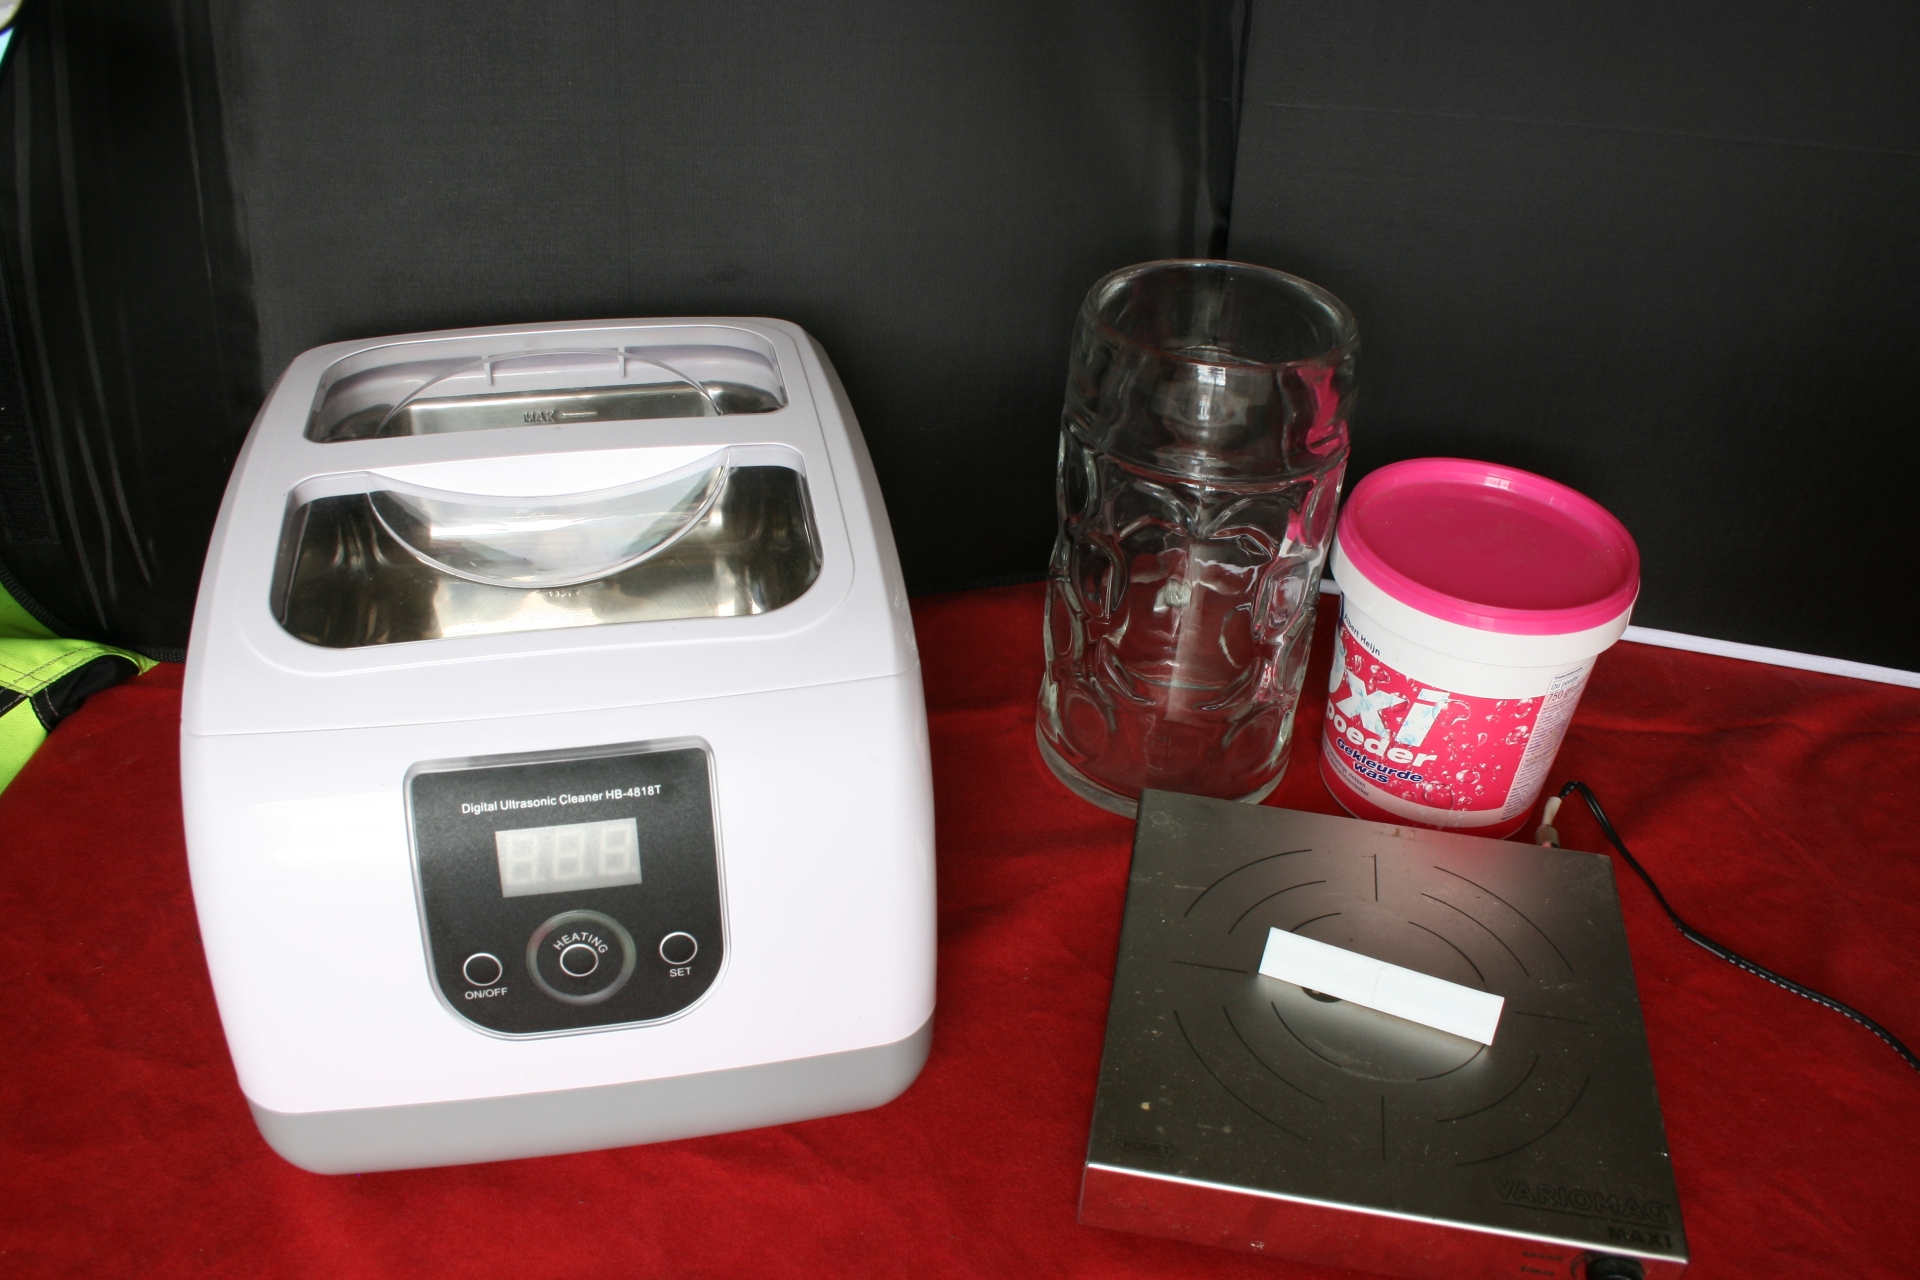
028 Tools used in experiment

029 Tools used

So far I am optimistic and happy with the end results using the ultrasonic cleaner with the Oxi-Action cleaning solution. The oxidation gets off rather well using the grinding wheel and it saves me roughly 30 minutes of work. This means a relief for my tennis elbow I have in both arms. So for me it is quite a pleasant addition in the cleaning process.

The negative aspect so far encountered was that this particular model ultrasonic bath is not very drain friendly, in this I mean that getting the liquid out is rather a messy business. Also I have no idea what will happen in the long run with the stem if you use it for a prolonged time. As I read that some items can turn brittle when used too much in an ultrasonic cleaner. But so far I have not found any evidence this is happening with the stems. And there is of course the fact that Vulcanite tends to bend back to its original form when heated too hot, so far this has not happened but I can imagine that if using water that is too hot in combination with the ultrasonic vibrations that add extra heat it can happen.

All-in-all an experiment that opened my eyes to two cleaning methods and I hope it was as informative for you to read as it was for me to do.
Link

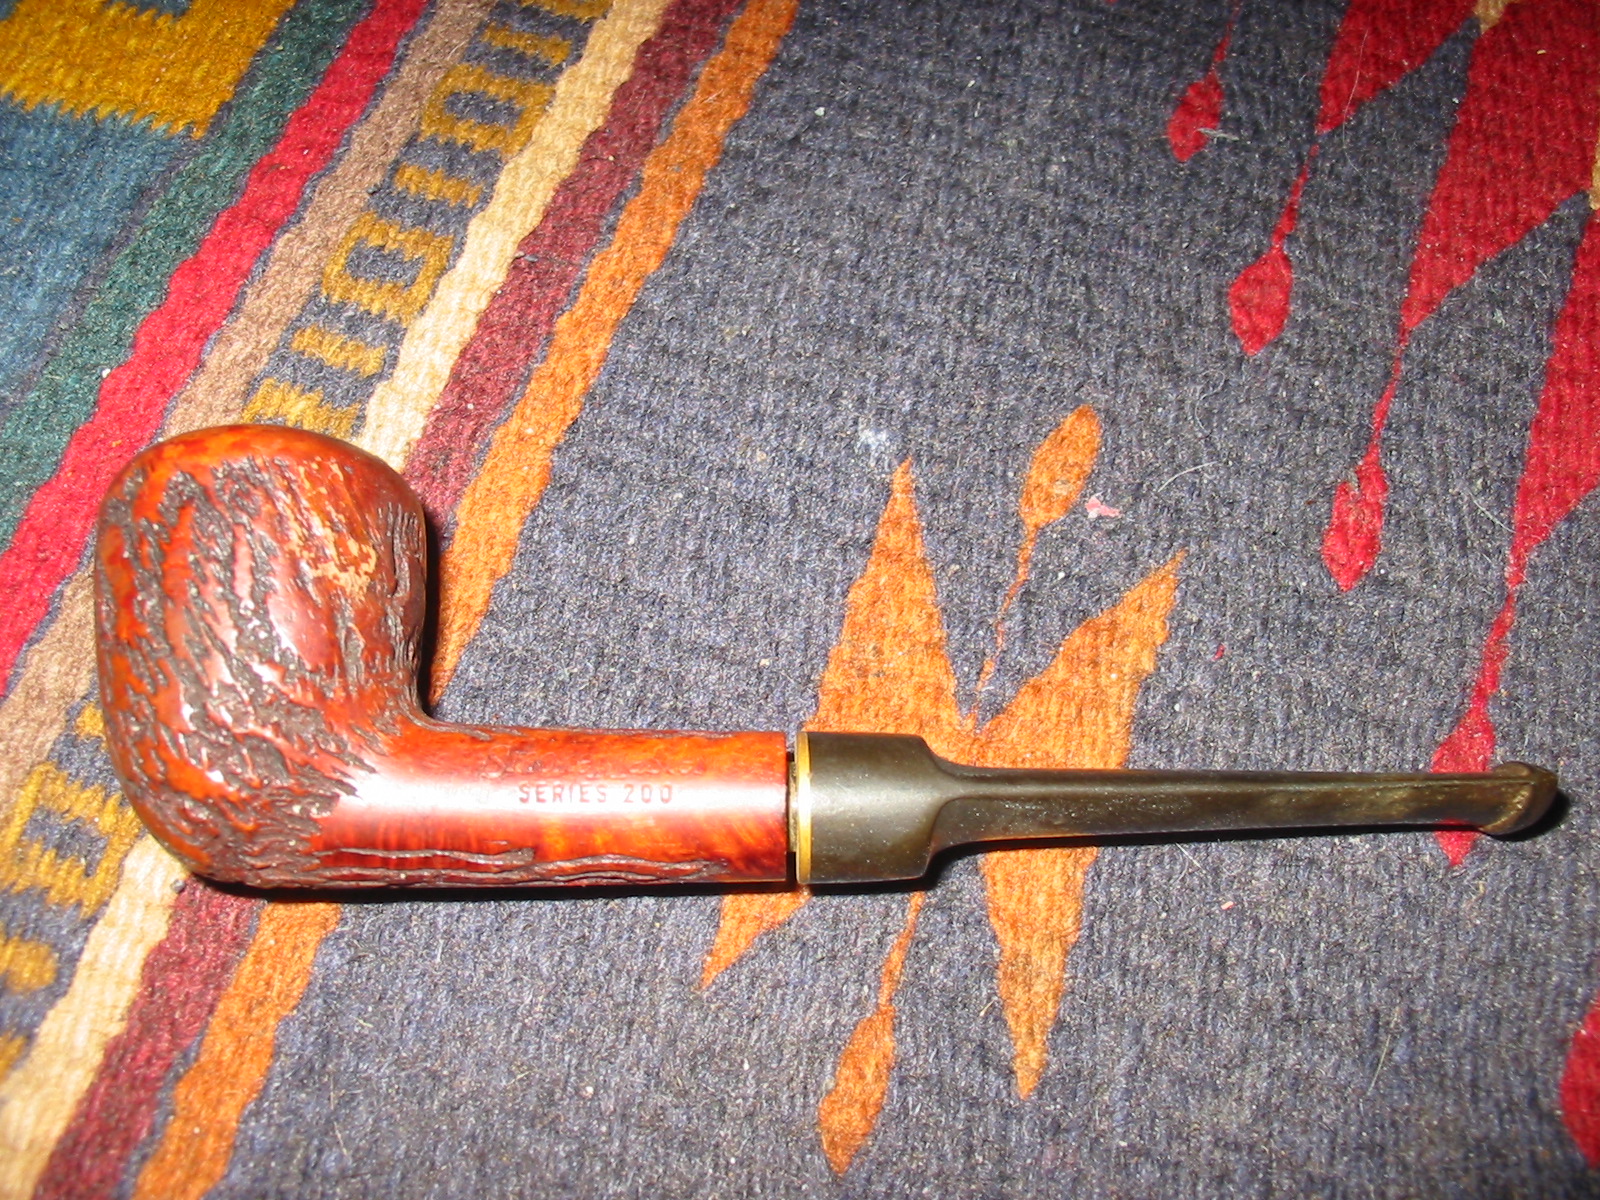
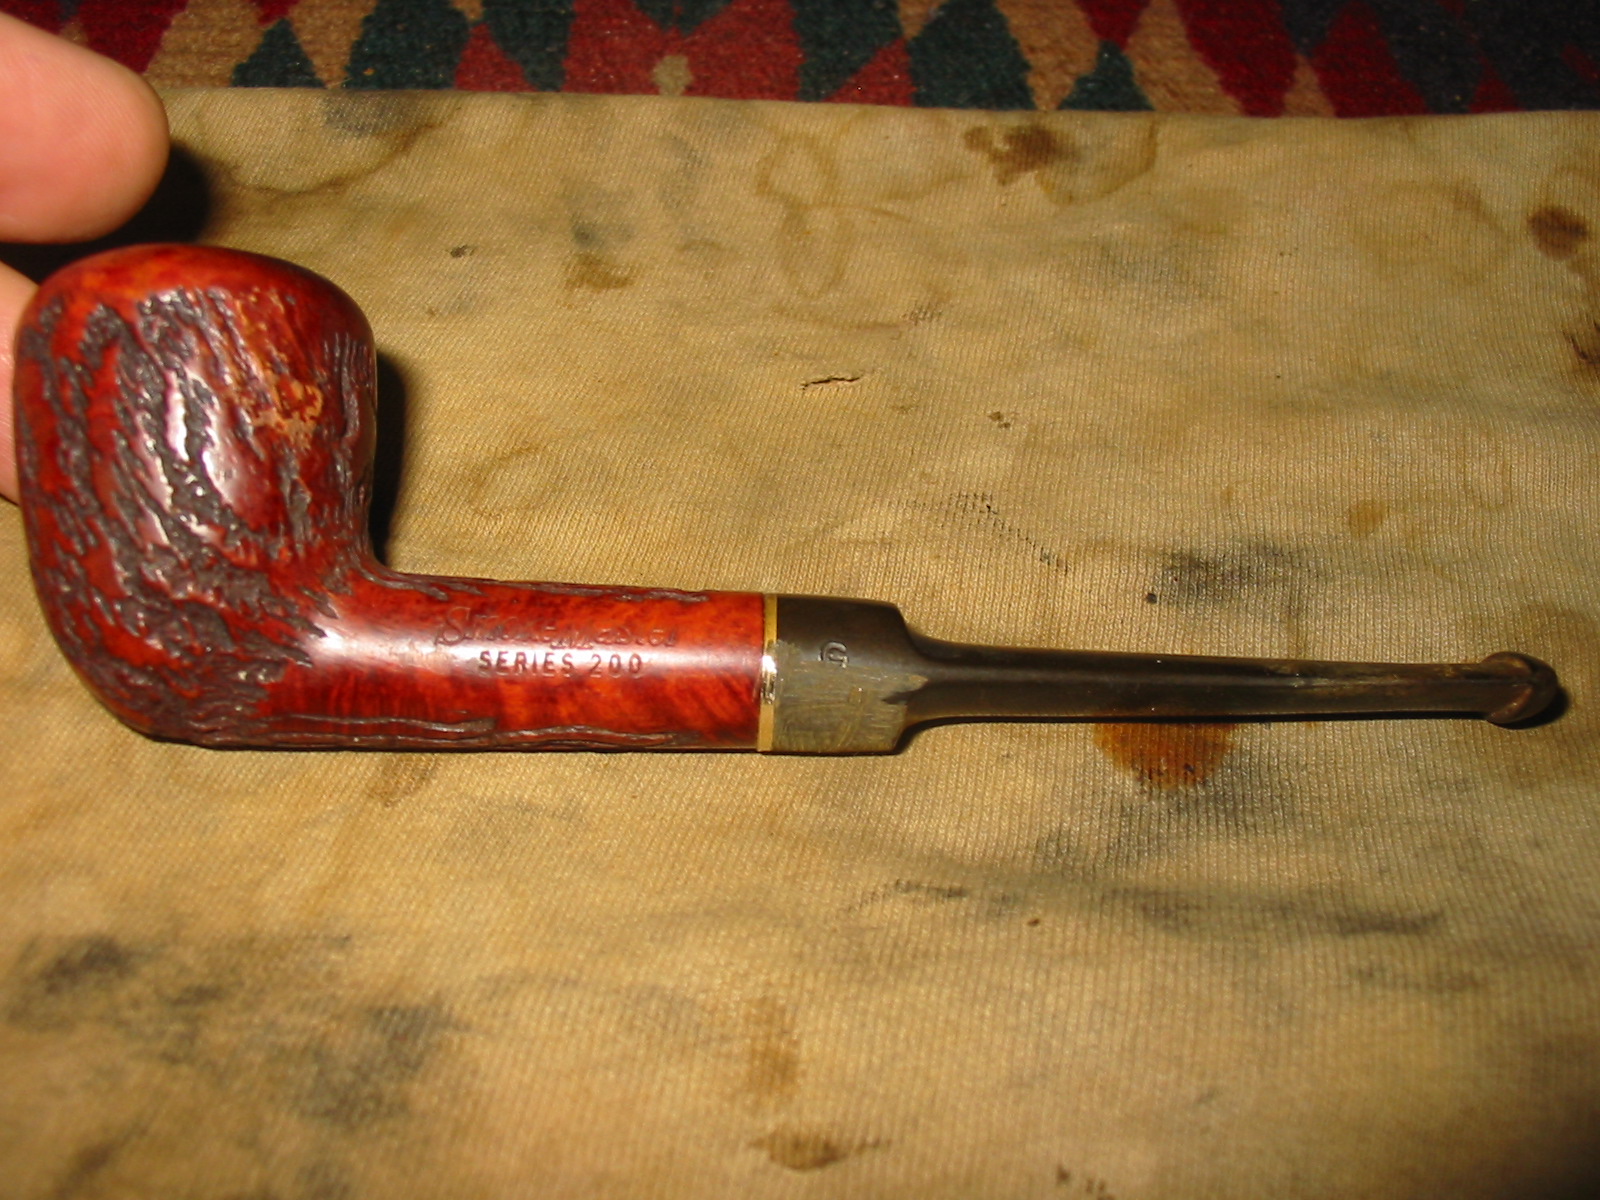
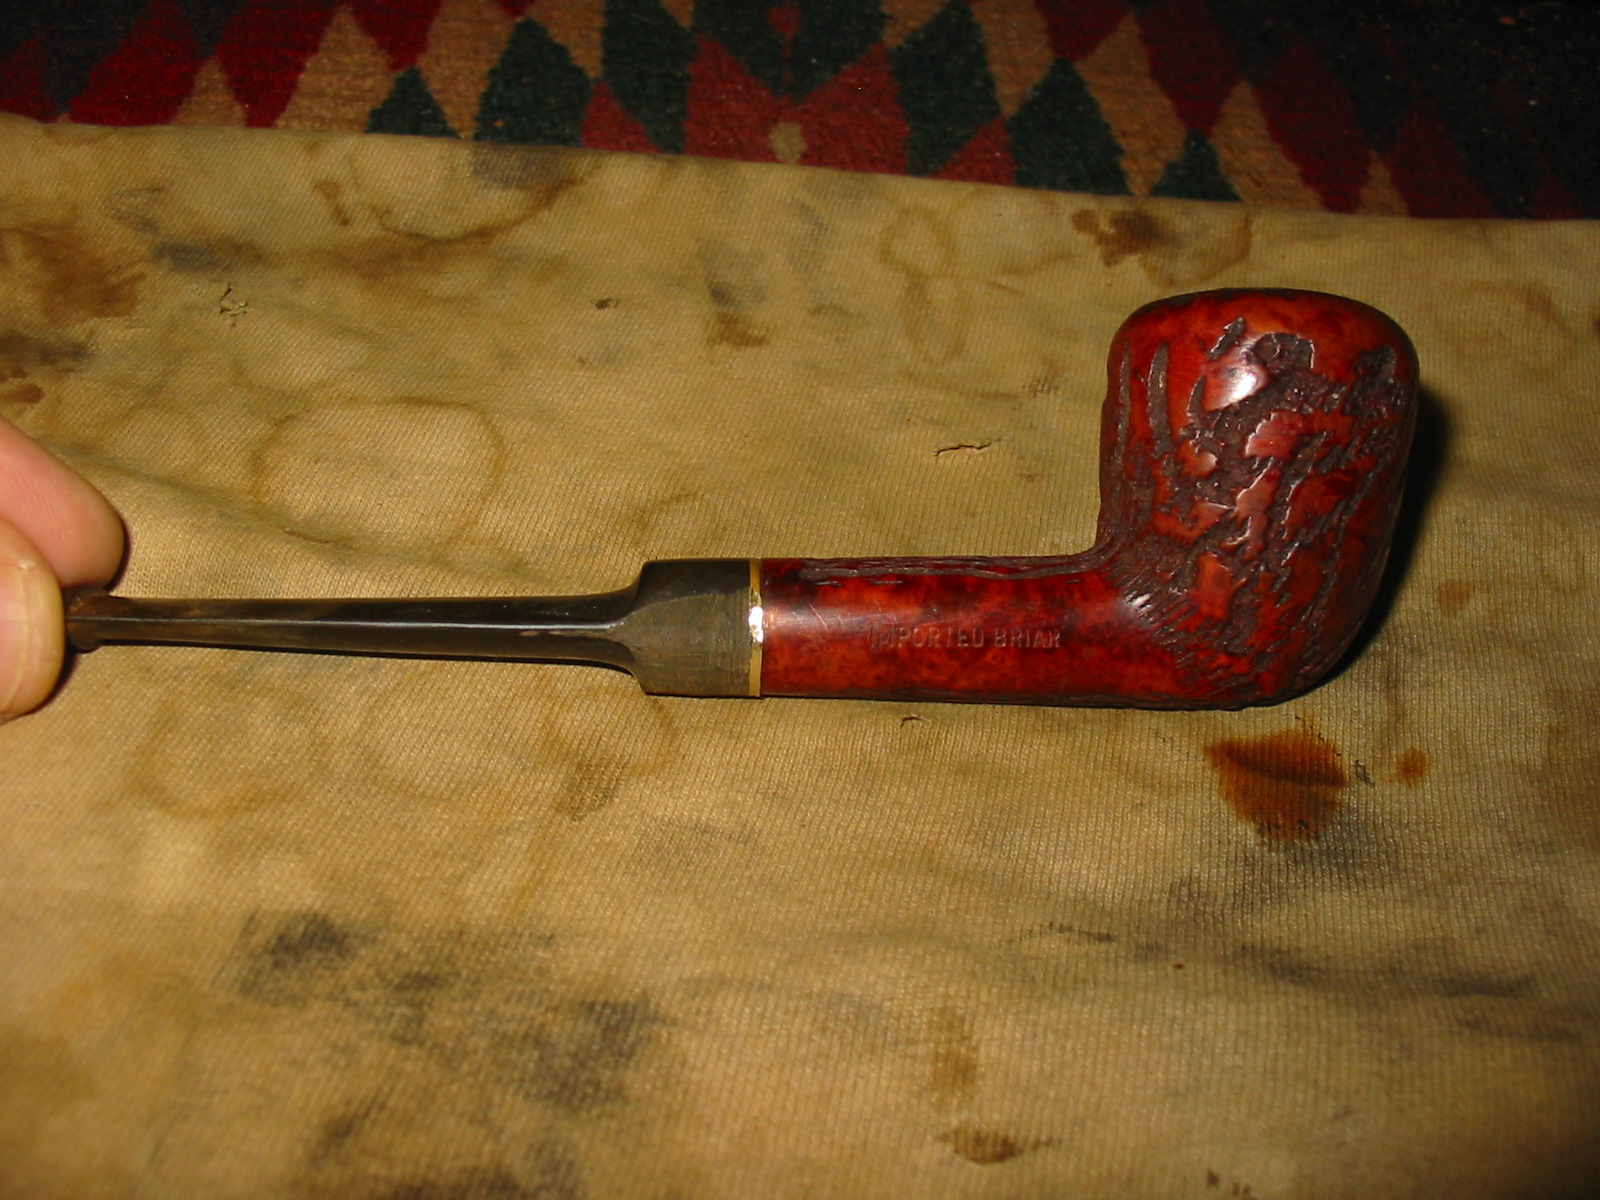
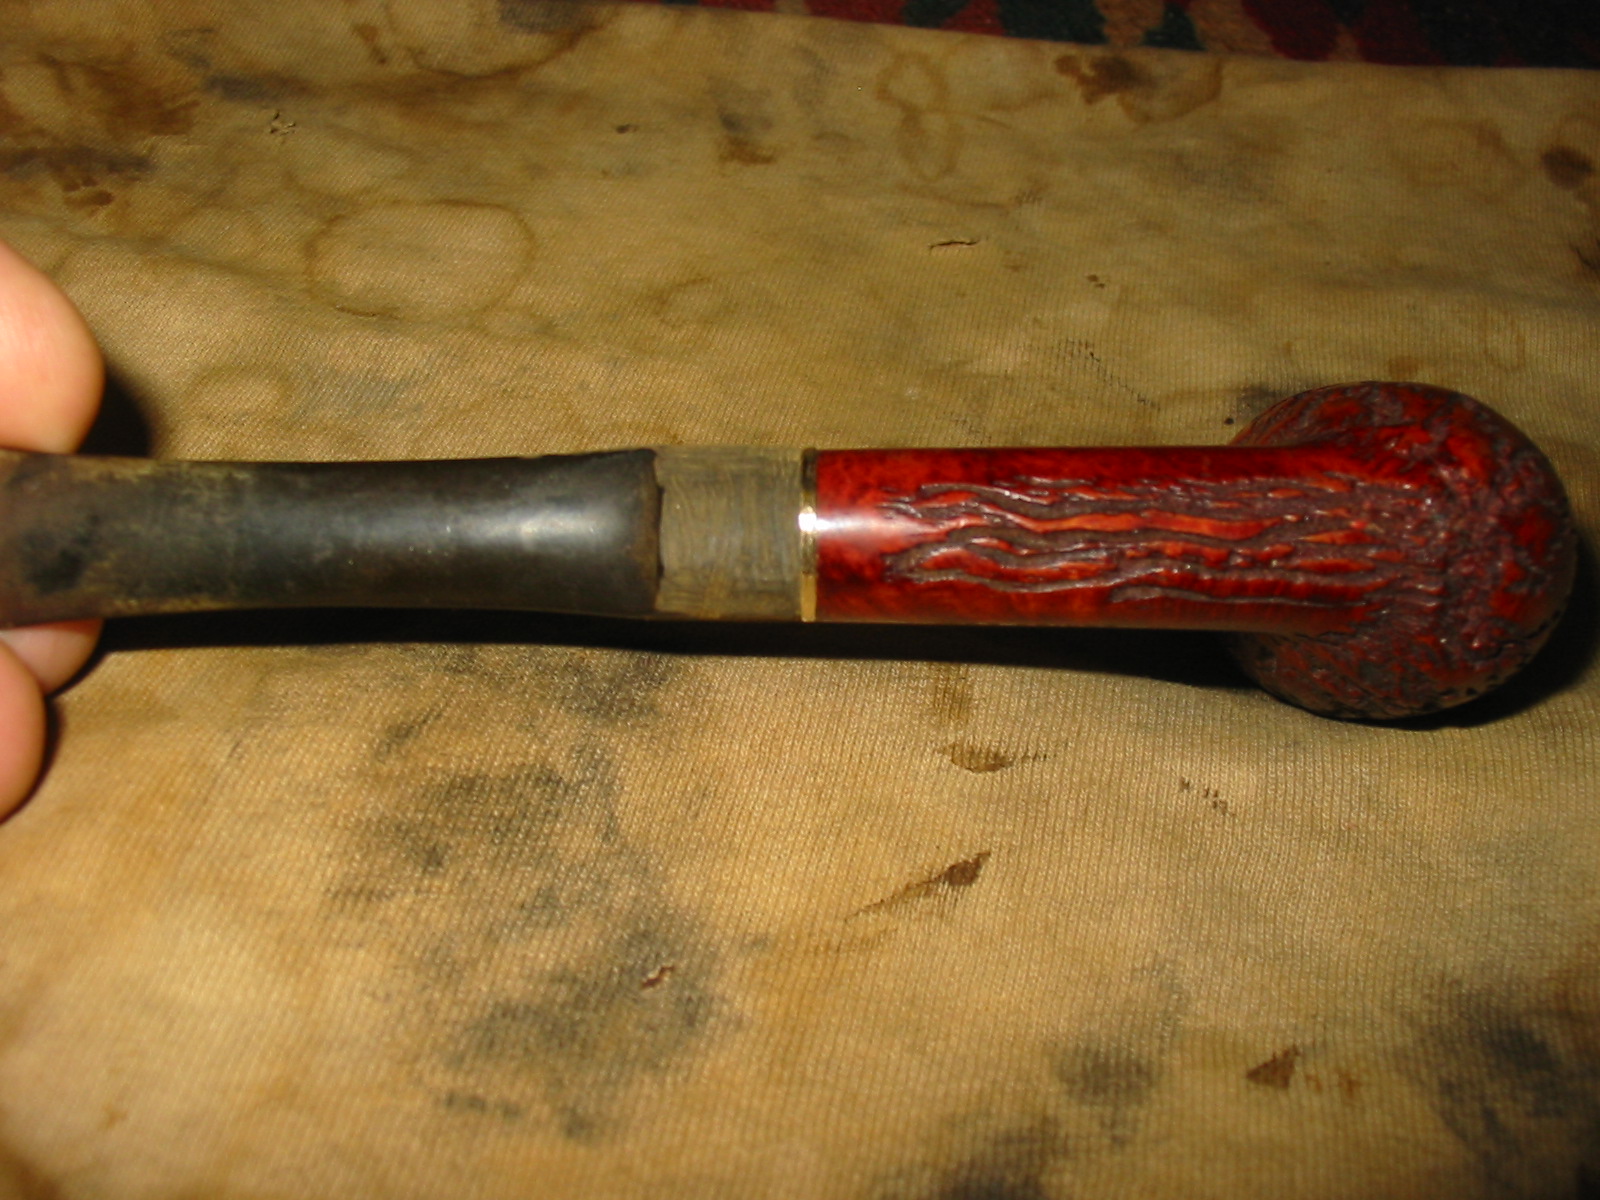
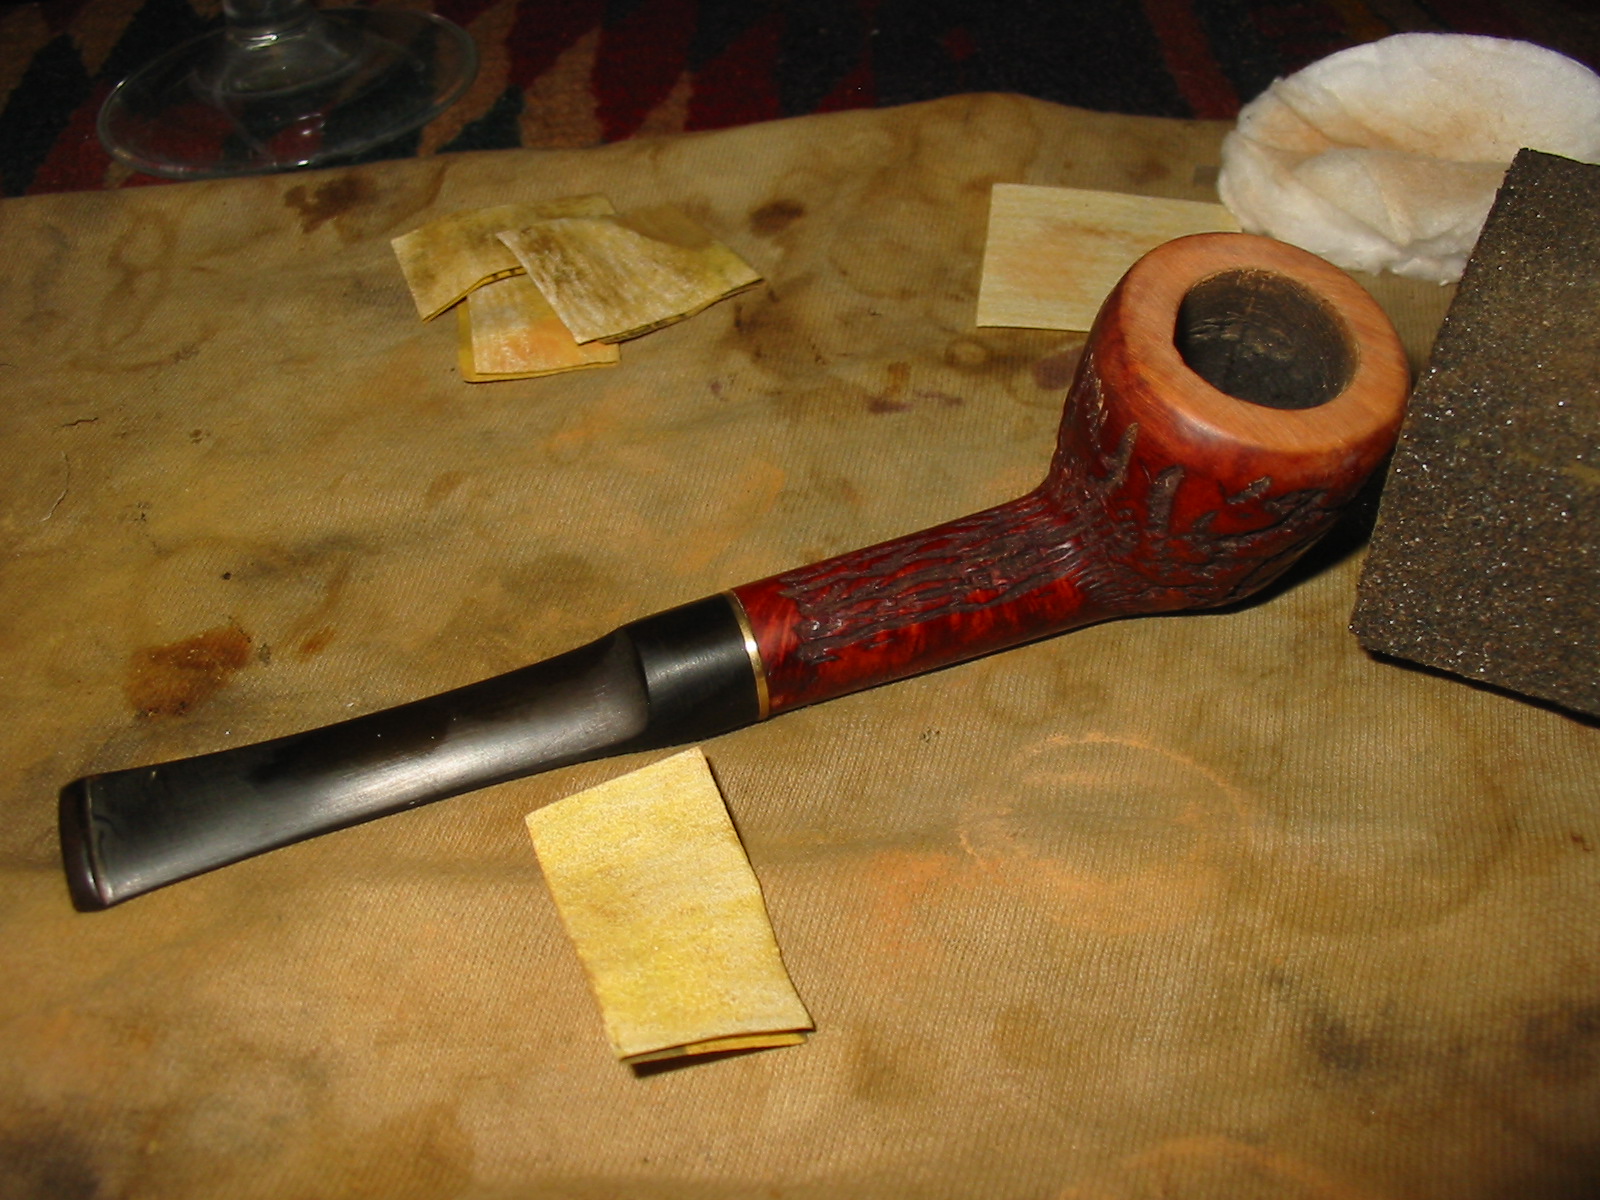
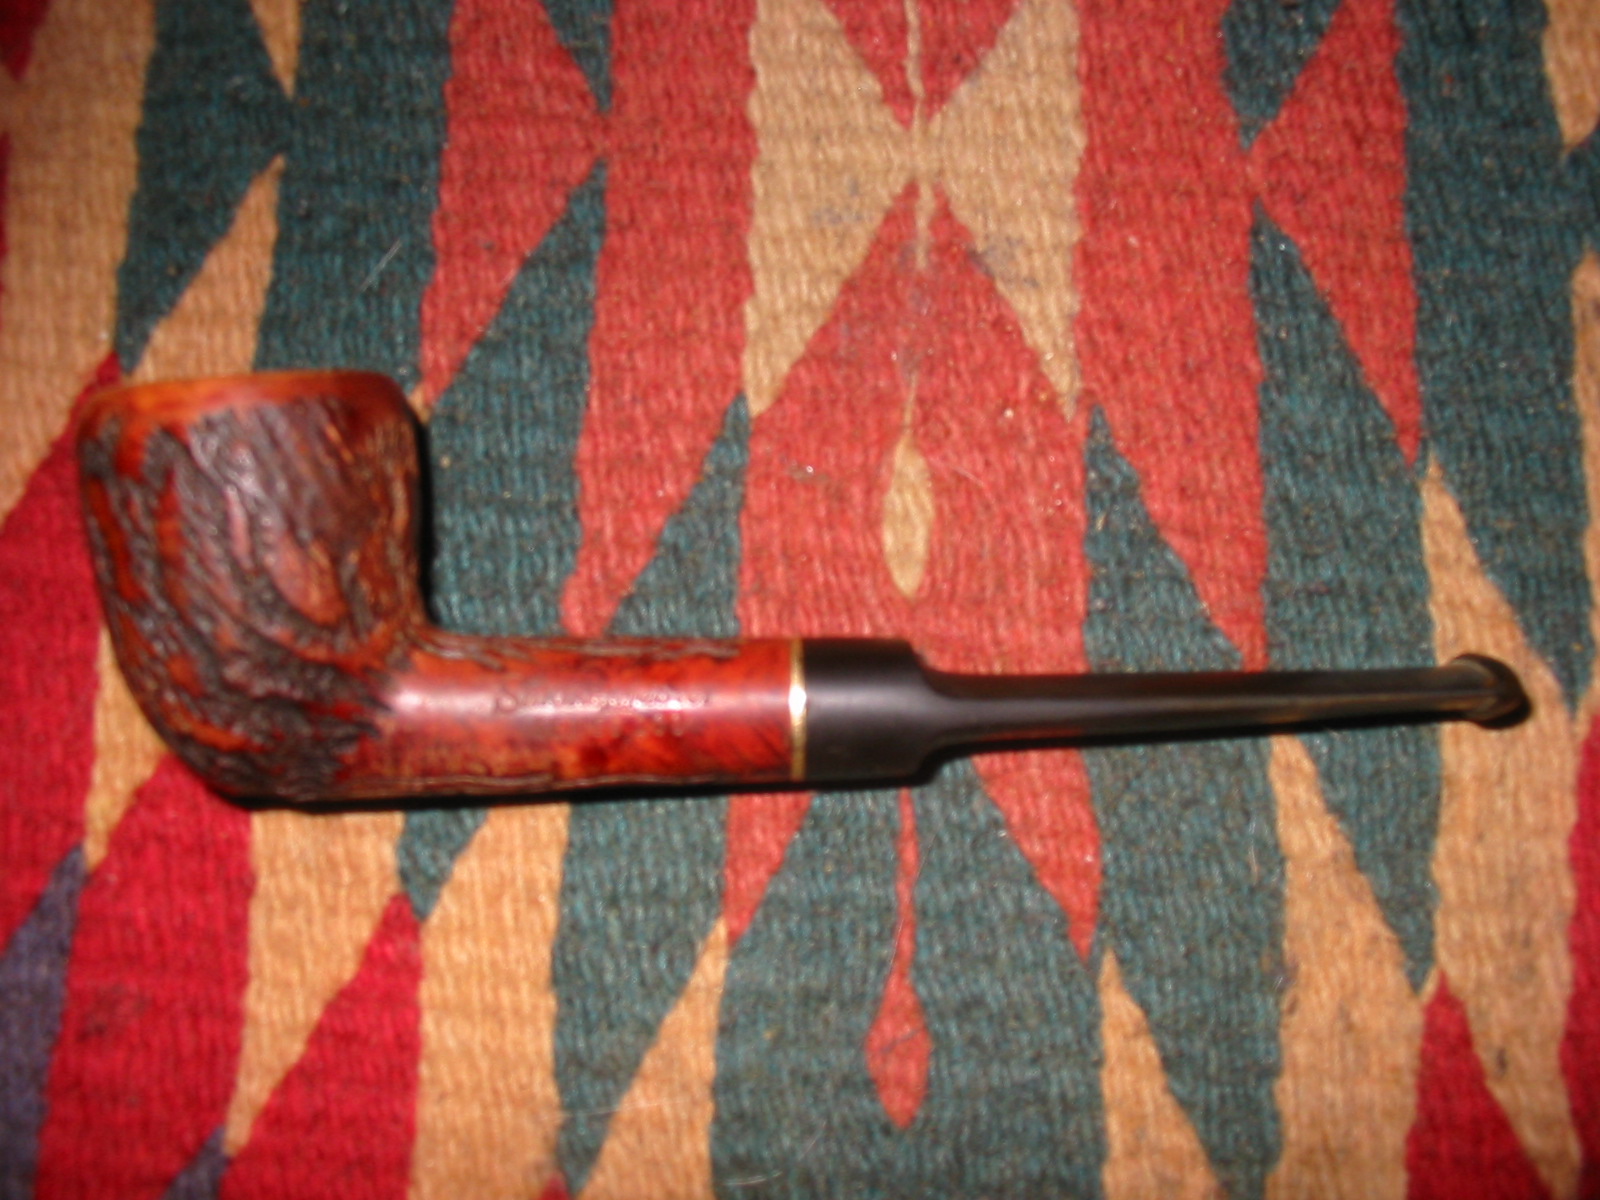
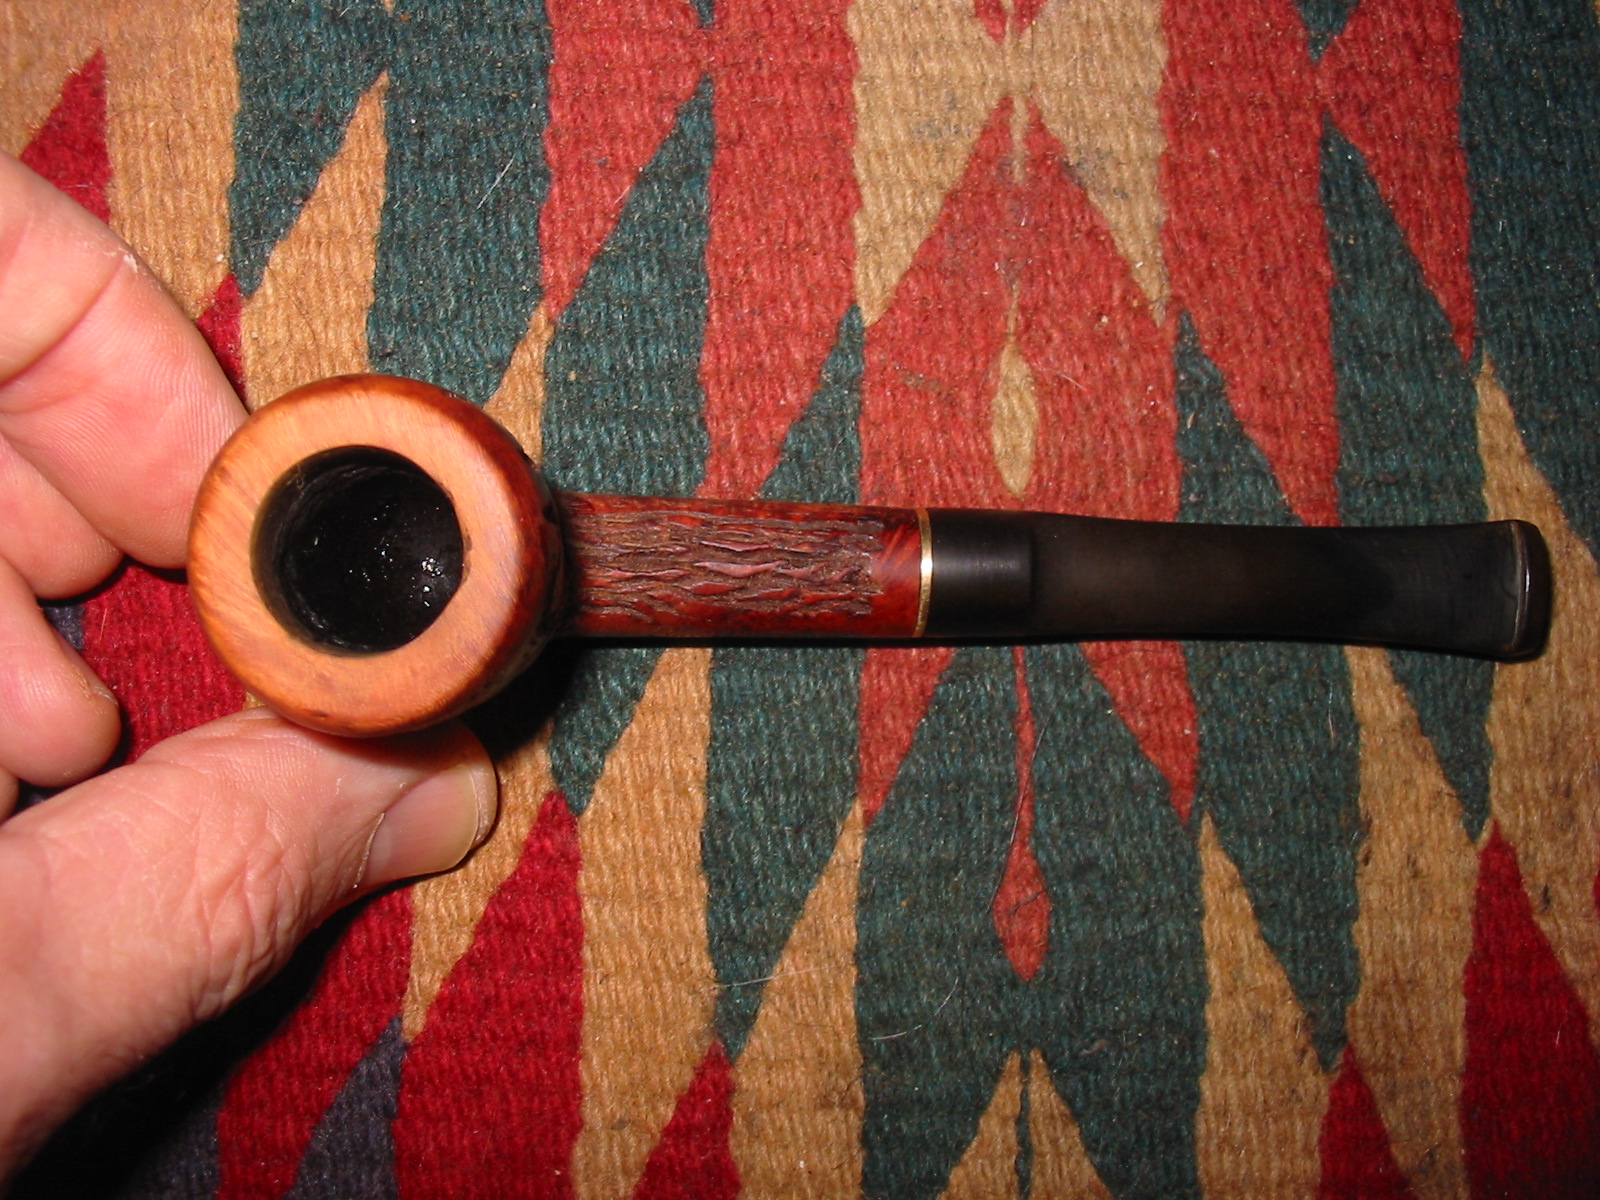
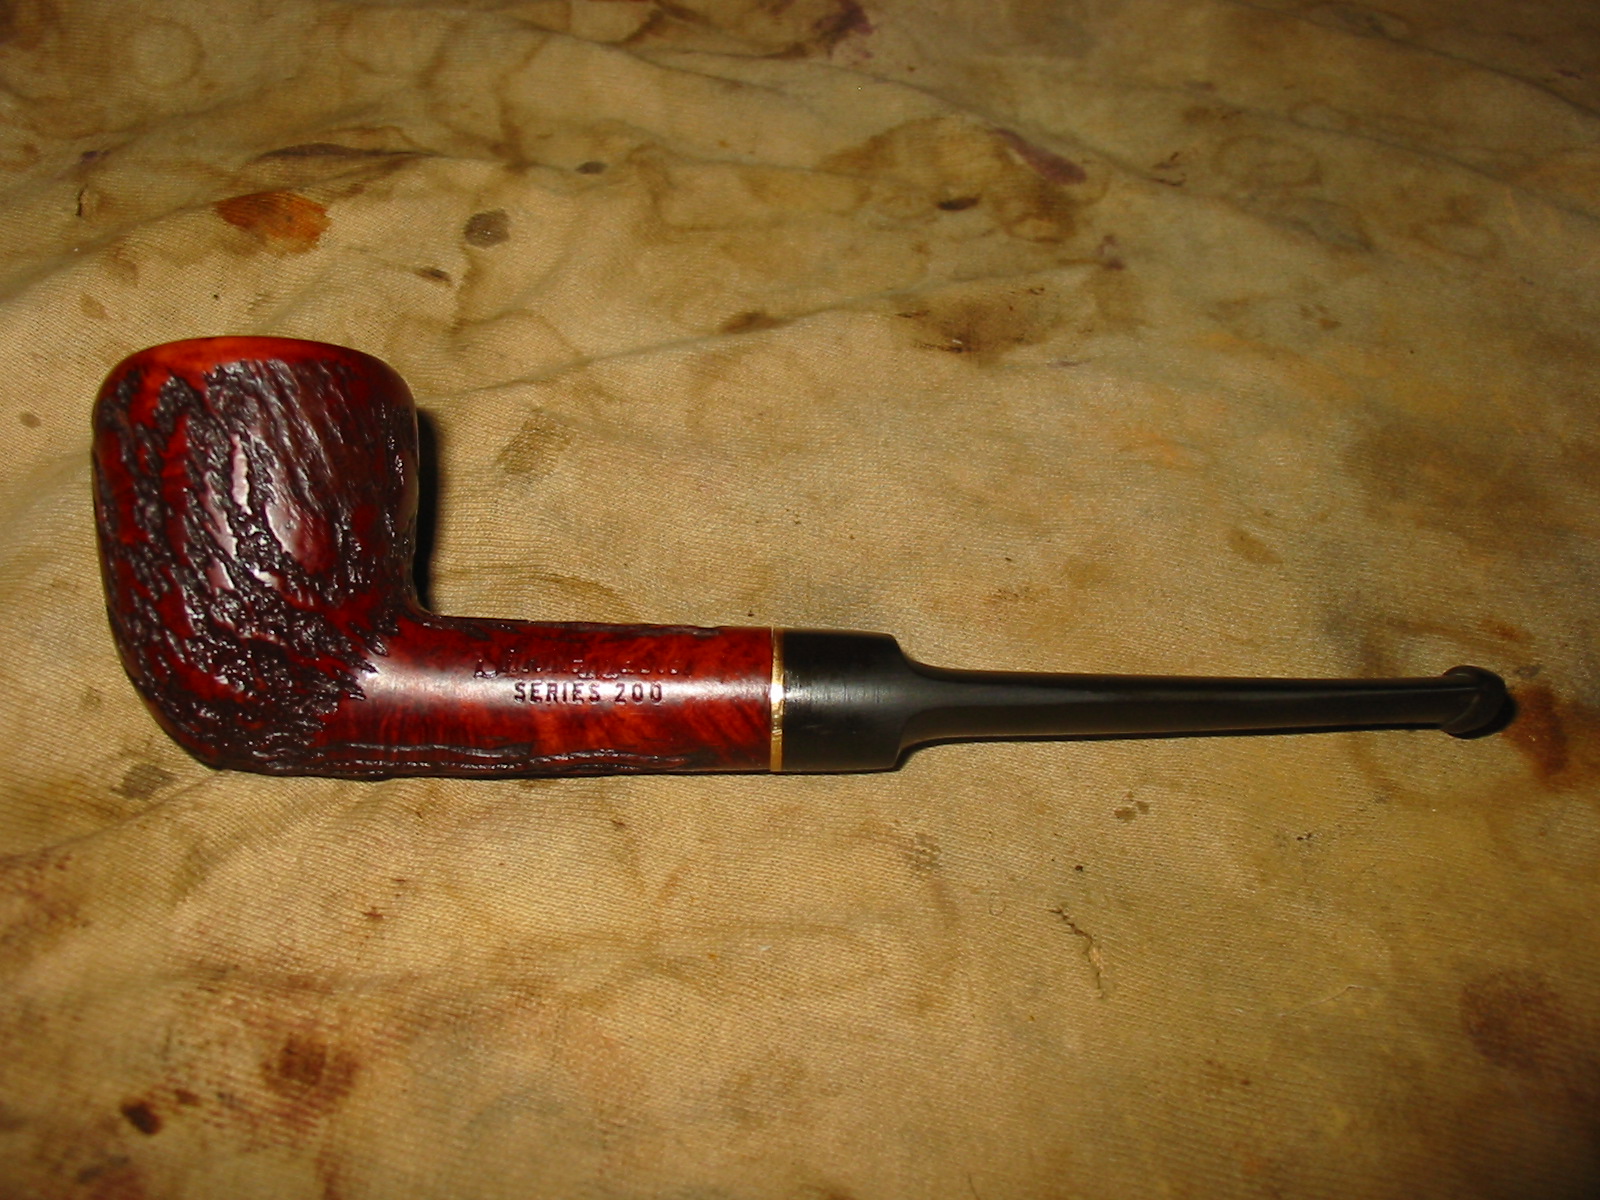
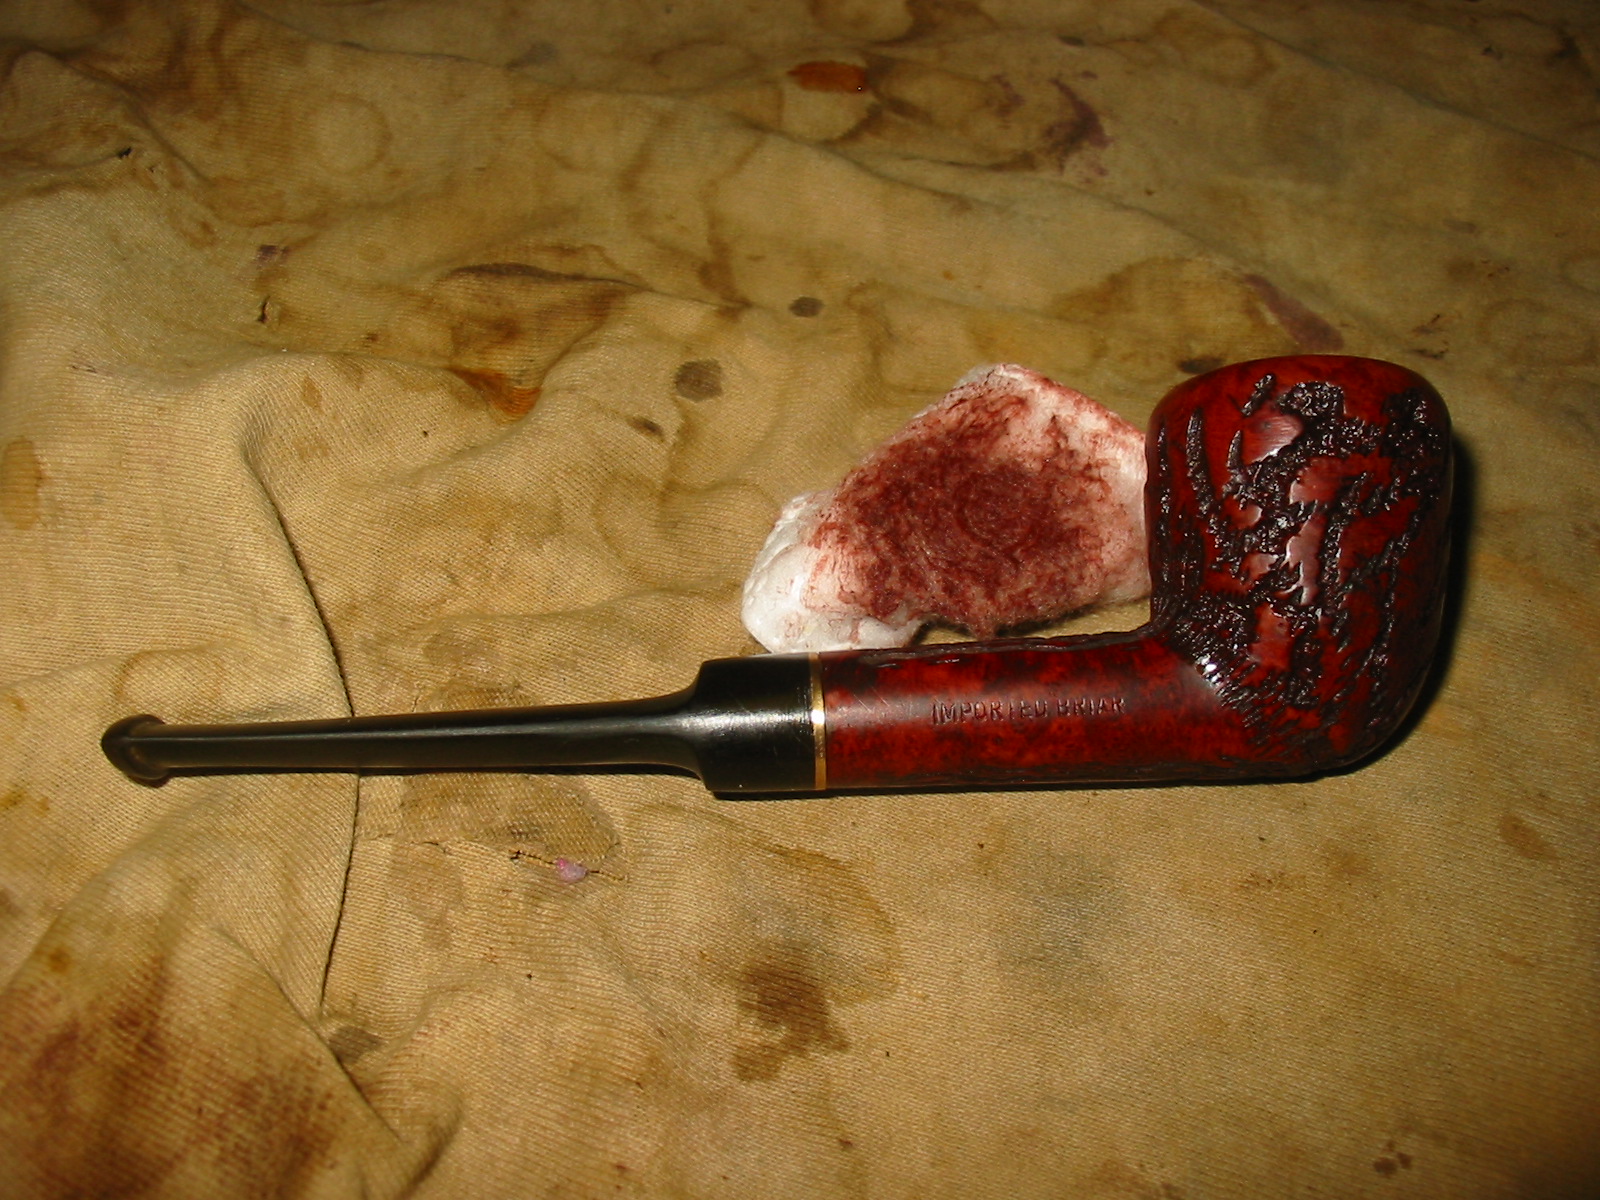
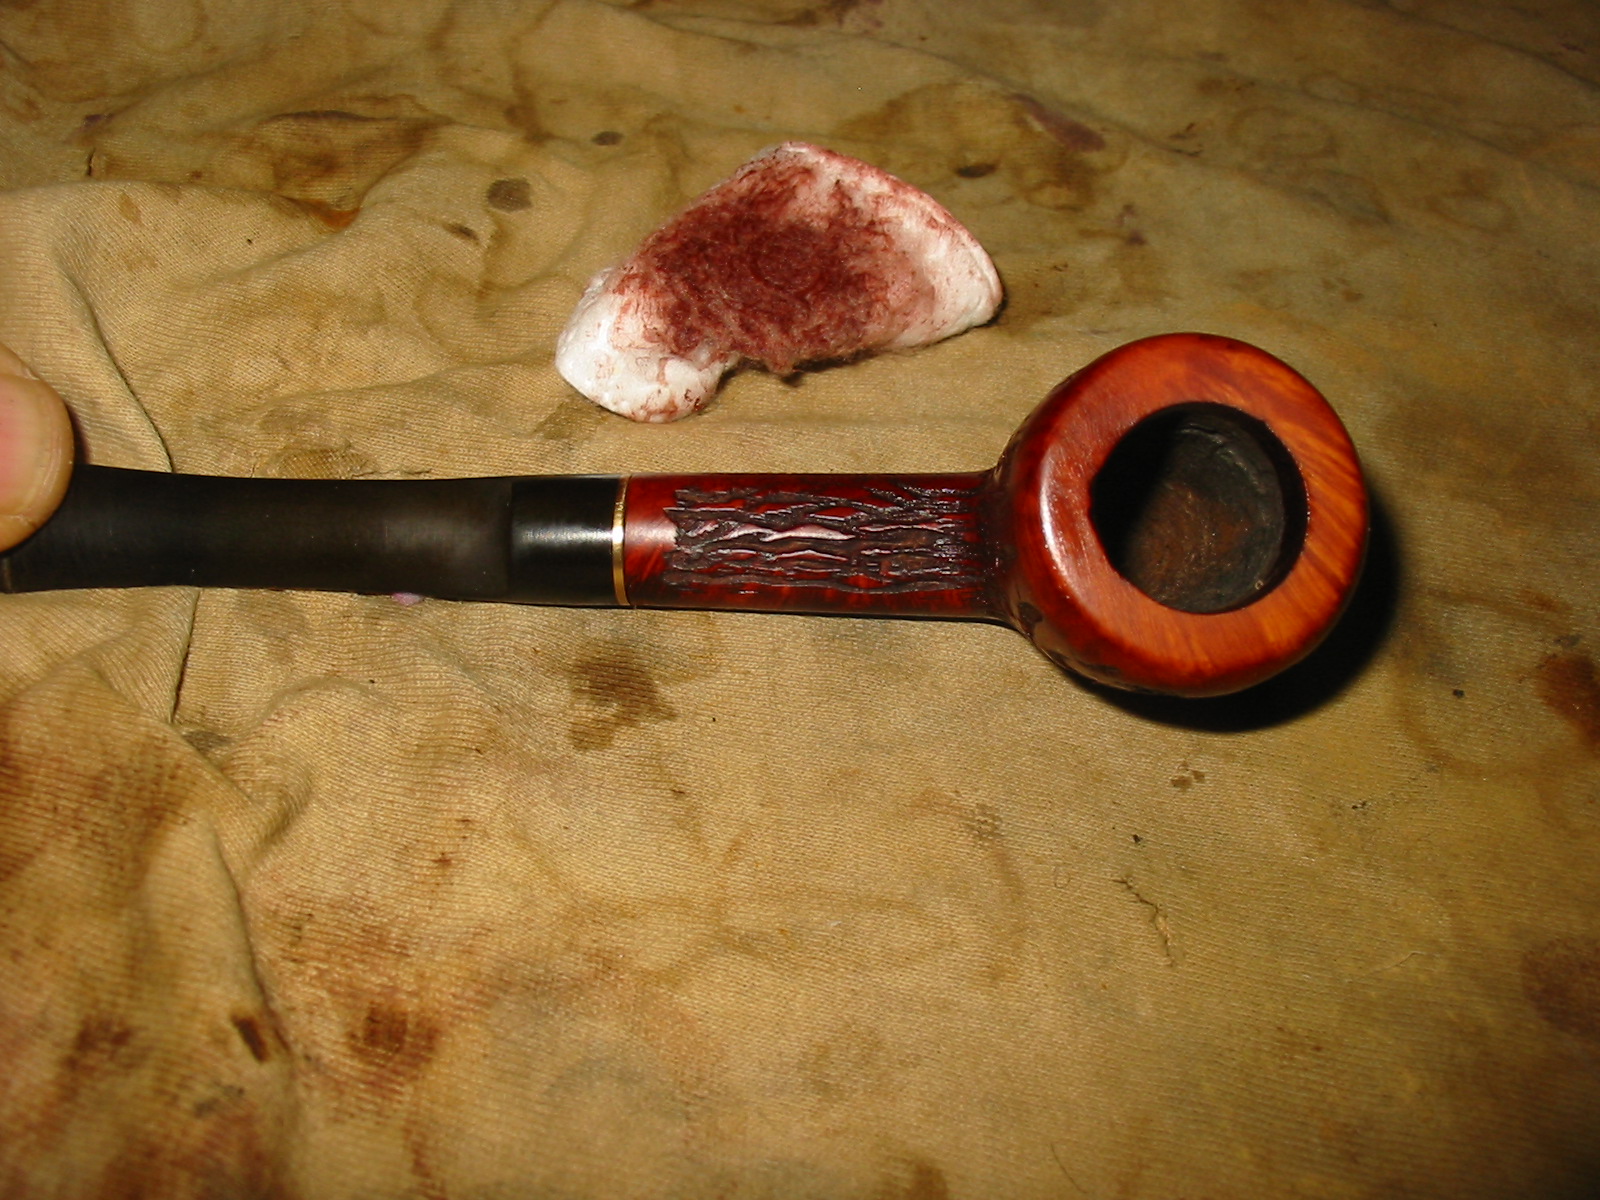
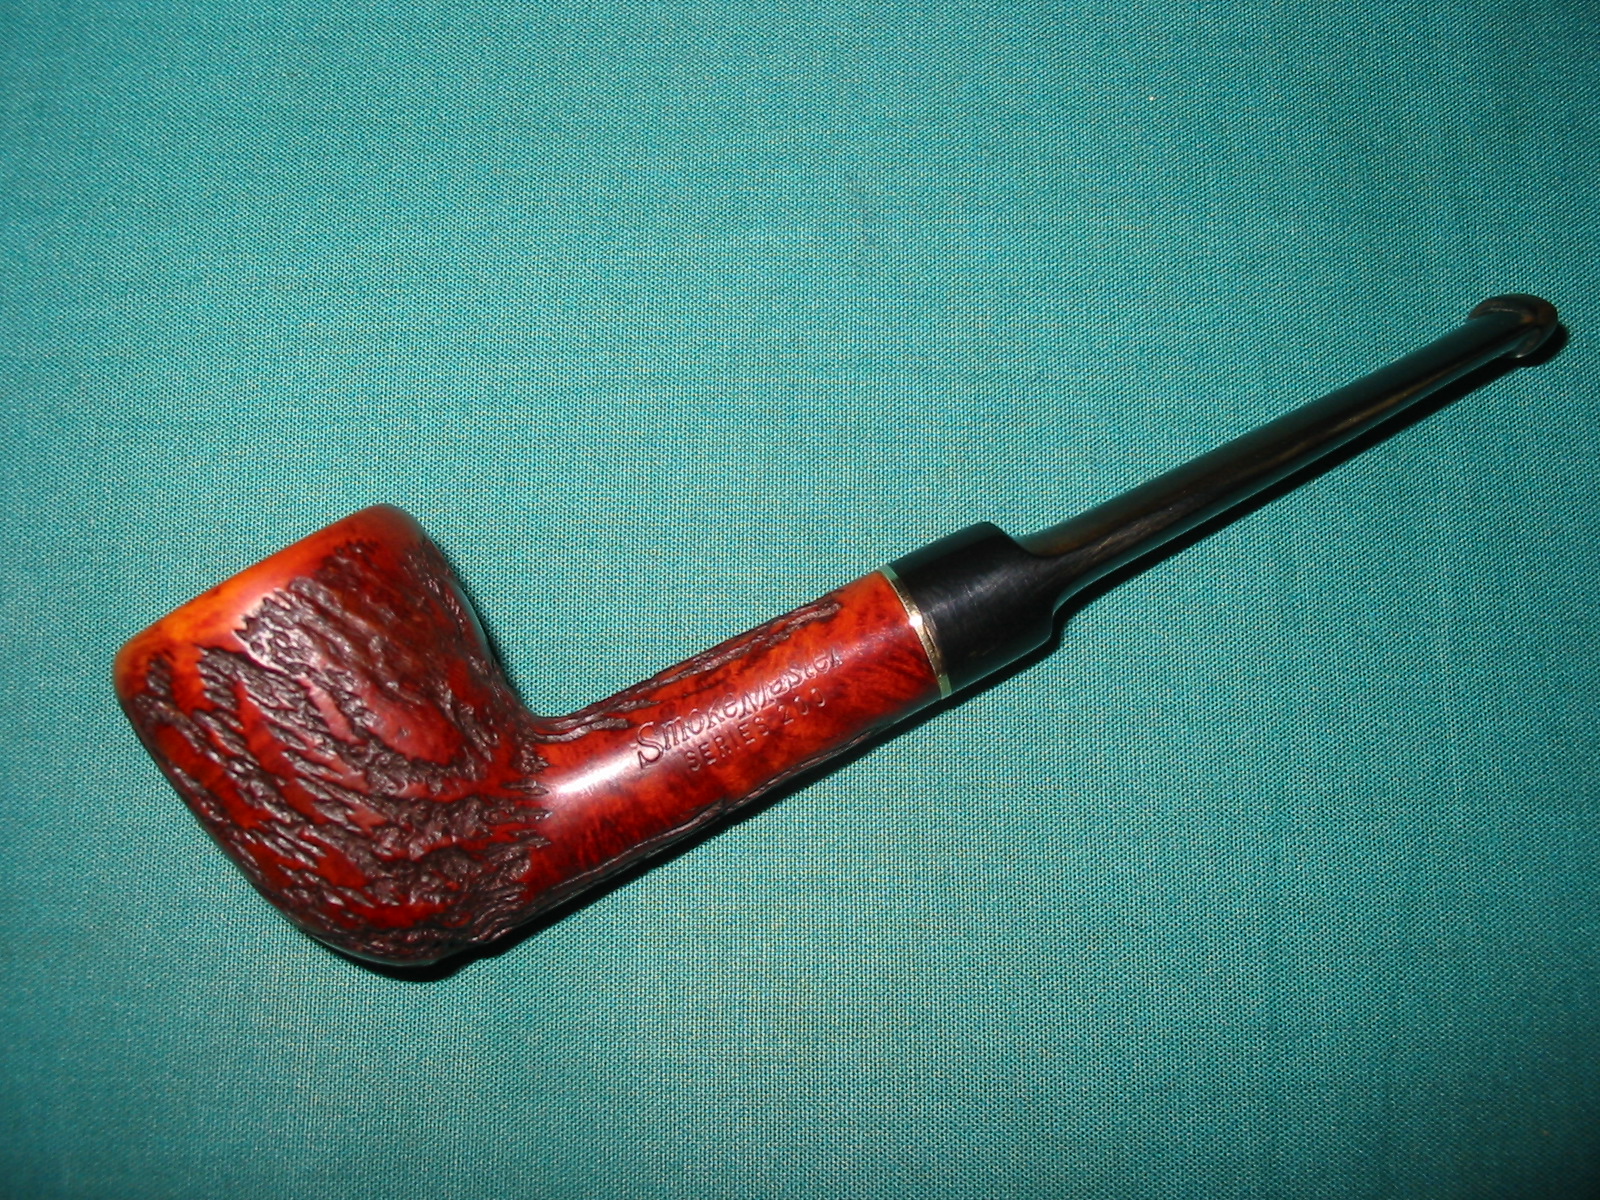
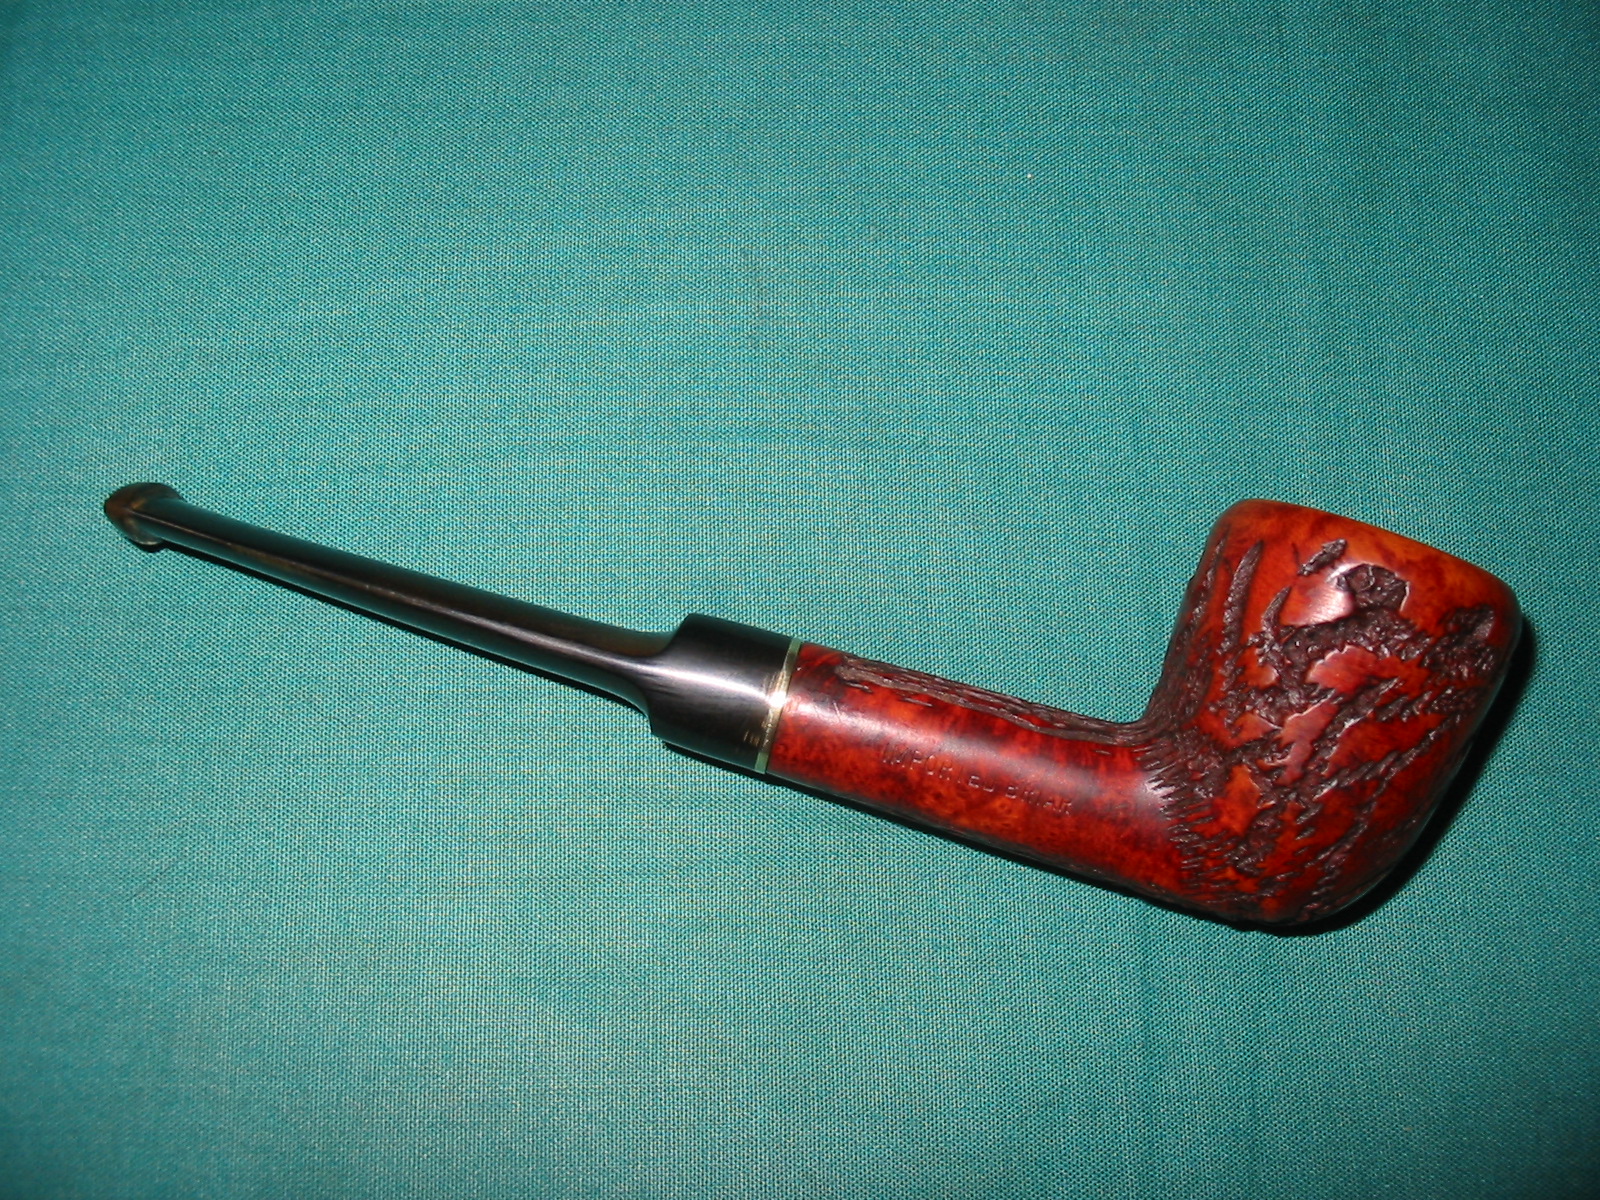
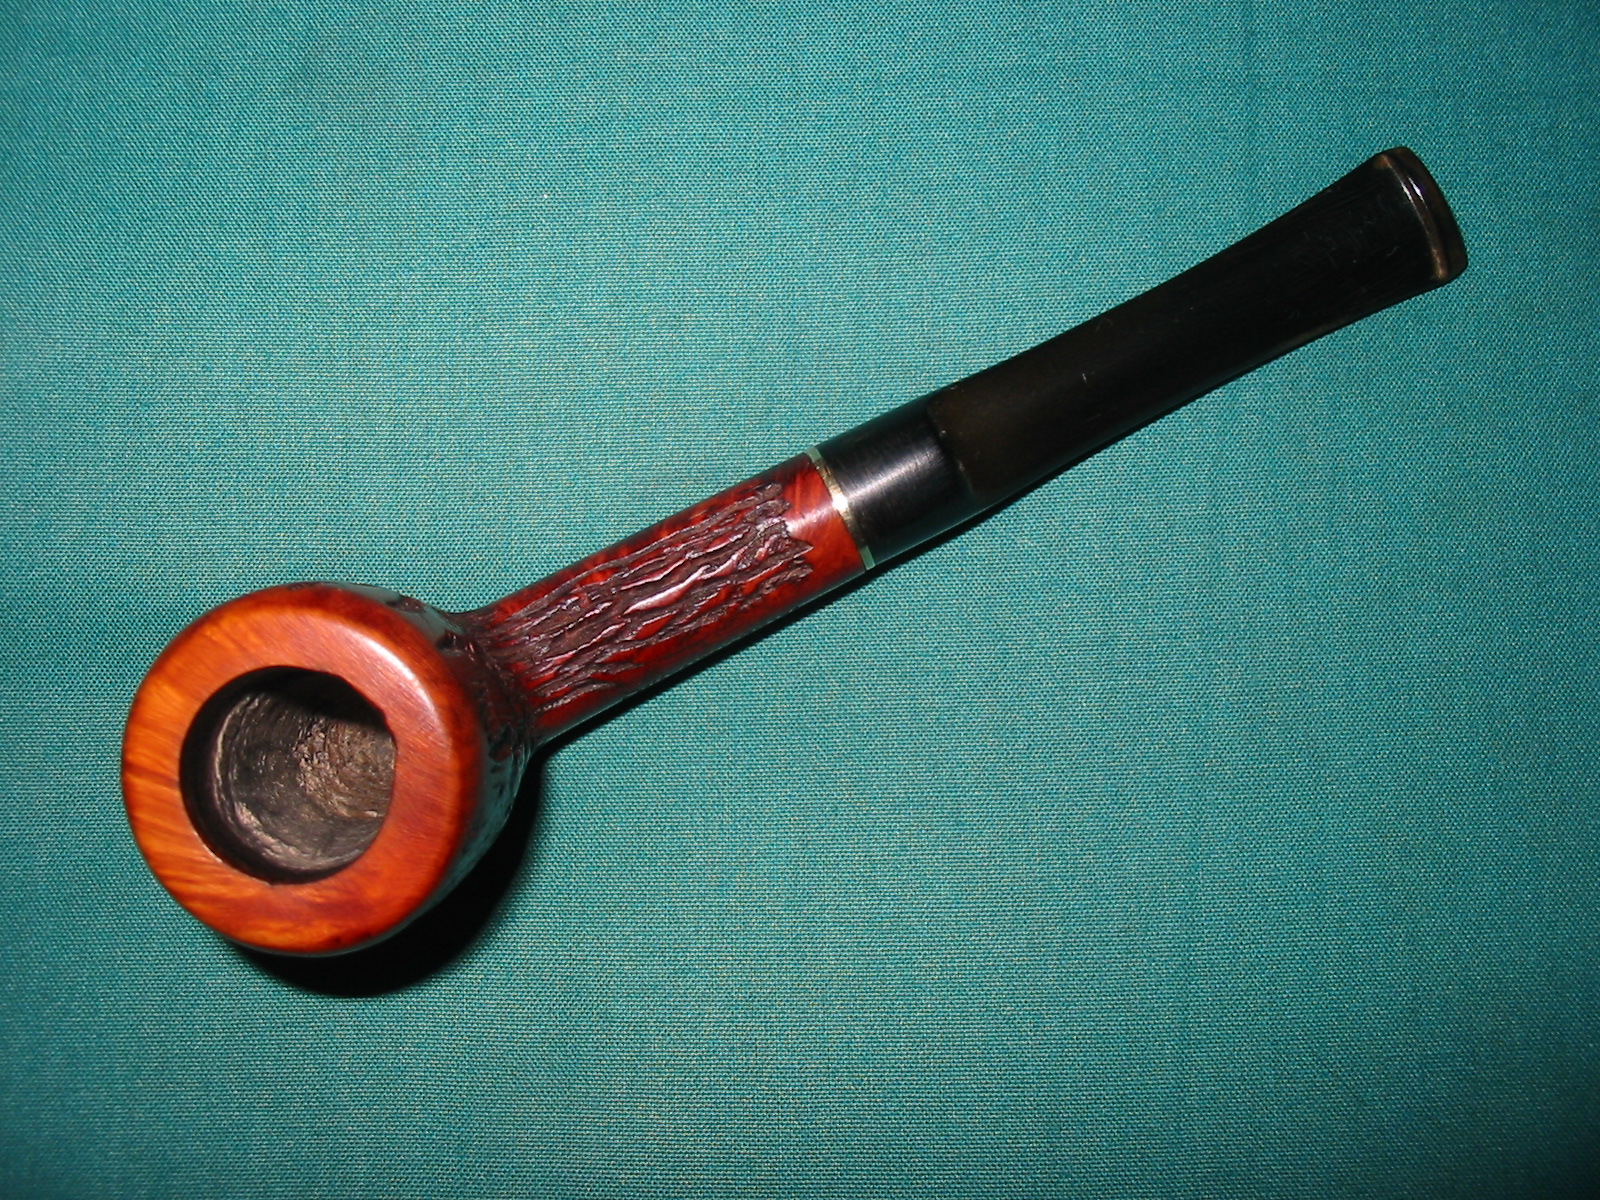
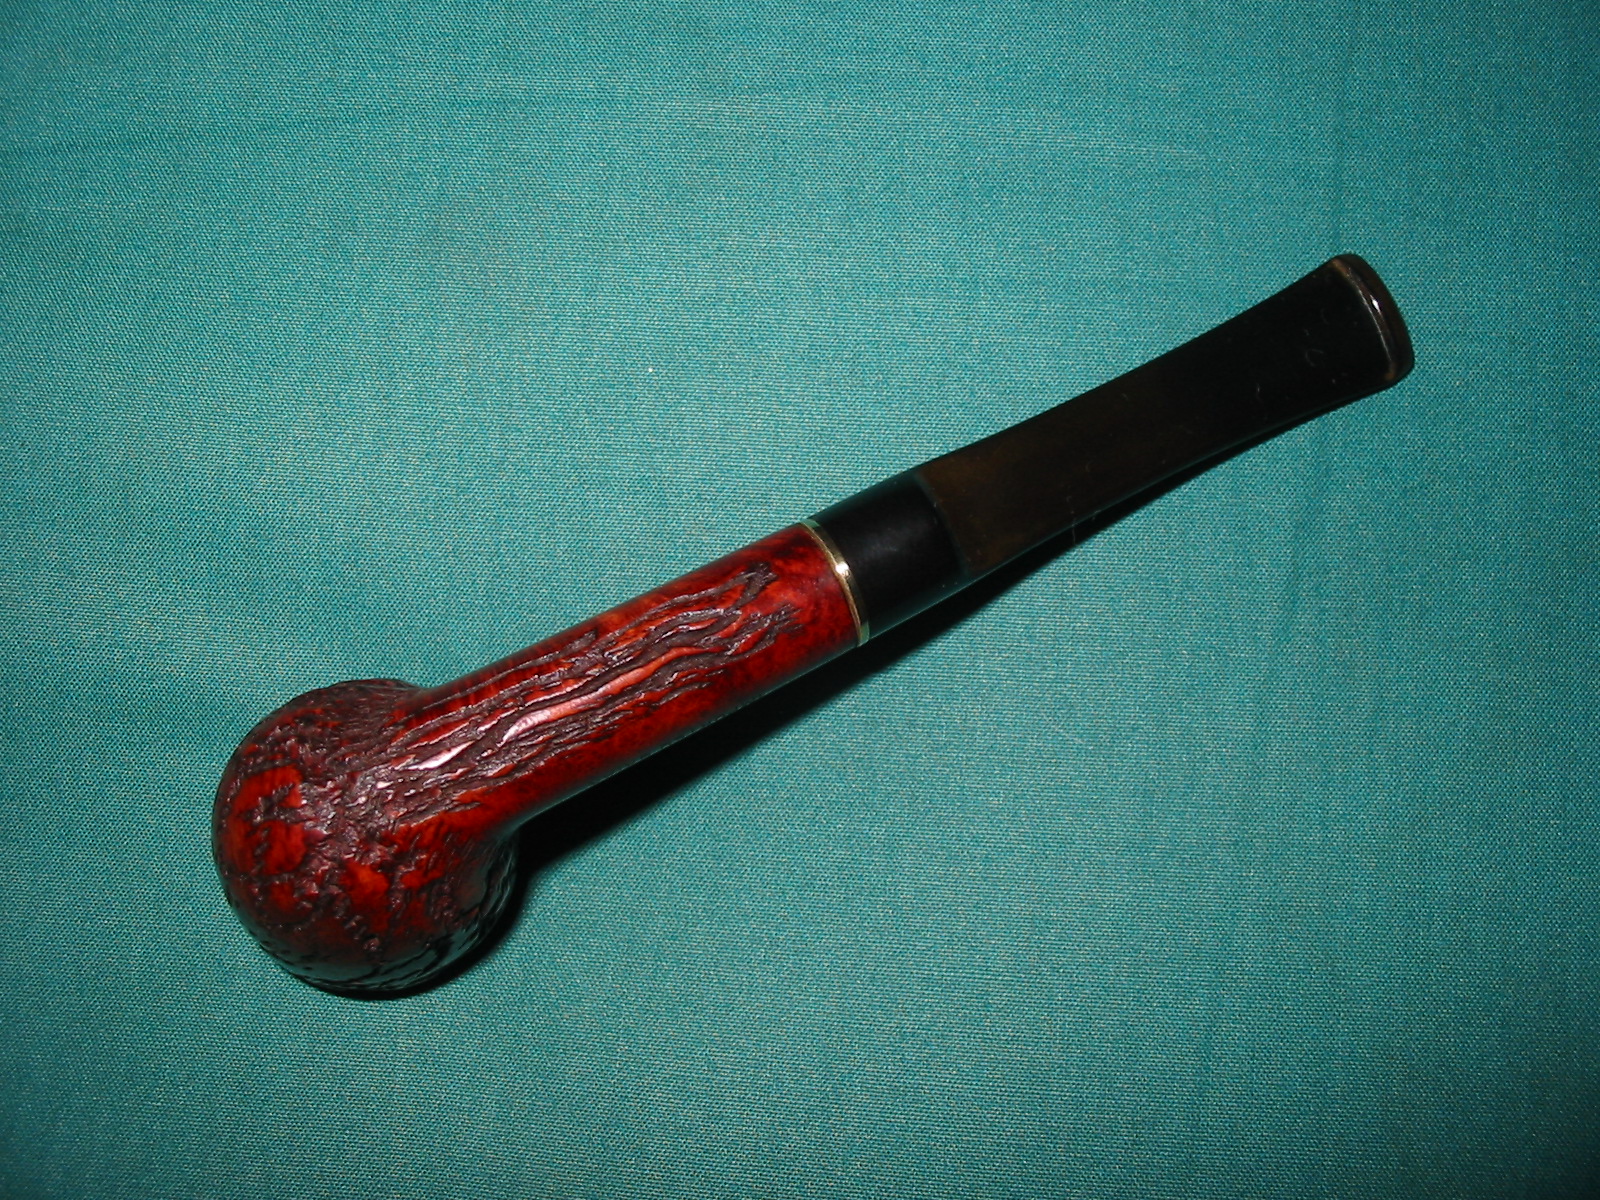
One of the pipes that I had been given years ago was stamped SmokeMaster Series 200 and was an acorn shaped rusticated bow with a smooth side on each side of the shank for stamping and a smooth rim. The left side bore the name and series number and the right side was stamped Imported Briar. The stem had been well chewed and the internal apparatus was missing. It was not useable on this pipe. I would have to restem it. I knew nothing of the brand name. My search on the internet gave me some information on the brand.

On the Dr. Grabow site ( http://drgrabows.myfreeforum.org/sutra13181.php ) I found some interesting information. I quote this post by Dave Whitney, the author of Old Briar, a book on refurbishing. “Smokemaster was a Briarcraft pipe. Richard Kliethermes Sr. was the founder of Briarcraft. First located on Pipetown Hill Rd, Spring Valley, NY, it moved later to 66 Central Ave., Spring Valley, NY. After the death of RK Sr., the business was run by Richard Kliethermes Jr. († 1943) and was quite prosperous between 1920 and 1940. The company closed in 1950. Briarcraft seconds are as follows: Airo, Arcadian, Briarmeer, Smokemaster, Cavalcade, Hallmark, Sterling Hall, and Wimbledon. The Orange off-center diamond was one of their logos.”

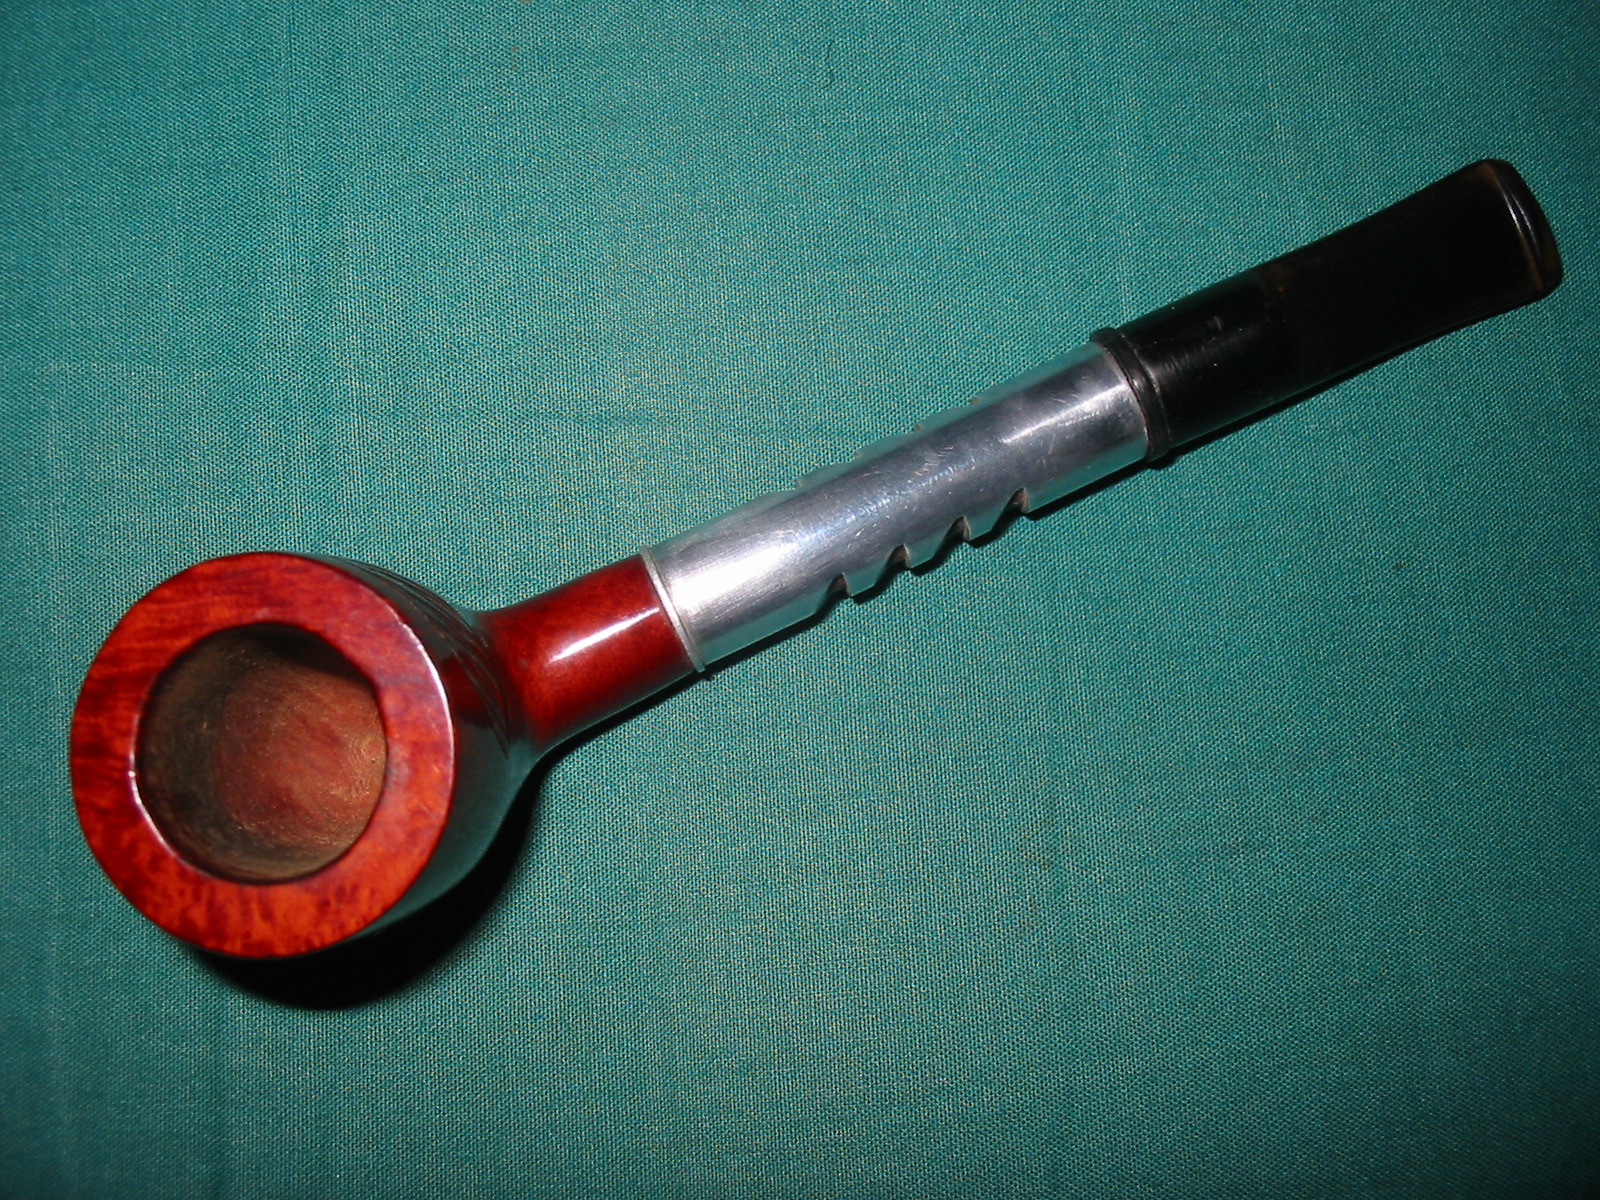
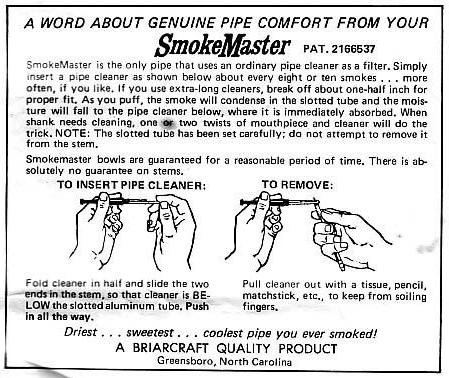
The link also had the following scan that shows the original design for the stems and the unique folded pipe cleaner filtration system of the original pipe. I decided to restem the pipe with a stem of my own choice rather than hunt down an original stem.
Smokemaster Patent Stem

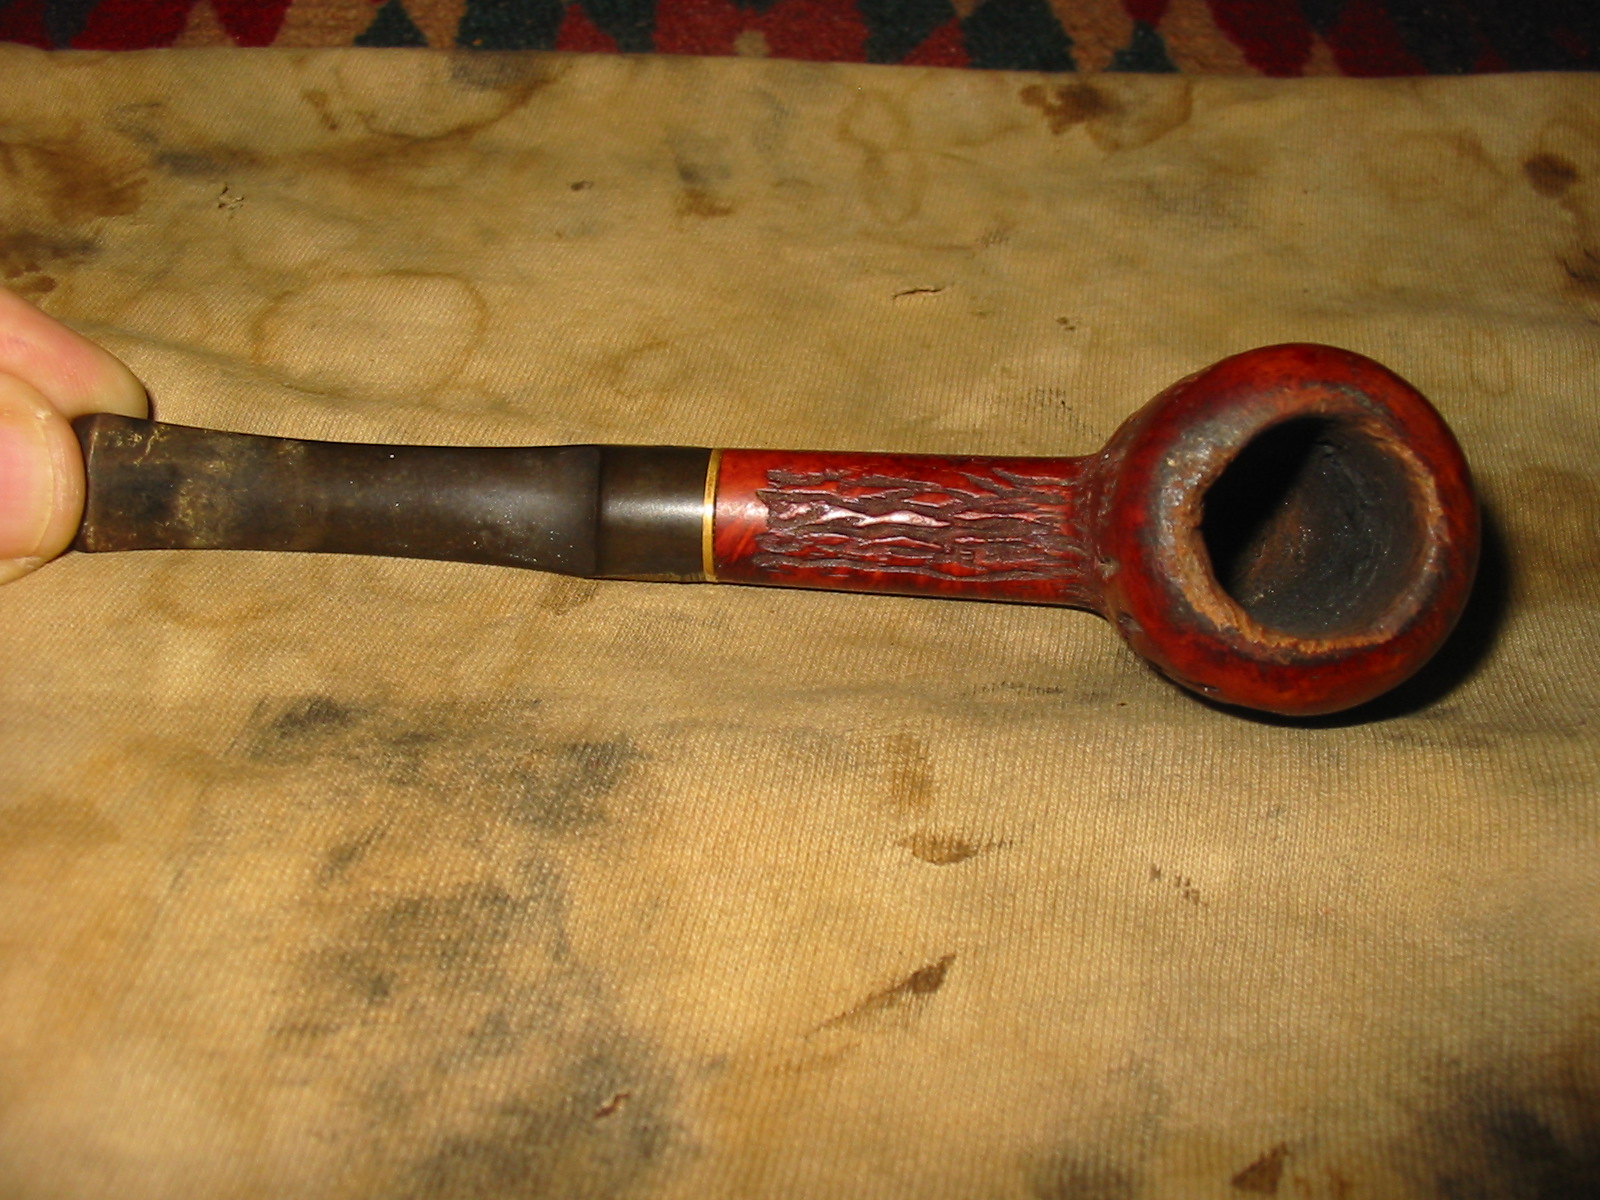
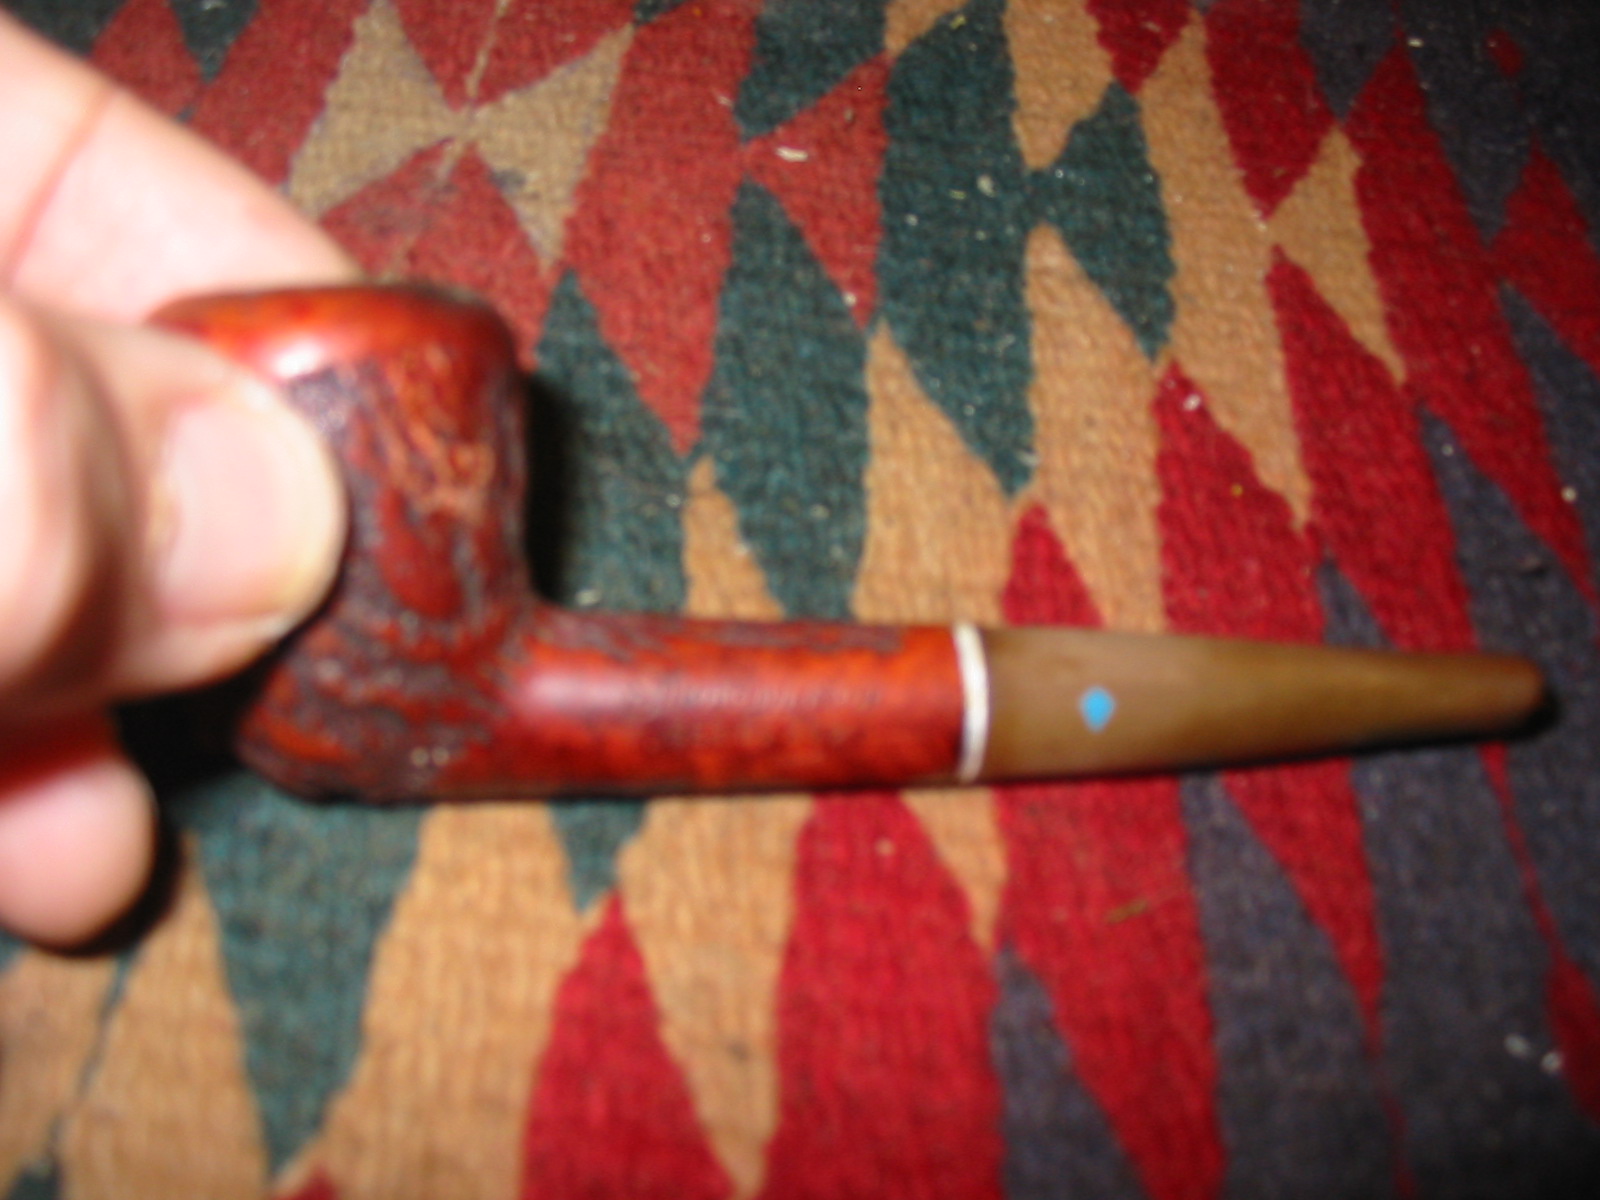
Please forgive the poor focus on the next three photos but they still give the idea of what the pipe looked like when it arrived to my work table. It was in rough shape. The bowl finish was spotty and the varnish was coming off. The rim was out of round and the back edge of the inner rim and top were beat up and rough. The stem was gnawed off and the short length would not work with this old pipe. The cake was thick and uneven with large flakes of tobacco stuck to the inner walls of the bowl.
IMG_1015

IMG_1016

IMG_1017

I went through my stash of stems and found an old saddle stem with a built in brass band that would approximate the aluminum one on the original stem. I would need to do some work on the tenon length and the diameter of the saddle portion of the stem to get a correct fit but it was workable as the new stem.
IMG_1018

I reamed the bowl with a PipNet reamer (Photo 1 below) and a plumber’s wire brush (Photo 2 below) to clean out the debris. I used a sharp knife (Photo 3 below) to reshape the inner edge of the bowl and bring it back to round. Photo 4 shows the reshaped and cleaned bowl. I would have to top the bowl to repair the roughness to the top of the rim.
IMG_1027

IMG_1028

IMG_1029

IMG_1030

I used a sanding drum on a Dremel to shape the saddle diameter to meet that of the shank. The sanding drum worked well on the vulcanite and the brass. Due to the difference in hardness of the two materials I had to be careful to not cut the vulcanite deeper than the brass. The idea was to make a smooth transition between the two materials on the stem.
IMG_2276

IMG_2277

IMG_2279

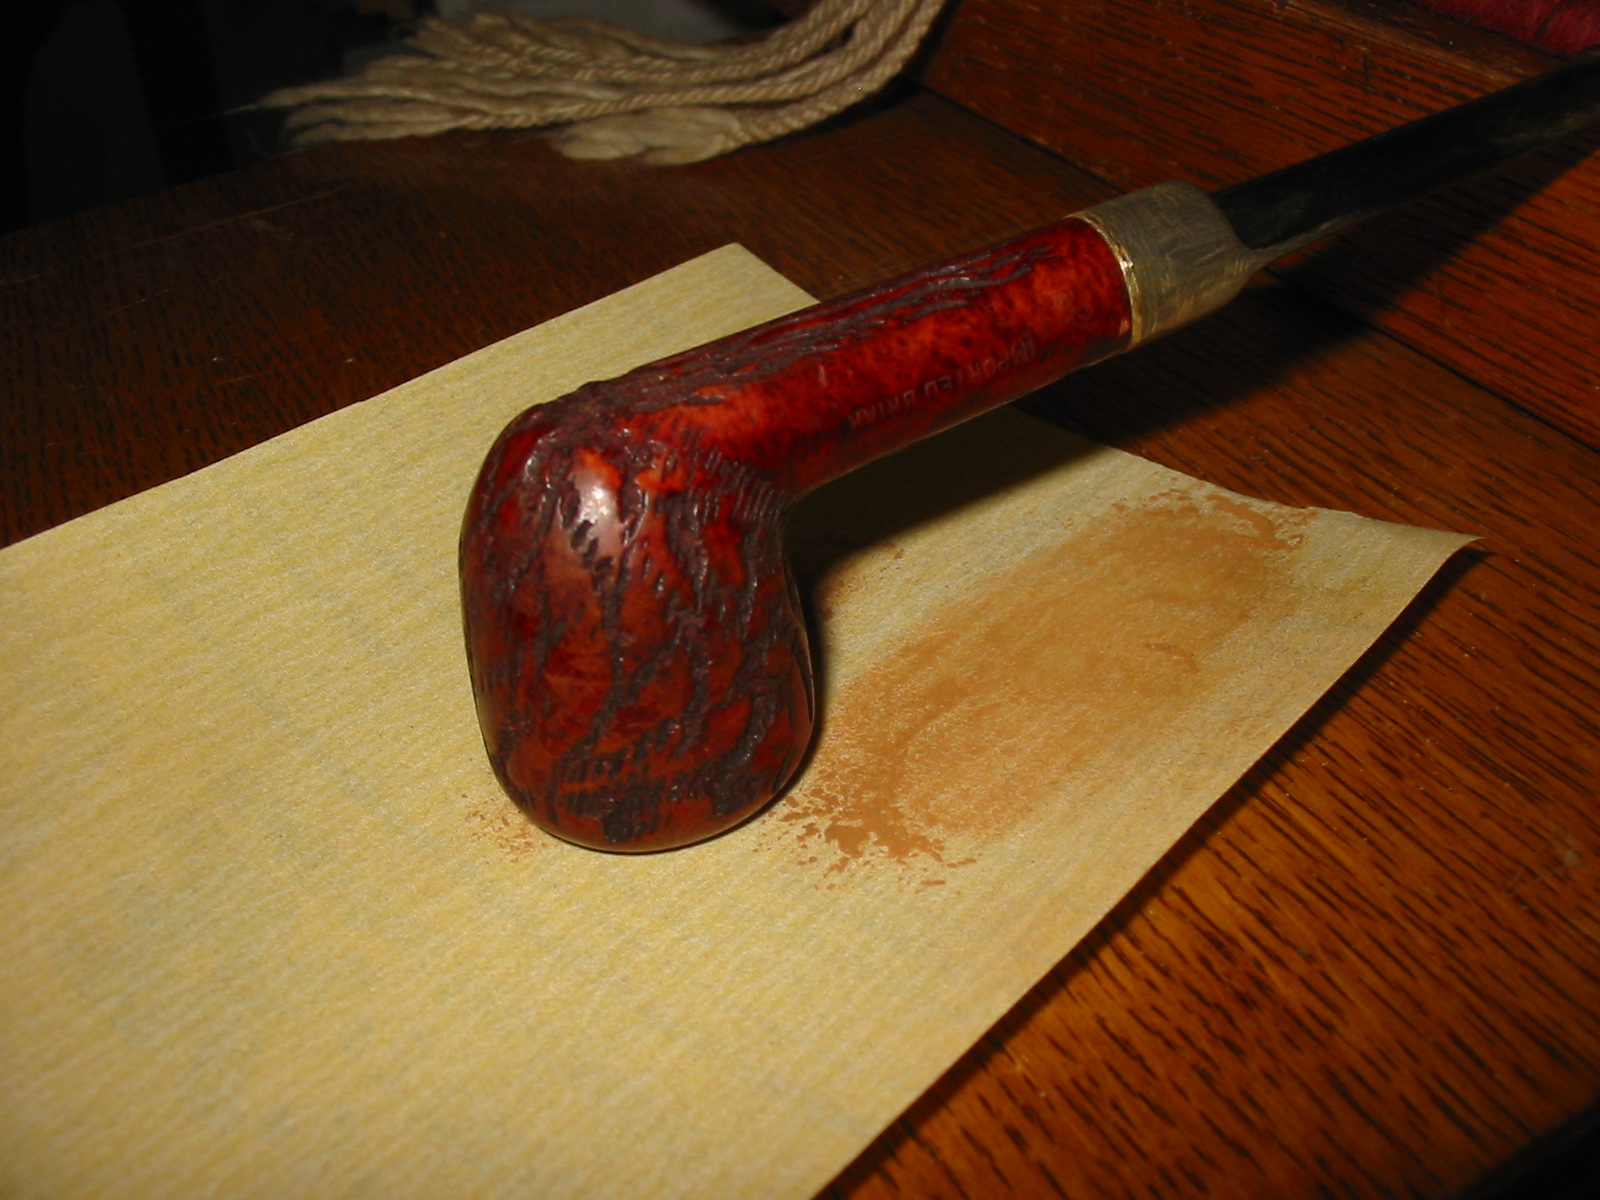
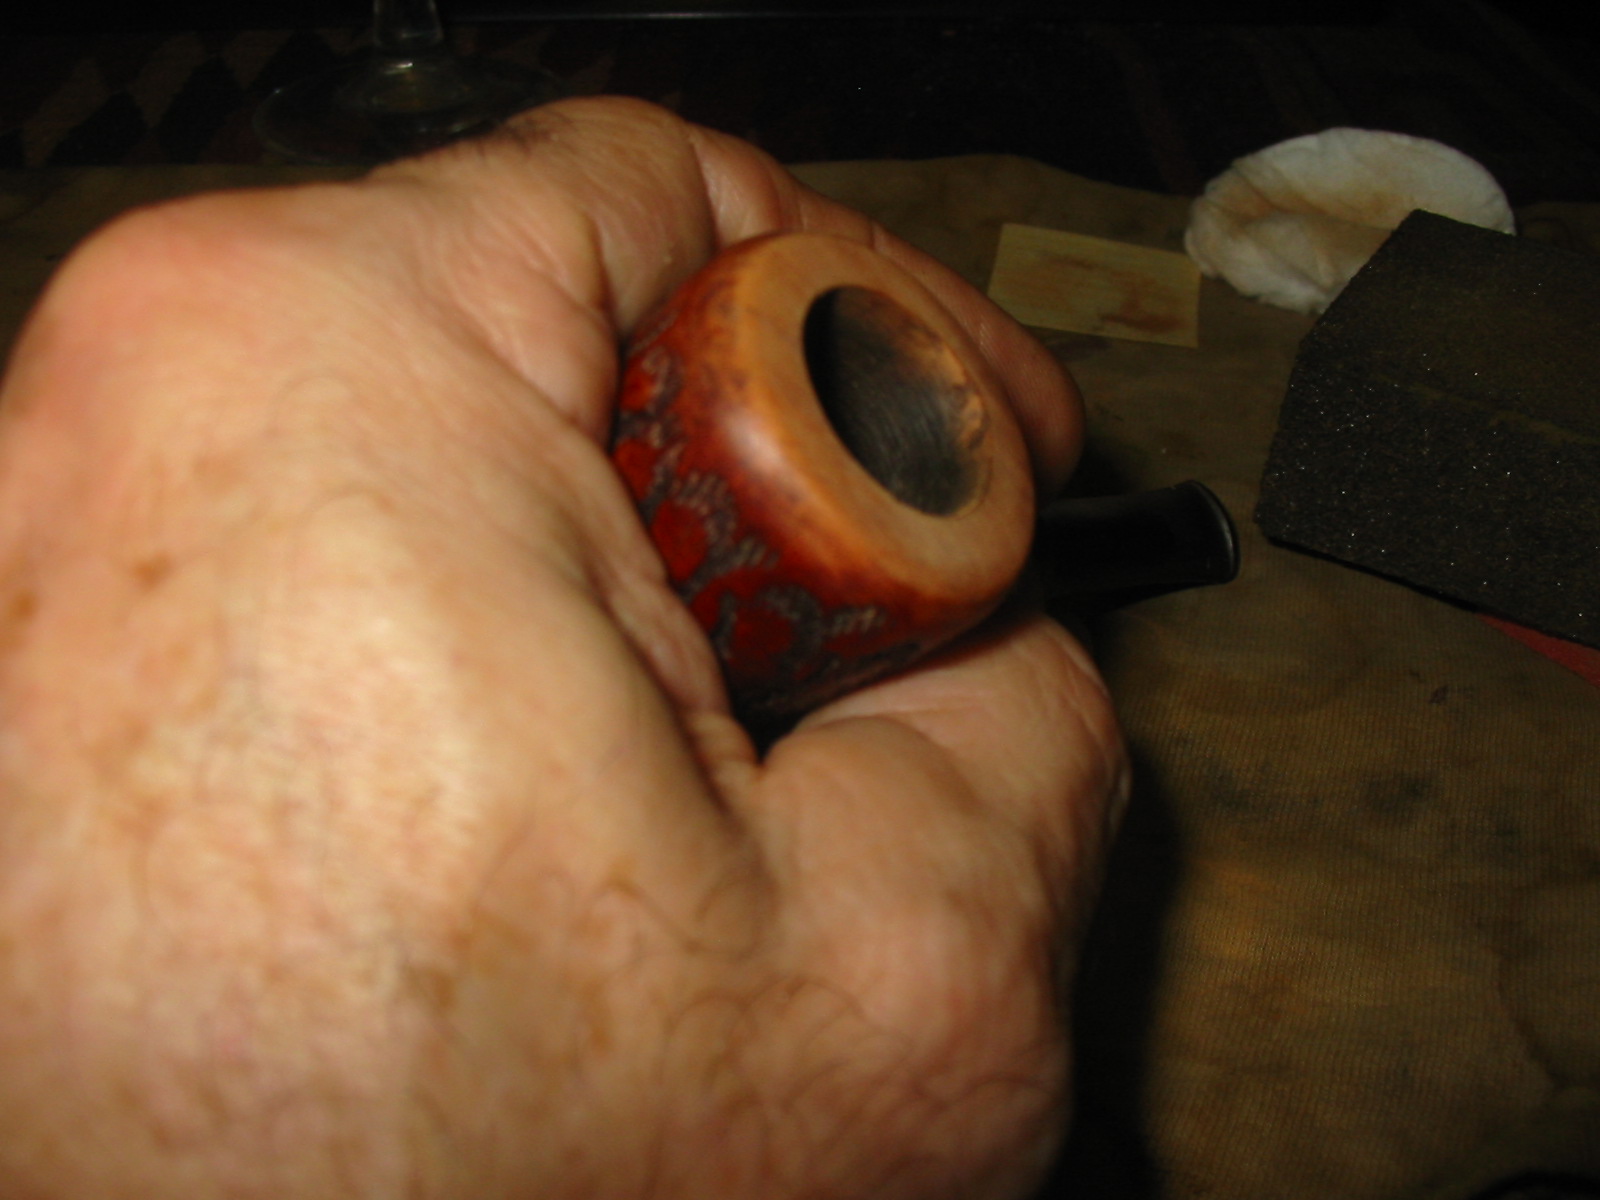
The next photo shows the condition of the top rim of the bowl. I decided to top the bowl and then rework the rounded edge to keep the acorn shape intact. I set up a piece of sandpaper on my flat board and turned the bowl into the sandpaper. I worked it and sanded it, repeatedly checking the flatness of the rim and also the amount of briar I was removing from the rim.
IMG_2278

IMG_2280

IMG_2281

Once the roughness was smoothed out I sanded the rim with 220 grit sandpaper and a medium grit sanding block to smooth out the top and to round the outer edge of the rim to make it less abrupt and more like the original shape. The next two photos show the rim after the sanding and shaping with the sanding block.
IMG_2282

IMG_2284

At this point in the process I put the bowl into an alcohol bath and let it soak overnight to remove the varnish finish that was spotty and damaged. The next morning I took it out of the bath, dried it off and cleaned out the shank and the shank. The first photo below shows the bowl after I removed it from the bath. The second, third and fourth photos show the bowl after drying.
IMG_2286

IMG_2287

IMG_2288

IMG_2290

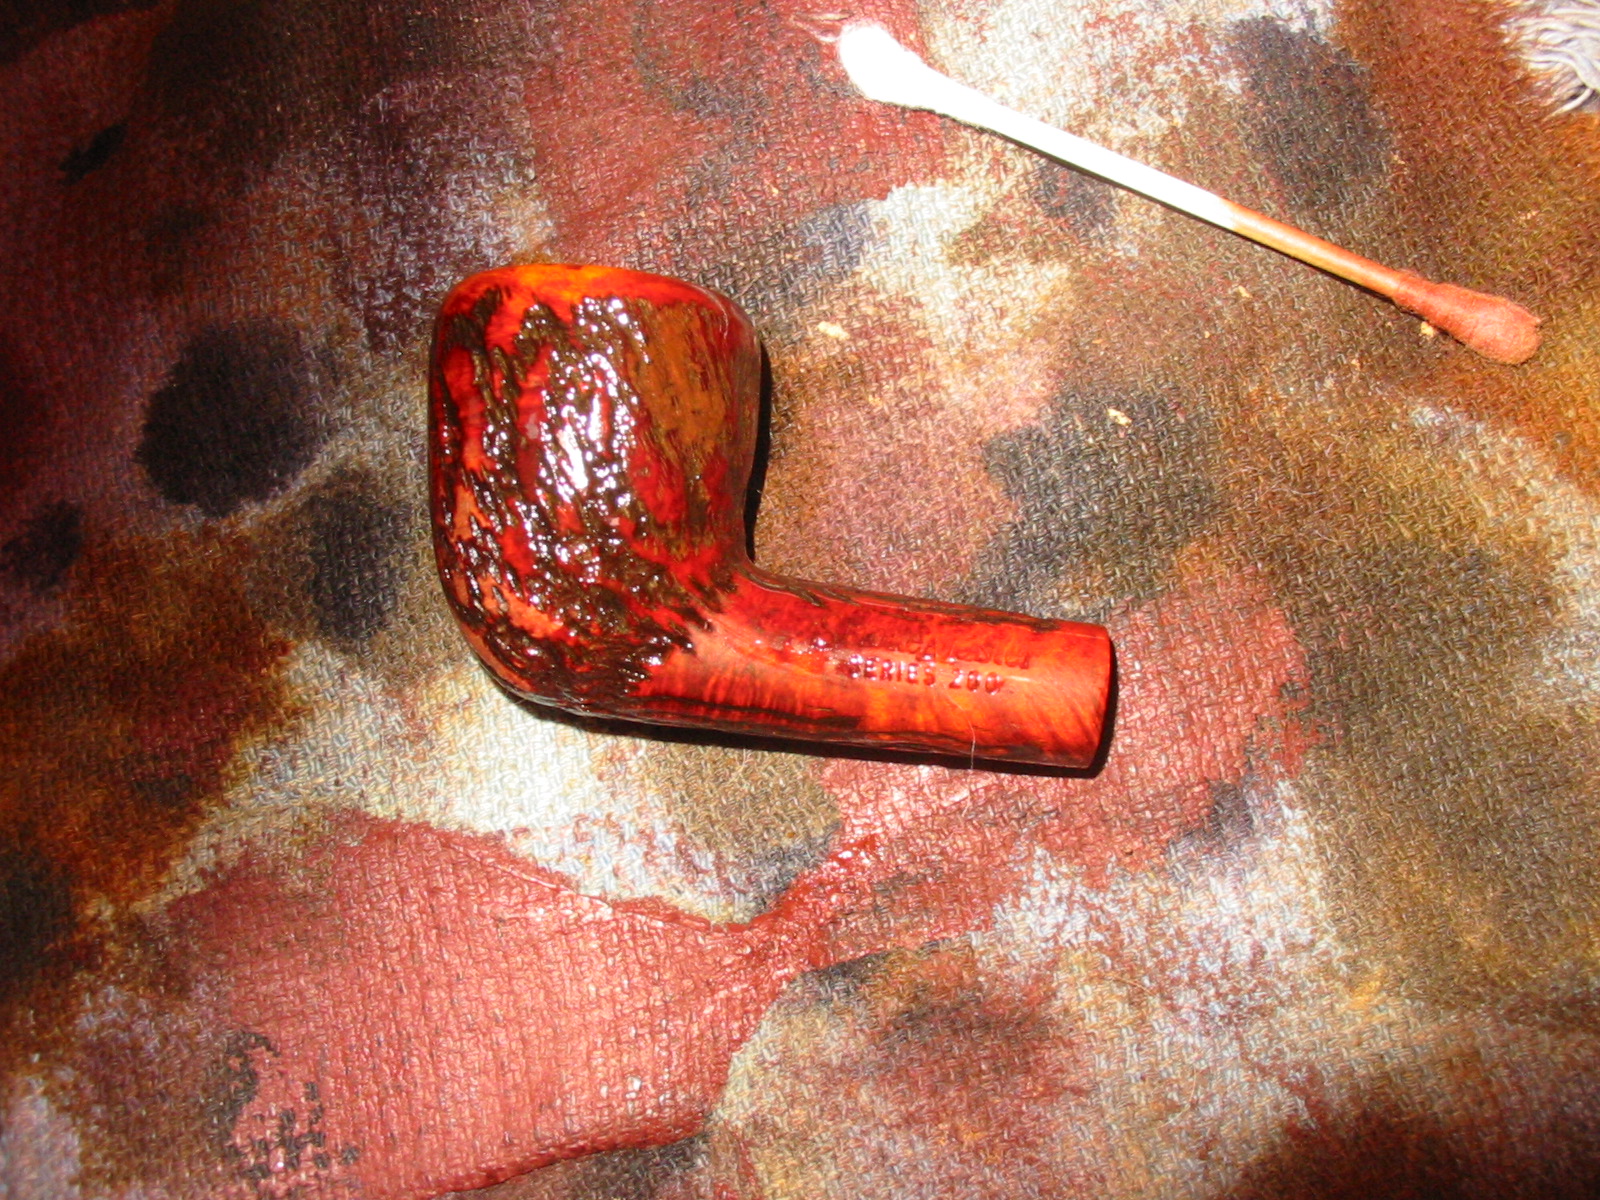
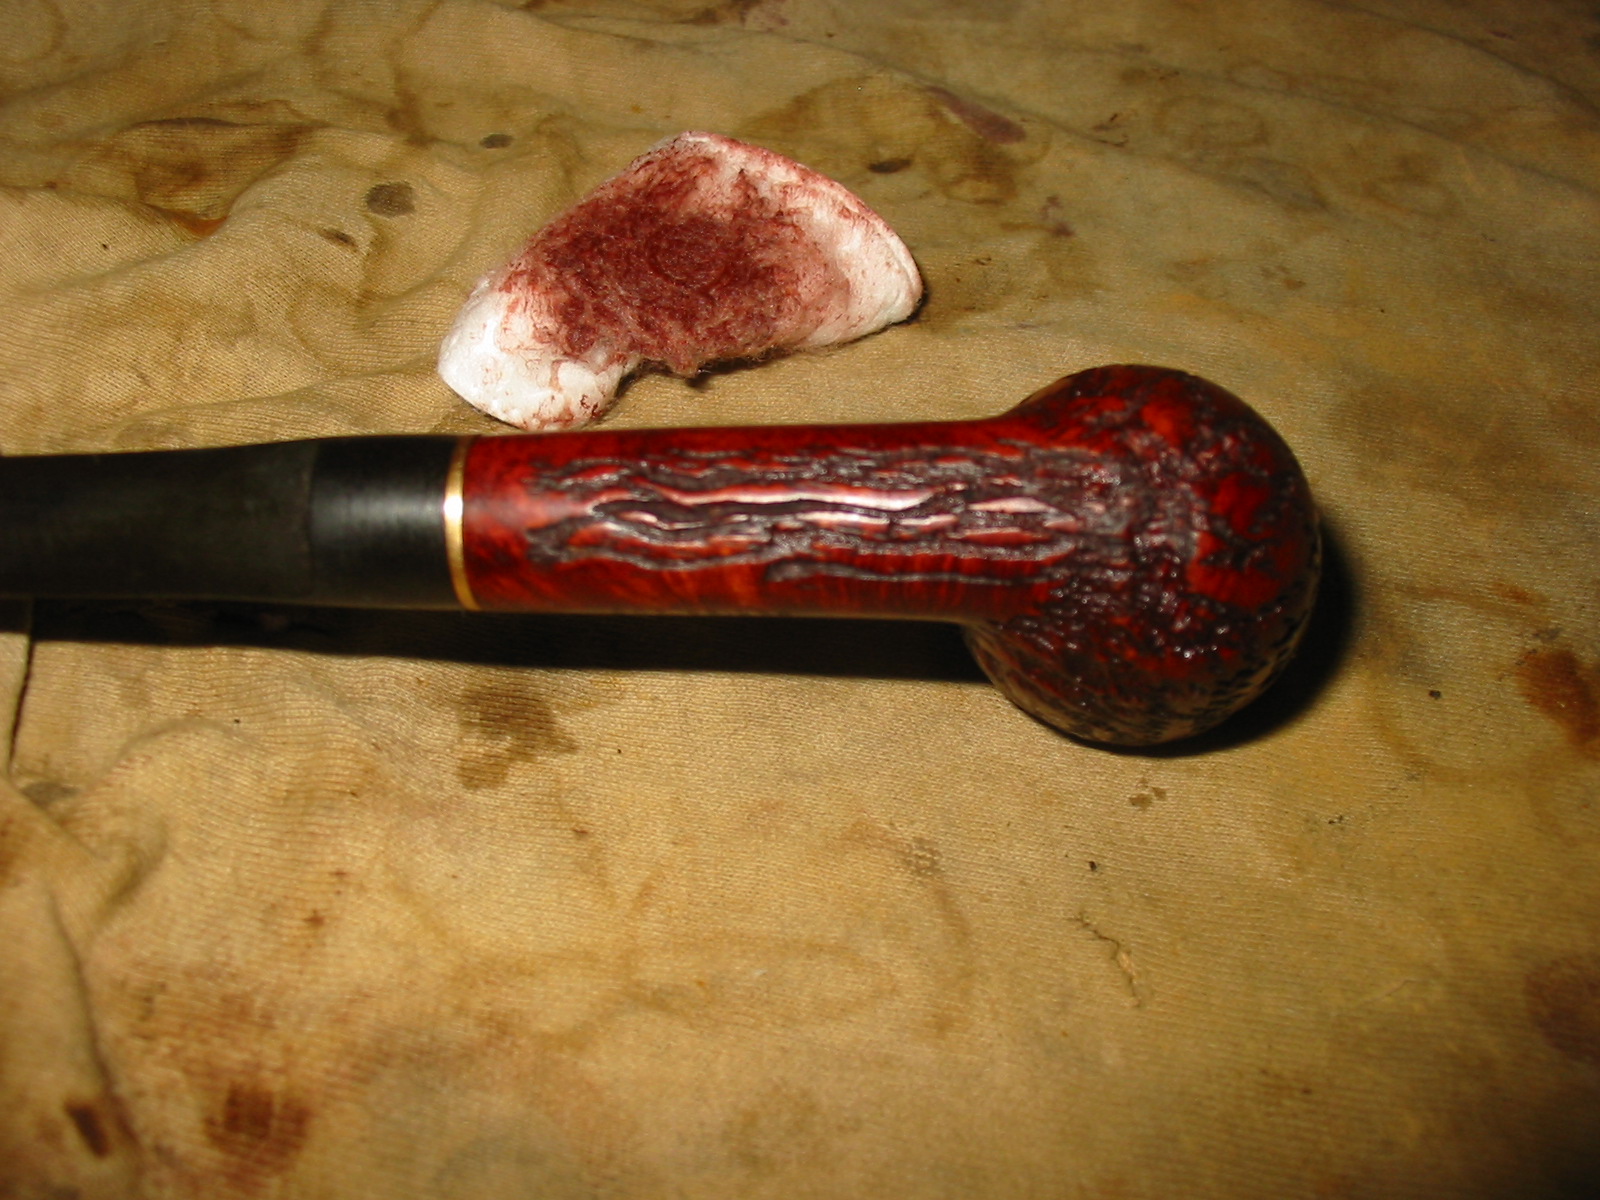
I restained the pipe with a Danish Oil Cherry stain applied with a cotton pad. I need to be able to work the stain into the deep rustication and also on to the smooth portions of the shank and rim. The rim took several applications to match the rest of the bowl.
IMG_2291

IMG_2292

IMG_2293

IMG_2294

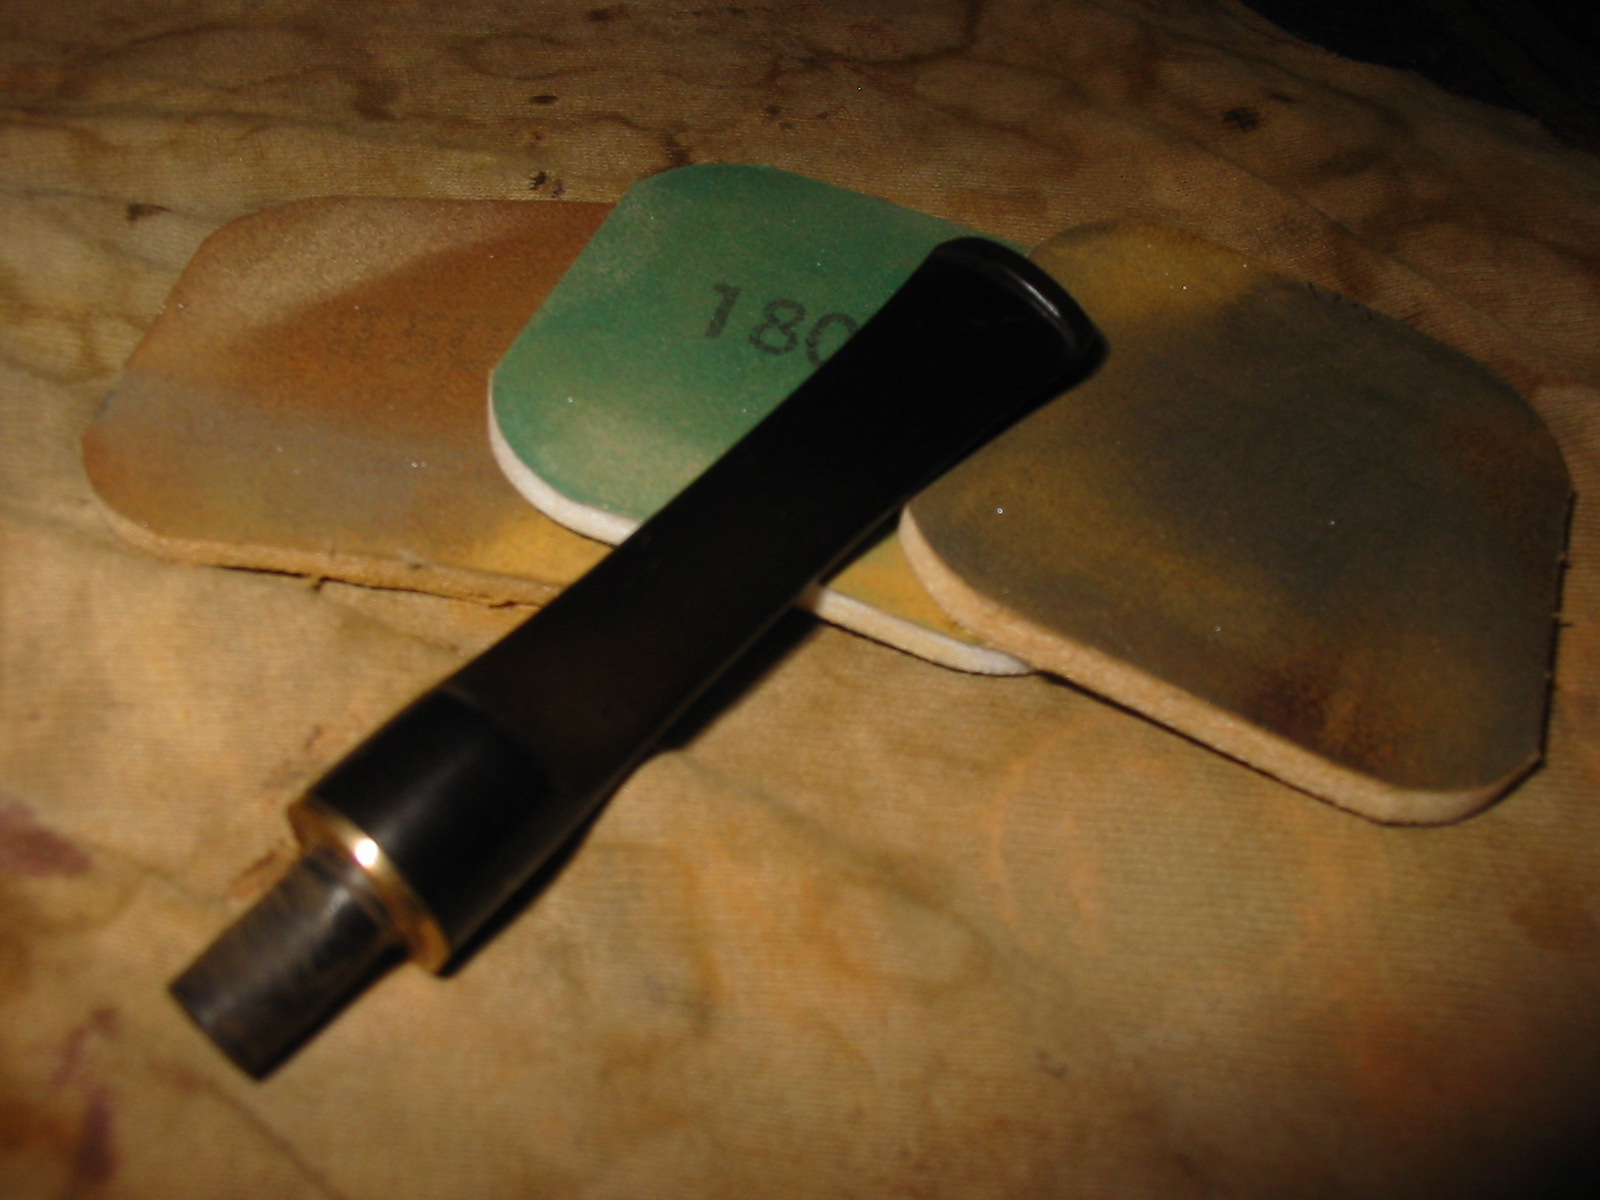
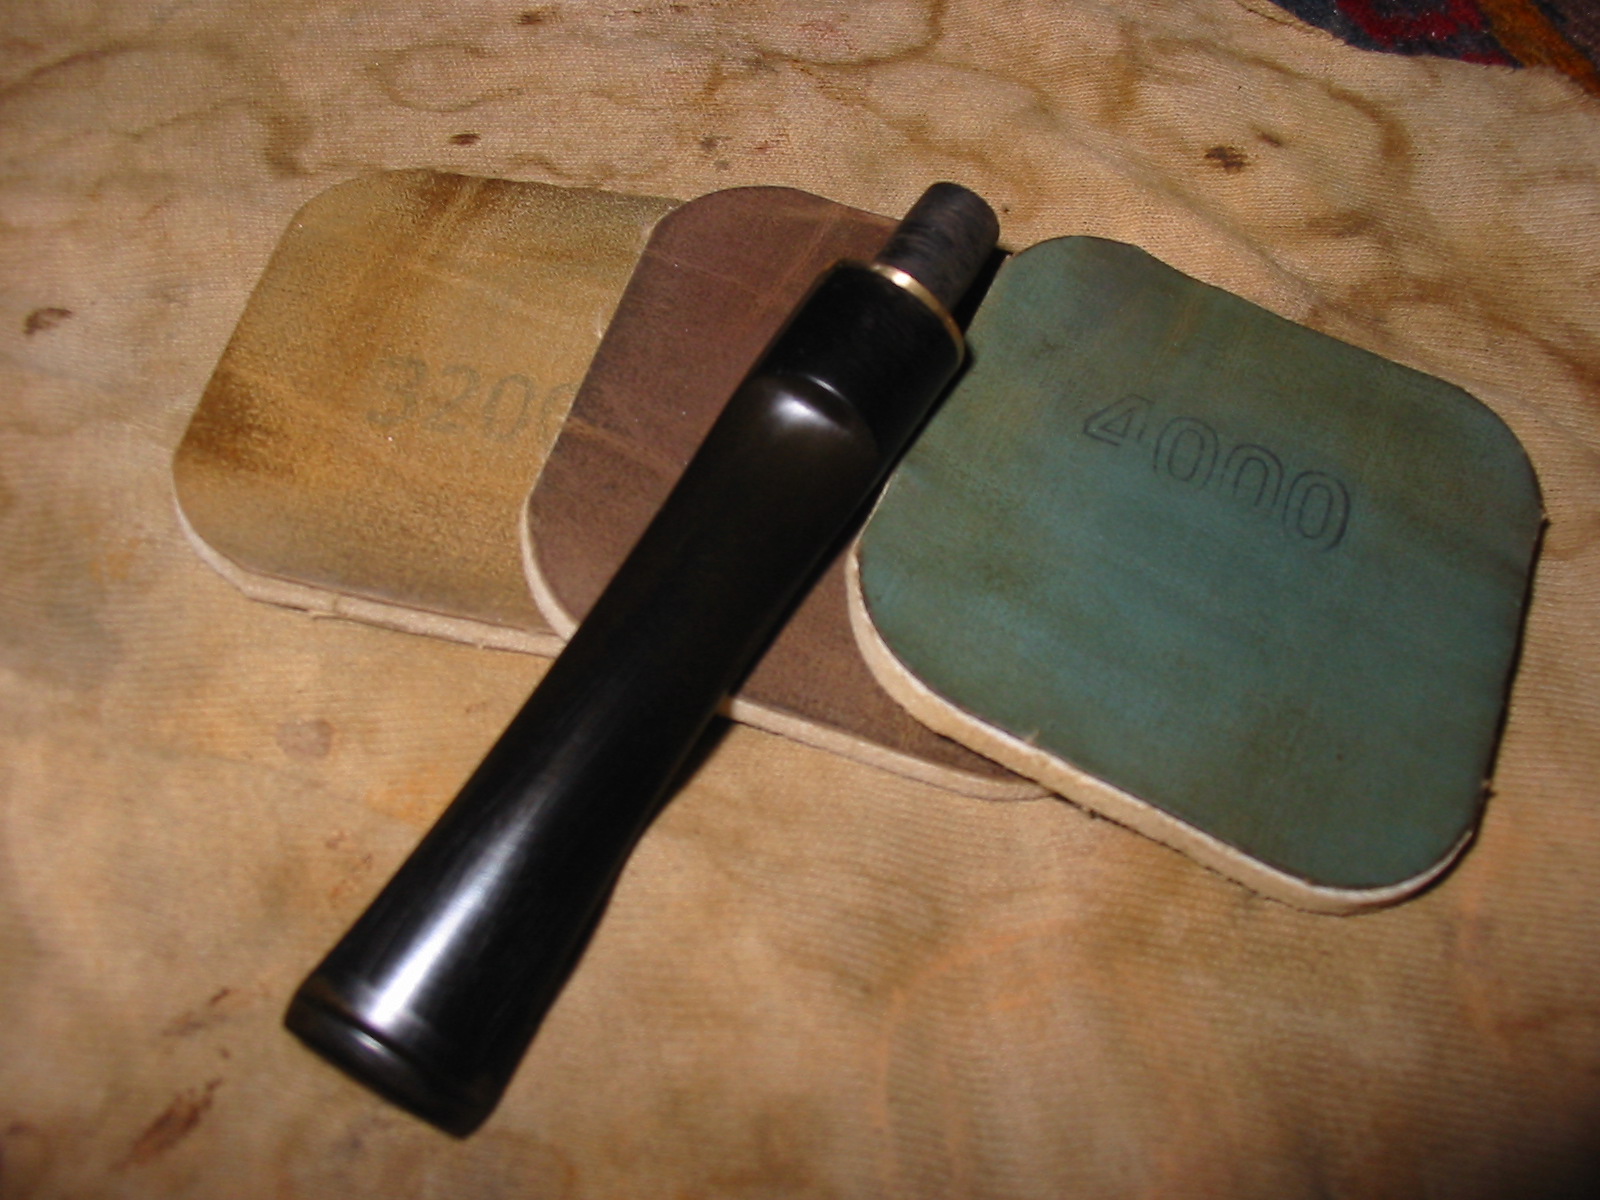
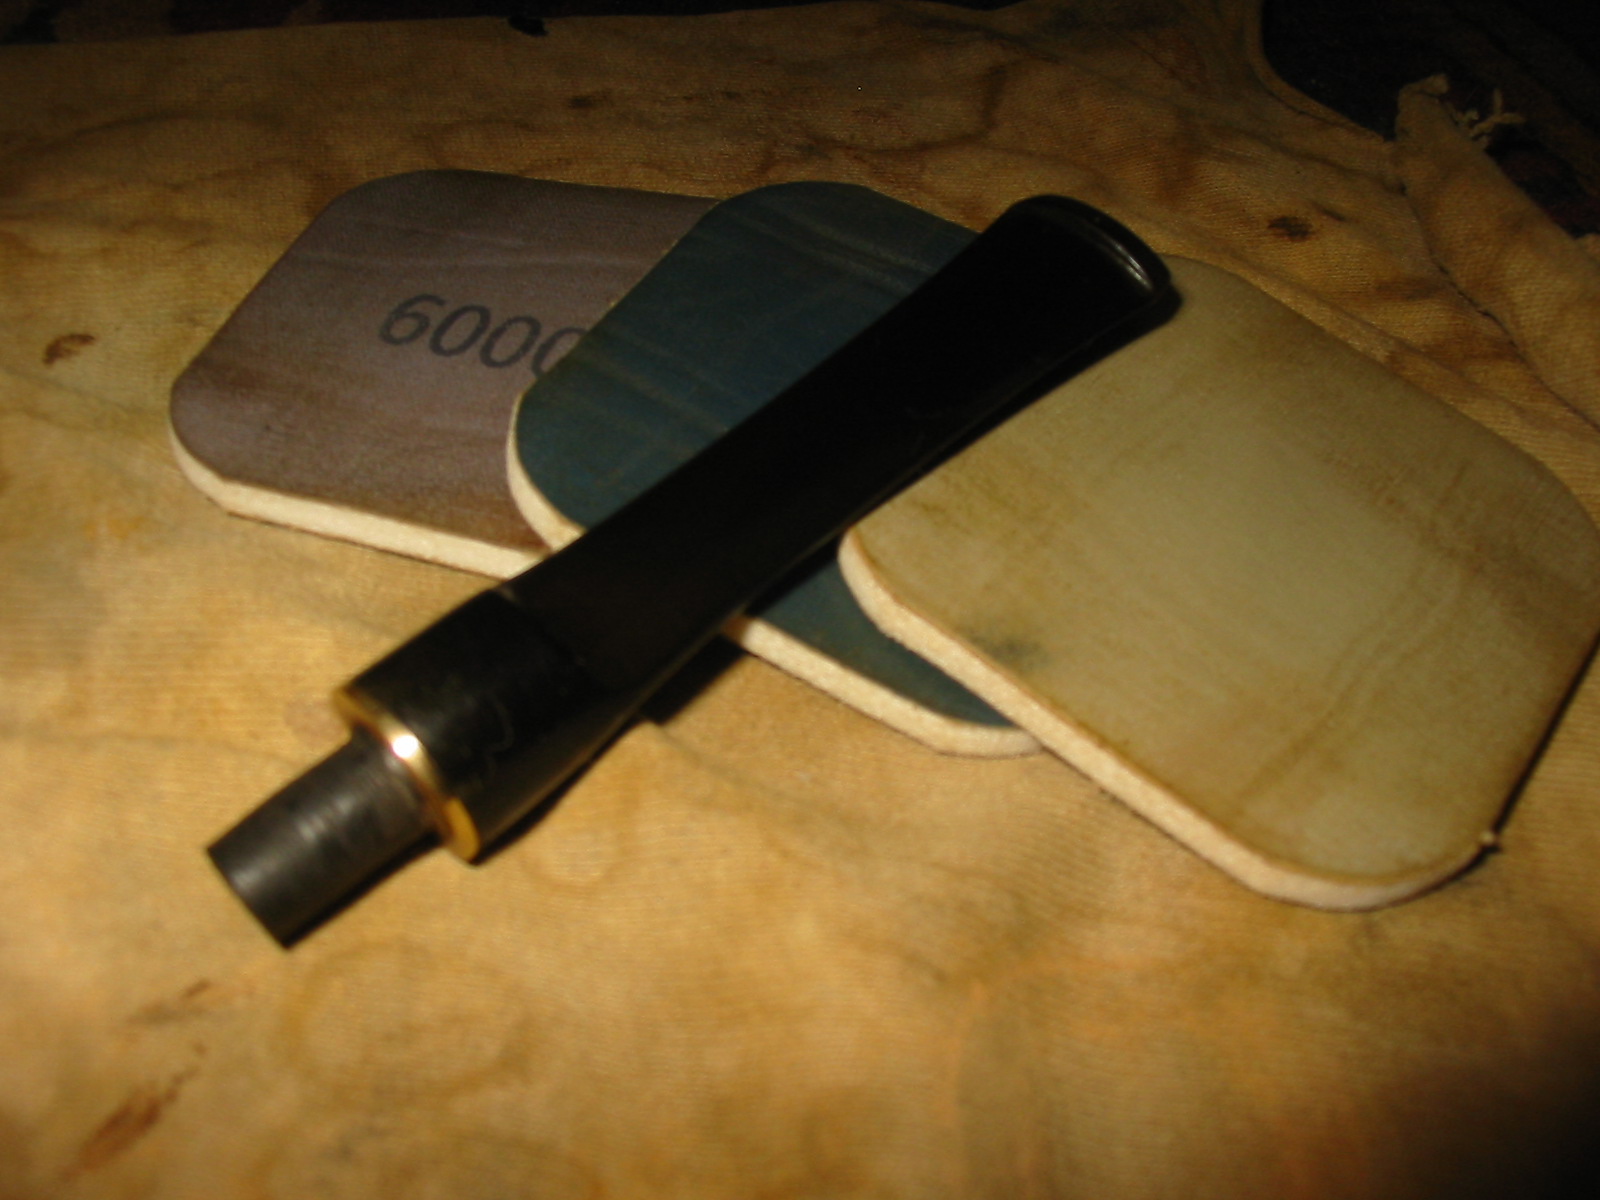
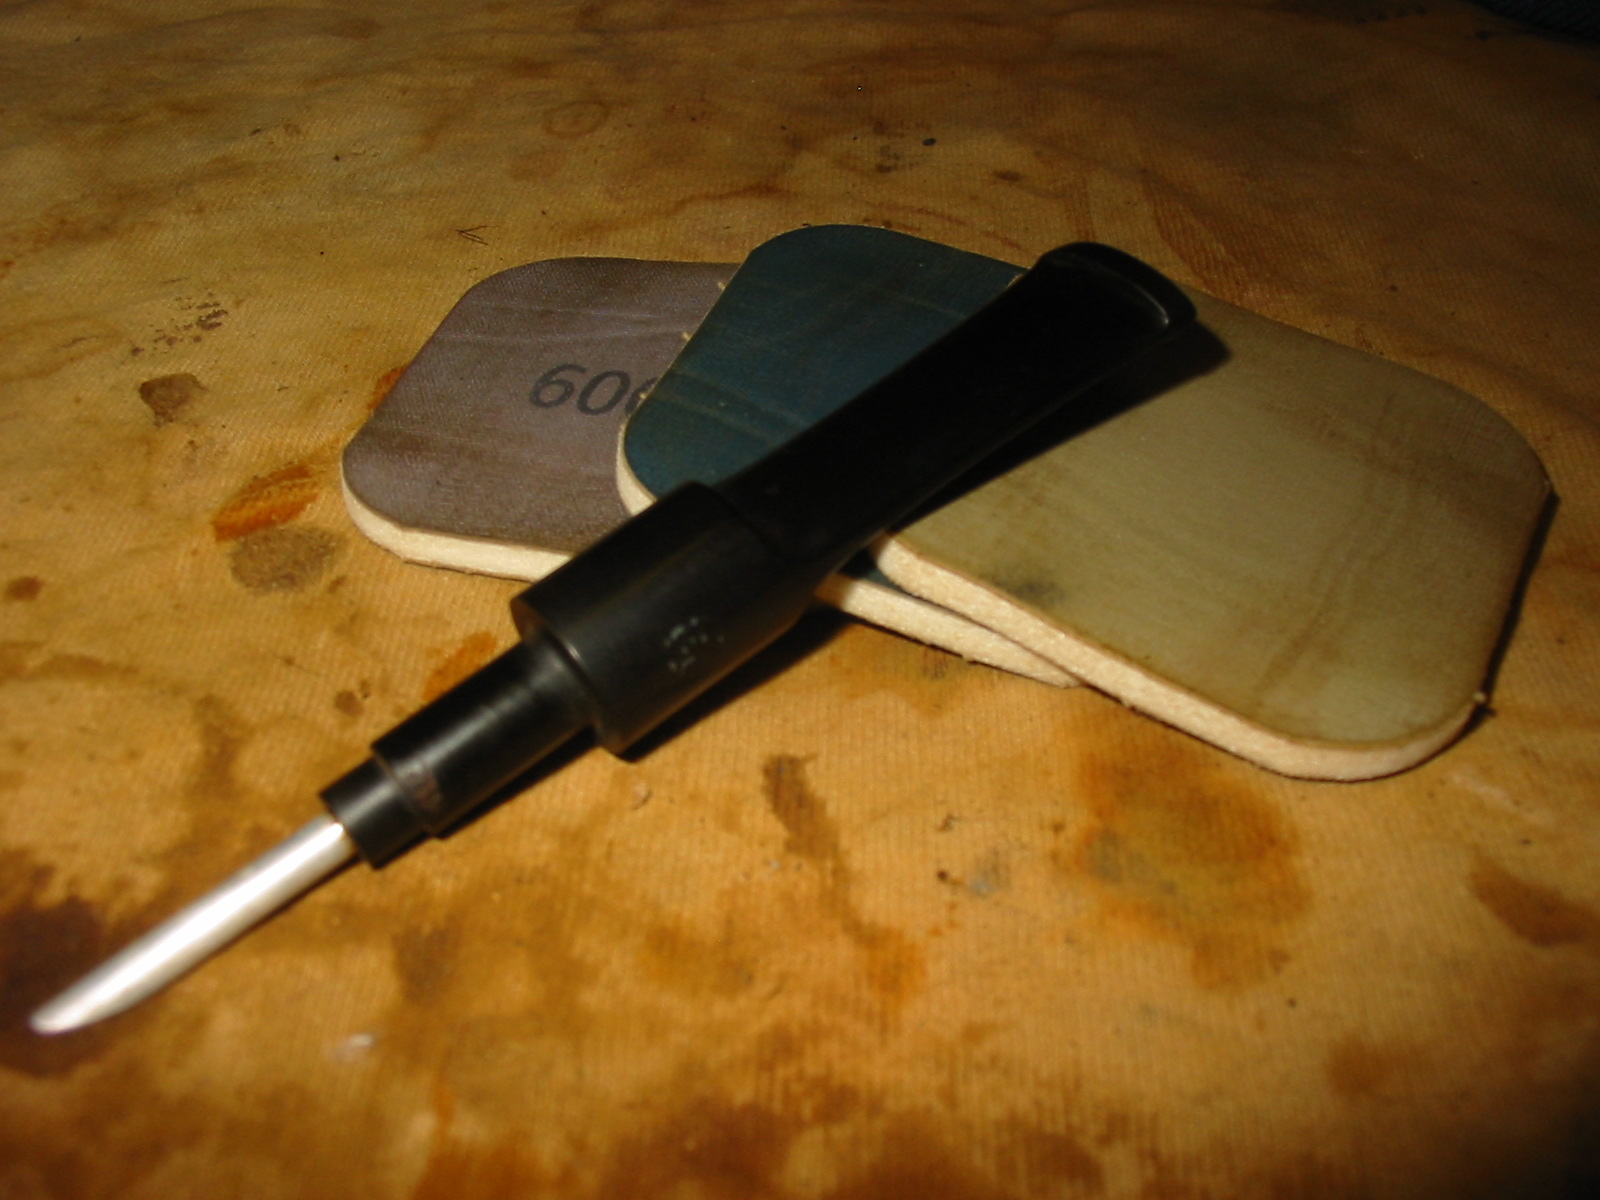
I put the bowl aside to dry and worked on the stem. I sanded out the remaining scratches around the brass band on the stem with 220 grit sandpaper and then reworked it with the medium grit sanding block. Once the scratches were no longer evident I worked on the stem using the micromesh sanding pads from 1500-12,000 grit to polish the stem and prepare it for waxing and buffing. Once I finished with the 12,000 grit pad I gave the stem a coat of Obsidian Oil to seal the surface and to soak deeply into vulcanite. I buffed the stem with White Diamond to finish the shine and then reinserted it into the shank.
IMG_2295

IMG_2296

IMG_2297

I buffed the entire pipe with White Diamond and gave it a coat of Halcyon II wax for rusticated pipes. I then buffed it again with a clean flannel buff to raise the shine. The photos below show the finished pipe.
IMG_2302

IMG_2303

IMG_2300

IMG_2301

Comoys Rhodesian Restoration


Blog by Al Jones

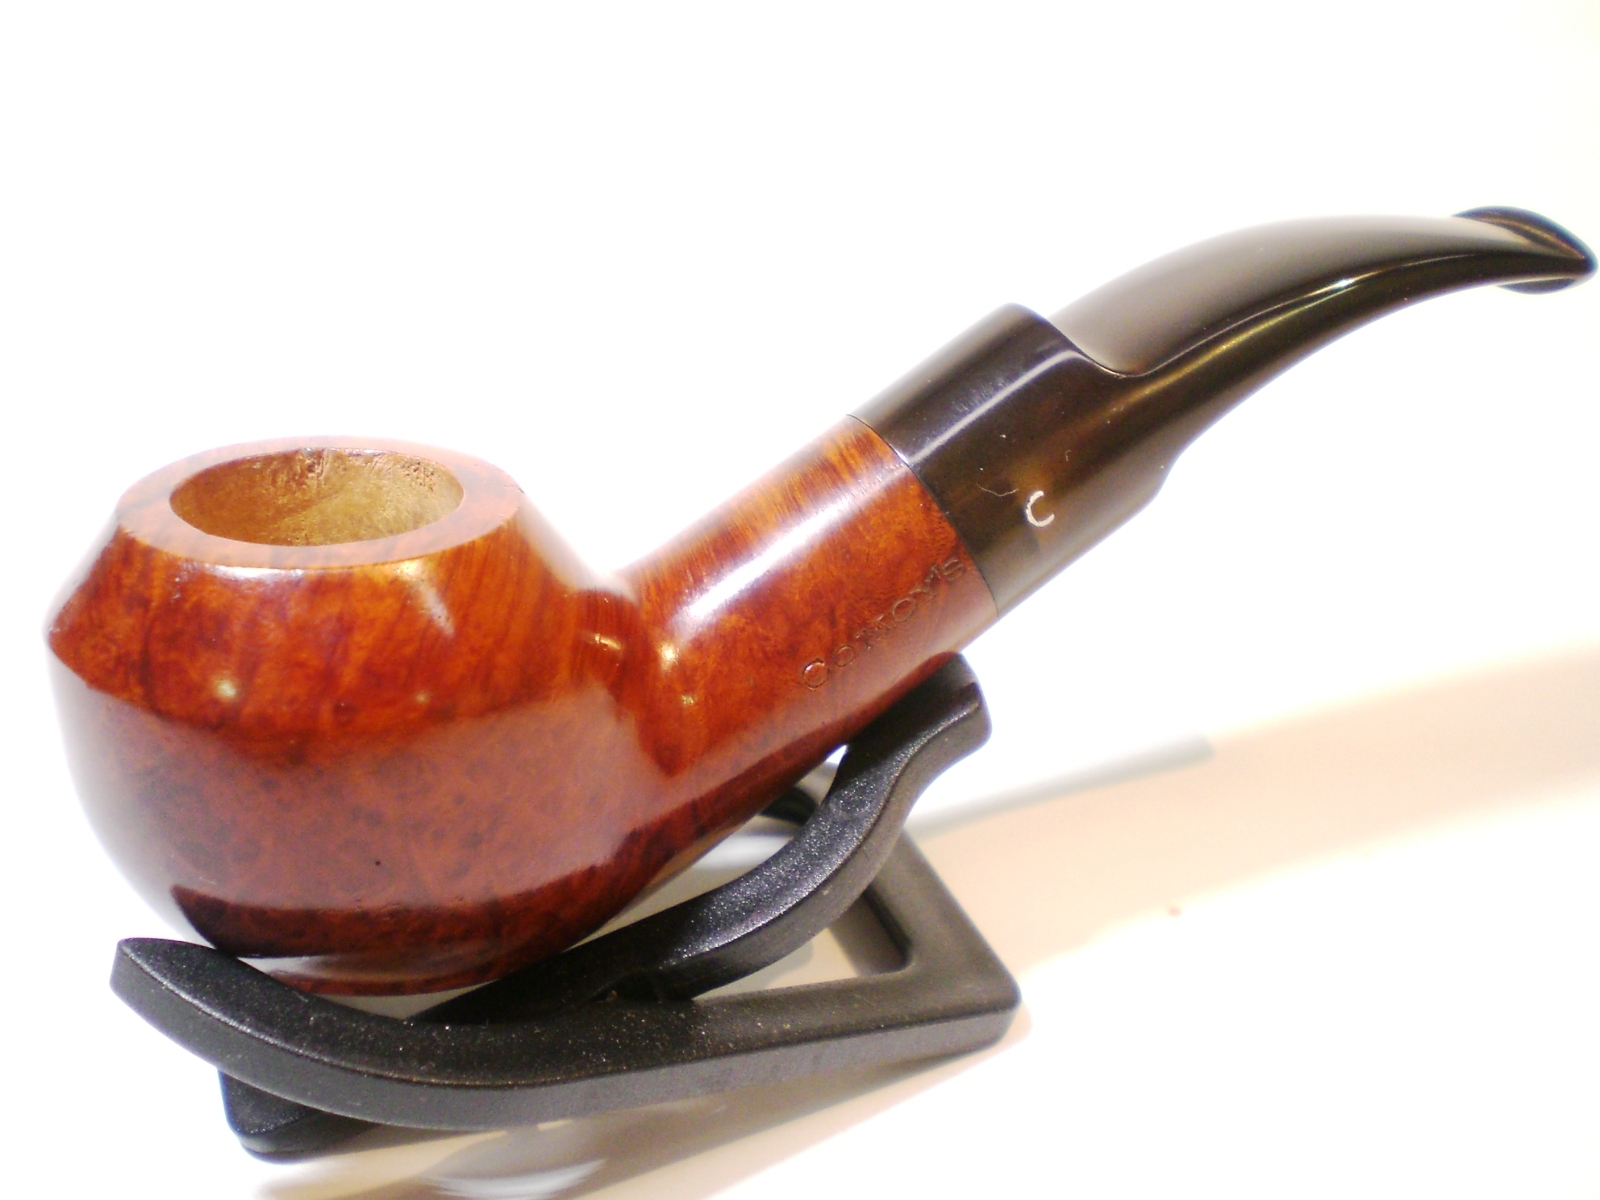
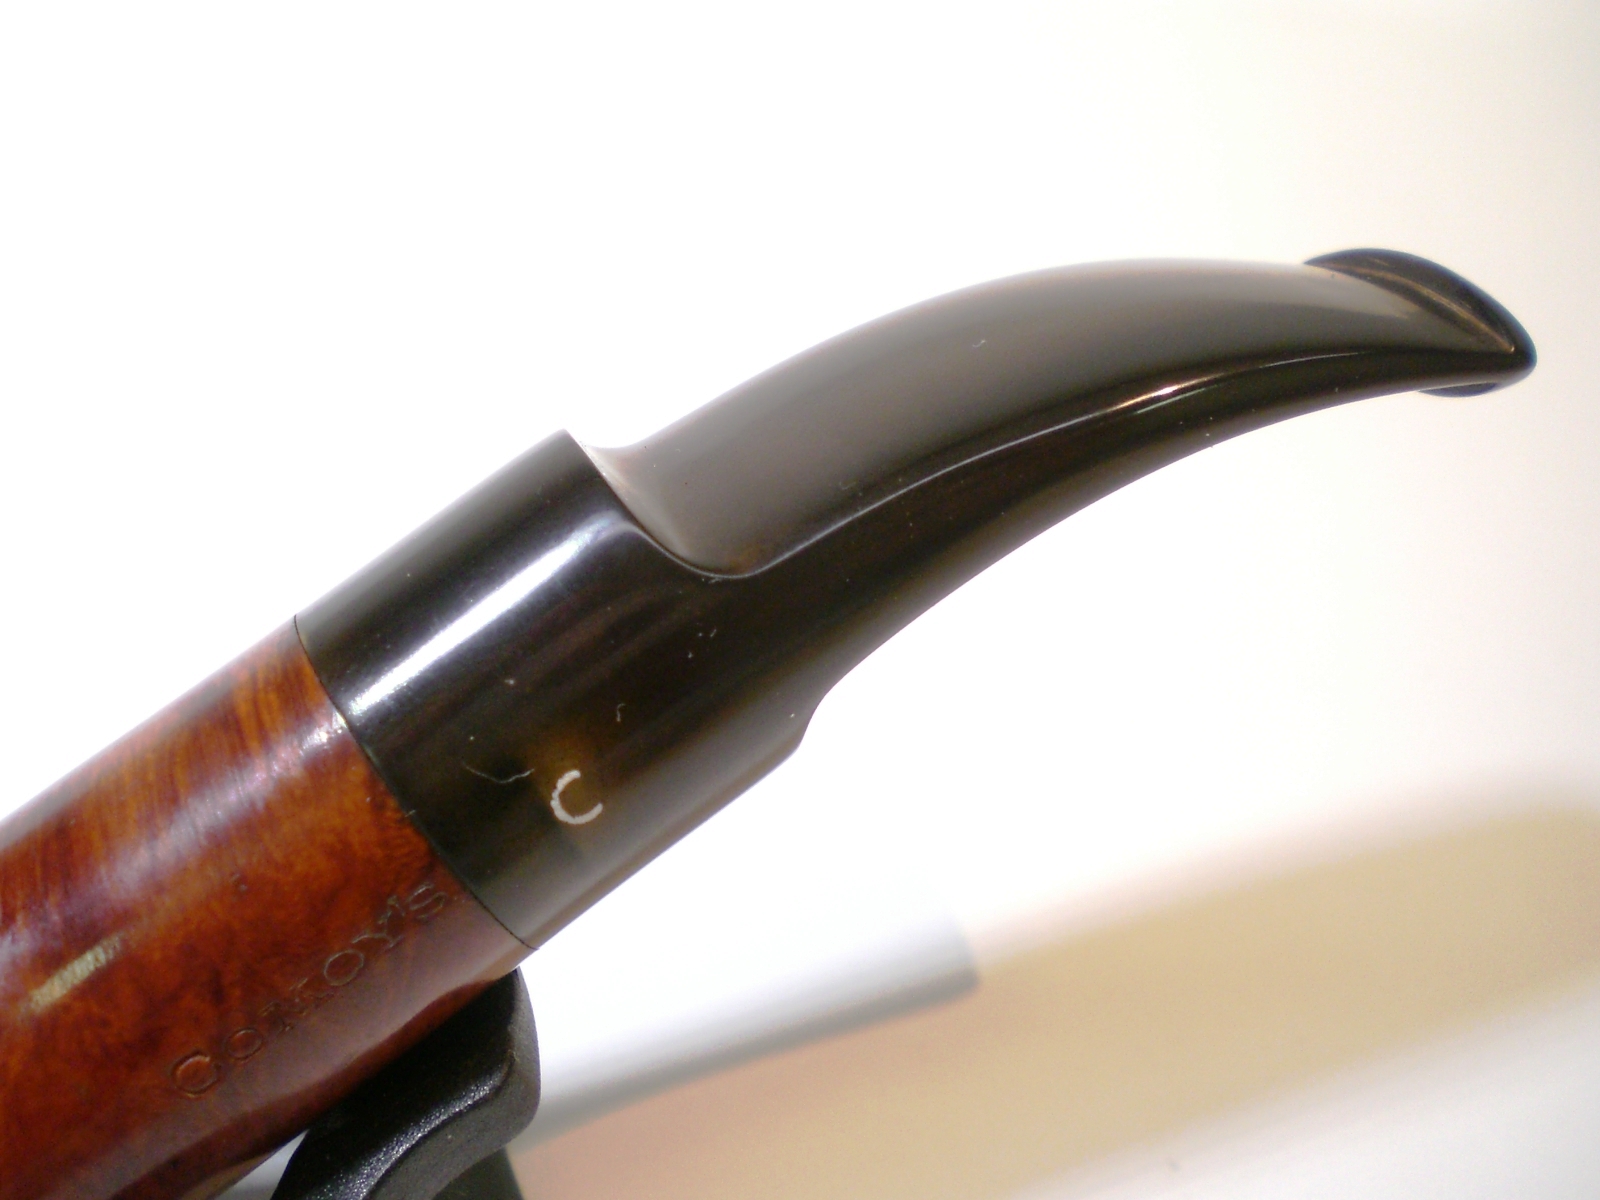
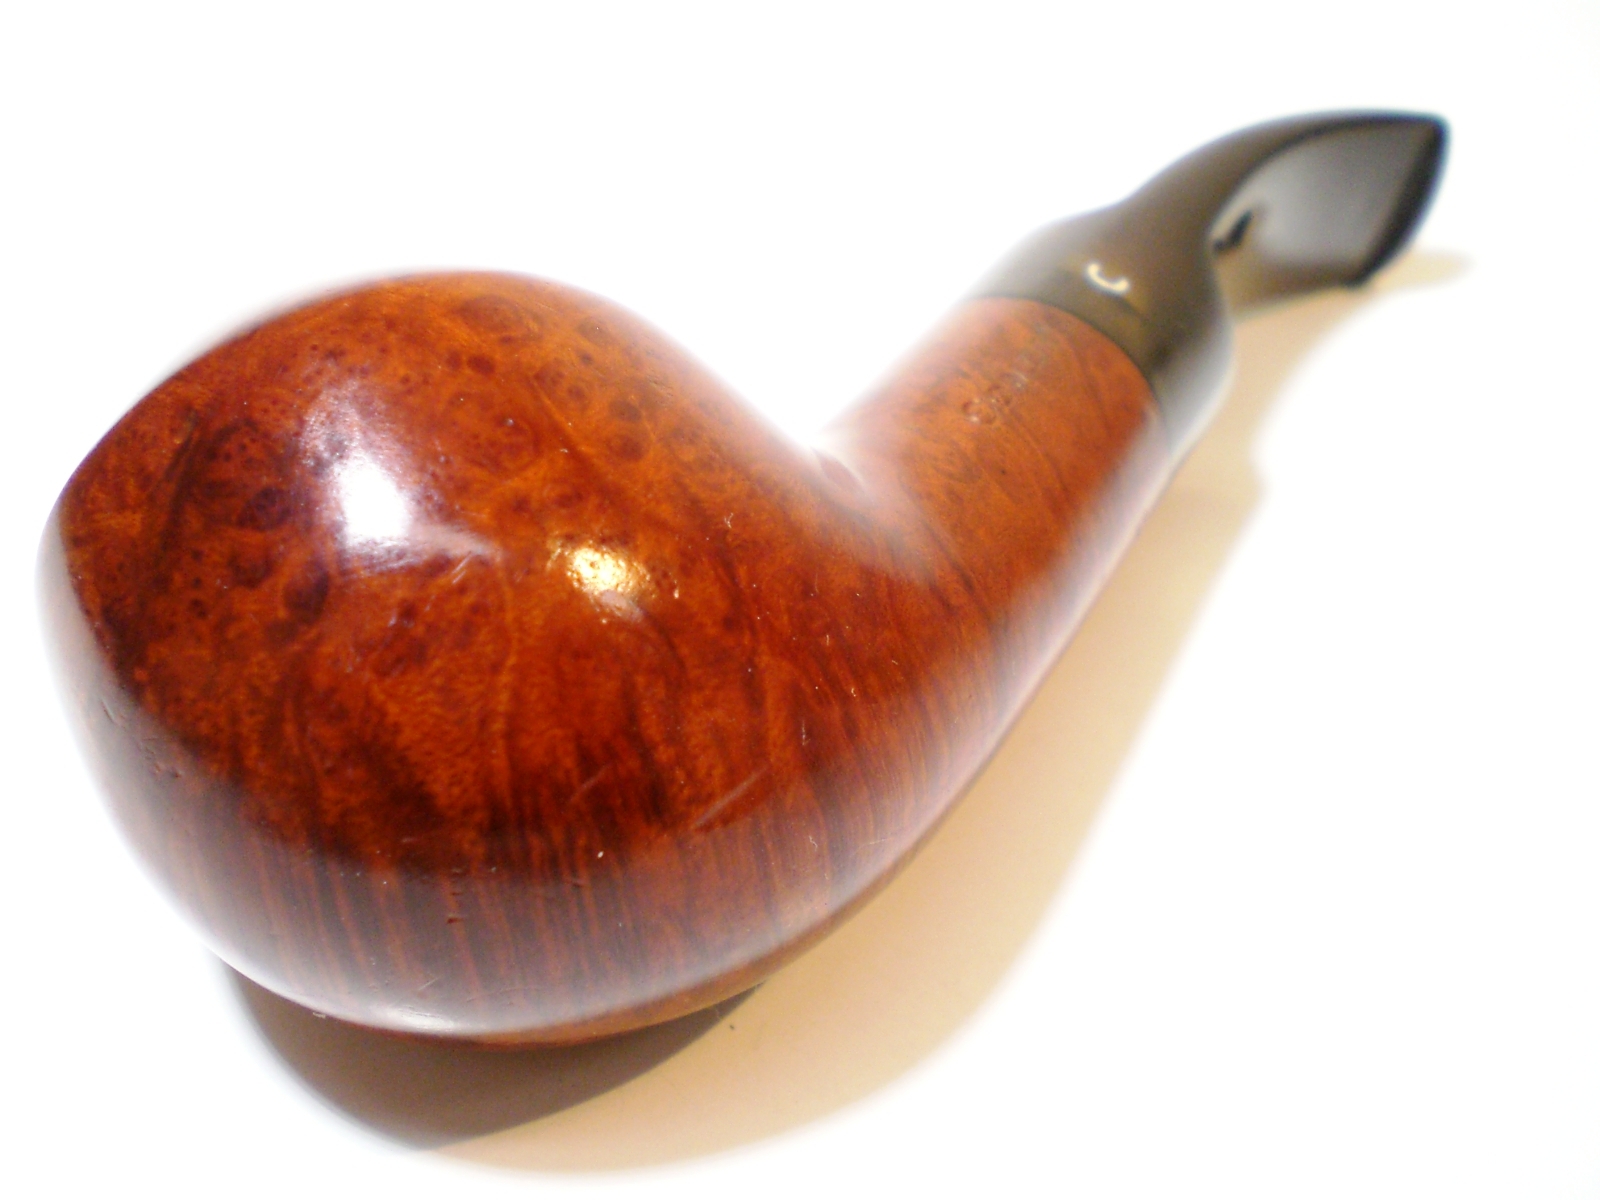
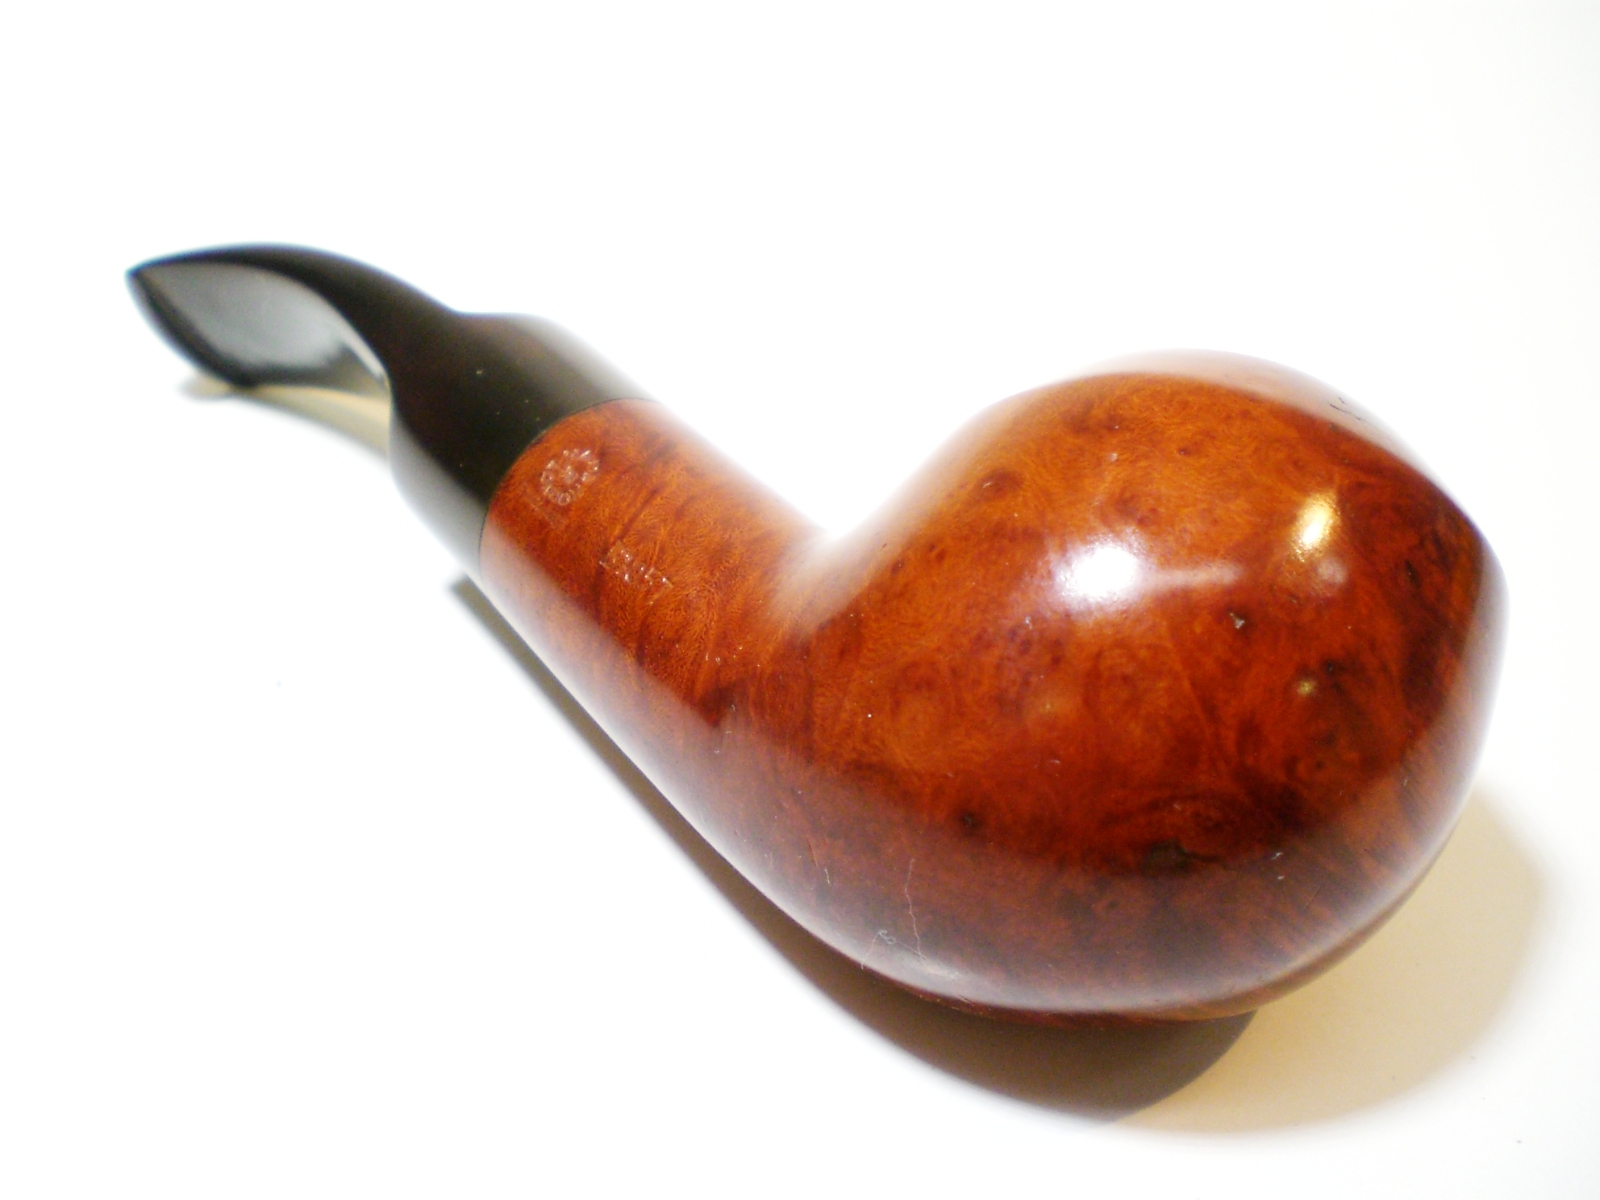
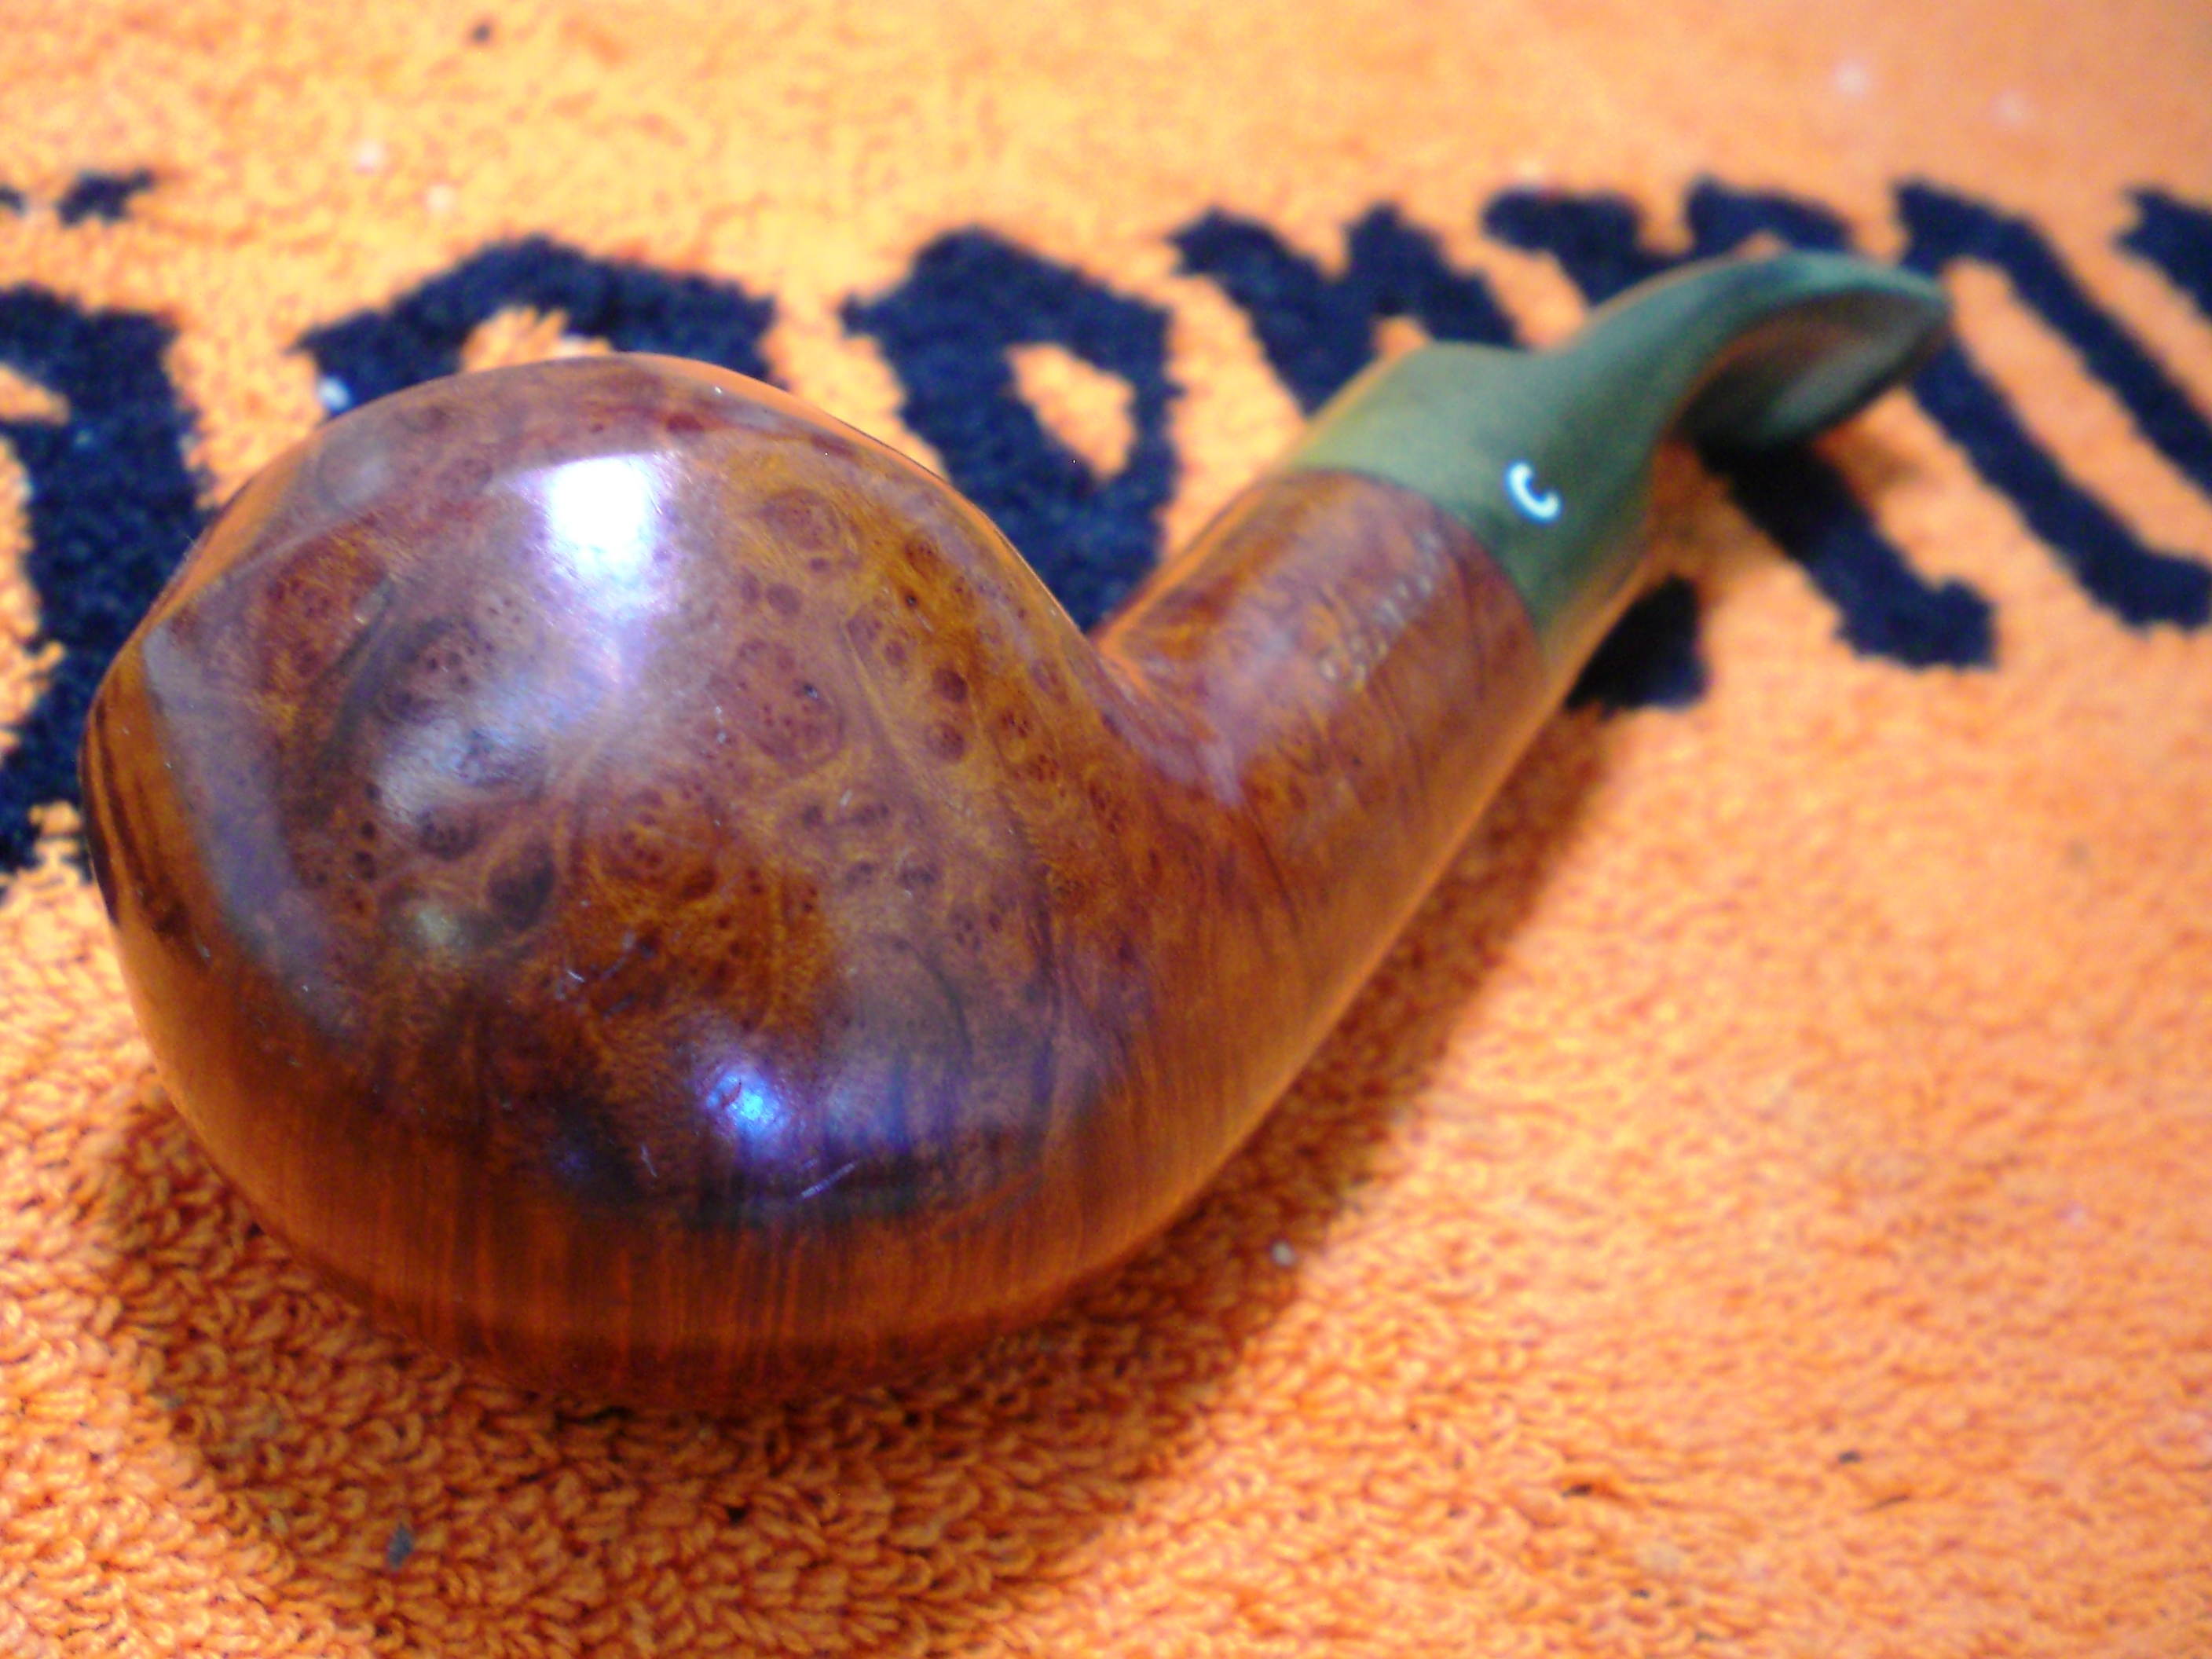
I was looking for a Christmas pipe to restore for my future son-in-law and spied this neat, chubby Comoys Rhodesian on Ebay. It is a Cadogan era Comoys with a stamped C stem logo and has shape number B1057. The shape and size remind me of the GBD 9438, but without the beading on the bowl. He has a 9438 from last Christmas, so this Comoys will make a good rack mate for it.

Comoys_B1057_Before

Comoys_B1057_Before (4)

Comoys_B1057_Before (3)

Comoys_B1057_Before (1)

Comoys_B1057_Before (5)

Comoys_B1057_Before (8)

The pipe was in pretty good shape with a little tar buildup on the bowl rim and a heavily oxidized stem. There were some teeth abrasions on the stem, but they were minimal with no heavy indention’s. Stem fitment was great. The pipe passes a cleaner nicely appears to be drilled well. The bowl showed very light use and was easy to clean.

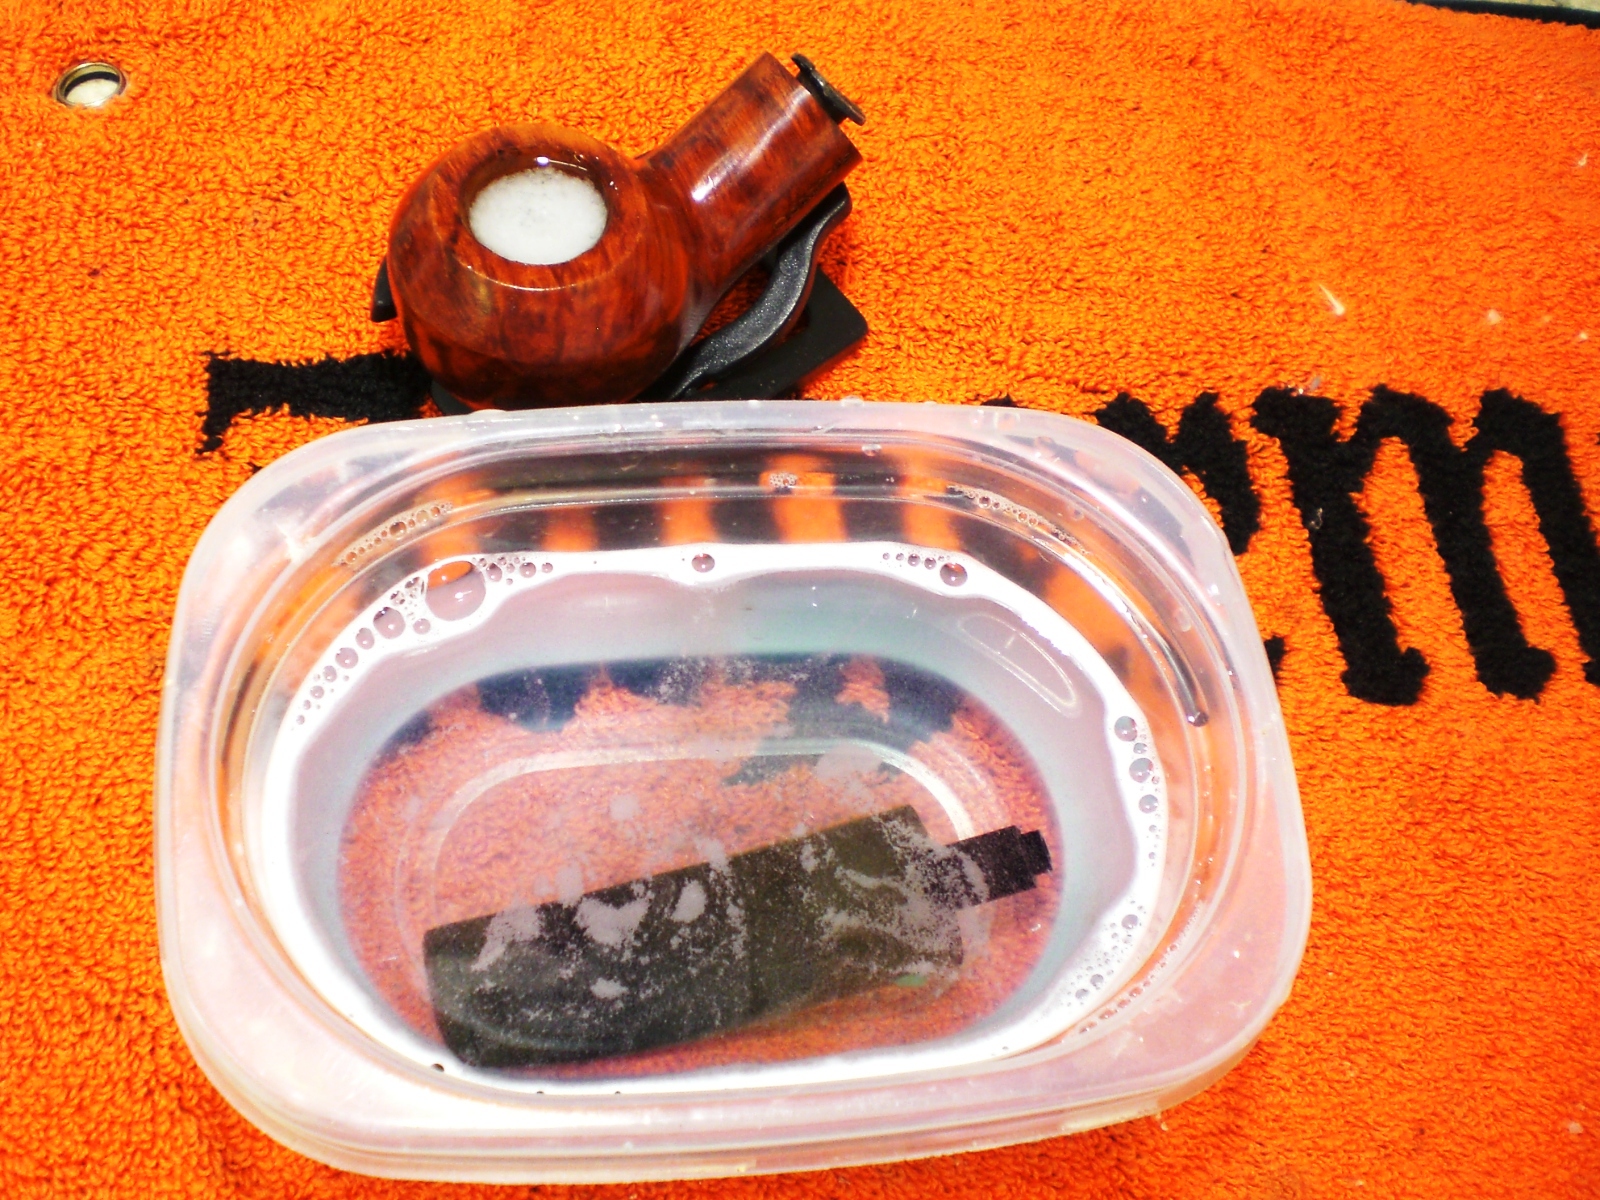
I soaked the bowl with 91% isopropyl alcohol and the stem in a mild Oxy-Clean solution. I put a dab of grease on the stem logo.
Comoys_B1057_Progress

The bowl didn’t take much, I buffed it with some white diamond and then red rouge, followed by several coats of carnuba wax. There are a few fills, but they blended in nicely and aren’t too noticeable.
I used 800 grit wet paper to remove the first layer of oxidation. That was followed by 1500 and 2000 grade wet papers. Working around a stamped C logo is always a little tricky and I don’t think you can get all the oxidation without damaging the letter. The stem was then sanded with 8000 and 12000 grade micromesh. I then buffed the stem with white diamond and red rouge. Below is the stem after the 800 grit wet paper.

Comoys_B1057_Progress (1)

Here’s the finished pipe, ready to be wrapped for Christmas morning…shhhh, don’t tell!

Comoys_B1057_Finished

Comoys_B1057_Finished (5)

Comoys_B1057_Finished (1)

Comoys_B1057_Finished (2)

Comoys_B1057_Finished (4)

Comoys_B1057_Finished (3)

Repairing Deep Tooth Marks and Bite Throughs on Vulcanite Stems – AJ Verstraten


Blog by AJ Verstraten

It is with pleasure that I post AJ’s second post on rebornpipes. AJ is known to the online community as Bananabox-Ninja.

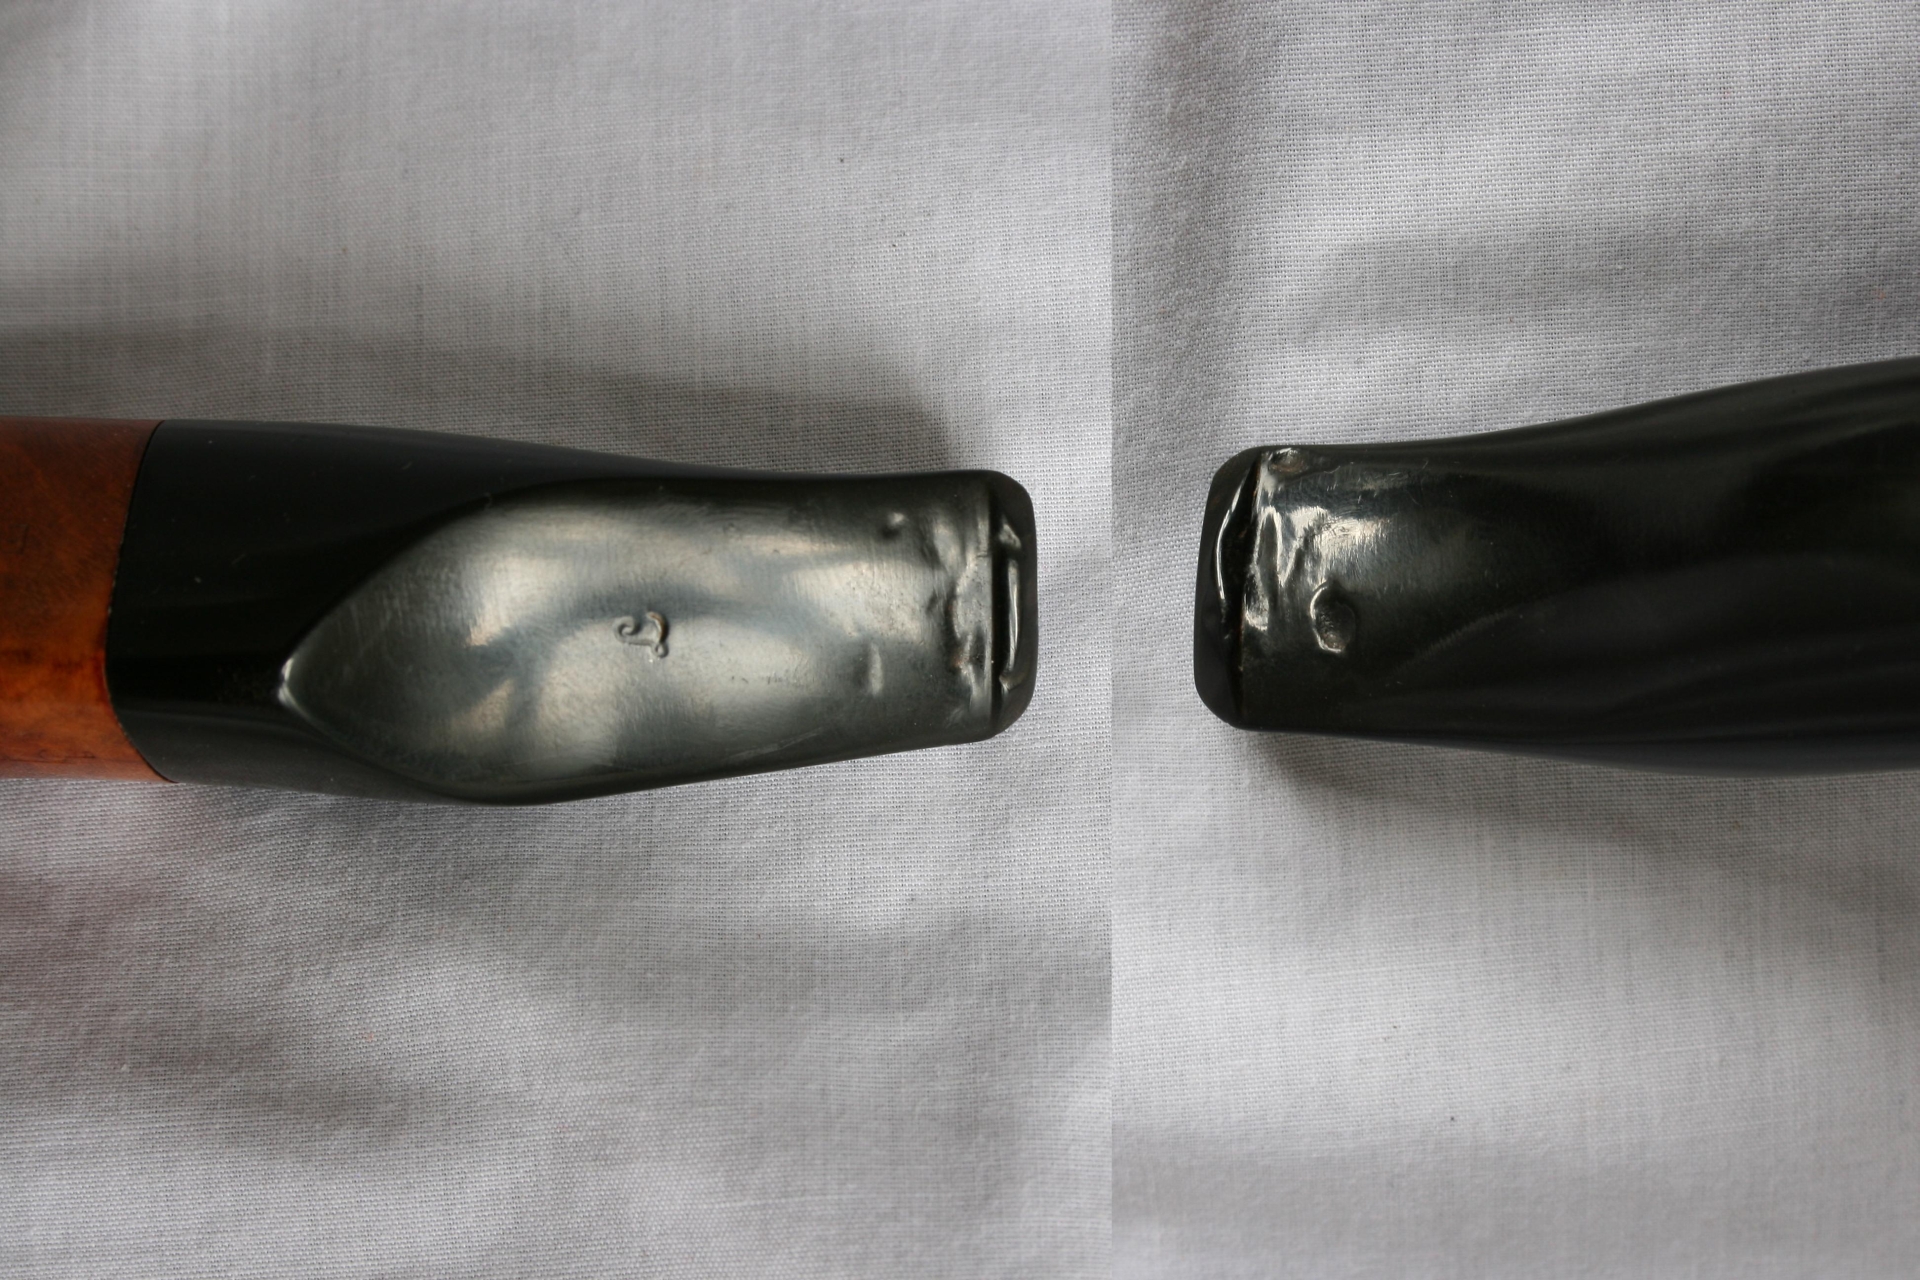
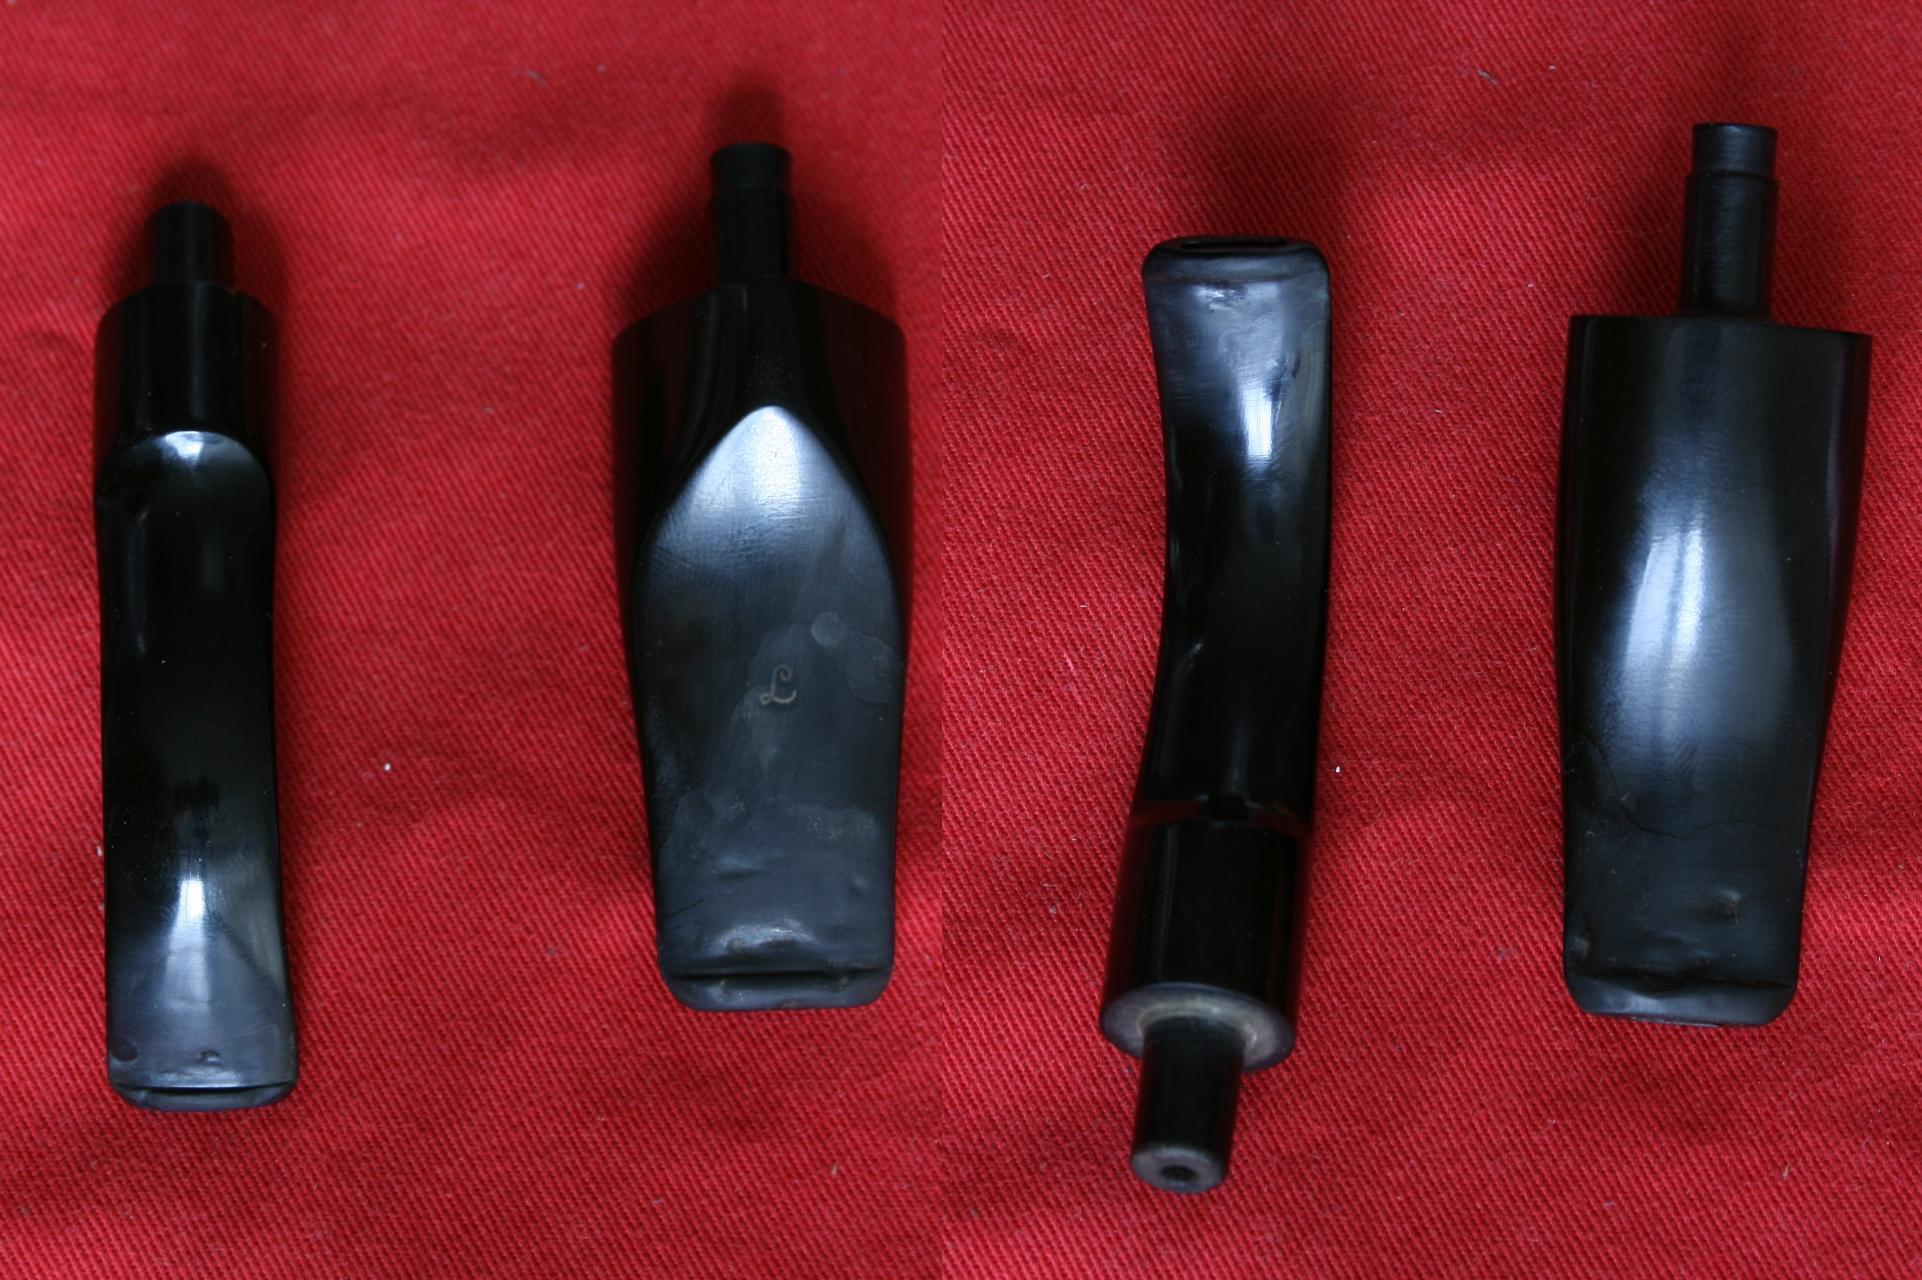
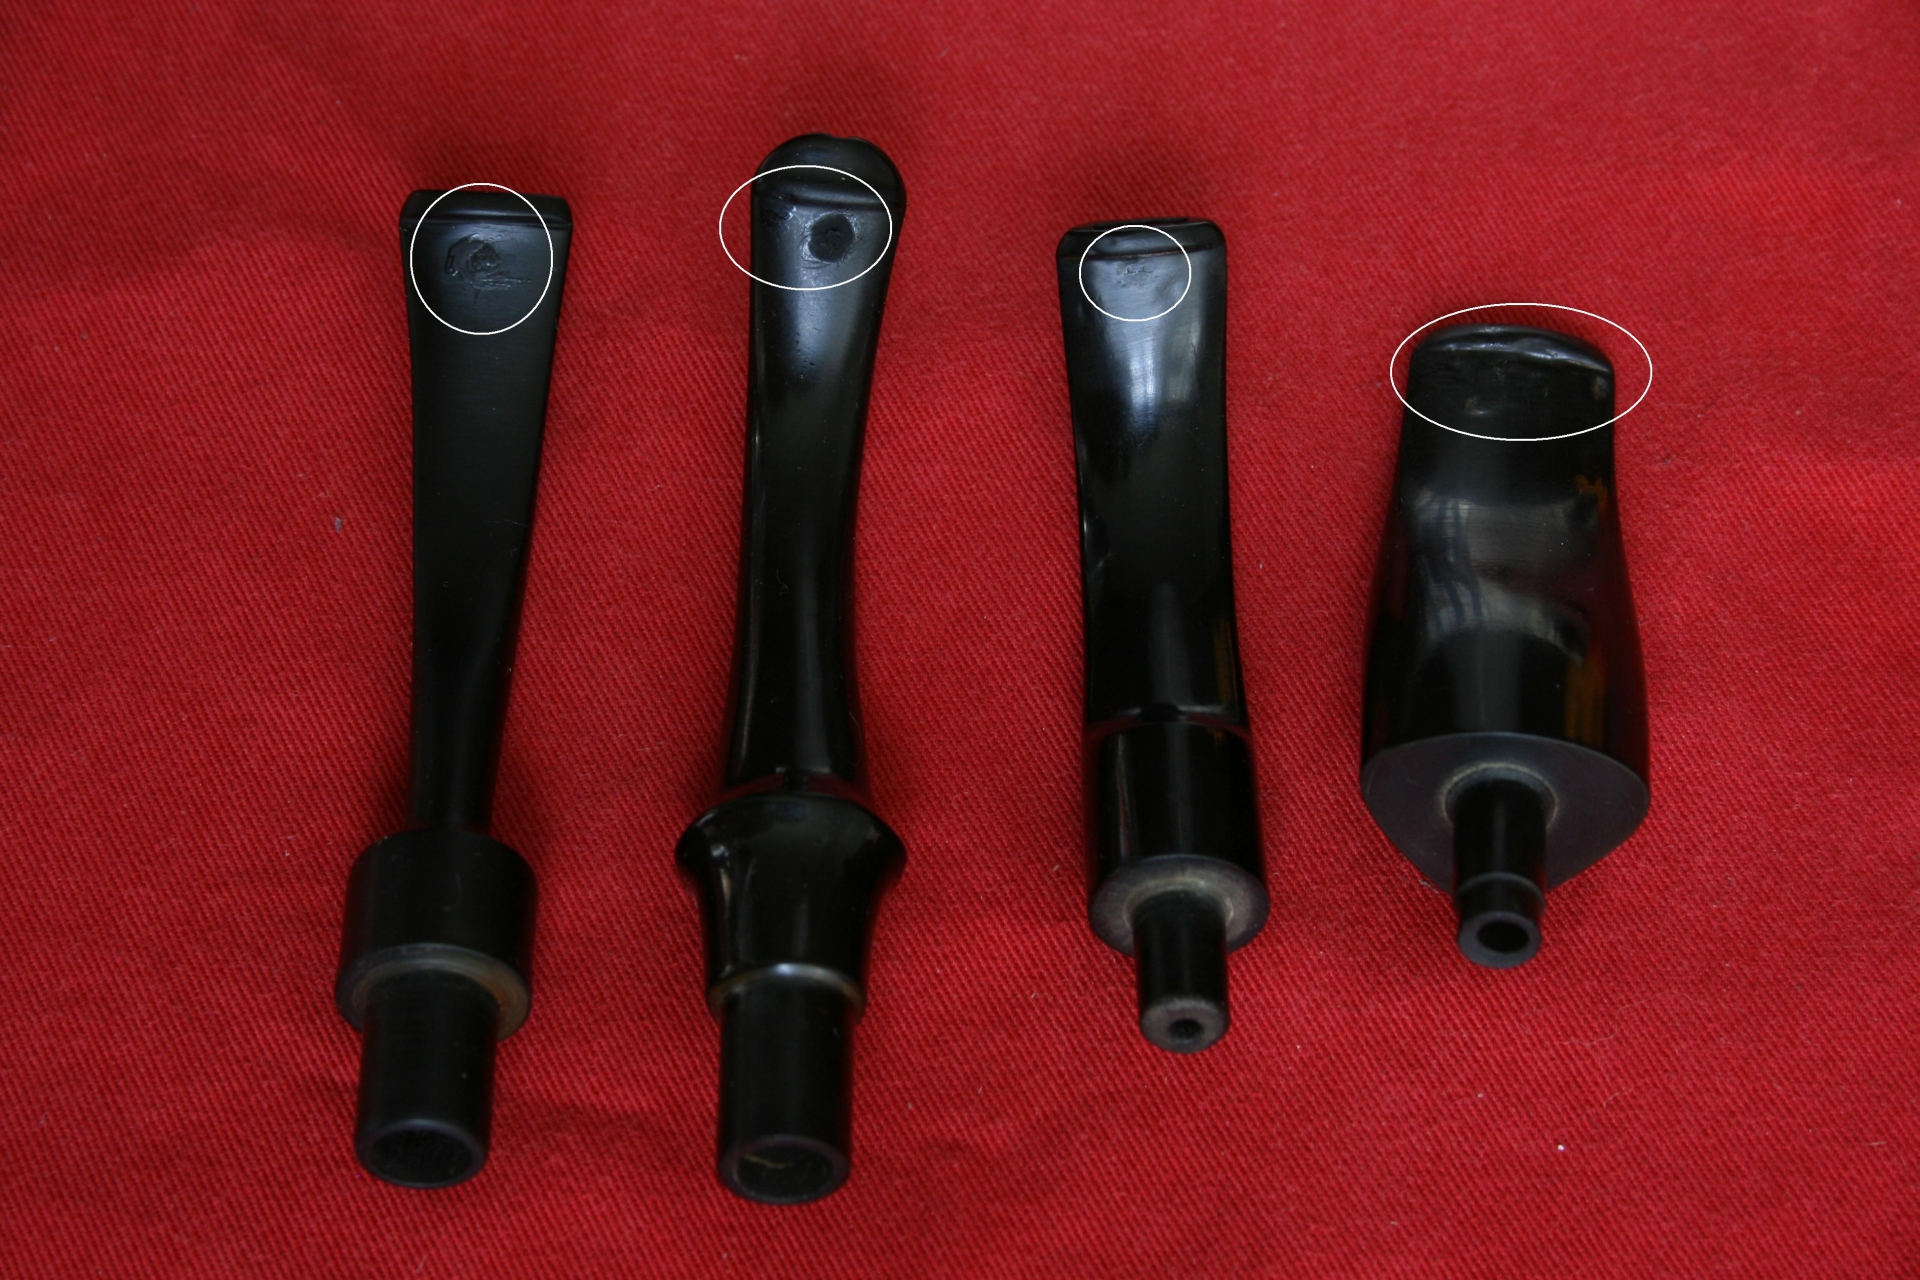
Greetings, today a small post about the use of black super glue on a few pipes I had previously cleaned and refurbished; before I found Rebornpipes. This did give me a small problem as I did not extensively take pictures of the process as I had no reason to share the process at that moment and as such I am missing a few ‘before’ pictures.

The pipes I revisited for this project were:
– 11 Wahl Filtro
– Lorenzo Elba
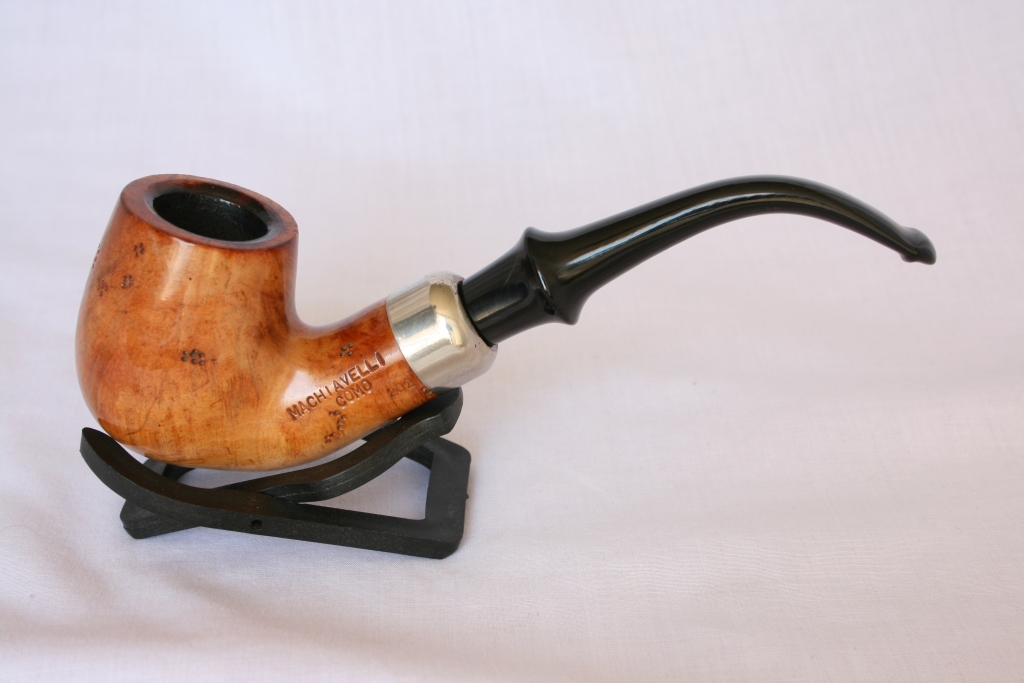
– Machiavelli Como
– BBB Medina
– Spitfire by Lorenzo Riviera
All of them had bite marks on the mouthpiece and the Riviera had even been bitten clean through.

Lorenzo is a good Italian brand that is quite popular in Germany. The BBB Medina is an old English made pipe that has a good reputation here in the Dutchlands. The Wahl and the Machiavelli pipes are a mystery to me. I can find some eBay listings for them but I cannot pinpoint their true origin.

First up the pictures I did have of the before process.

BBB Medina
001 BBB Before

Lorenzo Elba
002 Lorenzo before

11 Wahl
003 11 Wahl Filtro before

As these pipes had already been waxed I first removed the wax layer using my motor, water and grinding wheel. This only took a few moments, after which I used a cotton swab and some alcohol to really clean the surface of the mouthpiece.
004 Wax removed

The following steps I repeated a few times as I found I was a little impatient in the drying process, I advise to let the glue set for a night just to be sure it is dry to the core.

Using a piece of cardboard dipped in Vaseline (sorry no pictures) I closed the hole in the Riviera mouthpiece and with cotton swabs and toothpicks applied the glue to the bite marks on all the other mouthpieces.
005 Glue applied

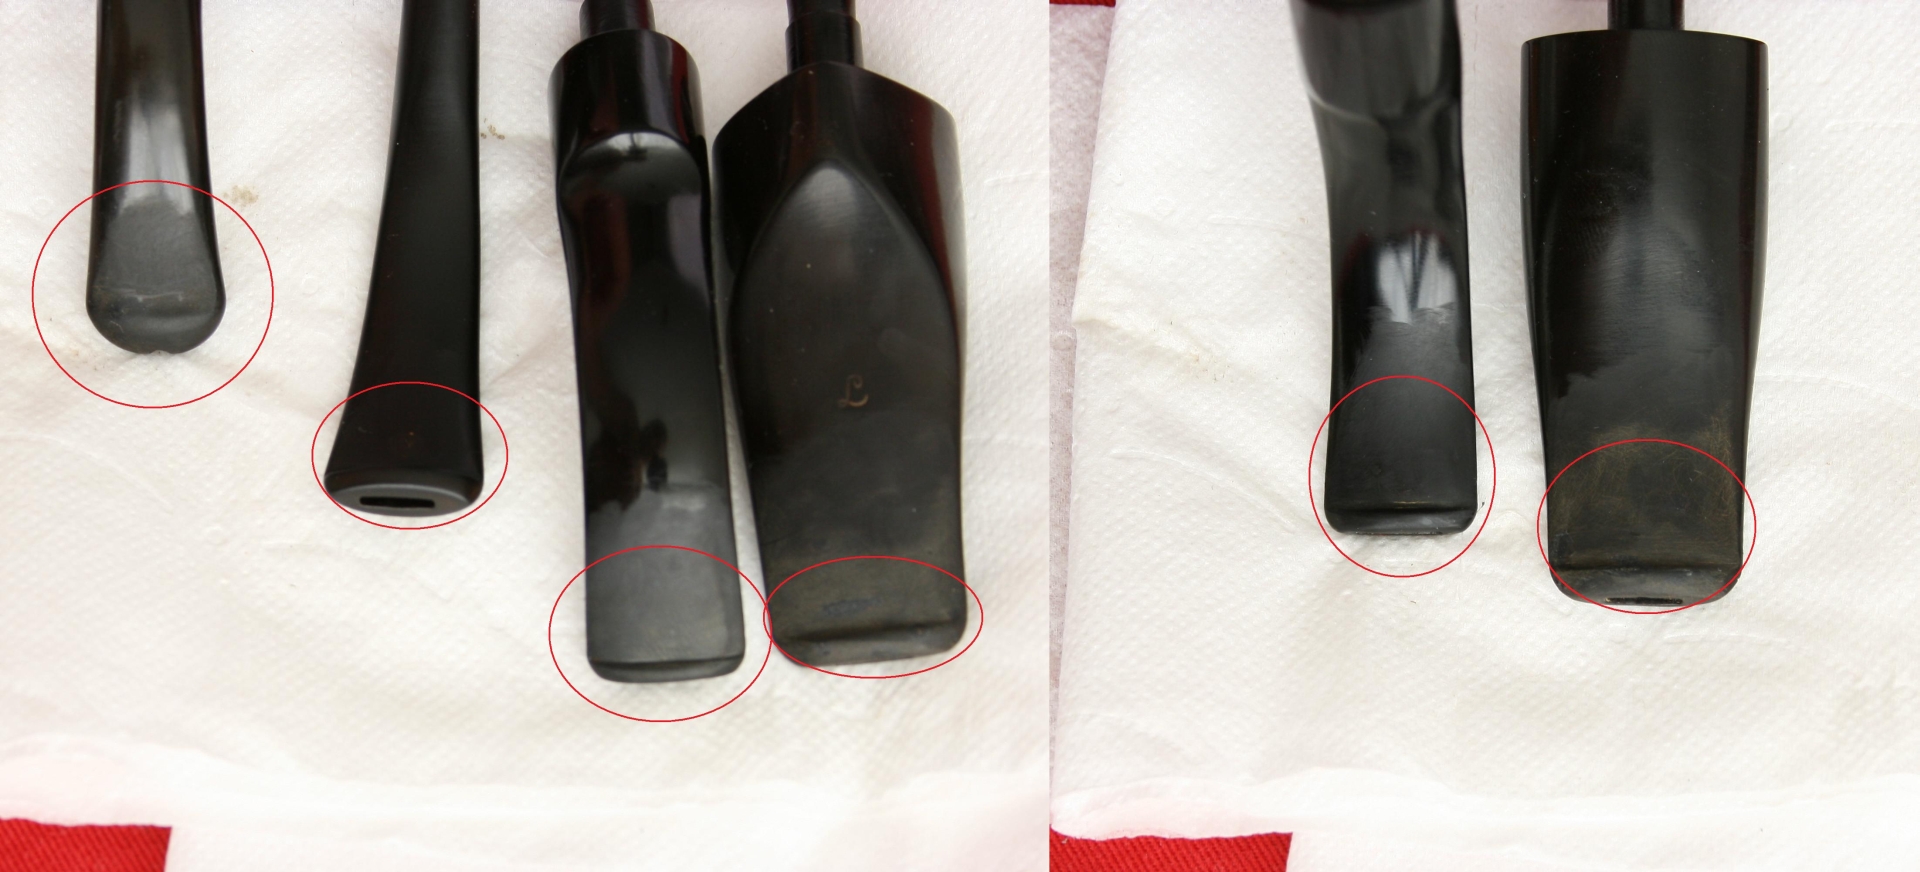
When the glue had dried I used 600 and 1000 grit sanding paper wrapped around a model file to sand off the excess glue and smooth the mouthpiece.
006 Top and bottom after sanding

I checked the smoothness using my mouth and tongue and although in all cases it felt smooth I noticed that in taking the pictures of the finished product the glue spots are visible. This bothered me, like when I sand a round shoulder or edge on the stem. A casual observer will not notice this, but I know it is there and it will bother me. However I decided against re-sanding them in the hopes of getting them perfect. Because in the end it is my lips and tongue that are handling the mouthpiece the most, not my eyes 

To finalize this short post here are the finished mouthpieces, pipes and the tools I used for this project.

11 Wahl Filtro
007 11 Wahl Filtro

008 11 Wahl Filtro

Lorenzo Elba
009 Elba mouthpice finished

010 Lorenzo Elba

Machiavelli Como
011 MAchiavelli Como finished mouthpiece

012 Machiavelli Como

BBB Medina
013 BBB Mouthpiece finished

014 BBB Medina

Spitfire by Lorenzo Riviera
015 Spitfire by Lorenzo Riviera Mouthpiece

016 Spitfire by Lorenzo Riviera

Tools used during this project
017 Tools used

Restoring an Old Amphora X-tra 509 Pot


Blog by Steve Laug

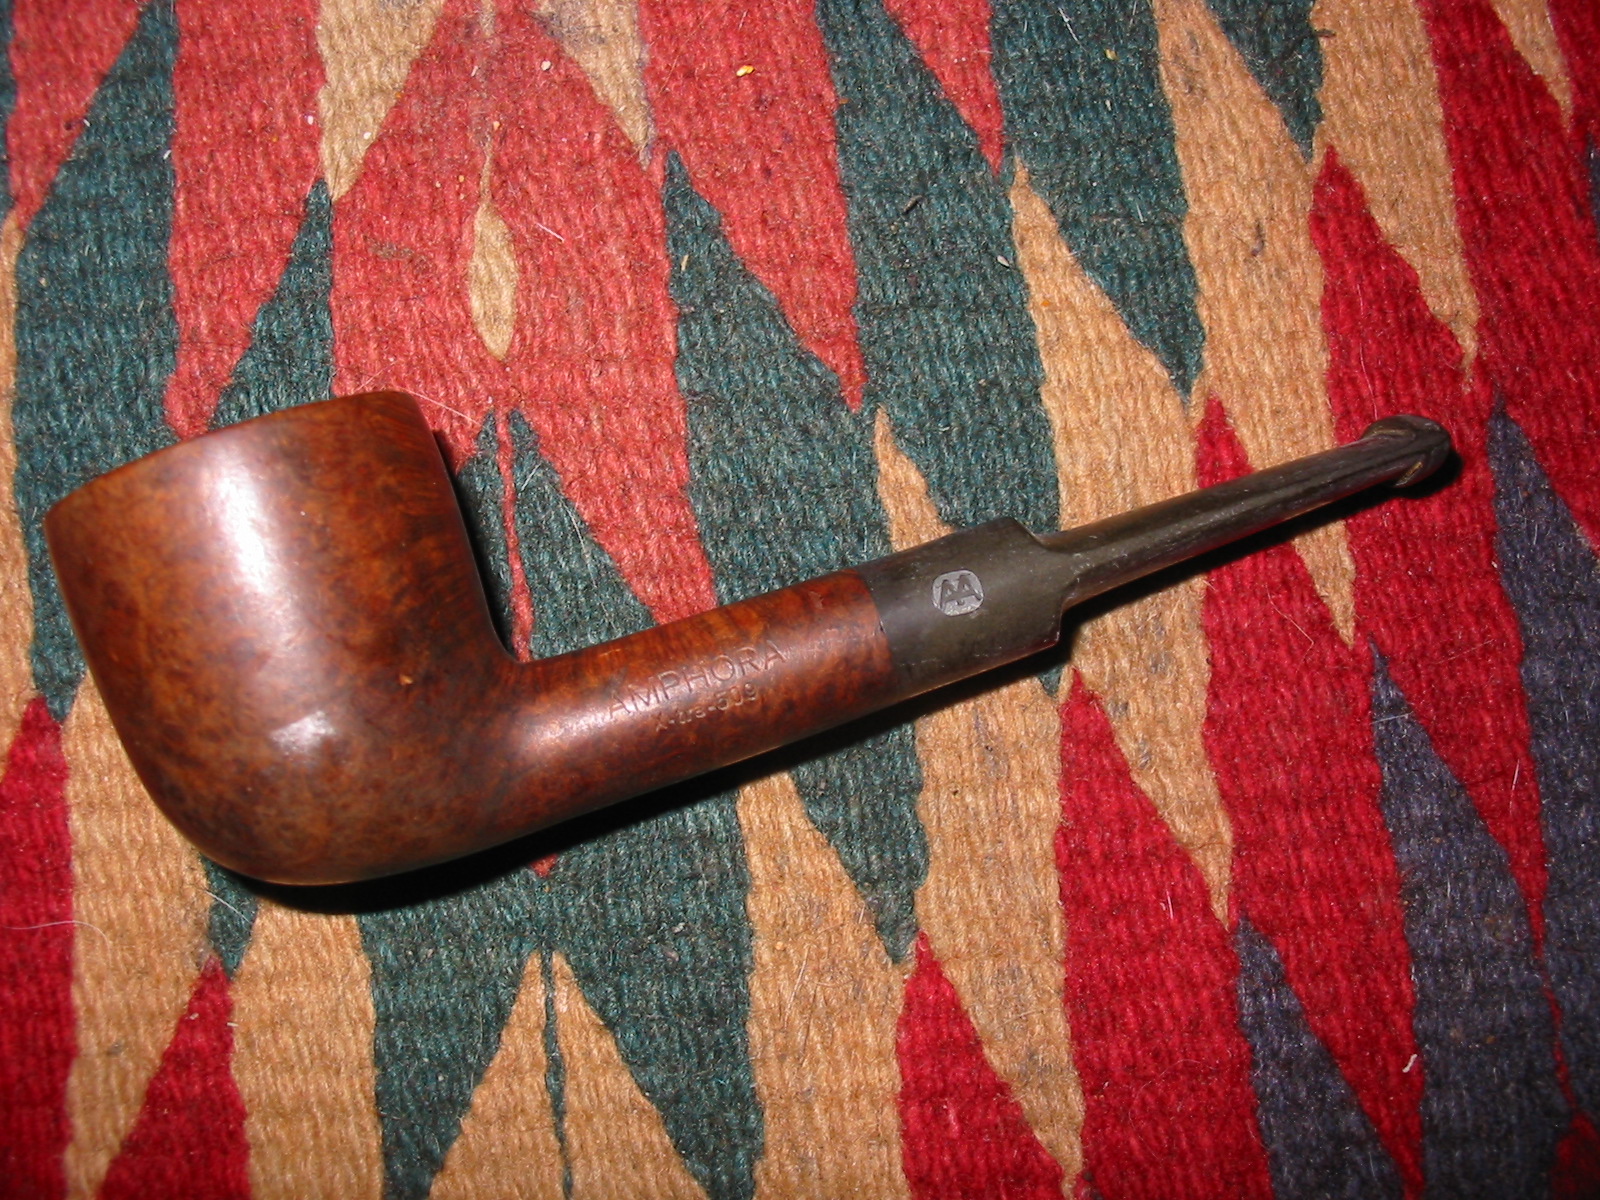
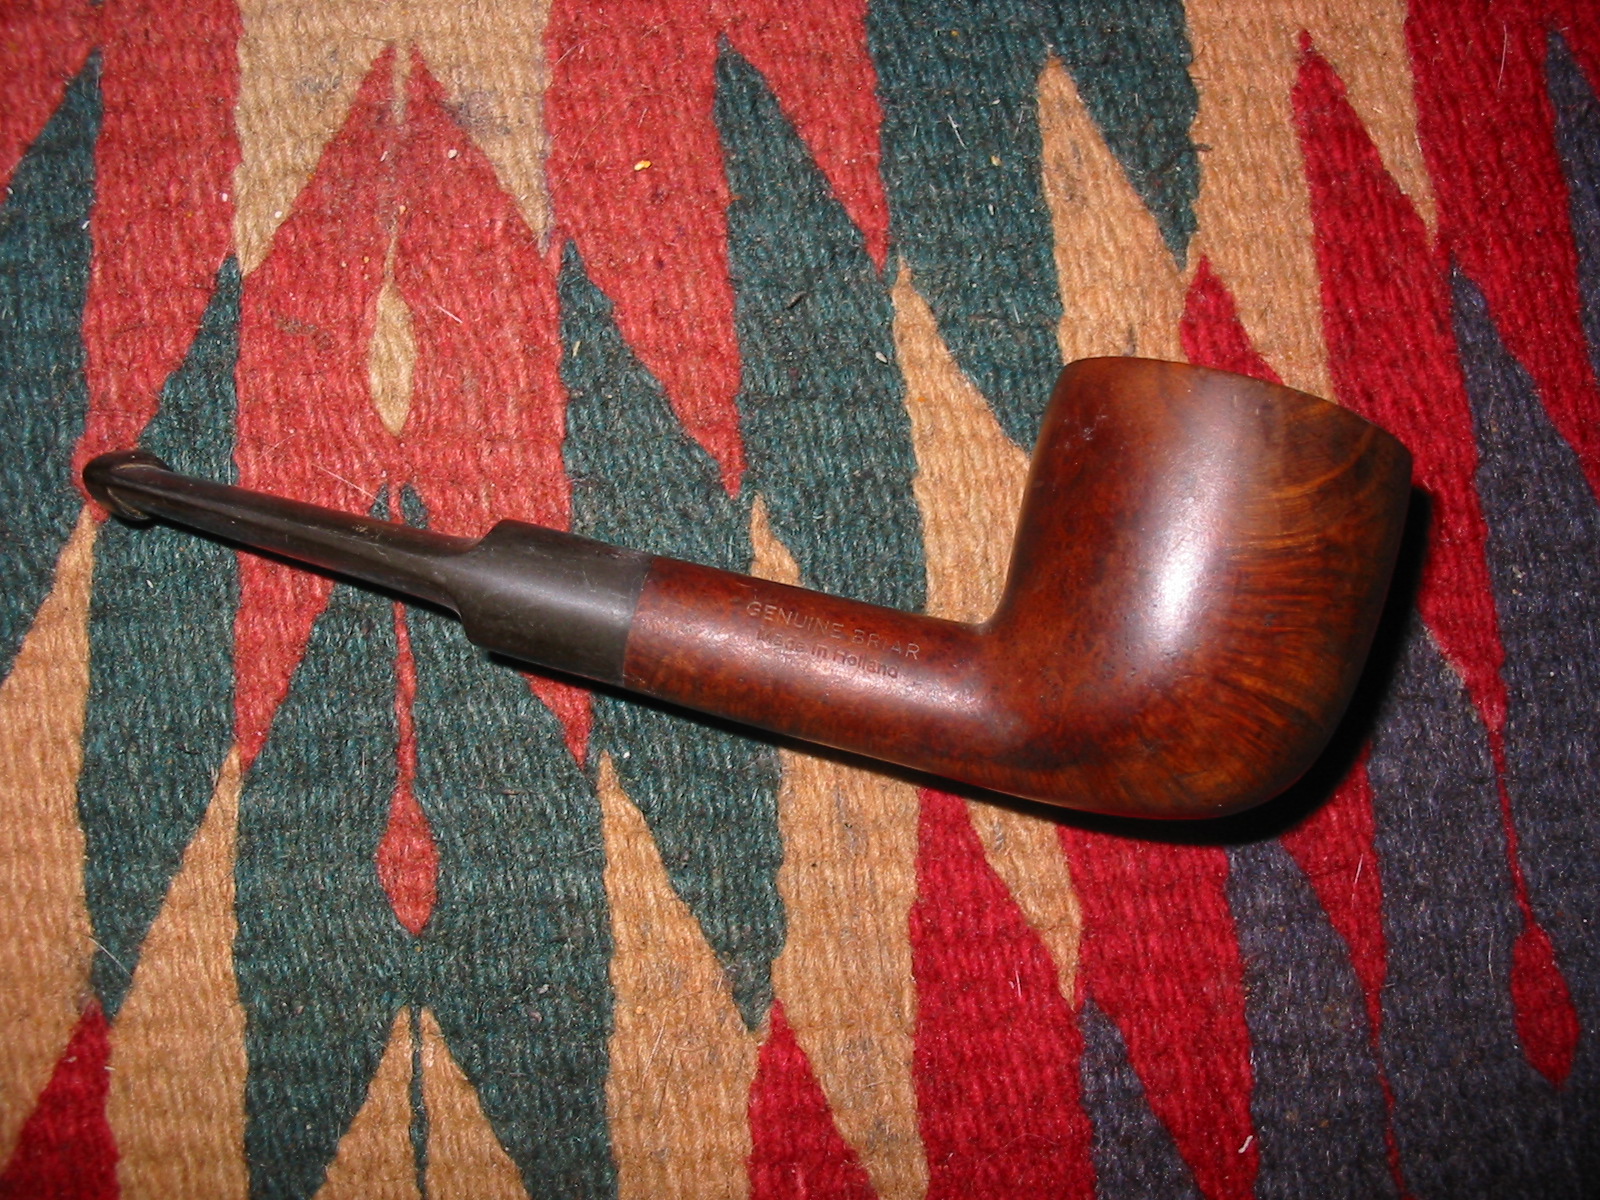
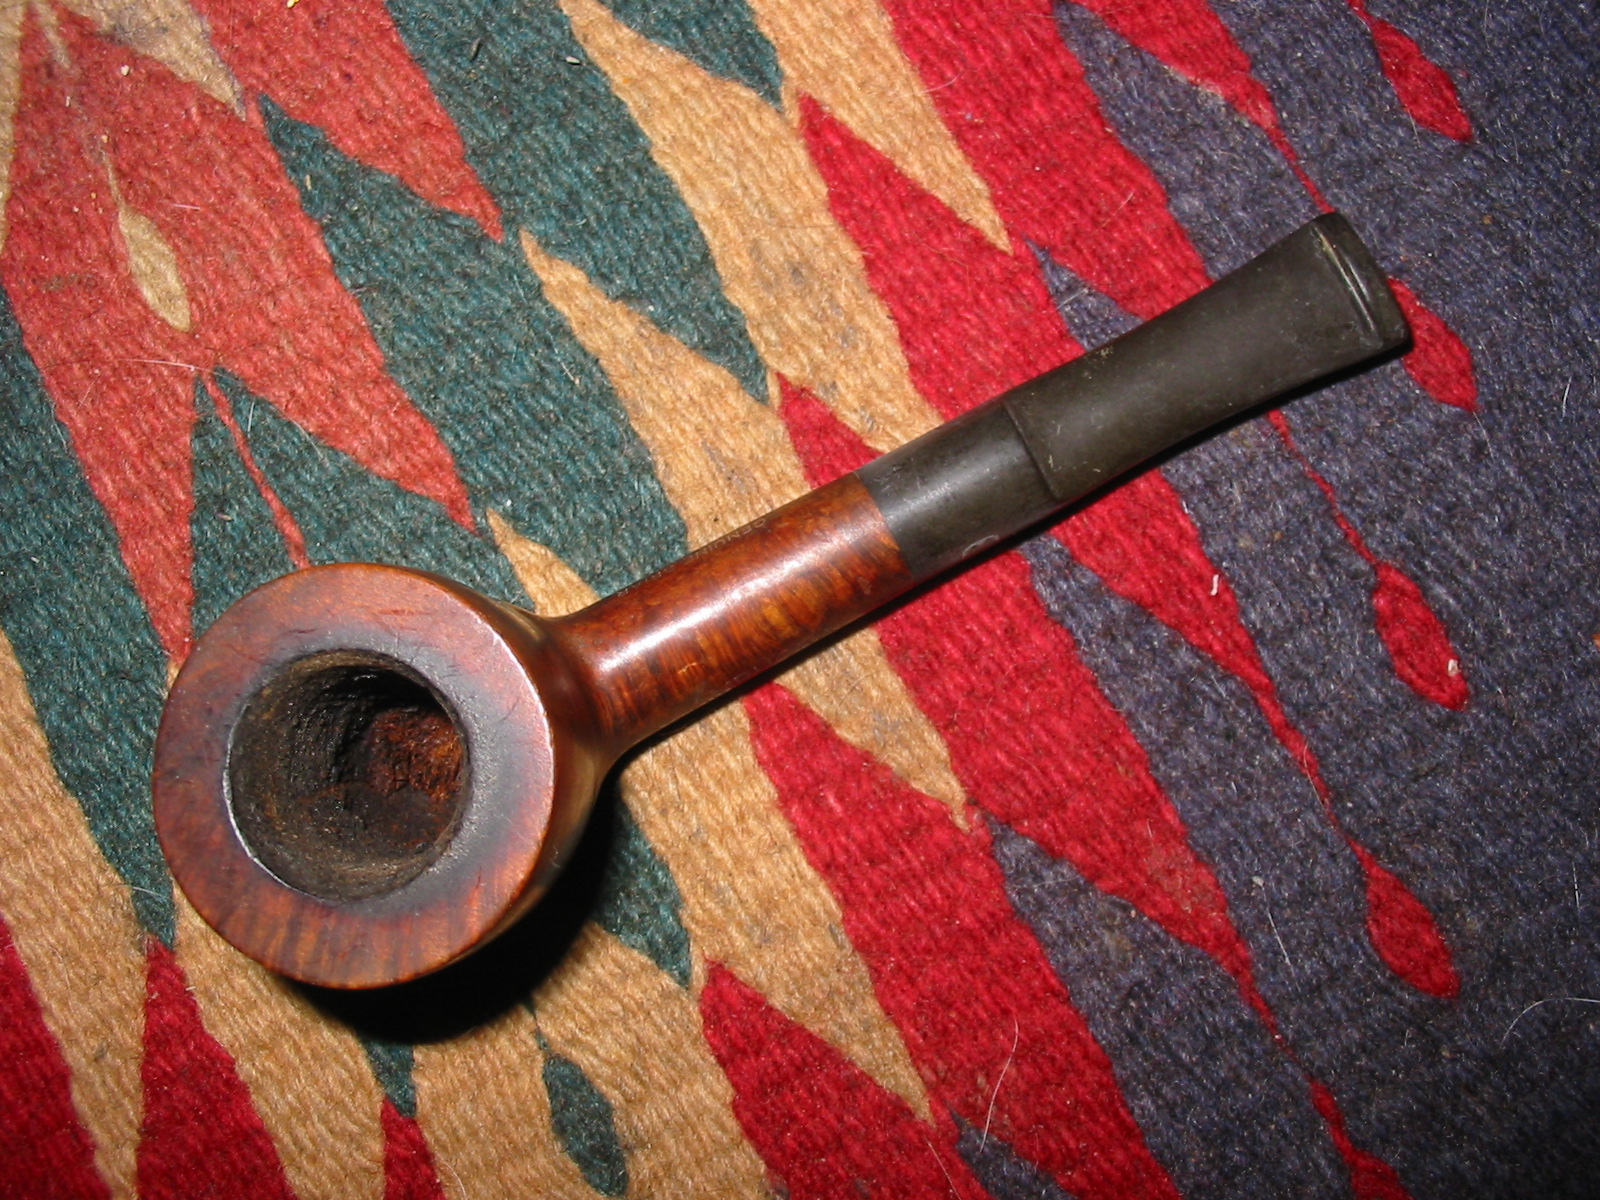
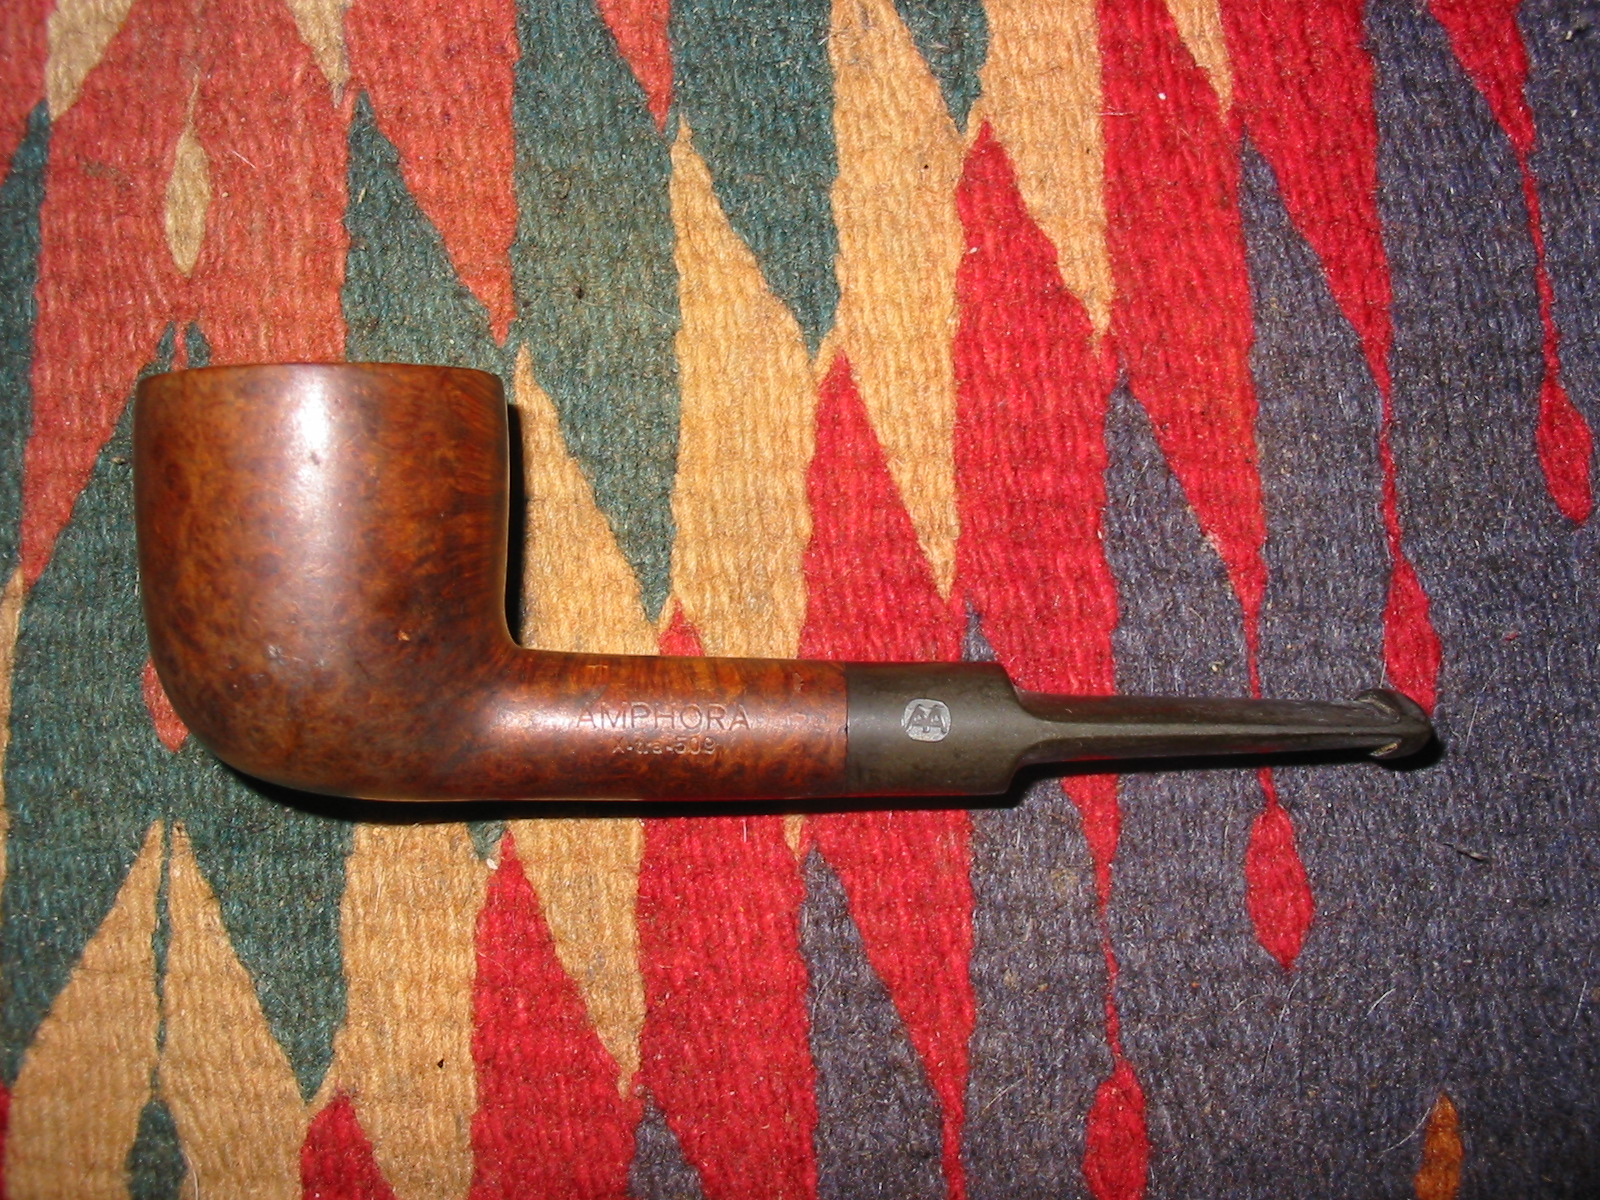
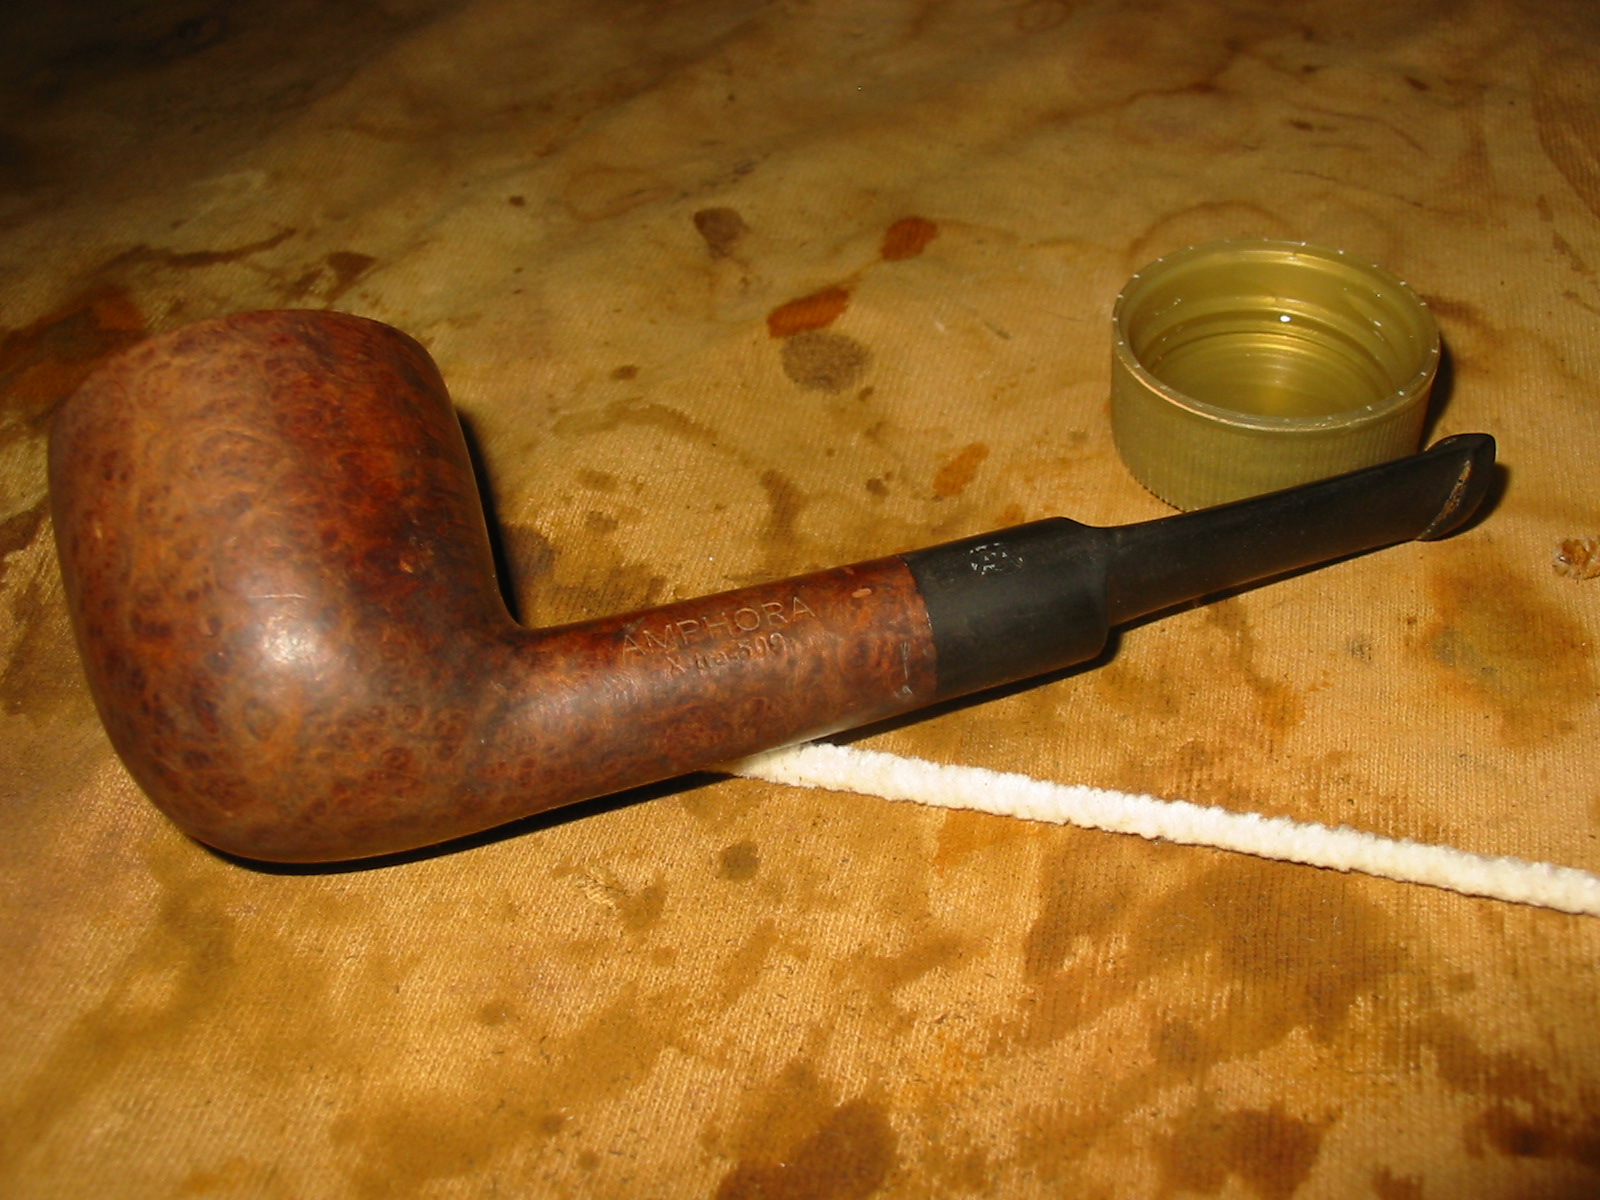
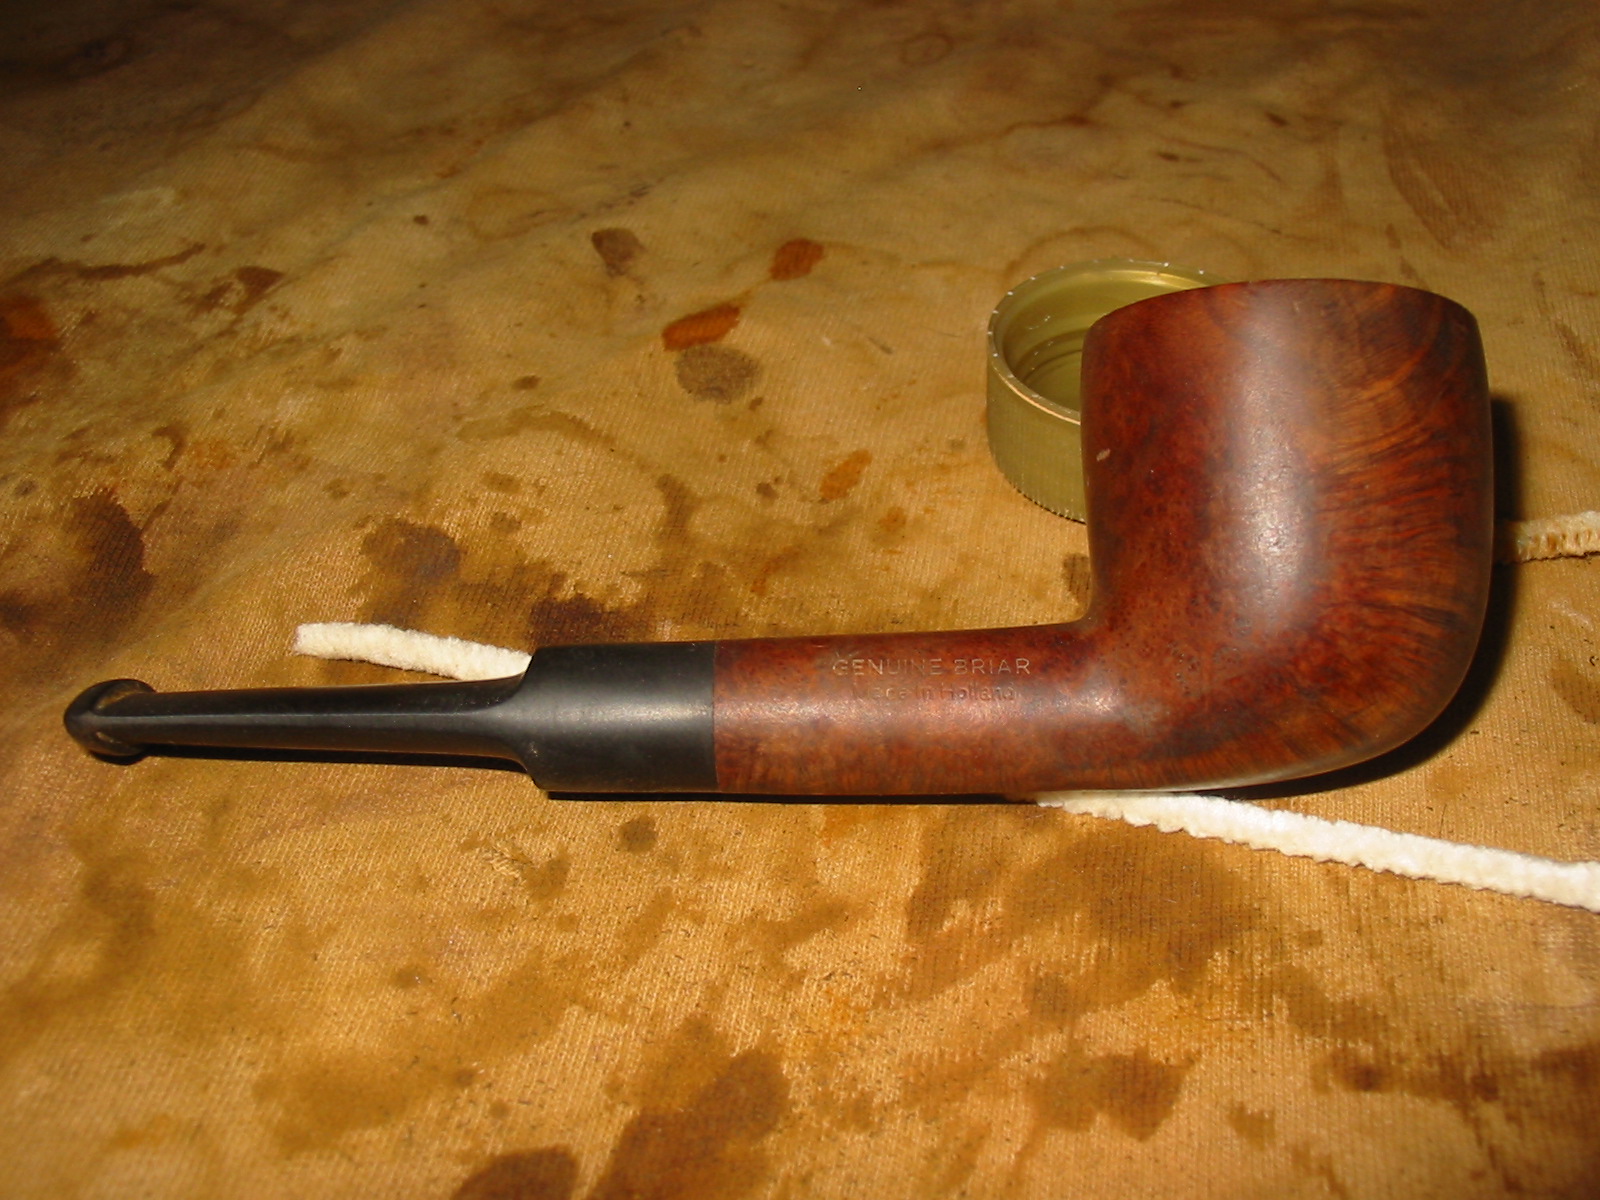
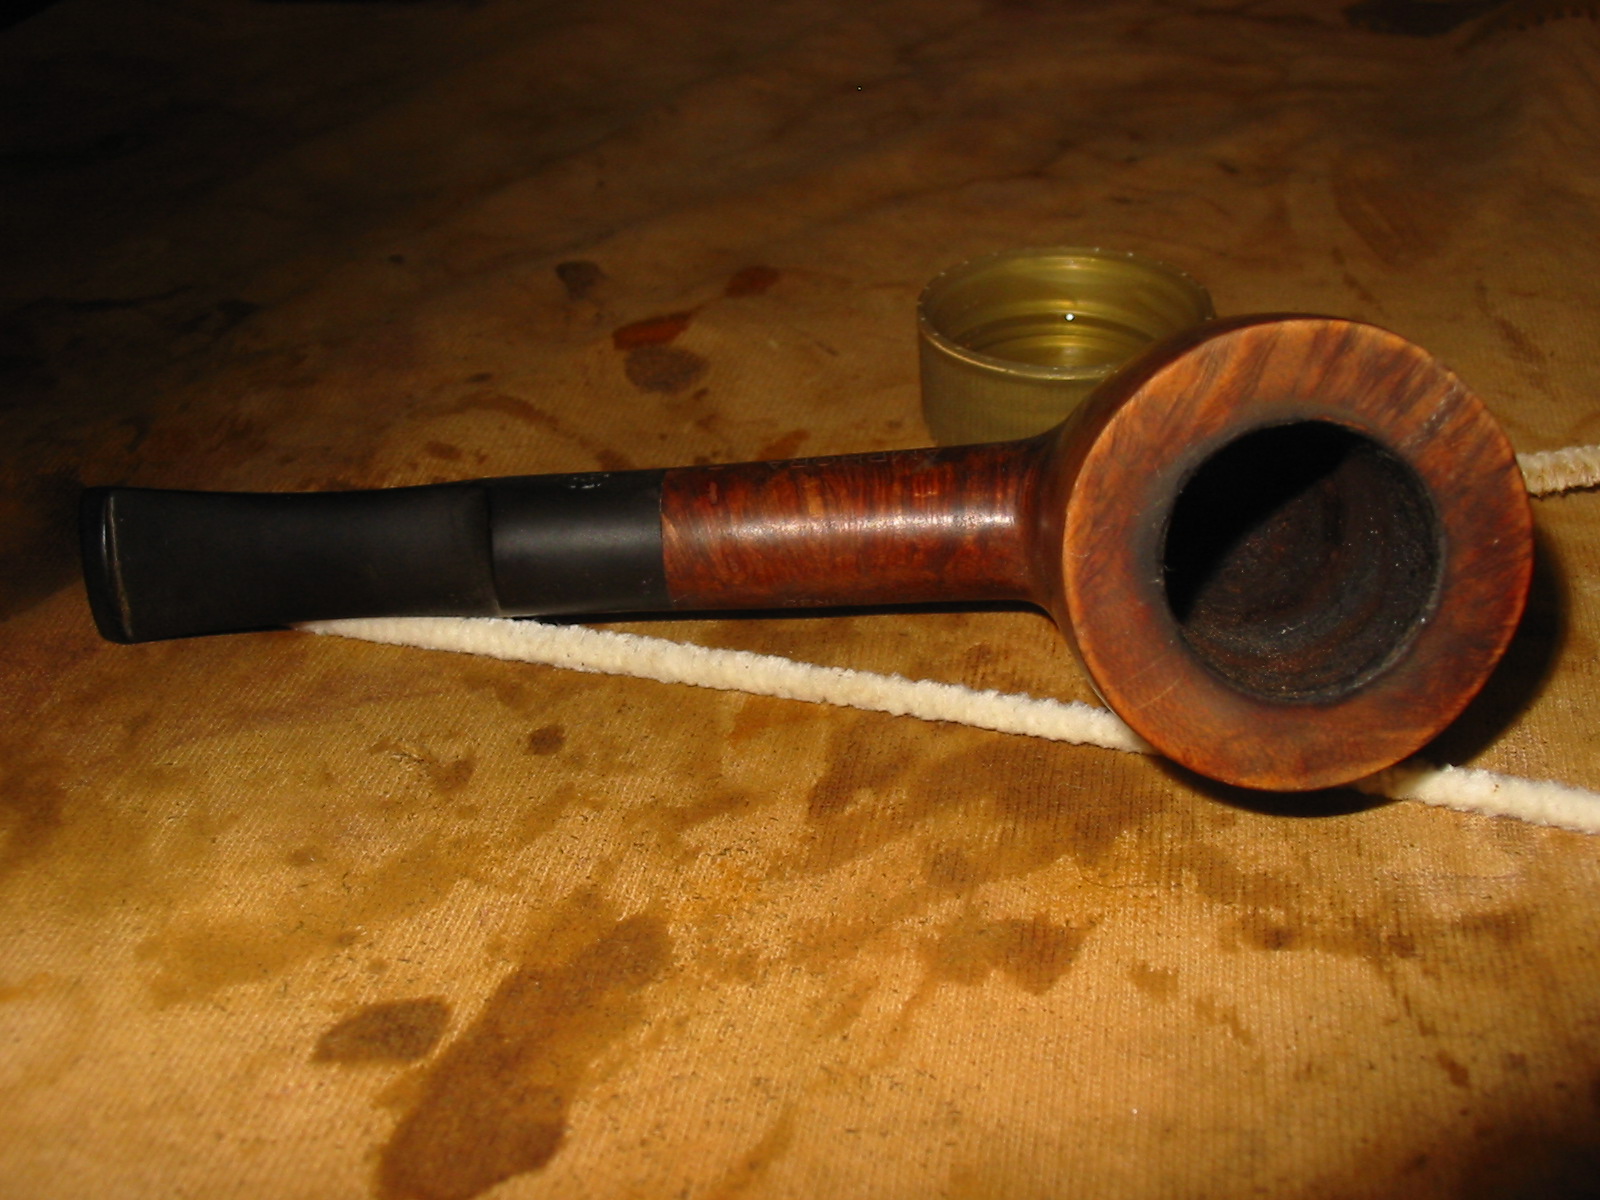
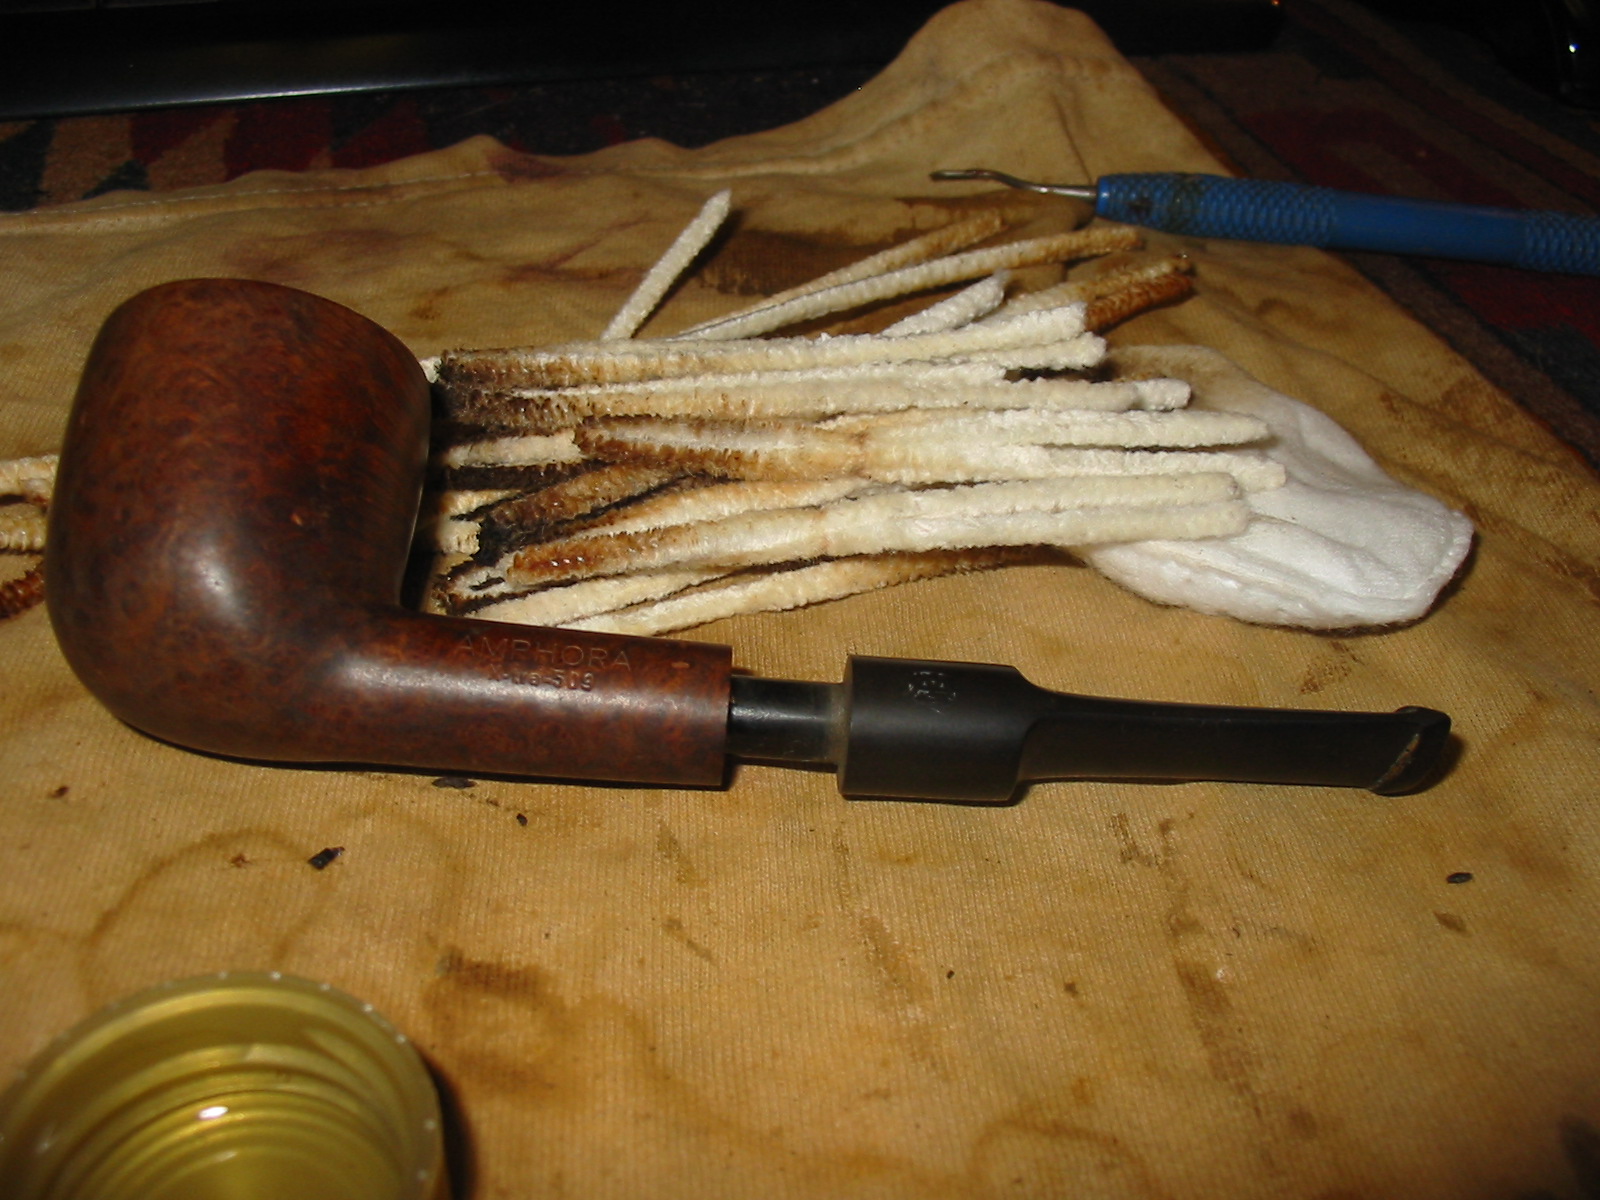
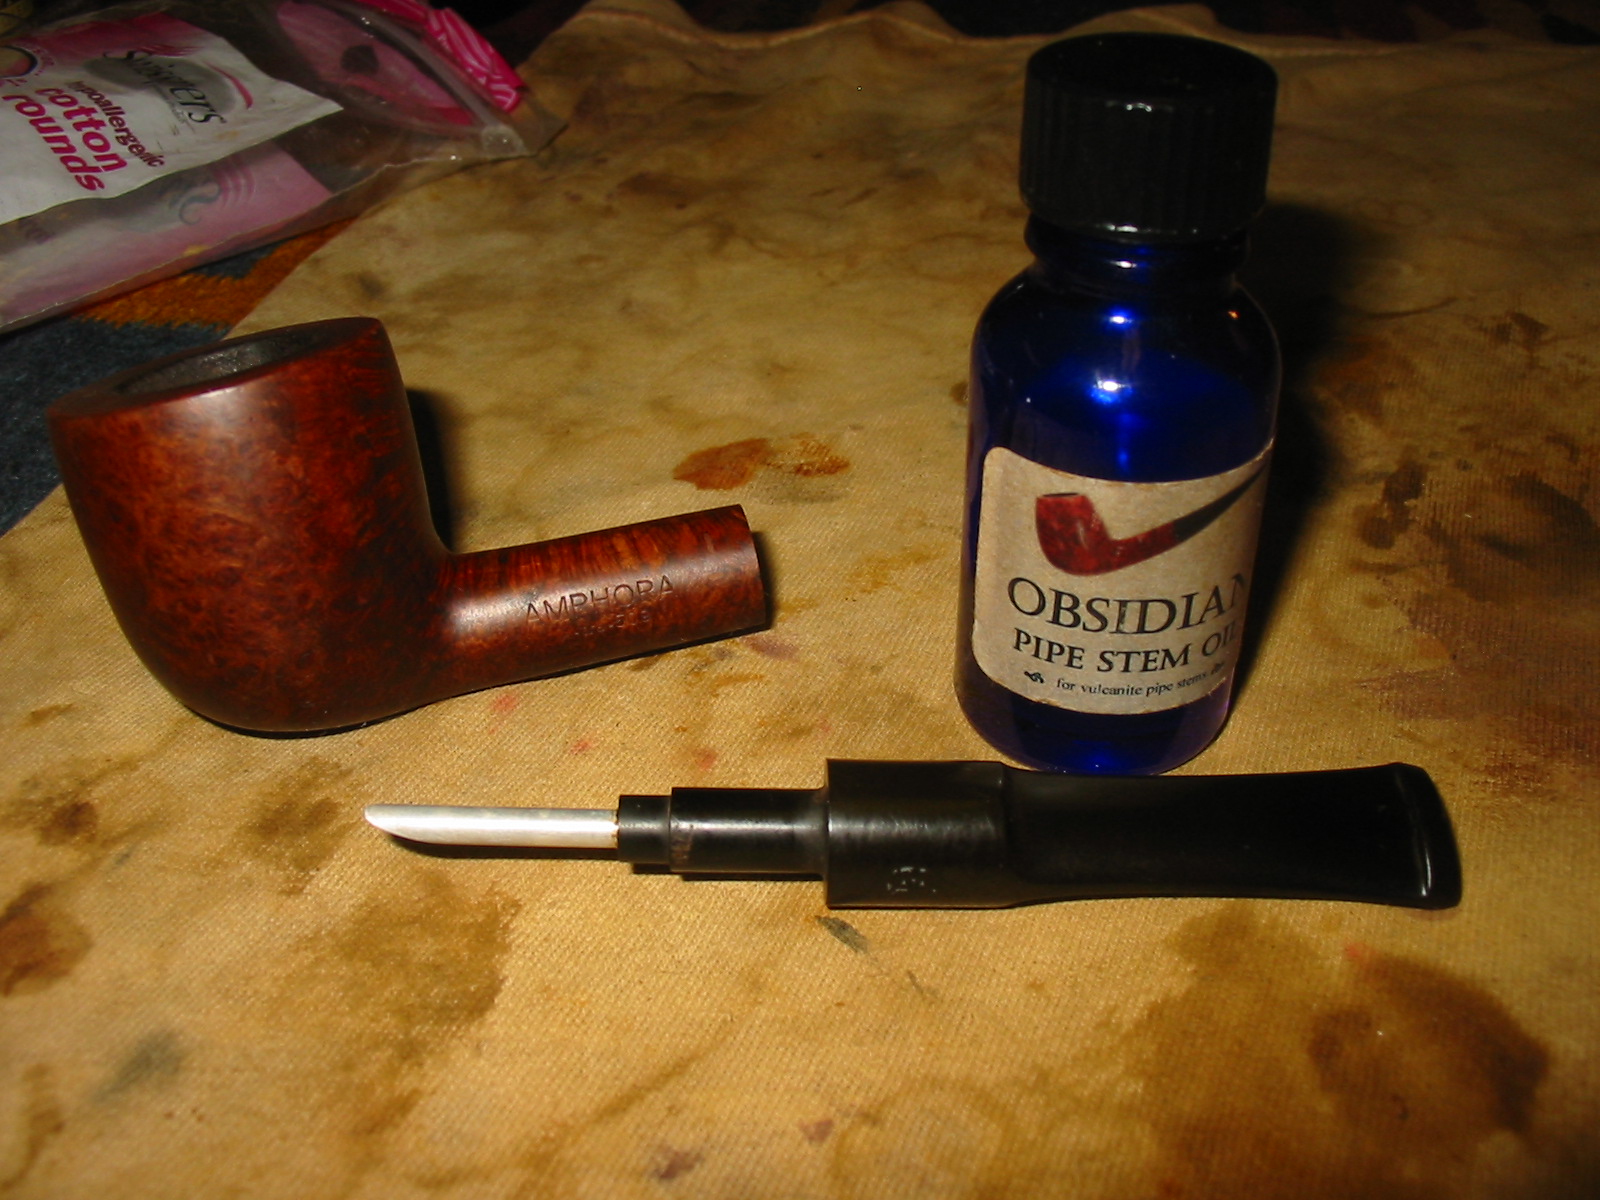
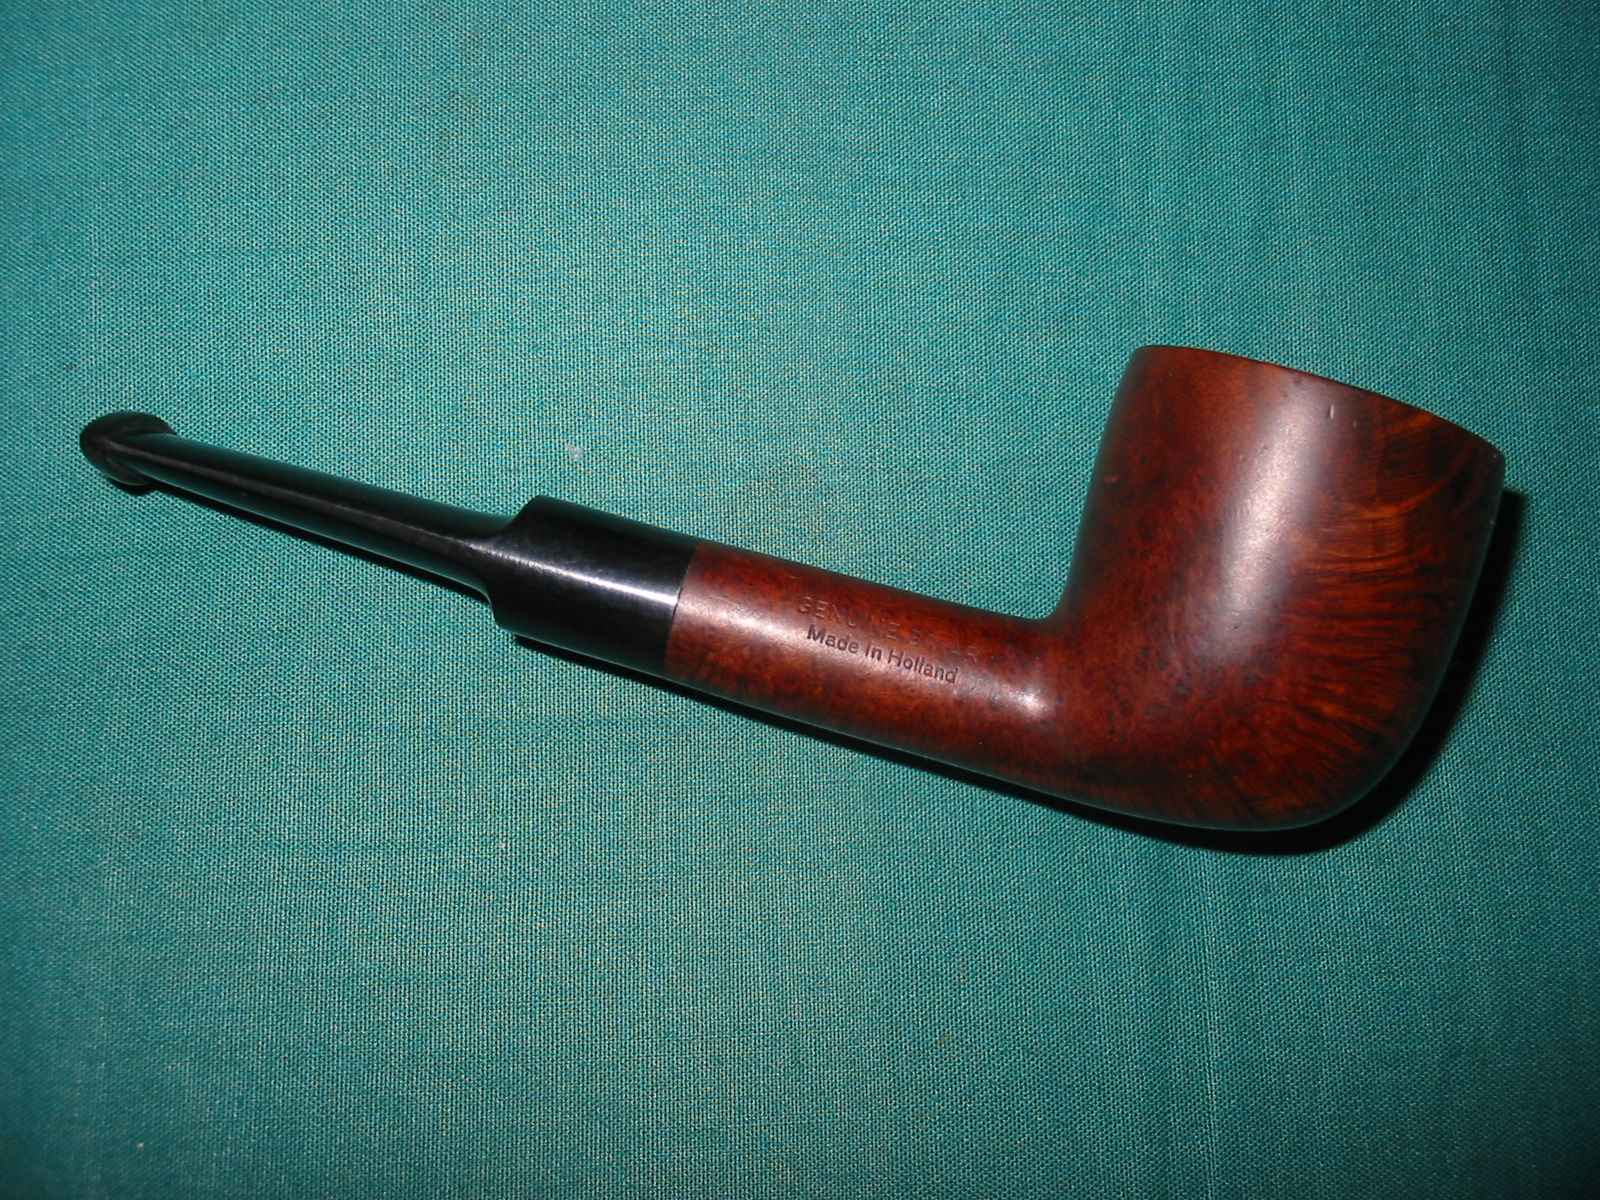
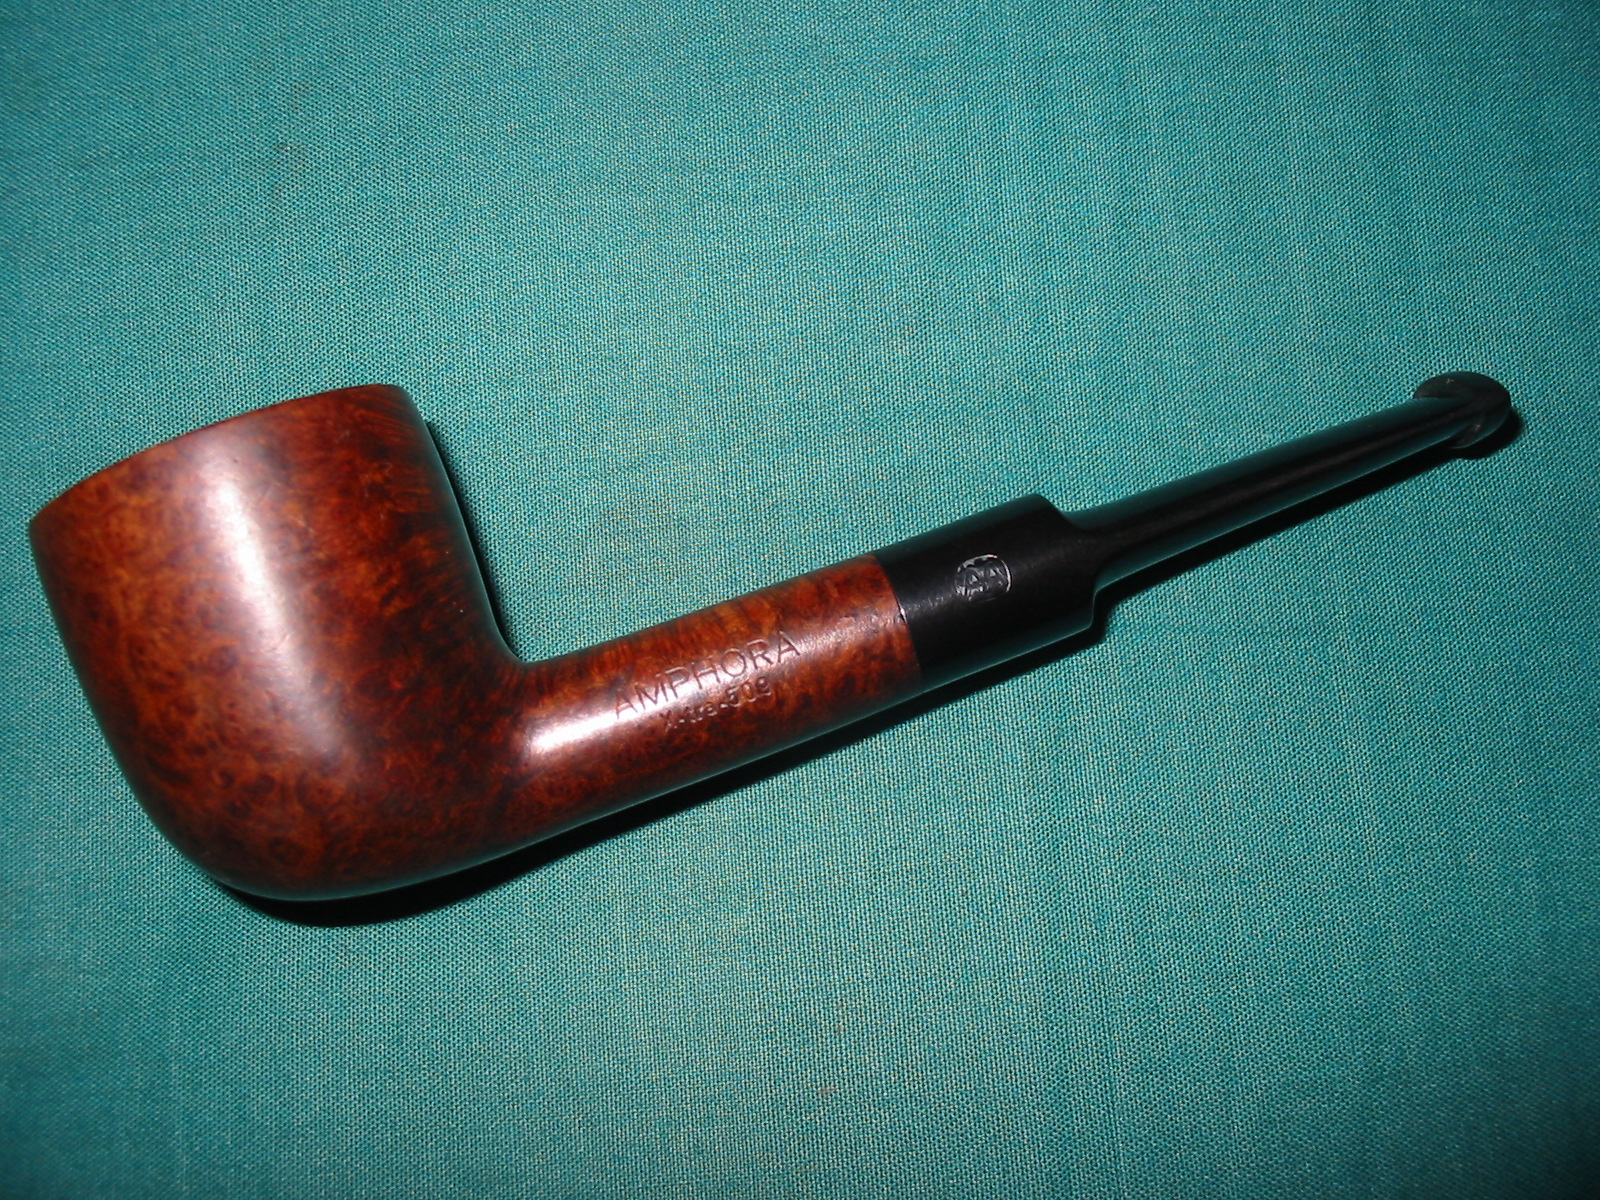
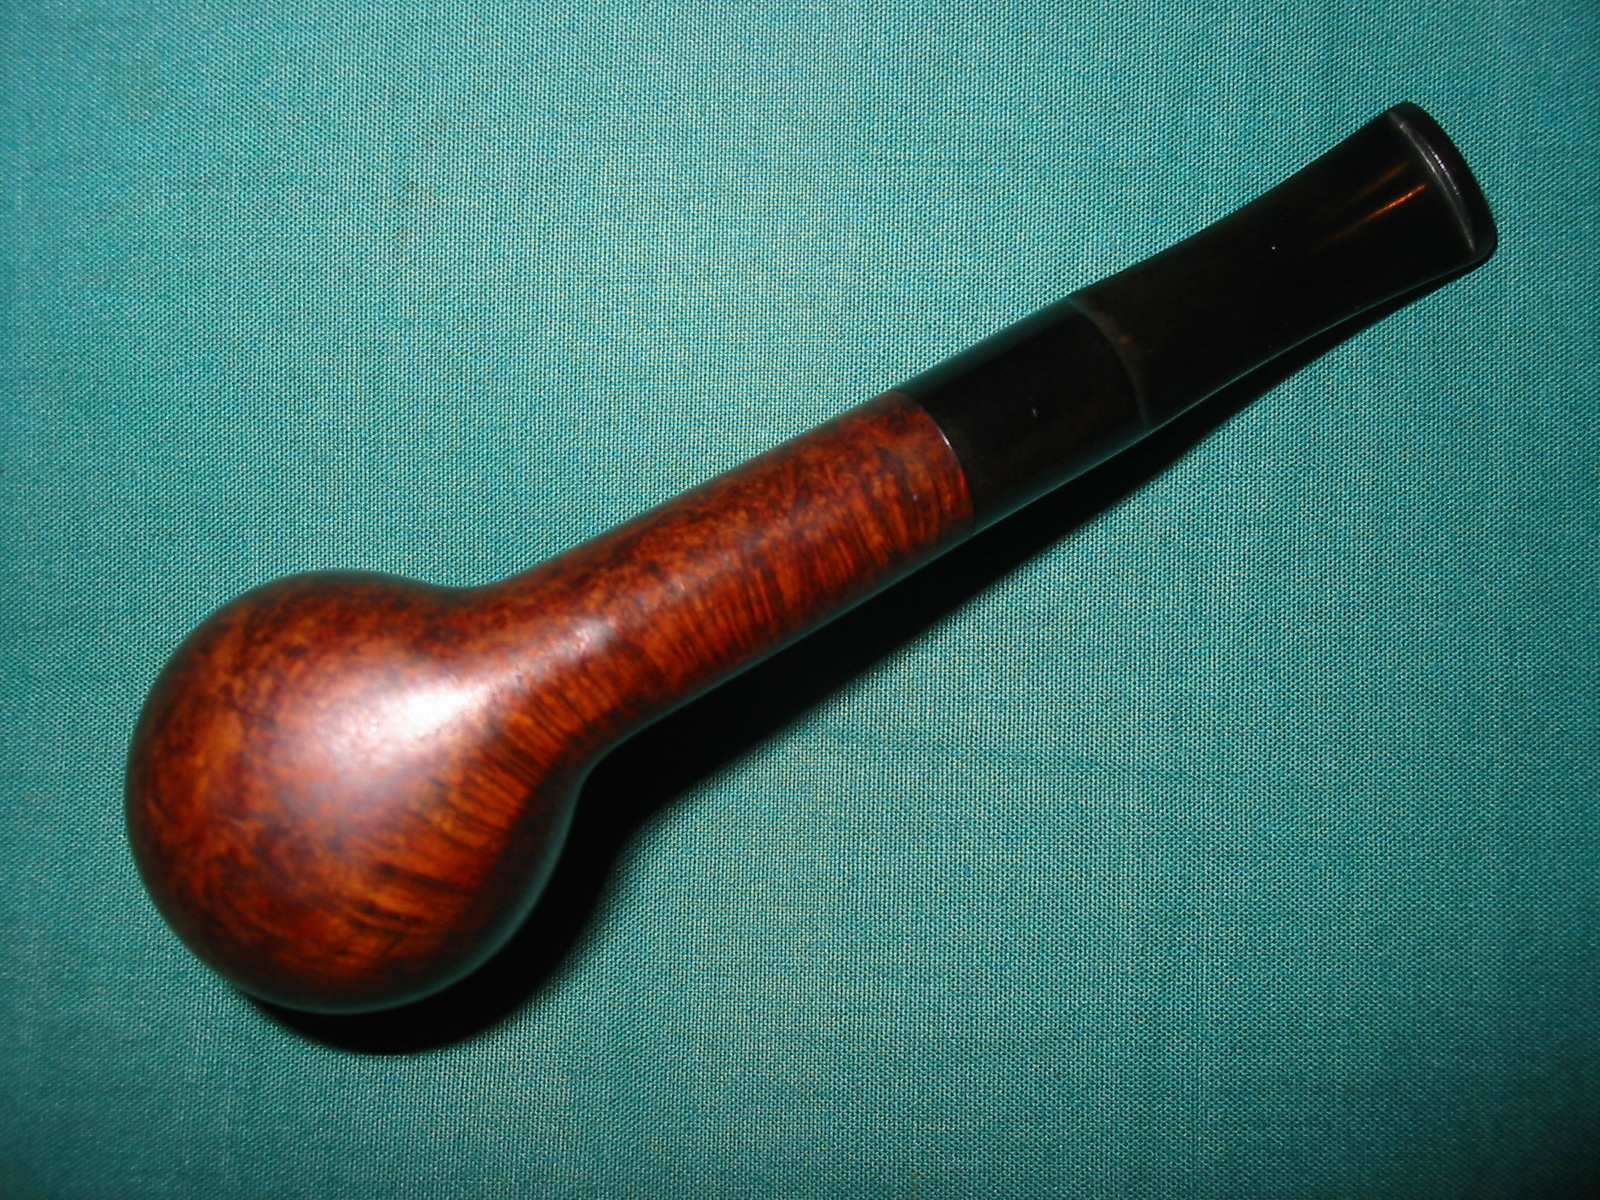
This is the last of the lot I found while on a recent trip in Northern Alberta, Canada. It is stamped Amphora X-tra 509 on the left side of the shank and on the right side it is stamped Genuine Briar over Made in Holland. The stem has an AA in a circle stamped on it (not a stamping for Amphora pipes I was familiar with). The pipe was in good shape. The rim was dirty and had a slight bit of build up on the surface. The bowl had a thin cake that was crumbly. The outside of the bowl was soiled and had some white paint on the surface. The stem was dirty and very slightly oxidized. There were no teeth marks on it so it was just dirty. The insides were also dirty. The inside of the shank and the stem were caked with a tarry buildup. There was an inner tube inserted in the tenon that extended into the shank almost as far as the airway at the bottom of the bowl.
IMG_1889

IMG_1890

IMG_1891

I used a PipNet reamer and started with the smallest cutting head and took back the cake. I followed that with the next size of cutting head and took the cake back to the bare wood in the bowl. The bottom of the bowl had some gouges in it and looked like someone had done a reaming with a knife.
IMG_2067

IMG_2054

IMG_2057

IMG_2056

IMG_2055

I removed the stem and dropped the bowl into an alcohol bath to soak overnight.
IMG_2066

I mixed a batch of Oxyclean and put the stem together with others I was working on into the bath of Oxy clean to soak at the same time.
IMG_2068

In the morning I took out the bowl and dried it off with a soft cloth. The finish was clean and the surface of the bowl free of the paint and grime that was present when I placed them in the bath. I took the stems out of the bath of Oxyclean and dried them off as well. The oxidation on the stem was softened and the stem was dark (it is the top stem in the second photo below).
IMG_2071

IMG_2080

I wiped down the bowl with acetone on a cotton pad to clean off the remaining finish. In the photo above of the bowl it appeared to have a fill on the bowl side. As I scrubbed it the surface cleaned up and the area was not a fill. The piece of briar has some great birdseye grain and a some cross grain on the front right side and the top of the bowl and shank. I also cleaned out the shank and the stem with pipe cleaners and Everclear. I scrubbed the rim to remove the tars and buildup.
IMG_2260

IMG_2261

IMG_2262

IMG_2264

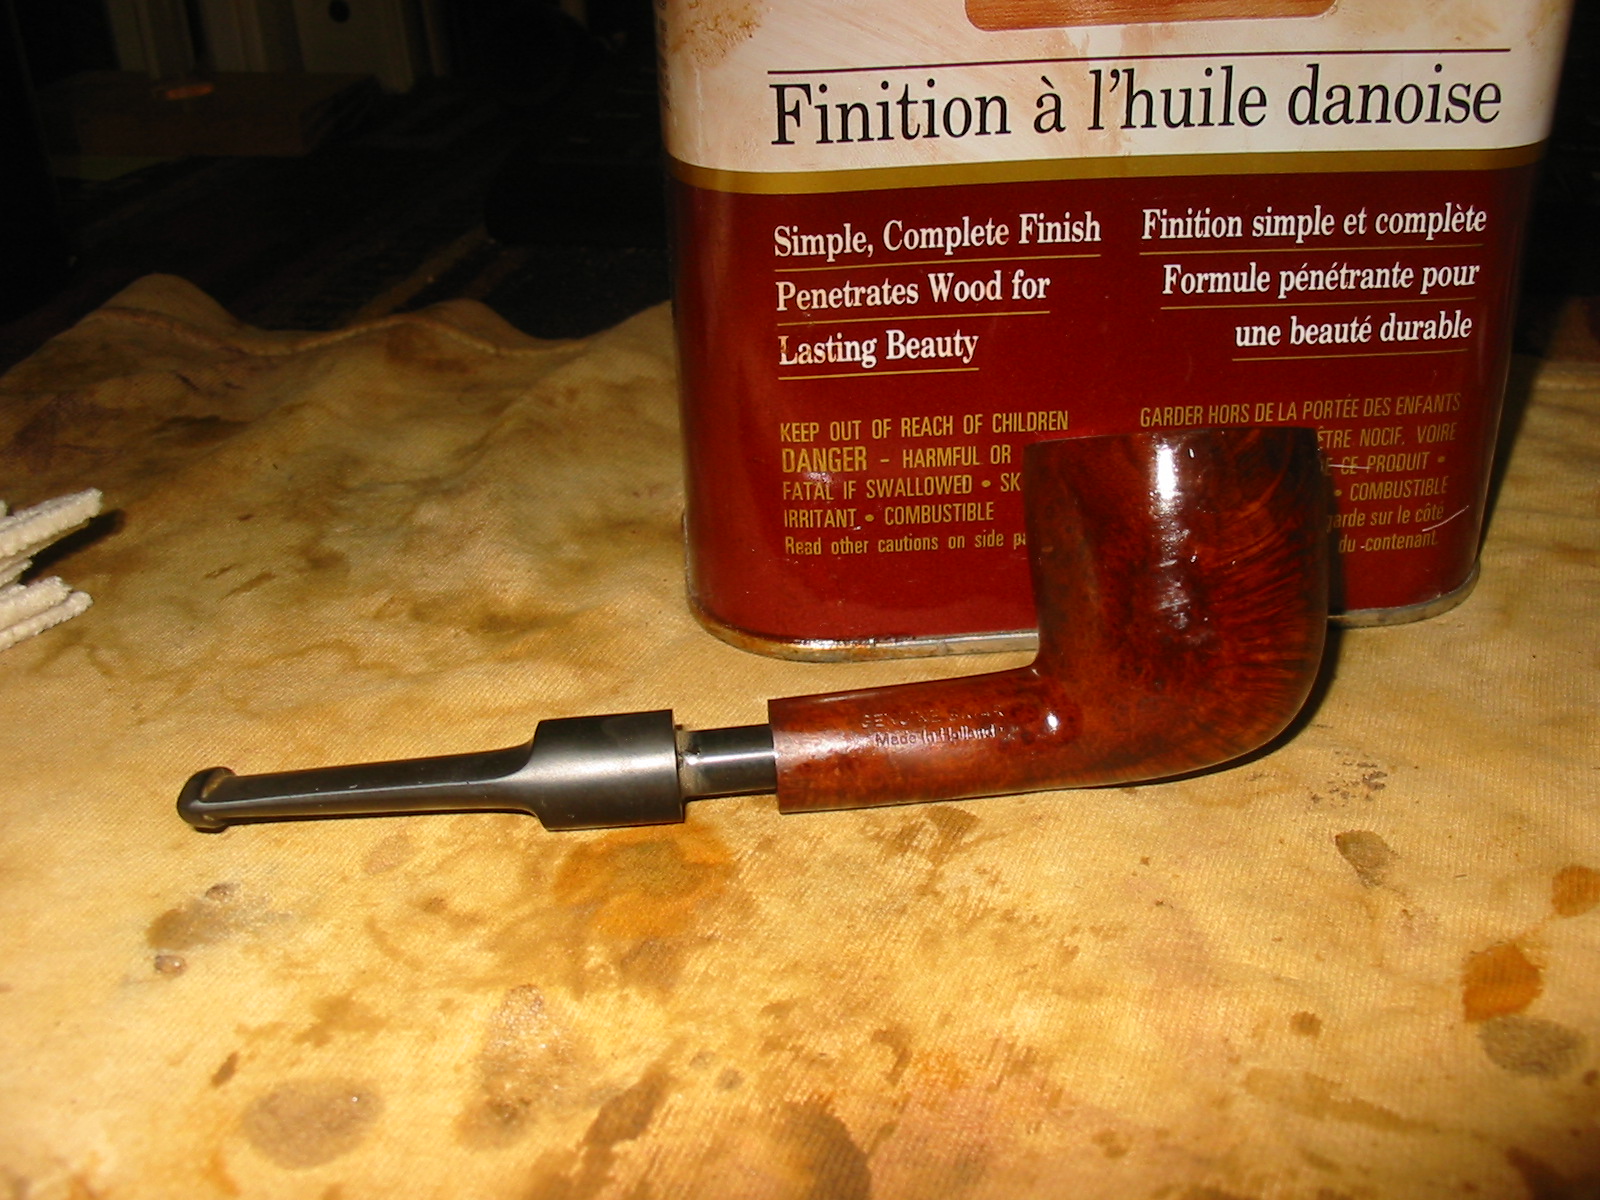
I wanted to highlight the grain on this one so I decided to stain it using some Cherry Danish Oil which is Linseed oil and stain. I rubbed on the stain, rubbed it off and rubbed it on a second time. I set it aside to dry. Once it was dry I buffed it with White Diamond.
IMG_2265

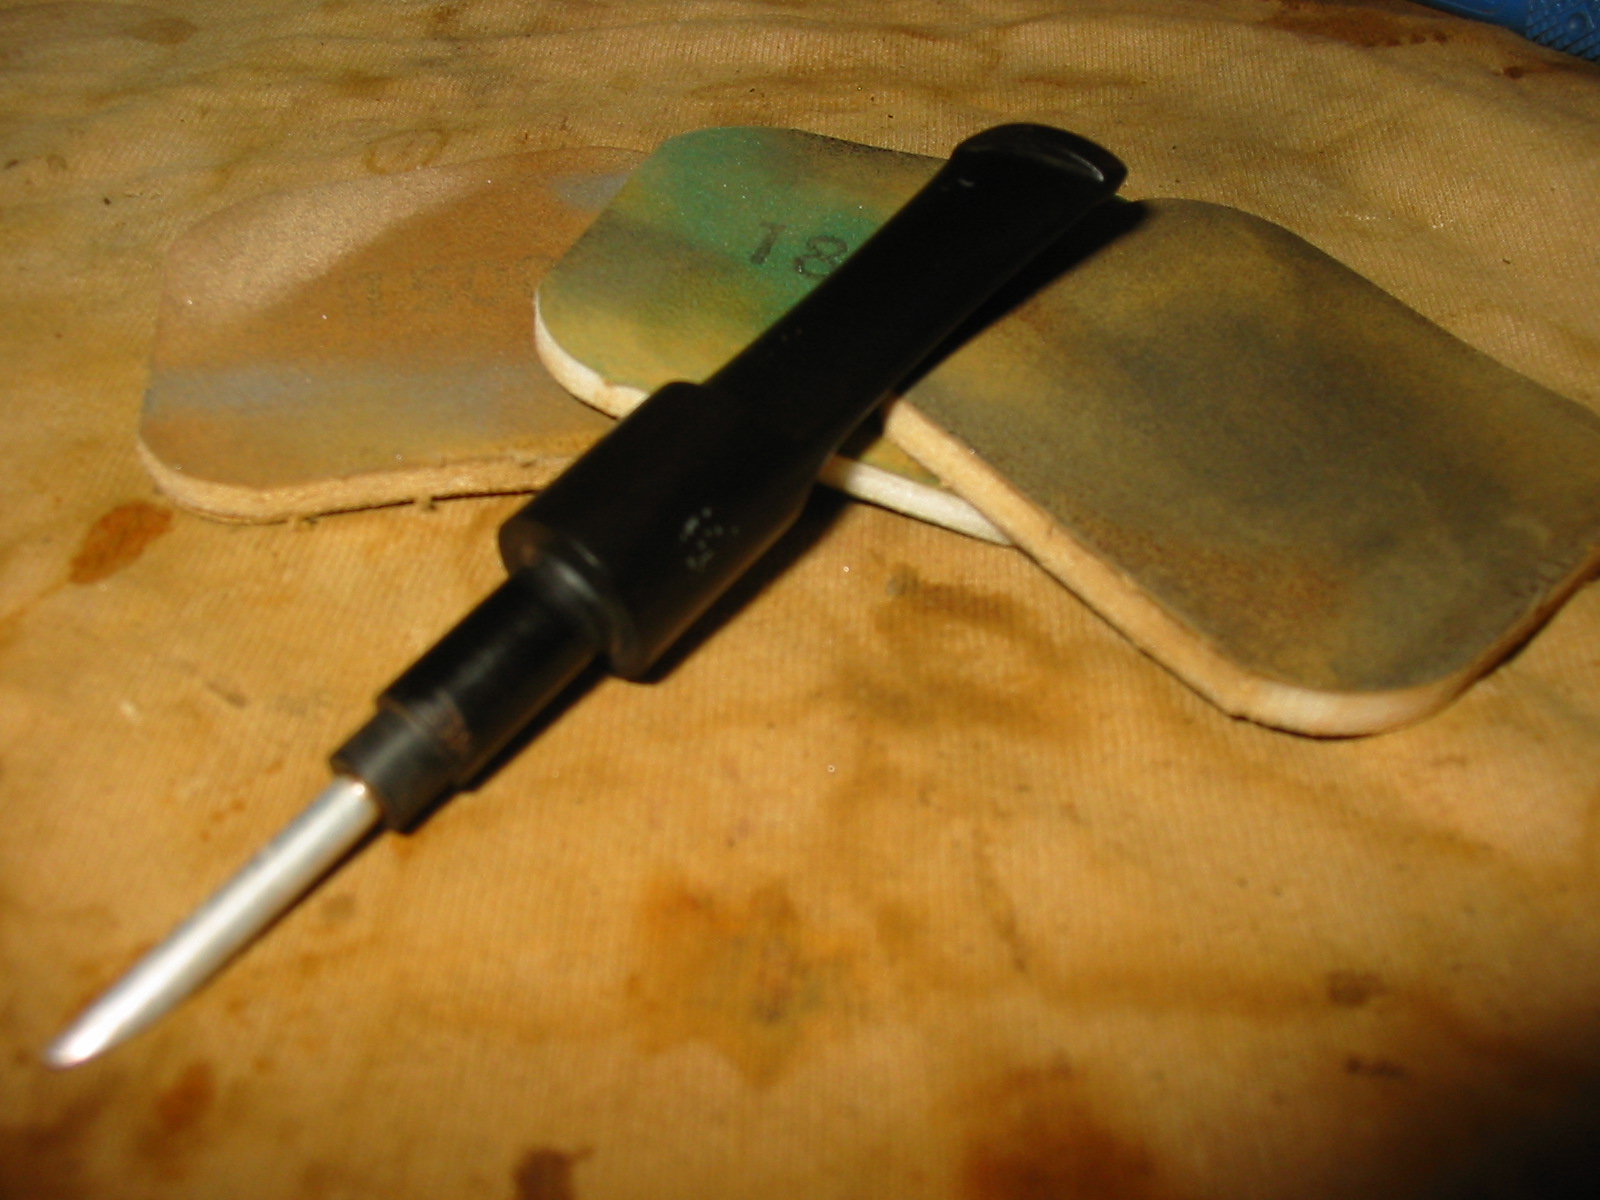
While it was drying I used micromesh sanding pads from 1500-12,000 grit to work on the stem. I worked around the double AA on the stem logo. It is faint but still visible. Once I had finished sanding I rubbed it down with Obsidian Oil and let it dry. When it was dry I rubbed it with a soft cloth to buff it by hand.
IMG_2266

IMG_2267

IMG_2268

IMG_2269

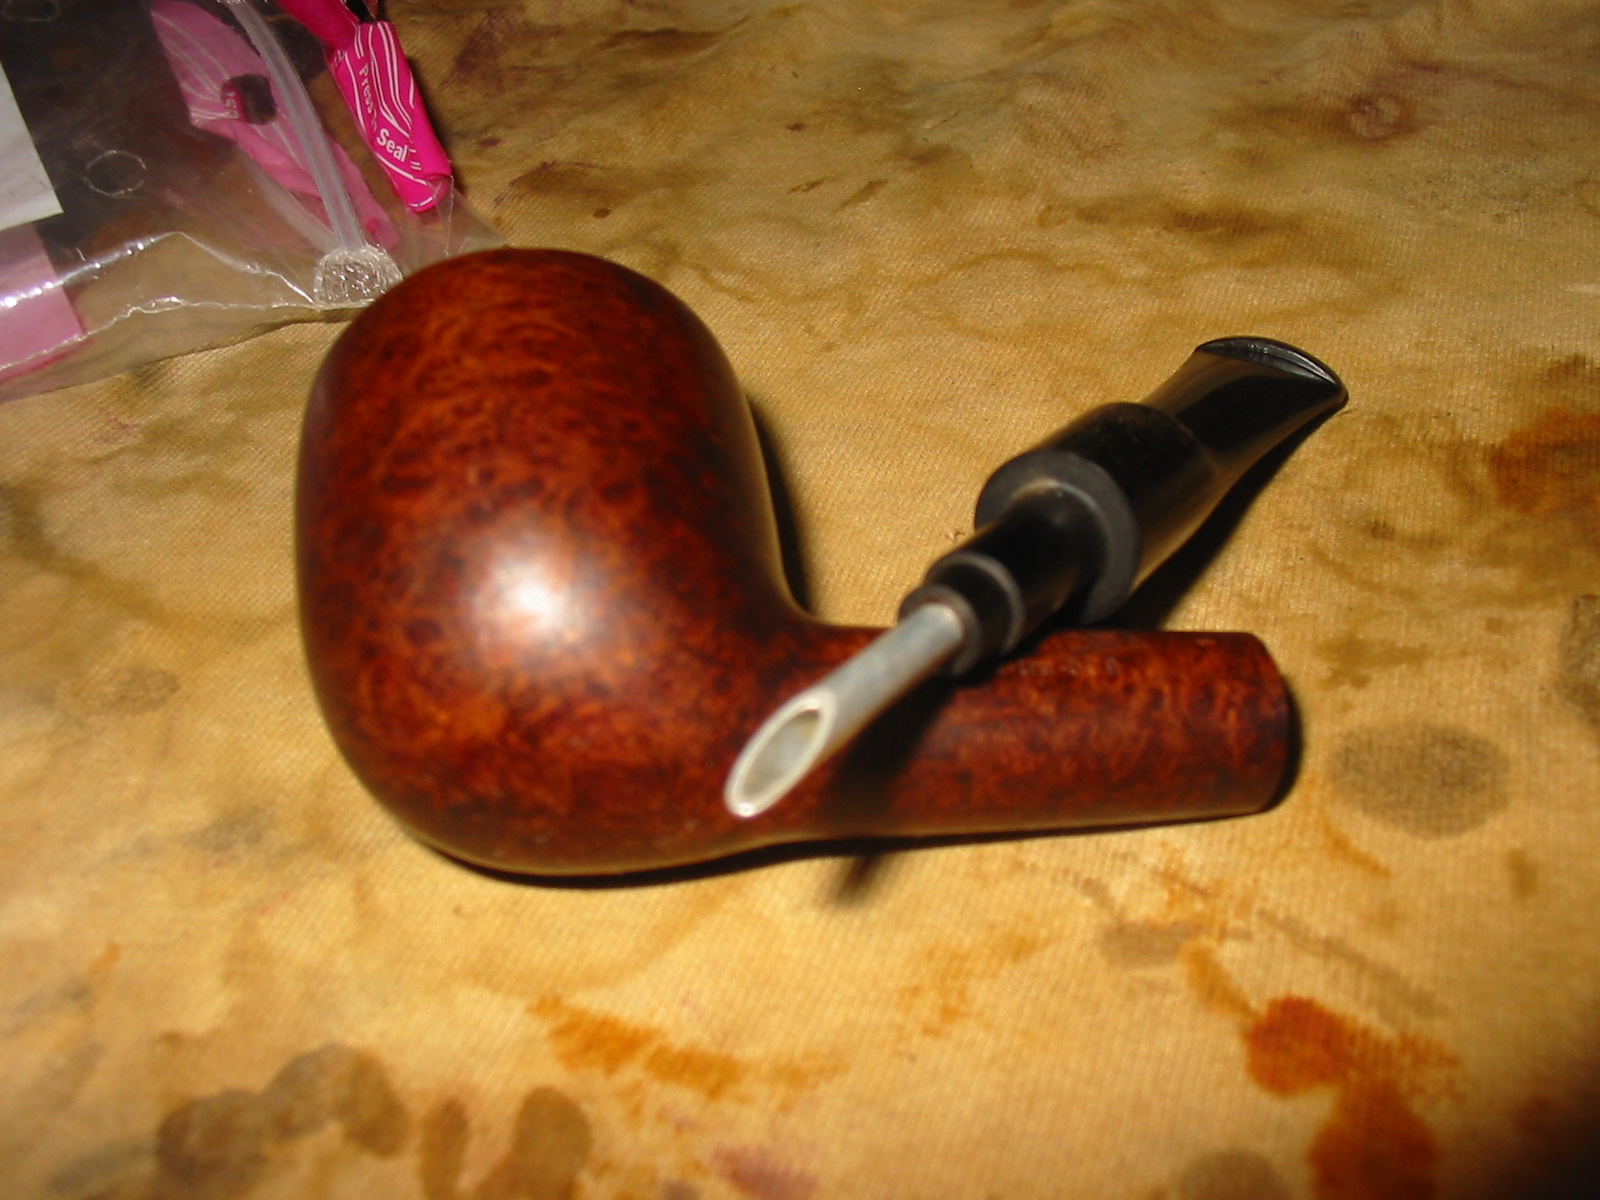
I polished the aluminum inner tube with 0000 steel wool to remove all grime that was remaining on the aluminum. I gave it a coat of wax and polished it off with a clean soft cloth.
IMG_2270

I buffed the pipe and stem with White Diamond and then gave it multiple coats of carnauba wax and then with a soft flannel buff to give it a shine. The final photos below show the finished pipe.
IMG_2272

IMG_2273

IMG_2274

IMG_2275

Dorset “Genuine Briar” Rhodesian


By Al Jones (aka “Upshallfan”)

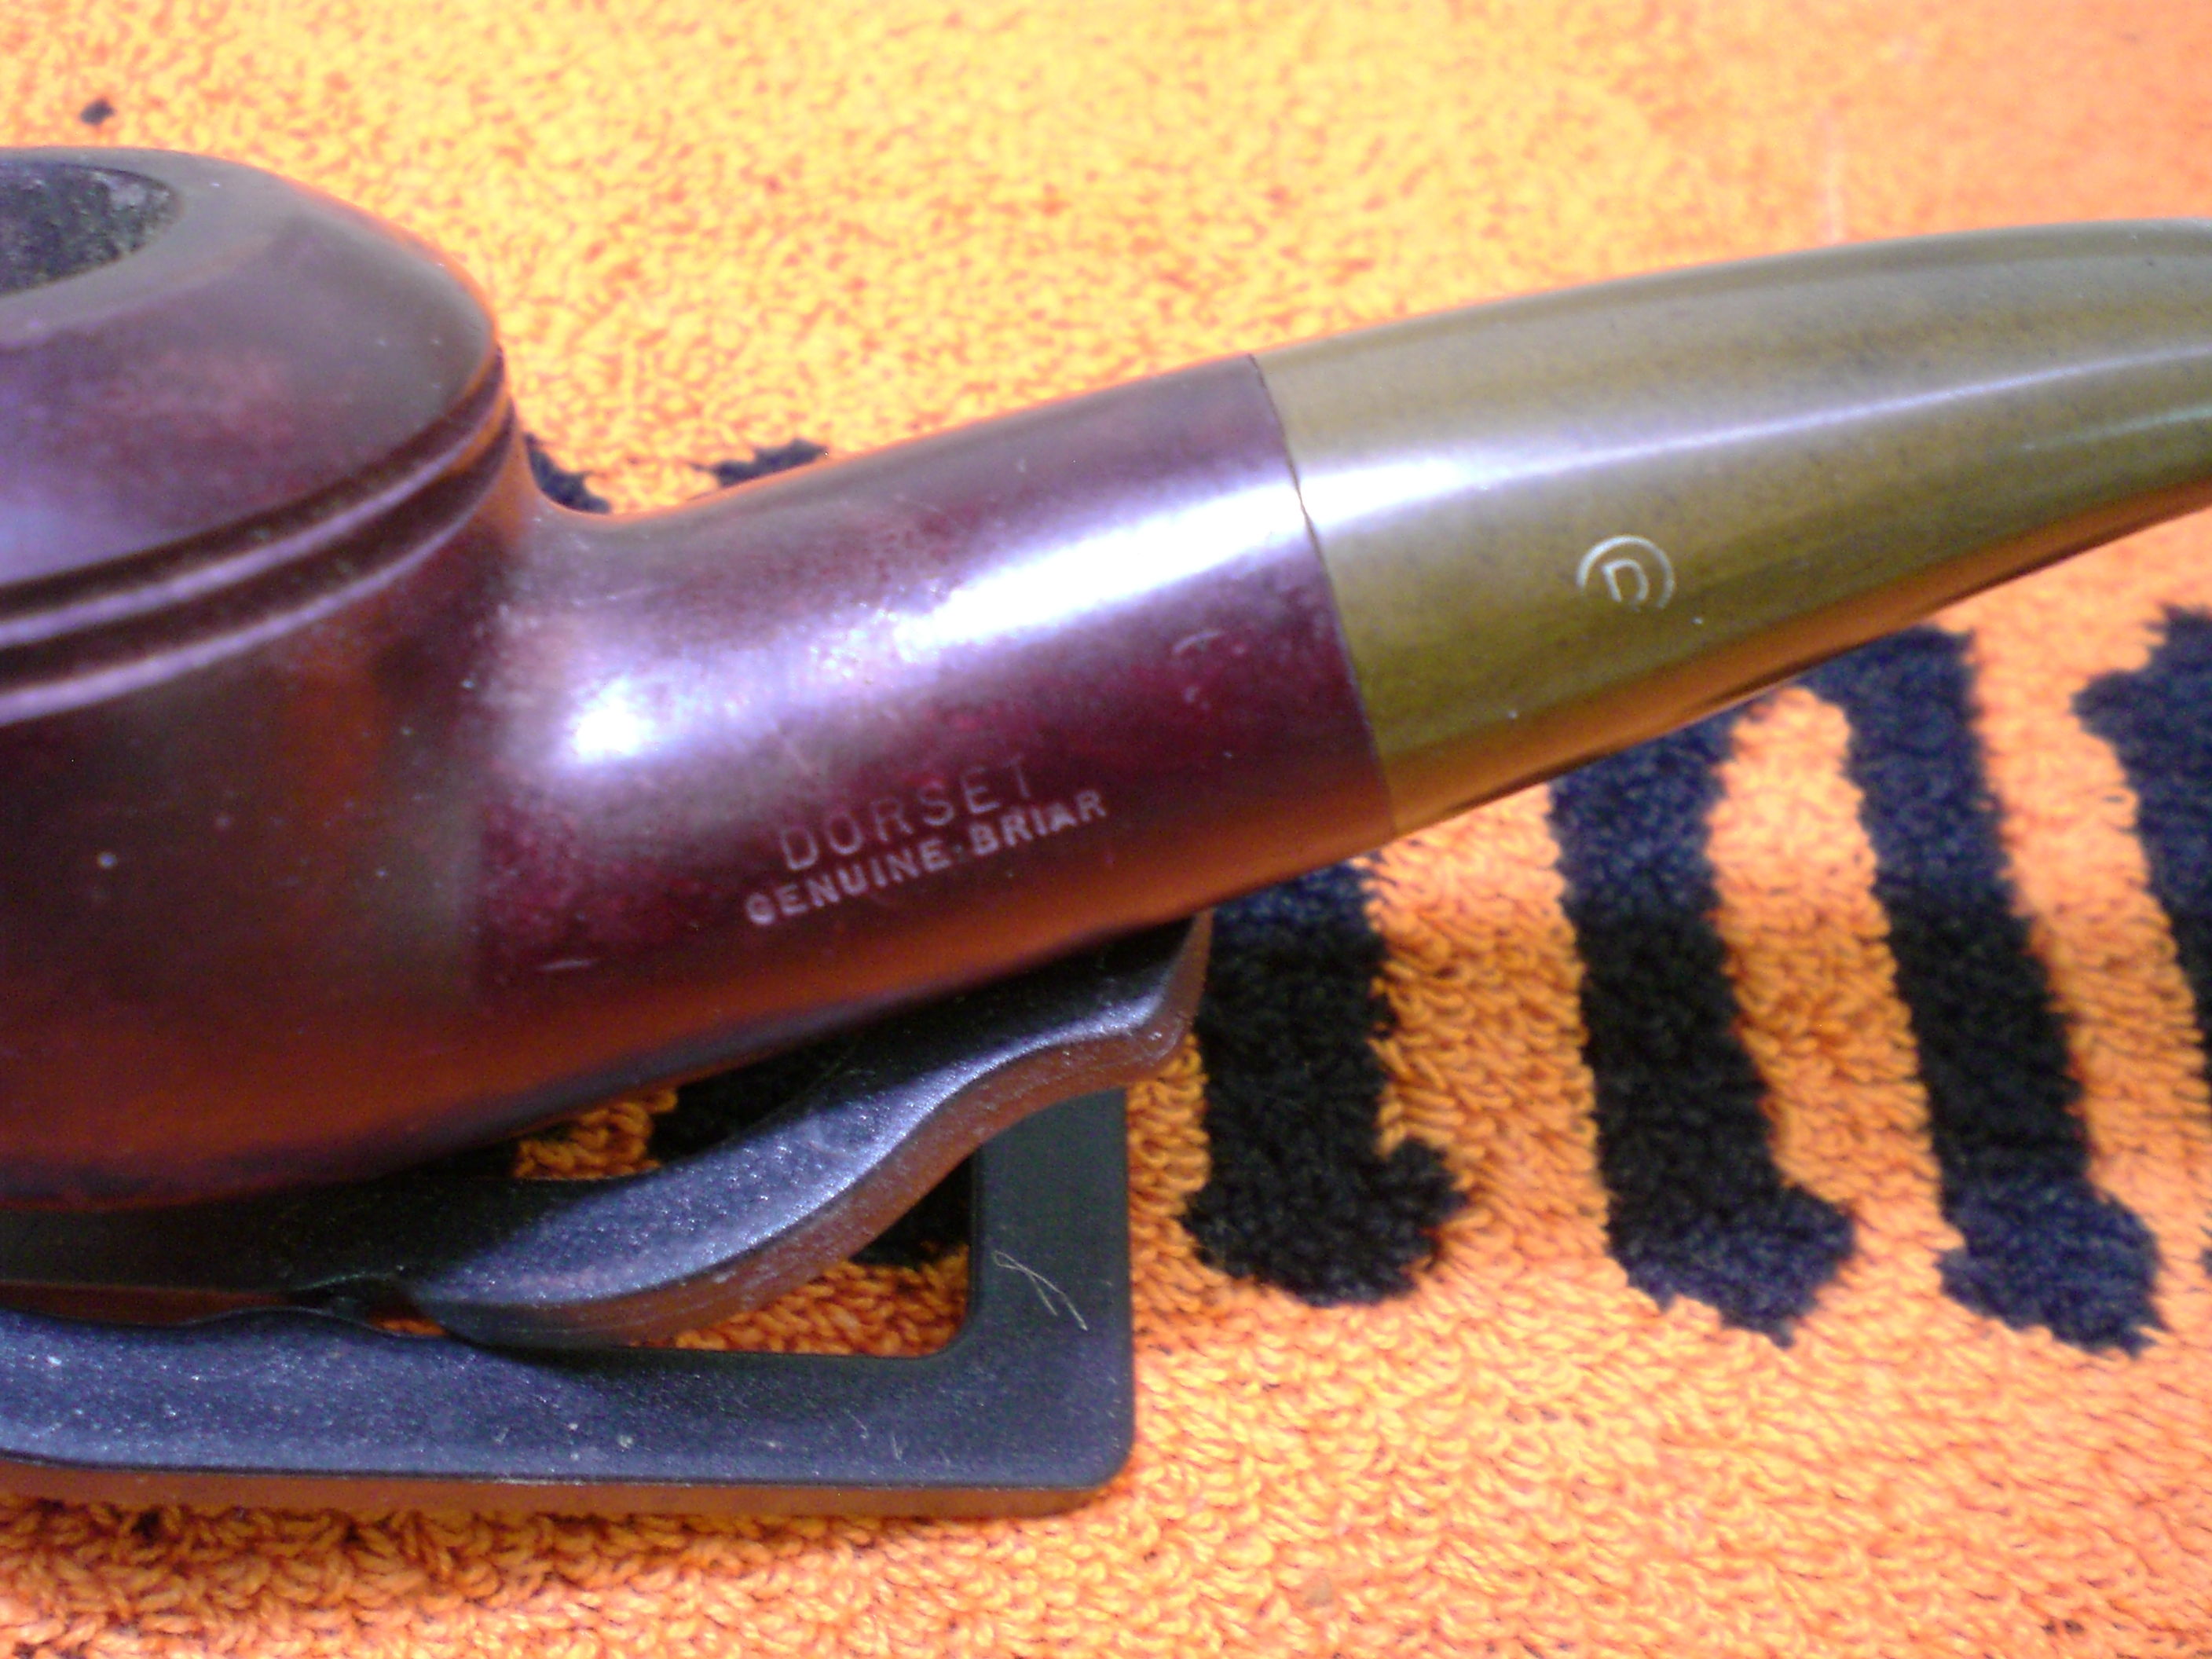
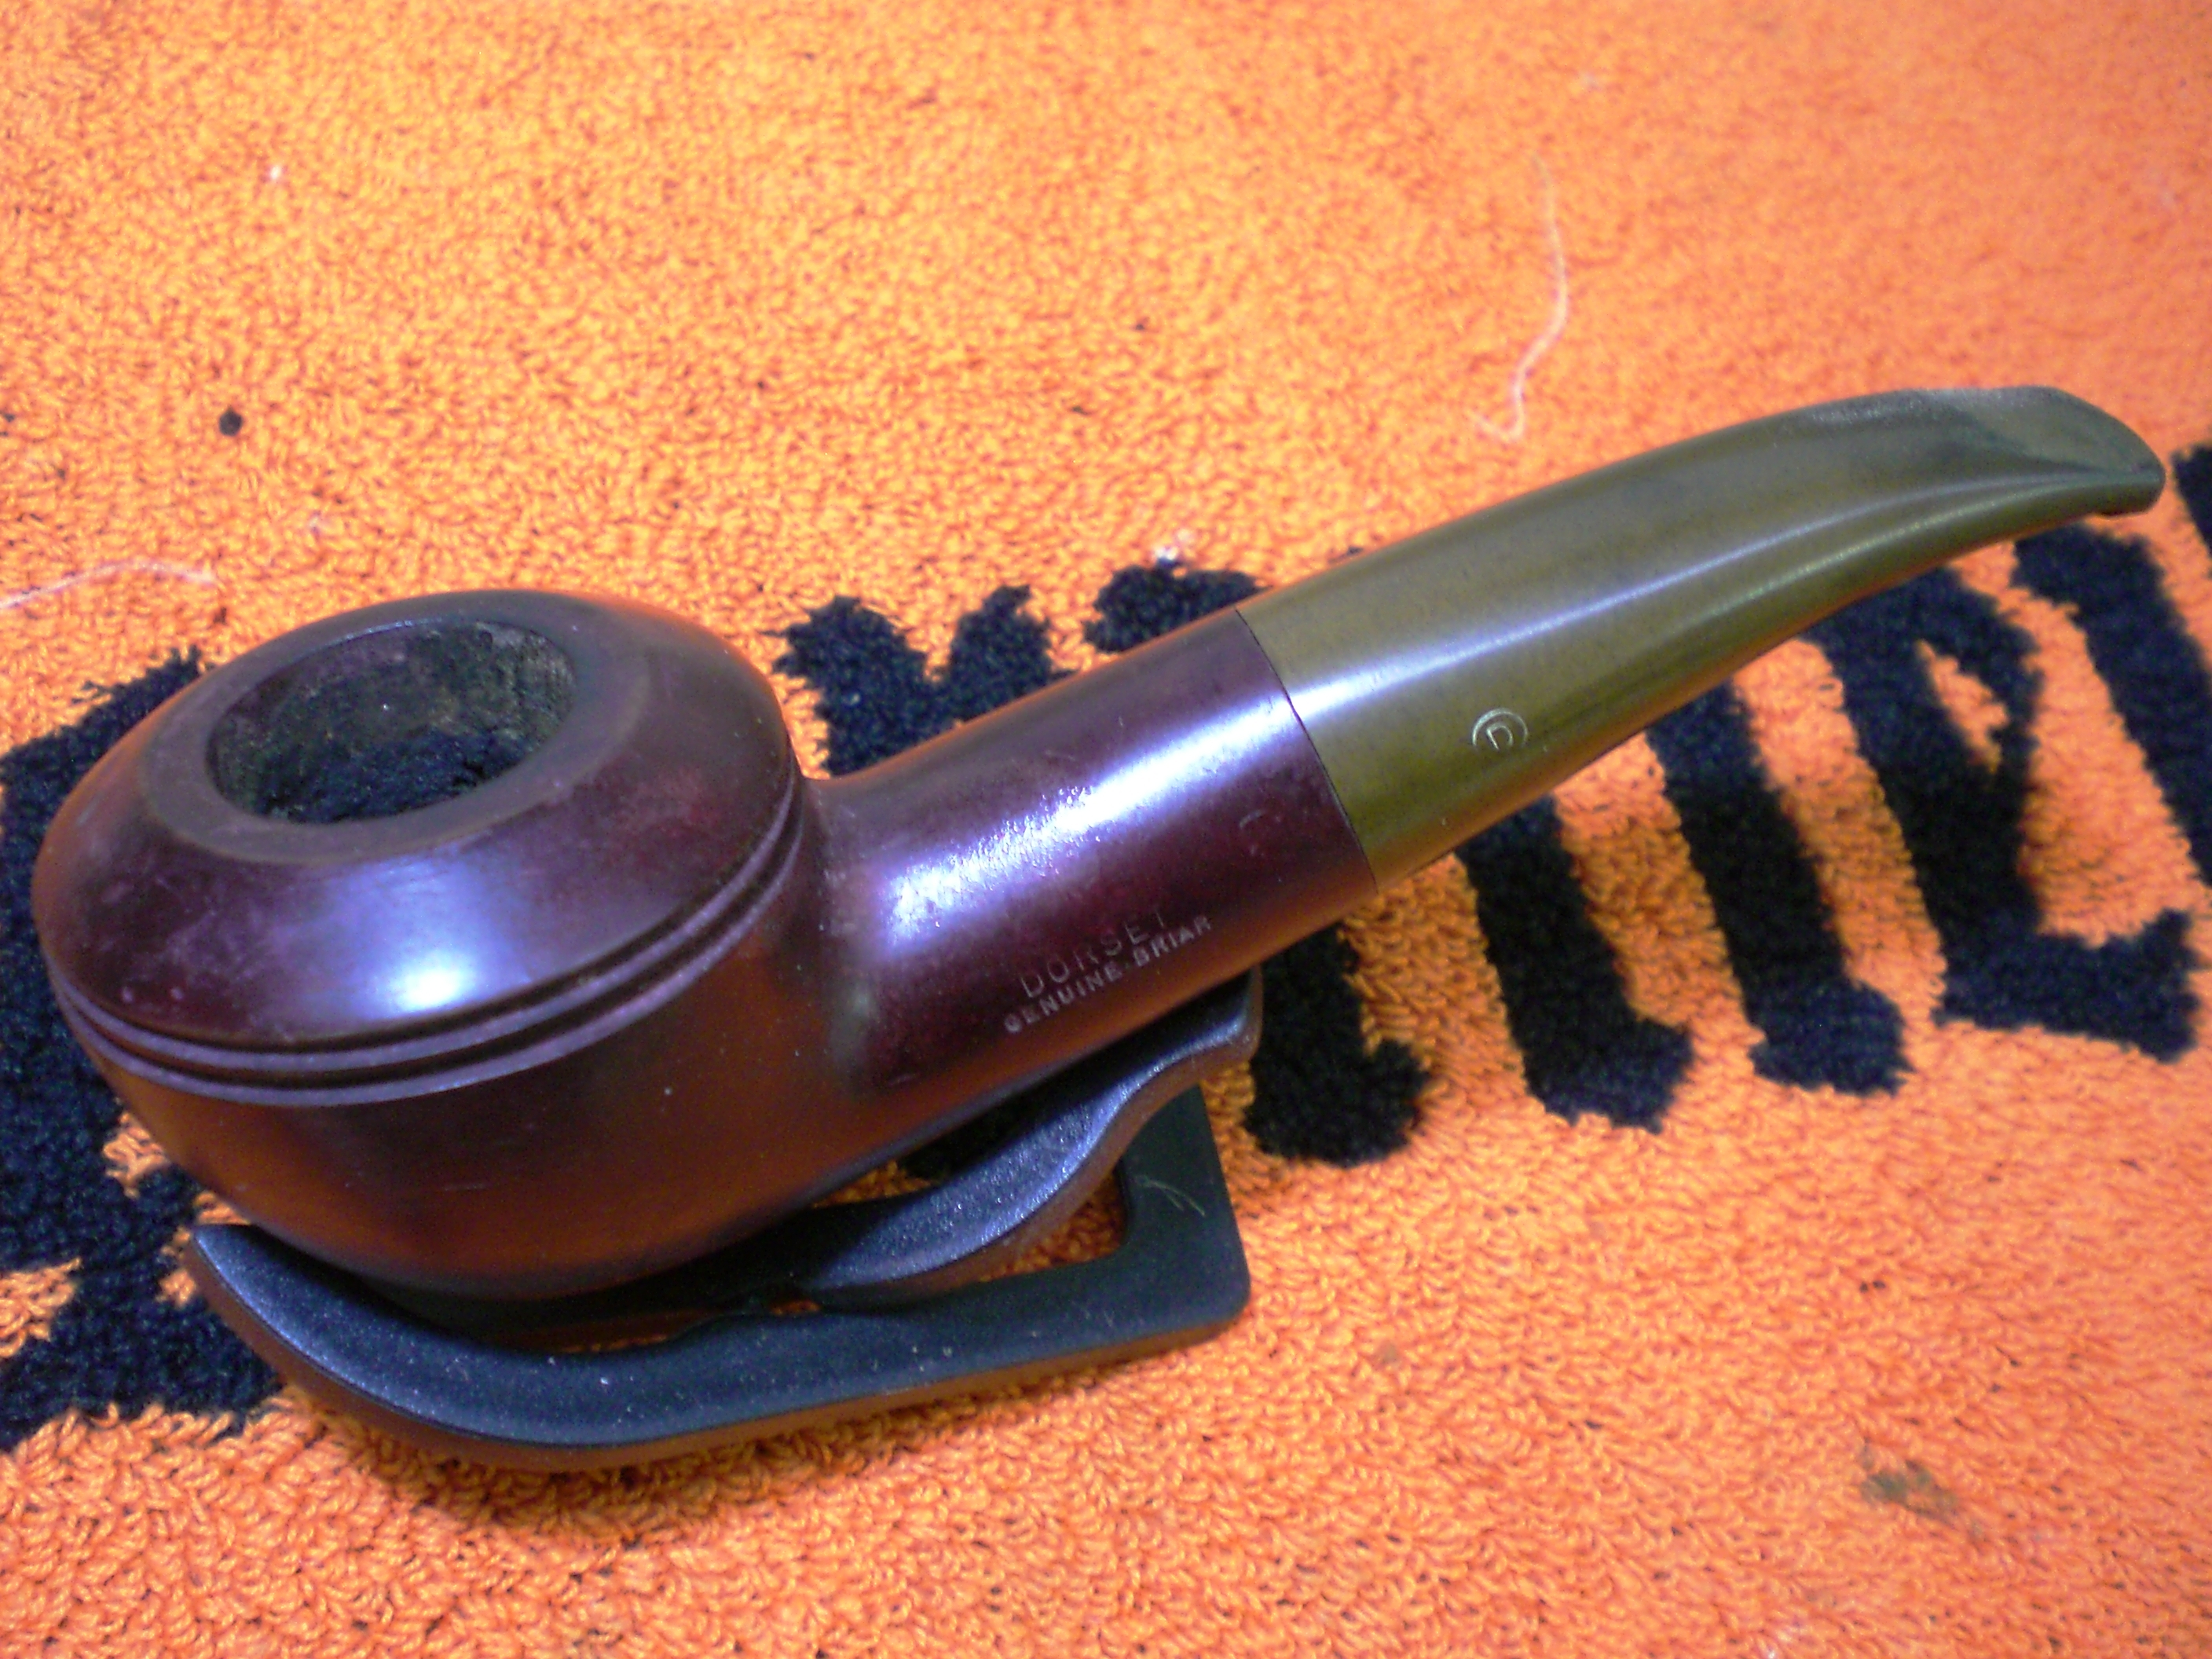
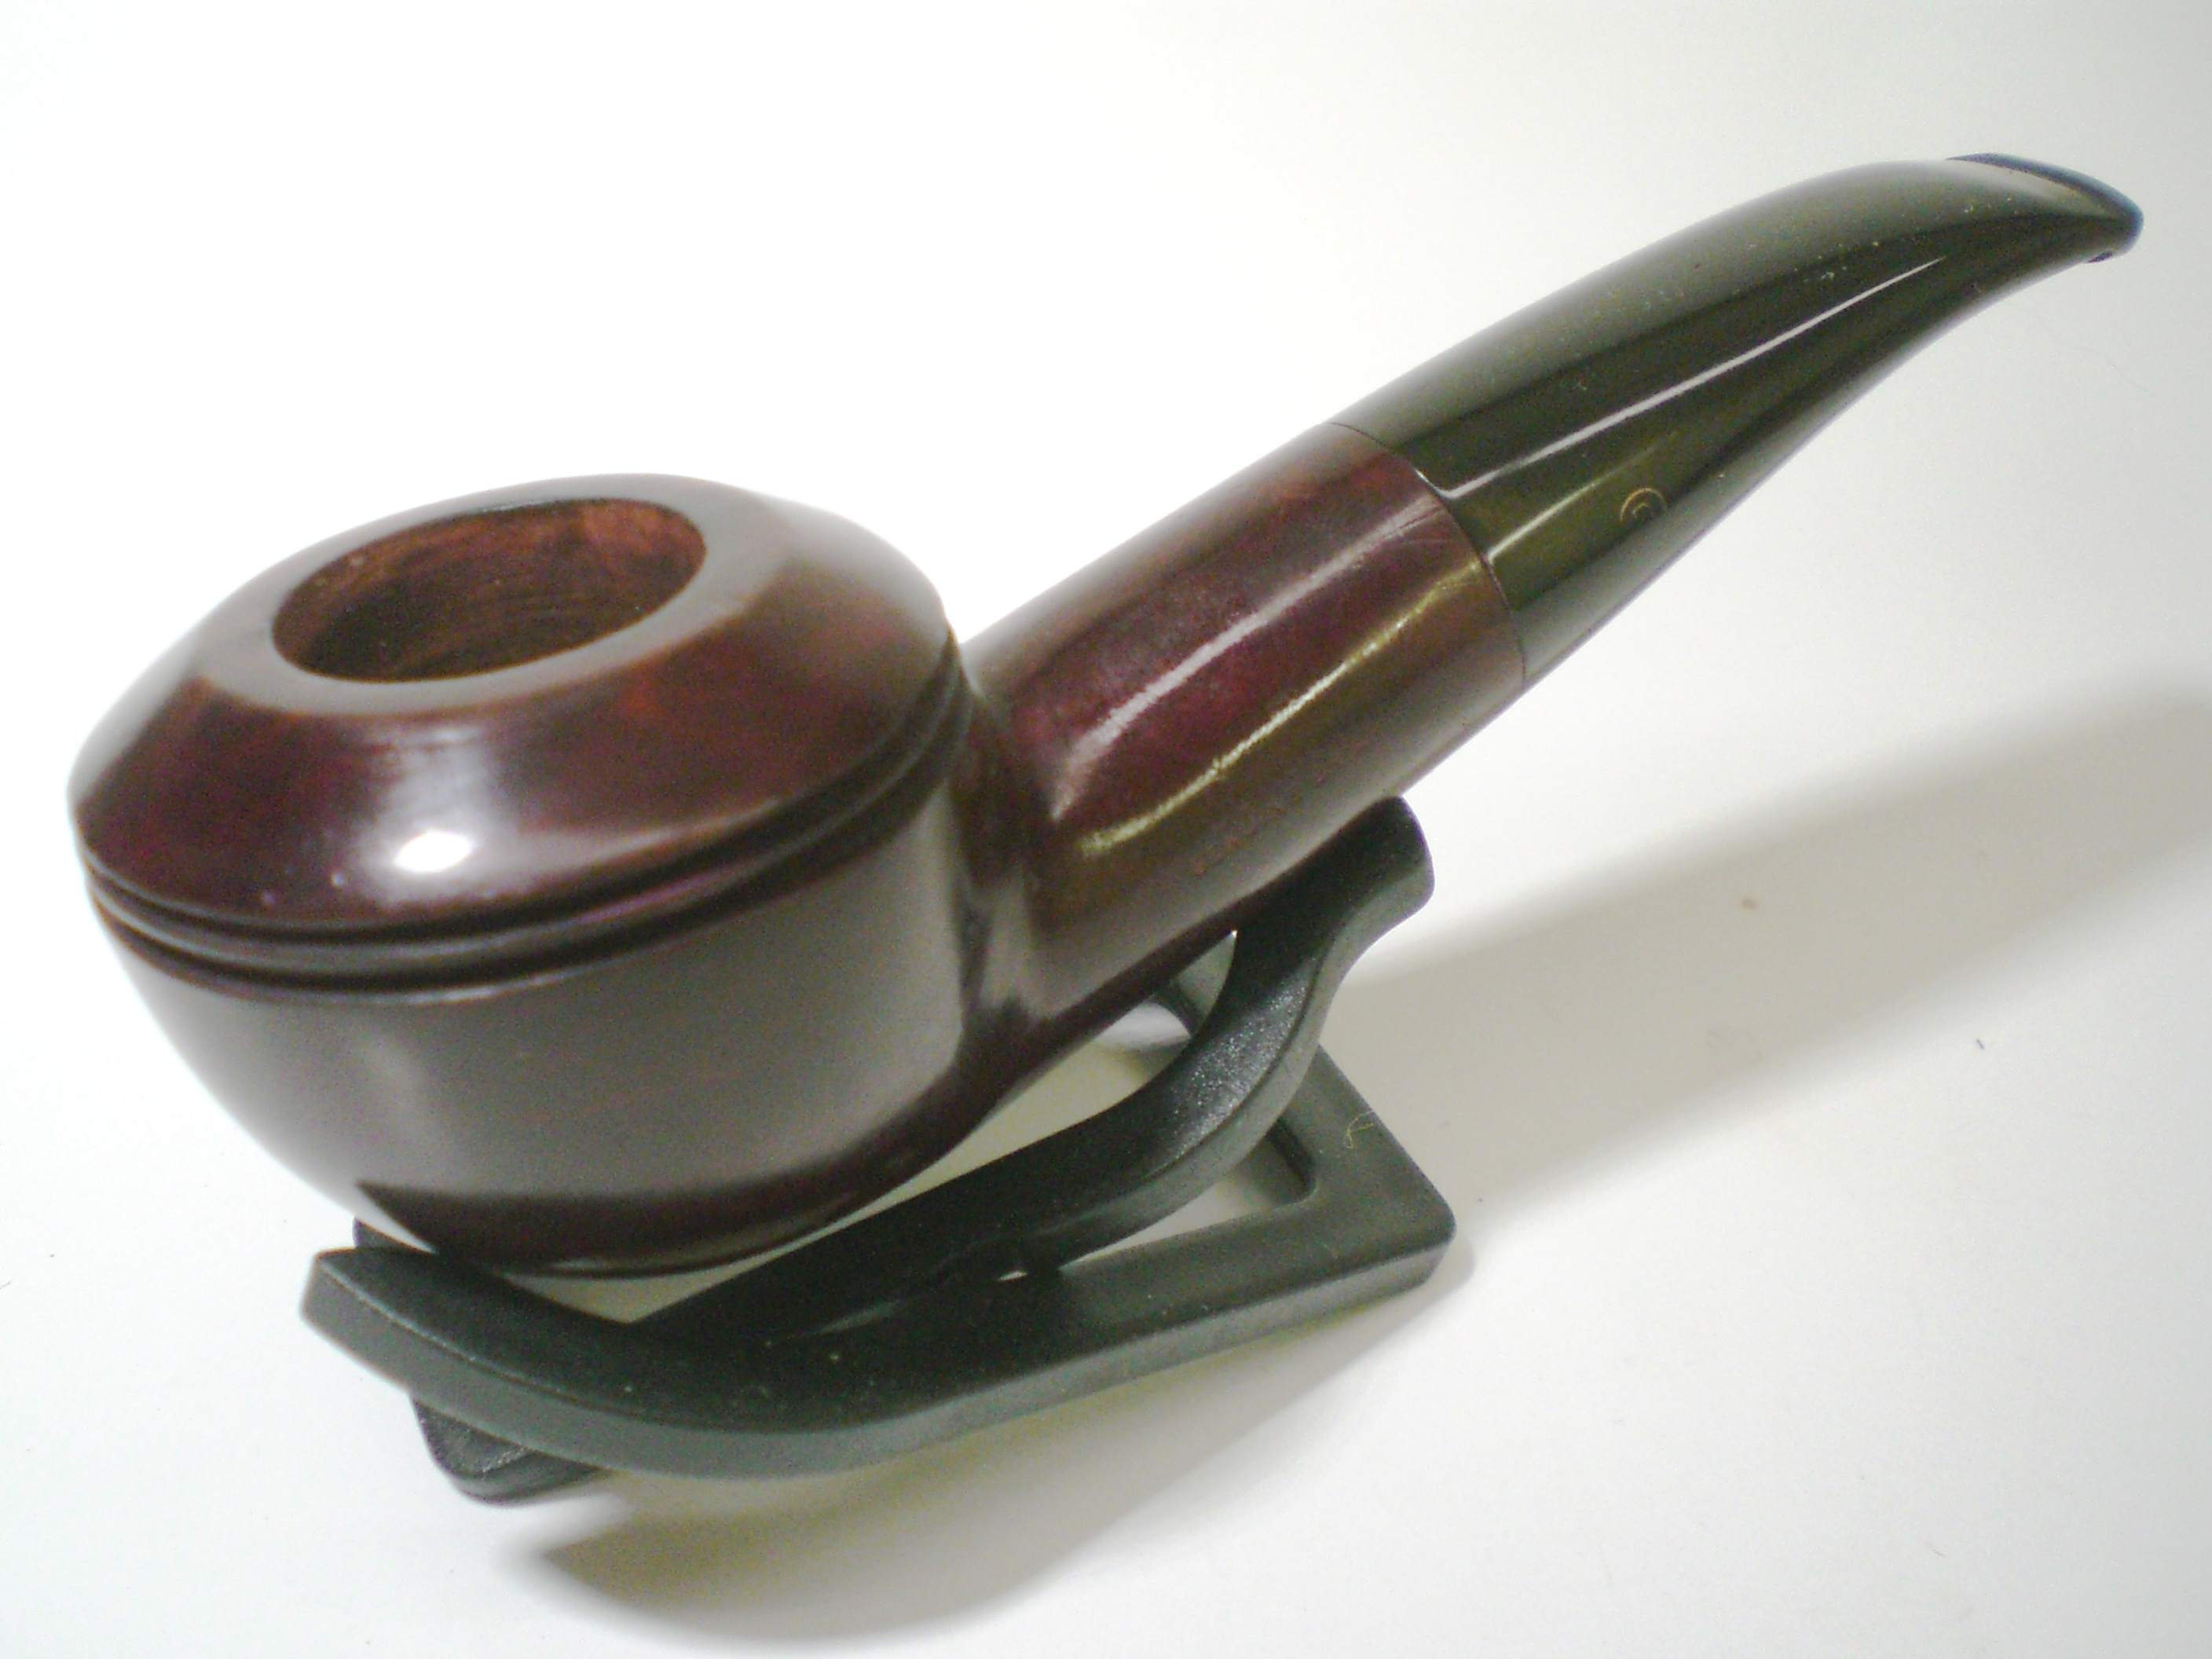
I found this unknown to me pipe on Ebay. It looked to be in decent condition and it is a shape that I love (tapered stem Rhodesian). The pipe had a dark red finish, with a few fills but they were covered up nicely. The stem fitment was excellent and also in overall very good condition. I was hoping that this would be a relatively easy restoration.

Dorset_Rhodesian (1)

Dorset_Rhodesian

Dorset_Rhodesian (3)

Dorset_Rhodesian (5)

Dorset_Rhodesian (6)

Dorset_Rhodesian (2)

Dorset_Rhodesian (8)

I reamed the light cake from the bowl and soaked it for several hours with isopropyl alcohol and sea salt. The bowl only required a light buff with white diamond to bring back the shine, after which I applied several coats of carnuba wax. The bowl had some scuff marks but they came out nicely. The beading around the bowl was in excellent condition.

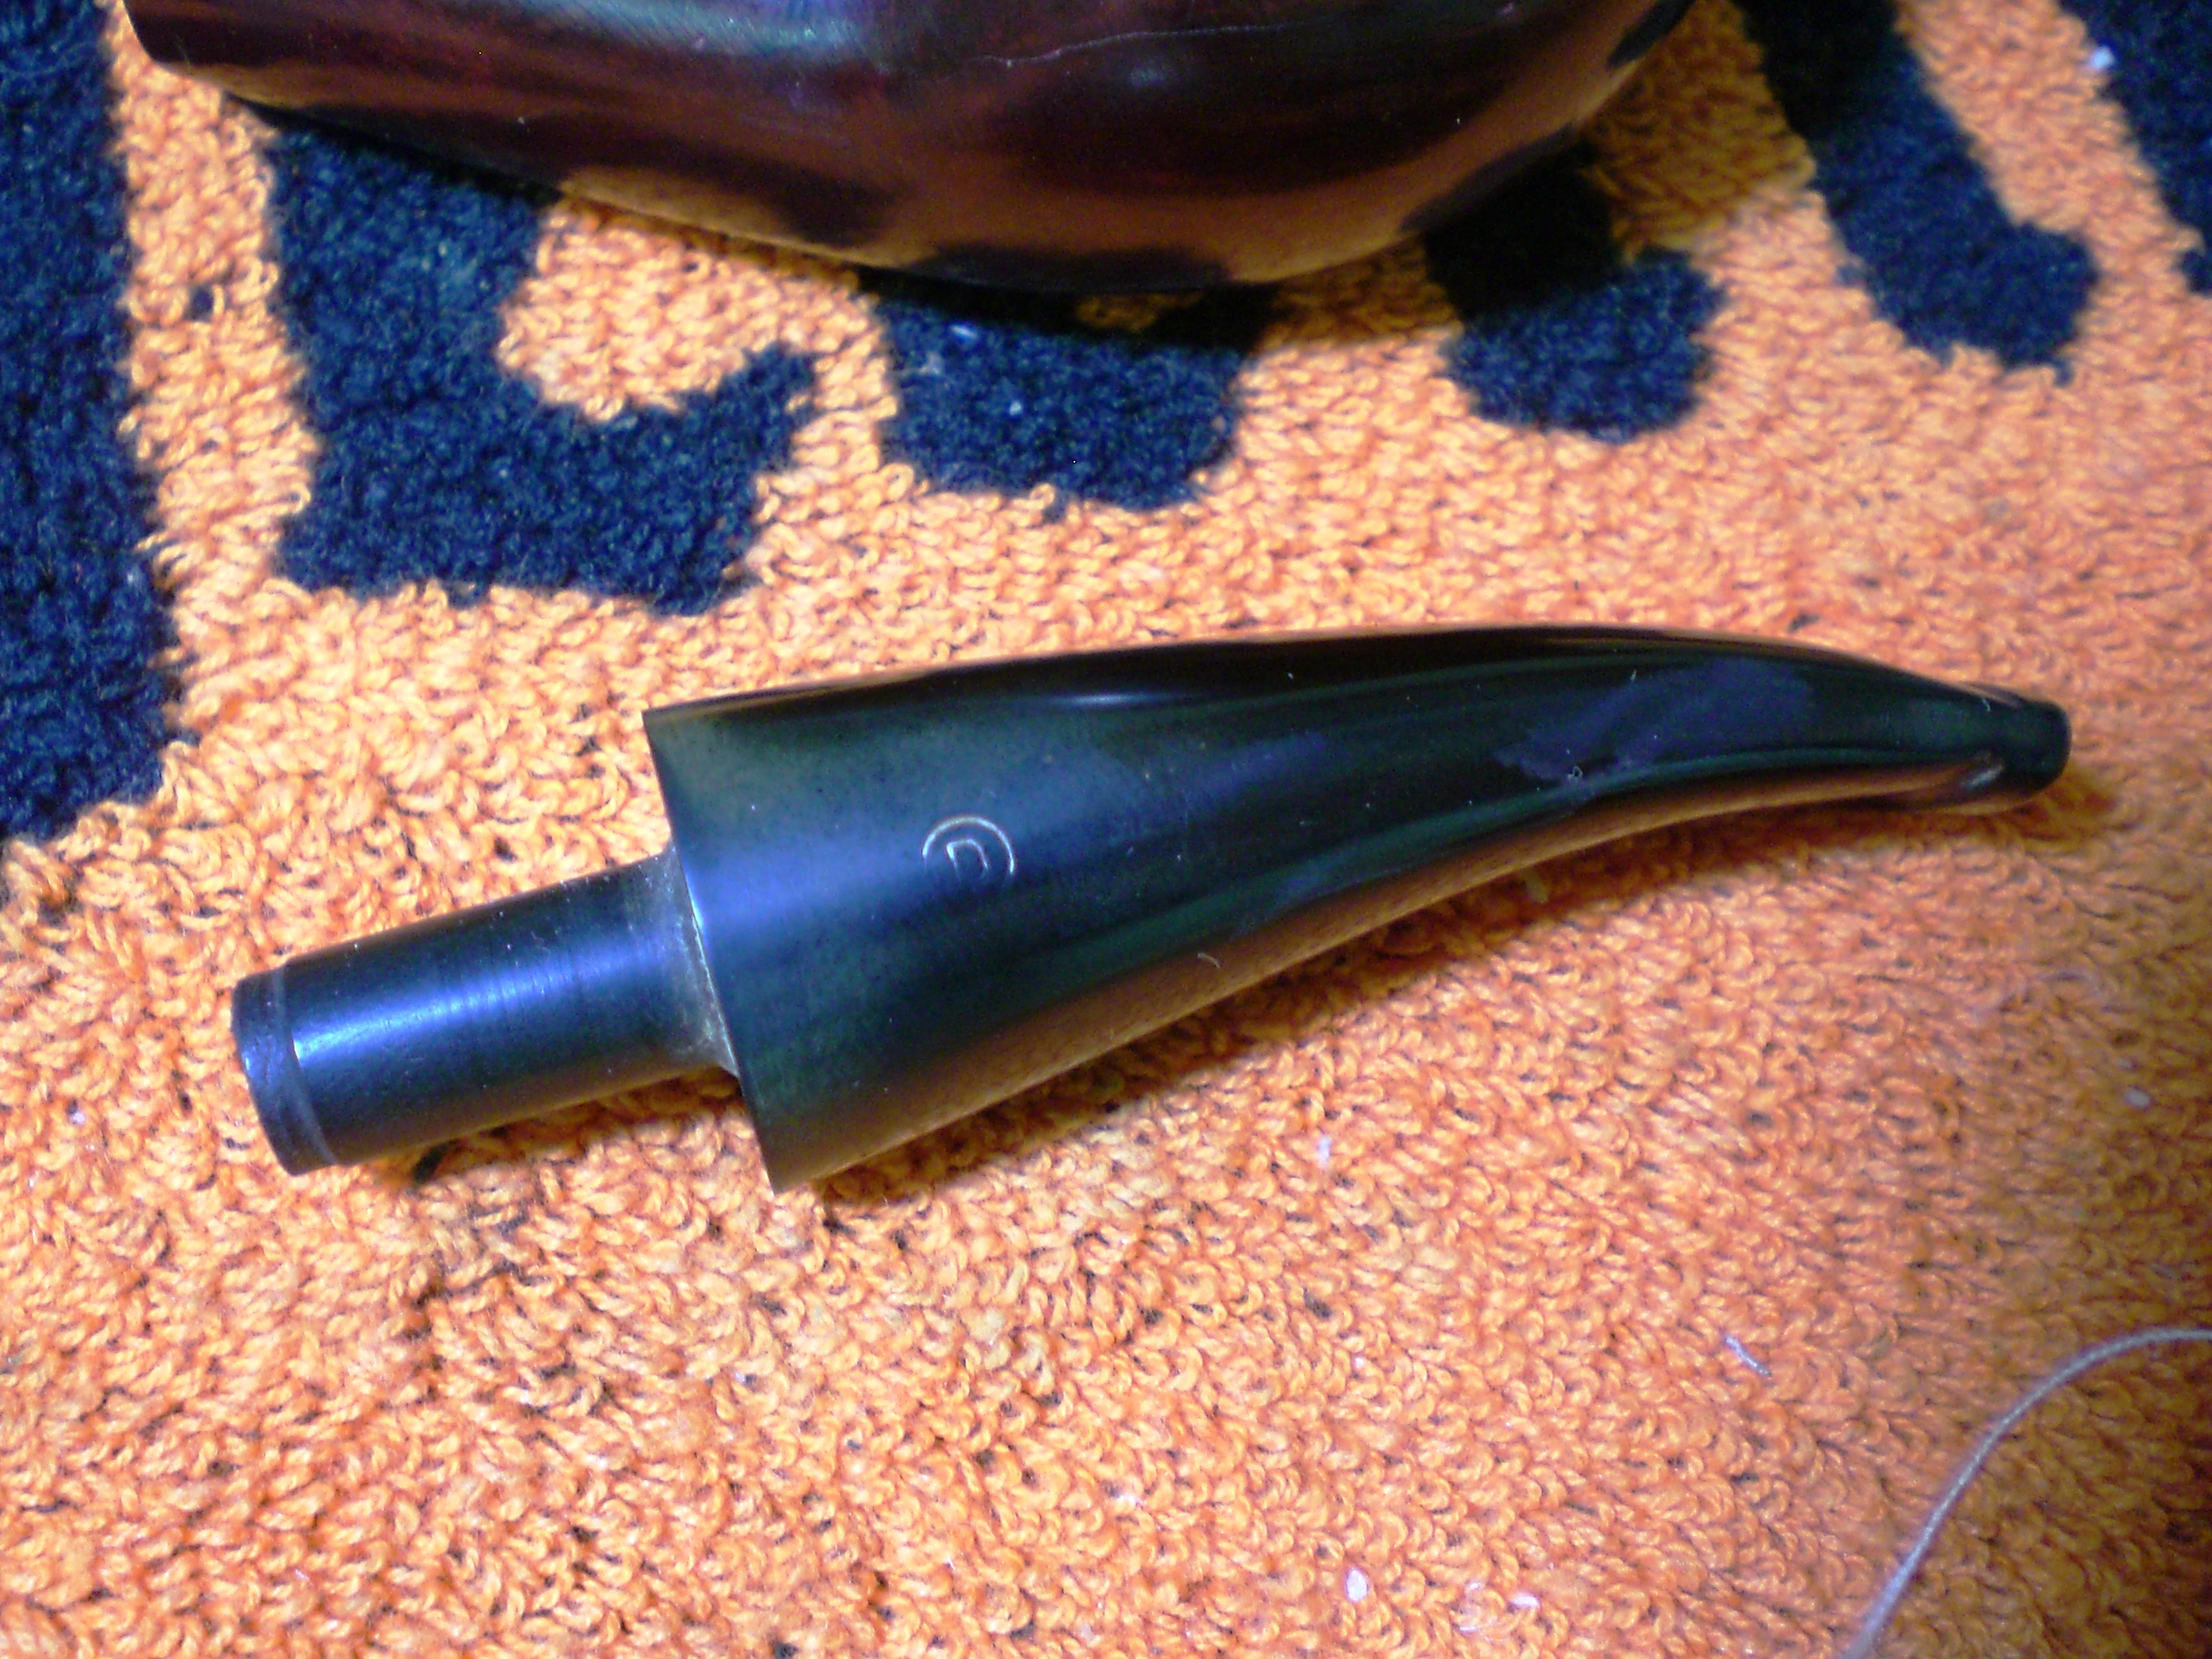
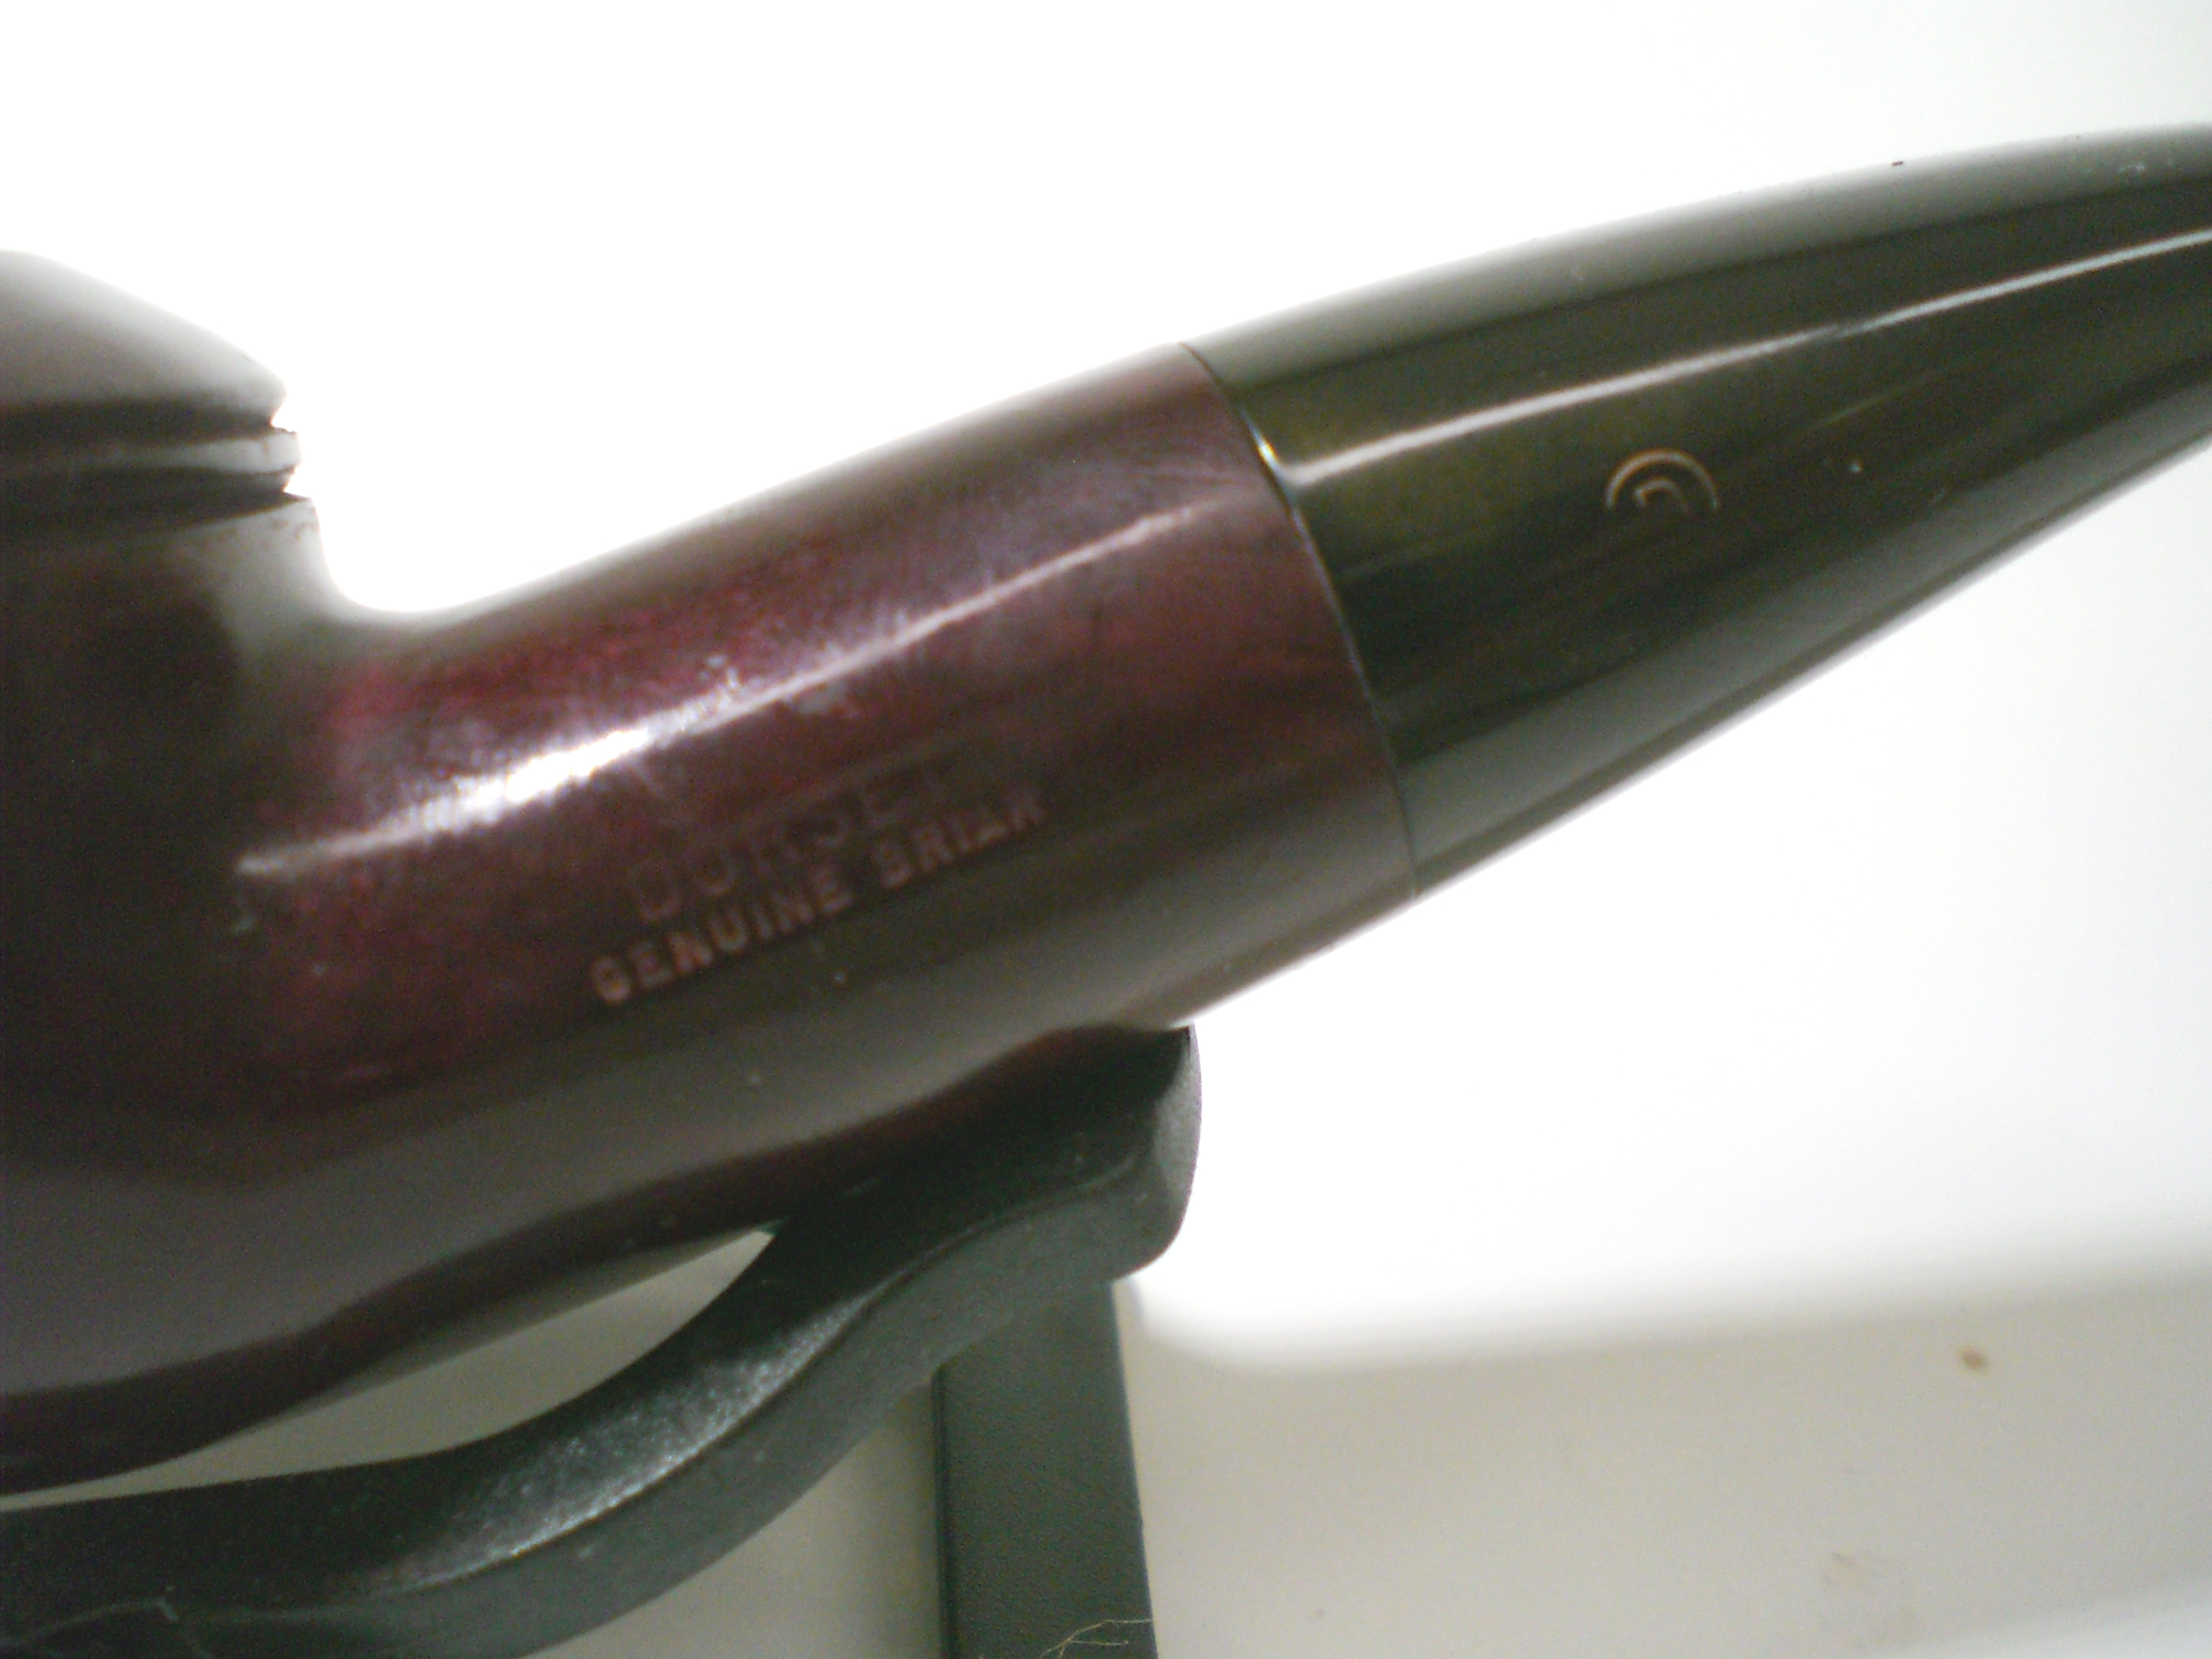
The stem was badly oxidized, but in great shape. I soaked it in a mild oxyclean solution, then used first 800 then 1500 and 2000 grit wet sandpaper to remove the oxidation. After which I sanded it with 8000 and 12000 grade micromesh paper. The stem was inserted back onto the bowl for work around the shank end and I was careful not to damage the “D” stem stamp. I then buffed the stem with white diamond and red rouge, followed by a buff using automotive plastic polish. The stem came back quite nicely. Here is the stem before moving to the buffing wheel.

Dorset_Rhodesian (9)

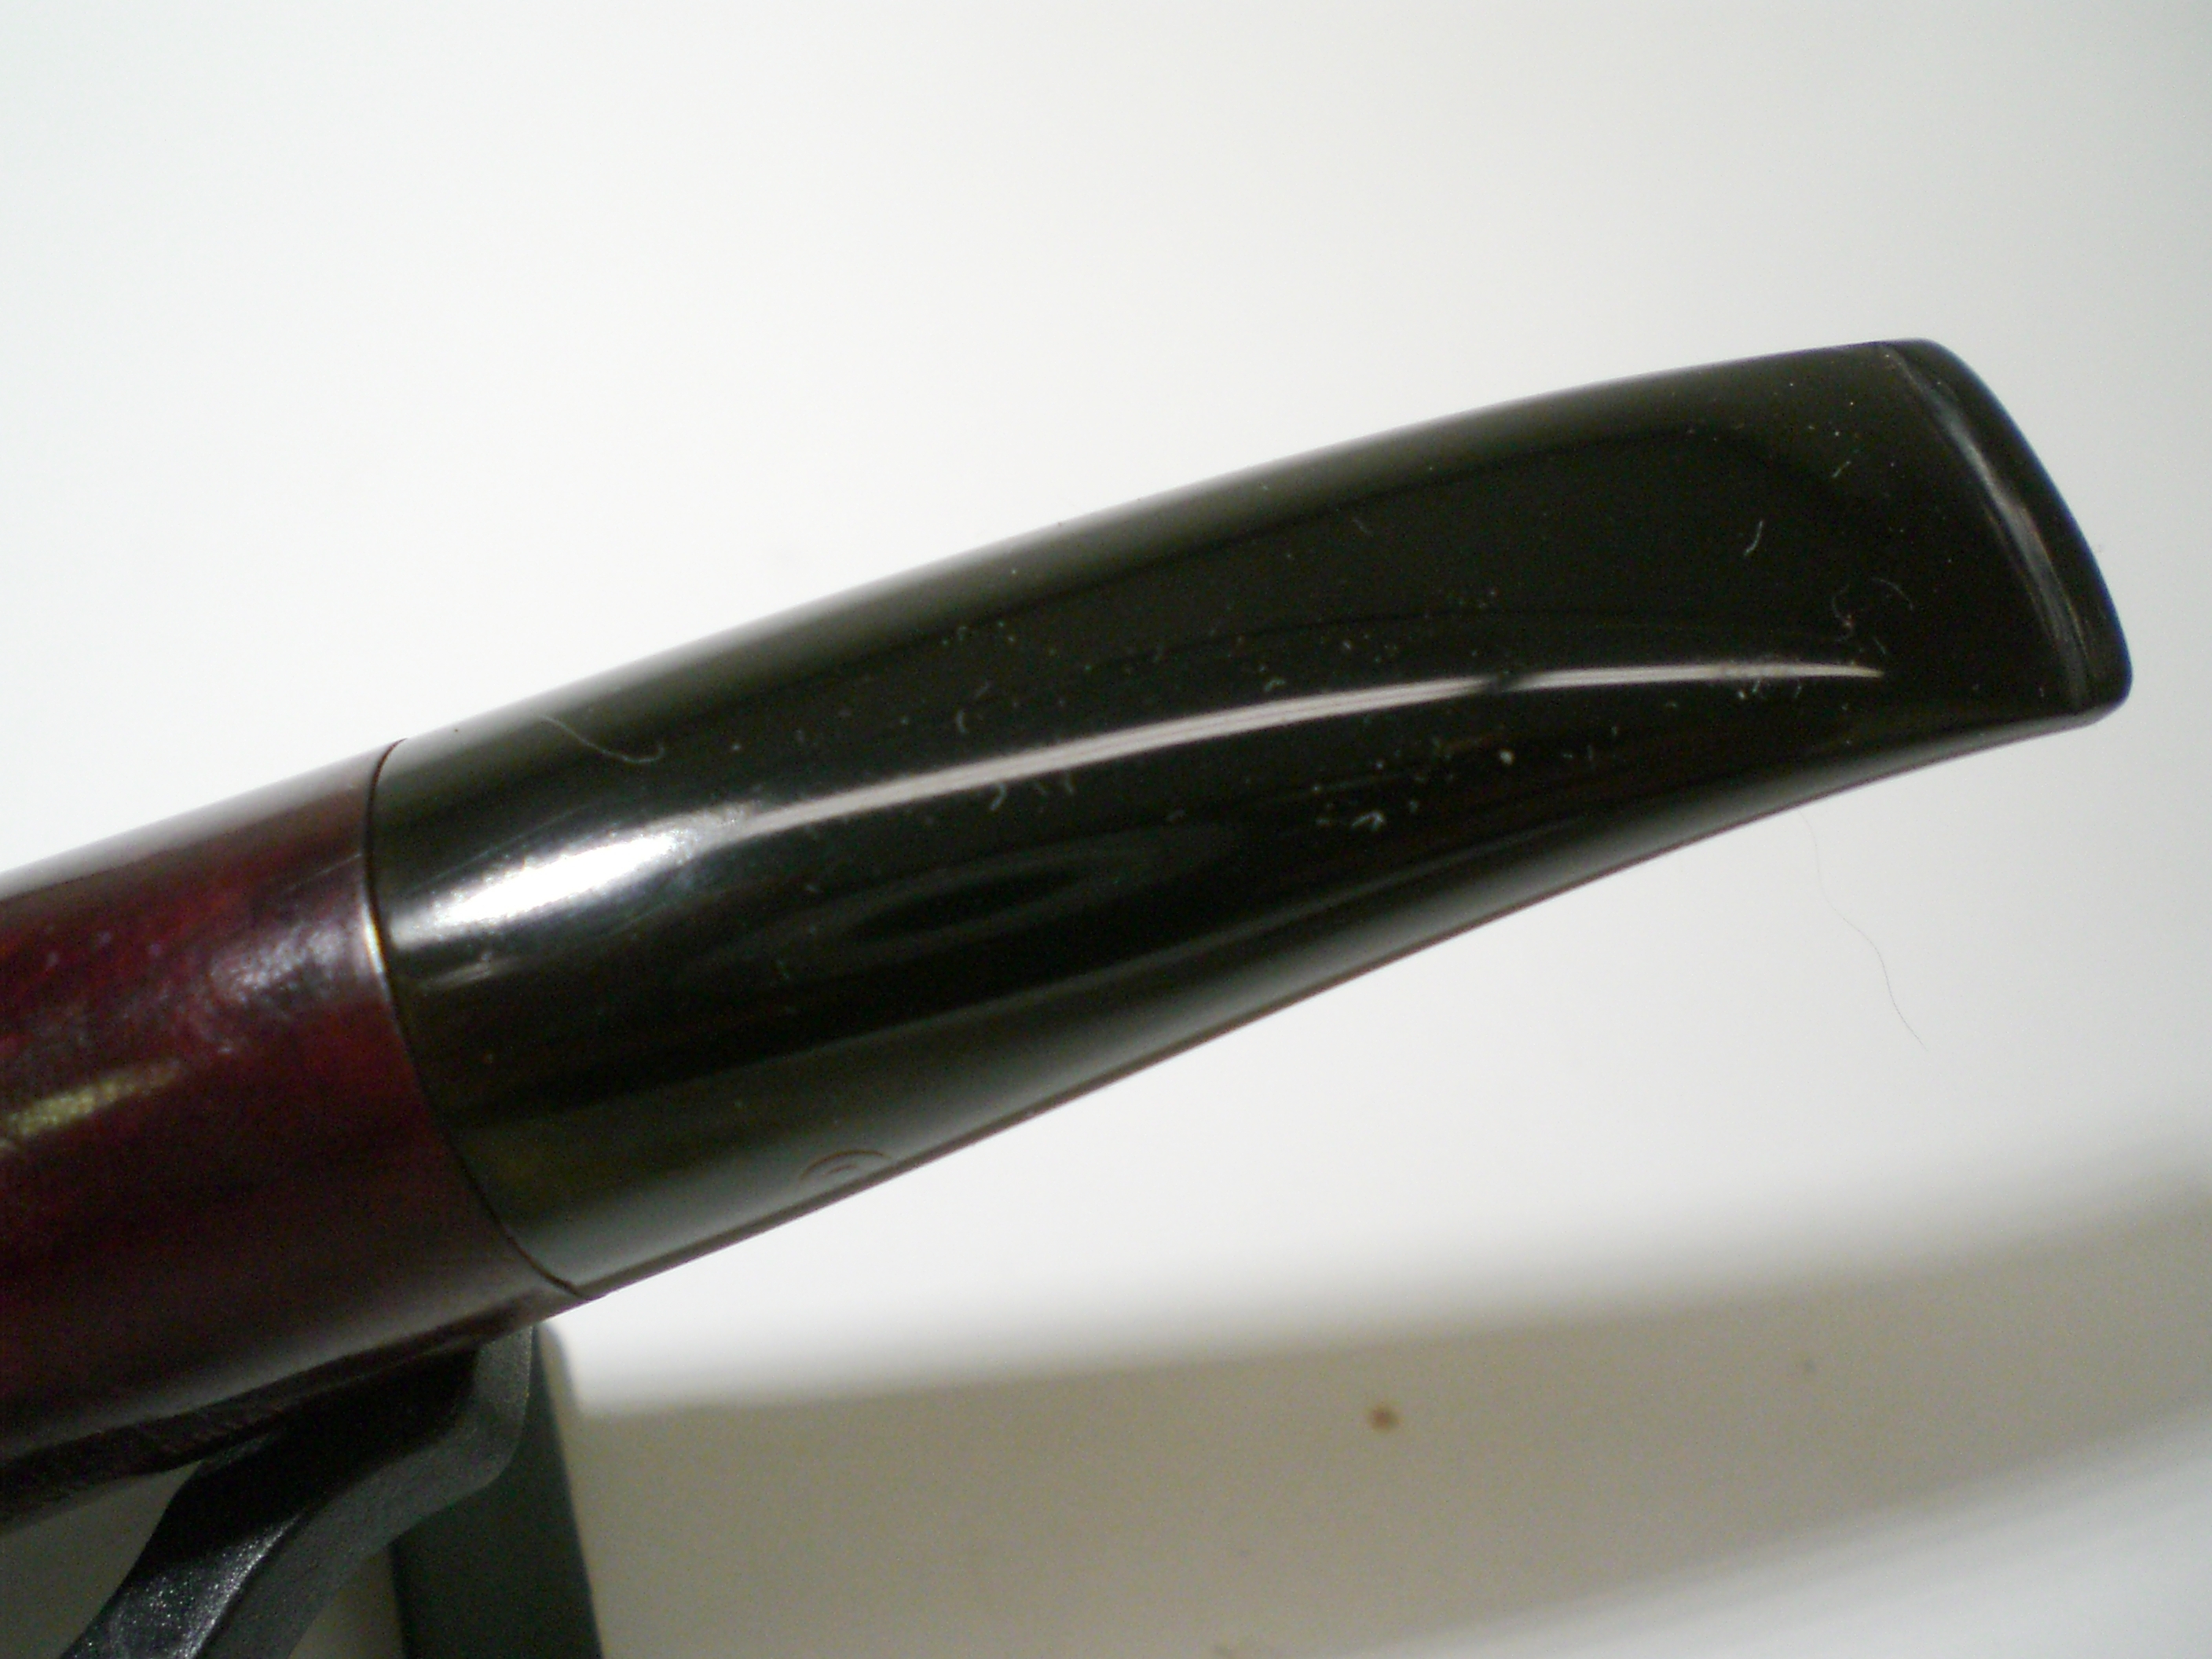
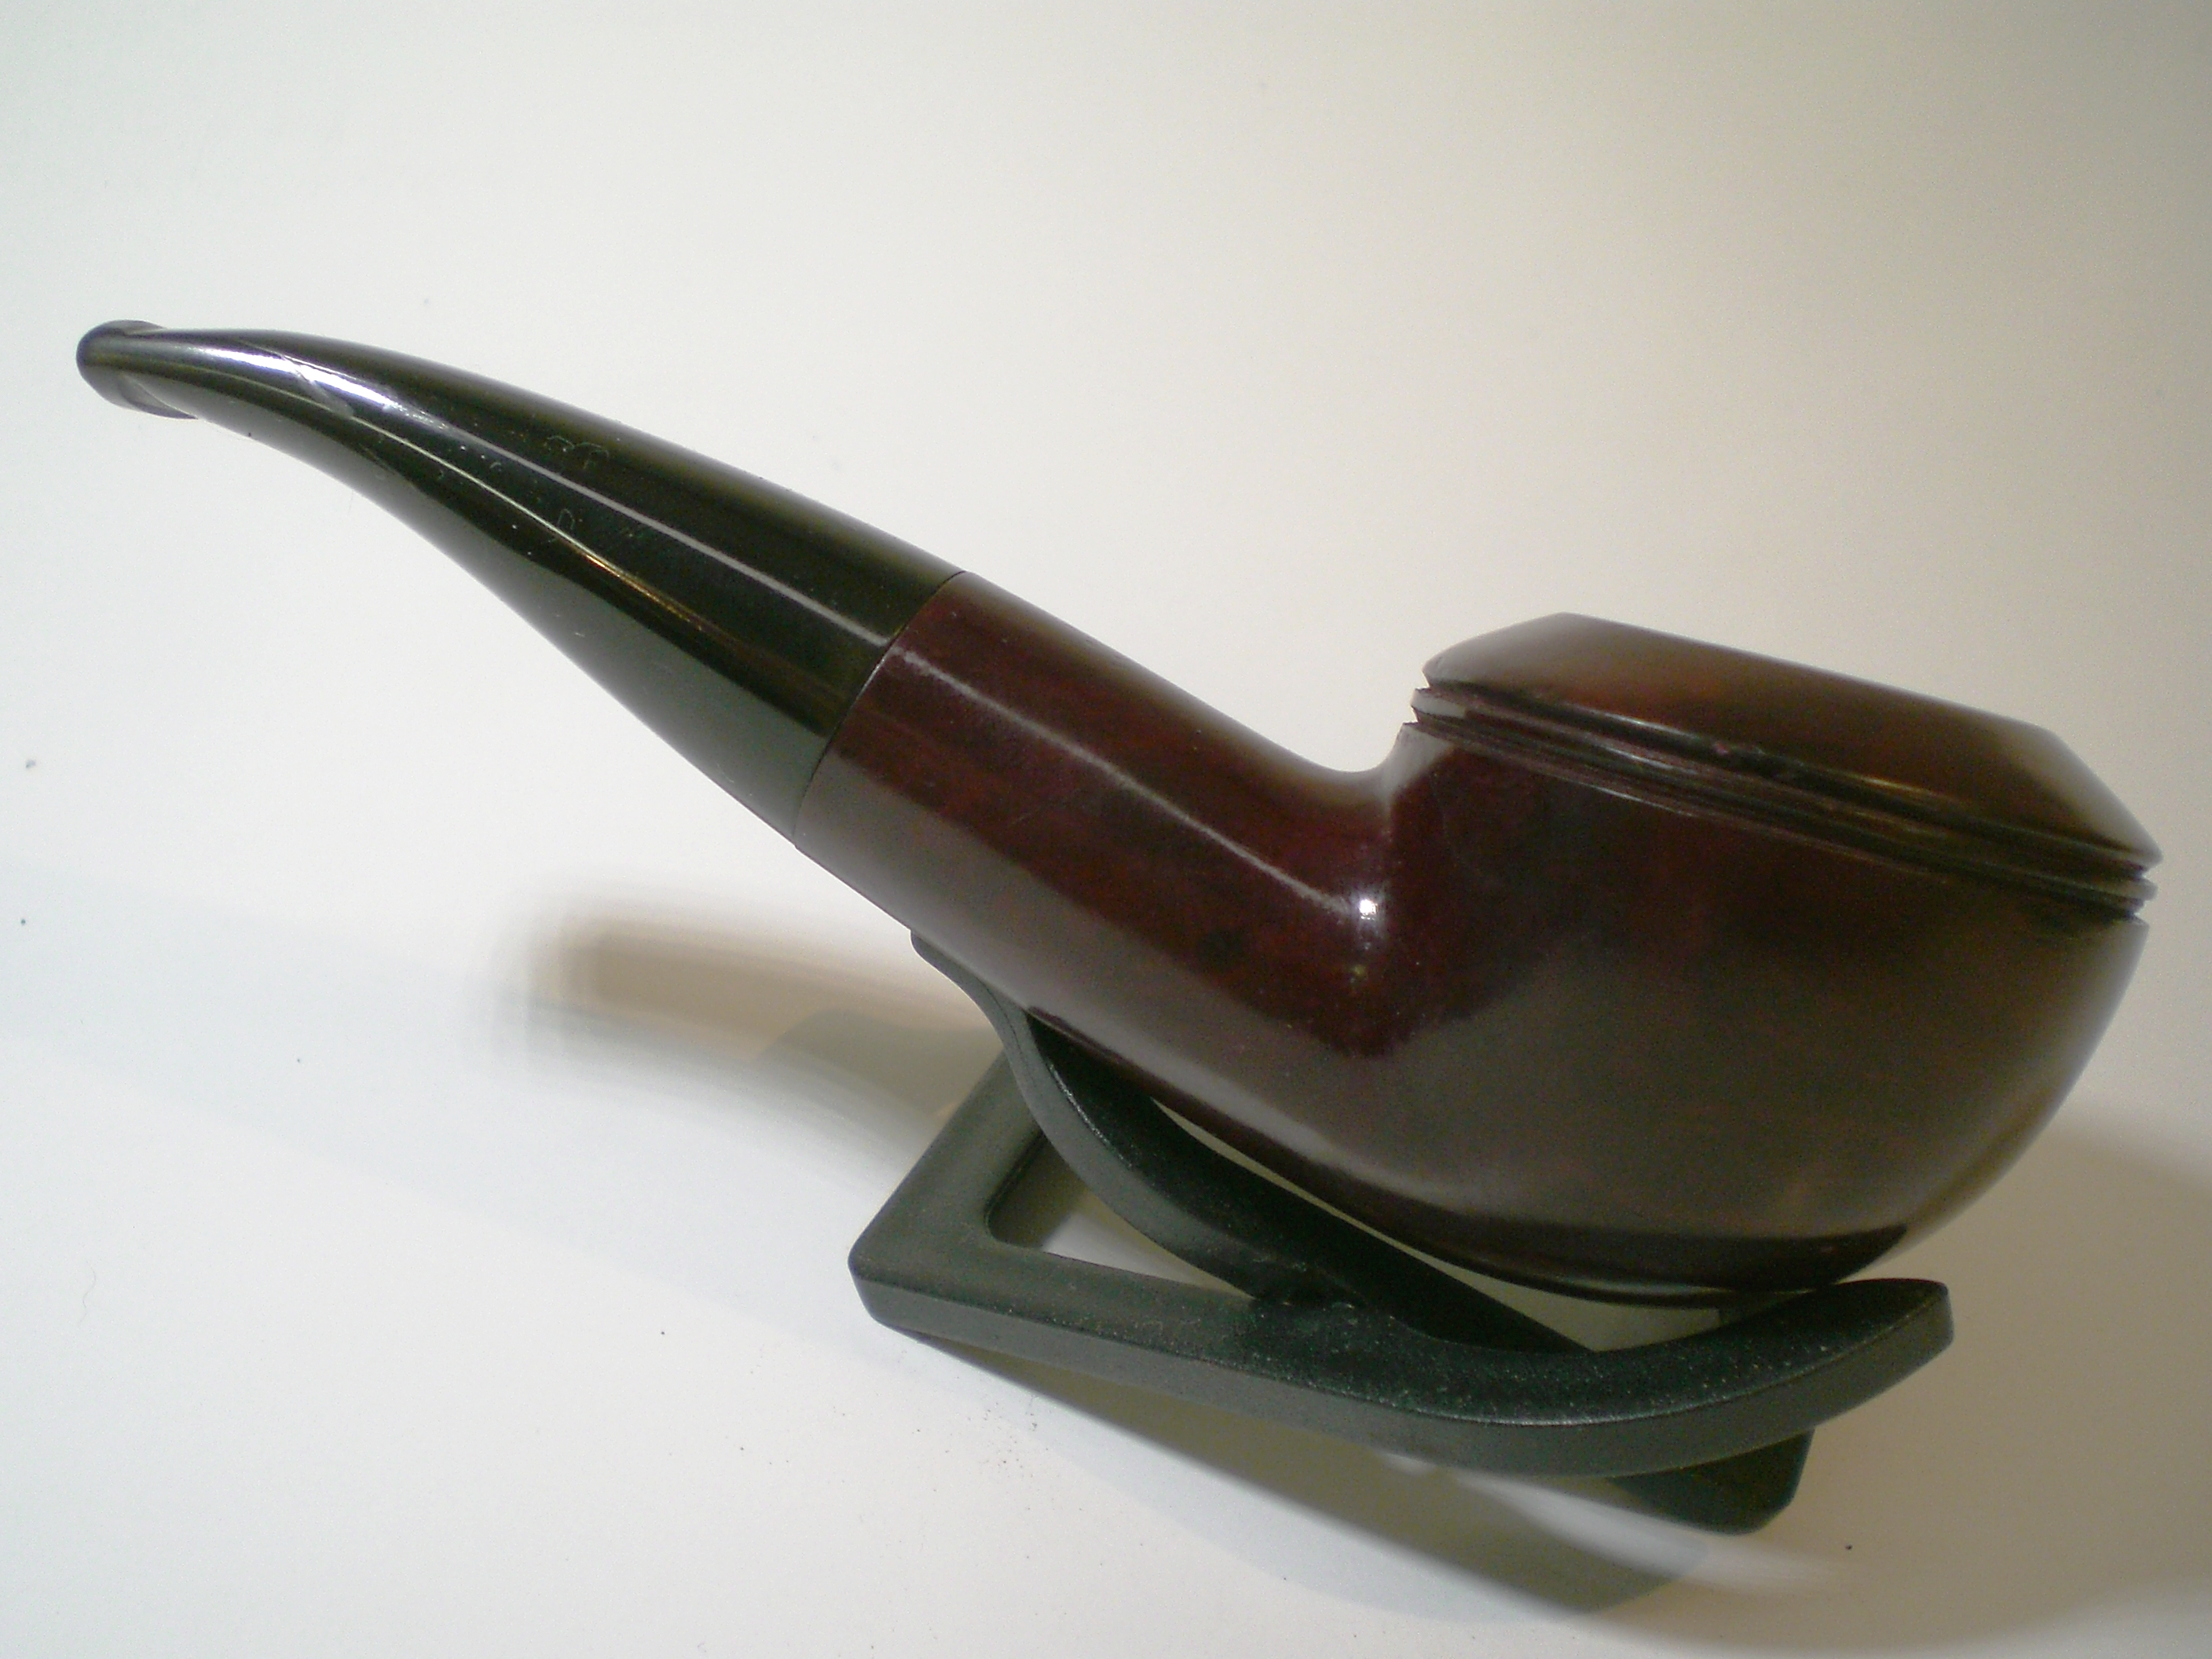
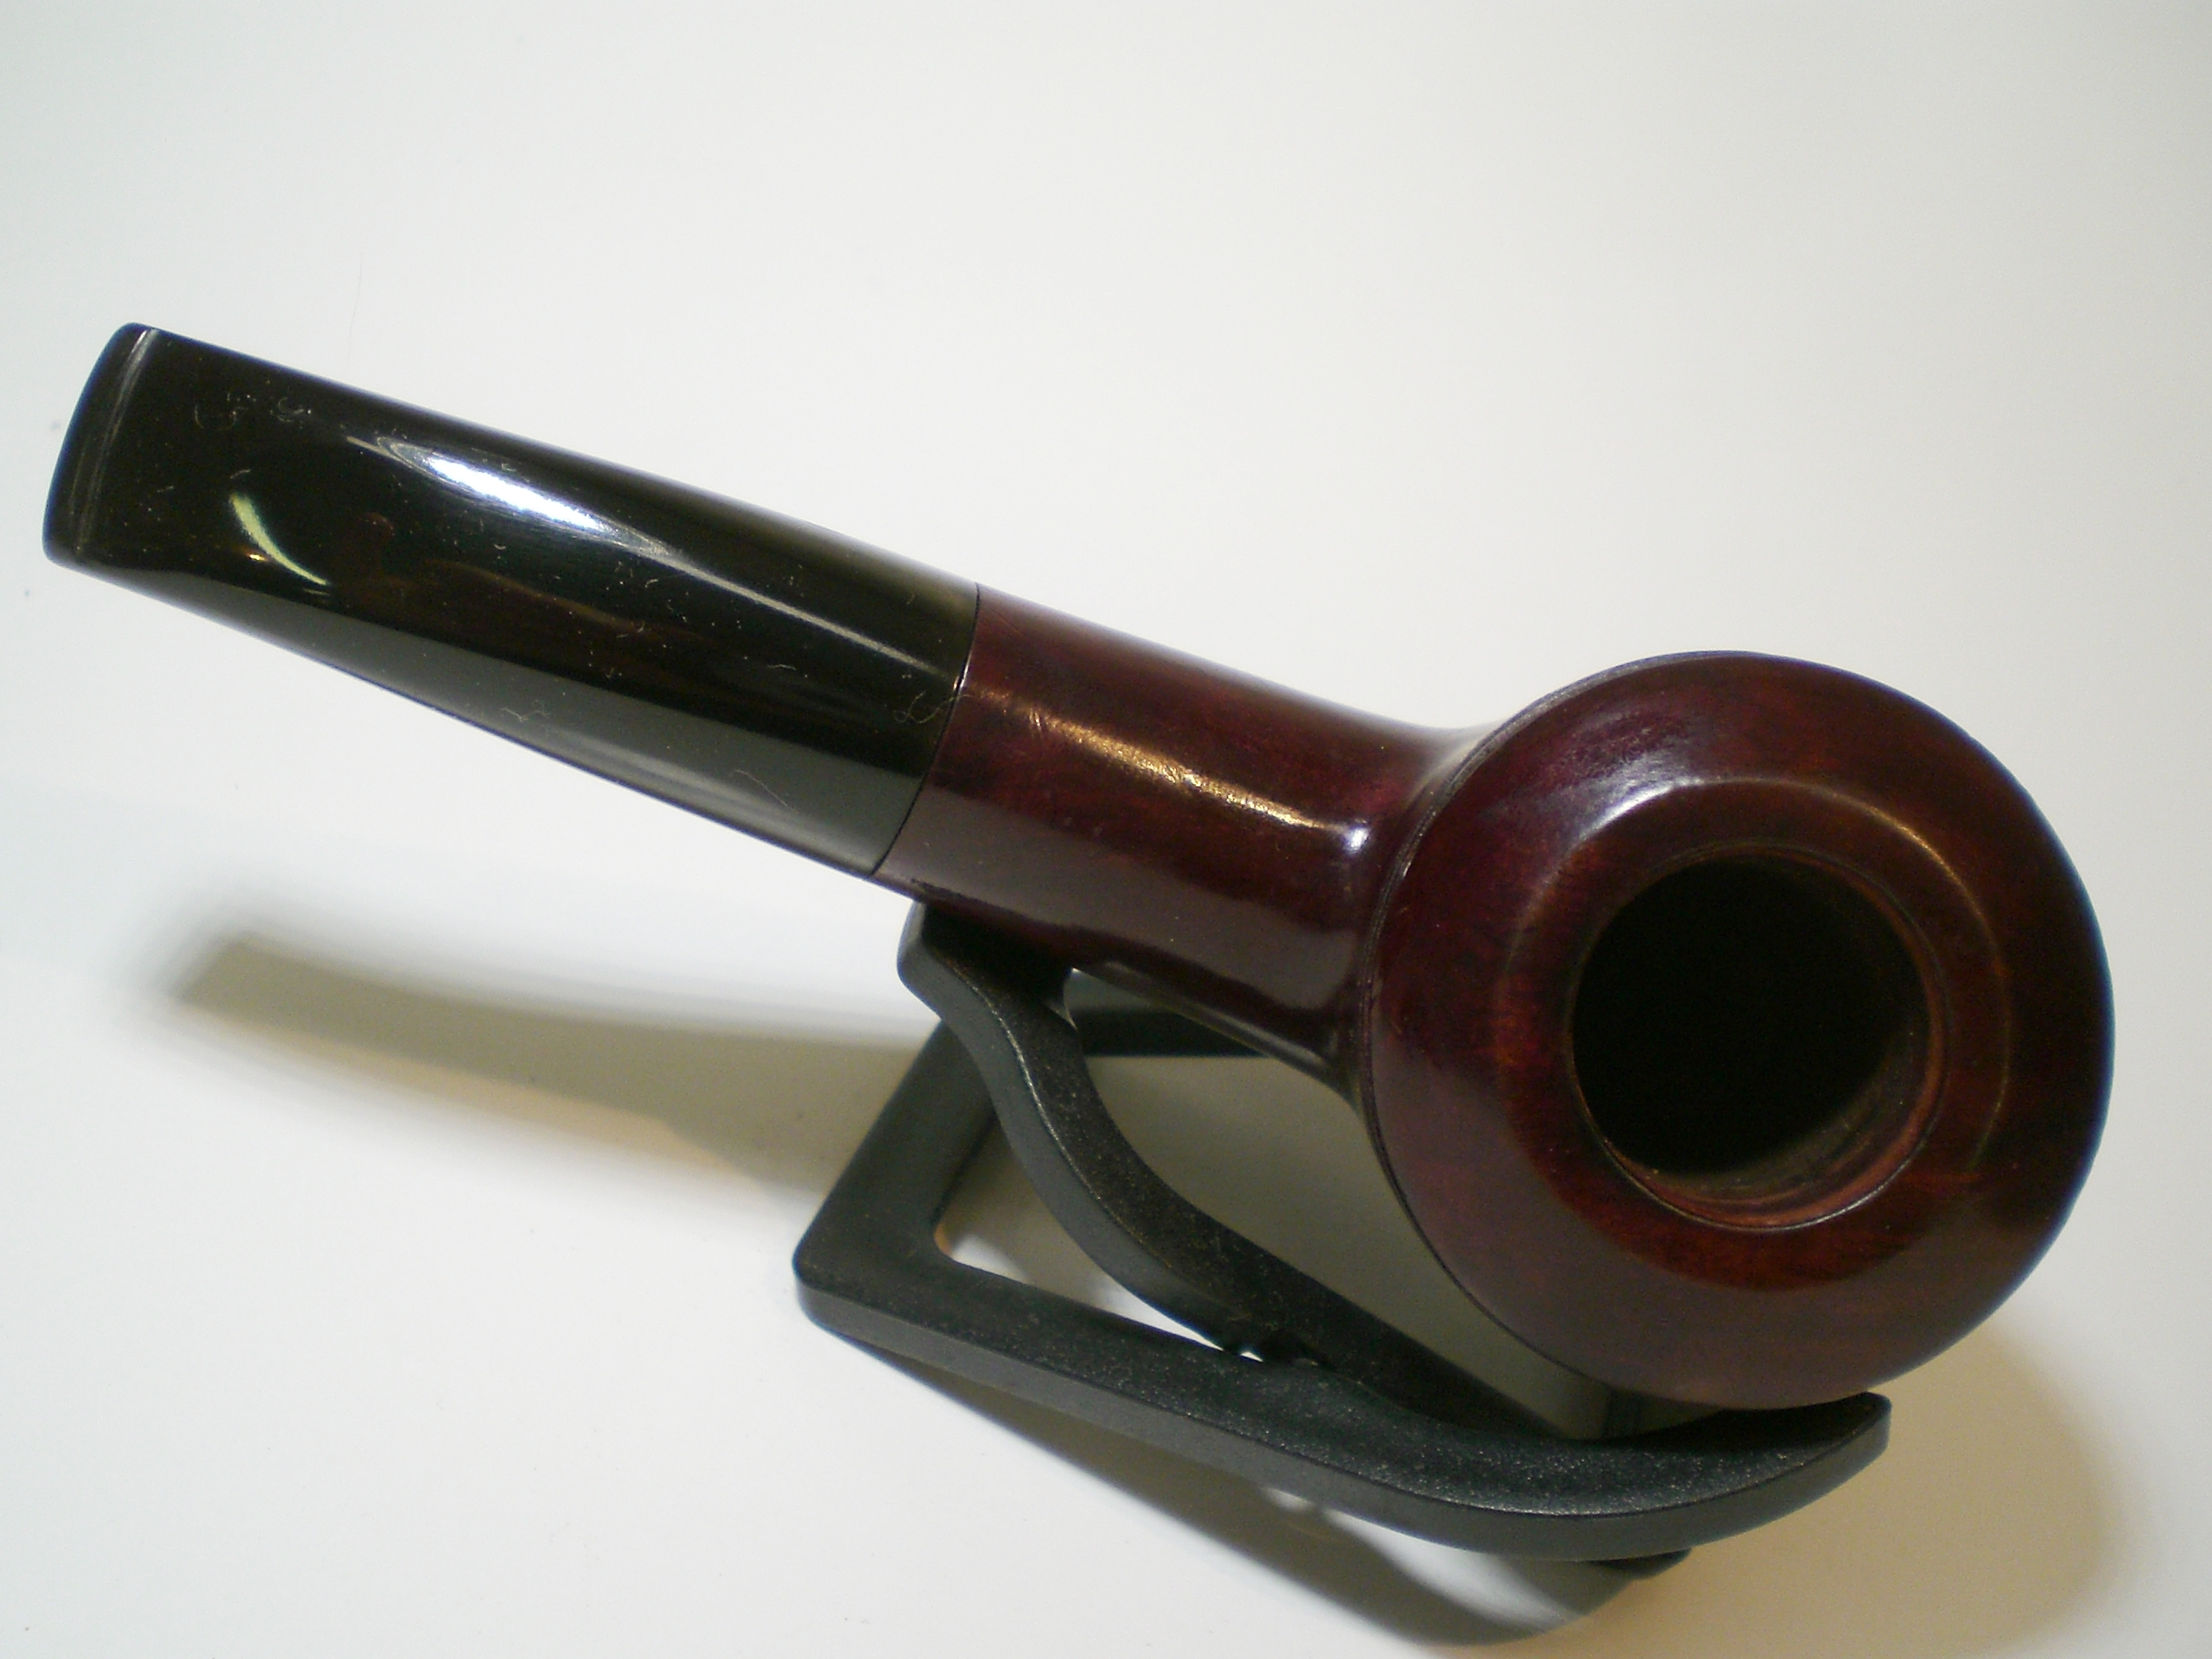
Overall, I was very pleased with the finish of the pipe. It was delivered to the new owner this weekend, and they were also pleased with the appearance and how it smoked.

Dorset_Rhodesian (10)

Dorset_Rhodesian (11)

Dorset_Rhodesian (12)

Dorset_Rhodesian (13)

Dorset_Rhodesian (14)

Dorset_Rhodesian (15)

Dorset_Rhodesian (16)

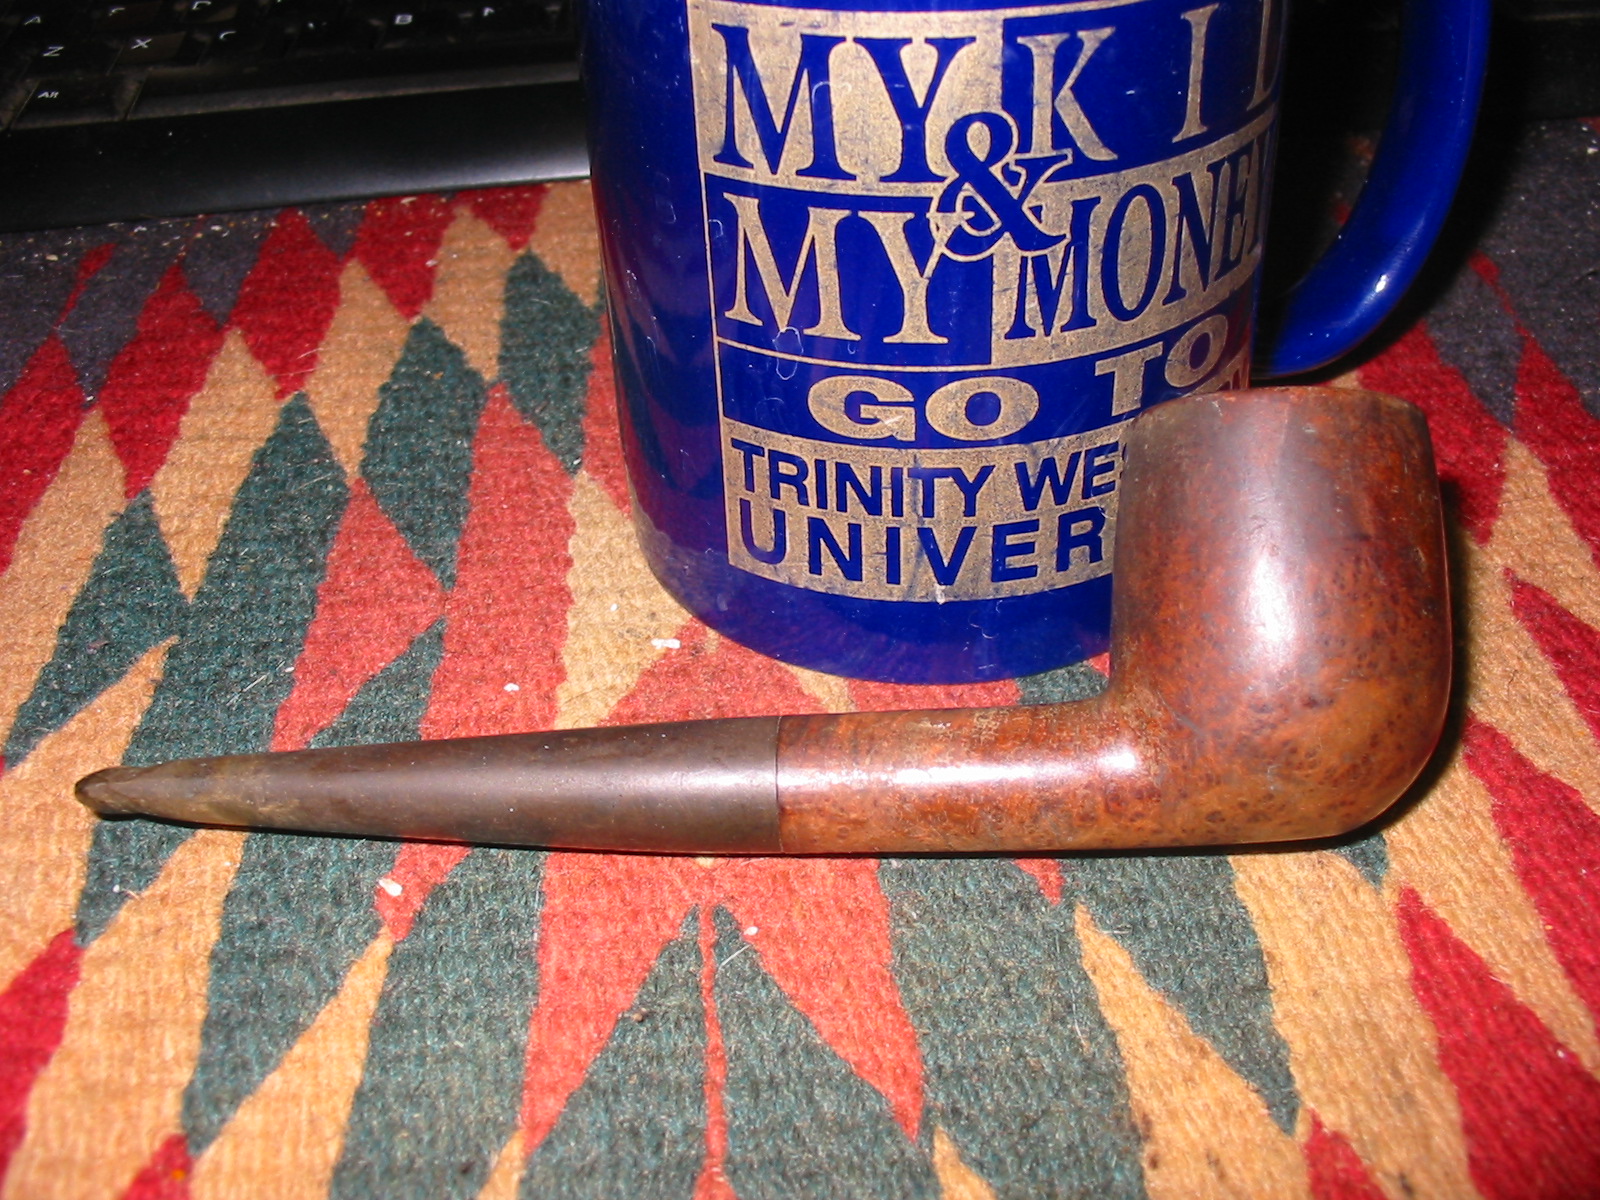
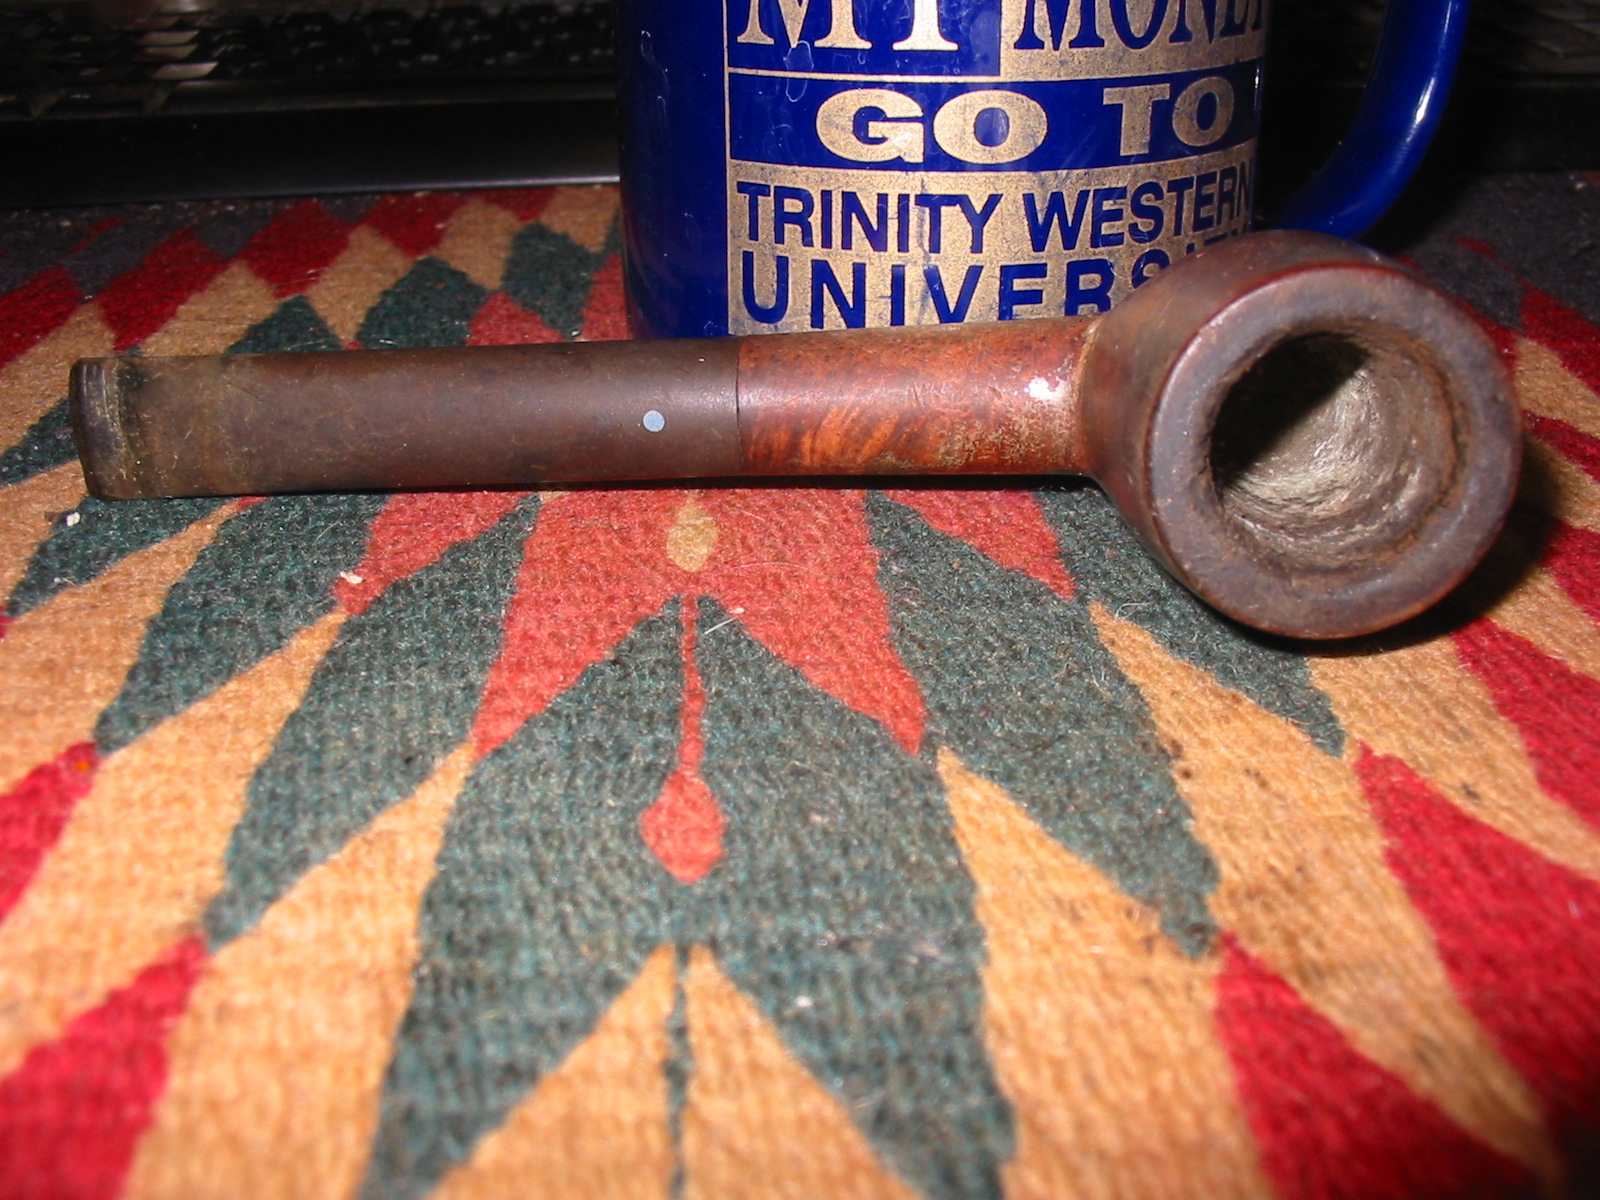
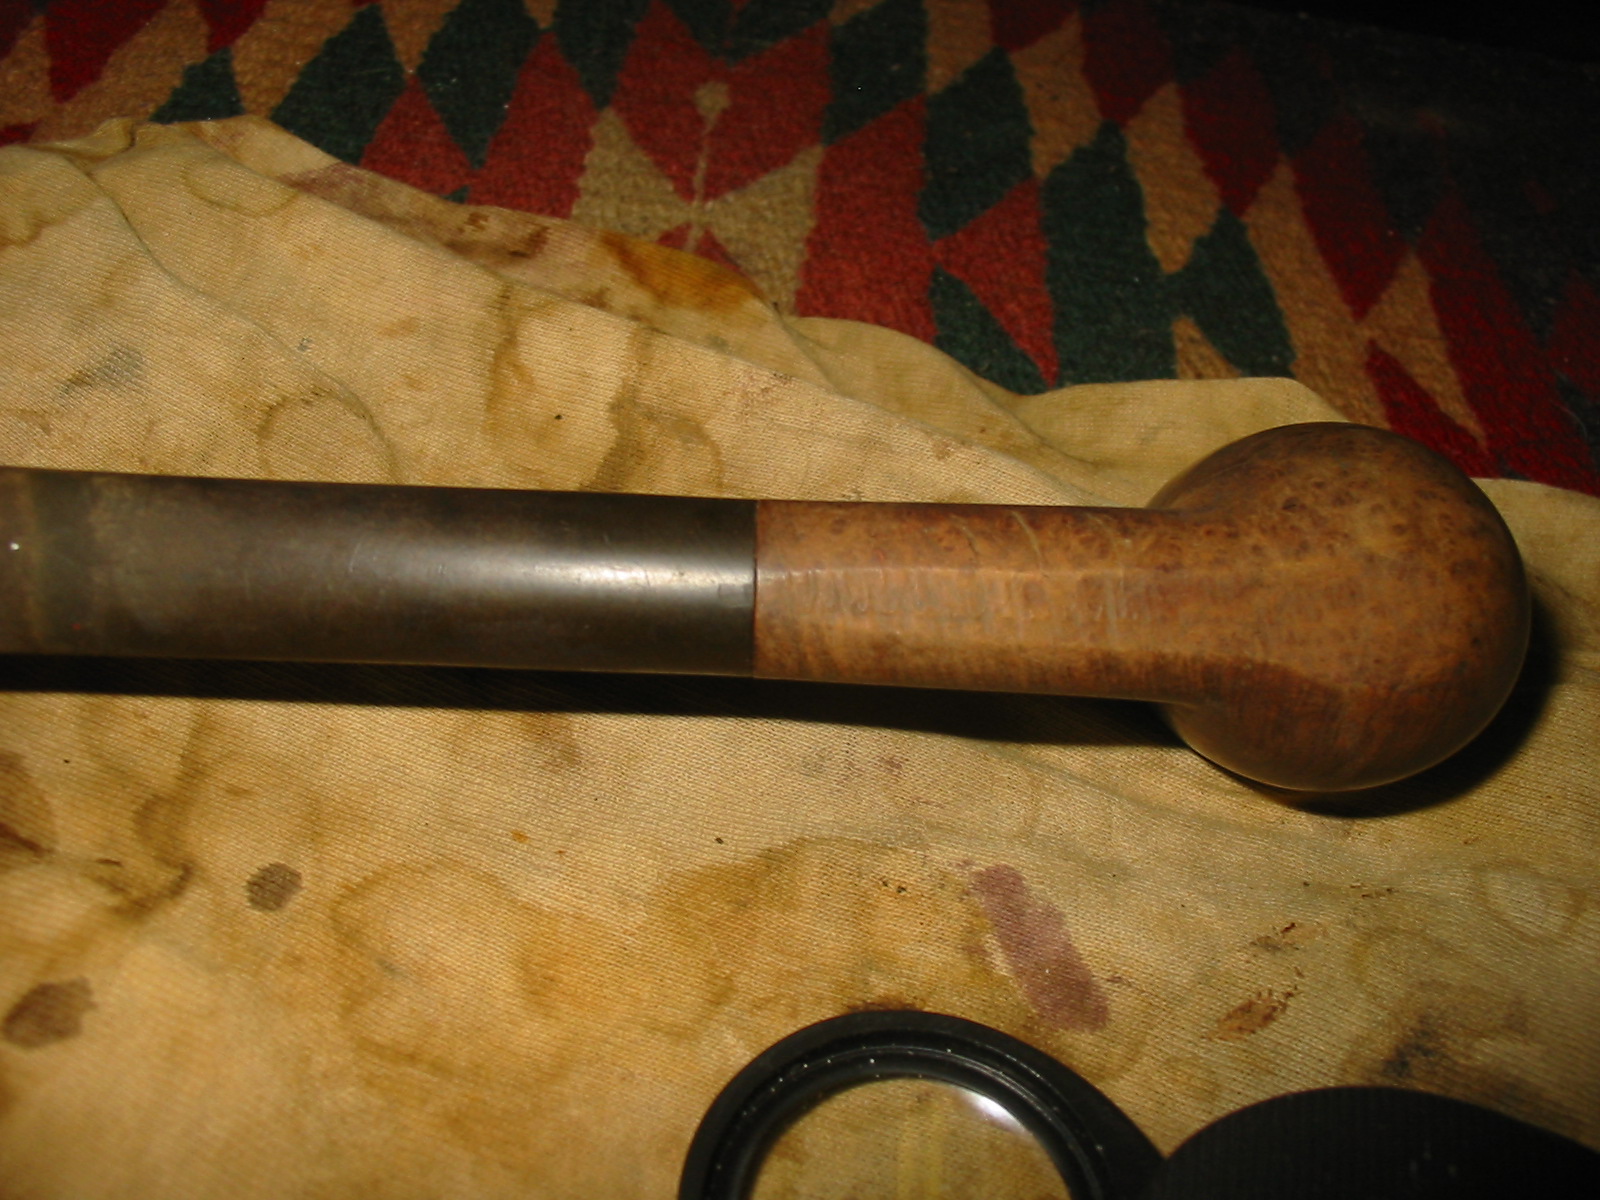
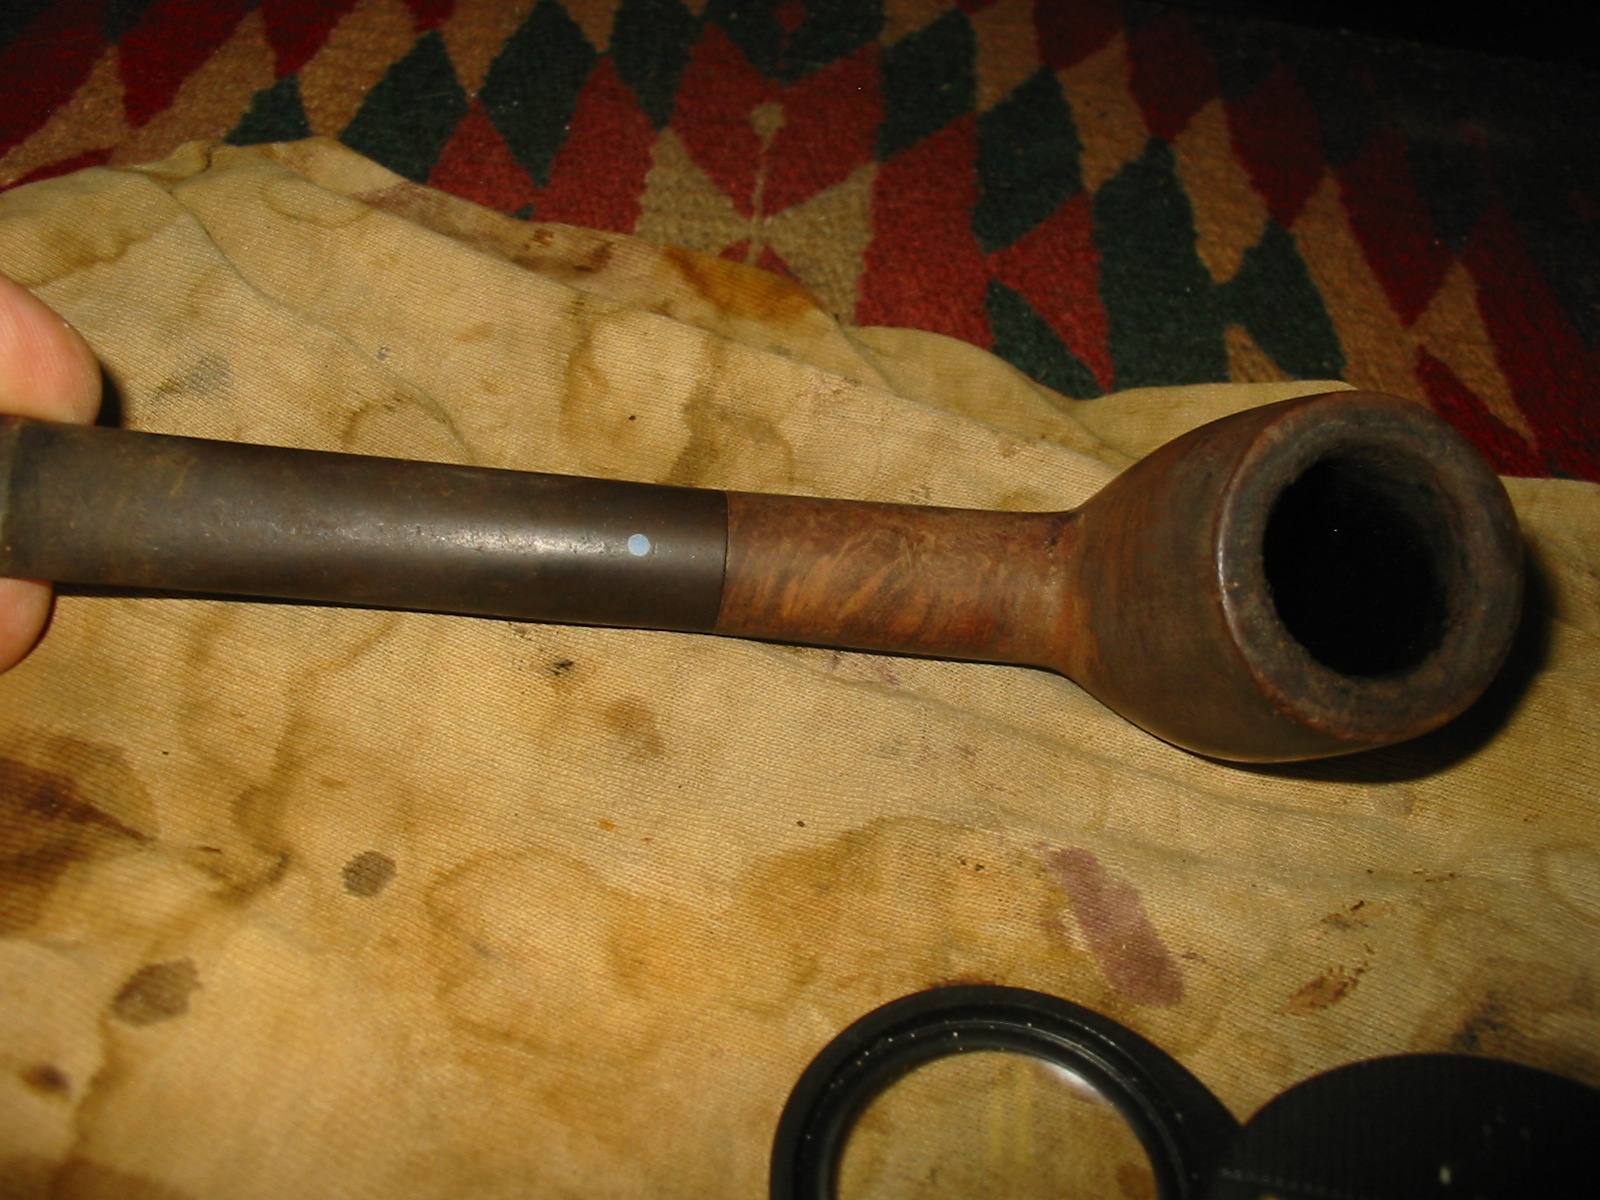
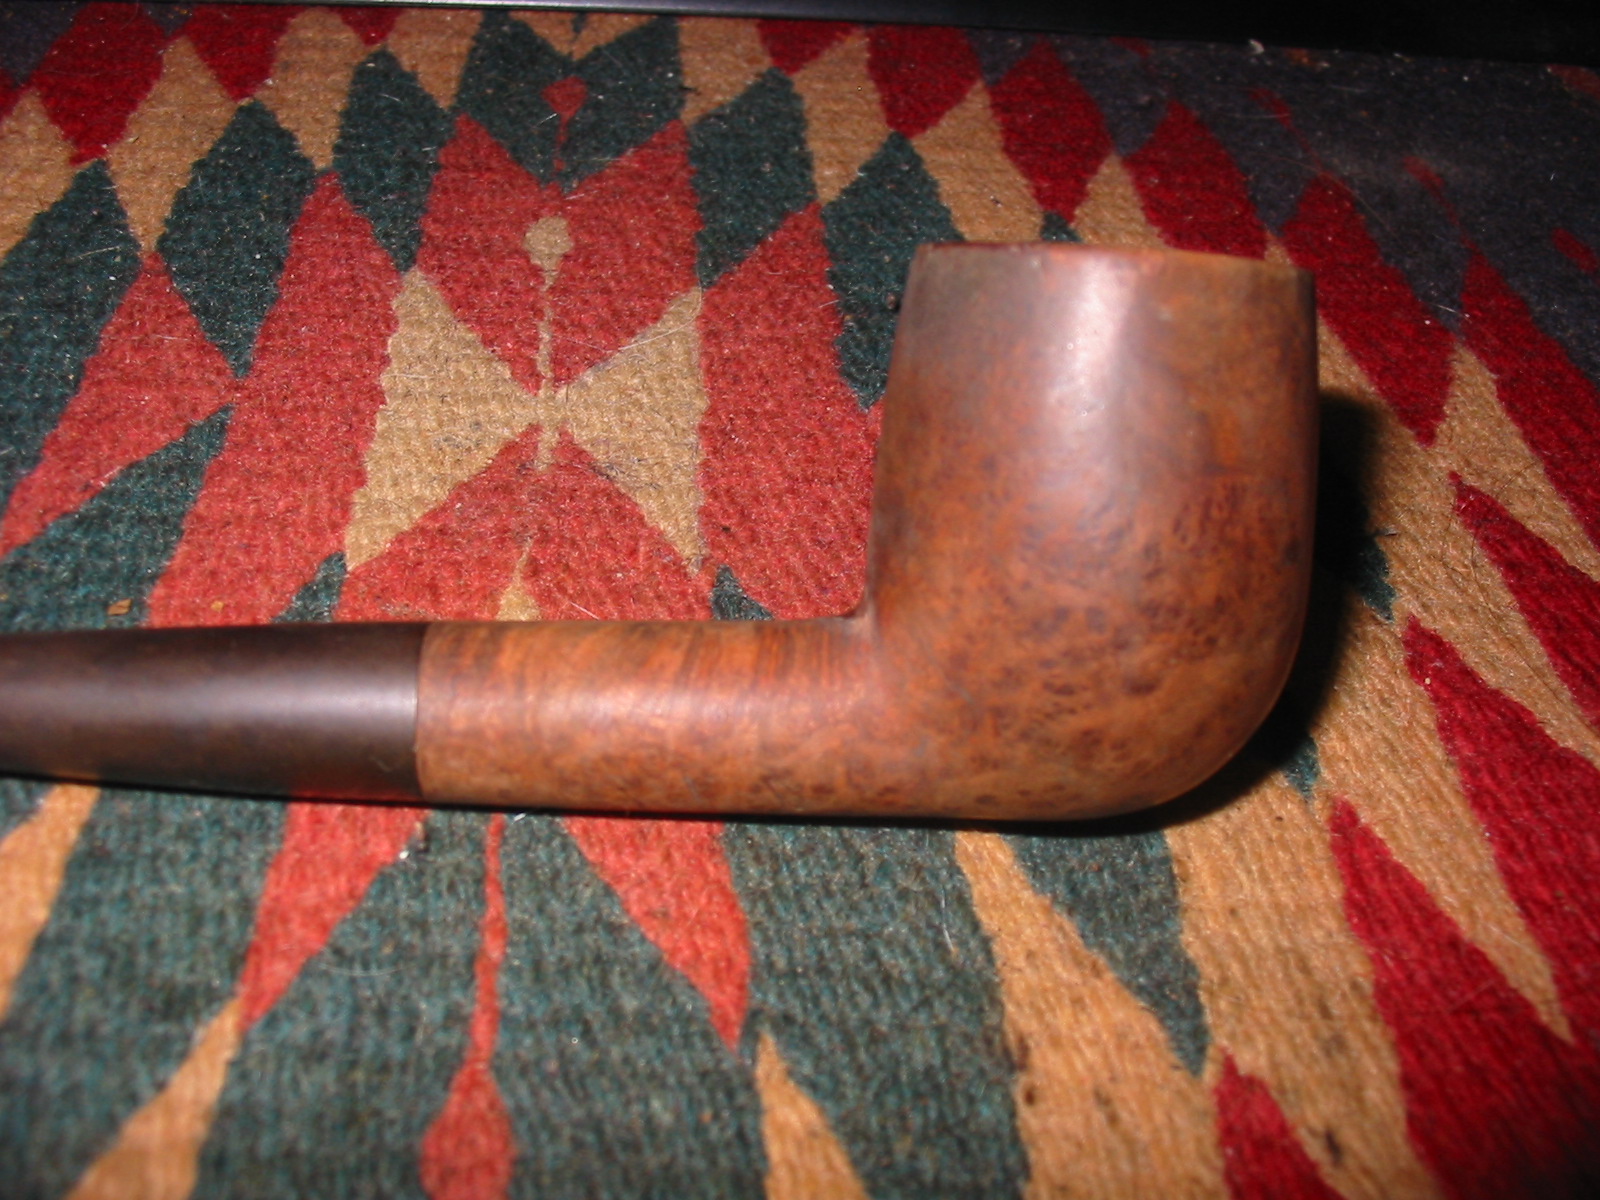
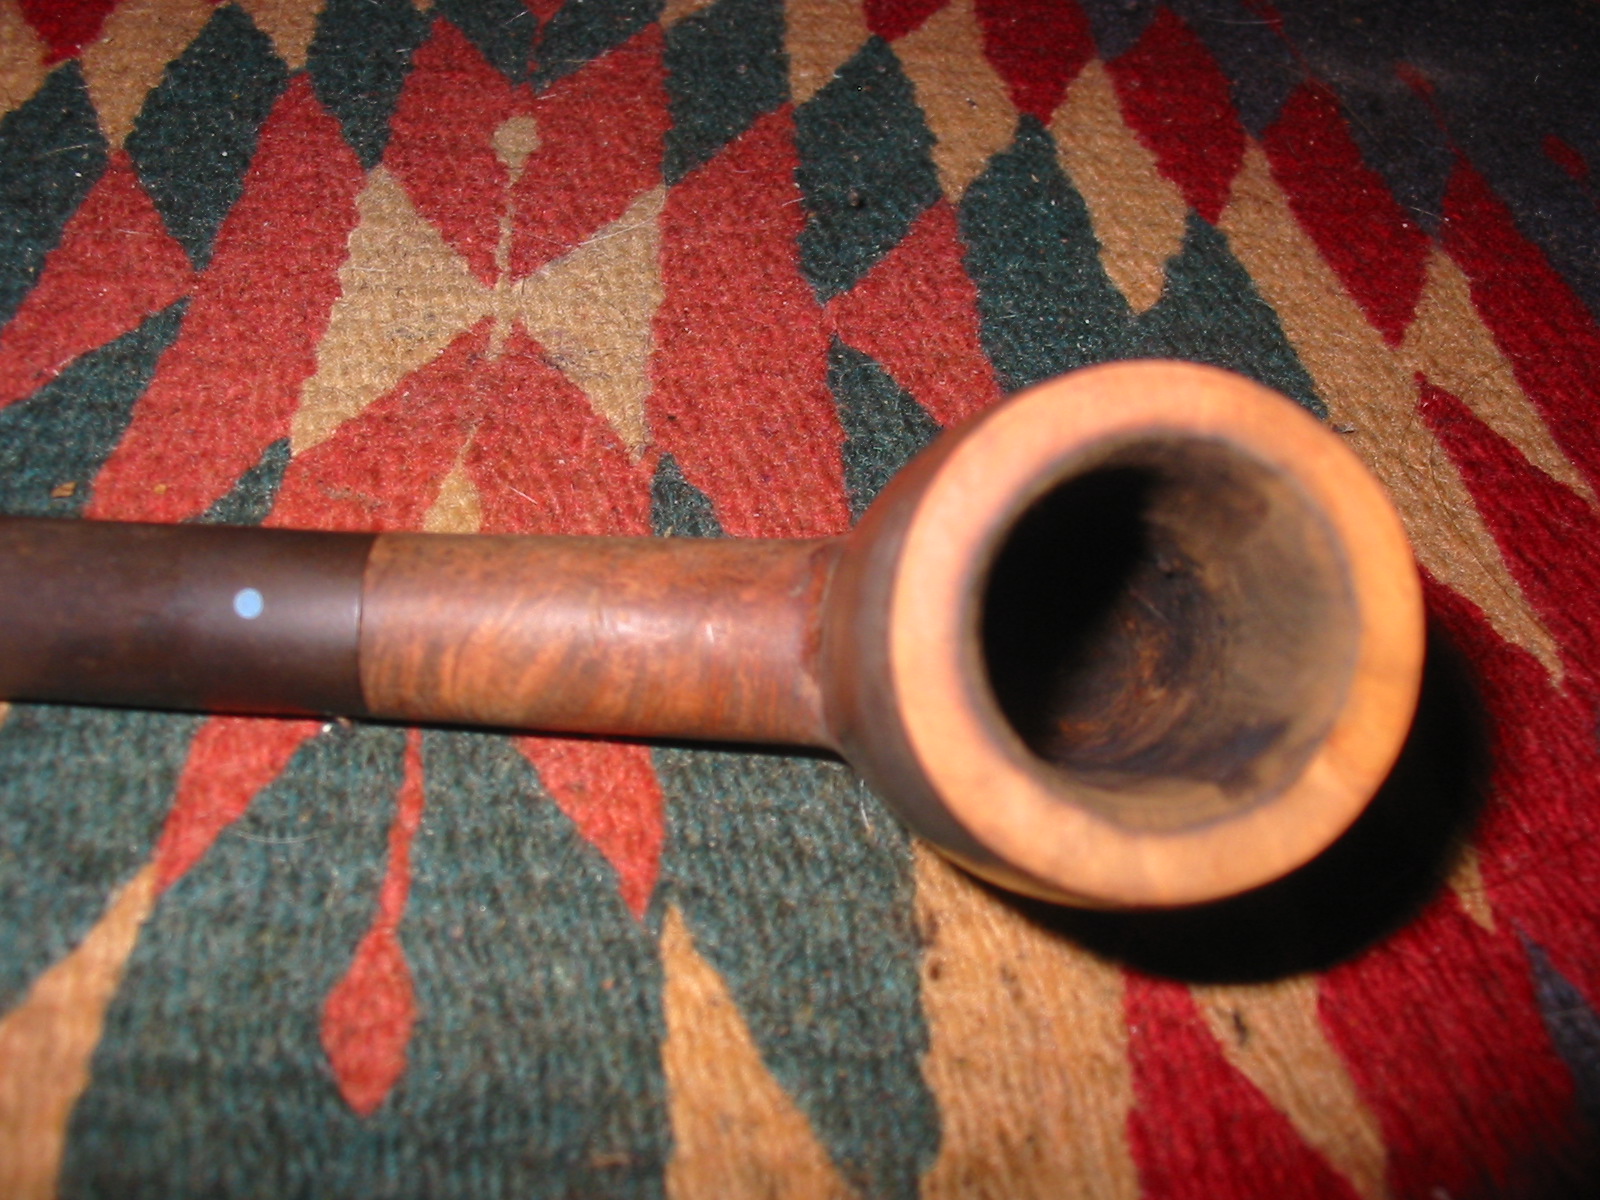
When I saw it I thought it was a Sasieni one dot billiard


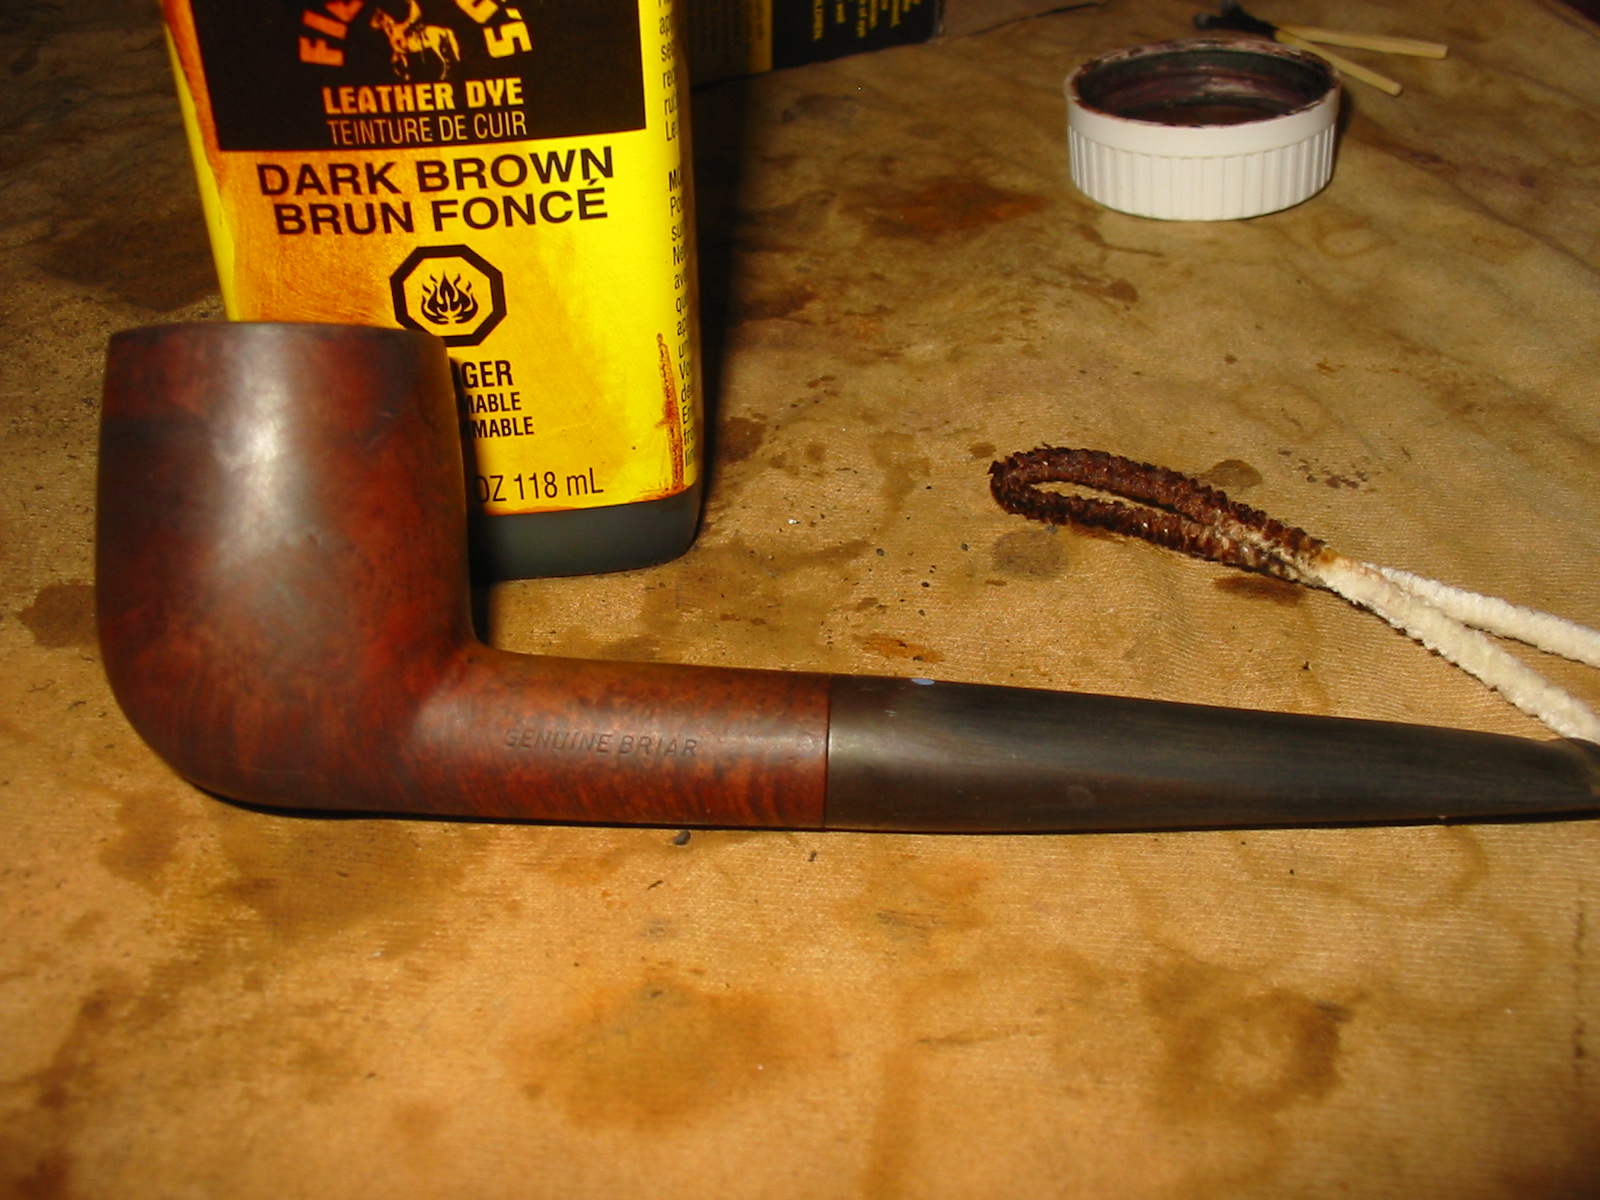
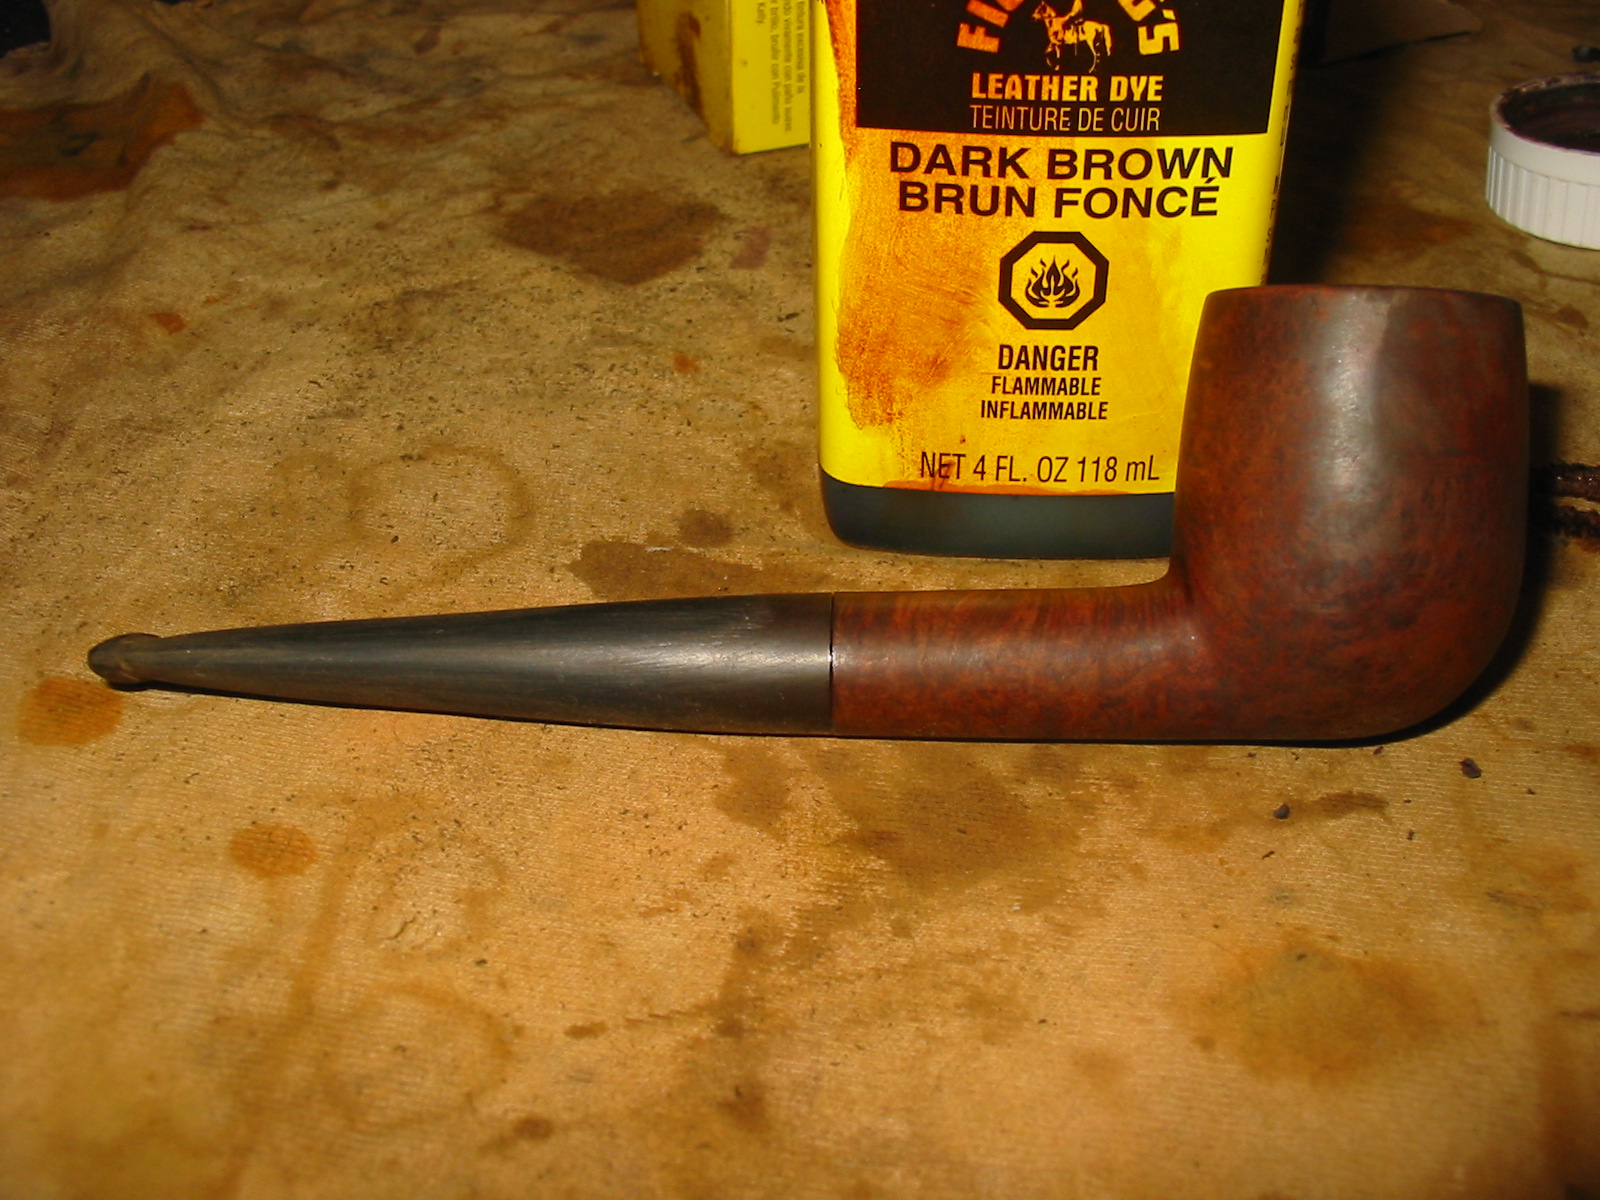
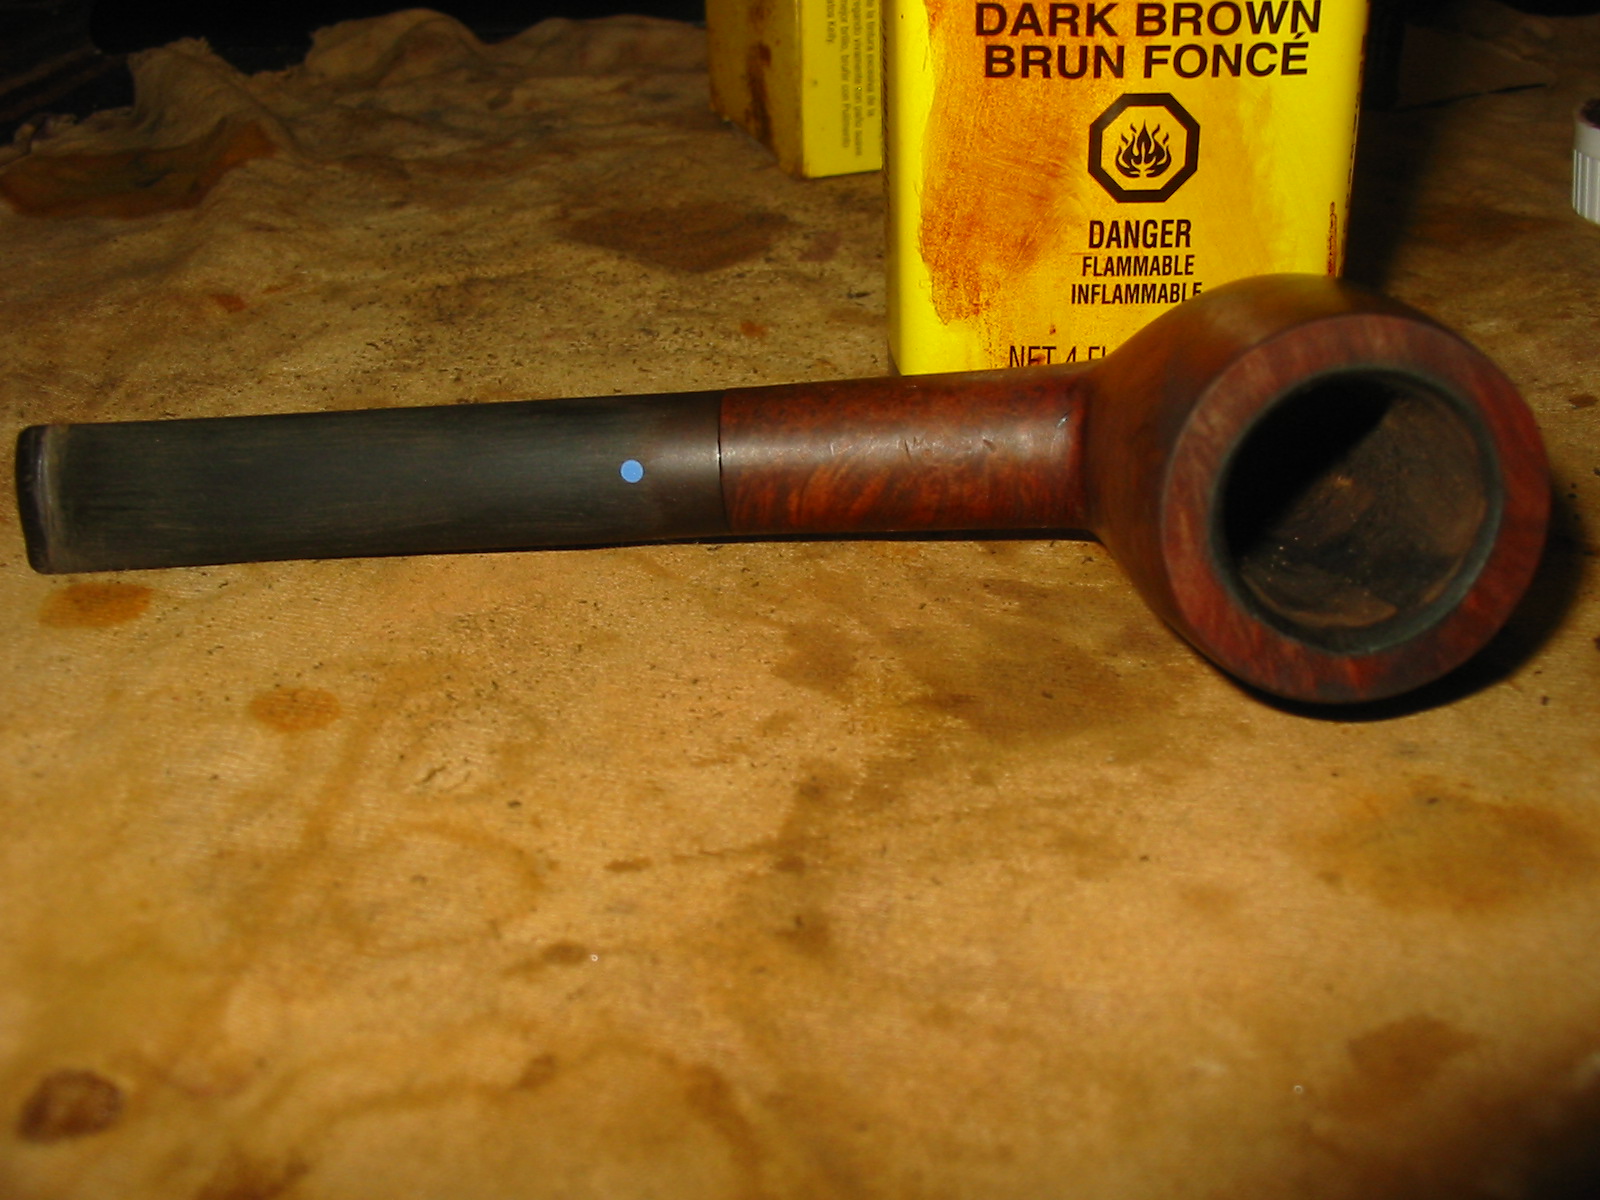
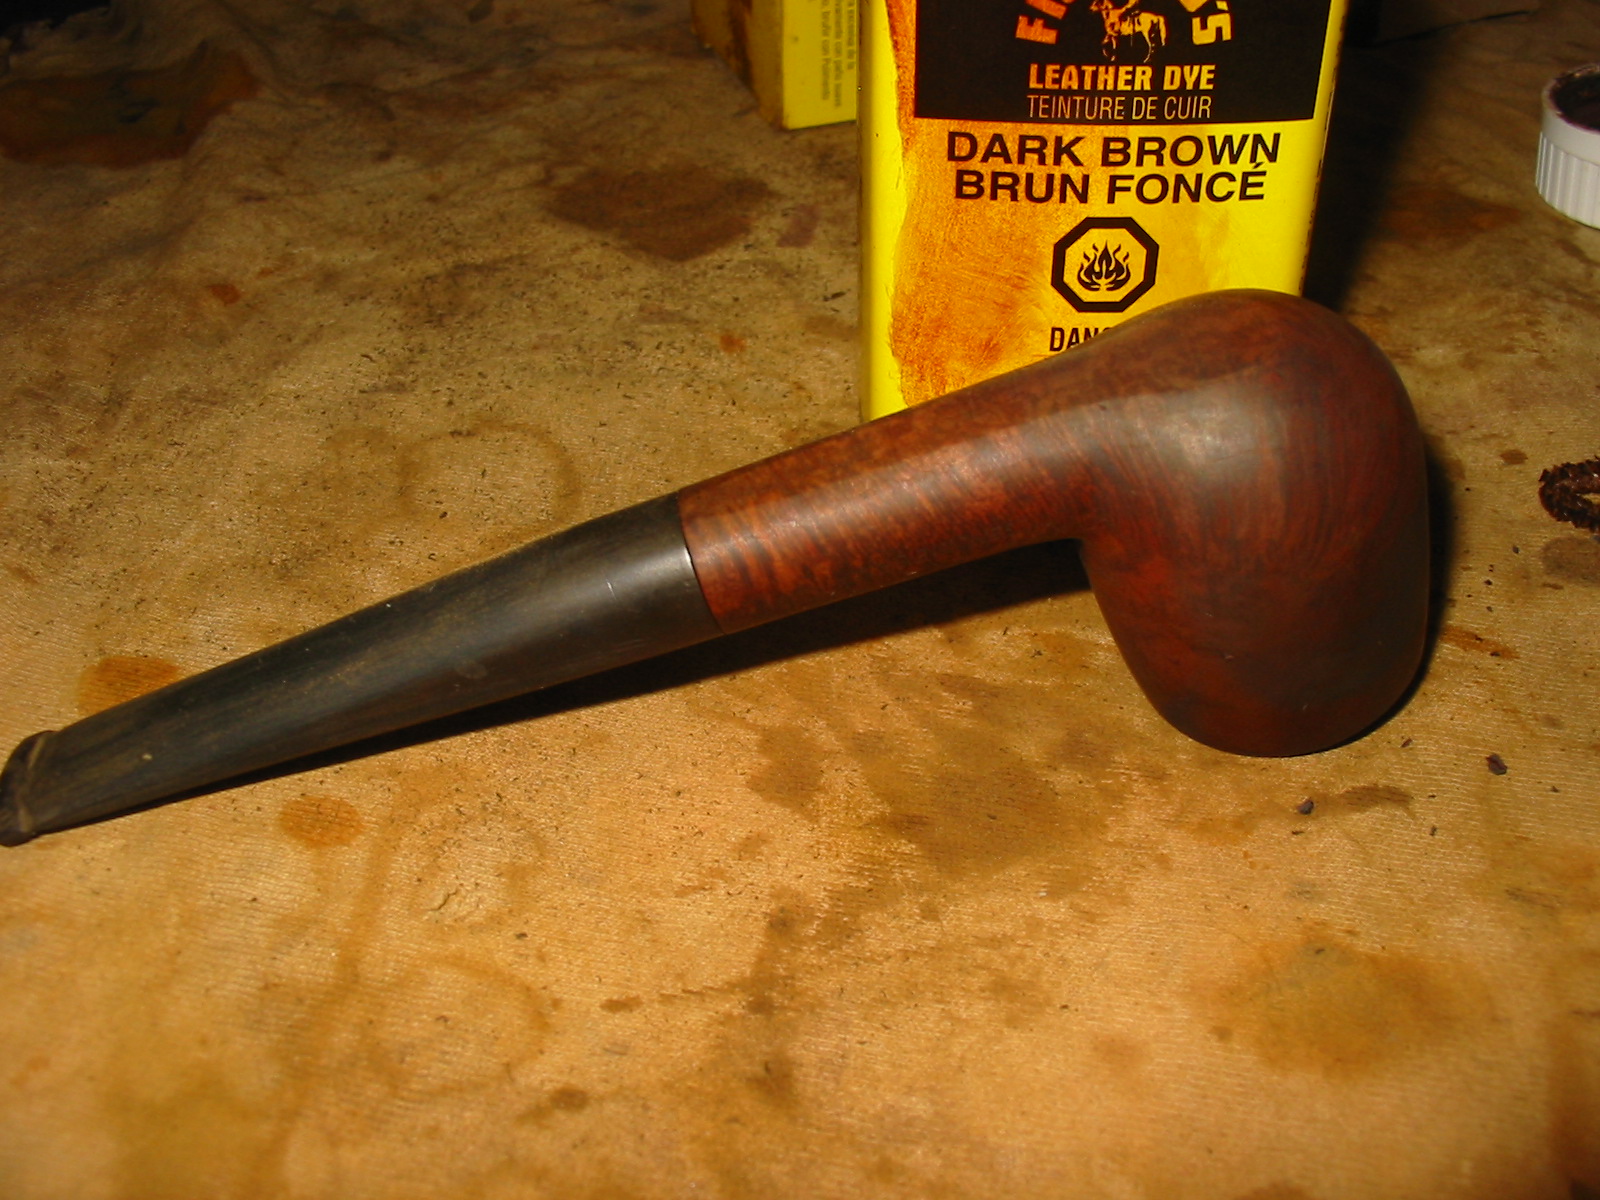
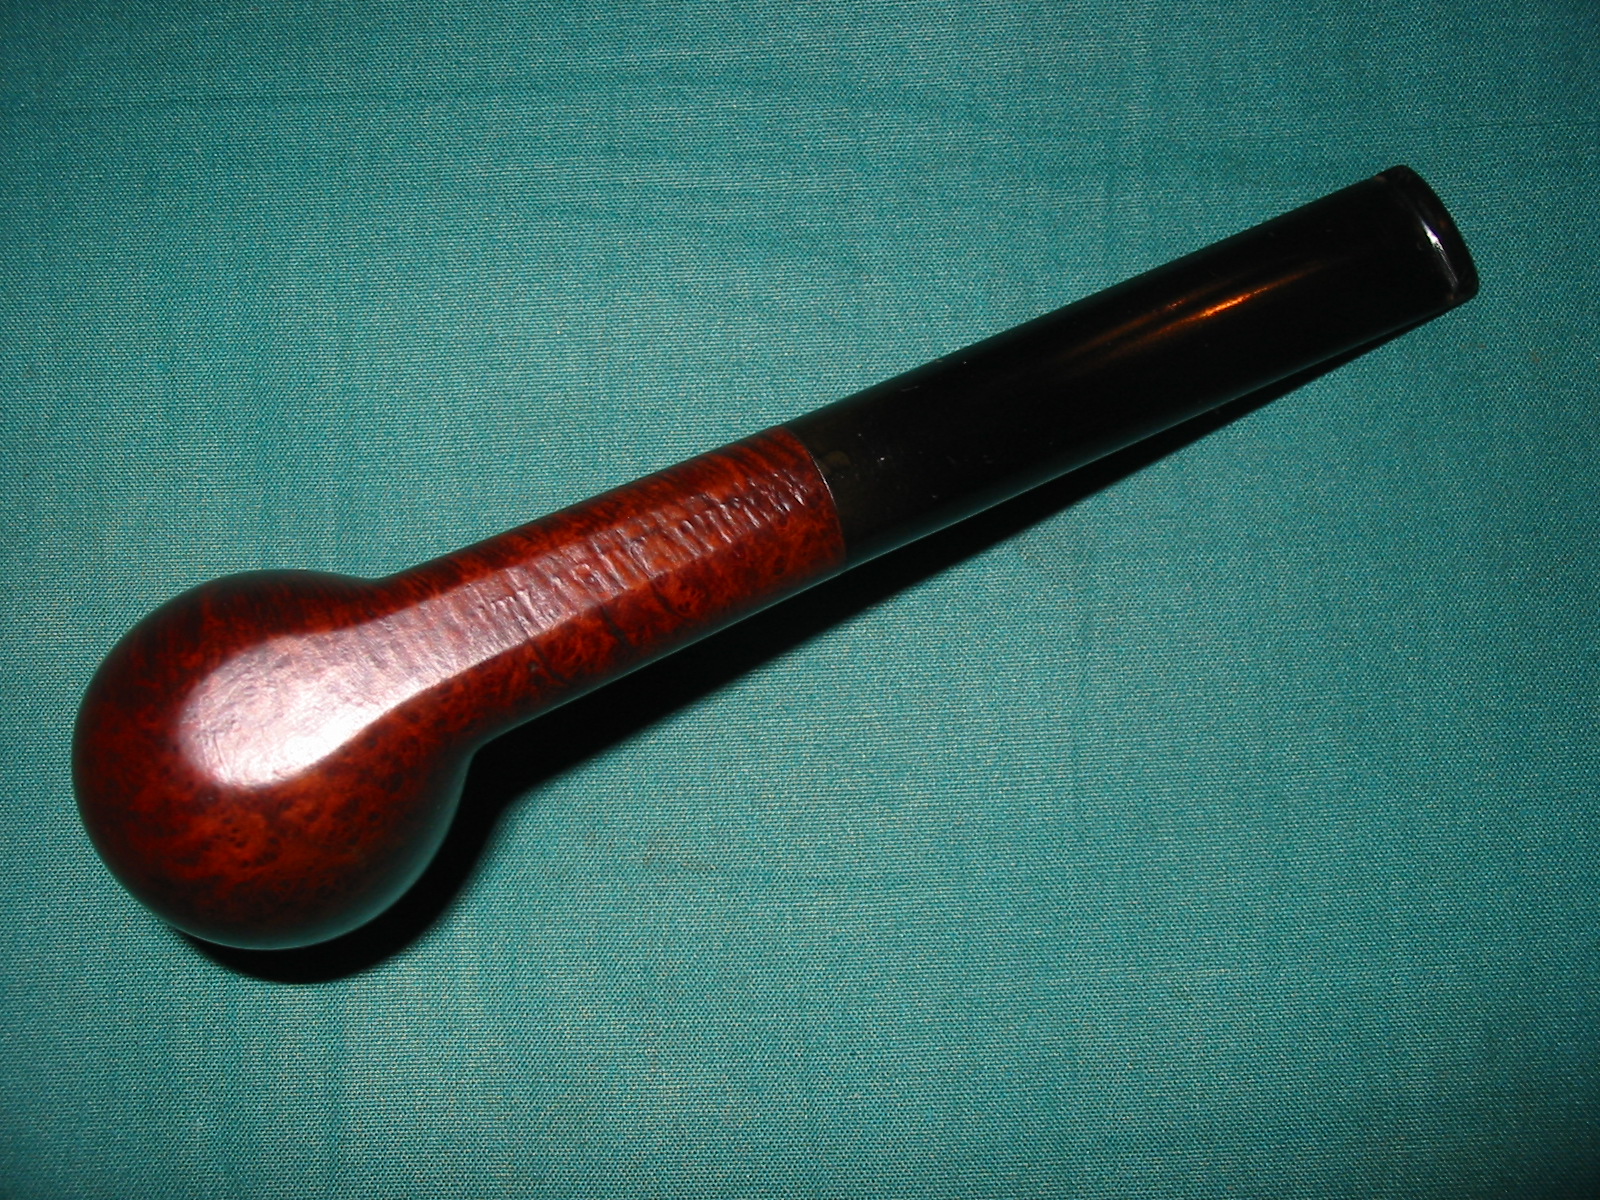
I came across this little billiard in an antique shop last weekend and when I saw the blue dot on the stem and saw the classic English shape of the bowl I truly thought I had found an elusive Sasieni one dot pipe. Lots of things about it seemed to signal that is what I had. The stamping was hard to see under the grime but there were i’s and an e. I was hopeful and I guess also wishful in my thinking. The pipe was dirty as can be seen below. The stem had obviously been damaged and cut off by the previous owner and a new button filed into the stem. The bowl was badly caked and the rim was damaged with dents and chips. I took the picture below while I was relaxing in a pub near the shop and looking over the finds of the afternoon.
IMG_0489

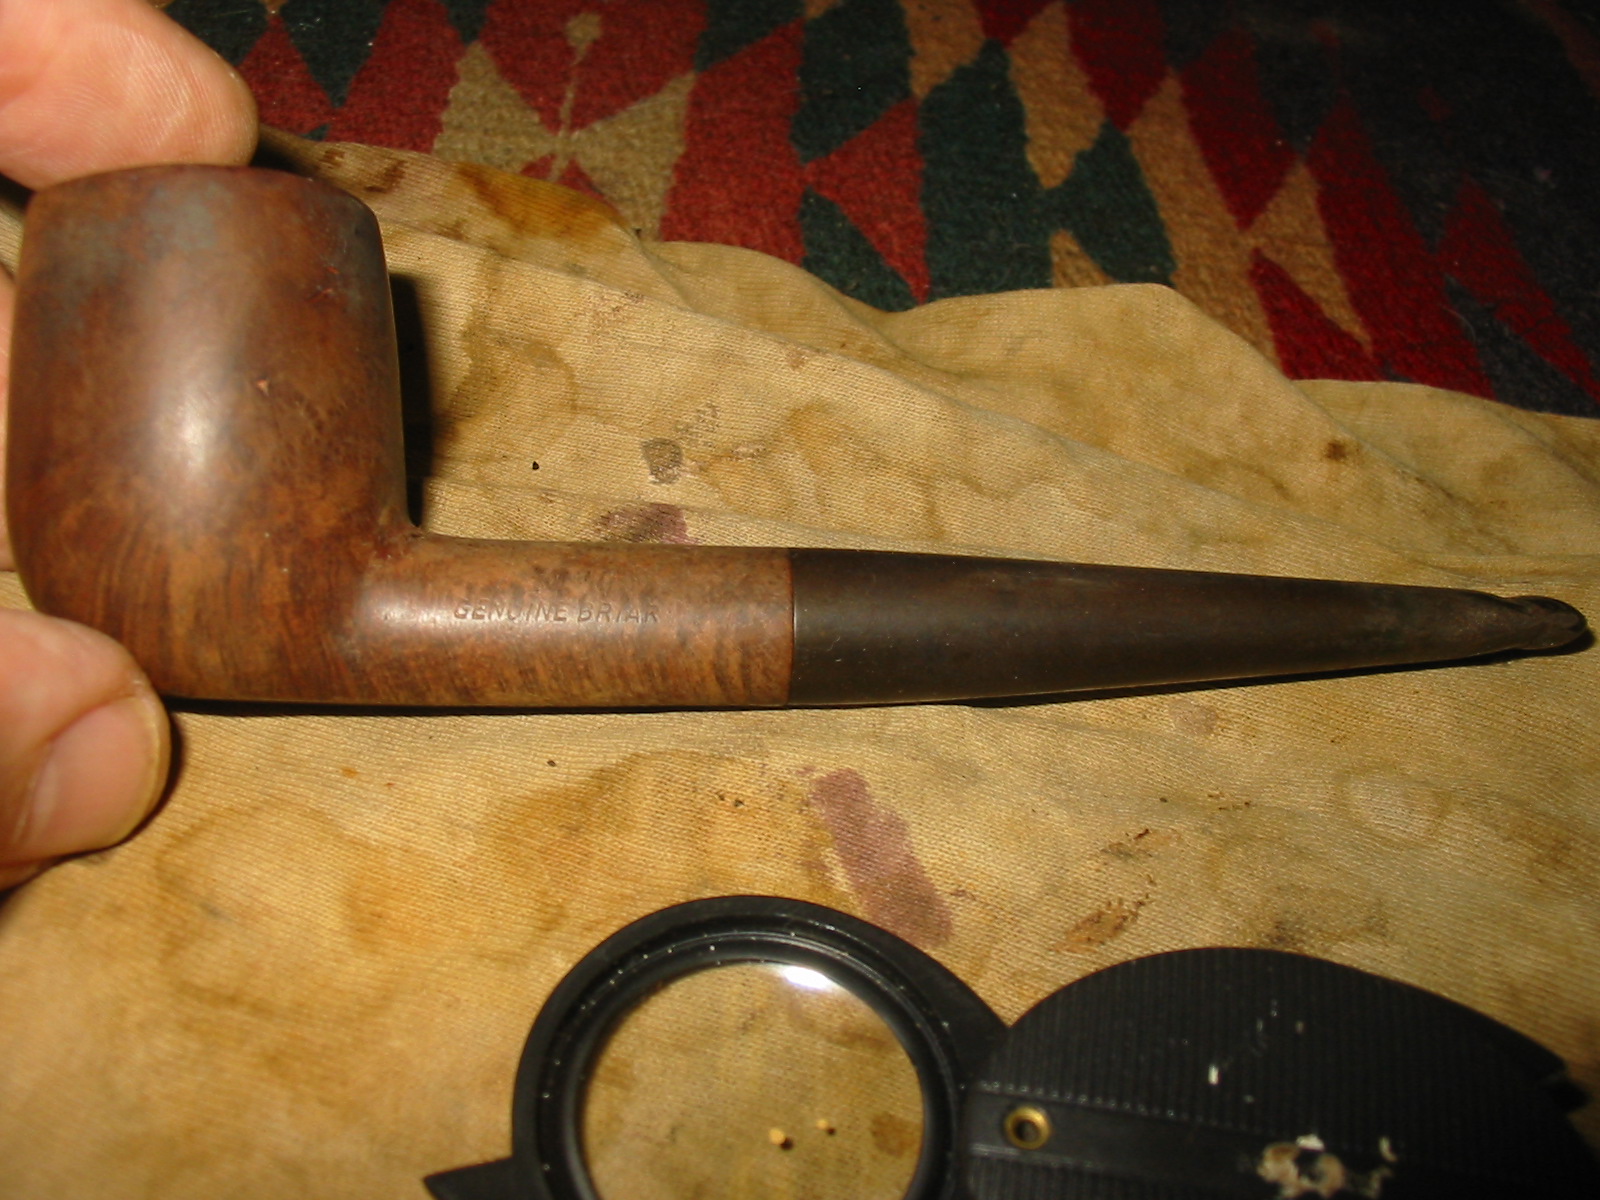
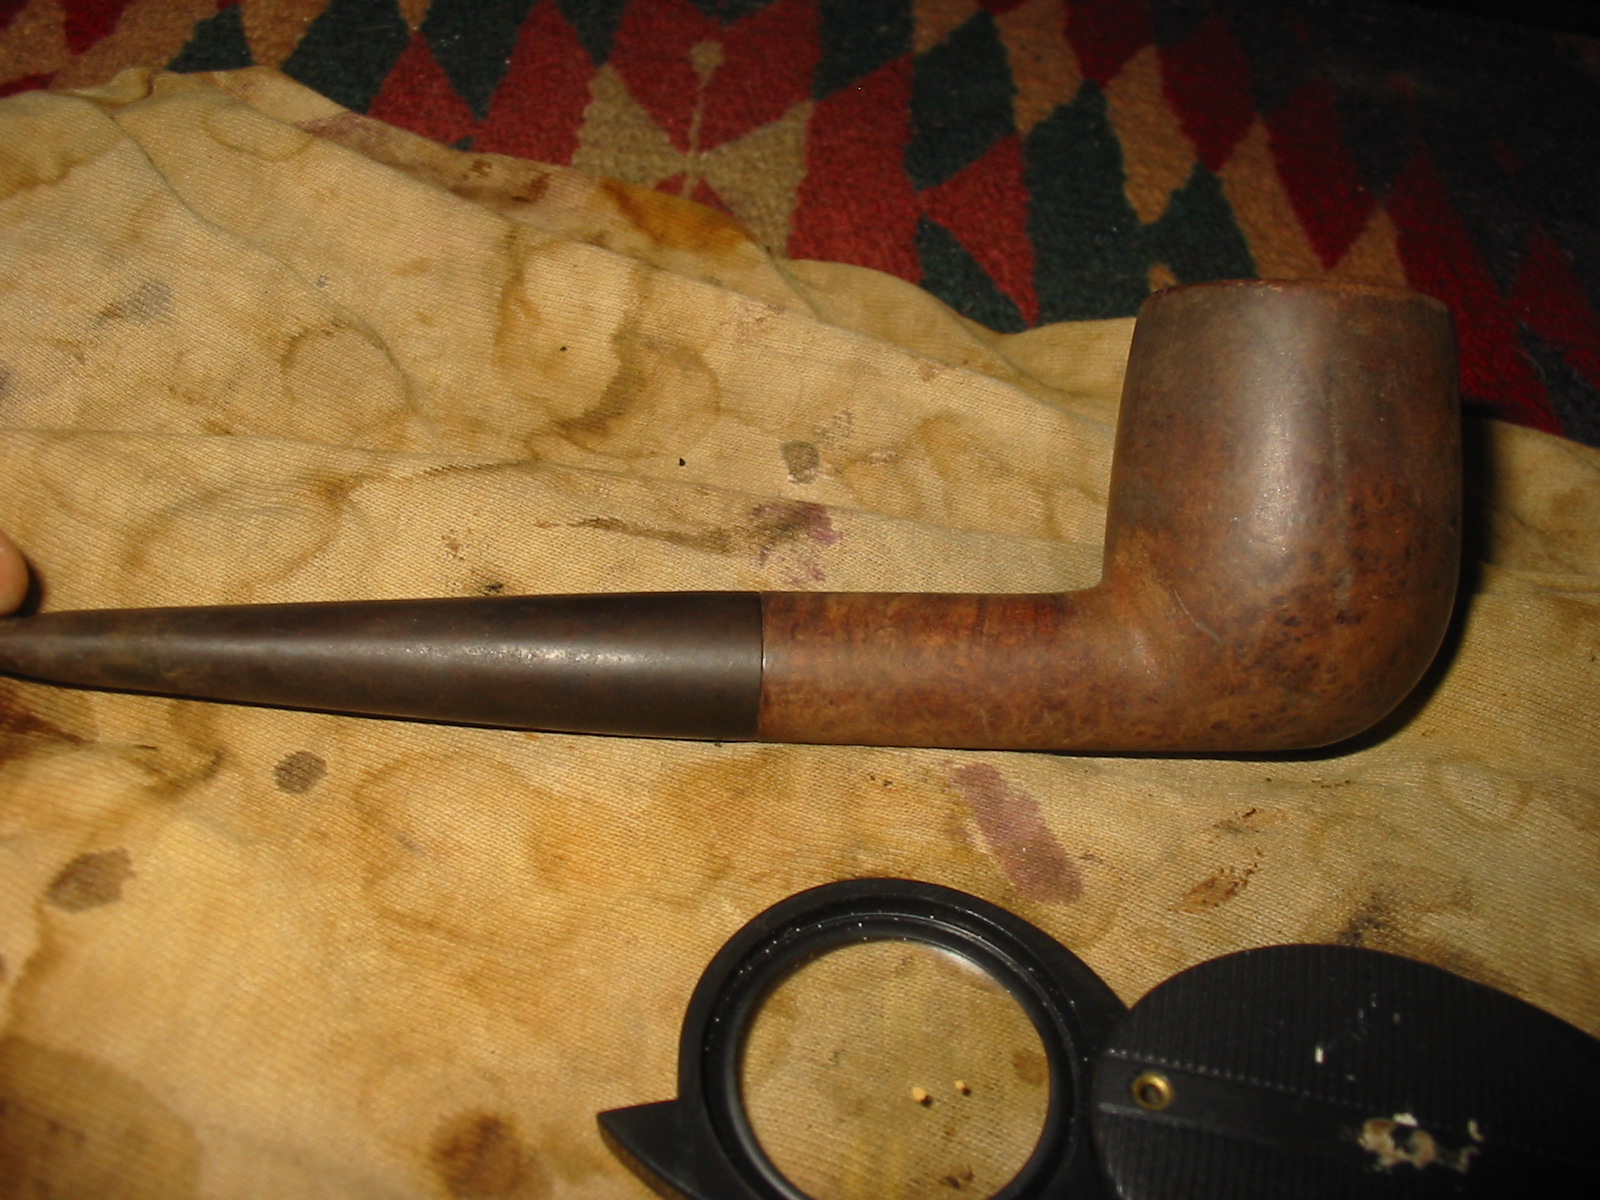
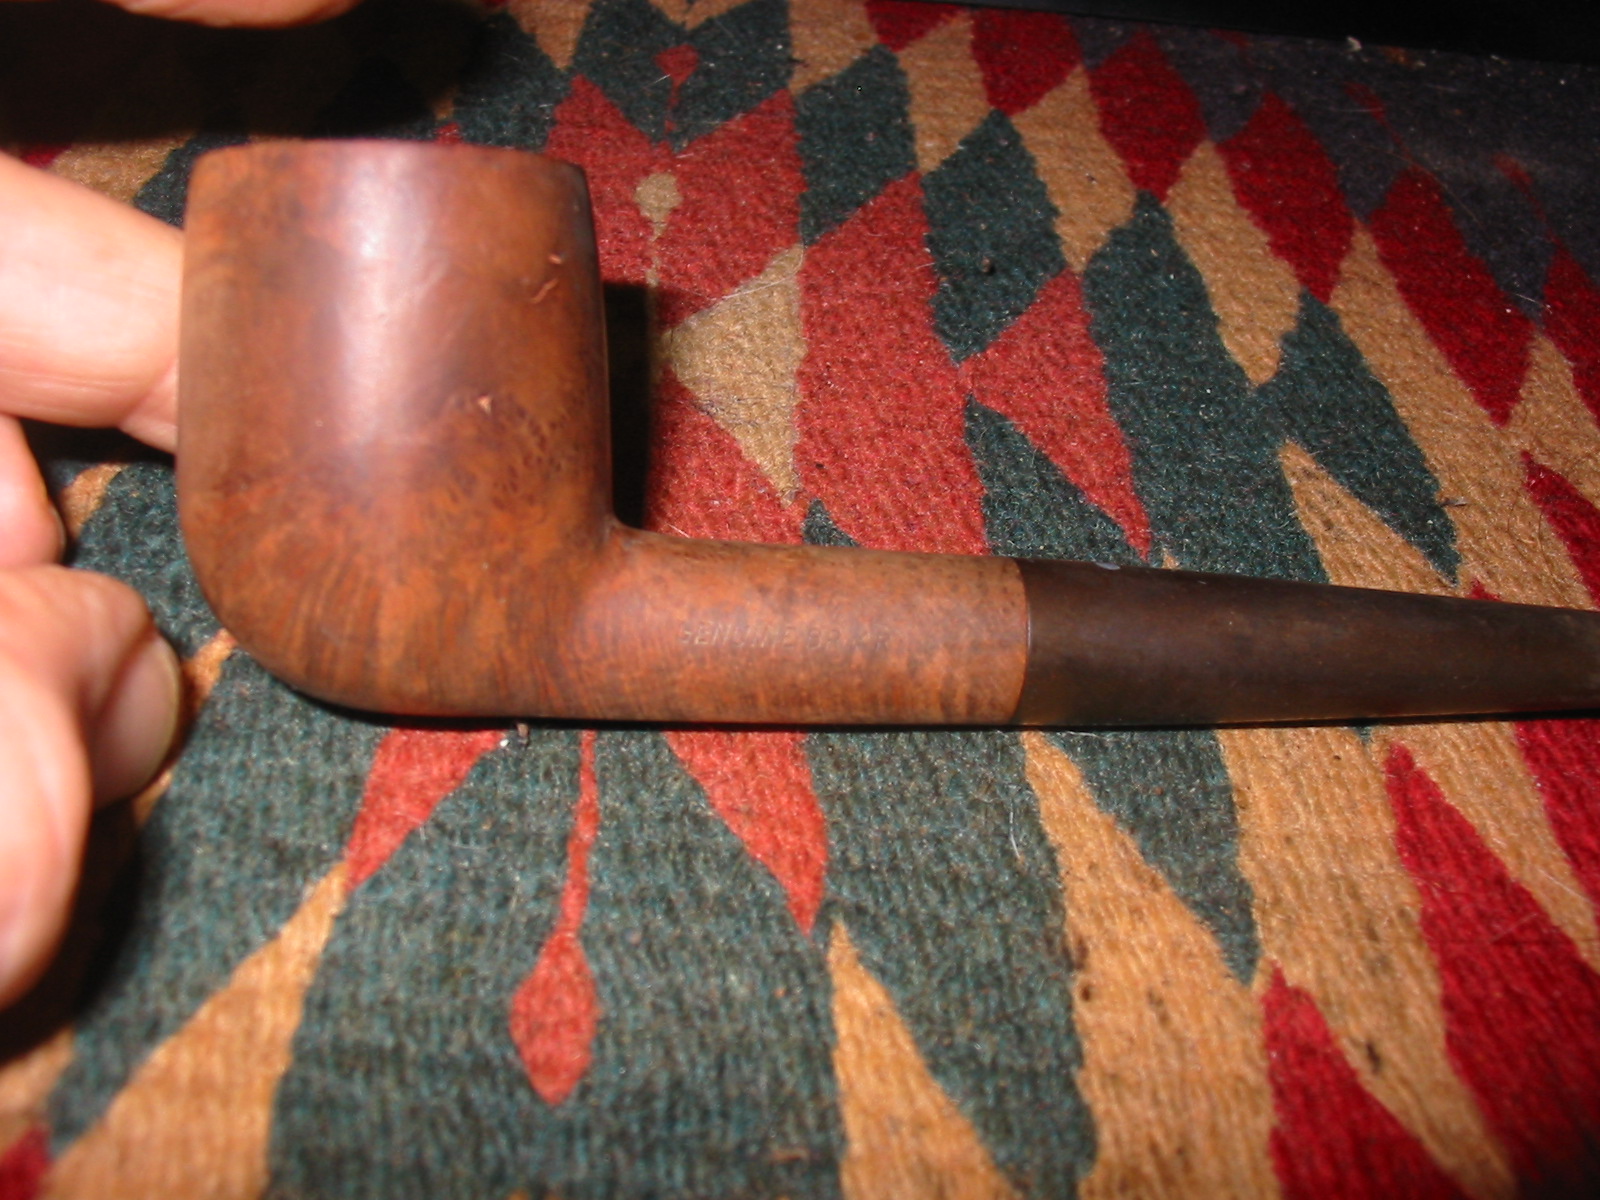
When I got home I took it to the basement and wiped down the bowl with acetone on a cotton pad to remove some of the grime. Once the outside was wiped down I tried to read the stamping with a magnifying lens. I could not make out the stamping – it was too faint. There was no stamping on the right side of the shank. On the underside it appeared that there had been stamping but it was no longer visible. The next three photos give a good idea of what the pipe looked like before I did a cleanup on the bowl and stem.
IMG_2192

IMG_2193

IMG_2194

I reamed the bowl with a PipNet reamer and took it back to bare wood. I picked at the inside of the bowl to check out the solidity of the walls and to check for potential burns. Everything looked and felt like it was solid so I dropped the bowl in an alcohol bath to soak over night.
IMG_2066

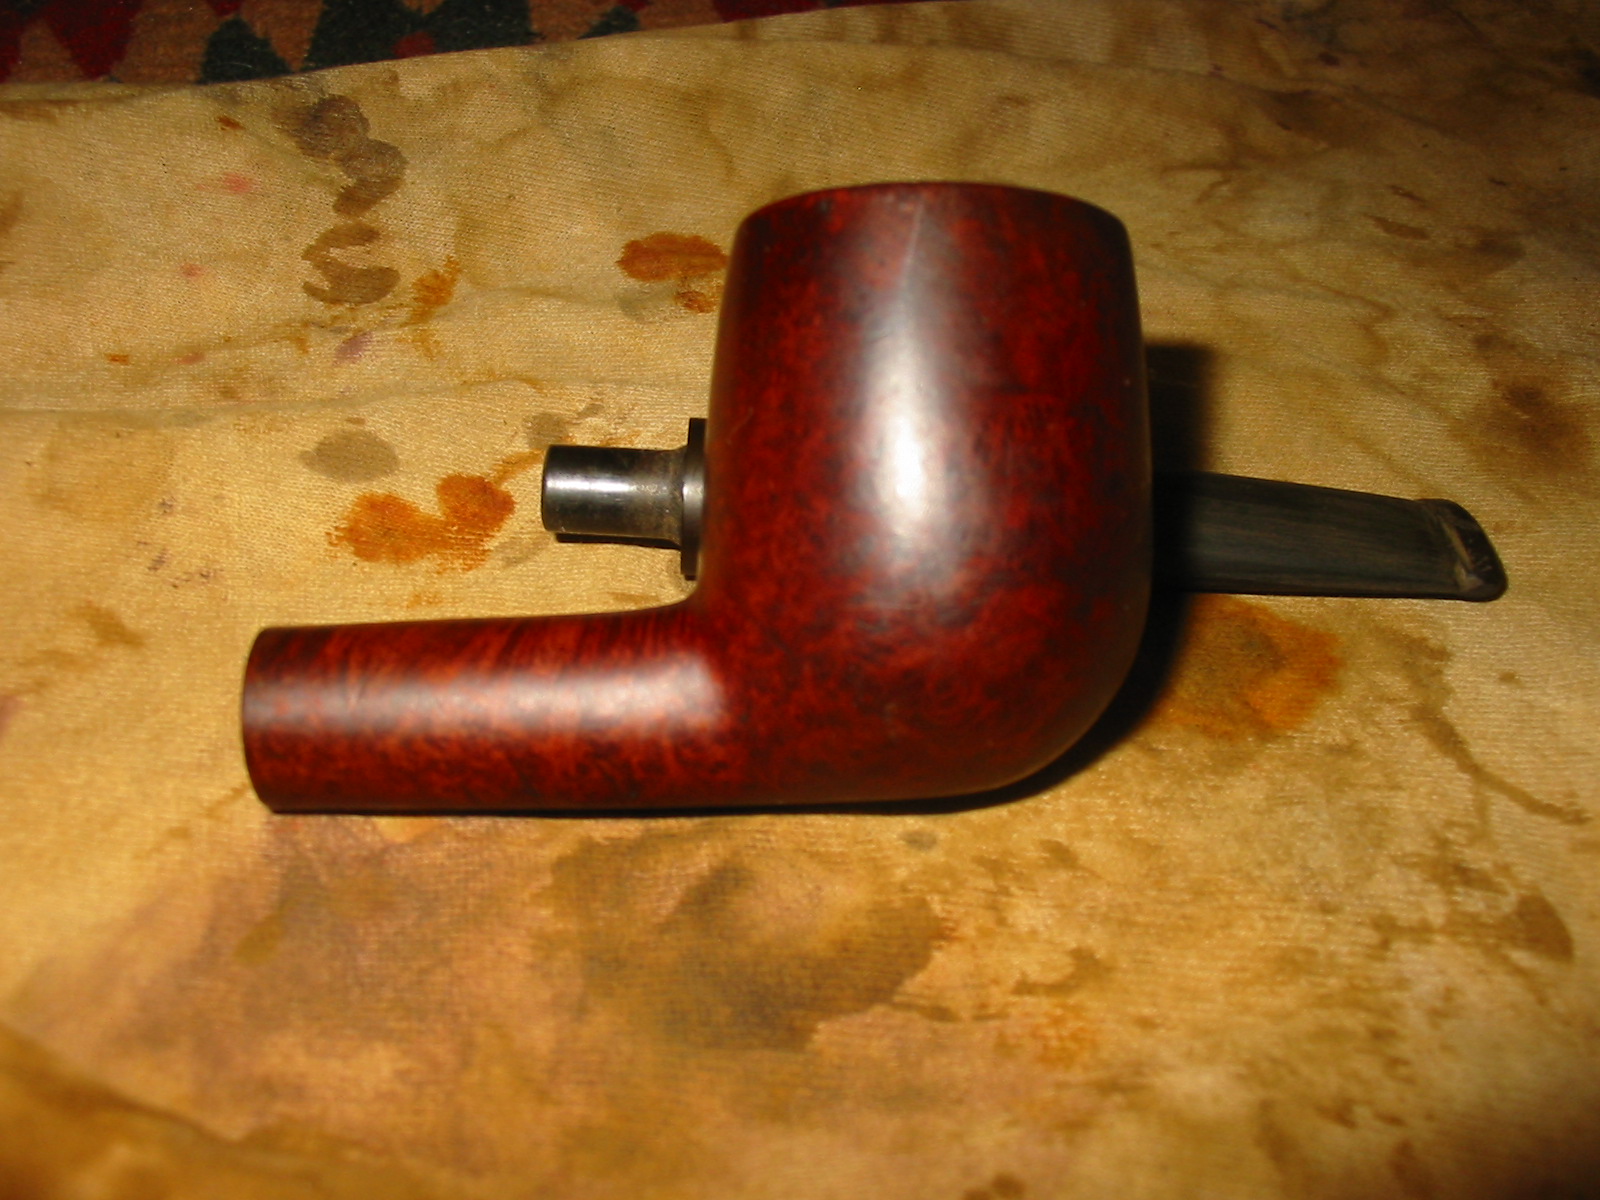
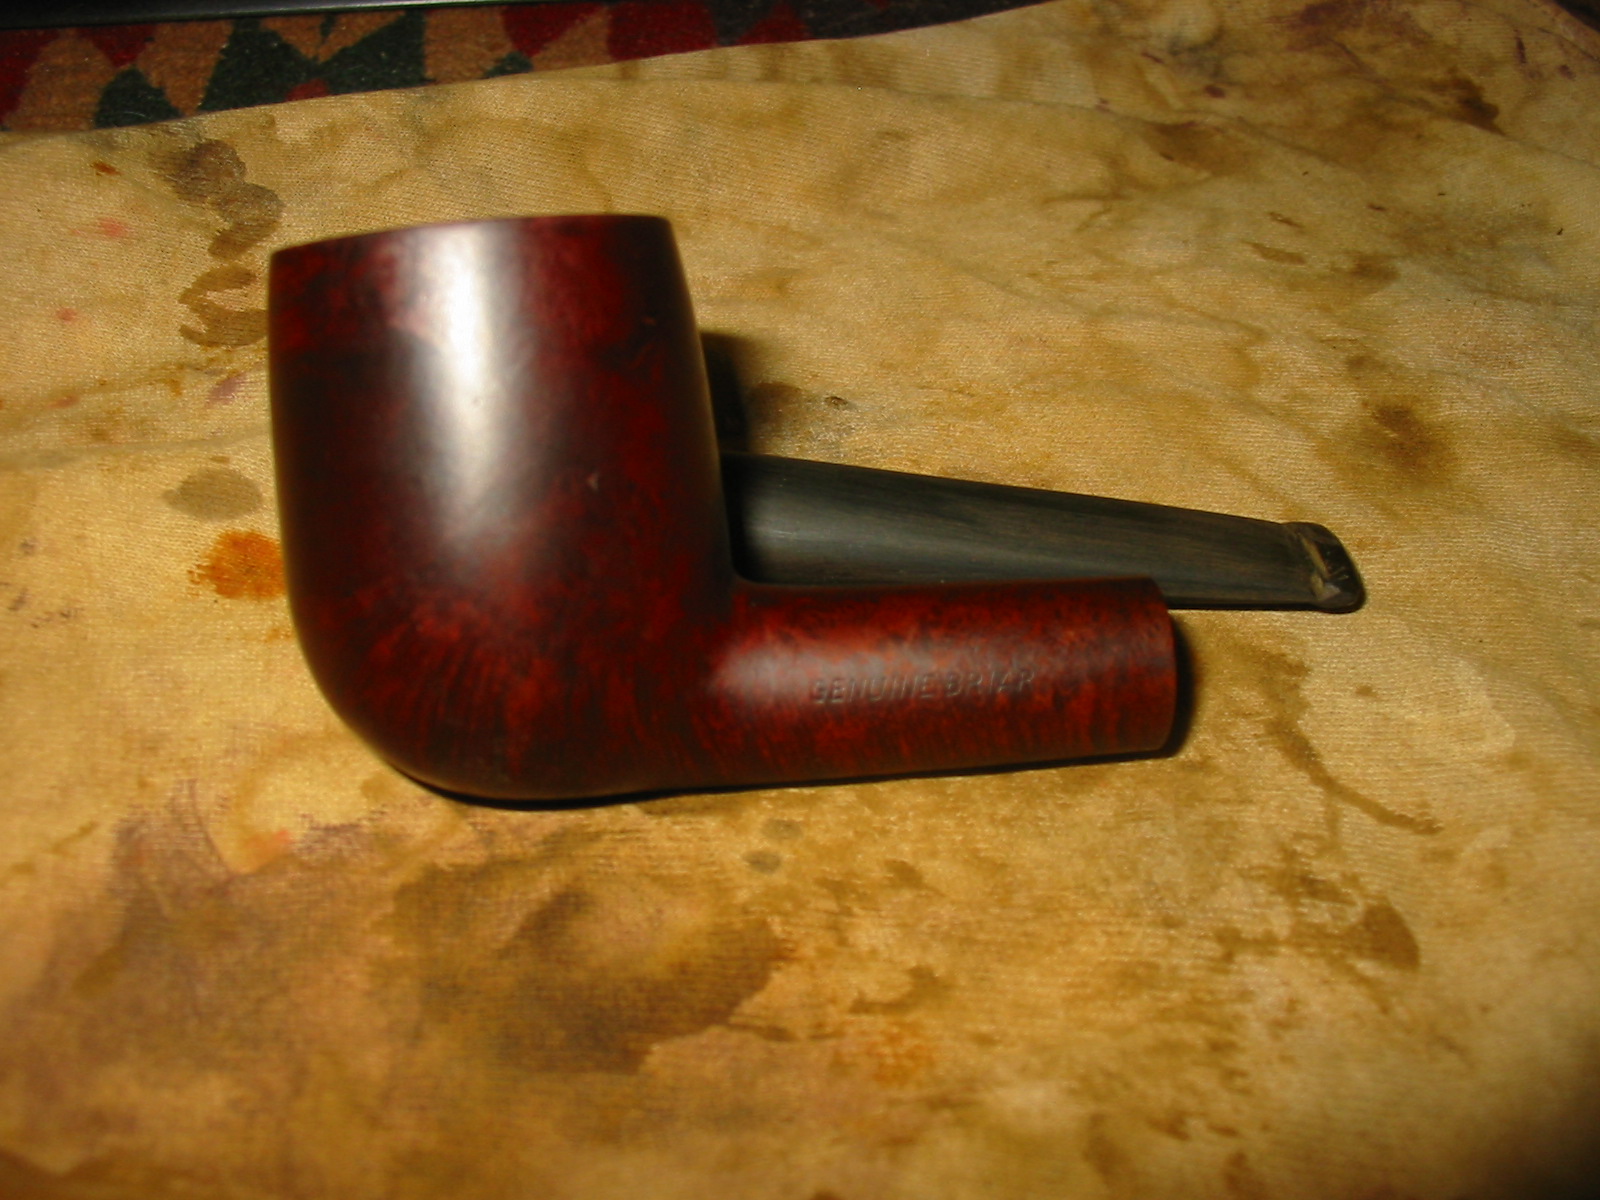
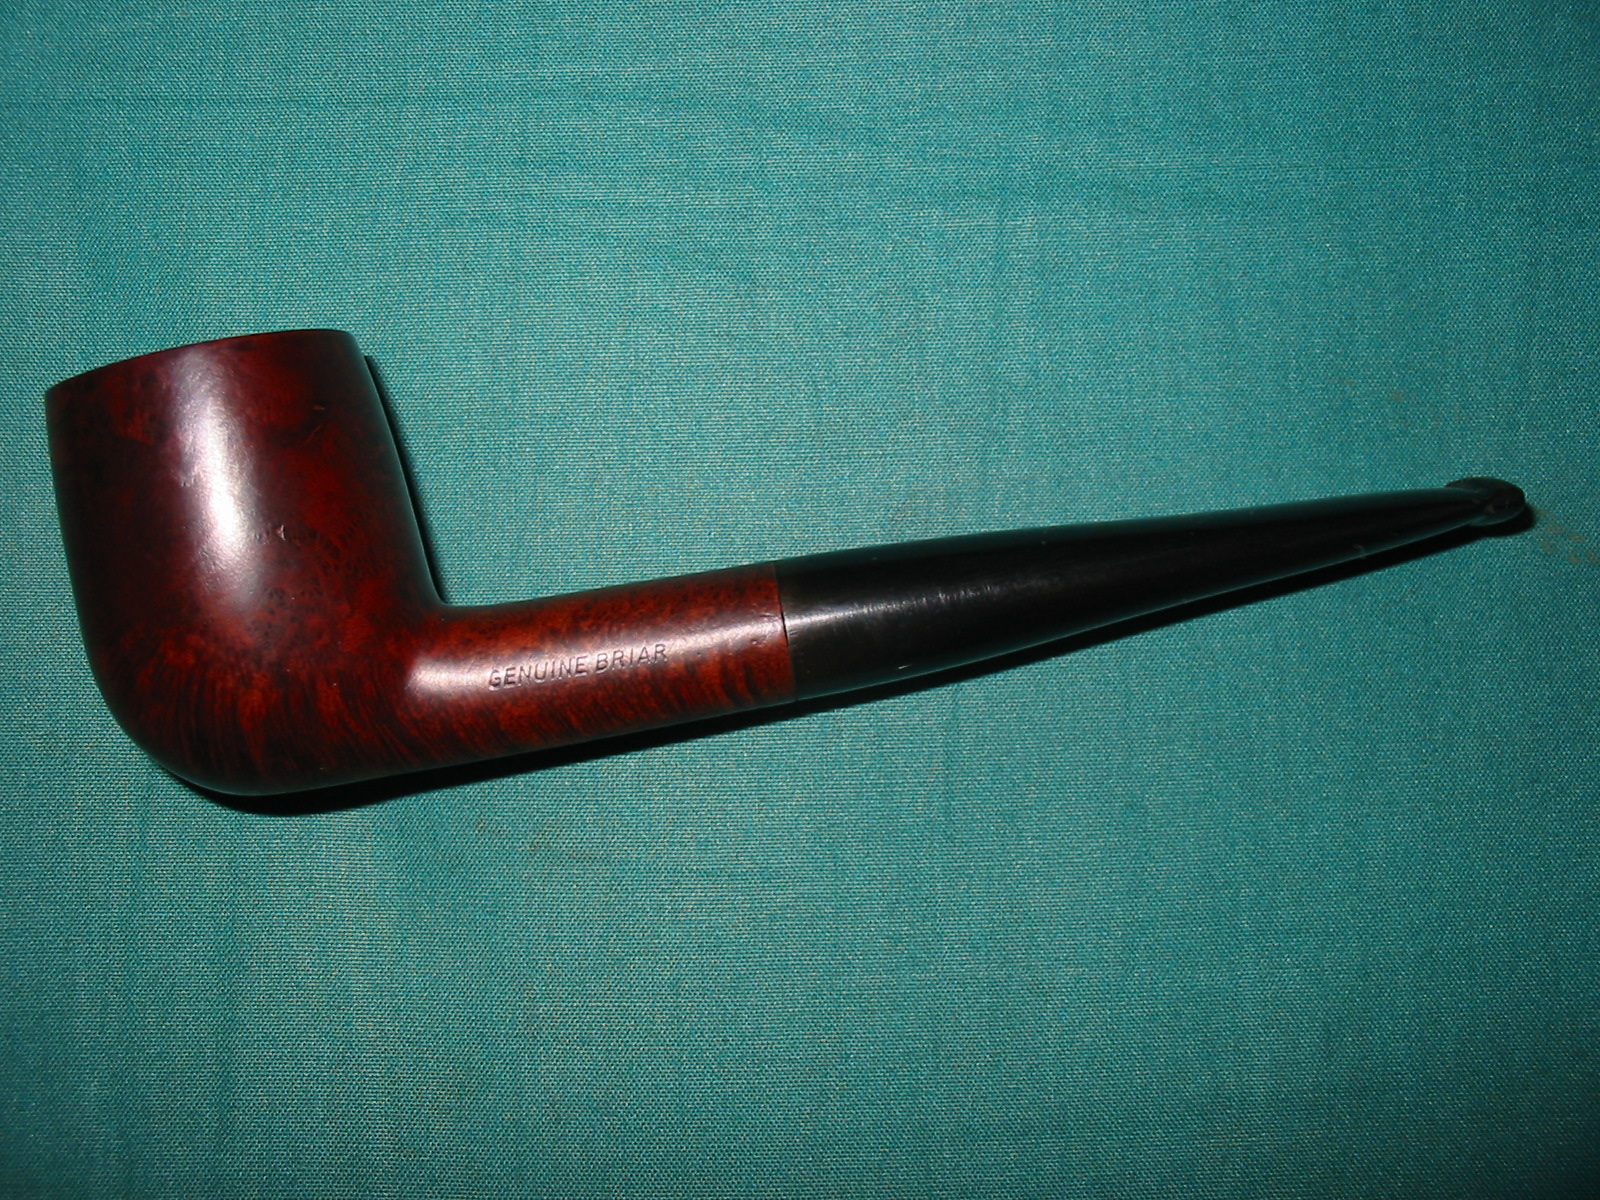
The next day I took it out of the bath and dried it off. The bath had removed the old finish for the most part. I finished by once again wiping it down with acetone on a cotton pad. After soaking part of the stamping had become visible. I was disappointed that it appeared that the pipe was not a Sasieni. The stamping that showed up after it was dry read Genuine Briar, which seemed to point to an American made pipe post WW2. I believe it is post war as that is when it became necessary to identify genuine imported briar in contrast to the Manzanita and other alternatives used by American manufacturers during the war years due to a shortage in briar. The briar was a nice piece – birdseye on one side, nice grain on other parts of the pipe and a clean shape to the bowl. I knew it would clean up nicely.
IMG_2217

IMG_2218

IMG_2219

IMG_2220

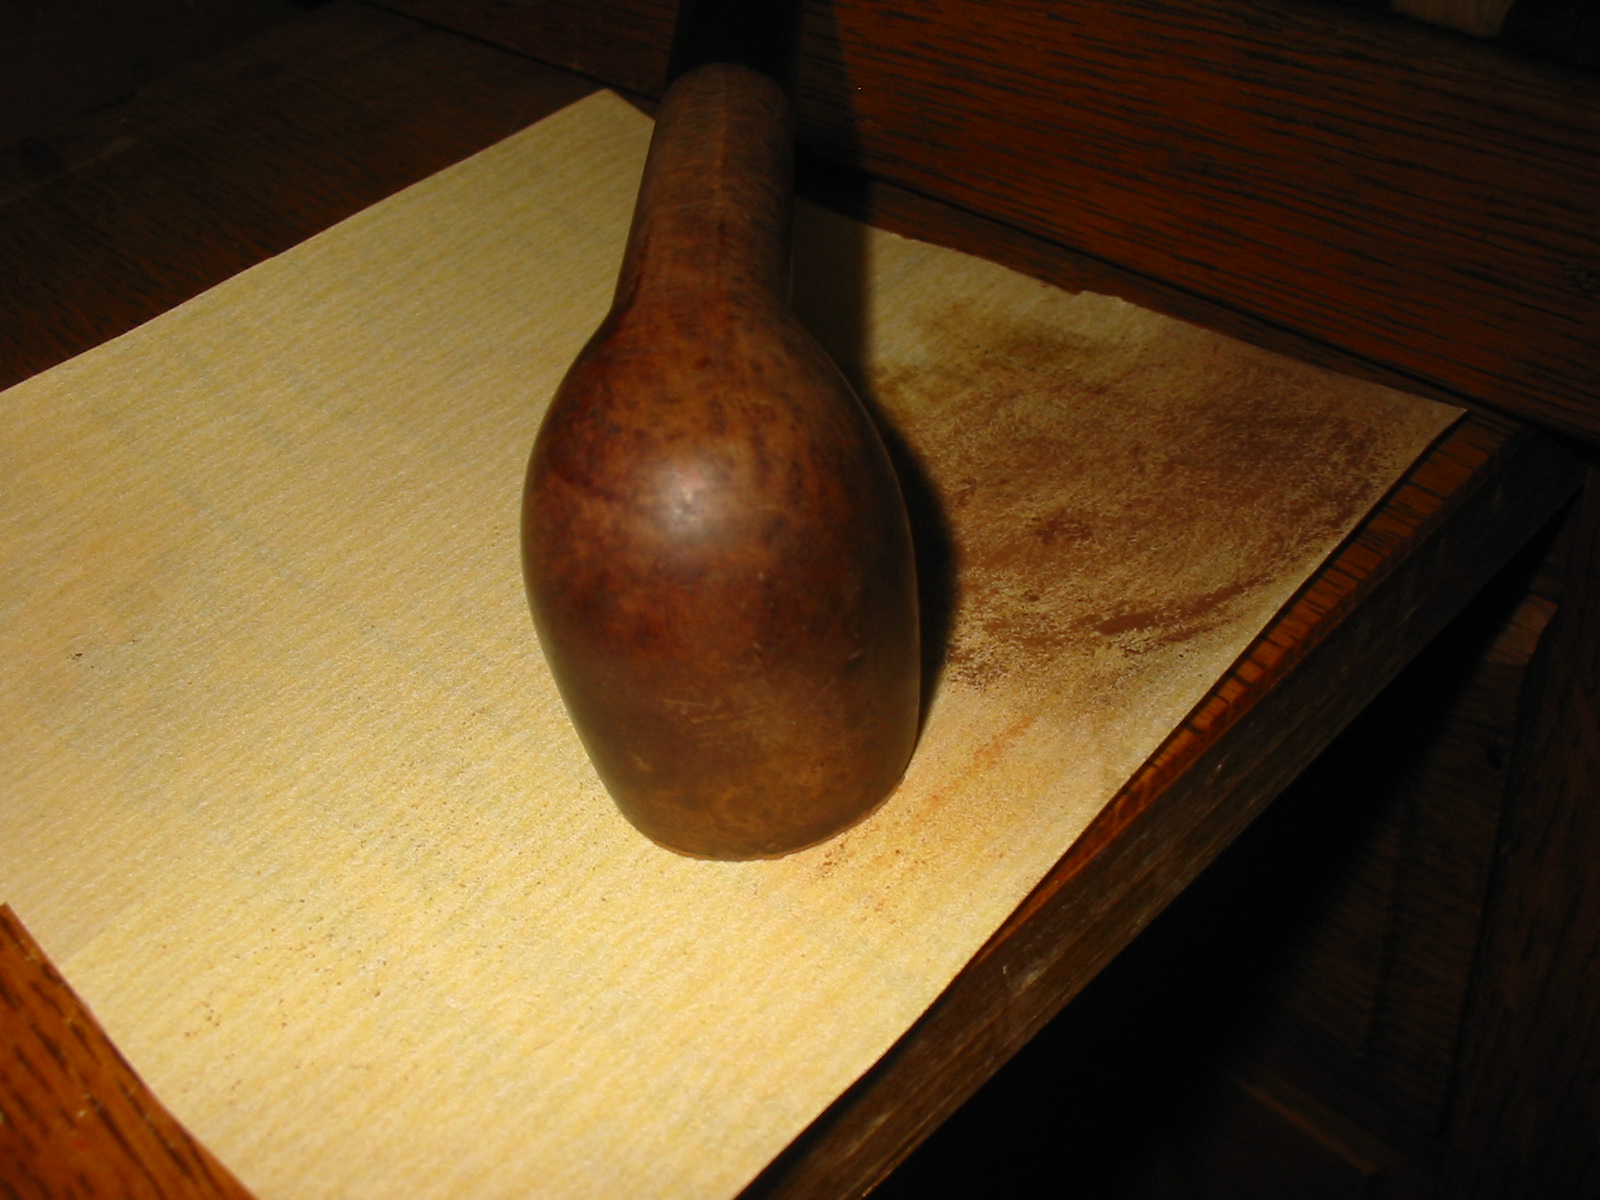
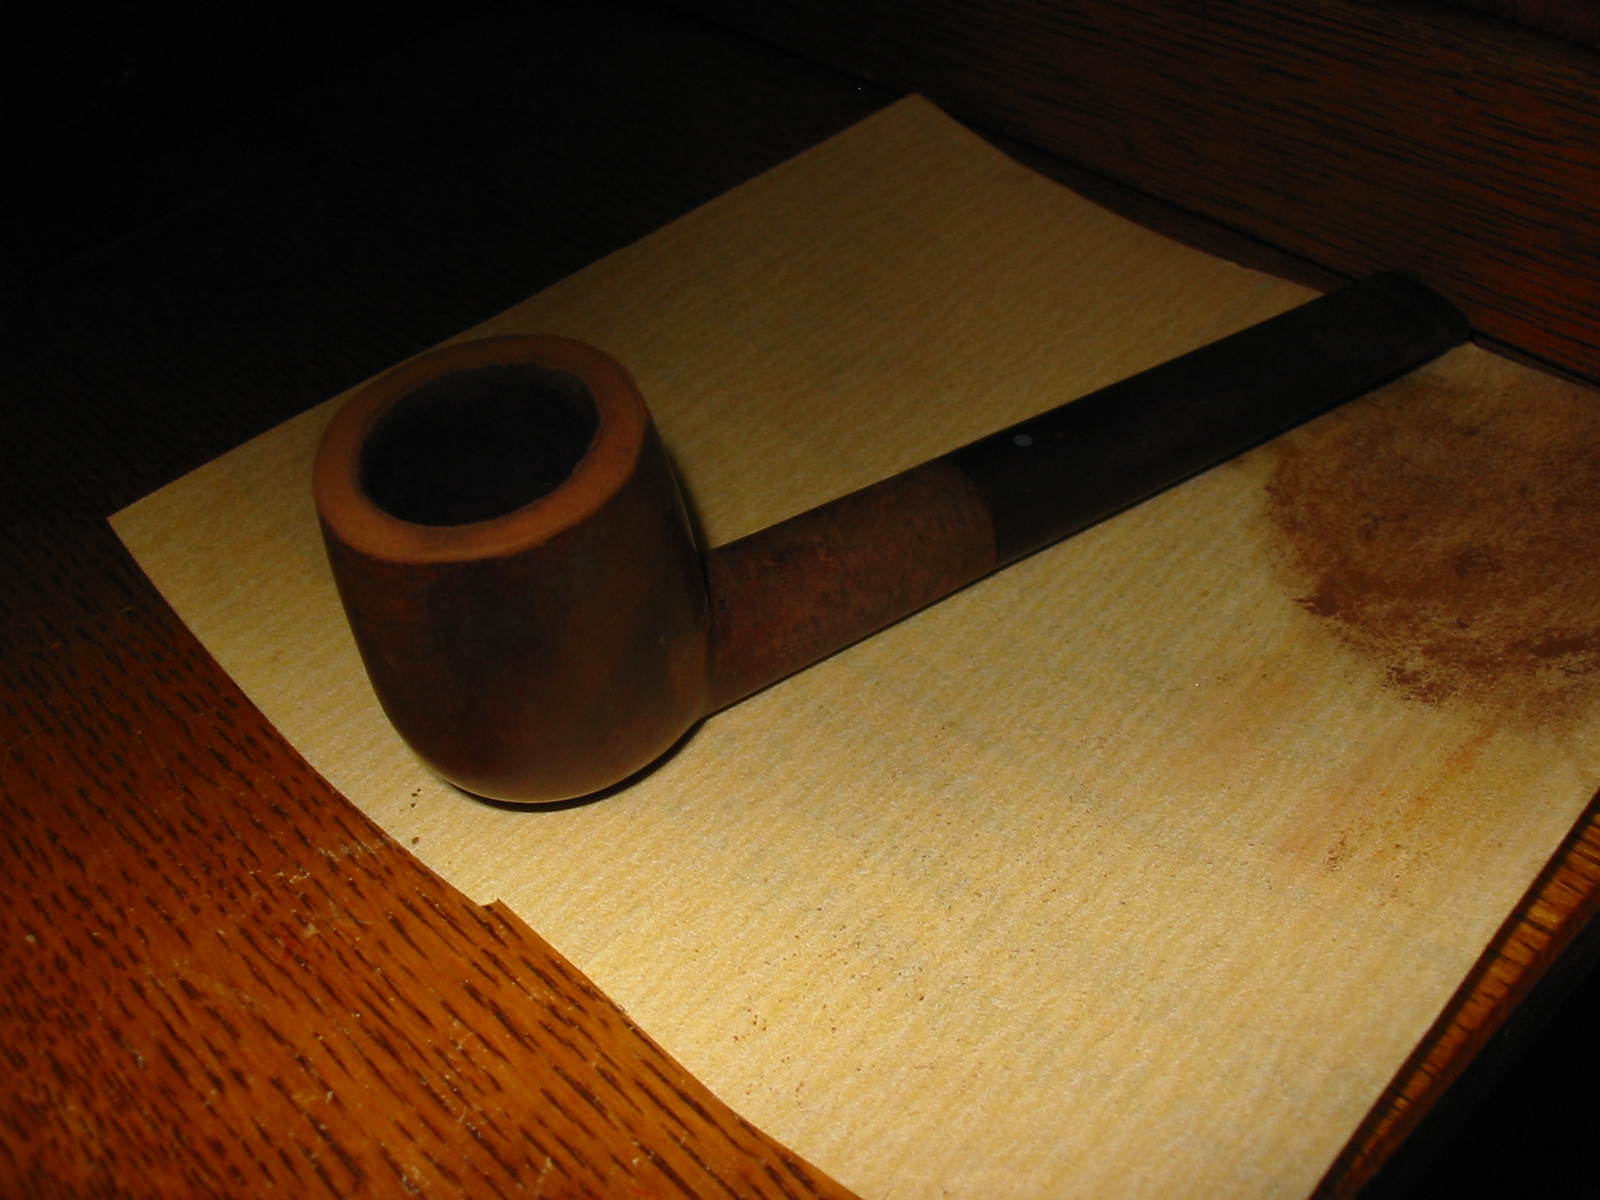
I topped the bowl using my normal method of anchoring a piece of sandpaper on a flat board and twisting the top of the bowl into the sandpaper until the top is smooth. I started with 220 grit sandpaper and then used a medium and fine grit sanding block to smooth out the rim.
IMG_2221

IMG_2222

When I had finished topping the bowl I wiped it down with acetone and a soft cotton pad to remove the sanding dust and the grime from the topping process.
IMG_2223

IMG_2224

IMG_2225

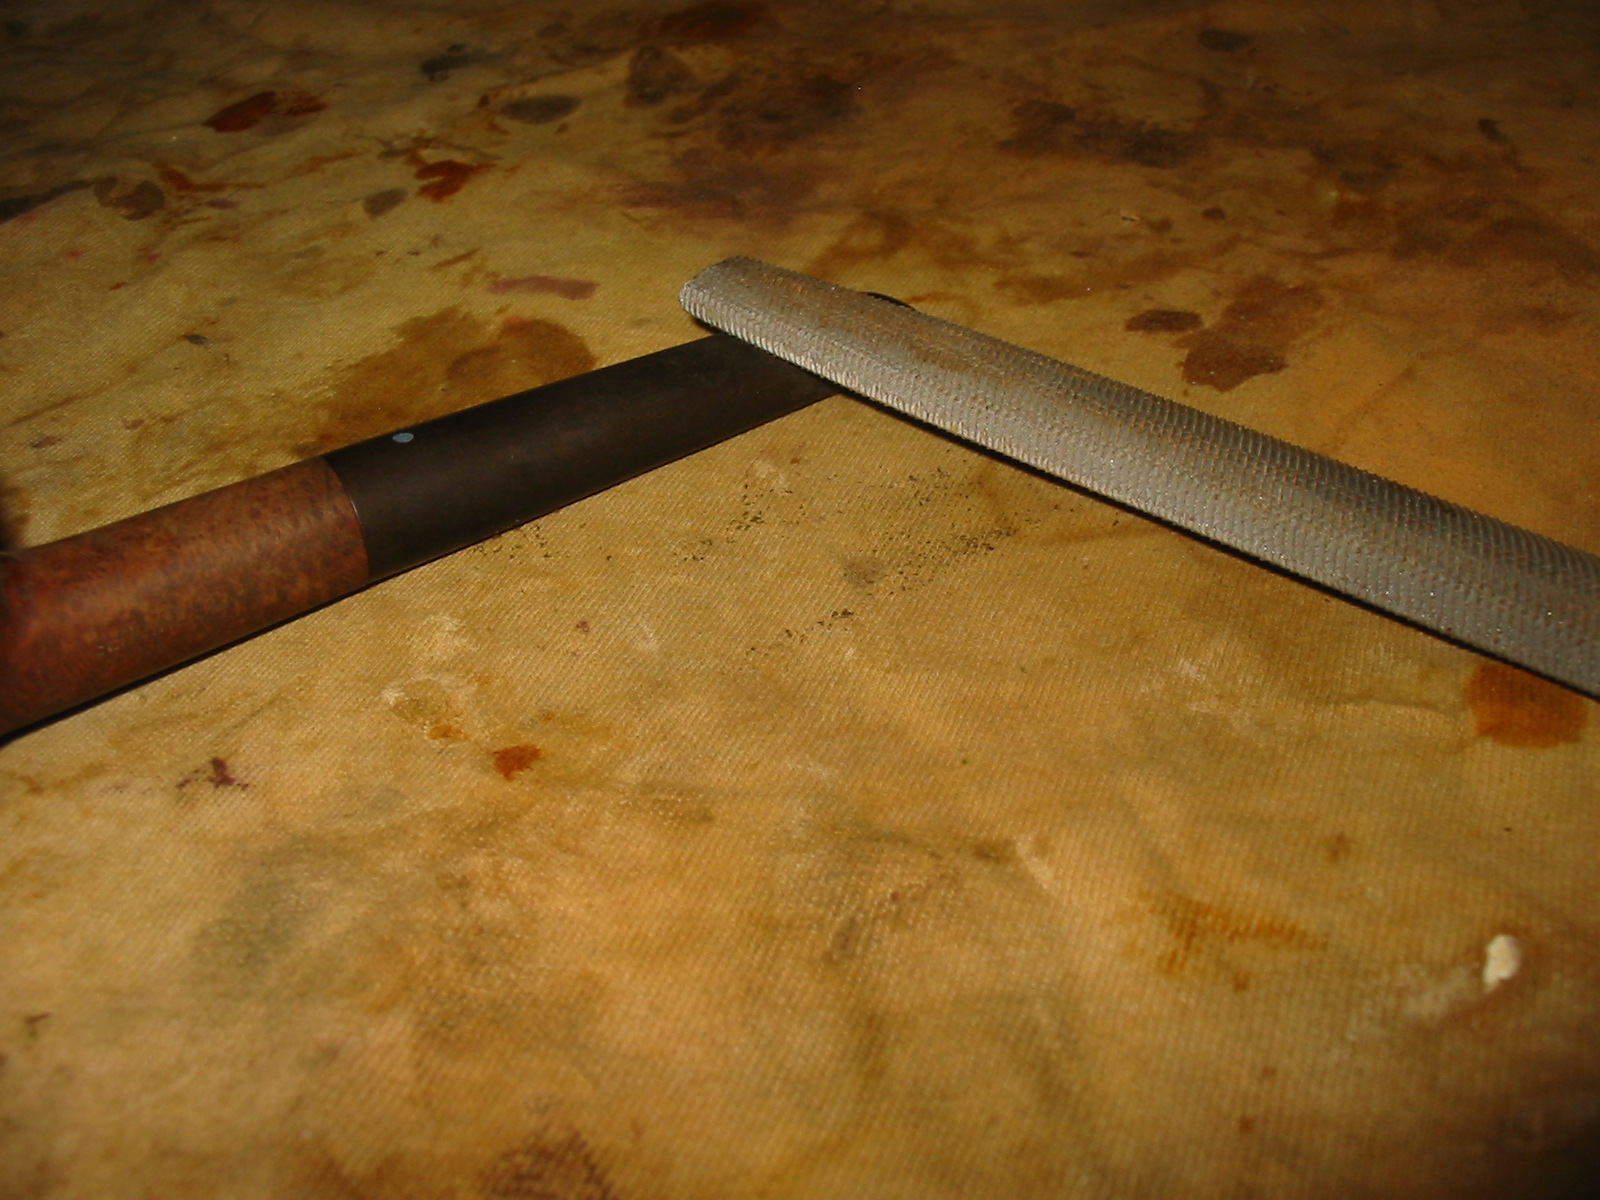
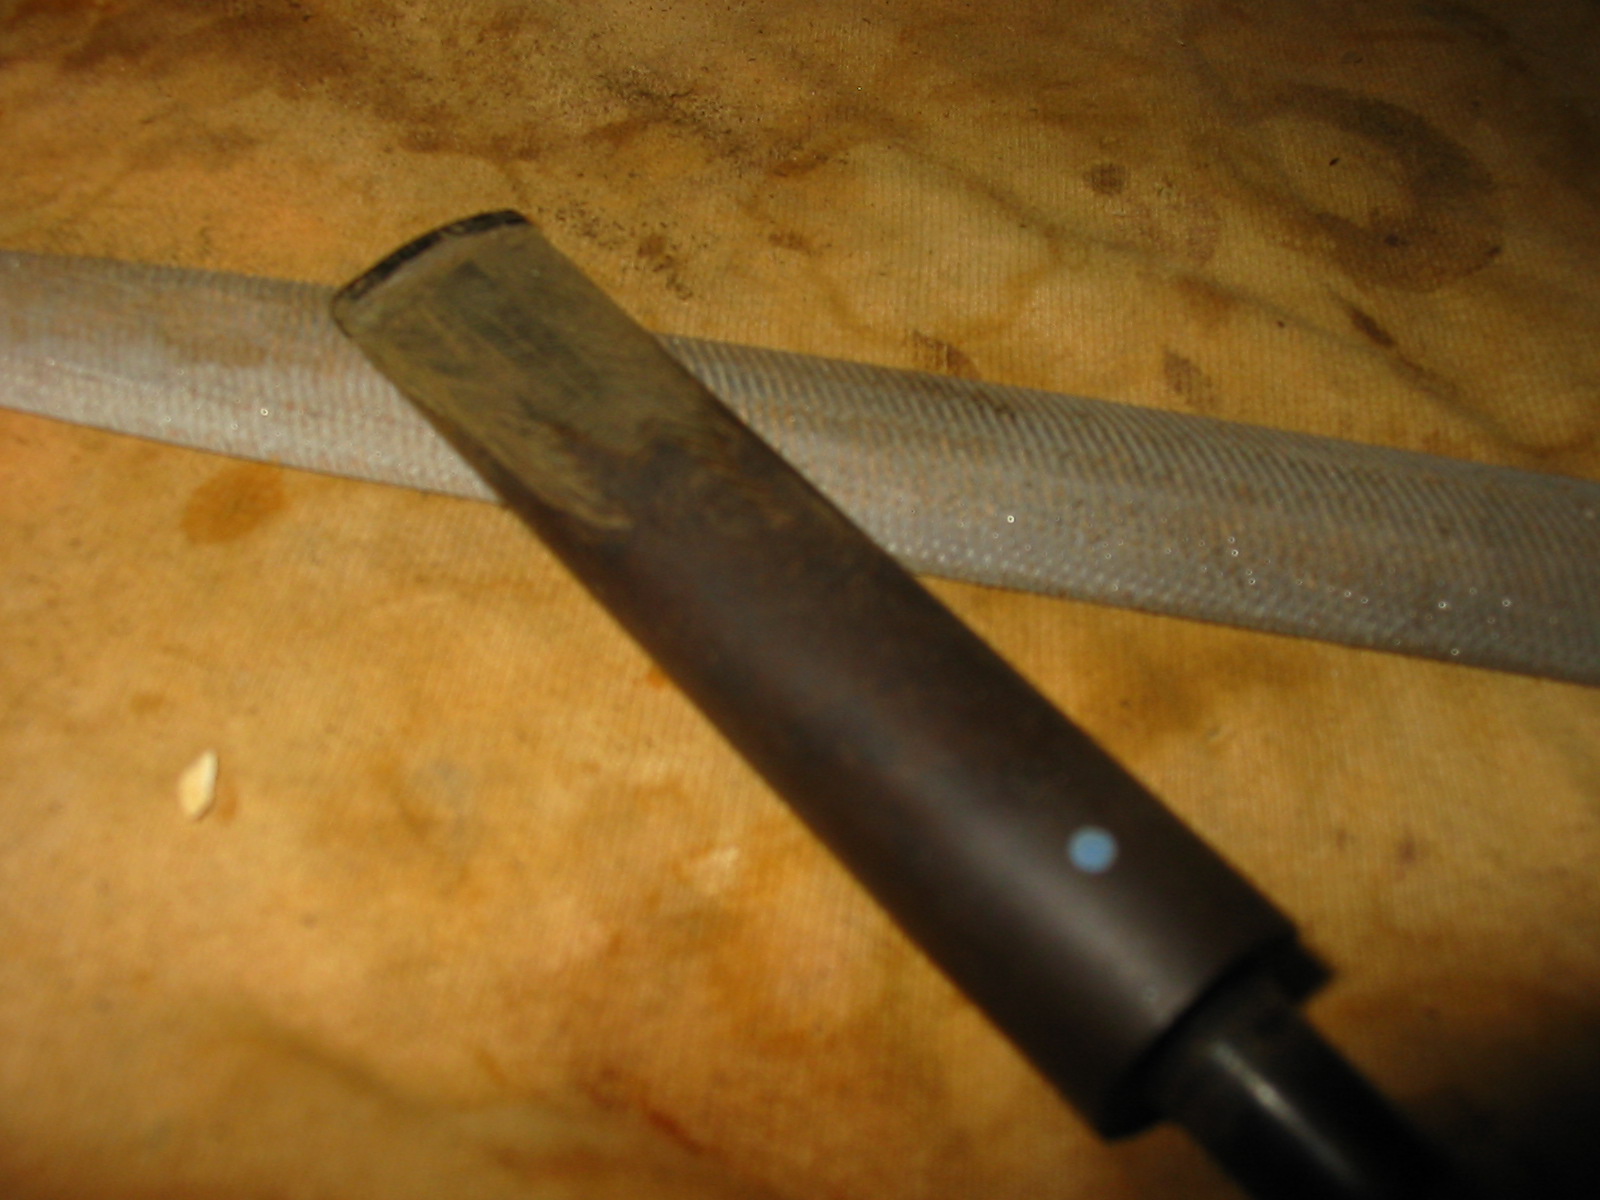
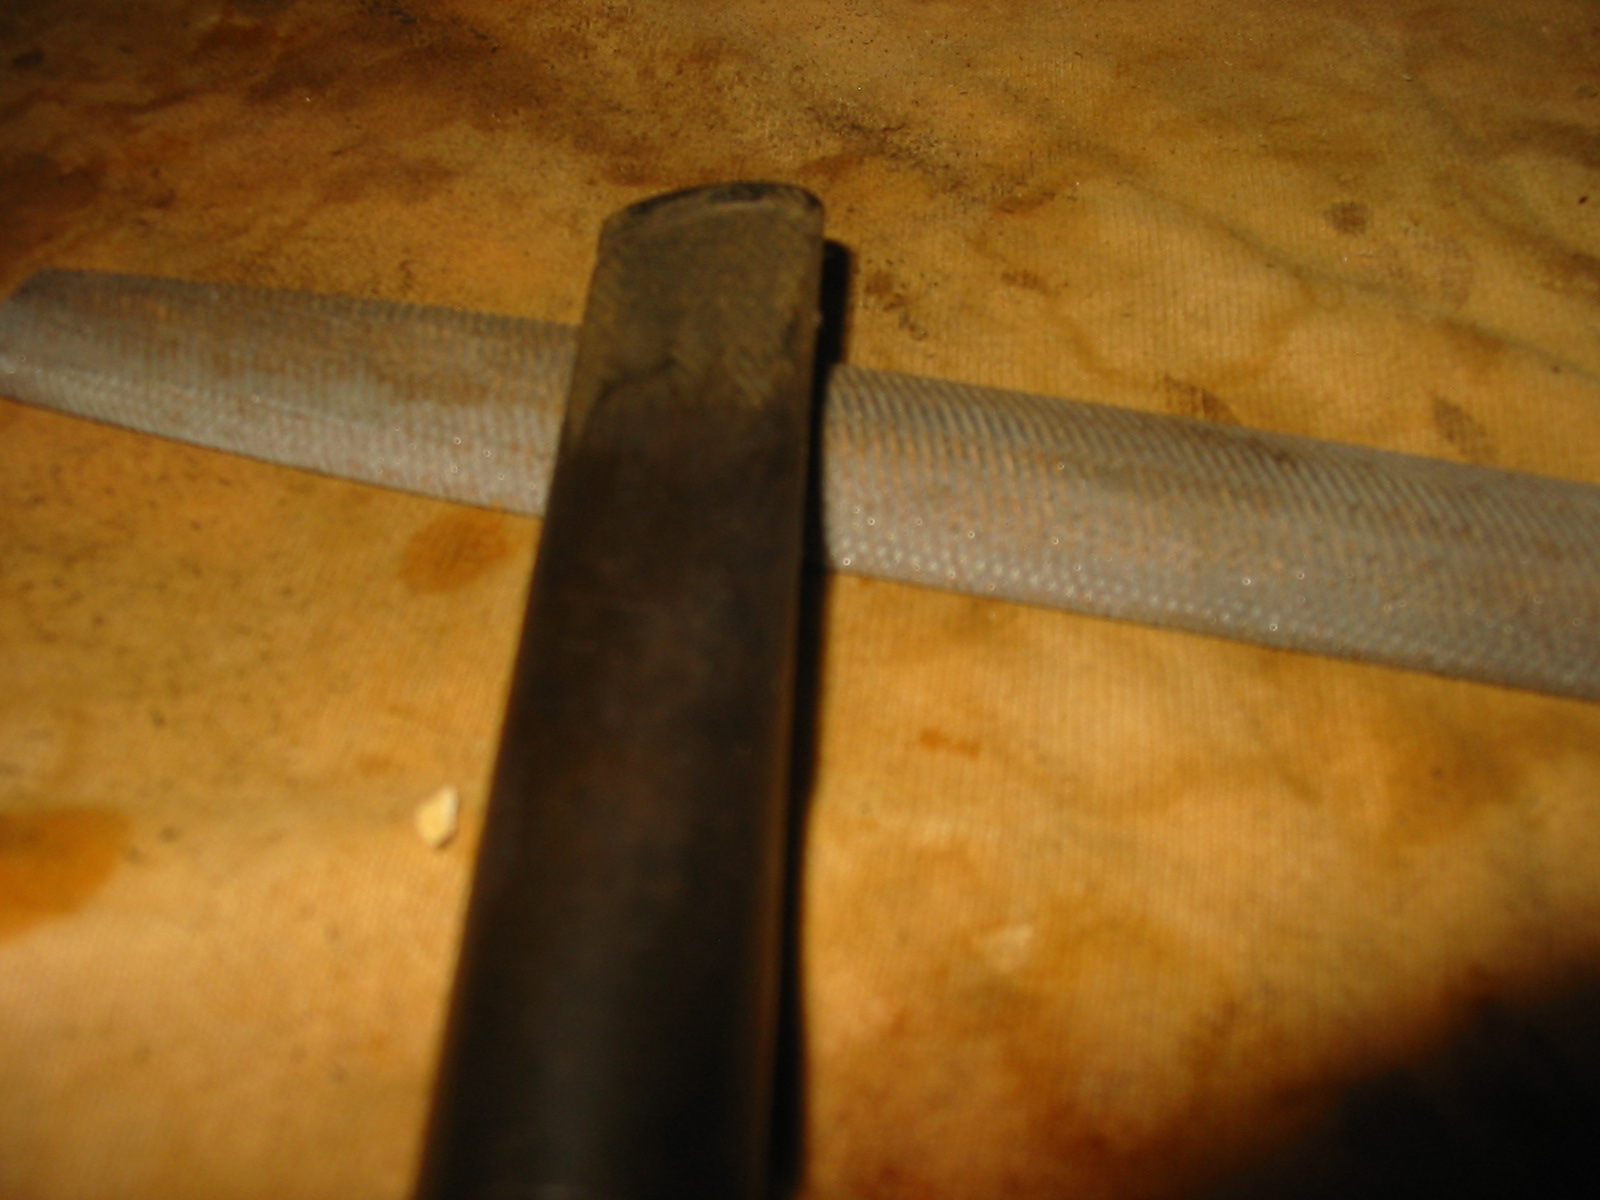
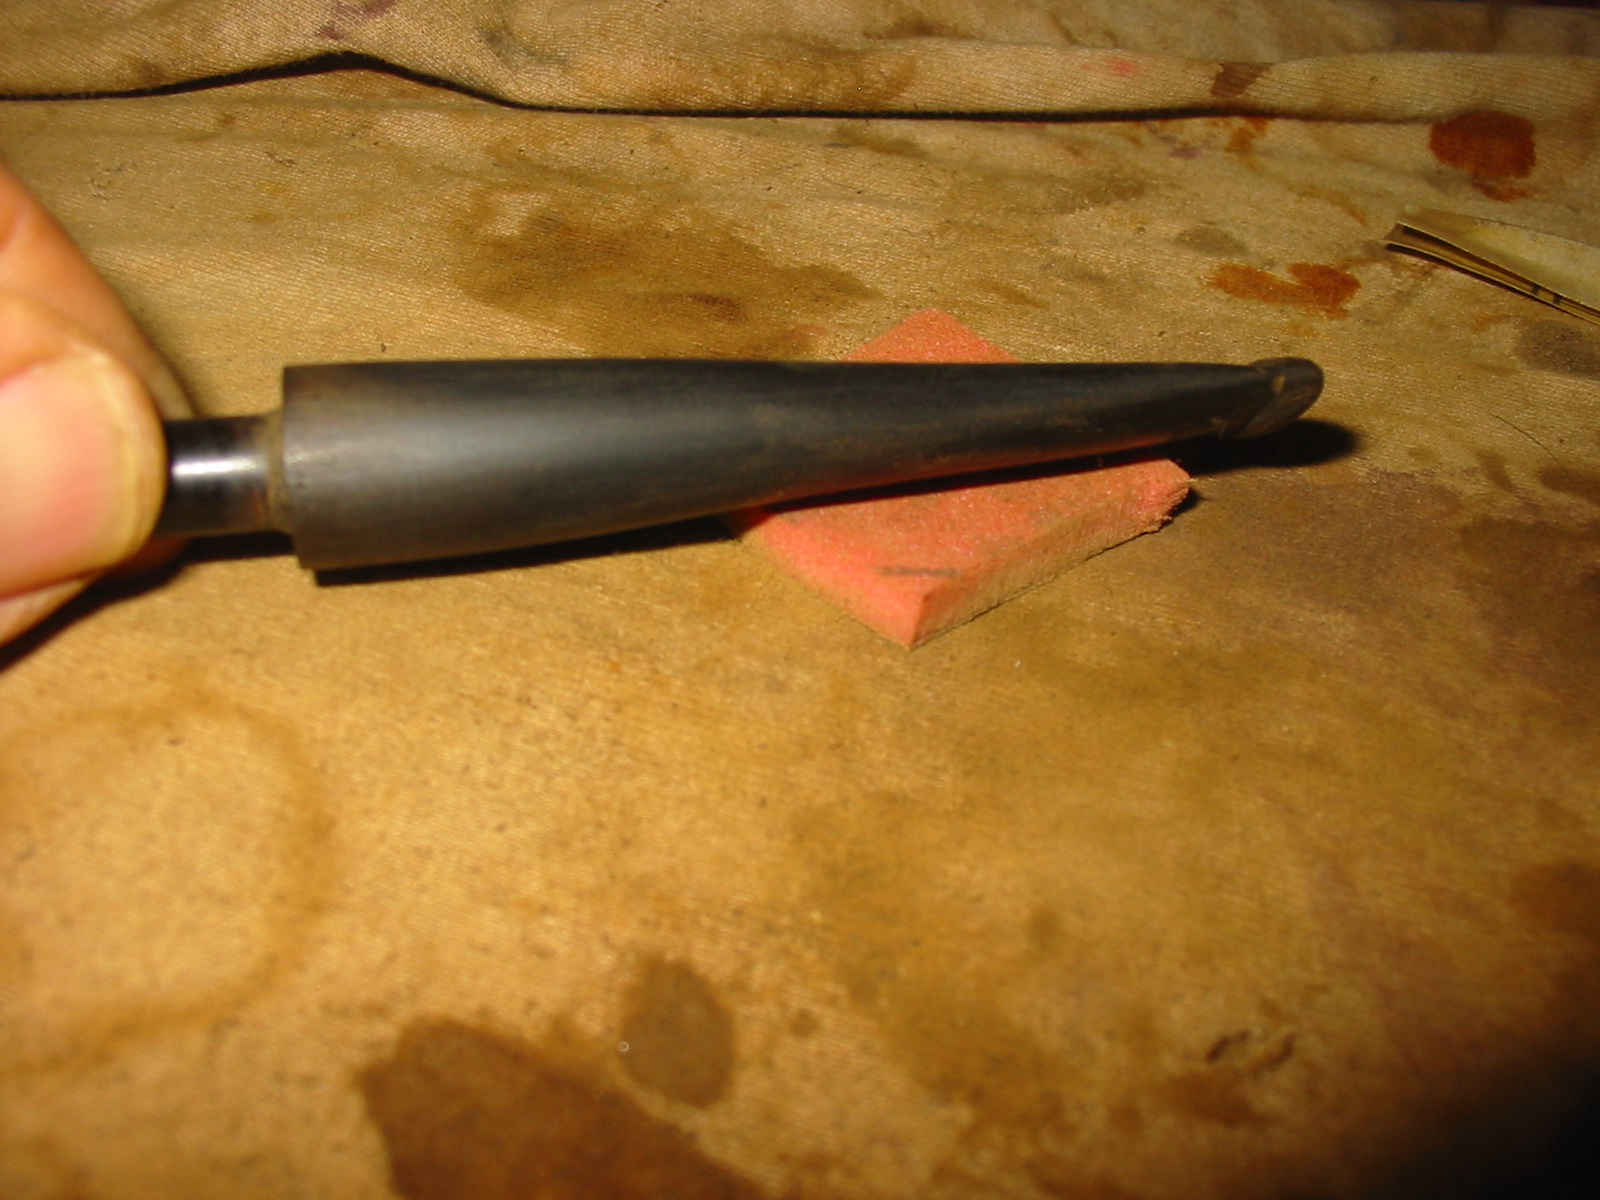
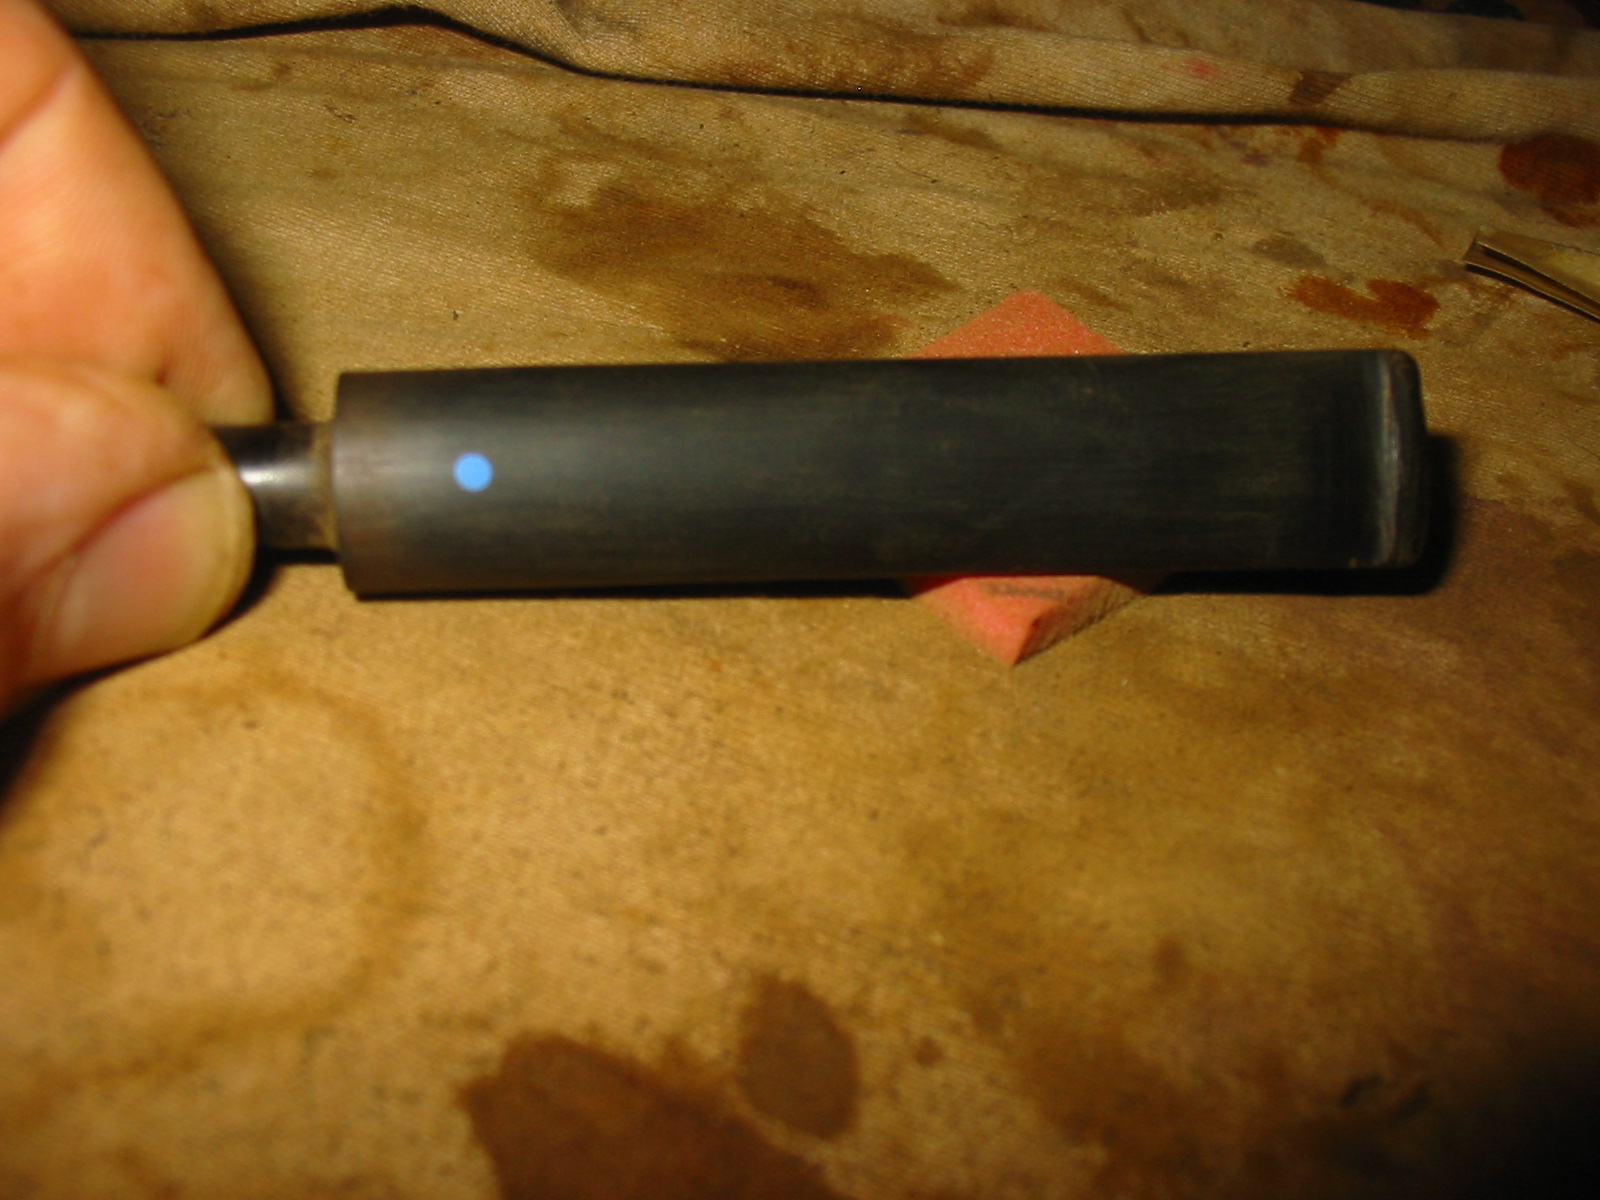
The stem had a poorly cut button on the end and the button as well as the taper on the stem needed to be reworked. I used a rasp and file to shape the taper on the stem and to take out the pinched look of the angle to the 90 degree cut on the button. The button was also not straight and not squarely cut so I also straightened out the flat edge of the button while I worked with the rasp and files. The next three photos show only the initial work on the stem and not the finished work. I removed quite a bit of the material and smooth out the slope of the taper so that it flowed evenly into the button on both the top and the bottom of the stem.
IMG_2226

IMG_2227

IMG_2228

I sanded the newly shaped stem with 220 grit sandpaper and a medium grit sanding sponge to remove the scratches left by the rasp and files. Once I had the basic shape in place I decided to restain the bowl. I warmed the briar and then gave it several coats of a dark brown aniline stain thinned 1:1 with isopropyl alcohol. I flamed it between each coats to set the stain. The rim took extra coats to match the colour of the rest of the bowl.
IMG_2240

IMG_2241

IMG_2242

IMG_2244

I buffed the newly stained bowl lightly with White Diamond and then gave it a coat of a light cherry coloured Danish Oil. Once dry I buffed it by hand and then also gave it a light buff with White Diamond to polish it.
IMG_2245

IMG_2246

IMG_2247

I then removed the stem and worked on the slot in the button. When the end of the stem had been cut off some of the flair of the original airway remained leaving the end of the button with a small rectangular opening. I used needle files to open the flair and widen the slot into more of an oval that extended the width and height of the button end.
IMG_2248

IMG_2251

IMG_2252

Once I had the slot opened the way I like it I sanded the inner edges with a folded piece of sandpaper to smooth it out. I also did some more shaping with files to the taper of the stems. I sanded it with 220 grit sandpaper until I had the slope well-defined from the tenon back to the button. I also shaped the externals of the button to clean up the angle at the point the button and stem taper met. I also sanded it with a medium grit sanding sponge to remove the scratches left behind and to also remove the oxidation at the stem shank junction.
IMG_2249

IMG_2250

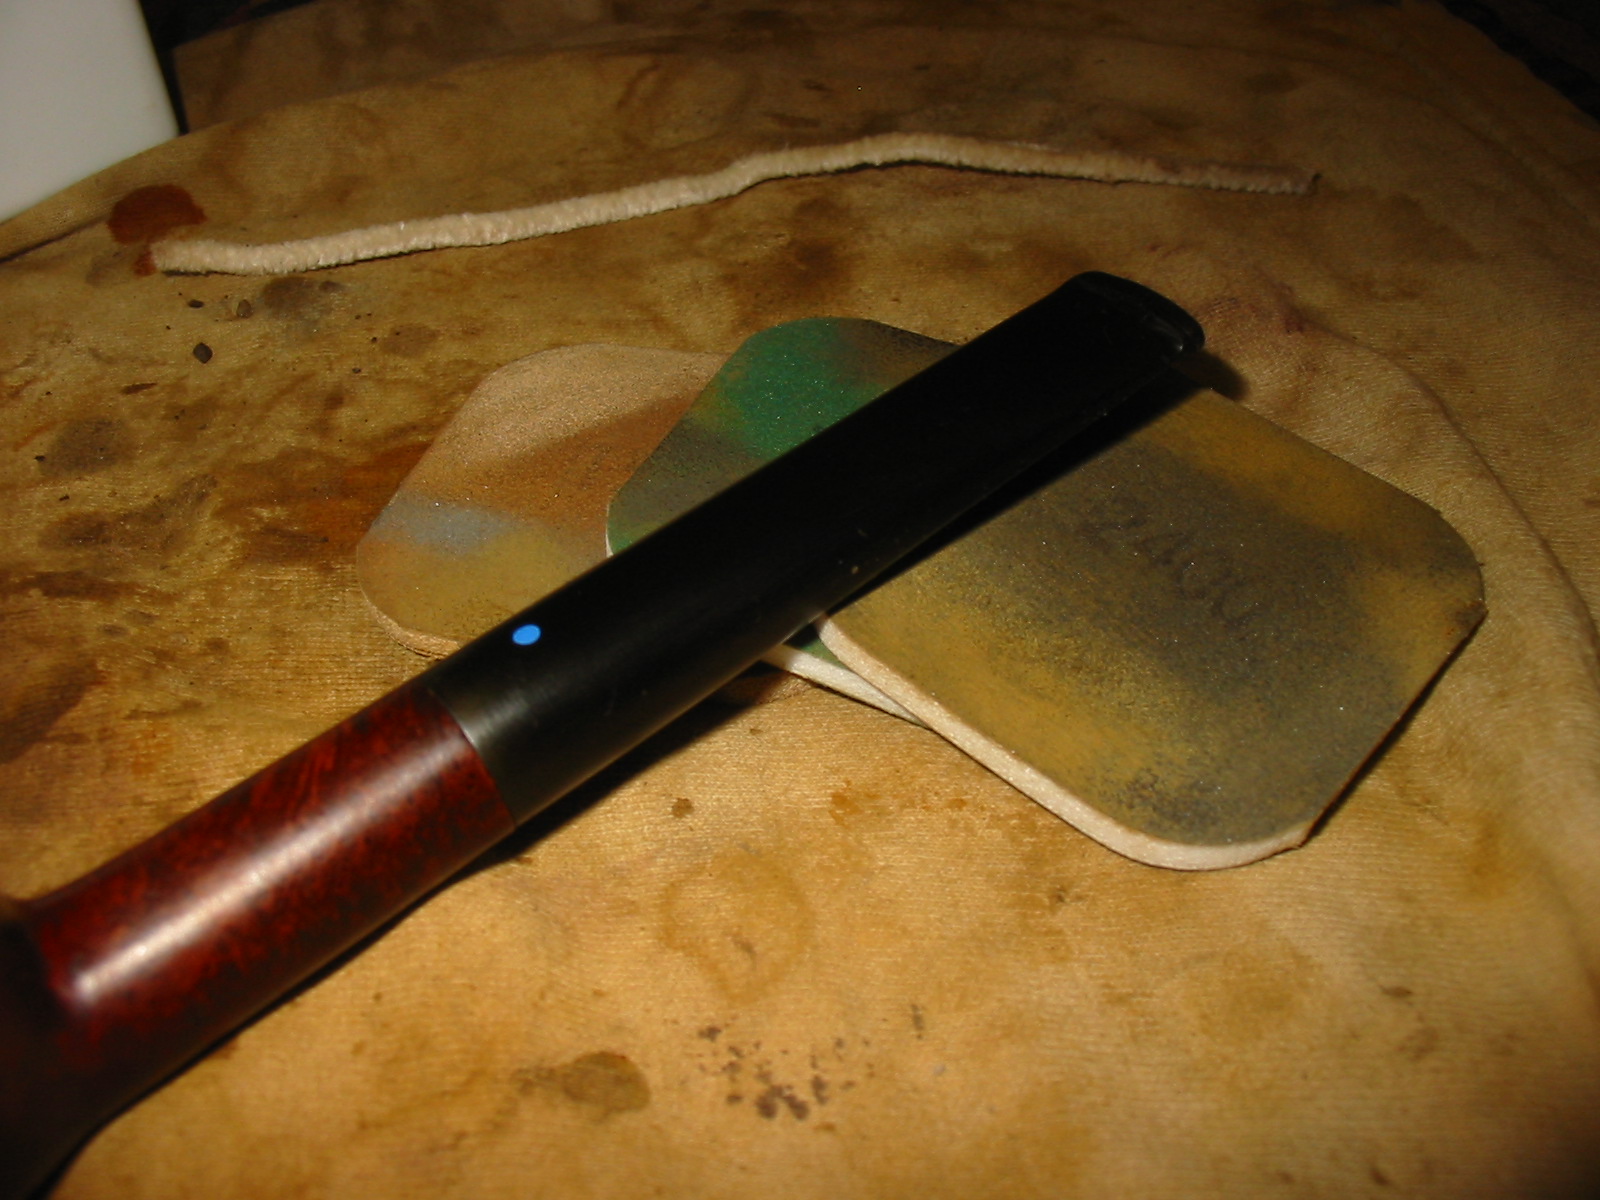
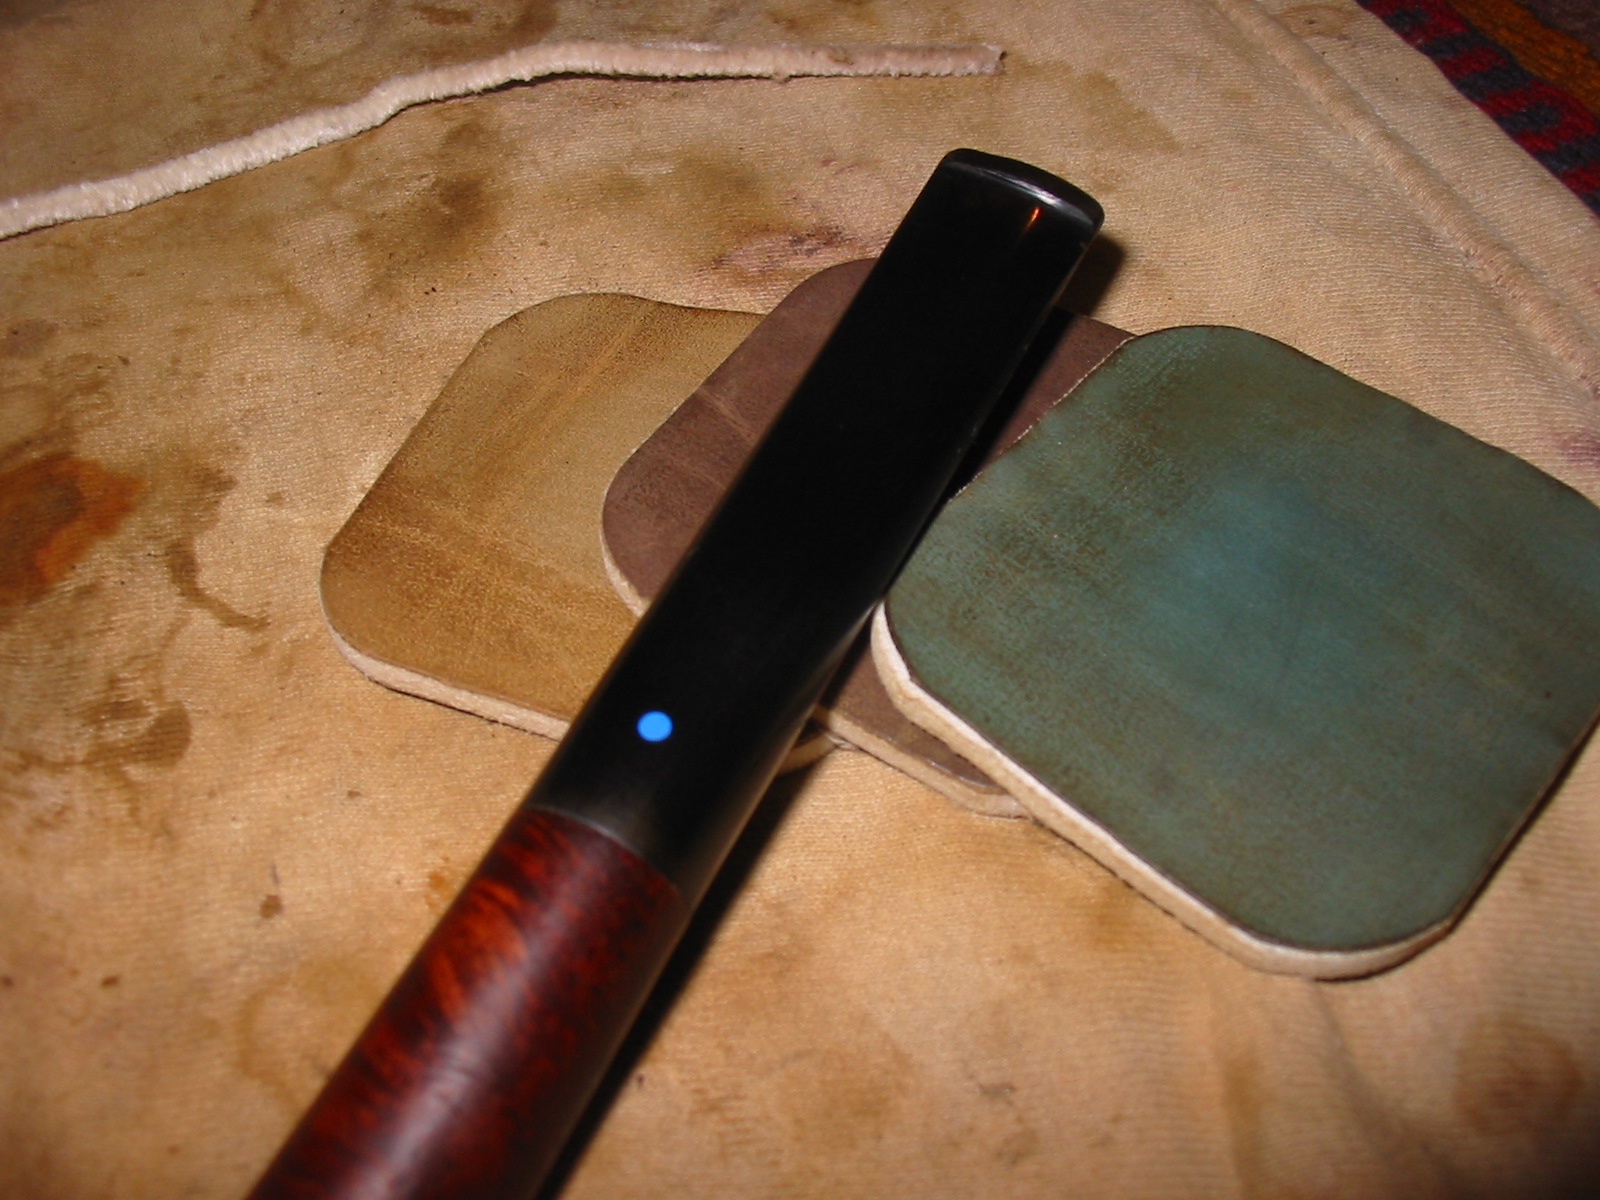
When I had the scratches removed as far as possible with the sanding sponge I went on to sand the stem with micromesh sanding pads. I wet sanded the stem with 1500, 1800 and 2400 grit sanding pads and the dry sanded with the remaining grits.
IMG_2253

IMG_2254

IMG_2255

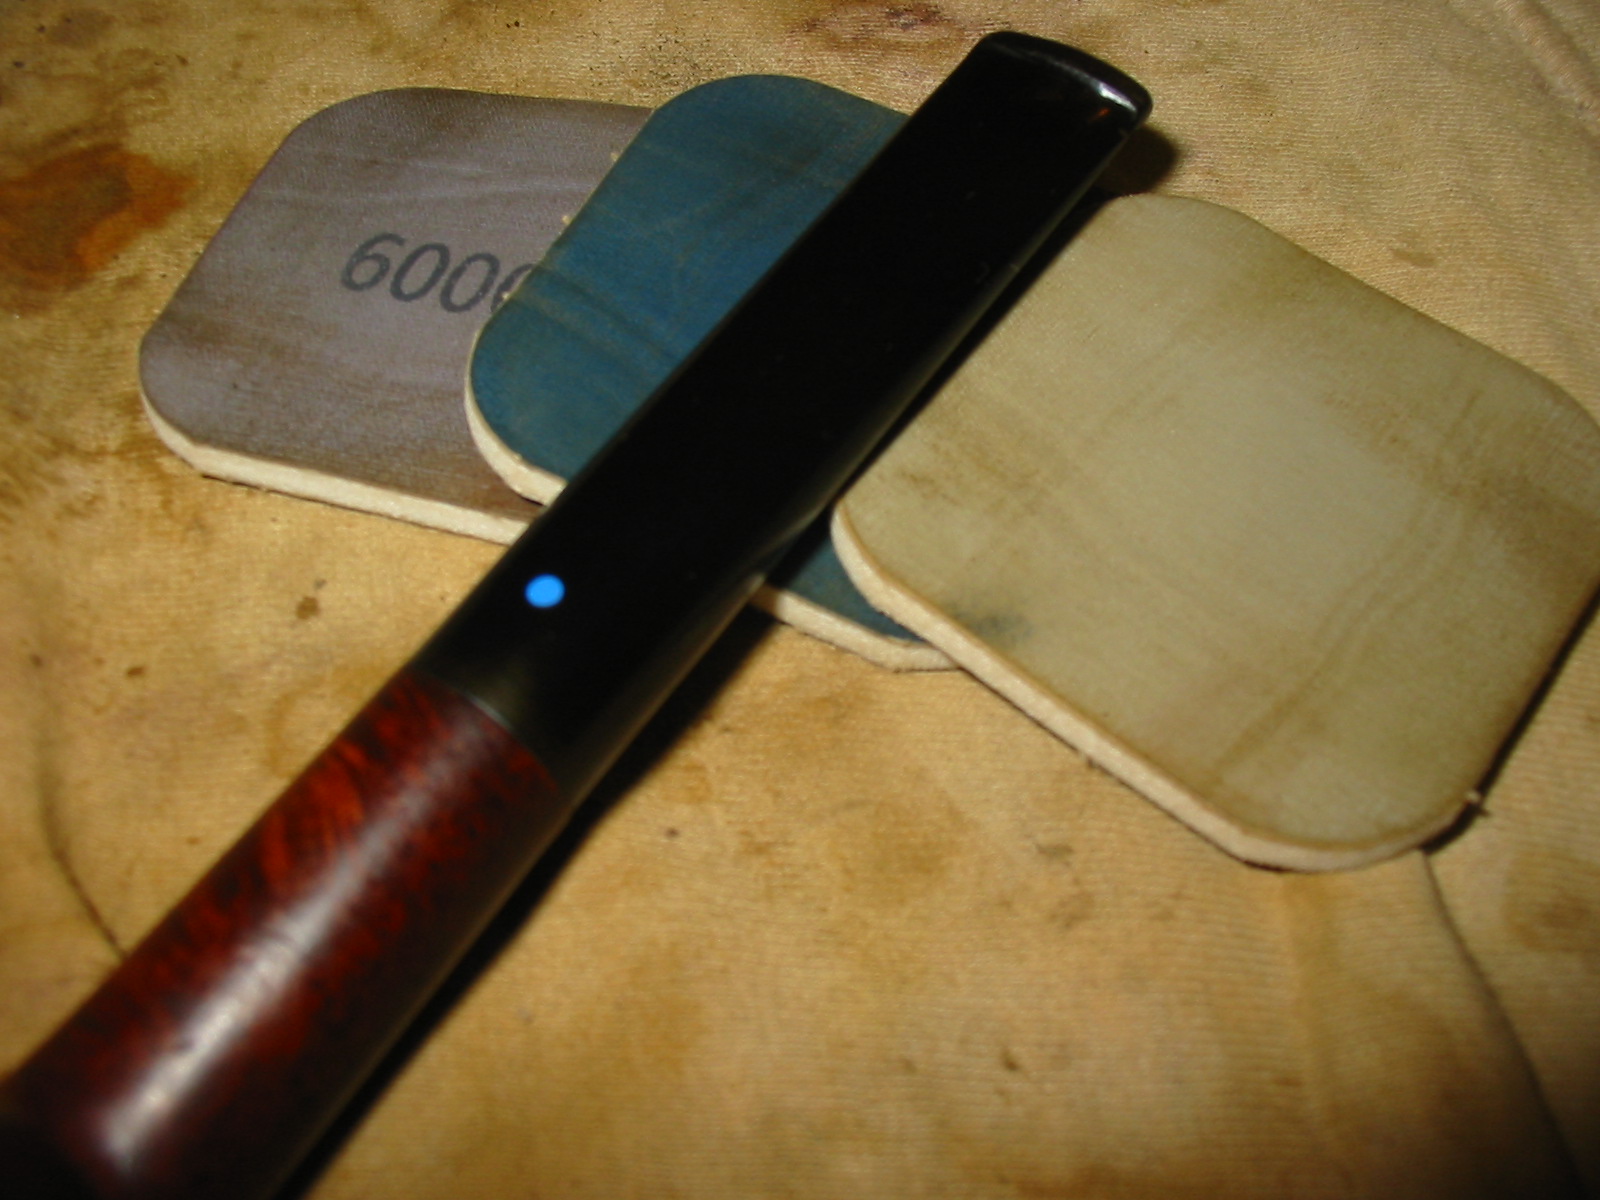
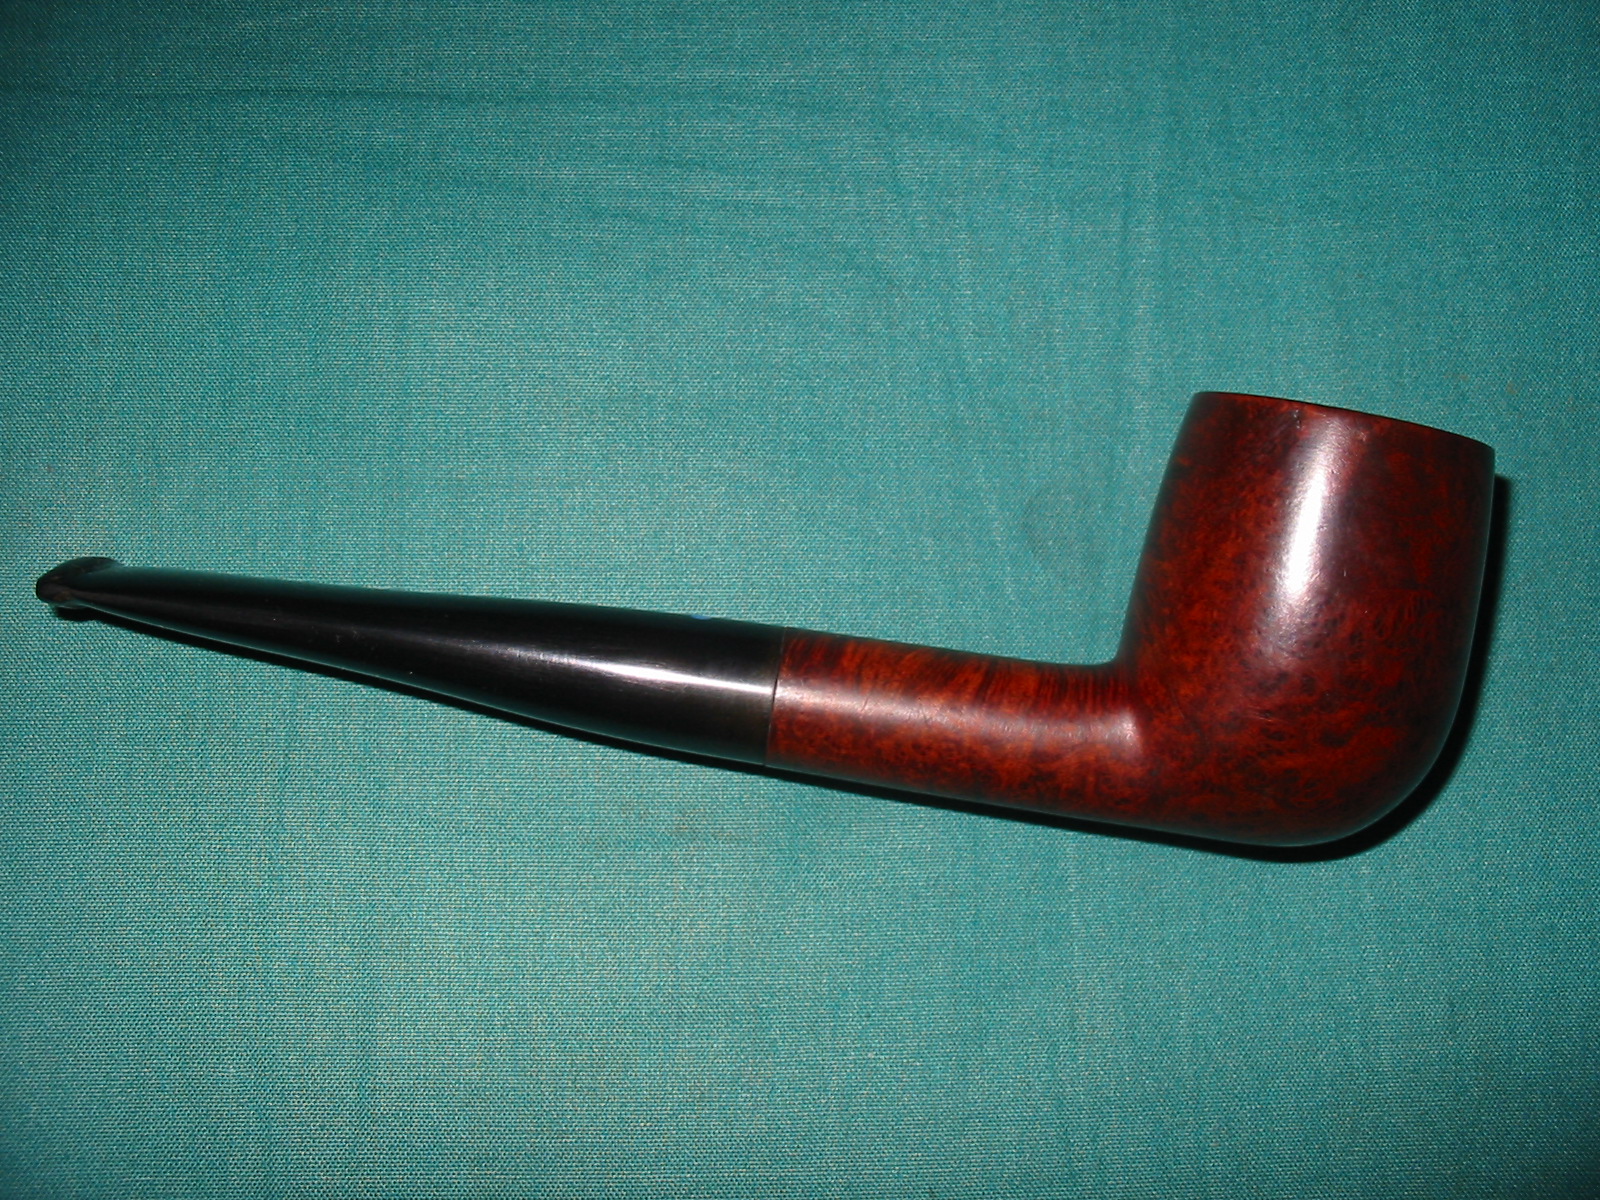
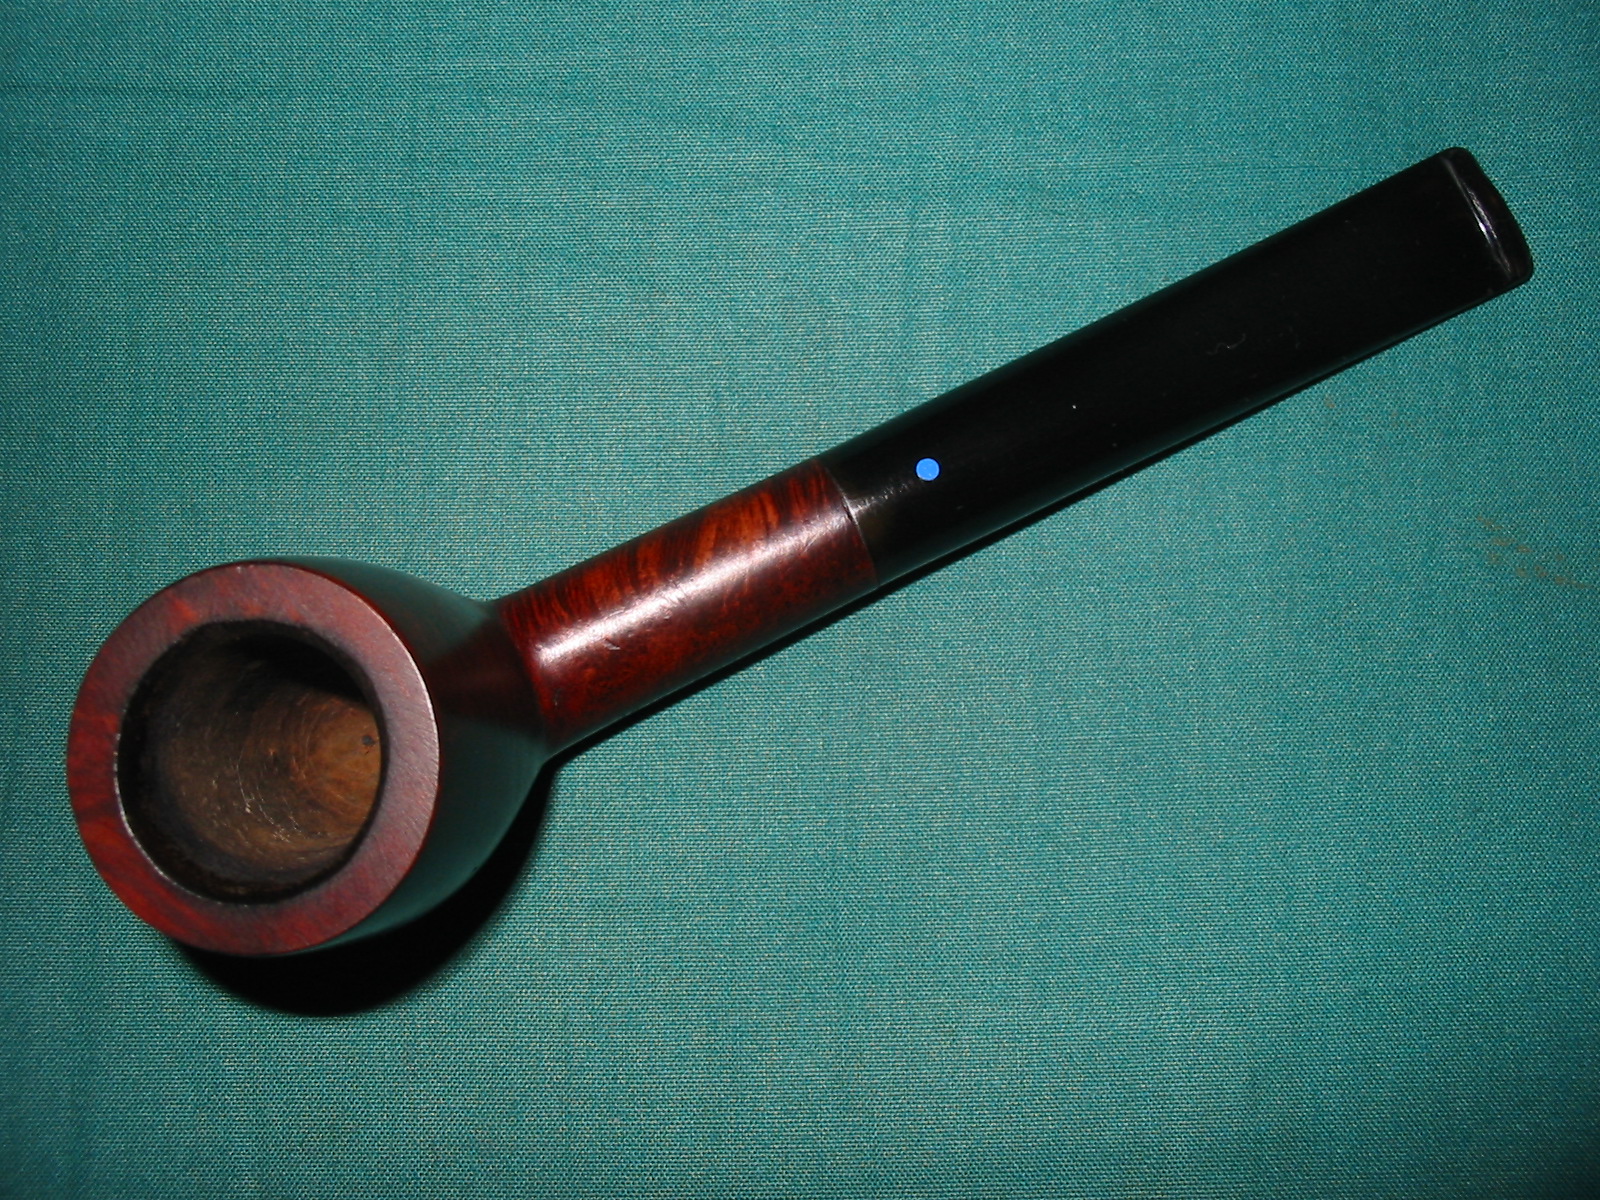
I rubbed the stem down with Obsidian Oil and rubbed it into the surface of the vulcanite. I took it to the buffer and buffed the stem with White Diamond. I gave the bowl and the stem multiple coats of carnauba wax and polished the pipe with a clean flannel buff to bring up the shine. The finished pipe is pictured below. I still wish I knew what the stamping says in full. That blue dot certainly is a symbol of some unknown to me brand of pipe. The mystery remains but in the mean time I have a great little billiard to enjoy.
IMG_2256

IMG_2257

IMG_2258

IMG_2259

Falcon Restored


Blog by Al Jones (aka “upshallfan”)

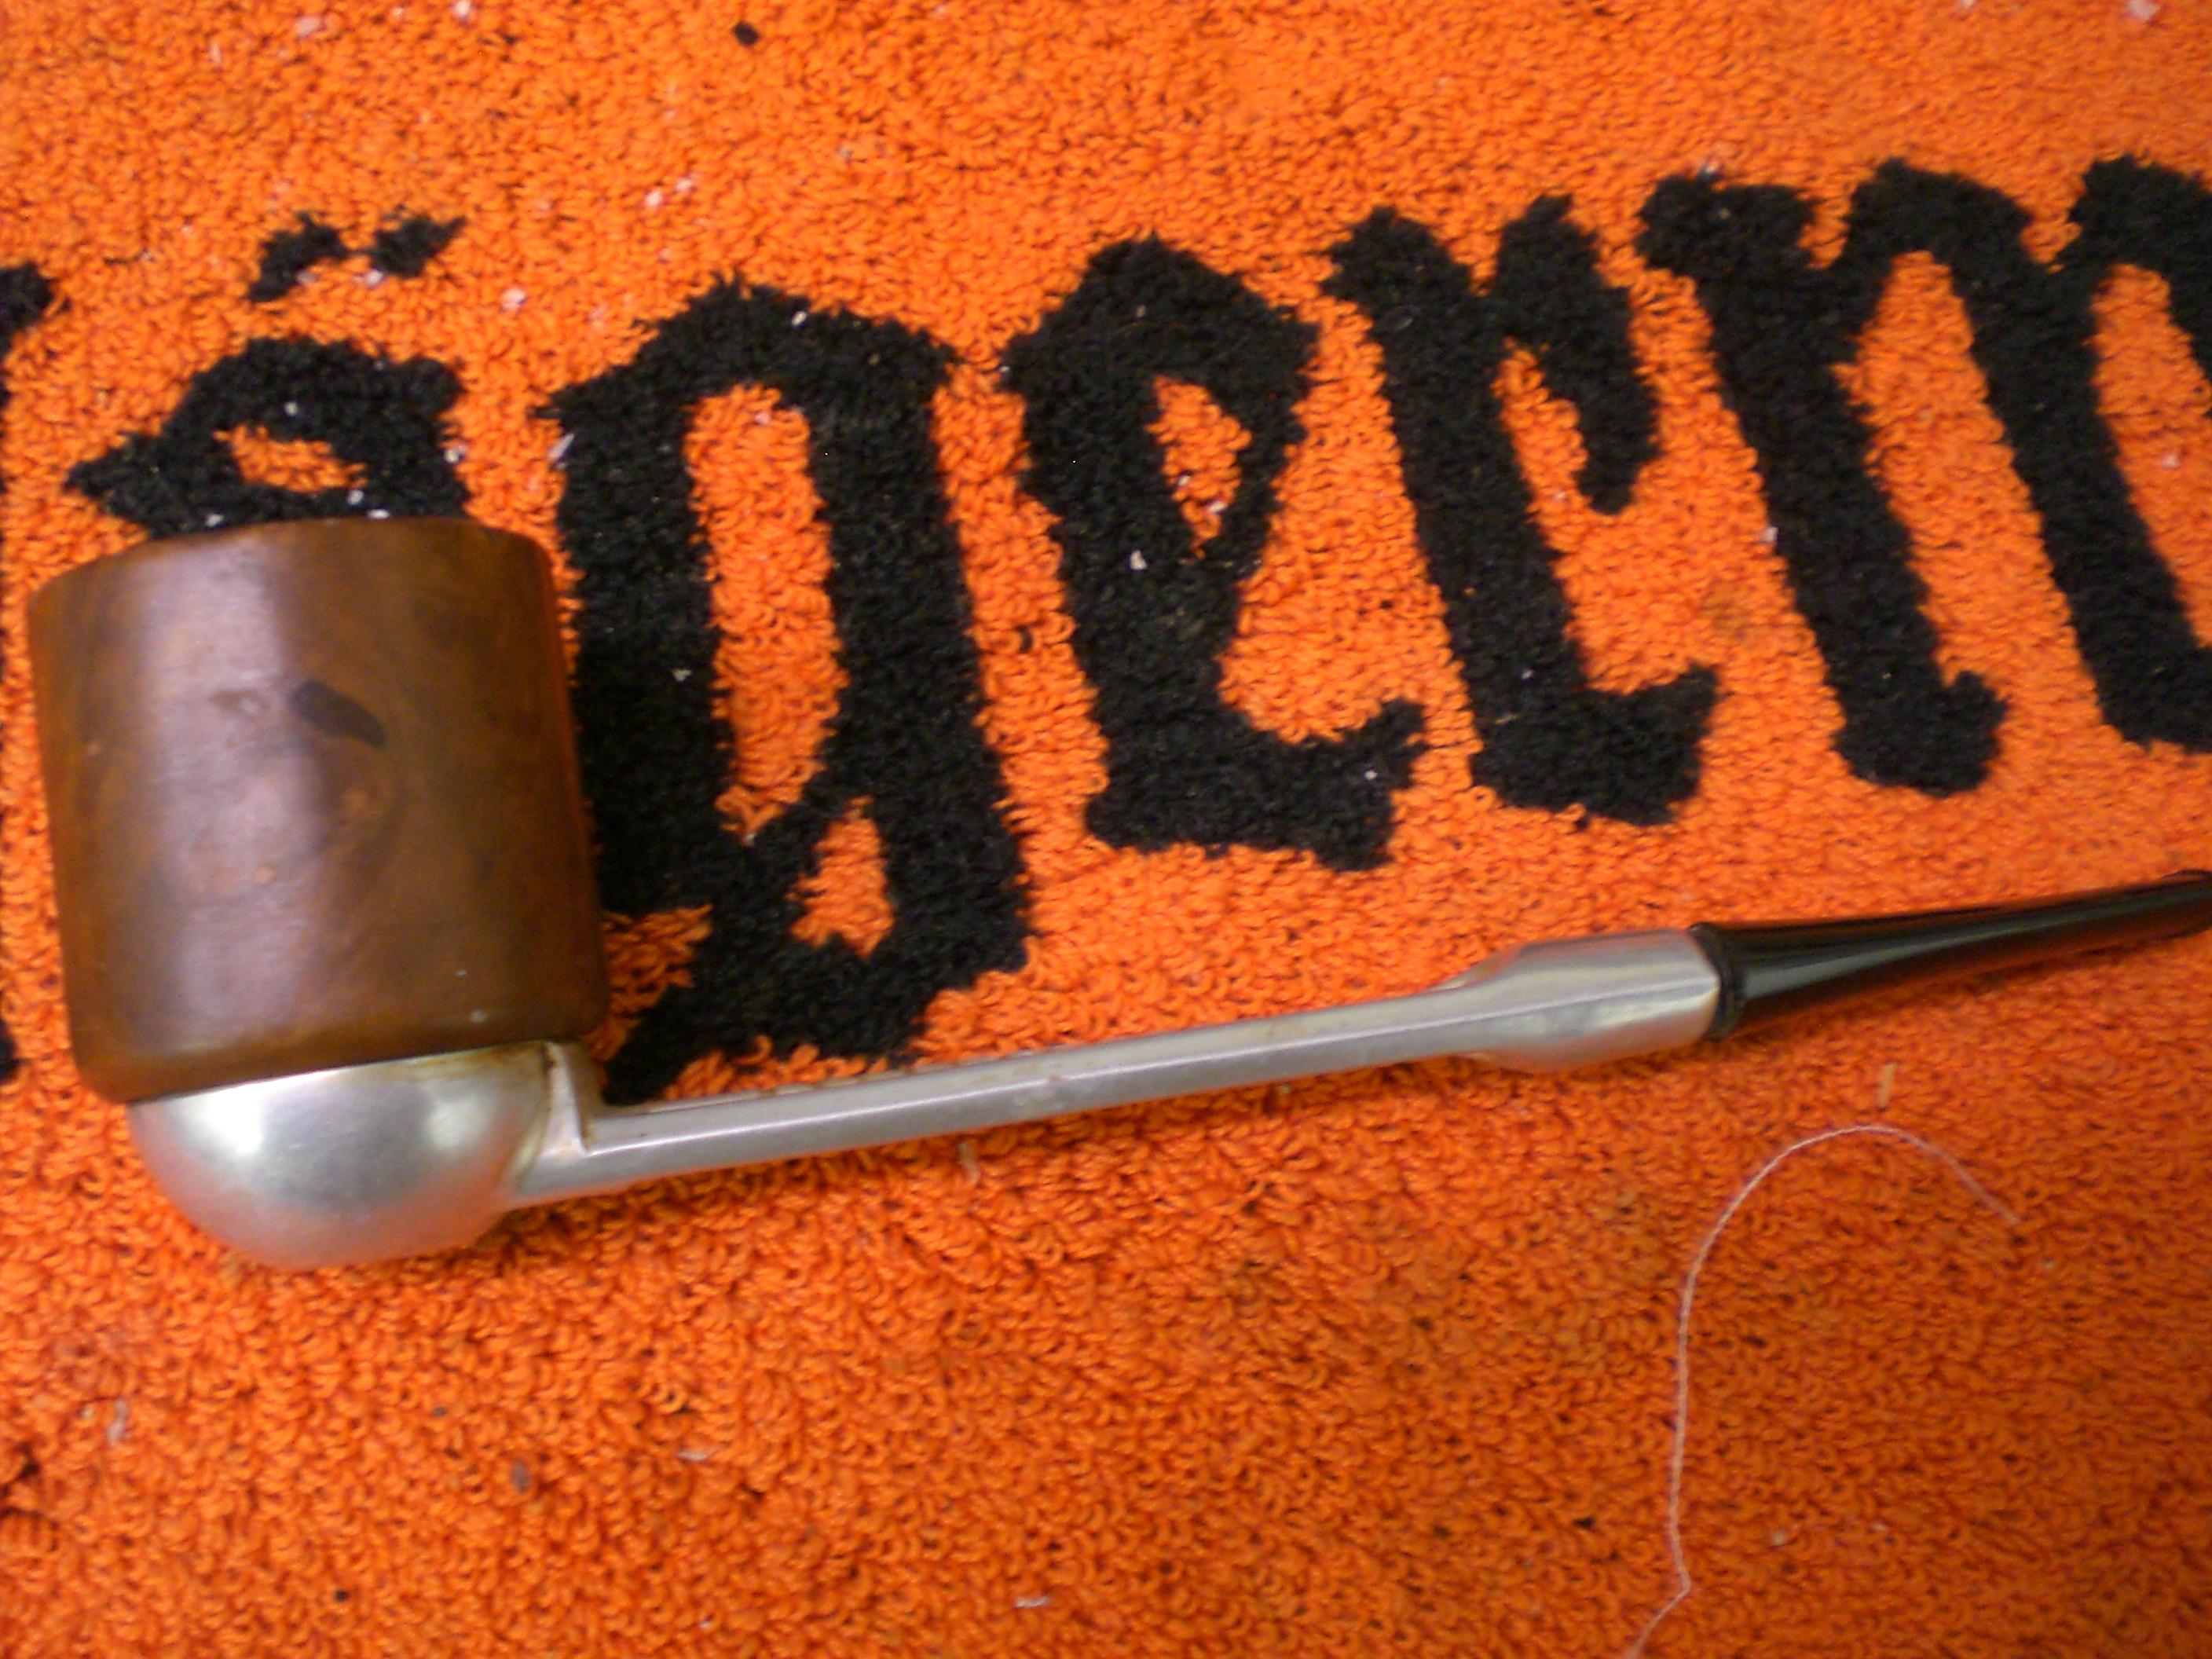
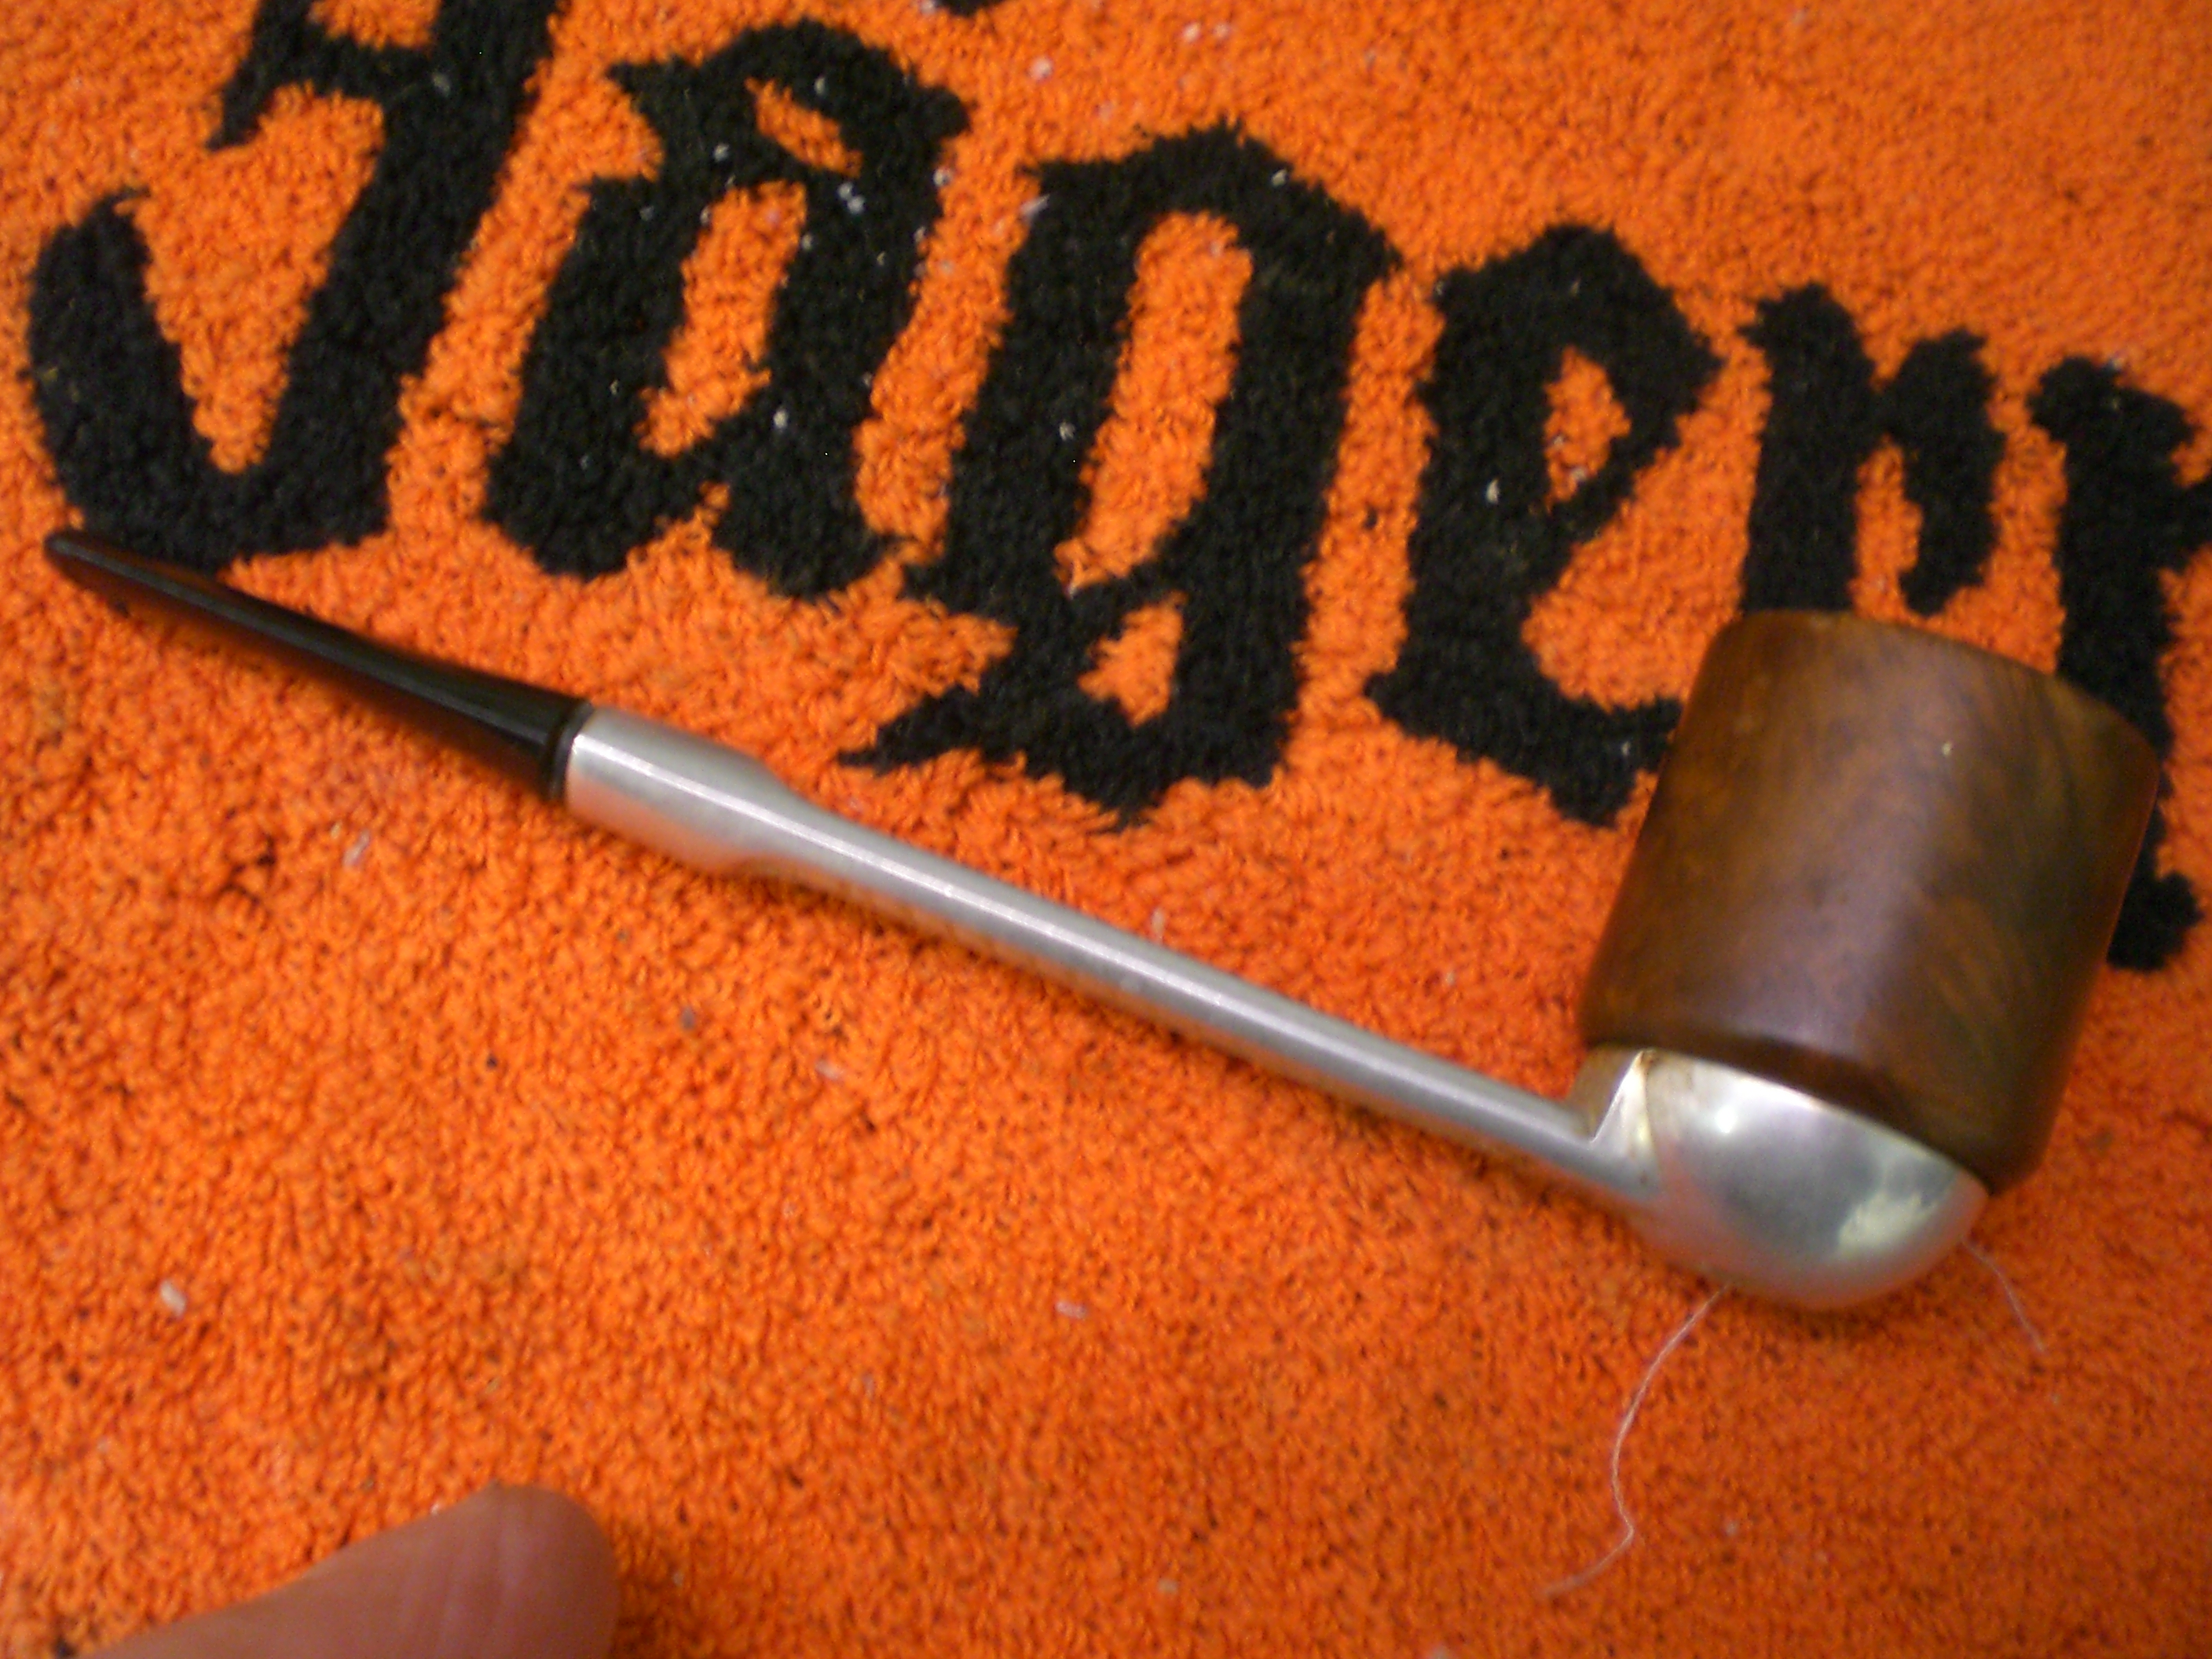
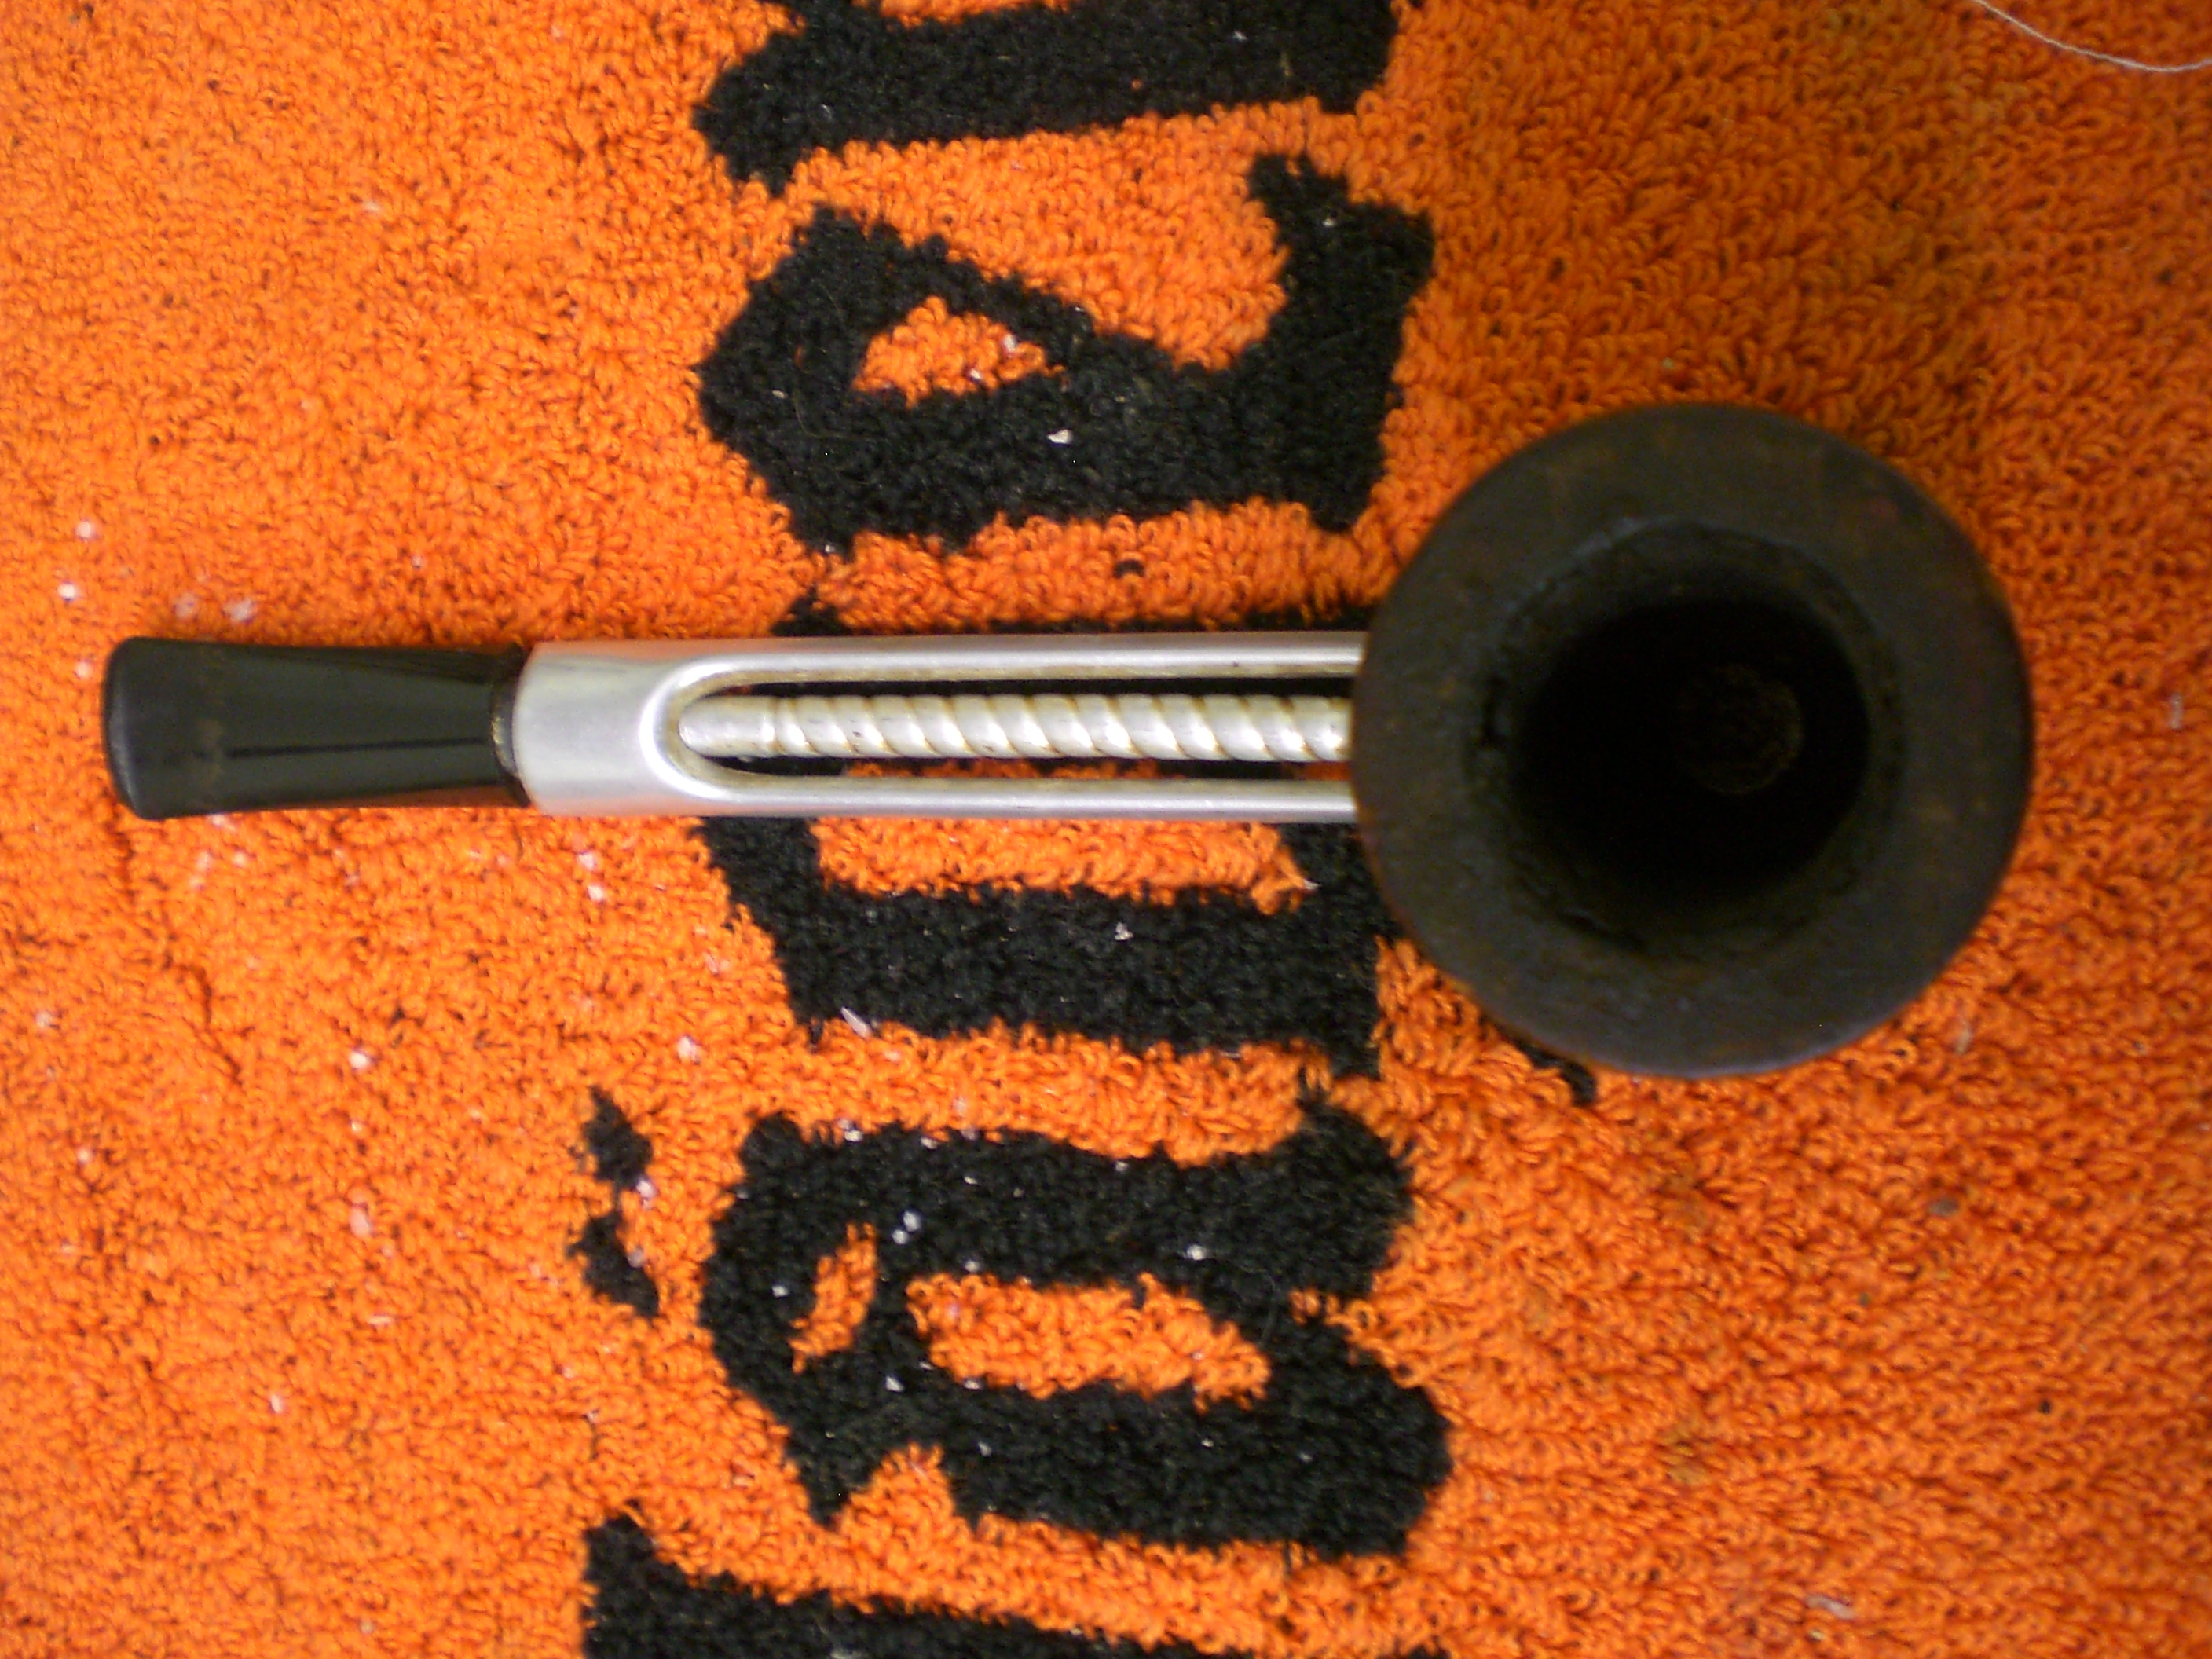
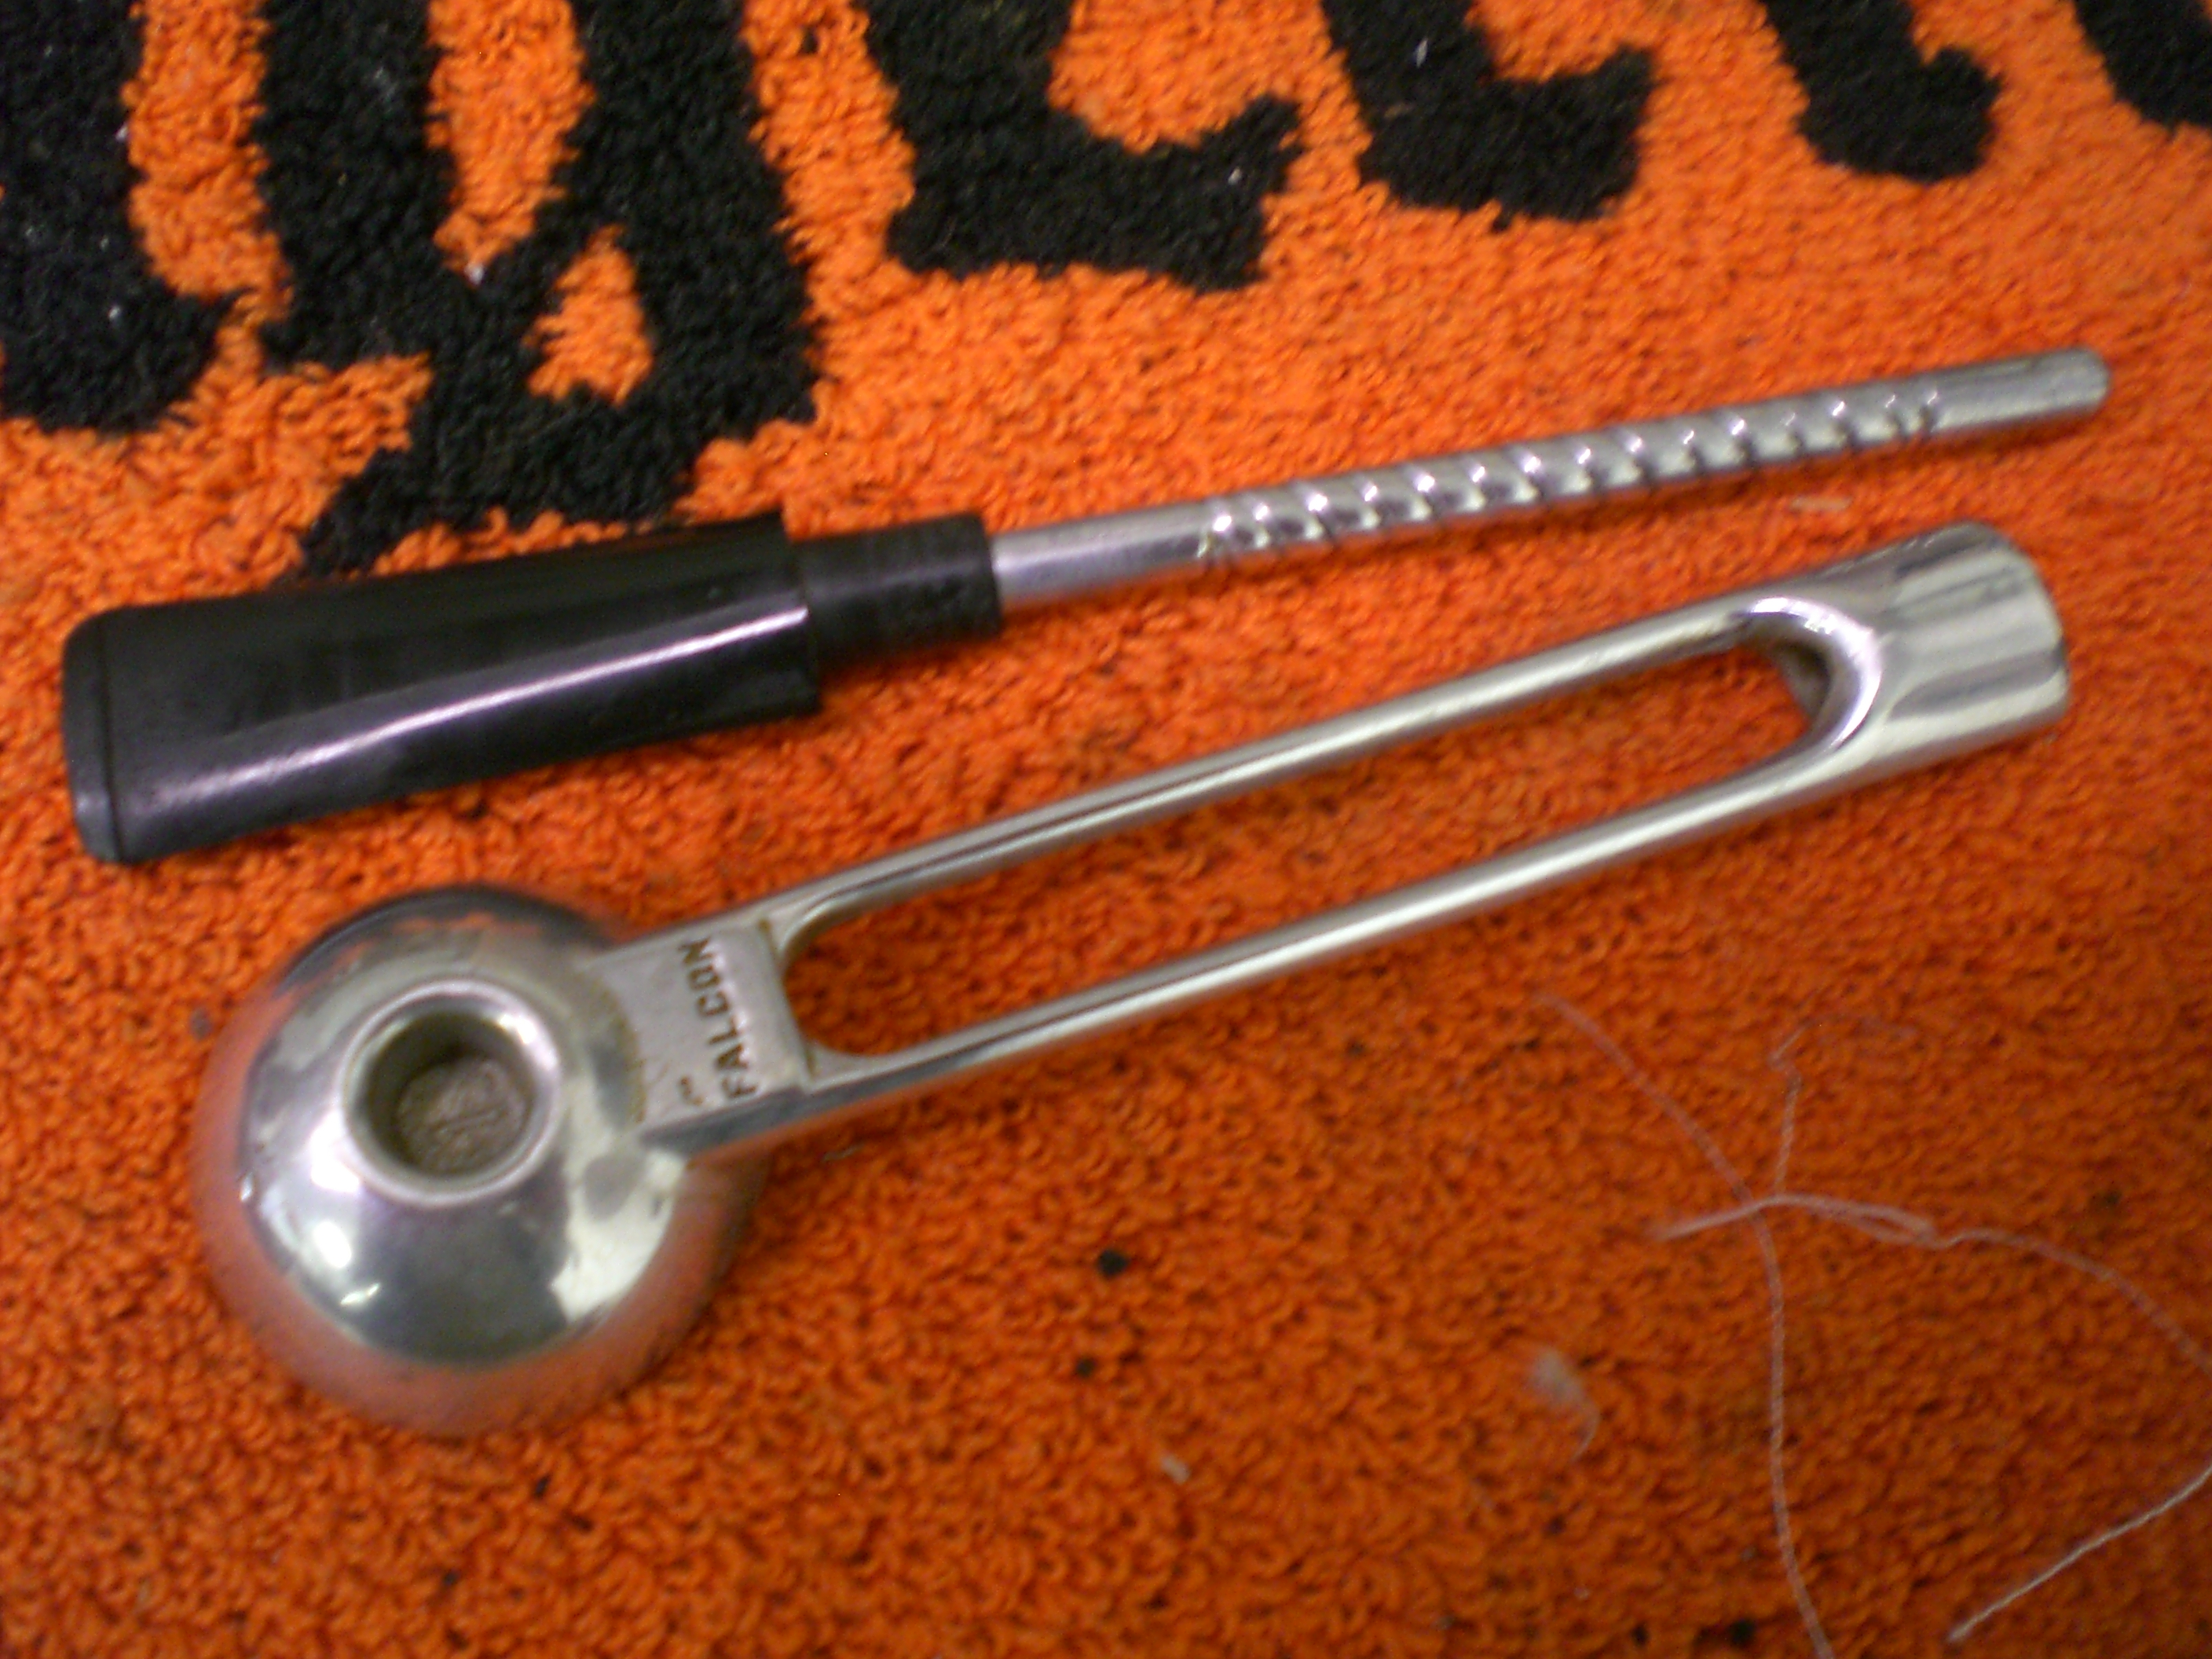
We had some glorious weather in the Maryland/Virgina area in September and one beautiful Sunday, the wife and I drove down to Winchester, VA in the MGB. We toured Patsy Cline’s home (that has been on our list). Winchester is also home to JB Hayes Tobacconist, a fine pipe shop. I didn’t find anything there, but we also made several antique/junk shop stops as I was on the hunt for an old cabinet to re-purpose for my pipe collection. I didn’t have any luck with a cabinet, but did spy this old Falcon in a case. For a few bucks, it was mine ($3 from memory).

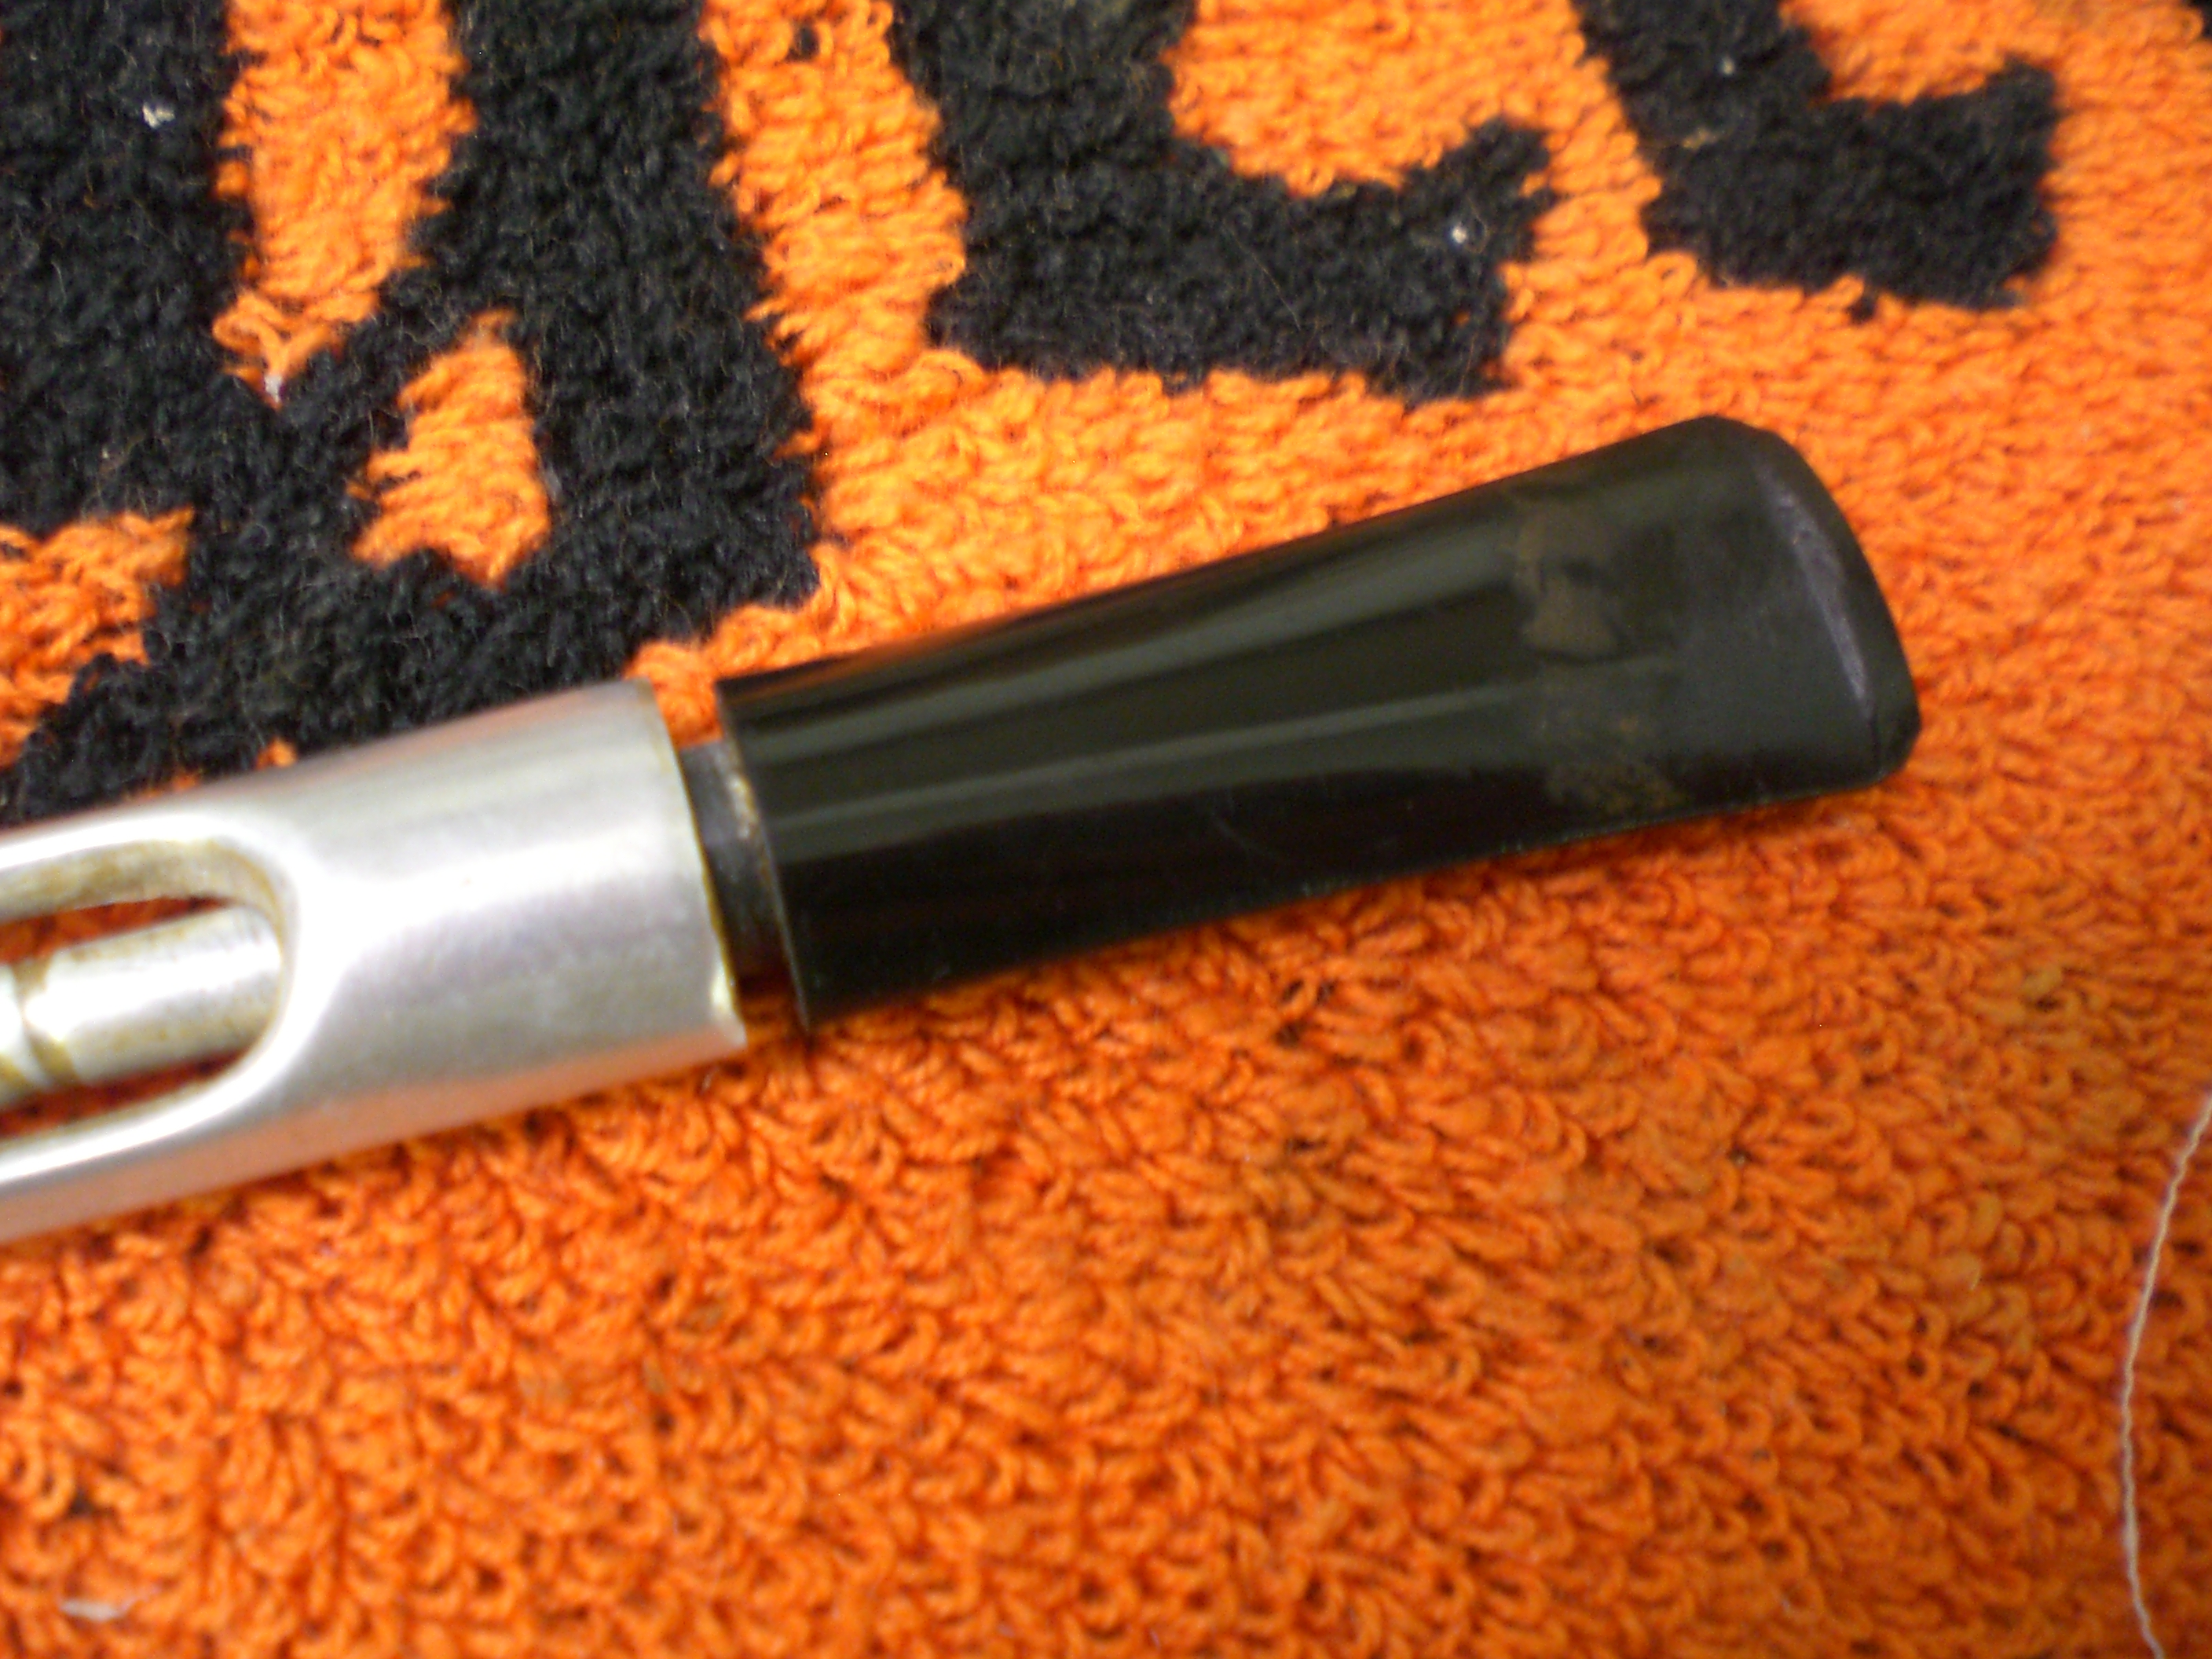
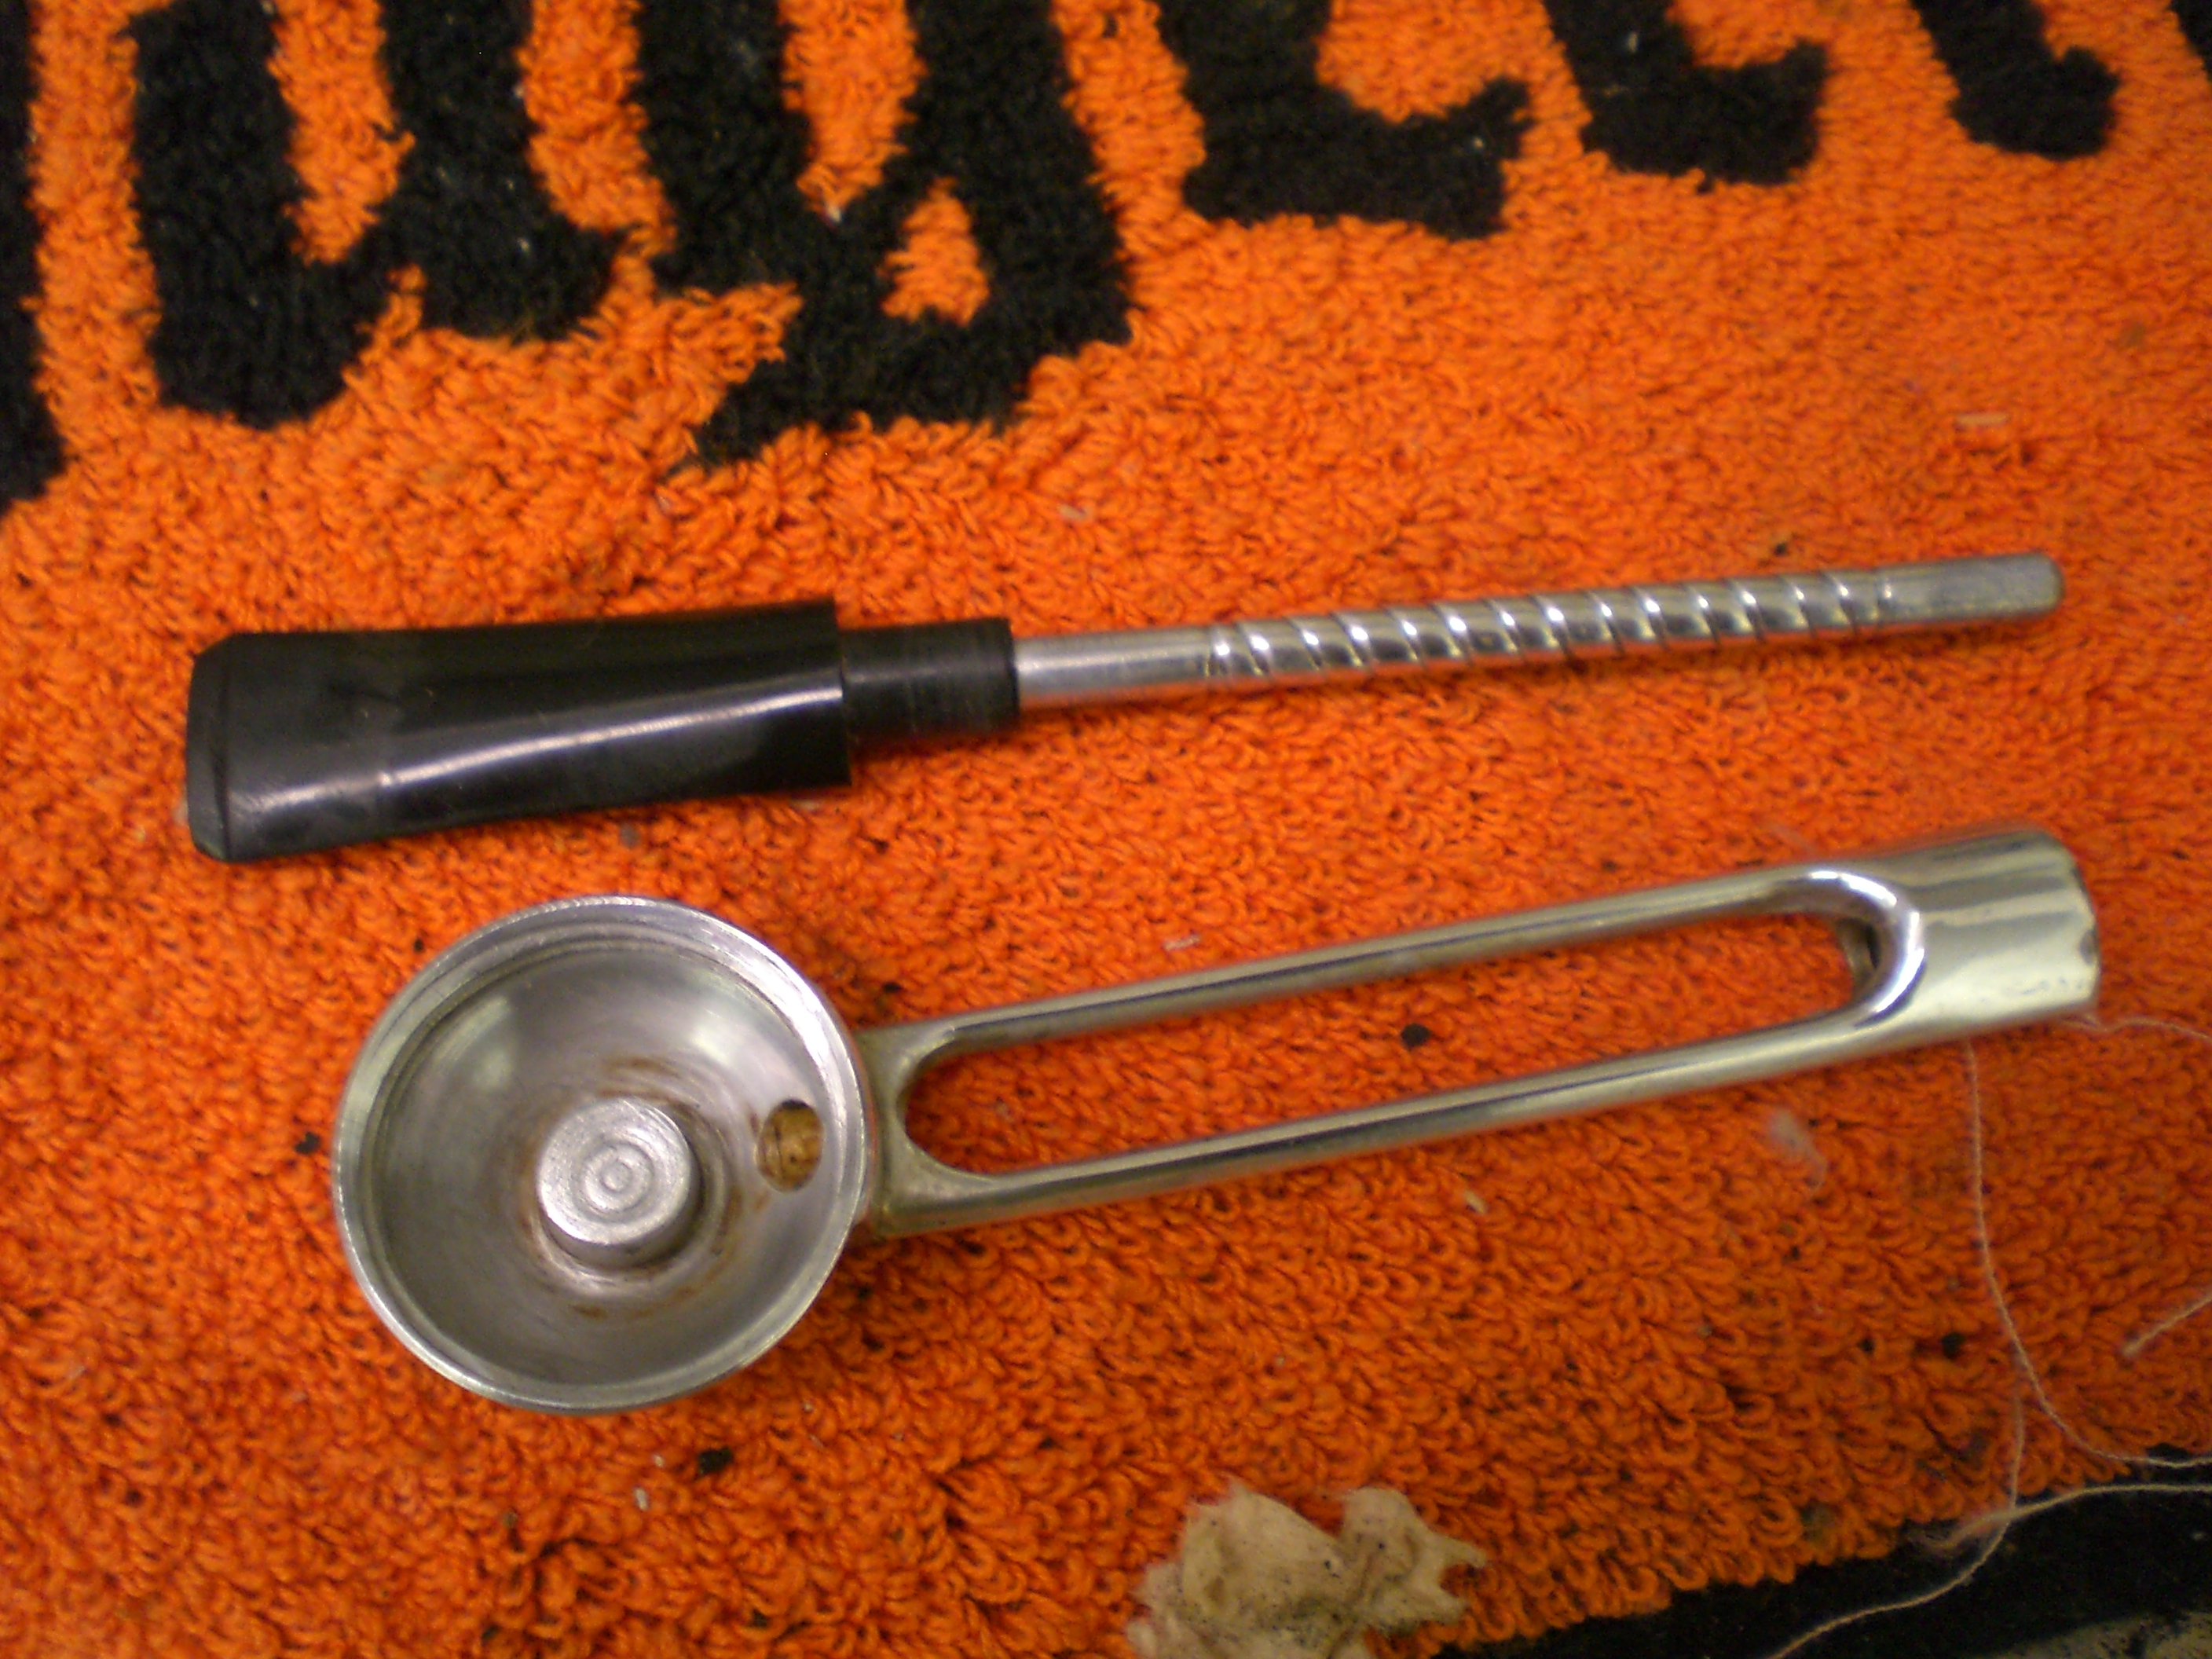
The bowl top was pretty beat up and scorched, but the rest of the pipe and stem looked in decent shape. I had never seen a metal pipe in person to this point and was curious as to how it was assembled or if it held any restoration challenges. Here are some pictures of the pipe as I found it.

Falcon_Before

Falcon_Before (1)

Falcon_Before (2)

Falcon_Before (3)

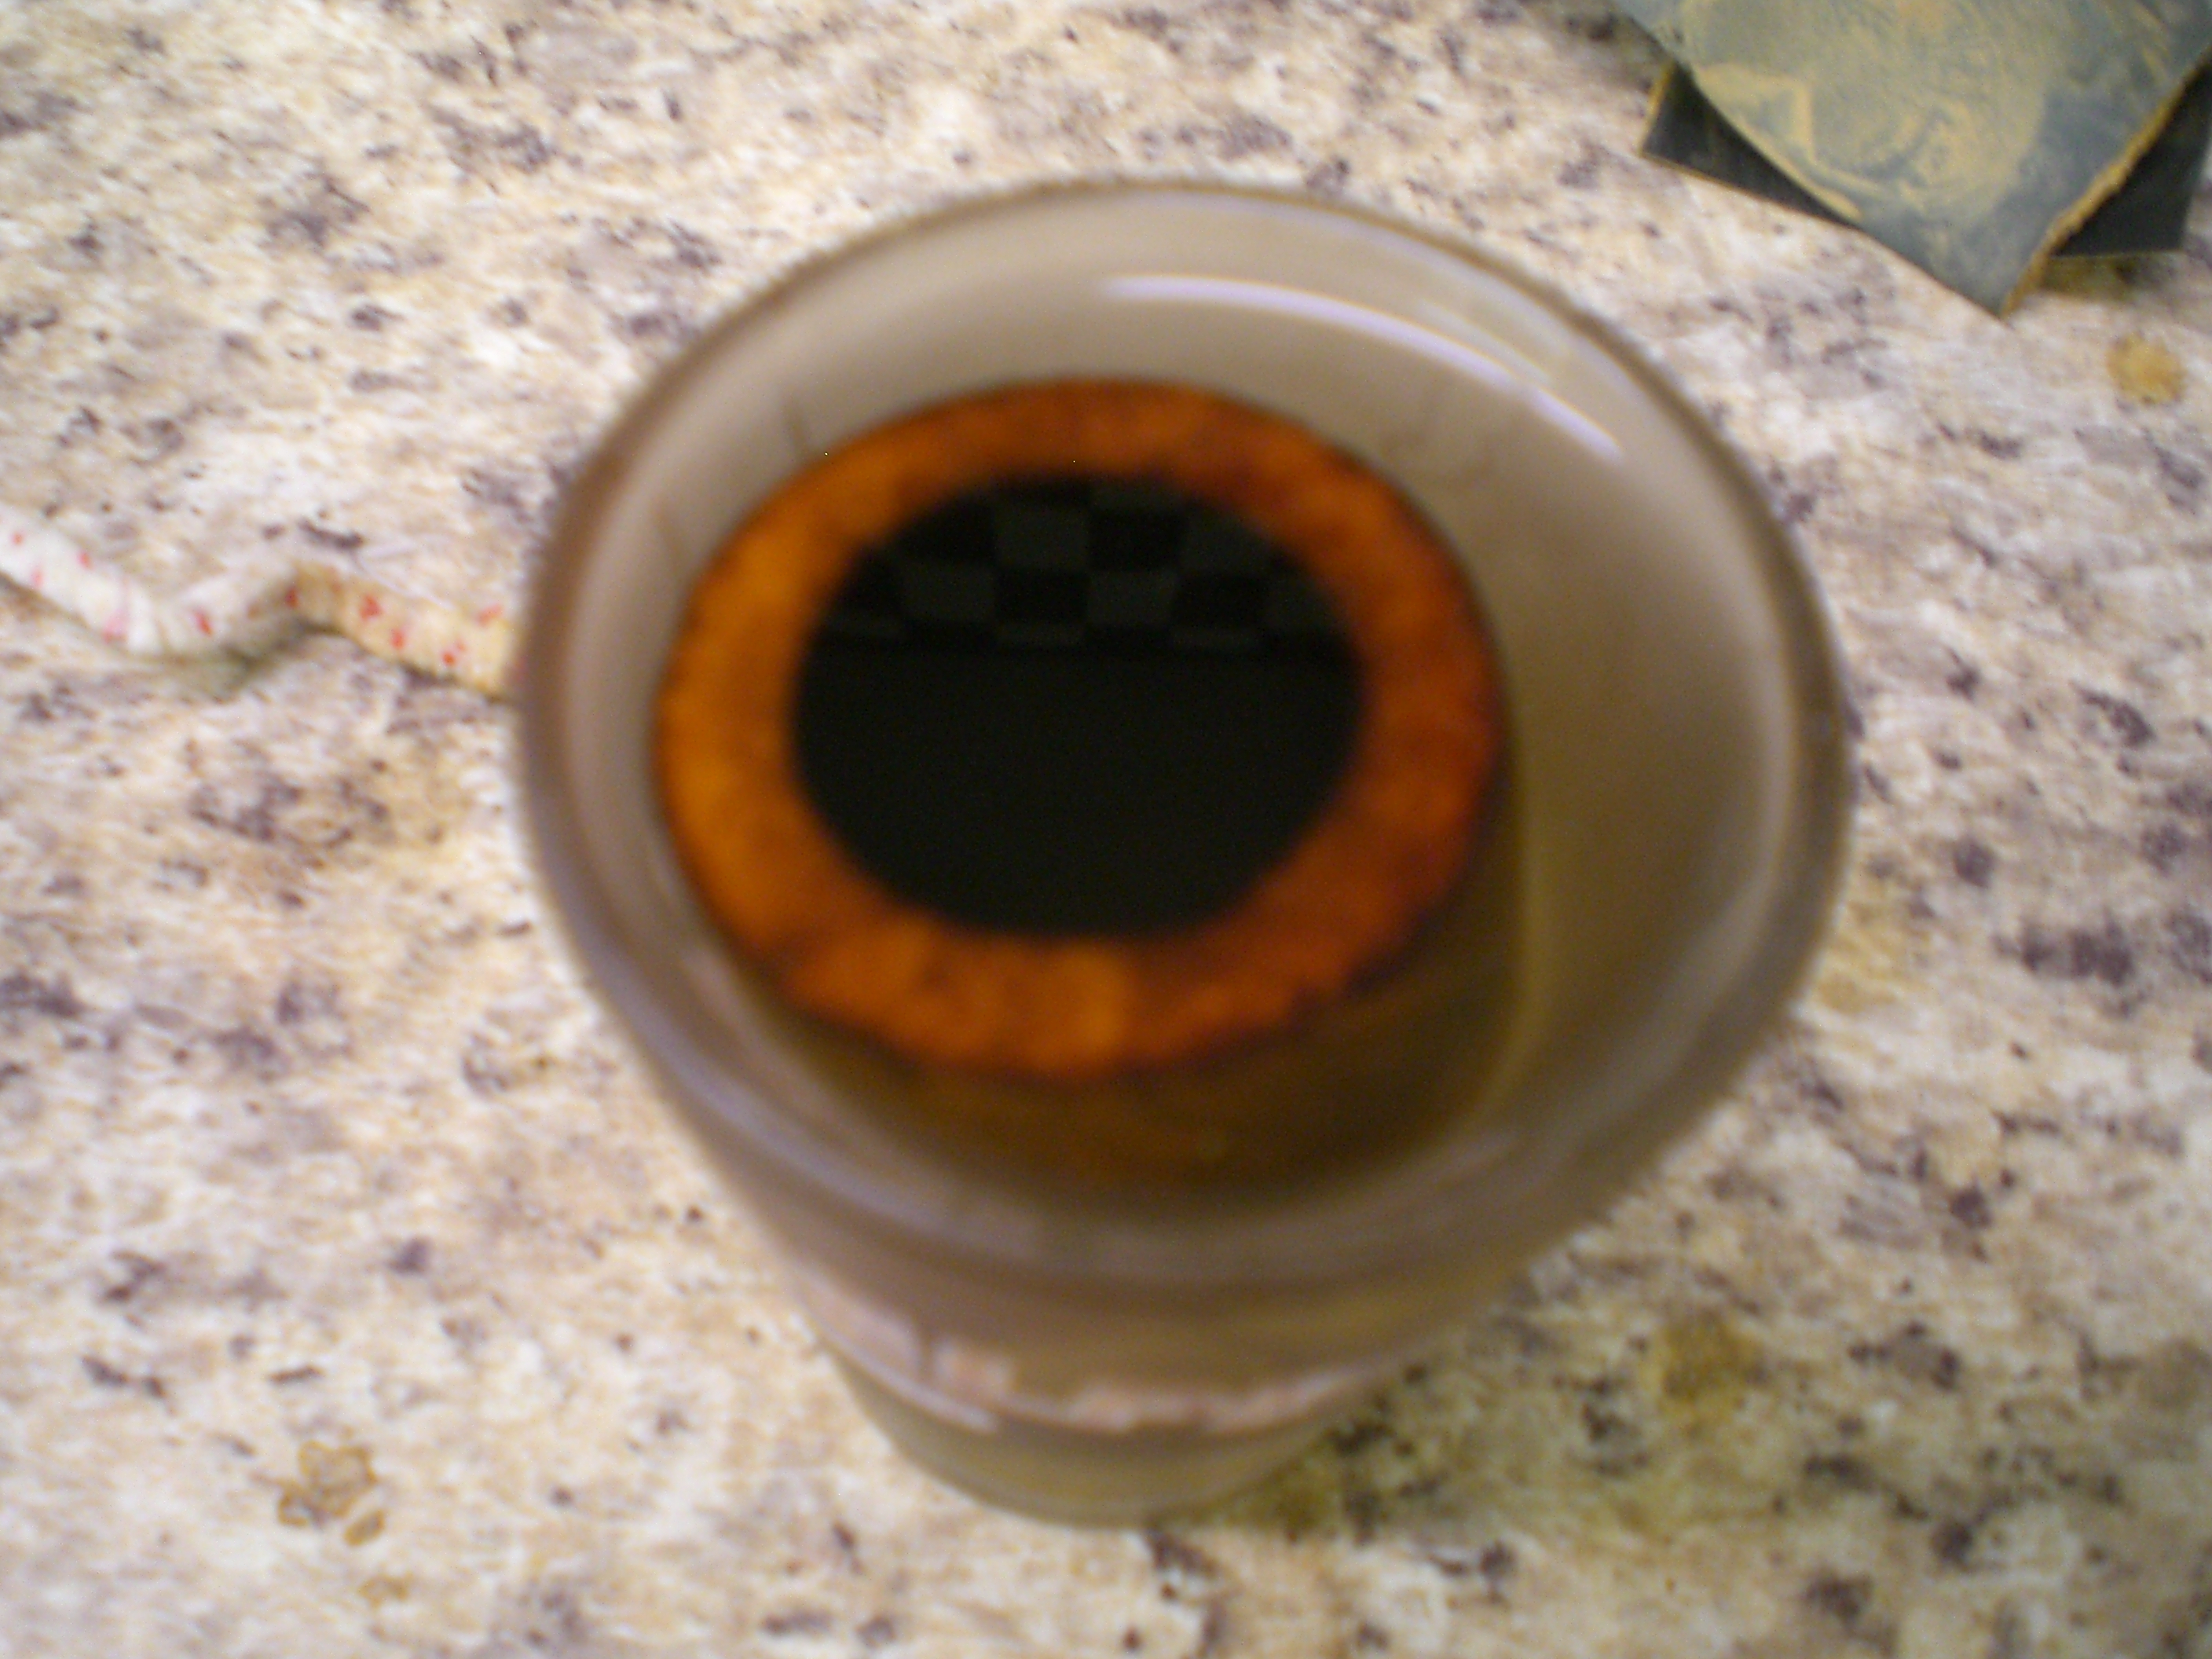
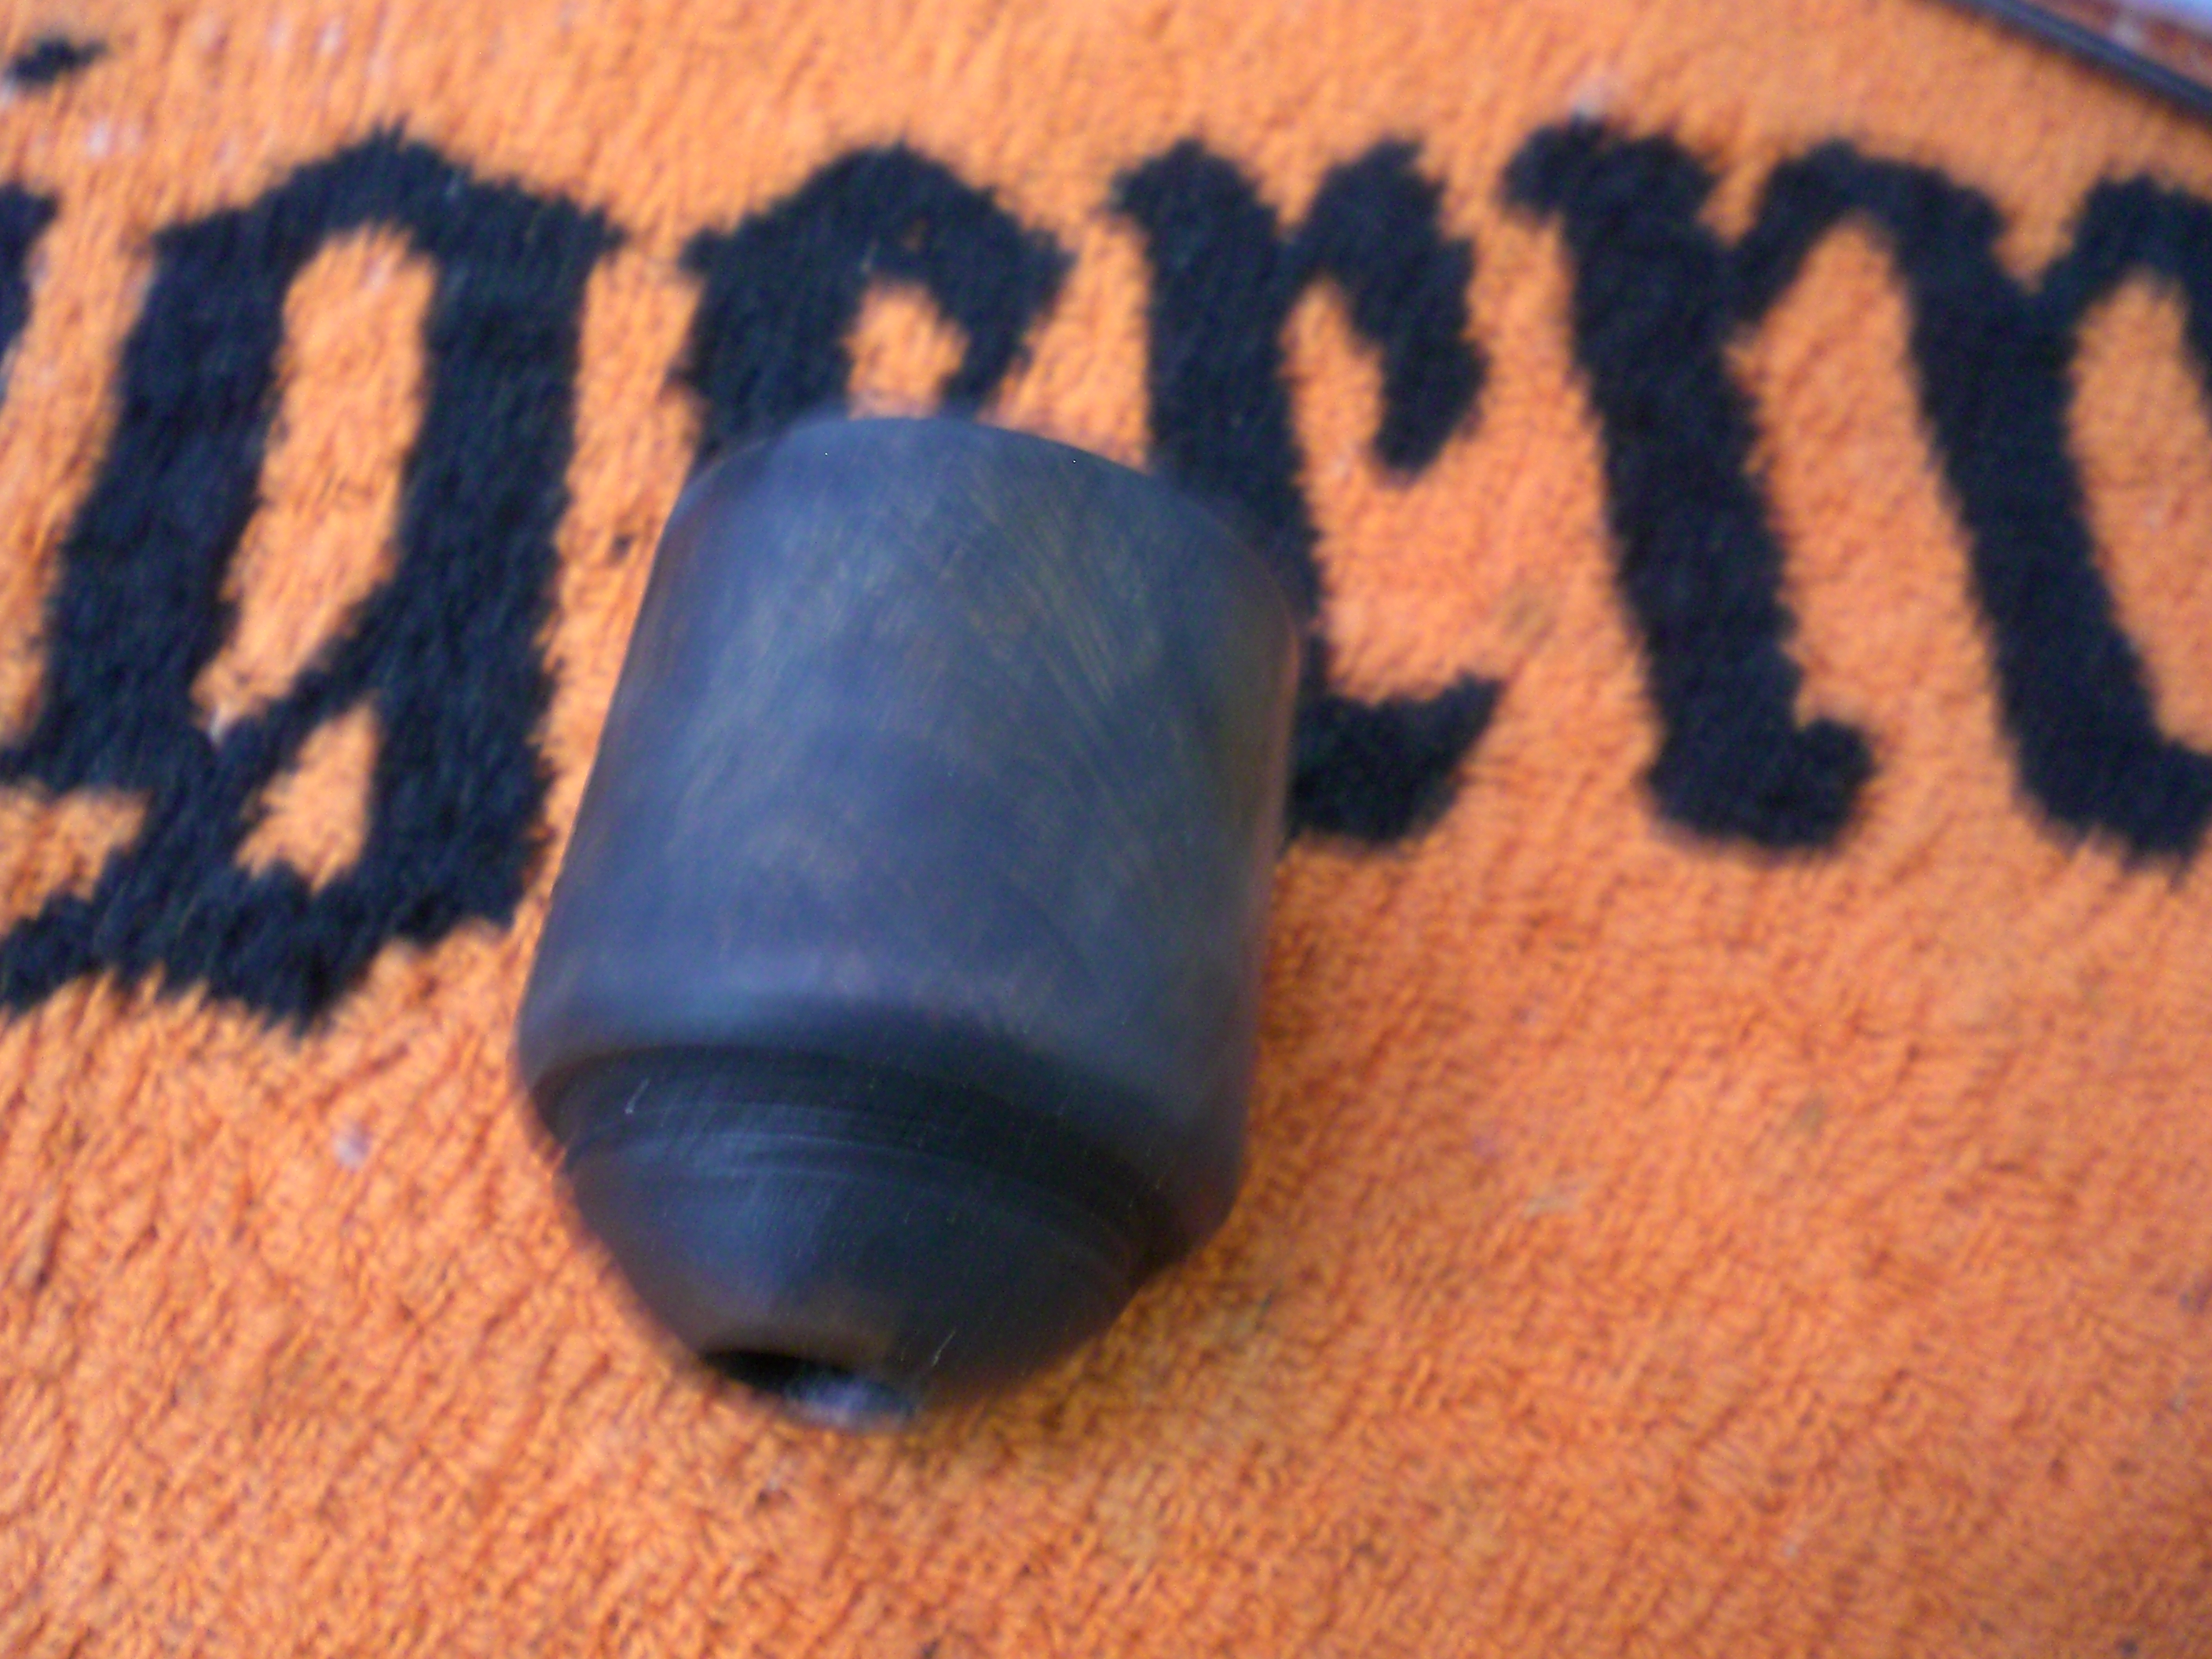
The pipe broke down without drama and the bowl top screwed off nicely, but the threads were just about perfect. I reamed the bowl, which has a fairly thick cake. The bowl was quite tall and I thought it would look best topped and refinished. I sanded the bowl top smooth with some 320 grit paper flat on my workbench, followed by 800 grit wet paper, using water. I immersed the bowl in a shot glass full of isopropyl alcohol, you can’t do that with a briar pipe!

Falcon_Progress (2)

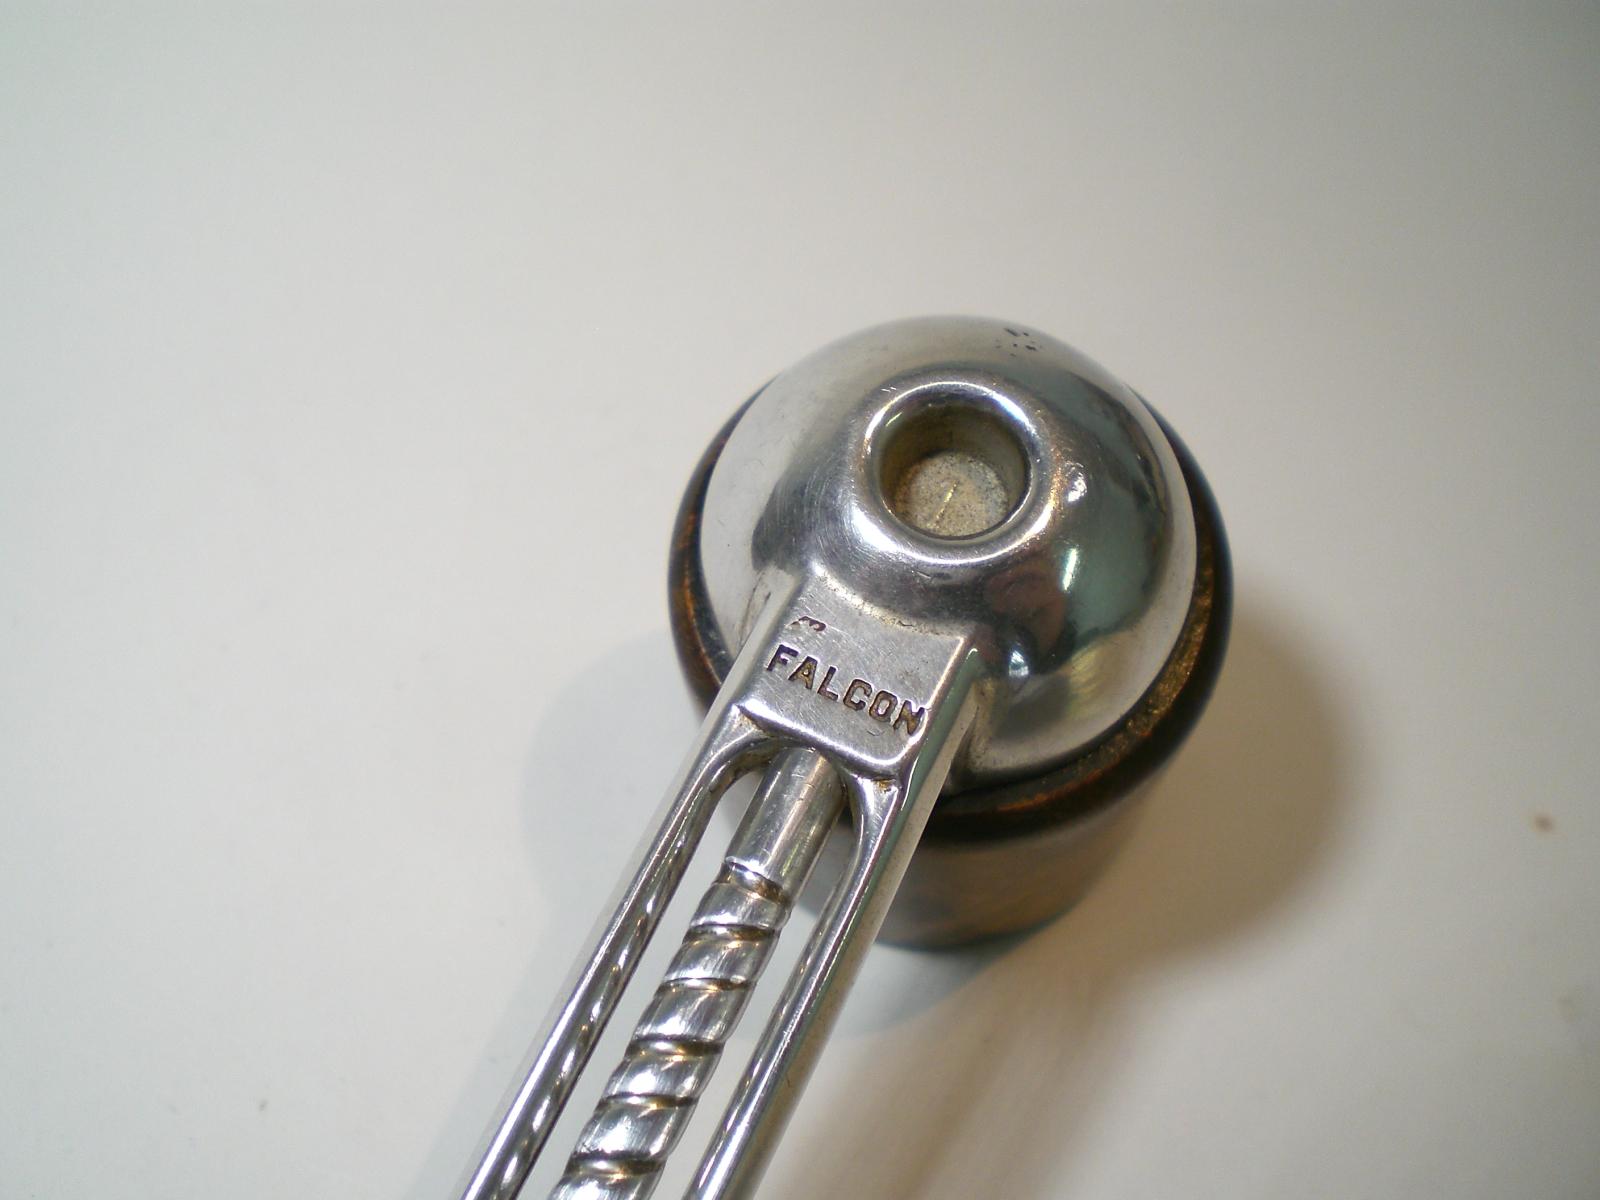
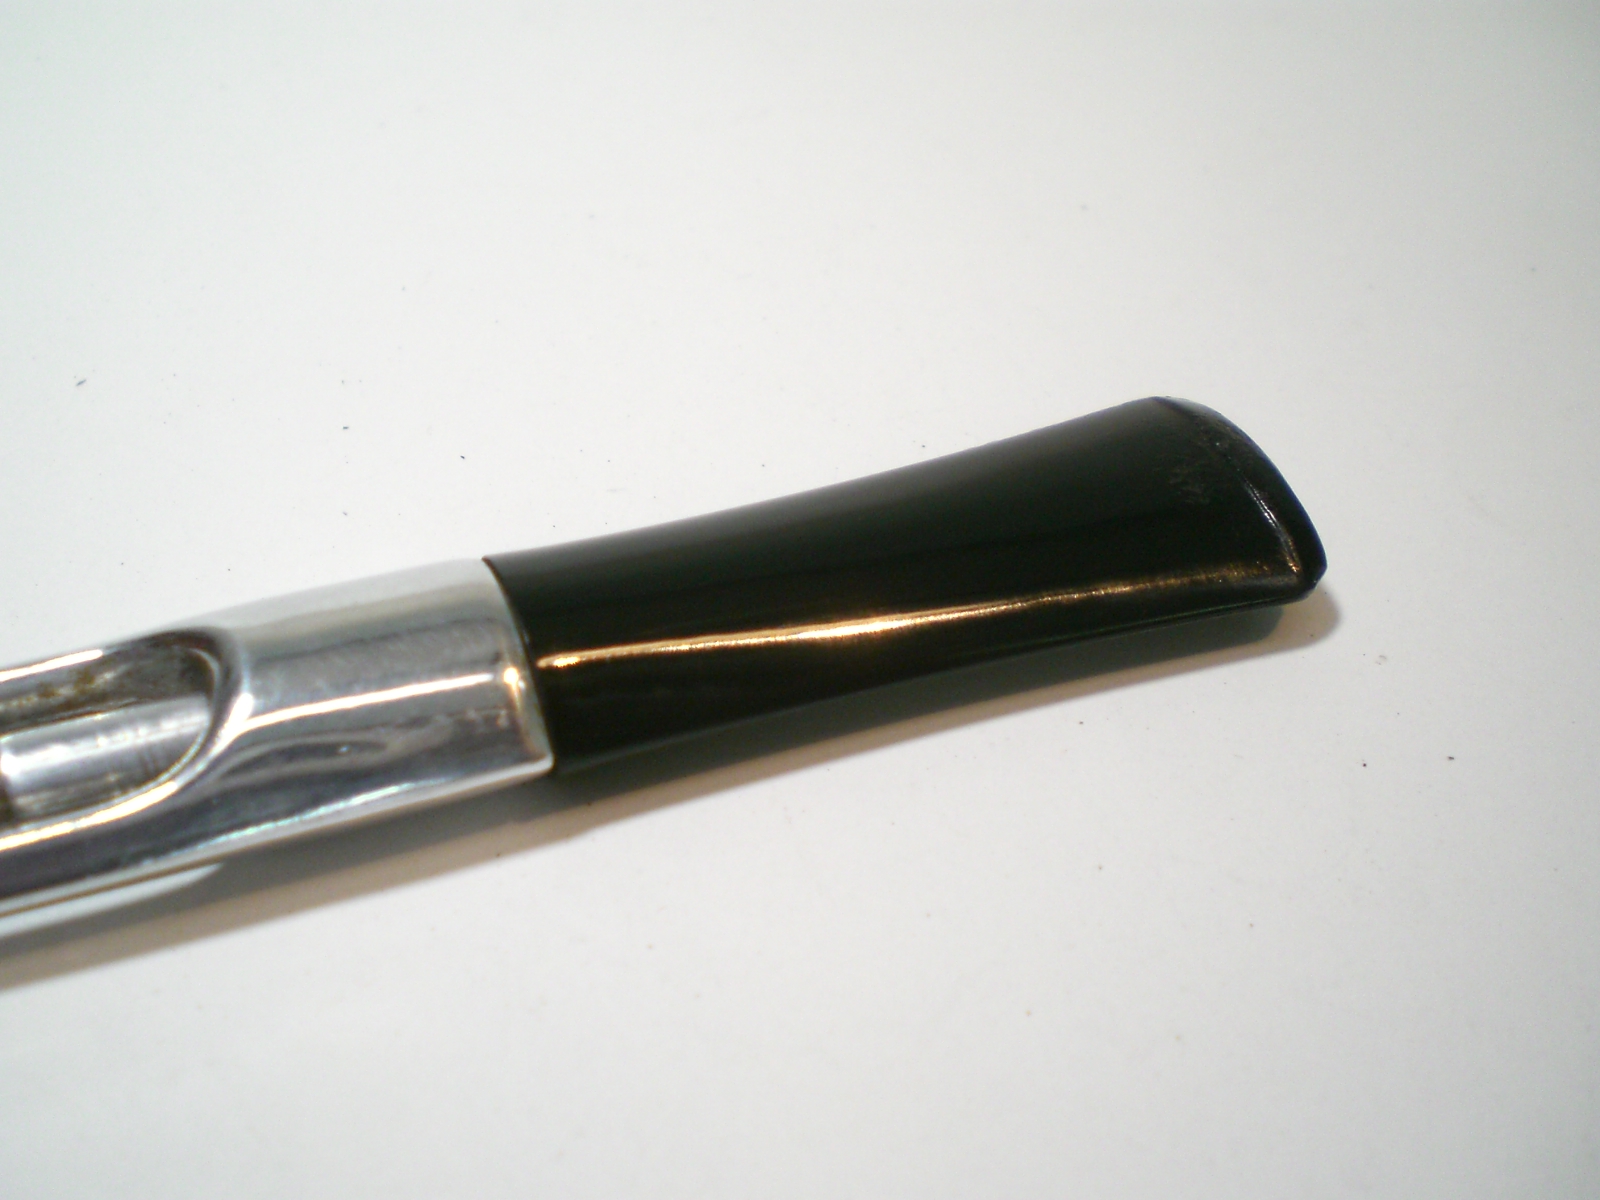
While the pipe bowl was soaking, I turned my attention to the metal bowl and stem. The stem had some teeth abrasions but no real dents. To me, the stem was somewhat “plasticky” but the fellow who ended up purchasing this one said they are quite durable and clenching doesn’t seem to harm them. The bottom of the metal bowl had some mild build-up, which I removed with some fine steel wool. I buffed the metal parts with white diamond and then red rouge. The metal shined up nicely, but I suspect will dull quickly over time.

Falcon_Progress

Falcon_Finished (6)

Falcon_Progress (1)

I used 1500 and then 2000 grit wet sandpaper on the stem and was able to remove most of the abrasions. I then polished it with 8000 and 12000 grit micromesh cloth. It was also buffed with white diamond.

Falcon_Finished (1)

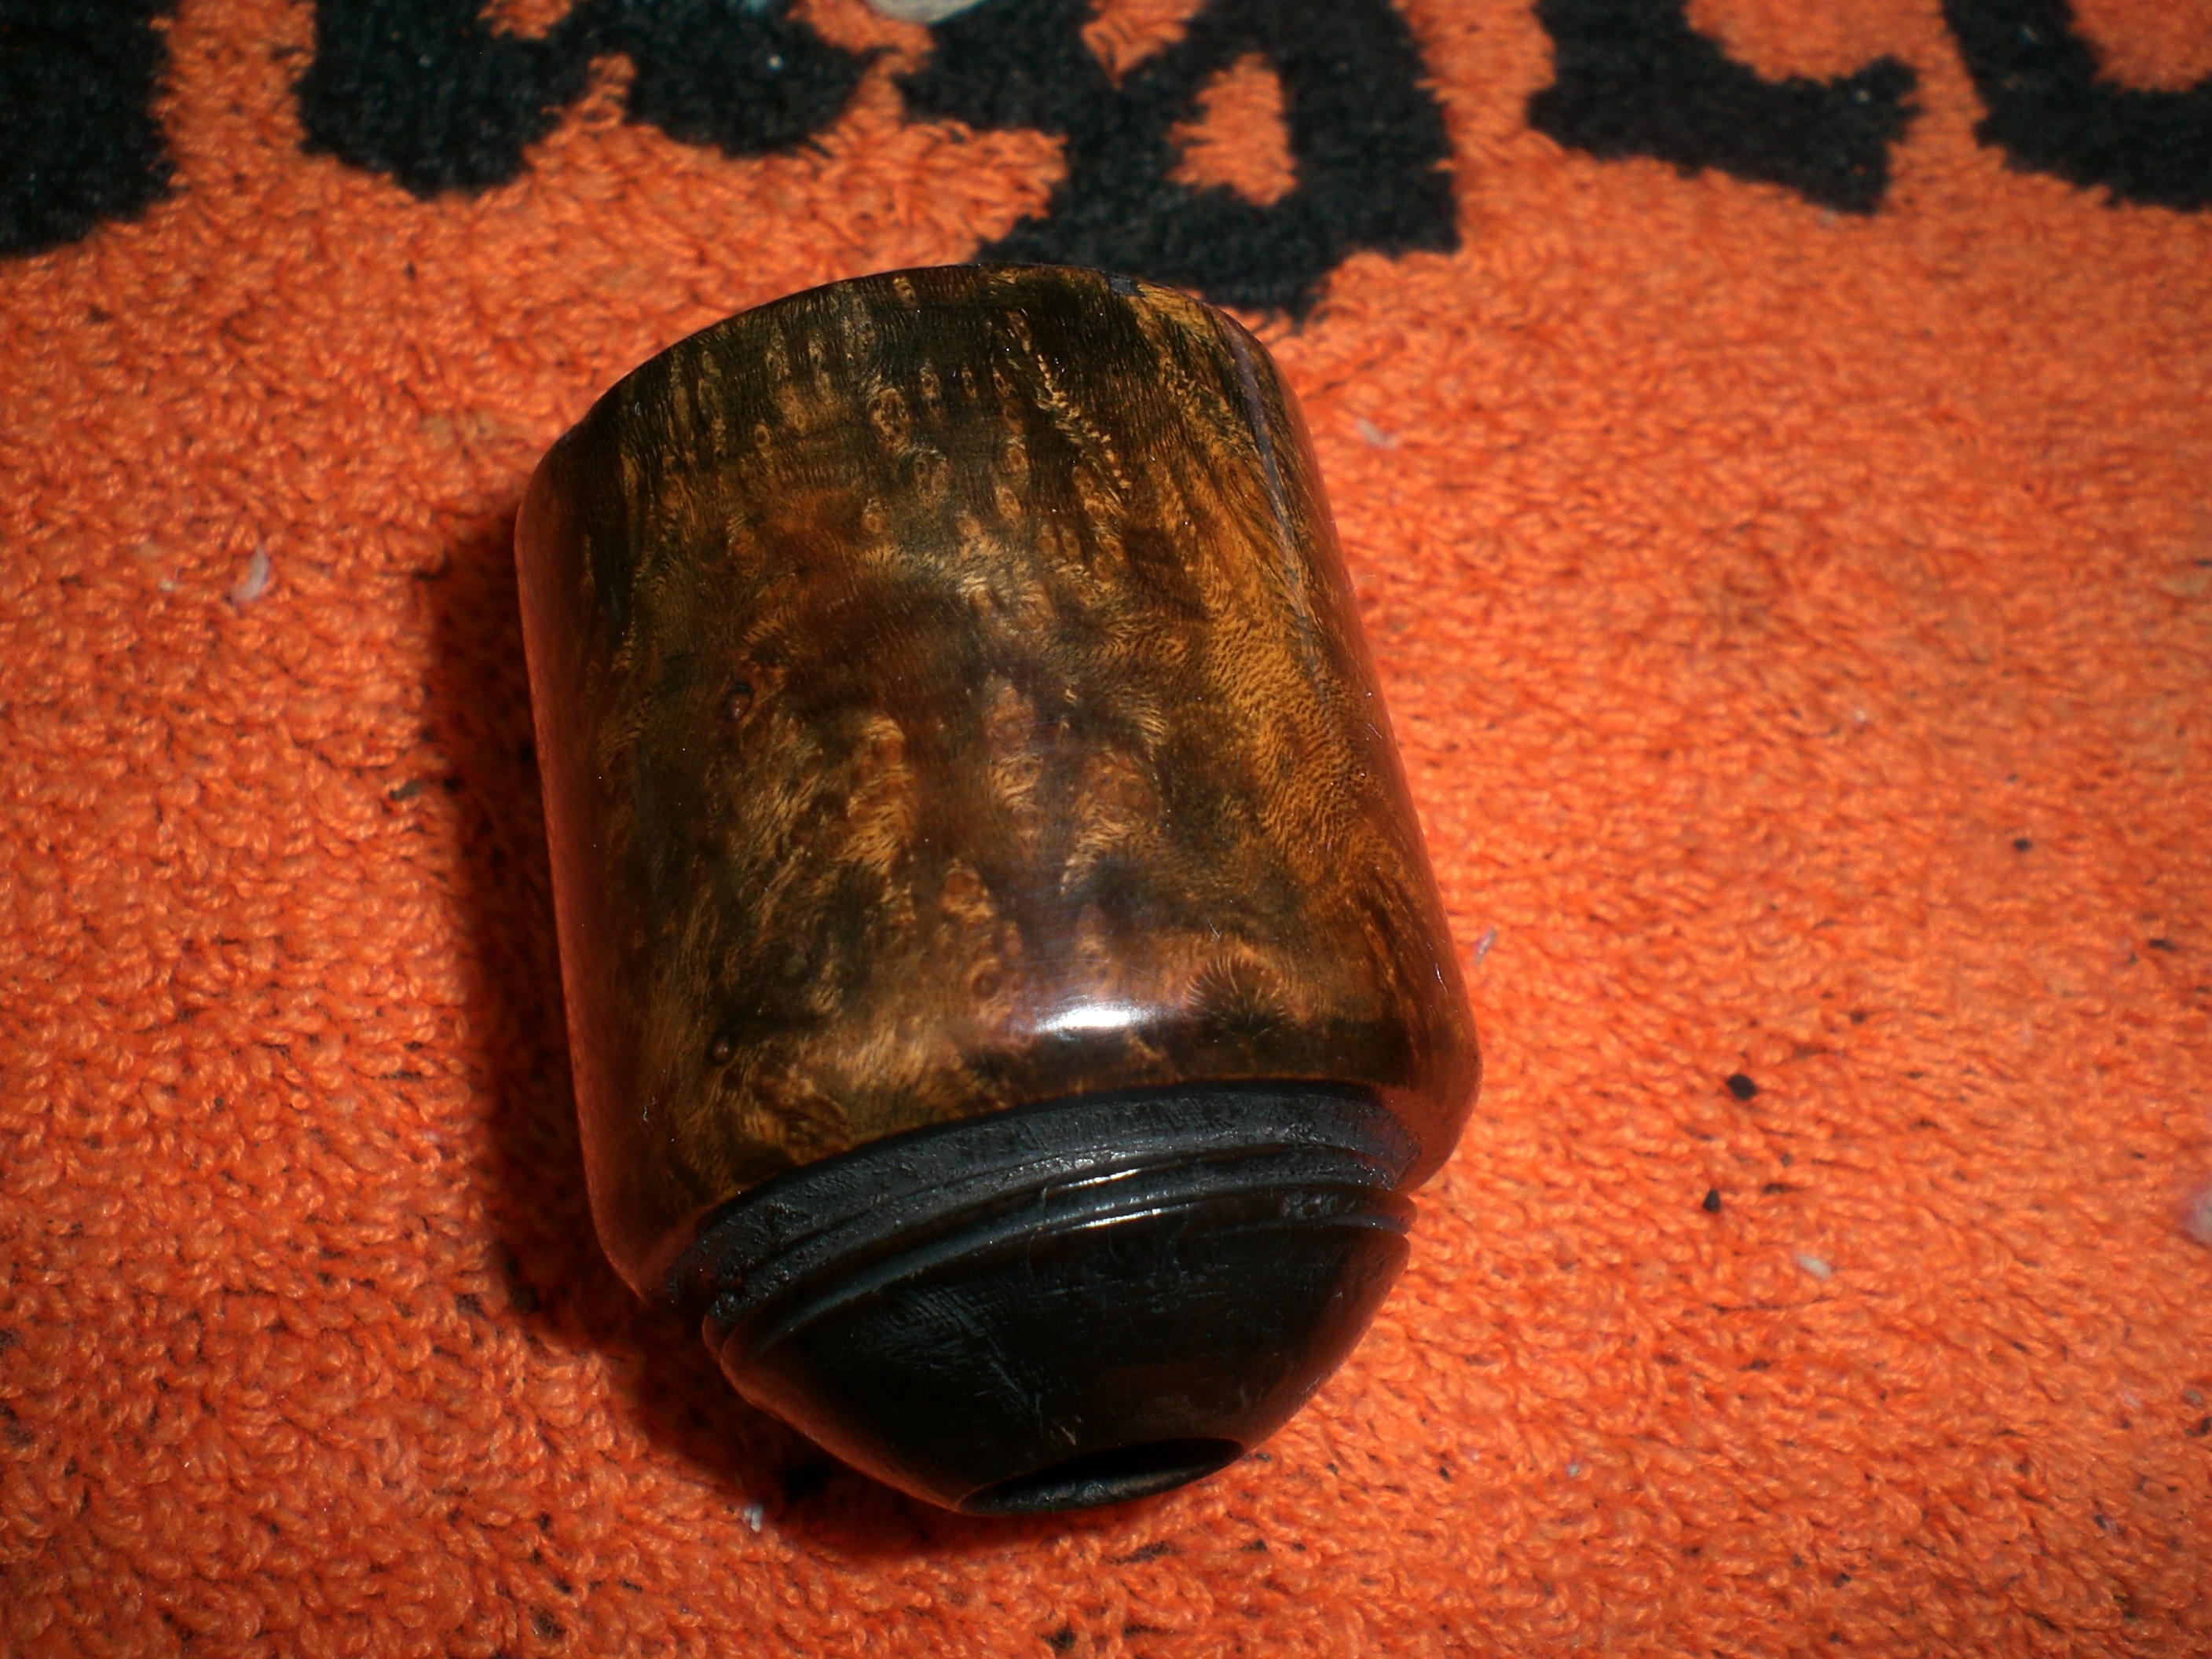
Once the bowl was soaked, the stain sanded off nicely with 800 grit paper. This revealed a number of fills. I decided a two-stage stain would cover up those fills nicely. I warmed the bowl with a hair dryer, then applied a full coat of black stain. I lit the stain with flame to “set” it into the grain. After it dried, I sanded the stain off with alcohol and 800 grit paper. I then removed more of the black stain with tripoli on the buffer. A very light, almost transparent coat of brown stain was applied over the black.

Falcon_Progress (3)

Falcon_Progress (5)

Once dry, the bowl was buffed with white diamond and then several coats of carnuba wax. I’m very pleased with the finish and the two stage stain hid the fills nicely.

Falcon_Bowl_Pix (2)

Falcon_Bowl_Pix (1)

Falcon_Bowl_Pix

Falcon_Finished (2)

And finally the finished pipe.

Falcon_Finished

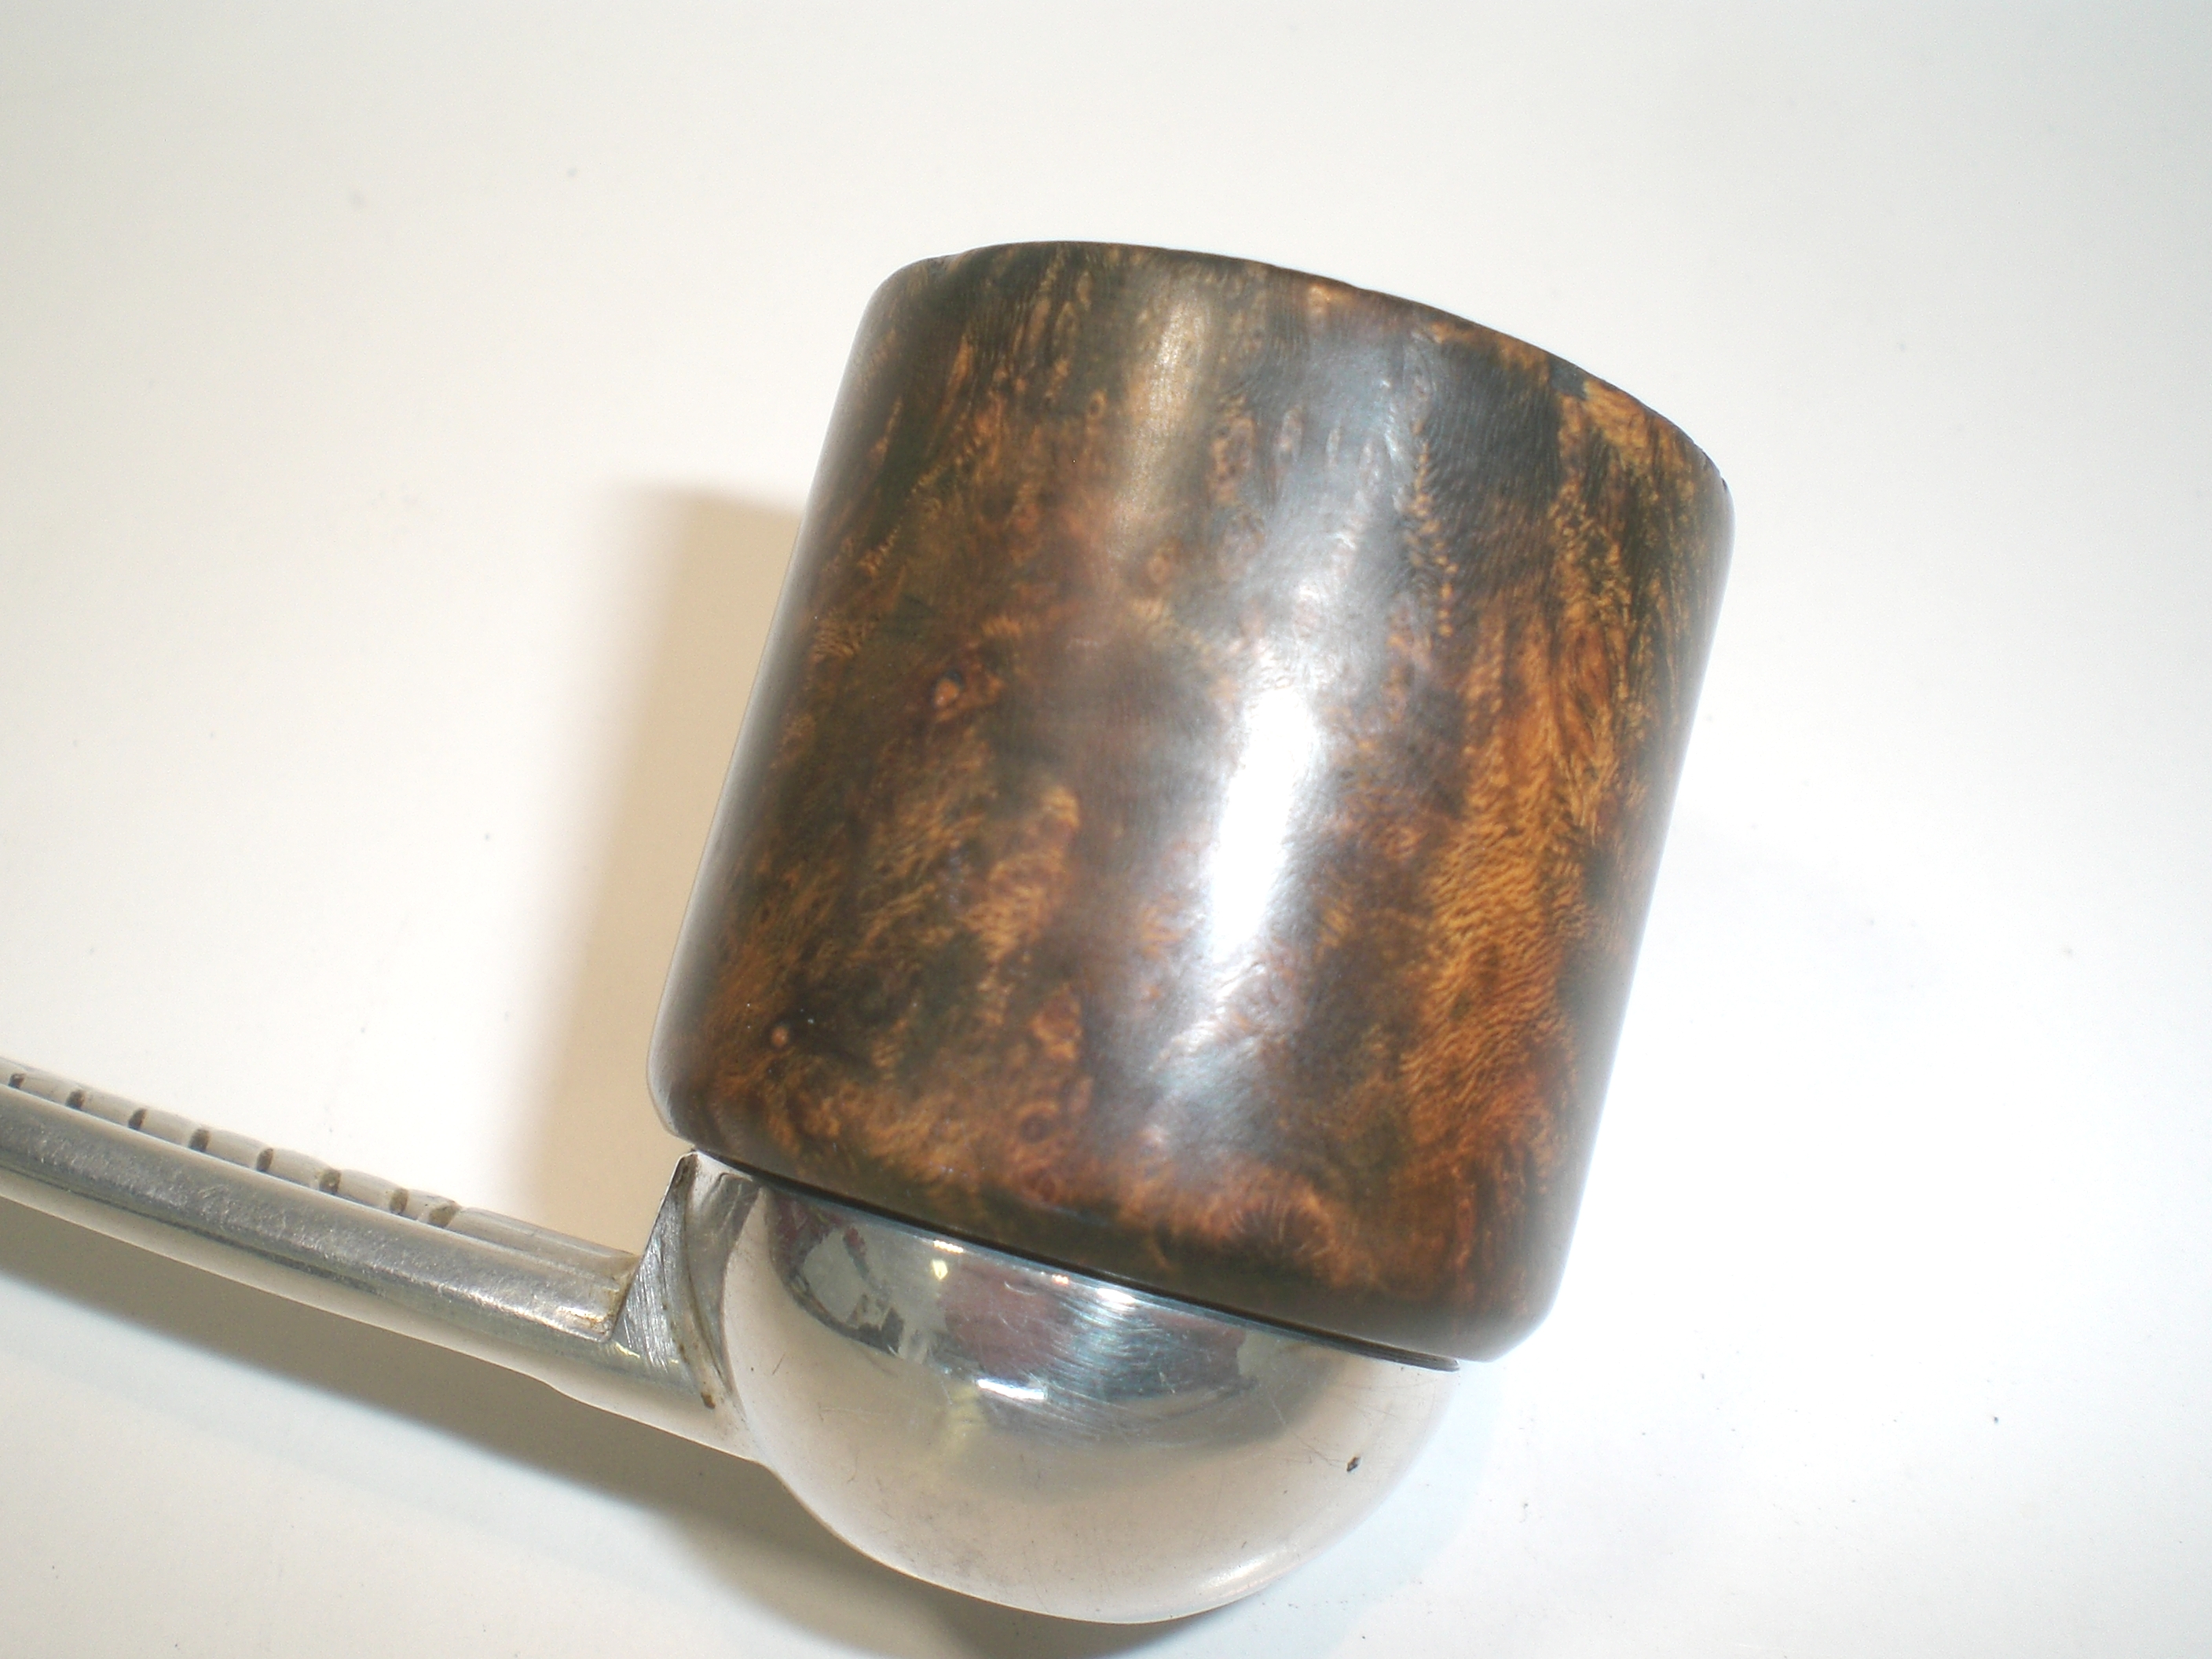
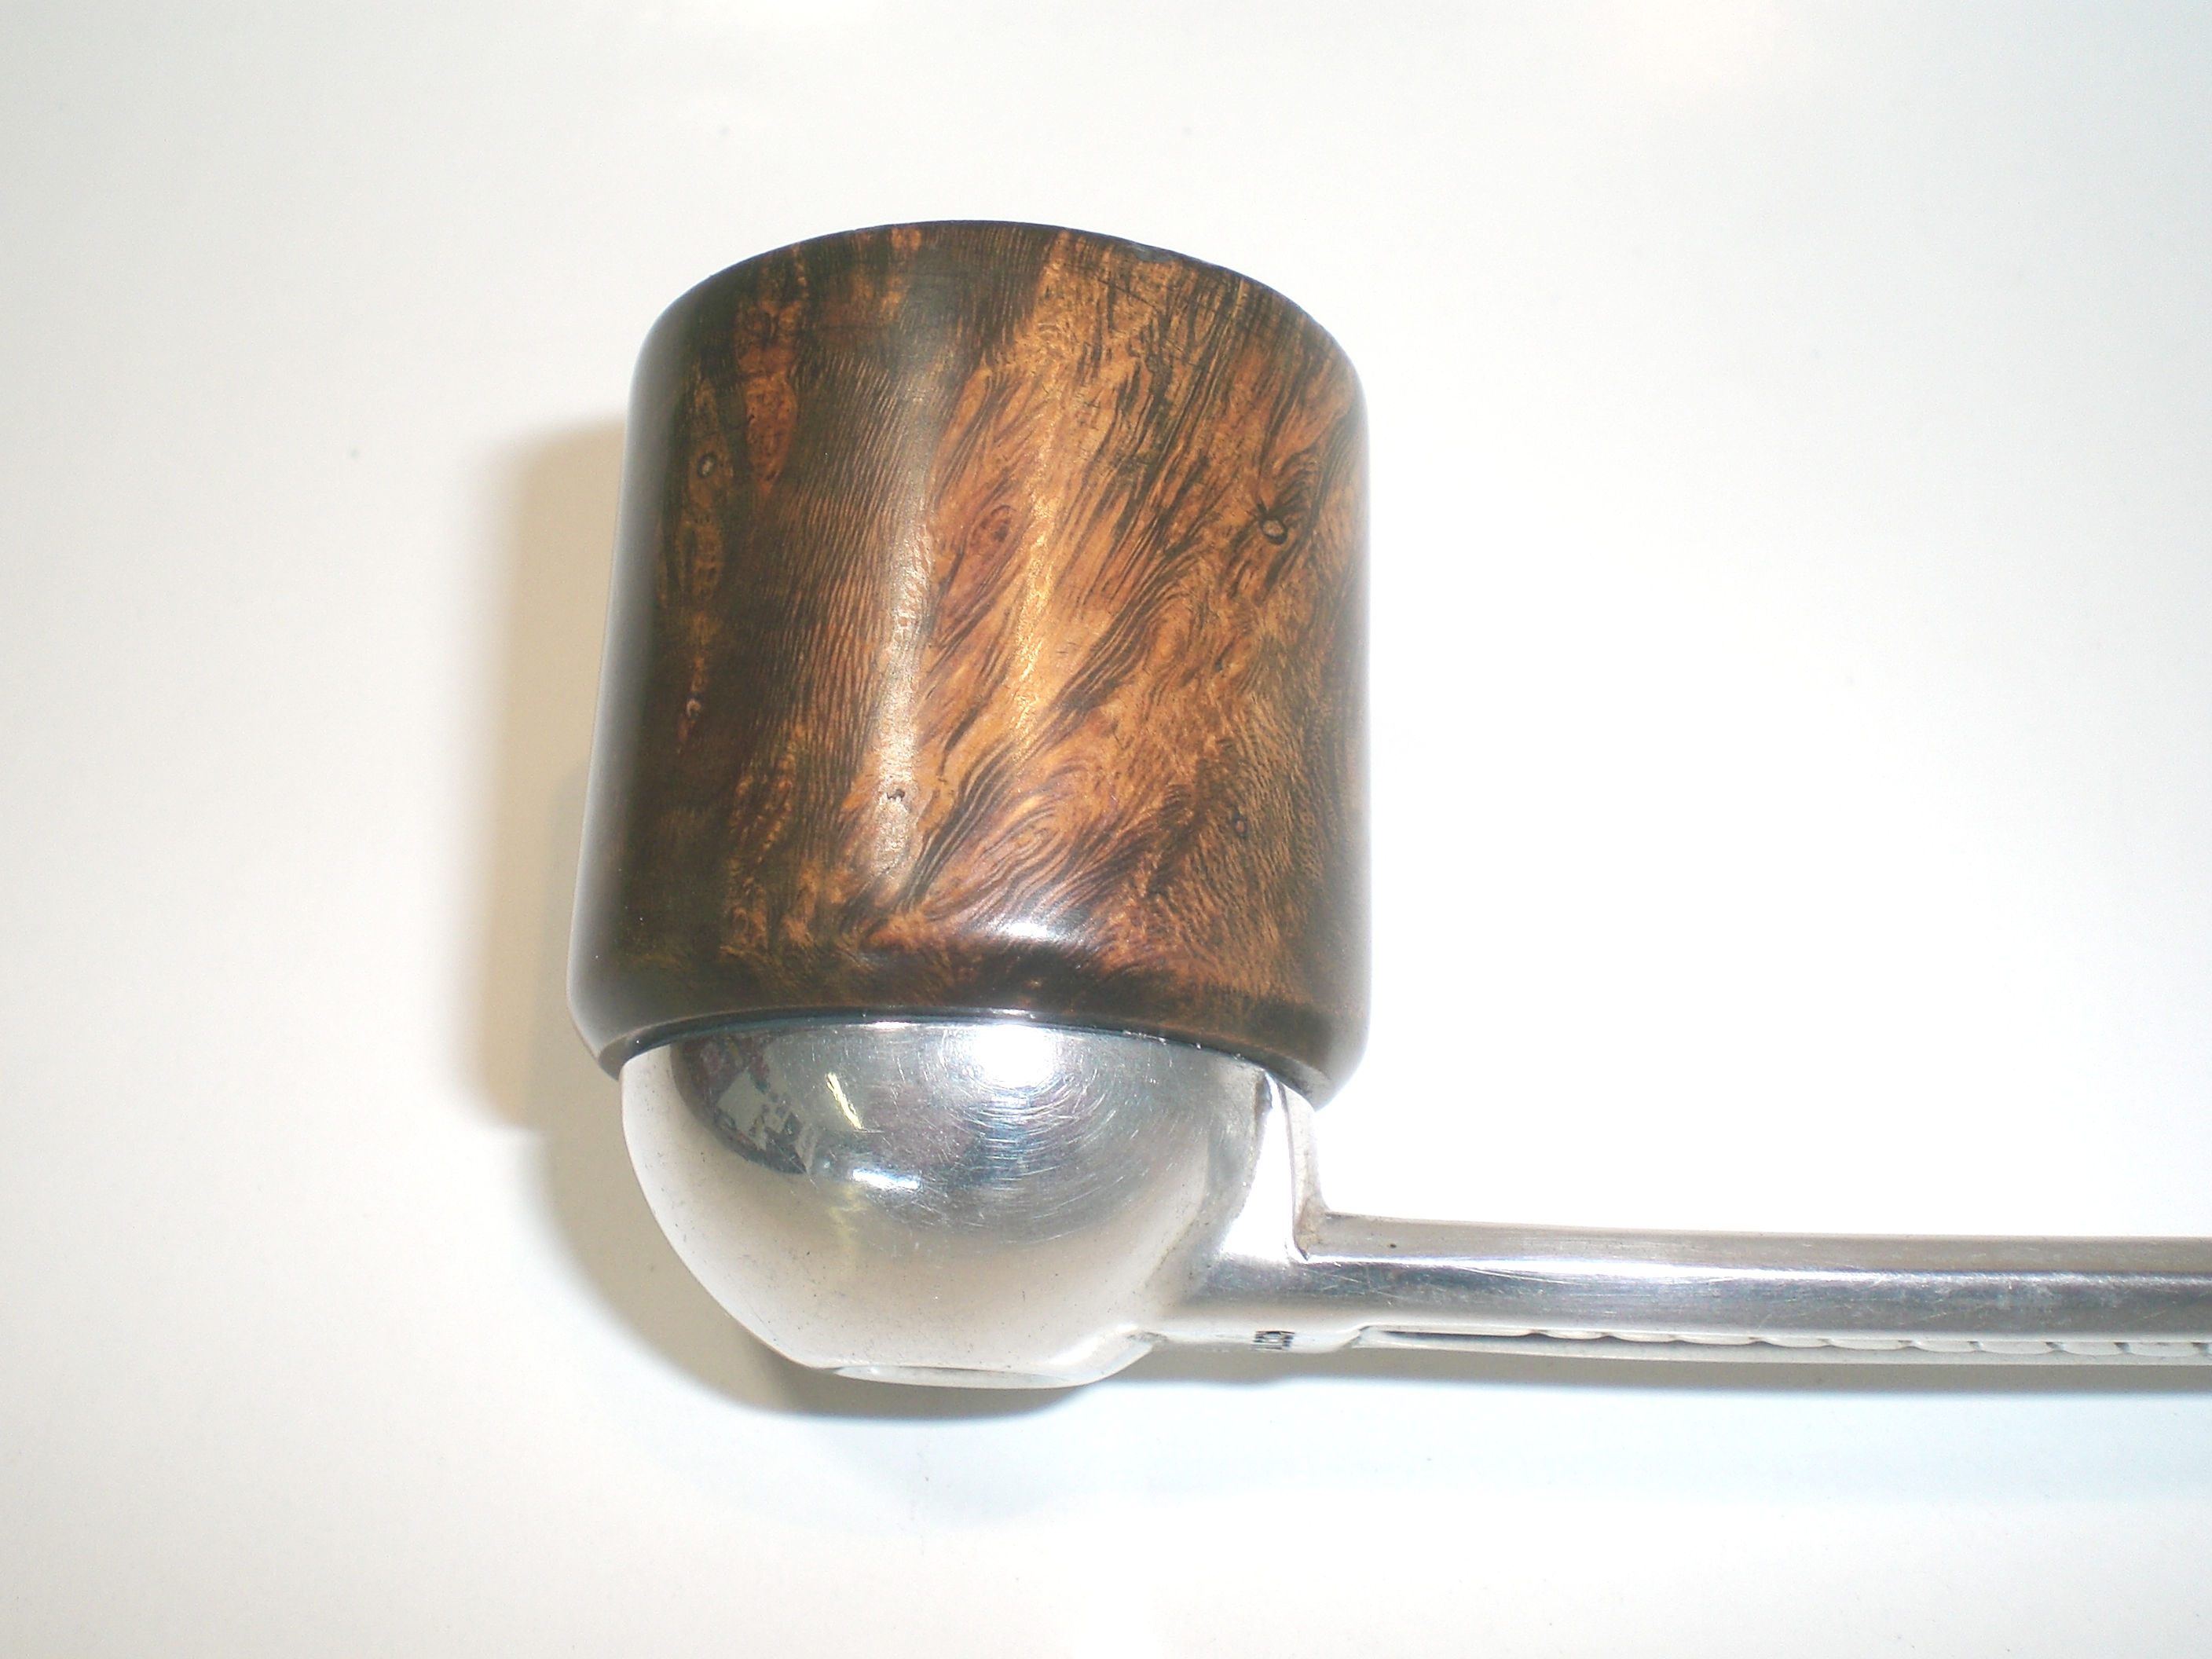
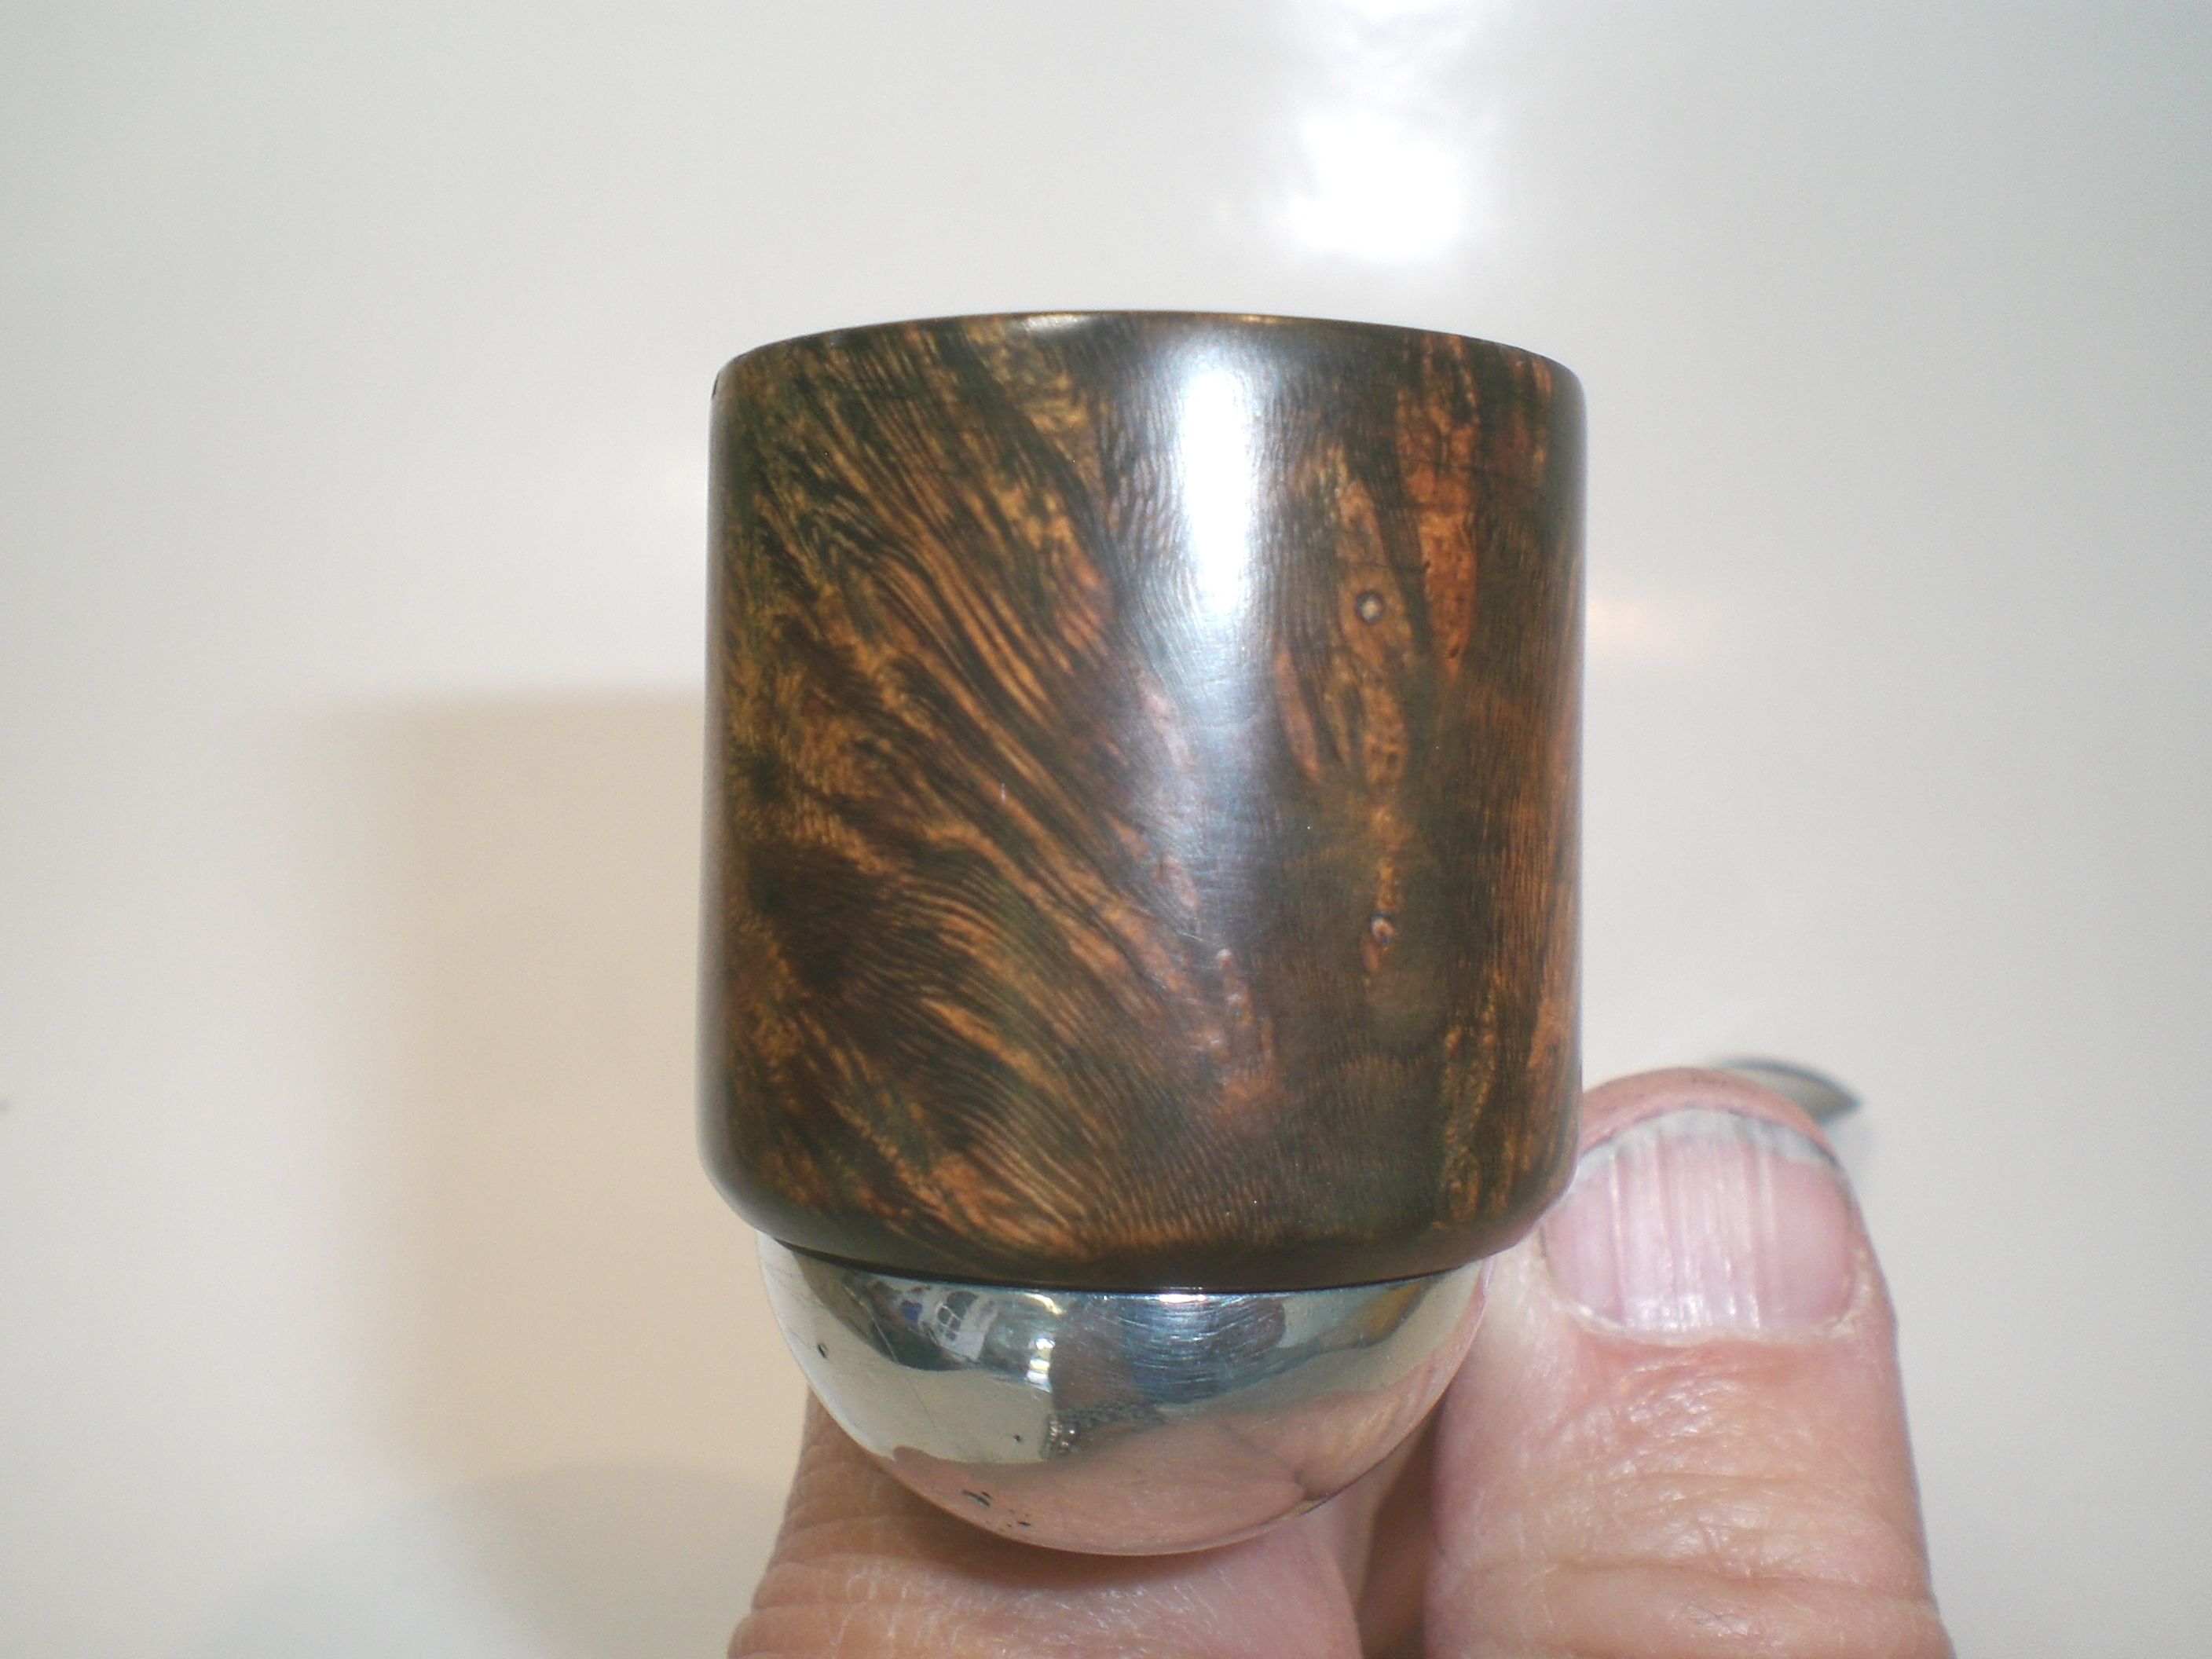
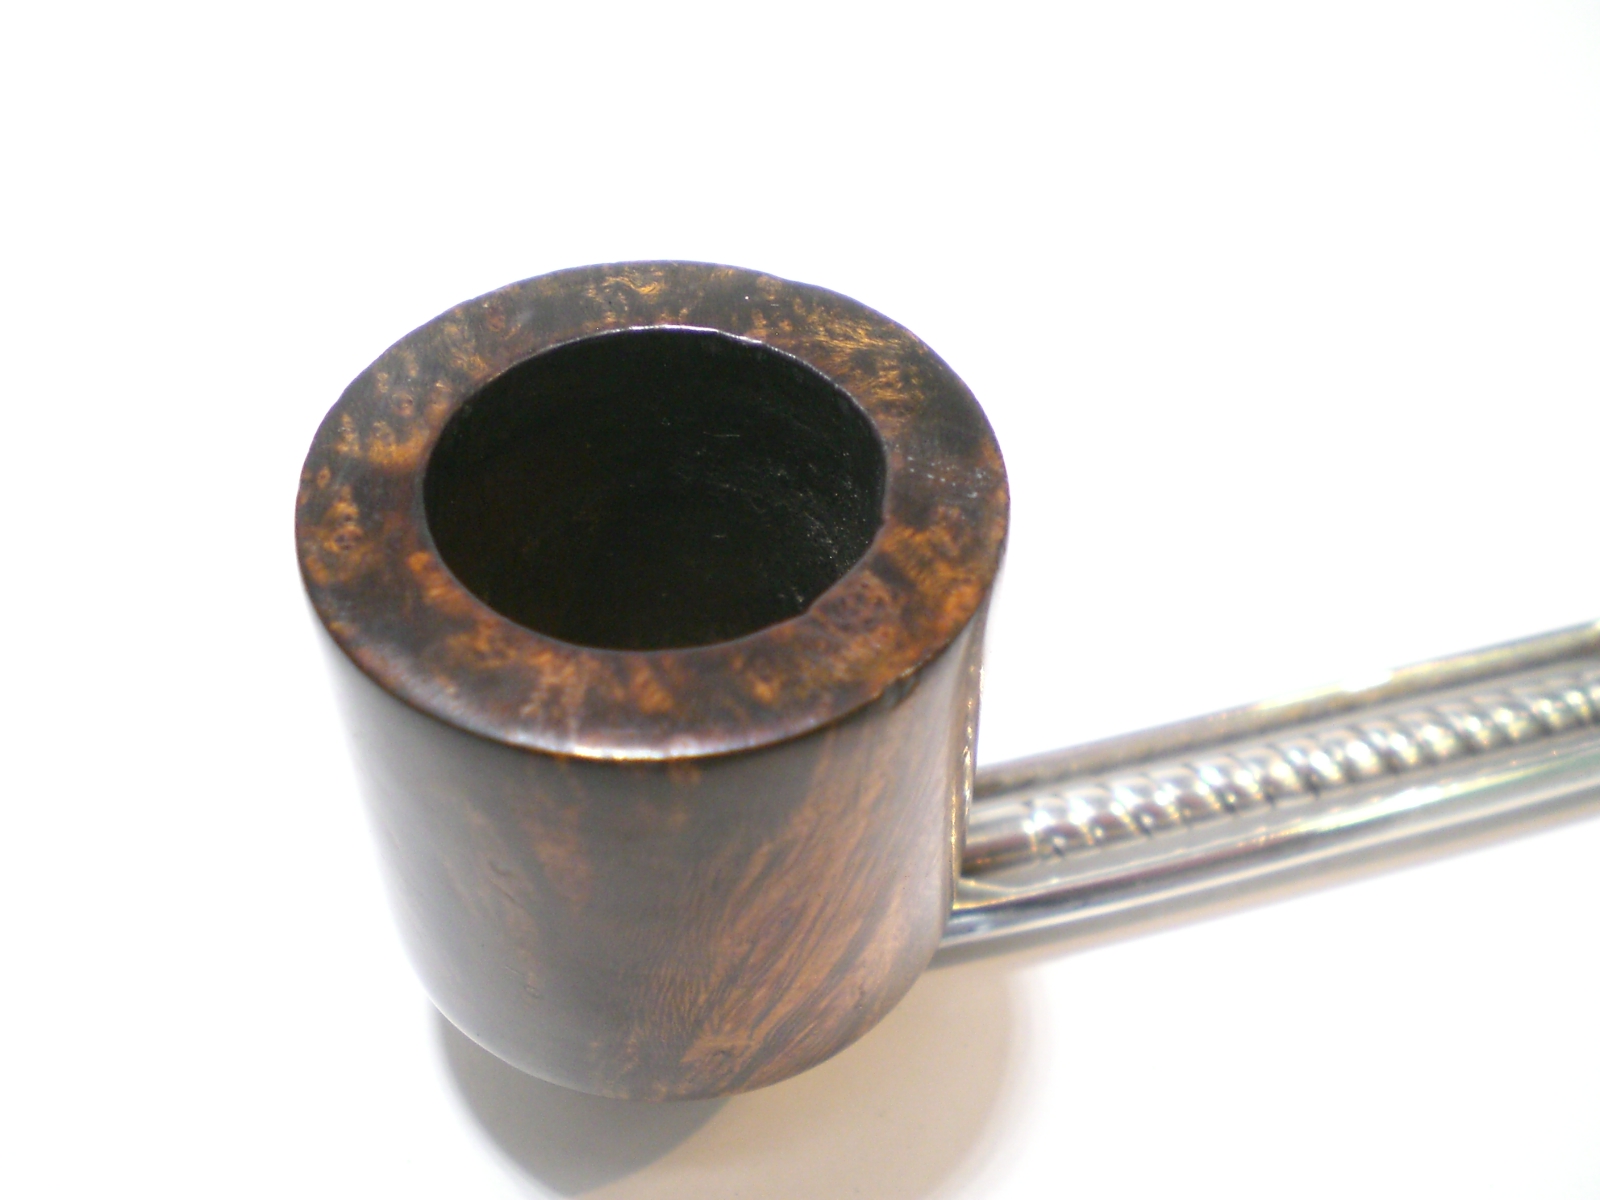
Reworking a Unique Nylon “Vikingish” Pipe


Blog by Steve Laug

When I saw this old pipe in the rack at the antique mall I wanted it because of its uniqueness. The price was also good – $9.95. I figured at that price it was like buying a corn cob pipe and certainly would function in the same capacity for me. This one had a nylon base and stem with a briar bowl that screwed into the base. Dr. Grabow bowls fit this pipe base perfectly but Falcon bowls do not fit. The only stamping on the pipe is on the bottom of the base where it reads Nylon. In researching this pipe on the net I was unable to find any pertinent information. When I posted it on Pipe Smoker Unlimited Forums I got a suggestion and a link to the Smoking Metals site. Low and behold the link took me to the exact pipe base as the one I had found. Here is the link: http://www.smokingmetal.co.uk/pipe.php?page=60 The pipe pictured has a far better bowl than the one that I found. What I found interesting was the information that was on the site regarding this pipe. I am copying it verbatim:

“No makers name, simply the word ‘NYLON’ on the base of the stem under the bowl. The briar bowl is Viking style, accepting all Dr Grabow Viking and Koolsmoke bowls. The bit can be varying colours and not always vulcanite so often severely damaged. The stems can be silvered or in gilt, or even painted, but it is not known if this is how they left the manufacturer. Among names sold under is Forecaster Superline. US Patent# 179,373 Inventor Berenson would seem to apply.”

This pipe was in good shape. The stem is attached and not removable. It had some tooth chatter but no tooth marks or bites. It was made of nylon and not vulcanite even though it is black. The base itself is an opalescent white colour and showed tobacco stains in the base and the shank. The bowl was unfinished and showed tooling marks from the turning on the lathe. There was a slight uneven ridge on one side where the top of the bowl curved upward. There were rough spots all around the bowl and the finish was unsanded. The wood is not briar and seems more like the maple or hickory bowls that come from Missouri Meerschaum. The inside of the bowl has a slight uneven carbon build up in the top of the bowl and dried and hardened pieces of dottle stuck to the sides in the bottom half of the bowl. The reservoir in the base also had a buildup of tars and shreds of tobacco stuck to the base. The first photo below was taken the day I found the pipe. Photos two through five show the bowl when I began working on it at my work table.
IMG_0490

IMG_2195

IMG_2196

IMG_2197

IMG_2198

I unscrewed the bowl from the base and set it aside while I worked on the base to begin with. I cleaned out the stained reservoir with cotton swabs dipped in Everclear and used bristle and fluffy pipe cleaners on the inside of the stem and the shank. The dried tobacco shreds were stuck to the base so it took some scrubbing to remove the dried materials. The next three photos give an idea of the state of the reservoir and the slight tooth chatter on the stem. The fourth photo shows the cleaned but stained base of nylon.

IMG_2199

IMG_2200

IMG_2201

IMG_2204

Once the base was clean and the tars and buildup removed I worked on the finish of the bowl. I sanded it with 220 grit sandpaper to remove the marks from the lathe and the rough spots. I wanted to remove as much of the marking on the bowl as possible without changing the shape. As I sanded it I was impressed by the grain on the particular piece. I sanded the stem at the same time with the 220 grit sandpaper to remove the tooth chatter. Interestingly the nylon stem sanded out greyish white. The sanding dust was light grey in colour.
IMG_2202

IMG_2203

IMG_2205

IMG_2206

The next step in the sanding process was to use a medium grit sanding sponge and also with a fine grit sanding block to remove the marks and scratches left behind by the 220 grit sandpaper on both the bowl and the stem. I followed that by wet sanding the bowl and the stem with 1500, 1800 and 2400 grit micromesh sanding pads.
IMG_2207

IMG_2208

IMG_2209

I then dry sanded with the remaining grits of micromesh sanding pads from 3200-12,000 grit. I used the micromesh pads on both the bowl and the stem. I did not include pictures of all of the sanding process but chose the one below as representative.
IMG_2211

When I had finished sanding the stem and the bowl I buffed them lightly with White Diamond and then gave both a coat of carnauba wax. I chose for this bowl to not stain it but leave it natural as I like the look of the grain in the wood. The photos below show the finished pipe. Any ideas on what the wood might be?
IMG_2213

IMG_2214

IMG_2215

IMG_2216

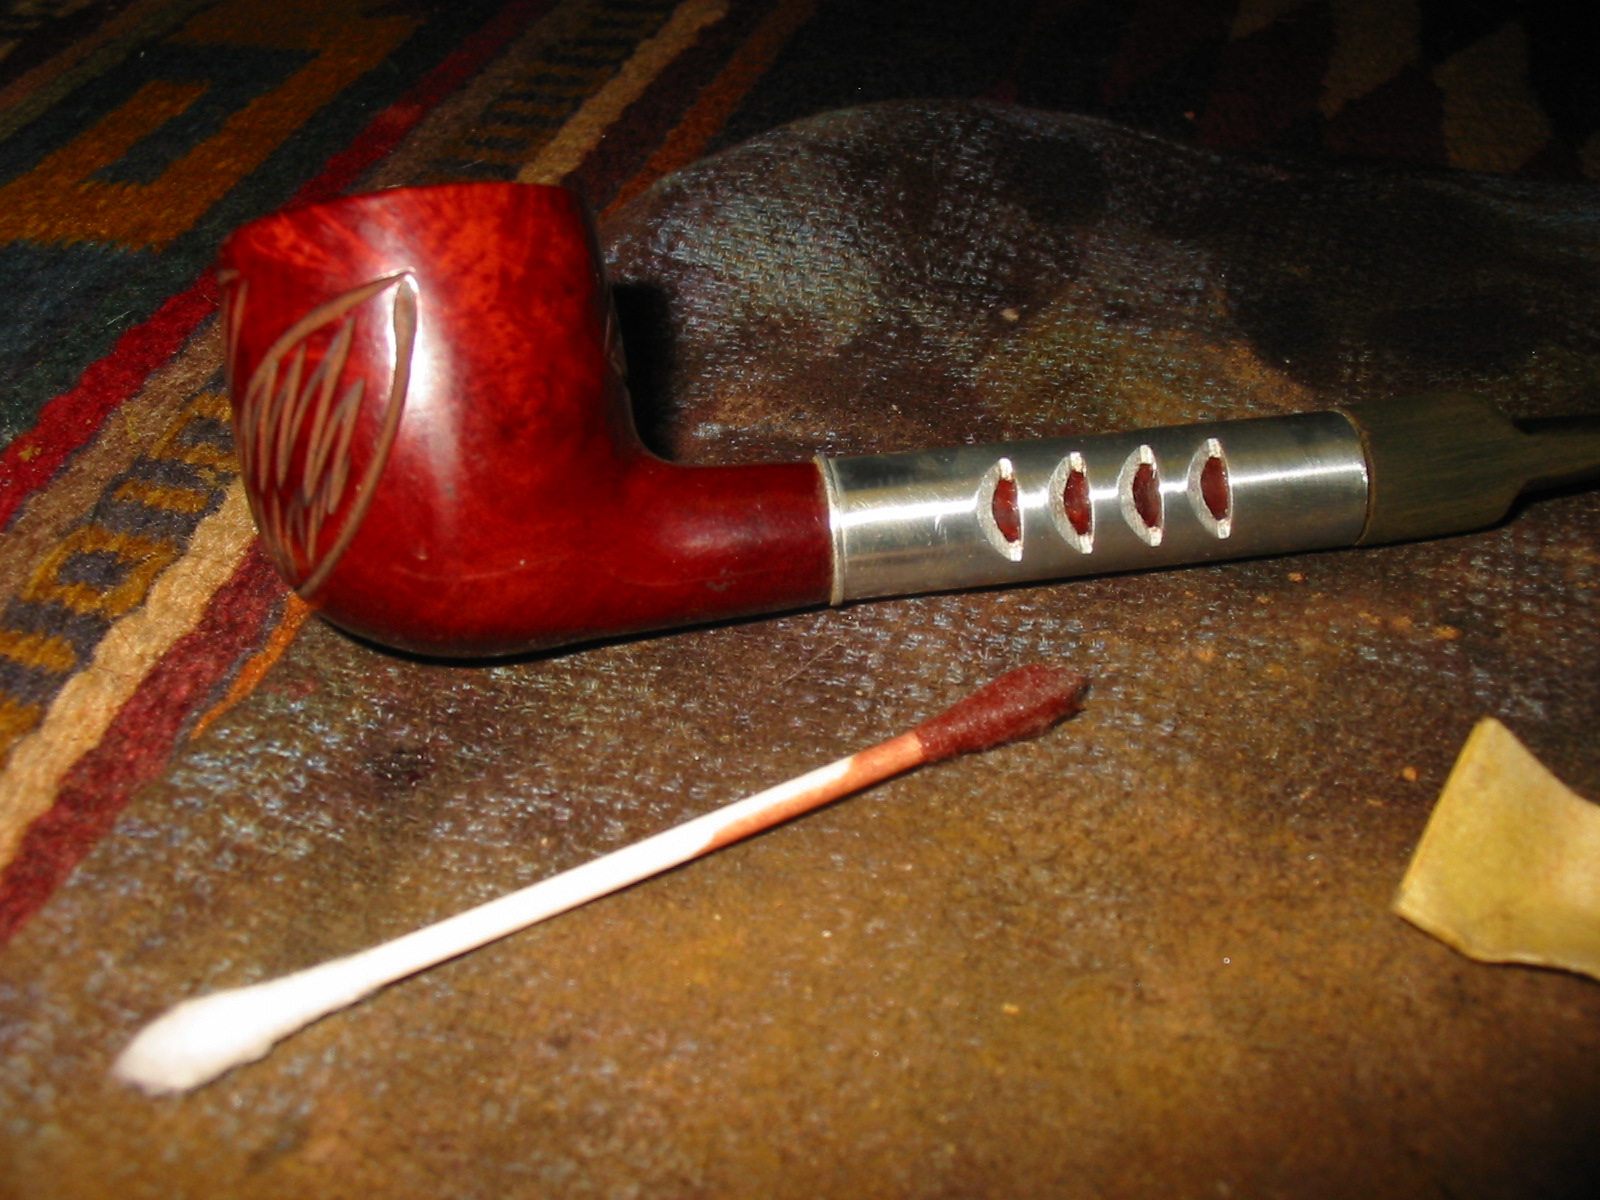
Medico Ventilator — Unventilated (Thanks Ed for the idea)


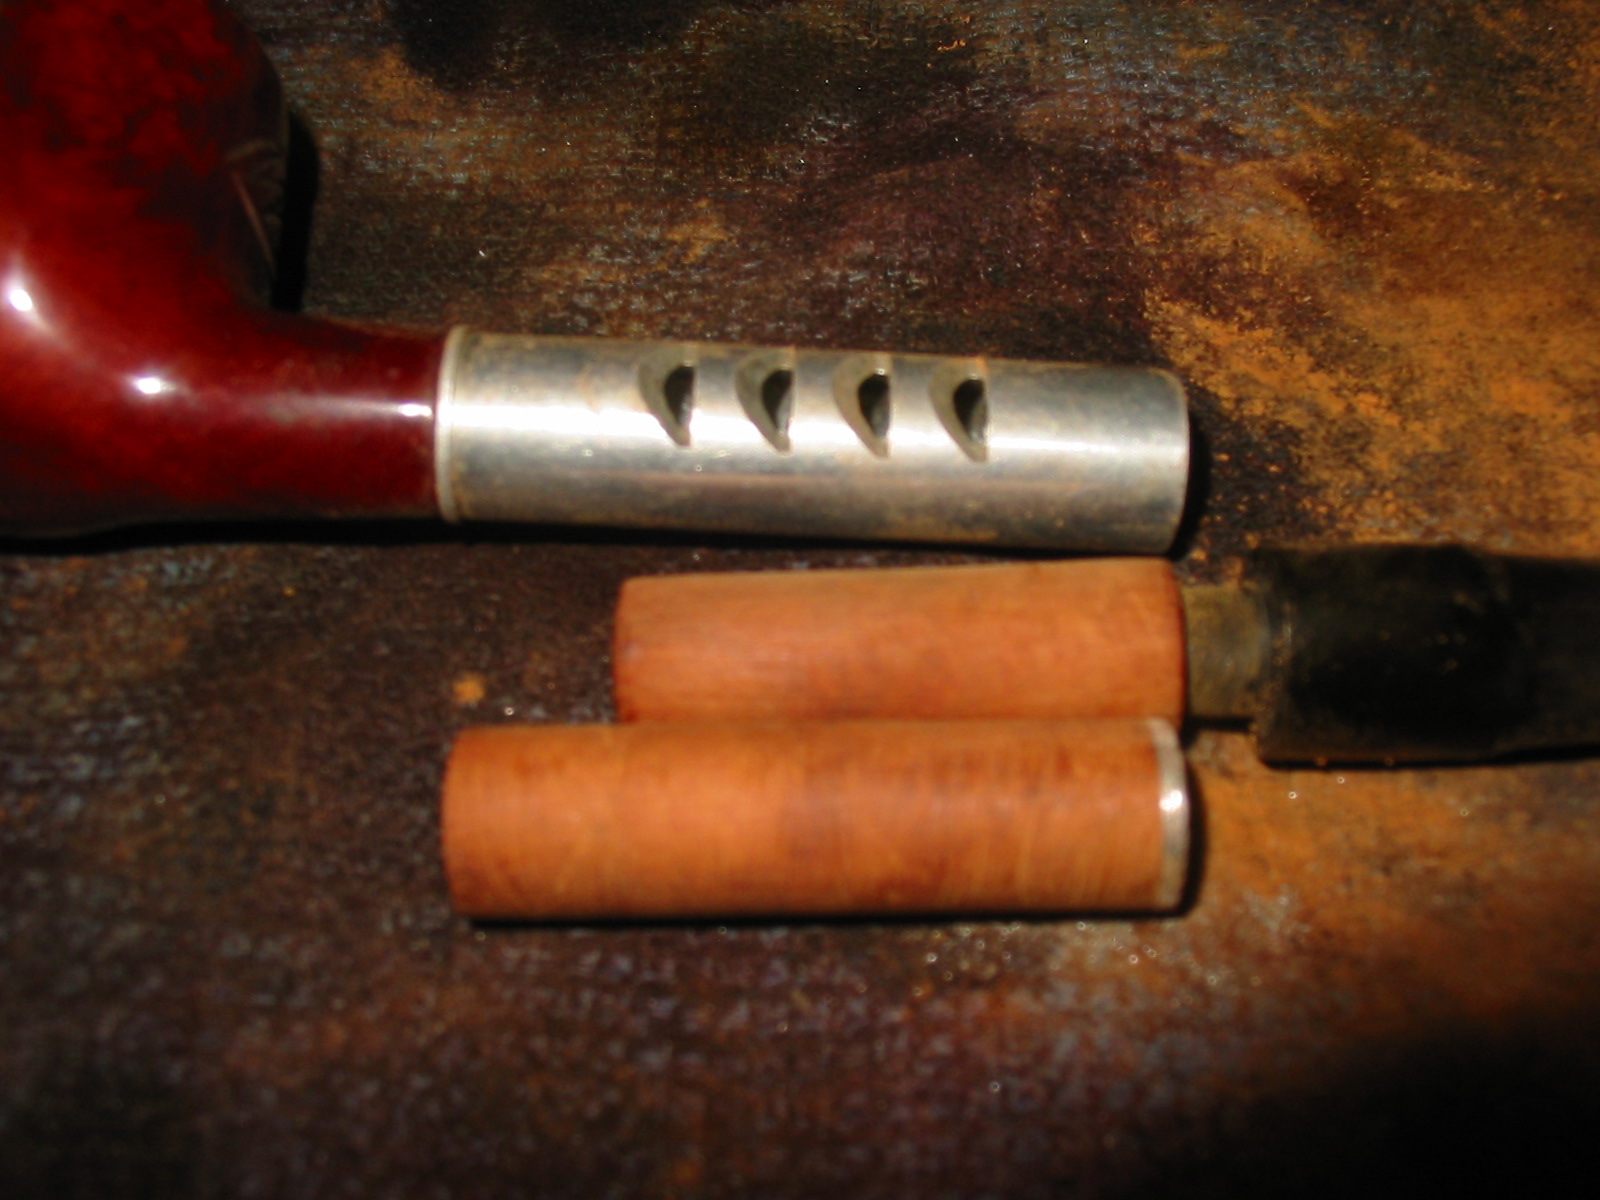
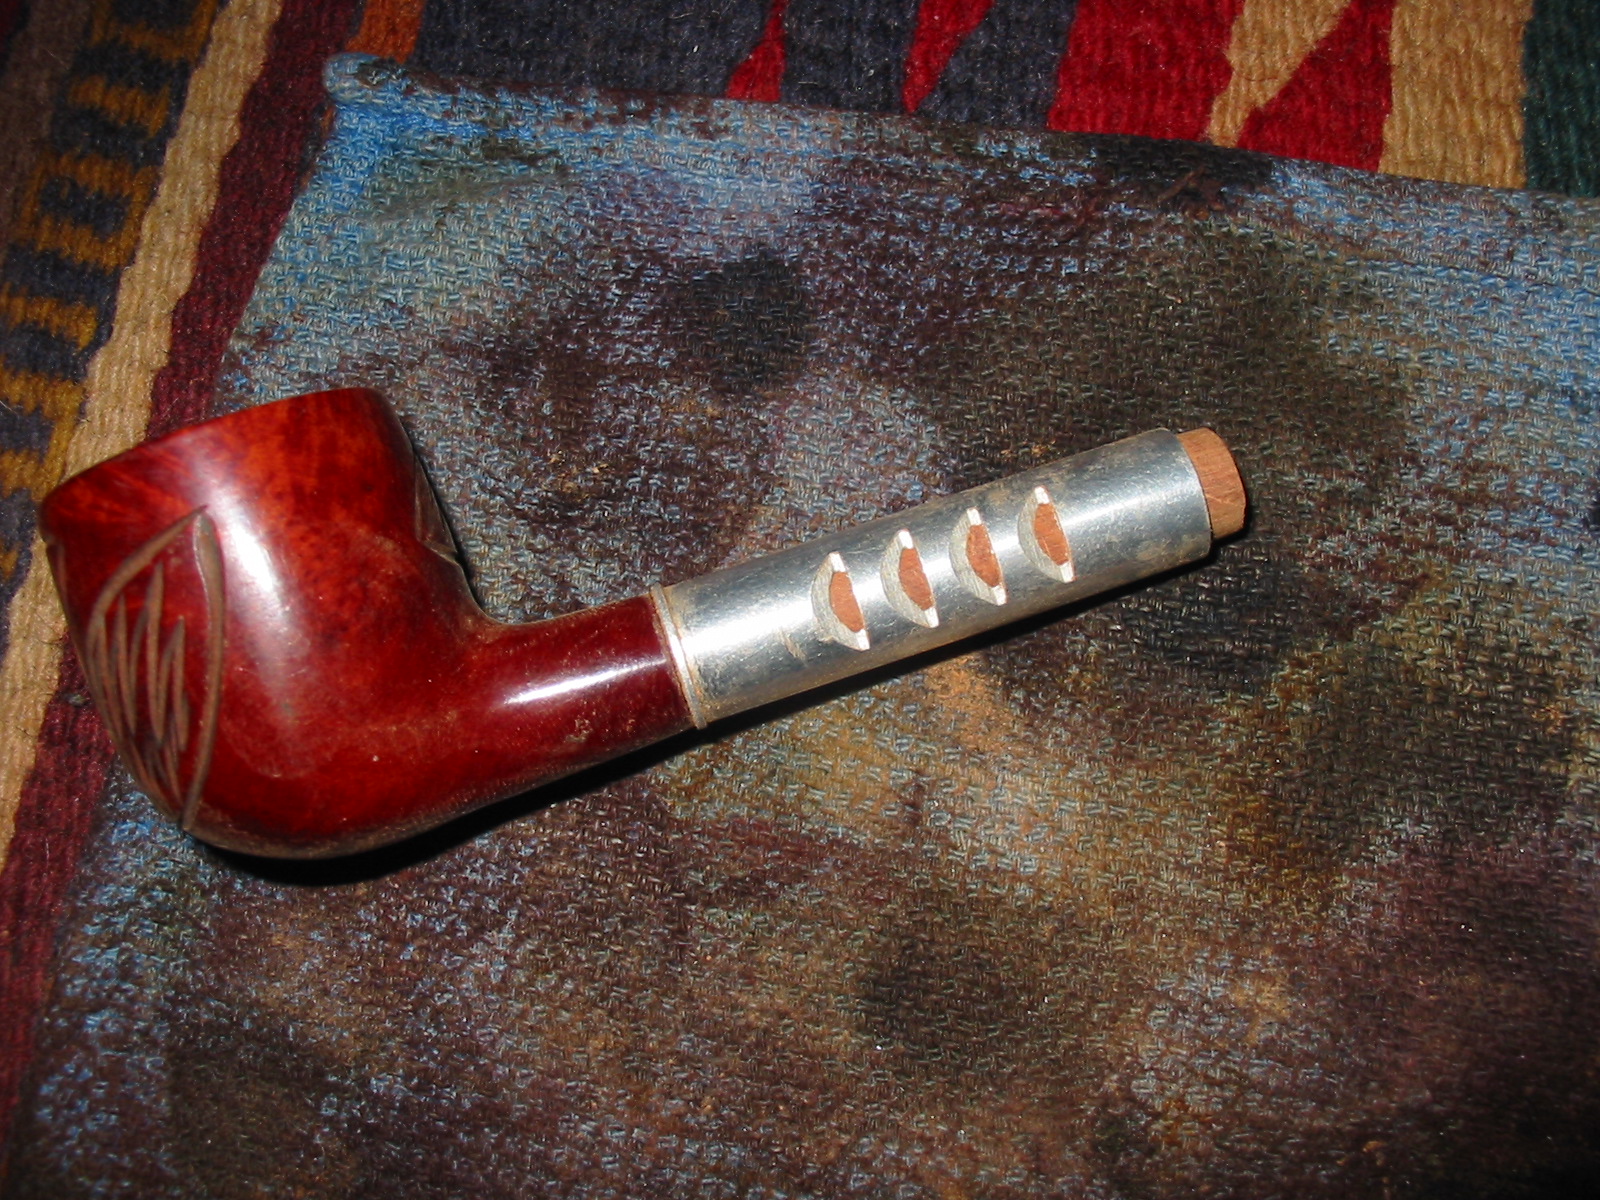
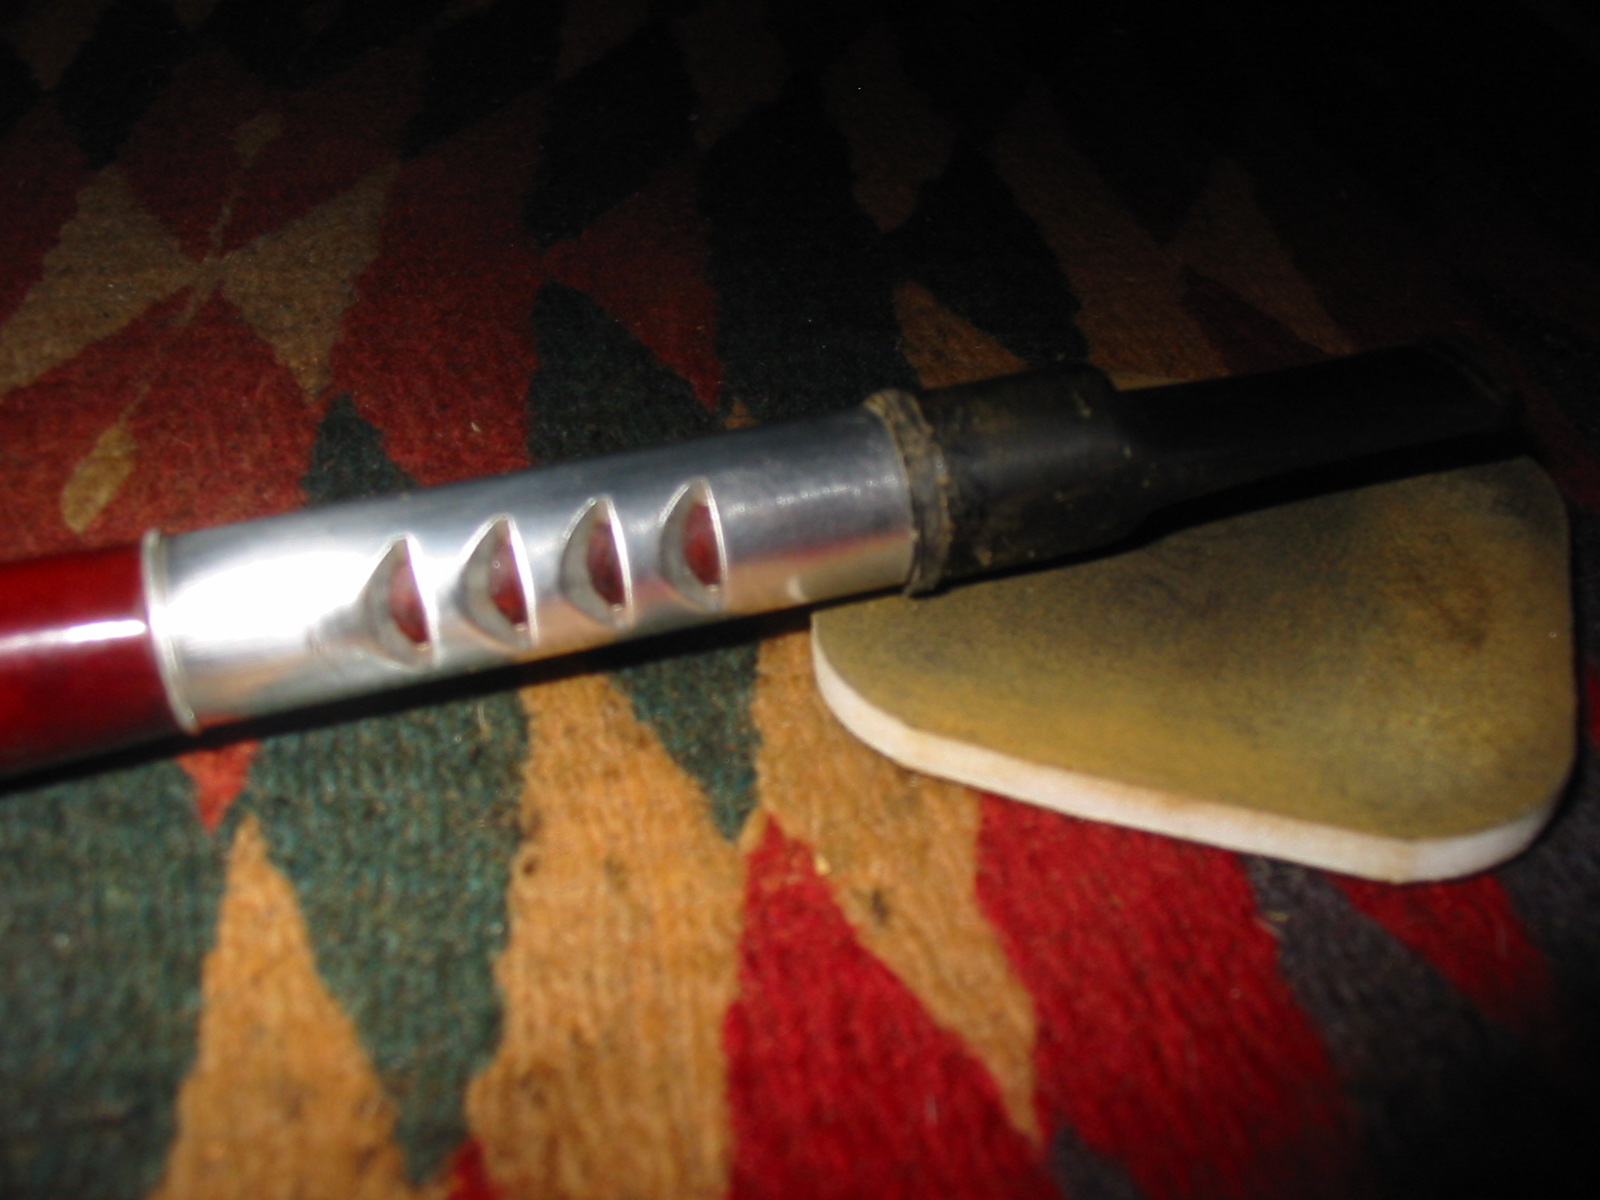
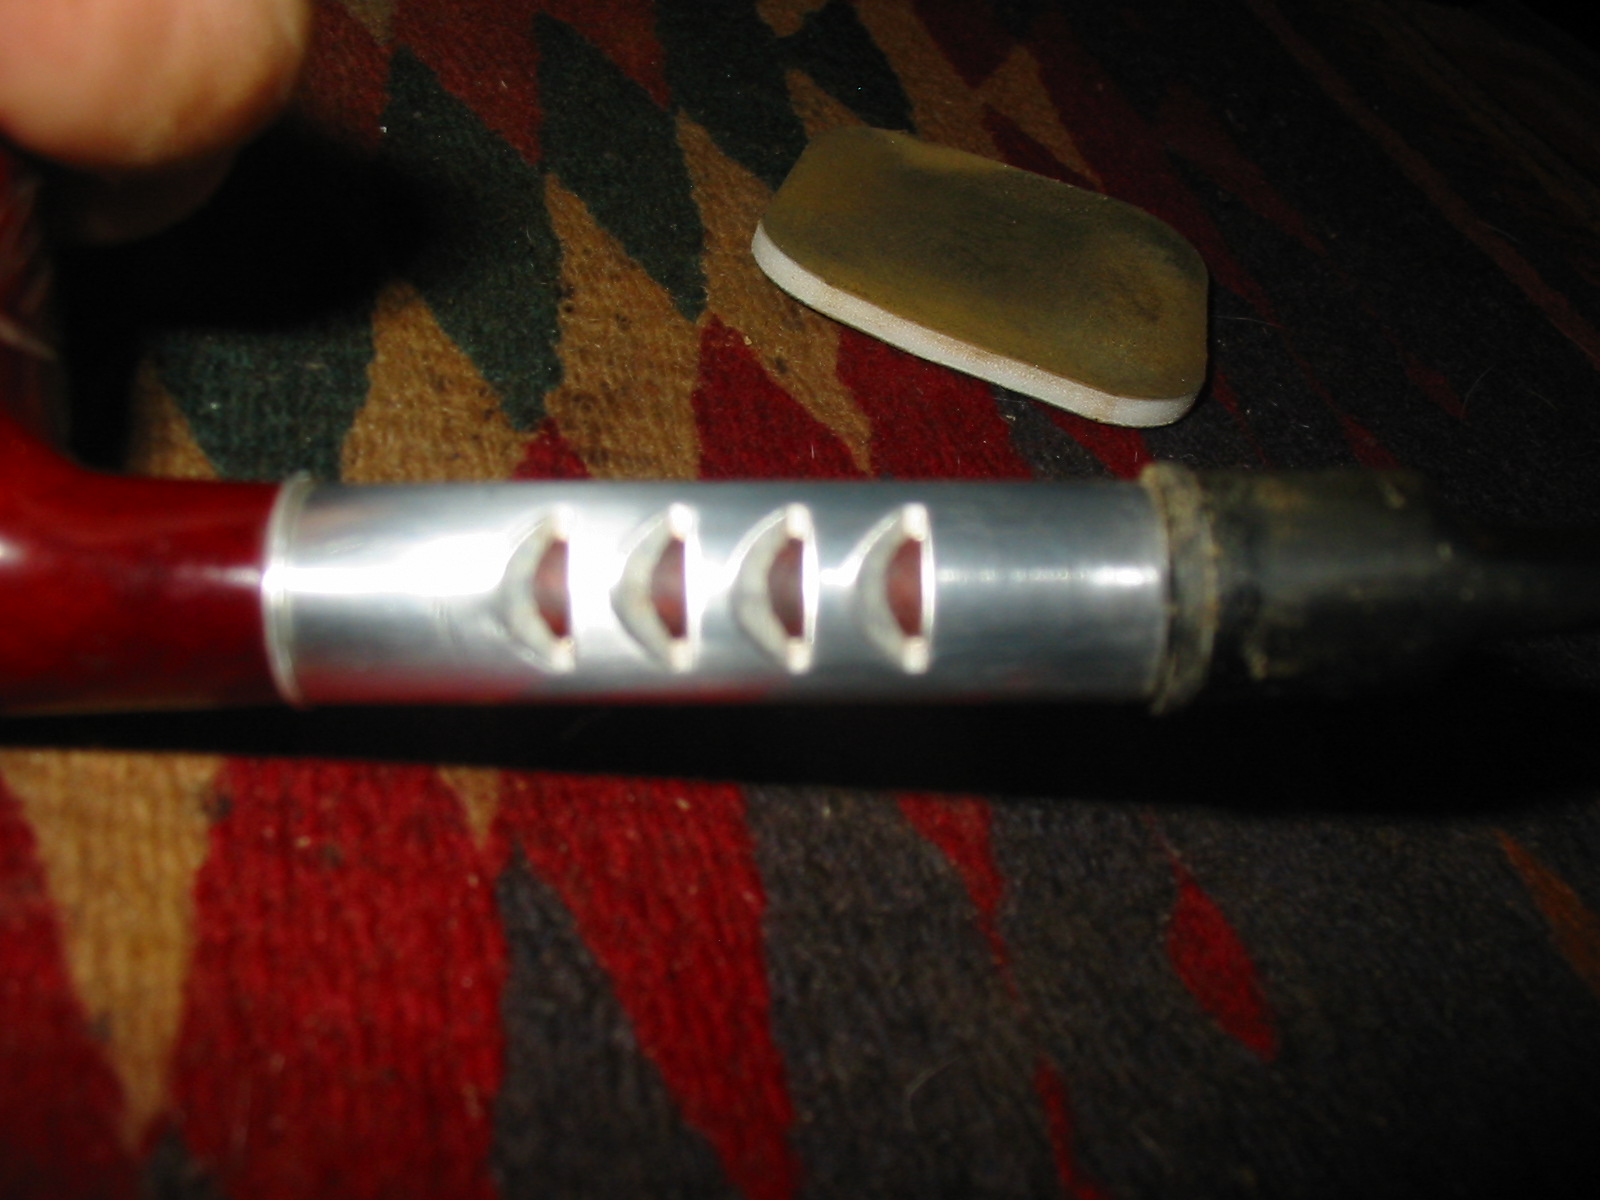
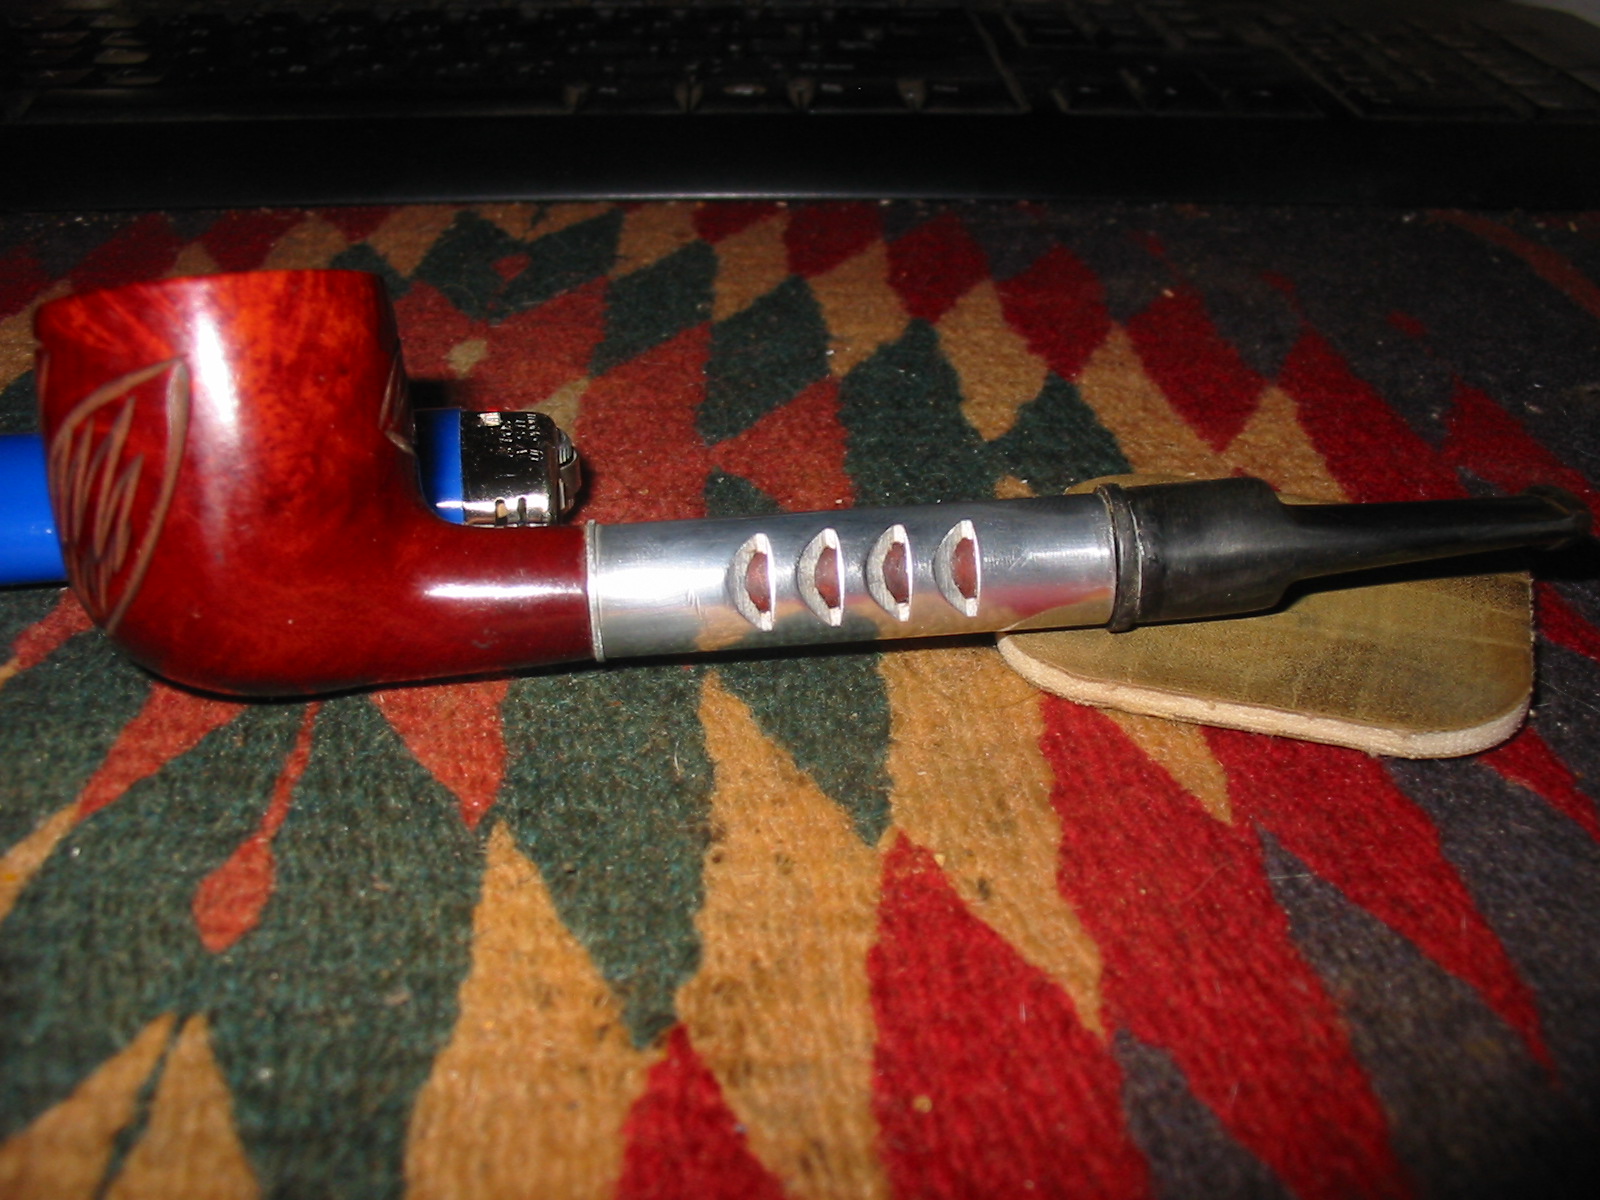
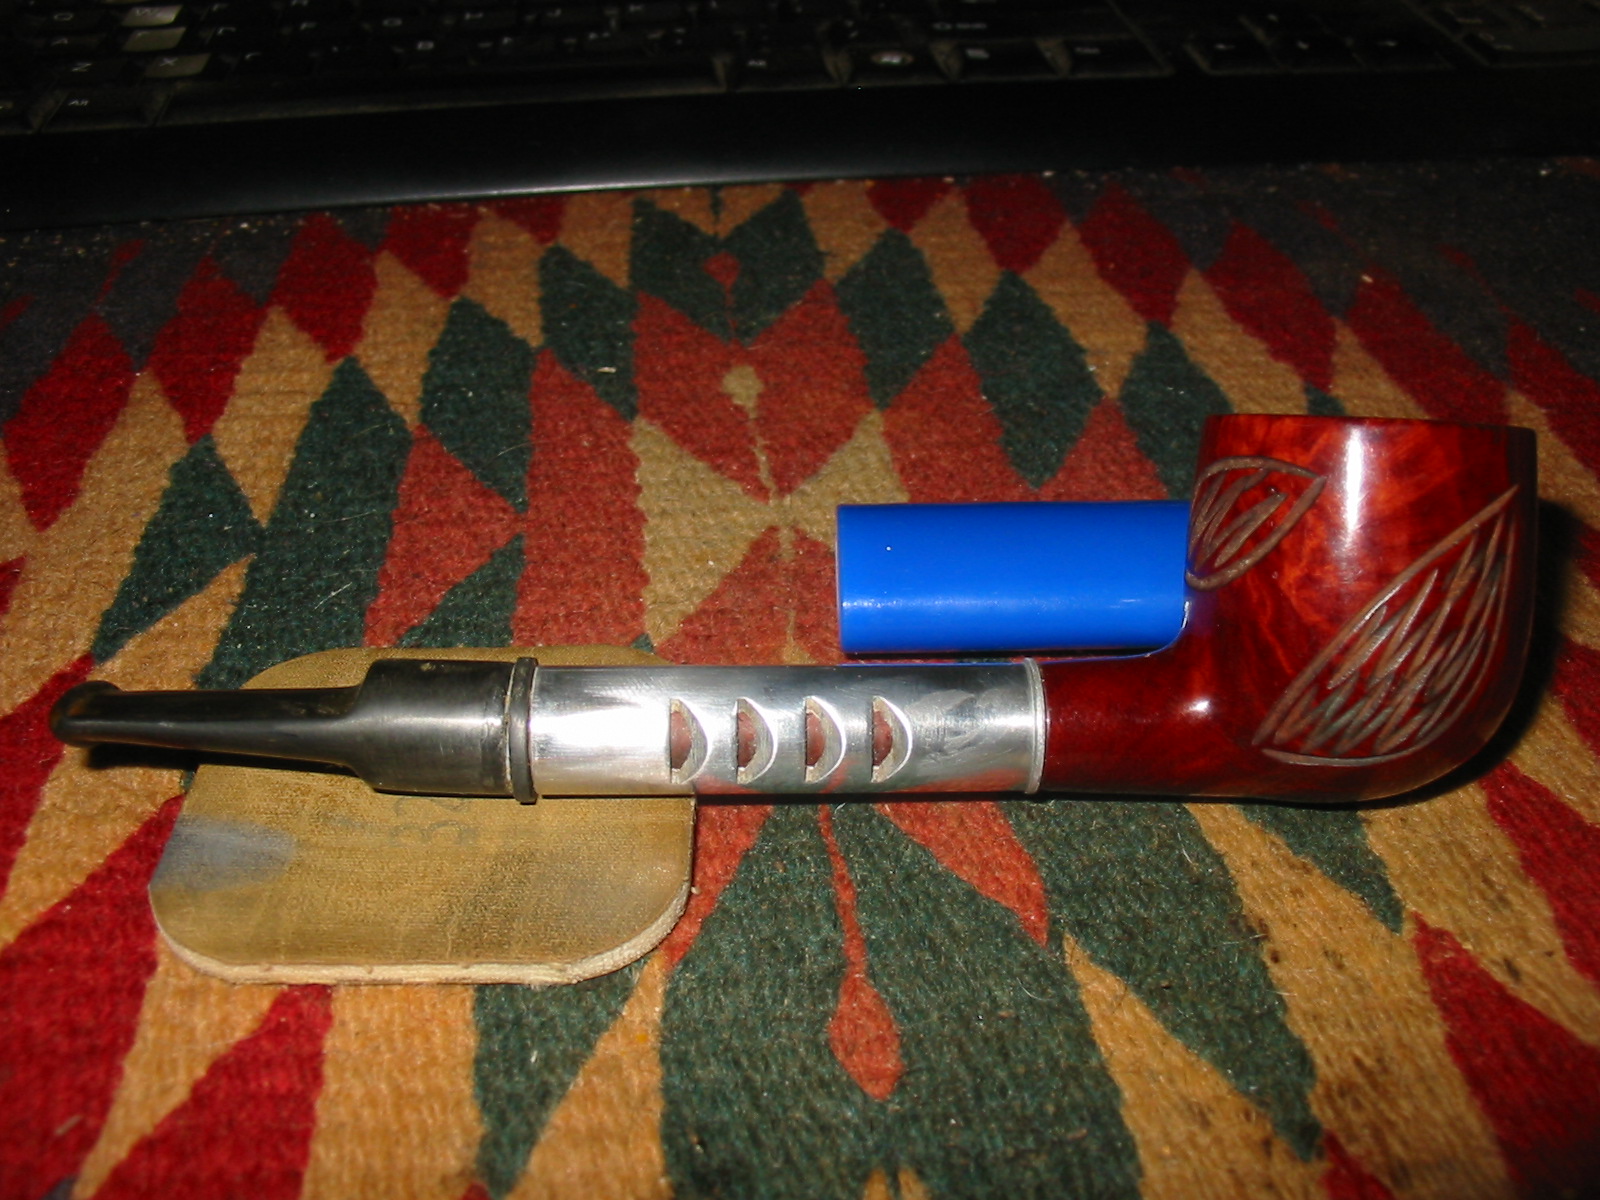
When I read this post by Ed James (Ozark southpaw) on Pipe Smoker Unlimited. This is the link to his post: http://pipesmokerunlimited.com/showthread.php?3186-Medico-Ventilator-unventilated I thought I would love to try that as well. Here is Ed’s first post in that thread that got me started thinking about the project. Ed also is a refurbisher of long standing and does excellent work. Here is his website: http://www.ozarksouthpawpipes.com/index.html

On PSU Ed wrote; “I’ve had a few of these and they smoke fine, although sometimes it was hard to get the filter seated so the pipe will draw as it should. If you’re not familiar with the Ventilators, they cannot be smoked without a filter. I smoke mostly filtered pipes, but thought I would see if I could make a Ventilator filterless. Accomplished it by turning a piece of briar the length of the shank and epoxying it in place. For the stem I used a vulcanite blank after replacing the tenon with delrin and adding a ring of tortoise shell acrylic. On my third bowl in it and it is smoking fine.”

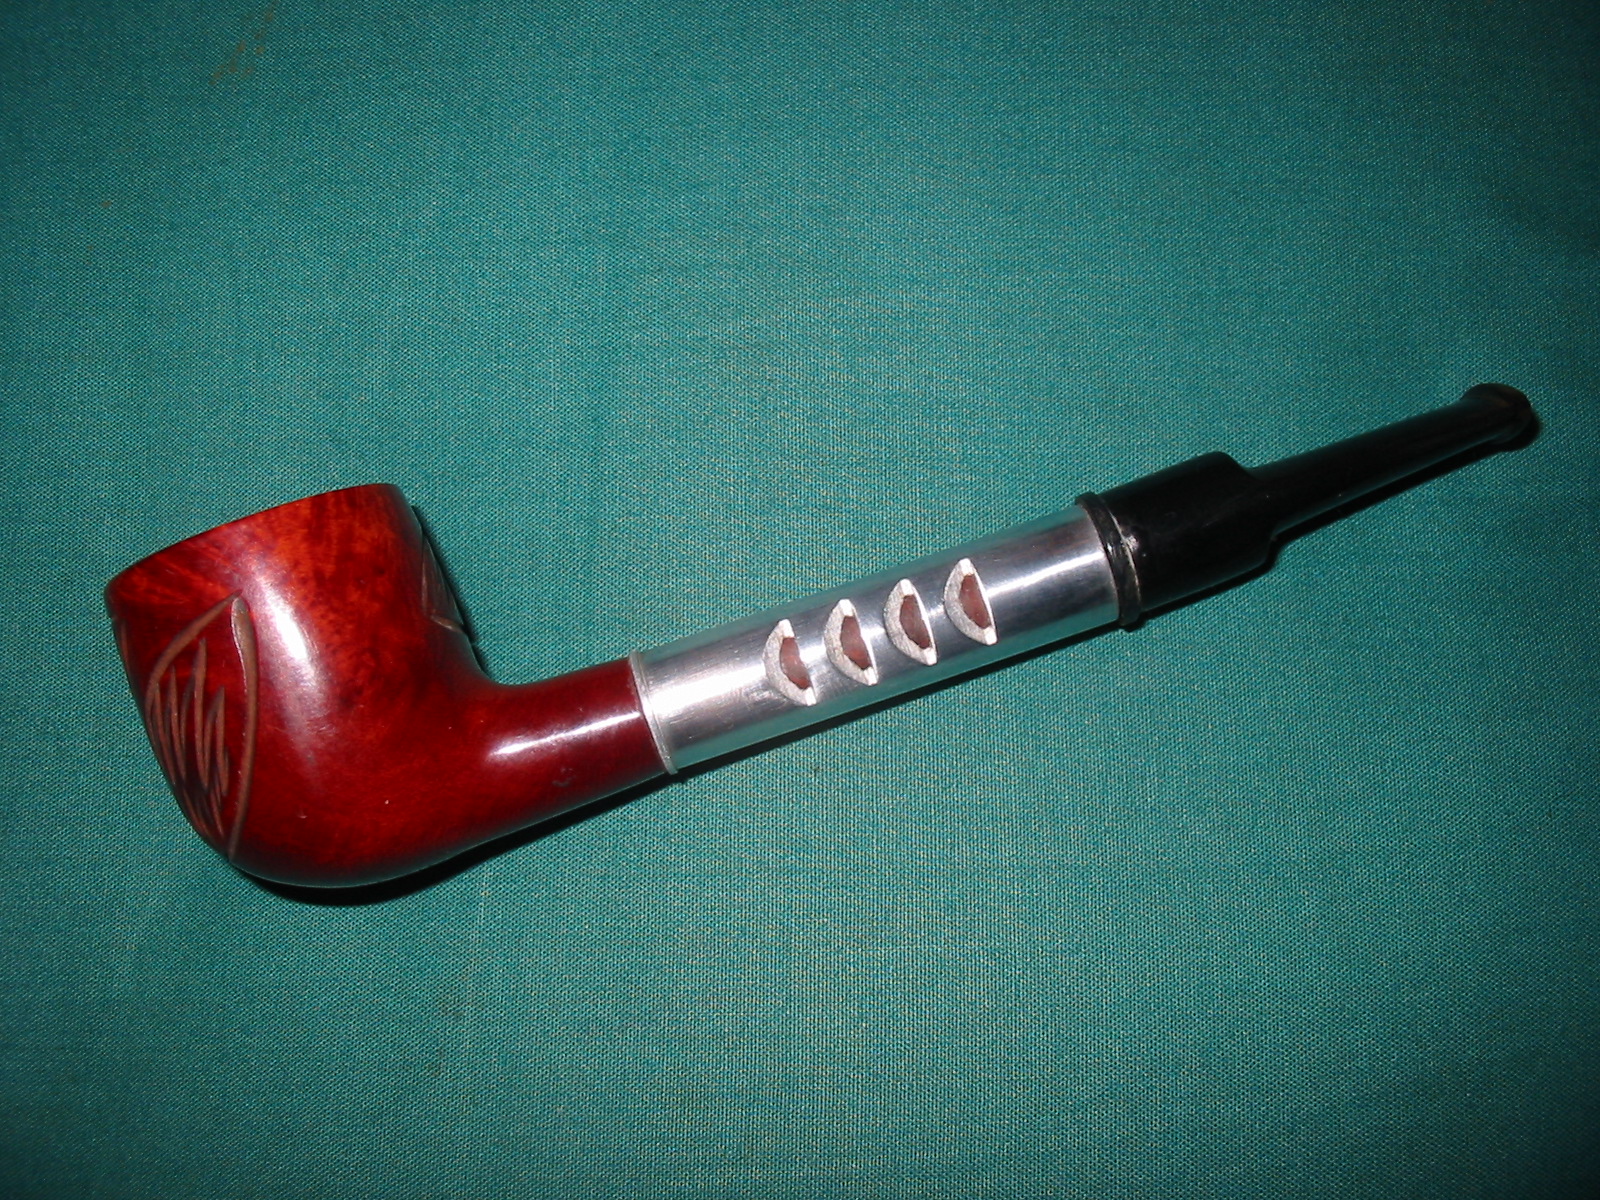
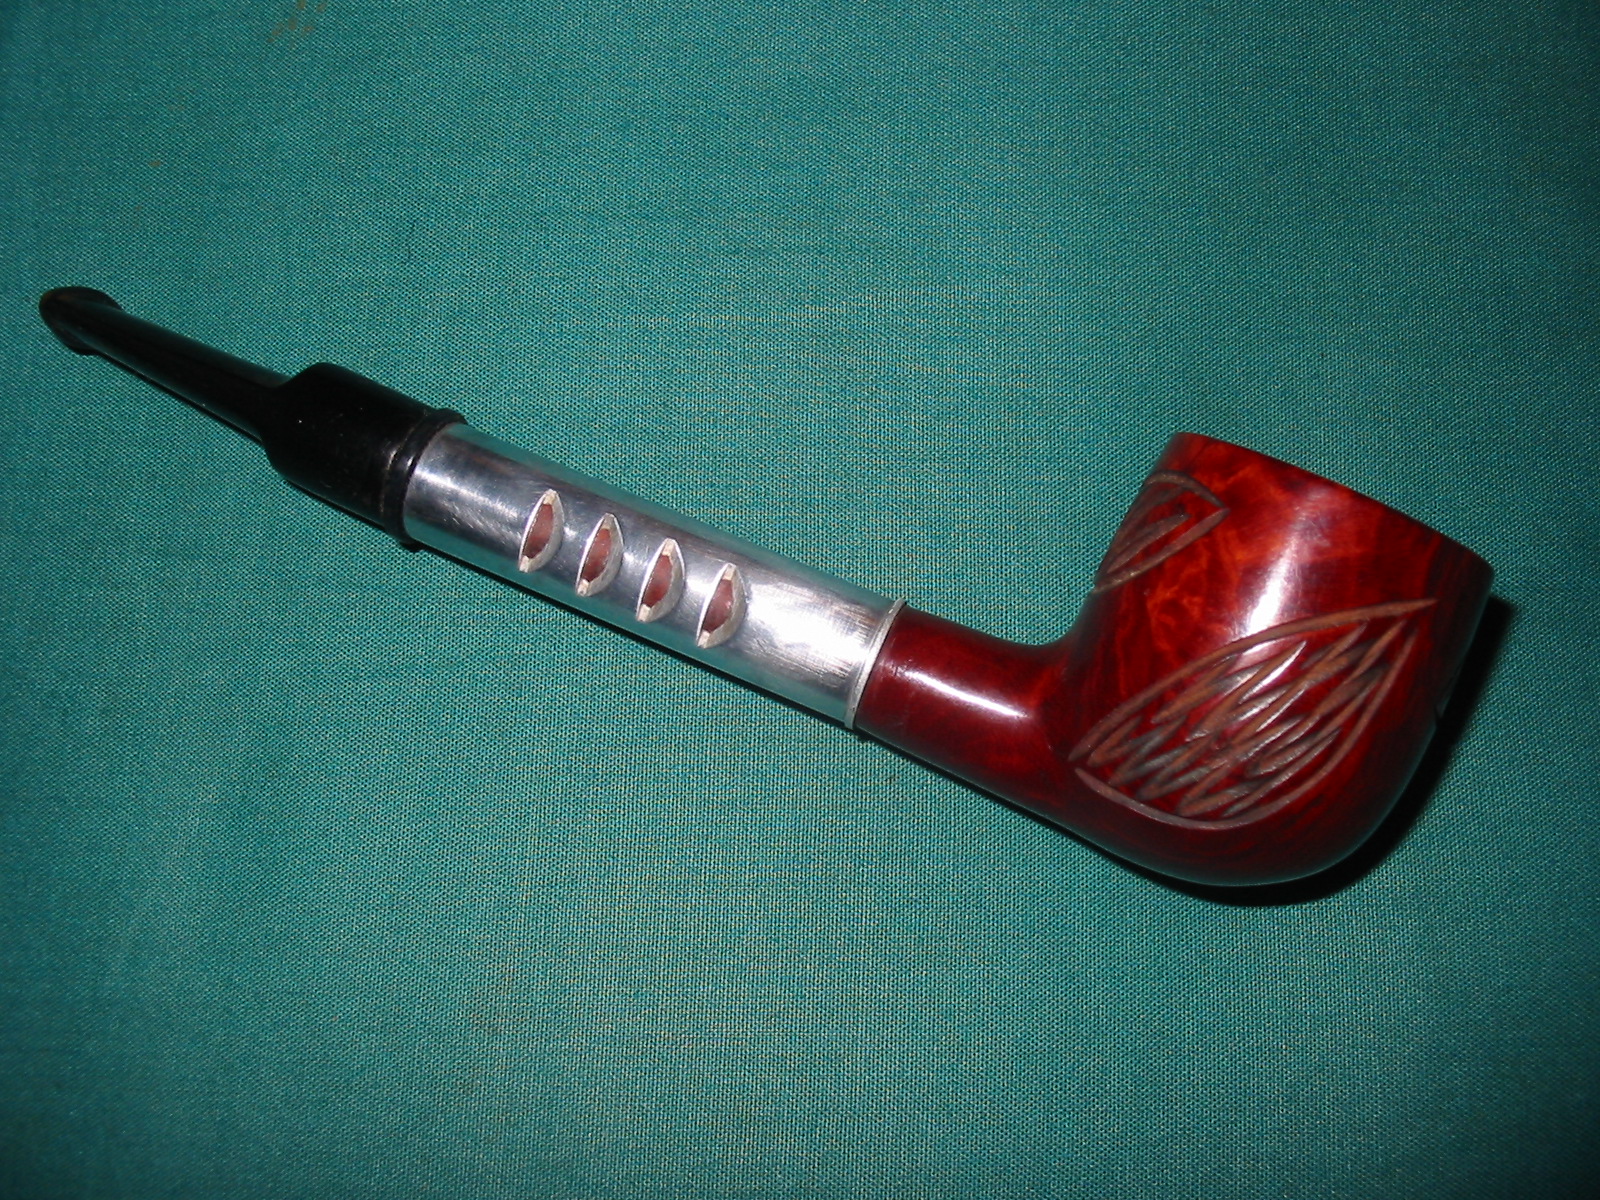
Here is the pipe – pictured below. It is a nice looking sandblast that Ed “unventilated”.
Un-Ventilated Ventilator 2013-08-27 001 (1280x960)

Un-Ventilated Ventilator 2013-08-27 003 (1280x712)

Un-Ventilated Ventilator 2013-08-27 005 (1280x1013)

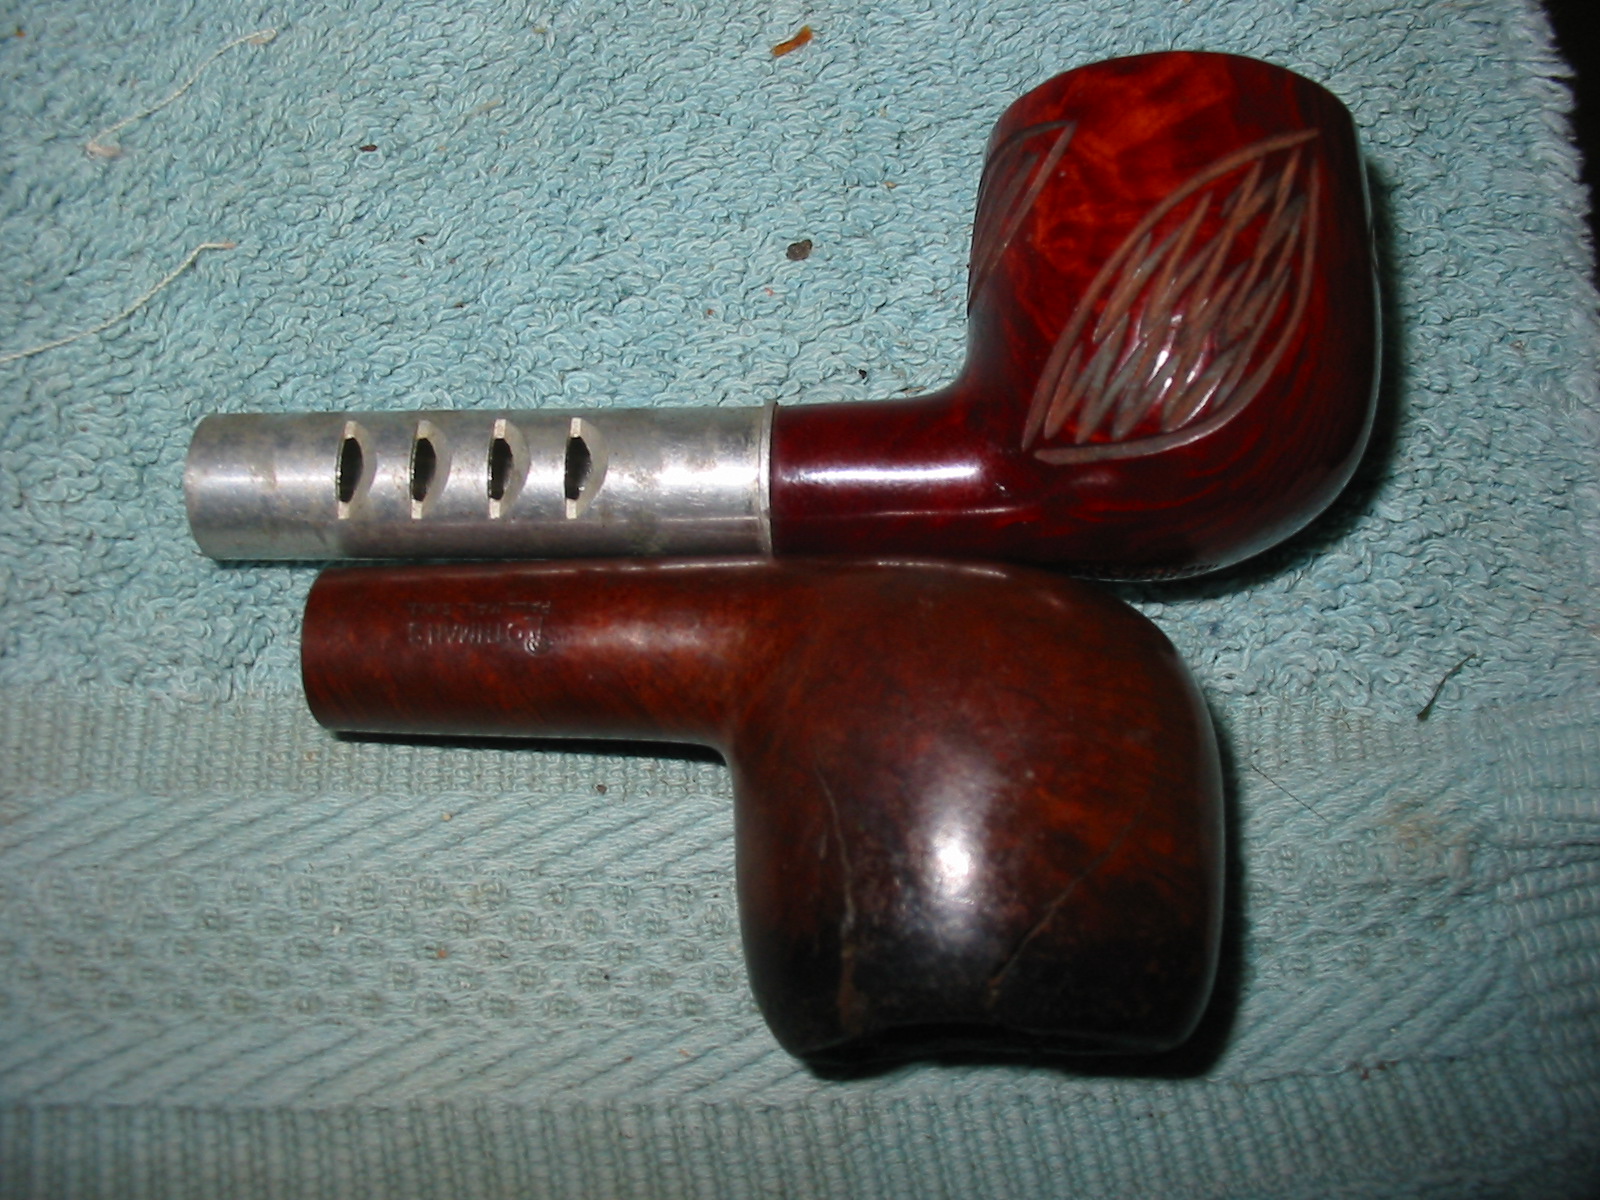
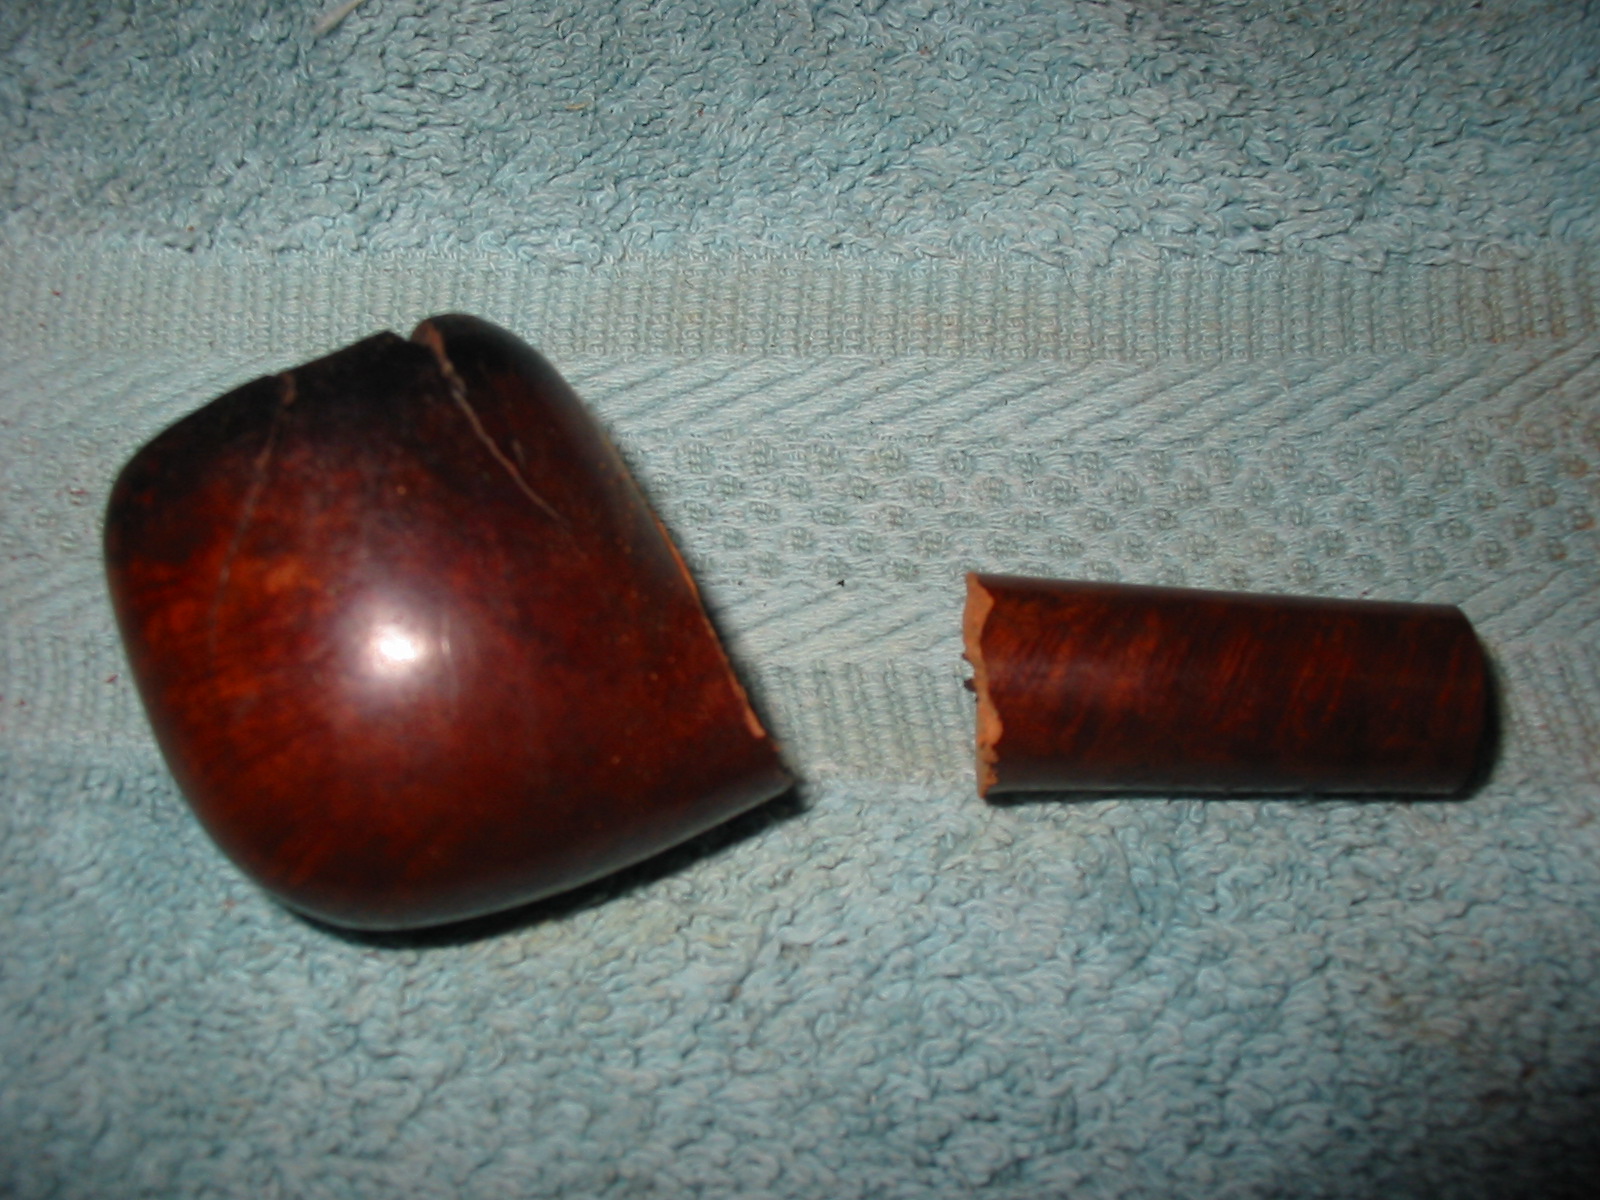
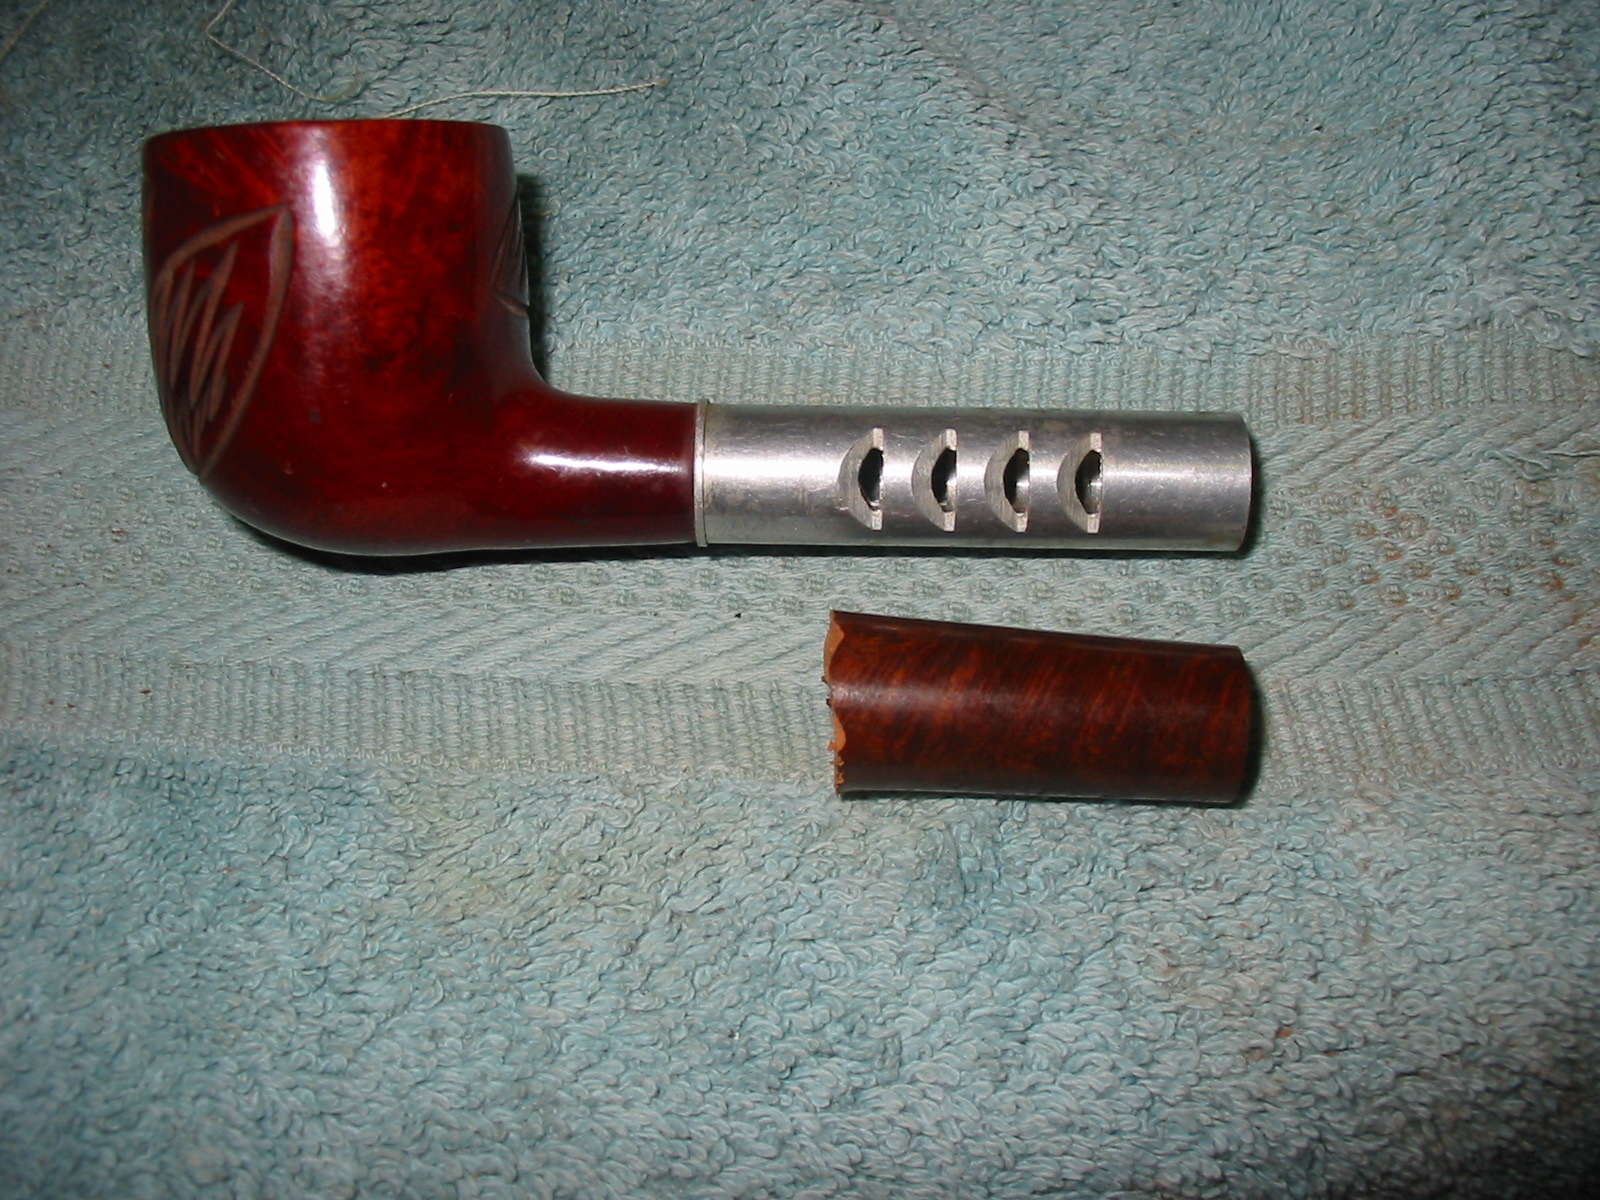
So today was the day that I got to finally work on “unventilating” one of my own. Mark Domingues (dogtalker) recently sent me a few old bowls and pipe parts that needed some work. In that package was a Medico Ventilator. It was not as nice as the one Ed worked on, pictured above, but it was a Ventilator sans stem nonetheless and it was the opportunity I was looking for to try my hand at unventilating the Ventilator. This bowl was absolutely clean. I don’t think that it had been smoked other than maybe the first light or so. The bottom 2/3s of the bowl was still virgin briar. The bowl had the typical Medico lacquer coat and there were carved leaves all around the outside of the bowl. I decided to leave the finish alone and rework it as it stood. One day I may remove the finish but for now it will remain as it is.
IMG_2148

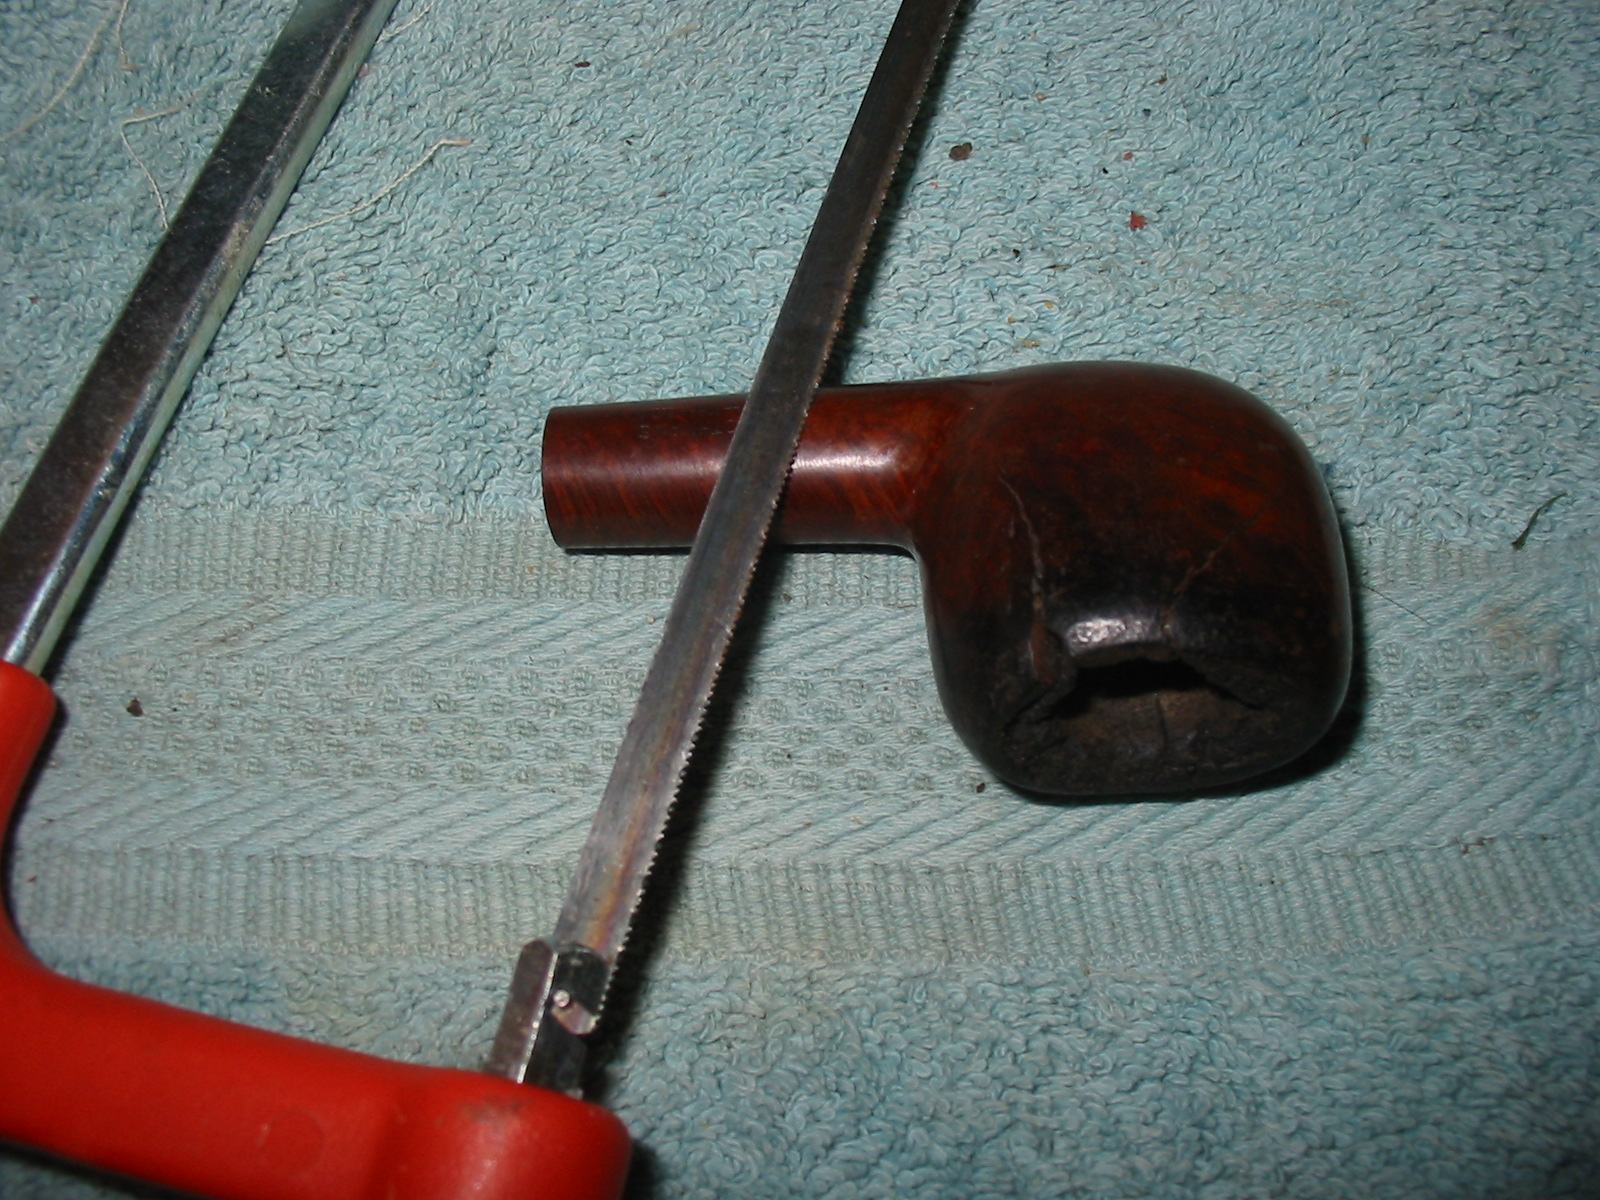
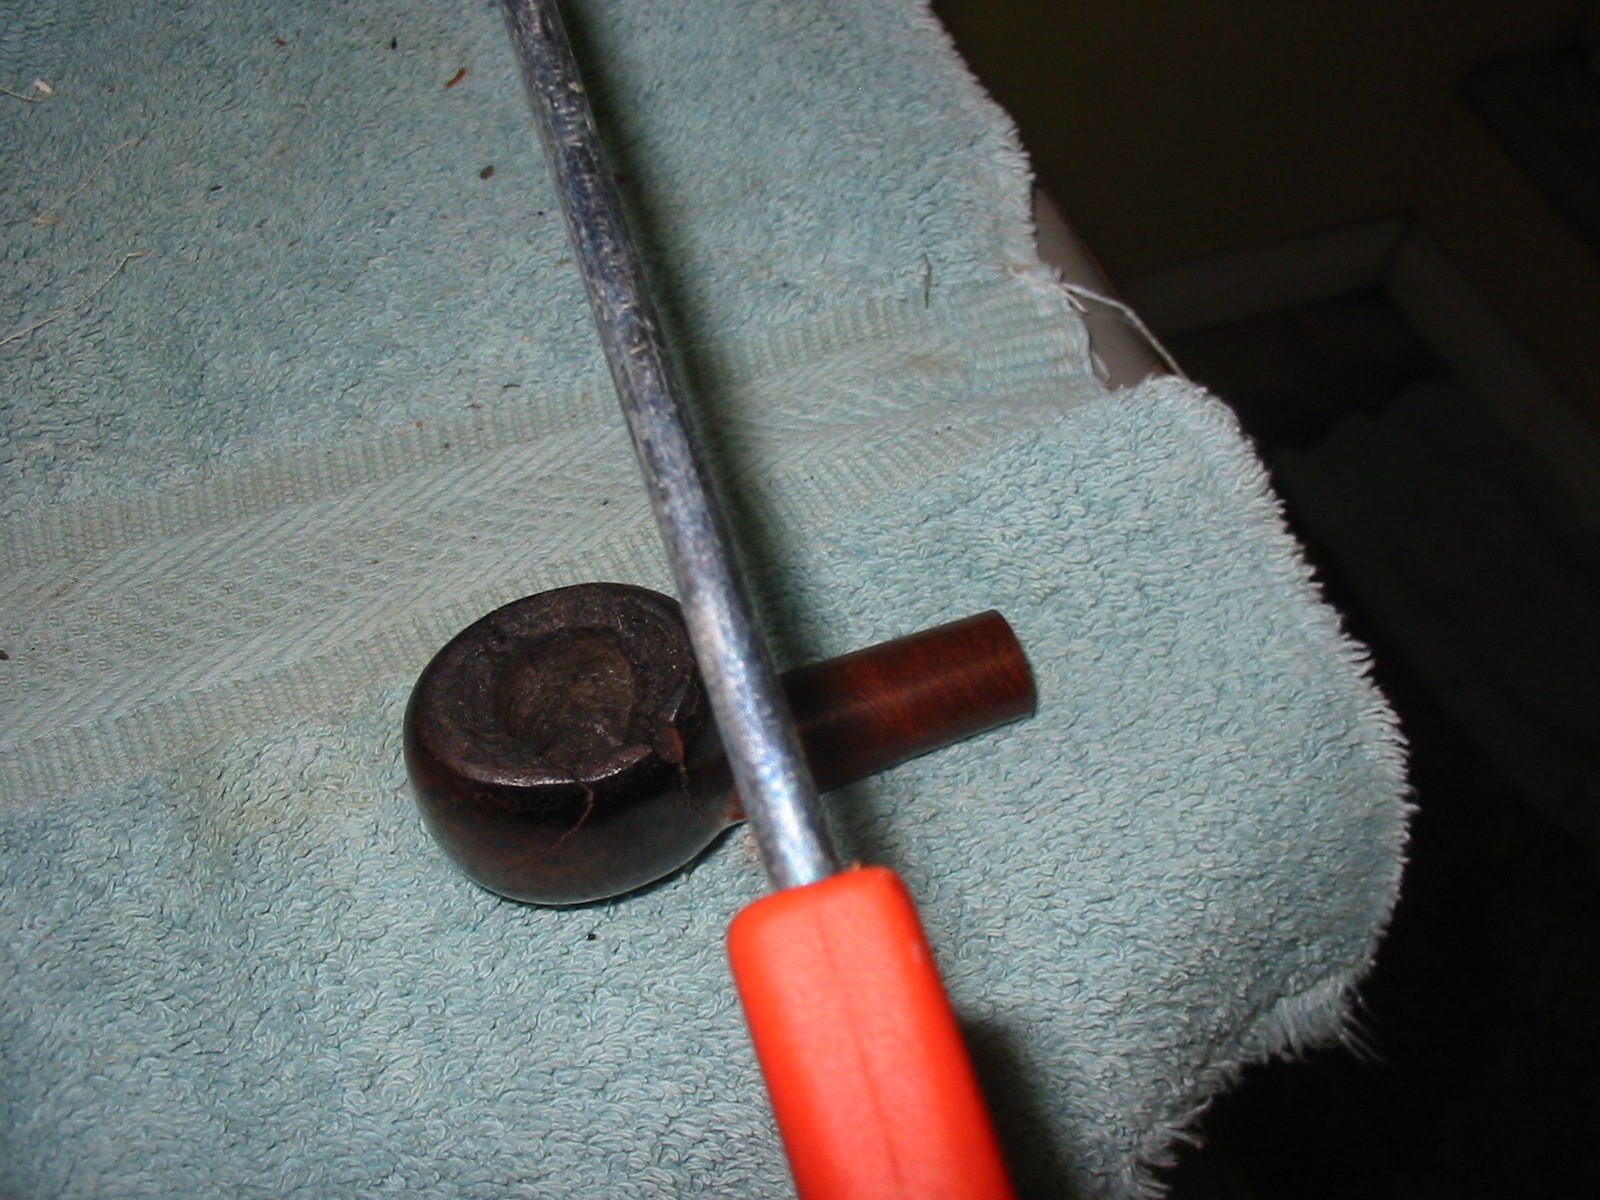
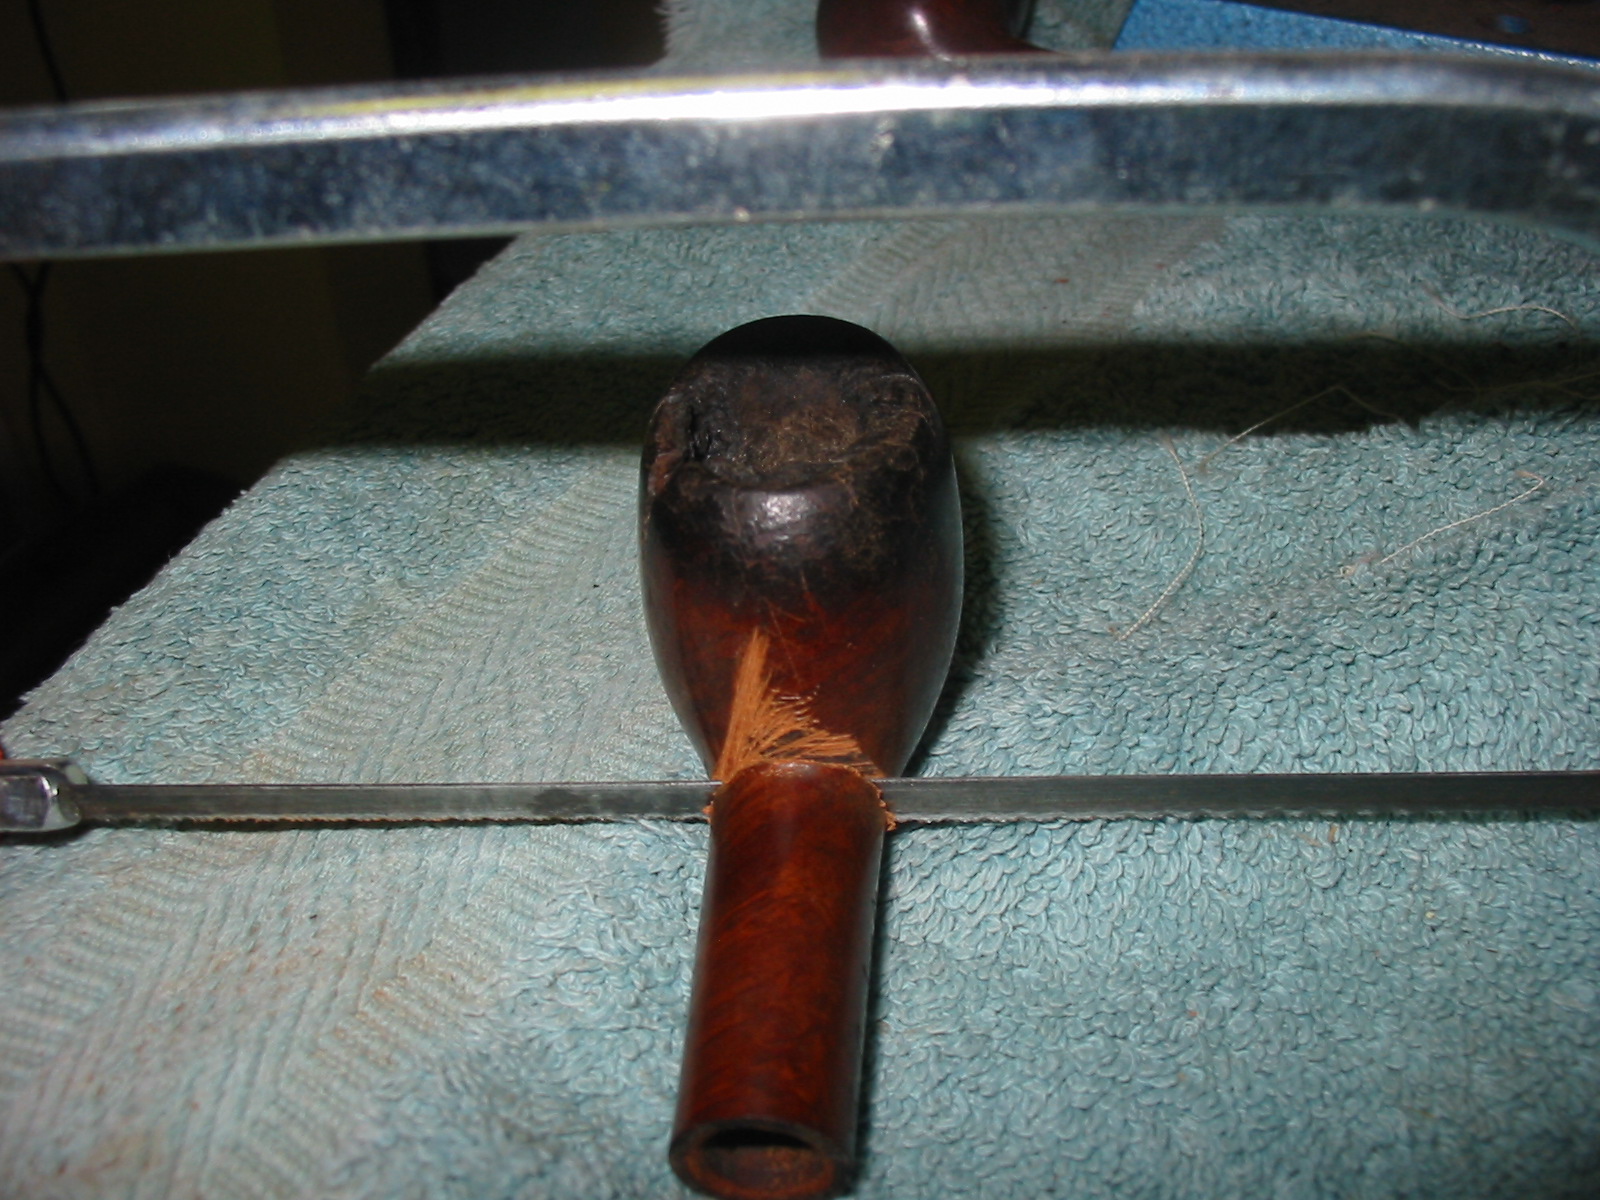
I have kept a few unredeemable bowls around in my box of stuff and they came in handy this time. I took two different bowls out of the box and used a hack saw to cut off the shank as close as I could to the back side of the bowl. My plan was to follow Ed’s instructions noted above about turning a piece of briar to fit inside the Ventilator tube. I do not have a lathe so I decided to repurpose some briar shanks to do the same job.
IMG_2151

IMG_2152

IMG_2153

IMG_2154

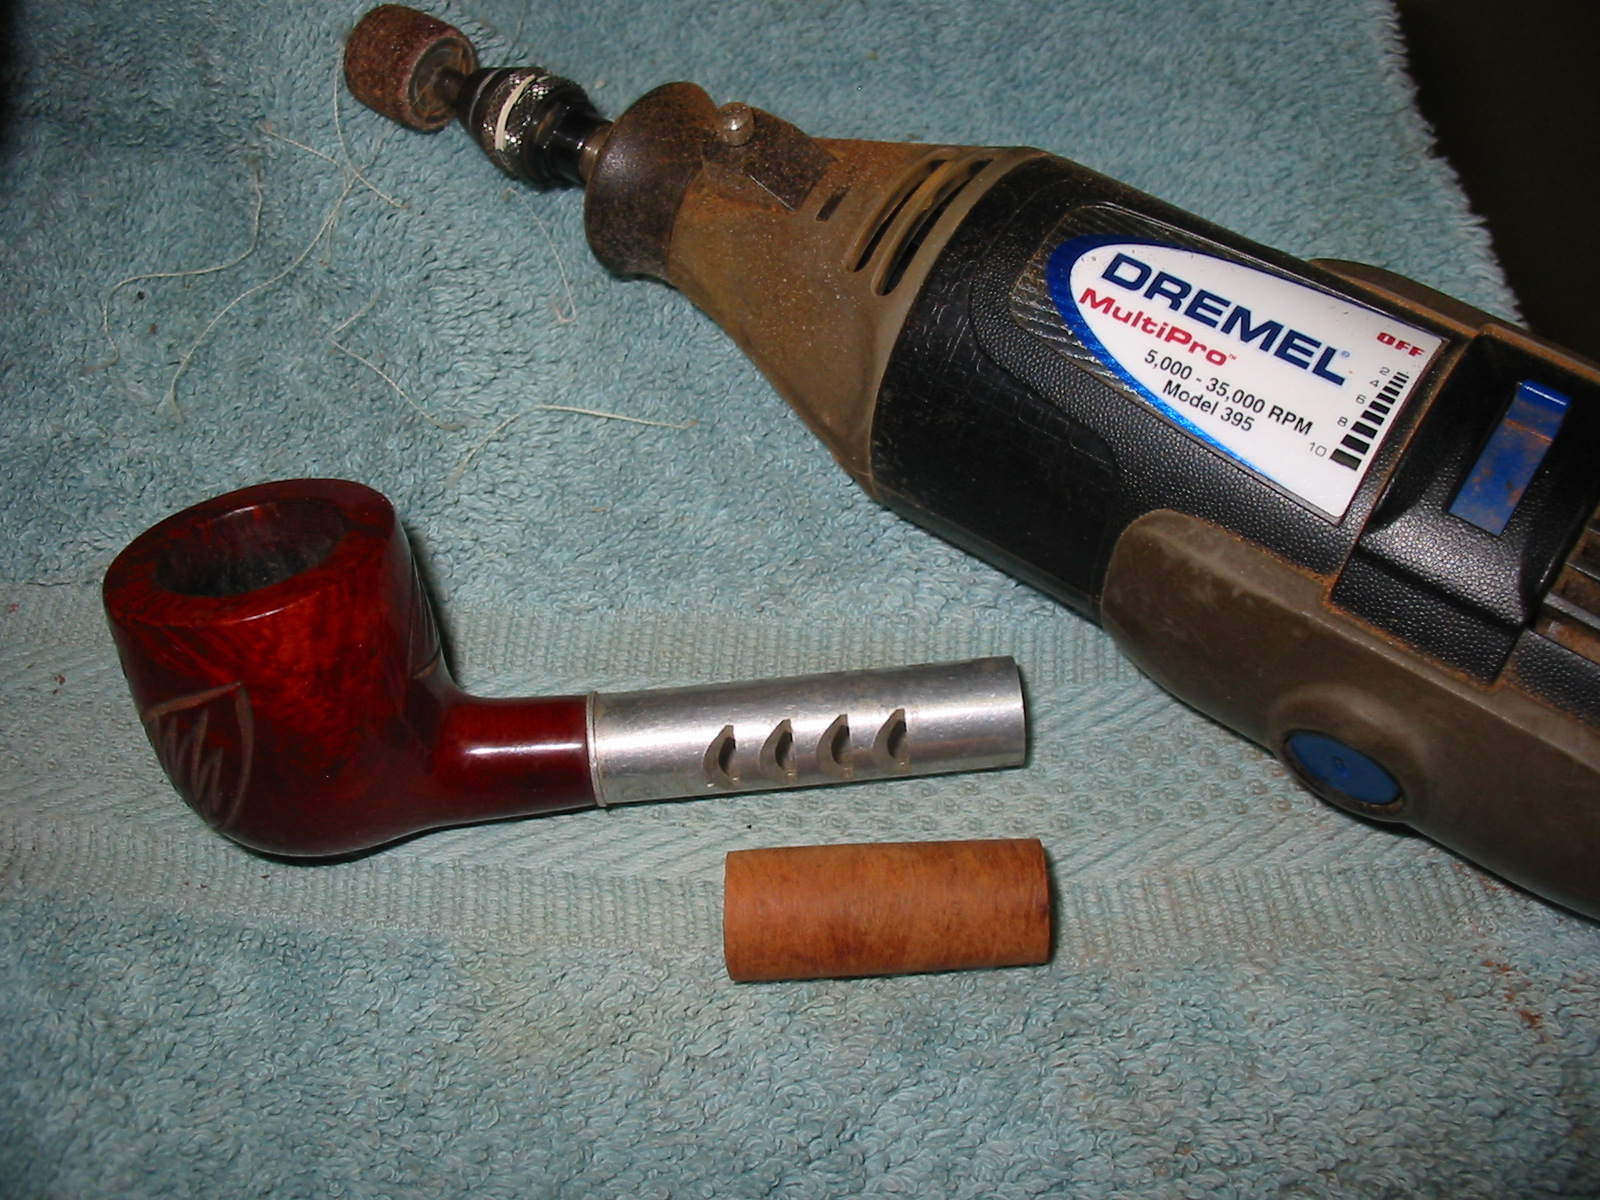
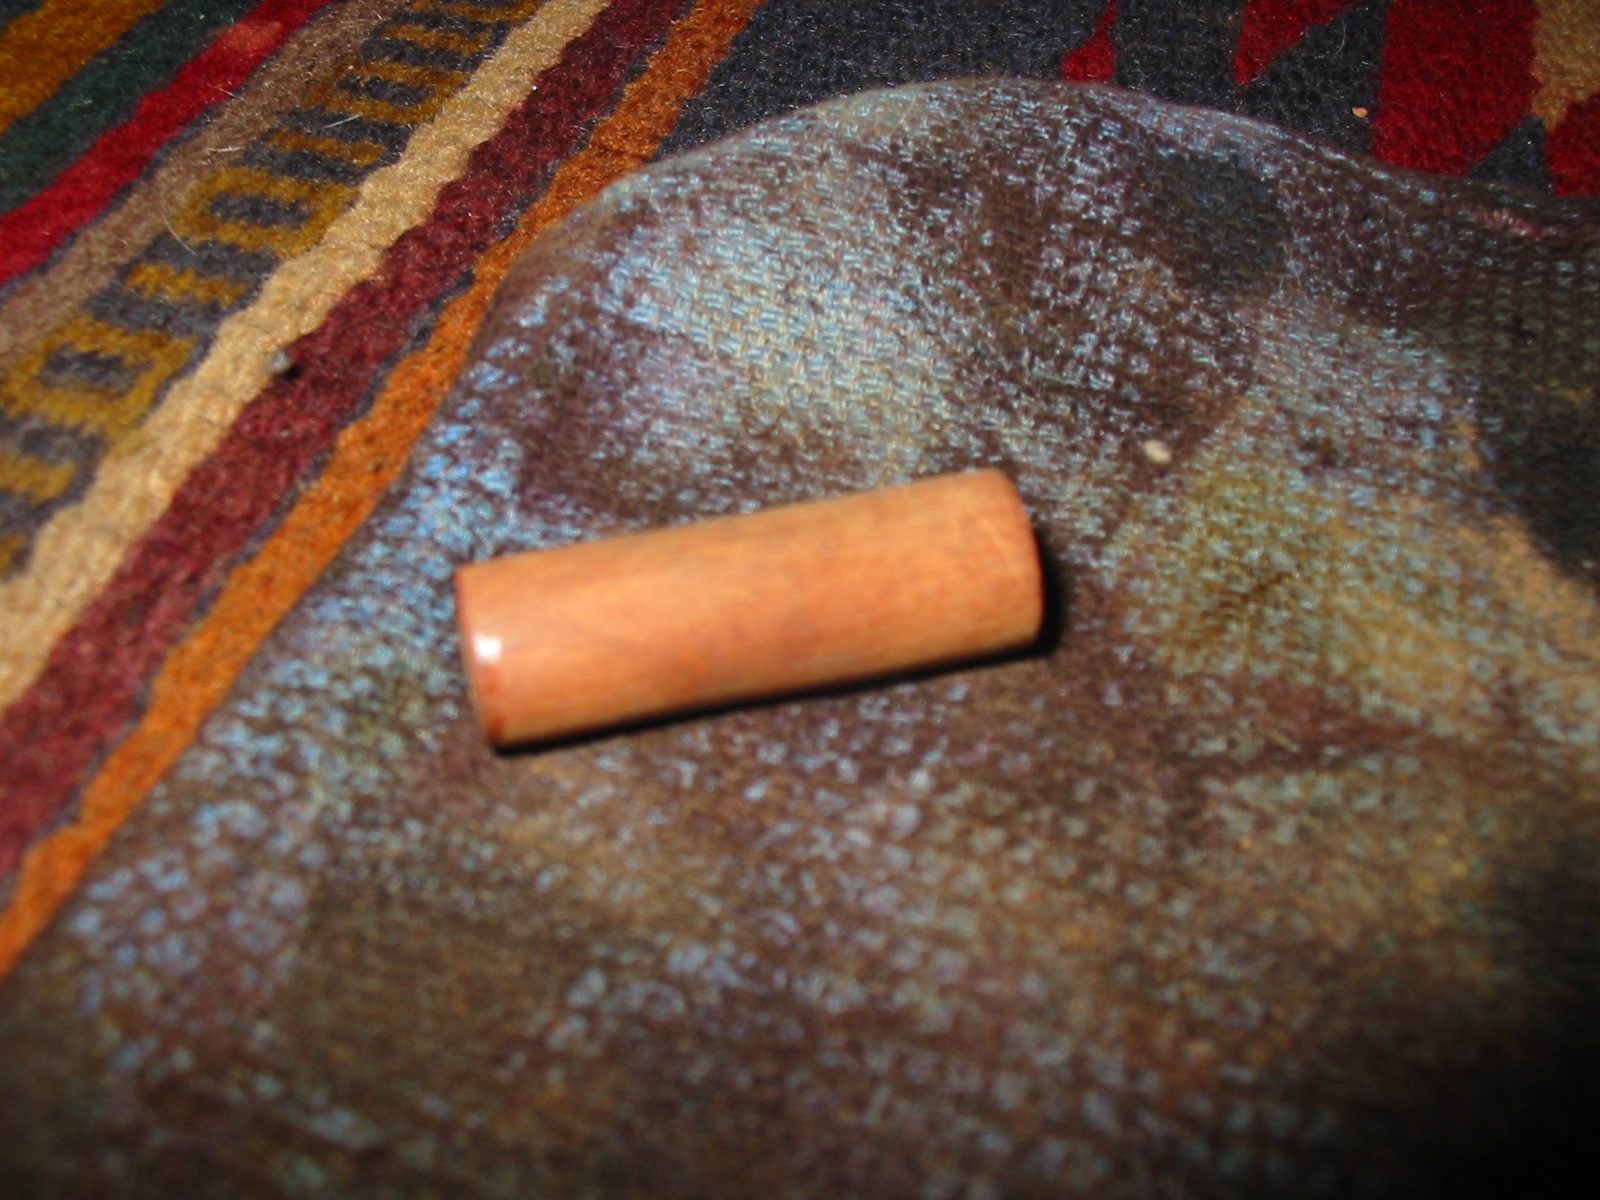
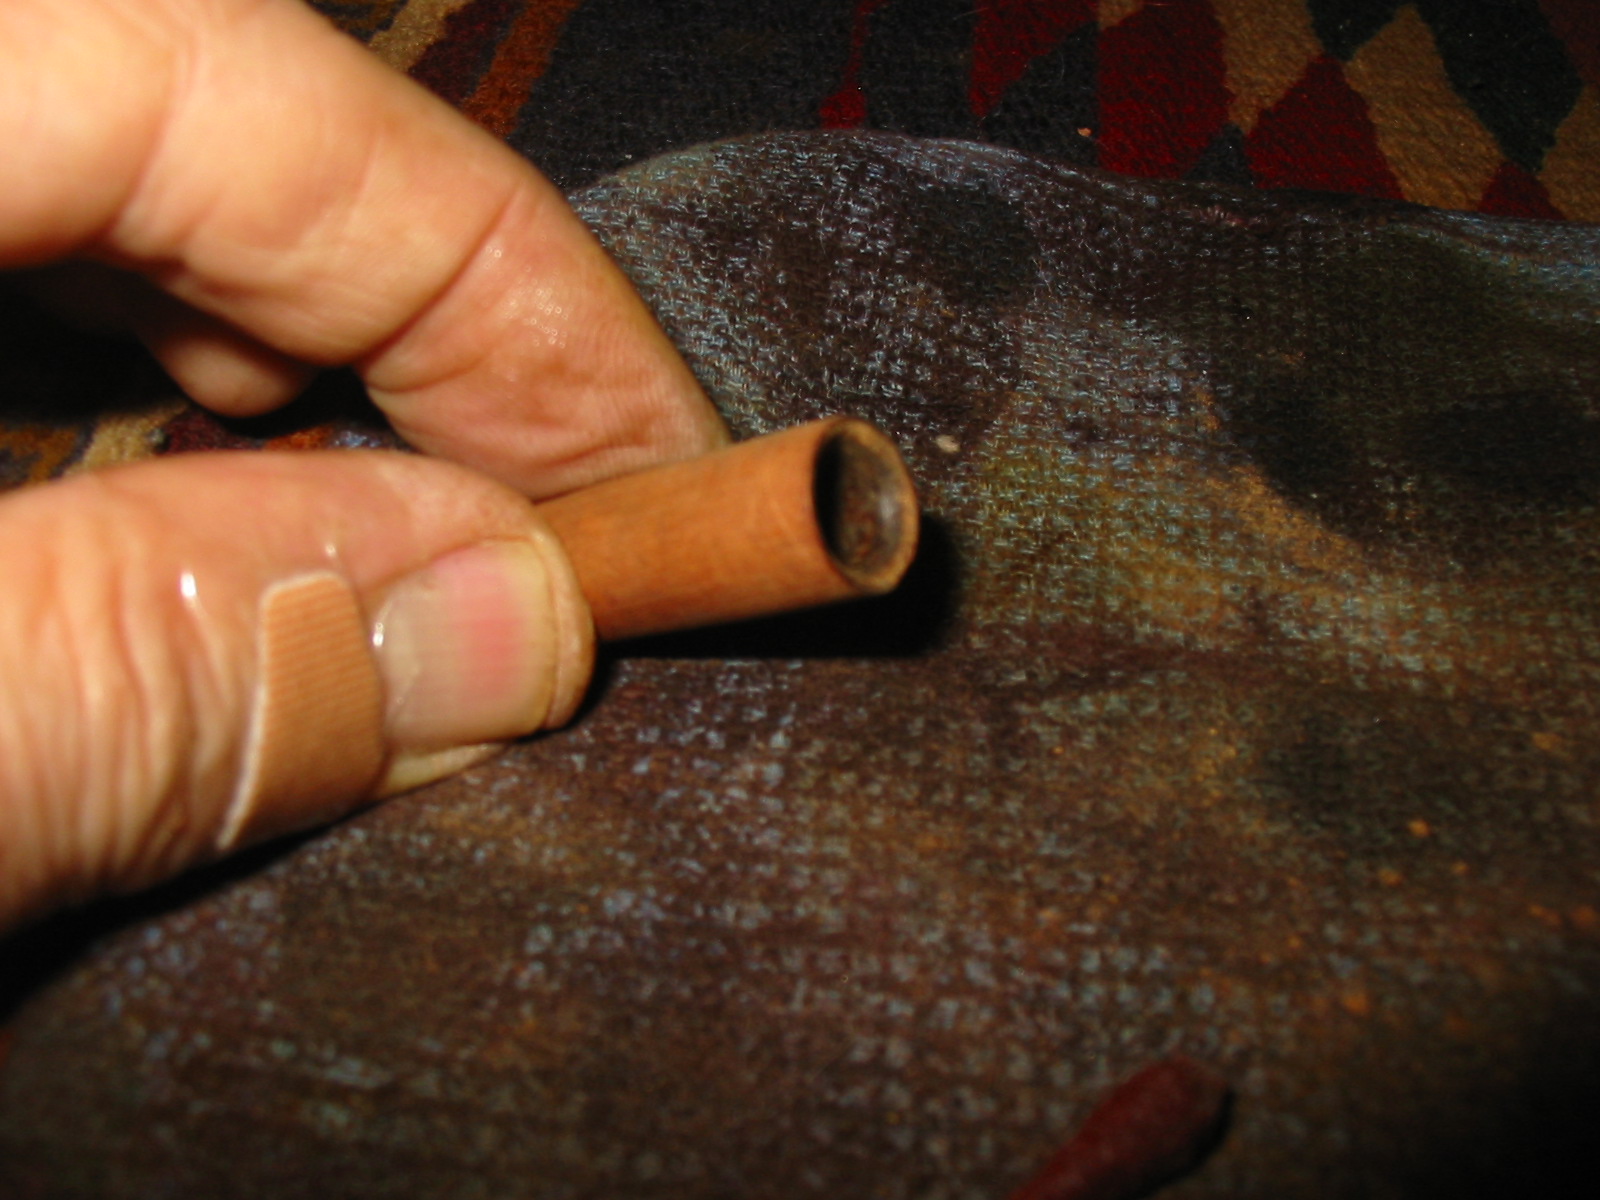
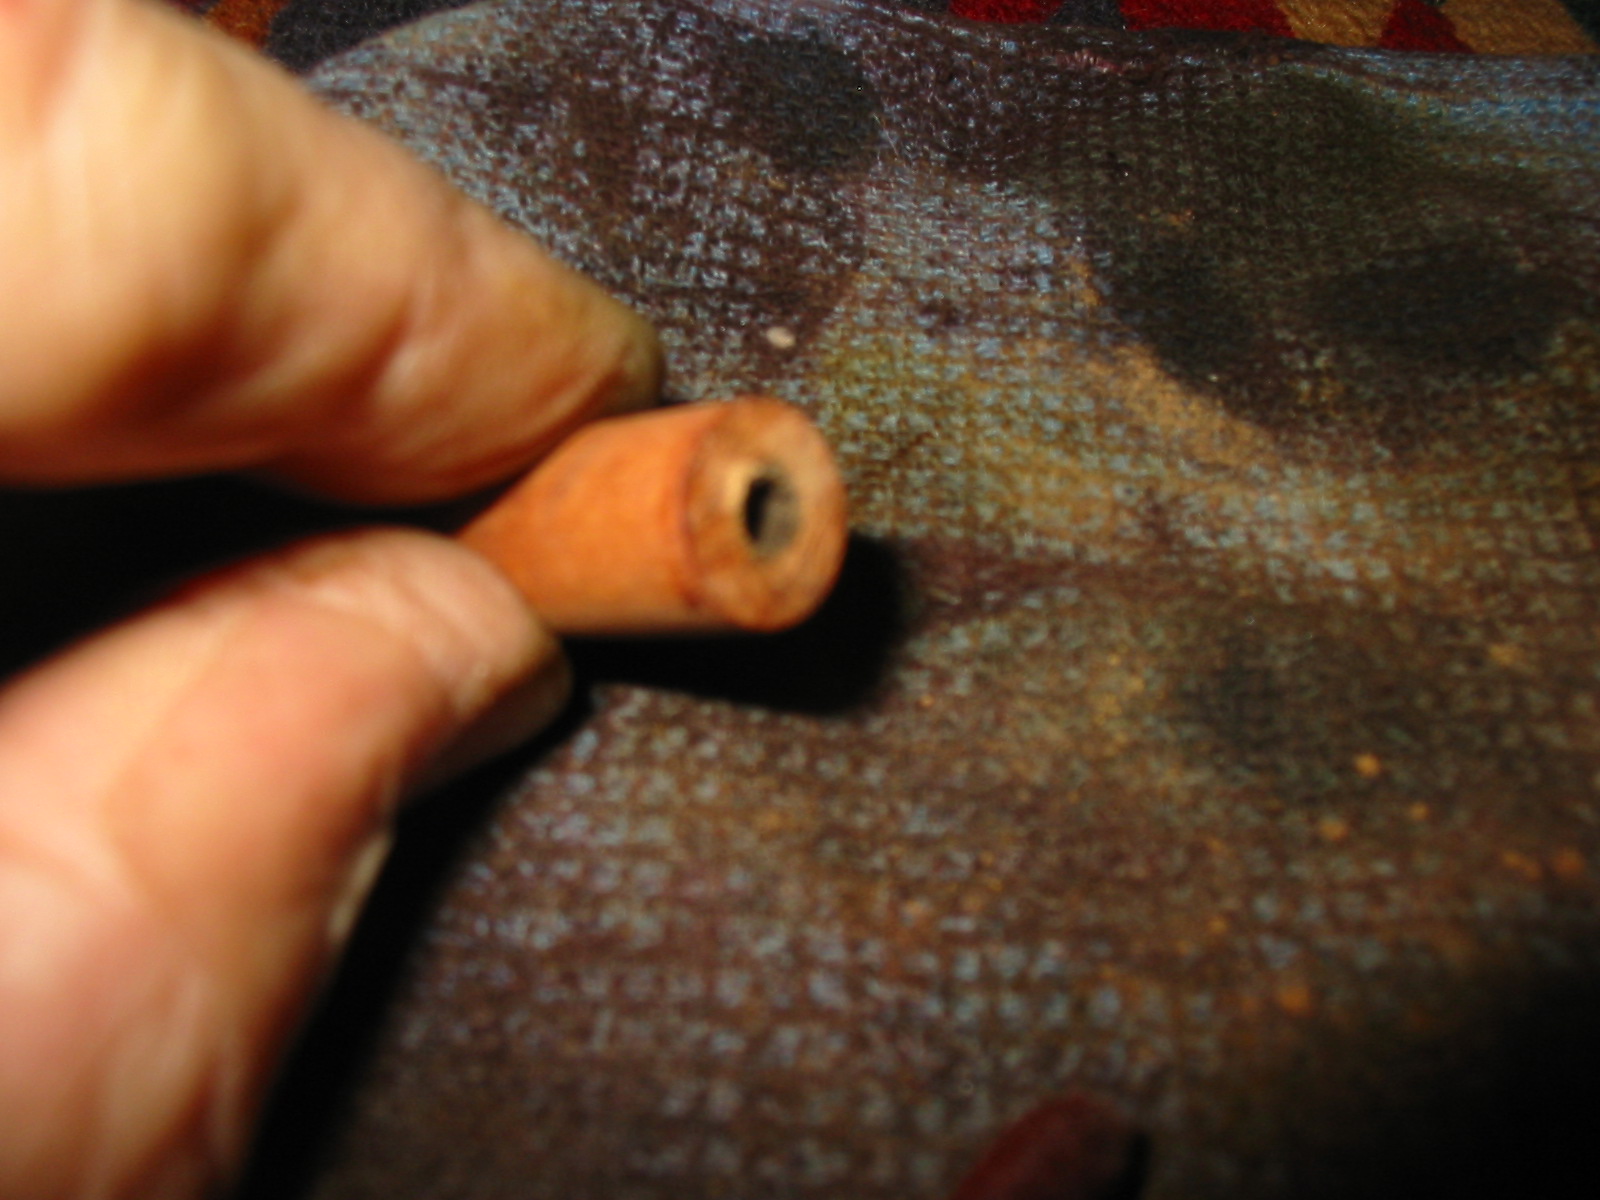
After cutting them off the bowl they were ready for me to begin shaping them. I used a Dremel and sanding drum to take the diameter of the cut off shanks down to the diameter of the tube on the Medico. The next seven photos show the process of removing the excess briar. I used two different pieces of slightly different lengths that could be used depending on the stem I chose to use. The one pictured in the first seven photos below was about ½ inch shorter than the length of the tube. I thought about using a plug in the bottom of the tube but later decided to use the longer of the two briar tubes.
IMG_2155

IMG_2156

IMG_2157

IMG_2174

IMG_2171

IMG_2172

IMG_2173

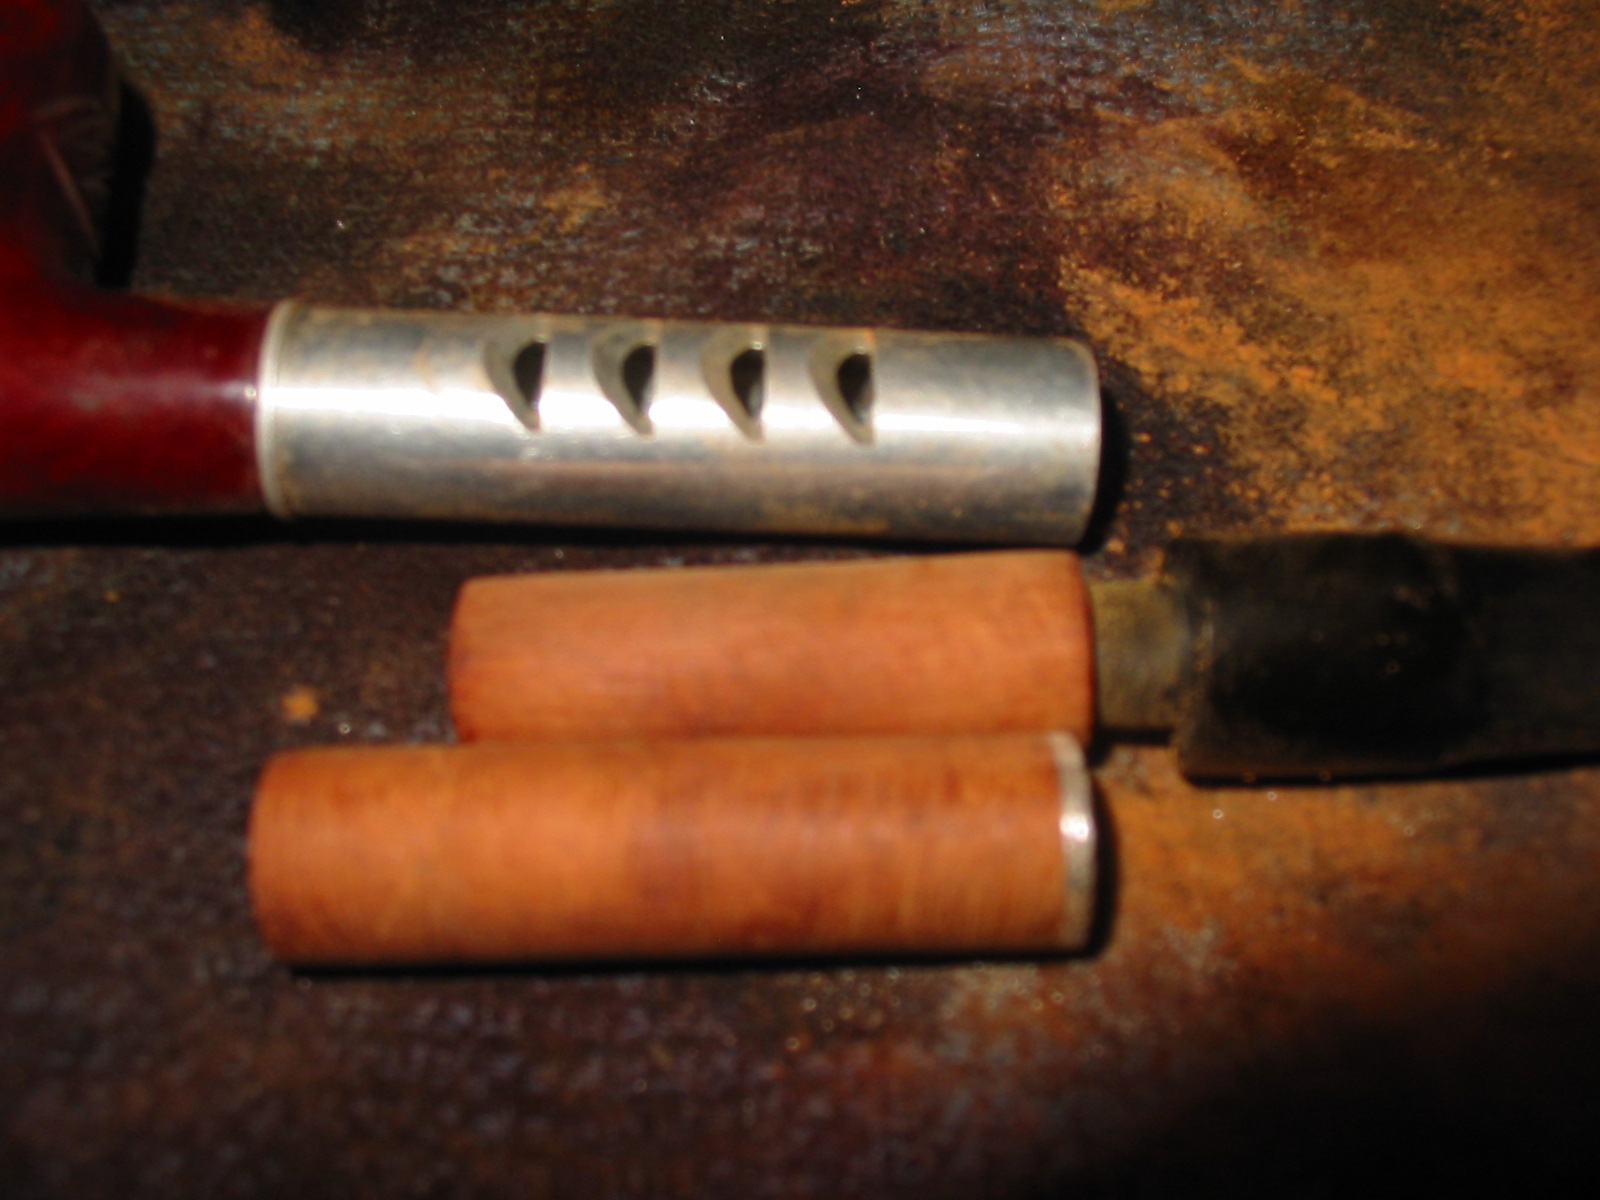
I used both the Dremel and 220 grit sandpaper to shape the briar tube to fit in the Ventilator. The first one was just briar. The second one was off of a screw mount shank. I decided to leave the aluminum in the shank and use that to but up against the aluminum seat in the Ventilator tube.
IMG_2158

IMG_2159

IMG_2160

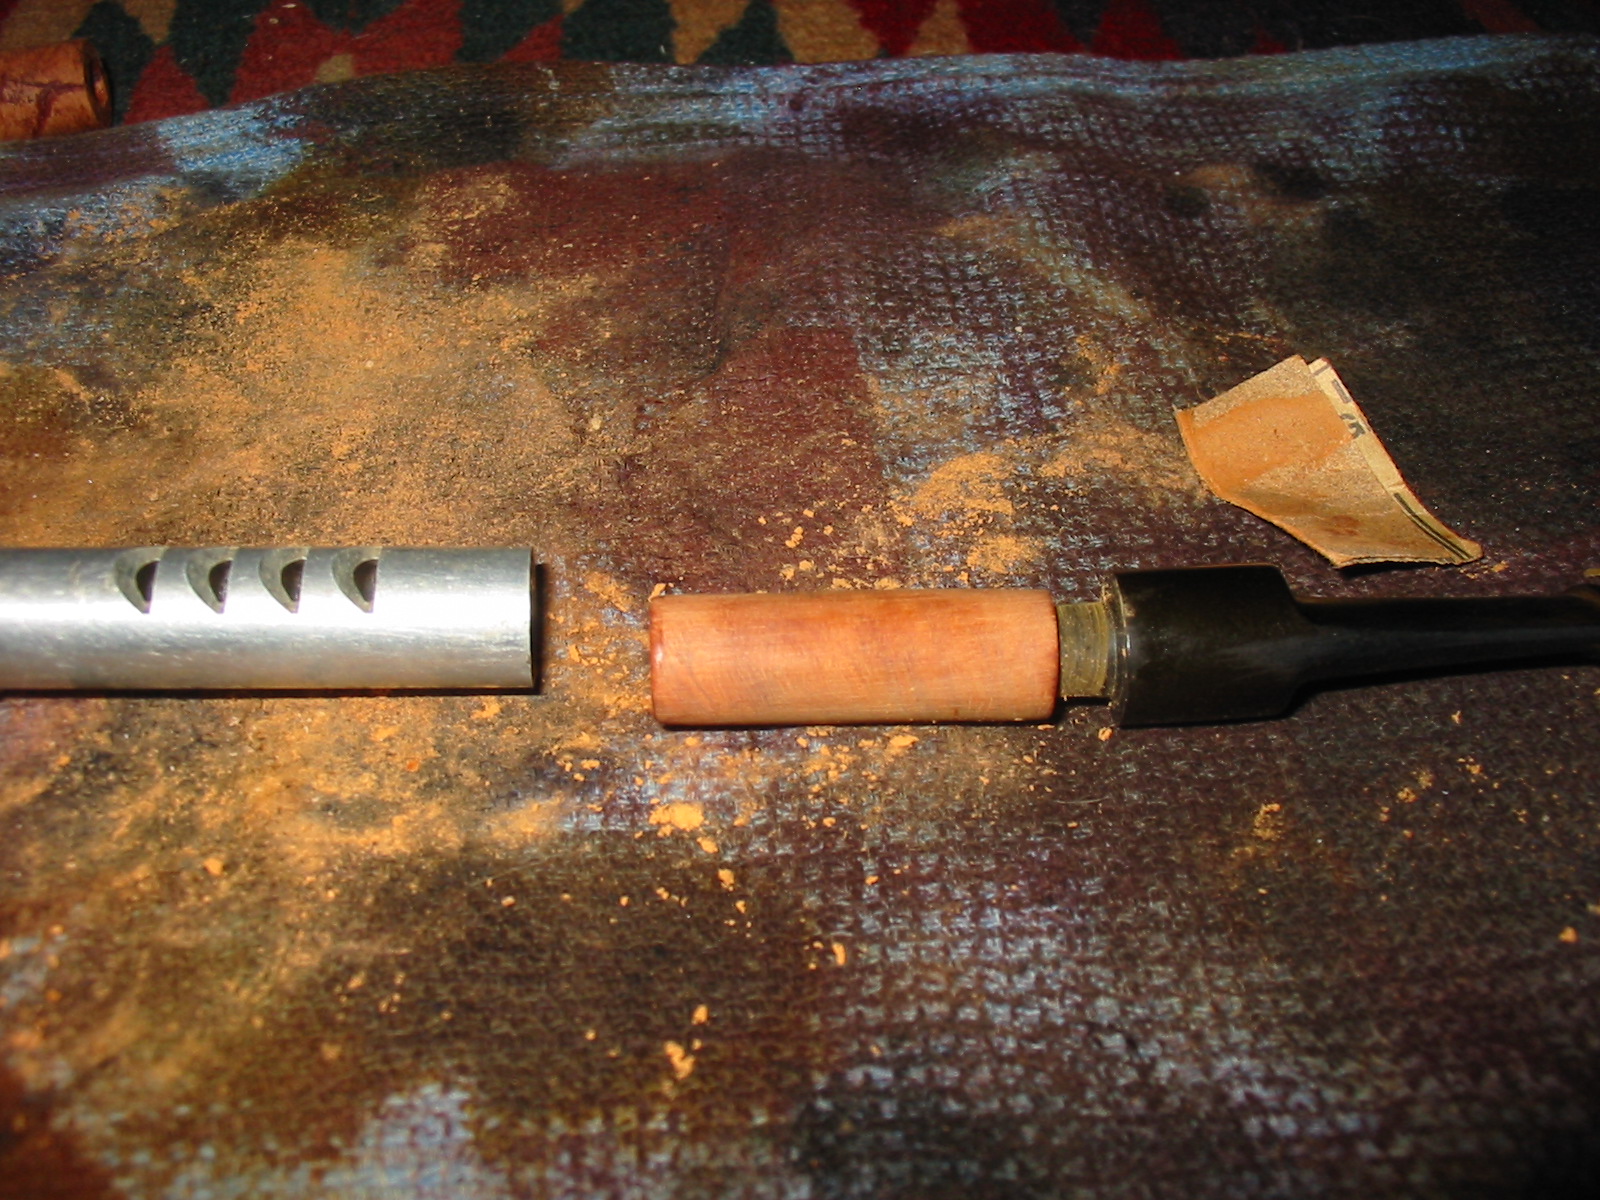
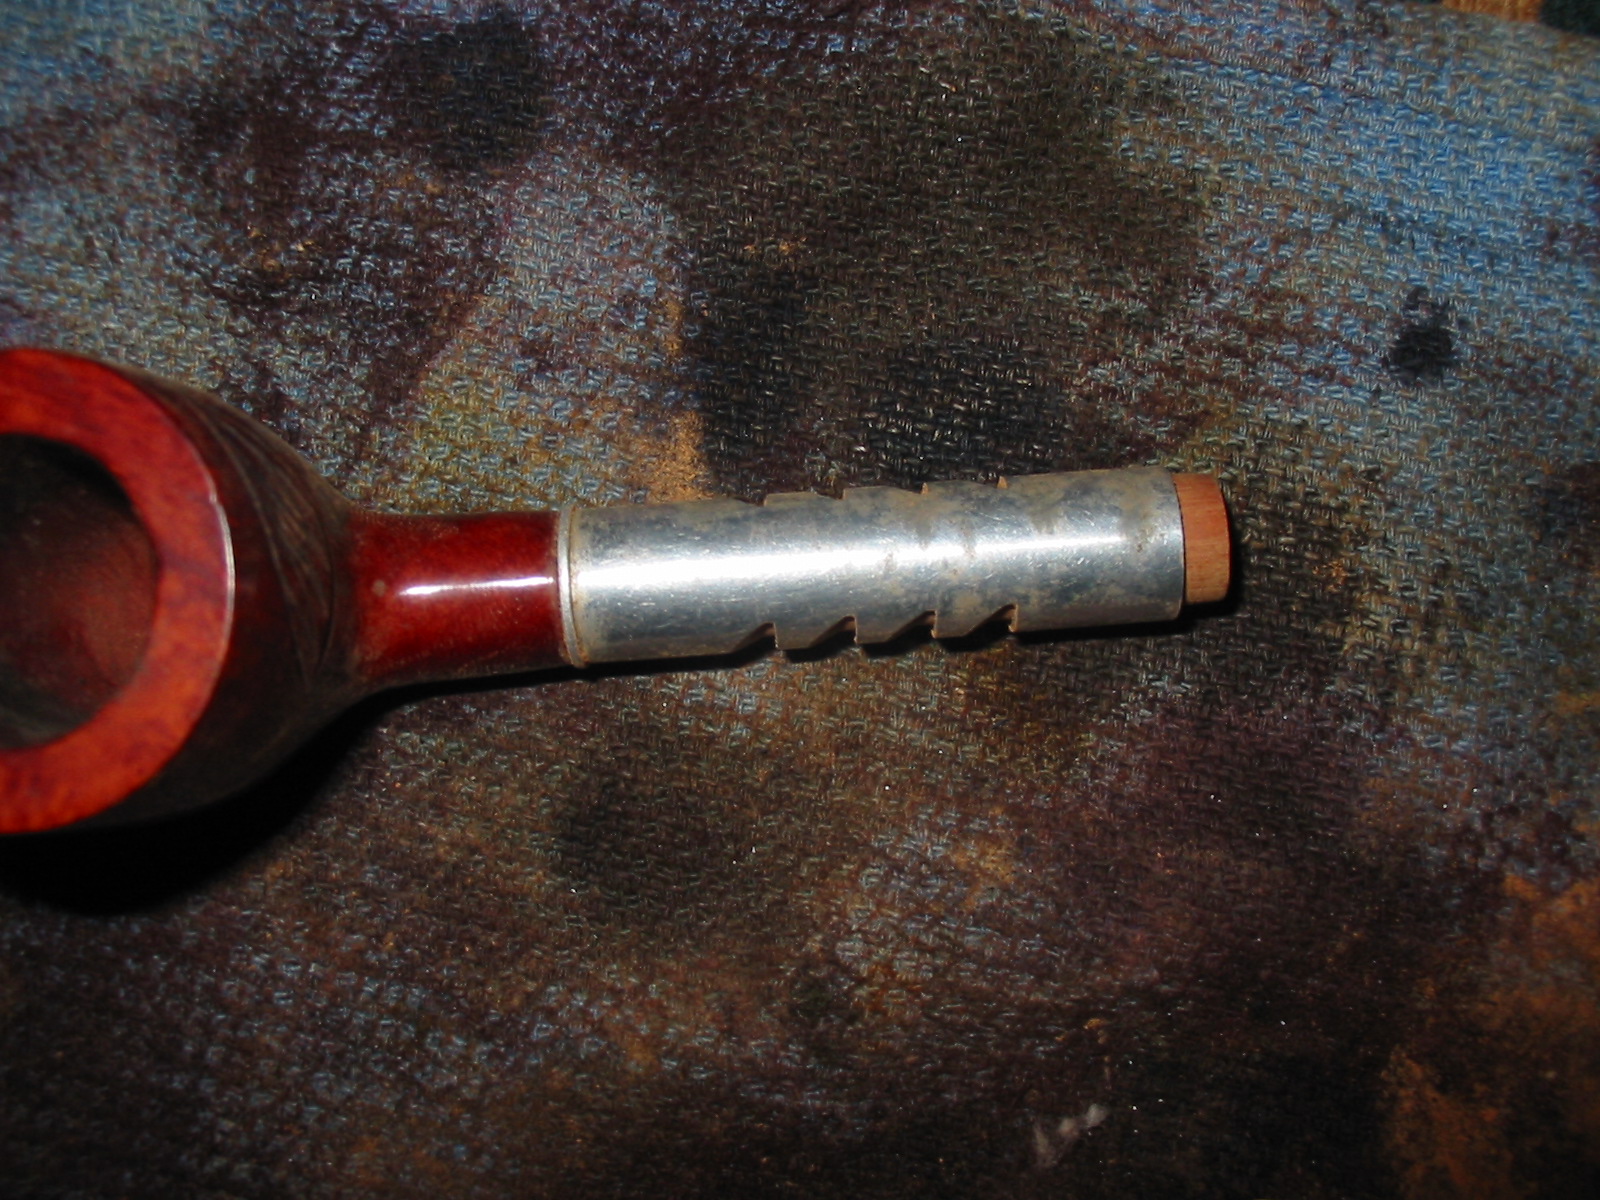
I sanded both tubes so that I could try both and see which one I wanted to use. I chose the long of the two with the aluminum base. I inserted it in the shank of the Ventilator with the aluminum end in first. I pressed it into place in the tube. It is a pressure fit so I did not need to glue it to fasten it in place. I chose not to use epoxy or glue to hold it in place and opted instead for a tight fit. Once in place it was slightly longer than the tube. The aluminum was tight against the interior and could go no further. I used the Dremel with the sanding drum on it to remove the excess briar. Once was flush against the aluminum it was time to fit a new stem to the shank.
IMG_2161

IMG_2162

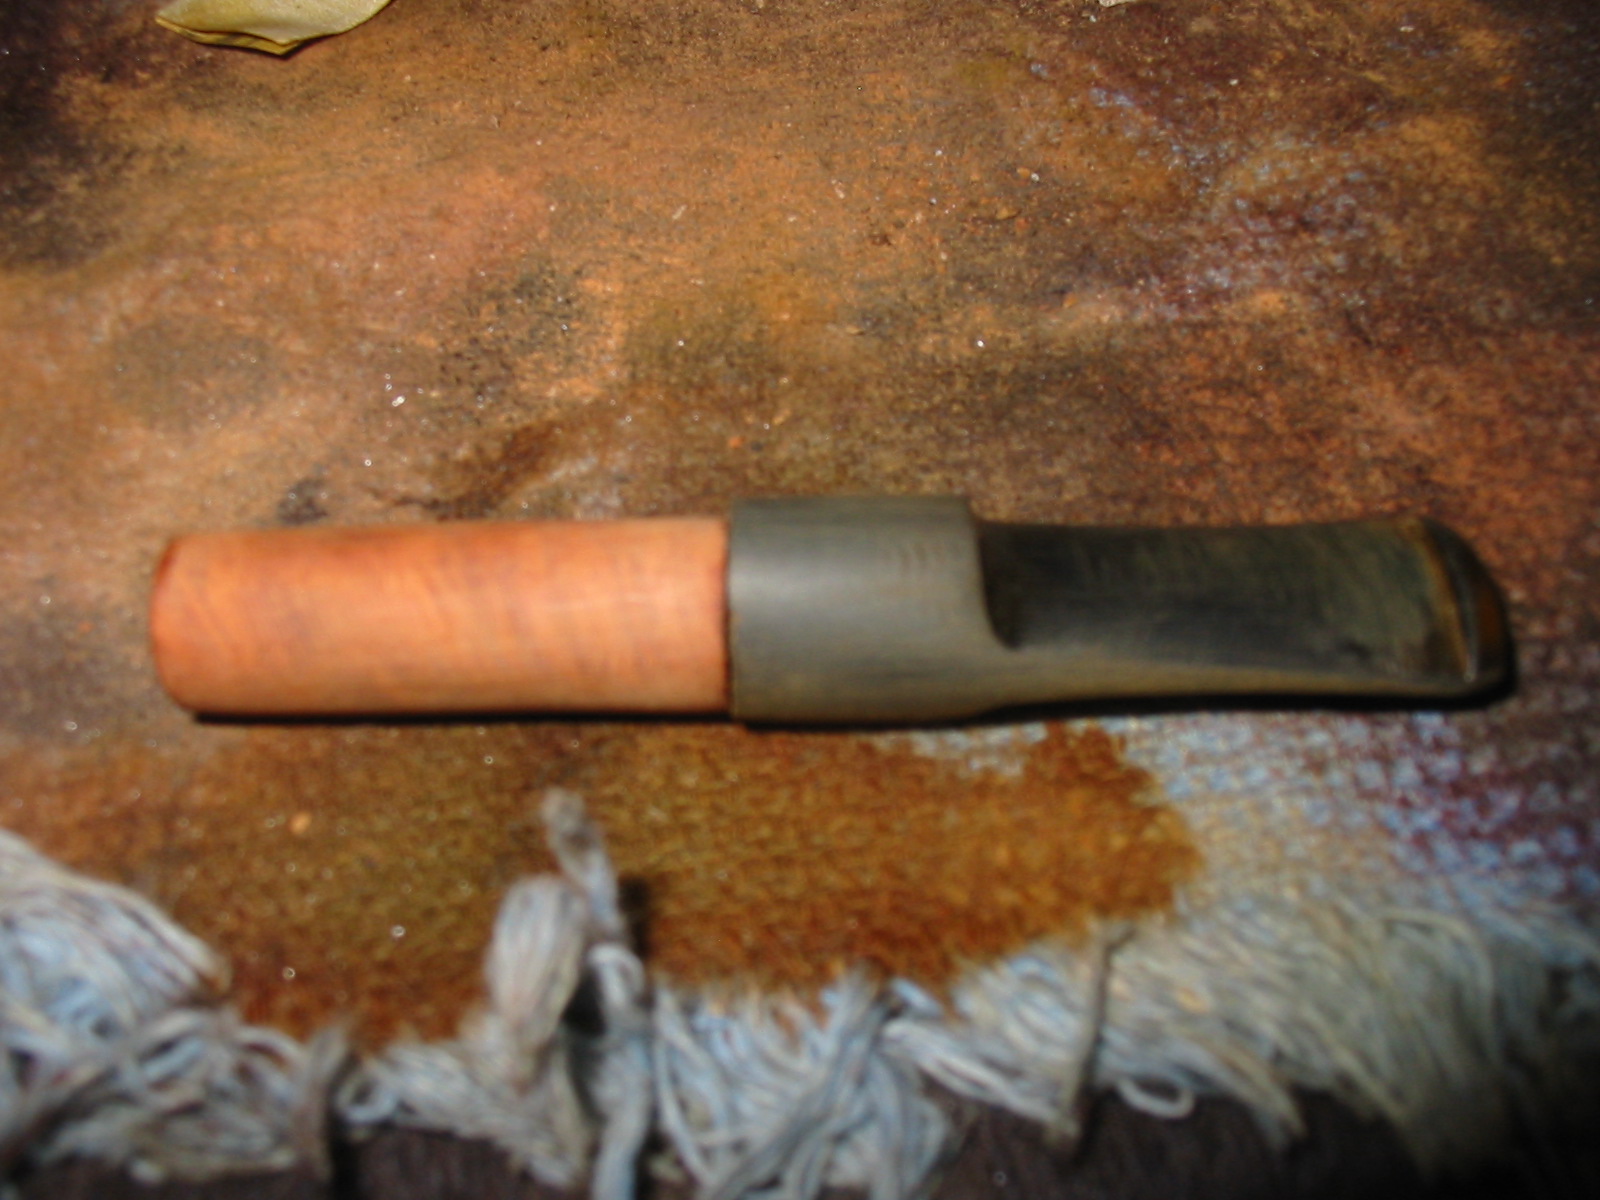
I had several saddle stems in my can of stems that would work on the new shank insert. I turned the tenon down with a PIMO tenon turner until it was close to the right size and then finished with sandpaper and files. I used a file to shape the seat in the insert so that the stem would sit well against the tube. The next three photos show the newly seated stem in place.
IMG_2164

IMG_2165

IMG_2168

I took the photo below to show the fit of the briar tube in the aluminum shank. There was a small divot out of the edge that is visible at about the ten o’clock position on the shank. This would be smoothed out as I beveled the inner edge of the shank inward.
IMG_2169

I beveled the shank inward with small round needle files to give the stem a proper seat in the shank. I used some cherry aniline stain to stain the briar shank inset in the fins on the aluminum. I applied the stain with a cotton swab and wiped it off. I sanded the aluminum with micromesh sanding pads. I used the 1500 and 1800 grit to polish the aluminum and remove the scratches that were present on the shank.
IMG_2170

I sanded the stem with a Dremel and sanding drum and then with 220 grit sandpaper to bring the diameter down to match the shank. I continued to sand until the scratches were minimized. Then I progressed to sanding with the micromesh sanding pads. I wet sanded with 1500 and 1800 grit and then dry sanded with the remaining grits of pads from 2400-12,000 grit. I decided to fit an acrylic ring on the stem with a slight ridge to match the slight ridge at the junction of the aluminum and the briar near the bowl. I liked the look of the black blue ring so I epoxied it in place. It began as a square piece of acrylic that had been a spacer on another stem. I shaped it with a Dremel to build a slight ridge that would parallel the one on the front of the aluminum shank.
IMG_2177

IMG_2178

IMG_2179

IMG_2180

IMG_2183

IMG_2184

IMG_2185

With the spacer glued in place the new look of the stem was more complete to my eye. The stem still needed a lot of sanding and shaping. I used the 1500 and 1800 grit micromesh sanding pads once again to sand the newly added ring and the stem. I worked through 2400 and 3200 grit sanding pads to give yet more polish to the stem. I wet sanded right through 3200 grit this time, something I rarely do to polish the ring and the stem. I continued to dry sand the stem to a shine with the remaining grits of micromesh sanding pads (3600-12,000).
IMG_2186

IMG_2187

Once the sanding was finished I buffed the stem with White Diamond on the buffing wheel and then gave the pipe and stem several coats of carnauba wax and buffed with a clean flannel buff to give it a shine. The finished pipe is pictured below. It is now a working pipe – an “unventilated” Ventilator. Thanks Ed, for the great idea on doing this Ed. It was fun to figure out how to make it work. Your “groundbreaking” made it much easier however!! Again I say thank you.
IMG_2188

IMG_2189

IMG_2190

IMG_2191