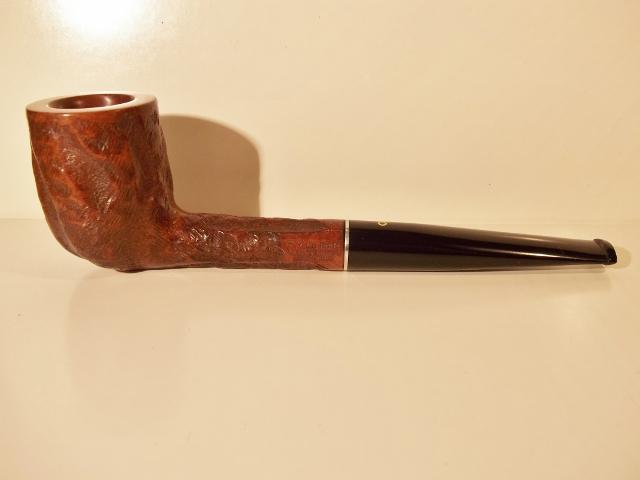
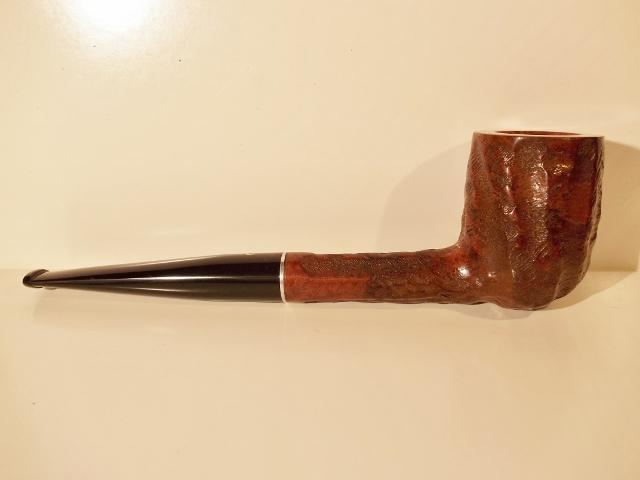
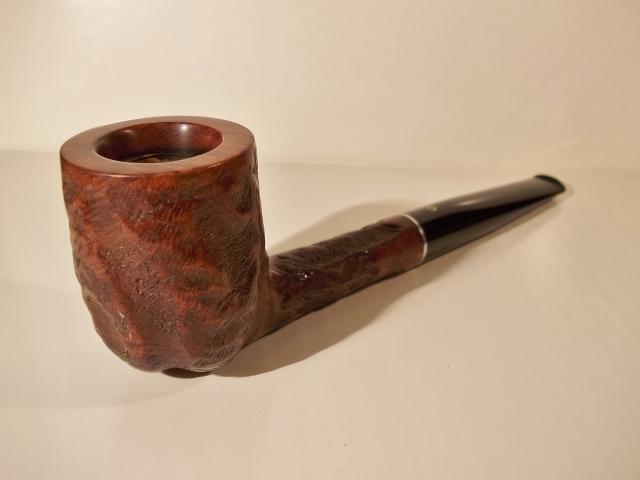
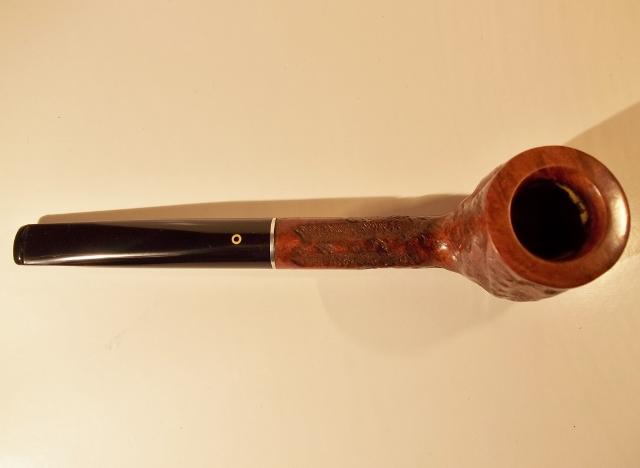
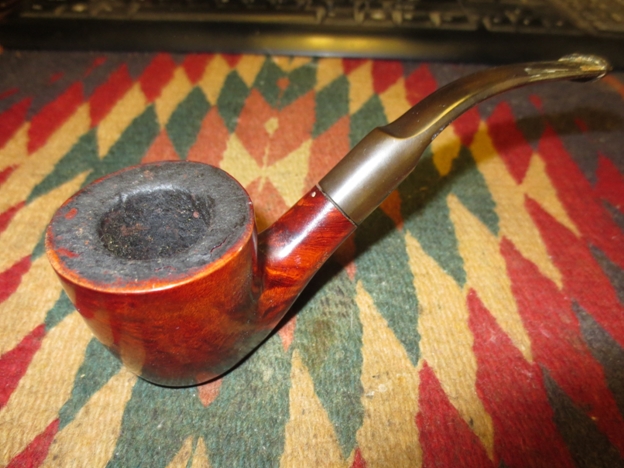
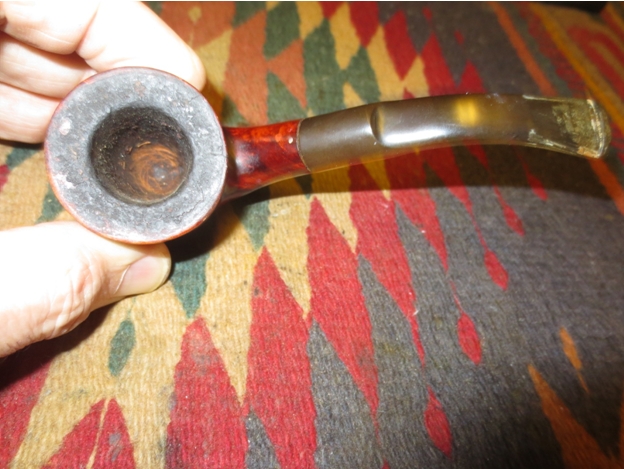
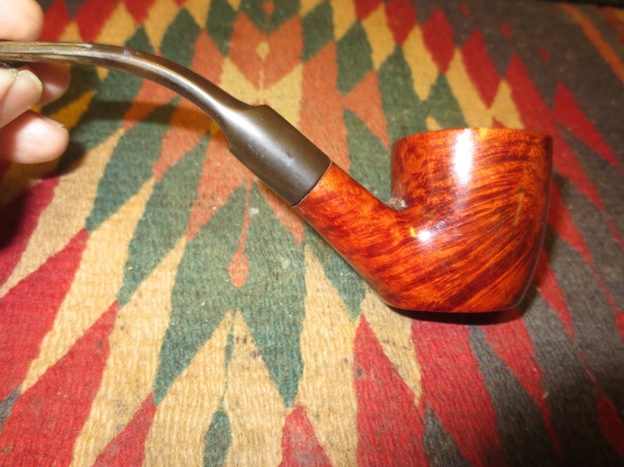
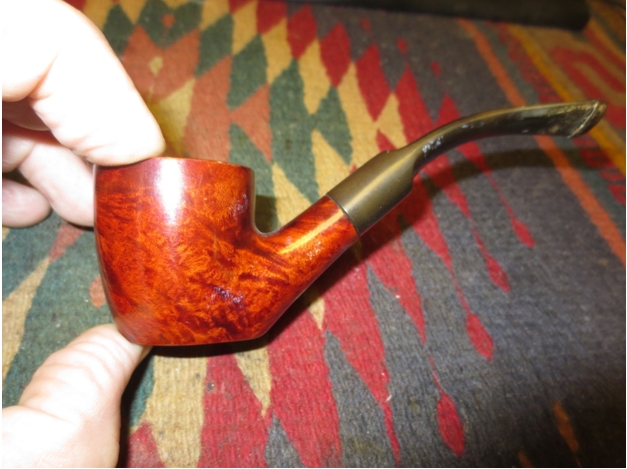
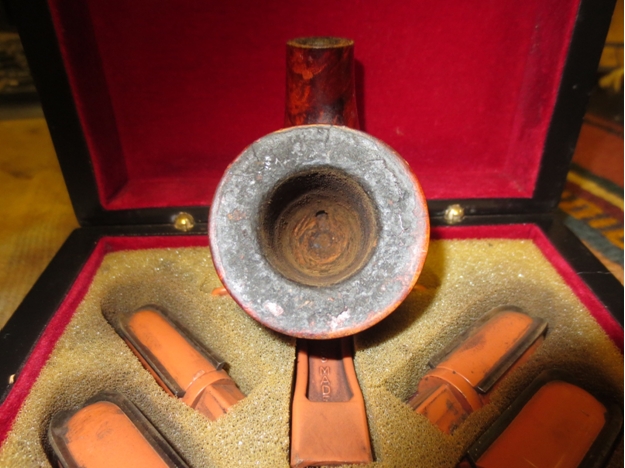
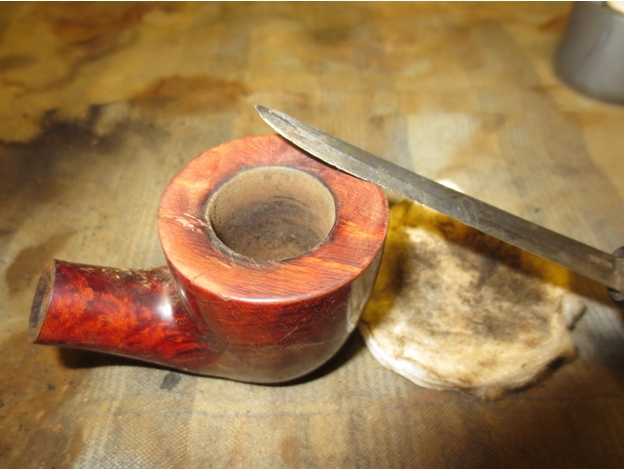
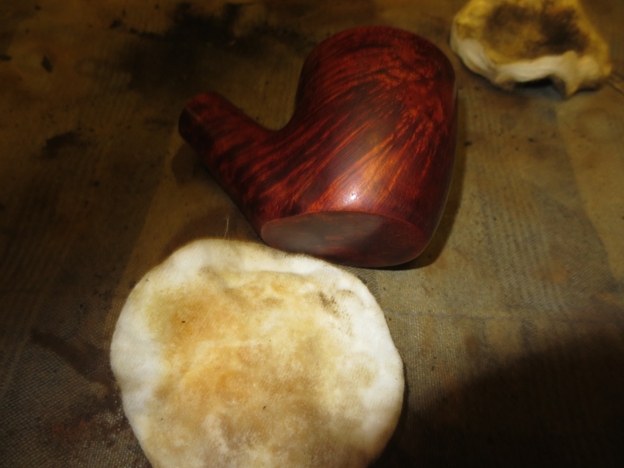
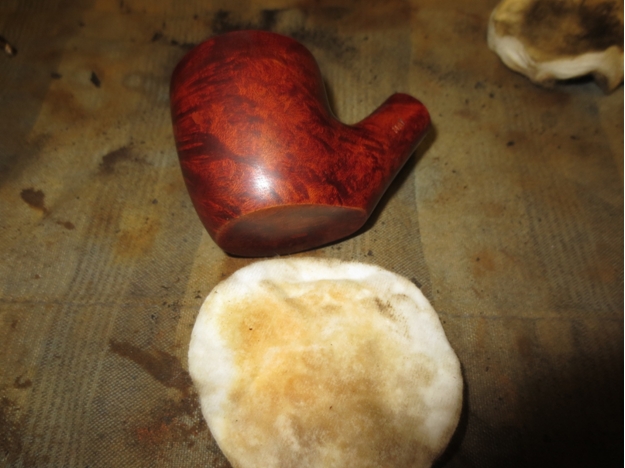
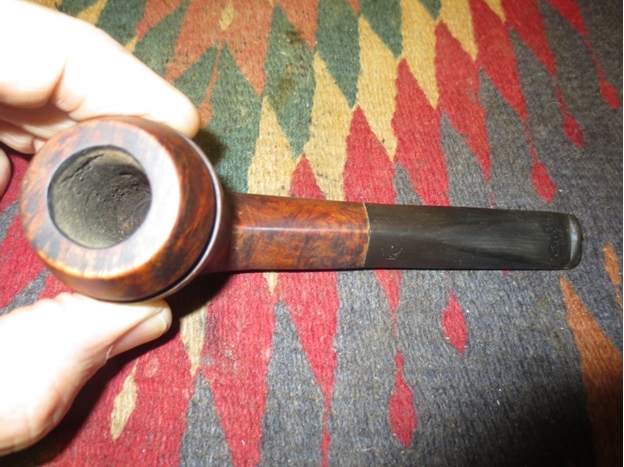
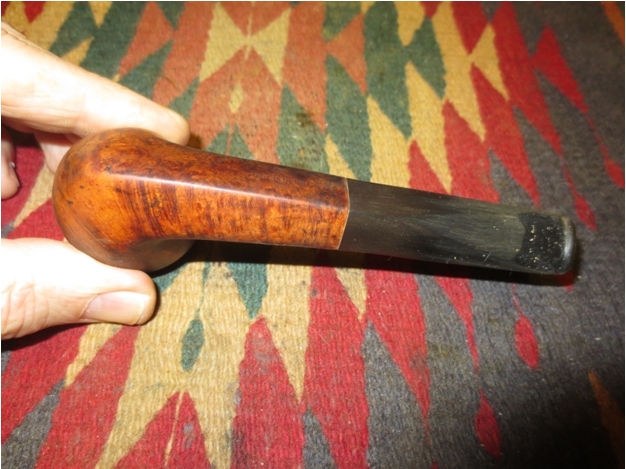
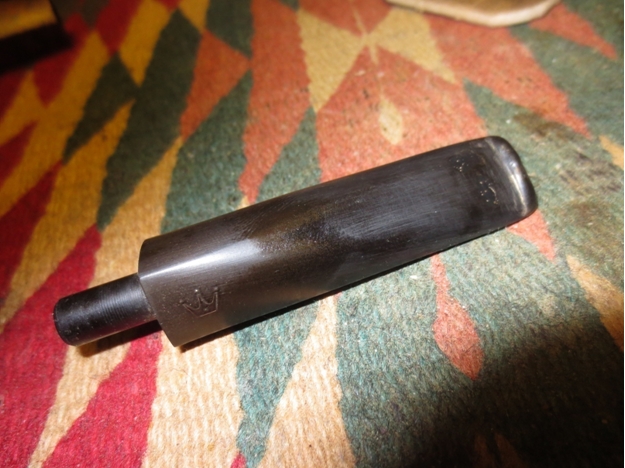
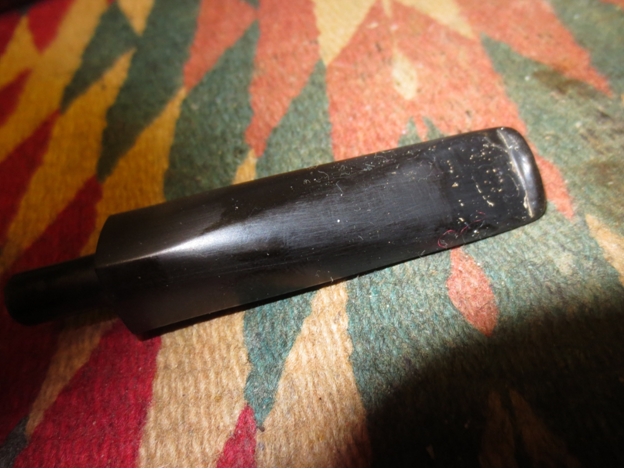
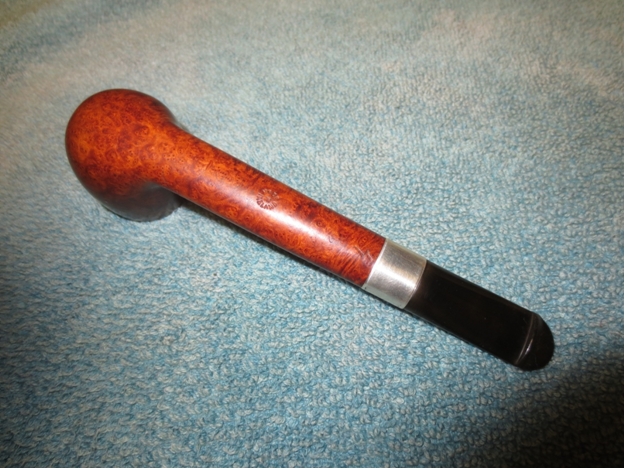
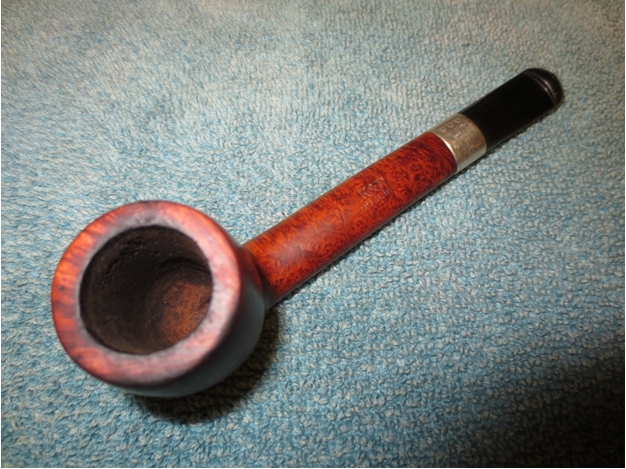
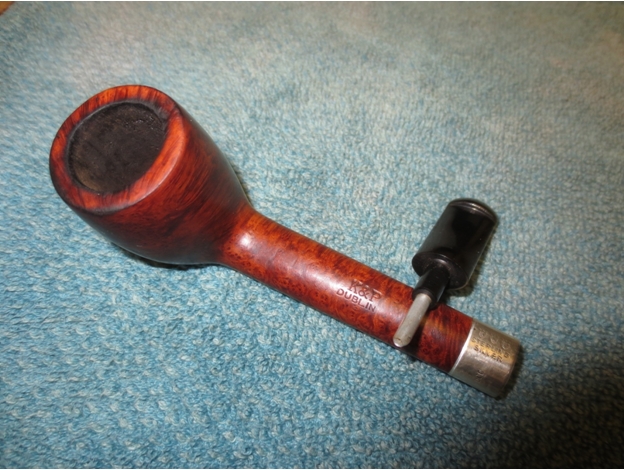
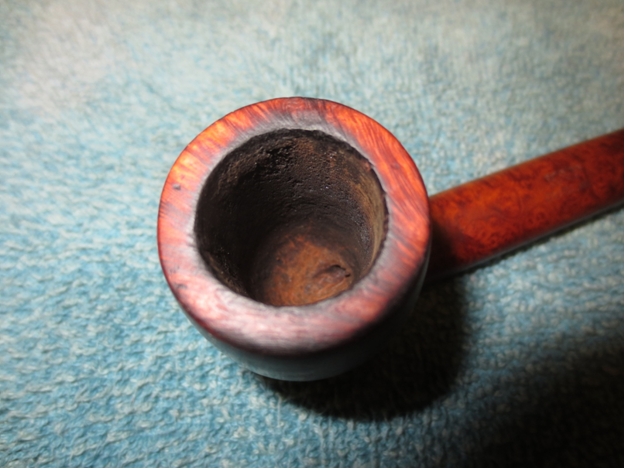
Tag Archives: stem work

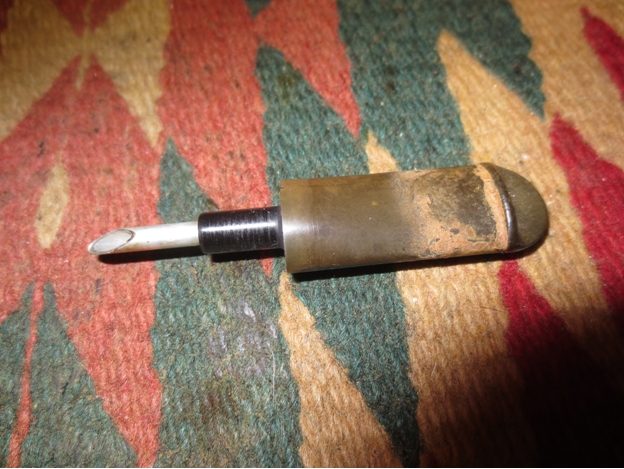
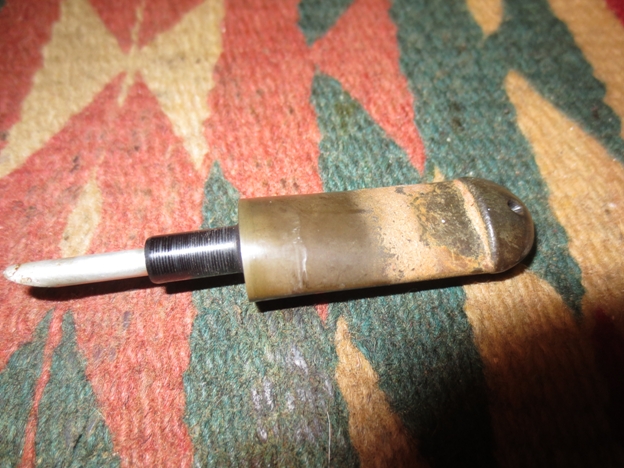
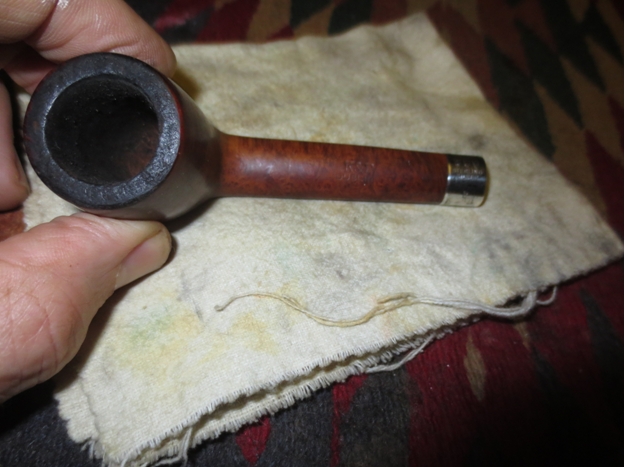
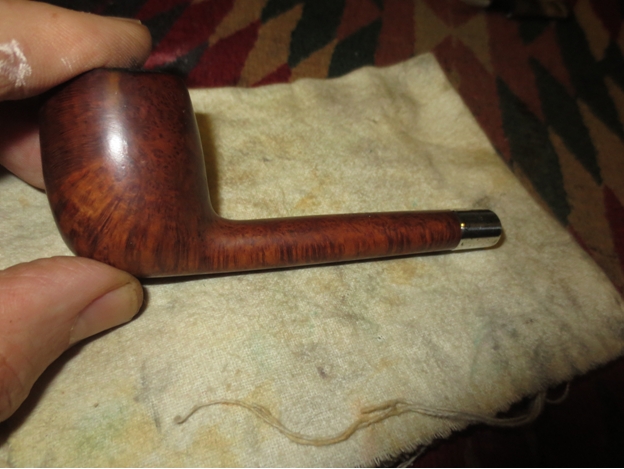
Concerning the Rising Popularity of Churchwardens in General, a Little about Their History and the Cleanup of a Barely Smoked Savinelli Rustic Aged Briar


Guest Blog by Robert M. Boughton

Member, North American Society of Pipe Collectors
http://www.naspc.org
http://www.roadrunnerpipes.com
http://about.me/boughtonrobert
Photos © the Author, except as noted

“The supreme accomplishment is to blur the line between work and play.”
― Arnold J. Toynbee (1889-1975), British historian

INTRODUCTION
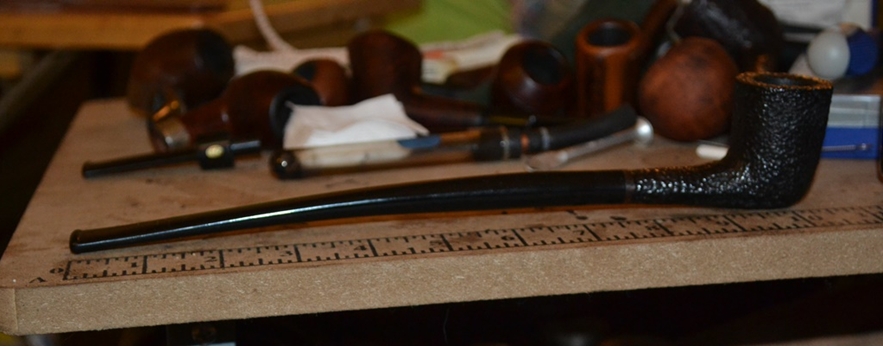
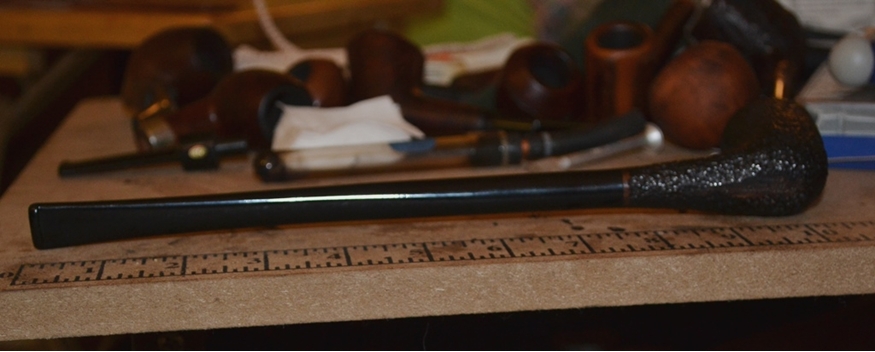
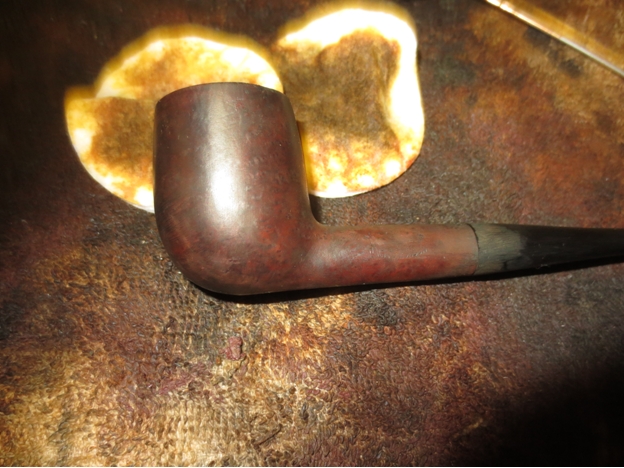
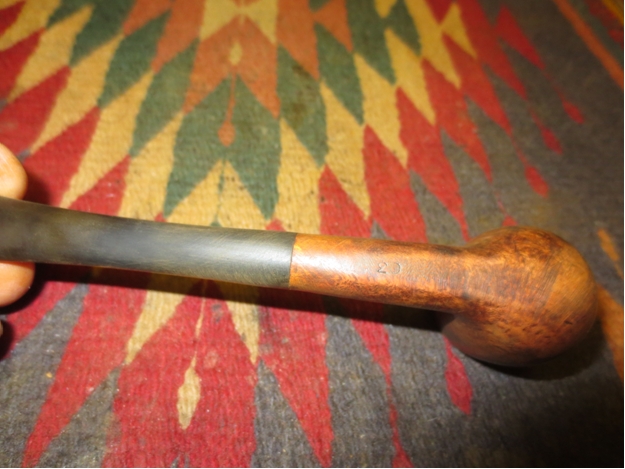
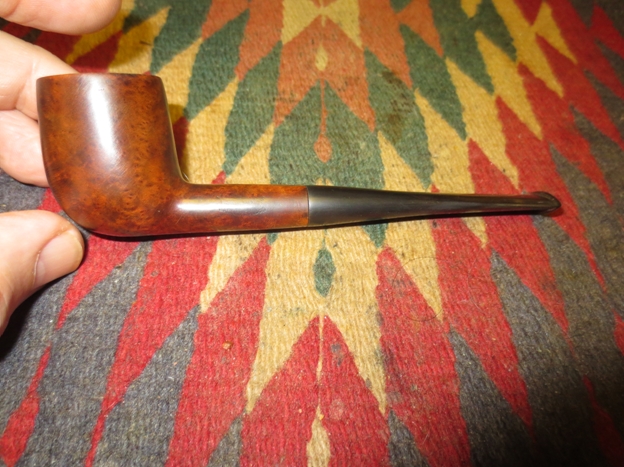
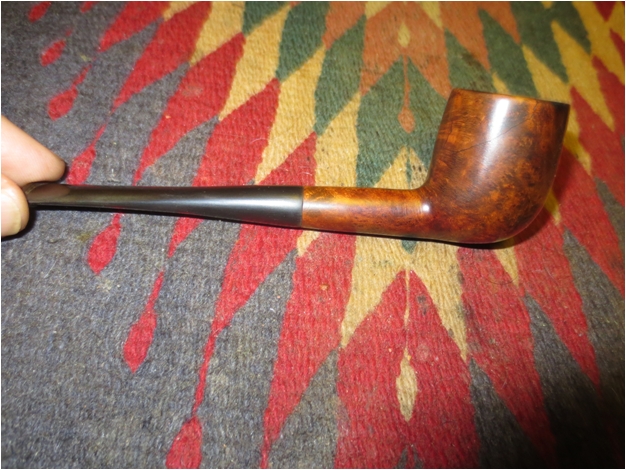
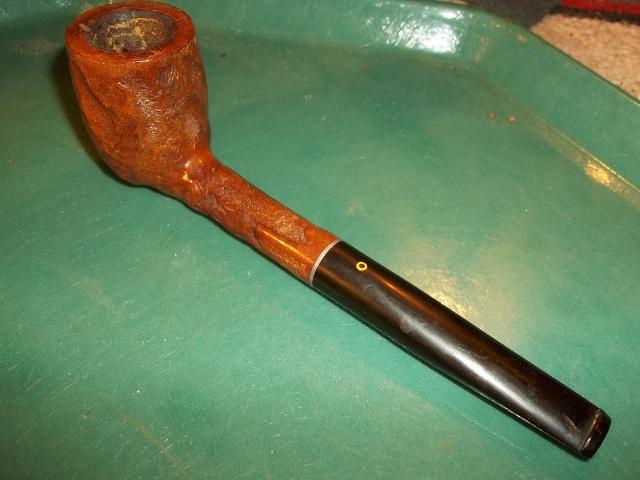
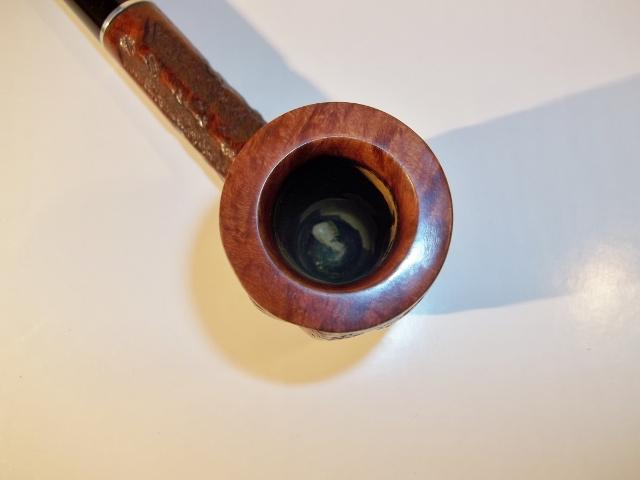
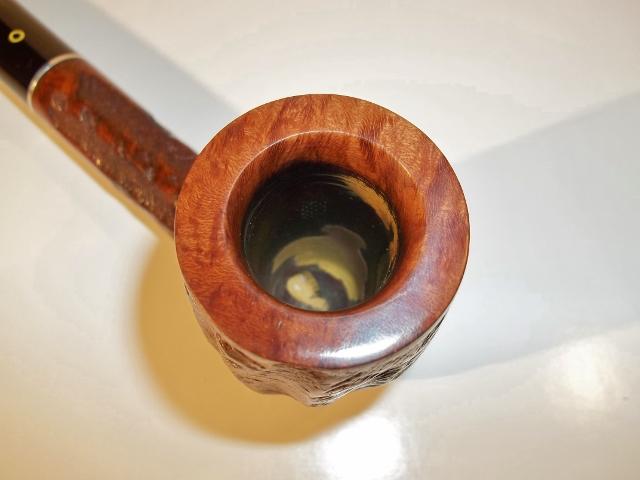
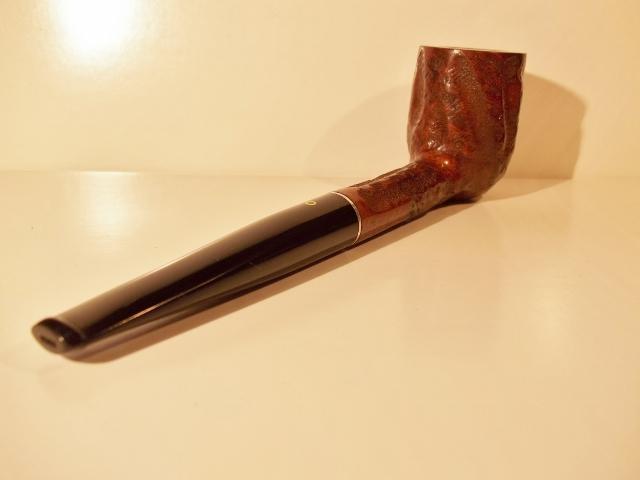
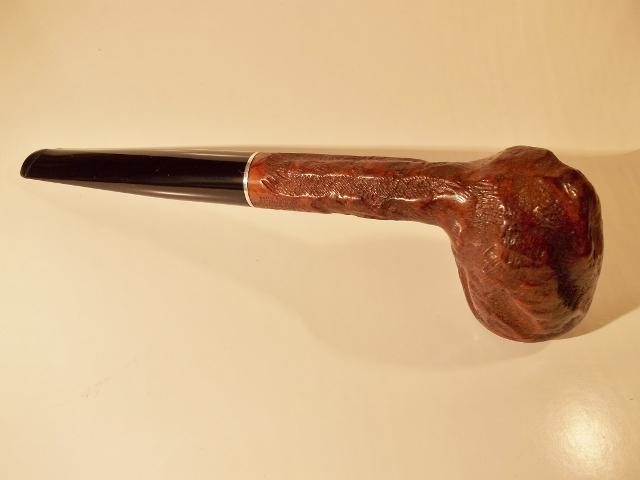
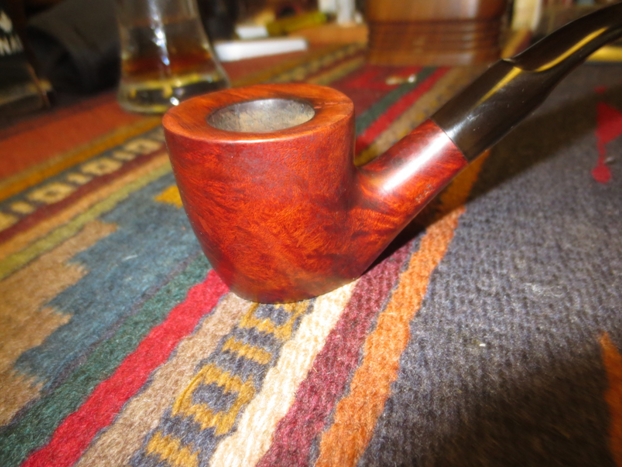
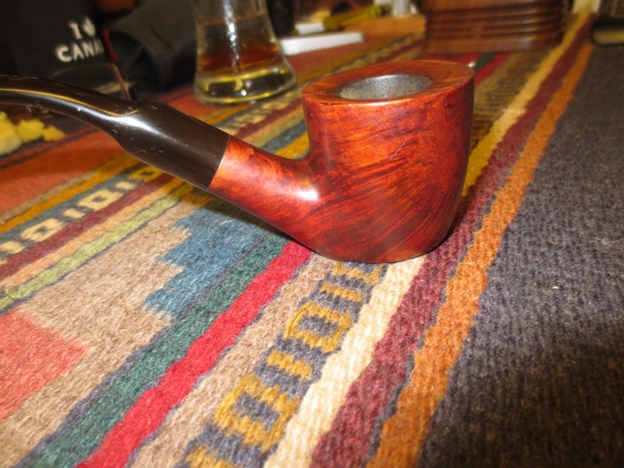
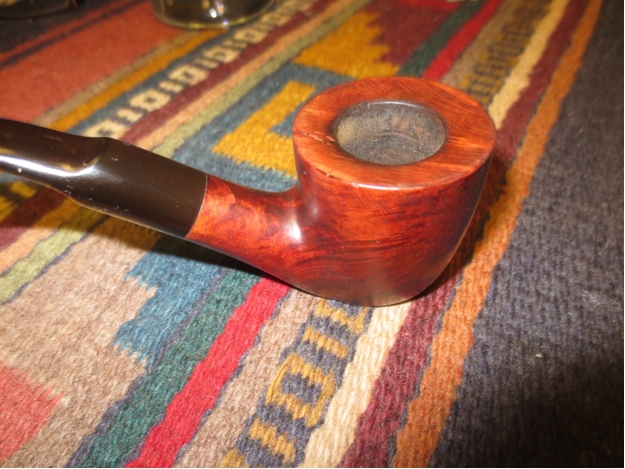
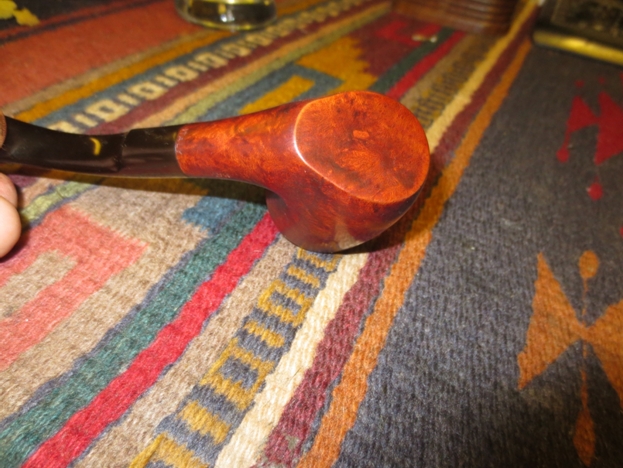
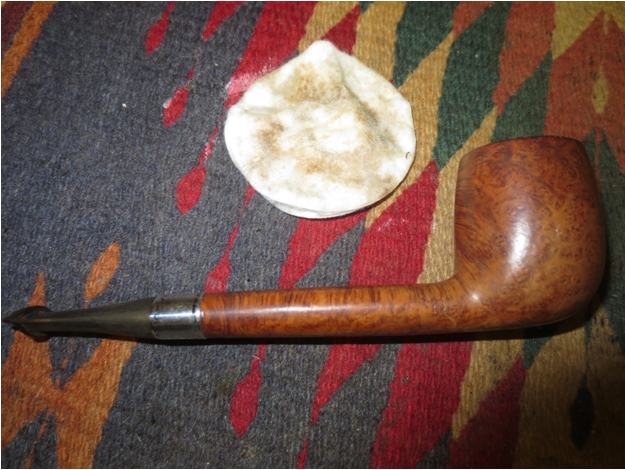
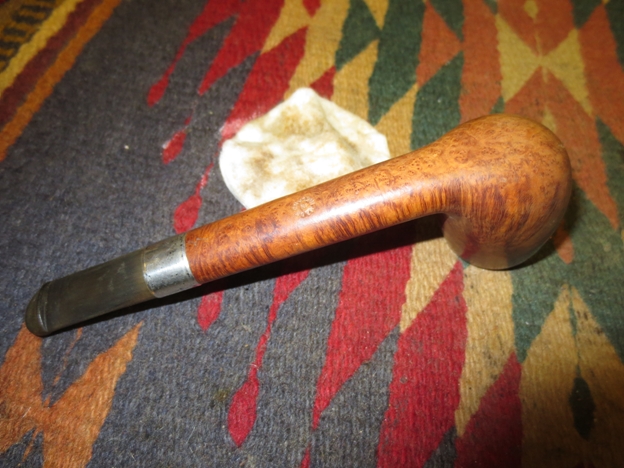
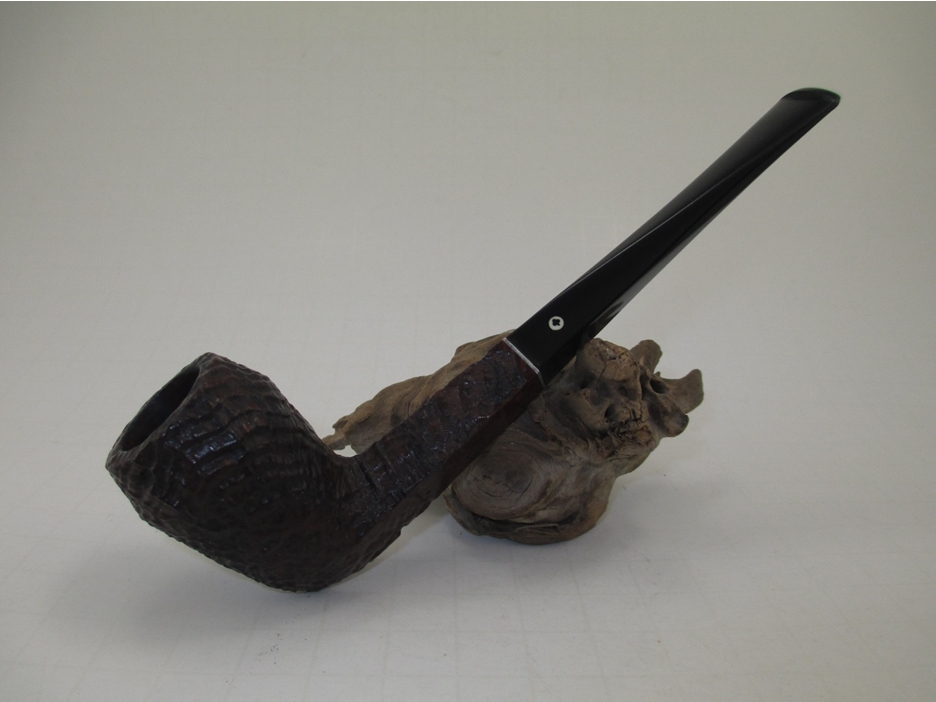
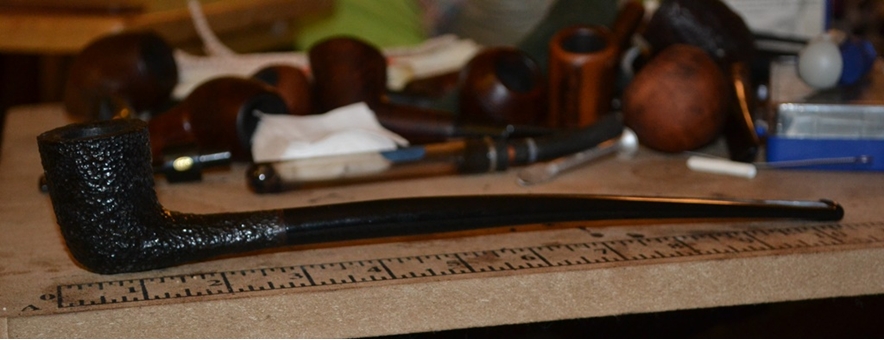
If ever a pipe found its way into my possession and was sheer play and no work to clean up, this black Savinelli Rustic Aged Briar Dublin Churchwarden is it. I bought the long, sleek, exquisite example of the fine Italian pipe crafter’s genuine labor as a perfect addition, not to my own collection but to the growing and diversifying line of brands and styles I sell. Based on the requests I have received for churchwardens in general, as well as my eavesdropping at the local tobacconist I favor, this classic old style appears to be experiencing a comeback in popularity.

Perhaps the shift in supply and demand – as well as the corresponding rise in average churchwarden prices, at my preferred tobacconist and online, compared to the not so distant past – are due in part to the timeless popularity of the classic fantasy novels of J.R.R. Tolkien, starting with “The Hobbit” [1937] and “The Lord of the Rings” trilogy [1954-1955]. This year, in fact, marks the sixtieth anniversary of “LOTR,” and the recent releases of movie versions of both of these can only have spurred interest in the centuries-old pipe shape thanks to the churchwarden-puffing Hobbits, wizards, elves, dwarves and – yes – men. Or maybe the increase in sales and prices is just a sign of greater discernment among pipe enjoyers, and those new to the pleasure in particular, who seek the smoother, cooler satisfaction of a good tobacco’s flavor that the longer shank and bit can provide.

Whatever the cause of this apparent resurgence, I am doing my best to follow the tide by locating and restoring more of this venerable style’s many examples at affordable prices. I already went so far as to clean up a beloved but no longer often enjoyed Clark’s Favorite from my own collection. I bought the lovely pipe several years ago, restored, for about $40 (at which time a quick check online showed the same but new pipe on sale at $69) and sold it to a prospective customer who was bent on a medium-length church or nothing.Rob1 I still miss the Clark’s Favorite, which I supposed I could always replace for the new price noted above. Today, the same smooth version, with its orange-black acrylic bit, is on sale for $112 compared to the MSRP of $140.
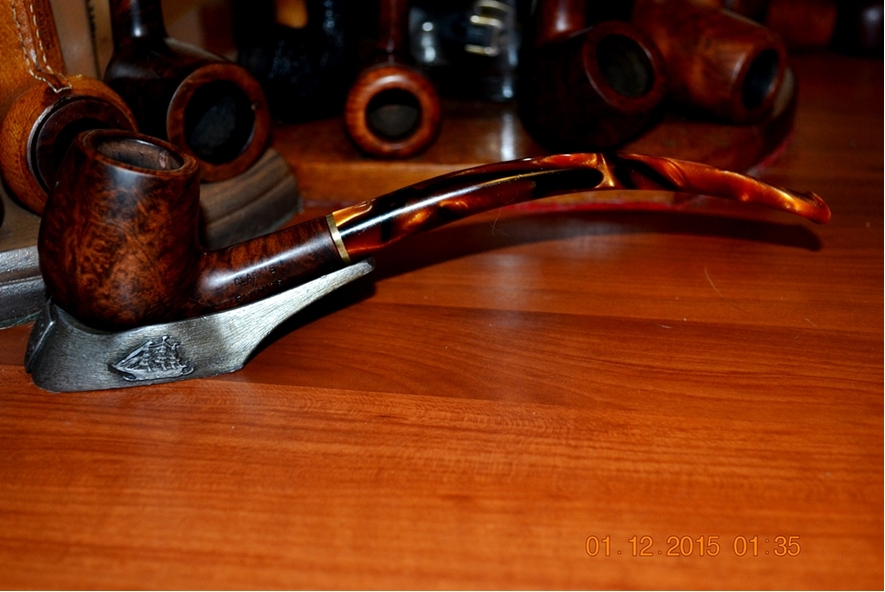
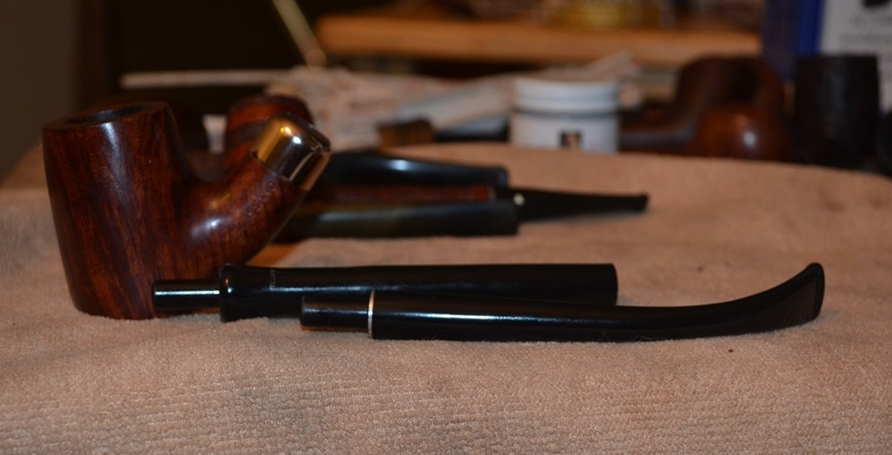
Savinelli for one, seeming to recognize the inconvenience of carrying a long, fixed-bit church about town to enjoy on the go, now offers a nice selection of “Tandem” versions that can be enjoyed at home in their full glory and, when traveling anywhere, with a second short bit. The model shown below, the Tandem Rusticated #112, comes with two completely separate bits – the longer Vulcanite and the shorter acrylic.Rob2 This particular Tandem, by the way, is now on sale for $108 as opposed to its regular price of $130.
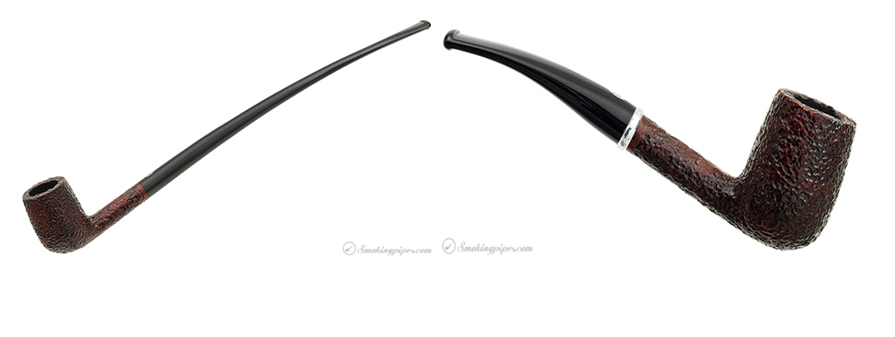
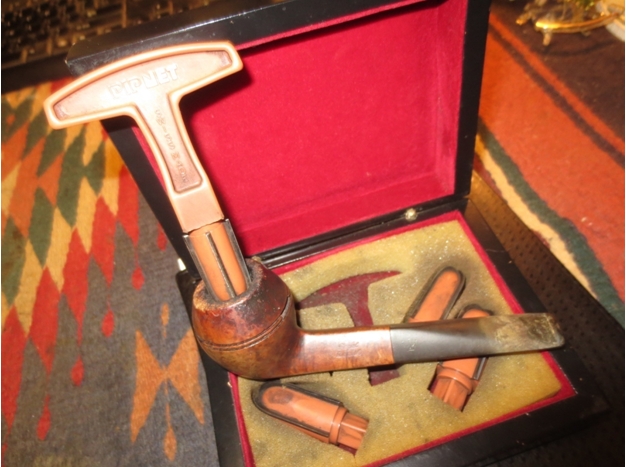
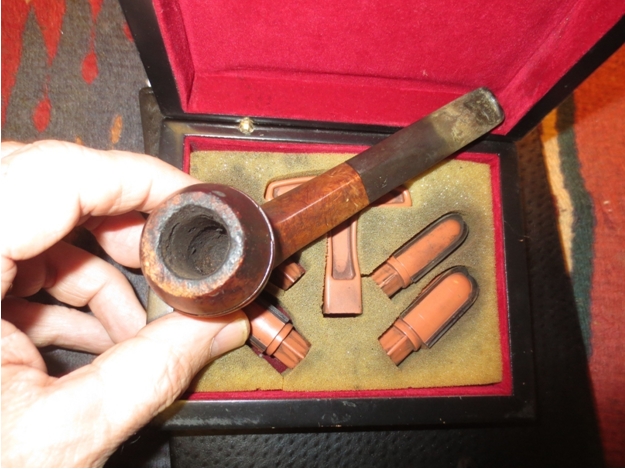
There are, however, still other “churchwardens” with the two bits combined as one, where the entire bit can be twisted off at the shank and the shorter part at the top, with the button, replaced in the shank. Of course, these models carry a higher price tag. Take, for example, this adjustable Cassano smooth billiard, which I bought last night at my tobacconist’s shop for $175. The full churchwarden large poker is 13” in length, and the smaller option is 8½”.Rob3
Rob4

Rob5 A BIT OF HISTORY
The churchwarden is one of the oldest of pipe shapes. The earliest use was in the Orient, where the bowls were likely made (for the most part to smoke opium) not only of known materials – including amber, ivory, various metals such as brass, different kinds of wood, bone and clay – but also jade and other exotic minerals. The bits (without buttons) often matched the bowls, although combinations of brass, wood, bone and/or ivory were not uncommon.

However, the clay bowl and long wooden shank without a bit was the design adopted and quickly adapted in late 18th or early 19th century Europe. So popular were the original Western World churchwardens that many Eastern European taverns kept supplies on hand for their customers’ use, and the habit of biting off the end of the wood shank for a fresh smoke developed. Until the mid- to late-1800s, clay bowls with wood shanks, open where the bit would now be found, remained the prevailing materials of construction.

As for the origin of the name churchwarden, there are three main theories, given here in reverse order of likelihood: the first, that smoking was permitted almost everywhere, including churches, in those dear lost days, and the long length and design of the pipe allowed it to rest on the pews; the second, that certain individuals, erroneously called churchwardens and trusted with guarding England’s churches in the 1800s, very much enjoyed their pipes and fancied the popular style, and the third, that real churchwardens (who by every official definition were not guards but honorary officers of local parishes or district churches entrusted with administrative and other minor duties) became known for their love of the pipe later named for them.

And contrary to popular myth created by various actors who have performed the role of Sir Arthur Conan Doyle’s brilliant mystery solving character, Sherlock Holmes, using fancy Gourd Calabashes or sundry churchwardens as props – which falsehood was adored and perpetuated by generations of Sherlockian fans – these are the facts: the shape or material of pipe most often cited by Holmes’ fictional chronicler, Dr. John H. Watson, was cherry wood (six references), followed by several mentions of standard-sized clay pipes and some appearances of briars. You can read the entire “Adventures of Sherlock Holmes” at https://www.gutenberg.org/files/1661/1661-h/1661-h.htm and locate all of them yourselves.

THE CLEANING
Rob6

Rob7

Rob8

Rob9

Rob10

Rob11

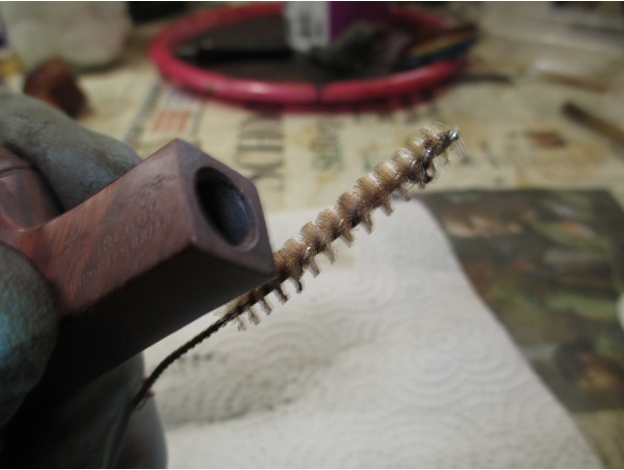
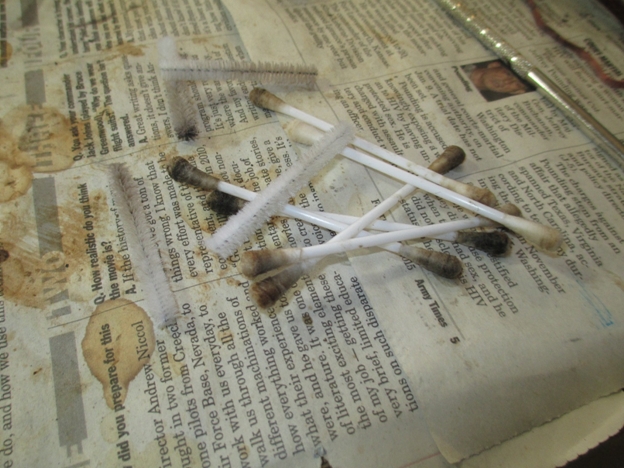
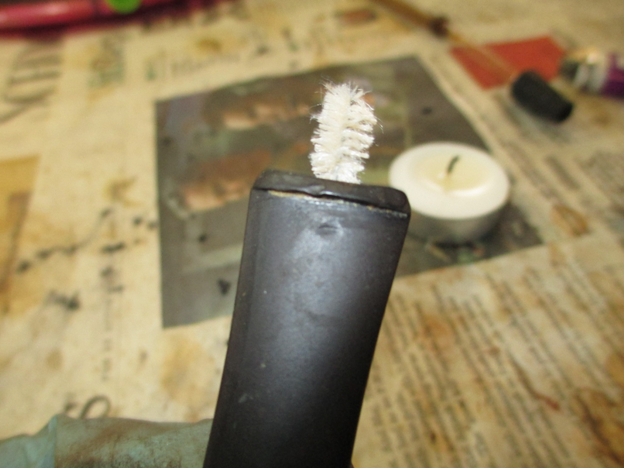
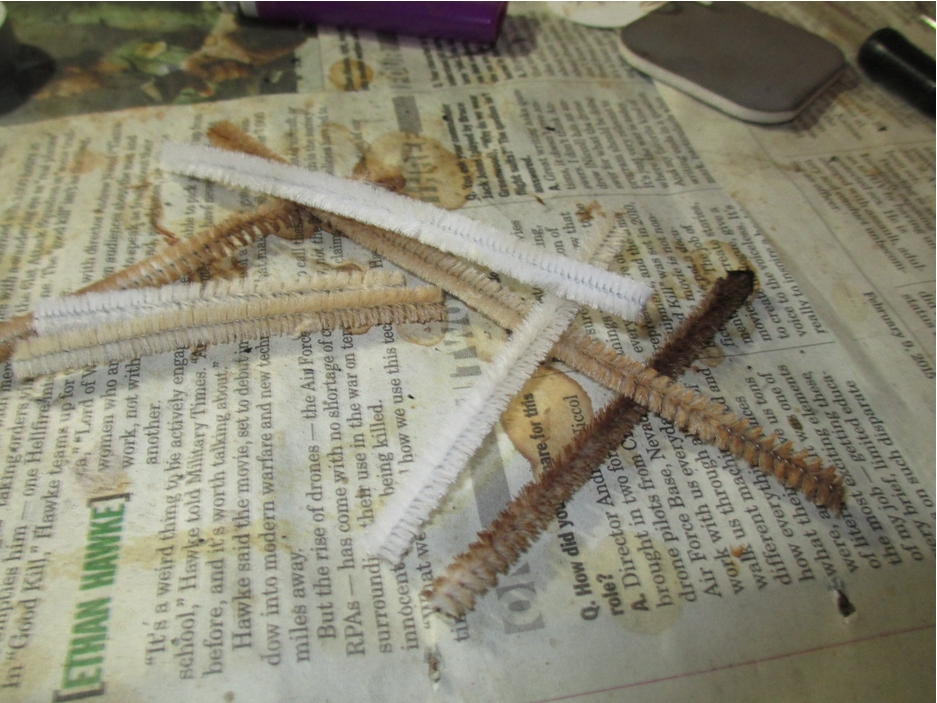
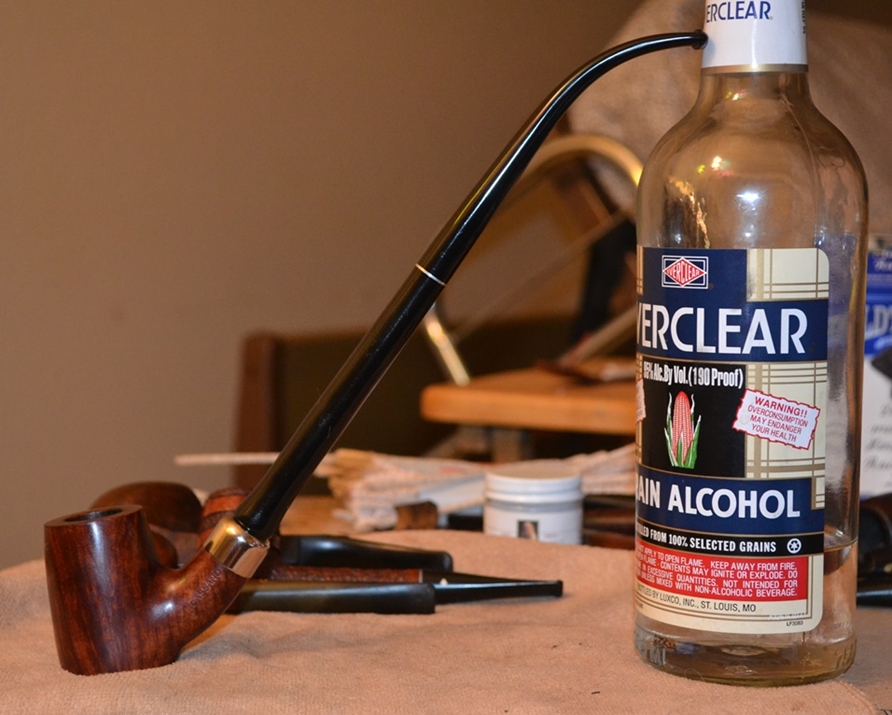
Rob12 To start on an honest note, I only show the few following steps needed to clean this almost-new Savinelli Rustic Dublin Churchwarden beauty for the sake of showing the pipe itself and the ease with which it was spruced up. The bit had no signs whatsoever of having been touched by any hands, much less placed in a mouth and smoked. In other words, its outside was buffed to the highest sheen, as if it came fresh from the factory in Barasso, Italy, in the Varese province. And so I began by running a long, soft cleaner dipped in alcohol once through the 7½” bit, which was all but 3” of the total length, removing the smallest amount of tobacco residue, and again for good measure.

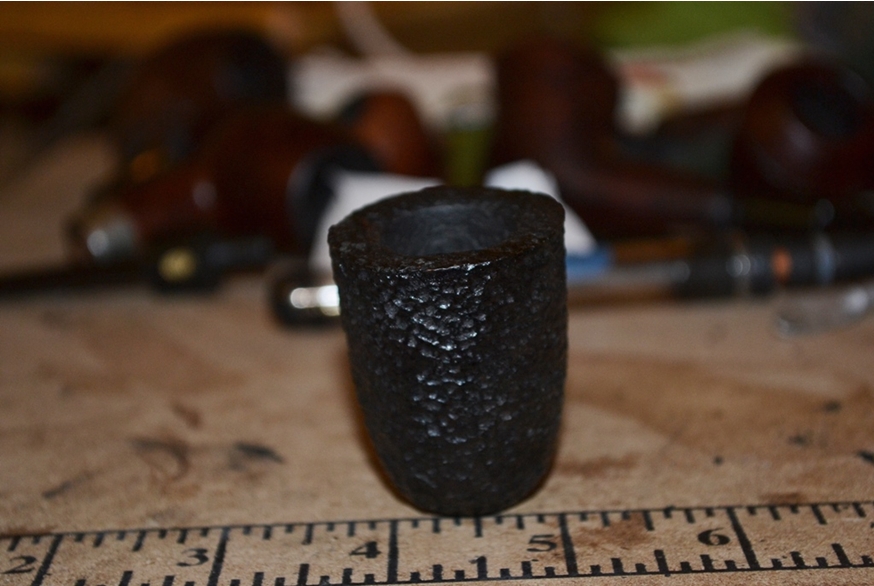
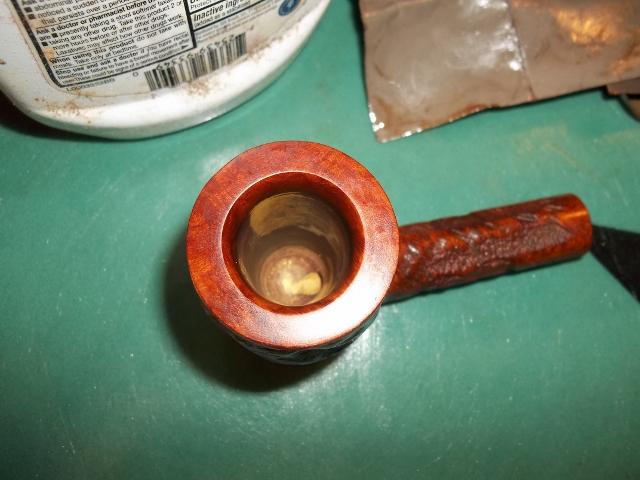
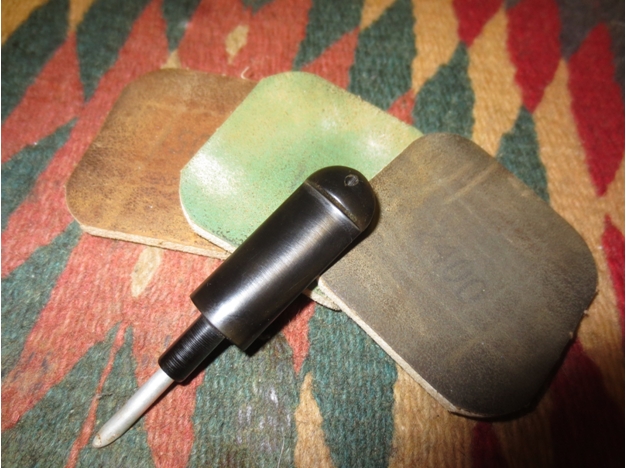
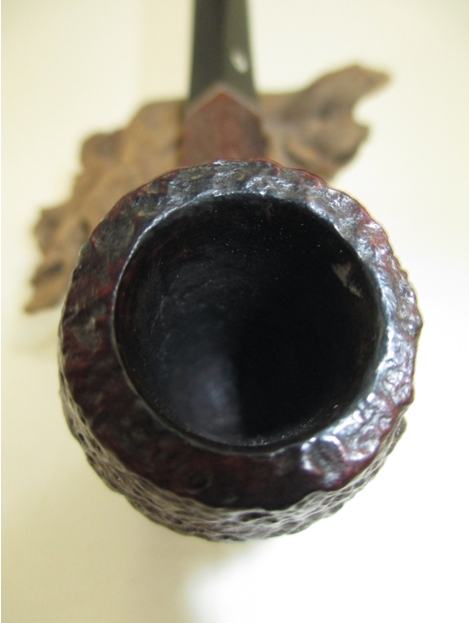
The rim had minor blackening, not part of the stain. I removed that with a quick brush using 1800 micromesh and proceeded to the chamber. Two easy turns of a reamer followed by about 30 seconds of sanding with 200-grit paper and then 320 made the chamber as smooth as it ever was.

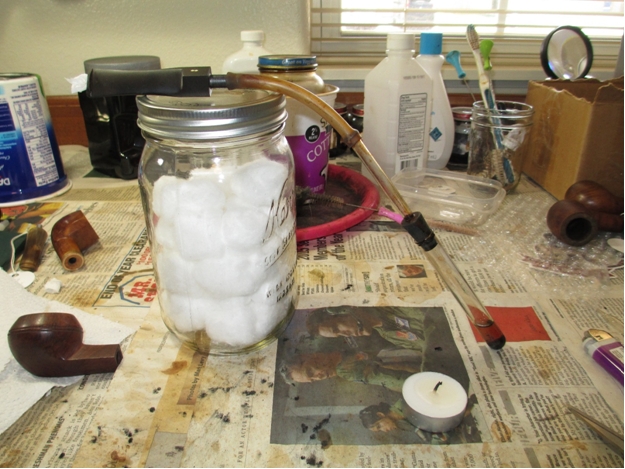
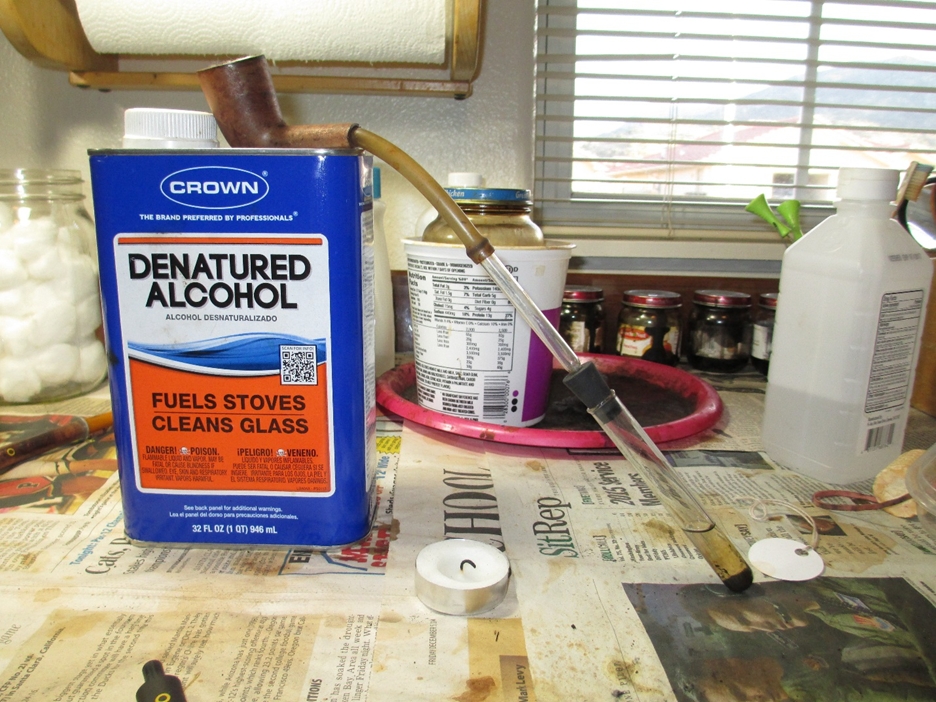
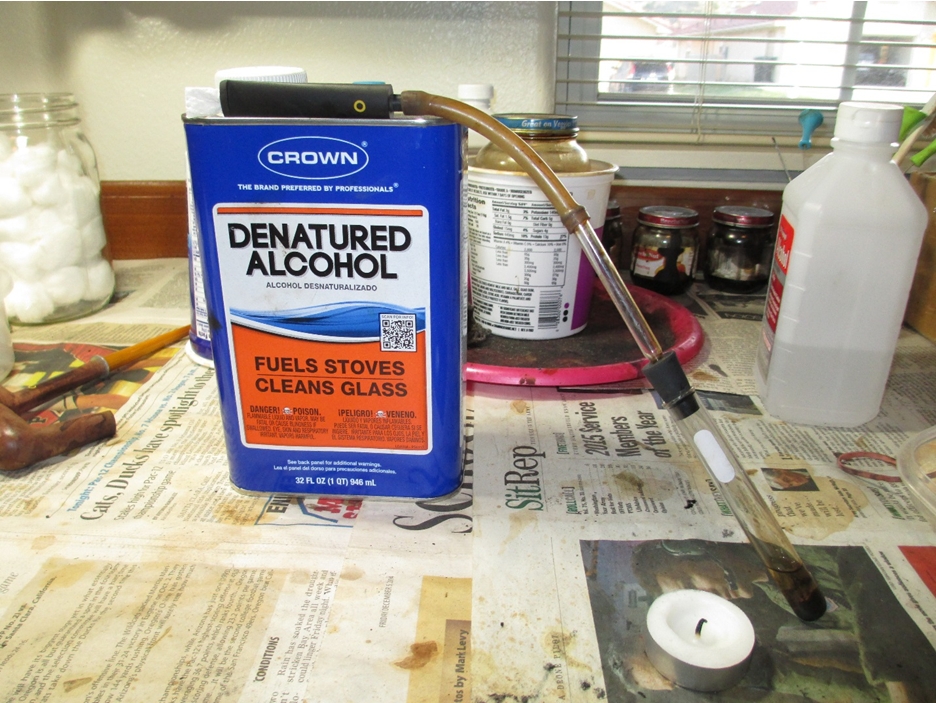
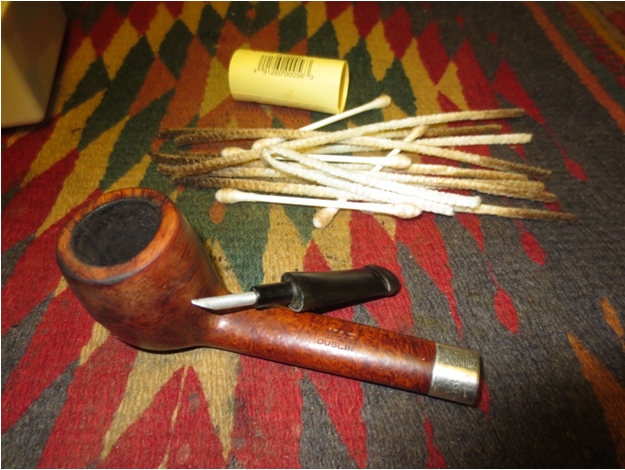
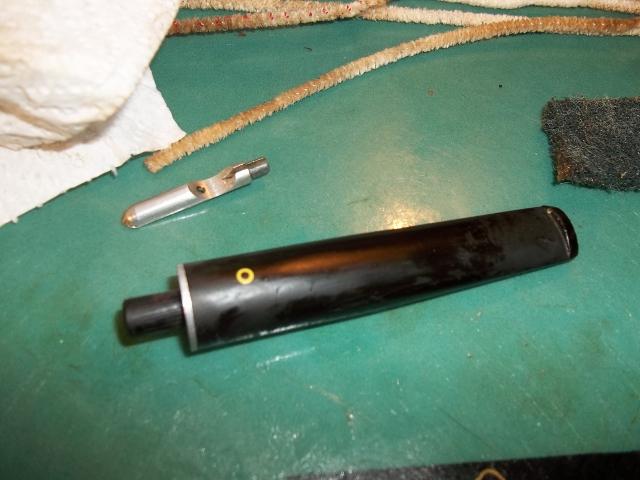
For the sake of thoroughness, I attached an otherwise useless small bit with a tenon that fit the shank and retorted the inner shank and chamber. To my amazement, one Pyrex test tube of boiled Everclear came back from the first passage with the lightest shade of brown, and despite about six more tries to make the alcohol darker, the barely tested briar was clean.

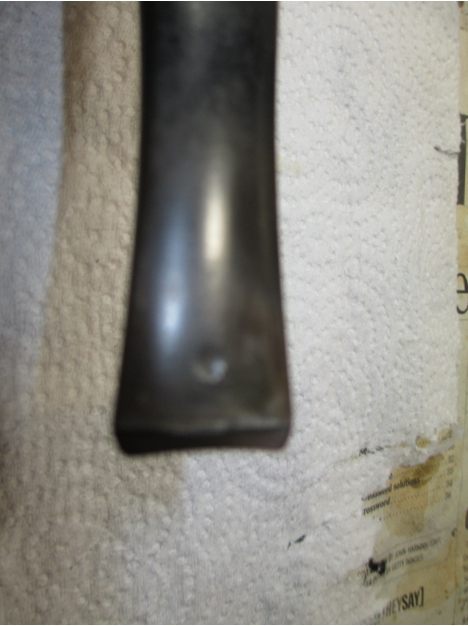
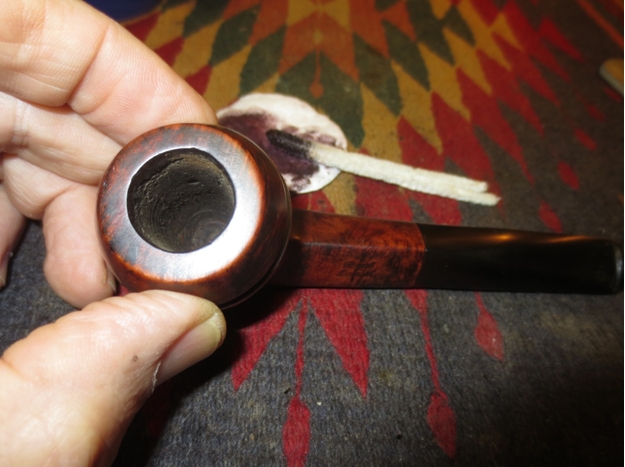
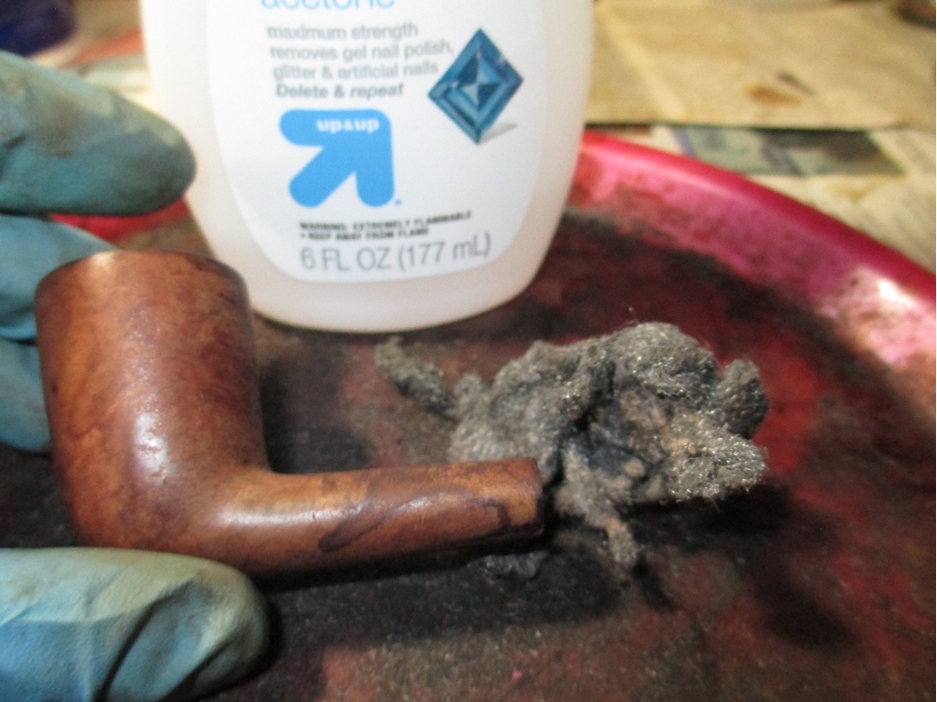
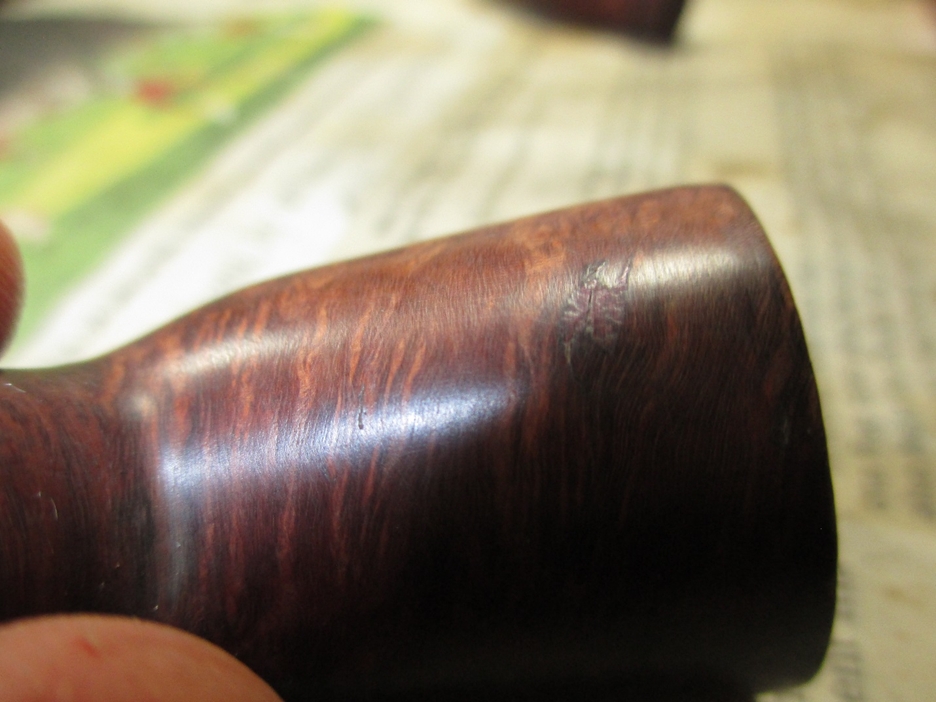
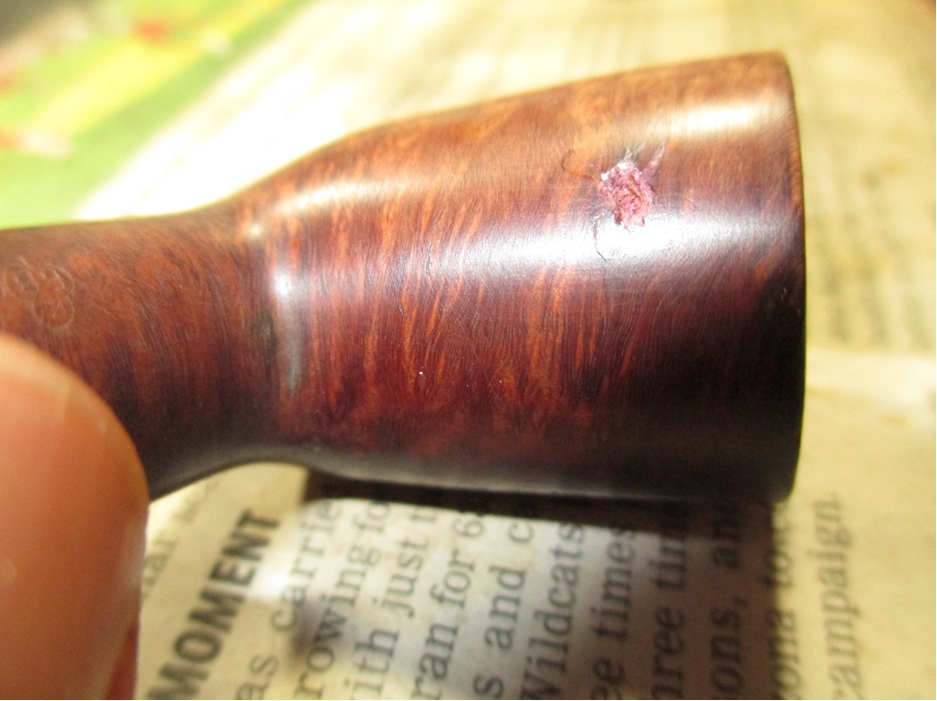
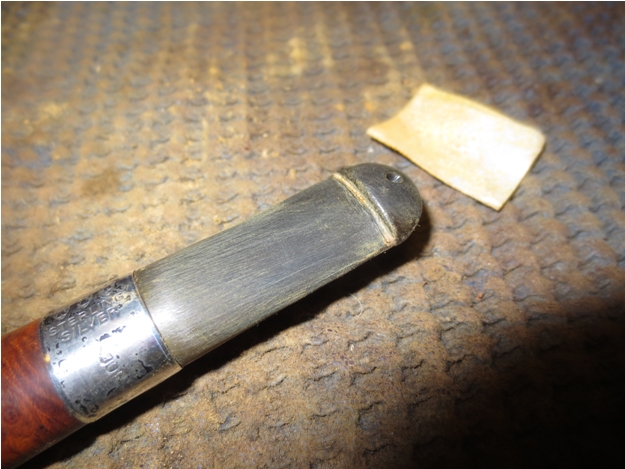
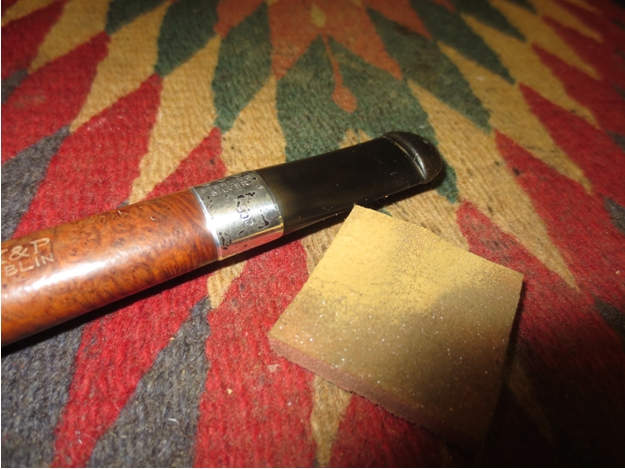
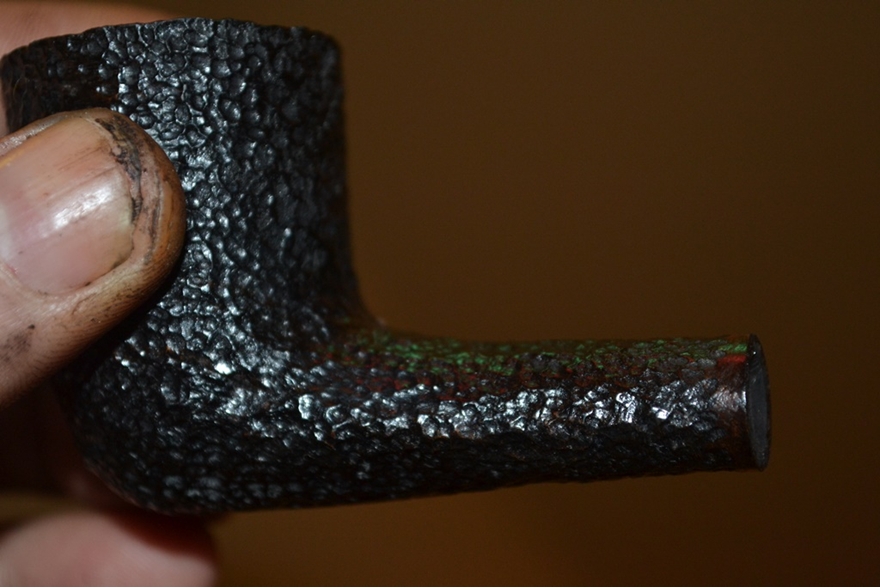
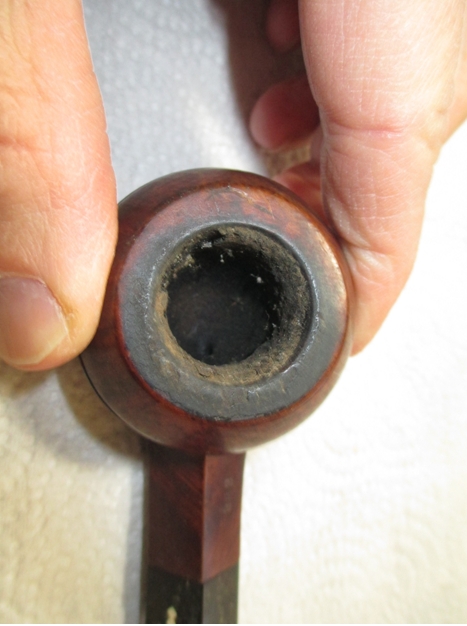
Then I noticed a spot on the outer edge of the shank opening that appeared to be smooth and dark red. With a small scrap of super fine steel wool, I probed the narrow strip of briar around the opening and watched it come clean. Below are before and after photos.Rob13
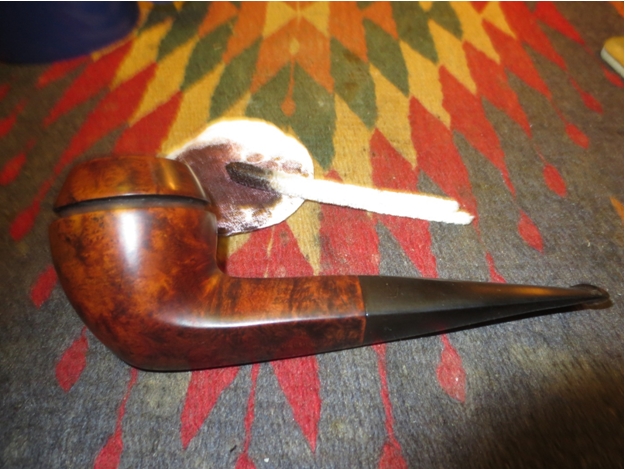
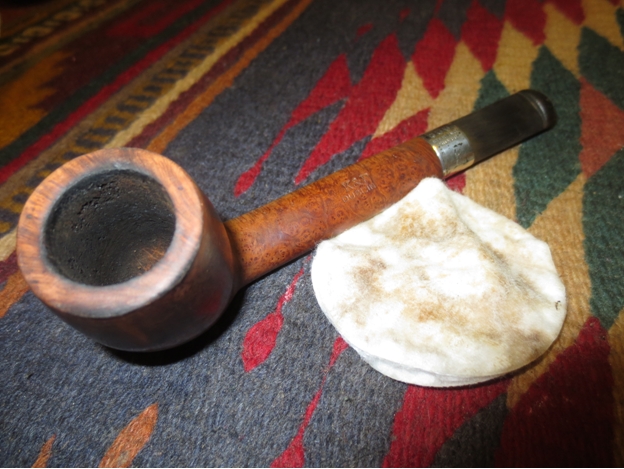
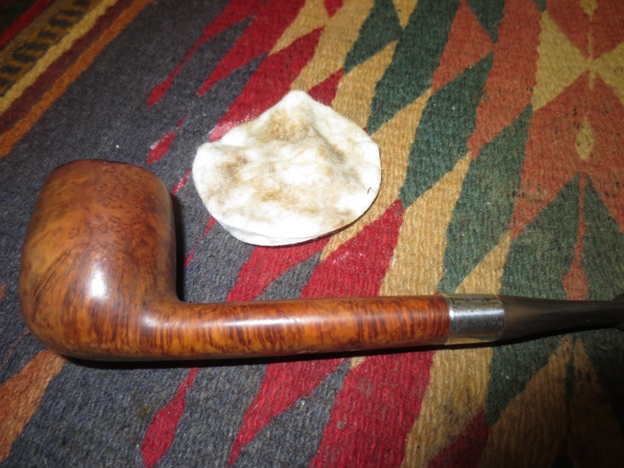
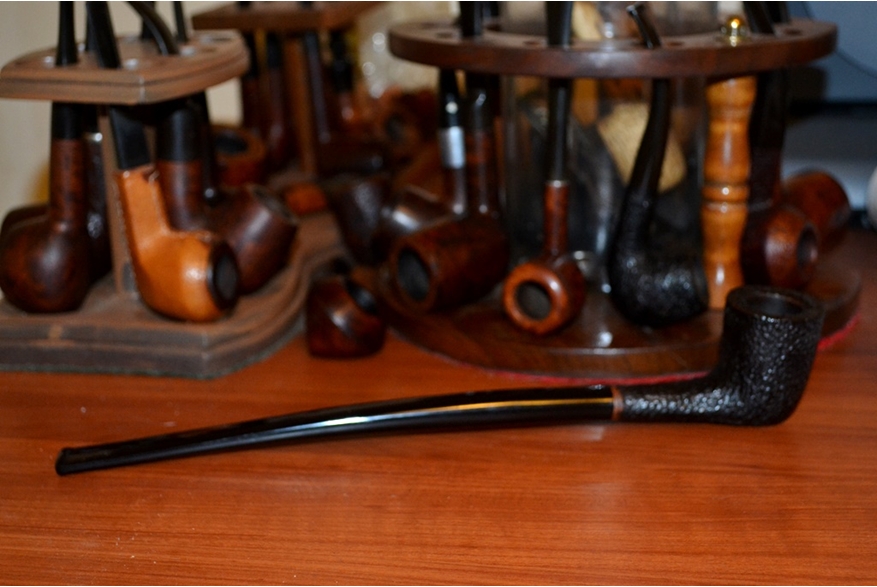
Rob14 I could have left the briar in the excellent shape it already was, but as chance happened, I had just received my order of a new jar of Halcyon II wax, and had to try it out. Therefore, I gave the wood a spin on the clean buffer and with one finger applied a dab of the Halcyon as far as it would spread before adding a smidge more to finish coating the bowl, shank and rim. Setting the wood on a cotton rag, I waited about 10 minutes and again took the duller-looking briar for a fast spin on the clean wheel. Whether or not these steps were necessary, here are the final results.Rob15
Rob16

Rob17

Rob18

Rob19

Rob20

Rob21 CONCLUSION
That is all.

SOURCES
(in haphazard order)

http://www.onlineoriental.com/Merchant2/merchant.mv?Screen=CTGY&Store_Code=1&Category_Code=14
http://www.quora.com/What-kinds-of-pipes-did-Sherlock-Holmes-smoke-according-to-Sir-Arthur-Conan-Doyles-writings
http://www.sherlockian-sherlock.com/jeremy-brett-churchwarden-pipe.php
http://www.pipedia.org/wiki/Churchwarden_Pipes

Guide to Tobacco Pipes & Pipe Smoking


http://www.smokingpipes.com/pipes/new/savinelli/index.cfm?tag=Clark’s%20Favorite
http://www.smokingpipes.com/pipes/new/savinelli/moreinfo.cfm?product_id=160492
Restoring a Heritage Heirloom 98S Bulldog


Blog by Andrew Selking

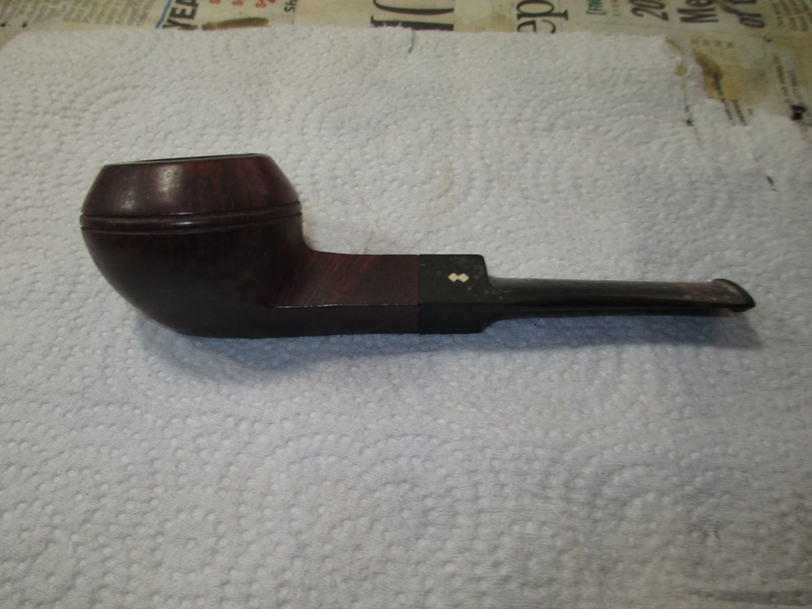
I am always on the lookout for high quality American pipes that have yet to gain the popularity of some of the more well-known European makes. Heritage pipes appeal to my sense of American pride, craftsmanship, and value. These pipes were made in the Kaywoodie factory, but on a completely separate line. Heritage pipes were Kaywoodie’s answer to Dunhill. According to one of their brochures, Heritage pipes were made from “briar burls seasoned and cured for up to 8 months,” with only “one briar bowl in over 300 selected to bear the Heritage name.” “Heritage stems are custom fitted with the finest hand finished Para-Rubber stems. Mouthpieces are wafer thin and concave.”

The Heritage line began in the early 1960’s, with the trademark issued in 1964. The line was started at the request of Stephen Ogdon, (who worked for Kaywoodie in 1962). Mr. Ogdon had previous experience working for Dunhill, either running the New York store or working for Dunhill North America. Mr. Ogden was made President of Heritage Pi pes, Inc., Kaywoodie Tobacco Co.,Inc. and Kaywoodie Products Inc. as well as a Vice President of S.M. Frank & Co. Heritage Pipes were produced from 1964 until 1970 (Source Kaywoodie.myfreeforum.org).

Here is a link to a Heritage brochure:

The Wonderful World of Heritage Briars

The best part about Heritage pipes is, for the most part other collectors have yet to discover them and you can still find one for a reasonable price. I found this fantastic bulldog in a lot of pipes otherwise unremarkable pipes. It had a good bit of cake, some tooth marks, and what looked like mold on the stem.Andrew1

Andrew2

Andrew3

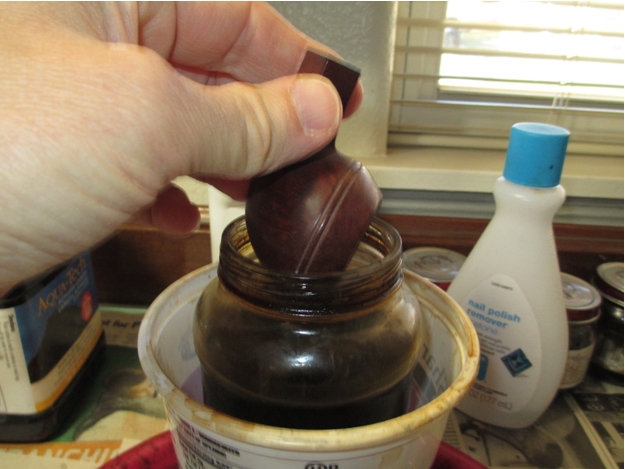
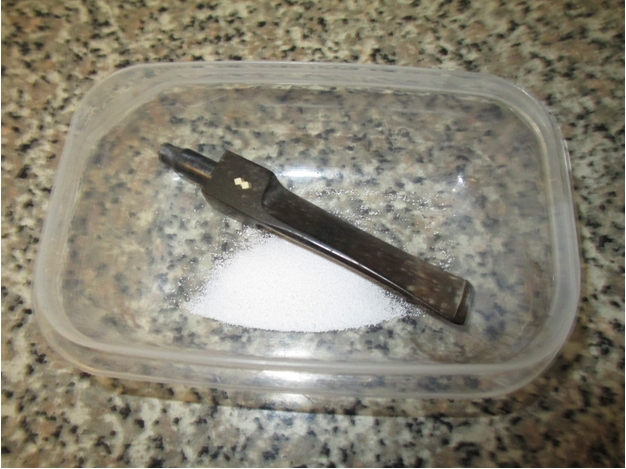
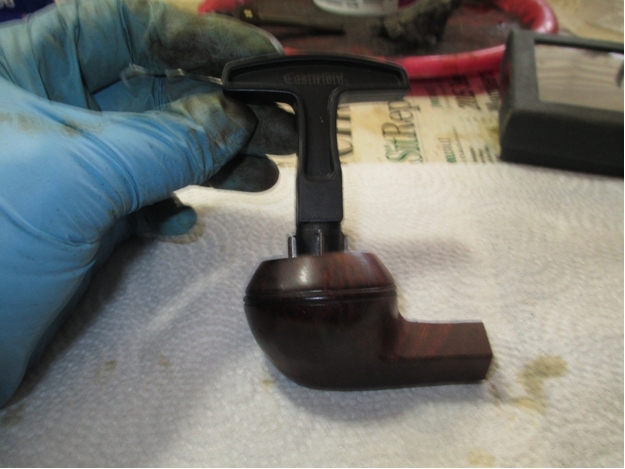
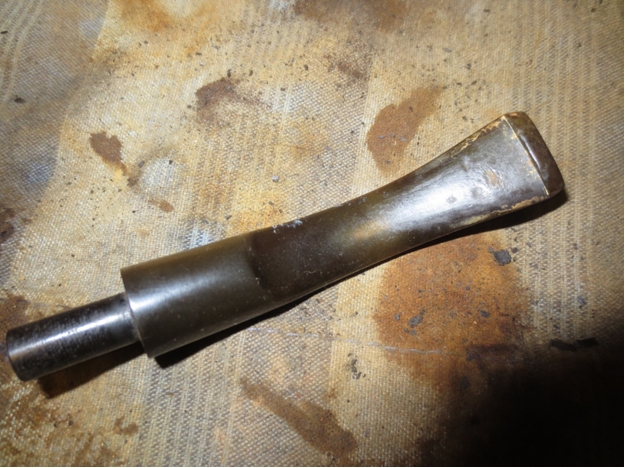
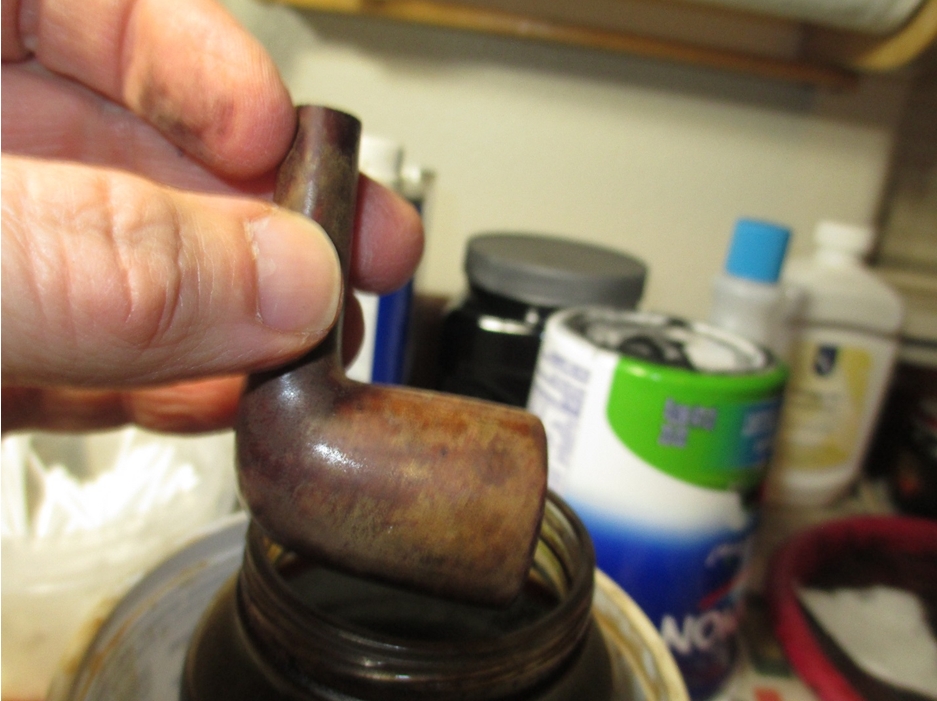
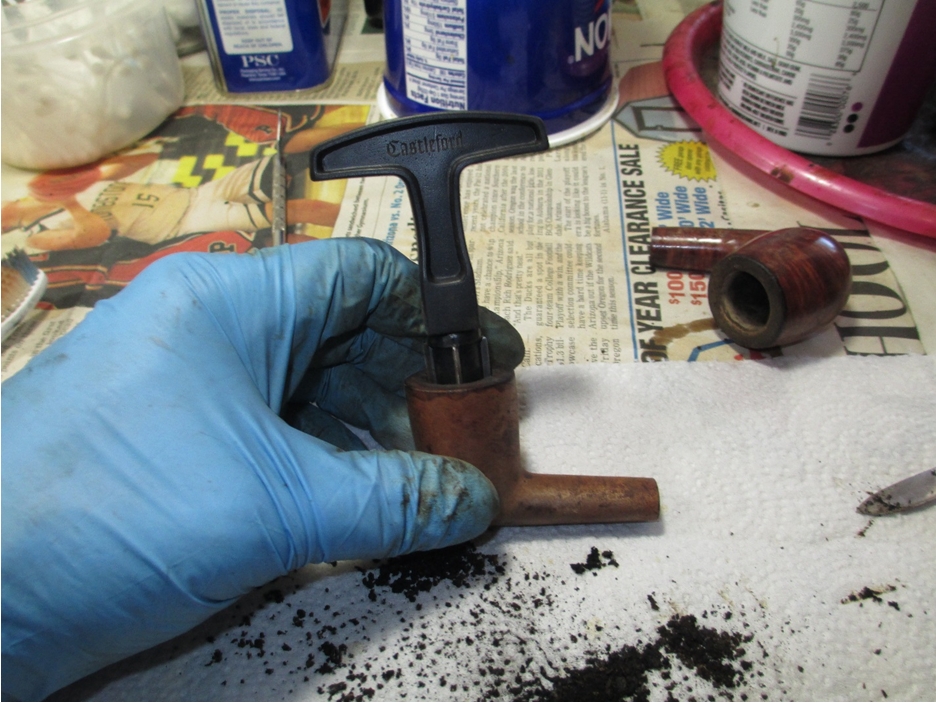
Andrew4 With concerns about cleanliness in mind, I dropped the bowl into the alcohol bath.Andrew5 I also soaked the stem in Oxyclean.Andrew6 After soaking overnight, I used my Castelford reamer to clean the cake.Andrew7 I checked the cleanliness of the shank with a brush and was pleasantly surprised.Andrew8 I retorted the shank, sorry no pictures this time, and after a few q-tips and fuzzy sticks the shank was clean.Andrew9 Next I retorted the stem.Andrew10 It was also relatively clean; this was a fuzzy stick dipped in alcohol right after the retort.Andrew11 I used two fuzzy sticks dipped in alcohol just to make sure.Andrew12 I wanted to tackle the grime on the bowl and tar on the rim, so I used 0000 steel wool and acetone.Andrew13 Next I turned my attention to the stem. I used 400 grit wet/dry sand paper with water, followed by 1500-2400 grit micro mesh pads with water.Andrew14 Since the stem had some tooth marks, I mixed up some clear CA glue and ground charcoal. I applied the glue with a straight pin and added accelerator to dry it. I used a small flat file to shape the repairs followed by sanding with 400 grit and micro mesh pads.
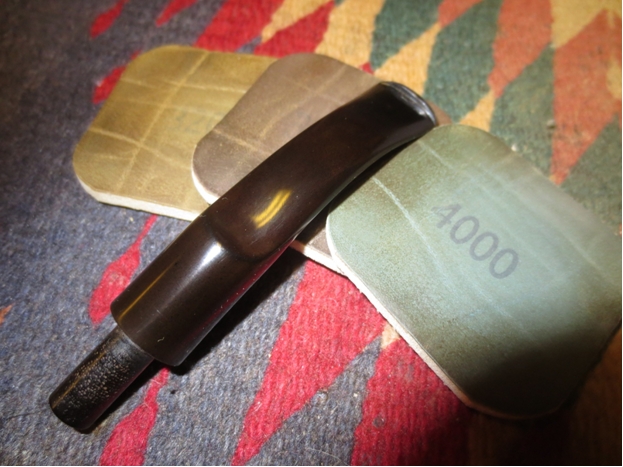
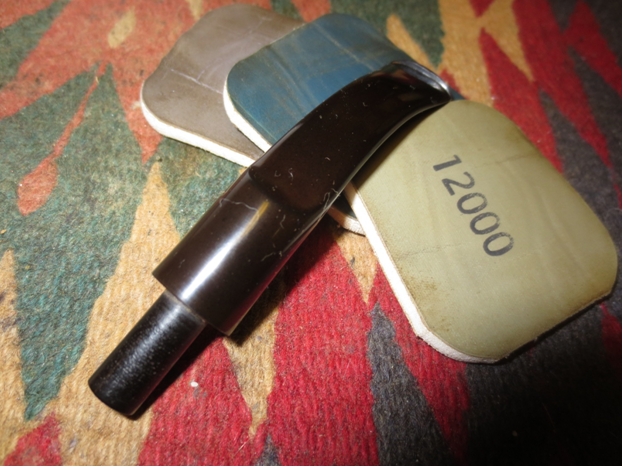
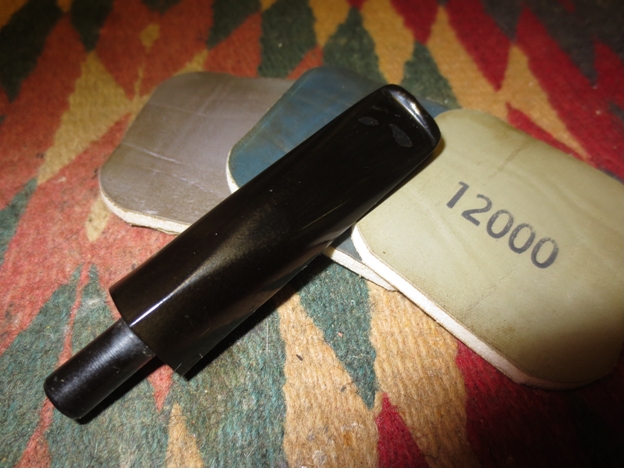
The bowl had some scratches and was darker than I preferred, so I used a progression of 1500-12,000 grit micro mesh pads to get it ready for polishing. I buffed the bowl on the wheel and used the rotary tool on the stem. Here is the final result.Andrew15

Andrew16

Andrew17

Andrew18

Andrew19 Thanks for looking.

A Bit of an Experiment – Restoring a Broken Bowl on a Hardcastles Jack o’ London Billiard


Blog by Steve Laug

Having had a long week at work with nary a break in the busyness I needed a bit of a diversion on the weekend. I had an old Hardcastle’s Jack o’ London billiard in the cupboard that I probably should have thrown away but did not. I picked up the nice little billiard on one of my pipe hunts months ago. When I reamed it after I brought it home the bowl cracked and a large piece fell out of the right back side of the bowl. Up on examination it was on its way to being a burn out as the interior wall on the crack was charred and damaged. I took pictures of the bowl to show the damage at that time. For some reason I did not throw it away but rather put it in the cupboard and figured I could use the briar for other repairs.

But this weekend I took it out and decided to experiment with it and see what I could do with the damaged bowl. I debated whether to cannibalize it and save the parts or to rework it. I had already scavenged the stem and reused it on another Hardcastle’s pipe bowl that I restored so I only had the bowl. If the repair worked I would have to fit a new stem on the pipe before I could smoke it.

Here are some photos I took when the bowl cracked during the initial reaming. I took quite a few because I had not had that happen before in my experience. Looking at the photos you can clearly see the damage to both the remaining bowl and the chunk of briar that fell out. It was seriously damaged and one that I seriously considered throwing away that day. The rim was a mess as well besides being cracked and broken and the inner edge was out of round and the top beaten around the outer edge. The bowl was heavily caked and it looked to have been a good smoking pipe for the previous pipeman. There were even some fragments of unsmoked tobacco in the bottom of the bowl.Jack1

Jack2

Jack3

Jack4

Jack5

Jack6 Out of boredom and the need for something to keep my hands busy while my dog was being groomed I decided to experiment with repairs on the bowl. I cleaned up the broken pieces of the briar both the edges on the bowl and broken pieces with alcohol and cotton swabs and picked out any remaining loose pieces of briar or charred pieces of briar. I knew that I could easily patch the external side of the bowl and make it look acceptable but I was not sure what I would do with the internal side. I used a pen knife to scrape out the remaining cake in the bowl and to make sure there was no loose carbon that would get in the way of the repair before gluing in the piece. I applied clear super glue to both the bowl and the chunk of briar being careful to keep it out of the interior of the bowl and pressed the piece in place. In the photos below you can see how the glue ran down the exterior of the back side of the bowl but not on the inside.Jack7

Jack8 I applied some more glue to the cracks on the outside of the bowl so that I could push briar dust into any spaces or chips in the briar between the pieces.Jack9

Jack10 With the chunk of briar glued in place and the external cracks patched it was time to look at the damage on the inside of the bowl and determine what to do. I know that in the past I have used J.B. Weld and Greg and others have used fireplace cement to repair the inside surfaces of the bowl but I had in mind a different experiment. Both the J.B. Weld and the fireplace cement dry and are neutral after curing. They are both impervious to heat or moisture but I wanted to see if I could use all natural substances and work a repair that would hold up. I knew that only time would tell if it actually worked but I figured that I had nothing to lose with this old pipe. If it did not work it would go back to the scrap yard and come back to life in repairs on other pipes. But if it did work I would have a useable yard pipe that I could smoke while working with little concern of damaging or ruining it in the process. Too me it was worth a try.

The next series of two photos show the inside of the bowl. The cracks and damage to the inside of the bowl was quite extensive. But it was still worth trying a repair.Jack11

Jack12 I fit a stem on the shank from my can of stems with minimal sanding of the tenon for a good fit in the shank. The diameter of the stem would need to be adjusted but that would not be too much of a problem.Jack13

Jack14

Jack15 The next two photos show the variation in diameter of the shank and the stem.Jack16

Jack17 I use a Dremel and sanding drum to take down the excess material as close to the shank as possible without damaging the shank. I also decided to use the Dremel and sanding drum on the overflow of super glue and briar dust on the outside of the bowl as I planned on sanding the bowl anyway.Jack18

Jack19

Jack20

Jack21 Once I had the fit of the stem close and the majority of the glue and briar dust patch smoothed out I took it back to the work table and sanded both the bowl and the stem with 220 grit sandpaper to smooth out the scratches in the briar and the vulcanite.Jack22

Jack23 The rim needed to be topped to smooth out the damage to the top and the outer edges. I set up the topping board with 220 grit sandpaper and pressed the bowl flat against the sandpaper. I sanded it in a circular motion until I had removed the damaged rim surface and the damaged out edge.Jack24

Jack25

Jack26 I forgot to take a photo of the rim at this point but you can see in the photos of the staining that it is sharp and clean on the outer edge. I sanded the briar with a medium and a fine grit sanding sponge to minimize the scratches even more and then heated the bowl before I applied a dark brown aniline stain. I applied the stain, flamed it and repeated the process until I had good even coverage on the bowl.Jack27

Jack28 The dark brown stain was quite opaque so I wiped down the bowl with isopropyl alcohol on cotton pads to remove and thin down the stain coat.Jack29

Jack30 The top of the rim can be seen in the next photo. The damage to the rim top has been minimized and the surface is smooth. There is still some damage on the inner edge but that will be addressed when I do the internal repairs to the bowl walls.Jack31 I buffed the bowl with Red Tripoli and then wiped it down again with alcohol. The colour was just what I was looking for at this point in the process. It was a rich brown stain that allowed the grain – birdseye and mixed to show through the finish. It also did a decent job covering the repair to the other side of the bowl.Jack32

Jack33

Jack34

Jack35 I buffed it again with White Diamond to raise the shine. The stem still needed some fine tuning for a better fit against the shank and some sanding to remove the oxidation and scratches but the pipe was beginning to look good.Jack36

Jack37

Jack38

Jack39 I took the next close up photos to show the work that still needed to be done on the rim and the look of the repairs on the right side of the bowl. The bowl surface and rim surface was very smooth but still needed to be sanded with micromesh pads to take out the scratches and polish the briar to a deep shine.Jack40

Jack41 With exterior at a good place to take a break it was time to address the inside of the bowl. I mixed a batch of pipe mud using cigar ash and water. I mixed it to a thicker than usual consistency so that I could press it into the damaged area of the bowl wall. I did not want it runny or soupy but I still wanted it wet enough that the mud was well mixed and would stick. I painted it on the wall in the damaged area with a folded pipe cleaner and pressed it into the cracks with the spoon end of a pipe nail. I also pressed it in with the end of my finger. I repeated the application of the mud until the surface of the wall was smooth and showed no pits or divots. I set the bowl aside to dry over night as I wanted the mud to harden and also wanted to see if it was solidly stuck in the damaged areas.Jack42

Jack43 In the morning, after curing over night I inspected the patch on the inside of the bowl. I used my dental pick to make sure that the patch was well set in the divots in the wall of the bowl and then smooth out the surface with a pen knife.Jack44

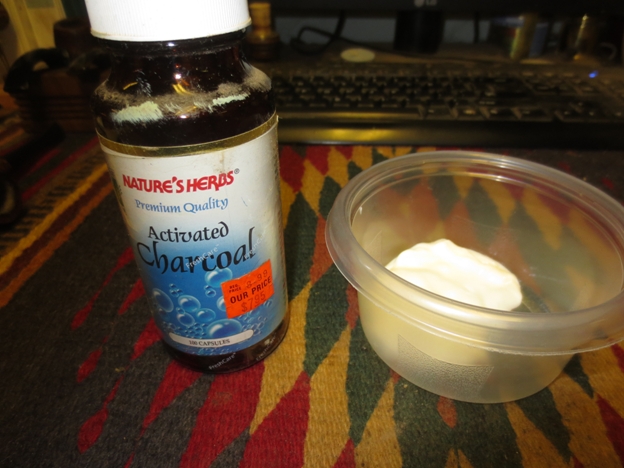
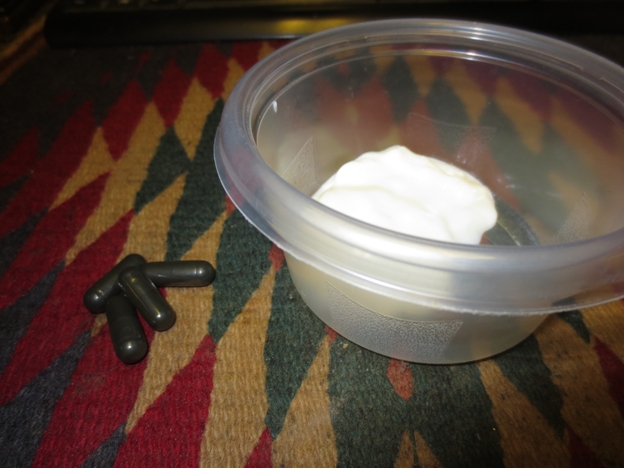
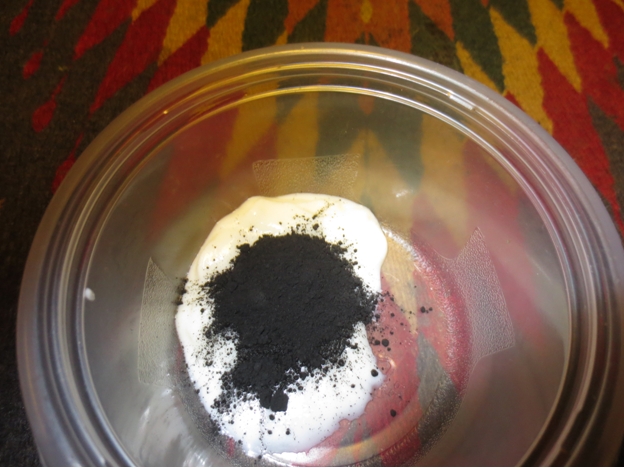
Jack45 I let it dry for about four more hours while I did other things and then decided to mix a batch of bowl coating to paint the bowl interior. I mix a batch of bowl coating using sour cream and activated charcoal powder. I use a finely ground powder that comes in capsules.Jack46

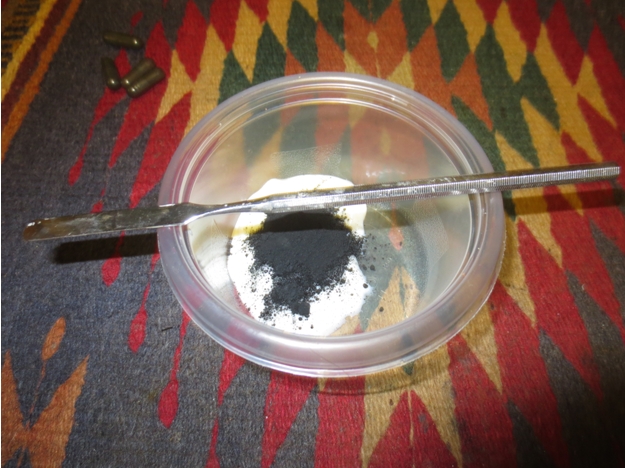
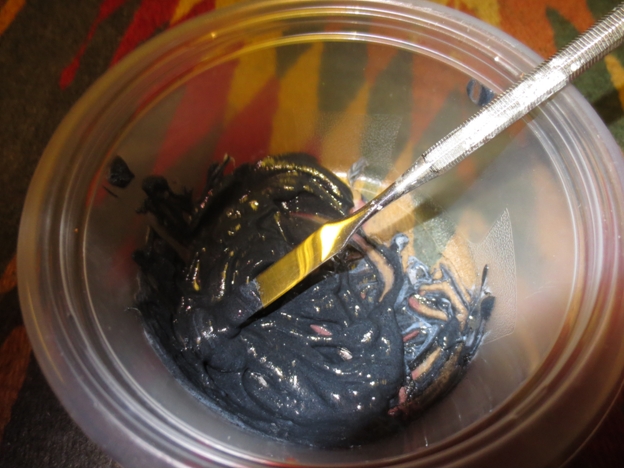
Jack47 I take apart the capsules and dump the charcoal powder into the sour cream.Jack48 I use a dental spatula to mix the charcoal and sour cream into a black paste. I work the paste until all the sour cream and charcoal are combined.Jack49

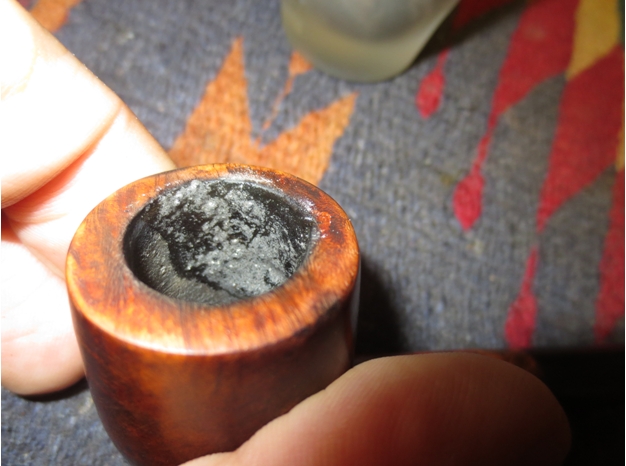
Jack50 I used the spatula to apply the paste to the walls of the pipe and then smoothed it out using a folded pipe cleaner.Jack51 The entire bowl is coated with the paste and after smoothing it out with the pipe cleaner looks like a dark grey almost black coating around the sides and bottom of the bowl. I put a pipe cleaner in the airway so that I would not get the paste in the airway when smoothing it out.Jack52

Jack53

Jack54 I wiped down the top of the rim with a bit of saliva on a cotton pad and then set the bowl aside to let the coating cure. Once the coating cured it would provide a protective layer over the bowl interior and facilitate the buildup of a new cake.

While the bowl coating was drying I worked on the stem. I sanded it with 220 grit sandpaper with a plastic washer between the shank and stem to smooth out the transition between the two. When I had finished sanding the stem with the 220 grit sandpaper I sanded it with a medium and a fine grit sanding sponge.
Jack55

Jack56

Jack57

Jack58 I wet sanded the stem with 1500-2400 grit micromesh sanding pads to minimize the scratches.Jack59 I dry sanded the stem with 3200-4000 grit micromesh sanding pads and then buffed the stem with Red Tripoli to further polish the stem.Jack60 I brought it back to the work table and dry sanded it with 6000-12,000 grit sanding pads. I buffed the stem with Blue Diamond on the wheel and then rubbed it down with Obsidian Oil and let it soak in.Jack61 I sanded the bowl and shank with micromesh sanding pads – wet sanding 1500-2400 grit pads and dry sanding with 3200-12,000 grit pads. I buffed the bowl with Blue Diamond to polish the briar. There are some fine scratches that seem to be around the junction of the shank and stem. I buffed it with Red Tripoli again and with White Diamond and then with Blue Diamond. I polished the stem and bowl with carnauba wax and buffed it to a shine with a clean buffing pad to raise the shine. The finished pipe is shown in the photos below.Jack62

Jack63

Jack64

Jack65 The next photos are close up pictures of the repair. They also that the carbon/sour cream bowl coating has dried and is a dark grey colour. The cracks on the exterior are smooth to touch and do not feel like cracks. The repairs to the top of the rim still show as a red coloured spot at the back of the rim. The stain took to the patch a little lighter than the rest of the bowl. It is smooth to the touch but still shows. The internal bowl coating has dried to the touch and gives a nice coat that is cover the repairs on the bowl wall. The carbon bowl coating has small particles of carbon in the finish. These will provide something for the new cake to bind to when it is smoked. All that remains is to let the coating cure for a few days and then load a bowl and smoke it.Jack66

Jack67

Jack68

Jack69

Restoring a Monster KBB Yello Bole Imperial Rusticated Billiard


Blog by Troy Wilburn

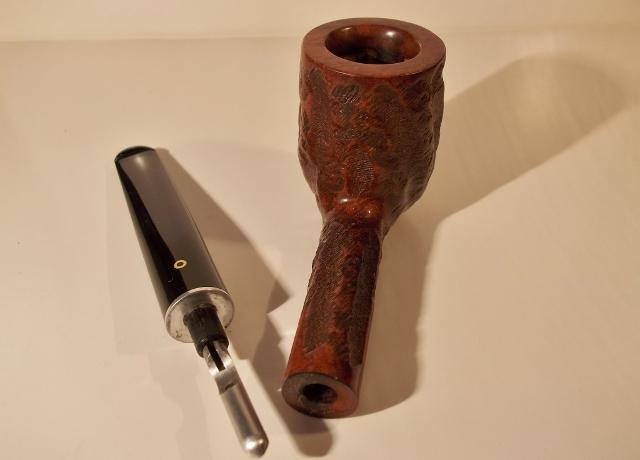
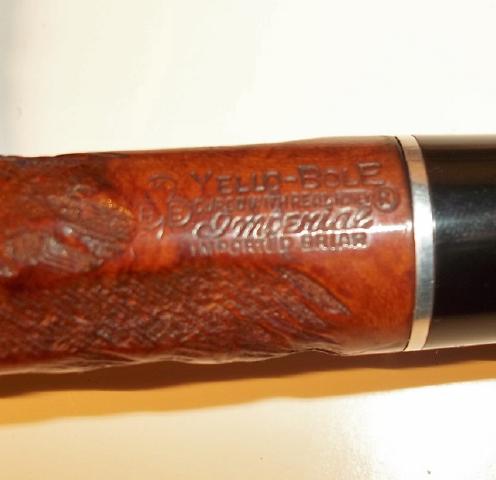
I picked up this huge pipe from a friend of mine on the Dr. Grabow Collectors Forum. This pipe isn’t a magnum it’s a howitzer! It is 7 ½ inches long and has an almost 2 ½ inch tall bowl. The pipe was nice but had some issues. The top of the rim and the inner edge had been hacked up. The stem also has some heavy nicks and dings in it. It was really clean though and I had very little to do as far as getting the inside clean.

Here are some photos of the pipe before I worked on it.Troy1

Troy2

Troy3

Troy4 As I stated above the top of the rim and the inner edge were badly hacked.Troy5 I began by working on the rim. I topped it and made a large concave inner rim. I don’t know if it came like this from the factory or not but it has one now. I took it down with 80 grit sandpaper and then a lot of sanding with 120 grit sandpaper.Troy6

Troy7 After I had finished rough shaping the rim I did LOTS and LOTS more sanding from 400 grit sandpaper all the way up to 2000 grit sandpaper. I used mineral oil as a lubricant for the sandpaper and also to bring out the colour of the natural wood. Troy8

Troy9

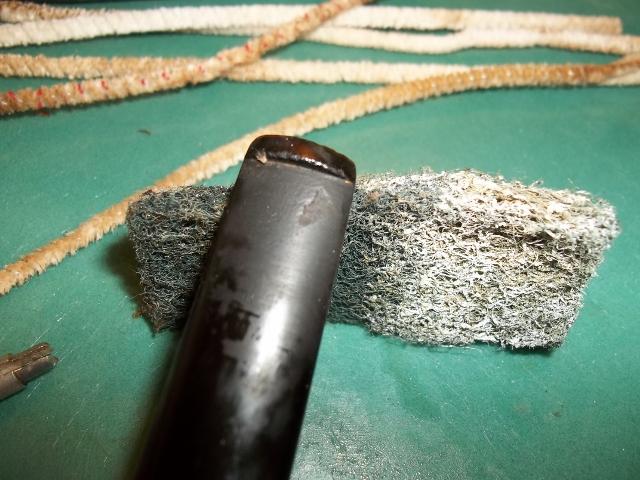
Troy10 I soaked the stem in alcohol and then scrubbed it with a green scouring pad. I cleaned it out with pipe cleaners.Troy11 The stem had several tooth marks and gouges on the top and the bottom side next to the button.Troy12

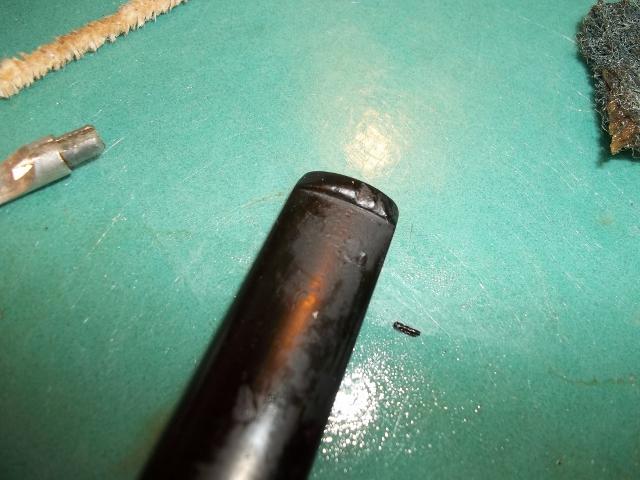
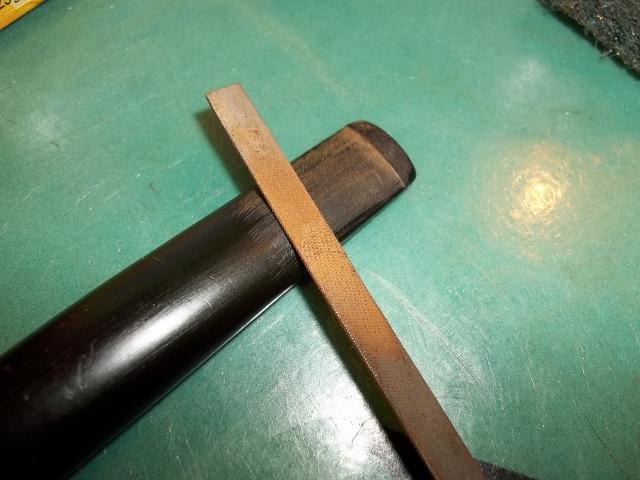
Troy13 I filed out the tooth marks and reshaped the button.Troy14 Here is a little trick that some of you may know, but I came up with it in working on the last few pipes. I thought I would share it here. After filing the stem I take a lighter and work the flame back and forth across the file marks. The heat from the lighter helps to blend in the file marks and makes it easier to sand them out.

Here is a photo of the stem before I used the lighter.Troy15 Here is a photo of the stem after using the lighter.Troy16 I buffed the rim with Brown Tripoli a few times to get rid of the fine sanding marks. I could not get the pads into the concave inner rim so I waxed it by hand with paste wax several times.Troy17 With the initial sanding and cleaning of the stem done, I still had a lot more sanding to do. There were lots of scratches and dings in it. I began sanding with 400 grit sandpaper and worked my way up to 2500 grit sandpaper.Troy18 I put the stem back on the bowl and got it ready for the final buffing and waxing.Troy19 Here are photos of the pipe after it had been buffed and polished.Troy20

Troy21

Troy22

Troy23

Troy24

Troy25

Troy26

Troy27

Troy28

Troy29

Troy30

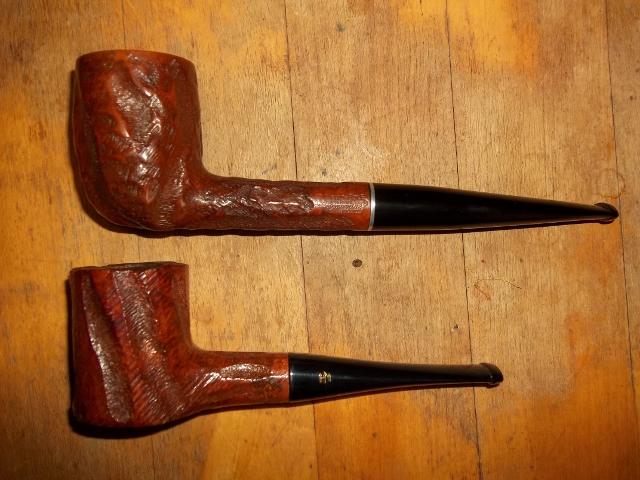
Troy31 To give an idea of the size of this pipe and put it in perspective here is a photo of it next to a Yello Bole Hand Made Poker I have. As most of you would know, a Hand Made is not a small pipe by any means. This billiard almost dwarfs it.Troy32

Rejuvenating an Italian Sitter stamped MAT


Blog by Steve Laug

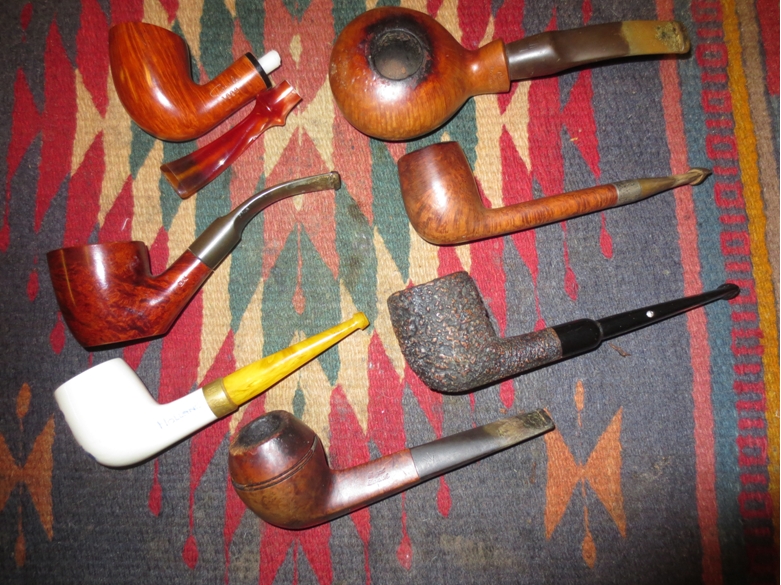
I am finally working on the last of the pipes that I picked up on craigslist – a sitter that is stamped MAT and Italy. It was my least favourite shape in the lot. I left it to the very end to work on. It is shown in the photo below in the middle of the left column.craig5 It was a bit of a mess. The stem was stuck in the shank and was oxidized. It also had some tooth chatter. Once again there was the calcification on the stem that comes when a softie is left in place on the stem. The bowl had a shiny varnish finish but that was dulled with a lot of tars and oils. The rim was caked with a very hard, thick coat of tars and oil – lava over flow from the bowl. The bowl itself was caked. There were quite a few fills in the bowl on bottom and on the back side of the bowl near the shank. There was also an area of fills on the top of the rim and a small crack that had been filled on the back side of the bowl near the rim.Mat1

Mat2

Mat3

Mat4

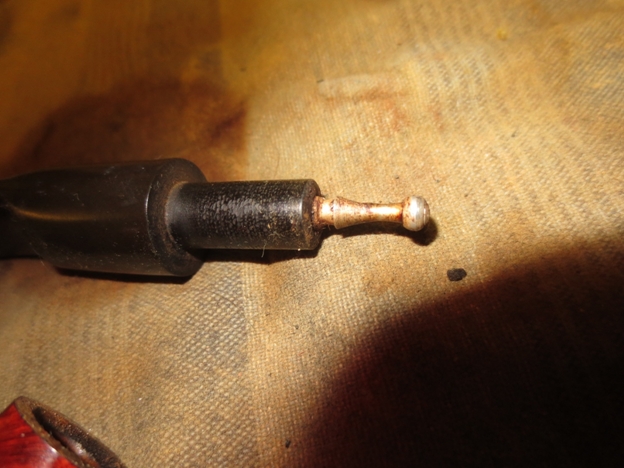
Mat5 I put the pipe in the freezer for an hour to loosen the stem. After an hour of cooling I was able to twist the stem out of the shank. I was a little surprised to find a very short – ½ inch stinger in the end of the tenon.Mat6

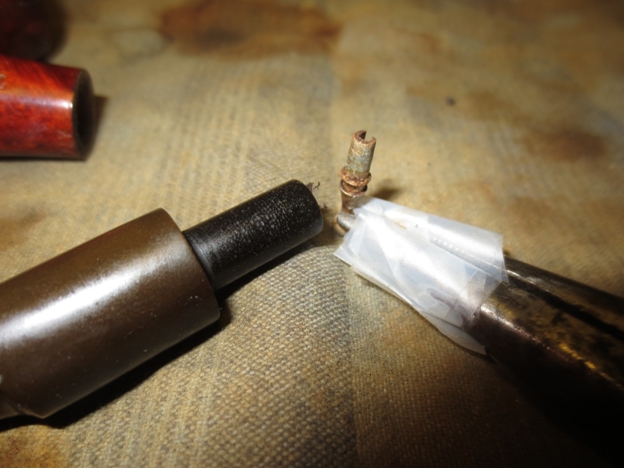
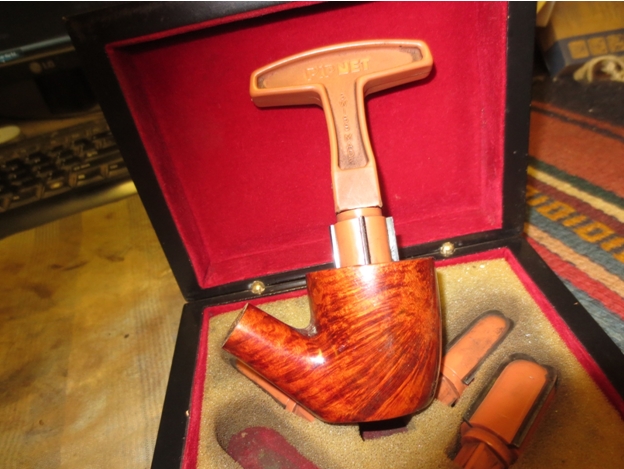
Mat7 I heated the stinger with a lighter and then twisted it out of the tenon with a pair of pliers on which I had wrapped tape around the jaws. This tape prevented the jaws from damaging the aluminum stinger.Mat8 I set the stem aside and reamed the bowl with a PipNet reamer. I used three of the four cutting heads to remove the cake from the bowl. With the small crack on the back edge of the bowl I wanted to expose the interior of the bowl and check out the interior for cracks.Mat9

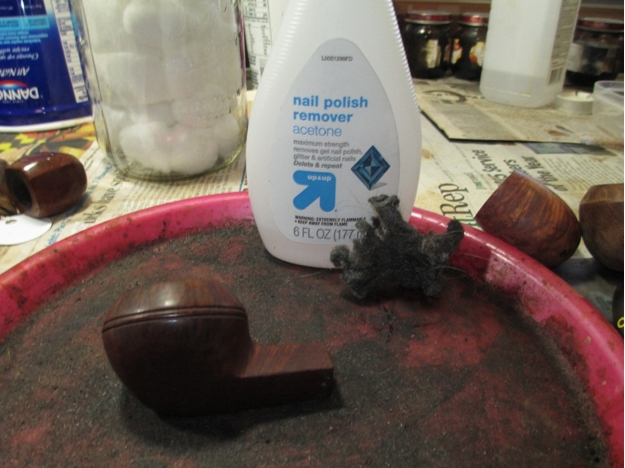
Mat10 To remove the hard lava from the rim I used a sharp blade pressed flat against the rim to scrape away the buildup. I scraped and then wiped it down with alcohol to soften the tars. I continue until I had removed the cake. In doing so I found that just above the crack on the back of the bowl was an area of several small fills that were on the rim.Mat11 I scrubbed the surface of the bowl with acetone on cotton pads to remove the varnish that was on the finish. I wanted to get underneath that finish so that I could do a repair on the small crack and also get to the surface of the briar. I personally do not like the thick varnish coats that are on some pipes.Mat12

Mat13

Mat14

Mat15

Mat16 I cleaned out the small crack with a dental pick and alcohol. I drilled a tiny hole at the bottom of the crack to stop it from spreading. Once it was clean I stuffed briar dust into the crack and then dripped some super glue on to the rim and the side of the bowl to fill in the crack.Mat17

Mat18 I sanded the rim and the repaired area with 220 grit sandpaper and then with a medium and a fine grit sanding sponge to smooth out the surface. I cleaned out the shank and the stem with pipe cleaners, cotton swabs and alcohol.Mat19

Mat20 I sanded the stem with 220 grit sandpaper to remove the tooth chatter and light tooth marks. I also sanded it to remove the oxidation. I followed that by sanding with a medium and a fine grit sanding sponge.Mat21

Mat22 I buffed the stem with red Tripoli to break through the oxidation. I sanded the stem with micromesh sanding pads – wet sanding with 1500-2400 grit pads.Mat23 I rubbed the stem down with Obsidian Oil and then buffed it a second time. I dry sanded with 3200-12,000 grit micromesh sanding pads.Mat24

Mat25 I used some dark cherry stain that I had on hand – this stain is a water based stain and matched the colour of the original bowl. I applied the stain with a folded pipe cleaner and once I had covered the bowl I let it sit for a few moments before wiping it off.Mat26

Mat27

Mat28

Mat29

Mat30 I wiped down the pipe with a cotton cloth to remove the excess stain and give it a light hand buff.Mat31

Mat32

Mat33

Mat34

Mat35

Mat36

Mat37

Mat38 I buffed the pipe and stem on the buffing wheel using pads charged with red Tripoli and with Blue Diamond. I gave the pipe multiple coats of carnauba wax and then buffed it with a clean flannel buffing pad to give it a shine. The finished pipe is shown below.Mat39

Mat40

Mat41

Mat42

Saving a Pipe – Restoring a Royal Danish 33 Bulldog that had seen better days.


Blog by Steve Laug

I am in the midst of a particularly labour intensive restoration of a Royal Danish 33 Bulldog. It was in very rough shape but having met the old timer who it originally belonged to I decided to make the extra effort to bring it back to life. It was obviously a favourite pipe of his and he as much as said so. I think it was the only one of the lot that he felt bad about letting go of when he sold me the lot. Often I will take time to read some of my favourite blogs during lunch break at work or even when I come home to help me unwind from a long day. I read before I pick up a pipe to work on or restore and find that it helps focus my attention. Yesterday at lunch I came across an article by Alan Chestnutt on his blog on his website Reborn Briar Estate Pipes that really resonated with what I was feeling as I worked on the particular pipe. He called the work he does as a pipe restorer – “saving the pipes”. I think that is a particularly poignant description of the work on this Royal Danish 33 Bulldog that I picked up in the lot from craigslist. It is shown in the first photo below at the bottom middle of the photo. In the second photo it is in the right hand column at the bottom of the photo.craig5

craig6 The old timer was a well loved pipe and obviously a good smoking pipe. It was in rough shape. In fact it was in the roughest shape of the lot. The photos below show the state of the pipe when I brought it to the work table. The finish was rough and dirty with lots of scratches and dents in it. The rim was shot. The front side was worn down from beating out dottle when the smoke was finished. The drop from the height at the back of the bowl to the height at the front was over ¼ inch and the surface was chewed up. The outer edge of the bowl on the front was obliterated. The rim surface was beat up as well. There were thick marks of tar or oil on the sides of the bowl and rim that were sticky. The bowl was heavily caked. The double ring around the bowl was damaged. Over ½ of the briar between the rings was broken and missing. The stem was oxidized and chewed. The topside of the stem had deep dents near the button that went up almost a half an inch. On the underside the tooth marks were even deeper and there was a hole in the stem where it had been gnawed through. Around the stem was calcification that is common pipes that have had a softie bit on the stem. I think the old timer who had this pipe slipped the softie bit over the damage so he could keep smoking his favourite pipe.Dan1

Dan2

Dan3

Dan4 The next series of photos show the thickness of the cake, the extent of the damage to the rim and the missing pieces of the briar between the double rings around the cap of the bowl.Dan5

Dan6

Dan7

Dan8 I reamed the bowl with a PipNet reamer starting with the smallest cutting head and working up to a head that was almost the same diameter as the bowl. I took the cake back to a very thin layer on the bowl.Dan9

Dan10 I decided to sacrifice some of the height of the bowl to give back some dignity to the tired bowl. I topped the bowl in stages on a topping board. The back side of the rim was significantly higher than the front of the bowl so I started by leveling out the bowl height all the way around the bowl. I brought the back side down to the same height as the damaged portion.Dan11

Dan12

Dan13 Once the height was even all the way around the bowl it was time to work on the front edge damage. At this point in the topping process I pressed the bowl down on the topping board with even pressure front and back and moved it on the sand paper in a circular motion.Dan14 I continued sanding until the damage on the front top of the rim was minimized. There was still damage on the front of the bowl that would need to be addressed to smooth out the damage to the bowl. I wiped the bowl down with acetone on a cotton pad to remove the sticky oils and tars spots on the bowl sides. I also cleaned up the damaged area on the front of the bowl so that I could repair it.Dan15

Dan16

Dan17 I dripped some super glue into the damaged surface and then pressed briar dust into the glue. I then gave it a top coat of super glue as well. In the photo below you can see the repaired edge and the repair to the gouges and damage on the bowl front. Dan18 I sanded the repaired area with 220 grit sandpaper and then with a medium and a fine grit sanding sponge to blend the repair into the surface of the briar. The next photo shows the same spot on the bowl after sanding the repair. The second photo below shows the top view of the rim repair. The dark/shiny edge at the bottom of the photo is the super glue repair.Dan19

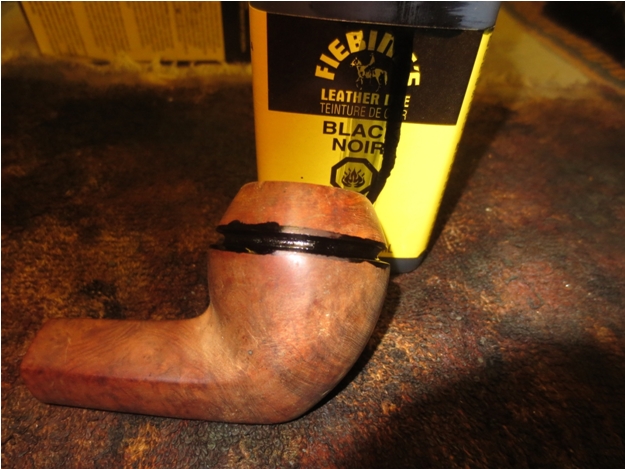
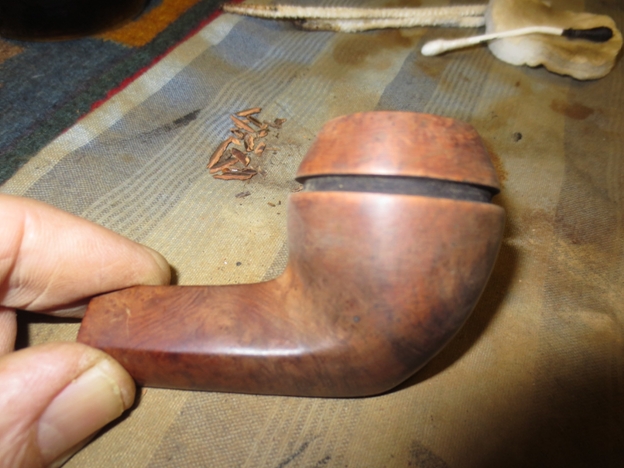
Dan20 I tried to fill in the damaged briar between the double rings around the bowl. I filled in the areas with briar dust and super glue but when I tried to re-score the two lines the fills fell out of the ring. After several failed attempts to build up the centre I finally decided to remove the centre from between the two rings. I used a sharp knife to lift out the centre portion all the way around the bowl. With that gone I used a folded piece of 220 grit sandpaper to sand the surface smooth in the groove. I also sanded it with the sanding sponges to remove the scratching.Dan21

Dan22

Dan23

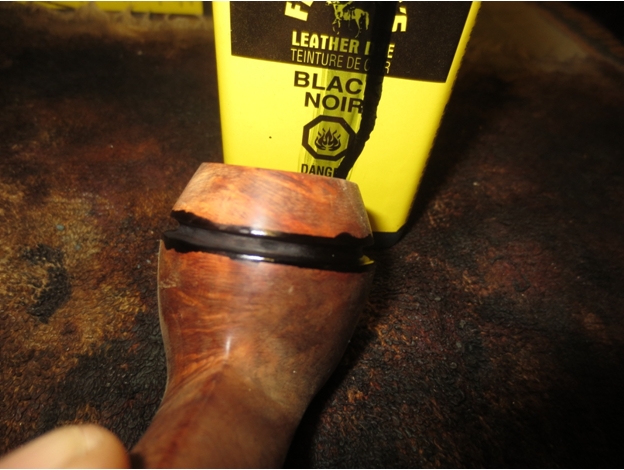
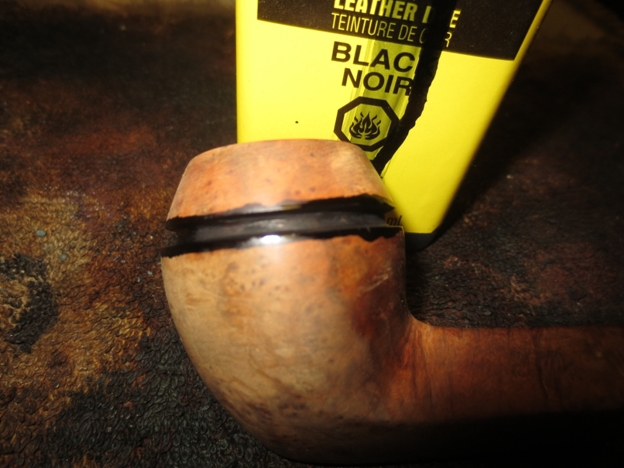
Dan24 I decided to stain the groove to highlight it rather than hide it. I used a black aniline stain and applied it, flamed it and repeated the process until I had the coverage in the groove that I wanted.Dan25

Dan26

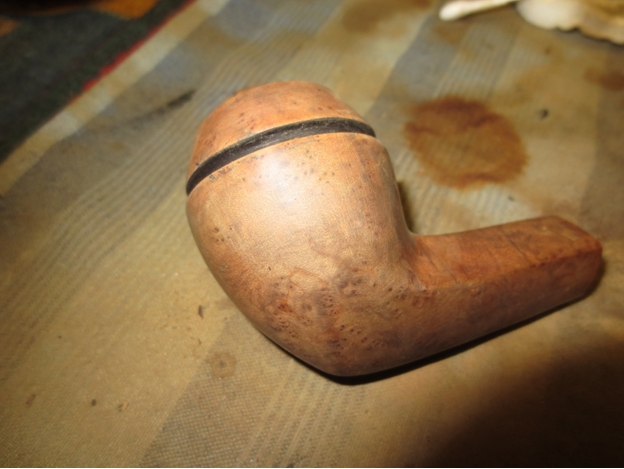
Dan27 I sanded the bowl sides around the groove to remove the spillage of the stain. I worked on the bowl until the black was confined to the groove and the top and bottom edges. The more I sanded the bowl the more I liked the grain that I was seeing come through. There was some great flame grain, birdseye and mixed grain on the bowl and shank.Dan28

Dan29

Dan30

Dan31 I decided to do a contrast stain on the rest of the bowl to highlight the grain and contrast with the black stain in the groove. I heated the briar and stained it with a black aniline stain. I applied it and flamed it, and repeated it a second time. Once it was dry to touch I wiped the bowl down with alcohol and then with acetone on cotton pads to remove the black stain from the surface of the briar and leave it in the grain.Dan32

Dan33

Dan34

Dan35 I set the bowl aside to dry for awhile so I could work on the damage to the stem. I sanded the stem with 220 grit sandpaper to remove the oxidation and to clean up the calcification around the damaged areas of the top and underside of the stem.Dan36

Dan37 I wiped the stem down with alcohol to clean the surface of the stem so I could apply the superglue patch. I used a dental pick to remove debris and damage vulcanite. I greased a pipe cleaner with Vaseline and inserted it in the button underneath the hole in the stem. I built up the area around the hole with black super glue. I sprayed it with an accelerator to allow me to add a second and third coat to the repair to the hole. I then flipped the stem and repaired the deep tooth marks on the top of the stem. I filled them and also sprayed them with the accelerator.Dan38

Dan39 Once the stem patch was dry to touch I put the stem back in place on the bowl and sanded the bowl with a medium and a fine grit sanding sponge to remove more of the black stain. I also used a fine grit sanding block. The next four photos show the bowl with the black removed and the grain patterns highlighted.Dan40

Dan41

Dan42

Dan43 I set the pipe aside for the night and let the stem repairs cure over night. In the morning I sanded the patched areas with 220 grit sandpaper and with a medium and fine grit sanding sponge. I rubbed the bowl down with a light coat of olive oil to see what contrast would look like. I really liked the overall look of the bowl with the contrast. Seeing this I knew what contrast stain colour I would use on the next stain coat.Dan44

Dan45

Dan46

Dan47 There were still small pits in the patches on the top and bottom repairs. I find that when I use an accelerator the spray causes these bubbles that once dry pop and leave pits in the surface of the finish. I sanded the stem surface some more with 220 grit sandpaper to smooth it out and then added another coat of black super glue. When it dried I sanded it again to bring it smooth. In the next two photos you can still see some small pits in the finish.Dan48

Dan49 I repeated the process of filling in the pits and then finished by using some clear super glue which dries more quickly and brushing it over the pitted areas on the stem. Once I had that done I sanded the stem with micromesh sanding pads. I wet sanded with 1500-2400 grit pads. The surface was significantly smoother but the patches still showed through the finish.Dan50

Dan51 I dry sanded with 3200-4000 grit micromesh pads and rubbed the stem down with Obsidian Oil. Once it dried I repeated the sanding with the same pads. The patches are still visible but are gradually blending into the surface of the vulcanite.Dan52

Dan53 I buffed the stem with red Tripoli to remove the scratches in the rubber and to further blend the patches. I then took it back to the work table and dry sanded it with 6000, 8000 and 12,000 grit micromesh pads. I rubbed it down with another coat of Obsidian Oil and set it aside until it was absorbed.Dan54 I rubbed the stem down with Scratch X2.0 to polish the scratches. It is a plastic polish and blemish remover that is used on acrylic/plastic headlamps. It worked wonders in removing the remaining scratches in rubber stem material. I then buffed the stem with Blue Diamond on the buffing wheel and gave it several coats of carnauba wax. I buffed it with a clean flannel buff to raise the shine shown in the next two photos.Dan55

Dan56 After finishing the stem it was time to give the bowl its contrast coat of stain. I used an oxblood aniline stain. I applied it with a folded pipe cleaner to keep it out of the groove around the bowl. I flamed it, reapplied it to the briar and flamed it again.Dan57

Dan58

Dan59

Dan60 I buffed the stem and bowl with Blue Diamond and then gave the entire pipe several more coats of carnauba wax. I buffed the pipe with a clean flannel buff. The finished pipe is shown below. I think that Alan Chestnutt’s definition of the restoration process as Saving the Pipe accurately describes the work that went into restoring this beauty. The finished pipe ready to fire up and be enjoyed for many more years to come.Dan61

Dan62

Dan63

Dan64

Dan65

A Bachelor’s Soliloquy for a Lovely French Camelia Bulldog


Guest Blog by Robert M. Boughton
Member, North American Society of Pipe Collectors
http://www.naspc.org
http://www.roadrunnerpipes.com
http://about.me/boughtonrobert
Photos © the Author

My oldest pipe, my dearest girl,
Alas! Which shall it be?
For she has said that I must choose,
Betwixt herself and thee.

Farewell, old pipe; for many years
You’ve been my closest friend,
And ever ready at my side
Thy solace sweet to lend.

No more from out thy weedy bowl,
When fades the twilight’s glow,
Will visions fair and sweet arise
Or fragrant fancies flow.

No more by flick’ring candlelight
Thy spirit I’ll invoke,
To build my castles in the air
With wreaths of wav’ring smoke.

And so farewell, a long farewell–
Until the wedding’s o’er,
And then I’ll go on smoking thee,
Just as I did before.

― Edmond Day, “A Bachelor’s Soliloquy,” in Bain Jr., John, ed., “Tobacco in Song & Story,” 1896

INTRODUCTION
Aware of my sometimes peculiar use of quotes to lead into blogs, I ask that you try to follow this reasoning behind the above description of a somewhat disingenuous if humorous plan. As a recovered alcoholic (which is not to say cured), I have not found it necessary to return to the certainty of the lifestyle I led until my last drink of the life-deadening liquid, for persons of my nature, 27 years and a few months ago. Still, I remember with a cringe the oft-quoted “Lips that touch wine shall never touch mine,” a slight adjustment of the popular slogan of the Temperance Movement in the late 19th and early 20th centuries, that I used to hear with frequency in certain circles.

I always recoiled from the notion as being too Puritanical for my liking. Likewise, as a bachelor, I still (or perhaps more so now, given the socio-political incorrectness of enjoying tobacco, even a pipe) encounter the ultimatum of choosing my great, sundry pleasures derived from these marvelous instruments of relaxation and contemplation, or someone with whom to share my life. Being somewhat obdurate when push comes to shove, so to speak, I have no trouble saying fare thee well to all who spur the ominous prognostication of the inevitable disaster of any proposed relationship founded upon such Draconian conditions.

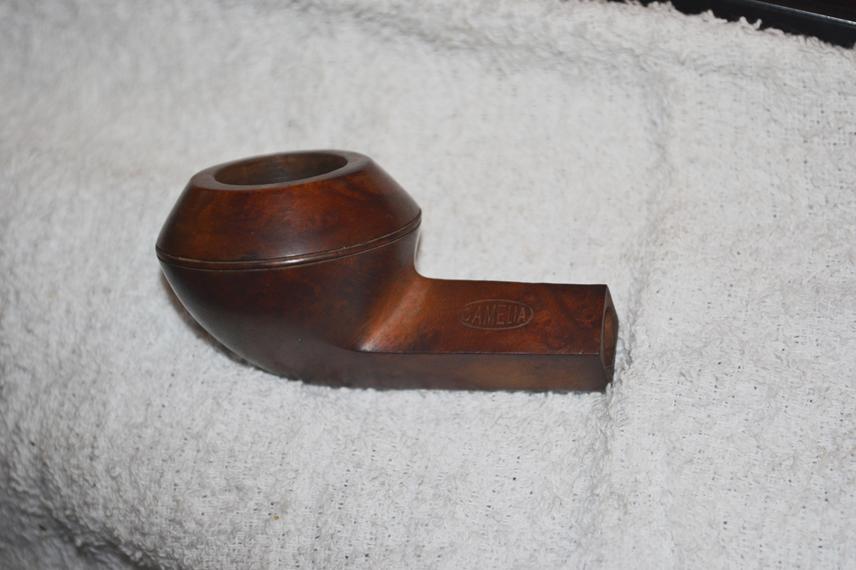
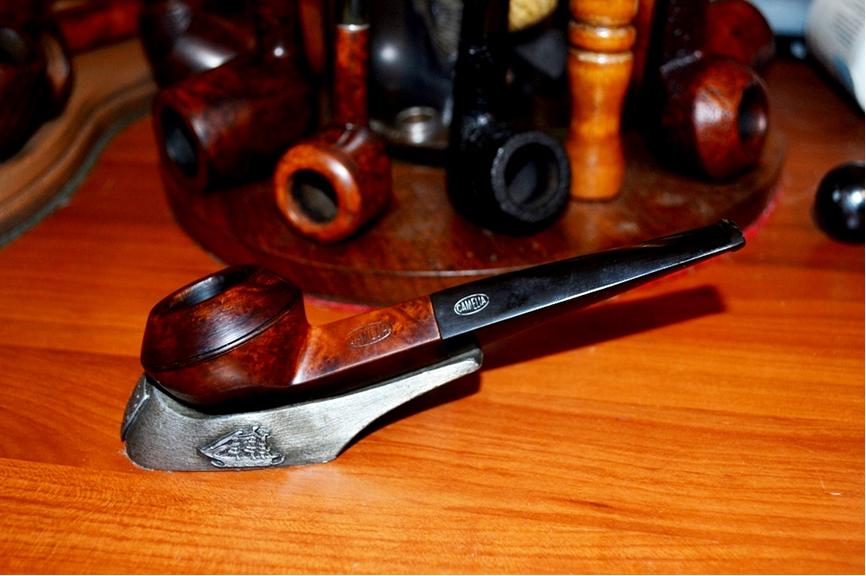
Thus, coming upon the quote in an old collection devoted to the comforting qualities of fine tobaccos, I made a mental connection with the habits of many former drinkers to eschew even those who are able to enjoy liquor socially and responsibly, and their cohorts in the dating war who substitute tobacco use as the evil enemy. People of these sorts are deluded by their recruiters. And while, again, I do not condone the deceptive behavior suggested by the English-speaking but now apparently almost forgotten poet, I do understand his hunger to enjoy all of life’s appetites, and I find it somehow French in attitude, and by association à propos to my sentiments for this lovely example of the elegant Camelia straight smooth bulldog #699, originating in France of excellent lineage, being, according to Pipedia, an obsolete line of pipes once made by GBD.

[There is, by the way, an anonymous, very funny spoof on Hamlet’s famous soliloquy, called “The Bachelor’s Soliloquy,” available at http://www. monologuearchive.com/a/anonymous_001. html.]

THE RESTORATION

Cam1

Cam2

Cam3

Cam4

Cam5

Cam6

Cam7 While the stem sloughed off its inner and outer impurities in an OxiClean soak, I turned to the briar. The rim burn was removed with greater than usual ease using super fine steel wool, and the chamber cake crumbled almost as fast with a few turns of a 17mm reamer followed by 150-grit sandpaper, then 320.

I removed the stem from its soak and rinsed it before wiping off the residue and cleaning the air hole with a soft, thick cleaner. The resulting evidence made clear that a large area, on both sides below the bit, required more work before applying the micromesh.Cam8

Cam9 And so I reattached the stem to the shank and retorted the pipe before finishing the stem with light work using 320-grit paper on the scratched areas before a four-stage micromesh progression from 1500-4000.

I gave the briar a bath and saw no major scratches or other blemishes. My next step of micro-meshing the wood the same way I did the stem turned out to be a waste of a few minutes, but what the heck.Cam10

Cam11

Cam12

Cam13

Cam14

Cam15 Granted, based on the original color of the pipe, it was already prepared for polishing with the buffers. But I seem to draw over-dark-stained pipes with unnatural frequency. I don’t think I’m alone in appreciating as much of the good grain every pipe has to offer. Therefore, I got out a small piece of the super fine steel wool to ease away a shade or two of the stain. Of course, when I could see the result I wanted, I had to re-micromesh the whole outer briar again and apply a light brown stain to the shank and lower bowl up to the bulldog line and inward curve of the top. Flaming that part and letting it cool before using 3600 micromesh to remove the film of char, I applied burgundy stain to the curved top and rim of the bowl and flamed it, and after the cool-down period I wiped it gently with the micromesh also. The effect produced was subtle but still there for the discerning eye.

Ready for the electric buffers, I took the two pieces of the Camelia from my living room work substation to the bedroom/workroom proper. For the stem, I followed my former practice of buffing with white and red Tripoli followed by White Diamond, one after the other, as I incorrectly understood they were to be applied. Then I buffed the briar with the same compounds and wax except for the red Tripoli, and including a double carnauba wax. The Camelia straight, smooth bulldog was the last pipe I worked on with this procedure because of a comment by my friend and mentor, Chuck, when I showed him the pipe. He had been asked by another member of our pipe club why my pipes appeared duller than his when compared side by side on the same table. Chuck’s close inspection of the Camelia then revealed streaking of the finishes, and he was able to deduce the reason.

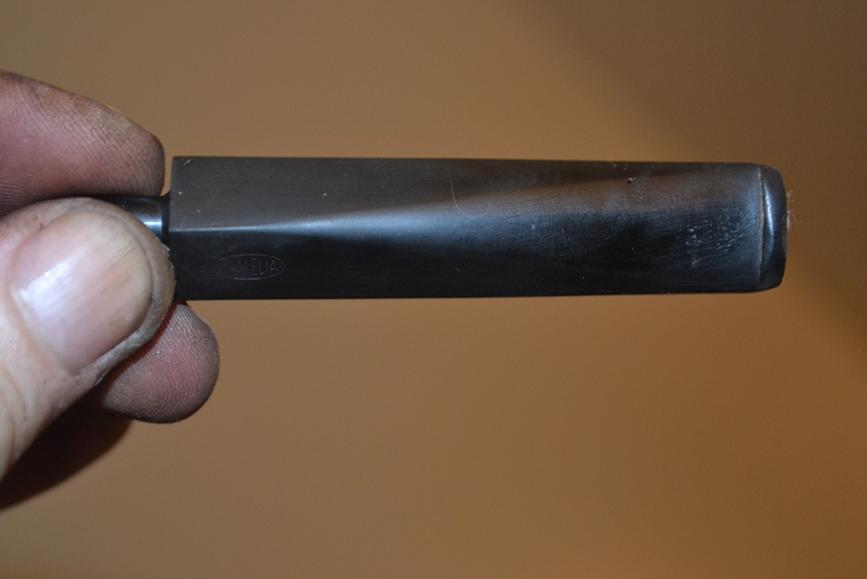
Armed with my new understanding of how to run the stem and briar over a clean buffer on the wheel between coats, I returned home later and began by putting both parts to an unused replacement pad to clear off the excess previous waxes and repeated the series of buffs, using the clean pad after each. After the re-buffs, I filled in the Camelia brand mark on the stem with a white china marker.Cam16

Cam17

Cam18

Cam19

Cam20

Cam21 CONCLUSION
The entire pipe, from bowl to bit, glowed with a far brighter and unyielding finish. Showing Chuck the new and improved completed Camelia, he smiled after the quick look-over that is necessary when nothing is wrong, and asked with obvious excitement, “Was I right? Doesn’t that simple step make all the difference in the world?”

Yes, Chuck, you were right. And the world is a little bit better as a result.

Another Pre-War Yello Bole


Blog by Andrew Selking

In my quest to corner the market on pre-war Yello Bole pipes, I snagged this nice little oval shank Dublin. It’s between a group one and group two size, my smallest reamer head only fits about half way into the bowl. The best part is the pipe had not suffered serious abuse. It had some tar on the rim, along with a few nicks and a small tooth mark on the back of the stem. Here is what it looked like when I got it.Andrew1 You will notice the varnish, in a lot of cases a finish like that is to cover up imperfections in the briar. So it was with a little trepidation that I dropped the bowl into the alcohol bath.Andrew2 While the bowl marinated, I soaked the stem in Oxyclean. Next I reamed the bowl. As I mentioned earlier the reamer head didn’t fit all the way down, so I carefully removed the remaining cake with a small pen knife (which you can see in the corner of the picture) and a dental pick.Andrew3 Next up the retort. Judging from the stinger I didn’t expect a dirty pipe.Andrew4

Andrew5

Andrew6 The stem was a little dirtier, but a second retort cleared it up nicely.Andrew7

Andrew8

Andrew9 With the internals sorted, I could now see what lurked under the varnish. I used 0000 grit steel wool and acetone to remove the tar on the rim and the varnish.Andrew10 I was pleased to only find a single fill.Andrew11 It was the pink putty though, and I hate pink putty, so it had to go.Andrew12 I’ve tried as many different techniques for fixing fills as I can think of. My current technique is to use a push pin to spread a small amount of CA glue into the hole, next I pack it full of briar dust, followed by a drop of CA, followed by a drop of accelerator. The nice thing about using accelerator is you can work the repair right after drying off any remaining accelerator. Here is what the repair looked like before sanding.Andrew13 Next I tackled the oxidation on the stem. I used 400 grit wet/dry with water followed by 1500, 1800, and 2400 grit micro mesh pads with water. I always hold a washer over the tenon to prevent rounding the shoulders of the stem. Here is the stem after removing oxidation.Andrew14 I still had the tooth mark on the bottom of the stem to fix, so I mixed up some clear CA and finely ground charcoal dust and applied it with my push pin. You may notice the yogurt container, I use that to mix the glue and charcoal. When it gets too dirty I throw it away and get a new one.Andrew15 I used 400 grit sand paper to shape the fill, followed by 1500-2400 grit micro mesh. I usually don’t use water when sanding down fills. I removed the top coat of finish on the bowl with a progression of 1500 to 2400 grit micro mesh pads. Next I used 3200 to 12,000 grit micro mesh pads to polish the entire pipe. You will again notice the washer on the stem. Here is the pipe ready for final polish.Andrew16 I used my rotary tool with white diamond and carnauba wax on the stem.Andrew17 I took the bowl to the buffer and used white diamond and carnauba wax on it as well. Just a word of caution when using a buffer, hold onto whatever you’re buffing with both hands.

Here is the final result. Thanks for looking.Andrew18

Andrew19

Andrew20

Andrew21

Andrew22

Restoring an old Peterson Canadian – the old pipe in the craigslist lot


Blog by Steve Laug

The fourth pipe I took on for repair from the craigslist lot was a small Peterson Canadian with a silver band and p-lip stem. It is the second pipe down on the right side of the photo below.craig5 The stamping on this old Peterson was unique enough that I wanted more information. It was different from any of the other Petersons that I have worked on. When I need specific information on a Pete I drop an email to Mark Irwin and he never fails to give the details I need. I sent him the following email:

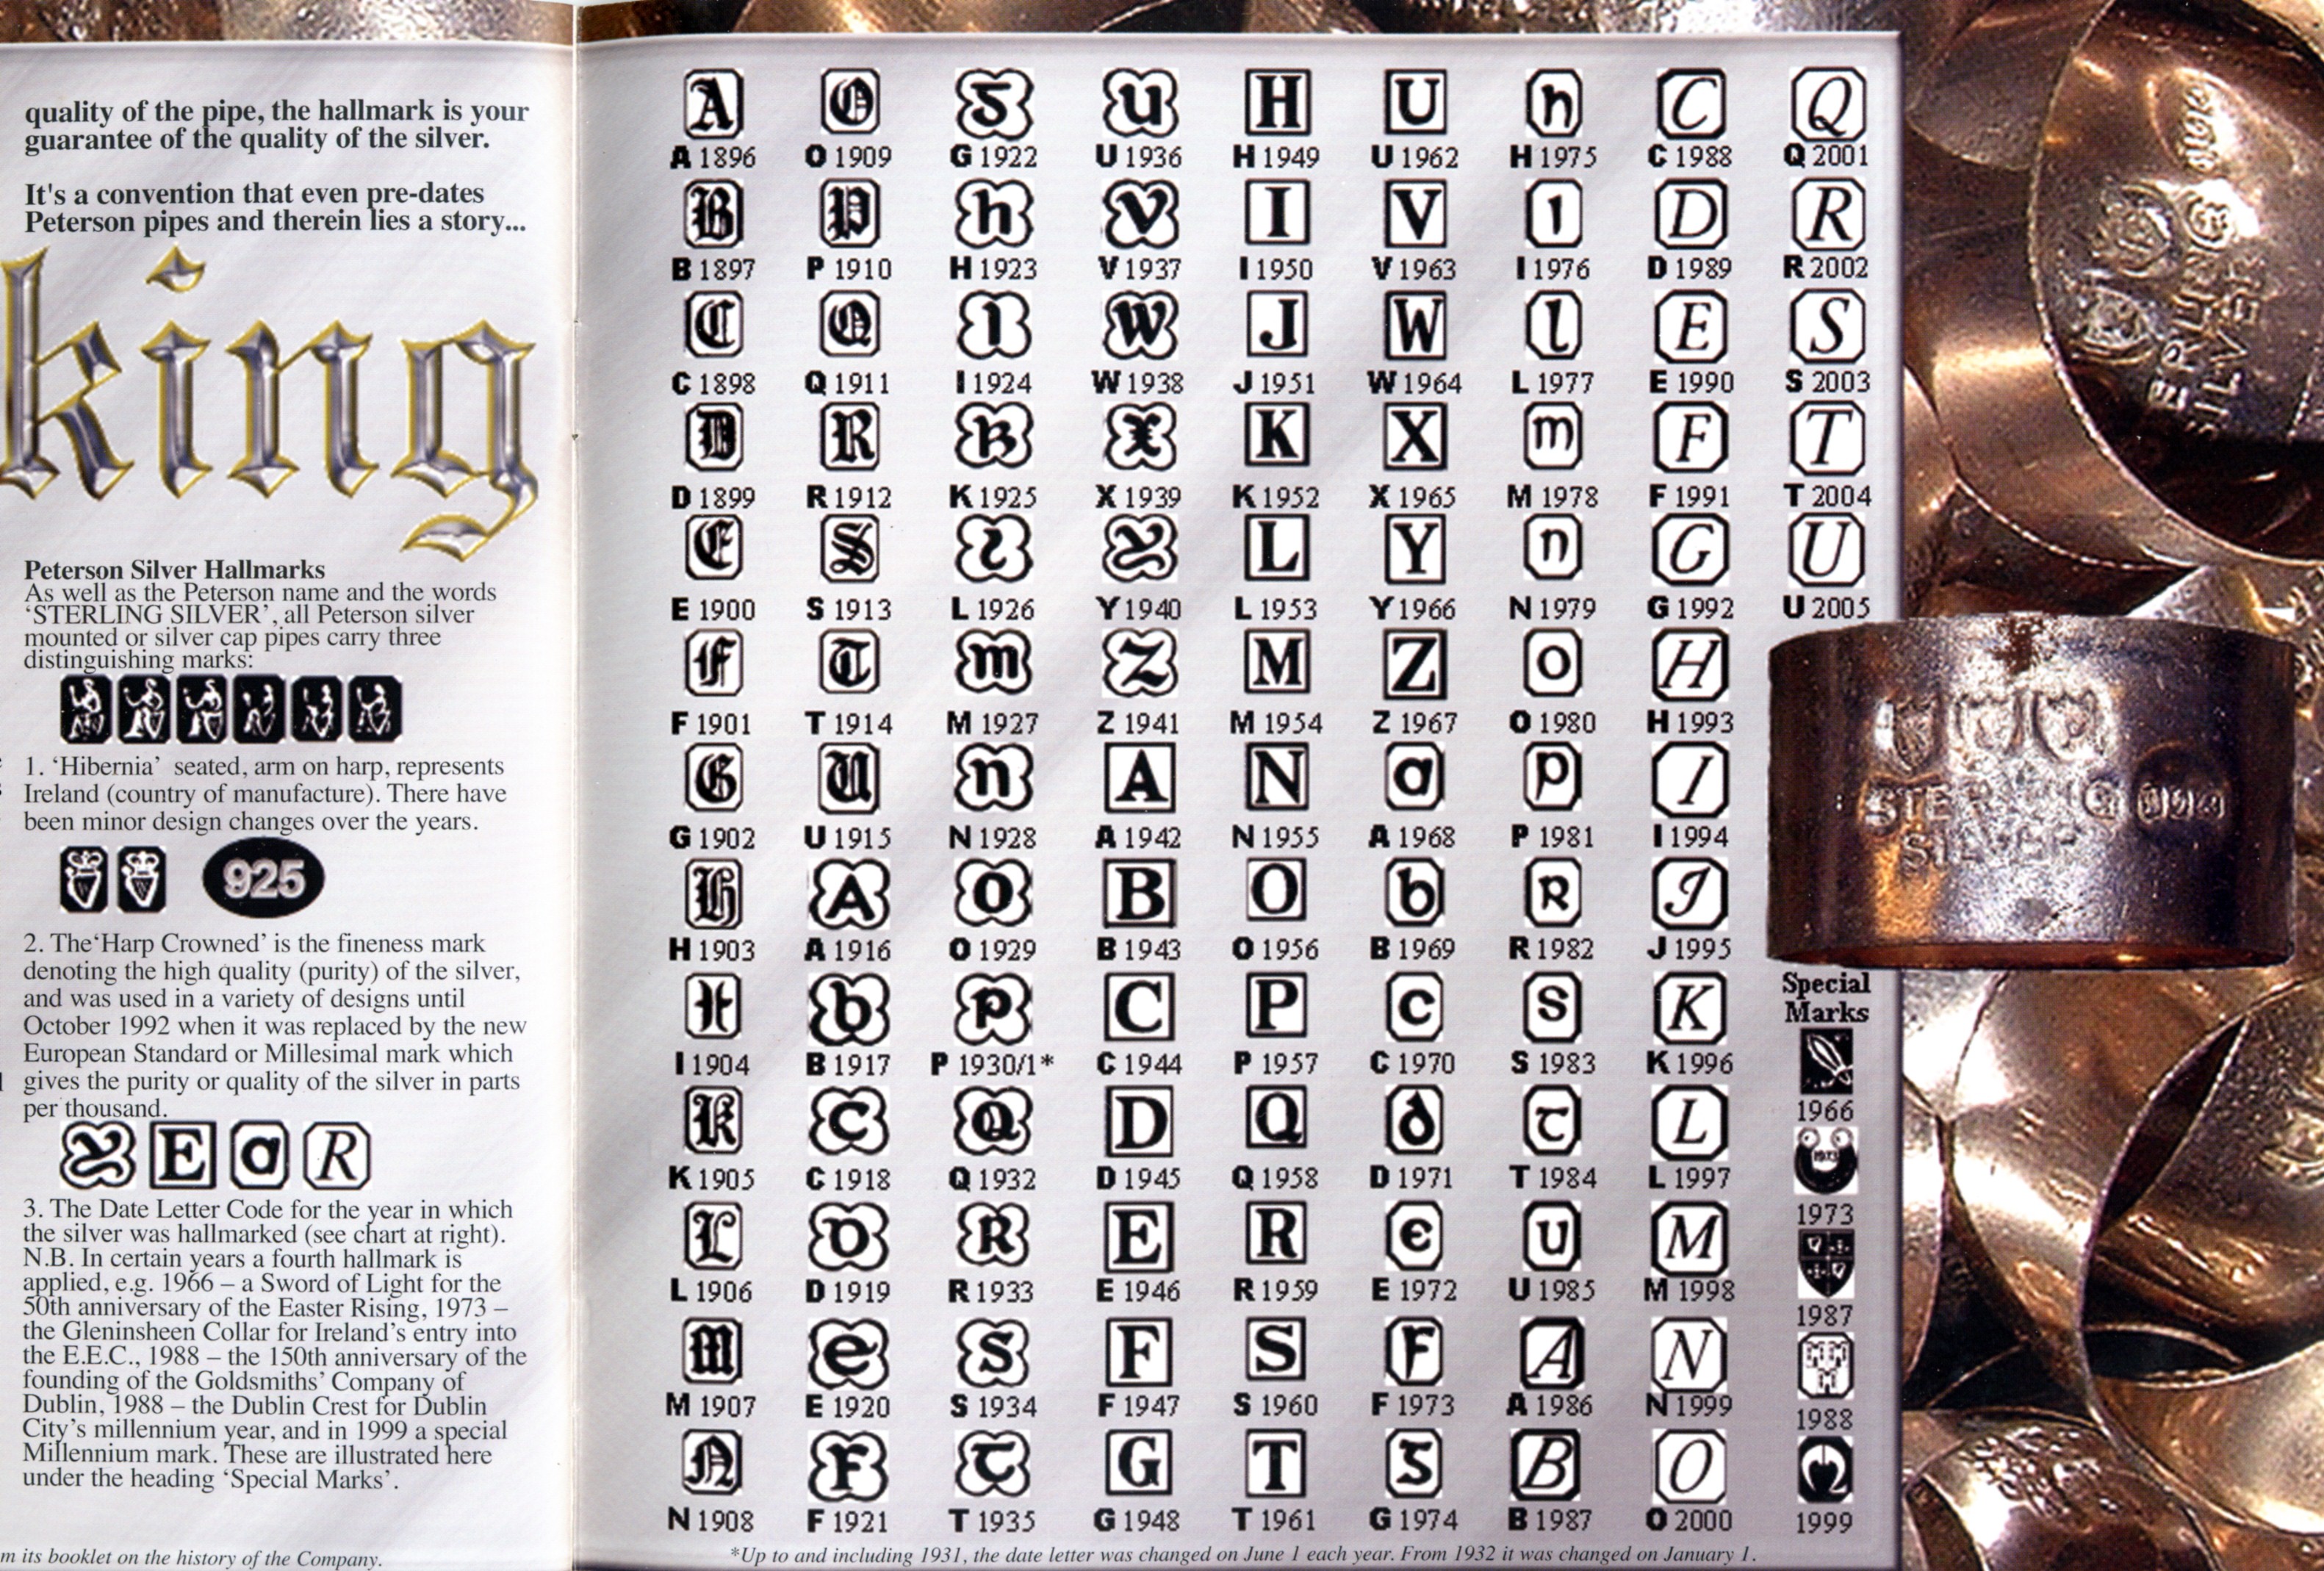
“Mark, the Peterson that I need information on is a Canadian shape with a silver band. It has the p-lip stem in quite remarkable shape under the oxidation. The stamping on the pipe is interesting. On the top of the shank it is stamped K&P over DUBLIN and on the underside of the shank it is stamped Made in Ireland in a circle with the “in” in the centre of the circle. The silver band was black with oxidation but after a light cleaning I can see that it is stamped STERLING SILVER horizontally to the shank. Over that are the K & P in three shields. Underneath there are hallmarks stamped vertically to the shank. It looks to be the typical stamping. The first two shields are worn but seem to have the Ireland figure, the 925 silver stamp and a third that looks to be a P. Any information would help. Thanks Mark.” Pete1 Mark got back to me fairly quickly with this response:

“Peterson made a number of Canadian shapes back in the day, although the standard is now the 264. The Made in Ireland in a circle suggests tells us it what made before 1949, the lack of a hallmark (aside from the K&P in 3 shields) means it was made after 1938, as they quit hallmarking from 1938-1968. No shape number stamp would seem to confirm the 1938-1949. As they made very few pipes from 1942-1945, it probably fell on either side of 42-45. If you’ll measure the length of the pipe and bowl height and width for me, I’ll check it against the 1937 catalog, which featured full scale illustrations. The ‘37 catalog doesn’t list all the Canadian shapes, however, just the more popular ones. If you want to remove the band, you might find a number scratched in the wood—we think this has to do with the band, however, and not the shape number. GT&C were Peterson’s sole importer in Canada from about 1910-1960, and after the war, they primarily carried unbanded Petes. They also had their own shape numbers stamped by Peterson—the System pipes always carry a “1” in front of the Peterson numbers—“1307,” etc. Almost every Peterson System estate for sale from Canada on eBay will have that “1” on the Systems.”

I sent Mark some photos of the unrestored pipe so he could see the stampings and the marking on it and assess its date. He responded with the following email: “Okay, what you’ve got is a Kapet, the line between the DeLuxe and the lower K line. It’s a Kapet because of the Sterling. It’s not a DeLuxe because of the “special aluminum inner tube for easy cleaning” (1937 catalog, p. 1). The K also had the inner tube, but would not have the sterling mount. The bowl itself is the same size as the current 264, although the shank is a bit shorter than the current 264. I am surprised there is no Kapet stamp on the pipe, as the ‘37 catalog engravings plainly show line stamps. But it’s a pipe, and of course subject to the vagaries of production.”

When I saw the pipe I was not too excited about it because I had not cleaned it up at all or looked at it. It was in rough shape. The finish was worn and it had dents and dings. The rim was dirty and caked with tars and oils – the lava of use. The bowl was dirty and had a light cake and a raw briar bottom of the bowl. It had not been smoked to the bottom of the bowl. The band was dark and oxidized and unreadable. The stem was oxidized and had evidently sported a softie bit like all the other pipes in this collection. I cleaned up the band enough to send Mark the information. I was more excited by the pipe once I knew its potential age. His initial response put it before 1949 and after 1938. After seeing the photos of the pipe his dating changed to potentially 1937. Thus it was the oldest pipe in the craigslist lot. It was a decent piece of briar with mixed grain and no visible fills.Pete01

Pete02 After cleaning up the silver a bit I took the following photos. These are the ones that I sent Mark to help date the pipe and give me as much information as he could.Pete2

Pete3

Pete4

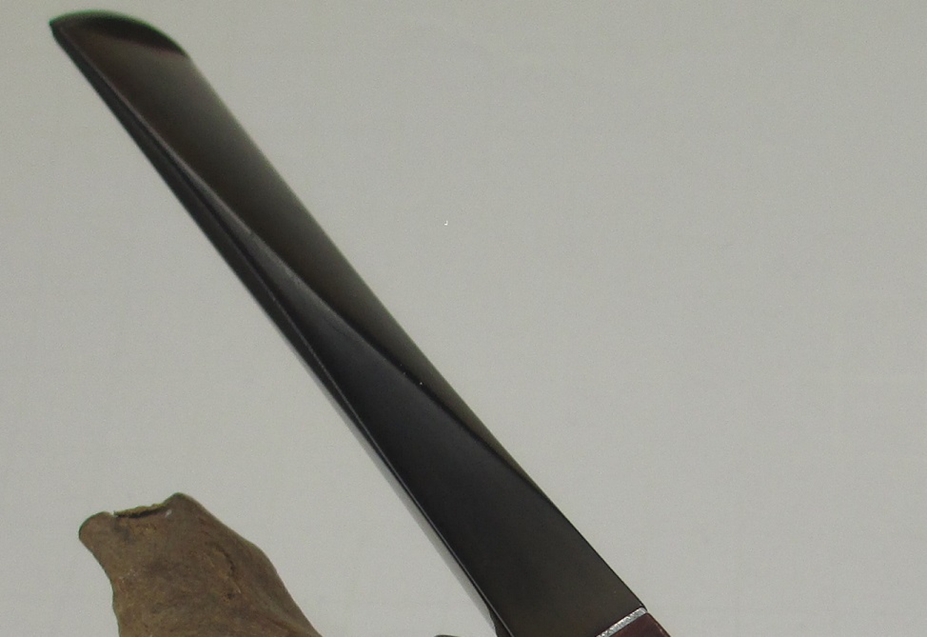
Pete5 I took some close up photos of the stem to show the inner tube more clearly as well as the state of the stem. As can be seen from these photos, under the oxidation the stem is in great shape with no tooth marks or chatter that needed to be address. The P-Lip was in great shape with no tooth damage to it either. The stem should clean up very well.Pete6

Pete7 I used a silver polishing cloth and silver polish to further remove the oxidation from the band. I also scrubbed it with some cigar ash and found that it worked extremely well to remove the tarnish on the sterling silver band.Pete8

Pete9 I sanded the oxidation and calcification off the stem with 220 grit sandpaper. I then sanded the stem with a medium and a fine grit sanding sponge.Pete10

Pete11 I reamed the bowl with a PipNet reamer and took it back to a very thin cake. I also scrubbed the rim with isopropyl alcohol to remove the tarry buildup that had accumulated there. It took a lot of elbow grease and hard scrubbing but it all came off. There was some darkening on the inner and outer edge of the rim. I also scrubbed the bowl down with the alcohol on cotton pads to remove the grime and dirt on the finish.Pete12

Pete13

Pete14

Pete15 I scrubbed out the shank and the stem with pipe cleaners, cotton swabs and isopropyl alcohol until it was clean. The pipe even smelled fresh!Pete16 I sanded the stem with micromesh sanding pads – wet sanding with 1500-2400 grit pads and dry sanding with 3200-12,000 grit pads. I rubbed the stem down with Obsidian Oil as usual between each set of three pads. Once it was finished I buffed the stem with Red Tripoli to get some of the stubborn oxidation off at the tenon end and the Blue Diamond. I took it back to the work table and repeated the dry sanding with 4000-12,000 grit pads.Pete17

Pete18

Pete19 I buffed the finished pipe with Blue Diamond and then gave the stem and bowl several coats of carnauba wax to protect the finish and stem and give it a shine. I then buffed it with a clean soft flannel buff to raise the shine. The finished pipe is shown below. It is ready to load with a bowl of my favourite Virginia and be reintroduced to what it was made for.Pete20

Pete21

Pete22

Pete23

Pete24

Pete25

Pete26

ADDENDUM – I find I need to correct this post. Instead of rewriting it and changing it I decided to add this to the end of the story.

After doing a bit more research and receiving another email from Mark I took the pipe out into bright light and used a jeweler’s loop to see if I could read the faint hallmarks on the band. Mark sent along an older Peterson Hallmark chart and I compared the faint stampings to the chart. I could see a cartouche with a P in it that led me to amend my original post – the pipe is not a 30s era Pete but rather a Pete from 1981. Ah well. The thrill of having an old one lasted for at least a day…Peterson Hallmark Chart

Using a Rotary Tool to Buff Stems


Blog by Andrew Selking

I have been looking for a better way to make my pipe stems look good for a very long time. I started out just using high grit sandpaper, next I got a buffing attachment for my drill, after that I moved up to an actual buffer. I added micro mesh sanding pads, white diamond rouge, and carnauba wax, but still had problems with getting a consistent shine. Of course the other problem with buffing stems, especially stems with sharp edges, is the tendency for the buffer to catch the edge and fling the stem across the room. How could I ever improve my stem work?

Fortunately one of the pipe restoration gurus who does this for a living let something slip on a discussion board. He mentioned that he uses a variable speed buffer. My first thought was, “that sounds expensive,” but after giving it some thought I realized that I had a variable speed rotary tool (that’s what you call a Dremel knock off). I paid $19.99 from Harbor Freight tools and it even came with a large selection of attachments.

Here is a recent example of a stem I did using this tool. The previous owner did take care of the pipe, it was well waxed and clean inside, but if you look closely you can see the telltale signs of oxidation.Andrew1 I gave the stem my usual soak in Oxyclean, which revealed the full scope of oxidation to be dealt with. (Sorry the pictures are a bit blurry).Andrew2

Andrew3 Some people have asked me why use Oxyclean if it makes the stem look so bad. The answer is, the oxidation is present regardless whether you choose to address it or not. If you polish over the oxidation you will eventually end up with a shiny brown stem.

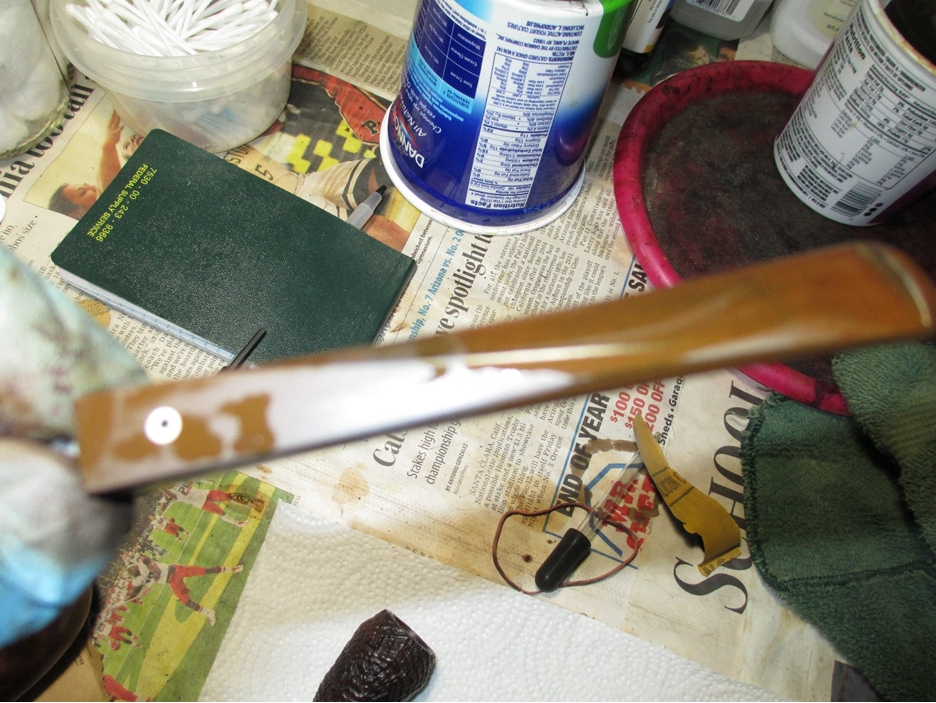
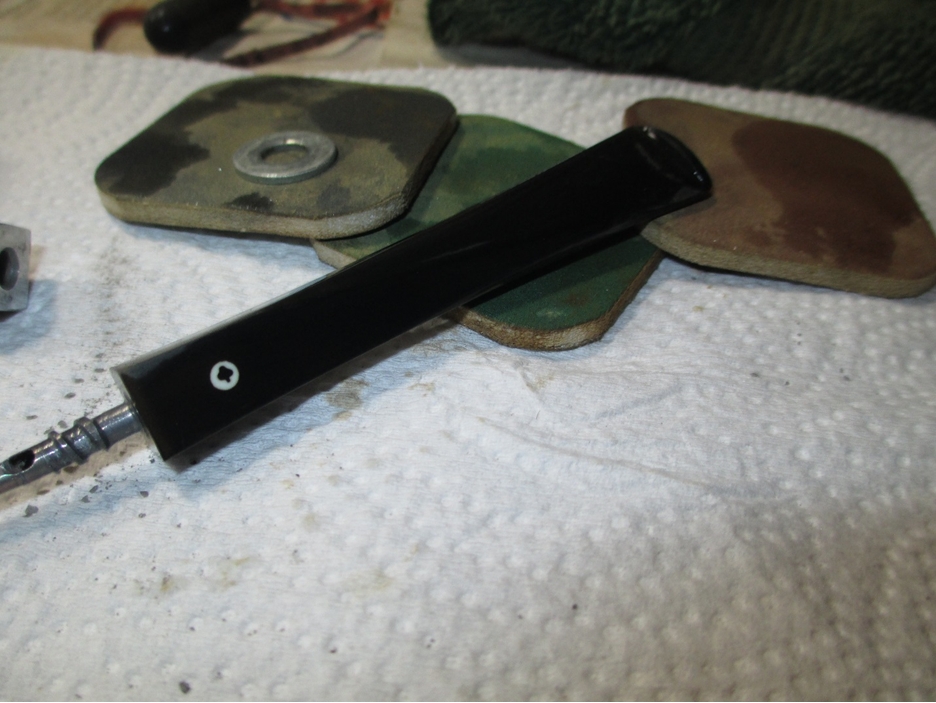
To remove the oxidation I use 400 grit wet/dry sand paper with water. Since the water makes the stem artificially shine, I dry it to make sure I get all the oxidation. Another trick I learned from one of the articles on Steve’s blog was to use a washer at the end of the stem to prevent rounding the shoulders. It’s well worth the effort. Since this stem had so many flat surfaces, I use a small plastic kitchen scraper as a sanding block with the 400 grit.

After the 400 grit I use 1500, 1800, and 2400 grit micro mesh pads with water. Here is the stem after that treatment.Andrew4 While I waited for the stem to dry I retorted the pipe and cleaned the shank. I didn’t take pictures of the process since the pipe was basically new. Once the stem was dry I used a progression of micro mesh pads from 3200 to 12,000 grit to polish the stem. In my opinion polishing with the micro mesh pads is the real key to a nice looking stem. As you progress to a finer level, you’re removing the scratch pattern from the previous one.

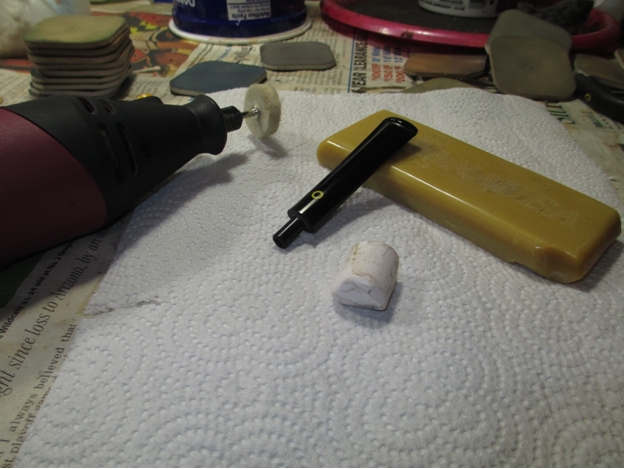
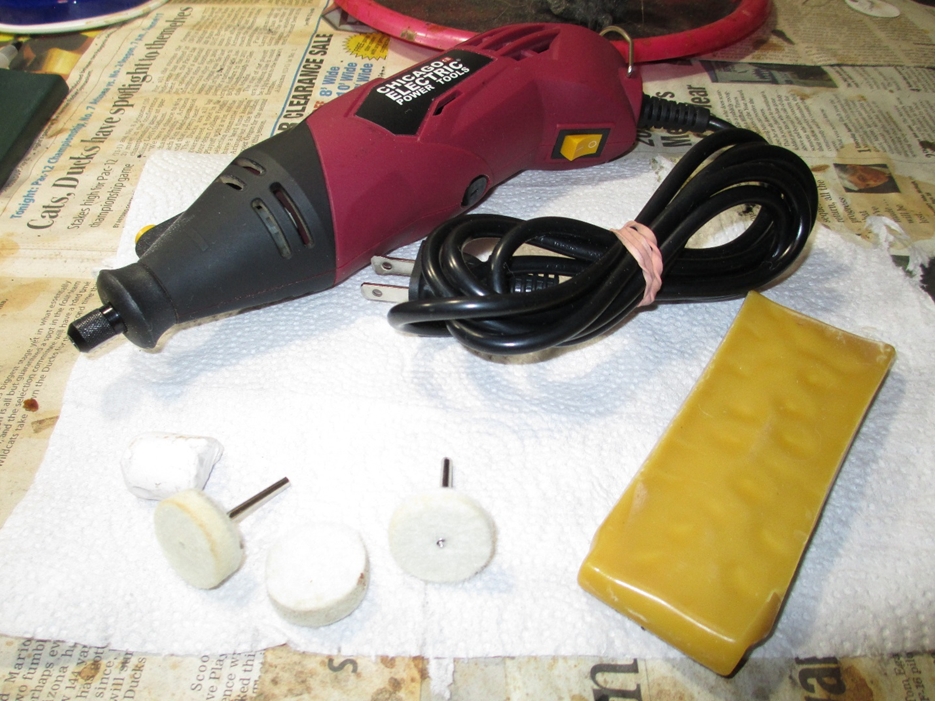
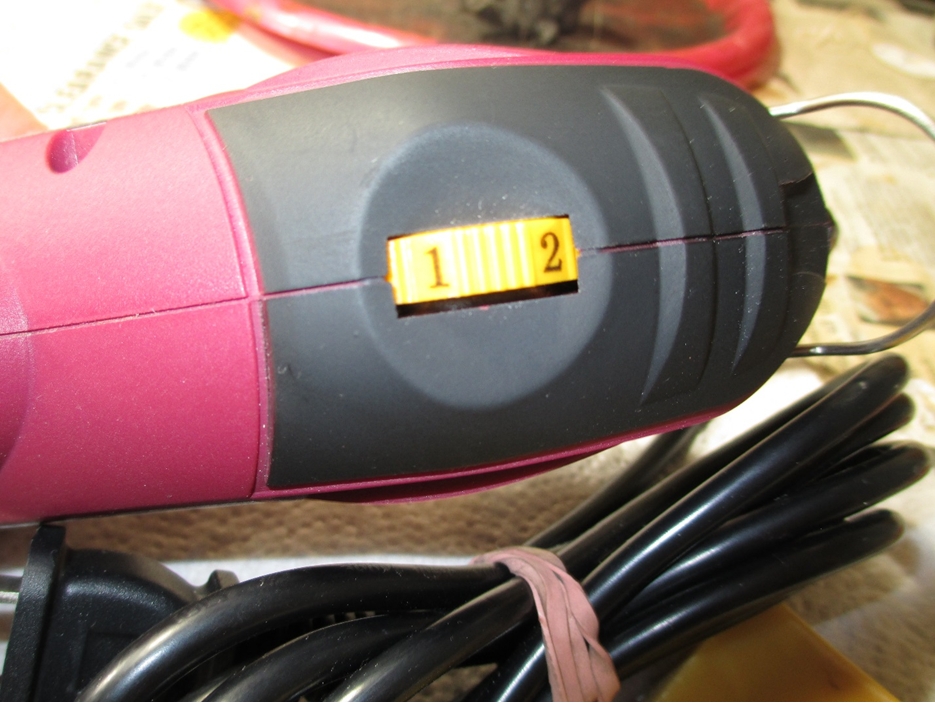
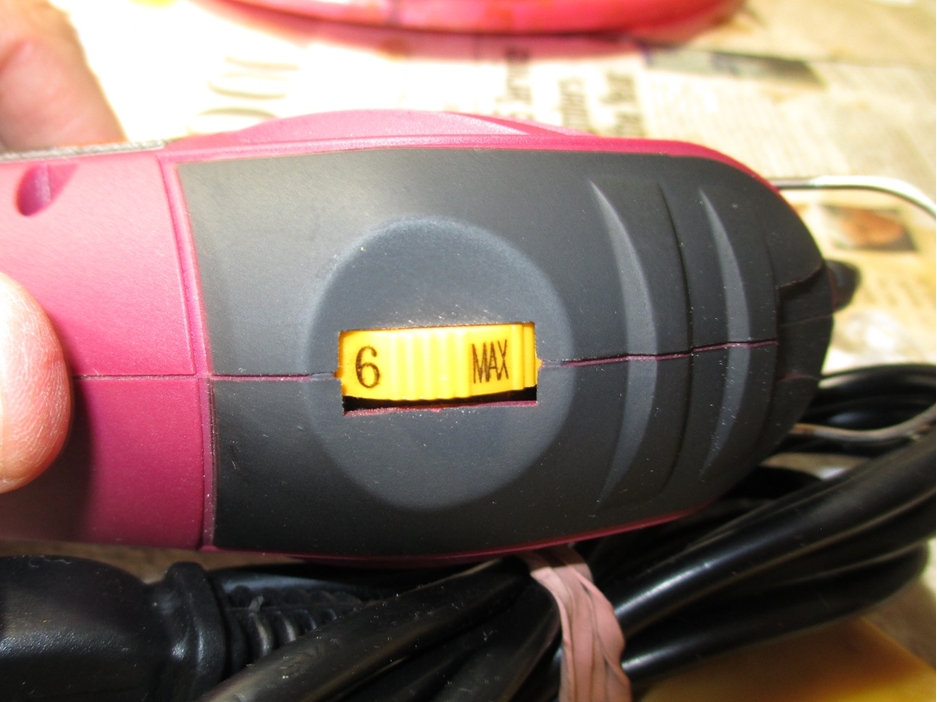
Now comes the fun part, making it shine! This is what my set up looks like. The rotary tool, white diamond, carnauba wax, and the felt pads for polishing.Andrew5 Notice the speed adjustments.Andrew6

Andrew7 To buff the stem, I set the speed to 1 and load the felt pad with white diamond. I hold the stem in one hand and apply the pad with the other. It is important to keep the pad moving, if you leave it in one place too long it will start to dig into the vulcanite. This isn’t a fast process, but I find I can get a lot better control and consistency with the shine. Once the stem is buffed to a high luster, I switch out buffing pads, turn the speed to 2, and proceed with the carnauba wax. As you can see the stem turned out pretty well.Andrew8

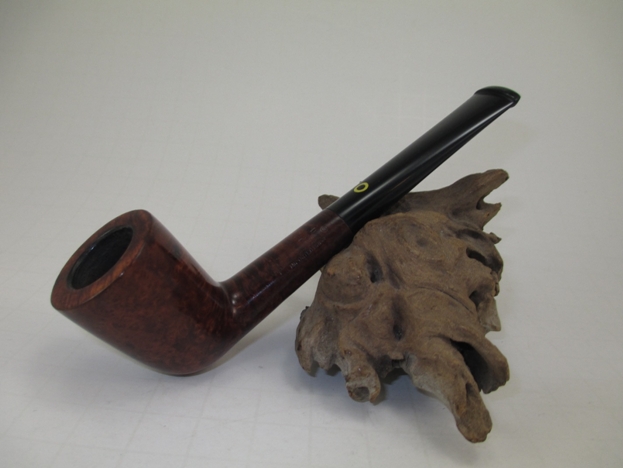
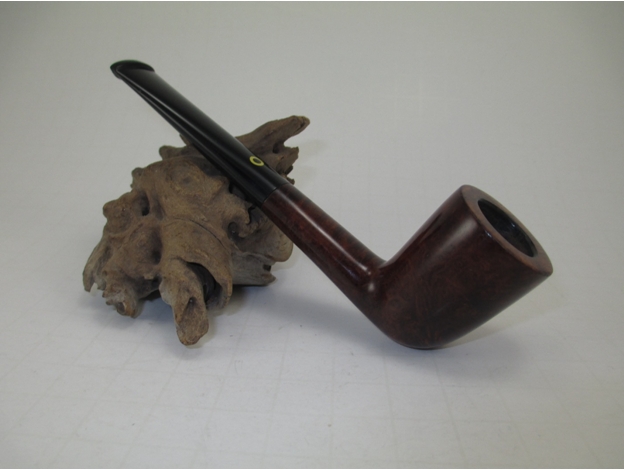
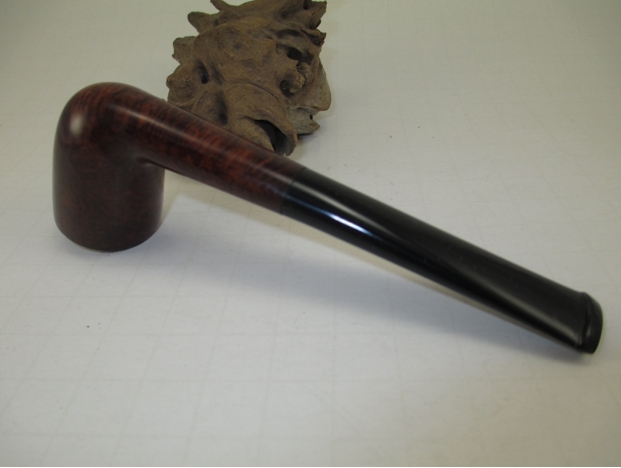
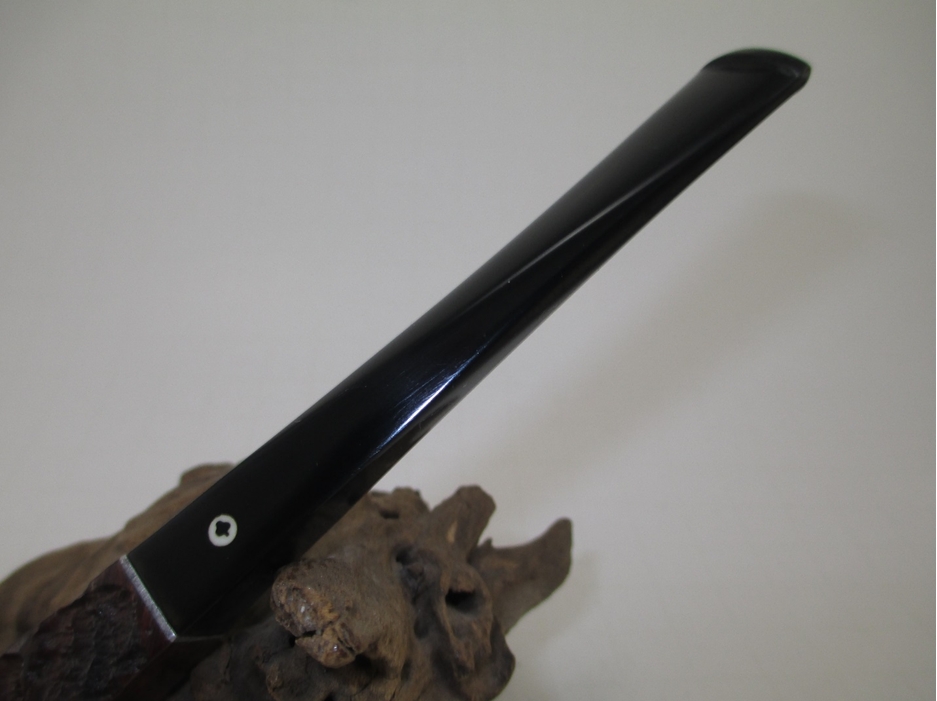
Andrew9 Here are some gratuitous pictures of a dead sexy pipe. Thanks for looking.Andrew10

Andrew11

Andrew12

Andrew13

Andrew14