Blog by Steve Laug
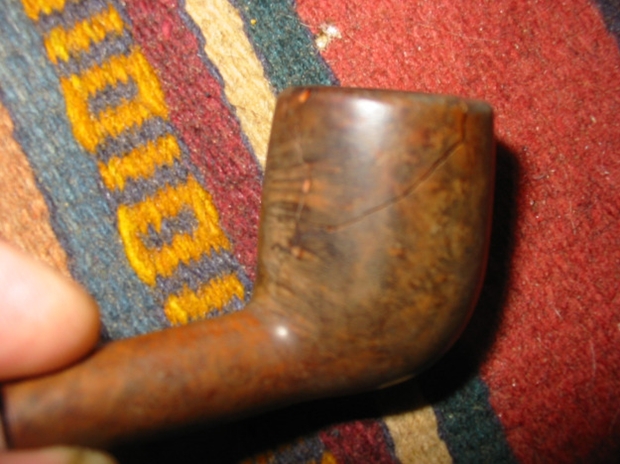
Having had a long week at work with nary a break in the busyness I needed a bit of a diversion on the weekend. I had an old Hardcastle’s Jack o’ London billiard in the cupboard that I probably should have thrown away but did not. I picked up the nice little billiard on one of my pipe hunts months ago. When I reamed it after I brought it home the bowl cracked and a large piece fell out of the right back side of the bowl. Up on examination it was on its way to being a burn out as the interior wall on the crack was charred and damaged. I took pictures of the bowl to show the damage at that time. For some reason I did not throw it away but rather put it in the cupboard and figured I could use the briar for other repairs.
But this weekend I took it out and decided to experiment with it and see what I could do with the damaged bowl. I debated whether to cannibalize it and save the parts or to rework it. I had already scavenged the stem and reused it on another Hardcastle’s pipe bowl that I restored so I only had the bowl. If the repair worked I would have to fit a new stem on the pipe before I could smoke it.
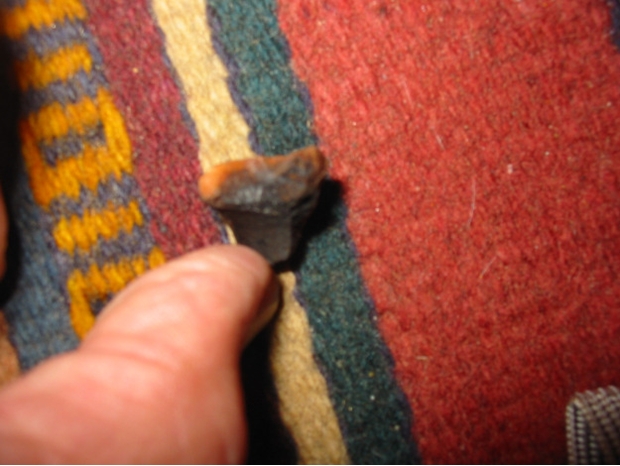
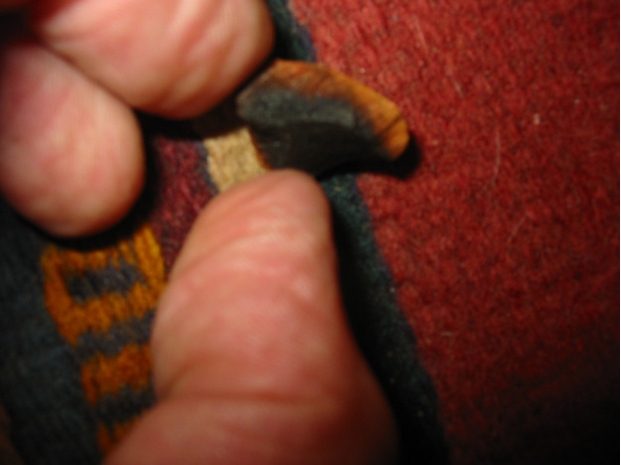
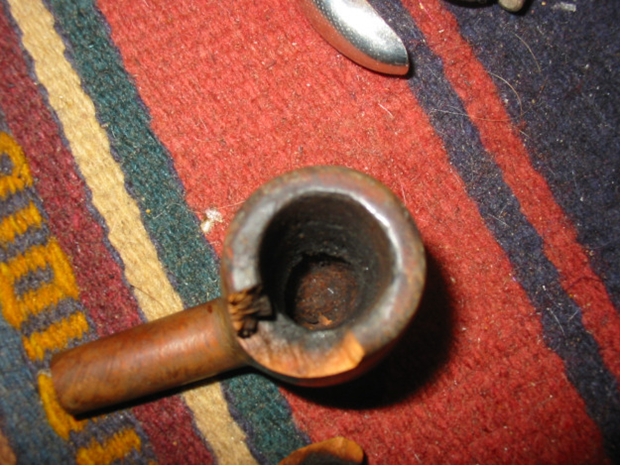
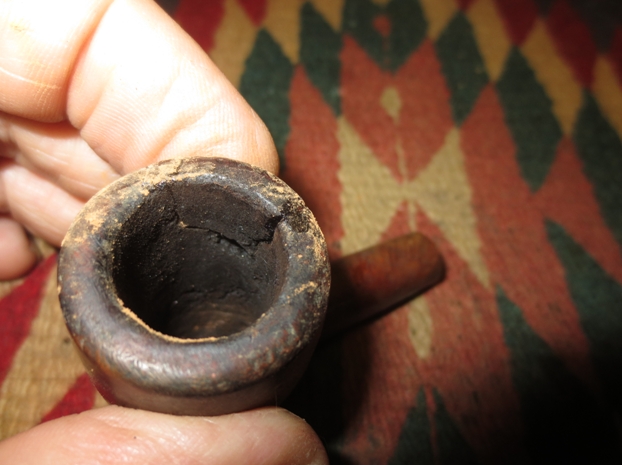
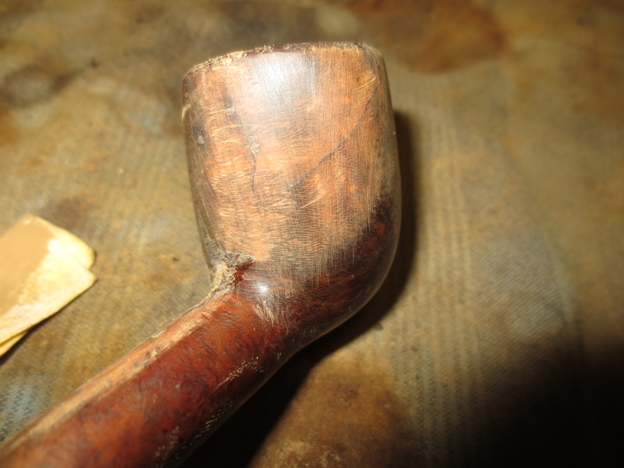
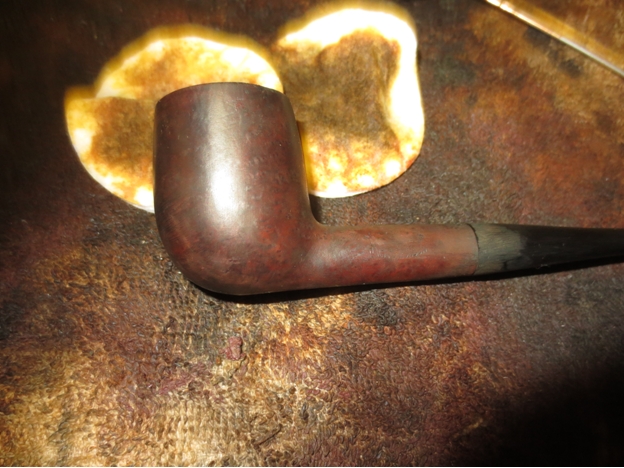
Here are some photos I took when the bowl cracked during the initial reaming. I took quite a few because I had not had that happen before in my experience. Looking at the photos you can clearly see the damage to both the remaining bowl and the chunk of briar that fell out. It was seriously damaged and one that I seriously considered throwing away that day. The rim was a mess as well besides being cracked and broken and the inner edge was out of round and the top beaten around the outer edge. The bowl was heavily caked and it looked to have been a good smoking pipe for the previous pipeman. There were even some fragments of unsmoked tobacco in the bottom of the bowl.

 Out of boredom and the need for something to keep my hands busy while my dog was being groomed I decided to experiment with repairs on the bowl. I cleaned up the broken pieces of the briar both the edges on the bowl and broken pieces with alcohol and cotton swabs and picked out any remaining loose pieces of briar or charred pieces of briar. I knew that I could easily patch the external side of the bowl and make it look acceptable but I was not sure what I would do with the internal side. I used a pen knife to scrape out the remaining cake in the bowl and to make sure there was no loose carbon that would get in the way of the repair before gluing in the piece. I applied clear super glue to both the bowl and the chunk of briar being careful to keep it out of the interior of the bowl and pressed the piece in place. In the photos below you can see how the glue ran down the exterior of the back side of the bowl but not on the inside.
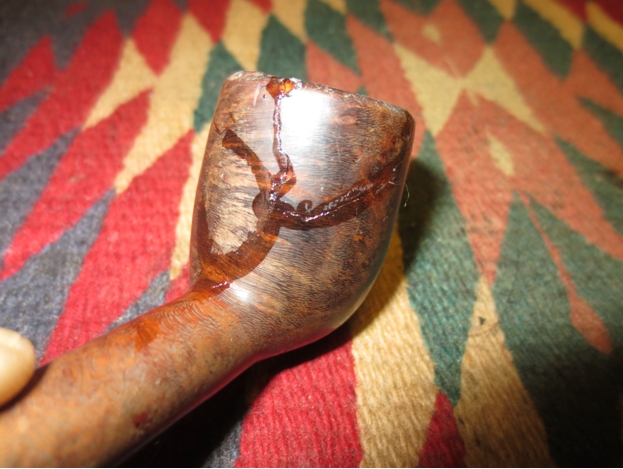
 I applied some more glue to the cracks on the outside of the bowl so that I could push briar dust into any spaces or chips in the briar between the pieces.
 With the chunk of briar glued in place and the external cracks patched it was time to look at the damage on the inside of the bowl and determine what to do. I know that in the past I have used J.B. Weld and Greg and others have used fireplace cement to repair the inside surfaces of the bowl but I had in mind a different experiment. Both the J.B. Weld and the fireplace cement dry and are neutral after curing. They are both impervious to heat or moisture but I wanted to see if I could use all natural substances and work a repair that would hold up. I knew that only time would tell if it actually worked but I figured that I had nothing to lose with this old pipe. If it did not work it would go back to the scrap yard and come back to life in repairs on other pipes. But if it did work I would have a useable yard pipe that I could smoke while working with little concern of damaging or ruining it in the process. Too me it was worth a try.
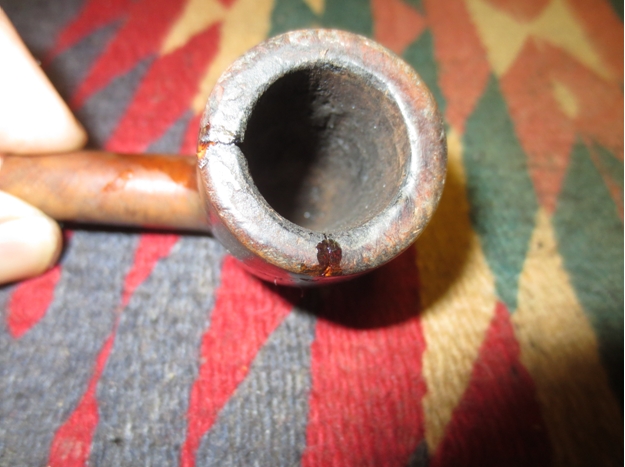
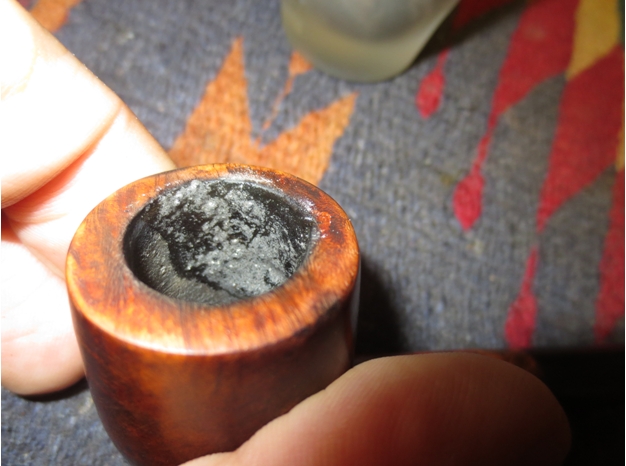
The next series of two photos show the inside of the bowl. The cracks and damage to the inside of the bowl was quite extensive. But it was still worth trying a repair.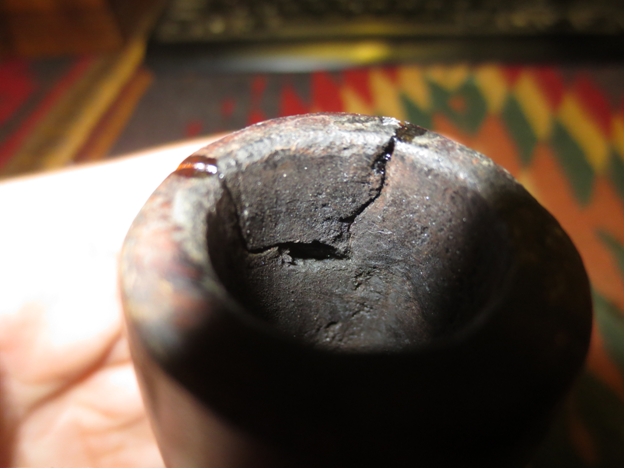
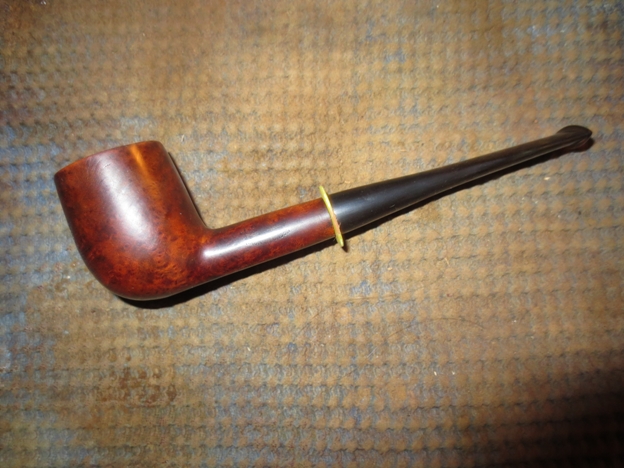
 I fit a stem on the shank from my can of stems with minimal sanding of the tenon for a good fit in the shank. The diameter of the stem would need to be adjusted but that would not be too much of a problem.
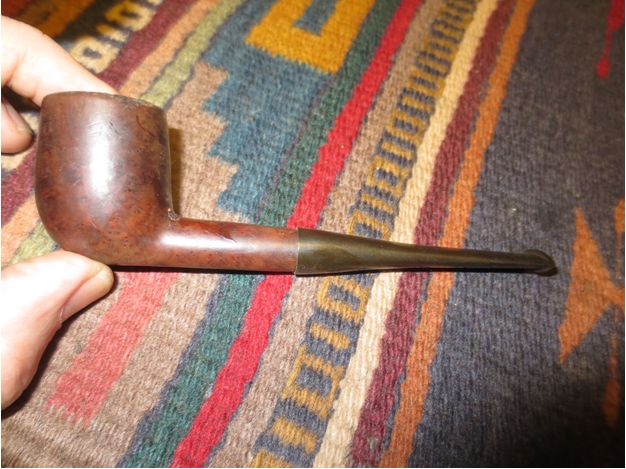

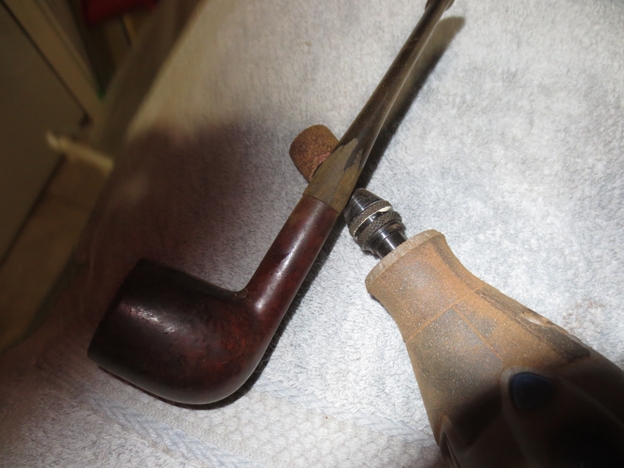
 The next two photos show the variation in diameter of the shank and the stem.
 I use a Dremel and sanding drum to take down the excess material as close to the shank as possible without damaging the shank. I also decided to use the Dremel and sanding drum on the overflow of super glue and briar dust on the outside of the bowl as I planned on sanding the bowl anyway.
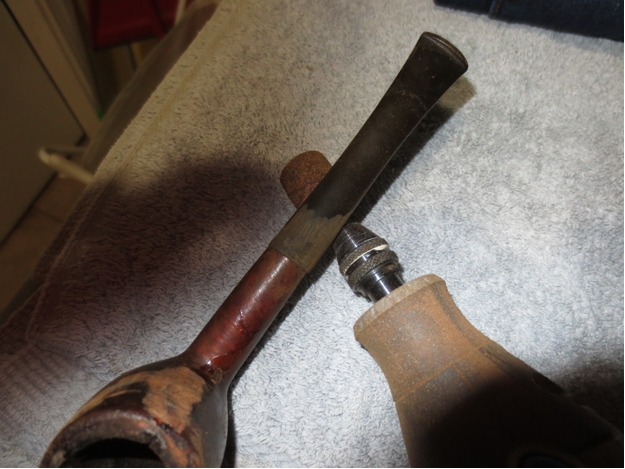

 Once I had the fit of the stem close and the majority of the glue and briar dust patch smoothed out I took it back to the work table and sanded both the bowl and the stem with 220 grit sandpaper to smooth out the scratches in the briar and the vulcanite.
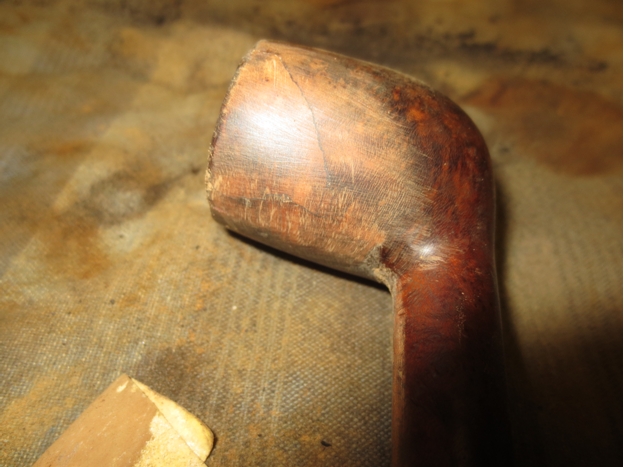
 The rim needed to be topped to smooth out the damage to the top and the outer edges. I set up the topping board with 220 grit sandpaper and pressed the bowl flat against the sandpaper. I sanded it in a circular motion until I had removed the damaged rim surface and the damaged out edge.
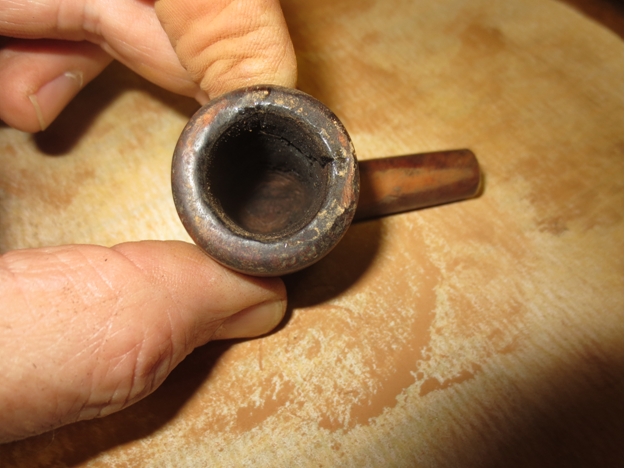
 I forgot to take a photo of the rim at this point but you can see in the photos of the staining that it is sharp and clean on the outer edge. I sanded the briar with a medium and a fine grit sanding sponge to minimize the scratches even more and then heated the bowl before I applied a dark brown aniline stain. I applied the stain, flamed it and repeated the process until I had good even coverage on the bowl.
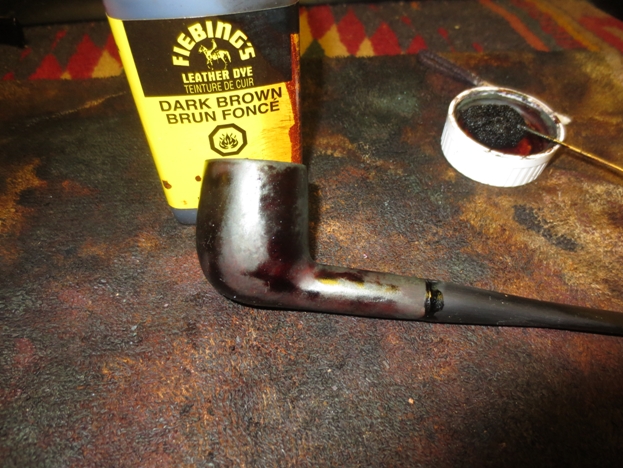
 The dark brown stain was quite opaque so I wiped down the bowl with isopropyl alcohol on cotton pads to remove and thin down the stain coat.
 The top of the rim can be seen in the next photo. The damage to the rim top has been minimized and the surface is smooth. There is still some damage on the inner edge but that will be addressed when I do the internal repairs to the bowl walls.
 I buffed the bowl with Red Tripoli and then wiped it down again with alcohol. The colour was just what I was looking for at this point in the process. It was a rich brown stain that allowed the grain – birdseye and mixed to show through the finish. It also did a decent job covering the repair to the other side of the bowl.


 I buffed it again with White Diamond to raise the shine. The stem still needed some fine tuning for a better fit against the shank and some sanding to remove the oxidation and scratches but the pipe was beginning to look good.
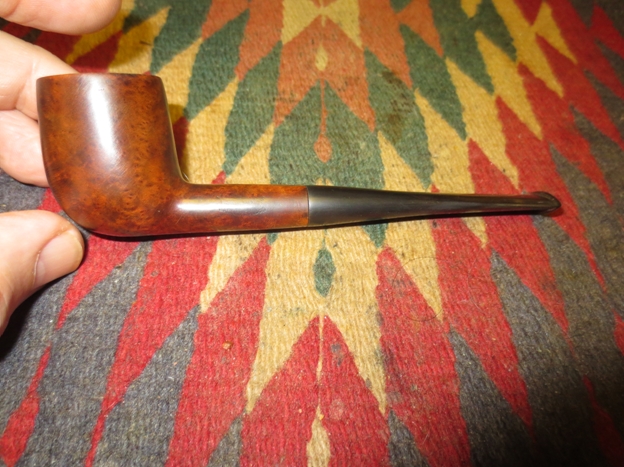

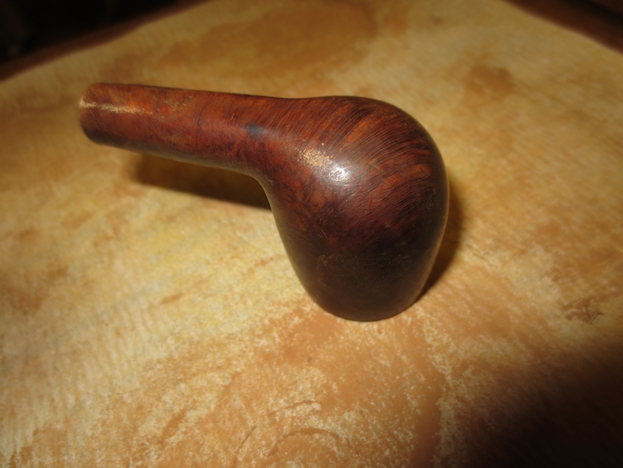
 I took the next close up photos to show the work that still needed to be done on the rim and the look of the repairs on the right side of the bowl. The bowl surface and rim surface was very smooth but still needed to be sanded with micromesh pads to take out the scratches and polish the briar to a deep shine.
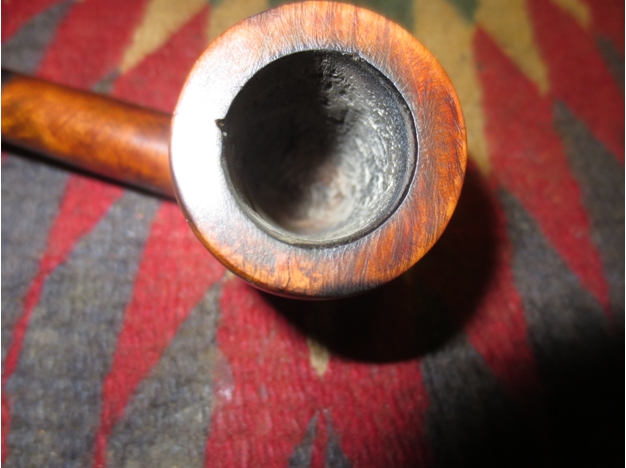
 With exterior at a good place to take a break it was time to address the inside of the bowl. I mixed a batch of pipe mud using cigar ash and water. I mixed it to a thicker than usual consistency so that I could press it into the damaged area of the bowl wall. I did not want it runny or soupy but I still wanted it wet enough that the mud was well mixed and would stick. I painted it on the wall in the damaged area with a folded pipe cleaner and pressed it into the cracks with the spoon end of a pipe nail. I also pressed it in with the end of my finger. I repeated the application of the mud until the surface of the wall was smooth and showed no pits or divots. I set the bowl aside to dry over night as I wanted the mud to harden and also wanted to see if it was solidly stuck in the damaged areas.
 In the morning, after curing over night I inspected the patch on the inside of the bowl. I used my dental pick to make sure that the patch was well set in the divots in the wall of the bowl and then smooth out the surface with a pen knife.
 I let it dry for about four more hours while I did other things and then decided to mix a batch of bowl coating to paint the bowl interior. I mix a batch of bowl coating using sour cream and activated charcoal powder. I use a finely ground powder that comes in capsules.
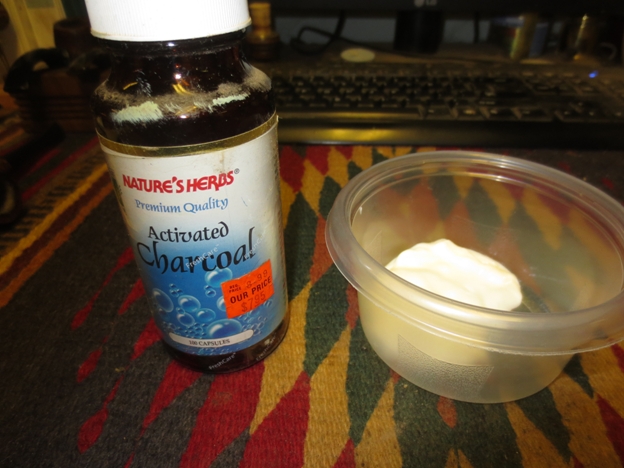
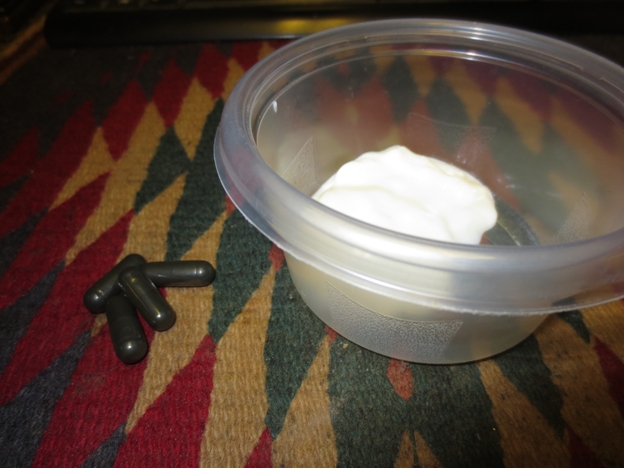 I take apart the capsules and dump the charcoal powder into the sour cream.
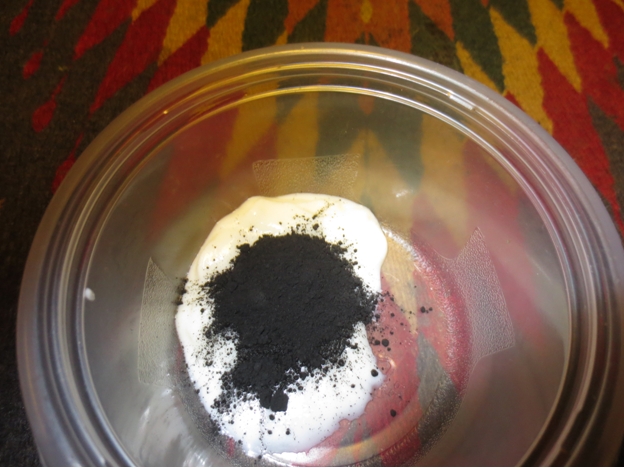 I use a dental spatula to mix the charcoal and sour cream into a black paste. I work the paste until all the sour cream and charcoal are combined.
 I used the spatula to apply the paste to the walls of the pipe and then smoothed it out using a folded pipe cleaner.
 The entire bowl is coated with the paste and after smoothing it out with the pipe cleaner looks like a dark grey almost black coating around the sides and bottom of the bowl. I put a pipe cleaner in the airway so that I would not get the paste in the airway when smoothing it out.

 I wiped down the top of the rim with a bit of saliva on a cotton pad and then set the bowl aside to let the coating cure. Once the coating cured it would provide a protective layer over the bowl interior and facilitate the buildup of a new cake.
While the bowl coating was drying I worked on the stem. I sanded it with 220 grit sandpaper with a plastic washer between the shank and stem to smooth out the transition between the two. When I had finished sanding the stem with the 220 grit sandpaper I sanded it with a medium and a fine grit sanding sponge.


 I wet sanded the stem with 1500-2400 grit micromesh sanding pads to minimize the scratches.
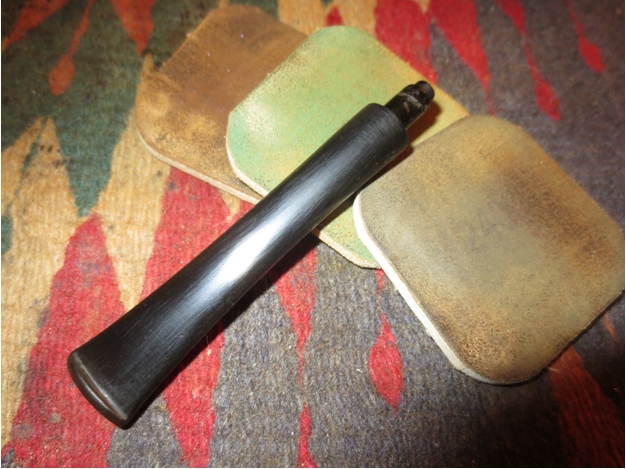 I dry sanded the stem with 3200-4000 grit micromesh sanding pads and then buffed the stem with Red Tripoli to further polish the stem.
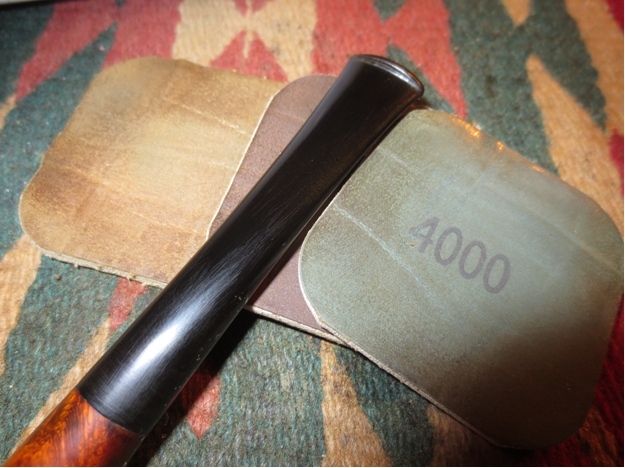 I brought it back to the work table and dry sanded it with 6000-12,000 grit sanding pads. I buffed the stem with Blue Diamond on the wheel and then rubbed it down with Obsidian Oil and let it soak in.
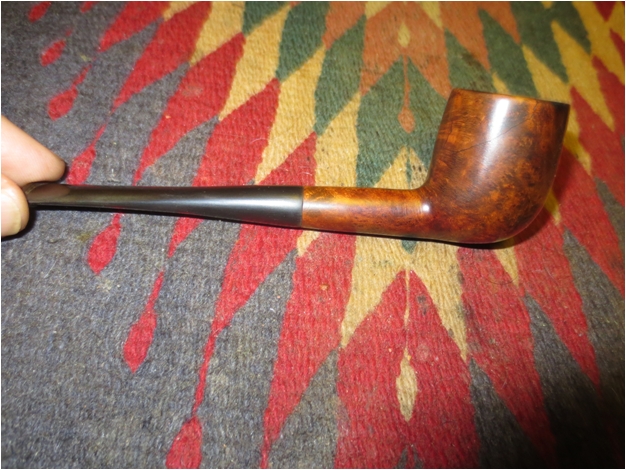
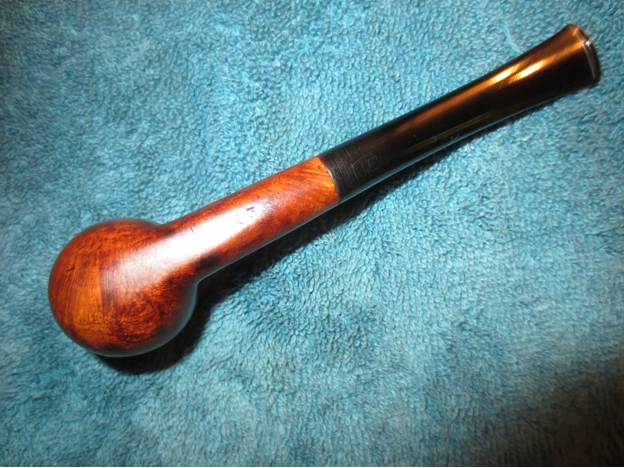
 I sanded the bowl and shank with micromesh sanding pads – wet sanding 1500-2400 grit pads and dry sanding with 3200-12,000 grit pads. I buffed the bowl with Blue Diamond to polish the briar. There are some fine scratches that seem to be around the junction of the shank and stem. I buffed it with Red Tripoli again and with White Diamond and then with Blue Diamond. I polished the stem and bowl with carnauba wax and buffed it to a shine with a clean buffing pad to raise the shine. The finished pipe is shown in the photos below.


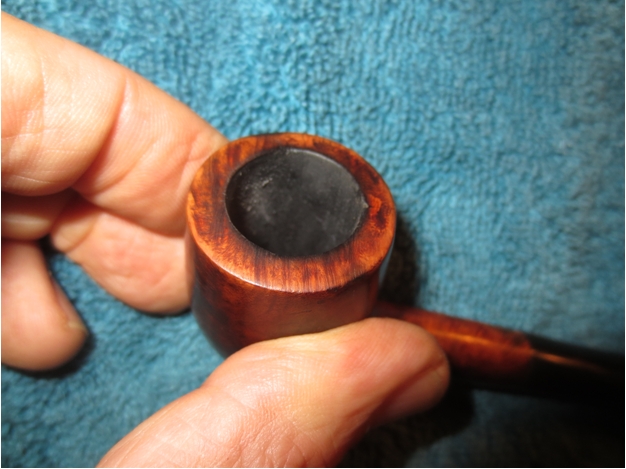
 The next photos are close up pictures of the repair. They also that the carbon/sour cream bowl coating has dried and is a dark grey colour. The cracks on the exterior are smooth to touch and do not feel like cracks. The repairs to the top of the rim still show as a red coloured spot at the back of the rim. The stain took to the patch a little lighter than the rest of the bowl. It is smooth to the touch but still shows. The internal bowl coating has dried to the touch and gives a nice coat that is cover the repairs on the bowl wall. The carbon bowl coating has small particles of carbon in the finish. These will provide something for the new cake to bind to when it is smoked. All that remains is to let the coating cure for a few days and then load a bowl and smoke it.
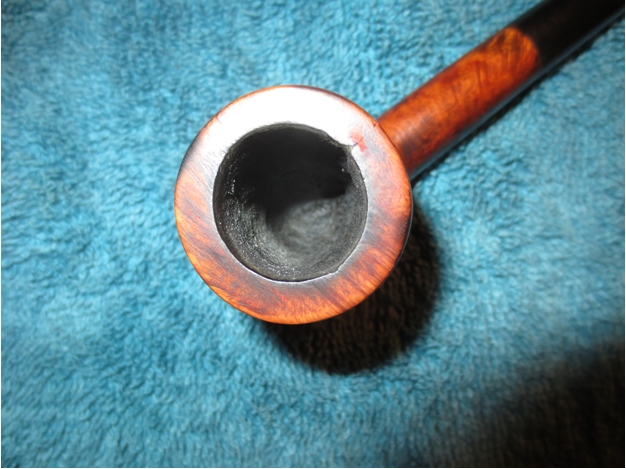


Truly a Reborn pipe!
LikeLike
Steve,
Let me know how this bowl repair holds up. I’m looking for ideas right now to repair a cracked bowl. The traditional briar dust and CA expanded when heated, so I’m back to square one.
LikeLike
Thanks for sharing this one, Steve. I have a favorite Oom Paul that I dropped and cracked the bowl. It came off cleanly about 1/3 of the way down the bowl. Maybe with the techniques learned here, I can resurrect my old friend. Please let us know how the interior repair holds up.
LikeLike
Thanks Dave. I know the externals will hold up. I have one that I reworked about 5 years ago and it is still good and tight. The difference is on the internal and if it will withstand the heat…. I will keep you posted. Why not try yours and run a parallel test?
LikeLike
Wow! That’s an absolutely incredible save, Steve. I’ll bet your glad you didn’t throw it out now.
LikeLike
Very impressive! -bw
LikeLike
Thanks Bill, we will see how it holds up. I can’t wait to start smoking it and see what happens.
LikeLike
I learn something new every time I read one of your restorations.
LikeLike
Thanks Al. I love the experimenting i get to do with this hobby.
LikeLike