Blog by Steve Laug
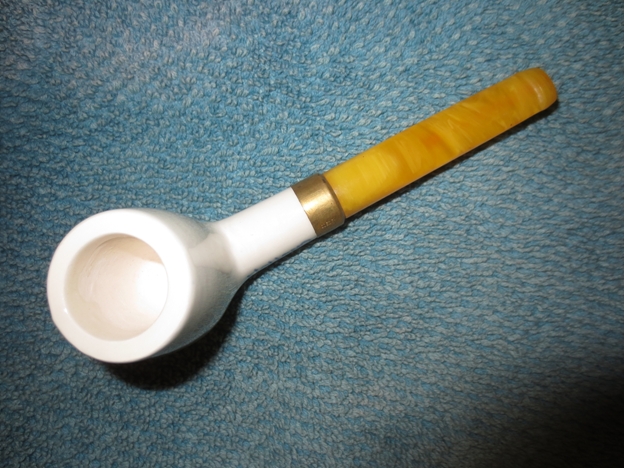
Having restored several older Goedewaagen Double Walled Ceramic pipes in the past when I found that I had an unsmoked billiard in the craigslist lot I was excited to see how it looked “new”. It is shown at the bottom of the left column in the photo below.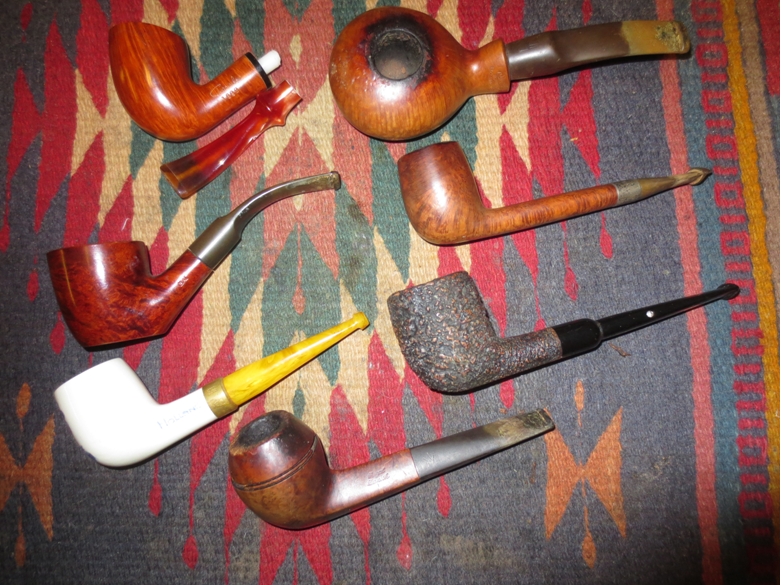 The pipe is white ceramic with a blue Delft style look to it painted and cured into the ceramic on the side of the shank and on the front of the bowl. The bowl front has a painting of a man in the stocks and people standing in front of him mocking him during his suffering. On the left side of the shank it reads Holland. The brass end cap is stamped Goedewaagen and Made in Holland. The stem is acrylic and looks a lot like some of the older ones that I have the have amber stems.
The pipe was made by an old Dutch pipe making house. Here is the link to their website. Have a look at the history page on the site. It gives detailed background on the pipe. The link is in Dutch but can be translated through Google Translate. http://www.goedewaagen.nl/goedewaagen/. I have a cutaway diagram of the double walled ceramic that helps give and idea of how it looks.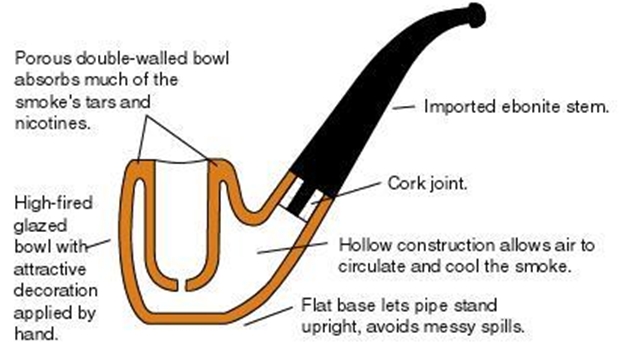 I took a few photos of the unsmoked pipe to keep a record of an unsmoked version of the double walled ceramic pipe.
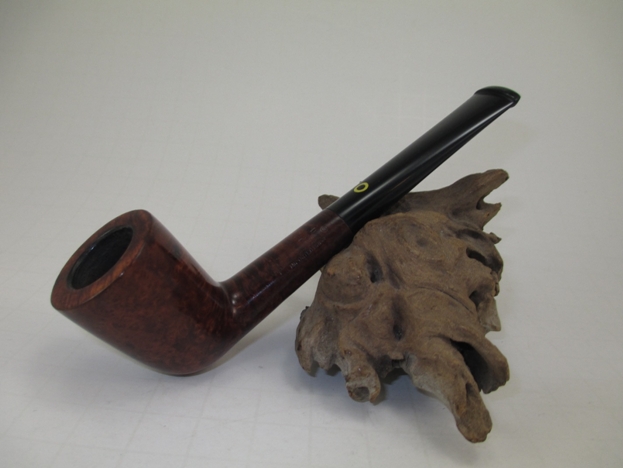
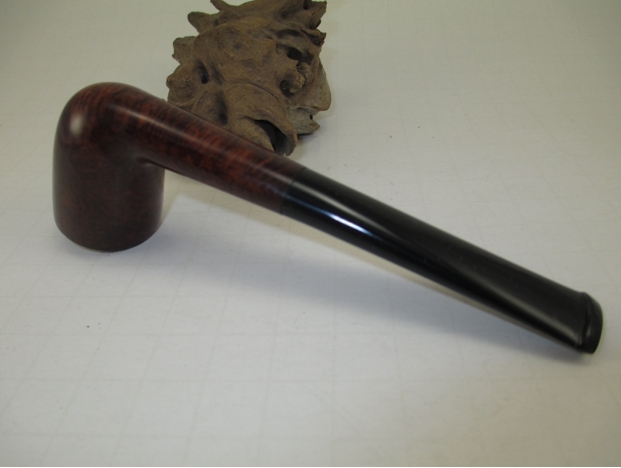
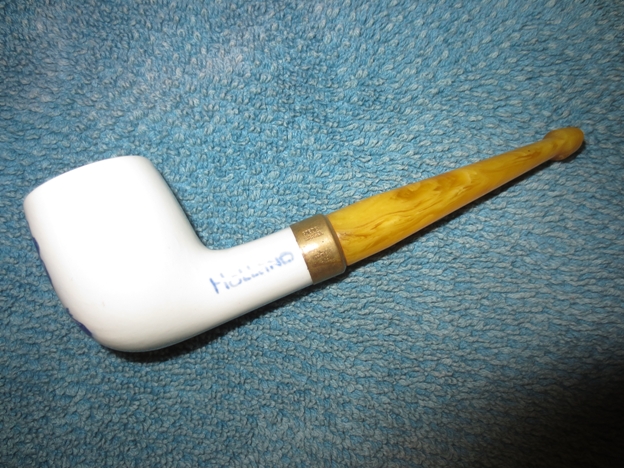

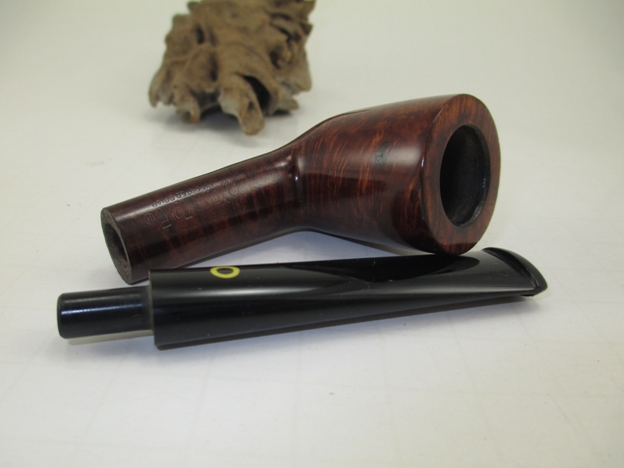
 I took a close up of the bowl so that the air hole in the bottom of the bowl is clearly visible.
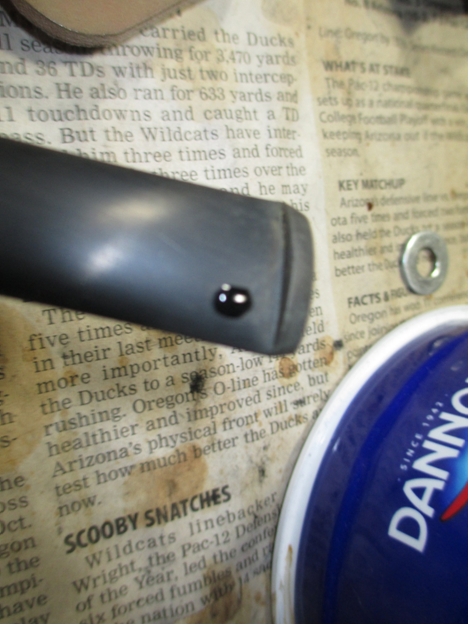
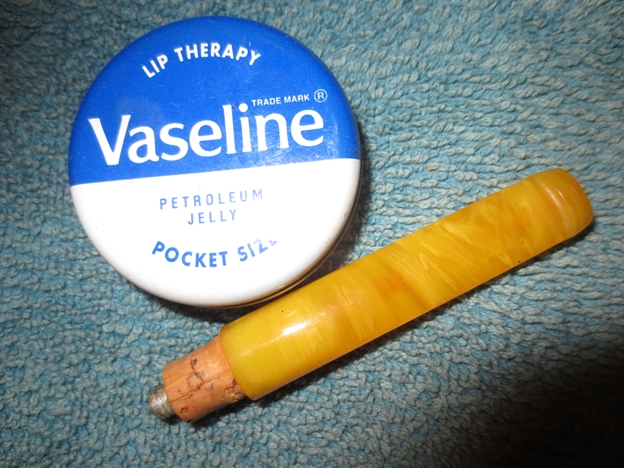
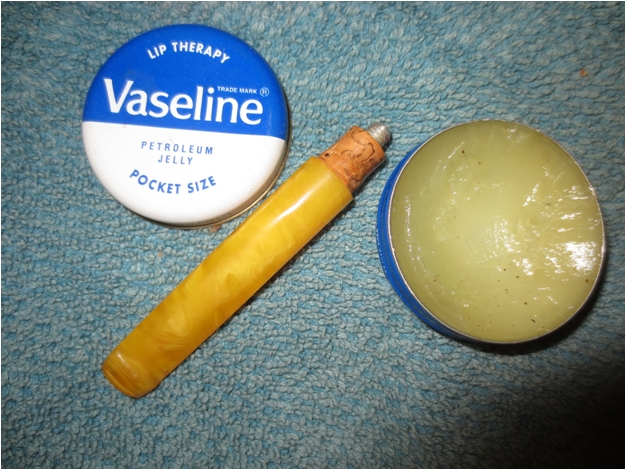
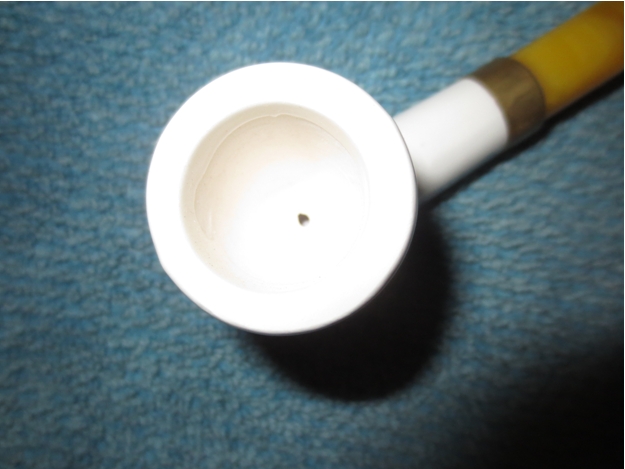 I also took a photo of the cork gasket on the tenon of the stem. It was quite dry so I rejuvenated it with a rub down of Vaseline. Once the Vaseline was absorbed it fit smoothly into the shank. The cork was soft and springy again as it was when it was freshly cut.
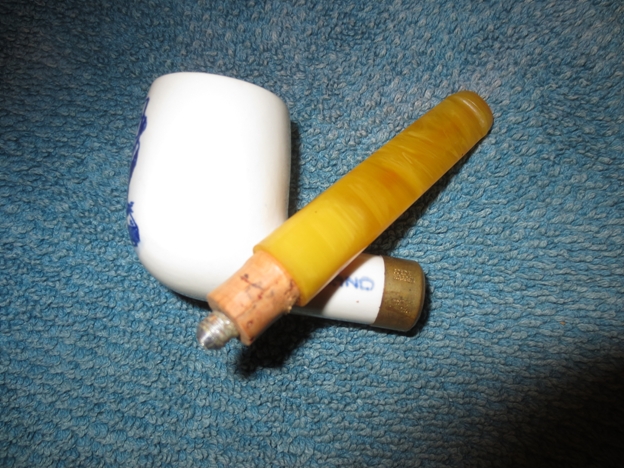
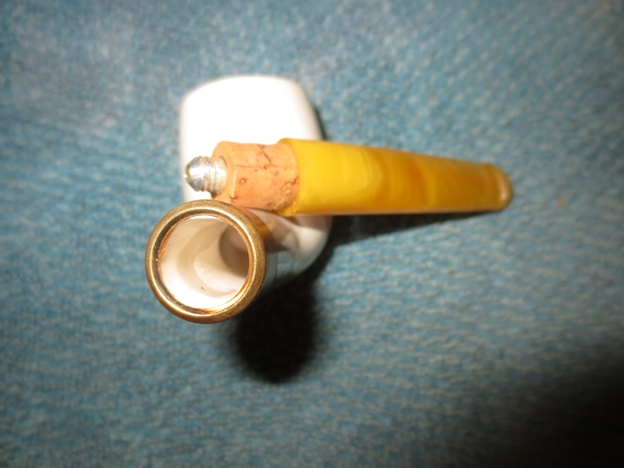
 The end cap is brass and is stamped “Goedewaagen” over “Made in Holland”.
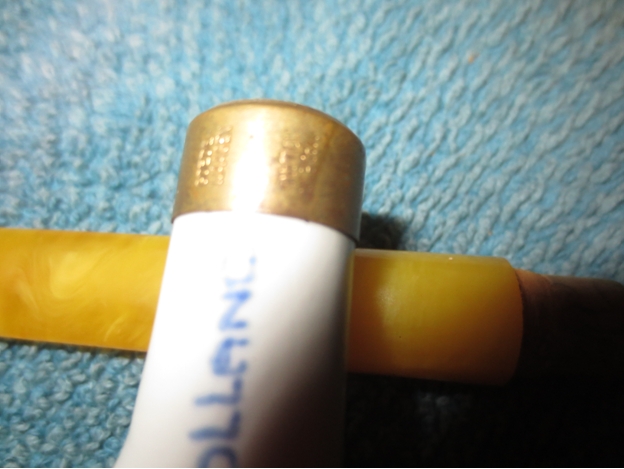 One day I will load up a bowl and smoke it for the first time but for now it will sit in my pipe rack as an unsmoked example of the Goedewaagen pipe.