by Steve Laug
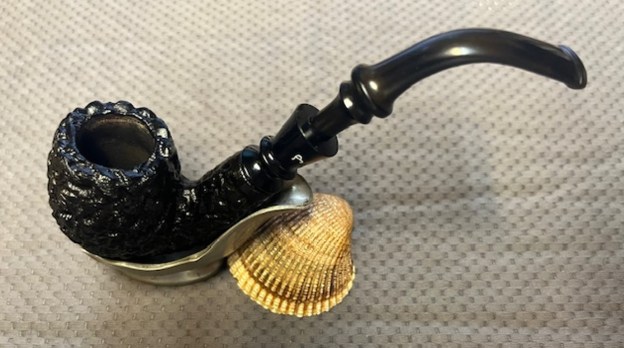
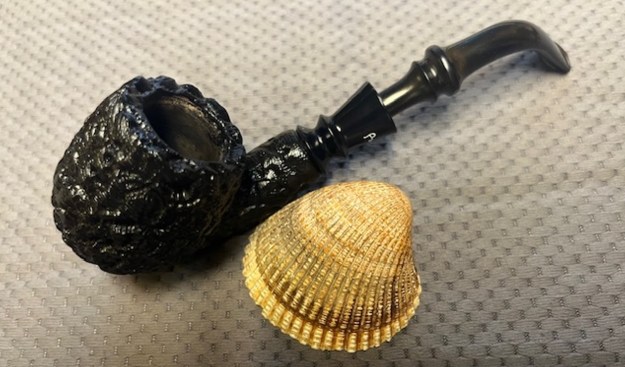
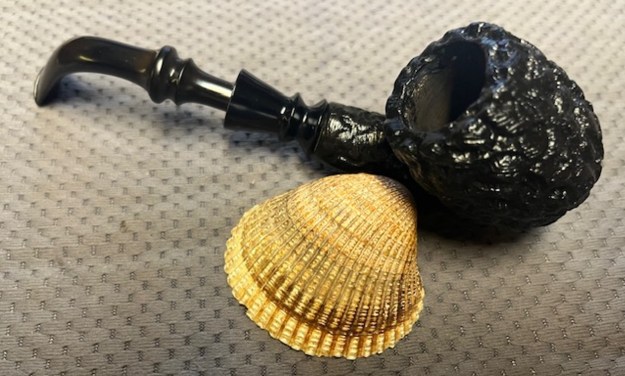
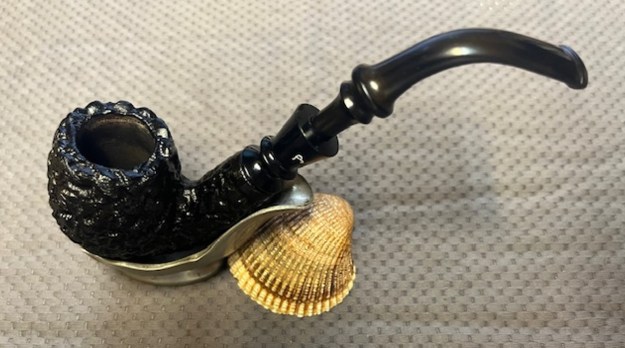
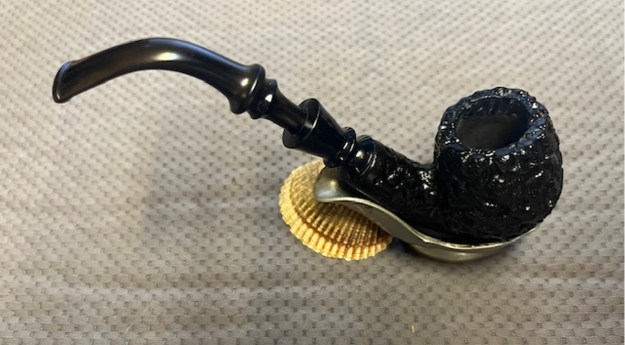
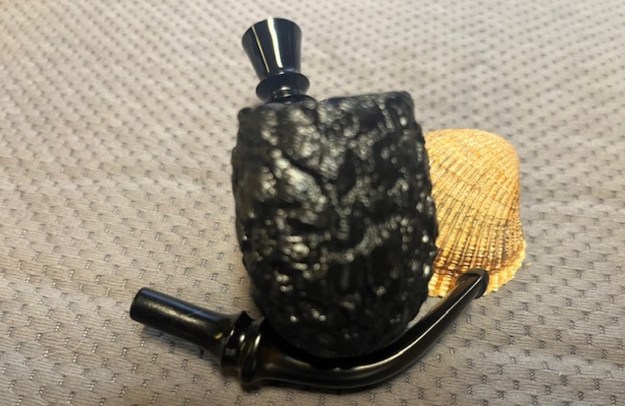
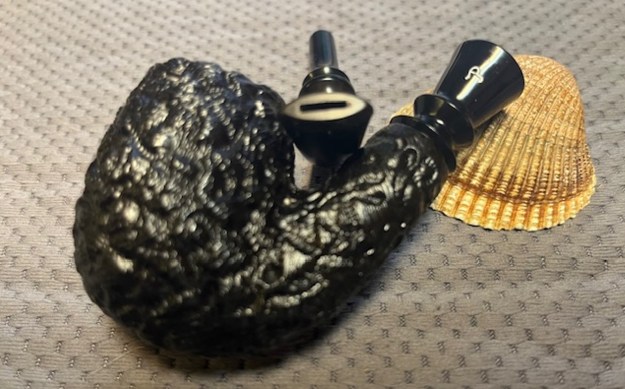
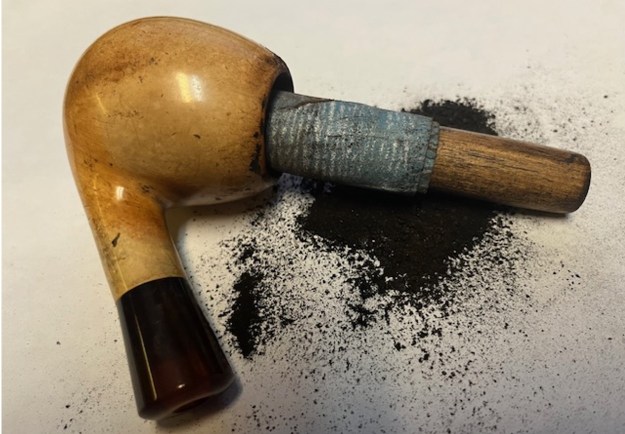
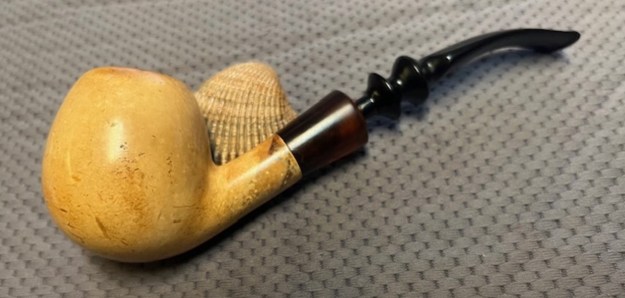
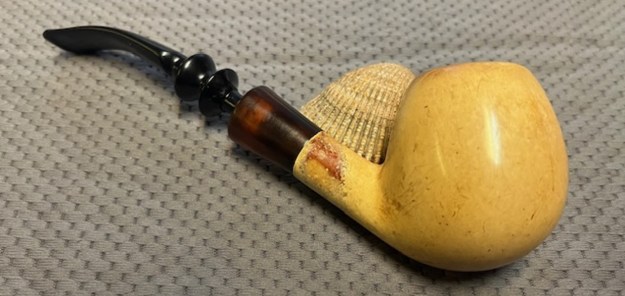
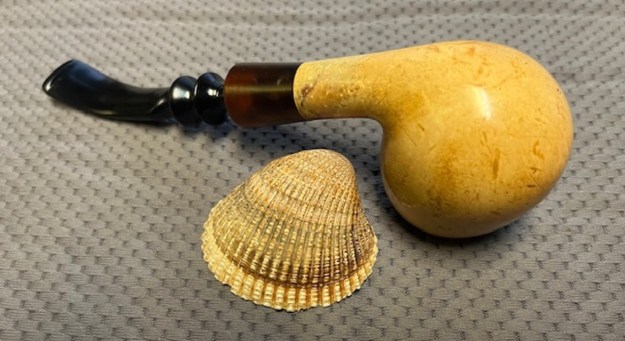
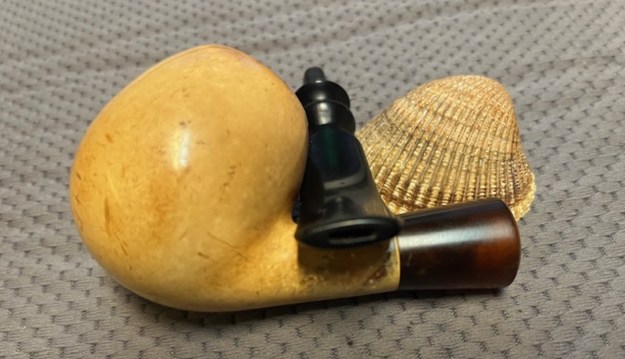
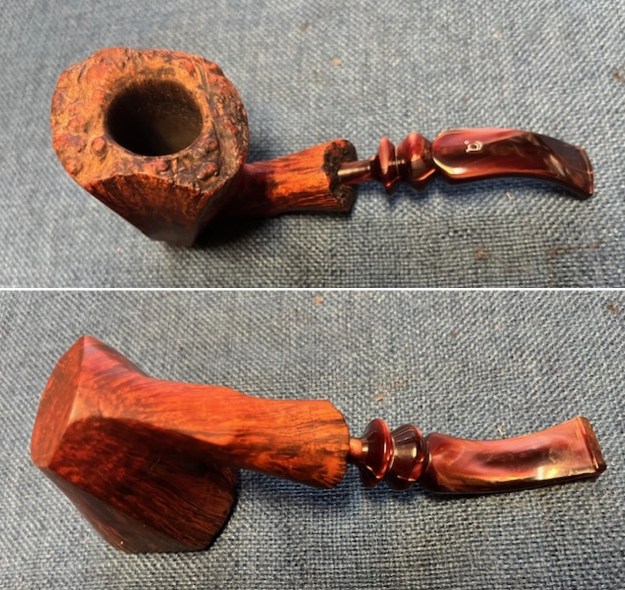
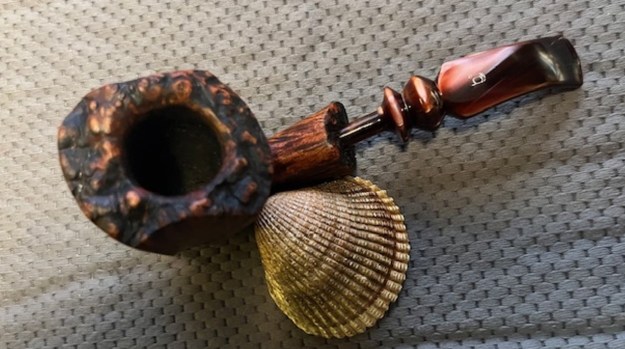
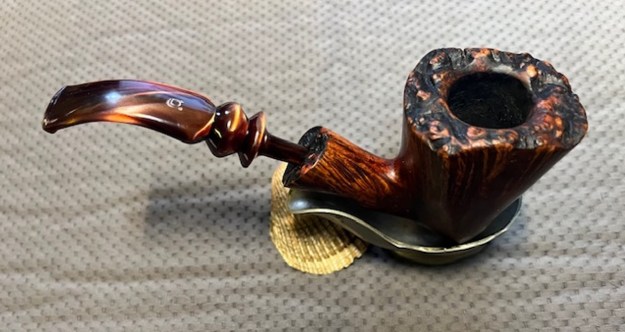
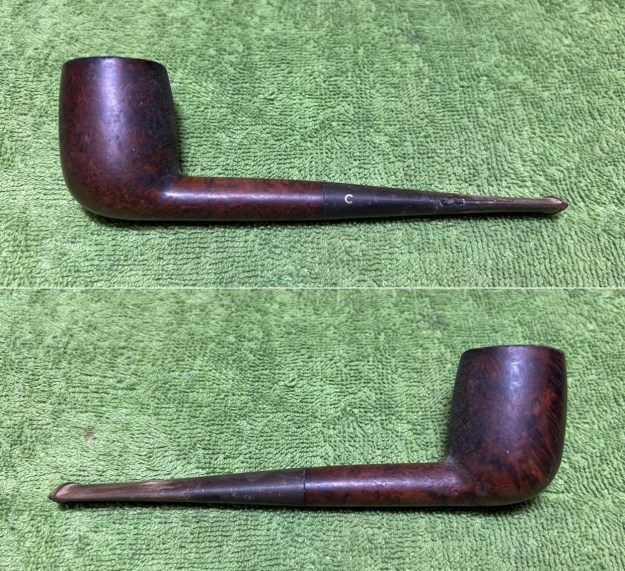
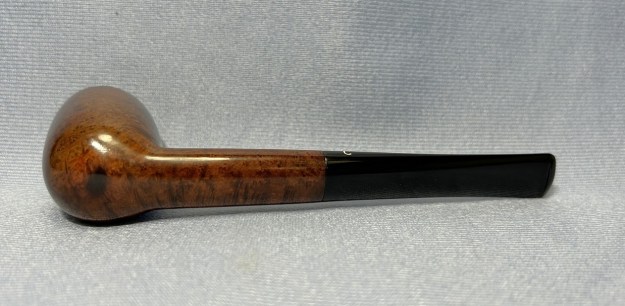
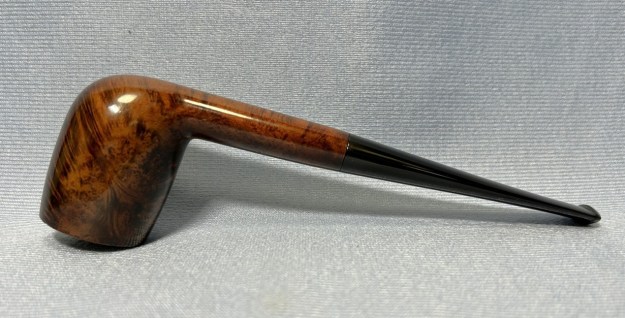
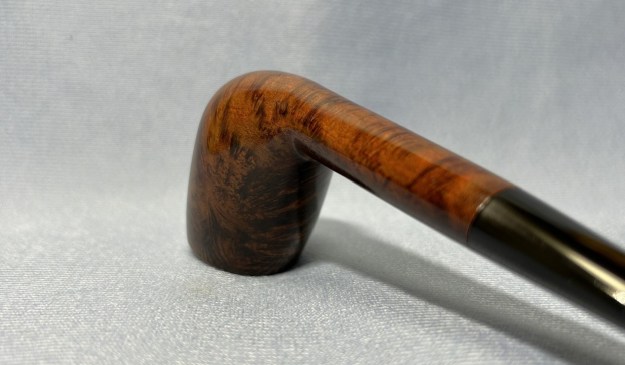
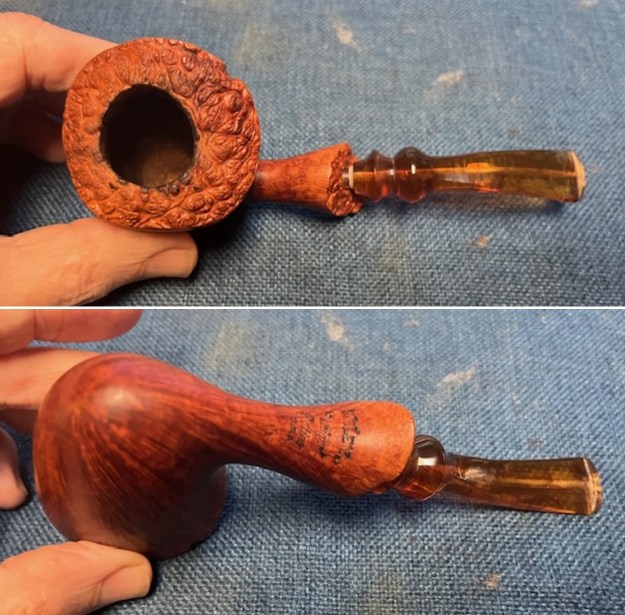
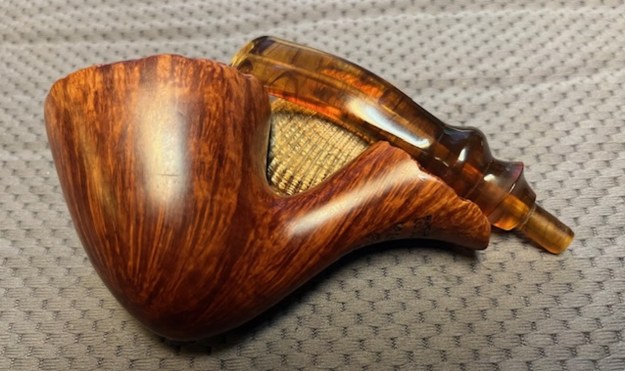
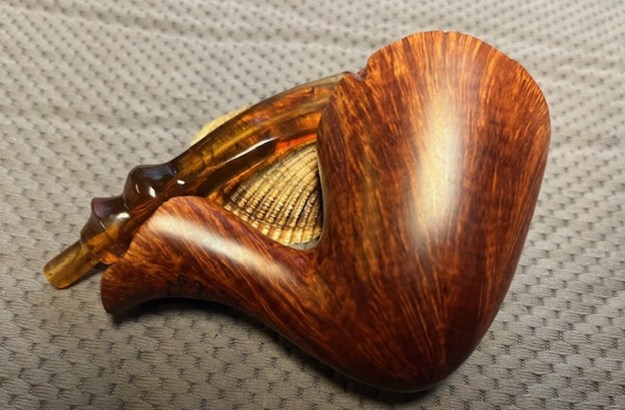
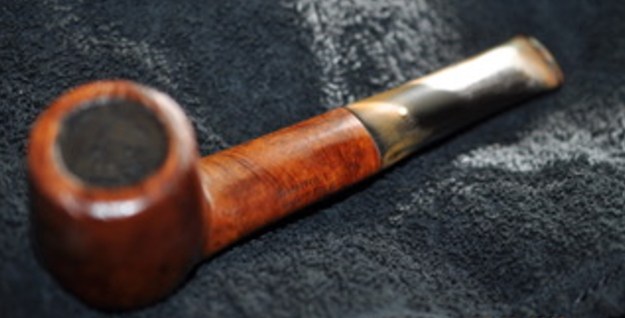
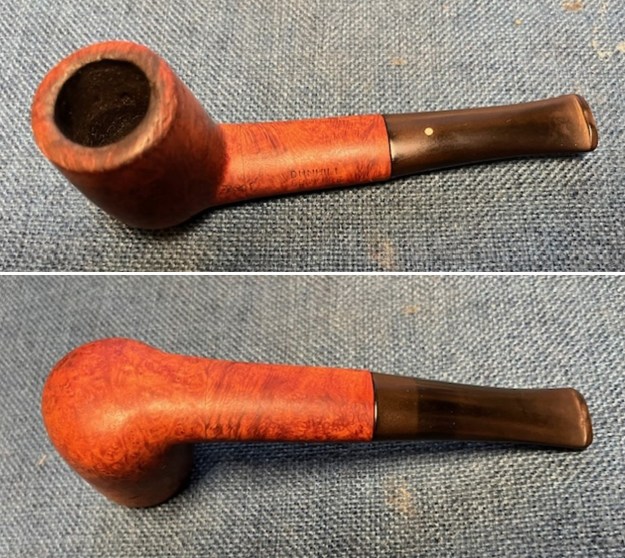
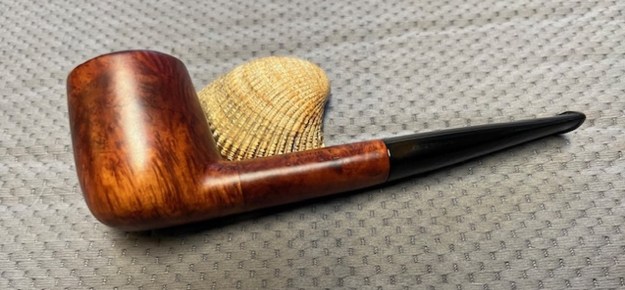
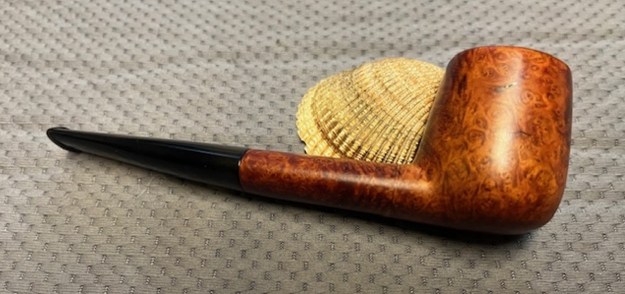
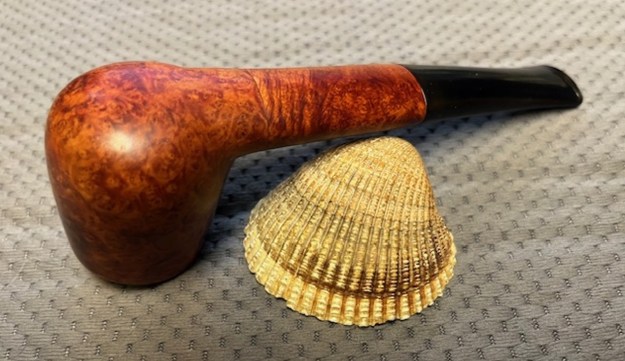
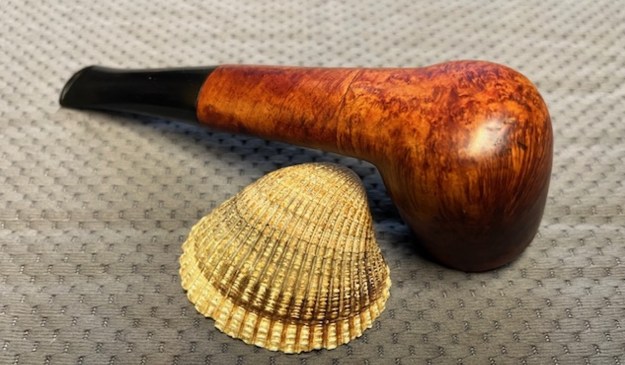
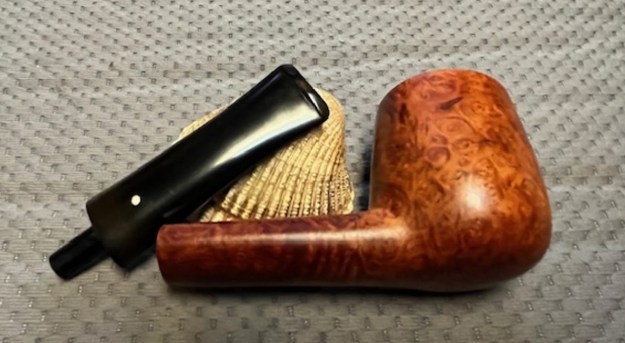
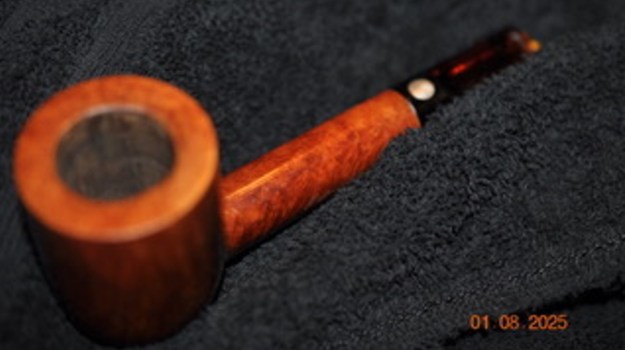
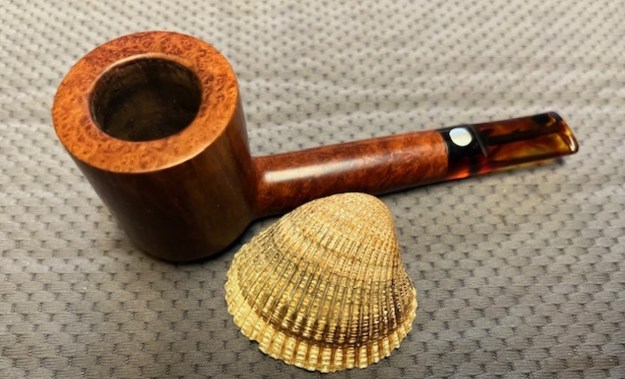
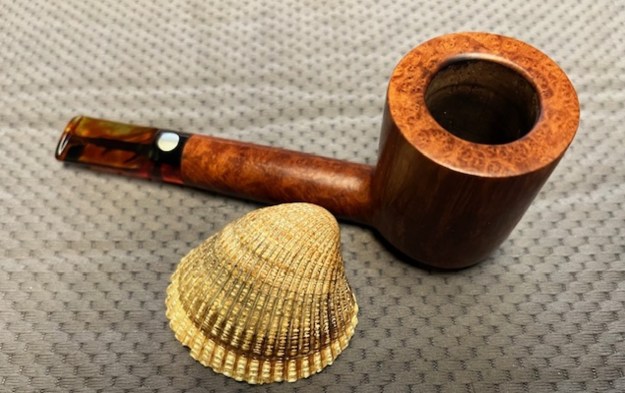
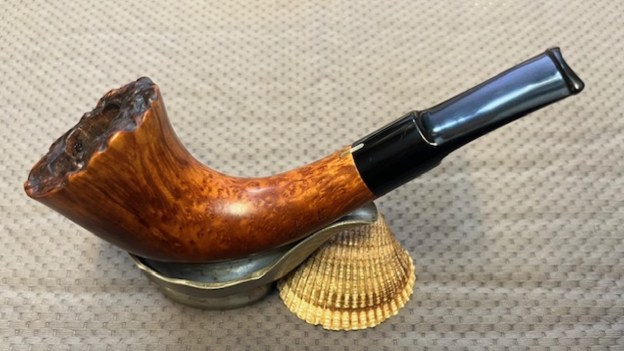
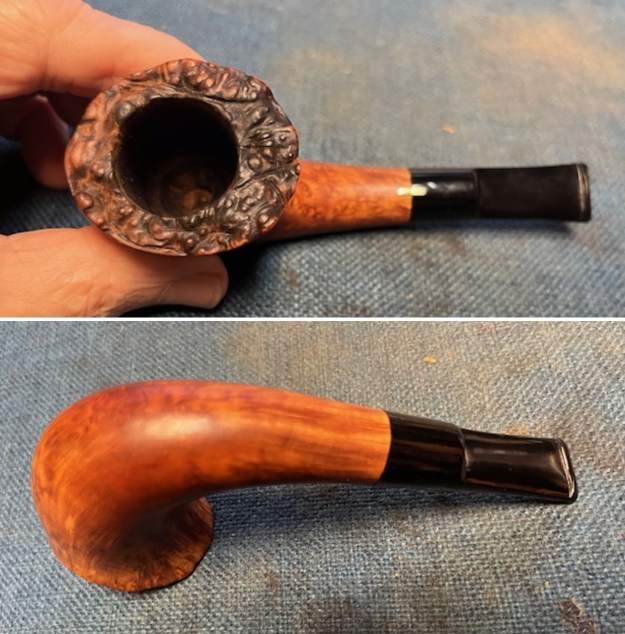
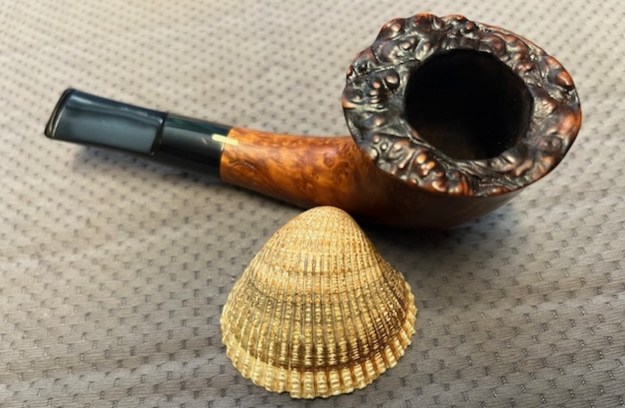
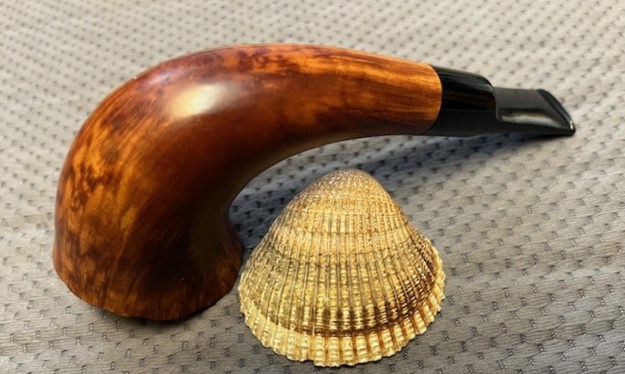
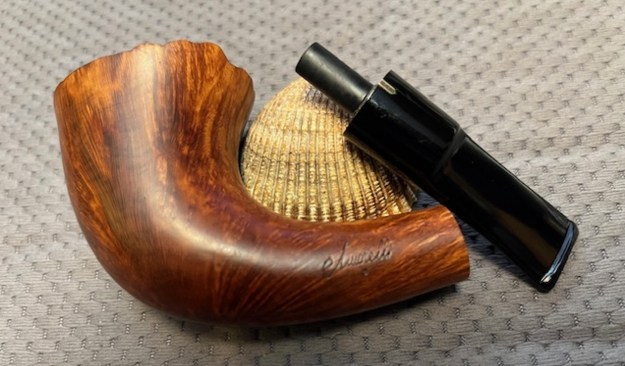
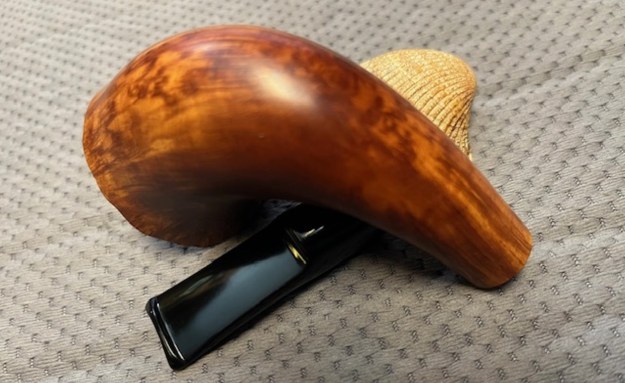
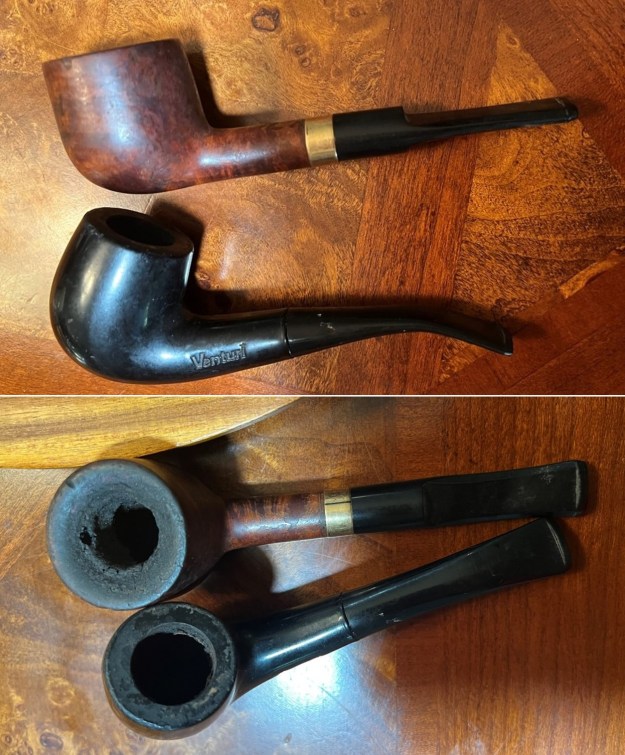
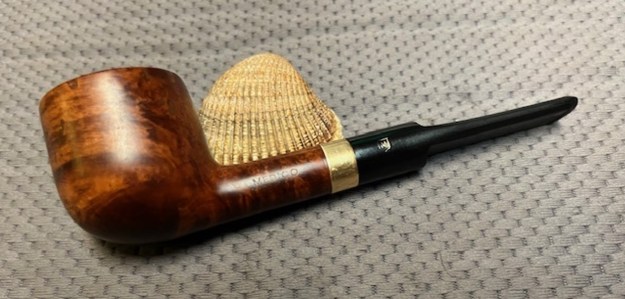
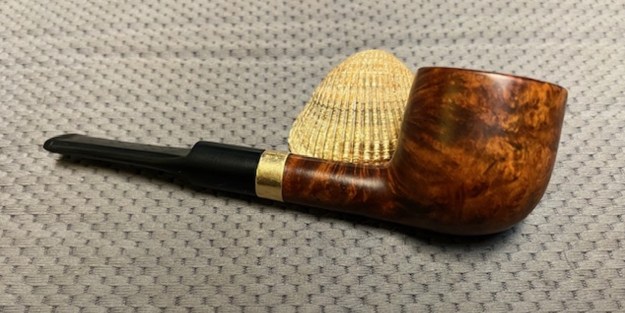
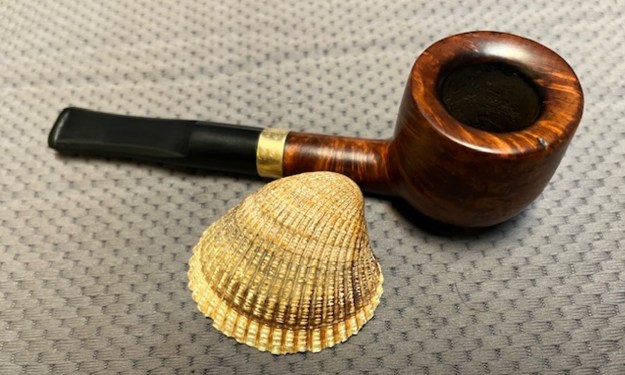
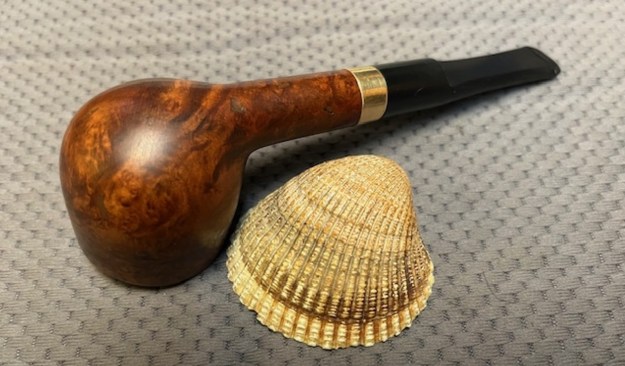
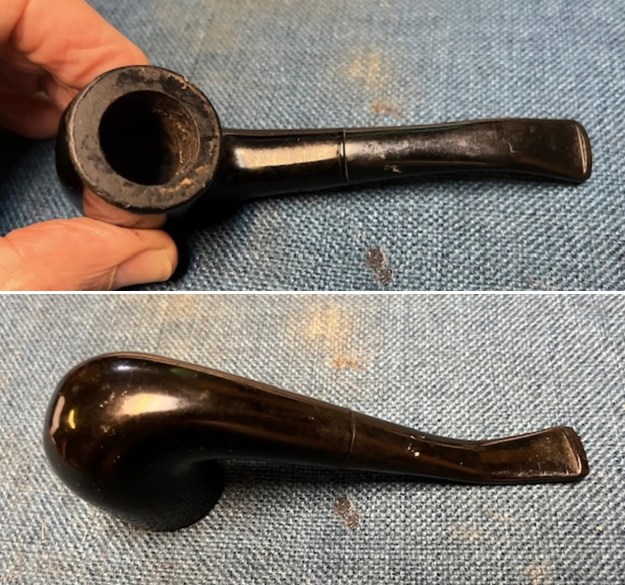
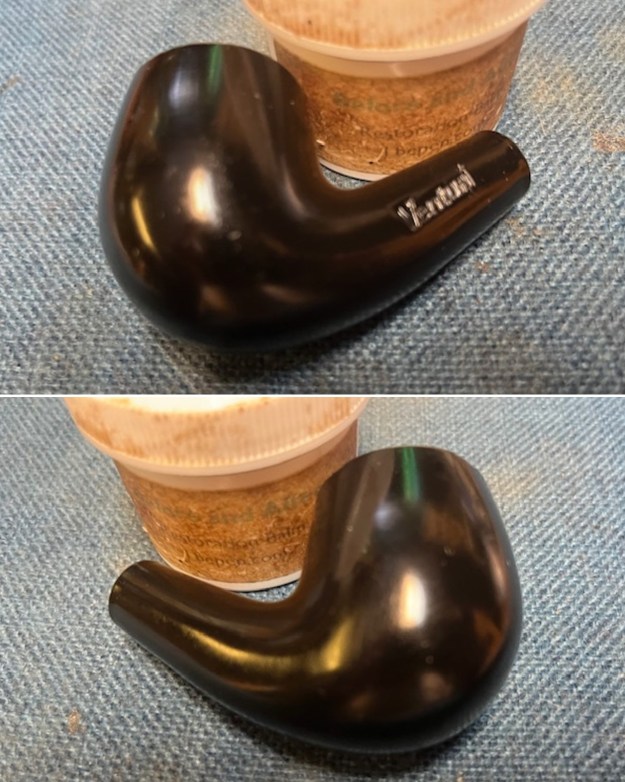
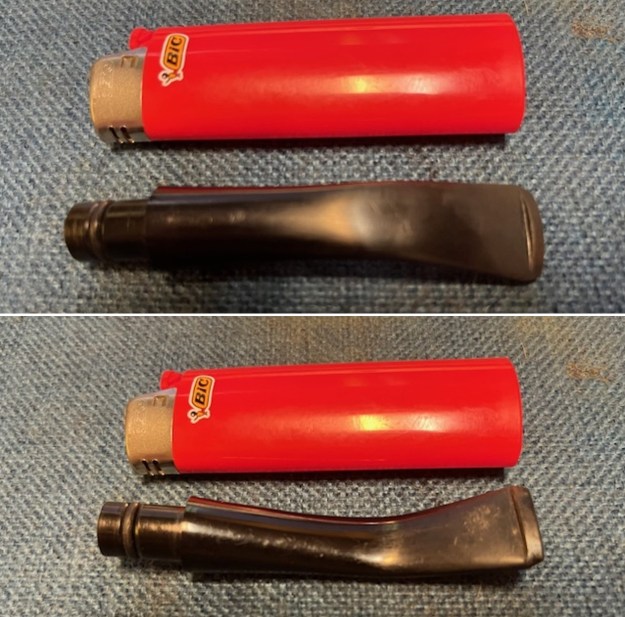
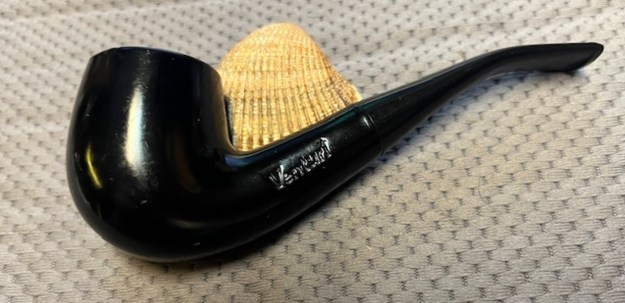
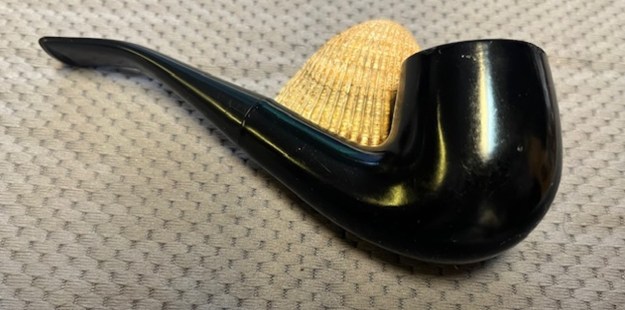
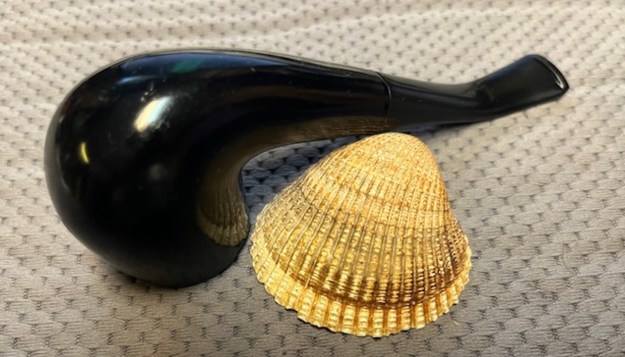
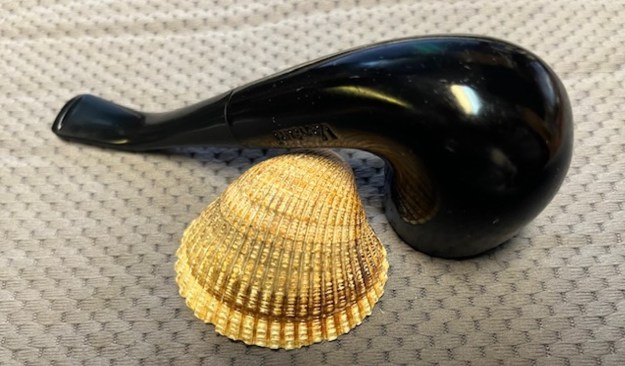
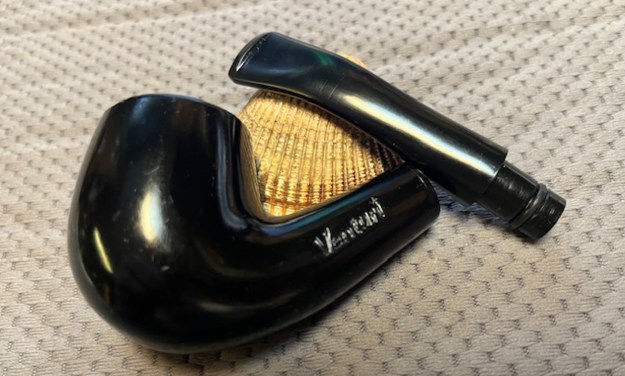
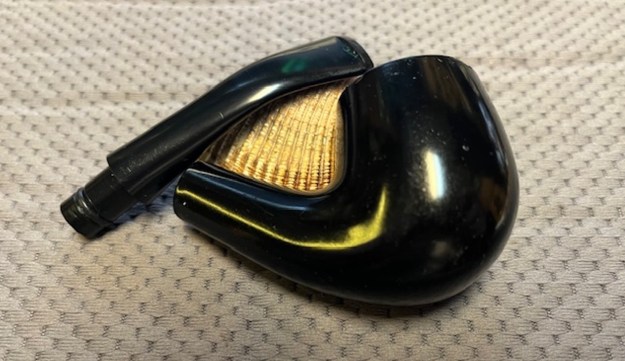
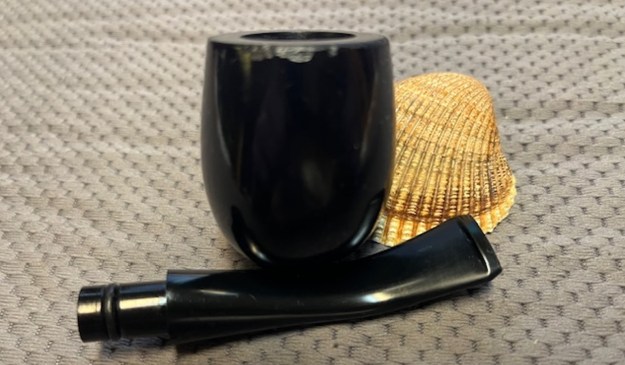
The next pipe on the table to refresh and refurbish is an interesting looking Bent Billiard that turns out to be rusticated black meerschaum. It has an acrylic shank extension that has the Pioneer “P” stamp on the left side. On the right side of the shank it is stamped Block [over] Meerschaum. I have no memory of when we bought it or who we purchased it from. It has been here a long time. The bowl has a light cake on the sides and some lava build up in the rustication of the rim top. The finish on the bowl and shank are very dusty with a lot of debris and dirt in the rusticated valleys of the pipe. The shank extension is black acrylic with the clear P stamp on the left side as noted above. The pipe smells dirty and musty from sitting. The fancy turned vulcanite stem is oxidized and there is light tooth chatter or marks on both sides ahead of the button. I took photos of the pipe before I started my refurbishing work.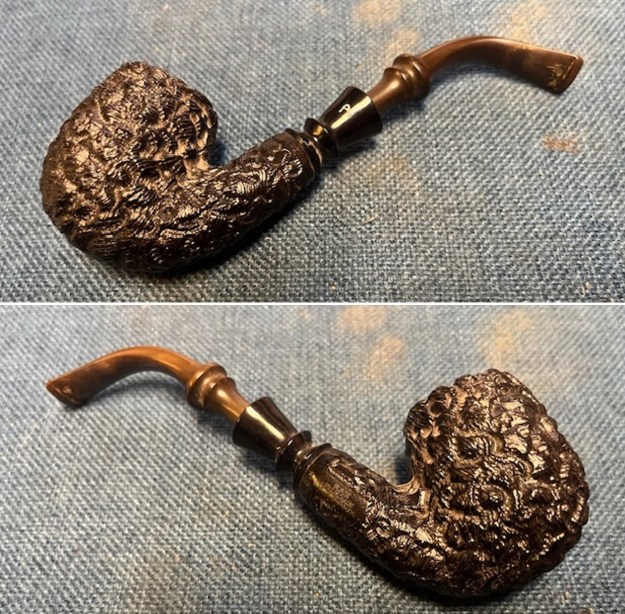
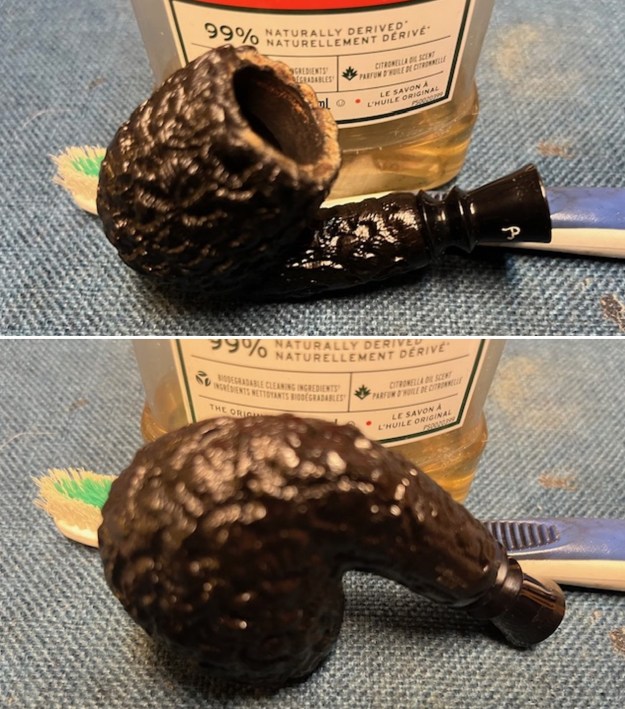
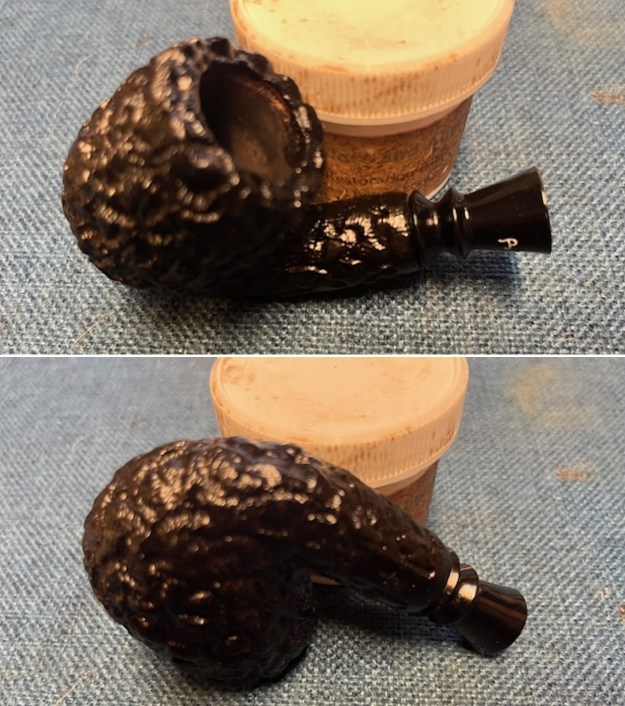
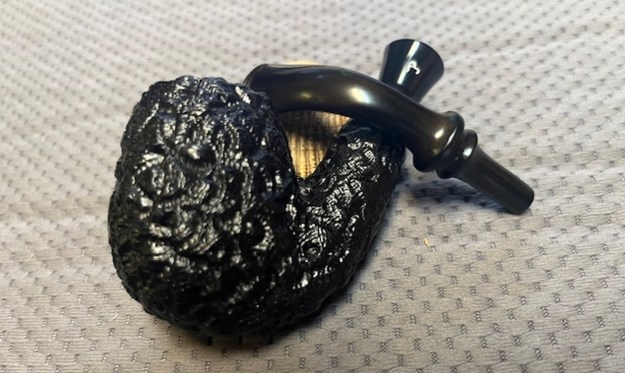
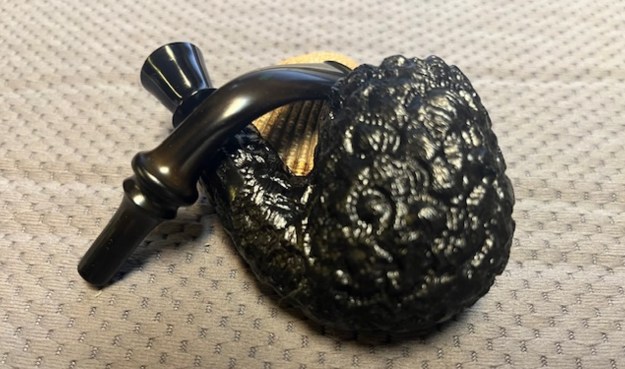
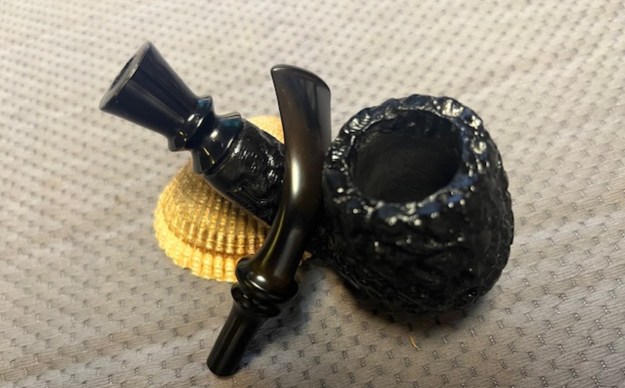
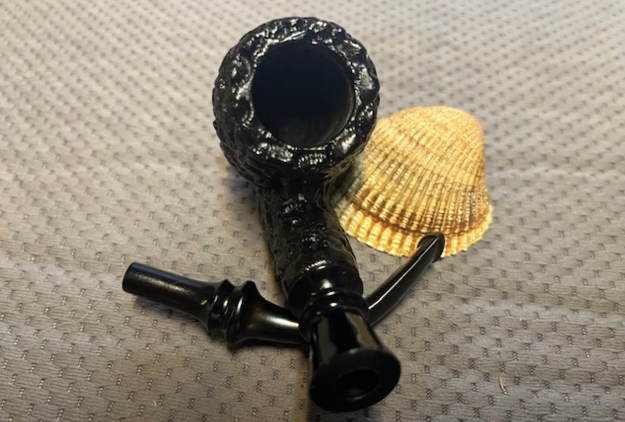
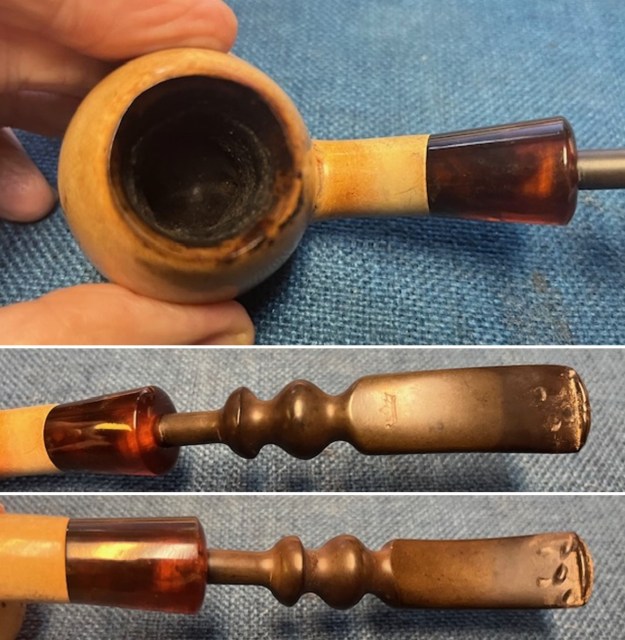
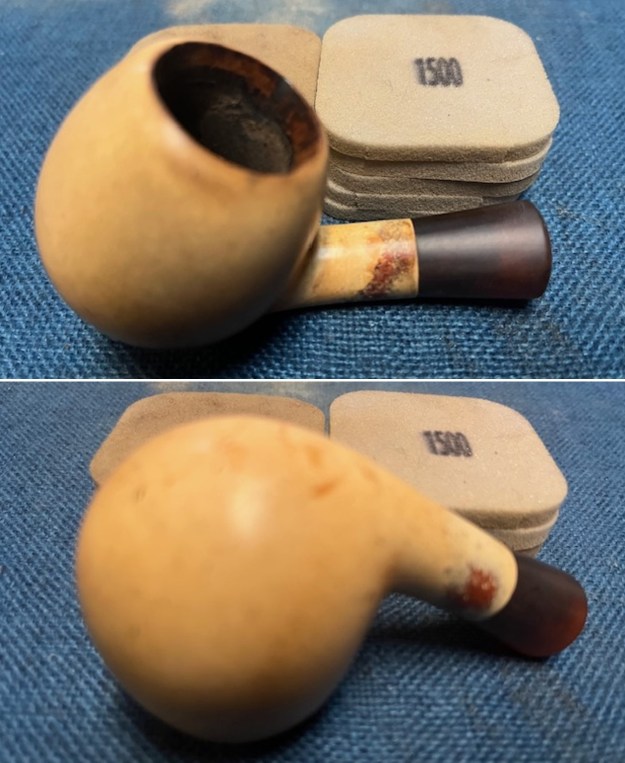
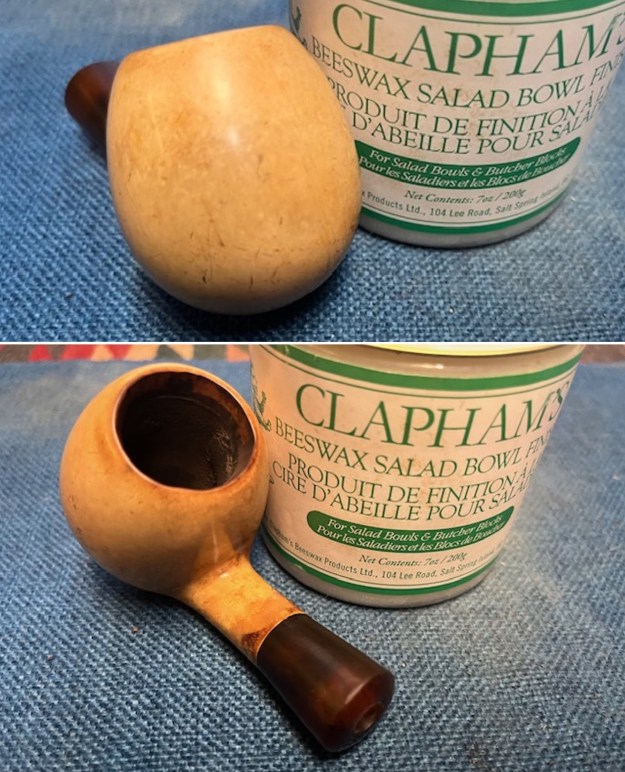
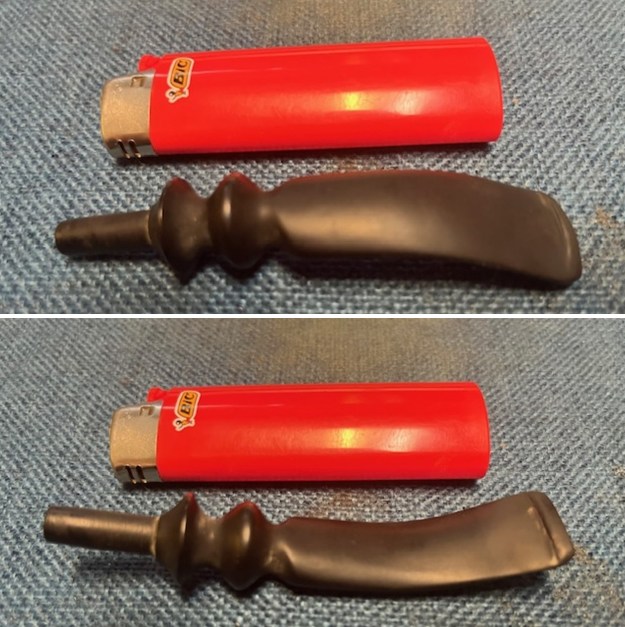
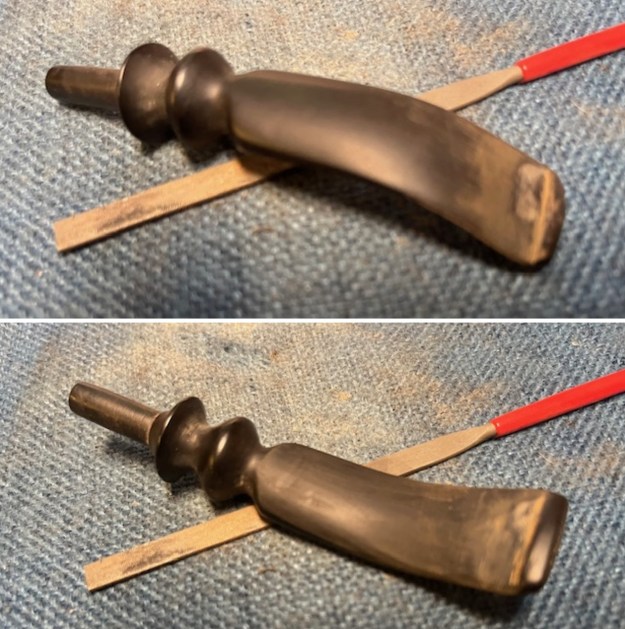
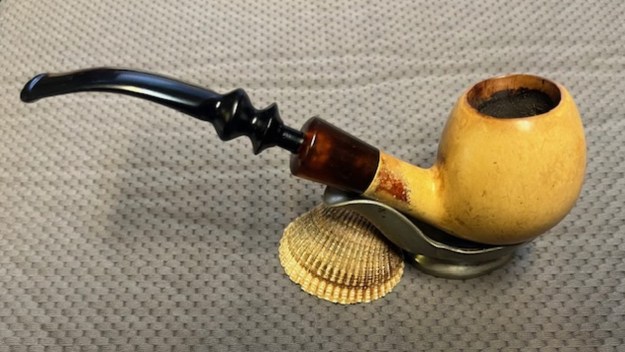
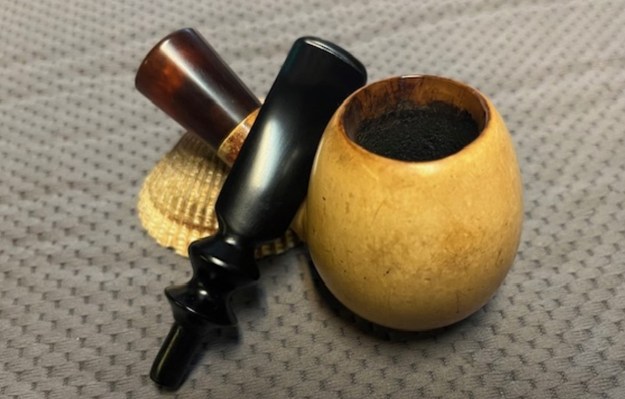
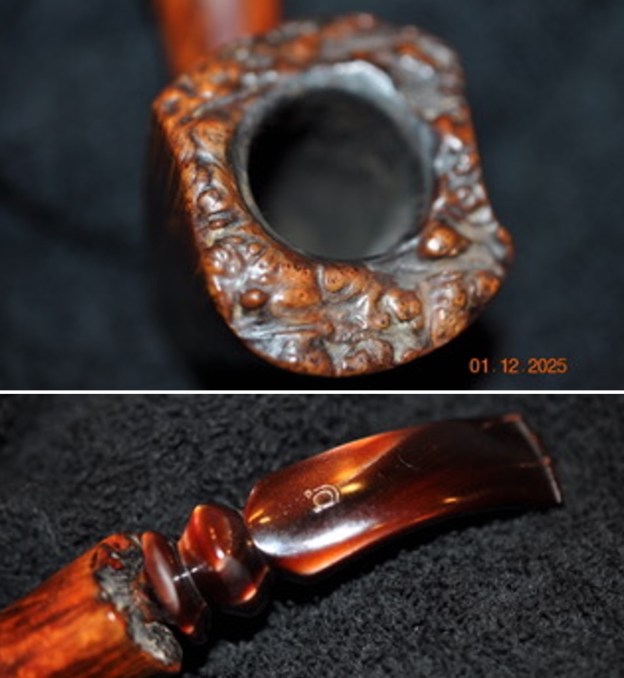
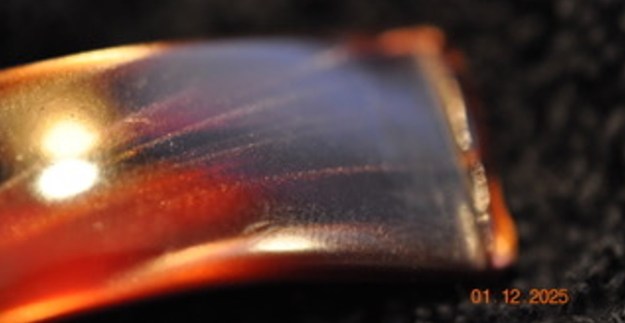
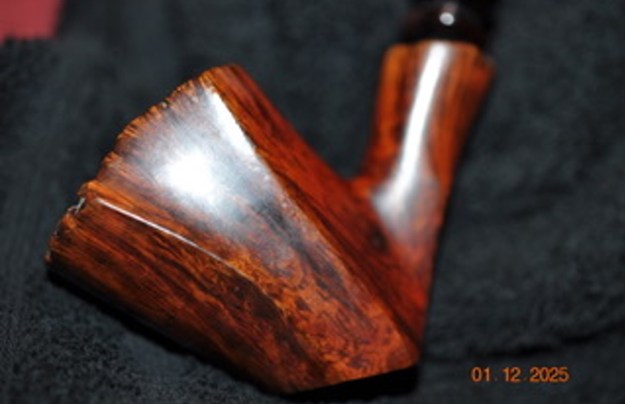
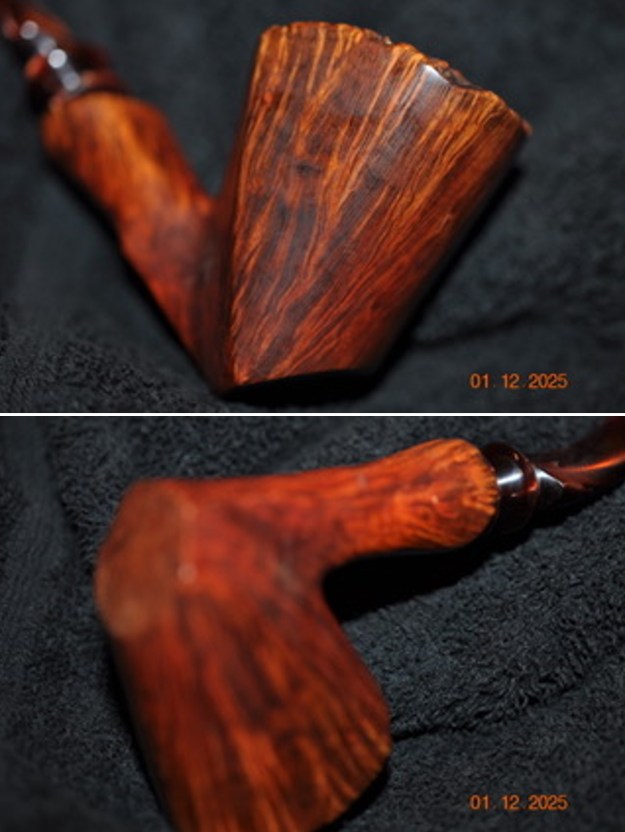
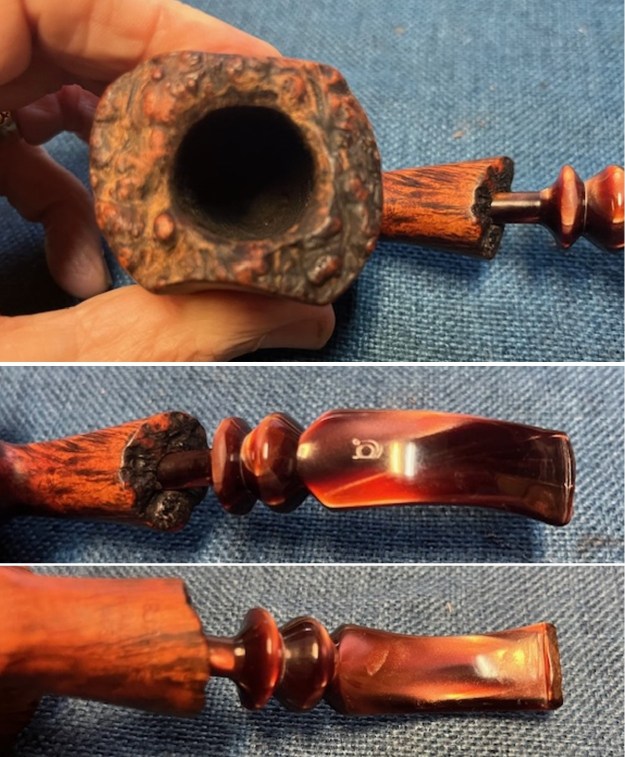
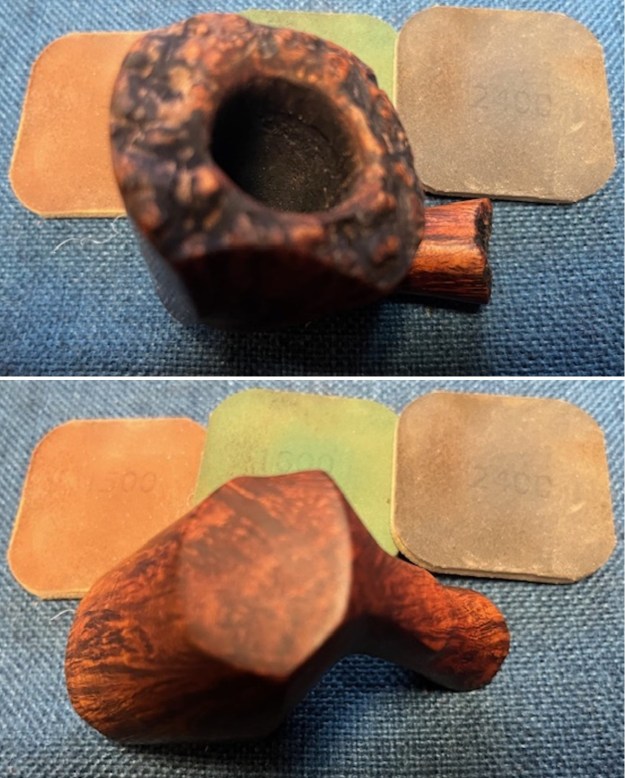
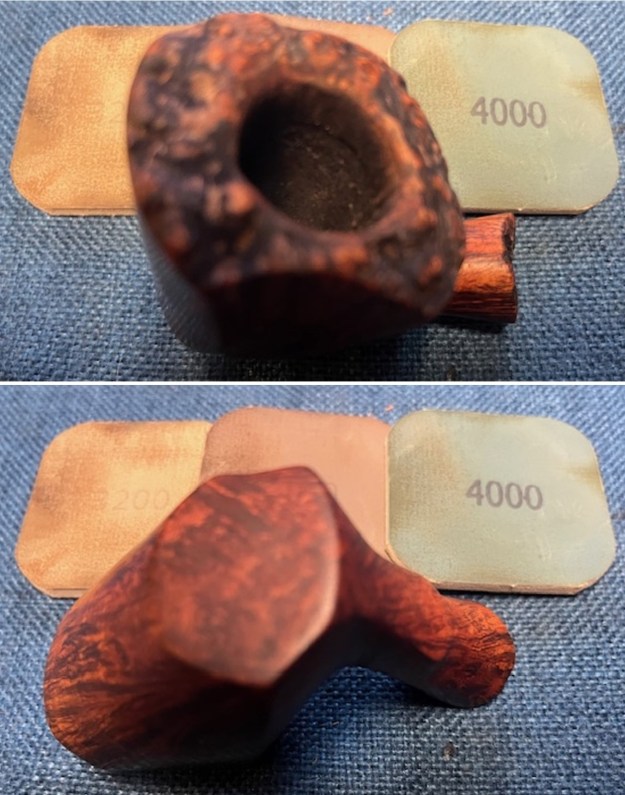
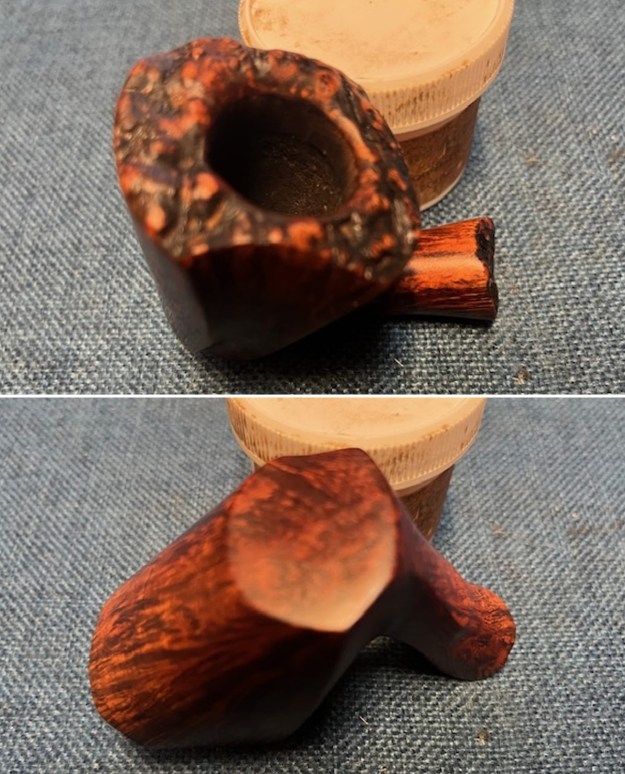
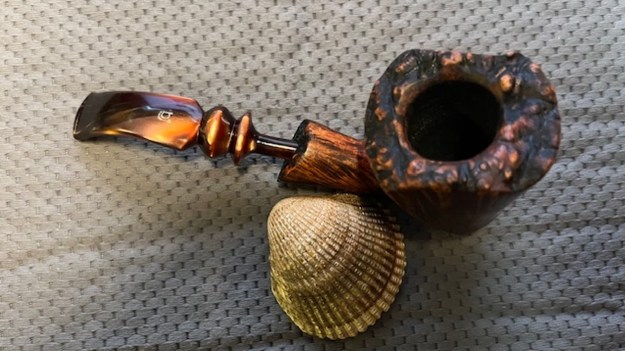
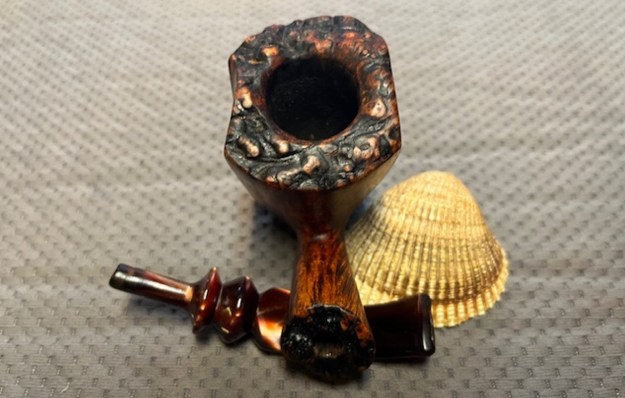
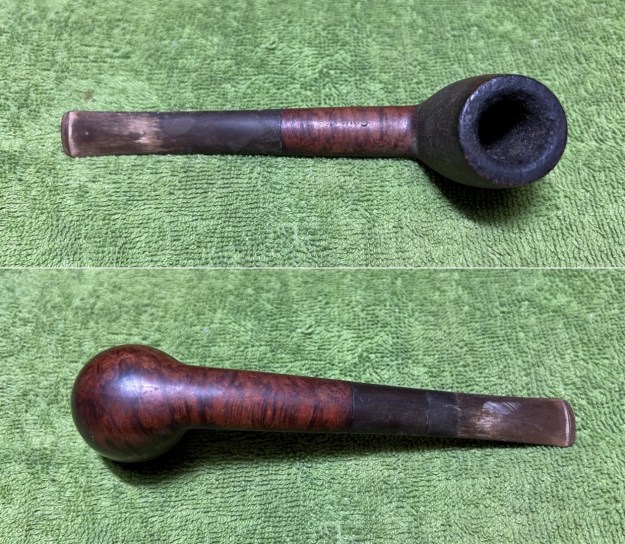
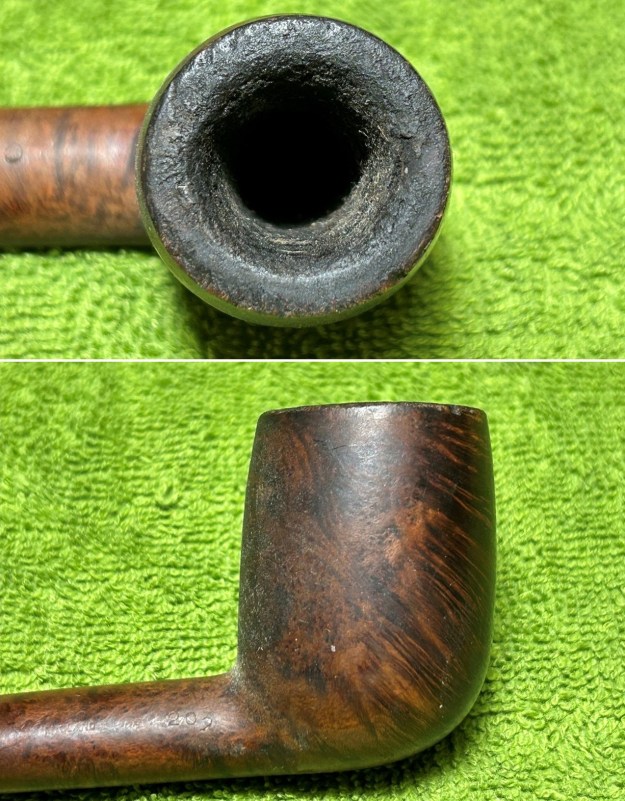
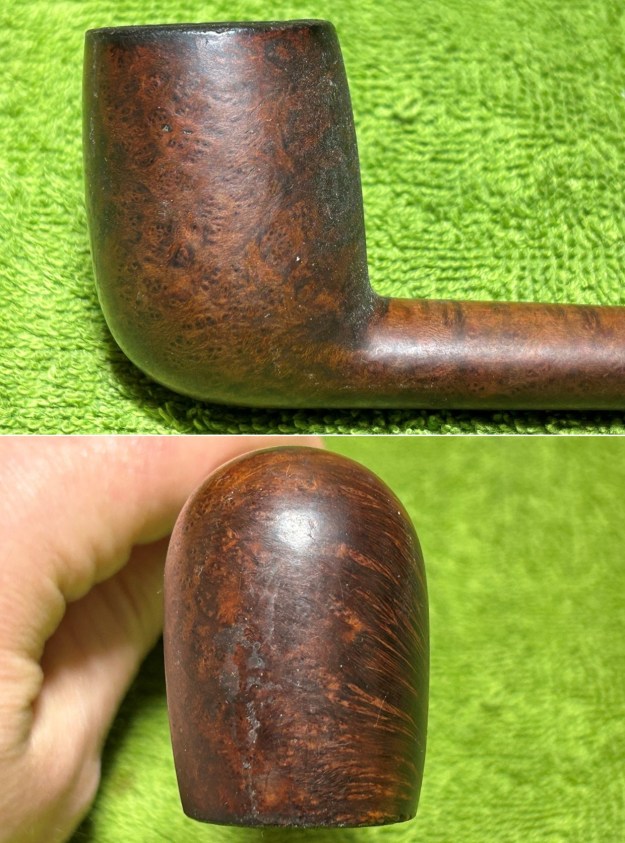
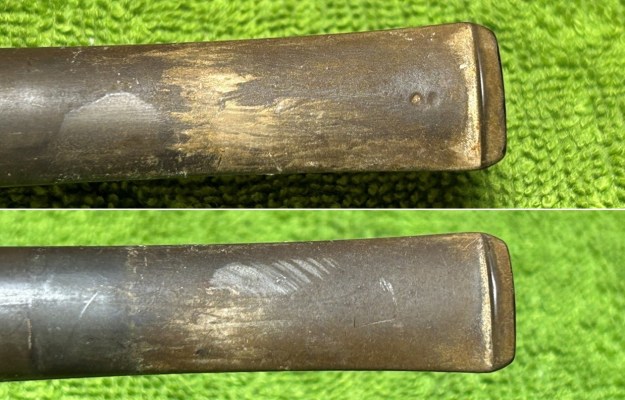
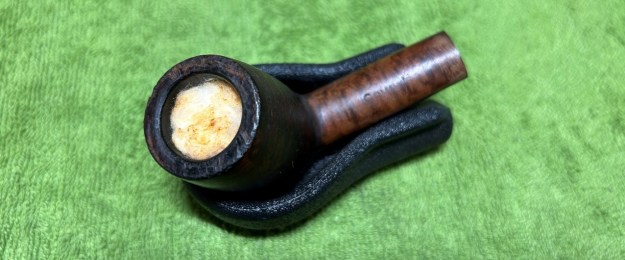
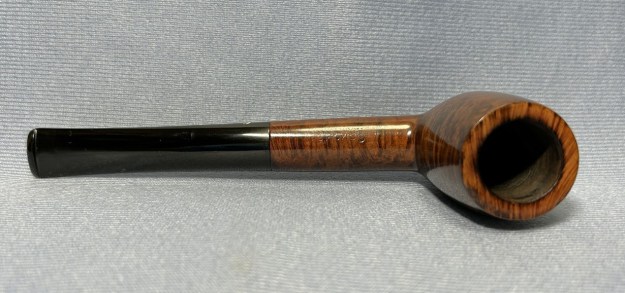
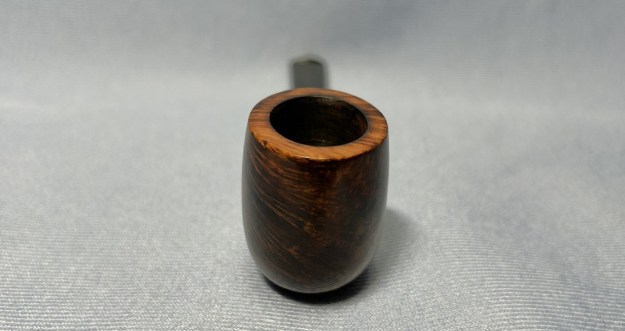
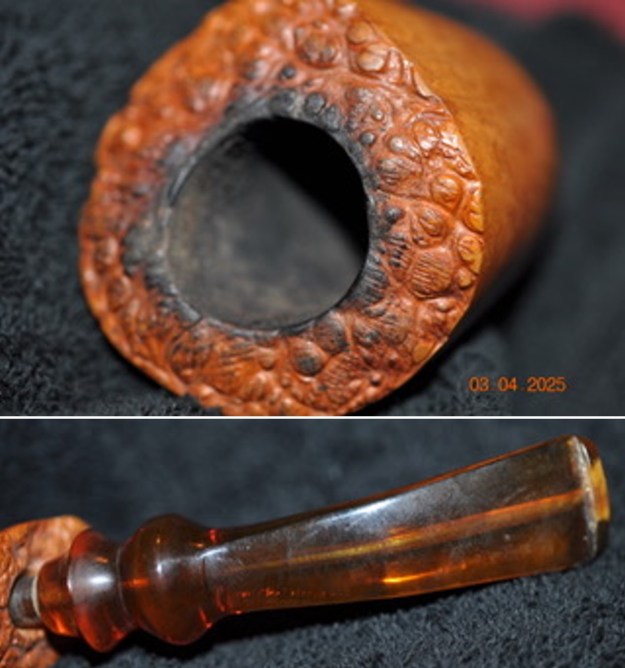
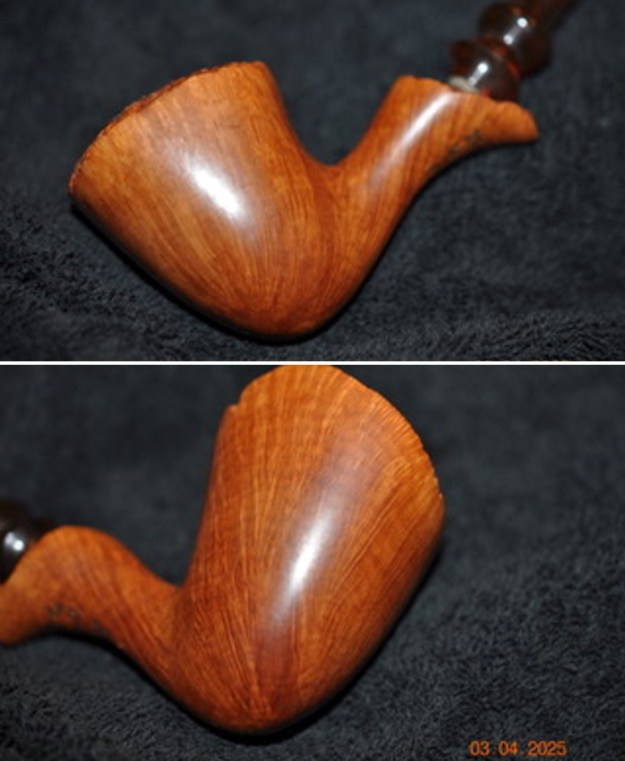
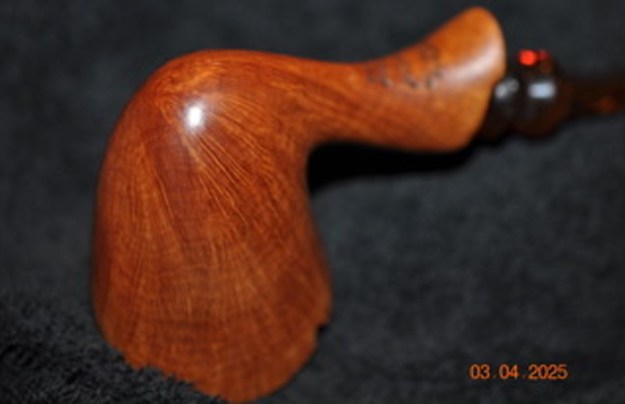
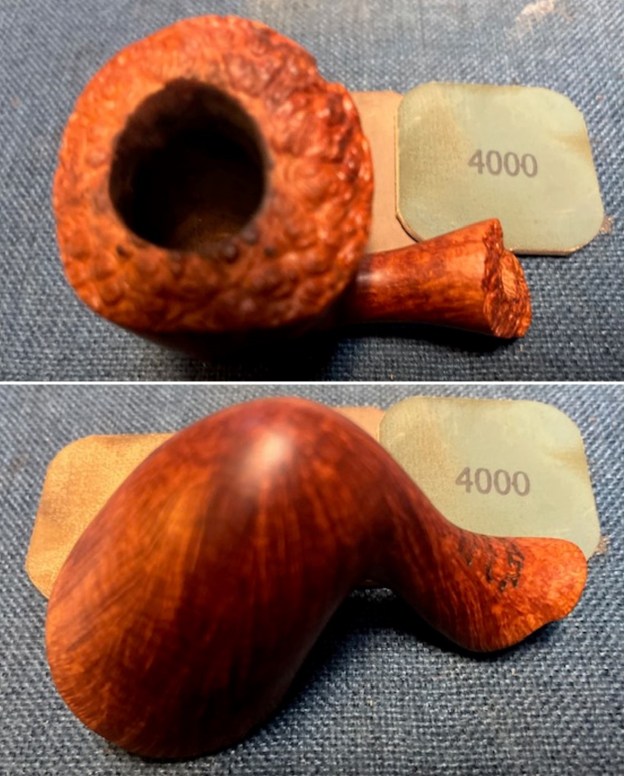
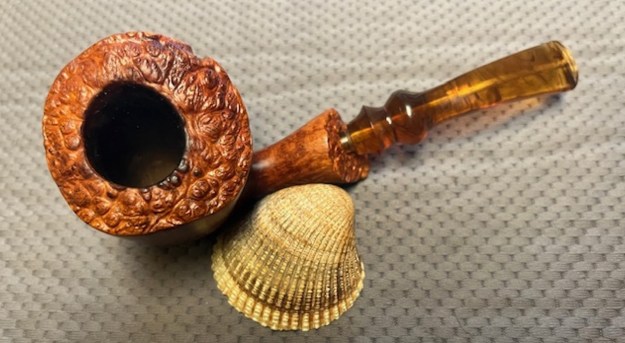
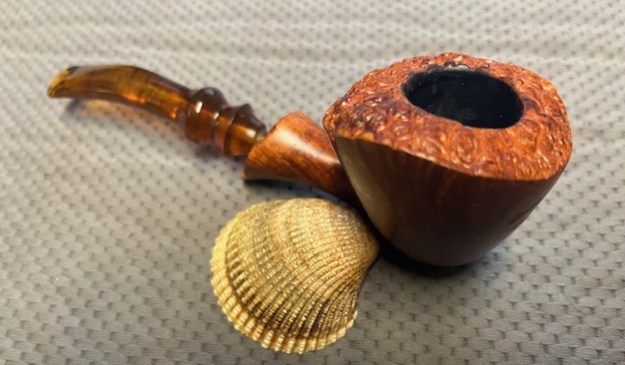
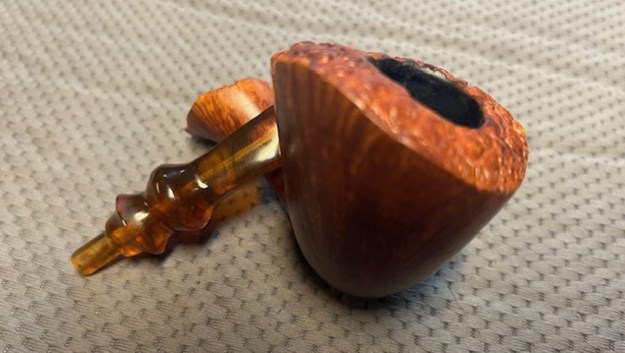
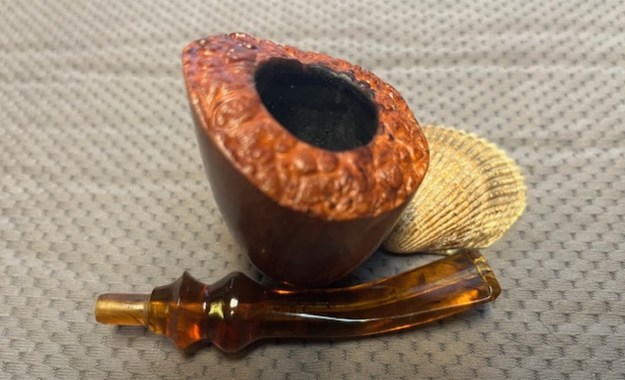
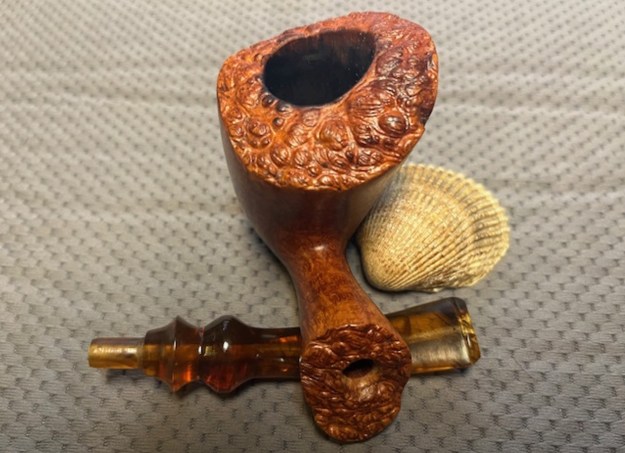
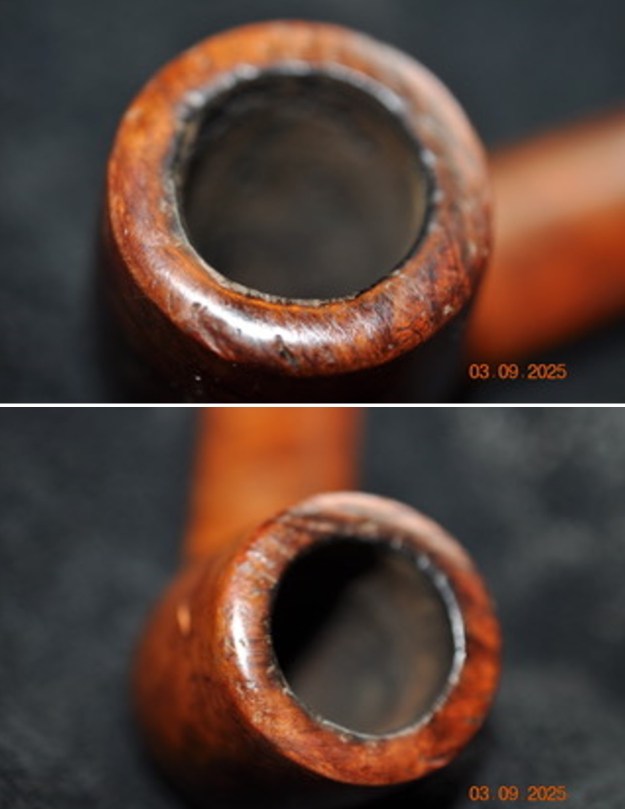
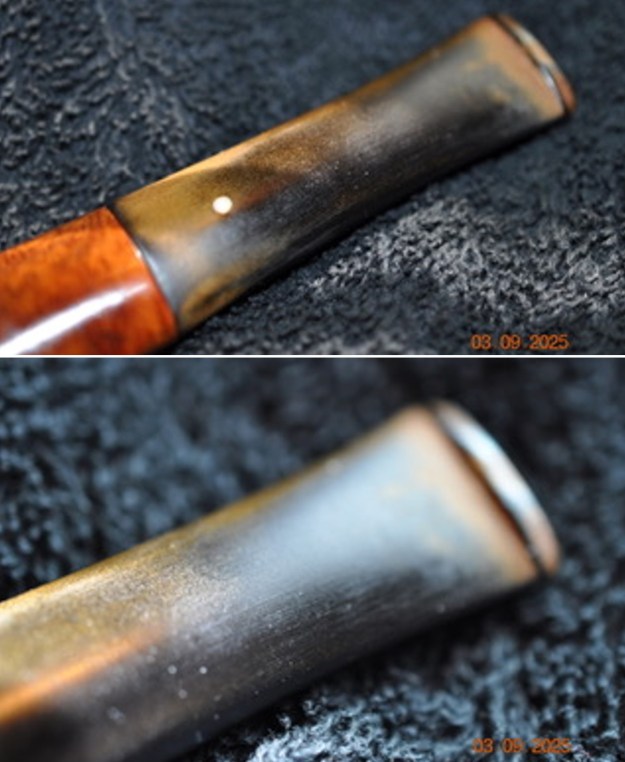
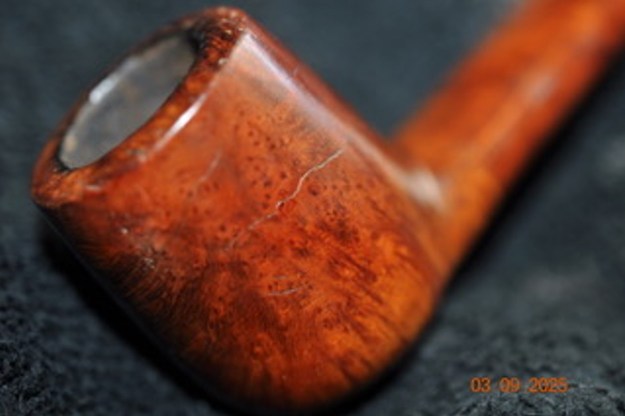
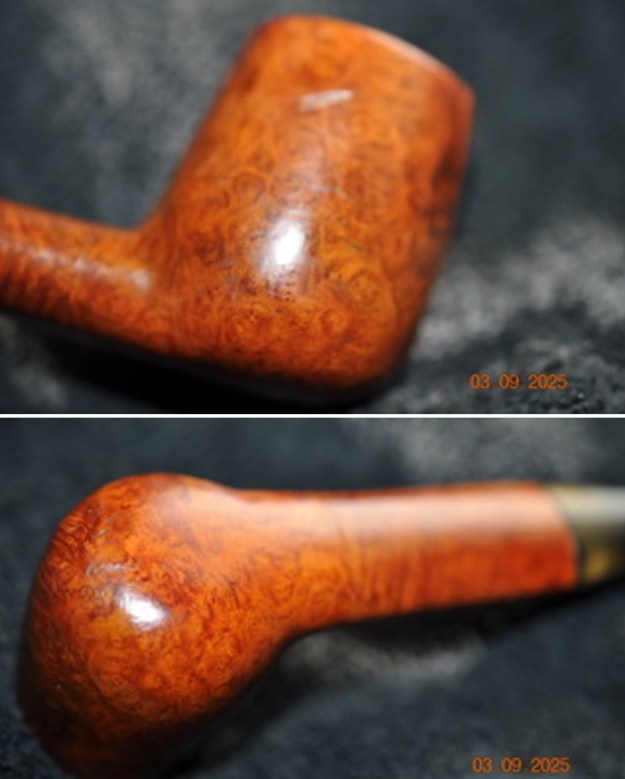
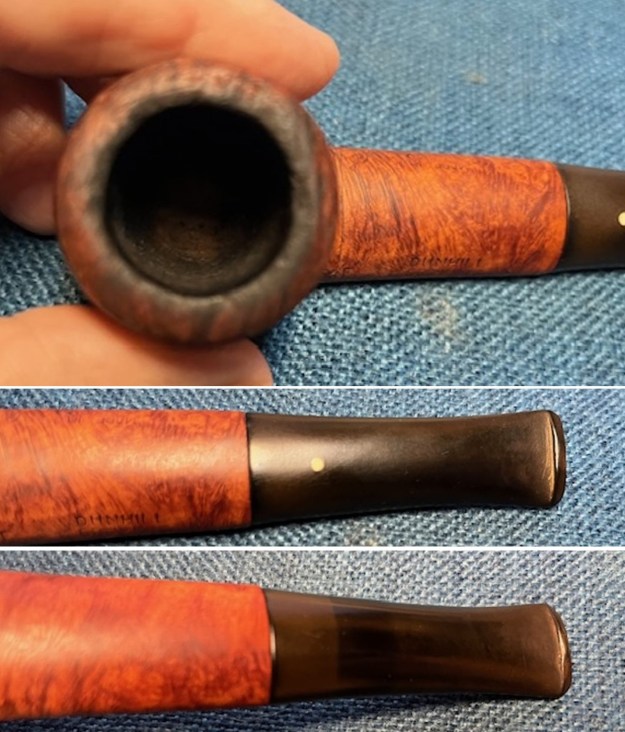
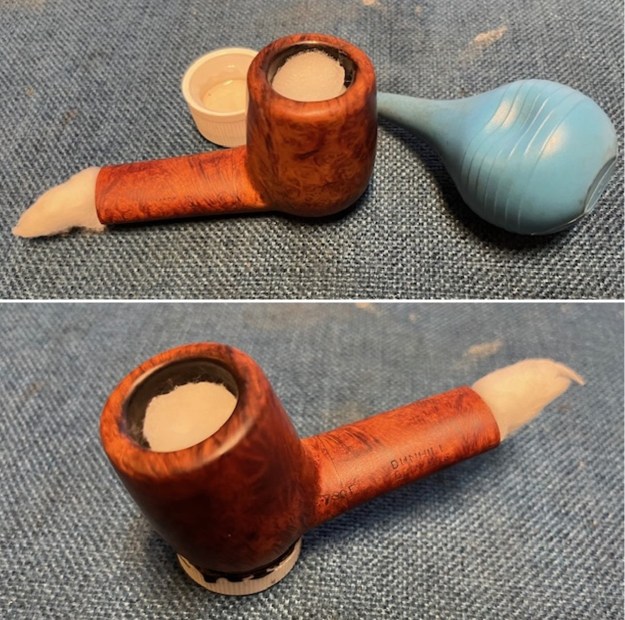
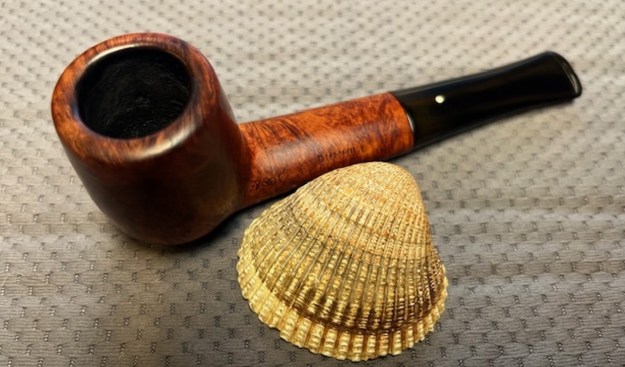
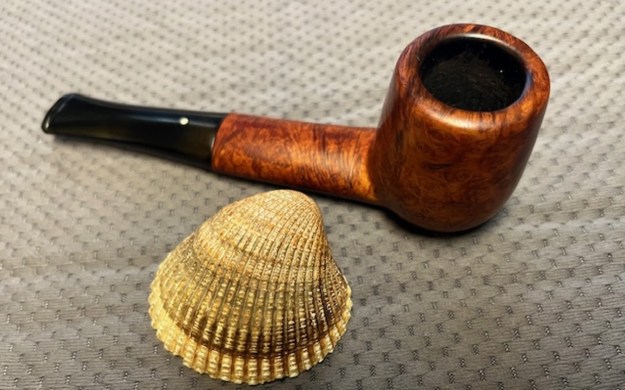
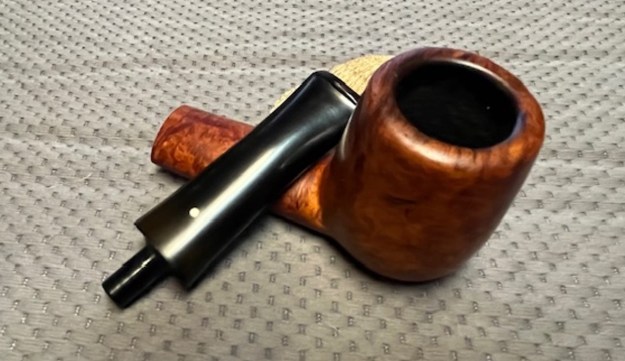
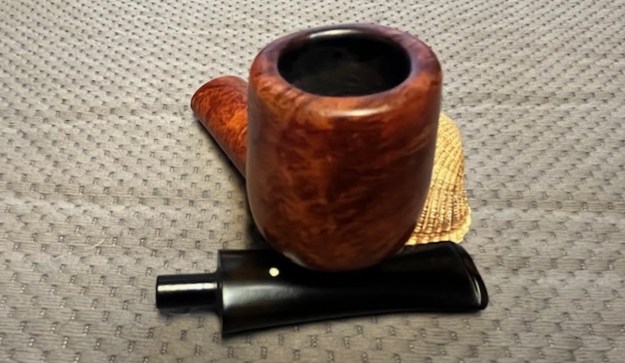
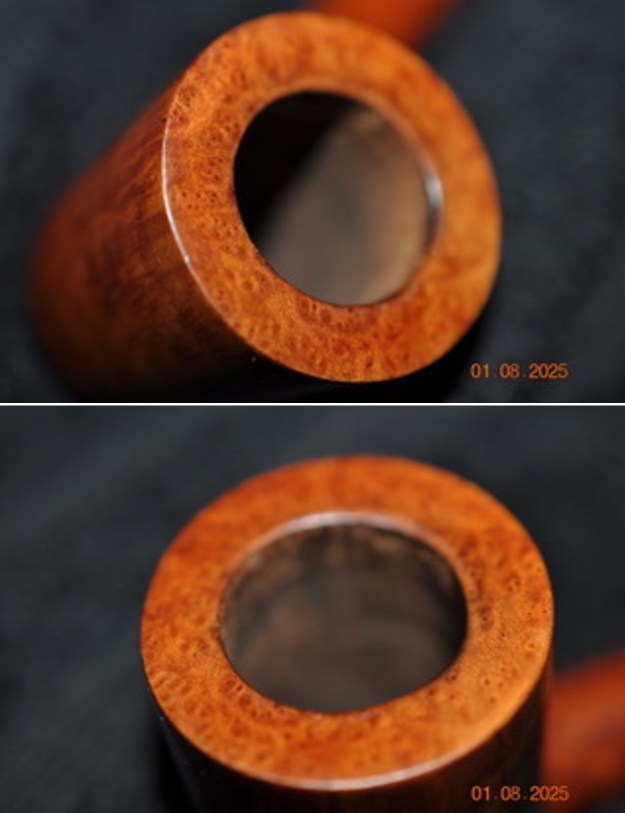
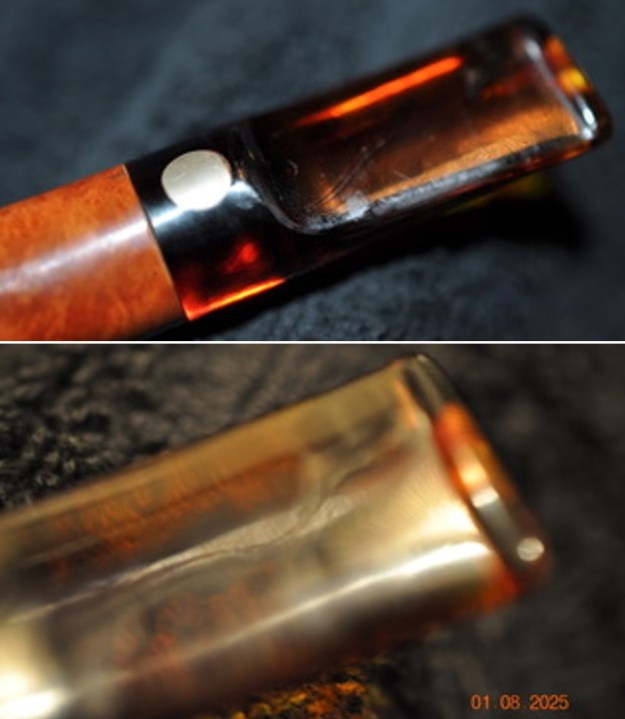
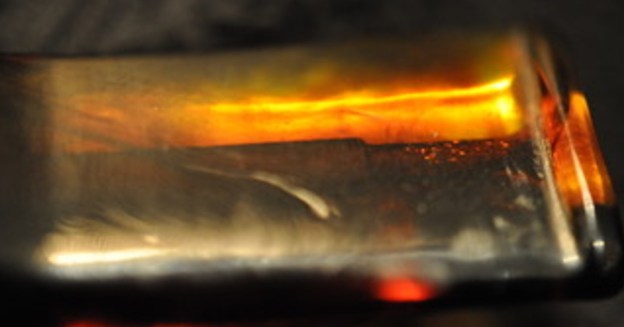
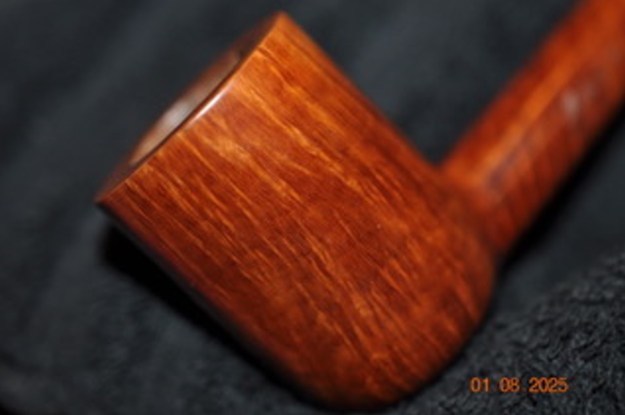
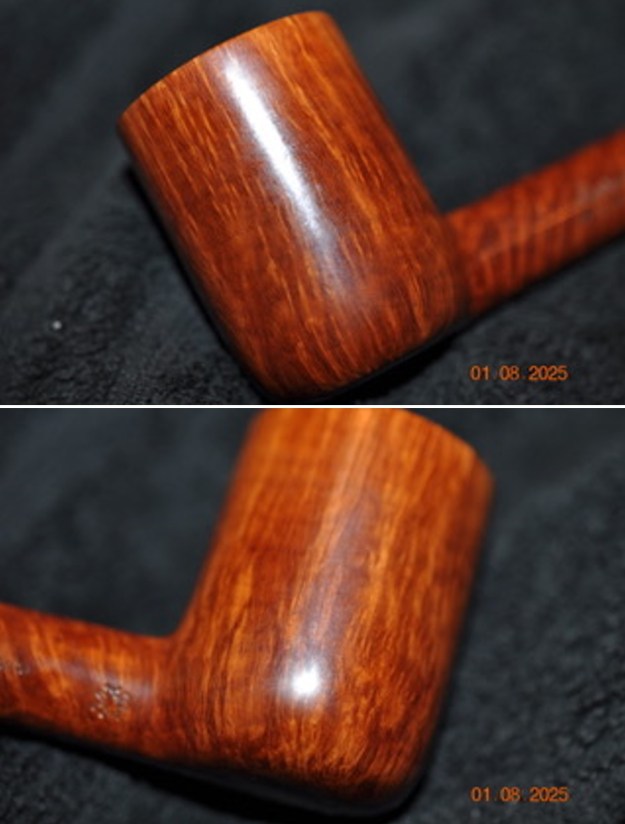
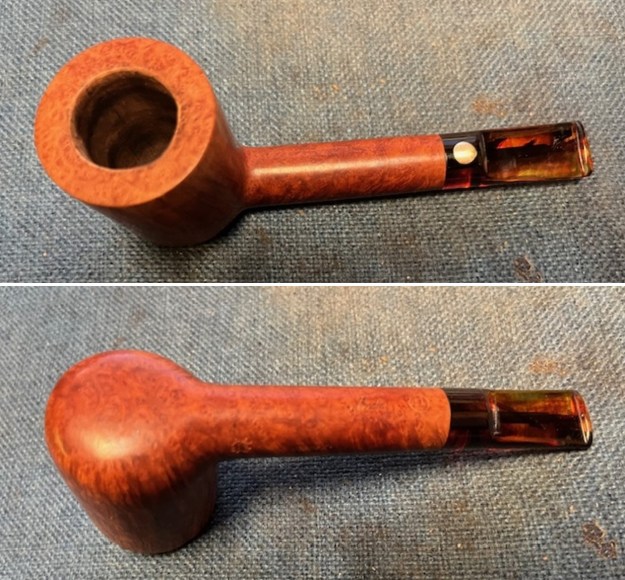
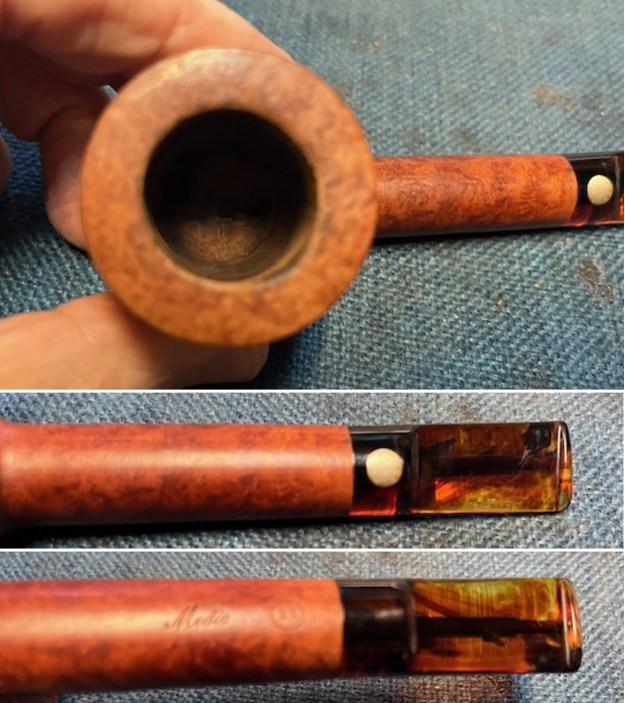
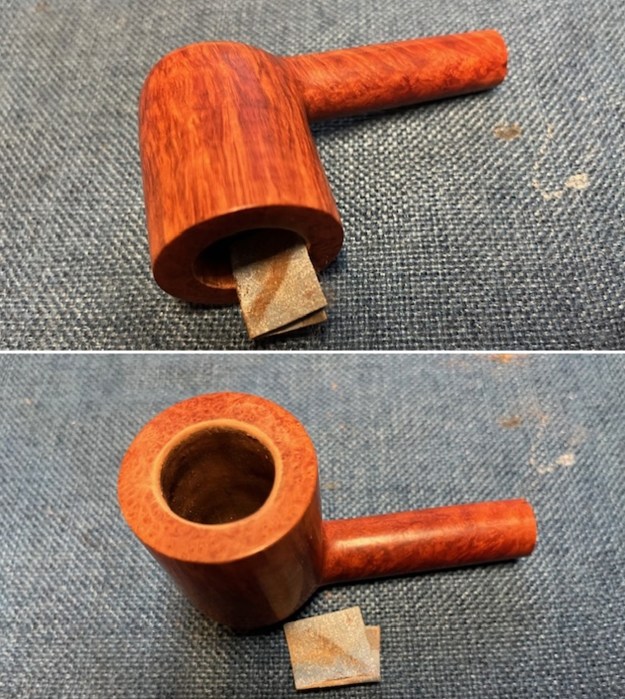
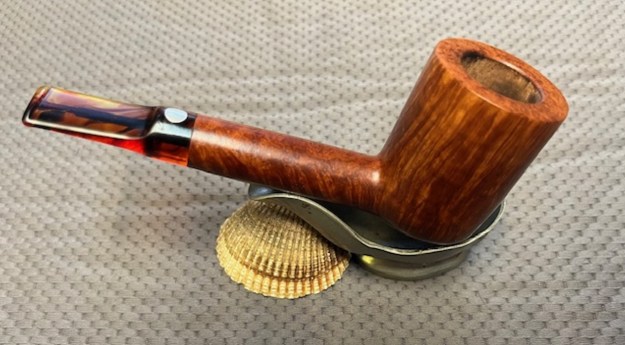
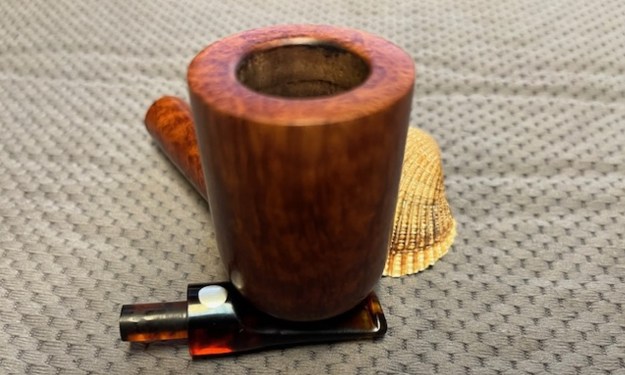
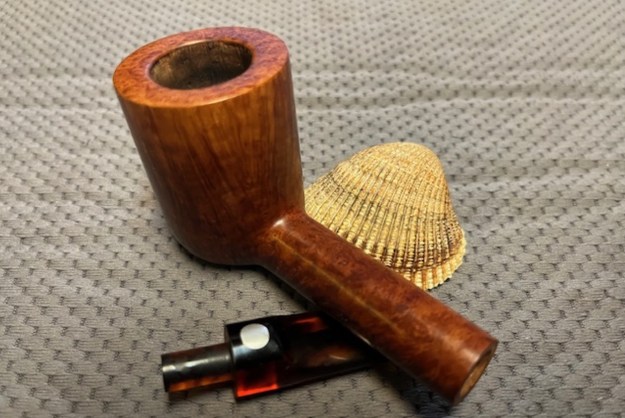
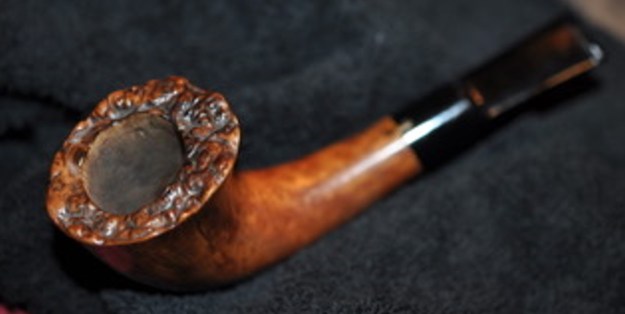
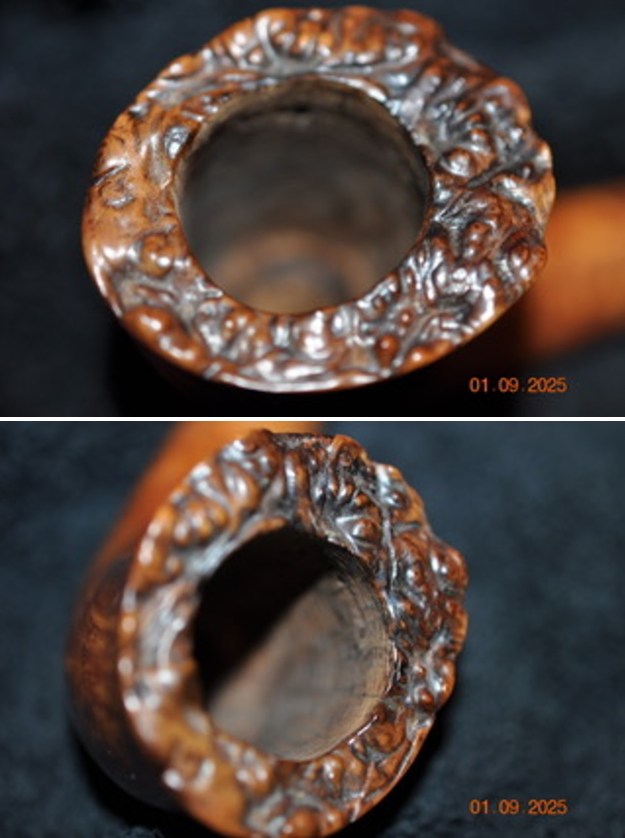
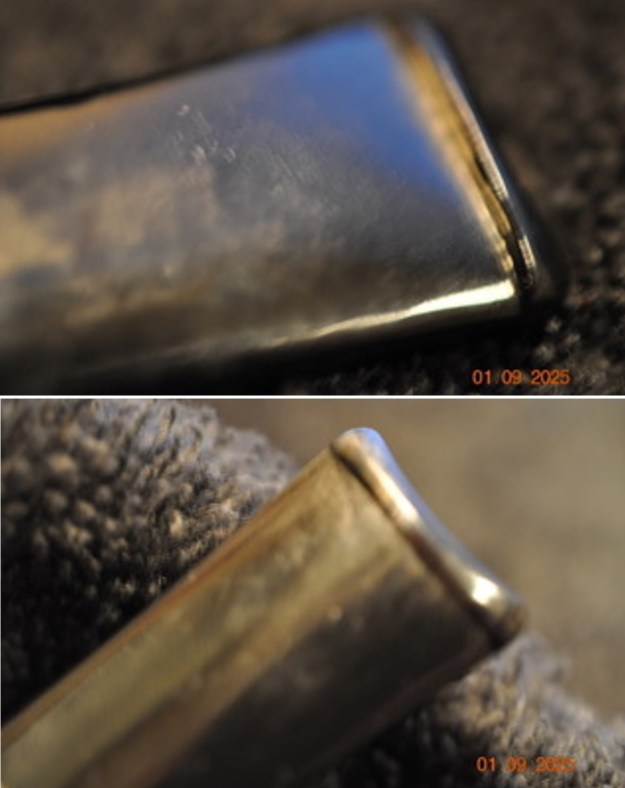
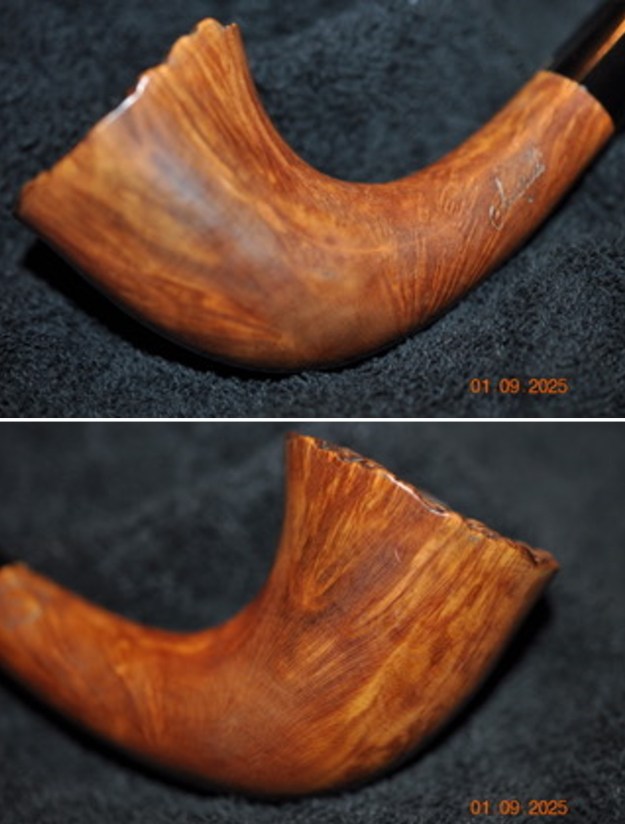
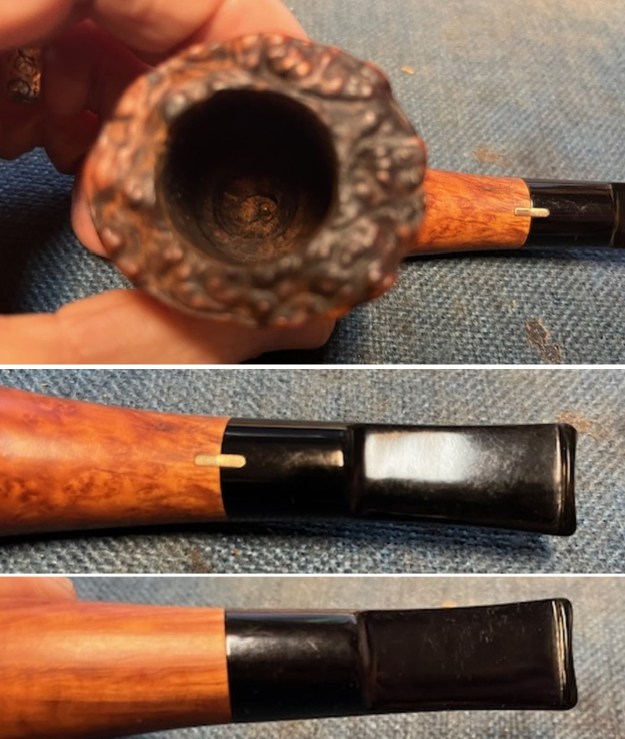
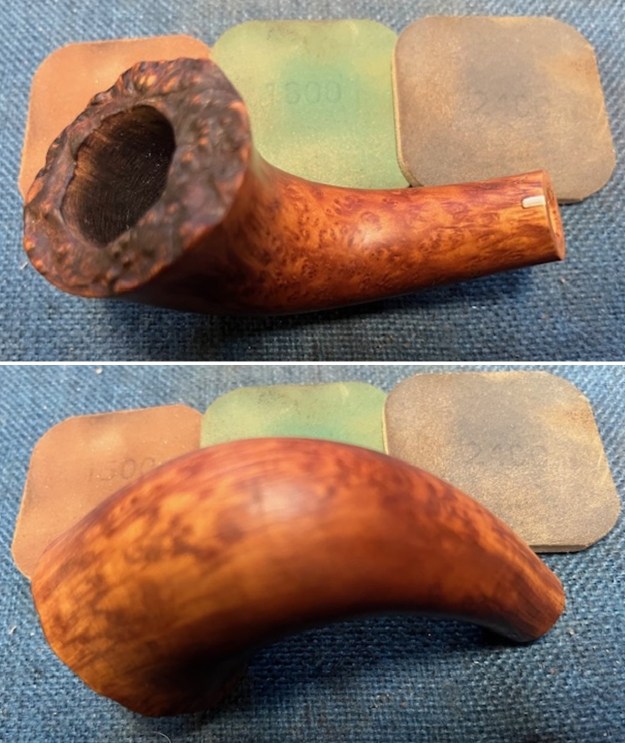
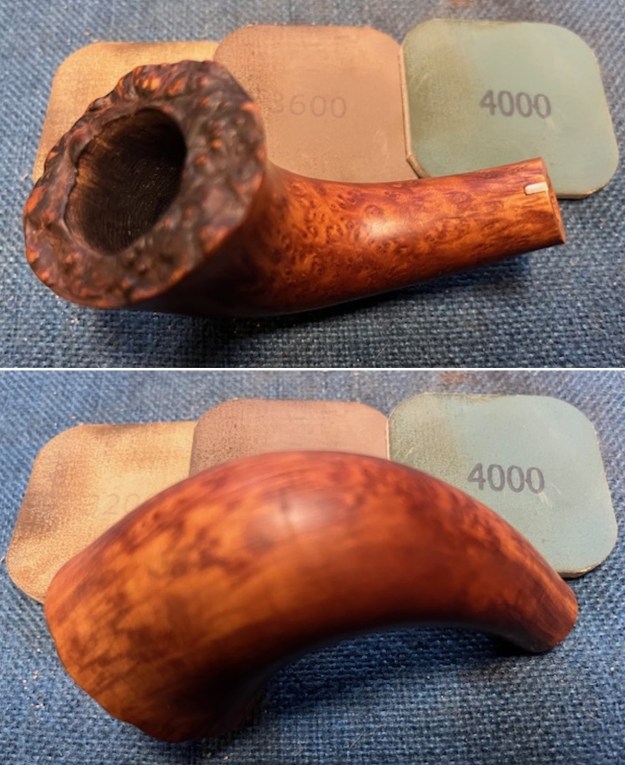
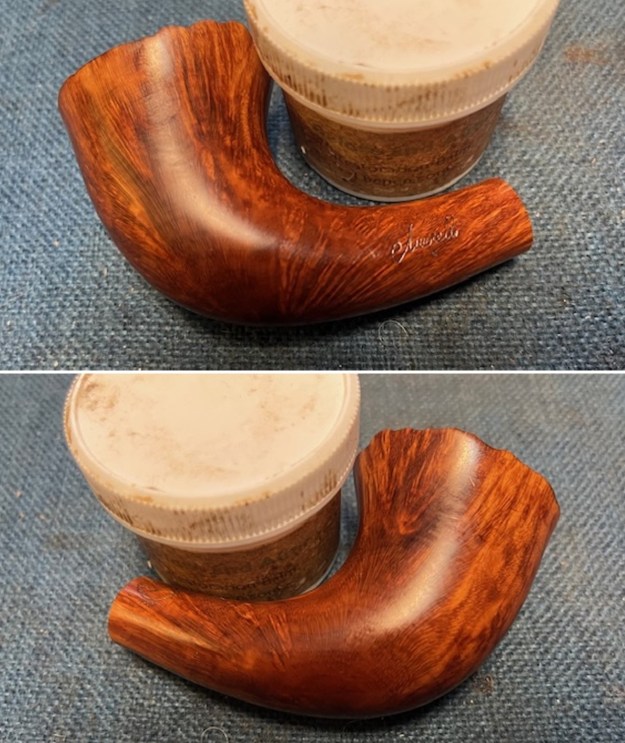
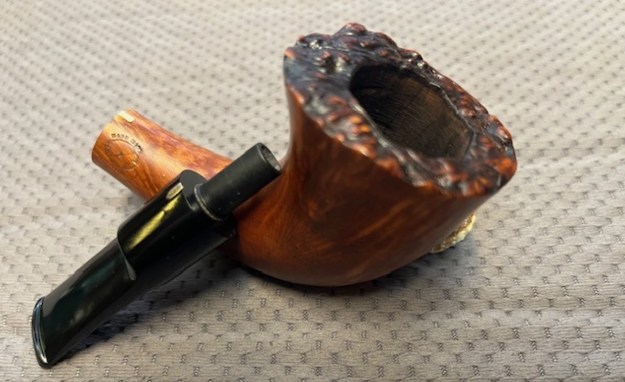
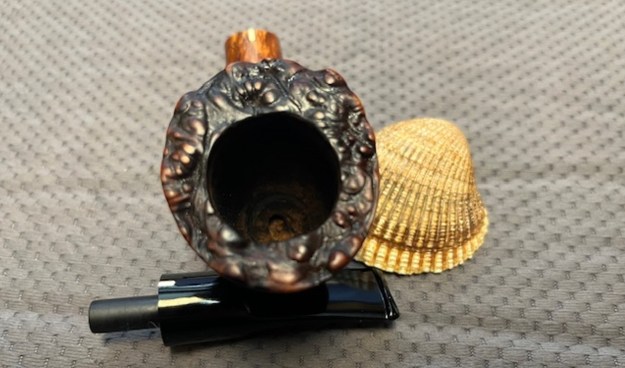
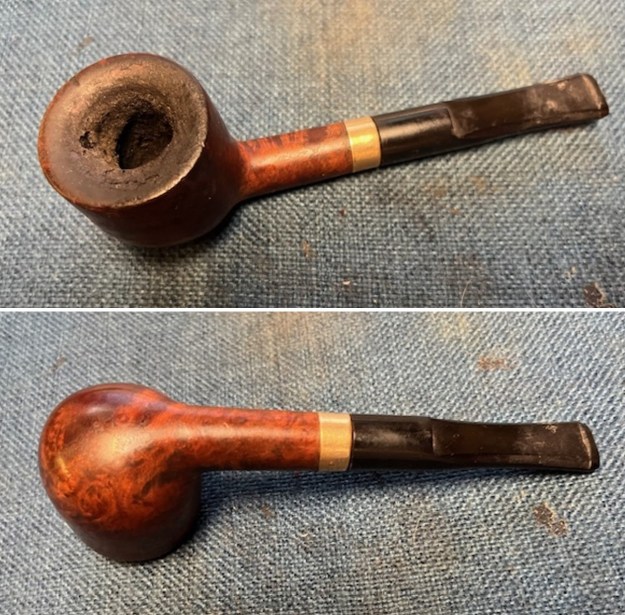
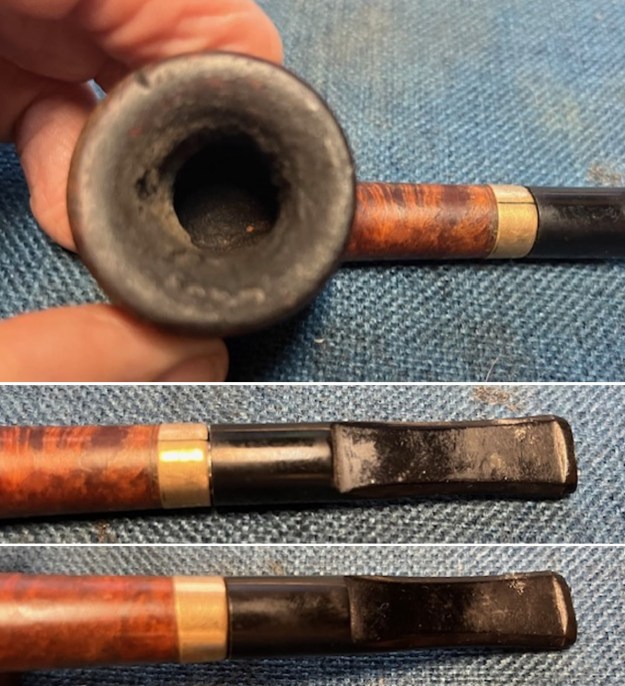
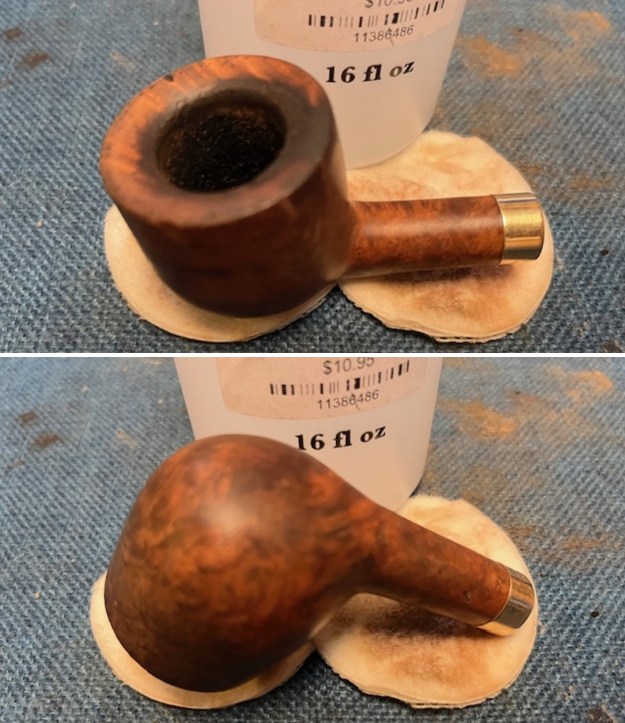
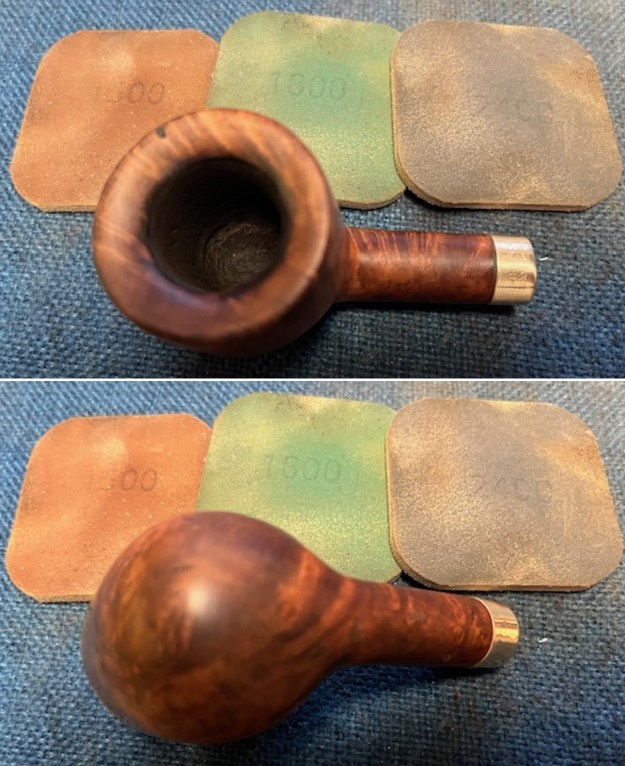
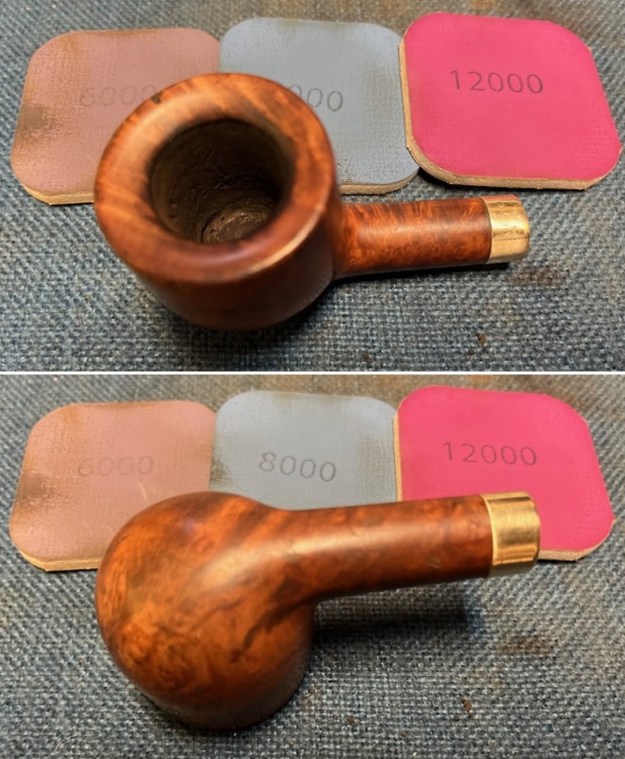
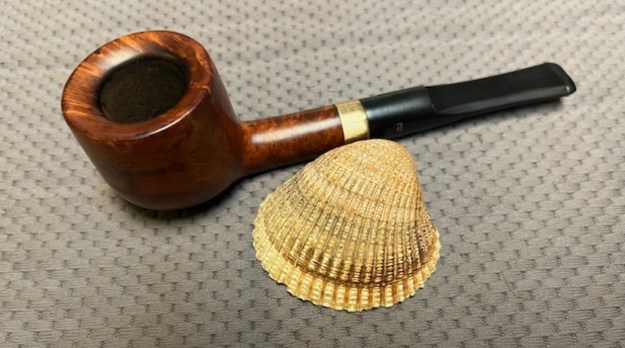
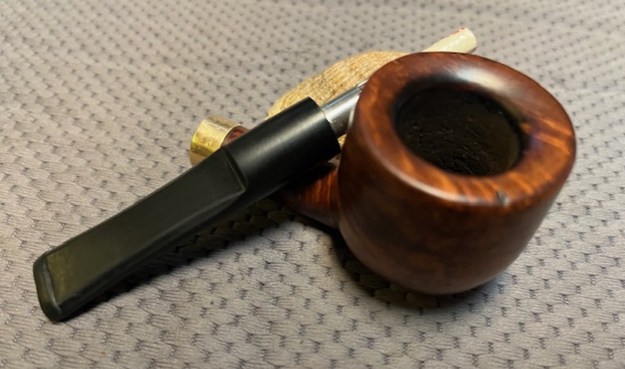
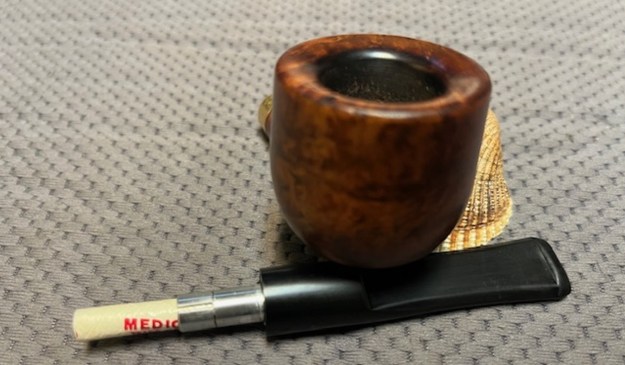
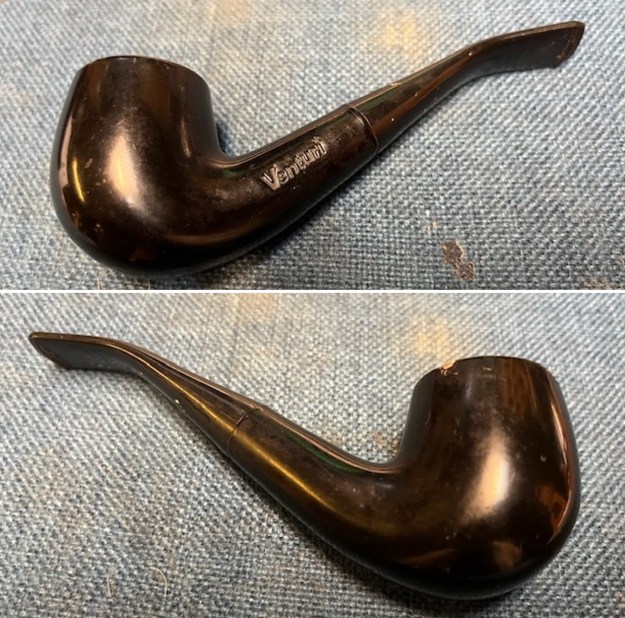
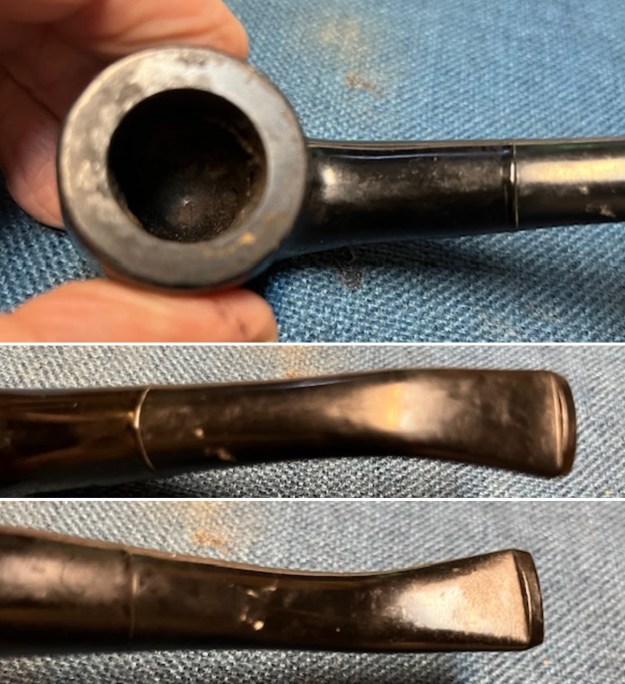
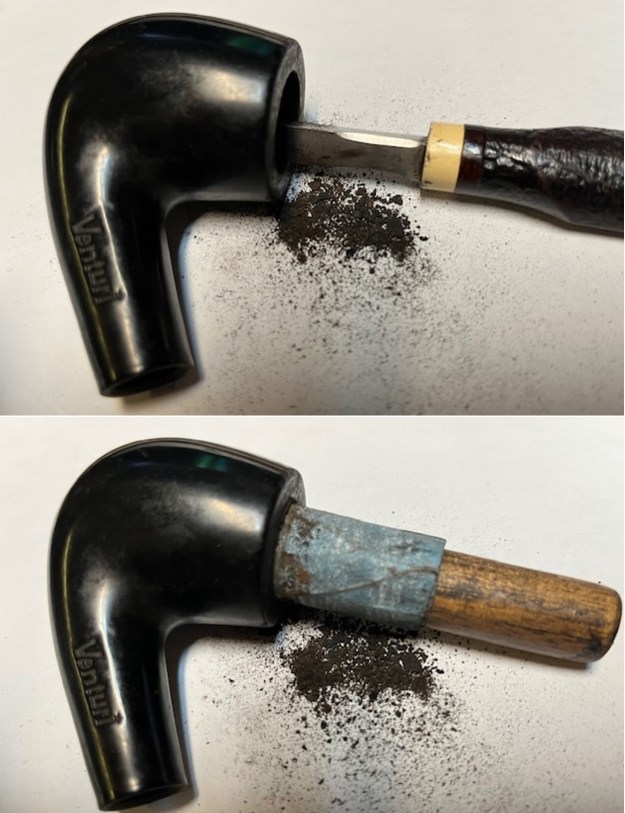
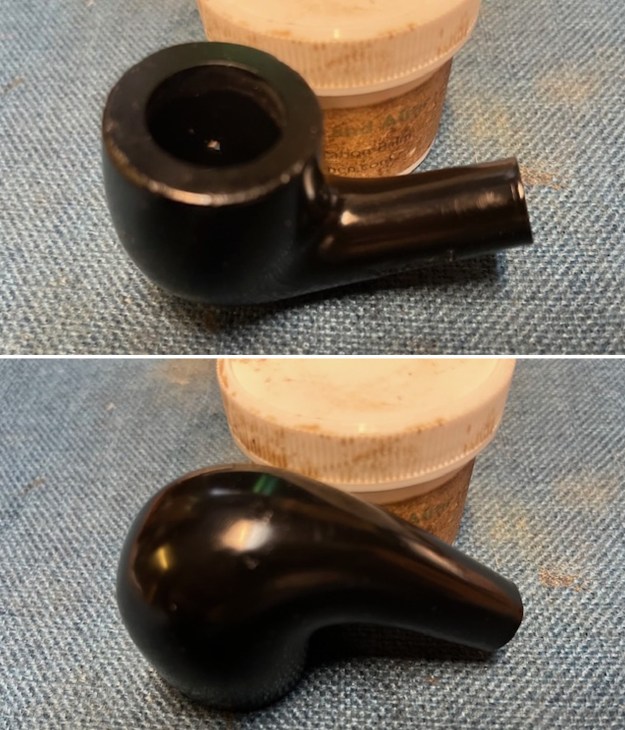
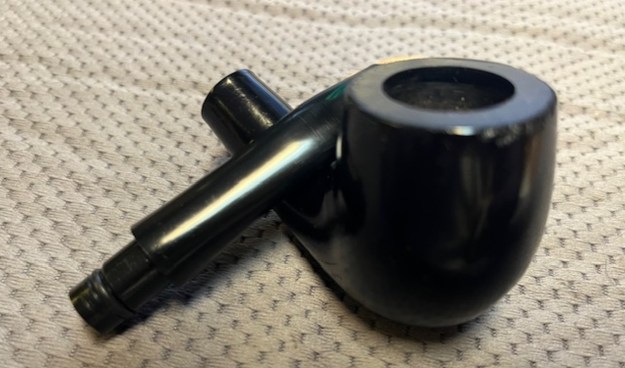
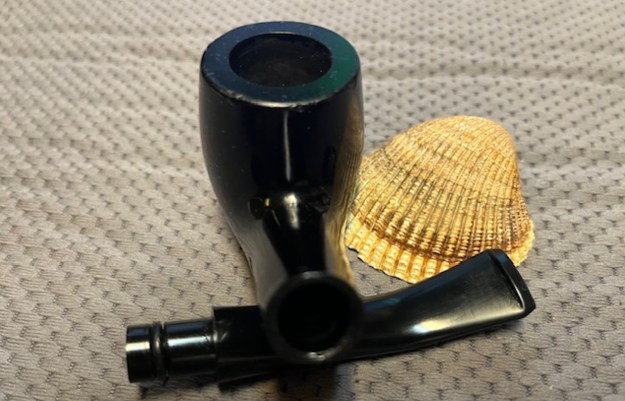
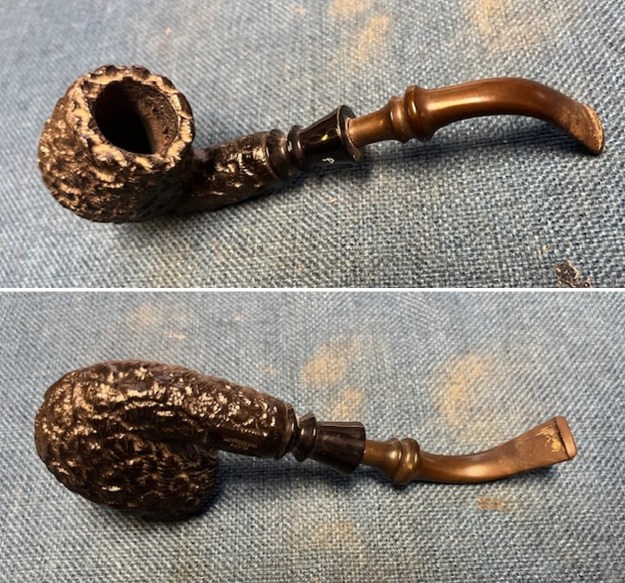 I took some photos of the rim top and bowl. You can see the lava and debris on the rim top and the tobacco debris and cake in the bowl. The stem photos show the oxidation in the vulcanite and light tooth marks and chatter.
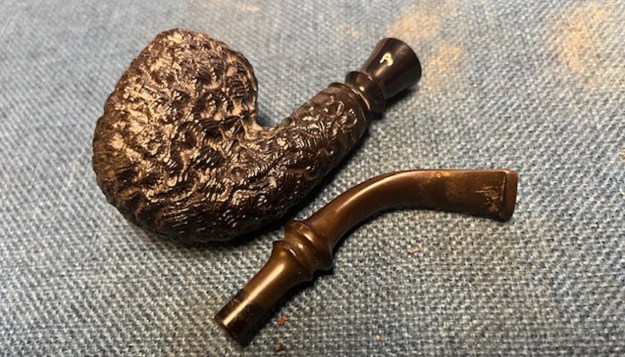
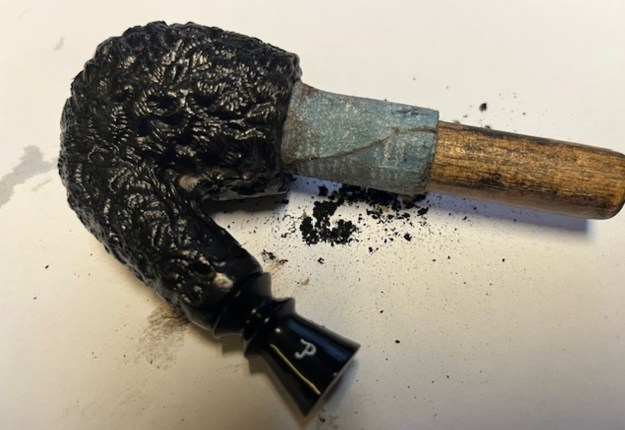
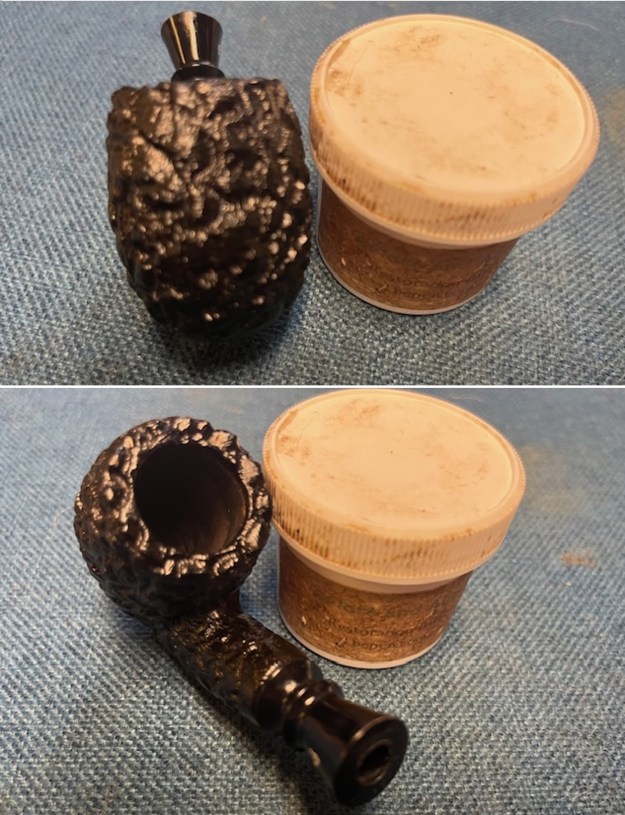
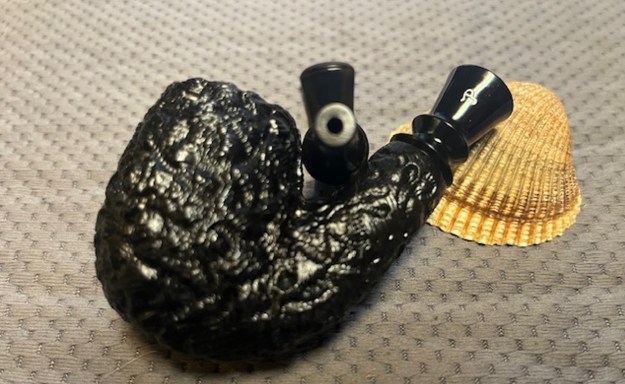
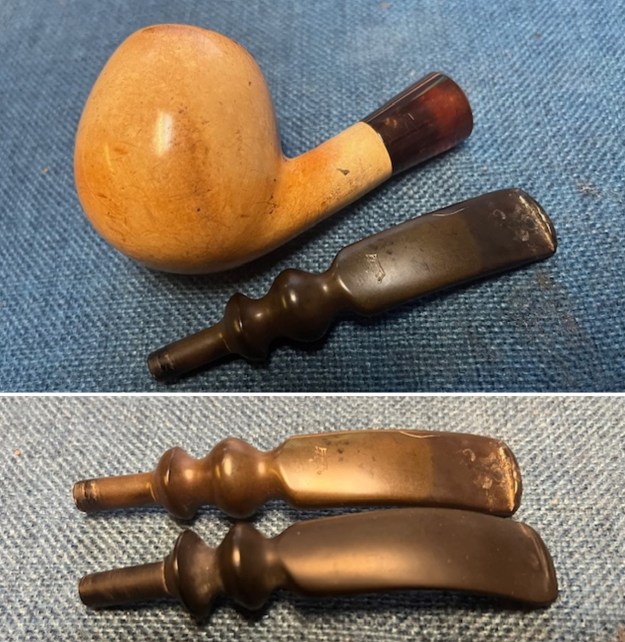
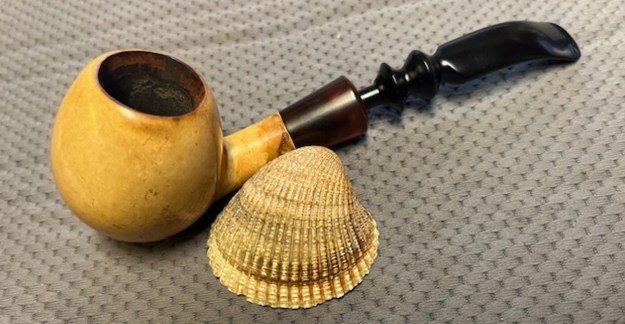
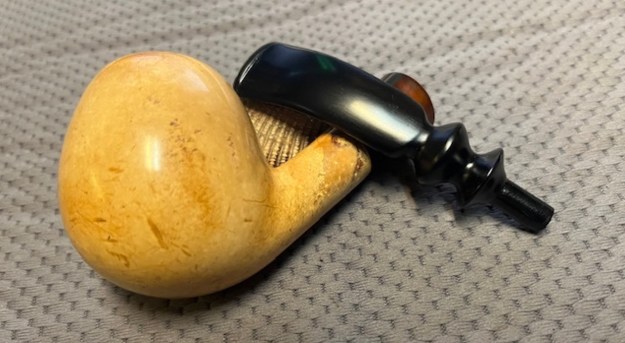
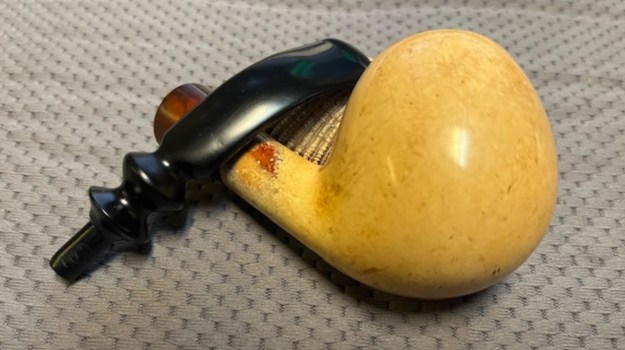
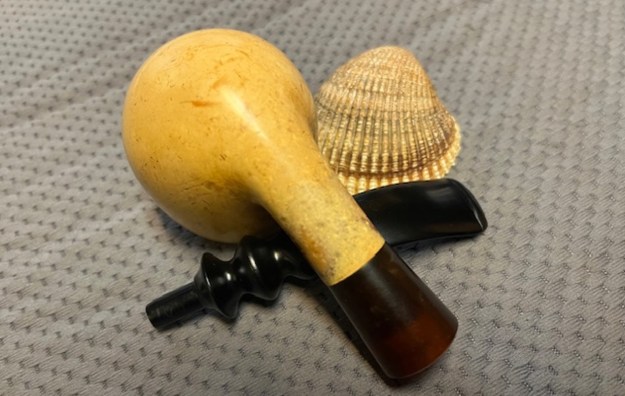
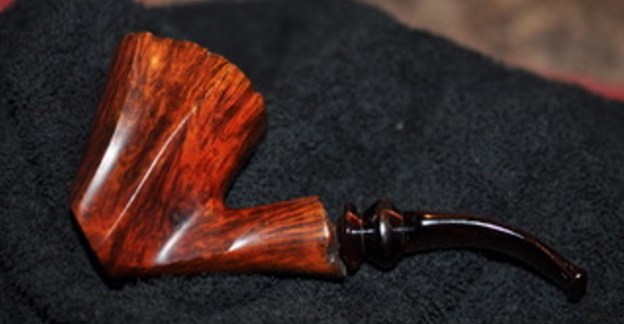
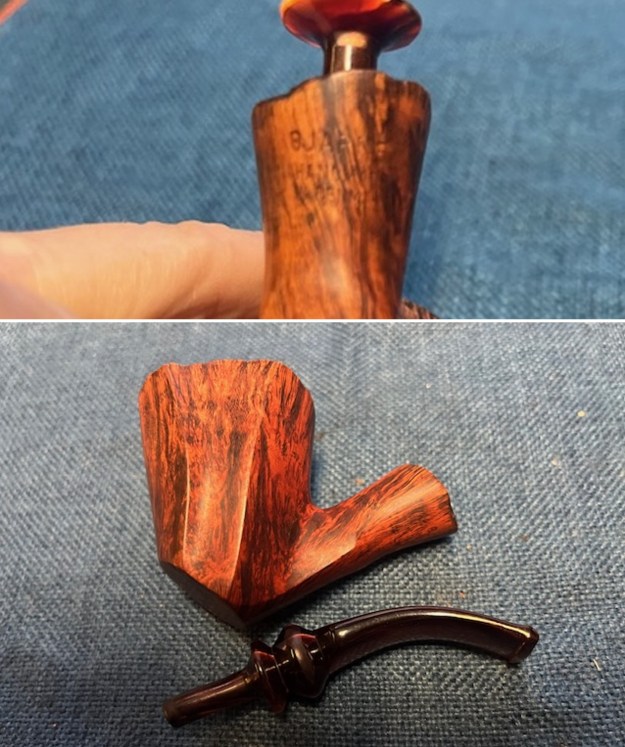
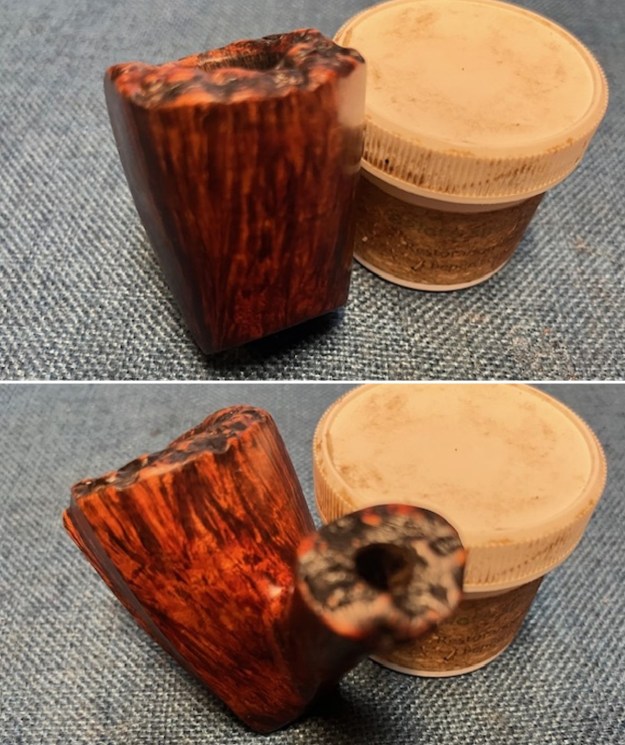
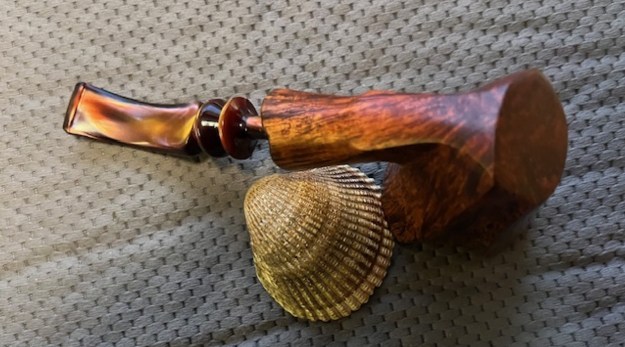
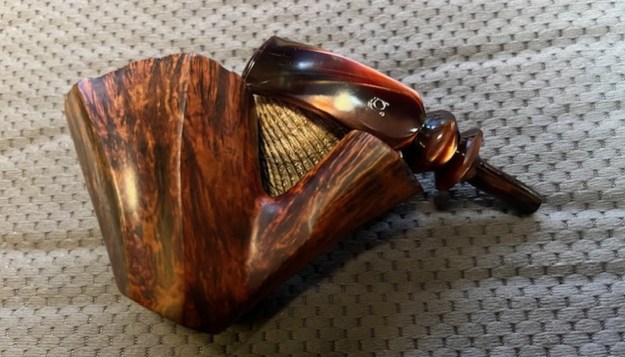
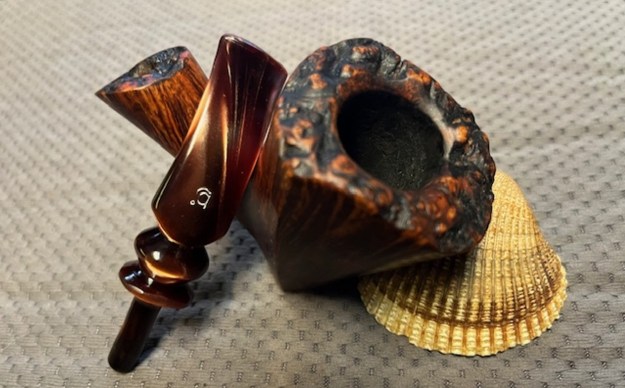
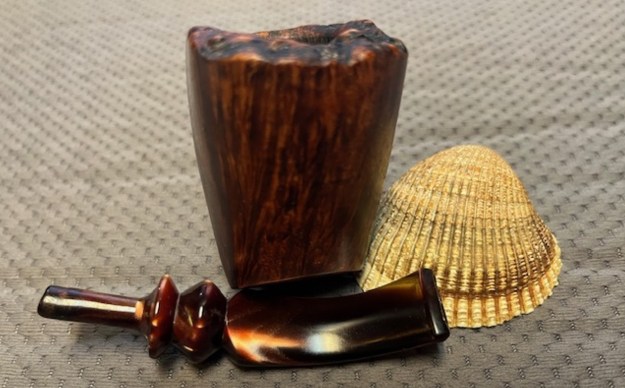
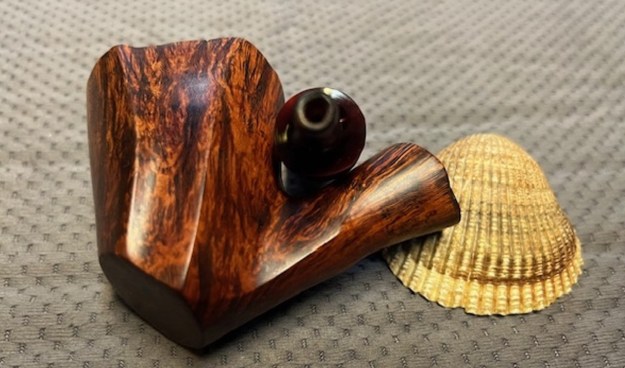
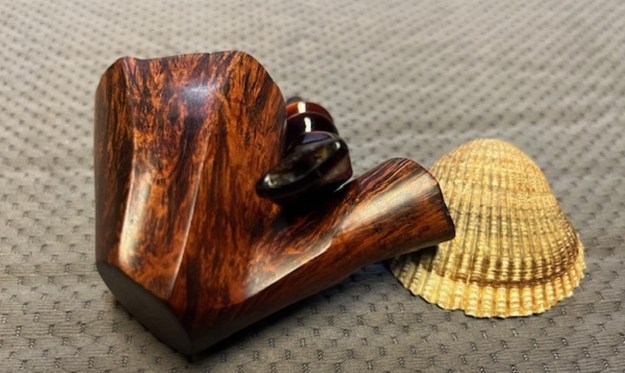
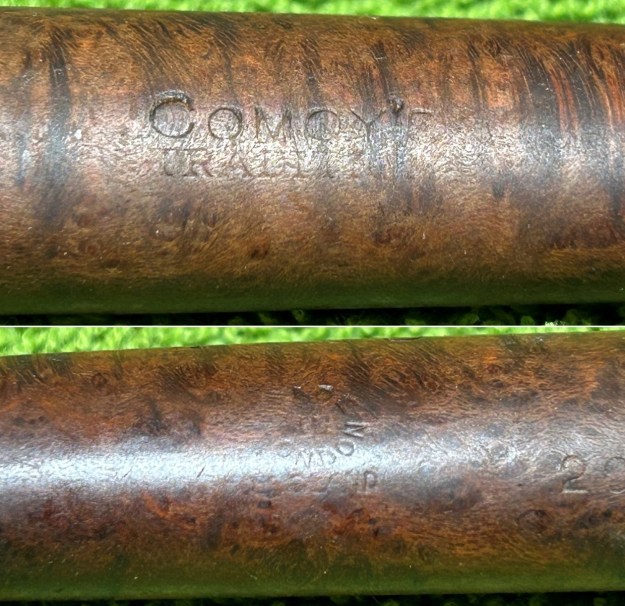
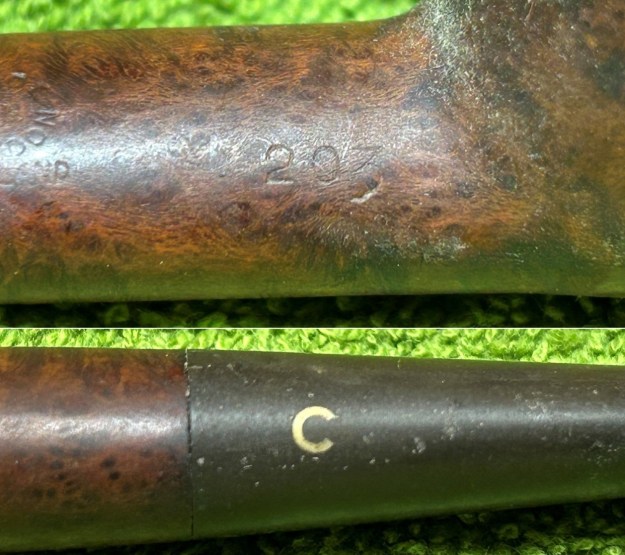
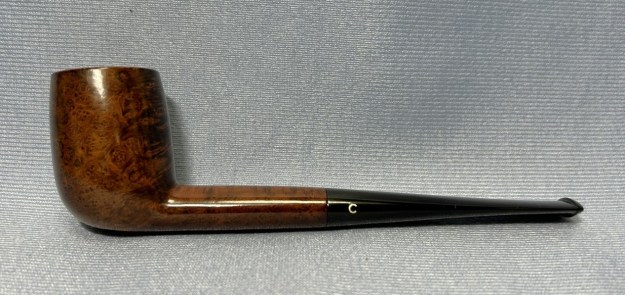
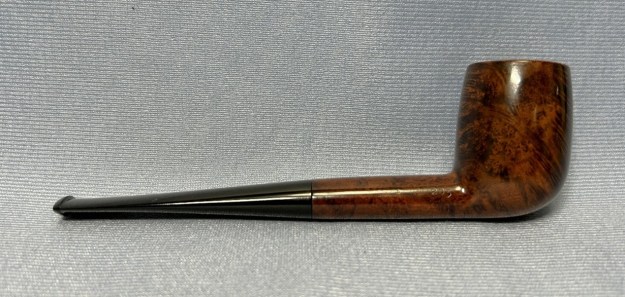
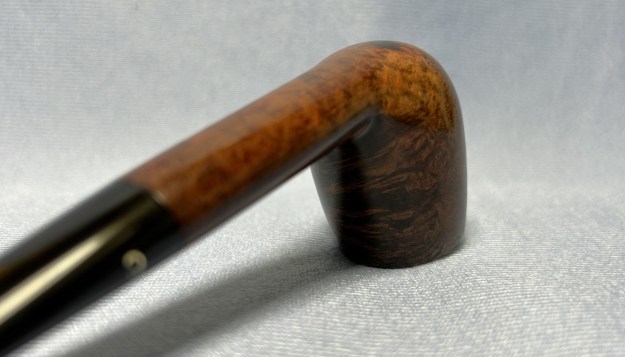
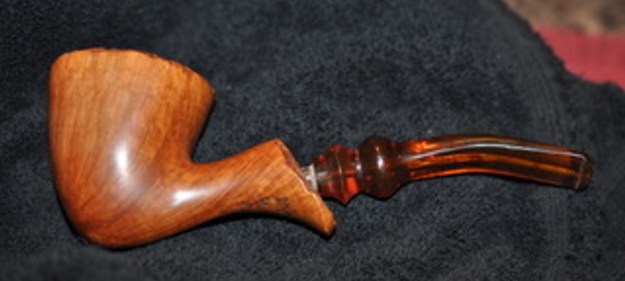
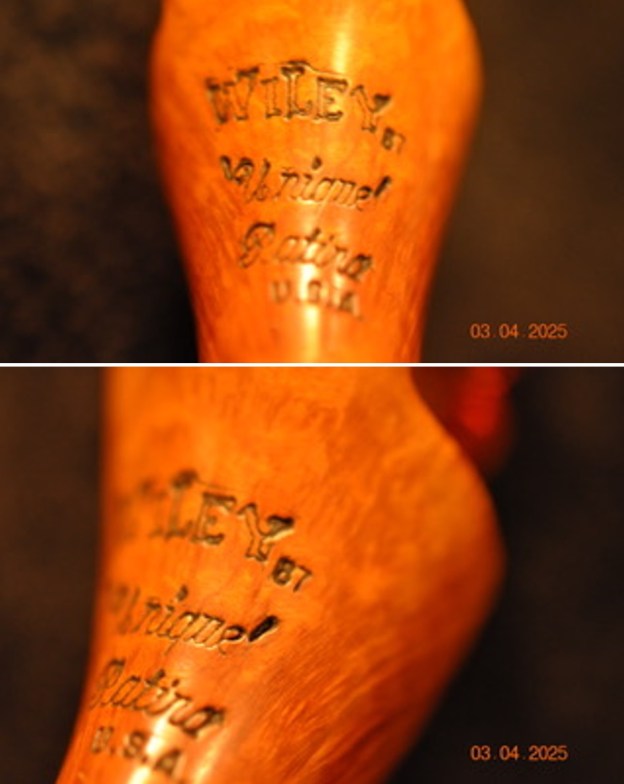
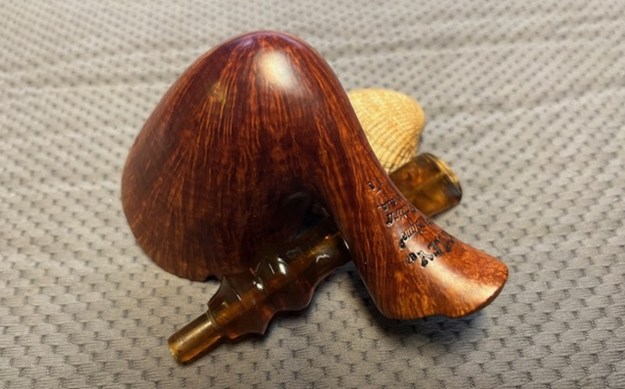
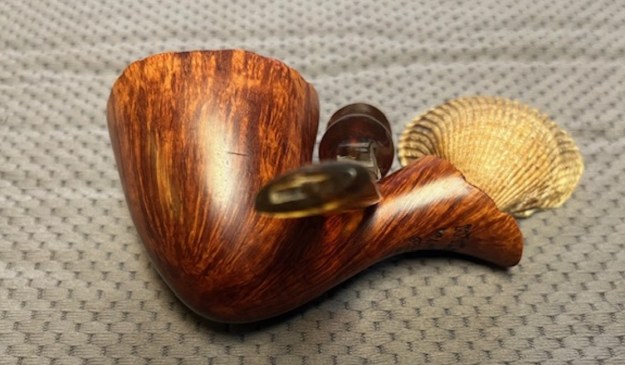
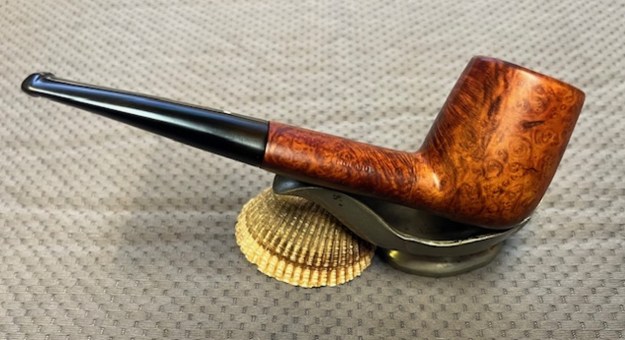
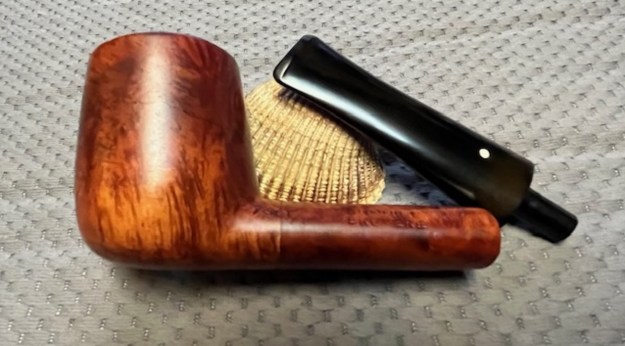
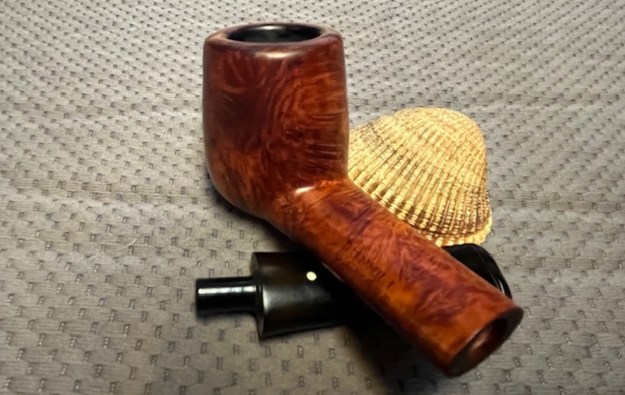
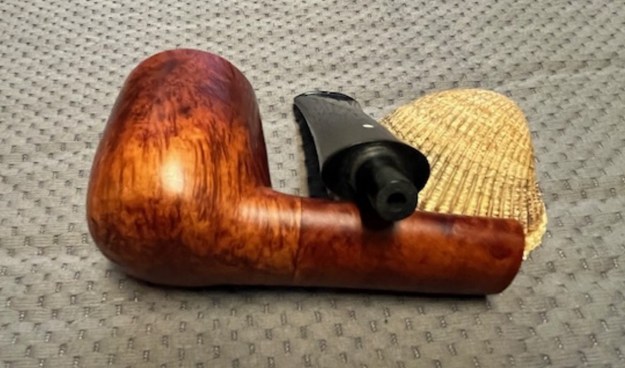
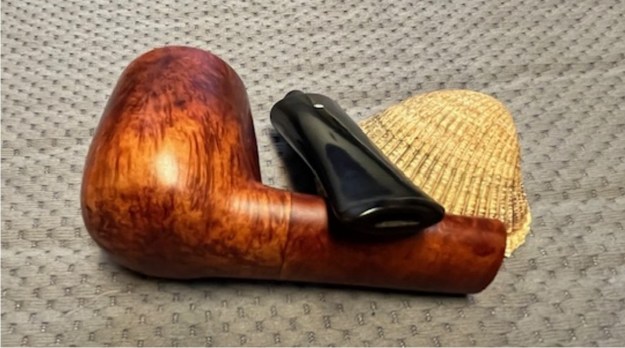
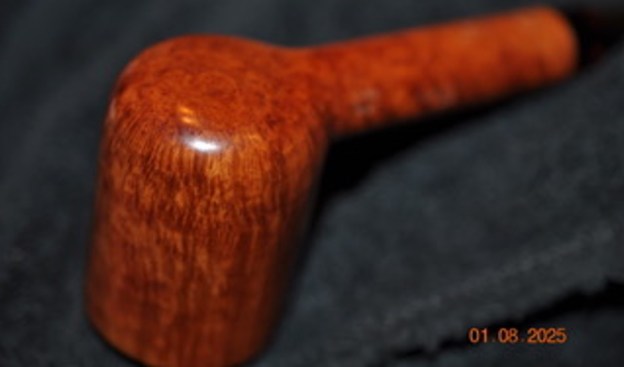
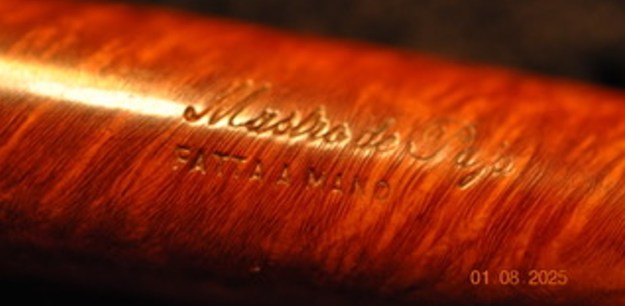
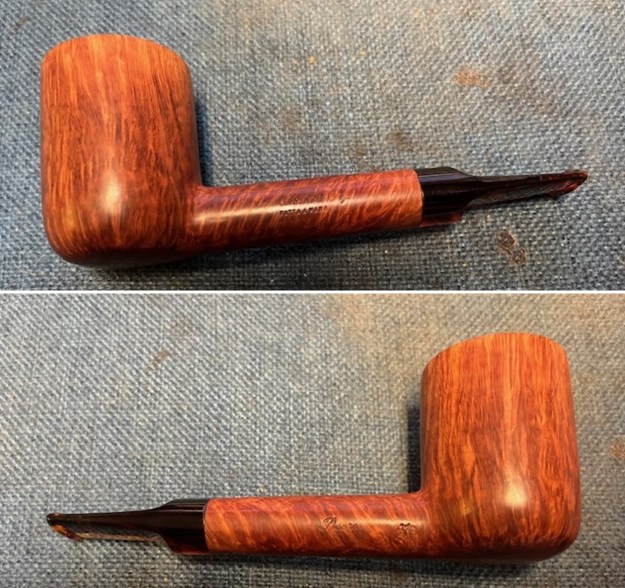
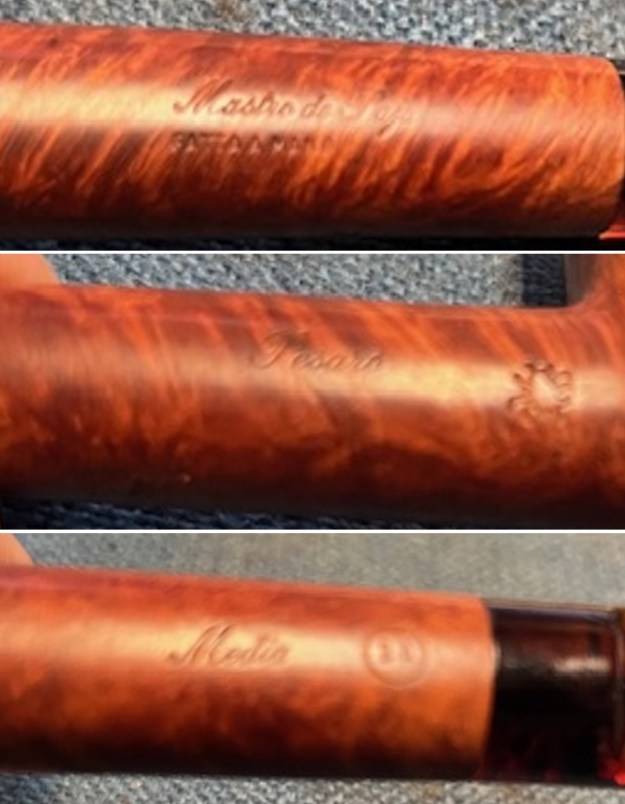
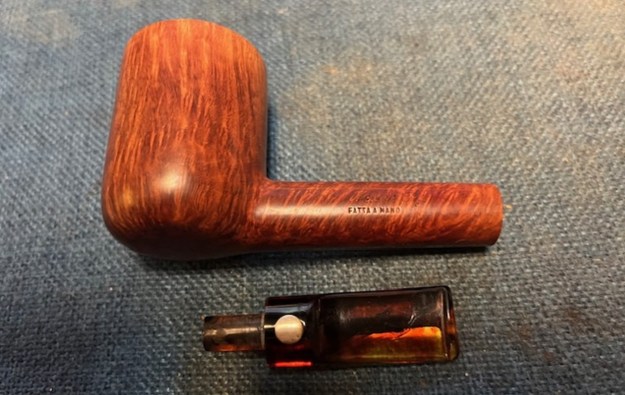
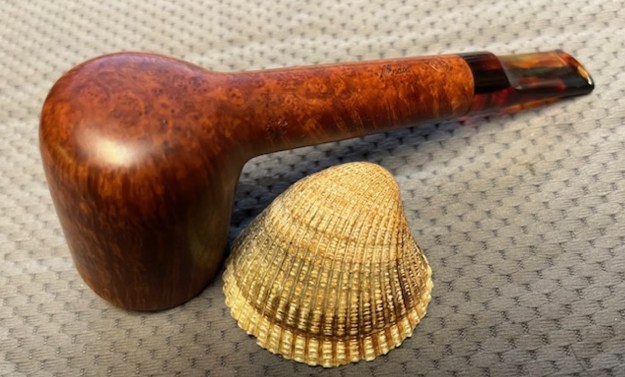
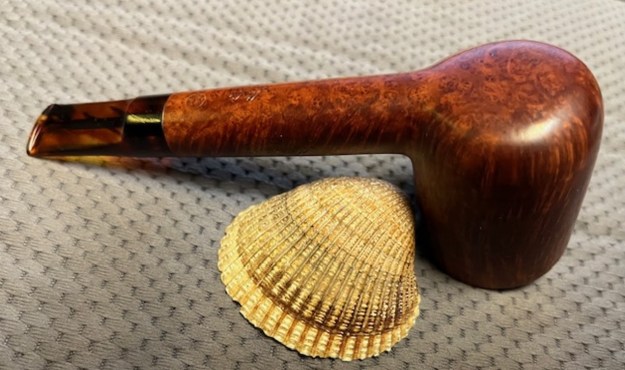
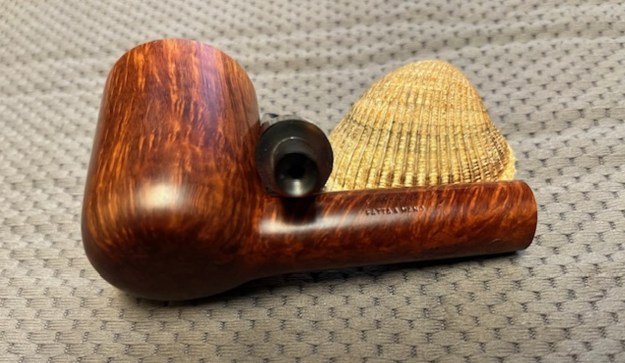
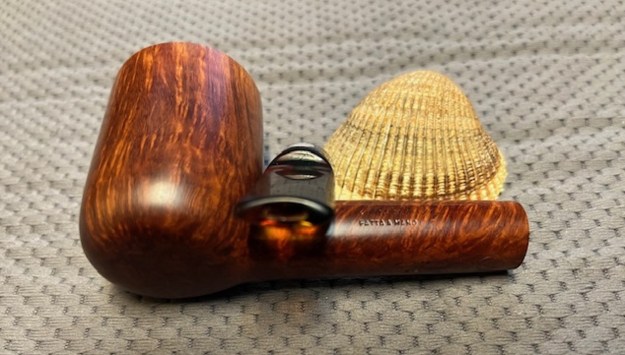
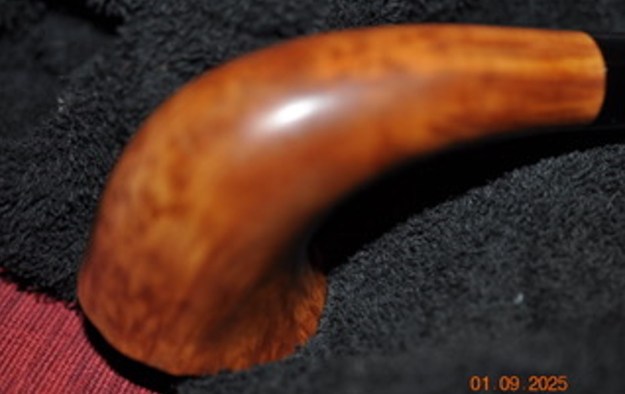
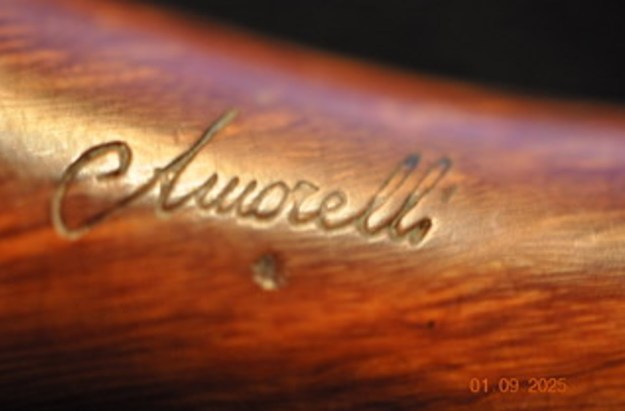
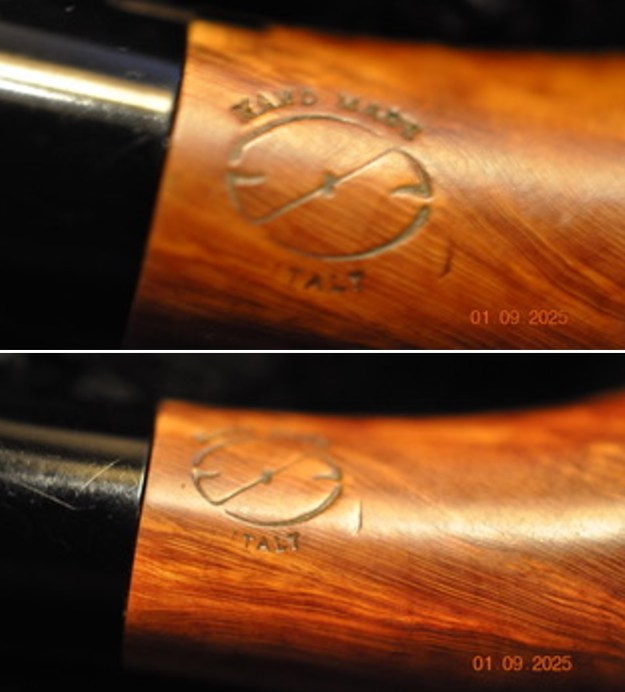
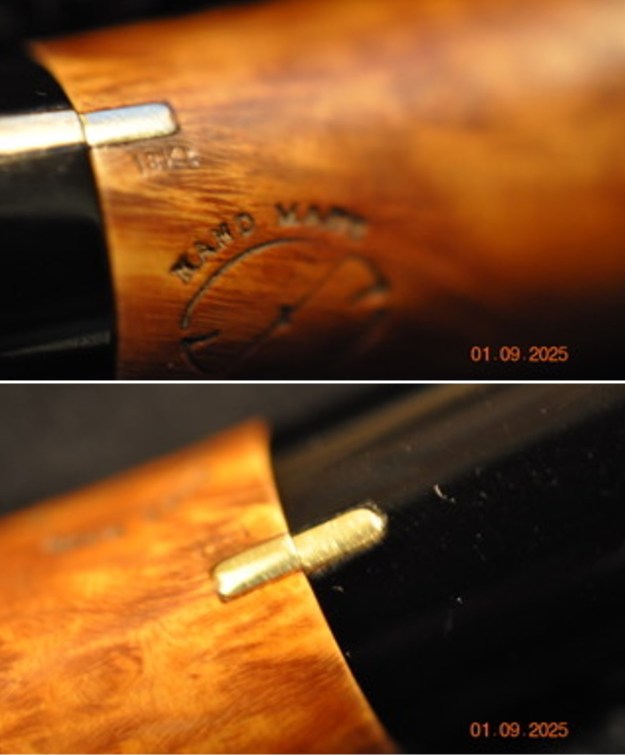
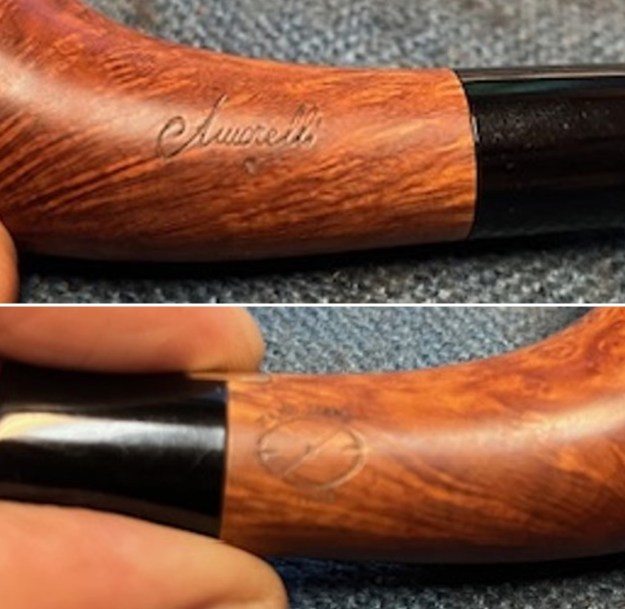
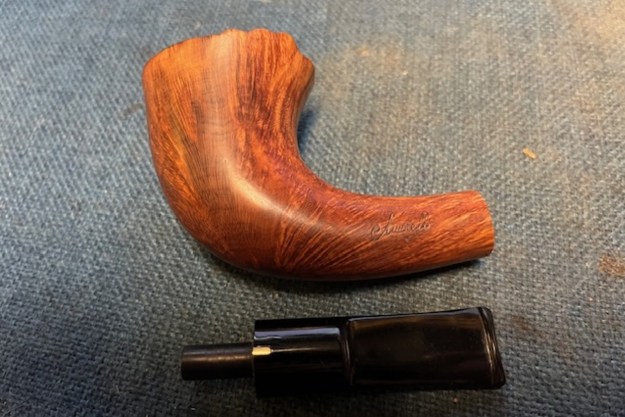
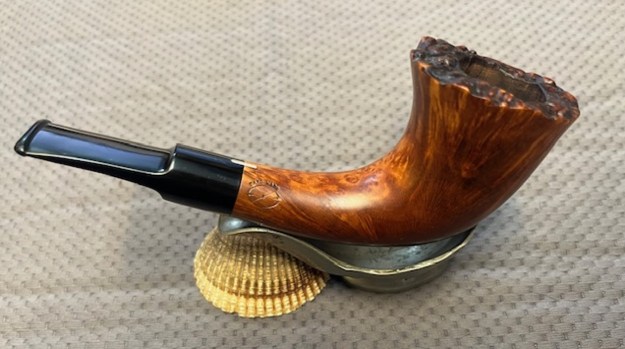
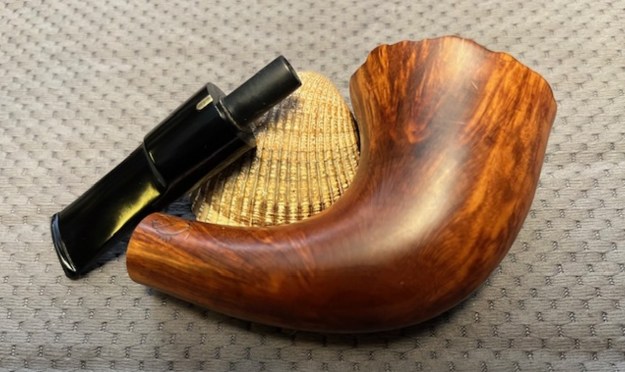
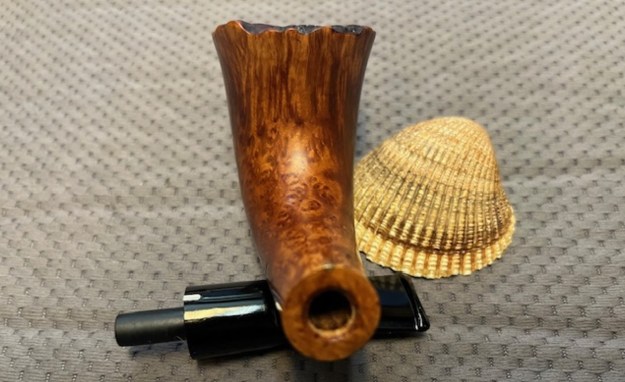
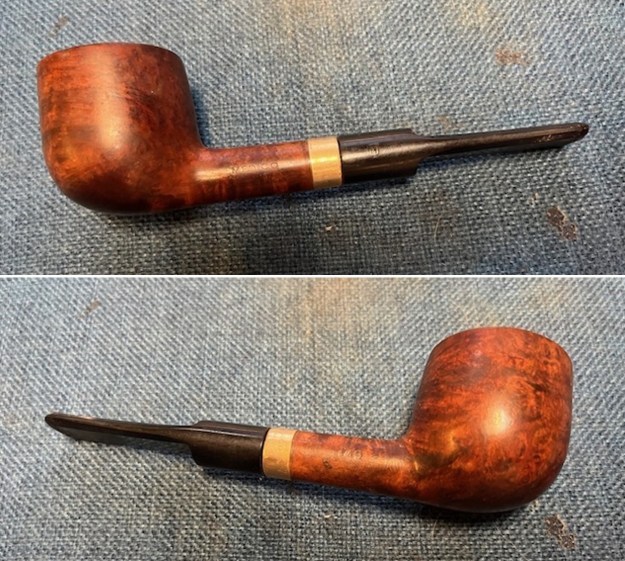
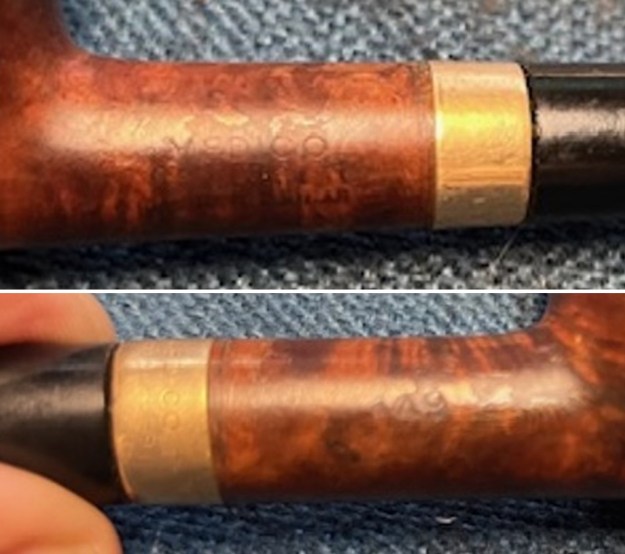
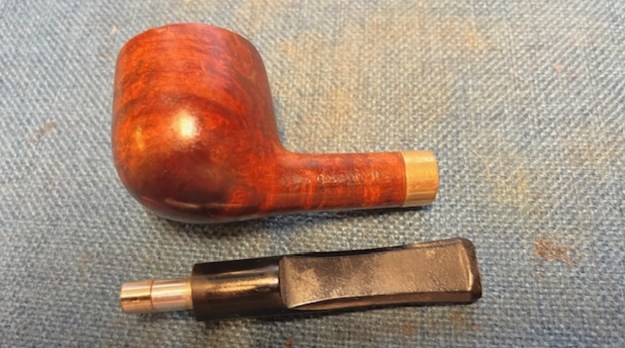
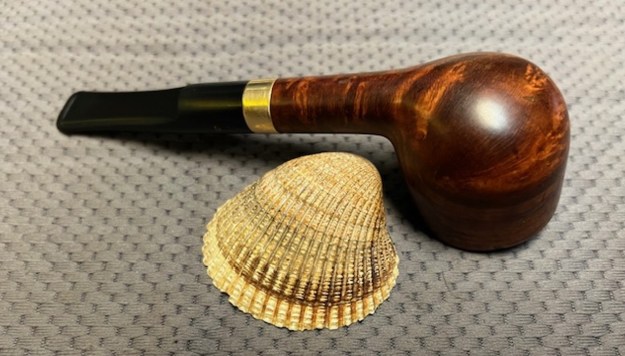
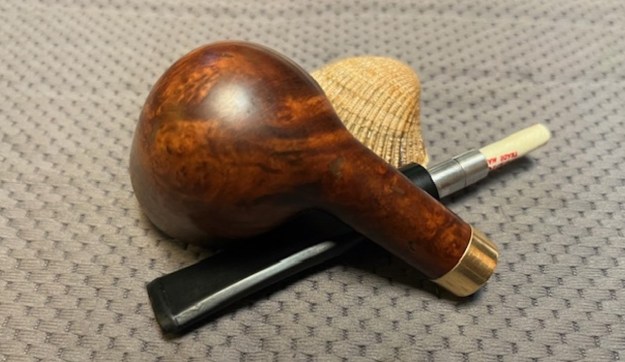
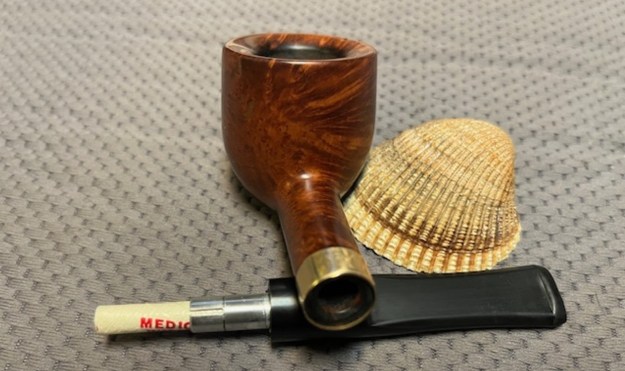
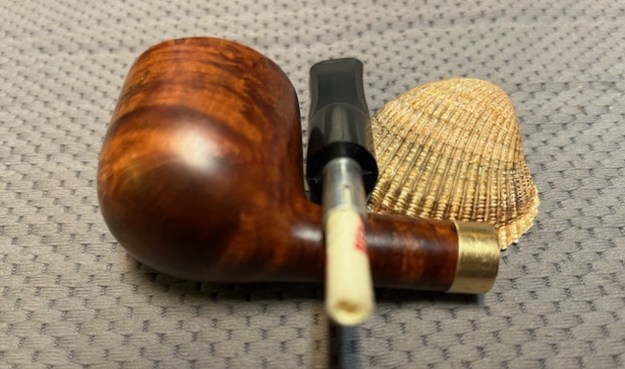
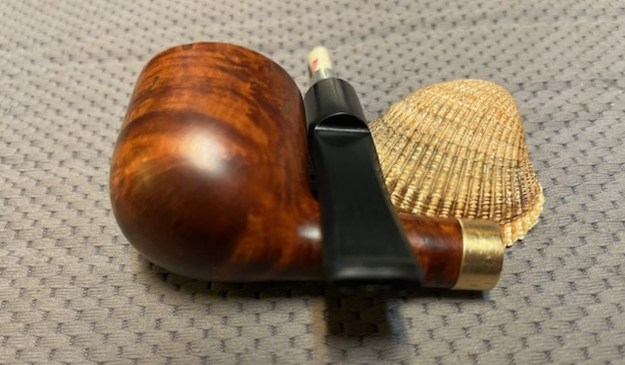
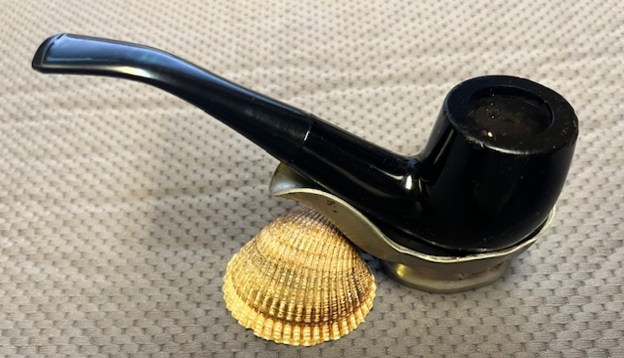
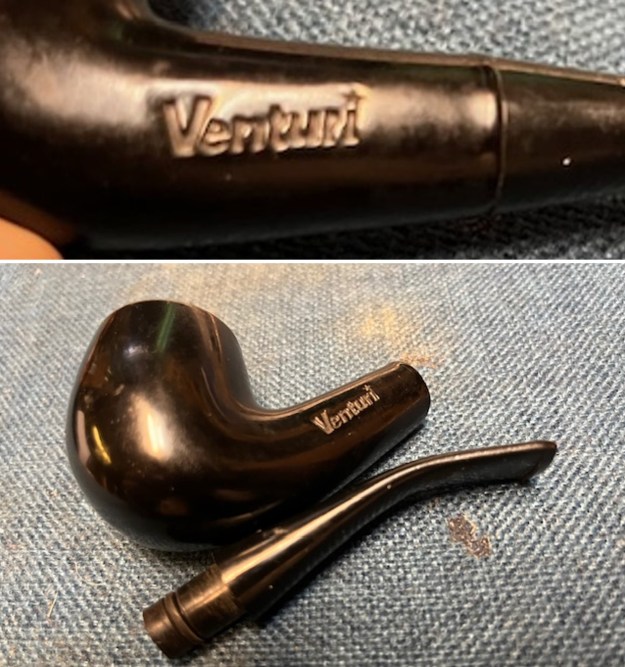
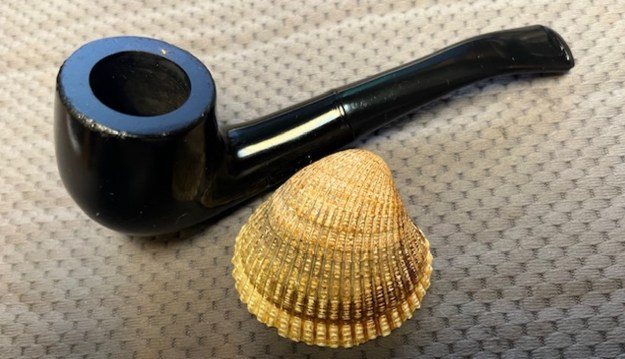
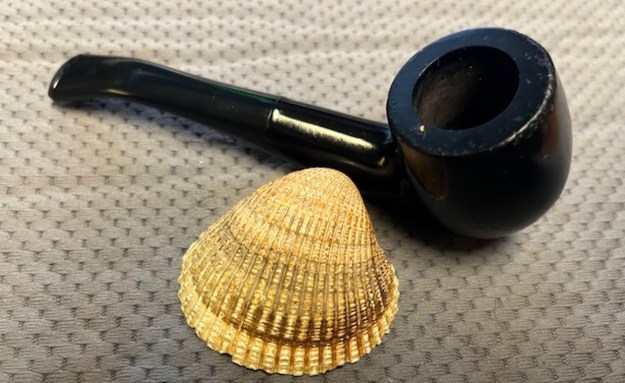
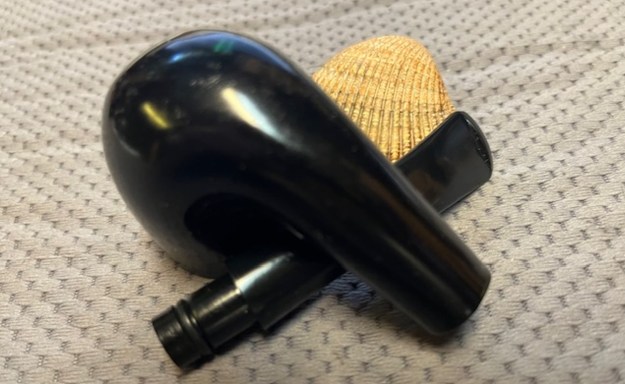
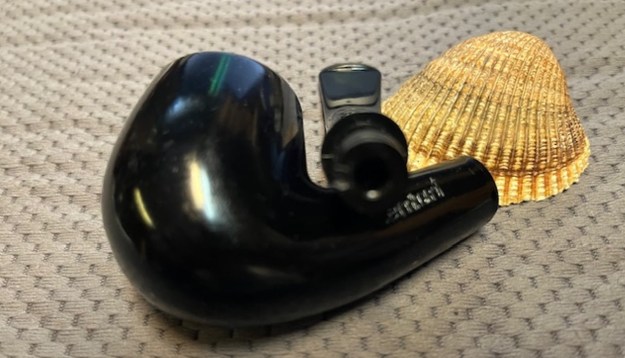
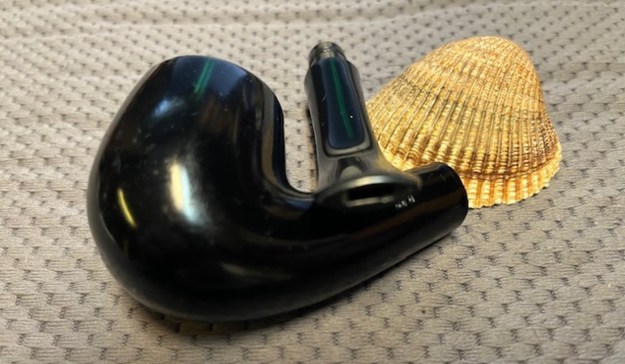
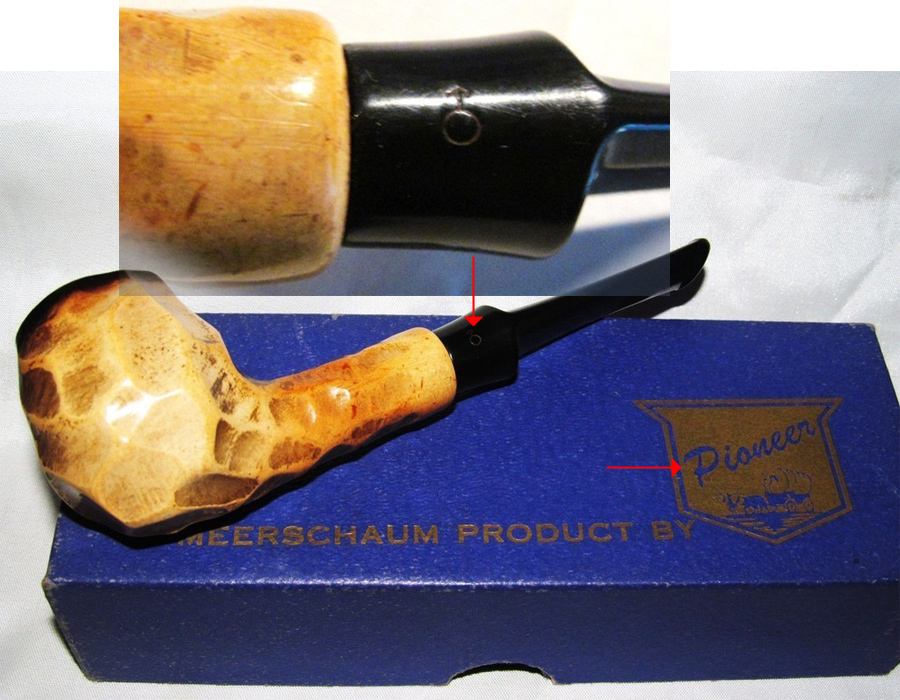
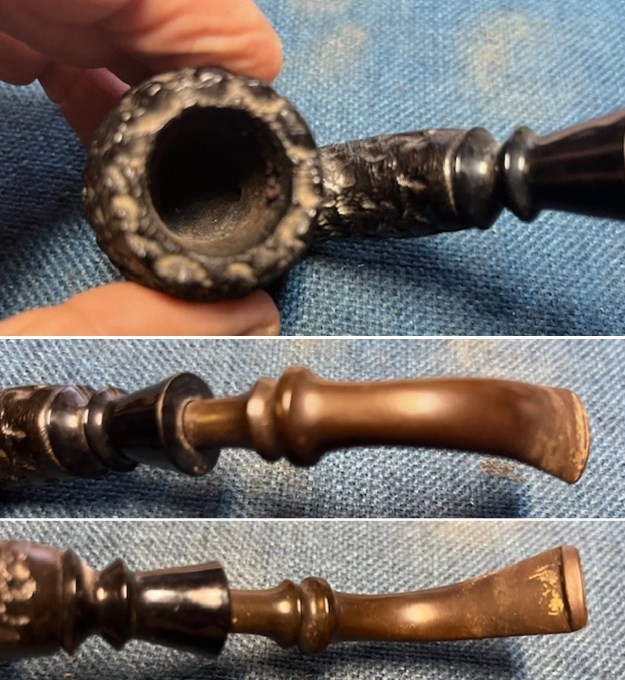 I took photos of the stamping on the shank and the extension. The left side of the extension has a clear “P” stamp that is the log for Pioneer Pipes. The right side of the shank is stamped Block Meerschaum. I took the stem off the shank and took a photo of the pipe. It really is a nice looking pipe.
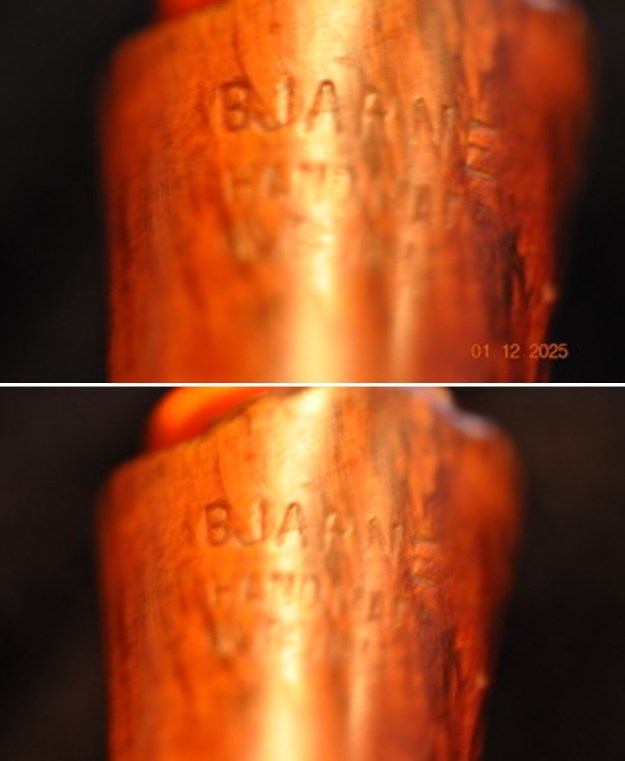
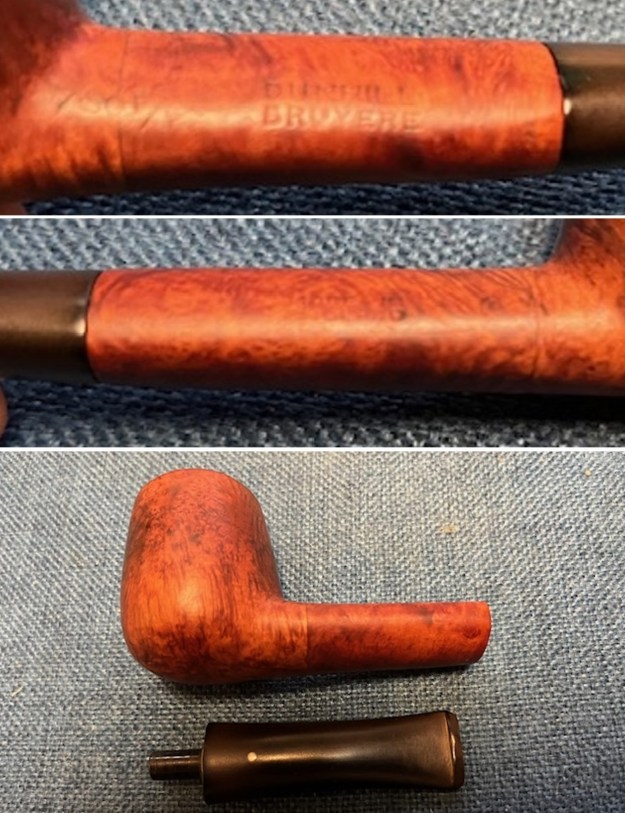
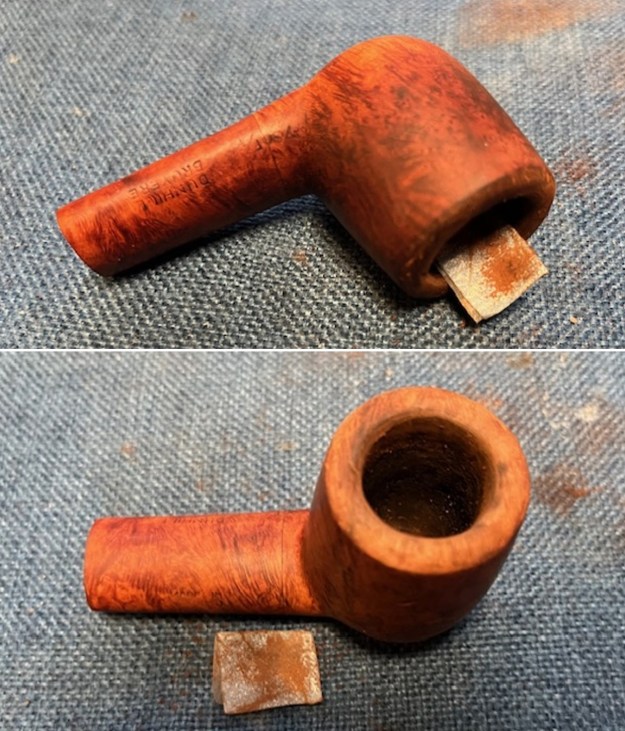
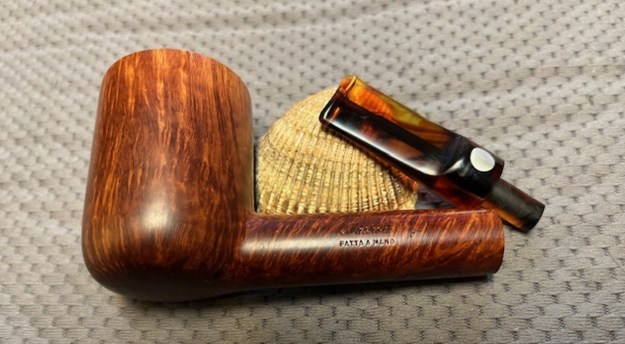
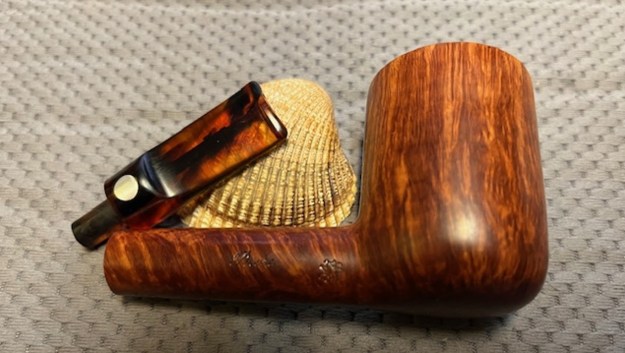
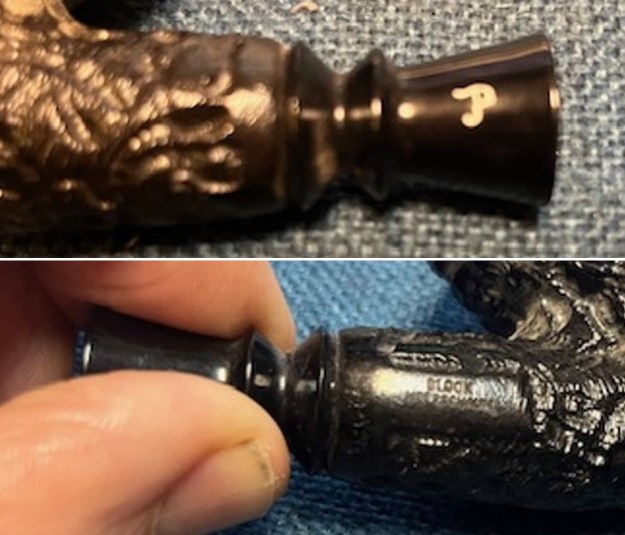
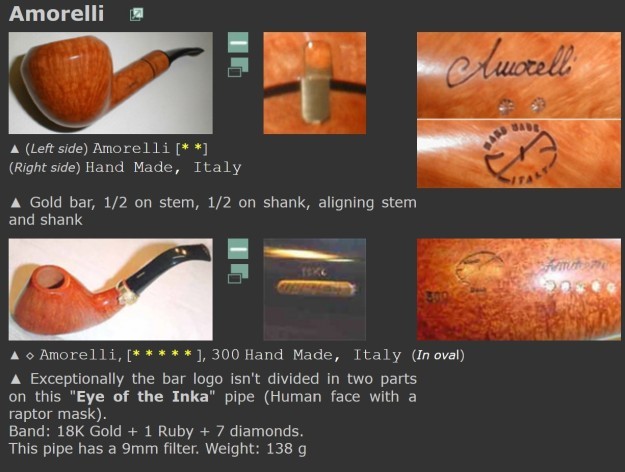
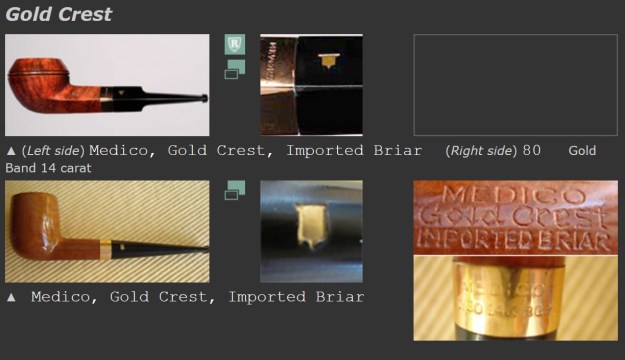
 To me the pipe looked a lot like many of the black or dark meerschaum pipes that I have worked on from the Isle of Man made by Manxman or Laxley Pipe Company. Yet the stamping was clearly a Pioneer Pipes Co. pipe with the stylized “P” logo on the shank extension. I wanted to see if there was a connection between the two companies so I turned to my normal two sources to see what I could learn. I went first to Pipephil (http://pipephil.eu/logos/en/logo-p3.html). I have included a screen capture of the information there as well as further info from the sidebar.
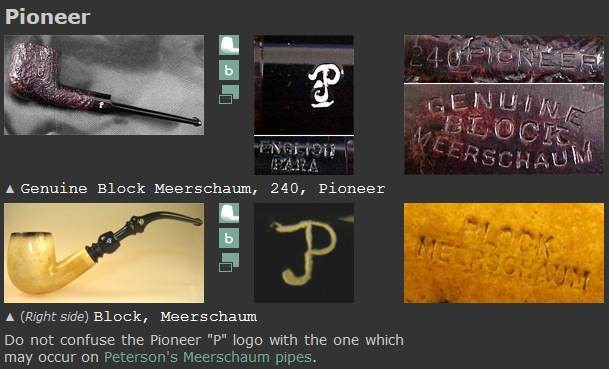 Probably a brand of Pioneer Pipes Co., a Meerschaum and Meerschaum lined pipes manufacturer and distributor. Address (about 1960): 1817 Putnam Avenue, Brooklyn 27, N.Y. Pioneer also used to import meerschaum pipes from the MANXMAN PIPES Ltd factory (Isle of Man, UK) as shown by the markings of this pipe. (See “Man“). Wilczak & Colwell, op. cit. mention pipes with this label from Duncan Briars Ltd, Oppenheimer Pipes or Delacour Brothers.
There was the link I was looking for – Pioneer Pipes Co. used to import Manxman Pipes from the Isle of Man. My eye had not failed me and I am sure this is one of those imported pipes.
I turned then to Pipedia (https://pipedia.org/wiki/Pioneer) to see what else I could find out about the brand. Unfortunately, the site did not have very much information. I quote below what was on the site.
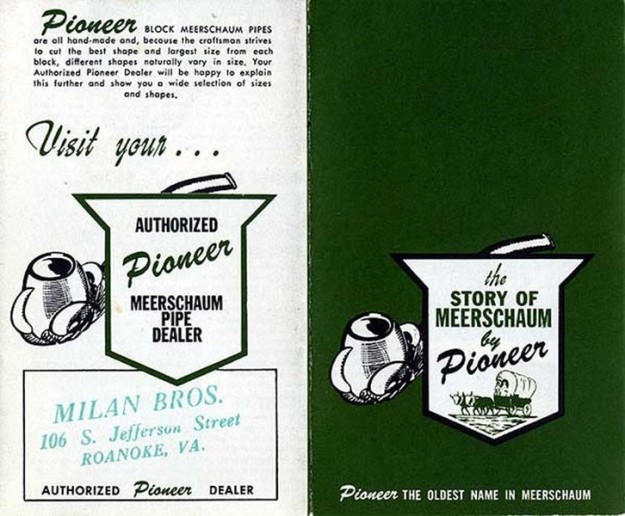
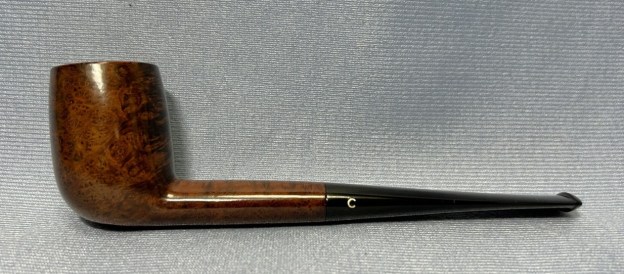
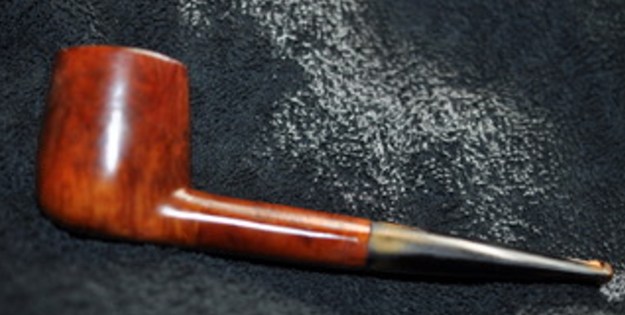
Pioneer Pipe Company was owned by Wally Frank, who trademarked the name Pioneer in 1940. At the time of the application the name was alleged to have been used in commerce in 1925. The company listed its location at 1817 Putnam Avenue, Brooklyn, New York. Pioneer sold Turkish and later African meerschaum through the Wally Frank, Ltd. Catalogs and elsewhere.
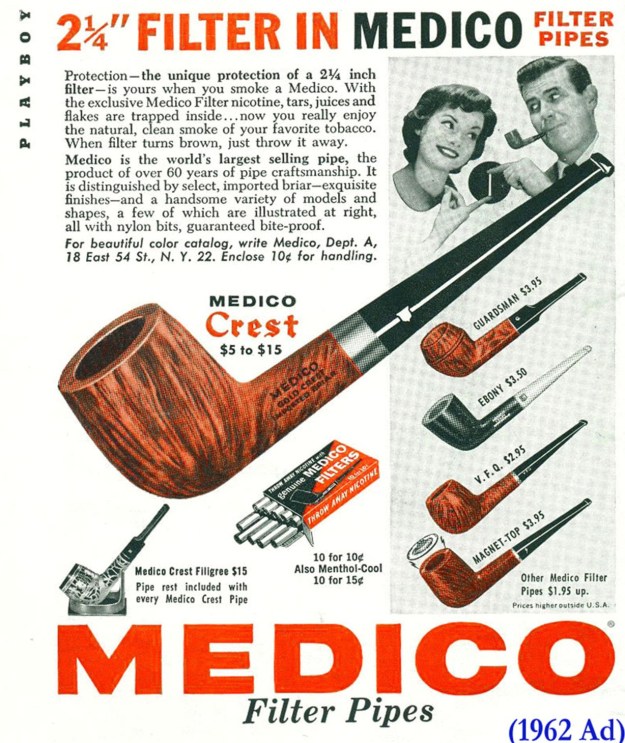
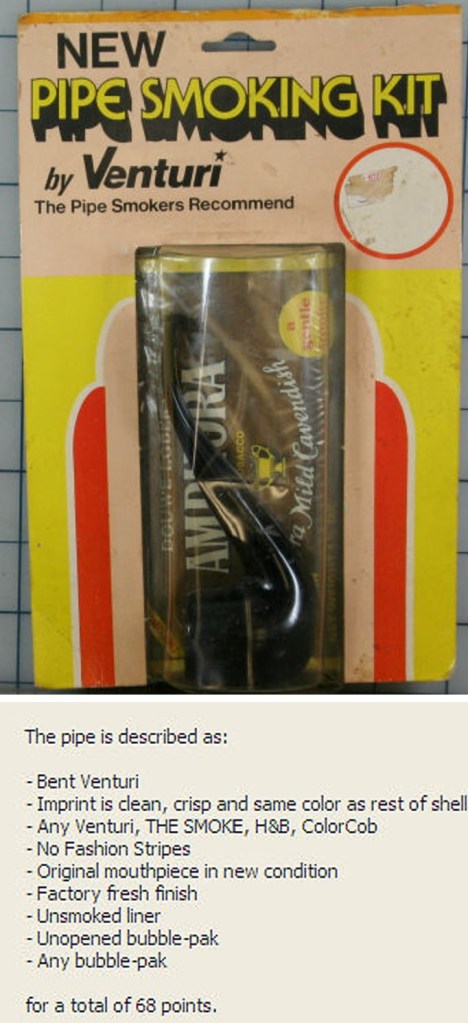
There were also and example of one of their meerschaum pipe and a page of a pamphlet shown on the site. Both of these come to Pipedia by the courtesy Doug Valitchka. 
 Now I knew what I was working on with this pipe. It was an imported Manxman pipe probably distributed by Wally Frank through their catalogue sales. It was likely African block meerschaum from Tanganyika or nearby that had been fashioned by the Isle of Man company for Pioneer. Now it was time to work on the pipe.
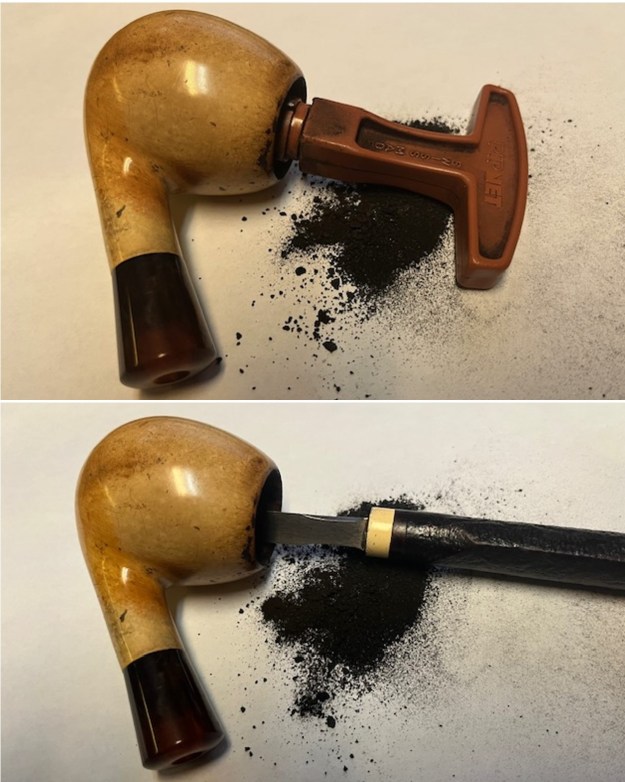
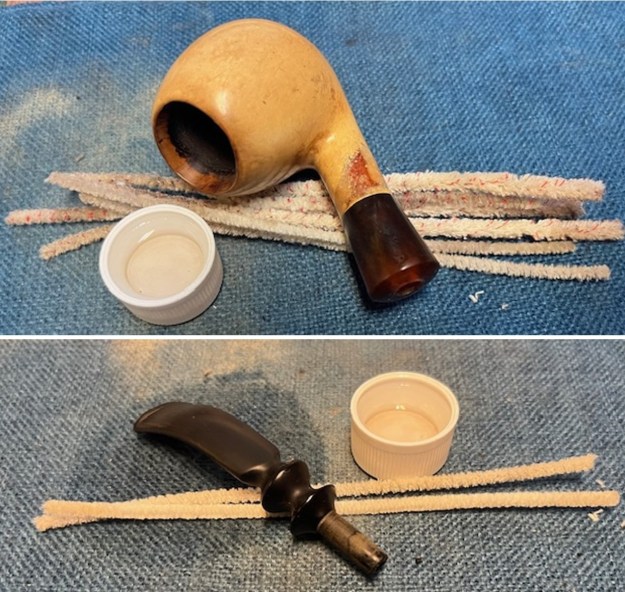
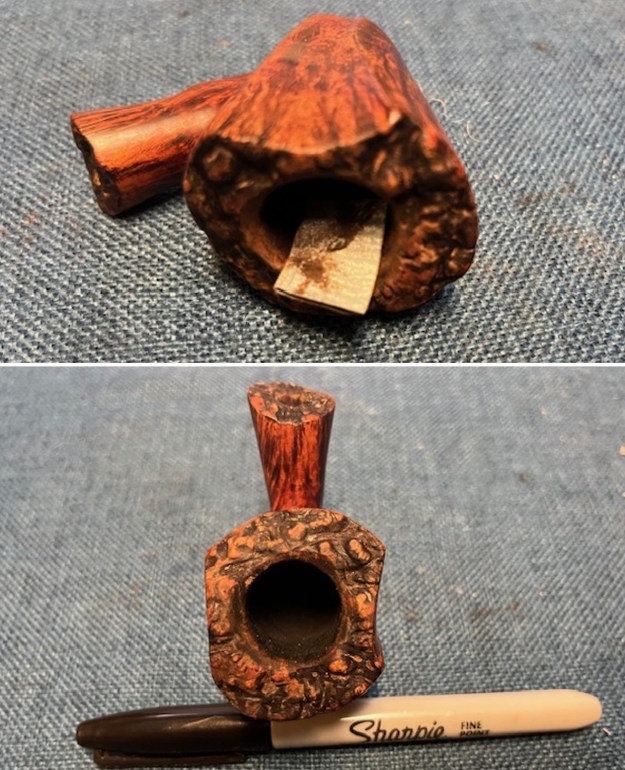
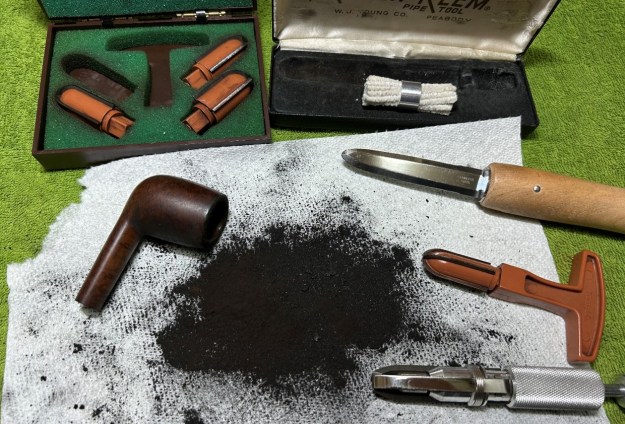
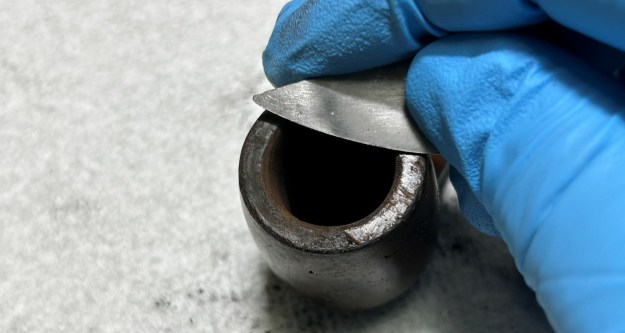
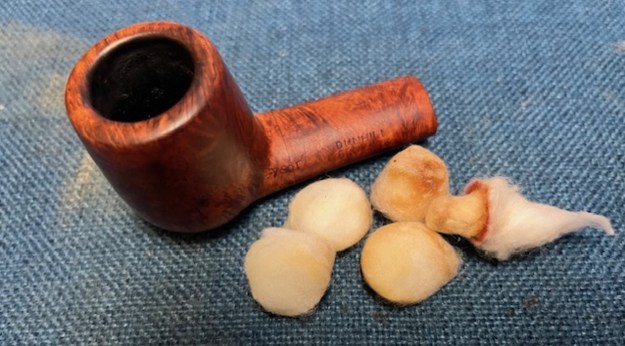
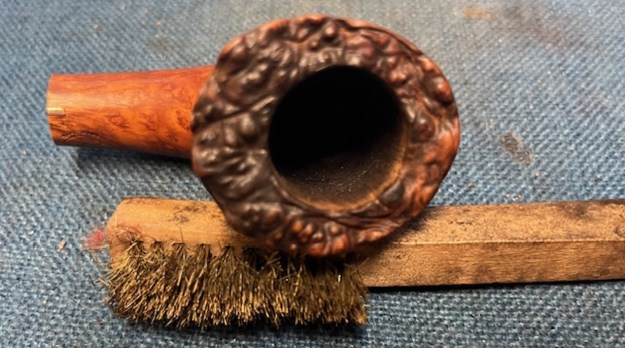
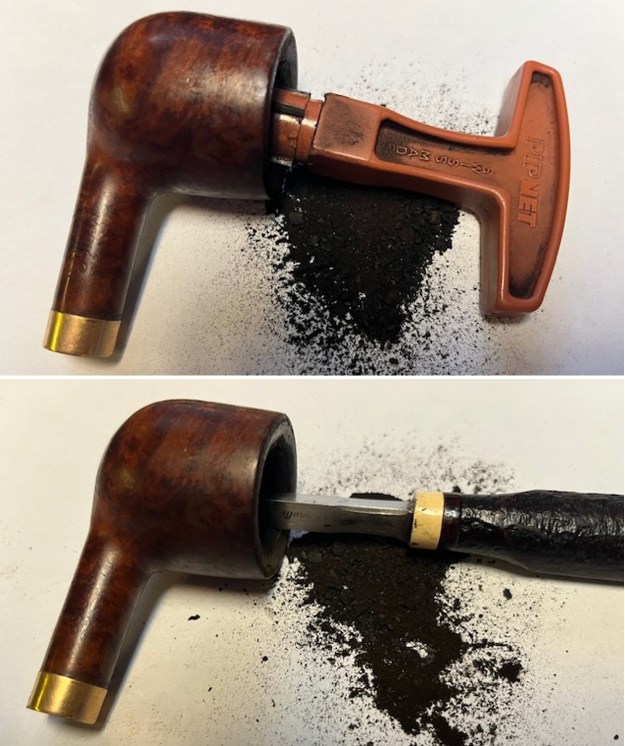
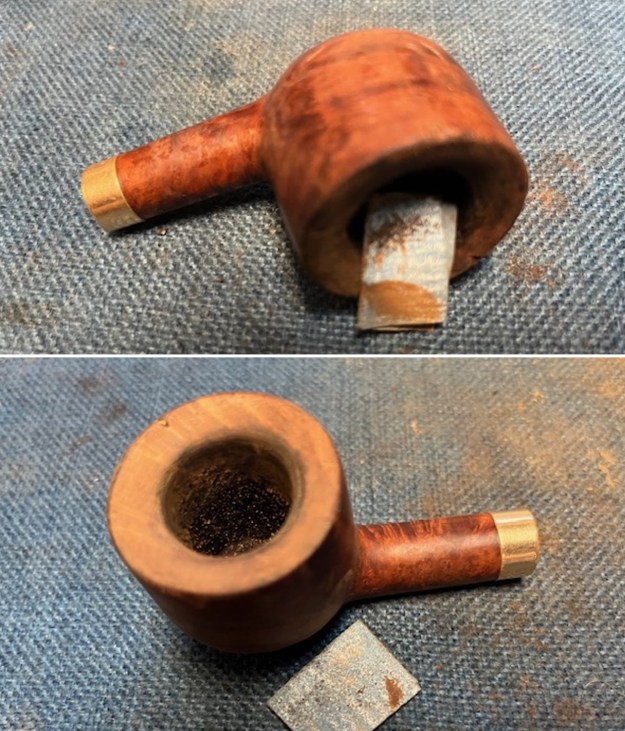
I started my work on the bowl by reaming the thick cake out of the bowl. I started with a PipNet reamer and the 2nd and 3rd cutting heads to take back the cake to the walls of the bowl. I cleaned up the reaming with a Savinelli Fitsall Pipe Knife. I sanded the bowl walls with a piece of dowel wrapped with 220 grit sandpaper. Once finished it looked very good.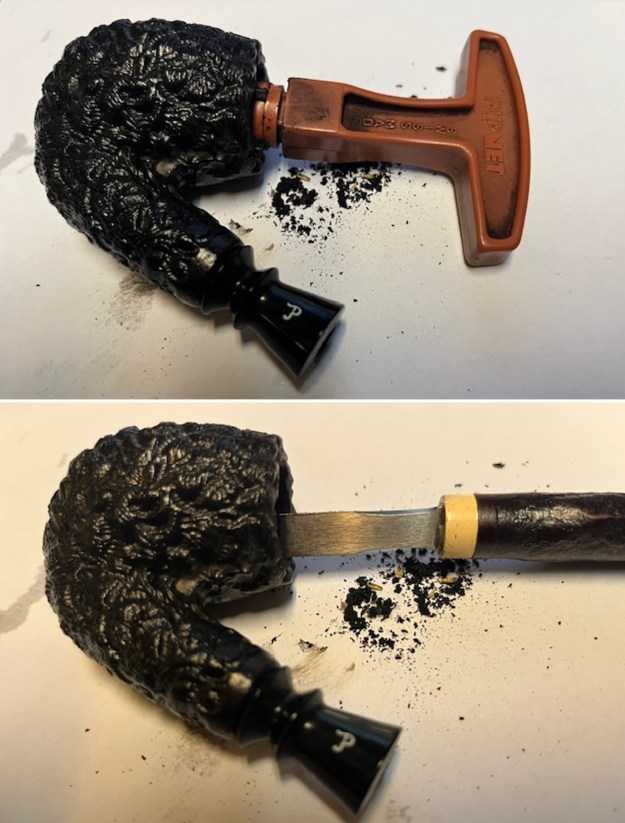
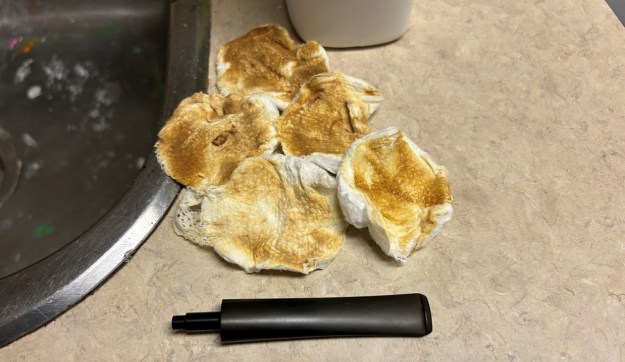
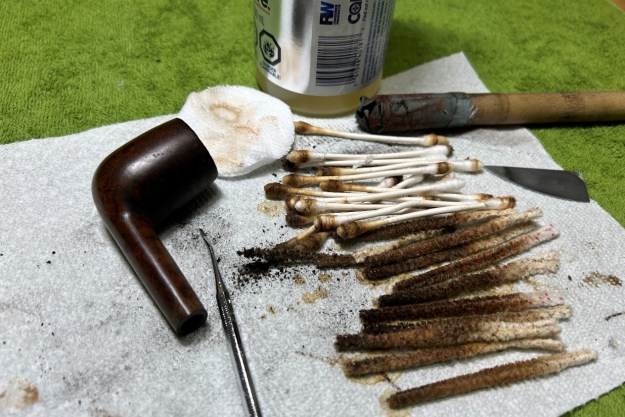
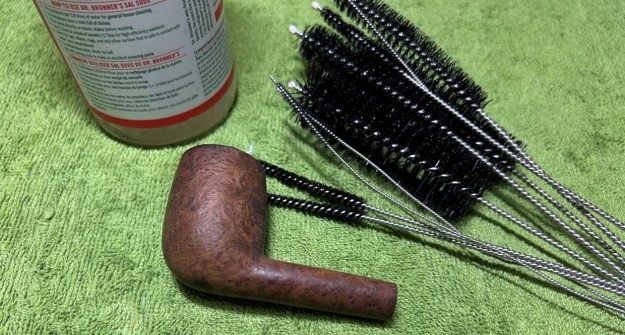
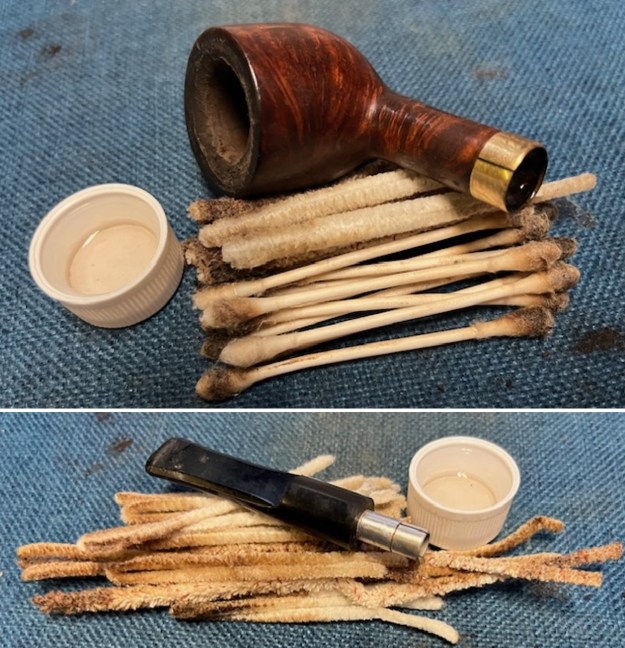
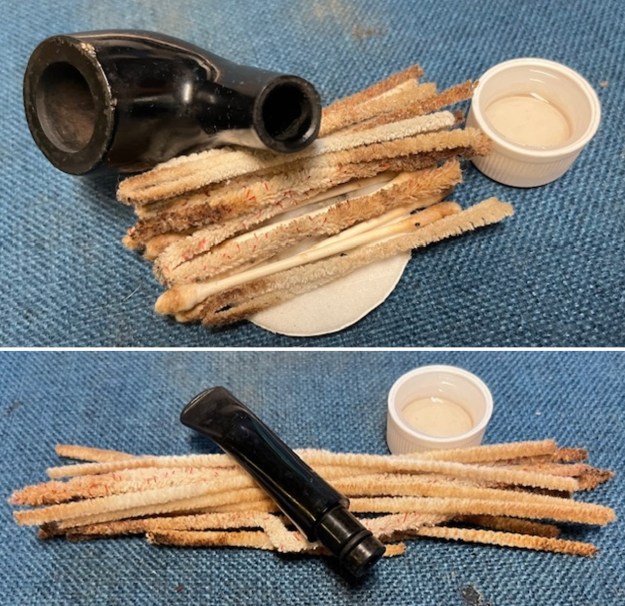
 I cleaned out the airway in the shank and mortise as well as in the new stem with pipe cleaners (both bristle and regular). It was much better.
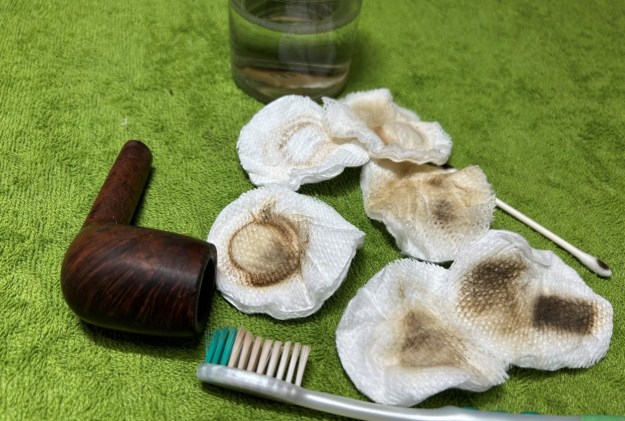
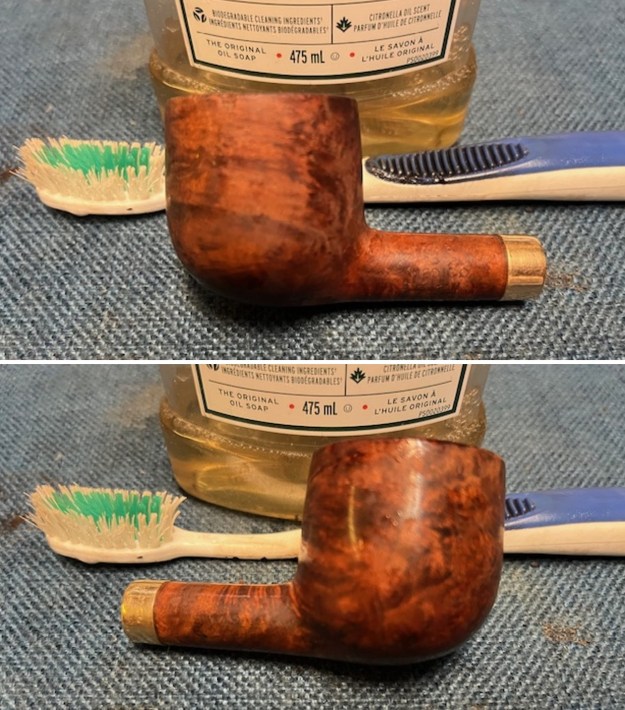
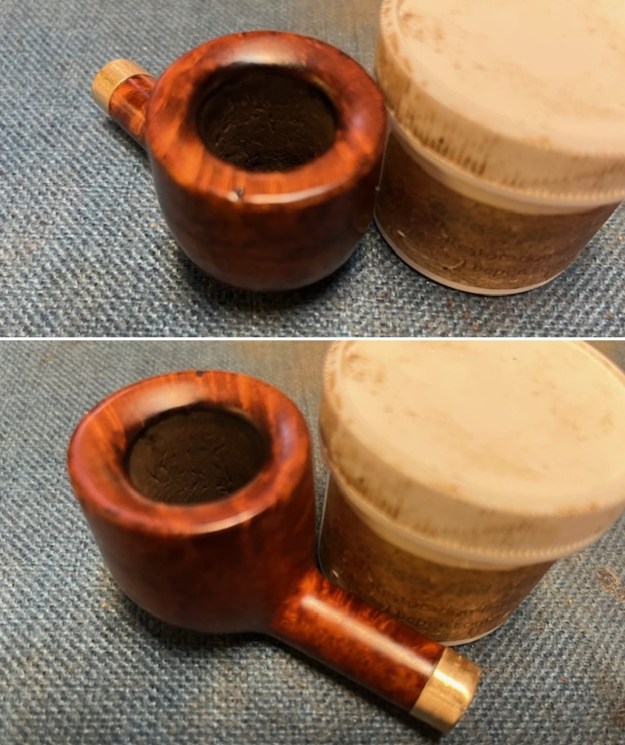
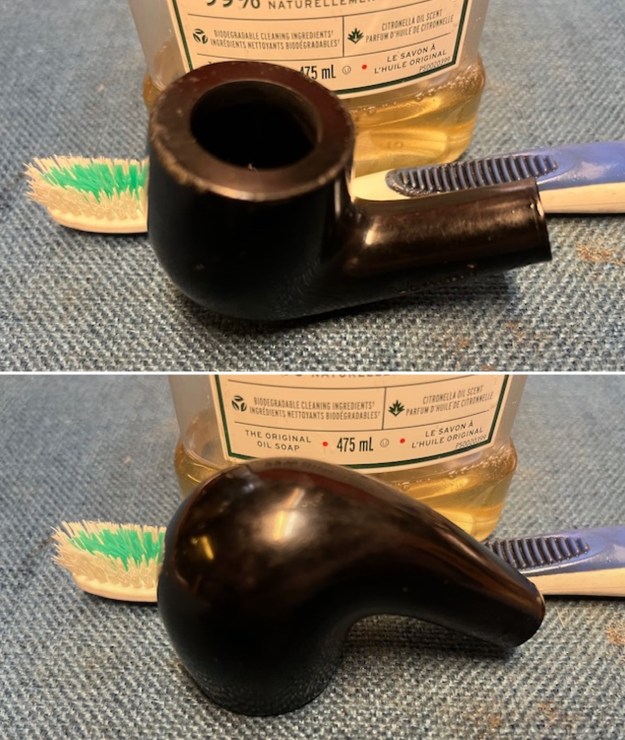
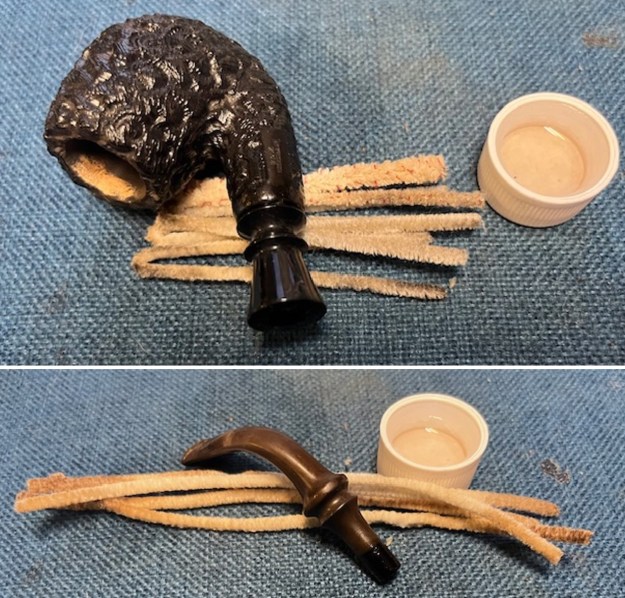 I scrubbed the meerschaum with undiluted Murphy’s Oil Soap and a tooth brush to remove the grime from the finish of the bowl and shank. I rinsed it with warm water to remove the soap and the grime in the finish.
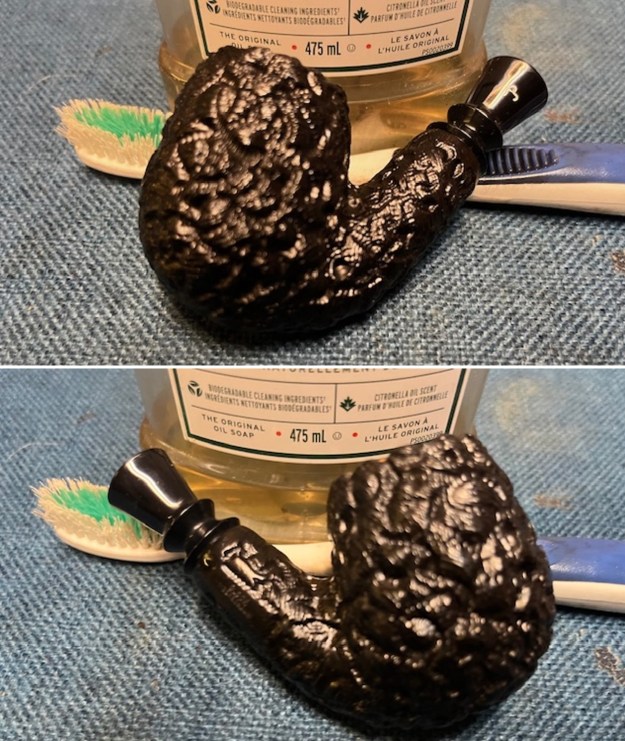
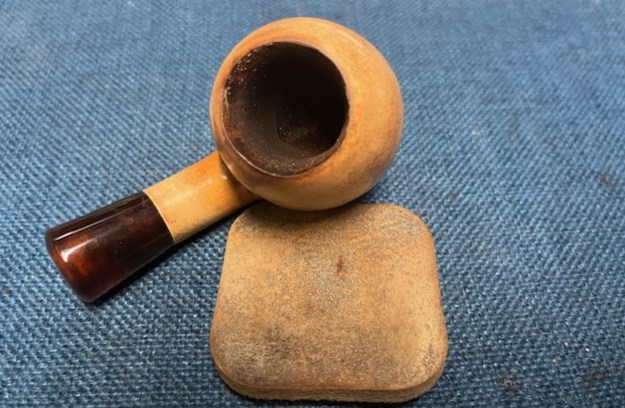
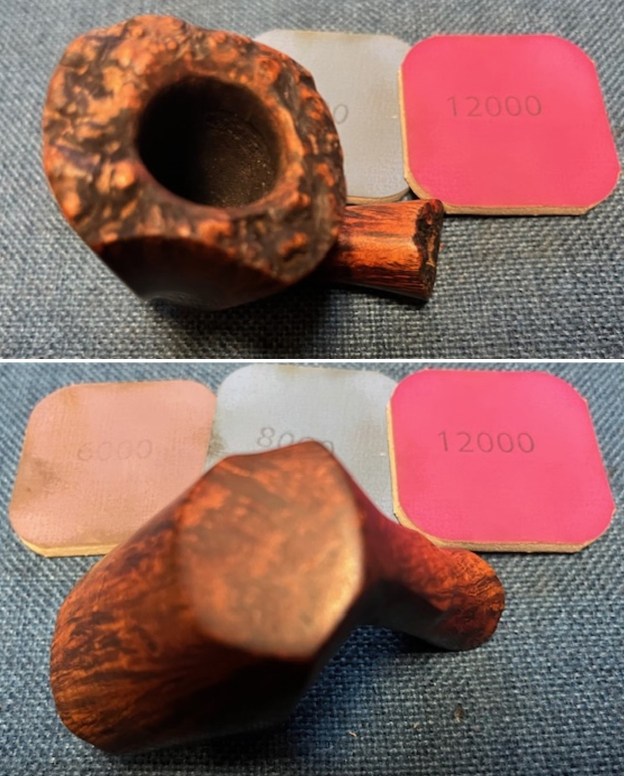
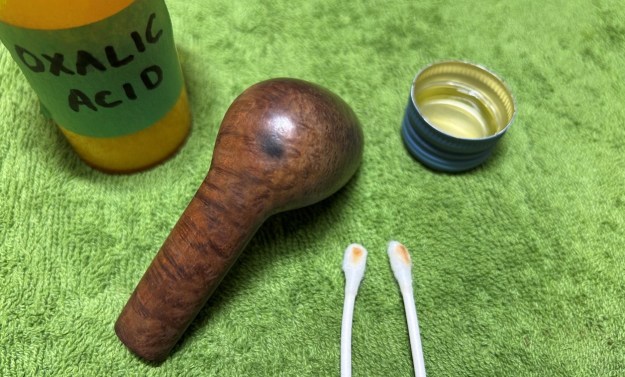
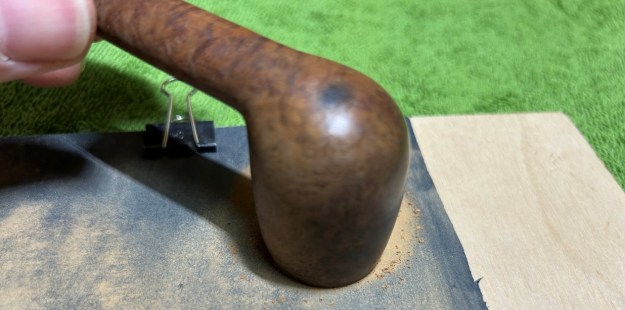
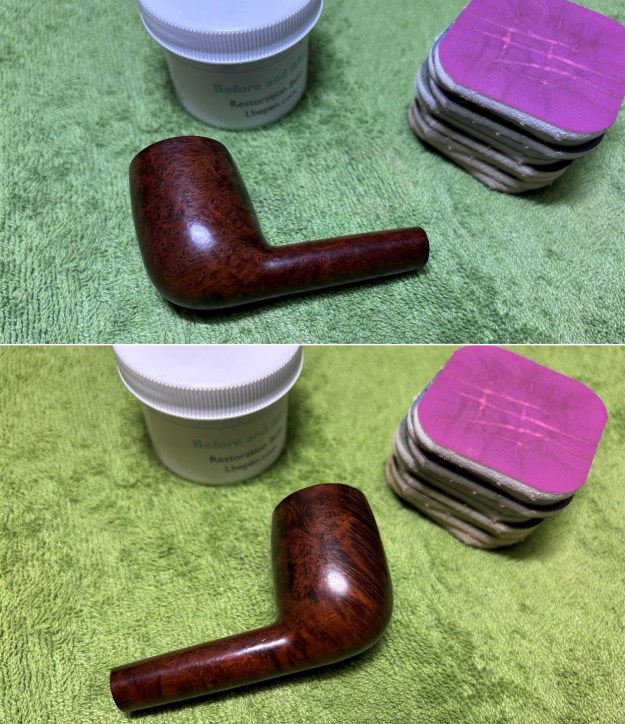
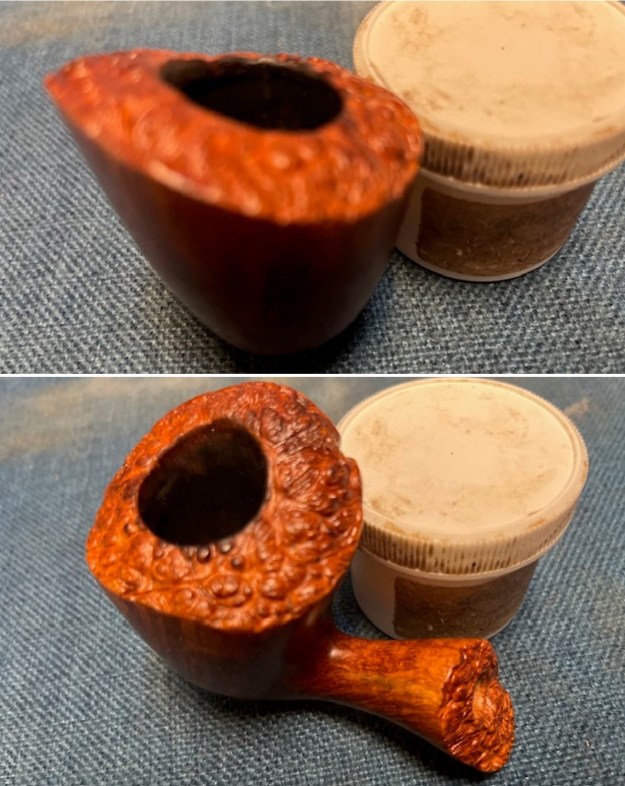
 I touched up the areas on the rim top where the stain was worn and damaged. I used a Black Stain Pen to restain them and blend them into the surrounding surface of the rustication.
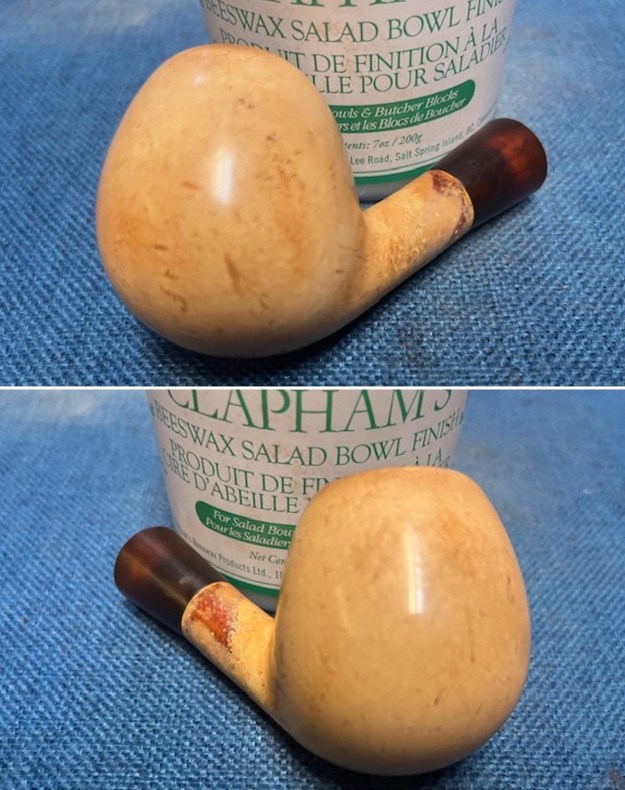
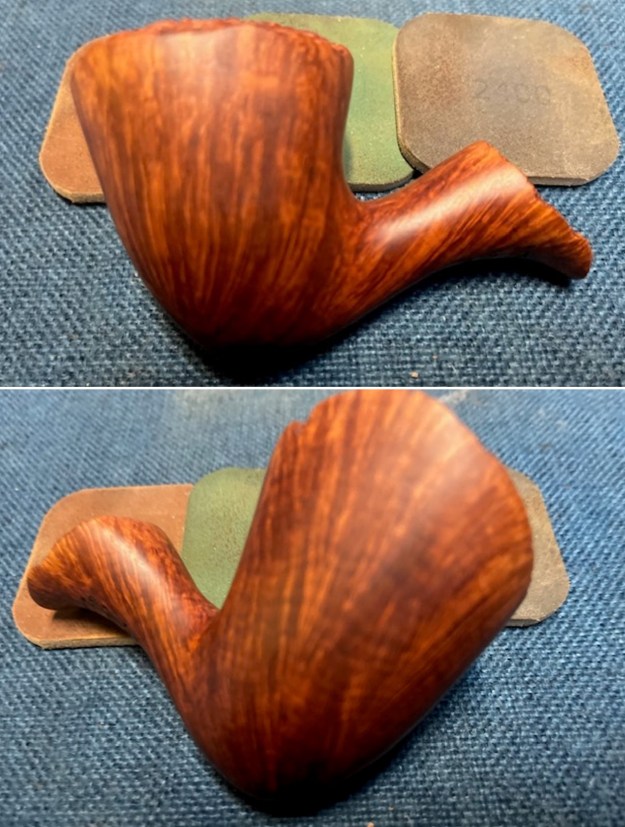
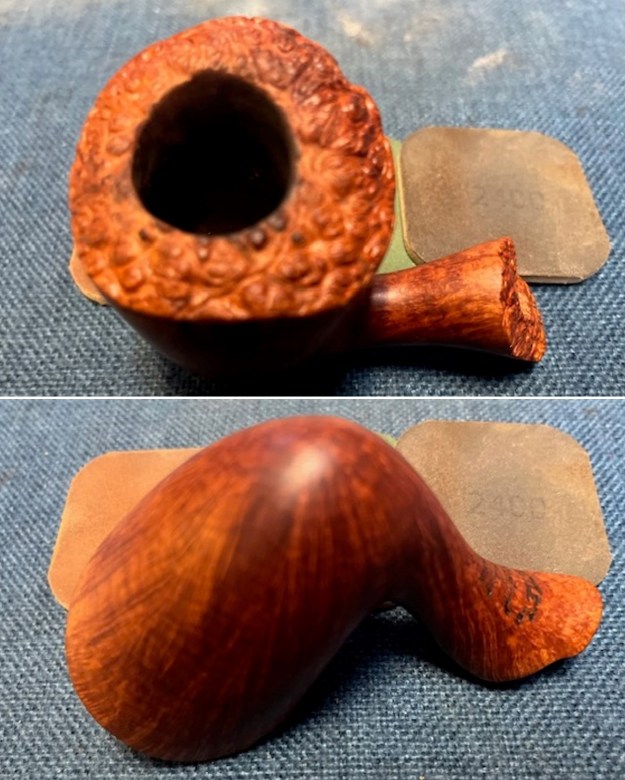
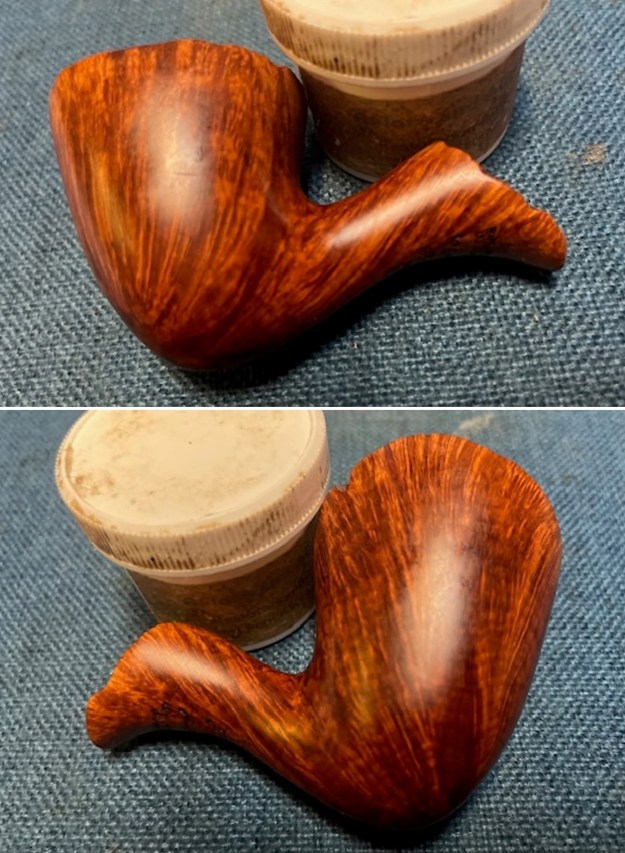
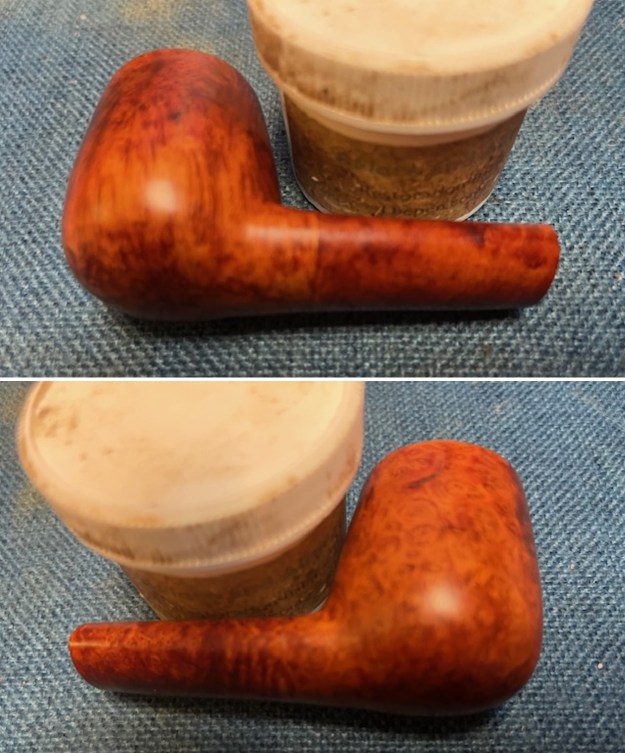
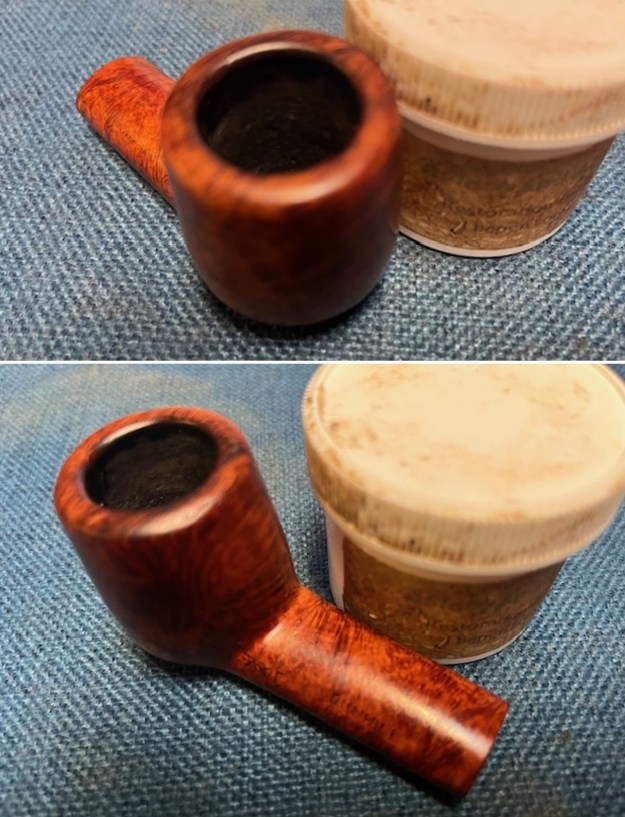
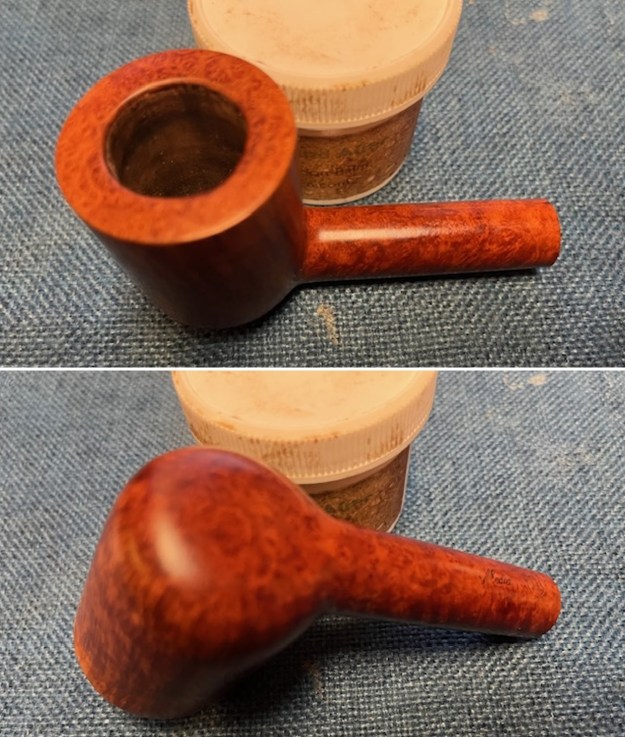
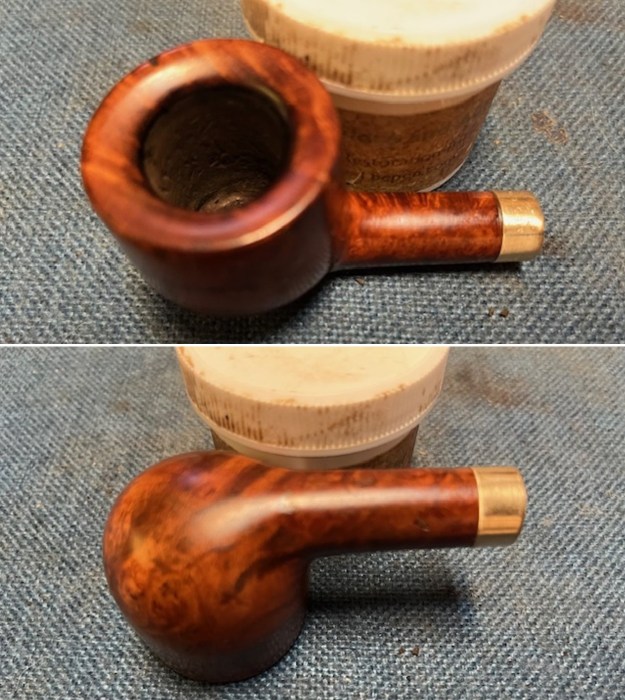
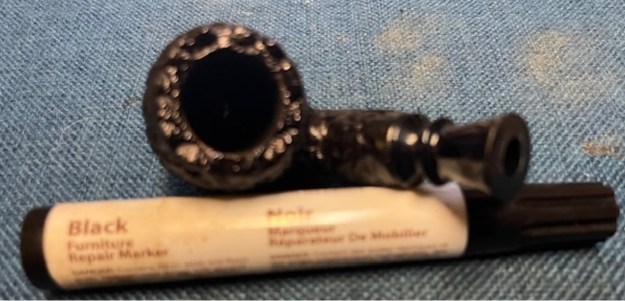 I worked some Before & After Restoration Balm into the rusticated meerschaum with my fingertips and a horsehair shoe brush to clean, enliven and protect it. I find that the balm really makes the bowl come alive again. The contrasts in the rusticated surface give the pipe a sense of depth. I let the balm sit for 10 minutes and then buffed with a cotton cloth to raise the shine. The bowl really looks good at this point.
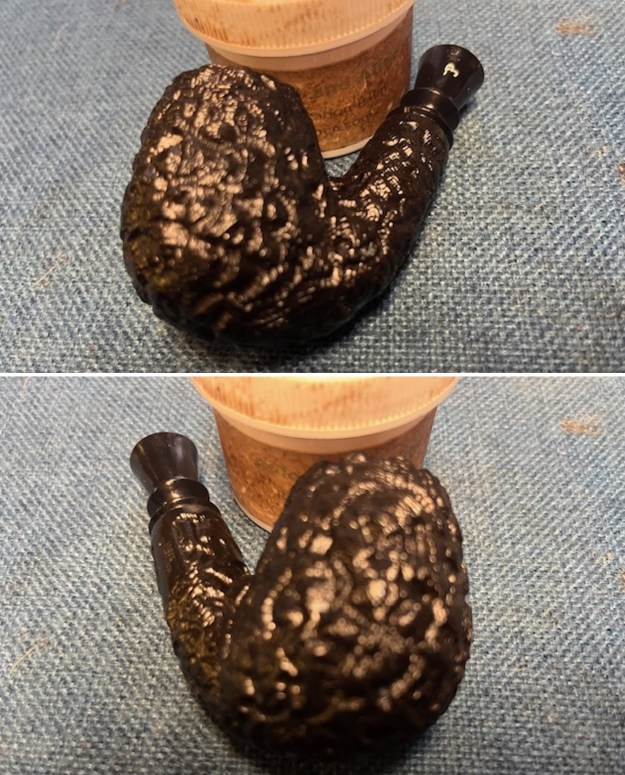
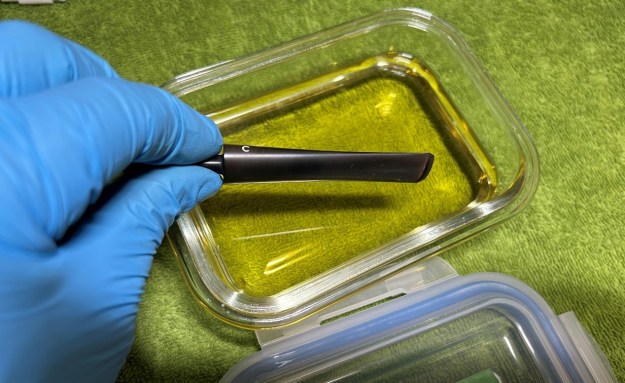
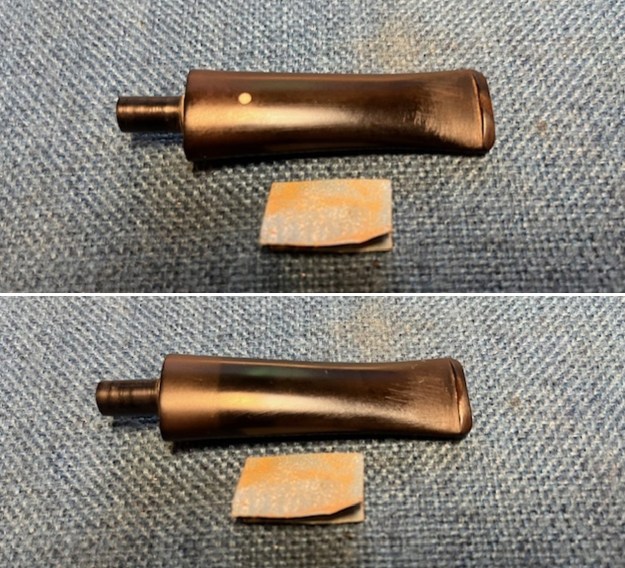
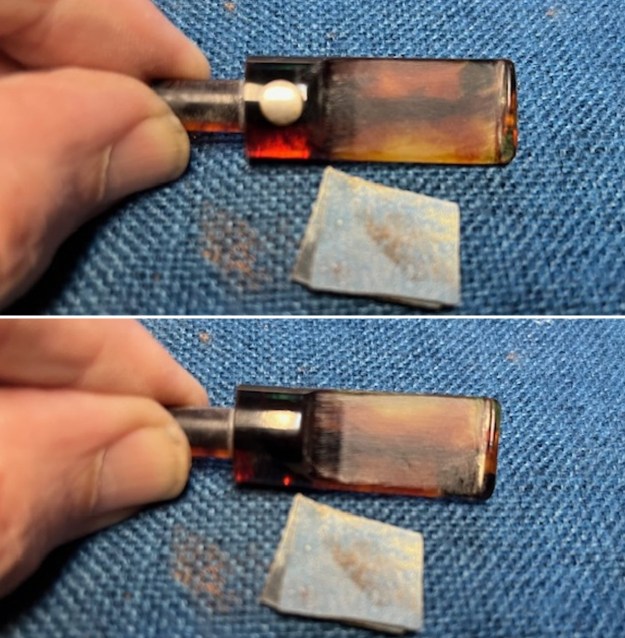
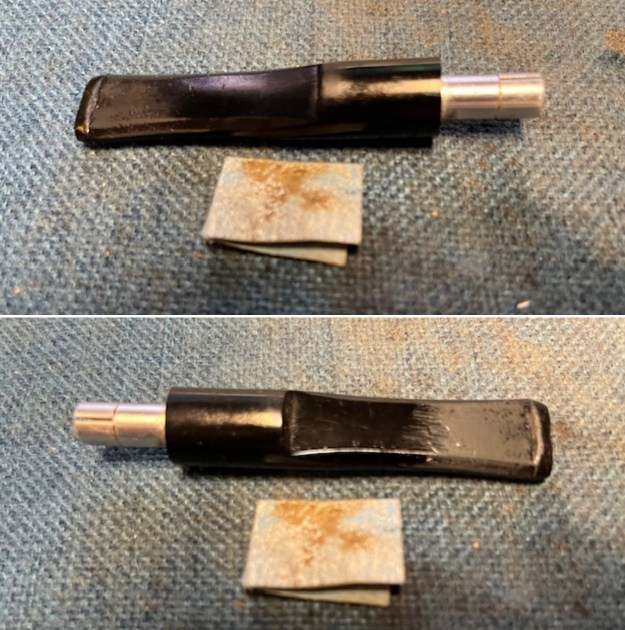
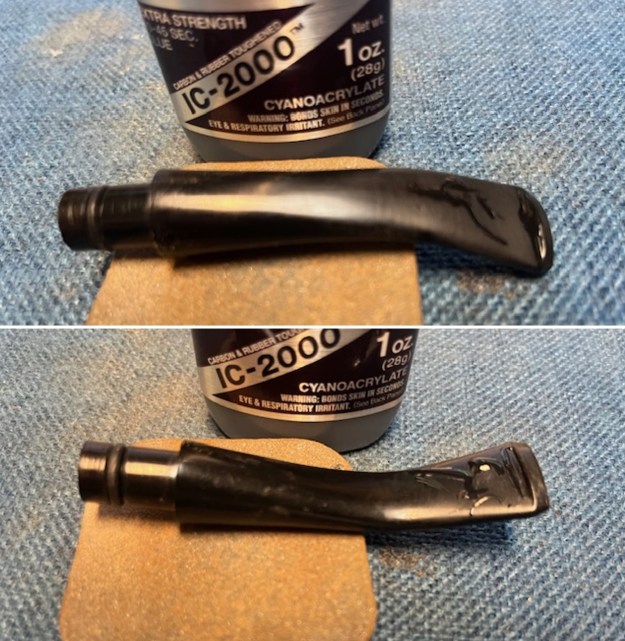
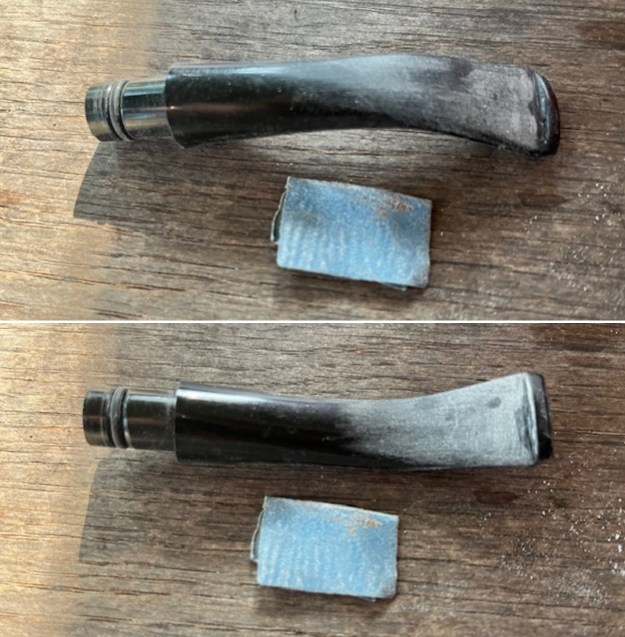
 I set the bowl aside and turned my attention to the stem. I scrubbed it down with cotton pads and Soft Scrub Cleanser and was able to remove the oxidation. It looked better once I finished with the cleanser. I sanded it with 220 grit sandpaper to break up the oxidation. I wiped the stem down with an Obsidian Oil Cloth.
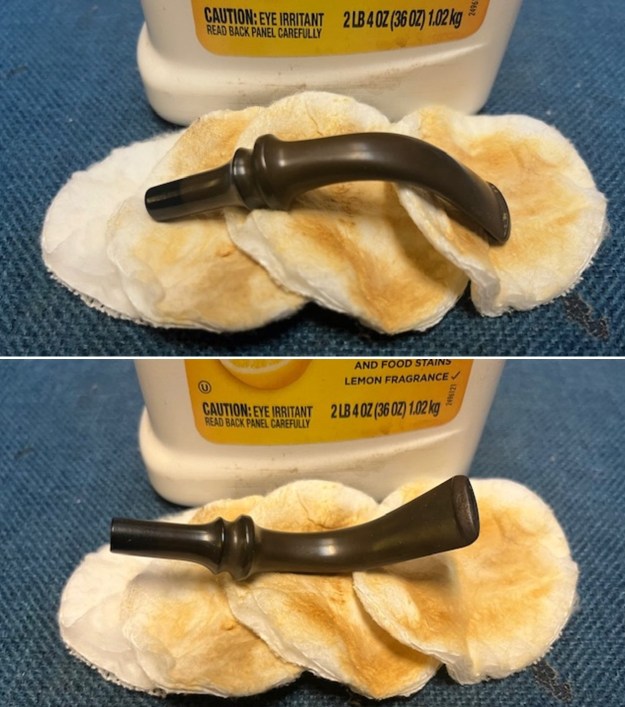
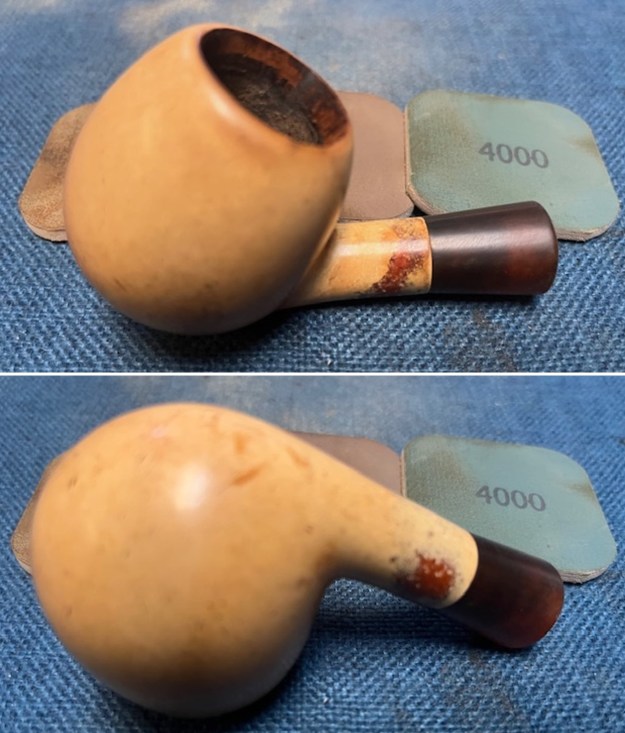
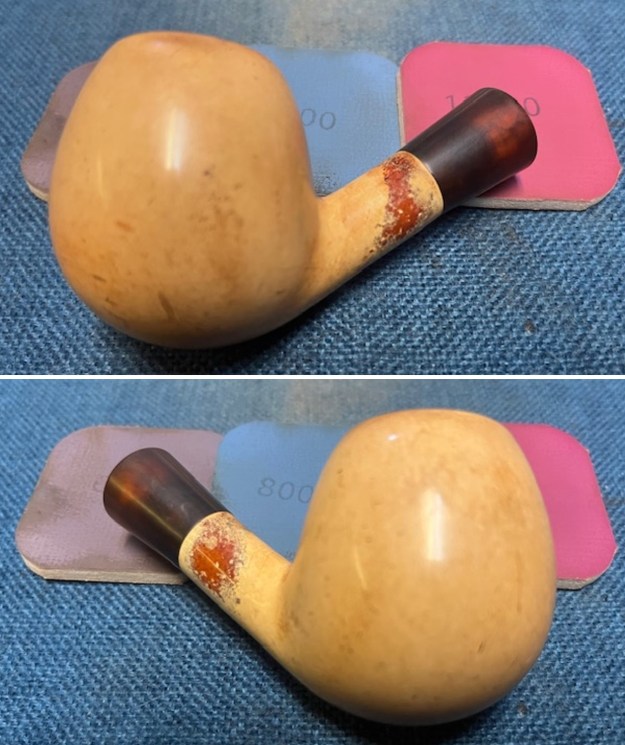
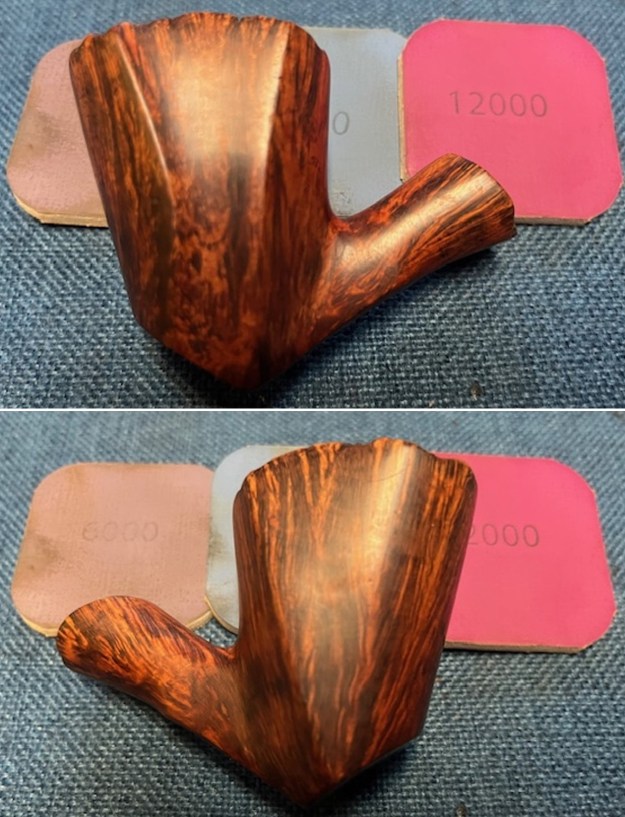
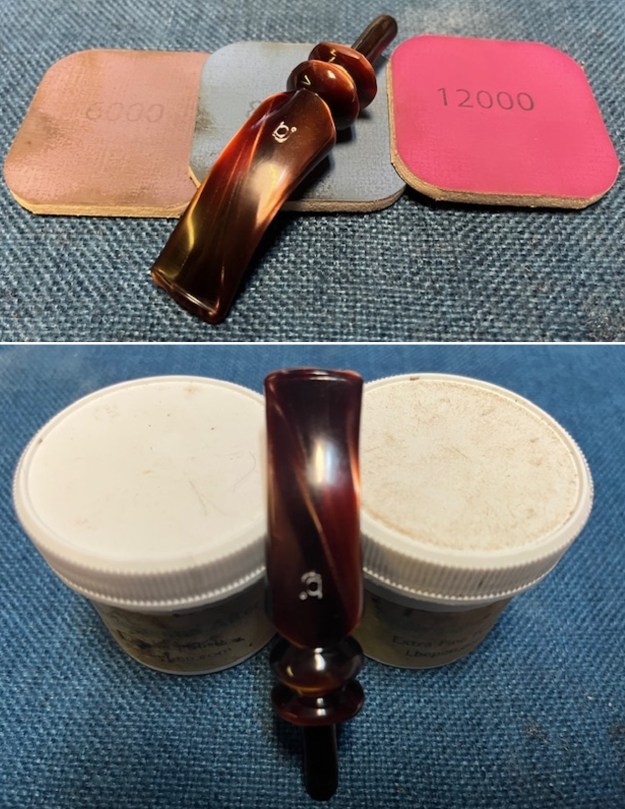
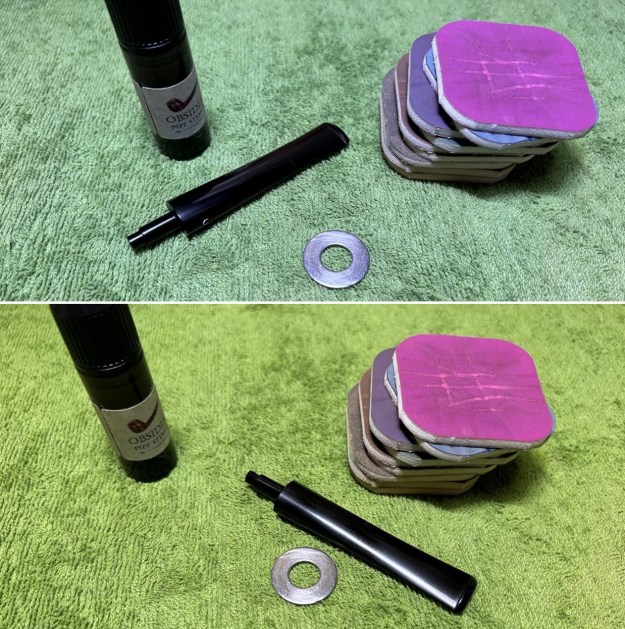
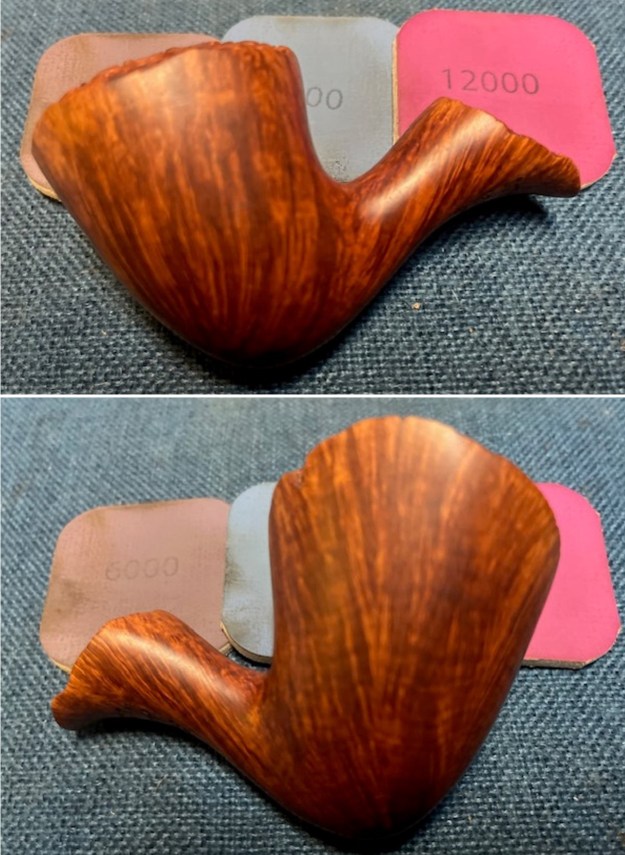
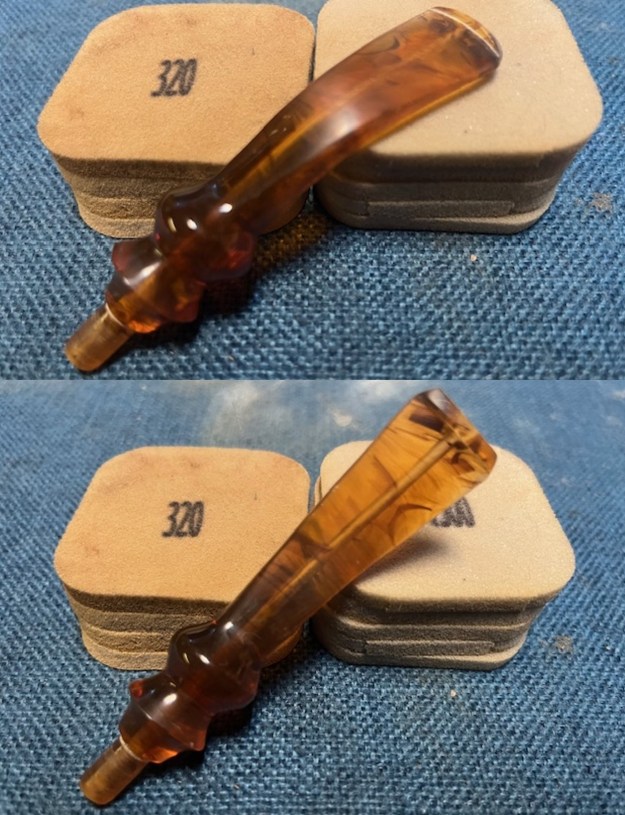
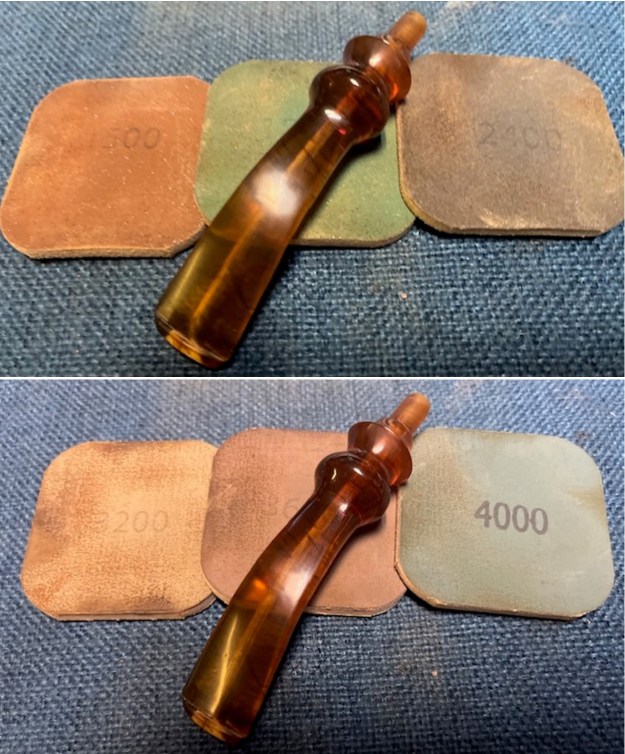
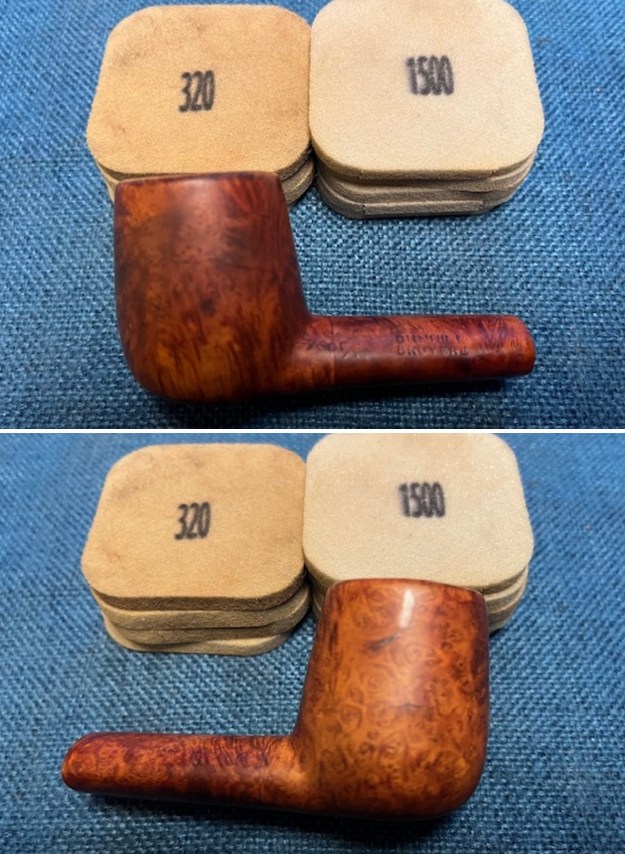
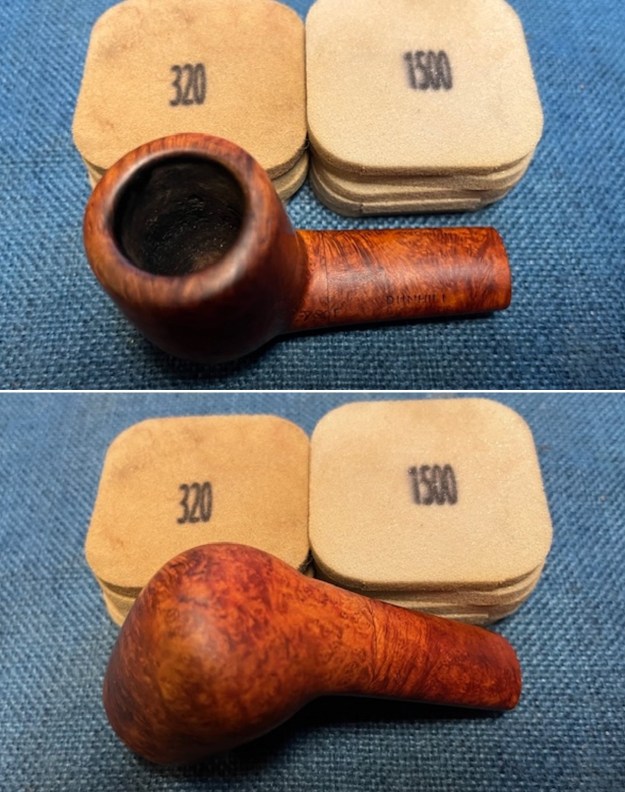
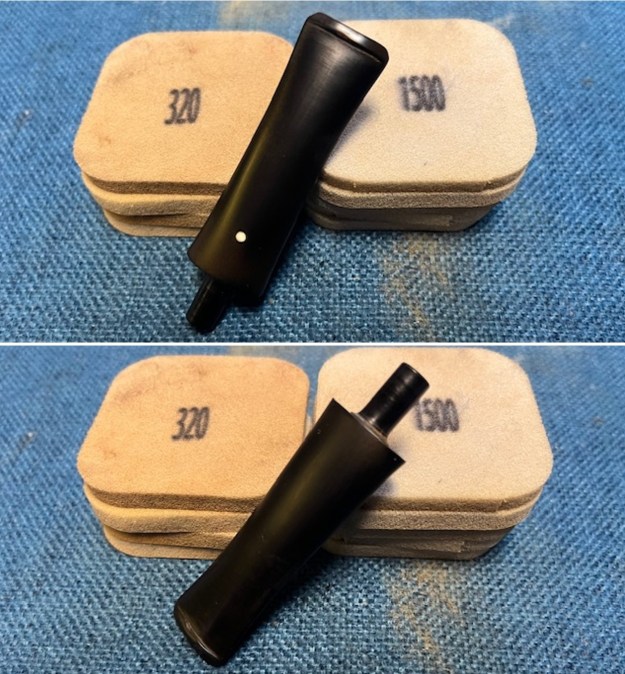
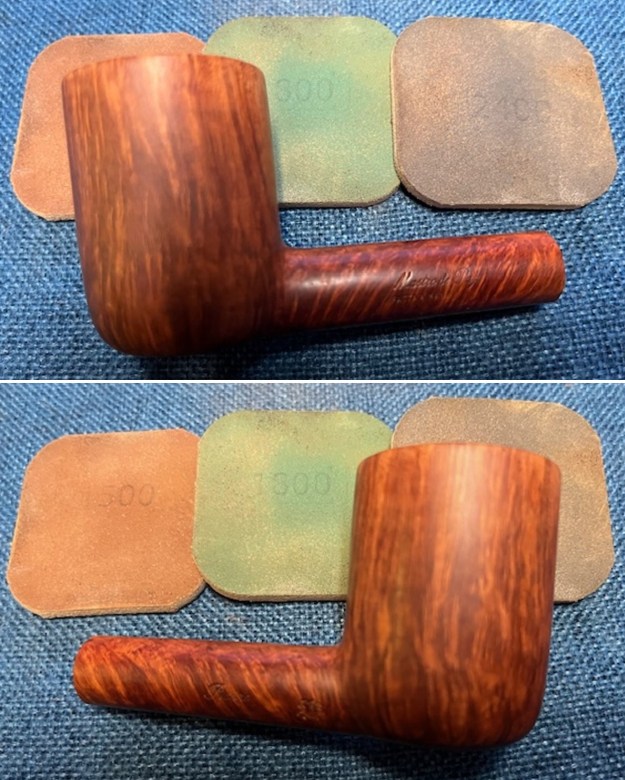
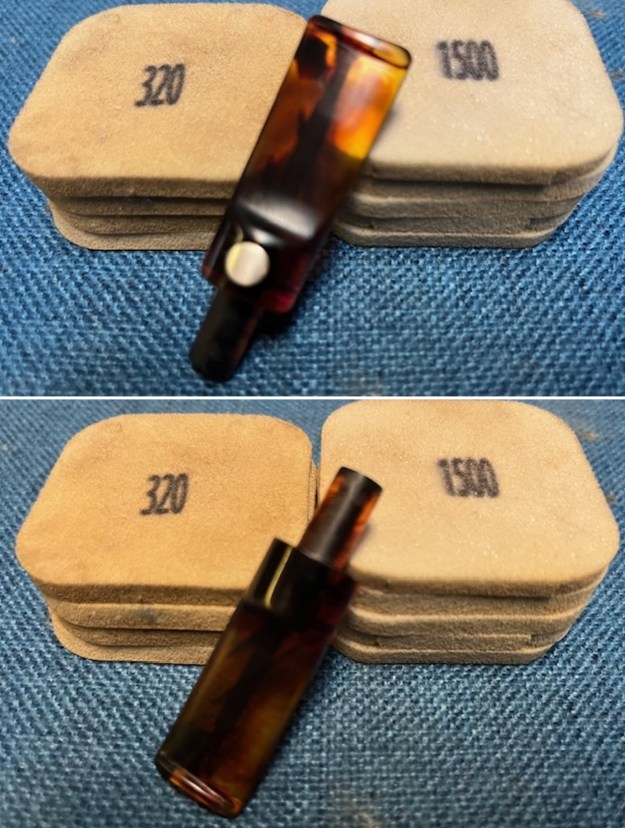
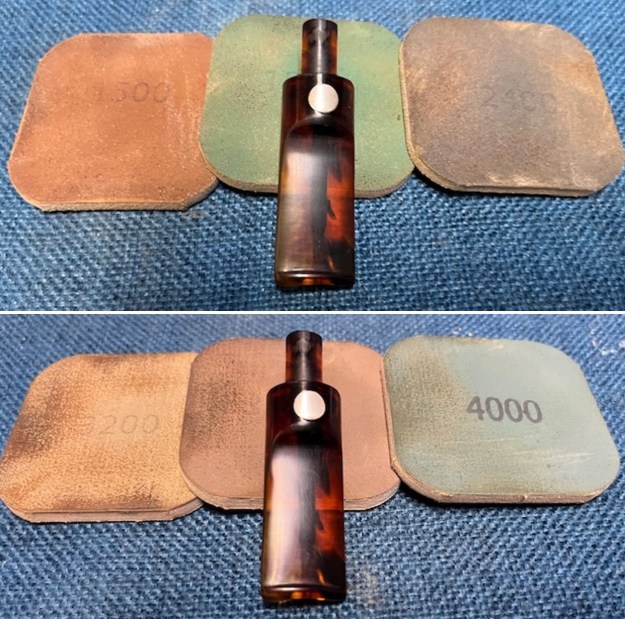
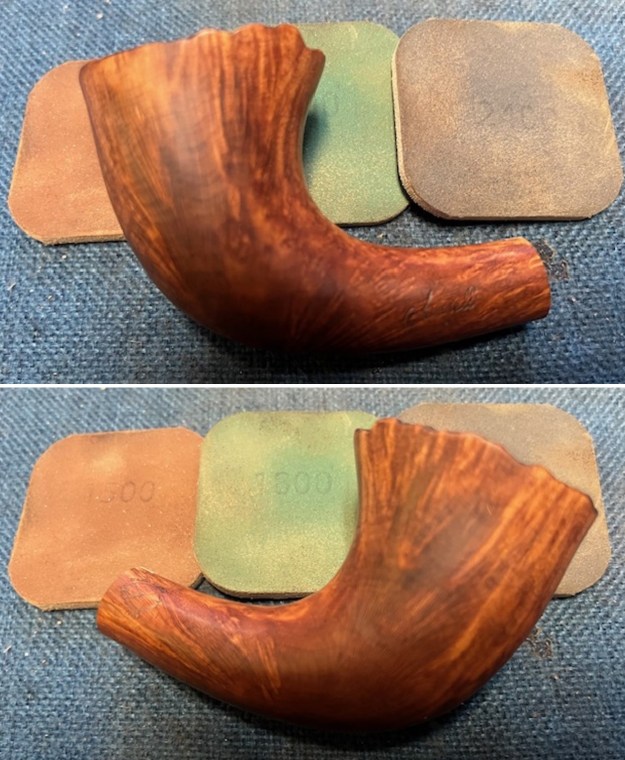
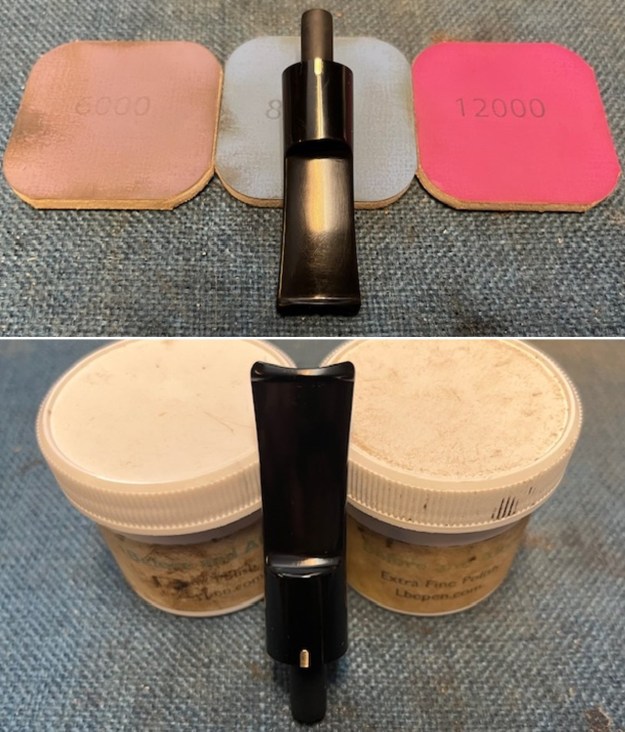
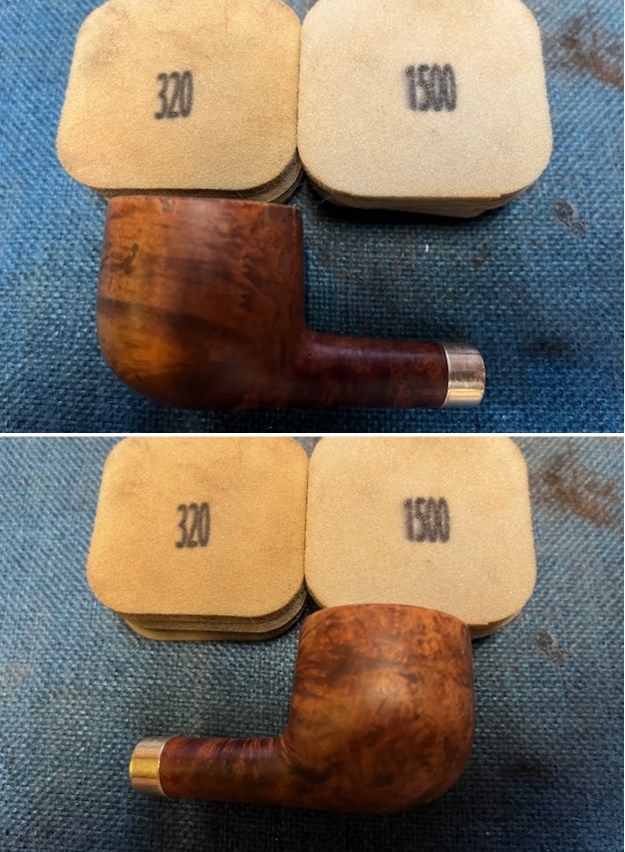
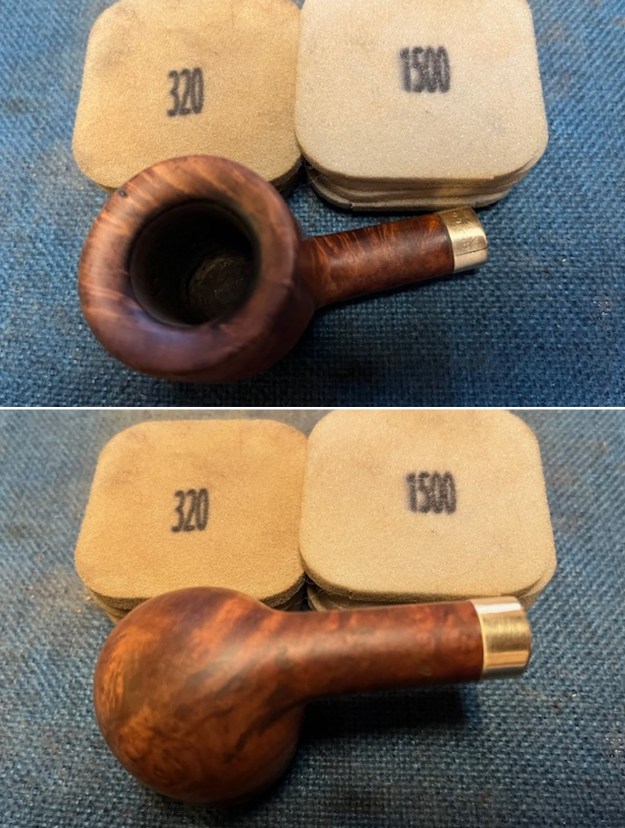
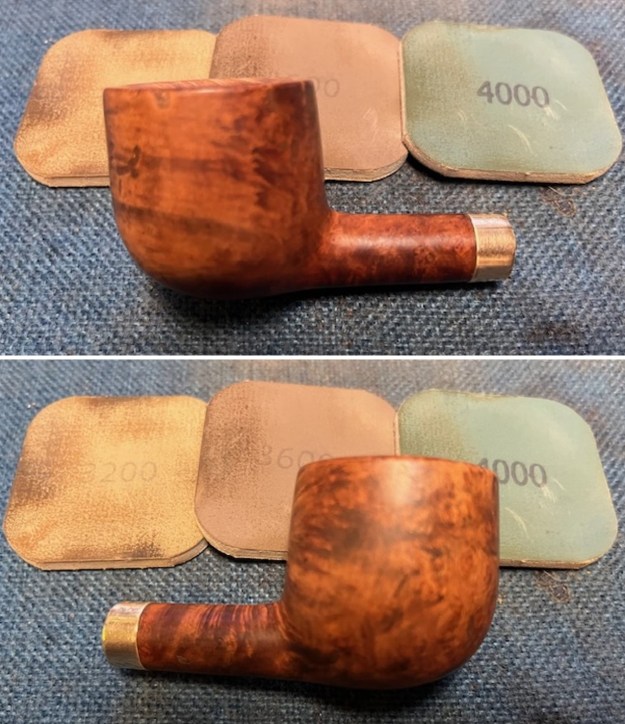
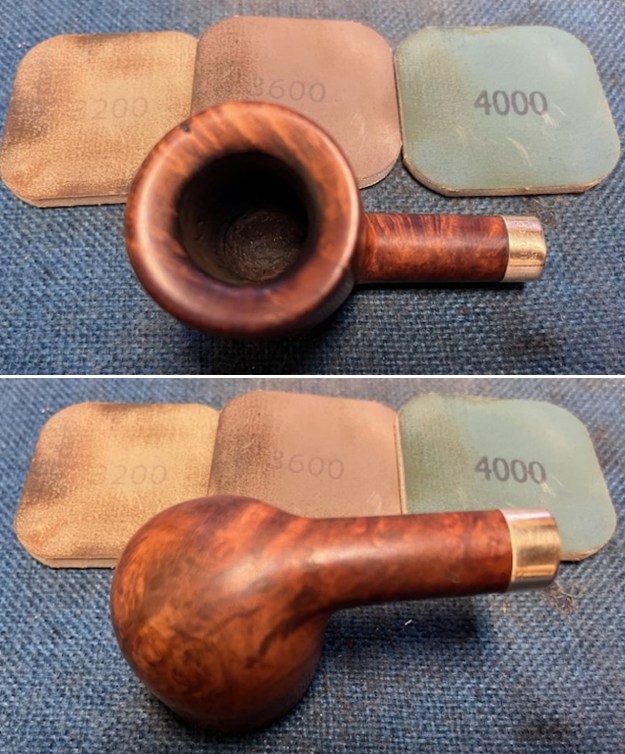
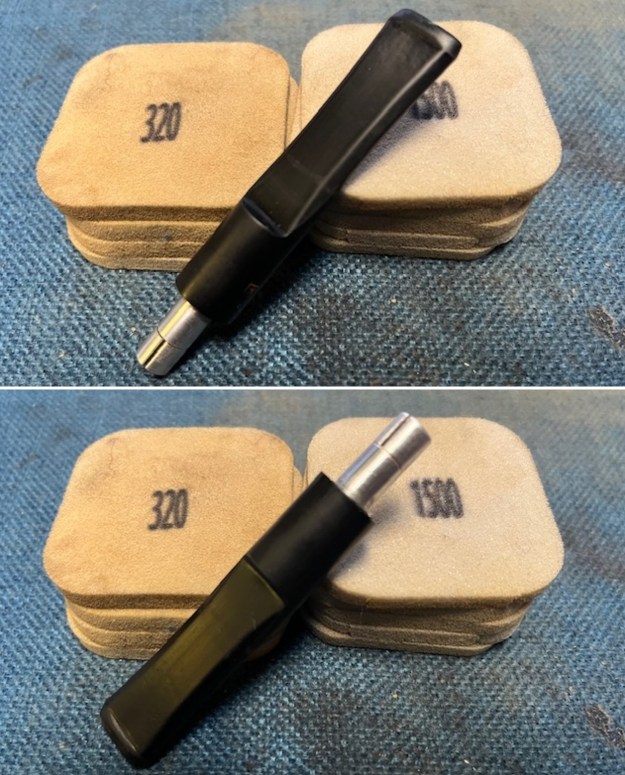
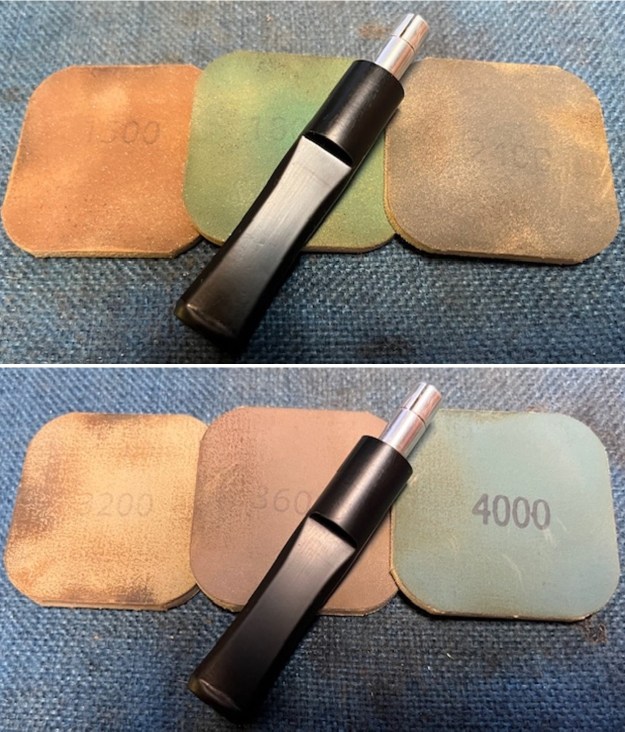
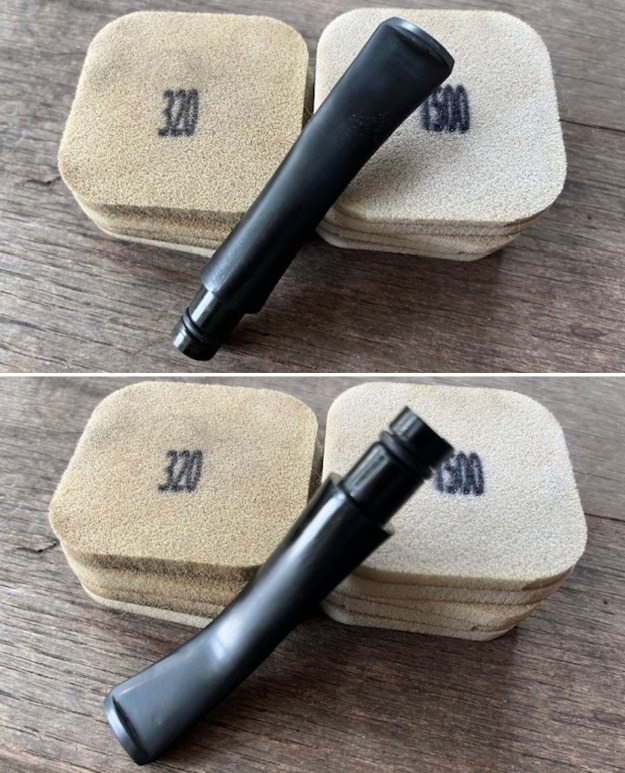
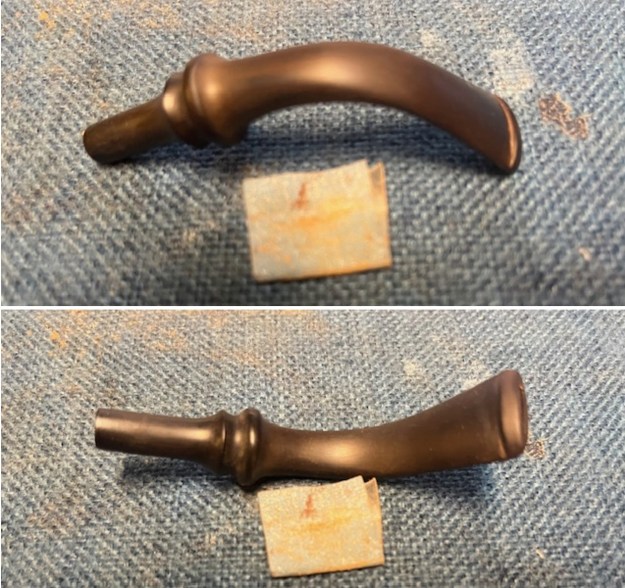 I continued sanding the stem surface with 320-3500 grit 2×2 inch sanding pads. I wiped the stem down after each pad with a damp pad to remove the debris. By the end it was quite shiny and ready for polishing.
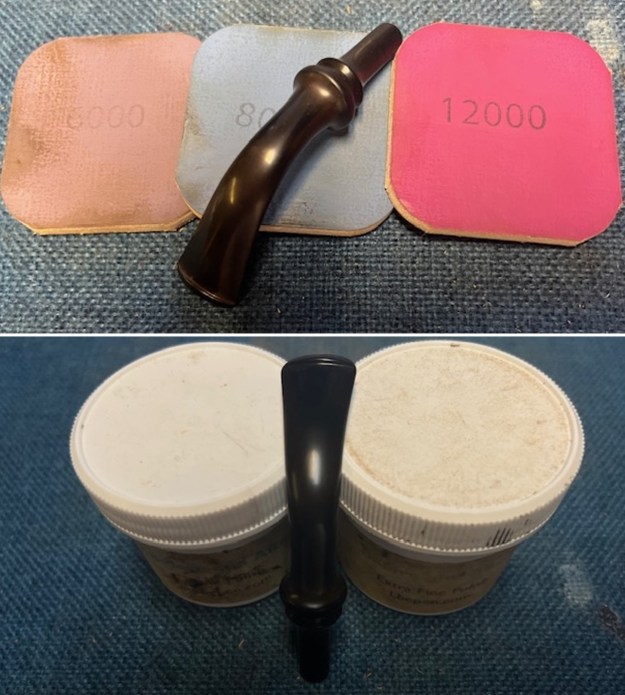
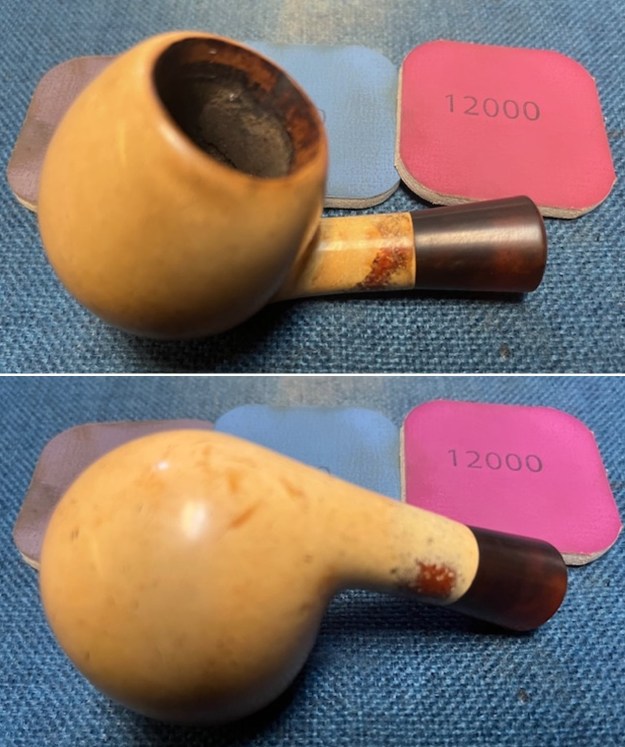
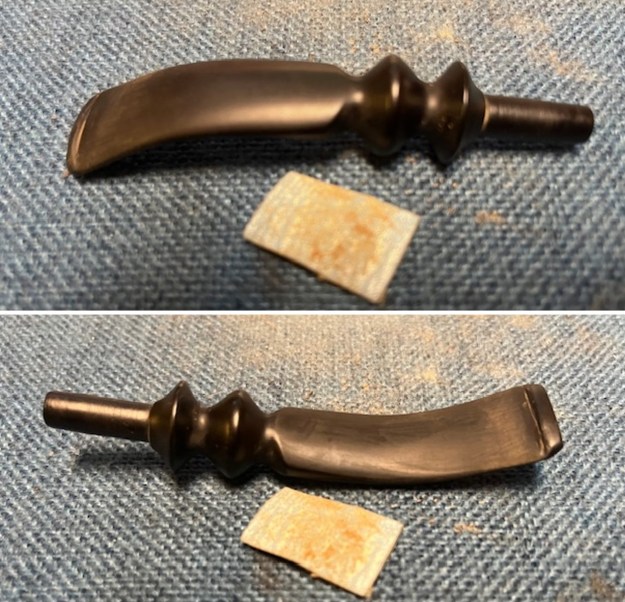
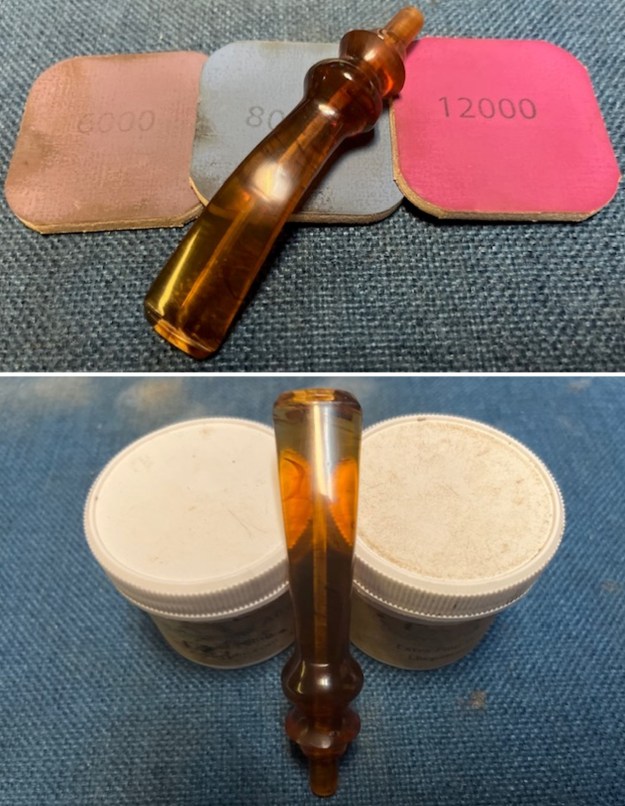
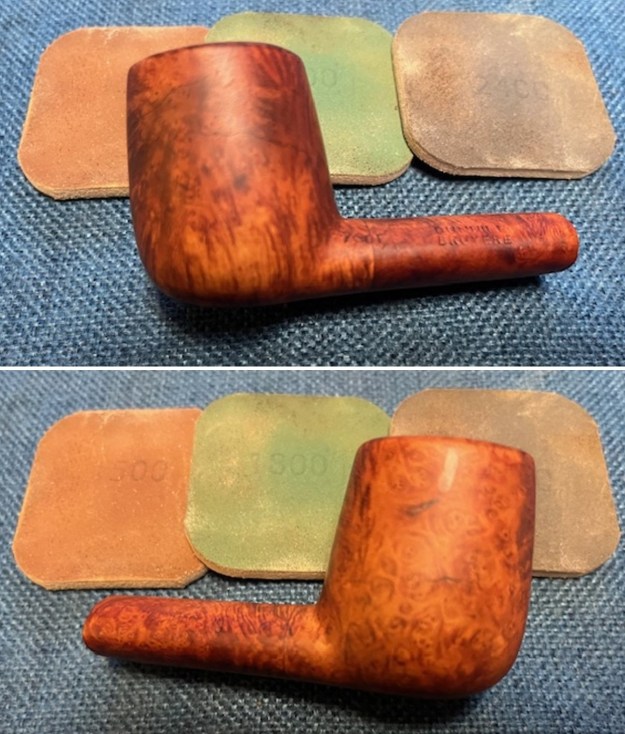
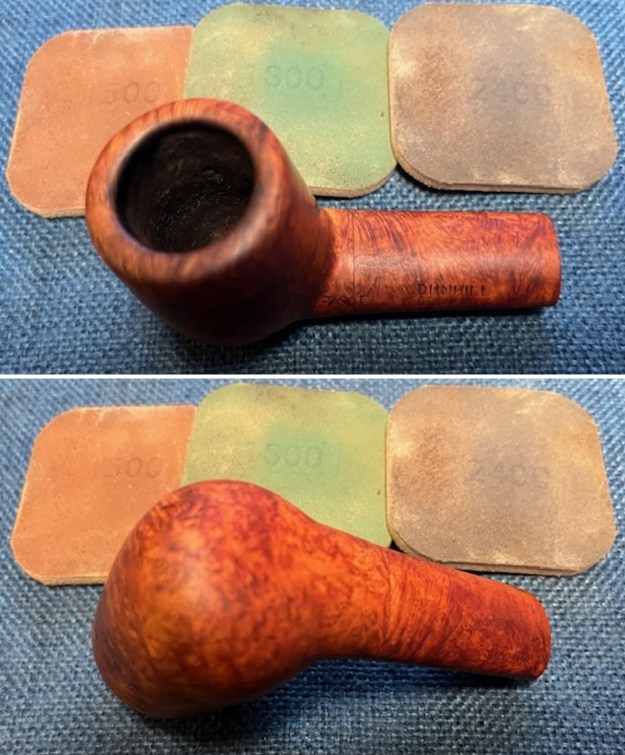
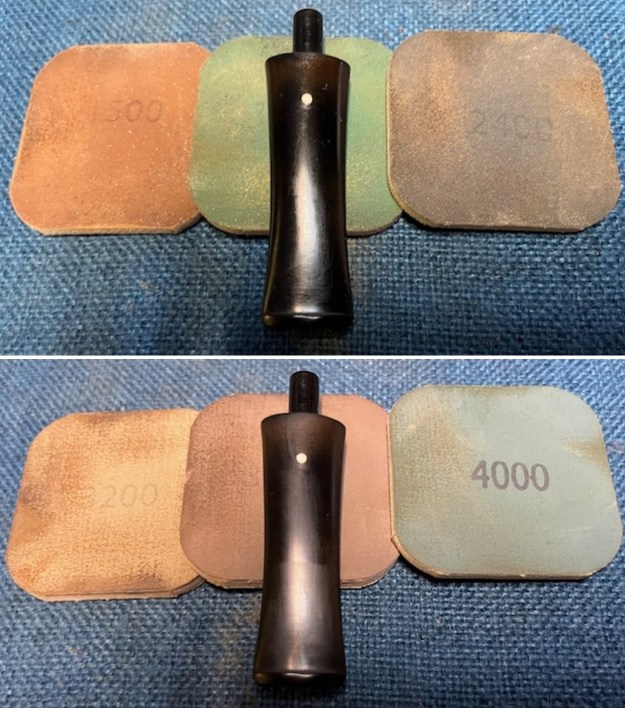
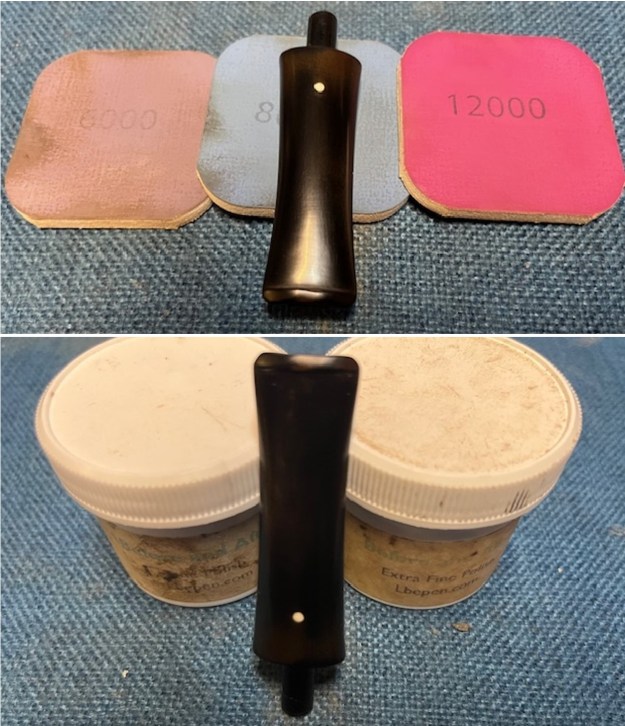
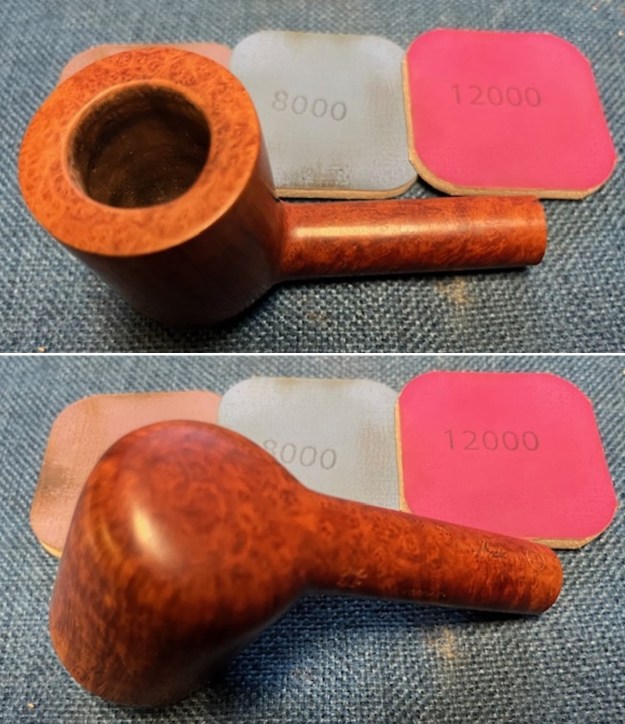
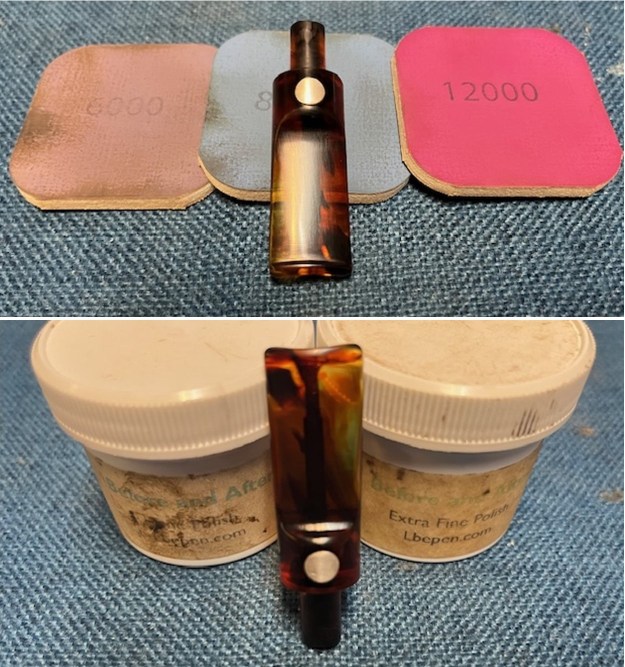
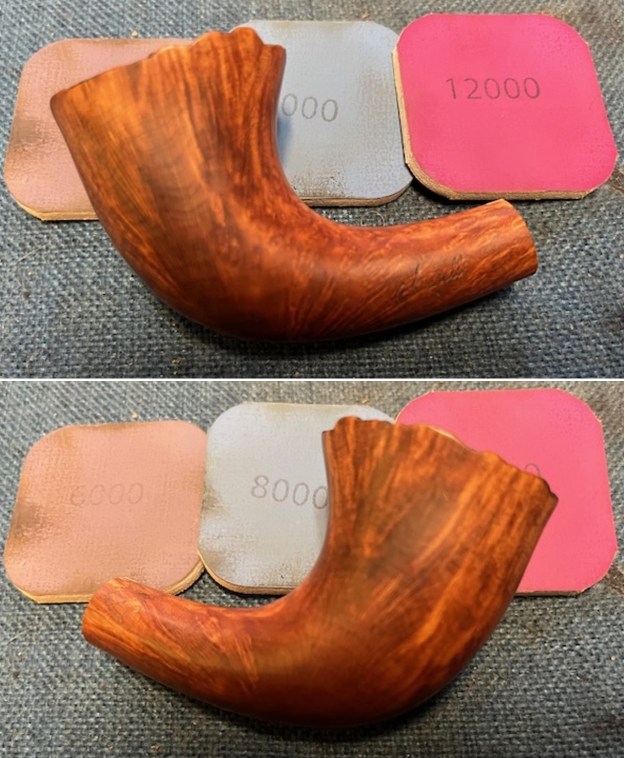
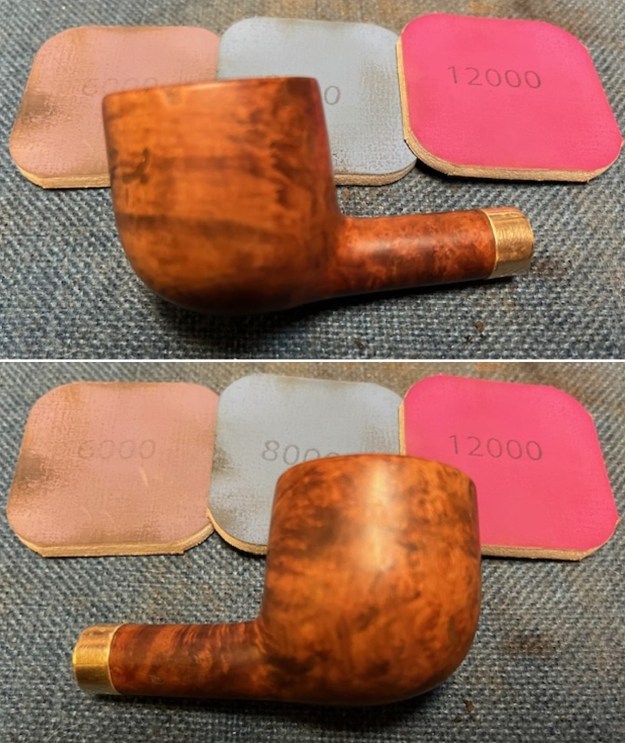
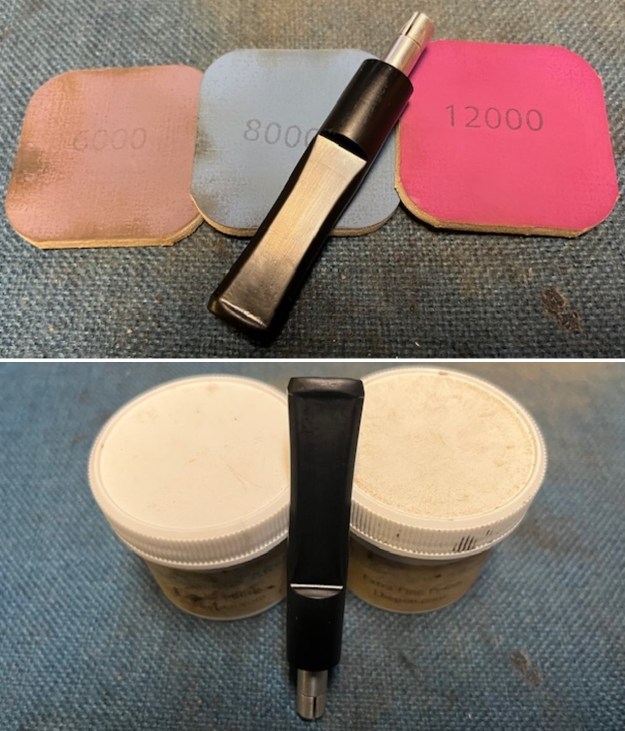
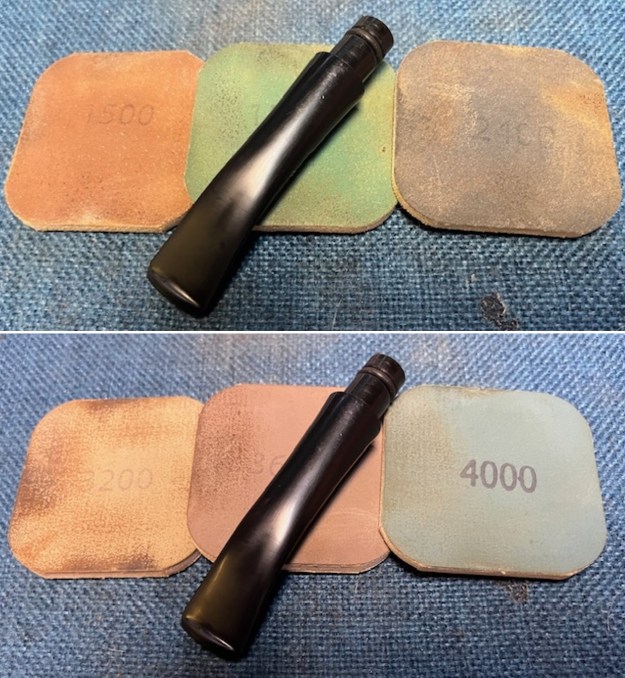
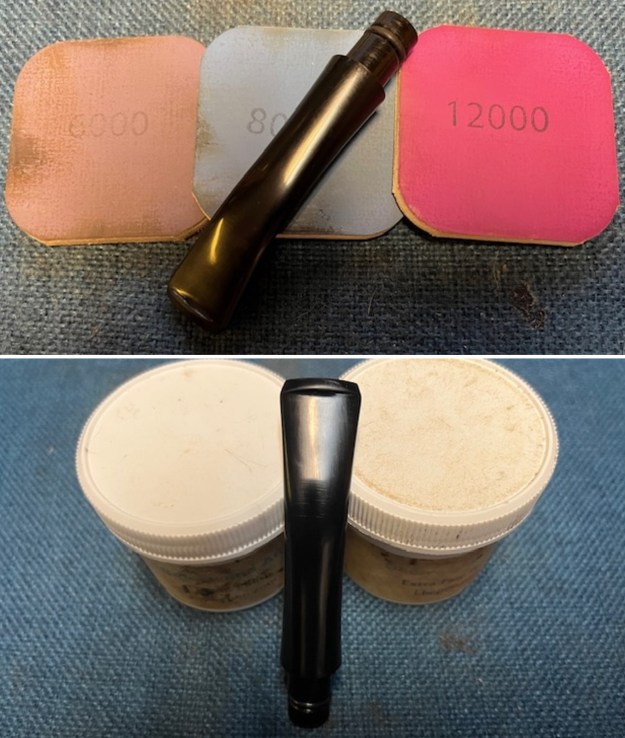
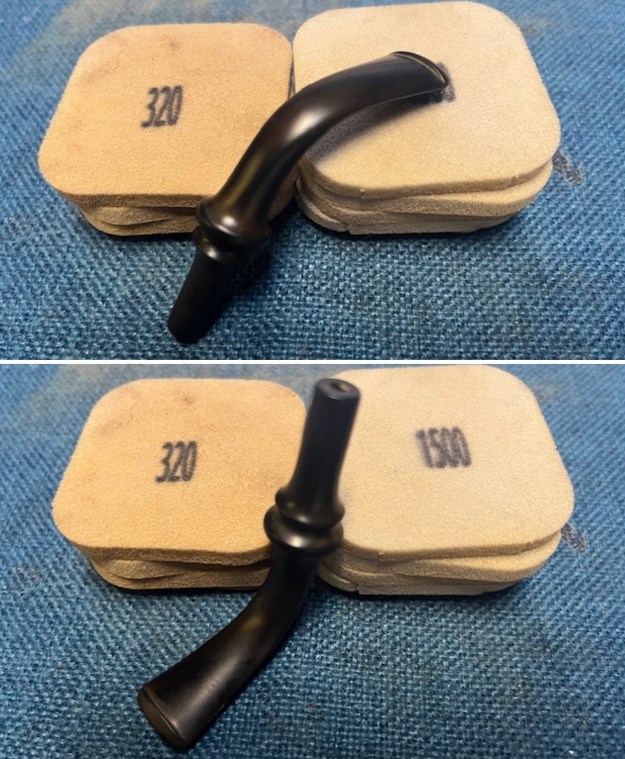 I polished the stem with micromesh sanding pads – wet sanding it with 1500-12000 grit pads. I wiped the stem down after each pad with a cloth impregnated with Obsidian Oil. I polished it further with Before & After Pipe Stem Polish – both fine and extra fine. I gave it a final coat of Obsidian Oil and set it aside to dry.
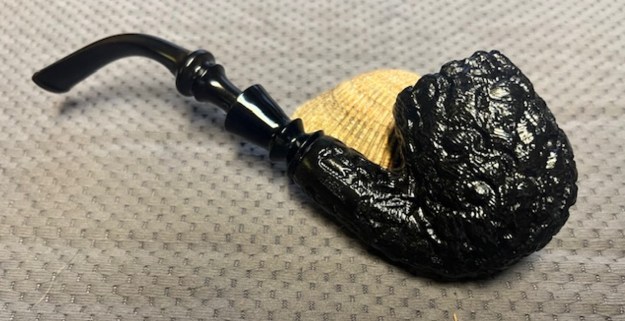
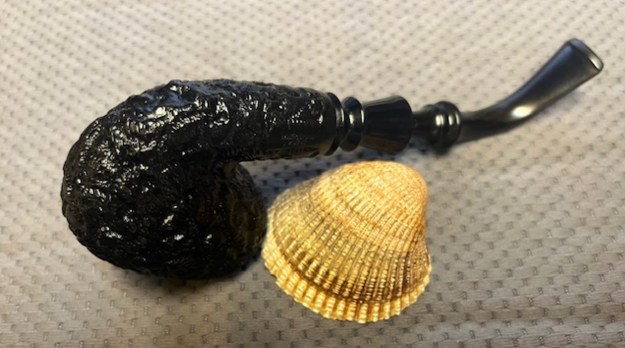
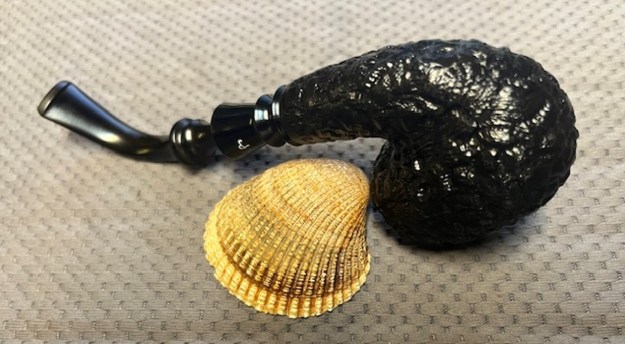
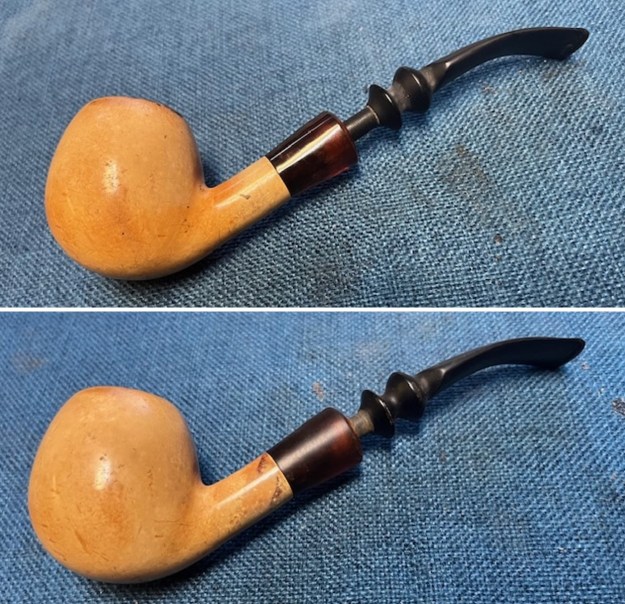
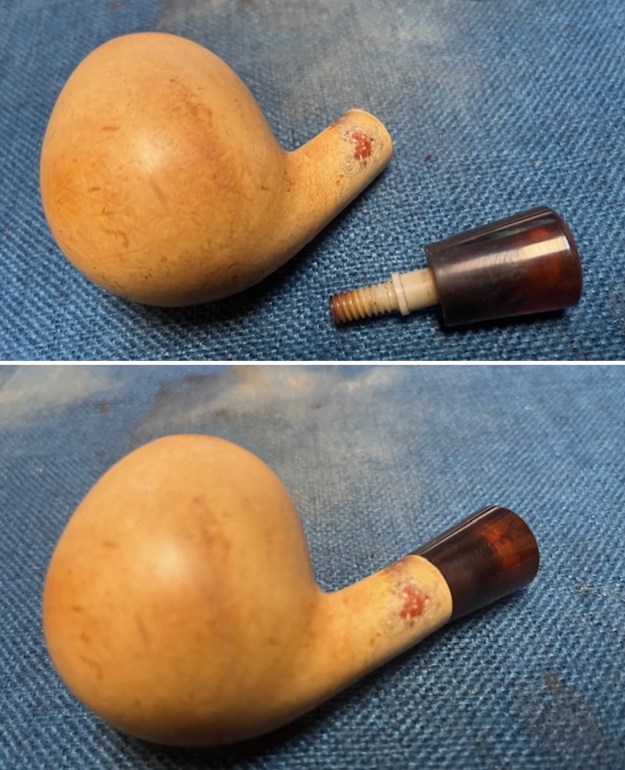
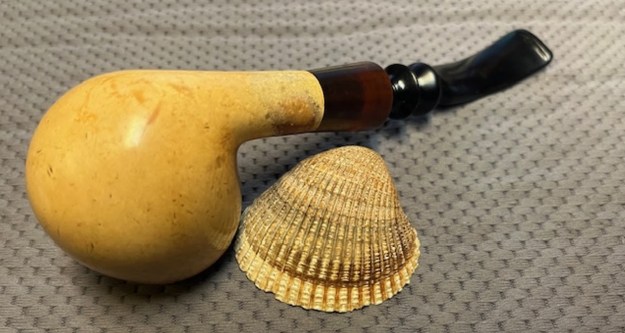
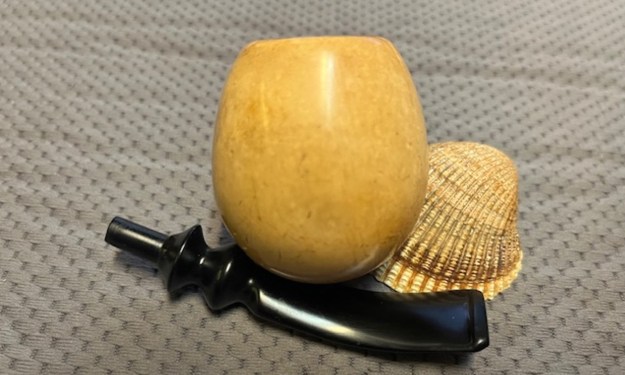
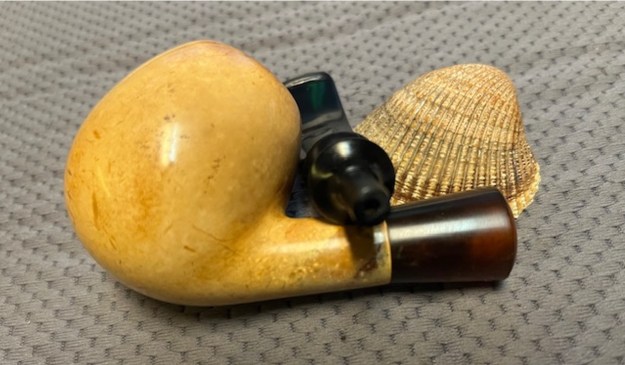
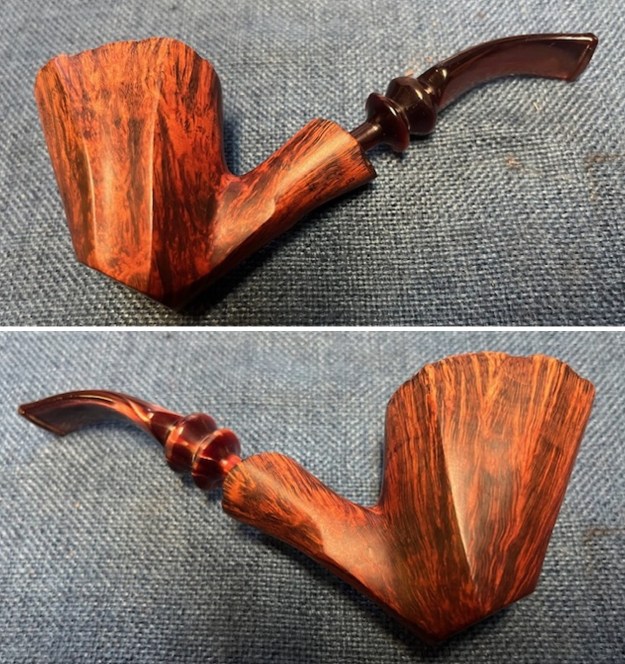
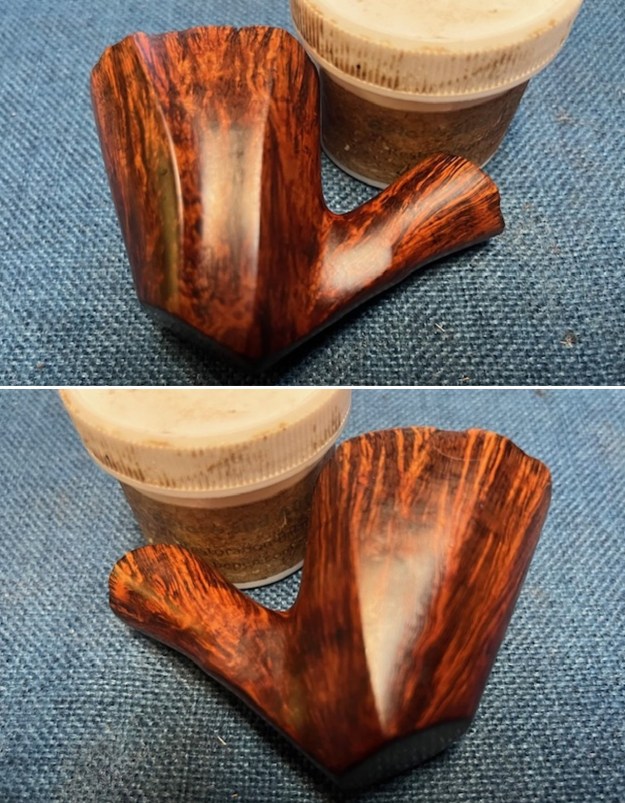
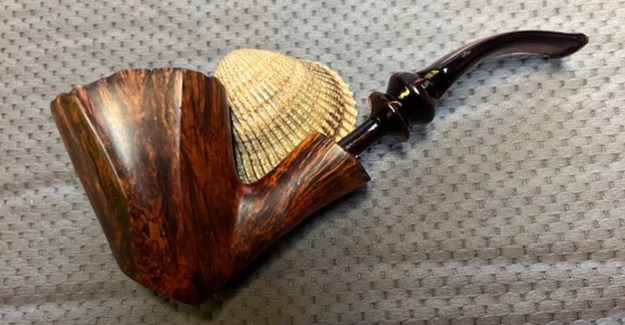
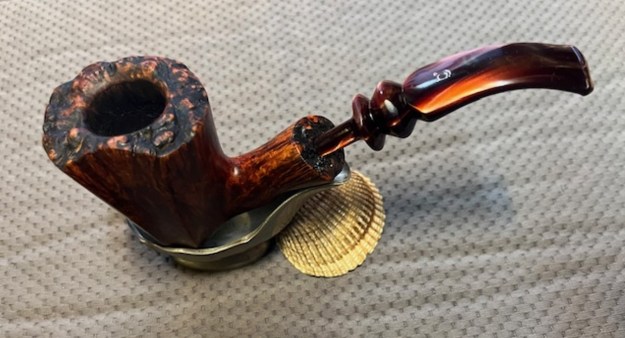
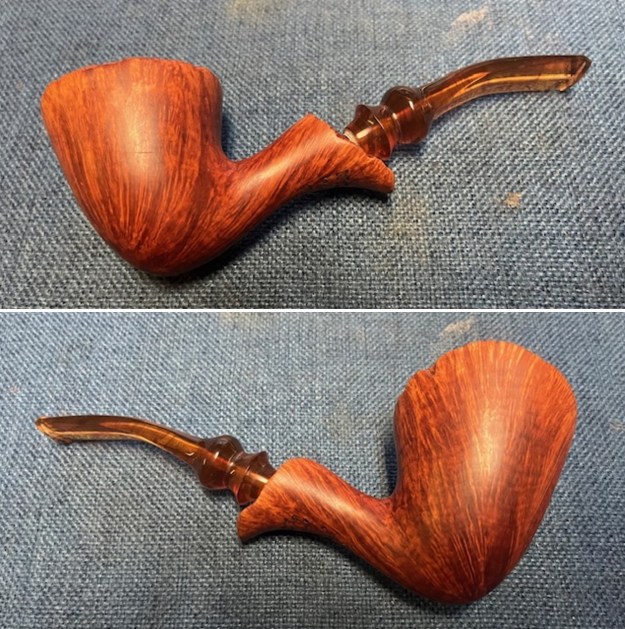
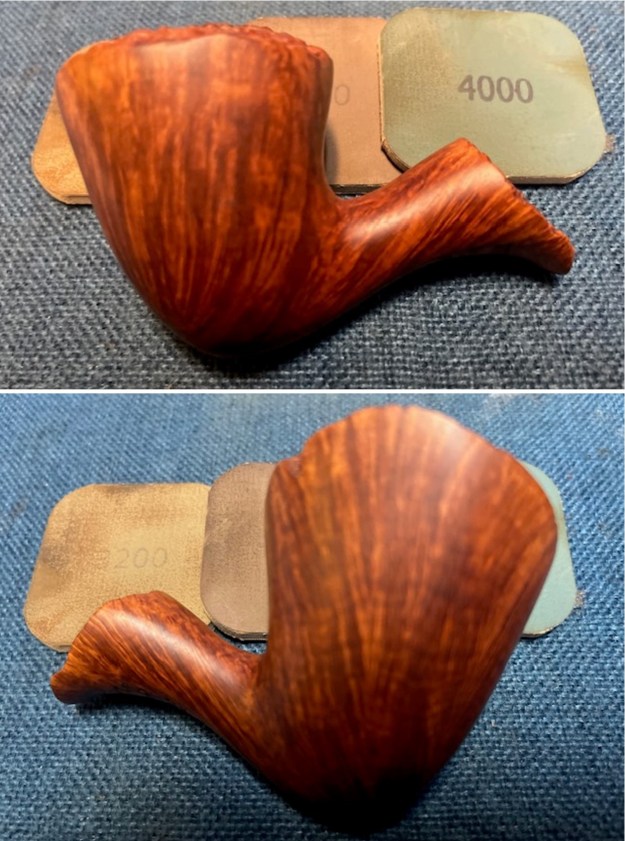
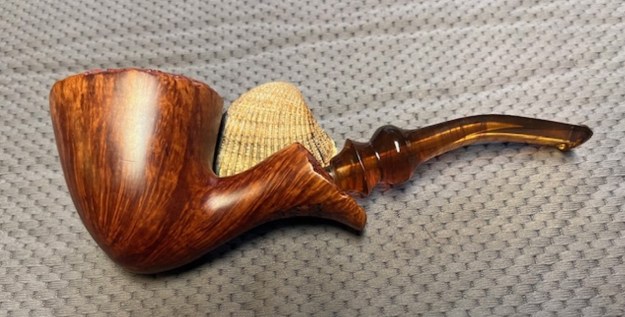
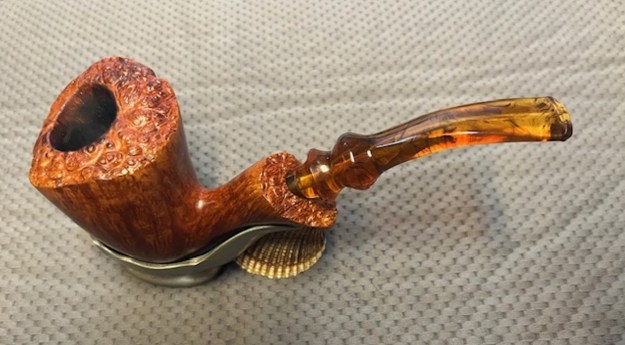
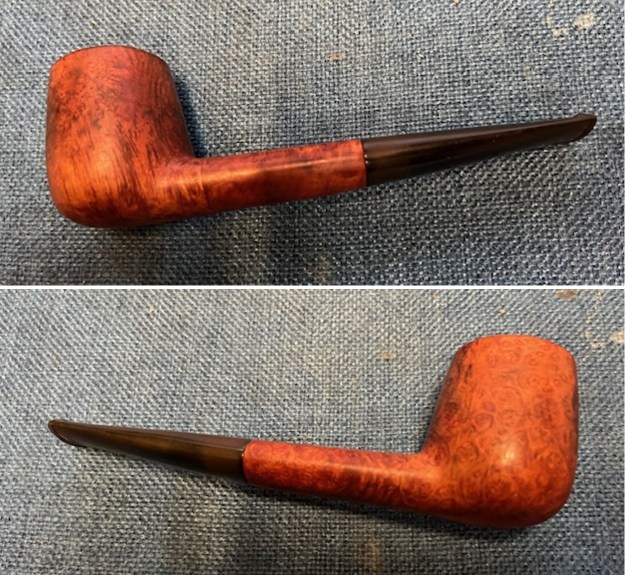
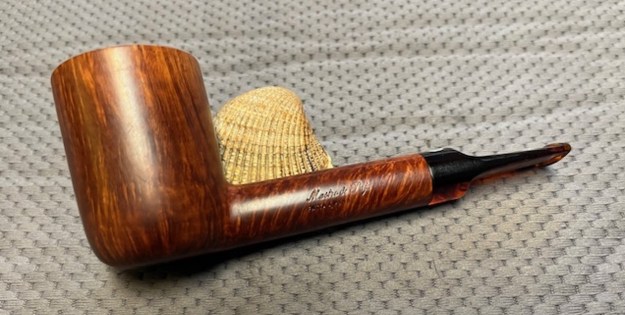
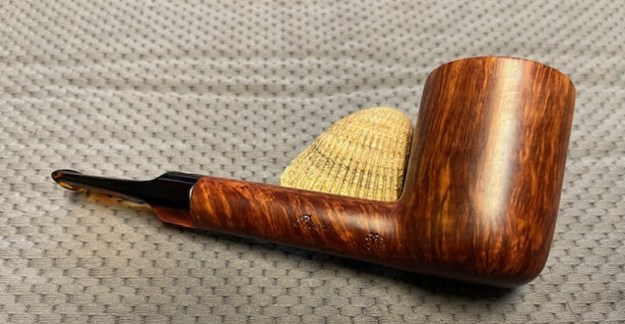
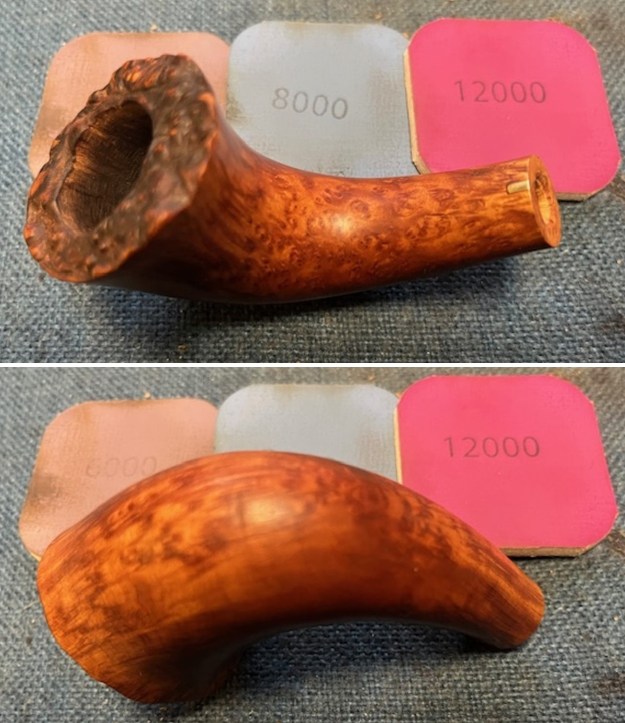
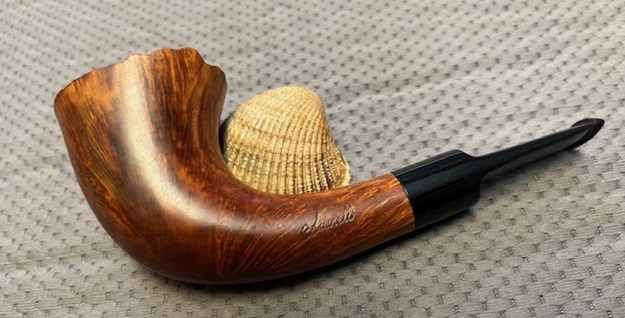
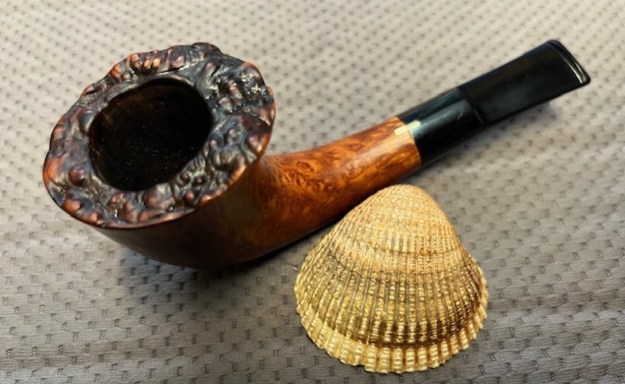
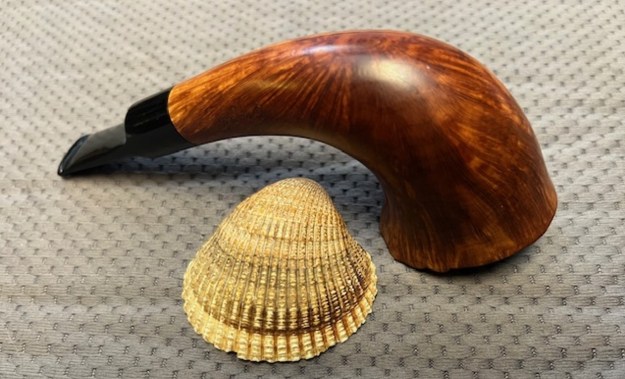
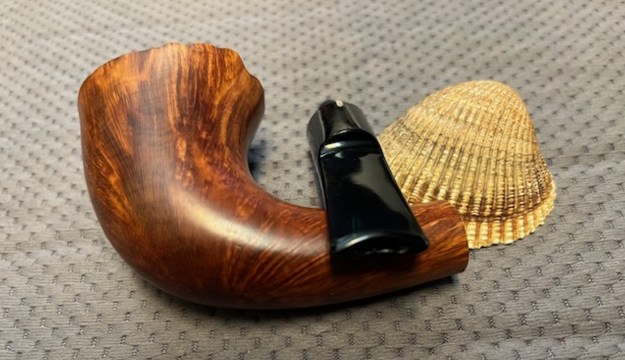
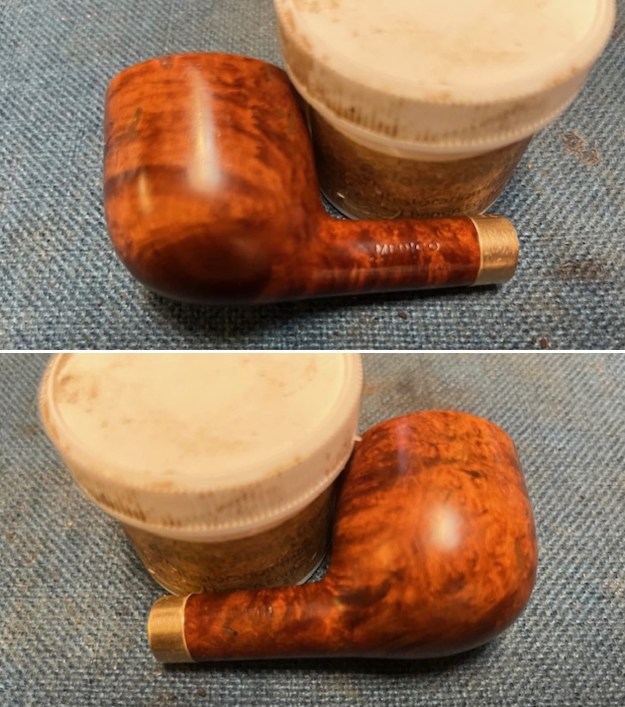
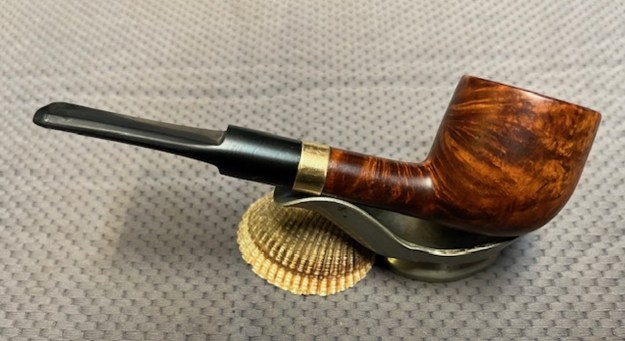
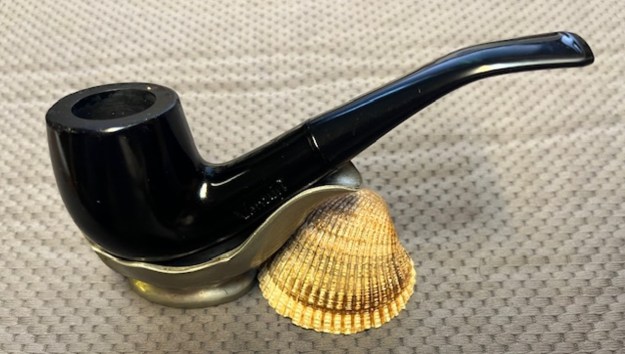
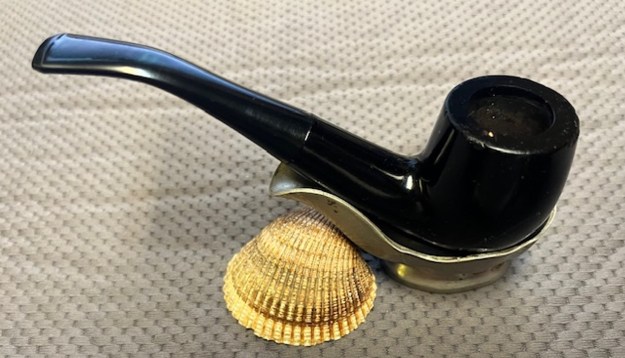
 With a refurbishing the final moment when all the pieces come back together is the tell all! I put the pipe back together and buffed the meerschaum bowl with a shoe brush and the stem with Blue Diamond on the buffing wheel. I gave the meerschaum several coats of Conservator’s Wax and the stem multiple coats of carnauba wax. I buffed those parts with a clean buffing pad to raise the shine. I hand buffed it with a microfiber cloth to deepen the shine. It is fun to see what the polished bowl looks like with the black fancy vulcanite stem. This Rusticated Pioneer Black Meerschaum Bent Billiard is light weight and it is ready for you to load up a tobacco of preference and enjoy breaking it in for yourself. Have a look at it in the photos below. The dimensions are Length: 6 inches, Height: 1 ¾ inches, Outside diameter of the bowl: 1 ¼ inches, Chamber diameter: ¾ of an inch. The weight of the pipe is 51 grams/1.83 ounces. This is one that will go on the Ceramic and Meerschaum Pipes Section of the rebornpipes online store shortly. Thanks to each of you who are reading this blog. Remember we are not pipe owners; we are pipemen and women who hold our pipes in trust until they pass on into the trust of the next generation.
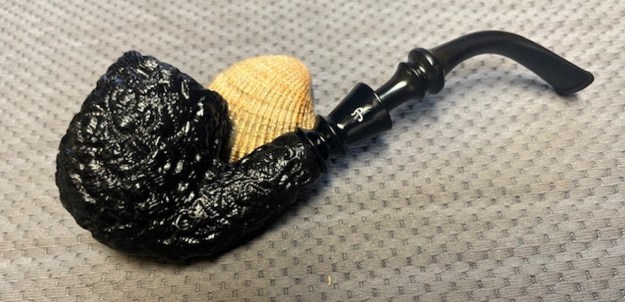


