Tag Archives: stem repairs

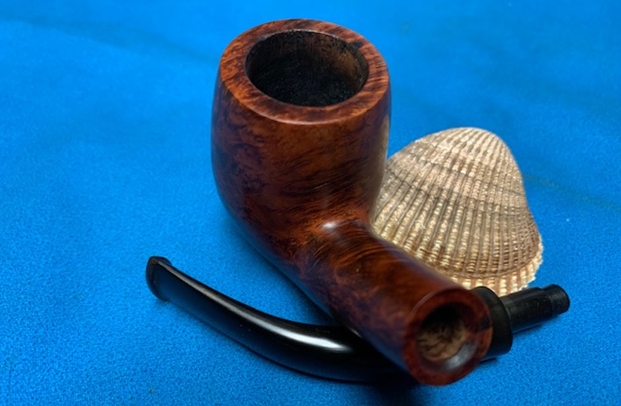
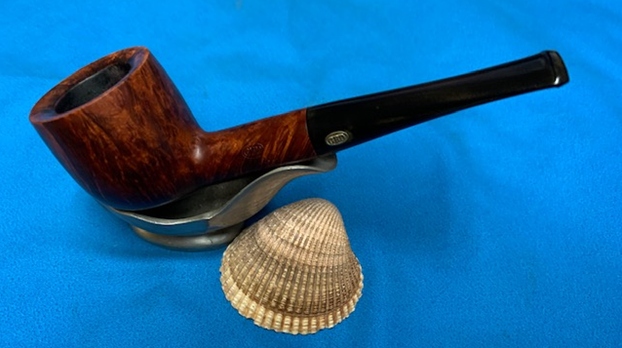
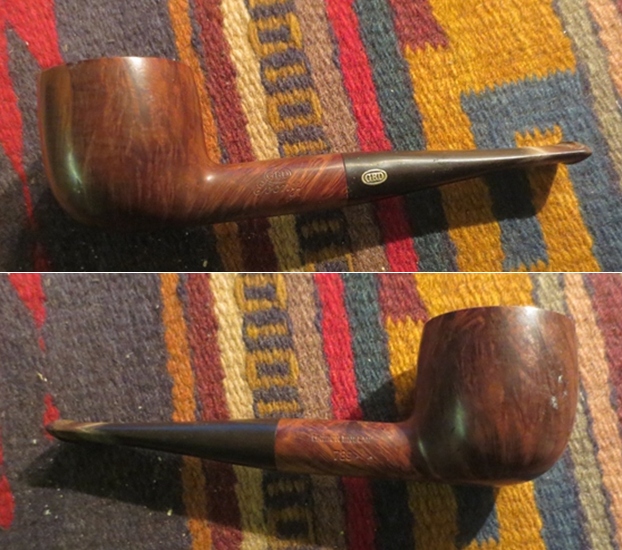
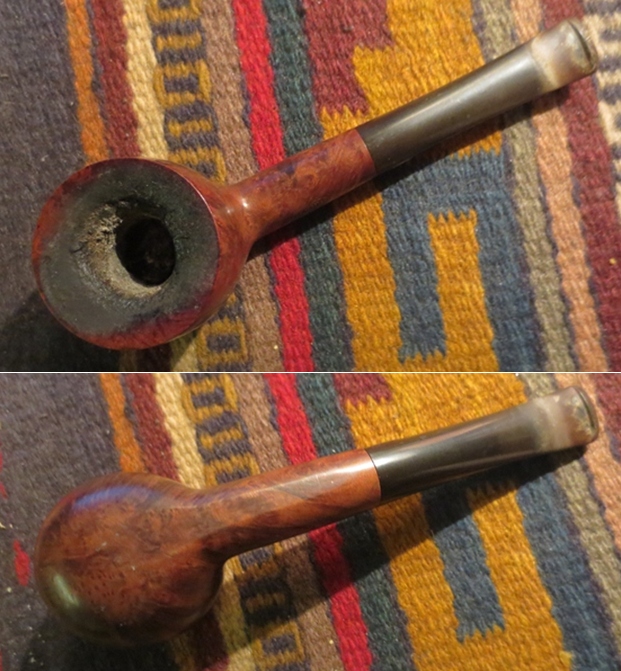
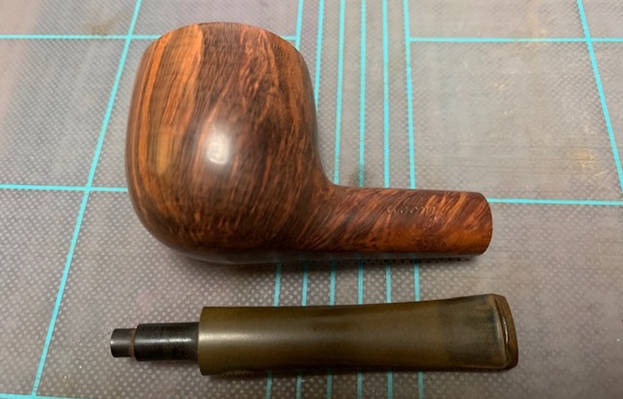
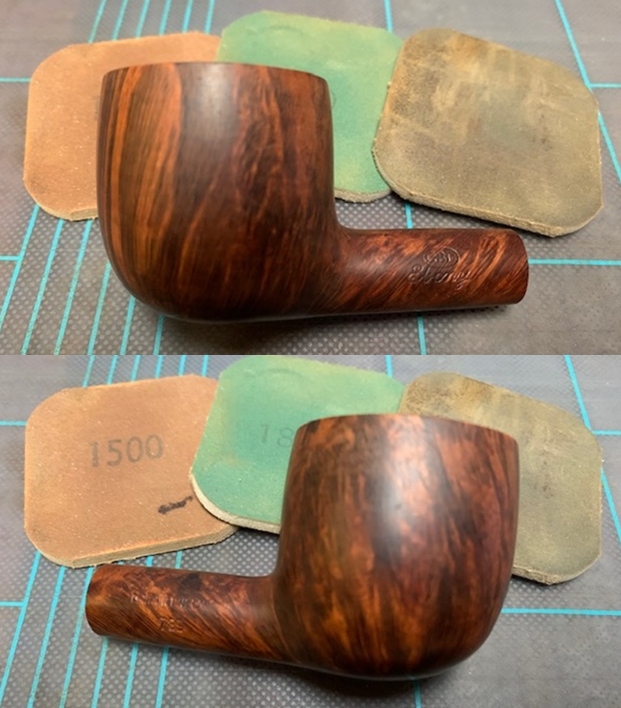
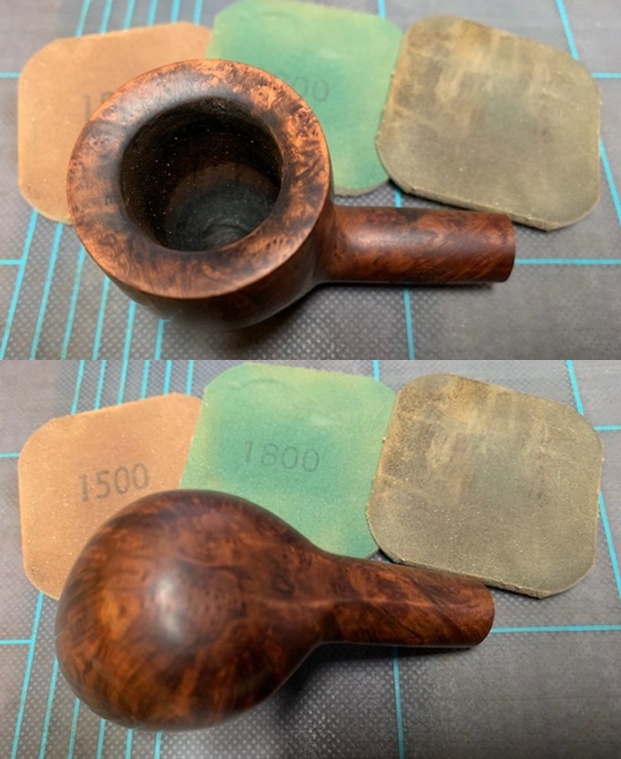
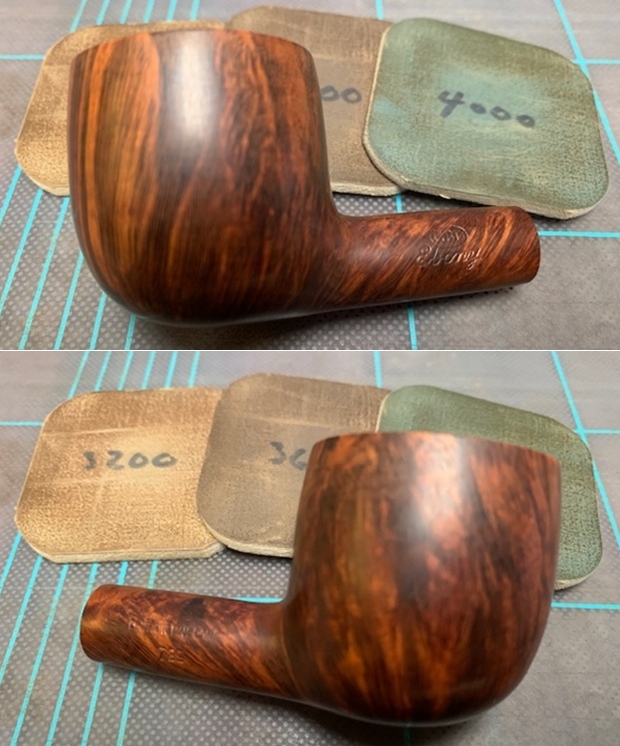
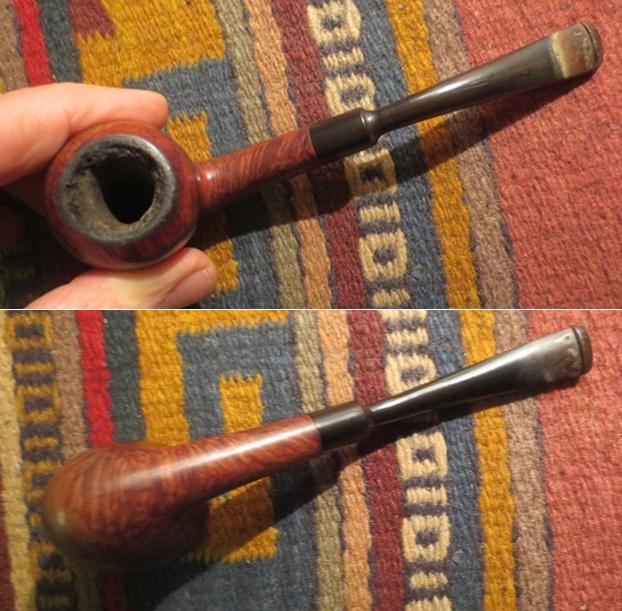
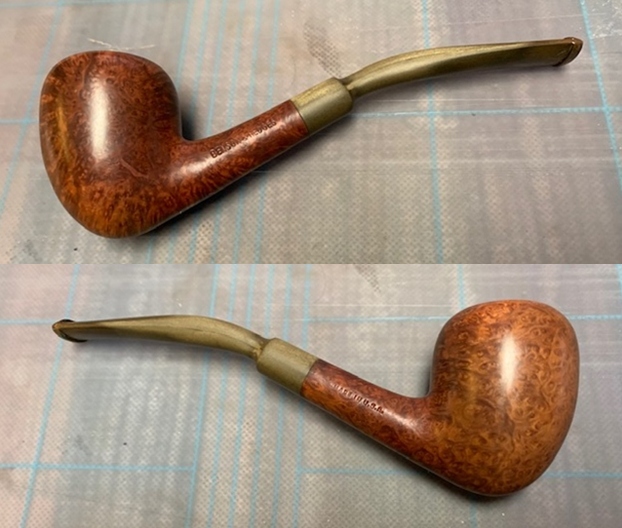
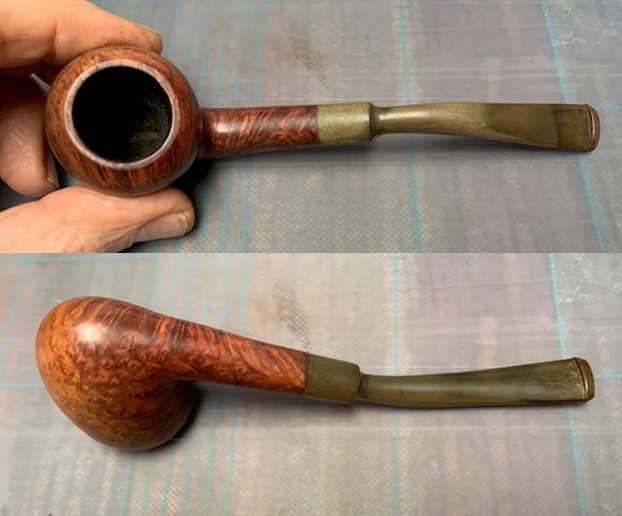
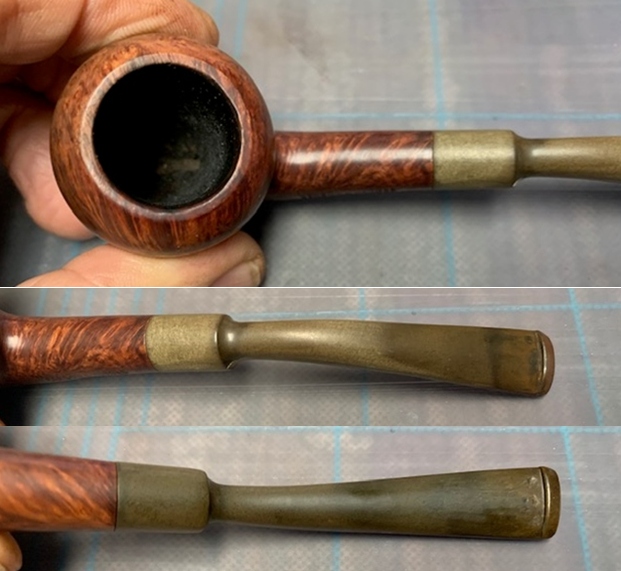
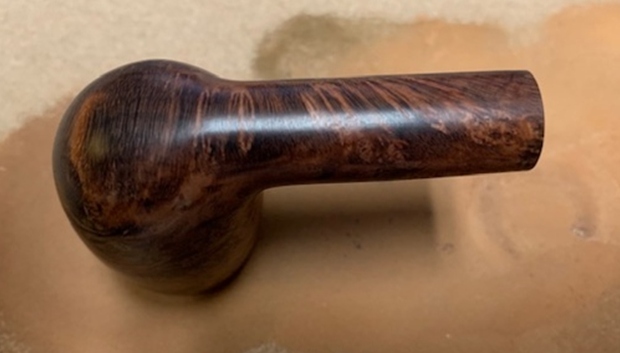
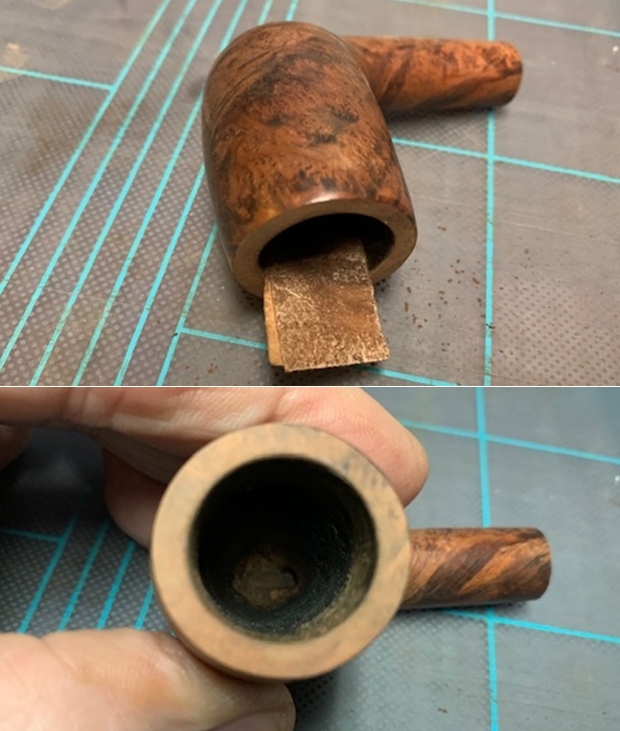
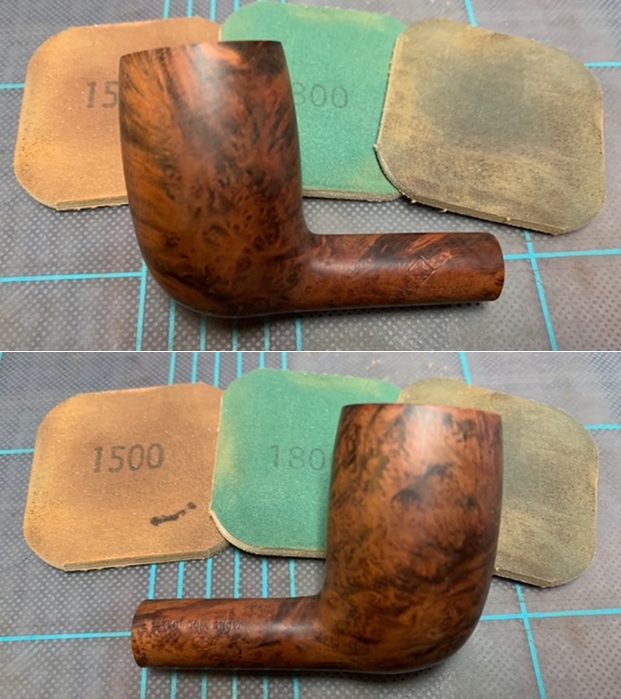
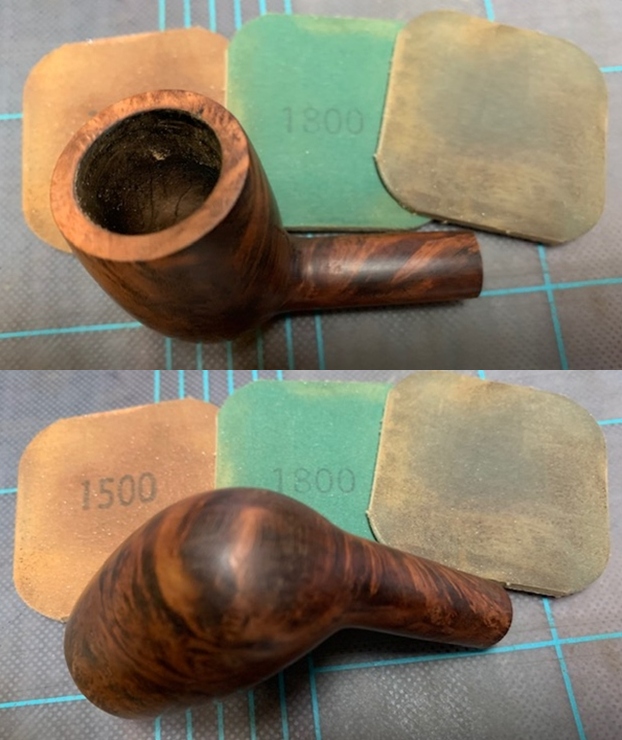
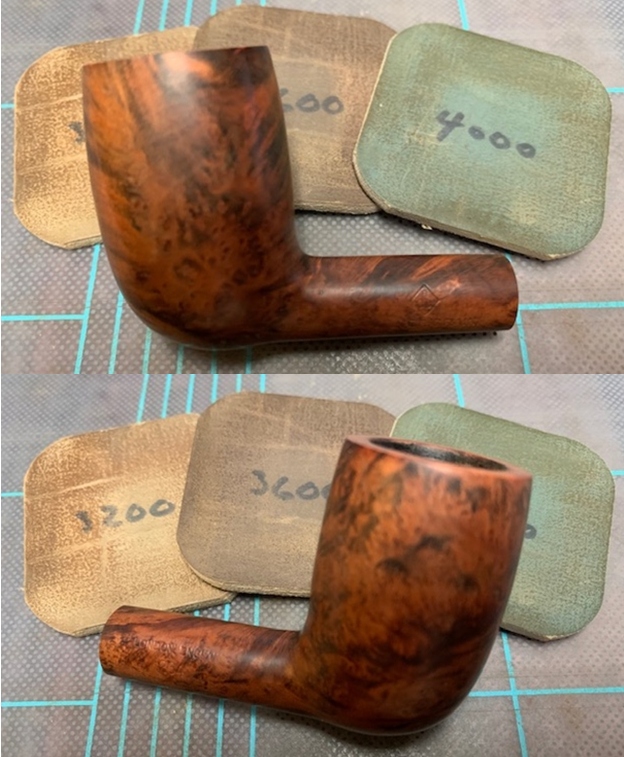
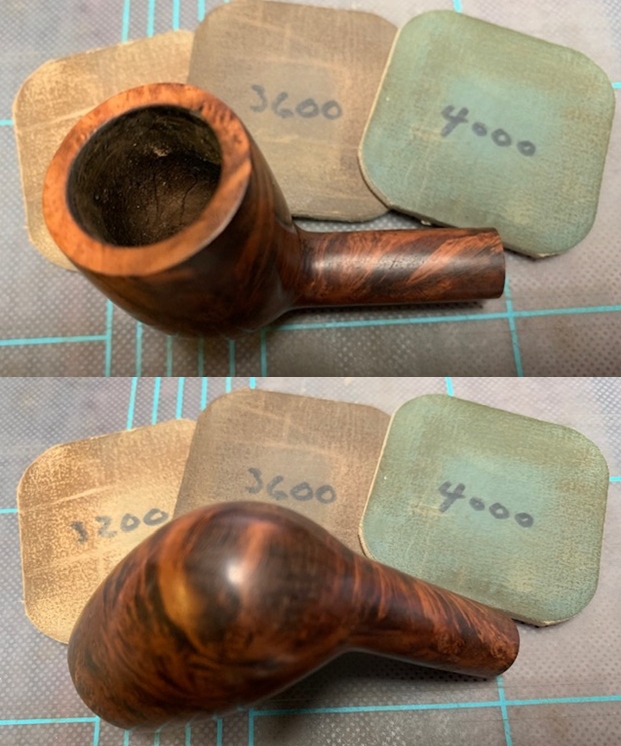
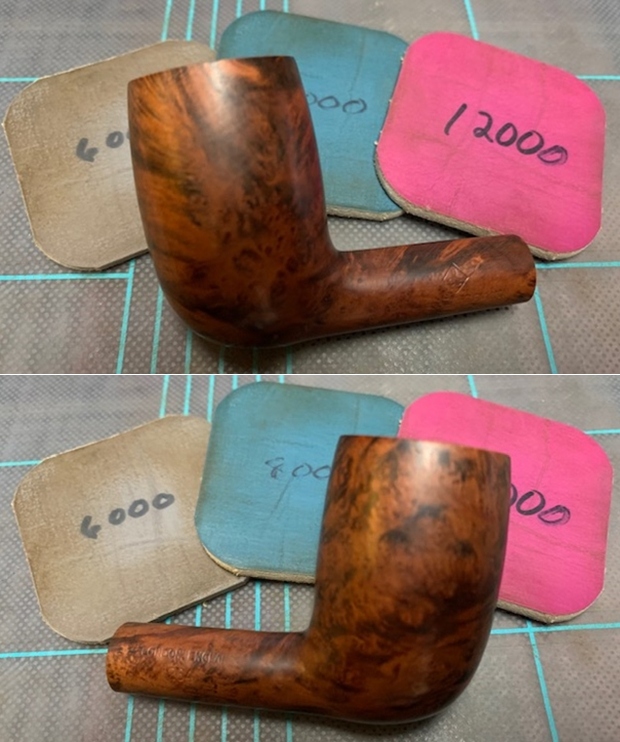
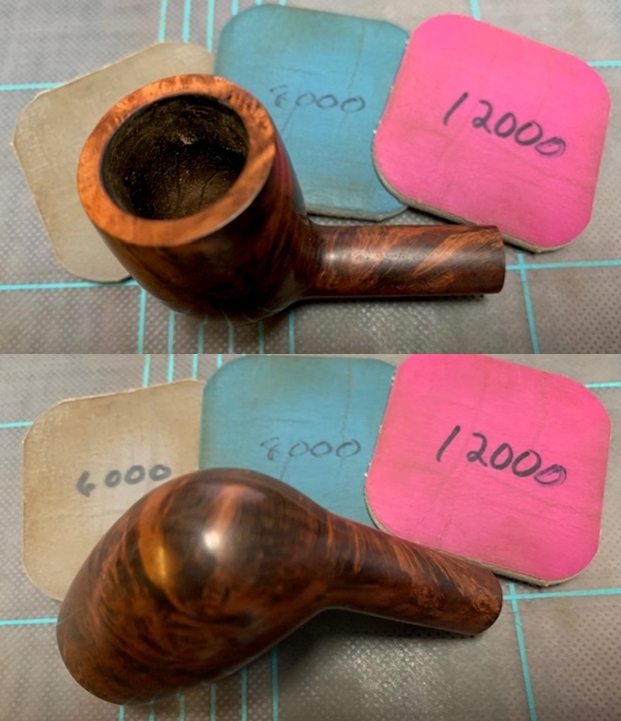
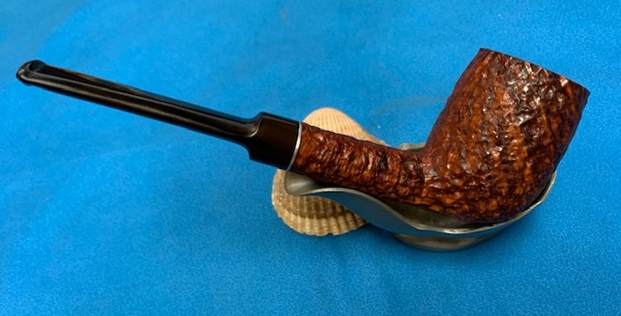
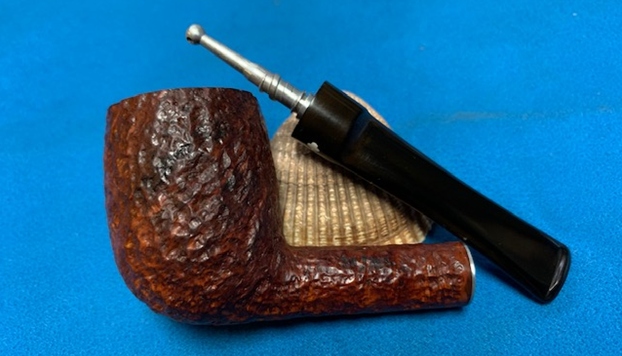
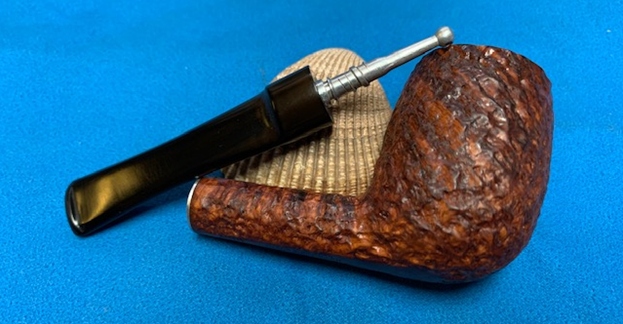
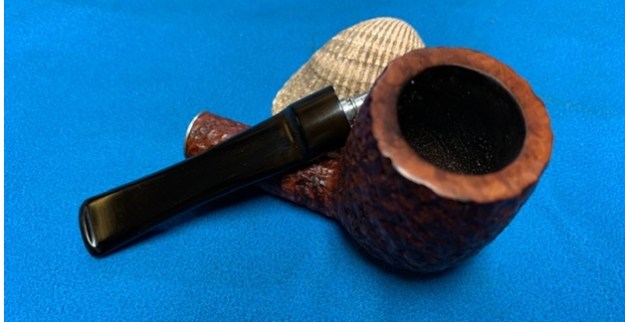
An Interesting Pipe To Work On – a GBD Prehistoric Xtra Horn


Blog by Paresh Deshpande

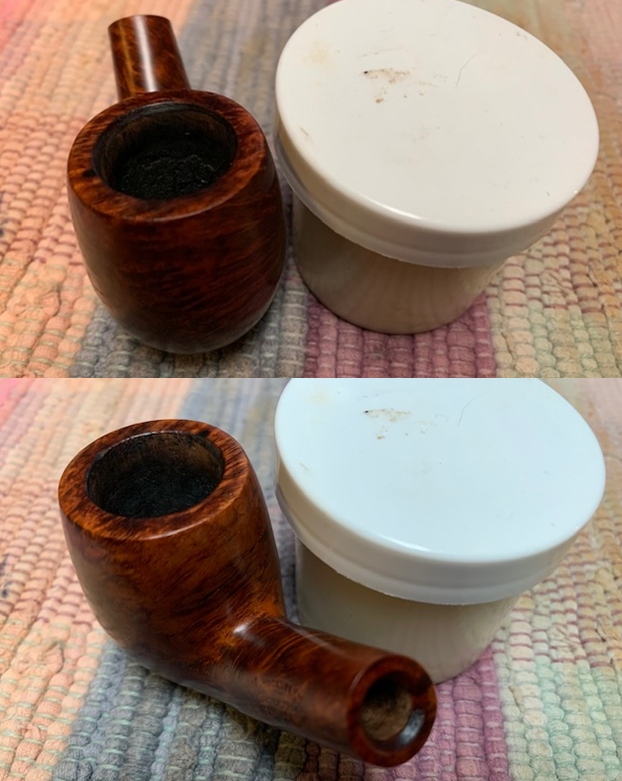
This pipe has attracted the attention of my wife, Abha, since the time I had received three huge boxes of pipes that once belonged to my Grandfather. So when she took the plunge of helping me in restoring all these inherited pipes, this was one of the first she had earmarked for cleaning up. After she had done the initial cleaning up, this pipe languished at the bottom of the pile of around 50 plus pipes that she had cleaned up. And it was during the period of my stay at home on compulsory leave due to the countrywide lockdown to contain the spread of CORONA VIRUS (COVID-19) that this pipe came up for restoration.

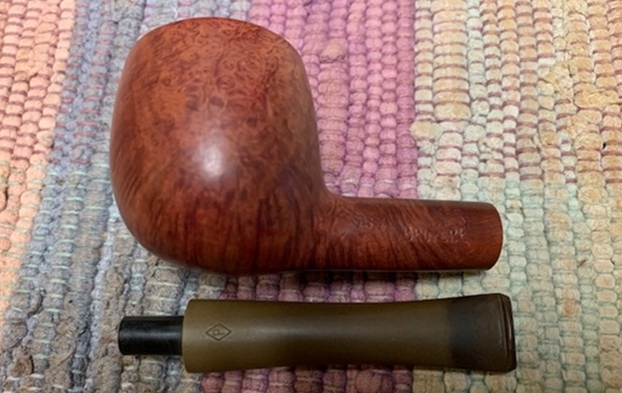
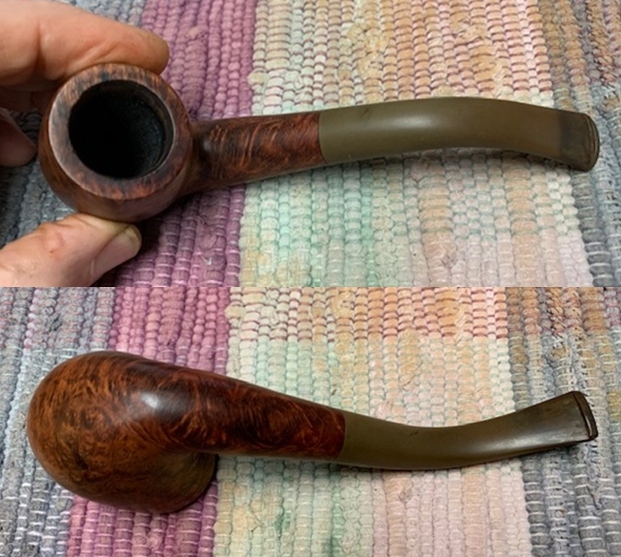
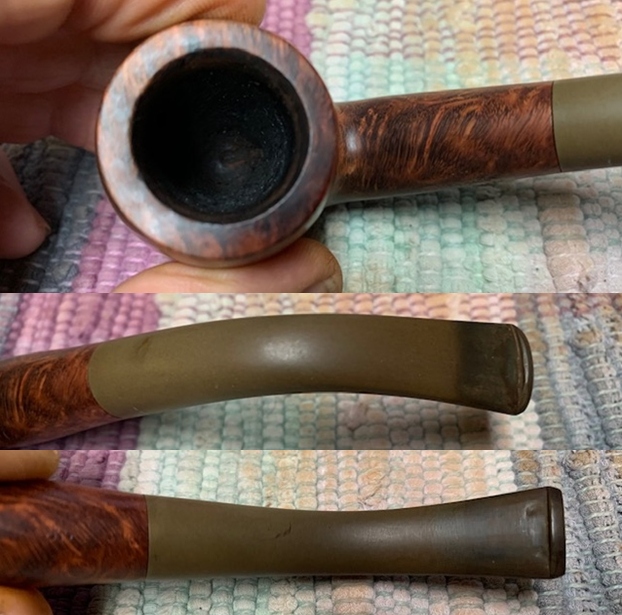
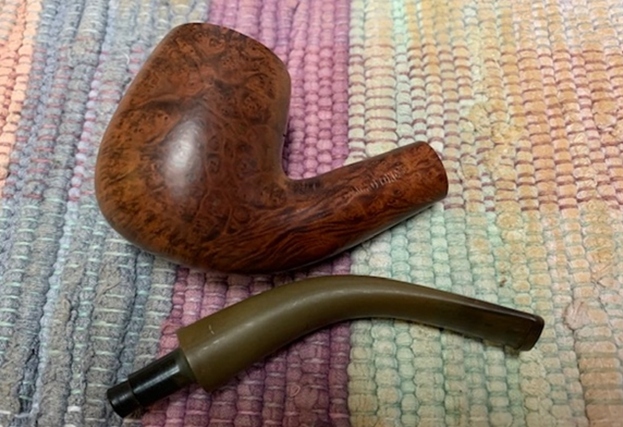
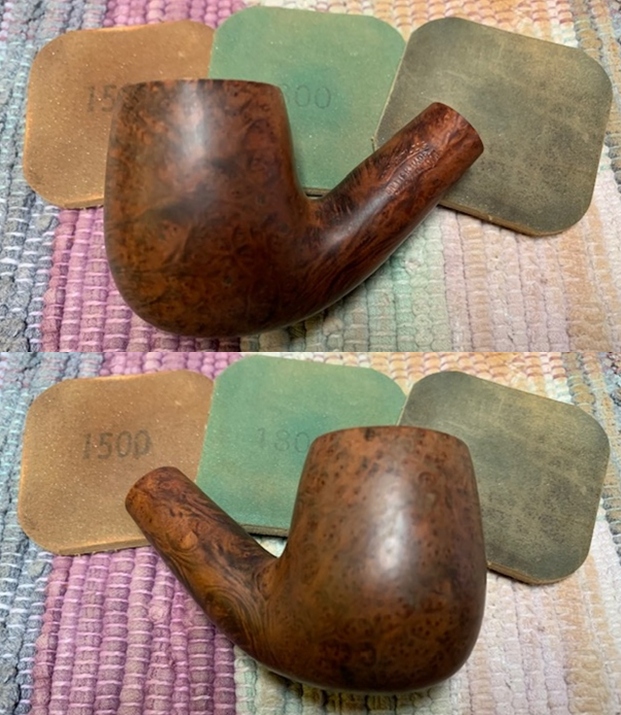
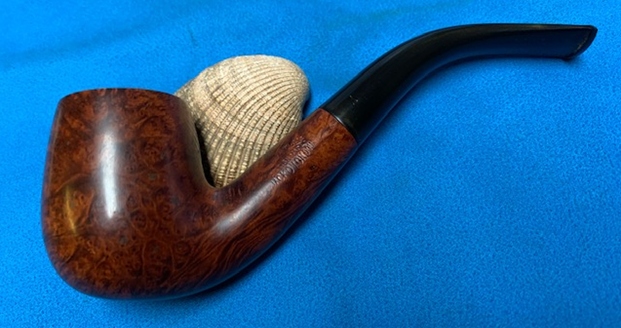
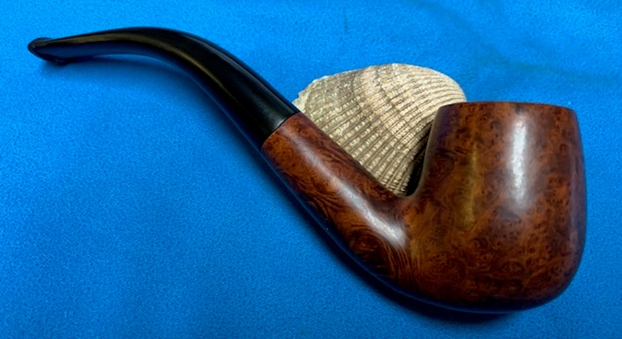
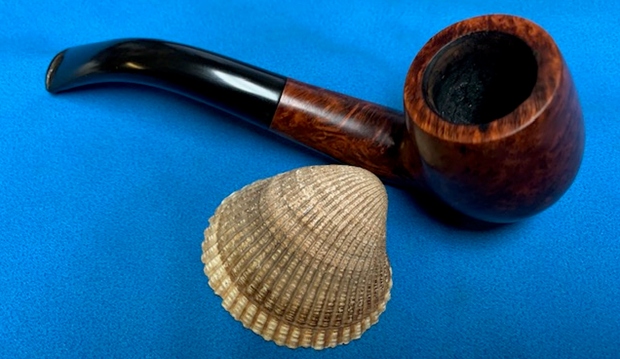
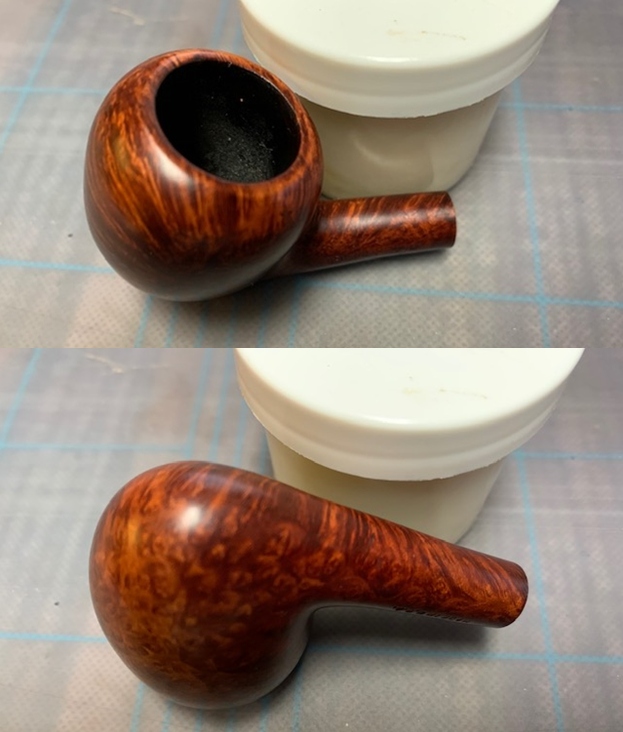
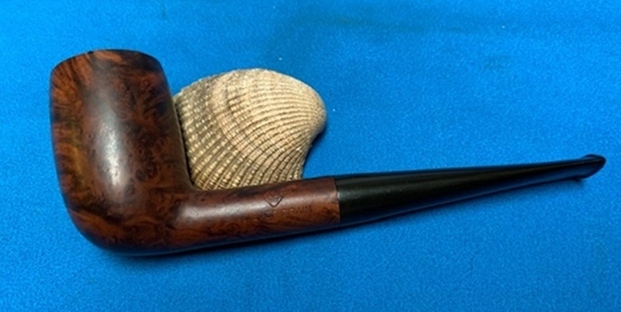
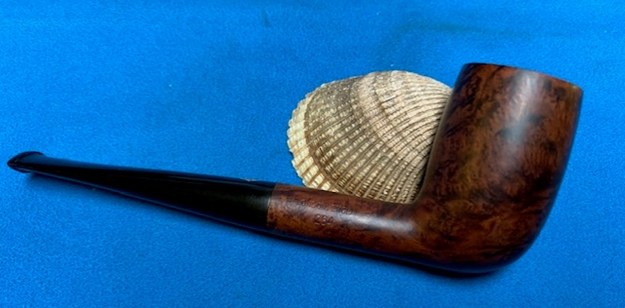
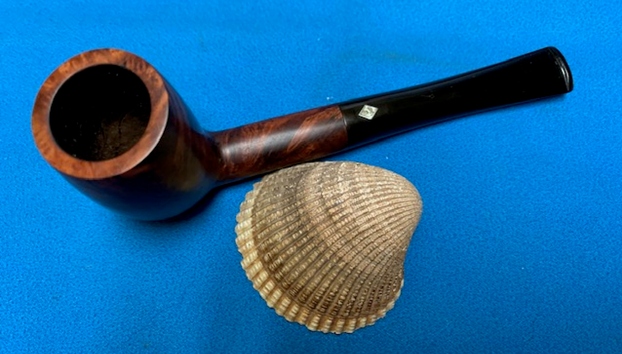
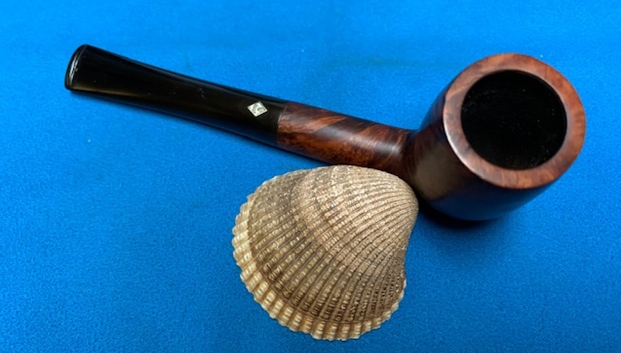
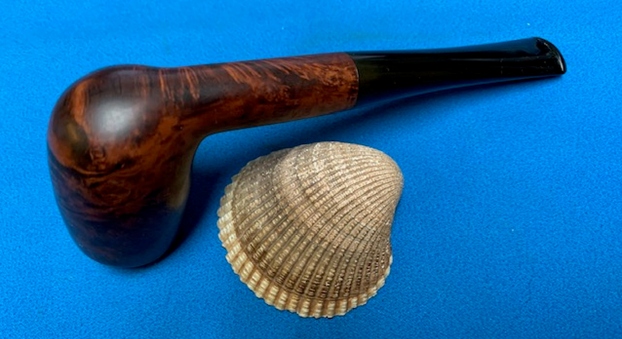
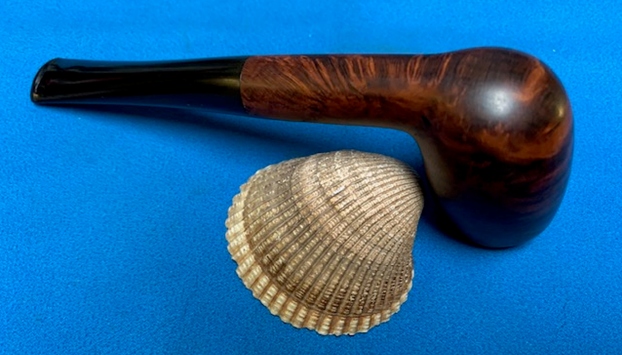
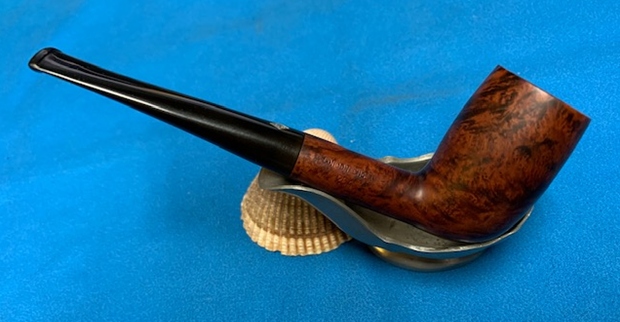
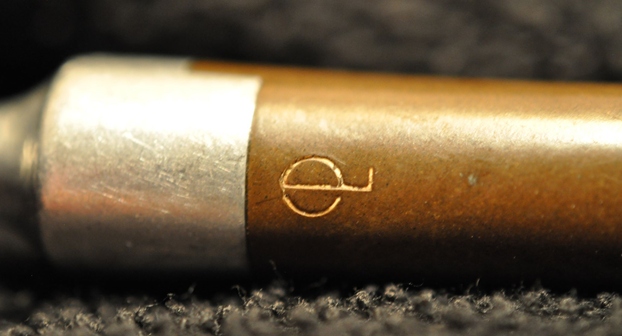
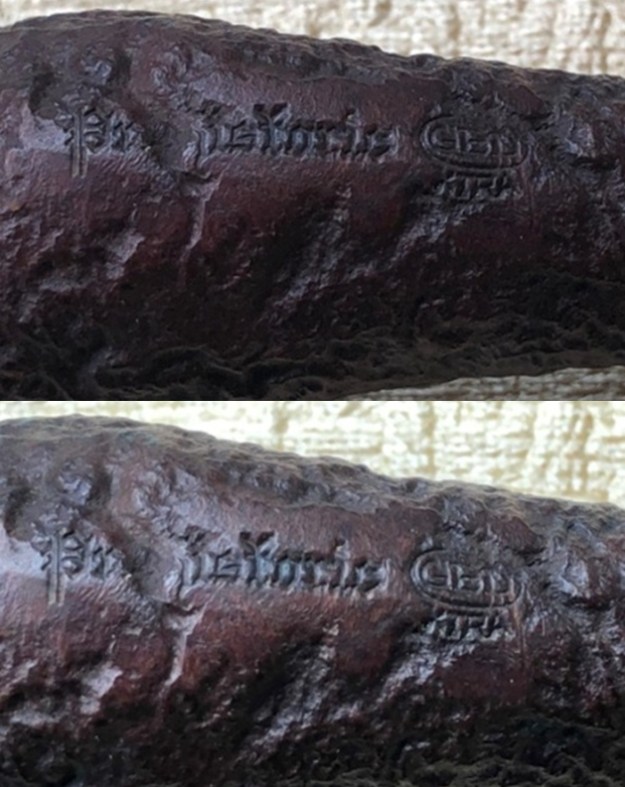
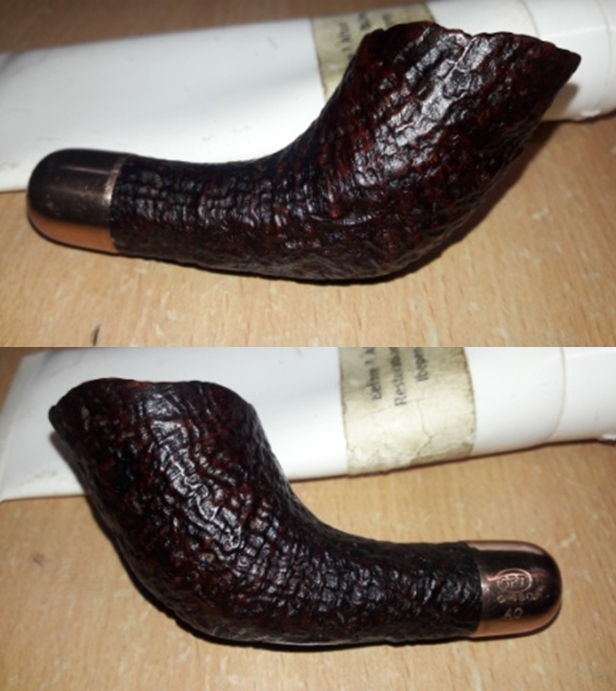
The pipe with its forward canted Horn shape with a long military mount vulcanite stem has a delicate feel and look to it. It has beautiful and deep sandblast with some astonishing grain patterns that are seen over the stummel surface. The shank end is adorned with a gold ferrule that adds a touch of classy bling to the appearance of the pipe. It is stamped at the foot of the stummel as “PREHISTORIC” in Gothic hand followed by “GBD” in an oval over “XTRA”. The gold ferrule is stamped as “GBD” in an oval over four different shaped cartouches bearing the stampings, from left to right, numeral “6 (or is it 9 ?) in a rhombus followed by purity grade number “.375” in a rectangle followed by date code letter “F” and lastly the symbol of the city Assay Office that has worn out but I guess it appears like a LION HEAD with protruding lines from the four corners. The vulcanite stem is stamped, not very deeply, on the left side as “GBD” in an oval over “XTRA” in a slight upturned arch. The stampings, save for the Assay Office, is crisp and clear. There is plenty of material available on pipedia.org on the brand GBD that makes for an interesting read. The link below should take you to the relevant page on pipedia.org. For the sake of brevity, I have reproduced only the relevant portions that are related and of interest with respect to the pipe that I am working on (https://pipedia.org/wiki/GBD).
Early GBDs were made only in one single grade concerning the wood’s quality, later supplemented by a second one, and there was only a very limited number of finishes. But toward the end of the 19th century, the demand changed. For example the Britons preferred darker stainings. More differentiated customer’s wishes made the introduction of additional markings necessary. GBD Xtra and GBD Special were very early models who’s names indicated special final treatments and / or fitments. The standard quality was stamped simply with GBD.

There is a very simple explanation for GBD’s program to turn more “British”: GBD became a British company soon after the turn of the century! In 1902 Marechal and Ruchon sold GBD to A. Oppenheimer & Co. in London.

The claims after the 1st World War demanded further distinctions. First of all was the London Made, which became the Standard London Made, followed by the New Era— in 1931 the top model asking 12½ Shilling. The Pedigree, although sketched around 1926, was not produced until the later 1930s. The New Standard was introduced in order to give the popular Standard of the 20s a higher rank in value. The Prehistoric, a deeply sandblasted black pipe, that still carried the small GBD Xtra stamp, was entirely new and unusual.

Dating GBDs
Xtras haven’t been made since the 1930’s.

That this pipe currently on my work table was made from 1918 to 1930s can be inferred from the information gleaned above:

(a) GBD Xtra and GBD Special were very early models whose names indicated special final treatments and / or fitments.

(b) The ferrule stamping of AO points to the fact that the pipe is post 1902 as Marechal and Ruchon sold GBD to A. Oppenheimer & Co. in London in 1902.

(c) The Prehistoric, an entirely new and unusual line that still carried the small GBD Xtra stamp, was introduced after WW I.

(d) Xtra hasn’t been made since 1930s.

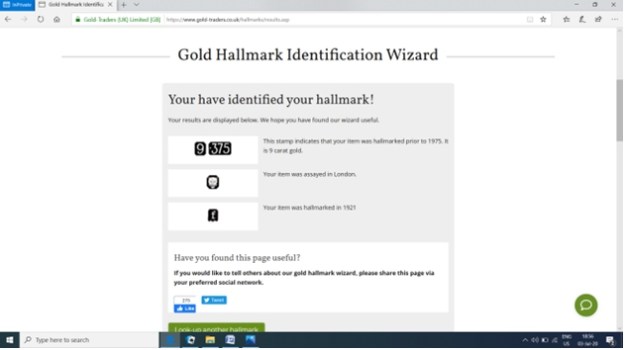
To pinpoint the year of make of this pipe, I decided to follow the stampings on the ferrule. Here, I was not very sure about the Assay Office hallmark as it was pretty buffed out and the numeral could have been a 6 or a 9. But having worked and researched a few silver hallmarked pipes, I guessed that the Assay Office hallmark should be a lion head. I visited https://www.gold-traders.co.uk/hallmarks/

This site is a step-by-step guide to help identify the carat/ purity, Assay Office and year of hallmark on all things gold. All things matched up perfectly and I have included a screen shot of the final result.From the above, it can be conclusively indentified that this GBD Prehistoric Xtra was made in England (London Assay Office) in 1921, give or take a year as the ferrules were always sent to the Assay Office in bulk to be used over a period of time, usually a year.
Initial Visual Inspection
As I have mentioned above, this pipe was initially handled by Abha and she is not in a habit of taking many pictures as she works on each piece of briar. There are not many pictures to give the readers an idea about the condition of the pipe before she had worked her magic and presented me with a nice clean canvas to carry forward my repair and refurbishing tasks. I have included a description of the initial condition of the pipe as documented by her.

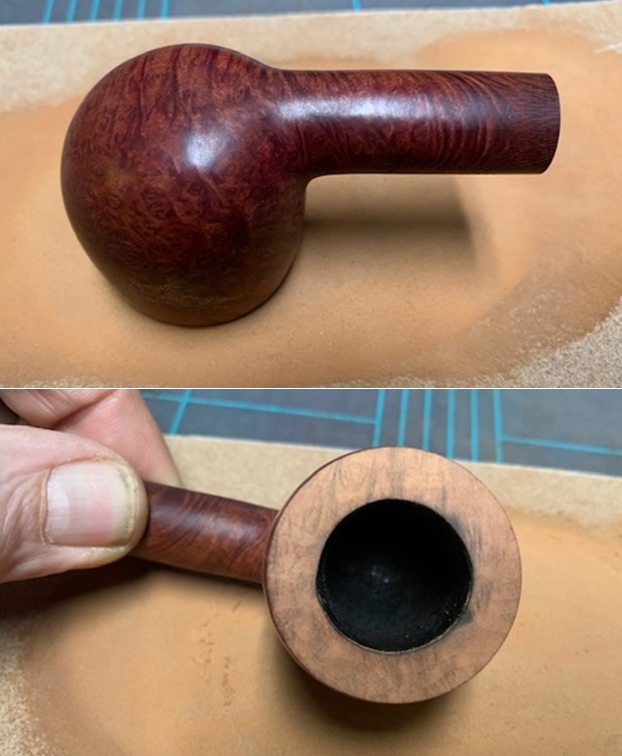
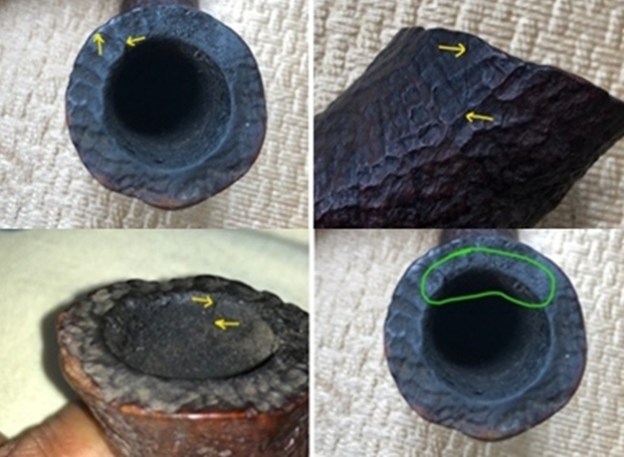
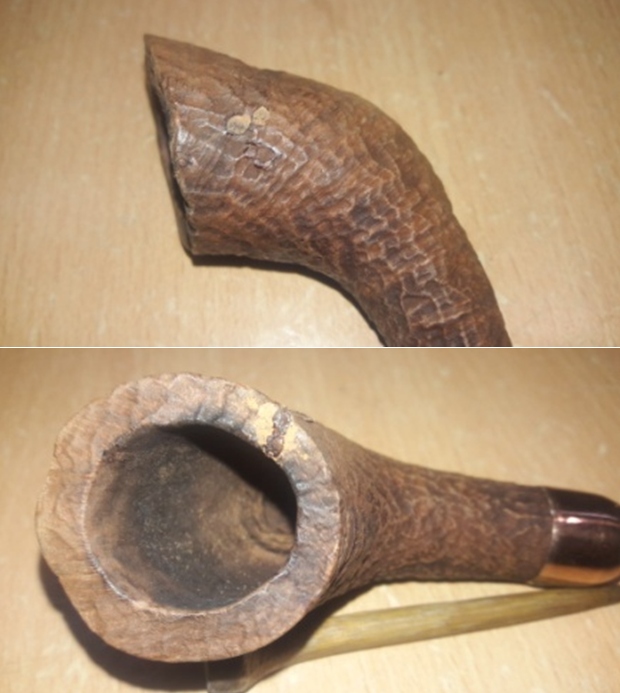
This pipe has a rather small and narrow bowl in a classic Dublin shape with a pronounced forward cant. The chamber tapers towards the foot and has a chamber depth of about 1 ¼ inches. The chamber had an even layer of thick hard cake. There was a heavy overflow of lava over the rim top surface. Through this thick layer of lava, a crack is clearly visible over the rim top (marked with yellow arrows) that extends over both the inner and outer stummel surface on the right side in the 5 o’clock direction. The rim top was darkened considerably and I had suspected a charred inner rim edge in 6 o’clock direction (marked in green). The condition of the inner walls of the chamber can be commented upon after the cake has been taken down to the bare briar. The ghost smells in the chamber are not very strong.The deeply sandblasted stummel surface has very beautiful grain patterns and is covered in dust and grime. The fact that the sandblasted patterns are dusty and filled with dirt is accentuated more due to the contrast of dark and medium brown stains on the stummel and the shank. The briar was looking lifeless and bone dry and had taken on black dull hues. The mortise was full of oils, tars and gunk and air flow was restricted.
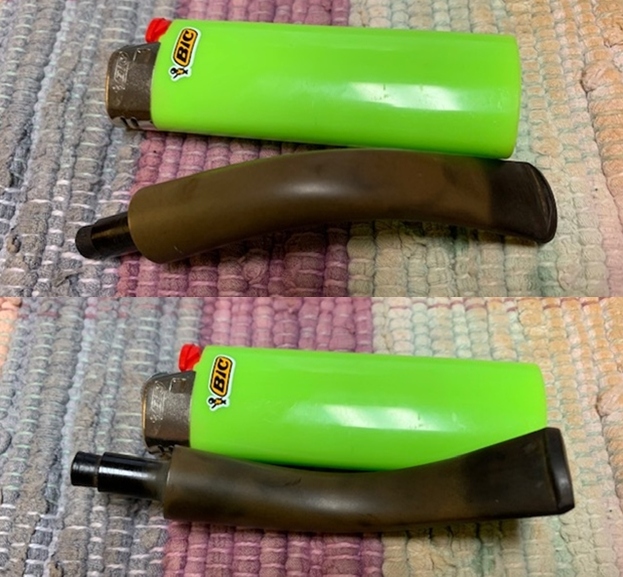
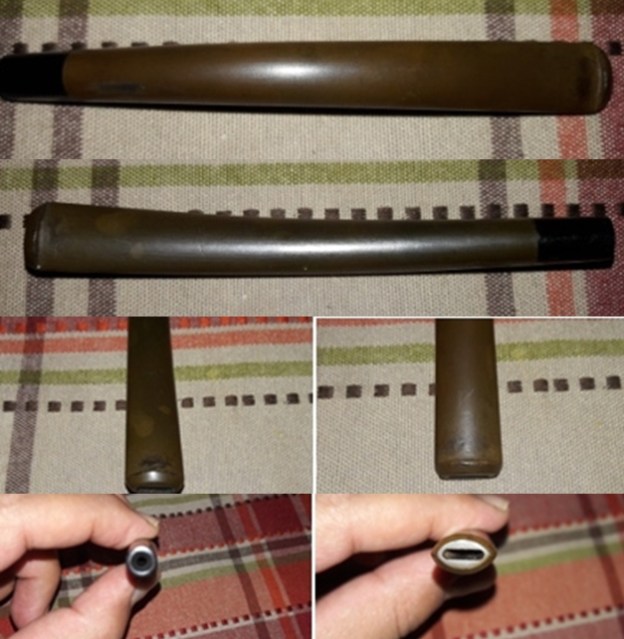
The high quality vulcanite stem was deeply oxidized. Some minor tooth chatter and calcified deposit were seen on both the upper and lower stem surfaces in the bite zone and at the bottom of the button edge respectively. The tenon end had accumulated ash and oils/ tars that had dried out on the inside as well as on the outside. The horizontal slot has scratch marks which will have to be addressed.    Initial Cleaning By Abha…
The initial cleaning on this pipe was done by Abha, my wife (she has cleaned up around 40-50 pipes and these have now reached me for further restoration). She reamed out the complete cake and further smoothed out the chamber walls with a folded piece of 220 grit sand paper. She cleaned out the internals of the shank with pipe cleaners and alcohol and cotton buds. She followed the internal cleaning of the shank with external cleaning of the stummel using Murphy’s Oil soap and hard bristled tooth brush and dried it with paper napkins and cotton cloth.

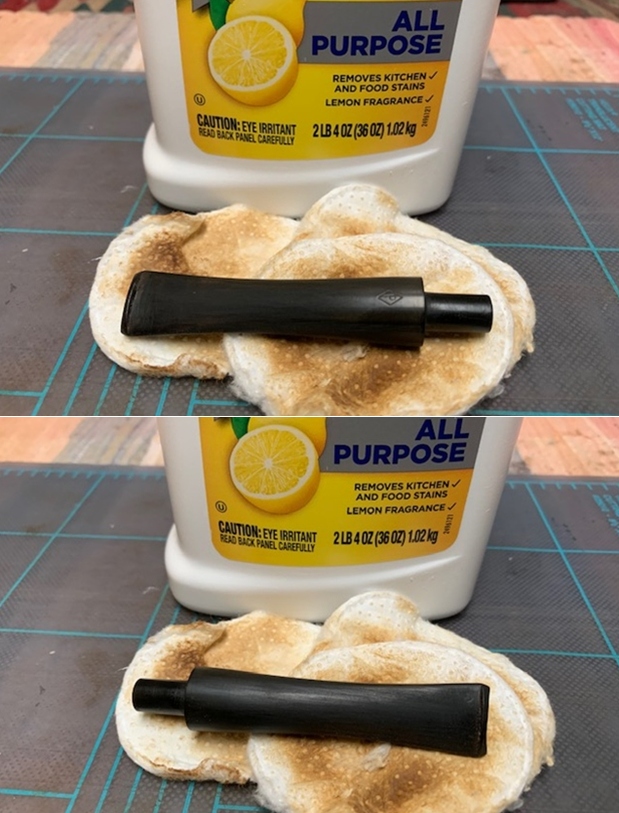
Next she cleaned out the internals of the stem air way and immersed it in “Before and After Deoxidizer” solution along with the stem of other pipes in line for restoration. Once the stem had soaked overnight, she cleaned the stem under running warm water and scrubbed the raised oxidation from the stem surface using scotch brite pad. She further removed the oxidation by scrubbing the stem with 0000 grade steel wool and applied a little olive oil to rehydrate the stem.

The Process
The stummel crack was something that would essentially require materials and equipment that are available to me at my work place; therefore, I had no option but to relegate the stummel repairs to a later date.

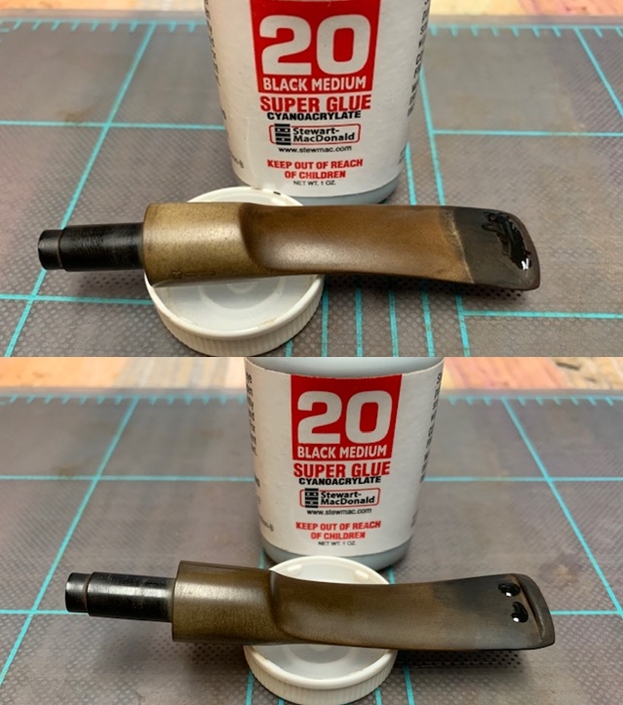
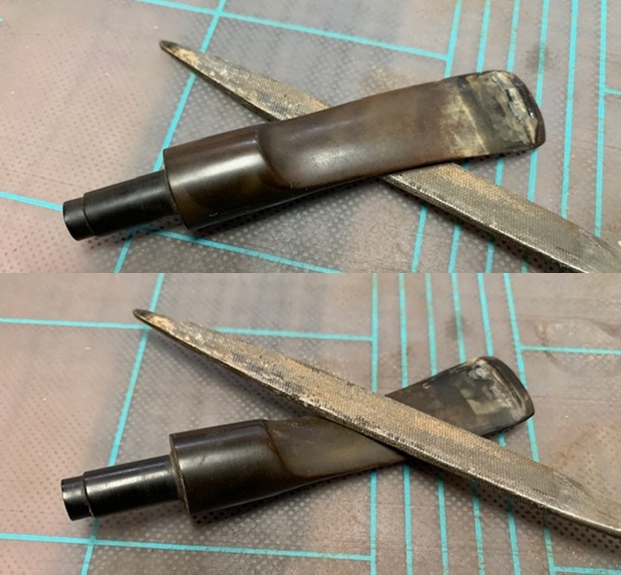
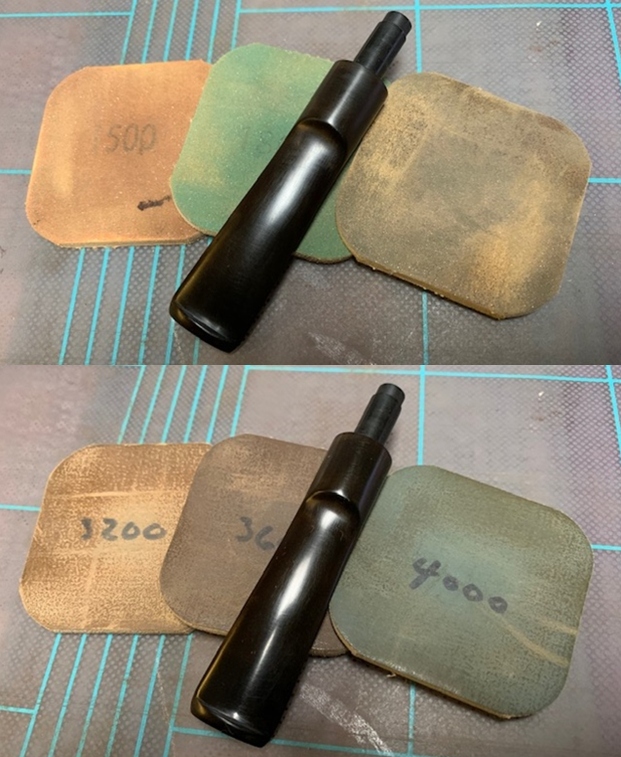
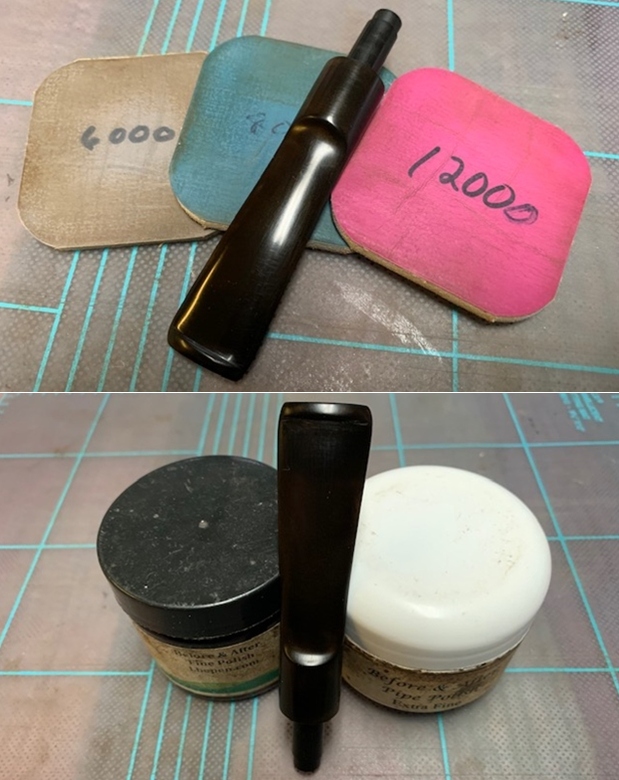
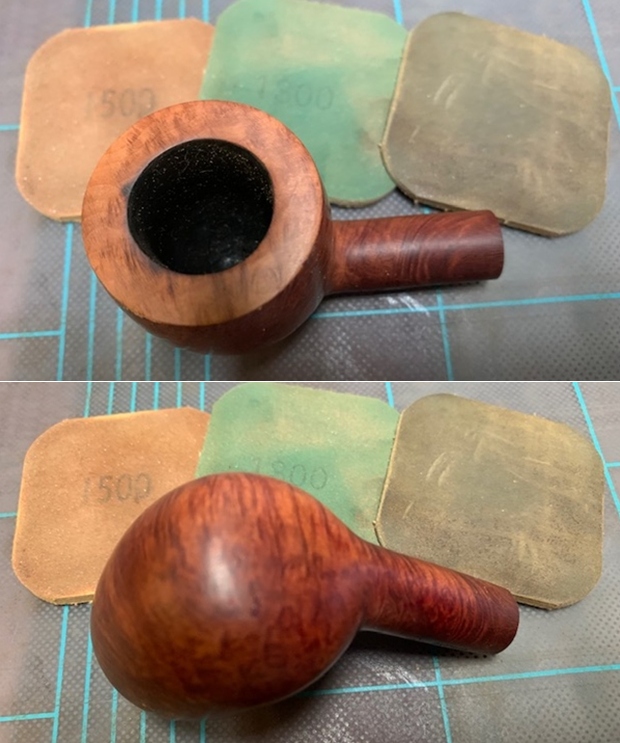
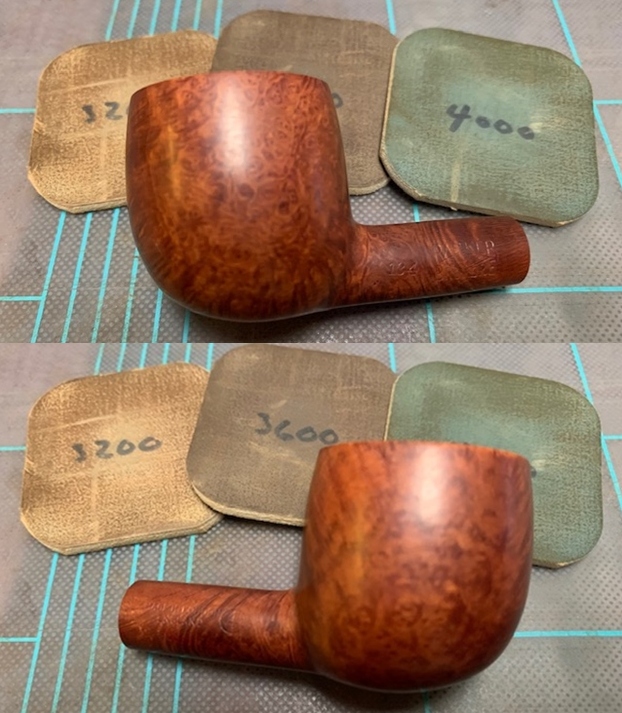
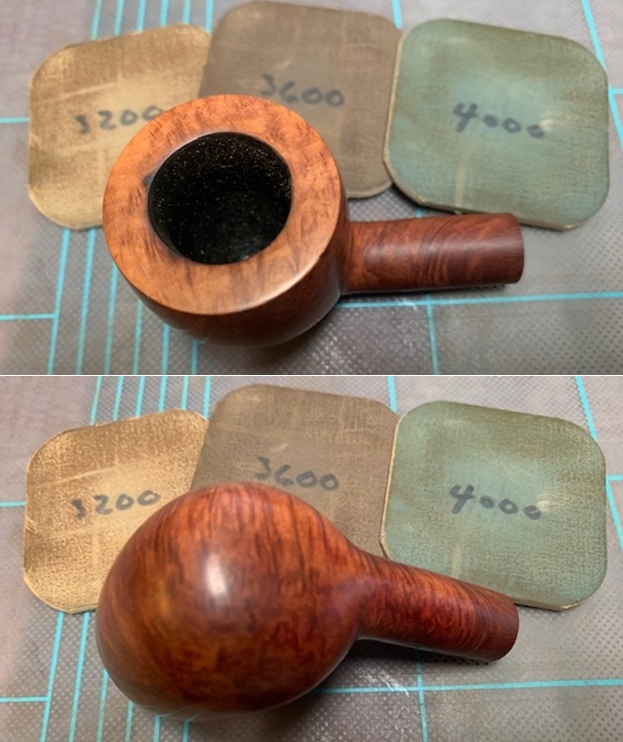
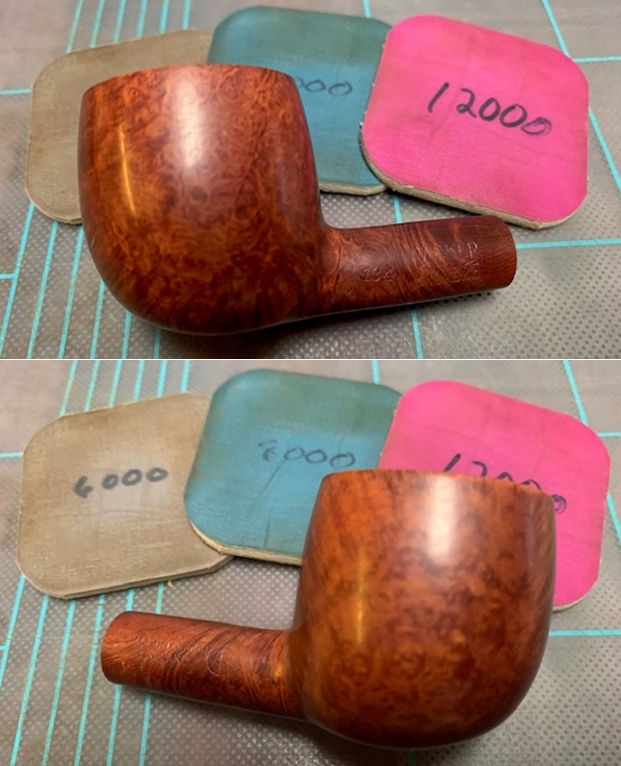
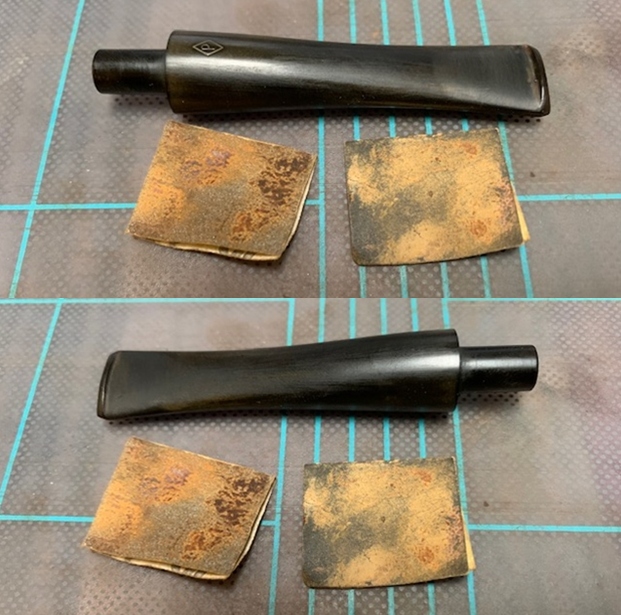
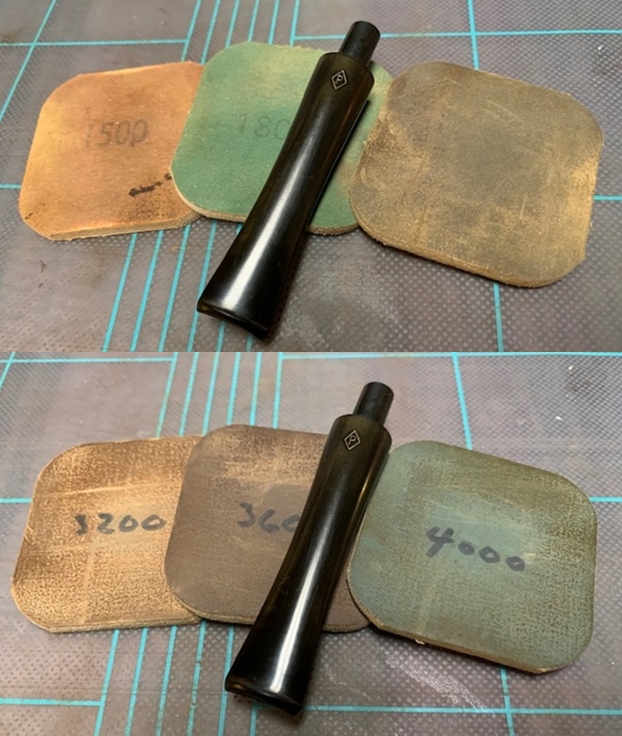
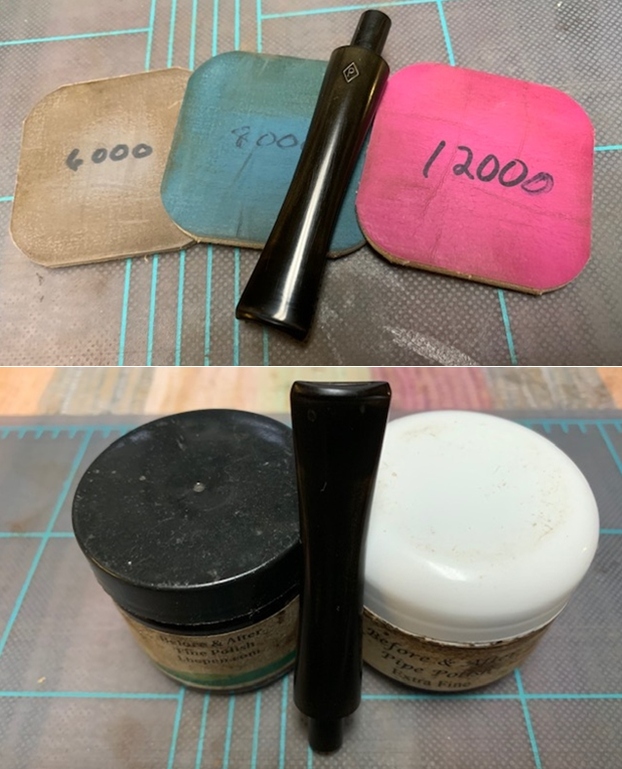
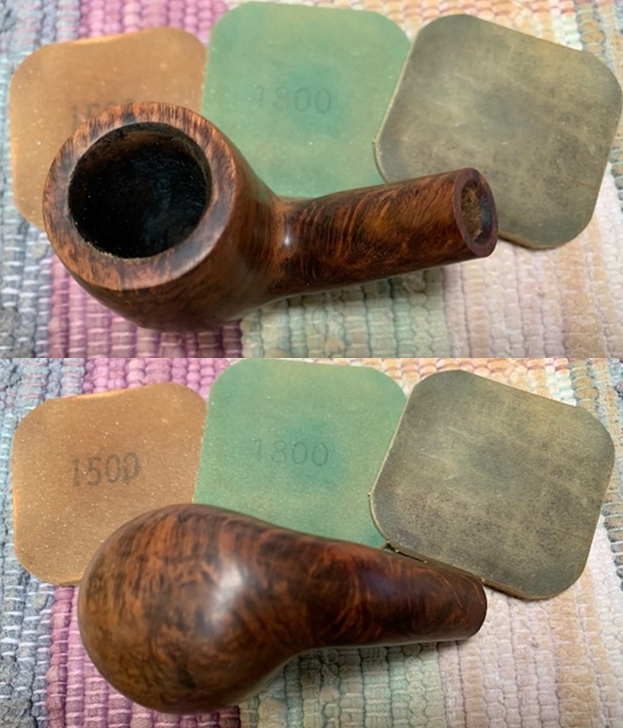
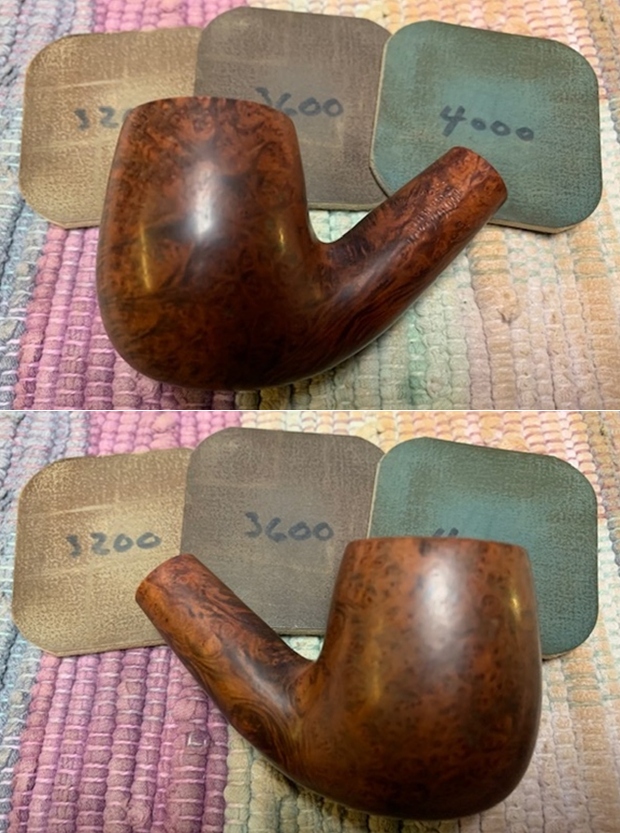
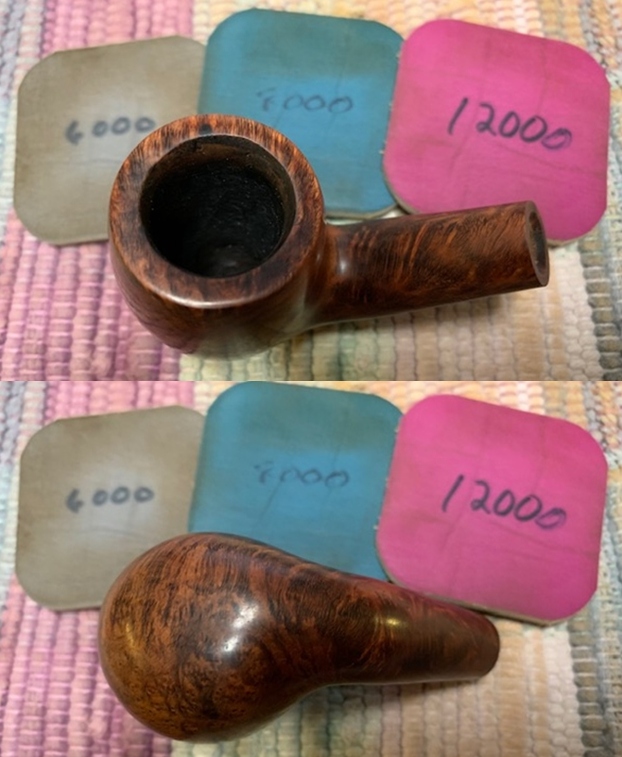
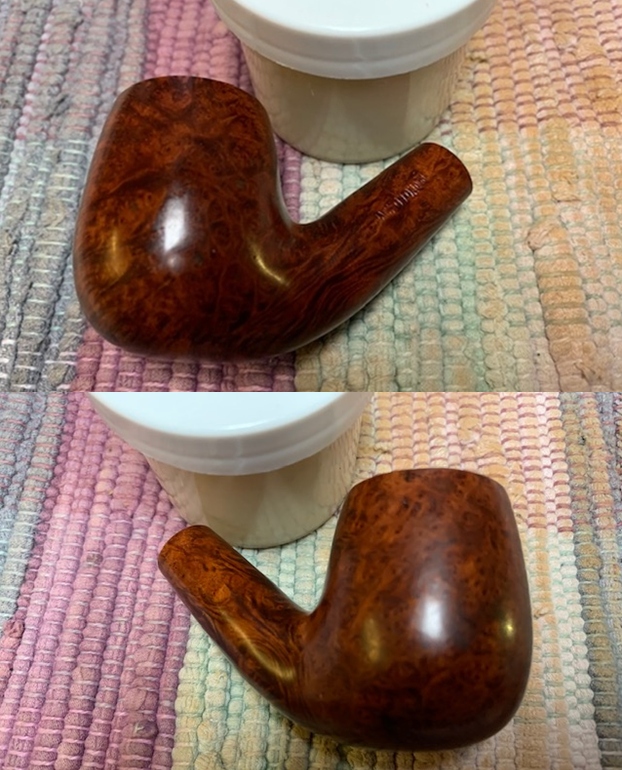
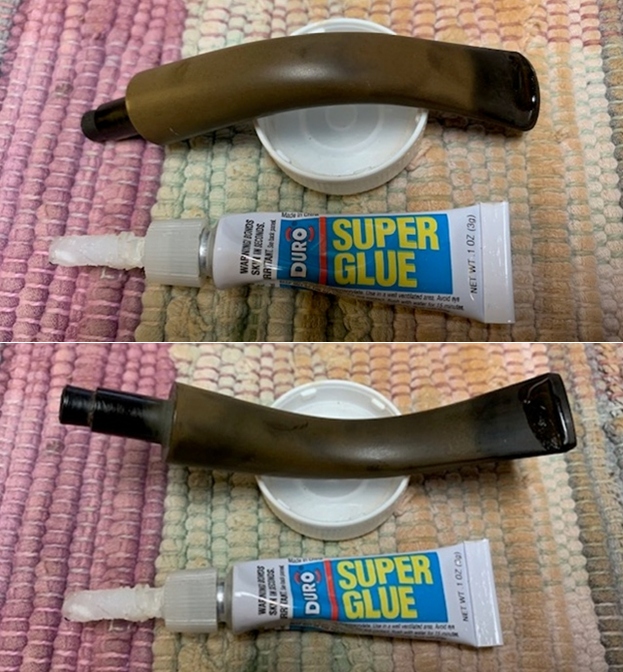
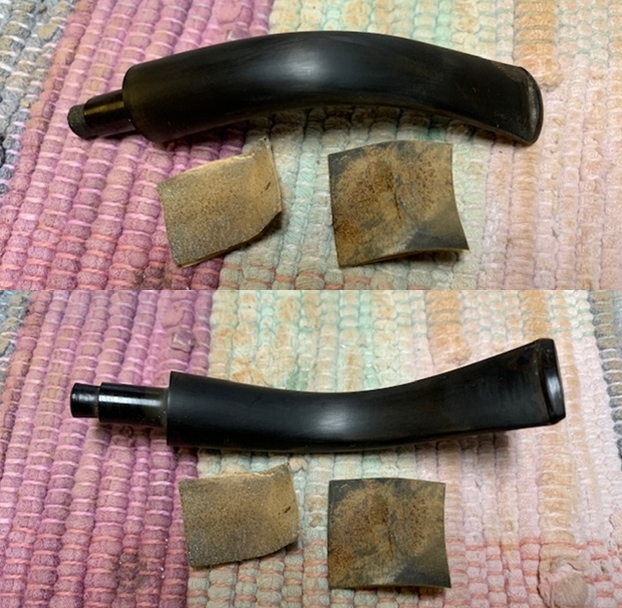
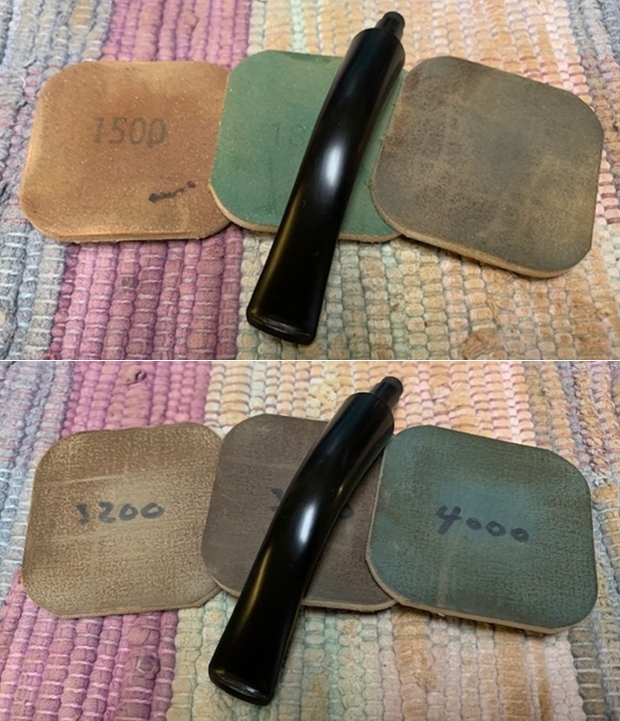
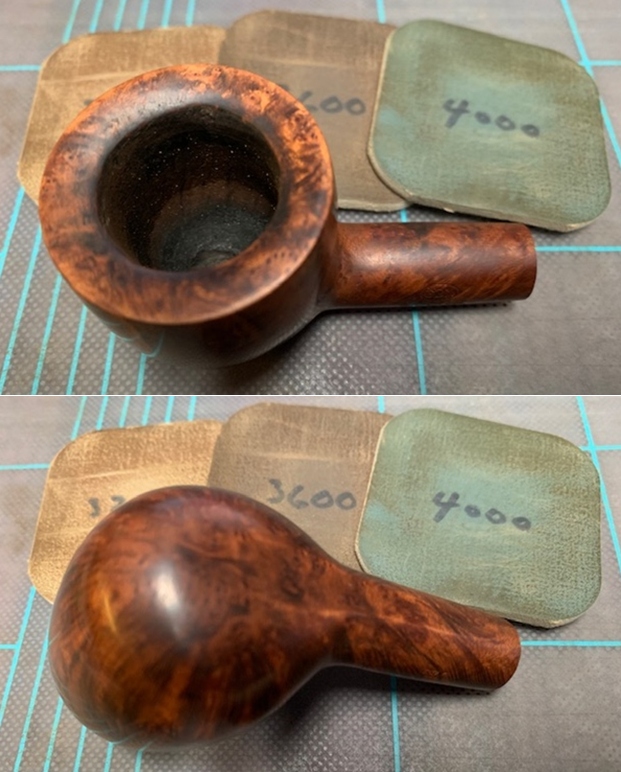
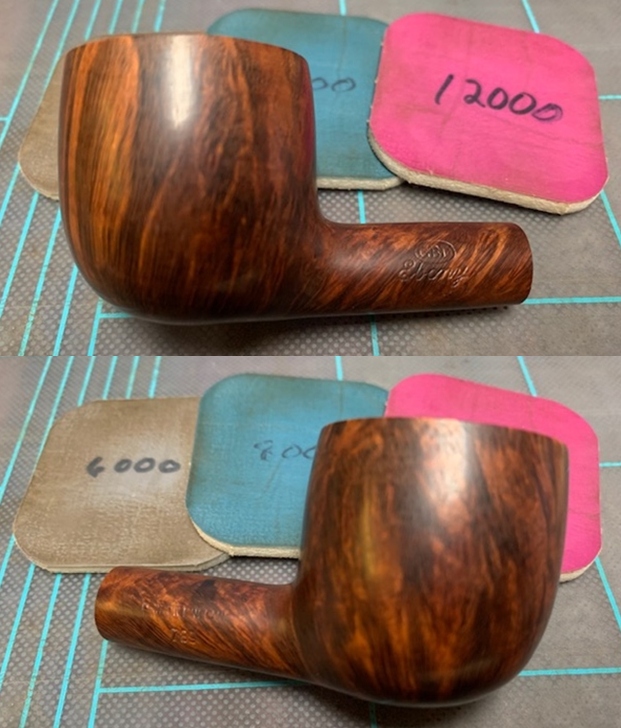
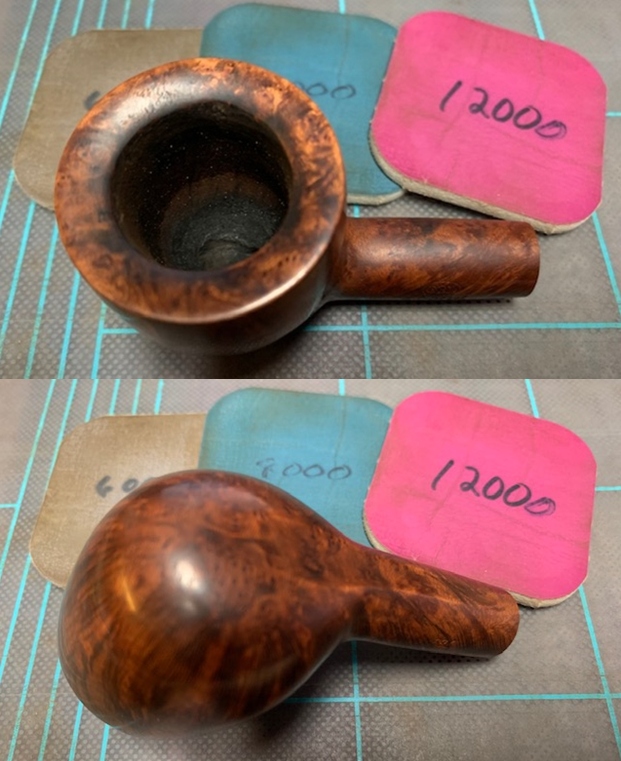
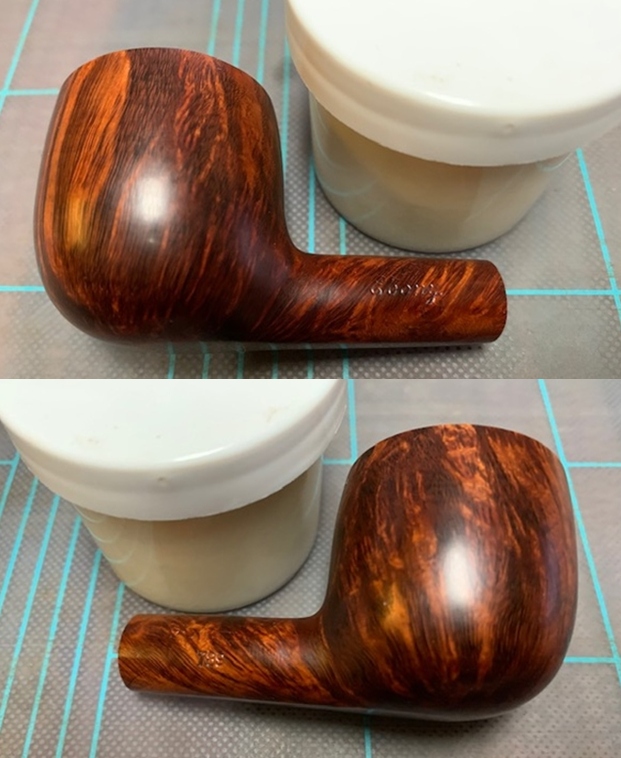
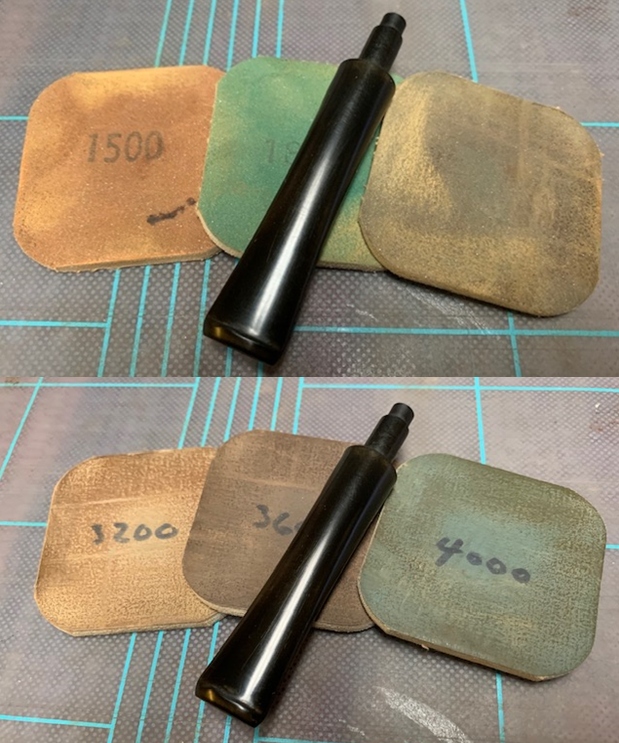
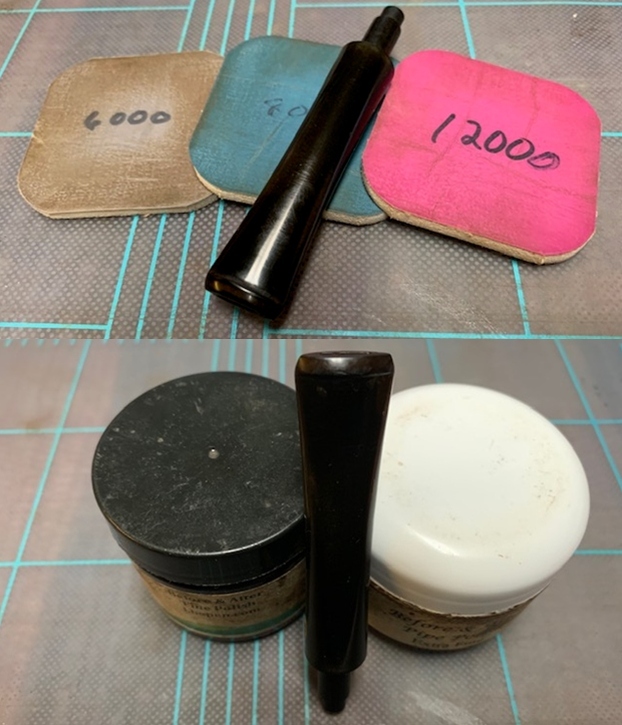
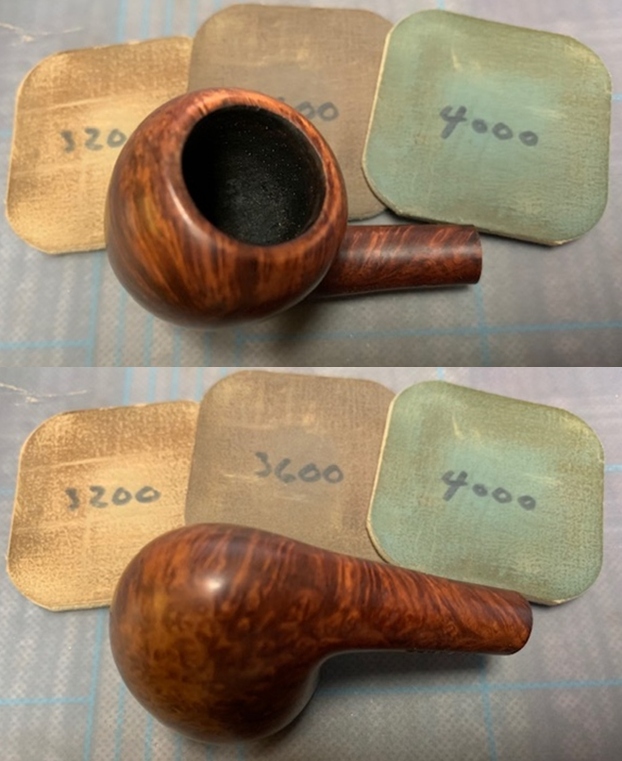
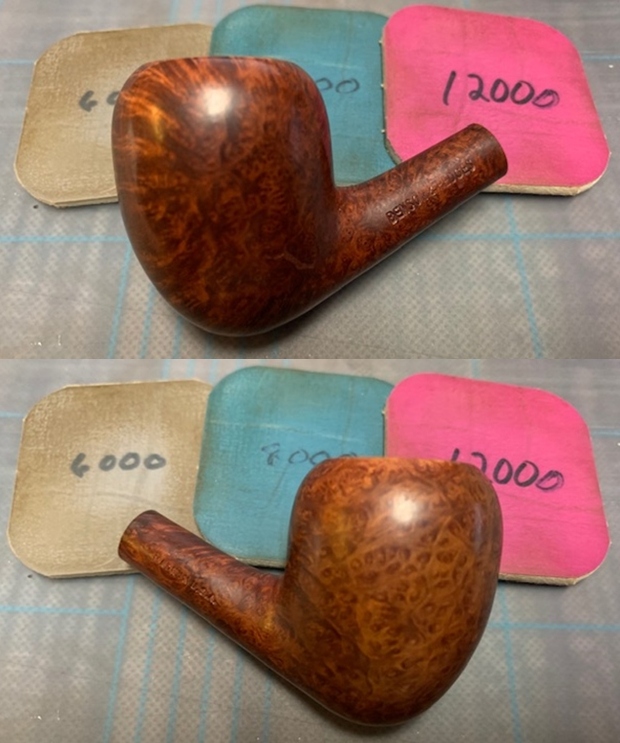
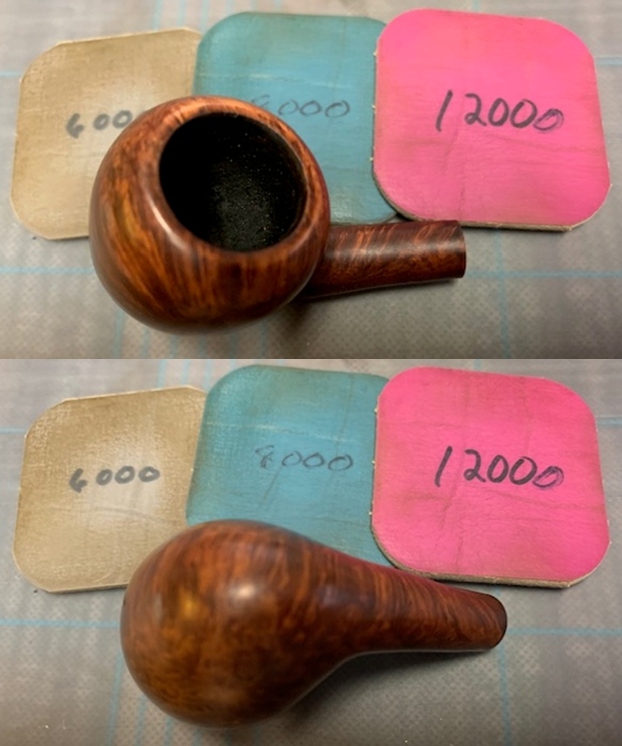
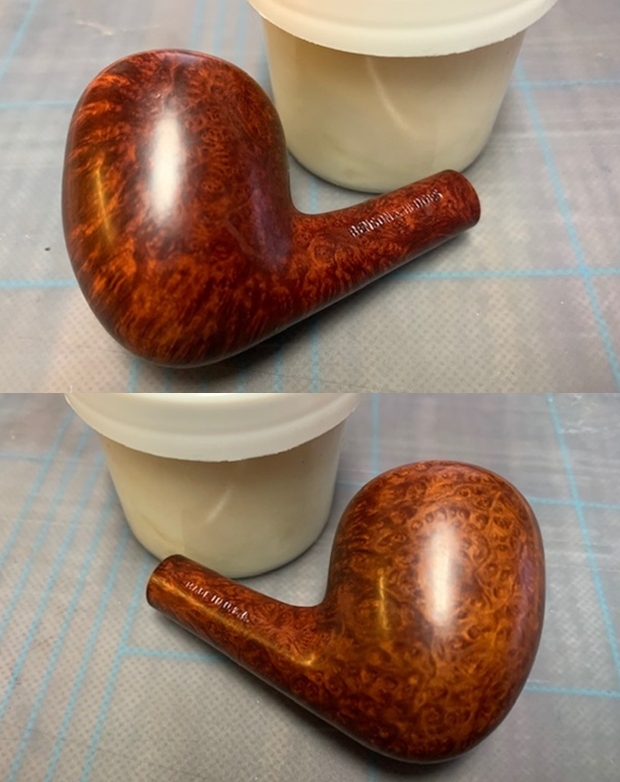
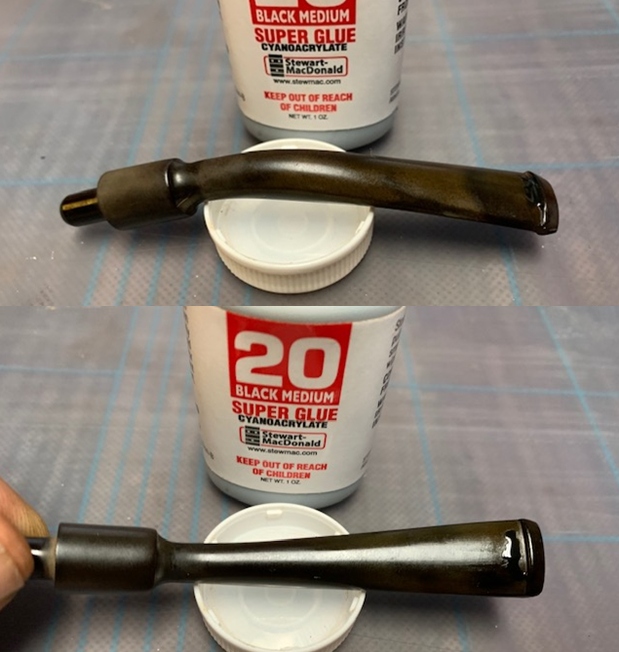
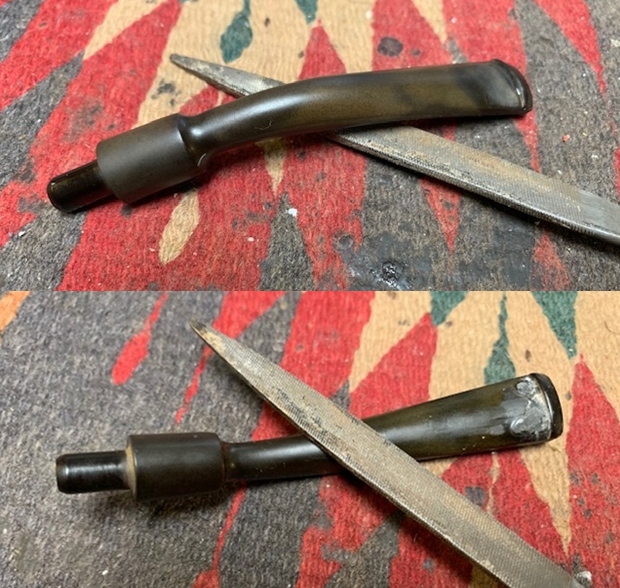
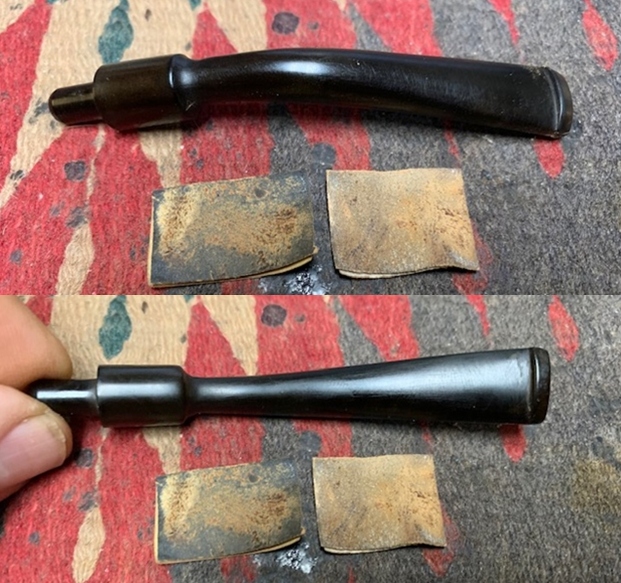
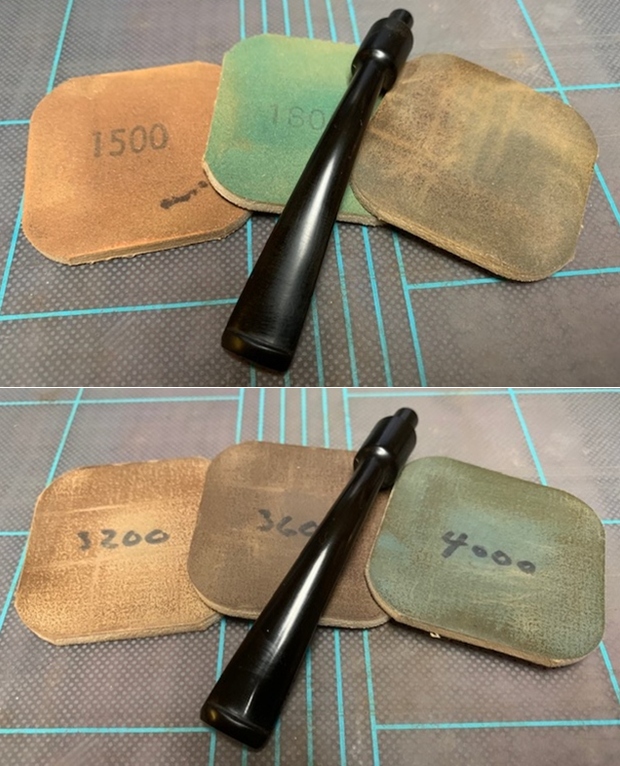
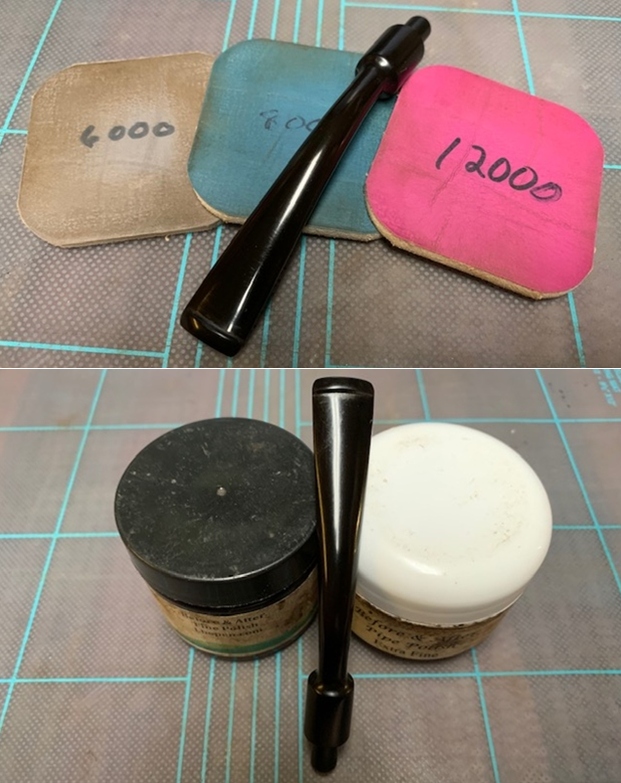
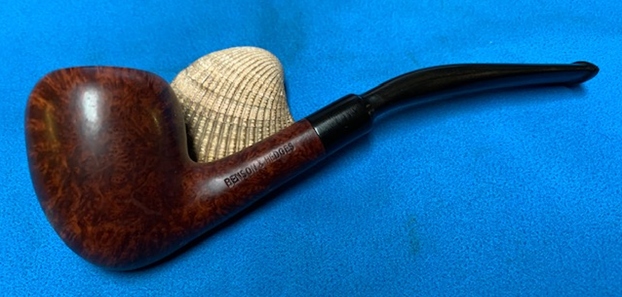
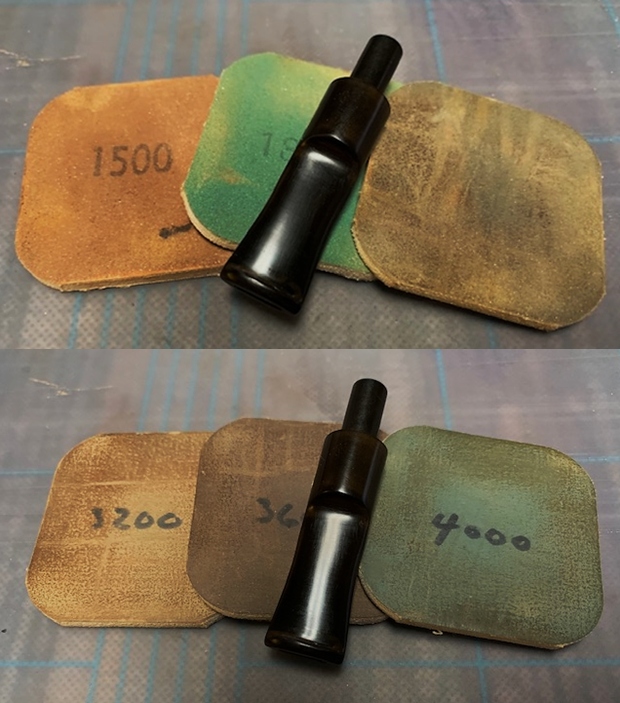
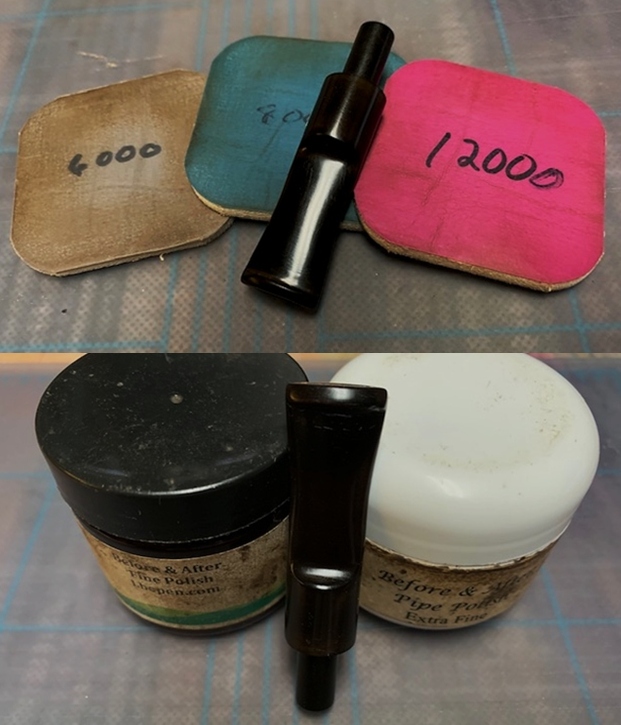
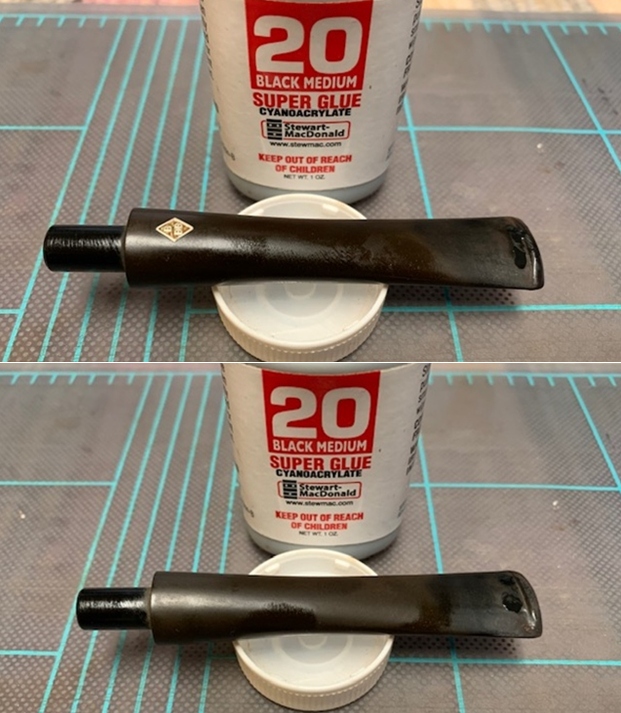
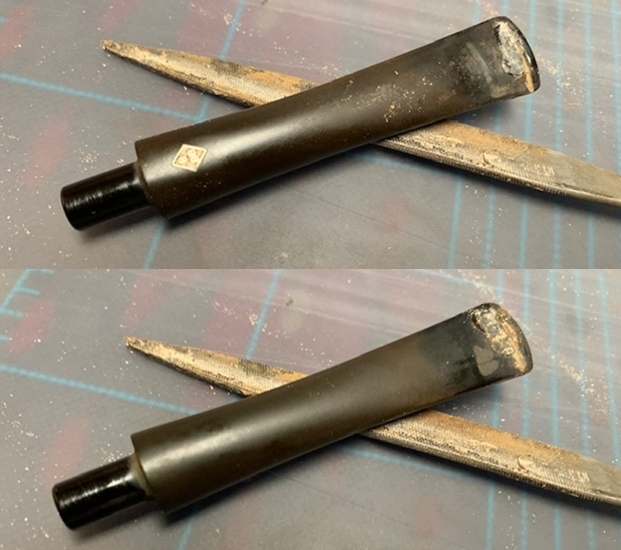
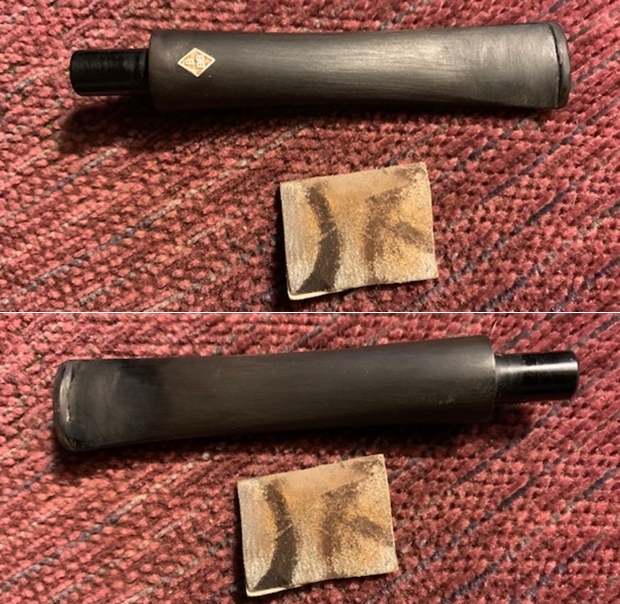
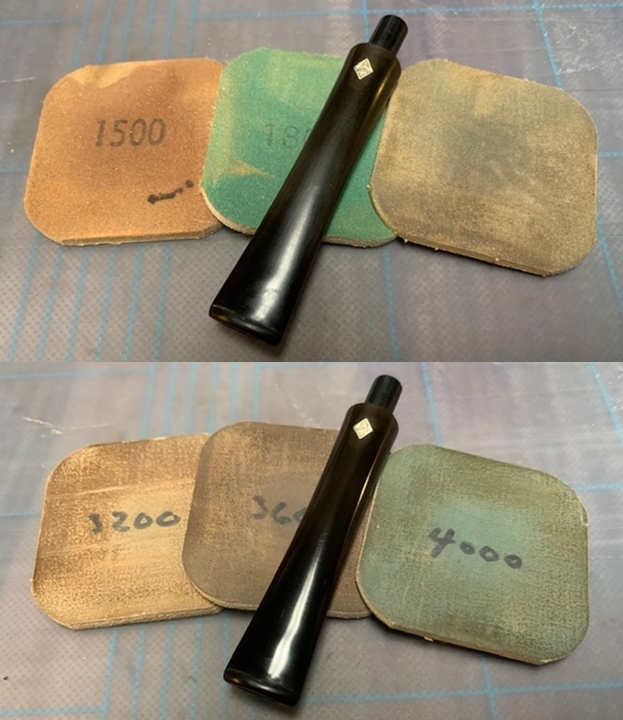
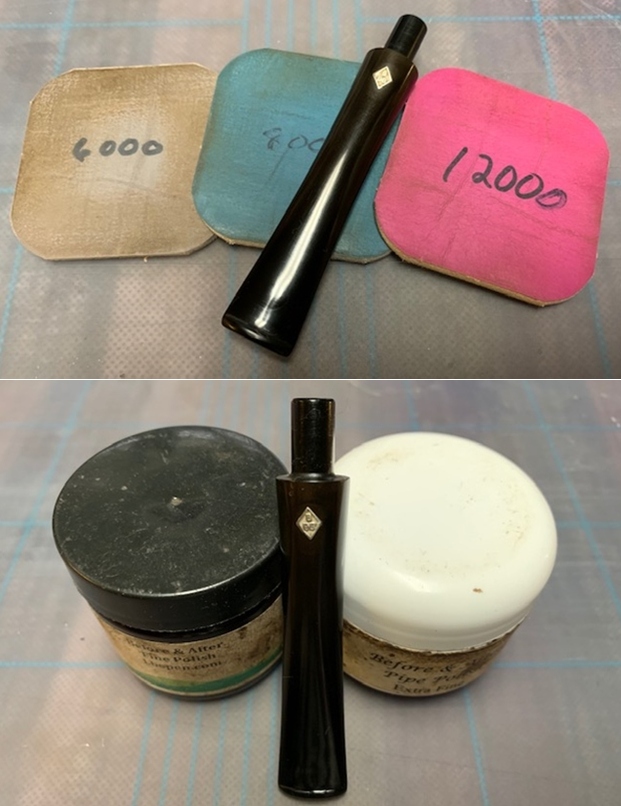
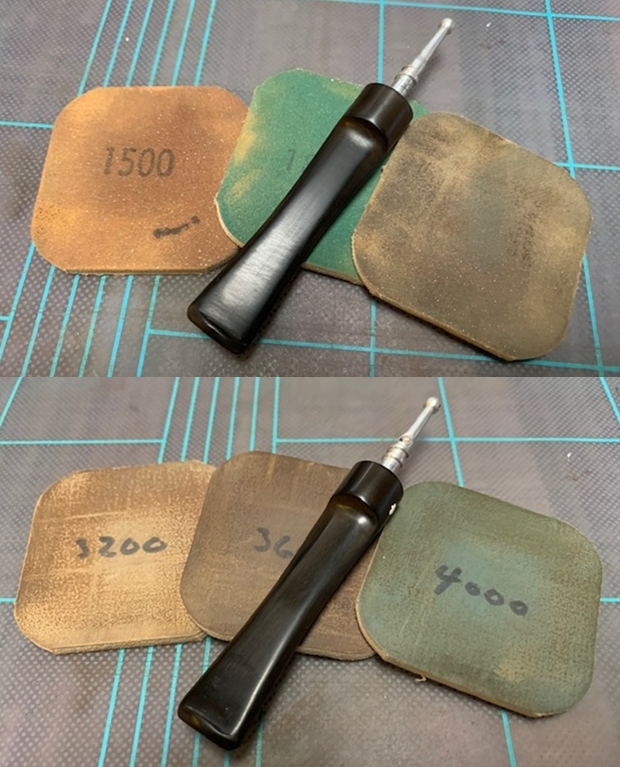
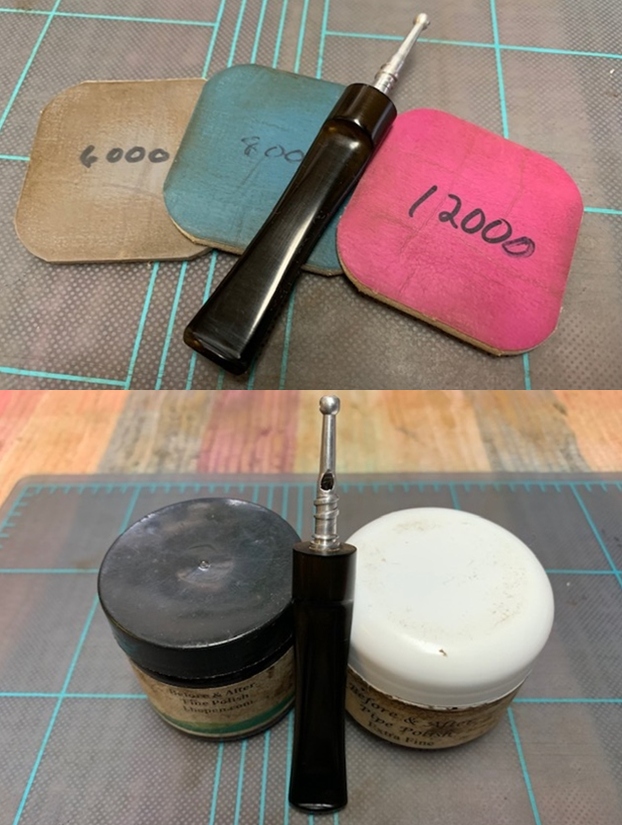
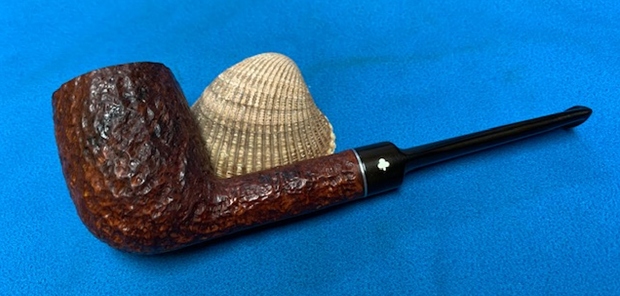
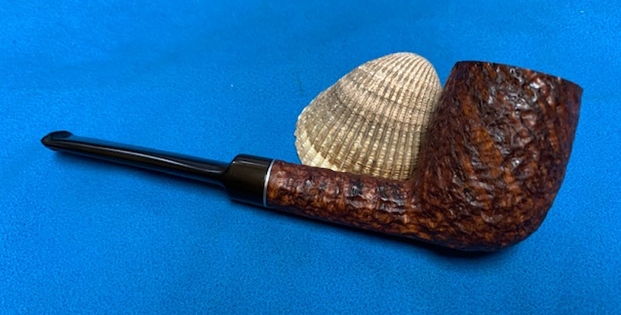
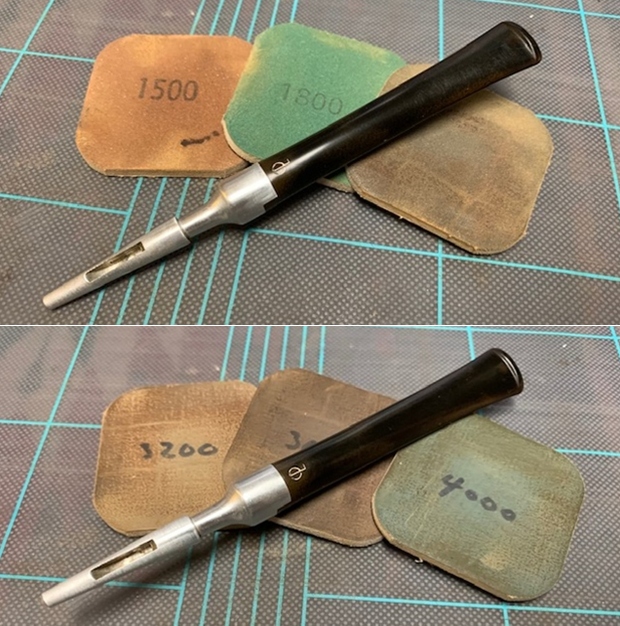
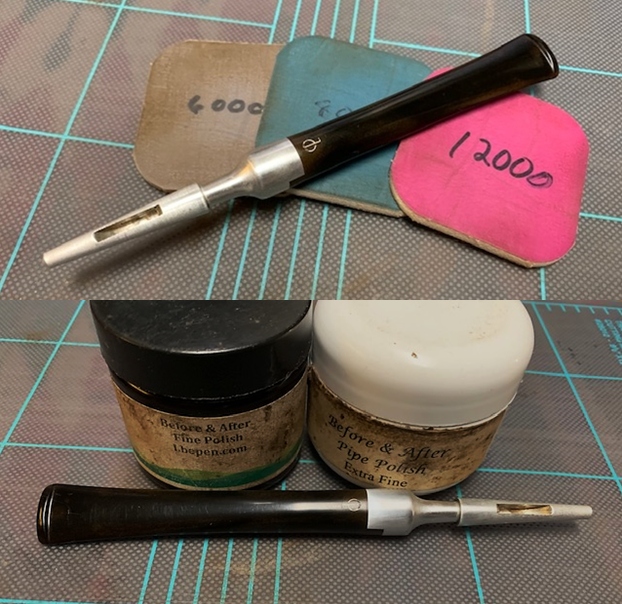
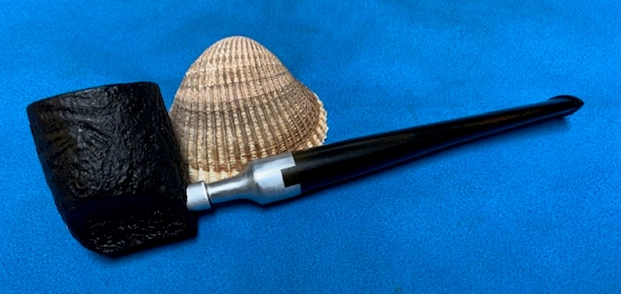
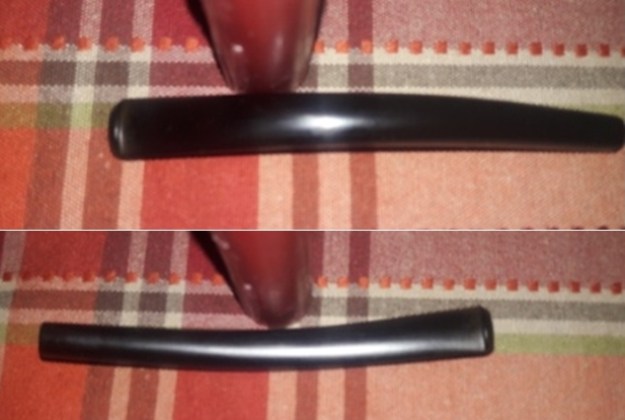
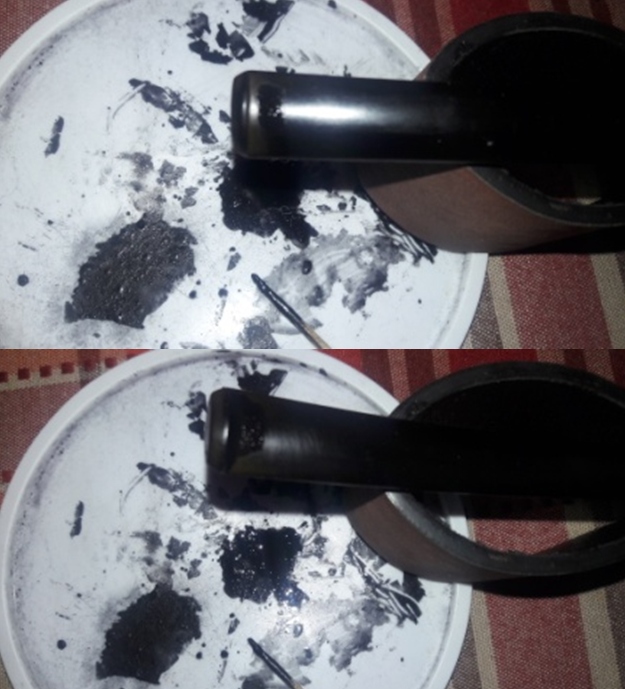
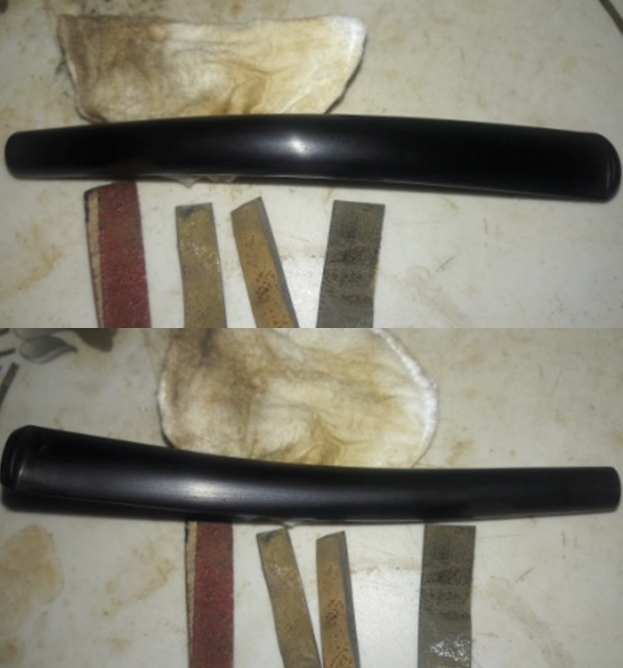
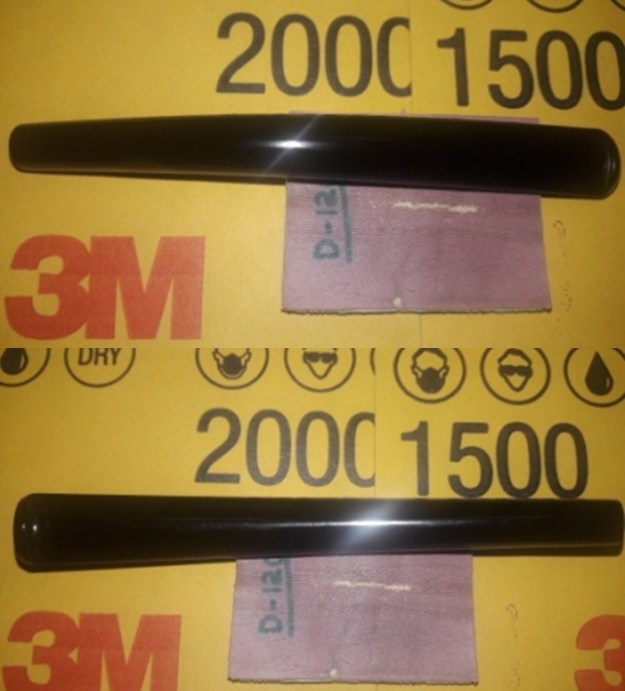
I start this project by addressing the tooth chatter on either surface in the bite zone. Since vulcanite has a property to expand and regain its original shape when heated, I heat the bite zone with a candle flame to raise the tooth chatter to the surface. The deeper bite marks were filled with a mix of CA superglue and activated charcoal and set aside to cure. Once the fills had cured, using a flat needle file, I reshaped the button and roughly matched the fills with the rest of the stem surface. I further fine tuned the match by sanding the filled area with a folded piece of 220 grit sand paper pinched between my thumb and forefinger. I followed it up by sanding the entire stem surface using 400, 600, 800 grit sand papers and finally with a piece of 0000 grade steel wool. This serves to remove the deep seated oxidation and also reduces the sanding marks of the more abrasive sand papers. I also sharpened the button edges while sanding. I wiped the stem with a cotton swab and alcohol to remove all the oxidation and sanding dust from the surface. I applied a little Extra Virgin Olive oil over the stem and set it aside to be absorbed by the vulcanite. To bring a deep shine to the vulcanite stem, Abha polished it by wet sanding with 1500 to 2000 grit sandpapers followed by further wet sanding with 3200 to 12000 grit pads. She wiped the stem with a moist cloth after each pad and rubbed it down with Extra Virgin Olive oil to rejuvenate the vulcanite. The finished stem is shown below.  Further repair and refurbishing work would have to be put on hold till I rejoin my work place.
Part II
Finally back at my work place…… After enjoying a compulsorily extended leave of three months with family and having honed my culinary and domestic chores skill set, I was happy to rejoin my duty and get back to completing the pending pipe restorations.

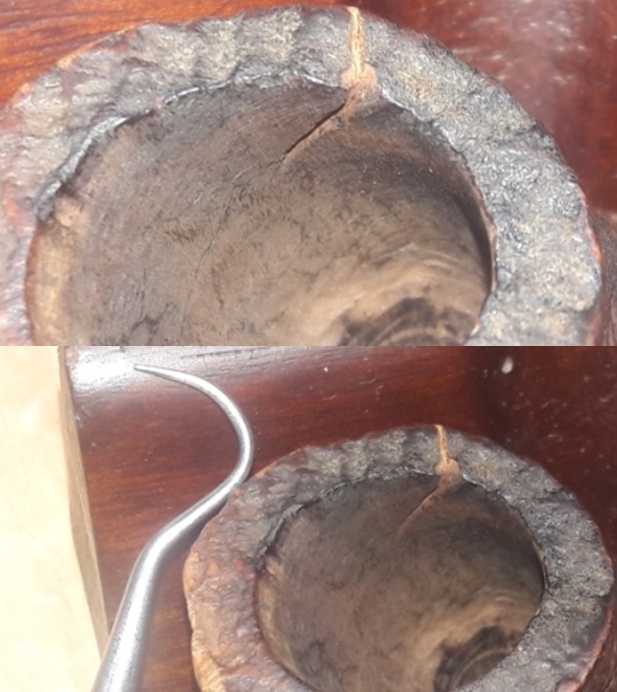
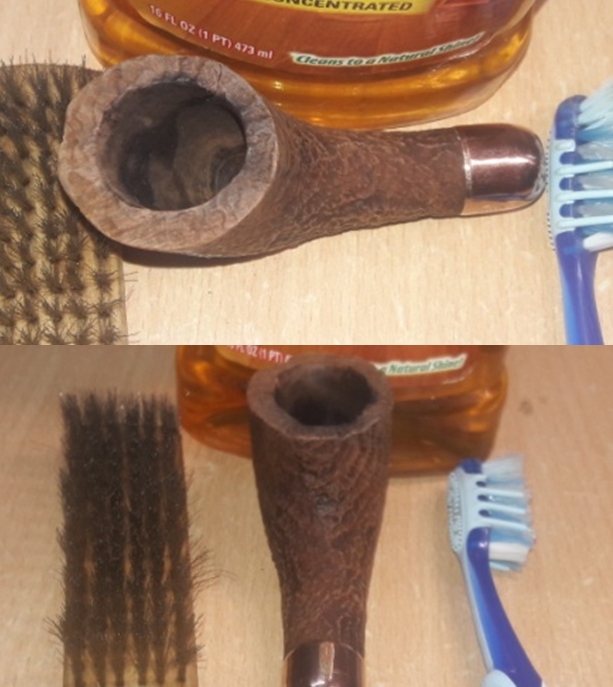
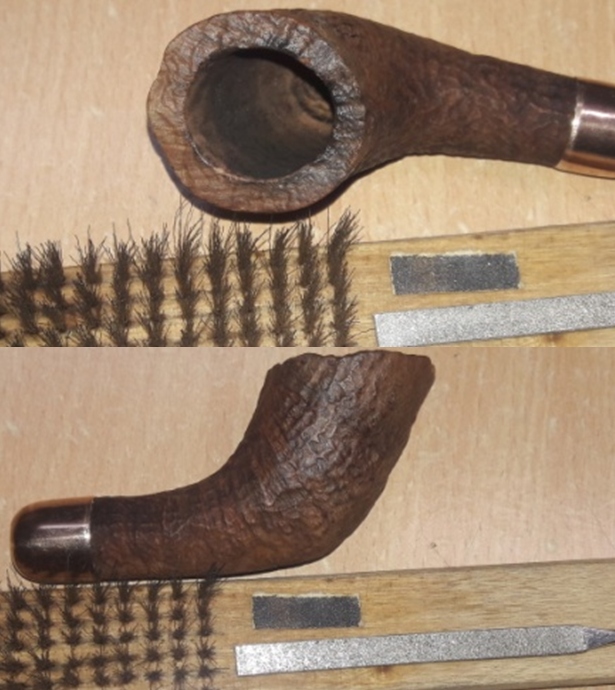
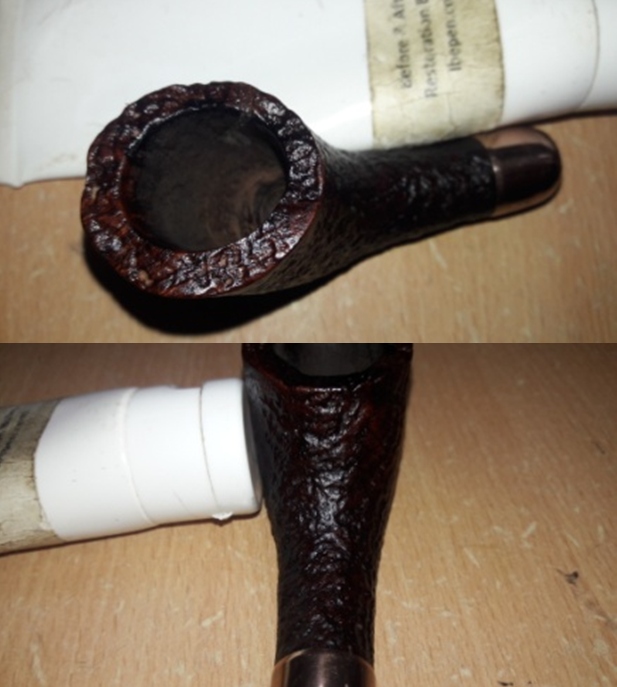
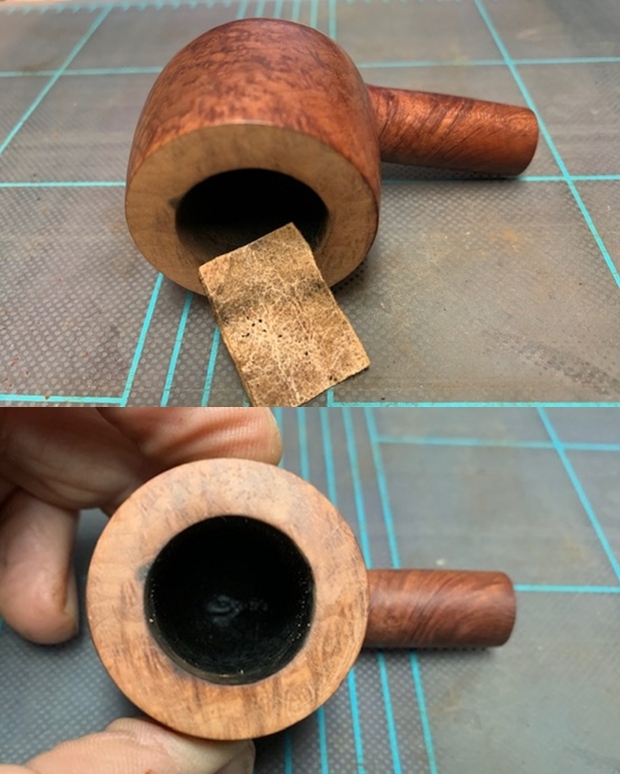
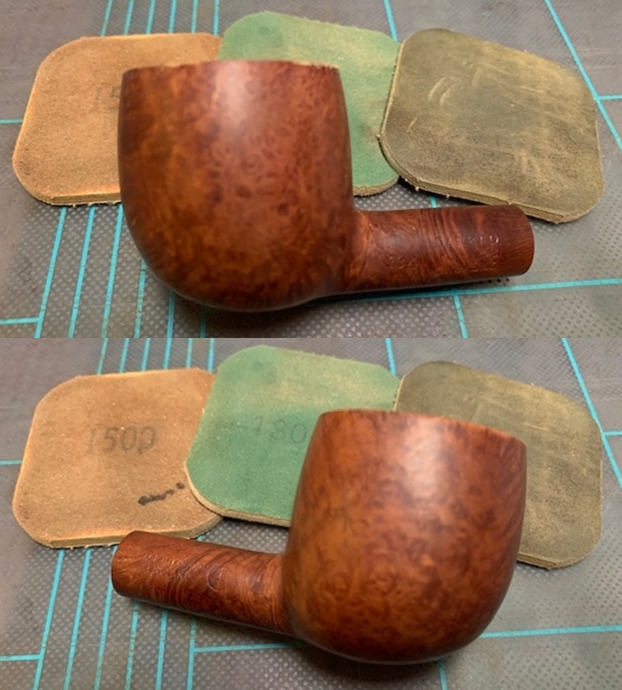
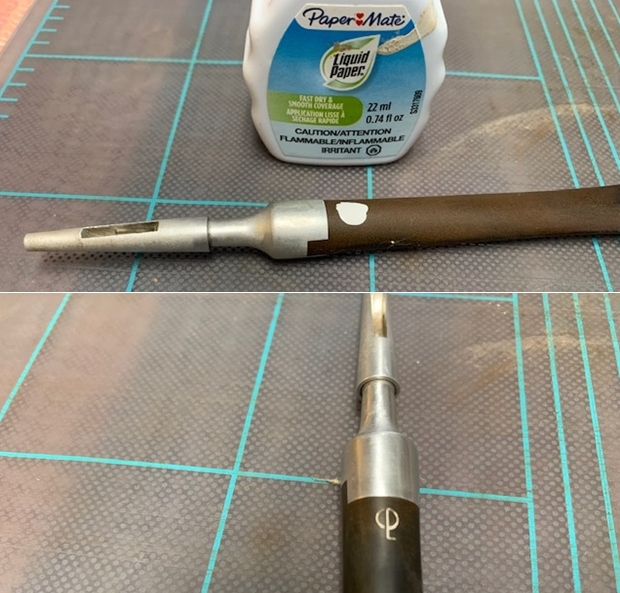
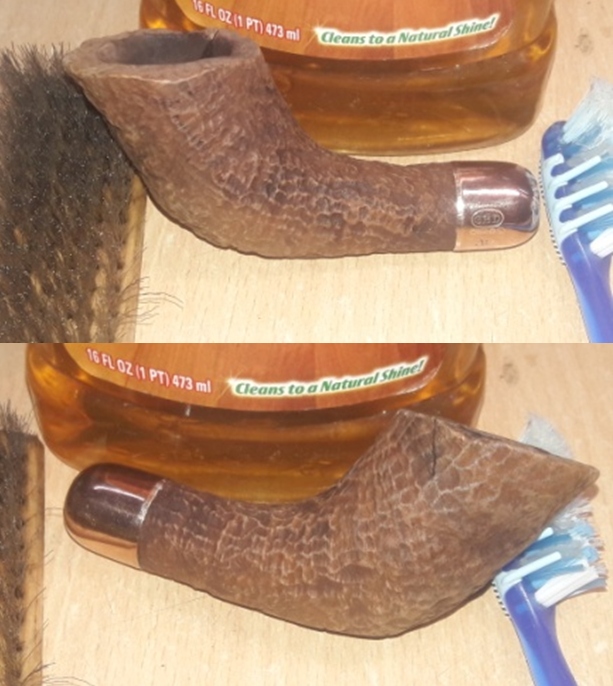
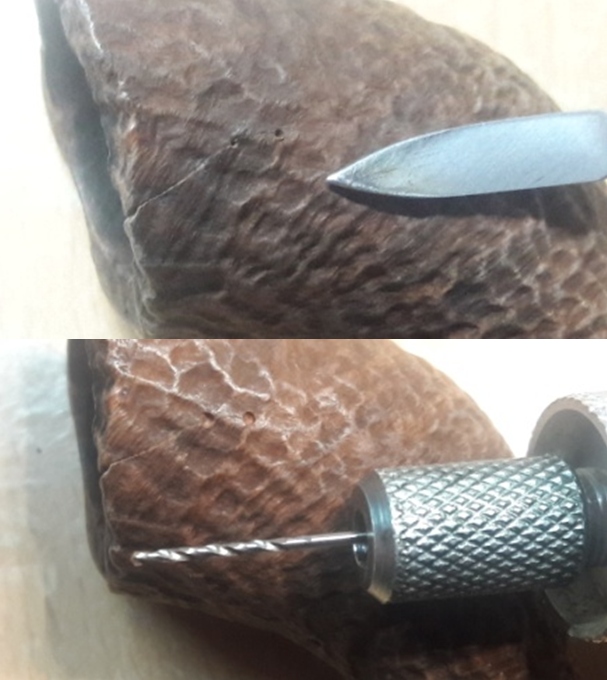
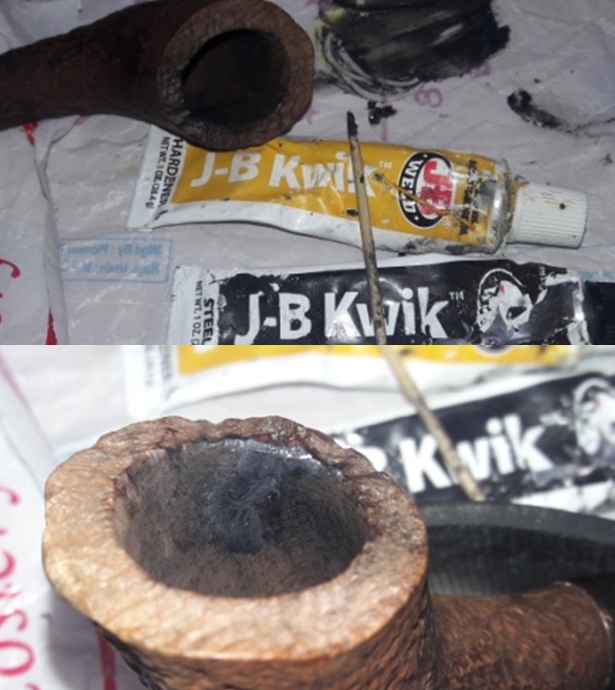
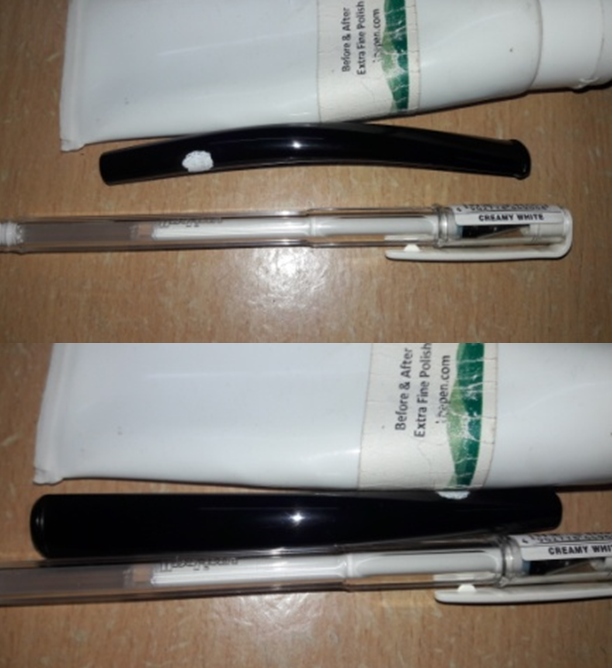
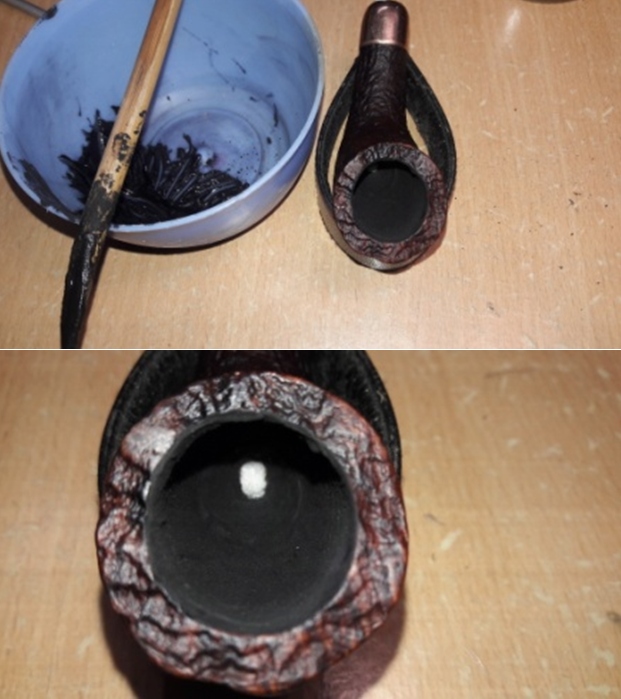
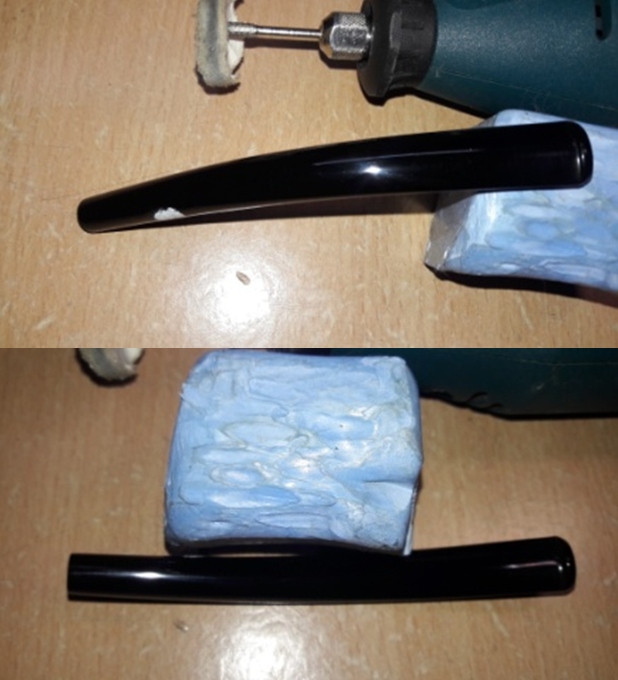
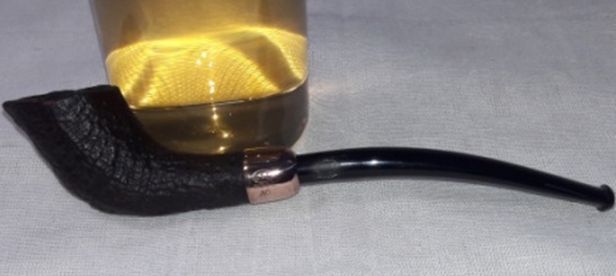
I took a closer look at the crack on the right side of the stummel in the 5 ‘O’ clock direction. This crack extends over the rim top surface and in to the chamber. With my sharp dental pick, I probed and removed all the charred briar wood from the crack and also dislodged the entire lava overflow that had embedded itself in to the crack over the rim top. It was a big relief to note that the crack did not go all the way to the outside of the stummel. Here are a couple of close up pictures of the crack to the chamber wall and outer stummel surface at this stage. I conferred with my Guru and mentor, Steve, over Face Time video call and after seeing the crack, he concurred that it was best to fill just the crack inside the chamber with J B Weld followed by a coating of activated charcoal and yogurt to the entire chamber for further protection. Before proceeding with further repairs, I decided to thoroughly clean the rim top and the stummel again to remove all the dirt and dust that had accumulated since last one year and also to completely remove the lava overflow from the rim top surface. I cleaned the stummel using Murphy’s Oil soap and a hard bristled tooth brush. With a brass wired brush, I cleaned the rim top to remove the lava overflow. The stummel and the rim top have cleaned up nicely.   Next I decided to address the crack to the stummel surface. I marked the end point of the crack on with a sharp dental tool under magnification. This helps to identify the end point later with naked eye and also provides initial traction for the drill bit to bite in. With a 1 mm drill bit mounted on to my hand held rotary machine, I drilled a counter hole at the end of the crack, taking care not to go too deep and end up drilling a through-hole. I had to mark and drill a second counter hole as I later realized that the crack extended slightly below the first one that I had drilled. I ran the sharp dental tool along the crack to remove the dirt and debris that may have been lodged in the crack. I filled the drilled holes and the crack to the stummel surface with a mix of CA superglue and briar dust. I also filled the crack at the rim top surface with the mix of superglue and briar dust and set the stummel aside for the fills to cure. A few hours later, the fills had hardened completely. I sand them down with a flat head needle file to achieve a rough match with the rest of the stummel. I fine tuned the match with the rest of the surface by further sanding with a piece of 180 grit sandpaper. I used a tightly folded 180 grit sand paper to sand the fills and had carefully moved along the ridges of the sandblast to achieve a near perfect match. I vigorously brushed the rim top with a hard bristled brass wired brush to further blend the fill with the rest of the rim top surface.    Now that the external repairs are done, I decided to address the crack to the wall of the chamber. To protect the crack from coming in to direct contact with the burning tobacco and also to prevent the heat from reaching the external crack to the stummel and causing a burnout, I plan, firstly, to fill only the crack of the chamber with J B Weld followed by a second coat of activated charcoal and yogurt to the entire chamber which would assist in faster cake formation. J B Weld is a two-part epoxy Cold Weld that consists of two parts; hardener and steel which are mixed in equal parts in a ratio of 1:1 with hardening time of 5-6 minutes and complete curing time of 6-8 hours. I poured the contents of the two tubes and mixed it well. With a flat bamboo frond, I applied this mix and filled the intended crack. I worked fast to ensure a complete and even filling of the crack and set the stummel aside for the J B Weld to harden.By the next afternoon when I got back to working on this pipe, the J B Weld coat had completely cured and hardened considerably. With a folded piece of 150 grit sandpaper, I sand the weld coating to a smooth surface till I had as thin a coat as was essential to protect and insulate the crack from the direct heat of the burning tobacco. The Weld coat has completely covered only the crack which can be seen as a thin line. I am very pleased with the repairs at this stage.I refreshed the stem logo by first coating the logo with a white correction liquid and once it had dried, I wiped it lightly with a cloth. I polished the stem surface with “Before and After Extra fine” stem polish developed by Mark Hoover. This polish helps in removing the minor scratches left behind due to sanding while imparting a nice shine to the stem.   Next, I rubbed a small quantity of “Before and After Restoration Balm” deep in to the briar with my finger tips and let it rest for a few minutes. The balm almost immediately works its magic and the briar now has a nice vibrant appearance with the beautiful grain patterns displayed in their complete splendor. I further buffed it with a horse hair brush. The dark browns of the raised portions of the sandblast contrasts beautifully with the rest of the dark stummel and makes for a visual treat. It really is a nice piece of briar. Now that the cosmetic aspects of this pipe have been dealt with, all that remained was the functional aspect that needs to be taken care of. The J B Weld coated crack needs to be protected from the direct heat of the burning tobacco and for this; I coat the complete chamber walls with a mix of activated charcoal and yogurt and set it aside to harden naturally. The mix has to be of the right consistency; neither too thick nor too runny. It should be of a consistency that is thick enough to spread easily, evenly and stick to the walls. Also the coating should not be very thick. A thin film is all that is required. Another important aspect to remember is that it is essential to insert a pipe cleaner in to the mortise and through the draught hole for two reasons; first is obviously to keep the draught hole from getting clogged and secondly, the pipe cleaner absorbs all the moisture from the mix and helps in faster and even drying of the coat.To put the finishing touches, I mount a cotton cloth buffing wheel on to my hand held rotary tool and polished the stem with Blue Diamond compound. This compound helps to remove the minor scratch marks that remain from the sanding.  Next, I mount another cotton buffing wheel that I have earmarked for carnauba wax and applied several coats of the wax. I finished the restoration by giving the entire pipe a rigorous hand buffing using a microfiber cloth to raise the shine further. Lastly, I polish the 9 carat gold ferrule with a jeweler’s cloth to a nice and radiant shine. The blast pattern on this finished pipe looks amazingly beautiful and coupled with the vintage, shape rarity and the contrast that the gold ferrule imparts, makes it quite a desirable pipe. This pipe shall be joining my small collection of GBDs to be admired and be happy that I have restored it to its former beauty and functionality. P.S. In one of my previous blogs, I wrote that the question “Why do I enjoy bringing these old battered and discarded pipes back to life?” had popped up in my mind. I gave my third reason in my last write up and in all my subsequent write ups I intend to share with you, my readers my reasons as to why I really love this hobby.
The fourth reason is that every restoration project that I undertake is a new challenge for me. It sets my adrenaline pumping as I see the beauty of the pipe being unraveled before my eyes as I progress through each process of restoration. It helps me keep myself motivated and I wake up to each morning with enthusiasm to address the challenges that any project throws at me. Upon successful completion of repairs and refurbishing of a pipe to make it beautiful and most importantly FUNCTIONAL, gets me to a nice peaceful sleep at night… isn’t that what we all strive for?     

I wish to thank each one for sparing their valuable time to read through this write up and each one is in my prayers. Stay home…stay safe!!
 

Restoring a Savinelli Oscar Aged Briar 122 ¼ Bent Pot


Blog by Steve Laug

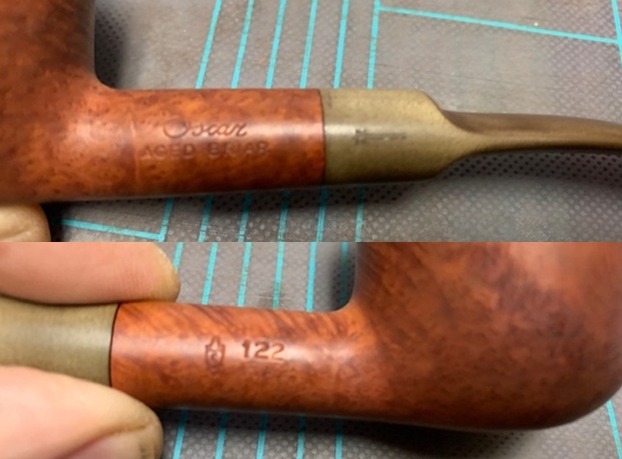
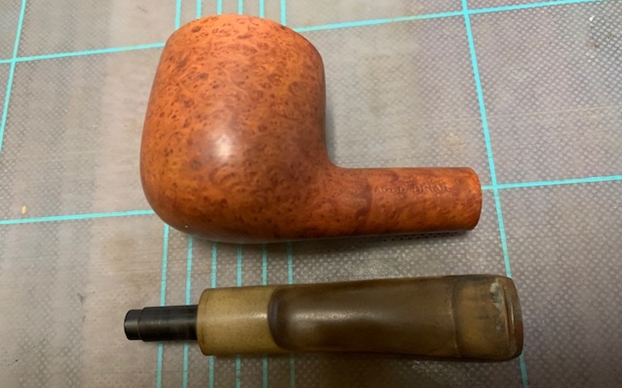
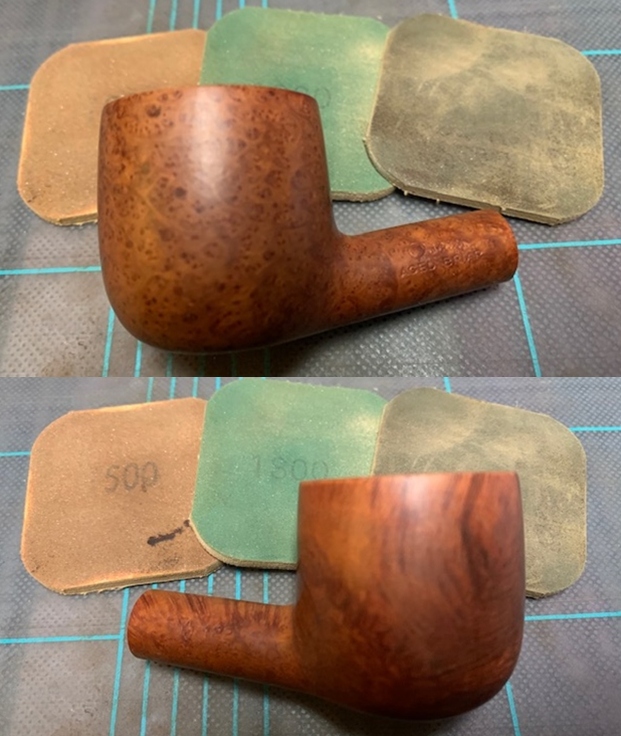
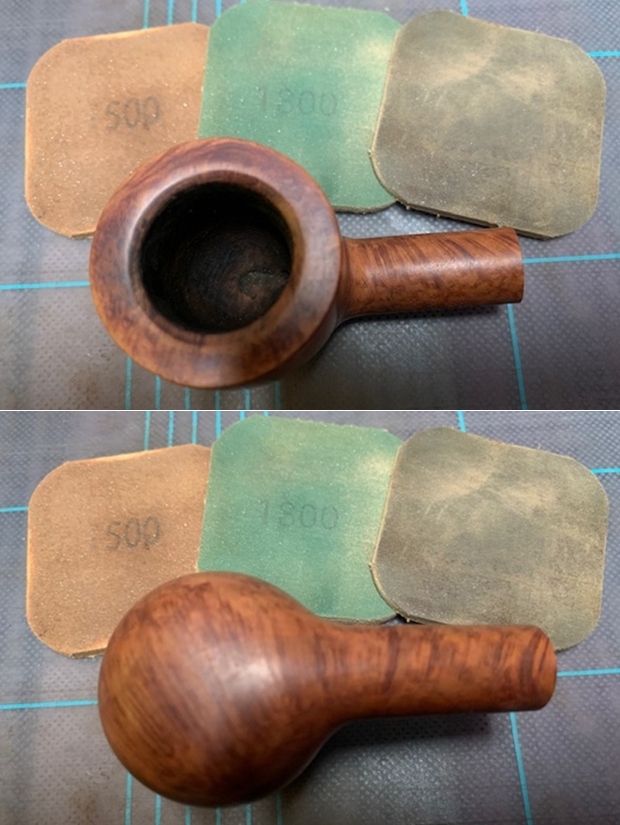
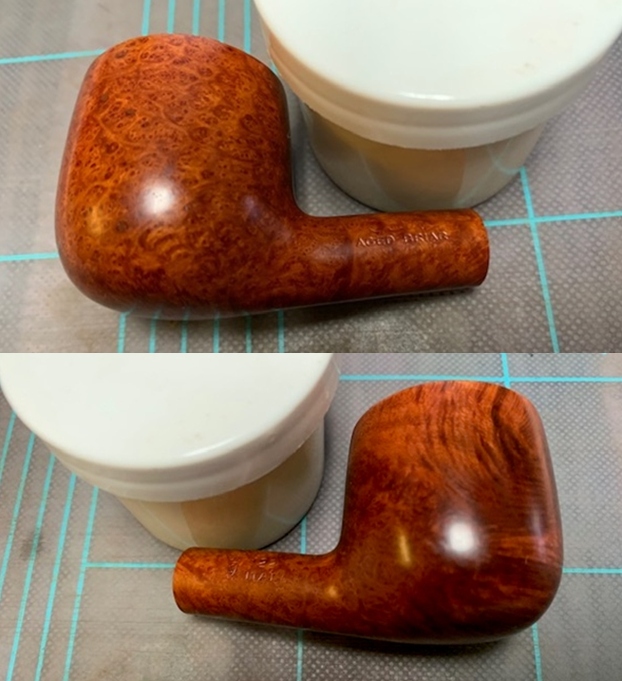
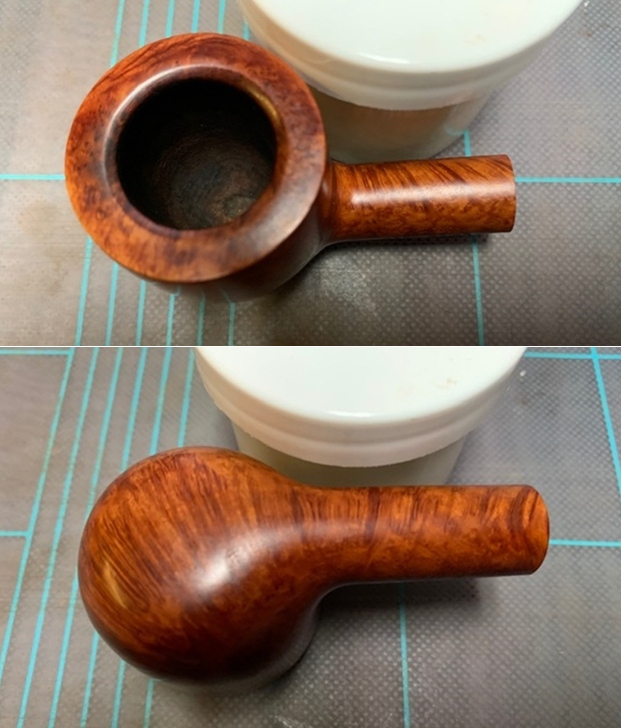
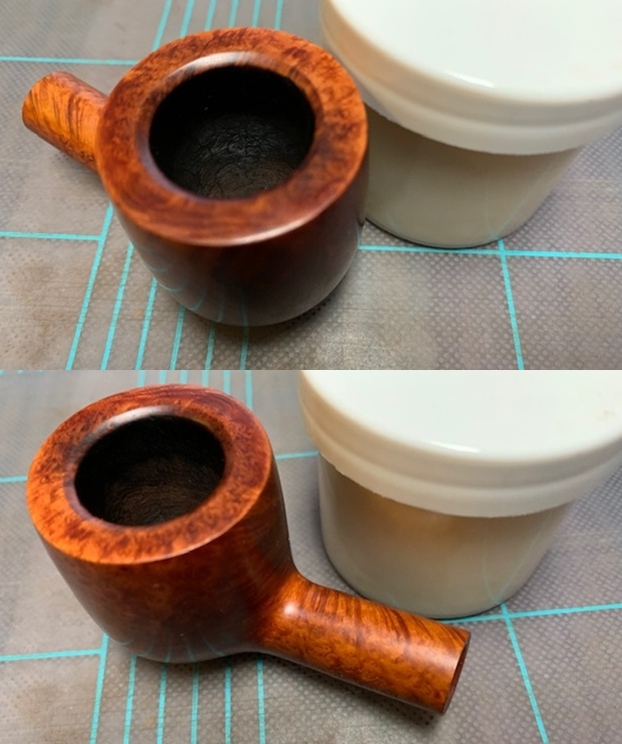
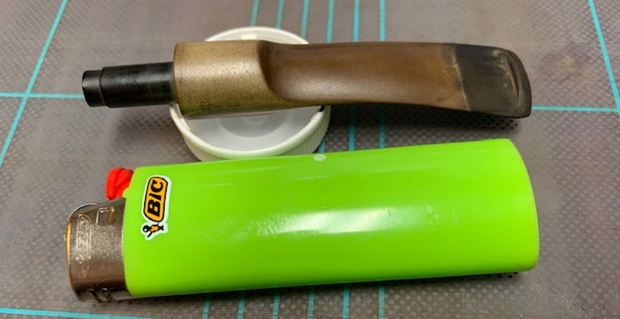
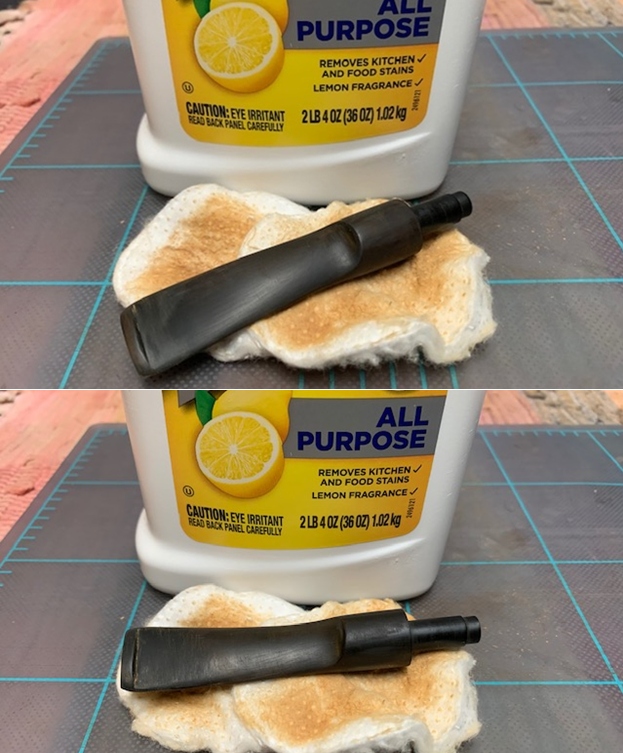
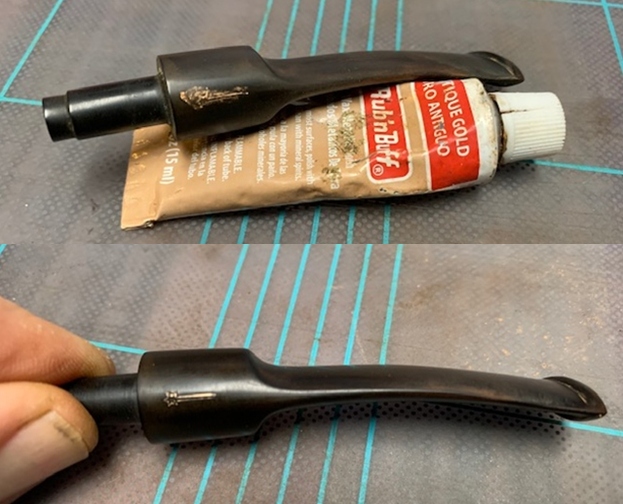
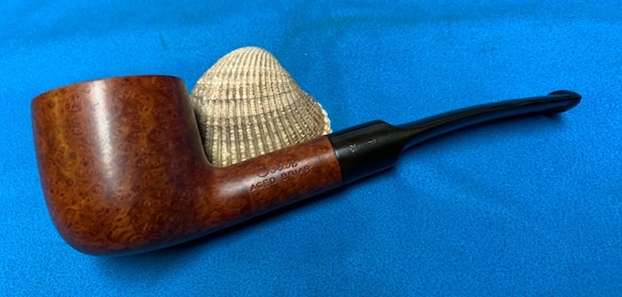
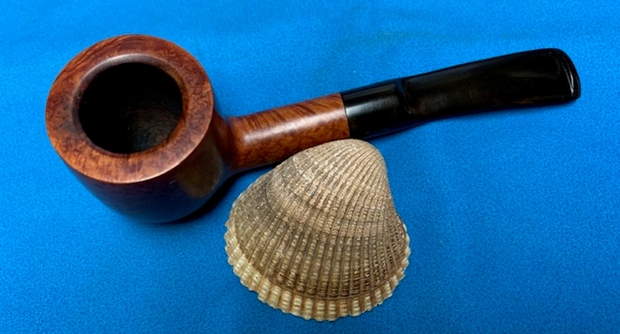
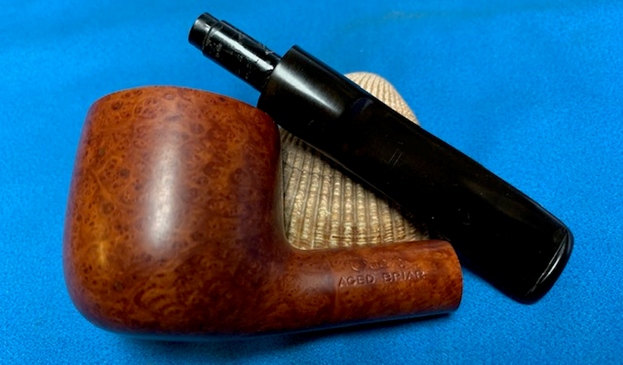
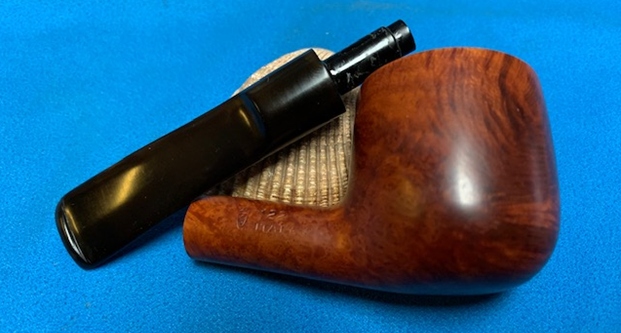
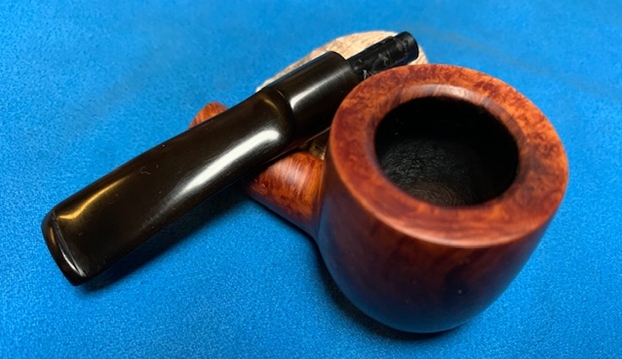
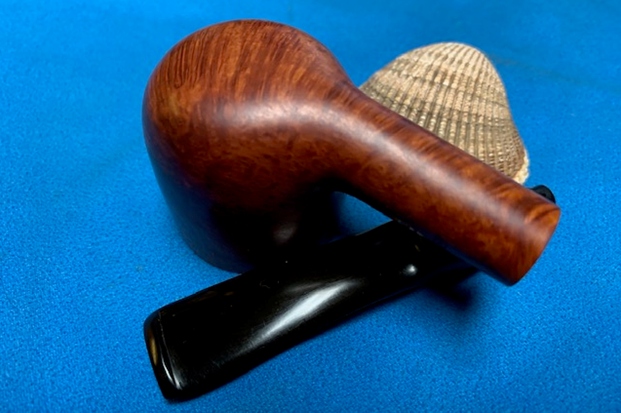
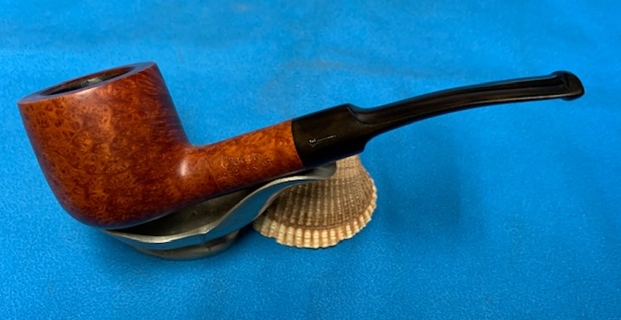
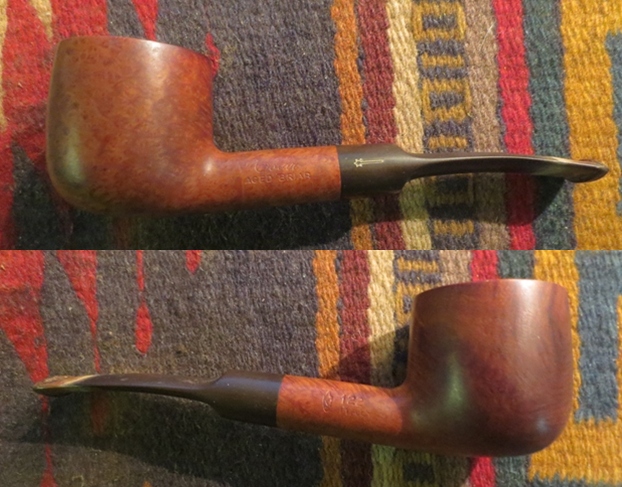
The next pipe on the work table came to me from the estate of a Vancouver pipe smoker whose widow left them with a local Pipe Shop after he died. I was asked to clean them up and sell them for the shop as it has since closed. This is another interesting looking piece – great grain showing through underneath the grime. There is cross grain and birdseye grain around the bowl. The pipe is stamped on the left side of the shank and reads Oscar [over] Aged Briar. On the right side of the shank it is stamped with a Savinelli Shield S followed by the shape number 122 [over] Italy. The finish was dull and lifeless with a lot of grime ground into the briar. The bowl was heavily caked with a lava coat on the top of the rim. It was hard to tell how the inner and outer edge of the rim actually looked until the bowl was reamed. The stem was oxidized, calcified and had tooth chatter and marks on the top and underside near the button. It had promise but it was very dirty. I took some photos of the pipe when I received it.   I had sent the batch of pipes from the shop to my brother Jeff in Idaho and he had cleaned them up for me. It was several years ago now that he sent them back to me and I am just now getting to finish them. He reamed them with a Pipnet Reamer and cleaned up the reaming with a Savinelli Fitsall pipe knife.  He had scrubbed the exterior of the bowl with Murphy’s Oil Soap and a tooth brush and rinsed it off with warm water to remove the grime from the finish. He cleaned the internals of the shank and stem with alcohol, cotton swabs and pipe cleaners to remove the tarry residue and oils in the shank and airway. He soaked the stem in Before & After Deoxidizer to remove the oxidation on the stem surface. When it arrived here on my work table I took photos of the pipe before I started my part of the restoration. The bowl was a definite improvement but the stem still showed some oxidation.    The inner and outer edges were in good condition. The inner beveled edge of the rim looks very good. The stem look good but there was still some oxidation and there were tooth marks and chatter on both sides near the button. The underside was worse than the topside.      I took a photo of the stamping on the sides of the shank. The stamping is clear and readable and reads as noted above.  I took the stem off the pipe and took a photo of the parts to show the look of the pipe as a whole.I polished the rim top and bowl with 1500-12000 grit micromesh sanding pads to polish the briar.    I rubbed the bowl and shank down with Before & After Restoration Balm. I worked it into the surface of the bowl sides and shank with my fingertips to clean, enliven and protect the briar. I let the balm sit for a little while and then buffed with a cotton cloth to raise the shine. You can see the grain showing through the deep glow. I set the bowl aside and turned my attention to the stem. I “painted” the stem surface with the flame of a Bic lighter. I was able to lift the majority of the dents but there were two on the underside and a dent along the button on the top side. I filled them in with black super glue and set it aside to cure. Once the repairs cured I used a needle file to smooth out the repairs and blend them into the surrounding vulcanite. I sanded the repaired areas with 220 grit sandpaper and scrubbed the surface of the stem with Soft Scrub all-purpose cleanser to remove the oxidation that remained on the stem surface.      I touched up the Shooting Star logon the left side of the saddle stem with Antique Gold Rub’n Buff. I pushed it into the stamping with a tooth pick. I rubbed it off with a cotton pad to remove the excess and still leave some in the stamping.      I polished the vulcanite stem with micromesh sanding pads – 1500-12000 grit pads. I wiped it down with a damp cloth after each sanding pad. I used Before & After Pipe Polish – both Fine and Extra Fine to further polish the stem.       This Savinelli Made Oscar Aged Briar 122 Pot is a great looking pipe now that it has been restored. The pipe came to me from the local pipe shop estate that I am restoring and selling for them. The medium brown stain highlights the grain and works well with the polished vulcanite taper stem. I put the stem back on the bowl and carefully buffed the pipe with Blue Diamond on the buffing wheel using a light touch on the briar. I gave the bowl and the stem multiple coats of carnauba wax on the buffing wheel and followed that by buffing the entire pipe with a clean buffing pad. I hand buffed the pipe with a microfiber cloth to deepen the shine. The finished ¼ bent Savinelli Made Oscar pot fits nicely in the hand and feels great. Give the finished pipe a look in the photos below. The dimensions of the pipe are Length: 5 ½ inches, Height: 1 ½ inches, Outside diameter of the bowl: 1 ½ inches, Chamber diameter: 7/8 of an inch. If you are interested in adding this pipe to your collection send me a message or an email. Thanks for reading this blog and my reflections on the pipe while I worked on it. This is an interesting estate to bring back to life.

Restoring a Parker Super Bruyere 134 Circle 4 Pot


Blog by Steve Laug

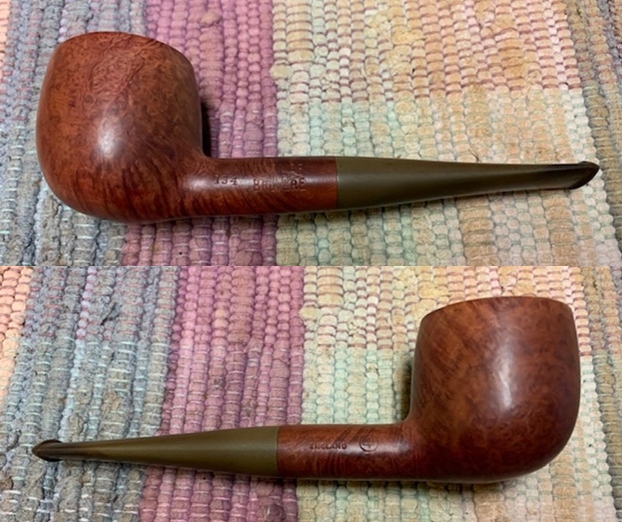
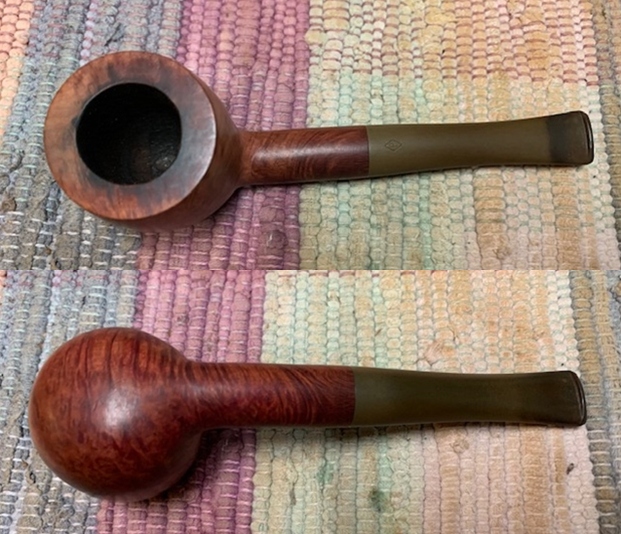
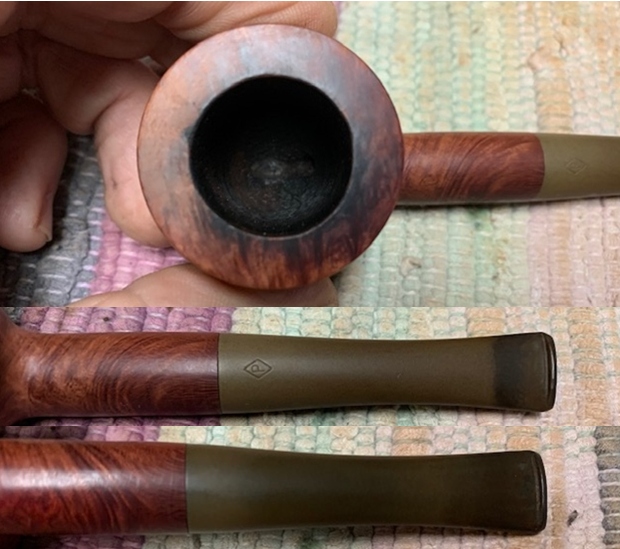
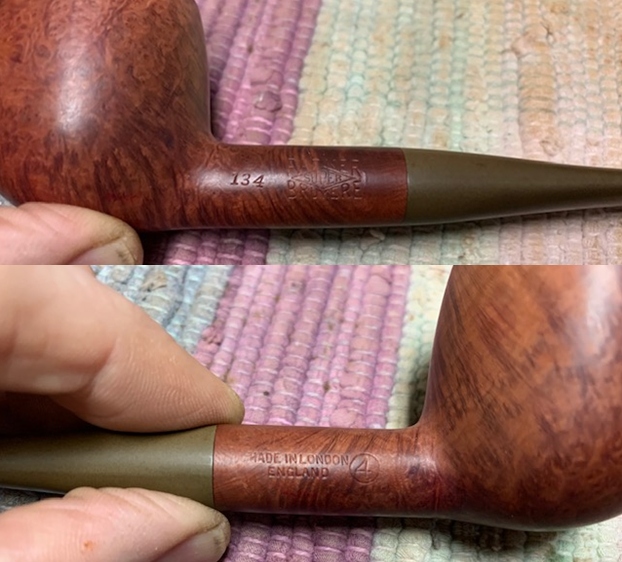
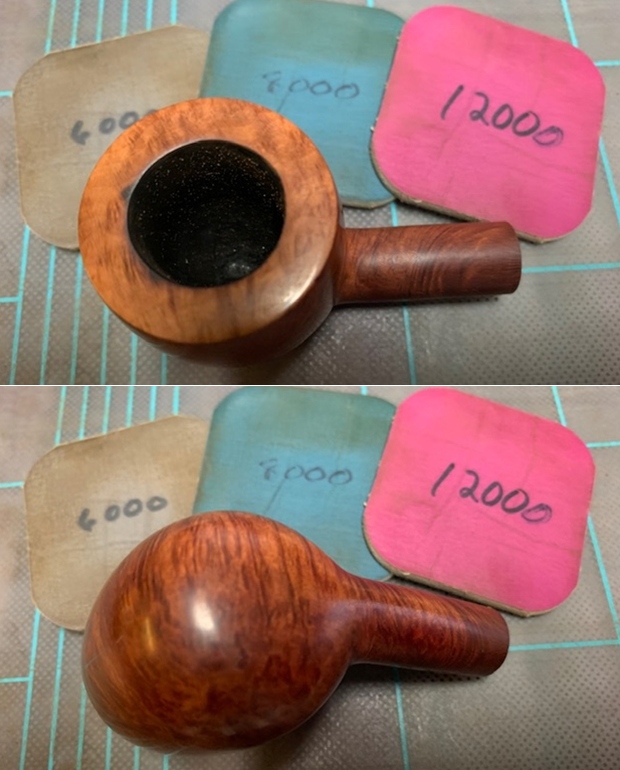
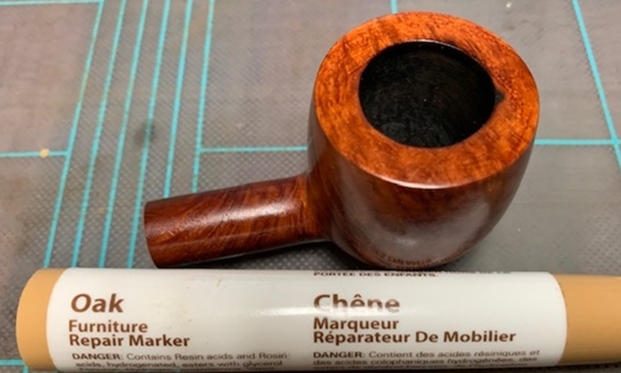
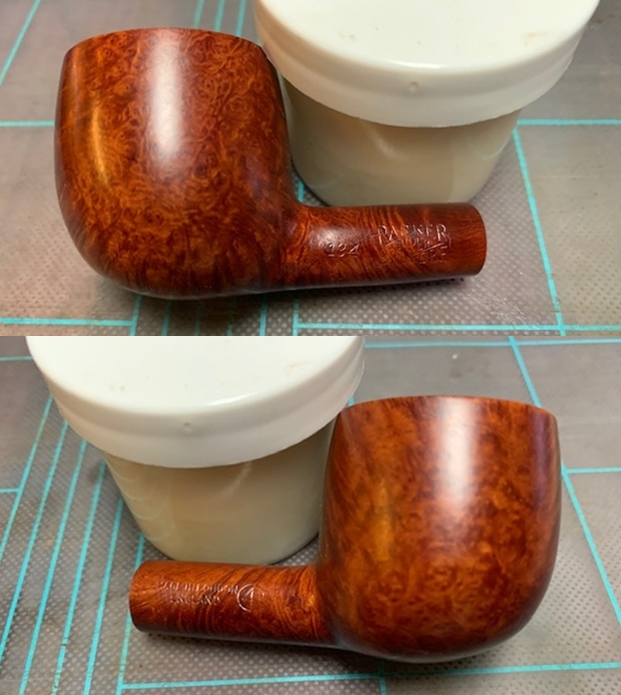
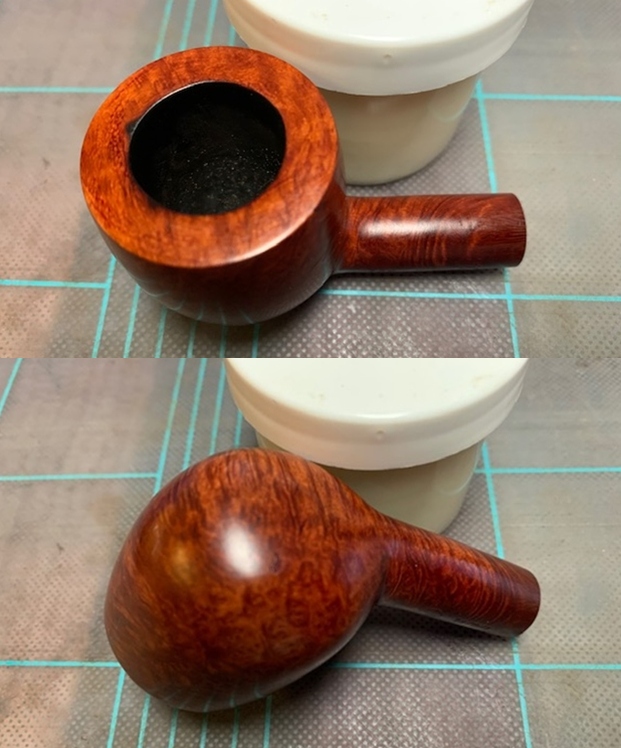
The next pipe on the work table came to me from the estate of a Vancouver pipe smoker whose widow left them with a local Pipe Shop after he died. I was asked to clean them up and sell them for the shop as it has since closed. This is another interesting looking piece – great grain showing through underneath the grime. There is cross grain and birdseye grain around the bowl. The pipe is stamped on the left side of the shank and reads shape #134 followed by Parker [over] Super in a diamond [over] Bruyere. On the right side of the shank it is stamped with the size number 4 in a circle followed by Made In London England. The finish was dull and lifeless with a lot of grime ground into the briar. The bowl was heavily caked with a lava coat on the top of the rim. It was hard to tell how the inner and outer edge of the rim actually looked until the bowl was reamed. The stem was oxidized, calcified and had tooth chatter and marks on the top and underside near the button. It had promise but it was very dirty. I took some photos of the pipe when I received it.   I have worked on quite a few Parkers over time and I have seen them stamped like the one I have however, there was a superscript after the D in England that was lacking in this one. I turned to Pipedia to see what I could find out a Super Bruyere without a date code after the England stamp (http://www.pipephil.eu/logos/en/logo-parker.html). I have included a screen capture of the section showing a similarly stamped. I had sent the batch of pipes from the shop to my brother Jeff in Idaho and he had cleaned them up for me. It was several years ago now that he sent them back to me and I am just now getting to finish them. He reamed them with a Pipnet Reamer and cleaned up the reaming with a Savinelli Fitsall pipe knife.  He had scrubbed the exterior of the bowl with Murphy’s Oil Soap and a tooth brush and rinsed it off with warm water to remove the grime from the finish. He cleaned the internals of the shank and stem with alcohol, cotton swabs and pipe cleaners to remove the tarry residue and oils in the shank and airway. He soaked the stem in Before & After Deoxidizer to remove the oxidation on the stem surface. When it arrived here on my work table I took photos of the pipe before I started my part of the restoration. The bowl was a definite improvement but the stem still showed some oxidation.    The inner and outer edges were in good condition. There was some darkening around the inner edge of the rim and some damage to the rim top. The stem look good but there was still some oxidation and there were tooth marks and chatter on both sides near the button. The underside was worse than the topside.     I took a photo of the stamping on the sides of the shank. The stamping is clear and readable and reads as noted above.         I took the stem off the pipe and took a photo of the parts to show the look of the pipe as a whole.I topped the bowl with 220 grit sandpaper on a topping board to remove the damage to the rim top. I used a folded piece of sandpaper to clean up the inner edge of the bowl. I polished the rim top and bowl with 1500-12000 grit micromesh sanding pads to polish the briar.      I used an Oak stain pen to touch up the rim top and blend it into the rest of the bowl. Once it was buffed it would be a perfect match.I rubbed the bowl and shank down with Before & After Restoration Balm. I worked it into the surface of the bowl sides and shank with my fingertips to clean, enliven and protect the briar. I let the balm sit for a little while and then buffed with a cotton cloth to raise the shine. You can see the grain showing through the deep glow. I set the bowl aside and turned my attention to the stem. I “painted” the stem surface with the flame of a Bic lighter. I was able to lift the majority of the dents but there were two on the underside and a dent along the button on the top side. I filled them in with clear super glue and set it aside to cure. Once the repairs cured I used a needle file to smooth out the repairs and blend them into the surrounding vulcanite. I scrubbed the surface of the stem with Soft Scrub all-purpose cleanser to remove the oxidation that remained on the stem surface. I smoothed out the repair with 220 grit sandpaper to blend it into the surface of the surrounding vulcanite. I started polishing the stem with 400 grit wet dry sandpaper.       I polished the vulcanite stem with micromesh sanding pads – 1500-12000 grit pads. I wiped it down with a damp cloth after each sanding pad. I used Before & After Pipe Polish – both Fine and Extra Fine to further polish the stem.        I touched up the Diamond P stamp with Antique Gold Rub’n Buff. I pushed it into the stamping with a tooth pick. I rubbed it off with a cotton pad to remove the excess and still leave some in the stamping.   This Parker British Made Super Bruyere Pot is a great looking pipe now that it has been restored. This great looking pipe that came to me from the local pipe shop estate that I am restoring and selling for them. The medium brown stain highlights the grain and works well with the polished vulcanite taper stem. I put the stem back on the bowl and carefully buffed the pipe with Blue Diamond on the buffing wheel using a light touch on the briar. I gave the bowl and the stem multiple coats of carnauba wax on the buffing wheel and followed that by buffing the entire pipe with a clean buffing pad. I hand buffed the pipe with a microfiber cloth to deepen the shine. The finished straight pot fits nicely in the hand and feels great. Give the finished pipe a look in the photos below. The dimensions of the pipe are Length: 5 ¼ inches, Height: 1 ¾ inches, Outside diameter of the bowl: 1 ½ inches, Chamber diameter: ¾ of an inch. If you are interested in adding this pipe to your collection send me a message or an email. I have a variety of brands to work on from the shop. Perhaps one of those will catch your attention. Thanks for reading this blog and my reflections on the pipe while I worked on it. This is an interesting estate to bring back to life.

Restoring a Hardcastle’s British Made Jack O’London


Blog by Steve Laug

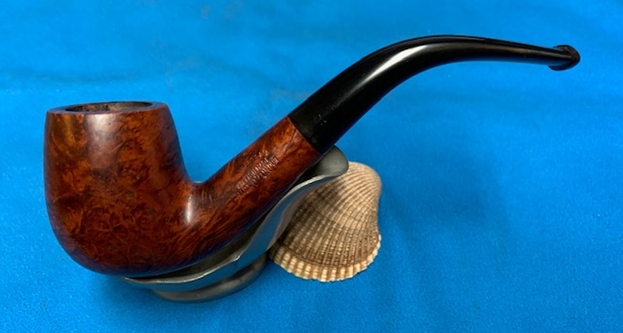
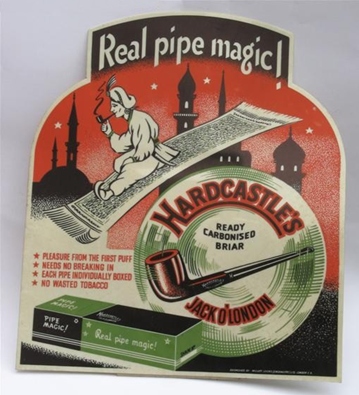
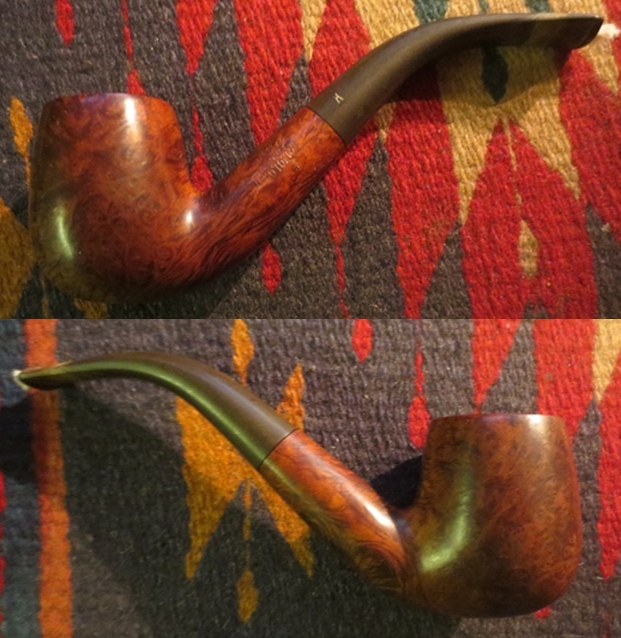
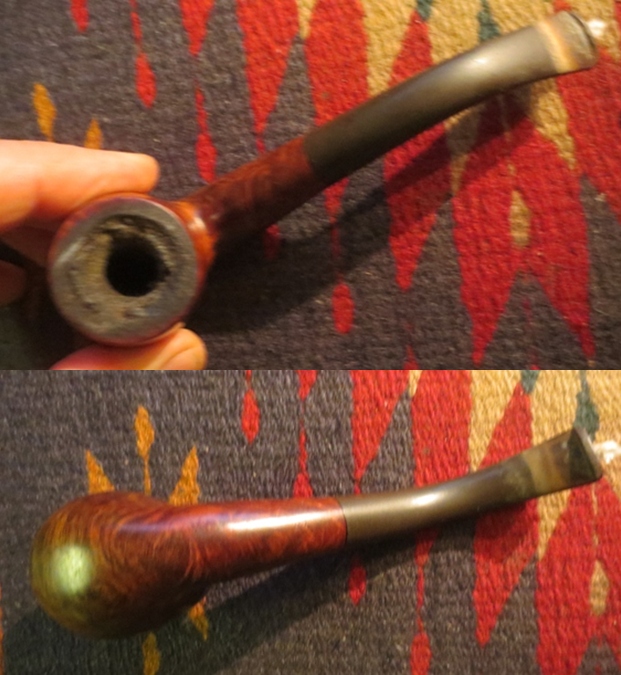
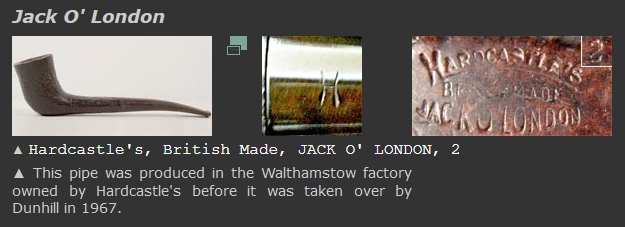
The next pipe on the work table came to me from the estate of a Vancouver pipe smoker whose widow left them with a local Pipe Shop after he died. I was asked to clean them up and sell them for the shop as it has since closed. This is another interesting looking piece – great grain showing through underneath the grime. There is cross grain and birdseye grain around the bowl. The pipe is stamped on the left side and reads Hardcastle’s [over] British Made [over] Jack O’London. On the underside of the shank it is stamped with the number 85. The finish was dull and lifeless with a lot of grime ground into the briar. The bowl was heavily caked with a lava coat on the top of the rim. It was hard to tell how the inner and outer edge of the rim actually looked until the bowl was reamed. The stem was oxidized, calcified and had tooth chatter and marks on the top and underside near the button. It had promise but it was very dirty. I took some photos of the pipe when I received it. I was curious about the particular line of Hardcastle’s pipes that I was working on. I wanted some more information on the Hardcastle’s Jack O’London line so I did some searching on Pipephil (http://www.pipephil.eu/logos/en/logo-hardcastle.html). I including the following screen capture below.I turned to Pipedia (https://pipedia.org/wiki/Hardcastle) to try to gather more information on the line. The quote below links it to the Family Period of Hardcastle’s.

Models & Grades – Family Period

Straight Grain, Supergrain, Leweard, Nut Bruyere, De Luxe, Royal Windsor Sandhewn, Royal Crown, The Crown, Phito Dental, Old Bruyere, Jack O’London, Dental Briar, Phito, Dental, Dryconomy, Drawel, Phithu, Telebirar, Camden, Lightweight, The Table, Dovetail, Dental, Crescent Extra, Lonsdale, Welard De Luxe

That could make sense as there is a Henry Birks and Sons Ltd. in Vancouver. Since the pipe came through a Vancouver based pipe shop there could be a connection. It is one of those mysteries that I am not sure will be solved.

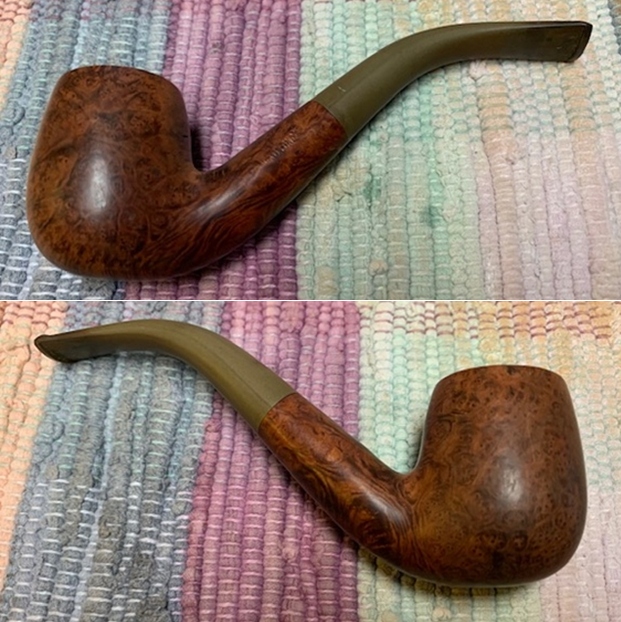
I had sent the batch of pipes from the shop to my brother Jeff in Idaho and he had cleaned them up for me. It was several years ago now that he sent them back to me and I am just now getting to finish them. He reamed them with a Pipnet Reamer and cleaned up the reaming with a Savinelli Fitsall pipe knife.  He had scrubbed the exterior of the bowl with Murphy’s Oil Soap and a tooth brush and rinsed it off with warm water to remove the grime in the rustication. He cleaned the internals of the shank and stem with alcohol, cotton swabs and pipe cleaners to remove the tarry residue and oils in the shank and airway. He soaked the stem in Before & After Deoxidizer to remove the oxidation on the stem surface. When it arrived here on my work table I took photos of the pipe before I started my part of the restoration. The bowl was a definite improvement but the stem still showed some oxidation.     The inner and outer edges were in excellent condition. There were nicks and damaged areas on the rim top. There was also some darkening on the top. The stem look good but there was still some oxidation and there were tooth marks and chatter on both sides near the button. The underside was worse than the topside.      I took a photo of the stamping on the sides of the shank. The stamping is clear and readable and reads as noted above.      I took the stem off the pipe and took a photo of the parts to show the look of the pipe as a whole.I polished the rim top and bowl with 1500-12000 grit micromesh sanding pads to polish the briar.      I rubbed the bowl and shank down with Before & After Restoration Balm. I worked it into the surface of the bowl sides and shank with my fingertips to clean, enliven and protect the briar. I let the balm sit for a little while and then buffed with a cotton cloth to raise the shine. You can see the grain showing through the deep glow.       I set the bowl aside and turned my attention to the stem. I “painted” the stem surface with the flame of a Bic lighter. I was able to lift the majority of the dents but there were two on the underside and a dent along the button on the top side. I filled them in with clear super glue and set it aside to cure. Once the repair cured I smoothed out the repairs with a needle file.    I sanded out the repair with 220 grit sandpaper to blend it into the surface of the surrounding vulcanite. I started polishing the stem with 400 grit wet dry sandpaper.     I polished the vulcanite stem with micromesh sanding pads – 1500-12000 grit pads. I wiped it down with a damp cloth after each sanding pad. I used Before & After Pipe Polish – both Fine and Extra Fine to further polish the stem.       This Hardcastle’s British Made Jack O’London Bent Billiard is a great looking pipe now that it has been restored. This great looking pipe that came to me from the local pipe shop estate that I am restoring and selling for them. The medium brown stain highlights the grain and works well with the polished vulcanite taper stem. I put the stem back on the bowl and carefully buffed the pipe with Blue Diamond on the buffing wheel using a light touch on the briar. I gave the bowl and the stem multiple coats of carnauba wax on the buffing wheel and followed that by buffing the entire pipe with a clean buffing pad. I hand buffed the pipe with a microfiber cloth to deepen the shine. The finished Hardcastle’s Bent Billiard fits nicely in the hand and feels great. Give the finished pipe a look in the photos below. The dimensions of the pipe are Length: 6 inches, Height: 1 ¾ inches, Outside diameter of the bowl: 1 ¼ inches, Chamber diameter: ¾ of an inch. If you are interested in adding this pipe to your collection send me a message or an email. I have a variety of brands to work on from the shop. Perhaps one of those will catch your attention. Thanks for reading this blog and my reflections on the pipe while I worked on it. This is an interesting estate to bring back to life.

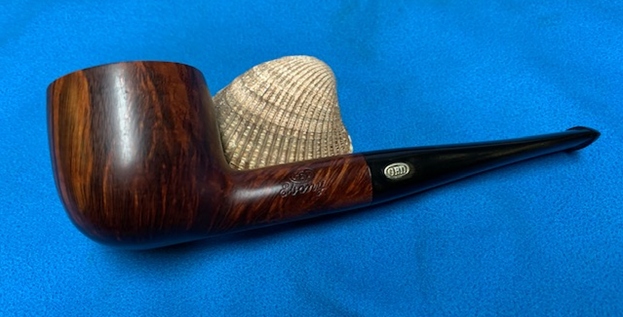
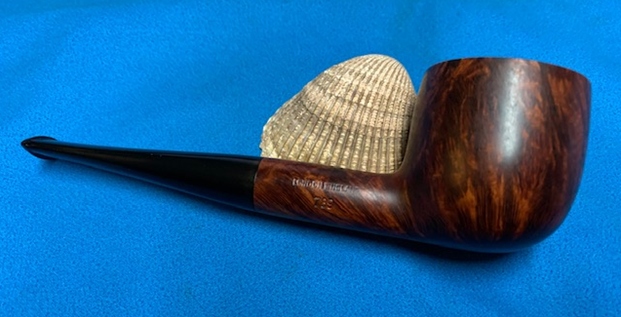
Restoring a GBD Ebony 789 Beautifully Grained Pot


Blog by Steve Laug

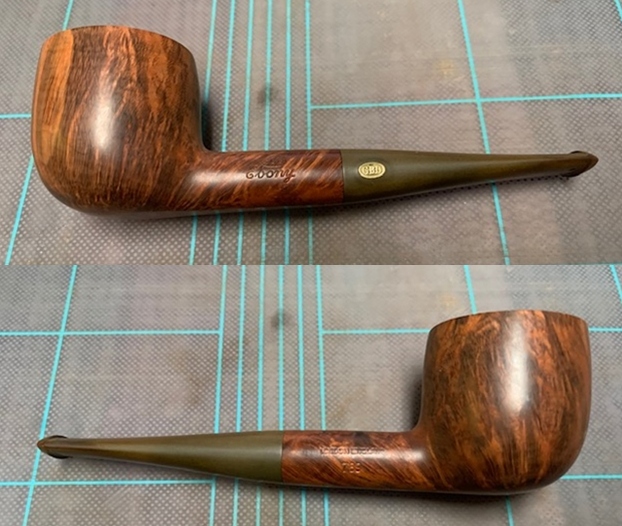
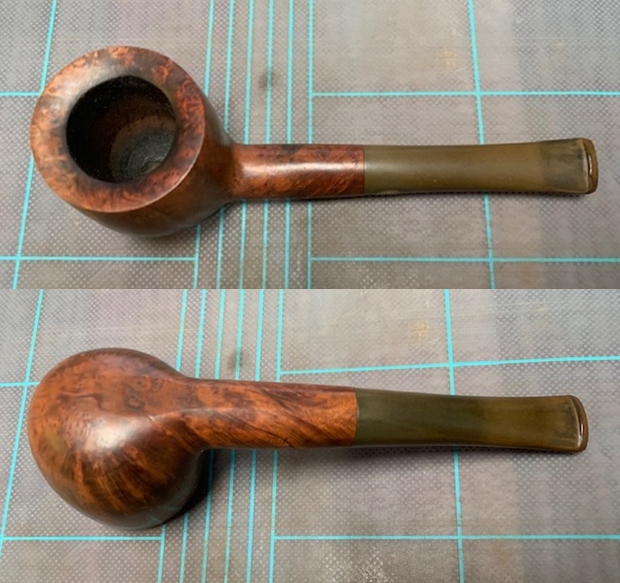
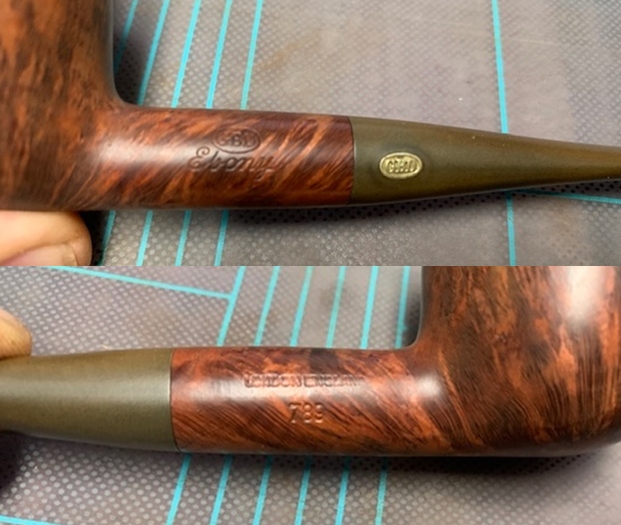
The next pipe on the work table is another one that came to me from the estate of a Vancouver pipe smoker whose widow left them with a local Pipe Shop after he died. I was asked to clean them up and sell them for the shop as it has since closed. This GBD Pot is an interesting looking piece – great grain showing through underneath the grime. There is straight and flame grain around the bowl. The pipe is stamped on the left side and reads GBD in an oval [over] Ebony. On the right side it is stamped London England [over] 789. The finish was dull and lifeless with a lot of grime ground into the briar. The bowl was heavily caked with a lava coat on the top of the rim. It was hard to tell how the inner and outer edge of the rim actually looked until the bowl was reamed. The stem was oxidized, calcified and had tooth chatter and marks on the top and underside near the button. It had promise but it was very dirty. I took some photos of the pipe when I received it. I was curious about the GBD Ebony line. I turned to Pipedia’s GBD Model Information to get a bit of information on the line (https://pipedia.org/wiki/GBD_Model_Information). I have included a screen capture below:I turned to Pipedia’s listing of shape numbers (https://pipedia.org/wiki/GBD_Shapes/Numbers). I have included a screen capture below:The Ebony line was made in England and maybe France. They were stained with light to medium brown stain and muted black undertones. It was listed as appearing in 1976 catalogues with a matte finish with dual tone. Now it is was time to work on the pipe itself.

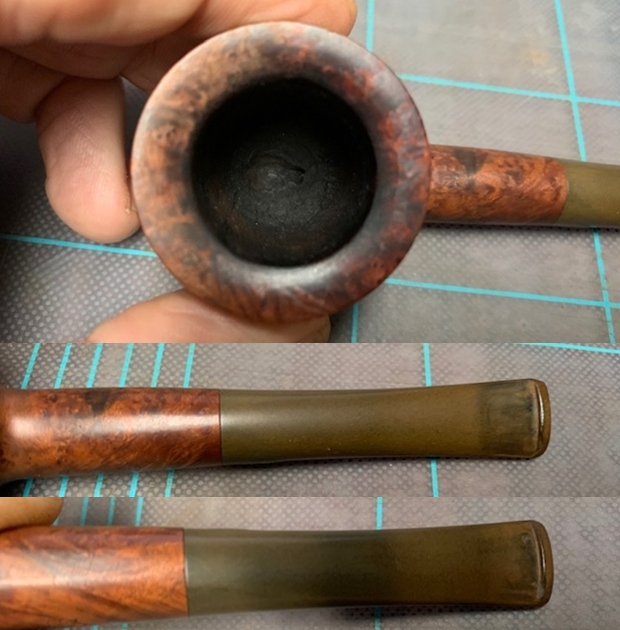
I had sent the batch of pipes from the shop to my brother Jeff in Idaho and he had cleaned them up for me. It was several years ago now that he sent them back to me and I am just now getting to finish them. He reamed them with a Pipnet Reamer and cleaned up the reaming with a Savinelli Fitsall pipe knife.  He had scrubbed the exterior of the bowl with Murphy’s Oil Soap and a tooth brush and rinsed it off with warm water to remove the grime in the rustication. He cleaned the internals of the shank and stem with alcohol, cotton swabs and pipe cleaners to remove the tarry residue and oils in the shank and airway. He soaked the stem in Before & After Deoxidizer to remove the oxidation on the stem surface. When it arrived here on my work table I took photos of the pipe before I started my part of the restoration. The bowl was a definite improvement but the stem still showed a lot of oxidation.   The rim top looked really good. The inner and outer edges were in excellent condition. There was no charring or damage to the top or edges. I was pleased. The stem look good but there was still some heavy oxidation and there were tooth marks and chatter on both sides near the button. The underside was worse than the topside.   I took a photo of the stamping on the sides of the shank. The stamping is clear and readable and reads as noted above. I took the stem off the pipe and took a photo of the parts to show the look of the pipe as a whole.The pipe was in great condition so I moved to polishing the bowl with micromesh sanding pads. I sanded it with 1500-12000 grit pads and wiped it down between each pad with a damp cloth. By the end you can see the shine on the briar.   I rubbed the bowl and shank down with Before & After Restoration Balm. I worked it into the surface of the bowl sides and shank with my fingertips to clean, enliven and protect the briar. I let the balm sit for a little while and then buffed with a cotton cloth to raise the shine. You can see the grain showing through the deep glow.   I “painted” the stem surface with the flame of a Bic lighter. I filled in the remaining tooth marks with black super glue. Once it cured I smoothed out the surface of the repair with a needle file. I sanded out the repair with 220 grit sandpaper to blend it into the surface of the surrounding vulcanite. I started polishing the stem with 400 grit wet dry sandpaper.     I polished the vulcanite stem with micromesh sanding pads – 1500-12000 grit pads. I wiped it down with a damp cloth after each sanding pad. I used Before & After Pipe Polish – both Fine and Extra Fine to further polish the stem.   This GBD Ebony 789 Pot is another great looking pipe that came to me from the local pipe shop estate that I am restoring and selling for them. It has turned out to be a great looking pipe. The medium brown finish and dark highlights makes the grain stand out and works well with the polished vulcanite taper stem. I put the stem back on the bowl and carefully buffed the pipe with Blue Diamond on the buffing wheel using a light touch on the briar. I gave the bowl and the stem multiple coats of carnauba wax on the buffing wheel and followed that by buffing the entire pipe with a clean buffing pad. I hand buffed the pipe with a microfiber cloth to deepen the shine. The finished GBD pot fits nicely in the hand and feels great. Give the finished pipe a look in the photos below. The dimensions of the pipe are Length: 5 ½ inches, Height: 1 ½ inches, Outside diameter of the bowl: 1 ½ inches, Chamber diameter: 7/8 of an inch. If you are interested in adding this pipe to your collection send me a message or an email. I have a variety of brands to work on from the shop. Perhaps one of those will catch your attention. Thanks for reading this blog and my reflections on the pipe while I worked on it. This is an interesting estate to bring back to life.

Restoring a Benson & Hedges Peewit (Acorn) Made in the USA


Blog by Steve Laug

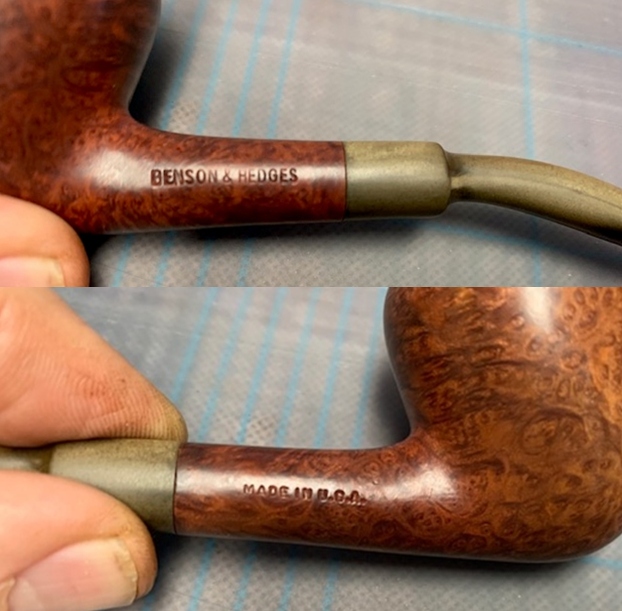
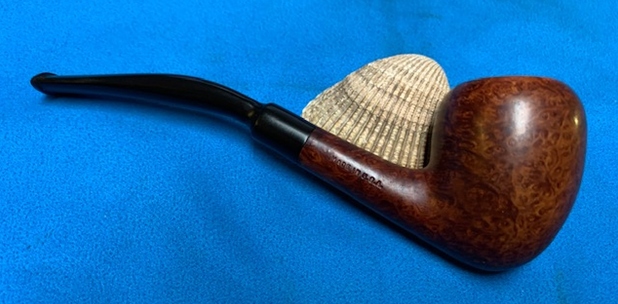
The next pipe on the work table came to me from the estate of a Vancouver pipe smoker whose widow left them with a local Pipe Shop after he died. I was asked to clean them up and sell them for the shop as it has since closed. This American Made Benson & Hedges Peewit is an interesting looking piece – great grain showing through underneath the grime. There is cross grain and birdseye grain around the bowl. The pipe is stamped on the left side and reads Benson & Hedges and on the right side it is stamped Made in U.S.A. The finish was dull and lifeless with a lot of grime ground into the briar. The bowl was heavily caked with a lava coat on the top of the rim. It was hard to tell how the inner and outer edge of the rim actually looked until the bowl was reamed. The stem was oxidized, calcified and had tooth chatter and marks on the top and underside near the button. It had promise but it was very dirty. I took some photos of the pipe when I received it. I was curious about the maker of the pipe so I did some searching. In Who Made that Pipe it says that the pipe is English Made even though this one says Made in USA. In Pipedia says that it was likely made by Comoy for the London Tobacco Company. Then it lists the following stamping “London Made”. http://pipedia.org/wiki/British_Pipe_Brands_%26_Makers_A_-_D There was one other note that Orlik made pipes that were stamped with the Benson and Hedges label. Nowhere in the listings that I could find did anyone mention the stamping on this one: MADE IN U.S.A. Even though many B&H pipes were made in England by noted English Pipe Makers this one is obviously not one of those. I can find no mention of an American Maker for the brand so I guess this is one mystery that I can go no further in unraveling. Now it was time to work on the pipe.

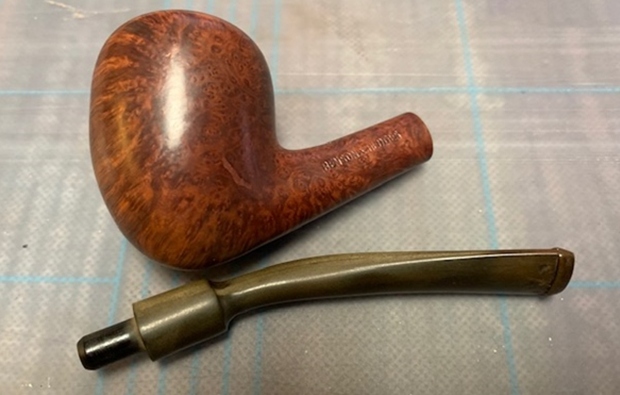
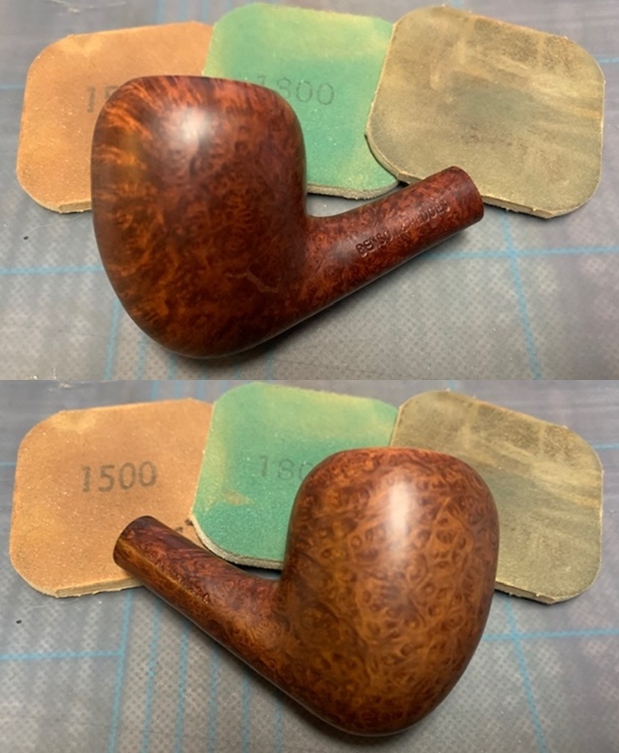
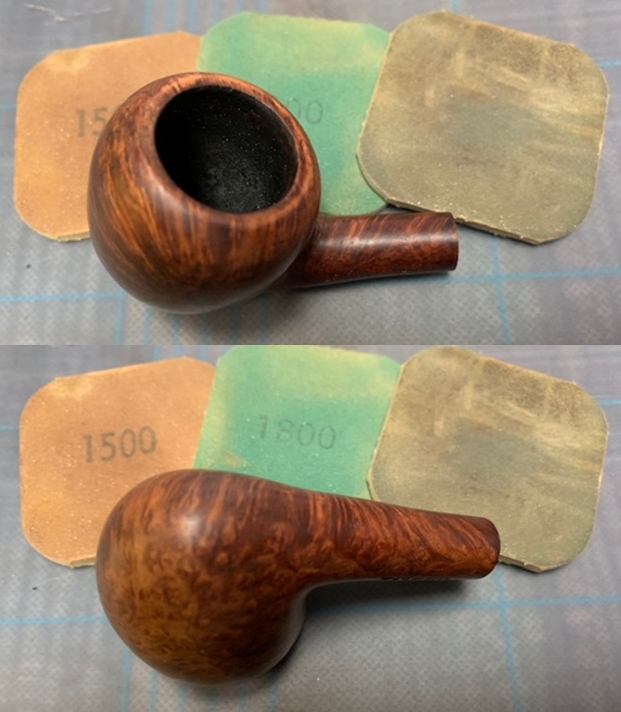
I had sent the batch of pipes from the shop to my brother Jeff in Idaho and he had cleaned them up for me. It was several years ago now that he sent them back to me and I am just now getting to finish them. He reamed them with a Pipnet Reamer and cleaned up the reaming with a Savinelli Fitsall pipe knife.  He had scrubbed the exterior of the bowl with Murphy’s Oil Soap and a tooth brush and rinsed it off with warm water to remove the grime in the rustication. He cleaned the internals of the shank and stem with alcohol, cotton swabs and pipe cleaners to remove the tarry residue and oils in the shank and airway. He soaked the stem in Before & After Deoxidizer to remove the oxidation on the stem surface. When it arrived here on my work table I took photos of the pipe before I started my part of the restoration. The bowl was a definite improvement but the stem still showed a lot of oxidation. The rim top looked really good. The inner and outer edges were in excellent condition. There was no charring or damage to the top or edges. I was pleased. The stem look good but there was still some heavy oxidation and there were tooth marks and chatter on both sides near the button. The underside was worse than the topside.   I took a photo of the stamping on the sides of the shank. The stamping is clear and readable and reads as noted above.   I took the stem off the pipe and took a photo of the parts to show the look of the pipe as a whole.The pipe was in great condition so I moved to polishing the bowl with micromesh sanding pads. I sanded it with 1500-12000 grit pads and wiped it down between each pad with a damp cloth. By the end you can see the shine on the briar. I rubbed the bowl and shank down with Before & After Restoration Balm. I worked it into the surface of the bowl sides and shank with my fingertips to clean, enliven and protect the briar. I let the balm sit for a little while and then buffed with a cotton cloth to raise the shine. You can see the grain showing through the deep glow. I “painted” the stem surface with the flame of a Bic lighter. I filled in the remaining tooth marks with black super glue. Once it cured I smoothed out the surface of the repair with a needle file. I sanded out the repair with 220 grit sandpaper to blend it into the surface of the surrounding vulcanite. I started polishing the stem with 400 grit wet dry sandpaper.      I polished the vulcanite stem with micromesh sanding pads – 1500-12000 grit pads. I wiped it down with a damp cloth after each sanding pad. I used Before & After Pipe Polish – both Fine and Extra Fine to further polish the stem.       This Benson & Hedges Peewit made in USA is nice Danish looking pipe that came to me from the local pipe shop estate that I am restoring and selling for them. It has turned out to be a great looking pipe. The medium brown finish highlights the grain and works well with the polished vulcanite saddle stem. I put the stem back on the bowl and carefully buffed the pipe with Blue Diamond on the buffing wheel using a light touch on the briar. I gave the bowl and the stem multiple coats of carnauba wax on the buffing wheel and followed that by buffing the entire pipe with a clean buffing pad. I hand buffed the pipe with a microfiber cloth to deepen the shine. The finished Peewit fits nicely in the hand and feels great. Give the finished pipe a look in the photos below. The dimensions of the pipe are Length: 6 inches, Height: 2 inches, Outside diameter of the bowl: 1 ¼ inches, Chamber diameter: ¾ of an inch. If you are interested in adding this pipe to your collection send me a message or an email. I have a variety of brands to work on from the shop. Perhaps one of those will catch your attention. Thanks for reading this blog and my reflections on the pipe while I worked on it. This is an interesting estate to bring back to life.

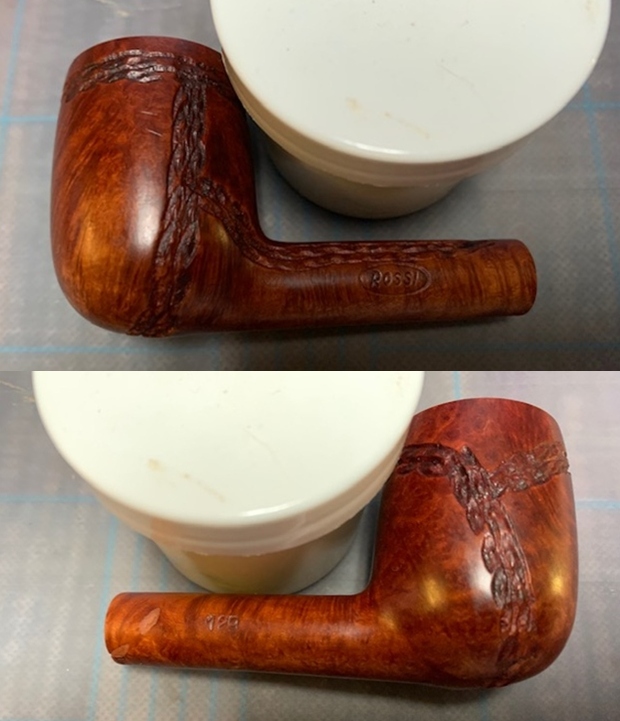
Restoring a Rossi 129 Rope Rusticated Lovat


Blog by Steve Laug

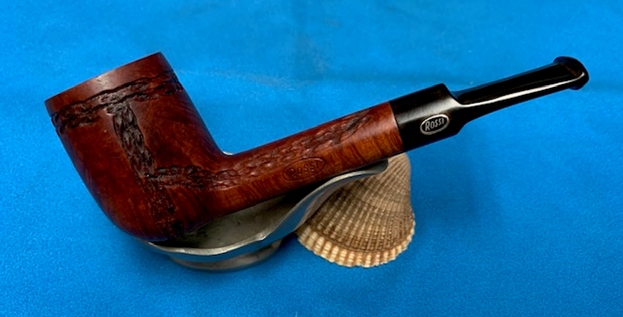
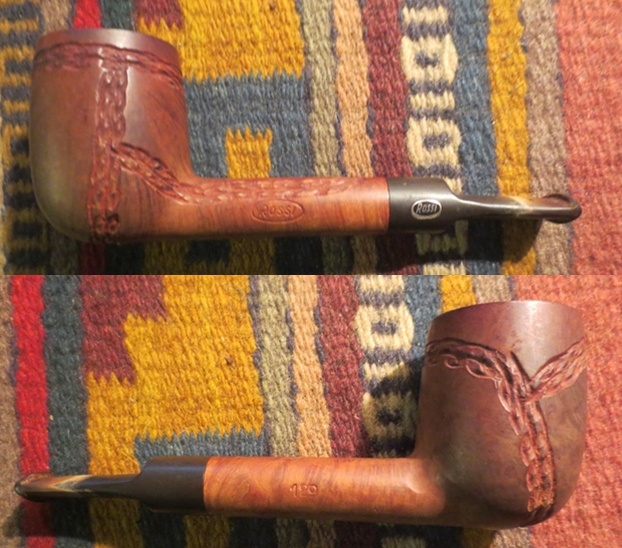
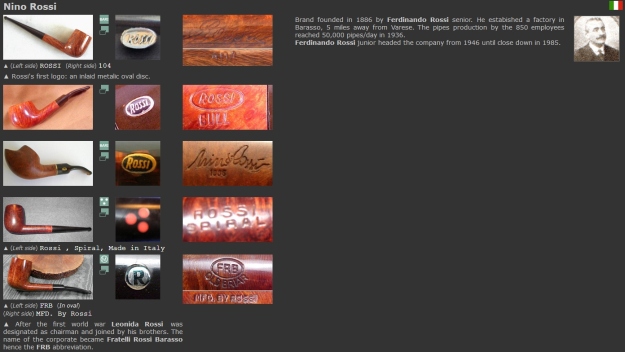
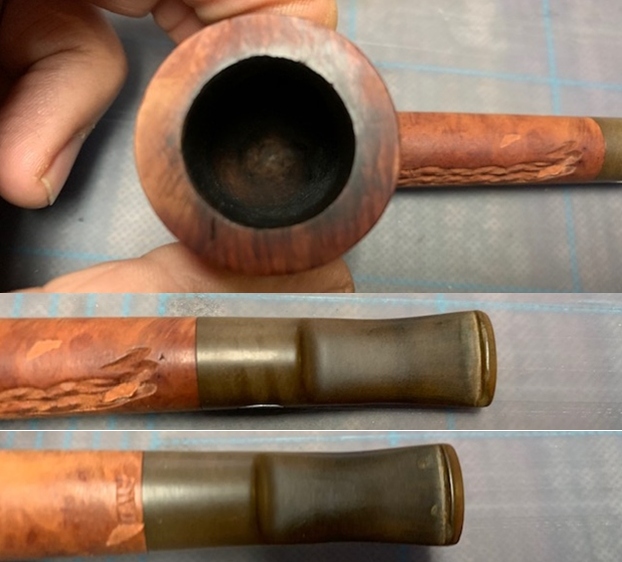
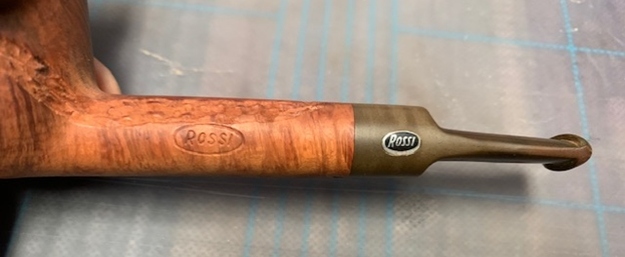
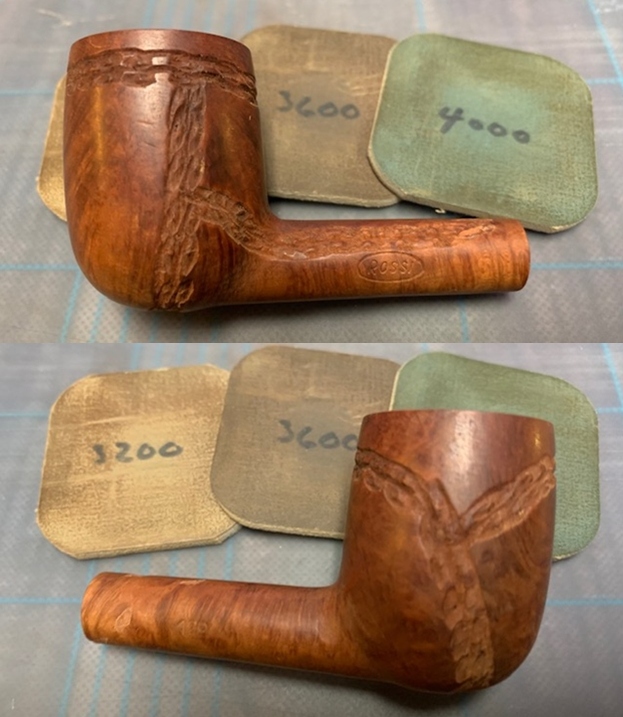
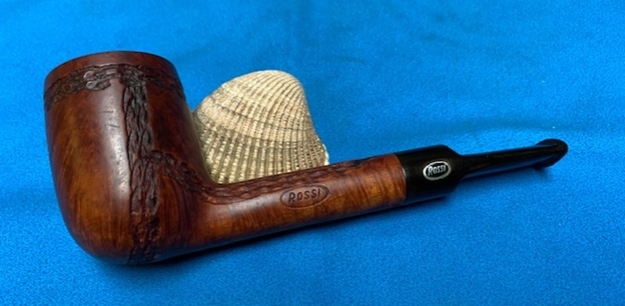
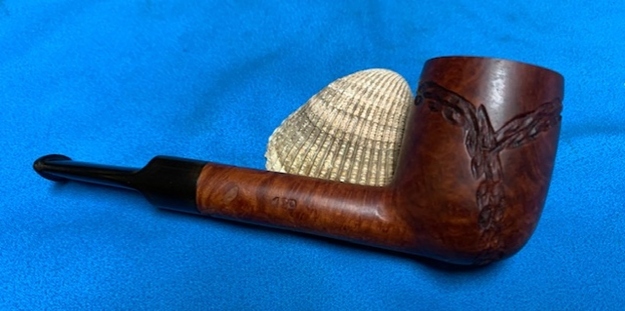
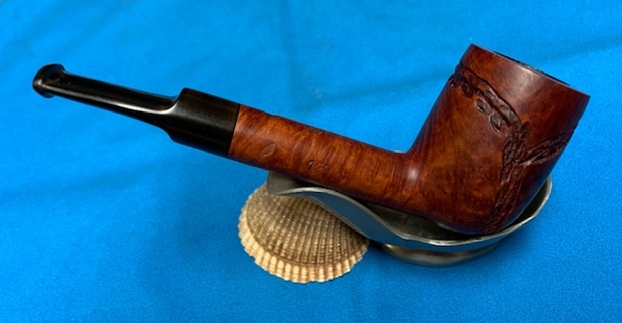
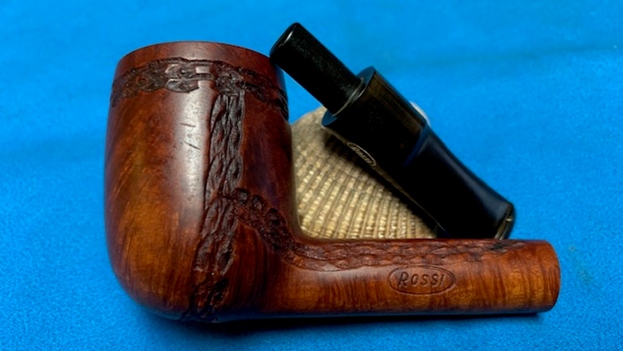
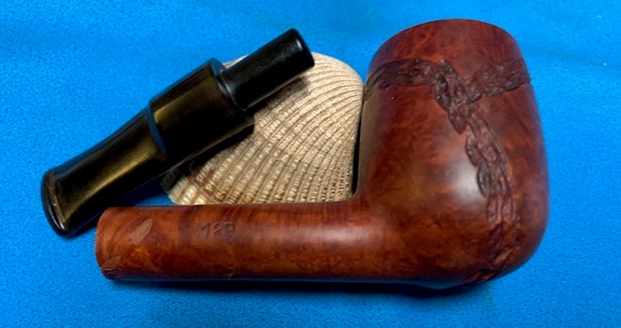
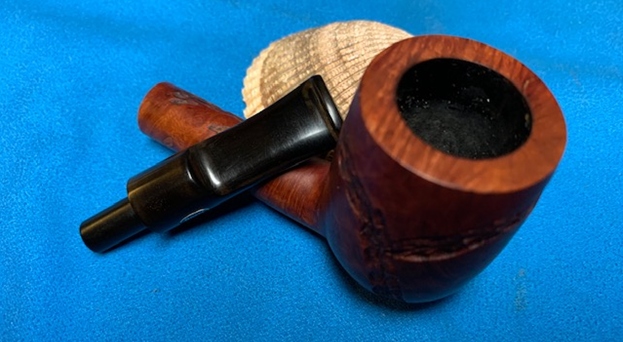
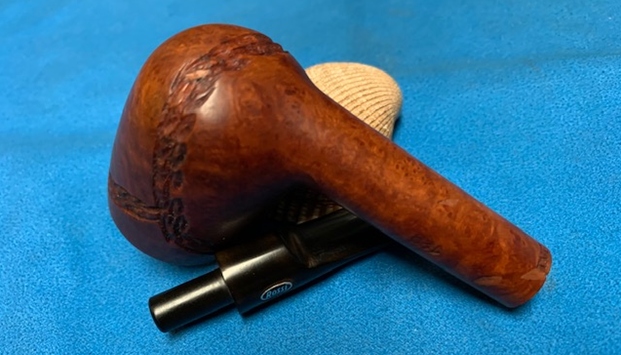
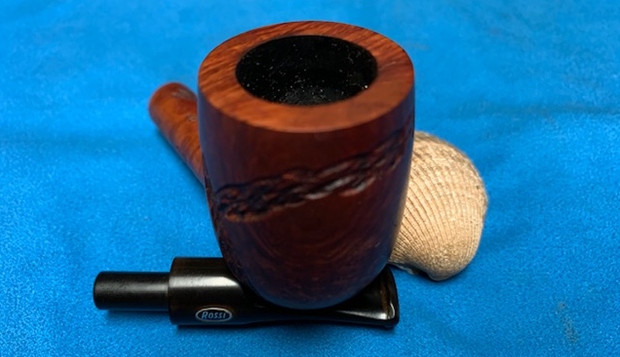
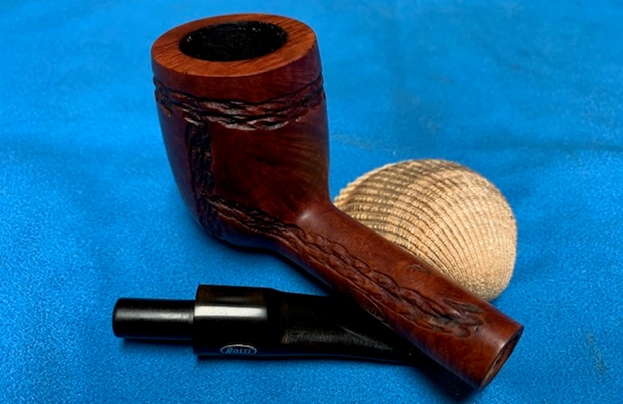
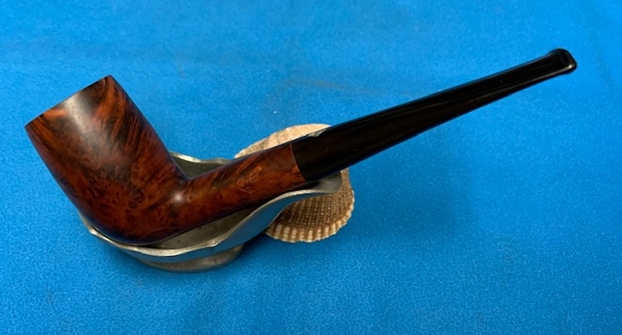
The next pipe on the work table came to me from the estate of a Vancouver pipe smoker whose widow left them with local Pipe Shop after he died. I was asked to clean them up and sell them for the shop as it has since closed. This Italian Made Rossi 129 Lovat is an interesting looking piece – a rope like rustication with the grain showing through underneath and a smooth rim top. The pipe is stamped on the left side and reads Rossi in an oval and on the right side it has the shape number 129. On the underside of the shank at the stem/shank junction it was stamped Italy. The finish was dull and lifeless with a lot of grime ground into the briar. The bowl was heavily caked with a lava coat on the top of the rim. It was hard to tell how the inner and outer edge of the rim actually looked until the bowl was reamed. The rustication around the bowl was filled in with dust and debris. There were quite a few fills on the shank top and underside. The stem was oxidized, calcified and had tooth chatter and marks on the top and underside near the button. It had promise but it was very dirty. I took some photos of the pipe when I received it. I turned to Pipephil’s site (http://www.pipephil.eu/logos/en/logo-n1.html#ninorossi) to see what I could find out about the brand. I found a photo and listing for the brand I was working on. The following screen capture shows the stamping that is the same as the one I am working on.I turned to Pipedia (https://pipedia.org/wiki/Rossi) and read the section on the rough outline on history of the brand. It is a great read. Take time to have a look at it if you are interested. I am including a section of the article that helps with dating the pipes.

From, approximatively, Twenties, Rossi pipes were marked with “FRB” (Fratelli Rossi Barasso) or “MFRB” (Manifattura Fratelli Rossi Barasso), into an oval and above “OLD BRIAR” (or similar – sometimes, there was also “MFD. BY ROSSI”, as “Manufactured by Rossi”); on the stem, there was generally the “R” letter in circle. However, “FRB OLD BRIAR” was mantained for the “traditional pipes” (for cheap models – see below), surely, to Sixties.

From, approximatively, the fiftieth anniverary (1936), pipes were marked with “Rossi” (in cursive font), with model name just under it; on the stem, there was “ROSSI” (for expensive models like “extra”, which had the best quality; “racine”, which was rusticated by hand; “extra grain”, which was accurately sandblasted; “super”, which had the best briar selection, and a limited production; “fiamma”, which was the best selection of Sardinia and Greece briar, and a very limited production) or “R” in circle (for unexpensive models like “standard”, “grana” and “FRB”).

From, approximatively, Seventies, until 1985, Rossi pipes were marked with “ROSSI”, into an oval (sometimes there was also “ITALY” on the shank); on the stem, there was “ROSSI”. In these years, appeared the signature “Nino Rossi” (in cursive font): he was the last heir of the factory.

When Savinelli took back the production, it is said that first pipes had a twinbore mouthpiece, with “ROSSI” on the stem, and they were marked with “ROSSI” on the shank. Today most of them had 6 mm or 9 mm adapter (also, for the most part, the stem was made by methacrylate, always with “Rossi” on the side).

I think that this places the pipe in the 1970-1985 period as it is stamped Rossi in an oval and has the stamping Italy on the underside of the shank. Now it was time to work on the pipe.

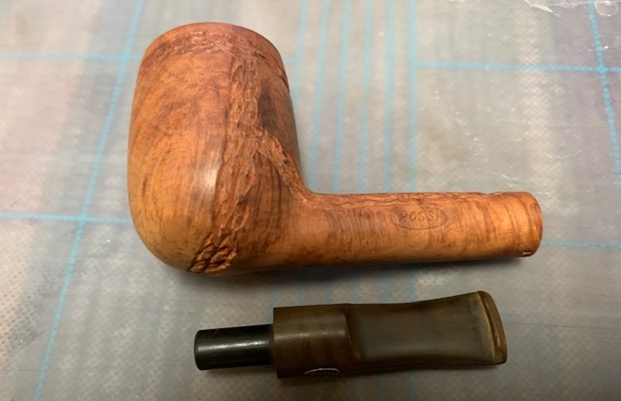
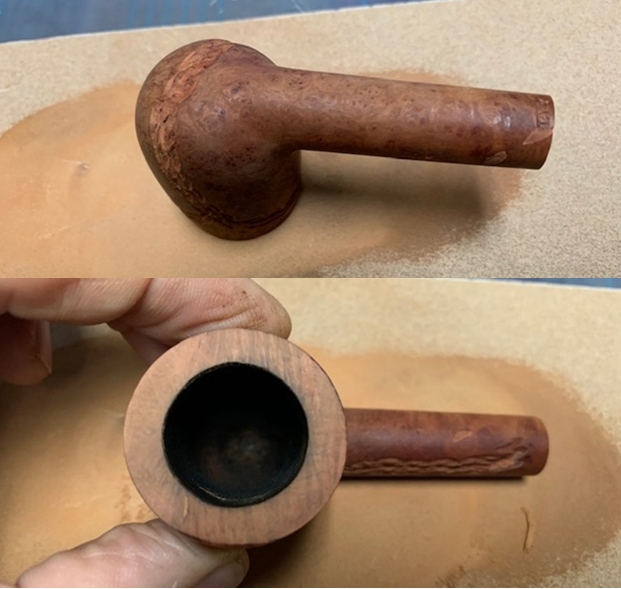
I had sent the batch of pipes from the shop to my brother Jeff in Idaho and he had cleaned them up for me. It was several years ago now that he sent them back to me and I am just now getting to finish them. He reamed them with a Pipnet Reamer and cleaned up the reaming with a Savinelli Fitsall pipe knife.  He had scrubbed the exterior of the bowl with Murphy’s Oil Soap and a tooth brush and rinsed it off with warm water to remove the grime in the rustication. He cleaned the internals of the shank and stem with alcohol, cotton swabs and pipe cleaners to remove the tarry residue and oils in the shank and airway. He soaked the stem in Before & After Deoxidizer to remove the oxidation on the stem surface. When it arrived here on my work table I took photos of the pipe before I started my part of the restoration.   The rim top looked far better but there was some darkening on the surface as well as a flaw in the briar on the left front. The inner edge of the rim was damaged and showed some nicks and cuts. The stem look good but there was some heavy oxidation and there were tooth marks and chatter on both sides near the button. The underside was worse than the topside.   I took a photo of the stamping on the left side of the shank. I forgot to take photos of the shank number on the right side of the shank and the underside as well. The stamping is clear and readable and reads as noted above.I took the stem off the pipe and took a photo of the parts to show the look of the pipe as a whole.I topped the bowl on a topping board with 220 grit sandpaper and then worked on the inner edge of the rim with a folded piece of 220 grit sandpaper to give it a slight bevel. Once it is finished the rim top and edge looks much better.   I filled in the flaw in the rim top with clear super glue. I topped it again once the glue had cured to smooth it out. The rim top looks very good.   I polished the newly topped rim and the bowl with micromesh sanding pads. I sanded it with 1500-12000 grit pads and wiped it down between each pad with a damp cloth. By the end you can see the shine on the briar.     I rubbed the bowl and shank down with Before & After Restoration Balm. I worked it into the surface of the bowl sides and shank with my fingertips and a horse hair shoe brush to clean, enliven and protect the briar. I let the balm sit for a little while and then buffed with a cotton cloth to raise the shine. You can see the underlying grain begin to show through the rustication. I filled in the remaining tooth mark with black super glue. Once it cured I smoothed out the surface of the repair with a needle file. (I forgot to take photos of the filing but I did it before I sanded it with 220 grit sandpaper.)    I sanded out the repair with 220 grit sandpaper to blend it into the surface of the surrounding vulcanite. I started polishing the stem with 400 grit wet dry sandpaper.   I polished the vulcanite stem with micromesh sanding pads – 1500-12000 grit pads. I wiped it down with a damp cloth after each sanding pad. I used Before & After Pipe Polish – both Fine and Extra Fine to further polish the stem.     This Rossi 129 Rope Rusticated Lovat, an Italian made pipe from the local pipe shop estate that I am restoring and selling for them. It has turned out to be a great looking pipe. The rope rustication on the medium brown finish is in excellent condition and works well with the polished vulcanite saddle stem. I put the stem back on the bowl and carefully buffed the pipe with Blue Diamond on the buffing wheel using a light touch on the briar. I gave the bowl and the stem multiple coats of carnauba wax on the buffing wheel and followed that by buffing the entire pipe with a clean buffing pad. I hand buffed the pipe with a microfiber cloth to deepen the shine. The finished Rossi Lovat fits nicely in the hand and feels great. Give the finished pipe a look in the photos below. The dimensions of the pipe are Length: 5 inches, Height: 1 ¾ inches, Outside diameter of the bowl: 1 ¼ inches, Chamber diameter: ¾ of an inch. If you are interested in adding this pipe to your collection send me a message or an email. I have a variety of brands to work on from the shop. Perhaps one of those will catch your attention. Thanks for reading this blog and my reflections on the pipe while I worked on it. This is an interesting estate to bring back to life.

Restoring a Tall BBB Silver Grain 264 Stack


Blog by Steve Laug

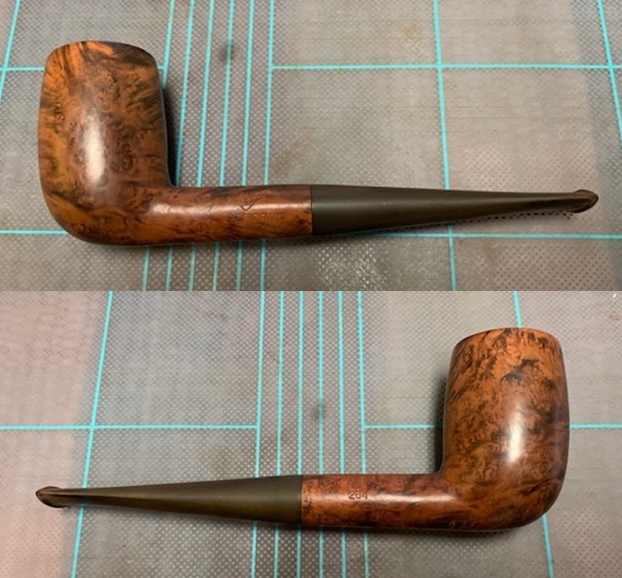
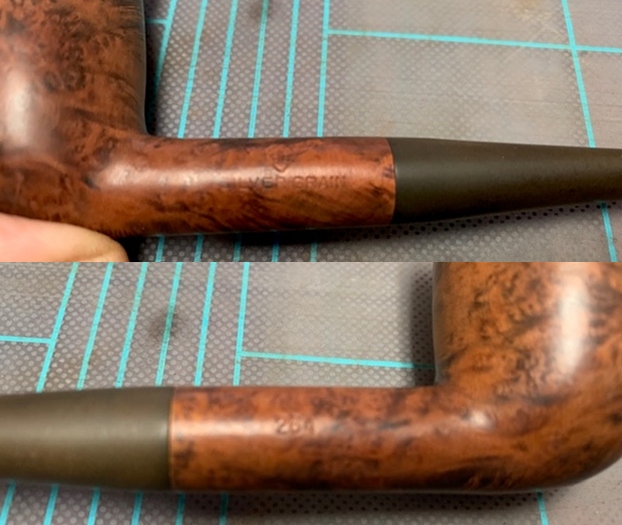
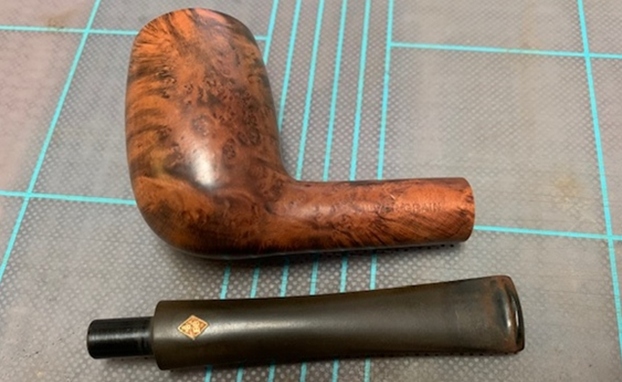
The next pipe on the work table came to me from the estate of a Vancouver pipe smoker whose widow left them with a local Pipe Shop after he died. I was asked to clean them up and sell them for the shop as it has since closed. This is another English pipe – a BBB Silver Grain Stack. It is a smooth finished pipe with some interesting grain – cross grain and mixed grains. The pipe is stamped on the left side and reads BBB [over] Silver Grain and on the right side it is stamped London, England [over] the shape number 264. The bowl has a thick and heavy cake with a thick lava coat on the top of the rim. It was hard to tell how the inner and outer edge of the rim actually looked until the bowl was reamed. The smooth finish had years of dust and debris ground into it around the bowl. The stem was oxidized, calcified and had tooth chatter and marks on the top and underside near the button. There was a brass BBB Diamond on the topside of the stem that was oxidized and dirty. The tall stack had promise but it was very dirty. I took some photos of the pipe to show what it looked like when I received it.  I had sent the batch of pipes from the shop to my brother Jeff in Idaho and he had cleaned them up for me. It was several years ago now that he sent them back to me and I am just now getting to finish them. He reamed them with a Pipnet Reamer and cleaned up the reaming with a Savinelli Fitsall pipe knife.  He had scrubbed the exterior of the bowl with Murphy’s Oil Soap and a tooth brush and rinsed it off with warm water to remove the grime in the rustication. He cleaned the internals of the shank and stem with alcohol, cotton swabs and pipe cleaners to remove the tarry residue and oils in the shank and airway. He soaked the stem in Before & After Deoxidizer to remove the oxidation on the stem surface. When it arrived here on my work table I took photos of the pipe before I started my part of the restoration.    The rim top looked far better but there was some darkening on the surface as well as some scratches. The inner edge of the rim looked very good other than a flaw on the back right inner edge. The stem look good but there was some heavy oxidation and there were light tooth marks and chatter on both sides near the button.   I took a photo of the stamping on the sides of the shank. The stamping is faint but still readable and reads as noted above.     I took the stem off the pipe and took a photo of the parts to show the stinger apparatus and the look of the pipe as a whole.I topped the bowl on a topping board with 220 grit sandpaper and then worked on the inner edge of the rim with a folded piece of 220 grit sandpaper to give it a slight bevel. Once it is finished the rim top and edge looks much better.   I polished the newly topped rim with micromesh sanding pads. I sanded it with 1500-12000 grit pads and wiped it down between each pad with a damp cloth. By the end you can see the shine on the rim surface.    I rubbed the bowl and shank down with Before & After Restoration Balm. I worked it into the surface of the bowl sides and shank with my fingertips and a horse hair shoe brush to clean, enliven and protect the briar. I let the balm sit for a little while and then buffed with a cotton cloth to raise the shine. You can see the underlying grain begin to show through the rustication.    I “painted” the surface of the stem and button with the flame of a lighter to raise the bite marks. The process worked very well and lifted all of the marks on the top side and there was a slight dip along the button on the top side and two remaining marks left on the underside.    I filled in the remaining tooth marks with black super glue. Once it cured I smoothed out the surface of the repair with a needle file.  I sanded out the repair with 220 grit sandpaper to blend it into the surface of the surrounding vulcanite. I started polishing the stem with 400 grit wet dry sandpaper.   I polished the vulcanite stem with micromesh sanding pads – 1500-12000 grit pads. I wiped it down with a damp cloth after each sanding pad. I used Before & After Pipe Polish – both Fine and Extra Fine to further polish the stem.      This beautiful BBB Silver Grain 264 Stack, an English made pipe from the local pipe shop estate that I am restoring and selling for them is a great looking pipe. The smooth medium brown finish on the pipe is in excellent condition and works well with the polished vulcanite taper stem. I put the stem back on the bowl and carefully buffed the pipe with Blue Diamond on the buffing wheel using a light touch on the briar. I gave the bowl and the stem multiple coats of carnauba wax on the buffing wheel and followed that by buffing the entire pipe with a clean buffing pad. I hand buffed the pipe with a microfiber cloth to deepen the shine. The finished BBB Silver Grain Stack fits nicely in the hand and feels great. Give the finished pipe a look in the photos below. The dimensions of the pipe are Length: 5 ½ inches, Height: 2 inches, Outside diameter of the bowl: 1 1/8 inches, Chamber diameter: ¾ of an inch. If you are interested in adding this pipe to your collection send me a message or an email. I have a variety of brands to work on from the shop. Perhaps one of those will catch your attention. Thanks for reading this blog and my reflections on the pipe while I worked on it. This is an interesting estate to bring back to life.


Restoring another Kaywoodie Rustica 80B Billiard


Blog by Steve Laug

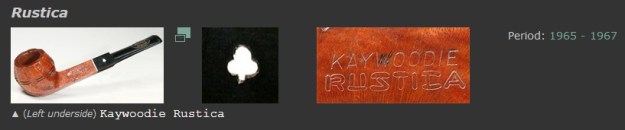
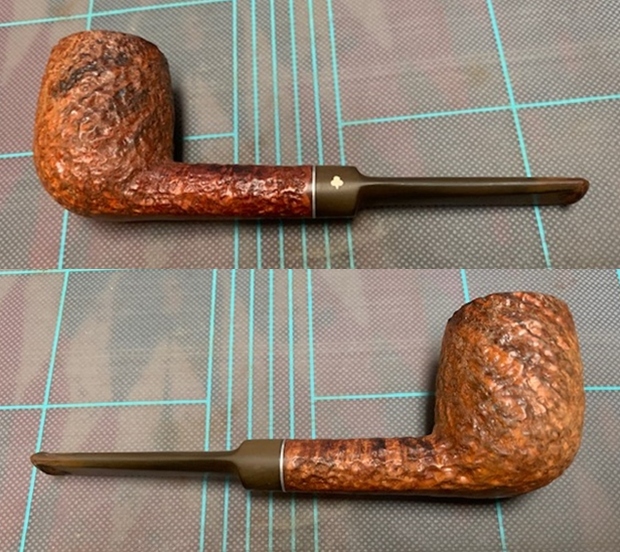
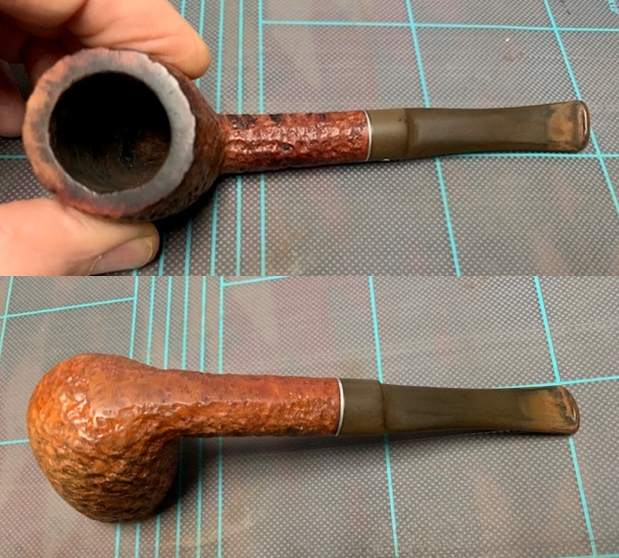
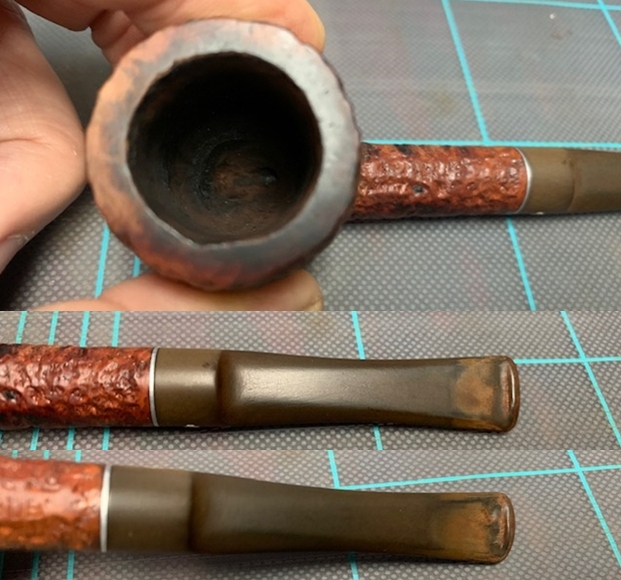
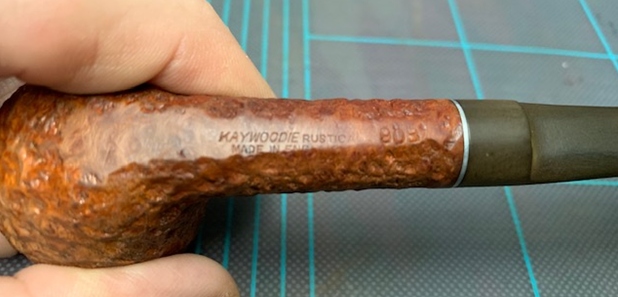
The next pipe on the work table came to me from the estate of a Vancouver pipe smoker whose widow left them with a local Pipe Shop after he died. I was asked to clean them up and sell them for the shop as it has since closed. This English made Kaywoodie Rustica Billiard is an interesting looking piece – a deep rustication with the grain showing through underneath and a smooth rim top. The pipe is stamped on the underside and reads Kaywoodie  Rustica [over] Made in England followed by the shape number 80B. The bowl was heavily caked with a lava coat on the top of the rim. It was hard to tell how the inner and outer edge of the rim actually looked until the bowl was reamed. The rustication around the bowl was filled in with dust and debris. The stem had tooth chatter and marks on the top and underside near the button. The tenon was threaded and had a three hole stinger that was intact. It had promise but it was very dirty. I took some photos of the pipe when I received it. It seems like lately all the Kaywoodie pipes that I have been working on have been English made. I have also worked on several English made Rustica pipes as well so I went back to the previous research I did on the brand and quote that.

On Pipedia I found just a short line in the Kaywoodie write up that referenced the London office. It read; “By 1938 Kaywoodie had opened an office in London to meet worldwide demand. Kaywoodie of London was jointly owned with another famous pipemaker, Comoy’s of London.”

On Dad’s Pipes (https://dadspipes.com/2016/01/24/smartening-up-an-english-kaywoodie-standard/) I found that Charles Lemon had done some research as well: There’s not much information out there about English-made Kaywoodies. Production started in about 1938 as a joint venture between Kaywoodie USA and Comoy’s of London. This relationship lasted until the early 1970’s when Comoy bought out its partner. According to Pipedia, Comoy continues to produce a few pipes marked as Kaywoodie. My guess is that this particular English Kaywoodie dates from the 1960’s.

On Pipephil’s site (http://www.pipephil.eu/logos/en/logo-kaywoodie-notus.html) I found a photo and listing for the brand I was working on. The following screen capture shows the stamping that is the same as the one I am working on.I turned to Pipedia (https://pipedia.org/wiki/Kaywoodie) and read the section on the rough outline on the history of the brand that links the brand with the English section of the company. I quote:

Again, demand for KBB pipes and especially Kaywoodie prompted another move for both the manufacturing facilities and the corporate offices. In 1930 the corporate office moved into the Empire State Building on Fifth Avenue in New York. By 1935, the manufacturing operations moved from Union City to 6400 Broadway in West New York, New Jersey which, at the time, was touted as the largest pipe making facility in the world. At the height of production, there were 500 employees producing up to 10,000 pipes per day.

The corporate offices were relocated in 1936 to the International Building, Rockefeller Center, 630 Fifth Avenue, New York. The invitation to visit the new office reads, “Kaywoodie is now on display at the world’s most famous address – Rockefeller Center. Here Kaywoodie takes its place among the leaders of industry and commerce.” The move to Rockefeller Center coincided with The Kaywoodie Company’s emergence as a subsidiary of KBB. All of the pipes manufactured by KBB including the Yello-Bole line were also on display here. By 1938 Kaywoodie had opened an office in London to meet worldwide demand. Kaywoodie of London was jointly owned with another famous pipemaker, Comoy’s of London.

From there I turned to a link on the article to a section called Guide to Kaywoodie Pipes (https://pipedia.org/wiki/Collector%27s_Guide_to_Kaywoodie_Pipes#NOTES_ON_.22OTHER.E2.80.9D_KAYWOODIE_PIPES).

English Kaywoodies. All of the catalogs reviewed in this research contained the following copyright notification: Printed in U.S.A., Kaufmann Bros. and Bondy, Inc., New York and London. Kaywoodie Pipe cases and smoker’s accessories were also marked with “New York and London”. The catalogs, however, do not present any information concerning Kaywoodie’s London operations, or how the English Kaywoodies might have differed from those manufactured and marketed in the U.S. Lowndes notes that he has several English Kaywoodies acquired in Vaduz and Zurich. English Kaywoodies are now made by Oppenheimer pipes. Lowndes notes that English Kaywoodies with the “screw-in bit” come in Ruby Grain, Custom Grain, Standard, and Relief Grain grades. The traditional push-bit models come in Continental Plain and Relief, London Made, Minaret, Air-way Polished No. 707, and Lightweight grades. Prices in 1985 ranged from 9.50 (pounds) to 26.00 (pounds). Lowndes notes that the Super Star was a special edition English Kaywoodie made of finest briar with a handmade silver band. Lowndes has two: one from Zurich with a large white-outlined logo, and beautifully cased; and one in walnut finish with the black-­in-white logo. A recent catalog shows the Super Star without a band and the ordinary small white logo. A 1985 letter from Oppenheimer states that the black-in-white logo has been discontinued and only the regular white logo is now used.

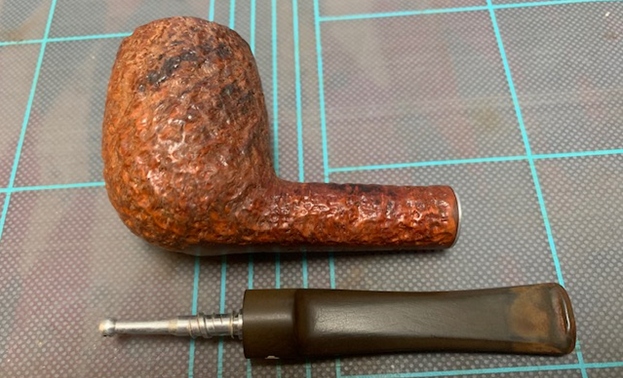
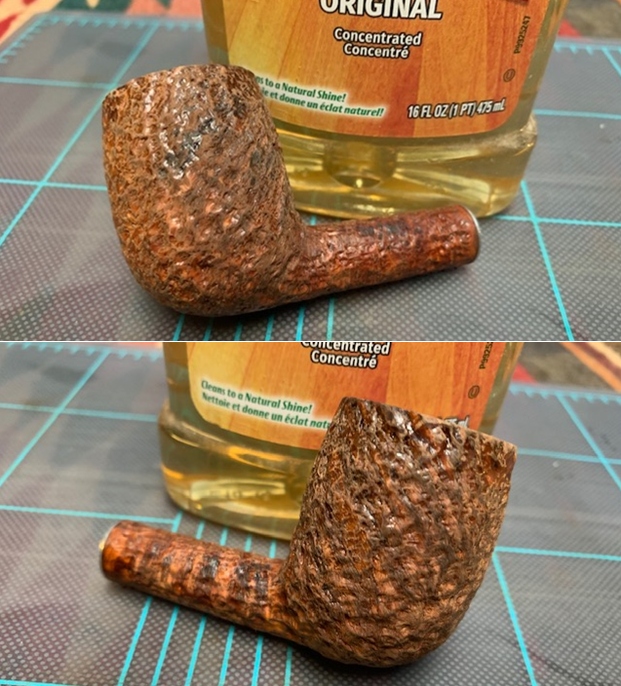
I had sent the batch of pipes from the shop to my brother Jeff in Idaho and he had cleaned them up for me. It was several years ago now that he sent them back to me and I am just now getting to finish them. He reamed them with a Pipnet Reamer and cleaned up the reaming with a Savinelli Fitsall pipe knife.  He had scrubbed the exterior of the bowl with Murphy’s Oil Soap and a tooth brush and rinsed it off with warm water to remove the grime in the rustication. He cleaned the internals of the shank and stem with alcohol, cotton swabs and pipe cleaners to remove the tarry residue and oils in the shank and airway. He soaked the stem in Before & After Deoxidizer to remove the oxidation on the stem surface. When it arrived here on my work table I took photos of the pipe before I started my part of the restoration.  The rim top looked far better but there was some darkening on the surface as well as some scratches. The inner edge of the rim was out of round and showed some nicks and cuts. The stem look good but there was some heavy oxidation and there were tooth marks and chatter on both sides near the button. The underside was worse than the topside.  I took a photo of the stamping on the underside of the shank. The stamping is clear and readable and reads as noted above.I took the stem off the pipe and took a photo of the parts to show the stinger apparatus and the look of the pipe as a whole.Because the pipe had been sitting for a couple of years I scrubbed the externals again with Murphy’s Oil Soap and a tooth brush to remove the dust on the surface of the rustication. I rinsed the pipe off with warm water and dried it off with a cloth.   I topped the bowl on a topping board with 220 grit sandpaper and then worked on the inner edge of the rim with a folded piece of 220 grit sandpaper to give it a slight bevel. Once it is finished the rim top and edge looks much better.   I polished the newly topped rim with micromesh sanding pads. I sanded it with 1500-12000 grit pads and wiped it down between each pad with a damp cloth. By the end you can see the shine on the rim surface.    I rubbed the bowl and shank down with Before & After Restoration Balm. I worked it into the surface of the bowl sides and shank with my fingertips and a horse hair shoe brush to clean, enliven and protect the briar. I let the balm sit for a little while and then buffed with a cotton cloth to raise the shine. You can see the underlying grain begin to show through the rustication.  I “painted” the surface of the stem and button with the flame of a lighter to raise the bite marks. The process worked very well and lifted all of the marks on the top side and there was only one left on the underside.I filled in the remaining tooth mark with black super glue. Once it cured I smoothed out the surface of the repair with a needle file.  I sanded out the repair with 220 grit sandpaper to blend it into the surface of the surrounding vulcanite. I started polishing the stem with 400 grit wet dry sandpaper. I polished the vulcanite stem with micromesh sanding pads – 1500-12000 grit pads. I wiped it down with a damp cloth after each sanding pad. I used Before & After Pipe Polish – both Fine and Extra Fine to further polish the stem. This Kaywoodie Rustica 80B English Saddle Stem Billiard, an English made pipe from the local pipe shop estate that I am restoring and selling for them. It has turned out to be a great looking pipe. The rusticated medium brown finish on the pipe is in excellent condition and works well with the polished vulcanite saddle stem. I put the stem back on the bowl and carefully buffed the pipe with Blue Diamond on the buffing wheel using a light touch on the briar. I gave the bowl multiple coats of Conservator’s Wax and the stem multiple coats of carnauba wax on the buffing wheel and followed that by buffing the entire pipe with a clean buffing pad. I hand buffed the pipe with a microfiber cloth to deepen the shine. The finished Kaywoodie Rustica Billiard fits nicely in the hand and feels great. Give the finished pipe a look in the photos below. The dimensions of the pipe are Length: 5 ½ inches, Height: 1 ¾ inches, Outside diameter of the bowl: 1 ¼ inches, Chamber diameter: ¾ of an inch. If you are interested in adding this pipe to your collection send me a message or an email. I have a variety of brands to work on from the shop. Perhaps one of those will catch your attention. Thanks for reading this blog and my reflections on the pipe while I worked on it. This is an interesting estate to bring back to life.

New Life for an Ornsby System Pipe – the Ongoing Hunt for a Cooler Smoke.


Blog by Steve Laug

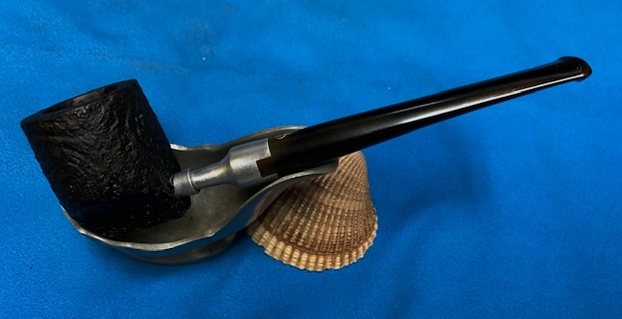
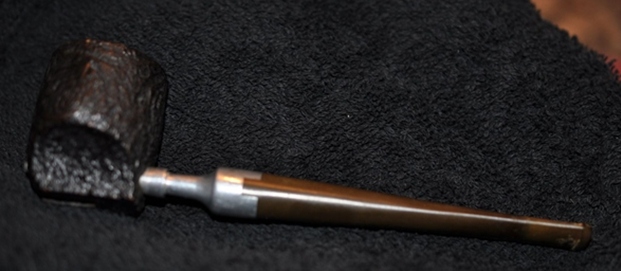
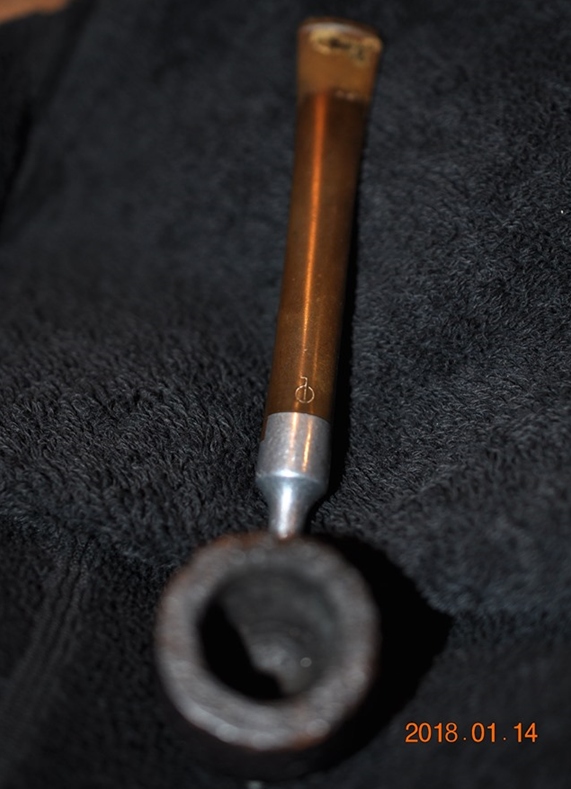
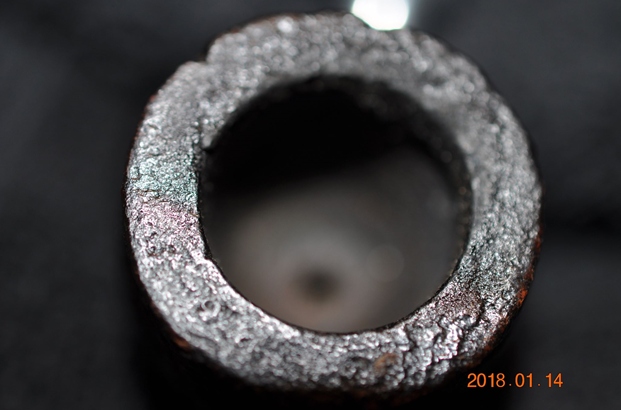
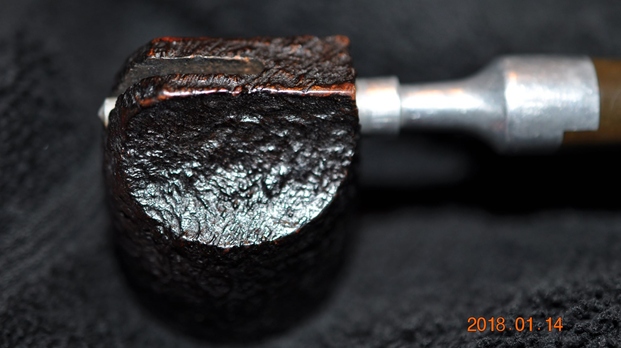
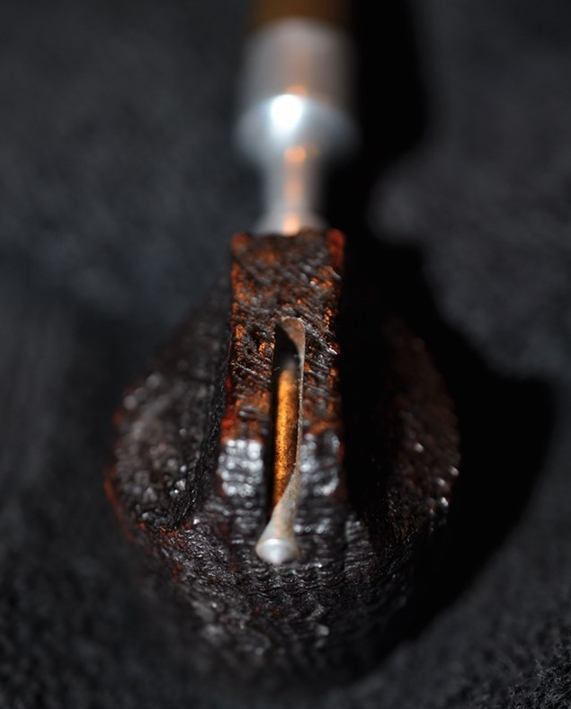
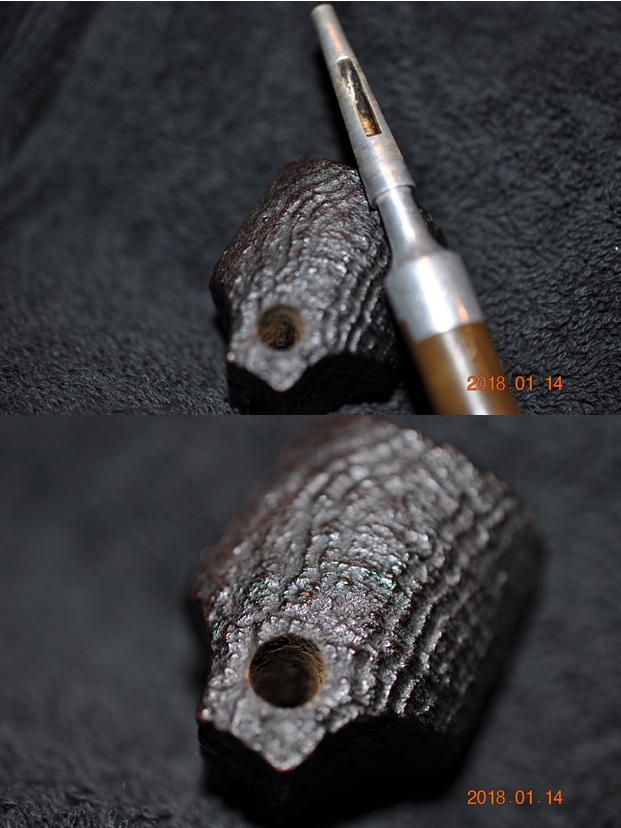
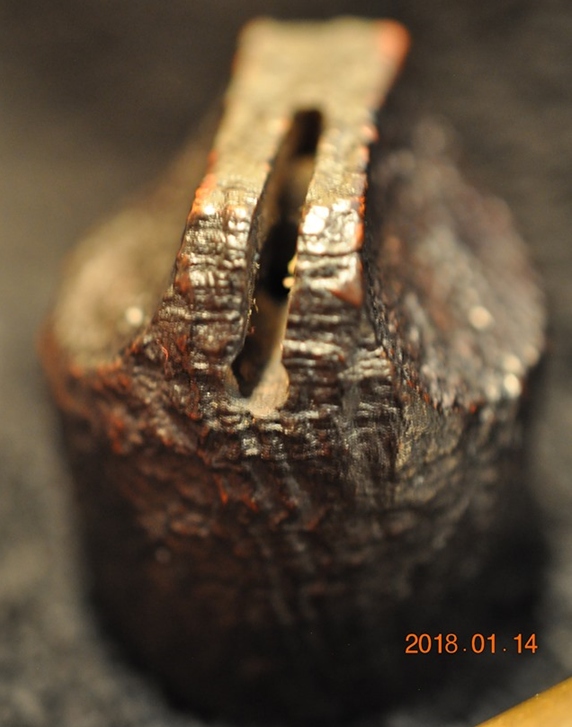
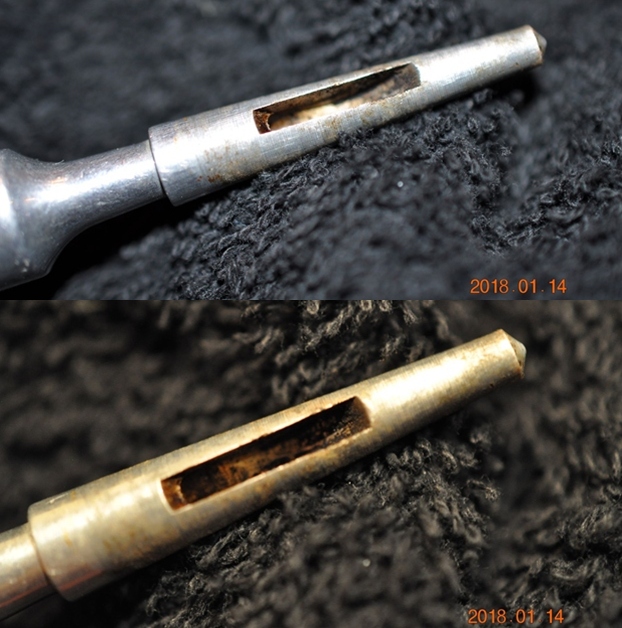
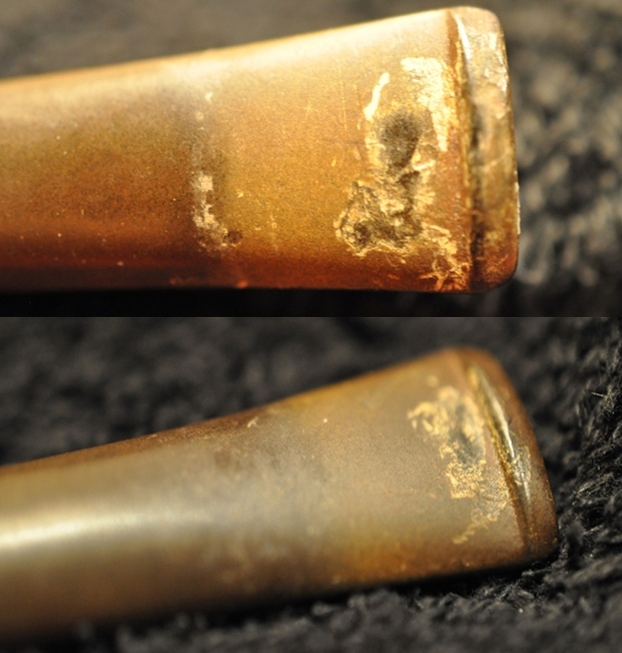
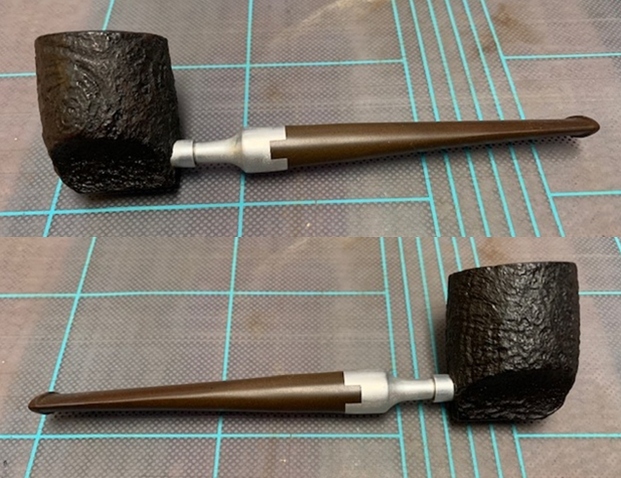
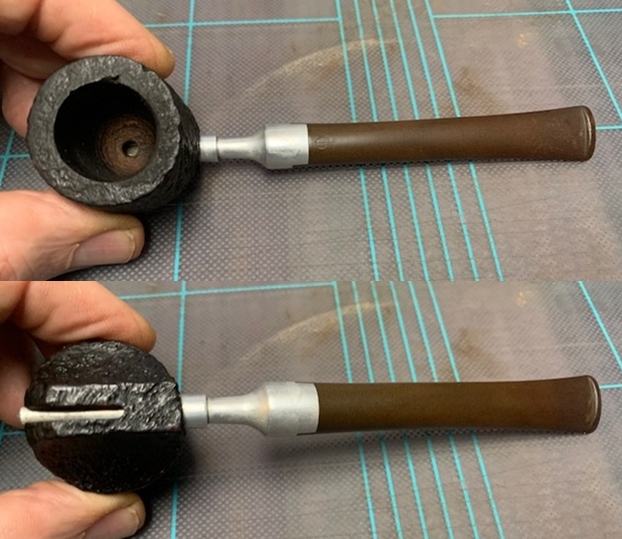
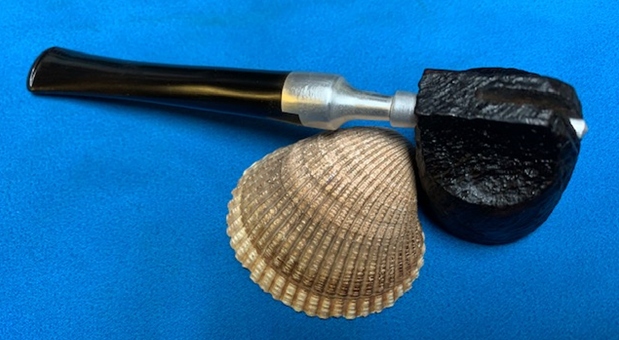
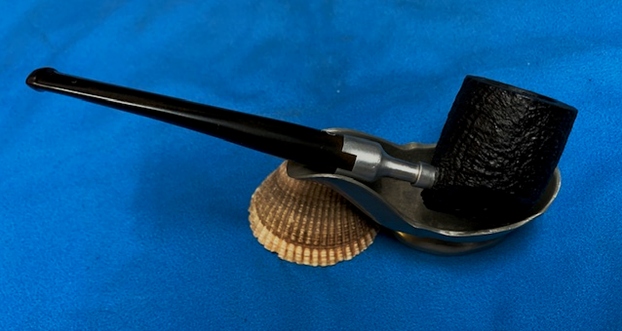
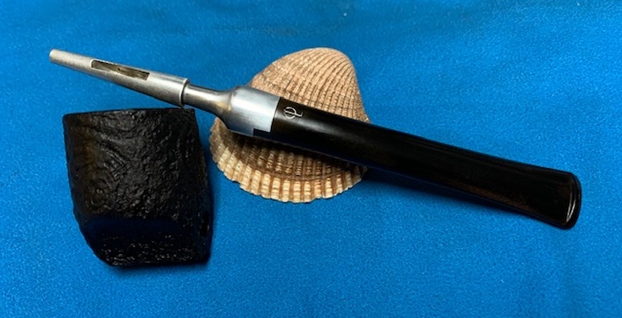
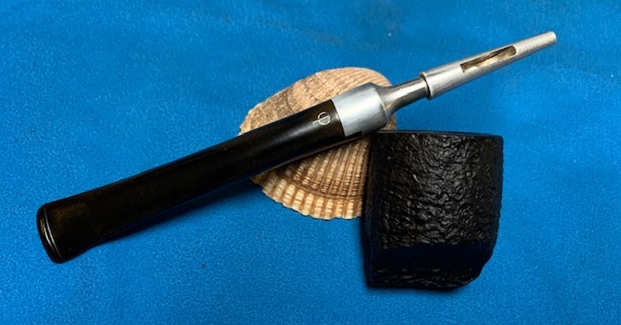
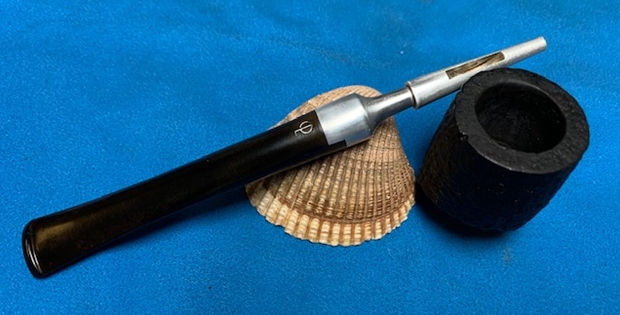
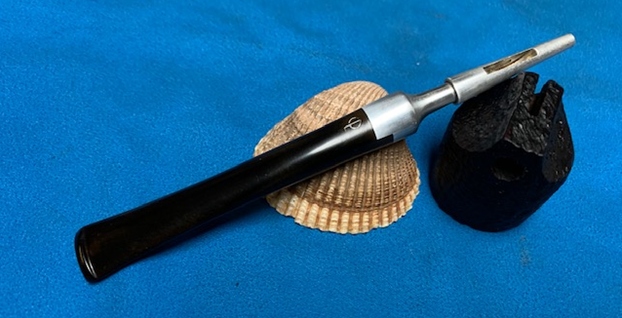
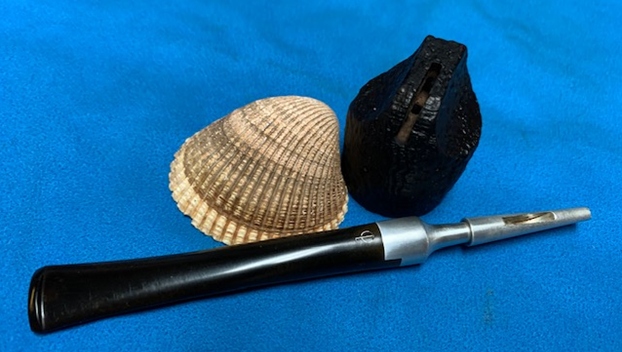
After reading Paresh’s blog on his restoration of an Ornsby pipe I decided to work on the one I have in my queue. While his was a smooth finished bowl mine is a very nice black sandblast finished pipe. I had it in my box here since 2018 so it was about time to work on it. The pipe is a uniquely designed system pipe with a spear like stem that inserts into the base of the bowl. The finish is a rugged sandblast that shows some around the sides of the bowl and rim. The carver did a great job utilizing the block of briar to maximize the grain. There was a thick cake in the bowl and lava overflow that fills in the sandblast rim top. The exterior of the briar was dusty with grime ground into the briar. The vulcanite taper stem and metal insert is a single unit. There is an interlocked OP on the top of the stem just behind the metal portion. The stem is lightly oxidized and has light tooth marks and chatter on both sides. The stem was in good condition under the grime. Jeff took the photos below to tell the story and give a glimpse of the pipe before his cleanup. The exterior of the pipe was very dirty – grime and grit ground in from years of use and sitting. The rim top was covered with grime and there was a coat of lava that overflowed the bowl. There was a thick, hard cake in the bowl.Jeff took photos of the sides and the heel of the bowl to give a better feel for the condition of the bowl.  He took photos of the bowl and stem taken apart. The sandblast finish is rugged and looks great under the grime in the sandblast. The second photo below shows the hole in the back side of the base. The third photo shows the slot on the heel of the bowl with a hole in the bottom of the bowl.   The next two photos show the spear like stem end with a slot that matches the hole in the bottom of the bowl. You can see the tars and oils in the slot and on the aluminum end.    The next photo shows the stamping on the topside of the stem and it is very readable. It reads as noted above.    The stem was dirty and oxidized and had tooth chatter and marks on both sides ahead of the button.      When I read Paresh’s blog on the Ornsby pipe that he worked on I remembered that I had one of them in my “to do” box. I went looking for the pipe and once I found it decided to work on it. I reread Paresh’s interesting blog for the background information that he had found on the brand. https://rebornpipes.com/2020/06/17/a-difficult-to-identify-but-simple-restoration-of-ornsby-pipe/ I quote the information below.

Lack of Maker’s stampings and COM stamp made research of this pipe very difficult. There was no point visiting rebornpipes.com as I did not have any name to search for. Similarly, visiting pipedia.org would not help as I did not have COM stamp to follow. Finally I turned to pipephil.eu and searched the Logos with a geometrical pattern and Logos with miscellaneous symbols sections. Again I came up with nothing matching the stem logo on the pipe in front of me. As a last resort, I just typed “pictures of unusual tobacco pipes” in to the Google search bar and there before me were a plethora of pictures. As I was scrolling through these images, after a couple of hours, I finally found a picture that was an exact replica of the pipe on my work table. A click on to this image took me to the site smokingmetals.co.uk. Here is the link to the web page; http://www.smokingmetal.co.uk/pipe.php?page=106.

From the read I understood that this design was a part of the piper’s eternal quest for a cool and dry smoke. I reproduce a part of the information that should provide the readers with an insight in to the designer of the pipe and the Company that manufactured these pipes.

Invented by Chief Marine Officer, William Edward Ornsby in an attempt to create a cooler smoke and a dry bowl. Marketed by the Ornsby Pipe Company Ltd, Pennywell, Sunderland, Tyne & Wear, England, predominately in the North of England, this pipe is virtually a stem direct to bowl.

The push fit stem/bit can be rotated to clear any shreds of tobacco that may be blocking the airway. A half turn of the stem will cut any trapped leaf in the airway and a quick blow will eject the offending particle. As the centre photo shows, the metal part of the stem goes right through the bowl. The packaging was also unusual in that it was a tube.

The pipe came with two choices of stem, straight or curved and there was a choice of six bowls: Natural, Brown Sandblast, Black Sandblast, Smooth Mahogany Finish, Deep Cut Horizontal Carved or the Deep Cut Vertical Carved.

Overall length 5 3/4 inches (146 m/m)

My thanks to Richard Adamek for the following:

“ORNSBY PIPE COMPANY LIMITED At an Extraordinary General Meeting of the Members of the above-named Company, duly convened, and held at 7 Benton Terrace, Sandyford Road, Newcastle-upon-Tyne, on 27th October 1980, the following Extraordinary Resolution was duly passed:

“That it has been proved to the satisfaction of this Meeting that the Company cannot, by reason of its liabilities, continue its business, and that it is advisable to wind up the same, and accordingly that the Company be wound up voluntarily and that Brian Leslie Wilson, of Wilson Johnson, 7 Benton Terrace, Sandyford Road, Newcastle-upon-Tyne, be and he is hereby nominated Liquidator for the purposes of the winding-up.”

(803) Brian Dobinson, Director”

Richard also found the patent number… US patent 242261 of 1976

Thus from the above, it is now established that the pipe that I am dealing with is an ORNSBY with a Natural smooth finish and a straight vulcanite stem. The pipe was awarded a US Patent in 1976 and the company was liquidated in 1980. This places the pipe in between the period from 1970s to 1980 making it 40 plus years old!!
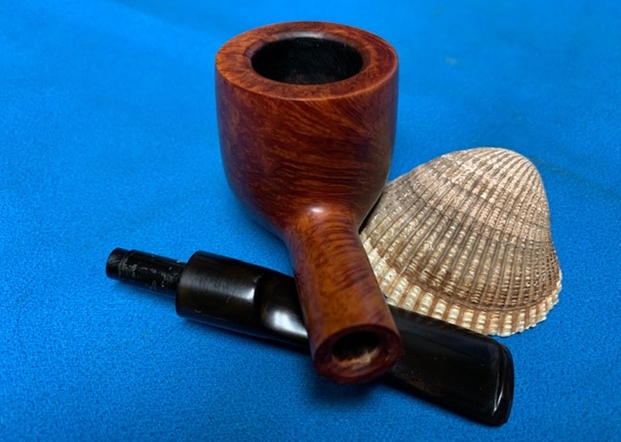
Jeff cleaned the pipe with his usual penchant for thoroughness that I really appreciate. Once he finished he shipped it back to me. He reamed it with a PipNet pipe reamer and cleaned up the reaming with a Savinelli Fitsall Pipe Knife. He scrubbed out the internals with alcohol, pipe cleaners and cotton swabs until the pipe was clean. He scrubbed the exterior of the bowl with Murphy’s Oil Soap and a tooth brush to remove the grime and grit on the briar and the lava on the rim top. The finish looks very good with good looking grain around the bowl and shank. Jeff soaked the stem in Before & After Deoxidizer to remove the oxidation on the rubber. When the pipe arrived here in Vancouver for the second stop of its restoration tour it looked a lot better. I took photos before I started my part of the work.    I took some close up photos of the rim top and also of the stem surface. I wanted to show what cleaned bowl and rim top looked like. The rim top and edges are in excellent condition. There is one deep nick that could well be a sandblast. I also took close up photos of the stem to show the light tooth marks on the stem surface.   I removed the stem for the shank and took a photo of the bowl and stem to give a picture of what it looked like. You can see scratches in the stem surface.   Now, on to my part of the restoration of this Ornsby System pipe. I decided to start by rubbing the bowl down with Before & After Restoration Balm. I worked it into the surface of the bowl sides and shank with my fingertips to clean, enliven and protect it. I let the balm sit for a little while and then buffed with a cotton cloth to raise the shine. I set the bowl aside and turned my attention to the stem. I filled in the remaining tooth mark with clear super glue. Once it cured I smoothed out the surface of the repair with a needle file.  I sanded out the repair with 220 grit sandpaper to blend it into the surface of the surrounding vulcanite. I started polishing the stem with 400 grit wet dry sandpaper.   I decided to touch up the OP stamp on the top of the stem using Papermate Liquid Paper. Once the repair cured I scraped it off with a tooth pick and the white remained in the stamp. It looks very good at this point.     I polished the vulcanite with micromesh sanding pads – 1500-12000 grit pads. I wiped it down with a damp cloth after each sanding pad. I used Before & After Pipe Polish – both Fine and Extra Fine to further polish the stem.    This Ornsby System pipe is a beauty and it cleaned up very well. The finish on the pipe is in excellent condition and works well with the polished aluminum and vulcanite saddle stem. I buffed the bowl and the spear like stem with Blue Diamond on the buffing wheel using a light touch on the briar. I gave the bowl and stem multiple coats of carnauba wax on the buffing wheel and followed that by buffing the entire pipe with a clean buffing pad. I hand buffed the pipe with a microfiber cloth to deepen the shine. The finished Ornsby pipe is a great looking pipe that looks almost new. The flow of the sandblast around the bowl and the shape contribute to beautiful look of this pipe. It fits nicely in the hand and feels great. Give the finished pipe a look in the photos below. The dimensions of the pipe are Length: 5 ½ inches, Height: 1 ½ inches, Outside diameter of the bowl: 1 ¼ inches, Chamber diameter: ¾ of an inch. This pipe will be added to my own collection of pipes from the “ongoing hunt for the perfect smoke”. I look forward to enjoying it. Thanks for reading this blog and my reflections on the pipe while I worked on it. This was an interesting estate to bring back to life.