Blog by Steve Laug
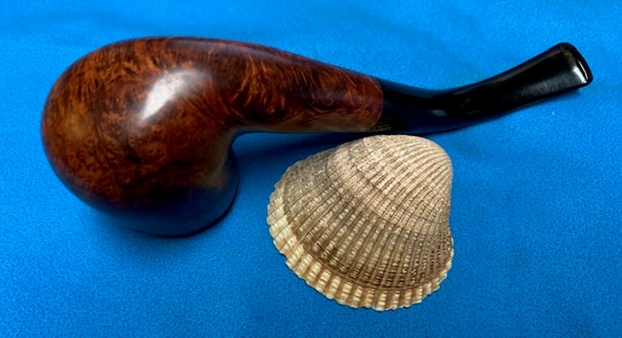
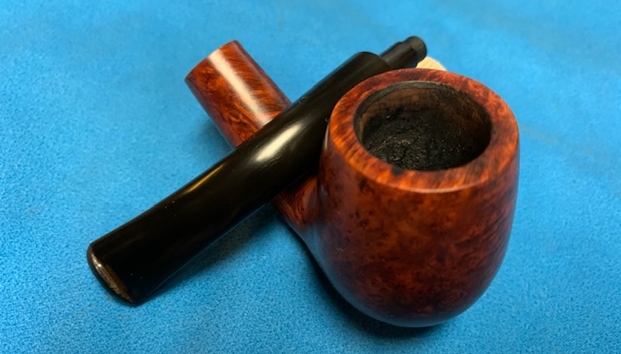
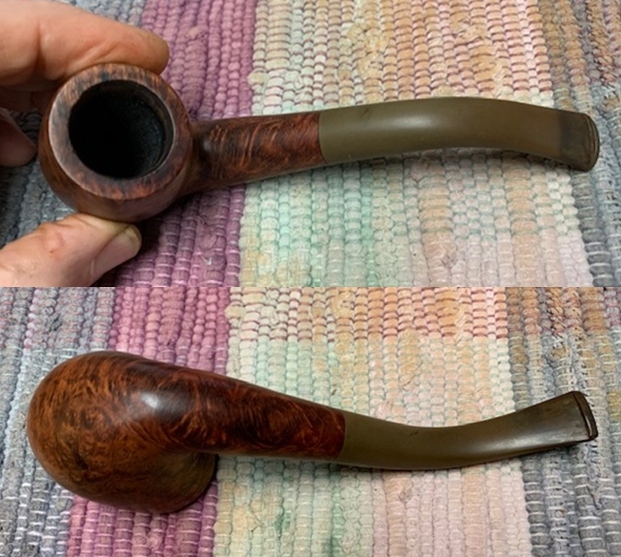
 The next pipe on the work table came to me from the estate of a Vancouver pipe smoker whose widow left them with a local Pipe Shop after he died. I was asked to clean them up and sell them for the shop as it has since closed. This is another interesting looking piece – great grain showing through underneath the grime. There is cross grain and birdseye grain around the bowl. The pipe is stamped on the left side and reads Hardcastle’s [over] British Made [over] Jack O’London. On the underside of the shank it is stamped with the number 85. The finish was dull and lifeless with a lot of grime ground into the briar. The bowl was heavily caked with a lava coat on the top of the rim. It was hard to tell how the inner and outer edge of the rim actually looked until the bowl was reamed. The stem was oxidized, calcified and had tooth chatter and marks on the top and underside near the button. It had promise but it was very dirty. I took some photos of the pipe when I received it.
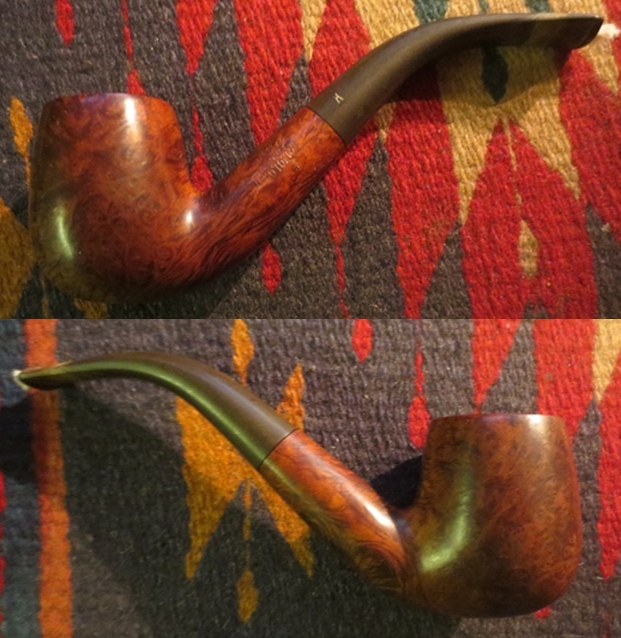
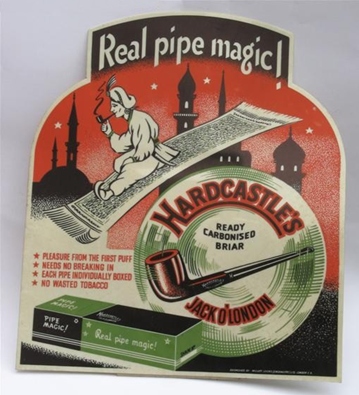
 I was curious about the particular line of Hardcastle’s pipes that I was working on. I wanted some more information on the Hardcastle’s Jack O’London line so I did some searching on Pipephil (http://www.pipephil.eu/logos/en/logo-hardcastle.html). I including the following screen capture below.
 I turned to Pipedia (https://pipedia.org/wiki/Hardcastle) to try to gather more information on the line. The quote below links it to the Family Period of Hardcastle’s.
Models & Grades – Family Period
Straight Grain, Supergrain, Leweard, Nut Bruyere, De Luxe, Royal Windsor Sandhewn, Royal Crown, The Crown, Phito Dental, Old Bruyere, Jack O’London, Dental Briar, Phito, Dental, Dryconomy, Drawel, Phithu, Telebirar, Camden, Lightweight, The Table, Dovetail, Dental, Crescent Extra, Lonsdale, Welard De Luxe
That could make sense as there is a Henry Birks and Sons Ltd. in Vancouver. Since the pipe came through a Vancouver based pipe shop there could be a connection. It is one of those mysteries that I am not sure will be solved.
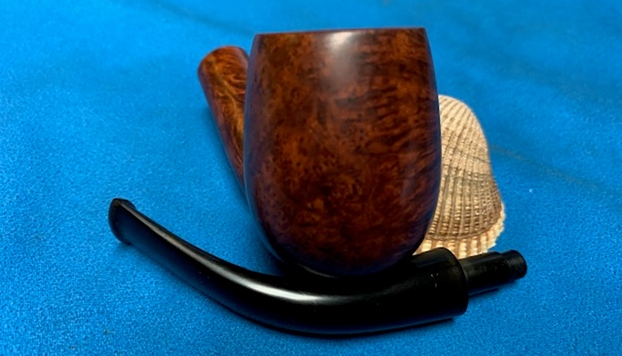
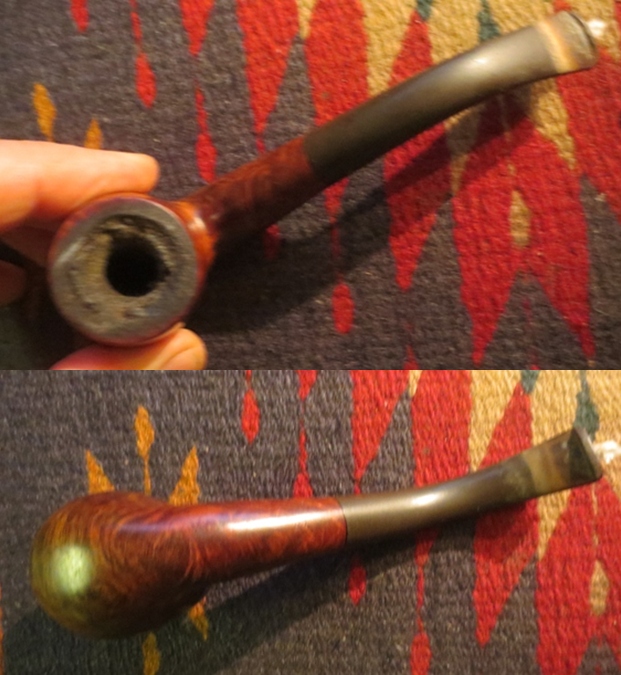
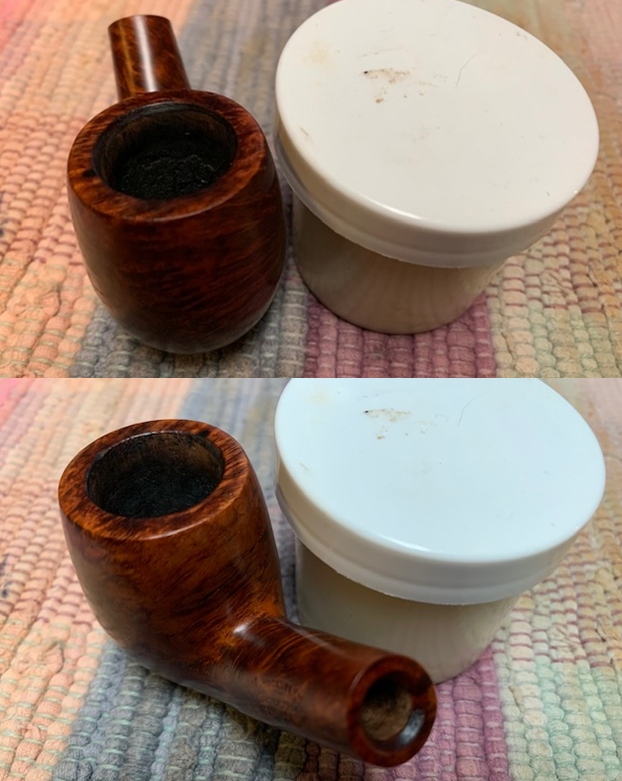
I had sent the batch of pipes from the shop to my brother Jeff in Idaho and he had cleaned them up for me. It was several years ago now that he sent them back to me and I am just now getting to finish them. He reamed them with a Pipnet Reamer and cleaned up the reaming with a Savinelli Fitsall pipe knife. He had scrubbed the exterior of the bowl with Murphy’s Oil Soap and a tooth brush and rinsed it off with warm water to remove the grime in the rustication. He cleaned the internals of the shank and stem with alcohol, cotton swabs and pipe cleaners to remove the tarry residue and oils in the shank and airway. He soaked the stem in Before & After Deoxidizer to remove the oxidation on the stem surface. When it arrived here on my work table I took photos of the pipe before I started my part of the restoration. The bowl was a definite improvement but the stem still showed some oxidation. 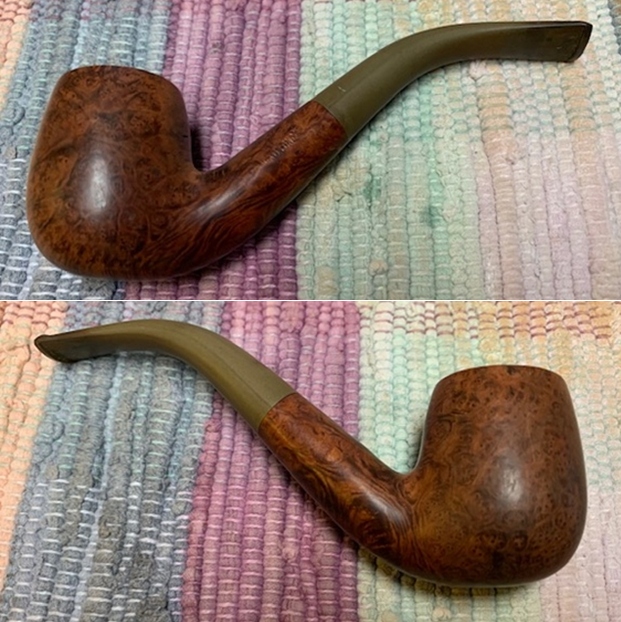
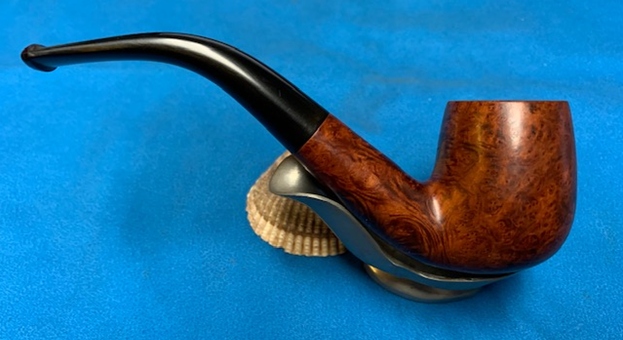
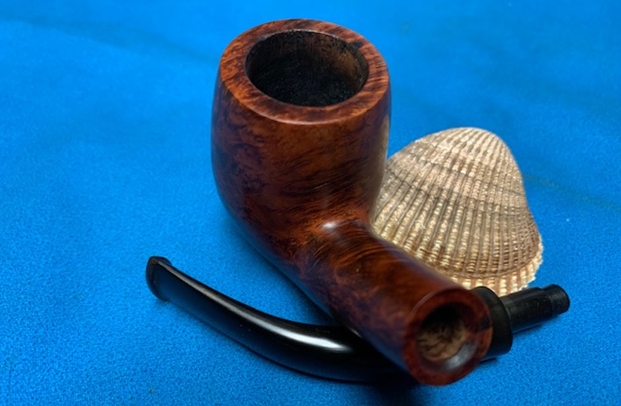
 The inner and outer edges were in excellent condition. There were nicks and damaged areas on the rim top. There was also some darkening on the top. The stem look good but there was still some oxidation and there were tooth marks and chatter on both sides near the button. The underside was worse than the topside.
 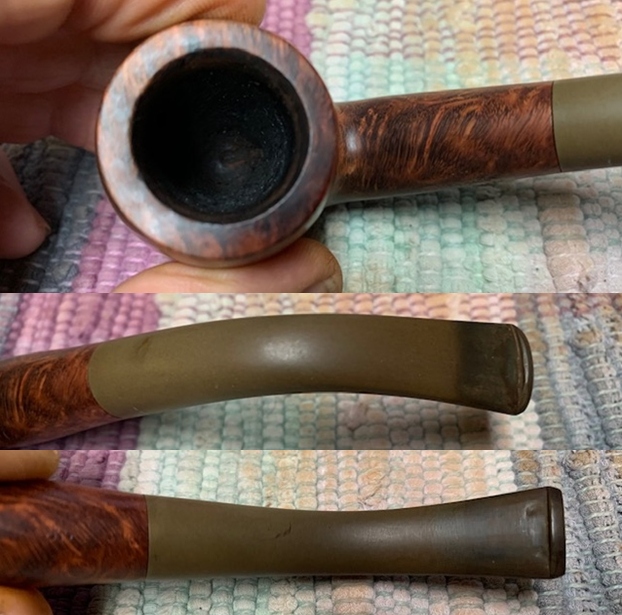 I took a photo of the stamping on the sides of the shank. The stamping is clear and readable and reads as noted above.
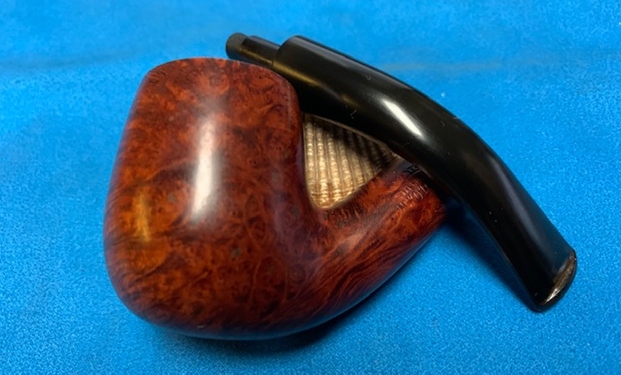
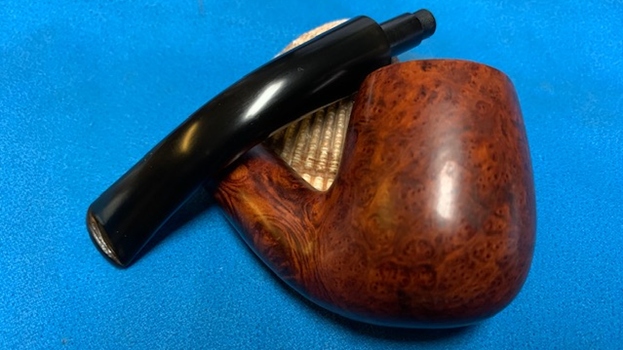
  I took the stem off the pipe and took a photo of the parts to show the look of the pipe as a whole.
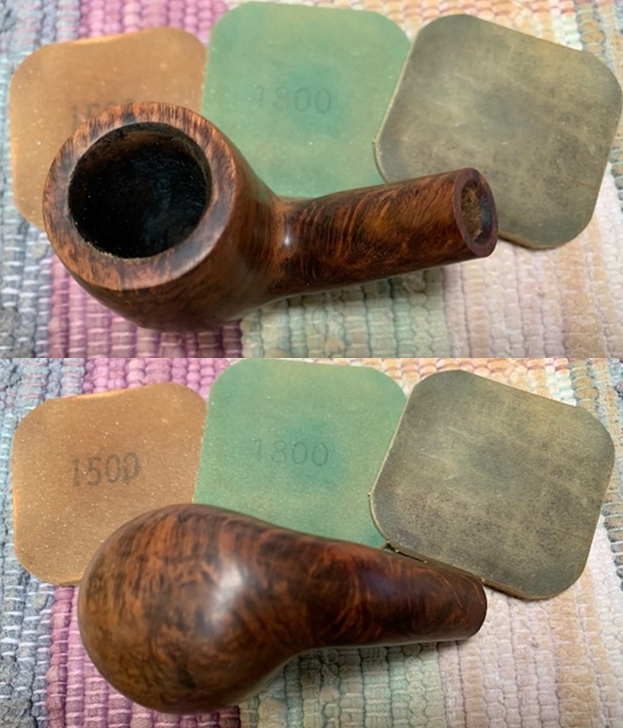
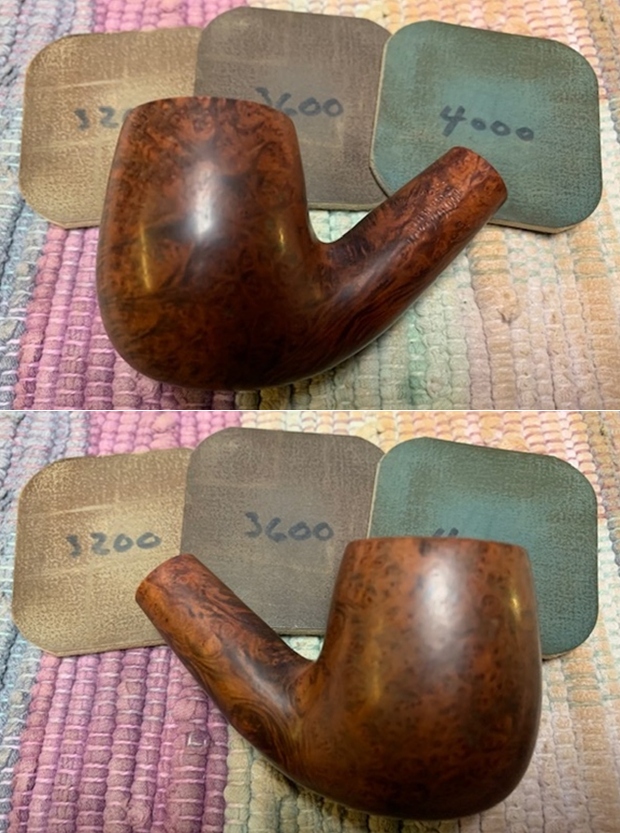
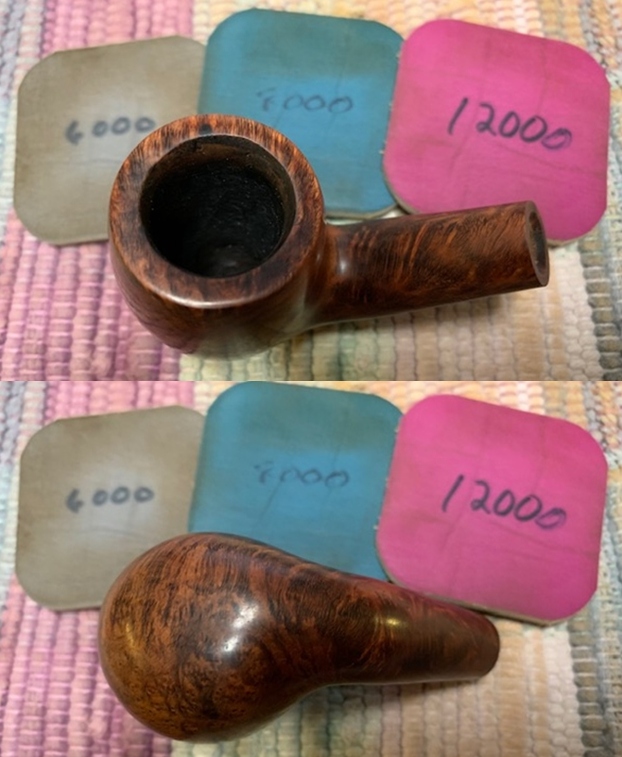
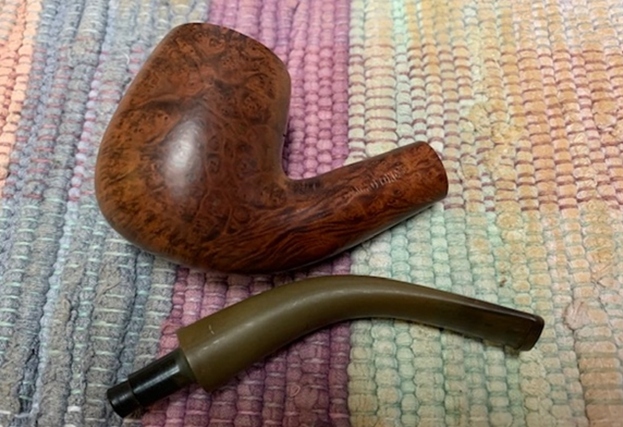 I polished the rim top and bowl with 1500-12000 grit micromesh sanding pads to polish the briar.
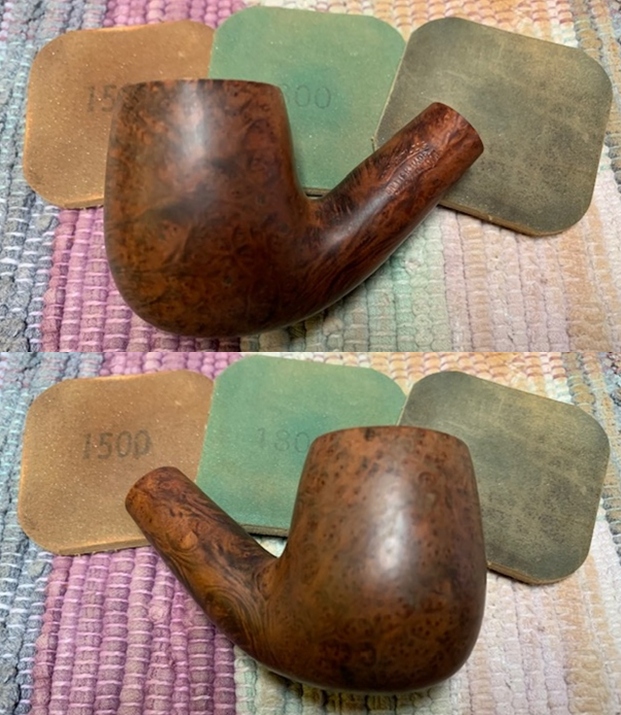


 I rubbed the bowl and shank down with Before & After Restoration Balm. I worked it into the surface of the bowl sides and shank with my fingertips to clean, enliven and protect the briar. I let the balm sit for a little while and then buffed with a cotton cloth to raise the shine. You can see the grain showing through the deep glow.
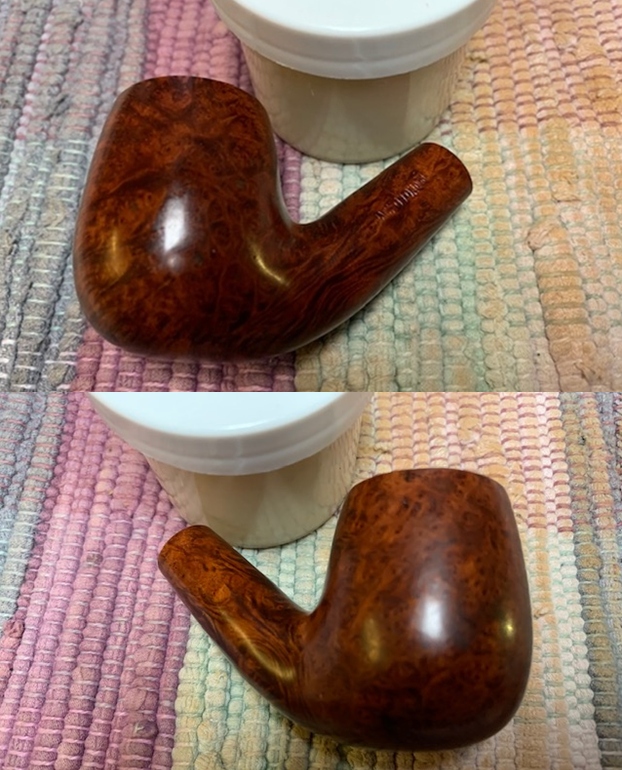

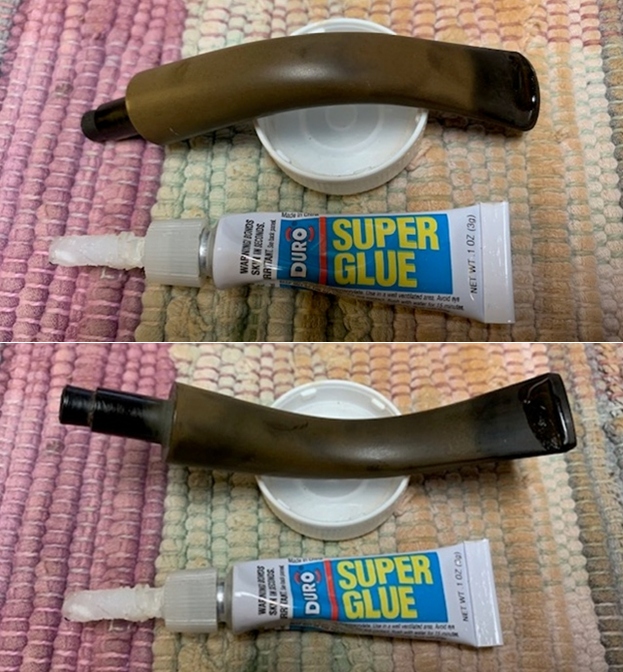
 I set the bowl aside and turned my attention to the stem. I “painted” the stem surface with the flame of a Bic lighter. I was able to lift the majority of the dents but there were two on the underside and a dent along the button on the top side. I filled them in with clear super glue and set it aside to cure. Once the repair cured I smoothed out the repairs with a needle file.
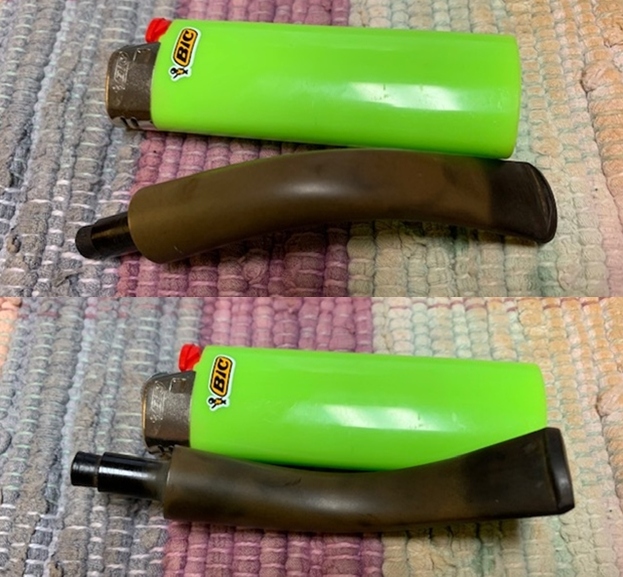
 I sanded out the repair with 220 grit sandpaper to blend it into the surface of the surrounding vulcanite. I started polishing the stem with 400 grit wet dry sandpaper.
 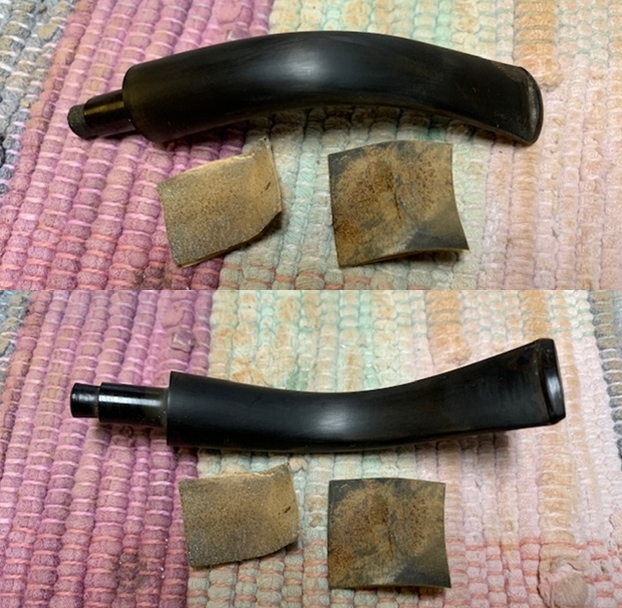 I polished the vulcanite stem with micromesh sanding pads – 1500-12000 grit pads. I wiped it down with a damp cloth after each sanding pad. I used Before & After Pipe Polish – both Fine and Extra Fine to further polish the stem.
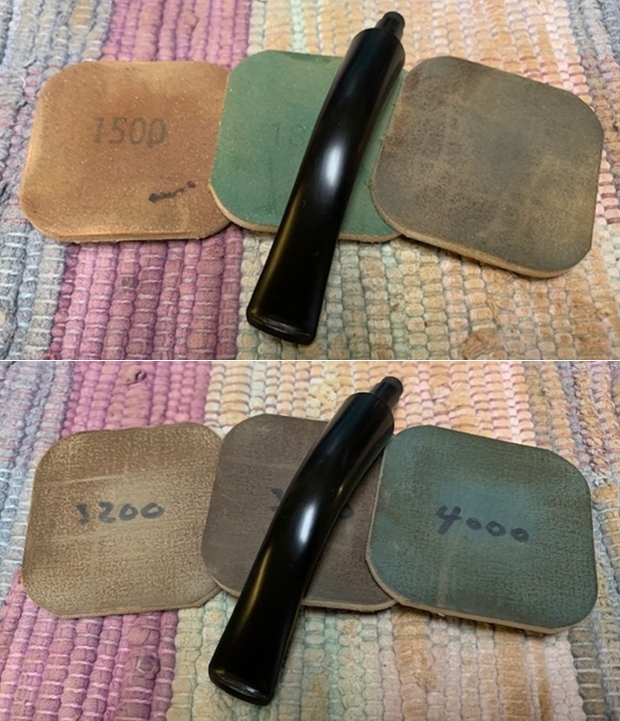
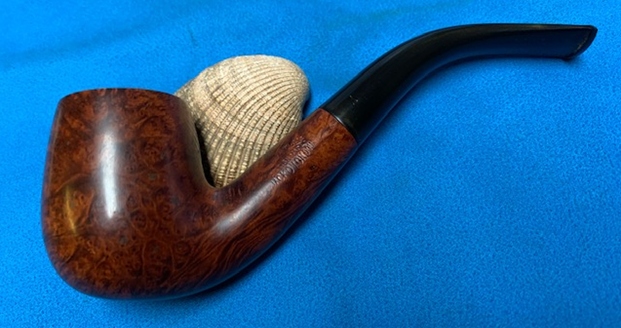
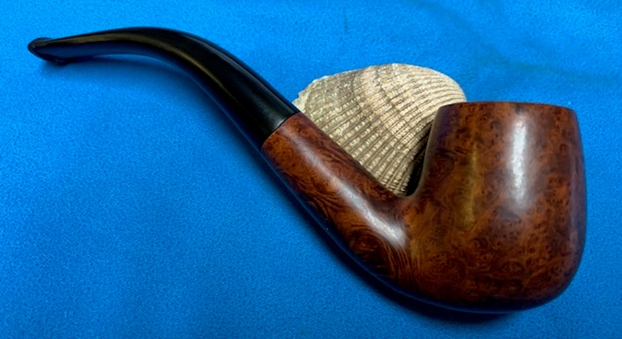
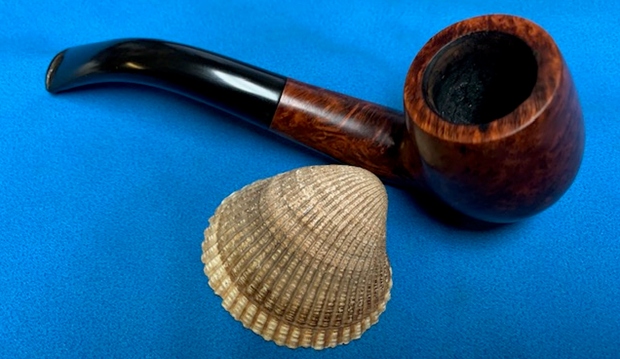
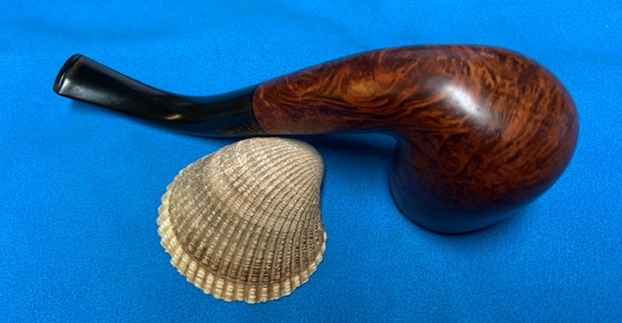
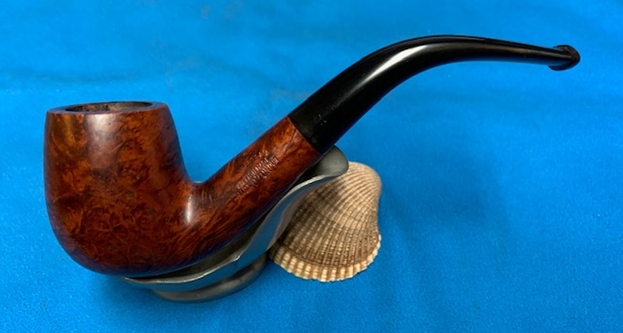
 This Hardcastle’s British Made Jack O’London Bent Billiard is a great looking pipe now that it has been restored. This great looking pipe that came to me from the local pipe shop estate that I am restoring and selling for them. The medium brown stain highlights the grain and works well with the polished vulcanite taper stem. I put the stem back on the bowl and carefully buffed the pipe with Blue Diamond on the buffing wheel using a light touch on the briar. I gave the bowl and the stem multiple coats of carnauba wax on the buffing wheel and followed that by buffing the entire pipe with a clean buffing pad. I hand buffed the pipe with a microfiber cloth to deepen the shine. The finished Hardcastle’s Bent Billiard fits nicely in the hand and feels great. Give the finished pipe a look in the photos below. The dimensions of the pipe are Length: 6 inches, Height: 1 ¾ inches, Outside diameter of the bowl: 1 ¼ inches, Chamber diameter: ¾ of an inch. If you are interested in adding this pipe to your collection send me a message or an email. I have a variety of brands to work on from the shop. Perhaps one of those will catch your attention. Thanks for reading this blog and my reflections on the pipe while I worked on it. This is an interesting estate to bring back to life.