Blog by Steve Laug
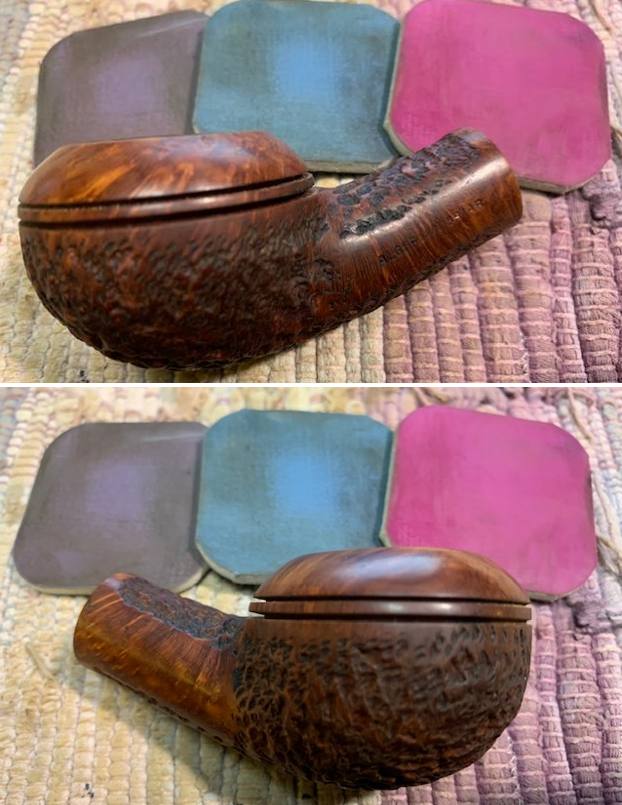
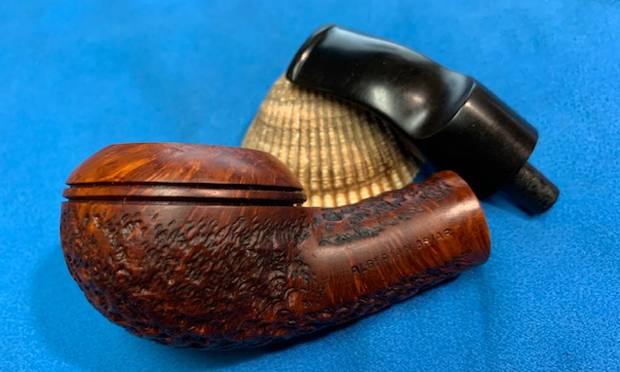
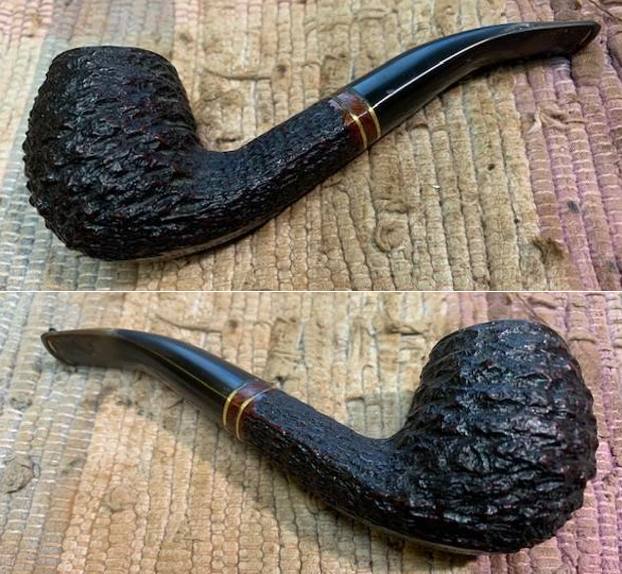
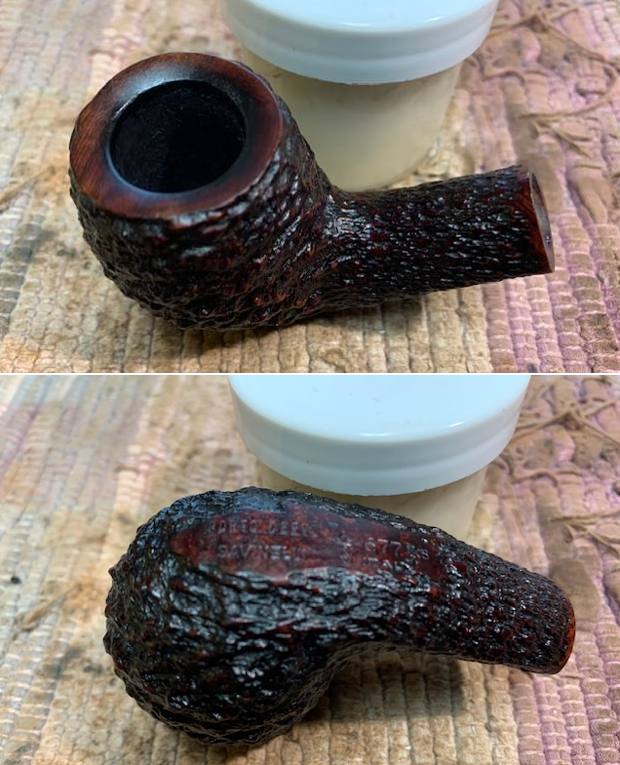
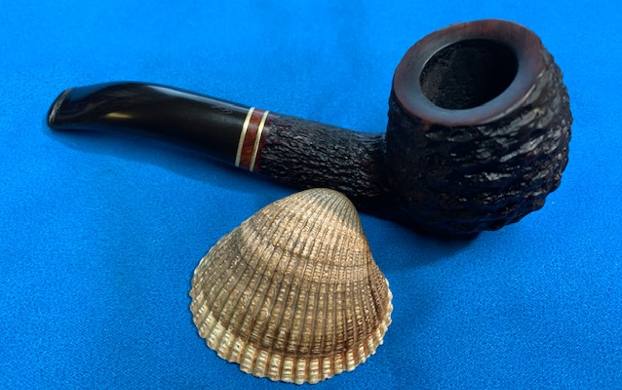
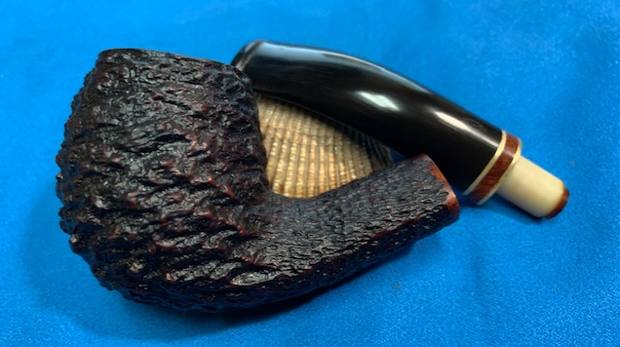
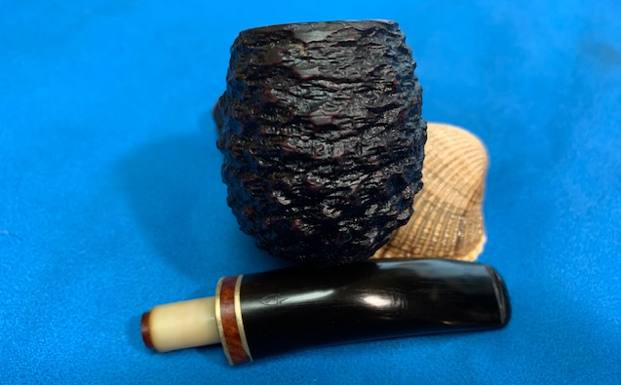
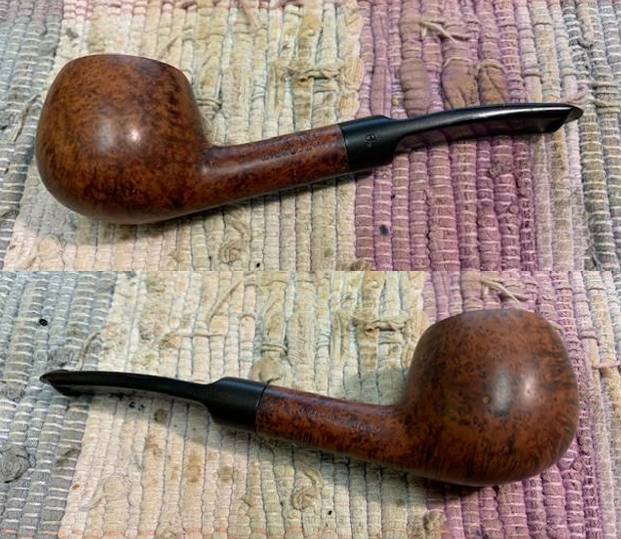
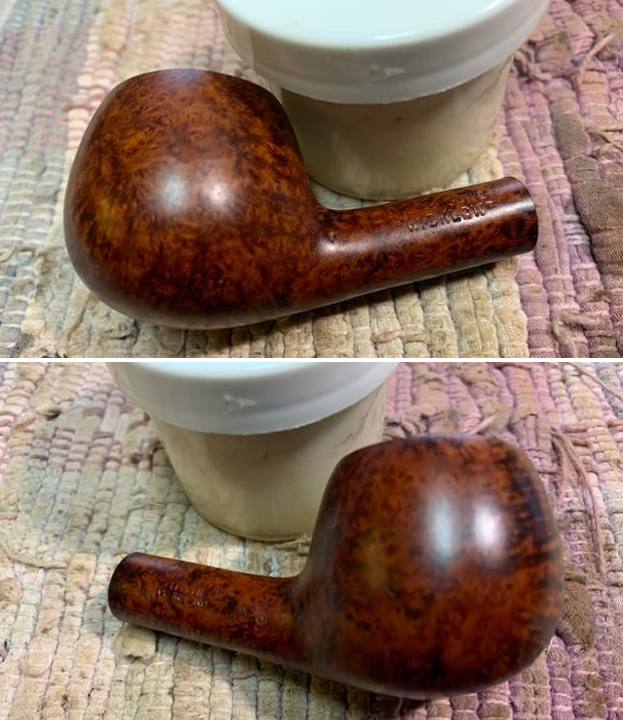
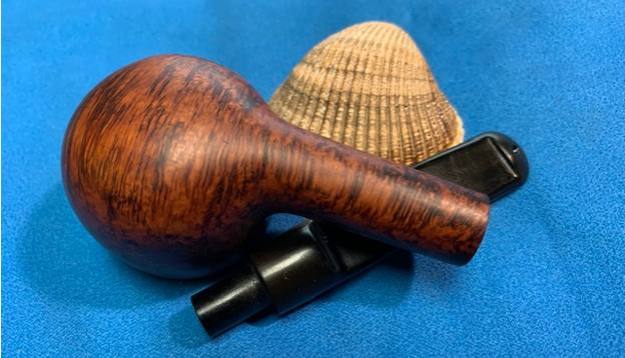
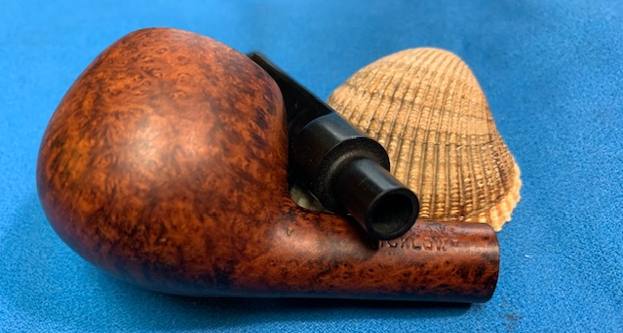
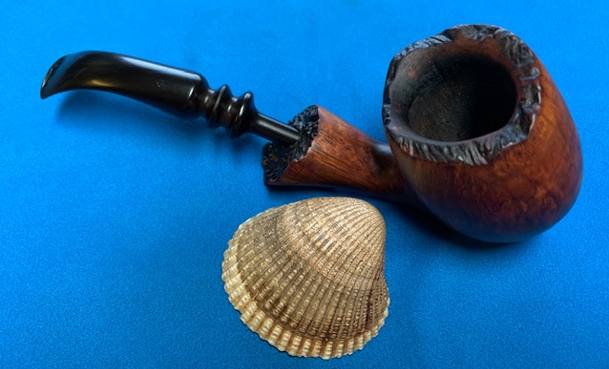
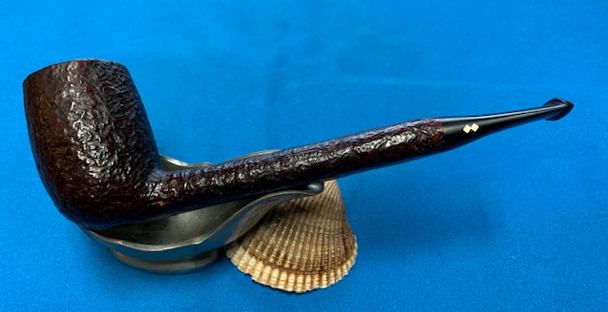
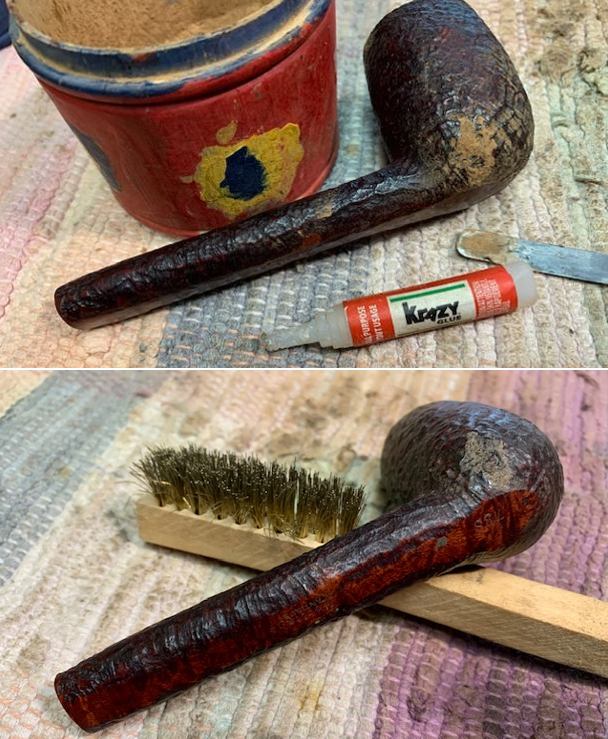
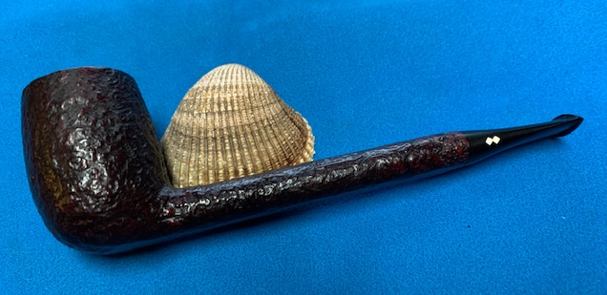
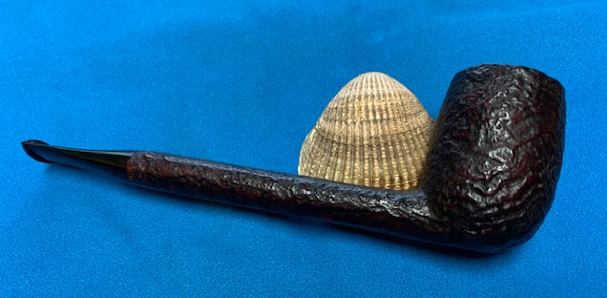
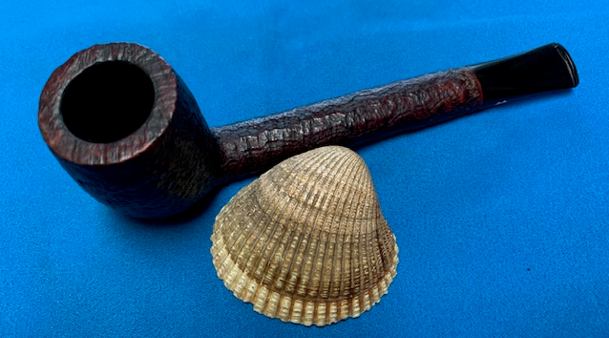
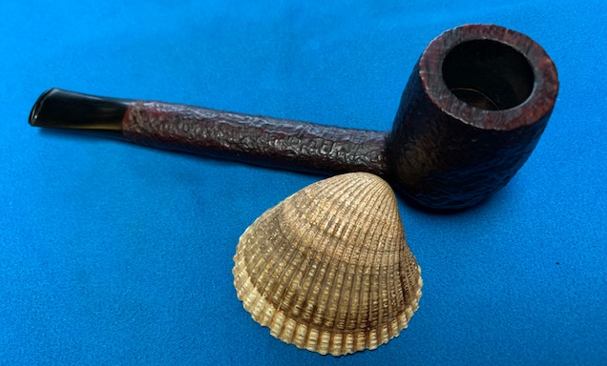
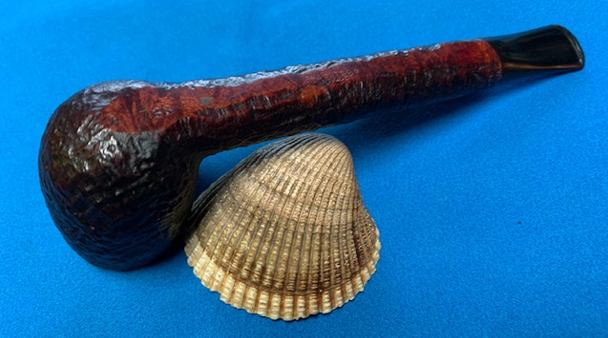
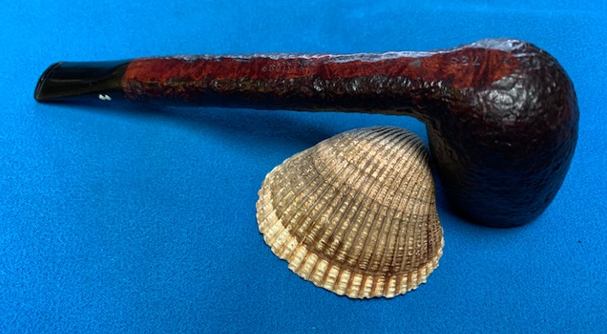
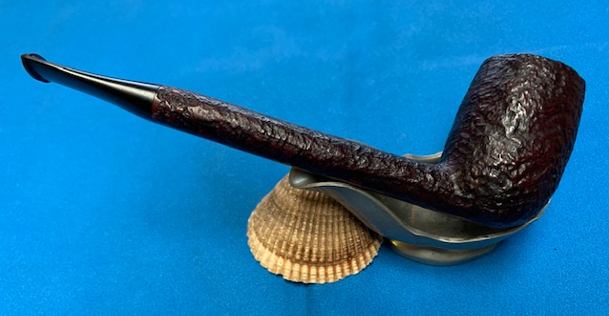
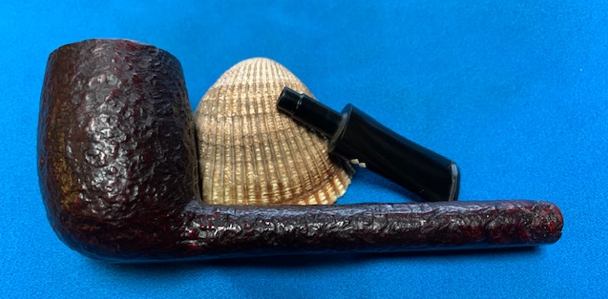
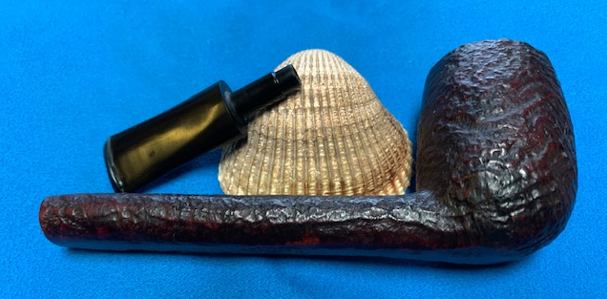
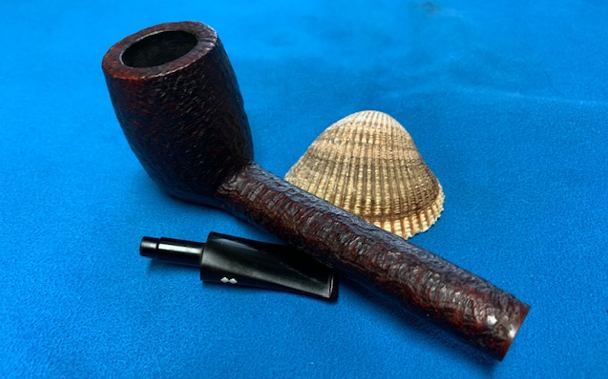
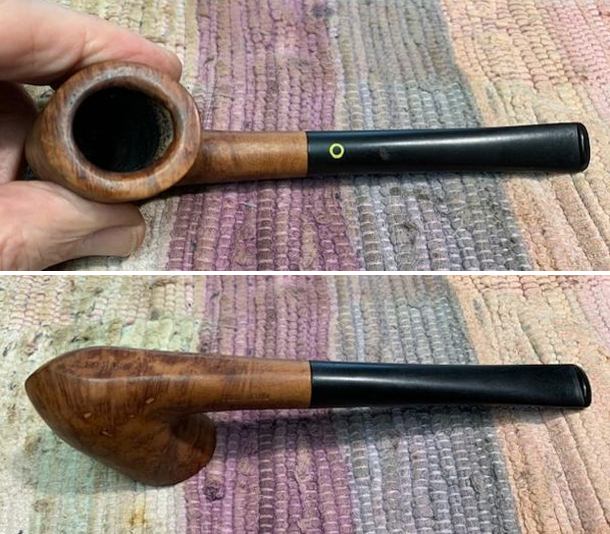
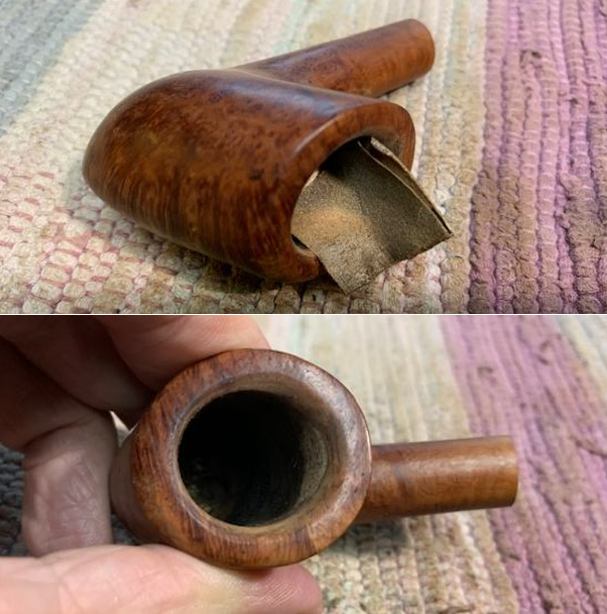
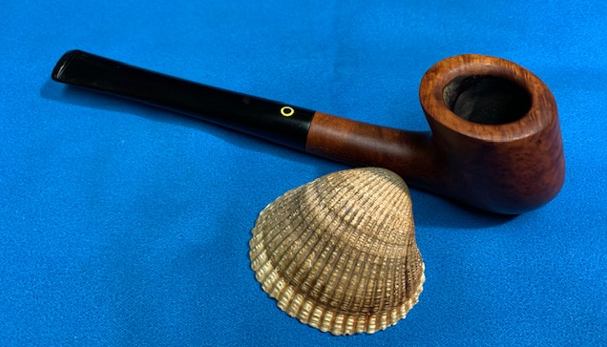
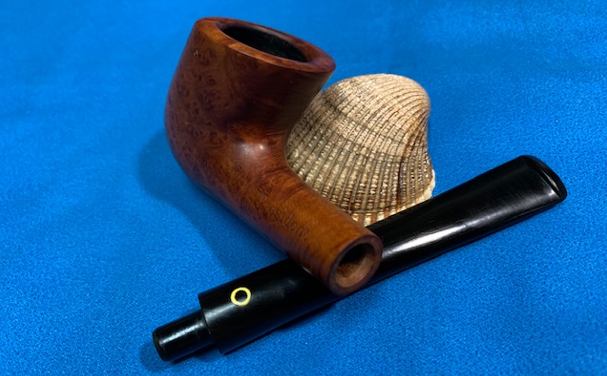
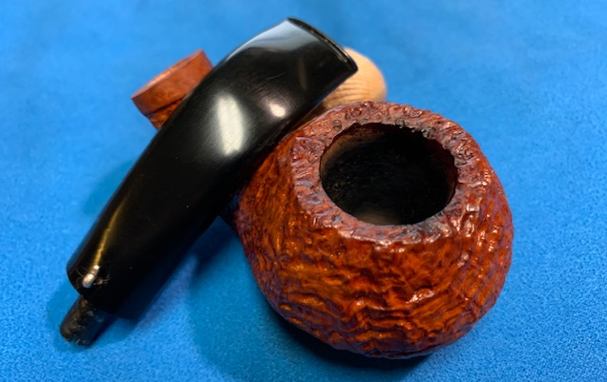
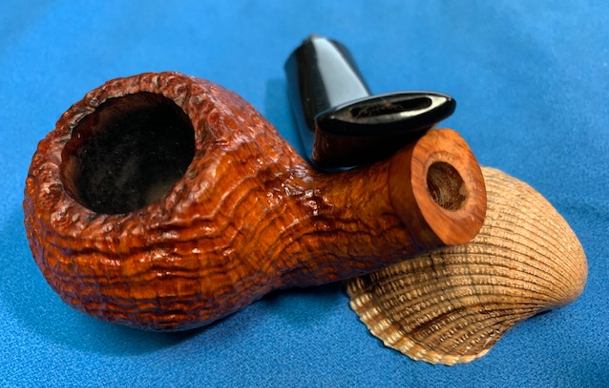
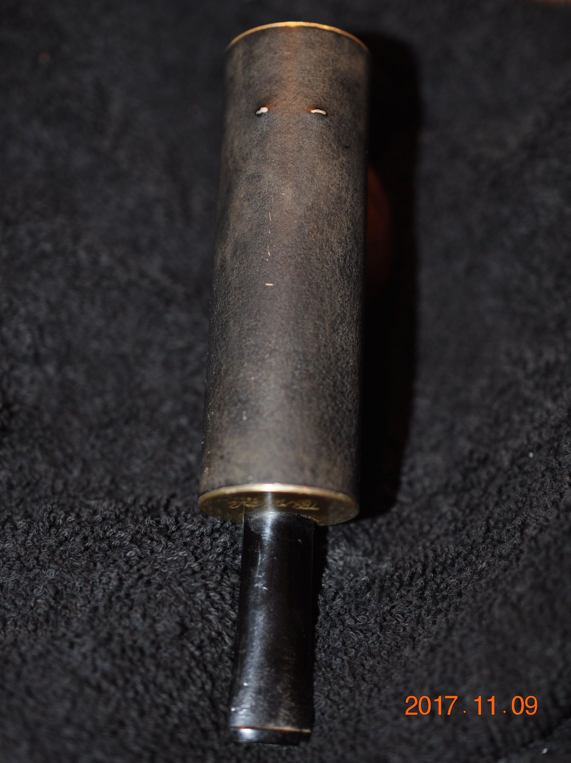
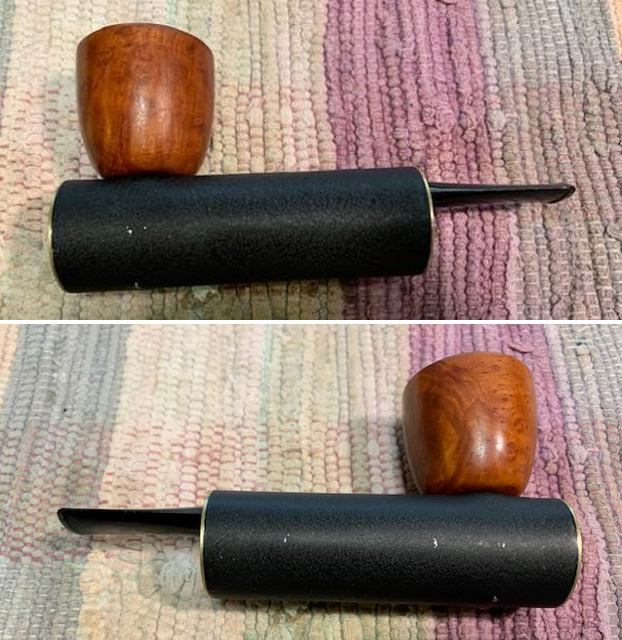
I went through my box of pipes that needed to be restored and came across this interesting looking Rhodesian with a smooth rim cap and patches on the shank. There was a smooth ring around the shank end. The lower half of the bowl and the shank were rusticated with a unique pattern that feels great in the hand. I was really interested in what it would look like once it was finished. The only stamping on the left side of the shank was stamped ALGERIAN BRIAR in a smooth panel. There was no other stamping on the shank sides. The finish was very dirty with ground in oils and dirt. The twin rings around the smooth rim top were filled with debris. The bowl had a thick cake in it that overflowed with lava on the rim top and down the sides of the cap. The thick shank ended with a vulcanite saddle stem that was lightly oxidized and had tooth marks on the surface of the stem and the button itself on both sides. It was a dirty pipe but it had some amazing potential that shone through the dirt and debris. Jeff took photos of the pipe before he started his clean up.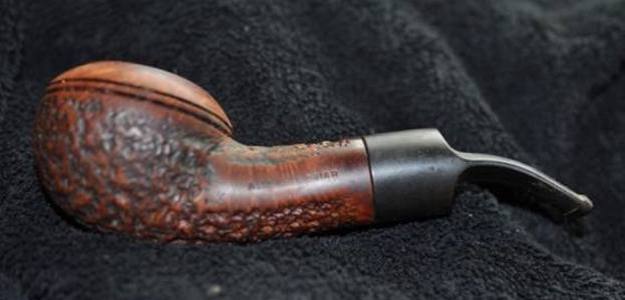 Jeff and I have no idea where we fond this one but he started a spreadsheet of the pipes we have found since January of 2016 and this one was not on the spreadsheet. So we know that the pipe was found prior to that date and was photographed in June of 2019.
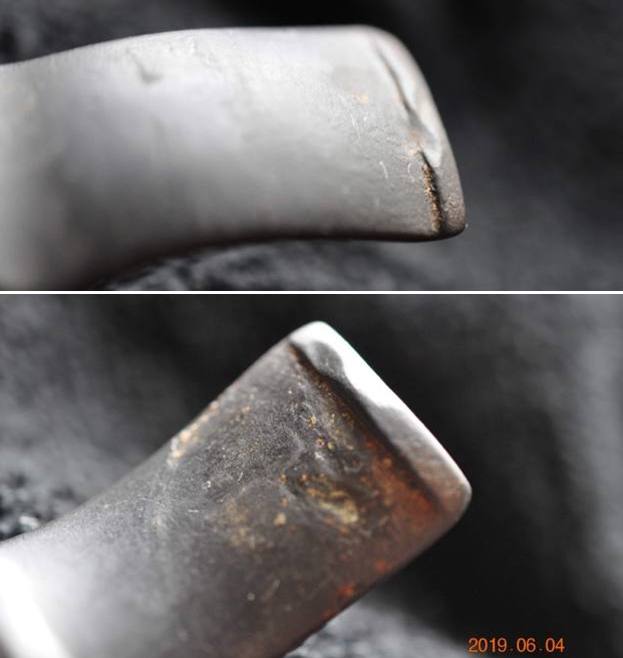
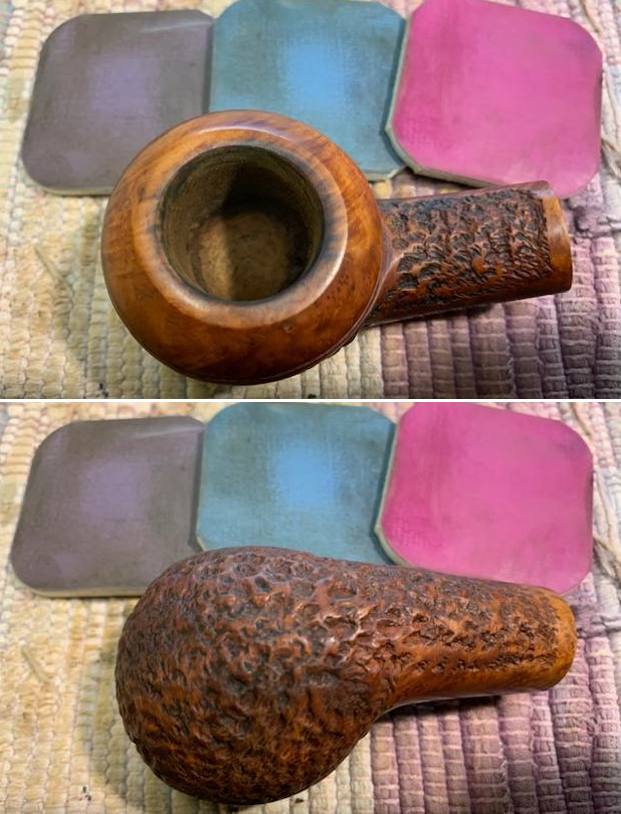
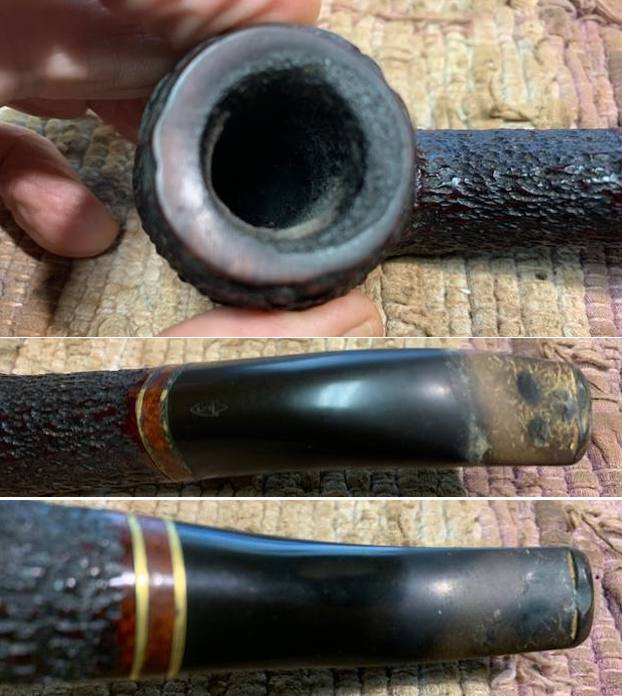
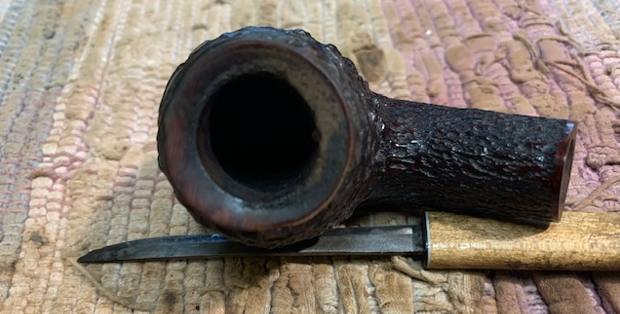
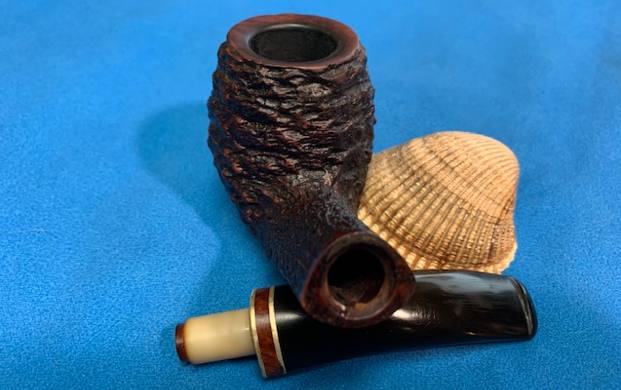
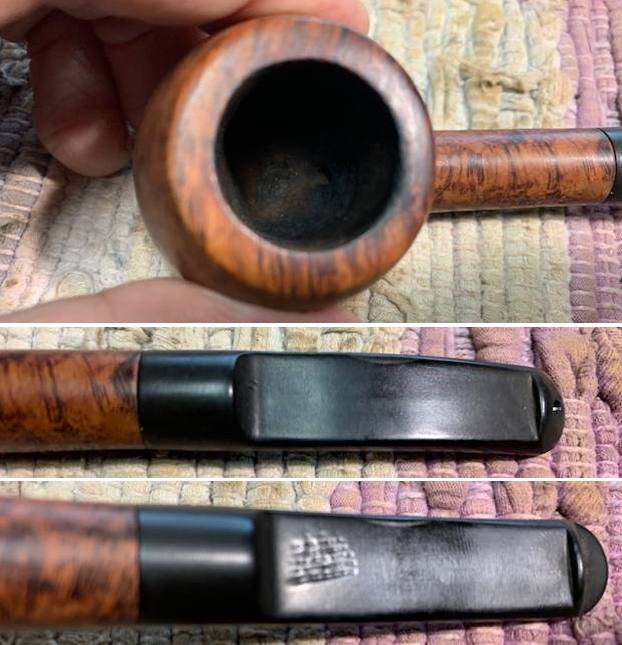
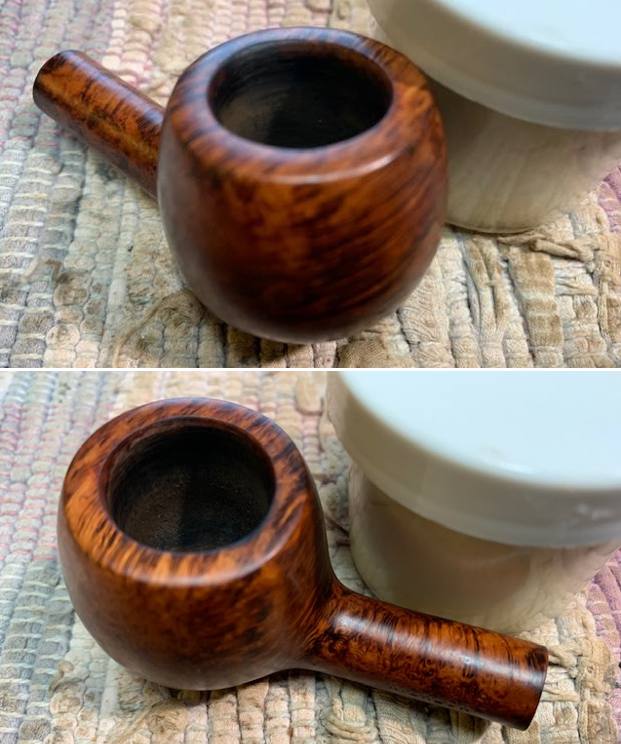
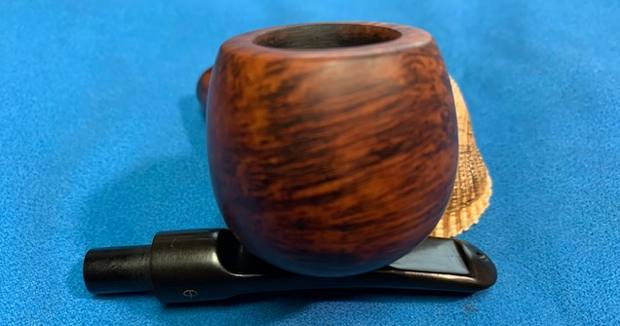
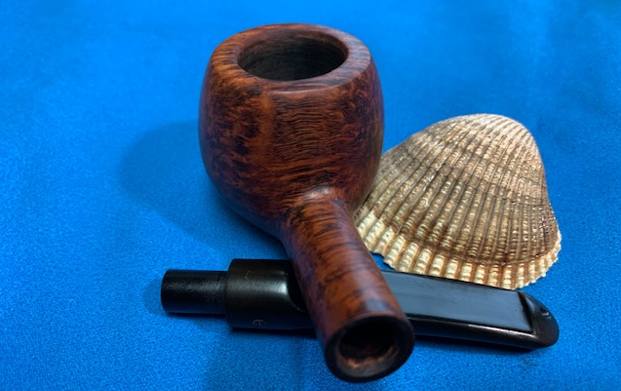
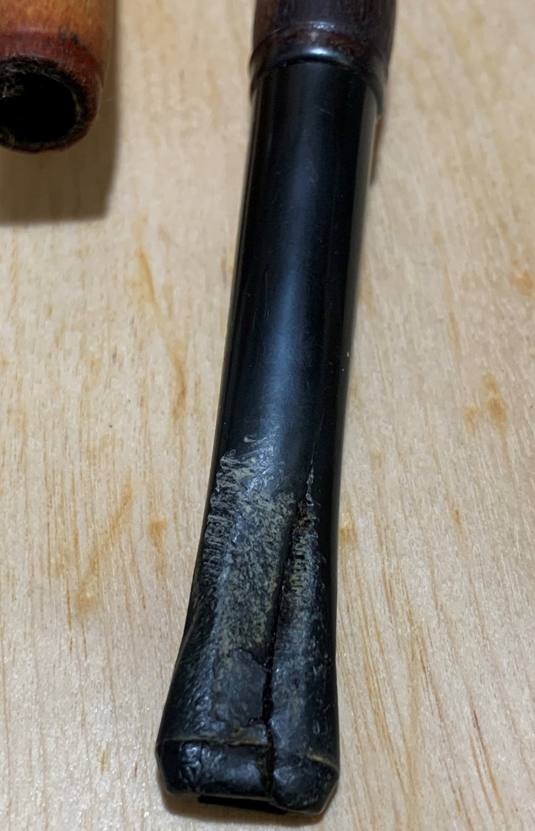
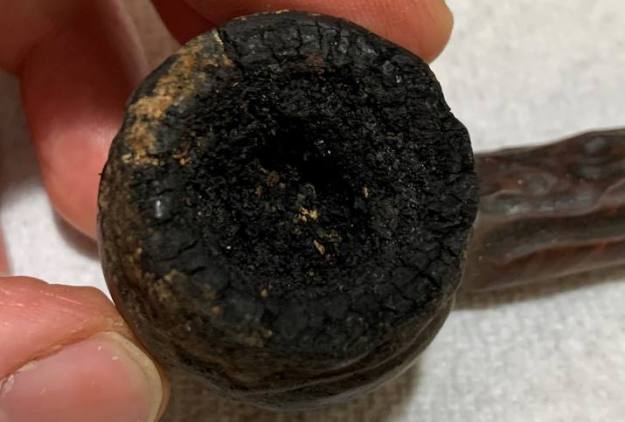
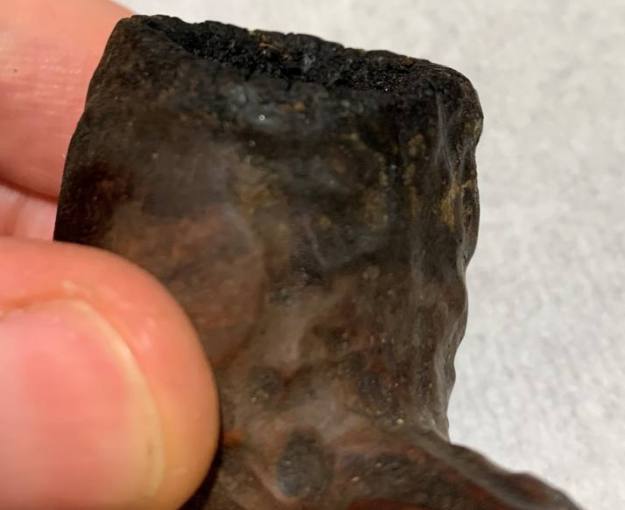
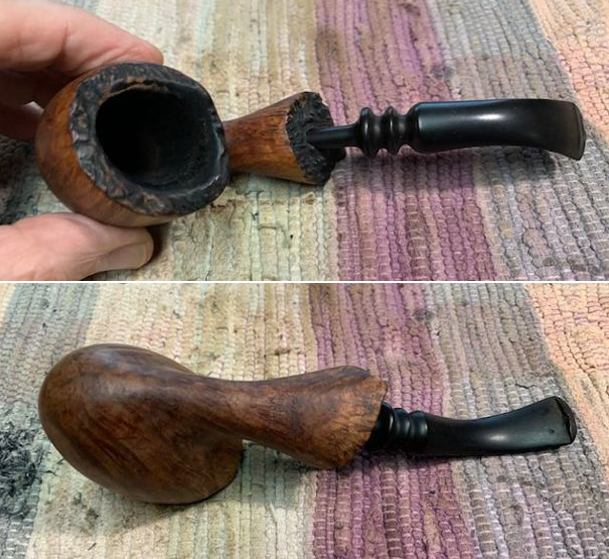
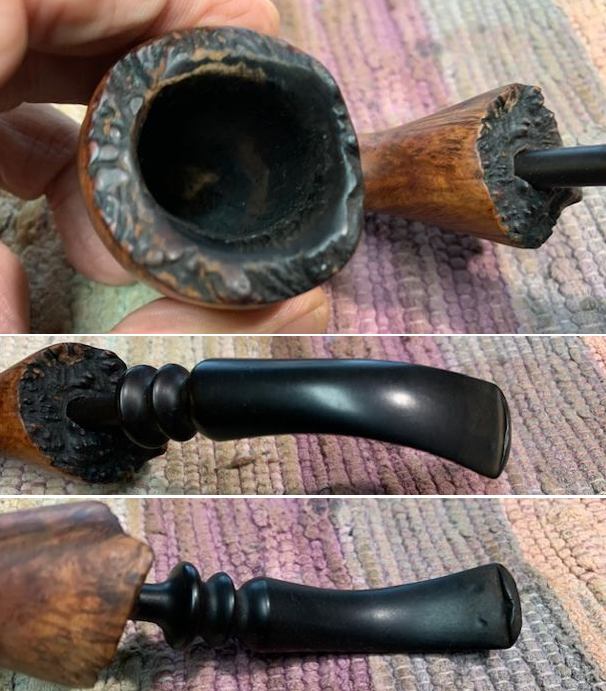
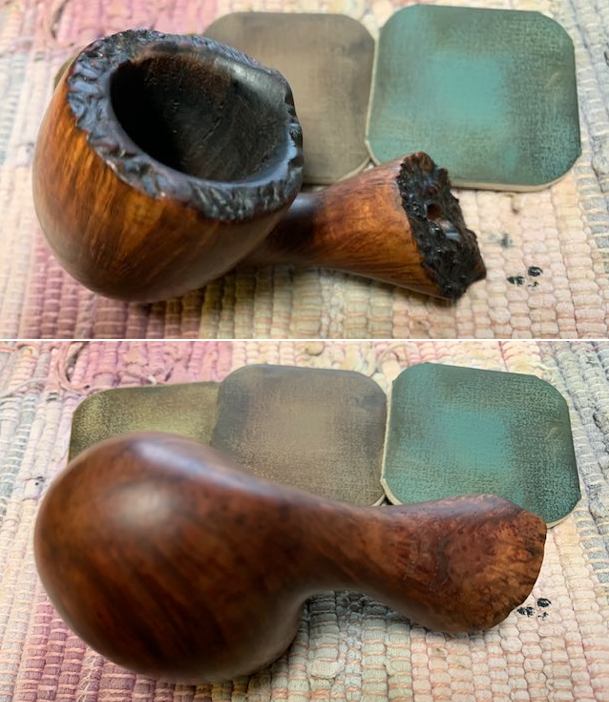
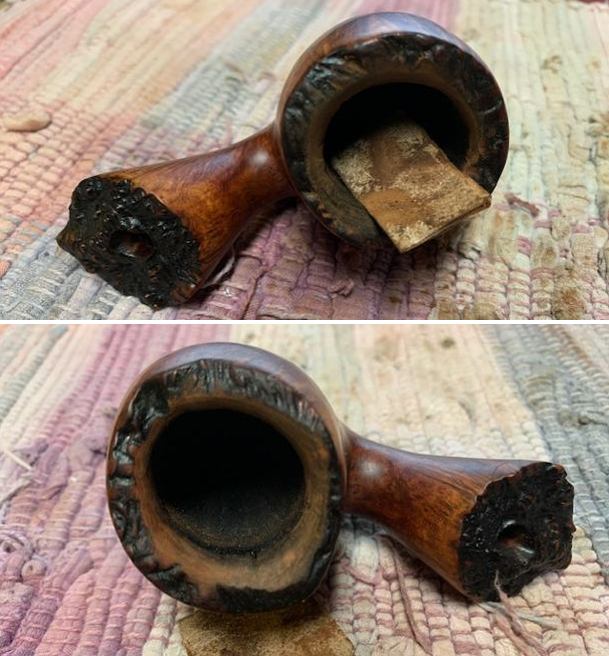
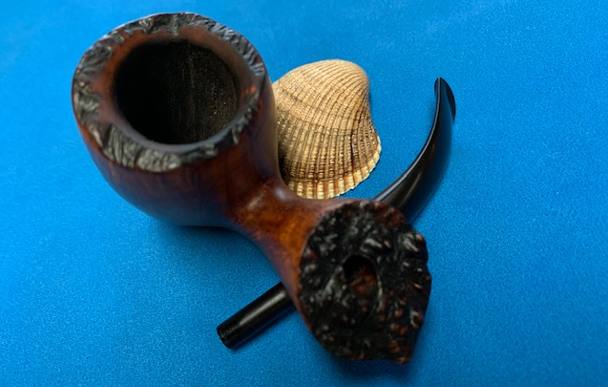
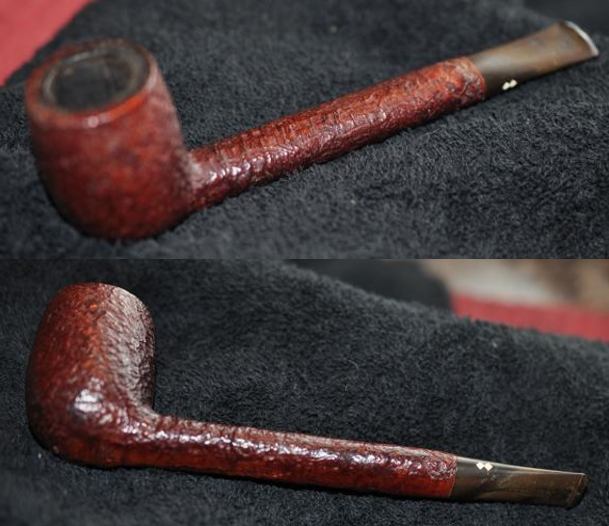
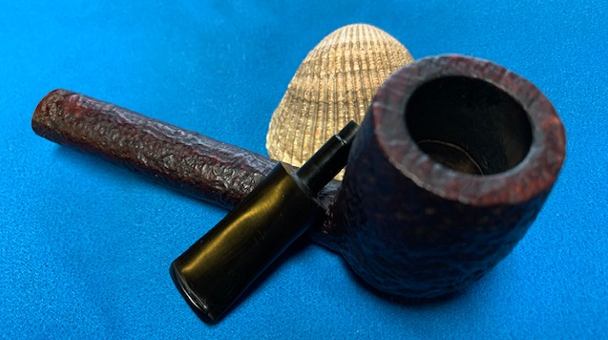
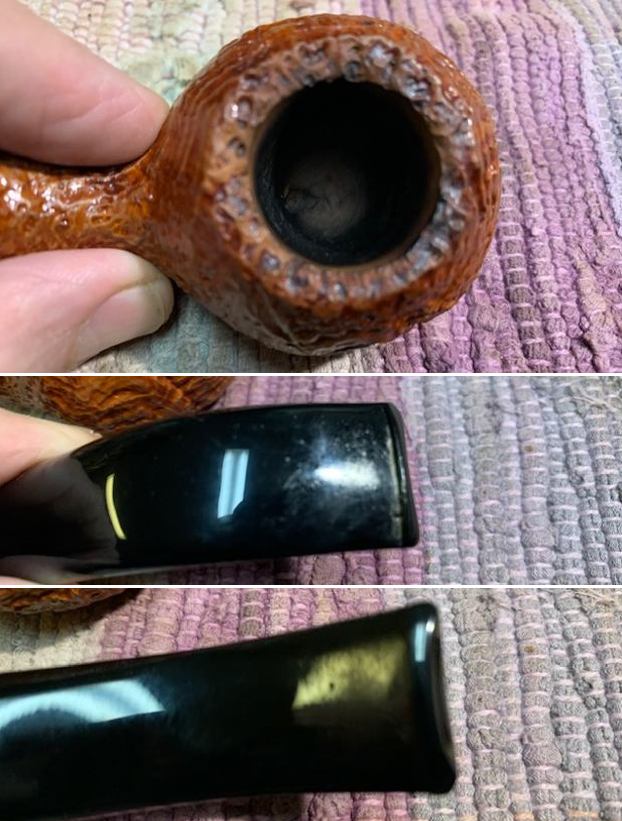
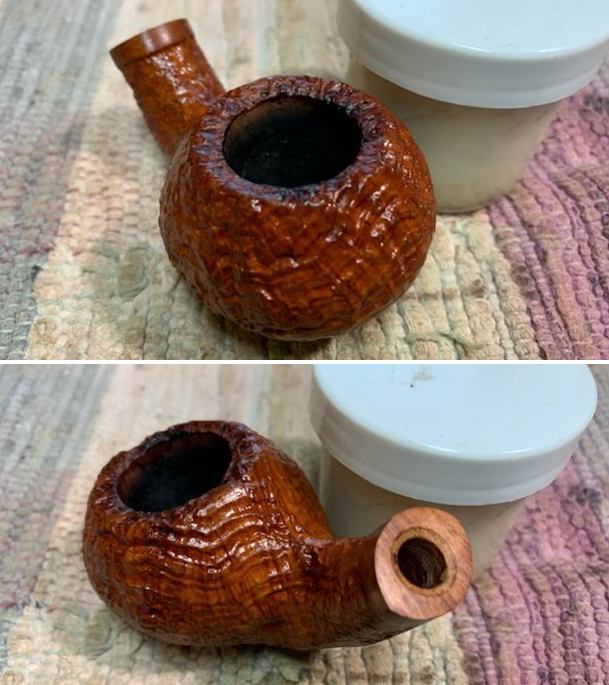
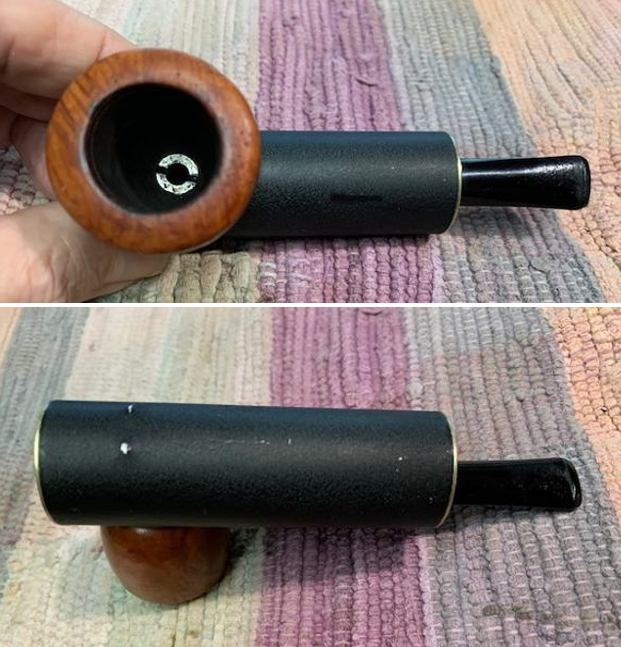
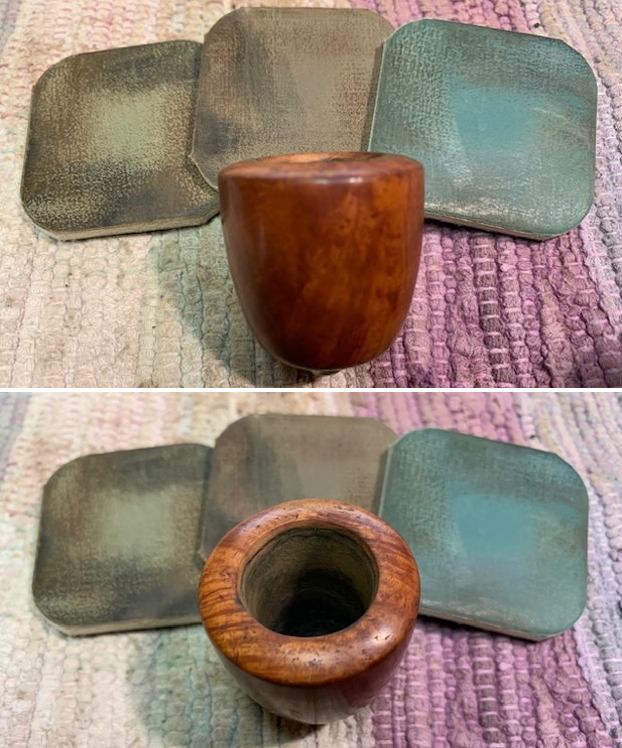
  Jeff took a photo of the rim top to show the thick cake in the bowl and the thick lava coat on the rim top. The exterior looked dull and lifeless but still we both saw something. He took photos of the top and underside of the stem to show the oxidation, calcification and tooth damage on both sides of the stem surface and button.
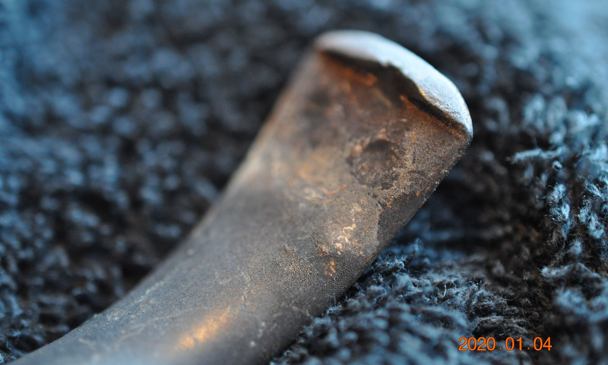
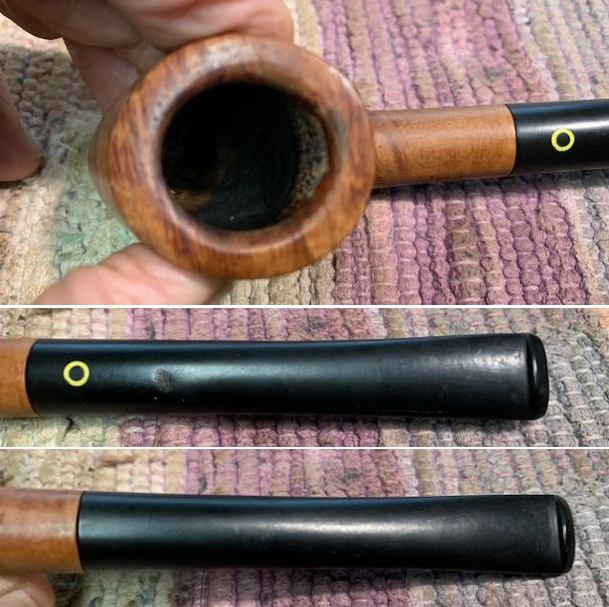
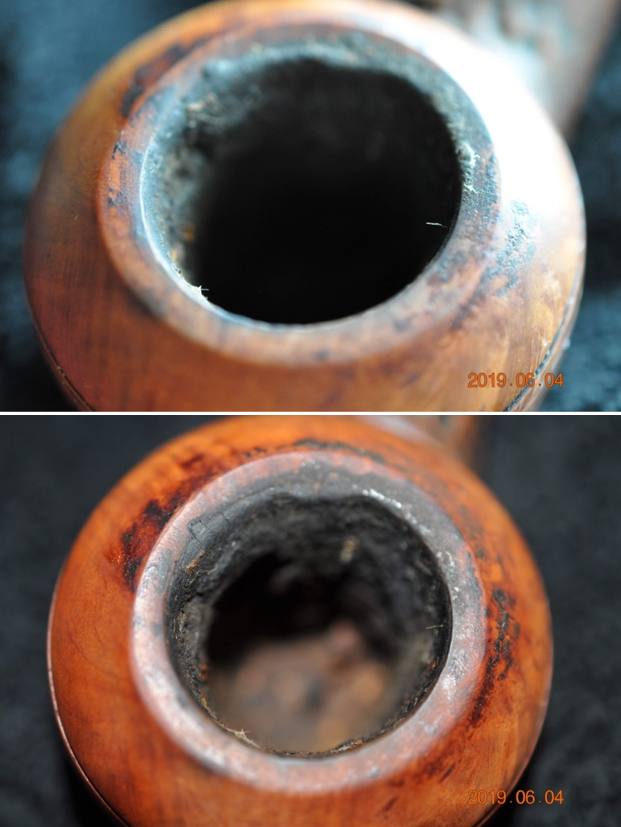
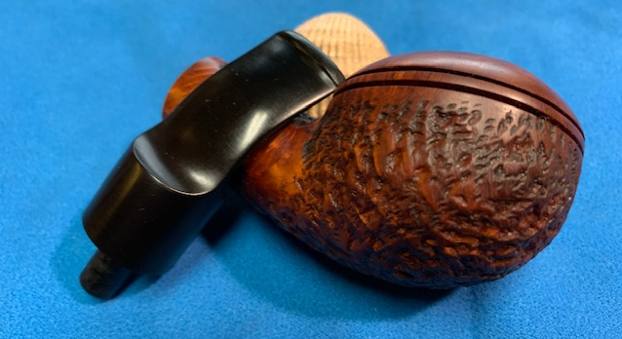
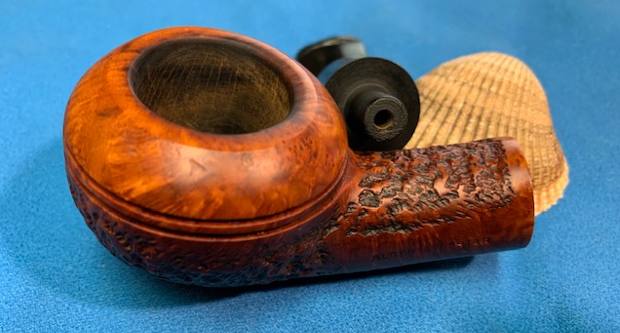
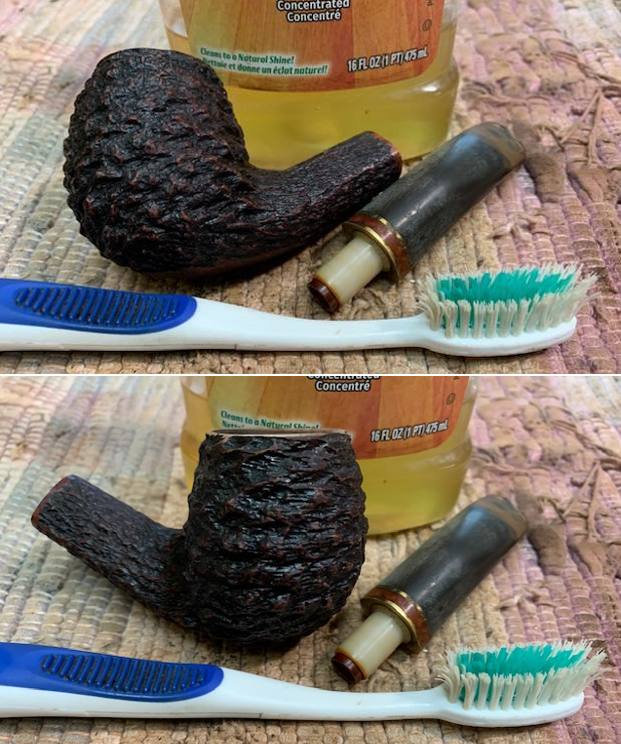
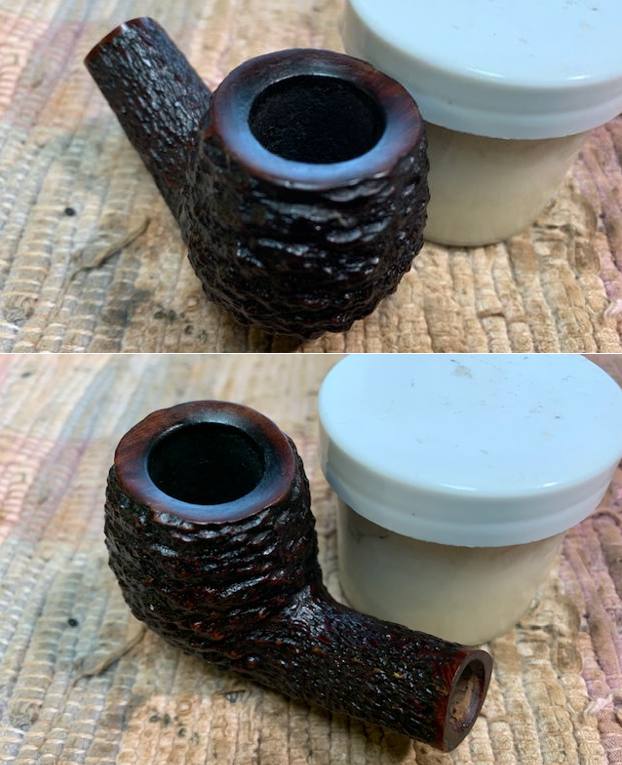
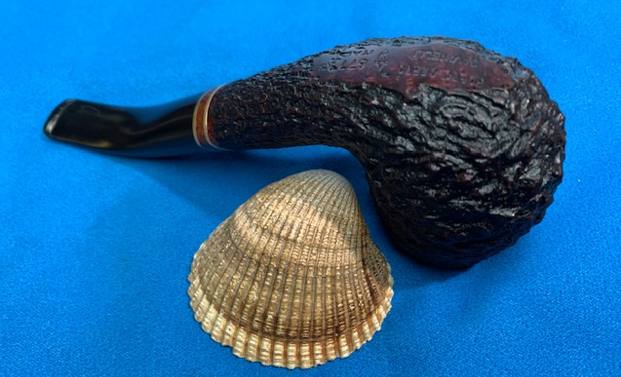
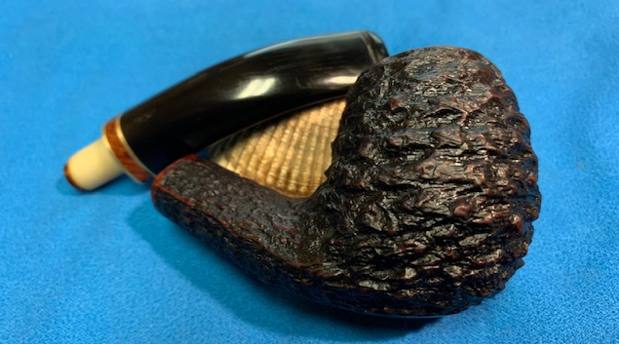
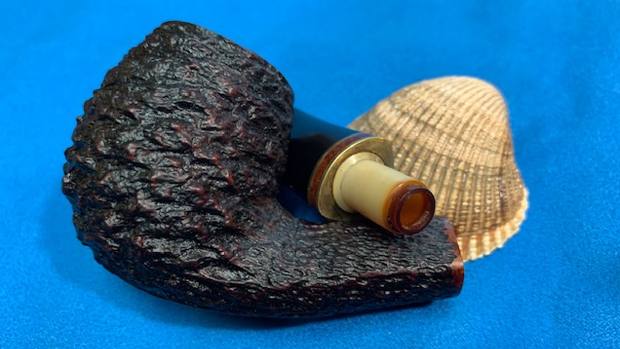
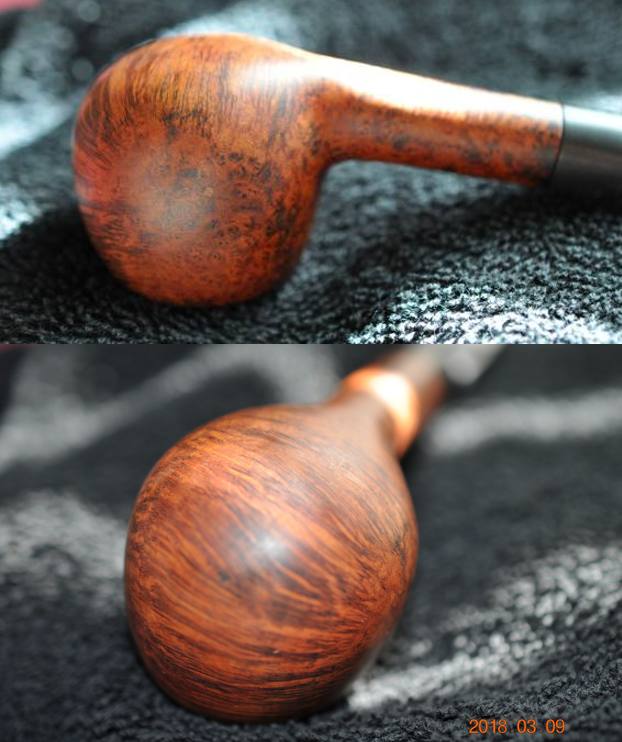
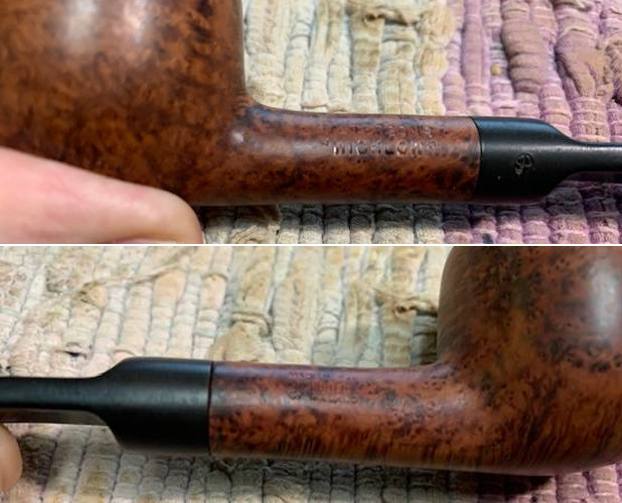
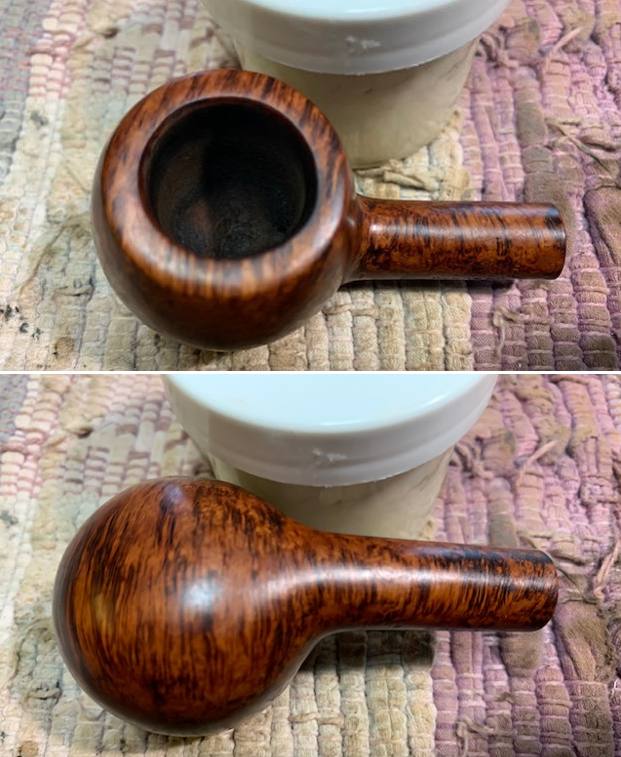
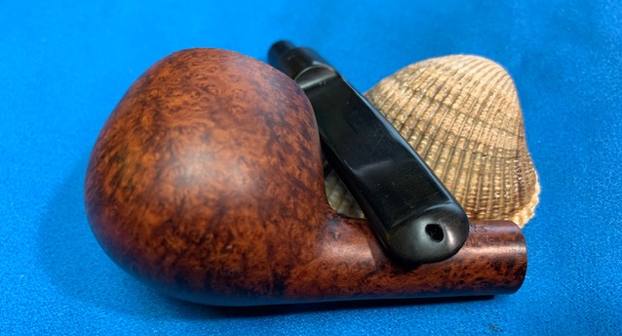
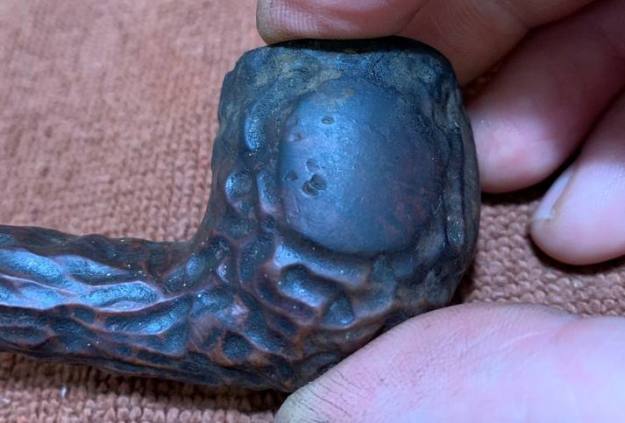
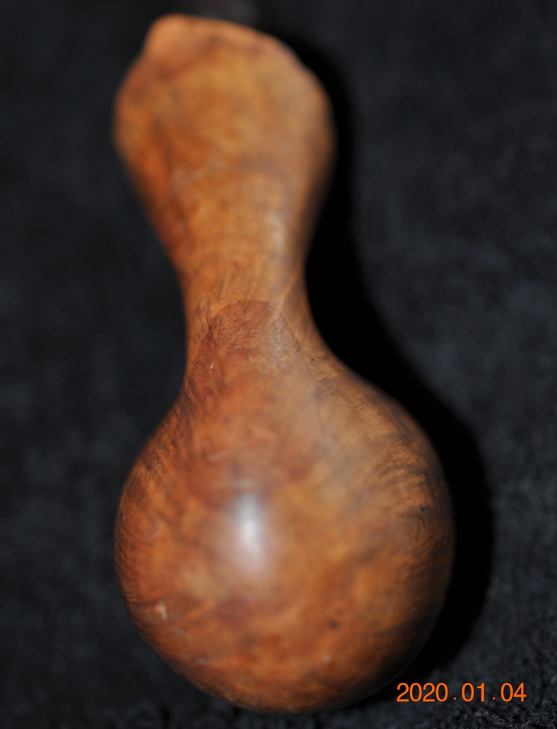
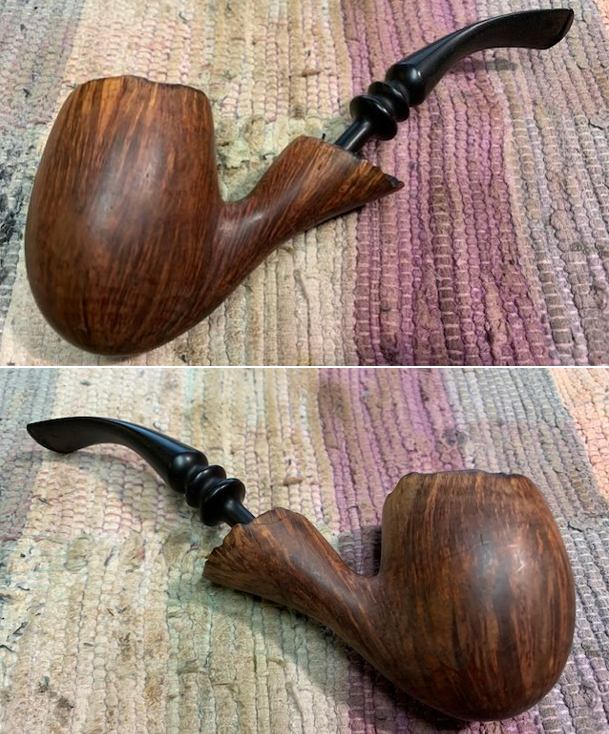
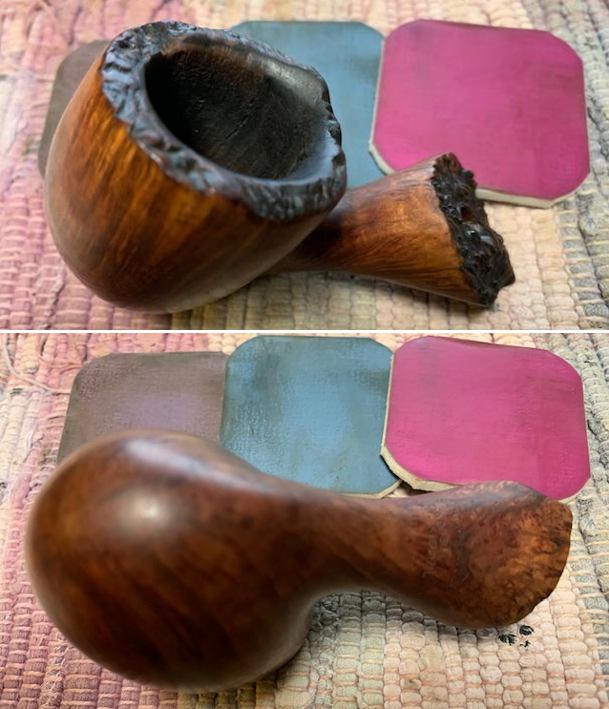
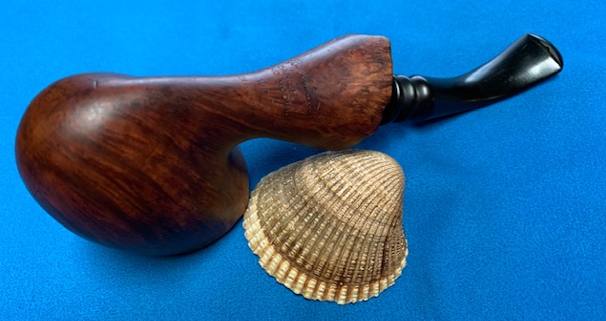
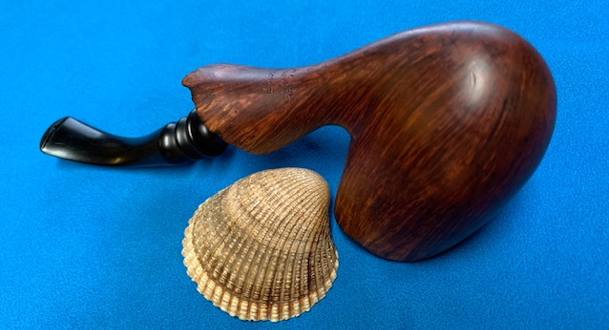
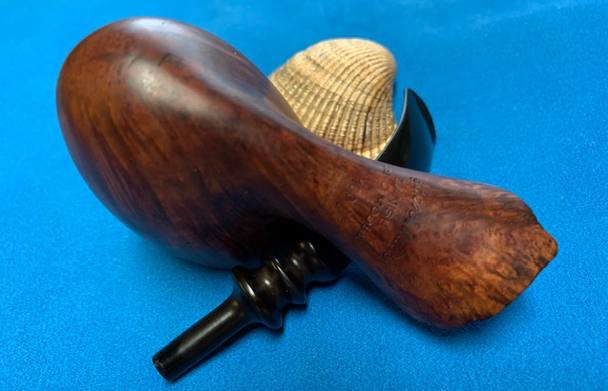
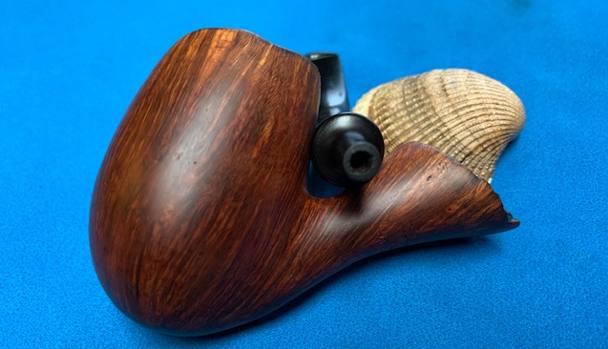
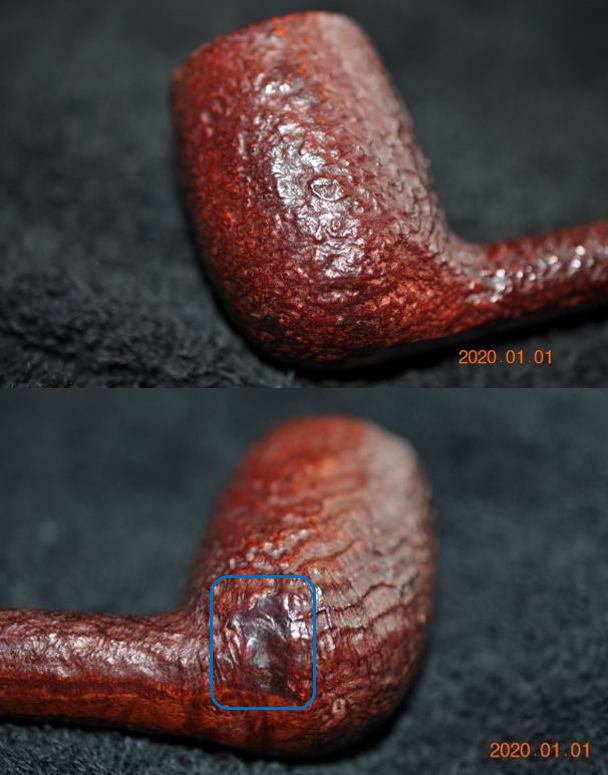
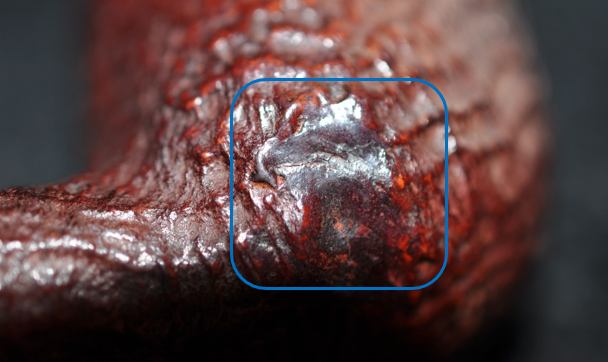
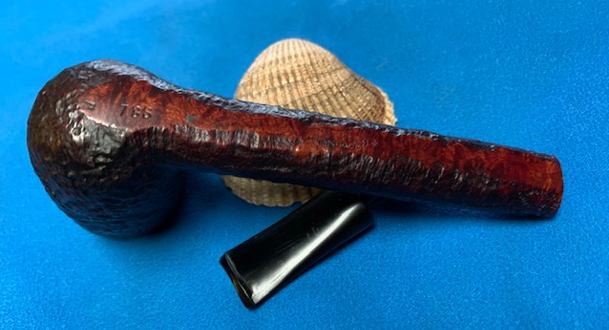
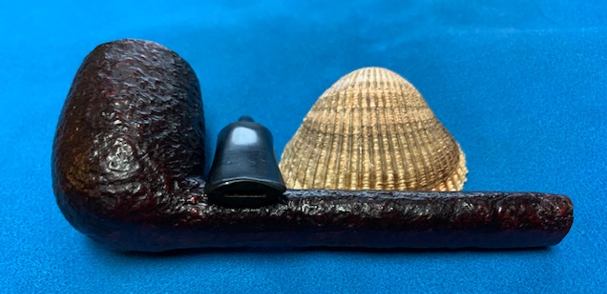
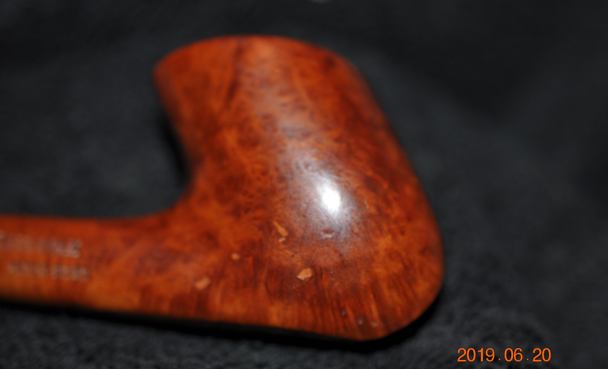
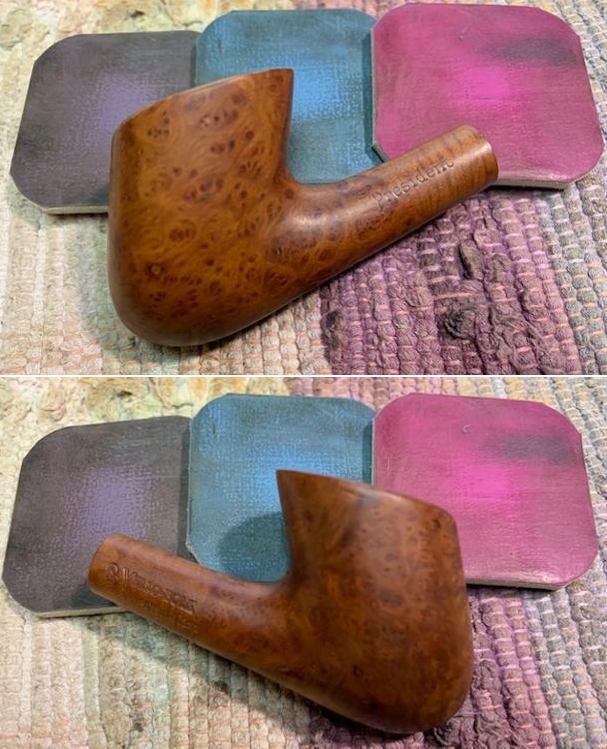
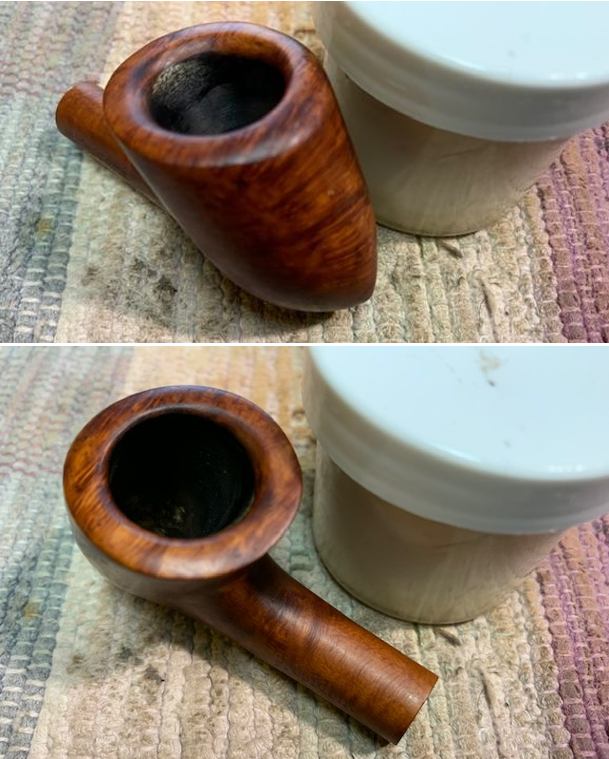
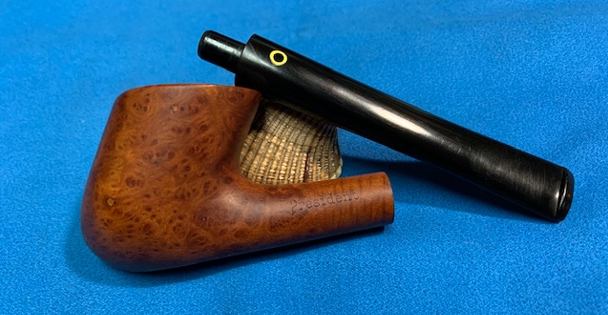
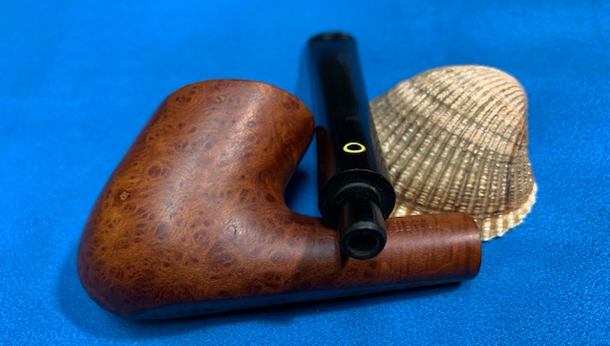
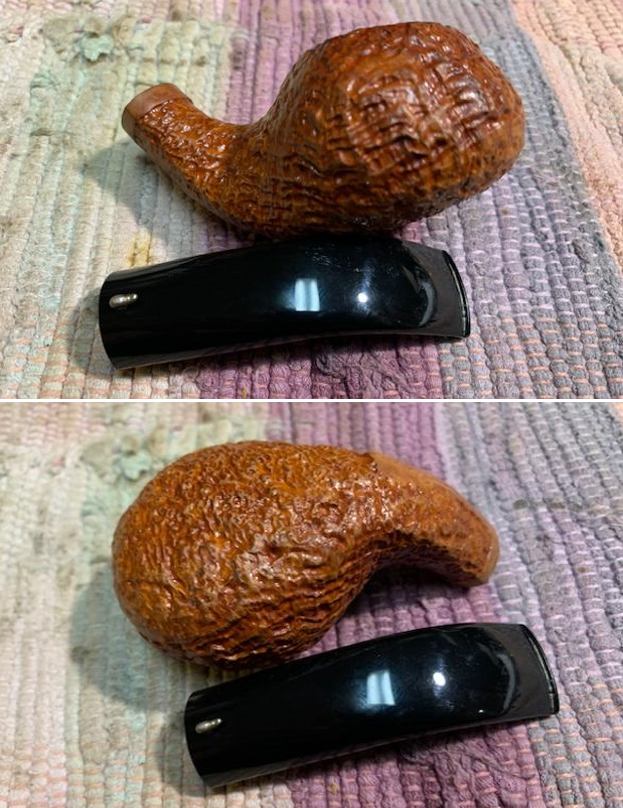
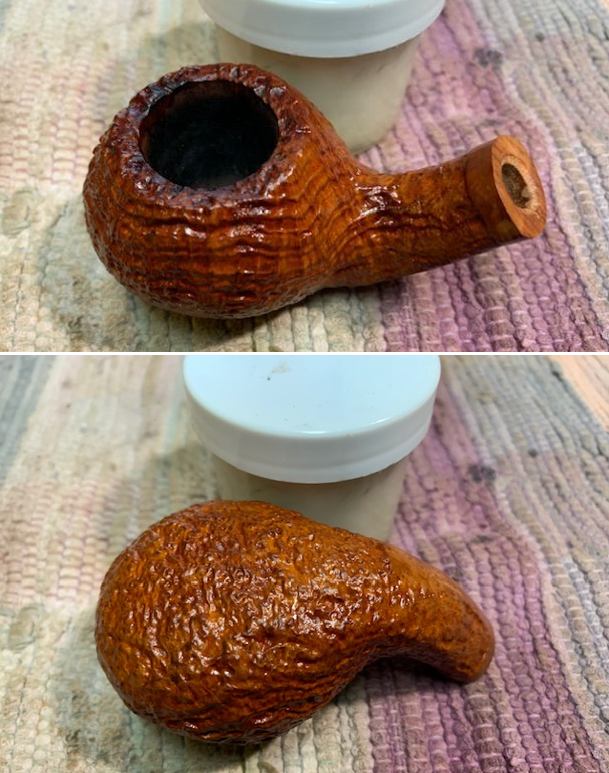
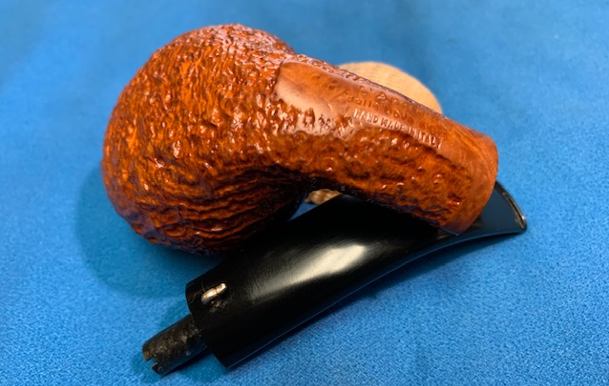
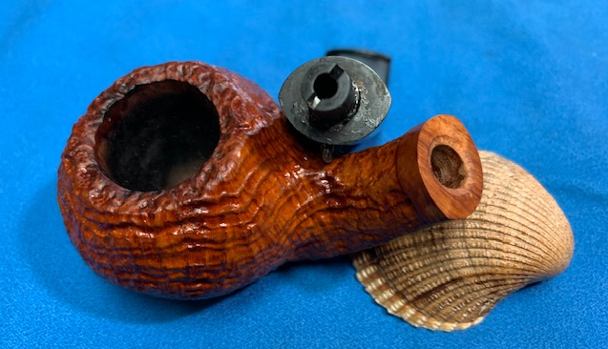
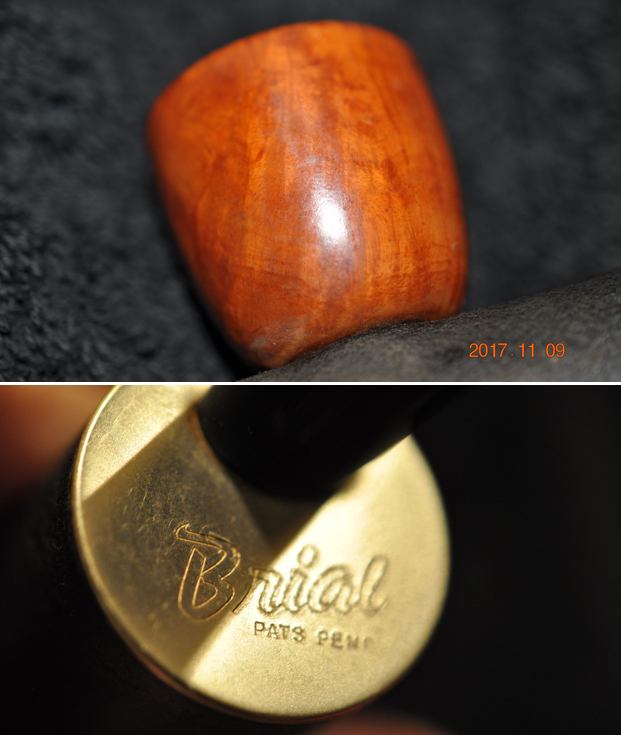
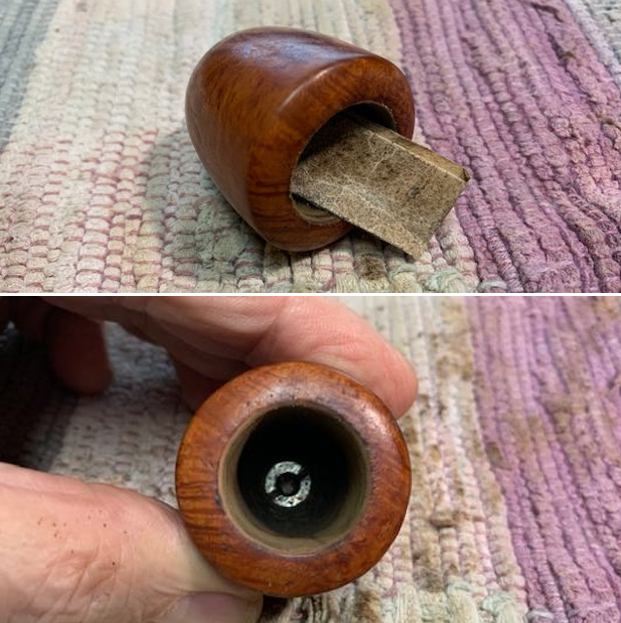
 He took a photo of the dirty rustication on the heel and sides of the bowl to show the pattern of the finish and the beauty of the briar. It really is very nice.
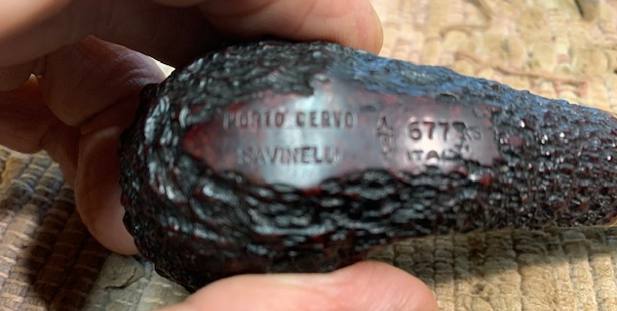
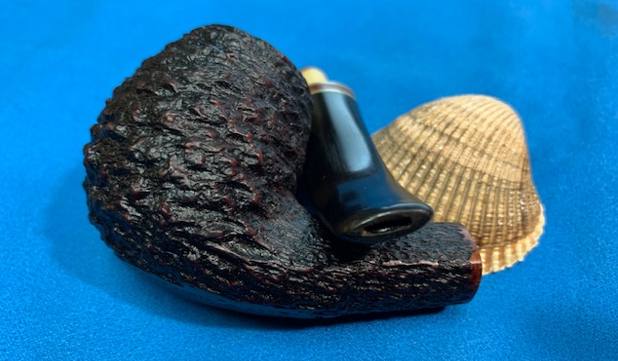
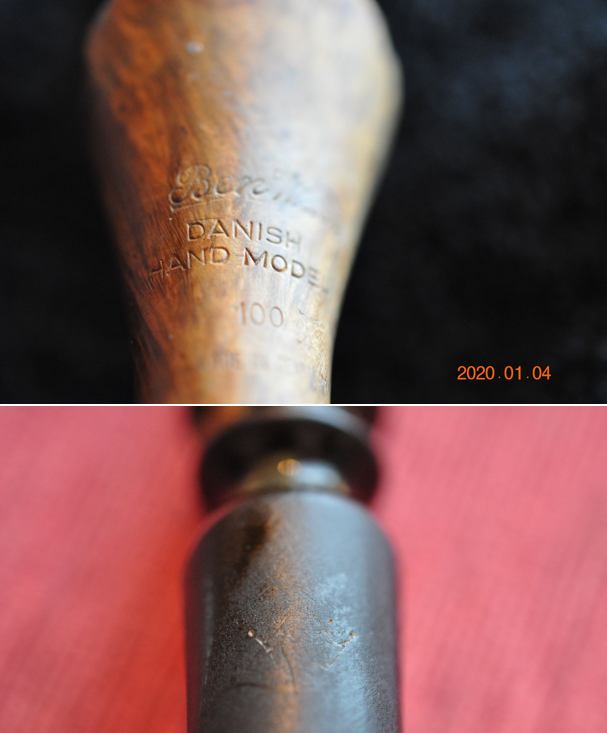
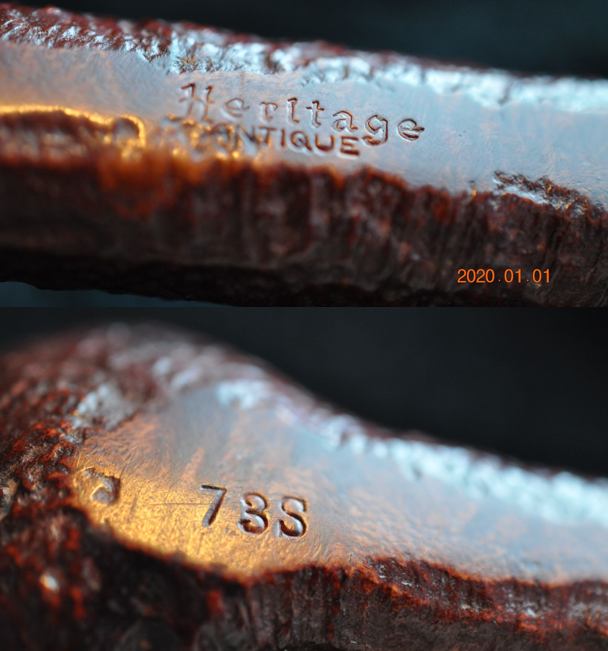
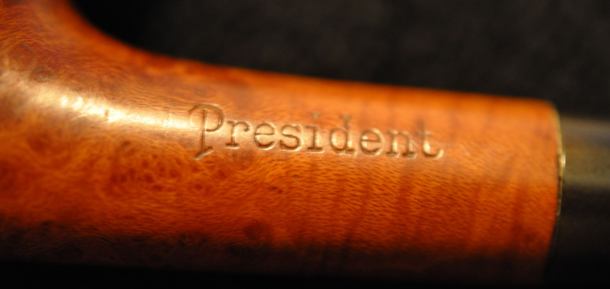
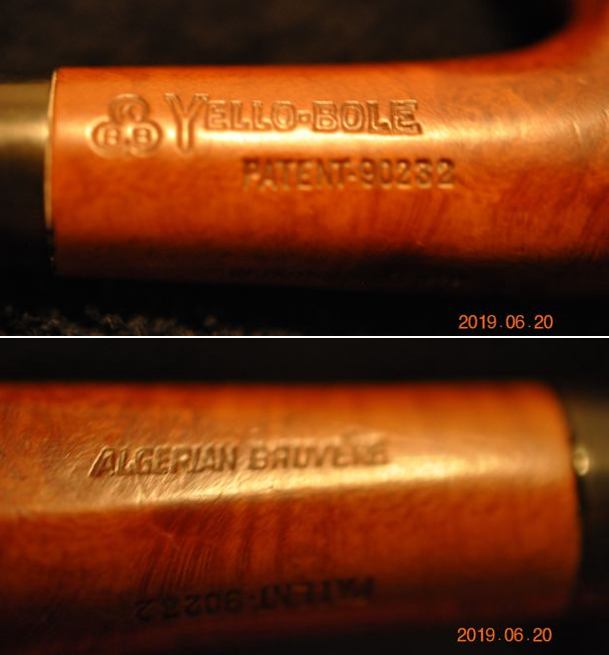
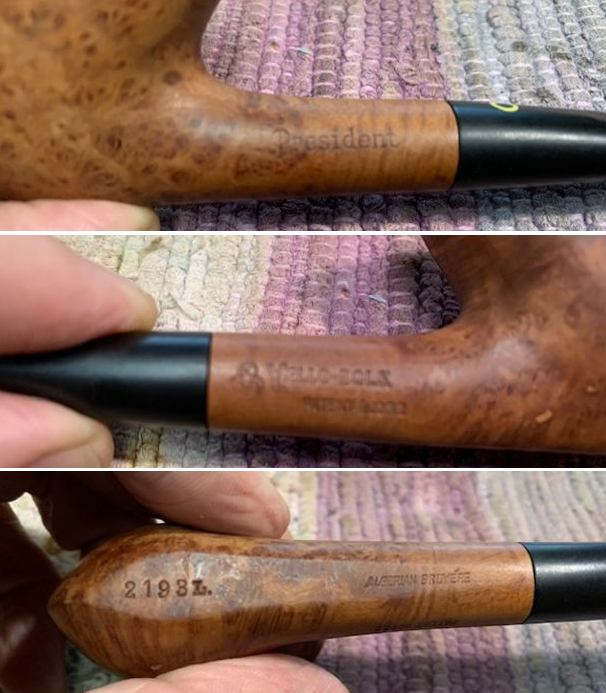
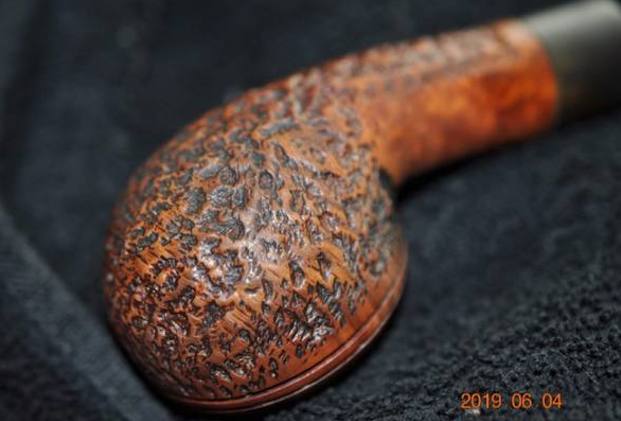 He took a photo of the only stamping on the pipe. It was on the left side of the shank and was clear and readable as noted above.
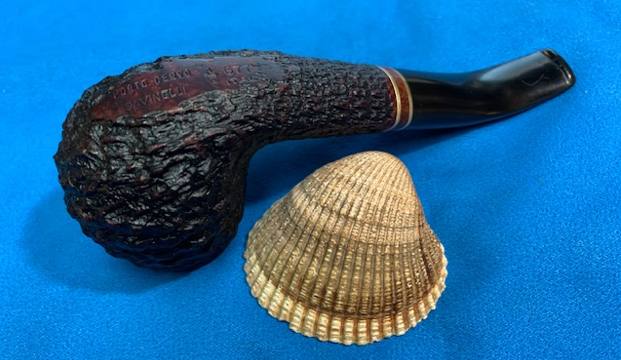
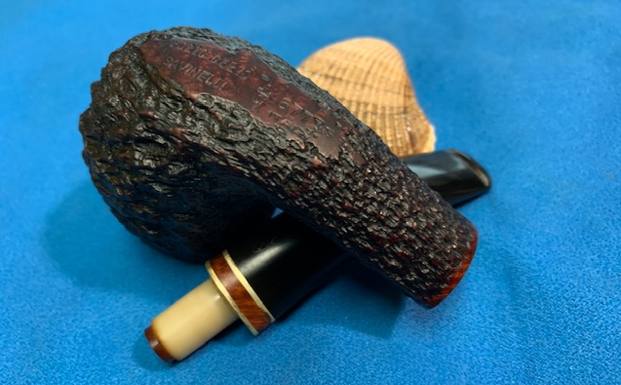
 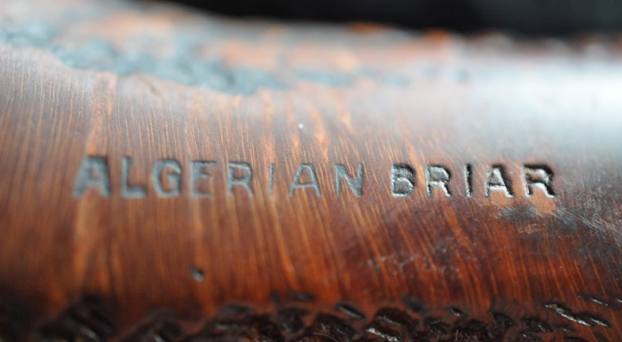 I knew nothing about the brand of the pipe as the Algerian Briar stamping is used on a lot of different brands. I have seen it on a lot of different American made pipes – Bertram, National Pipes and A. Garfinkel pipes for example. I could not garner any other information on it so it was time to work on the pipe.
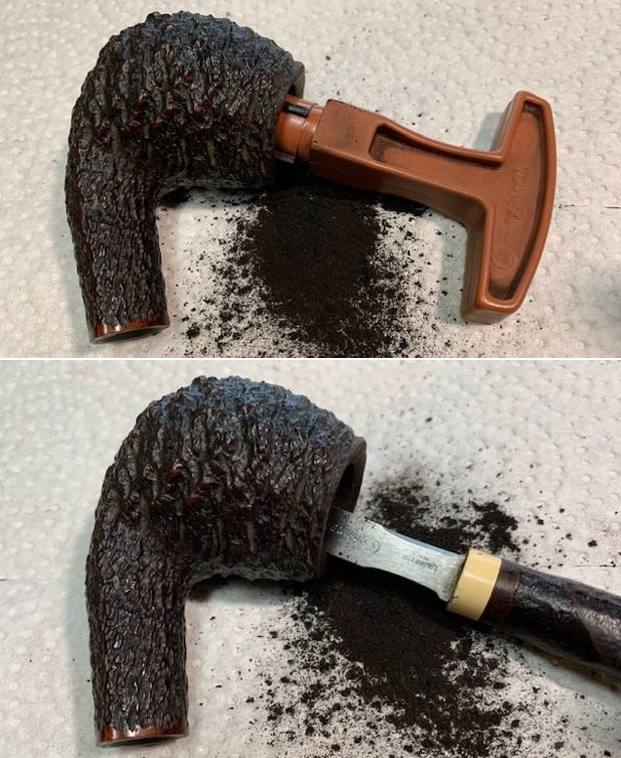
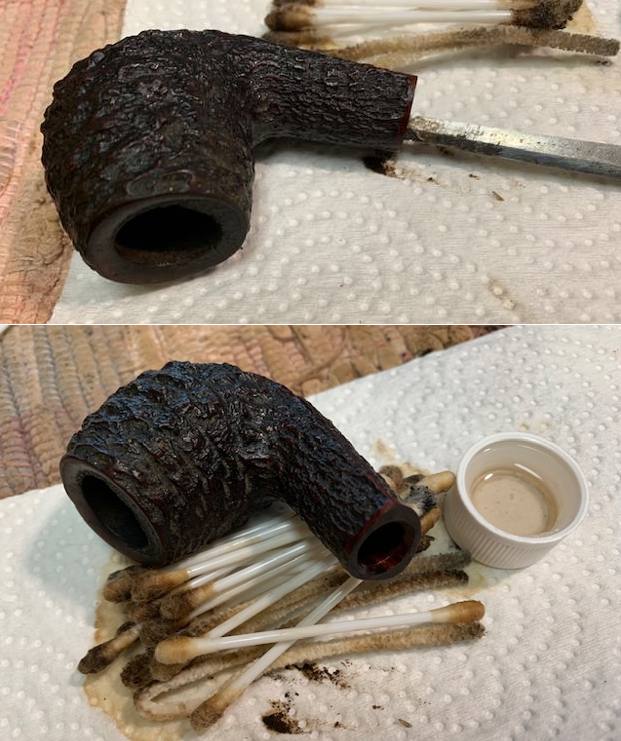
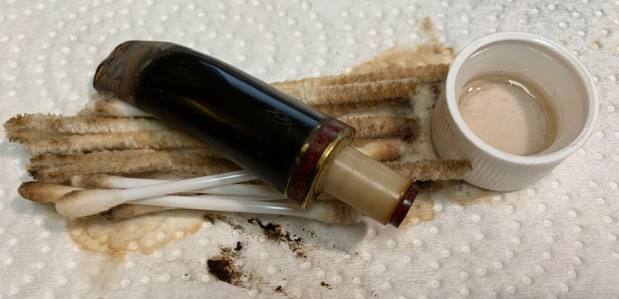
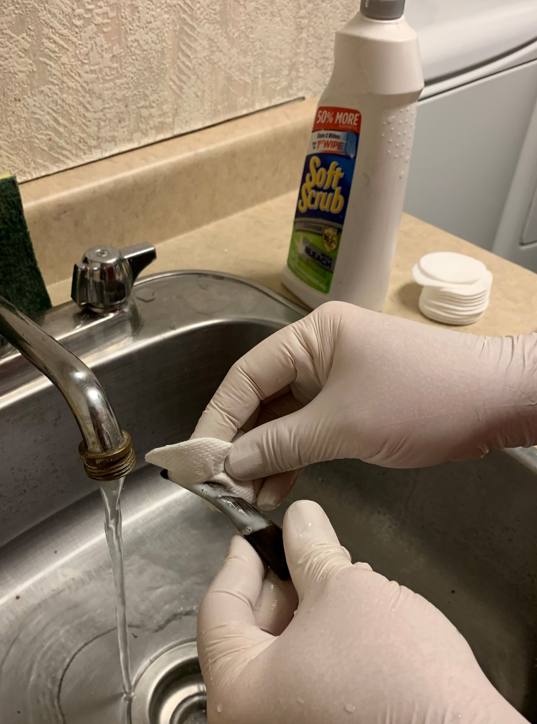
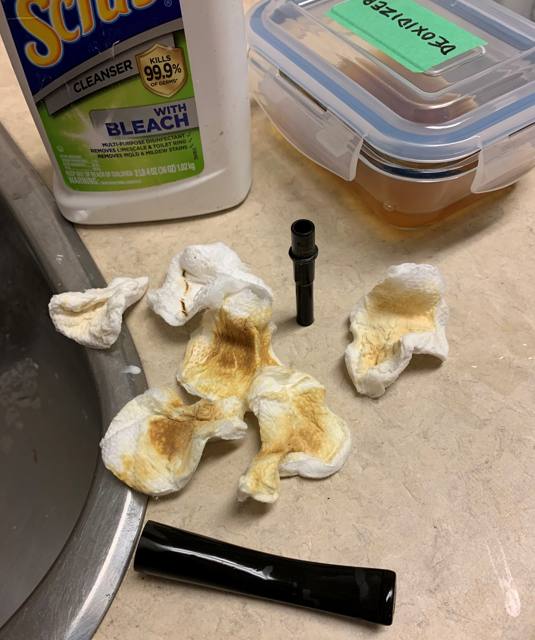
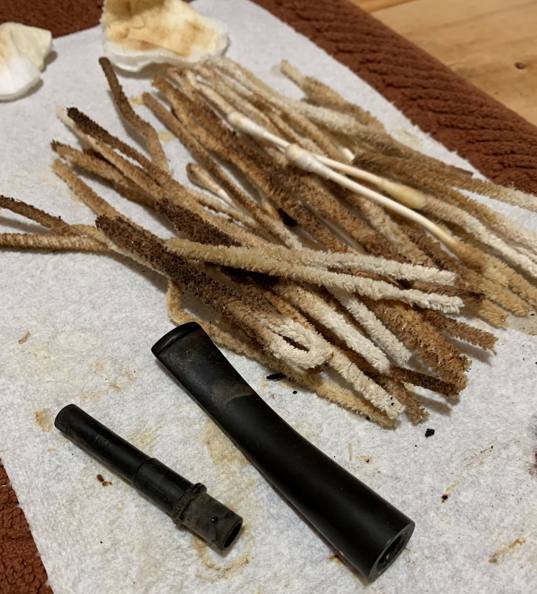
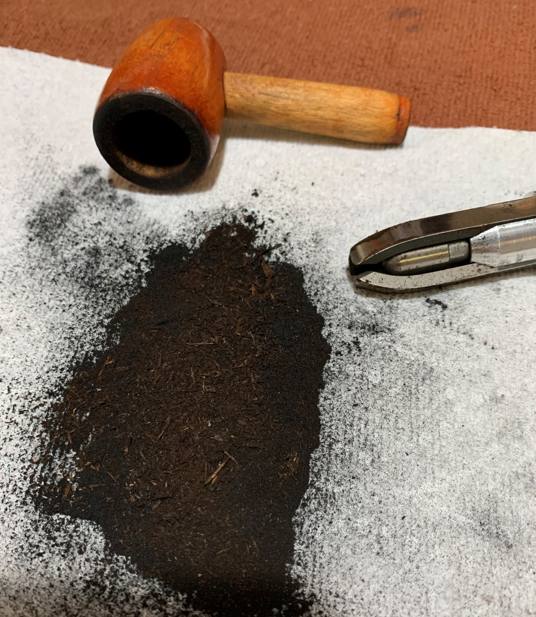
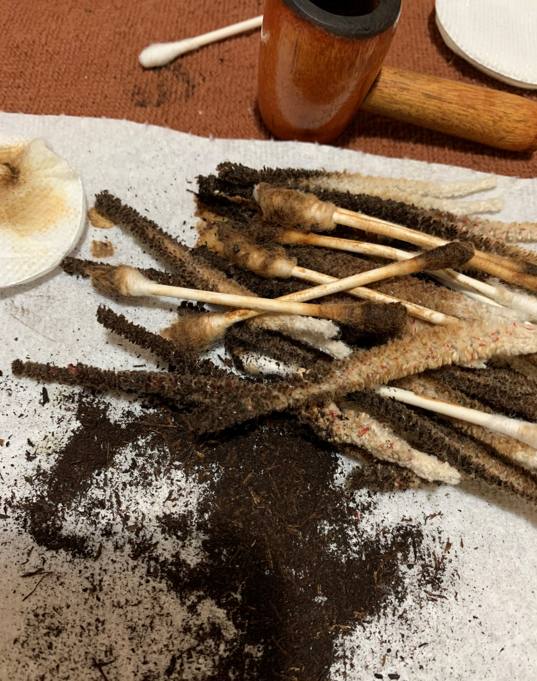
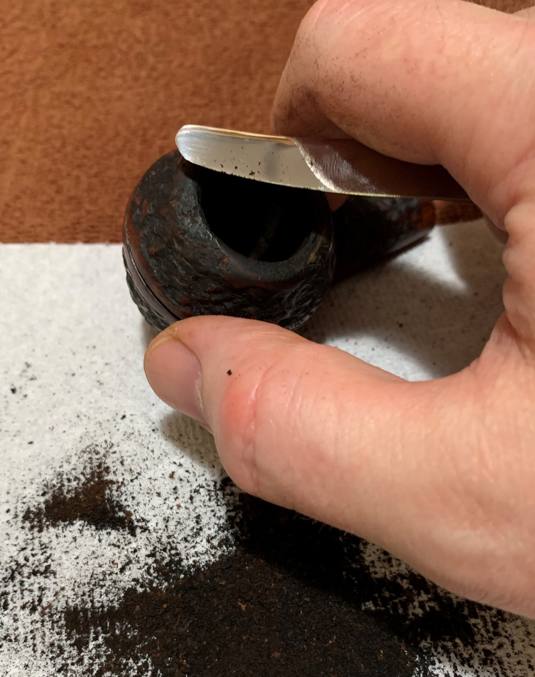
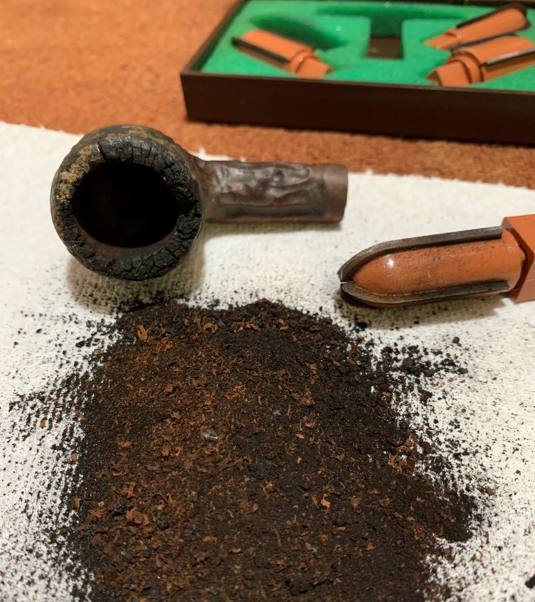
Jeff had done a great job cleaning up the pipe as usual. He reamed the pipe with a PipNet reamer and cut back the cake back to the bare briar. He cleaned up the walls with a Savinelli Fitsall Pipe Knife. He scrubbed the interior of the bowl and shank with pipe cleaners, cotton swabs and alcohol to remove the tars and oils. He scrubbed the exterior of the pipe with Murphy’s Oil Soap and a tooth brush to remove the grime from the finish. He worked on the rim top lava and darkening with the soap and tooth brush. He scrubbed the inside of the stem with alcohol and pipe cleaners. He scrubbed the exterior with Soft Scrub and then soaked it in Before & After Deoxidizer. He washed it off with warm water to remove the Deoxidizer. The pipe looked far better when it arrived. 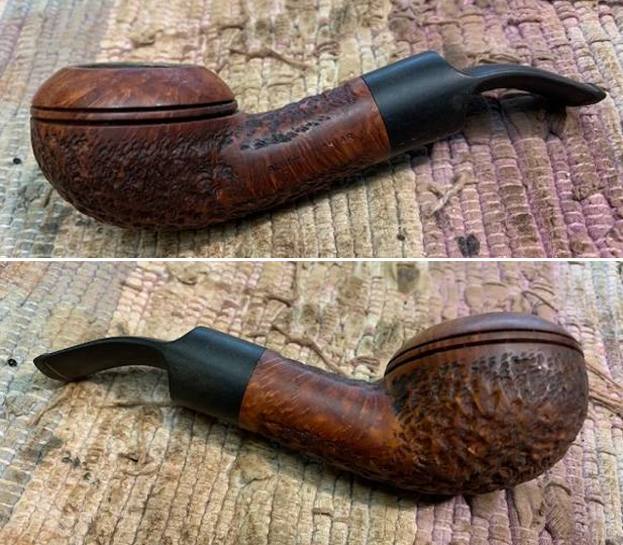
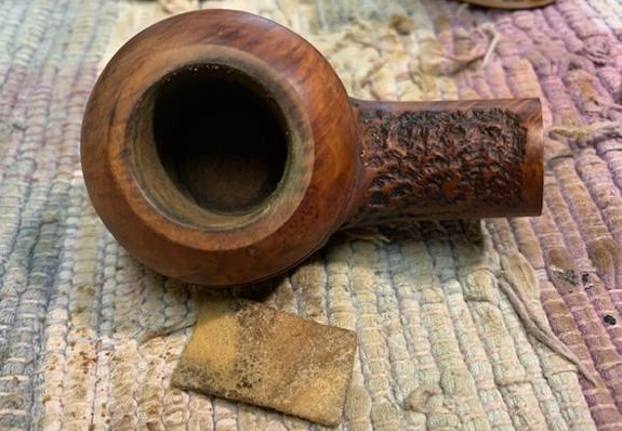
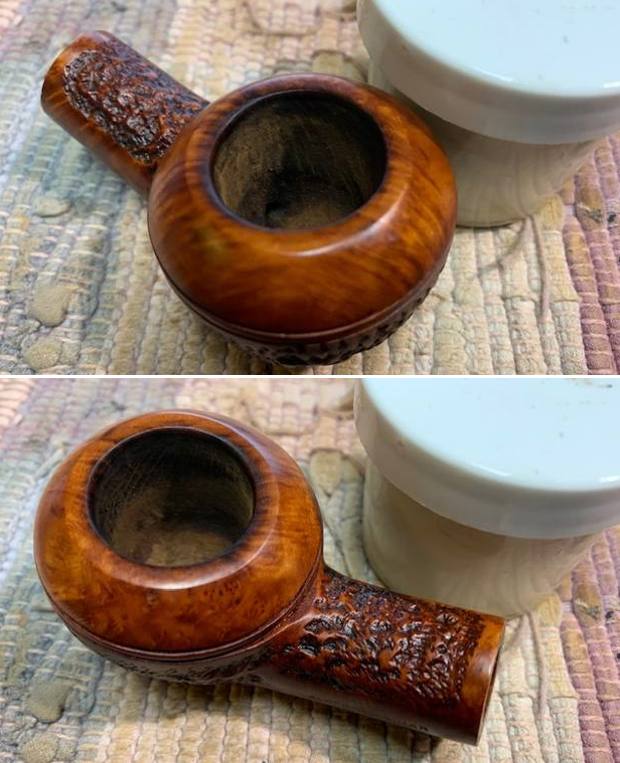
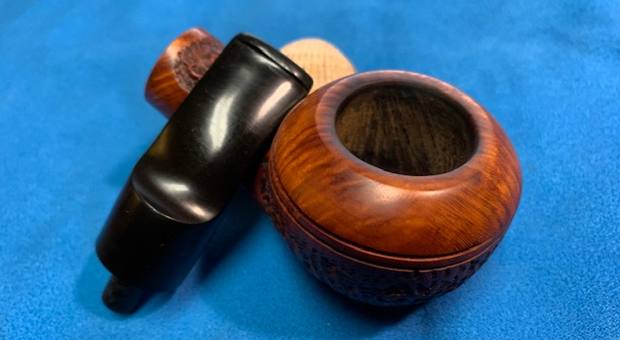
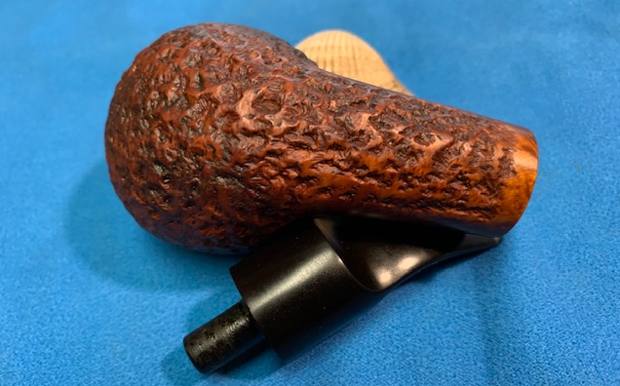
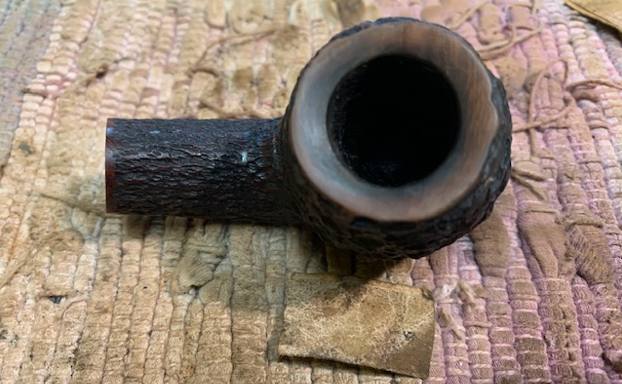
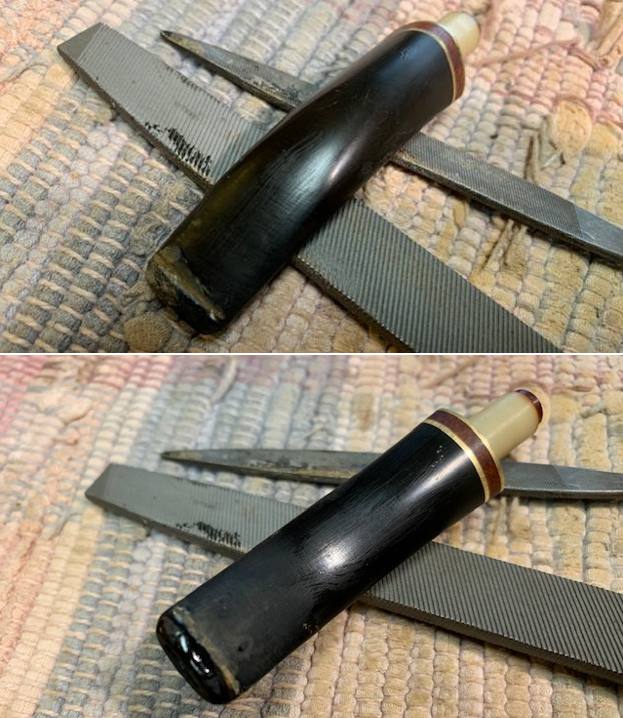
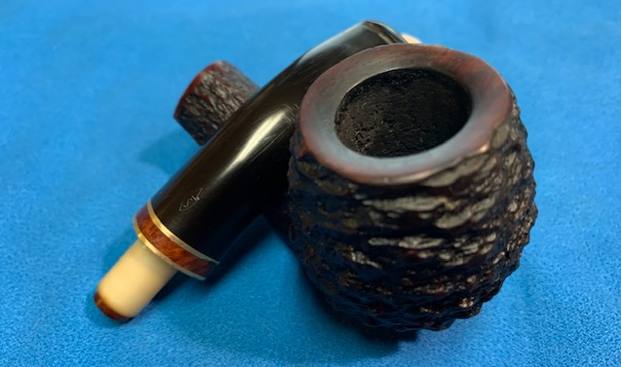
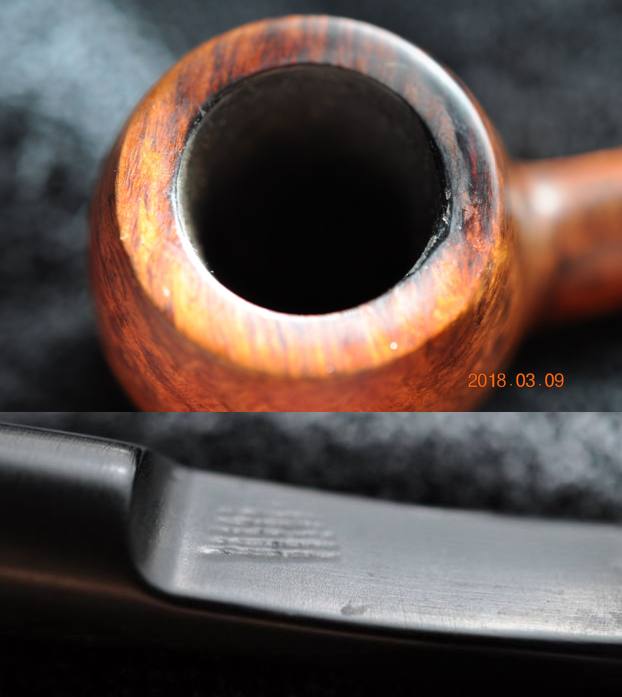
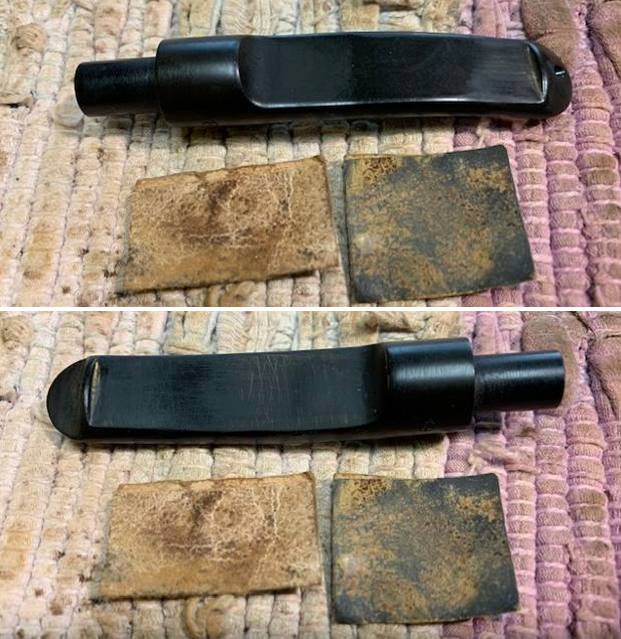
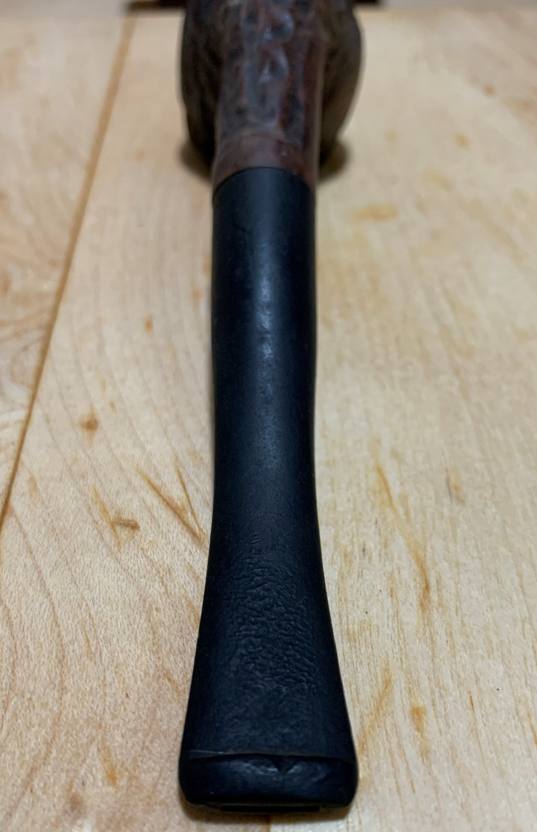
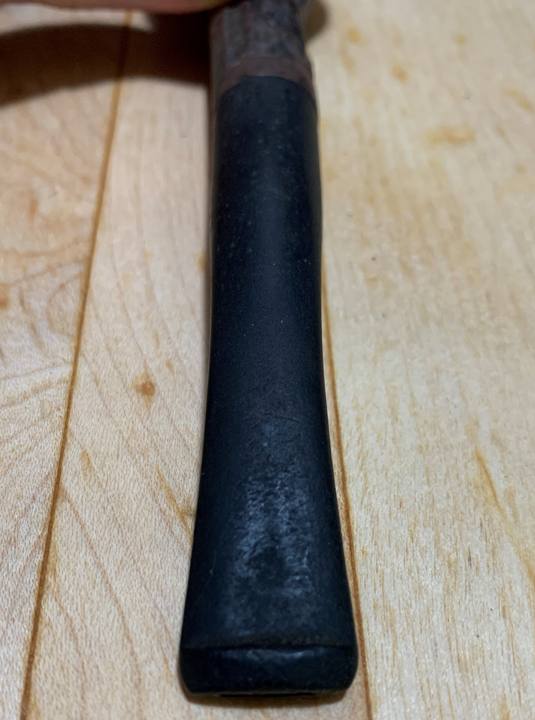
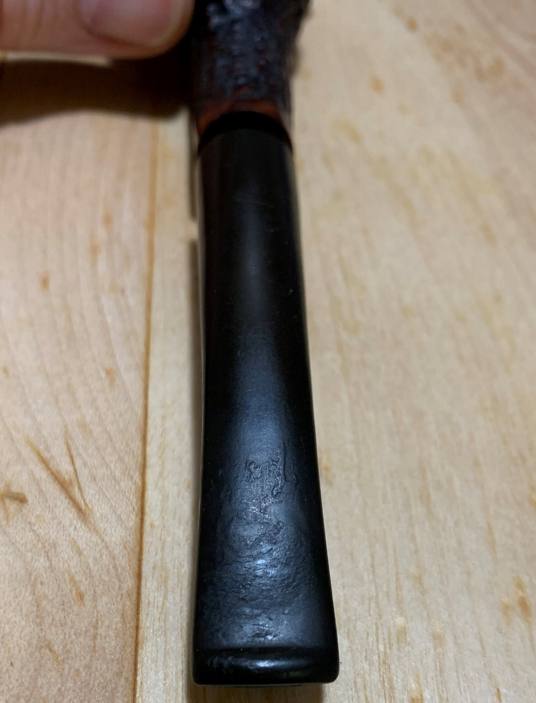
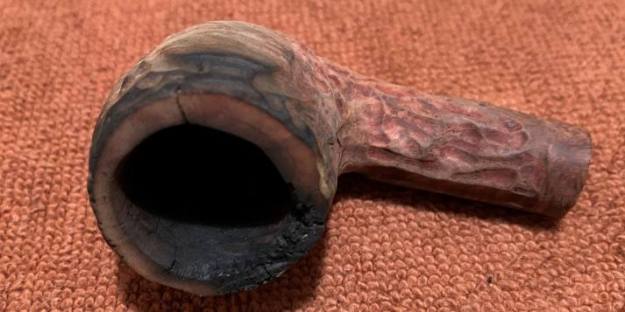
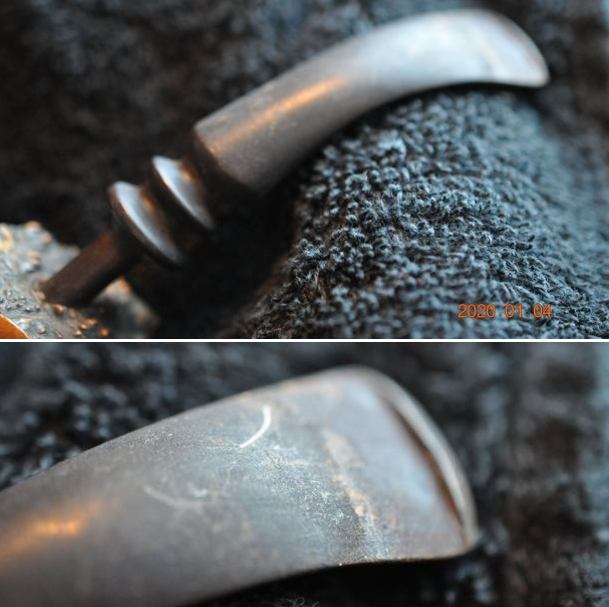
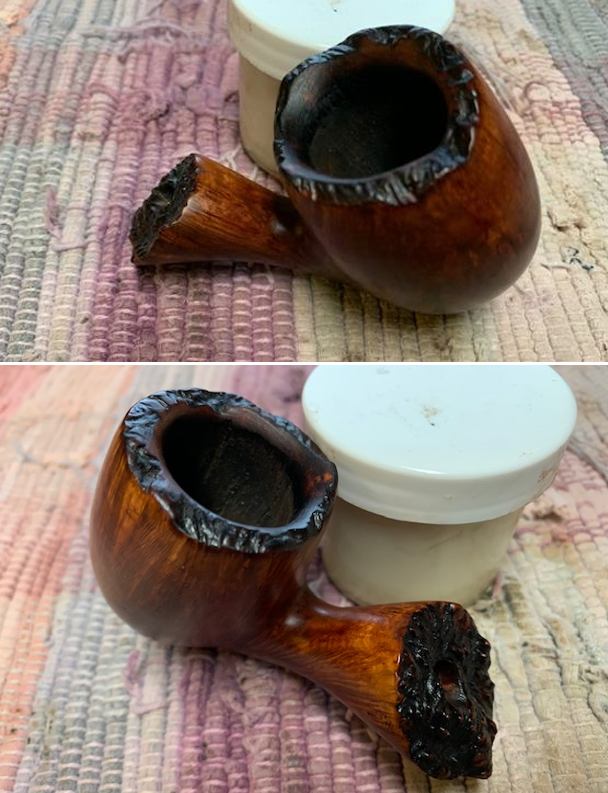
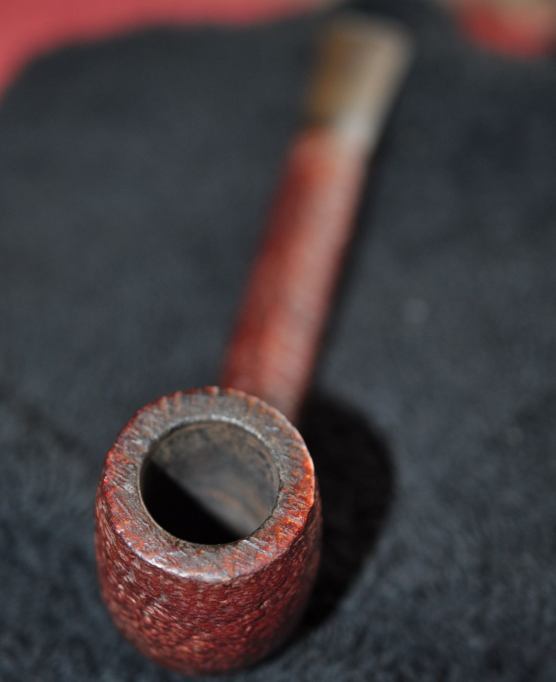
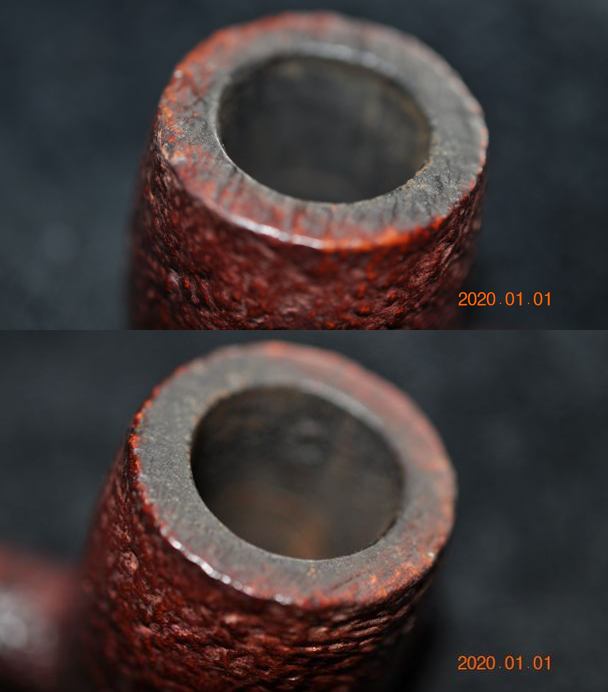
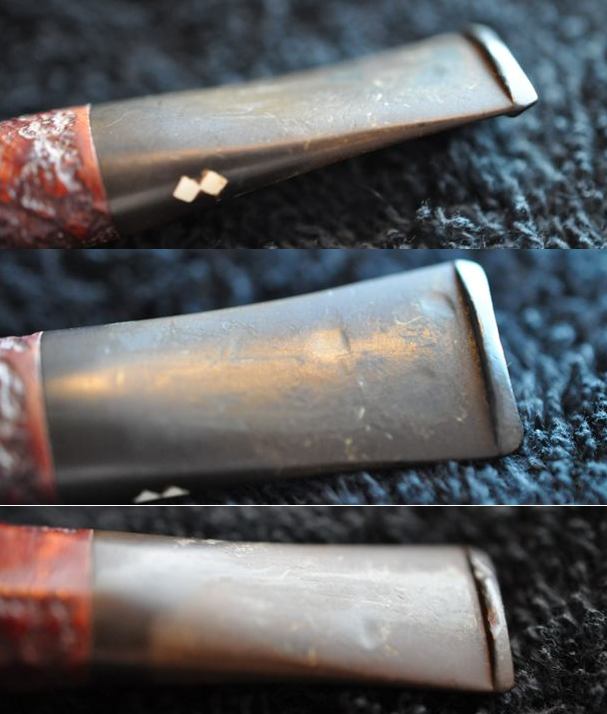
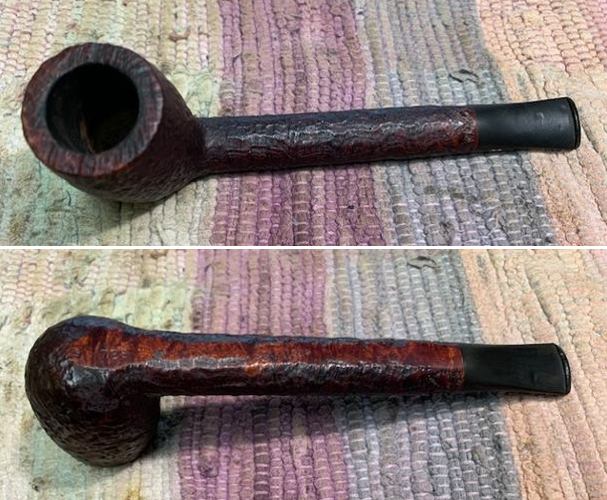
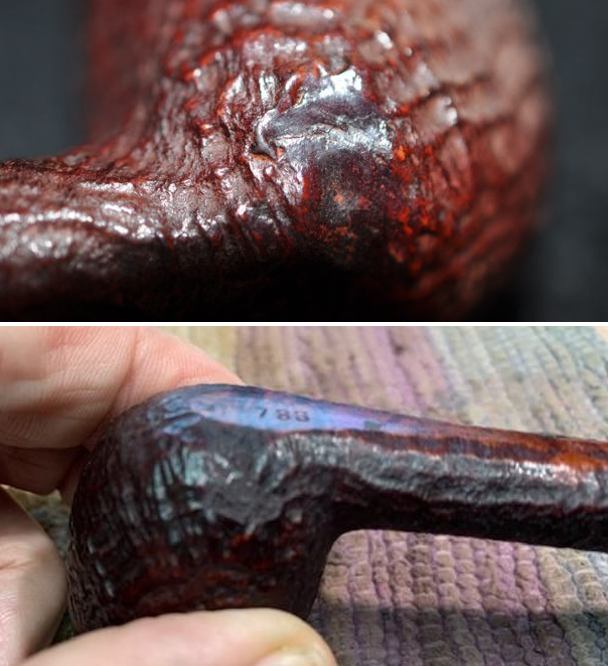
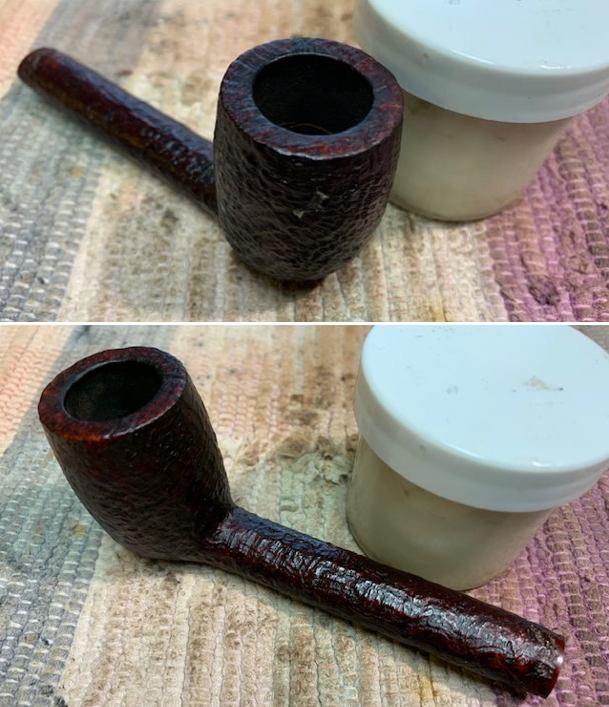
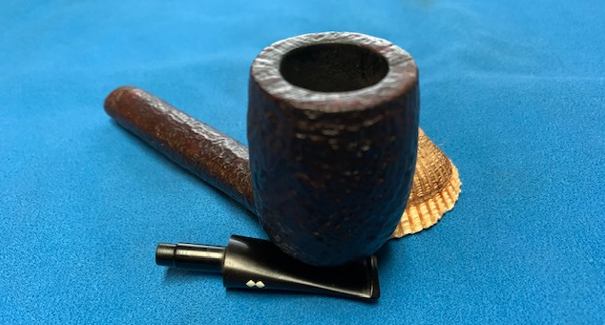
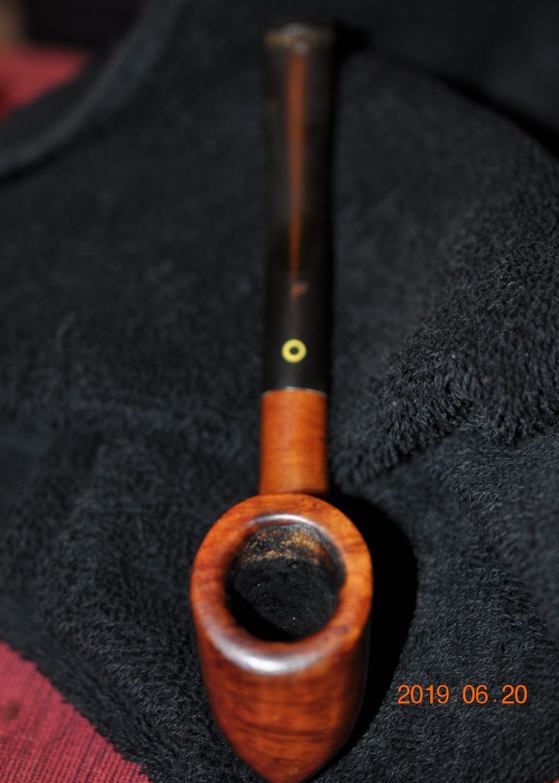
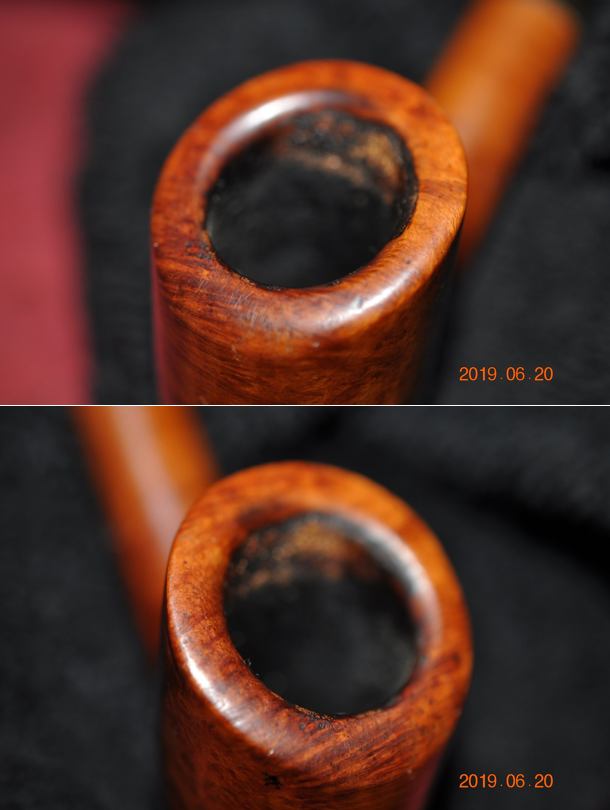
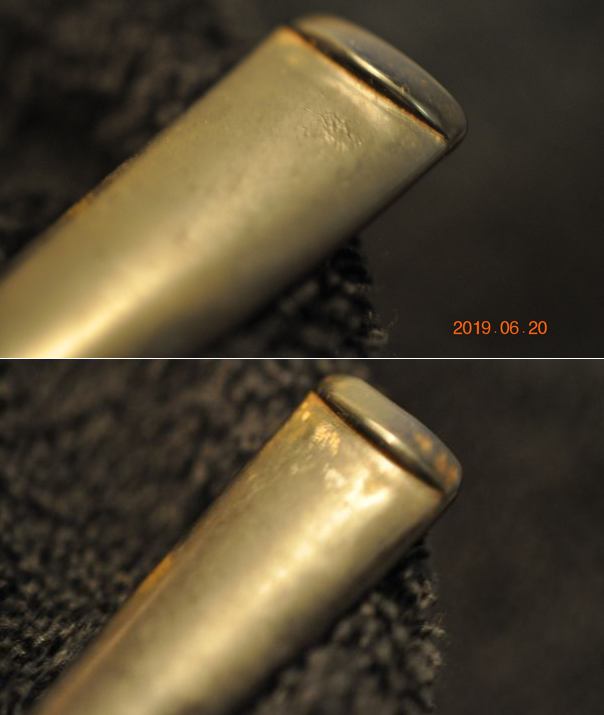
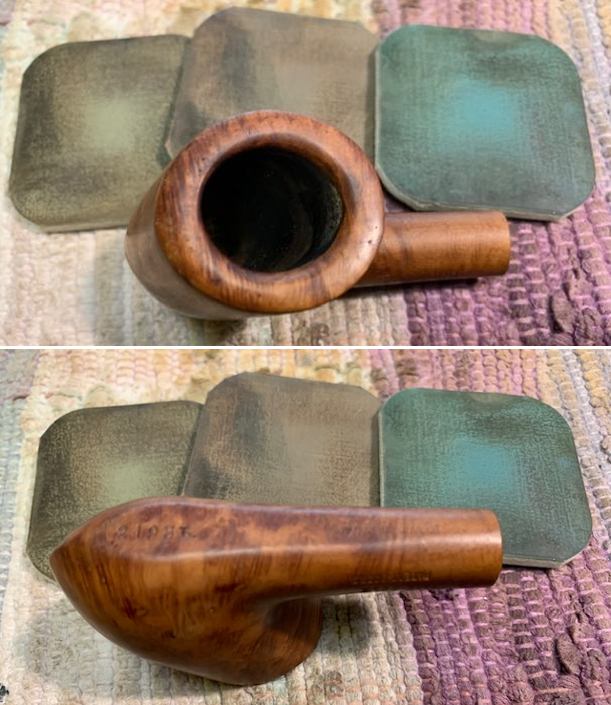
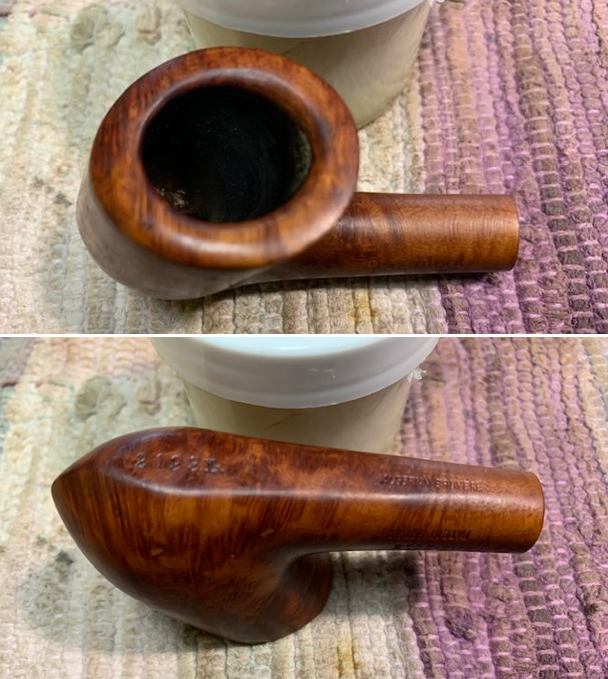
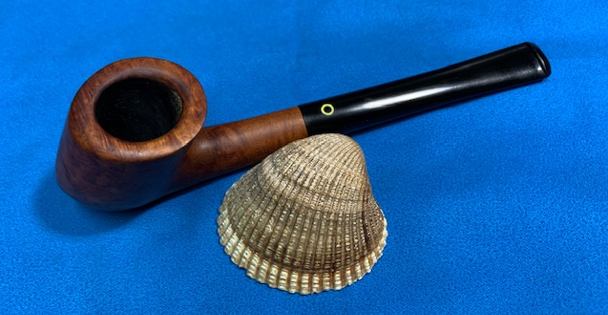
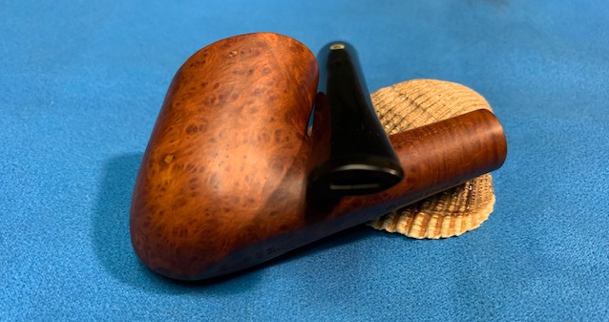
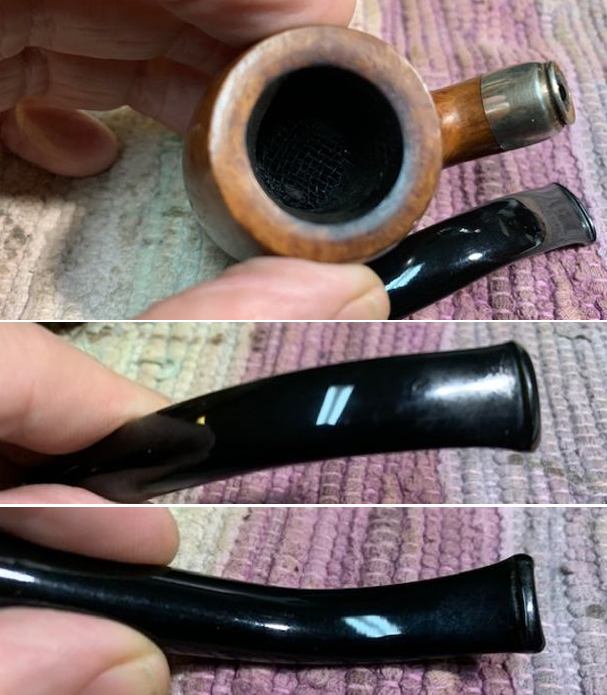
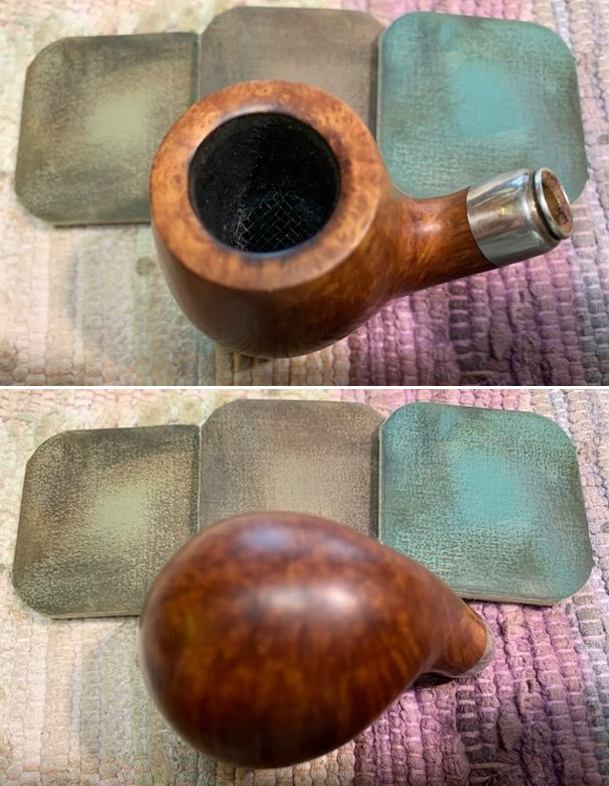
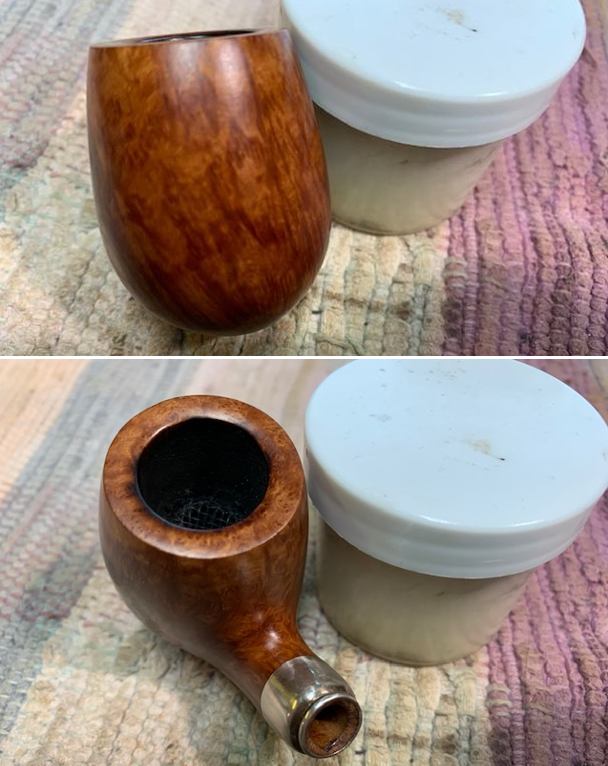
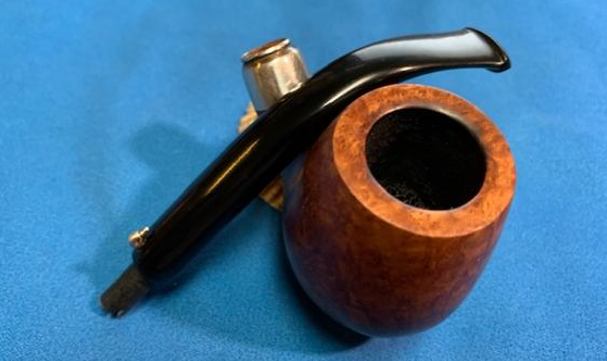
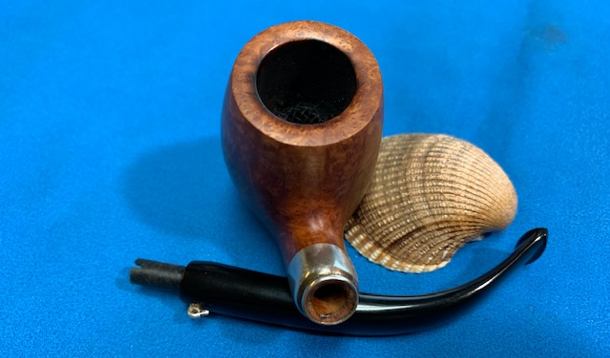
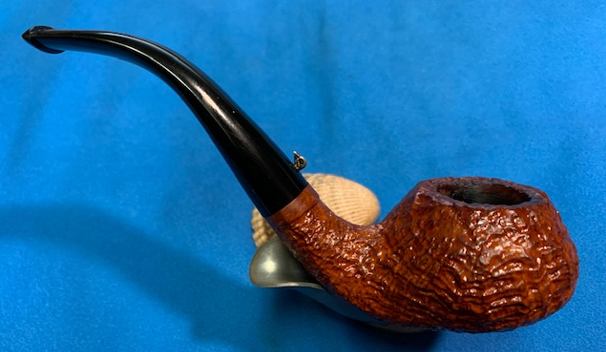
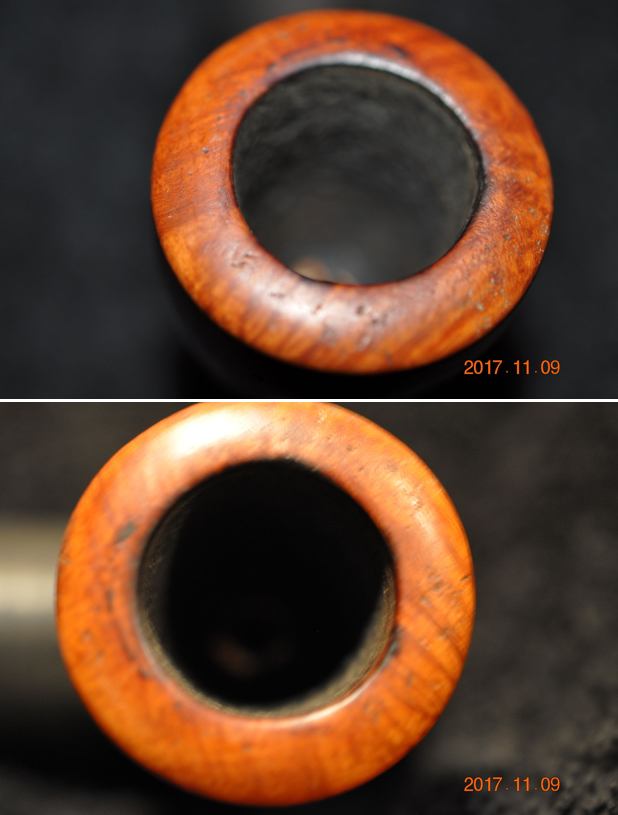
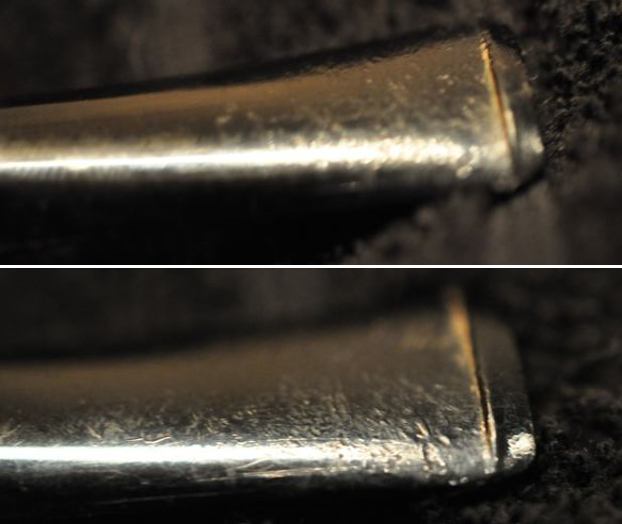
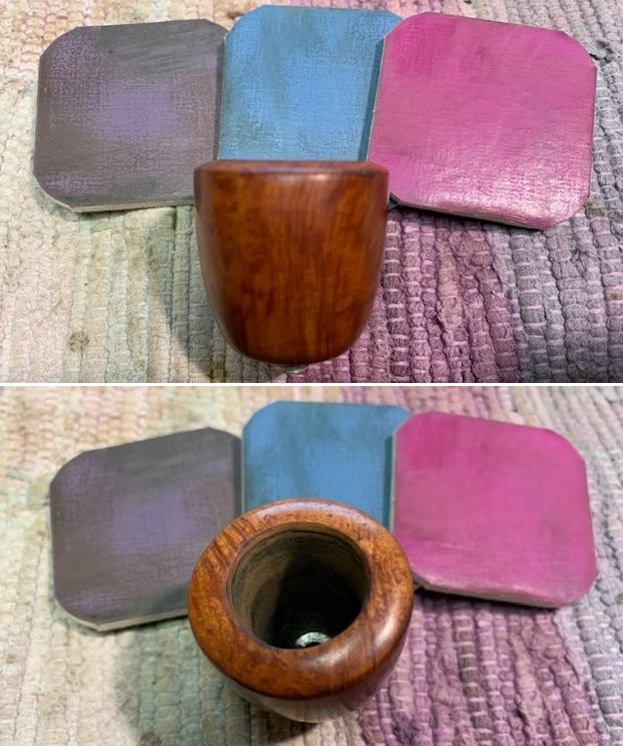
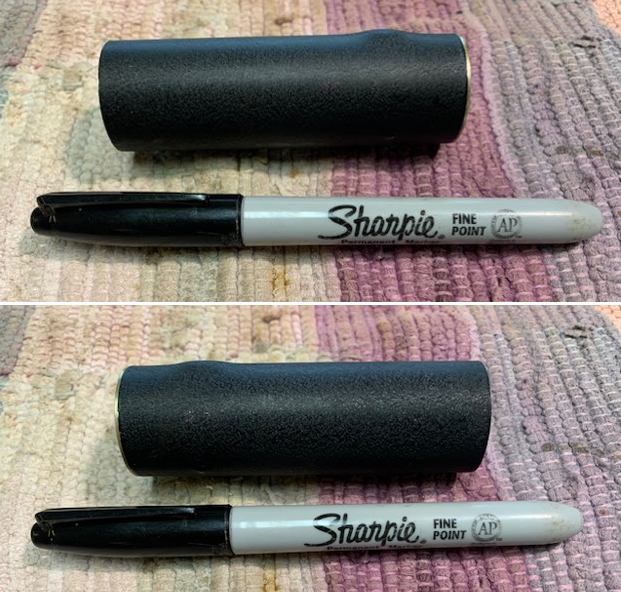
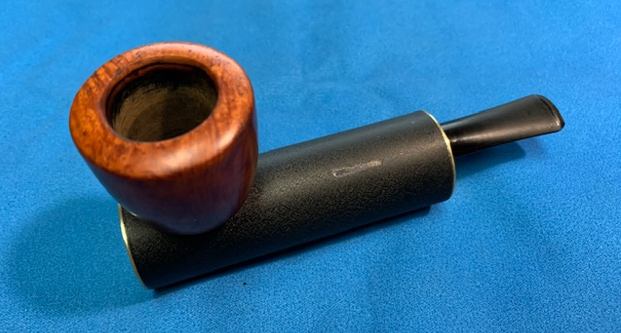
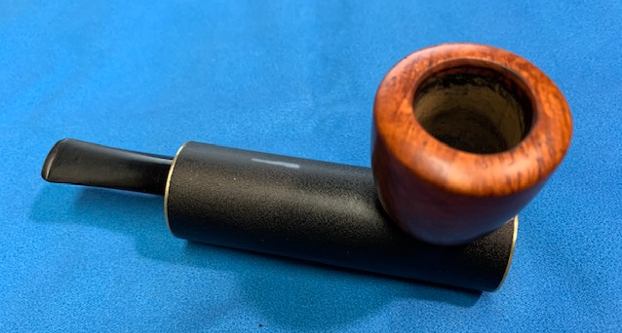
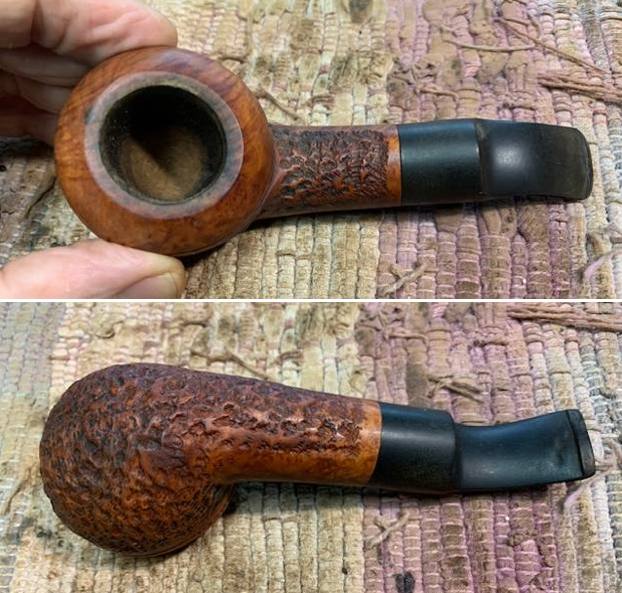 I took some close up photos of the rim top and also of the stem surface. I wanted to show how well it had cleaned up. There was some darkening on the back of the rim top and a dark spot on the front outer edge of the bowl. The inner edge of the bowl looked very good. I also took close up photos of the stem to show the light tooth marks on the surface near the button and on the button itself on both sides.
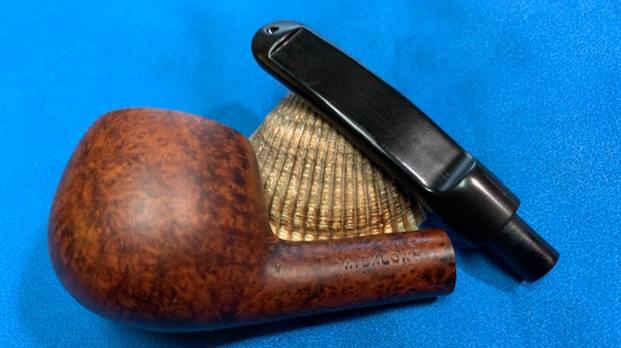
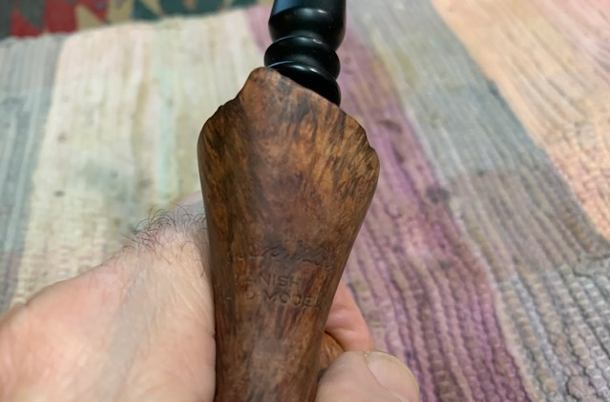
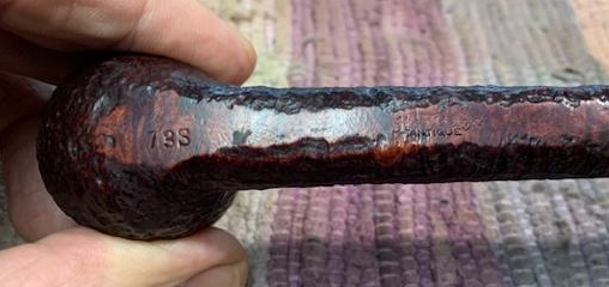
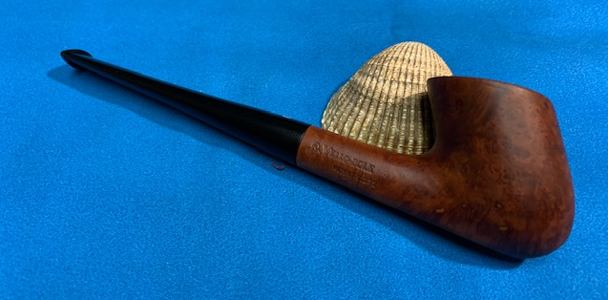
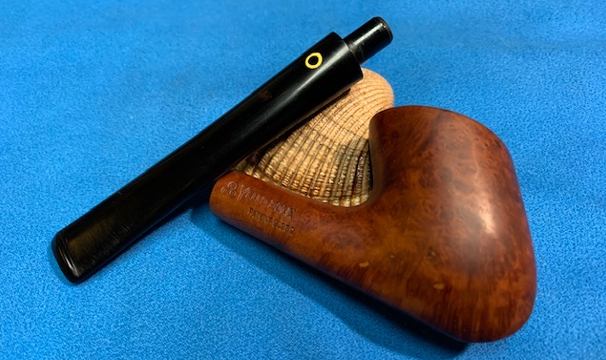
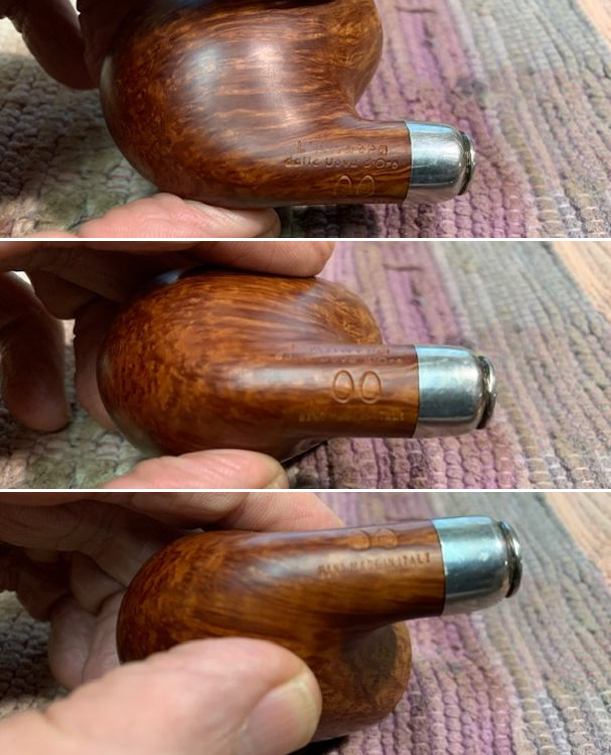
 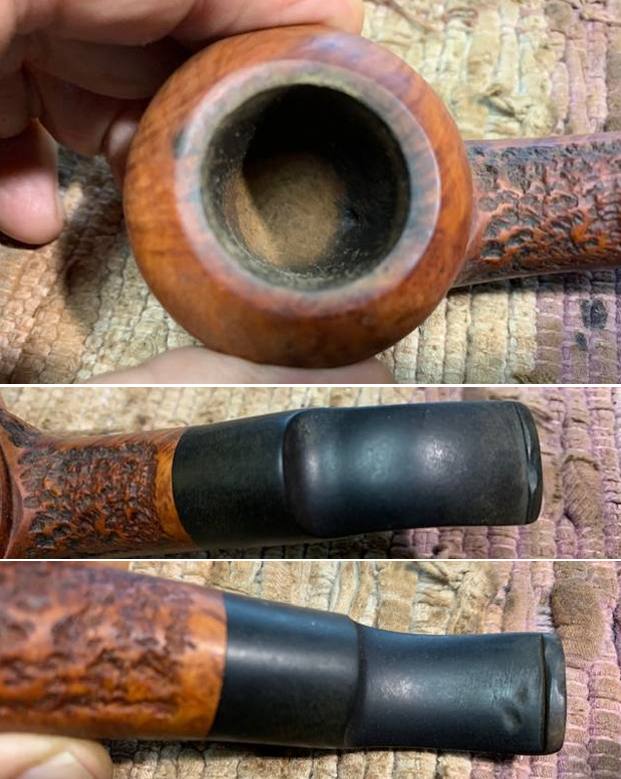 I took a photo of the stamping on the left side of the shank. You can see that it is stamped as noted above. It is clear and readable.
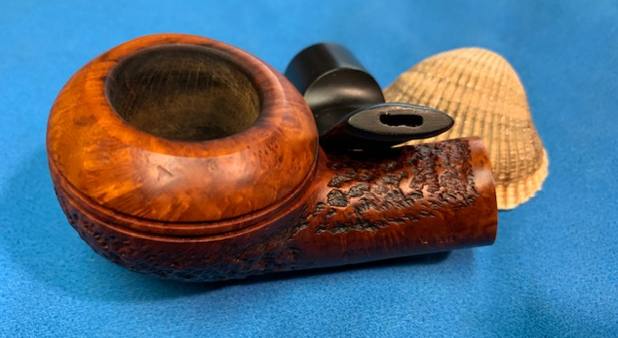
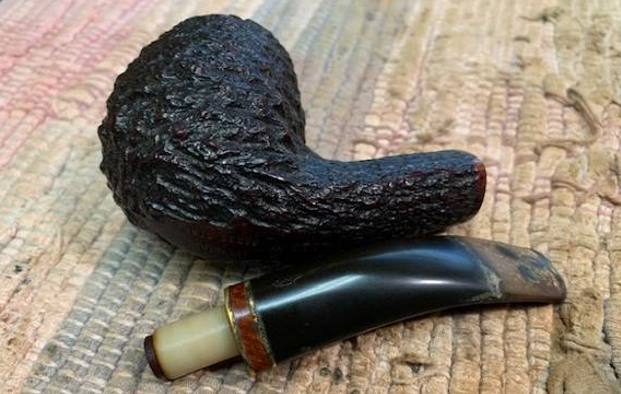
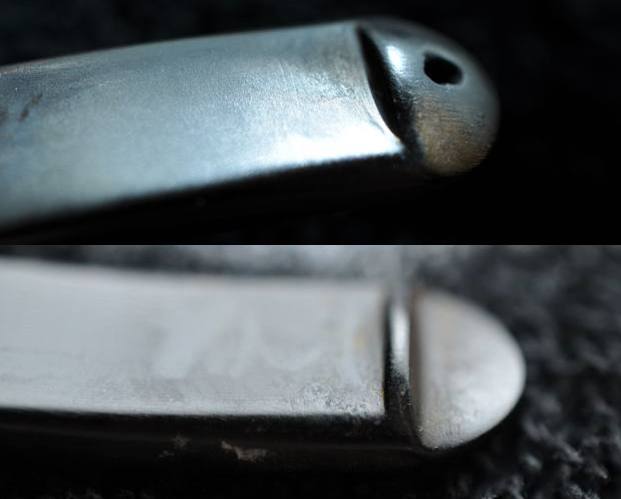
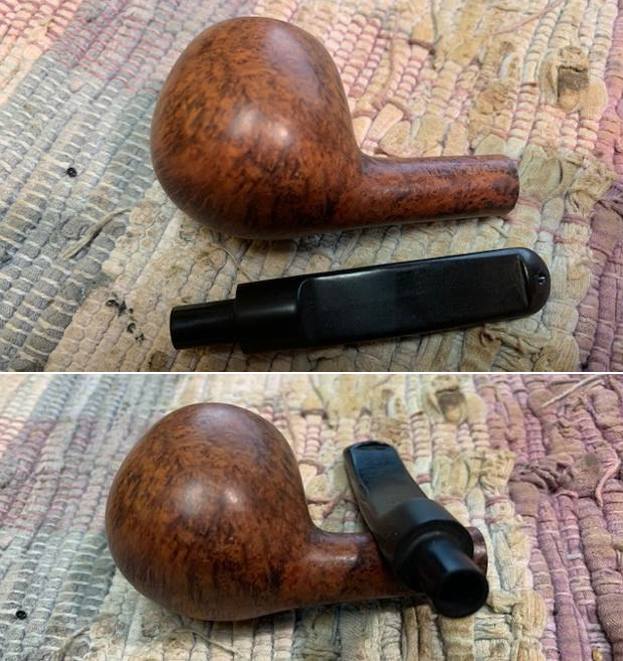
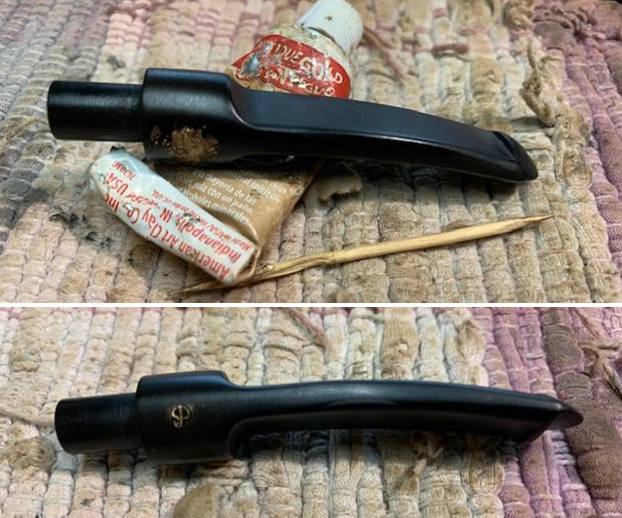
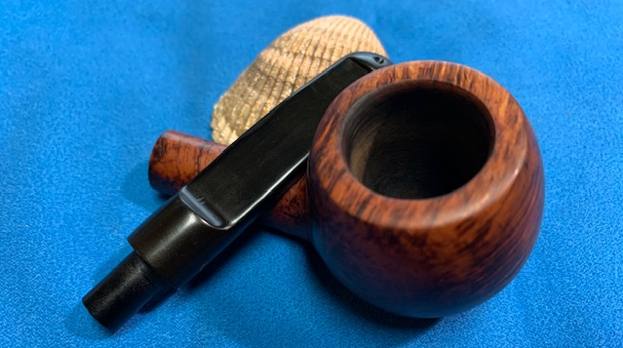
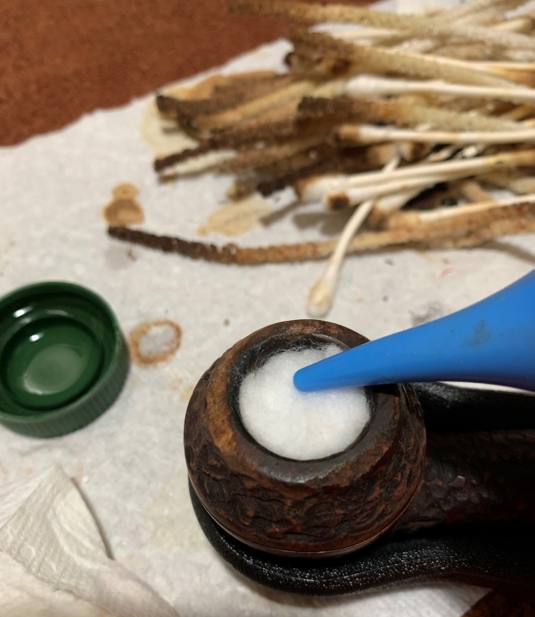
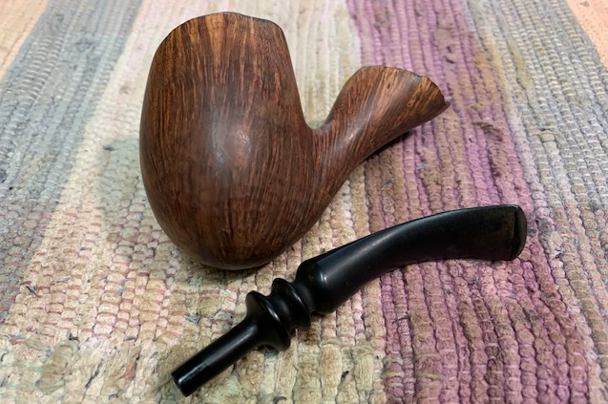
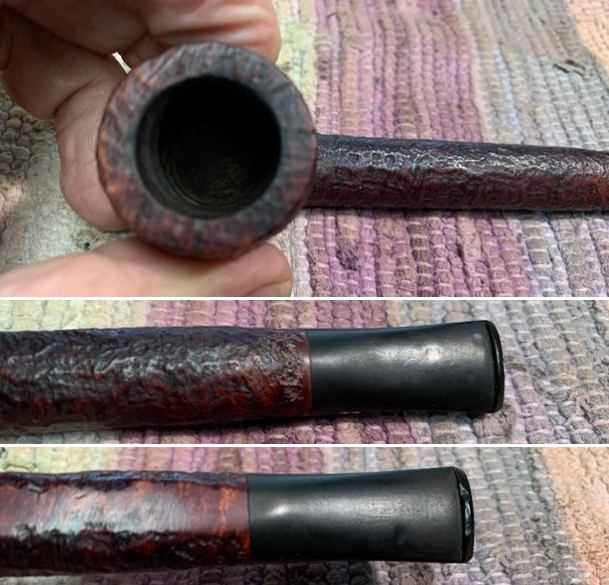
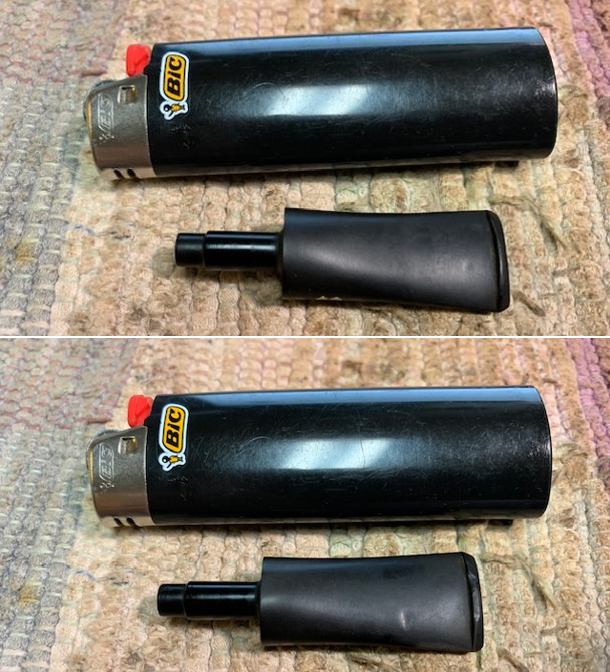
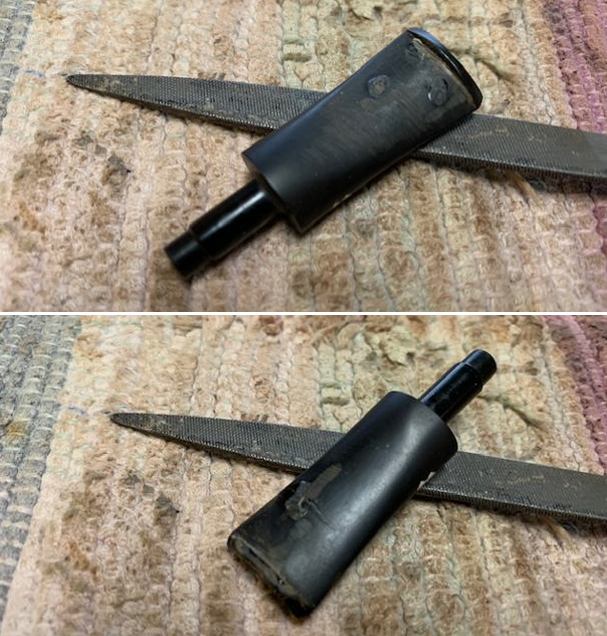
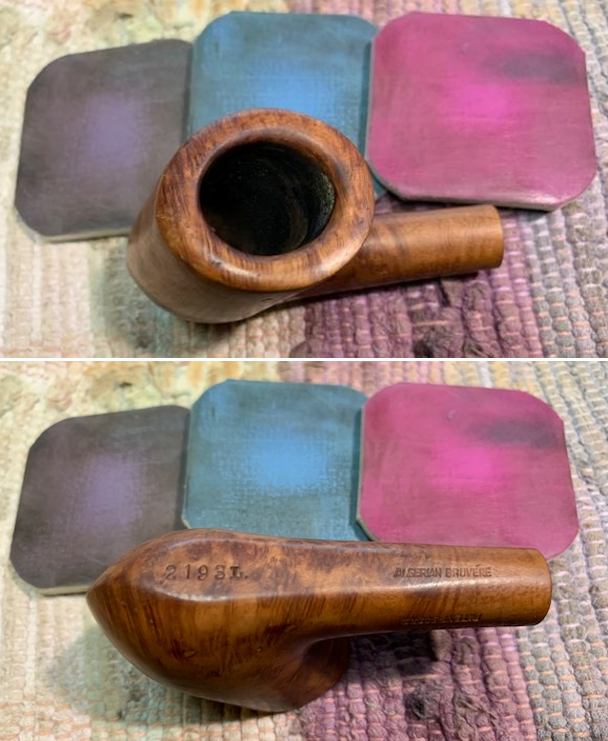
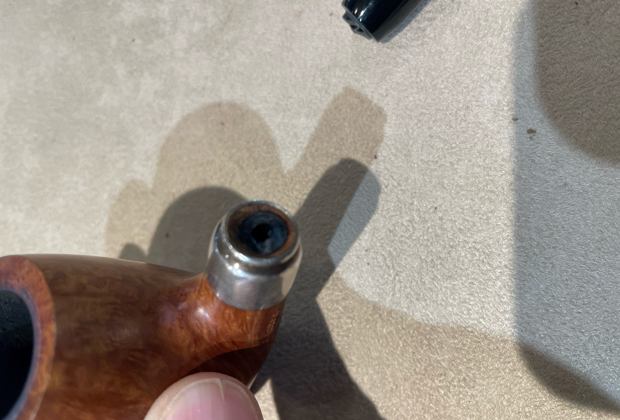
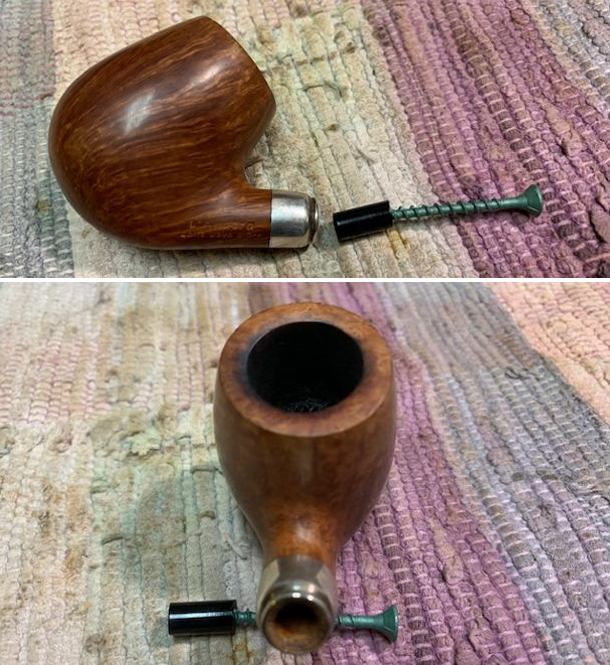
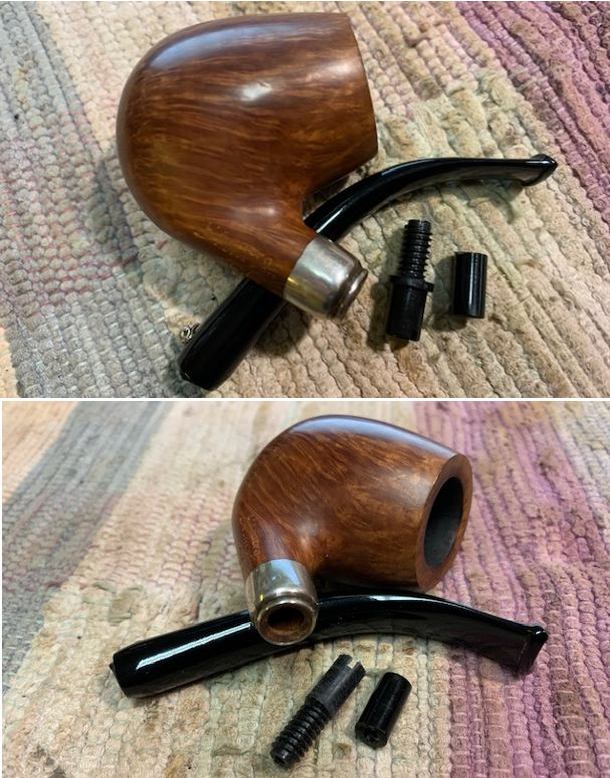
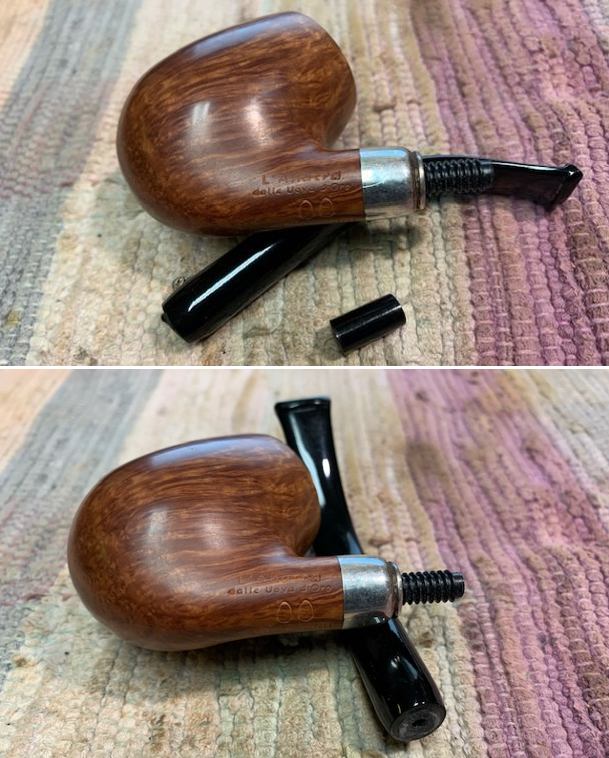
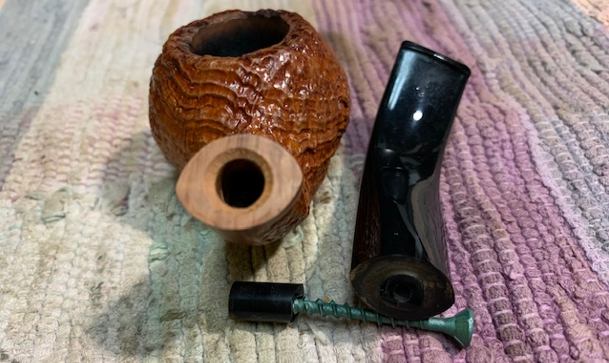
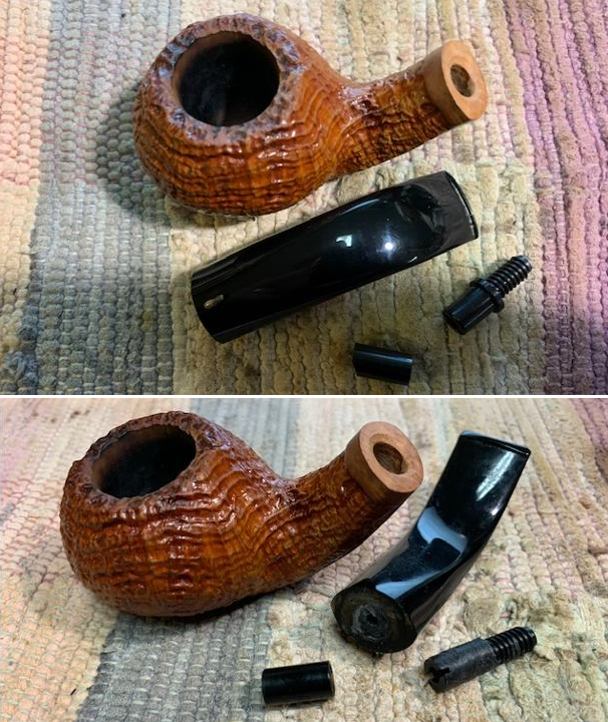
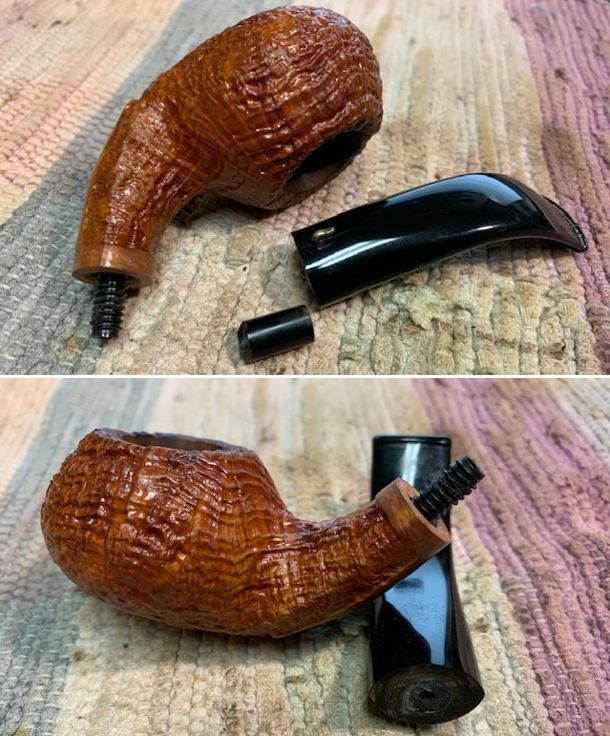
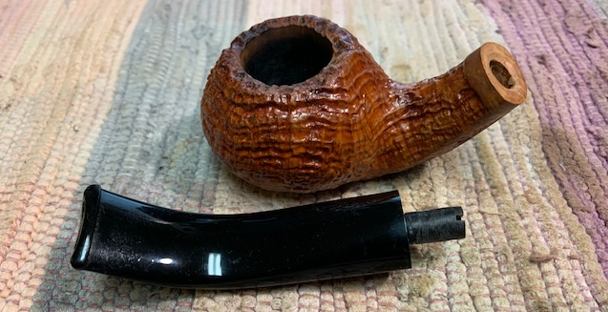
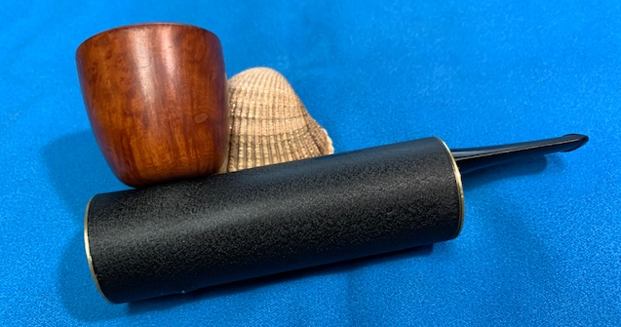
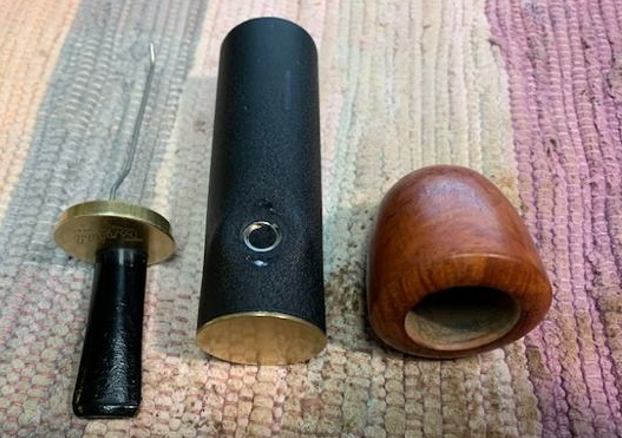
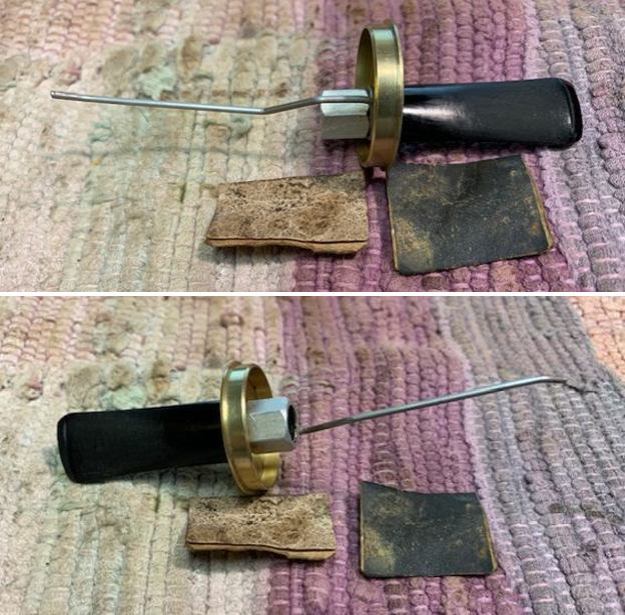
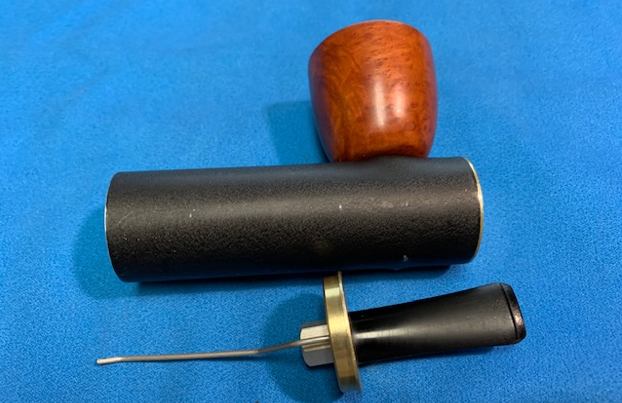
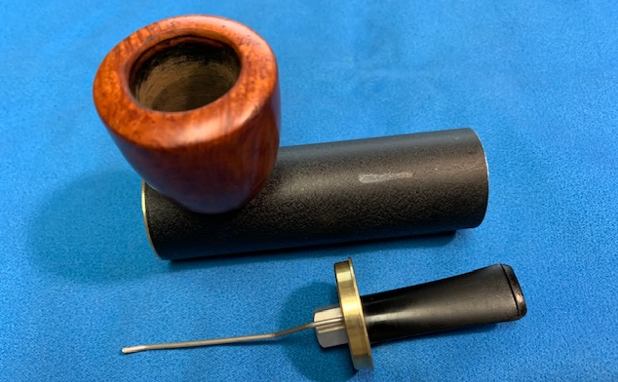
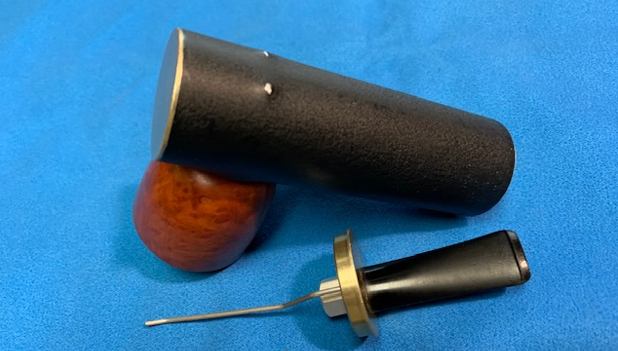
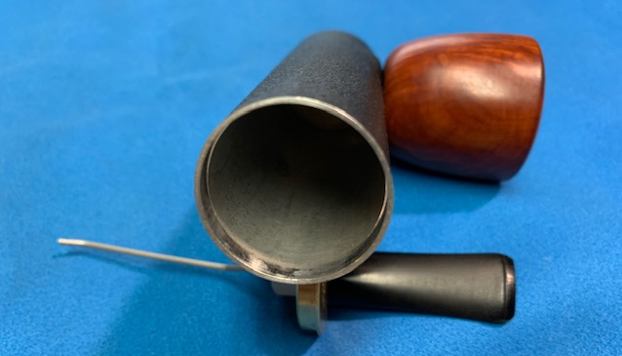
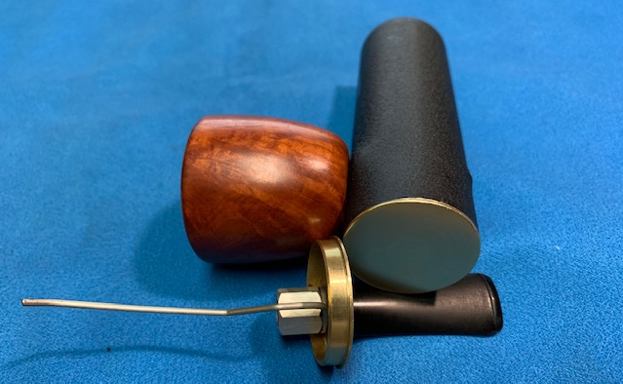
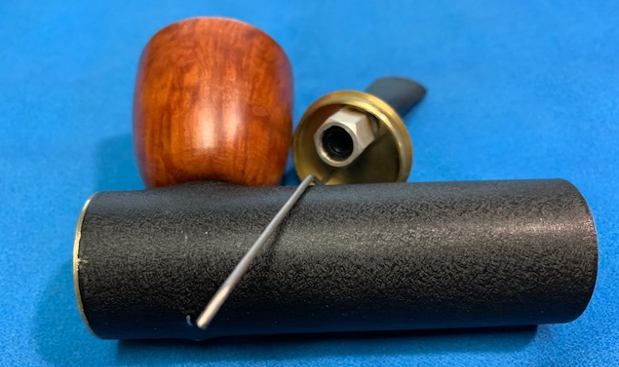
 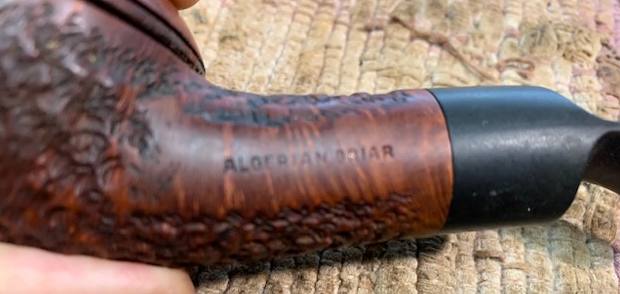 I removed the stem from the shank and took a photo of the parts. You can see the aluminum stinger in the tenon end. It is pointed and removable.
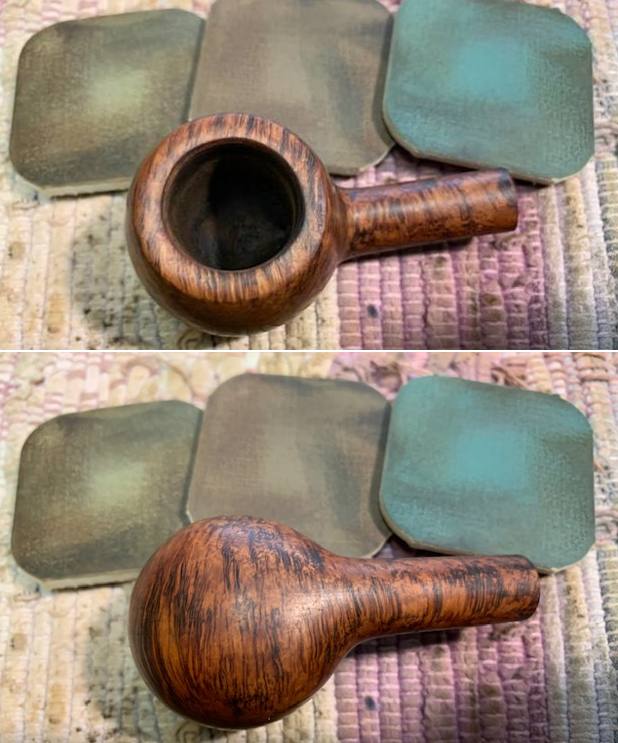
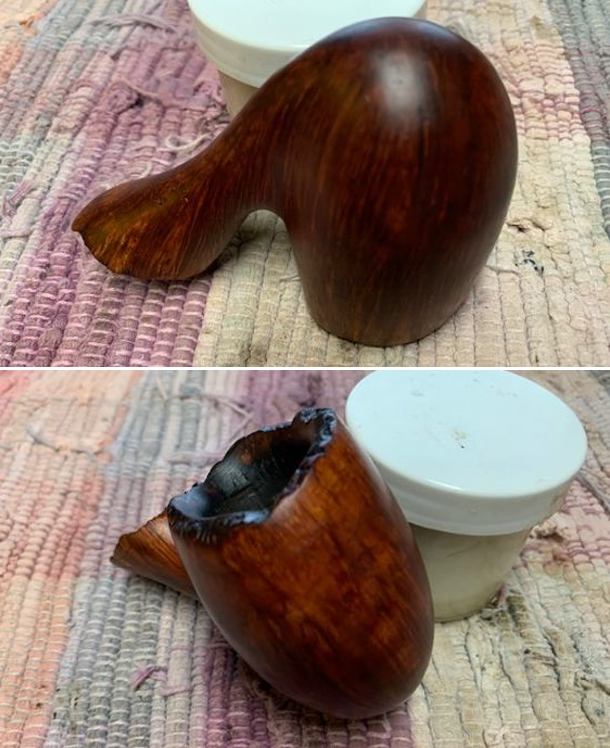
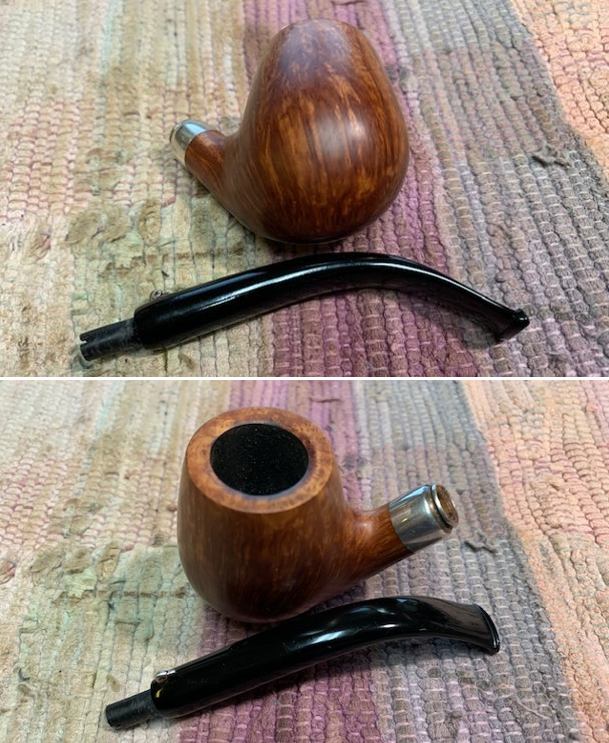
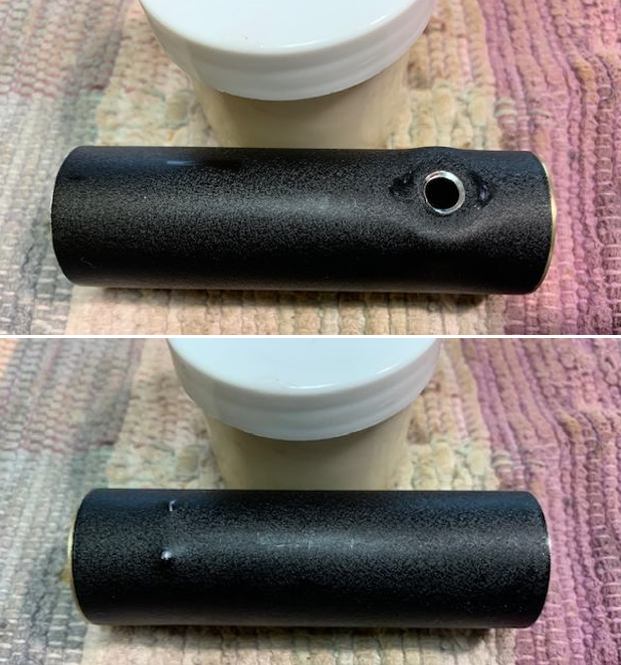
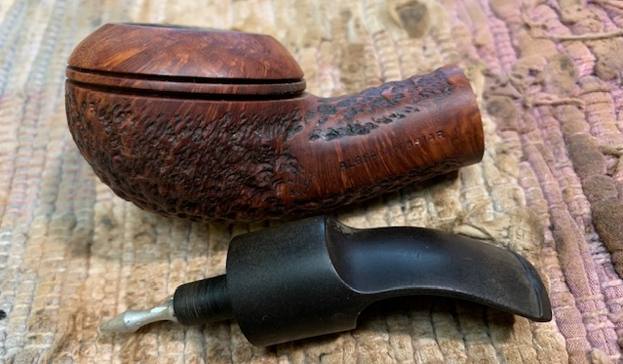 I started the work on the pipe by cleaning up the darkening on the rim top and the darkening to the inside edge of the bowl and the burn spot on the outer edge first. I topped the bowl on a topping board with 220 grit sandpaper. I then worked on the darkening on the inner edge of the bowl with a folded piece of 220 grit sandpaper. It looked much better.
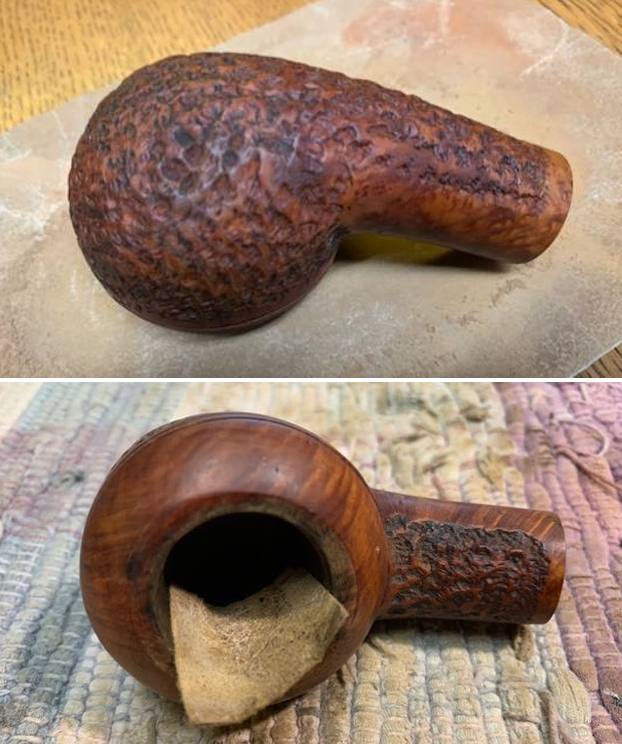
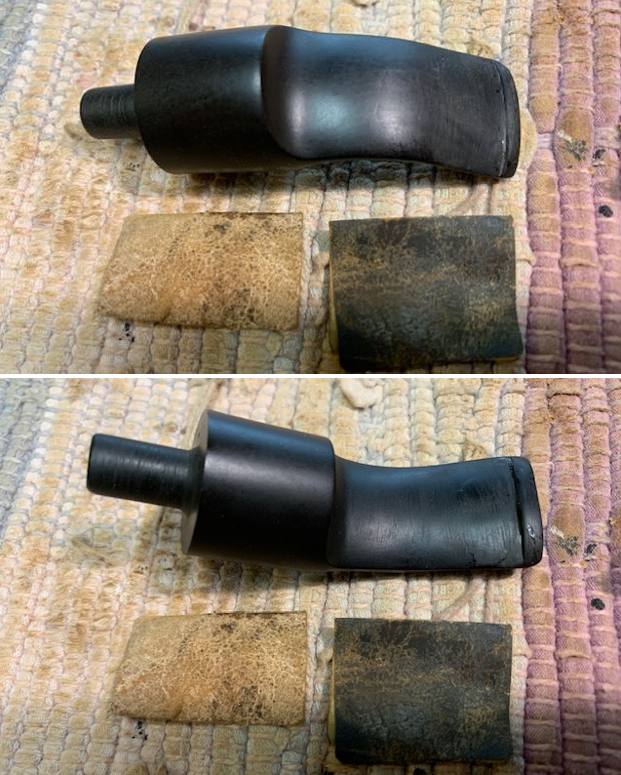
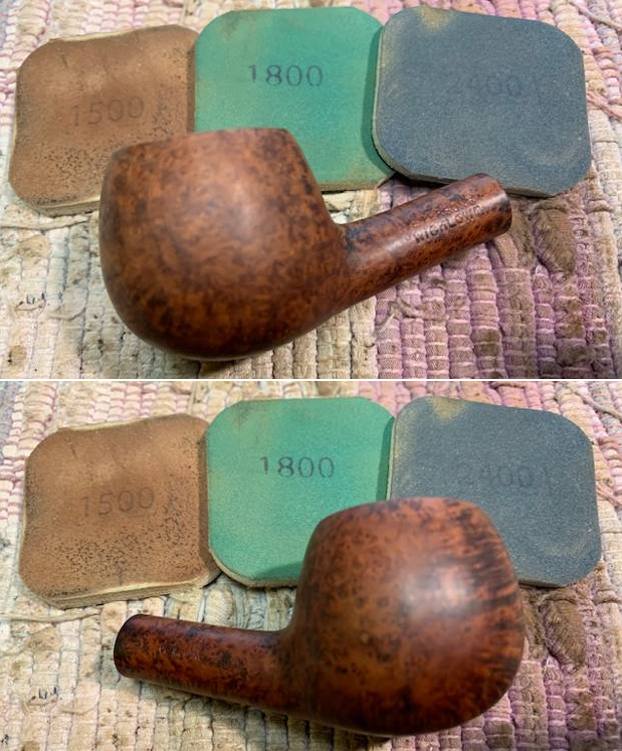
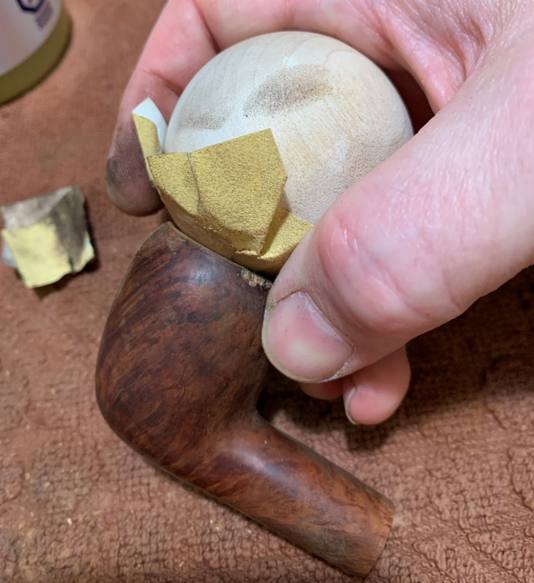
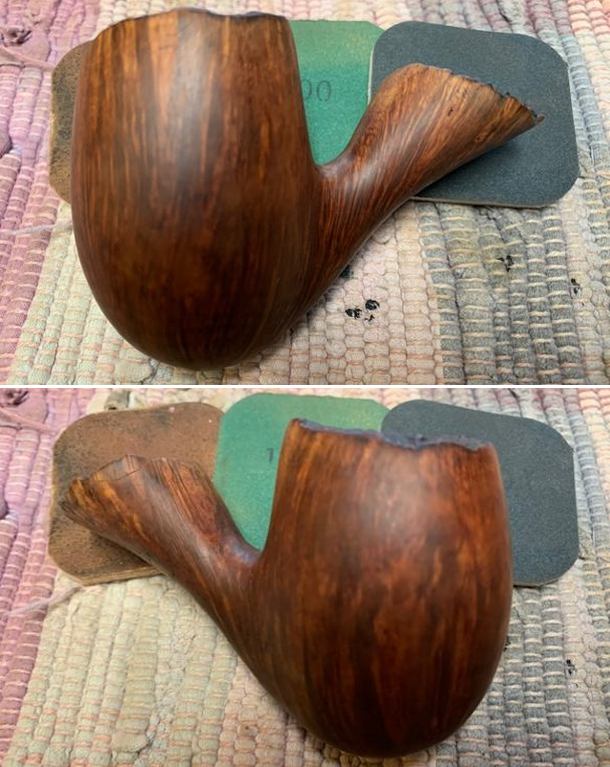
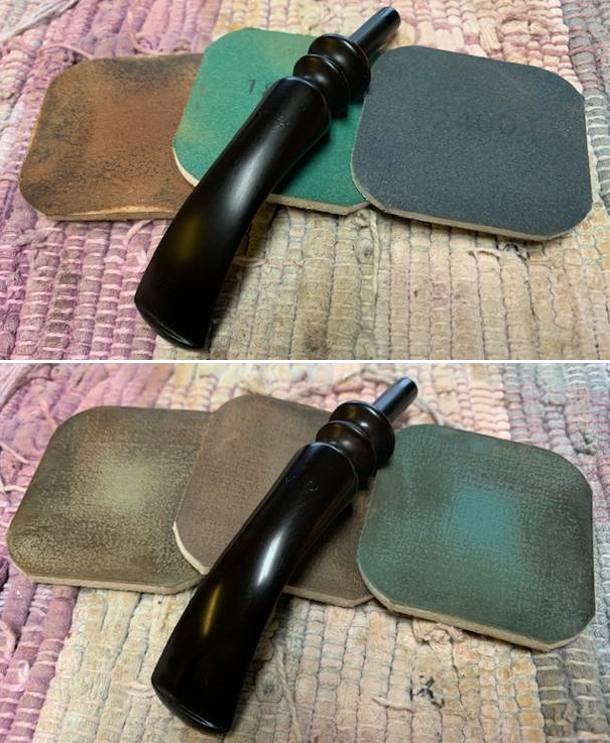
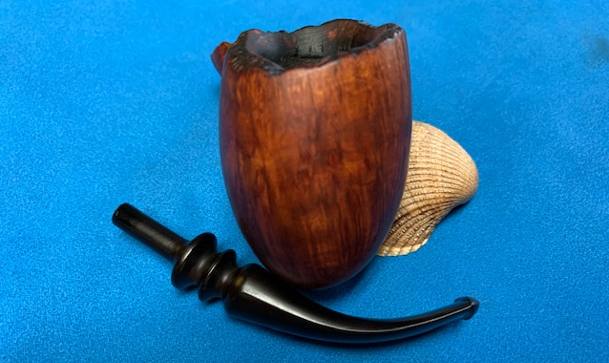
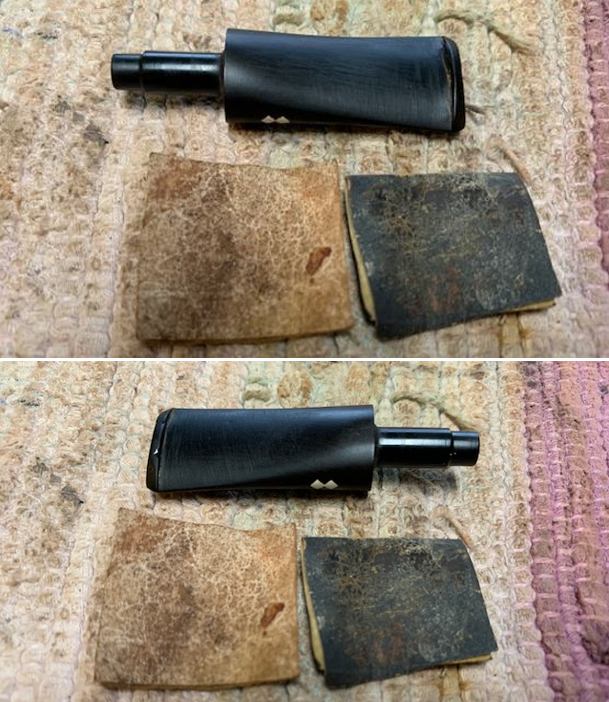
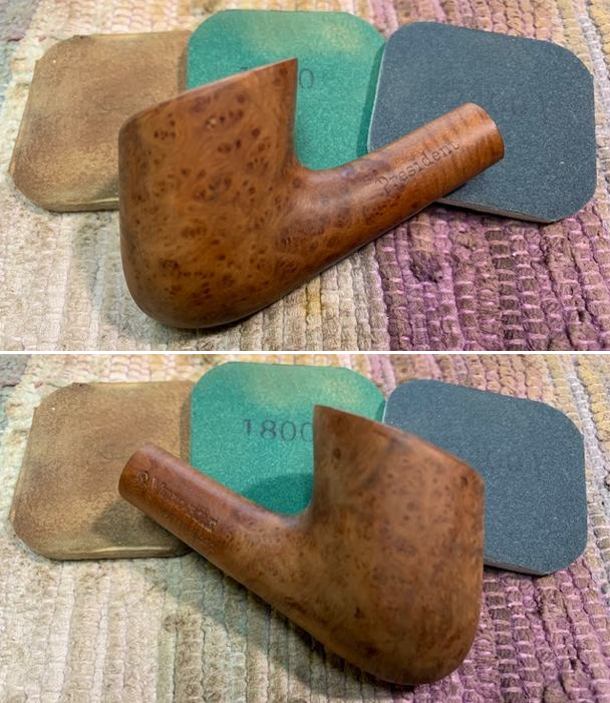
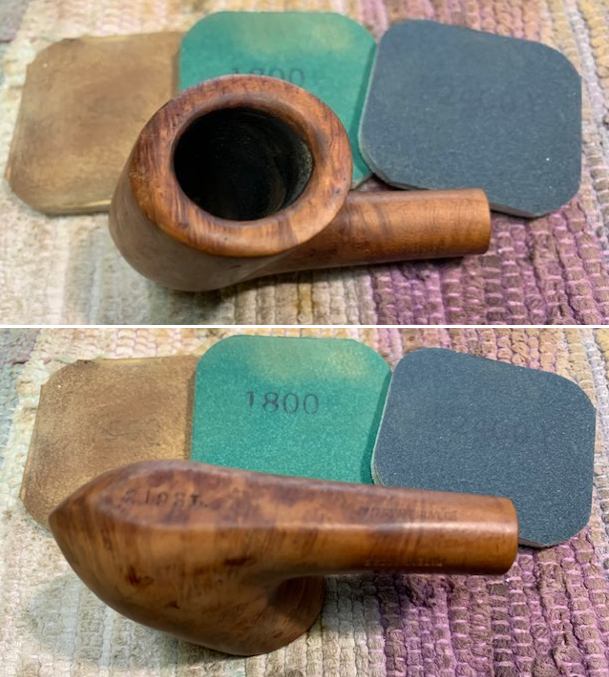
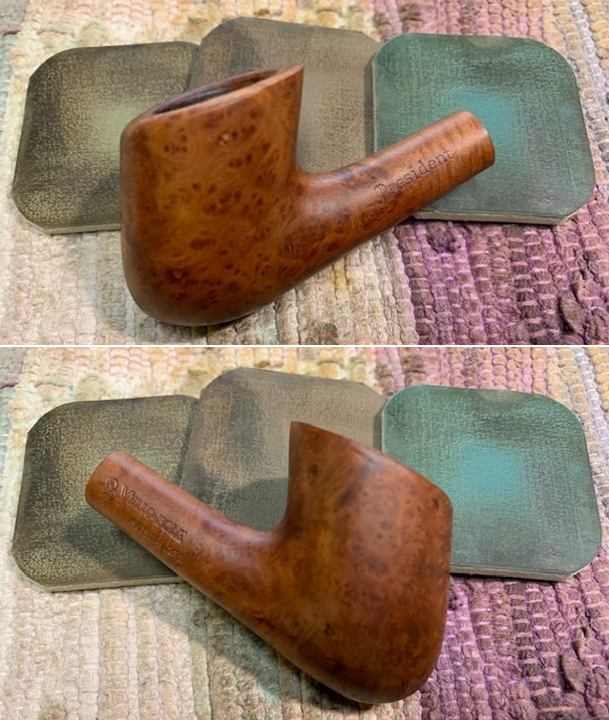
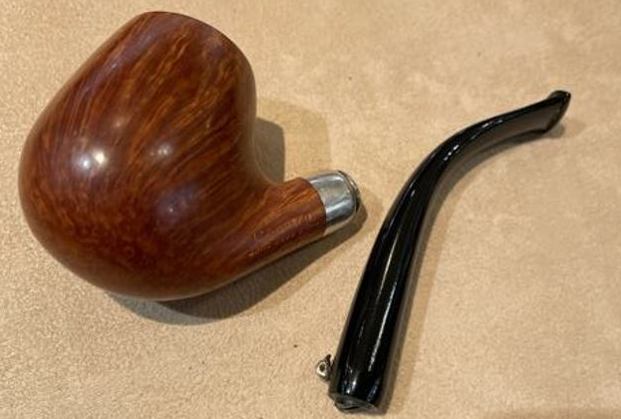
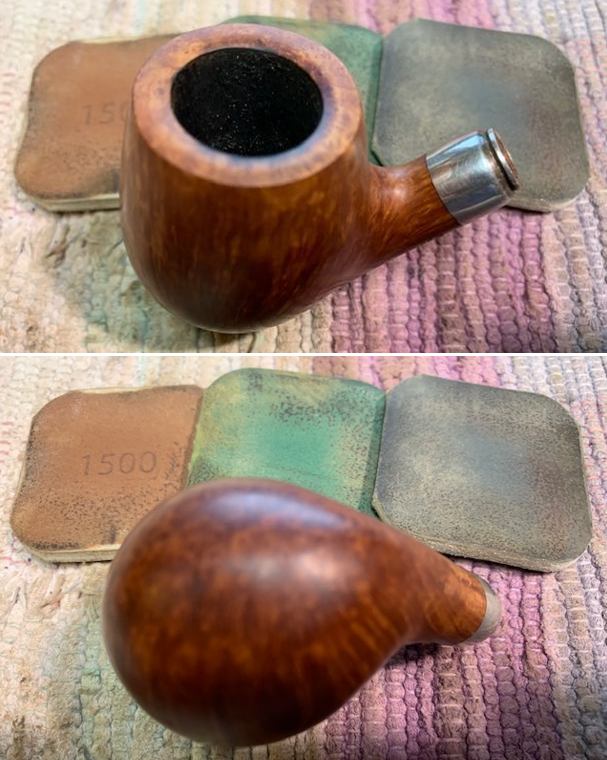
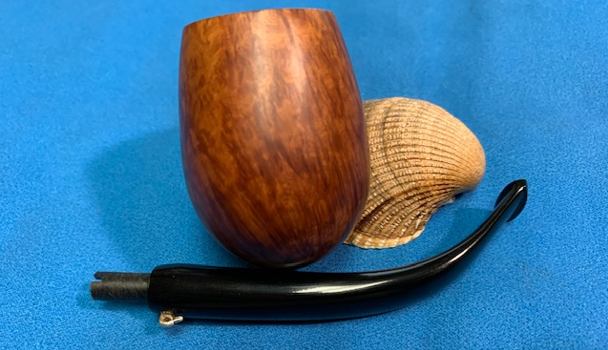
 I polished the smooth briar bowl cap and smooth patches on the shank with micromesh sanding pads. I dry sanded it with 1500-12000 grit pads and wiped it down with a damp cloth after each pad.
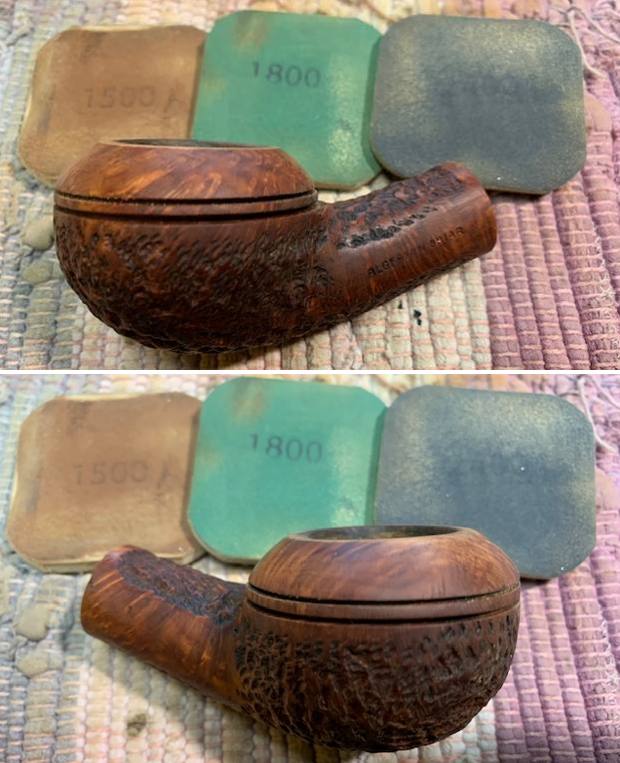

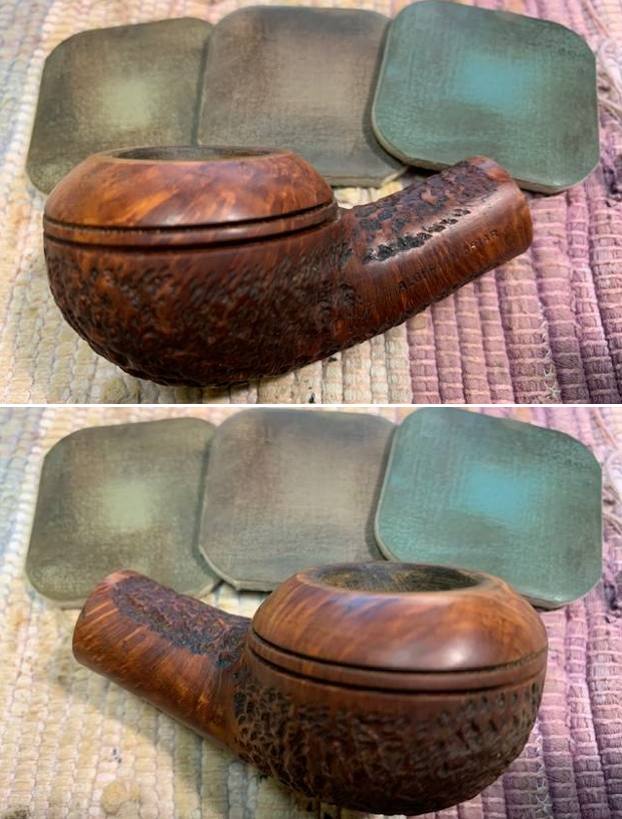
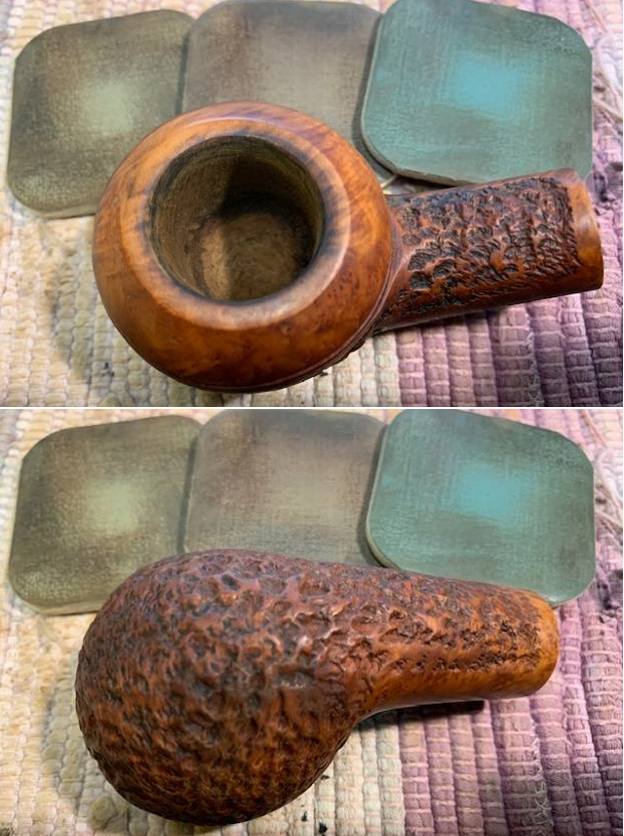
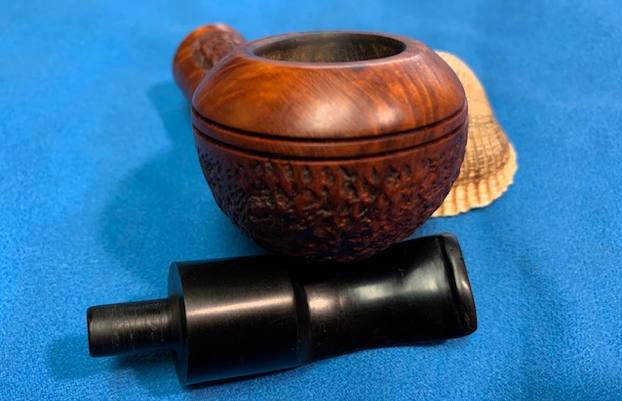
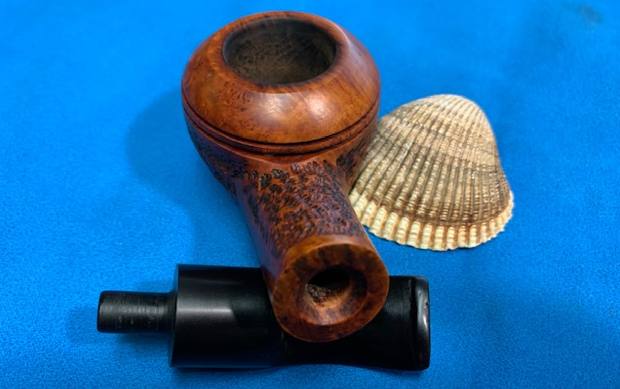
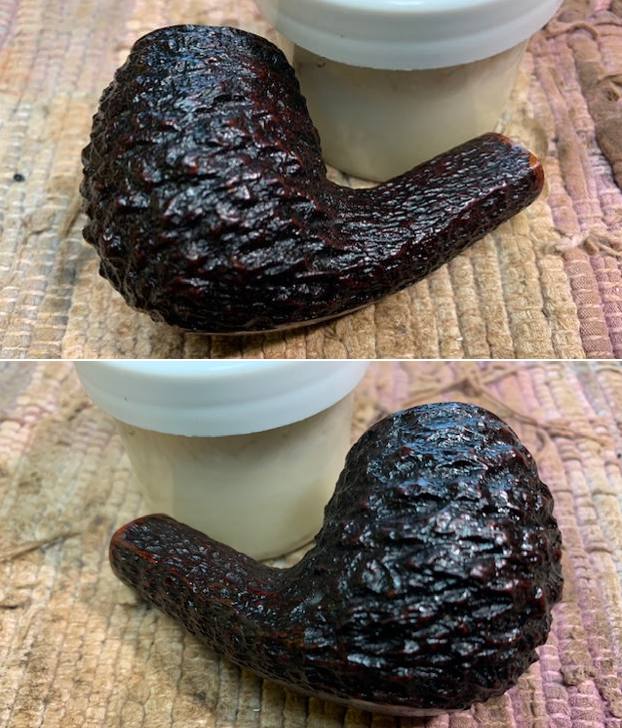
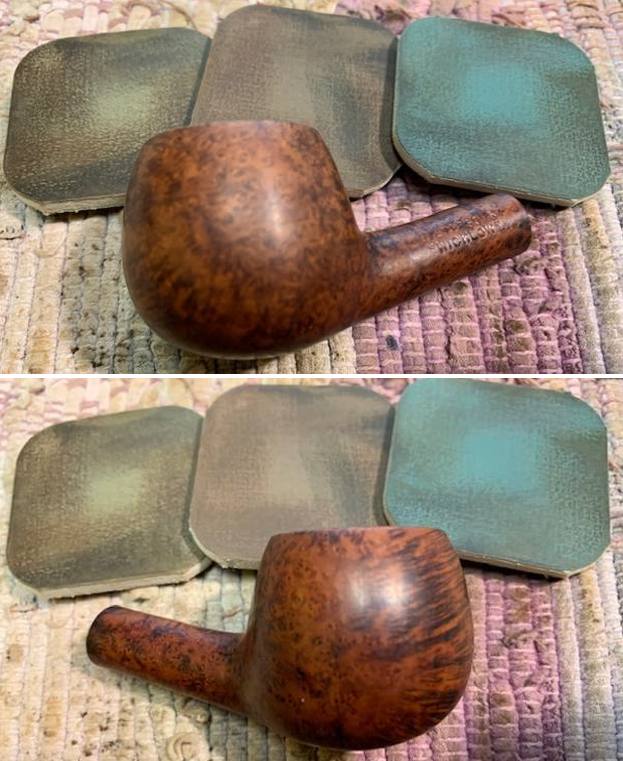
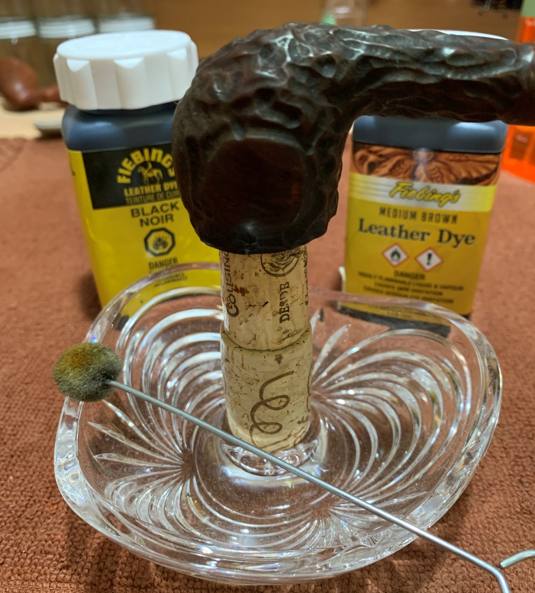
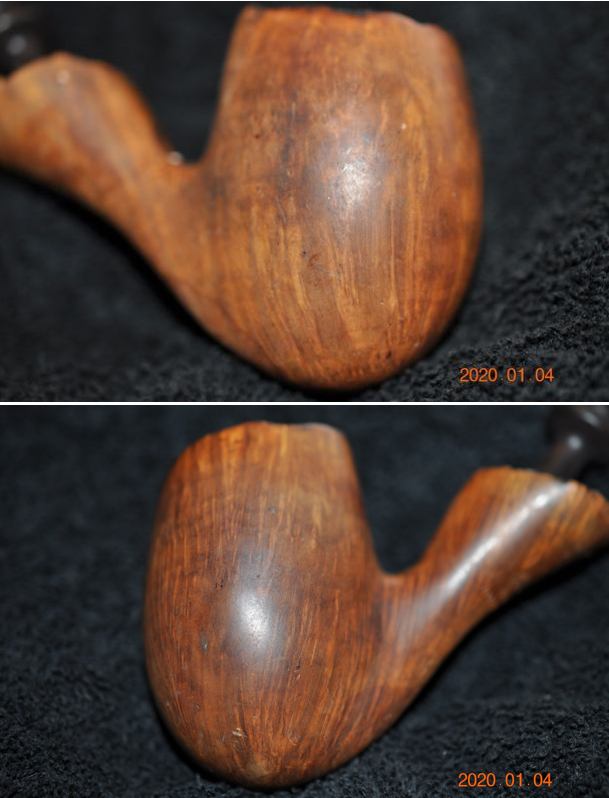
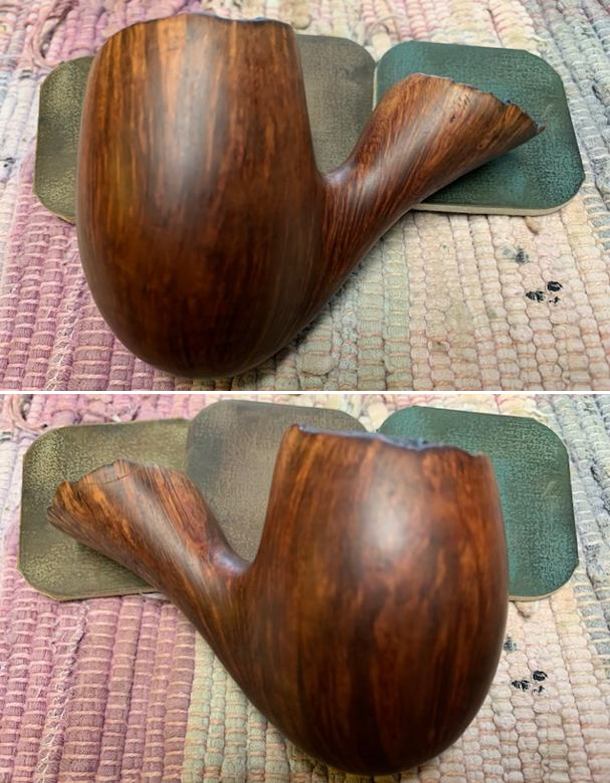
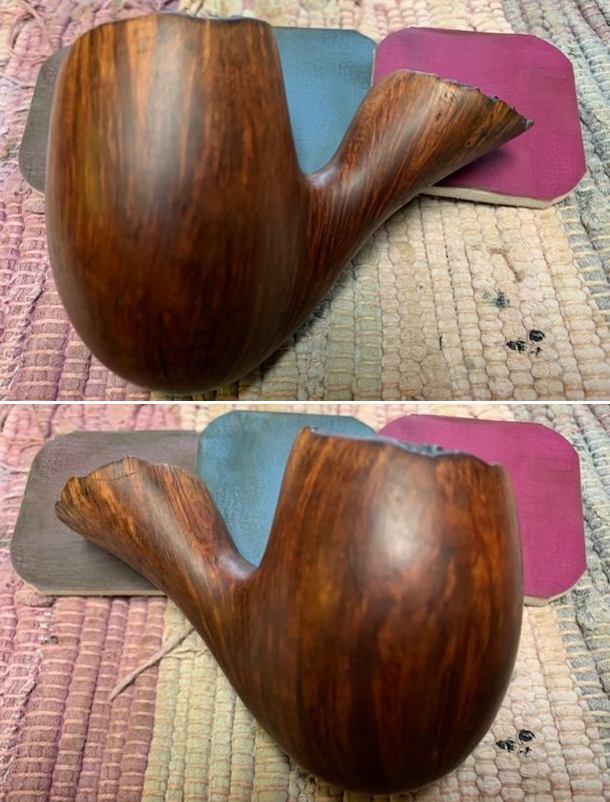
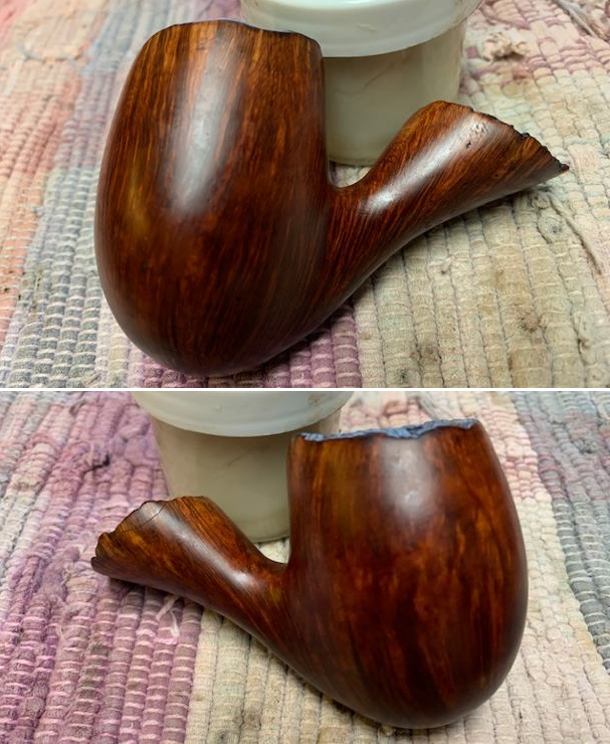
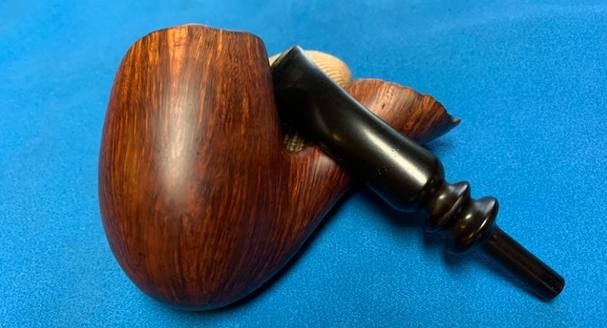
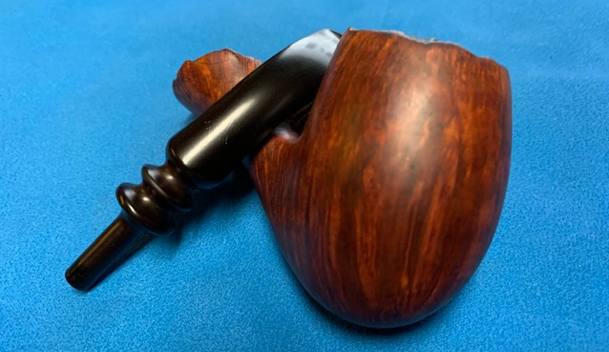
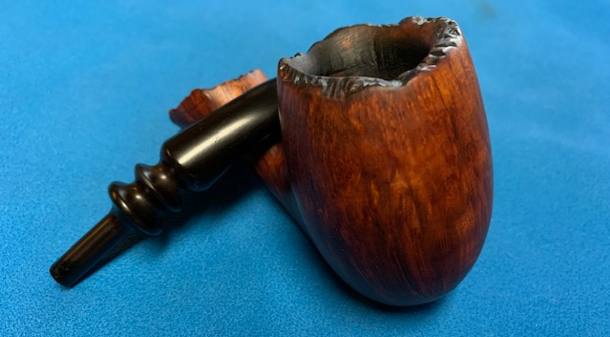
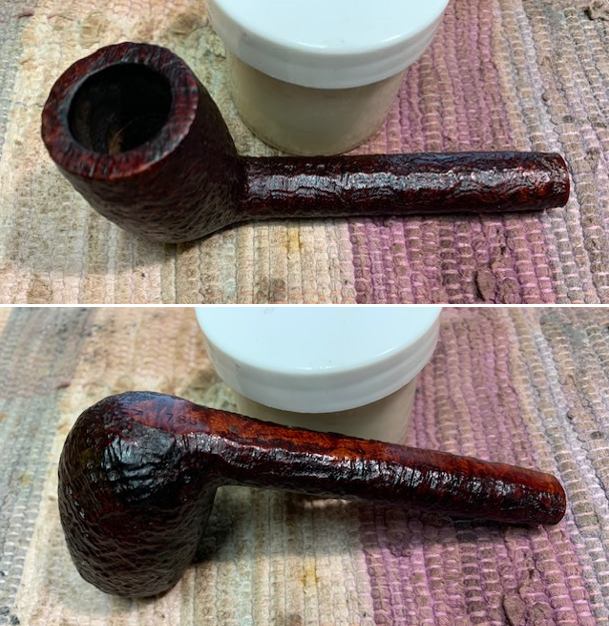
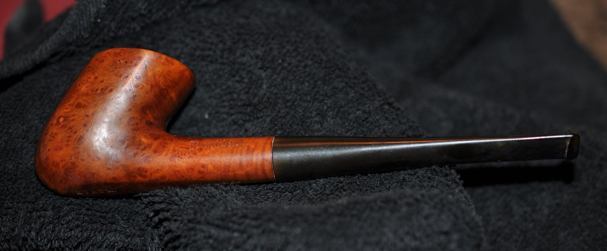
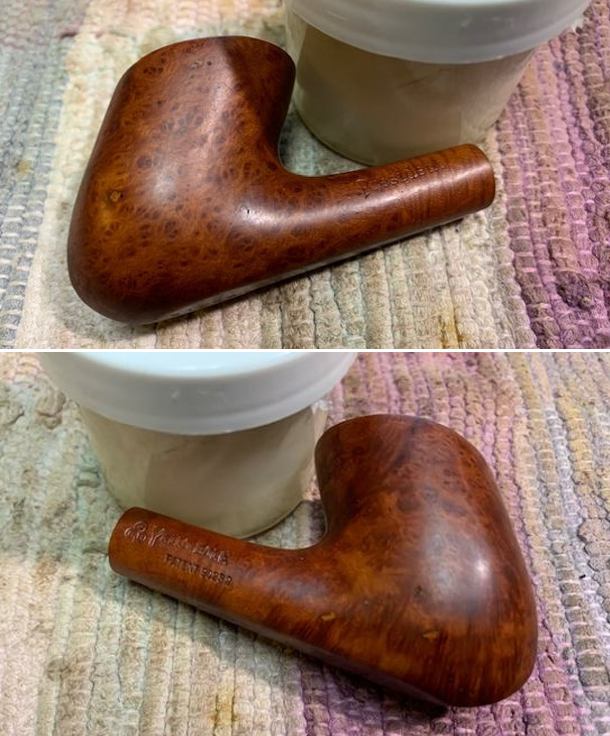
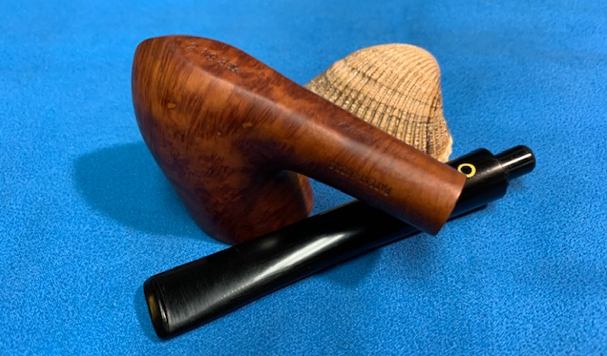
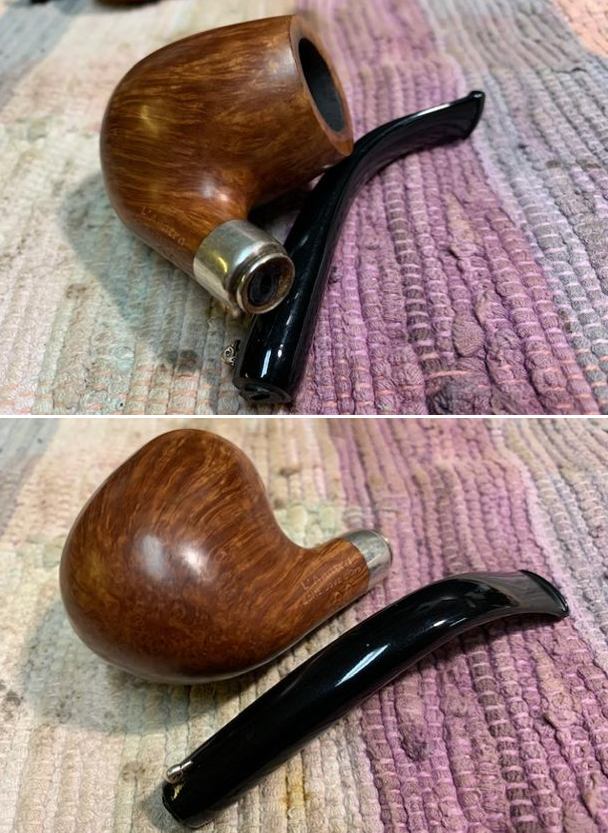
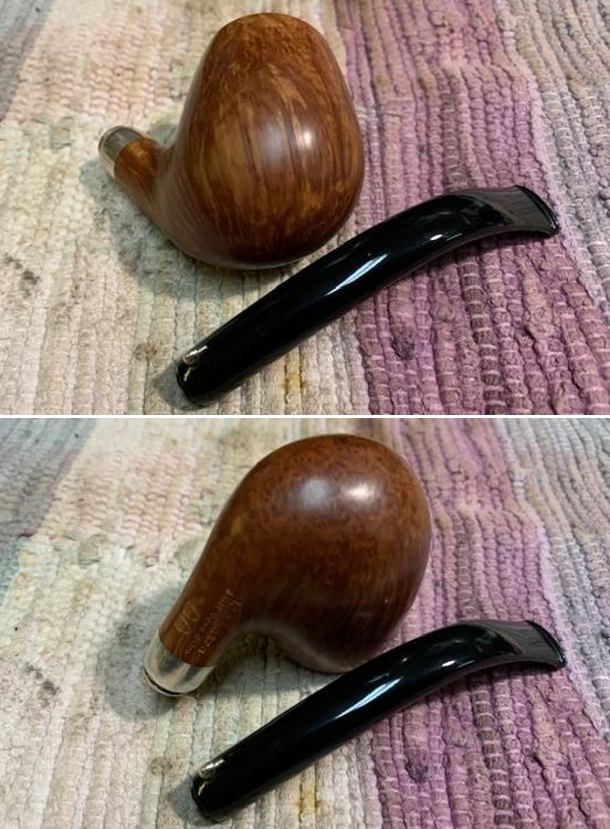
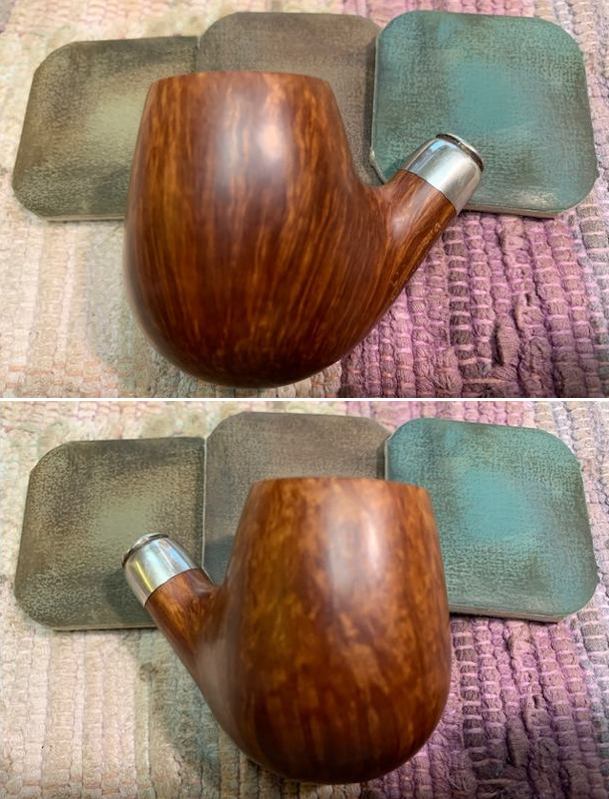
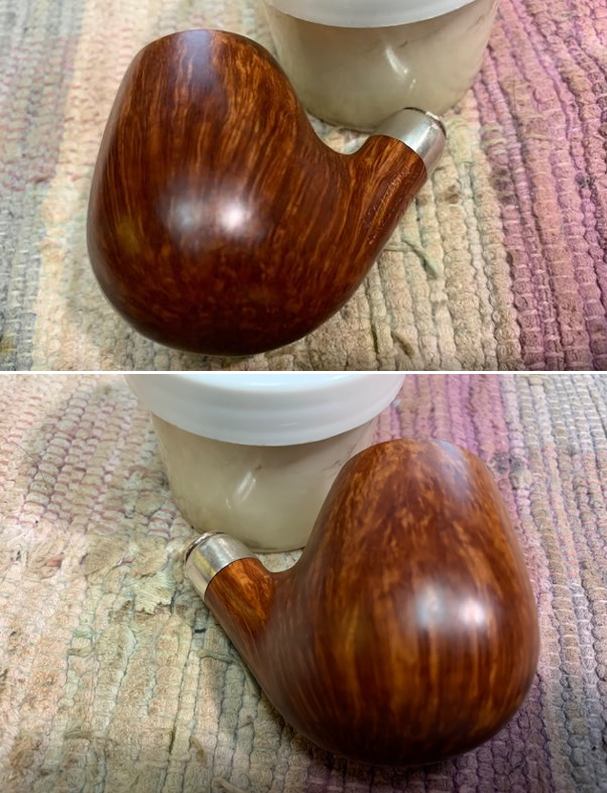
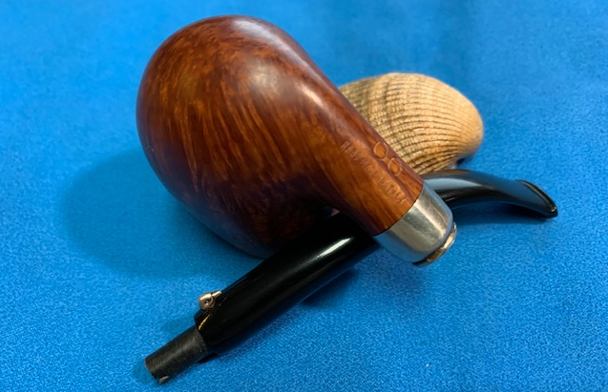
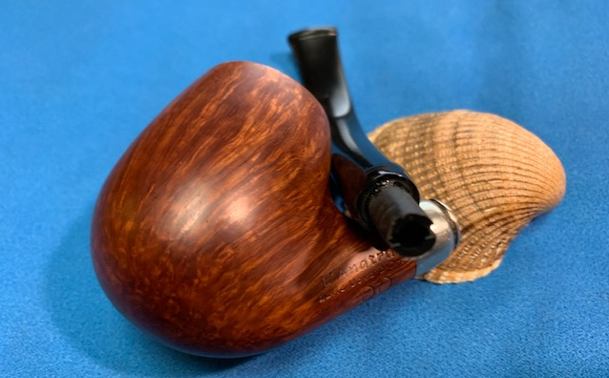
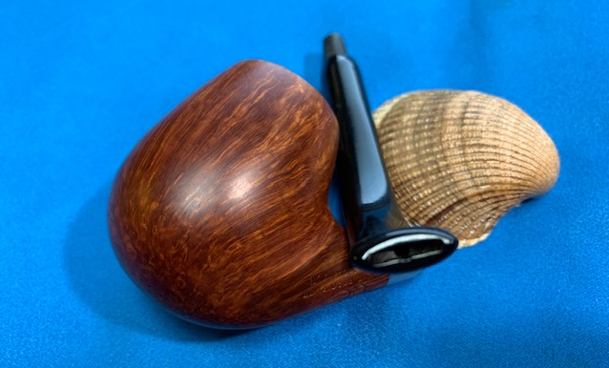
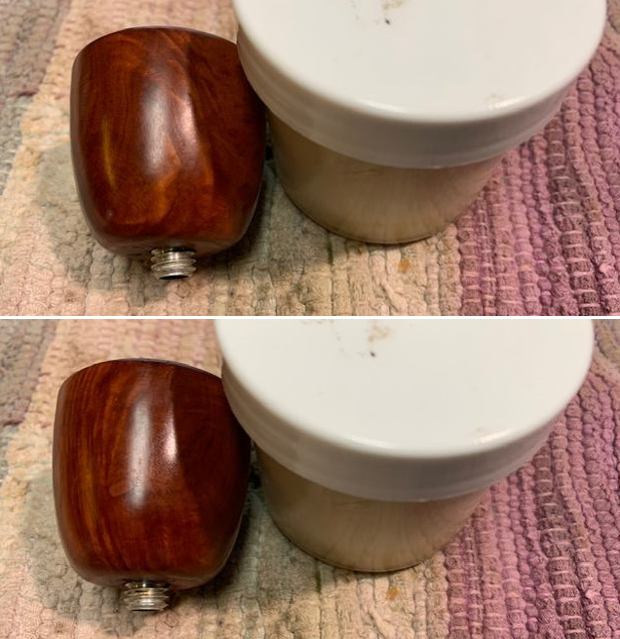
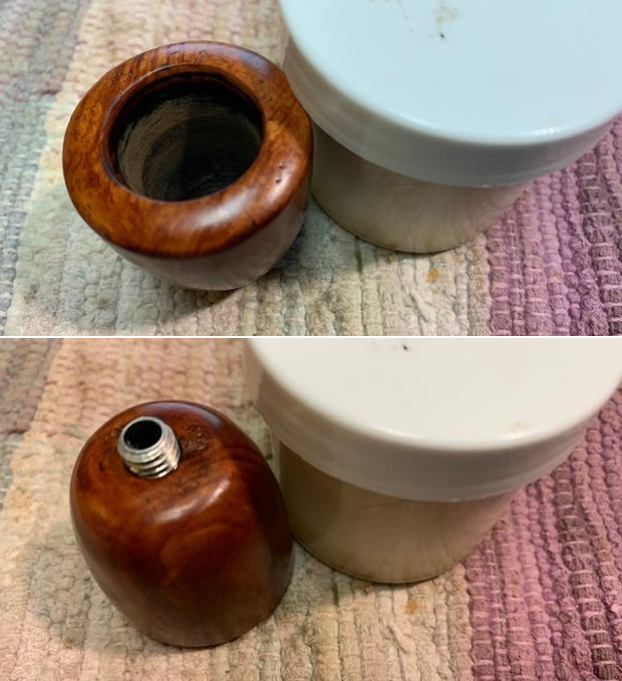
 I worked some Before & After Restoration Balm into the surface of the briar with my fingertips and a horsehair shoe brush to clean, enliven and protect the briar. I let the balm sit for 15 minutes and then buffed with a cotton cloth to raise the shine. The photos show the bowl at this point in the restoration process.
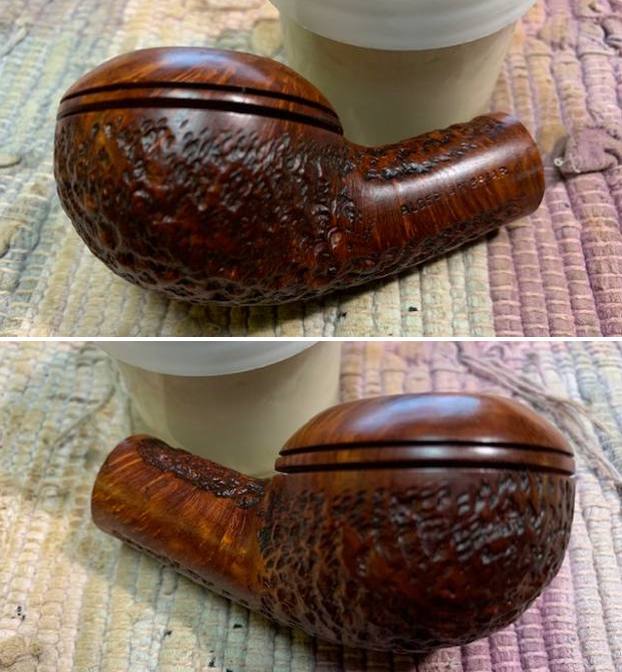
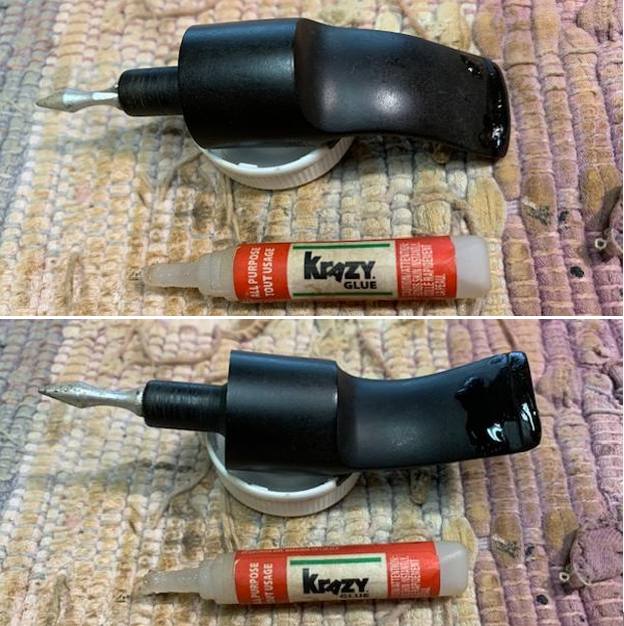
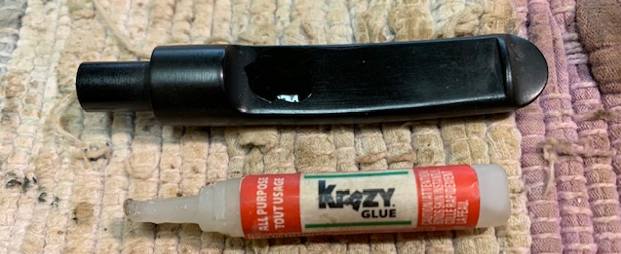
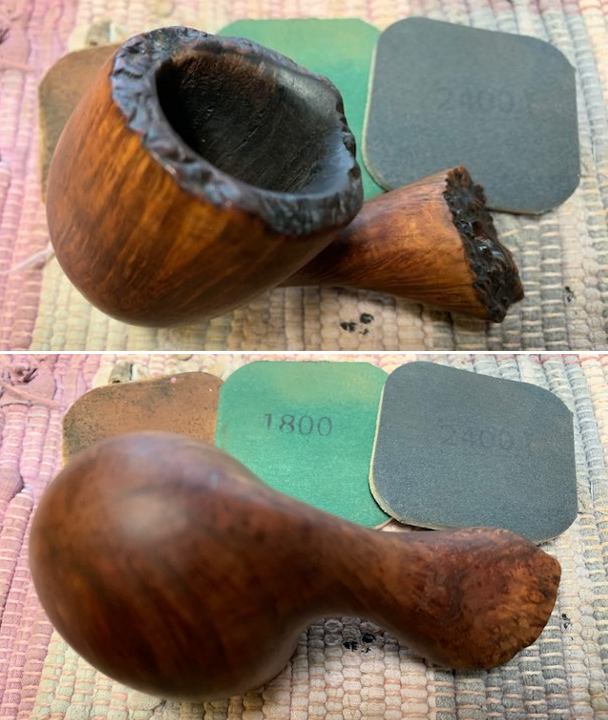
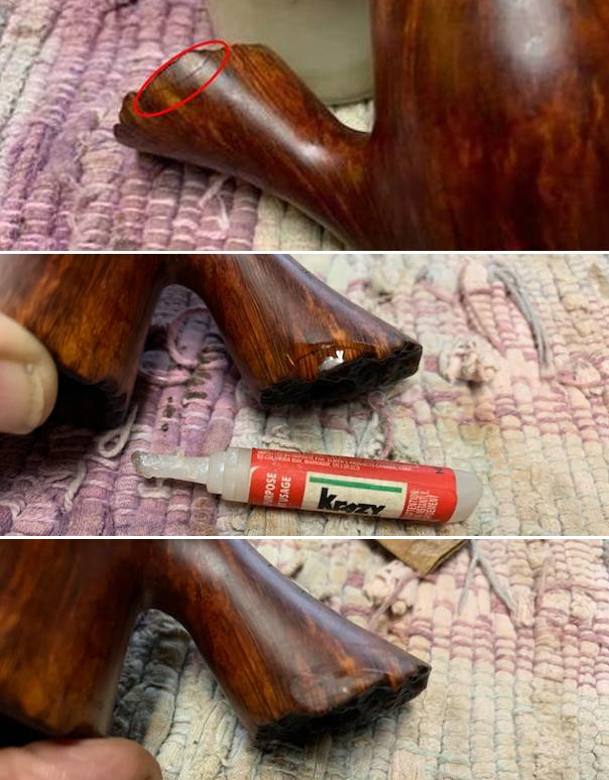
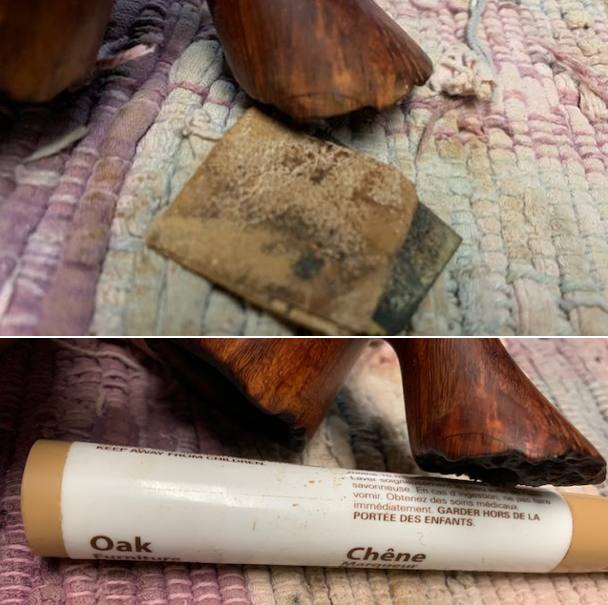
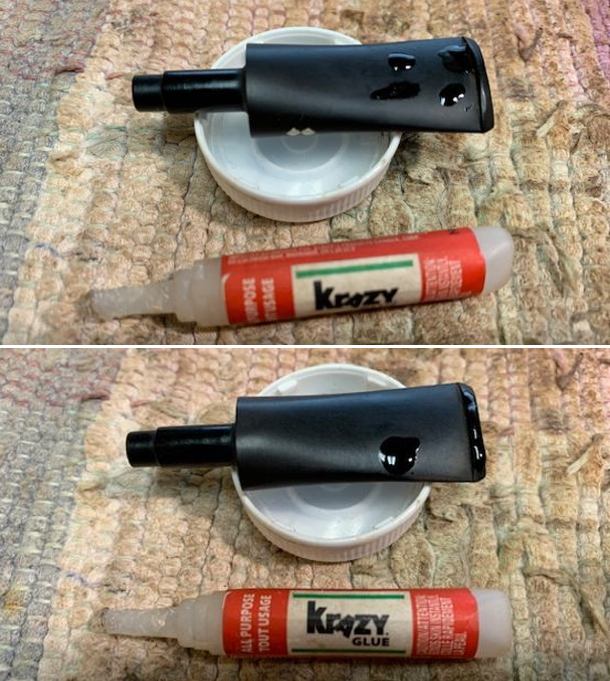
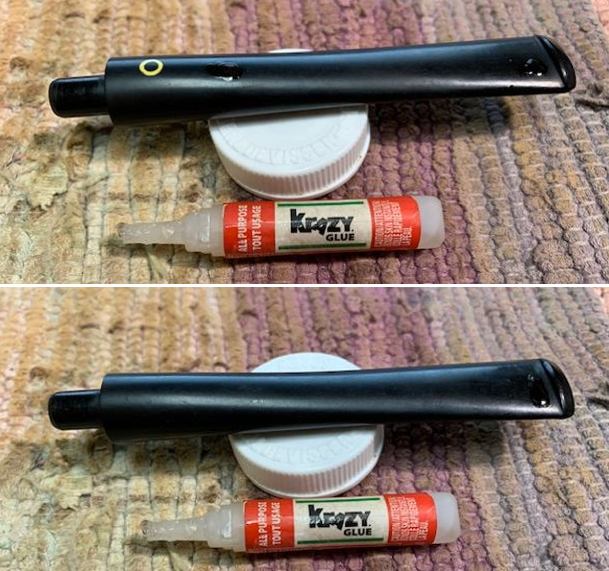
 I set the bowl aside and turned my attentions to the stem. I “painted” the tooth marks on the stem surface and the button with the flame of a lighter. I was able to raise them significantly. I filled in the remaining marks with clear CA glue and set it aside to cure.
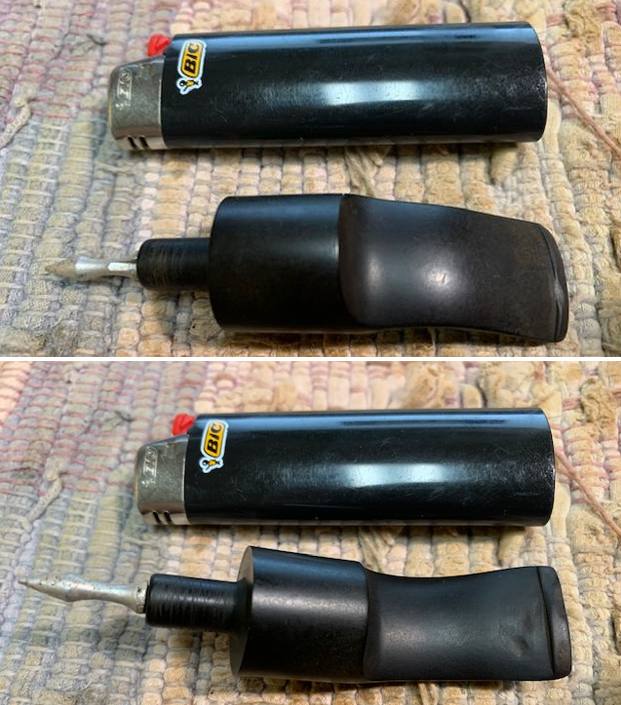
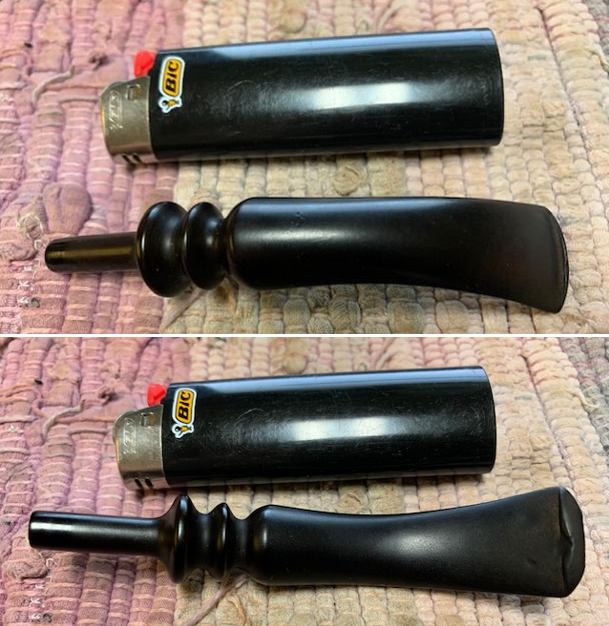
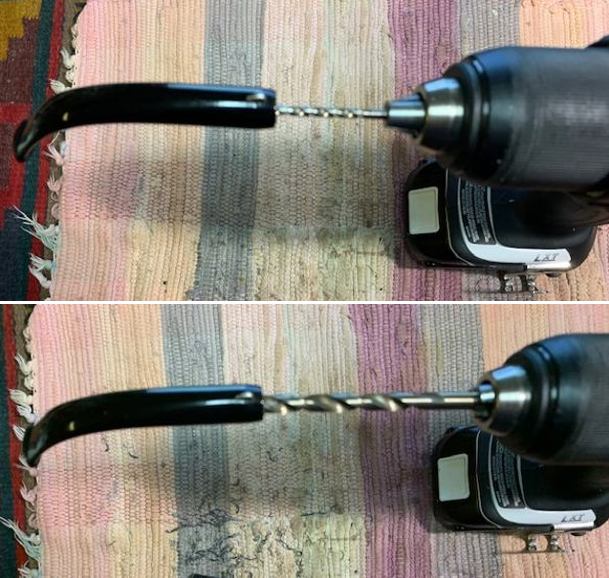
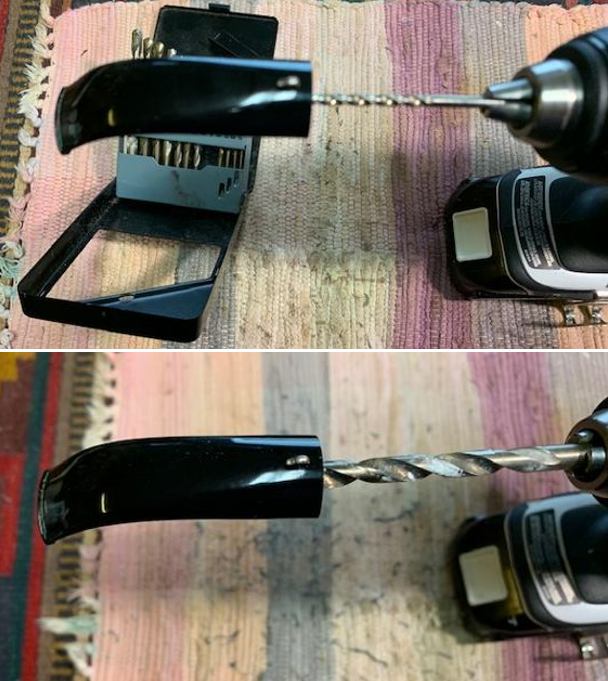
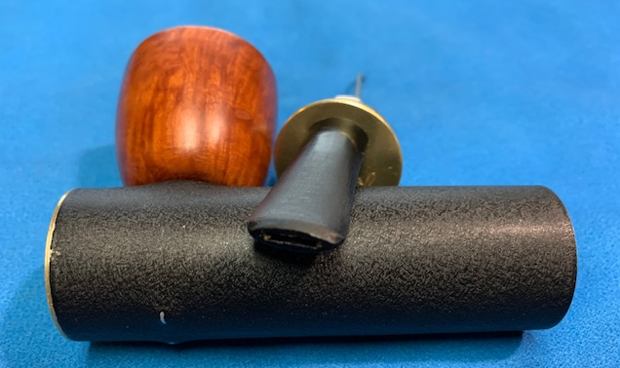
 I tried to blow air through the stem and found that the air flow was restricted and the draw was really not good. I heated the aluminum stinger with a lighter and was able to remove it from the tenon. I ran some pipe cleaners through the stem and cleaned it and tried the airflow once more. It was perfect.
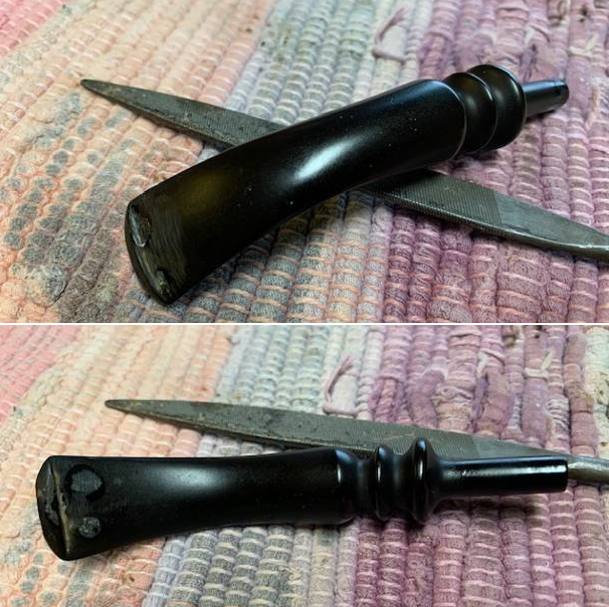
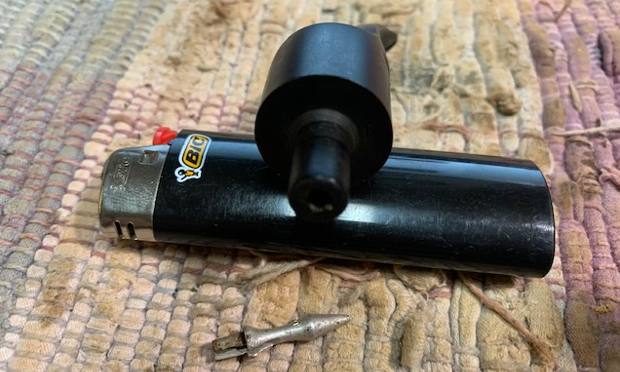 Once the stinger was removed and the repair had cured I used a small file to flatten the repairs on the surface of the stem. I also reshaped the button shape. I sanded it smooth with 220 grit sandpaper. I also sanded out the tooth chatter and marks on the stem surface near the button. I started the polishing of the stem with 400 grit wet dry sandpaper.
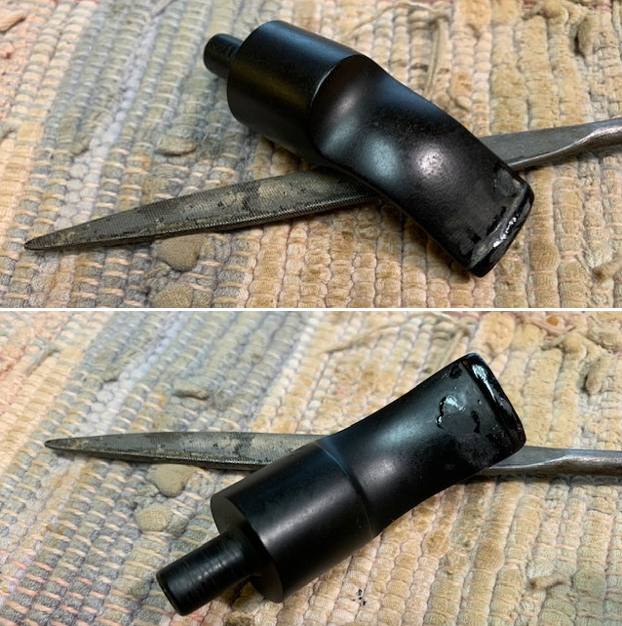
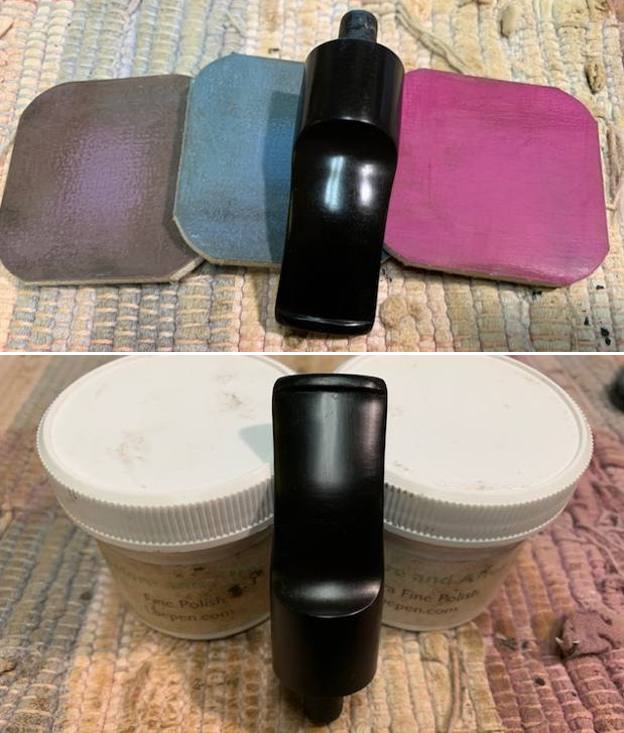
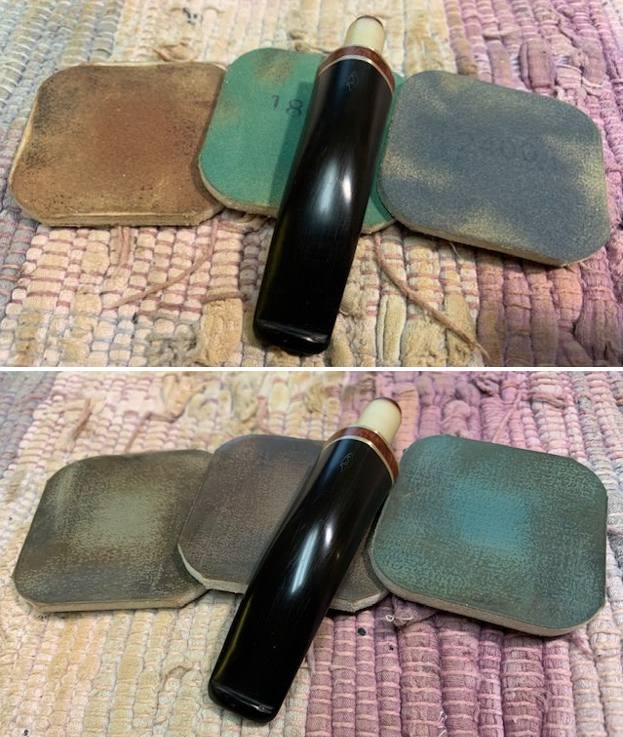
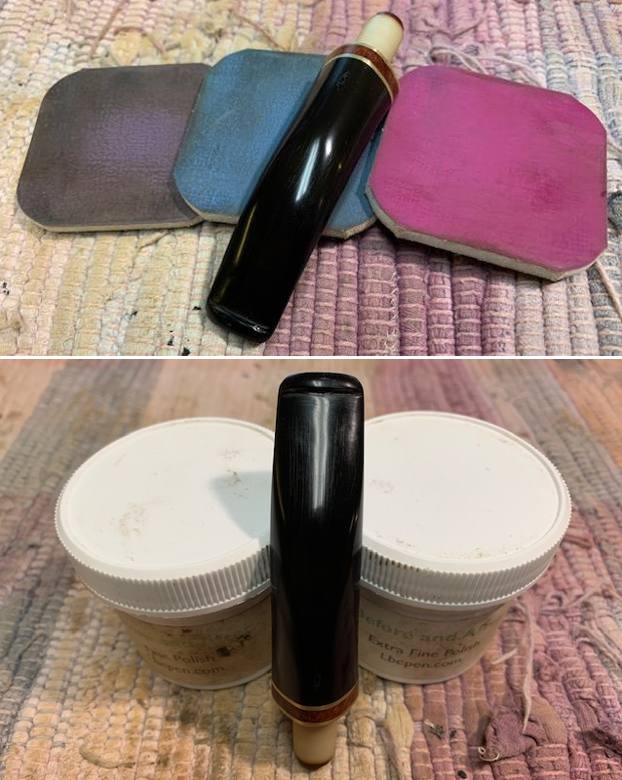
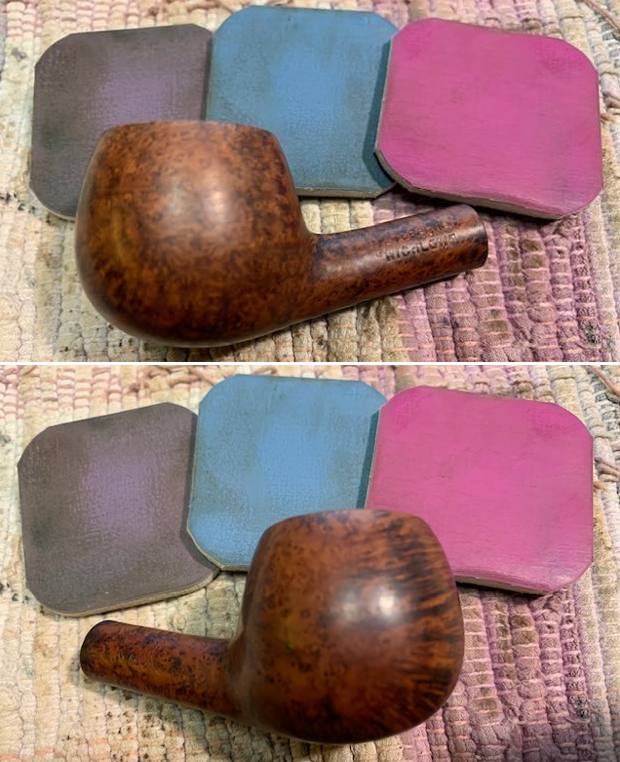
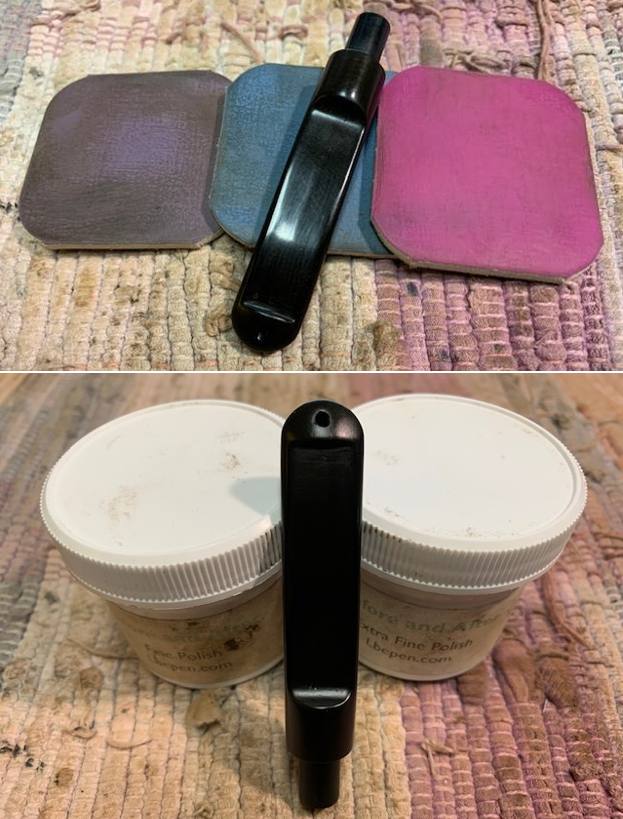
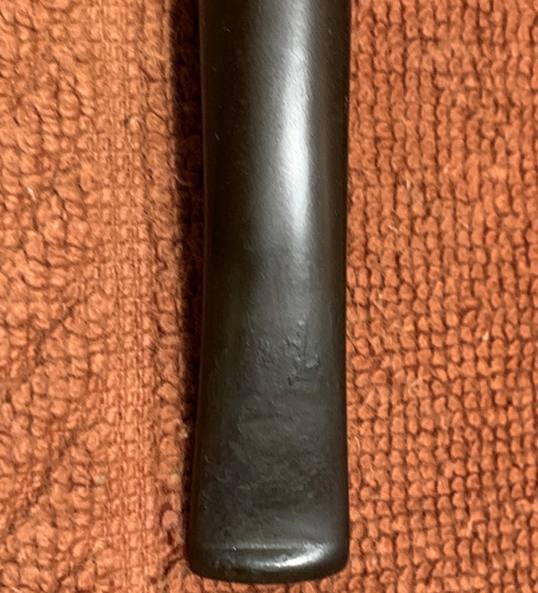
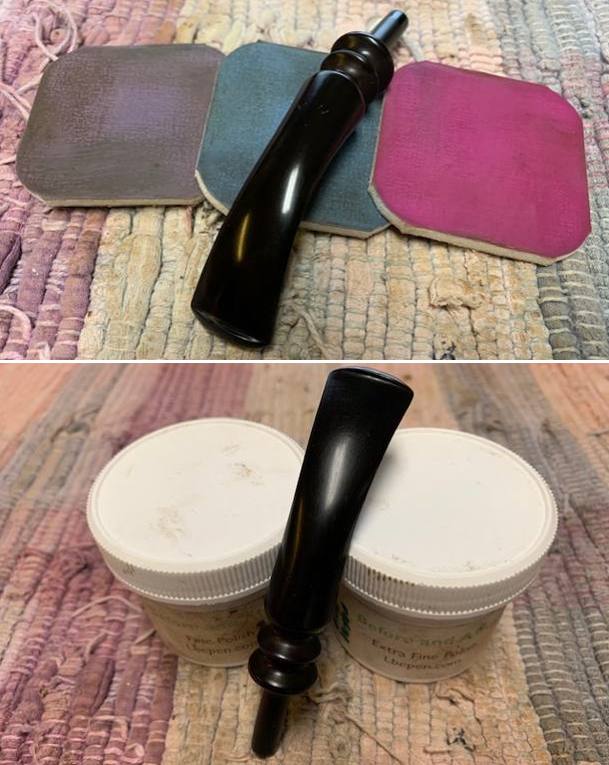
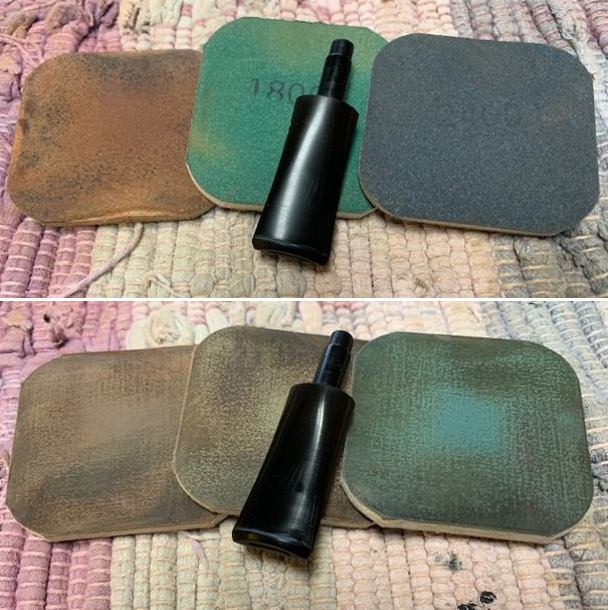
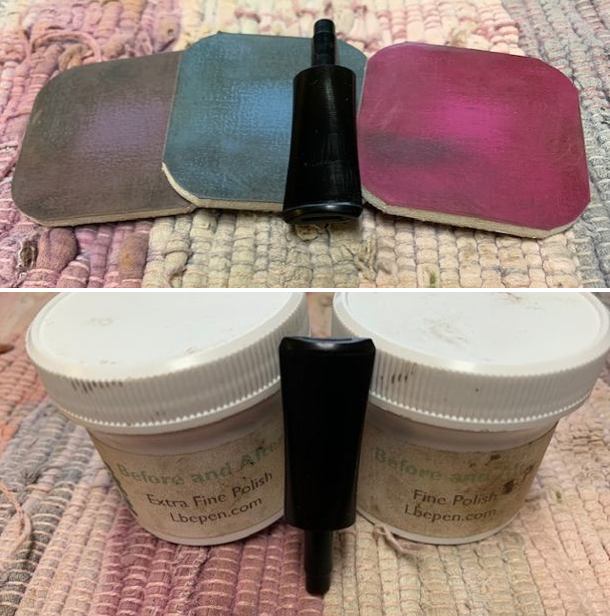
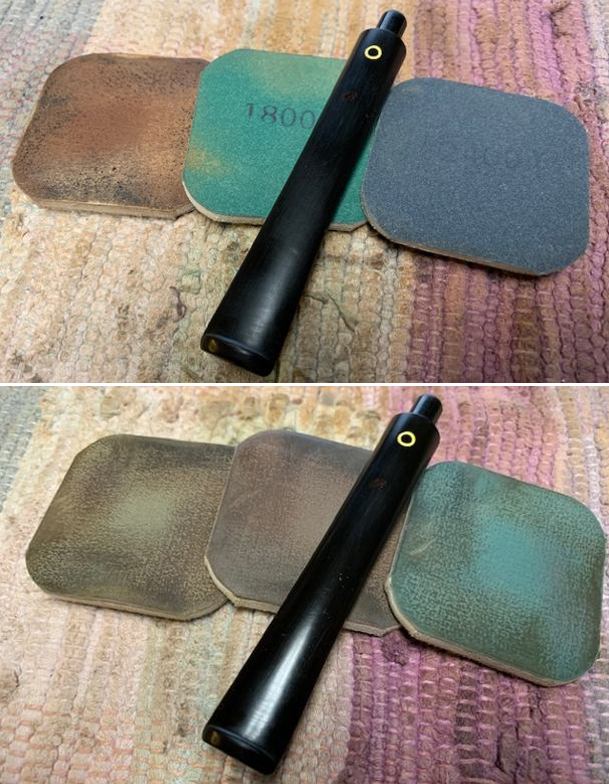
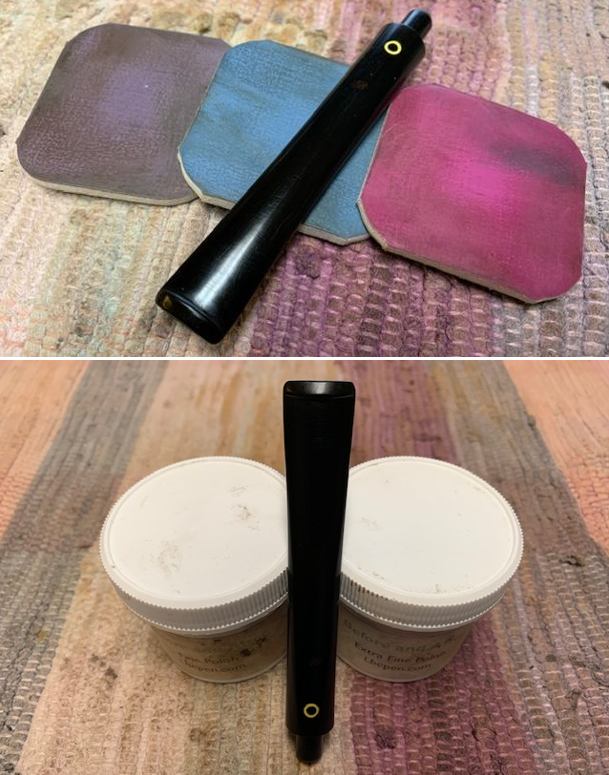
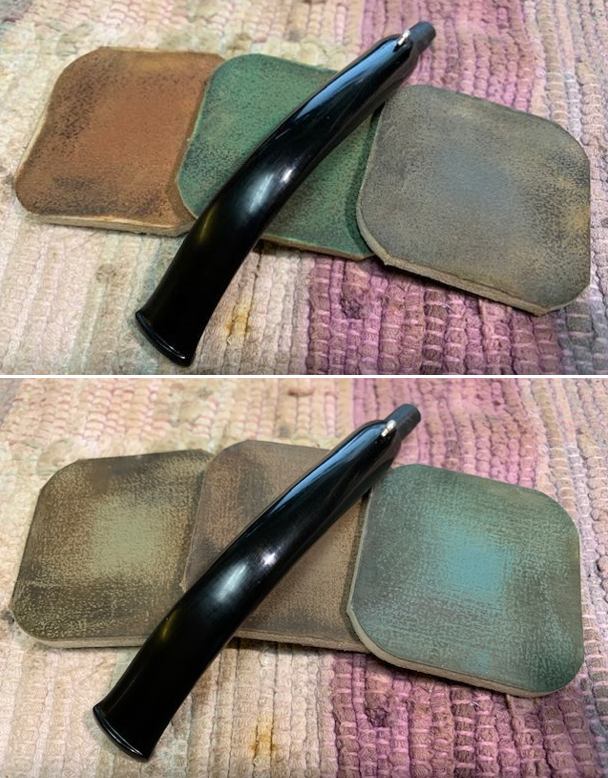
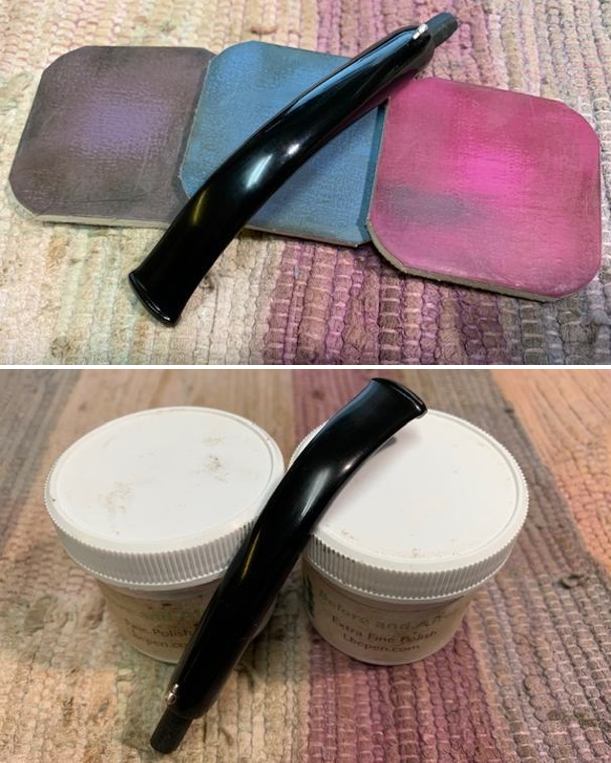
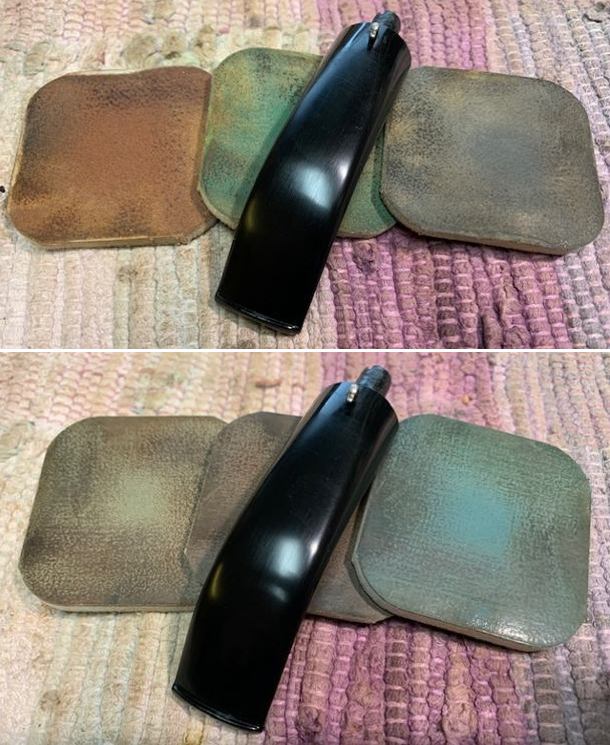
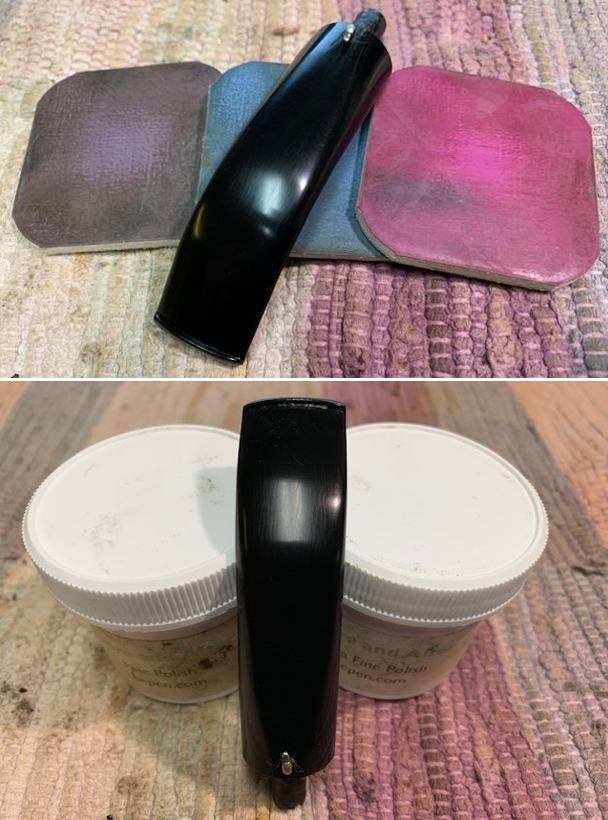
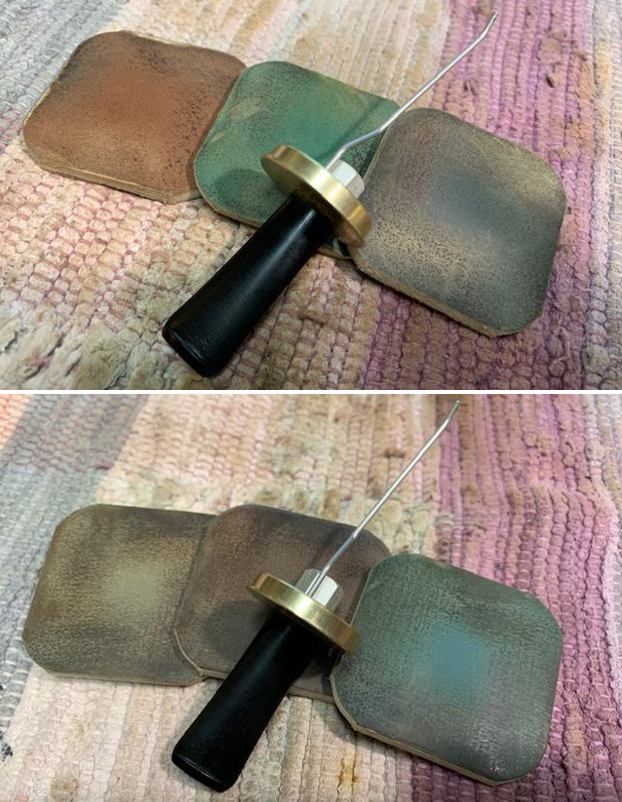
 I polished the stem with micromesh sanding pads – wet sanding with 1500-12000 grit sanding pads. I wiped it down after each sanding pad with Obsidian Oil. I polished it with Before & After Pipe Stem Polish – both Fine and Extra Fine.
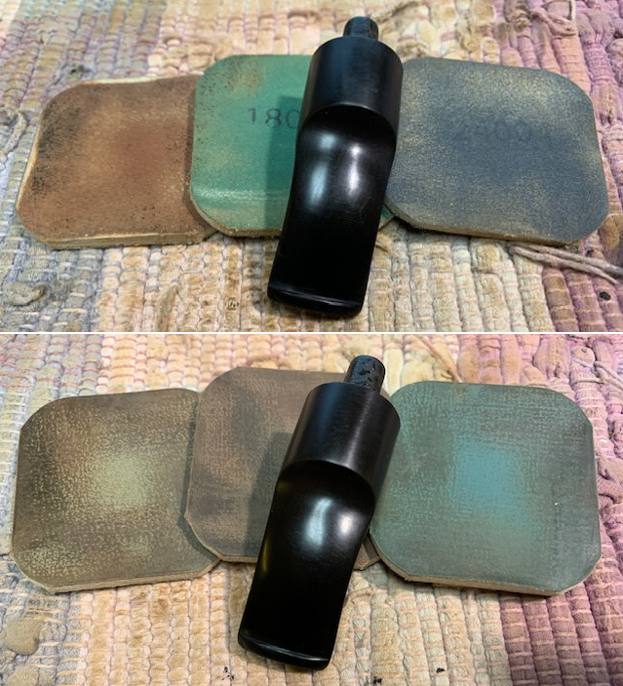
 The tenon was loose in the shank after I removed the stinger. I heated the metal pick end of an old ice pick with a lighter and inserted it in the tenon to expand it slightly. Then the fit of the tenon in the shank was much more snug.
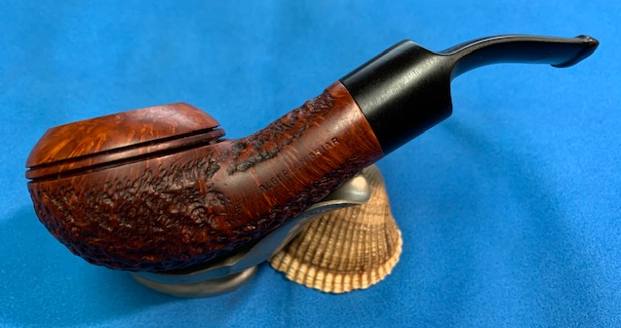
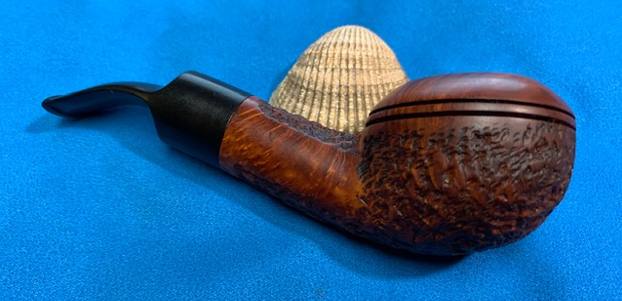
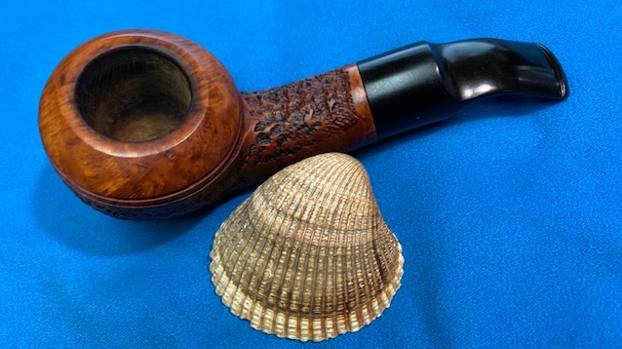
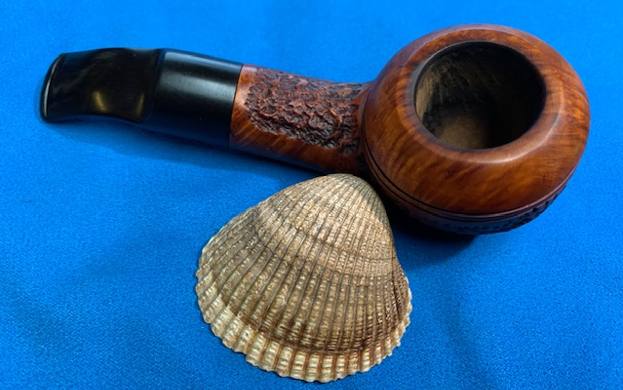
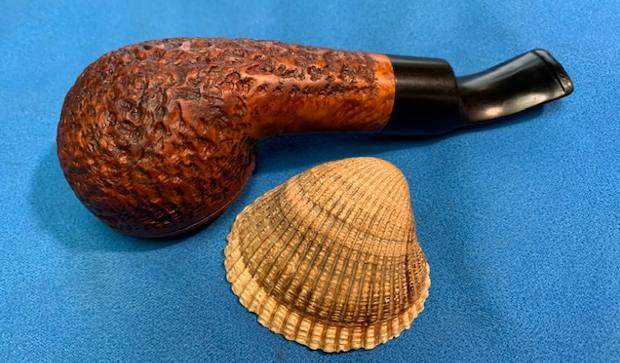
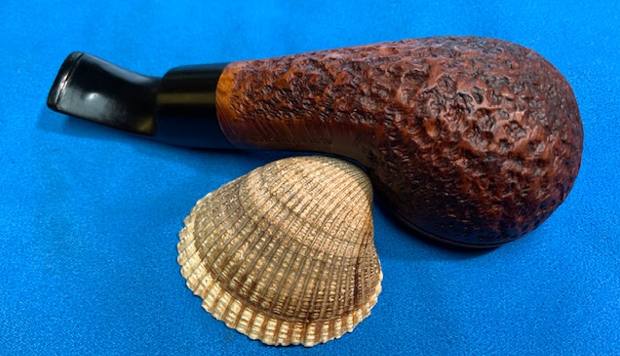
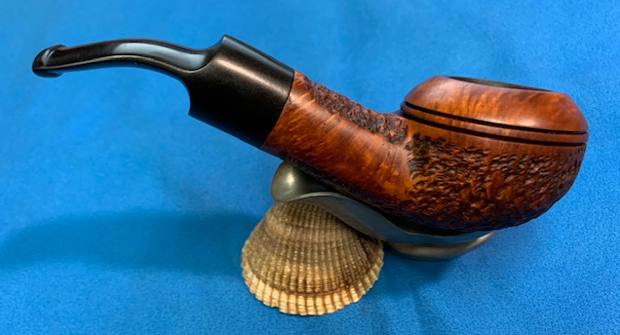
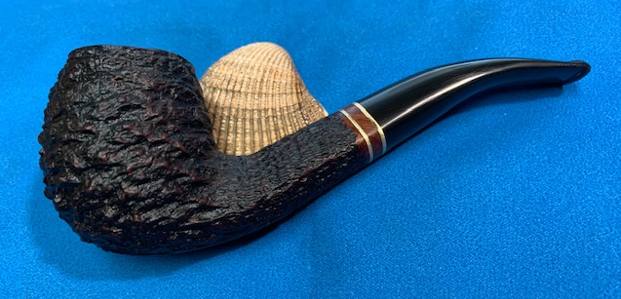
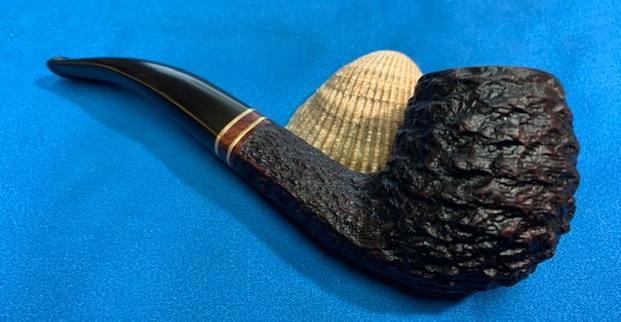
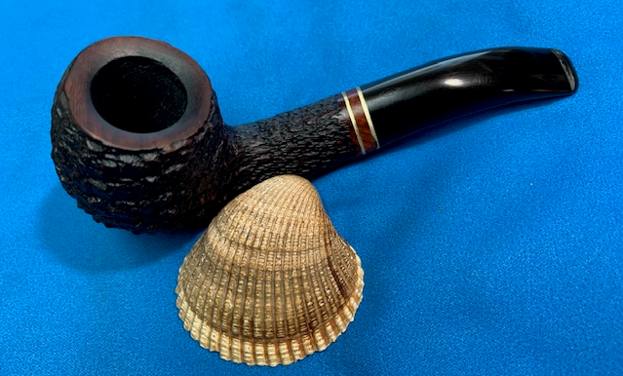
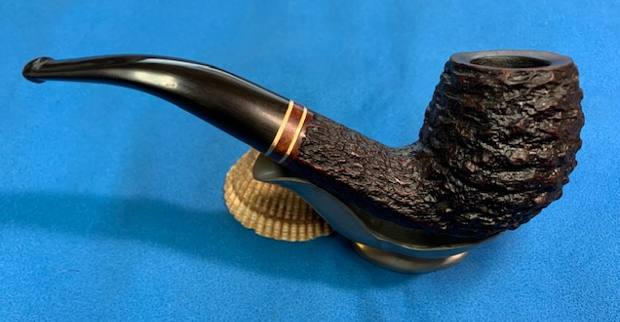
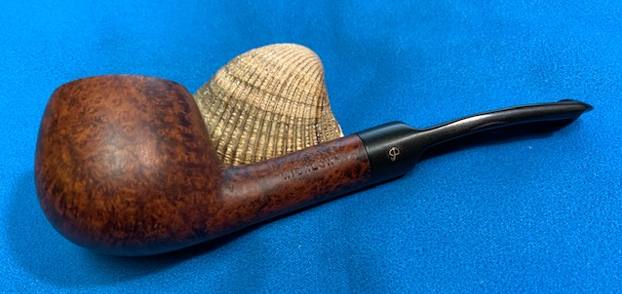
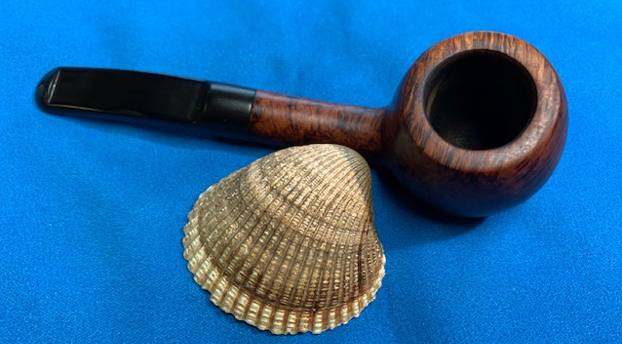
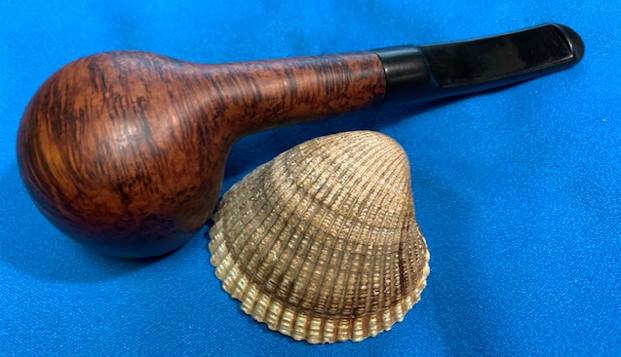
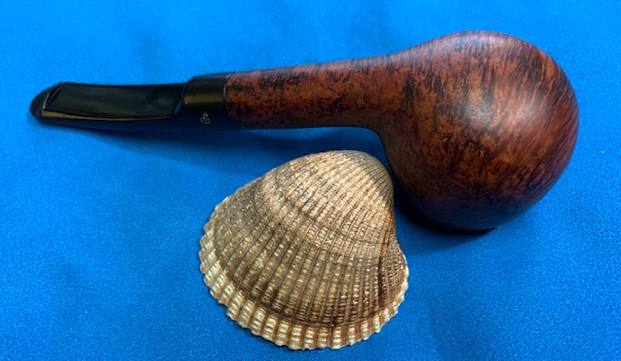
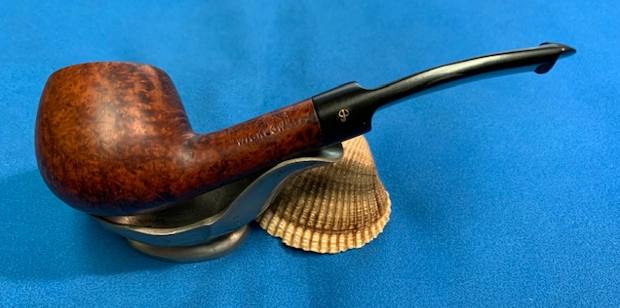
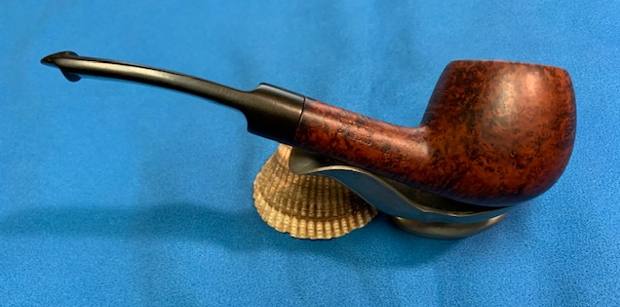
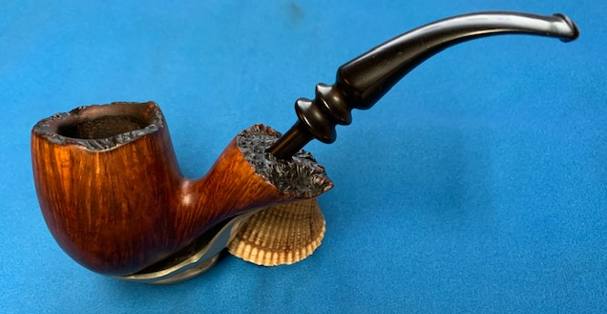
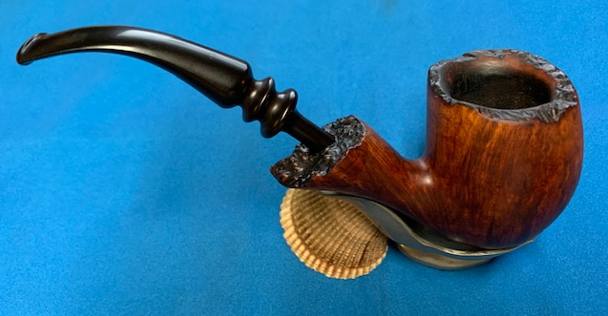
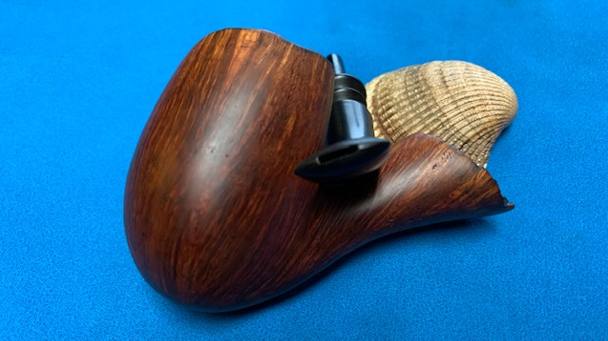
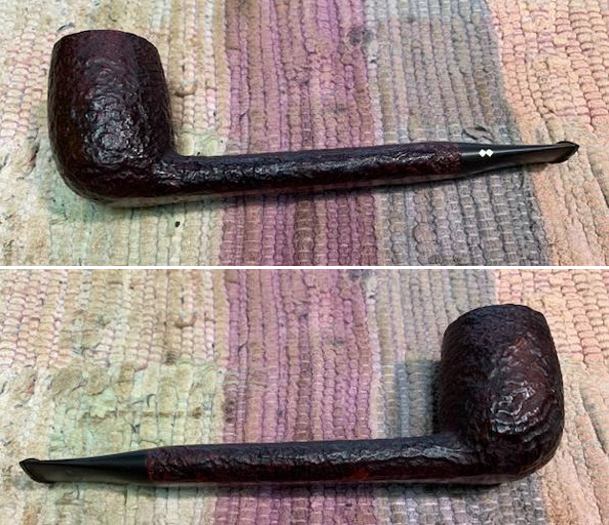
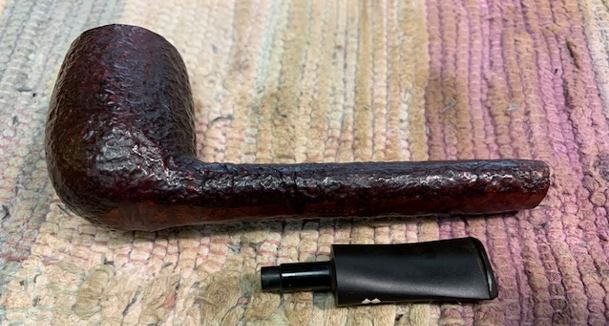
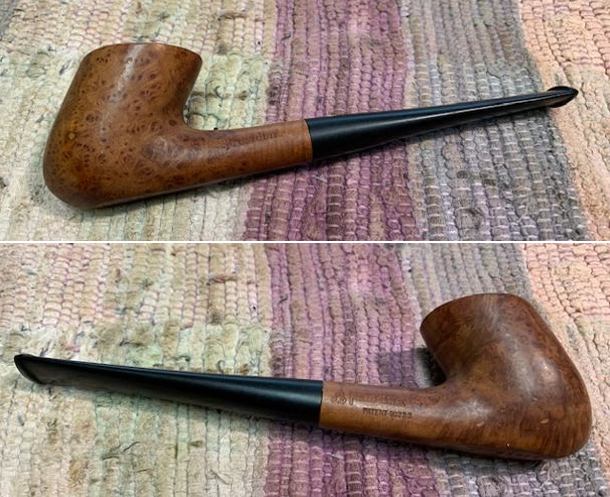
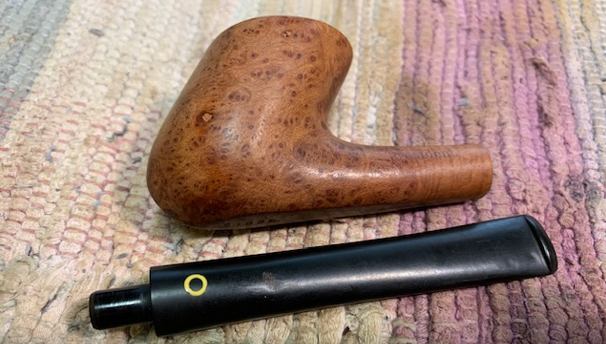
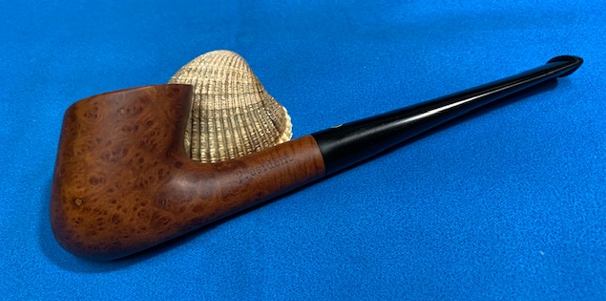
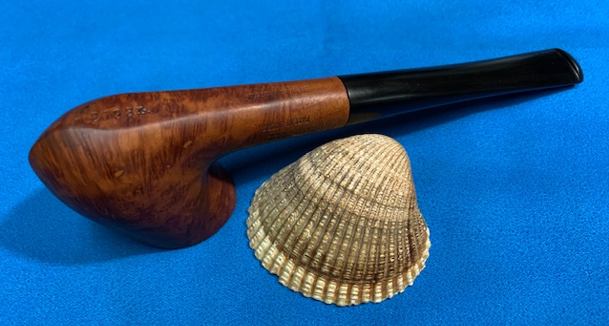
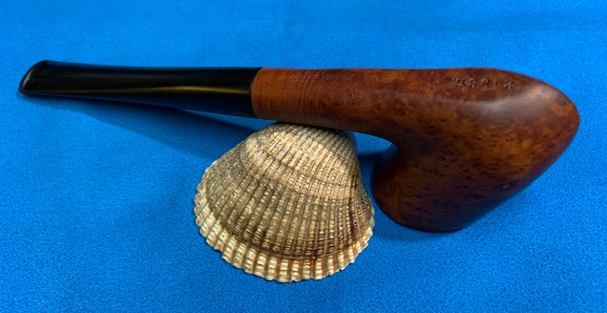
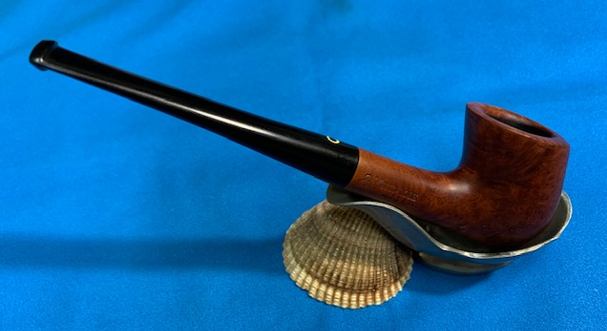
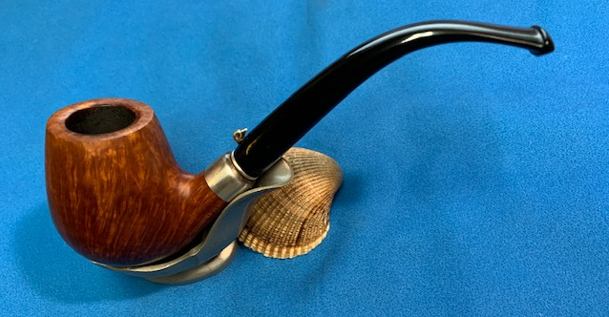
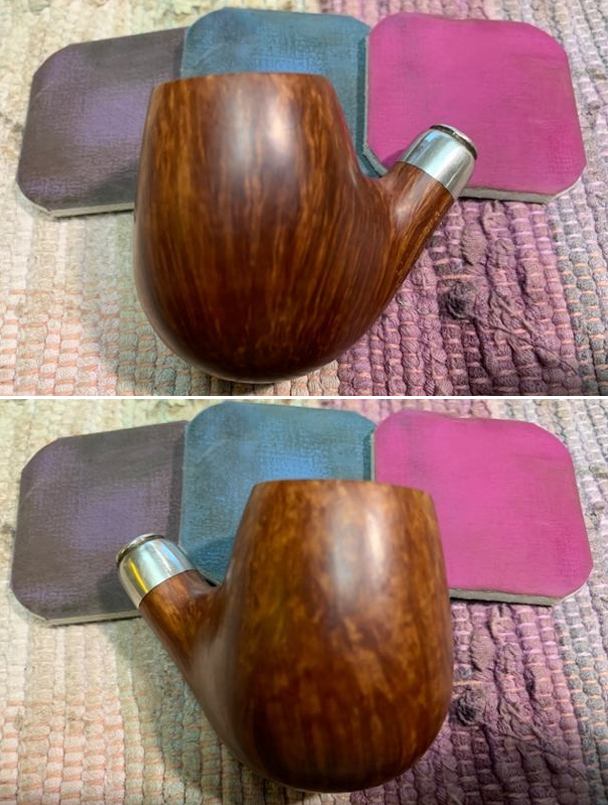
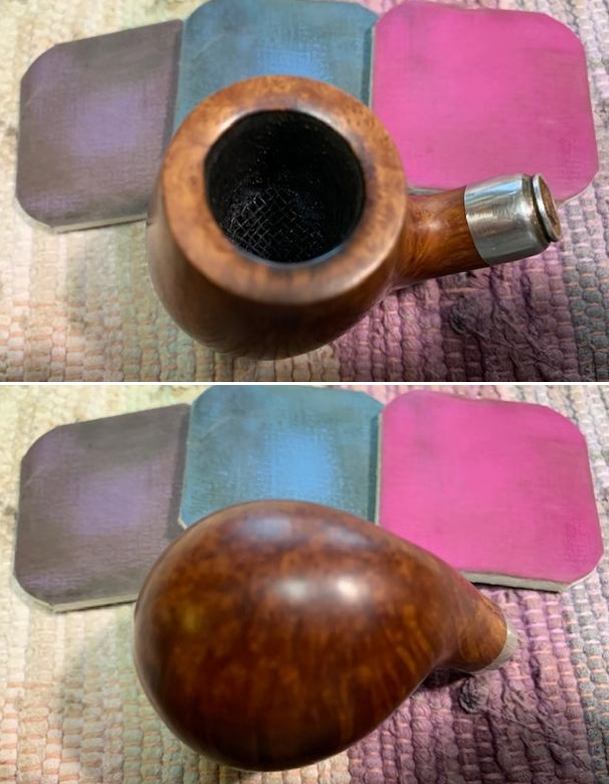
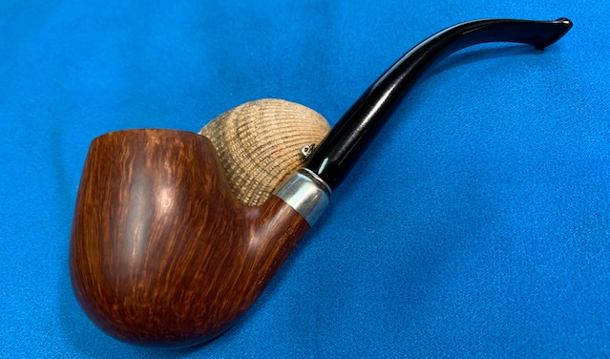
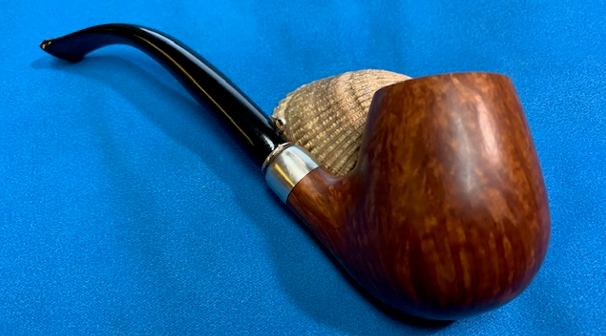
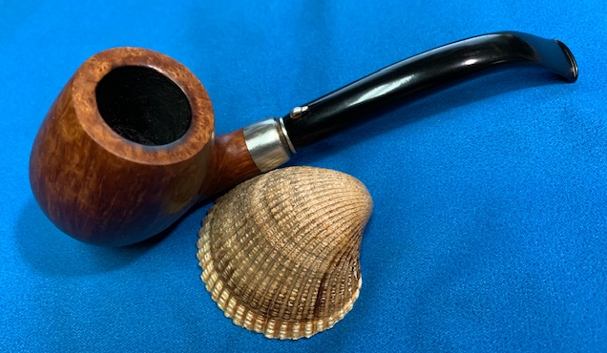
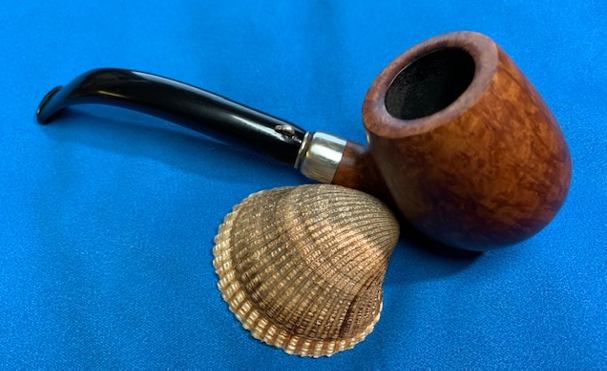
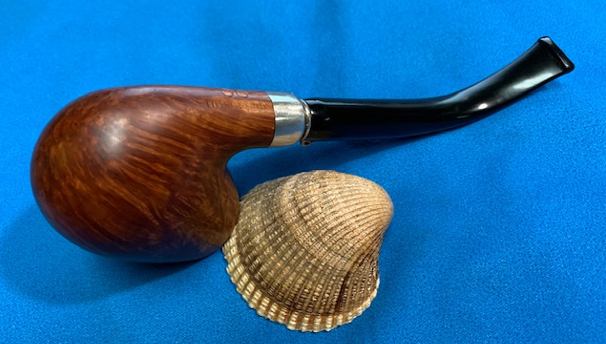
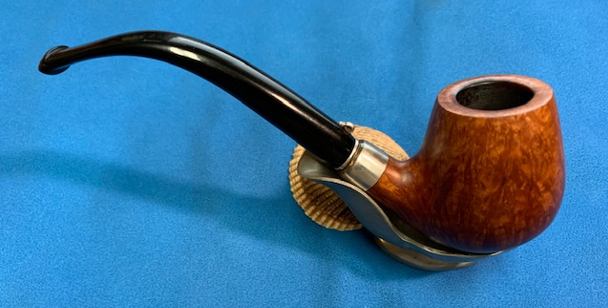
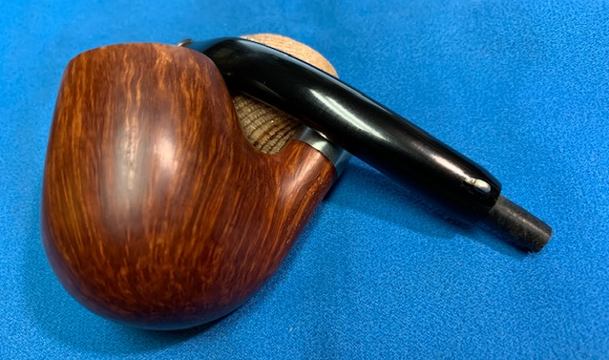
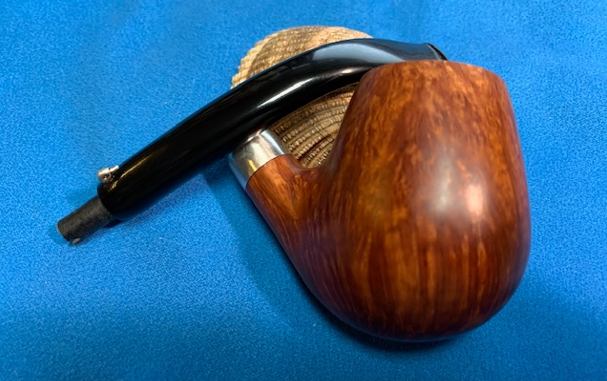
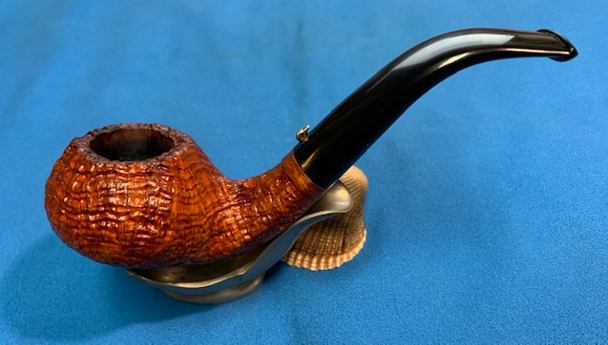
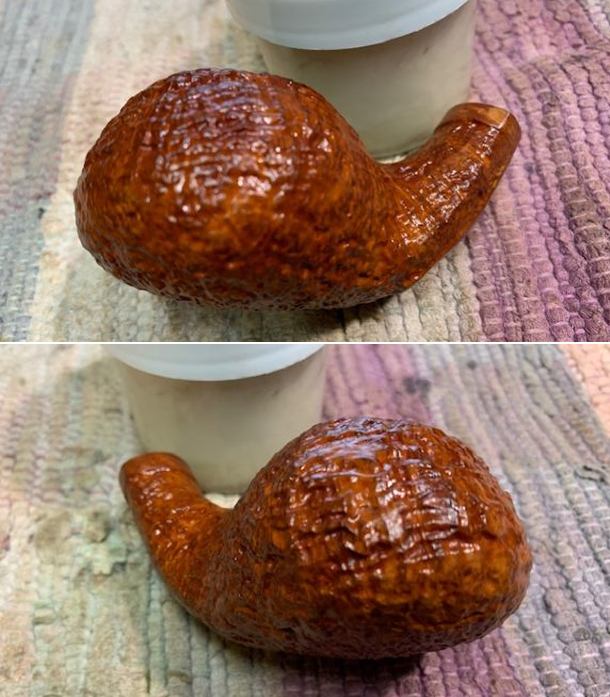
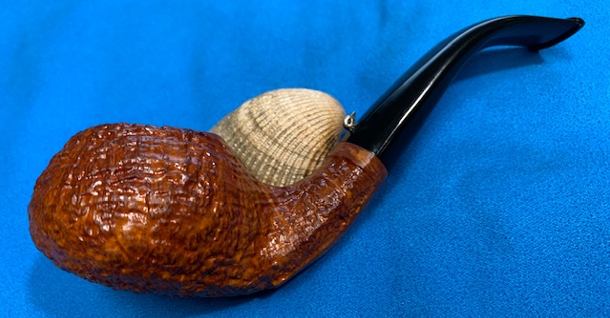
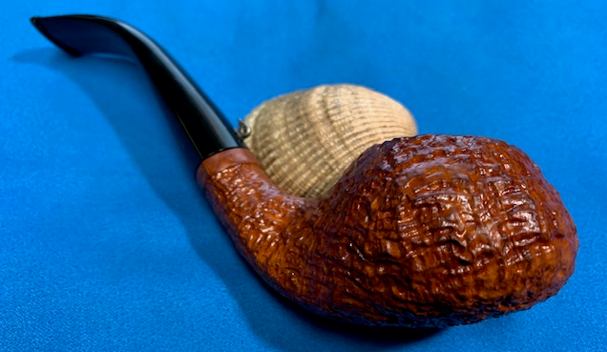
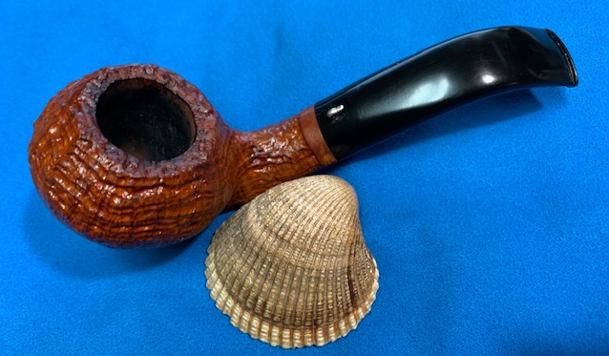
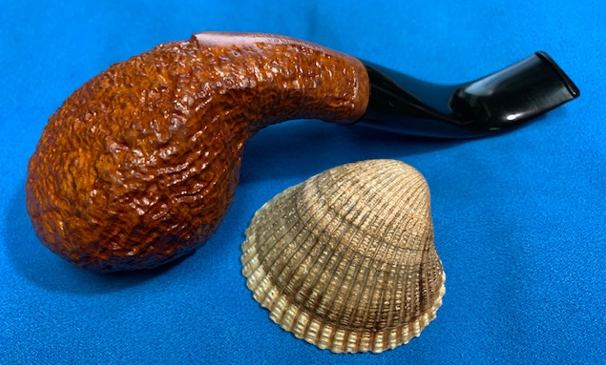
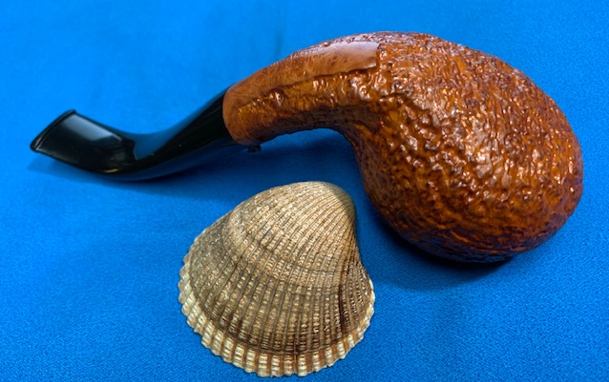
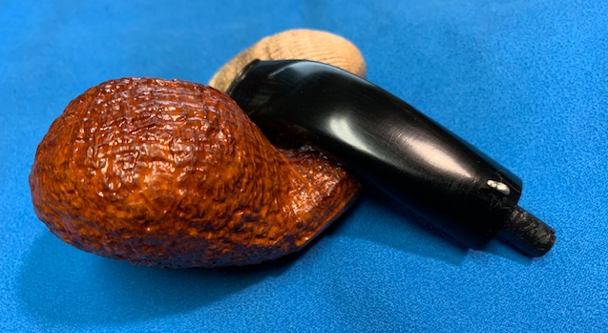
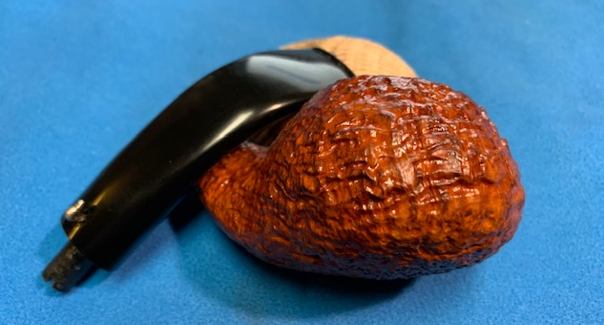
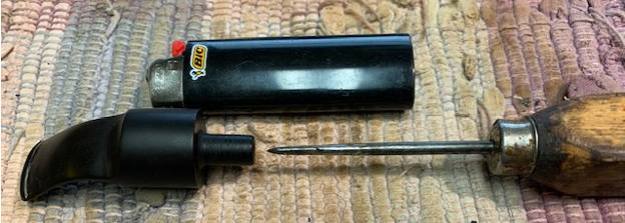 I am excited to finish what turned out to be a beautiful Algerian Briar Rusticated Rhodesian. I put the pipe back together and buffed it with Blue Diamond on the buffing wheel. I gave the bowl and the stem multiple coats of carnauba wax. I buffed the pipe with a clean buffing pad to raise the shine. I also hand buffed it with a microfibre cloth to deepen the shine. It is fun to see what the polished bowl looks like with the grain and the depth of the rustication popping all around it. Added to that the polished black vulcanite saddle stem was beautiful. This shapely Rusticated Rhodesian is nice looking and the pipe feels great in my hand. It is light and well balanced. Have a look at it with the photos below. The dimensions are Length: 5 ½ inches, Height: 2 inches, Outside diameter of the bowl: 2 inch, Chamber diameter: 1 of an inch. The weight of the pipe is 70 grams/2.47 ounces. It is a beautiful pipe and one that I soon put on the rebornpipes store in the American Pipemakers Section. If you are interested in carrying on the pipeman’s legacy. Thanks for walking through the restoration with me as I worked over this pipe. Thanks to each of you who are reading this blog.
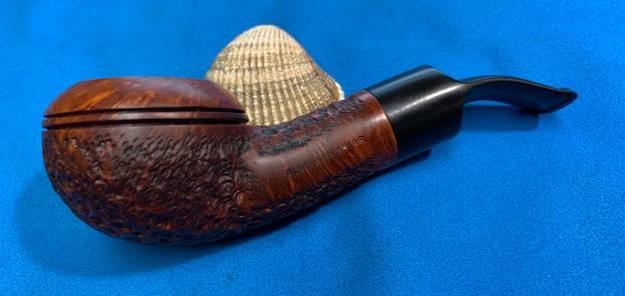


