by Steve Laug
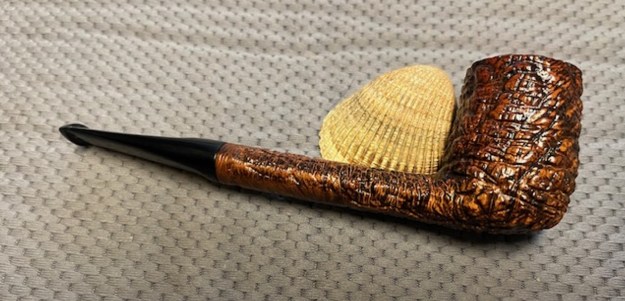
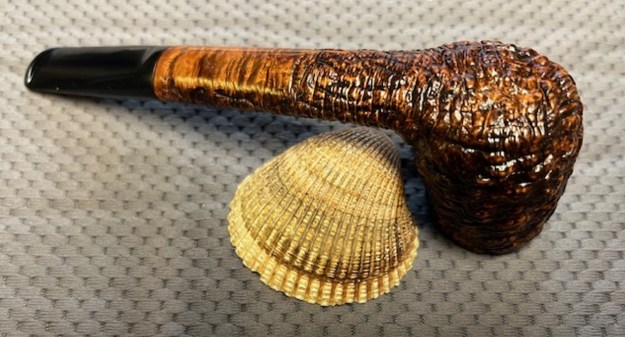
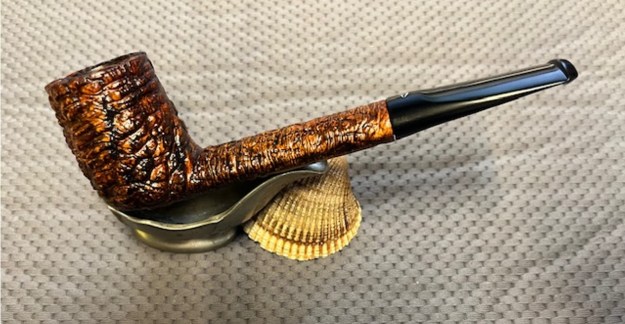
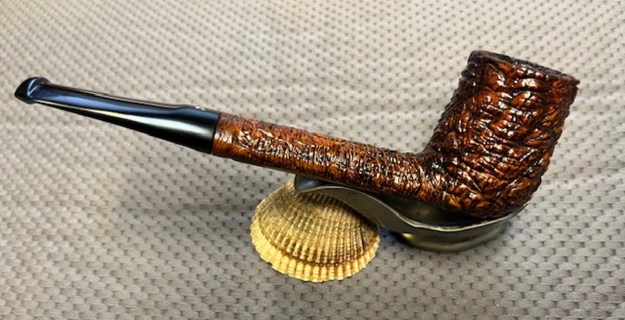
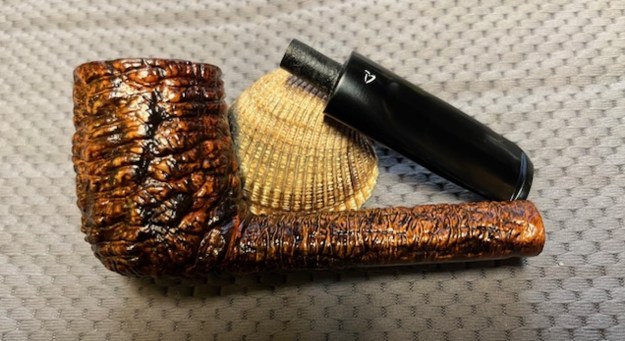
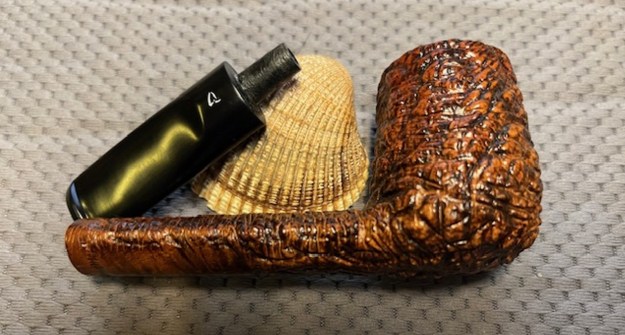
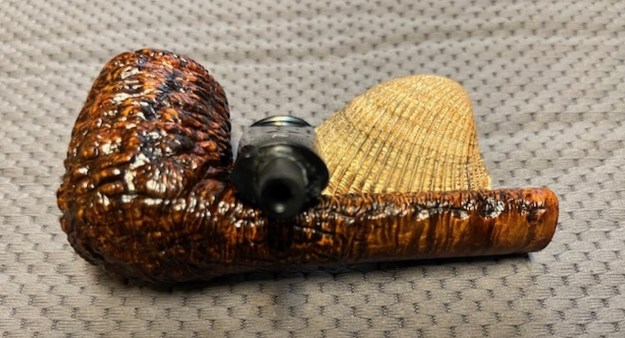
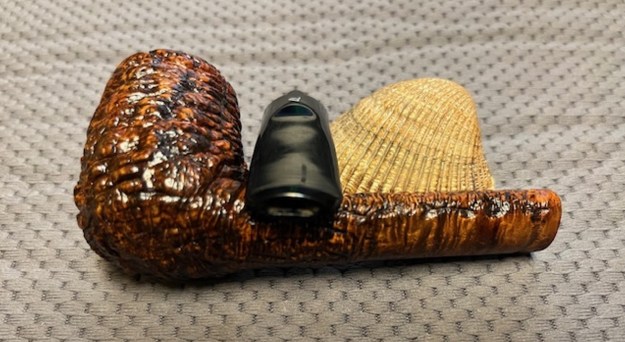
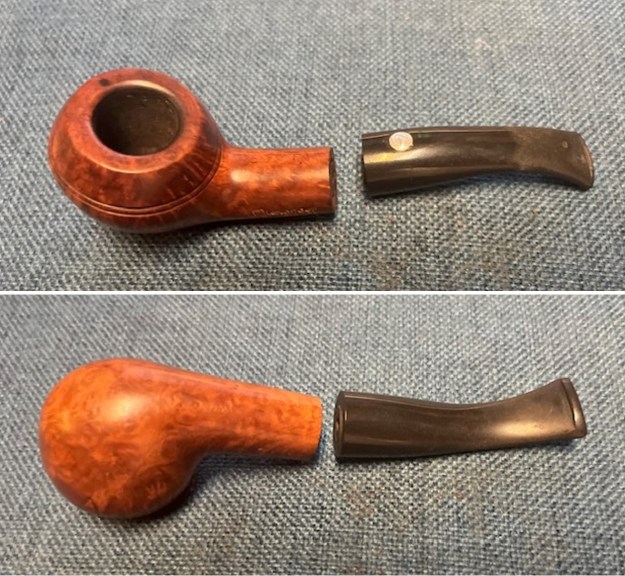
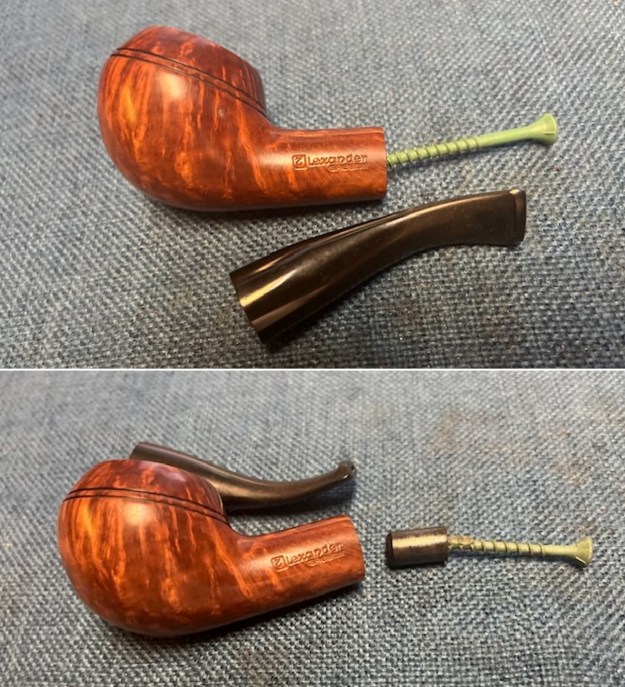
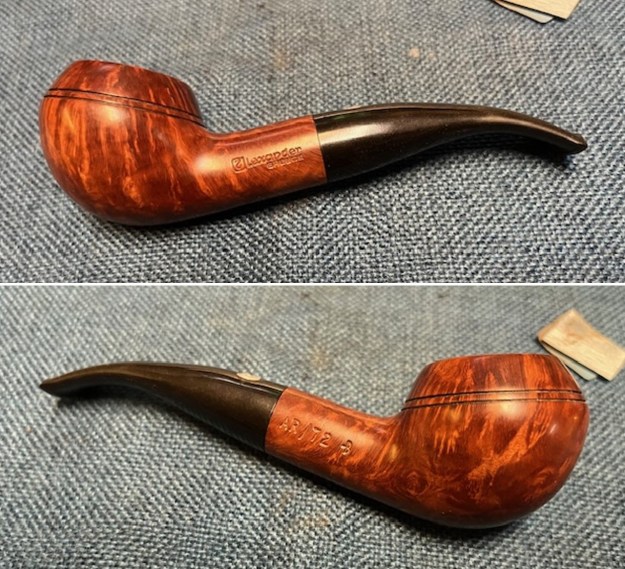
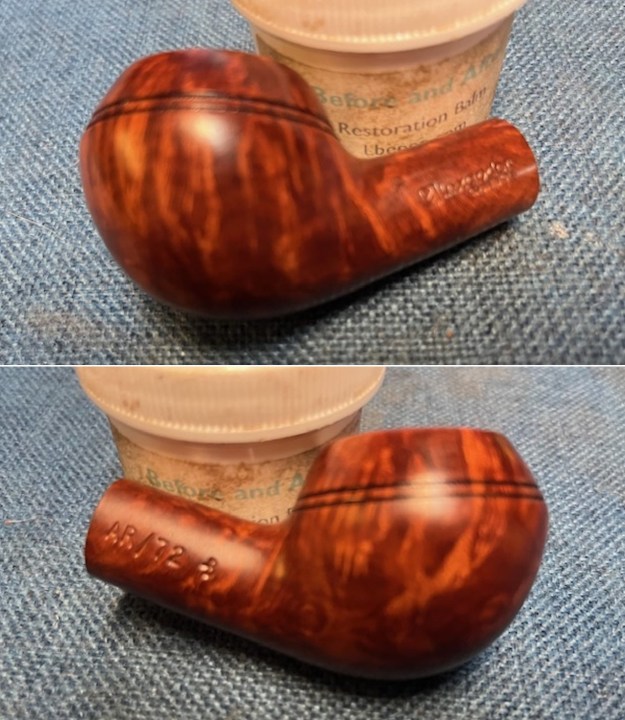
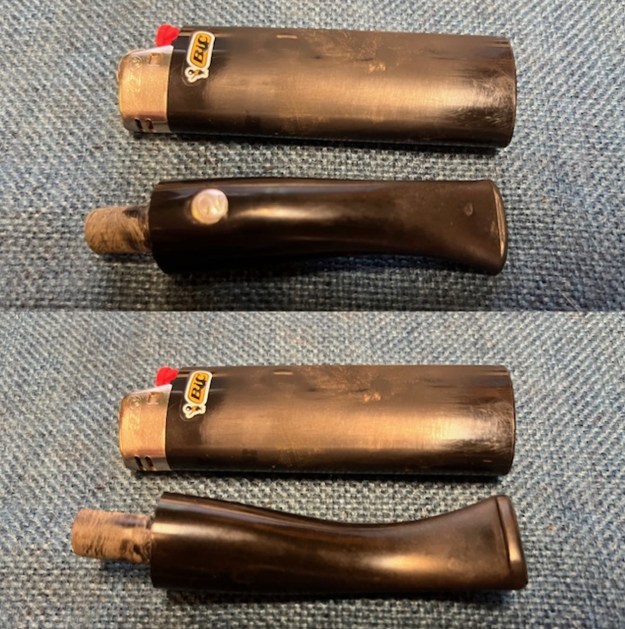
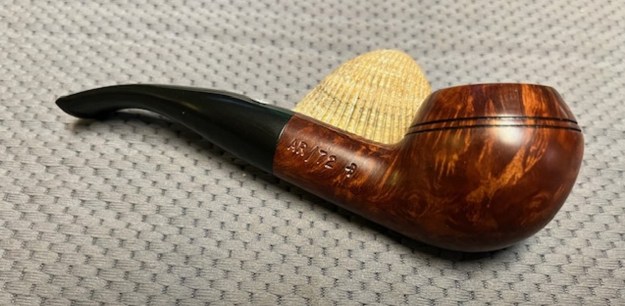
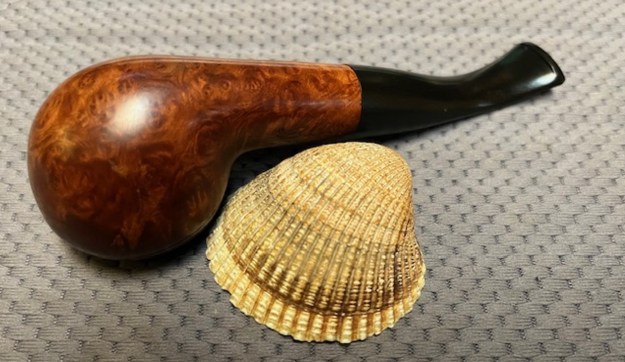
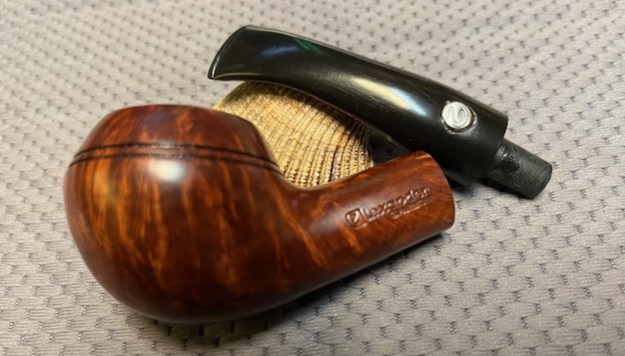
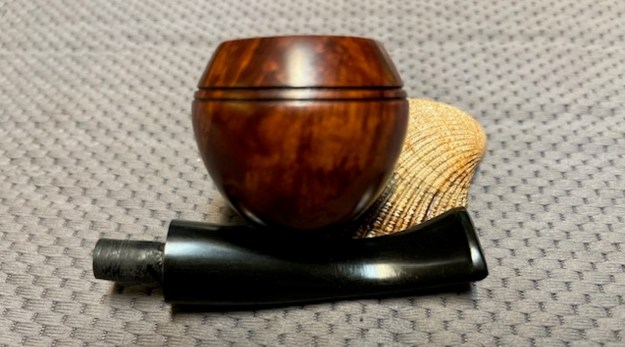
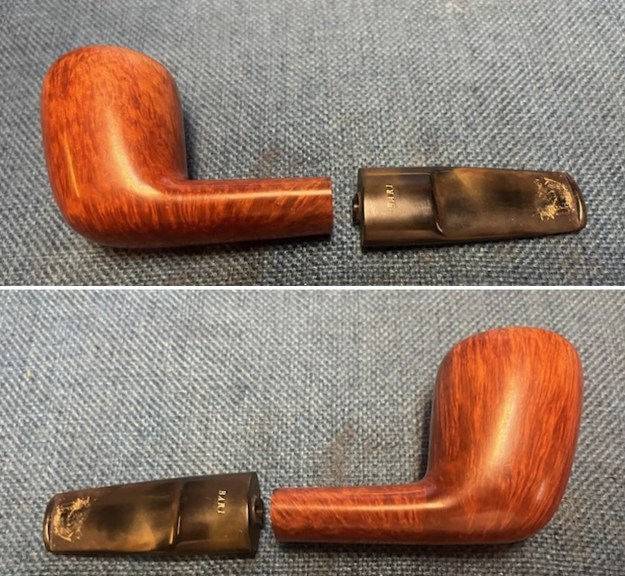
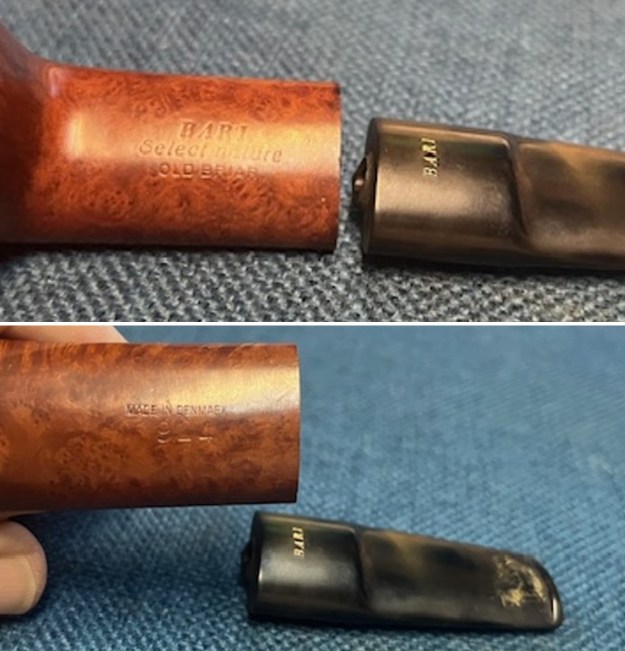
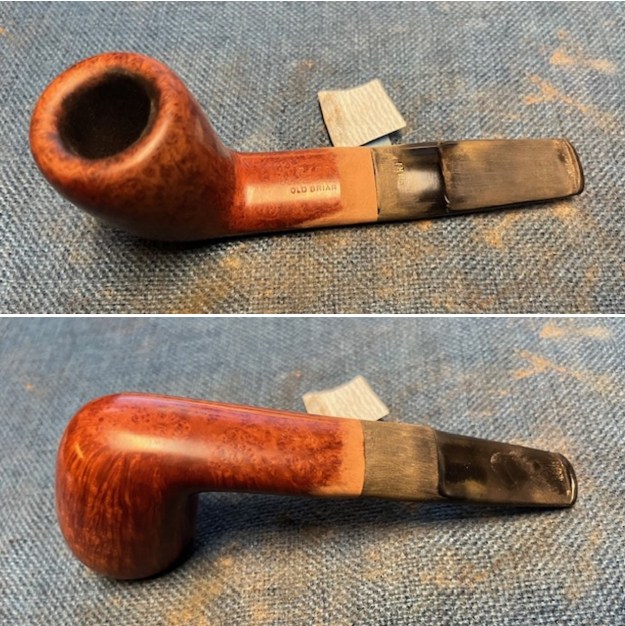
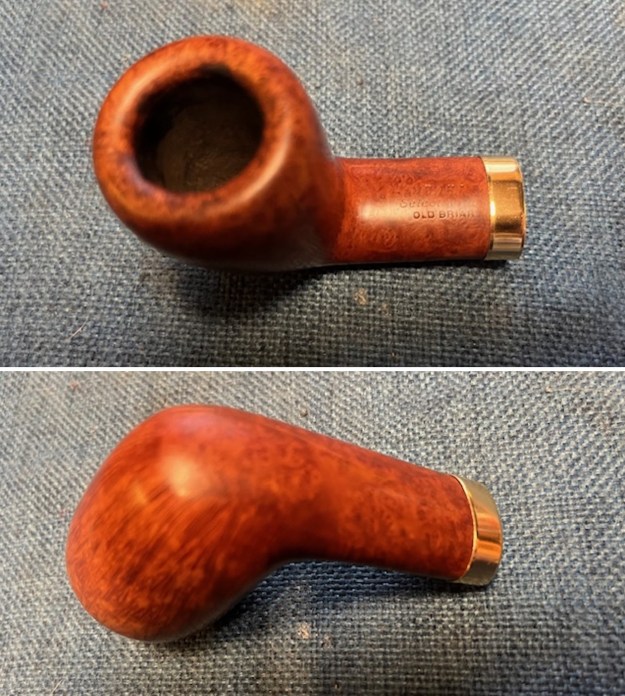
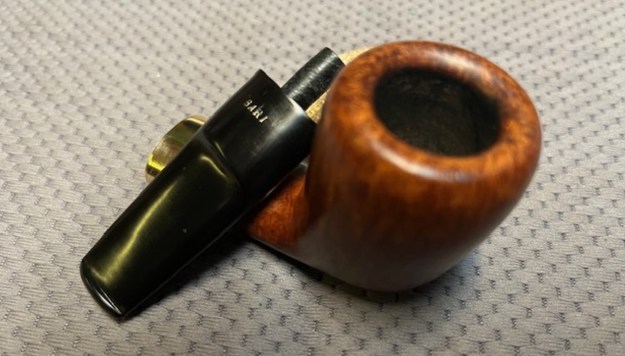
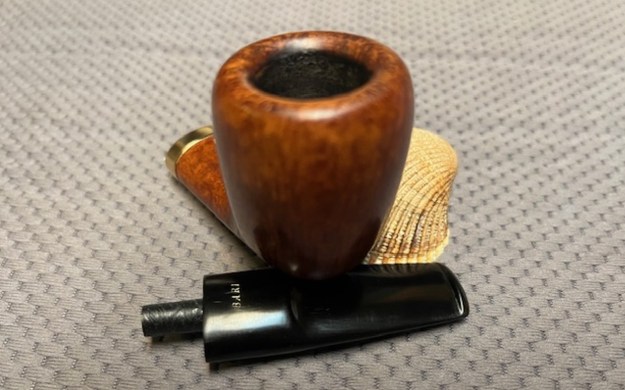
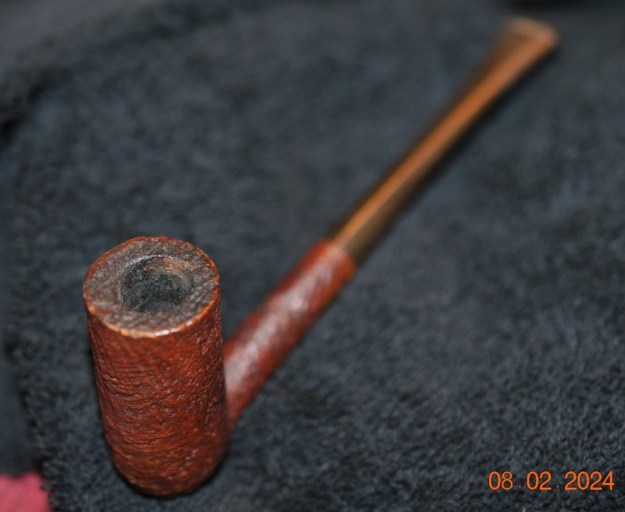
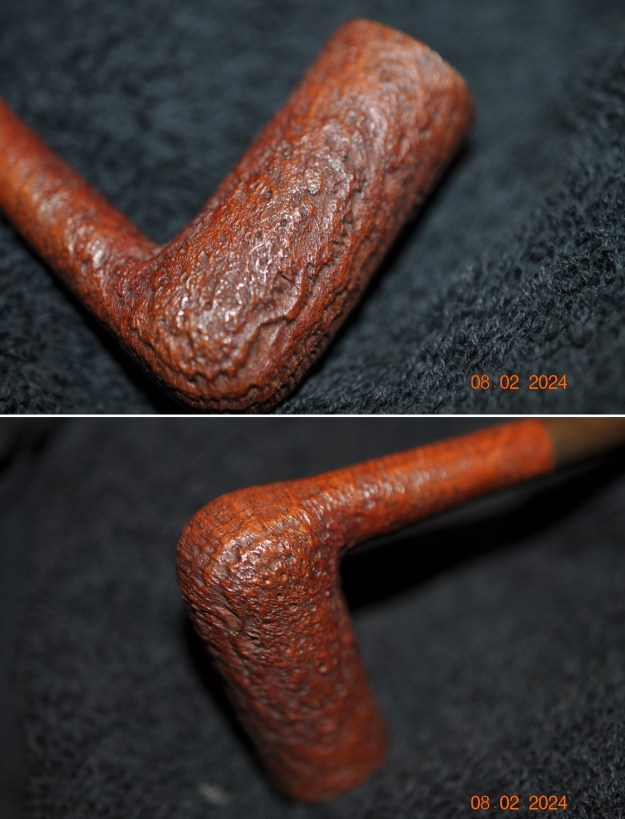
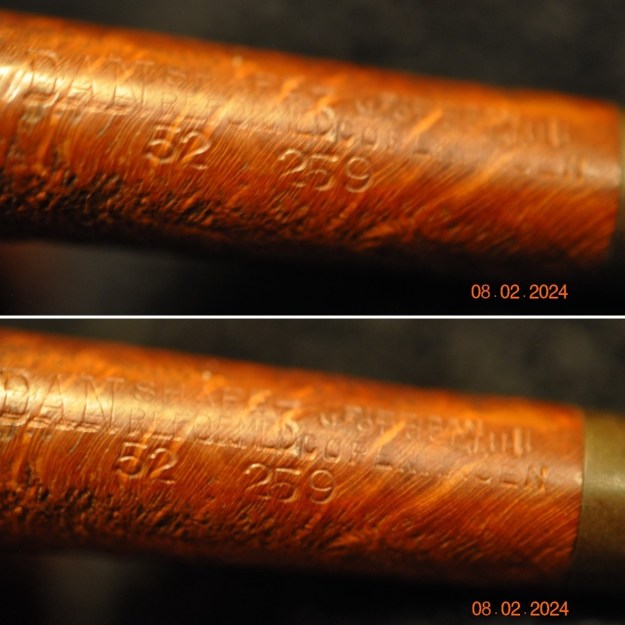
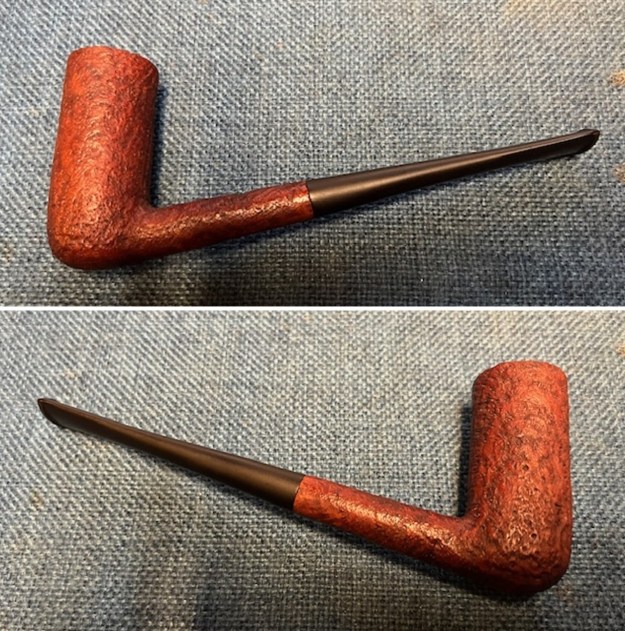
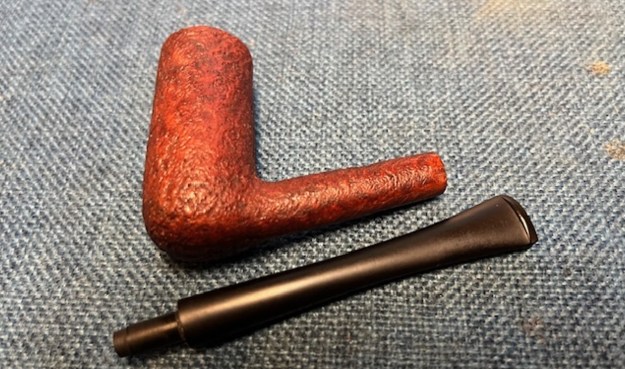
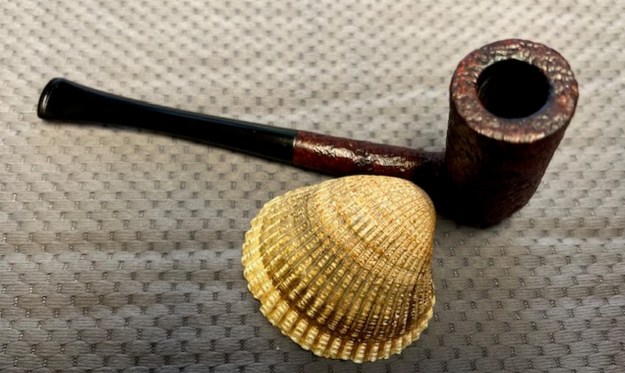
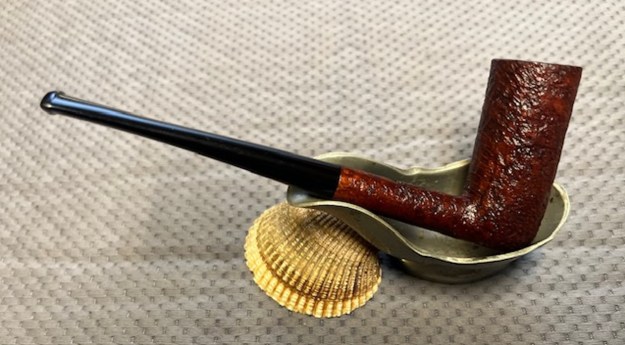
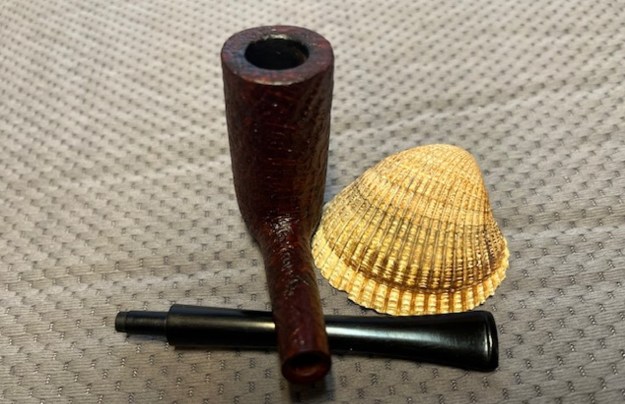
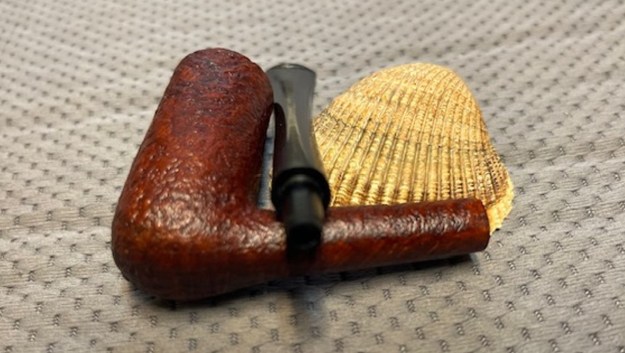
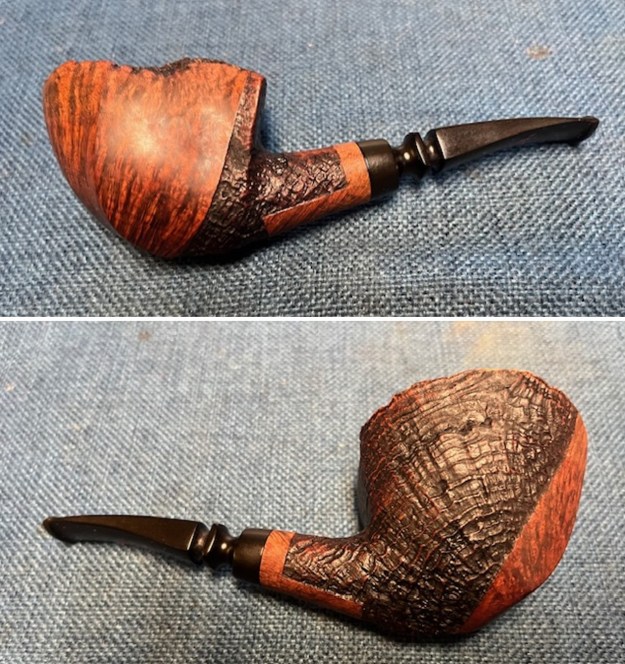
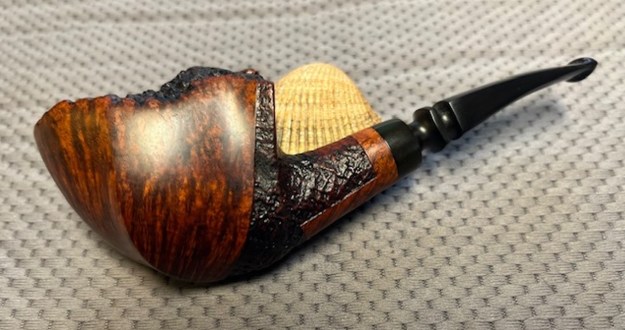
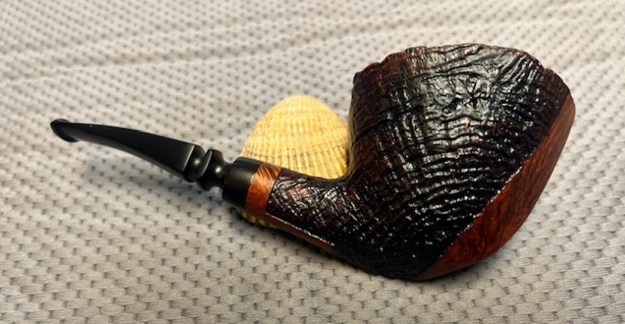
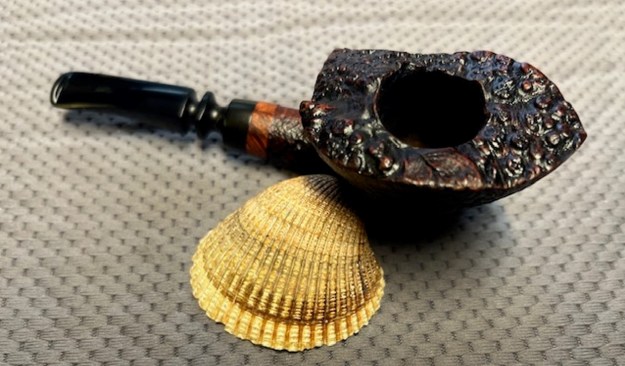
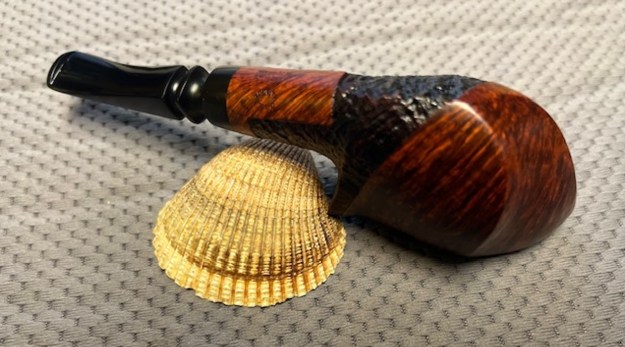
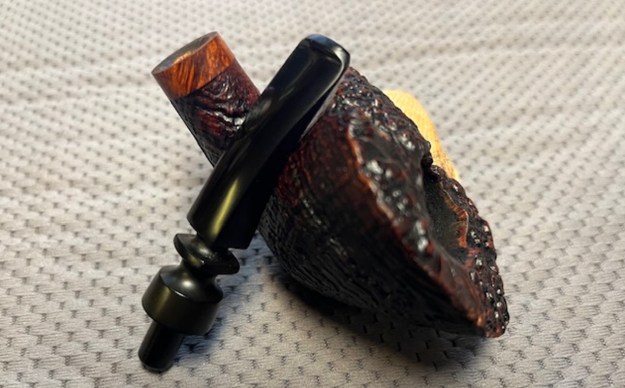
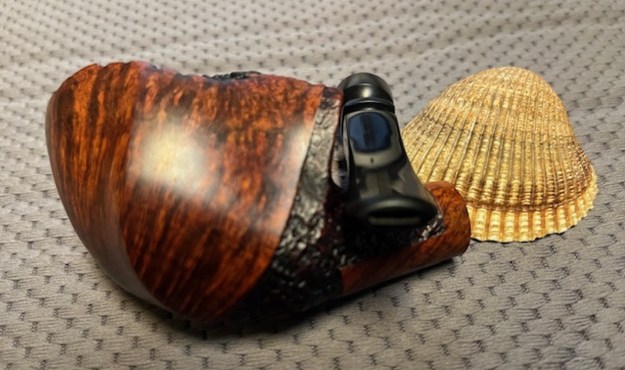
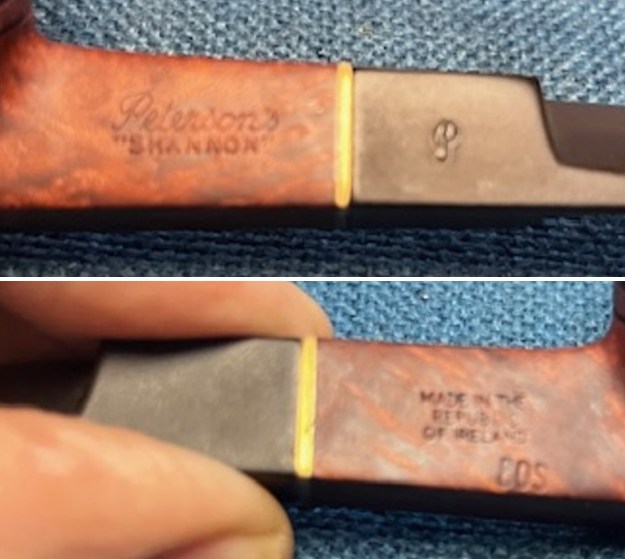
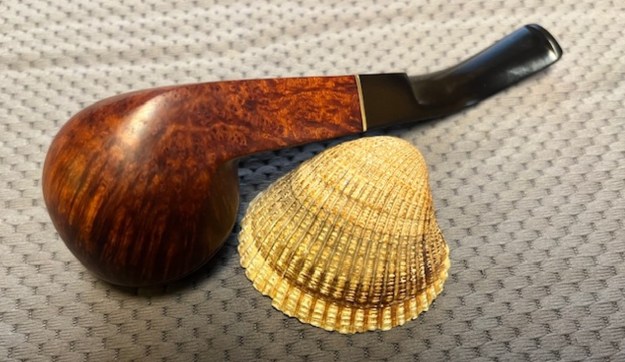
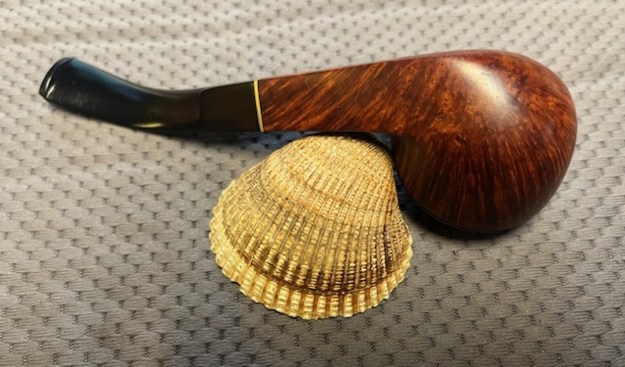
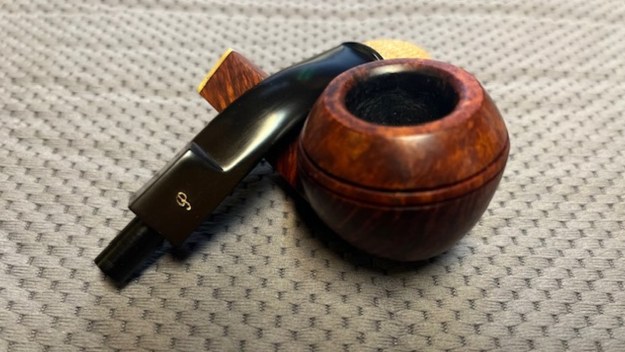
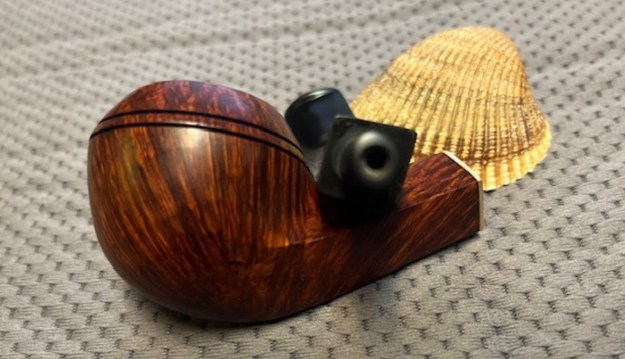
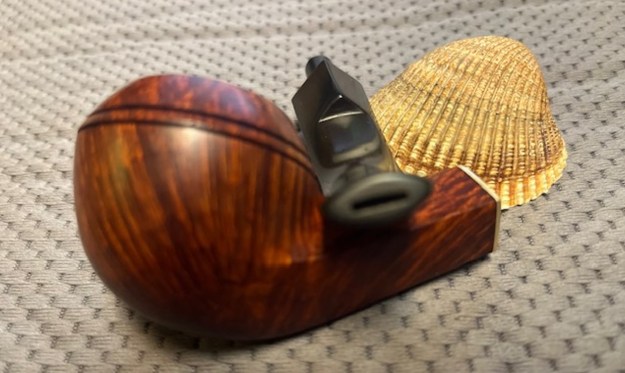
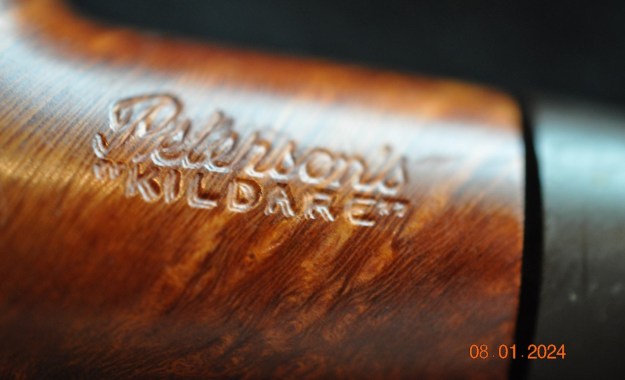
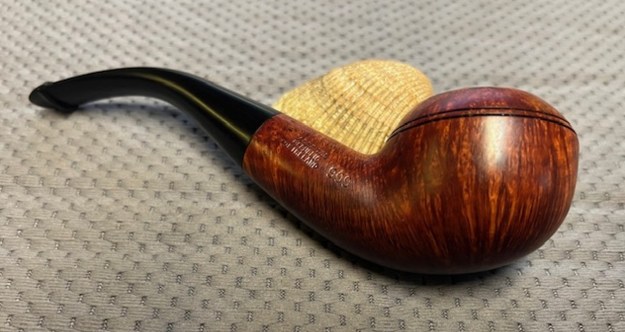
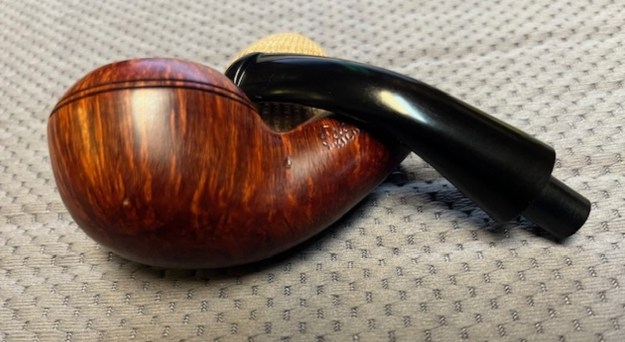
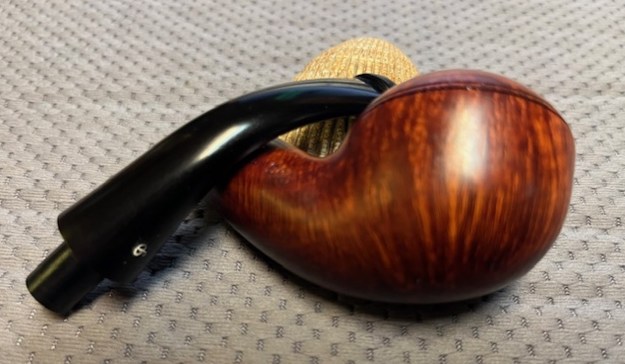
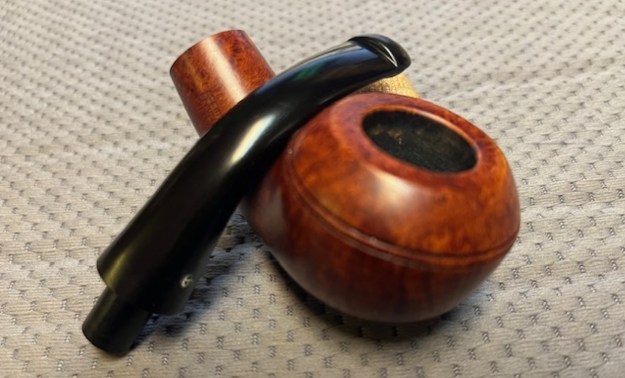
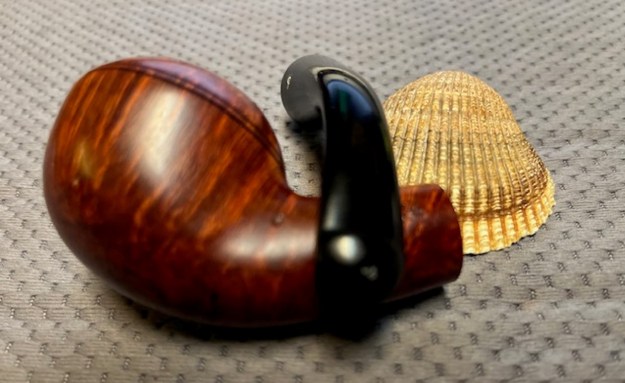
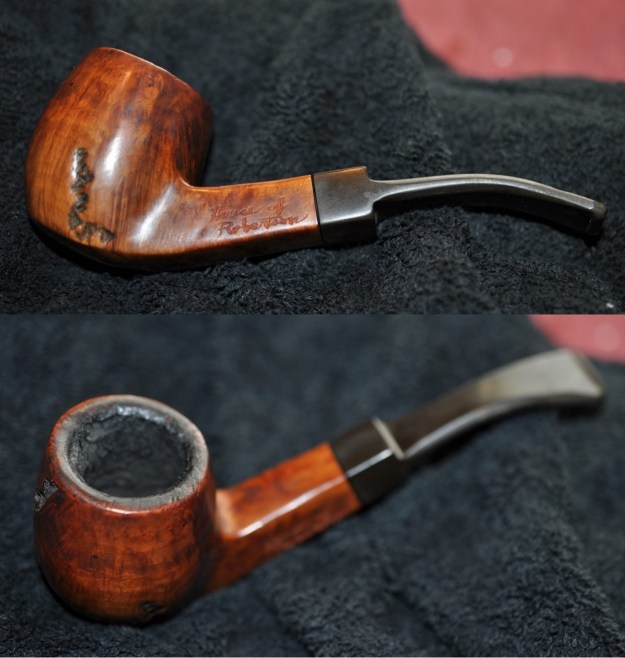
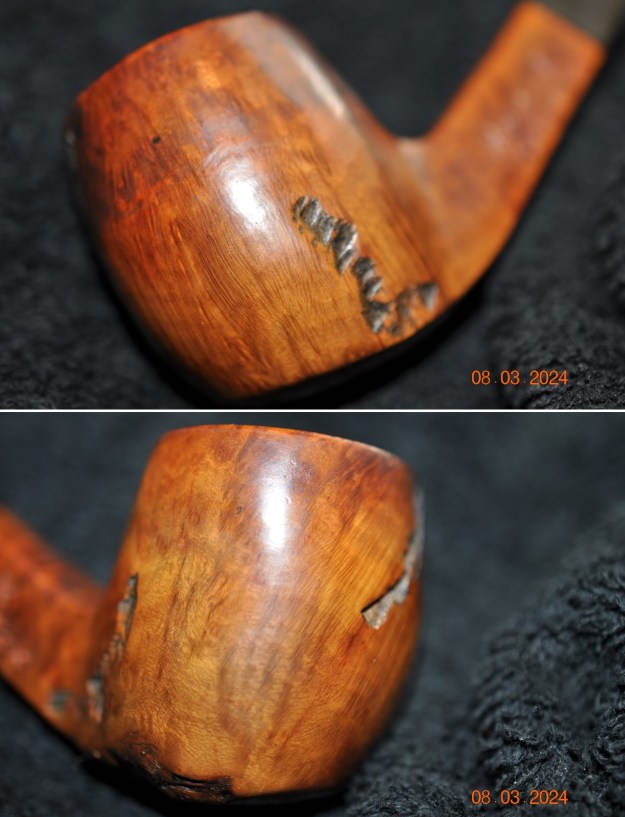
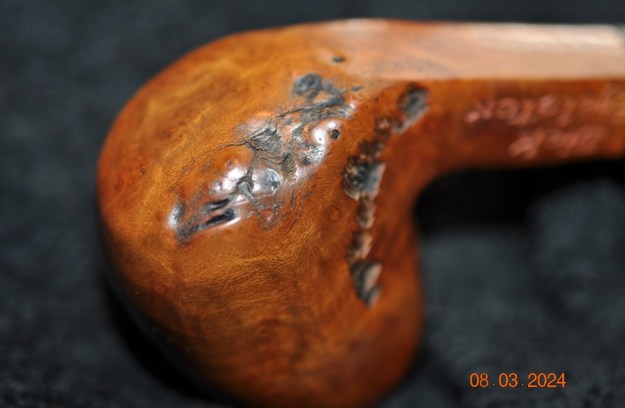
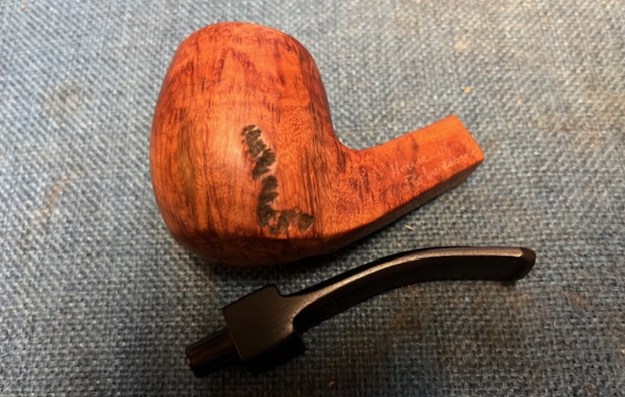
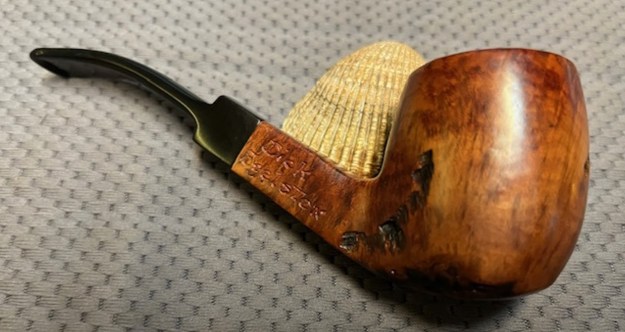
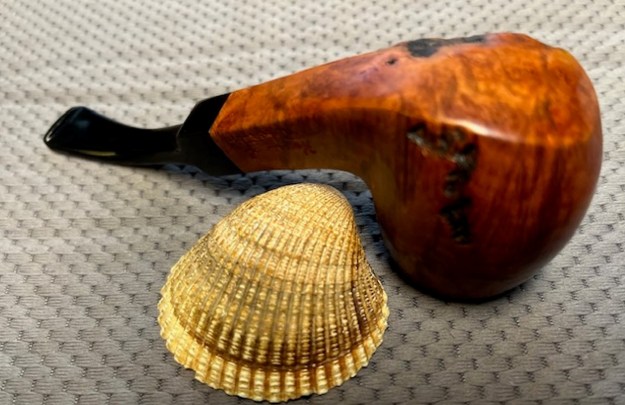
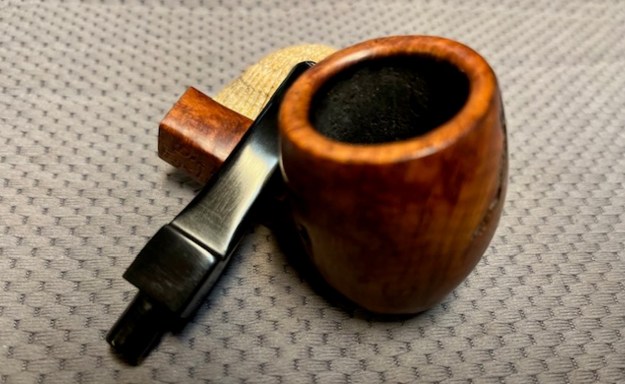
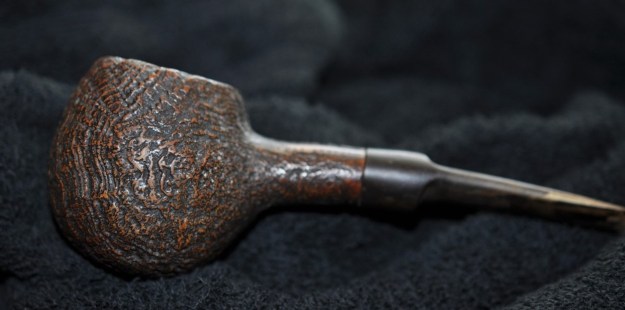
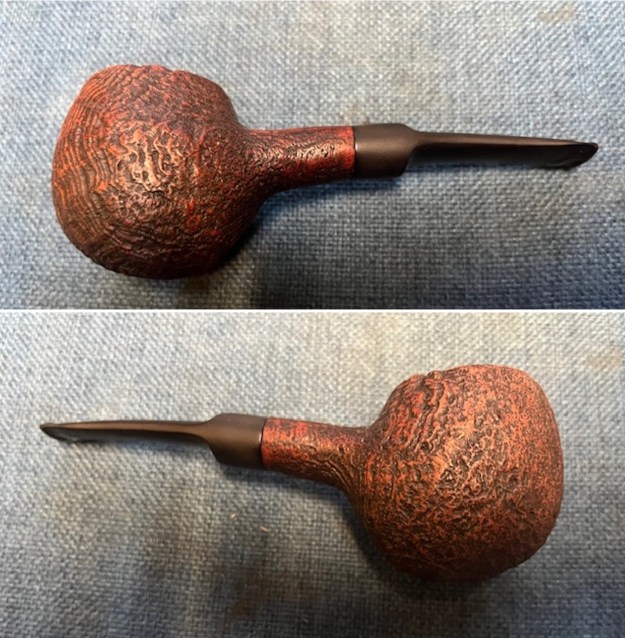
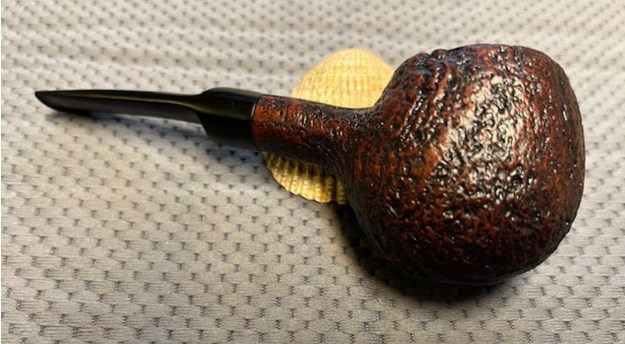
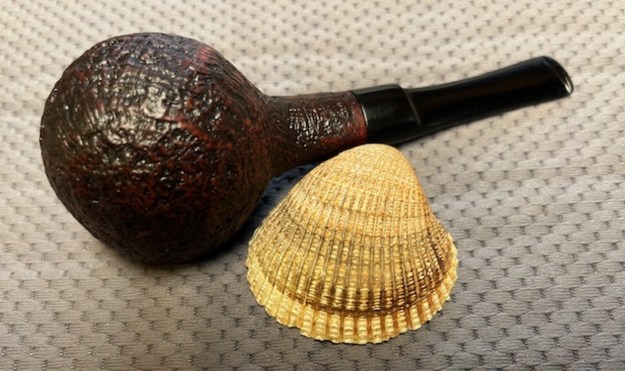
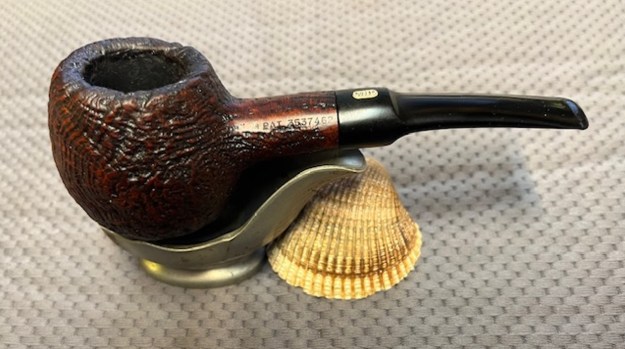
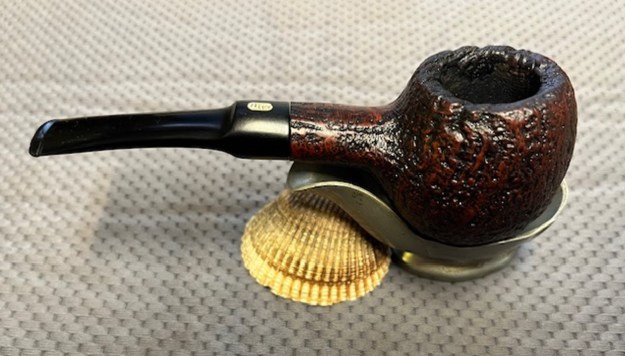
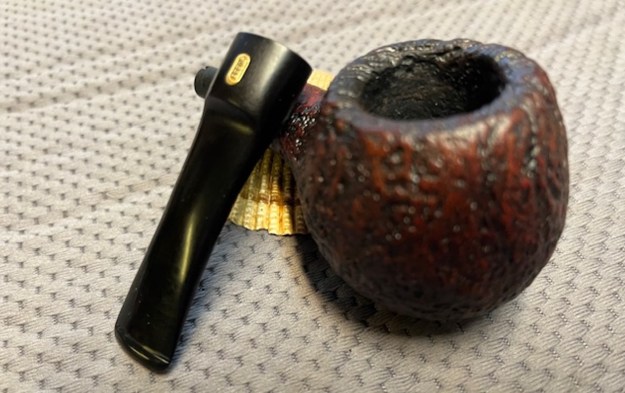
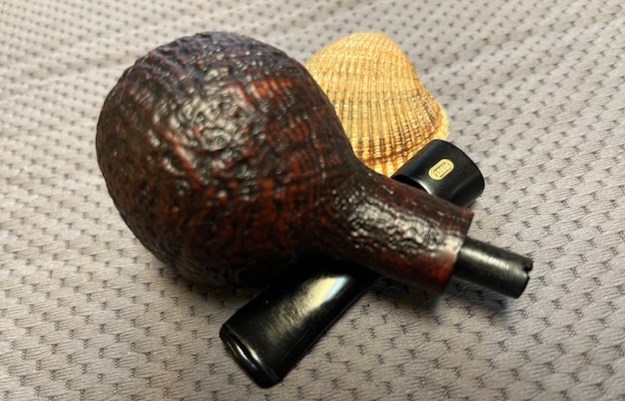
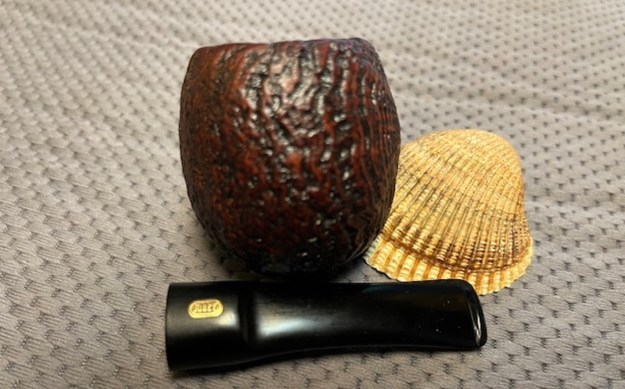
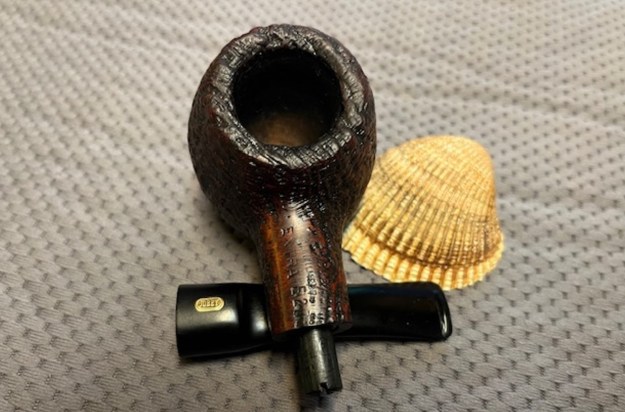
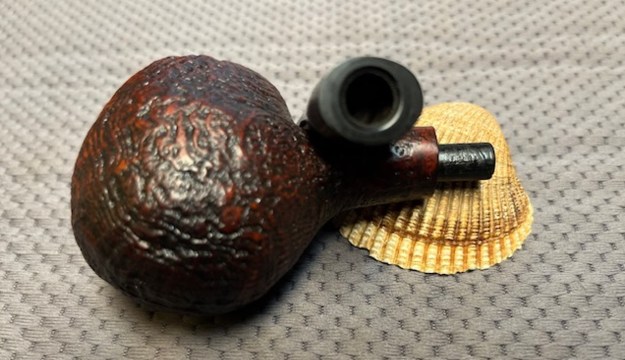
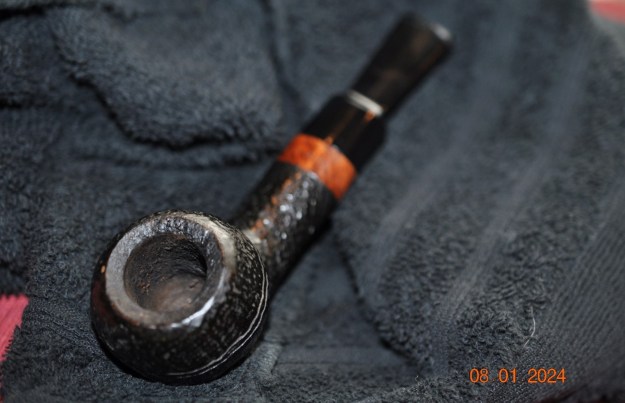
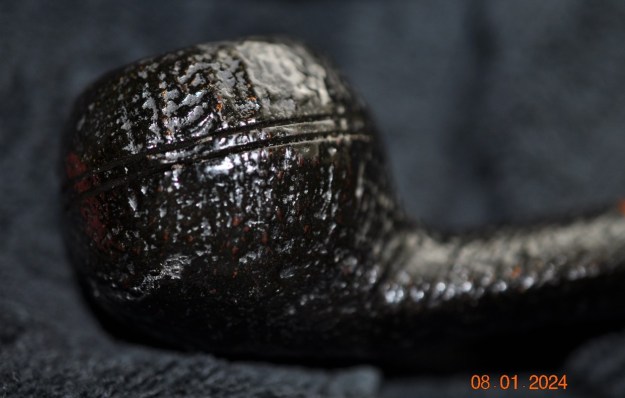
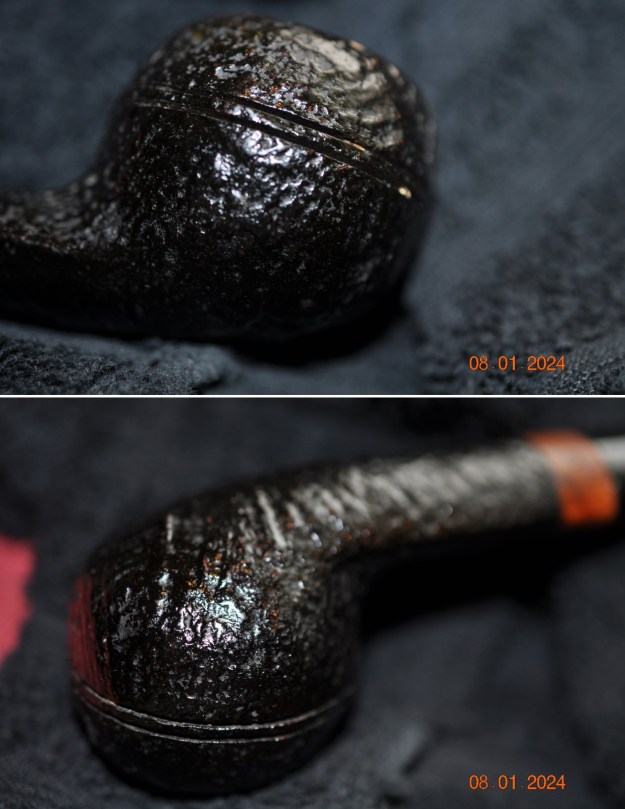
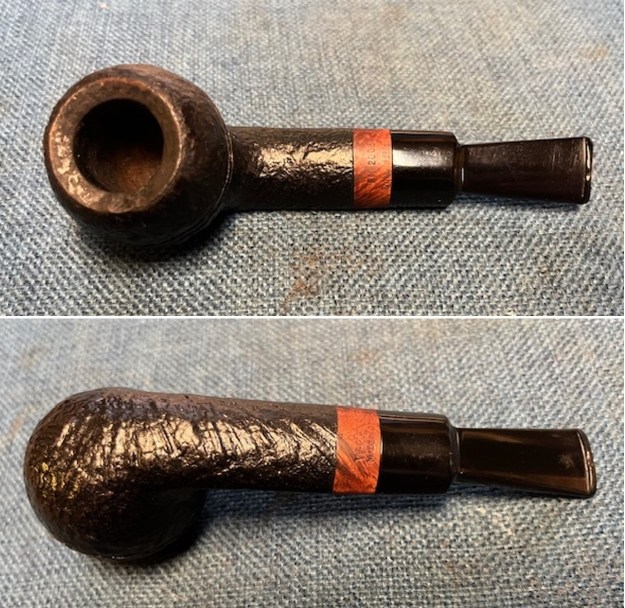
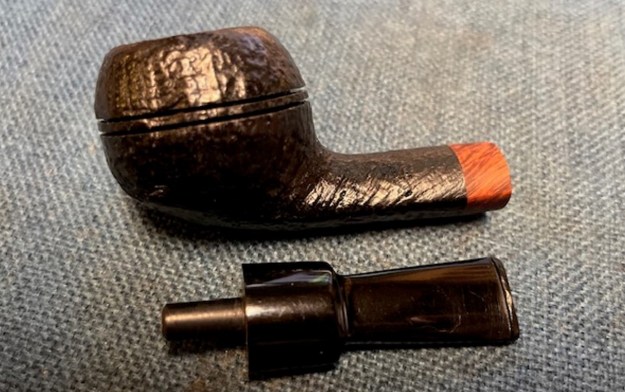
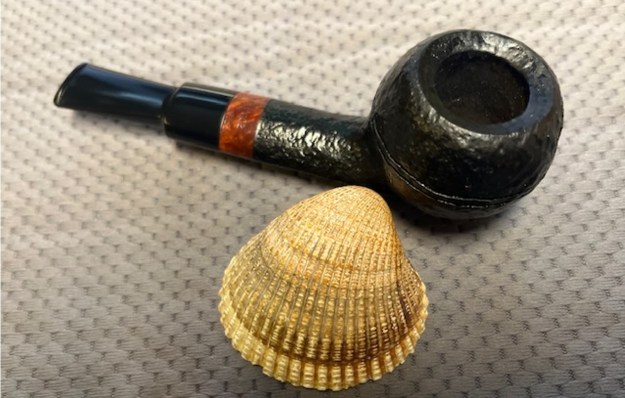
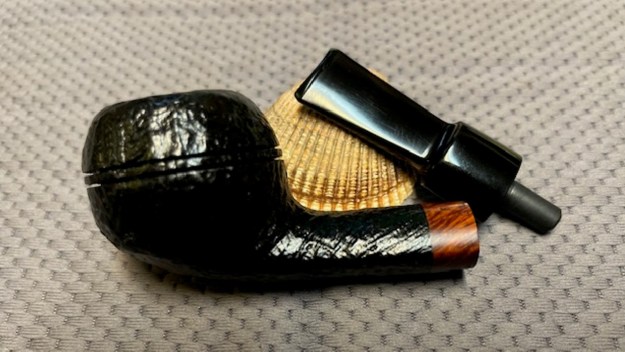
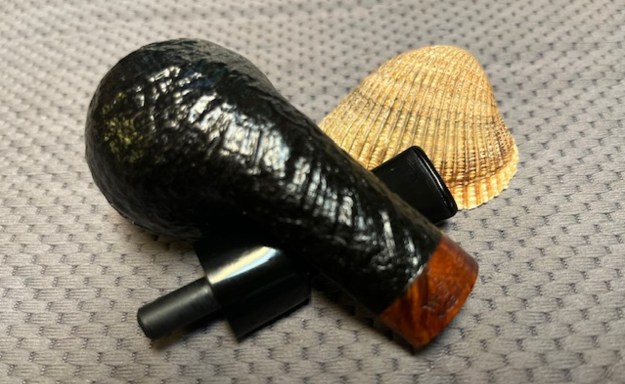
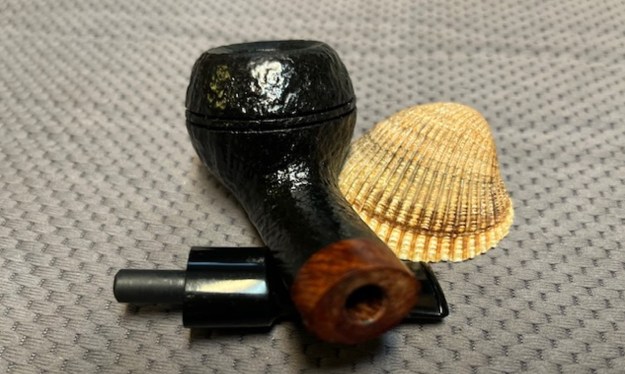
The next pipe on the work table is an almost Sea Rock Rusticated Canadian. It is stamped on the underside of the shank and reads Tinderbox [arched over] Verona [over] Rustica [over] 702 to the left. Along the shank end it is stamped Italy. It is another one that came from a box of pipes with broken tenons that I set aside to work on someday. Today is that day I guess! It is very deeply rusticated Canadian shaped bowl with an acrylic fancy smooth saddle stem. I really like the look of the rustication. The bowl had a moderate cake in the bowl and some lava in the rustication on the rim top. The finish was in excellent condition and had a mix of stains to highlight the high points and valleys. It was a dirty pipe on the inside of the shank. The acrylic fancy taper/saddle stem had a V logo stamped on the topside. It has tooth chatter and tooth marks on both sides ahead of the button. The tenon had snapped off cleanly in the shank. I took photos of the pipe before I started working on it. 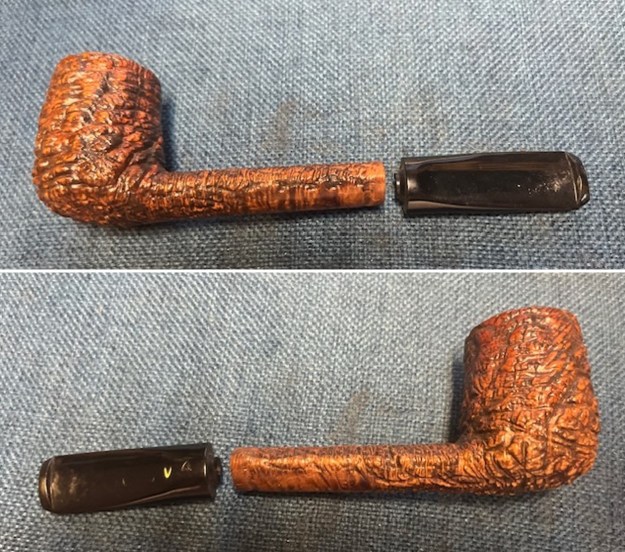
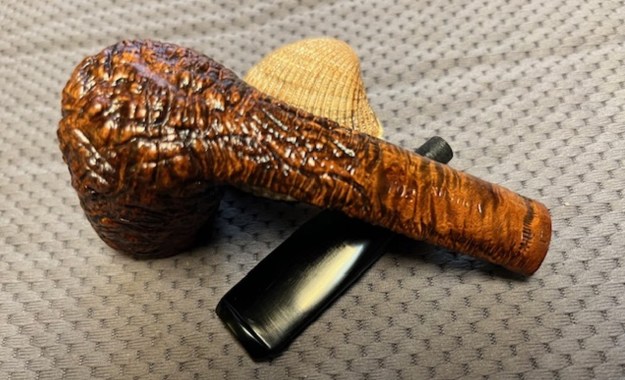
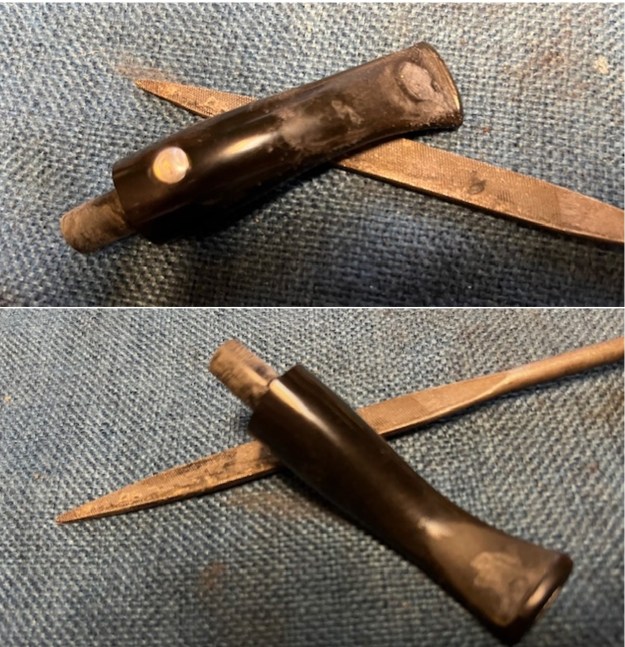
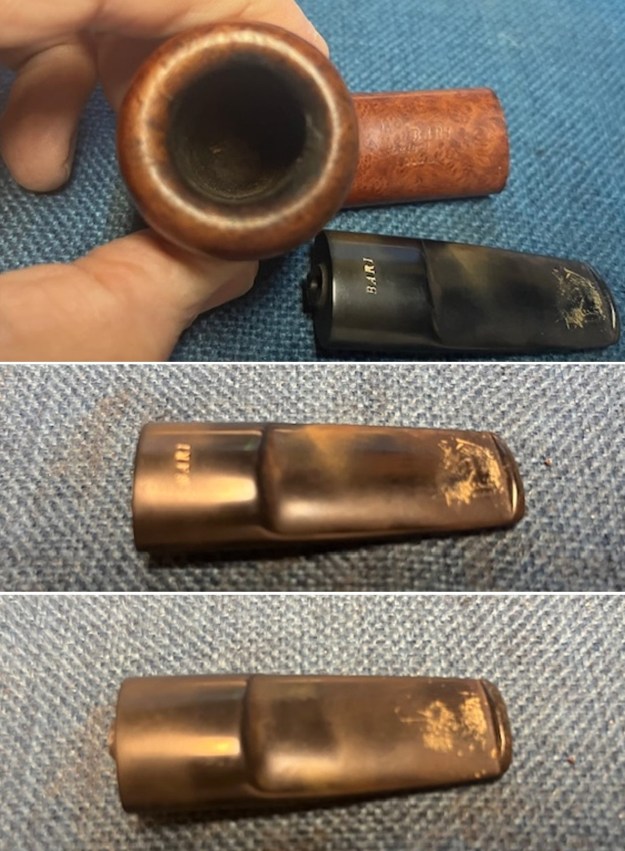
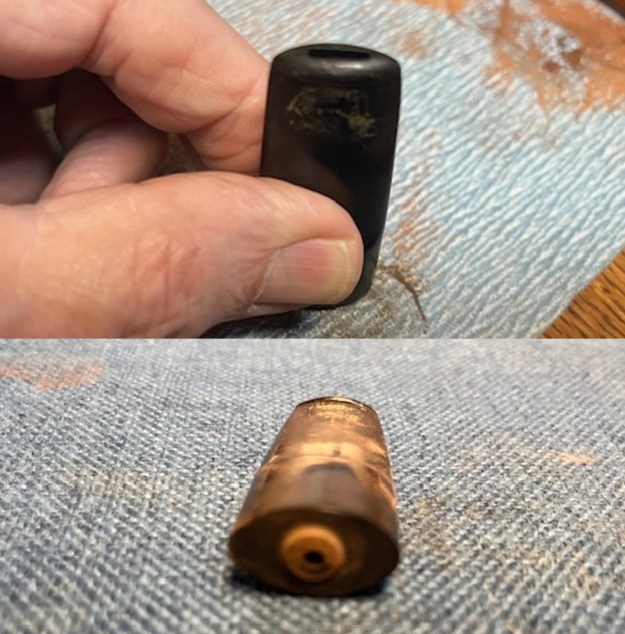
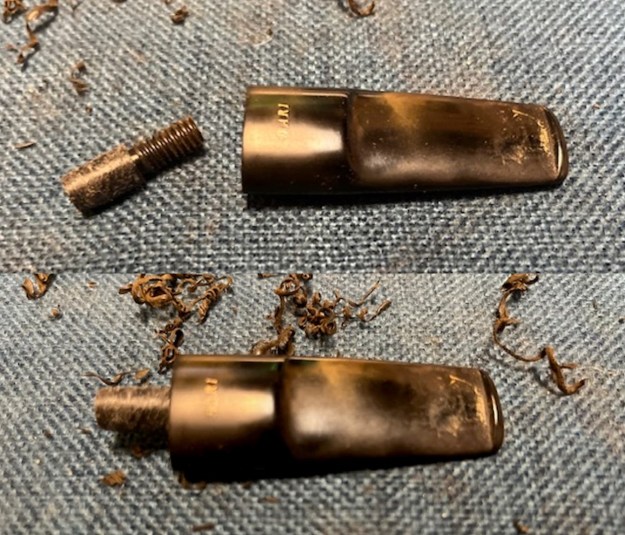
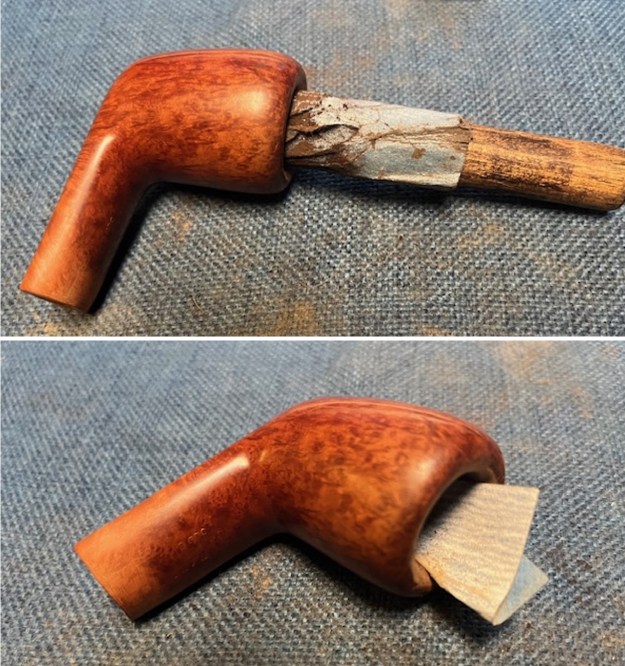
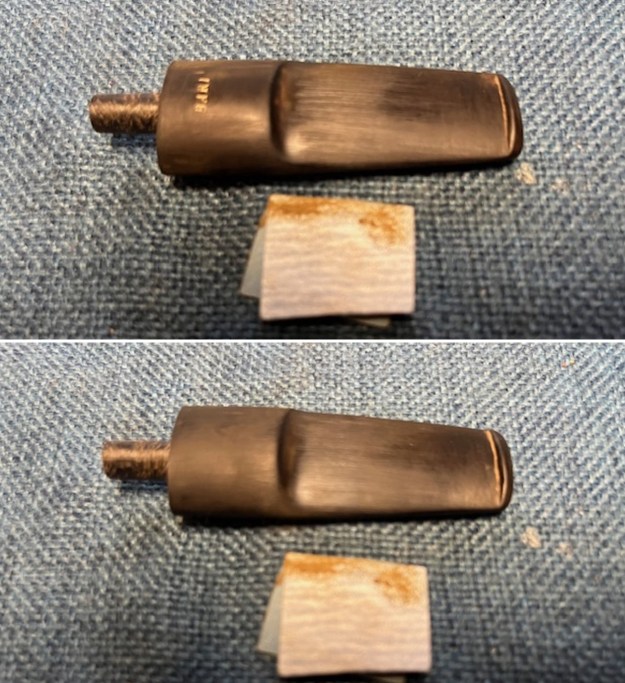
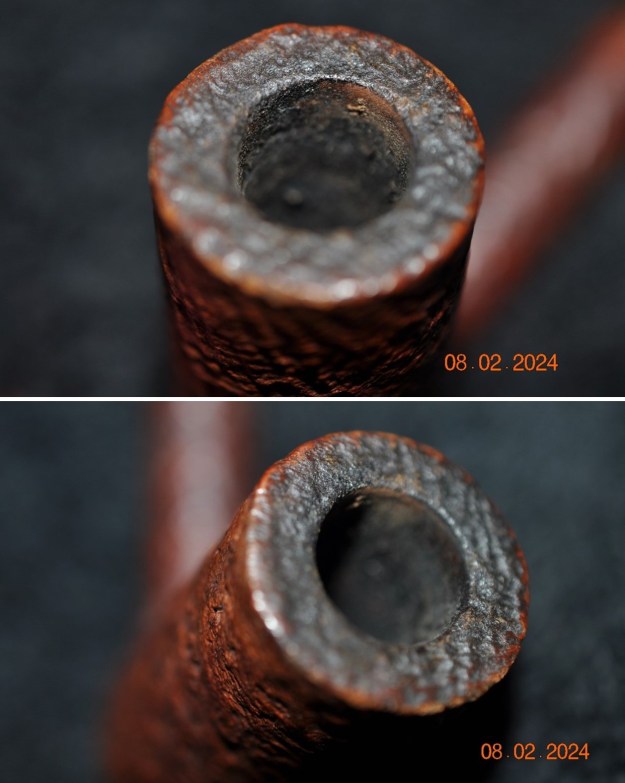
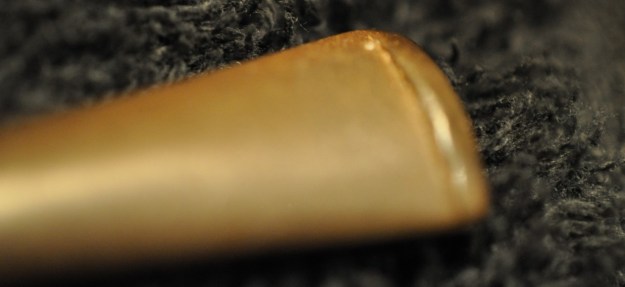
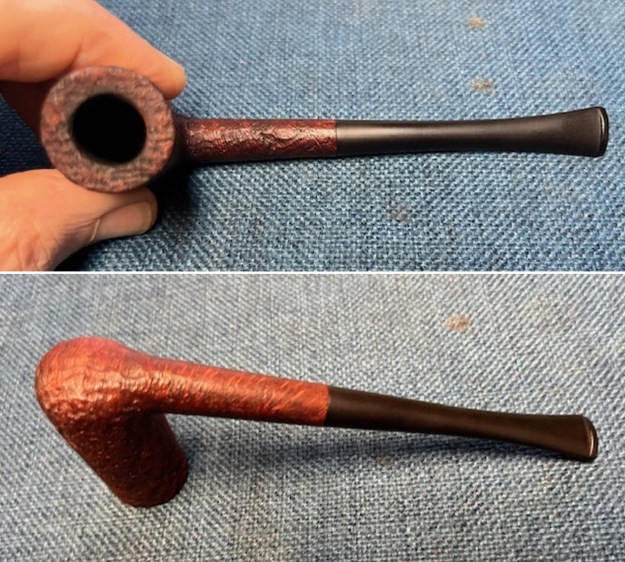
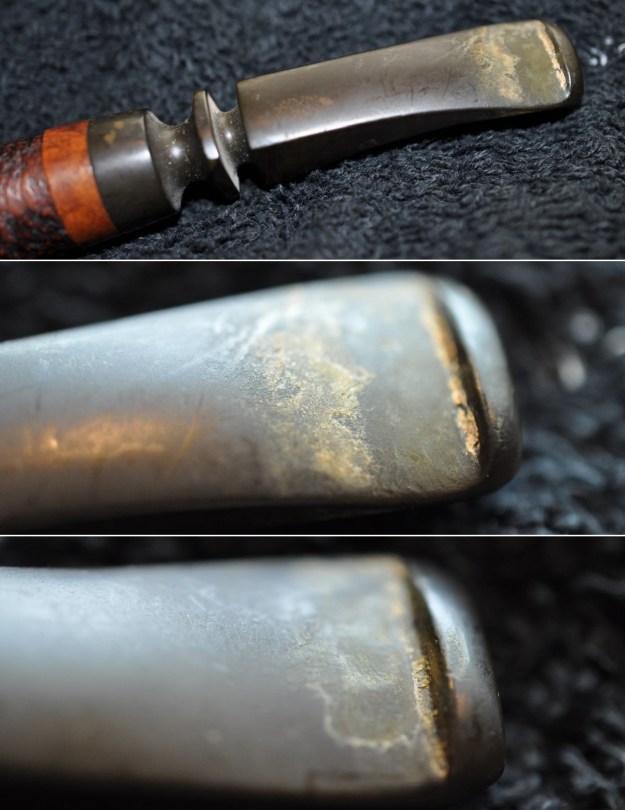
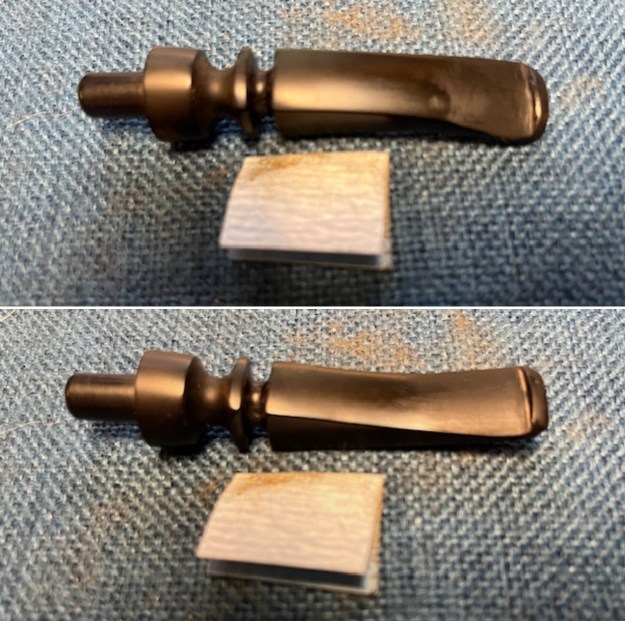
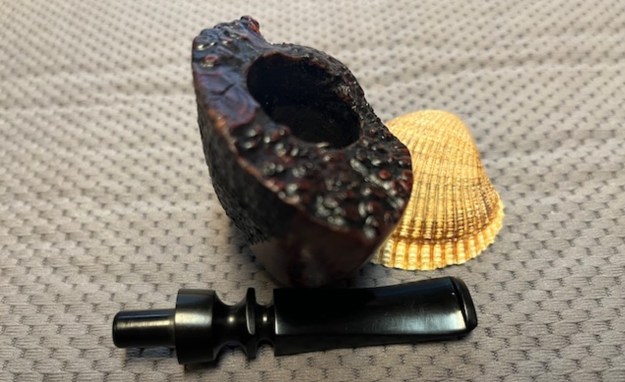
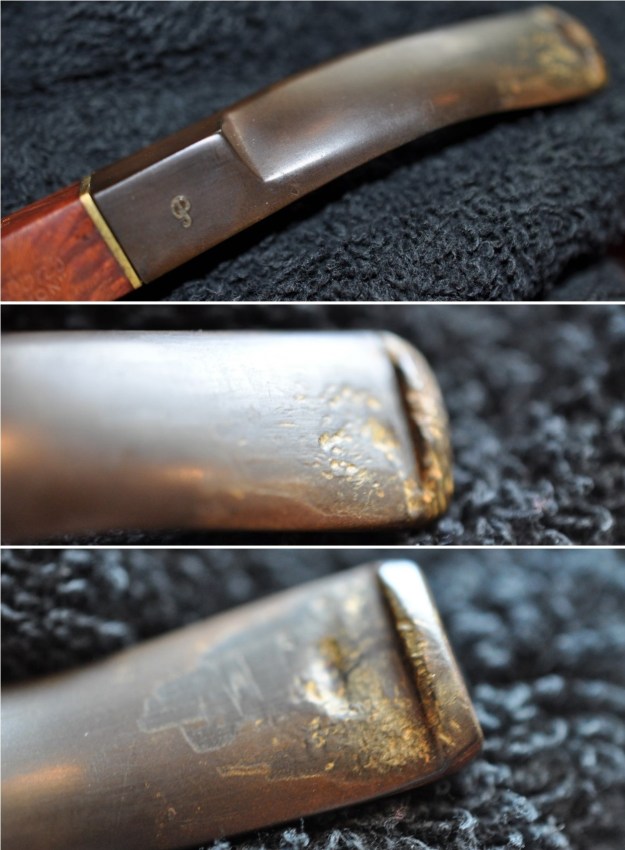
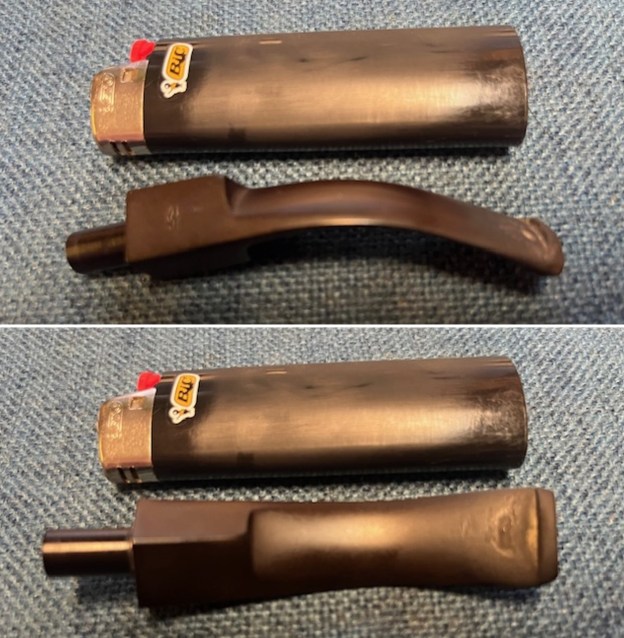
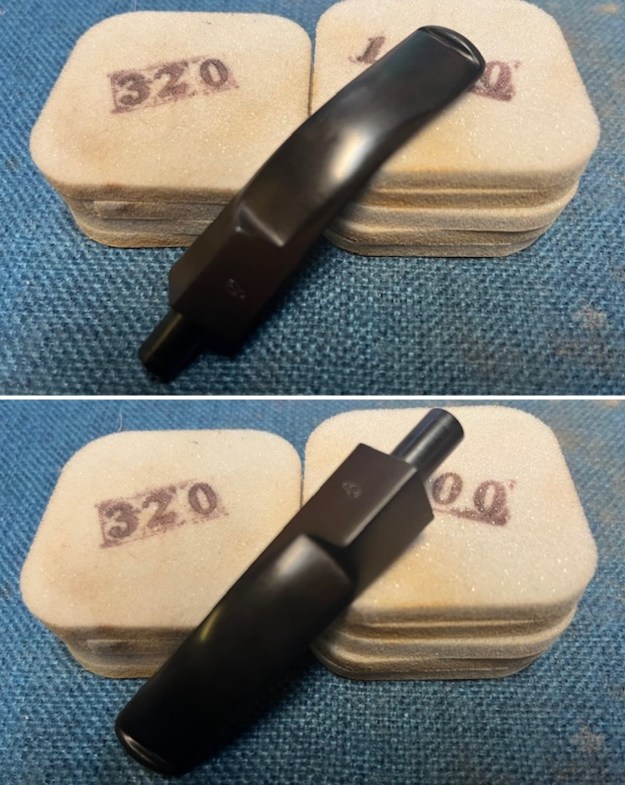
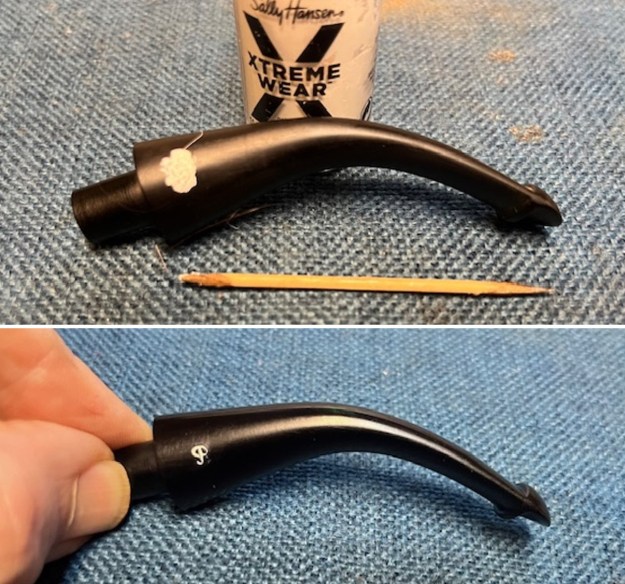
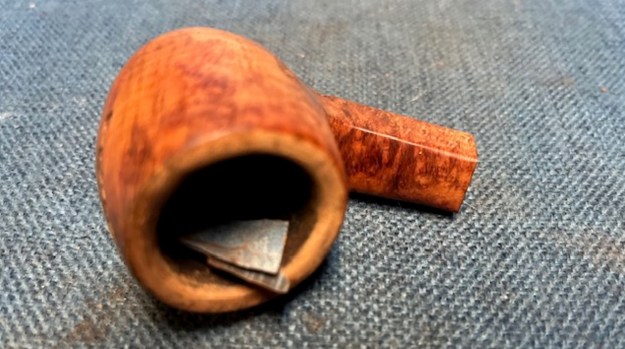
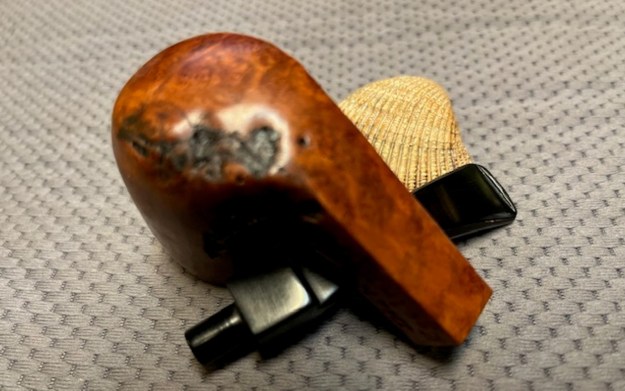
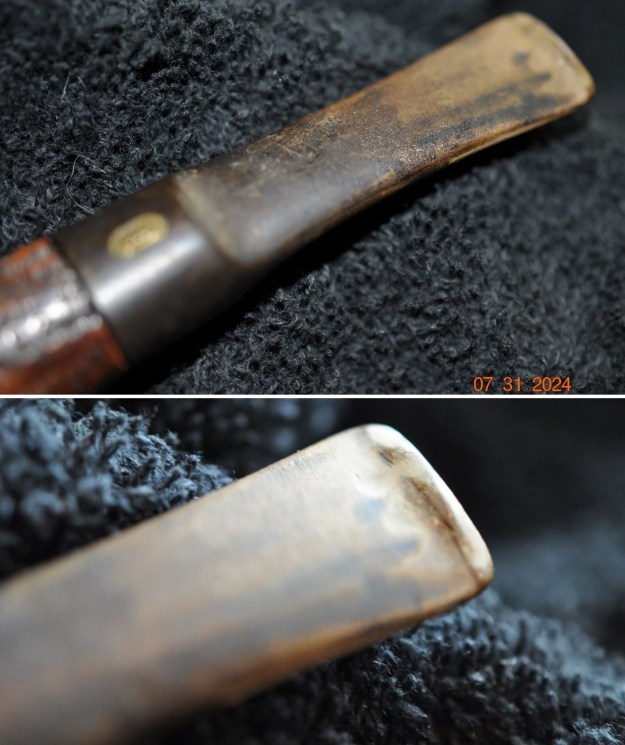
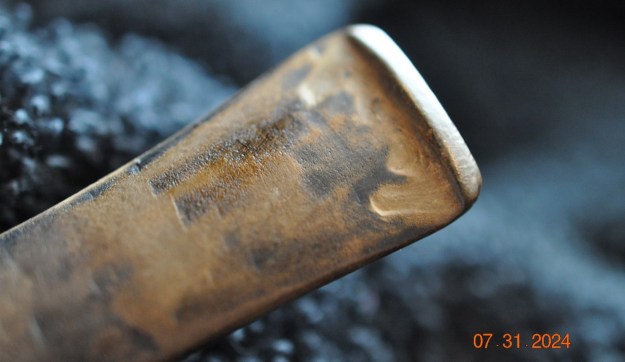
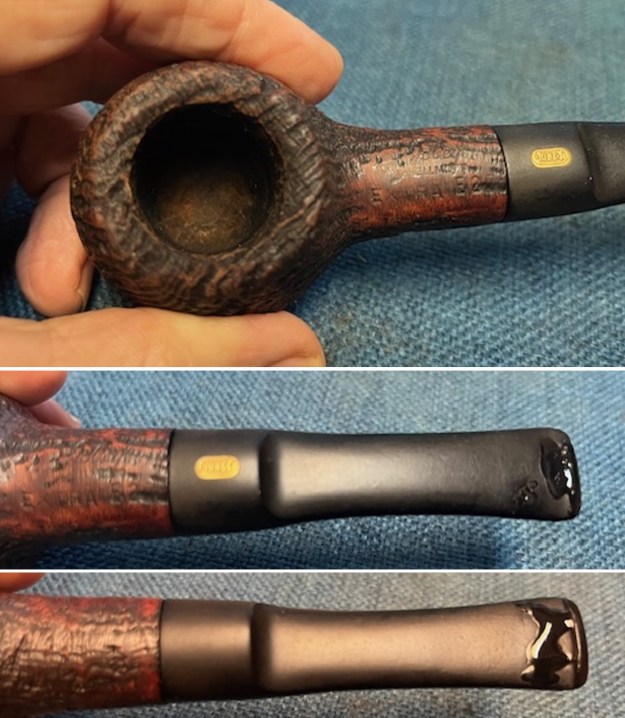
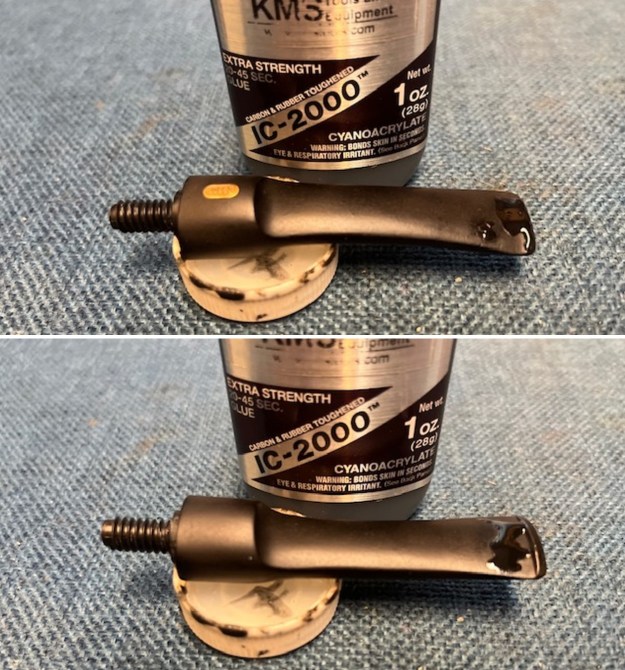
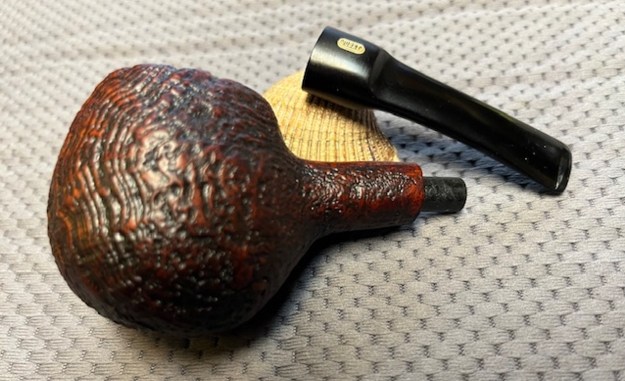
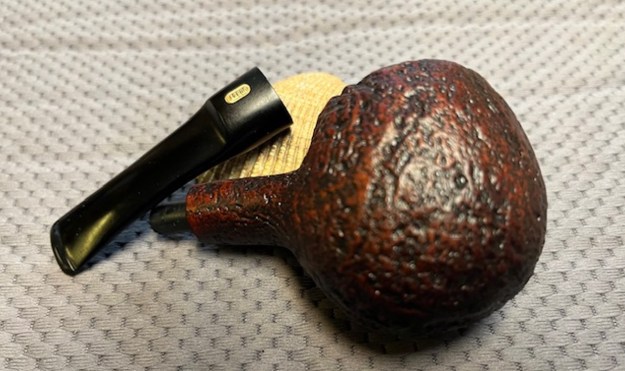
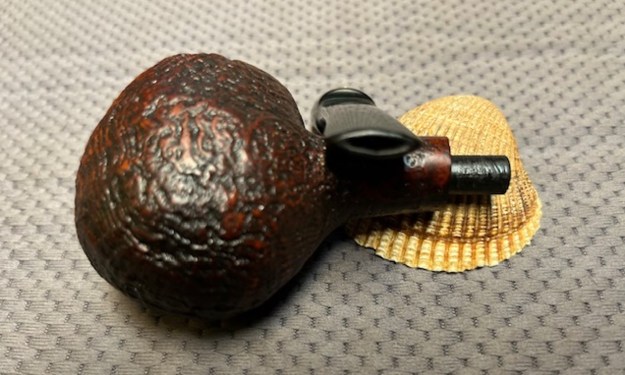
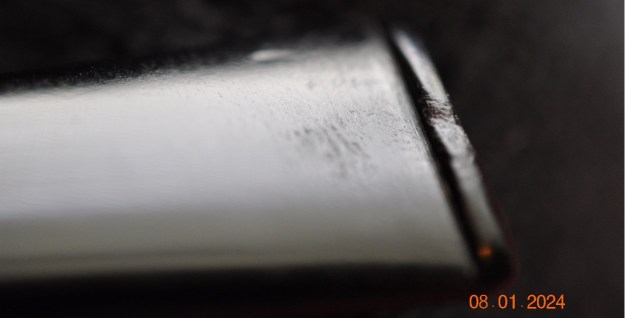
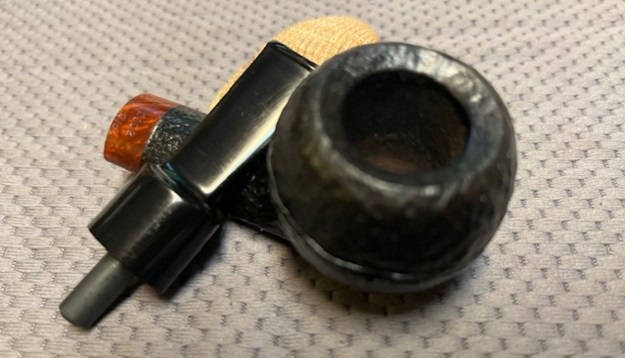
 I took a photo of the shank end to show the snapped off tenon in the shank. The break is quite clean so it should clean up very well.
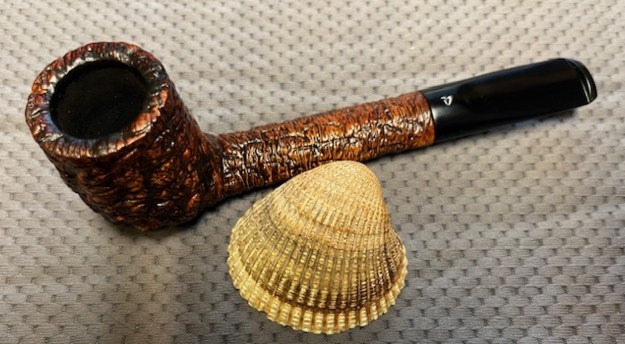
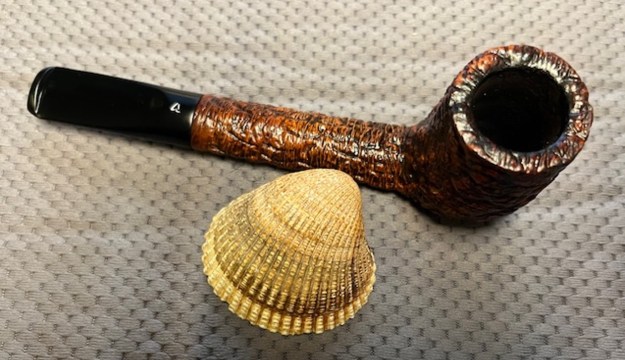
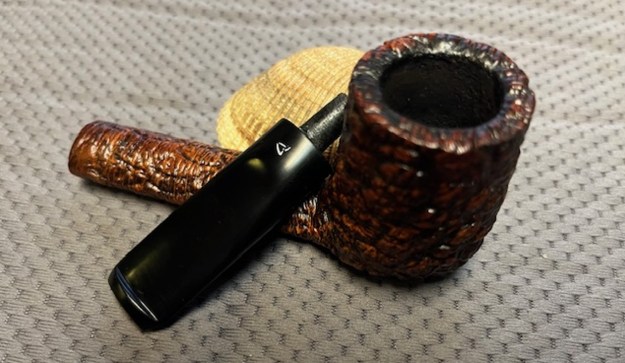
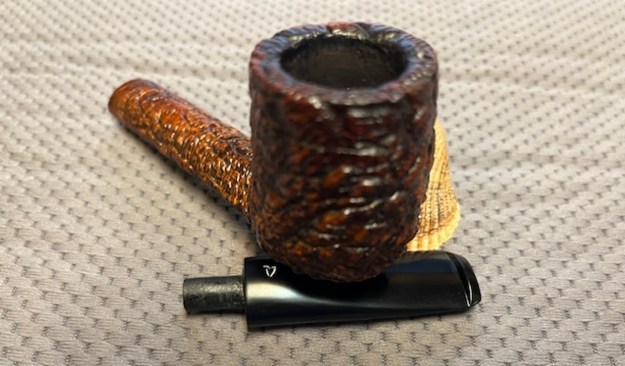
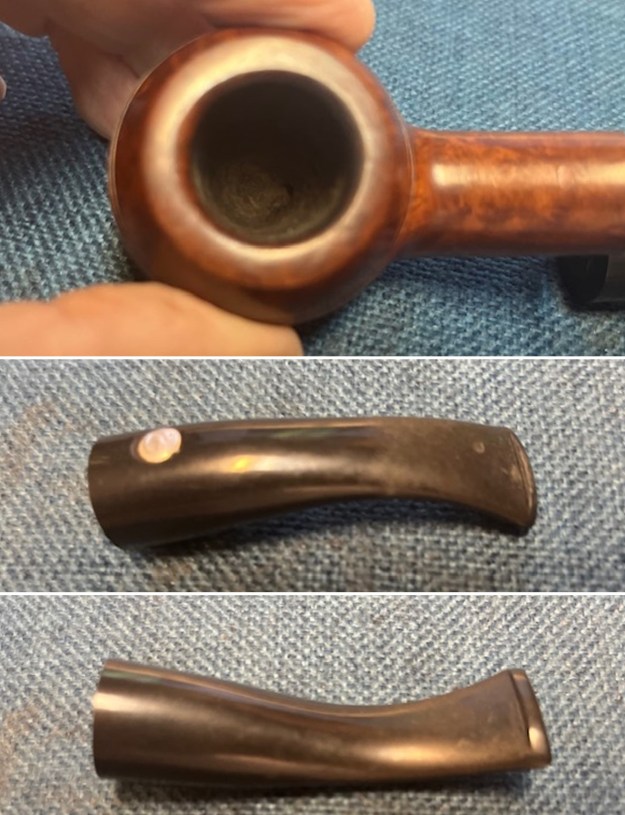
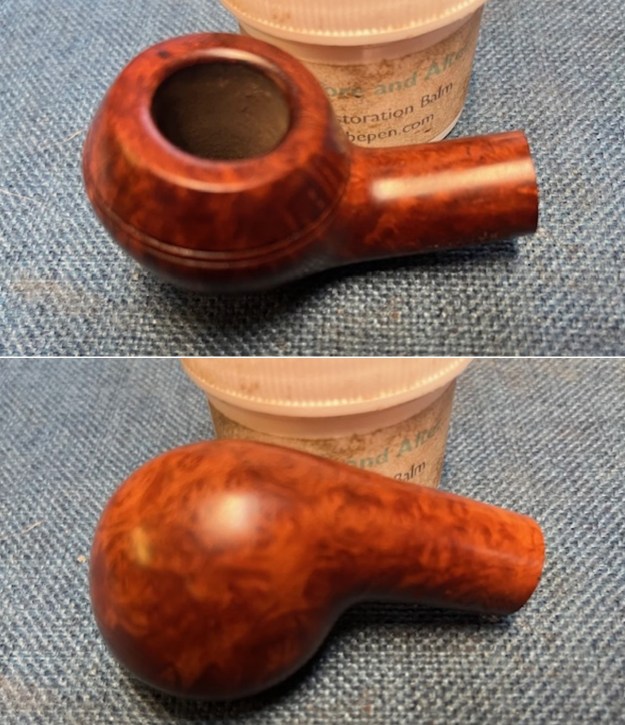
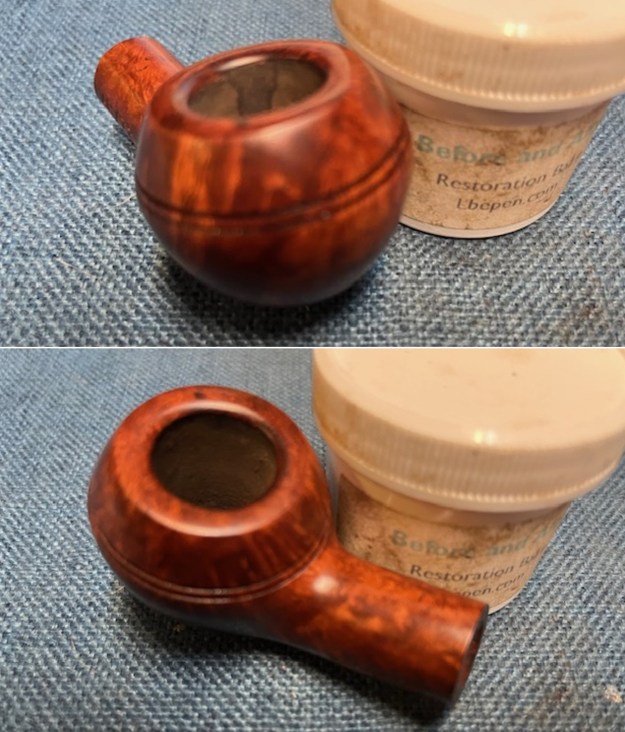
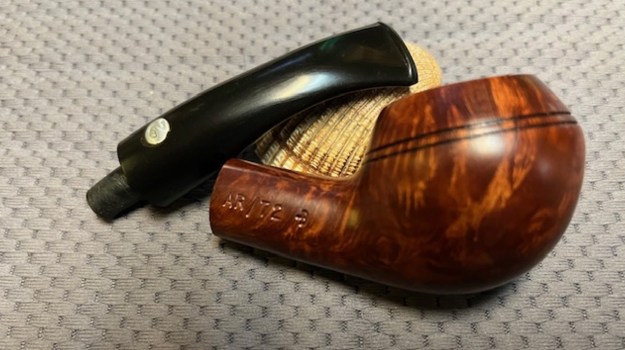
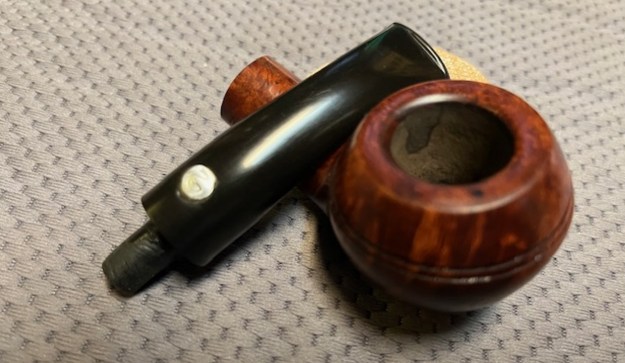
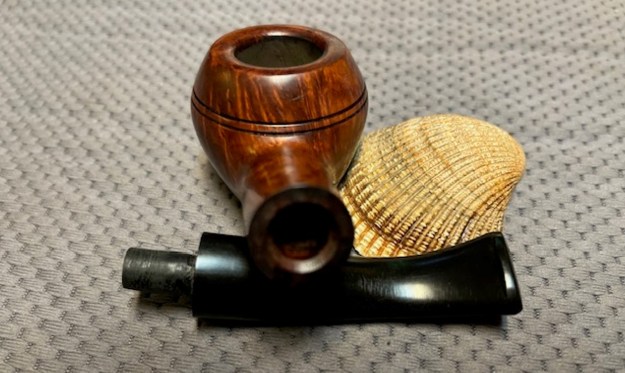
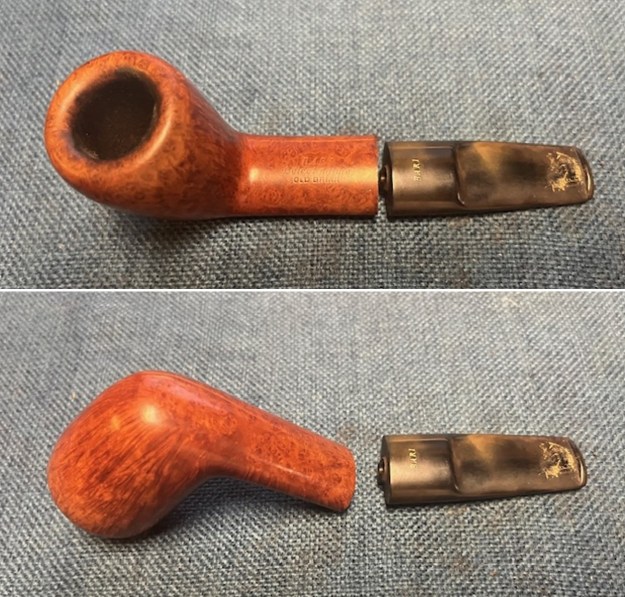
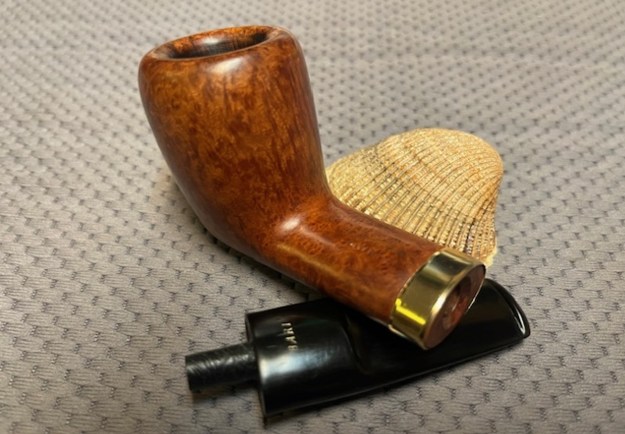
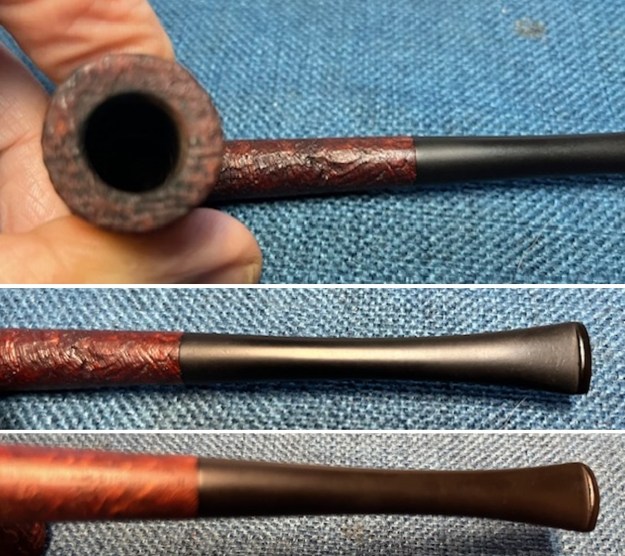
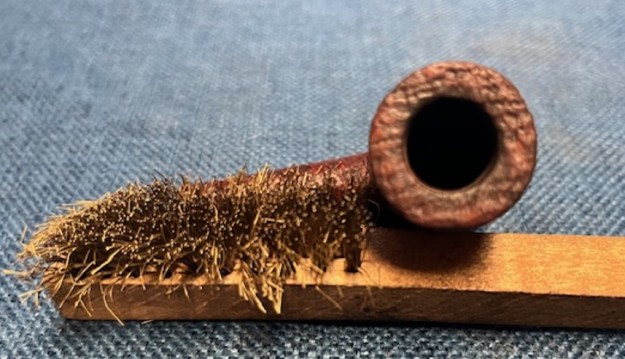
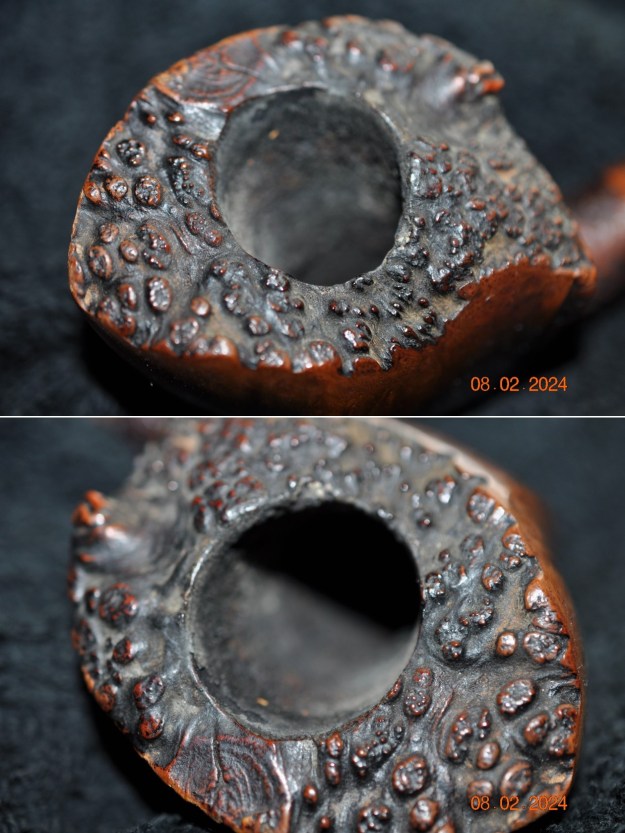
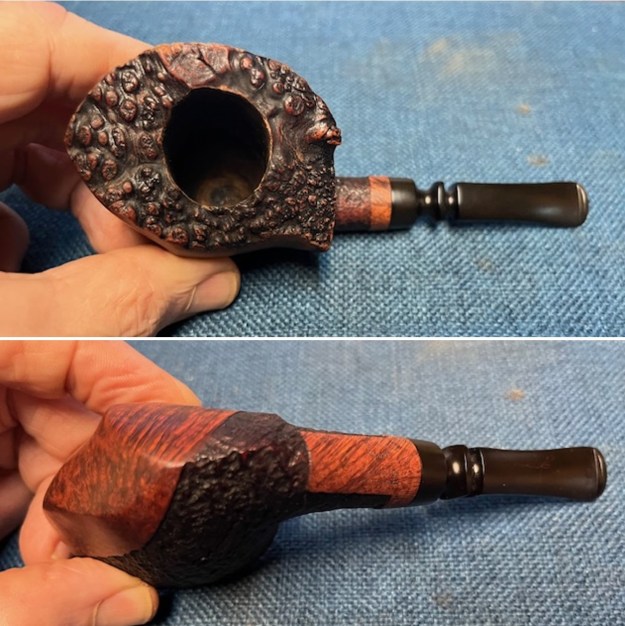
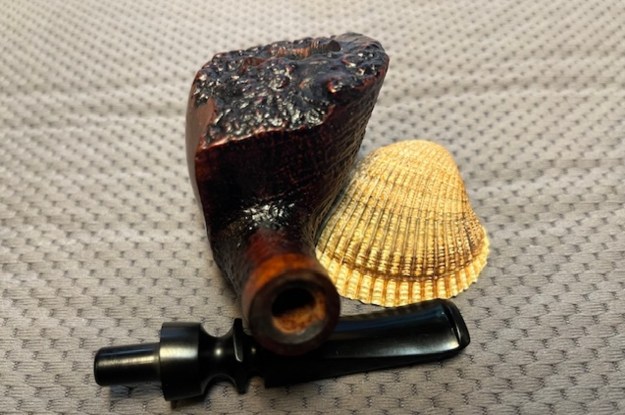
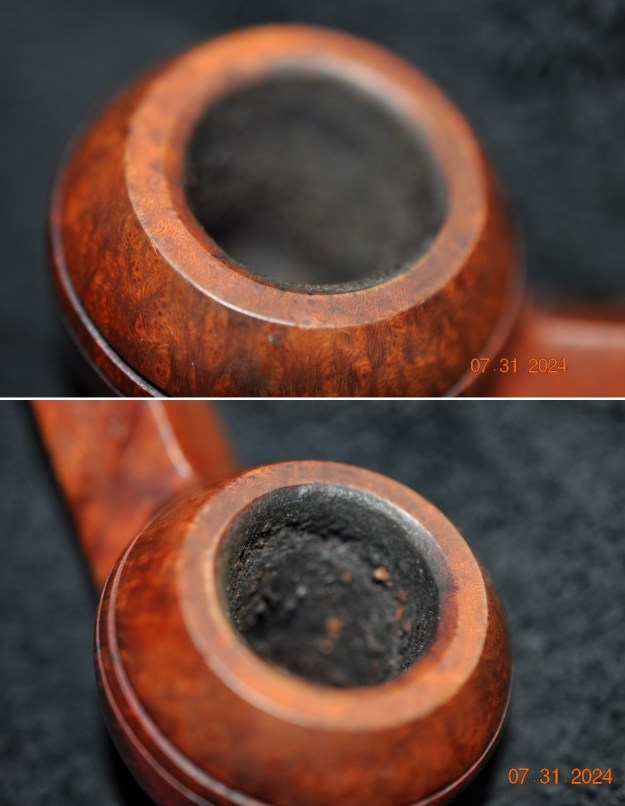
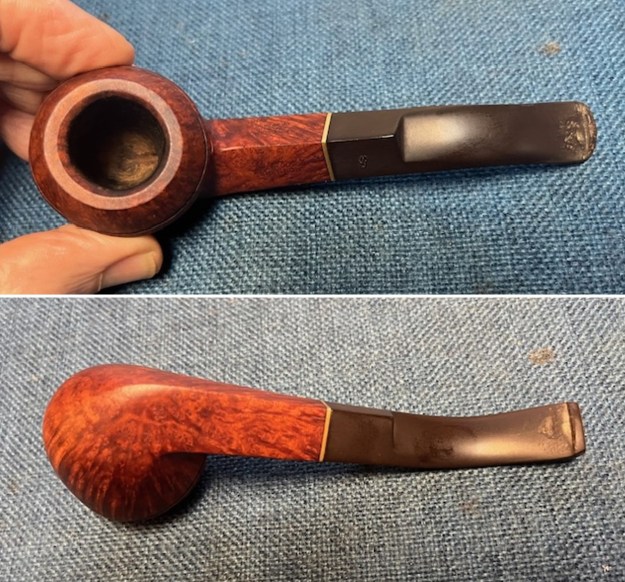
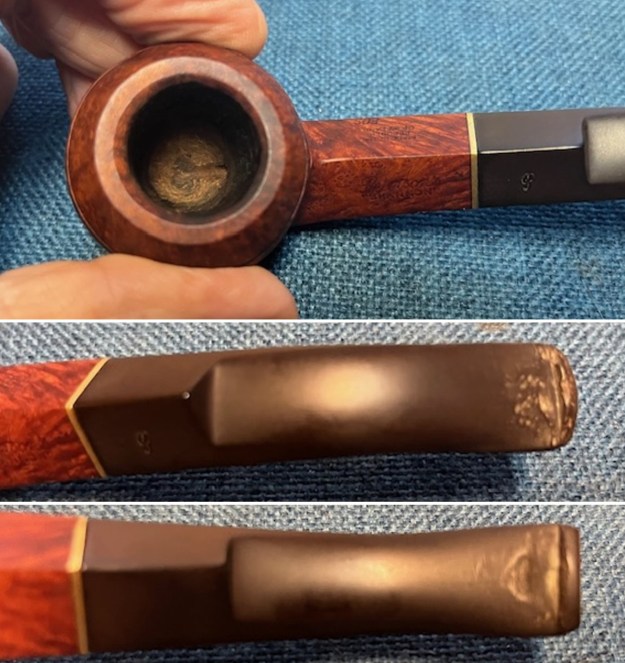
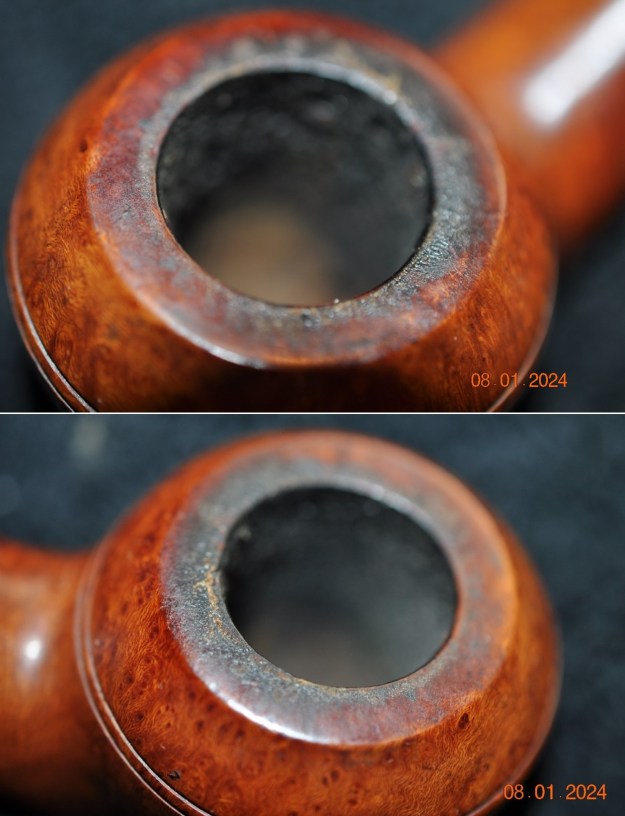
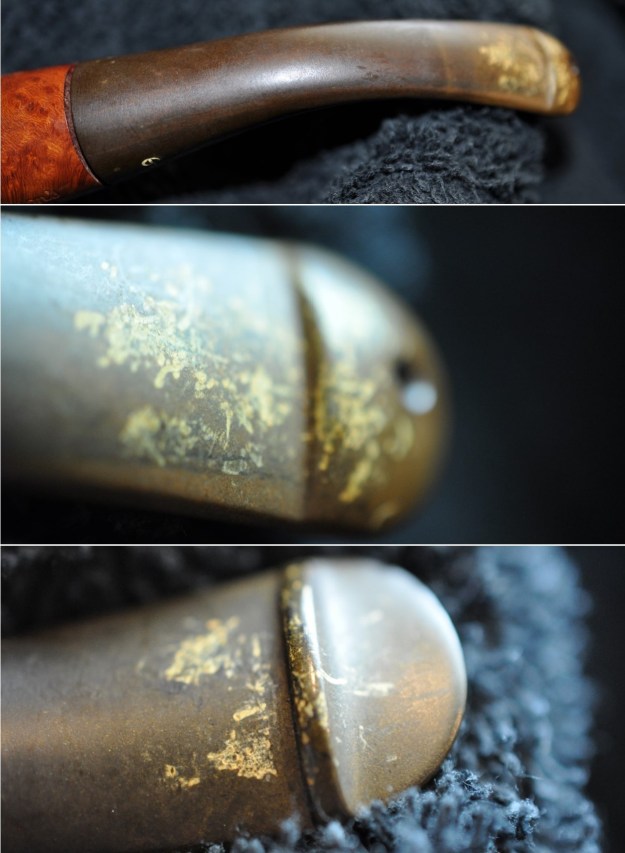
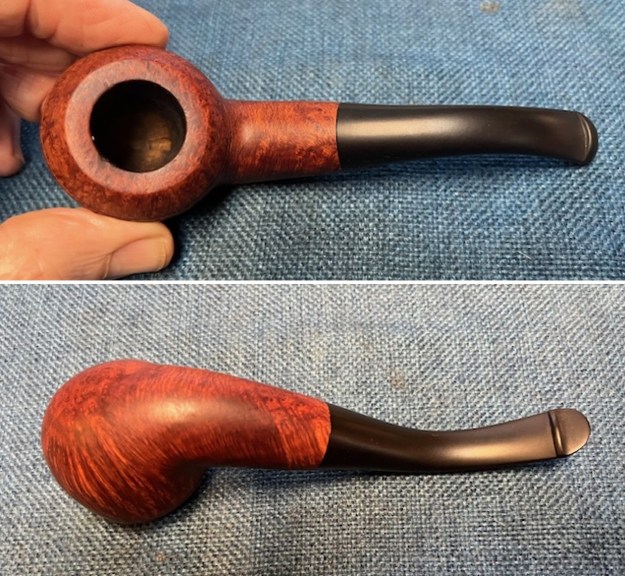
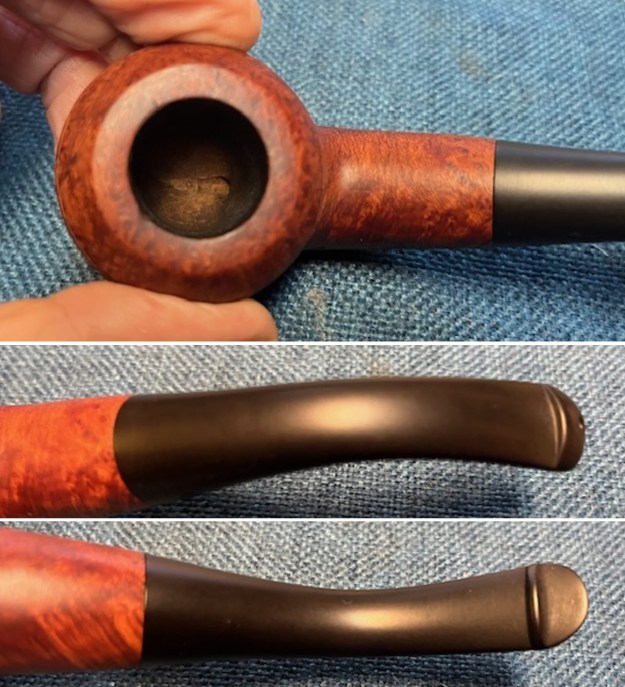
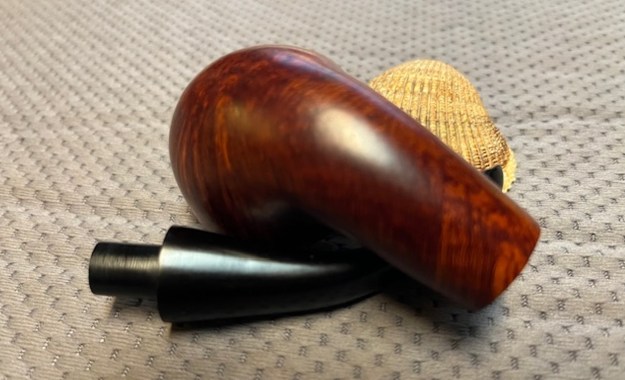
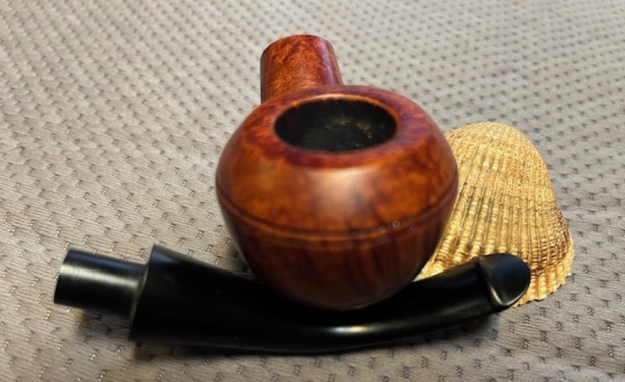
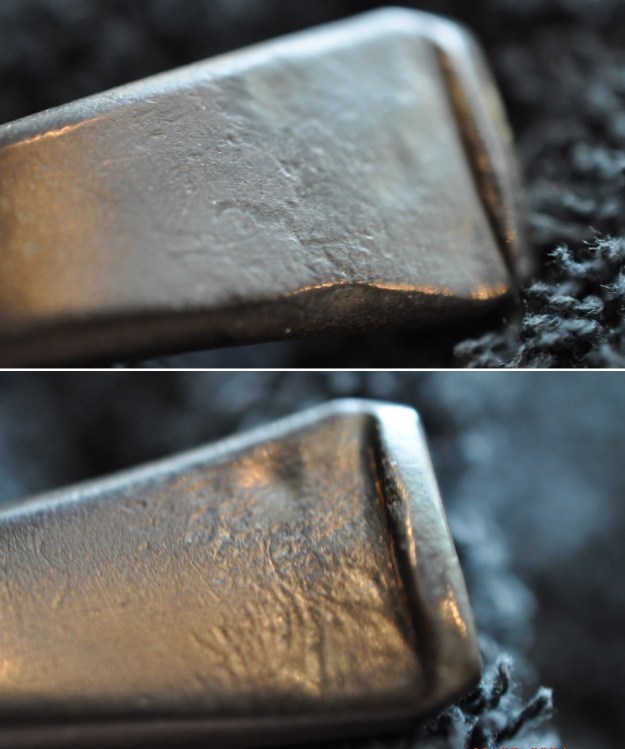
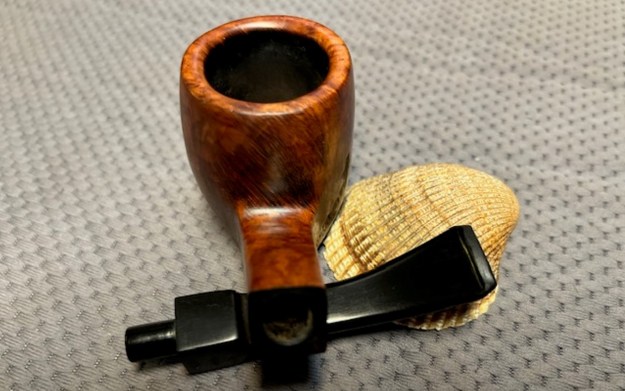
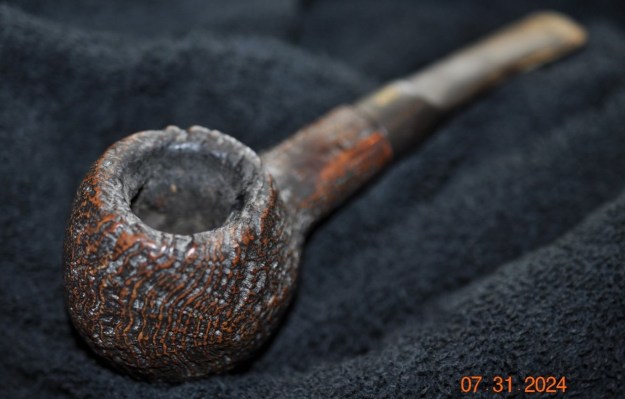
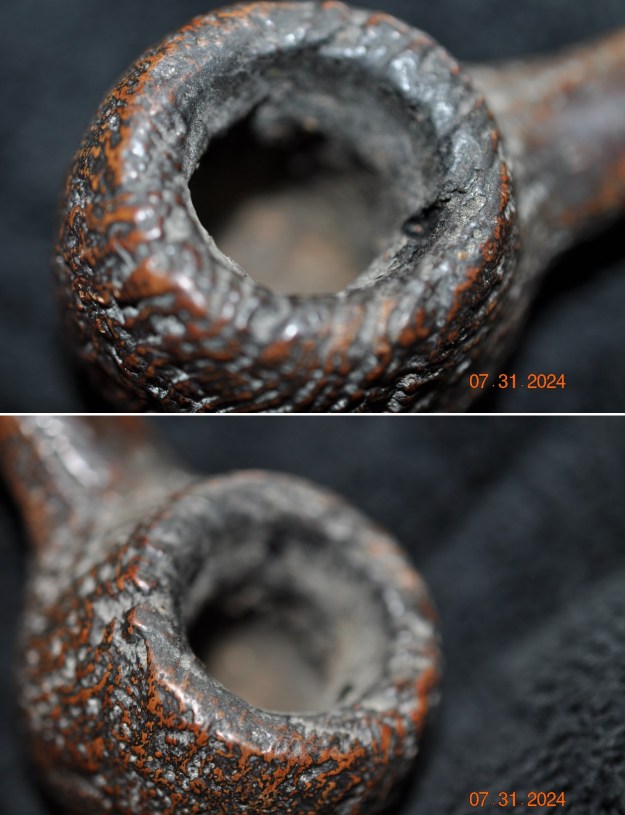
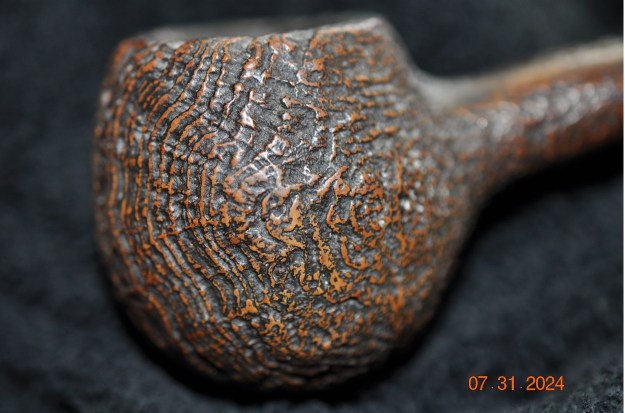
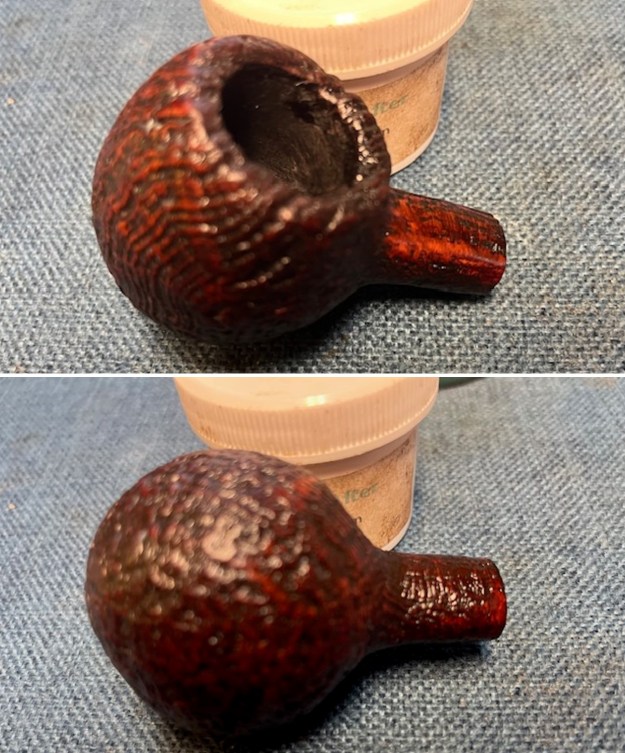
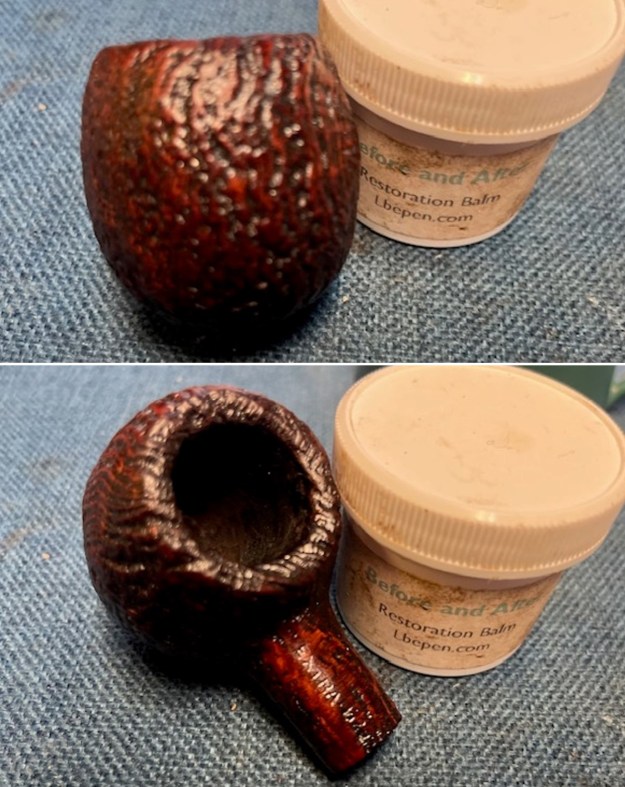
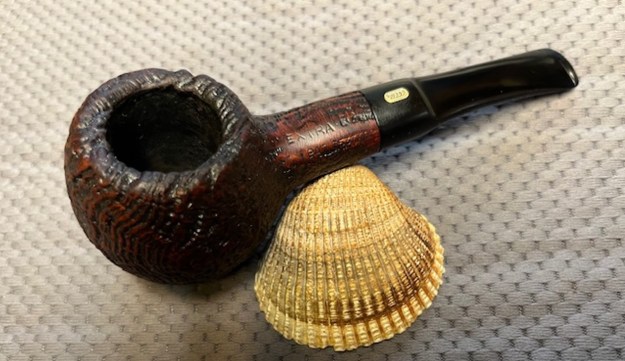
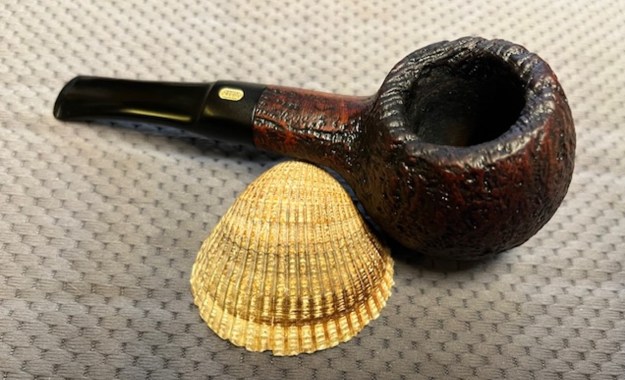
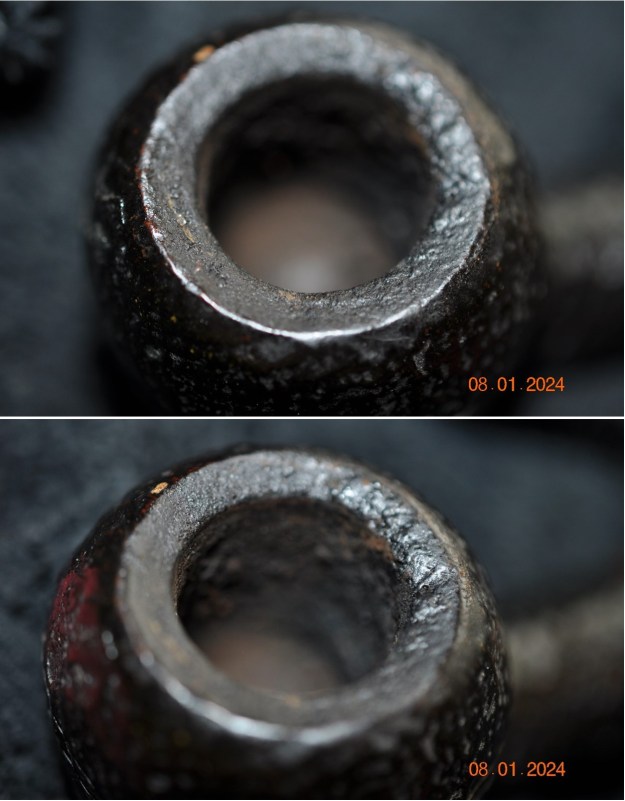
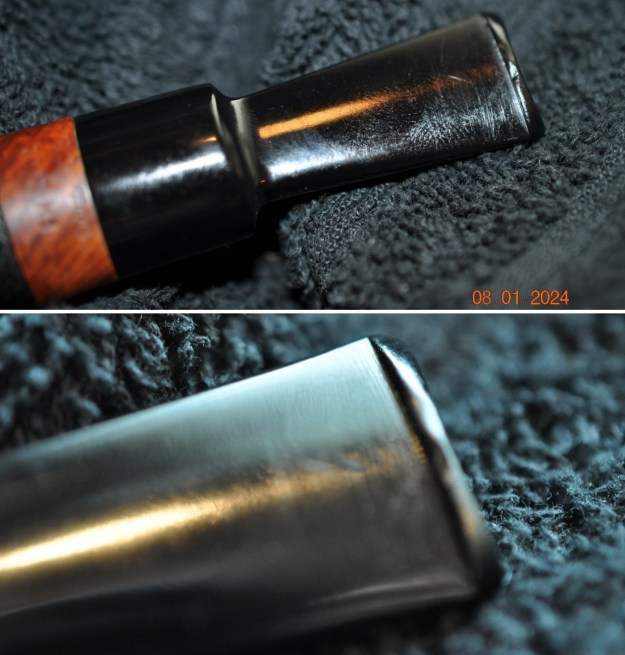
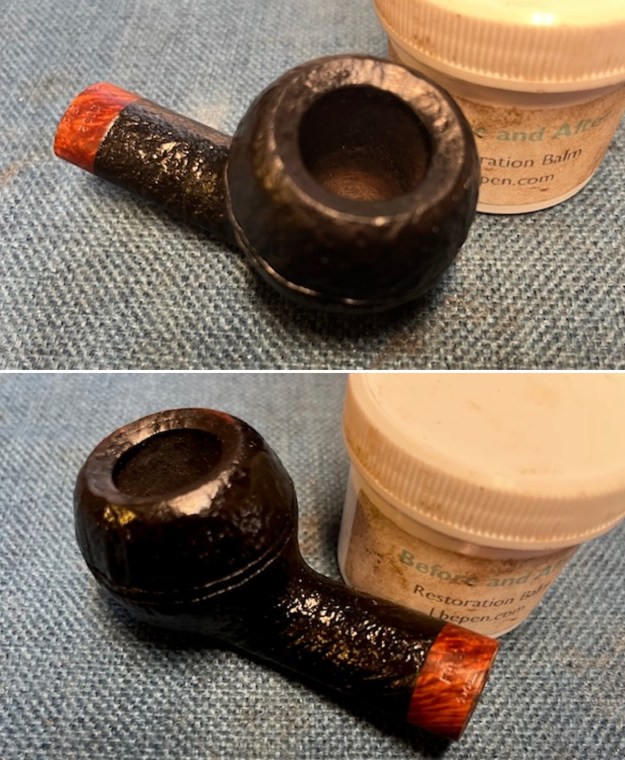
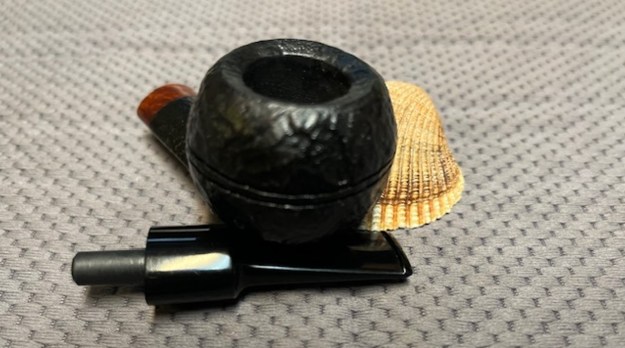
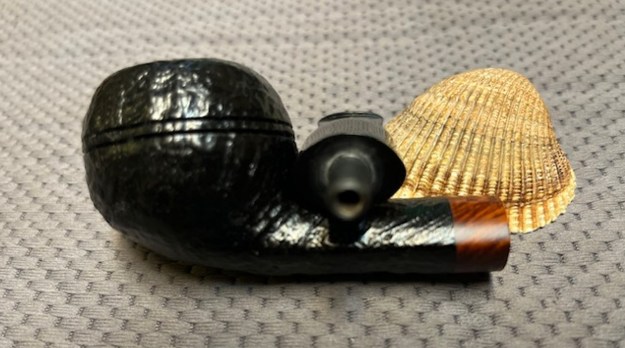
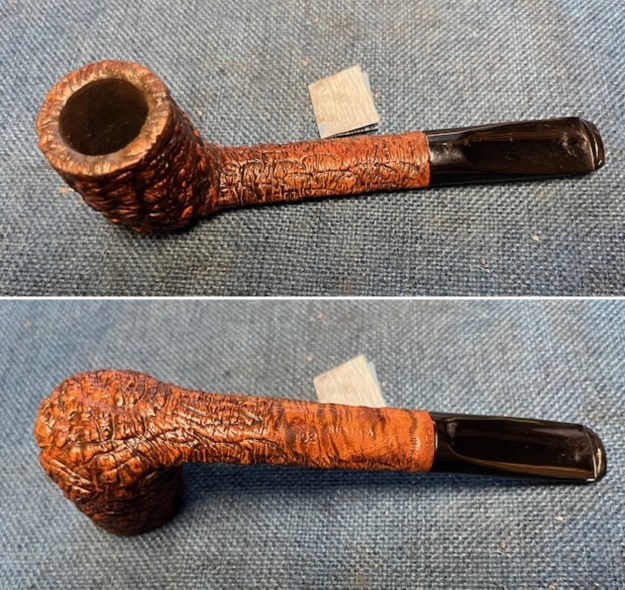
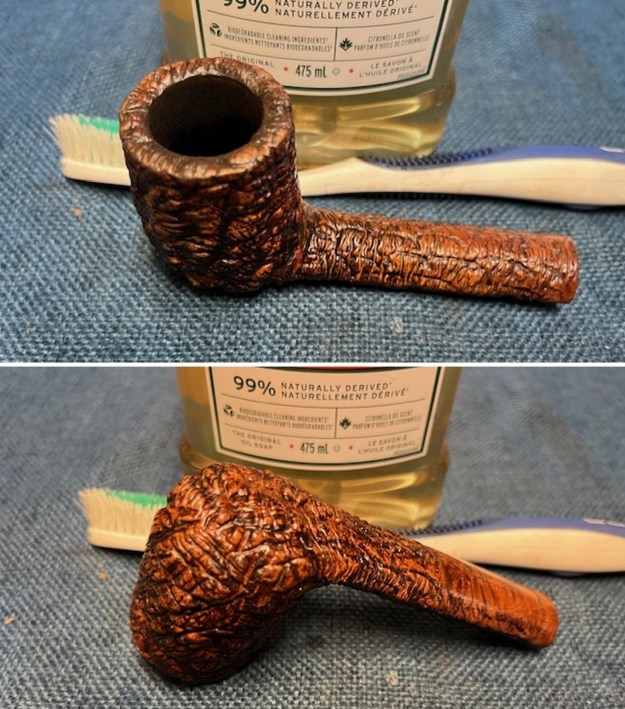
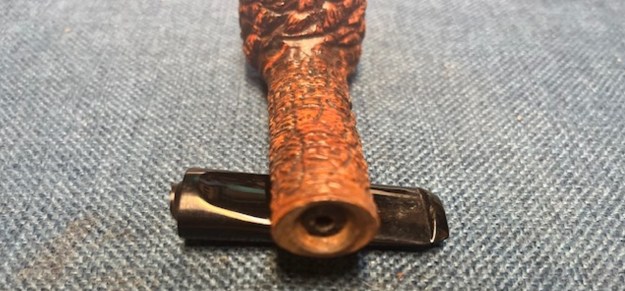 I took photos of the bowl and rim top to show the cleanness of the bowl and the condition of both. It was a dirty bowl with dust and debris in the bottom and a thick cake on the walls. The rim top was filled in with lava. The inner and outer edges look good. I took photos of the top and underside of the stem showing tooth marks on the top and underside ahead of the button.
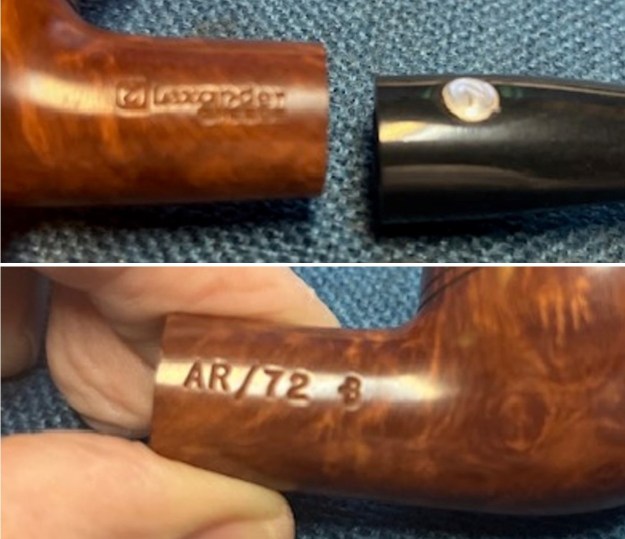
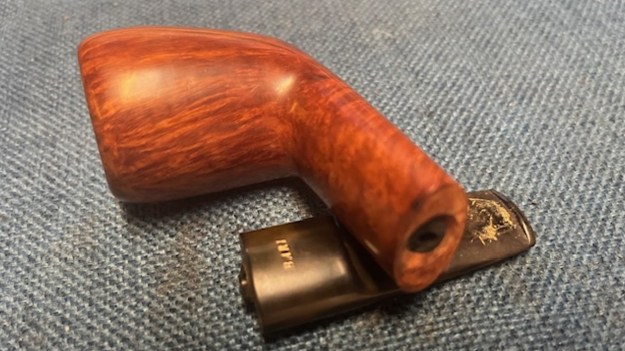
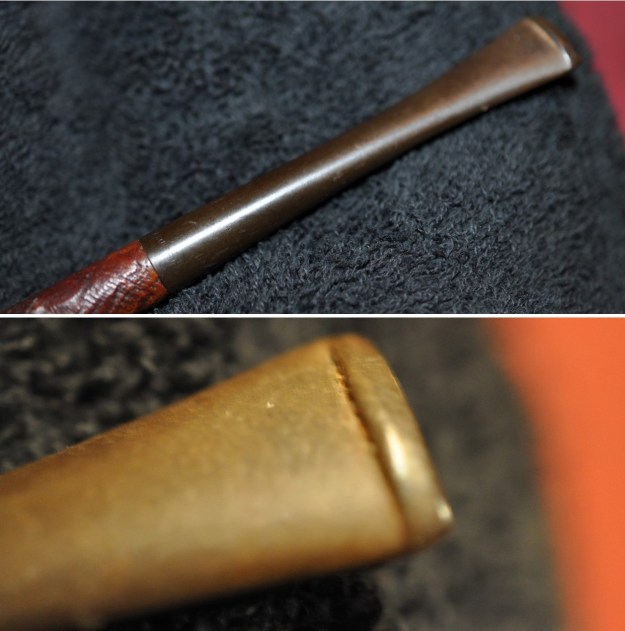
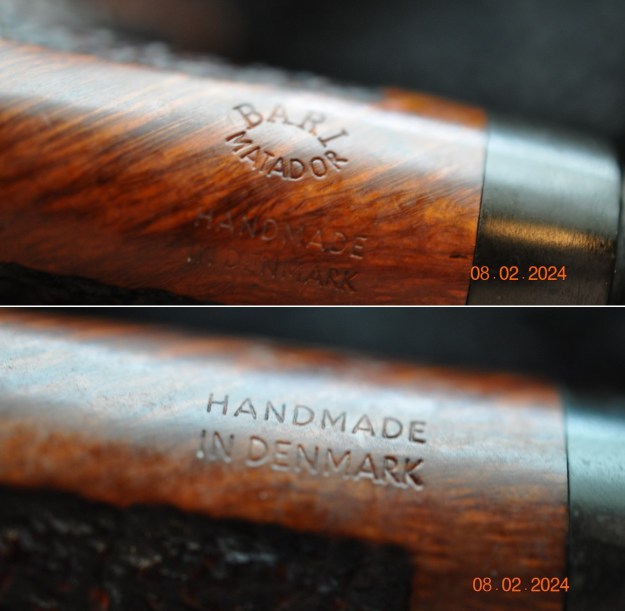
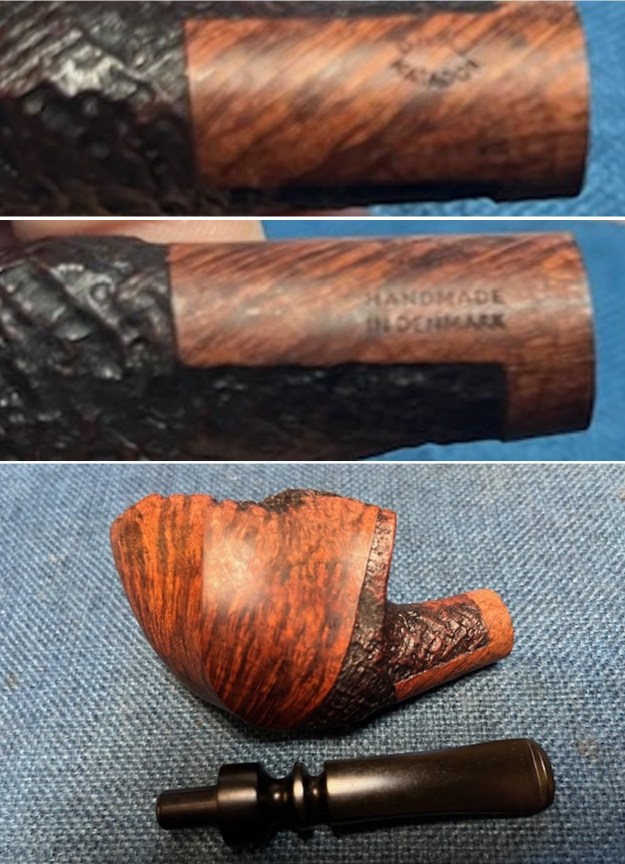
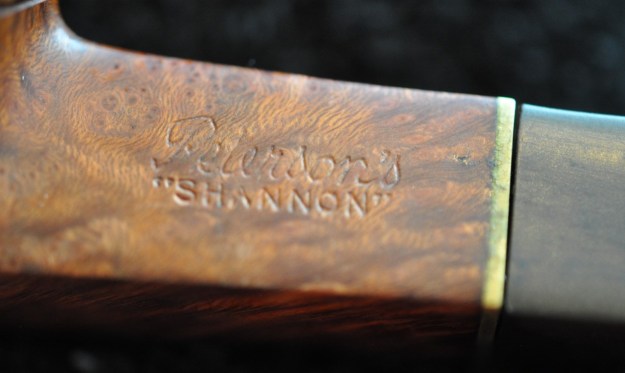
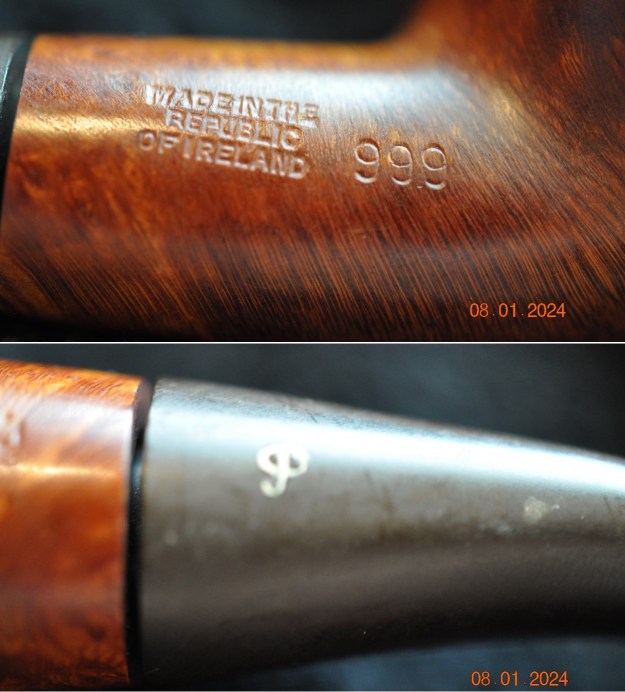
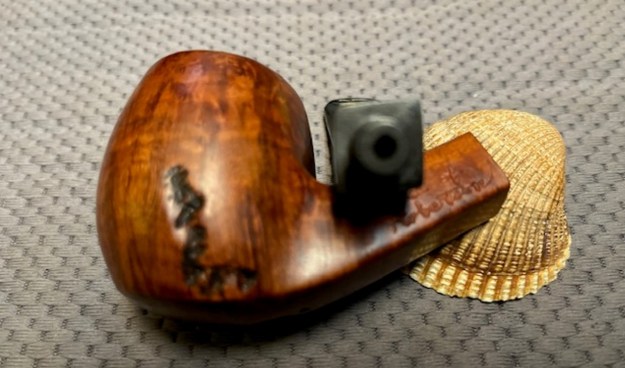
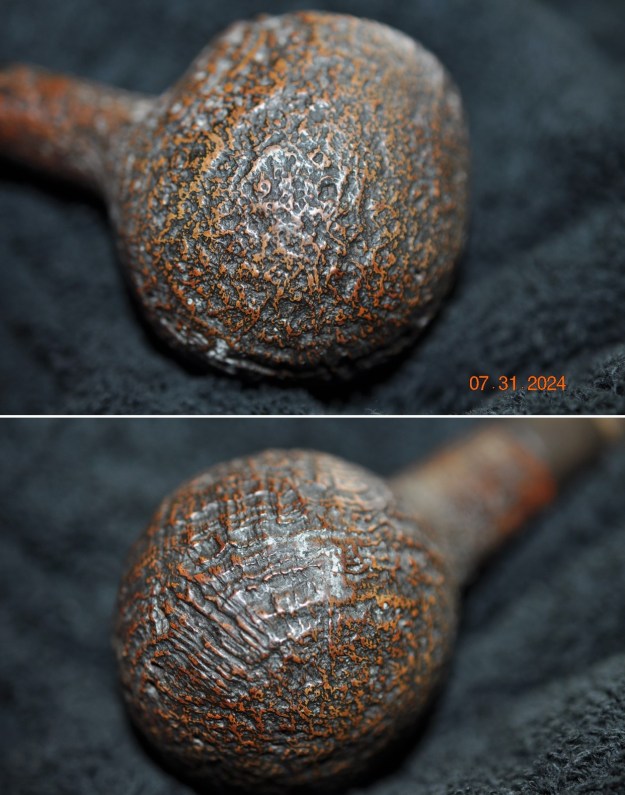
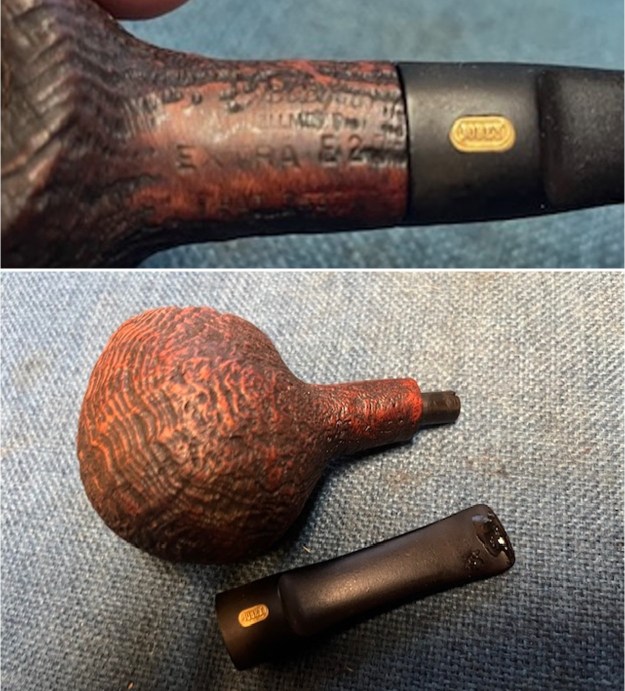
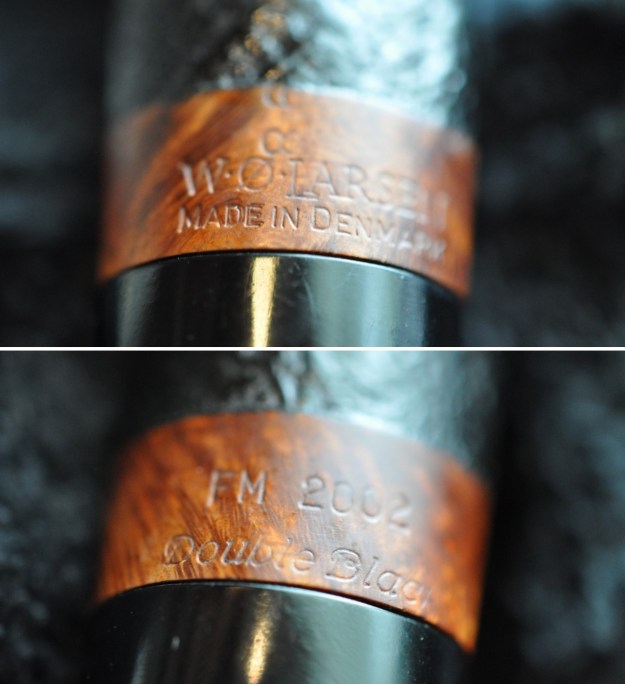
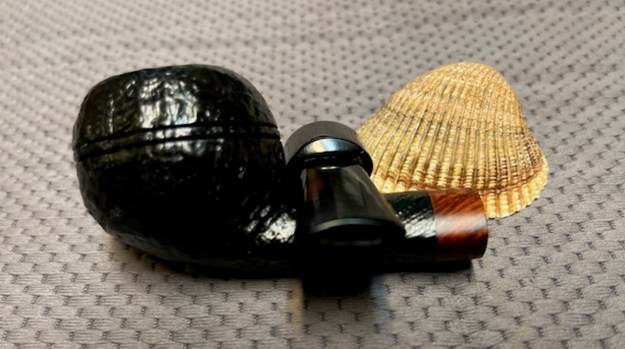
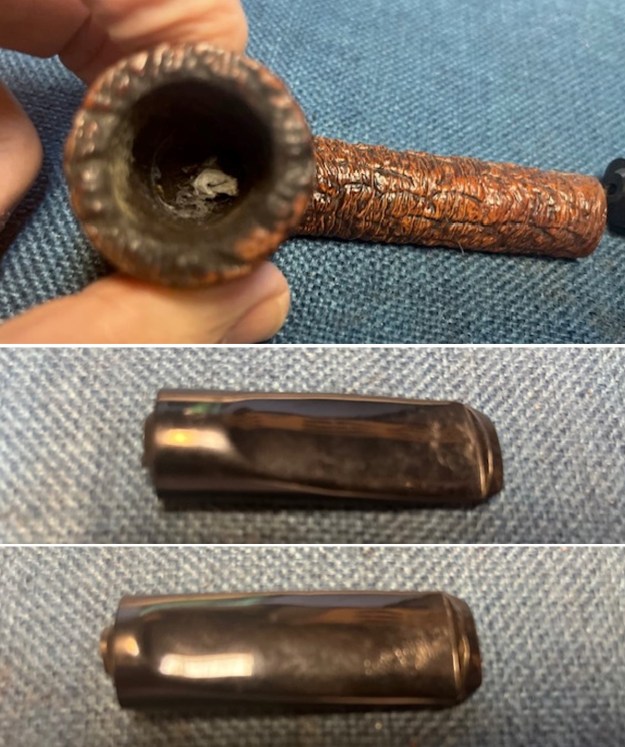 I took a photo to capture the stamping on the underside of the shank. It is clear and readable as noted above. There was also a V stamped on the top of the shank.
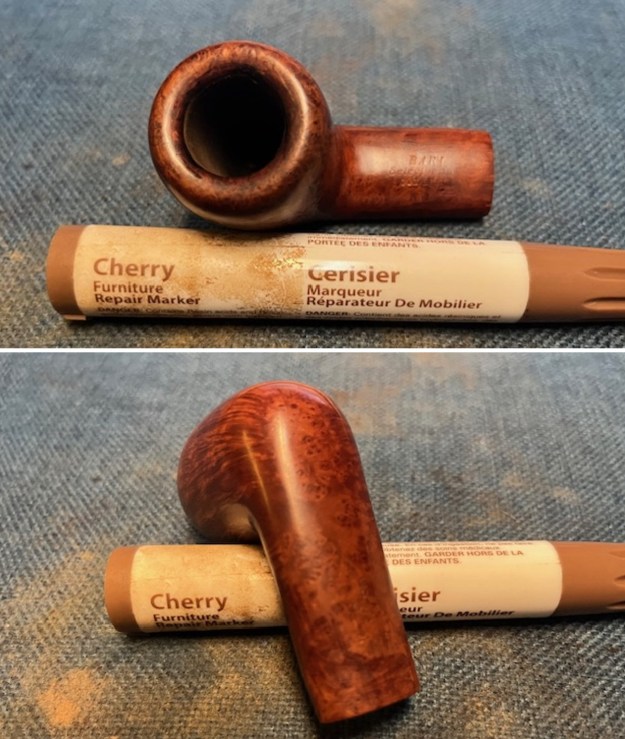
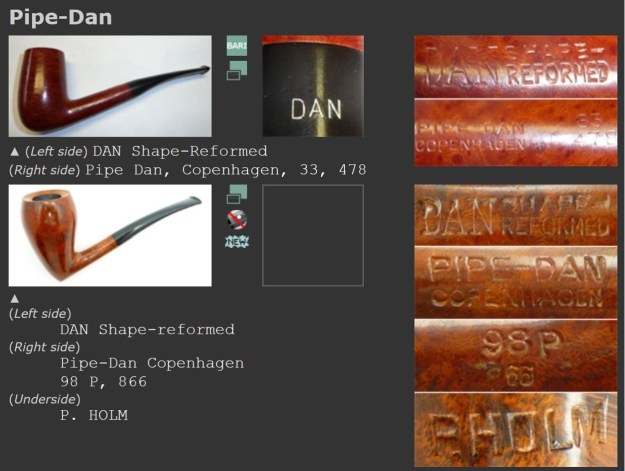
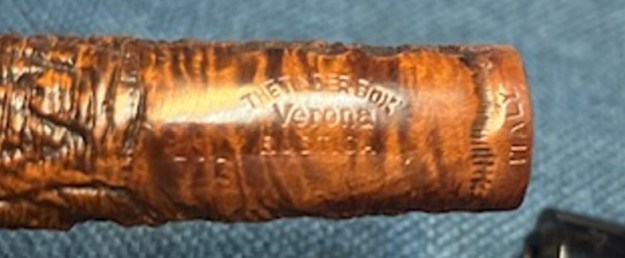 I remembered that The Tinder Box Tobacconist had several pipe companies in Europe make pipes for them so I looked them up on Pipephil’s site (http://pipephil.eu/logos/en/logo-t6.html). I found a listing with three examples shown in the screen capture below. The pipe I am working on is stamped like the first one, the Bent Billiard below. The stamping is identical other than the shape number 702 on mine.
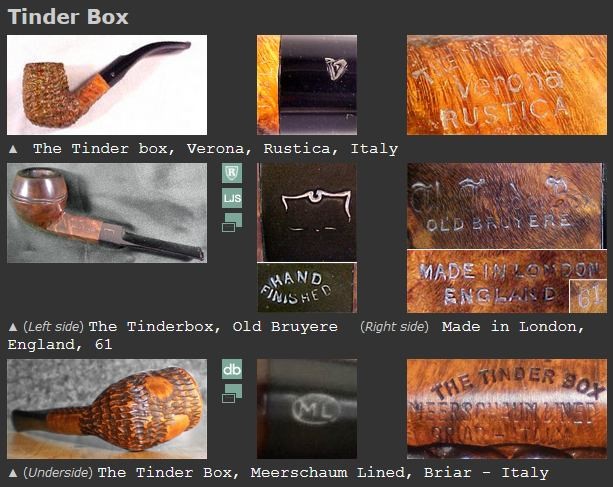 I turned to Pipedia for more information on the potential pipe makers for the company (https://pipedia.org/wiki/Tinder_Box). I quote below.
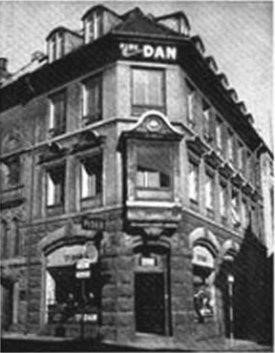
The Tinder Box was the chain of tobacco stores started by Edward Kolpin, Sr., who carved Ed’s Hand Made pipes. The store, eventually sold to a Canadian conglomerate, eventually reached 200 retail outlets by 2007, and in the 40 years it operated on a large scale a great number of pipes were made for The Tinder Box by well respected makers. A few include the Tinder Box Unique, made by Charatan, Christmas Pipes by Ascorti, and the Tinder Box Noble and Exotica, made by Shalom Pipe Factory, Mauro Armellini did make the Verona and Napoli lines.
Ed Kolpin, Jr., opened a small tobacco, pipe, and cigar store in Santa Monica, the Tinder Box, in 1928. Later it moved to its current location in 1948 where it began serving the many Hollywood celebrities living nearby. Part of the attraction were the famous pipes handmade by Kolpin himself. In 1959 Kolpin began a tobacco-store franchise, at first locally and then by the mid-1960s there were Tinder Box stores in malls across America. The franchise business was sold in the 1970s, but Kolpin still owns and operates the original store as of 2003.[1]
The stamping Italy that made me wonder if it was made by Lorenzo but it was not! It was carved by Mauro Armellini as noted in the quote in blue above. Now it was time to work on the pipe.
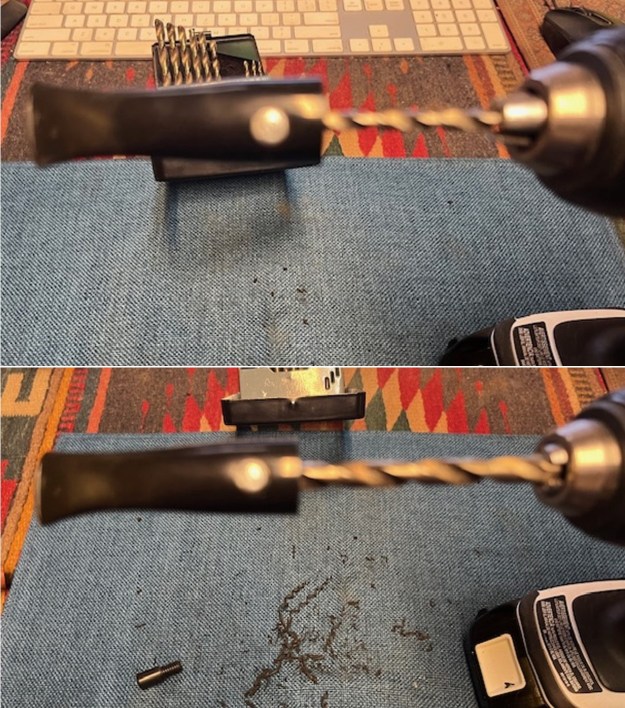
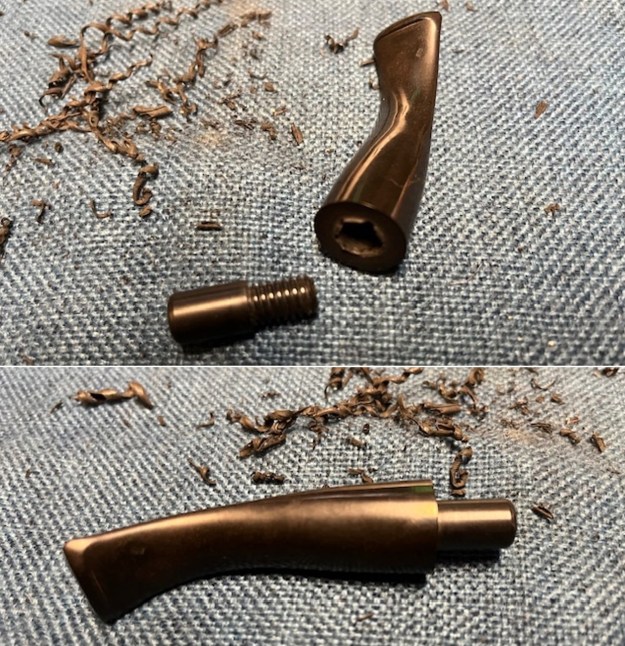
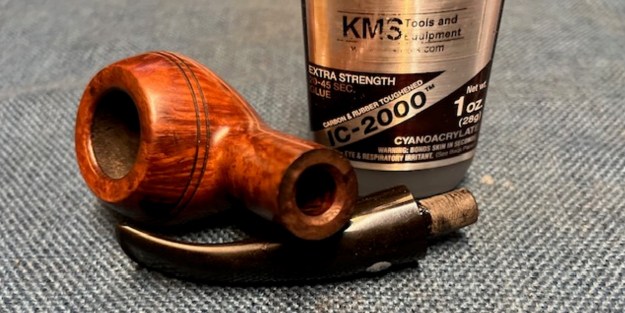
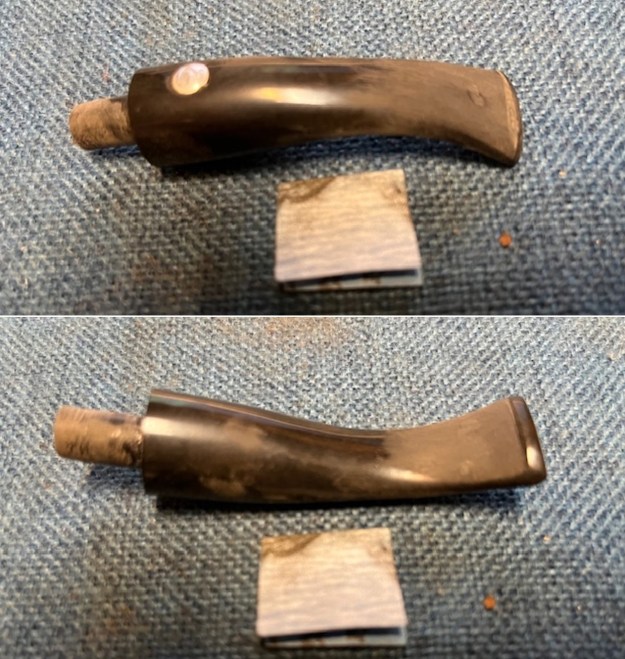
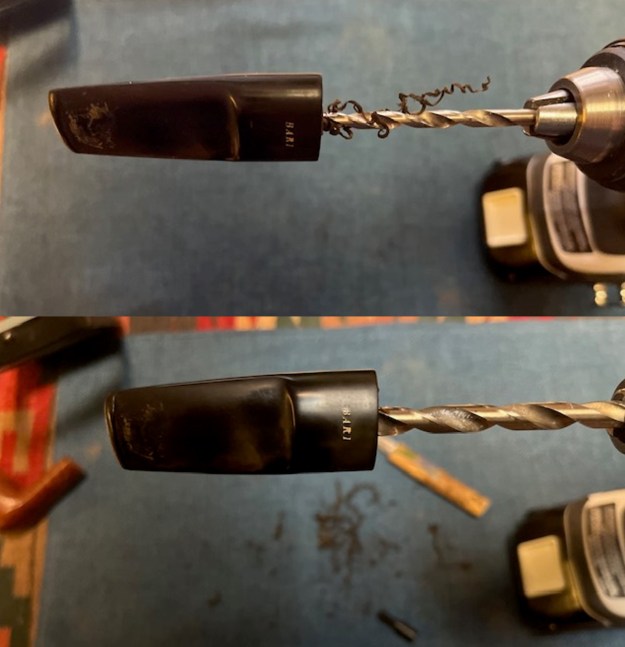
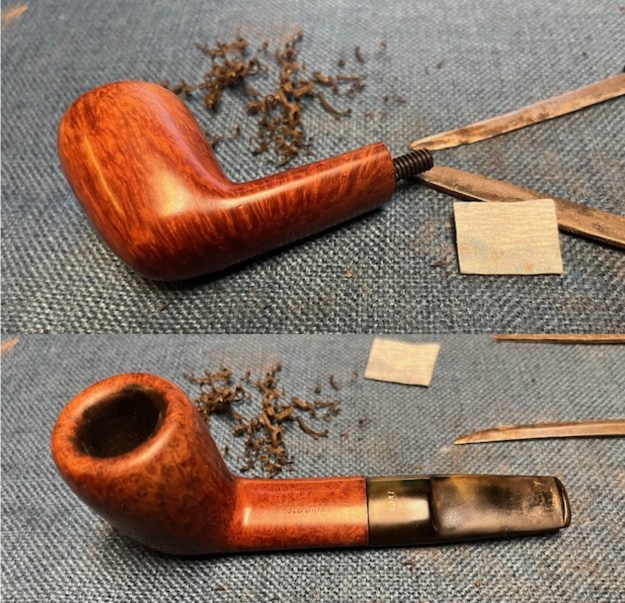
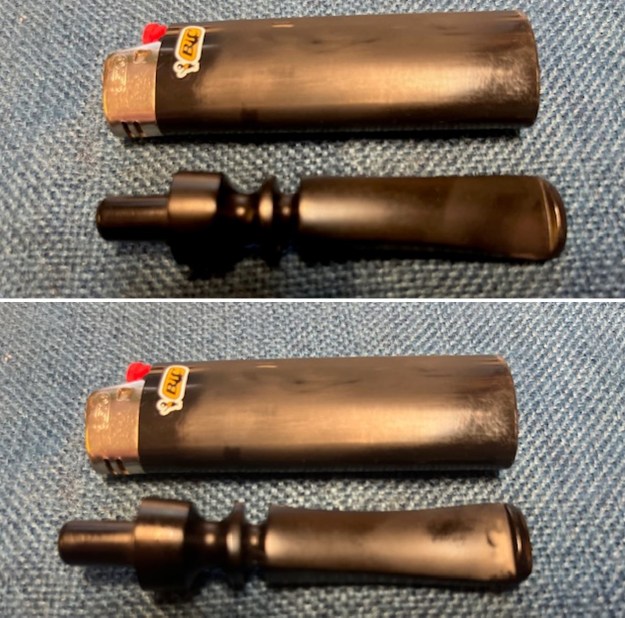
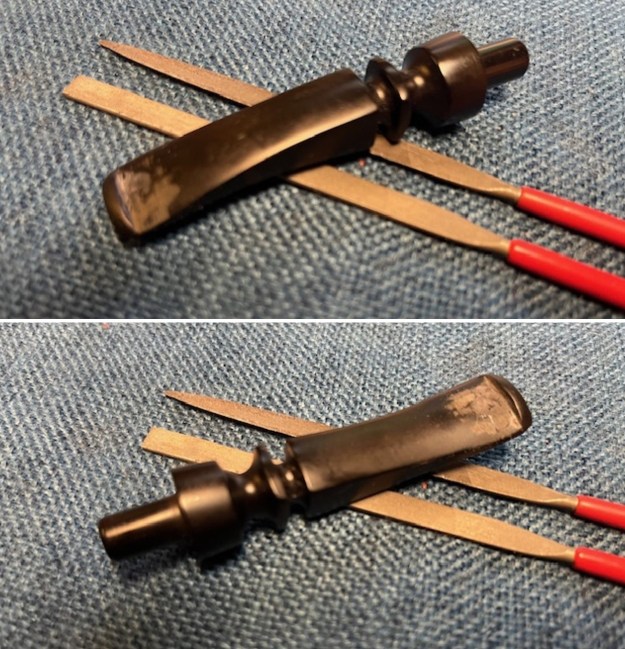
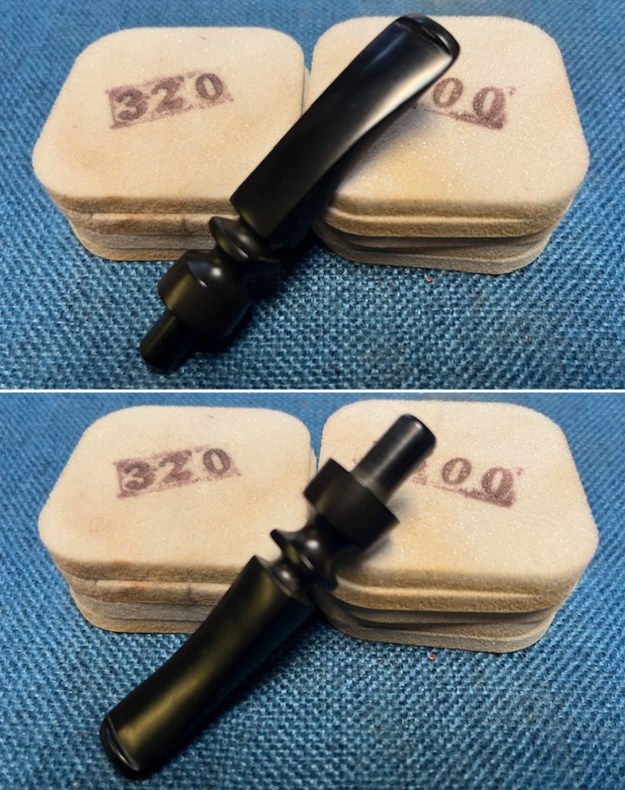
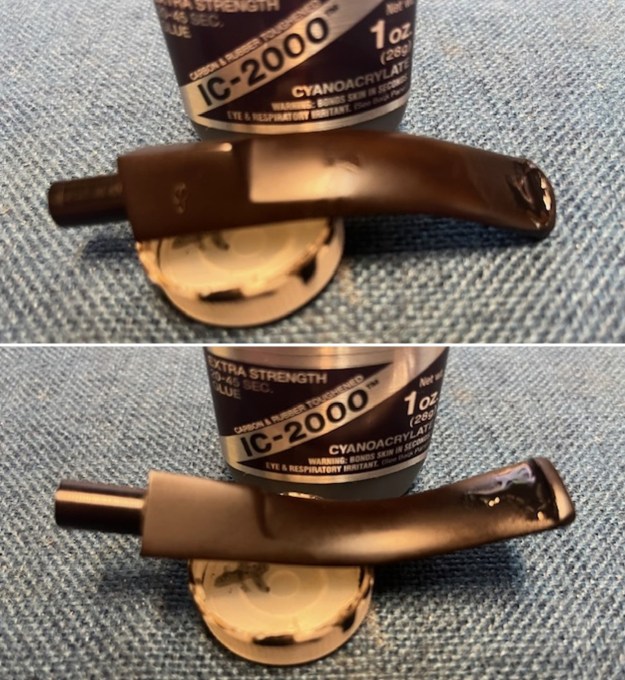
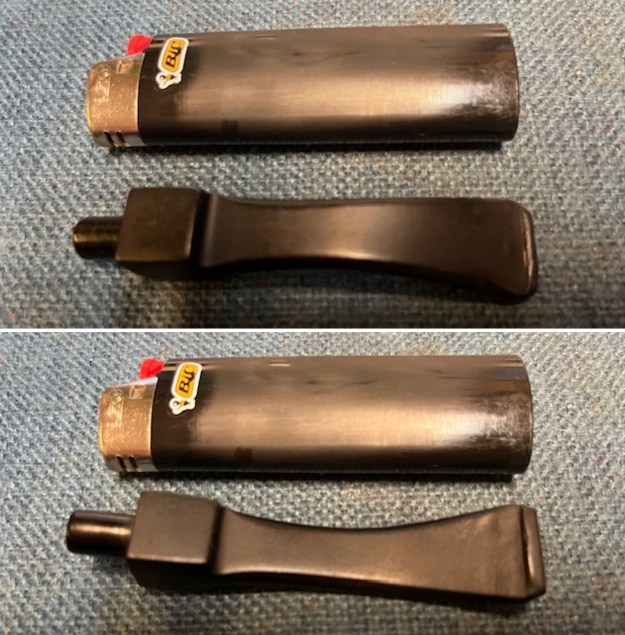
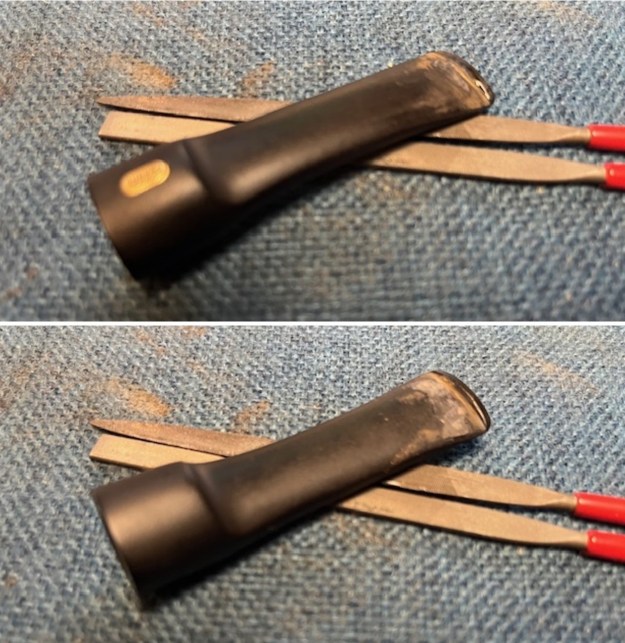
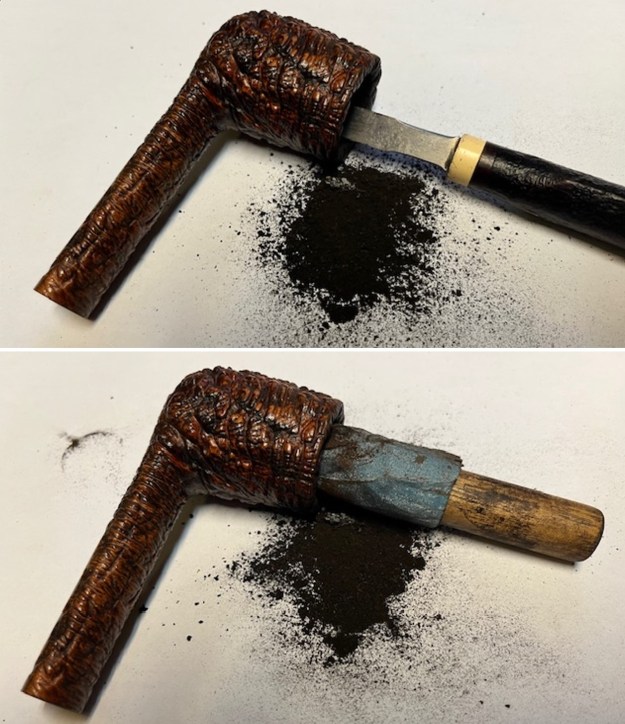
I started by pulling the broken tenon from the shank. I used a dry wall screw and turned it into the airway and wiggled the tenon free from the shank. It came out with no problem.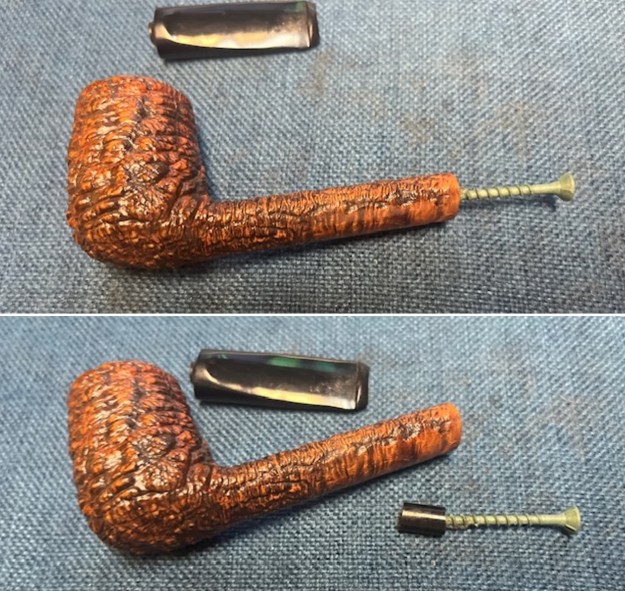 In preparation for fitting a new tenon I flattened out the broken edges on the snapped tenon using a topping board and 220 grit sandpaper. I carefully smoothed out the stem end with a Dremel and sanding drum.
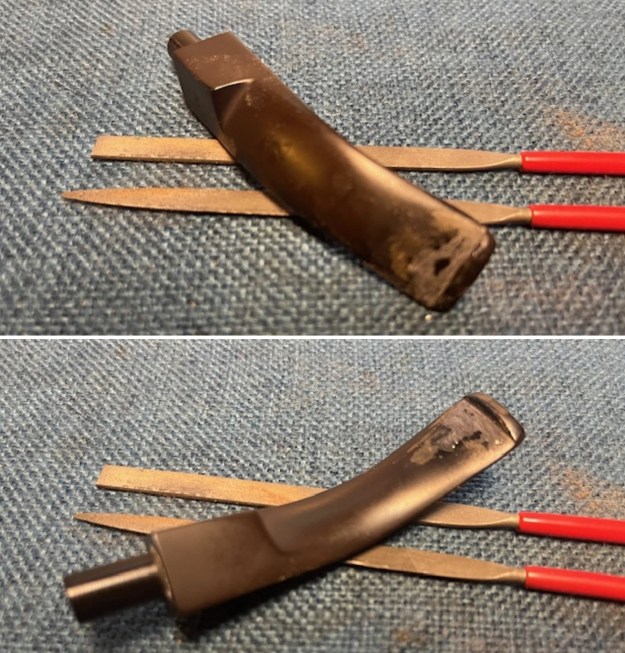
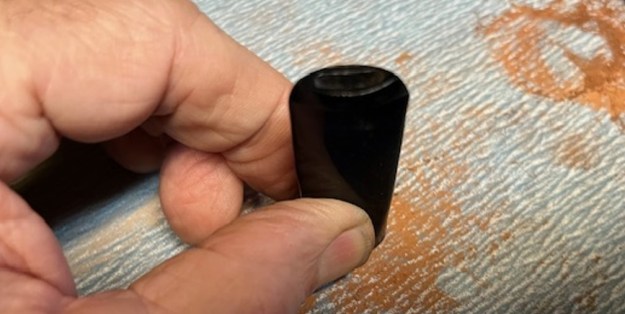 I drilled the home for the new tenon using airway in the stem as a guide. I drilled it several times with increasingly larger drill bits until I had the opening the same size as the threaded portion of the new tenon.
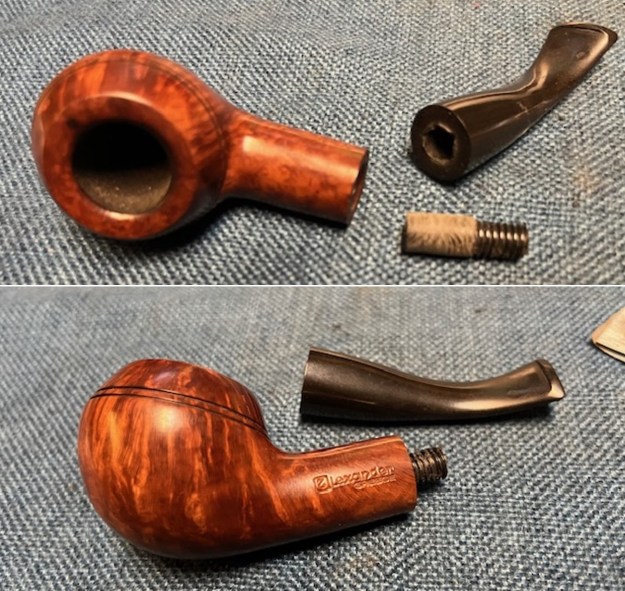
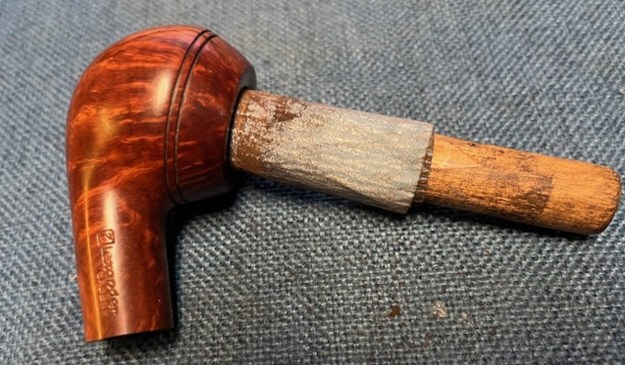
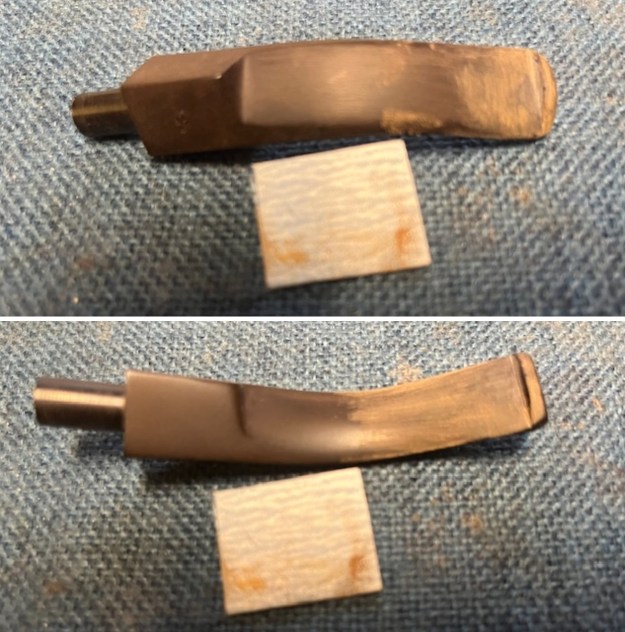
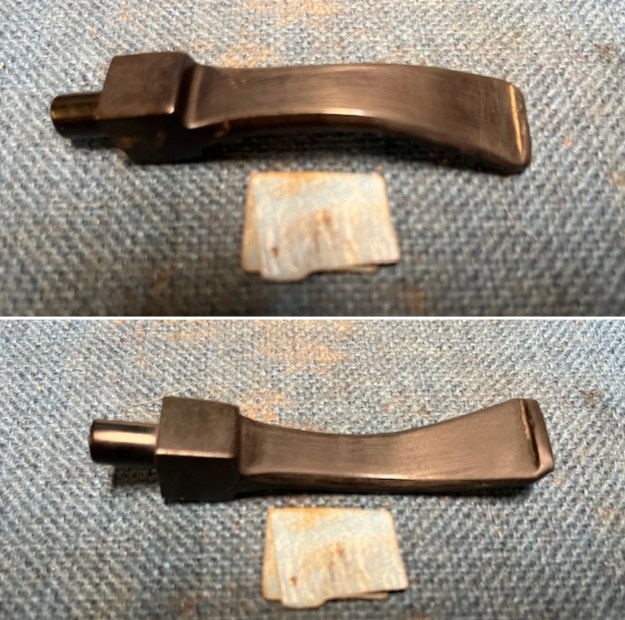
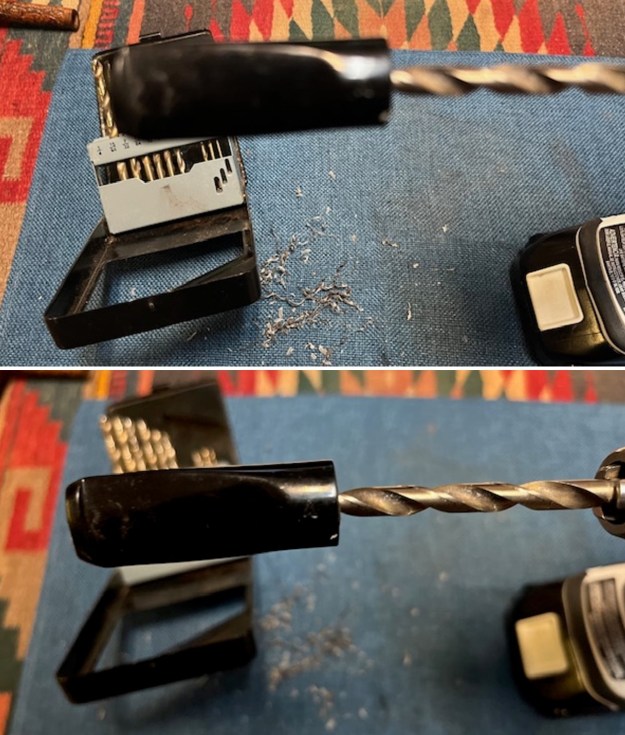 I fit the tenon in the stem to make sure the fit and alignment was correct and repeated the process in the mortise. I reduced the diameter of the tenon with a Dremel and sanding drum for a smooth fit in the mortise. I fit the stem on the tenon in the mortise to check the alignment.
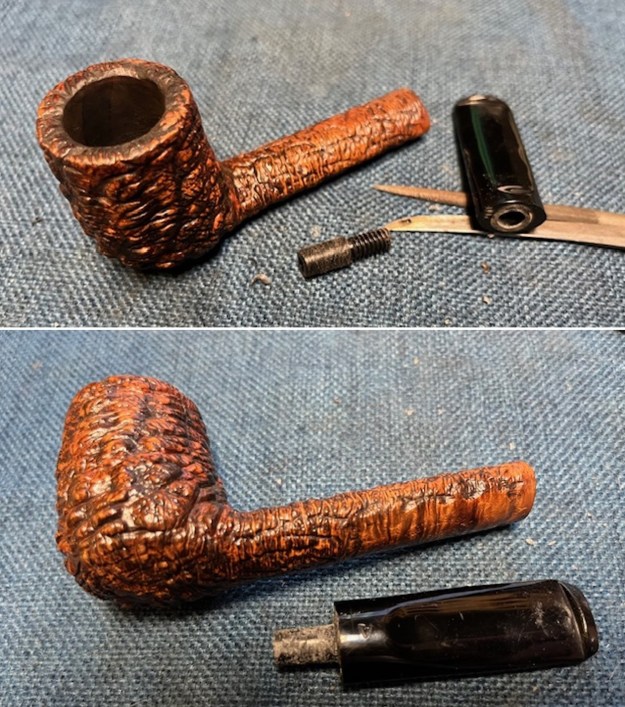
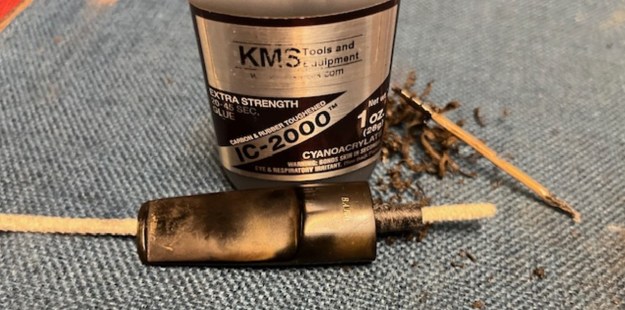
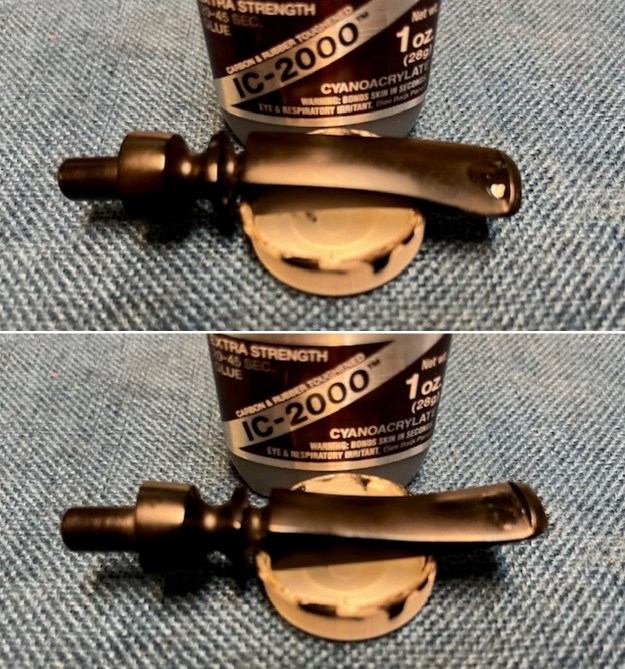
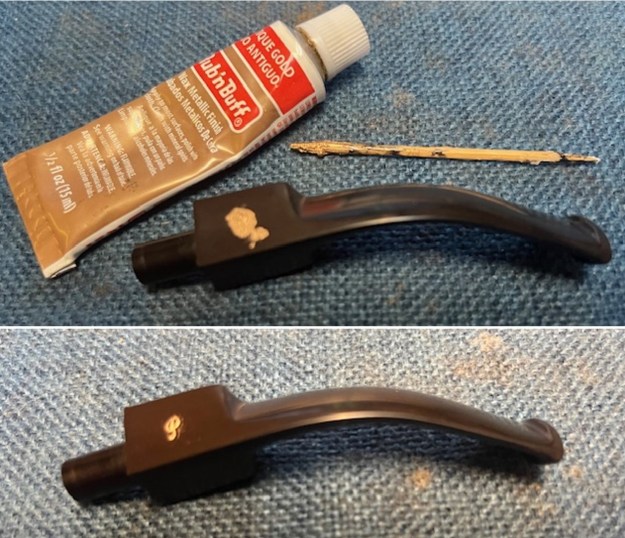
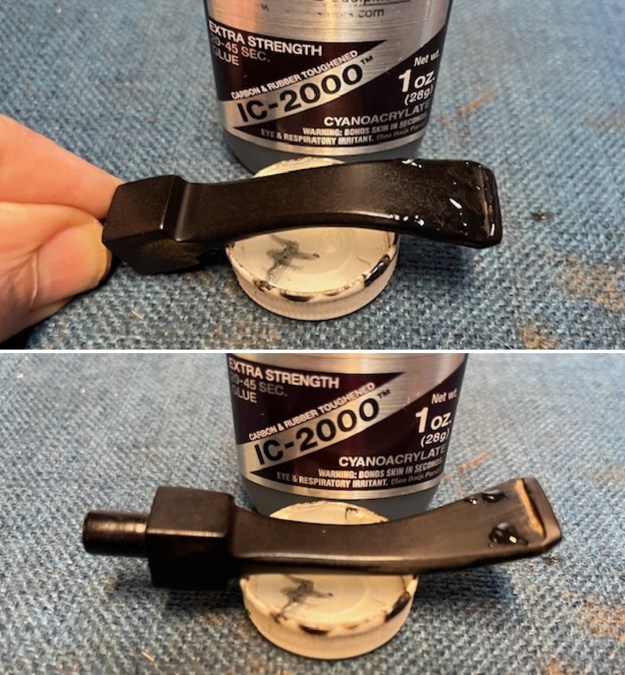
 With the fit as good as it was going to get on this one I slid a pipe cleaner in the stem and tenon and painted the threads with black CA glue. I pressed it into place in the stem and set it aside to cure.
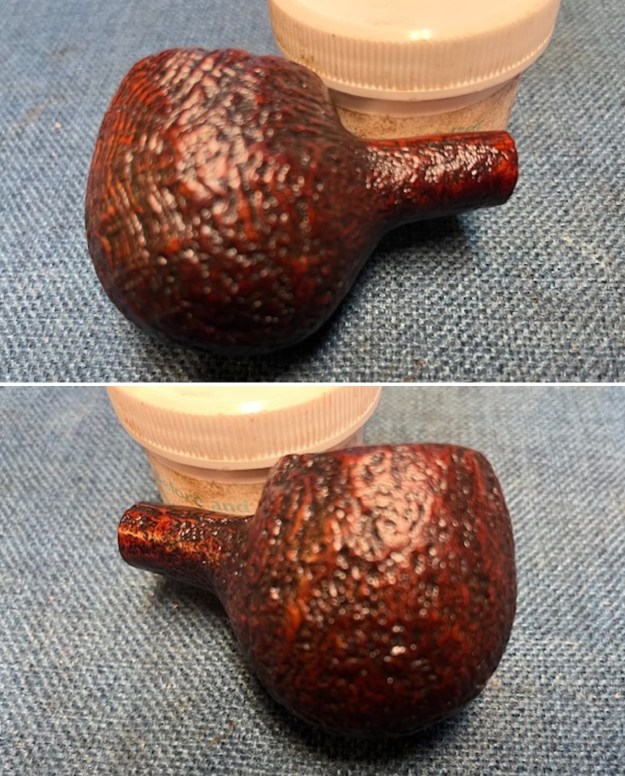
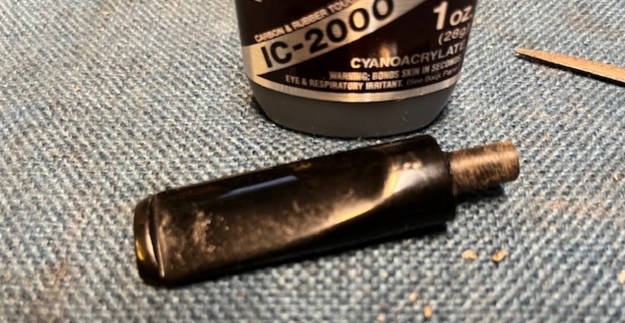 While it was curing I turned my attention to the bowl. I reamed the bowl with a PipNet pipe reamer using the 2nd and 3rd cutting heads to remove the cake in the bowl. I cleaned up the reaming with a Savinelli Fitsall Pipe Knife and finally sanded the bowl with 220 grit sandpaper wrapped around a piece of dowel to clean up the walls of the bowl. It was in great condition.
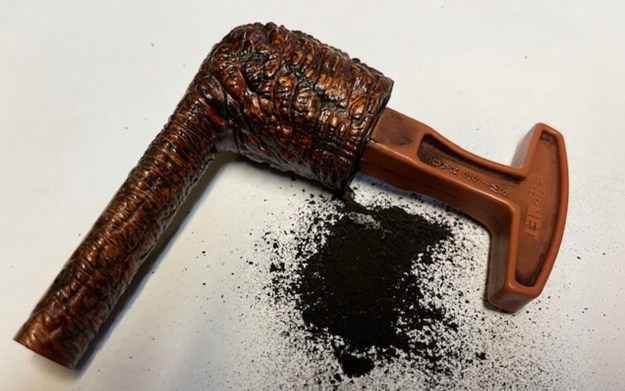
 I cleaned out the shank and airway into the bowl with pipe cleaners, cotton swabs and alcohol to remove the tars and oils. I cleaned out the airway in the stem at the same time. I did the stem cleaning before I drilled the airway for the new tenon.
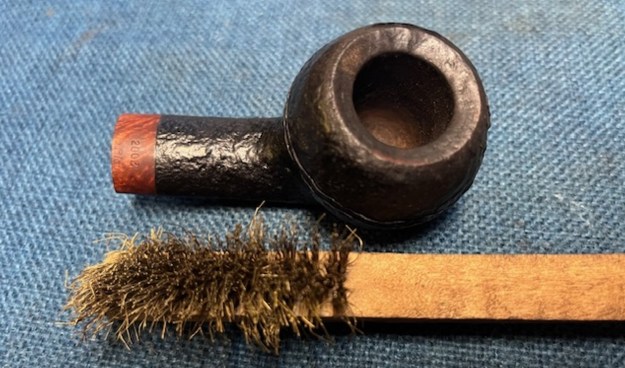
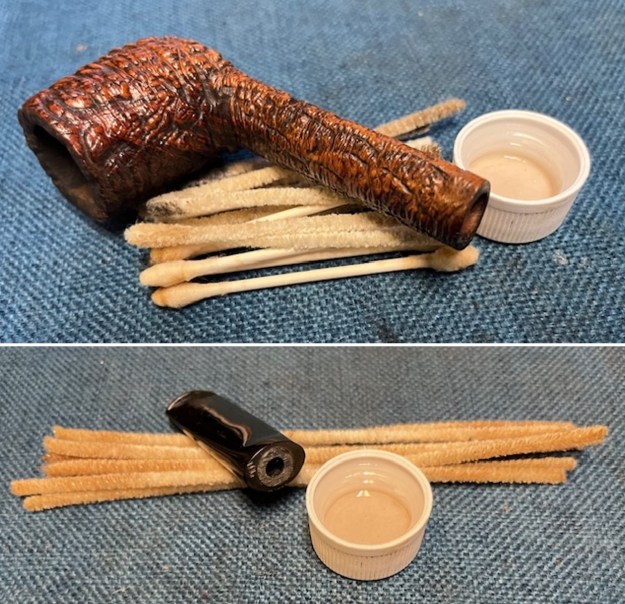 I cleaned up the lava in the rustication on the rim top with a brass bristle wire brush. I worked over the surface until the grooves were clean and debris free.
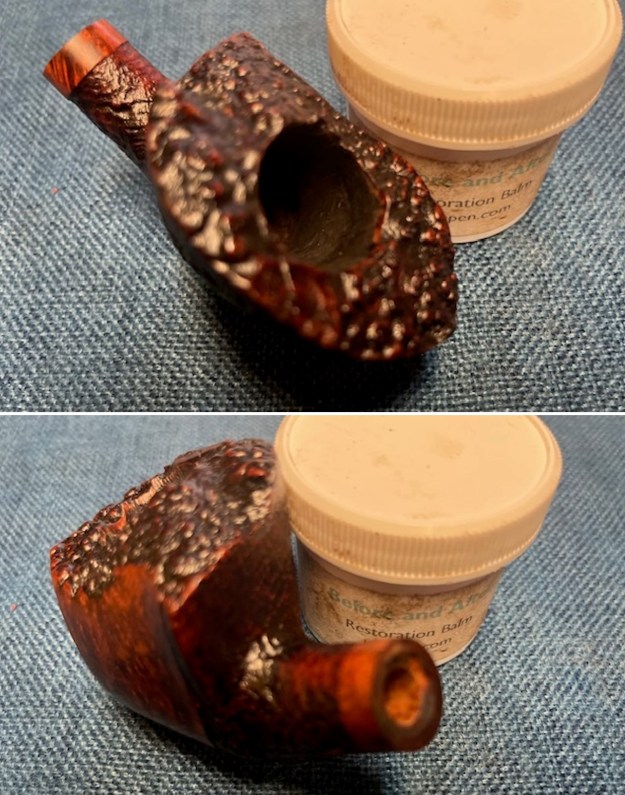
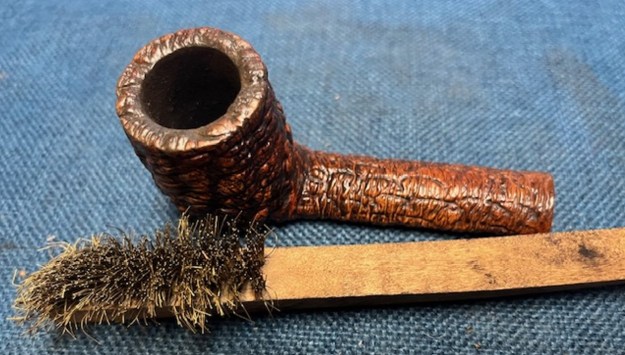 I scrubbed the exterior of the bowl with undiluted Murphy’s Oil Soap and a tooth brush to remove the debris from the deep rusticated grooves. I rinsed off the soap and grime with warm water. It looked much better at this point.
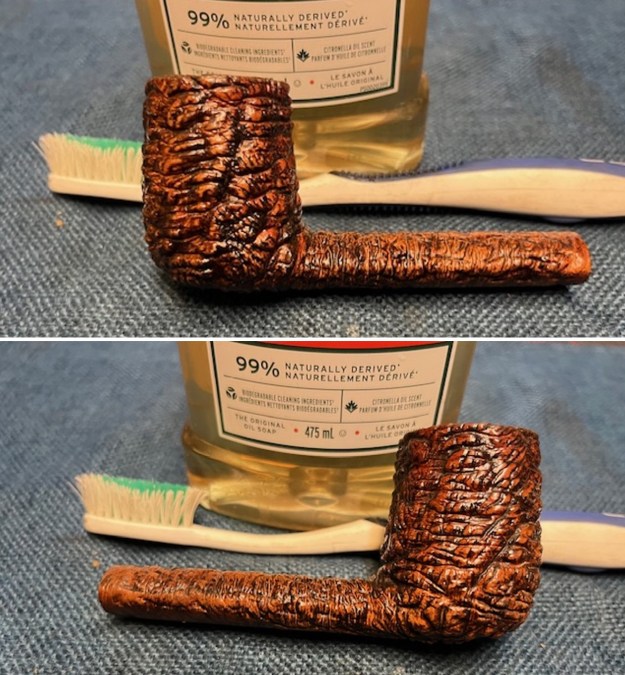
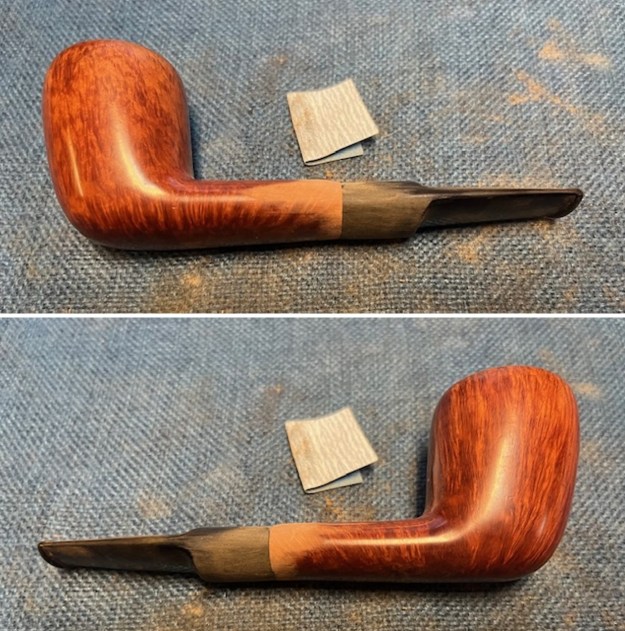
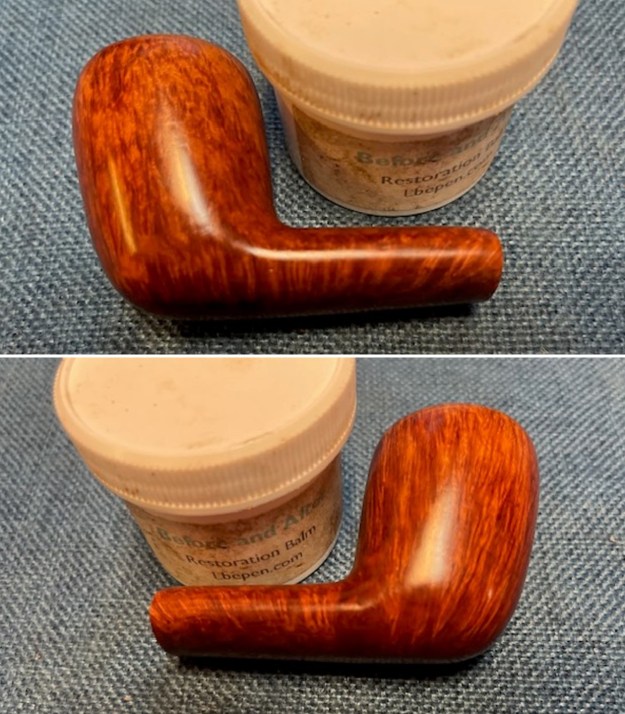
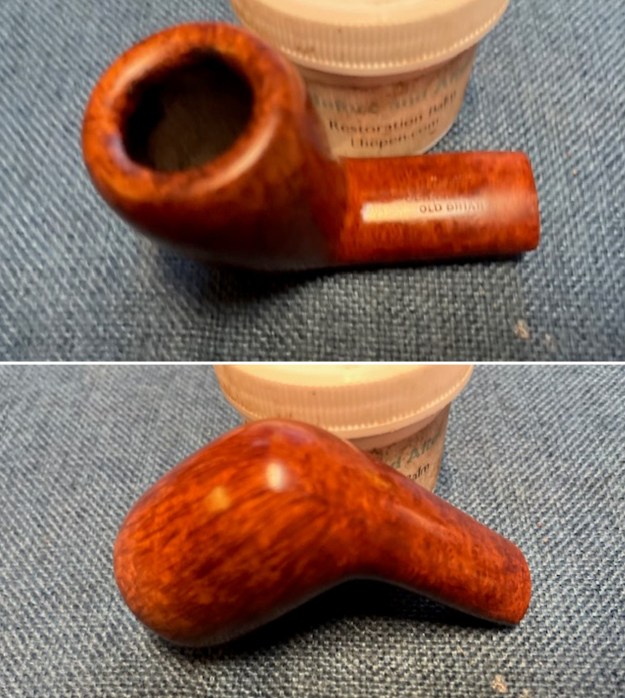
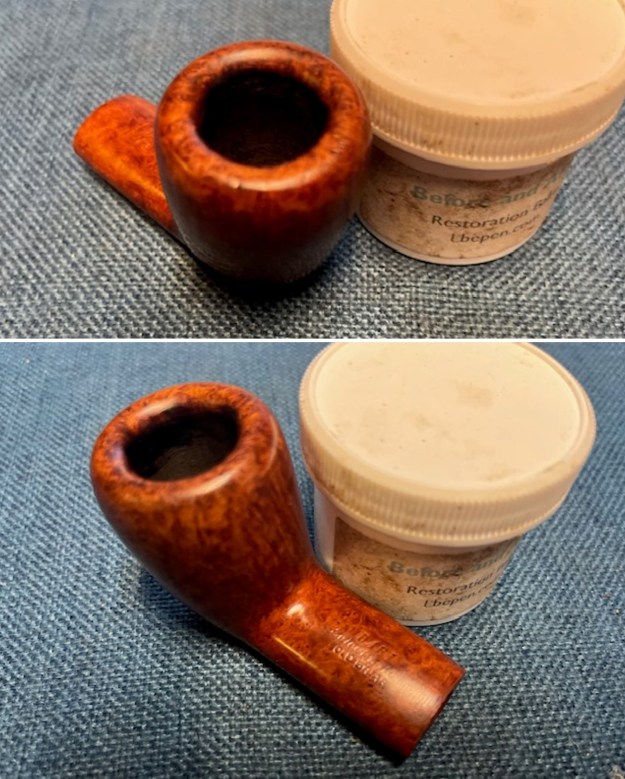
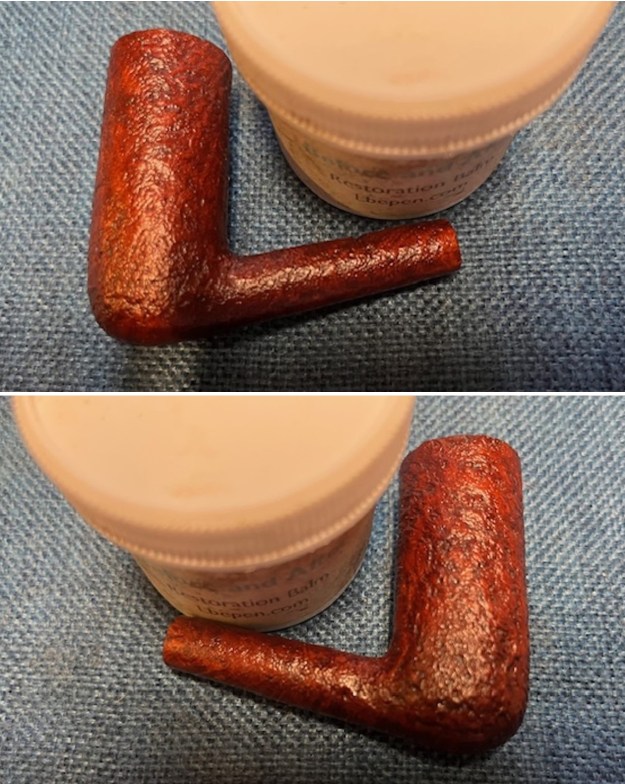
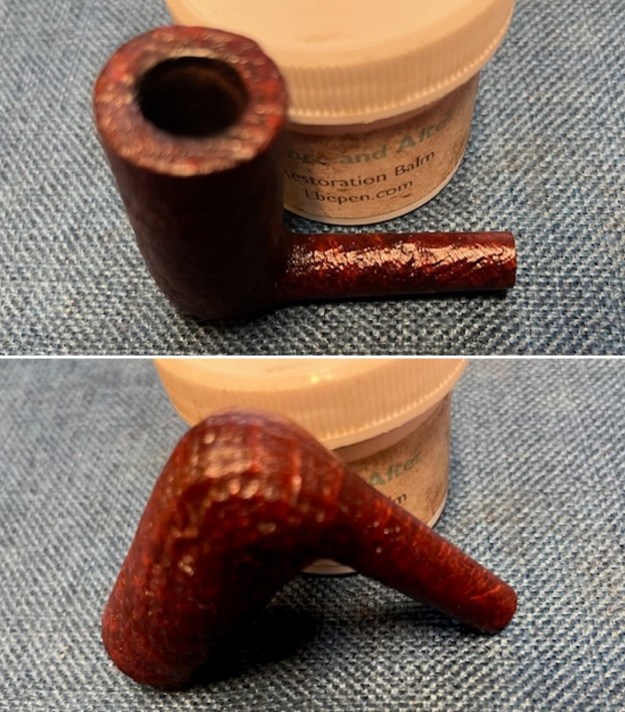
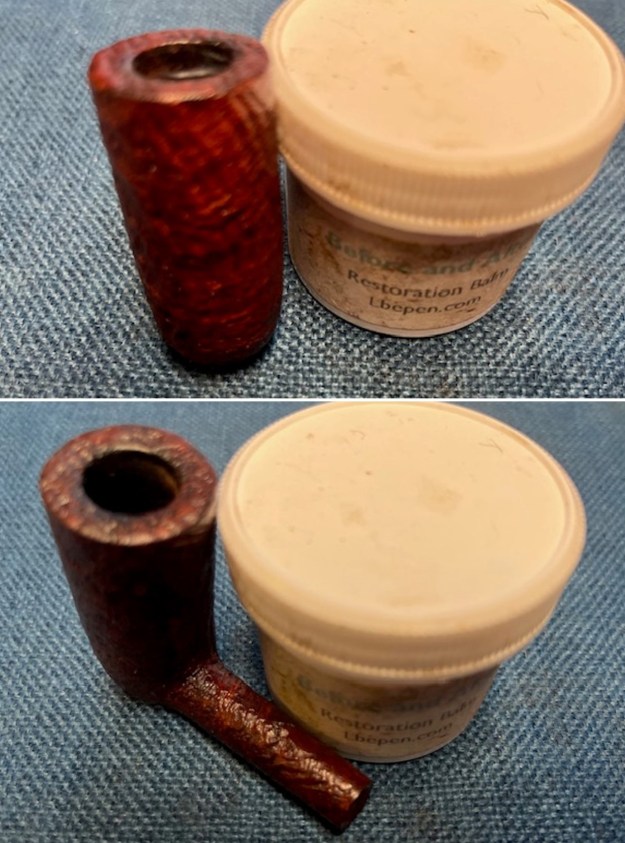
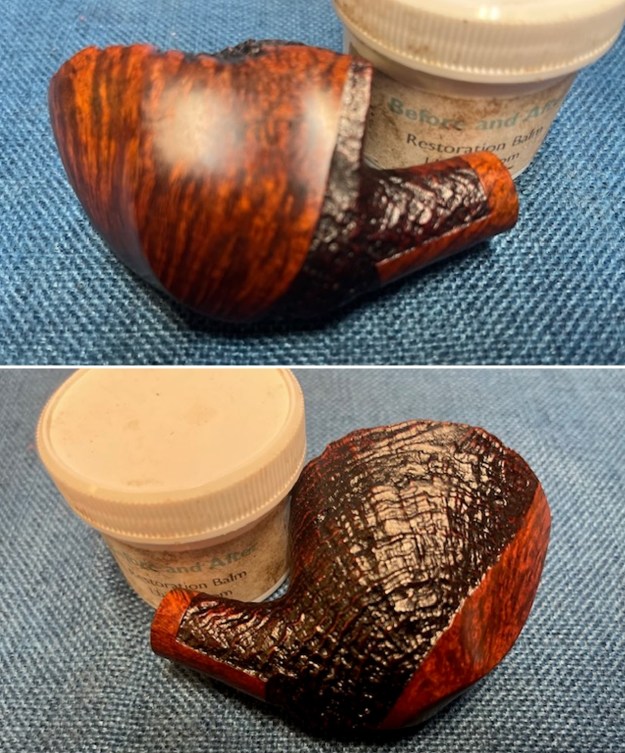
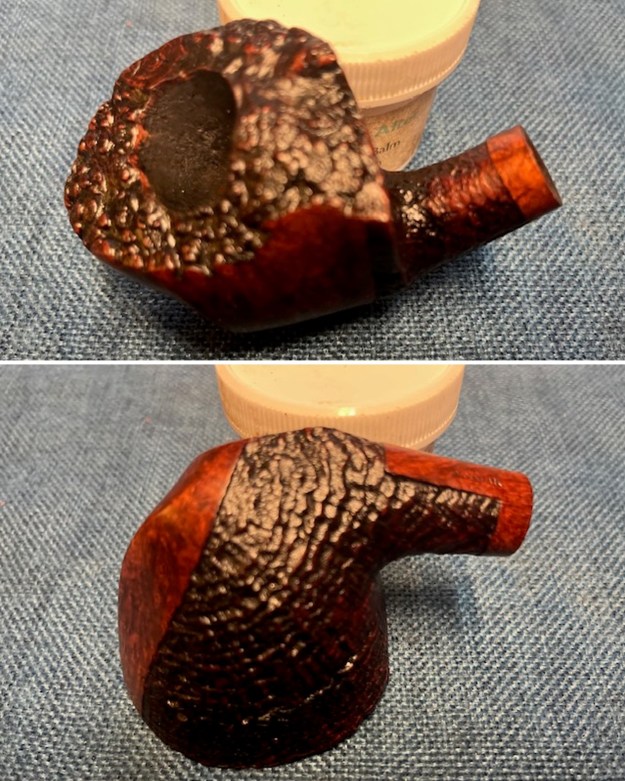
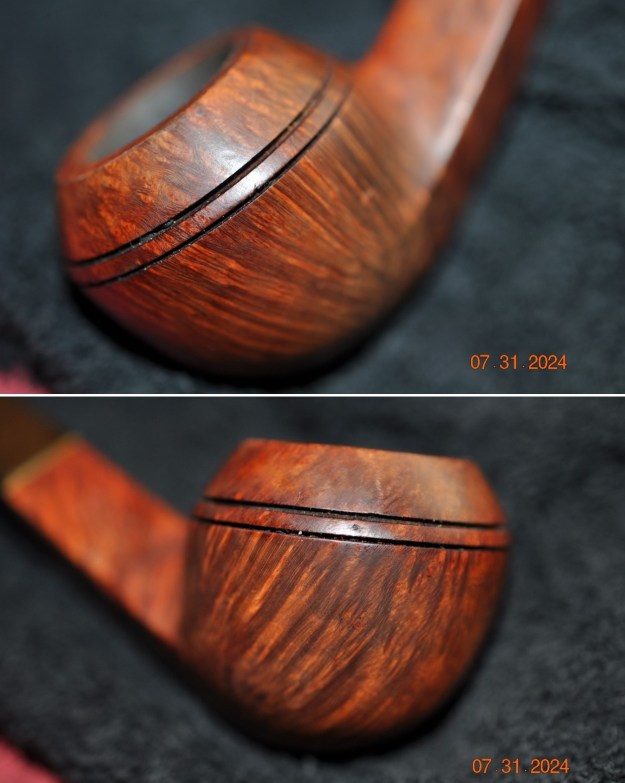
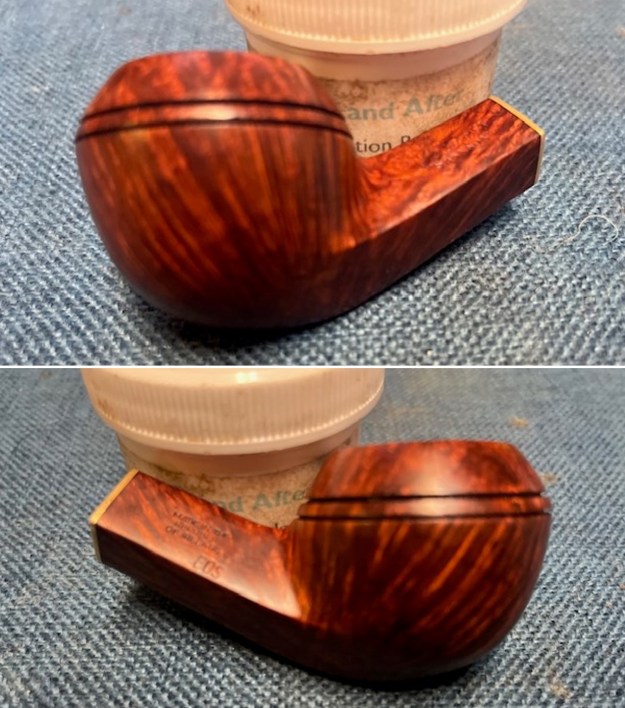
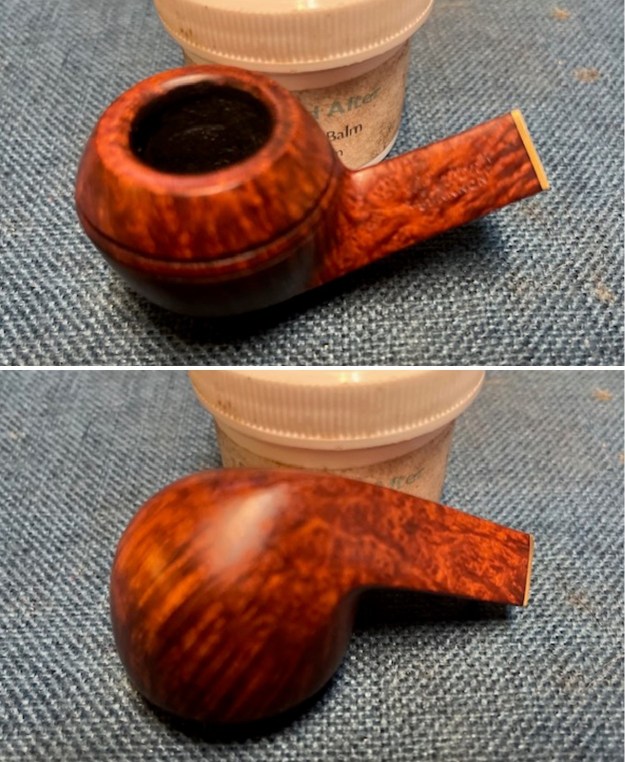
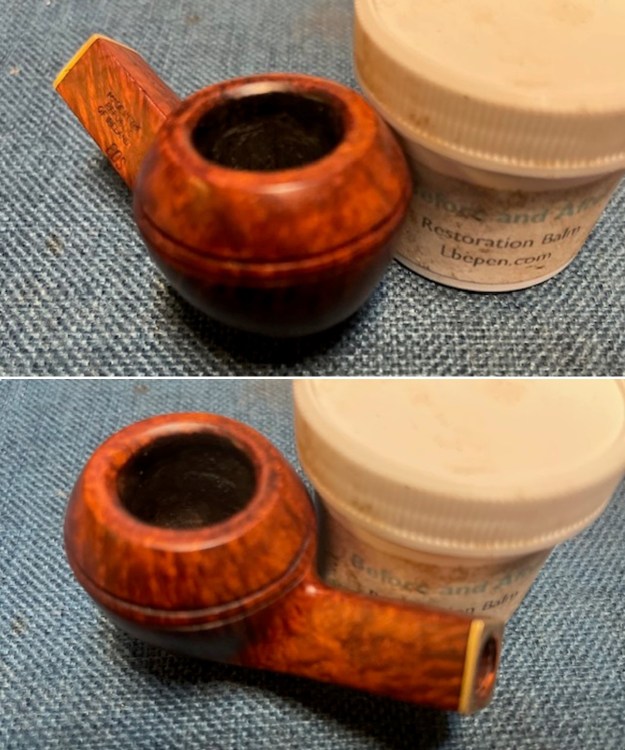
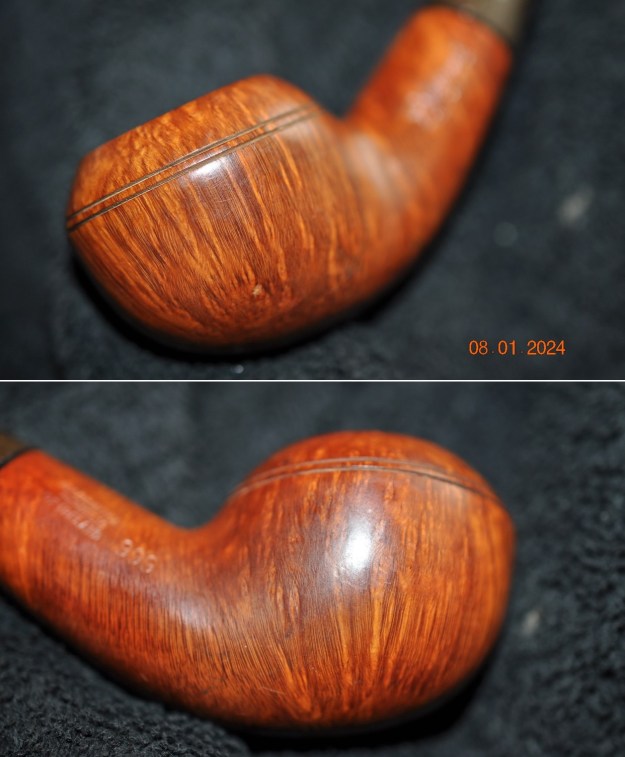
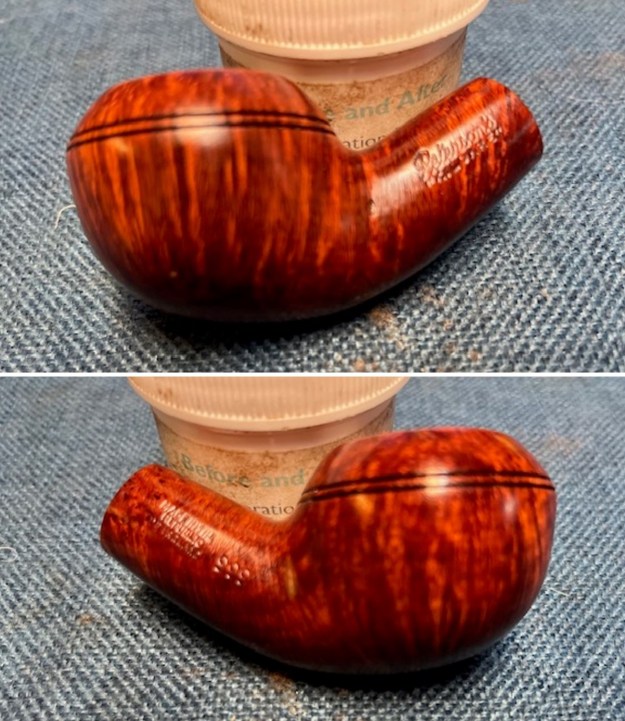
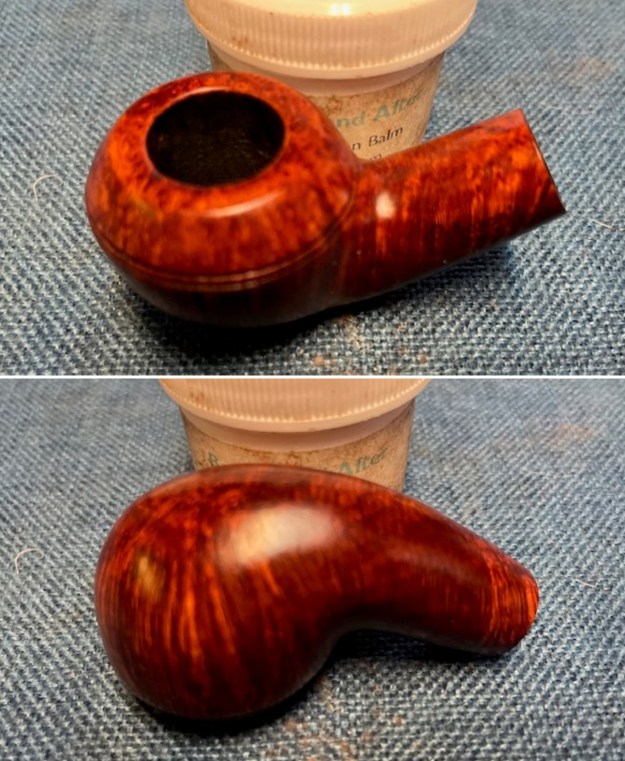
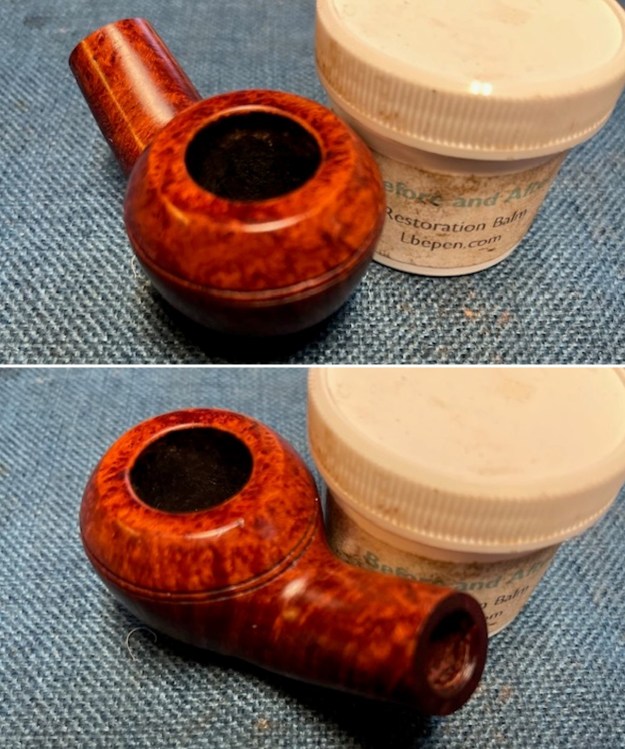
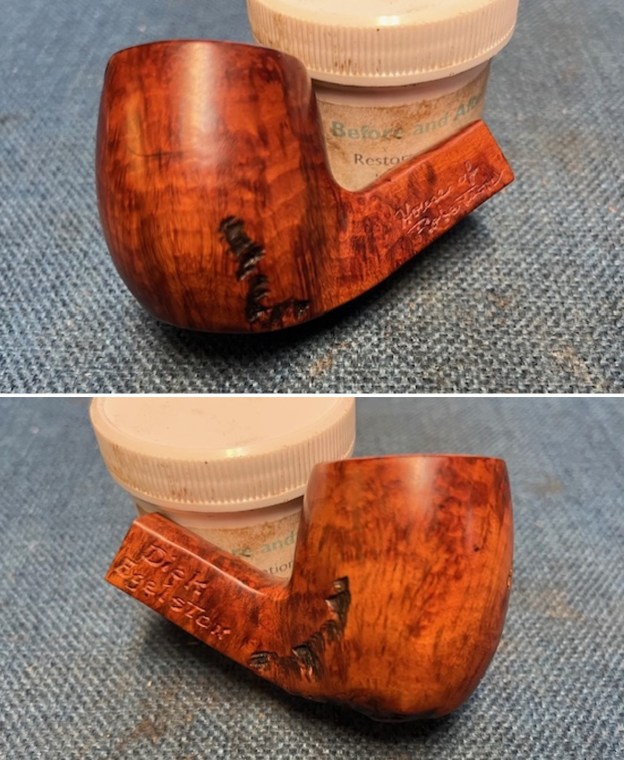
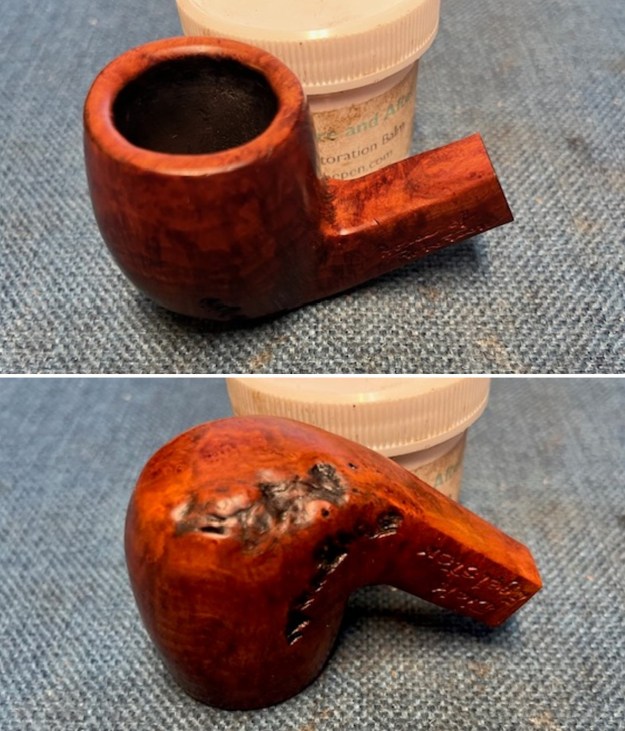
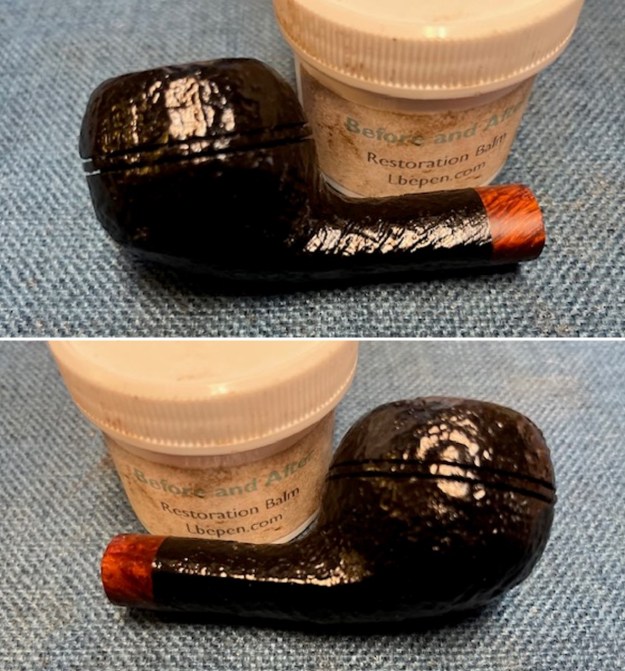
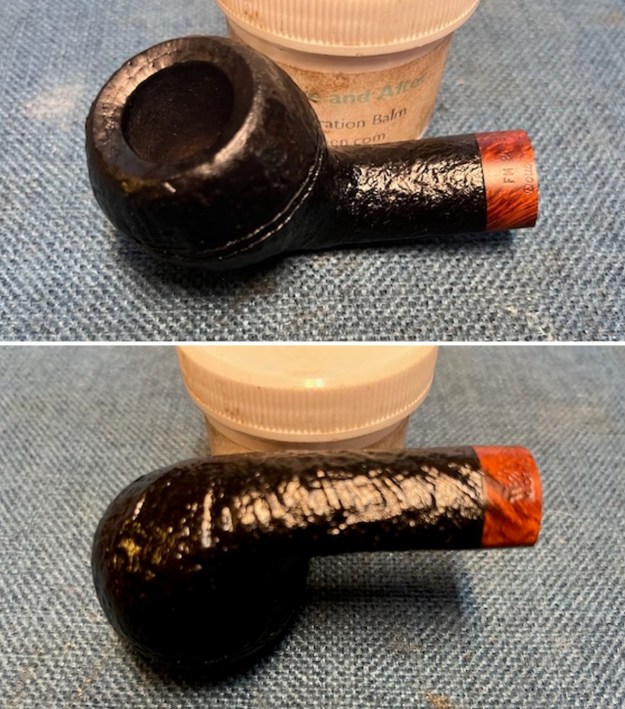
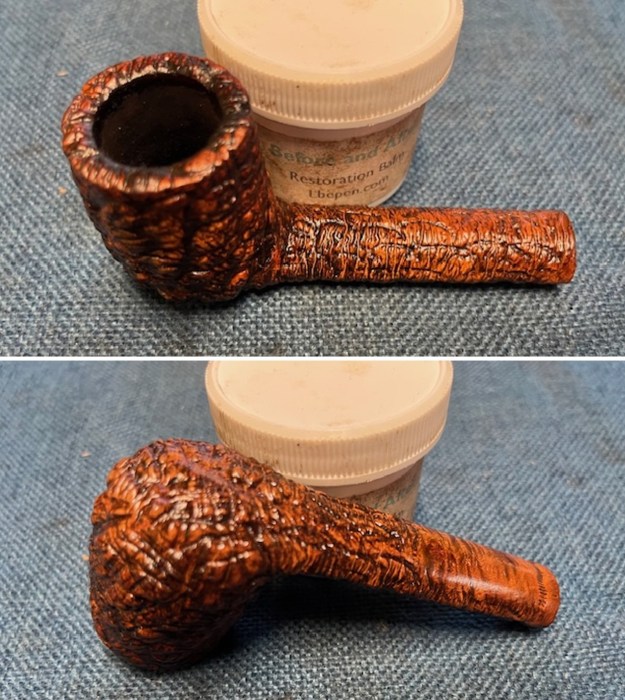
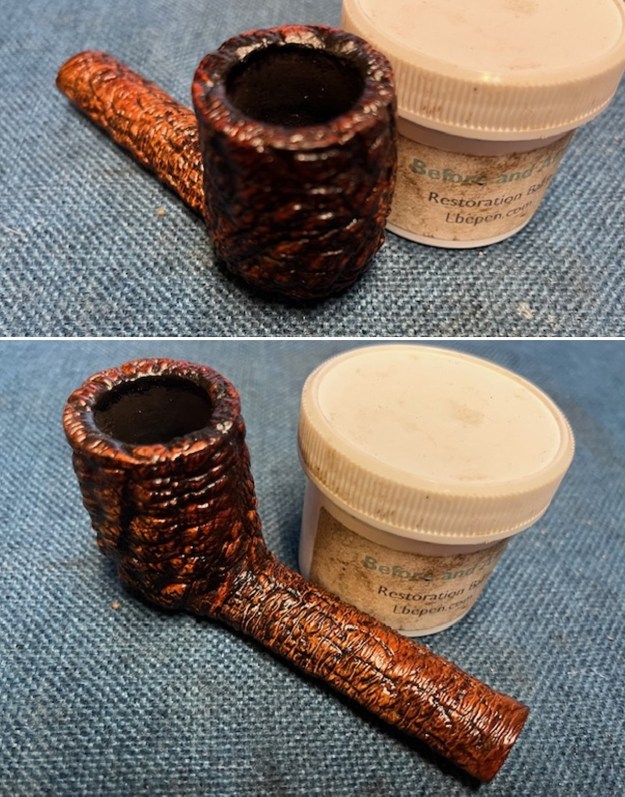
 I worked some Before & After Restoration Balm into the finish of the bowl, rim top and shank with my fingertips and a shoe brush to clean, enliven and protect it. I find that the balm really makes the briar come alive again. The contrasts in the layers of stain really depth and colour to the rustication. I let the balm sit for 15 minutes and then buffed with a cotton cloth to raise the shine. The bowl really looks good at this point.
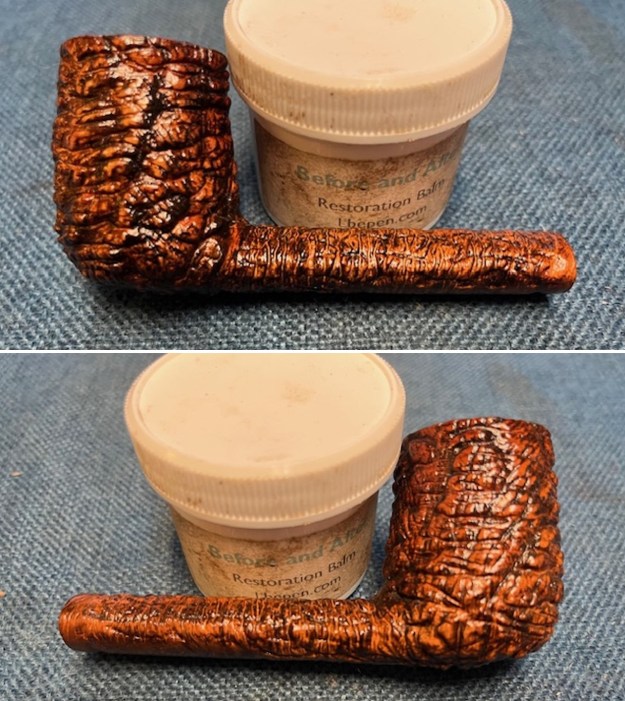
 I set aside the bowl and turned my attention to the stem. I sanded the stem surface with 220 sandpaper to remove the tooth chatter and light tooth marks. It was looking much better at this point.
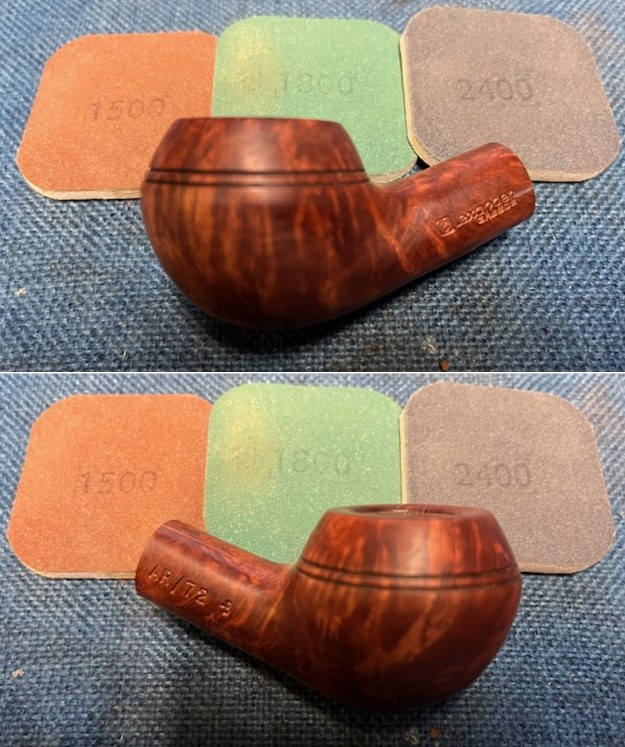
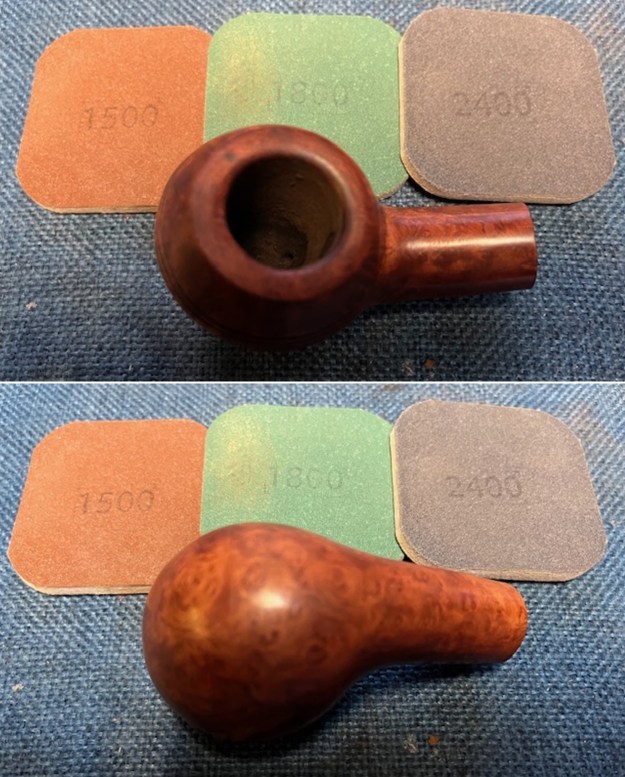
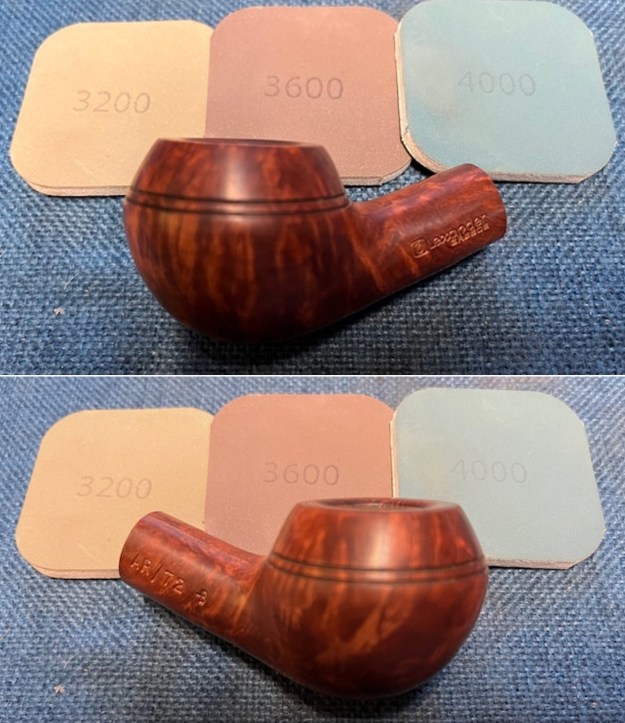
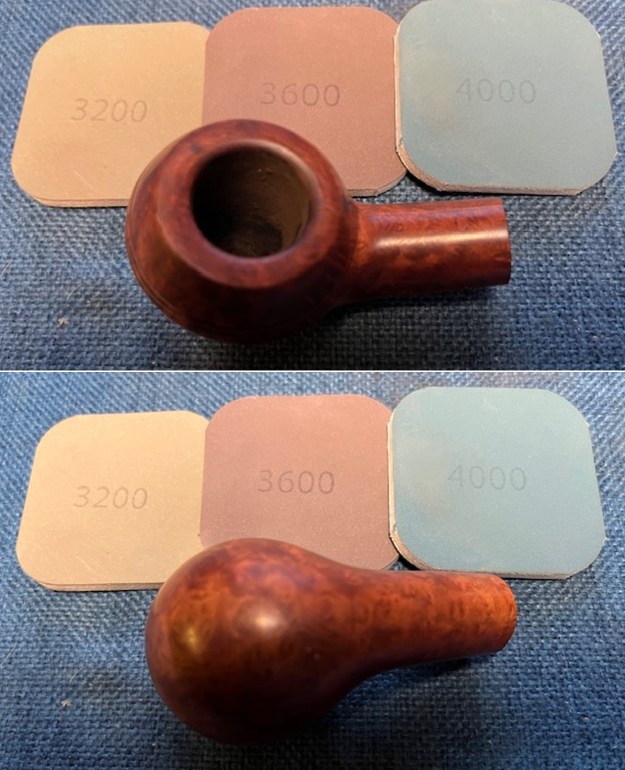
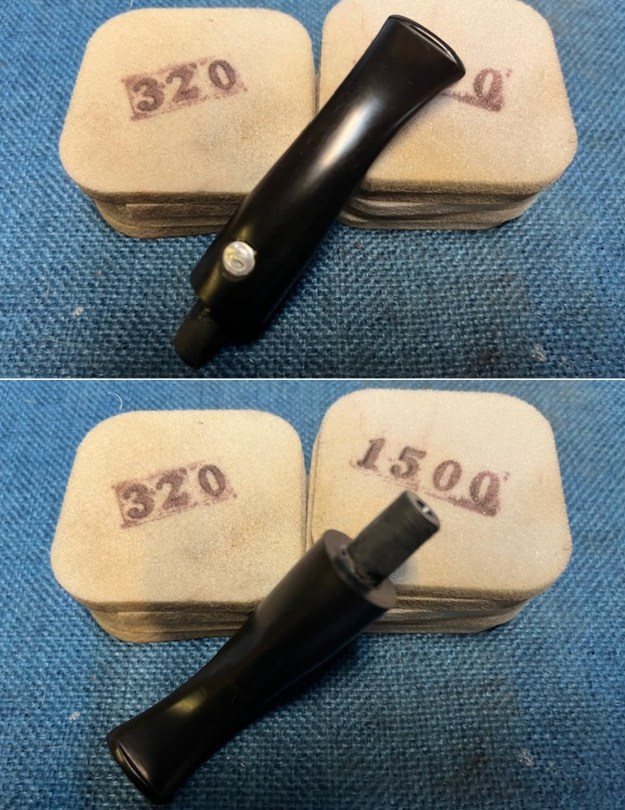
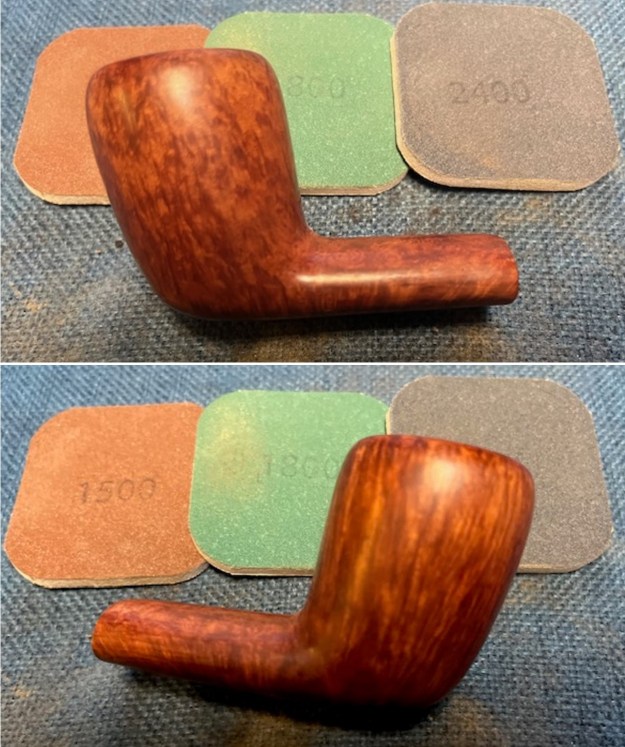
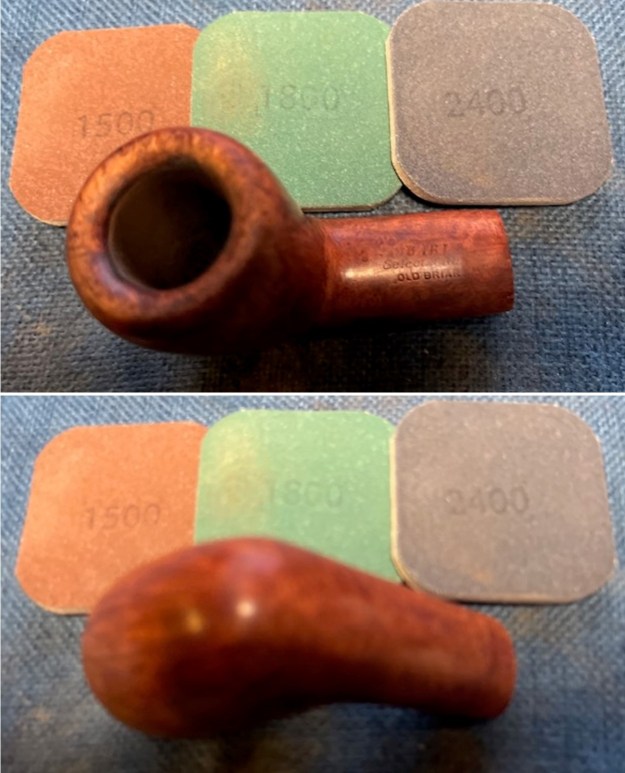
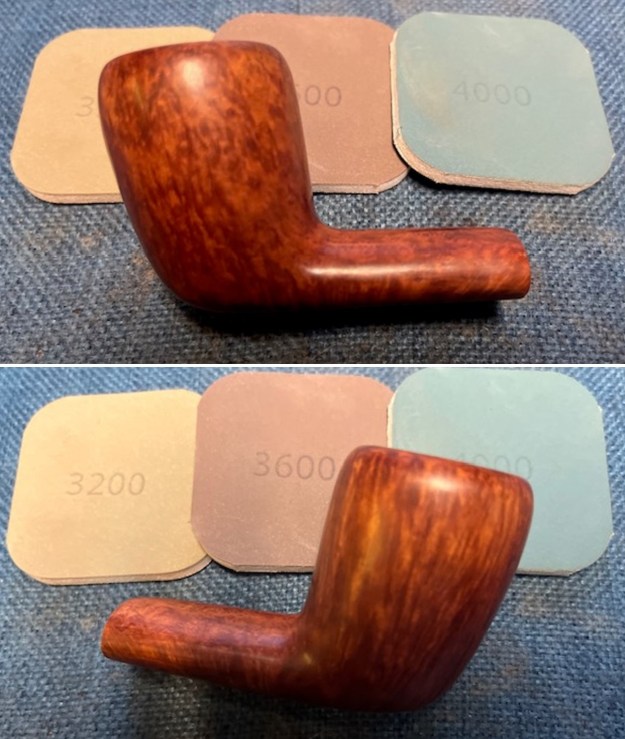
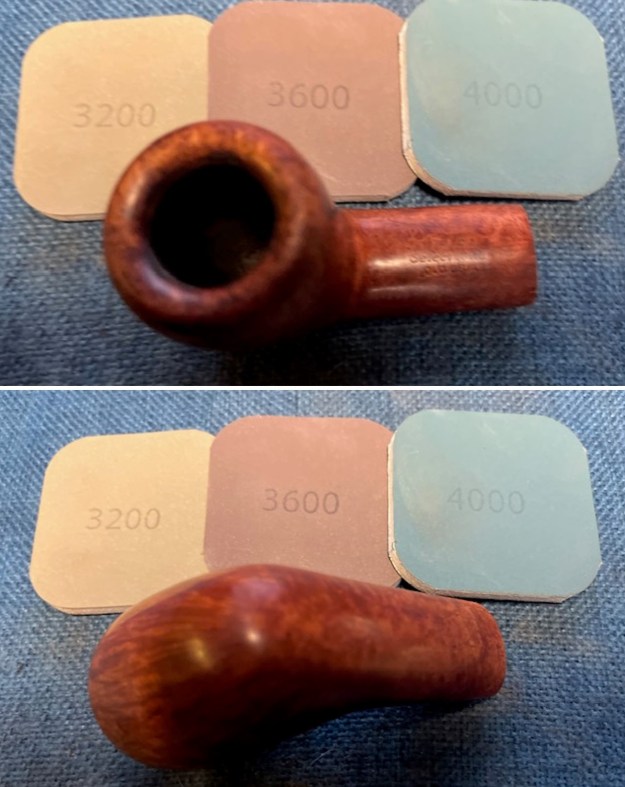
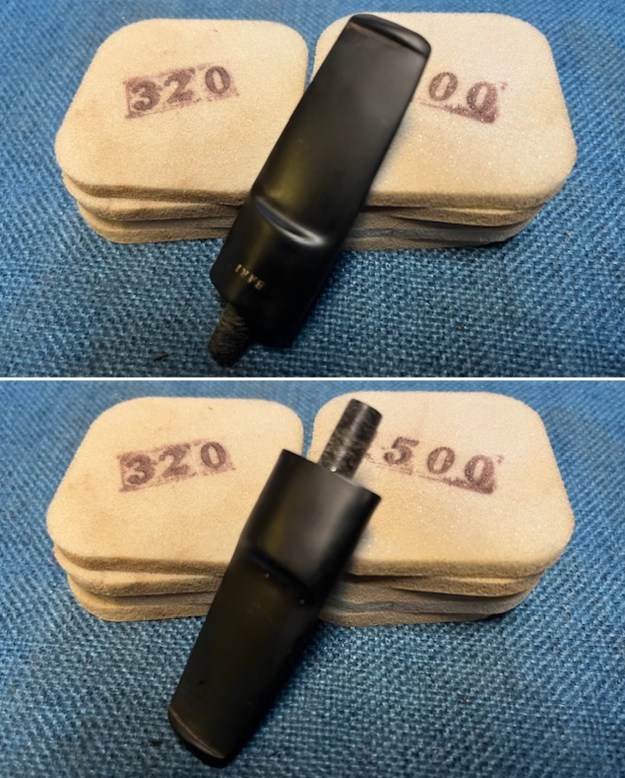
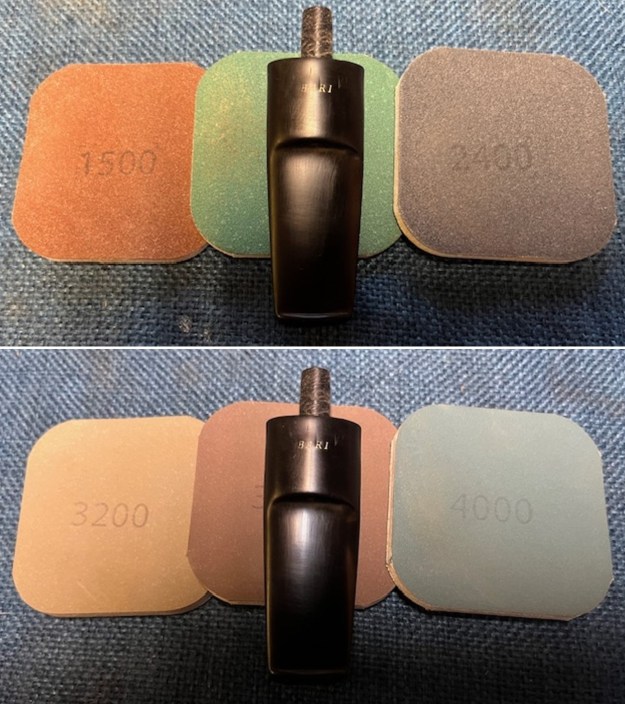
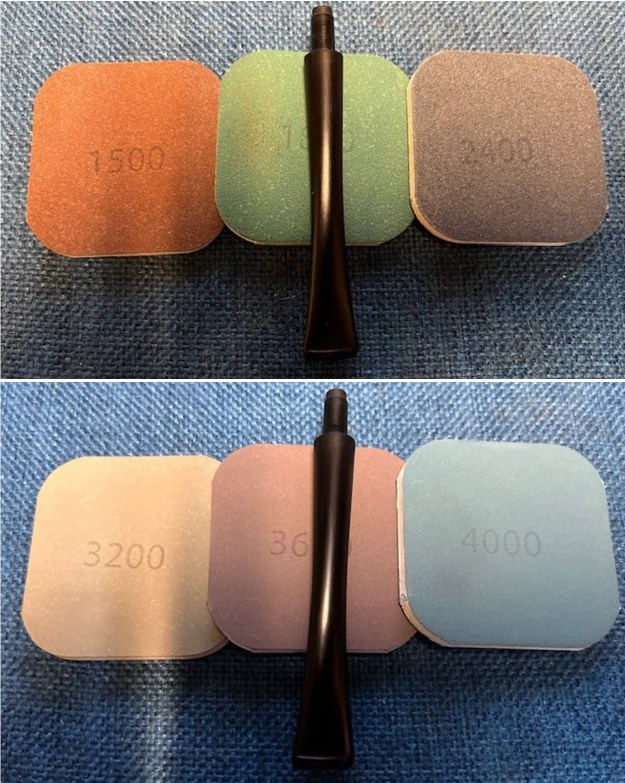
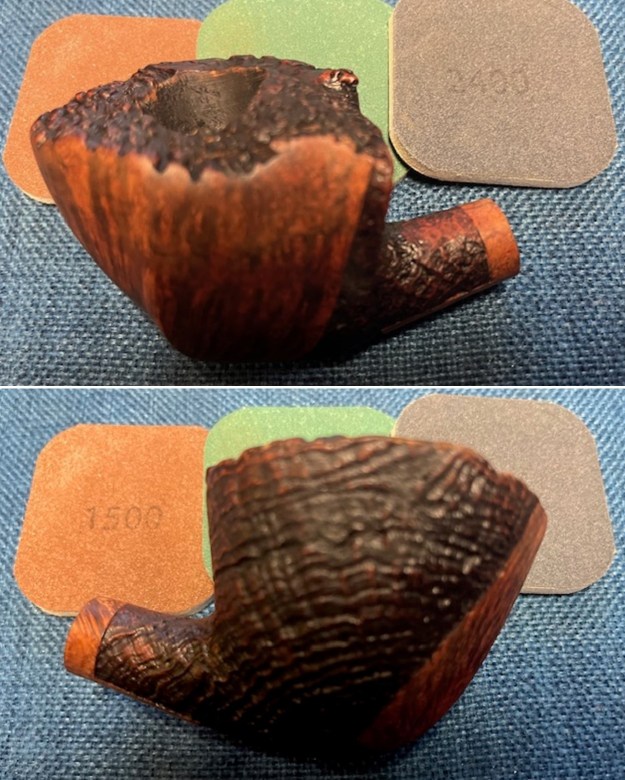
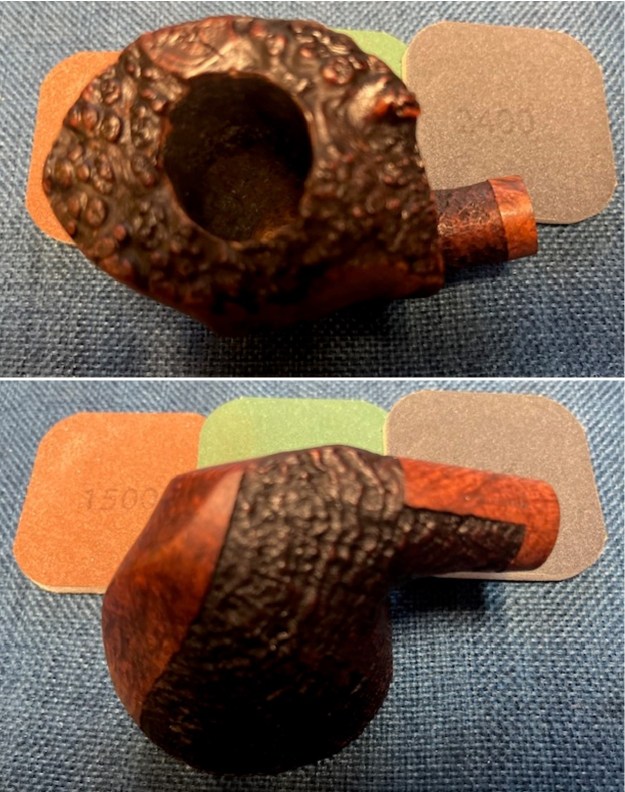
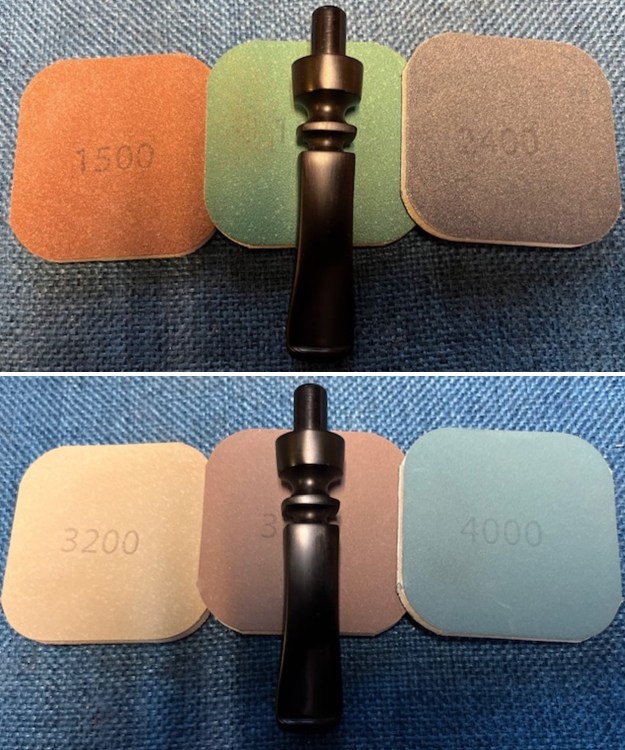
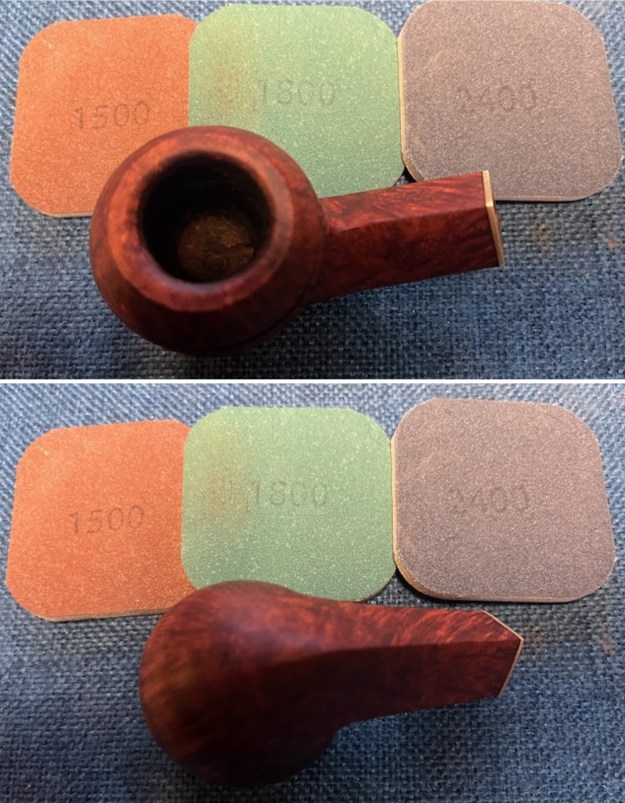
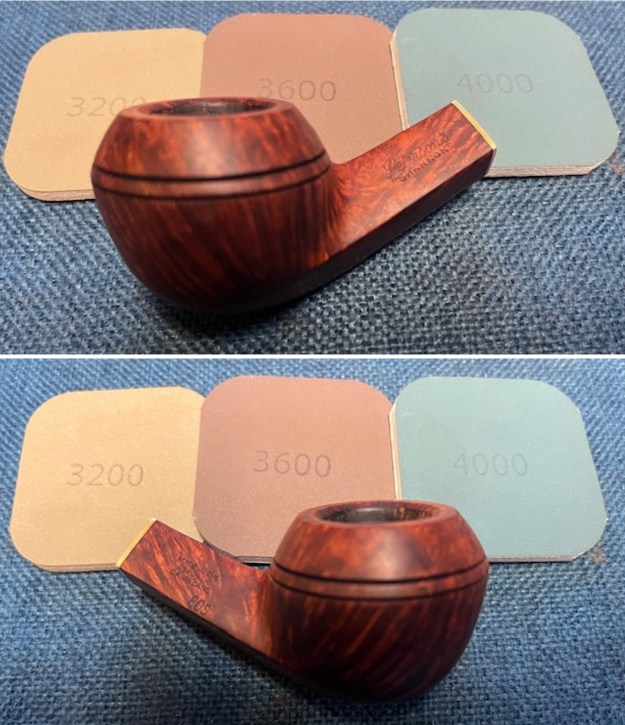
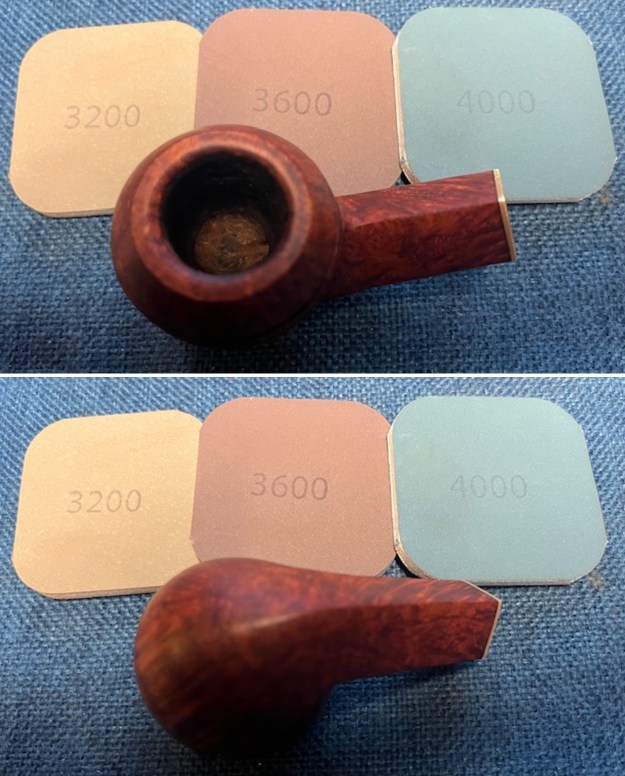
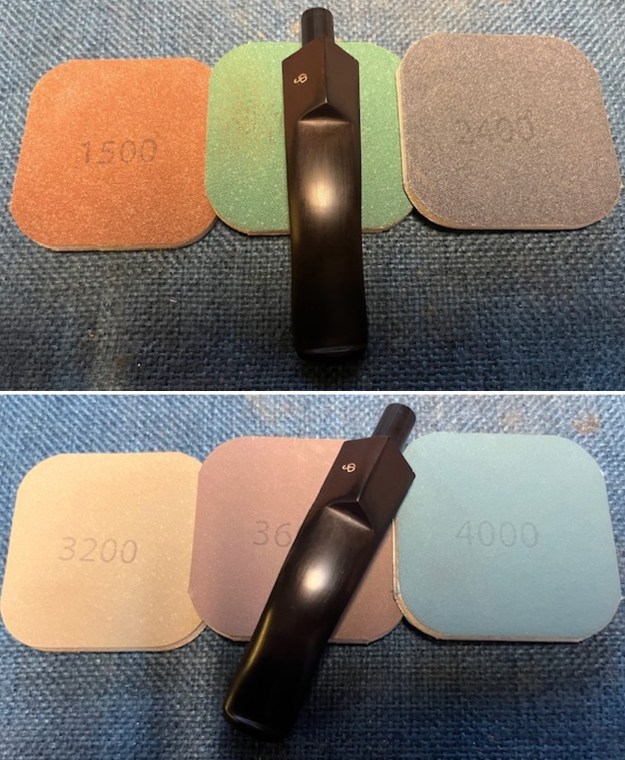
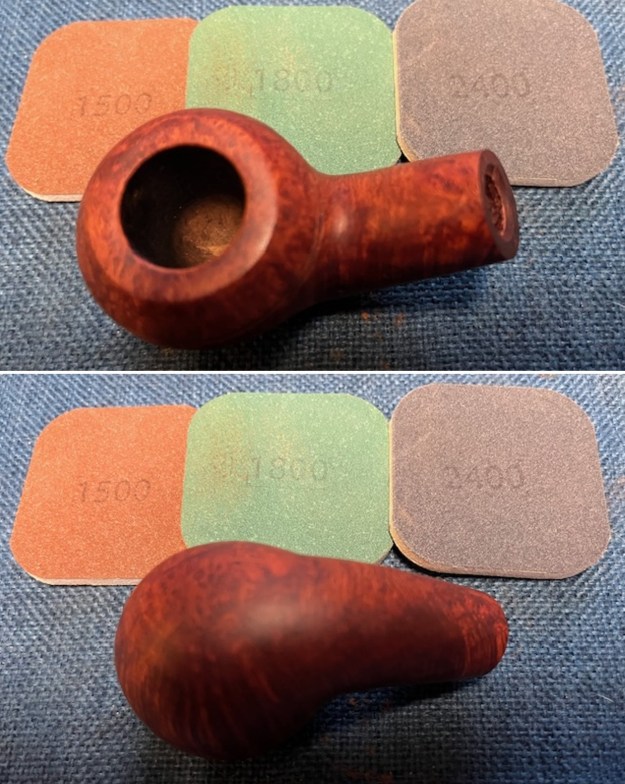
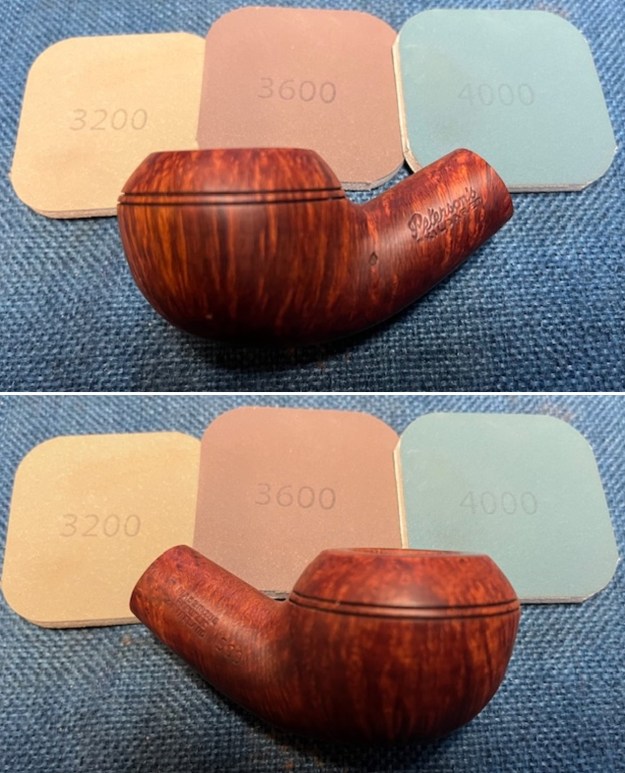
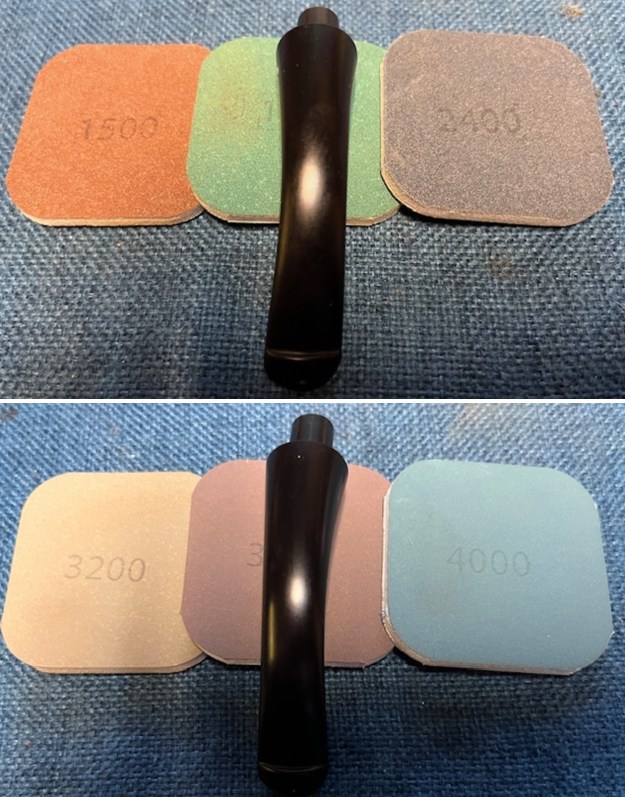
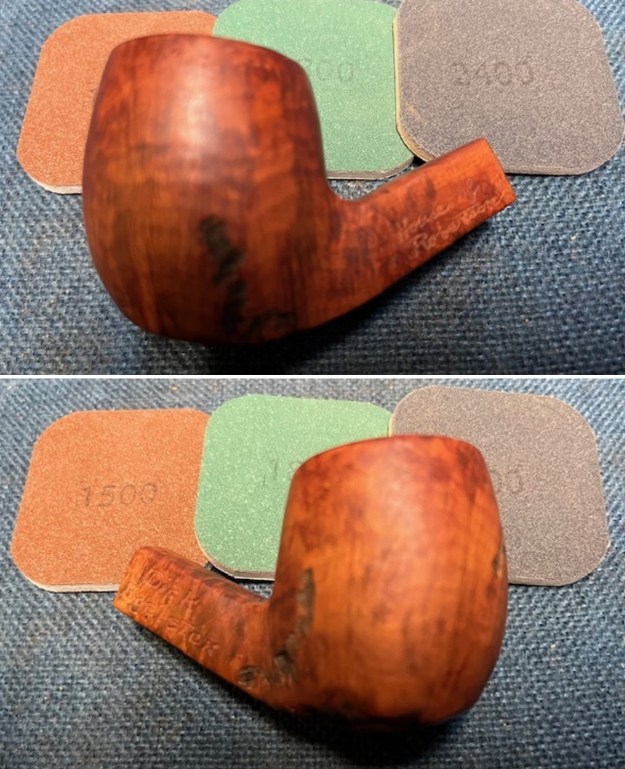
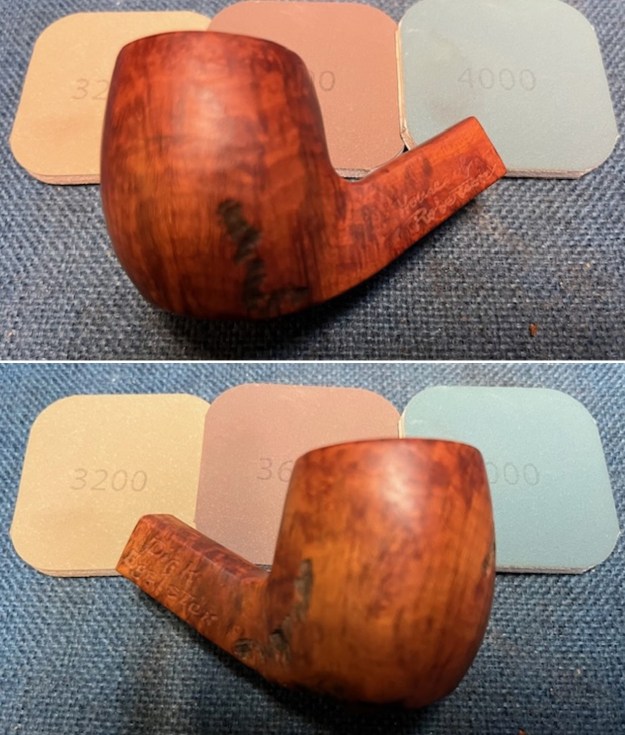
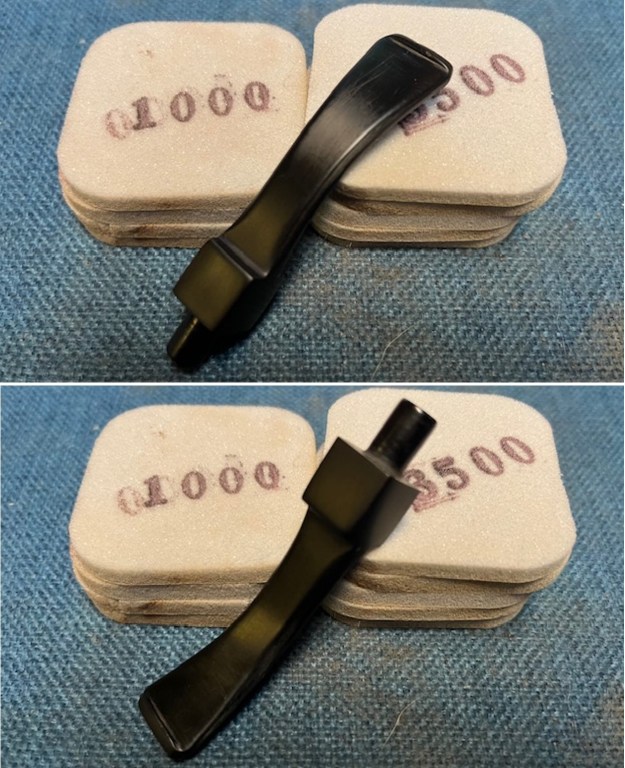
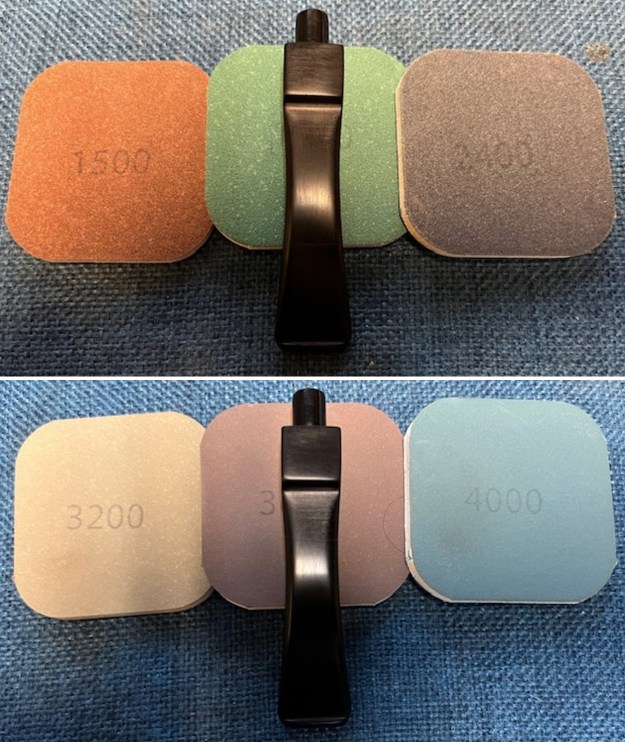
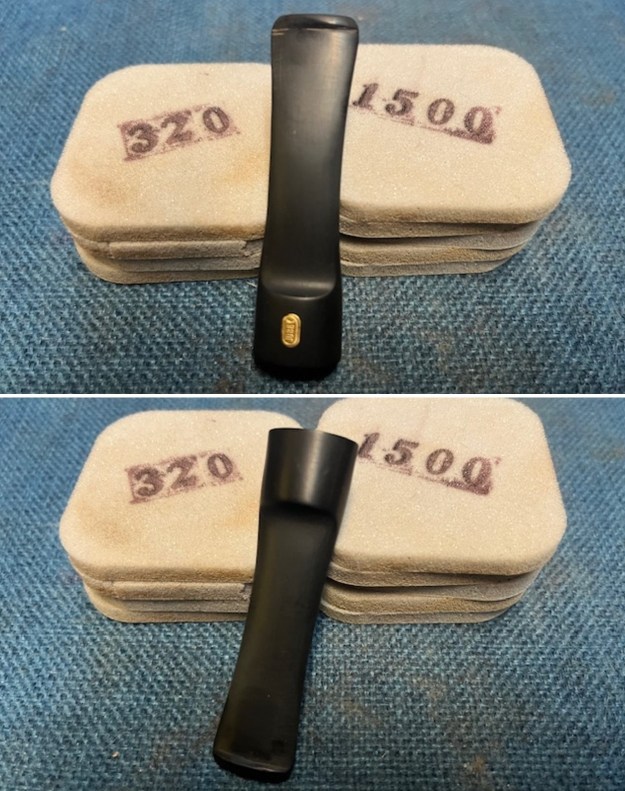
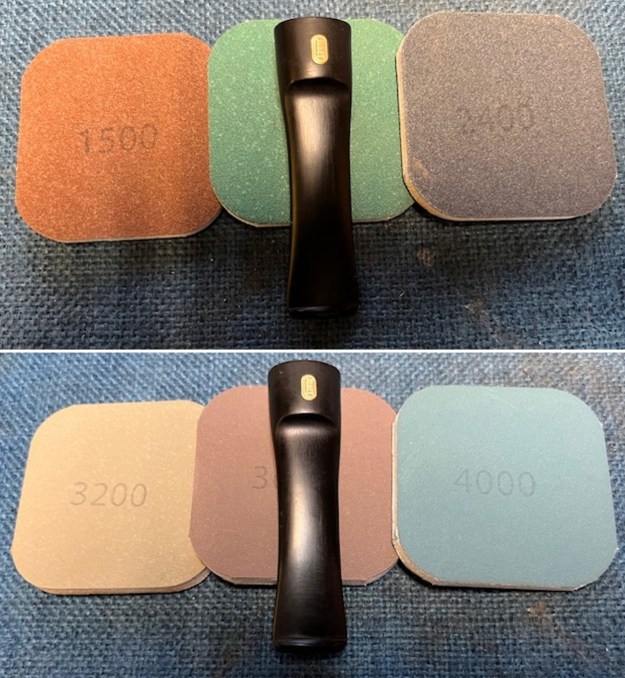
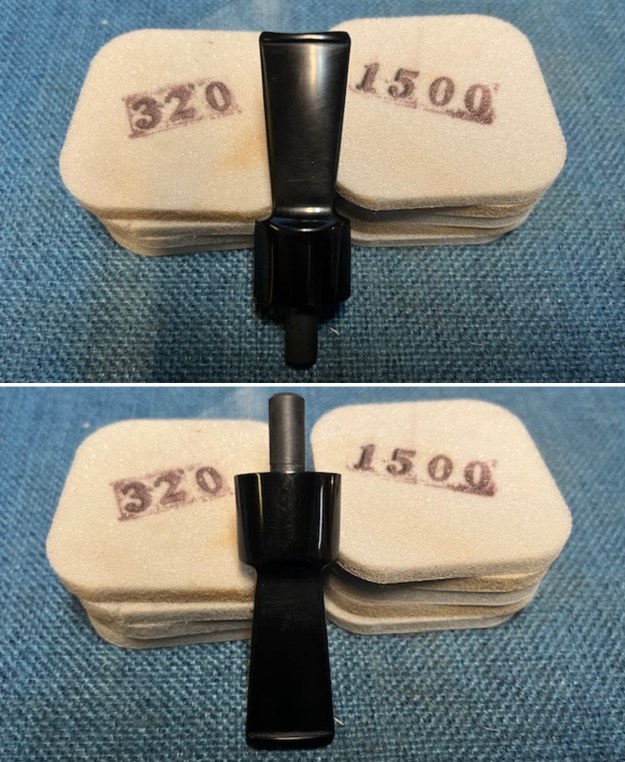
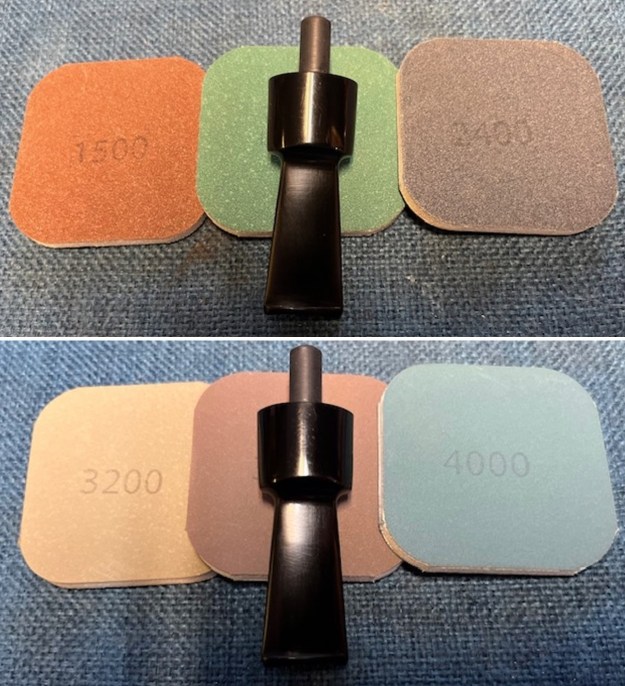
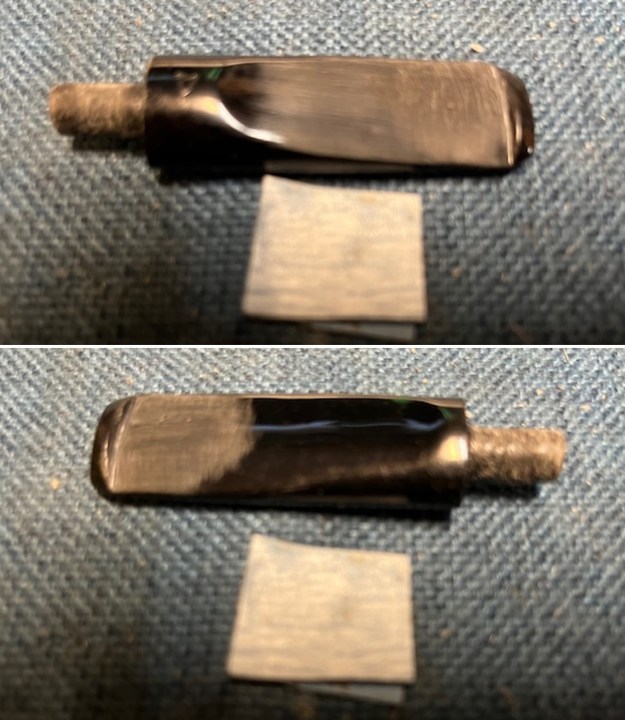 I sanded the stem with 320-3500 grit sanding pads and wiped the stem down after each pad with an Obsidian Oil saturated cloth to remove the grime and protect the stem. I interrupted the sanding after the 1500 grit pad to touch up the V stamp on the top of the stem with white acrylic fingernail polish. I continued polishing the stem with the 2000-3500 grit pads. I worked over the stamped area to remove excess acrylic white. The logo looked very good.
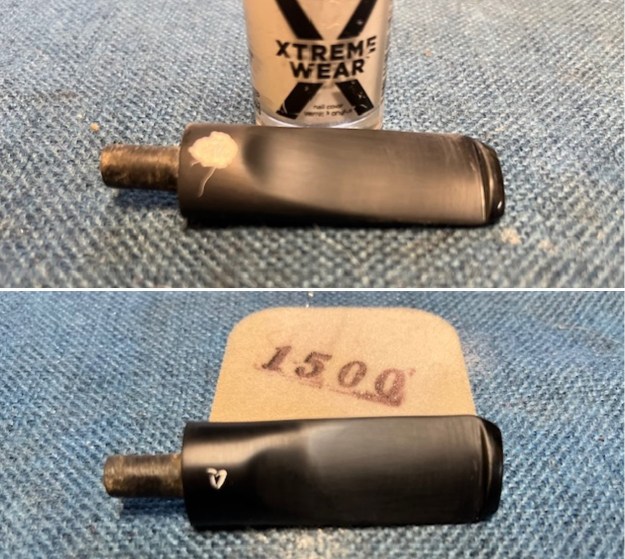
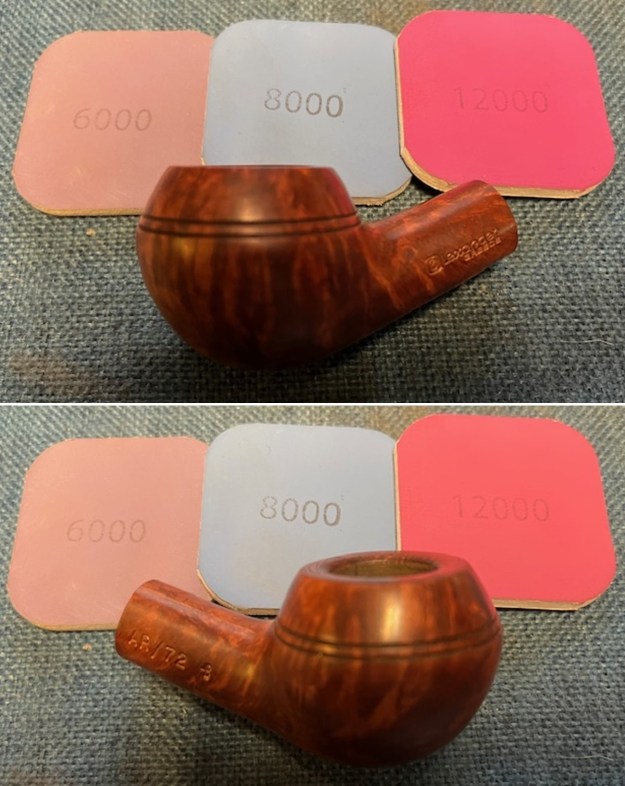
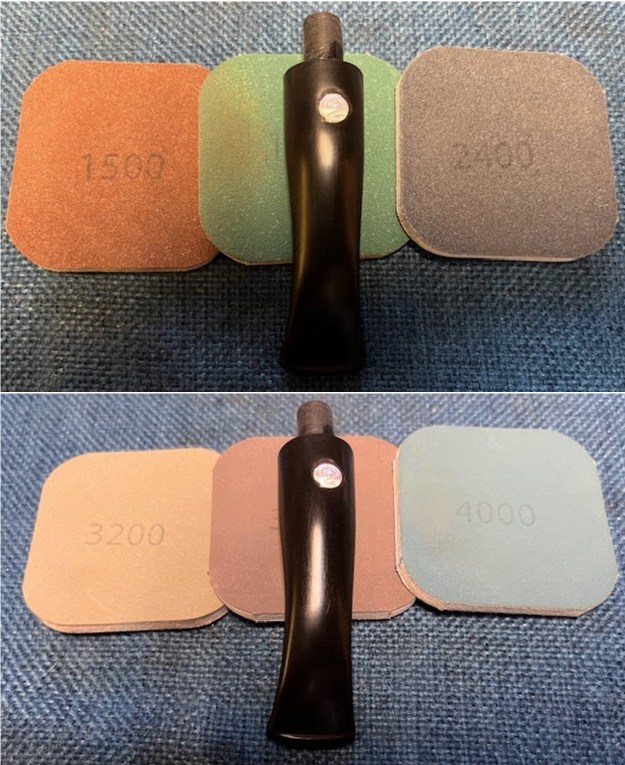
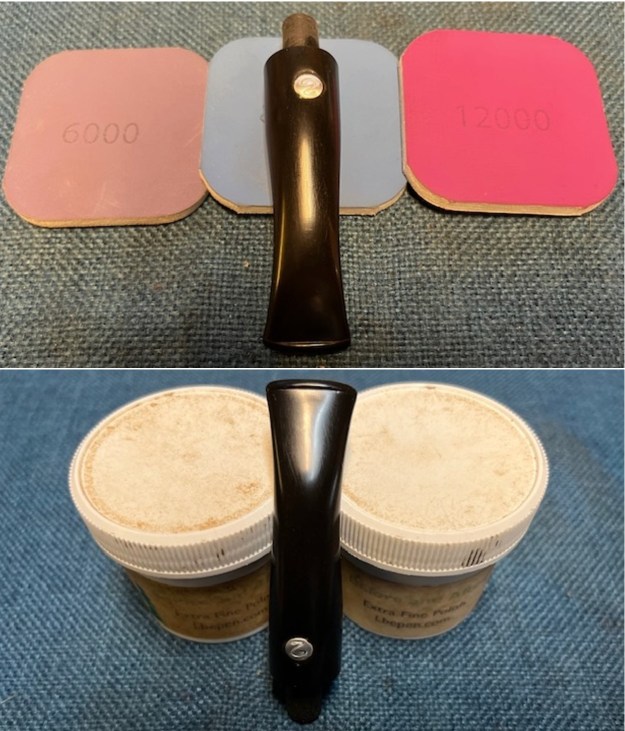
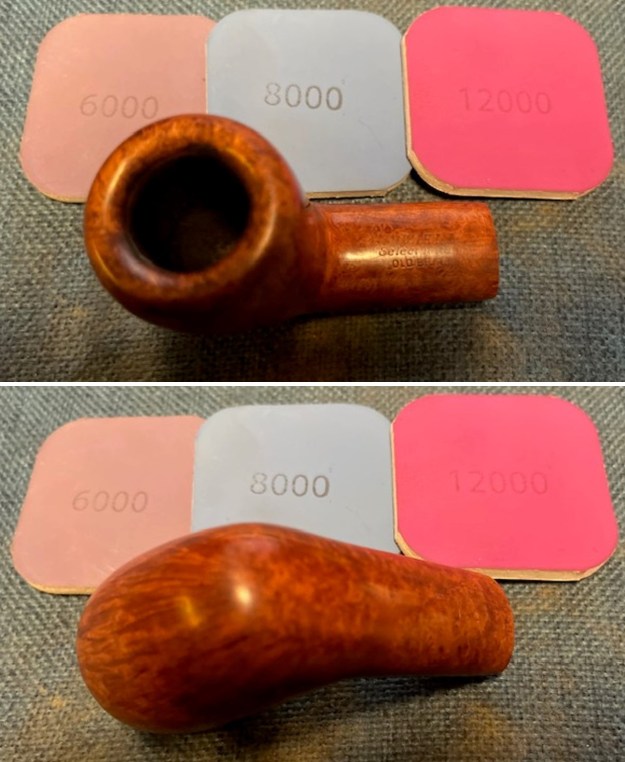
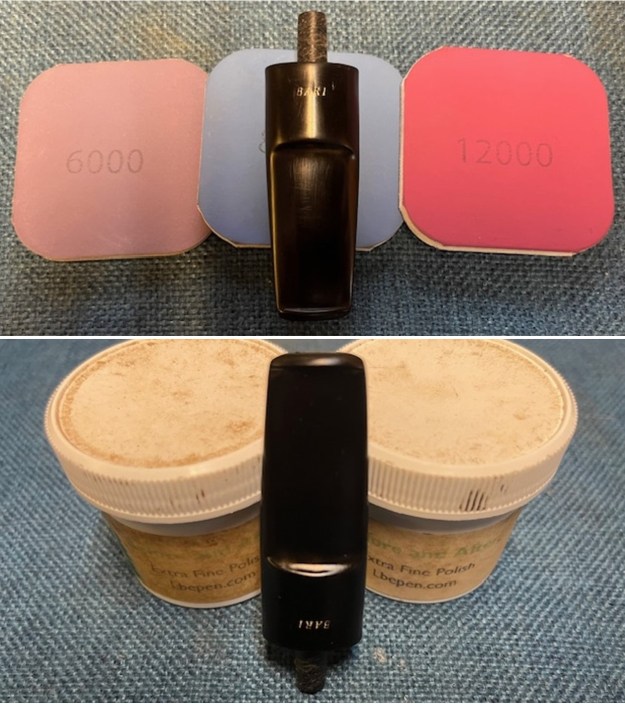
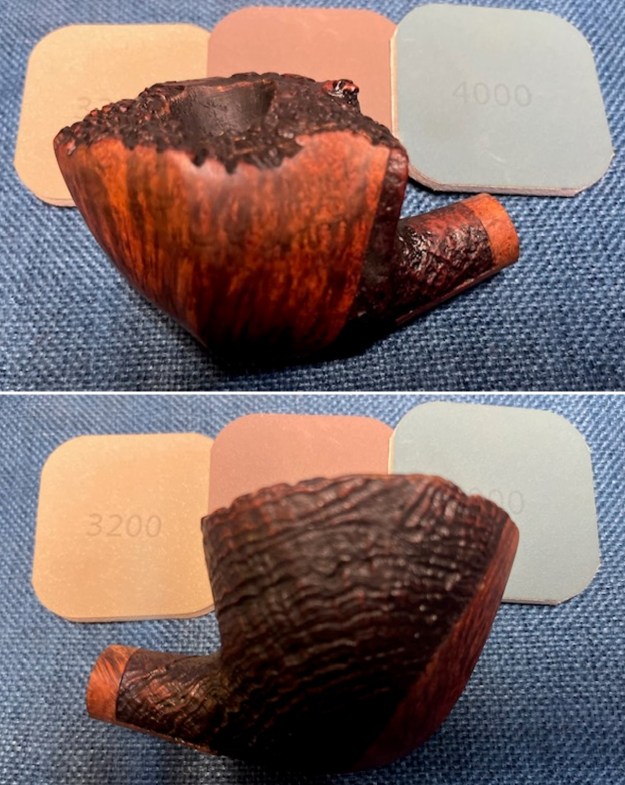
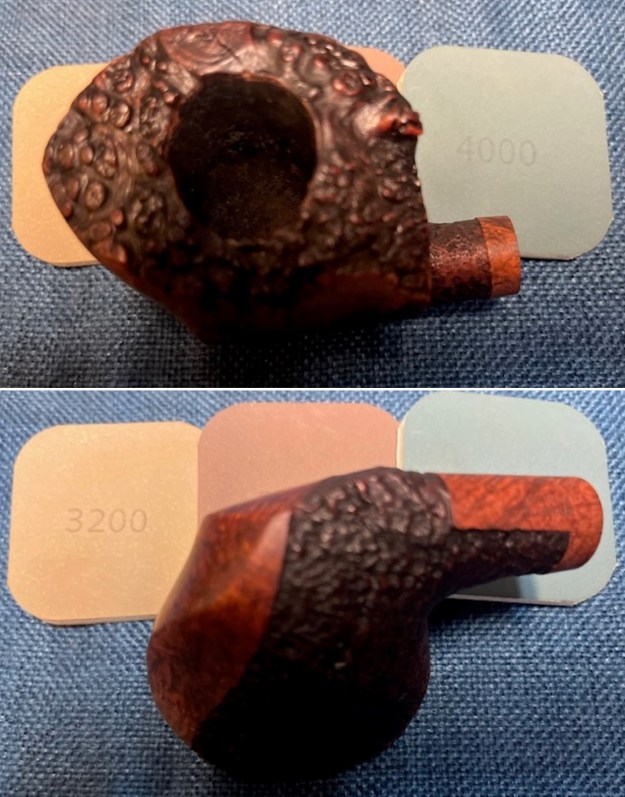
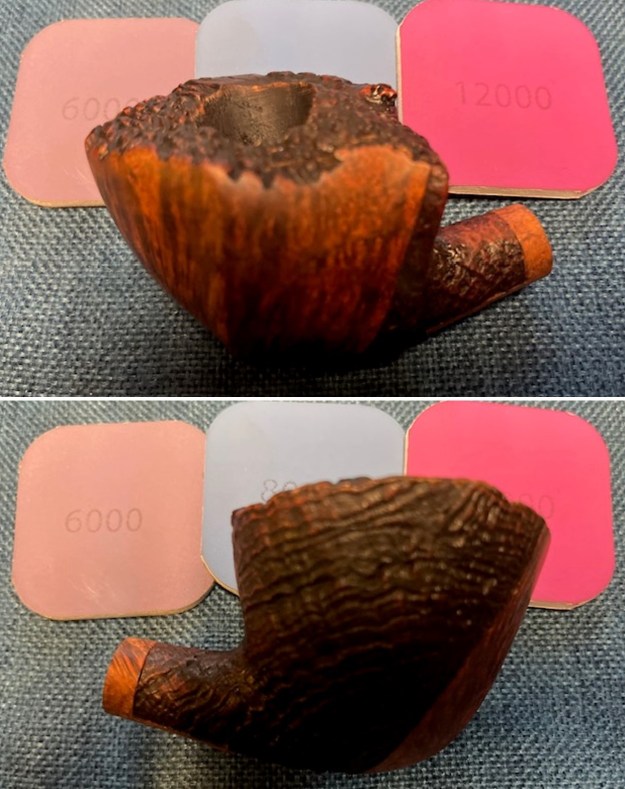
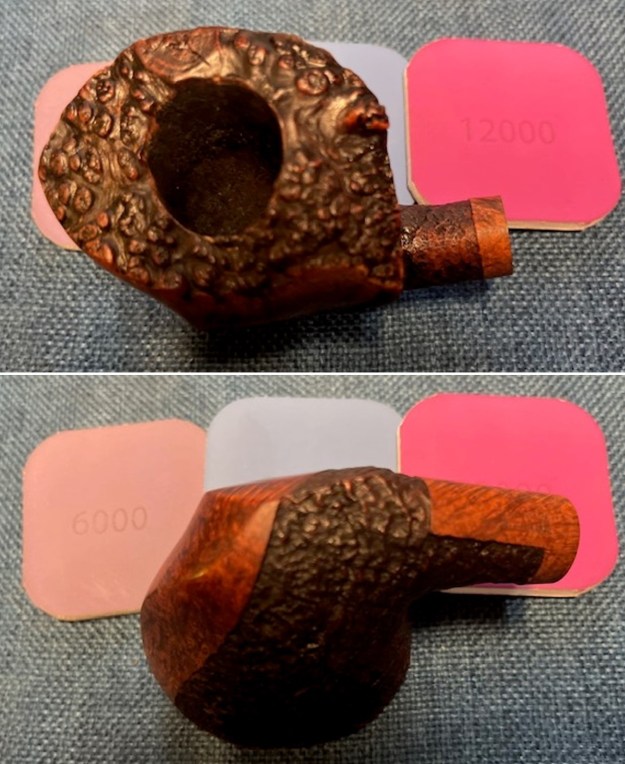
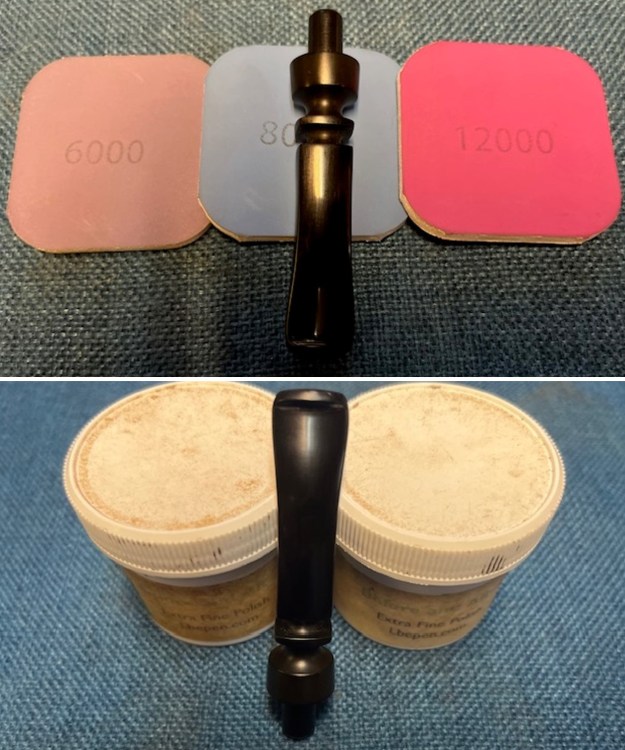
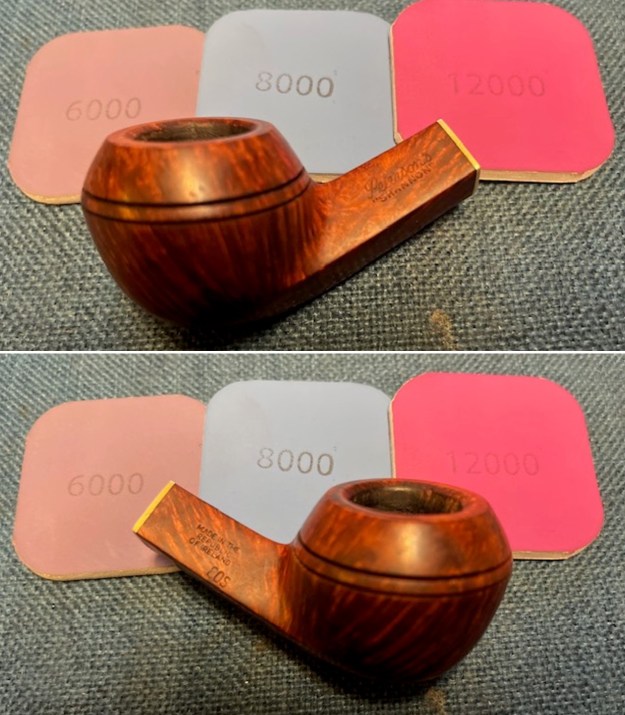
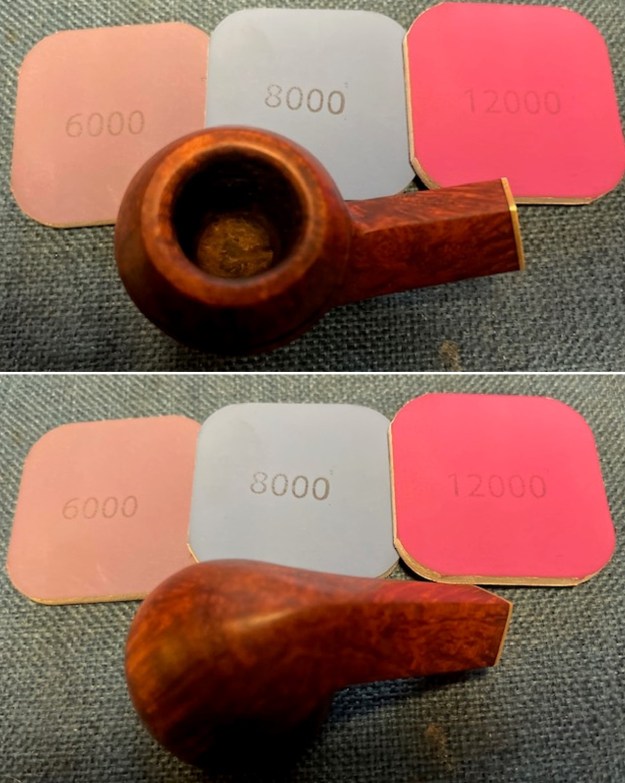
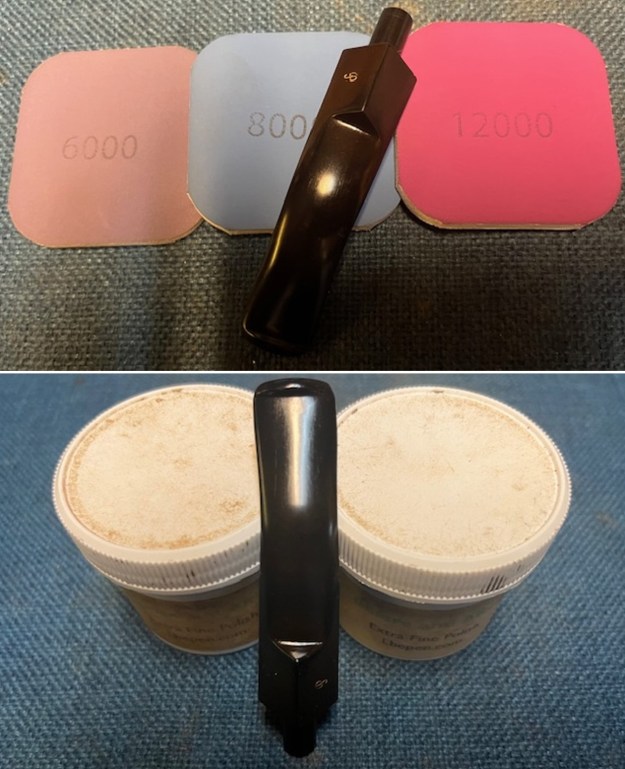
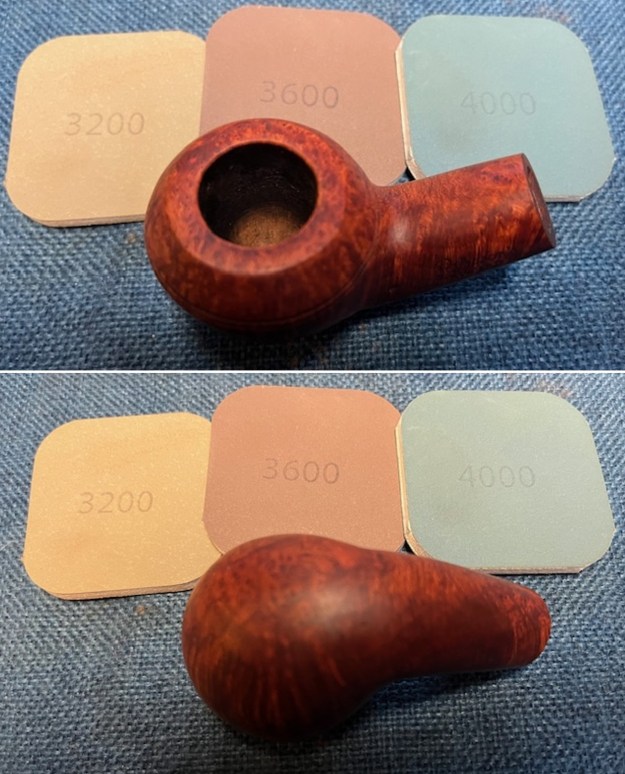
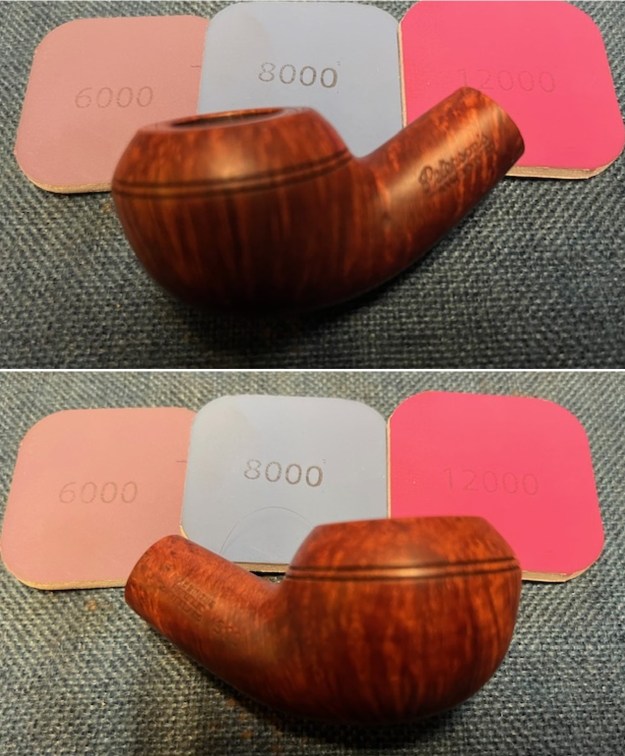
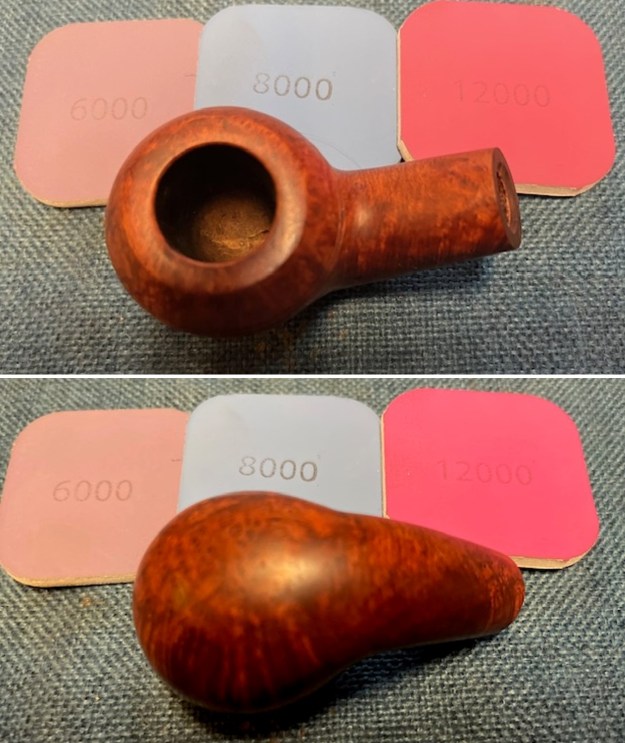
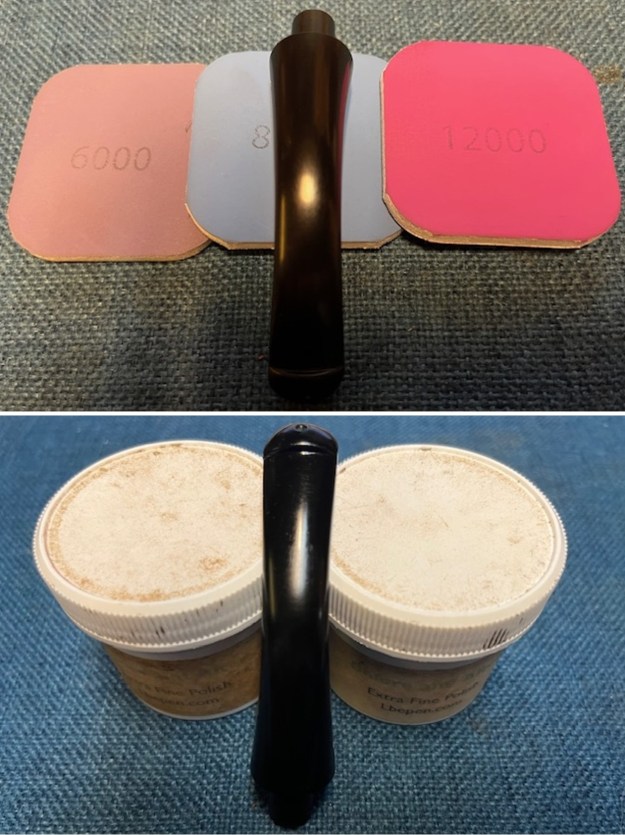
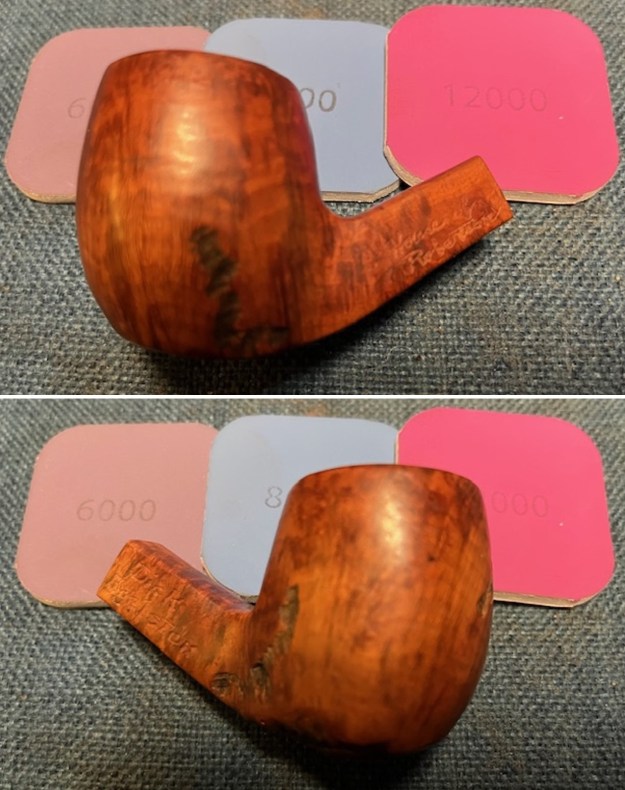
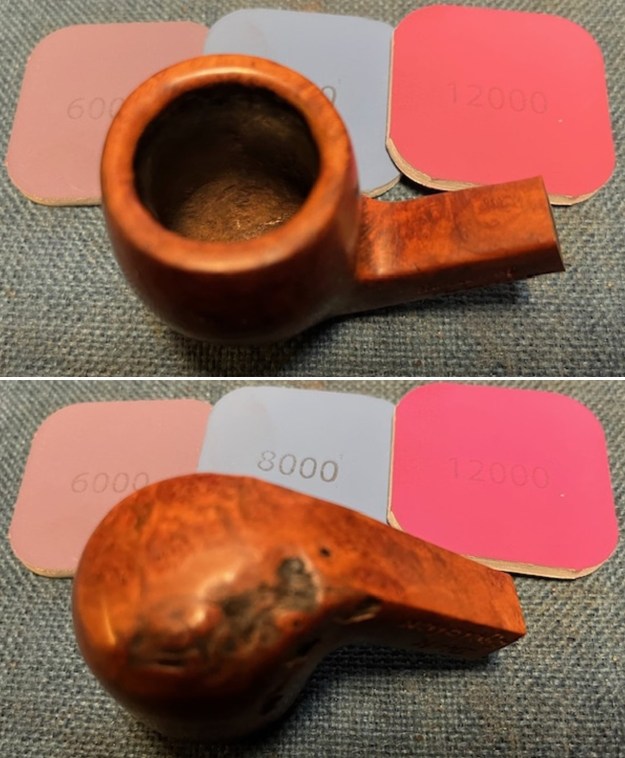
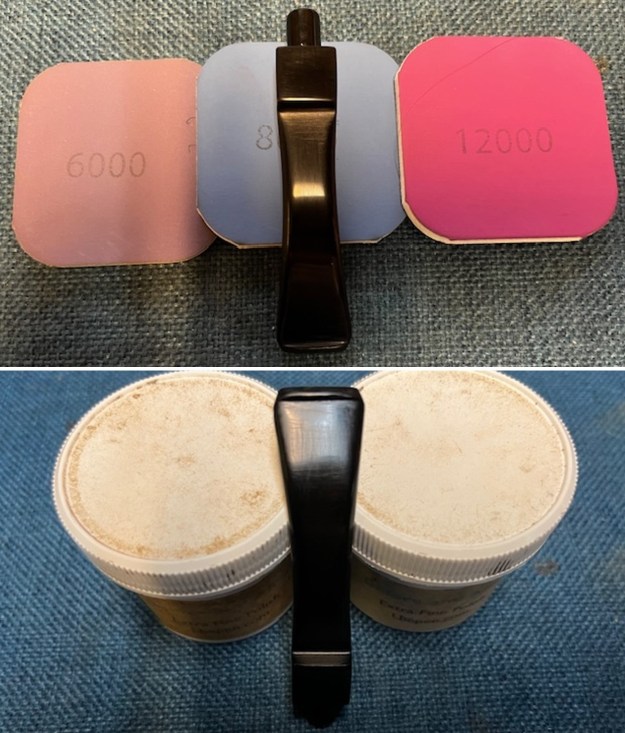
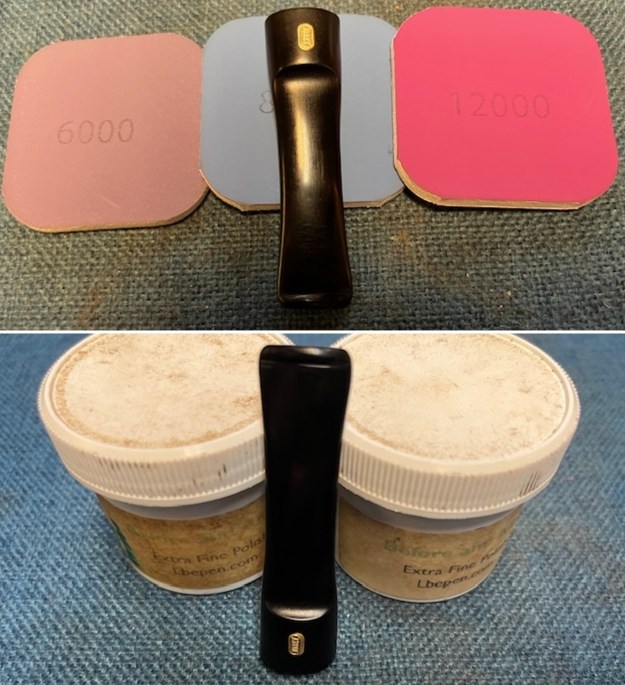
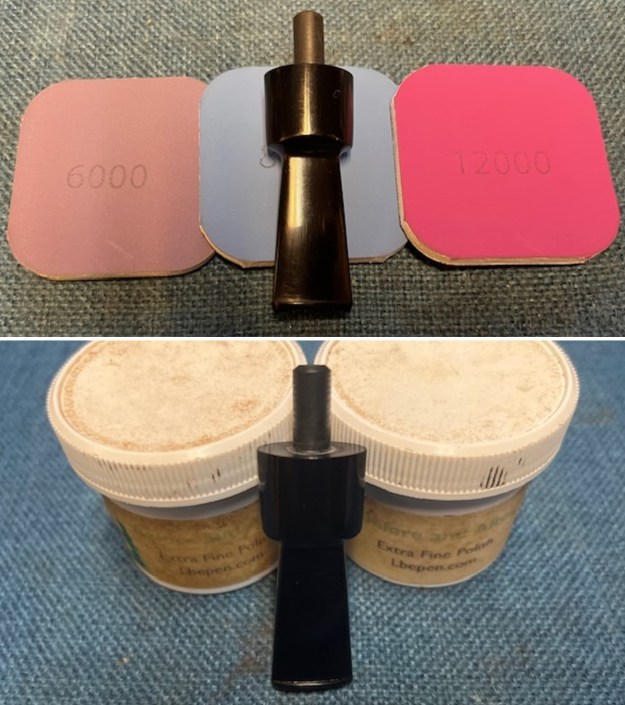
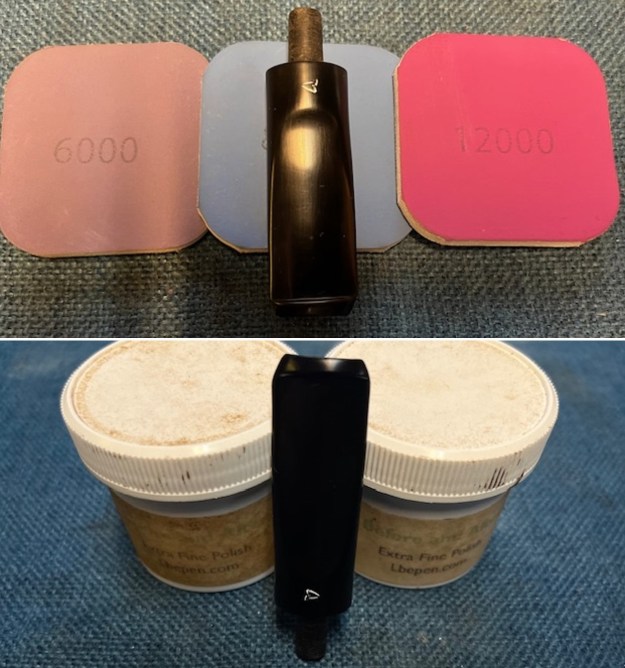
 I polished the stem with micromesh sanding pads – wet sanding it with 1500-12000 grit pads. I polished it further with Before & After Pipe Stem Polish – both fine and extra fine.
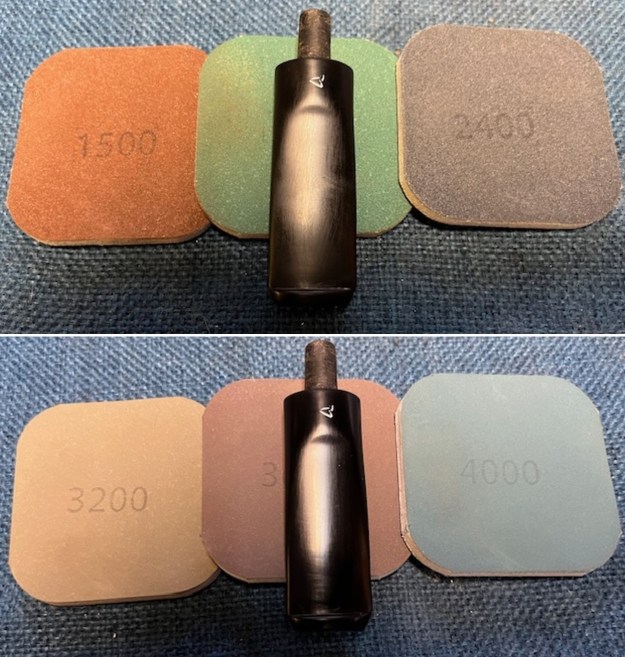
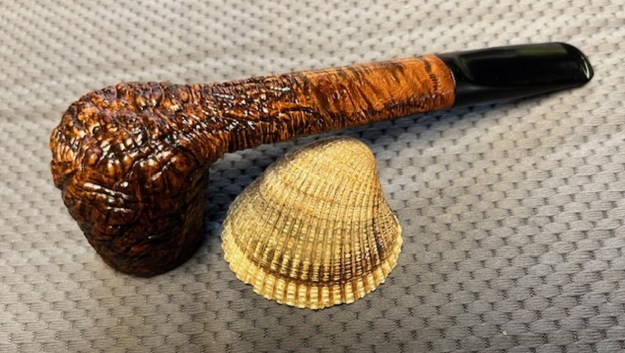
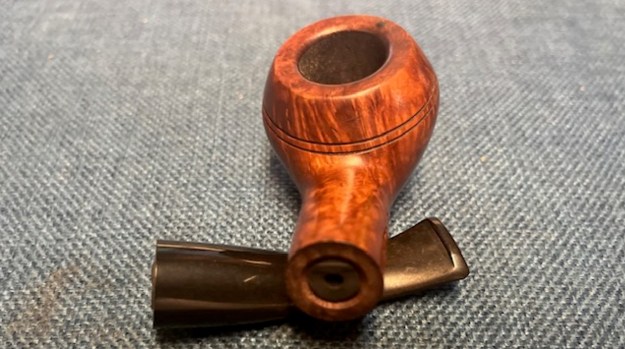
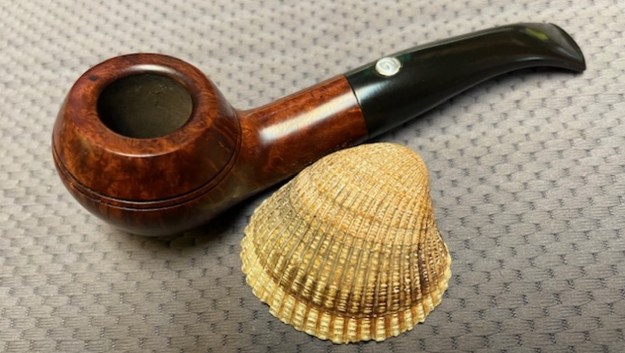
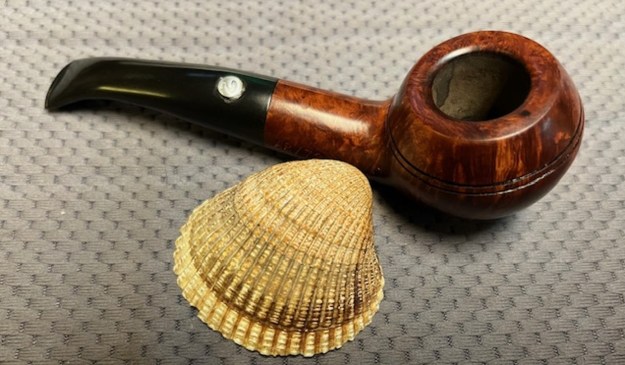
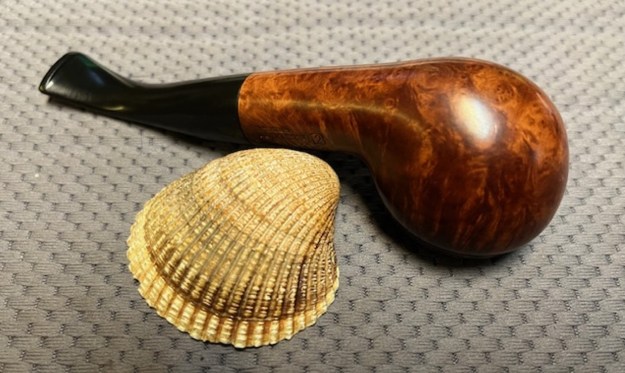
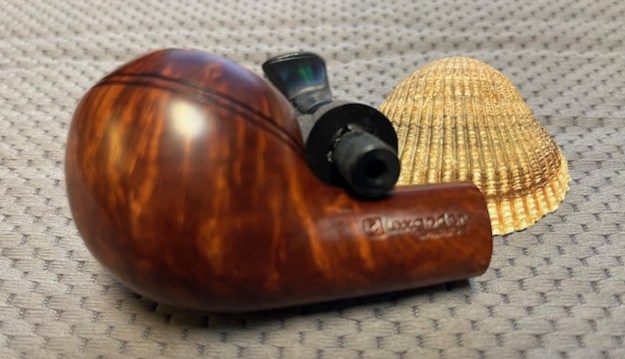
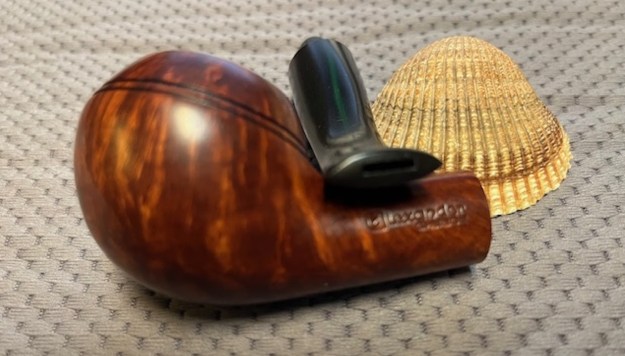
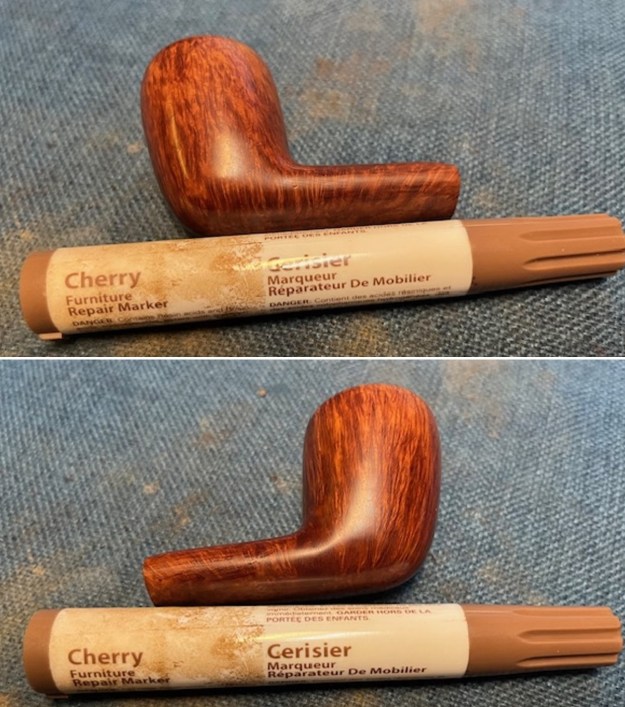
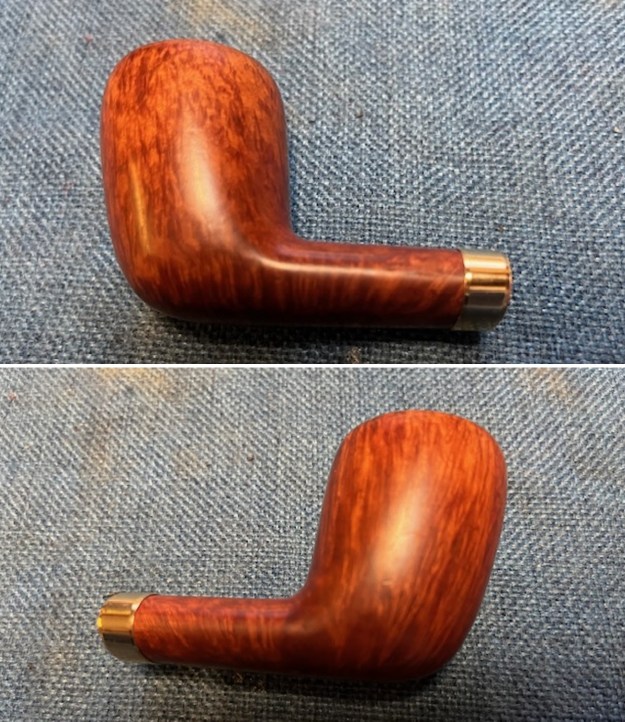
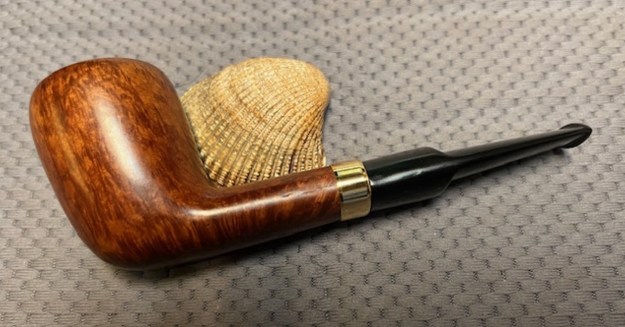
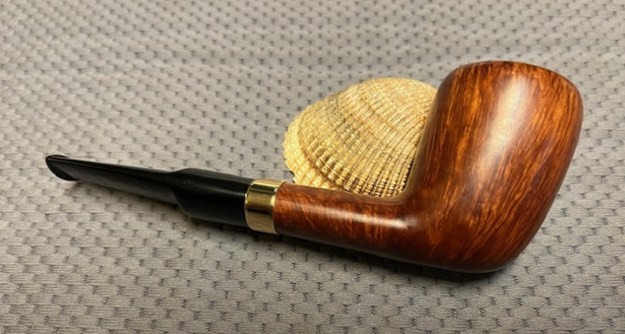
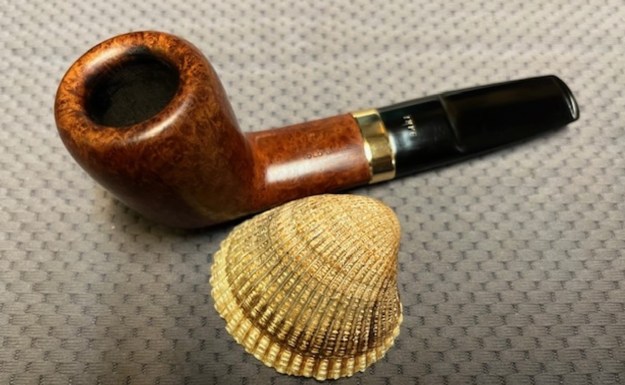
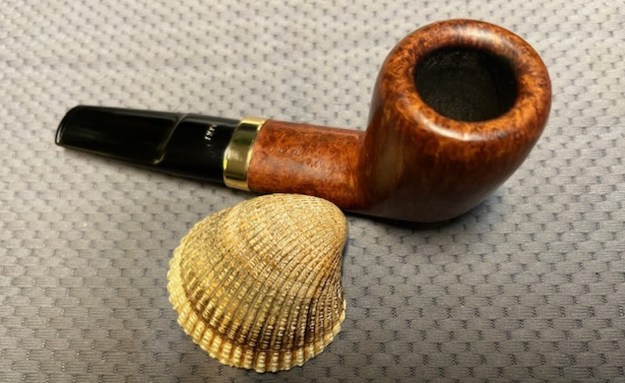
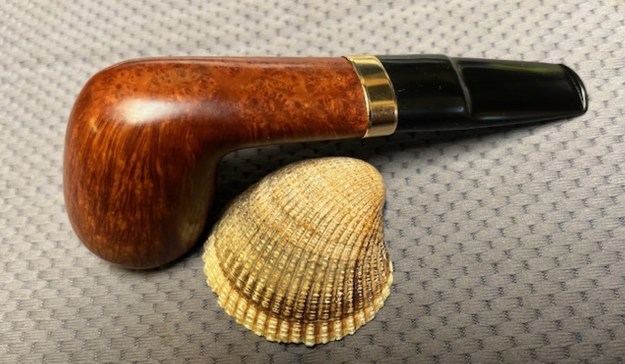
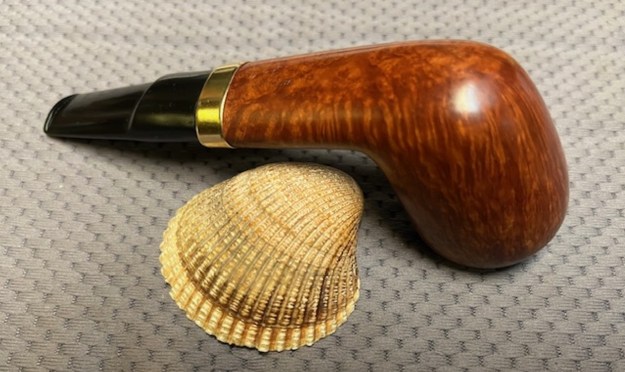
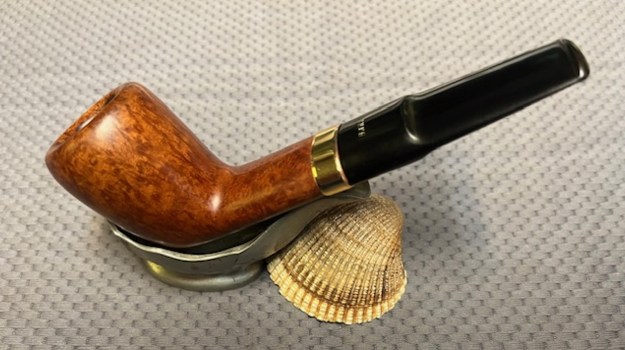
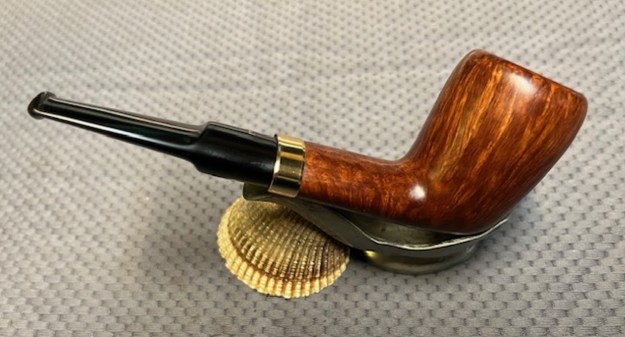
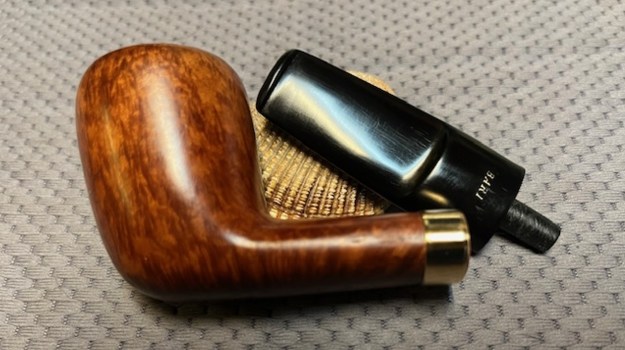
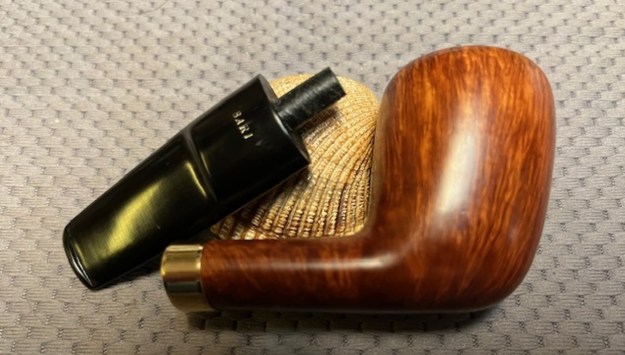
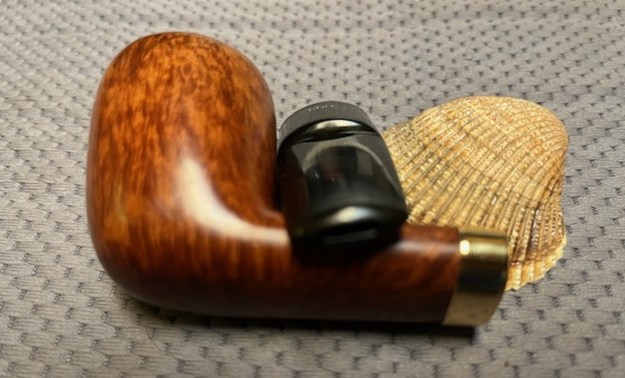
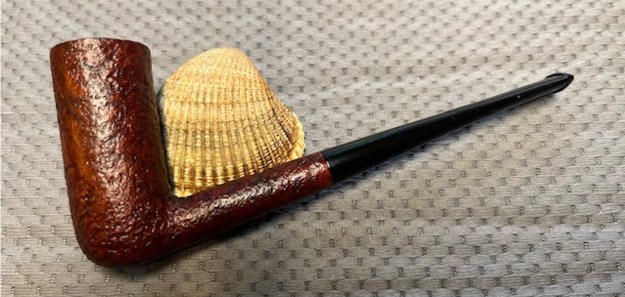
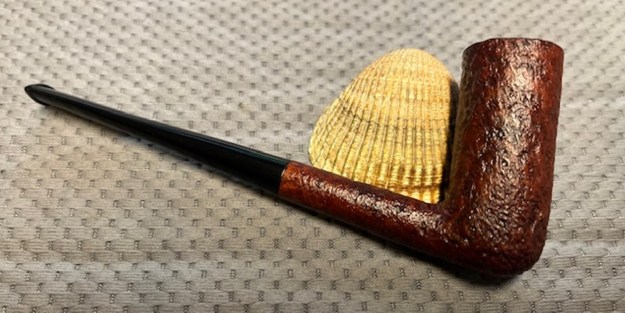
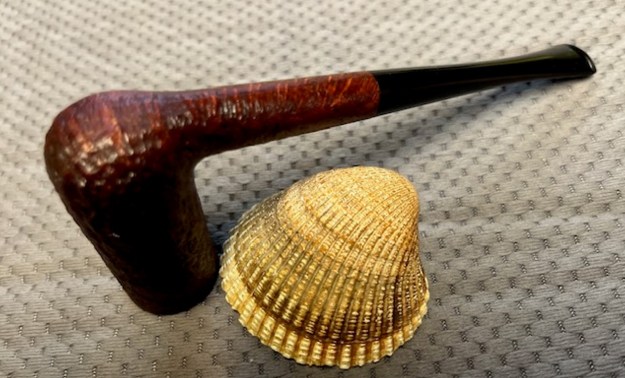
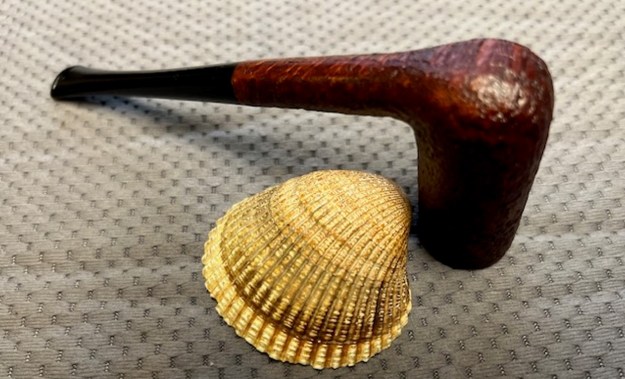
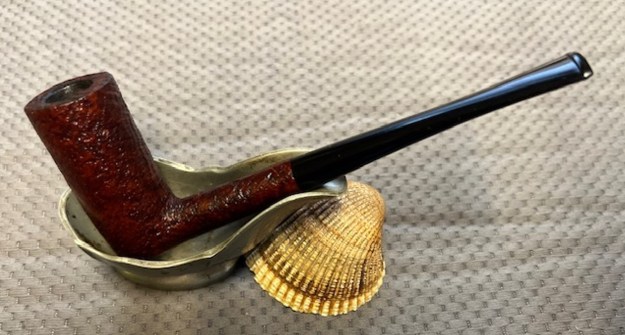
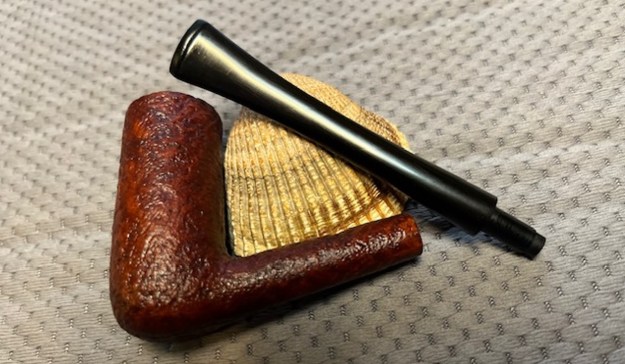
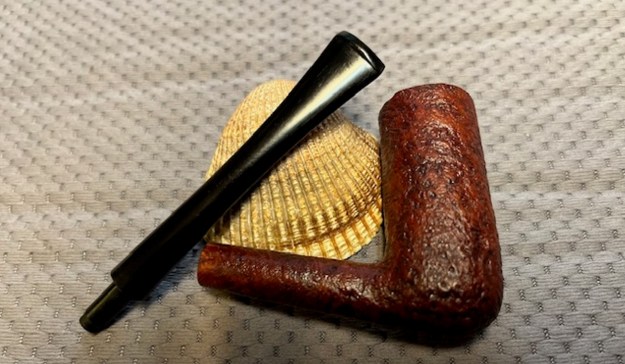
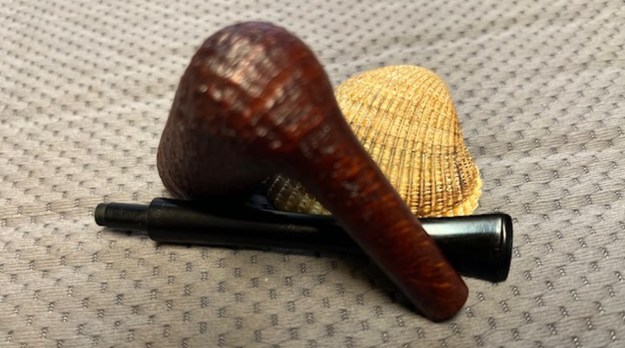
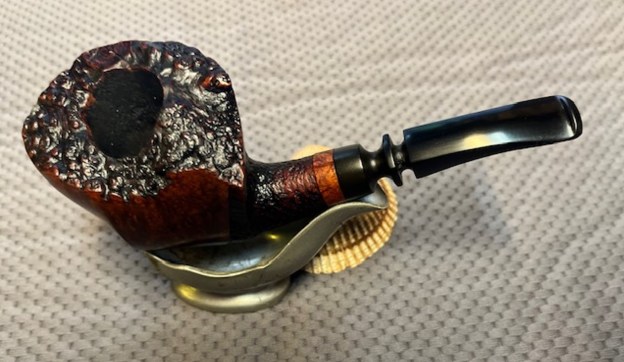
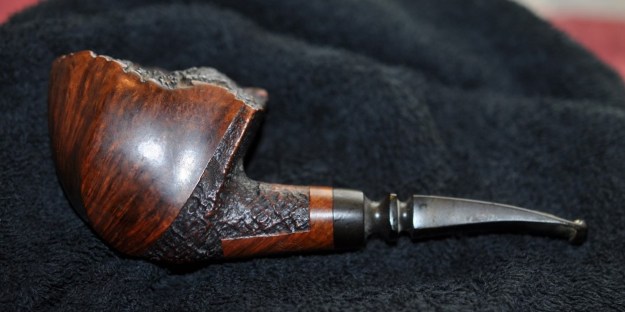
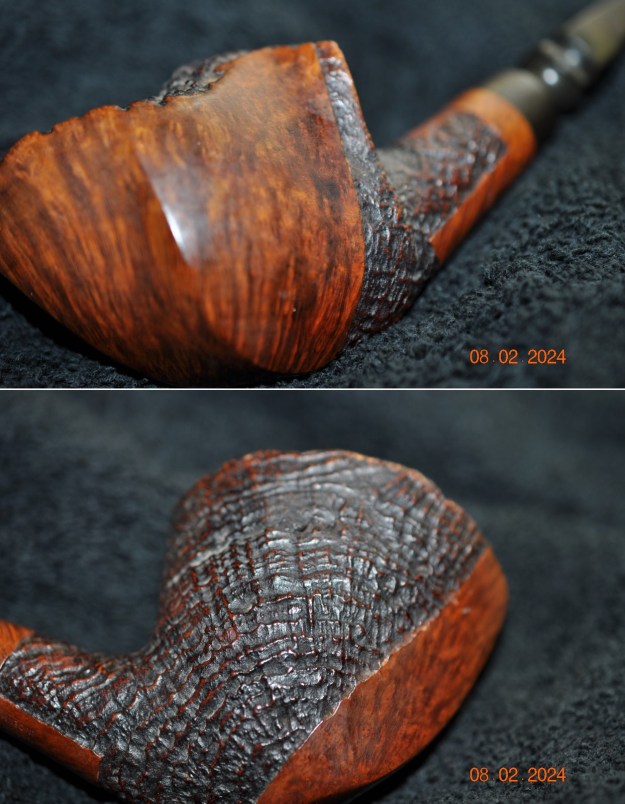
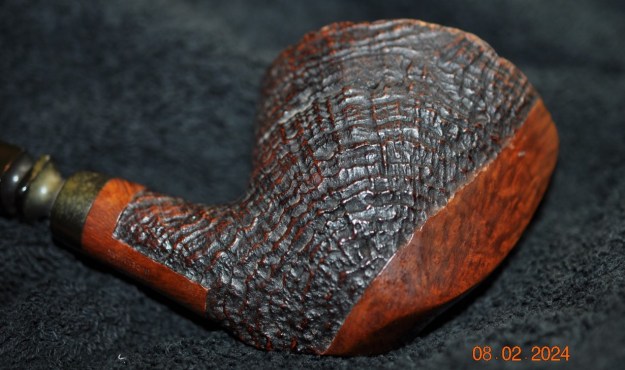
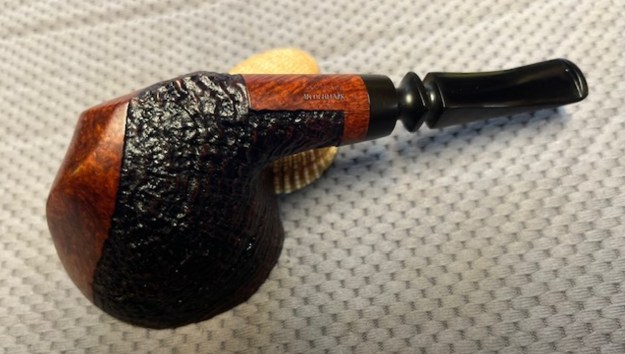
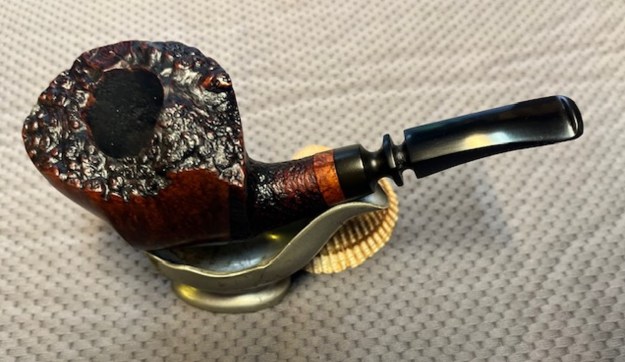
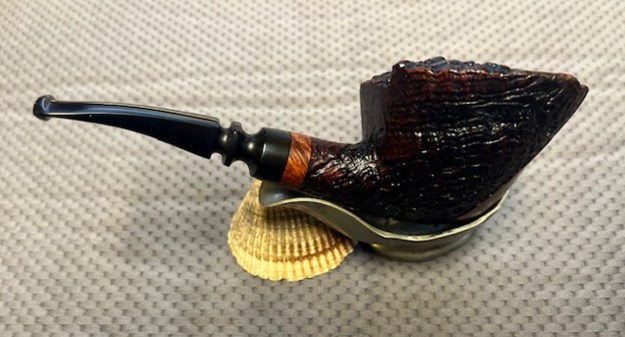
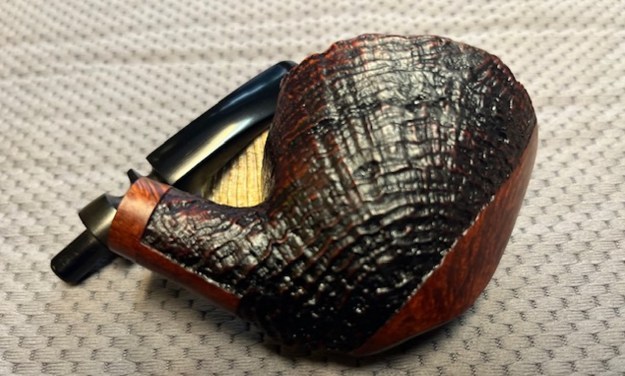
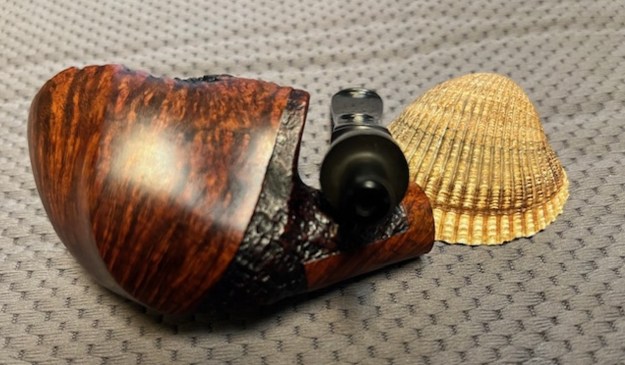
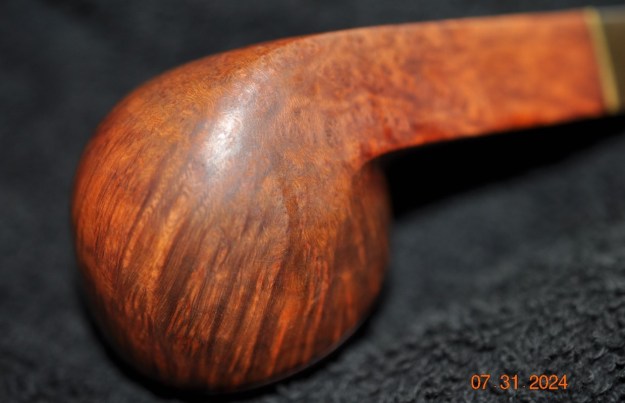
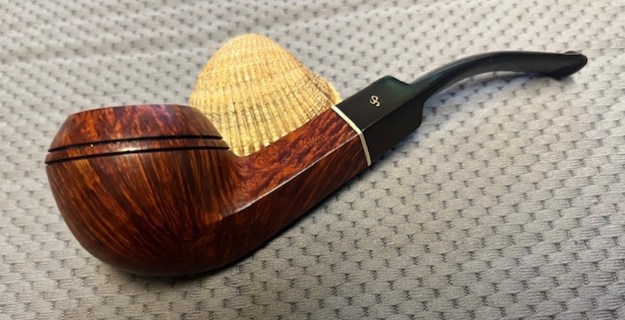
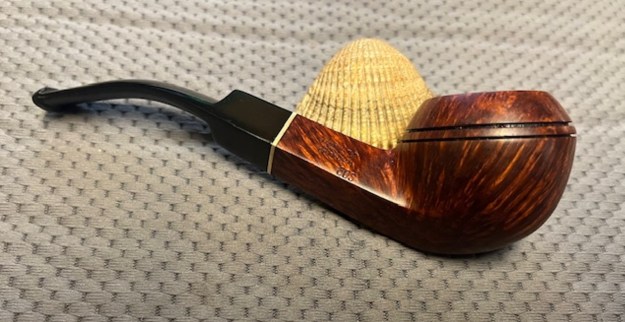
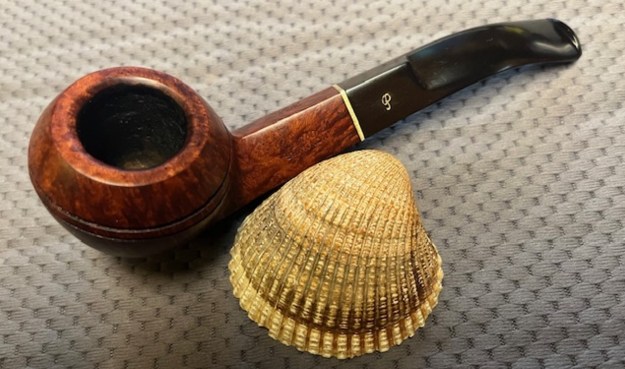
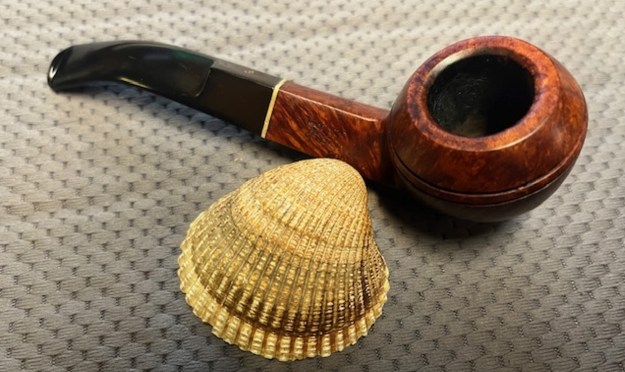
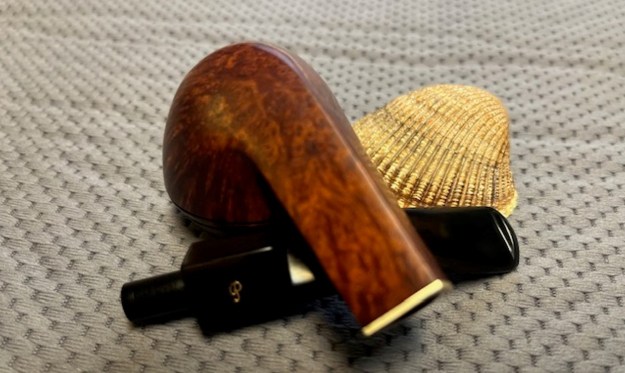
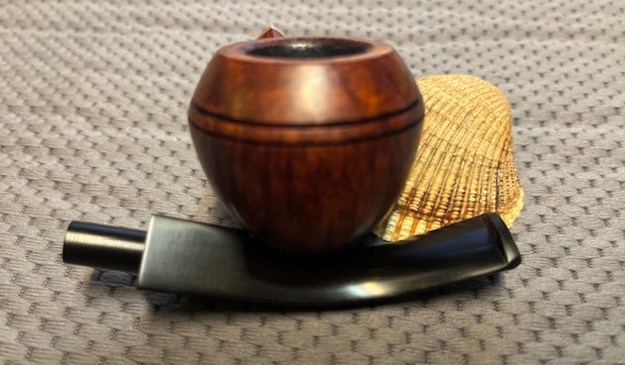
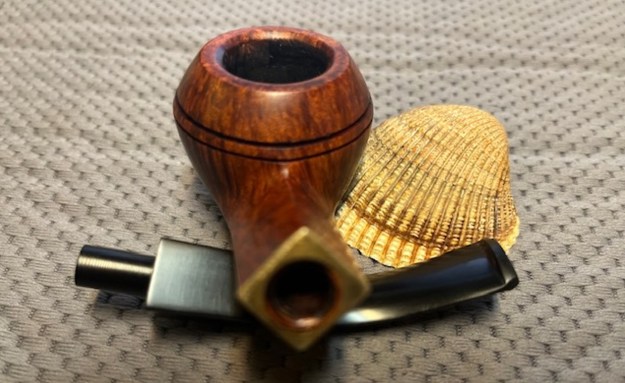
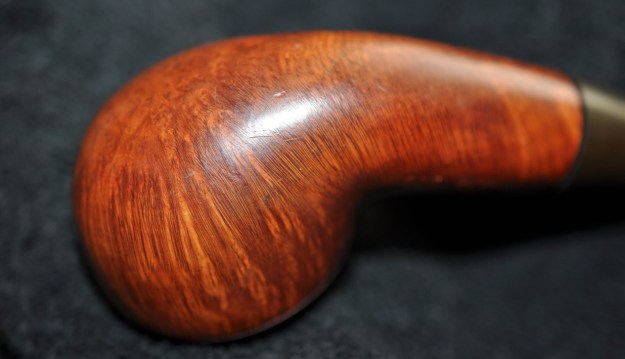
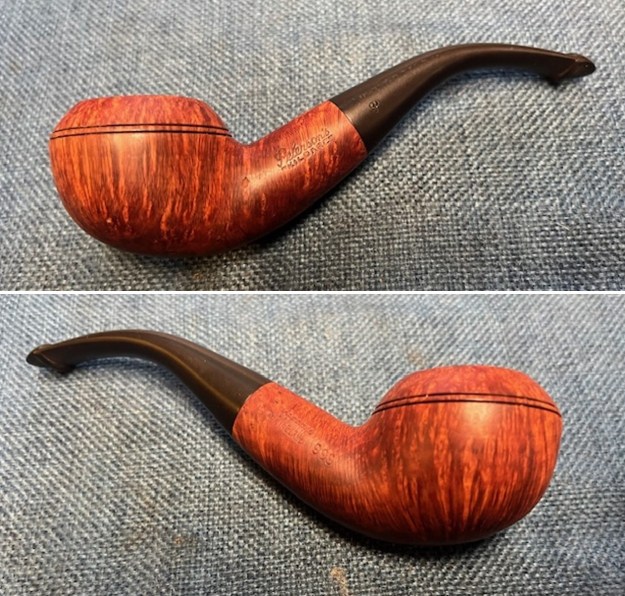
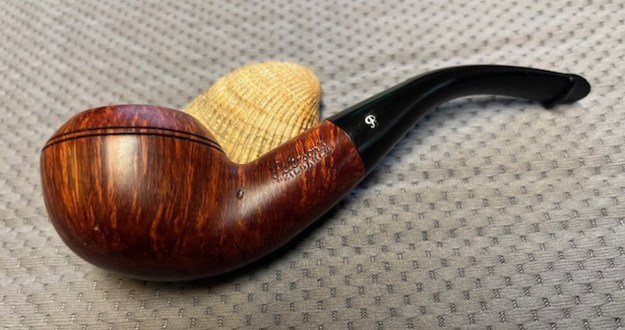
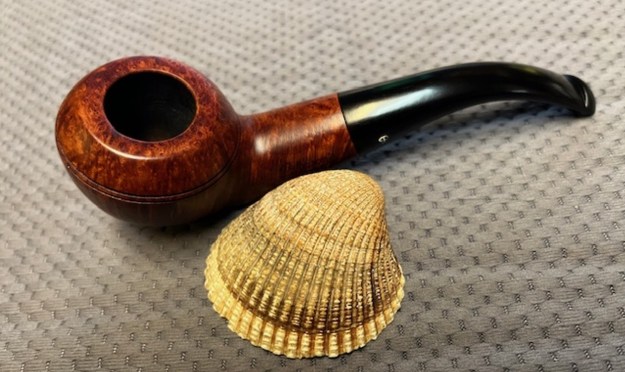
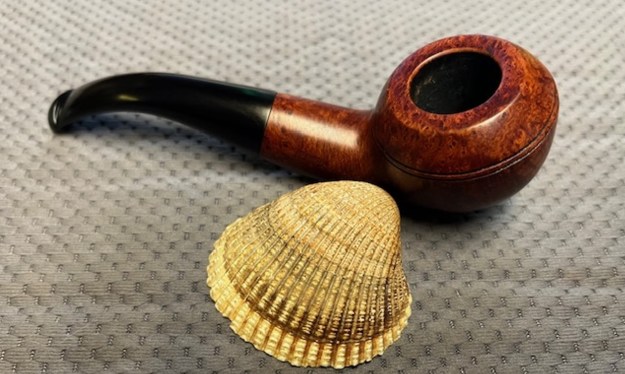
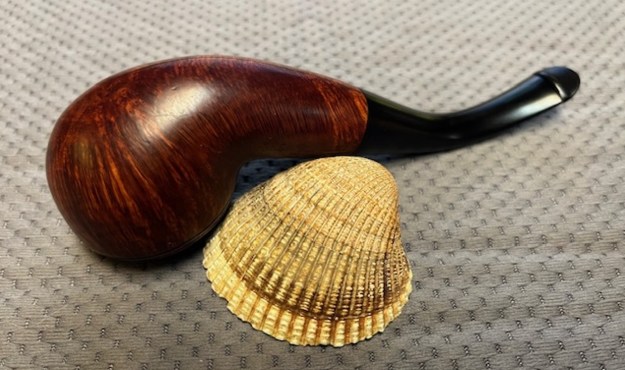
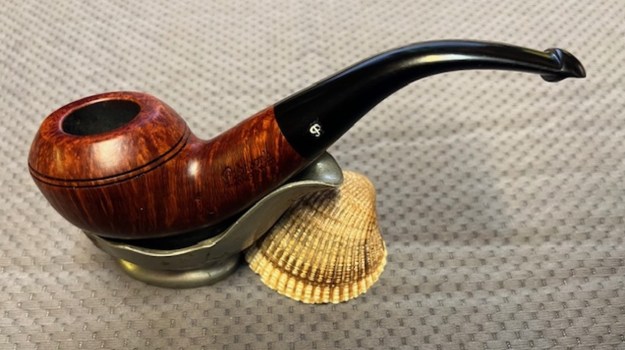
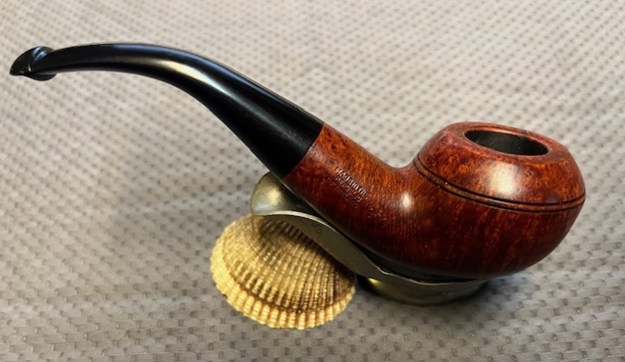
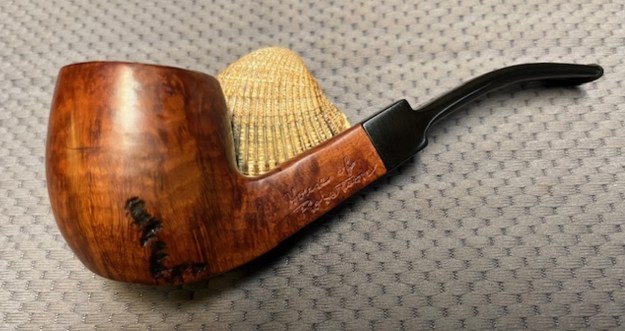
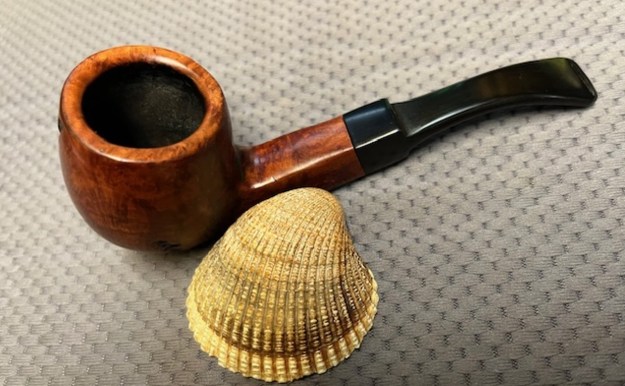
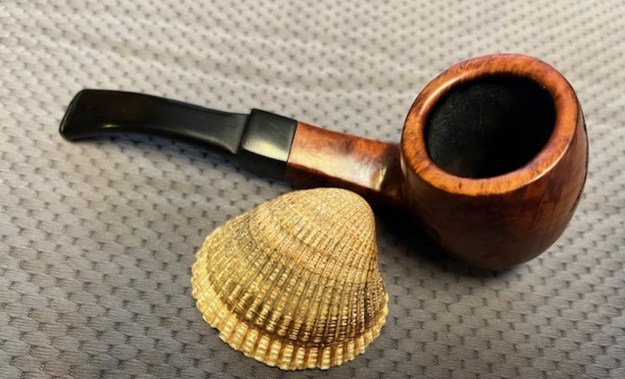
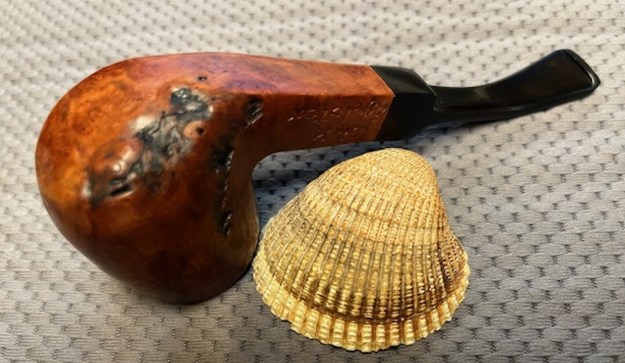
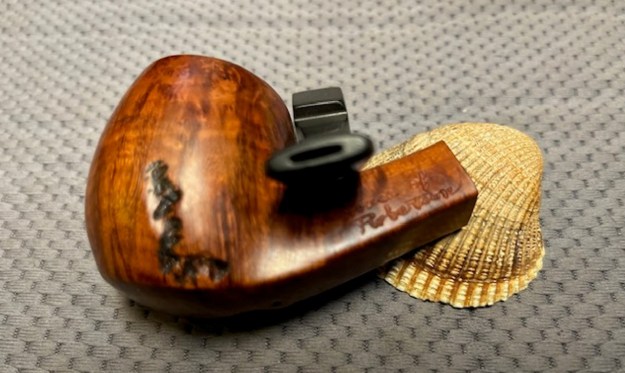
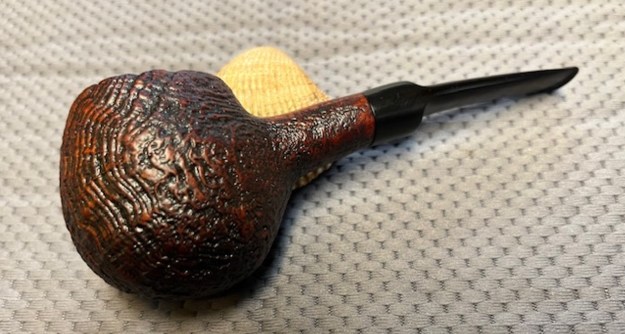
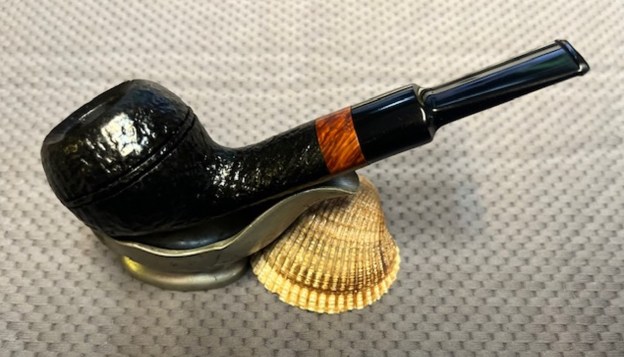
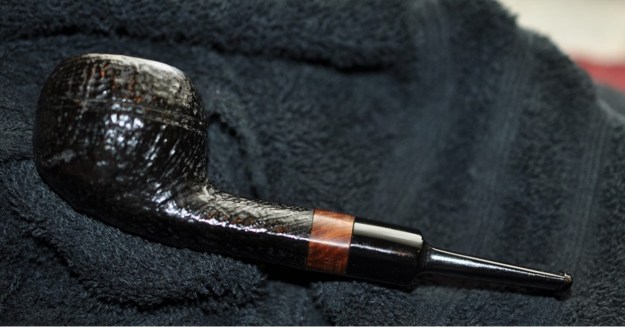
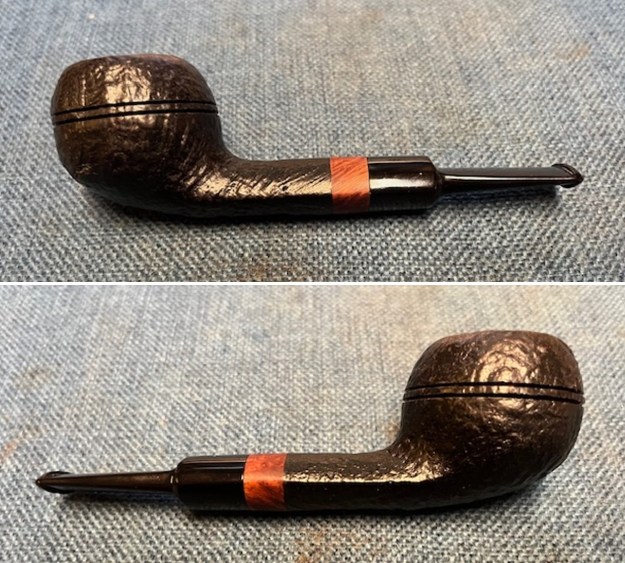
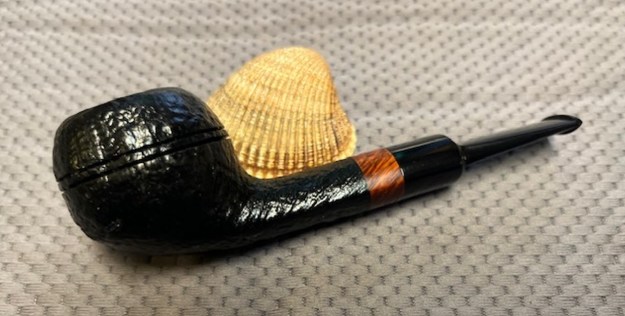
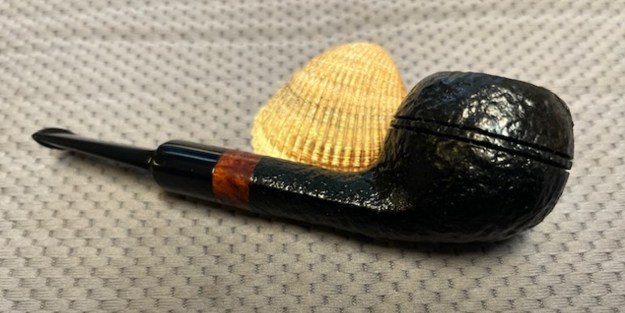
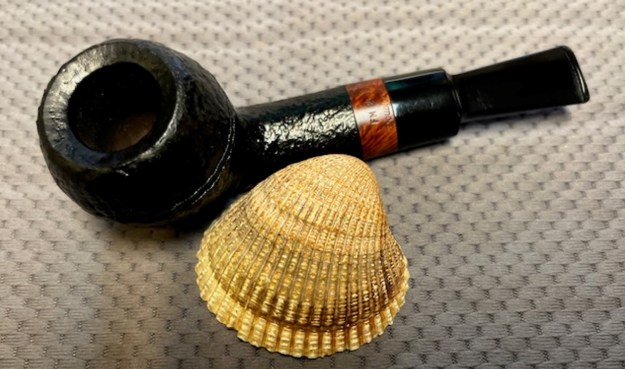
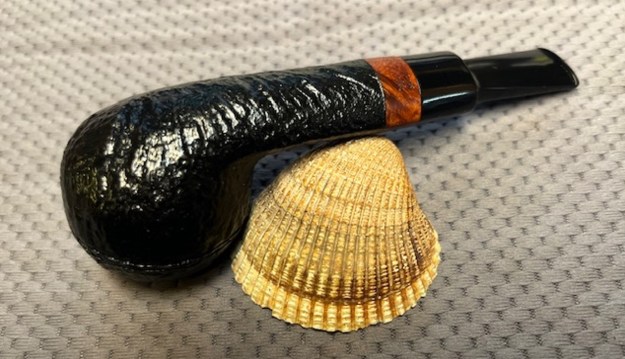
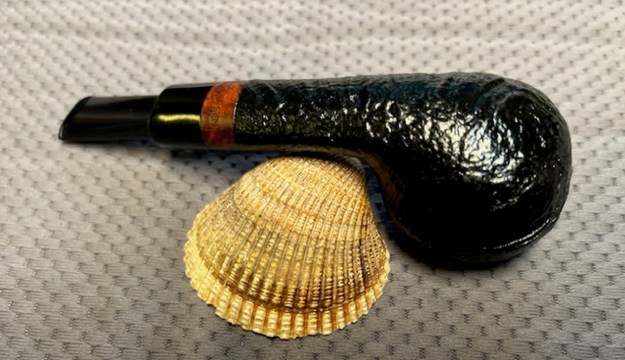
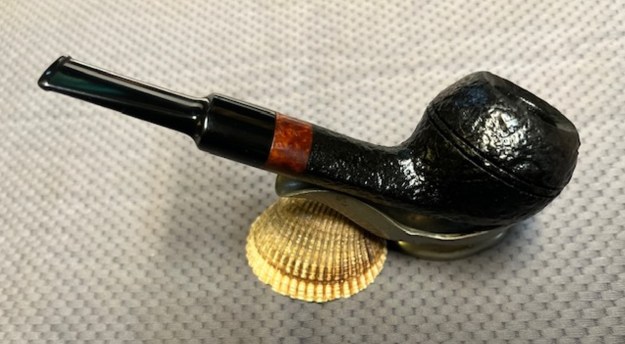
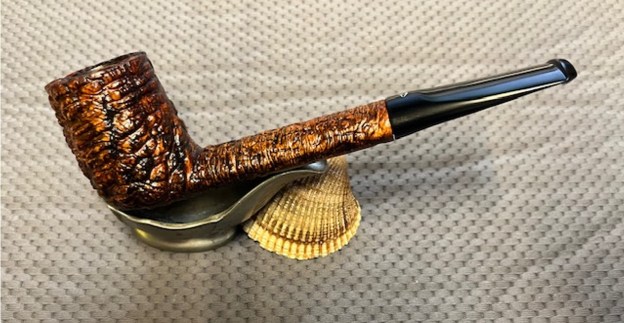
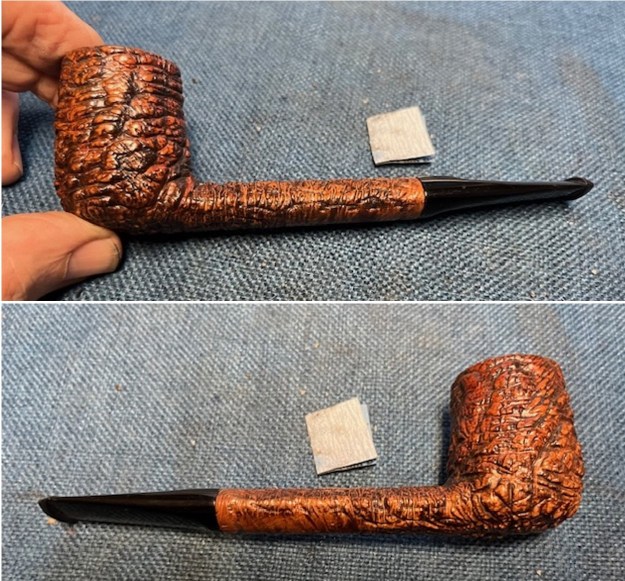
 Once again, I am the part of the restoration that I always look forward to – the moment when all the pieces are put back together. I put the pipe back together and buffed the bowl and the stem with Blue Diamond on the buffing wheel. I gave the bowl and the stem multiple coats of carnauba wax. I buffed the pipe with a clean buffing pad to raise the shine. I hand buffed it with a microfiber cloth to deepen the shine. It is fun to see what the polished bowl looks like with the deeply rusticated finish and the black acrylic stem. This richly stained Tinderbox Verona Rustica 702 Canadian is light weight and ready for you to load up a tobacco of preference and enjoy a fresh smoke. Have a look at it in the photos below. The dimensions are Length: 6 inches, Height: 1 ¾ inches, Outside diameter of the bowl: 1 ¼ inches, Chamber diameter: ¾ of an inch. The weight of the pipe is 43 grams/1.48 ounces. This is one that will go on the Italian Pipe Makers Section of the rebornpipes online store shortly. Let me know if you are interested in adding it to your rack. Thanks to each of you who are reading this blog. Remember we are not pipe owners; we are pipemen and women who hold our pipes in trust until they pass on into the trust of the next generation.