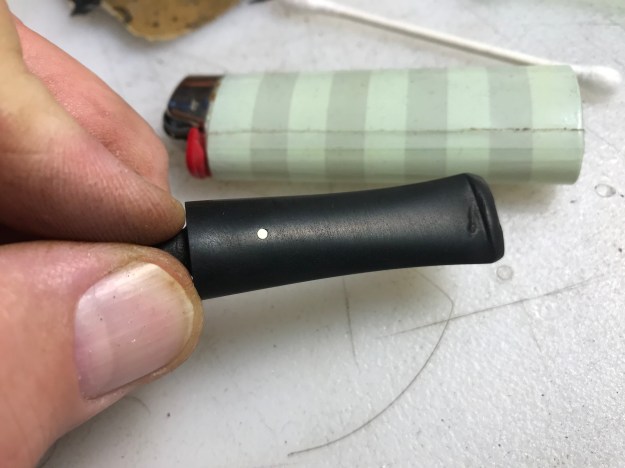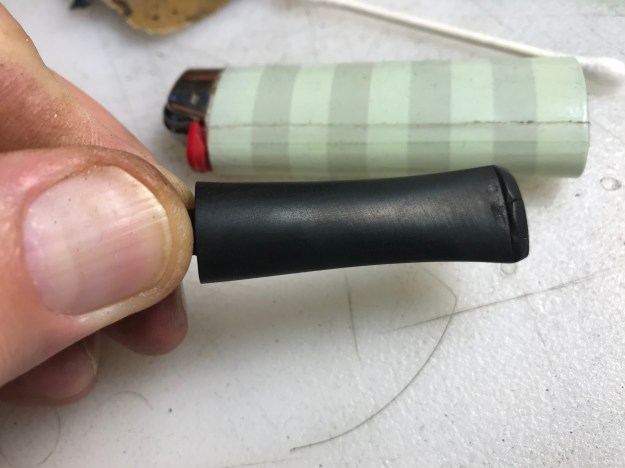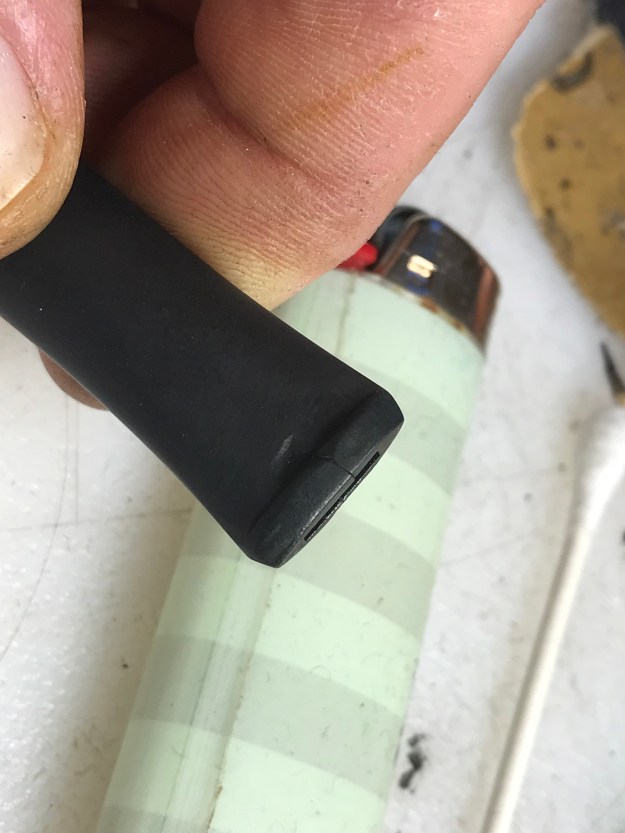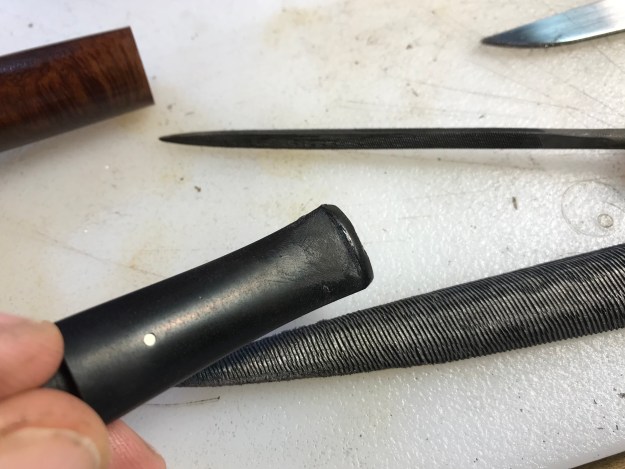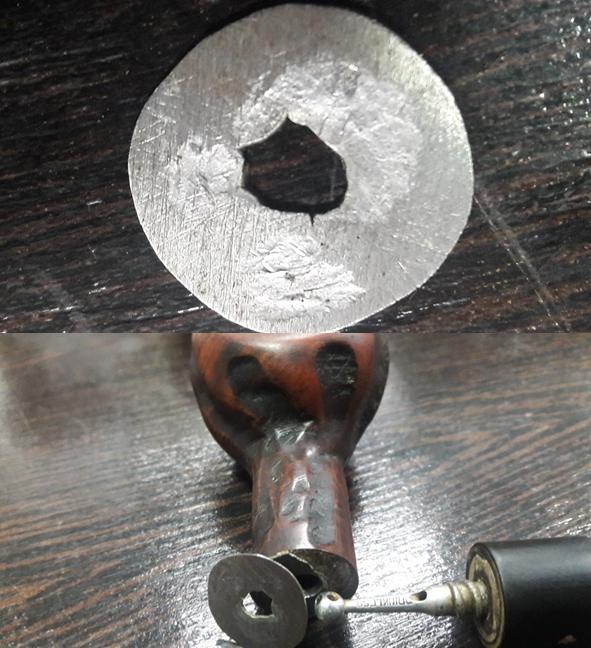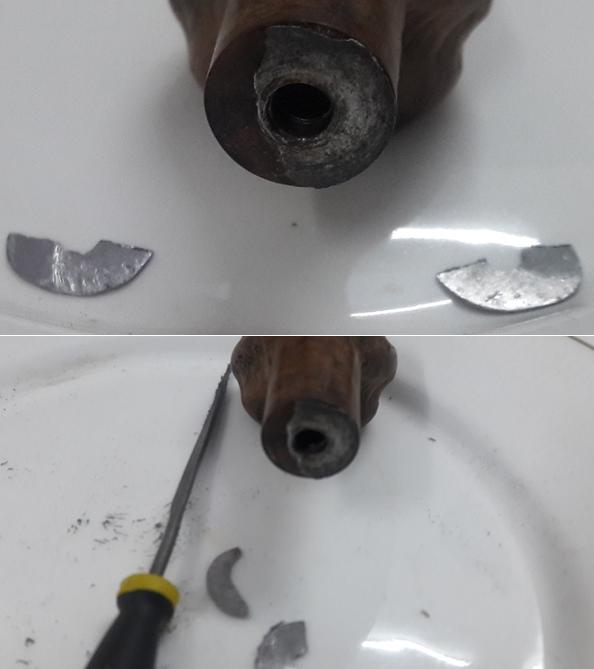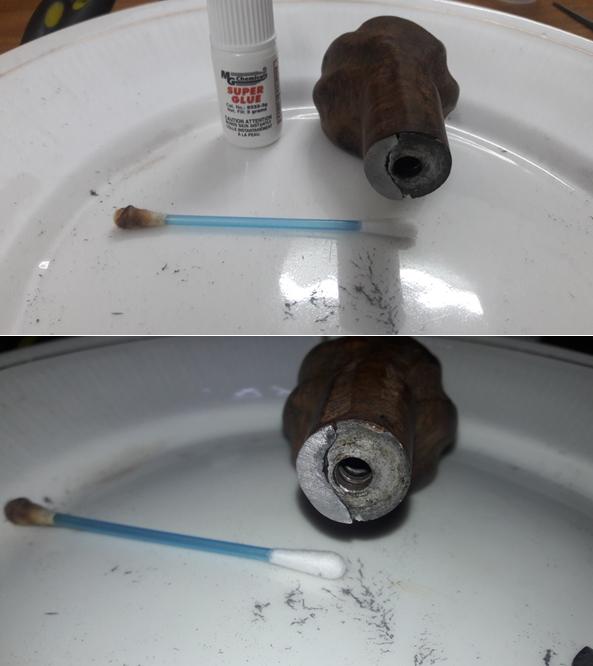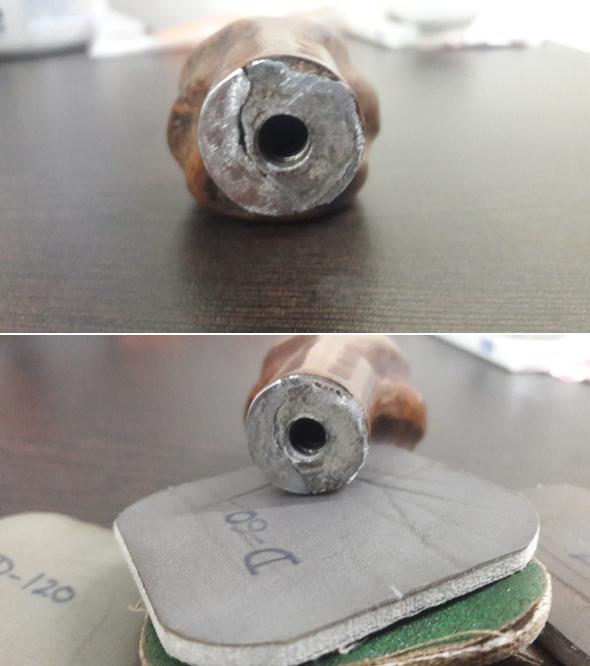
Tag Archives: Stem repairs

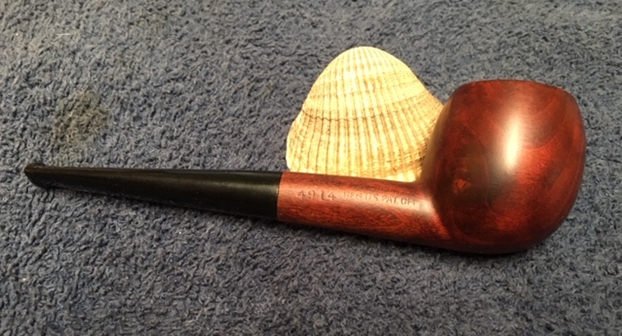
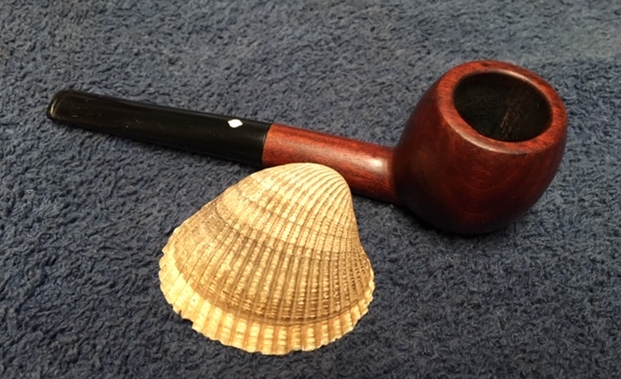
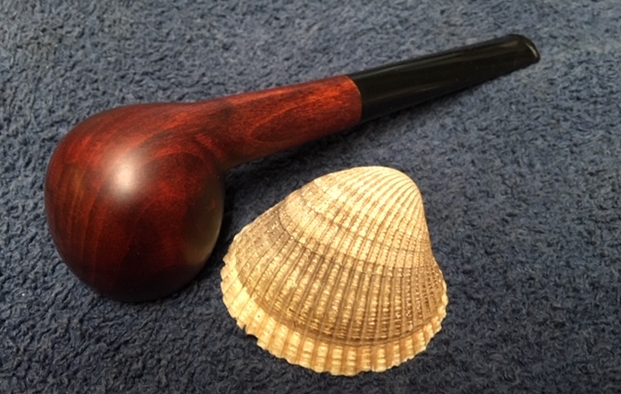
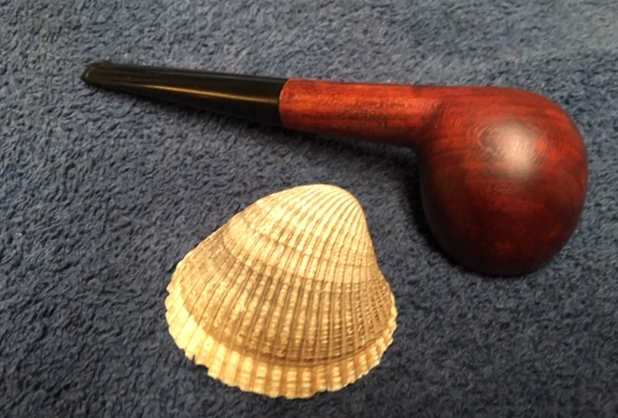
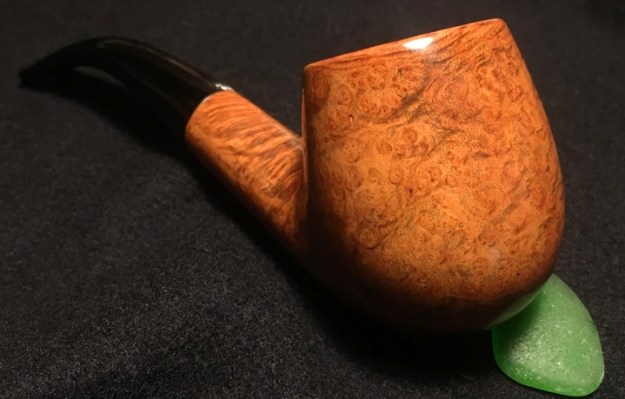
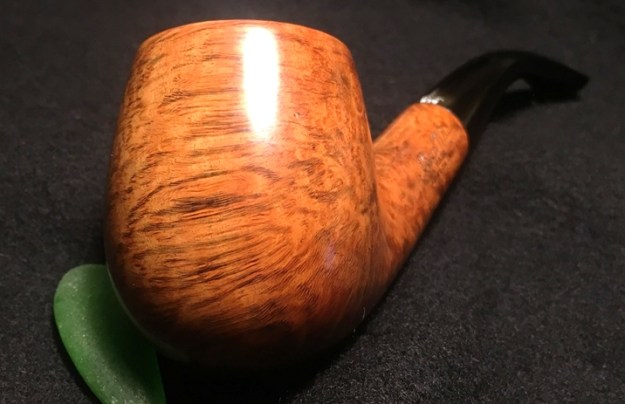
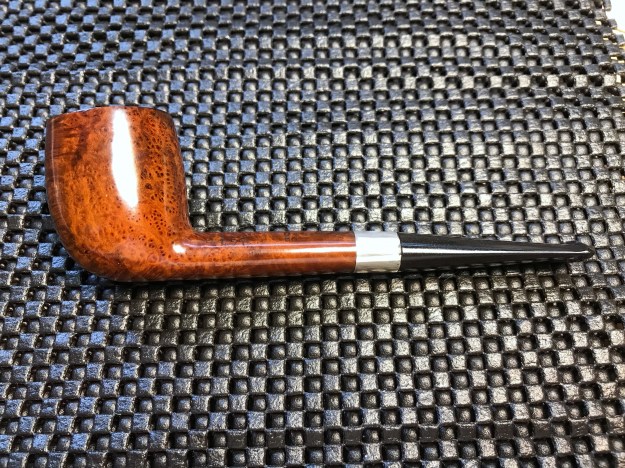
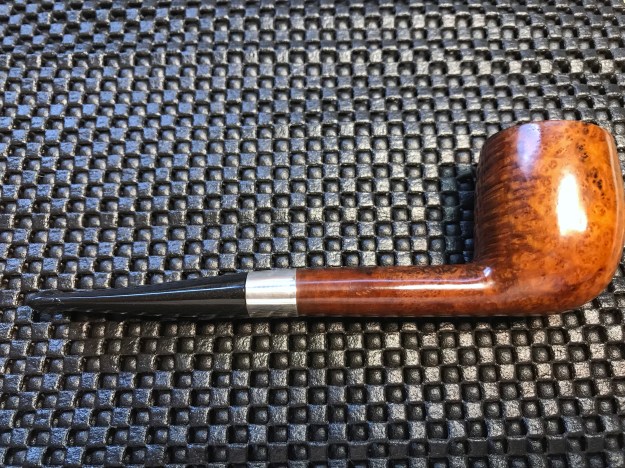
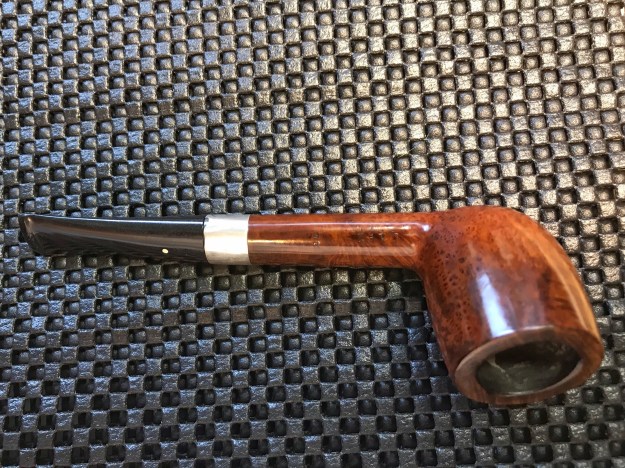
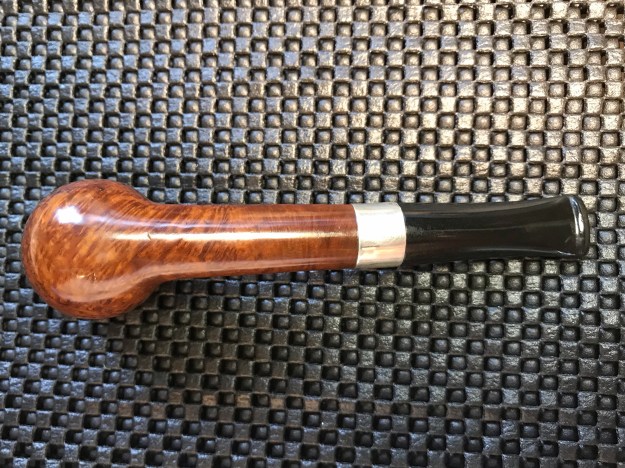
Recommissioning a Hefty Ben Wade Bent Billiard Made in London England


Blog by Dal Stanton

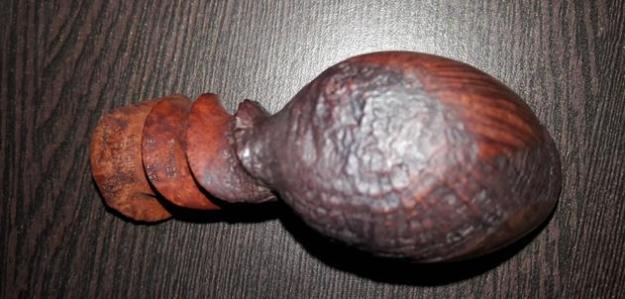
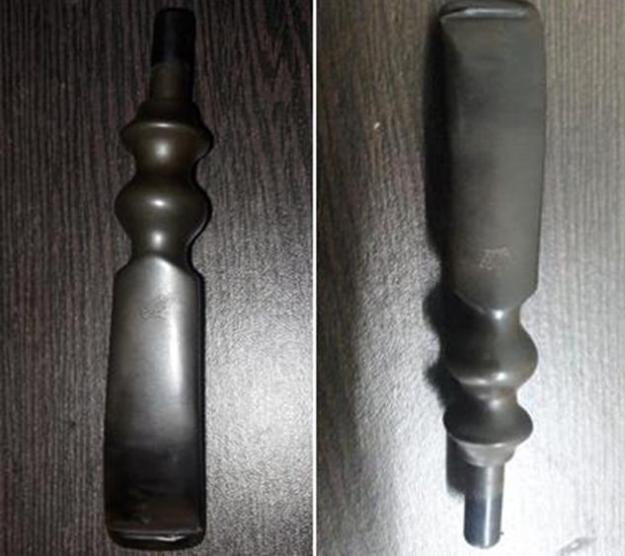
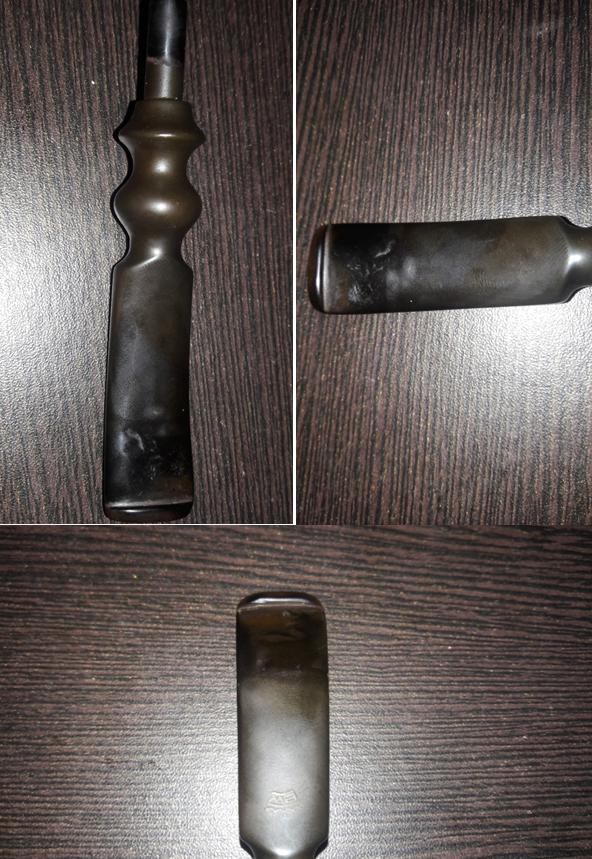
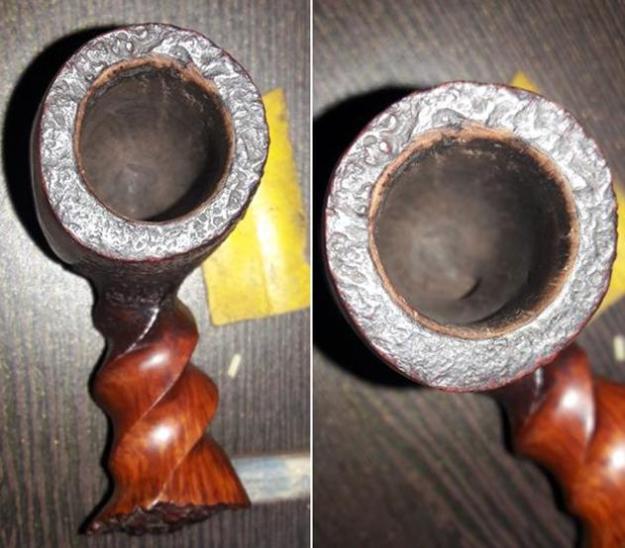
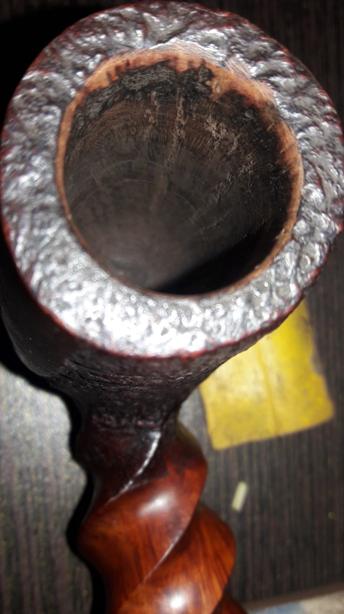
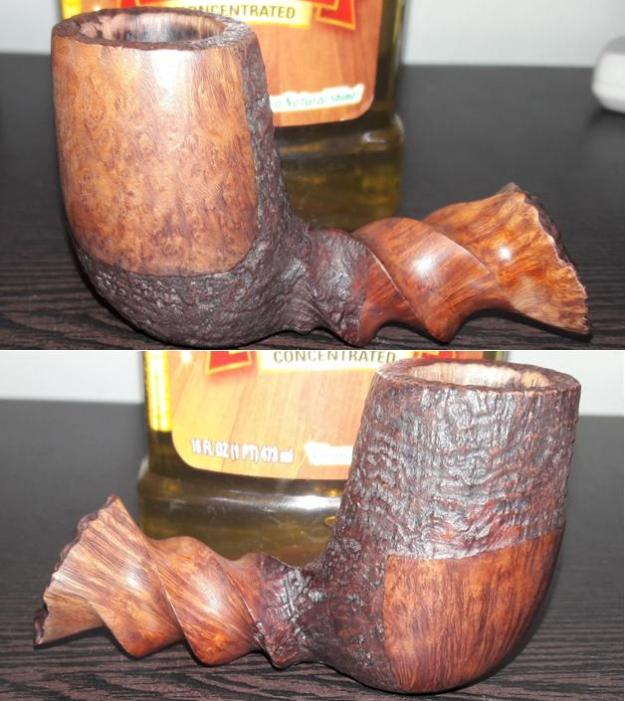
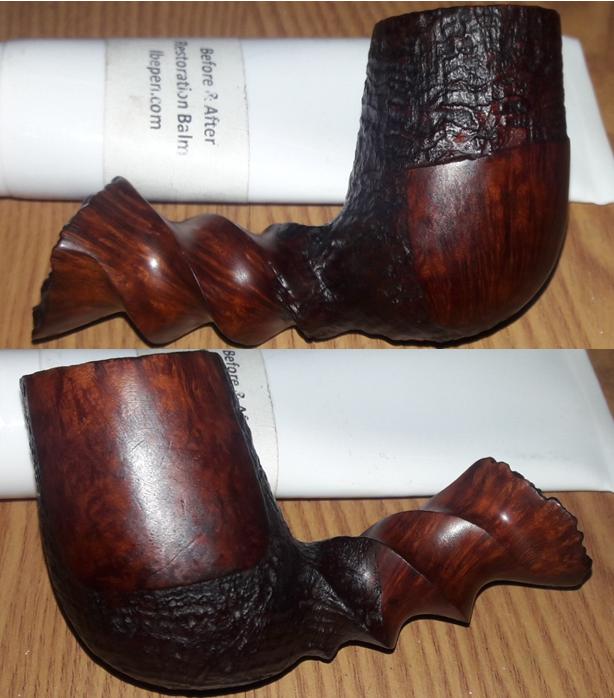
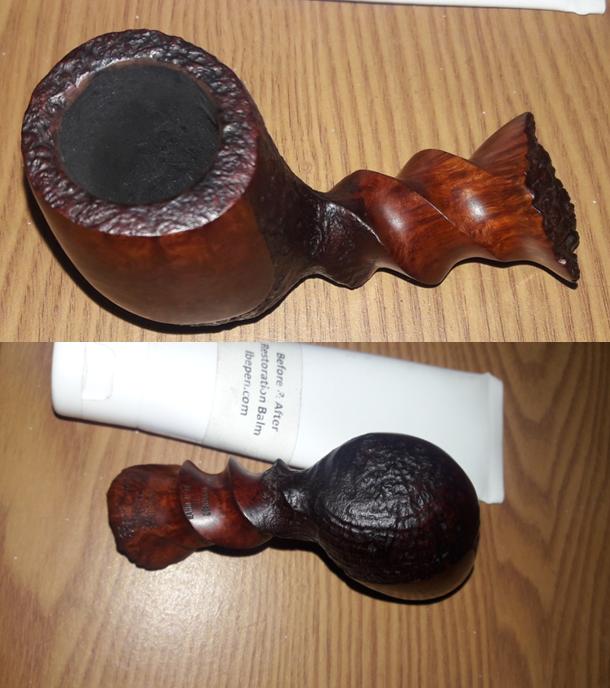
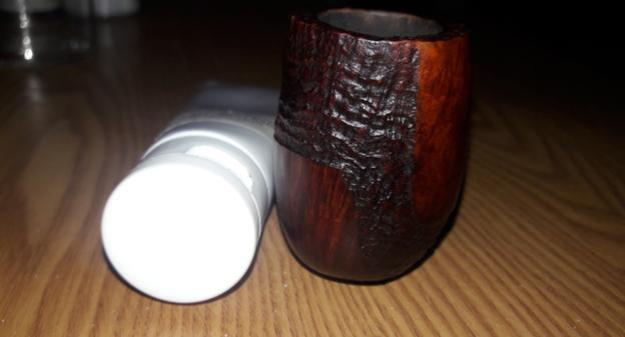
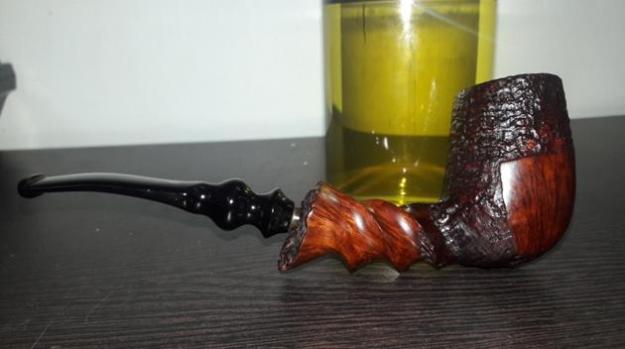
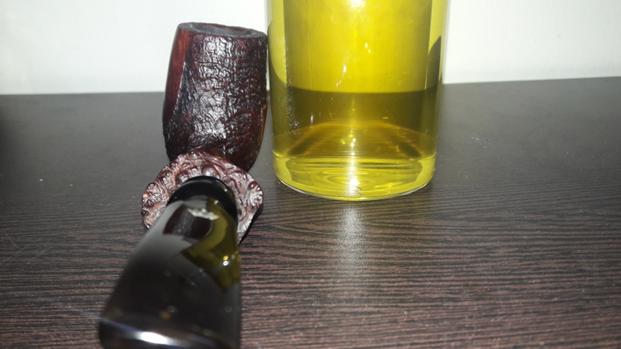
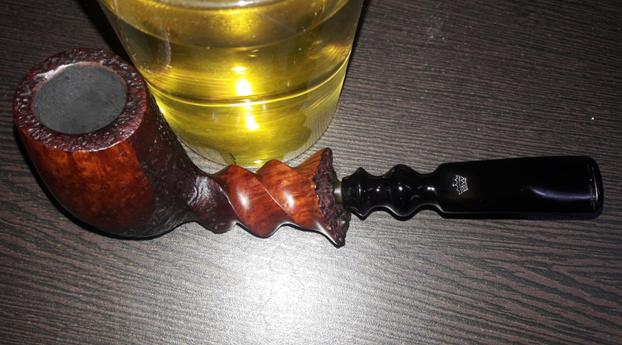
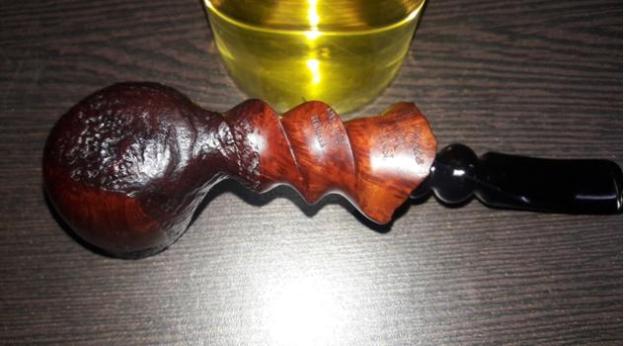
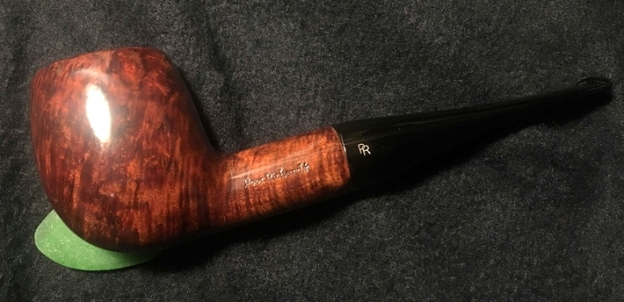
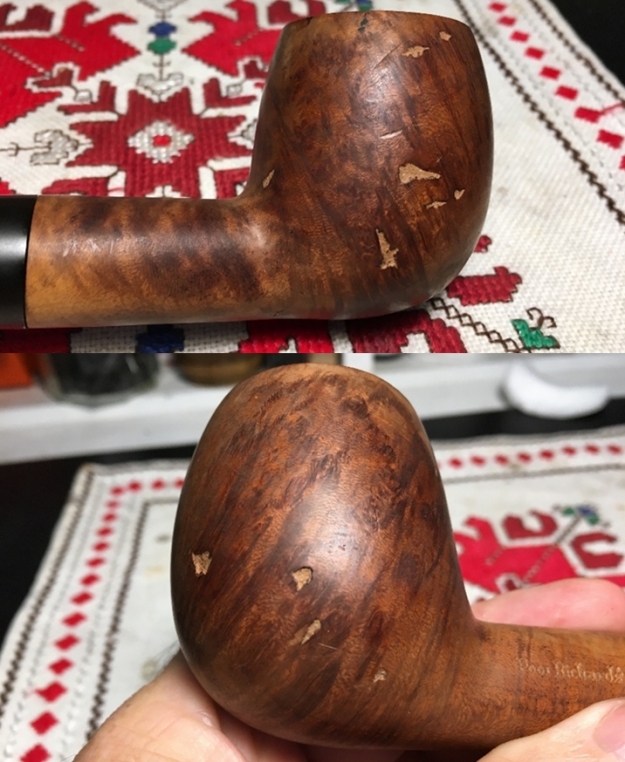
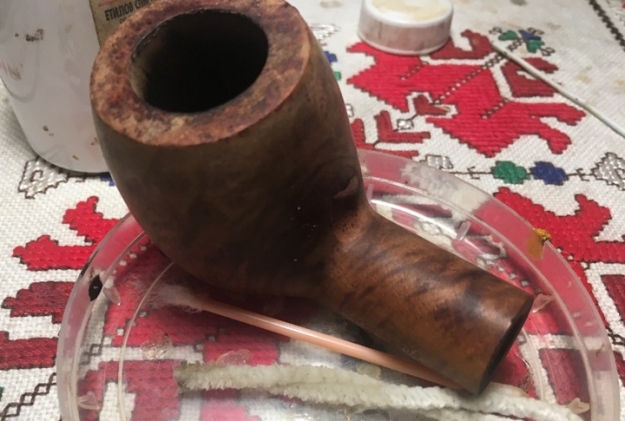
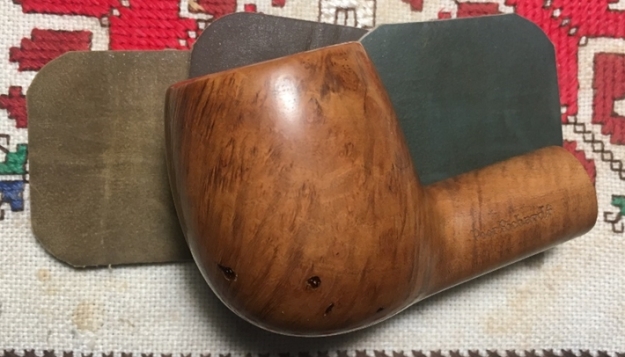
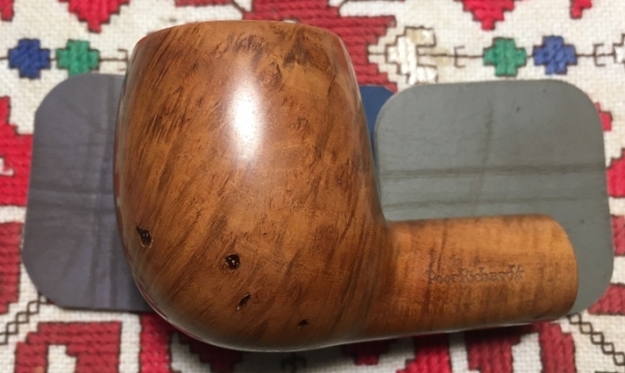
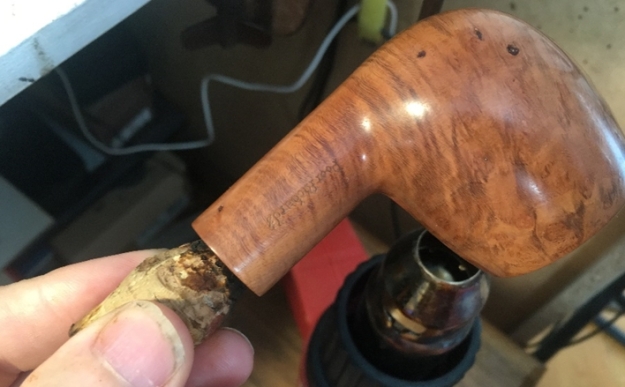
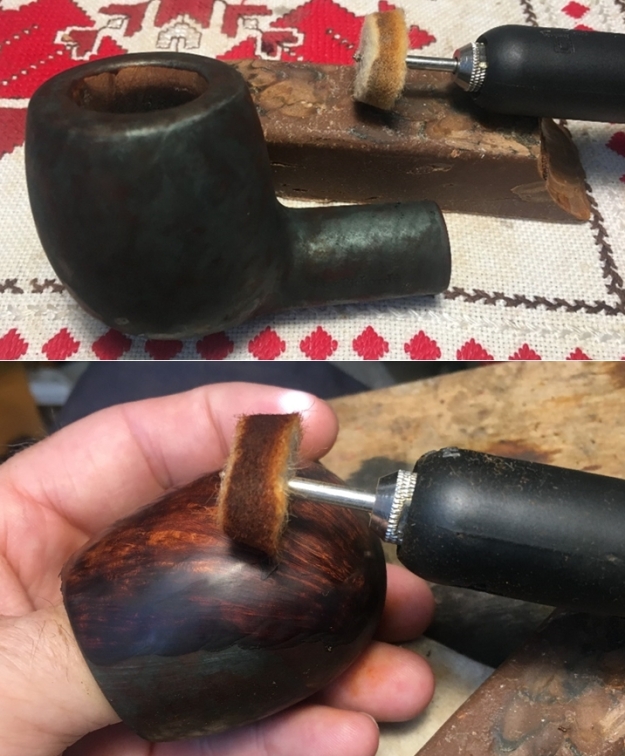
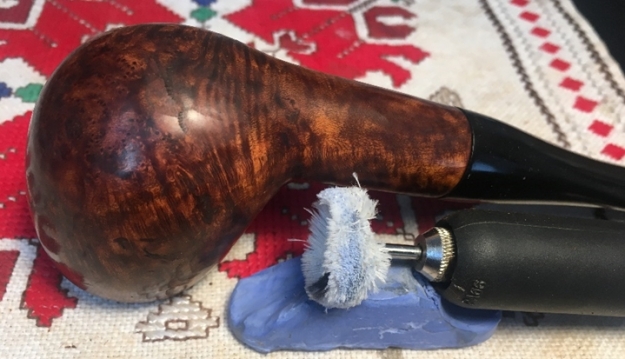
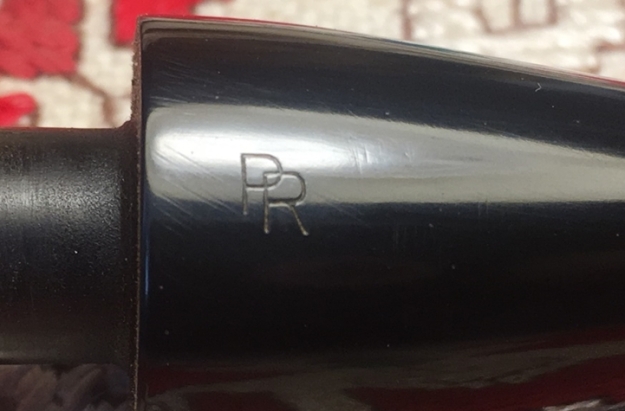
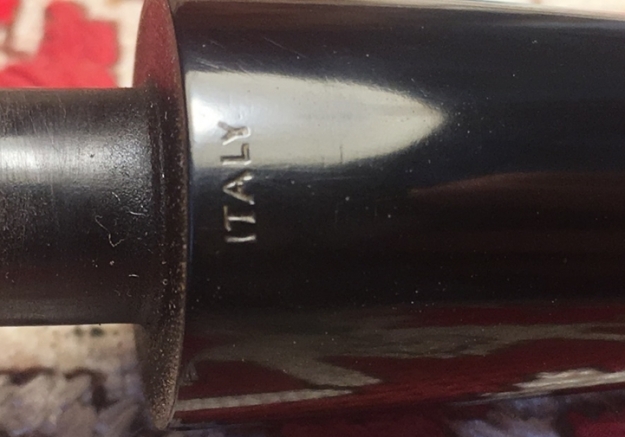
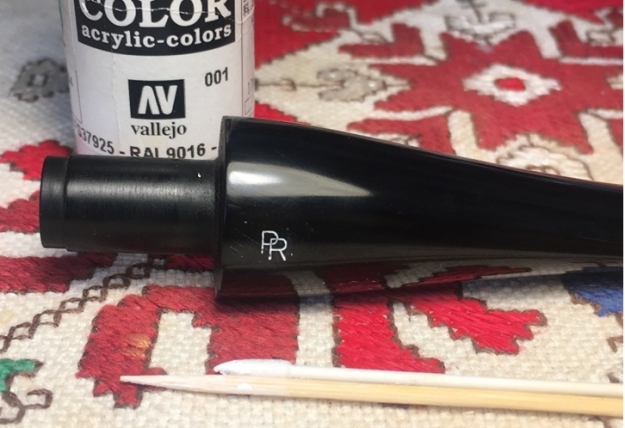
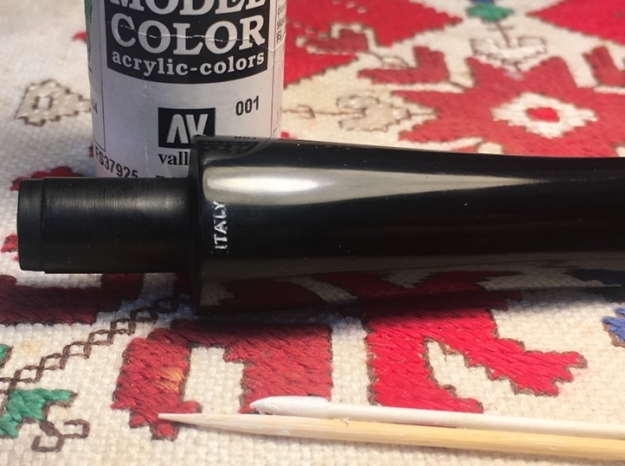
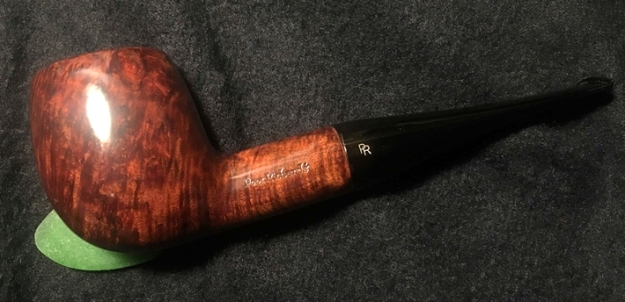
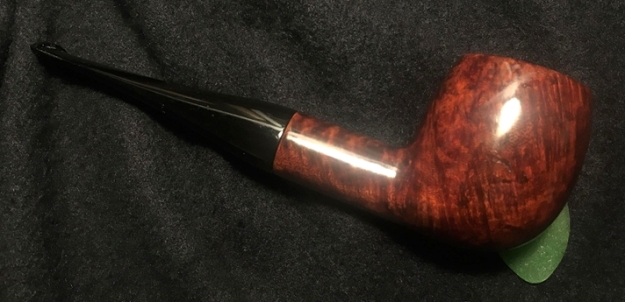
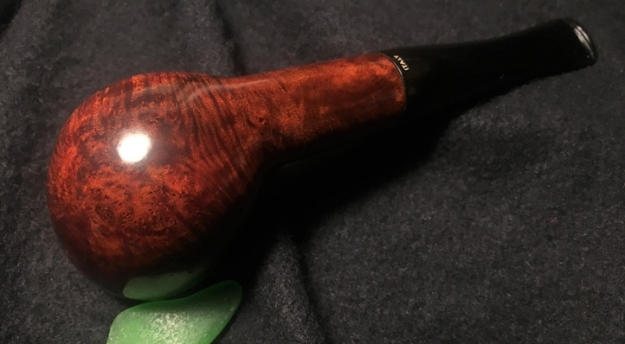
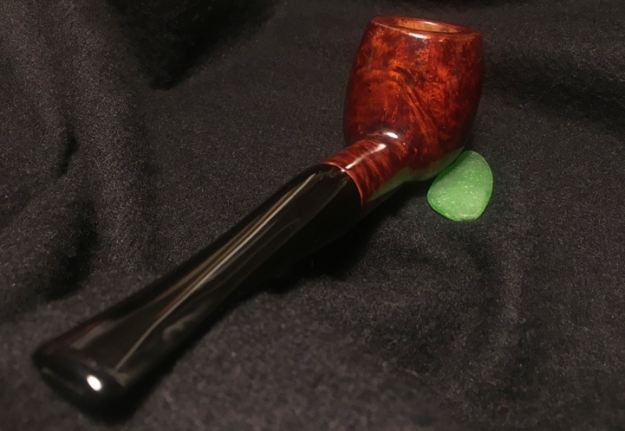
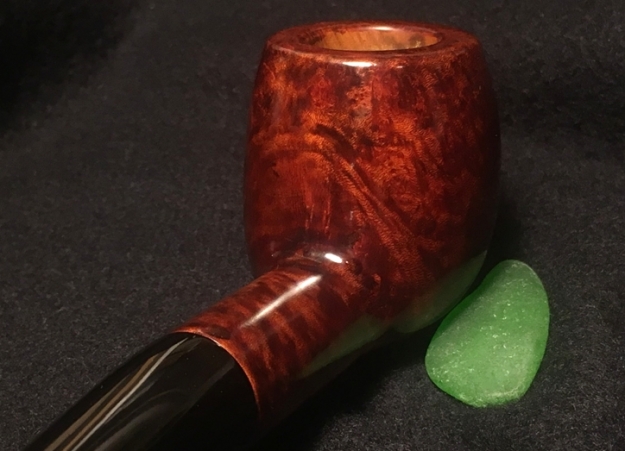
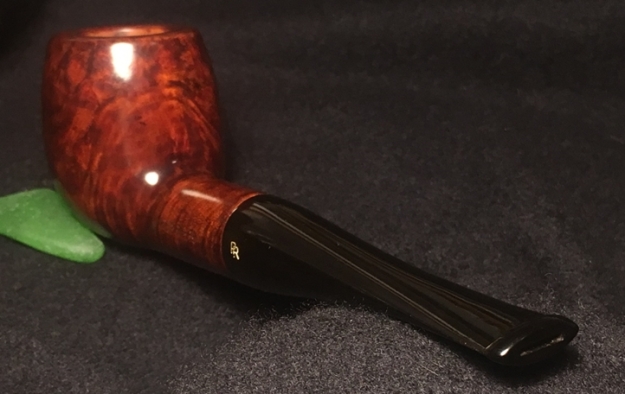
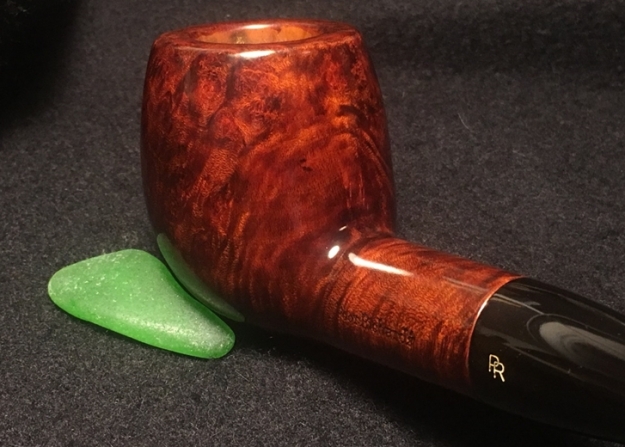
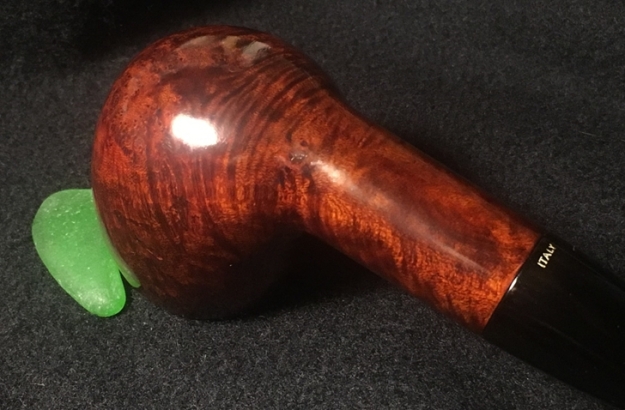
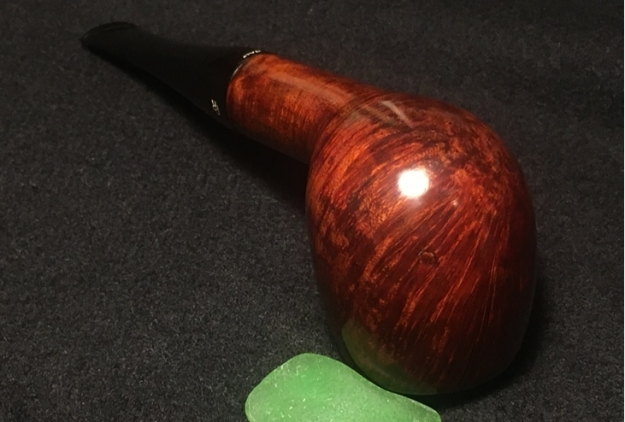
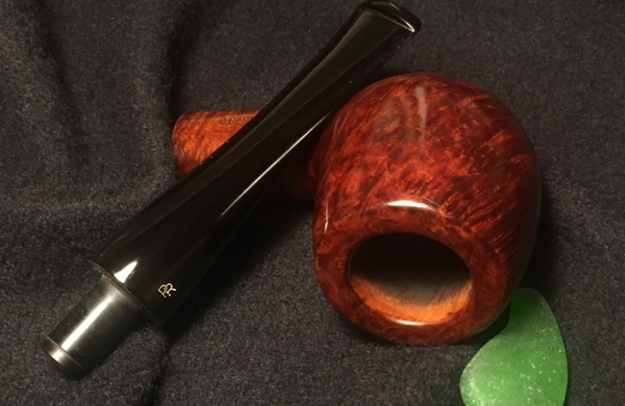
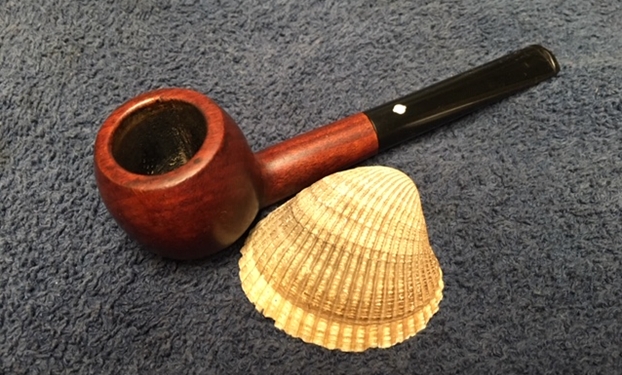
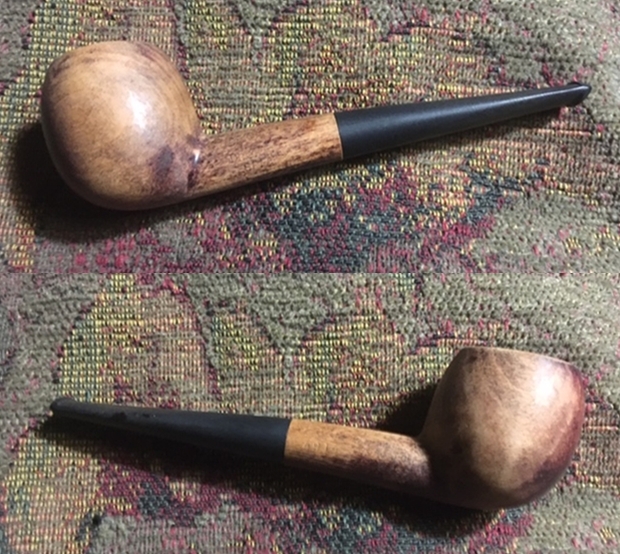
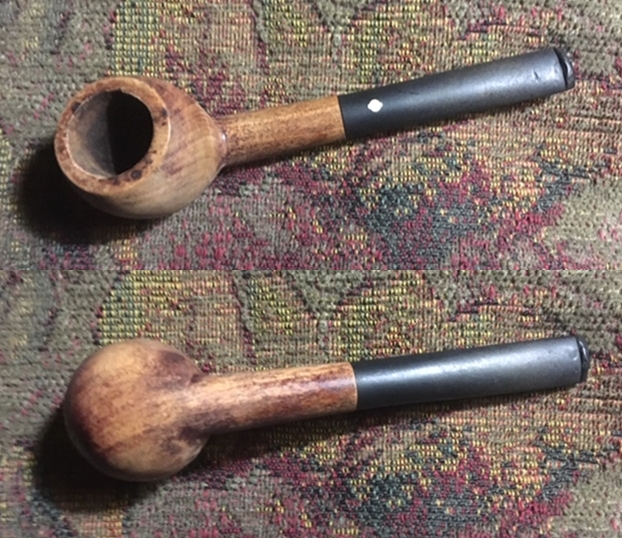
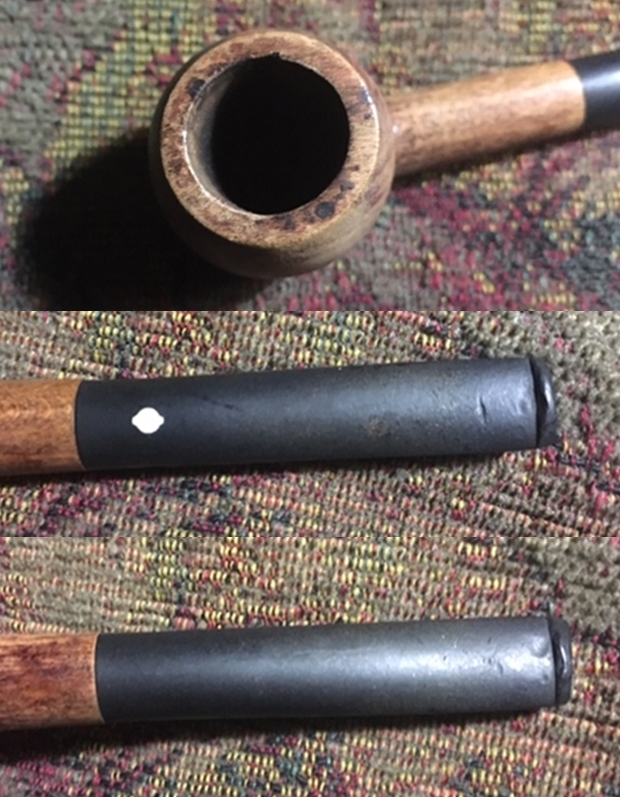
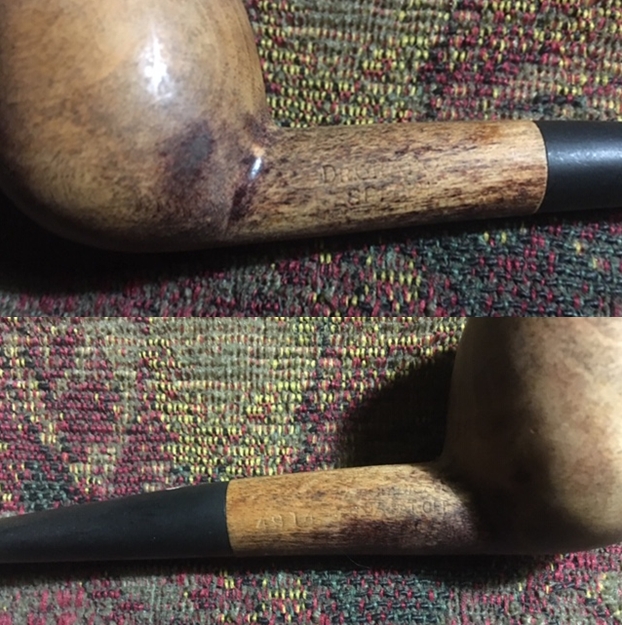
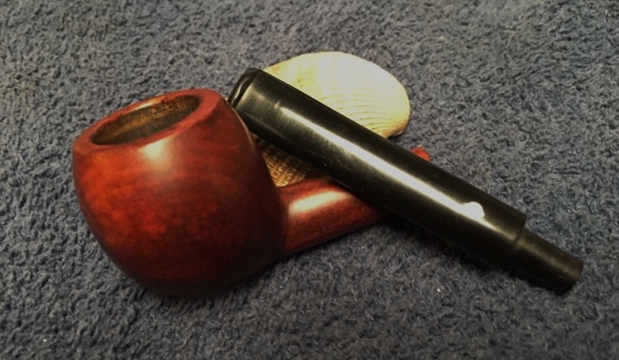
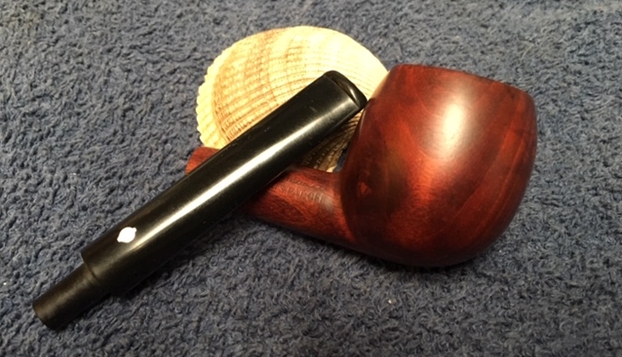
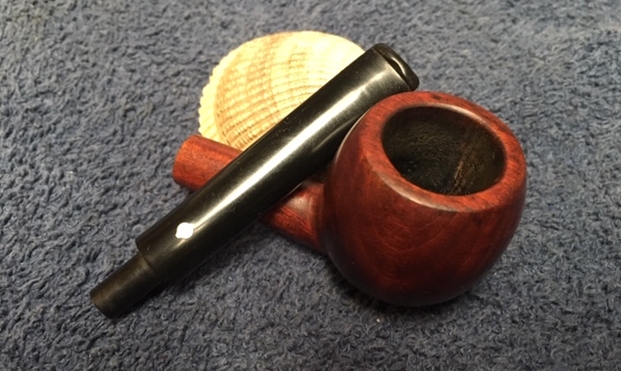
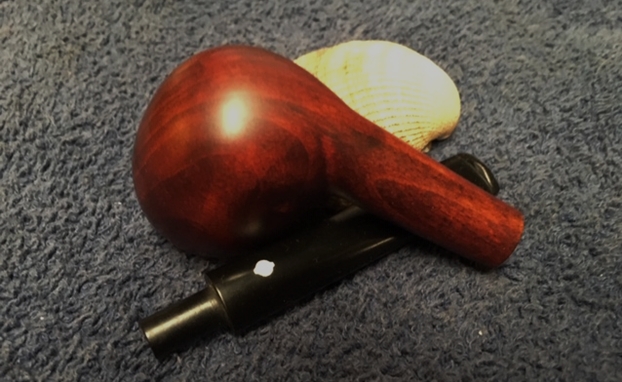
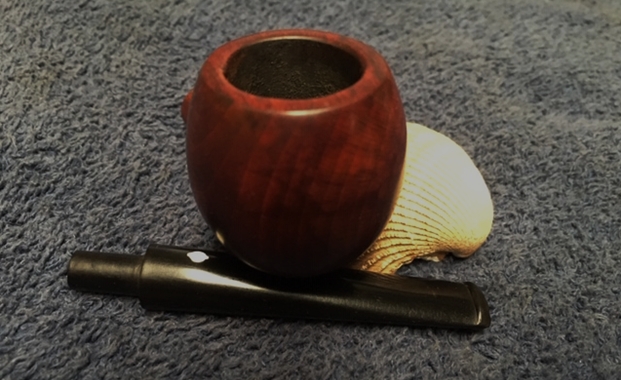
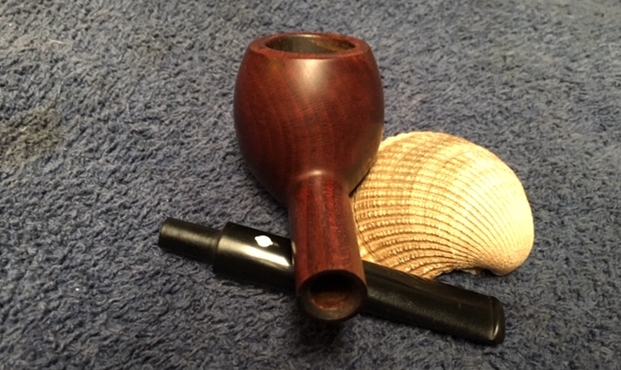
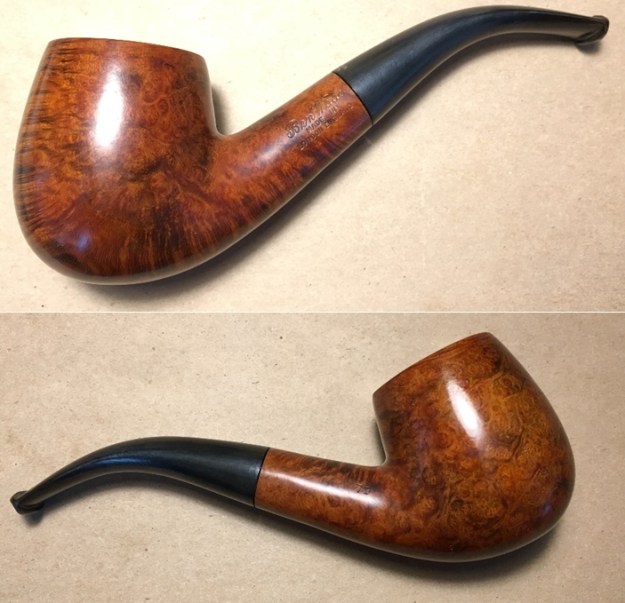
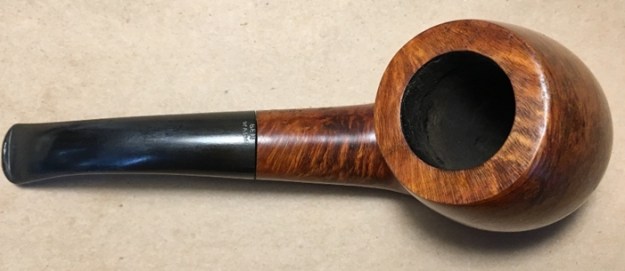
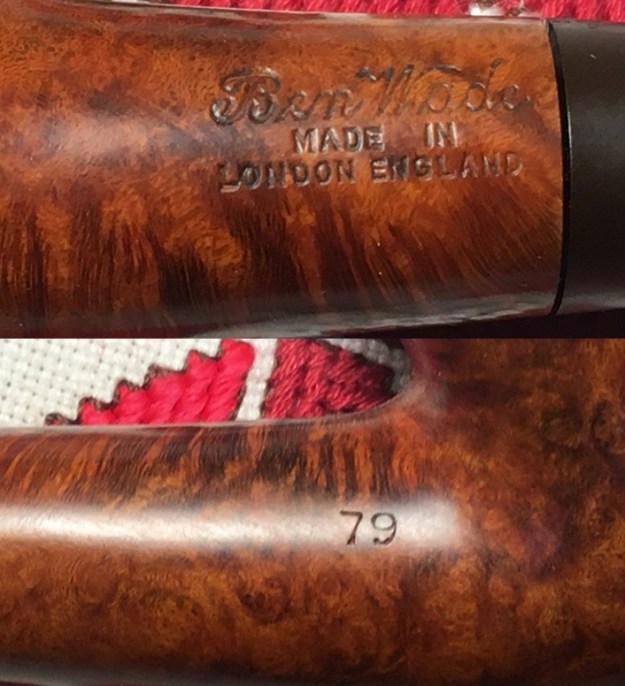
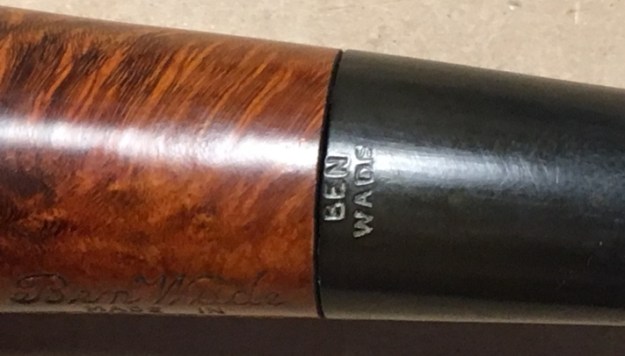
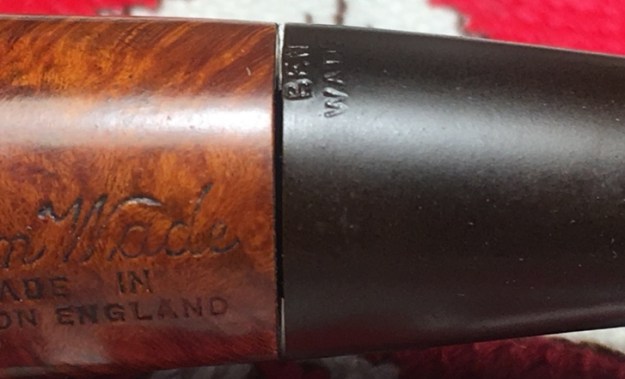
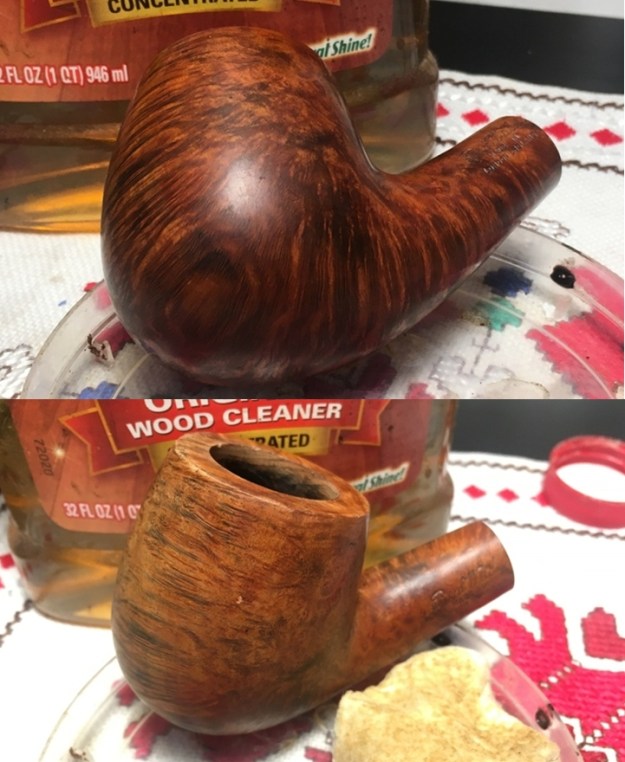
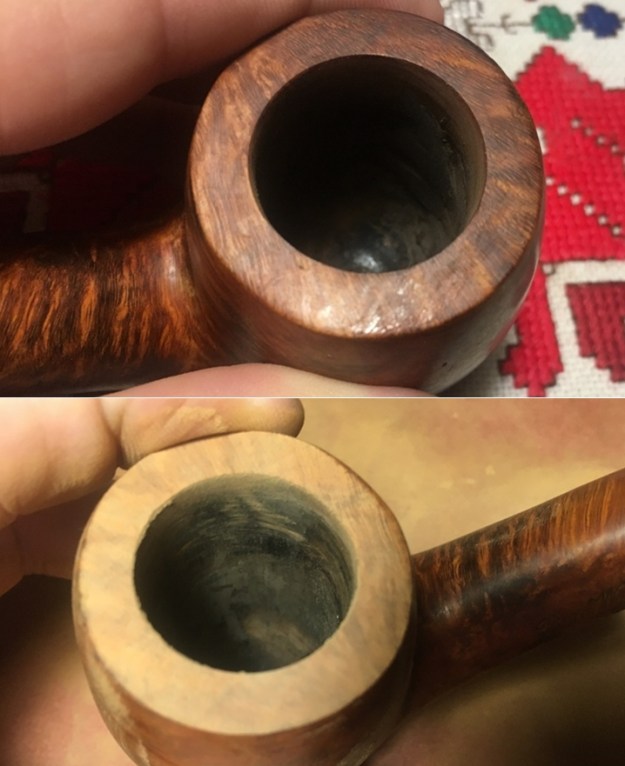
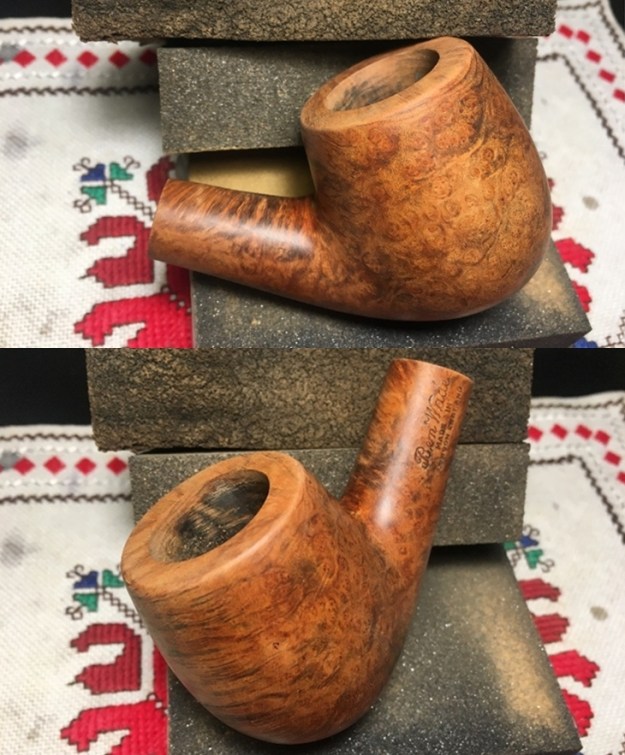
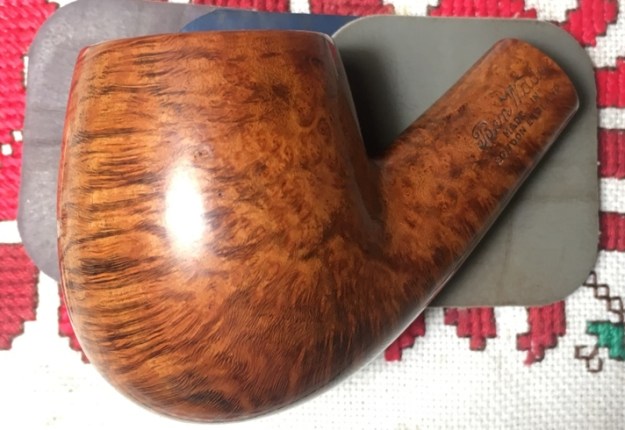
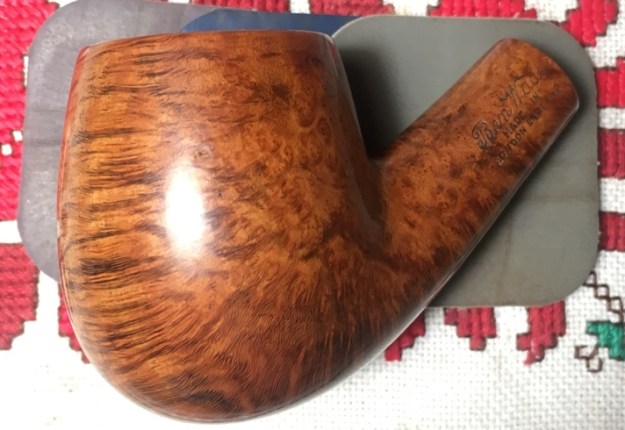
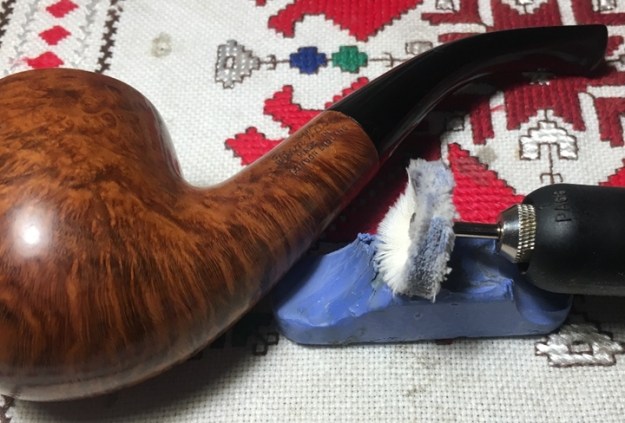
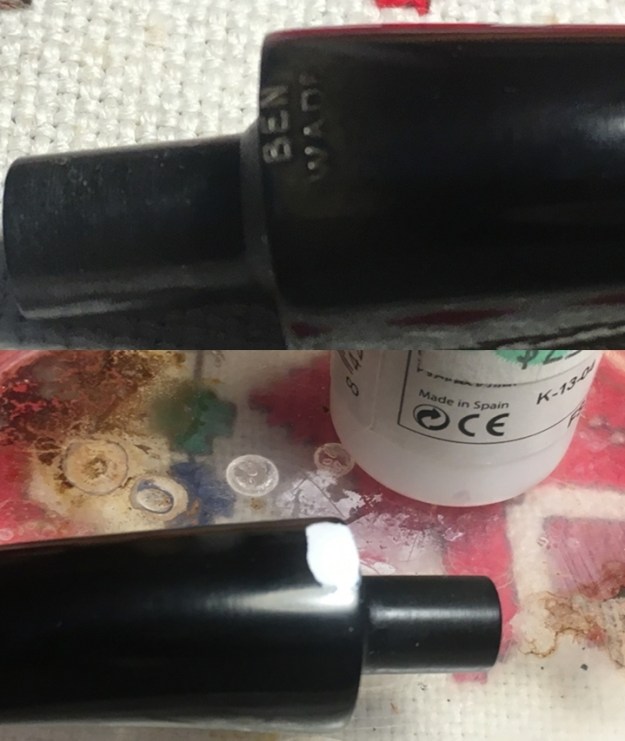
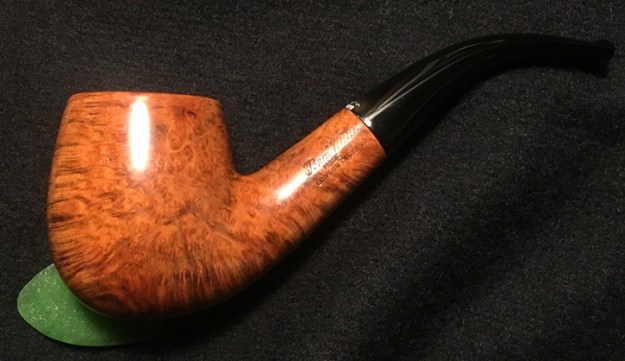
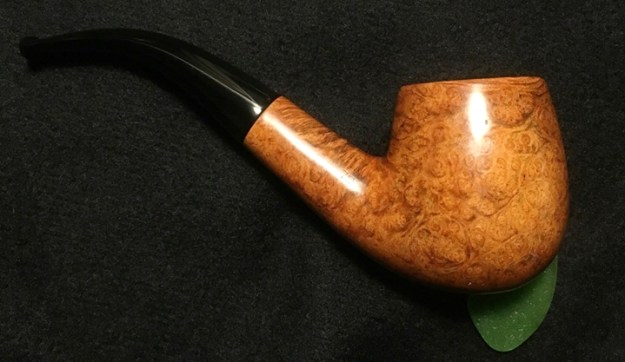
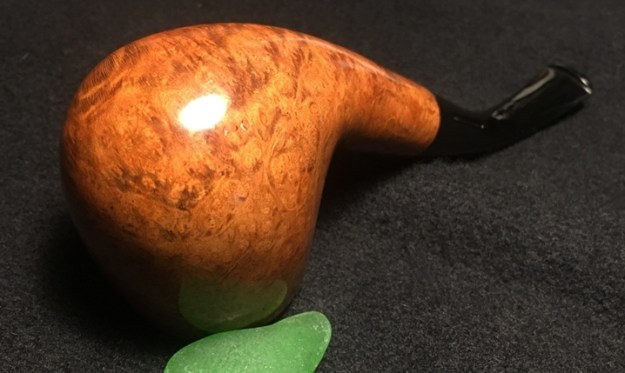
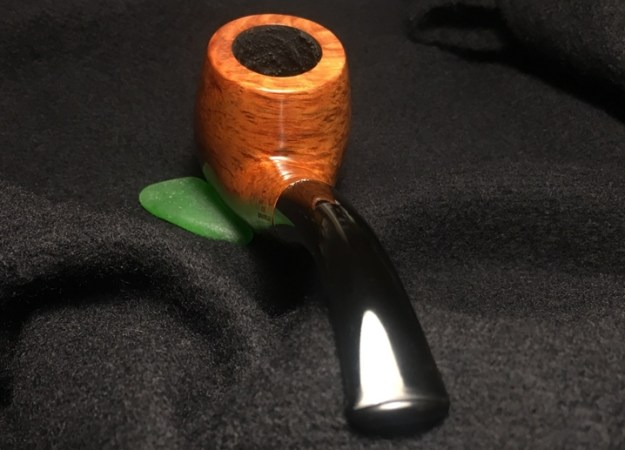
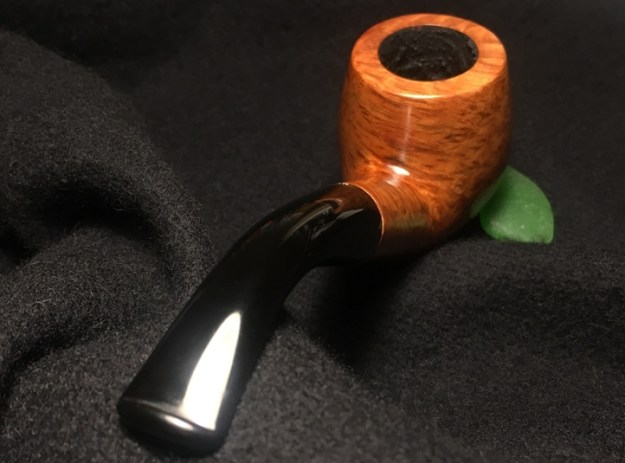
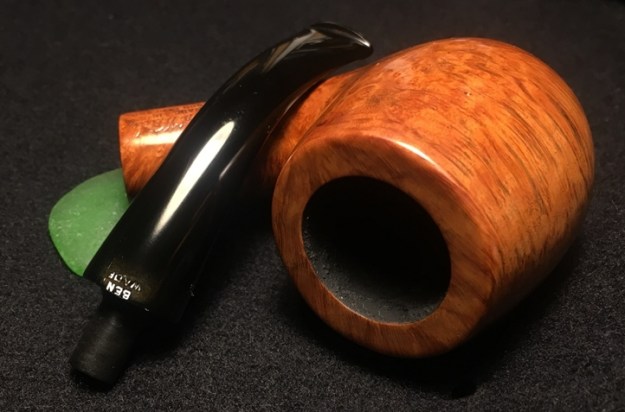
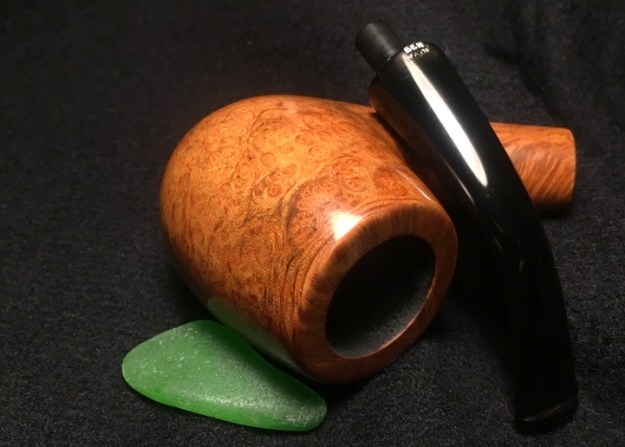
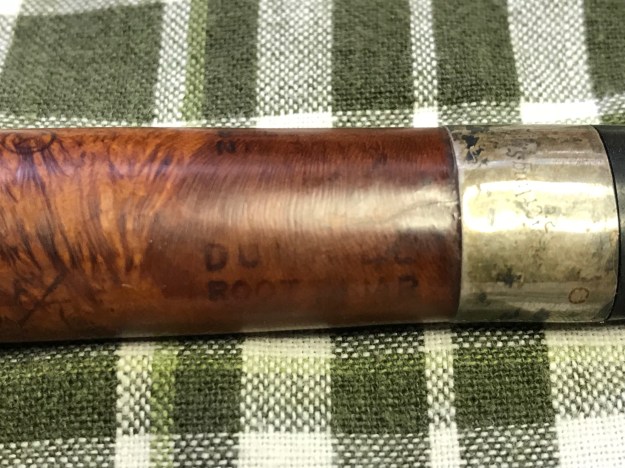
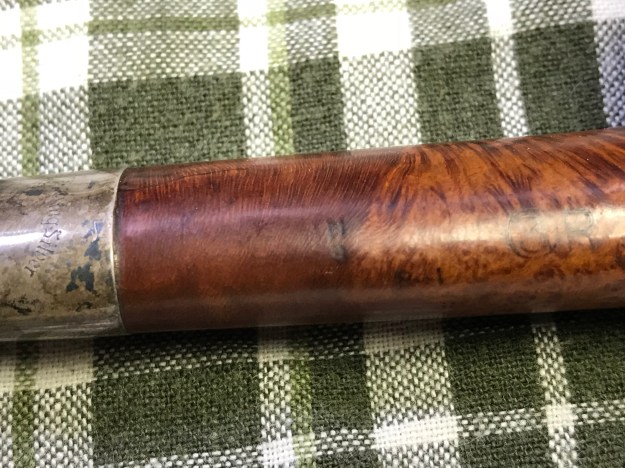
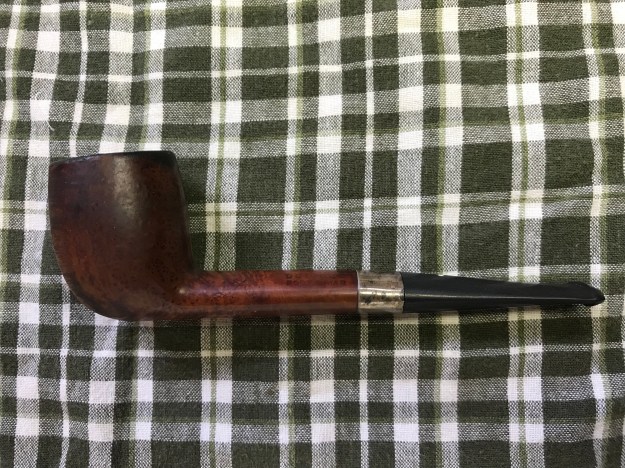
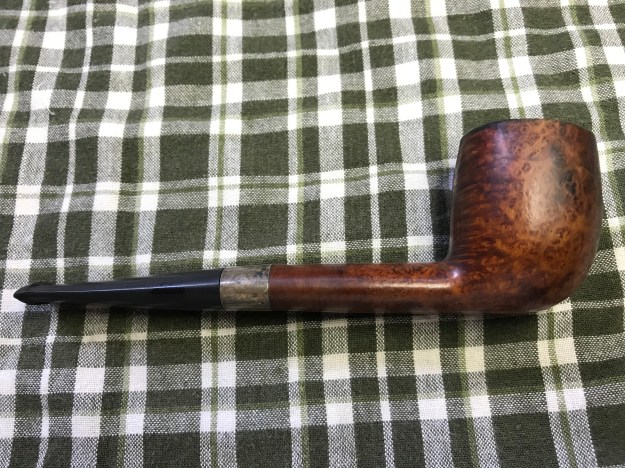
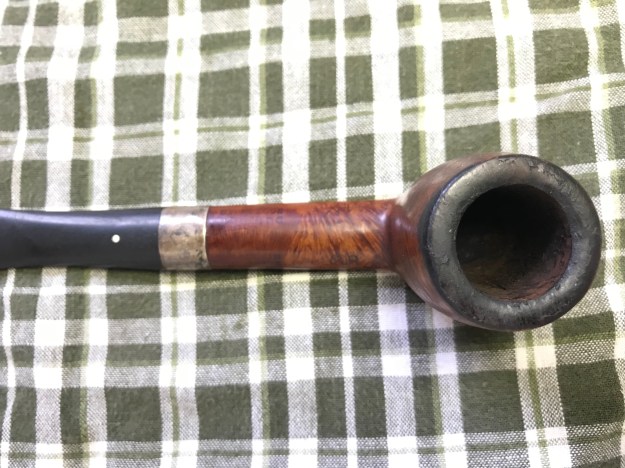
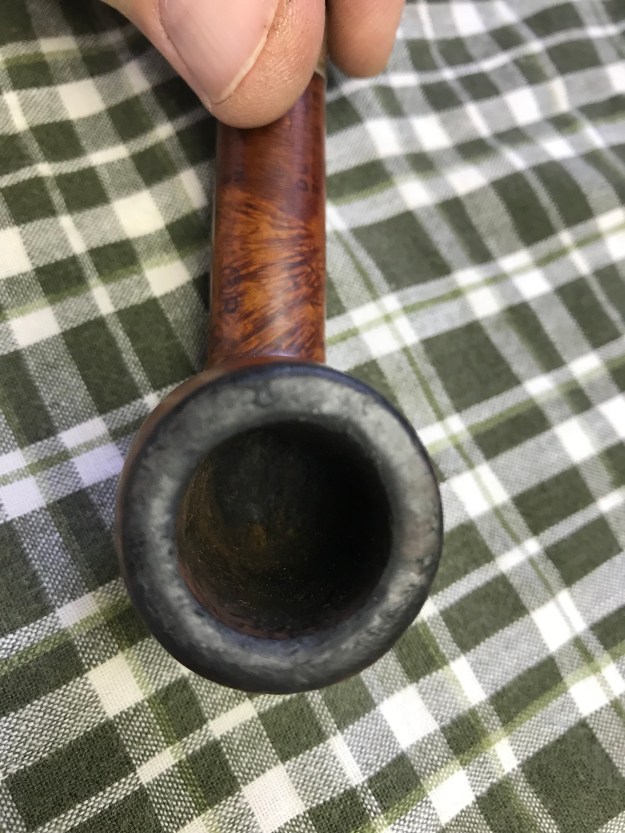
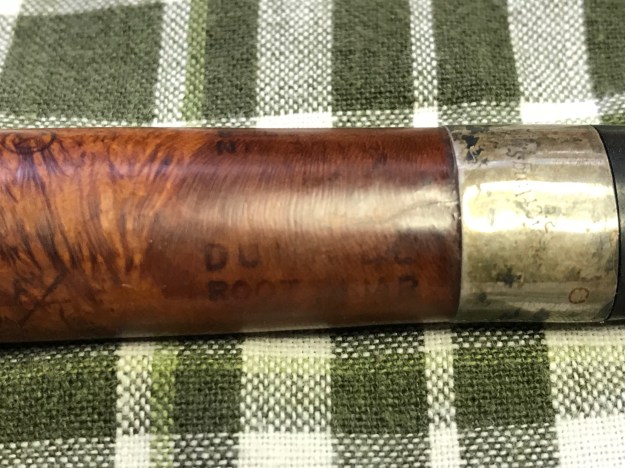
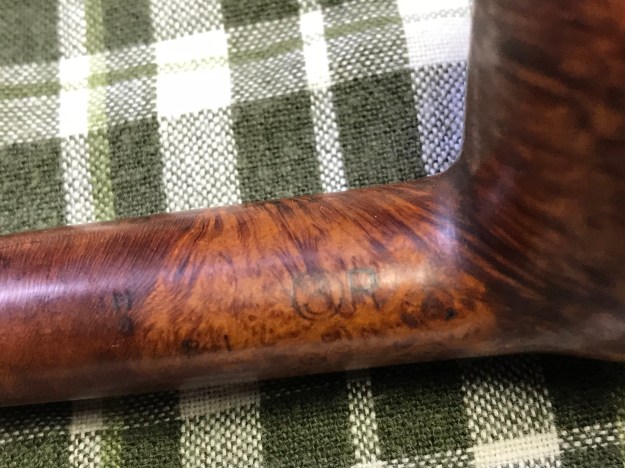
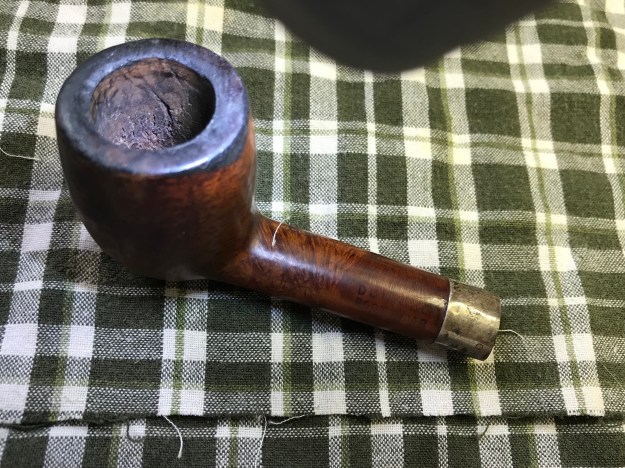
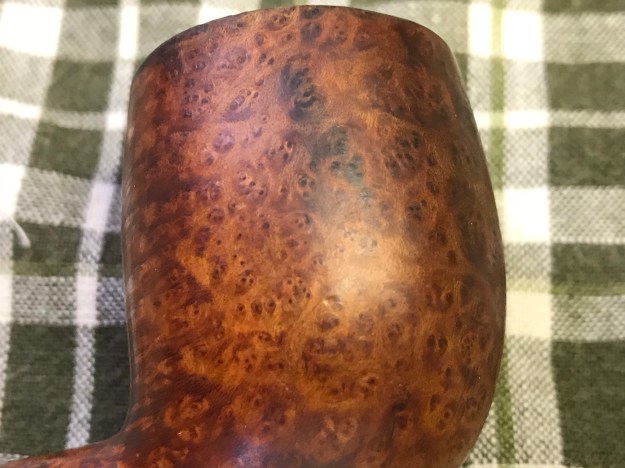
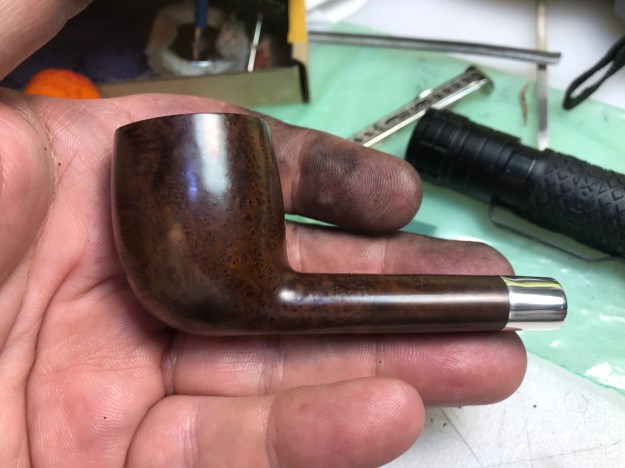
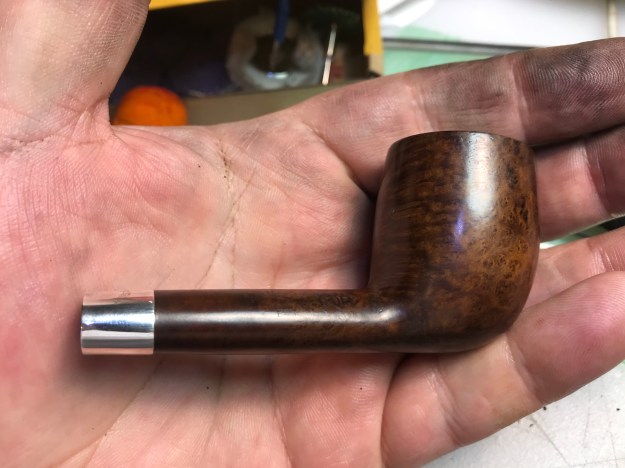
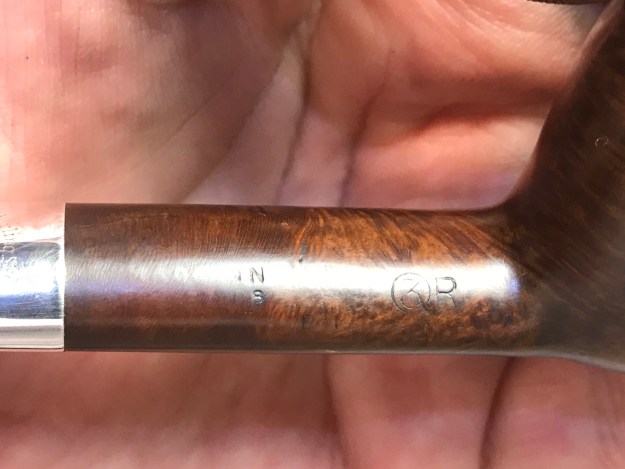
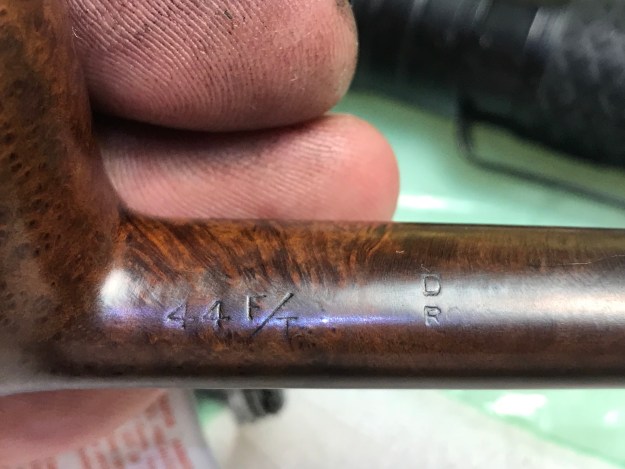
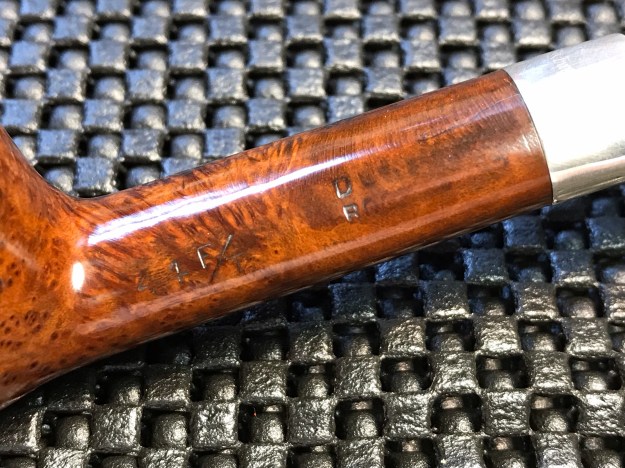
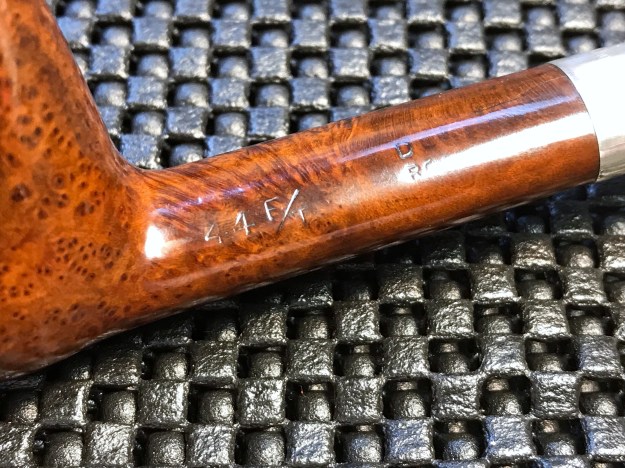
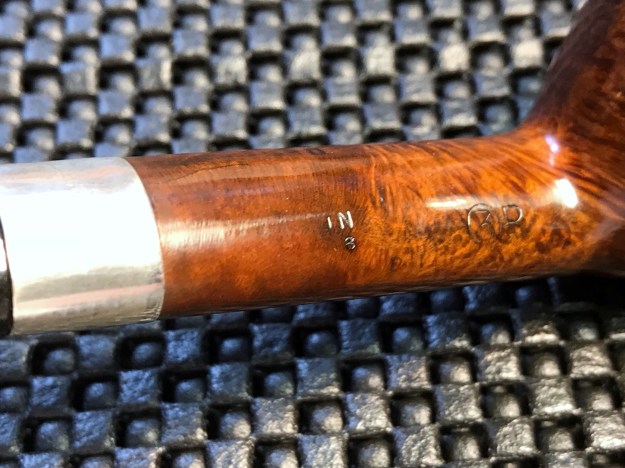
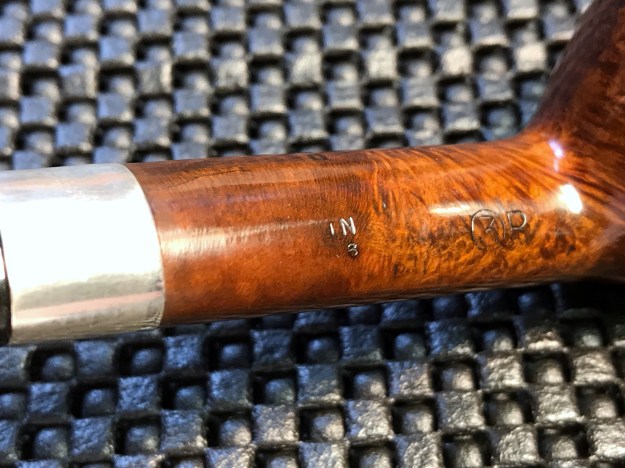
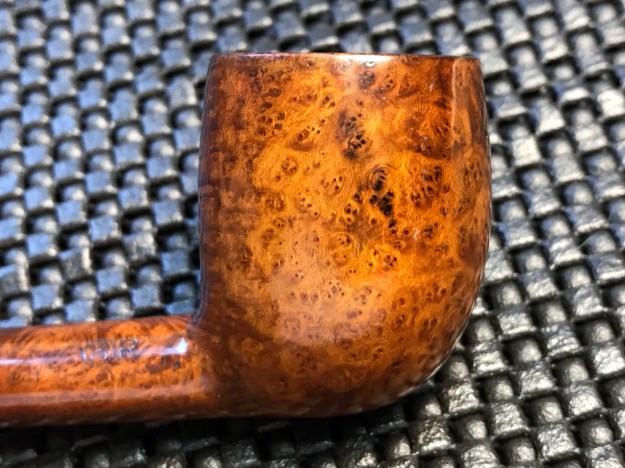
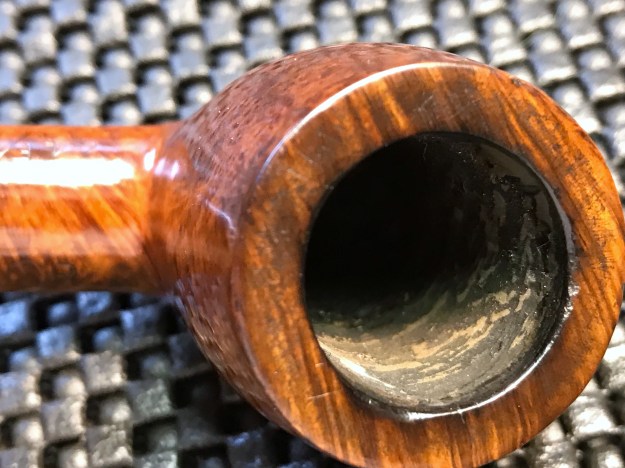
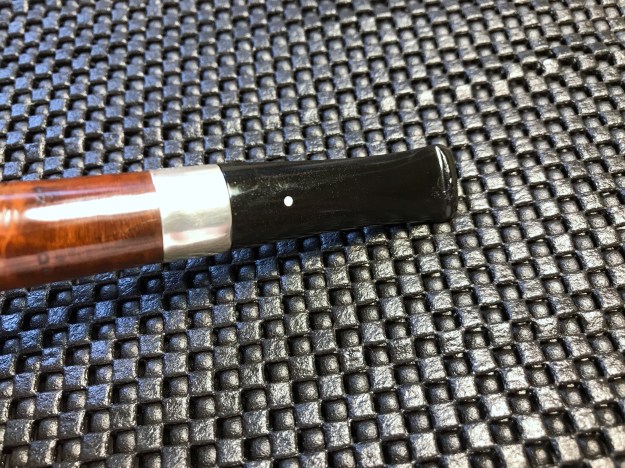
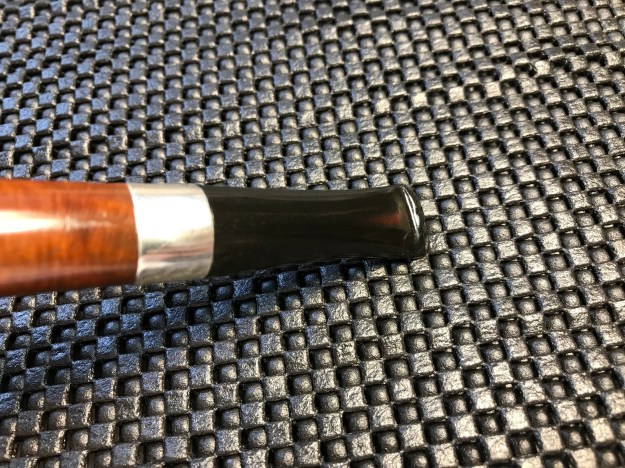
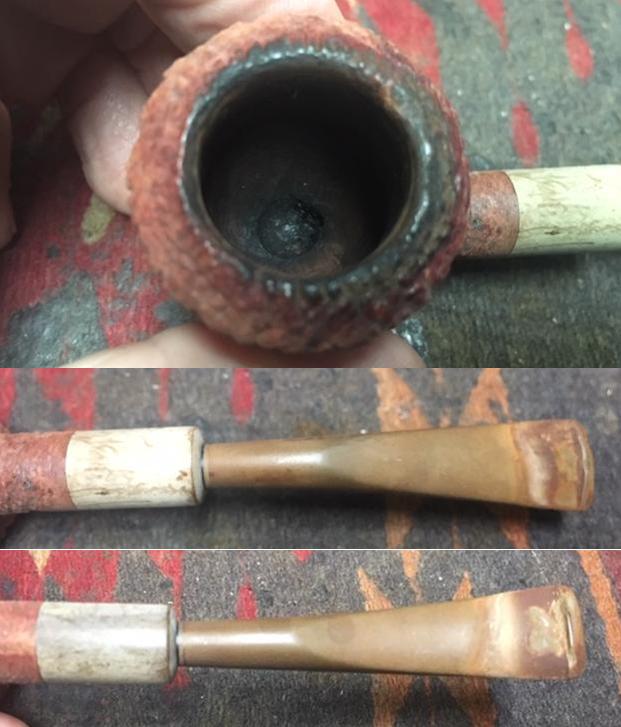
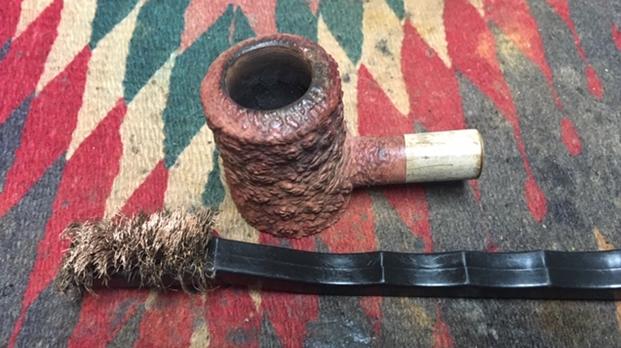
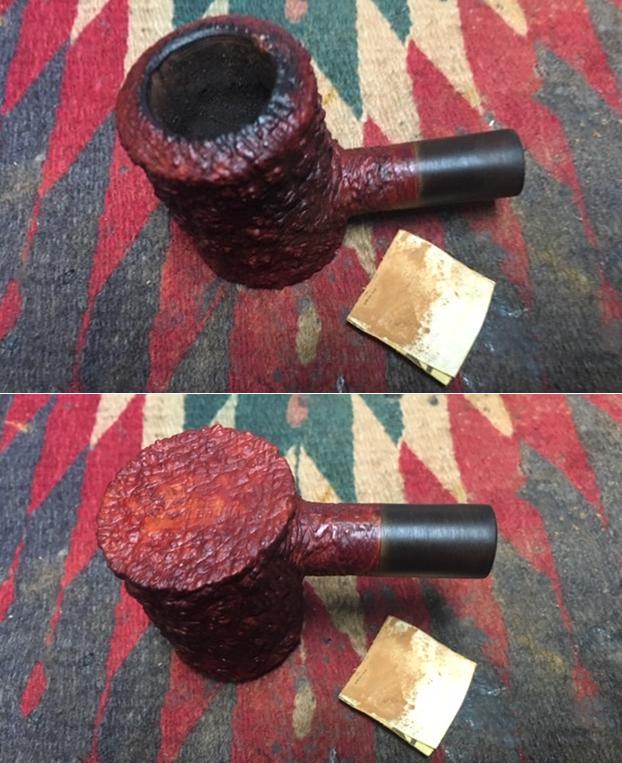
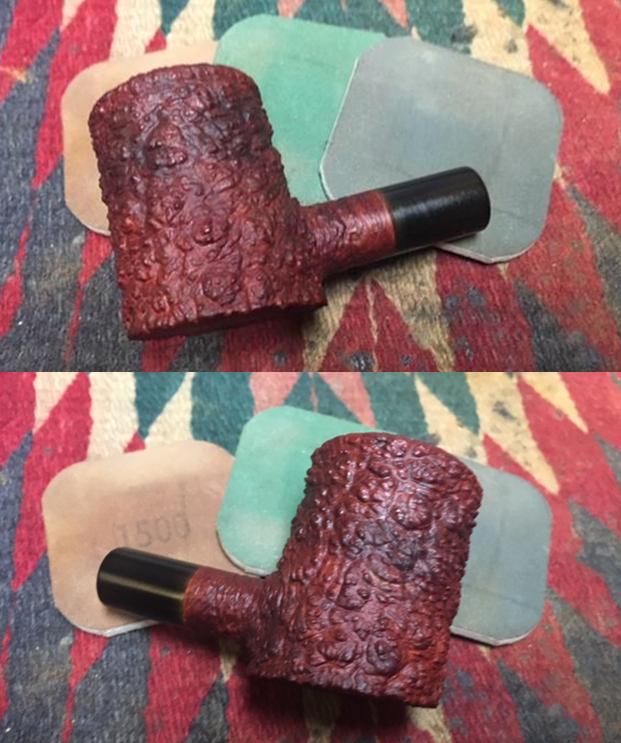
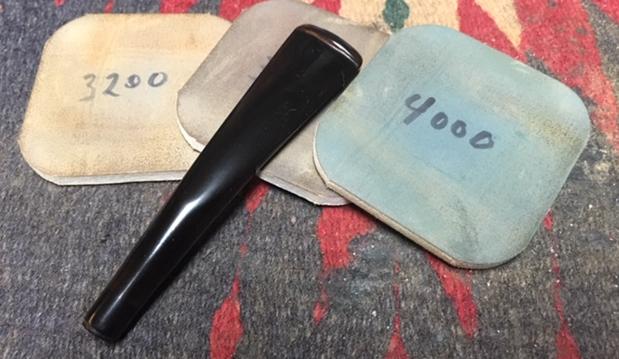
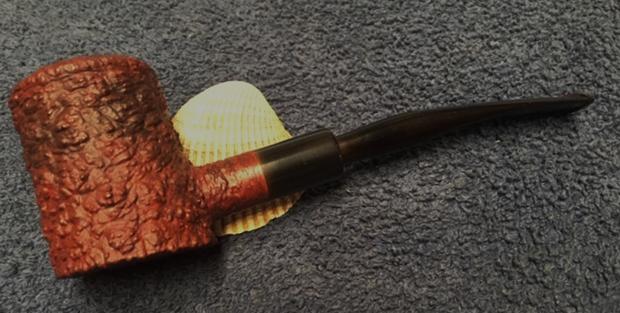
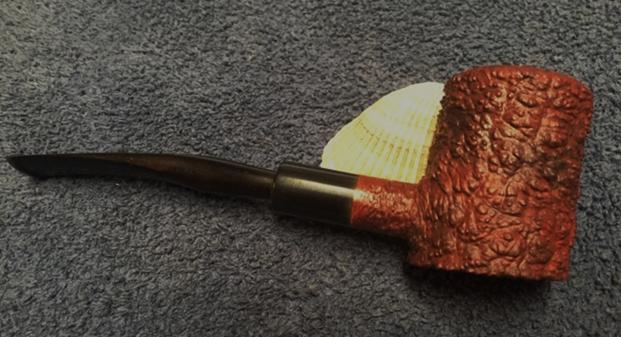
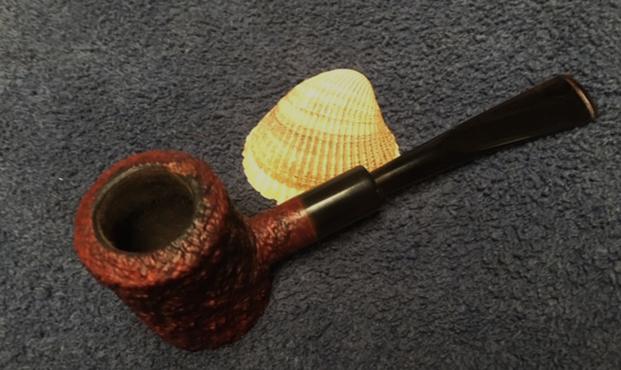
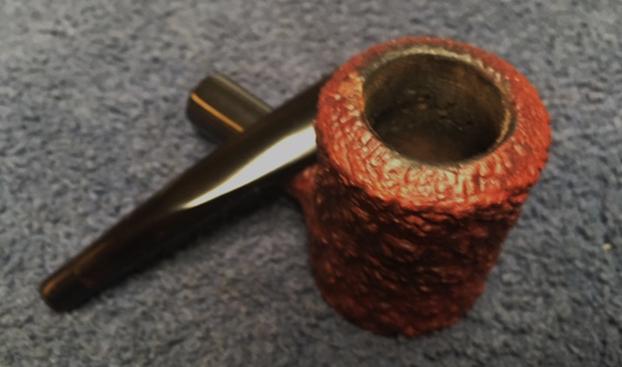
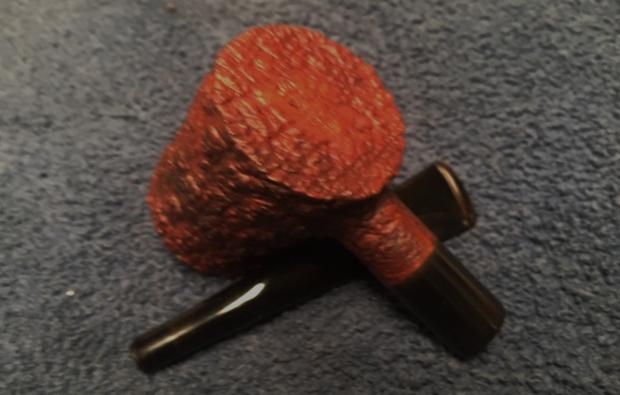
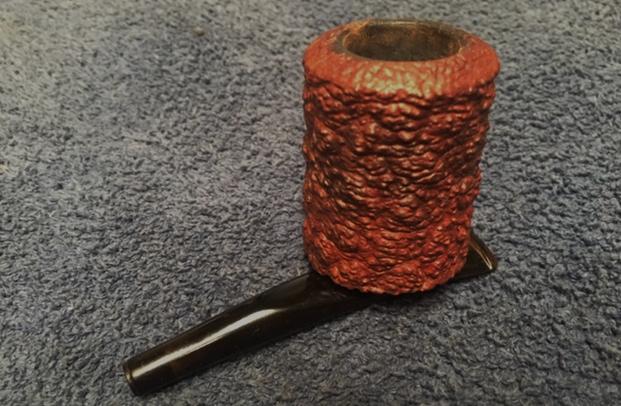
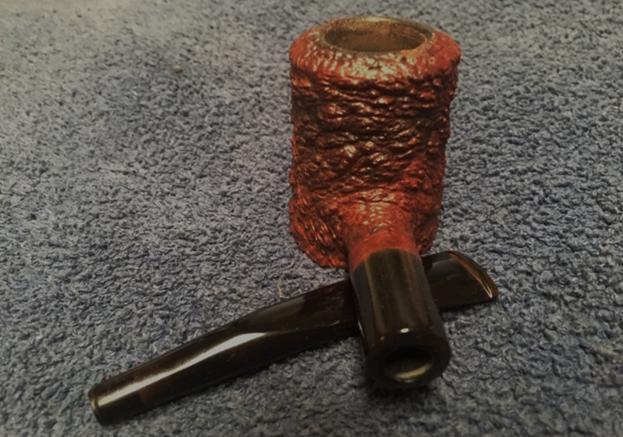
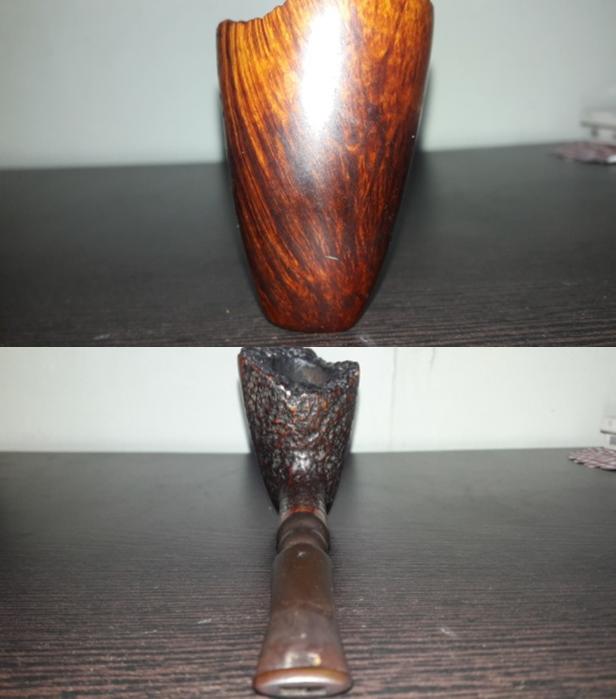
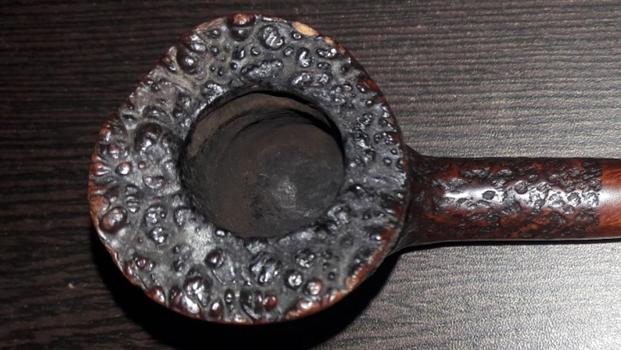
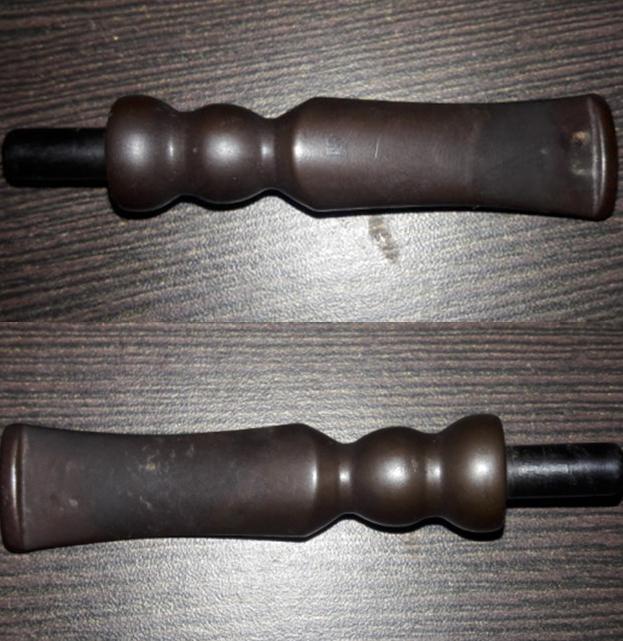
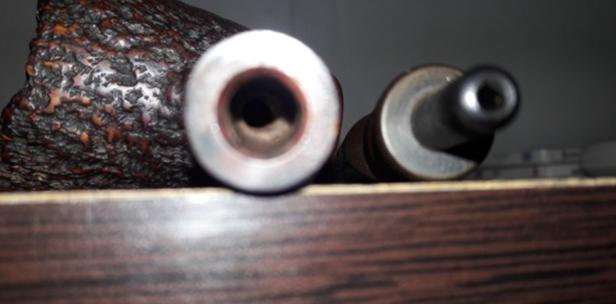
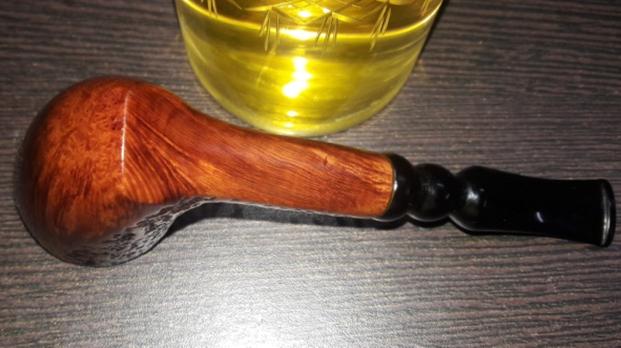
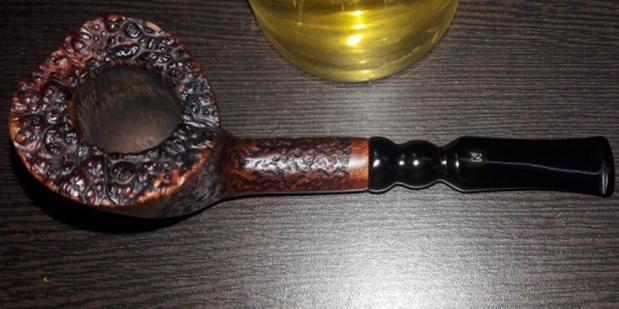
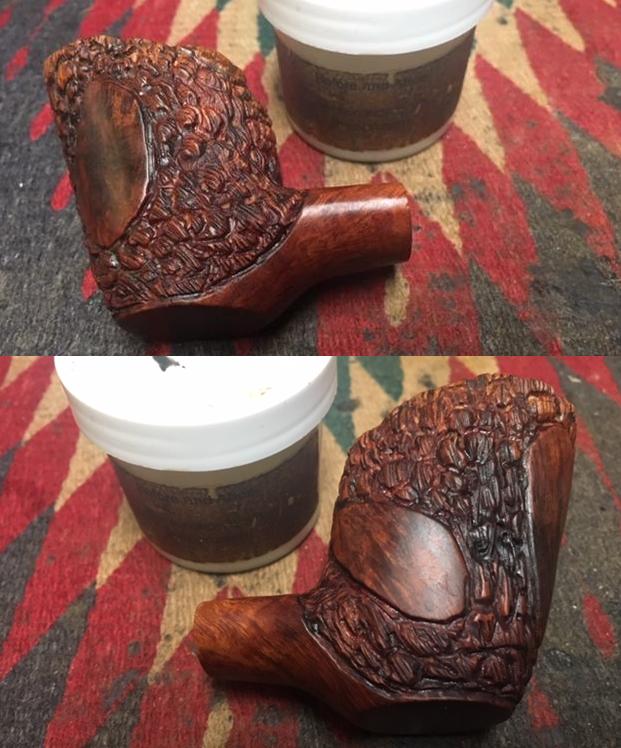
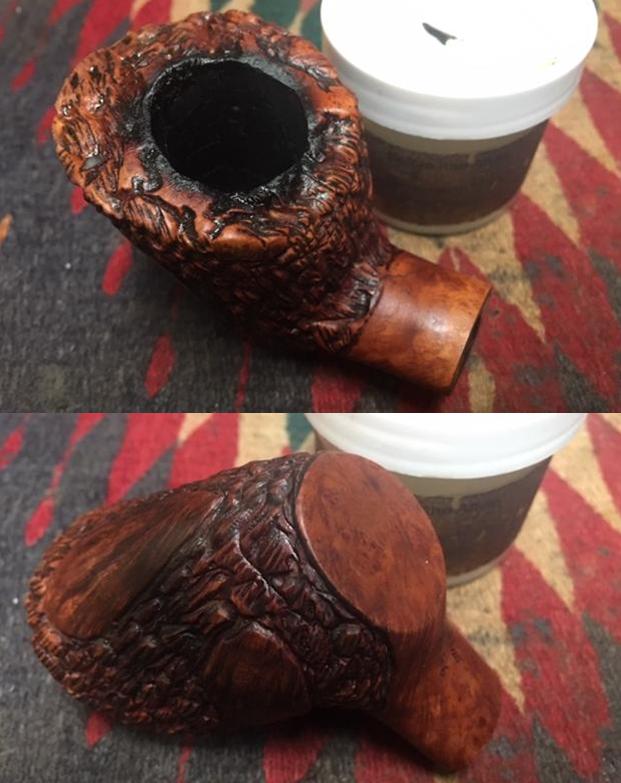
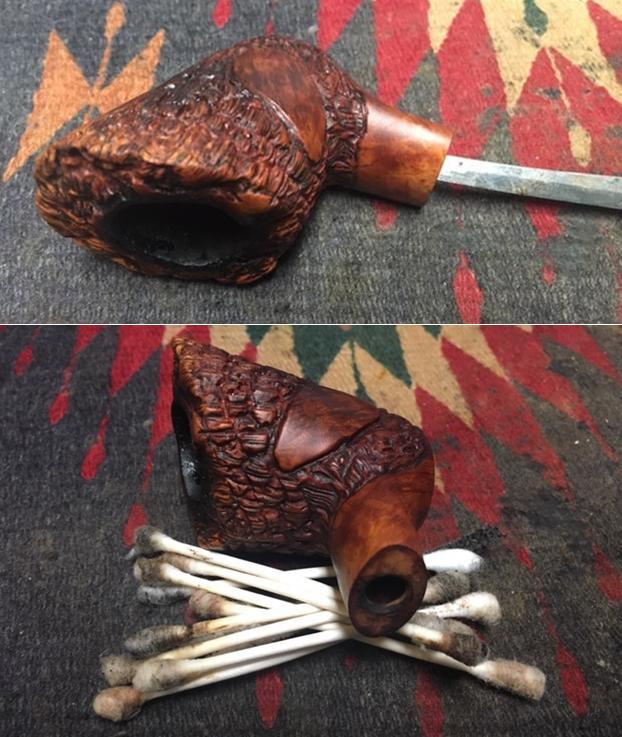
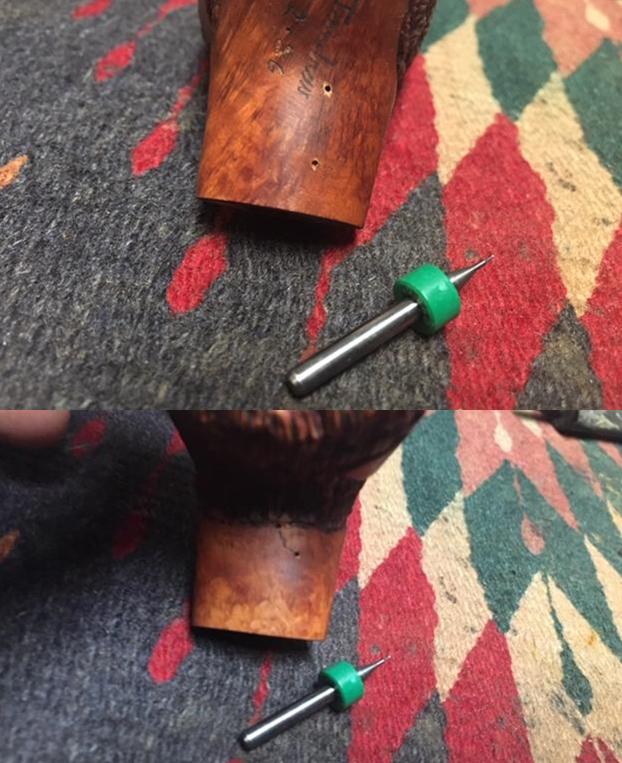
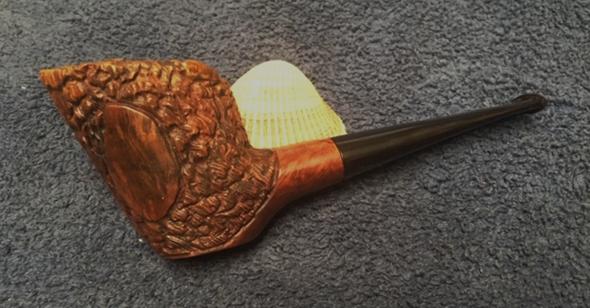
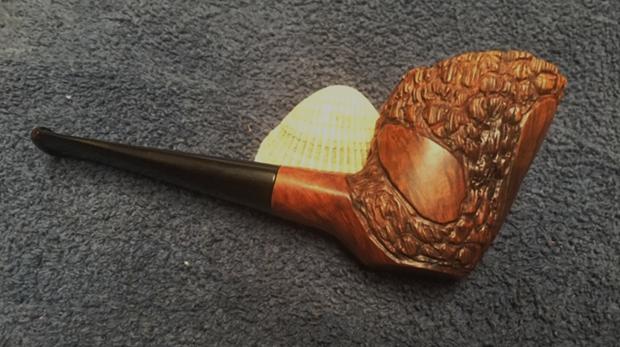
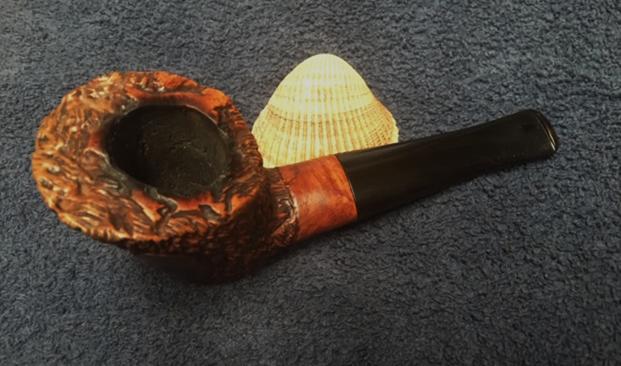
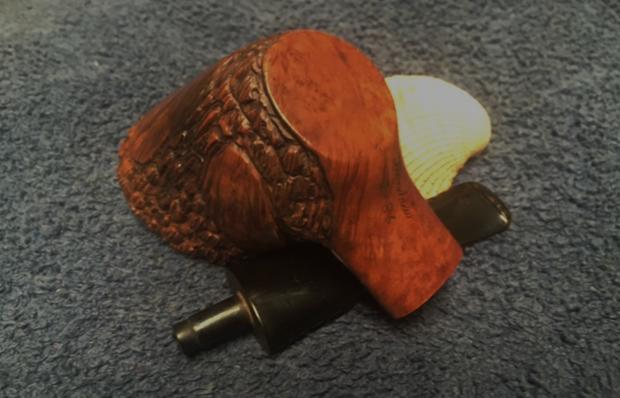
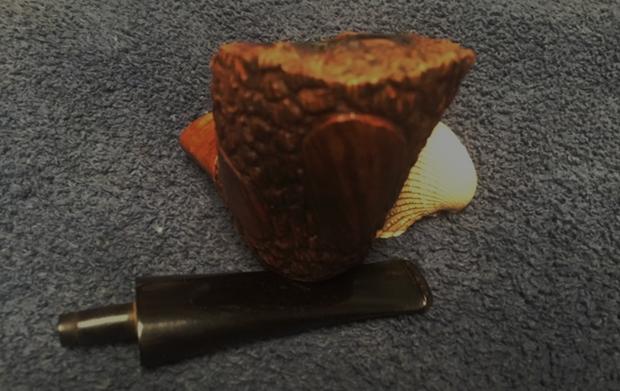
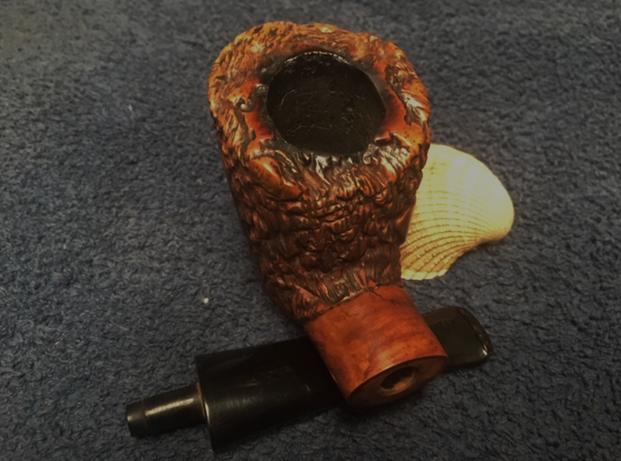
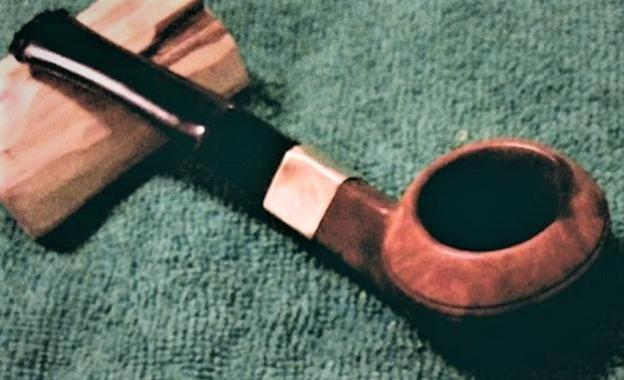
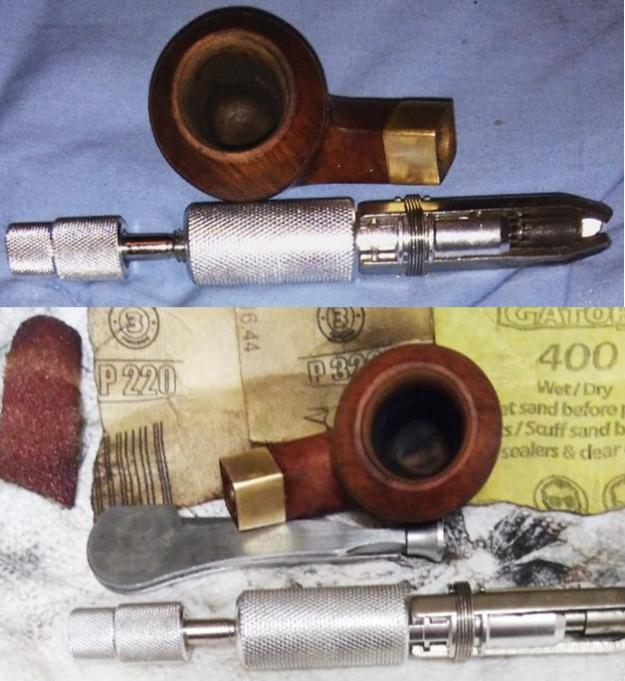
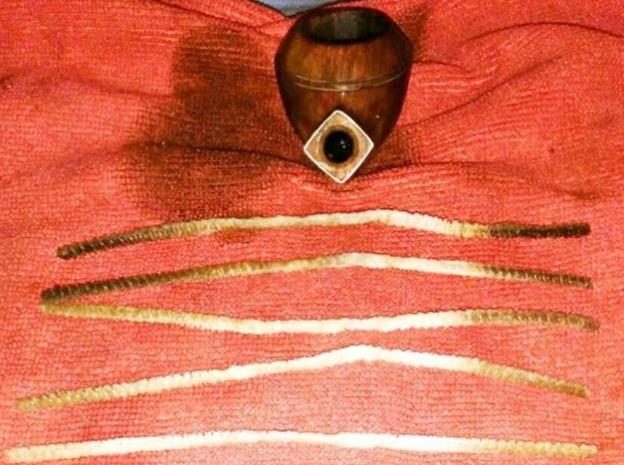
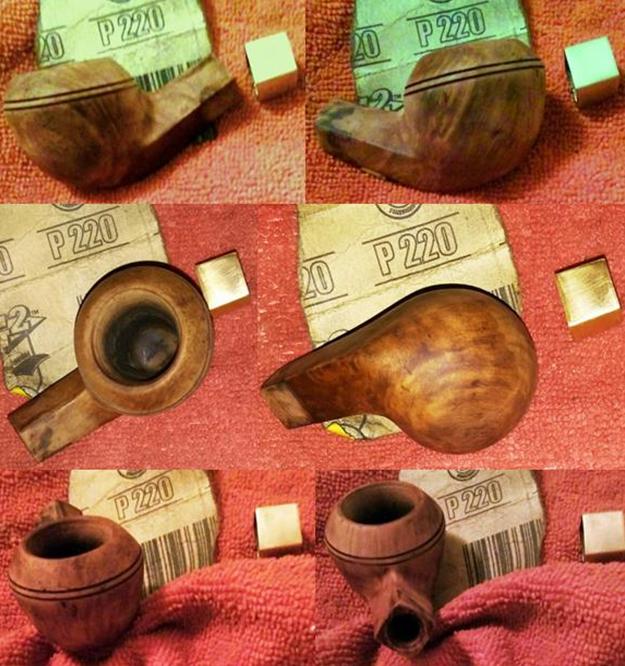
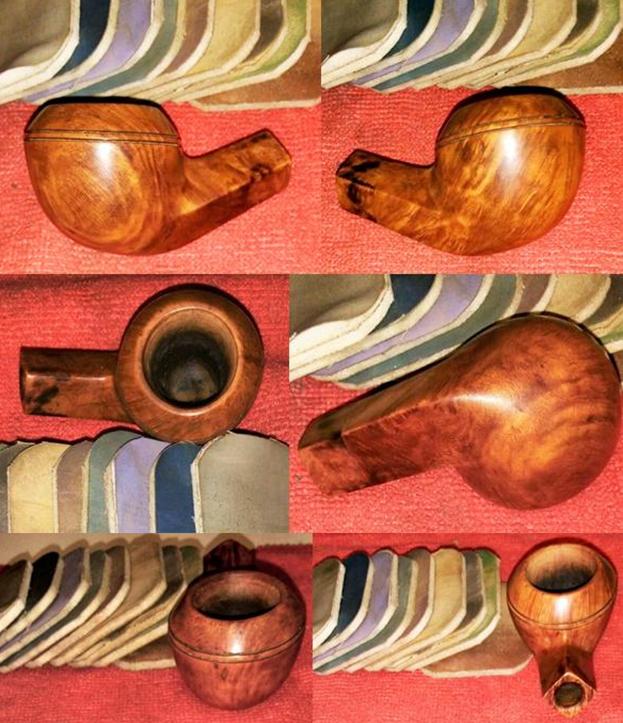
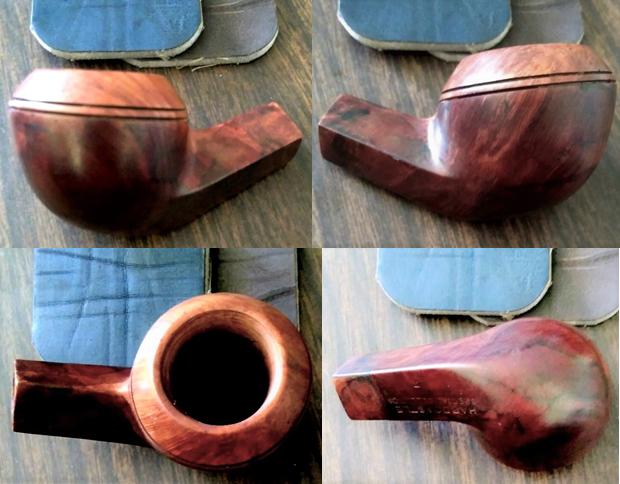
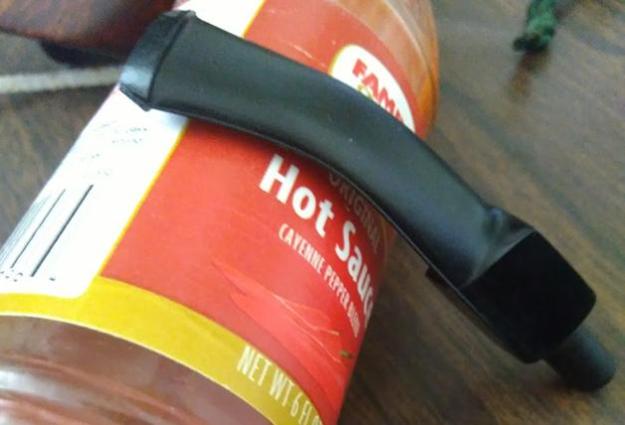
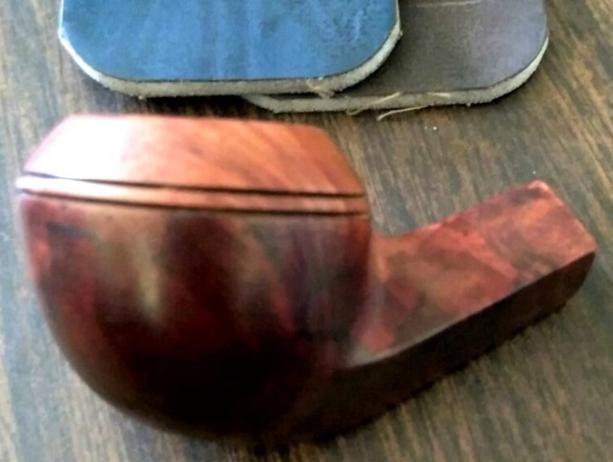
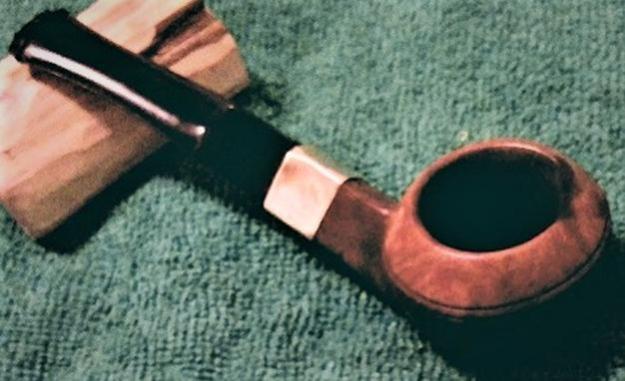
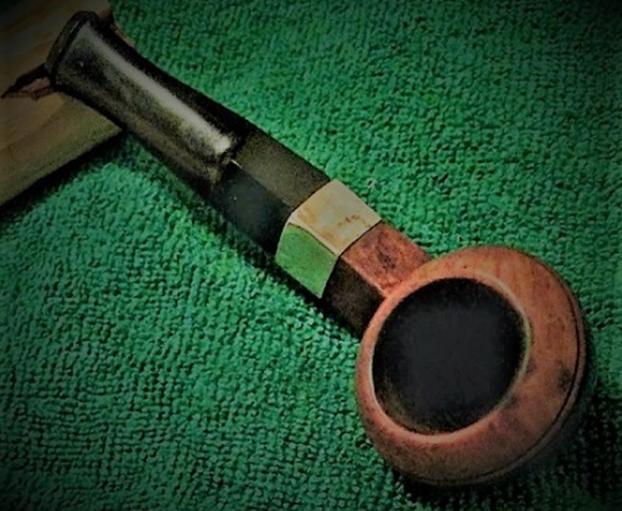
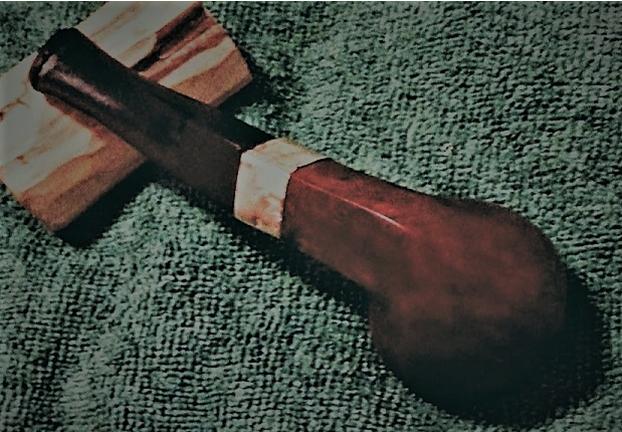
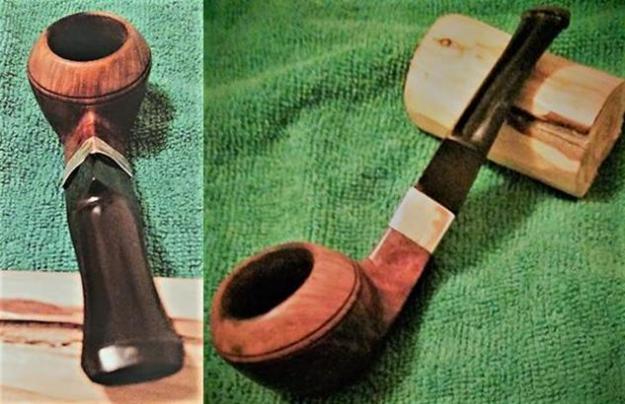
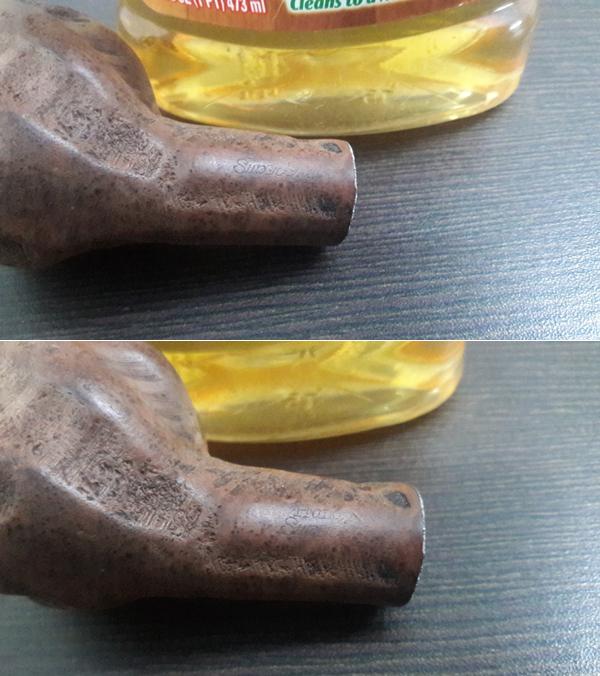
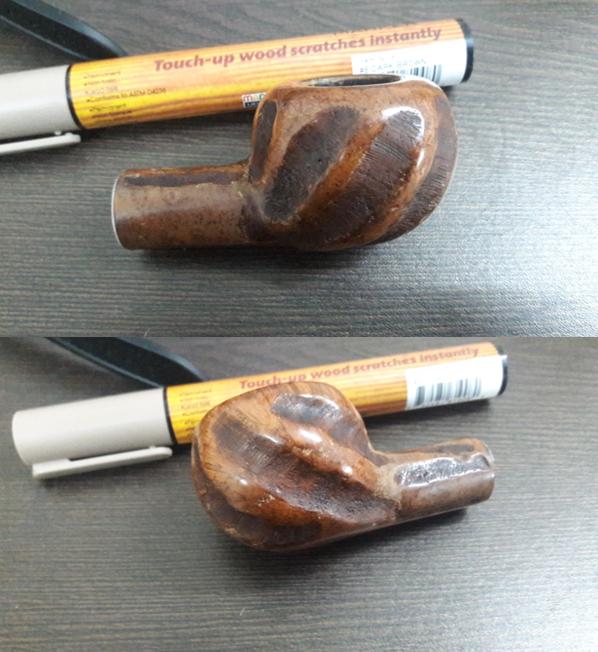
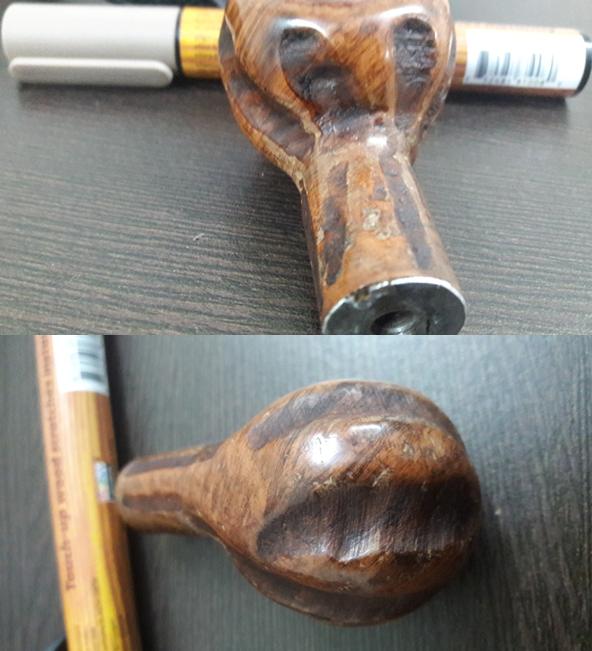
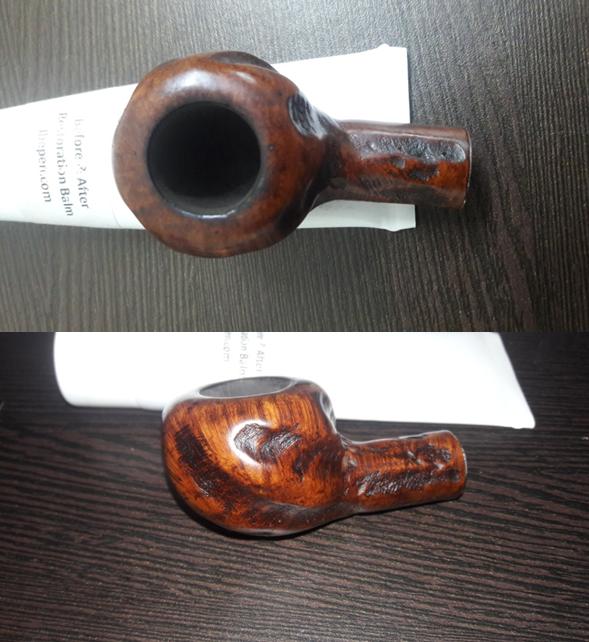
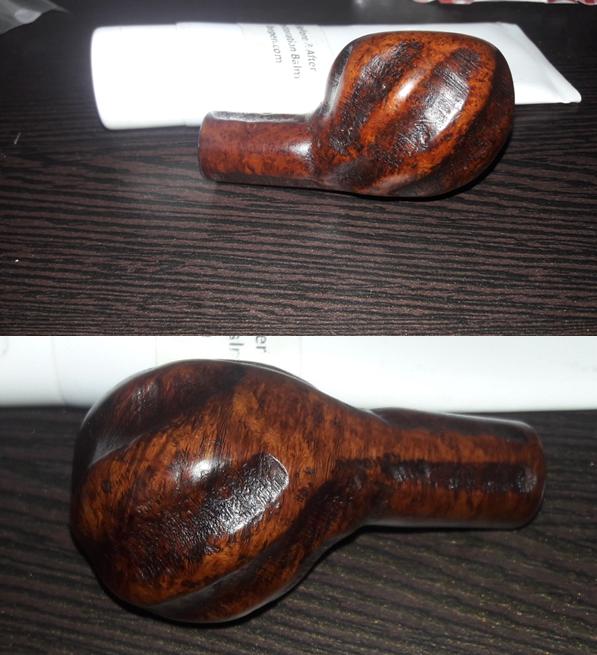
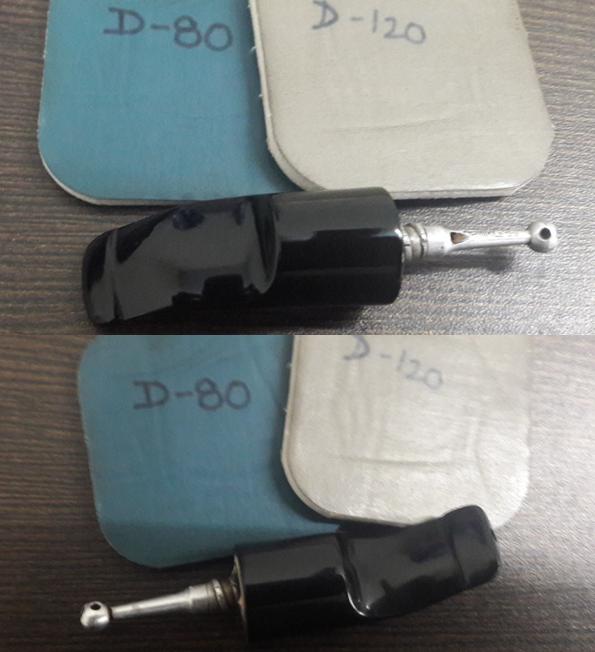
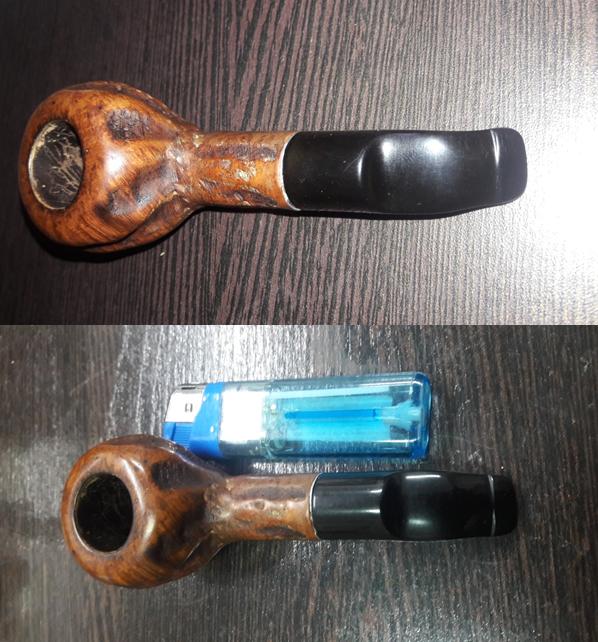
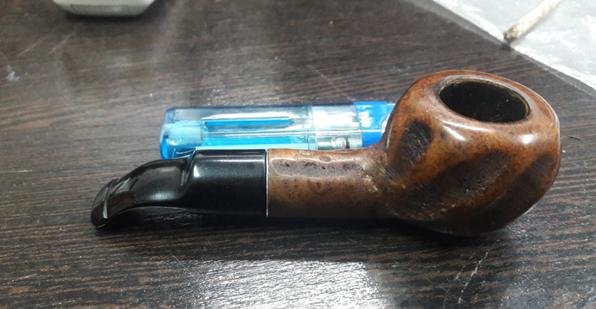
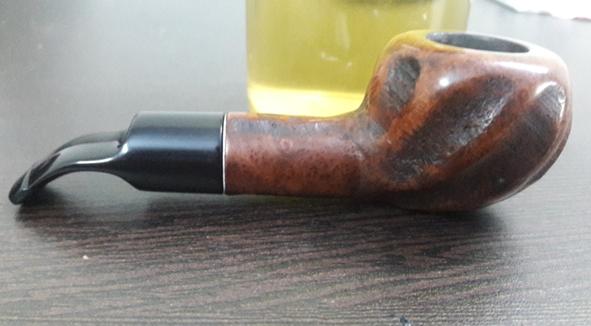
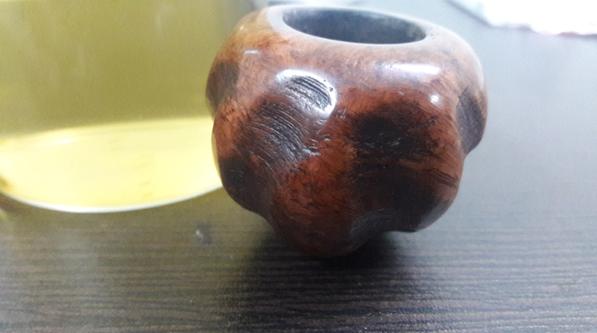
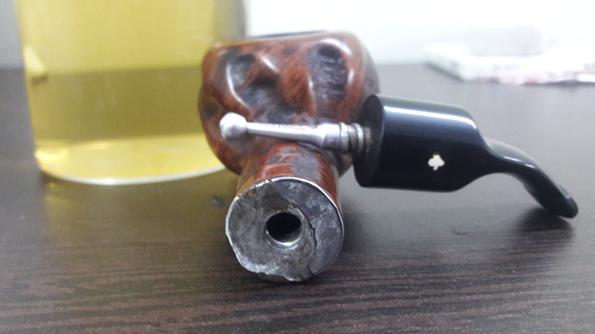
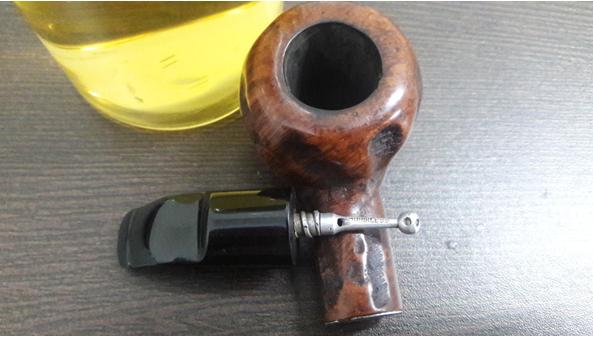
I saw this large Ben Wade Bent Billiard on the eBay auction block a few years ago and secured it with the winning bid.  This was the first time I had acquired a Ben Wade, so my initial thought was to add it to my own collection.  I noticed that Ben Wade stamped pipes usually attracted more than usual bidding attention and so I was looking forward to restoring it and learning more about the name.  In the end, I put him in the For ‘Pipe Dreamers’ Only! section on the Pipe Steward site and this is where Paresh saw it and commissioned it to add to his collection and this benefits the Daughters of Bulgaria.  The Ben Wade, without question, fits the profile of being a ‘hefty’ pipe fitting well in the hand.  Here are some of the pictures that got Paresh’s attention: I take some additional pictures on my work table in Sofia, Bulgaria, looking at the stamping.  On the left shank is ‘Ben Wade’ in cursive script over MADE IN [over] LONDON ENGLAND.  The right shank side has 79 stamped – I’m assuming a shape number. The stem also has a BEN WADE stamp. Pipedia’s article on Ben Wade is interesting and very helpful in explaining the history.  The ‘Family Era” (1860 to 1962) is described as the ‘hay day’ of the British pipe maker:

The company was founded by Benjamin Wade in 1860 in Leeds, Yorkshire, where it was located for over a century. Ben Wade started as a pipe trader, but yet in the 1860’s he established a workshop to produce briar pipes. The pipes were made in very many standard shapes – always extensively classic and “very British”. Many models tended to be of smaller dimensions. Ben Wade offered a very high standard of craftsmanship and quality without any fills. Thus, the pipes were considered to be high grade and a major competitor to other famous English brands.

Along with most pipe manufacturers, the Second World War was a difficult time for Ben Wade.  German air raids destroyed the factory in Leeds, but the Ben Wade Co., quickly rebuilt after the war.  The Pipedia article gives several examples of the Ben Wade based in Leeds nomenclature during the Family Era (courtesy of Doug Valitchka):The ’Family Era’ ended when the business was sold in 1962:

…the owner family decided to leave pipe business and sell off the firm. The family went into negotiations with Herman G. Lane, president of Lane Ltd. in New York at about the same time as the Charatan family. Lane Ltd. bought both firms in 1962. Herman G. Lane had been Charatan’s US sole distributor since 1955 and Charatan always remained his pet child. But Ben Wade was treated in another way by its new owner. The fabrication of pipes was reduced and the factory in Leeds was closed in 1965 finally.  So this was the end of Ben Wade pipes stamped “Made in Leeds, England”.

The ‘Lane Era’ is described as a time when the historic quality of Ben Wade declined to a ‘second’ with reference to the production of standard shapes:

Alas the “new” Ben Wades were quite usual series pipes, copies of well-known standard shapes. The pipes often showed hardly masqued fillings and were processed quite coarsely with hardly polished pre-moulded Ebonite stems. Therewith Ben Wade degenerated definitively to a second brand.

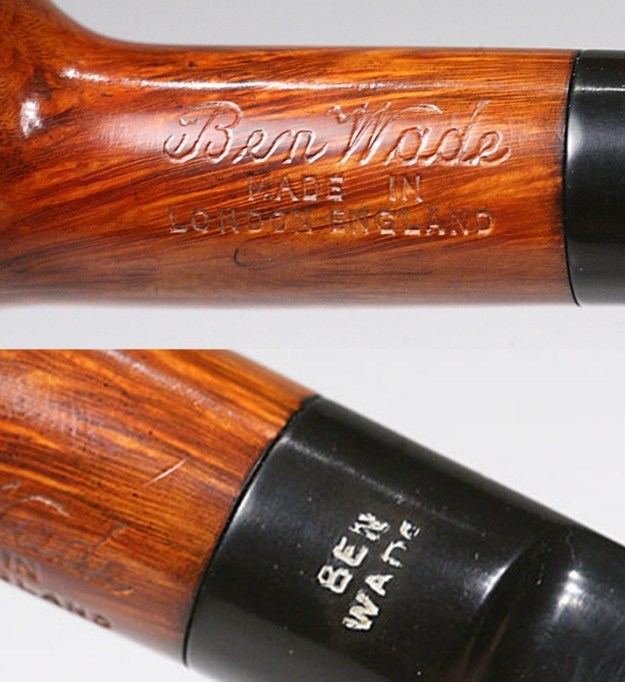
According to the Pipedia article, after the death of Herman G. Lane, the business was sold to Dunhill Pipes Limited in 1978 and the new owner had no need to produce ‘seconds’ coming from the acquisition.  The Ben Wade Bent Billiard on my work table comes from the ‘Lane Era’ produced between 1965 and 1978 matching the nomenclature during this period.  “Made in London England” or just “London” replaced “Leeds” with the characteristic cursive script and ‘Ben Wade’ stem stamp (again courtesy of Doug Valitchka):I had one other question regarding the name ‘Ben Wade’ – the Danish connection? In 1971, the young, Danish pipe maker, Preben Holm, came to Lane with financial difficulties and in need of a new US distributer of his pipes made in Denmark.   The new partnership put the Ben Wade name on the Freehand production coming from the Danish factory into the burgeoning US ‘Freehand’ market with a commitment to quality rather than quantity.  The market grew through the 70s until 1985, when the market for these pipes fell resulting in the downsizing of the factory in 1986 but the production of Danish Ben Wade pipes came to an end in 1989 after the death of Preben Holm.  The Pipedia article concludes by describing the status of the Ben Wade name.  Duncan Briars purchased rights to the Ben Wade name from Dunhill Pipes in 1998 and continues to produce pipes at the same factory where Dunhill pipes are made:

The bowls are carved at the world famous 32 St. Andrews Road, Walthamstowe pipe factory, in London, England. The same factory where Dunhills are made. Every pipe is drilled spot on and exhibits a good blast and all have high quality German Vulcanite mouthpieces. Every pipe is stamped “Ben Wade, Made in London, England”. The craftsmanship and smokability have always been superb.

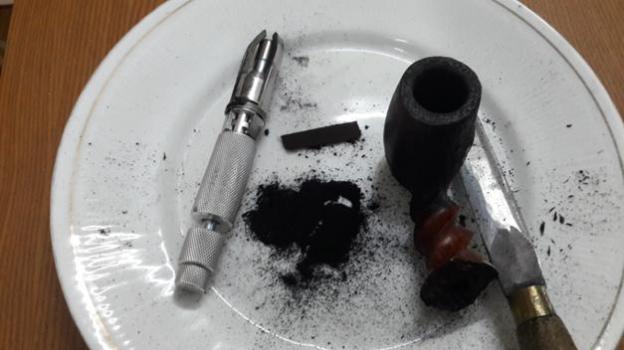
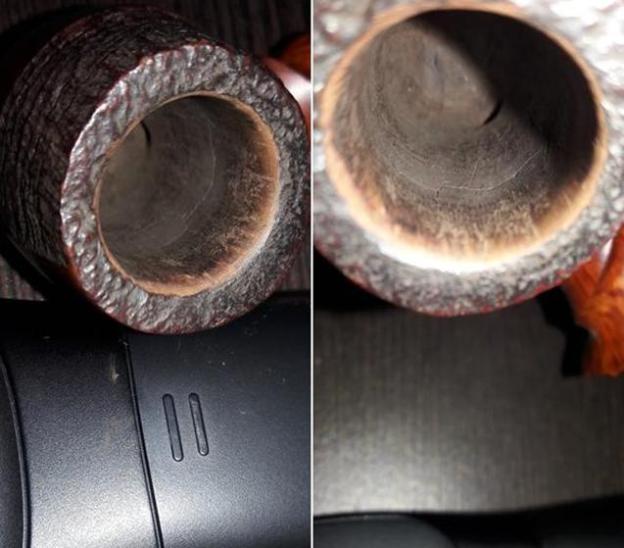
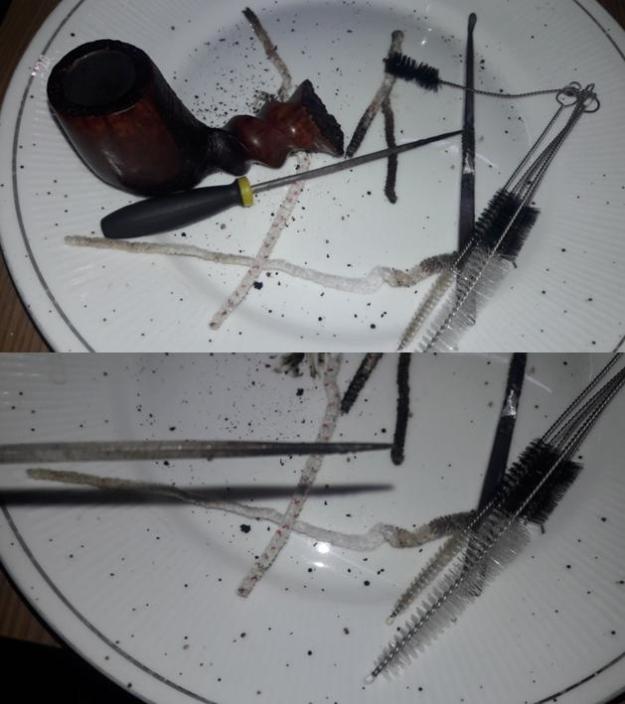
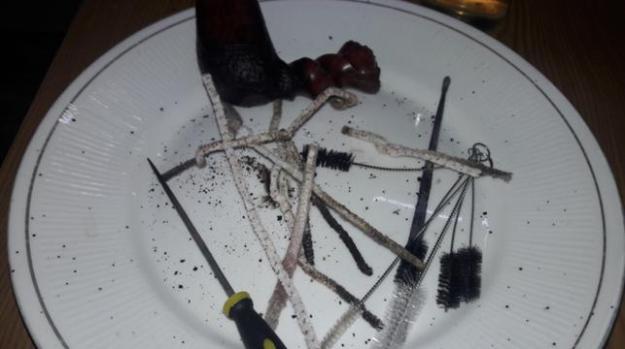
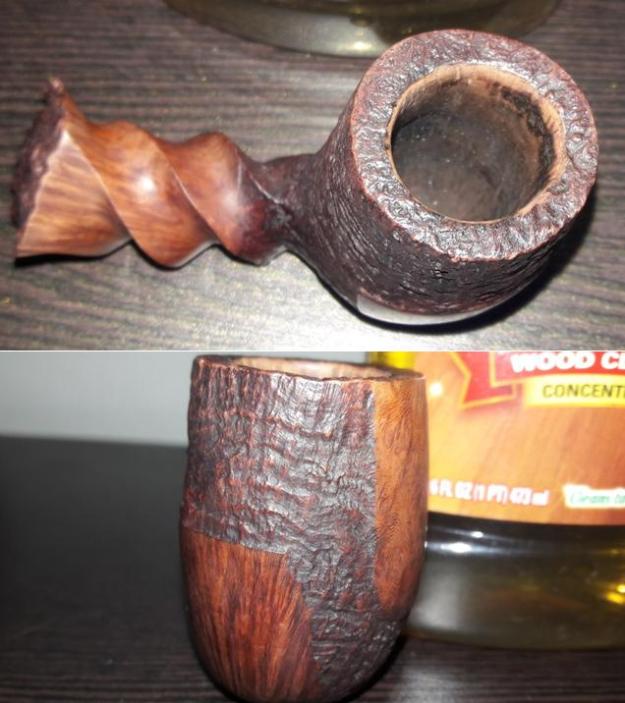
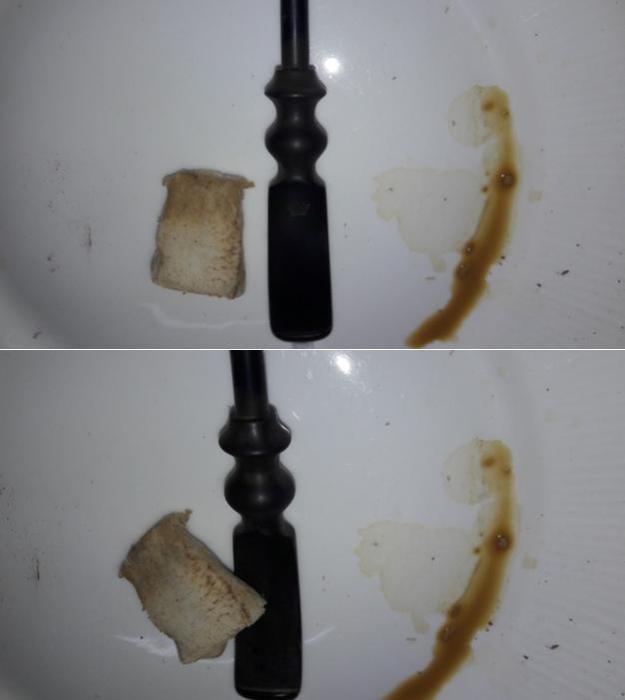
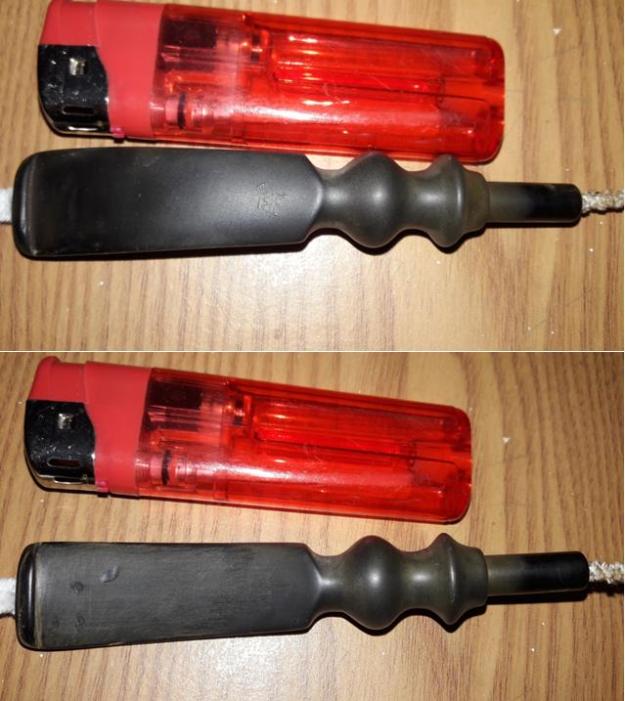
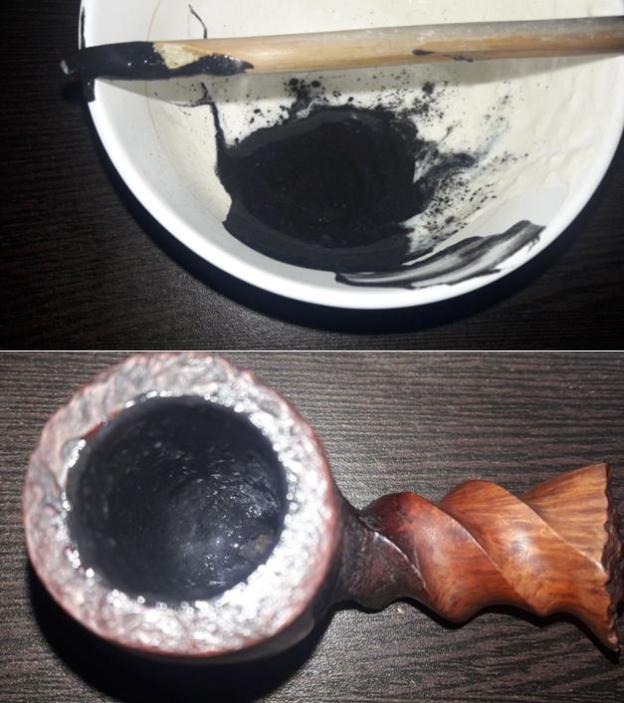
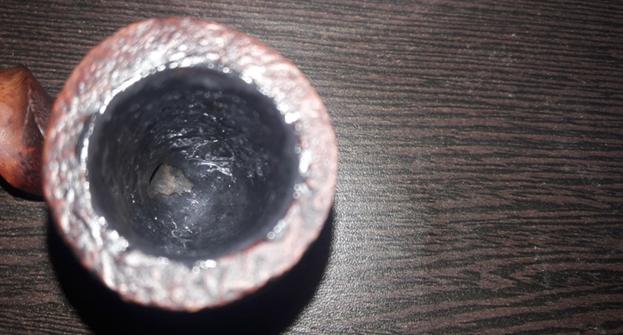
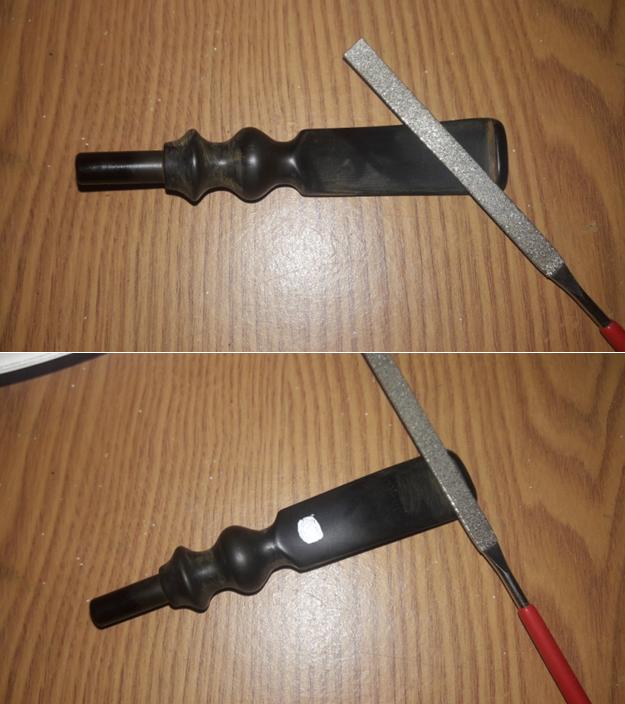
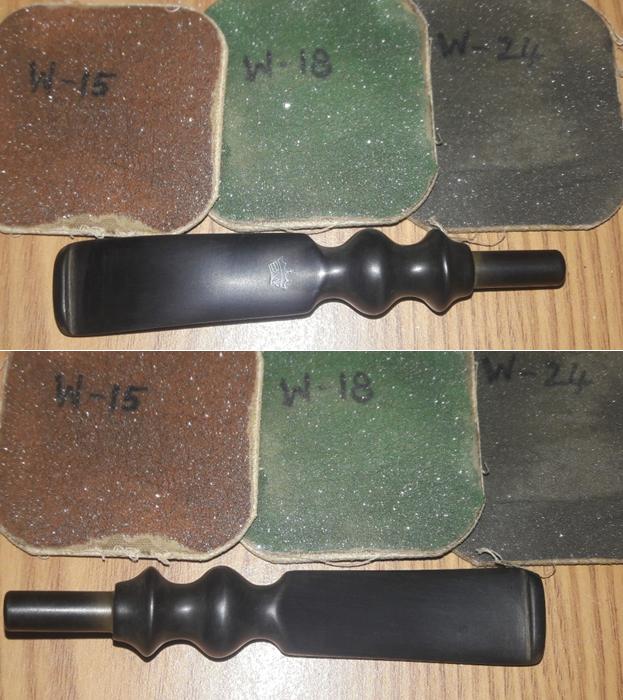
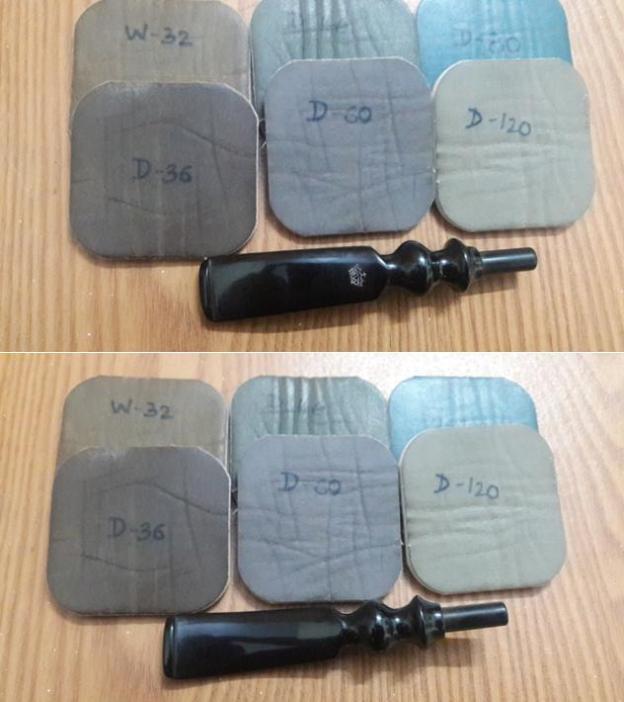
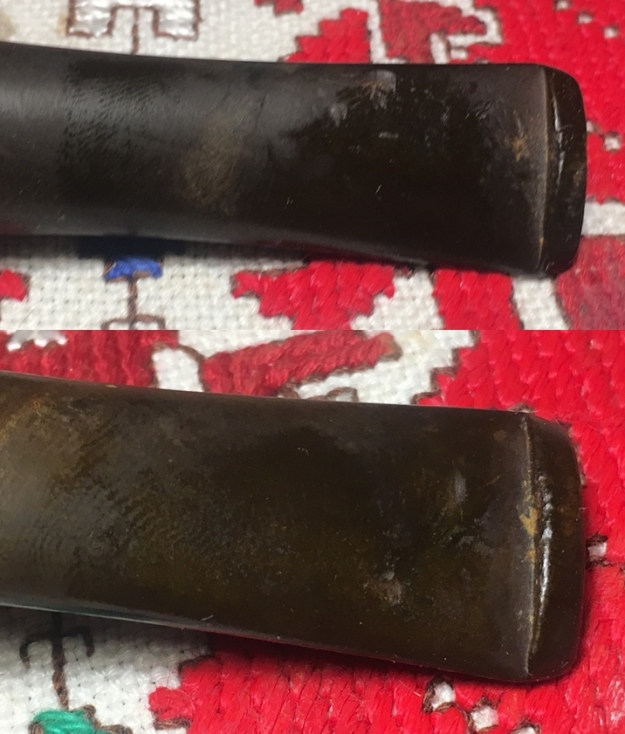
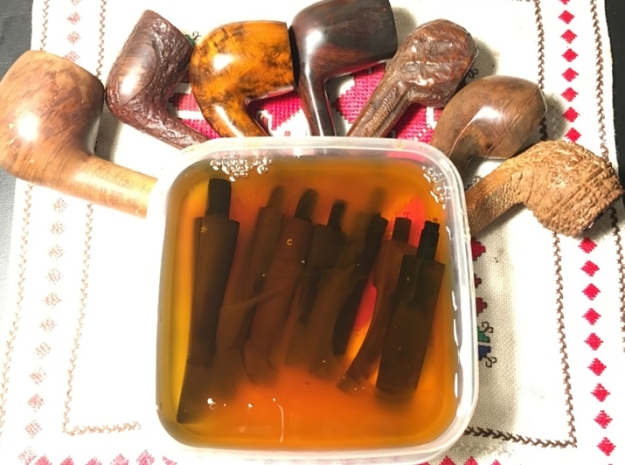
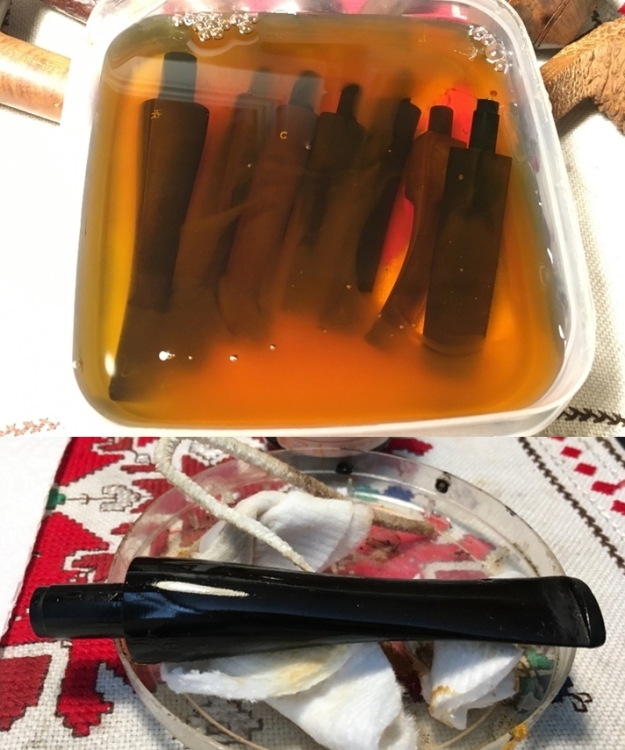
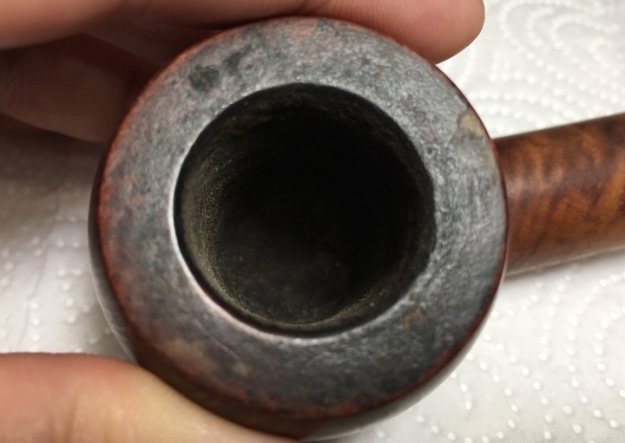
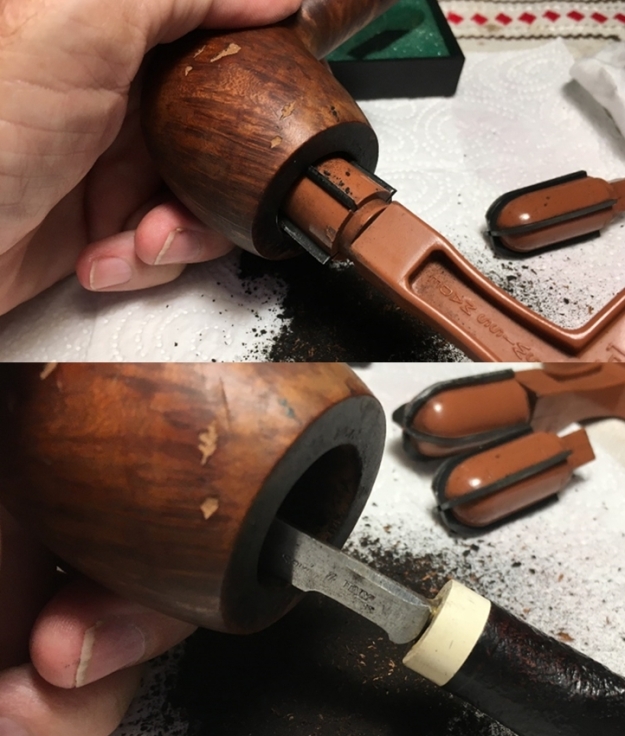
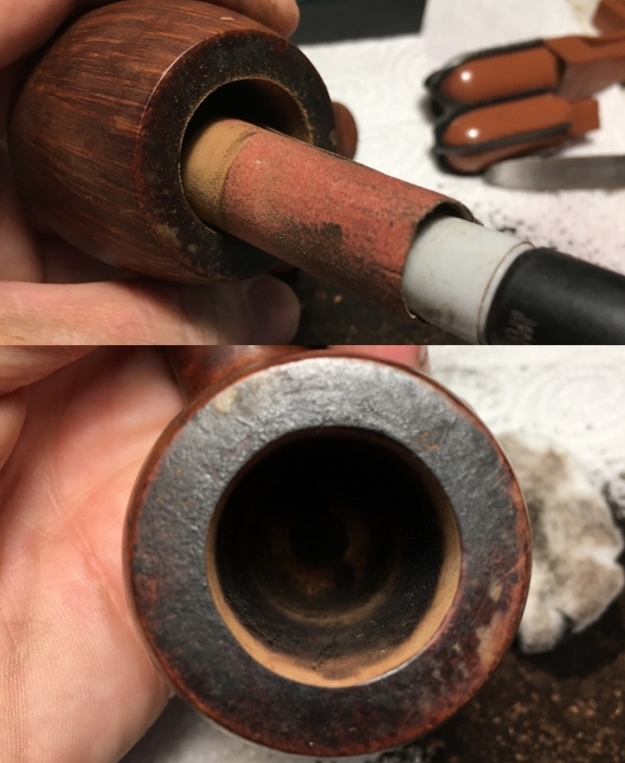
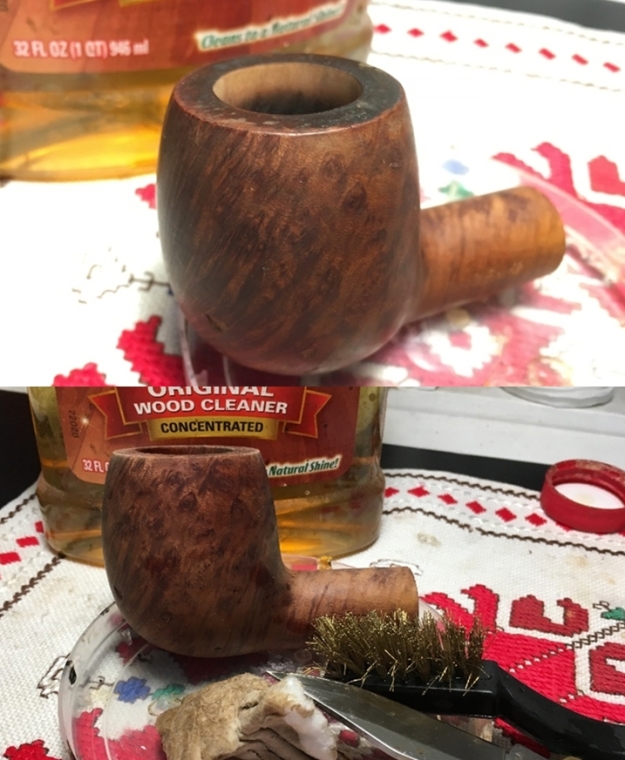
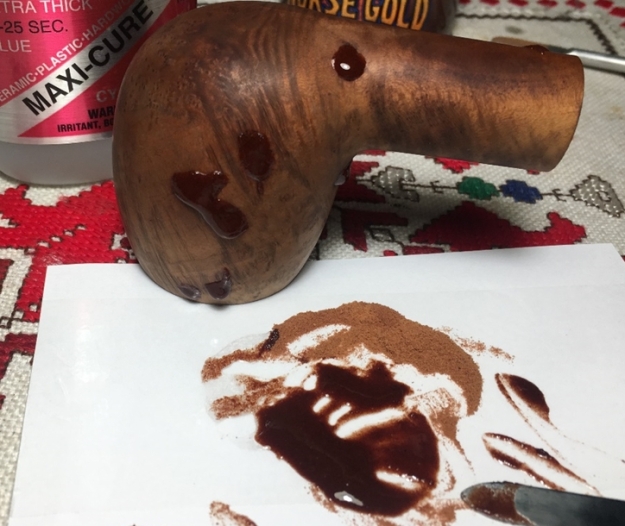
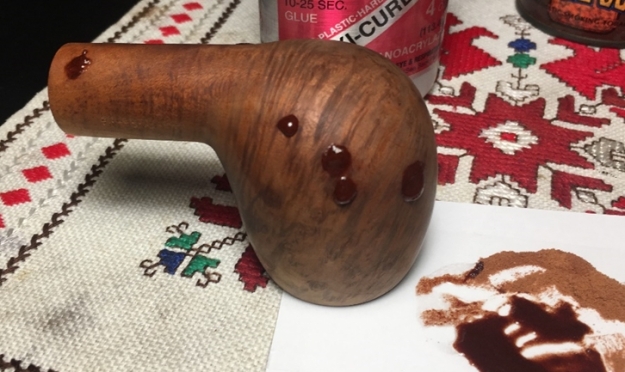
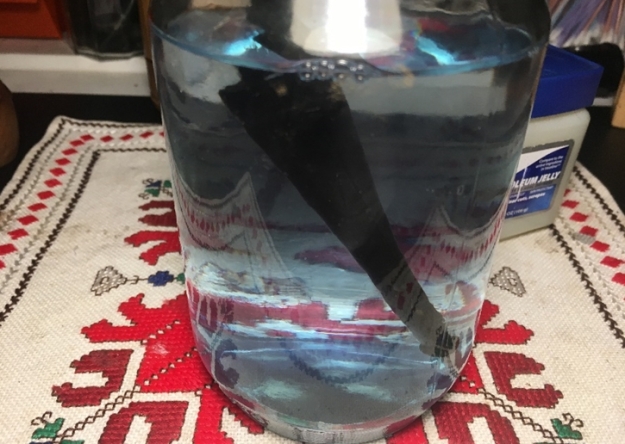
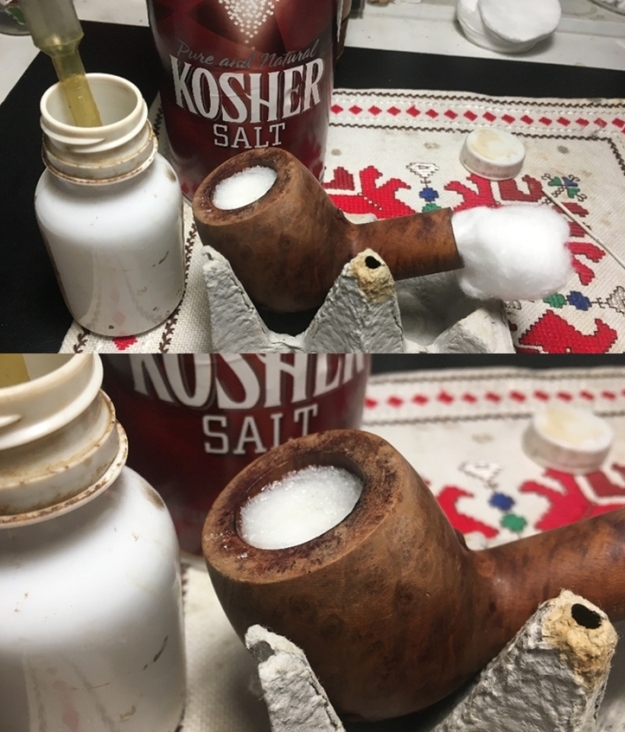
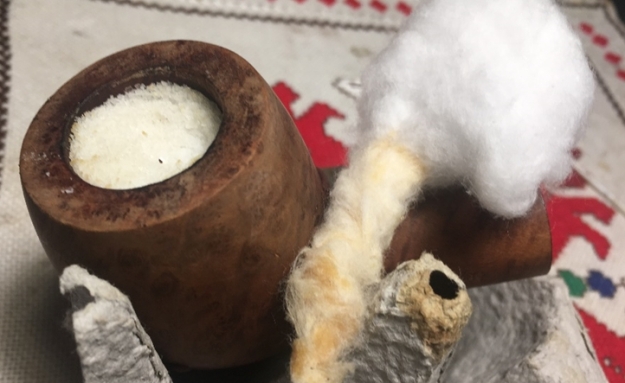
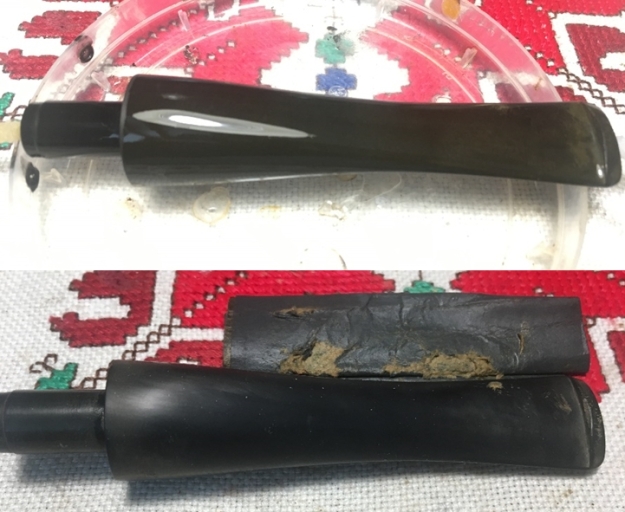
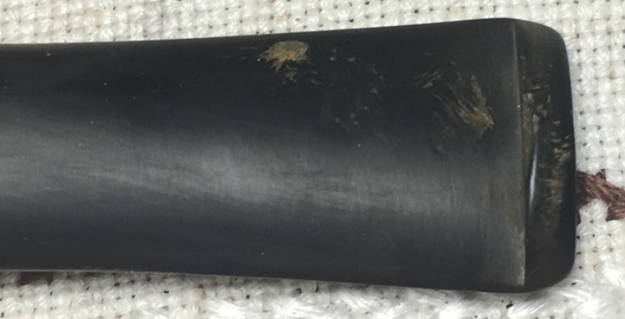
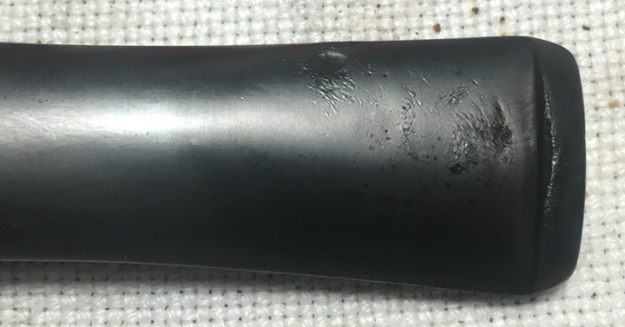
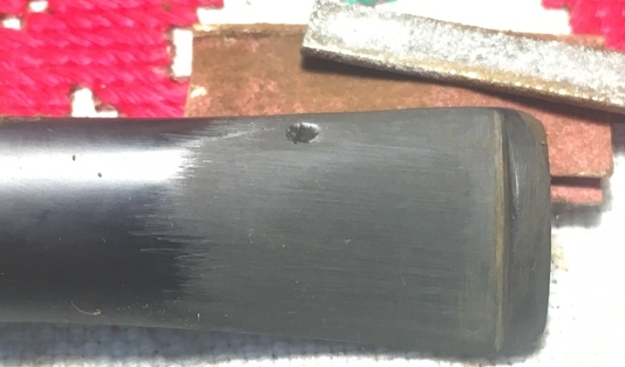
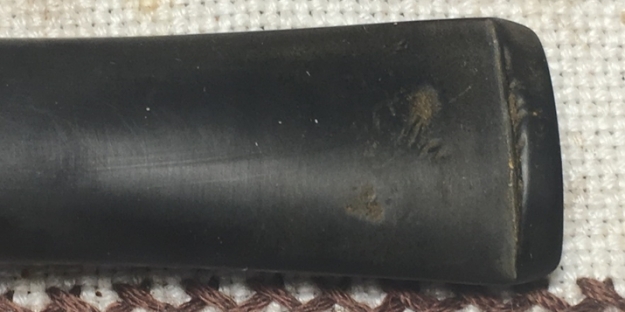
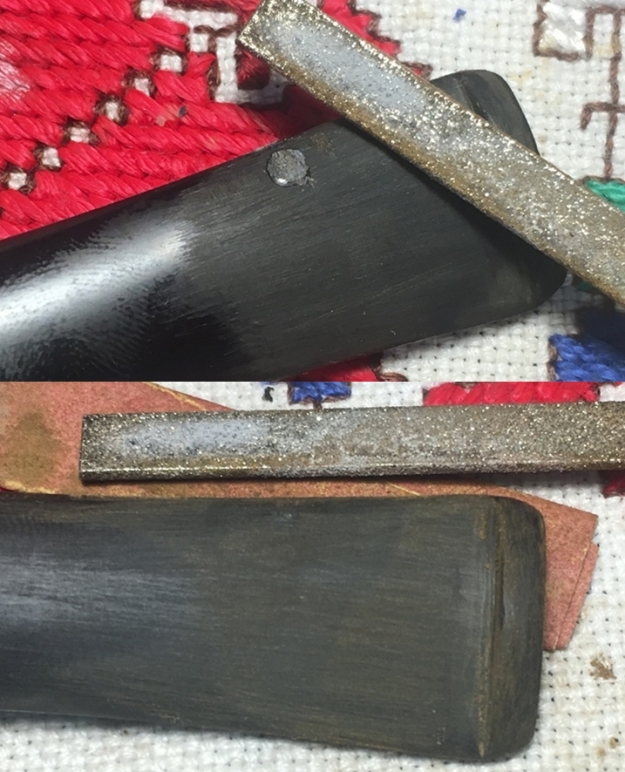
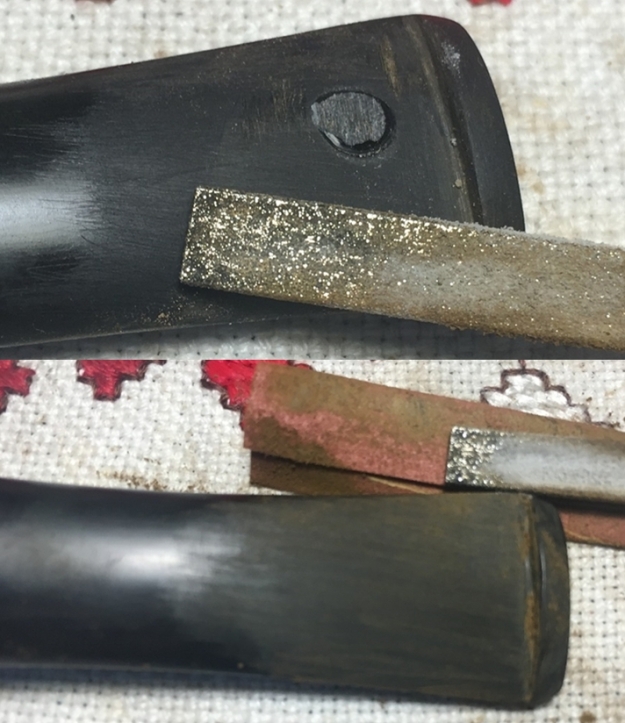
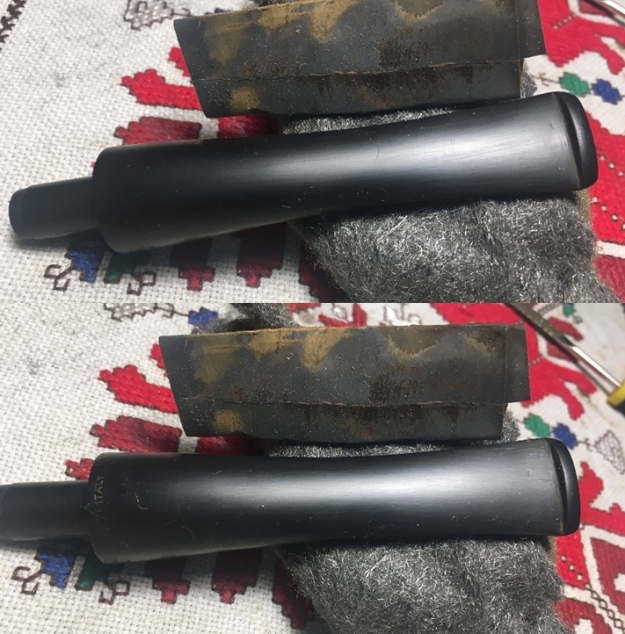
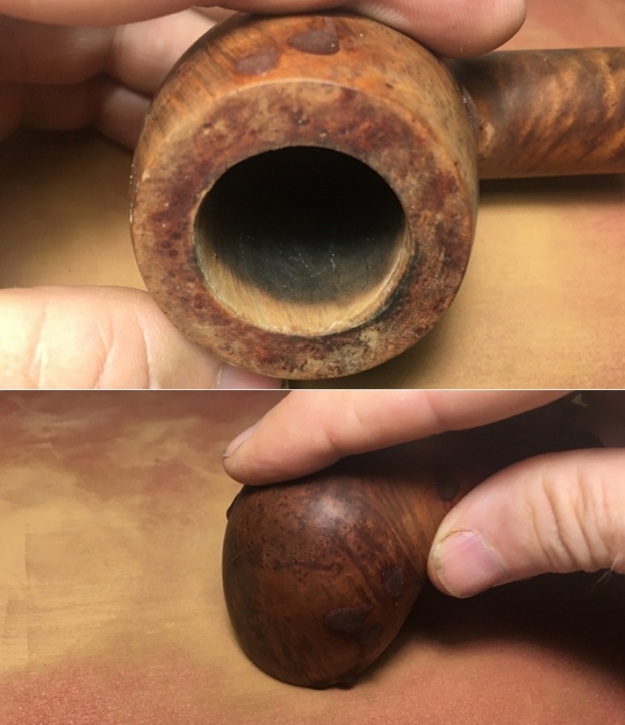
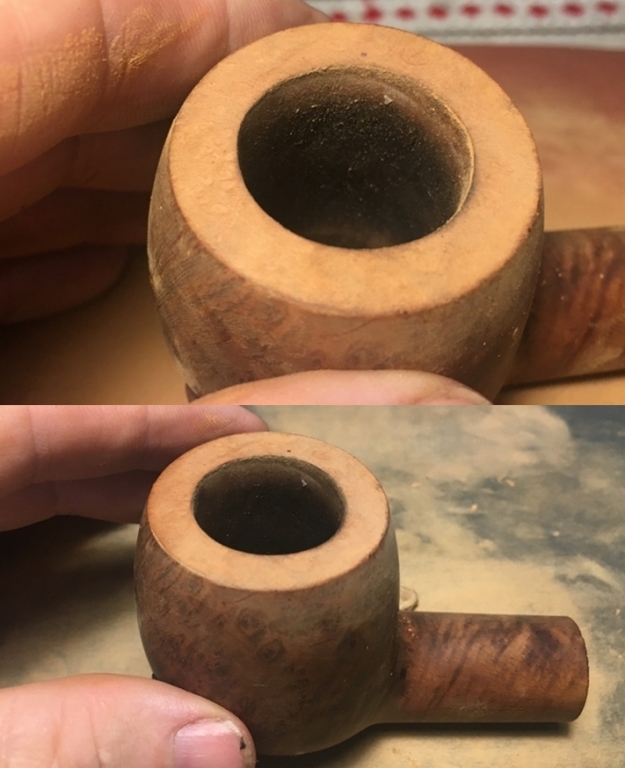
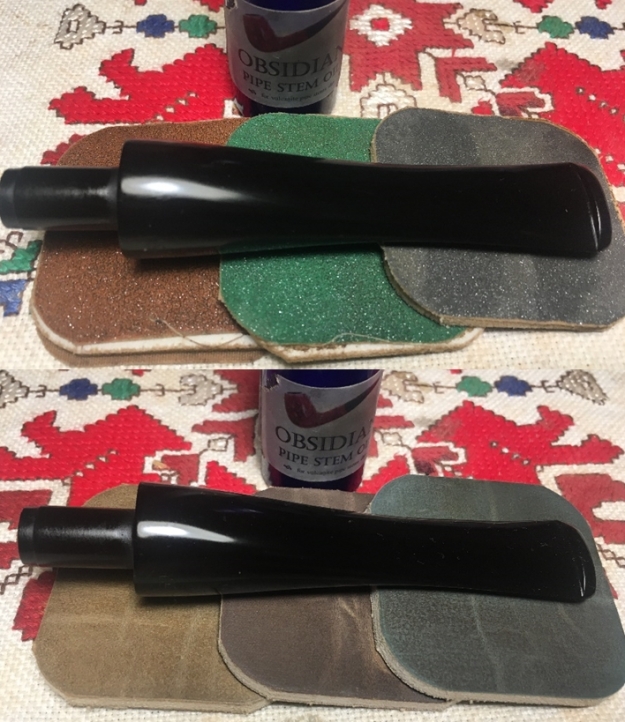
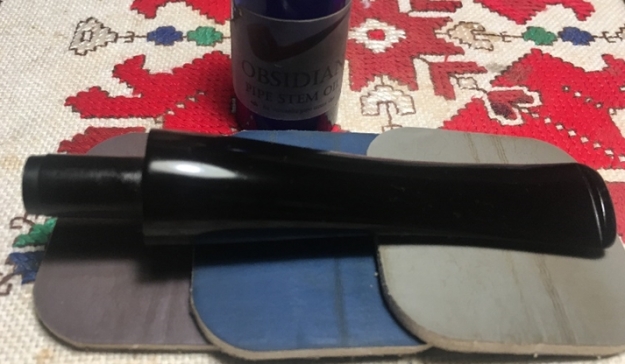
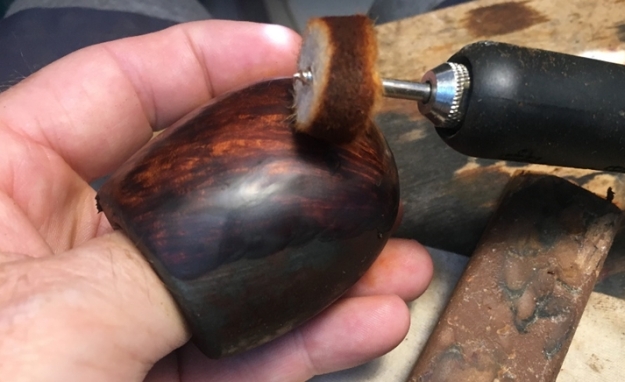
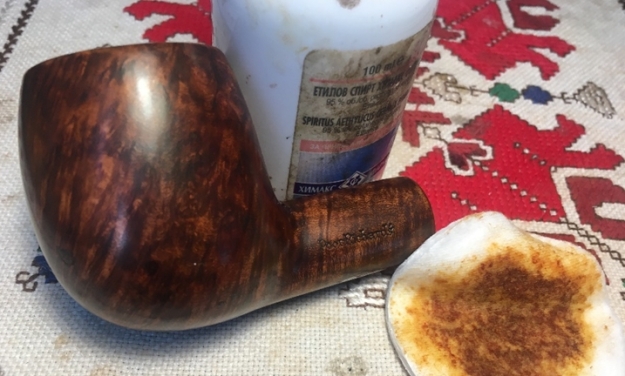
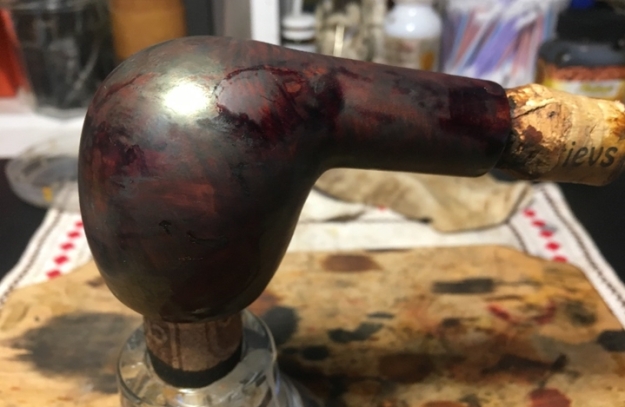
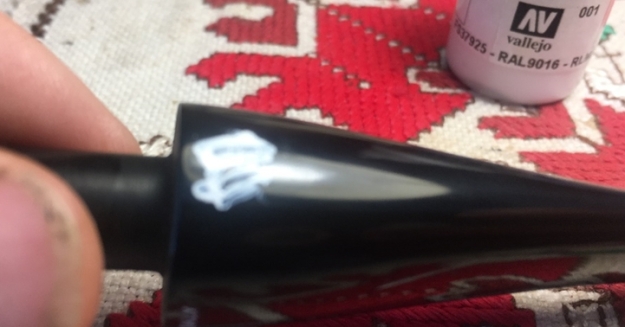
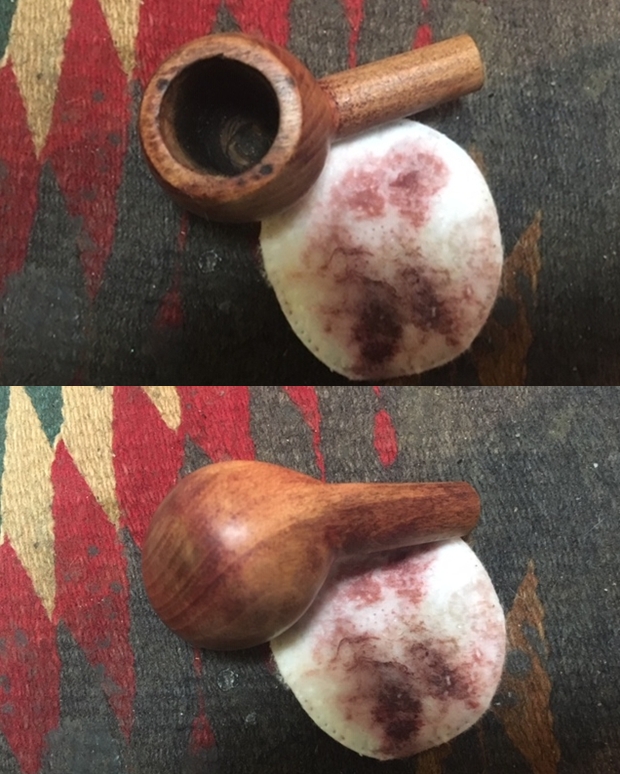
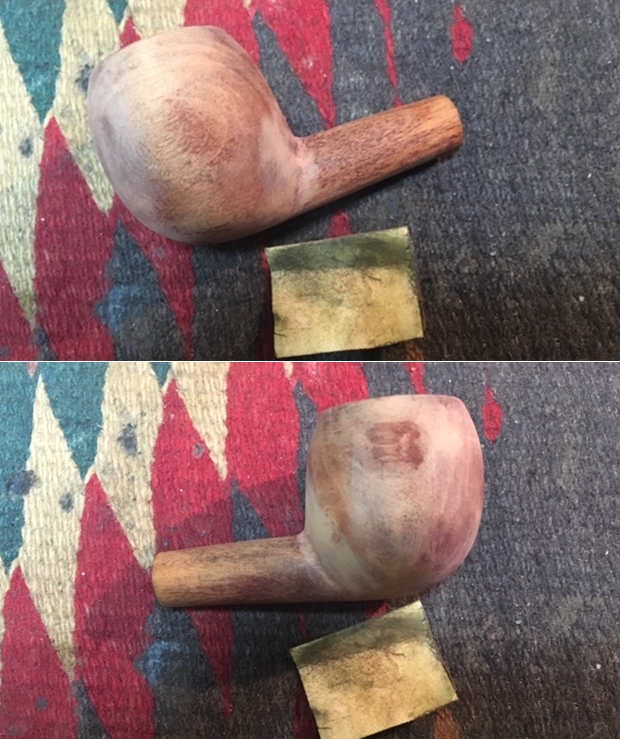
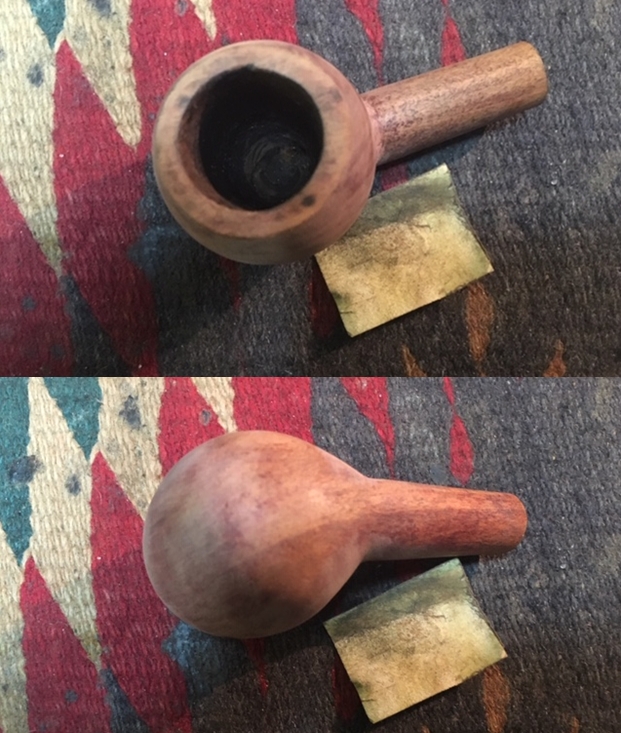
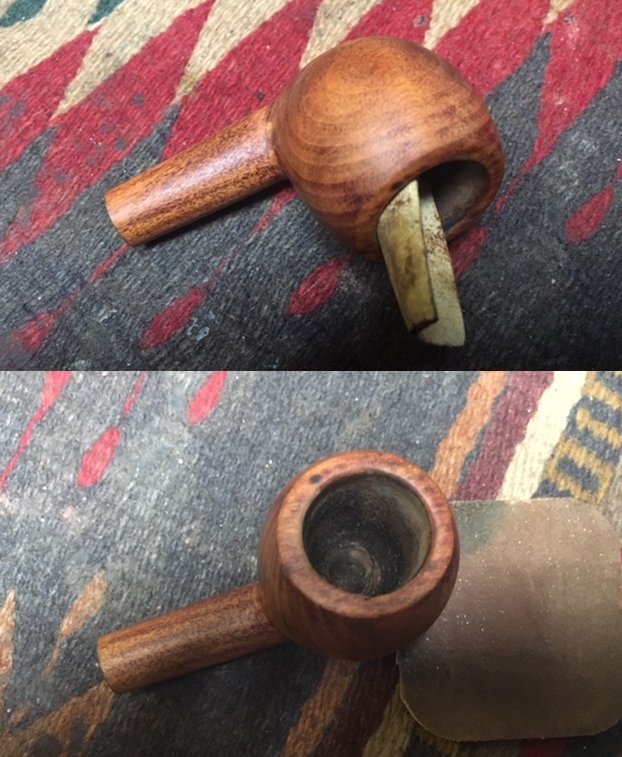
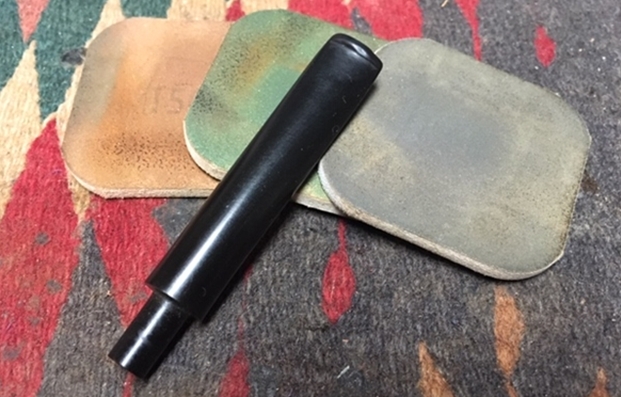
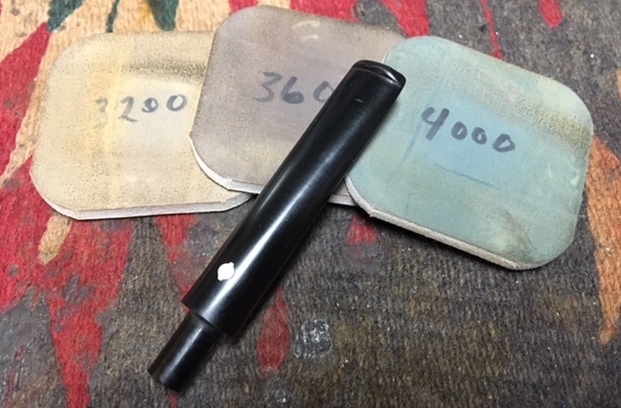
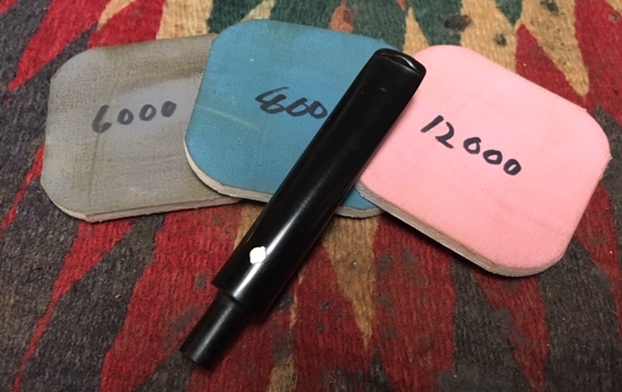
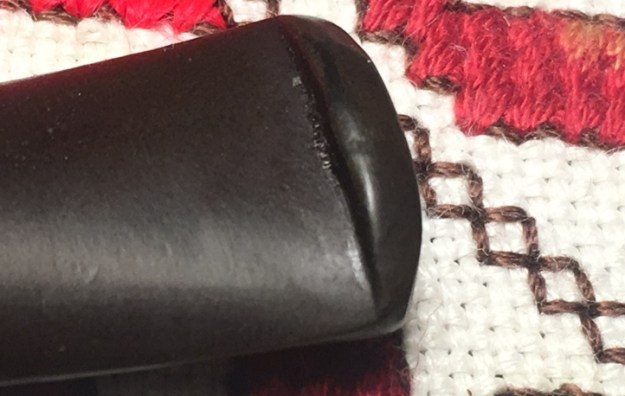
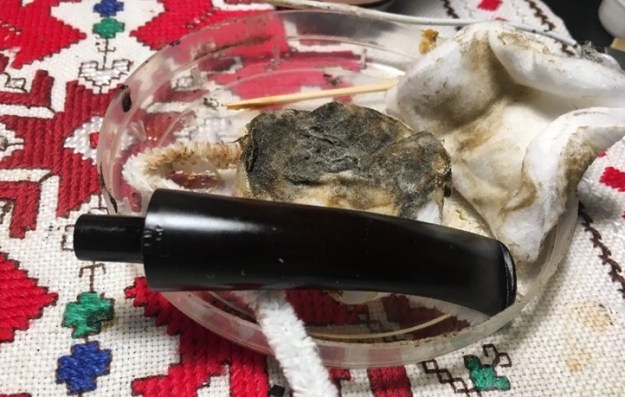
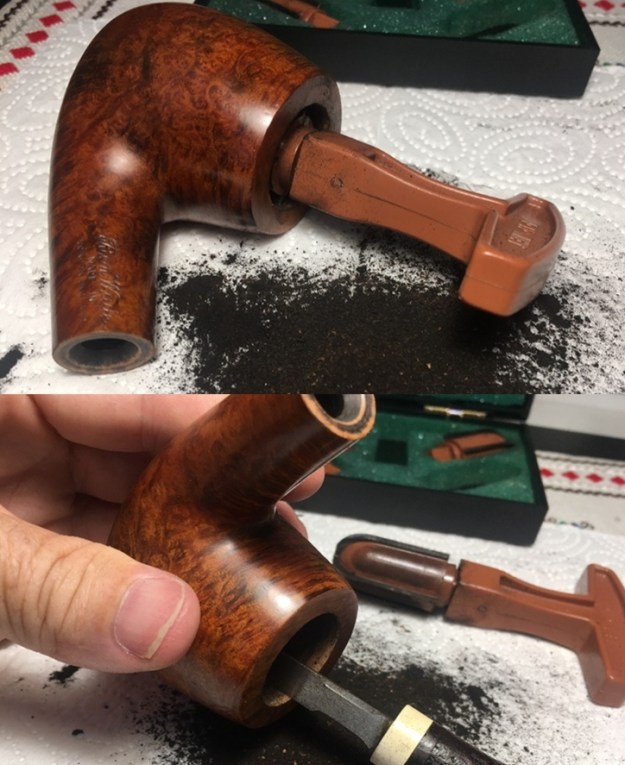
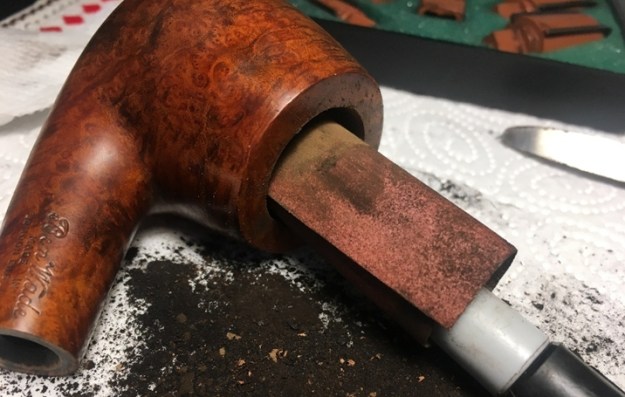
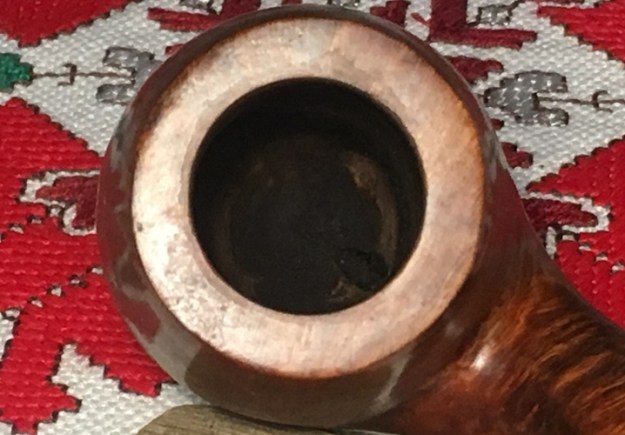
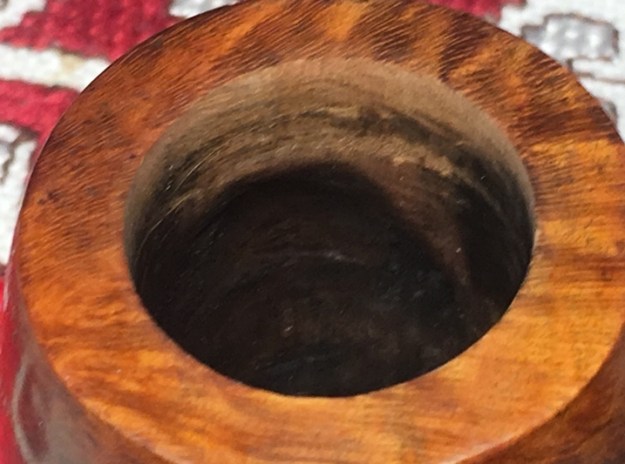
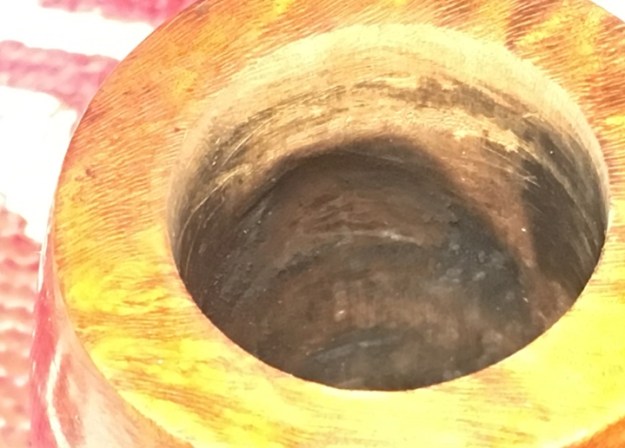
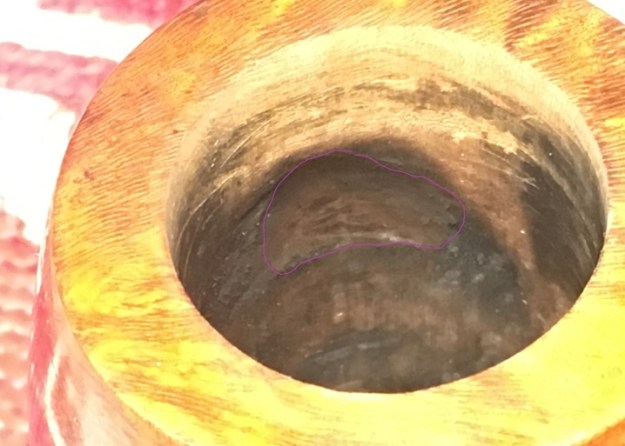
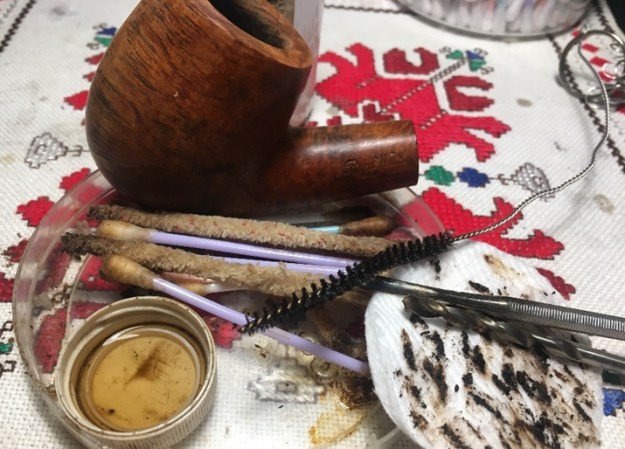
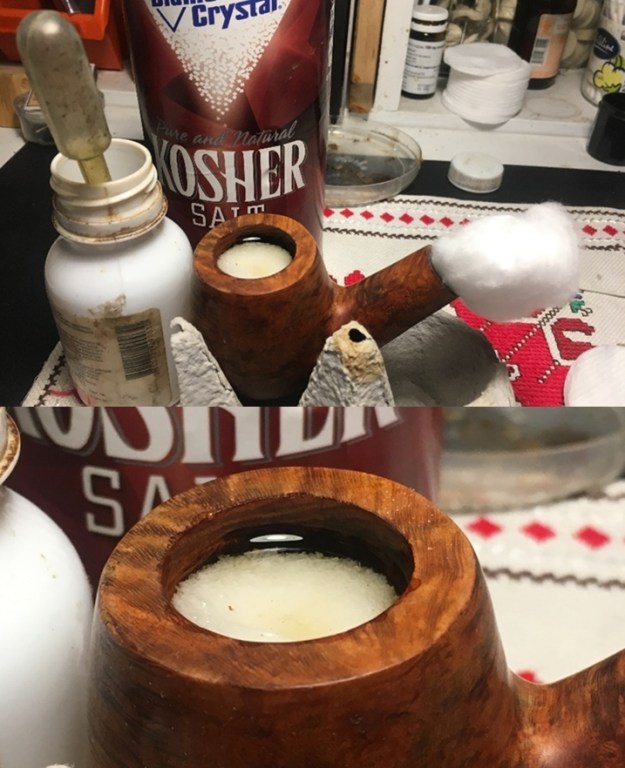
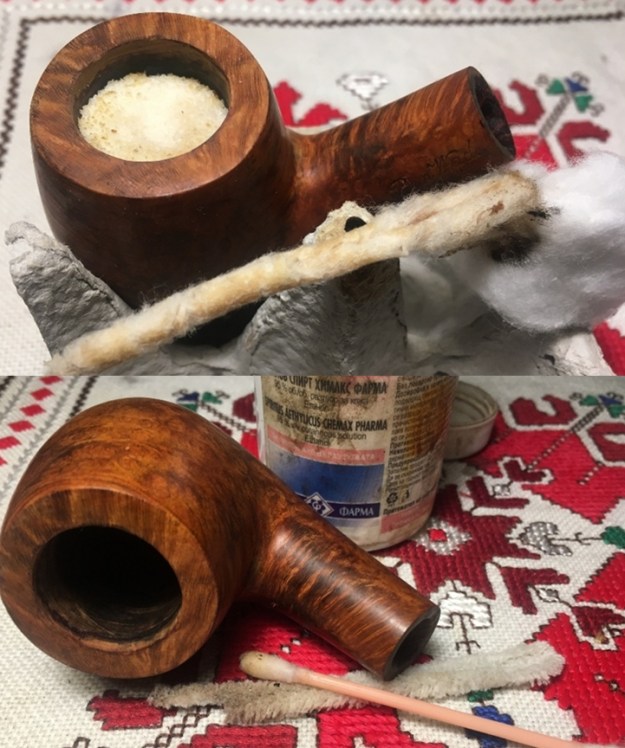
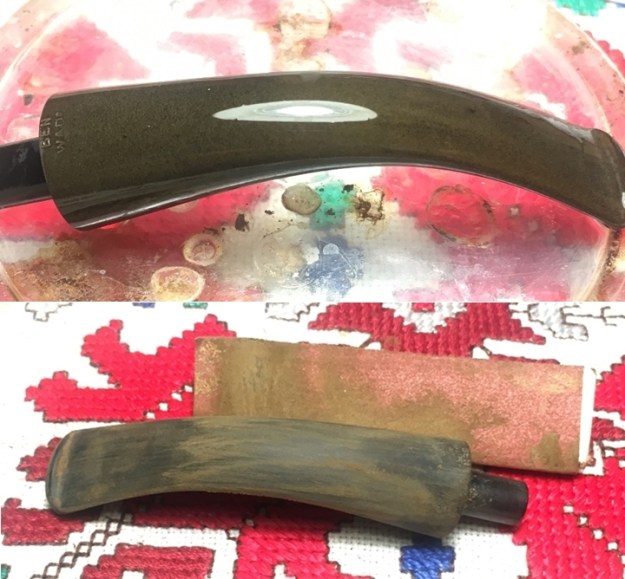
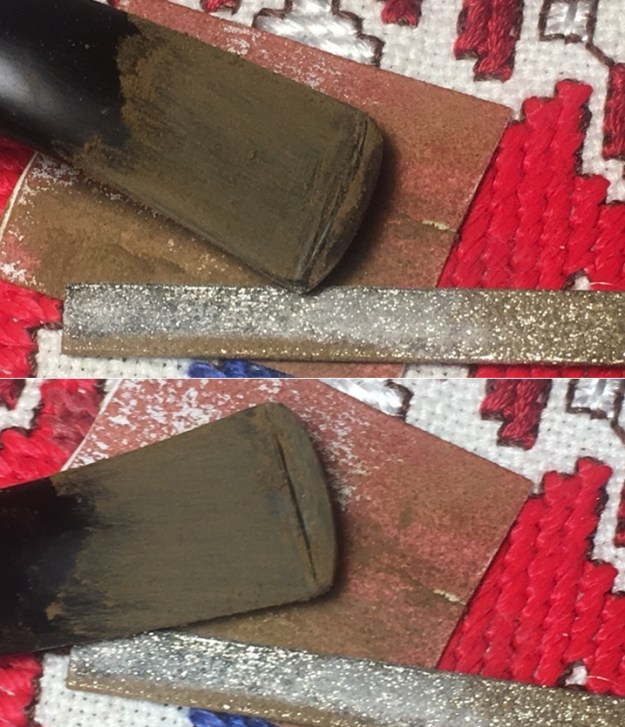
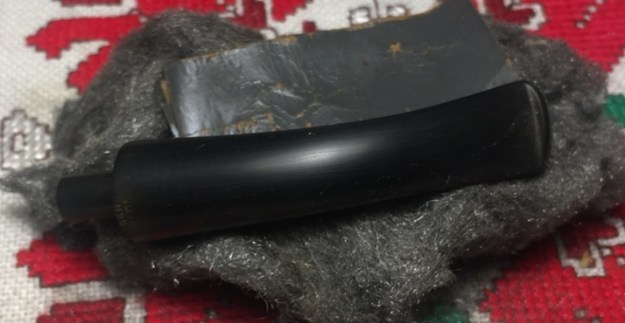
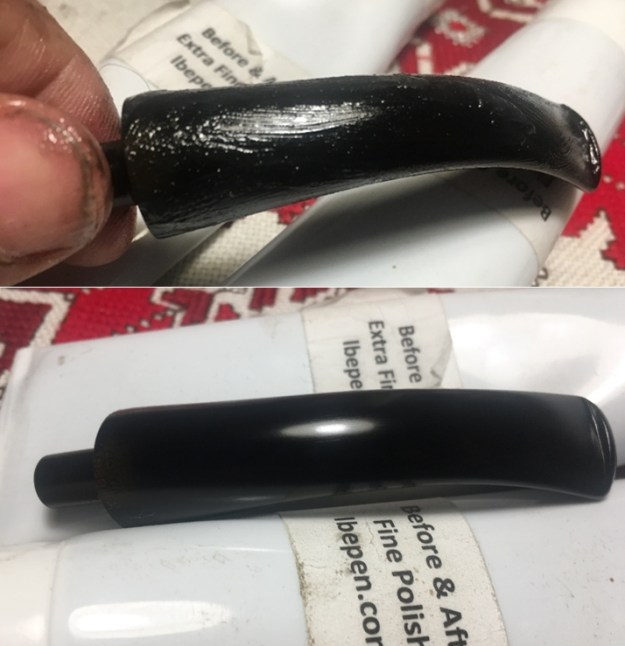
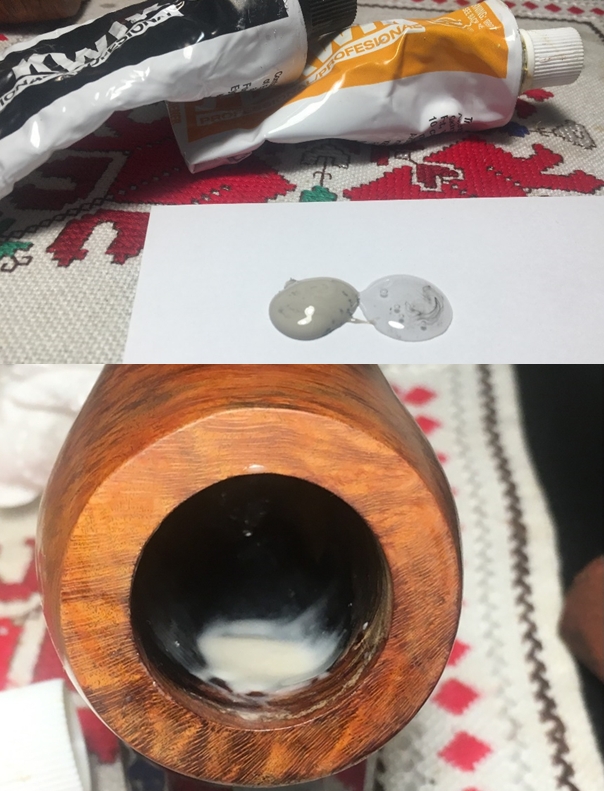
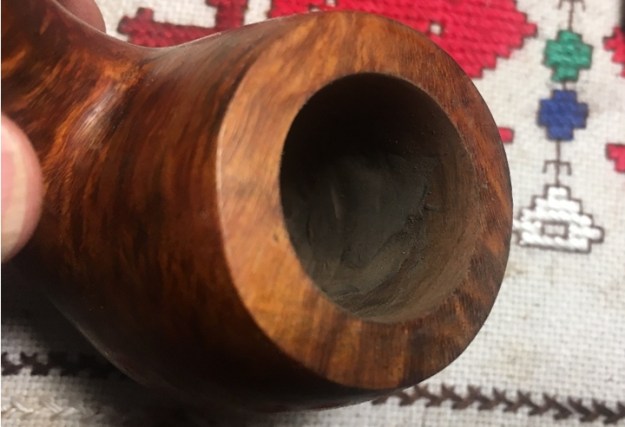
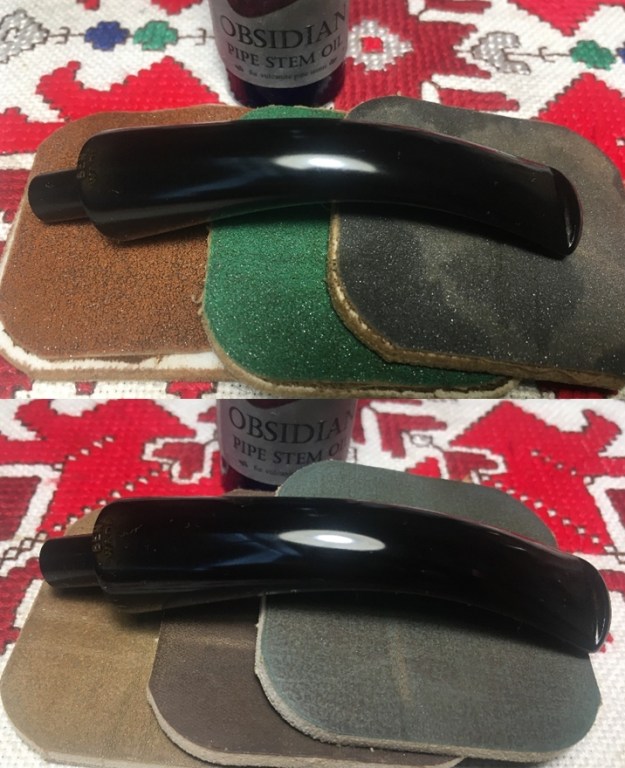
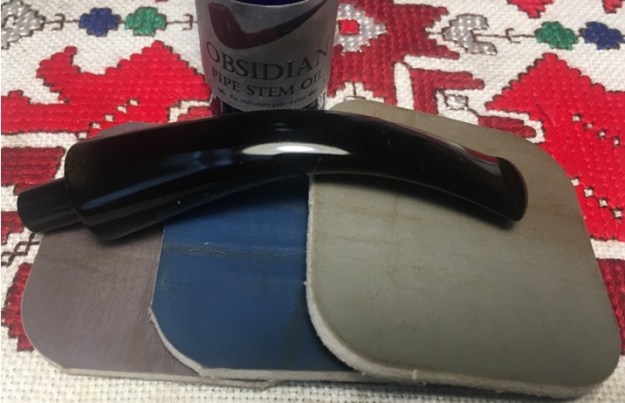
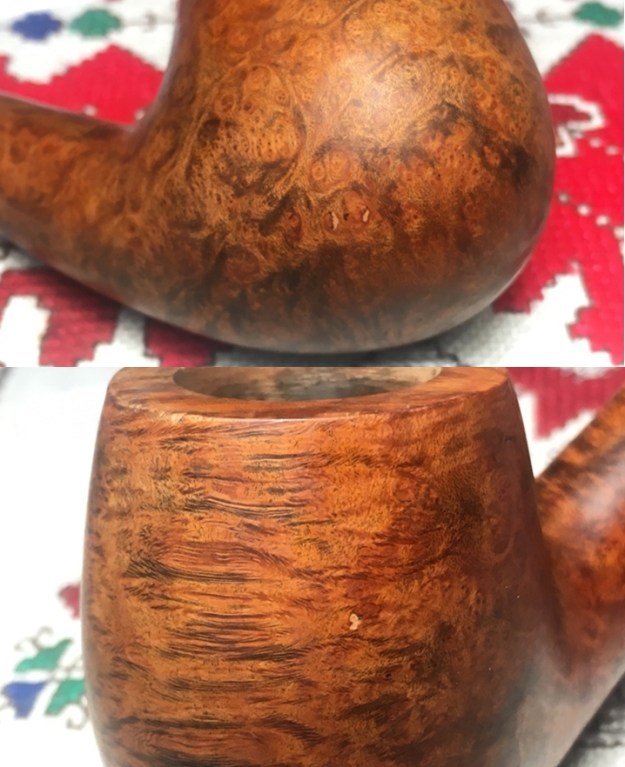
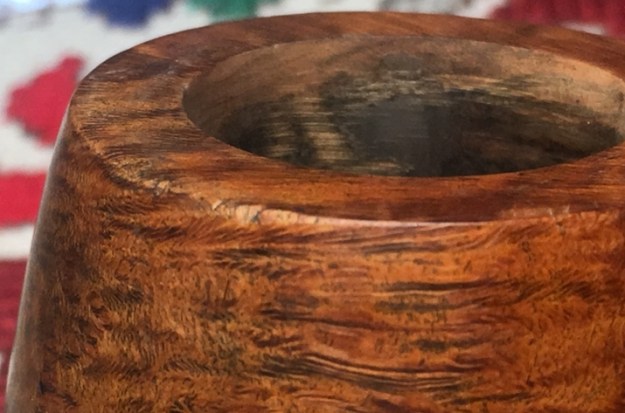
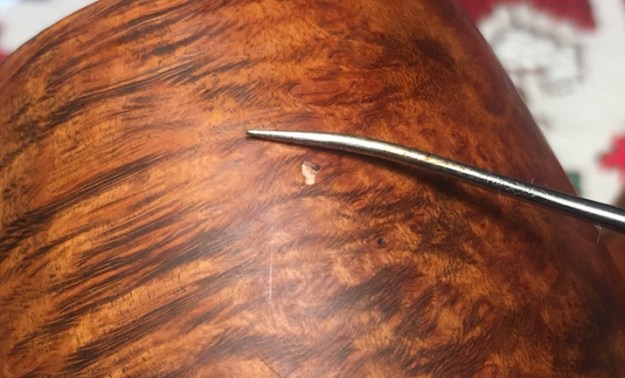
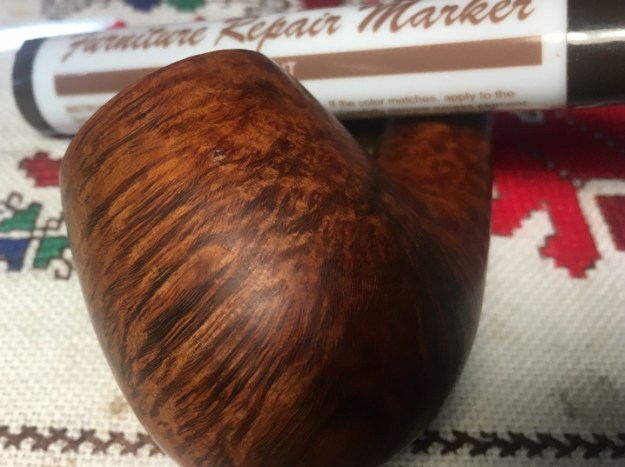
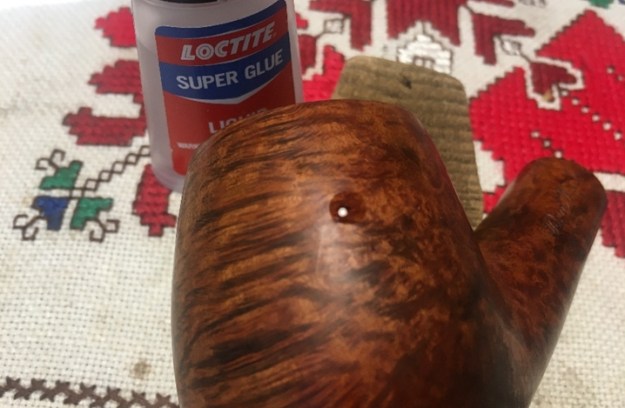
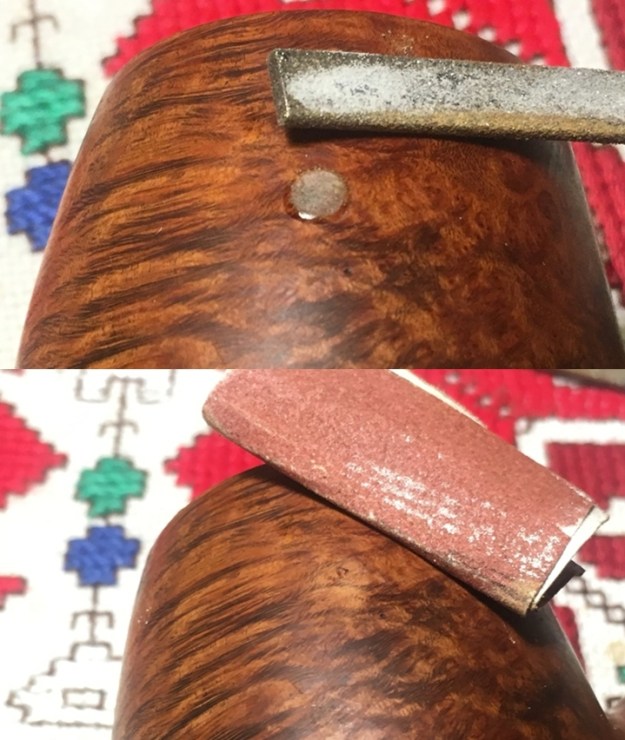
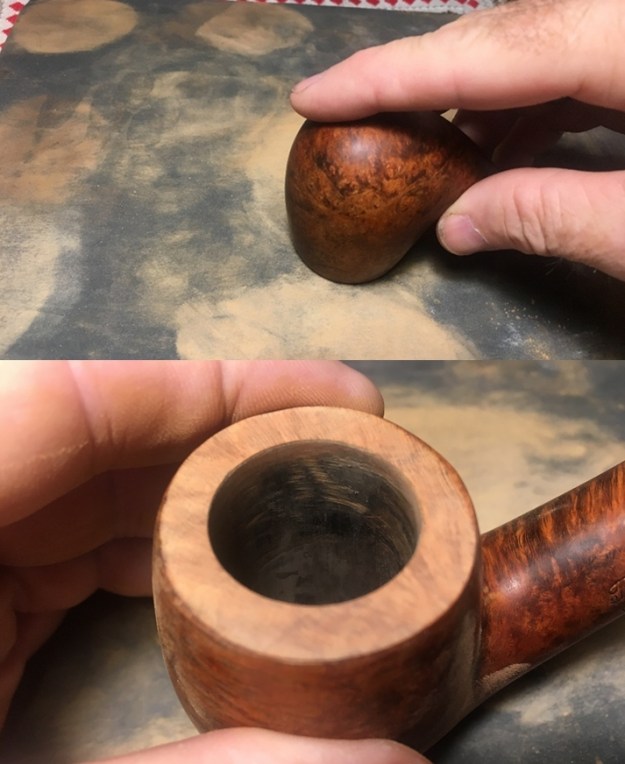
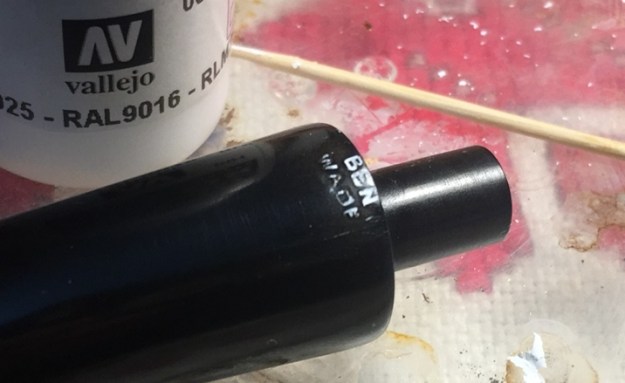
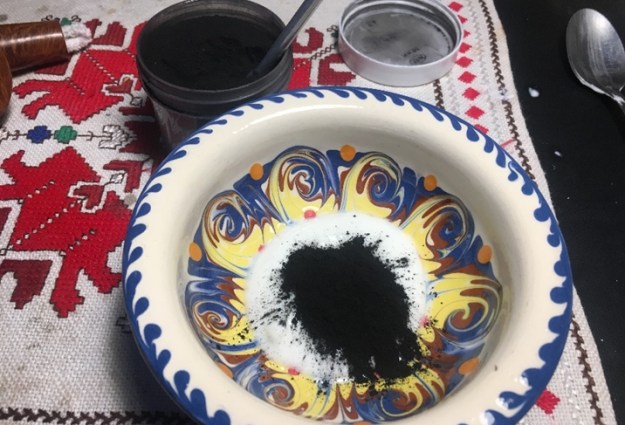
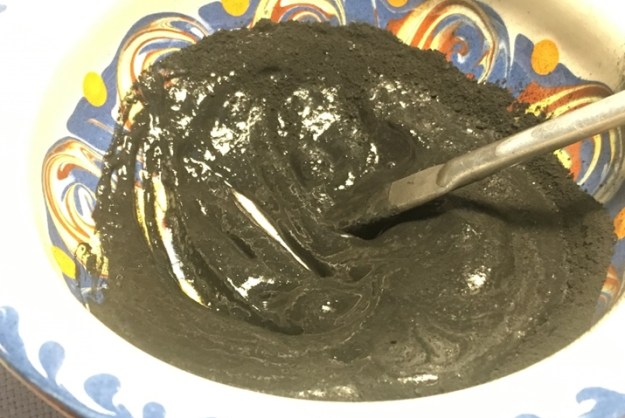
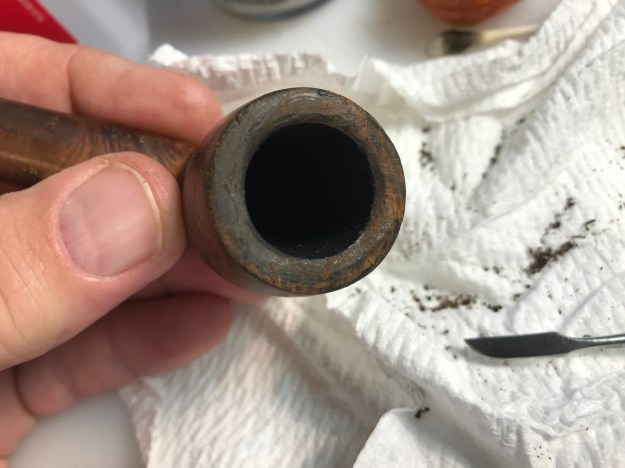
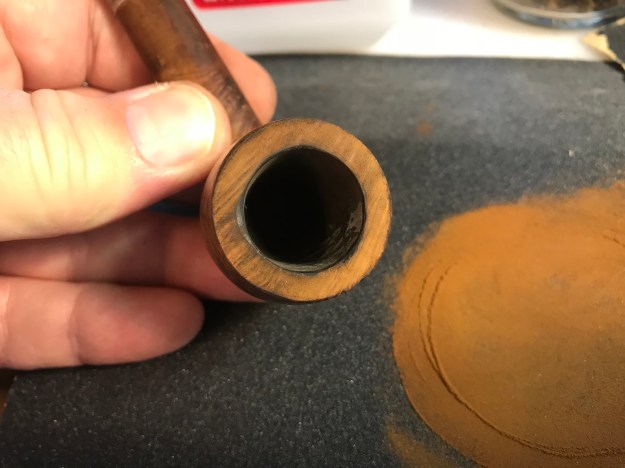
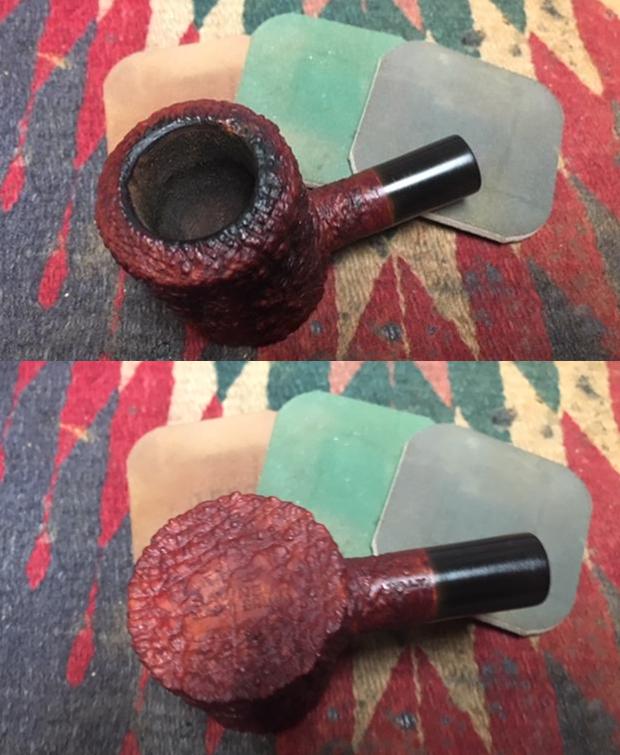
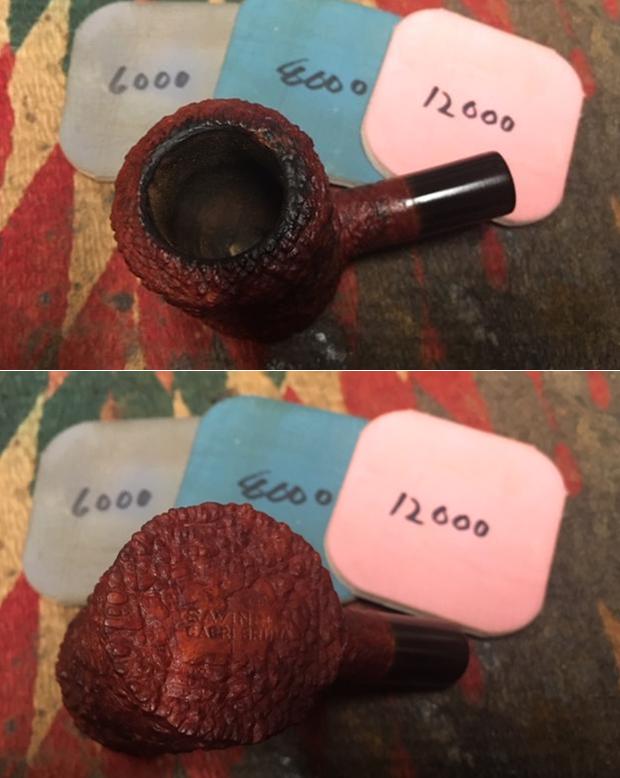
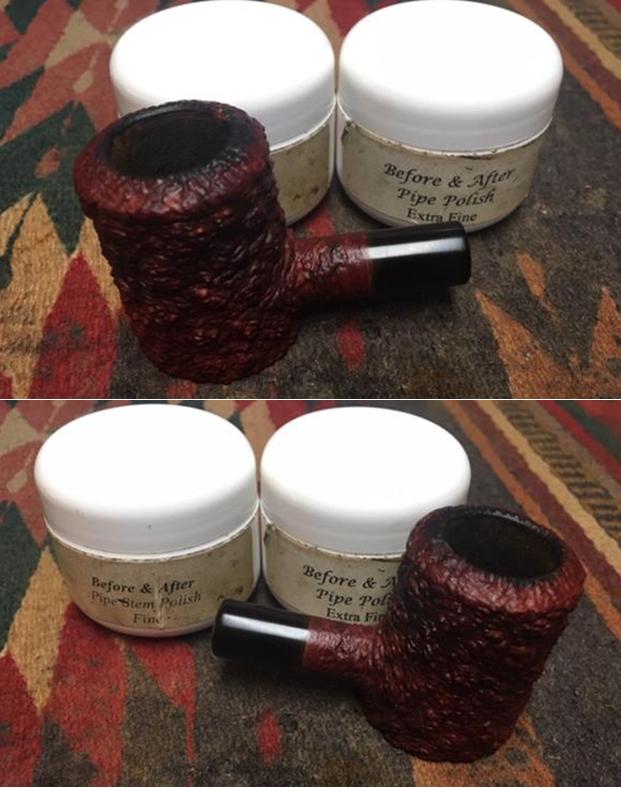
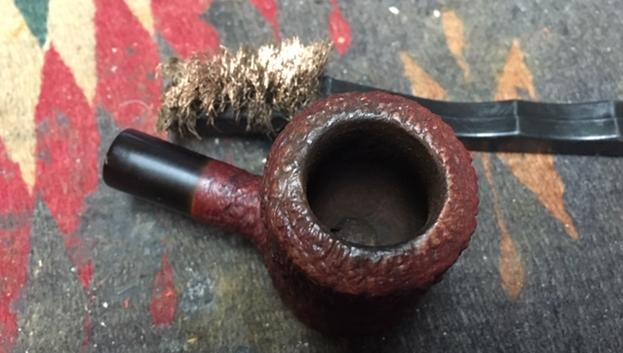
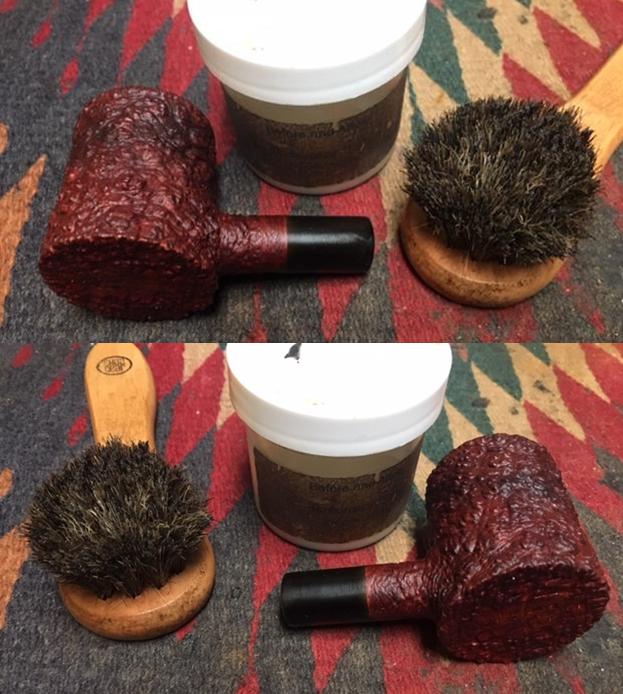
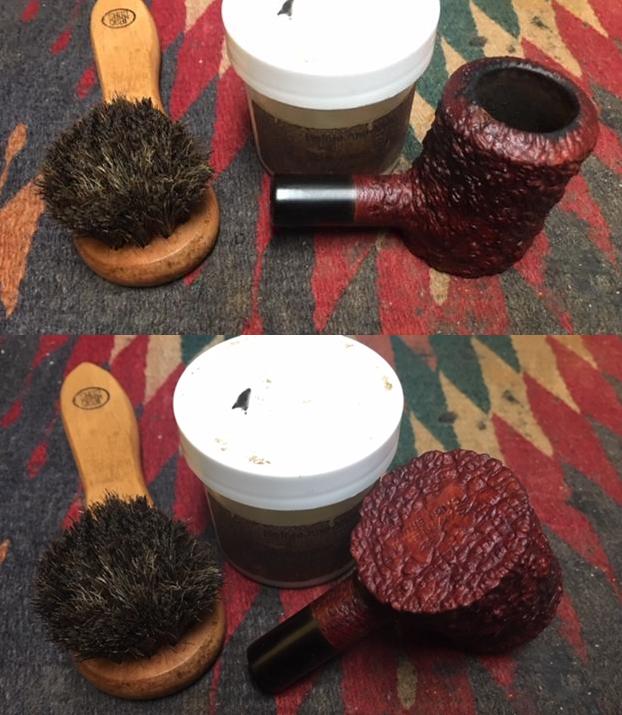
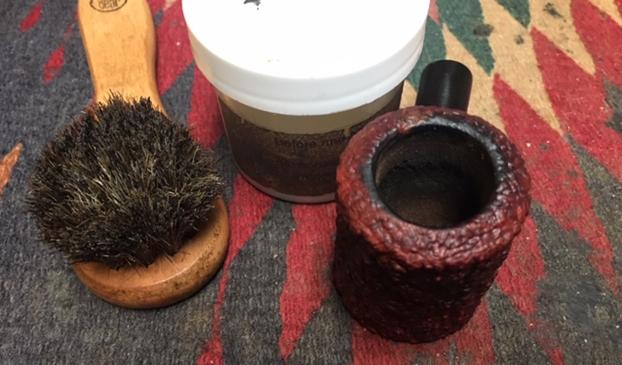
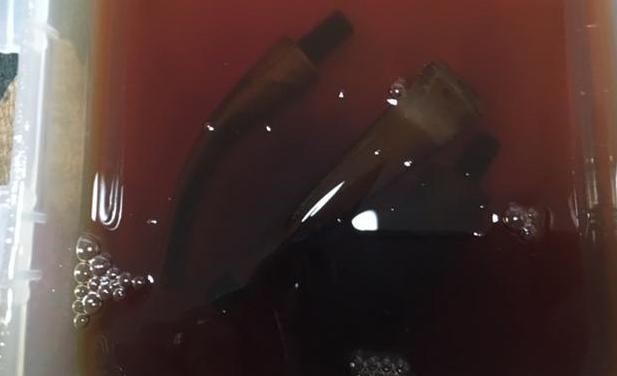
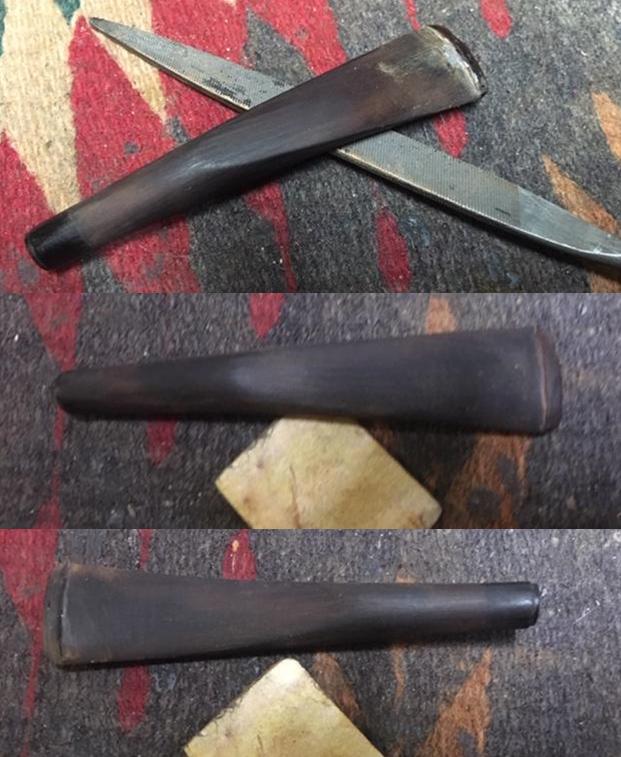
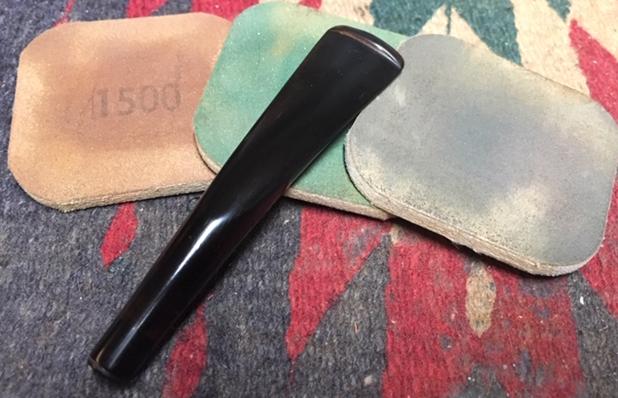
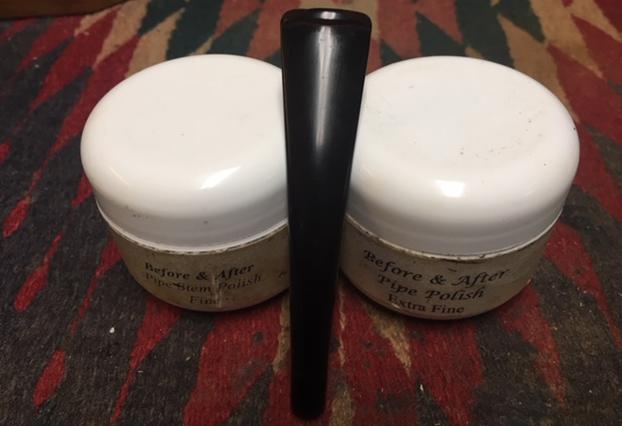
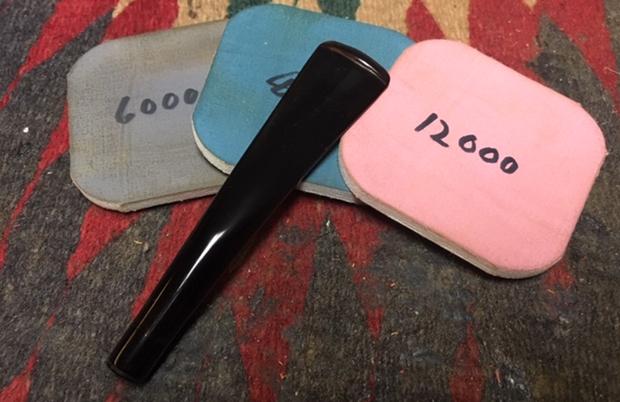
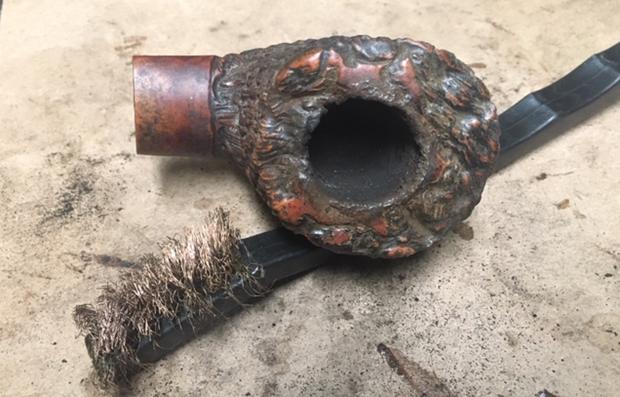
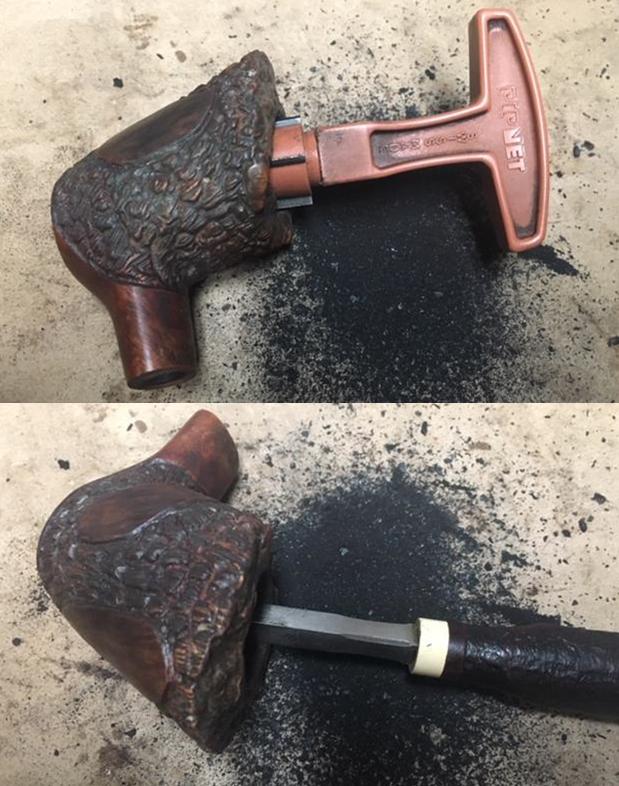
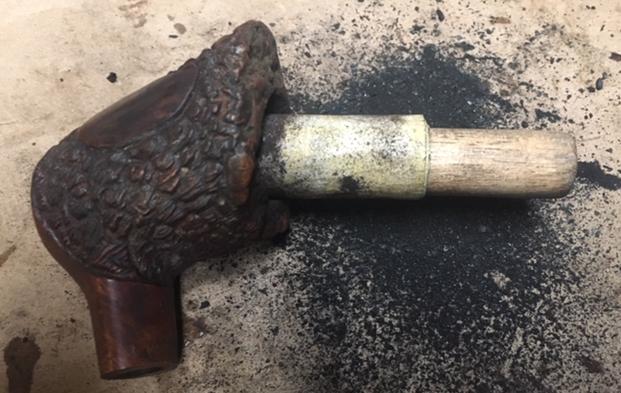
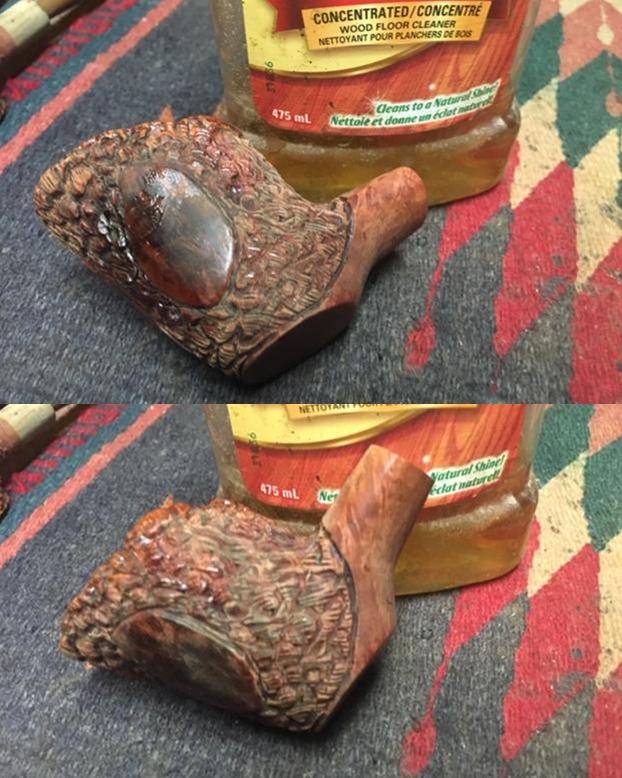
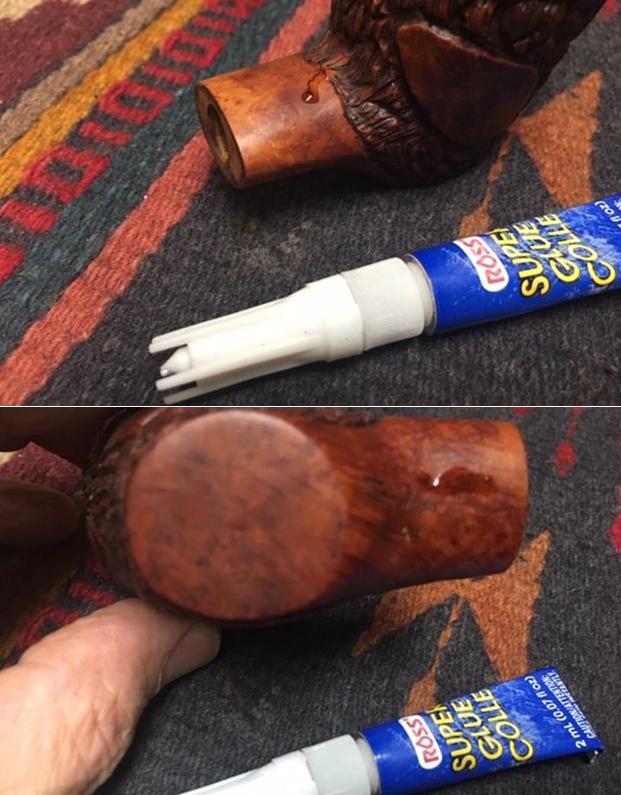
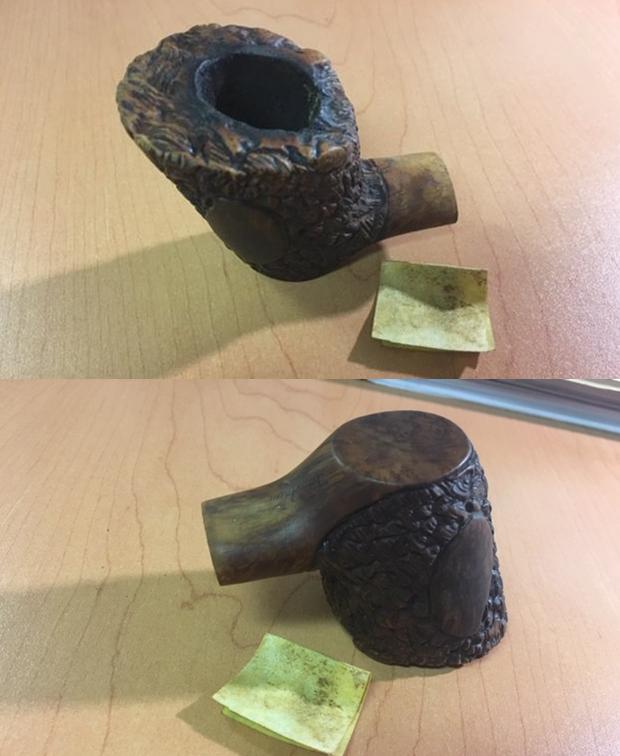
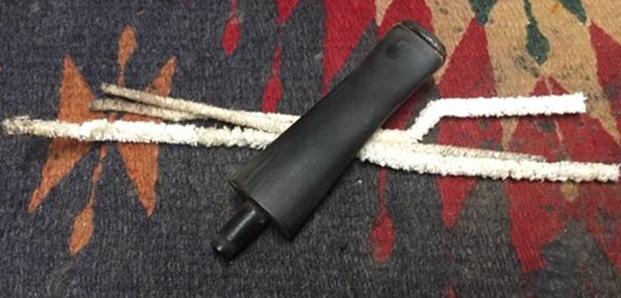
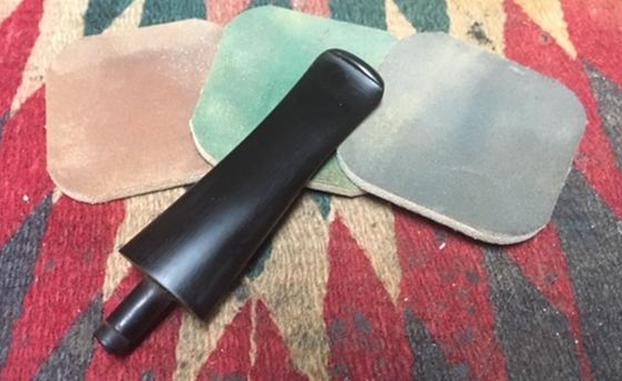
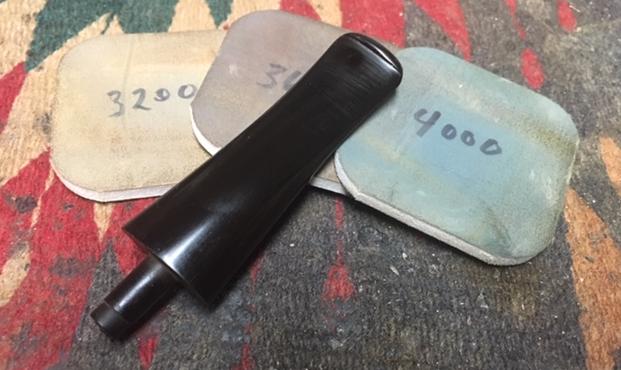
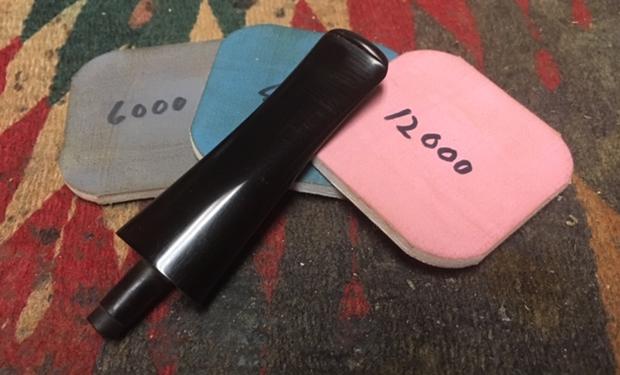
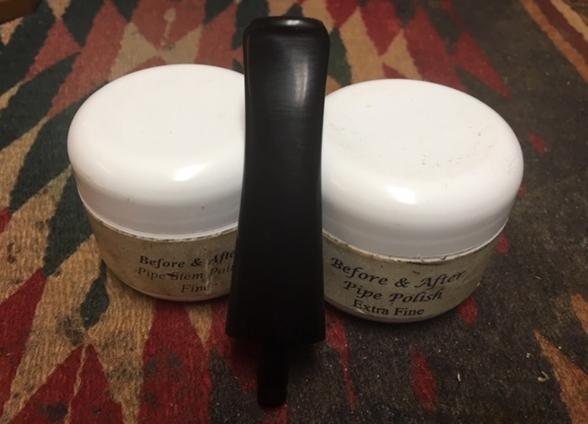
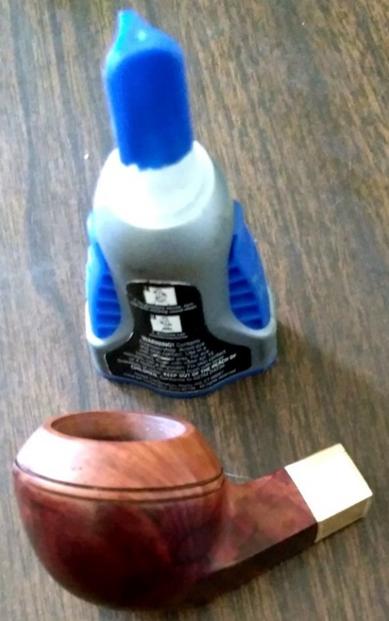
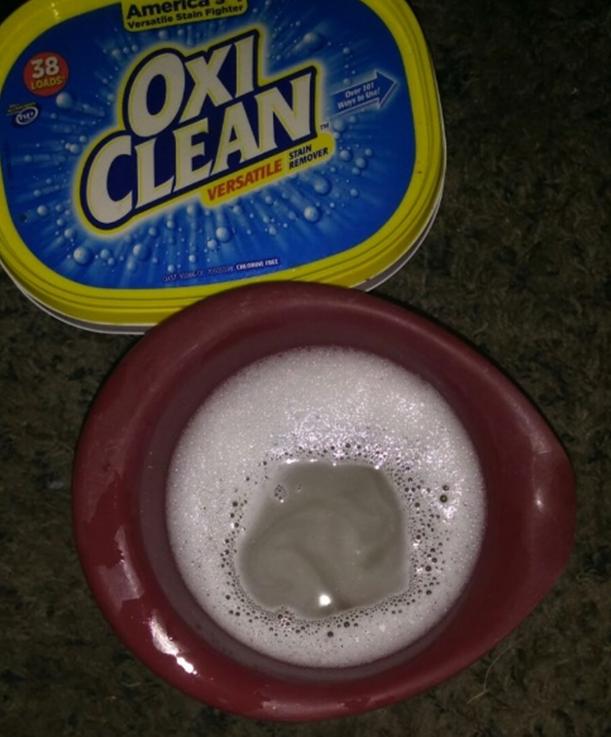
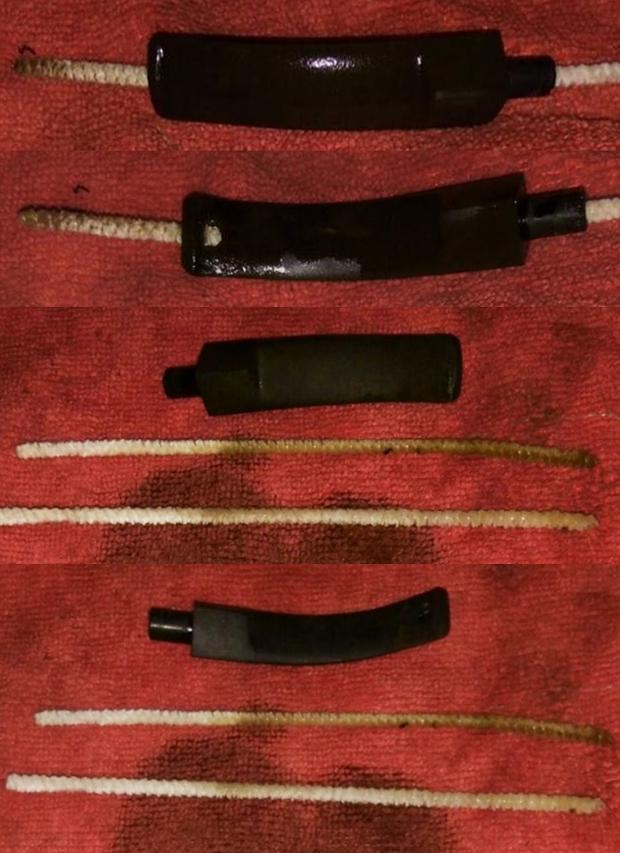
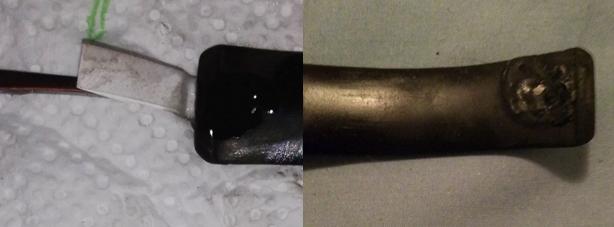
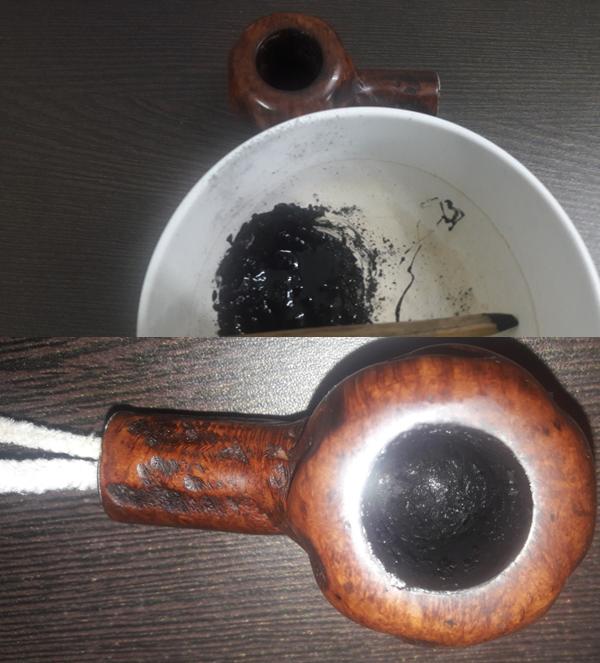
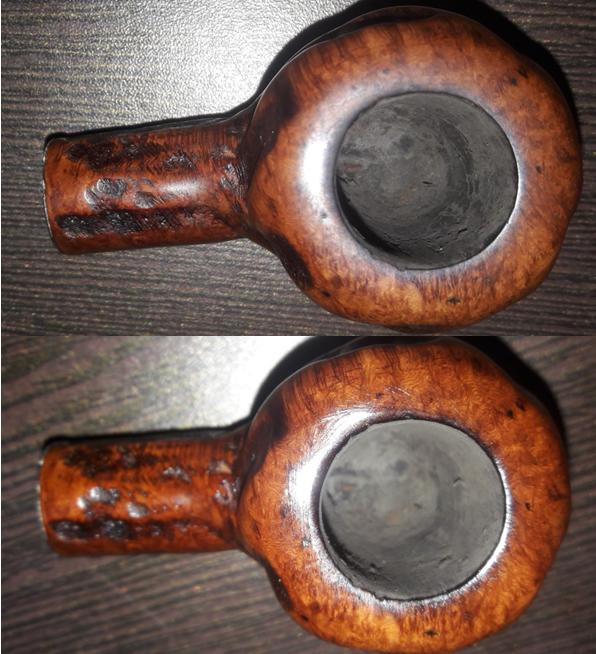
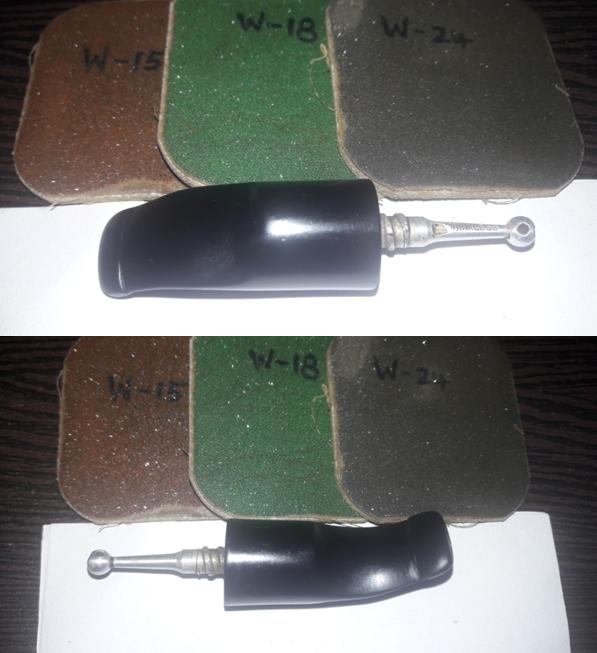
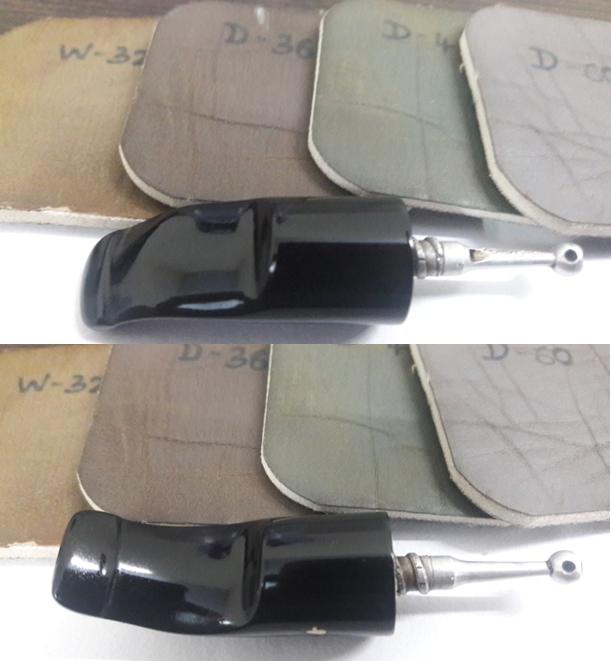
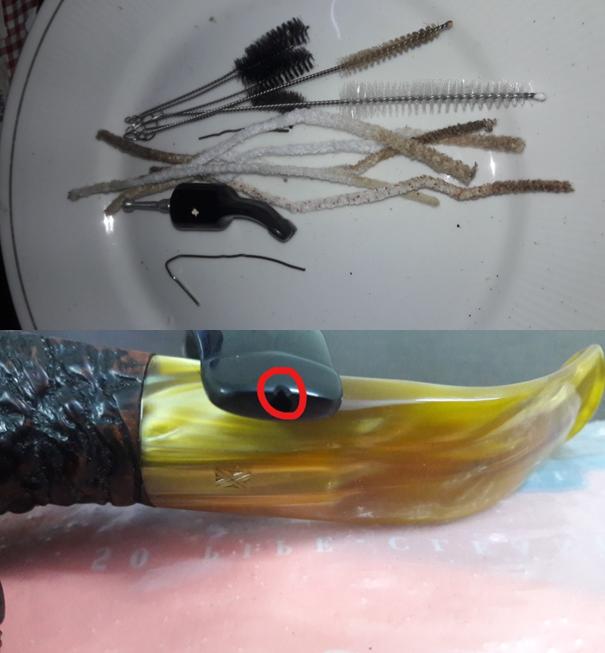
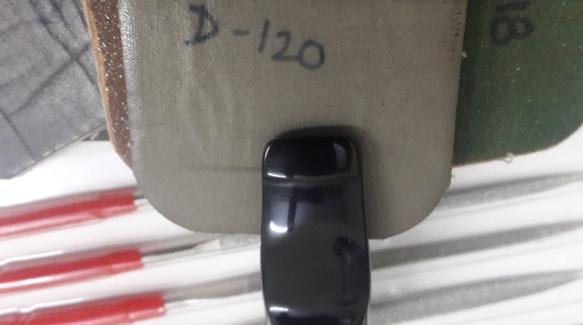
With a greater appreciation for the Ben Wade name, I take another look at the Ben Wade Bent Billiard on my worktable.  Even though the Pipedia article gave more of a negative view of traditional shapes of Ben Wades produced in the Lane Era, the pipe I’m looking at doesn’t reflect this.  The grain is beautiful, and I see no fills on the surface.  The chamber appears to have been cleaned and the briar surface is clean as well showing normal nicks and scratches.  The stem does have some minor oxidation and tooth dents on the button.  I also detect that there is a gap between the shank and stem – I’ll see if cleaning might correct this.  I take some close ups of these issues. To begin the cleanup of the Ben Wade, I run a pipe cleaner dipped in isopropyl 95% through the stem.  Then, along with other pipes in the queue, I put the stem in a soak of Before & After Deoxidizer to remove the oxidation.  After a few hours, I remove the stem and wipe off the raised oxidation using cotton pads and light paraffin oil – mineral oil.  I also run another pipe cleaner through the airway to remove Deoxidizer. Turning to the stummel, I remove the very light cake in the chamber. With the chamber so large, I jump to the largest blade head from the Pipnet Reaming kit.  I follow this by using the Savinelli Fitsall Pipe Tool and scraping the chamber walls further.  I finish by sanding the chamber wall using 240 grit paper wrapped around a Sharpie Pen.  To remove the carbon dust residue, I wipe the chamber with a cotton pad wetted with isopropyl 95%.  The pictures show the progress. One of the purposes of removing the old cake to bring the chamber down to the briar, is not only for a fresh start.  When the carbon is removed the chamber can be inspected for problems usually pertaining to heat fissures and potential burn throughs.  Inspecting the Ben Wade, I detect on the forward part of the chamber a sloping indentation that is a little to pronounced to ignore.  Using the Savinelli Fitsall Tool again, I scrape carbon out of the indentation to make sure I’m getting down to the briar.  This reveals the full extent of the abnormal burning.  I take pictures to show what I see, but the picture doesn’t do too well.  Changing the aperture, the picture is lightened, and I outline the perimeter of the indentation in the final picture below.  I need to address this budding burn through later after cleaning the stummel.  Next, I clean the external stummel surface using undiluted Murphy’s Oil Soap and a cotton pad.  The stummel cleans up well but reveals a tired, lackluster, thin finish. I then clean the internals of the stummel using cotton buds and pipe cleaners dipped in isopropyl 95%.  The grunge is thick, so I also employ a dental spatula to scrape the mortise walls as well as a drill bit to hand turn down the airway to excavate the old tars and oils.  To save on pipe cleaners I also utilize a long shank brush to scrub the airway.  Eventually, the tide begins to turn, and the buds and pipe cleaners are emerging less soiled.   I take a picture of the tools I use.To continue cleaning the internals, I use a kosher salt and alcohol soak.  I like to do this additional step in cleaning to further clean the tars and oils out of the internal briar and to freshen the pipe.  I use kosher salt because it doesn’t leave an aftertaste.  I stretch and twist a cotton ball to form a wick that I then insert down the mortise and airway pushing it with a straight, stiff wire.  I then fill the bowl with kosher salt and place the stummel in an egg crate to keep it stable.  With a large eyedropper, I fill the bowl with isopropyl 95% until it surfaces over the salt.  I put the stummel aside to soak for several hours.Again, I look closely at the stem that had already soaked in the Before & After Deoxidizer and I see that there remains deeper oxidation.  Instead of going directly to sanding out the oxidation, I decide to put the stem in the OxiClean bath to let it soak overnight – to see if more oxidation would be raised.  I put a small bit of petroleum jelly over the Ben Wade stem stamping and I put the stem in the OxiClean and turned out the lights.  Another day is finished.The next morning the soak had done the job. After tossing the expended salt in the waste, I wipe the chamber with paper towel and blow through the mortise to clear any residual salt crystals. I also use a long shank brush down the mortise.  To make sure the internals are clean, I finish by using a cotton bud and pipe cleaner dipped in isopropyl 95% down the mortise and airway.  They come out clean.Next, I fish the stem out of the OxiClean where it has been soaking through the night.  More oxidation has surfaced.  I begin sanding the entire stem using 240 grit paper careful to protect the Ben Wade stamping and shouldering the stem.  I focus on the bit area removing the minor tooth chatter.  Using a flat needle file, I freshen the button edges.  I follow by wet sanding with 600 grit paper and then 0000 steel wool.  The oxidation appears to be removed for the larger part except for some around the Ben Wade stamping which I won’t sand for the sake of preserving the stamp. Taking it one step further, using Before & After Fine and Extra Fine Polish, I rub each into the vulcanite in succession.  Putting some on my finger, I work the polishes into the vulcanite and let the stem sit for a time to absorb the polish.  The polishes are advertised not only to revitalize vulcanite but also to continue to remove the oxidation.  After each polish is absorbed, I then wipe the stem down with a cotton pad.  The pictures show the progress.Putting the stem aside for now, I work on the budding burn through in the chamber.  Previously, I dug out any remaining charring in the indentation.  To make sure the area is fully clear, I sand the area again and wiped the chamber with a cotton pad wetted with isopropyl 95% to clean the chamber.  As far as chamber burn throughs go, this one is minimal.  It has not progressed far and the size and the thickness of the bowl means that there was never any imminent danger.  Yet, for the long-term view and use of this beautiful Ben Wade Bent Billiard, I repair the problem where it is before it grows and becomes a worse problem.  I mix a small batch of J-B Kwik Weld on an index card.  After combining the two components, ‘Steel’ and ‘Hardener’, I have about 4 minutes to apply the mixture before it starts setting. I use a flat dental spatula as a trowel and apply the J-B Weld to the indentation in the chamber.  I put the stummel aside to allow the J-B Weld to thoroughly cure. After it cures, I use a sanding drum mounted on the Dremel to sand the excess.  I follow this using the Sharpie Pen wrapped with 240 grit paper to leave the chamber smooth and shaped. I’m pleased with the results and glad I went the extra mile to arrest the potential burn through.  Later, I’ll apply a coat of activated charcoal and sour cream mixture to the chamber wall to improve the aesthetics and to aid formation of a new protective cake. Before continuing, I reunite the stem and stummel to examine the shank junction.  Earlier I saw a gap between the shank and the stem.  Often, after cleaning these problems are resolved.  I find that this indeed was the case as the stem is now seated as it should be.  Pictures are before and after.With the stem now properly seating, I turn again to the stem and using micromesh pads 1500 to 2400 I wet sand the stem.  Following this, I dry sand using pads 3200 to 4000 and 6000 to 12000.  Following each set of three pads, I apply a coat of Obsidian Oil to revitalize the stem.  I love the glassy pop of a micromeshed stem! Turning now to the external surface of the stummel, I take a closer look at the condition of the briar.  I identify some very small fills which are solid except for one, which is pitted.  Along with normal dents and scratches from wear, there is a small skin mark on the forward outer lip of the rim.  For the pitted fill, I dig out more of the old fill with a sharp dental probe.  Since I will put clear CA glue on the pitted fill, I color the fill with a walnut dye stick to aid in blending.  I then spot drop CA glue on the area and set the stummel aside allowing the glue to cure. After a full work day, the CA glue patch I applied this morning is fully cured.  I remove the CA glue mound starting with a flat needle file.  The key is to stay on the mound and gradually bring it down close to the briar surface.  I don’t want to impact any surrounding briar.  I follow the filing by using a tightly rolled piece of 240 grit paper to bring the glue down until it’s flush with the briar surface.  My rule of thumb is to sand until I can feel no roughness.  The patch looks good – blending well with the briar.To address the rim nicks, I decide to give the rim a very light topping.  Using a chopping board as my topping board, I place a sheet of 240 grade paper on the board.  Inverting the stummel, I rotate the stummel a few times on the board to freshen the rim lines and remove the nicks.  I follow with a few rotations on 600 grade paper.  The pictures show the progress. Next, to address the briar surface, I use in succession rough, medium and light grade sanding sponges to work out the cuts and nicks in preparation for the micromesh pads.  I find that using sanding sponges on smooth briars helps clean the surface of the old, tired finish without being greatly invasive.  The sponges also smooth and soften the rim lines after the topping.  I enjoy watching the grain begin to take center stage through the process.Next, using micromesh pads 1500 to 2400 I wet sand the stummel.  I follow by dry sanding with pads 3200 to 4000 and 6000 to 12000.  I forgot to take a picture of the first set of 3 pads.  The grain is coming through nicely. Rejoining stem and stummel, I mount a 1-inch cotton cloth buffing wheel to the Dremel set at about 40% full power and apply Blue Diamond compound to the entire pipe.Before applying carnauba wax to the stem and stummel, I need to touch up the Ben Wade stem stamping with the hope there’s enough tread left in the ‘Wade’ portion of the stamp to hold the paint.  Using white acrylic paint, I apply paint over the stamping and sponge off the excess while still wet and allow the paint to dry. After dry, I gently scrape the excess with the flat edge of a toothpick.  I’m less than satisfied.  I try reapplying more paint and wiping while still wet.  After working with it for some time, I’ve come to the best I can do.  The ‘Wade’ part of the stamping simply does not have enough depth left to fully hold paint.  The picture shows my less than hoped for results. One more project to finish before the final waxing.  After completing the chamber repair using J-B Weld and sanding, to aid the aesthetics and to provide a starter layer for developing a protective cake, I mix together sour cream or natural yogurt with activated charcoal to form an application to cover the walls of the chamber.  When I first heard about this mixture from Steve on rebornpipes, I was a bit doubtful then, but no longer.  I have used this application many times and after applying and drying, the result is a very sturdy layer.  After the pipe goes into service, the only caution is when cleaning out the bowl after use do not scrape the chamber with a pipe tool.  I simply use a folded bristled pipe cleaner to scrape the wall after dumping the ash.  This has worked well for me.  I place a pipe cleaner in the draft hole to keep the airway open.  Here in Bulgaria, yogurt is very plentiful, so I scoop some natural yogurt in a small bowl and add some activated charcoal powder and mix it.  After it mixes and thickens enough so it won’t be runny, I trowel the mixture into the chamber with a pipe nail tool and spread it evenly.  After it’s distributed well, I set the stummel aside for a time to allow the charcoal/yogurt mixture to cure. After the Charcoal/Yogurt coating sets, I reunite stem and stummel.  Using the Dremel, I mount another cotton cloth wheel, leaving the speed at about 40% and apply carnauba wax.  After a few coats of wax, I give the pipe a rigorous hand buffing with a microfiber cloth to raise the shine.

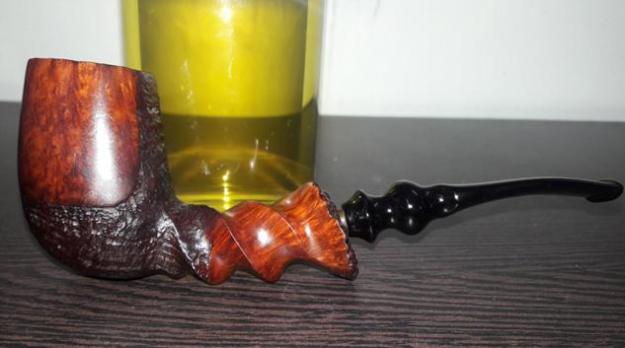
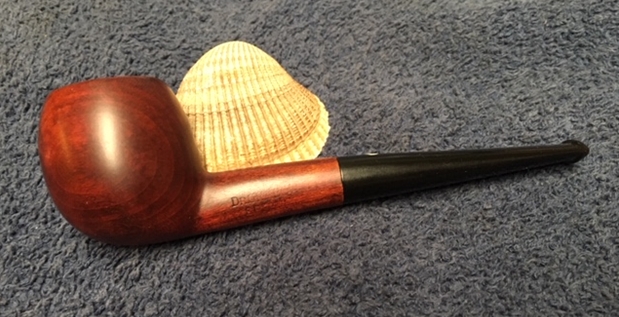
This hefty Ben Wade Made in London England Bent Billiard turned out very well.  The horizontal grain on the huge stummel flows in a striking picture and is joined by large bird’s eye pools. The bowl rests very nicely in the palm and will provide its new steward with much enjoyment. Paresh commissioned this Ben Wade and will have the first opportunity to acquire it from The Pipe Steward Store.  This pipe benefits the Daughters of Bulgaria – helping women and girls who have been trafficked and sexually exploited.  Thanks for joining me!


The Resurrection Special: Part 1


A few years back there was a thread on Pipes Magazine’s repair and restoration forum about three lots of pipes a member was giving away. The first lot was a very easy “beginner” lot, the second was slightly more challenging, and the last was called The Resurrection Special and had the most challenges. No information was given about the pipes or (as far as I recall) their issues.

The first two lots were spoken for fairly quickly but the third sat there, unloved, for a little while. After looking at the post for as long as I could stand I sent a PM to the original poster and said “I’ll bite; send them my way and I’ll see what I can do”.

When the long, medium sized box arrived on my doorstep I was excited to see what I had gotten myself into. I took them straight to the kitchen table (my wife wasn’t home so I could do that lol) and cut open the box. The contents were carefully packed in newspaper which held three bubble wrapped pipes. I was like a kid on Christmas morning getting ready to open each one!

The first pipe I opened was a lovely old Tracey Mincer Bulldog -type shape. I had seen photos of and read about Mincer’s different pipes but had never held or owned one yet.

The second pipe turned out to be a Peterson System pipe, my first both of this historic marquee and type. It was hallmarked 1973 and looked every day of it. I was a little intimidated by the work this one would take.

As I unwrapped the third pipe my mind was still on the Peterson and what a great pipe I hoped it would be after a lot of work went into it. The last pipe was just over medium in size I noted as the bubble wrap was peeled away. A silver band was the first thing to catch my attention, looking at the pipe upside down when it was finally out of its protective shroud.

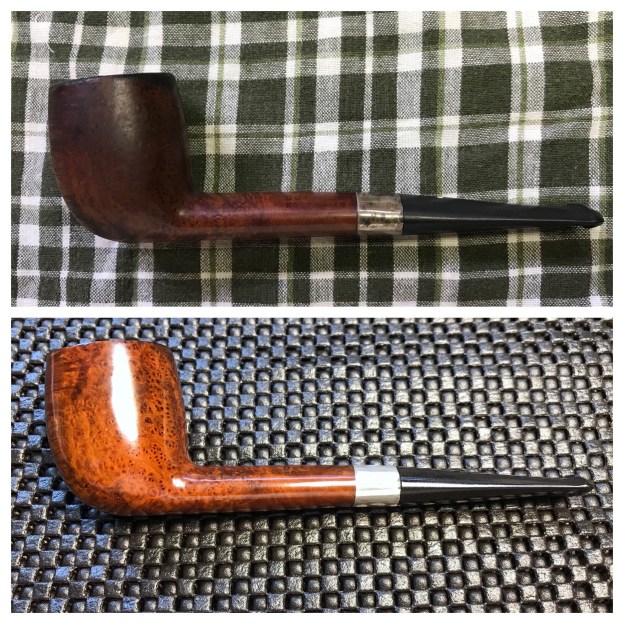
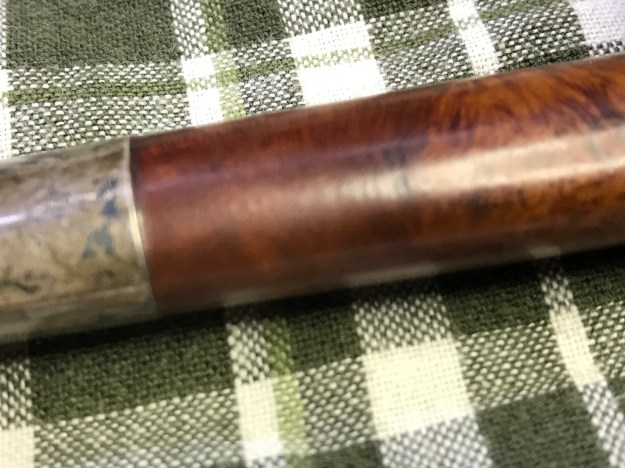
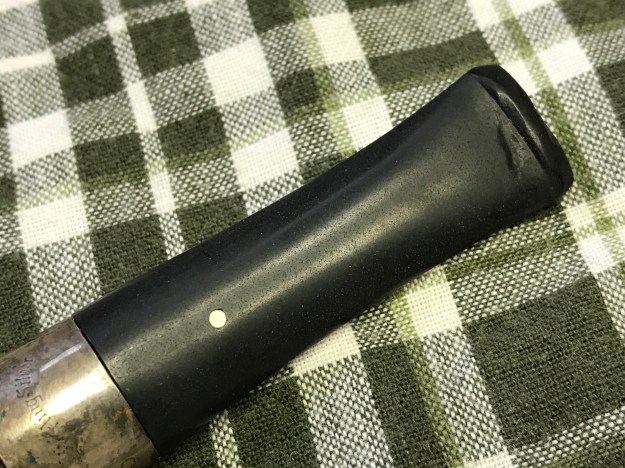
I rolled the pipe over to look for it’s stamping. That’s when I saw it: A White Dot in the stem! “Surely not”, I thought to myself, “this can’t be a Dunhill, can it?” The nomenclature was very worn but readable enough to see it was a Dunhill. I immediately went to get my loupe to see what year the pipe was made, if possible. Looking it over under magnification I found two things I’d not yet seen: enough stamping to date the pipe and that the silver band was a repair for a cracked shank.

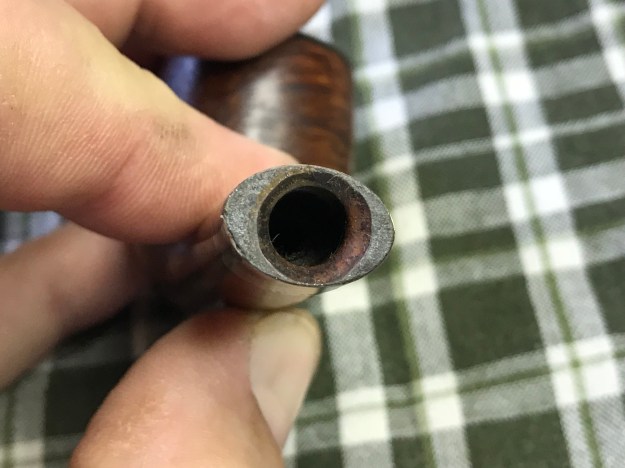
The discovery of the crack slowed me down a bit. I went to get a flashlight to inspect the pipe closer. The crack seemed to be well repaired with the band; that was a good find. But looking at the bowl I realized there was a pretty big crack in it, too. So much for my bit of relief … I decided to check the year of the pipe’s manufacture and leave the repair thoughts aside for now.

After a quick internet search I came up with a link to a Dunhill dating chart on Pipephil’s site. It took only a moment or so to find the results but it took a bit longer for the results to sink in. If I was reading everything right, this pipe dated to 1968, which is my birth year! I was giddy as a schoolgirl at this moment… and nervous as a cat at the same time.

At this point I had not worked on any pipe as (potentially) valuable as these. I also hadn’t tried to undertake any repairs as extensive as these looked to be. After a lot of debate, I finally decided to put the lot away until I’d tackled a few more repairs and had more experience under my belt and tools in my arsenal. Over time as I repaired and restored more pipes I began to raise my confidence levels. Each project I completed had as the goal getting me ready for the Resurrection Special lot.

About when I felt it was time to take on these challenges life threw a few curveballs at me, personal issues that put most of my hobby time on hold. Fast-forward a few years, it’s time to get to the Resurrection Special lot.

Looking more closely at the pipe when I unpacked it again I saw that much of my past inspection was correct: the shank repair and band were tight and holding well with no “feel” when I rubbed a fingernail over it, the pipe did date to 1968 as I thought, and the bowl would need work, though not as much as I thought. The pipe was very dirty, the rim being covered in a thick layer of lava. The stem had a little oxidation and some tooth dents. The silver band was tarnished.

I began with the rim; I had no idea of it’s condition under the lava and I wanted to see what I was dealing with. I used alcohol dipped cotton swabs to begin breaking down the thick layer. Once it was softened up some I used a knife-blade wax carving tool to scrape away the gunk. The rim was damaged under the lava, as I expected it to be; it would need to be topped. I decided here that I would take off as little wood as possible when I topped the bowl since I wanted to keep the shape as true as possible. I also decided that this wouldn’t be an attempt to make the pipe perfect; it (like me) had battle the scars of it’s life and I wanted to retain that character, too.

The bowl had been reamed before I received the pipe, most likely when the issue was discovered. What I had thought was a crack actually was heat fissures; they didn’t go all the way through the bowl. The outside of the bowl did have what appeared to be burns though; more on these in a bit.

I had read how Charles Lemon of Dad’s Pipes had done several successful bowl repairs with JBWeld and his own bowl coating. I messaged Charles and also looked up his article on bowl coating to try it myself. The recipe is simple: coat the bowl with maple syrup, fill it with activated charcoal powder, and wait for it to dry. (Actually there are a couple more steps, like putting a pipe cleaner in the stem, so make sure you read Charles’ article if you’re interested in trying this method.)

I mixed up some JBWeld and coated the area where the fissures were, using a toothpick to push the epoxy back into the cracks, after inserting a pipe cleaner in the shank through the air hole to keep it open. I used a pipe cleaner and my finger to smooth the repair out as well as I could. Then I sprinkled some activated charcoal powder on the wet repair and set the bowl aside for the epoxy to cure until the next day.

After the repair was dry I sanded it a little smoother with 220-grit paper. Unfortunately this took out most of the carbon I had applied so the full bowl coating would have to be done. But I waited until after all the work was completed to do that. I also topped the bowl to remove most of the rim damage using 220-grit paper.

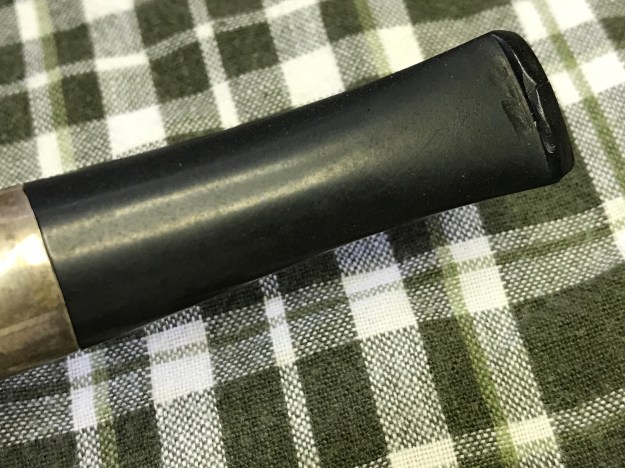
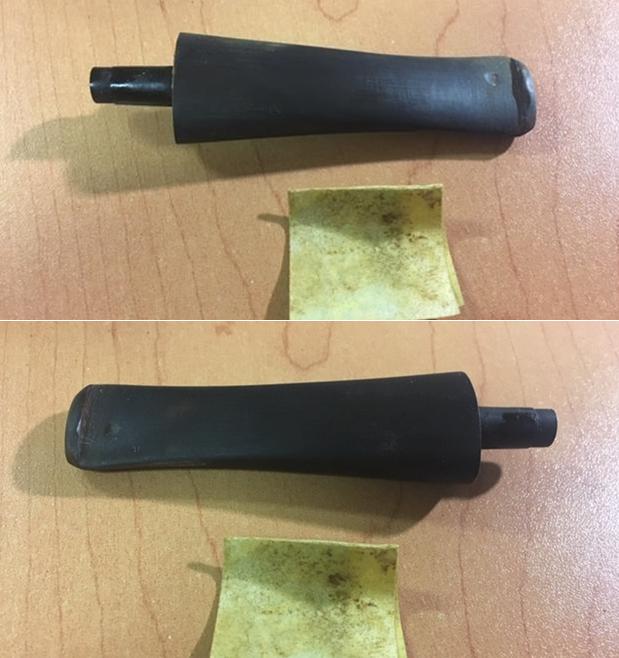
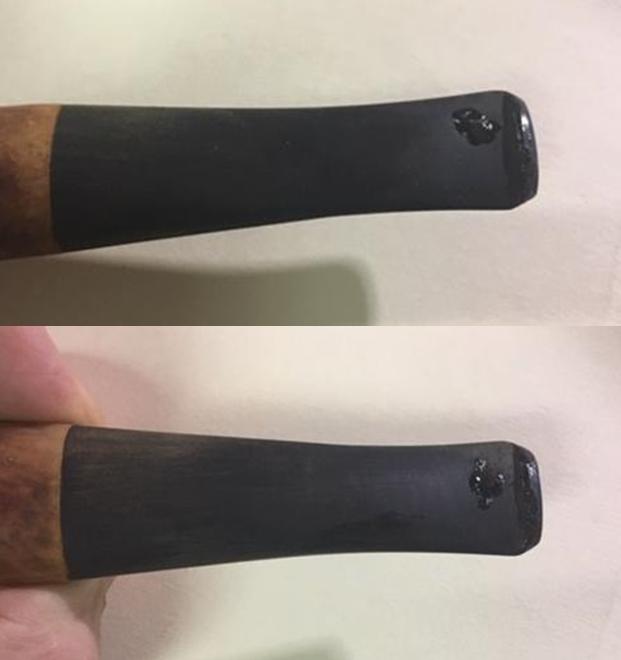
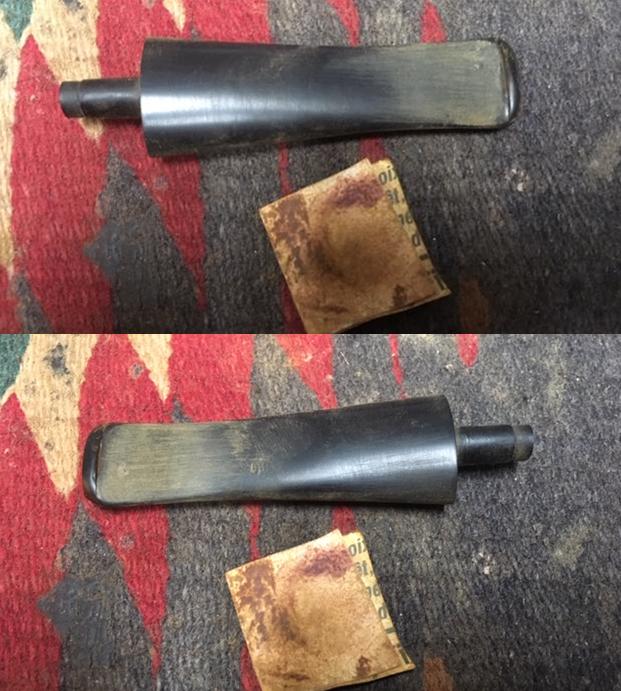
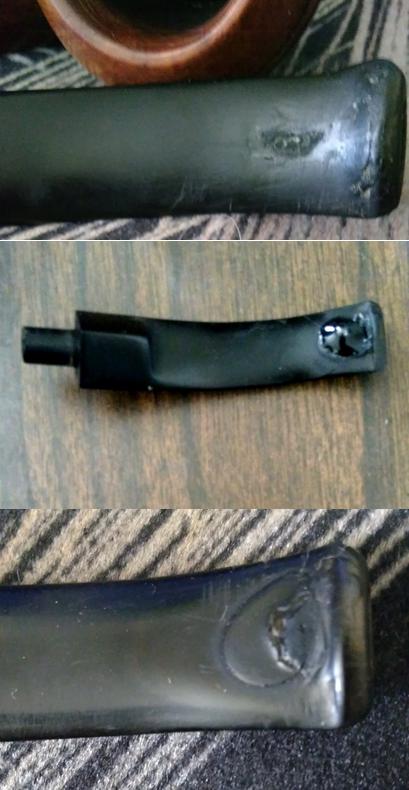
While the bowl repair was curing I worked on the stem. I started with painting the stem with a Bic lighter to raise the dents as much as possible. You can see in the photos that there were still significant dents after flaming the stem. A crack in the underside of the button also appeared after the flaming. I began filling the dents and repairing the crack/button with black CA glue at this point. The climate has been very humid here so the CA glue cured extremely slowly.

I worked on the stem in multiple sessions over a period of days to complete it due to the slow curing time. Multiple patch layers were applied and shaped with needle files, a vulcrylic file, and sandpaper until I had an acceptable repair.

The next step was to wet sand the stem with the full range of micro mesh pads. Then I used both the fine and extra-fine Before and After Stem Polish. I buffed the stem with blue compound using a 1″ cotton wheel on my Dremel at about 13k RMP. While the stem wasn’t “perfect” it was very improved, definitely something I could live with and what I thought would go well with my goal for this restoration. It was time to get back to the stummel now.

I cleaned the surface of the briar with cotton pads and alcohol, removing the grime covering its surface. I decided to see what the pipe would look like with a gentle sanding. With 400-grit wet/dry paper I began with the rim, sanding out the scratches from topping the bowl. I began to work around the bowl with the 400- grit paper and noticed the burn mark on the side of the heat fissures seemed to be lightening so I started working at that spot. In short order the burn was all but gone. Apparently it wasn’t a burn at all but some kind of stain on the briar. As I sanded the stummel I avoided the nomenclature, and effectively the entire shank. The stamping was already terribly weak and I was not going to make it worse.

Avoiding the stamping presented another challenge: Now the shank was a different color than the bowl. I didn’t want to re-stain the pipe so I applied Before and After Restoration Balm to the wood and set it aside to work its magic for a bit.

I was surprised how well the wood blended in color after I hand buffed the balm off. It was now uniformly darkened, even the topped rim.

I had an idea that had been in the back of my head for a little while that I wanted to try on this pipe. The nomenclature being so weak, I wanted to try to enhance it if I could. But I didn’t want to try to deepen the stamping or anything of that sort. What I decided to try was applying some Rub’N Buff ebony wax. This was a brand new idea (to me) and I really didn’t know if it would work or not.

I put a small amount of the ebony wax on the shank and spread it thinly over the entire shank, continuing to buff it with my thumb until the color went from opaque to translucent. I then applied a couple of coats to the rest of the pipe until I had even coverage.

I was really happy with the results. The color was even and highlighted the grain a bit. The stamping was also strengthened I think, much better than it had started out. While still not “strong” (I don’t think that can ever be restored) it was more readable.

I buffed the stummel with Tripoli and then white diamond, both using the Dremel and 1″ cotton wheels at about 13k RMP. I then put the stem back on the pipe and gave the entire pipe several coats of Carnuaba Wax, again with the Dremel and a 1″ cotton wheel at about 15k RPM. (I find the slightly faster speed does a far better job for the Carnuaba Wax.)

I’m still waiting for the bowl coating to cure so I’ve yet to christen the pipe. But I’m very happy with the results of this project. While it may not be a perfect specimen nor hold a lot of monetary value, to me it is a prize possession; my first Dunhill, and a birth-year Dunny to boot!

New Life for a Savinelli Capri Bruna 310 Cherrywood


Blog by Steve Laug

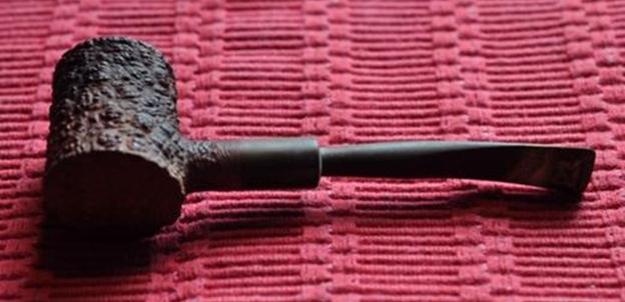
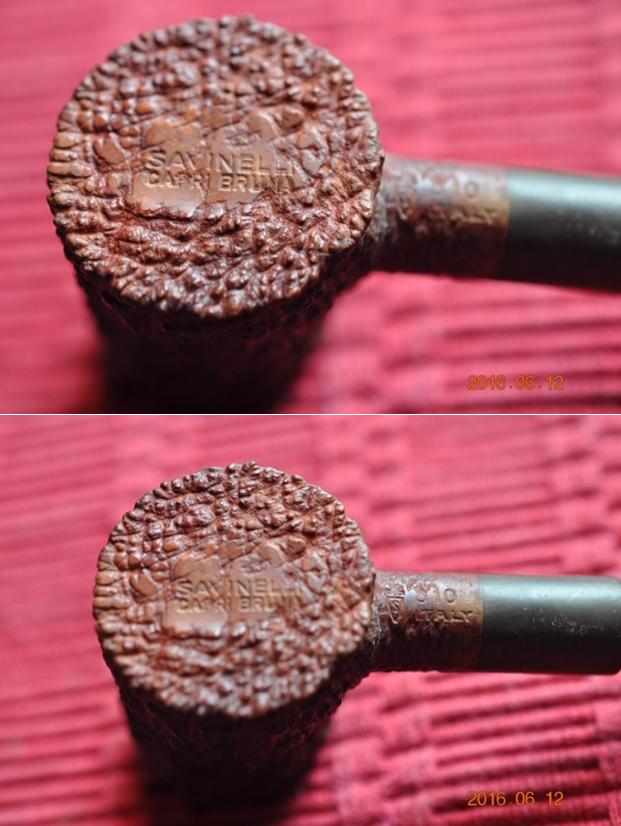
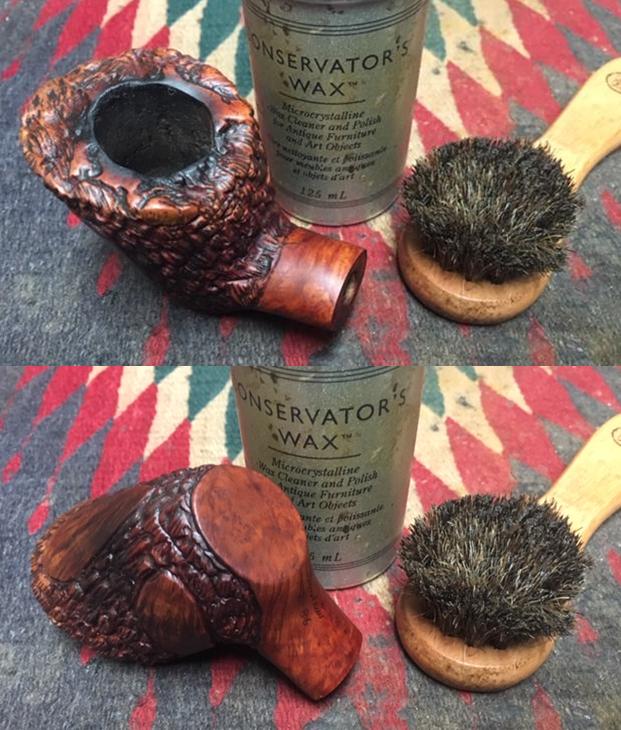
I don’t remember where Jeff picked up this old pipe but it is a shape that I like to work on. It was a mess with lava overflowing a thickly caked bowl and filling in rusticated rim top. The rusticated finish was very dirty and had darkened around the bowl where the hand had held it and where the flame of the lighter had touched the rim in the lighting process. The pipe had a classic Capri Sea Rock style rustication that was very dirty. The stem was a mess with oxidation, calcification near the button and tooth chatter and marks ahead of the button on both sides. The stem was stuck in the oxidized vulcanite shank extension due to the buildup of tars and oils. The pipe was stamped on the underside of the bowl and shank and under a bright light with magnification I could read Savinelli over Capri Bruna on the bottom of the bowl. On the shank it was stamped with the Savinelli S shield and next to that 10 (shape number) over Italy. The pipe was a oldtimer and had seen a lot of use. It was obvious to me that this pipe was some pipeman’s favourite smoker. Jeff took photos of the pipe before he started his cleanup process to show the condition it was in when he found it. The next photos show the stamping on the heel of the bowl and the shank.Jeff had scrubbed the exterior of the bowl with Murphy’s Oil soap and removed the dust and grime that had accumulated in the sea rock style rustication. The finish looked dry and tired but the rustication was in very good condition once it had been scrubbed. He had been able to remove the grime and oils from the sides of the bowl leaving it clean and evenly coloured. The rim top looked much better though some darkening remained in the grooves along the inner edge of the bowl and rim top toward the back. He reamed the bowl with a PipNet reamer and cleaned it up with a Savinelli Fitsall Pipe Knife. He cleaned the interior of the mortise and the airway in the shank and the stem with alcohol, cotton swabs and pipe cleaners. The pipe came to me clean and ready to do the restoration. The stem and shank extension were heavily oxidized. I took some photos of the pipe to show the condition at this point in the process. I took some photos of the rim top to show the darkening to the surface of the rim that I would need to spend some time on. There seemed to be some deeply ground in tars and oils almost filling in the grooves of the rustication on the top surface toward the back of the bowl. I also took close up photos of the stem and vulcanite shank extension to show the oxidation of those areas. The stem had some tooth chatter and marks on the surface near the button. There were some tooth marks in the surface of the top and underside of the button edge.I began my clean up work with the rim top. I scrubbed at the surface of the rim with a brass bristle wire brush and was able to remove much of the lava build up in the rustication. It was still darkened but looked much better.I sanded the oxidation on the shank extension with a folded piece of 220 grit sandpaper to break it down and reveal the black vulcanite underneath the surface. In handling the bowl the briar began to darken from the oils of my hands. The pipe was beginning to show some promise. I polished the vulcanite shank extension with micromesh sanding pads – wet sanding with 1500-2400 grit pads and dry sanding with 3200-12000 grit pads. I wiped the extension down after each pad with Obsidian Oil to enliven the rubber. I polished the vulcanite shank extension with Before & After Pipe Polish – both Fine and Extra Fine to give a deeper shine to the rubber. As I photographed the bowl for the above photos I could see that the rim top needed more attention. I scrubbed the top of the bowl with the brass bristle brush to remove move of the lava on the rim top. The photo shows the cleaner top surface. There is still some darkening on the right side inner edge and the back inner edge of the bowl.I rubbed the bowl down with Before & After Restoration Balm to deep clean the briar bowl and the rim top as well as the briar shank. The product works to clean, enliven and protect the briar. I hand rubbed it with my fingers, working it into the exterior of the pipe. I worked it into the rusticated surface of the briar with a horsehair shoe brush. After it had been sitting for a little while, I buffed it with a soft cloth to polish it. The pipe really began to have a rich shine. I took some photos of the bowl at this point to mark the progress in the restoration. I had removed the stem when I was working on other pipes and put it, along with two other stems to soak in a Before & After Deoxidizer bath. I left them in the bath for about 4 hours to soak and break through the oxidation. I took the stems out of the bath and rinsed them under running water and scrubbed them dry with a coarse piece of cloth. I took photos of the three stems before I continued my work. The military style bit was much cleaner and the oxidation had broken down. I flamed the surface of the vulcanite to minimize the tooth marks. It worked very well. I used some black super glue to build up the top and underside of the button and fill in the remaining tooth mark on the underside of the stem near the button. Once it had cured I filed the edge of the button with a needle file to clean that up and smooth out the sharp edge. There was some residual oxidation on the stem surface so I sanded it out with 220 grit sandpaper. I worked on it until all the oxidation and the light tooth chatter was removed.I polished the stem with micromesh sanding pads – wet sanding with 1500-2400 grit pads and dry sanding with 3200-12000 grit sanding pads. I wiped the stem down with Obsidian Oil after each pad. I polished it with Before & After Pipe Polish – both Fine and Extra Fine and gave it a final coat of Obsidian Oil. I set the stem aside to dry. I polished stem and the bowl with Blue Diamond polish on the buffing wheel. I gave the bowl multiple coats of Conservator’s Wax and the stem multiple coats of carnauba wax. I buffed the pipe with a clean buffing pad to raise the shine. I hand buffed it with a microfiber cloth to deepen the shine. The pipe polished up pretty nicely. The rustication and the vulcanite shank extension came alive with the buffing and work well with the polished black vulcanite stem. Together the pipe looks much better than when I began and has a rich look. The finished pipe is shown in the photos below. The shape, finish and flow of the pipe and stem are very well done. The dimensions are Length: 6 inches, Height: 2 inches, Outside diameter of the bowl: 1 3/8 inches, Chamber diameter: 3/4 of an inch. I will be adding this beautiful Capri Bruna Cherrywood Sitter to the rebornpipes store shortly if you are interested in adding it to your collection and carrying on the trust. Thanks for walking through the restoration with me as I worked over another Savinelli Capri. I really like the look and feel of this finish.

Restoring a Nording “Pick Axe” Freehand Pipe


Blog by Paresh Deshpande

I had just finished restoring a 1940s-1960s Kaywoodie Bent Billiard with a 4 holed stinger, also from my grandfather’s collection. I am always fascinated by “Free Hand” pipes. I feel these freehand shapes let the creativity and imaginations of a carver run riot without the bindings of the exacting demands of a classical shapes and finish.

Over a period of time, I have collected a number of freehand pipes during my not-so-long journey in to the pipe world and have realized that these freehand pipes invariably have a nice hand fit, sitting snugly in to the hands of the smoker with a nice heft to them. The most fascinating aspect of a freehand, I feel, is the carver’s desire to highlight the grains in the briar block and shape the pipe accordingly to highlight these grains.

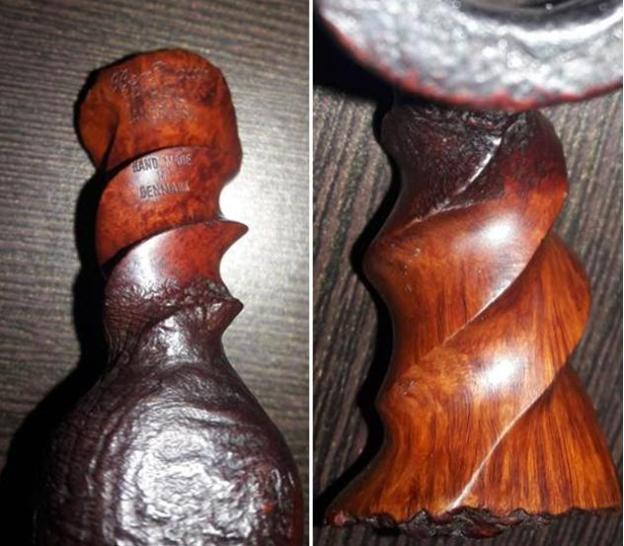
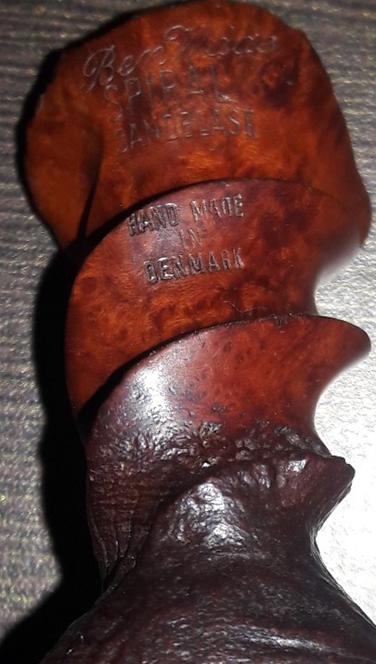
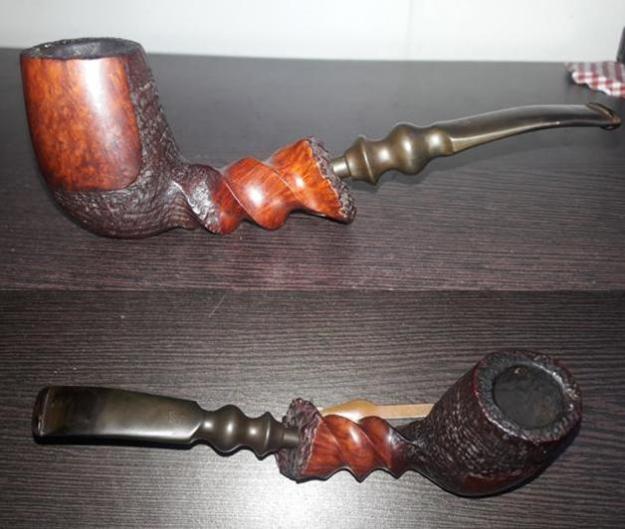
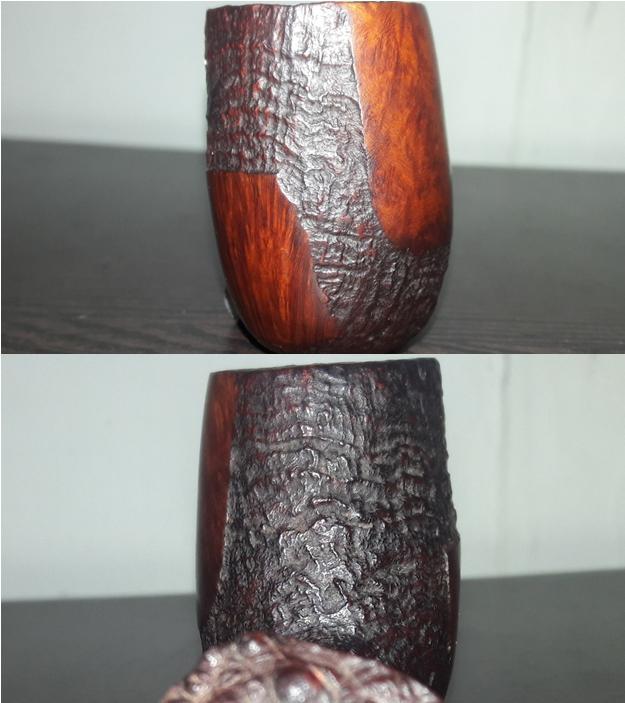
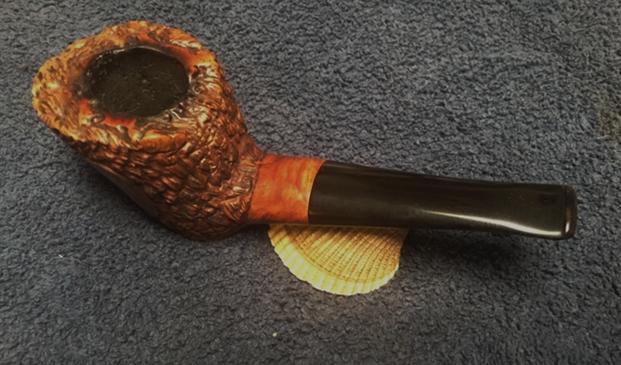
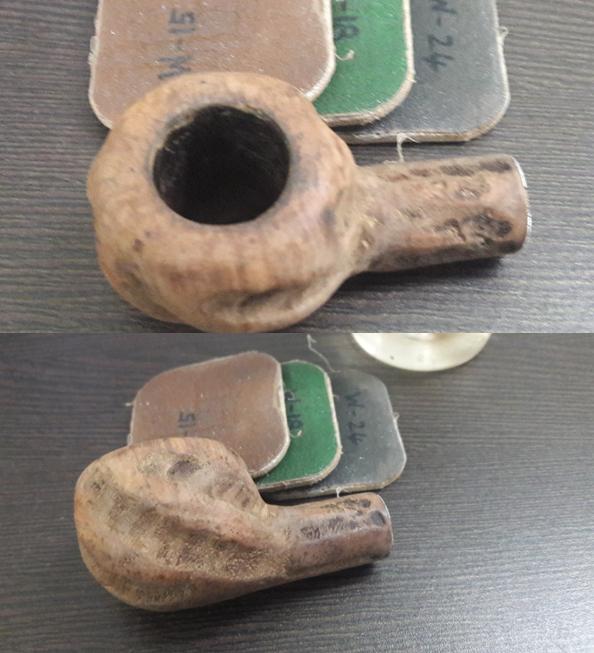
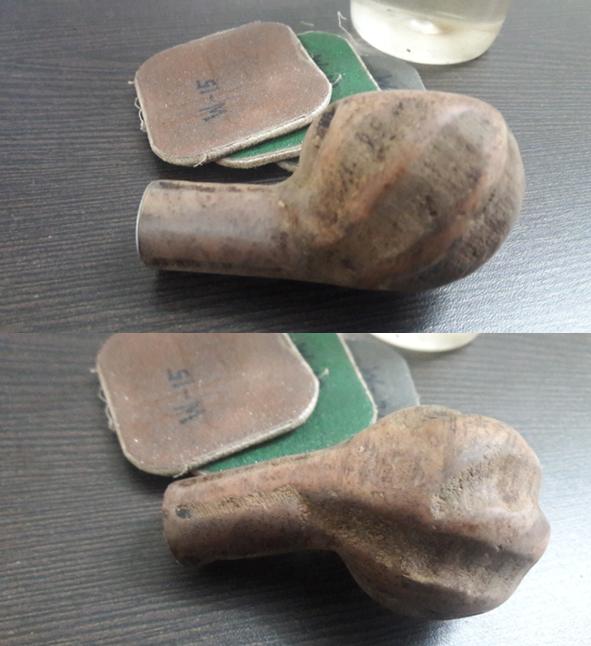
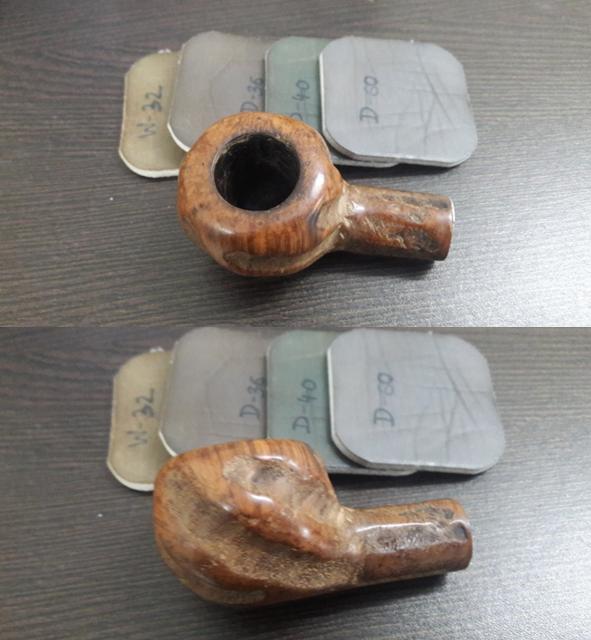
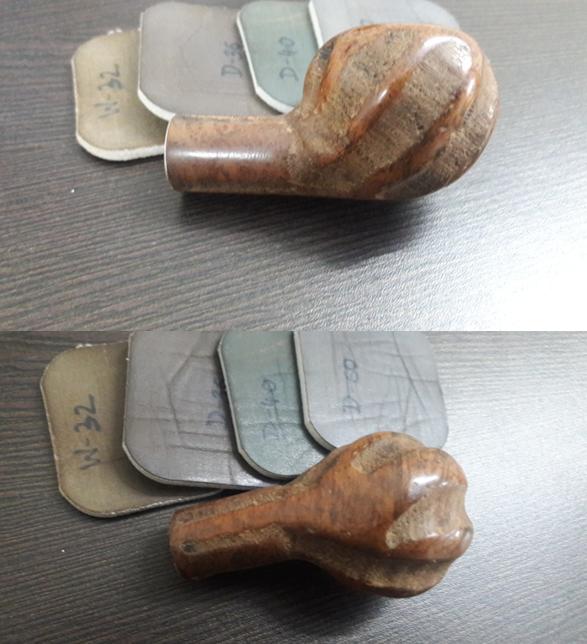
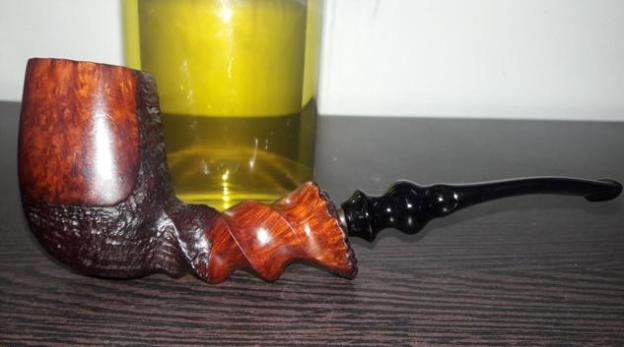
I was fortunate to come across four estate freehand pipes, one Soren, one Ben Wade Spiral, one Nording #4 and one Nording Pick Axe shaped pipe. I discussed with my mentor and guide, Mr. Steve Laug, and after his approval on the aspects of collectability and the price point at which they were available, I purchased them about a year back!!!! Since then, these were waiting for me to work on and now that I feel slightly more confident in doing justice to these lovely pipes, I decided to work on them. The first of these pipes that is now on my work table is the Nording Pick Axe shaped freehand.

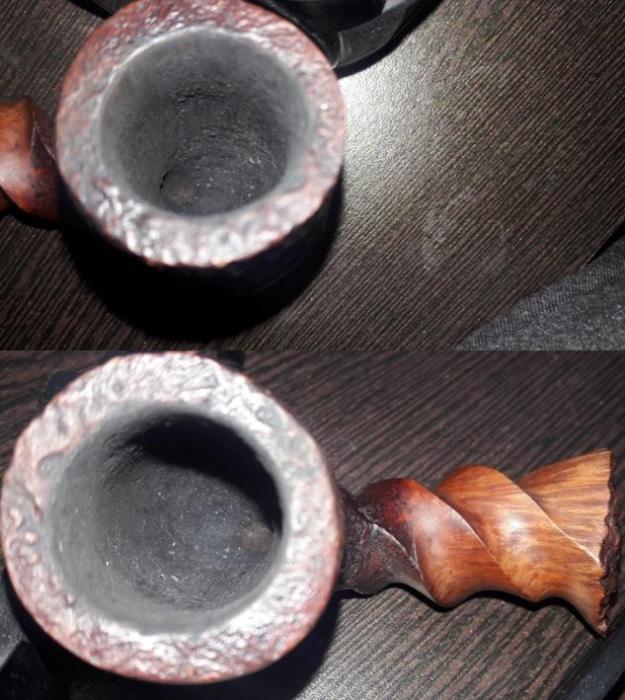
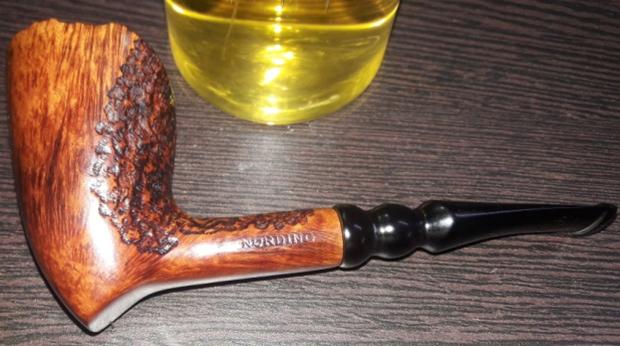
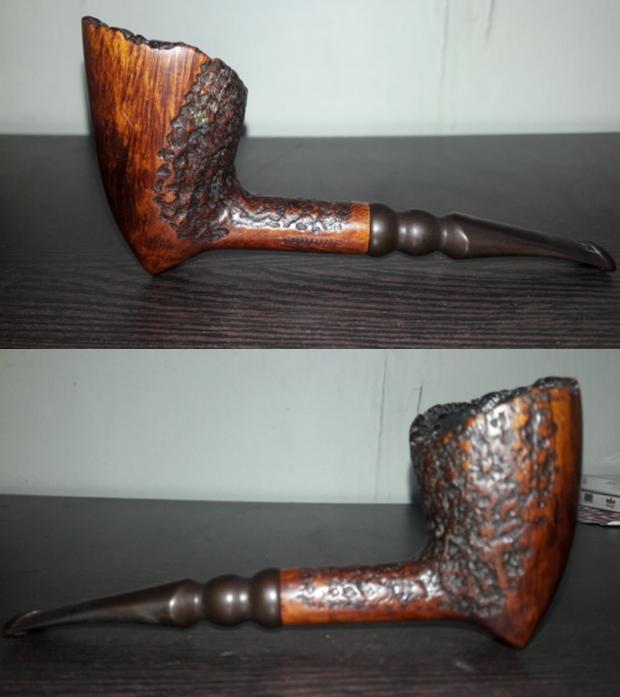
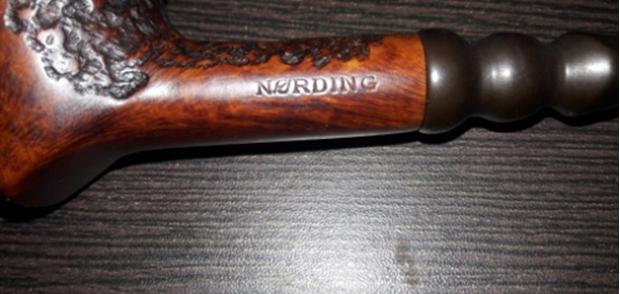
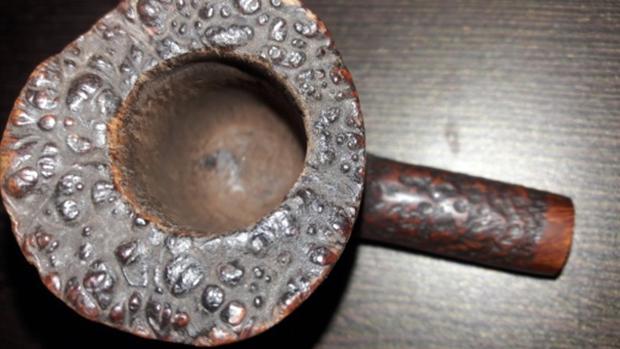
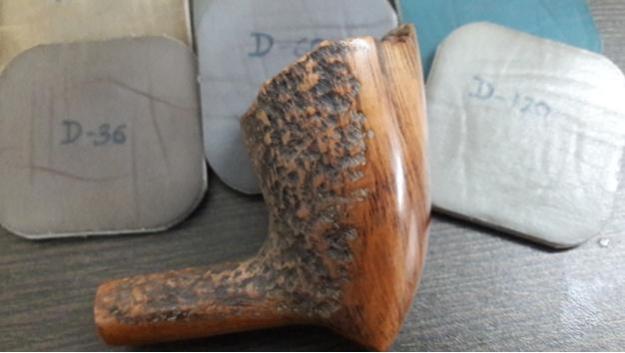
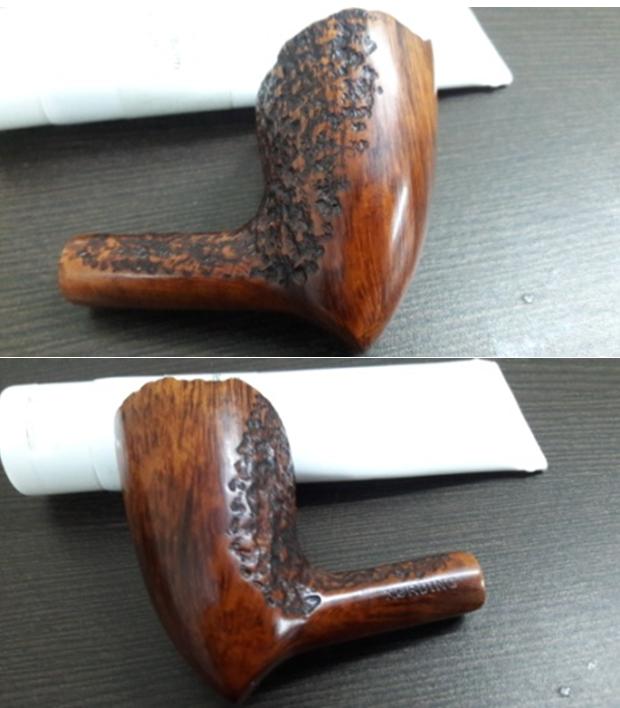
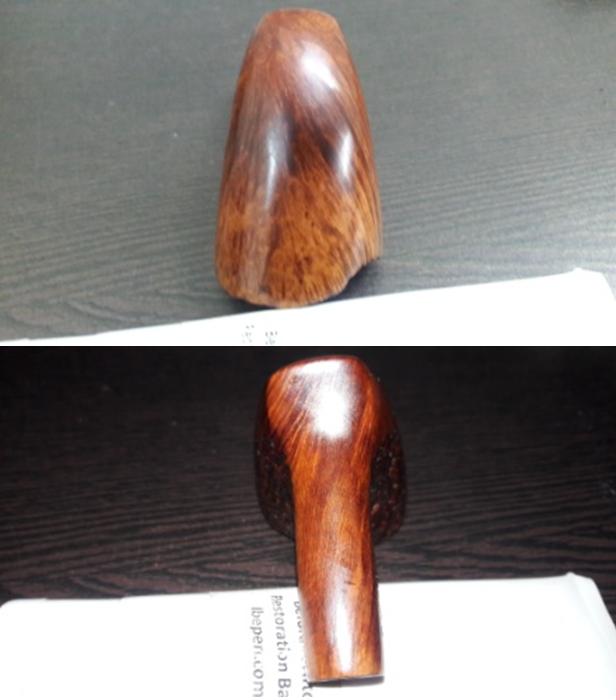
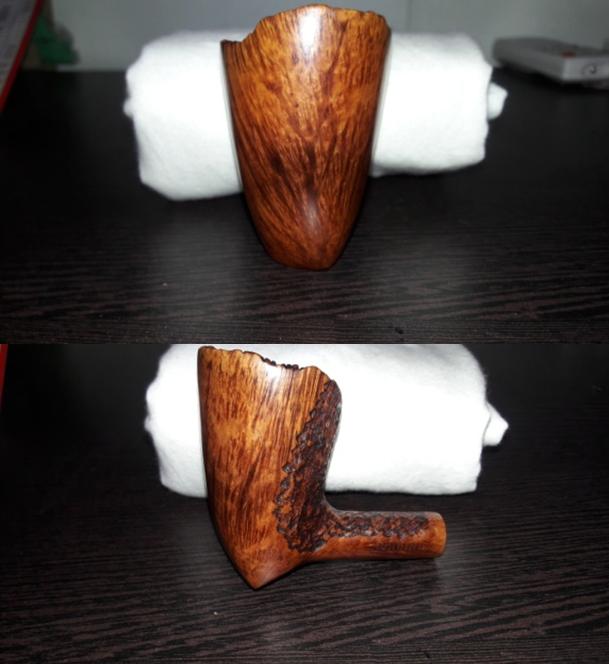
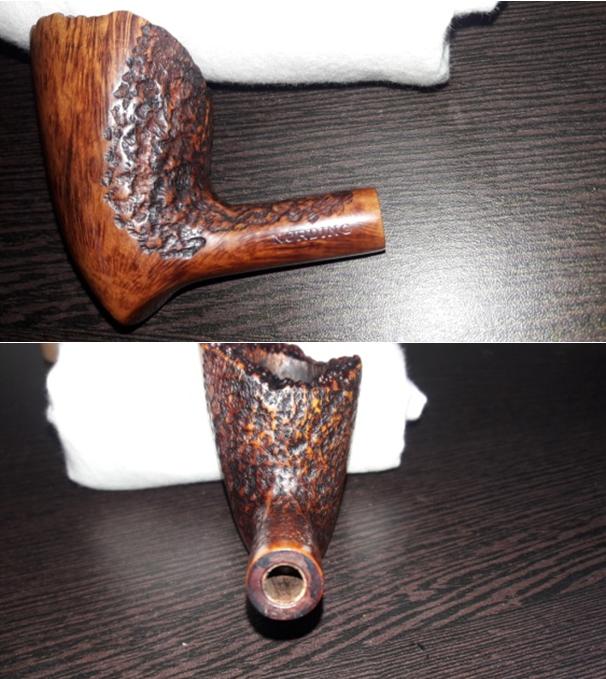
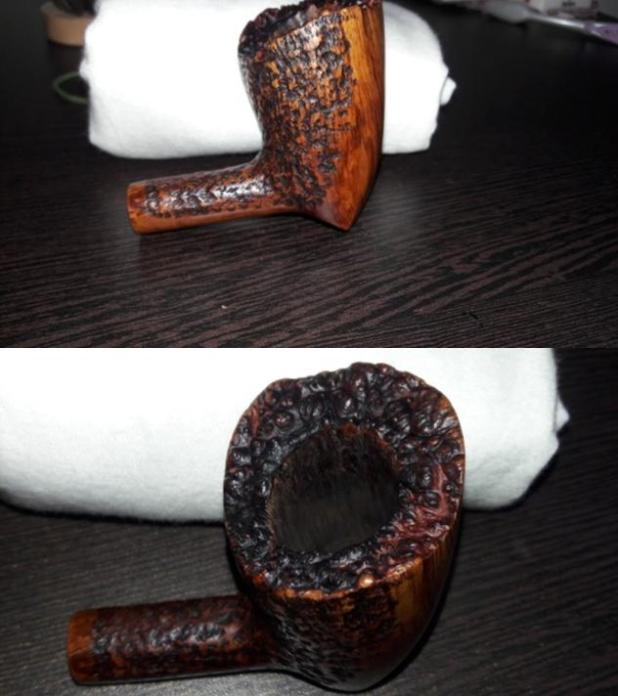
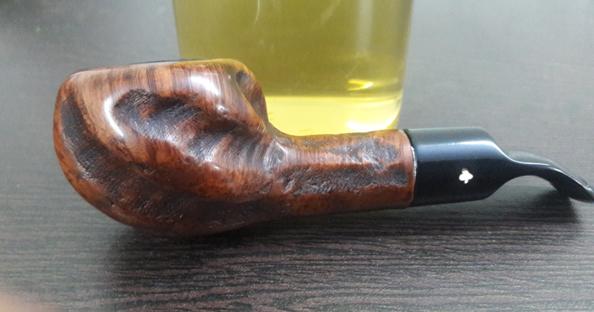
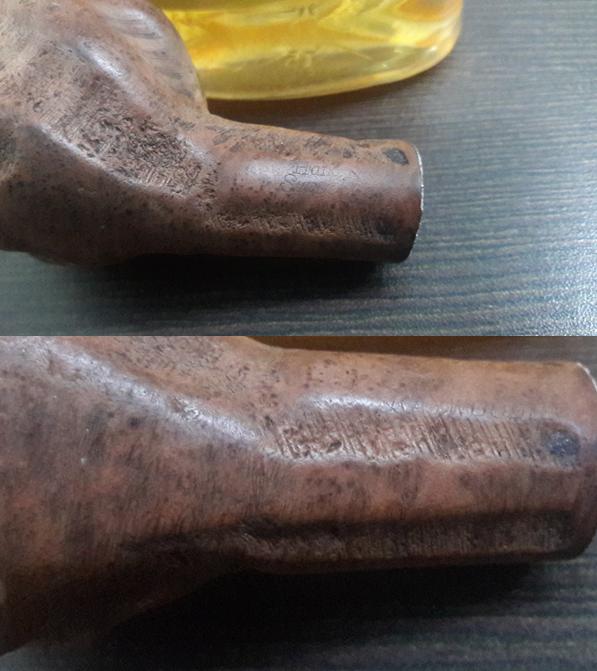
This beautiful pipe has the classical pick-axe shape with a plateau rim top. The stummel has a smooth surface with densely flame grains extending from the mid way on right side and extending mid way on left side while the remaining surface on the stummel has beautiful rustication. The smooth portions extend to the sides such that when held in the palm, all the fingers are holding the stummel along the smooth surface and one can admire the fine delicate rustications on the back while sipping your favorite tobacco. Blissful!!!!!!!!! Similarly, the top surface of the shank is rusticated extending half way through on either side while the bottom is smooth with straight grains extending from the tip of the axe towards the end of the shank.  The only stamping, “NORDING” in block capital letters, is seen on the smooth portion of the shank. The stamping is clear, crisp and easily readable. The fancy stem has a slight bent towards the lip and helps the pipe to balance straight on a table. There is the letter “N” in block capital letter, stamped on the top surface. But it is faint and hidden under the heavy oxidation.I searched the internet for detailed information on Nording pipes and this pipe shape in particular shape. Though I did not find anything particularly about this pipe, it was interesting to read how young Mr. Nording got in to the business of pipe making. It makes for a very interesting read. We must not forget to thank one Mr. Skovbo, who had a major contribution in introducing Mr. Nording in to this business!!!!!!  I have a couple of SON pipes in my grandfather’s collection which I will restore at a later date since I now know about the historical importance of these pipes!!!!!!!!!!! Here is the link for easy reference of those interested: https://pipedia.org/wiki/Nørding 

INITIAL VISUAL INSPECTION
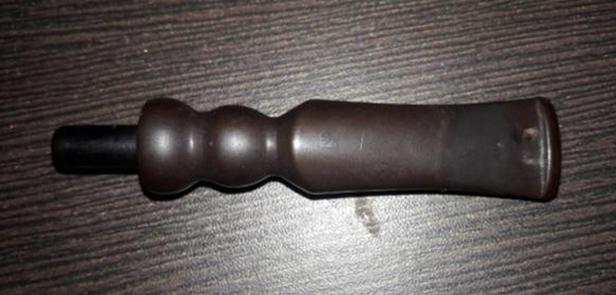
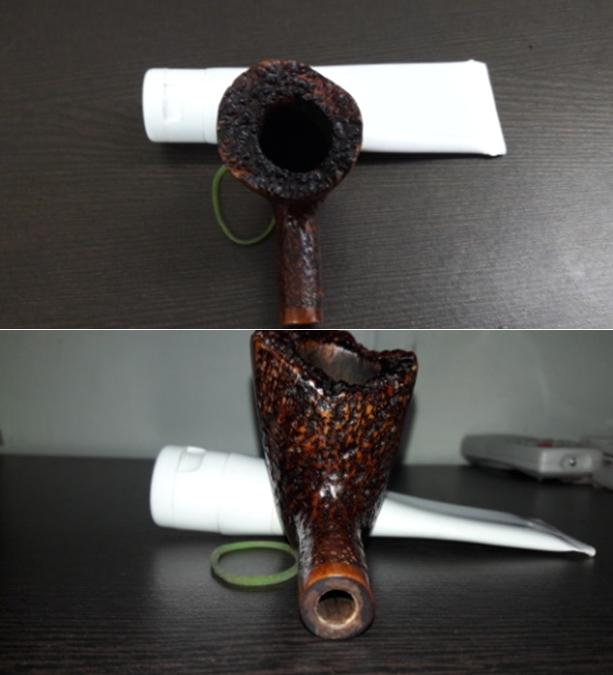
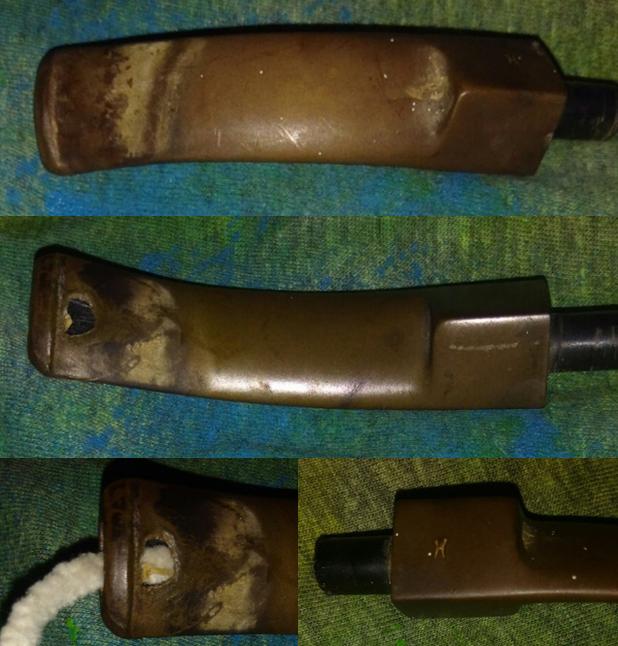
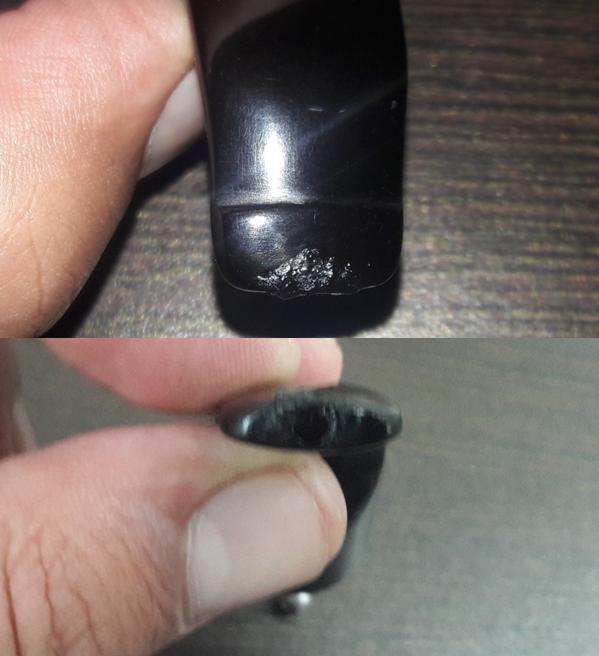
The stummel is covered in dust, oils and grime giving a dull and lackluster appearance to the bowl. The rustications on the back of the stummel are, likewise, filled with dust, dirt and grime. This will need to be thoroughly cleaned. On close scrutiny, I saw some minor superficial dents and dings on the smooth surface. Will I address it or keep it as it is as a characteristic feature of this pipe’s past life? Hell yes, I will address it!!!!! I want it to be as perfect as I can make it for its next innings with me!!!!!! The chamber is clean with a very uneven and thin layer of cake. The plateau rim top is covered with overflow of lava. The inner rim edge is crisp, even and intact. The chamber is odorless and dry to the touch. The inner wall condition of the chamber will be ascertained once the chamber has been completely reamed. However, I foresee no issues at all as the bowl feels solid to the touch.The fancy stem is heavily oxidized with tooth chatter and bite marks on both surfaces and some calcification can be seen towards the lip. There is a significant damage to the lip end in the form of a bite through hole on the upper surface and some deep bite marks on both upper and lower surface of the stem. The airway in the stem is slightly blocked. These issues will have to be addressed. On close observation, the upper surface of the stem bears the stamp “N” in block capital letter. However, this stamp is very faint and covered in thick layer of oxidation. I will attempt to restore and save this stamp.The shank, mortise and the airway is relatively clean and will only need to be sanitized.THE PROCESS
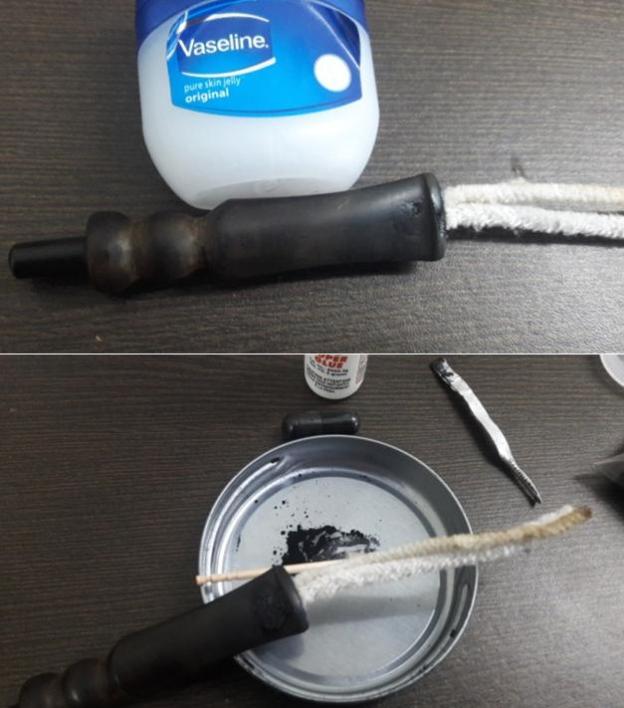
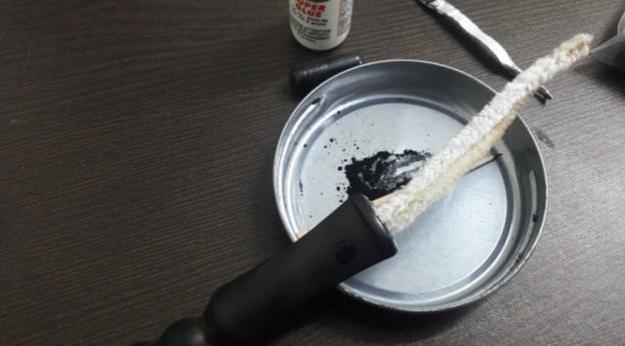
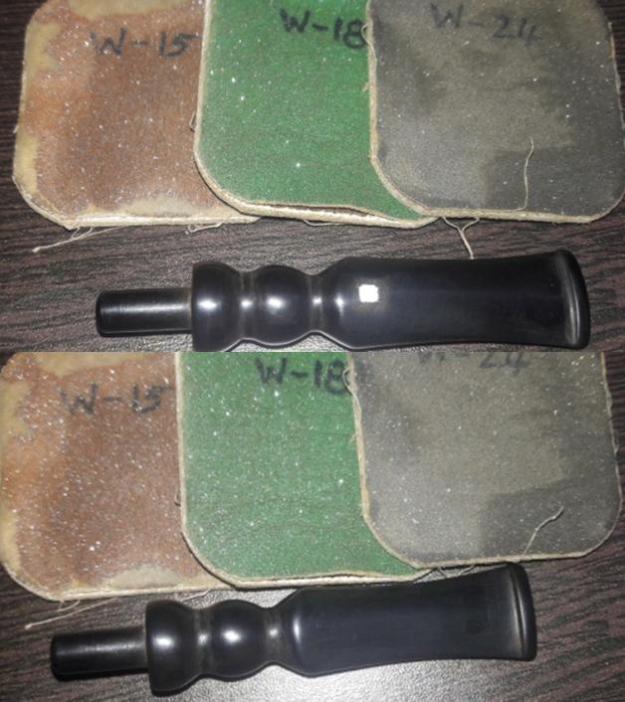
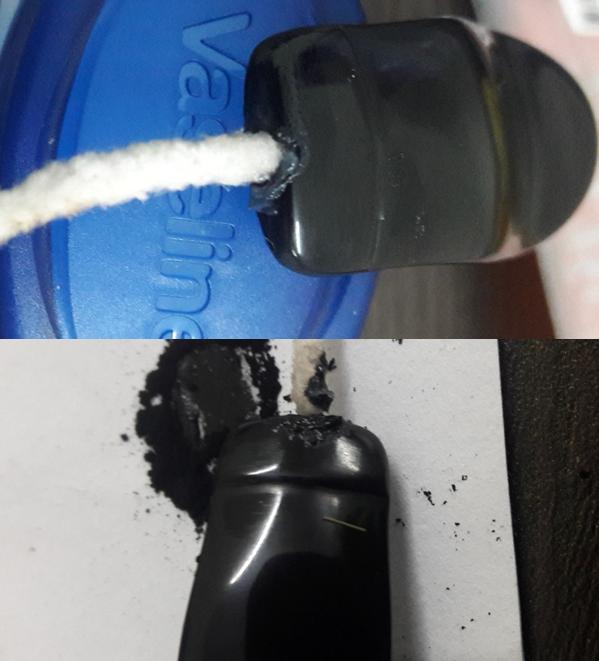
The first step that I usually follow is the reaming of the bowl. However, in this project, since the only significant damage appreciated is to the stem and would be a time consuming process to repair, I started this restoration by addressing the stem first by sanding the stem surface with a 220 grit sand paper followed by 1500 grit micromesh pad. This serves two purposes. Firstly, it evens out the surface for a fresh fill during stem repairs and secondly, I have experienced that any fill in a stem repair turns distinctly brown after micromesh sanding if the oxidation from the stem surface was not removed prior to the application of the fill. Once I was through with the sanding, I wiped the stem clean with cotton pad dipped in isopropyl alcohol. This was followed by flaming both the surfaces of the stem with a Bic lighter, concentrating more around the hole on the upper surface and the deeper bite marks on the lower surface. This helps in raising all the tooth chatter and dents to the surface.I inserted a pipe cleaner coated with Vaseline in to the stem airway before applying the fill. This helps in preventing the fill from entering and blocking the airway. I prepared a mixture of superglue and activated charcoal and applied it as evenly as possible over the hole and deep bite marks and set it aside to cure for 48 hours since the climate here is very wet and humid. While the glue was curing, I worked on the stummel, reaming out the cake with a Kleen Reem reamer, followed by a pipe reaming knife that I had fabricated. I brought the cake down to the bare briar. To further remove any traces of old cake and smooth the inner walls of the chamber, I sanded the inner wall surface with a 220 grit sand paper. As observed during initial visual inspection, I had decided to remove all the dents and dings in the stummel. I cleaned the stummel with Murphy’s oil soap, paying special attention to the plateau rim which was scrubbed with 000 grade steel wool to remove all the overflow of lava. Thereafter I sanded the smooth surfaces of the bowl with a 220 grit sand paper. Once all the dings and dents were evened out and the surface made smooth, this was followed by micromesh polishing pads, wet sanding with 1500 to 2400 grit pads. Again, I wiped the bowl with a moist cotton cloth after each pad. Thankfully there were no fills in the stummel. Once I was through with the wet sanding pads, I used the 3200 to 12000 grit pads to dry sand the stummel to a nice shine. I set the stummel aside to let it dry out naturally. I rubbed some “Before and After Restoration” balm deeply in to the stummel with my fingers. This balm helps in rejuvenating and protecting the briar wood. The immediate and incredible transformation that takes place is a worthy reward for all the efforts!!! The mixed grain can now be clearly appreciated. I let the balm be absorbed by the briar for about 15-20 minutes and then polished it with a soft cotton cloth. The bowl now looks fresh and attractive with the grains popping out any which way you look at the briar. Turning my attention to the stem, using a flat head needle file I sanded out all the fills to match the surface of the stem. I further matched the fills by sanding it with a 220 grit sand paper. I had to spot fill clear superglue into small fills which were exposed during the sanding and repeat the entire process twice. To finish the stem I went through the complete set of micromesh pads, wet sanding with 1500 to 2400 pads and dry sanding with 3200 to 12000 grit pads. I wiped the stem with a cotton swab dipped in alcohol after each pad and rubbed olive oil into the stem after every three pads. The stem looks crisp, shiny and like new. Having addressed the “appearance” aspects of this beauty, I turned my attention to the “performance” aspects to ensure that this beauty smokes as well as it looks. I thoroughly cleaned the shank internals using shank brush, pipe cleaners, qtips and isopropyl alcohol. The stem airway was cleaned using regular pipe cleaners and also bristled ones dipped in alcohol. The airway is now clean and the draw is full and open.To complete the restoration, I rubbed a minute quantity of PARAGON WAX on the smooth stummel and the stem and HALCYON WAX II on the rusticated surface. After a few seconds, using muscle power and a microfiber cloth, I polished the entire pipe to a lovely shine. The finished pipe is shown below. This one shall soon find a place in my rotation. Thank you for your valuable time spent in reading this chronicle of my journey.

New Life for a Jandrew Free Hand Sitter


Blog by Steve Laug

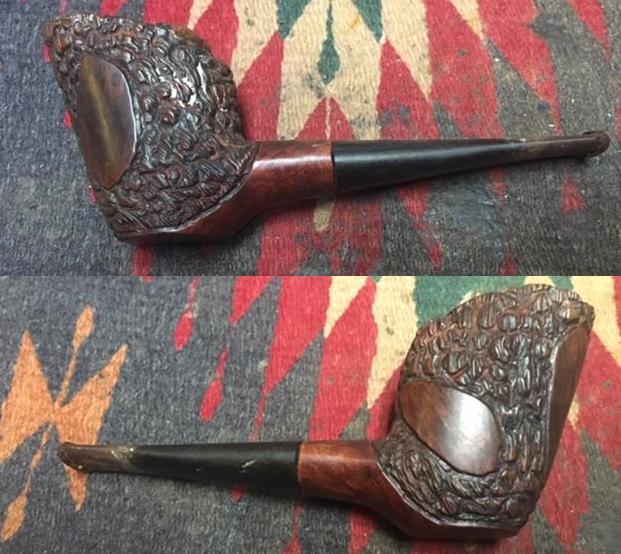
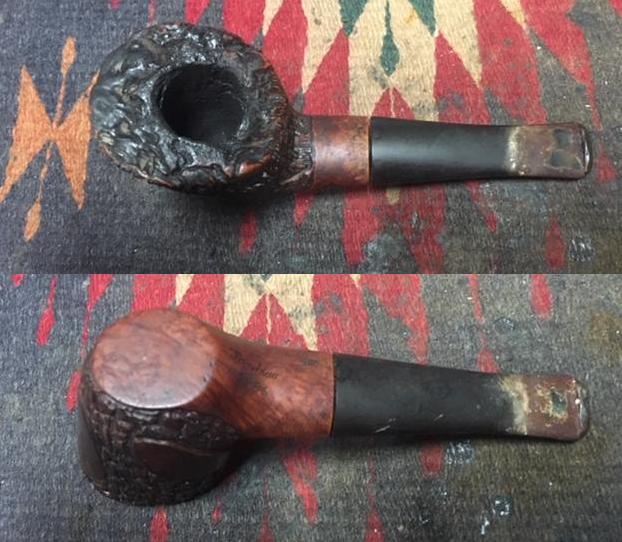
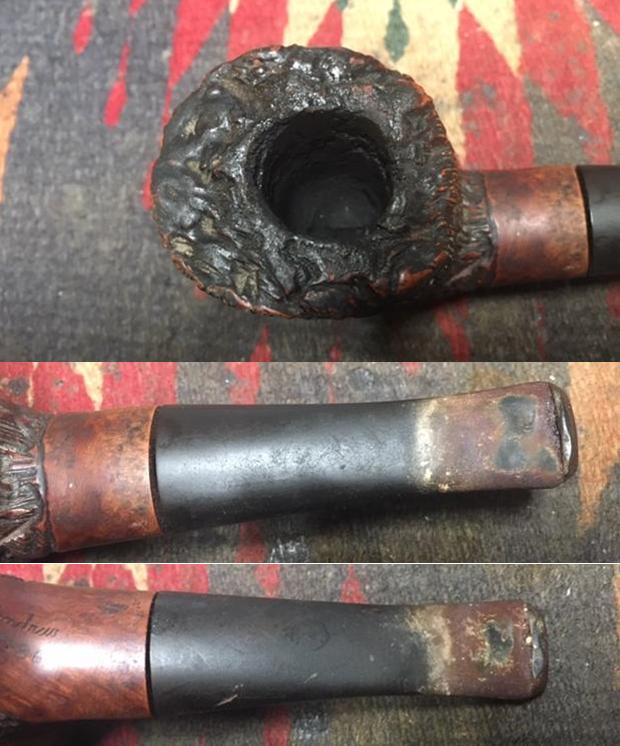
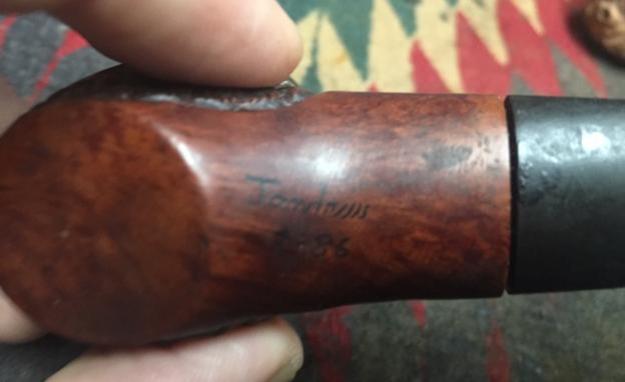
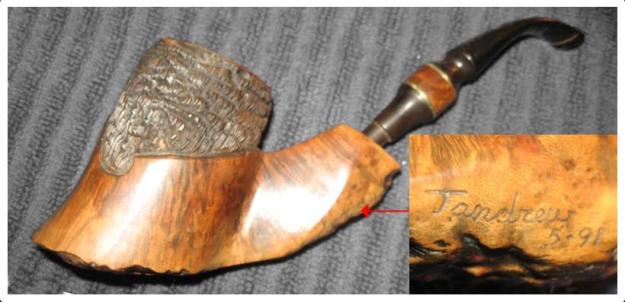
I don’t remember where this old pipe came from. It was a mess with lava overflowing the large caked bowl and filling in most of the carved plateau rim top. The rusticated finish was very dirty and hard to differentiate the smooth portions from the rustication. It appears that the bowl had been rusticated then a wire wheel had been used to striate the rustication. There were three smooth panels on the sides and front of the bowl and a smooth shank and heel of the bowl. The stem was a mess with oxidation, tooth chatter, deep tooth marks and calcification built up for over an inch of the length of the stem. The stem did not seat well in the shank due to the buildup of tars and oils. It also appeared that the tenon was slightly bent making the stem crooked (bent to the right). The pipe was stamped on the underside of the shank and under a bright light with magnification I could read Jandrew over 2-86. My assumption was that the pipe I was dealing with was a Jandrew (I have worked on other pipes made by this maker) and that it was made in February of 1086. The pipe was at least 32 years old and had seen a lot of use. It was obviously some pipeman’s favourite smoker. There was something about the pipe that captured my attention and made me want to work on it. I took some photos of the pipe before I started my cleanup work. I took some close up photos of the rim top and stem to show the condition they were in before I started. The rim top is heavily caked with lava flowing out of the thick cake in the bowl. It fills in much of the carved rim top leaving me unsure what lies underneath. I have no idea what the inner edge of the rim looks like at this point but it seems likely that it is darkened or maybe burned on the back edge. The stem has tooth marks on the top and underside near the button and on the button surface as well. There is some serious oxidation/calcification on the first inch or more of the stem. The stem fit against the shank is off as you can see from the photos and the tenon appears to be bent making the stem curve to the right side.I took a photo of the stamping to capture it and help identify the pipe. It reads Jandrew over 2-86. It is readable but faint in the middle of the stamp where the slight curve in the shank is located.I looked up the brand on Pipedia and found the following: Jandrew pipes are (or were?) made by J. Andrew Kovacs. He lived in Jerome and Cottonwood, Arizona and is said to have moved to Milwaukee, Wisconsin. https://pipedia.org/wiki/Jandrew

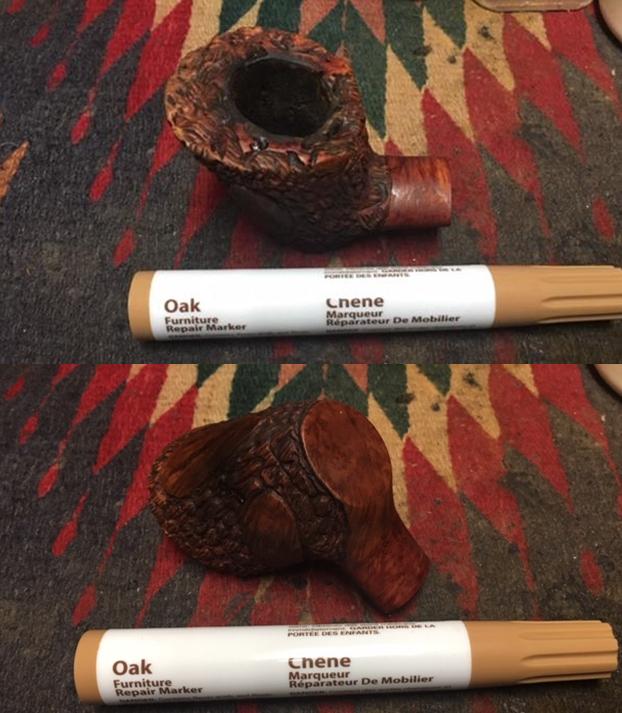
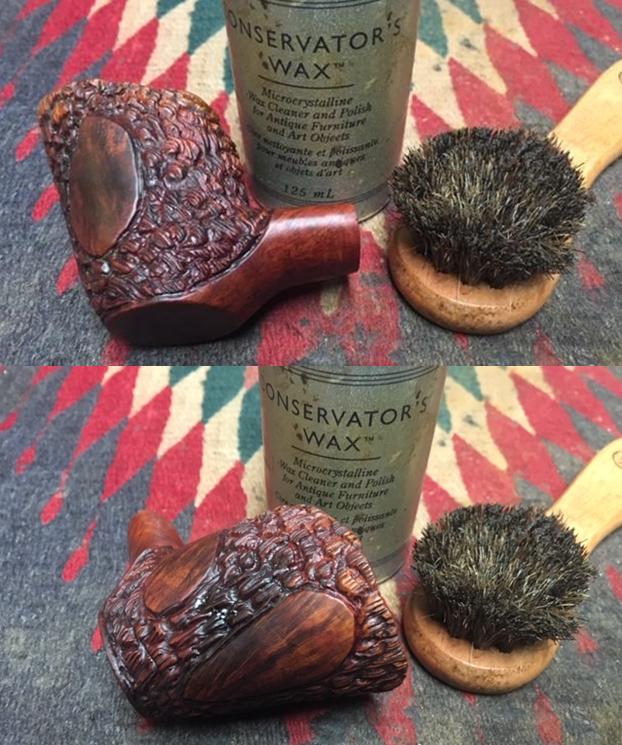
I turned to Pipephil’s site to see if I could gain a bit more information. There was no additional info but there was a photo of a pipe with the same signature and a similar date stamp on the shank. I have included that below for comparison(http://www.pipephil.eu/logos/en/logo-j1.html).I turned to the pipe to begin the cleanup. I dry scrubbed the rim top with a brass bristle brush to break the lava buildup from the crevices. This technique works wonders and the brass is soft enough not to scratch the plateau. I do not use it on smooth rims (not daring enough to give it a try as I am pretty certain it will cause scratching and make more work for myself). The photo below shows the cleaned rim top after the scrubbing.With the top cleaned it was time to ream the bowl. I reamed it with a PipNet pipe reamer using the largest cutting head. The cake was thick and hard. I carefully worked the bowl clean using the reamer. I followed that by scraping out the remaining cake in the bottom of the bowl and along the edges with a Savinelli Fitsall Pipe Knife and took the cake back to bare briar. I wrapped a piece of dowel with 220 grit sandpaper and sanded the inside walls of the bowl to smooth out the walls. With the bowl reamed it was time to scrub the exterior of the bowl. I scrubbed it with Murphy’s Oil Soap, working it into the crevices and nooks and crannies of the rustication with a tooth brush. I rinsed it under running water to remove the soap and the grime. I took photos of the pipe at this point to show the condition after cleaning.I worked some Before & After Restoration Balm into the smooth and rusticated parts of the briar on the bowl and shank with my fingertips to clean, enliven and protect the wood. I worked the balm into the nooks and crannies of the rustication and the carved rim top with a horsehair shoe brush. I let the bowl sit for about 20 minutes and buffed it off with a soft cotton cloth. I took photos of the bowl at this point in the process. The photos show the condition of the bowl at this point in the process. It was looking quite good at this point with some beautiful grain showing through on both the smooth and rusticated portions of the bowl. I scraped the tars and oils from the walls of the mortise with a pen knife. I cleaned the mortise and the airway in the shank with pipe cleaners, cotton swabs and alcohol.During the cleanup of the bowl I had noticed two small hairline cracks in the shank. There was one next to the stamping on the underside about a ½ inch long (first photo) and one on the top side of the shank from the rustication running toward the shank end for ¼ of an inch (second photo). I used a microdrill bit to drill pin holes at each end of the crack to stop it from spreading further on the shank. I was glad to see that under a bright light that the crack did not extend to the end of the shank. The repair would be straightforward.I cleaned out the crack on the top and underside with a dental pick. I filled in the drill holes and the crack on both with clear super glue and set the pipe aside to cure. Once it was cured I sanded it with 220 grit sandpaper and blended it into the finish of the shank. I touched up the stain on the shank with an Oak stain pen to blend it into the rest of the briar.I worked some Conservator’s Wax into the finish of the briar making sure it went deep into the crevices of the carved finish. I let it dry and then buffed it with a shoe brush and with a clean buffing pad. The photos below show the pipe at this point. I set the bowl aside and turned my attention to the stem. I sanded the stem with 220 grit sandpaper to remove the oxidation and the calcification build up. I worked on the tooth chatter and marks to reduce them.I cleaned the surface of the stem with alcohol and dried it off. I filled in the deep tooth marks with clear super glue and set the stem aside to let the glue cure.I sanded out the tooth chatter and marks with 220 grit sandpaper. I wiped down the stem with Obsidian Oil and cleaned out the inside of the airway to get rid of the dust and debris from the sanding. I polished the stem with micromesh sanding pads – wet sanding it with 1500-2400 grit pads and dry sanding with 3200-12000 grit pads. I wiped the stem down with Obsidian Oil after each pad. I polished the bowl with Before & After Pipe Polish – Fine and Extra Fine. I gave it a final coat of Obsidian Oil and set it aside to dry. I polished stem and the bowl with Blue Diamond polish on the buffing wheel. I gave the bowl multiple coats of Conservator’s Wax and the stem multiple coats of carnauba wax. I buffed the pipe with a clean buffing pad to raise the shine. I hand buffed it with a microfiber cloth to deepen the shine. The pipe polished up pretty nicely. The grain really came alive in both the rusticated portions and the smooth panels with the buffing and works well with the polished black vulcanite stem. Together the pipe looks much better than when I began and has a rich look. The finished pipe is shown in the photos below. The shape, finish and flow of the pipe and stem are very well done. The dimensions are Length: 6 inches, Height: 2 1/4 inches, Outside diameter of the bowl: 1 7/8 inches, Chamber diameter: 7/8 of an inch. I will be putting this freehand style pipe on the rebornpipes store shortly if you are interested in adding it to your collection. Thanks for walking through the restoration with me as I worked over this unique Handmade Jandrew pipe.
A Hardcastle Bulldog Run Roughshod over: The Original Restoration


Blog by Robert M. Boughton

Copyright © Reborn Pipes and the Author except as cited
https://www.roadrunnerpipes2k.com/
https://www.facebook.com/roadrunnerpipes/

Grace is neither gentleness nor fragility.  Grace is treating yourself, others and even inanimate objects with respect.
— Kamand Kojouri, Iranian-born novelist and poet

INTRODUCTION
A former roommate, one of Stephen King’s Constant Readers, once remarked with ridicule-tainted respect that I have always been attracted to needful things.  He was speaking of someone I met not long before then whose tragic life had left him wounded to the core, one of the results being his over-demanding, often verbally corrosive and manipulative treatment of me.  The roommate, who like almost everyone had plenty of his own flaws if less obvious and abusive, said my other acquaintance was no friend of mine.

“That may be true,” I replied, “but I’m his friend and the only one he seems to have, and I just can’t give up on him because that’s not what friends do.”

The physically and emotionally damaged person I undertook to help ended up becoming and remaining my genuine though stormy friend until he died at home 14 years later from an unusual and excruciating autoimmune disorder for which there is no cure.  He was 46.

My affinity for care-challenged pipes, therefore, should come as no surprise.  I try to avoid those with fatal flaws such as bad cracks or burnouts and for the most part reject any with serious holes in the stem, but as a restorer I prefer estate pipes that need some real attention to rehabilitate as opposed to the few I find ready to sell or to keep in my collection with minimal effort on my part.

I don’t even remember how the Hardcastle Special Selection #7 smooth bulldog came into my custody or why I chose to ignore the obvious void of vulcanite below the lip on the underside of the stem.  Other than that handicap, the pipe was nowhere near as mistreated as I’ve seen but was plagued enough by dings, scratches and other problems to keep me happy.

One final initial note: I repaired this bulldog to almost like-new condition more than a year ago but failed to blog it because of personal distractions that have left me with a large backlog.  I sold it for next to nothing to one of my present housemates who decided he wanted me to refinish it as a black dress pipe.  The same pipe is the subject of Part 2 of my series on that subject, and so I was going to include this original restoration in that blog.  But anyone who reads my harrowing account of the experience that could be called too much of a bad thing will understand why I broke the overall work into two blogs.

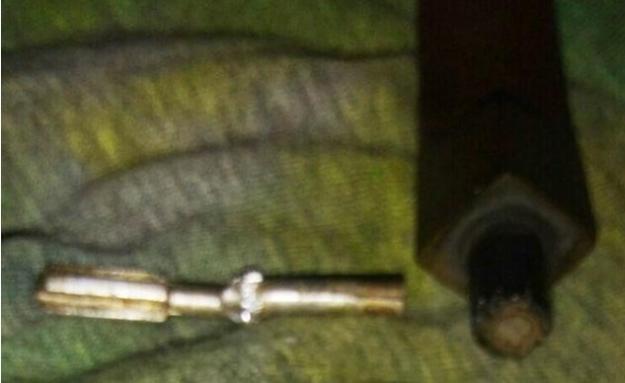
Intrigued by the atypical presence of a stinger in the Hardcastle, and an unusual one at that, I searched online for such phenomena with a faint hope of dating the bulldog.  Of course, at the top of the list was one of Steve’s blogs from 2014.  No other road I found led anywhere close to Rome, as it were.  Steve’s pipe is a Dental Briar brandy, bearing the Registered Design Number 857327, with a unique – or bizarre – dental stem, a system-type metal rod in the shank extending to the mortise hole, and a different short stubby little stinger of its own.  Here is the Dental Briar stinger before Steve’s restoration and the pipe after his usual fantastic work.Steve narrowed the date of manufacture to the Family Era and concluded his pipe was created from 1949-1967 using the National Registry link below.  However, looking at the same link, I see in Table 6.5 that designs numbered 548920-861679 were registered between 1909 and 1950 and suspect the 857327 might have been pre-1949 – no disrespect intended to the master!  Besides, he’s right to note that his Dental Briar could have been made at any time between its registration and 1967 when the family lost all control of the brand.  His pipe is also stamped MADE IN LONDON ENGLAND on the right shank.

I am not so fortunate.  The bulldog has no Registered Design Number or even the usual right shank nomenclature (London Made, British Made, Made in London England, Made in England).  This nomenclature is not faded, it’s just not there.  Only the left shank identifies it as a HARDCASTLE/SPECIAL SELECTION/7.  All I know for sure is that I tried it out after a basic sanitization, and it was quite good.

For a great synopsis of Hardcastle’s history, see Steve’s blog below.  Details are in the Pipedia link.

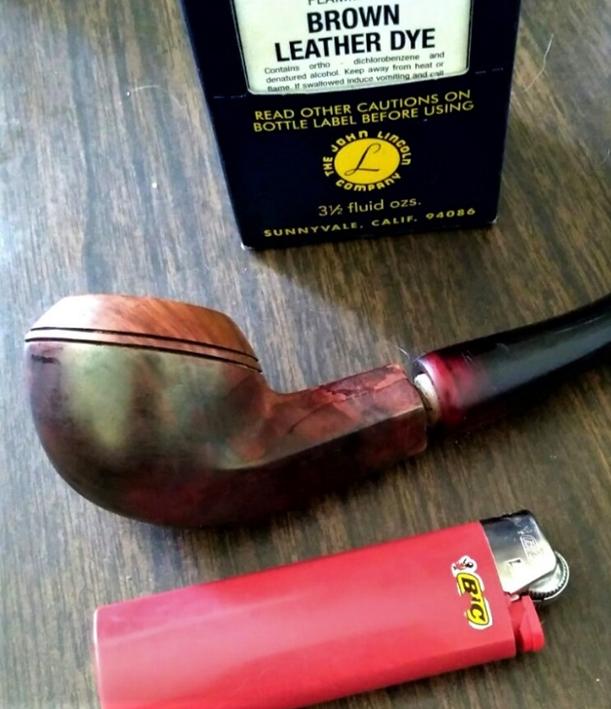
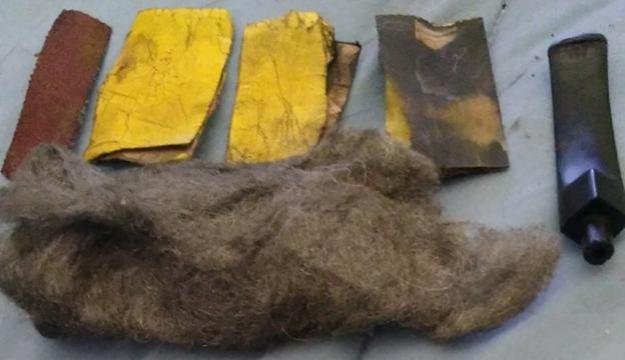
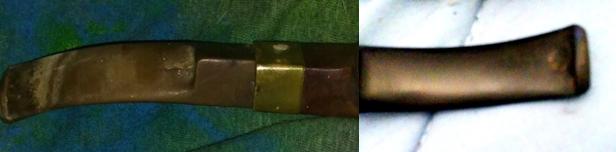
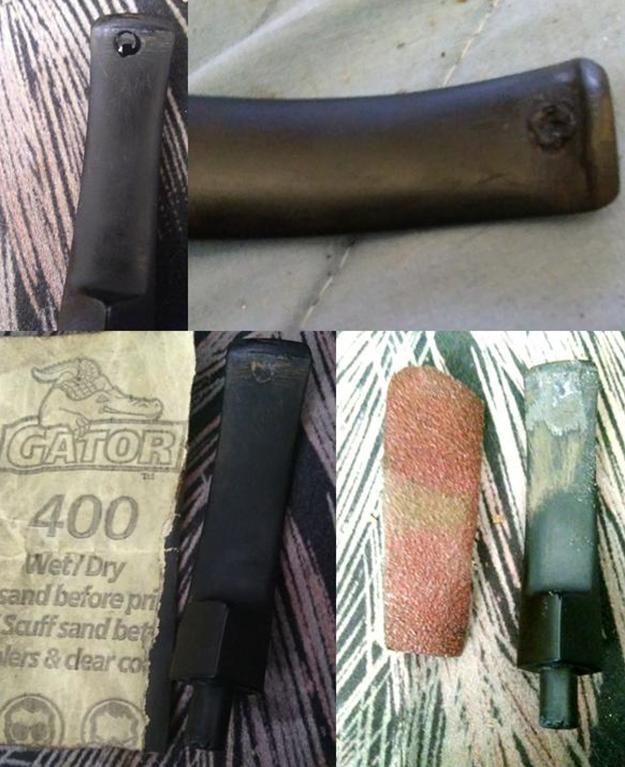
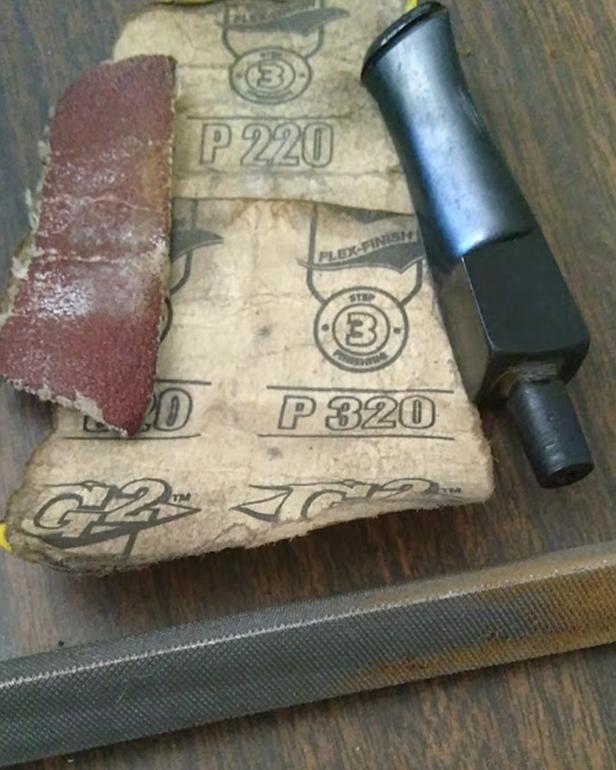
RESTORATION I would have removed the stinger anyway as useless, but it was also bent and more fragile than usual, and so I experienced even less than usual emotional distress heating the pointless thing with a Bic and twisting it out.Considering the appreciable grime, I started by swabbing the stummel first with purified water and then alcohol.  In hindsight, I should have skipped the water method that had little effect.  The blemishes stand out even more after the cleansing with alcohol.  The one shot below showing the minor rim damage, an unevenness being the only bad part, and decent chamber condition was taken with a flash and therefore looks pre-water and -alcohol cleaning.  I’m still having to do the best I can with a cell phone cam.  I used 150-, 220-, 320- and 400-grit papers to start shaping up those areas.After that I re-addressed the chamber and unevenness of the rim with a Senior Reamer and the blade from my Peterson’s Pipe Tool and made them a little better with 150-400-grit paper.I gave the shank a preliminary alcohol cleaning and retorted the pipe with a meerschaum stem that wasn’t crippled by a hole but somehow forgot to snap a pic of the latter.With 220- and 320-grit papers I was able to remove the dings and scratches as well as giving the chamber a semi-final what-fer.For some reason, the band popped off, and I still wasn’t happy with the color.  I decided to go at it once more with the 220.A full micro mesh buff made the old pipe begin to shine as it should.By now I should be somewhat known for fancying two-tones with bulldogs and Rhodesians where the top of the bowl above the two lines curves upward to the rim.  For the most part, at least, I’ve left this area lighter than the rest of the stummel, although on occasion I’ve dabbled in darkening it with, say, maroon stain.  This one screamed at me to lighten the top of the bowl as usual under these circumstances.  And so I stained the stummel below the lines with Lincoln brown leather dye, flamed it and after letting it cool took off the char and a little of the darker color with 8000 and 12000 micro mesh pads.  By the way, I was alarmed when I got a look at the first pic below and noticed what to every appearance seems to be a wicked and poorly repaired crack in the shank.  I assure everyone it’s a trick of the light or whatever, as the other pics prove. Gluing the band on again was a formality after buffing it on the electric wheel.Okeydokey, then.  There could be no more avoiding the chomped and degraded stem with its hole on the underside and other shortcomings. I had already given it an OxiClean soak, and it wanted repair.  Just to get an idea of what the stem would look like when finished, I gave it a quickie micro mesh rub.   I cut a little strip of card stock from the business leftover of someone with whom I didn’t care to do any more business and lubed it and a very small tweezers with a dab of petroleum jelly.  I inserted both into the mouth opening of the stem, with the cleaner behind the paper, until they were firmly in place inside the airway to a point just below the hole.  Finding my trusty old vulcanite stem that was long ago destroyed by another stem abuser, I shaved some fine flakes onto a small piece of paper with one side of a narrow, relatively smooth triangle rasp.

This was where I had to be prepared to act fast: I moved the flakes into a pile and added a few drops of black Super Glue, stirred the two into a gritty paste and scooped up a gob with the part of a three-piece pipe tool made for clearing tobacco from the chamber.  As fast as possible without making a mess, I slapped the goop liberally over the hole and set it aside to dry, removing the card stock and tweezers when the vulcanite mixture was dry on the inside but still a little wet on the outside.It’s a good thing I have an excellent recall of what I did in a particular restoration because the photographs I took of this project were more jumbled and duplicated than those from any other pipe on which I’ve worked.  I had so many of the same thing from alternate angles and differing clarity, for example, that I had to delete quite a few to make sense of it.  I concluded this was because of two things, trying different ways to get a good shot with my poor cell phone camera at the time and lack of sleep during the process.  It’s clear, excuse the pun, that some of the “best” are quite indistinct.  The following photos, as a result, are incomplete, but I always have the words to describe what I did.

For example, after the previous step, I started sanding with 150-grit paper and then smoothed it up with 220-, 320- and 400.  A common, less serious groove resulted, and I added more of the black Super Glue/vulcanite mix and let it dry again.  The mixture settled in well.That’s when I got serious with the sanding, using 150-, 220-, 320- and 400-grit paper and super fine “0000” steel wool.There’s still a small lump visible under the lip that I handled with as little abrasion as possible before the stem was done.  And that was it – for the bottom side.  I still had the top to do.  In every way other than the hole in the bottom, the top was worse, although it only needed a dab of black Super Glue/vulcanite solution to fill a small divot following the same initial OxiClean soak and a more vigorous sanding before filling a small divot with.  Considering again the top of the stem when I received it, close up, notice the wear below the square shank fitting before the rest of the work. The stem never quite fit the shank, which had been given a replacement band somewhere along the way, not to mention the band was damaged. After beginning to re-sand the bottom of the stem, the original hole caved in again.  Accepting defeat, I chose a new bulldog stem I had that needed serious filing at first and then sanding of the 9mm tenon to fit the shank. I bent the stem.  That required heating the stem – with a pipe cleaner inserted through the airhole – at 210° F. for about 15 minutes and bending the nice and pliant material over a complex tool.

Remembering the cell phone photos were atrocious and I had to edit them using every halfway adequate means of adjustment available with my so-called photo editor to show any similarity whatsoever to the actual result, here one last time is the stummel as it in fact looked when it was one step from completion before electric buffing.And these are the final photos of the pipe.  The most offensive discrepancies to me are the obscurity of the two-tone and the lack of shine the pipe had.  The bad twist on the stem in the fifth shot of the rear is all on me!

CONCLUSION
This blog being the occasion of my official announcement in this forum of my new webstore on  my own site, https://www.roadrunnerpipes2k.com/, is unfortunate in that the depictive presentation almost convinced me to give up any idea of writing the blog.  The poor quality and lack of photographs, as well as other stated reasons, were overwhelmingly opposed to the idea of even trying.  Then I thought of the work I put into the briar and the stem alone. In the end, I know how smooth, golden brown and at least hardly blemished the Hardcastle bulldog looked when I was done with it.  Whether anyone else does is of no importance to me.

SOURCES
https://rebornpipes.com/2014/06/27/a-unique-piece-of-pipe-history-almost-lost-a-hardcastles-dental-briar-reg-design-no-857327/
http://www.nationalarchives.gov.uk/help-with-your-research/research-guides/registered-designs-1839-1991/
https://pipedia.org/wiki/Hardcastle

Restoring my Grandfather’s…what the…A Kaywoodie?????


Blog by Paresh Deshpande

Yes!! That is what exactly my thought was, when I looked closely at the small pipe in my hand that I had selected as my next project for restoration. Those who have read my previous write ups on pipe restoration would know that I have inherited a large number of pipes from my grandfather dating between the periods from 1940s to 1970s. I had not come across a single Kaywoodie pipe in the two boxes I had opened, one box still remaining unopened!!!

I have restored two Custom-Bilt pipes from this collection to date, one from 1938-41 era (https://rebornpipes.com/2018/06/02/restoring-my-grandfathers-custom-bilt-pipe/) and second from the Wally Frank era(https://rebornpipes.com/2018/07/20/restoring-a-wally-frank-era-custombilt-sitter-633/), the third Custom-Bilt billiard from 1938-41 era was sent to Mr. Steve of rebornpipes fame to sort out tenon issues and have fallen in love with Custom-Bilt pipes since thereafter!!!! I had picked this pipe assuming it to be a Custom-Bilt and it was only on close scrutiny was it reveled that this was a Kaywoodie!!!!! I deliberately rummaged through the pile again and sure enough, there was another Kaywoodie Bent Billiard with 4 holed stinger in relatively unsmoked condition. It seems my grandfather never took a liking for these Kaywoodie pipes!!!!!

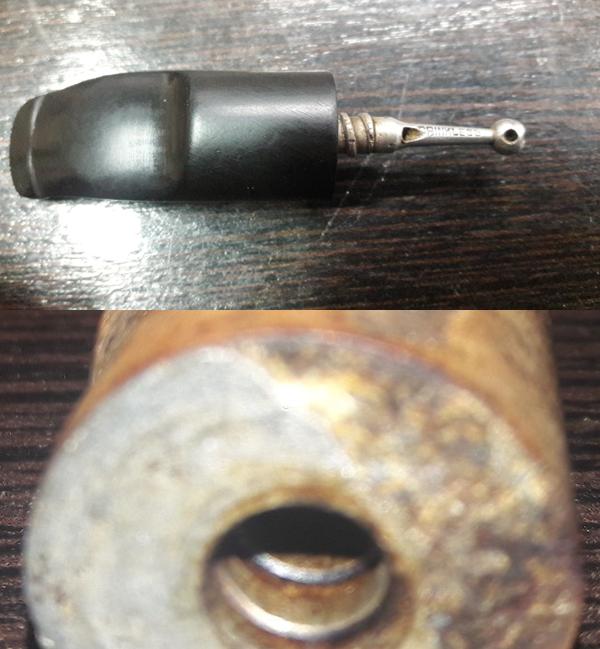
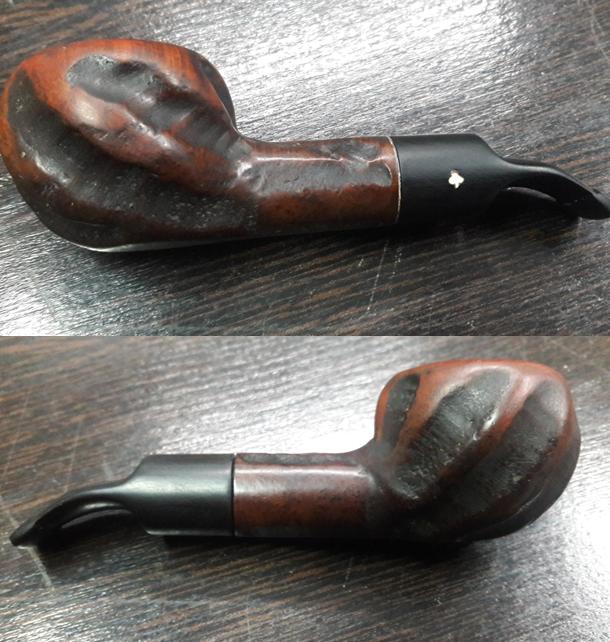
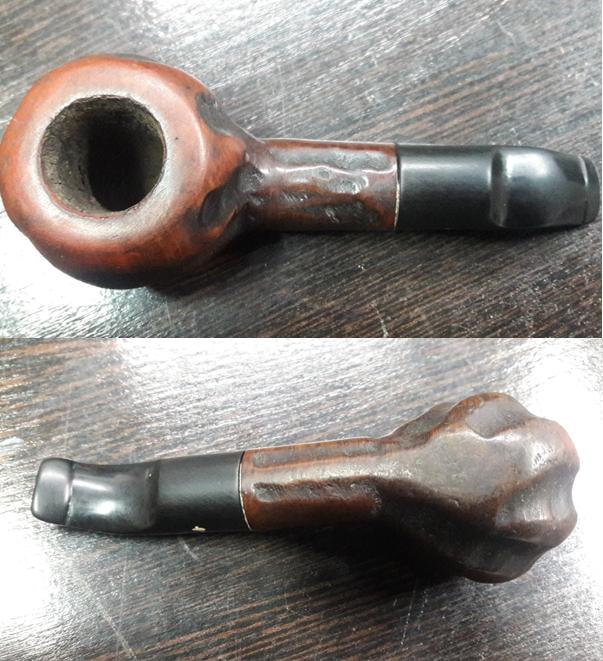
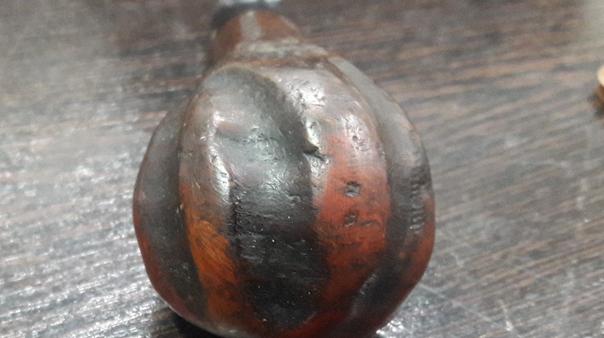
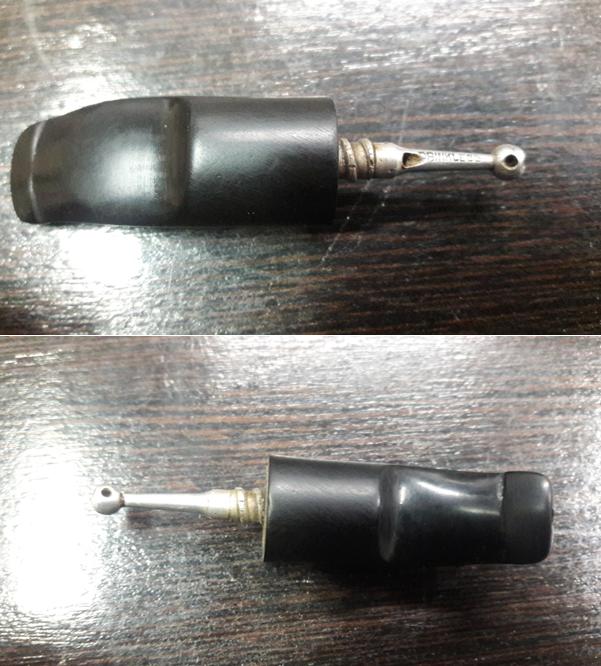
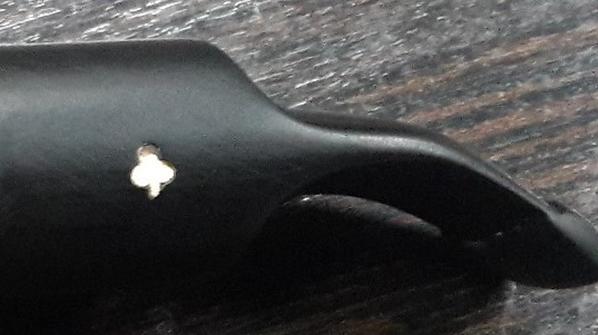
This Kaywoodie Pocket Pipe, now on my work table, has similar large finger like vertical rustications with very thin horizontal lines ensconced within these large vertical rustications. These thick vertical rustications extend upwards and end short of the rim top, giving the rim top a flat smooth surface. These rustications can be seen extending all around the shank on top and bottom, save for smooth surfaces on either sides of the shank. The smooth surface on the left side of the shank bears the stamping “Handmade” over “Super Grain” in cursive hand, over “KAYWOODIE” in block capital letters. The right side of the shank bears the stamp “IMPORTED BRIAR”. All these stampings are thin, worn out but readable under bright light with a magnifying glass. The ¾ bent saddle stem bears the trade mark “Clover leaf” symbol.This pipe comes with a four-holed threaded stinger which screws into the shank. This stinger is stamped with “DRINKLESS”. There is an aluminum spacer ring separating the shank end from the stem end when threaded in. On closer observation, it can be seen that a portion of this spacer, closer to the mortise opening, extends into the mortise and is threaded which matches with the stinger threads.I took all these observation and searched pipedia.com for history of this brand, models and attempt at dating this pipe. This site has detailed information on Kaywoodie pipes, including the history of origin, about the owners of the brand and also various important links to “Collector’s Guide to Kaywoodie Pipes” and “Kaywoodie’s Logos and Markings: Clover variations since 1919”. Here is what was revealed as extracted from pipedia.com:-

Kaywoodie was the name a pipe offered by Kaufman Brothers & Bondy Company (KBB), first appearing in February of 1919. The Dinwoodie pipe, also by KBB, appeared in November of 1919. Sometime before 1924, the Dinwoodie had been discontinued and the Kaywoodie name was beginning to be used on an extensive line of pipes that ultimately would be the name of the company. The origin of the name Kaywoodie is a combination of the K from Kaufman and wood, as in briar. Not much is known of the original KBB company other than it was started in 1851 by the German born Kaufman brothers when they opened a small pipe shop in the Bowery section of New York City. In the back room of this shop, they made their first pipes. From this meager beginning, the Kaywoodie name and organization was to emerge.

When one of the men from the New York office got “gold fever”, he carried a large supply of pipes with him to California that he sold along the way. This early “national distribution” did much to build the reputation of KBB. By the late 1800’s, branches of KBB were opened in Chicago, Atlanta, San Francisco and St. Louis with family and friends acting as agents. The trademarks, for the inlaid cloverleaf and the cloverleaf with the KBB initials inside, were issued in 1881. KBB’s pipes became more popular and were in constant demand by the end of the century. Orders were streaming back east and KBB needed to move to larger manufacturing facilities. By 1915 the move was made to larger facilities in the old Union Hill section of Union City, New Jersey. The salesroom offices were located at 33 East 17th. Street, New York. When the Kaywoodie pipe was first introduced by KBB it came with a hand cut rubber mouthpiece fitted with an aluminum Inbore Tube. This device was to “assure a clean, cool smoke.” Other KBB pipes such as Ambassador, Heatherby and Melrose also had the Inbore tube. The early Drinkless Kaywoodies from 1924 through 1931 had push bit stems. In 1931, after three years of research, the new Drinkless Kaywoodies with the synchro-stem, (threaded drinkless screw-in mouthpiece) were introduced. The drinkless attachment was advertised as cooling the smoke from 850 degrees in the bowl to 82 degrees when it entered the mouth. By the mid 1930’s, all Kaywoodie’s came with the screw mounted Drinkless attachment. (Export Kaywoodies, available briefly from 1950-1955, had push bit stems and were available in all the same shapes and finishes as the drinkless versions.)

Throughout much of the 1940’s, 50’s and 60’s, the Kaywoodie family of pipes consisted of 11 basic grades of briar pipes; though new grades were frequently added to the line and some older grades were discontinued or downgraded. These 11 basic grades of pipes, listed in ascending order of quality, were:

  1. Drinkless
  2. Hand-made Super Grain
  3. Super Grain
  4. Relief Grain
  5. Flame Grain
  6. Silhouette
  7. Oversize Kaywoodies
  8. Meerschaum Inlaid Kaywoodies
  9. Connoisseur
  10. Ninety-fiver
  11. Centennial

Thus from the above, I can safely infer that this pipe was a higher grade Kaywoodie from the 1940s to 1960s.

INITIAL VISUAL INSPECTION
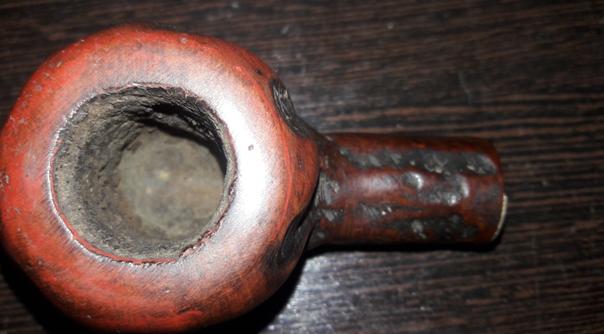
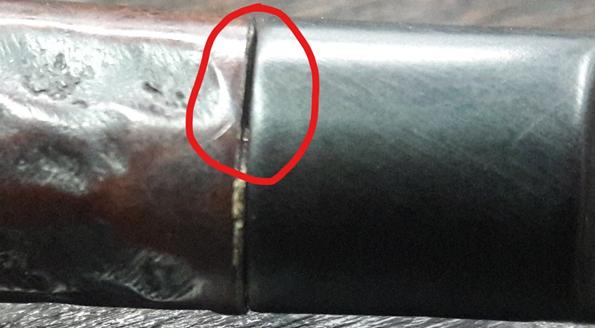
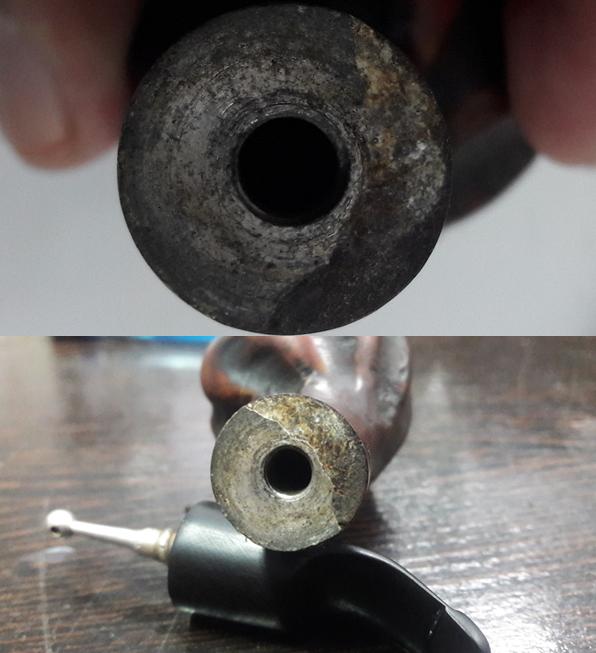
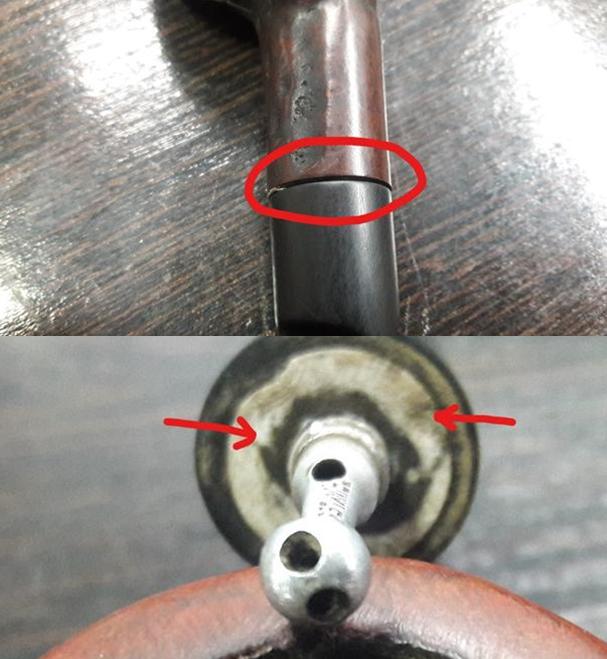
The finish looked a lot like the classic Kaywoodie take on Tracy Mincer’s Custom-Bilt pipes. The carved worm trails seen on the stummel and shank is filled with dust, dirt and grime of years of smoking and thereafter years of uncared for storage. The grime and dirt is so strongly entrenched in to these carved worm trails that it appears black and solidly smooth to the touch. I could see 3-4 small dings and dents on one of the fingers of the raised portion of the stummel. This will need to be addressed. There is a decent layer of cake inside the bowl which is dry and hard to the touch. The smooth rim top is clean and devoid of any apparent damage. The condition of the inner walls of the chamber can be ascertained after the cake has been reamed out. The inner edge of the rim shows minor uneven surface, however, the outer edge of the rim is clean and without dents or dings. The short ¾ bent saddle stem has smooth upper and lower surfaces without any tooth chatter or bite marks. This is unlike any other pipe stem I have seen that had belonged to my grand old man. The four holed stinger is clean, however, the holes appear to be clogged. This was confirmed as air did not flow when I tried to blow through the stem. May be that has been the reason that this pipe was not as extensively used by him. The inlaid white clover leaf is clean and prominent with a tiny portion of the top of the leaf missing!! But it is so tiny chip that it is not immediately visible. The lips are worn out and may need to be reconstructed; again I am not sure about this as there is no damage as such. There is an aluminum spacer between the stem and the shank which breaks the monotony of the pipe. However, it is broken on the right side leaving an ugly gap between the shank and stem. The remaining portion of the aluminum spacer was crumbling and breaks merely to the touch. This needs to be addressed. There is a circular band of white tape or some such material at the end of the stinger where it meets the stem. This is something which is not correct and the reason for it having been placed needs to be checked. THE PROCESS
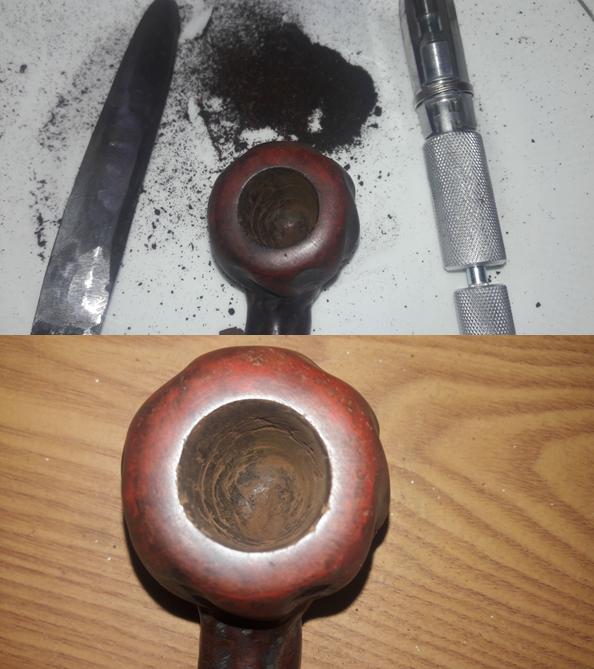
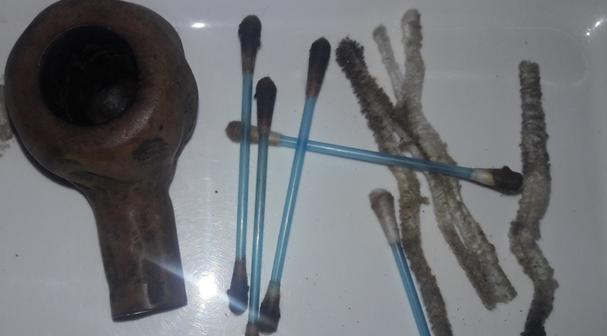
First and foremost in any restoration of pipe, I start with reaming the chamber with a Kleen Reem pipe reamer. However, in this instance, the cake was dry, tightly packed and very hard. I feared breaking the reamer and resorted to the use of my fabricated knife. After a struggle, I was able to take the cake down to the bare briar. I sanded the inner walls of the chamber with 150, 220 and 600 grit sand paper to completely remove the remaining cake and smooth out the walls. Alas, I observed some superficial gouges on the wall surface due to the use of knife. I would need to address this by coating the chamber walls with pipe mud at a later stage. I cleaned the mortise and internals of the shank with cue tips, pipe cleaners and alcohol. Since the major challenge appreciated in this restoration project was the construction of a new aluminum spacer, I decided that is where I would start!!!! To address this issue, I identified three options, as under, which were available to me:

(a) Coat the entire spacer, including the broken portion, with superglue, building it up in layers and then sanding it to flatten it on a topping board. This coat of superglue will also stabilize the remaining original spacer.

(b) Fabricate an aluminum spacer out of a regular aluminum washer and replace only the broken portion of the spacer.

(c) Replace the entire spacer with the new fabricated aluminum spacer.

I discussed these options with my mentor, Mr. Steve Laug. As is his trademark style of tutoring, his suggestion was, “I would go with the first option”!!!!! He further clarified that the spacer also enters the mortise and has threads for the “synchro-stem” (threaded drinkless screw-in mouthpiece). Thus, I concluded that exercising the third option was best avoided if I wished to avoid ruining the pipe!!! That left me with following either first option or the second option. Any other sane student would have followed the advice of his mentor (which I had been doing up to this point!!!). However, I, for some reason, was convinced that the end result of exercising the second option would result in a better finish and thus embarked on the arduous journey of replacing only the broken portion of the original spacer with the fabricated aluminum washer.

I began the process by shaping the new aluminum washer to match the size, shape and thickness of the original spacer. I was not very meticulous about the size and thickness as the same would, in any case, have to be perfectly matched by sanding it down with needle files. The following pictures will tell the story of the entire process of constructing this spacer. However, what these pictures do not tell you is the long back breaking hours involved, the strain to which eyes were subjected, precise and controlled movements of the needle files and agony experienced whenever the needle file inadvertently scraped the crumbling original spacer, causing it to chip. When I was satisfied with the fit and finish of the new spacer, I applied an even coat of superglue over the entire surface and very painstakingly re-aligned all the broken pieces of the original spacer and also the new fabricated spacer over the coat of the superglue and set it aside to cure overnight. Next day I evenly applied another coat of superglue over the entire spacer and again set it aside to cure so as to stabilize the spacer repairs and even out the surface. Once the glue had sufficiently cured, I topped the surface on a topping board to even out the glue. To further smooth out the surface and ensure a transparent, even and smooth surface, I polished the surface with micromesh pads, wet sanding with 1500 to 2400 grit pads and dry sanding with 3200 to 12000 grit pads. I frequently wiped the surface with a moist cloth to remove the glue dust. I was able to maintain just sufficient thickness of the coat so as not to disturb the alignment of the stem with the shank while stabilizing and protecting the spacer. I was very satisfied with the results. Now with the spacer taken care of, I start working on the stummel. I thoroughly clean the stummel with undiluted Murphy’s oil soap and a hard bristled tooth brush scrubbing the rustications clean of all the lodged dirt, dust and grime. I had seen a few dents and dings on one of the fingers of the stummel rustication and wanted to address it. I began by sanding the stummel and raised portion of the rustications with a 600 grit sand paper followed by 800 grit sand paper. I had used very light hand so as not to lose too much briar (though at the end I realized that I should have used a bit more force since at the end of the process, these dents and dings were still very much visible!!!!!!). This sanding was followed by polishing with micromesh pads, wet sanding with 1500 to 2400 grit pads and dry sanding with 3200 to 12000 grit pads. I wiped the bowl down with a moist cloth after each pad to remove all the sanding dust. As I was going through the micromesh pads, I was thinking of adding some twist to the finish and remembered that Mr. Dal Stanton, a gentleman I often turn to for some interesting pipe related conversations and advice, had refurbished a Tom Howard rusticated tomato pipe for me. He had darkened the crevices of the rustications with a dark stain pen and the contrast was eye catching, to say the least. I wanted to have a pair of pipes with this finish and decided to give this Kaywoodie the same treatment. I discussed with Mr. Dal Stanton who wholeheartedly explained the technique of achieving this finish and also gave me some very fine and pragmatic advice which I shall cherish on this journey. I stained the crevices in the rustications with a dark brown stain pen and set it aside for the stain to set in to the crevices. After the stain had set, I rubbed a small quantity of “Before and After” restoration balm in to stummel and set it aside for a few minutes to let the balm work its magic on the briar wood. The balm works to bring back the shine and pours life in to the briar. I buff the stummel with a horse hair shoe brush followed by a nice hand polish with a soft cotton cloth. I liked the way the stummel has finished. To address the superficial gouges in the chamber created by use of knife during reaming, I prepared a mixture of pipe ash and yogurt of putty consistency and applied a coat to the inner walls of the chamber. Once the coating had cured, I gently sand the walls with a 220 grit sand paper to a smooth and even surface. With this, the stummel is all completed. Once the stummel had been finished and set aside, I turned my attention to the stem. There was not much work on this stem since it was sparingly used with only light signs of oxidation and no bite marks or tooth chatter. I start by sanding with micromesh pads, wet sanding with 1500 to 2400 grit pads and dry sanding with 3200 to 12000 grit pads. I wiped the stem with a cotton swab dipped in alcohol to remove the sand dust and rub a small quantity of Extra Virgin olive oil and allow it to be absorbed in to the stem. The stem is now nice and shiny. The next thing to address was the blocked stem. I tried cleaning the airway in the stem with pipe cleaners dipped in alcohol, but the pipe cleaner would not go in the complete distance. There was gunk and tars which had accumulated inside the airway and in the holes too!!!! Using a straightened paper clip, I probed and cleaned all the holes on the stinger. I tried to blow through the stem, but I realized that it was still blocked. I tried pushing the paper clip through the airway and then there was this small sound of a crack!!!!!! Aargh……..the upper lip now has a chip!!!!! Undaunted by this temporary setback, I continue with the clearing of the blocked stem. Finally, I am able to dislodge the block and now the air flows freely through the stem.To address this chip, I firstly insert a regular pipe cleaner coated with Vaseline in to the air way. This prevents the charcoal and glue mix from dribbling in to the air way blocking it. I mix a small quantity of activated charcoal and CA superglue and spot apply it over the chipped surface. Once I have ensured that the complete surface is coated with the mix, I set it aside to cure overnight. The next evening, I file the filling with a needle file and match it to the surface of the stem. To further match the filling with the rest of the stem surface, I sand the fill with a 220 grit sand paper followed by micromesh polish pads. The stem is now nice and shiny again with a free flow of air through the airway. I finished this restoration by applying a small quantity of Halcyon II wax and rubbed it deeply in to the stummel with my fingers. A few minutes later, I polished it with a soft cotton cloth using muscle power. The stummel now has a nice deep shine to it and the grains on the rim top and raise portion of the rustication can be seen in its full glory. I re-attach the stem and then relies that the stem is off center to the shank!!!! My God, this one was giving me a hard time. I removed the white sticky tape that was stuck around the stinger at the stem end and tried the fit. The fit had improved but it was still off centre. Again, to address this issue, I was presented with two options of either sanding the coating of superglue over the spacer till the off center was corrected or heat the stinger till the glue fixing the stinger in the stem was loosened and turn the stinger in to the mortise till the issue was addressed. I decided to go with the second option as I feared losing the coating of superglue over the spacer and thus exposing the brittle original to further chipping. I heated the stinger with the flame of a Bic lighter so that the glue holding the stinger would loosen a bit and fitted the stem in to the mortise, tightening it till the stem and shank were perfectly aligned. I let the stinger sit in this position till it had cooled down and the glue had hardened again. Now the fit of the stem and the shank is perfectly aligned. Here are the pictures of the finished pipe and hope that this long write up has been an enjoyable read. Thank you for walking with me through this restoration as I attempt to preserve the legacy of my beloved grand old man!!!!!


Restoring a Keyser Hygienic Patent from a Garden Shed in England


Blog by Steve Laug

Not too long ago I received an email from through the rebornpipes site. I am actually getting quite a few emails each week which I find a pleasure to read and answer. They range from questions on restoration to those regarding estate pipes. This one was interesting to me in that it was about a brand of pipes that I have worked on and enjoyed in the past. I have included the initial email and subsequent ones below to give you the context of the ongoing interaction on this pipe. I thoroughly enjoyed the interchange with Mrs. C. Howard and look forward to being able to send her photos of the restored pipe.

Hello. Clearing out our shed today my husband came across a couple of old pipes, one of which is a Keyser Hygienic, which I have now read about, on your website, how you clean and refurbish them. For my husband and his crewmate in the London Ambulance Service in the 70’s, smoking a pipe was just another one of their fads (with motorbikes at that time, they rather fancied themselves, too, as facsimiles of Starsky & Hutch!) so although tooth-marked, not badly for the amount of time they were in use, I would think. My husband’s reaction to ‘turfing out’ unwanted things is to take it all to the dump, whereas mine is to locate useful ‘homes’ for items that are still serviceable and would serve a useful purpose. I see that you are on the look-out for Keyser pipes and wondered if you would like this one. It would only go to charity anyway and I would rather donate it to you – it would be no difficulty for me to post, if you wanted it. I also have a Duncan Mini Dent pipe; if you would like this also I could send it at the same time. I have washed both of them but, obviously, your attention to that aspect would be done best by you. I look forward to hearing from you. – Yours sincerely – Mrs. C. Howard

I immediately wrote her back and told her I would be delighted to receive the pipes and would gladly pay her for the postage from England to Canada. She replied:

Hello Mr Laug,

I was very pleased to hear your response and will post both pipes to you as soon as I’ve wrapped them.  There will be no need for a refund of postage; I’ll be happy just to know the pipes are being re-located from my shed, ignored and unloved, to a good home where they will get both!

My husband and I loved Vancouver when we visited, particularly enjoying the trip over to Vancouver Island to see Mrs. Butchart’s Gardens and where my aunt and uncle had moved to years ago.  We especially, too, liked the laid-back nature of the Canadian people.

However, I shall get these pipes posted asap and hope you enjoy the final result of your labours in refurbishing them. With best wishes – Mrs. C. Howard

Once again I replied thanking her for her kindness in gifting and sending the pipes to me. I looked forward to receiving them from her and working on them to restore them to their former glory.

Hello Mr Laug,

Just to let you know that you should be receiving the pipes in the not-too distant, since I posted them off yesterday, the 23rd. Optimistically, it won’t be too long before they arrive at your door.  I hope I don’t sound like an Amazon rep, although I rather fall down on being able to provide you with parcel tracking details, et al! – Kind regards. Mrs. C. Howard

To me this kind of information is priceless and gives me the background on the pipes when I work on them. I like to picture in my mind the pipe man who smoked them. In this case the information made me wonder how many more pipes are sitting in garden sheds around the world, having been discarded when the pipesmoker decided to lay them down. Thank you Mrs. C. Howard for the foresight you had in rescuing these pipes.

When the box arrived in Vancouver I wrote Mrs. C. Howard and let her know they arrived safely. I opened her parcel and found the contents were well wrapped and had come undamaged. The Keyser Hygienic pipe that I am working on came in its original box shown below. At this point I did not have any idea of either the shape or the condition of the pipe but I had never seen a boxed version so I was excited to see what was inside.I opened the box to find a bent billiard, the original Keyser Brochure and a nice note from Mrs. C. Howard. I include her note in the photo below.I took the pipe out of the box to have a look at it. It was worn but in decent condition. The finish was faded and the grain barely visible but underneath it looked to be interesting. The rim top was coated with a thick coat of lava and the bowl had a cake. The aluminum shank end was coated with what looked like silver polish and it was on the briar as well. The stem was clean but had tooth chatter and some deeper tooth marks on the underside near the button. I took photos of it before I started my work on the pipe. I took photos of the stamping on both sides of the shank. It was in great condition and very readable. You can also see the polish on the aluminum and in the letters of the stamp. The left side reads Keyser Hygienic over Patent. The right side reads London Made.I took close up photos of the rim/bowl and the stem to show the condition of the pipe when it arrived.The stem was tightly inserted in the stem and the polish and grime held it firmly in place. I carefully twisted the stem while holding tightly onto the aluminum ferrule. It came out with a bit of effort. I took a photo of the pipe at this point and also of the shank and stem end to show the apparatus inside and the condition of the interior of the pipe.I set the pipe aside and took photos of the brochure that was packed with the pipe in the box. The front page of the piece was interesting in both the advertising speak and the cutaway diagram of the pipe. The first photo shows the overall look of the brochure cover while the two that follow that show the details. I opened the brochure and found a great shape chart of the options available for the smoker who purchased a Keyser Hygienic pipe. I have not seen one of these before. I will try to scan the entire brochure soon and post it on the blog separately.On the backside of the brochure were instructions on the care of the pipe.It is quintessential British and reads:

Smoked by Connoisseurs.

The Care of the pipe.

The following suggestions will enable the owner of a KEYSER HYGIENIC PIPE to obtain the best results.

In the early stages it is advisable to only half fill the bowl and smoke slowly, increasing the amount of the charge after the first few pipefuls. Never refill on top of a half smoked charge. Always allow the bowl to cool before refilling.

As a wet heel does not form in the bowl of a KEYSER HYGIENIC PIPE it is recommended that each charge is smoked right to the bottom, allowing the bowl to carbon evenly and preventing waste of tobacco.

It is inadvisable to allow carbon to become more that 1/8 inch in thickness, as expansion of carbon when hot may result in cracking the bowl. When the carbon lining becomes too thick, reduce it, but do not remove it entirely; leave a carbon lining of about 1/16 inch.

The trap of the Keyser Hygienic Pipe should be emptied frequently; hold the pipe in a vertical position, remove vulcanite and pour out the moisture. The pipe should be cleaned regularly with ordinary pipe cleaners, and the vulcanite only should be rinsed occasionally with a non-flammable cleaning fluid and dried off with a pipe cleaner; on no account should water or steam be used.

The practice used by our forefathers of treating their clay pipes with alcohol and other liquids  should not, on any account, be used on a briar pipe as it has a serious detrimental effect upon the smoking qualities and life of briar and may result in cracking the bowl.

The KEYSER HYGIENIC PIPE is designed to prevent moisture, tobacco and ash being drawn into the mouth and to prevent, also, moisture entering the bowl and a wet wad of tobacco forming which is always wasted.

It is due to the patent stem – fitted exclusively to the KEYSER HYGIENIC PIPE – that the whole of the tobacco can be smoked, thereby preventing waste and showing a considerable saving. The absence of moisture permits the bowl to carbon right to the bottom, ensuring a sweet, clean, wholesome smoke, free from the moisture with which pipe smoking is usually accompanied.

Each pipe is produced individually and is an outstanding example of a product upon which Engineers and Pipe Craftsman work in harmony.

MANUFACTURED BY
MERTON PIPES (LONDON) LTD
UNIT 17, 784/792 HIGH ROAD
LONDON N17 0DA, ENGLAND
AND KEYSER MANUFACTURING CO

Scientifically designed – Made by British Craftsmen Printed in England

Over the past years I have picked up quite a few Keyser Hygienic pipes. As you can see from the above information they are made in England. I had read that the pipes were sold exclusively in South Africa. They were designed to be virtually indestructible for farmer pipe smokers in SA. All versions of the pipe have the same stem – one size fits all. I had thought that they were made of nylon and rubber or some combination that is a proprietary form of vulcanite developed by Keyser Manufacturing Co. They are tough and take tooth wear very well but are hard to buff as the heat from a buffer can easily melt the stem surfaces.

In my previous restorations I included the photo below. It came from the web and pictures a cutaway picture of the pipe and the unique condensing chamber that makes up the patented portion of the pipe. The shank has an aluminum condensing chamber with a tube in the centre that lines up with the tube inside the stem. It is pointing downward (or in the case of this pipe to the left side so that the air swirls around in the chamber formed by the military bit stem and the shank. Moisture is trapped and the smoke is cool and dry without loss of flavour.After processing all of the information that came with the Keyser Hygienic Pipe I thought I would “be manly! Restore a pipe! I started by reaming the bowl with a PipNet reamer working my way through the first two cutting heads to take the cake back to bare briar. I really wanted to see the bowl walls and check them for damage. I cleaned up the walls with a Savinelli Fitsall Pipe Knife and then wrapped 220 grit sandpaper around a dowel and sanded the walls of the bowl. The inside walls were in excellent condition. I examined the rim surface and saw burn marks on the inner and outer edges as well as some nicks and damage to the briar. I decided to lightly top the bowl on a topping board with 220 grit sandpaper. It did not take much to remove the damaged areas and burned edges. The second photo below shows the cleaned rim top.I wiped down the surface of the bowl to remove some of the opacity of the stain. The stain appeared to be a dark to medium brown but what wiped off was oxblood or cordovan. I would never have guessed that looking at the pipe. Underneath there were what looked like nicks on the left side of the bowl but turned out to be small fills. There was some beautiful grain on the pipe that I wanted to highlight. With the exterior and the bowl clean it was time to address the condenser chamber in the shank and stem. It took some maneuvering to get the pipe cleaners through the aluminum tubes in the shank and the stem but I was successful in removing the tars and oils that had built up in both spots. There was still a musty garden shed smell to the pipe so I kept cleaning until it was fresh. Later I would do a cotton ball and alcohol soak to further remove that smell.I rubbed down the exterior of the bowl and rim with Before & After Restoration Balm. I have been using this product for about ½ a year now and really like the way it cleans, enlivens and protects the briar. I rubbed it on with my finger tips and worked it into the finish of the briar. I set the bowl aside for about 10 minutes while I did other things and then buffed it off with a soft cloth. The state of the bowl can be seen in the photos below. After buffing off the balm I could see that the rim needed some more work but decided to address the remnants of the garden shed smell first. I filled the bowl with cotton balls, stuffing them deep in the bowl. I inserted a pipe cleaner in the tube in the shank to wick out the oils and filled the bowl with 99% isopropyl alcohol to draw out the oils and tars in the briar. I used an ear syringe to fill the bowl. I know if you read the brochure from KEYSER HYGIENIC above it said not to use alcohol, but I have found over the last 20+ years of pipe cleaning that it does a great job. I set the bowl aside in an old ice-cube tray, much stained from years of abuse and let the alcohol and cotton balls do their magic.I came back to the pipe several hours later and the cotton balls had absorbed a lot of tars and oils. You can see the effect in the cotton in the picture below. The pipe cleaner had wicked out some more of the tar from the tube as well. The pipe smelled fresh and clean with the garden shed smell removed for good.I cleaned up the darkening and burn mark on the inner edge of the rim with 220 grit sandpaper. I gave the edge a slight bevel to blend in the damaged area on the rim. I like the look a slight bevel gives a bowl.I used 220 grit sandpaper to sand out the tooth marks and chatter on both sides of the stem near the button.I polished the stem with micromesh sanding pads – wet sanding with 1500-2400 grit pads and dry sanding with 3200-12000 grit pads. I wiped the stem down after each pad with Obsidian Oil. I polished it with Before & After Pipe Stem Polish – both fine and extra fine and buffed it with a cotton pad. I gave it a final coat of Obsidian Oil and set it aside to dry. I carefully polished stem with Blue Diamond to polish out the remaining small scratches. I used a very light touch so as not to damage the stem. I buffed the bowl with Blue Diamond as well – a bit more vigorously. I gave the bowl and the stem multiple coats of carnauba wax. I buffed the pipe with a clean buffing pad to raise the shine. I hand buffed it with a microfiber cloth to deepen the shine. The pipe polished up pretty nicely. What remained of the original colour came alive with the buffing and works well with the polished aluminum ferrule and the polished black vulcanite stem. Altogether the pipe has a rich look. The finished pipe is shown in the photos below. The shape, finish and flow of the pipe and stem are very well done. The dimensions are Length: 6 inches, Height: 1 3/4 inches, Outside diameter of the bowl: 1 1/8 inches, Chamber diameter: 5/8 of an inch. Not sure what I am going to do with this one – probably enjoy it but keep an eye open because it well could end up on the store. Thanks for walking through the restoration with me as I worked over this well-made Keyser Hygienic Bent Billiard Patent pipe.

Finishing the Restoration and Restemming a Custom-Bilt Billiard


Blog by Steve Laug

Not long ago I was speaking with Paresh and Abha on Facetime and they showed me a second pipe that they wanted me to finish for them. This one was a Custom-Bilt billiard that had come to him from the estate of his Grandfather. It had a threaded tenon stem and a shank that had no threads. I have never seen a Custom-Bilt with a threaded mortise and tenon so it was a fair assumption that the stem was not original. It had been wrapped with glue and tape to make it fit in the shank and the fit was awful. Paresh wanted me to fit a new stem on the pipe for him. Abha had done a magnificent job cleaning the pipe so it was really a simple restoration for me – just fit a stem and finish the bowl. The briar was clean and lifeless so it would need some attention to breathe life into it again. He wanted me to pick up where he had left off and finish the pipe for him. The pipe was stamped on the left side of the shank Custom-Bilt and on the underside it was stamped Imported Briar. It would be interesting to see what I could do with it. When the pipe arrived this is what it looked like. You can see the remnants of wrapping and glue on the metal threaded tenon. There were tooth marks in the surface of the vulcanite stem on both the top and underside near the button. The first photo below shows the rim top and the inside of the bowl. Both were very clean and the rustication was in great condition as were the inner and outer edges of the bowl. The second photo shows the end of the shank with the glue on the inside of the mortise and the lack of threads that would be present if the tenon that was on the stem would work with this pipe.I took some photos of the stamping on the left and underside of the shank. The left side reads Custom-Bilt and the underside reads Imported Briar.I took close up photos of the stem. You can see the metal tenon on the end of the stem. There is some oxidation and there are the tooth marks on the stem top and underside.I wanted to refresh my memory on the history of the brand. I knew that his one was one of Tracy Mincer’s pipes because of the hyphenated name stamp. I looked on Pipedia and read Richard Esserman’s write up on Bill Unger’s Book. He gives a great summary of the history there. I quote a section of it below. (https://pipedia.org/wiki/Custom-Bilt(Rich Esserman))Tracy Mincer started the original Custom-Bilt pipes it appears in 1934. Bill meticulously details the start of the Company, how it was financed, the changes in the original ownership, how the company distributed its product, the manufacturing process, certain patented items, and other interesting stuff.

Mentioned briefly in this chapter was the fact that Custom-Bilt was producing big, carved pipes using Algerian briar for production up to WW II. One important employee, Hetzer Hartsock, stated: I can tell you something about that rough texture that Custom-Bilt had. One reason rough textured was used was not only for looks but it could hide flaws in the briar. [The process gave] A very uncontrolled cut. Then he [Tracy] would buff it out. [page 25]

Custom-Bilt pipes retailed between $5.00 and $15.00 in the 1940s. According to an ad, standard Dunhill pipes were selling for $12.00 and $13.50, Parker pipes $7.50, GBD for $6.00 and Comoy’s $7.50. Not mentioned was that special Dunhills could retail up to $100 and certain Comoy’s up to $25.

In 1946, the name was changed to Custombilt after Mincer began an association with Eugene J. Rich, Inc. There were some big changes in advertising and distribution. The slogan “AS INDIVIDUAL AS A THUMBPRINT” began at this time as well.

In the early 1950’s, Tracy Mincer developed severe financial problems that caused him to stop making the Custombilt, and he lost the name. In 1953, Leonard Rodgers bought the company and emphasized tobacco pouches and butane lighters. (However, it appears Mincer was working on his new pipe, the Doodler.) In 1968, Rodgers sold the Company to Consolidated Cigars. In the early 1970s, Wally Frank Co. bought the Custombilt trademark and began to produce their version of the pipe in 1974 or 1975. Hollco Rohr owned the Weber pipe factory, located in New Jersey, and produced the Custombilt pipes there. In 1987, the pipes were made out of the Butz-Choquin factory (France) and then Mexico until the late 1990s. Currently, the Custombilt name is owned by Tobacalera of Spain.

I set the bowl aside and decided to work on the stem. The diameter of the stem was perfect for the pipe so I needed to remove the metal threaded tenon and replace it with a Delrin tenon. I heated and scraped away all of the glue and tape on the threads of the tenon and those that bound it to the stem. I held it tight with vise grip pliers and turned the stem. It would not come out no matter how I turned or pulled on it. I decided I would have to use more drastic measures. Using the vise grip pliers as a vise I set up my cordless drill to drill out the tenon. I started with a bit slightly larger than the airway in the tenon and drilled it. I was hoping it would catch and pull the tenon out. First bit was a failure. I worked my way up to a bit slightly smaller than the diameter of the tenon and worked on it. The extended portion of the tenon broke off and I was left with the piece in the stem. I drilled it out with a bit and the bit grabbed the piece and it all came out.Once the metal was removed from the stem I cleaned out the hole in the stem with alcohol, cotton swabs and pipe cleaners to remove the debris. I smoothed out the threads to leave grooves in the tenon insert. Once I had it smoothed out enough I tried it in the stem. The fit was perfect. I cut deeper grooves in the tenon with a file and coated it with black super glue. I pressed it into the stem and lined it up so the fit was straight.  I set it aside to let the glue cure. While the glue cured I worked on the bowl. I scraped the glue out of the inside of the mortise using a pen knife. The glue had hardened so it took repeated scraping to get rid of it and bring the mortise back to bare wood.When the glue cured I tried the fit of the stem in the mortise. The stem fit well on the shank. I put it in place on the shank and took photos of the pipe at this point in the process. I rubbed down the briar with Before & After Restoration Balm. I worked it into the smooth surface of the briar with my fingertips and into the rustication patterns with a horsehair shoe brush to clean, enliven and protect it. I let the balm sit for a little while and then buffed the bowl with a cotton cloth to raise the shine. The following photos show the bowl at this point in the restoration process. The grain is really starting to stand out. I polished the stem with micromesh sanding pads – wet sanding with 1500-2400 grit pads and dry sanding with 3200-12000 grit pads. I wiped the stem down after each pad with Obsidian Oil to remove the sanding dust on the vulcanite. I wiped it down with a final coat of Obsidian Oil and set it aside to dry. I polished stem and bowl with Blue Diamond to polish out the remaining small scratches. I gave the bowl and the stem multiple coats of carnauba wax. I buffed the pipe with a clean buffing pad to raise the shine. I hand buffed it with a microfiber cloth to deepen the shine. The pipe polished up pretty nicely. The natural oil finish works well when polished to really highlight the variety of grains around the bowl and shank. The polished black vulcanite stem works together with the beautiful grain and worm trail rustication in the briar to give the pipe a rich look. The finished pipe is shown in the photos below. The shape, finish and flow of the pipe and stem are very well done. The dimensions are Length: 5 3/4 inches, Height: 1 3/4 inches, Outside diameter of the bowl: 1 1/2 inches, Chamber diameter: 3/4 inches. I will be sending the pipe back with the others that belong to Paresh. I have one pipe left to finish for him. Thanks for walking through the restoration with me as I worked over this well-made Tracy Mincer Custom-Bilt. 

The Vintage Notoriety of Tom Howard and his Jumbo Squat Rustified Tomato


Blog by Dal Stanton

I’ve never restored a pipe where the person who made it had more notoriety than the pipe name itself.  The Tom Howard Jumbo Squat Rustified Tomato came to me along with several others from a good friend I worked with in Ukraine several years ago.  Dave Shain is also a fellow pipe man and restores pipes and has a great website, www.ThePipery.com.  In 2017, Dave won the Master of Pipes award from the Chicago Pipe Collectors Club for his work and charitable activities through The Free Pipe Project where Dave spearheads a program to send quality restored pipes to servicemen serving their country.  I visited Dave where he lives near Atlanta, Georgia, and we had a great time renewing our relationship.  He showed me his workshop, pipe and tobacco collections, and of course, we settled down in the ‘Barn’ flanked by a vintage Ford pickup – his Man Cave, to share a bowl or two.  It was a fun reunion!  I left with a tin of his aged Escudo and several pipes he wanted me to restore for the Daughters of Bulgaria, which I was more than happy to do.  Thanks Dave!The Tom Howard is now on my worktable because another pipe man, Paresh, saw it on The Pipe Steward site in my section, For ‘Pipe Dreamers’ Only!  This is where I post pipes that are in my electronic ‘Help Me!’ basket that others can commission to add to their collections.  Like me, through rebornpipes’ Steve Laug’s encouragement and tutelage, Paresh started restoring some of his own pipes in India, where he lives, and publishing his write ups on rebornpipes.  This LINK will take you to his restorations published on rebornpipes – he does a great job!   After seeing some of my restorations online, Paresh visited The Pipe Steward and saw some pipes that chose him – like Harry Potter and the wizard’s wands!  One thing I’ve learned in my growing relationship with Paresh as we’ve communicated back and forth between Bulgaria and India, is that he doesn’t like large pipes – he LOVES large pipes!  And this Tom Howard Jumbo Squat Rustified Tomato got his attention – here are the pictures he saw in For ‘Pipe Dreamers’ Only!The pipe is marked on the left shank with ‘Tom Howard’ in cursive script and ‘Imported Briar’ on the right shank side in the same script.  For a Squat Tomato, I’ve labeled it a ‘Jumbo’ because it has a definite stout presence in the palm.  The dimensions of the bowl give you an understanding of Tom Howard’s presence: Length: 5 5/16 inches, Height: 1 1/2 inches, Bowl width: 2 1/8 inches, Rim width: 1 1/2 inches, Chamber width: 7/8 inches, Chamber depth: 1 1/4 inches.I had never heard of a Tom Howard stamp on a pipe and after I put the name in search tool on Pipedia I was surprised to find what I found.  Tom Howard was a vintage celebrity in America during the 1940s and 50s.  Here’s the Pipedia said about Tom Howard the man:

Tom Howard was a popular comedian and personality in the 1940s/50s, known for vaudeville stage and radio work. But he also was a skilled pipe maker. In a Popular Mechanic article from 1947 he is written up as the “Hobbyist of the Month, Tom Howard.” He made pipes in his workshop outside his home in Red Bank, NJ. starting about 1939 and looks like into the late 1940’s or later. He purchased briar blocks by the bag as well as stem blanks, and in his well-equipped shop he handcrafted his pipes, in about three hours on average. He was a true craftsman, also specializing is intricate model boats, trains and brass canons, all built to scale.

I was intrigued – this vaudeville and stage comedian made pipes and this pipe came from his workshop made by his hands.  How cool is that?  Desiring to find out more about Tom Howard the man, I searched Wikipedia and found a fun and informative article about his professional life and how he hosted a I was intrigued – this vaudeville and stage comedian made pipes and this pipe came from his workshop made by his hands.  How cool is that?  Desiring to find out more about Tom Howard the man, I searched Wikipedia and found a fun and informative article about his professional life and how he hosted a zany Q&A game show that was spoofing the ‘serious’ Q&A game shows.  It was called “It Pays to Be Ignorant”.   Here is what the Wikipedia article said:

It Pays to Be Ignorant was a radio comedy show which maintained its popularity during a nine-year run on three networks for such sponsors as Philip MorrisChrysler, and  DeSoto. The series was a spoof on the authoritative, academic discourse evident on such authoritative panel series as Quiz Kids and Information Please, while the beginning of the program parodied the popular quiz show, Doctor I.Q. With announcers Ken Roberts and Dick Stark, the program was broadcast on Mutual from June 25, 1942 to February 28, 1944, on CBS from February 25, 1944 to September 27, 1950 and finally on NBC from July 4, 1951 to September 26, 1951. The series typically aired as a summer replacement.

Snooping a bit more, I found an online site that had the July 5, 1951 episode of ‘It pays to Be Ignorant’ available for viewing.  I watched it and it was like I was in a time machine!  The video also included period advertising for cars and tobacco and Tom Howard in form, dawning a professorial gown and a gravelly 1950s vaudeville tin can voice.  It’s great! I clipped a picture of the episode.  If you want to see it yourself, here’s the link:  The Internet Archive.

The Pipedia article I included above, referenced one more source to learn a bit more about Tom Howard.  In a 1947 Popular Mechanics edition he was named ‘Hobbyist of the Month’ – but it didn’t say which month!  With a little bit of help from Google, I found Archive.org that housed old editions of many periodicals including Popular Mechanics.  I started in January and started searching – thankfully they had a search tool I utilized for each month.  Finally, I found the article in the Popular Mechanic 1947 June’s edition.   For the absolute nostalgia of it, and for the interesting information it adds about Tom Howard and especially his pipe production, I’m including the pages here for you to read – including the cover page!  I couldn’t pass it up!   With a greater appreciation for the pipe man, Tom Howard, I take another look at the Jumbo Squat Rustified Tomato before me and based upon the articles above the dating of this pipe could range from the late 1930s to the early 50s as Tom Howard died in 1955 at the age of 70 according to Wikipedia.  The chamber has very little cake buildup.  The rim is worn and the rustification on the rim is filled or simply worn down – I’ll need to clean this to see.  The inner lip of the rim is darkened by scorching.  The rustified stummel is attractive – it has scratches and blemishes from use.  The smooth briar around the rustification is nice looking – I think it will look very nice after cleaned and spruced up some.  The stem has some oxidation and the bit shows minor tooth chatter.  I notice too, that Tom Howard but a subtle bend on the saddle stem to give the stem a definite orientation – nice touch and it looks good too.I begin the restoration by cleaning the internal airway of the stem using a pipe cleaner dipped in isopropyl 95% and then adding it to a soak of Before & After Deoxidizer along with other stems of pipes in queue to be restored.  After a few hours I remove the stem from the bath and wipe it down with a cotton pad wetted with light paraffin oil (mineral oil) removing the light oxidation that was raised from the vulcanite.Turning now to the stummel, to remove the light cake in the chamber I use the Pipnet Reaming Kit.  Even though the cake is light, I want to give the chamber a fresh start.  I jump right to the 3rd largest blade head and finish using the largest.  I follow the reaming blades by using the Savinelli Fitsall Pipe Tool to scrape the chamber wall further, then finish by sanding the chamber with 240 grit paper wrapped around a Sharpie Pen.  To clean the carbon dust, I wipe the chamber with a cotton pad wetted with isopropyl 95%.  I inspect the chamber wall and it looks good – no cracks or heat fissures.  The pictures show the process. To clean the external surface of the stummel, I use undiluted Murphy’s Oil Soap and cotton pads.  I also utilize a bristled tooth brush to clean the rustification as well as a brass bristled brush to work on the rim and the dark scorching on the inner lip. Turning to the internals, I use cotton buds and pipe cleaners with isopropyl 95% to clean. I also employ dental spatulas to scrape the mortise walls as well as a drill bit to clean the airway.  I sized a bit just large enough to fit the airway and hand-turn the bit to clean the tars off the walls.  After some time, the cotton buds and pipe cleaners start coming out cleaner.  Later, I will continue the internal cleaning by giving the internals a kosher salt and alcohol soak.Turning to the stem, I use 240 grit paper to sand out the roughness and tooth dent in the bit area – upper and lower.  I follow this by wet sanding the entire stem with 600 grit paper.  I then use 0000 grade steel wool to sand/buff the stem.  The pictures show the progress. While I was sanding, I notice that the draft hole in the button is not shaped well – a bite compression or something.  I use a sharp needle file to even the opening and I repeat the sanding process for the button end – 240, 600 and 0000 steel wool.With my day ending, I continue the cleaning of the stummel internals by utilizing a kosher salt and alcohol soak.  I create a ‘wick’ by pulling and twisting a cotton ball.  I then insert it and stuff it down the mortise into the airway as much as it will allow.  I then fill the chamber with kosher salt – why kosher?  It will not leave a residue taste as iodized salt.  I place the stummel in an egg cart to keep it steady and fill the bowl with alcohol using a large eye dropper until it surfaces over the salt.  After a few minutes I top it off once more – and turn off the lights. The next morning, the kosher salt/alcohol soak had done its job.  The salt and wick are soiled by drawing out more tars and oils.  I throw the used salt in the waste and wipe the bowl with paper towel and blow through the mortise to dislodge any remaining salt.  I then use a few more cotton buds and pipe cleaners dipped in isopropyl 95% to make sure.  All is good – clean – and I move on! Looking at the stummel, I see several scratches on the smooth briar surrounding the rustification.  The rim isn’t even and it is worn.  I decide to freshen the rim by topping the stummel but only lightly – I don’t want to erase the rustification that Tom Howard placed there many years ago!  Using 240 grade paper on a chopping board, I invert the stummel and give it a few rotations and look.  I do this a few times and decide I’ve taken off enough.  It looks good and the rustification remains intact.  I then switch to 600 grade paper on the topping board and give the stummel a few more rotations.  This erases the rougher 240 scratches and smooths the rim surface.  The pictures show the topping process from the start to finish. Darkened briar remains on the inner ring of the rim from scorching (picture above).  To address this, I introduce a gentle internal bevel using 120 grade paper, followed by 240, then 600.  With each paper grade, I roll the piece of sanding paper into a tight roll and rotate it around the circumference of the internal lip by pinching the paper with my thumb.  This allows a uniform beveling to emerge.  The pictures show the progression. Now to the briar surface.  The smooth briar has a lot of small scratches and rough places throughout.  The first picture below also shows an example of Tom Howard’s rustification processes not contained to the rustification areas. I will spot sand these areas. First, I sand out the overrun rustification marks with 240 and 600 paper.  And then, to address the smooth briar of the entire stummel, I use a rough grade sanding sponge to remove the scratches and blemishes.  I then follow with a medium grade sponge then a light grade sponge.  Taking the stummel to the next step, I wet sand it with micromesh pads 1500 to 2400, then dry sand with pads 3200 to 4000 and 6000 to 12000.  All I can say is, ‘Wow!’  I love watching the grain emerge through the micromesh pad regimen.  Each pad teases out the grain a bit more.  The pictures show the progression. I put the stummel aside and pick up the Tom Howard stem and using micromesh pads 1500 to 2400, I wet sand.  Then I dry sand using pads 3200 to 4000 and 6000 to 12000.  Between each set of three pads, I apply a generous coating of Obsidian Oil that revitalizes the vulcanite stem.  The result is the glossy pop we all expect! Looking again at the stummel, there are some pinhead fills on the left shank side that need to be addressed as well as the worn rustification cuts that have fill material visible and generally, is lighter than desired.  I take some pictures of the different things I see.In the Pipedia article of Tom Howard, there were several pictures of his pipes that were provided courtesy of Doug Valitchka, which give an idea of the original motif used when Tom Howard rustified his pipes.  The picture below shows a dark shaded rustification, though it appears that Mr. Howard put a dye on this stummel to give it a more reddish hue.  Using this picture as a guide, I use a walnut dye stick to color and blend the pinhead fills and to redefine the rustification, yet I prefer the natural briar hue of this Tom Howard Squat Tomato and will not stain the stummel. Now, to ‘rough up’ the rustification, I mount the Dremel with a more abrasive felt buffing wheel set at 40% full power and apply Tripoli compound to the rustification.  The effect is that this softens the hue – blends it more so that it doesn’t look painted.  I think it does the job and I like the blending!I buff the stummel with a felt cloth to remove leftover compound and I apply Before & After Restoration Balm to the stummel.  This Balm works well to bring out the deep hues of the natural briar.  I squeeze some Balm on my finger and I work it into the stummel and rustification.  The Balm begins as a light oil texture then thickens as it’s works into the briar.  I let is set for several minutes then I wipe/buff the Balm residue off with a microfiber cloth. I then reunite stem and stummel and mount a cotton cloth buffing wheel to the stummel, maintain a 40% full power speed, and apply Blue Diamond compound to both stem and stummel.  As before, using a felt cloth, I buff the pipe to remove compound dust left behind before waxing.  I then mount another cotton cloth buffing wheel onto the Dremel, maintain the same speed, and apply carnauba wax to the entire pipe.  I finish by giving the pipe a good hand-buffing with a microfiber cloth to raise the shine of the briar even more.
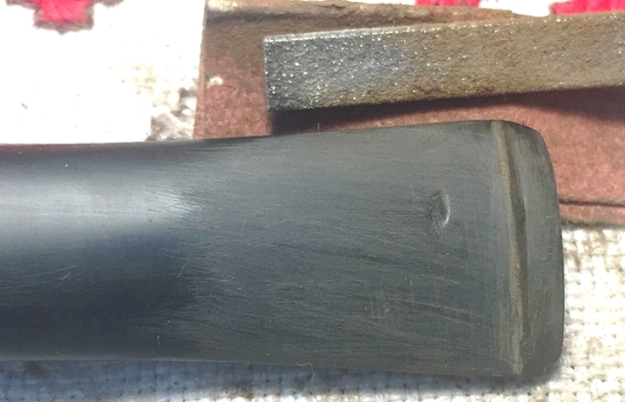
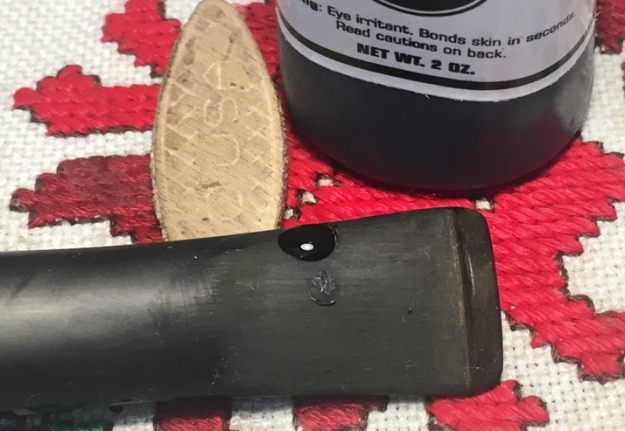
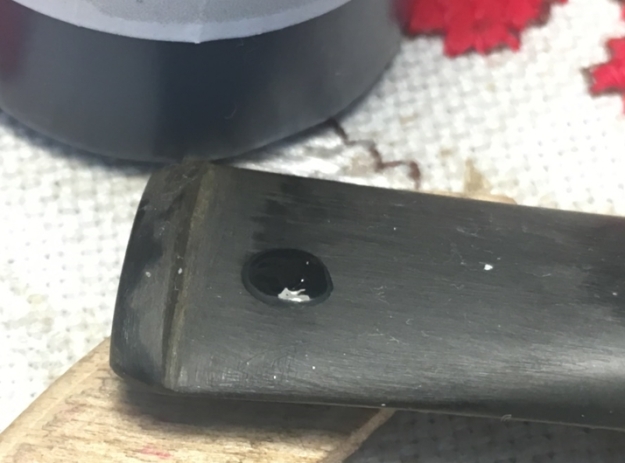
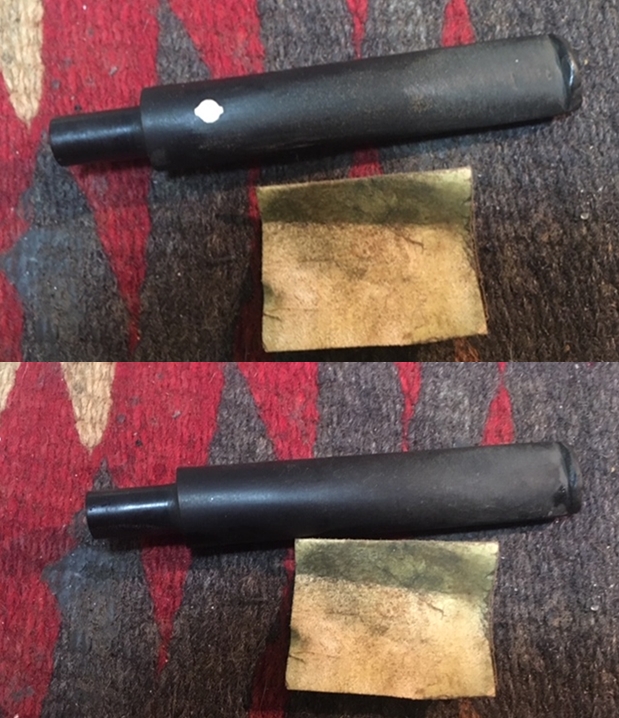
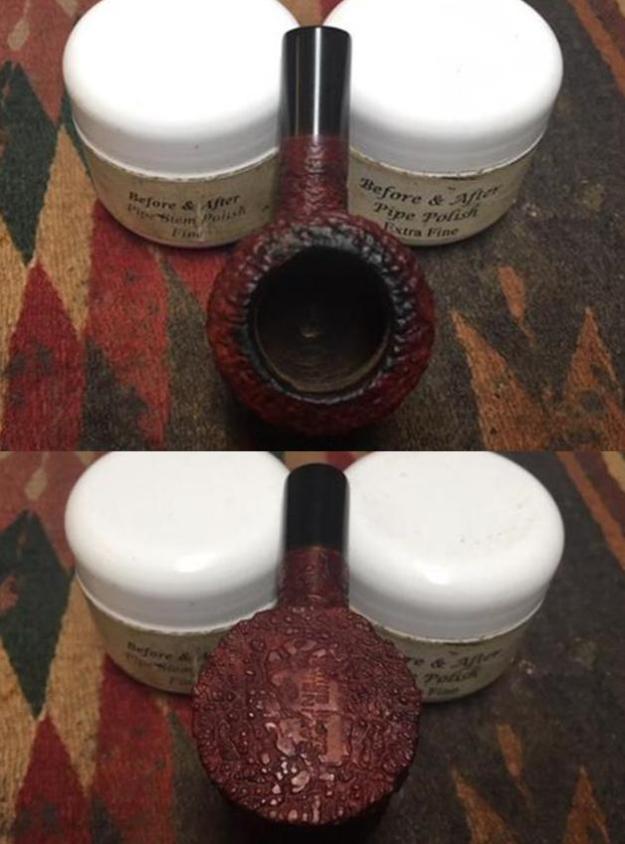
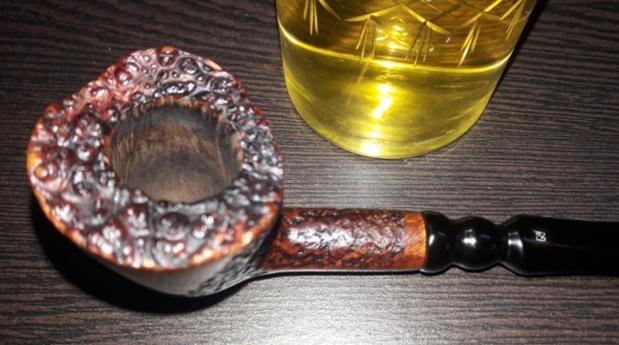
I’m pleased with the results of the Tom Howard Jumbo Rustified Squat Tomato.  I’m pleased with the textured blending of the rustification with the backdrop of beautiful smooth briar.  The contrast between the two is attractive.  I’m thankful to Dave Shain for giving me this Tom Howard to restore for the Daughters.  I’m also thankful for having discovered through the research the story of an interesting man.  Tom Howard was an accomplished comedian and stage person during his time.  But most interesting to me was his pursuits at home – in his workshop making quality pipes – not on a factory production line, but one pipe at a time with his own hands.  His love of pipes and placing them in other’s hands reminds me somewhat of my own worktable – the love of restoration and passing pipes on to others.  Paresh commissioned this Tom Howard and he will have the first opportunity to acquire him in The Pipe Steward Store.  This pipe will also benefit the Daughters of Bulgaria – our work helping women and girls who have been trafficked and sexually exploited.  Thanks for joining me!