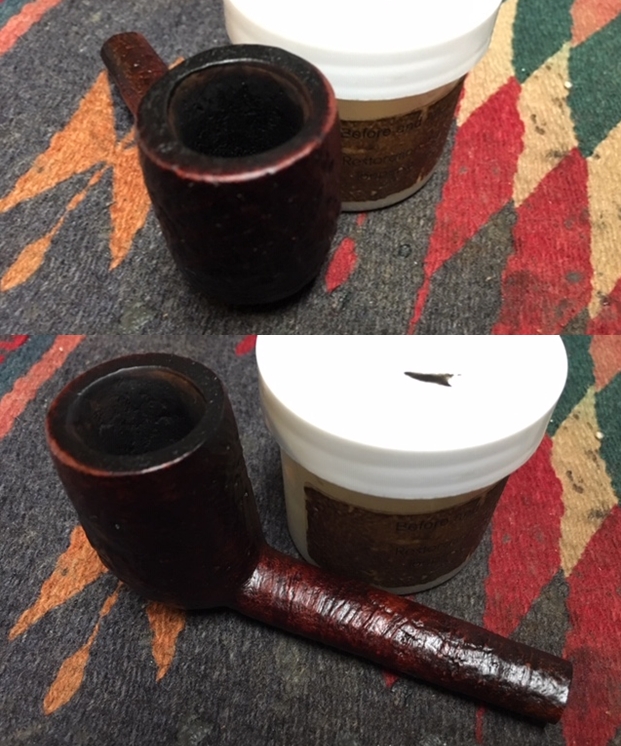
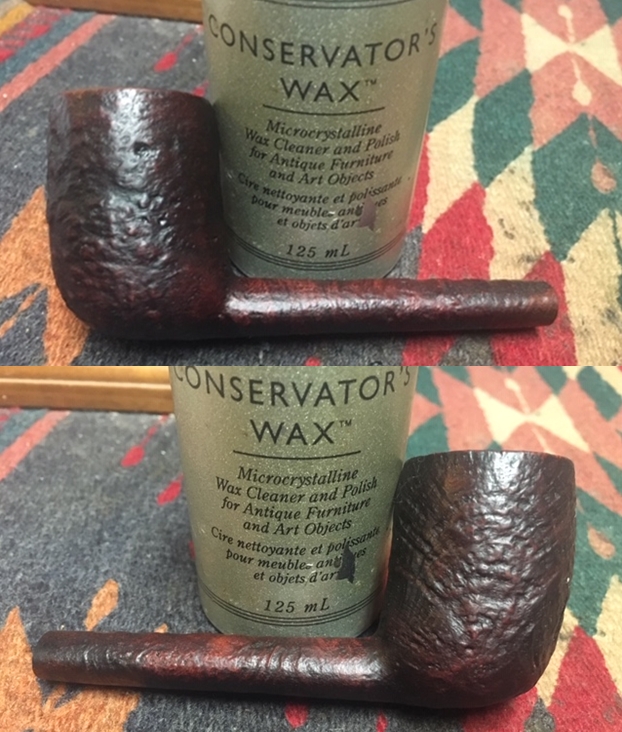
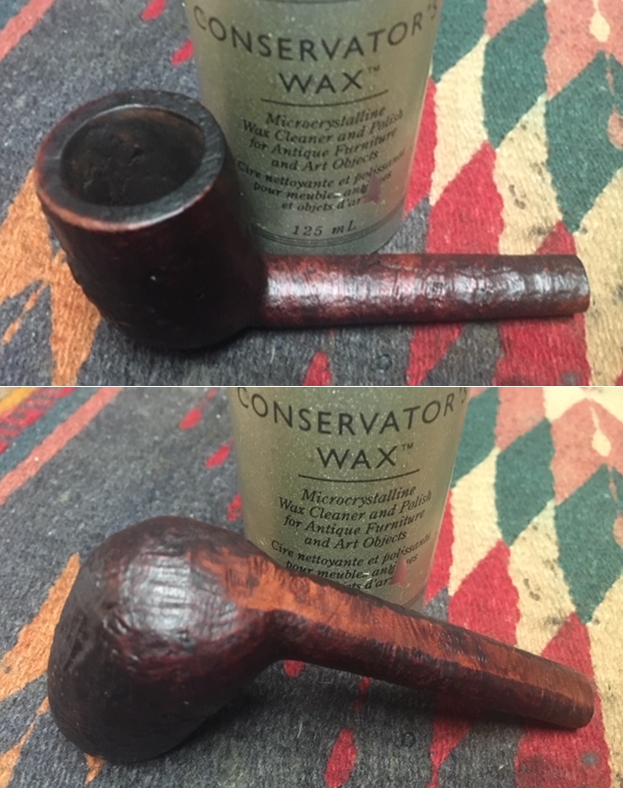
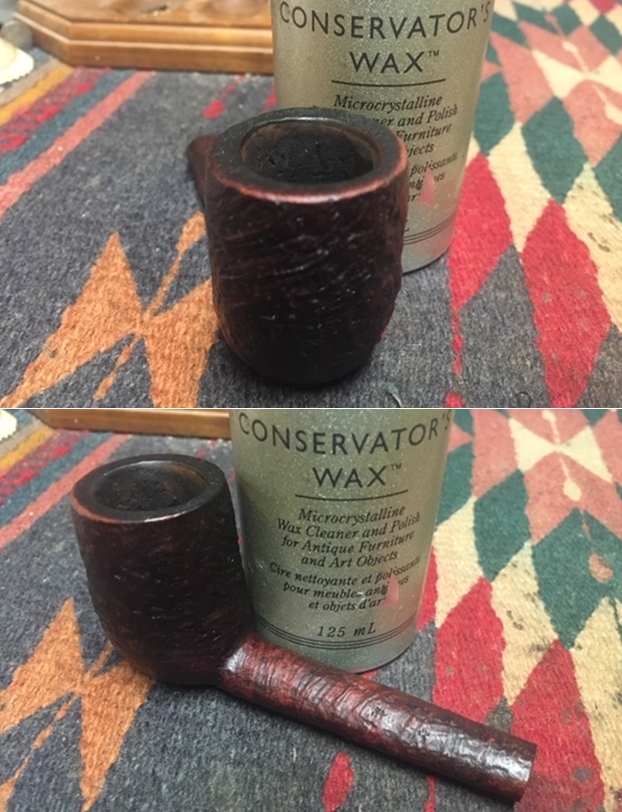
Tag Archives: stem repairs

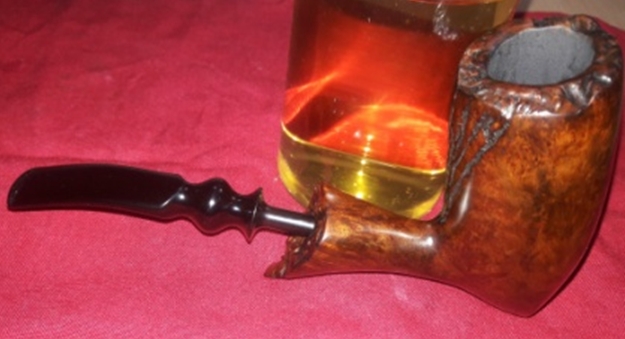
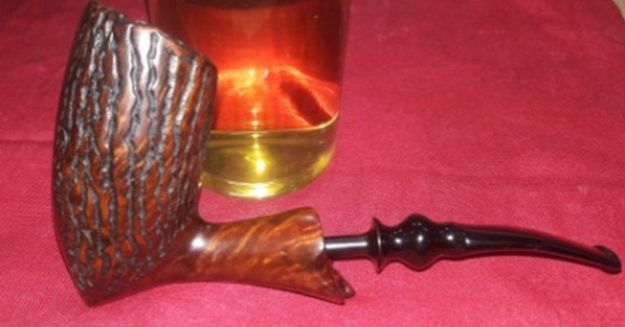
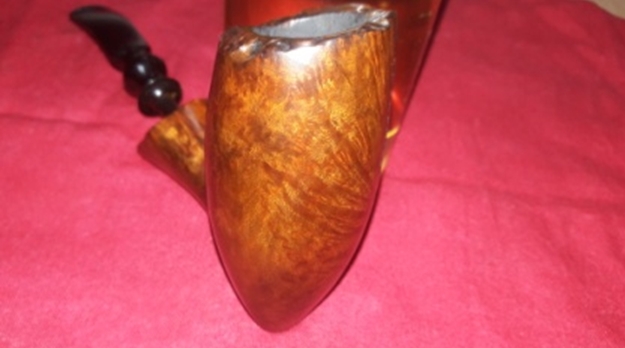
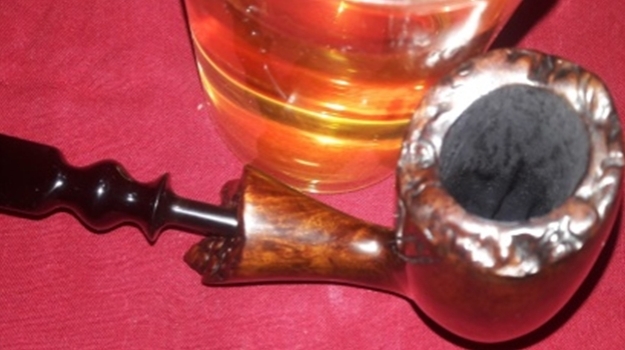
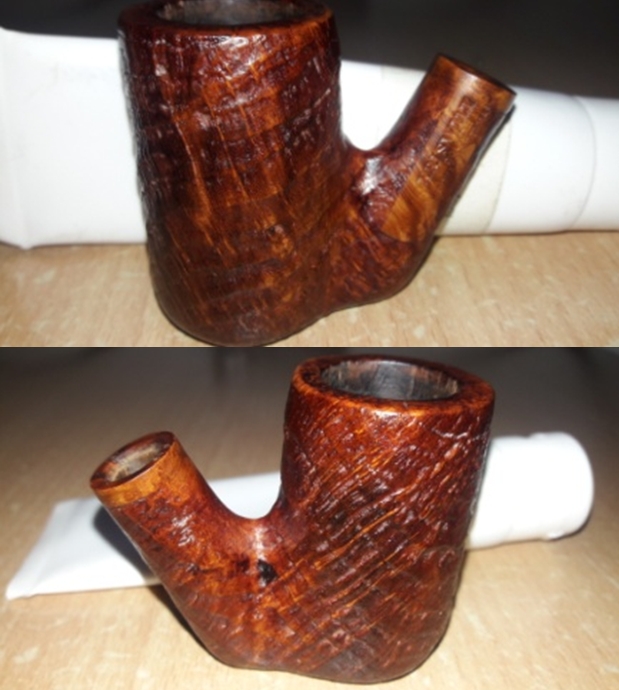
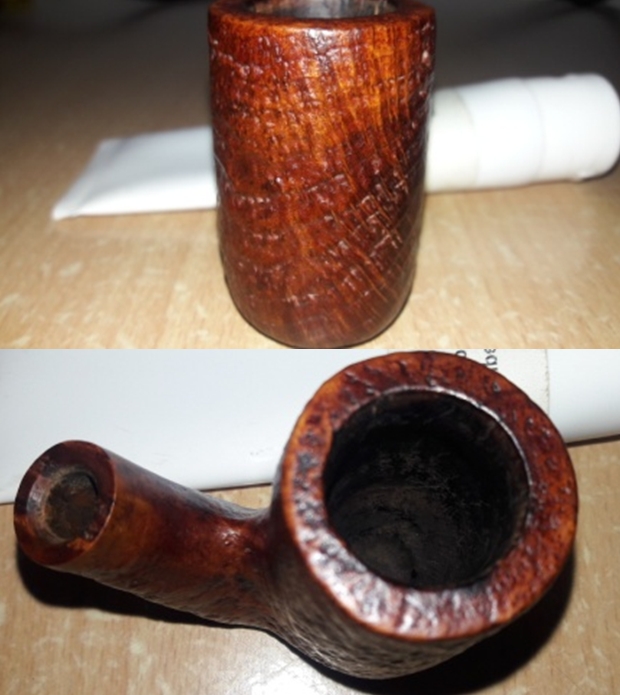
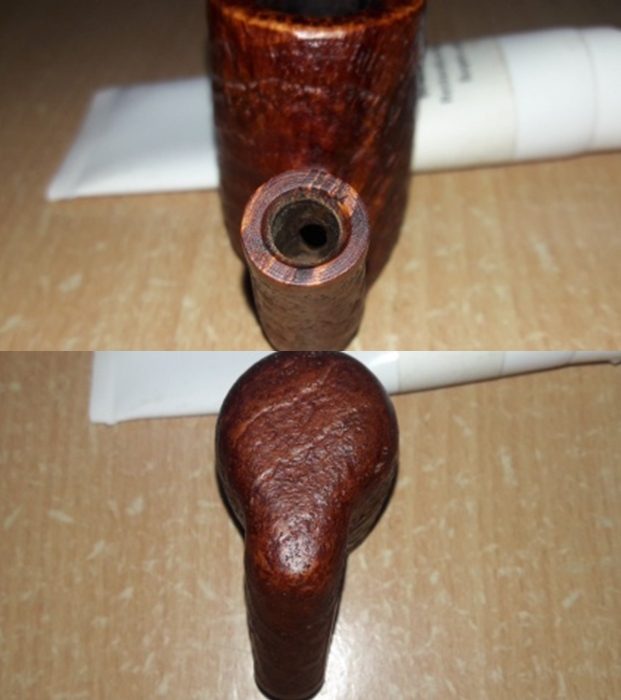
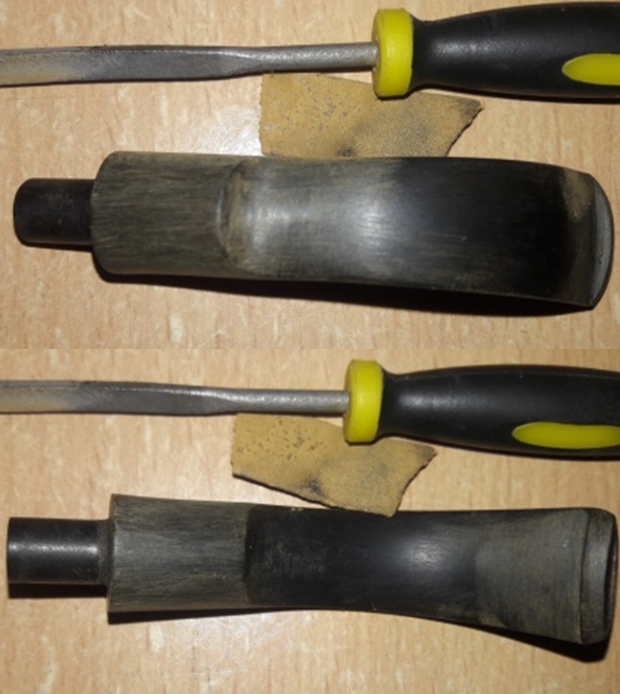
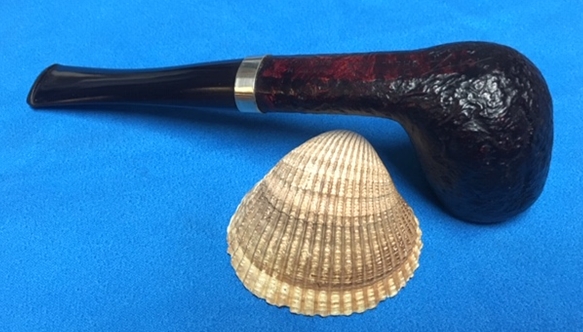
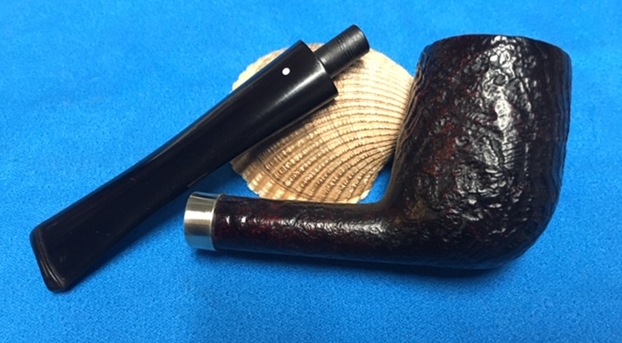
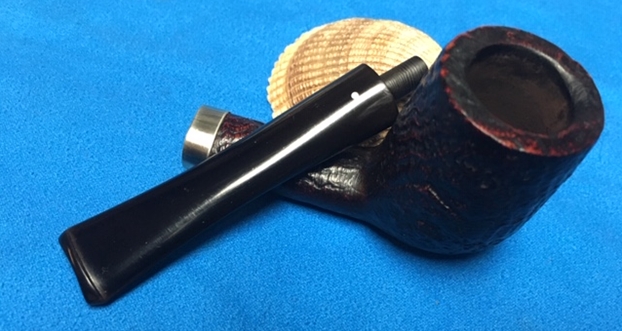
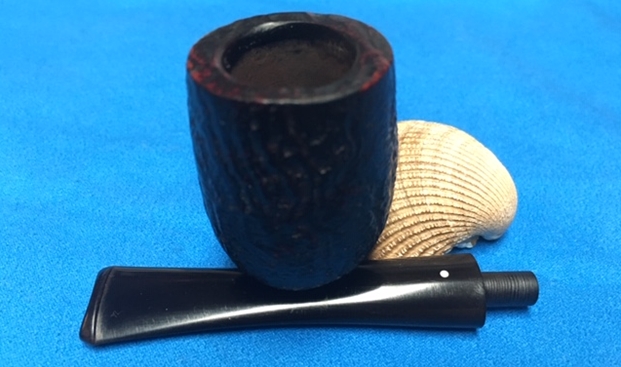
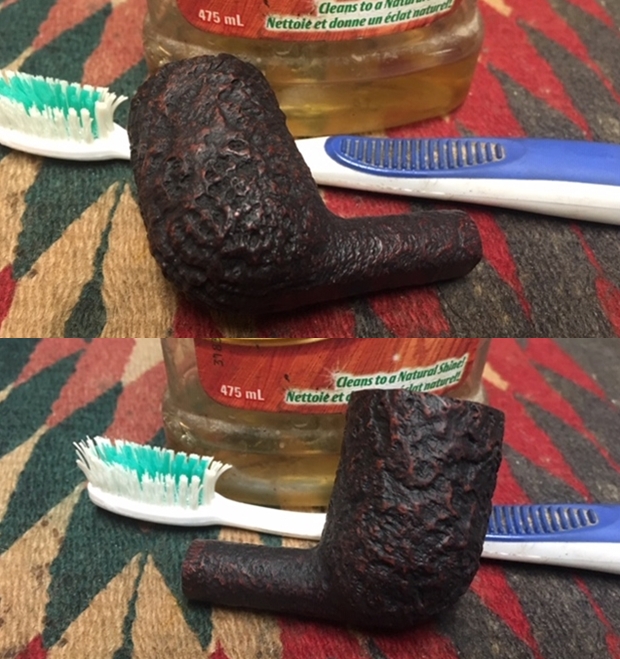
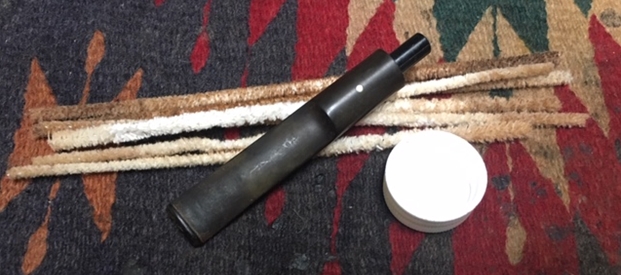
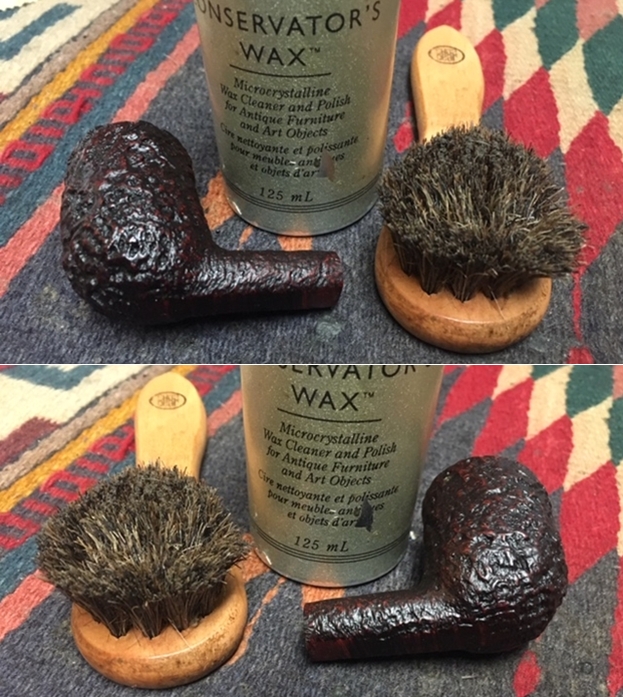
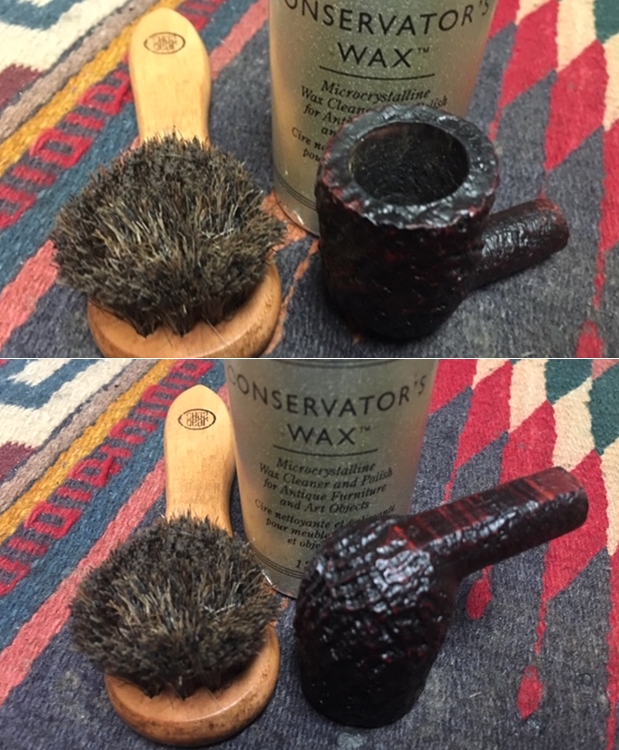
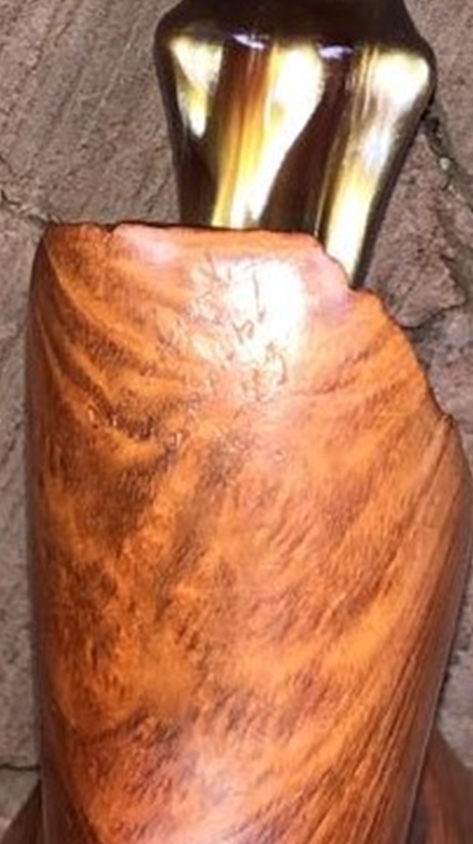
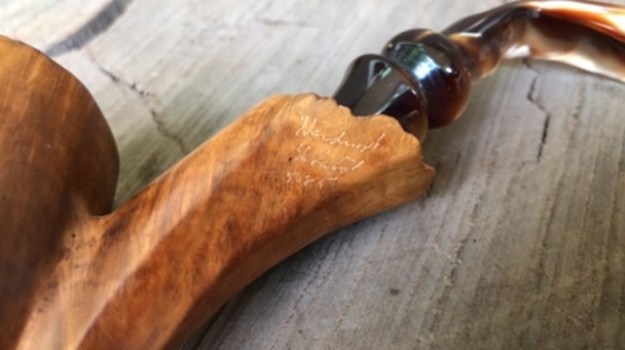
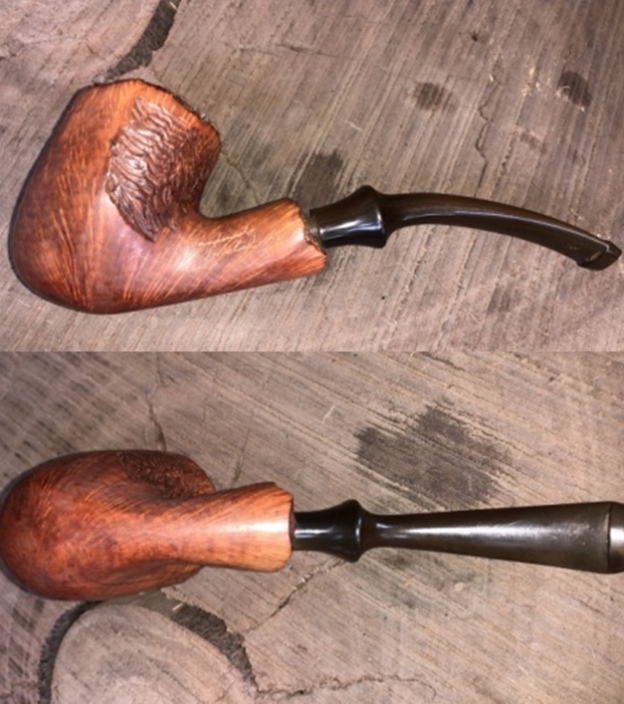
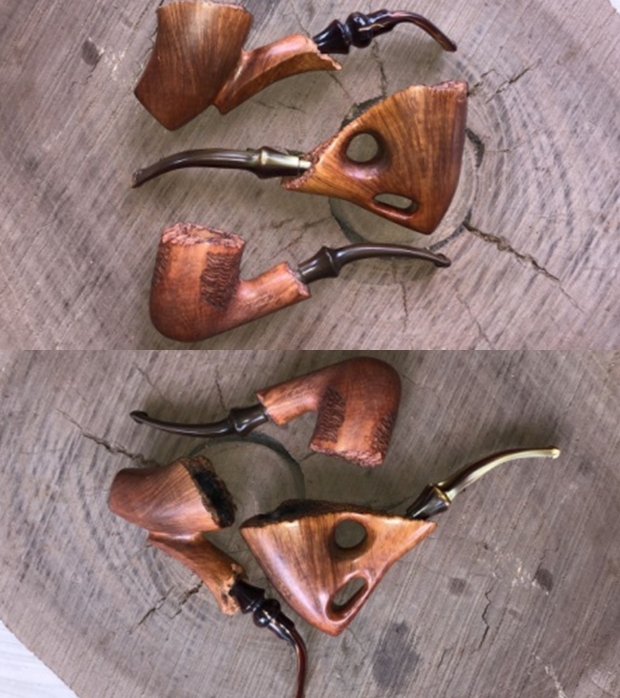
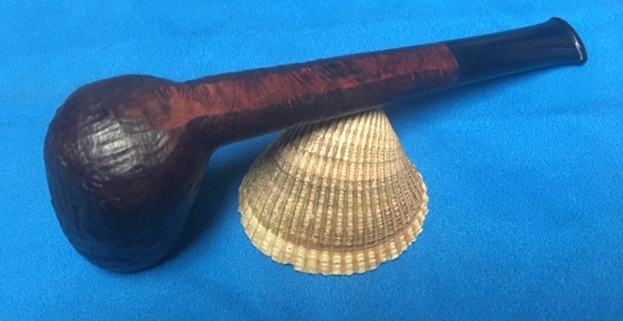
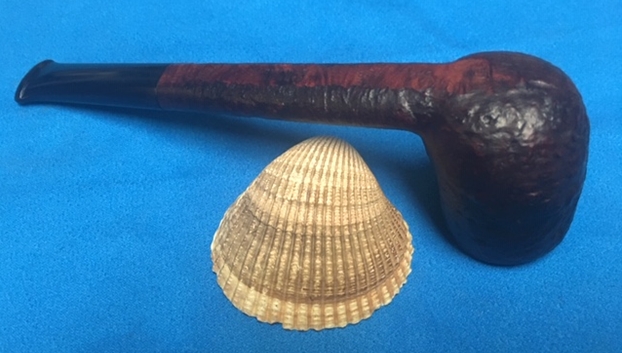
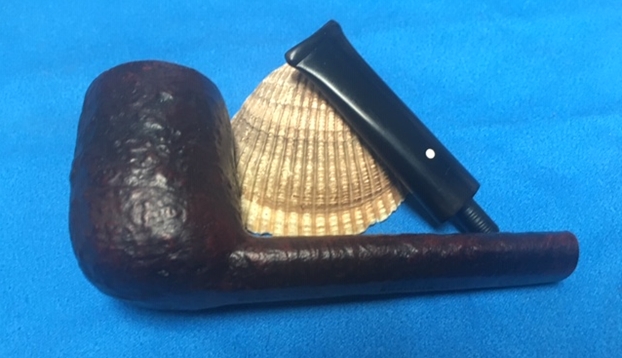
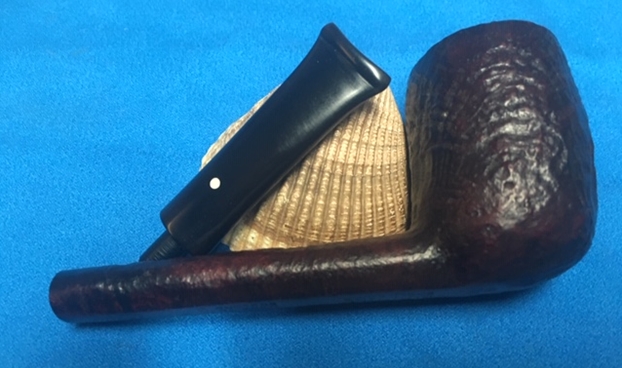
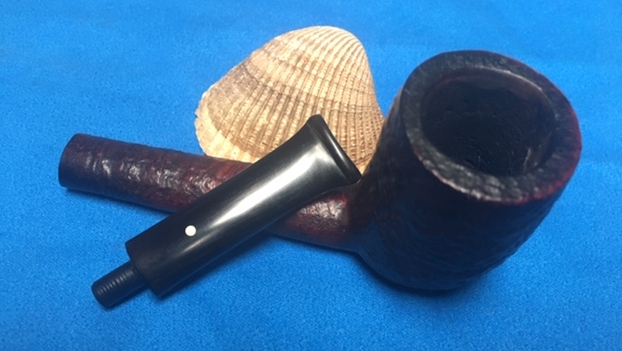
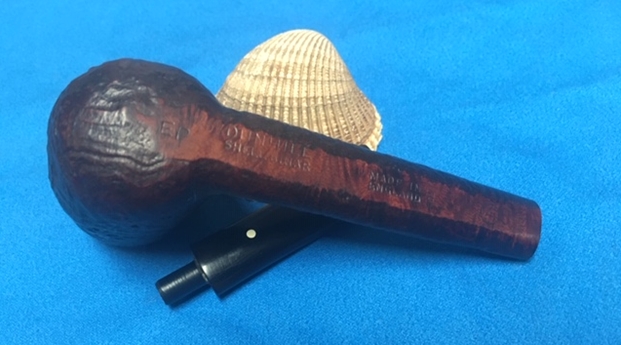
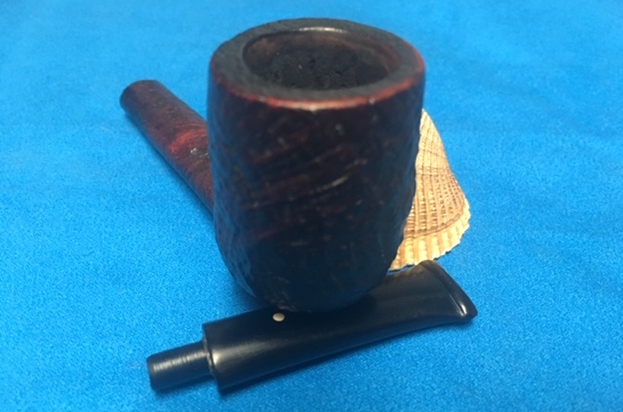
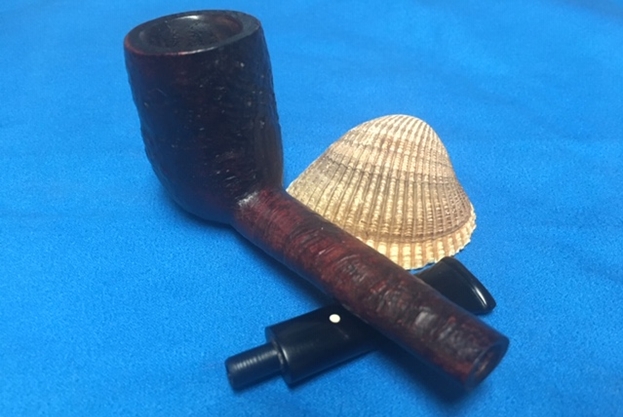
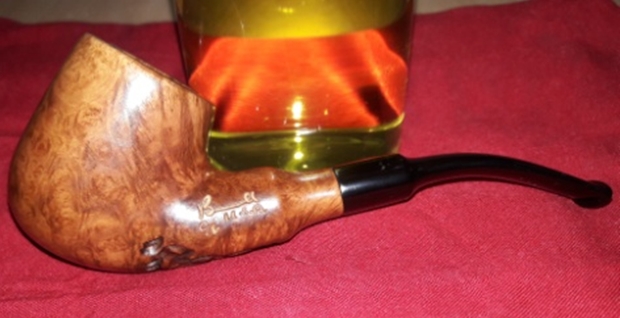
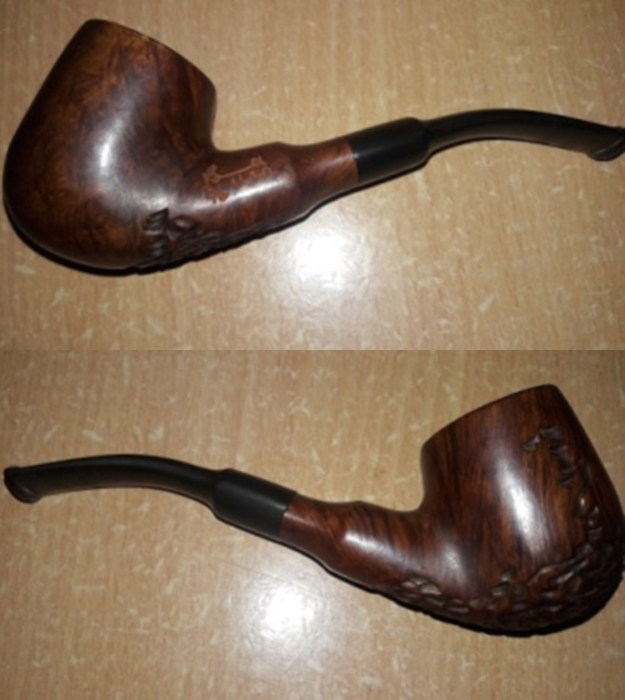
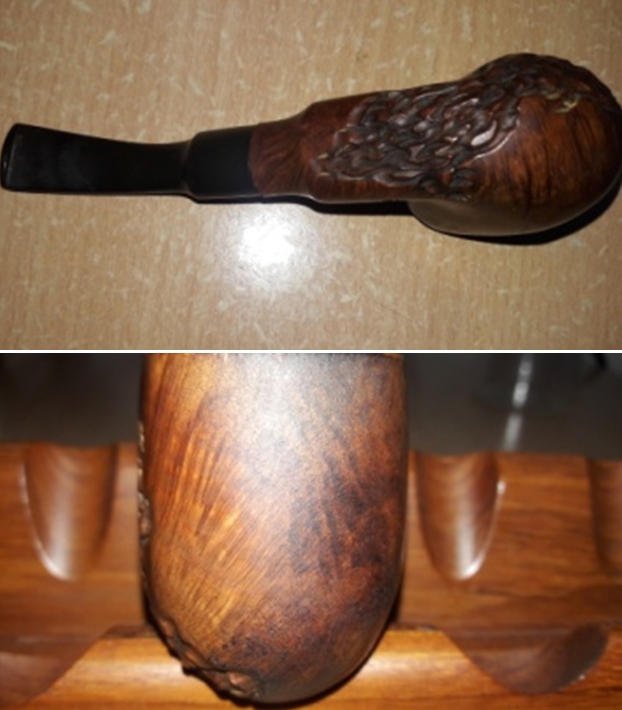
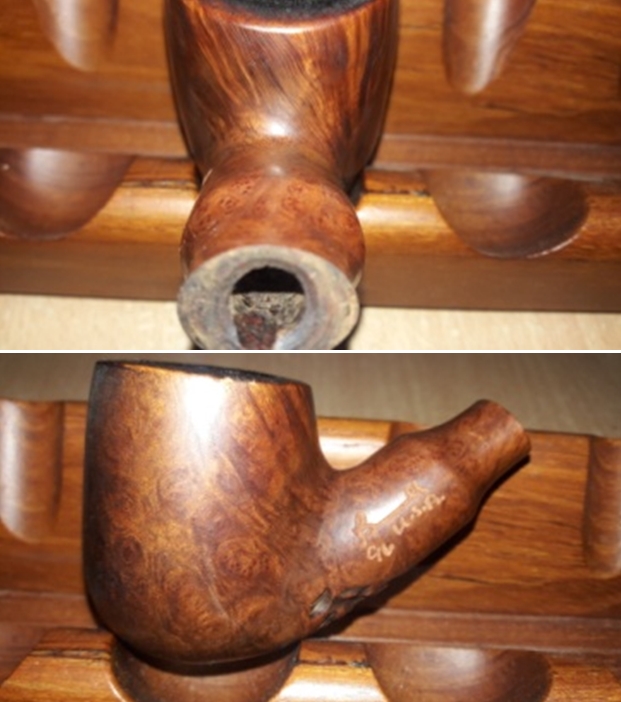
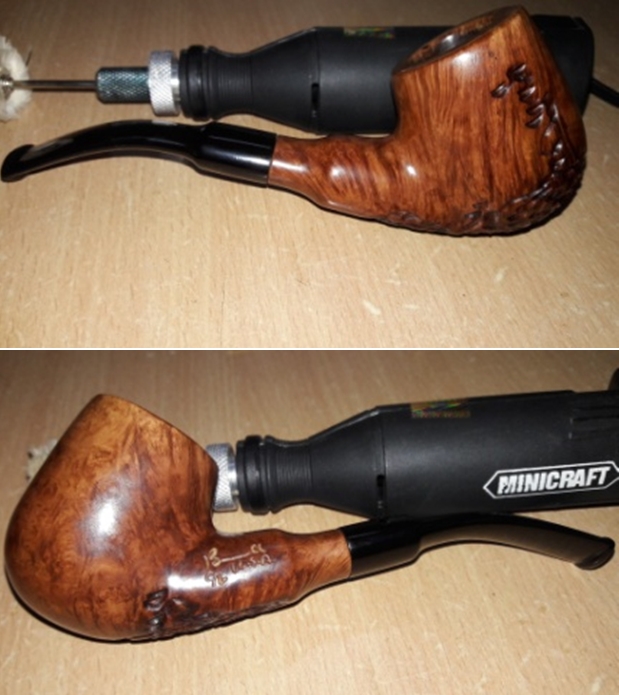
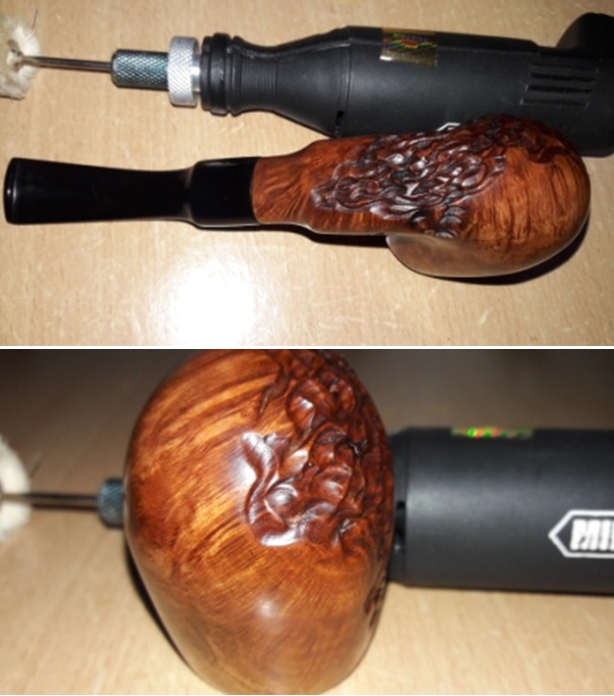
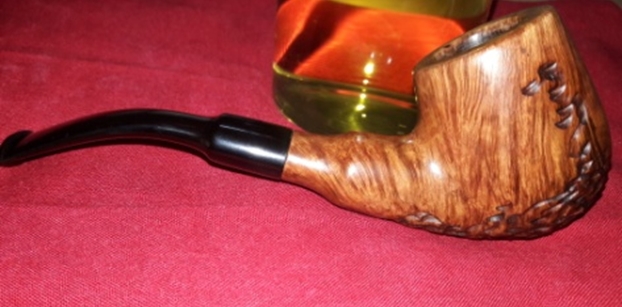
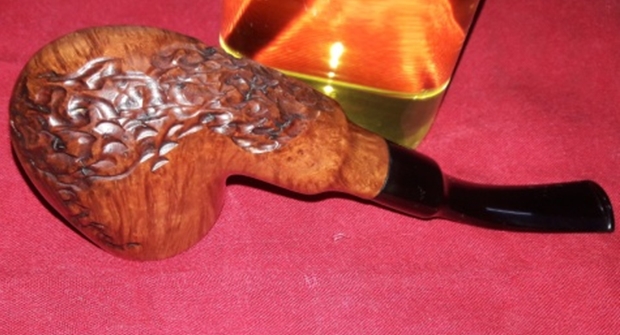
Refreshing a Mastersen Burl Briar Made in France Freehand


Blog by Dal Stanton

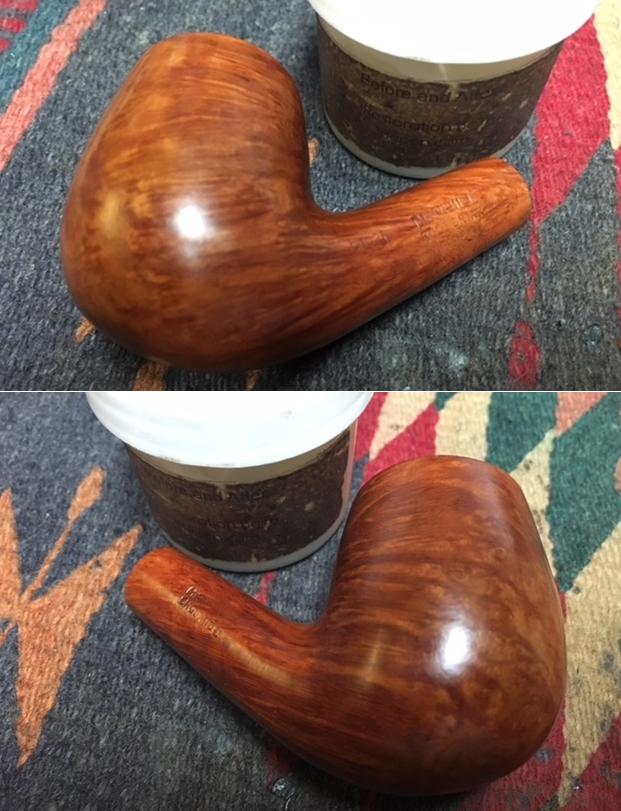
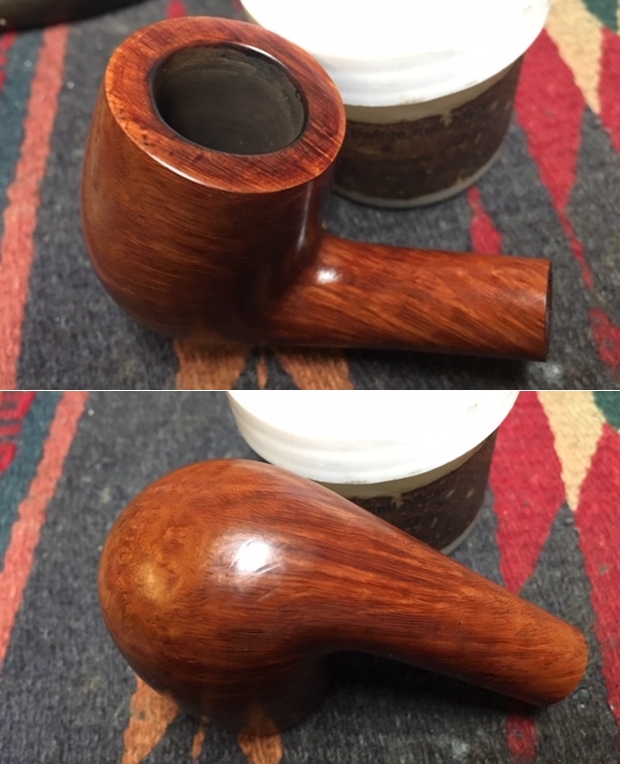
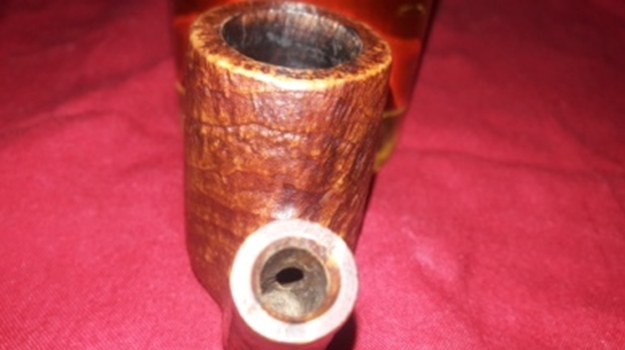
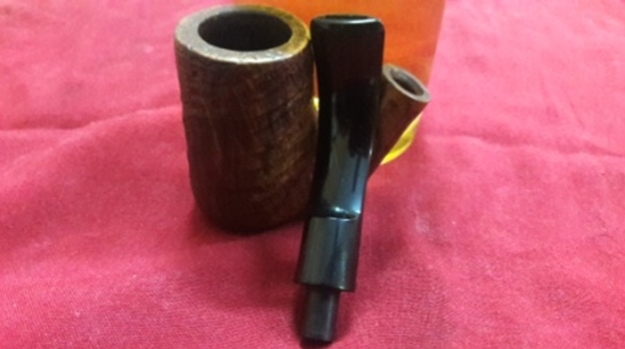
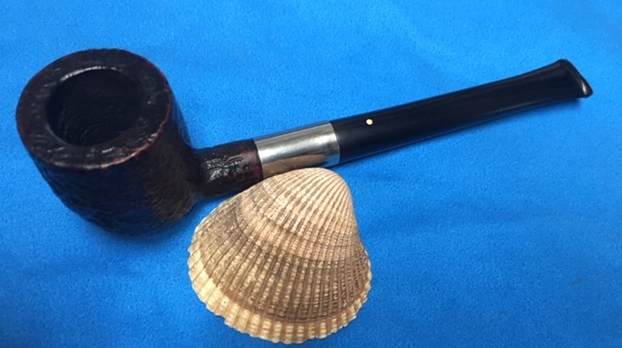
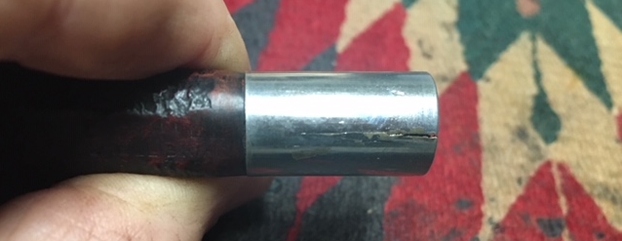
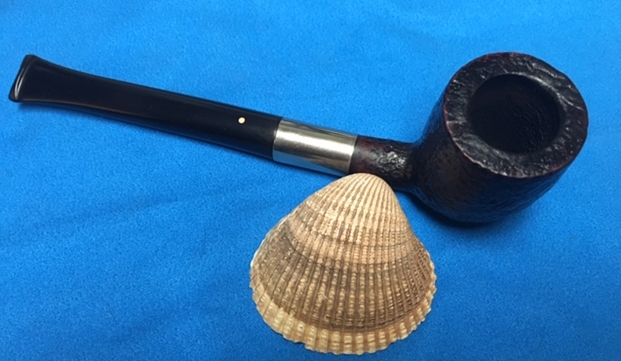
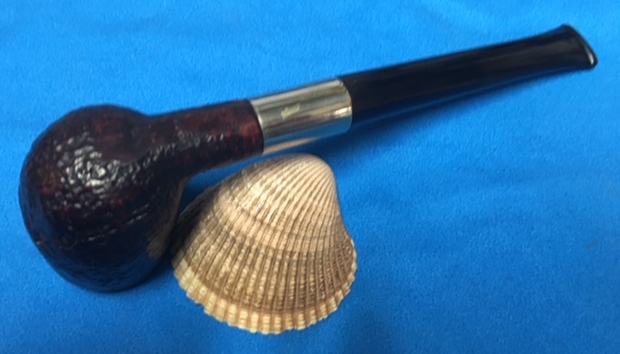
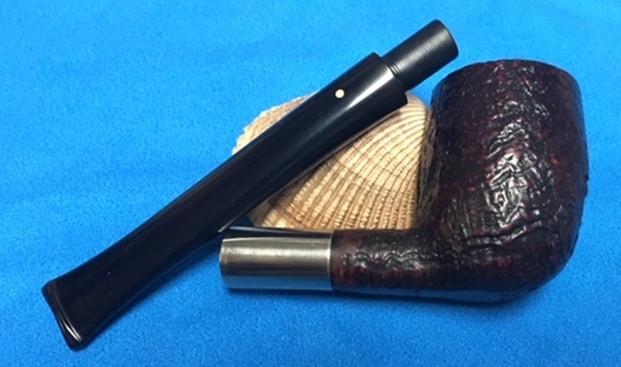
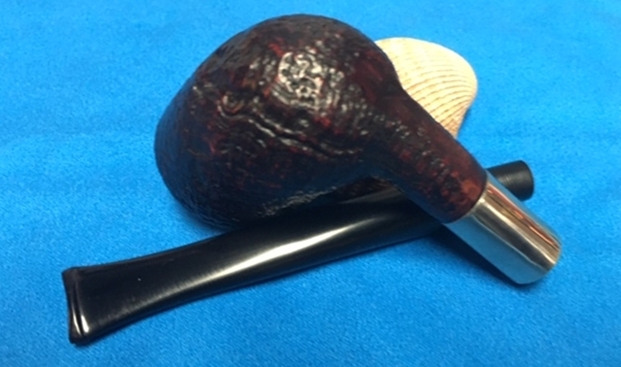
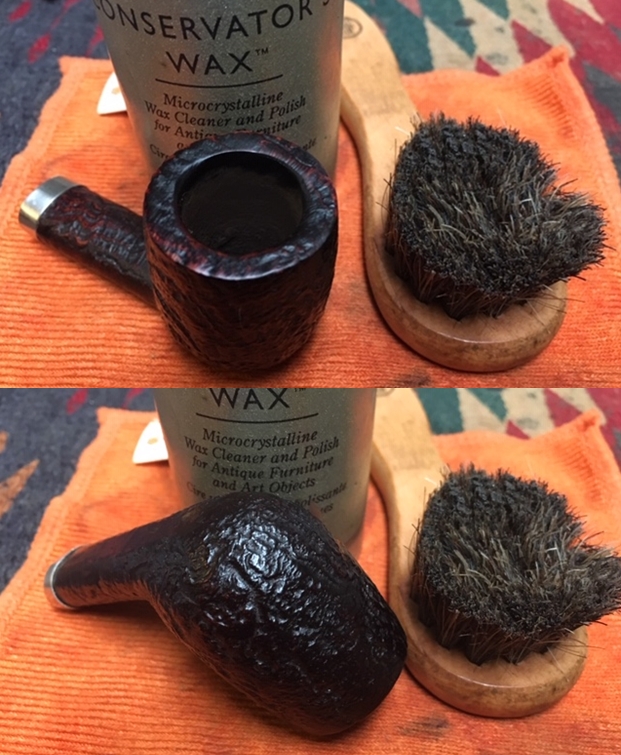
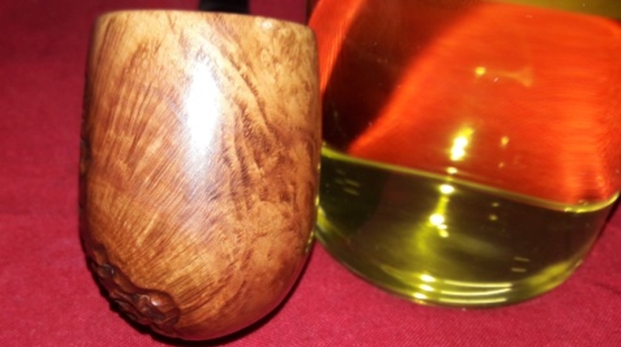
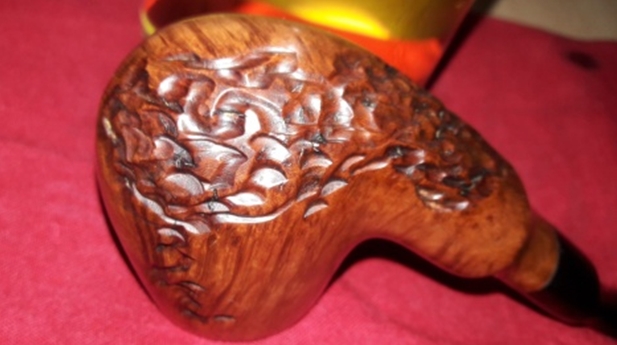
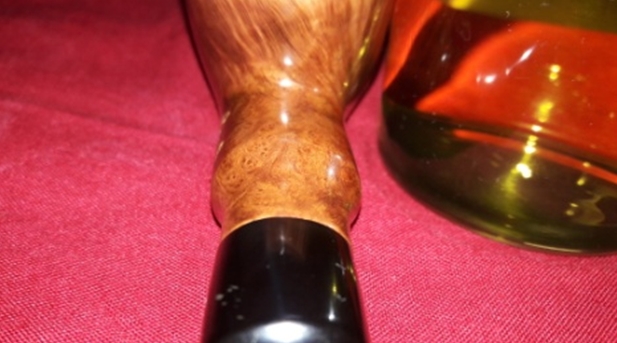
My first restoration project of the new year is on my work table!  After visiting family in the US for the holidays, and putting in some overdue ‘Grandpa time’, I’m glad to be back to Sofia, Bulgaria, in our 10th floor flat of a formerly Communist Block apartment building.  I acquired the Mastersen Freehand before me in the Lot of 66 some time ago – an acquisition off eBay that has produced many newly commissioned pipes for stewards around the globe.  And what’s great about this is not only that these pipes were placed in the hands of stewards but that each pipe has benefited the work we do here in Bulgaria with the foundation, Daughters of Bulgaria – helping women and girls who have been trafficked and sexually exploited.  I’m thankful for those pipe men and women who have commissioned the restoration of these pipes from the For ‘’Pipe Dreamers” Only! collection on the ThePipeSteward website.  This is where Paul debated over 4 pipes and in the end commissioned two pipes, this Mastersen Freehand and a very nice Kaywoodie Prime Grain Imported Briar ‘Fancy’ Bulldog, which will be next in the queue.  Now on my worktable, this is what got Paul’s attention. The nomenclature situated on the underside of the shank is worn and thin.  The stamp is MASTERSEN [over] BURL BRIAR [over] MADE IN FRANCE.  Pipedia’s information about Mastersen shows that it was a name originally belonging to the Shalom Pipe Co. of Israel.  The Pipedia article goes on to say, “Shalom was taken over by Robert L. Marx of New York City, later Sparta, NC, then of Mastercraft.”  Mastersen is mentioned also in the Pipedia description of Mastercraft, which was cited from a very interesting 2008 thread devoted to Dr. Grabow pipes from Tapatalk.com – the specific thread was named, Mastercraft Pipes, Grabow Parallel Universe.  The main contributor was Ted, who from 1974 till 1984 had several positions with Mastercraft including Executive Vice President.  Ted’s reminiscences were fun to read, but my main interest was to understand better what happened with the name Mastersen.  Mastersen’s original stamping with the Shalom Pipe Co., would be marked with Israel as the Country of Manufacturing (COM).  Yet, the Mastersen on my table shows a French COM.  Ted’s reflections on those years with the relationship of Mastercraft, the subsequent owner of the Mastersen name, gave some clues.  This short statement was helpful describing Mastercraft’s acquisition of pipes for sale:

It doesn’t appear it was ever a manufacturer and bought pipes from multiple factories — mostly French and English…. Freehand, For M/C Andersen and (a few Mastersen) ….

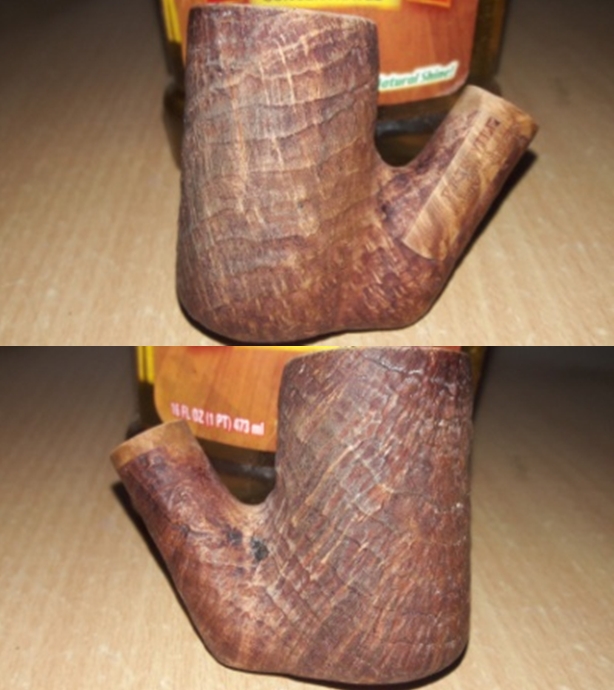
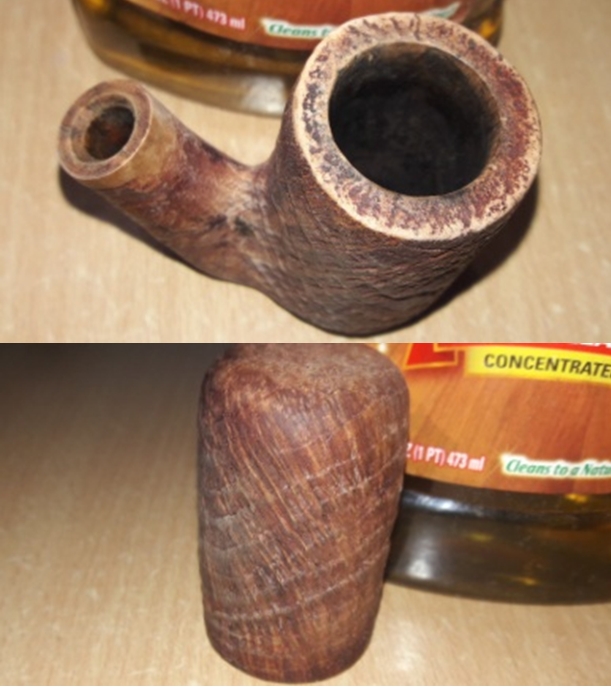
My guess based upon this scant information is that the original Shalom Mastersen Freehand style was later manufactured in France under Mastercraft ownership (1970s to 1980s?).  The style of the pipe before me is consistent with Pipephil’s example of the Mastersen Freehand produced in Israel.An interesting characteristic of this Freehand is it size.  For a Freehand it could be described as diminutive.  The length is 5 inches, height: 2 inches at the crest, plateau width: 1 1/2 inches, chamber width: 1 inch and chamber depth: 1 1/2 inches (at the middle of the slanted plateau).  I found this description of a similar Mastersen with an Israel COM described for sale on SmokingPipes.com.  Christophor Huff’s description nailed the Mastersen on my worktable as well regarding it size yet plenty of room for tobacco:The condition of the Mastersen on my worktable is good but needs the normal cleaning.  The plateau has minor darkening and the chamber has a very light cake.  I detect one small divot on the right side of the shank that needs attention.  Minor tooth chatter is evident on the bit and some oxidation in the stem.  Perhaps the most noticeable issue is the fancy stem fit – it is quite loose.  The tenon will need to be expanded to make the army style pressure fit snugger.

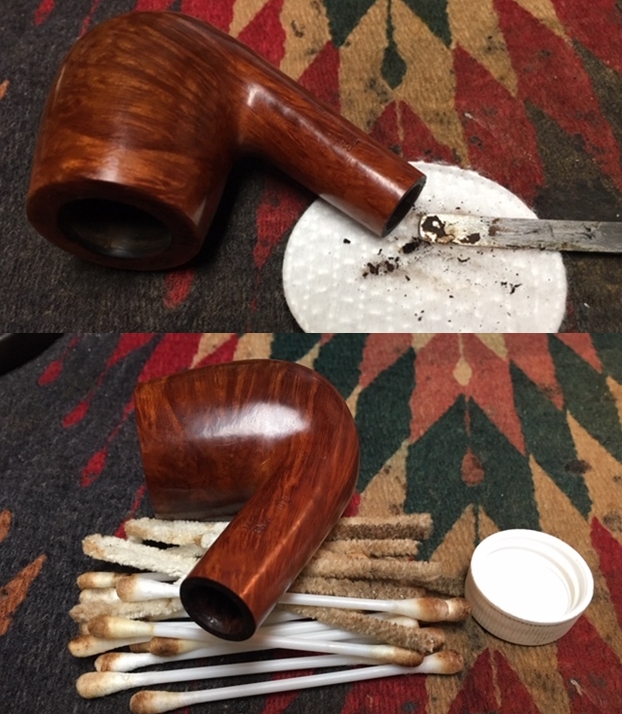
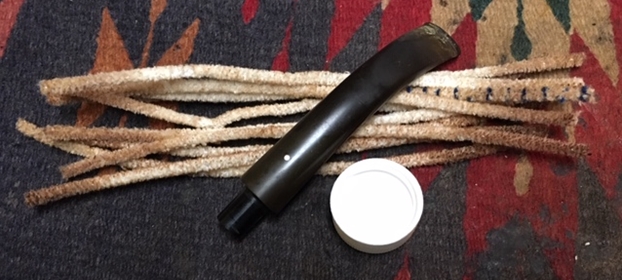
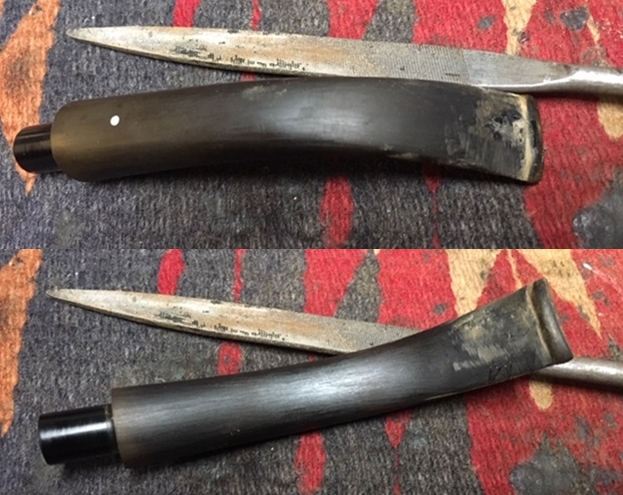
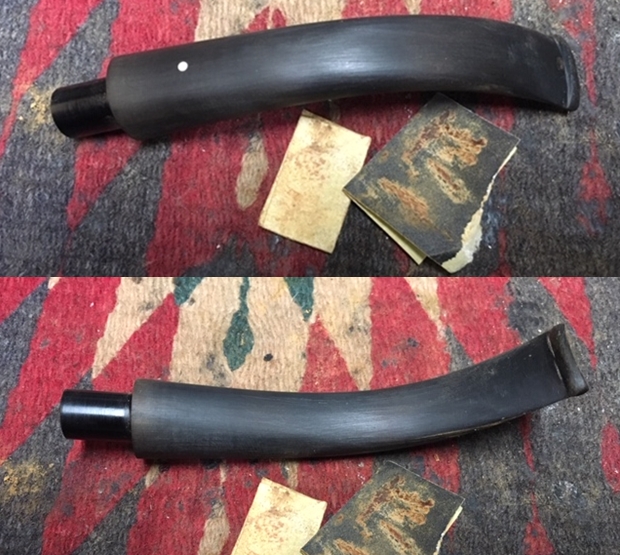
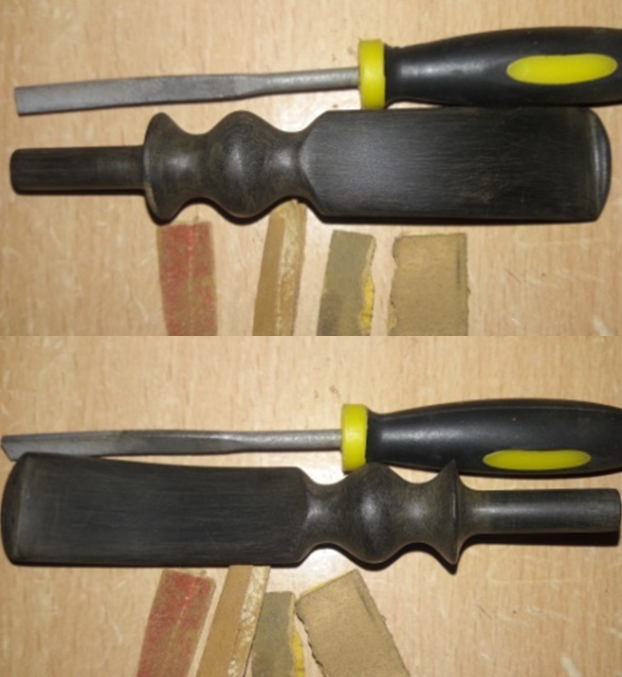
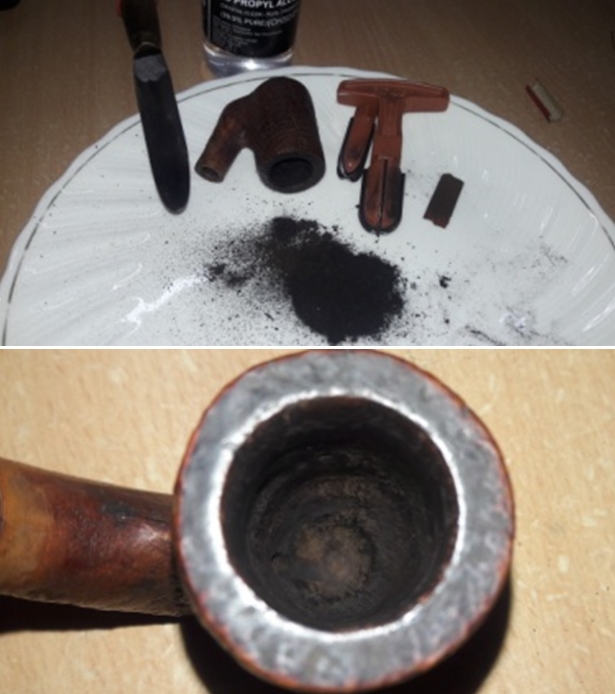
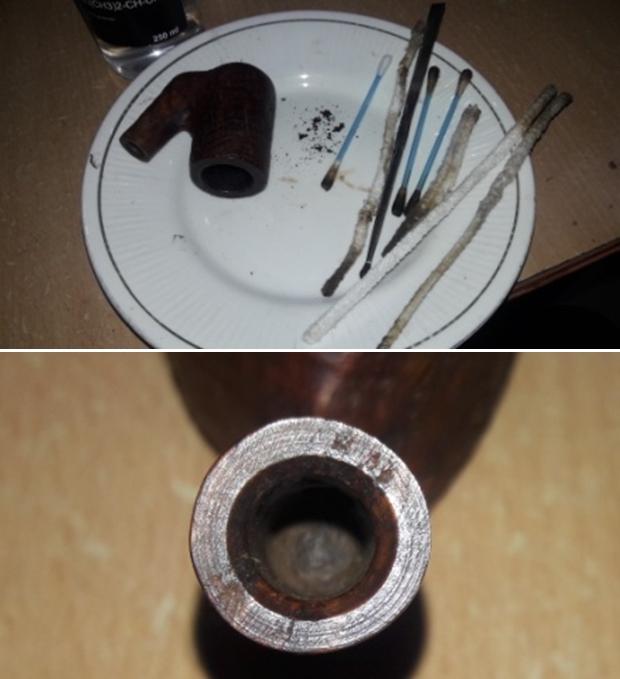
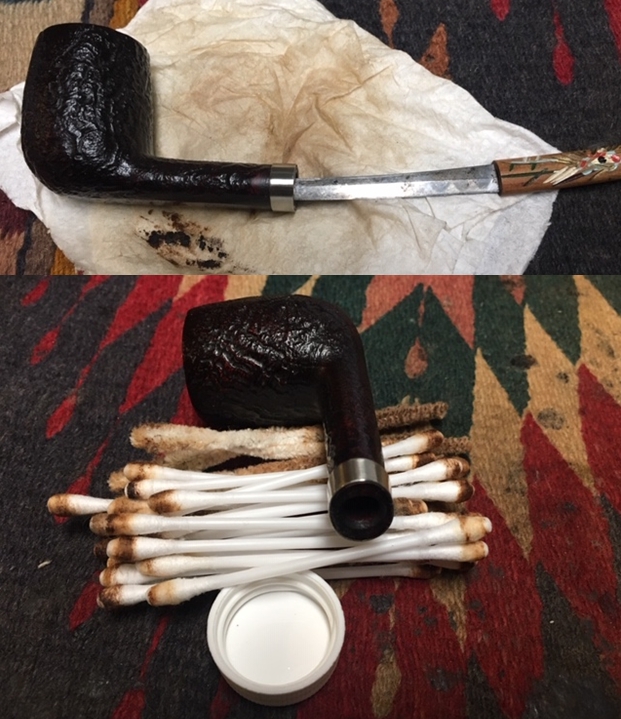
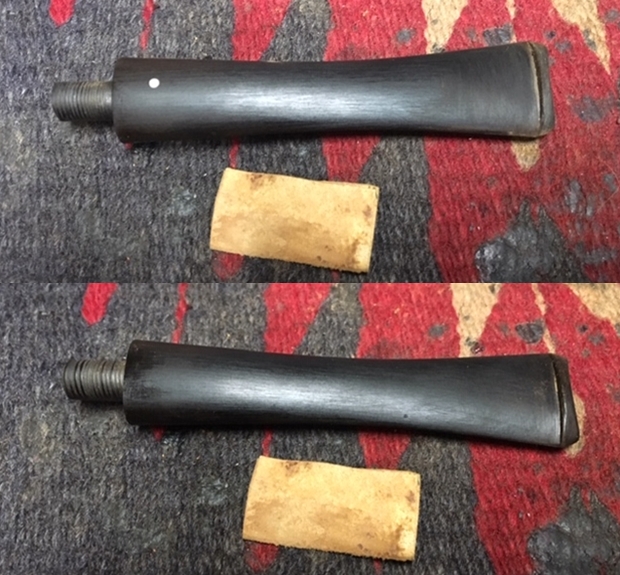
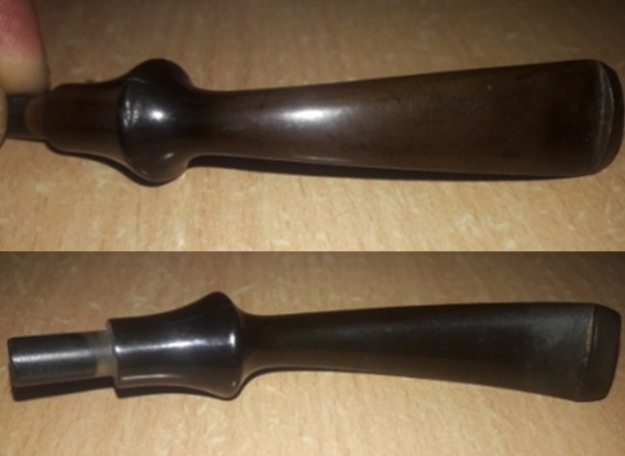
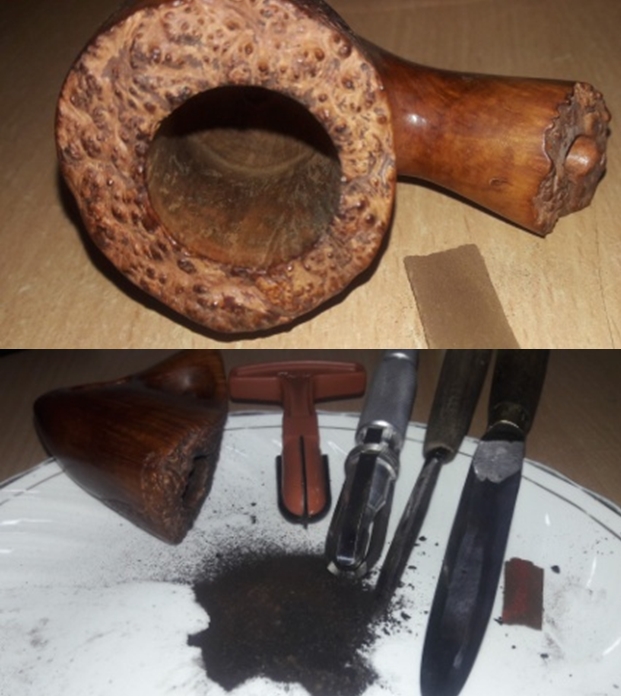
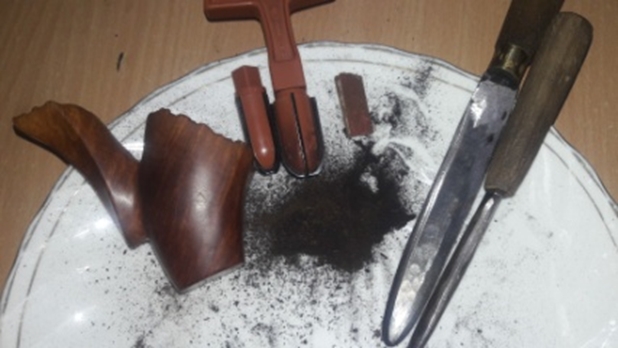
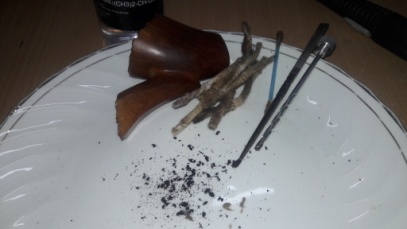
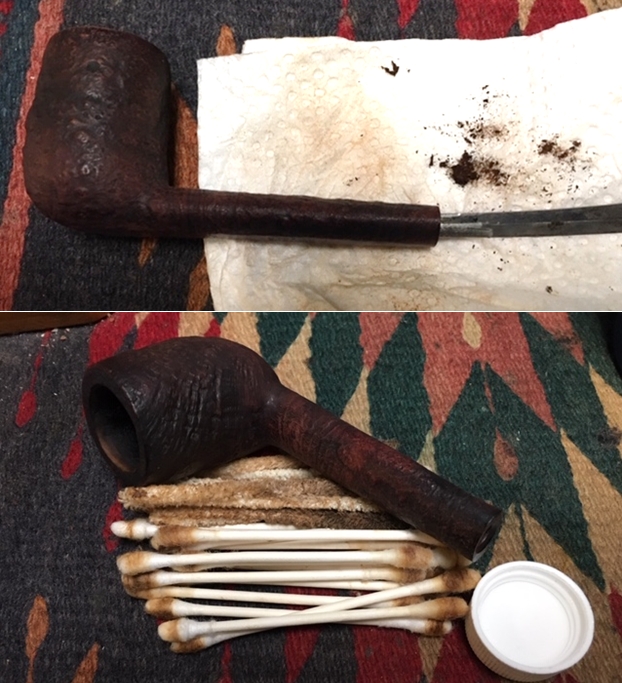
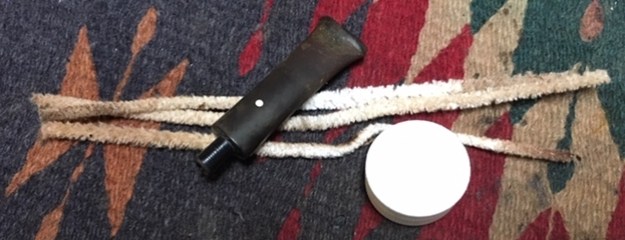
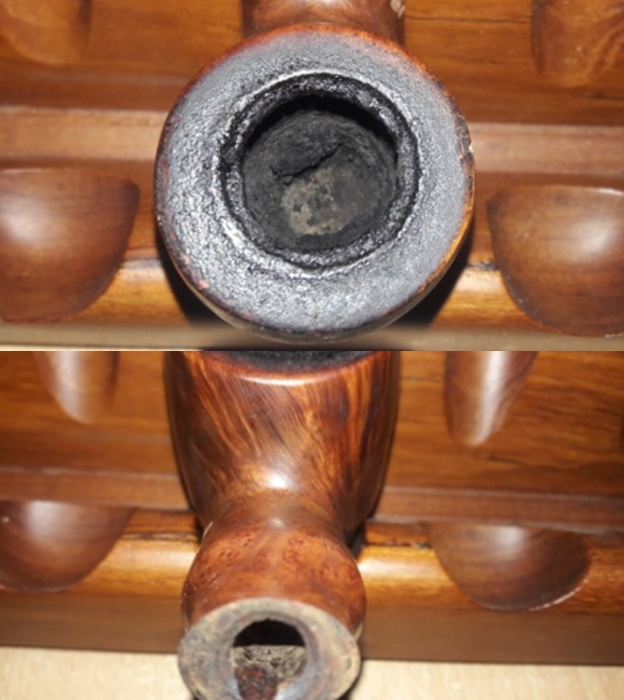
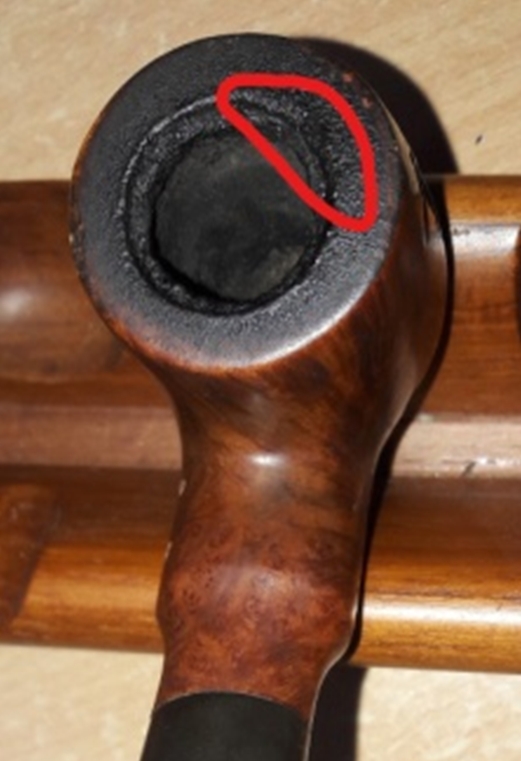
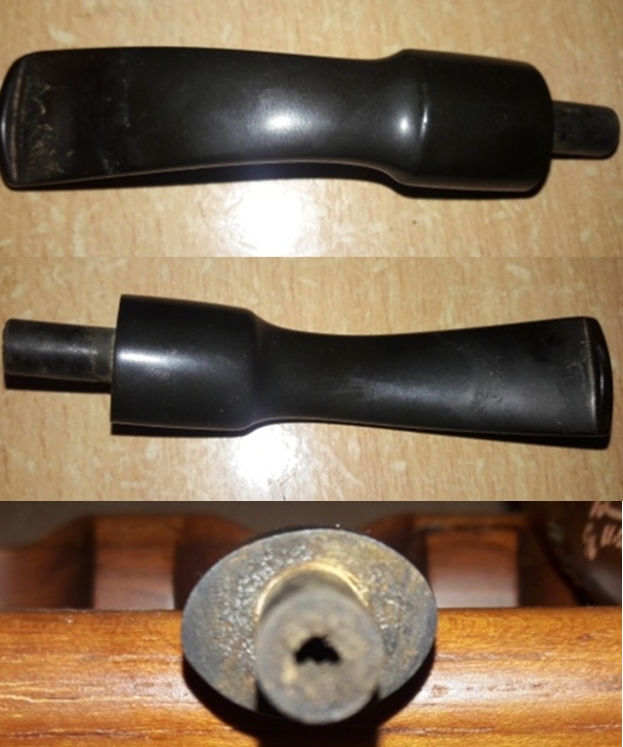
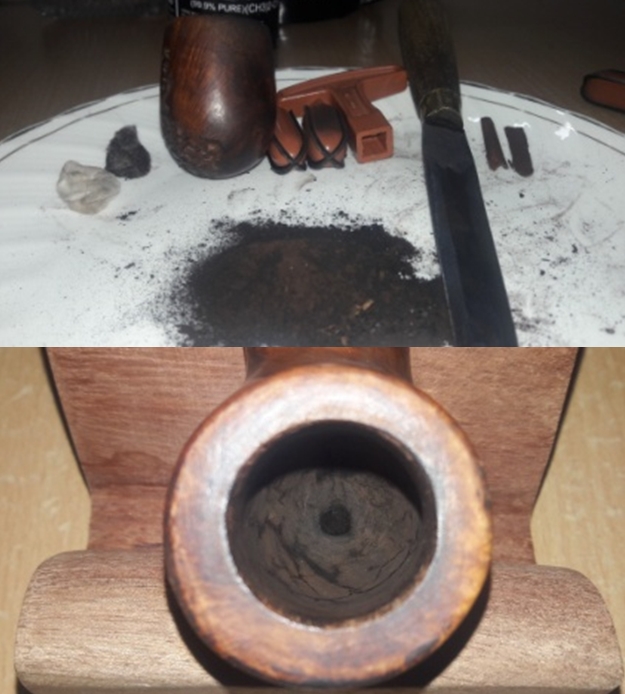
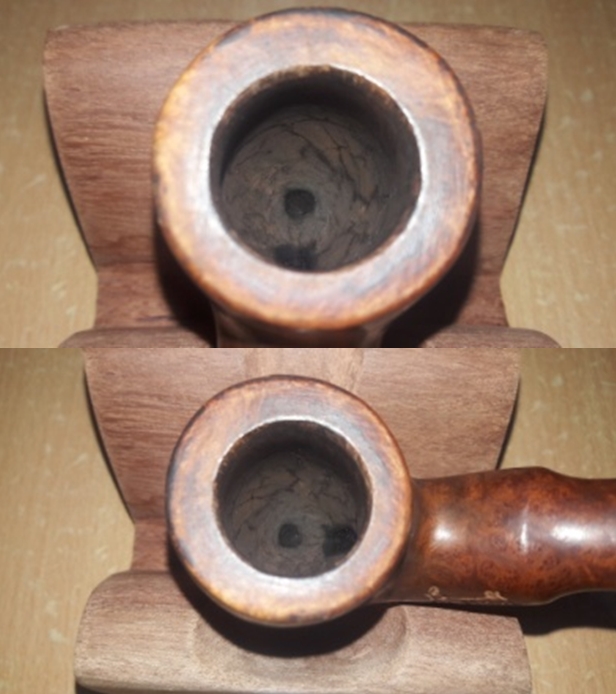
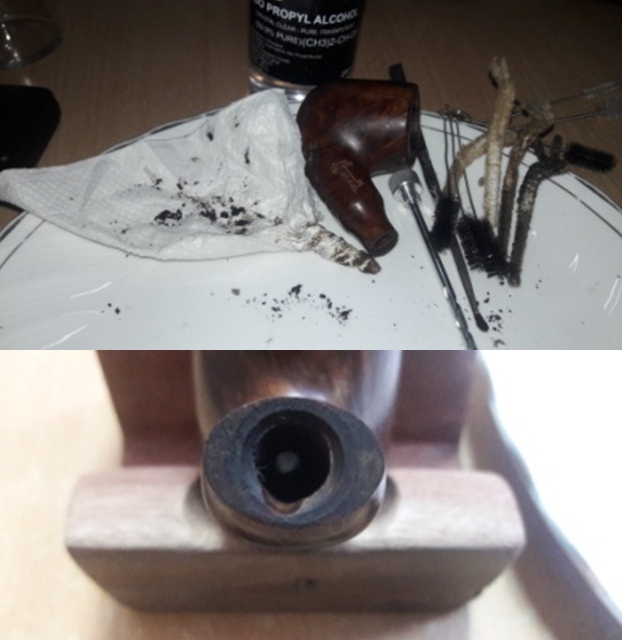
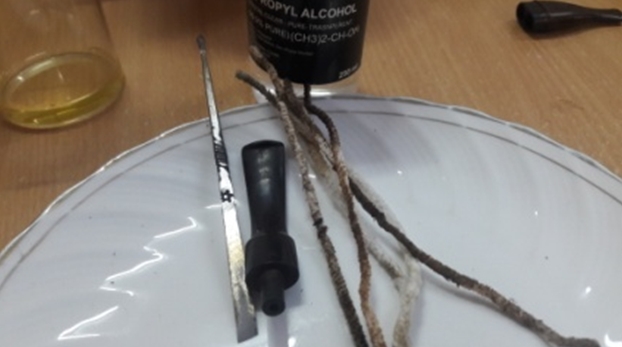
To begin the restoration of the Mastersen, I run some pipe cleaners wetted with isopropyl 95% through the fancy bent stem to clean the airway and then place it in a bath of Before & After Deoxidizer.  It joins a few other pipes and their stems that are in queue for restoration.  After several hours soaking, I fish out the Mastersen’s stem and drain the Deoxidizer fluid.  I then wipe off the stem removing much oxidation using a cotton pad wetted with alcohol.  I also run pipe cleaners through the airway to remove Deoxidizer from the internals.  After wiping with alcohol, I then apply paraffin oil (a mineral oil) to condition the vulcanite and set the stem aside.  The Before & After did a good job with the oxidation. The pictures show the progress. Turning now to the Freehand bowl, I begin the cleaning process my reaming the chamber using the Pipnet Reaming Kit.  I use the two smaller blade heads of four and then quickly remove the remaining carbon using the Savinelli Fitsall Tool.  I sand the chamber wrapping 240 grit paper around a Sharpie pen and then wipe the chamber with a cotton pad wetted with isopropyl 95% to clear out the remaining carbon dust.  The chamber looks good except that I detect a pit near the top of the chamber – just below the plateau.  I take a couple pictures to get a close look.  My thoughts are that this blemish in the briar is too high to be impacted in a large way by the fire in the chamber.  Just to be on the safe side of things, I will fill it, but will CA do the job, or do I need to apply a touch of the heat resistant J-B Weld putty since it is in the chamber?  I’ll give some thought to this and I decide to send a note to Steve with all his rebornpipes experience to get his input.  The pictures show the progress. From the chamber, I now clean the externals using undiluted Murphy’s Soap.  I scrub with cotton pads on the smooth briar and utilize a bristled tooth brush to clean the plateau – getting into the crevices. The cleaning reveals a very nice piece of briar.  The dimple on the bowl’s left side is attractive as it is in relief to the smooth briar.  Three pictures before and two after the cleaning showing the lightening of the surface. Now to the internals using pipe cleaners and cotton buds dipped in isopropyl 95%.  It did not take too much, and buds and pipe cleaners were coming out clean.Turning now to the stem, the Before & After Deoxidation soak did a good job.  The upper bit has some bite compressions and chatter on both upper and lower.  The button lip has some biting as well.  I start passively by using the heating method to expand the vulcanite compressions.  Using a Bic lighter, I paint the upper- and lower-bit areas.  As the vulcanite heats, physics takes over – it expands and naturally reclaims its original shaping – or at least partially.  This method works well, and I follow easily with sanding out the remaining tooth damage using 240 and then 470 grit papers.  I took before and after pictures and I’ll let you be the judge how effective the heating method often is.

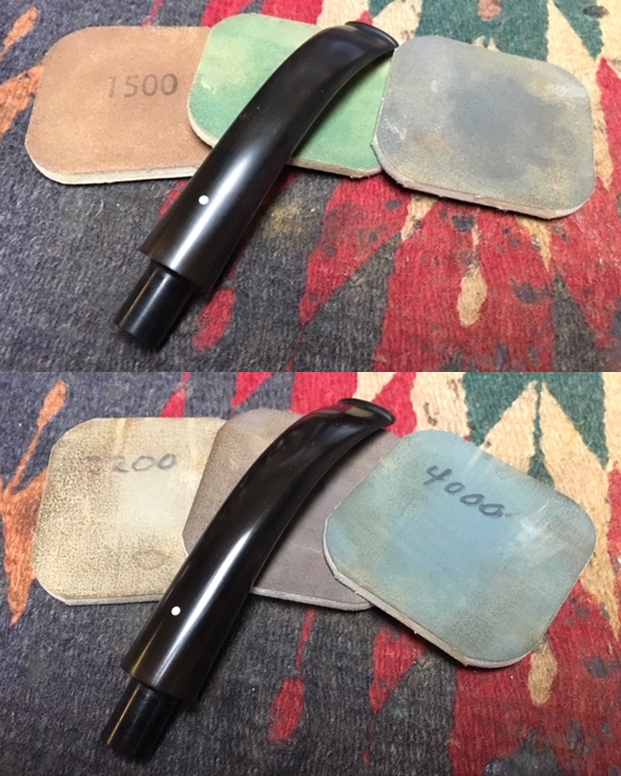
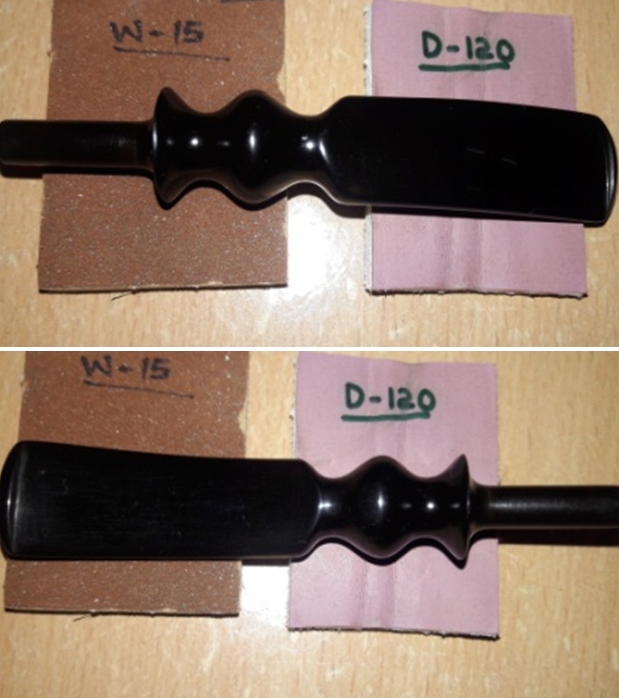
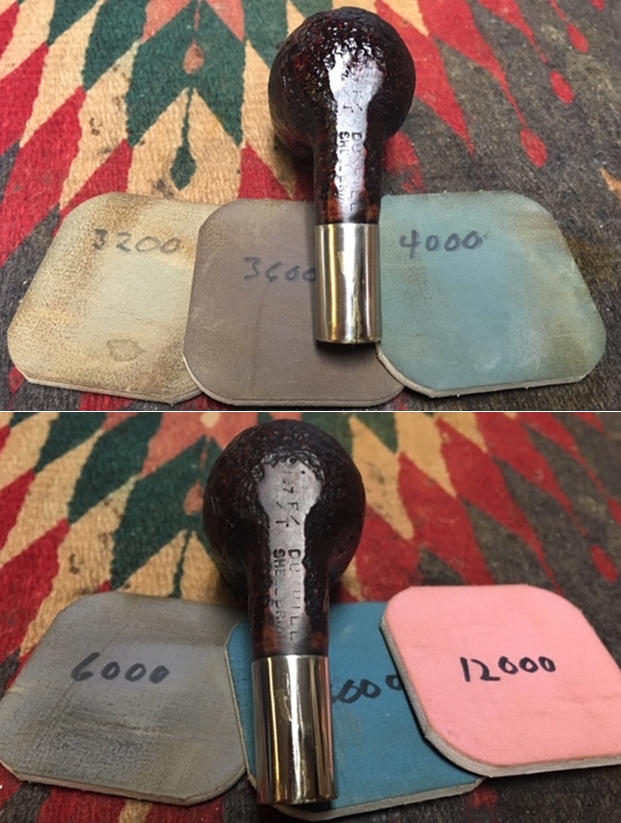
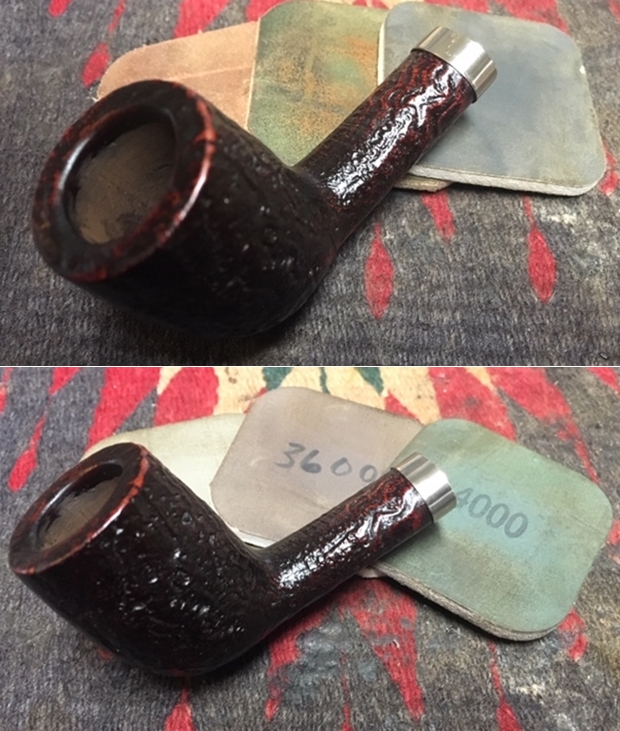
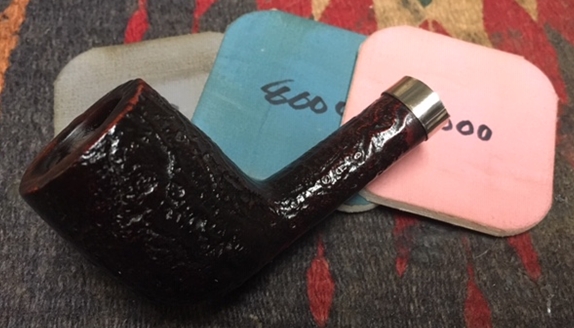
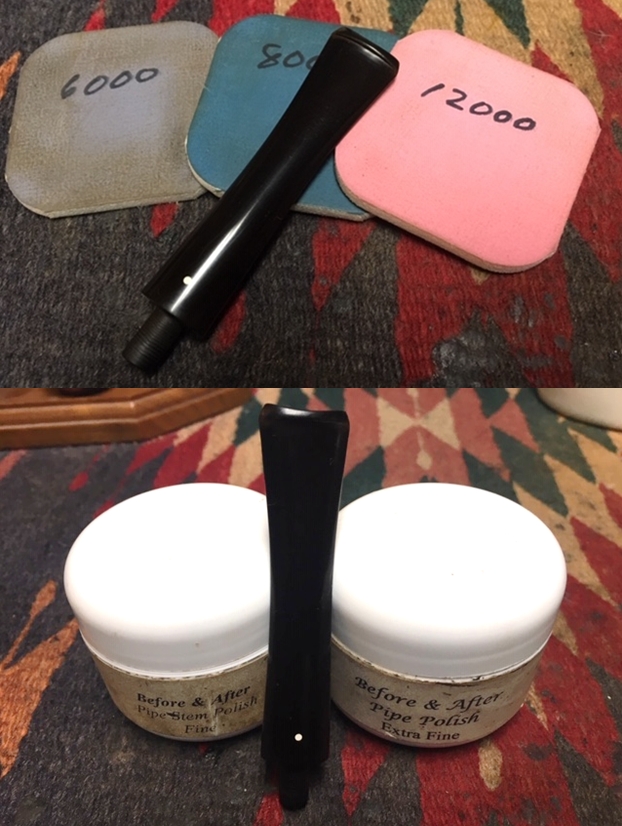
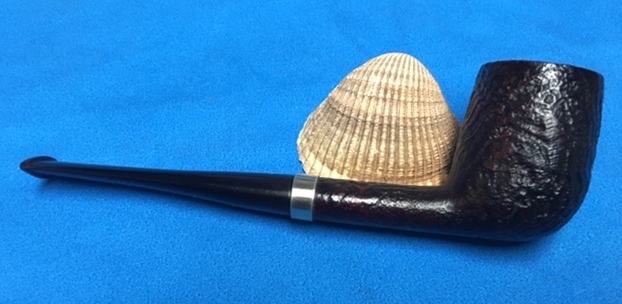
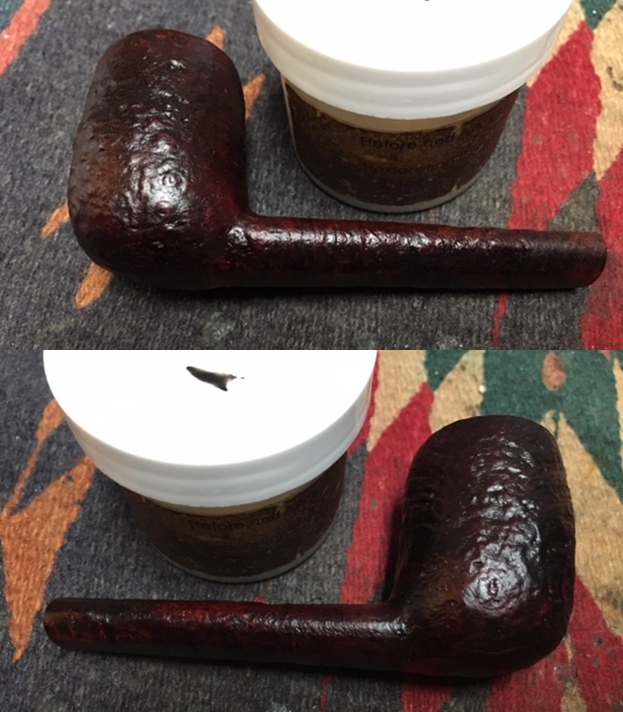
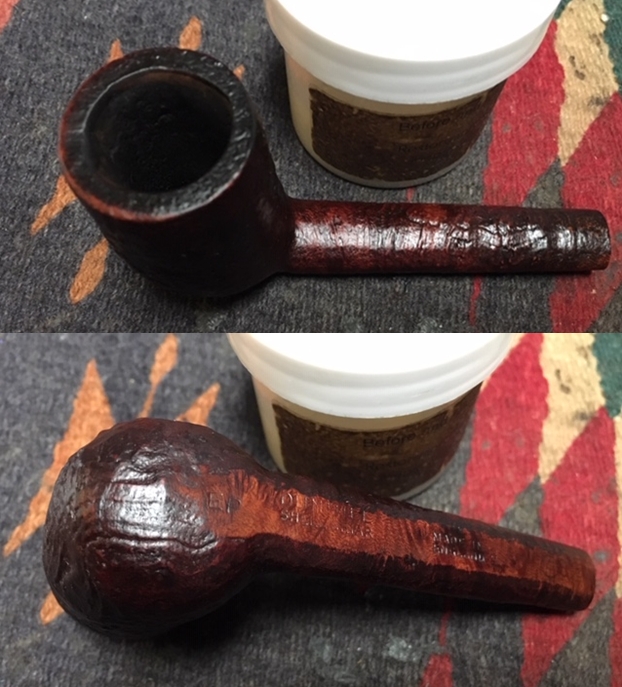
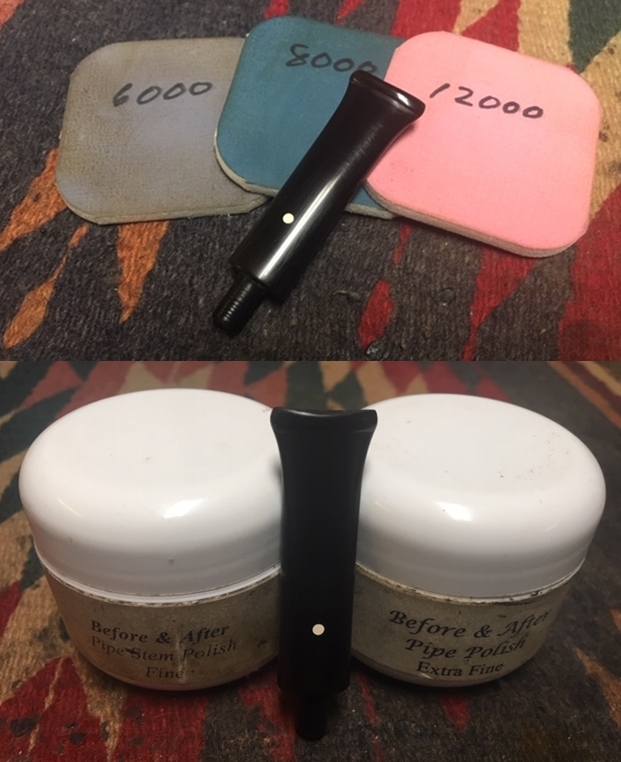
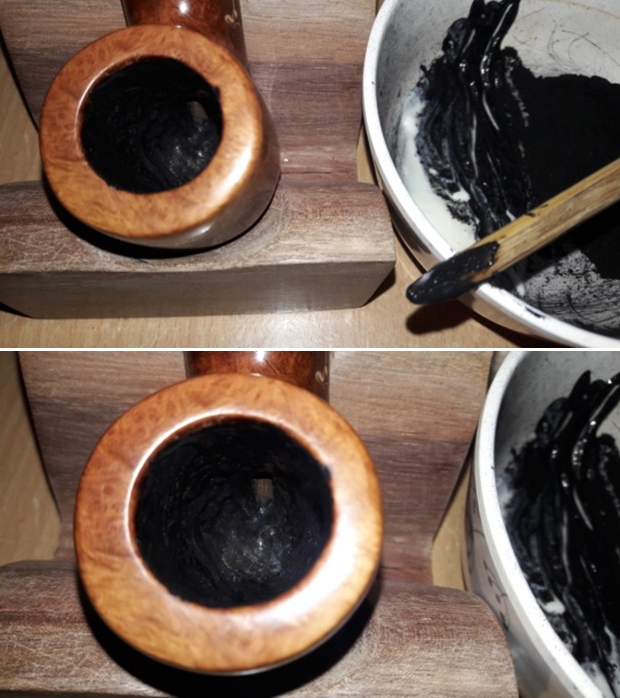
Upper, before and after: I follow the bit sanding by wet sanding the entire stem with 600 grit paper followed by 0000 steel wool.Giving the stem a respite, I look again to the pits that need repair on the stummel.  A very small pit on the right side of the stummel and the larger pit on the upper area of the chamber – just under the edge of the plateau.  After getting a note back from Steve with his input, I will use briar dust and CA glue putty to fill the pits in both places.  With the upper chamber fill, I will follow this later by applying a coat of activated charcoal and sour cream mix to the entire chamber.  This will protect the fill as well as encourage the growth of a new protective cake.  I take a few pictures to get a close-up of each pit and then I mix a batch of briar dust and CA glue.  I mix it gradually until the mixture reaches a thickness or viscosity like molasses.  I then use a tooth pick as a trowel and apply the filler to the pits.  For the upper chamber pit, I give the area an extra tamping to assure that the cavity is filled.  I put the stummel aside for the night, allowing the briar dust putty to fully cure.  The pictures show the process. The next morning, before the demands of the day come, I return to the stummel with the briar dust patches fully cured.  I use a flat needle file and begin removing the excess filler on the smaller patch.  I use the file until nearly to the briar surface then I switch to sanding with a piece of 240 grit paper bringing the patch down flush with the briar surface.  I do the same with the larger fill in the upper chamber, except using a half-rounded needle file I’m able to sand with the contour of the chamber.  I then finish the upper chamber sanding by using 240 grit paper wrapped around a Sharpie pen.  I like the results. With the stummel repair completed, I turn to the revitalization of the fancy stem by wet sanding with micromesh pads 1500 to 2400 and then dry sanding with pads 3200 to 4000 and 6000 to 12000.  I apply Obsidian Oil to the stem between each set of three pads to enrich the vulcanite.  I love the pop of that freshly sanded vulcanite – it looks great! Now we’re close to the homestretch.  Using micromesh pads 1500 to 2400 I wet sand the stummel.  Following this I dry sand using pads 3200 to 4000 and 6000 to 12000.  I enjoy watching the grain surfacing through the micromesh process. I had written Steve before to get his input regarding the chamber pit repair.  The other question I asked was regarding darkening the plateau or leaving it natural and allowing the natural forces of burning tobacco and lava to color the rim surface? His advice was good and something I try to do when restoring pipes that have nomenclature and historical markers.  It is good to restore pipes according to the original intent when the pipe was manufactured.  Most of the examples of Mastersen pipes I have seen online predate the acquisition of the Shalom Pipe Co., by Mastercraft which were manufactured in Israel.  I’ve seen both natural and darkened plateaus – here are a few examples I found.It is difficult to tell by looking at the original picture I took of the plateau before starting the restoration to know what the original was – yet, if I had to guess, originally the inner part of the plateau was darkened some, but not fully.  That is, much natural briar was exposed.  The second picture is the current status of the plateau during this restoration process. Well, decision time has come and gone.  Using a black Sharpie Pen I introduce highlights to the plateau by coloring the crevices.  I start conservatively to get a feel for how it’s looking.  I begin with a fine point Sharpie to draw down the narrow crevices then I use a larger one to stroke the larger areas. After applying what looks like an adequate amount of black, I then fan wipe the rim surface with a cotton pad with only a hint of alcohol.  This has the effect of blending and soften the black hues over the contours of the landscape.Finally, I start with about a mid-range grit micromesh pad, 3600, and I proceed to sand the plateau.  I move from 3600 to the finest grit pad, 12000.  This serves to further blend and to uncover the ridges of the briar.  This gives the look more contrast which I like – the black and the brown briar.  Overall, I think it looks good.Before moving on, I need to take care of the stem fit that I noticed earlier was too loose.  I retry the fit and it remains too loose for comfort.  To remedy this, I find a drill bit that is just the next size larger than what will fit in the airway.  Using a Bic lighter, I fan a flame around the end of the tenon to heat the vulcanite to make it pliable.  My first attempt to push the smooth end of the bit into the hole was not successful – it was still too tight.  I then use a pointed Dremel sculpting bit to help open the hole a bit so that the larger drill bit could be inserted into the airway.  I heated the tenon again and press the pointed Dremel tool into the hole to expand it slightly – which is enough.  I heat the tenon again and when it becomes supple I gradually and gently insert the bit in the airway as far as it will go without great effort.  Leaving the bit in the tenon, I again reheat the tenon as well as the metal of the bit to help the internal movement.  Again, when the vulcanite softens, I push the bit in a little further into the airway.  With this movement of the bit, the tenon is gradually expanding to close the gap making the fit with the shank snugger.  With the last heating and movement of the tenon, without withdrawing the bit, I run the tenon under cool tap water to set the vulcanite to assure that it will remain expanded.  I then heat only the metal of the bit to loosen the vulcanite’s grip on it and withdraw it with the help of pliers.  I try the stem fit again and success!  A very nice, comfortable, snug fit with the tenon inserted into the shank.Next, before moving to the Dremel polishing and waxing phases, I apply Before & After Restoration Balm to the Freehand stummel that is looking very nice.  I like this Restoration Balm because it subtly brings out deeper, richer tones of the natural briar presentation.  I squirt a little of the Balm on my finger and then simply work it into the briar grain.  It starts as a thinner texture and then thickens as the Balm works into the surface.  I apply the Balm on the rim as well.  After letting it set for several minutes to absorb the Balm, I wipe/buff the excess Balm with a microfiber cloth.  I like it. The pictures I take, I’m not sure are able to pick up on the subtle deepening that I perceive with the naked eye.  The pictures are before, during Balm absorbing and then after buffed off. Next, I reunite stem and stummel and mount a cotton cloth buffing wheel to the Dremel and set the speed to about 40%.  I then apply Blue Diamond compound to the entire pipe. To remove compound dust from the surface, I buff the pipe with a flannel rag.  I then mount another cotton cloth wheel to the Dremel, remaining at the same speed, and apply carnauba wax to the entire pipe – stummel and stem.  Completing this, I give the pipe a good hand buffing with a microfiber cloth to raise the shine.  Yet, one more task and this Mastersen Burl Briar Freehand will be completed.  To protect the upper chamber patch and to introduce a starter for the development of a cake to protect the briar surface, I mix a batch of sour cream, or in this case, natural yogurt, and activated charcoal to spread on the chamber walls.  I don’t mix too much sour cream, so the mixture isn’t too liquid and runny.  I insert a pipe cleaner through the draft hole to keep the airway open.  After spreading the mixture over the chamber with a flat dental spatula, I set it aside allowing the charcoal/yogurt mixture to cure and harden.  With this chamber surface, the new steward should not scrape the chamber after use, but use a doubled over pipe cleaner to ‘rub’ the chamber walls to remove ash and remains until a cake develops.   The pictures show this final task.Wow!  This Mastersen Burl Briar Freehand – Made in France is a keeper!  I’m pleased with the presentation of the plateau and the blending of the natural and darkened briar hues.  The flame grain is beautiful as it encompasses the conical Freehand stummel.  As a smaller Freehand, it is light enough to function easily as a ‘hands free’ pipe which is nice – but please use a rubber bite guard! This Mastersen caught Paul’s eye and since he commissioned it, he has the first opportunity to acquire the Mastersen Freehand from The Pipe Steward Store.  This pipe benefits the Daughters of Bulgaria – women and girls who have been trafficked and sexually exploited.  Thanks for joining me!

Restoring Pipe #15 from Bob Kerr’s Estate – A Dunhill Root Briar 51021 Bent Billiard


Blog by Steve Laug

With this Dunhill Root Briar my ongoing work on Bob Kerr’s is taking a turn to the smooth finished pipes in the collection. This is the first of the smooth pipes in his Dunhill Collection. I am cleaning them for the family and moving them out into the hands of pipemen and women who will carry on the trust that began with Bob and in some pipes was carried on by Bob. In the collection along with the Dunhills are a good bevy of Petersons, some Comoy’s and Barlings as well as a lot of other pipes – a total of 125 pipes along with a box of parts. This is the largest estate that I have had the opportunity to work on. I put together a spread sheet of the pipes and stampings to create an invoice. I was taking on what would take me a fair amount of time to clean up. I could not pass up the opportunity to work on these pipes though. They were just too tempting.

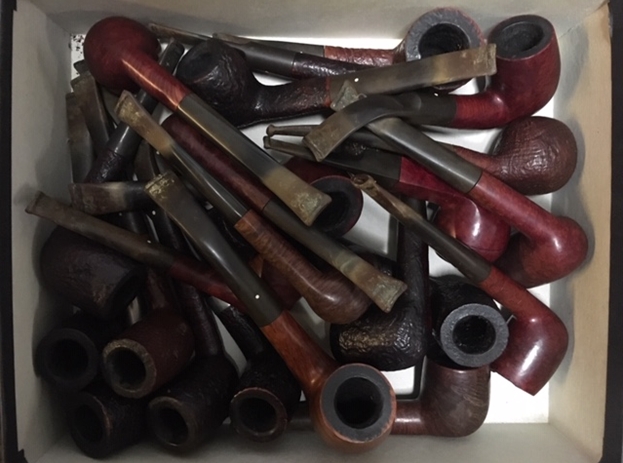
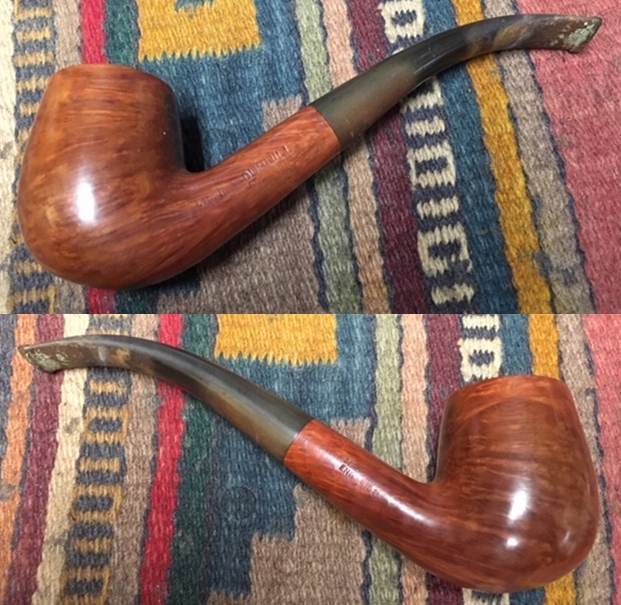
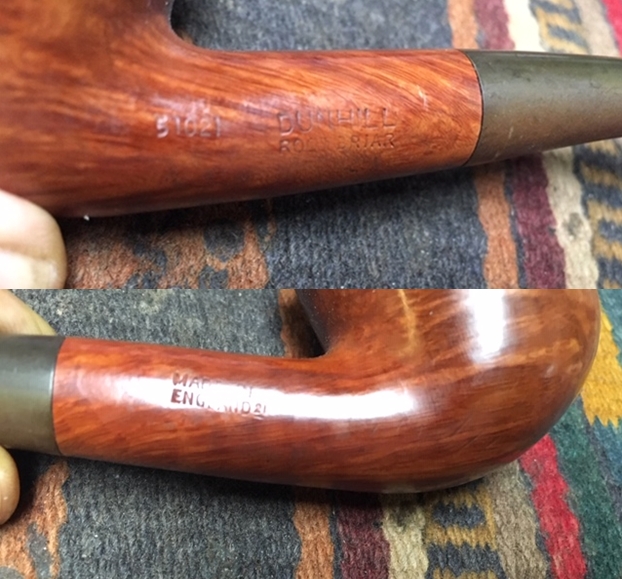
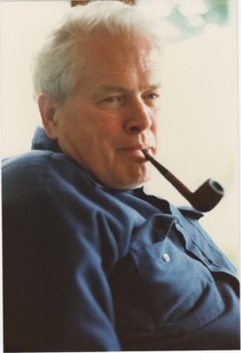
I sorted the pipes into groups of the various brands and had a box of 25 different Dunhill pipes in different shapes, styles and sizes. I decided to work on the Dunhills first. It was a great chance to see the shape variety up close and personal. The photo below shows the box of Dunhill pipes.With the completion of the restoration on this one there are only 11 more Dunhills of the original 25 left to work on – all smooth finished pipes in a variety of shapes. I went through the box of the remaining smooth Dunhills shown above and chose the 15th and first smooth finish pipe to work on – a smooth Root Briar Bent Billiard. It is stamped on the left side of the shank with the shape number 51021 followed by Dunhill over Root Briar. On the right side of the shank it is stamped Made in England 21 which tells me it is made in 1982. The 5 digit stamping gives a lot of pertinent information about the pipe. The first digit, 5 says that the size of the pipe is a Group 5. The second digit 1 identifies the pipe as having a tapered stem. The 02 identifies it as a bent pipe and the final 1 says it is a billiard. The bent round shank flows into a tapered stem that is oxidized and has tooth marks and chatter near the button. There is some calcification on the first inch of the stem ahead of the button and there is some light damage to the top of the button. The smooth Root Briar finish is dirty but like the other pipes in Bob’s collection there is something quite beautiful about the cross grain on the pipe. The bowl had a thick cake and thick lava overflow on the rim top. The bowl appears to be a little out of round with slight damage on the front inner edge of the rim. After cleaning I will know more. I took pictures of the pipe before I started working on it. I took some close up photos of the rim top and the stem to show what I was dealing with. This Root Briar Bent Billiard had some damage on the inner edge of the bowl toward the front as can be seen in the photo. The cake in the bowl was quite thick and the lava on the rim top was also thick. You can see the cake and tobacco in the bowl. The stem was dirty, oxidized, calcified and had a lot of tooth chatter on the top and underside for about an inch ahead of the button.I took a photo of the stamping on both sides of the shank. Part of the stamping was very sharp and readable and other parts were fainter and needed bright light.Since this is the 15th pipe from Bob’s estate I am sure you have read at least some of the other restoration work that has been done on the 14 previous pipes. You have also read what I have included about Bob Kerr, the pipeman who held these pipes in trust before I came to work on them. Also, if you have followed the blog for long you will already know that I like to include background information on the pipeman whose pipes I am restoring. For me, when I am working on an estate I really like to have a sense of the person who held the pipes in trust before I worked on them. It gives me another dimension of the restoration work. I asked Brian if he or his wife would like to write a brief biographical tribute to her father, Bob. His daughter worked on it and I received the following short write up on him and some pictures to go along with the words. Once again I thank you Brian and tell your wife thank you as well.

I am delighted to pass on these beloved pipes of my father’s. I hope each user gets many hours of contemplative pleasure as he did. I remember the aroma of tobacco in the rec room, as he put up his feet on his lazy boy. He’d be first at the paper then, no one could touch it before him. Maybe there would be a movie on with an actor smoking a pipe. He would have very definite opinions on whether the performer was a ‘real’ smoker or not, a distinction which I could never see but it would be very clear to him. He worked by day as a sales manager of a paper products company, a job he hated. What he longed for was the life of an artist, so on the weekends and sometimes mid-week evenings he would journey to his workshop and come out with wood sculptures, all of which he declared as crap but every one of them treasured by my sister and myself. Enjoy the pipes, and maybe a little of his creative spirit will enter you!

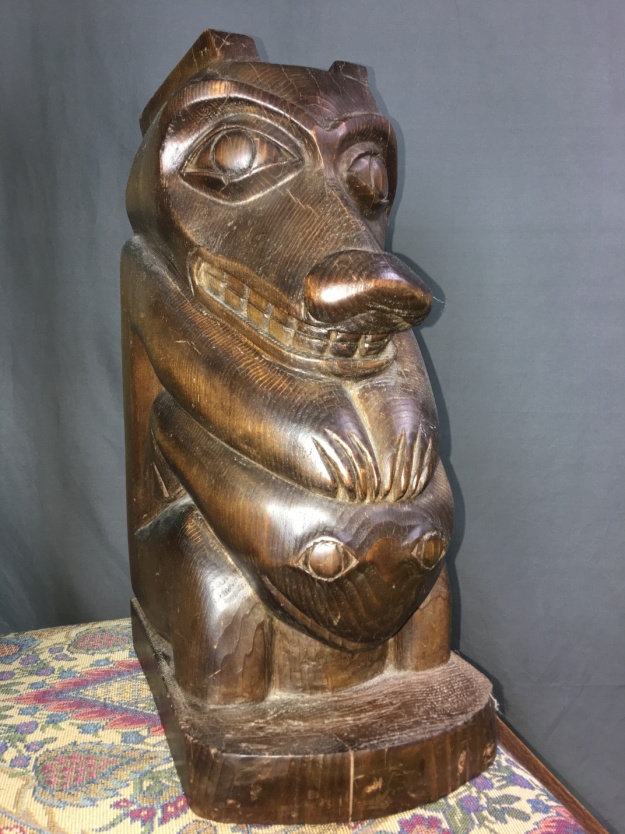
I have included one of Bob’s wood carvings to give you an idea of what he daughter wrote about above. You can see his artistry in the carving that is patterned after British Columbia’s Coastal First Nations people. To me this is a sea otter but perhaps a reader may enlighten us.

Having already worked on 15 other pipes from Bob’s estate I think I understood how he used and viewed his pipes. I am just starting my work on the smooth finished pipes with this Root Briar. I had learned to tell which pipes were his favoured ones and which were his work horses. He really loved his billiards. I could get a sense of the ones that accompanied him into his carving shop. I think this would have been one of his resting pipes – not a shop pipe. In many ways it was as if he was standing over my shoulder while I cleaned up his pipes.

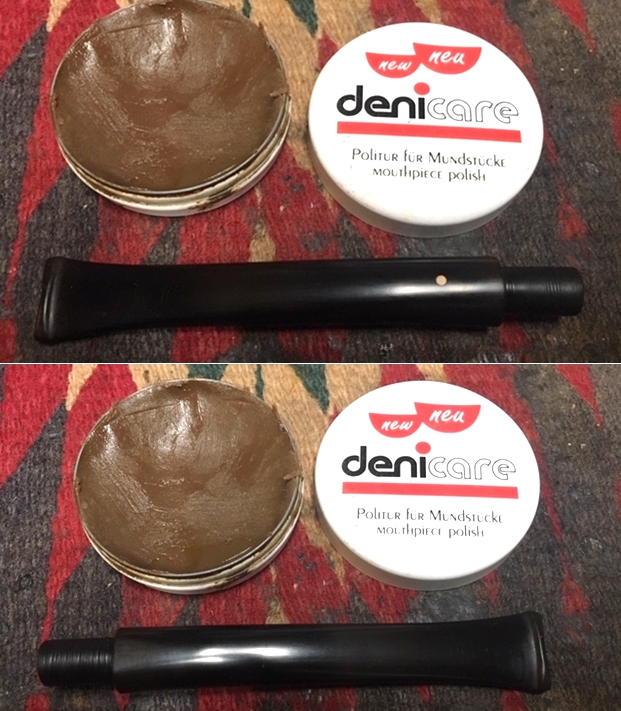
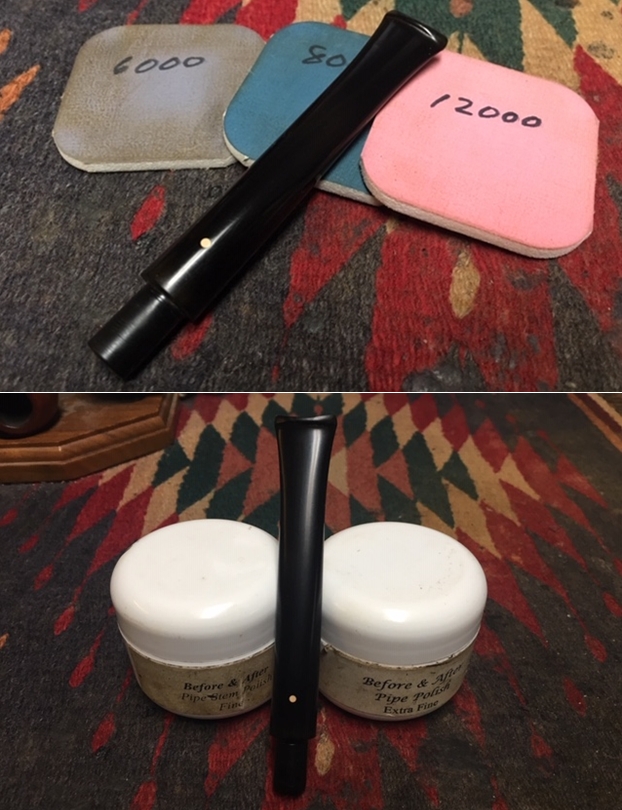
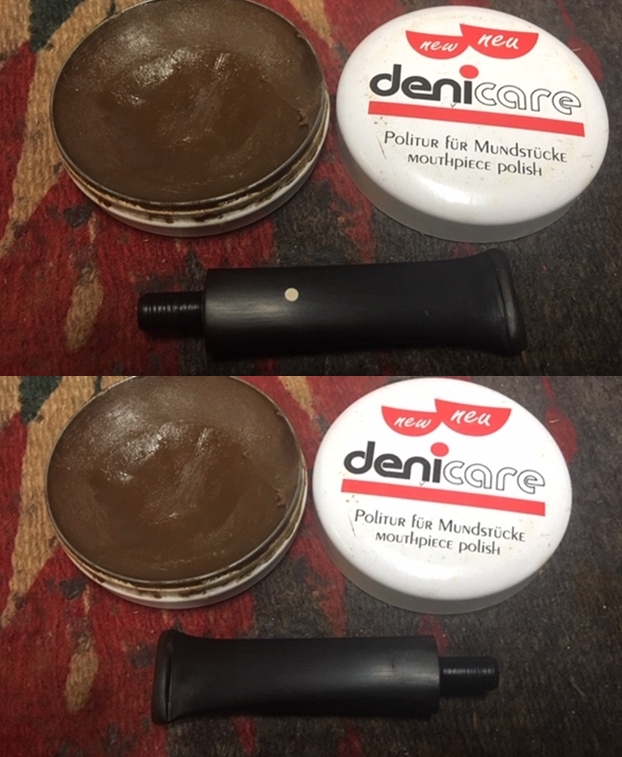
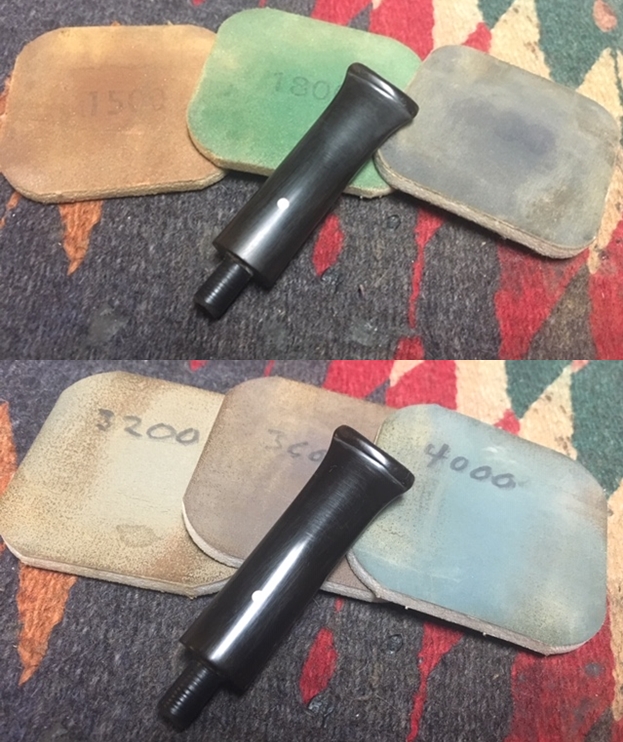
With that in mind I turned to work on the 15th pipe. I reamed the bowl to remove the cake on the walls and the debris of tobacco shards that still remained. I used a PipNet pipe reamer to start the process. I followed that with a Savinelli Fitsall Pipe Knife to clean up the remaining cake in the conical bottom of the bowl. I sanded the bowl with 220 grit sandpaper wrapped around a piece of dowel. It smooths out the walls and also helps bring the inner edges back to round. I cleaned up the rim top and removed the thick lava coat in the rim. I used the Savinelli Fitsall knife to scrape away the high spots of lava and some worn 220 grit sandpaper and a 1500 grit micromesh pad to work on the rim top and remove the buildup there. I worked over the damaged inner edge of the rim with 220 grit sandpaper to bring the bowl back to round and remove the damage. I polished the rim top with micromesh sanding pads – wet sanding with 1500-2400 grit pads and dry sanding with 3200-12000 grit pads. Each successive pad brought more shine to the rim top. I wiped the rim down with a damp cotton pad after each sanding pad. I used an Oak coloured stain pen to blend the polished rim top into the rest of the briar. The oak colour was a perfect match for the colour of the bowl.I worked some Before & After Restoration Balm into the finish of the bowl and the rim top. I worked it into the surface with my fingertips to clean, enliven and protect the wood. I let the balm sit for about 20 minutes and buffed it off with a soft cotton cloth. I took photos of the pipe at this point in the process to show what the bowl looked like at this point. I scraped out the inside of the mortise with a dental spatula to break away the tarry buildup on the walls of the shank. (Sometimes I use a pen knife and sometimes a dental spatula depending on the diameter of the mortise.) I cleaned out the internals of the bowl, shank and the airway in the shank and the stem with alcohol, pipe cleaners and cotton swabs until they came out clean. It was very dirty in the shank and stem but now it not only looks clean but smells clean.  I set the bowl aside and turned my attention to the stem. I cleaned off the stem with a light sanding to remove the oxidation near the tooth marks. I filled in the deep tooth marks on the topside next to the button and the one on the underside as well with black super glue and set the stem aside so the glue could cure.When the repair had cured I used a needle file to redefine the sharp edge of the button and flatten out the patches. I sanded the repaired areas to blend them into the surface of the stem. I also sanded out the tooth marks and chatter on the surface of the vulcanite with a folded piece of 220 grit sandpaper. I followed the 220 grit sandpaper with 400 grit wet dry sandpaper to minimize the scratching. The two papers combined did a pretty decent job of getting rid of the tooth marks and chatter as well as the oxidation and calcification. I polished the stem with Denicare Mouthpiece Polish to take out the oxidation at the button edge and on the end of the mouthpiece. I also worked hard to scrub it from the surface of the stem at the tenon end.  I polished out the scratches with micromesh sanding pads – wet sanding with 1500-2400 grit pads and dry sanding with 3200-12000 grit pads. I wiped the stem down after each sanding pad with Obsidian Oil. I polished it with Before & After Pipe Stem Polish – both Fine and Extra Fine. Once I had finished the polishing I gave it a final coat of oil and set it aside to dry. I put the bowl and stem back together. I polished the bowl and stem with Blue Diamond to polish out the scratches in the briar and the vulcanite. I gave the bowl and the stem multiple coats of carnauba wax. I buffed the pipe with a clean buffing pad to raise the shine. I hand buffed it with a microfiber cloth to deepen the shine. The pipe polished up pretty nicely. The cross grain and birdseye grain that show up in the polished bowl looked good with the polished black vulcanite. This Dunhill Root Briar 51021 Bent Billiard will soon heading off to India to join Paresh’s rotation. It really has that classic Dunhill Bent Billiard look that catches the eye. The finished pipe is shown in the photos below. The dimensions of the pipe are Length: 6 1/2 inches, Height: 2 1/8 inches, Outside diameter of the bowl: 1 ¼ inches, Chamber diameter: 3/4 of an inch. This is the 15th Dunhill Briar from the many pipes that will be coming onto the work table from the estate. With this one I have begun my work on the smooth Dunhill Pipes. What will follow is 10 more smooth finished Dunhills – Root Briar, Bruyere etc. Thanks for reading this blog and my reflections on the pipe while I worked on it. I am having fun working on this estate.

Refurbishing my Inherited Large “Soren” Pickaxe Freehand


Blog by Paresh Deshpande

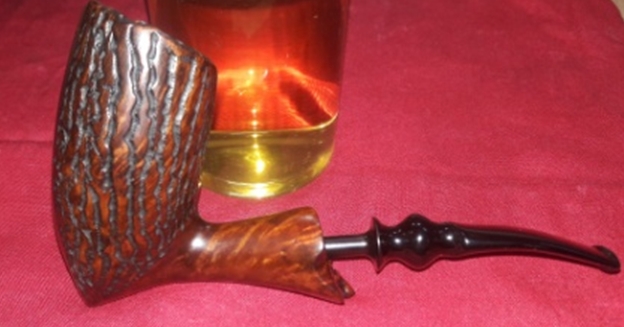
It’s been two months since I had worked on a free hand pipe that was made in Denmark, the last being a “Soren” sitter. The next pipe that I decided to work on from my grandfather’s collection is again a “SOREN”, but this pipe is a monster sized Pick Axe with a humongous bowl!!

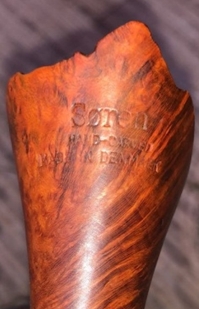
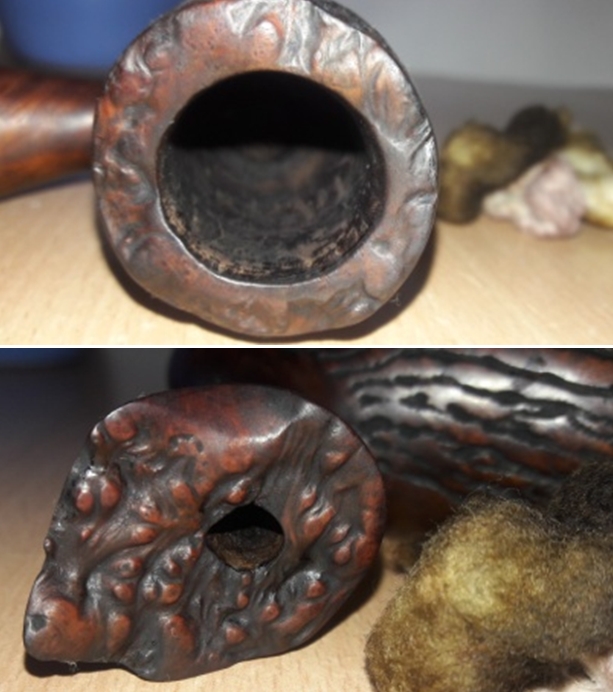
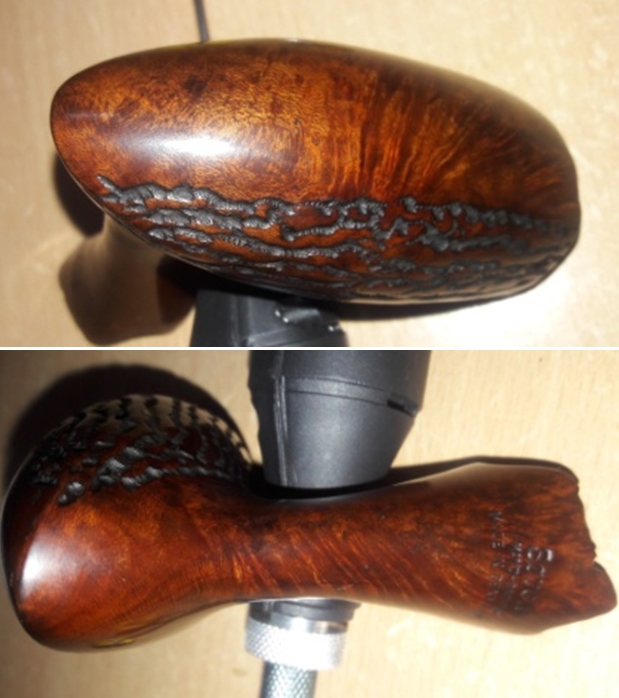
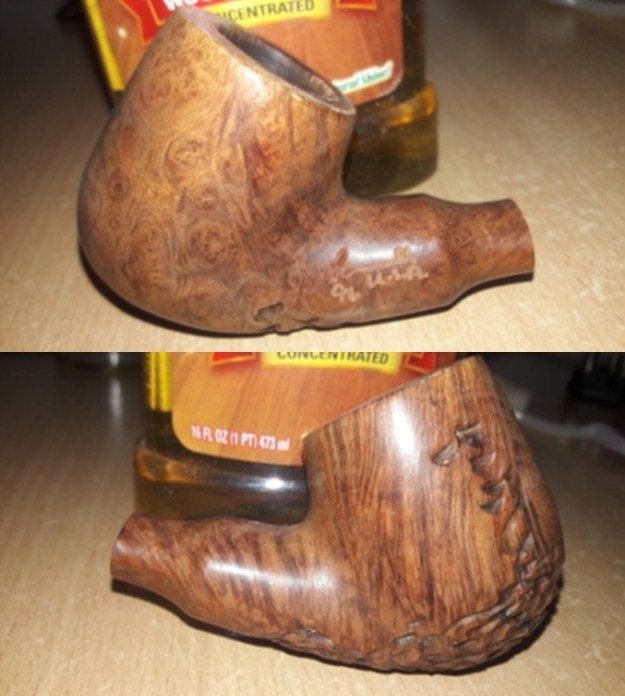
The large pick axe stummel has a combination of smooth and rusticated surface covering the bowl. The cascading water flow like hand carved rustication extends from the front left side of the bowl to the back while the smooth surface covers most of the front and complete right side of the bowl. Beautiful swirls of grains can be seen on the smooth surface interspersed with flame grains extending upwards from half way of the front of the bowl. The plateau shank end is flared towards the shank end and boasts of lovely flame grains on the right side of the shank. The flared shank end bears the only stamping seen on this pipe. It is stamped as “Soren”, name of the carver in script hand over “HAND-CARVED” over “MADE IN DENMARK” in block capital letters. The fancy vulcanite stem is devoid of any stampings.

While working on my Soren sitter free hand, I had referred to pipedia.com for information on this famous pipe carver from Denmark. I reproduce the information available on pipedia.com for a quick read.

 “Søren Refbjerg Rasmussen founded a company in 1969, which employed an average of 8 – 12 craftsmen in the 1970’s. The semi-freehands they produced were traded under his prename Søren. Rasmussen himself finished only the very best pipes. So his way of pipemaking closely resembled the ways of Preben Holm, Karl Erik Ottendahl or Erik Nørding. Altogether more than 1,000,000 pipes were sold.

Today he works alone as Refbjerg and manufactures only a small number of pipes in his workshop in DK-2860 Søborg, which are considered to be tremendously precisely executed. The dimensions mostly range from small to medium sized, corresponding to his personal preferences. The shapes adhere to the classical models, but often he gives them a touch of Danish flair. Refbjerg accepts minor faults but never uses any fillings. “Straight Grain” is the only grading, used for his very best pieces. He likes stem decorations made of exotic woods or metal rings.

As Rainer Barbi once stated “Refbjerg uses only briar from Corsica and more than that, he’s the one and only to import it from there, at least in Europe. He’s supplier to the vast majority of the Danish makers”.

From the above, it can be safely assumed that this pipe was made in the 1970’s as it bears the stamp of the carver’s prename “Soren”!!

INITIAL VISUAL INSPECTION
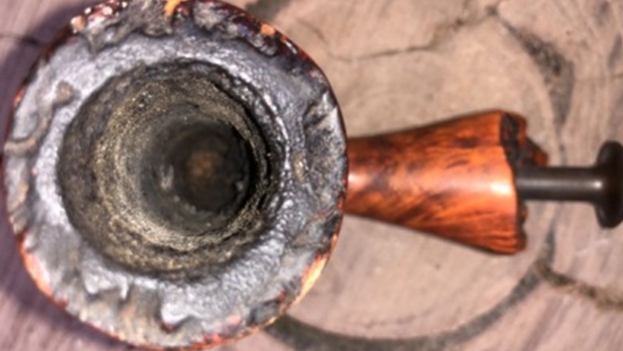
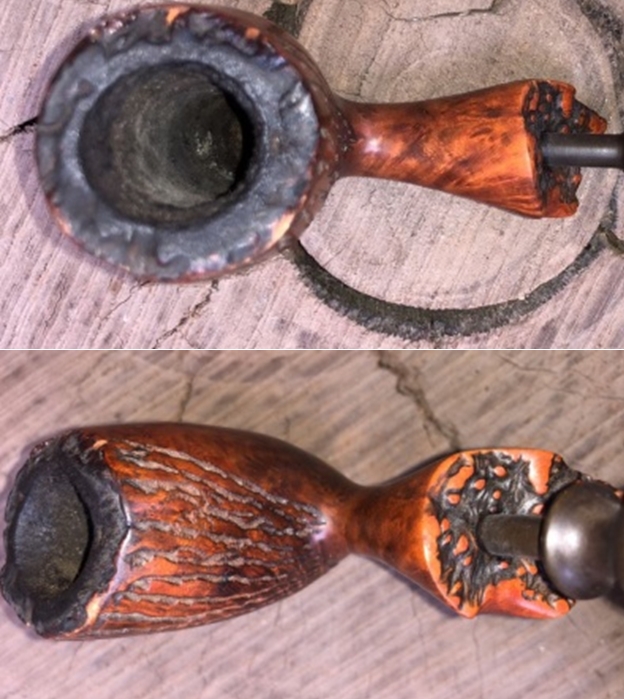
There is a thick layer of cake in the bowl. The external surface of the stummel feels solid to the touch and I think there are no issues with the condition of the chamber. However, there are always surprises when you least expect them!!! I have learnt my lessons!!! Thus, condition of the inner walls of the chamber will be ascertained once the chamber has been reamed and the cake is taken back to the bare briar. There is a strong sweet smell of tobacco which may reduce once the cake has been reamed out and chamber has been cleaned with isopropyl alcohol.The plateau rim top and shank end is covered in the overflow of lava, dirt and grime. This will have to be cleaned. The condition of the inner edge will be determined only after removing the cake. The air way in the shank is clogged with oils and tars and will require a thorough cleaning. The stummel is covered in a thick layer of dust, dirt, oils and grime. The stummel looks dull and lackluster. The grains on the smooth surface and the sandblast rustications are all covered in tars, oils and grime. To be able to appreciate these grains and rustications, the stummel will have to be cleaned. However, there is not a single fill to be seen on this large briar estate. A few minor dents and dings are seen on the stummel surface, a result of uncared for storage over a prolonged period. This issue can be sorted out by sanding the stummel surface with a sand paper, followed by micromesh sanding and polishing. The fancy quarter bent vulcanite stem is heavily oxidized and two deep bite marks can be seen on the lower surface of the stem. The lips on both upper and lower surface show significant damage due to bite marks and are out of shape. I hope to address these issues by simple heating of the stem with the flame of a Bic lighter. The air way in the stem appears to be clogged and the air flow is laborious to say the least. This will be addressed by thorough internal stem cleaning with pipe cleaners and alcohol. There is calcification seen on either surface about an inch from the button end. The bottom of lip edge shows significant deposition of dirt and oxidation. This will have to be cleaned.THE PROCESS
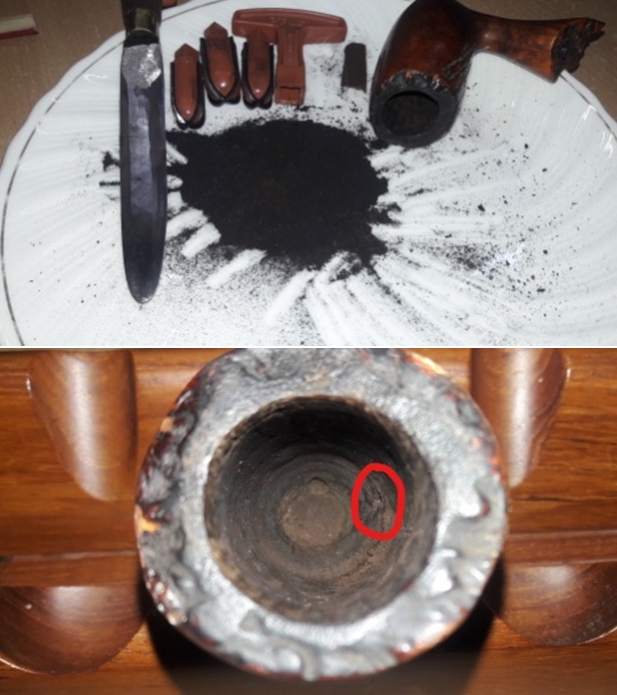
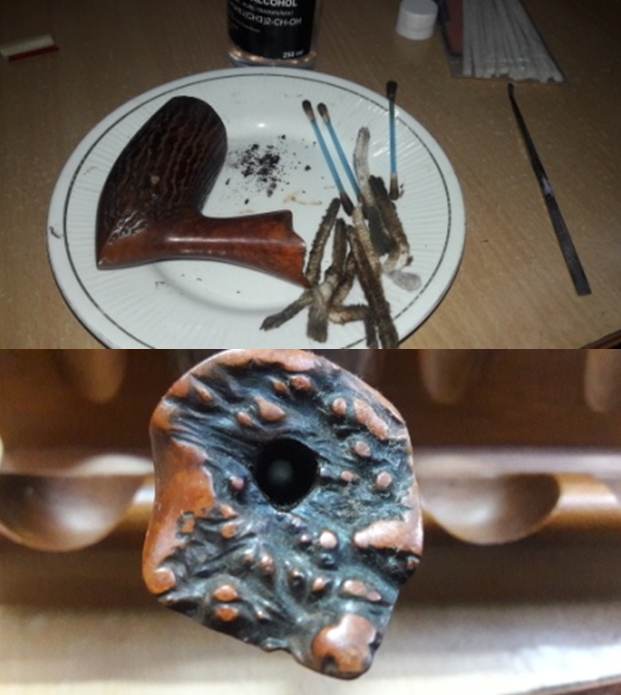
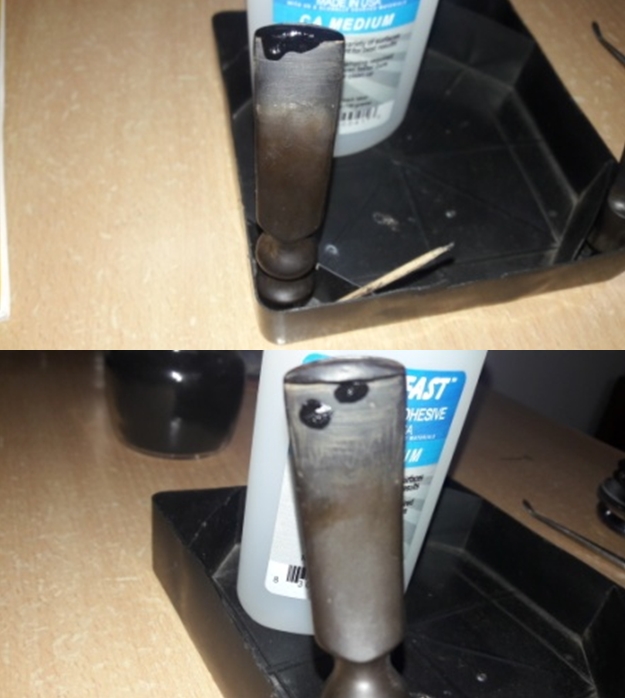
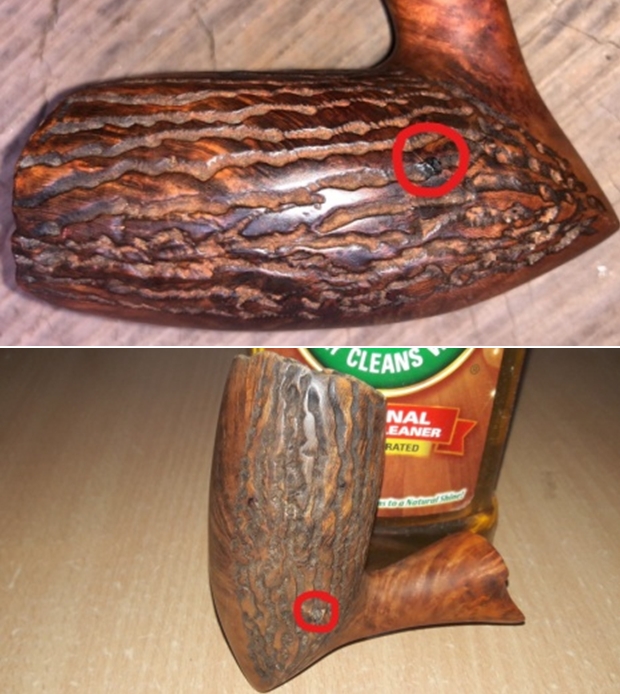
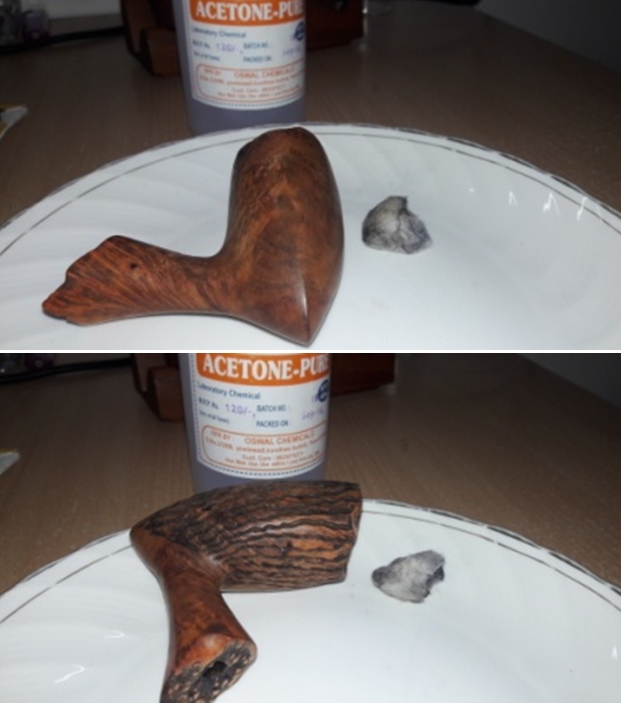
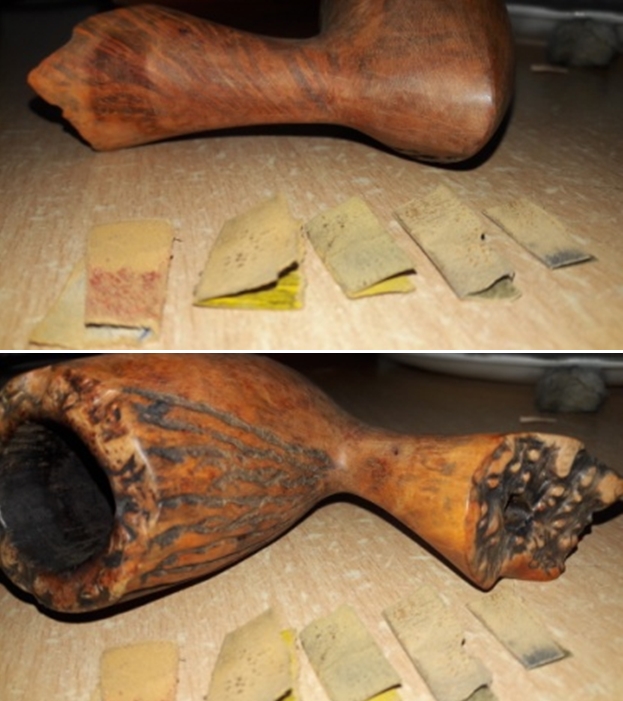
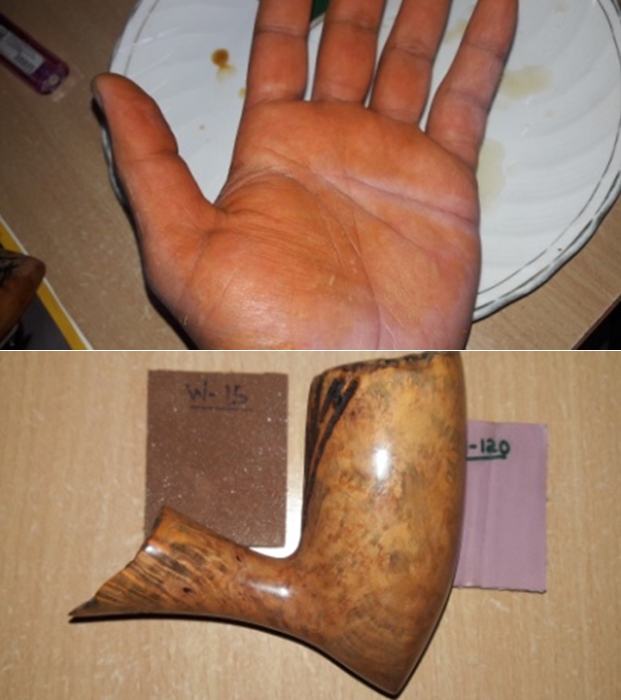
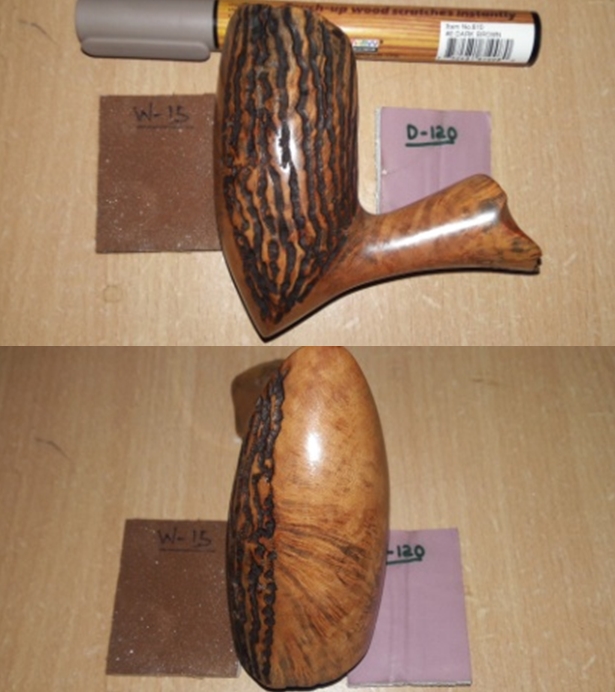
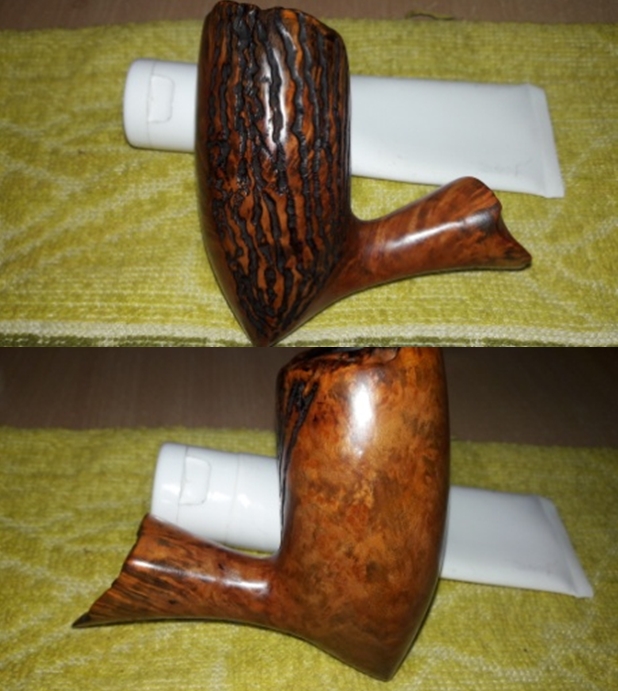
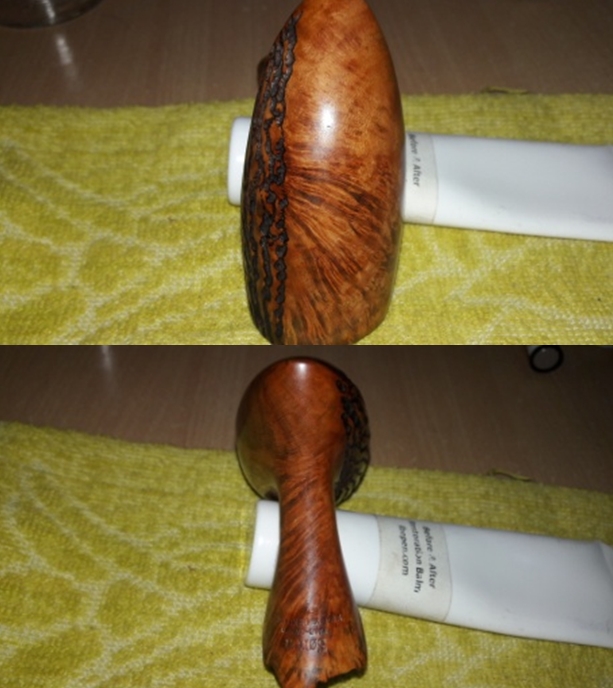
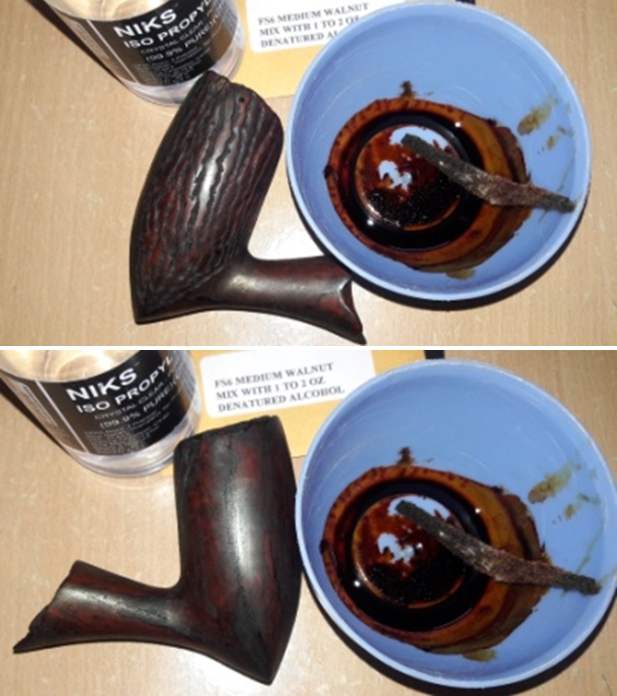
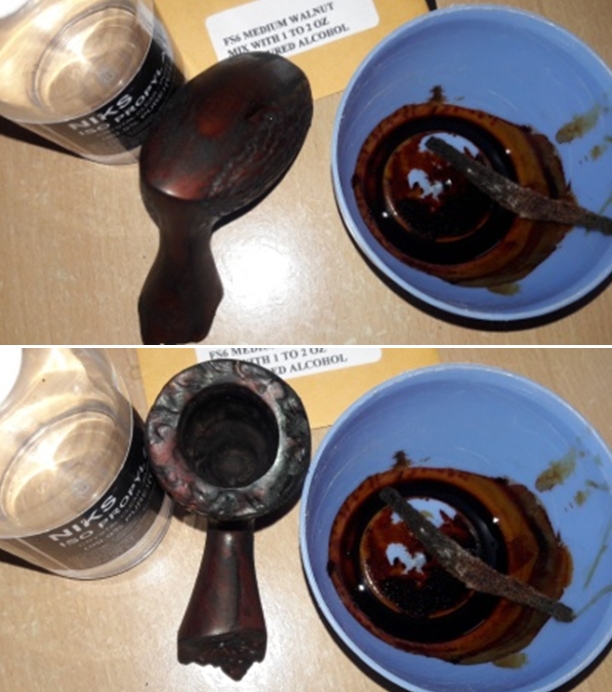
I started this project by reaming the chamber with size 2 and followed it up to size 4 head of PipNet reamer. I used a 220 grit sand paper, pinched between my thumb and forefinger, to sand the inner walls of the chamber of the pipe. Once I had reached the bare briar, I wiped the chamber with a cotton pad dipped in isopropyl alcohol. This removed all the residual carbon dust but this time not the ghost smells. This cleaning revealed the first (and pray it to be the last!!) surprise. There are a few very thin webs of line seen along the front and left side of the chamber walls and one slightly larger gash on the left side. This gash is highlighted in a red circle. I shall address this issue at the end of the restoration by coating the walls with a mixture of activated charcoal and yogurt. This coating will aid in quicker formation of a fresh cake.I followed up the reaming by cleaning the mortise and air way of the pipe using hard bristled, regular pipe cleaners and q-tips dipped in alcohol. The mortise and the draught hole was so chock-a- block with all the dried tars, oils and gunk that I had to use my fabricated spatula to scrape out all the muck from the mortise and the draught hole!!!! I gave a final clean with shank brushes dipped in alcohol and dried the mortise with a rolled paper napkin. The shank internals and the draught hole are now nice and clean with an open and full draw. The issue of sweet smells of old tobacco was also reduced to a very large extent.I cleaned out the internals of the stem using hard bristled and regular pipe cleaners dipped in alcohol. I scraped the dried oils and tars from the tenon with the sharp edge of my fabricated dental spatula. The deep bite marks on the stem and lip edges were flamed with the flame of a Bic lighter.  This helps to raise the bite marks to the surface. However, this did not work. From my experience, I have learnt that getting rid of the oxidation from and around the surface to be filled helps in subsequent better blending of the fill with the stem surface. With a folded piece of used 150 grit sand paper, I sand the area that is required to be filled. I cleaned the sanded portion of the stem with cotton pad dipped in alcohol and spot filled the damaged area with a mixture of activated charcoal and clear superglue. I set the stem aside for the fill to cure. Now, it was the turn of the stummel of the pipe to get cleaned up. Using a hard bristled tooth brush dipped in undiluted Murphy’s oil soap, I very deliberately scrubbed the stummel, cleaning the surface thoroughly. Special attention was paid to scrub out all the dirt and dust from the crevices in the rustication on the sides and front of the stummel as well as the plateau rim top and shank end. I was surprised to note that while rinsing the pipe under tap water, the water ran a bright orange color. Residual orange color can be seen on the stummel, probably due to a coating of shellac!!! I do not like it and will have to get rid of it, period. The stummel, plateau shank end and rim top were dried using paper napkins and soft cotton cloth. The cleaning of the stummel revealed the second surprise!! There was a sticky and soft spot present in the rusticated portion on the stummel; this has been marked in a red circle below. When I scrubbed the stummel, it was revealed that this fill had gone soft. I dug out the old and soft fill with my fabricated sharp knife. The alignment of this fill roughly matched with that of the larger gash observed on the left side of the chamber wall. I discussed this issue with my guru, Mr. Steve, after he had seen the pictures of the damage. It was decided that the fill would be refreshed and the inner walls of the chamber should be coated with a layer of activated charcoal and yogurt. There were three other very minor fills; two on the shank end and one in the rusticated portion of the stummel at the back of the bowl. These have been circled in red. Before progressing ahead with any further restoration, I decided to address the issues of “fills” in the stummel!!!!! I completely removed the old fills using a sharp, pointed and thin fabricated knife. I press a little briar dust and realizing what a precious commodity it is, I was very careful not to waste even a microgram. I packed it in to the gouges on the stummel, pressing it tightly with the back of a toothpick and spot applied CA superglue over it with the pointed end of the toothpick. I spot filled the shank end fills with only CA superglue as they were not large and deep. With this, I set the stummel aside for the fresh fills to cure.After the fills had cured, I sand these fills using a flat head and a round needle file to achieve a rough match with the surrounding surface. With a folded piece of 180 grit sand paper, I sand the fills in the rusticated portion to match it with the worm trails in the rustication. I wiped the entire stummel with a cotton swab soaked in acetone to remove the coating of shellac, but without the expected results. The stummel still has that orange coloration. I further sand the entire smooth surface of the stummel with a piece of folded 150, 220, 440, 600 and 1000 grit sand paper to perfectly match the fills with the rest of the stummel surface and also to achieve my aim of completely removing the shellac coating, but the coloration still persists. Hopefully, remnants of the shellac coat will be addressed during the micromesh sanding and polishing process. This use of sand paper, however, addressed all issues of the dents and dings from the stummel surface!! I wanted to remove the coating of shellac while highlighting the grains seen on the smooth portion of the stummel. To achieve this aim, I sand down the stummel using micromesh pads, wet sanding with 1500 to 2400 grit pads and dry sanding with 3200 to 12000 grit pads. I wiped the stummel with a moist cloth to clean the surface of all the dust after wet sanding. The orange coloration on the stummel can be gauged by the color of my hand. I was still not happy with the results of the micromesh sanding. Using a dark brown stain pen, I darkened the worm trails in an attempt highlight and add contrast against the raised portions in the rustication. I was not satisfied with the way the pipe looked at this stage. It was still “loud” and appeared gaudy. I rub a small quantity of “Before and After Restoration Balm” in to the briar and let it rest for a few minutes. I took some extra efforts to work the balm in to the hand carved rustications on the bowl. I hand buffed it with a horse hair brush to a deep shine. I had assumed that this would help improve the look of the stummel. Alas!! That was not to be the result. The bowl still appeared ugly and definitely did not measure up to my standards. I was lost for ideas when I shared pictures of the stummel with my guru, Mr. Steve. This is what he saw. In his characteristic style, Mr. Steve suggested that “I would first get rid of the dark stain in the worm trails by wiping the entire stummel and then re-staining it”. This is exactly what I did. I wiped the stummel with a cotton swab dipped in isopropyl alcohol and removed all the stain. Mr. Steve had sent me sachets of easy-to-use stain powder which just needed to be mixed in isopropyl alcohol and applied to the stummel surface. I chose the Walnut stain. Since this was the first time that I would be using a stain, I was a bit apprehensive. I mixed a little quantity of the stain powder and mixed it with a little quantity of 99.9% pure isopropyl alcohol to a liquid consistency. I have purposely not mentioned any specific quantity of each as I had mixed the two just by relying on feel and visual confirmation. I was fortunate that I got the mix spot on in the first attempt. There is a lot of leeway in this process in that if the stain appears too dark after application, desired transparency could be achieved by wiping the stummel with a cotton swab dipped in alcohol!!!! I folded a pipe cleaner and evenly applied the stain over the complete stummel, plateau rim and shank end. This was followed by burning excess of alcohol with the flame of a Bic lighter. This also helps the stain to set on the stummel surface. Just a word of caution to all first timers like me, please wear either plastic or latex rubber gloves if you wish to avoid the struggle of removing the stains from your hands later!!! I wiped the stummel surface with a cotton swab dipped in isopropyl alcohol as the stain was slightly darker and unevenly applied than I would have liked. This helped in bringing more transparency and evenness in the stain application. Once the stain had set, I mount a cotton cloth buffing wheel on to my local machine which is similar to a Dremel.  I set the speed at about half of the full power and applied White Diamond compound to stummel of the pipe. I wiped/ buffed the pipe with another clean cotton cloth buffing wheel to clear it of any leftover compound dust. I then mounted another cotton cloth wheel on to the polishing machine and applied several coats of carnauba wax over the stummel. I finished by giving the stummel a rigorous hand buffing using a microfiber cloth to raise the shine further. The grains on the stummel now look beautiful and peek through the stain. I shared the pictures of the stummel with Mr. Steve who appreciated the look of the stummel at this stage. With the stummel nice and clean and attractive, I worked the stem of the pipe. The fill on the stem had cured nicely and I sand it down with a flat head needle file. I sharpened the lip edges using a needle file and sand the entire stem with 220 followed by 400, 800 and 1000 grit sand paper. This helps to reduce the sanding marks left behind by the more abrasive 220 grit paper, while this process eliminated the deep oxidation seen on the vulcanite stem of the pipe. To bring a deep shine to the vulcanite stem, I went through the complete set of micromesh pads, wet sanding with 1500 to 2400 grit pads and dry sanding with 3200 to 12000 grit pads. I wiped the stem with alcohol after each pad and rubbed it down with Extra Virgin Olive oil. The internals of the stem was cleaned out using alcohol and pipe cleaners. The pictures of the process and final results are shown below. The only issue remaining to be addressed, before I could proceed with the final polish, was the deeper gash seen in the walls of the chamber. I mixed activated charcoal and yogurt to a consistency which would enable an even spread and applied it on the inner walls of the chamber and set it aside to cure it overnight.To finish, I re-attach the stem with the stummel. I mount a cotton cloth buffing wheel on to my local machine which is similar to a Dremel. I set the speed at about half of the full power and applied White Diamond compound to stummel of the pipe. I wiped/ buffed the pipe with a soft cotton cloth to clear it of any leftover compound dust. I then mounted another cotton cloth wheel on to the polishing machine and applied several coats of carnauba wax over the stummel and the stem. I finished the restoration by giving the pipe a rigorous hand buffing using a microfiber cloth to raise the shine further. The completed pipe, with the dark brown hues of the stummel contrasting with the shiny black stem, looks lovely, fresh and vibrant; the photographs speak for themselves. The beauty, size and shape of this pipe make it one of my favorite and will find a place of pride in my modest collection. If only the pipe could tell some of the stories and incidents that it has witnessed while my grand old man puffed away.…………… Cheers!!! PS: The oversized and shape of the stummel coupled with an equally proportionately long stem, posed a challenge while taking pictures of the complete finished pipe!!!! This is one of the many areas where I need to make a lot of progress. If I am unable to capture the beauty of the finished pipe and present it in an attractive manner, I feel my efforts are in vain.


A Fresh Lease on Life For a Tired Looking “Count”!


Blog by Paresh Deshpande

A few months back I had restored two Kriswill pipes from my grandfather’s collection; a “CHIEF” and a “GOLDEN CLIPPER”. Both these pipes were a big challenge to restore and took considerable time and effort. However, the end results on both these pipes were highly satisfying!! To those interested in reading the write up on both these pipes, here are the links; https://rebornpipes.com/2018/08/04/breathing-new-life-into-a-kriswill-chief-20/

https://rebornpipes.com/2018/08/11/restoring-a-kriswill-golden-clipper/

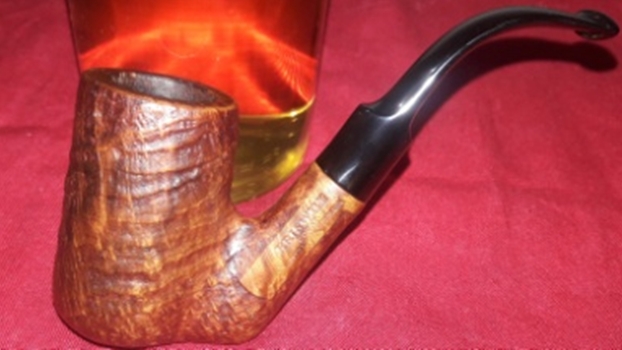
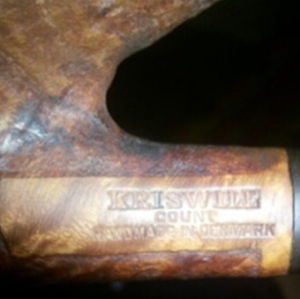
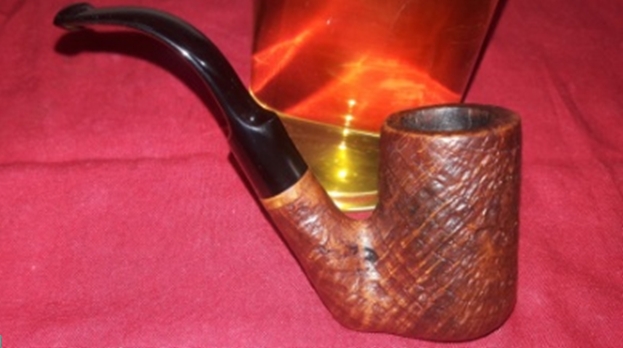
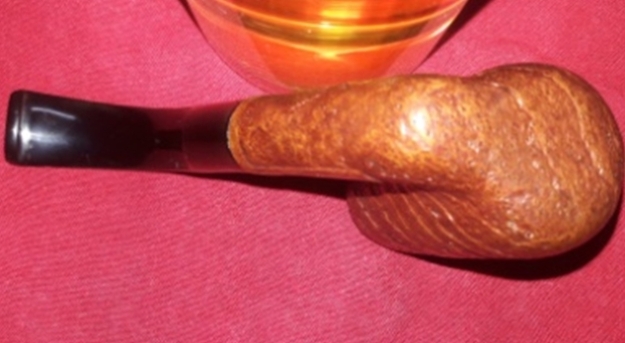
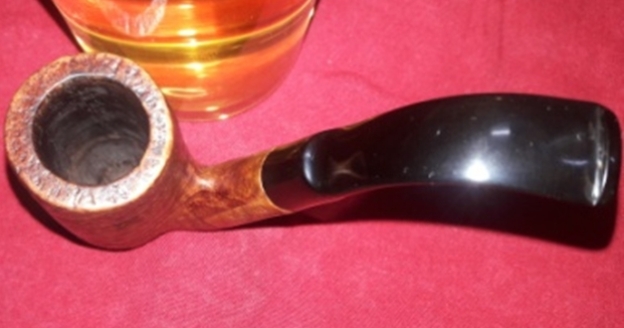
This is the third Kriswill from my grandfather’s collection, a sandblasted KRISWILL “COUNT” in an impressive Oom Paul shape. The sandblast follows the beautiful grain pattern on the stummel surface and on the steeply raking shank, save for the smooth portion on the left side of the shank which bears the only stamping visible on the pipe and is stamped as “KRISWILL” over “COUNT” over “HANDMADE IN DENMARK”. This smooth surface extends to the shank end and forms a smooth ring all around. When polished and revitalized, this ring will contrast beautifully against the glossy black of the vulcanite stem. The full bent vulcanite stem is devoid of any stamping.

While working on the Kriswill Chief and Golden Clipper, I had researched the brand and detailed information can be referred to on the links provided above.

INITIAL VISUAL INSPECTION
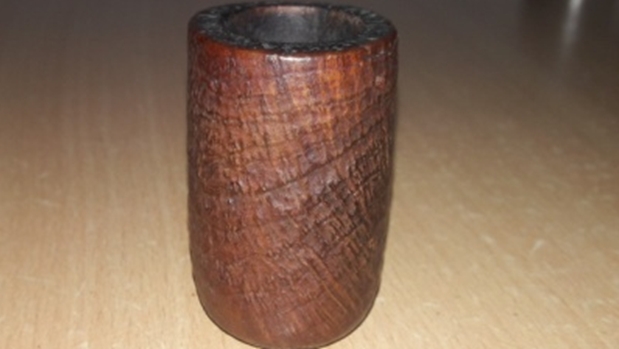
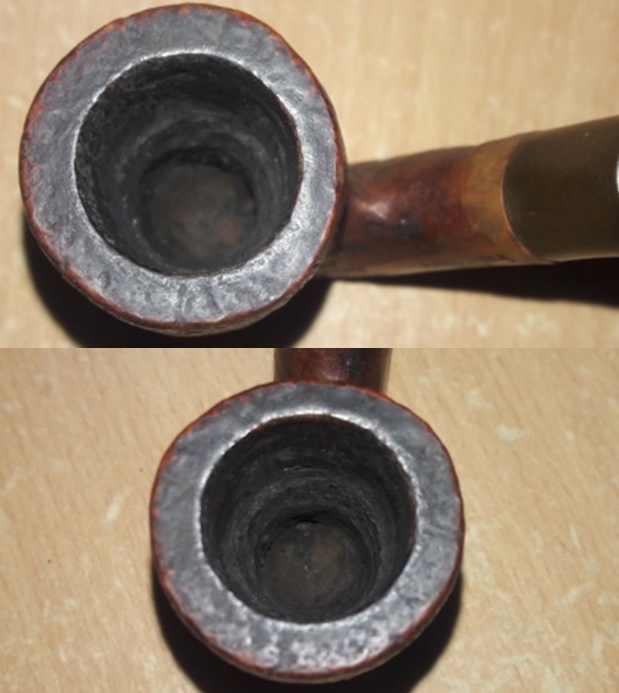
Age definitely shows on the stummel surface!!! The briar is dull and lifeless and has taken on a layer of aged patina, through which one can make out the beautiful sandblast patterns all around which follow the grains. There is a slight overflow of lava on to the stummel surface. A thorough cleaning of the stummel followed by polish will accentuate the sandblast pattern on the stummel. There is an uneven buildup of cake in the chamber with a thicker layer seen at the bottom half of the chamber. The condition of the inner walls of the chamber can be ascertained only after the cake has been removed completely and taken down to bare briar. The bowl feels robust and solid to the touch from the outside. This issue should be a breeze to address.The rim top has darkened on the due to a slight overflow of lava. This can be seen in pictures above. The condition of the inner and outer edge and rim top is pristine. The shank end of the pipe is clean. However, the mortise does show signs of accumulated dried oils, tars and remnants of ash, greatly restricting the air flow.The vulcanite stem has tooth indentations and minor tooth chatter on the upper and lower surface. It is heavily oxidized. The air flow through the stems is laborious to say the least. The fit of the stem in to the mortise is very loose, which will loosen further after the mortise and tenon have been cleaned. These issues will need to be addressed.THE PROCESS
I started this project by reaming the chamber with size 2 and followed it up with size 3 head of PipNet reamer. I used a 220 grit sand paper, pinched between my thumb and forefinger, to sand the inner walls of the chamber of the pipe. Once I had reached the bare briar, I wiped the chamber with a cotton pad dipped in isopropyl alcohol. This removed all the residual carbon dust and also rid the chamber of all ghost smells. The walls of the chamber are nice and solid with no signs of heat fissures or cracks. I followed up the reaming by cleaning the mortise and air way of the pipe using hard bristled and regular pipe cleaners, q-tips dipped in alcohol. The mortise and the draught hole were given a final clean with shank brushes dipped in alcohol. I dried the mortise with a rolled paper napkin. The shank internals and the draught hole are now nice and clean with an open and full draw.I cleaned out the internals of the stem using hard bristled and regular pipe cleaners dipped in alcohol. I scraped the dried oils and tars from the tenon with the sharp edge of my fabricated dental spatula. The deep bite marks on the stem were flamed using a Bic lighter. However, this did not work. From my experience, I have learnt that getting rid of the oxidation from and around the surface to be filled helps in subsequent better blending of the fill with the stem surface. With a folded piece of used 150 grit sand paper, I sand the area that is required to be filled. I cleaned the sanded portion of the stem with cotton pad dipped in alcohol and spot filled the damaged area with a mixture of activated charcoal and clear superglue. I set the stem aside for the fill to cure.Now, it was the turn of the stummel to get cleaned up. Using a hard bristled tooth brush dipped in undiluted Murphy’s oil soap, I very deliberately scrubbed the stummel, cleaning the surface thoroughly. Special attention was paid to scrub out all the dirt and dust from the crevices in the sandblast on the stummel and shank. I cleaned the plateau rim and shank end too. The stummel, plateau shank end and rim top were dried using paper napkins and soft cotton cloth. I rub a small quantity of “Before and After Restoration Balm” in to briar and let it rest for a few minutes. I took some extra efforts to work the balm in to the sandblast finish of the bowl. The balm almost immediately works its magic and the briar now has a nice vibrant appearance. I further buff it with a horse hair shoe brush. With the stummel nice and clean and attractive, I worked the stem of the “COUNT”. I sharpened the lip edges using a needle file and sand the entire stem with 220 followed by 400, 800 and 1000 grit sand paper. This helps to reduce the sanding marks left behind by the more abrasive 220 grit paper. By mere sanding itself, the minor tooth marks seen on stem surfaces were completely addressed. This process also eliminated the deep oxidation seen on the vulcanite stem. To bring a deep shine to the vulcanite stem, I went through the complete set of micromesh pads, wet sanding with 1500 to 2400 grit pads and dry sanding with 3200 to 12000 grit pads. I wiped the stem with alcohol after each pad and rubbed it down with Extra Virgin Olive oil. The internals of the stem was cleaned out using alcohol and pipe cleaners. The pictures of the process and final results are shown below. To finish, I re-attach the stem with the stummel. I mount a cotton cloth buffing wheel on to my local machine which is similar to a Dremel.  I set the speed at about half of the full power and applied White Diamond compound to each of the three pipes. I wiped/ buffed the pipe with a soft cotton cloth to clear it of any leftover compound dust. I then mounted another cotton cloth wheel on to the polishing machine and applied several coats of carnauba wax over the stummel and the stem. I finished the restoration by giving the pipe a rigorous hand buffing using a microfiber cloth to raise the shine further. The completed pipe, with the dark brown hues of the sandblast stummel contrasting with the shiny black stem, looks lovely, fresh and vibrant; the photographs speak for themselves. If only the pipe could tell some of my grand Old man’s stories and recount incidents witnessed while being smoked.…………… Cheers!!

Restoring the 12th Pipe from Bob Kerr’s Estate – A Dunhill Shell Briar 197 F/T Billiard


Blog by Steve Laug

In my ongoing work on Bob Kerr’s Estate I seem to be making a dent. I am working my way through the Dunhills in his collection – the Shell and Tanshell pipes. I am cleaning them for the family and moving them out into the hands of pipemen and women who will carry on the trust that began with Bob and in some pipes was carried on by Bob. In the collection along with the Dunhills are a good bevy of Petersons, some Comoy’s and Barlings as well as a lot of other pipes – a total of 125 pipes along with a box of parts. This is the largest estate that I have had the opportunity to work on. I put together a spread sheet of the pipes and stampings to create an invoice. I was taking on what would take me a fair amount of time to clean up. I could not pass up the opportunity to work on these pipes though. They were just too tempting.

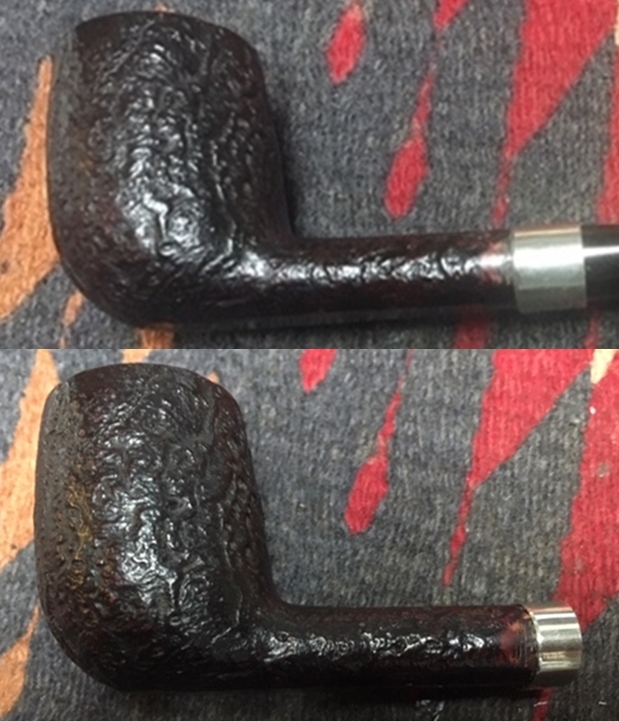
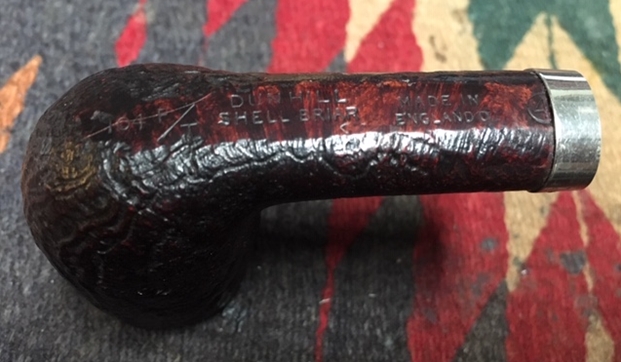
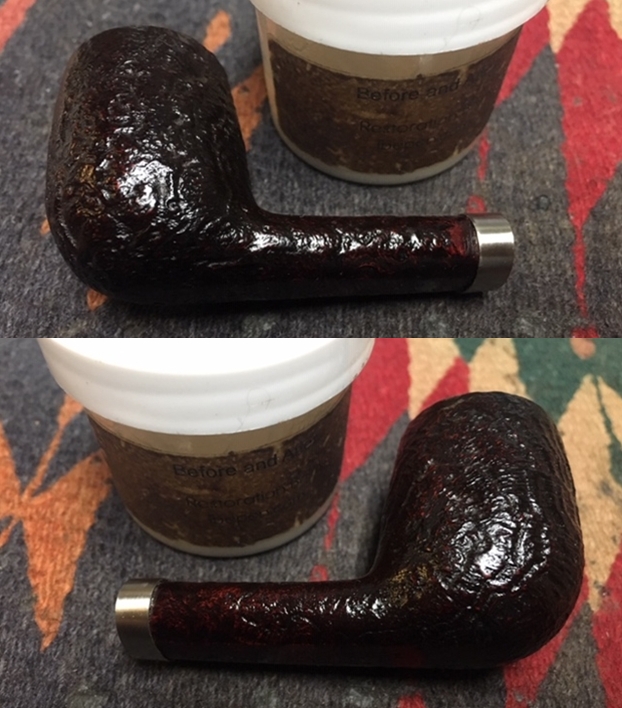
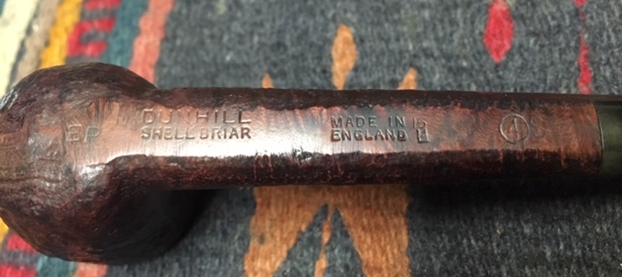
I sorted the pipes into groups of the various brands and had a box of 25 different Dunhill pipes in different shapes, styles and sizes. I decided to work on the Dunhills first. It was a great chance to see the shape variety up close and personal. The photo below shows the box of Dunhill pipes.I am making progress on the 25 Dunhills with only 13 more to go. I went through the box of Dunhills shown above and chose the 12th sandblast pipe to work on – another Group 4 Shell Billiard with a long repair band. It is stamped on the underside of the bowl heel and the shank with the following information. The shape number 197 F/T is on the heel followed by Dunhill over Shell Briar. The Made in England stamp and any size or date stamp has been obscured by the long repair band on a cracked shank covers the rest of the stamping so I cannot date it. The nickel band is split but since it is glued in place it is not movable and will be left as is. The nickel band is a bit overwhelming in terms of it being the first thing that catches the eye. There is not much to be done with that. The round shank and band however flow into a tapered fishtail stem that is oxidized and has tooth marks and chatter near the button. There is some calcification on the first inch of the stem ahead of the button and there is some light damage to the top of the button. The Shell Briar finish is dirty but nonetheless there is something quite beautiful about the repaired pipe. There is grime and tars filling in much of the craggy finish. The bowl had a light cake and some lava overflowed on the rim top. Bob had gone to a lot of work to repair this one and keep it in his rotation. I think there is still a lot of life left in this little billiard. With a little work this pipe would look good once again. I took pictures of the pipe before I started working on it. I took some close up photos of the rim top, stem and the banded shank to show what I was dealing with. Judging from the condition this little billiard was in and the amount of work that went into banding and repairing the shank, I think I can safely say that it was another one of Bob’s favourite pipes. The cake in the bowl not quite as thick and the lava on the rim top was less so it makes me wonder how long after he repaired it that he actually used this pipe. You can see the cake and tobacco in the bowl. The stem was dirty, oxidized, calcified and had a lot of tooth chatter on the top and underside for about an inch ahead of the button. You can see the length of the nickel band on the shank but what you cannot see is what is visible with a light down the shank. The band holds together several cracks in the shank. They have been well repaired and the band has been glued in place and fitted nicely to the shank.I took a photo of the underside of the band to show the split in the nickel. It is smooth and has been glued to the shank so it is not easily removable and also not necessary to remove. I will need to fill in the crack and sand and polish it smooth.I took a photo of the stamping on the underside of the bowl and shank. It was weak but still readable.

I am sure if you have read the restoration work on the previous pipes you have already read what I included about Bob Kerr, the pipeman who held these pipes in trust before I came to work on them. Also, if you have followed the blog for long you will already know that I like to include background information on the pipeman whose pipes I am restoring. For me, when I am working on an estate I really like to have a sense of the person who held the pipes in trust before I worked on them. It gives me another dimension of the restoration work. I asked Brian if he or his wife would like to write a brief biographical tribute to her father, Bob. His daughter worked on it and I received the following short write up on him and some pictures to go along with the words. Thank you Brian and tell your wife thank you as well.

I am delighted to pass on these beloved pipes of my father’s. I hope each user gets many hours of contemplative pleasure as he did. I remember the aroma of tobacco in the rec room, as he put up his feet on his lazy boy. He’d be first at the paper then, no one could touch it before him. Maybe there would be a movie on with an actor smoking a pipe. He would have very definite opinions on whether the performer was a ‘real’ smoker or not, a distinction which I could never see but it would be very clear to him. He worked by day as a sales manager of a paper products company, a job he hated. What he longed for was the life of an artist, so on the weekends and sometimes mid-week evenings he would journey to his workshop and come out with wood sculptures, all of which he declared as crap but every one of them treasured by my sister and myself. Enjoy the pipes, and maybe a little of his creative spirit will enter you!

I have included one of Bob’s wood carvings to give you an idea of what he daughter wrote about above. You can see his artistry in the carving that is patterned after British Columbia’s Coastal First Nations people. To me this is a sea otter but perhaps a reader may enlighten us.

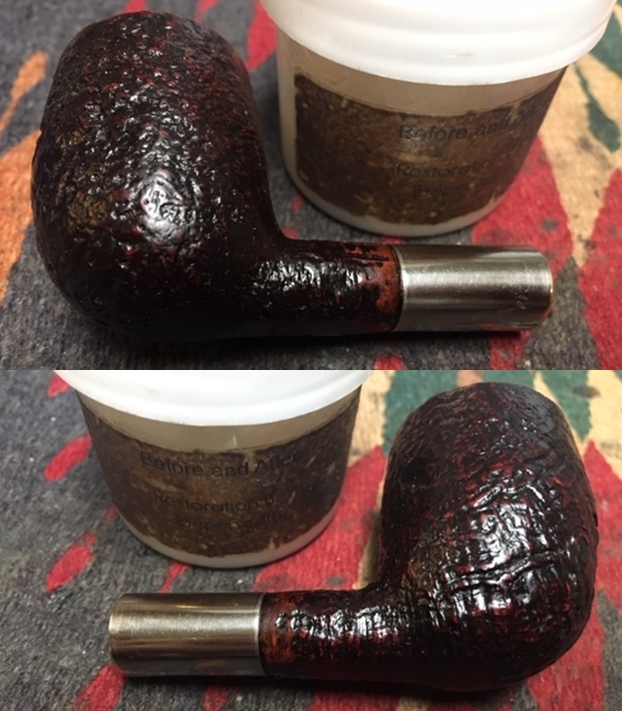
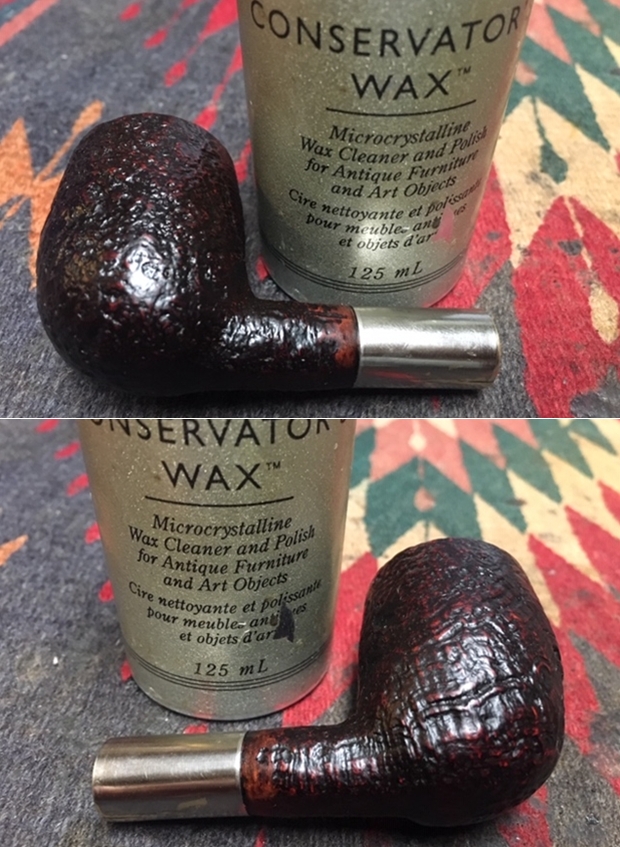
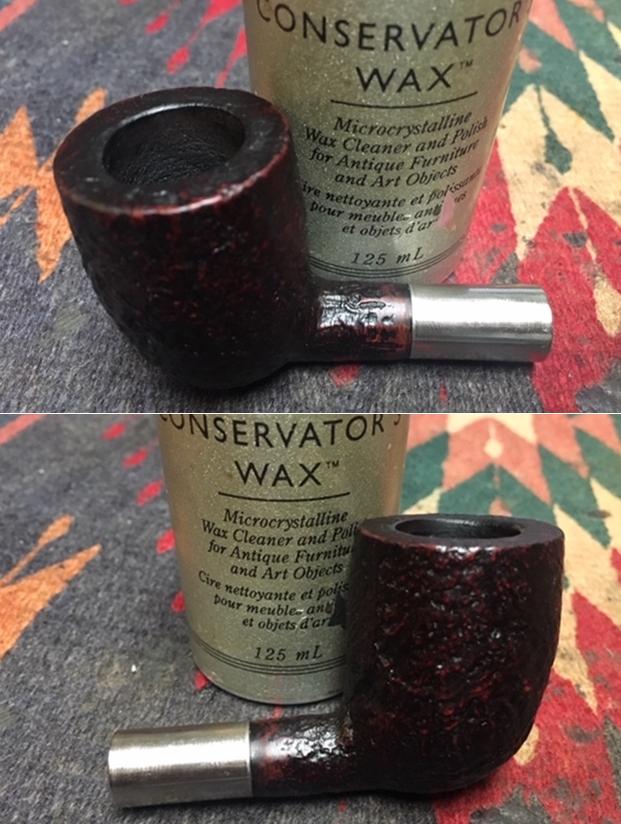
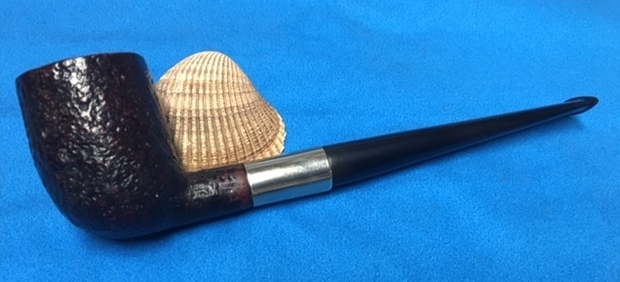
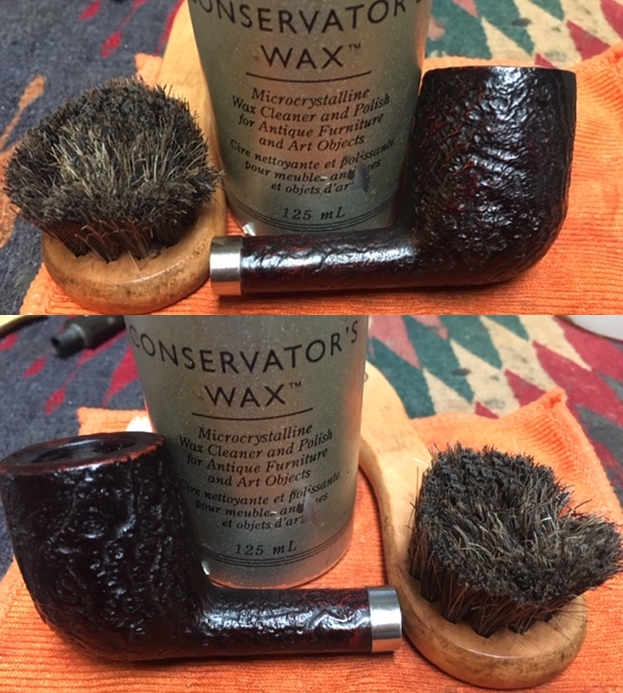
Having already worked on 11 other pipes from Bob’s estate I had a pretty good feel for how he used and viewed his pipes. I am coming to the end of the Shell and Tanshell pipes (2 more to go). I learned to tell which pipes were his favoured ones and which were his work horses. I could get a sense of the ones that accompanied him into his carving shop. In many ways it was as if he was standing over my shoulder while I cleaned up his pipes. With that in mind I turned to work on the 12th of his pipes. I reamed the bowl to remove the cake on the walls and the debris of tobacco shards that still remained. I used a PipNet pipe reamer to start the process. I followed that with a Savinelli Fitsall Pipe Knife to clean up the remaining cake in the conical bottom of the bowl. I sanded the bowl with 220 grit sandpaper wrapped around a piece of dowel. It smooths out the walls and also helps bring the inner edges back to round. With the bowl reamed it was time to work on the rim top and remove the thick lava coat in the blast of the rim. I used the Savinelli Fitsall knife to scrape away the high spots of lava and a brass bristle tire brush to work on the rim top and remove the buildup there. It also worked to minimize the rim damage a bit.With the bowl reamed and rim top cleaned I scrubbed the sandblast finish. This is pretty much my process in cleaning either sandblast or rusticated finishes. I scrubbed it with undiluted Murphy’s Oil Soap and a tooth brush to remove the grime from the grooves and canyons of the blast. I worked over the tarry lava overflow on the rim with the tooth brush and a brass brush. I rinsed the pipe under running water to remove the grime. I dried it off with a soft towel. The pictures below show the finish after scrubbing and rinsing. The outer edges of the rim were in good condition but the finish was worn off so I used a Mahogany stain pen to touch up the rim top and edges. I have found that particular stain pen matches the colours on the Shell Briar quite well. It is transparent enough to let the other under colours show through and blends in well with the existing stain.I decided to work on the crack in the nickel band first. I fill in the small open areas with clear super glue. It has the advantage of not only being clear but will also flow underneath the band bonding it to the briar. Once the glue cured I sanded the repaired area with micromesh sanding pads to smooth it out. I polished the band with the micromesh pads – wet sanding with 1500-2400 grit pads and dry sanding with 3200-12000 grit pads. I wiped the band down with a cotton pad after each sanding. I worked some Before & After Restoration Balm into the sandblast finish of the bowl and the rim top. I worked it into the nooks and crannies of the sandblast surface with my fingertips to clean, enliven and protect the wood. I let the balm sit for about 20 minutes and buffed it off with a soft cotton cloth and then polished it with a horsehair shoe brush. I took photos of the pipe at this point in the process to show what the bowl looked like at this point. I scraped out the inside of the mortise with a dental spatula to break away the tarry buildup on the walls of the shank. I cleaned out the internals of the bowl, shank and the airway in the shank and the stem with alcohol, pipe cleaners and cotton swabs until they came out clean. It was very dirty in the shank and stem but now it not only looks clean but smells clean. I gave the bowl several coats of Conservator’s Wax and buffed it with a shoe brush after each coat of wax to raise the shine. The bowl looks really good at this point. The sandblast grain just shines and is showing all of the different layers of colour that make up a Dunhill Shell finish. I set the bowl aside and turned my attention to the stem. I sanded out the majority of the marks and tooth chatter on the surface of the vulcanite with a folded piece of 220 grit sandpaper. I followed the 220 grit sandpaper with 400 grit wet dry sandpaper to minimize the scratching. The two papers combined did a pretty decent job of getting rid of the tooth marks and chatter as well as the oxidation and calcification. As I work on this stem, I am pretty sure that the tenon is Delrin. That makes sense – a broken shank and a snapped tenon. It is not too often that I get to sing the praises of another repair person. But I have to because this repair guy was amazing. He did a great job on rebuilding this old guy and giving it life.I polished the stem with Denicare Mouthpiece Polish to take out the oxidation at the button edge and on the end of the mouthpiece. I also worked hard to scrub it from the surface of the stem at the tenon end.  I polished out the scratches with micromesh sanding pads – wet sanding with 1500-2400 grit pads and dry sanding with 3200-12000 grit pads. I wiped the stem down after each sanding pad with Obsidian Oil. I polished it with Before & After Pipe Stem Polish – both Fine and Extra Fine. Once I had finished the polishing I gave it a final coat of oil and set it aside to dry. I put the bowl and stem back together. I polished the bowl and stem with Blue Diamond to polish out the scratches in the briar, the nickel band and the vulcanite. I gave the bowl multiple coats of Conservator’s Wax and the stem multiple coats of carnauba wax. I buffed the pipe with a clean buffing pad to raise the shine. I hand buffed it with a microfiber cloth to deepen the shine. The pipe polished up pretty nicely. The contrast of colours that show up in the sandblast of the Shell briar bowl looked good with the polished black vulcanite. The long nickel band actually does not look too bad and this well repaired Shell Briar 197 F/T Billiard has a long life ahead of it for the next pipeman who takes on the trust of Bob’s pipes. It really has that classic Dunhill look that catches the eye. The finished pipe is shown in the photos below. The dimensions of the pipe are Length: 6 1/2 inches, Height: 1 7/8 inches, Outside diameter of the bowl: 1 3/8 inches, Chamber diameter: 3/4 of an inch. This is the 12th Dunhill and the 11th Shell from the many pipes that will be coming onto the work table from the estate. Thanks for reading this blog and my reflections on the pipe while I worked on it. I am having fun working on this estate.

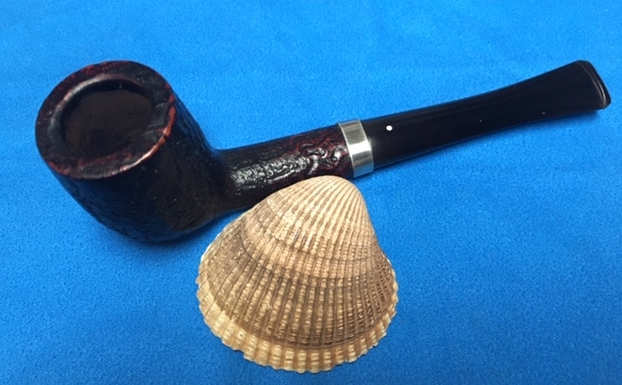
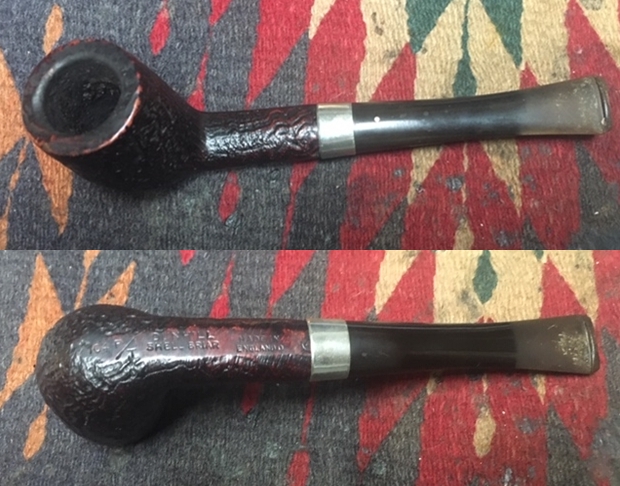
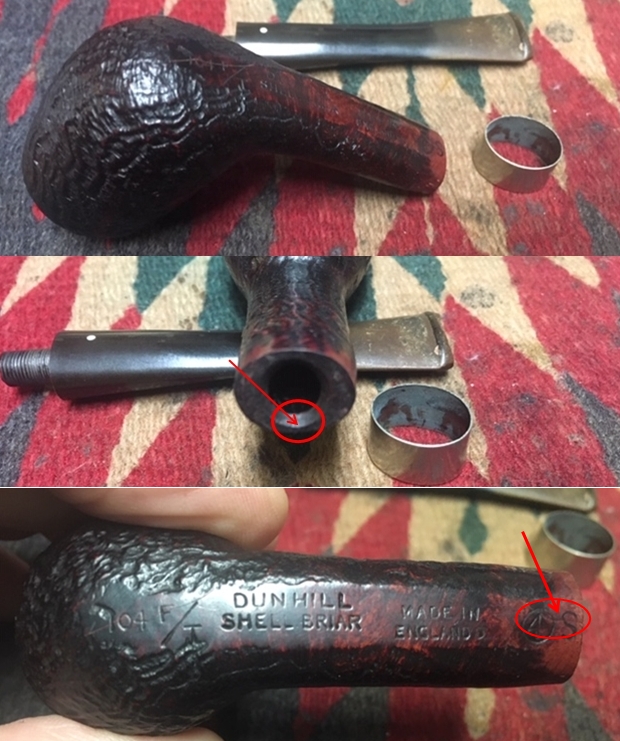
Restoring the 11th Pipe from Bob Kerr’s Estate – A Dunhill Shell Briar 104 F/T Oval Shank Billiard


Blog by Steve Laug

In my ongoing work on Bob Kerr’s Estate I seem to be making a dent. I am working my way through the Dunhills in his collection – the Shell and Tanshell pipes. I am cleaning them for the family and moving them out into the hands of pipemen and women who will carry on the trust that began with Bob and in some pipes was carried on by Bob. In the collection along with the Dunhills are a good bevy of Petersons, some Comoy’s and Barlings as well as a lot of other pipes – a total of 125 pipes along with a box of parts. This is the largest estate that I have had the opportunity to work on. I put together a spread sheet of the pipes and stampings to create an invoice. I was taking on what would take me a fair amount of time to clean up. I could not pass up the opportunity to work on these pipes though. They were just too tempting.

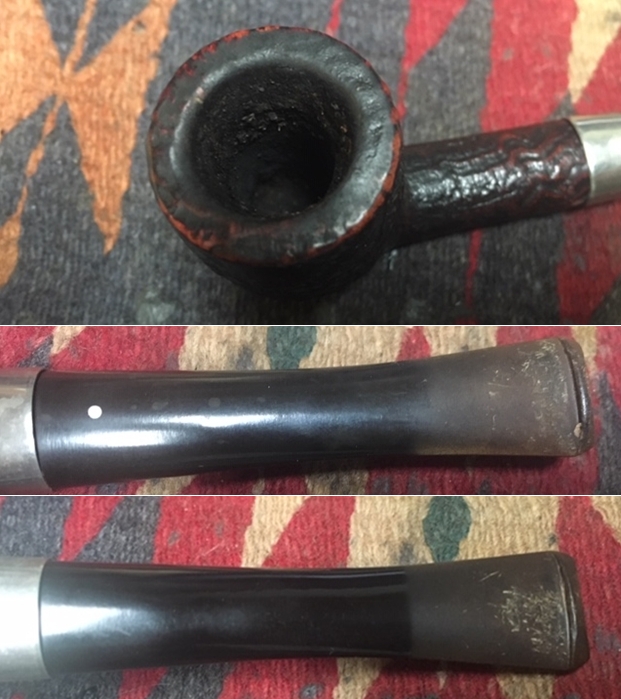
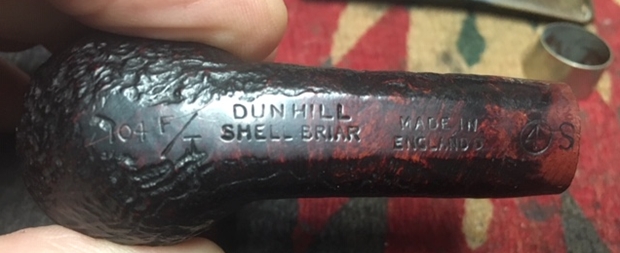
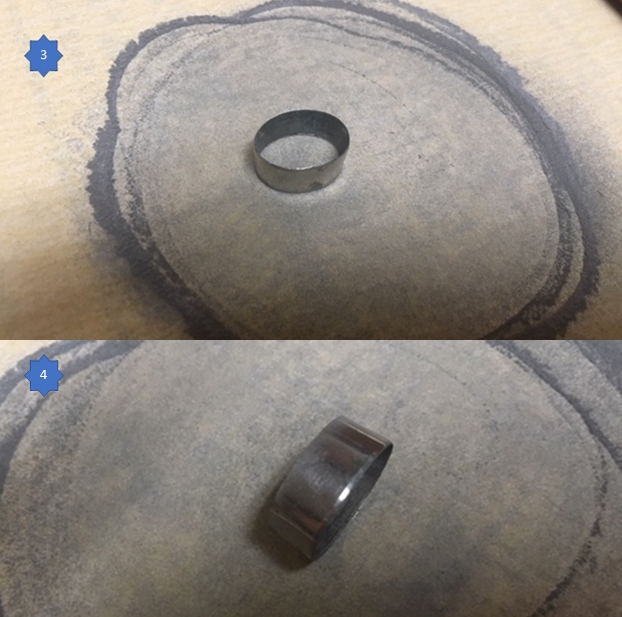
I sorted the pipes into groups of the various brands and had a box of 25 different Dunhill pipes in different shapes, styles and sizes. I decided to work on the Dunhills first. It was a great chance to see the shape variety up close and personal. The photo below shows the box of Dunhill pipes.I am making progress on the 25 Dunhills with only 14 more to go. I went through the box of Dunhills shown above and chose the 11th sandblast pipe to work on – another Group 4 Shell Billiard with an oval shank and tapered stem. It is stamped on the underside of the bowl heel and the shank with the following information. On the heel it reads 104F/T which is the shape number followed by Dunhill over Shell Briar. That is followed by Made in England 0 which would identify it as made in 1960. Next to the stem/shank junction (under the band) is a 4S which gives the size of this Shell pipe. Stem is oxidized, tooth marks and chatter near the button, some calcification. The oval shank of this billiard flows into a tapered stem that is oxidized and has tooth marks and chatter near the button. There is some calcification on the first inch of the stem ahead of the button and there is some light damage to the top of the button. The Shell Briar finish is dirty but nonetheless is beautiful. There is grime and tars filling in much of the craggy finish. The bowl had a thick cake and lava overflowed on the rim top. The inner edge of the bowl shows some damage but the extent will not be clear until the bowl is reamed and the rim top cleaned. The shank has a nickel repair band that really cheapens the look. It is loose so I plan on examining the shank carefully to see if it is really necessary or was just added as bling. With a little work this pipe would look good once again. I took pictures of the pipe before I started working on it. I took some close up photos of the rim top and stem to show what I was dealing with. Judging from the condition this little billiard was in I think I can safely say that it was another one of Bob’s favourite pipes. The cake in the bowl is another thick one and the lava on the rim top is also very thick. You can see the cake and tobacco in the bowl. The stem was dirty, oxidized, calcified and had a lot of tooth chatter on the top and underside for about an inch ahead of the button. The button surface was also marked with tooth chatter. I removed the loose band from the shank so I could read the stamping on the shank. I took a photo of the stamping on the underside of the bowl and shank. It was clear and readable.I am sure if you have read the restoration work on the previous 8 pipes you have already read what I included about Bob Kerr, the pipeman who held these pipes in trust before I came to work on them. Also, if you have followed the blog for long you will already know that I like to include background information on the pipeman whose pipes I am restoring. For me, when I am working on an estate I really like to have a sense of the person who held the pipes in trust before I worked on them. It gives me another dimension of the restoration work. I asked Brian if he or his wife would like to write a brief biographical tribute to her father, Bob. His daughter worked on it and I received the following short write up on him and some pictures to go along with the words. Thank you Brian and tell your wife thank you as well.

I am delighted to pass on these beloved pipes of my father’s. I hope each user gets many hours of contemplative pleasure as he did. I remember the aroma of tobacco in the rec room, as he put up his feet on his lazy boy. He’d be first at the paper then, no one could touch it before him. Maybe there would be a movie on with an actor smoking a pipe. He would have very definite opinions on whether the performer was a ‘real’ smoker or not, a distinction which I could never see but it would be very clear to him. He worked by day as a sales manager of a paper products company, a job he hated. What he longed for was the life of an artist, so on the weekends and sometimes mid-week evenings he would journey to his workshop and come out with wood sculptures, all of which he declared as crap but every one of them treasured by my sister and myself. Enjoy the pipes, and maybe a little of his creative spirit will enter you!

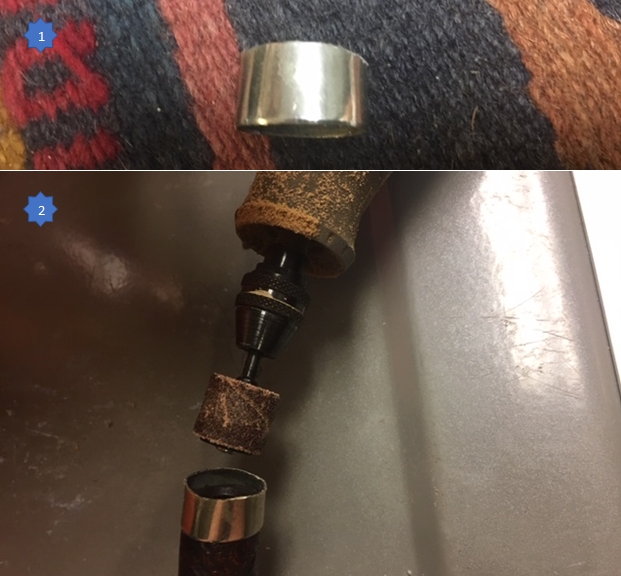
I have included one of Bob’s wood carvings to give you an idea of what he daughter wrote about above. You can see his artistry in the carving that is patterned after British Columbia’s Coastal First Nations people. To me this is a sea otter but perhaps a reader may enlighten us.Having already worked on 10 other pipes from Bob’s estate I had a pretty good feel for how he used and viewed his pipes. Even with the pipes so far I could tell which ones were his favoured ones and which were his work horses. I could get a sense of the ones that accompanied him into his carving shop. In many ways it was as if he was standing over my shoulder while I cleaned up his pipes. With that in mind I turned to work on the 11th of his pipes. I reamed the bowl to remove the cake on the walls and the debris of tobacco shards that still remained. I used a PipNet pipe reamer to start the process. I followed that with a Savinelli Fitsall Pipe Knife to clean up the remaining cake in the conical bottom of the bowl. I sanded the bowl with 220 grit sandpaper wrapped around a piece of dowel. It smooths out the walls and also helps bring the inner edges back to round. With the bowl reamed it was time to work on the rim top and remove the thick lava coat in the blast of the rim. I used the Savinelli Fitsall knife to scrape away the high spots of lava and a brass bristle tire brush to work on the rim top and remove the buildup there. It also worked to minimize the rim damage a bit.I decided to check out the shank and see if I could find a crack once the band was removed. I examined it with a lens under a bright light and sure enough there was a crack on the underside of the shank that went through the circle 4S. It was a fine hairline crack but the band served to keep it that way. I have circled the crack to show its location.I will need to reband the shank but I think I will use a much narrower band that maintains the integrity of the look and does not compromise the repair. I decided to start with that part of the restoration and see what I could do. I used the Dremel and sanding drum to take the band down as much as I could and still hold onto it. Then I used 220 grit sandpaper and “topped” the band to a point where it worked to do the job it was created for but was far less intrusive. I was able to only cover the S and part of the 4 so it was a lot better than when I started. Here are some photos of the process. Photo 1 shows the original width of the band. Photo 2 shows the Dremel and sanding drum. I used the sanding drum held sideways (horizontal to the shank end) and reduced the width of the band as much as I could without damaging the end of the shank.Photo 3 shows the process of “topping” the band on the topping board with a new piece of 220 grit sandpaper. Using this method after the Dremel allowed me to remove the sharpness of the edge and also even out the edge. Photo 4 shows the width of the band from the side. I was able to reduce by just over half.I cleaned up the shank end with a little alcohol and a q-tip and then glued the band in place with white all-purpose glue. Once the glue dried and the band was solidly in place I took the photos below to give an idea of the new look of the band. I have included the first photo below to show the contrast of what the band originally looked like and what the band looks like now. I cleaned up the excess glue around the newly fit band and then worked some Before & After Restoration Balm into the sandblast finish of the bowl and the rim top. I worked it into the nooks and crannies of the sandblast surface with my fingertips to clean, enliven and protect the wood. I let the balm sit for about 20 minutes and buffed it off with a soft cotton cloth and then polished it with a horsehair shoe brush. I took photos of the pipe at this point in the process to show what the bowl looked like at this point. I polished the nickel band and edges to dress it up and give it a cleaner appearance using worn micromesh sanding pads. The photos below tell the story. I scraped out the inside of the mortise with a small pen knife to break away the tarry buildup on the walls of the shank. I cleaned out the internals of the bowl, shank and the airway in the shank and the stem with alcohol, pipe cleaners and cotton swabs until they came out clean. It was very dirty in the shank and stem but now it not only looks clean but smells clean.  I gave the bowl several coats of Conservator’s Wax and buffed it with a shoe brush after each coat of wax to raise the shine. The bowl looks really good at this point. The sandblast grain just shines and is showing all of the different layers of colour that make up a Dunhill Shell finish. I set the bowl aside and turned my attention to the stem. I sanded out the majority of the marks and tooth chatter on the surface of the vulcanite with a folded piece of 220 grit sandpaper. I followed the 220 grit sandpaper with 400 grit wet dry sandpaper to minimize the scratching. The two papers combined did a pretty decent job of getting rid of the tooth marks and chatter as well as the oxidation and calcification. There were still a few small tooth marks that needed work. I polished the stem with Denicare Mouthpiece Polish to take out the oxidation at the button edge and on the end of the mouthpiece. I also worked hard to scrub it from the surface of the stem at the tenon end. I polished out the scratches with micromesh sanding pads – wet sanding with 1500-2400 grit pads and dry sanding with 3200-12000 grit pads. I wiped the stem down after each sanding pad with Obsidian Oil. I polished it with Before & After Pipe Stem Polish – both Fine and Extra Fine. Once I had finished the polishing I gave it a final coat of oil and set it aside to dry. I put the bowl and stem back together. I polished the bowl and stem with Blue Diamond to polish out the scratches in the briar and the vulcanite. I gave the bowl multiple coats of Conservator’s Wax and the stem multiple coats of carnauba wax. I buffed the pipe with a clean buffing pad to raise the shine. I hand buffed it with a microfiber cloth to deepen the shine. The pipe polished up pretty nicely. The contrast of colours that show up in the sandblast of the Shell briar bowl looked good with the polished black vulcanite. This 1960 Dunhill Shell 104 F/T oval shank tapered stem Billiard turned out really well and I was able to reduce the size and overall presence of the band and make it standout less at first look. Once again it really has that classic Dunhill look that catches the eye. The finished pipe is shown in the photos below. The dimensions of the pipe are Length: 5 3/4 inches, Height: 1 3/4 inches, Outside diameter of the bowl: 1 1/4 inches, Chamber diameter: 3/4 of an inch. This is the 11th Dunhill and the 10th Shell from the many pipes that will be coming onto the work table from the estate. Thanks for reading this blog and my reflections on the pipe while I worked on it. I am having fun working on this estate.


Restoring the 10th Pipe from Bob Kerr’s Estate – A Dunhill Shell 660 Saddle Stem Billiard


Blog by Steve Laug

In my ongoing work on Bob Kerr’s Estate I seem to be making a dent. I am working my way through the Dunhills in his collection – the Shell and Tanshell pipes. I am cleaning them for the family and moving them out into the hands of pipemen and women who will carry on the trust that began with Bob and in some pipes was carried on by Bob. In the collection along with the Dunhills are a good bevy of Petersons, some Comoys and Barlings as well as a lot of other pipes – a total of 125 pipes along with a box of parts. This is the largest estate that I have had the opportunity to work on. I put together a spread sheet of the pipes and stampings to create an invoice. I was taking on what would take me a fair amount of time to clean up. I could not pass up the opportunity to work on these pipes though. They were just too tempting.

I sorted the pipes into groups of the various brands and had a box of 25 different Dunhill pipes in different shapes, styles and sizes. I decided to work on the Dunhills first. It was a great chance to see the shape variety up close and personal. The photo below shows the box of Dunhill pipes.I went through the box of Dunhills shown above and chose the 10th sandblast pipe to work on – a Group 4 Shell Billiard with a saddle stem. It is stamped on the heel and the underside of the 660 followed by Dunhill over Shell. Then it reads Made in England 7, Circle 4S – Group 4 size Shell made in 1968. The round shank of the billiard flows into a short saddle stem that is oxidized and has tooth marks and chatter near the button. There is some calcification on the first inch of the stem ahead of the button and there is some light damage to the top of the button. The Shell finish is very craggy and has a deep blast. It is dirty with grime and tars filling in much of the craggy finish. The bowl had a thick cake and lava overflowed on the rim top. The bowl had tobacco stuck in the lava on the cake on the walls of the bowl like the other pipes from this estate. With a little work this pipe would look good once again. I took pictures of the pipe before I started working on it. I took some close up photos of the rim top and stem to show what I was dealing with. Judging from the condition this little billiard was in I think I can safely say that it was another one of Bob’s favourite pipes. The cake in the bowl is another thick one and the lava on the rim top is also very thick. You can see the cake and tobacco in the bowl. The saddle stem was dirty, oxidized, calcified and had a lot of tooth chatter on the top and underside for about an inch ahead of the button. The button surface was also marked with tooth chatter. The sharp edge defining the button was worn down and almost smoothed out. It will be an interesting challenge to bring back to life.I took a photo of the stamping on the underside of the bowl and shank. It was clear and readable.I am sure if you have read the restoration work on the previous 8 pipes you have already read what I included about Bob Kerr, the pipeman who held these pipes in trust before I came to work on them. Also, if you have followed the blog for long you will already know that I like to include background information on the pipeman whose pipes I am restoring. For me, when I am working on an estate I really like to have a sense of the person who held the pipes in trust before I worked on them. It gives me another dimension of the restoration work. I asked Brian if he or his wife would like to write a brief biographical tribute to her father, Bob. His daughter worked on it and I received the following short write up on him and some pictures to go along with the words. Thank you Brian and tell your wife thank you as well.

I am delighted to pass on these beloved pipes of my father’s. I hope each user gets many hours of contemplative pleasure as he did. I remember the aroma of tobacco in the rec room, as he put up his feet on his lazy boy. He’d be first at the paper then, no one could touch it before him. Maybe there would be a movie on with an actor smoking a pipe. He would have very definite opinions on whether the performer was a ‘real’ smoker or not, a distinction which I could never see but it would be very clear to him. He worked by day as a sales manager of a paper products company, a job he hated. What he longed for was the life of an artist, so on the weekends and sometimes mid-week evenings he would journey to his workshop and come out with wood sculptures, all of which he declared as crap but every one of them treasured by my sister and myself. Enjoy the pipes, and maybe a little of his creative spirit will enter you!

I have included one of Bob’s wood carvings to give you an idea of what he daughter wrote about above. You can see his artistry in the carving that is patterned after British Columbia’s Coastal First Nations people. To me this is a sea otter but perhaps a reader may enlighten us.Having already worked on 9 other pipes from Bob’s estate I was beginning to get a feel for how he used and viewed his pipes. Even with the pipes so far I could tell which ones were his favoured ones and which were his work horses. I could get a sense of the ones that accompanied him into his carving shop. In many ways it was as if he was standing over my shoulder while I cleaned up his pipes. With that in mind I turned to work on the 10th of his pipes. I reamed the bowl to remove the cake on the walls and the debris of tobacco shards that still remained. I used a PipNet pipe reamer to start the process. I followed that with a Savinelli Fitsall Pipe Knife to clean up the remaining cake in the conical bottom of the bowl. I sanded the bowl with 220 grit sandpaper wrapped around a piece of dowel. It smooths out the walls and also helps bring the inner edges back to round. With the bowl reamed it was time to work on the rim top and remove the thick lava coat in the blast of the rim. I used the Savinelli Fitsall knife to scrape away the high spots of lava and a brass bristle tire brush to work on the rim top and remove the buildup there.With the bowl reamed and rim top cleaned I scrubbed the sandblast finish. This is pretty much my process in cleaning either sandblast or rusticated finishes. I scrubbed it with undiluted Murphy’s Oil Soap and a tooth brush to remove the grime from the grooves and canyons of the blast. I worked over the tarry lava overflow on the rim with the tooth brush and a brass brush. I rinsed the pipe under running water to remove the grime. I dried it off with a soft towel. The pictures below show the finish after scrubbing and rinsing. I scraped out the inside of the mortise with a small pen knife to break away the tarry buildup on the walls of the shank. I cleaned out the internals of the bowl, shank and the airway in the shank and the stem with alcohol, pipe cleaners and cotton swabs until they came out clean. It was very dirty in the shank and stem but now it not only looks clean but smells clean.  I worked some Before & After Restoration Balm into the briar on the bowl and the rim top. I worked it into the nooks and crannies of the sandblast surface with my fingertips to clean, enliven and protect the wood. I let the balm sit for about 20 minutes and buffed it off with a soft cotton cloth and then polished it with a horsehair shoe brush. I took photos of the pipe at this point in the process to show what the bowl looked like at this point. I gave the bowl several coats of Conservator’s Wax and buffed it with a shoe brush after each coat of wax to raise the shine. The bowl looks really good at this point. The sandblast grain just shines and is showing all of the different layers of colour that make up a Dunhill Shell finish. I set the bowl aside and turned my attention to the stem. I sanded out the majority of the marks and tooth chatter on the surface of the vulcanite with a folded piece of 220 grit sandpaper. I followed the 220 grit sandpaper with 400 grit wet dry sandpaper to minimize the scratching. The two papers combined did a pretty decent job of getting rid of the tooth marks and chatter as well as the oxidation and calcification. There were still a few small tooth marks that needed work.I polished the stem with Denicare Mouthpiece Polish to take out the oxidation at the button edge and on the end of the mouthpiece. I also worked hard to scrub it from the surface of the stem at the tenon end.There were two small tooth marks on the underside of the stem that needed a bit of attention. I filled them in with some clear super glue. I set it aside to dry. Once the glue dried I sanded the repairs smooth with 220 grit sandpaper to blend them into the surface of the stem. I polished out the scratches with micromesh sanding pads – wet sanding with 1500-2400 grit pads and dry sanding with 3200-12000 grit pads. I wiped the stem down after each sanding pad with Obsidian Oil. I polished it with Before & After Pipe Stem Polish – both Fine and Extra Fine. Once I had finished the polishing I gave it a final coat of oil and set it aside to dry. I put the bowl and stem back together. I polished the bowl and stem with Blue Diamond to polish out the scratches in the briar and the vulcanite. I gave the bowl multiple coats of Conservator’s Wax and the stem multiple coats of carnauba wax. I buffed the pipe with a clean buffing pad to raise the shine. I hand buffed it with a microfiber cloth to deepen the shine. The pipe polished up pretty nicely. The contrast of colours that show up in the sandblast of the Shell briar bowl looked good with the polished black vulcanite. The swirled grain “target” on the right side of the bowl is quite stunning. This 1968 Dunhill Shell 660 Saddle stem Billiard turned out really well and I was able to repair the tooth marks on the underside of the stem. It really has that classic Dunhill look that catches the eye. The finished pipe is shown in the photos below. The dimensions of the pipe are Length: 5 ¼ inches, Height: 1 3/4 inches, Outside diameter of the bowl: 1 1/4 inches, Chamber diameter: 3/4 of an inch. This is the 10th Dunhill and the 9th Shell from the many pipes that will be coming onto the work table from the estate. This pipe is already sold to a fellow who wrote me an email after the first restoration. I quote part of that now as it gives testimony to our small pipesmoking community.

“Hello, I must say this is an incredibly small world. I’ve been following rebornpipes for a while now and when i saw your first write up about Bob Kerr I was incredibly surprised,  he was a prominent member of the community here on Pender Island and has been greatly missed.  I would be honored to buy one of his Dunhills…  Thanks for your time. — Jon”

The pipe will be heading over to Pender Island with the Tanshell Pot early this week. I think Jon will enjoy it! Thanks for reading this blog and my reflections on the pipe while I worked on it. I am having fun working on this estate.

A Tribute to an American Pipecarver – “John L. Lakatosh”


Blog by Paresh Deshpande

In my last blog on Boswell ’96 pipe restoration, I had confessed my growing admiration for pipes made by American pipe carvers after having worked on a number of pipes like Tracy Mincer, Custom-Bilts, Kaywoodies, John Bessai, J M Boswell etcetera. I realized that American pipe carvers are artistic, technologically inventive and that the pipes they made are robust, life lasting with a nice feel and heft and of very high quality. However, my liking for freehand pipes has remained undiminished. So now I have on my work table, three freehand pipes made by an iconic American small time pipe carver, who passed away in March this year. The carver that I am mentioning is Mr. John Lakatosh.

The three pipes currently on my work table are large sized freehand which were hand carved by John Lakatosh. The first is a large bent freehand billiard carved in 4-81; the second is a large sized triangular freehand pipe with a nice heft and hand feel, carved in 1-83 while the third is a sitter Saxophone (or should I call it a Ballerina!!!!!) carved in 5-85, the first digit indicating the month and later two digits denoting the year in which they were carved. All these pipes bear the stamping “HANDMADE” over “LAKATOSH” over the “MONTH AND YEAR” in which they were made. These stamps are in engraved in a script hand on the shank end of each pipe. I was keen to know more about John Lakatosh, the carver, his pipe making techniques and philosophy. I searched pipedia.com and there is a very brief write up on him. I reproduce the information available on pipedia.com for a quick read.

John Lakatosh was a carver from New Columbia, Pennsylvania. He made pipes in his home workshop in the Susquehana Valley up above Sunbury. John made pipes during the week and sold most of them at craft fairs in Central and Southern Pennsylvania. He retired from carving, to go back to bus mechanic work after the tobacco industry took a decline. He now lives with his wife in Lewisburg Pennsylvania, where he now crafts furniture for family and friends. He recently passed on March 8th 2018. (Primary/Familial Source)

As I was surfing the net for more information on Mr. John Lakatosh, I came across his obituary. Here is the link (https://www.heffnercare.com/obituaries/obituary-listings?obId=3010702)

INITIAL VISUAL INSPECTION
The stummel surface of all three pipes boasts of beautiful straight and flame grains all along the stummel surface. The 4-81 carved pipe has three hand rusticated patches, one on either sides of the bowl and one on the front side. The front of the stummel on the one carved in 1-83, has a beautiful and delicate sliver of rustication extending from top left side of the rim and extends to half way down towards the heel on the right side. The sitter carved in 5-85 has smooth surface with no rustications.  The stummel is relatively clean and has a few dents and dings likely due to uncared for storage. The briar is dull and lifeless and has taken on a layer of aged patina, through which one can make out the beautiful grains all round. All three pipes should clean up nicely. Apart from the pipe 4-81 which appear to have been smoked maybe once or unsmoked, the other two pipes have seen considerable use and have a decent layer of cake. The condition of the inner walls of the chamber on both used pipes can be ascertained only after the cake has been removed completely and taken down to bare briar. Both the bowl feels robust and solid to the touch from the outside. This issue should be a breeze to address. The plateau rim top has darkened on the 1-83 and 5-85, more so on the later due to frequent lighting, on the back side of the rim. This can be seen in above pictures. The plateau rim top of the 4-81 is pristine. The condition of the inner edge and rim top can be commented upon only once the rim has been cleaned. The plateau shank ends of all three pipes are clean and without any accumulation of dirt and grime. However, the mortise does show signs of accumulated dried oils, tars and remnants of ash, greatly restricting the air flow.The 1-83 and 5-85 have green and brown acrylic stem respectively. The 4-81 has a vulcanite stem. The acrylic stems have beautiful swirls of contrasting light and dark colors. The green stem has significant damage in the form of deep bite marks on both the upper and lower stem surface near the edge of the lip. The brown acrylic stem has tooth chatter on both surfaces of the stem, also near the edge of the lip while the vulcanite stem is devoid of any tooth chatter or bite marks, but is heavily oxidized. There is some damage to the stem in form of cuts, on the flared edge towards the tenon. The tenons on both the green and brown acrylic stem are covered in dried oils and tars and so is the airway. The air flow through the stems is laborious to say the least. The fit of both these stems in to the mortise is very loose, which will loosen further after the mortise and tenon have been cleaned. These issues will need to be addressed. THE PROCESS
I started this project by reaming the chambers of 1-83 and 5-85 with size 3 head of PipNet reamer. I used a 220 grit sand paper, pinched between my thumb and forefinger, to sand the inner walls of the chamber of all three pipes. Once I had reached the bare briar, I wiped the chamber with a cotton pad dipped in isopropyl alcohol. This removed all the residual carbon dust and also rid the chamber of all ghost smells. I followed up the reaming by cleaning the mortise and air way of all three pipes, using hard bristled and regular pipe cleaners, q-tips dipped in alcohol. The mortise and the draught hole of 5-85 was so chock-a- block with all the dried tars, oils and gunk that I had to use my fabricated spatula and the drill bit from the Kleen Reem pipe reamer!!!! I gave a final clean with shank brushes dipped in alcohol and dried the mortise with a rolled paper napkin. The shank internals and the draught hole are now nice and clean with an open and full draw.I cleaned out the internals of the stem using hard bristled and regular pipe cleaners dipped in alcohol. I scraped the dried oils and tars from the tenon with the sharp edge of my fabricated dental spatula. The deep bite marks on the green stem of 1-83 were cleaned with cotton pad dipped in alcohol and spot filled with clear superglue. I set the stem aside to cure the fill. Now, it was the turn of the stummel of all three pipes to get cleaned up. Using a hard bristled tooth brush dipped in undiluted Murphy’s oil soap, I very deliberately scrubbed the stummel, cleaning the surface thoroughly. Special attention was paid to scrub out all the dirt and dust from the crevices in the rustication on the sides and front of the stummel on 4-81. I cleaned the plateau rim and shank end too. The stummel, plateau shank end and rim top were dried using paper napkins and soft cotton cloth. The cleaning of the stummel revealed three dents on the stummel of 5-85. I decided to raise these dents to the surface using the steaming method. I heated my smaller fabricated knife over a candle. Once the knife was hot, I placed a soaked Turkish towel over the dent and placed the heated knife over it. The steam generated pulled out two of the three dents. I spot filled the remaining dent with clear superglue and set it aside to cure overnight. Once the fill had cured, using a flat head needle file, I blend the fill with the surrounding briar and further sand it with a piece of 220 grit sand paper to achieve finer match. I wanted to highlight the grains seen and further blend all the repairs carried out to the stummel. To achieve this aim, I sand down the three stummel using micromesh pads, wet sanding with 1500 to 2400 grit pads and dry sanding with 3200 to 12000 grit pads. The three stummel now have a deep shine with grains popping out with magnificent contrast. Though this part of restoration is the second most time consuming and laborious, the end results are also the most satisfying. The play of grains, the contrast and the smooth surface are well worth the efforts. I rub a small quantity of “Before and After Restoration Balm” in to briar and let it rest for a few minutes. I took some extra efforts to work the balm in to the hand carved rustication on the bottom of the bowl. The balm almost immediately works its magic and the briar now has a nice vibrant appearance. I further buff it with a horse hair shoe brush. With the stummel nice and clean and attractive, I worked the stems of all three pipes. The fill on the green acrylic stem had cured nicely and I sand it down with a flat head needle file. I sharpened the lip edges using a needle file and sand the entire stem with 220 followed by 400, 800 and 1000 grit sand paper. This helps to reduce the sanding marks left behind by the more abrasive 220 grit paper. By mere sanding itself, the minor tooth marks seen on stem surfaces of the brown stem of 5-85 were addressed completely while this process eliminated the deep oxidation seen on the vulcanite stem of the 4-81 pipe. To bring a deep shine to the vulcanite stem as well as the green and brown acrylic stems, I went through the complete set of micromesh pads, wet sanding with 1500 to 2400 grit pads and dry sanding with 3200 to 12000 grit pads. I wiped the stem with alcohol after each pad and rubbed it down with Extra Virgin Olive oil. The internals of the stem was cleaned out using alcohol and pipe cleaners. The pictures of the process and final results are shown below. To finish, I re-attach the stem with the stummel. I mount a cotton cloth buffing wheel on to my local machine which is similar to a Dremel. I set the speed at about half of the full power and applied White Diamond compound to each of the three pipes. I wiped/ buffed all the pipes with a soft cotton cloth to clear it of any leftover compound dust. I then mounted another cotton cloth wheel on to the polishing machine and applied several coats of carnauba wax over the stummel and the stem of all three pipes. I finished the restoration by giving all the pipes a rigorous hand buffing using a microfiber cloth to raise the shine further. The completed pipes, with the dark brown hues of the stummel contrasting with the shiny black stem, looks lovely, fresh and vibrant; the photographs speak for themselves. The beauty, size and shapes of all these pipes make it one of my favorites and will find a place of pride in my modest collection. If only the pipe could tell some of the stories and techniques used by Mr. John Lakatosh while carving pipes.… Cheers!!

Restoring the 7th Pipe from Bob Kerr’s Estate – A Dunhill Shell Briar EP Canadian


Blog by Steve Laug

I am finally getting around to working on Bob Kerr’s Estate. His son-in-law, Brian contacted me a few months ago saying that the family needed to clean out the estate as they were getting the family home ready to move. He asked if I would be interested in restoring and selling the pipes for them. He brought what originally he said was a few pipes over to show me. When I opened the door Brian was there with a few flats of pipes. There were Dunhills, Petersons, Comoy’s Barlings and a lot of other pipes – a total of 125 pipes and a box of parts. That is the largest estate I had the opportunity to work on. I put together a spread sheet of the pipes and stampings to create an invoice. I was taking on what would take me a fair amount of time to clean up. I could not pass up the opportunity to work on these pipes though. They were just too tempting.

I sorted the pipes into groups of the various brands and had a box of 25 different Dunhill pipes in different shapes, styles and sizes. I decided to work on the Dunhills first. It was a great chance to see the shape variety up close and personal. The photo below shows the box of Dunhill pipes.I went through the box of Dunhills shown above and chose the 7th pipe to work on – a Group 4 sandblast Canadian. It is stamped on the heel and the shank EP and next to that it reads Dunhill over Shell Briar. That is followed by Made in England 14/15 and near the stem shank junction is  Circle 4S – Group 4 size. The stamping tells me that this Canadian Shell Briar was made in 1965 and sold in 1966. The oval shank of the Canadian flows into a nice tapered stem that is oxidized and has tooth marks and chatter near the button. There is some calcification on the first inch of the stem ahead of the button and there is some light damage to the button. The finish is dirty with grime and tars filling in much of the craggy finish. The bowl had a thick cake and lava overflowed on the rim top. The inner edge of the rim was in bad condition and out of round. It looked like it had been reamed with a knife at some time in its life. The bowl had tobacco stuck in the lava on the walls of the bowl like the other pipes from this estate. With a little work this pipe would look good once again. I took pictures of the pipe before I started working on it. I took some close up photos of the rim top and stem to show what I was dealing with. Judging from the condition this Canadian was in I think I can safely say that it was one of Bob’s favourite pipes. The cake in the bowl is the thickest of the lot so far and the lava on the rim top is also very thick. You can see the cake and tobacco in the bowl. You can also see that the inner edge of the bowl is out of round on the back right and the front left. It appears to have been reamed with a knife somewhere in the mix. I am assuming from the way Bob cared for his other pipes that this one came to him in that condition and it was one he used when working in his shop. The fishtail stem was dirty, oxidized, calcified and had a lot of tooth chatter on the top and underside for about an inch ahead of the button. The button surface was also marked with tooth chatter. The sharp edge defining the button was worn down and almost smoothed out. This pipe is by far in the roughest condition of the pipes I have worked on from the estate. It will be an interesting challenge to bring back to life.I took a photo of the stamping on the underside of the bowl and shank. It should be easier to read once I get it cleaned up a bit.I am sure if you have read the restoration work on the previous four pipes you have already read what I included about Bob Kerr, the pipeman who held these pipes in trust before I came to work on them. Also, if you have followed the blog for long you will already know that I like to include background information on the pipeman whose pipes I am restoring. For me, when I am working on an estate I really like to have a sense of the person who held the pipes in trust before I worked on them. It gives me another dimension of the restoration work. I asked Brian if he or his wife would like to write a brief biographical tribute to her father, Bob. His daughter worked on it and I received the following short write up on him and some pictures to go along with the words. Thank you Brian and tell your wife thank you as well.

I am delighted to pass on these beloved pipes of my father’s. I hope each user gets many hours of contemplative pleasure as he did. I remember the aroma of tobacco in the rec room, as he put up his feet on his lazy boy. He’d be first at the paper then, no one could touch it before him. Maybe there would be a movie on with an actor smoking a pipe. He would have very definite opinions on whether the performer was a ‘real’ smoker or not, a distinction which I could never see but it would be very clear to him. He worked by day as a sales manager of a paper products company, a job he hated. What he longed for was the life of an artist, so on the weekends and sometimes mid-week evenings he would journey to his workshop and come out with wood sculptures, all of which he declared as crap but every one of them treasured by my sister and myself. Enjoy the pipes, and maybe a little of his creative spirit will enter you!Now that I had a sense of Bob’s spirit in my mind, I could work on his estate with a sense of his presence with me. I turned to work on the seventh of his pipes. I reamed the bowl to remove the cake on the walls and the debris of tobacco shards that still remained. I used a PipNet pipe reamer to start the process. I followed that with a Savinelli Fitsall Pipe Knife to clean up the remaining cake in the conical bottom of the bowl. I sanded the bowl with 220 grit sandpaper wrapped around a piece of dowel. It smooths out the walls and also helps bring the inner edges back to round. With the bowl reamed it was time to work on the rim top and remove the thick lava coat in the blast of the rim. I used the Savinelli Fitsall knife to scrape away the high spots of lava and a brass bristle tire brush to work on the rim top and remove the buildup there.With the rim top cleaned of the lava coat I decided to work on the out of round bowl. It would take some work to get the edge smoothed out and lessen the sharp edges of the knife damage. I sanded the edge with a folded piece of sandpaper. The first photo shows the edge before I started cleaning up the damage. The following photos show the result of the sanding. With the bowl reamed and rim top cleaned I scrubbed the sandblast finish. This is pretty much my process in cleaning either sandblast or rusticated finishes. I scrubbed it with undiluted Murphy’s Oil Soap and a tooth brush to remove the grime from the grooves and canyons of the blast. I worked over the tarry lava overflow on the rim with the tooth brush and a brass brush. I rinsed the pipe under running water to remove the grime. I dried it off with a soft towel. The pictures below show the finish after scrubbing and rinsing. I scraped out the inside of the mortise with a small pen knife to break away the tarry buildup on the walls of the shank. I cleaned out the internals of the bowl, shank and the airway in the shank and the stem with alcohol, pipe cleaners and cotton swabs until they came out clean. It was very dirty in the shank and stem but now it not only looks clean but smells clean. I worked some Before & After Restoration Balm into the briar on the bowl and the rim top. I worked it into the nooks and crannies of the sandblast surface with my fingertips to clean, enliven and protect the wood. I let the balm sit for about 20 minutes and buffed it off with a soft cotton cloth and then polished it with a horsehair shoe brush. I took photos of the pipe at this point in the process to show what the bowl looked like at this point. I gave the bowl several coats of Conservator’s Wax and buffed it with a shoe brush to raise the shine. The bowl looks really good at this point. The sandblast grain just shines and is showing all of the layers of colour that make up a Shell finish. I set the bowl aside and turned my attention to the stem. I used a needle file to recut the sharp edge of the button and give it back its definition on the stem. I sanded out the marks and tooth chatter on the surface of the vulcanite with a folded piece of 220 grit sandpaper. I wanted to reshape the edge in front of the button and also remove the oxidation on the surface of the stem.I polished the stem with Denicare Mouthpiece Polish to take out the oxidation at the button edge and on the end of the mouthpiece. I also worked hard to scrub it from the surface of the stem at the tenon end. I polished out the scratches with micromesh sanding pads – wet sanding with 1500-2400 grit pads and dry sanding with 3200-12000 grit pads. I wiped the stem down after each sanding pad with Obsidian Oil. I polished it with Before & After Pipe Stem Polish – both Fine and Extra Fine. Once I had finished the polishing I gave it a final coat of oil and set it aside to dry. I put the bowl and stem back together. I polished the bowl and stem with Blue Diamond to polish out the scratches in the briar and the vulcanite. I gave the bowl multiple coats of Conservator’s Wax and the stem multiple coats of carnauba wax. I buffed the pipe with a clean buffing pad to raise the shine. I hand buffed it with a microfiber cloth to deepen the shine. The pipe polished up pretty nicely. The contrast of colours that show up in the sandblast of the Shell briar bowl looked good with the polished black vulcanite. The Dunhill Shell EP Canadian turned out really well even with the slightly out of round bowl. It really has that classic Dunhill Canadian look that catches the eye. The finished pipe is shown in the photos below. The dimensions of the pipe are Length: 6 inches, Height: 1 7/8 inches, Outside diameter of the bowl: 1 1/4 inches, Chamber diameter: 3/4 of an inch. This is the seventh Dunhill Shell from the many pipes that will be coming onto the work table and eventually be posted on the rebornpipes store if you are interested in adding it to your collection. Thanks for reading this blog and my reflections on the pipe while I worked on it. I am having fun working on this estate.

Restoring a Pipe Carved by an American Living Legend – “J.M. Boswell”


Blog by Paresh Deshpande

I shall be honest with you; I love vintage English made pipes! I love vintage British bikes and own a couple; I love vintage British fountain pens and have a decent collection of the same. It is something about the simplicity yet unique British craftsmanship, robustness and reliability factor of British made products that I find most appealing. However, after having worked on a number of pipes made by various pipe carvers from USA like Tracy Mincer, Custom-Bilts, Kaywoodies, John Bessai etc, I realize that American pipe carvers are artistic, technologically inventive and the pipes they made are robust, life lasting with a nice feel and heft and of very high quality. Am I gravitating towards American pipes? May be……. The next pipe on my work table is a 22 years old and completely handmade freehand full bent billiard made by an iconic pipe maker from Pennsylvania, USA. Yes, I am working on a pipe made by J M Boswell from the year 1996.

This is a large sized full bent billiard freehand pipe with a nice heft and hand feel. The shape of the pipe is unique in that the proportionate shank has a sudden taper towards the shank end and this size is carried forward on to the saddle of the stem, tapering a bit along the stem before flaring out at the stem end. Wow!!!! That was one hell of a description which has left me exhausted and brain drained!!!! The stamping on the left side of the shank was clear and readable. It read “Boswell” in script signature over “96 USA”. The pipe was made in 1996.The saddle stem bears no stampings.I was keen to know more about J M Boswell the carver, his pipe making techniques and philosophy. I searched rebornpipes.com and sure enough, Mr. Steve has worked on a Boswell before!!! As is his habit, he has thoroughly researched this carver and has included valuable information in his write up. Therefore, instead of reinventing the wheel, here is the link to this write up for detailed information; (https://rebornpipes.com/2017/07/19/refurbishing-a-boswell-2003-spiral-twist-bent-billiard/). Do give it a read.

Is there not a single brand that this gentleman has not worked on before??? Is there never going to be an opportunity for me to research and contribute one pipe make on rebornpipes??? Well, I have just started on my journey as against his decades of dedicated hard work and as Robert Frost wrote in his poem “……..and miles to go before I sleep”. The quest for excellence and contribution continues!

INITIAL VISUAL INSPECTION
The stummel surface boasts of beautiful straight grains on the right side and most of the front while the left side has lovely swirls of grain interspersed with bird’s eye. The bottom of the shank has unique hand carved rustication which taper towards the right side and extends in a thin and straight line towards the rim on the right side. Lovely bird’s eye can be seen on the top of the shank surface with straight grains on either side of the shank.  The stummel is covered in oils, tars and grime from the overflowing lava. The crevices in the rustication are filled with dirt, dust and grime. The briar is dull and lifeless and has taken on a layer of aged patina, through which one can make out the beautiful grains all round. This one should clean up nicely. This pipe has seen heavy use and the chamber has a nice thick consistent layer of cake, about the size of dime, as is recommended. The cake has been regularly reamed to maintain correct thickness. This seems to be a well cared for pipe. The condition of the inner walls of the chamber can be ascertained only after the cake has been removed completely and taken down to bare briar. The bowl feels robust and solid to the touch from the outside. However, the mortise does show signs of accumulated dried oils, tars and remnants of ash, greatly restricting the air flow. This issue should be a breeze to address.The rim top is covered in a thick overflow of lava from the chamber. This is the only part of the stummel which appears to be neglected. The condition of the inner edge and rim top can be commented upon only once the rim has been cleaned. However, I have a feeling from looking at the appearance, that the right side of the inner edge in 3 o’clock direction may be charred from frequent lighting. Well, we’ll see about it later. Thankfully, the outer edge is pristine and shows no signs of damage!!The vulcanite stem is without any bite marks or tooth chatter. The upper and lower lip does show one bite mark each. The stem was apparently used with a rubber bit as can be seen from the calcification marks on the stem (Come on!! One does not have to be a Sherlock Holmes for this deduction!!). The saddle stem is heavily oxidized. The tenon is covered in dried oils and tars and so is the airway. The air flow through the stem is laborious to say the least. The fit of the stem in to the mortise is very loose, which will loosen further after the mortise and tenon have been cleaned. These issues will need to be addressed.THE PROCESS
I started this project by reaming the chamber, starting with size 2 head of PipNet reamer and moving on to size 3 head. I used a 220 grit sand paper, pinched between my thumb and forefinger, to sand the inner walls of the chamber. Once I had reached the bare briar, I wiped the chamber with a cotton pad dipped in isopropyl alcohol. This removed all the residual carbon dust and also rid the chamber of all ghost smells. Using a sharp knife, I gently scraped the rim top to remove the lava overflow. I followed up the reaming by cleaning the mortise and air way using hard bristled and regular pipe cleaners, q-tips dipped in alcohol. The mortise and the draught hole was chock-a- block with all the dried tars, oils and gunk that I had to use my fabricated spatula and the drill bit from the Kleen Reem pipe reamer!!!! I gave a final clean with shank brushes dipped in alcohol and dried the mortise with a rolled paper napkin. The shank internals and the draught hole is now nice and clean with an open and full draw.I cleaned out the internals of the stem using hard bristled and regular pipe cleaners dipped in alcohol. I scraped the dried oils and tars from the tenon with the sharp edge of my fabricated dental spatula.Now, it was the turn of the stummel to get cleaned up. Using a hard bristled tooth brush dipped in undiluted Murphy’s oil soap, I very deliberately scrubbed the stummel, cleaning the surface thoroughly. Special attention was paid to scrub out all the dirt and dust from the crevices in the rustication on the bottom of the shank and right side of the bowl. I cleaned the rim too. The stummel and rim top was dried using paper napkins and soft cotton cloth. I was not happy with the way the rim top had cleaned up. There were darkened areas on the rim top, which kept drawing my attention, as well as very light, almost negligible damage to the outer edge in the form of dents. For the sake of my own satisfaction, I decided to address these blemishes. I topped the rim top on a 220 grit sand paper. I was careful to avoid excessive topping and frequently checked the progress. It was at this stage that I realized that the left inner edge has a slight char in 8 o’clock direction. And all this while I had anticipated this damage to be on the right!! So much for playing Sherlock Holmes!! I address the issues to the inner and outer edge by creating a slight bevel using a 220 grit sand paper pinched between my thumb and forefinger. It’s looking good now, I say, save for a black spot on the left side!!! I wanted to highlight the grains seen and further blend all the repairs carried out to the stummel. To achieve this aim, I sand down the stummel and rim top using micromesh pads, wet sanding with 1500 to 2400 grit pads and dry sanding with 3200 to 12000 grit pads. The stummel now has a deep shine with grains popping out with magnificent contrast. Though this part of restoration is the second most time consuming and laborious, the end results are also the most satisfying. The play of grains, the contrast and the smooth surface are well worth the efforts. I rub a small quantity of “Before and After Restoration Balm” in to briar and let it rest for a few minutes. I took some extra efforts to work the balm in to the hand carved rustications on the bottom of the bowl. The balm almost immediately works its magic and the briar now has a nice vibrant appearance. I further buff it with a horse hair shoe brush. With the stummel nice and clean and attractive, I worked the stem. I sharpened the lip edges using a needle file and sand the entire stem with 220 followed by 400 and 800 grit sand paper. This helps to reduce the sanding marks left behind by the more abrasive 220 grit paper. By mere sanding itself, the minor tooth marks seen on both stem surfaces were addressed completely. To bring a deep shine to the vulcanite stem, I went through the complete set of micromesh pads, wet sanding with 1500 to 2400 grit pads and dry sanding with 3200 to 12000 grit pads. I wiped the stem with alcohol after each pad and rubbed it down with Extra Virgin Olive oil. The internals of the stem was cleaned out using alcohol and pipe cleaners. The pictures of the process and final results are shown below. To finish, I re-attach the stem with the stummel. I mount a cotton cloth buffing wheel on to my local machine which is similar to a Dremel.  I set the speed at about half of the full power and applied White Diamond compound to the entire pipe. I wiped/ buffed the pipe with a soft cotton cloth to clear it of any leftover compound dust. I then mounted another cotton cloth wheel on to the polishing machine and applied several coats of carnauba wax. I finished the restoration by giving the entire pipe a rigorous hand buffing using a microfiber cloth to raise the shine further. The completed pipe, with the dark brown hues of the stummel contrasting with the shiny black stem, looks lovely, fresh and vibrant; the photographs speak for themselves. The beauty, size and shape of this pipe make it one of my favorites and will find a place of pride in my modest collection. If only the pipe could tell the story of its journey till date…………… Cheers!! PS: The last functional aspect which I addressed at this stage was the protection of the walls of the chamber against the possibility of a developing serious heat fissures. I mix activated charcoal and yogurt to a consistency which allows for an easy and even spread and evenly apply it on the inner walls and set it aside to dry out naturally. This coating helps in protecting the wall surface and assists in quicker formation of a cake.