by Kenneth Lieblich
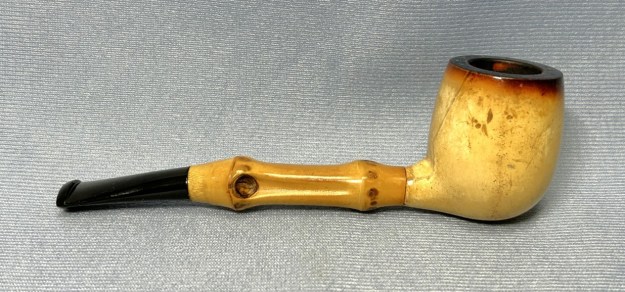
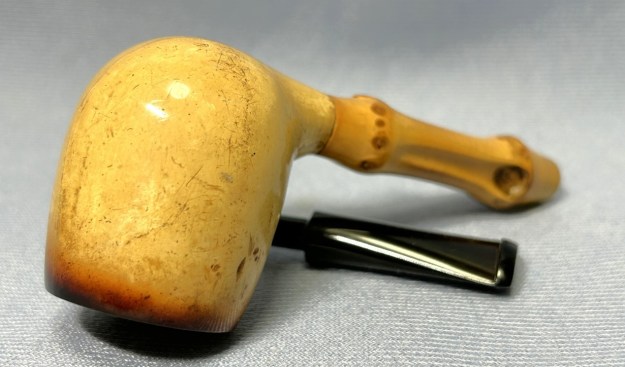
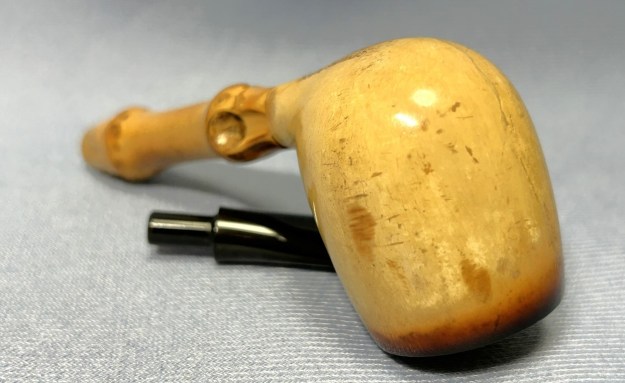
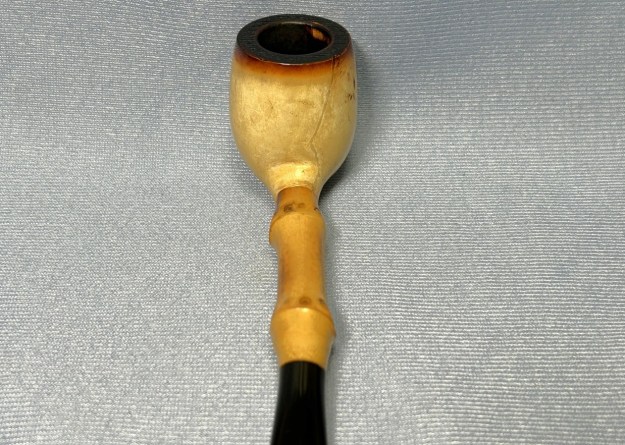
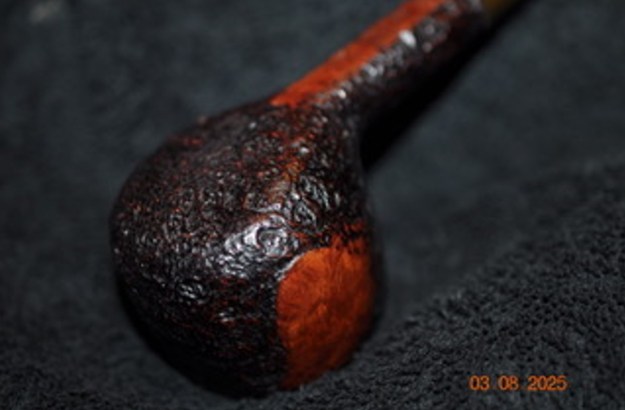
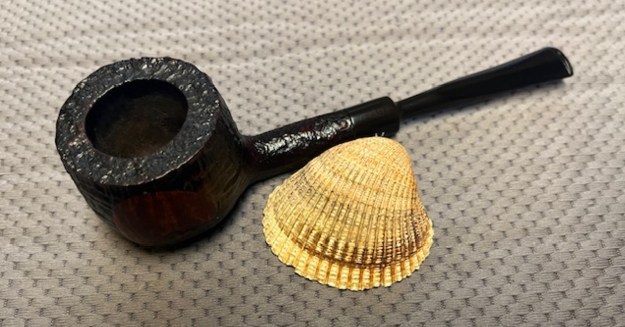
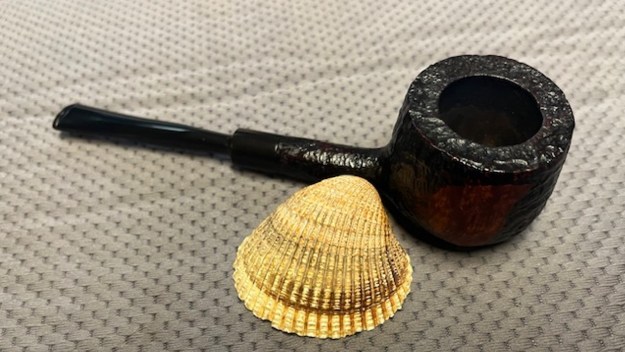
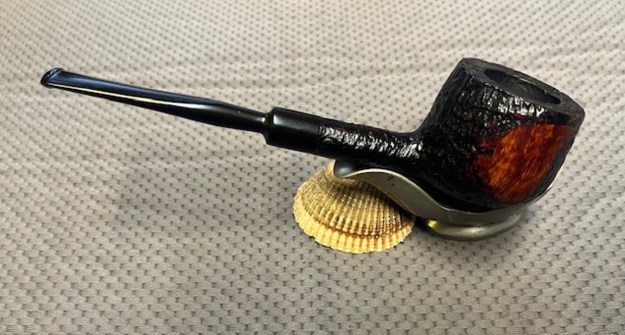
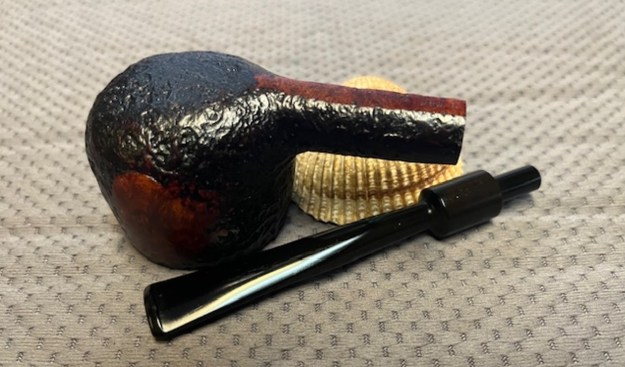
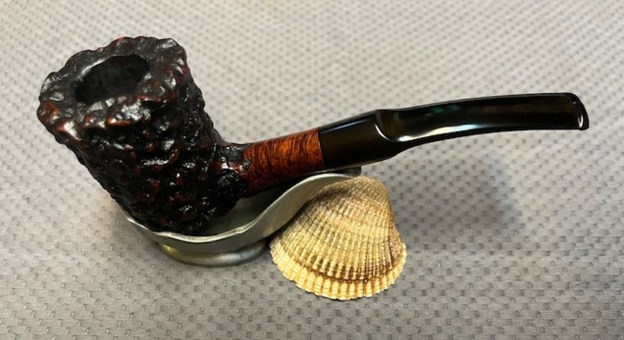
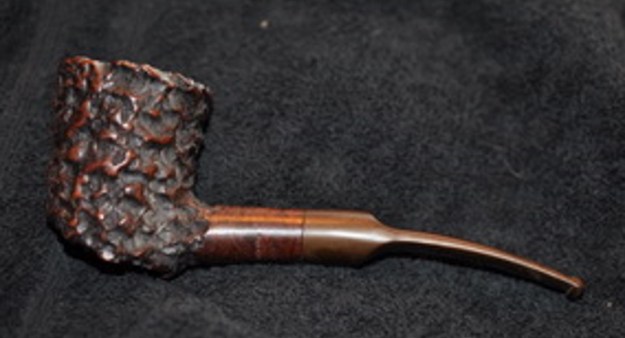
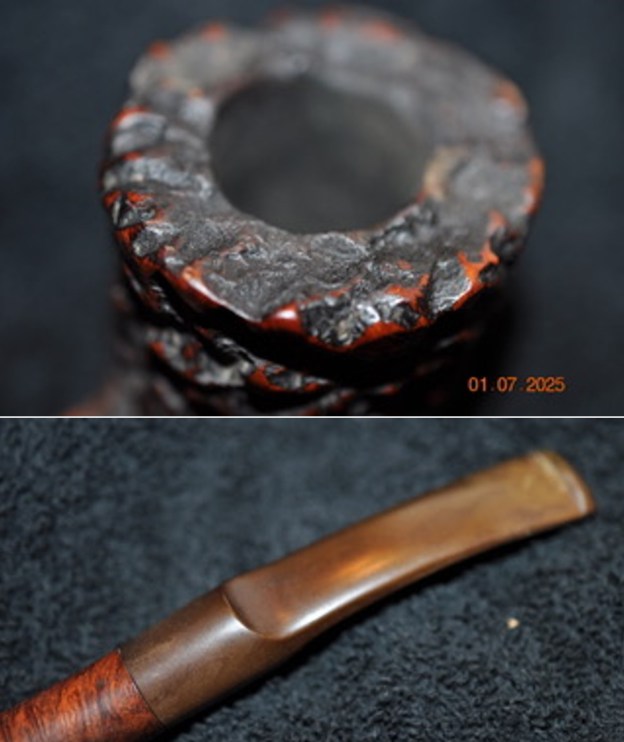
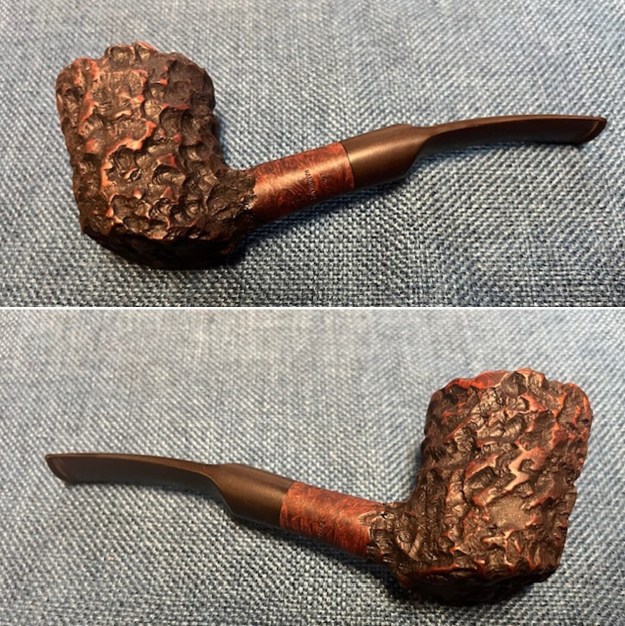
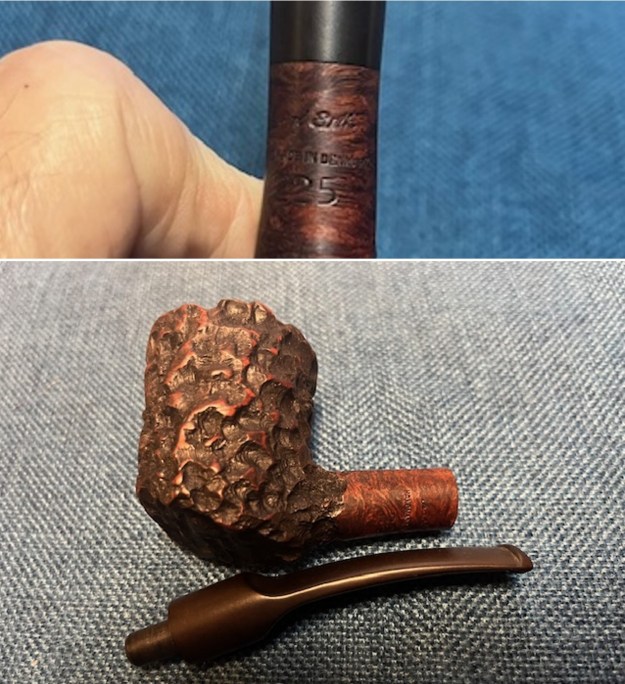
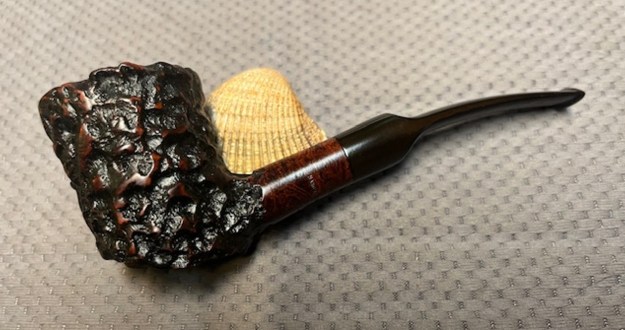
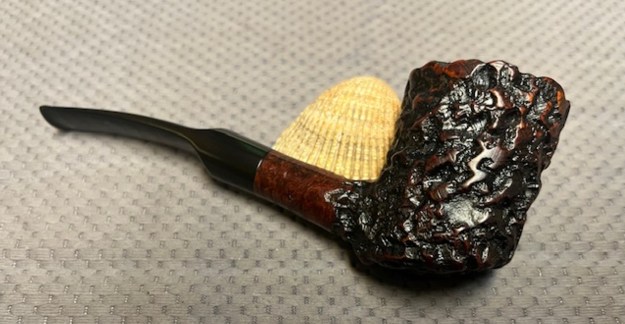
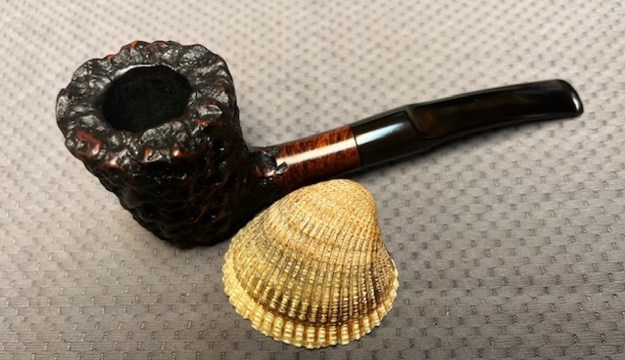
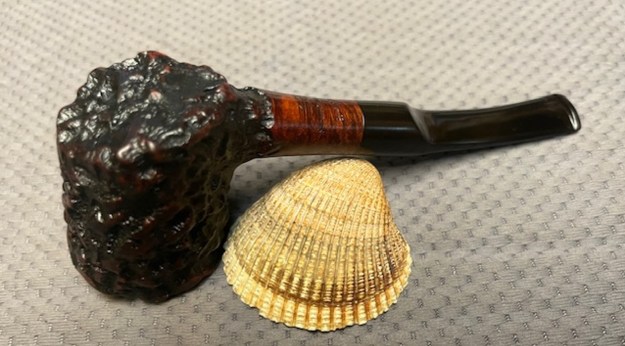
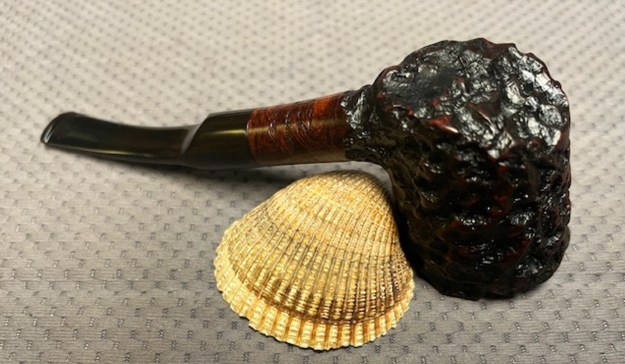
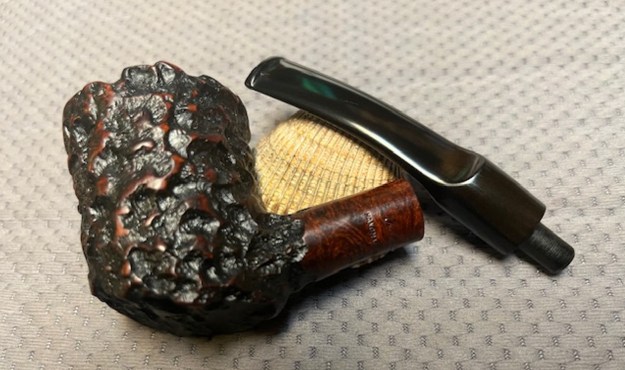
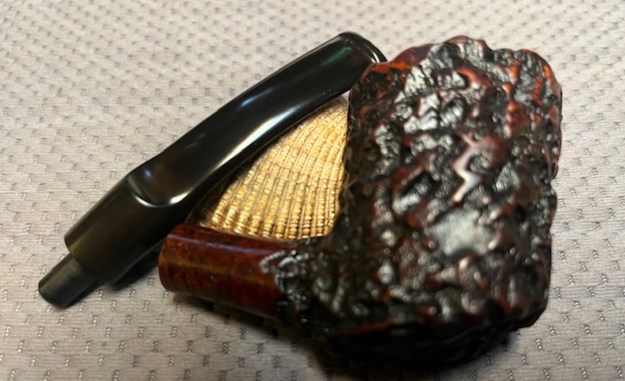
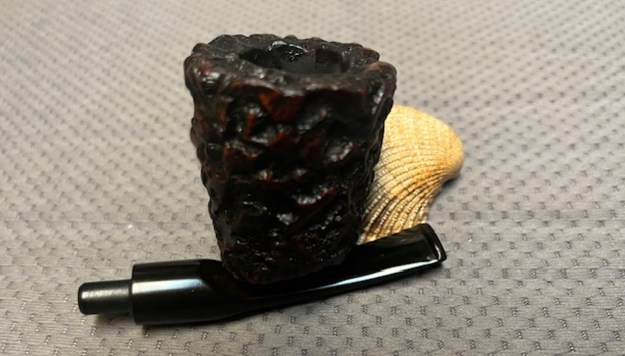
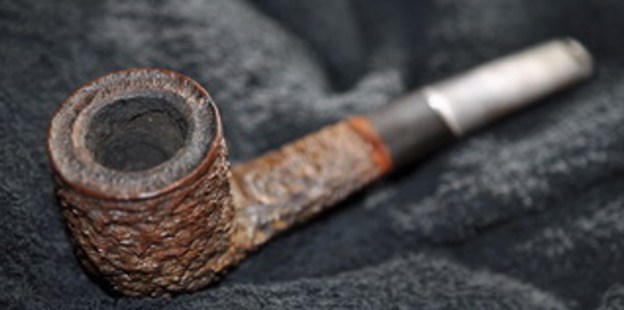
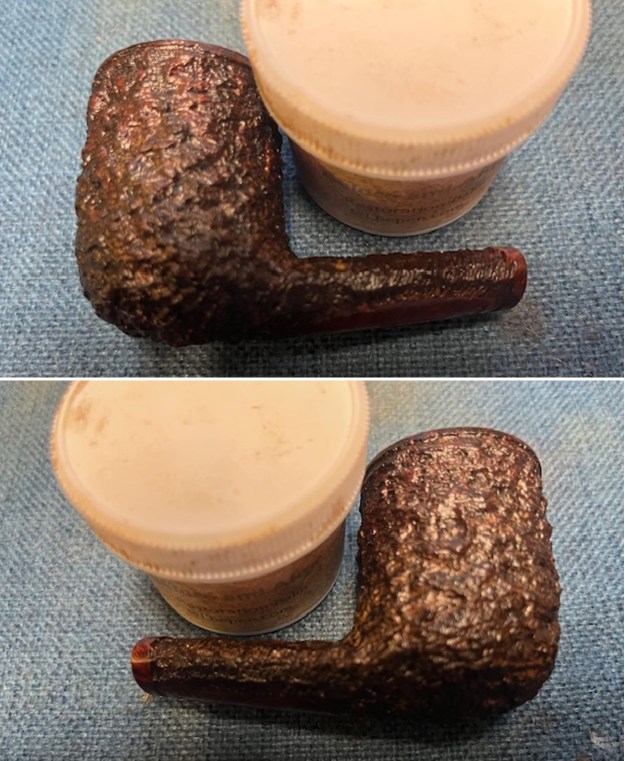
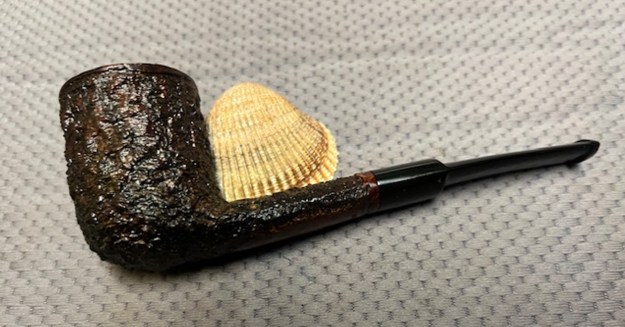
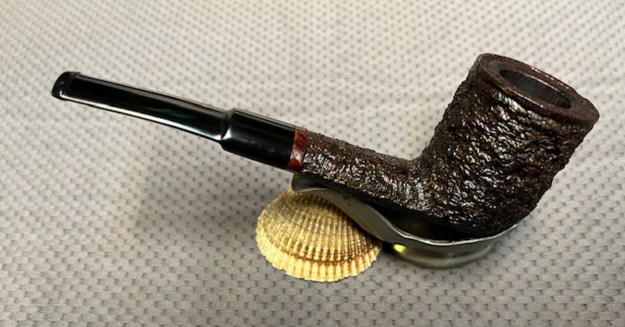
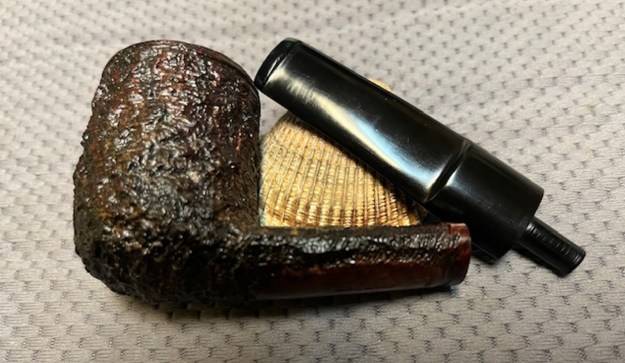
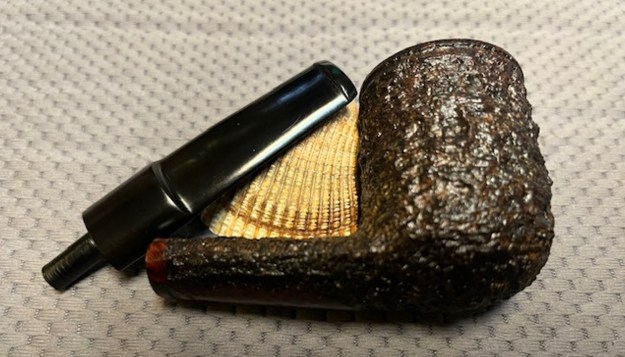
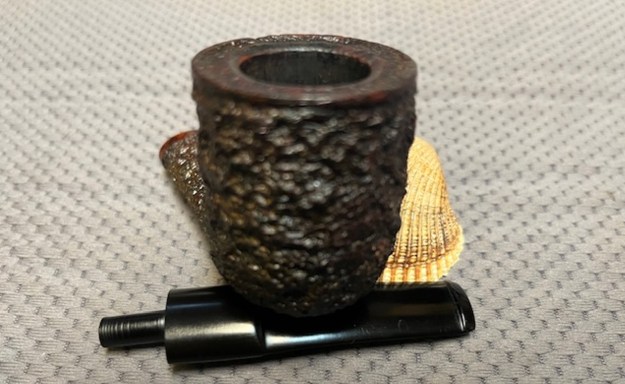
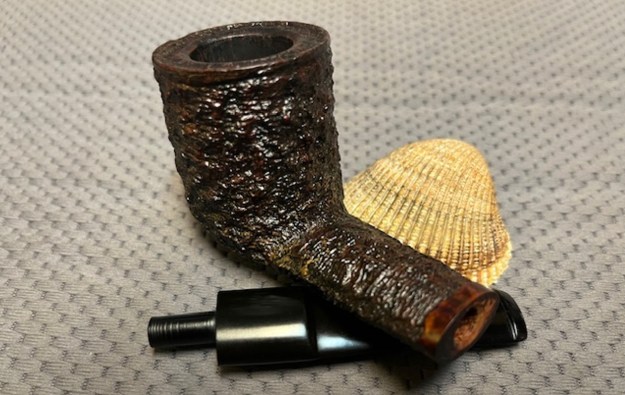
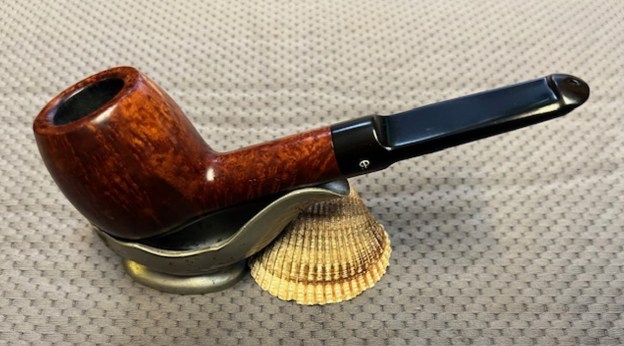
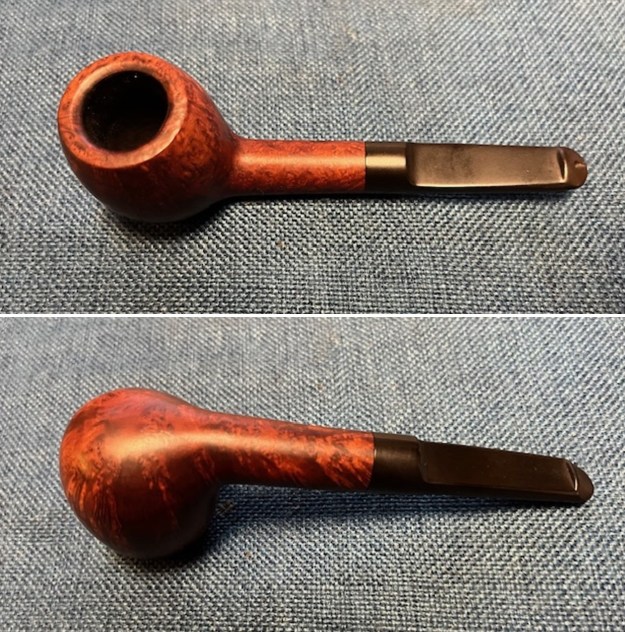
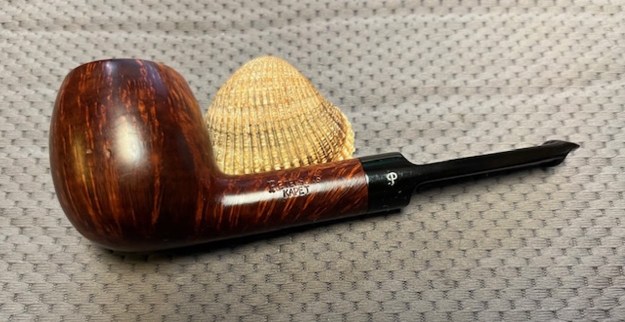
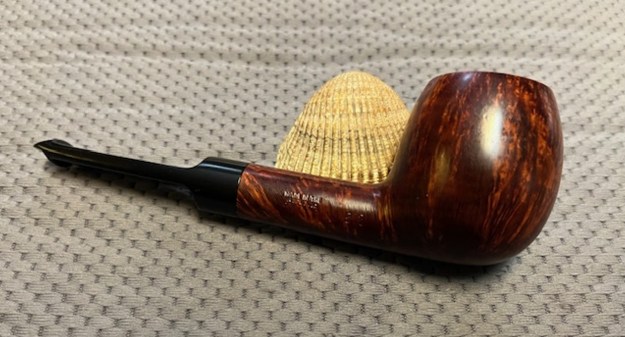
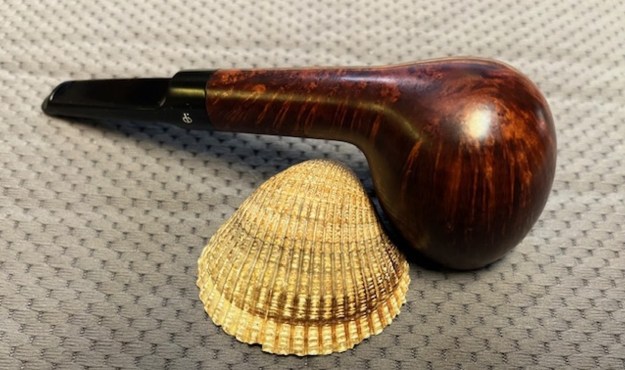
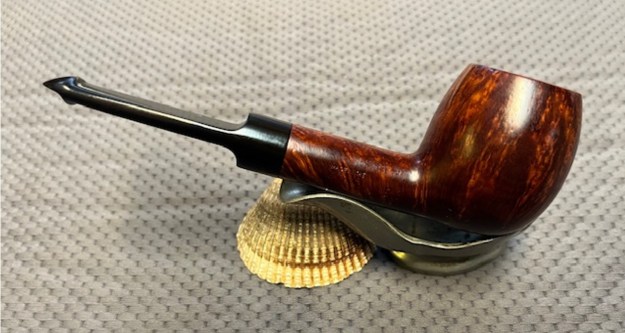
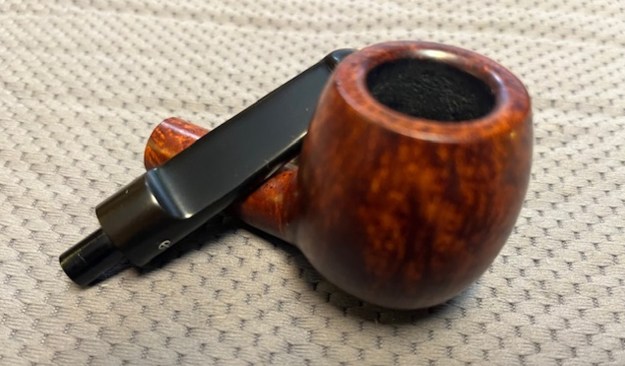
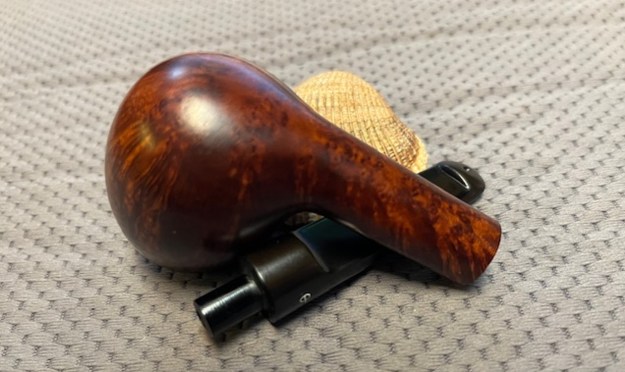
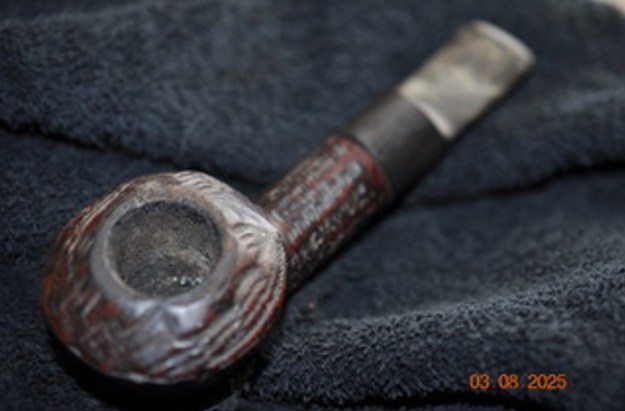
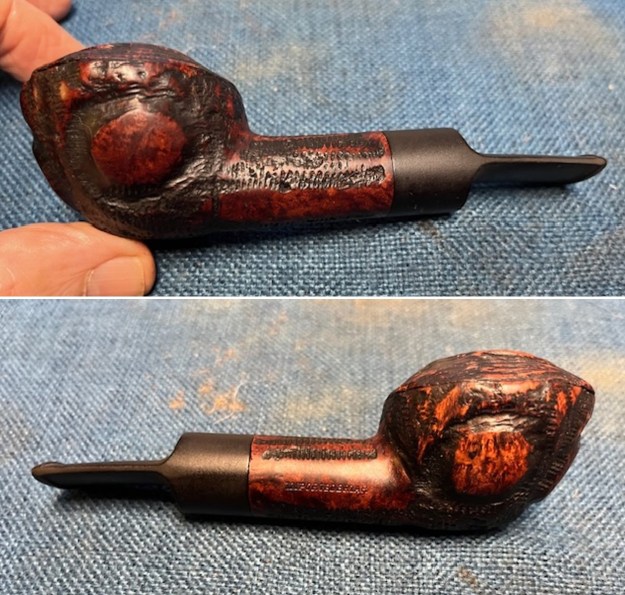
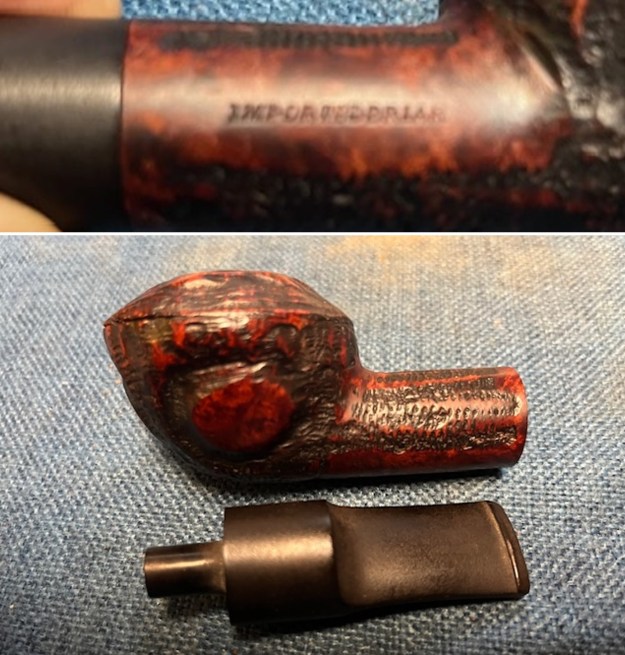
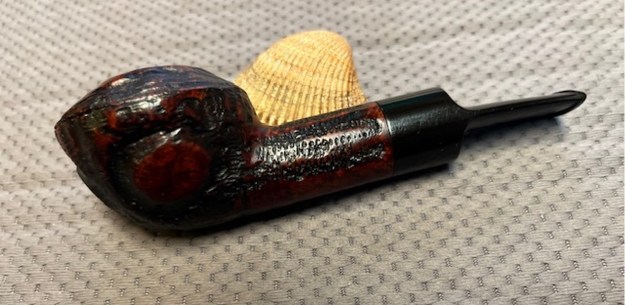
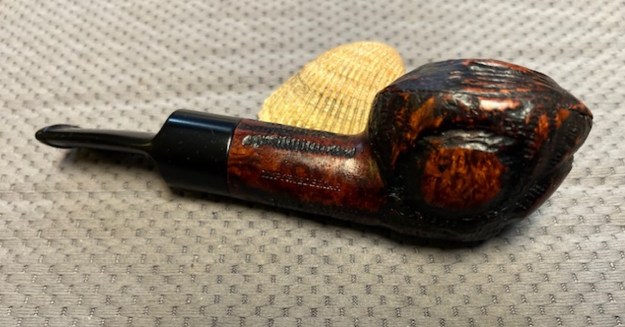
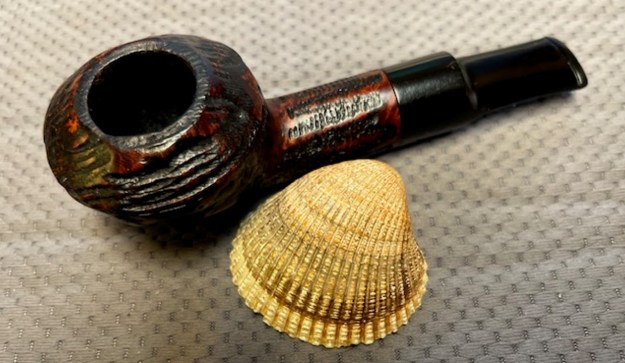
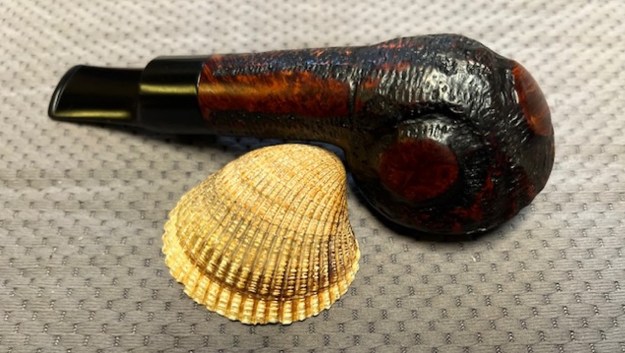
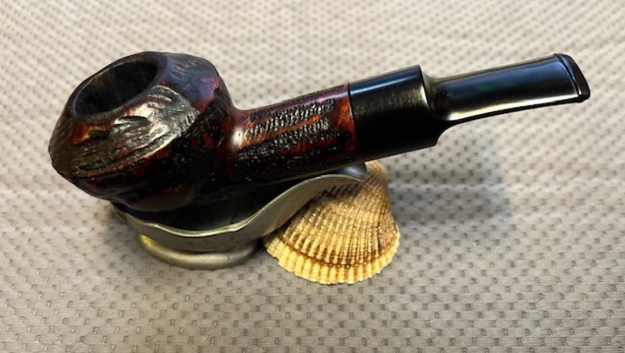
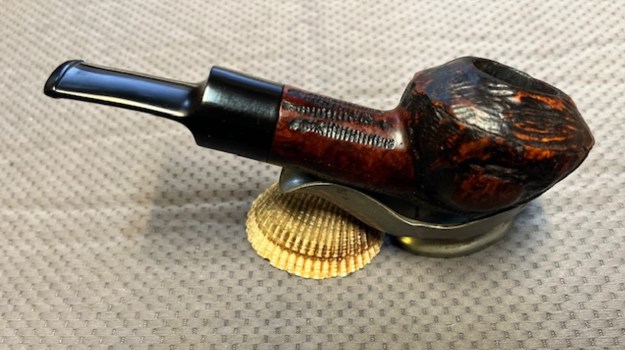
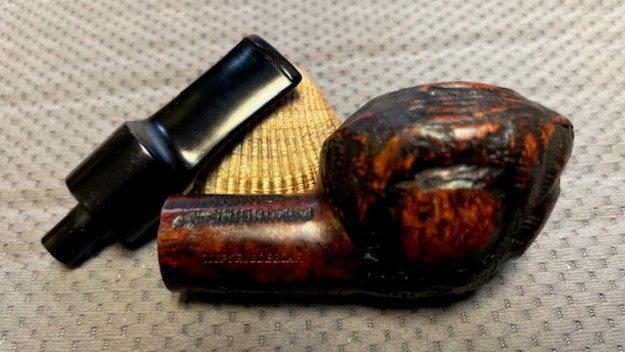
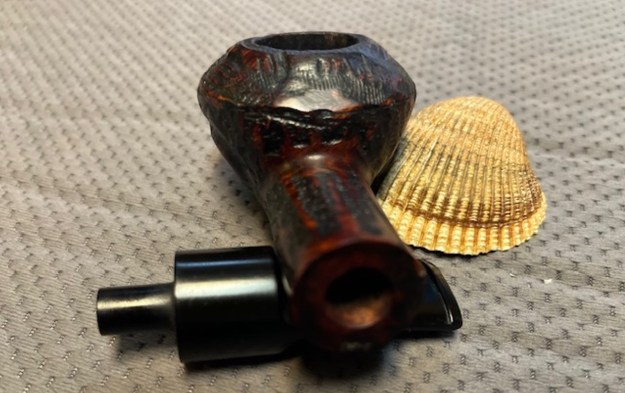
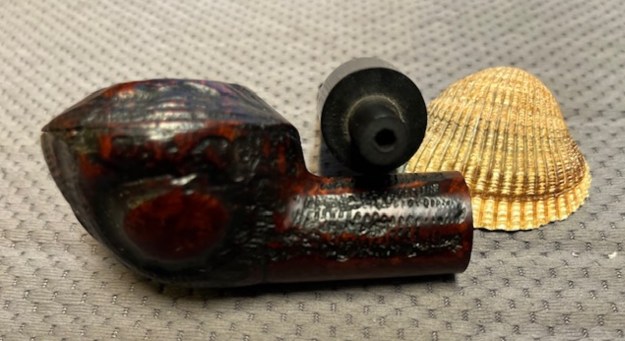
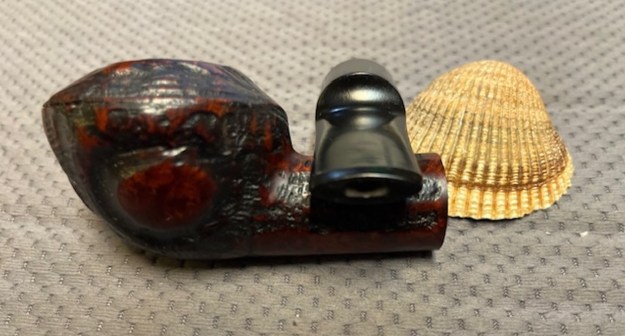
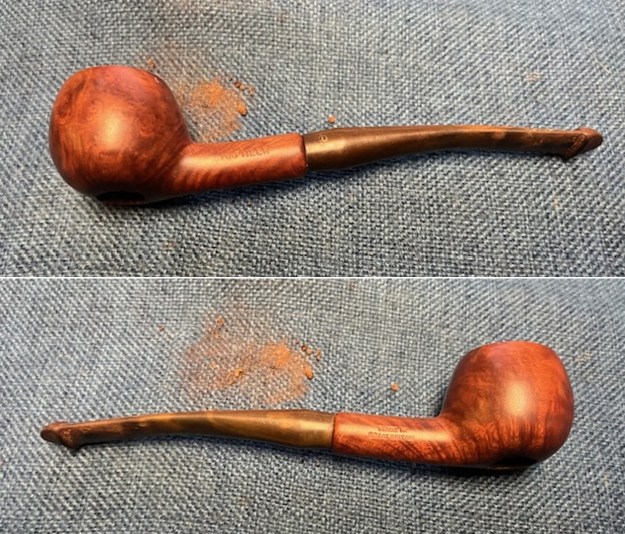
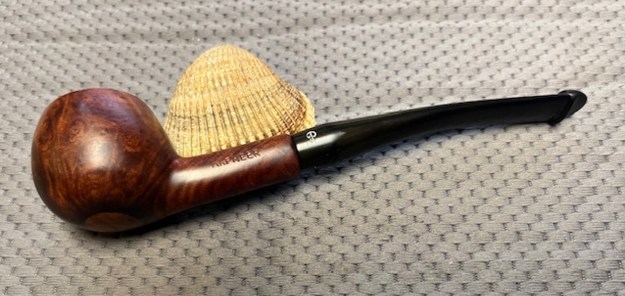
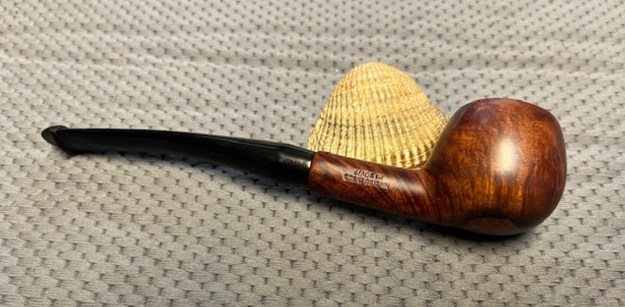
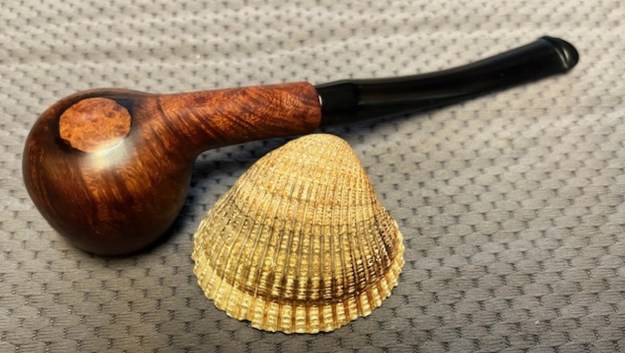
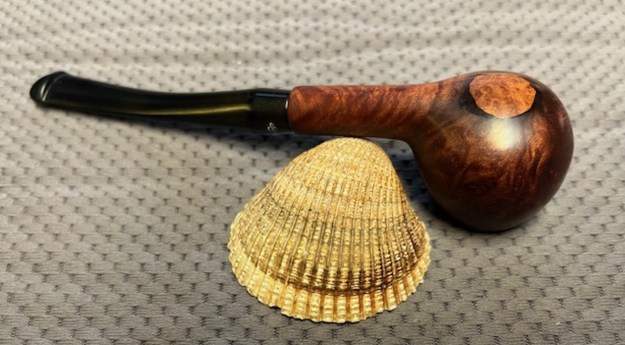
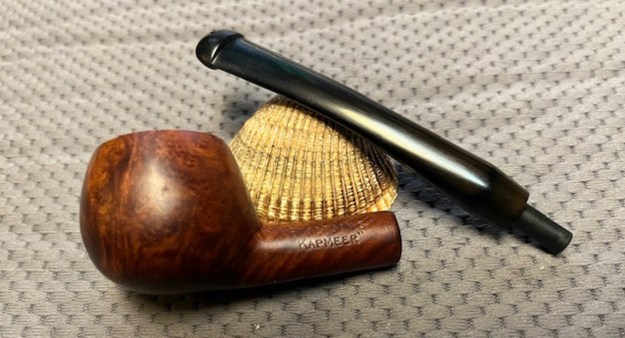
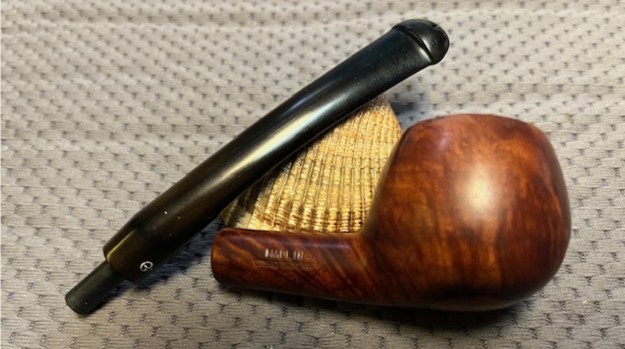
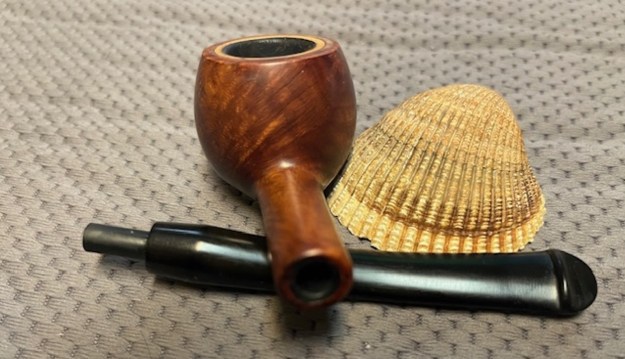
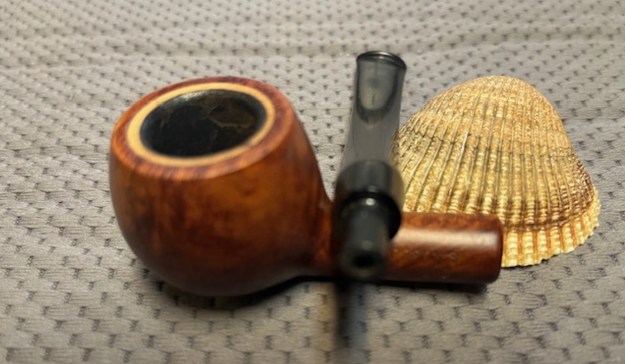
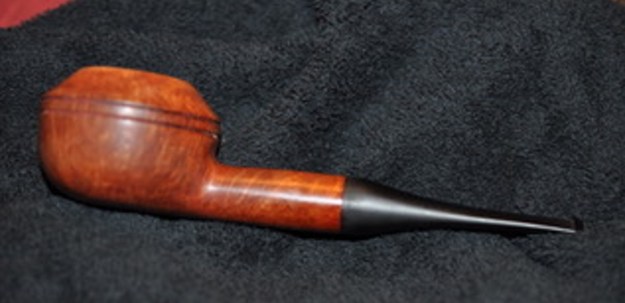
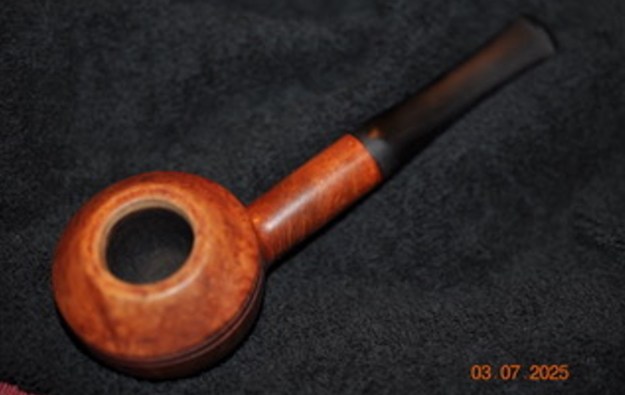
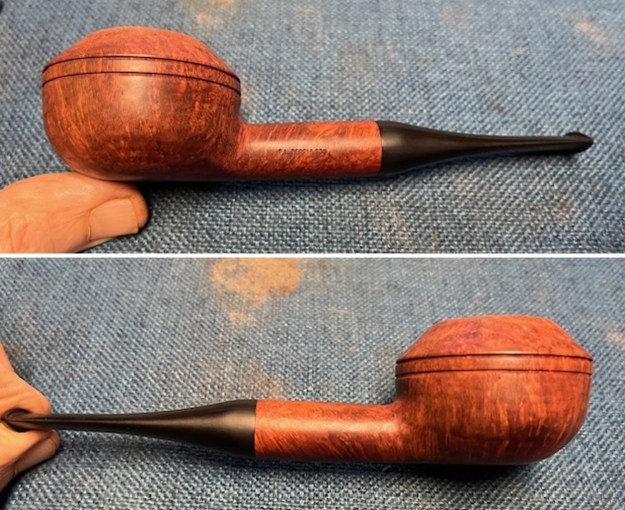
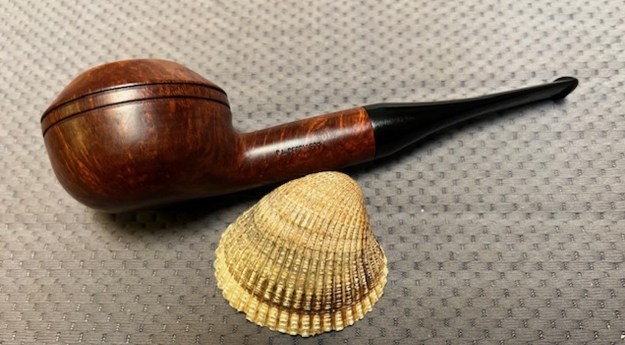
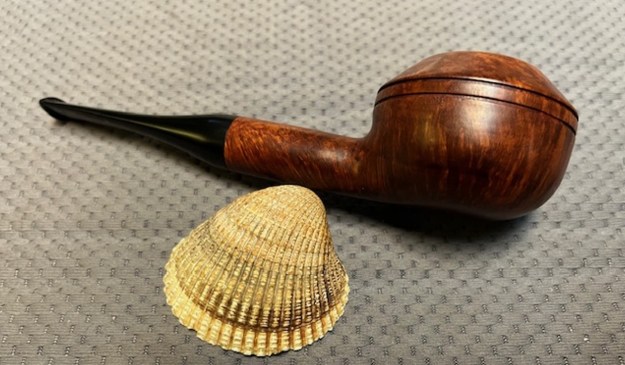
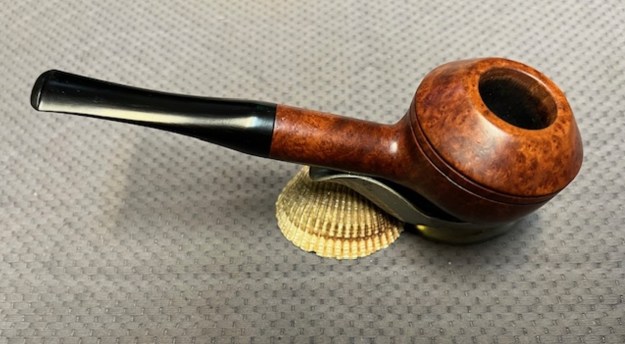
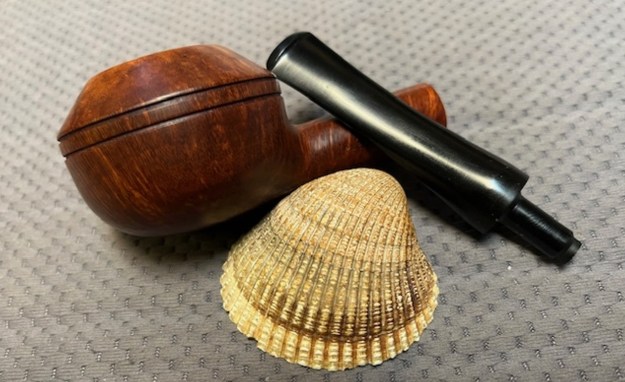
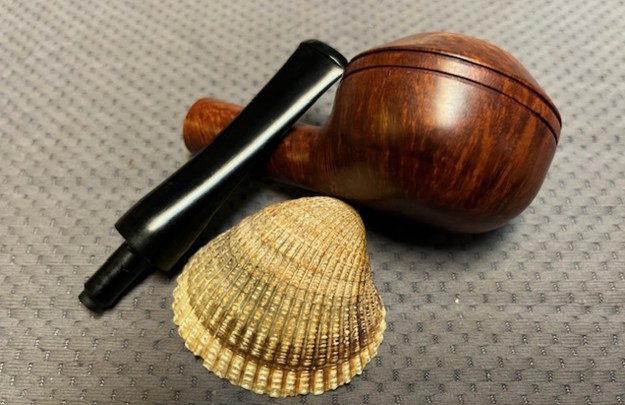
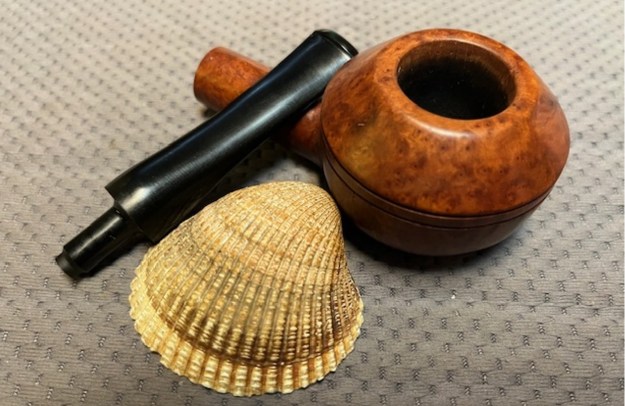
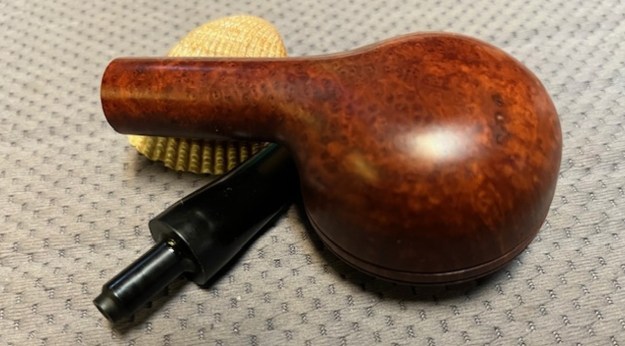
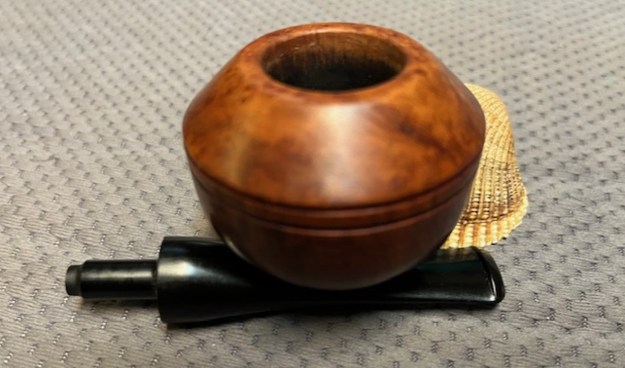
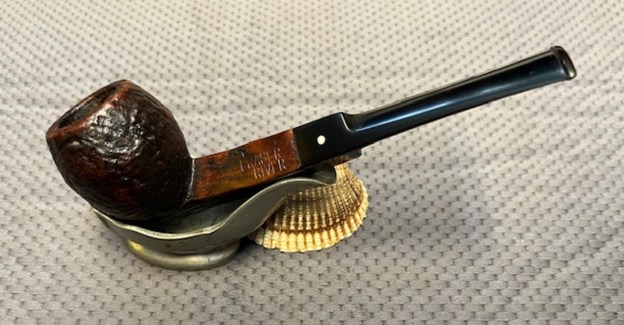
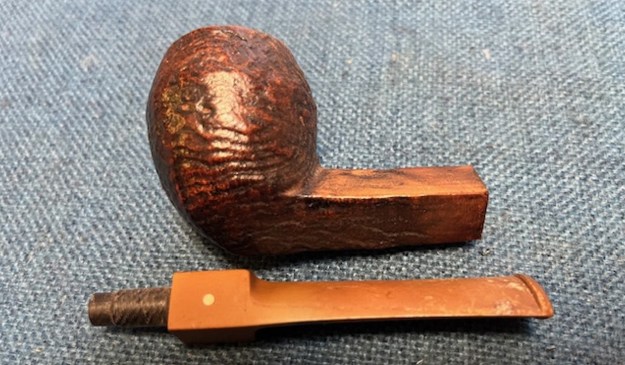
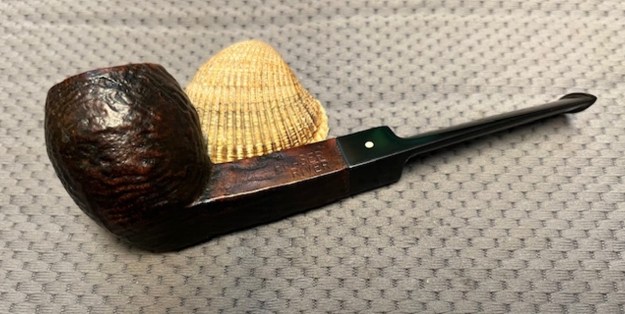
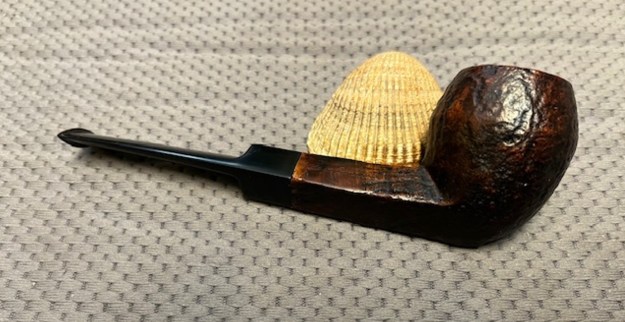
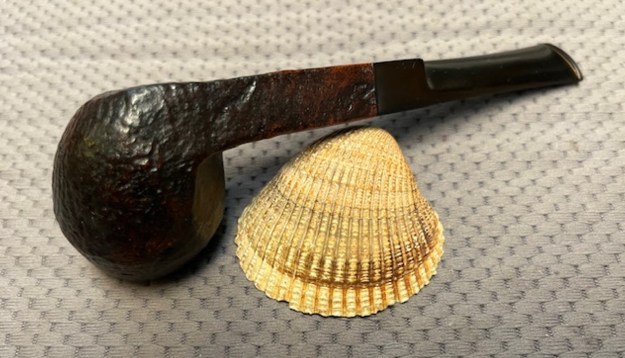
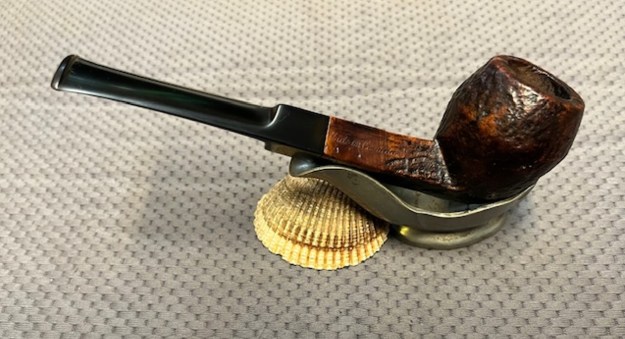
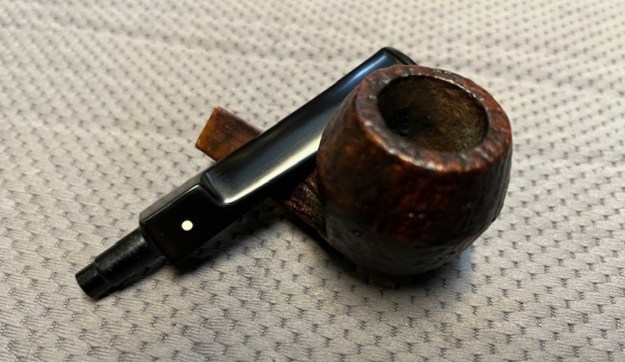
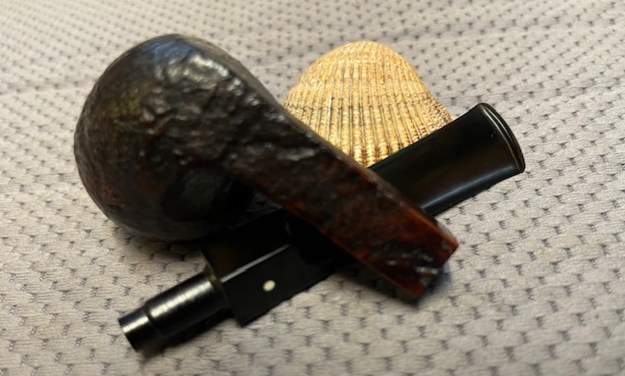
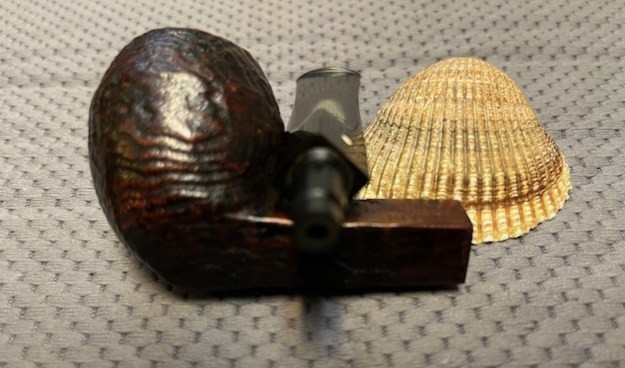
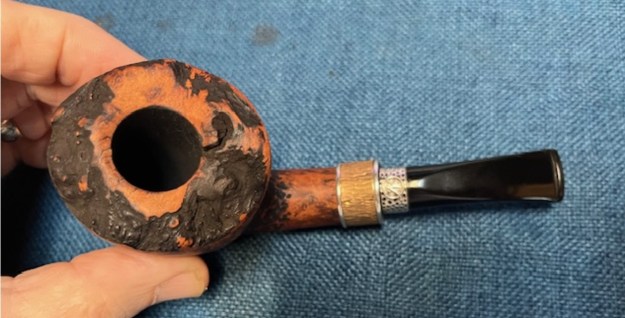
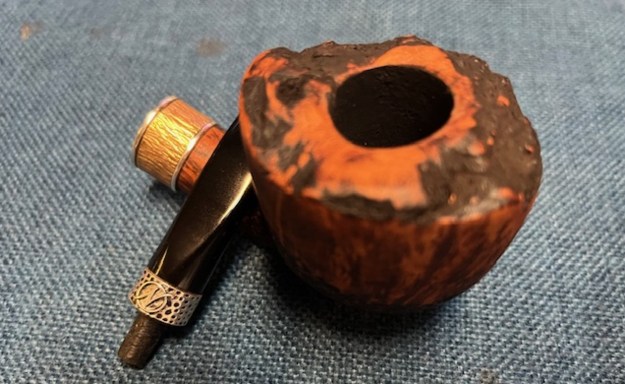
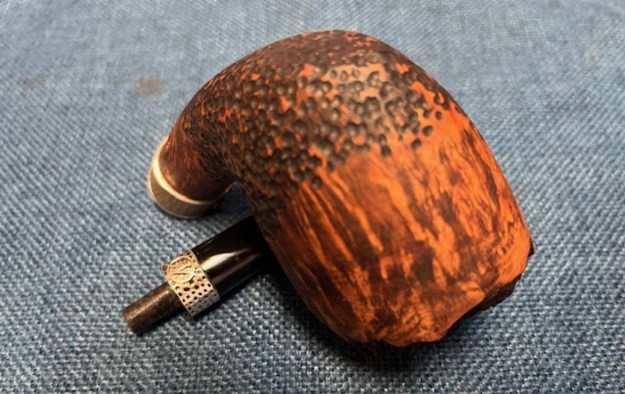
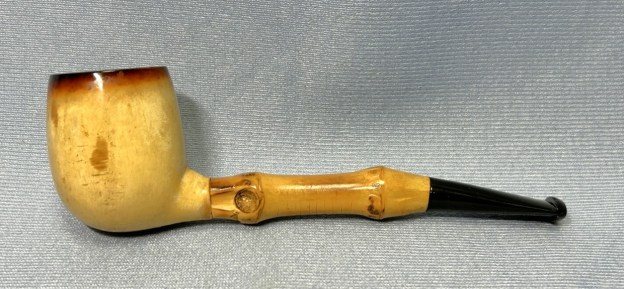
I was pleasantly surprised to find this pipe recently at a local thrift shop. The thrift shops around here don’t usually carry tobacco pipes and, those that do, normally offer nothing but the dregs of the pipe world. In this case, I found a charming, simple, and beautiful billiard pipe. The bowl is made of block meerschaum, the shank is made of bamboo, and the tapered stem is made of vulcanite. Its seemingly conventional design belies a slightly enigmatic history. I must admit, I am tempted to keep this one in my own collection, but maybe one of you will talk me into selling it.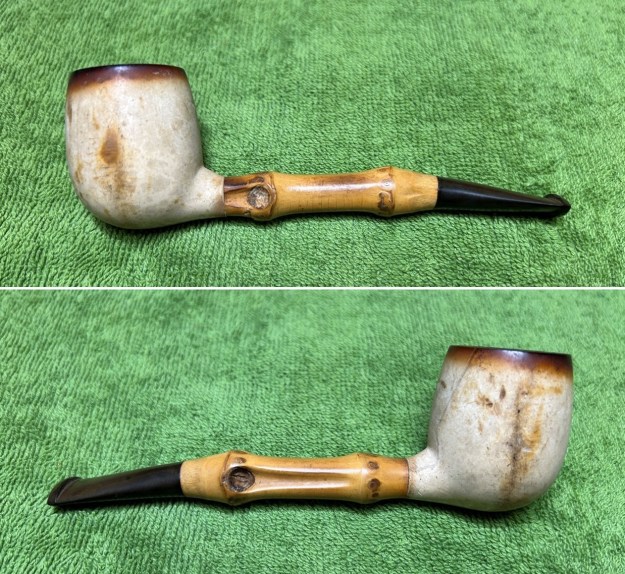
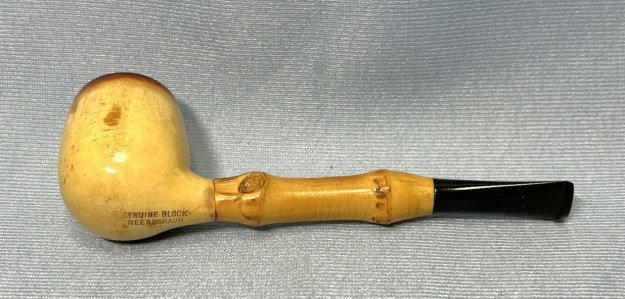
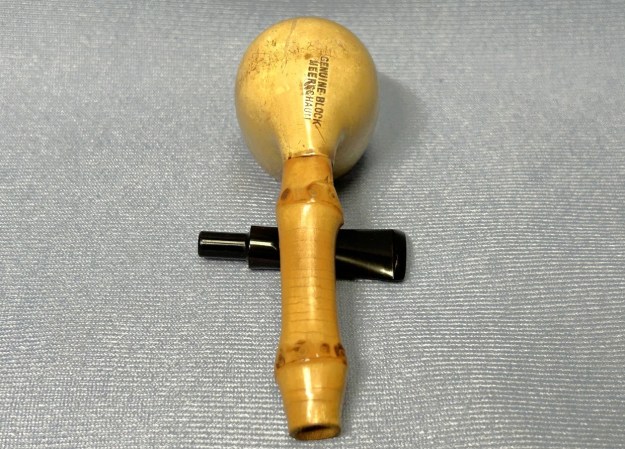
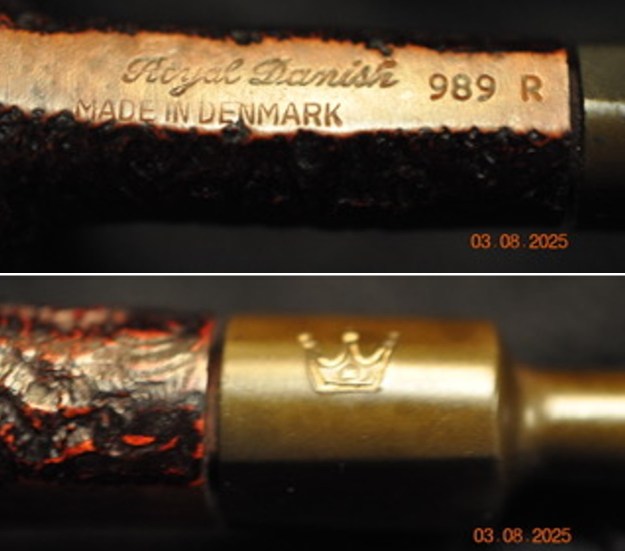
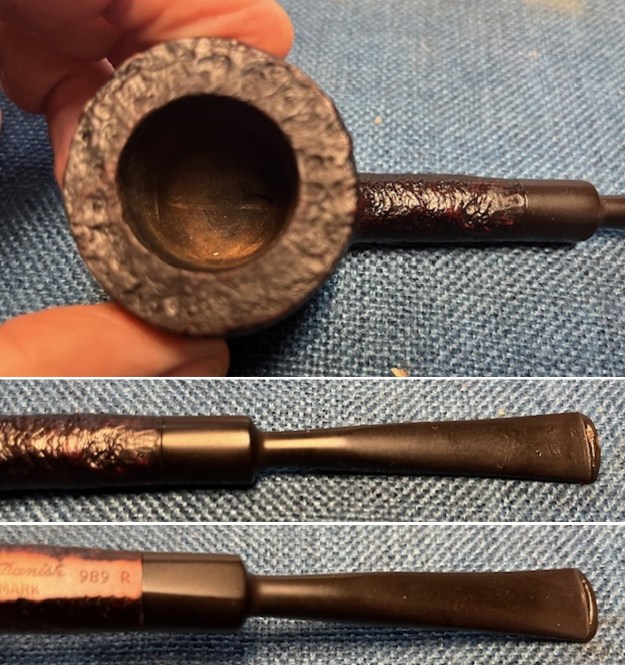
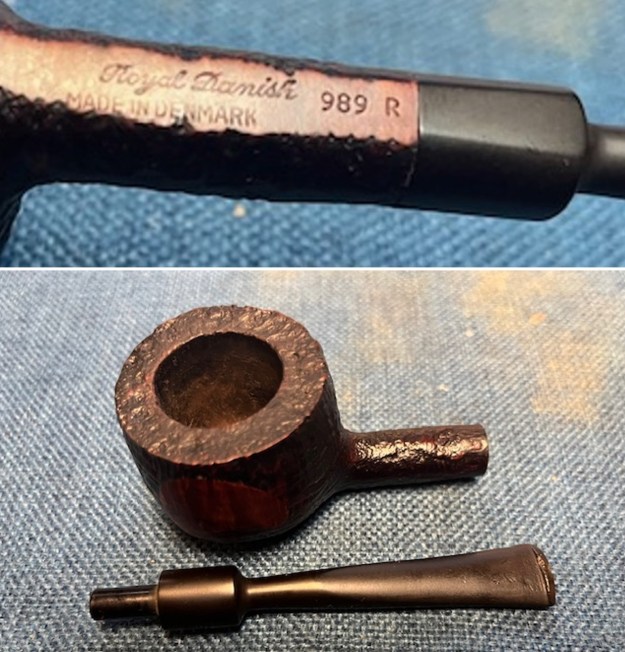
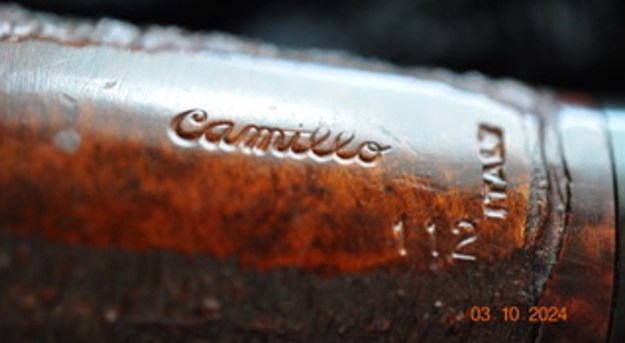
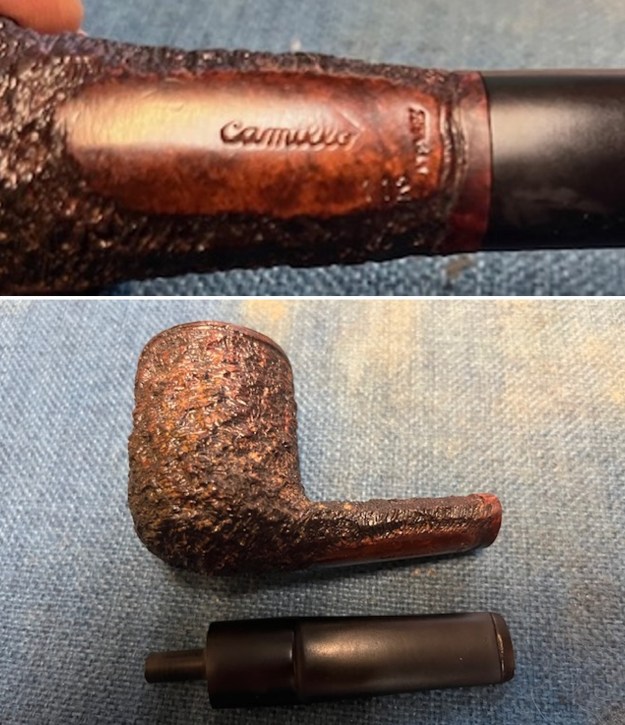
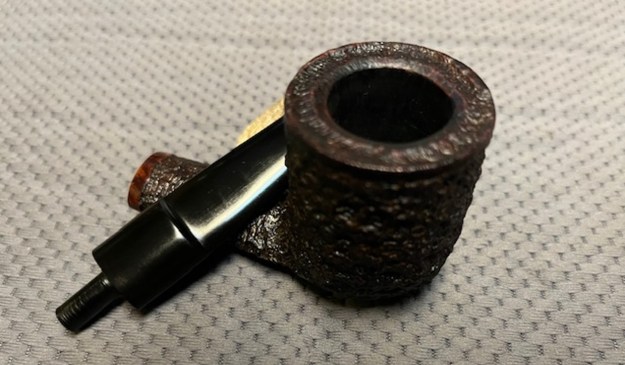
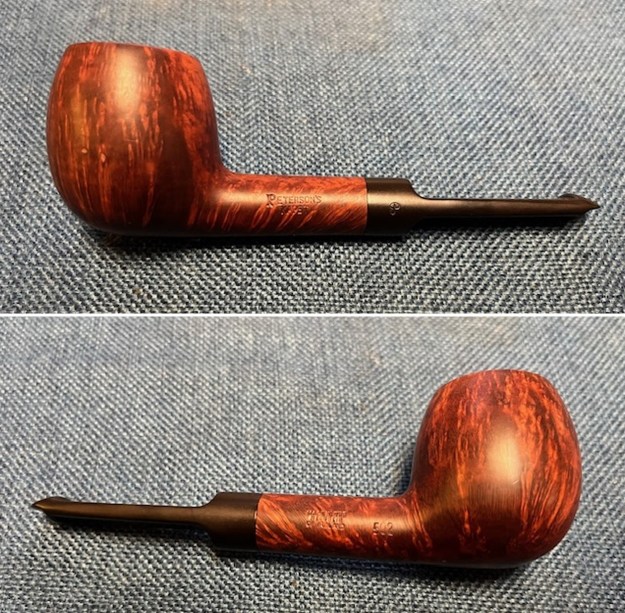
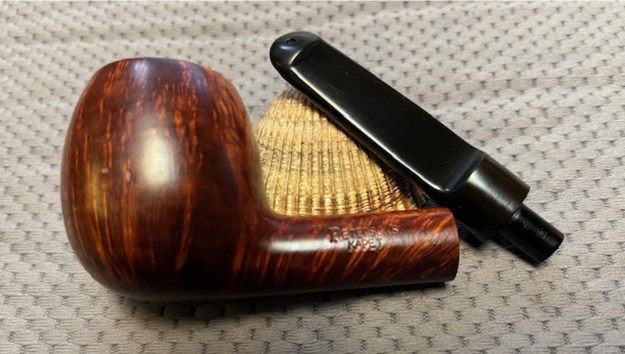
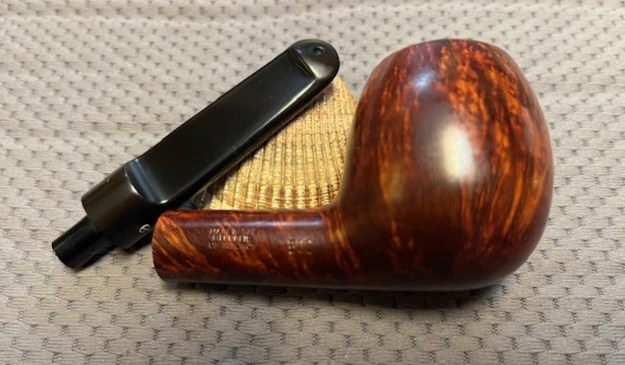
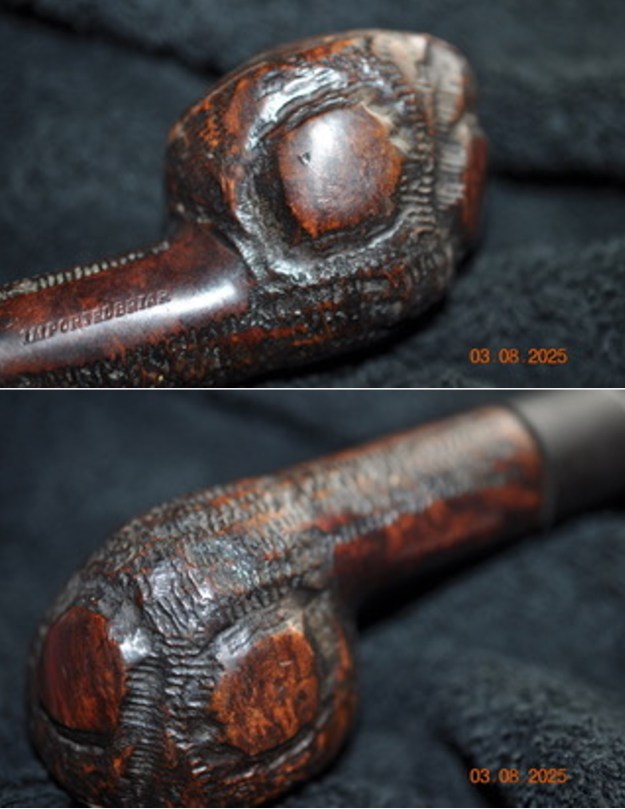
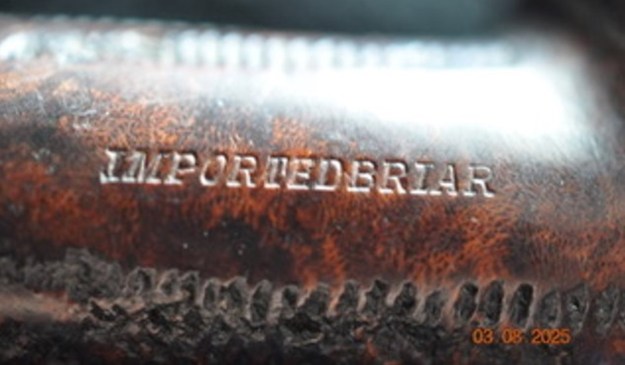
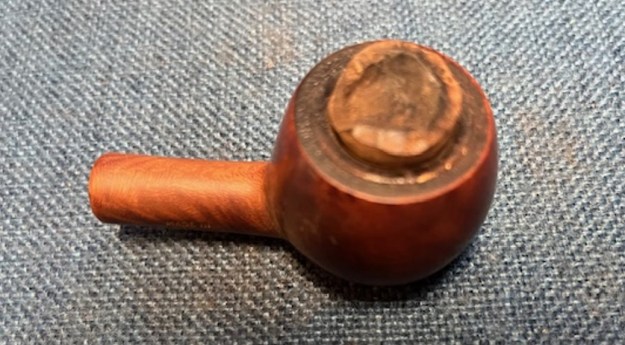
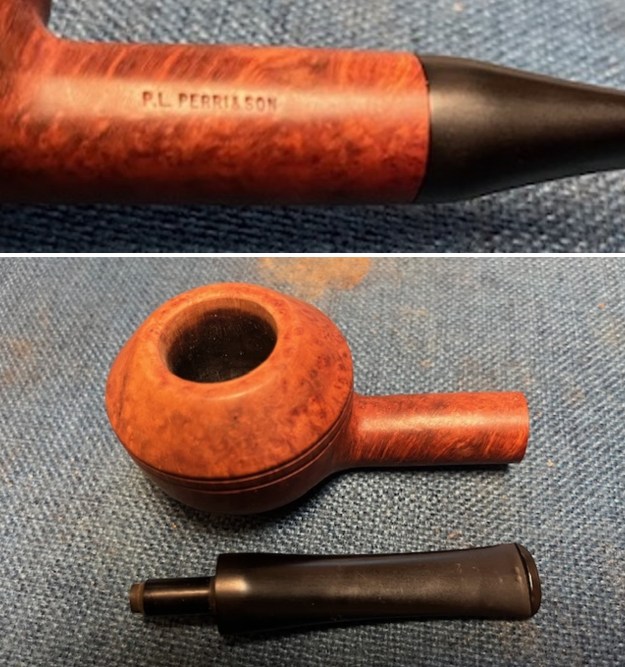
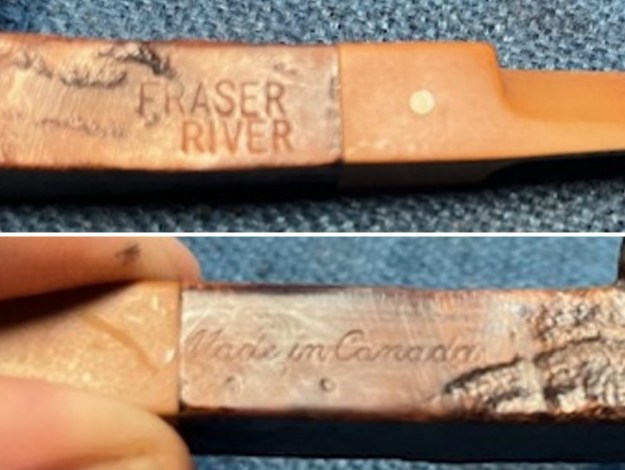
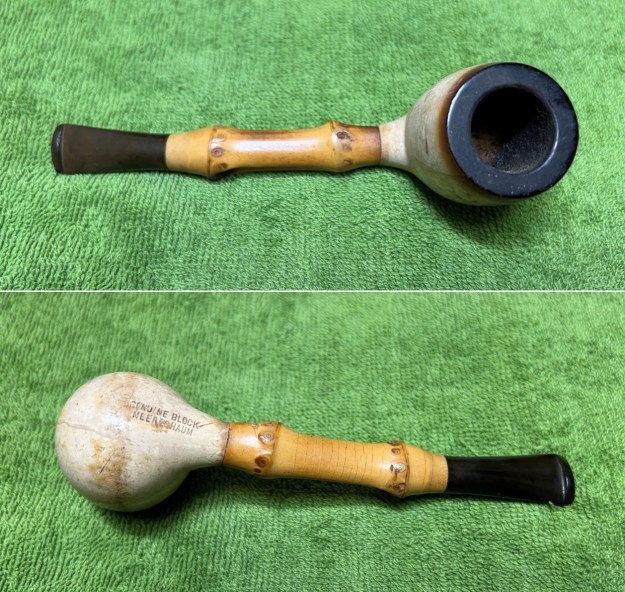 The only marks on this pipe are underneath the bowl, and read Genuine Block [over] Meerschaum. Annoyingly, there were no marks on the stem, shank, or anywhere else. Having said that, however, it did lead me to think that this pipe was manufactured on the Isle of Man. I have restored a few pipes from the Isle of Man and Steve has restored countless pipes from there. In a recent blog post, Steve wrote the following:
My research on the origins of [this pipe] can be summarized like this: It was made with African Meerschaum from the Tanganyika Meerschaum Corporation and produced by Laxey Pipe Ltd. on the Isle of Man.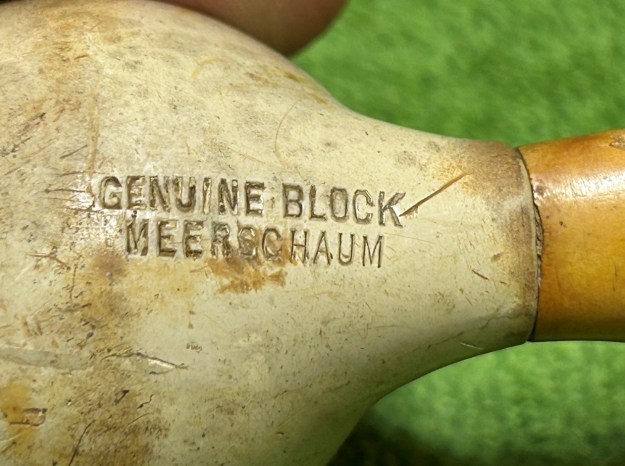 Here is some information from Pipedia about meerschaum production on the Isle of Man:
Laxey Pipes Ltd. resided in a historical 19th century four-storey Man stone building at The Quay, Old Laxey, Isle of Man, which thankfully has been preserved.
The company specialised in the production of meerschaum pipes using the Meerschaum mined by the Tanganyika Meerschaum Corporation in the Amboseli basin in Tanganyika (since 1964 part of the United Republic of Tanzania).
Please note: you may often find names like “Manx Pipes Ltd.”, “Man Pipe Co.” and others more, but there is no indication of another Isle of Man pipe producer other than Laxey Pipe Ltd. at any time!
Laxey Pipes Ltd. marketed own brands like “Manxpipe”, “Manxman”, “Manxland” e.c. Names like “John Bull”, “White Knight” (unwaxed), “Domino” (black, or lined) indicated some shapes / colours of Laxey’s own series. The stems either showed the astronomical sign for “male” or “man” (circle + arrow), or the crest of the Isle of Man, the 3-legged X in a circle. Manxpipes and Laxey’s other brands were available through pipe retailers in general, but also were sold (mainly) to tourists through their own shop in Laxey.
Furthermore Laxey Pipes Ltd. manufactured the meer bowls for Peterson, Barling, Nørding and others from the later 1960’s until 2001. Man Pipe e.g. was a brand distributed by Comoy’s. The bowls usually showed no nomenclature indicating the orderer. “Genuine Block Meerschaum” was engraved frequently. Often, just the stems were different, while bowls were the same.
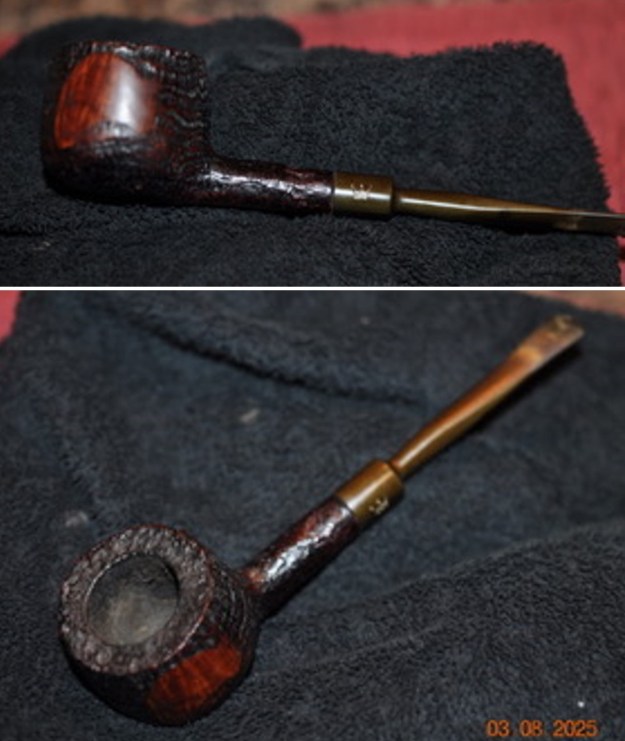
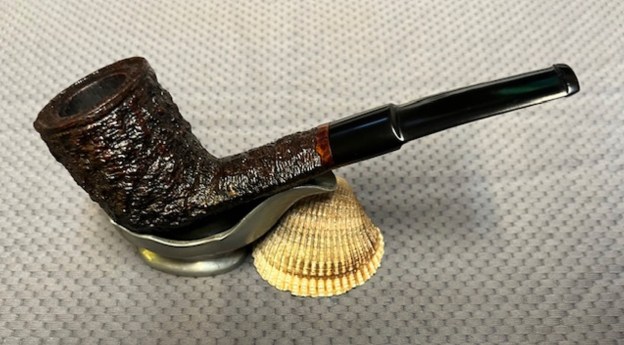
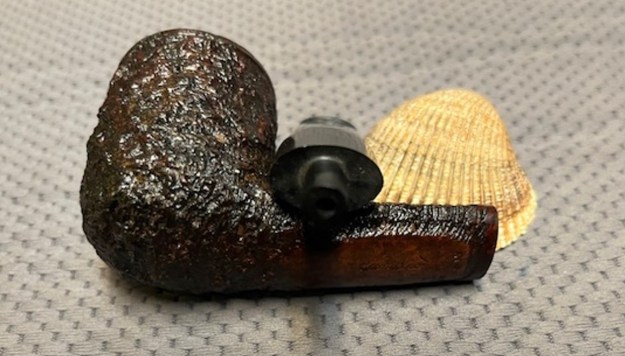
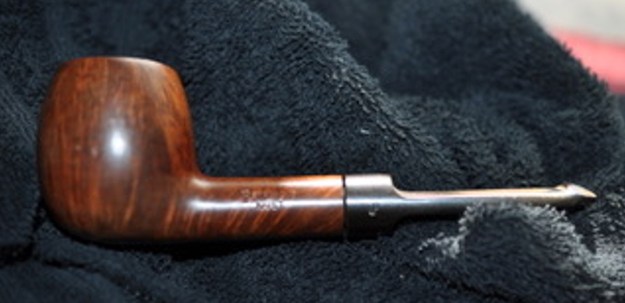
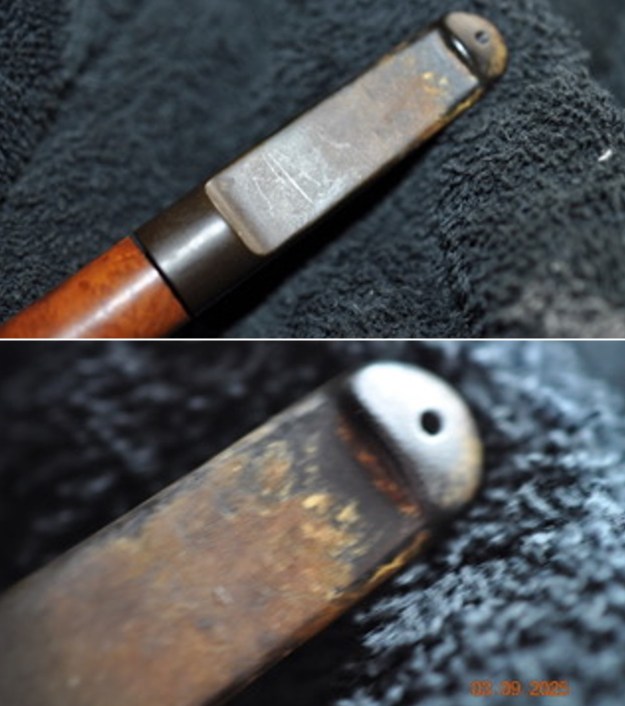
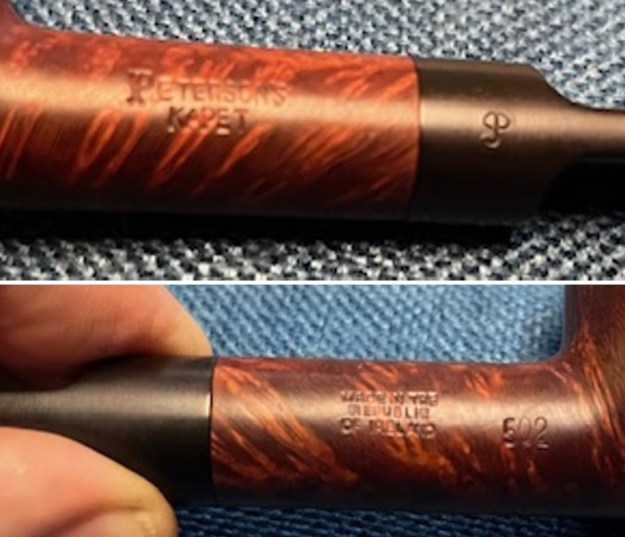
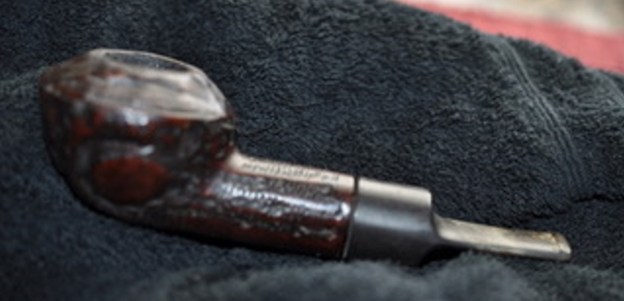
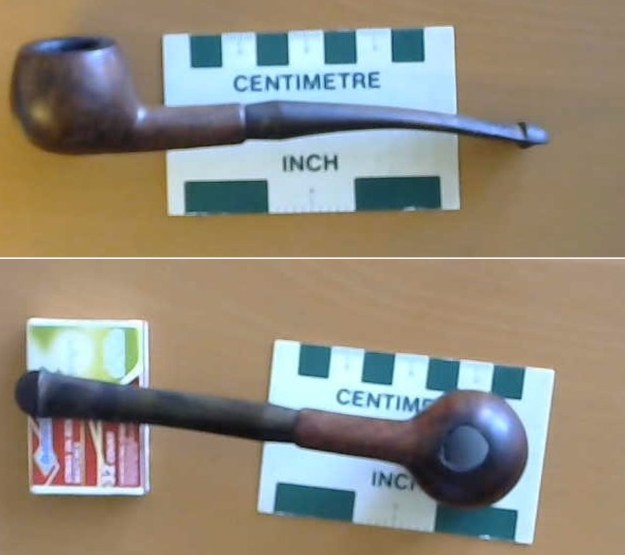
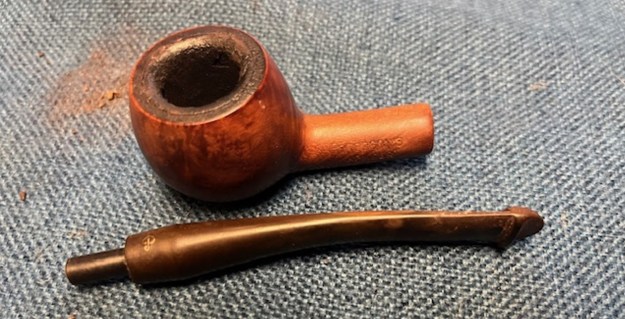
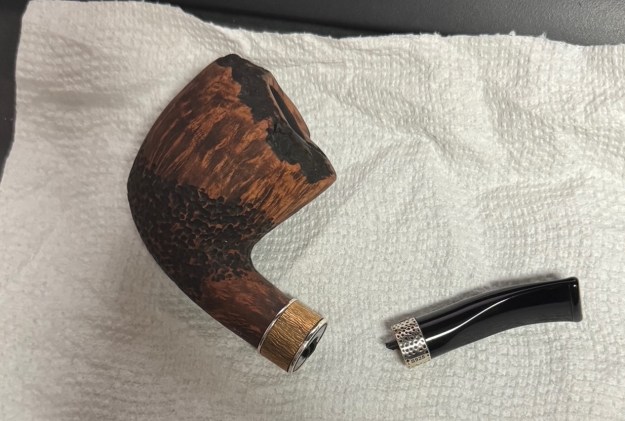
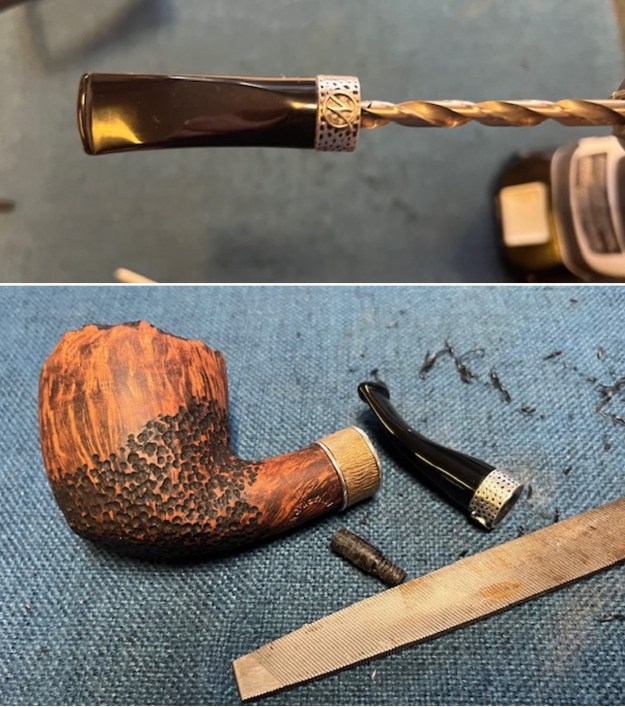
Supply of meerschaum from East Africa run out (Kenya / Tanzania exhausted, Somalia inaccessible), and thus the last Laxey meers were supplied to trade in May, 2001. Laxey Pipes Ltd. tried to survive continuing with briar pipes – mainly in the Danish style -, but to no success. It closed down business in July, 2002.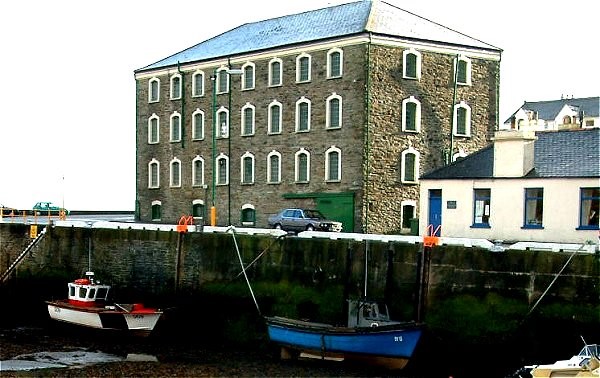 Despite the paucity of maker’s marks on my pipe, the style of the marks that are there leads me to believe that this is a Manx-made pipe. One major detail that made me harrumph a bit was the bamboo shank. I wasn’t familiar with Laxey making bamboo shanked pipes. Steve commented that the pipe was not unlike pipes from the Kaywoodie Mandarin line of bamboo-shanked pipes. Again, however, as far as I know, the Mandarin line never included meerschaum. Steve asserts, however, that Kaywoodie did produce a bamboo-meerschaum pipe. Here is an example of an unbranded bamboo meer found on eBay. Not only does the pipe have no identifying marks, but the seller had no information either.
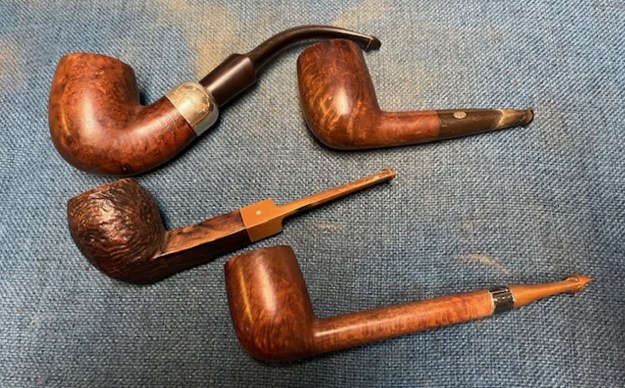
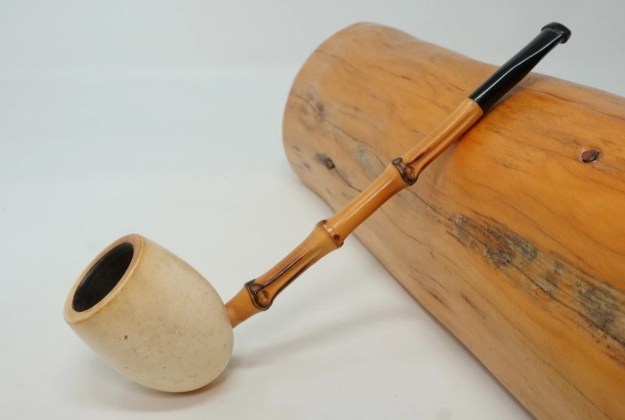 The combination of meerschaum and bamboo in pipes is certainly not unprecedented in the 21st century. For example, one can find some spectacular examples from Walt Cannoy, Ryan Alden, and the famous Turkish maker, Said Altınay. Here is a beautiful example from him:
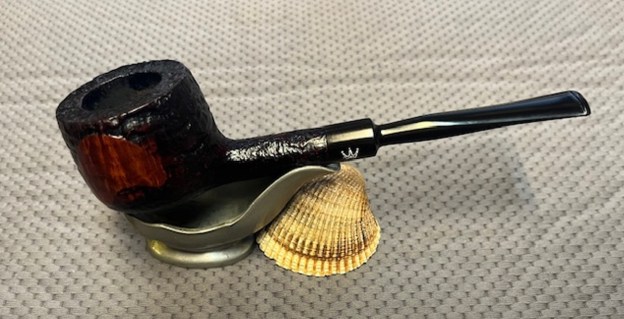
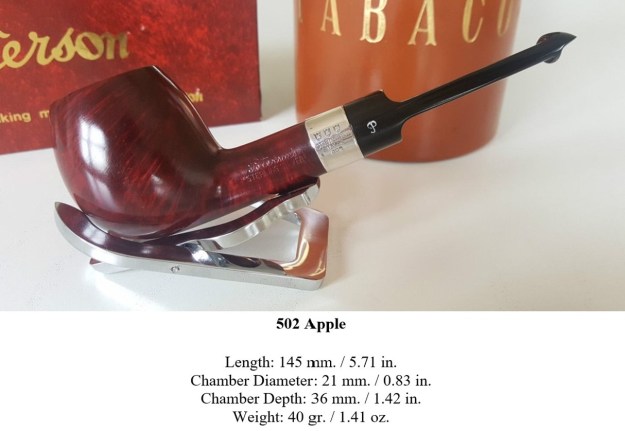
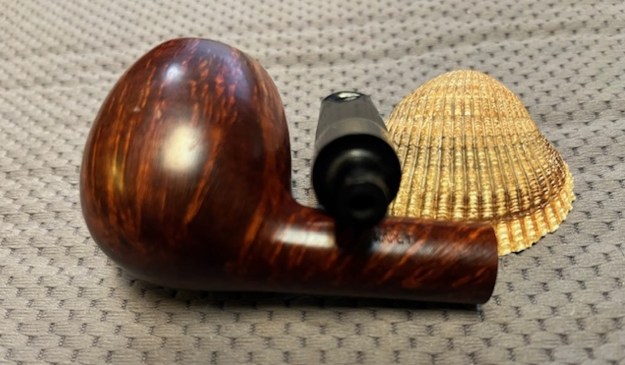
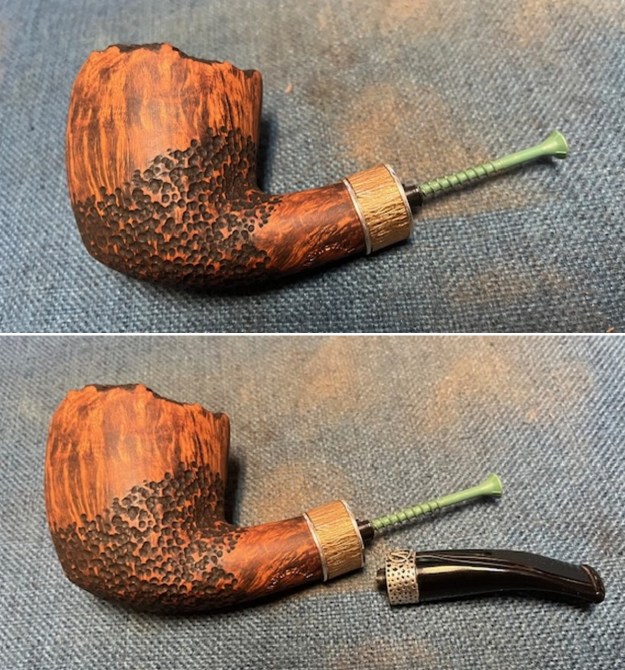
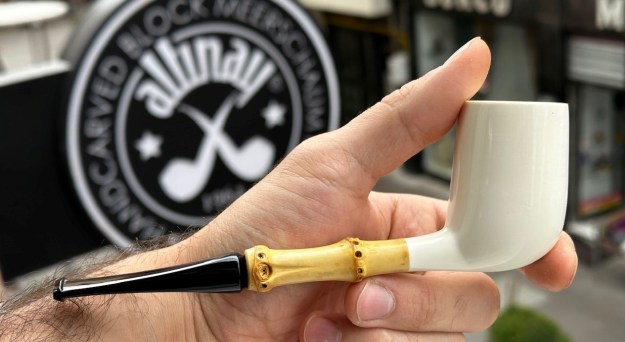 As a side note, Altınay’s website includes an interesting note on the history of bamboo in pipemaking. I provide a brief quotation:
Bamboo began appearing in briar pipe construction in the early 20th century. The earliest known pioneer of this style is believed to be Sixten Ivarsson, the Danish pipe-making legend, who introduced bamboo shanks in the mid-1900s as both an aesthetic and practical innovation. The concept soon spread, embraced by artisans such as Tom Eltang, Tokutomi, and Takahiro Hibi, who elevated the use of bamboo into a form of fine art. Its appeal was twofold: the natural lightweight strength and the distinctive, organic appearance. While traditional briar offered durability and familiarity, bamboo introduced character, contrast, and subtle resilience — giving each pipe a unique signature.
Obviously, the pipe I found is not on the order of a Cannoy, Alden, or Altınay! But I also feel comfortable in saying that this pipe is a lot older than those fellows’ pipes. I would be interested in hearing from YOU if you know more about the marriage of meerschaum and bamboo in pipemaking. Thank you kindly.
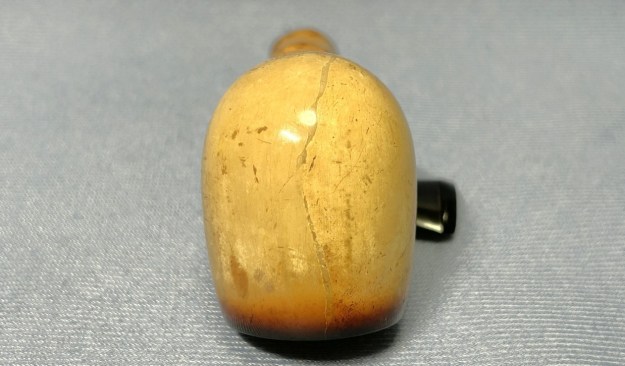
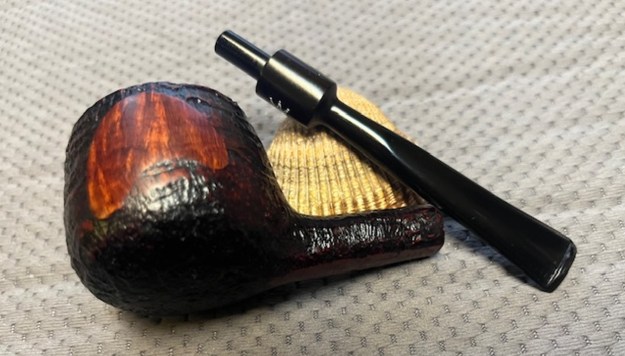
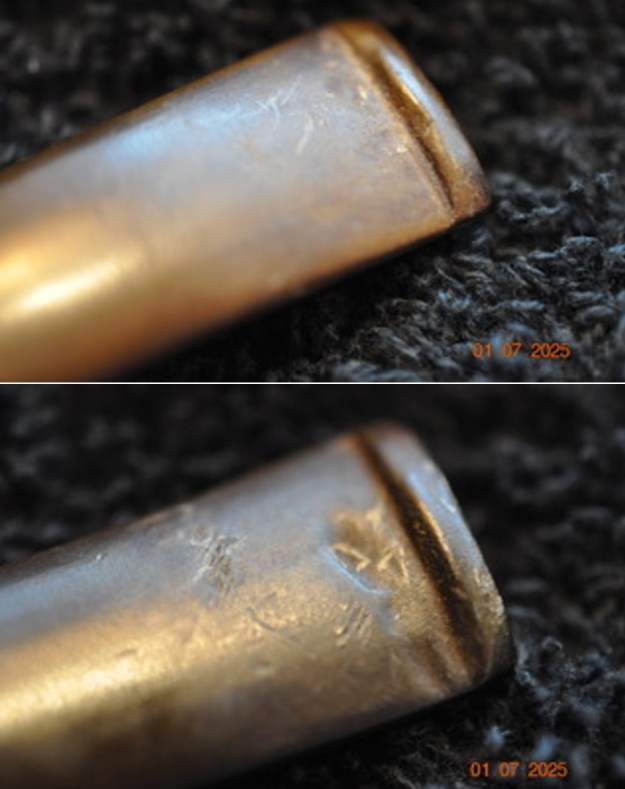
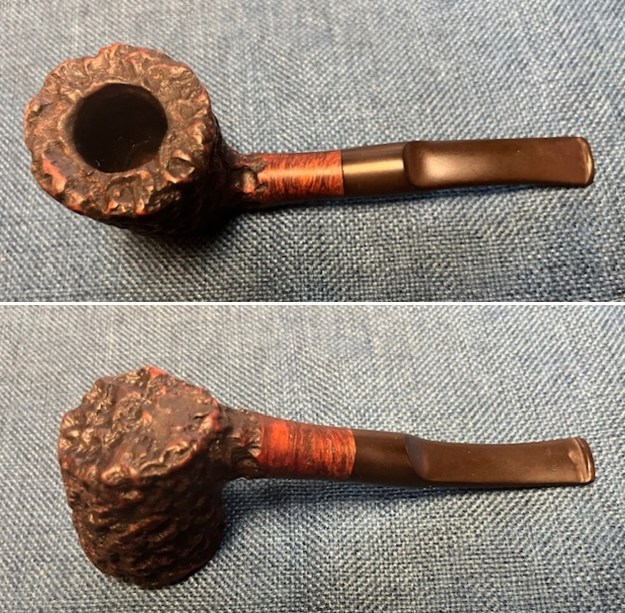
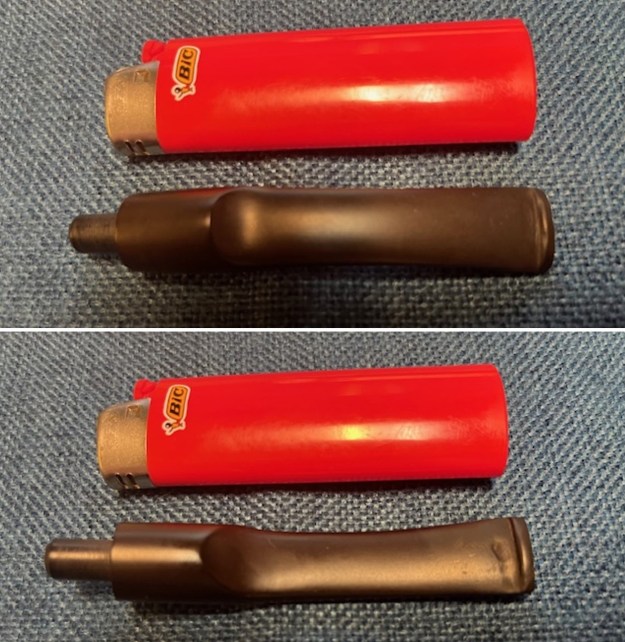
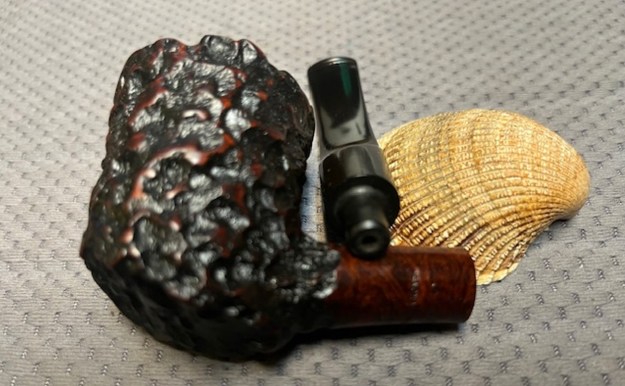
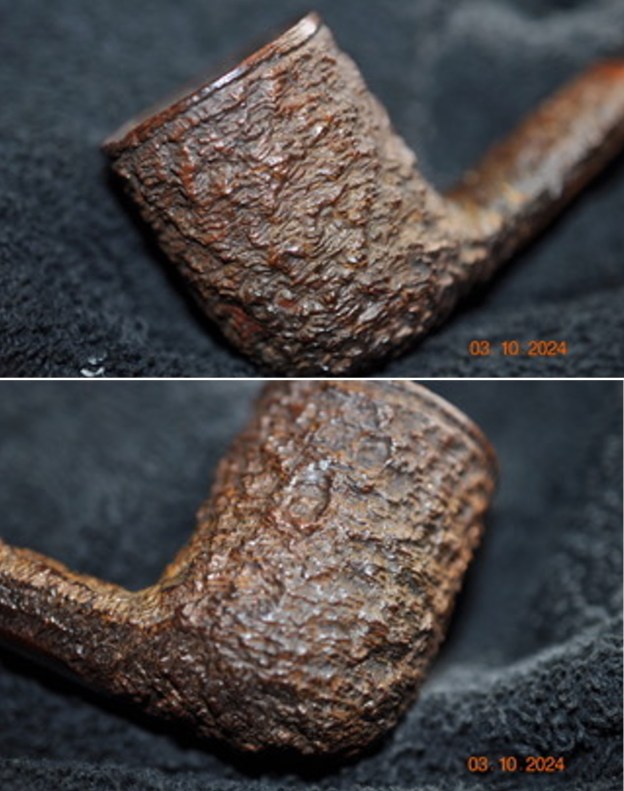
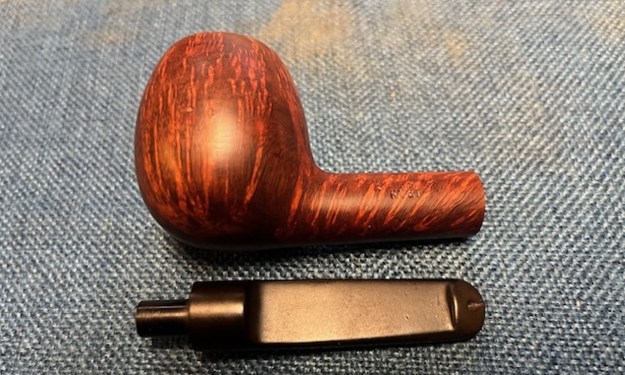
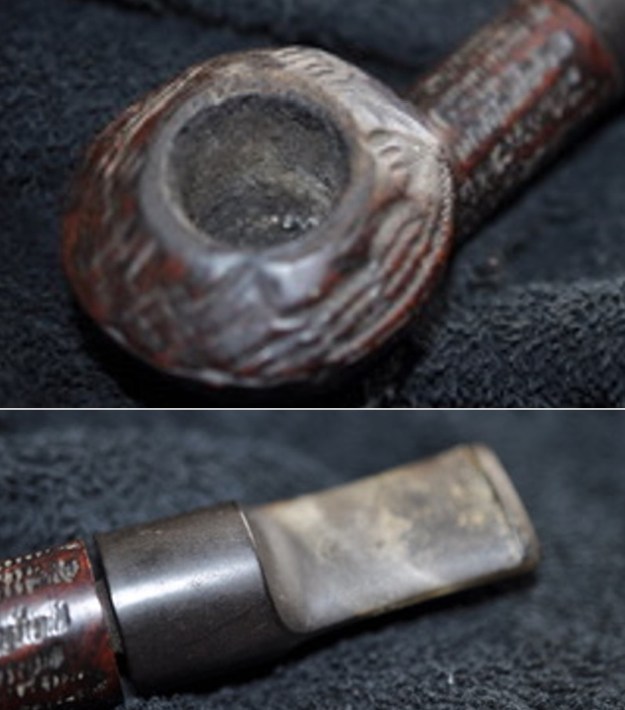
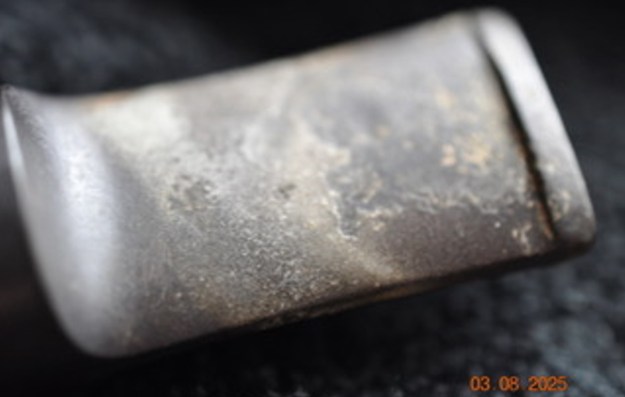
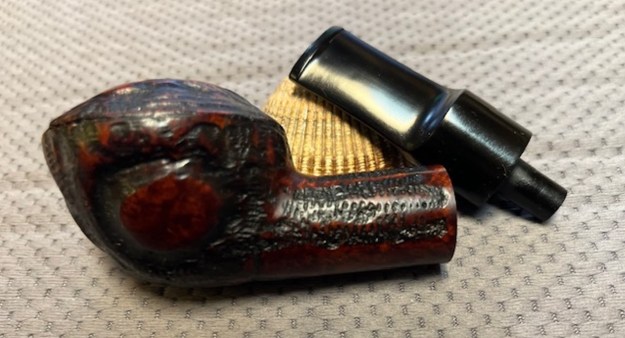
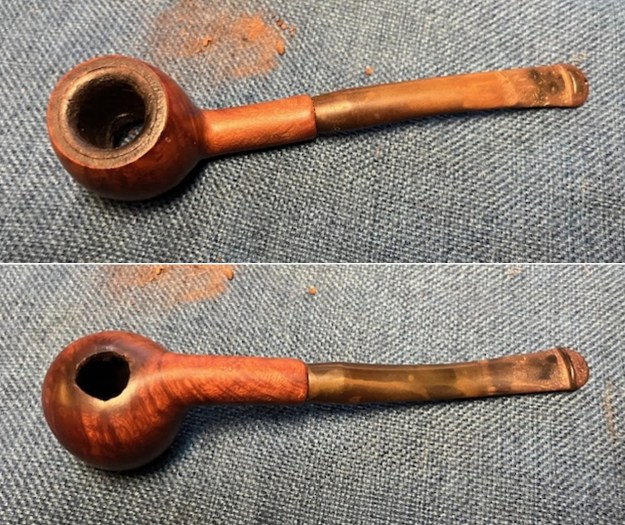
The pipe was in generally good condition and didn’t seem too challenging to clean up. There was a bit of scratching, etc. on the stem, but nothing serious. The bamboo shank was aged, but perfectly sound. Finally, the meerschaum bowl was well worn, but not bad at all.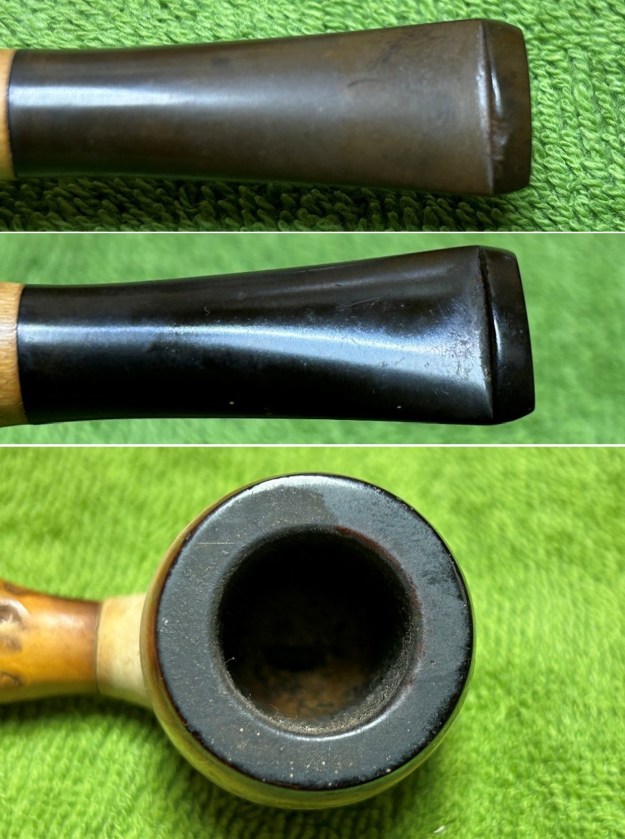 I used oil soap on a few cotton rounds and wiped down the stem to provide an initial cleaning of filth before moving on to the next steps. The primary cleaning came next. I disinfected the inside of the stem with both pipe cleaners and cotton swabs dipped in lemon-infused 99% isopropyl alcohol. I scrubbed thoroughly to make sure the interior was very clean.
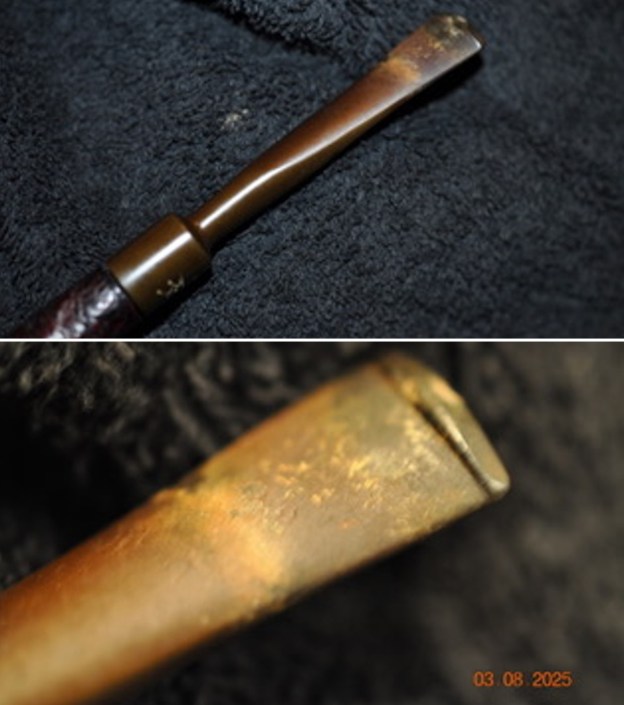
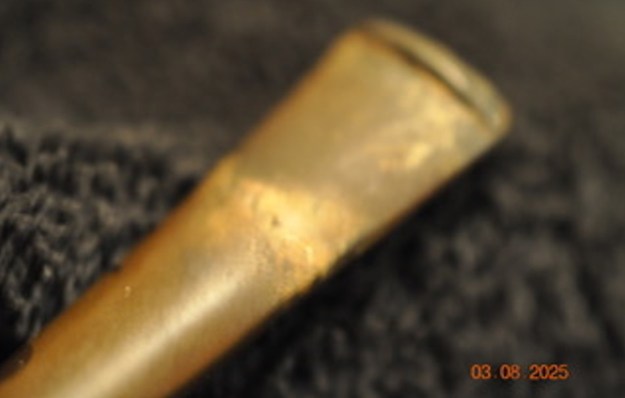
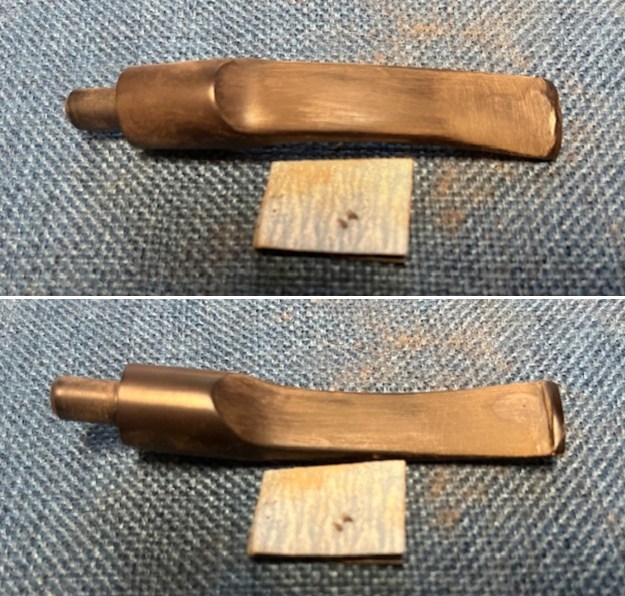
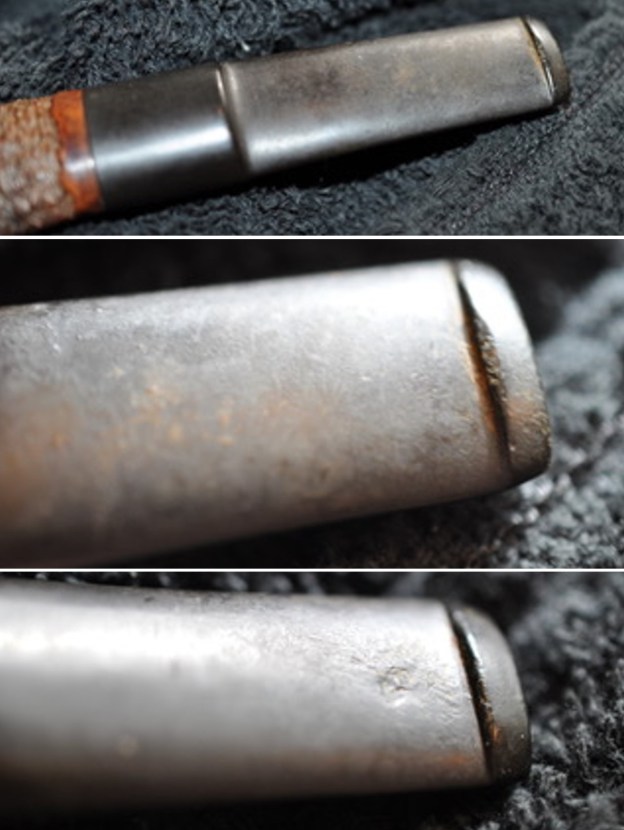
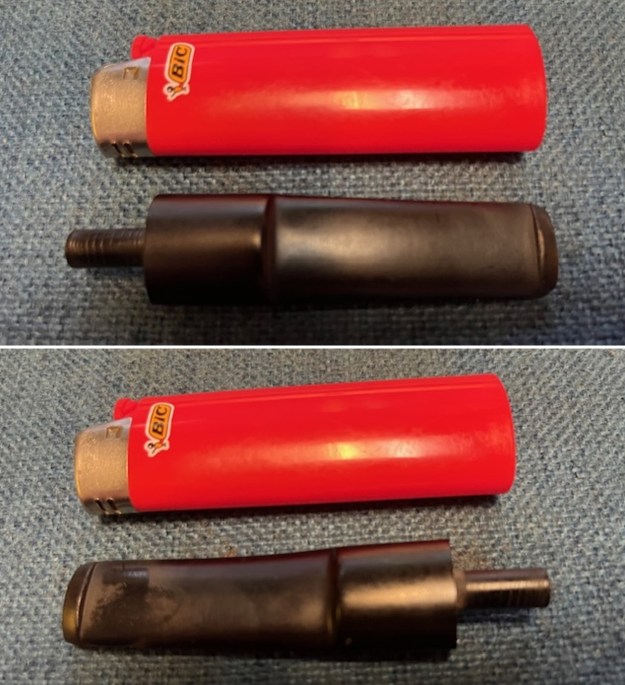
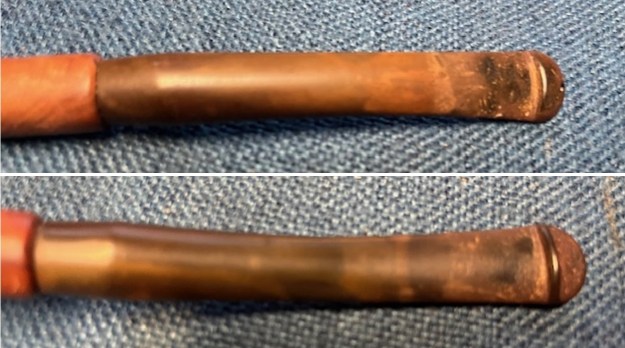
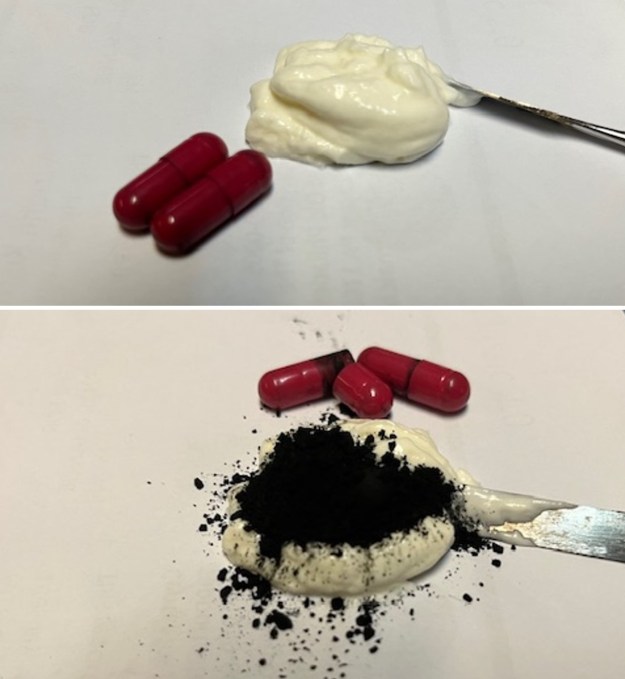
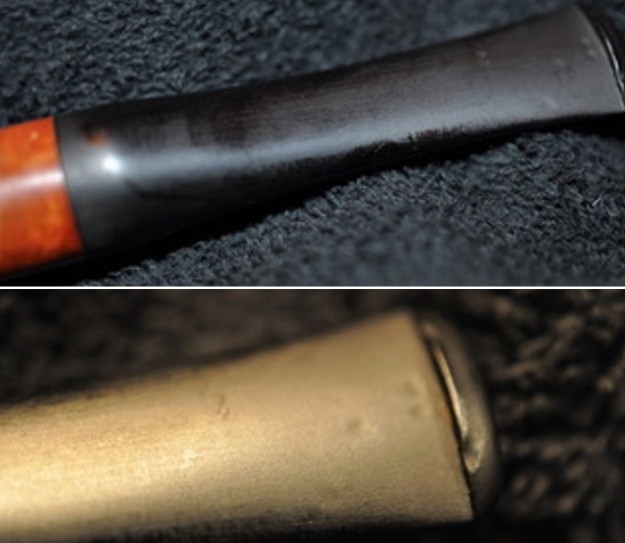
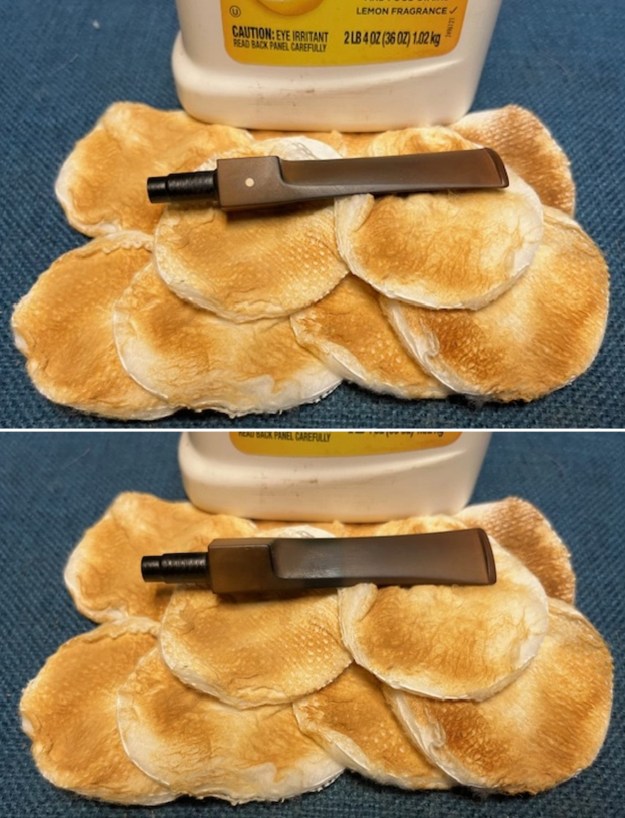
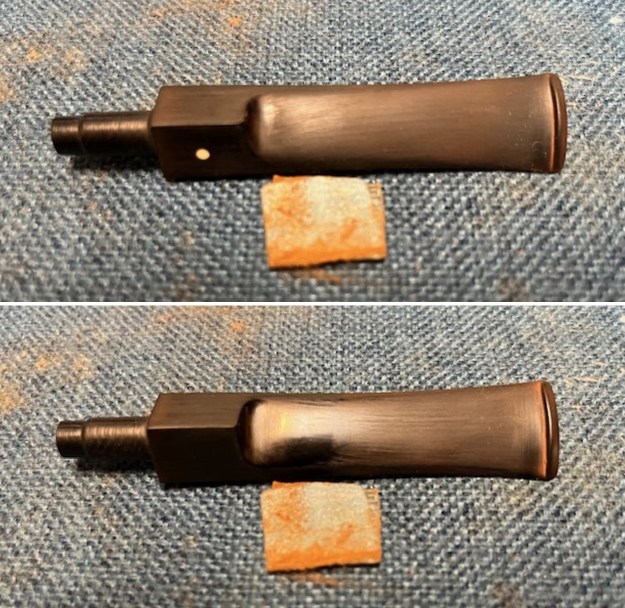
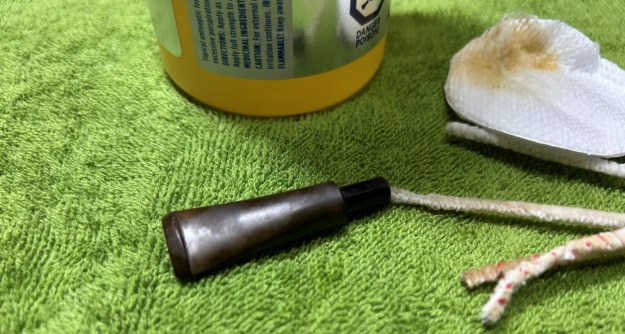 The goal of the next step is the removal (or minimization) of oxidation. Going to my sink, I used cream cleanser, cotton rounds, and a toothbrush, and scoured the stem to remove as much surface oxidation as possible. As the photos show, the result was a hideous, brownish mess – but better off the stem than on it.
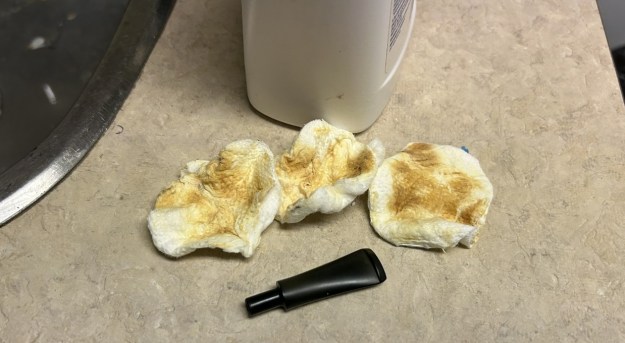 Once the stem was reasonably clean, I soaked it overnight in some Briarville Stem Oxidation Remover. This solution works to draw oxidation in the stem to the surface of the vulcanite. This is a major aid and an important step in ensuring a clean stem. The following day, I drew out the stem from its bath and scrubbed the lingering fluid with a toothbrush.
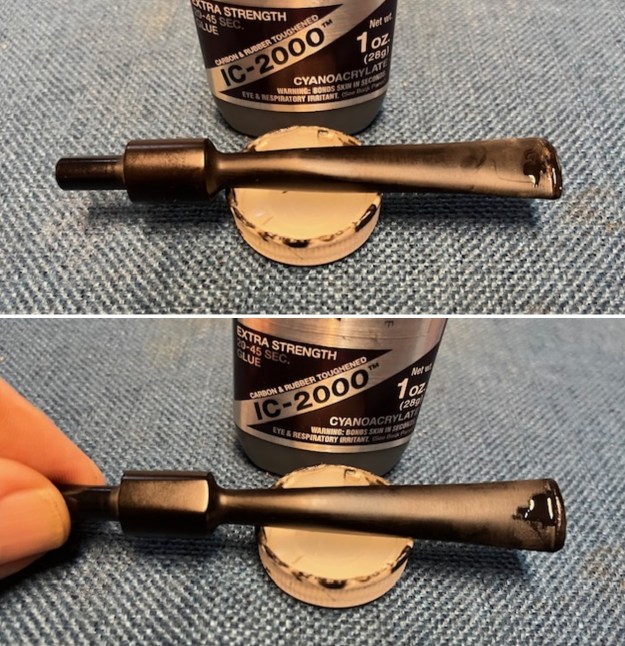
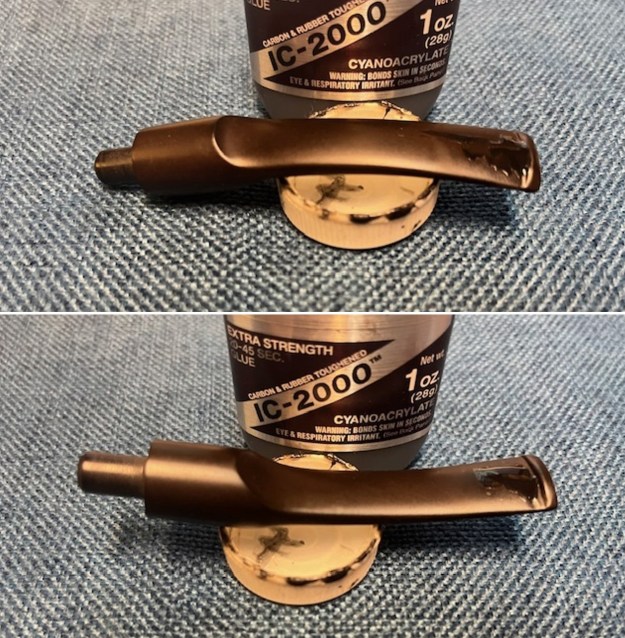
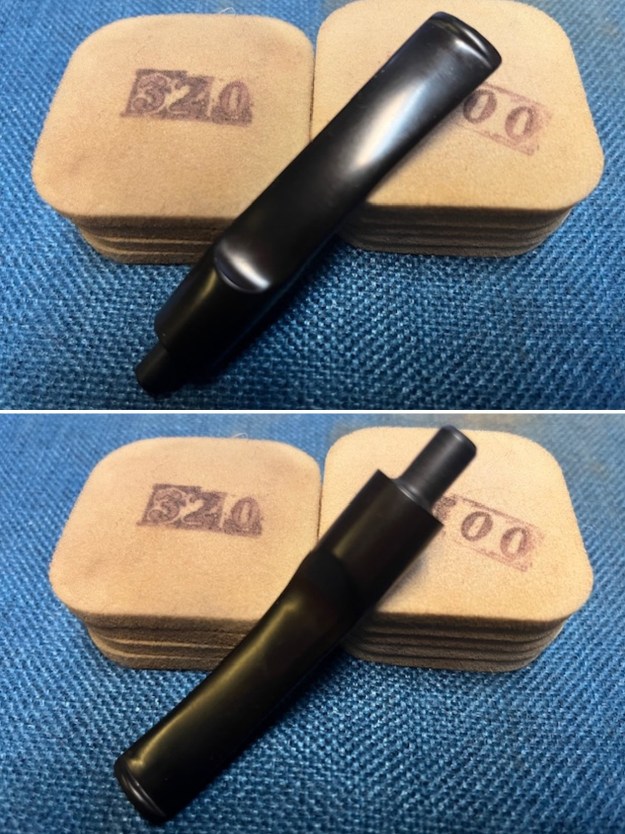
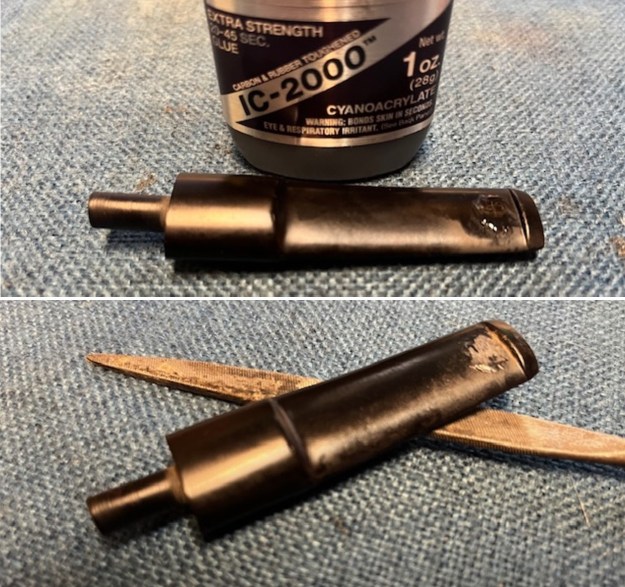
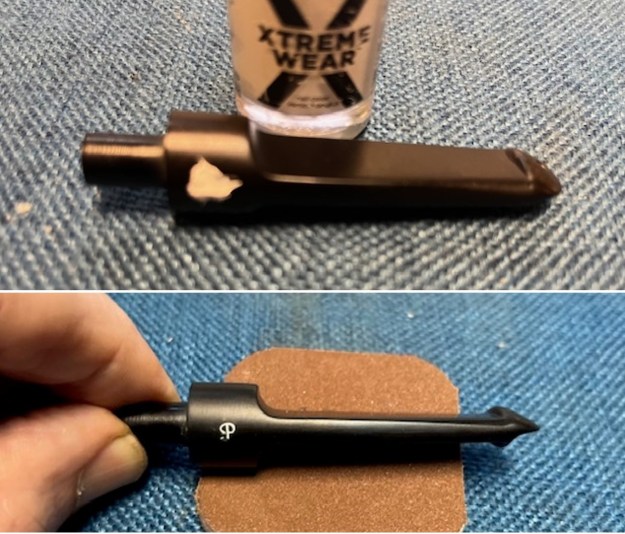
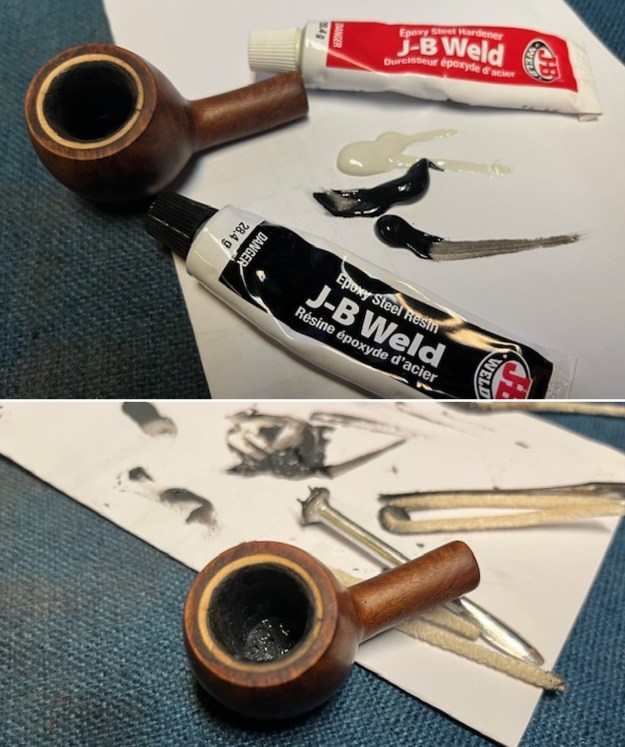
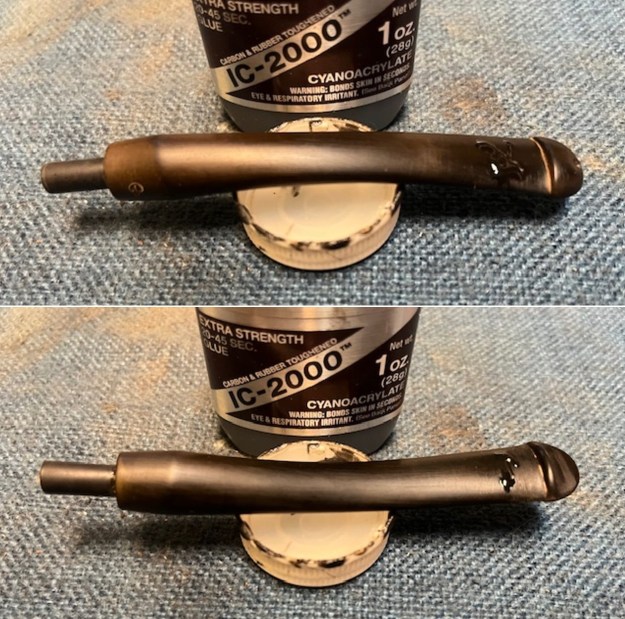
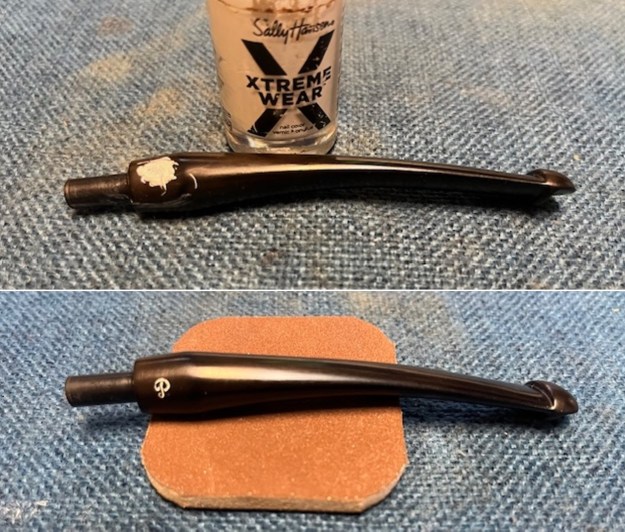
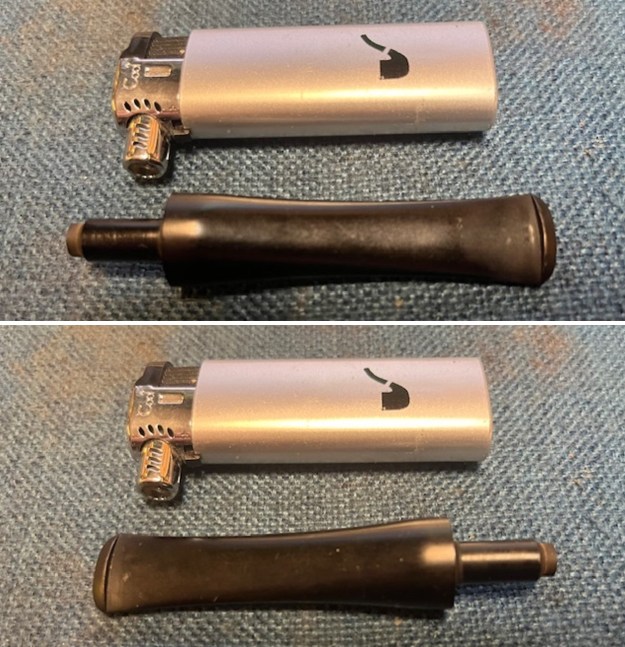
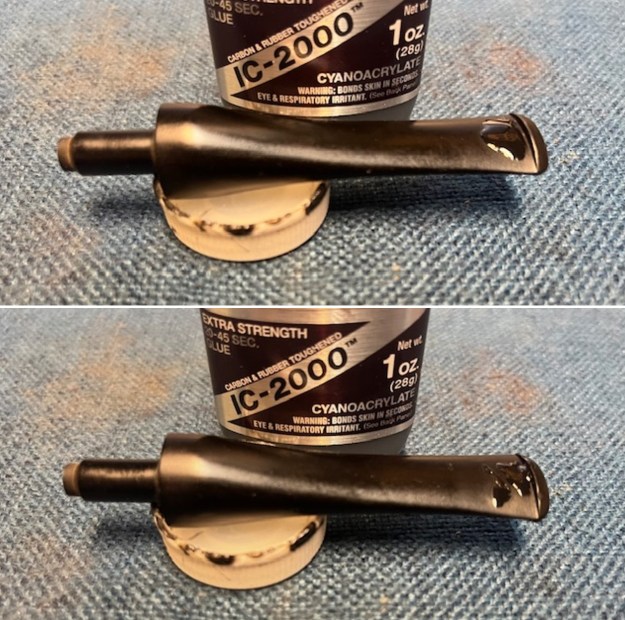
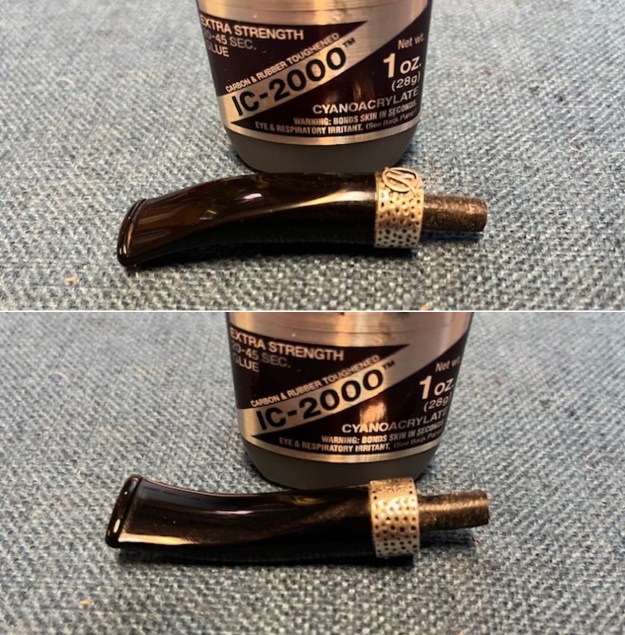
 As the stem was now clean and dry, I set about fixing the marks in the vulcanite. This was done by filling those divots with black cyanoacrylate adhesive, impregnated with carbon and rubber. I left this to cure and moved on.
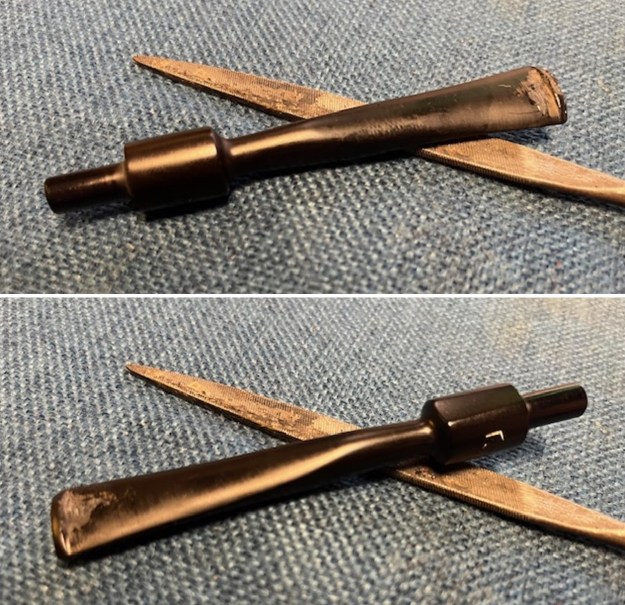
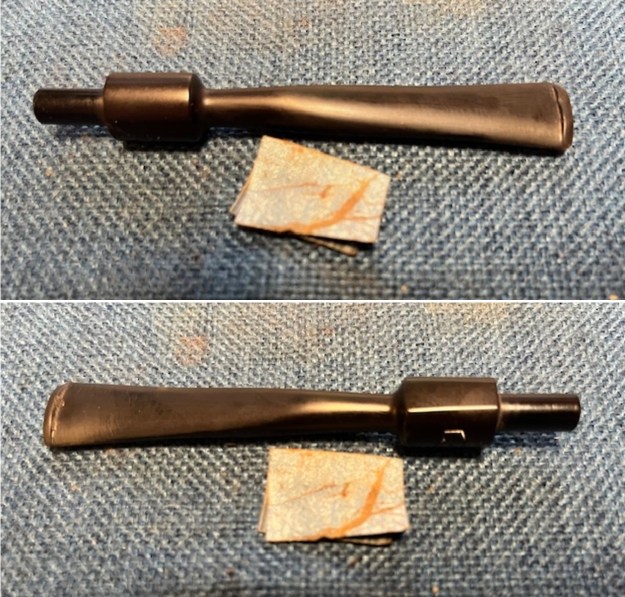
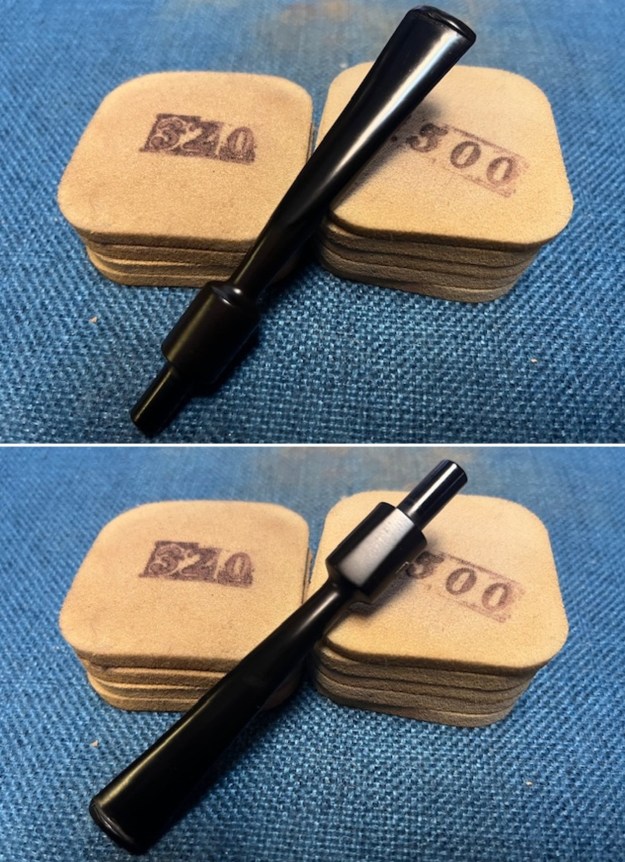
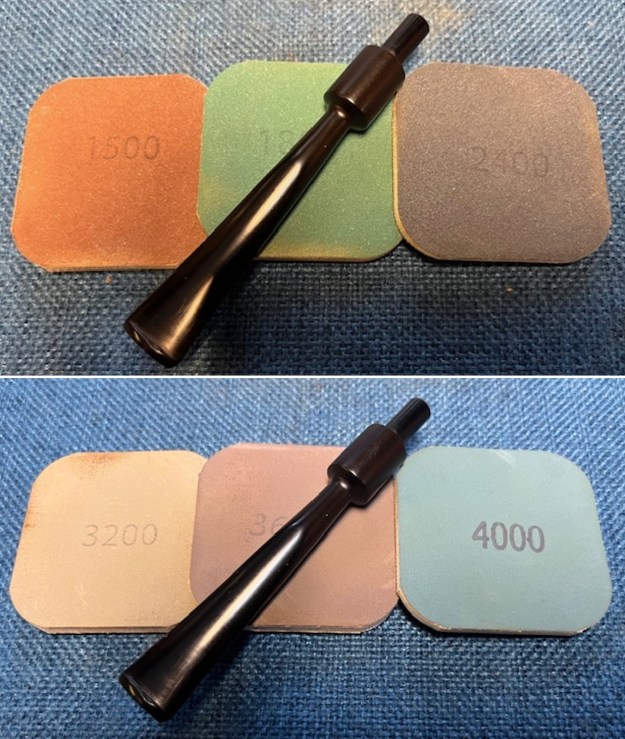
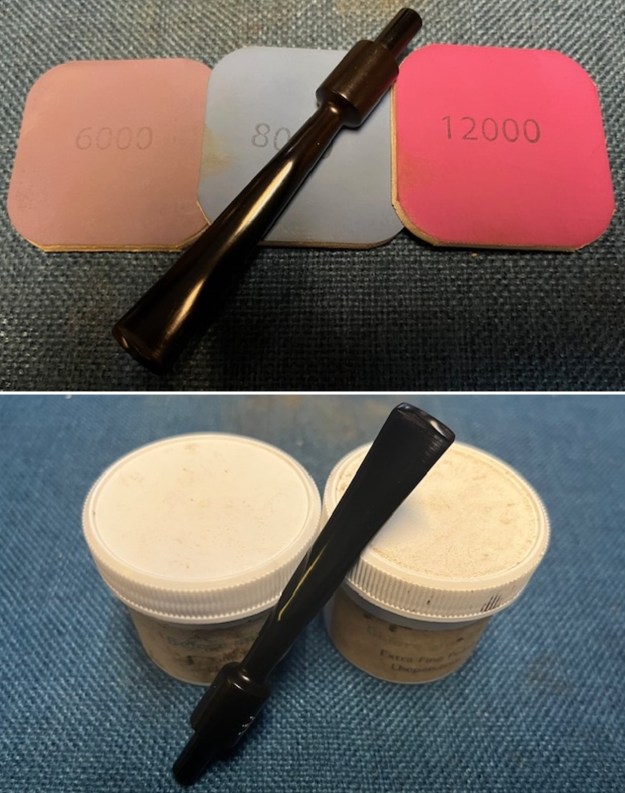
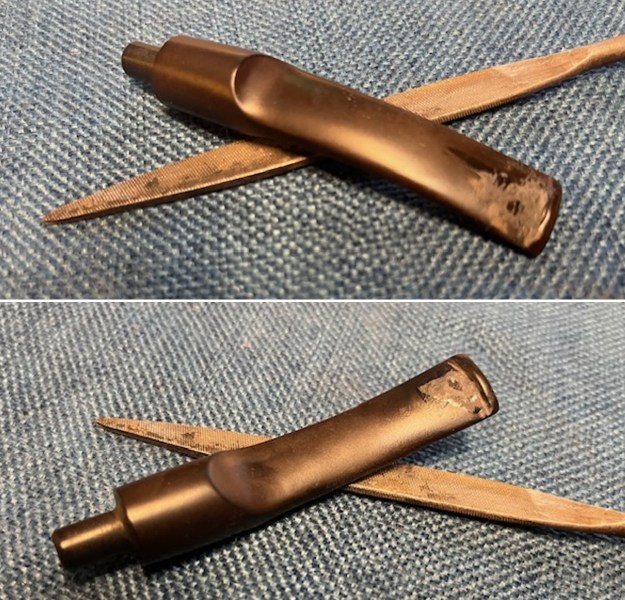
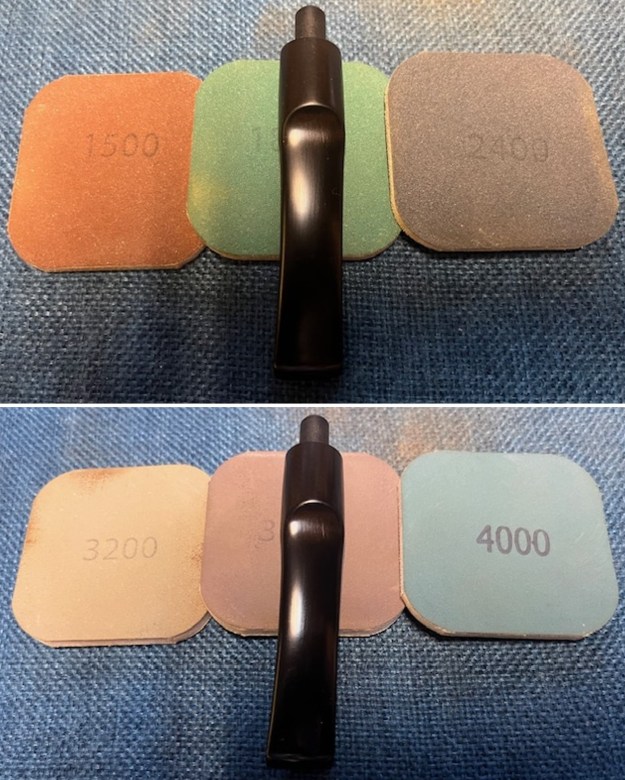
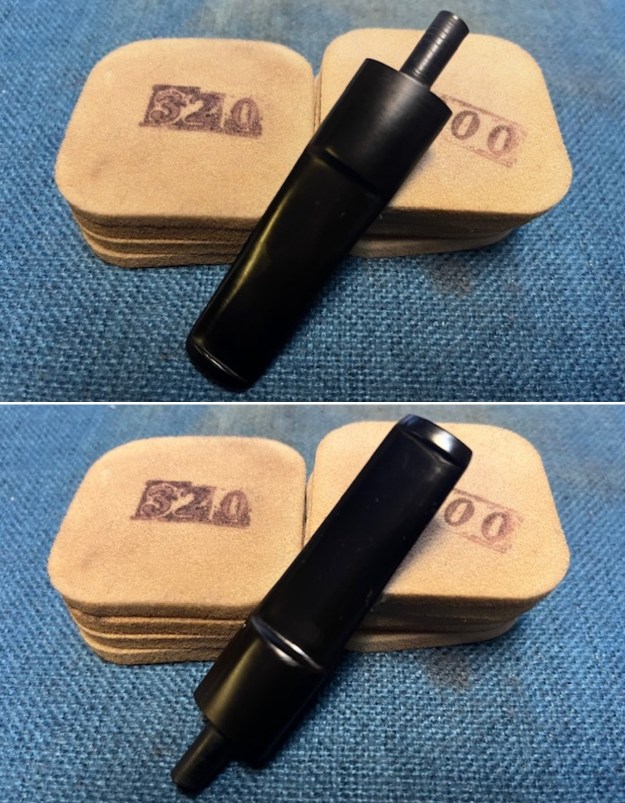
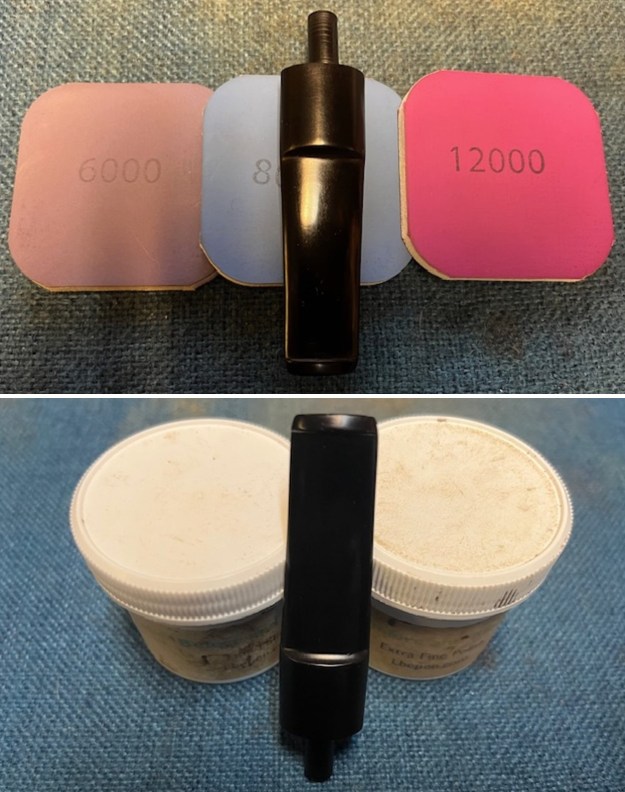
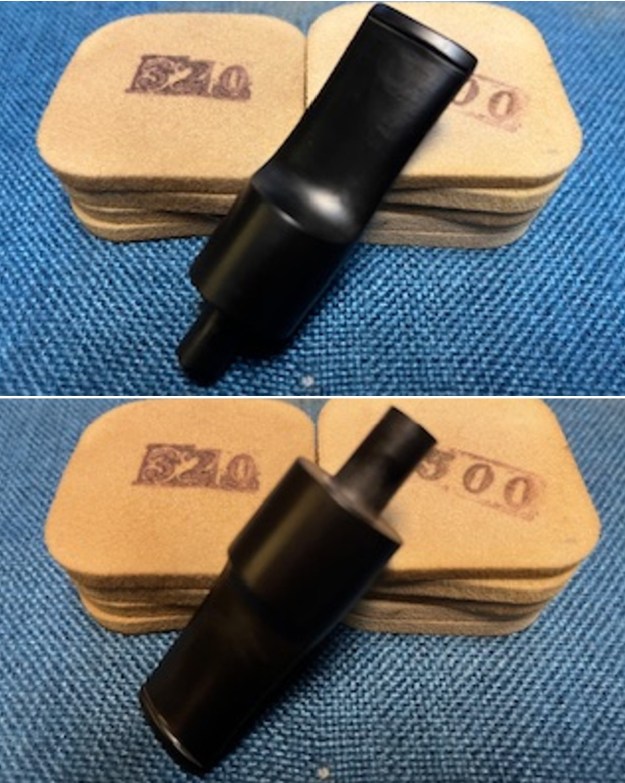
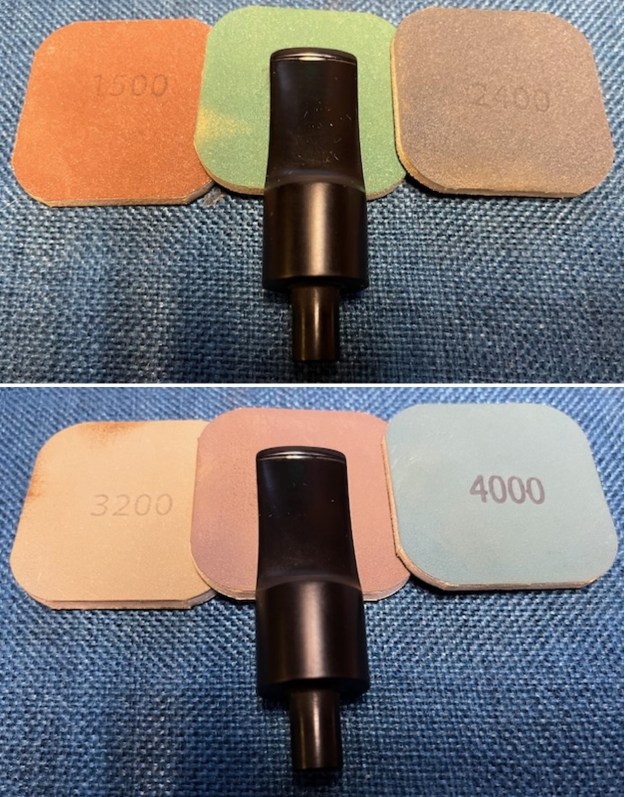
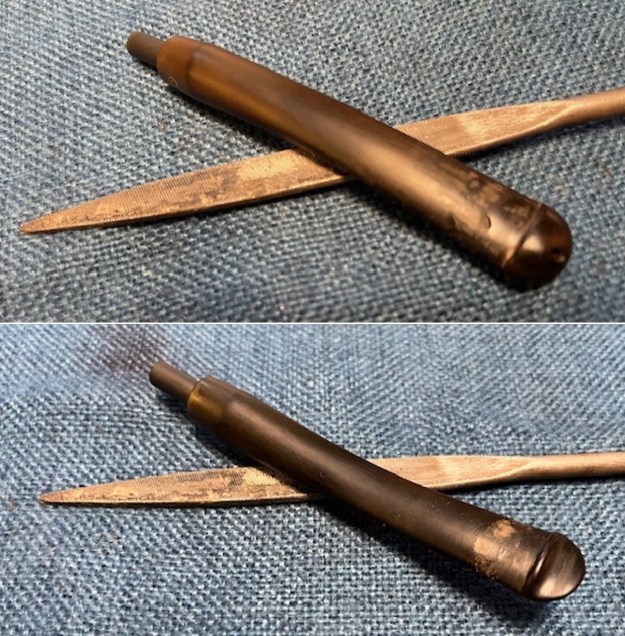
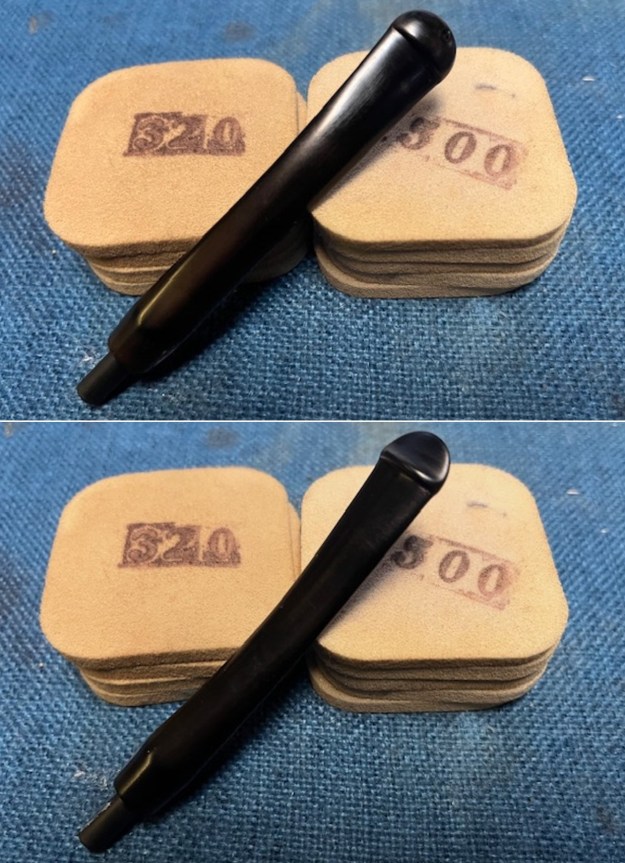
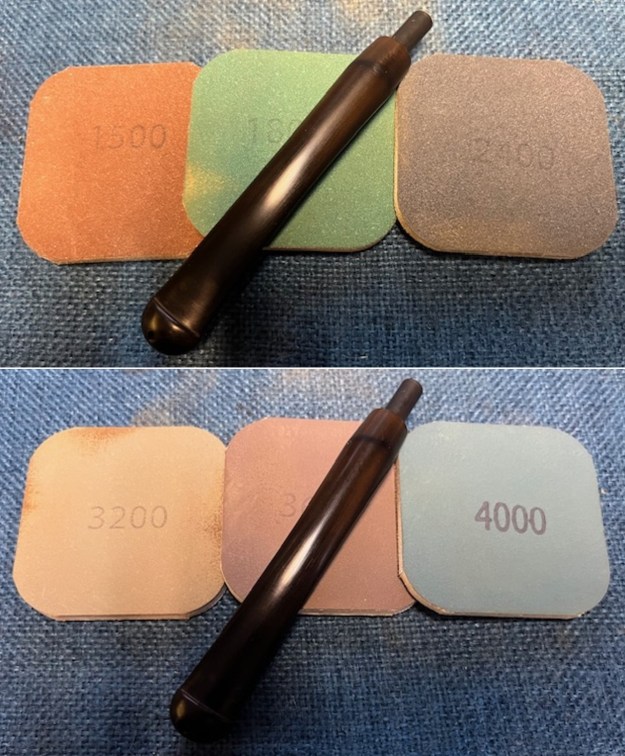
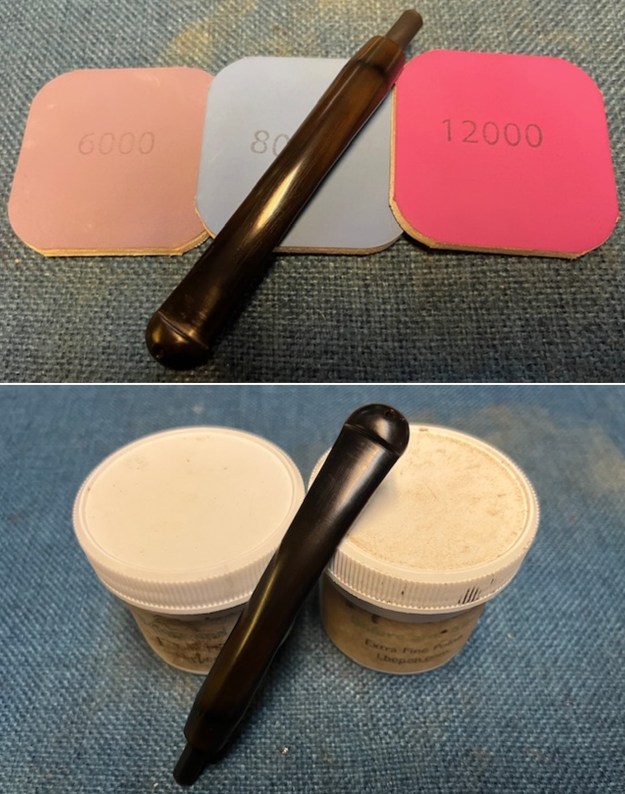
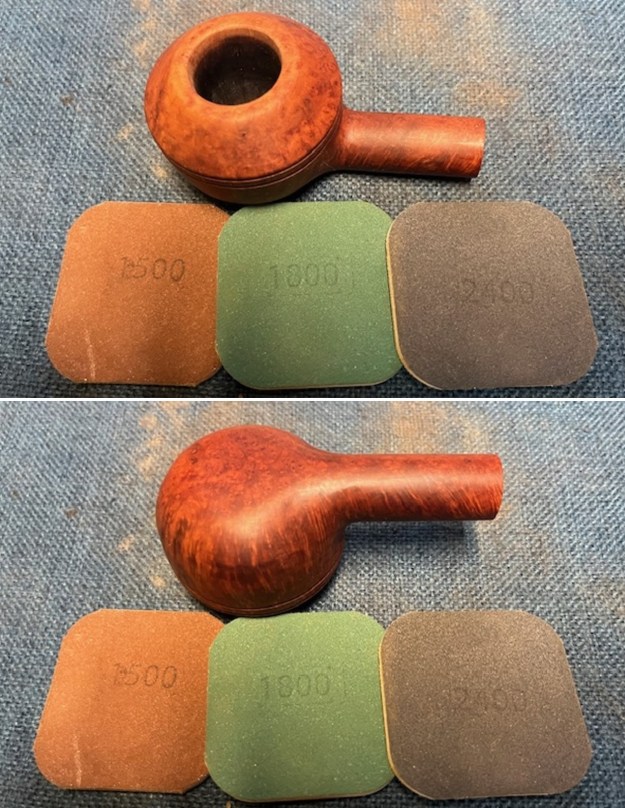
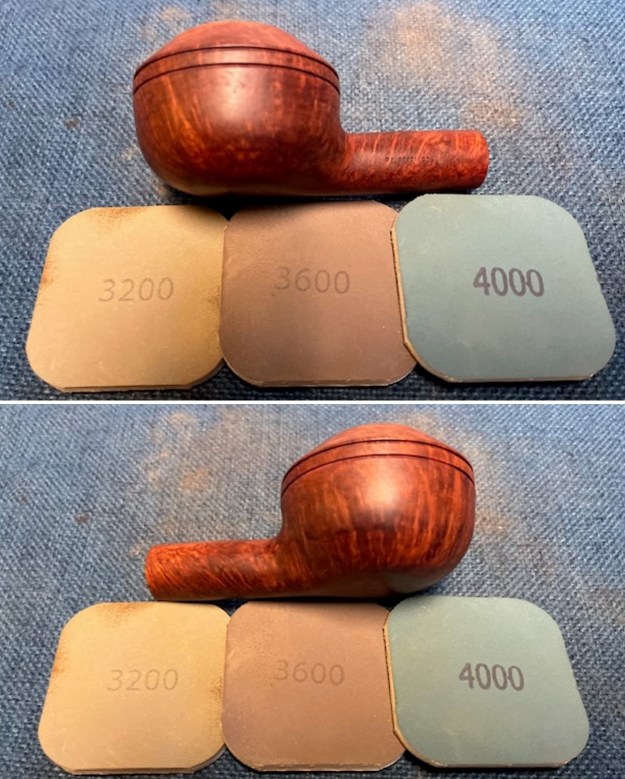
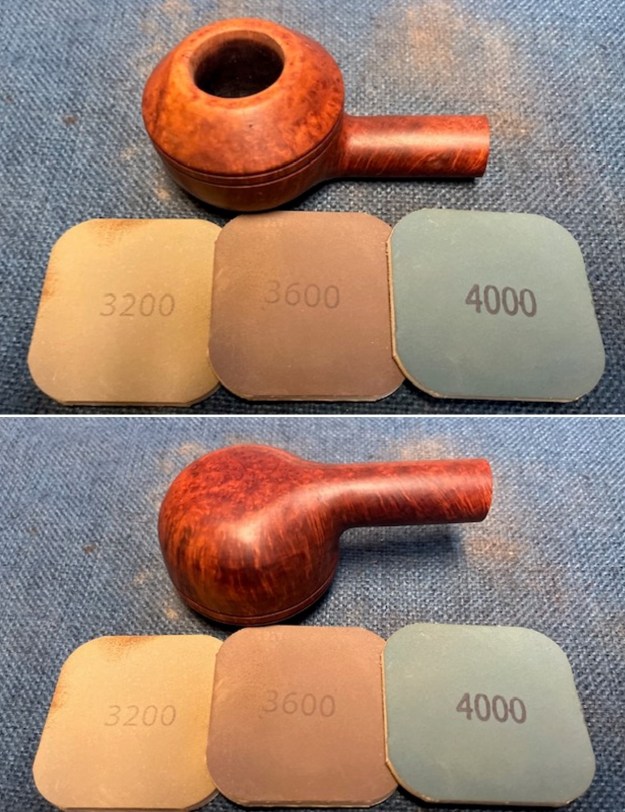
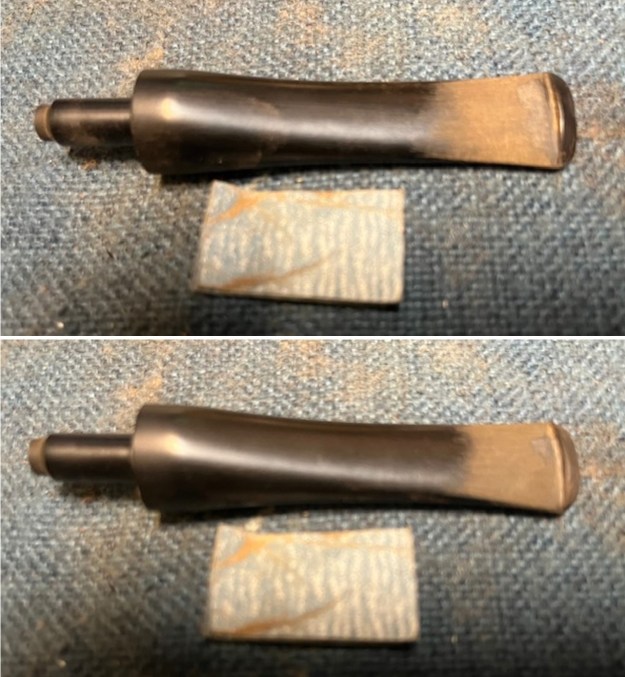
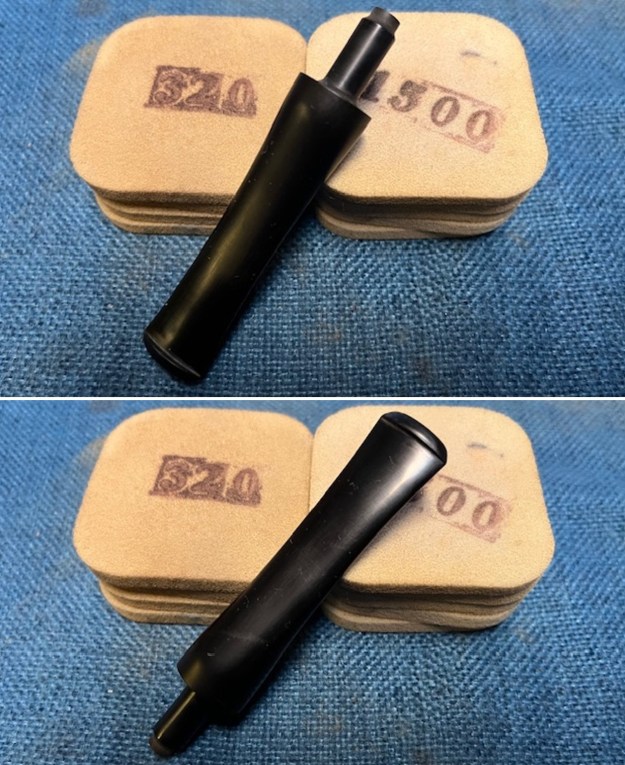
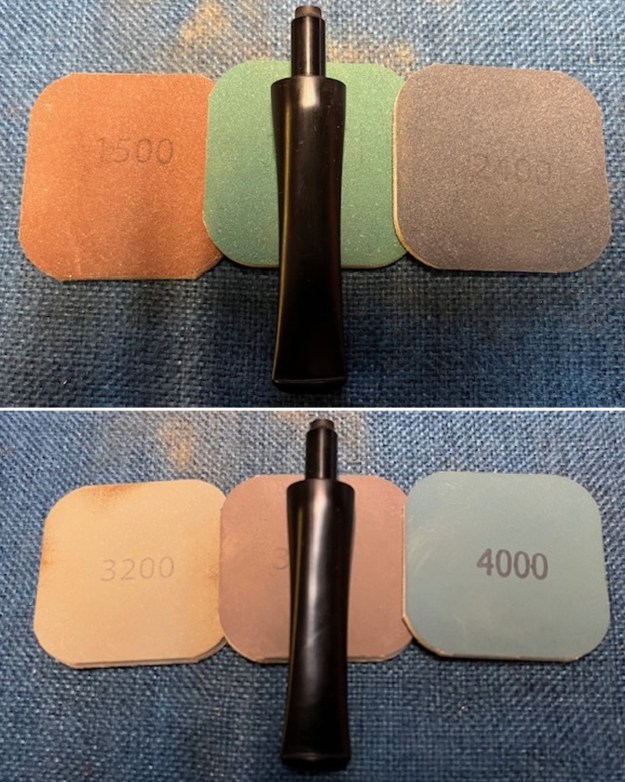
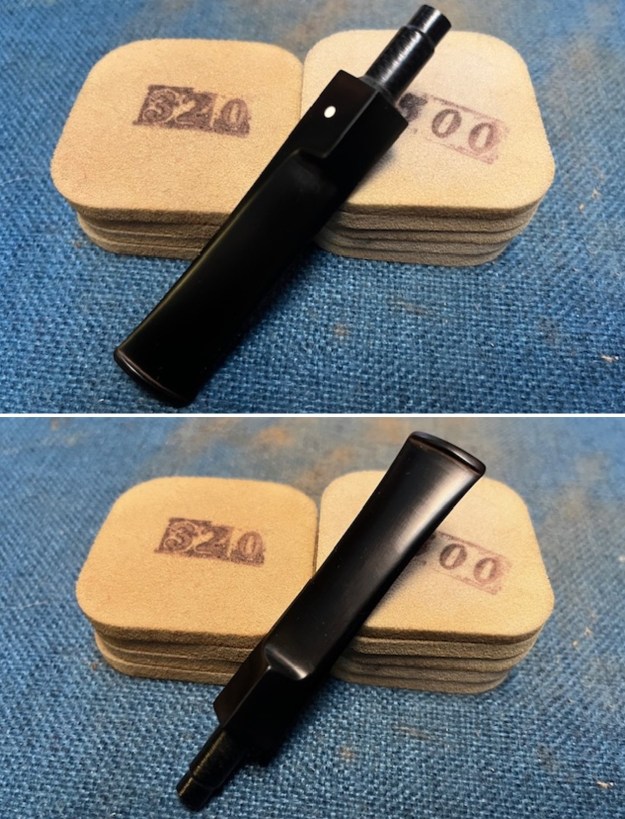
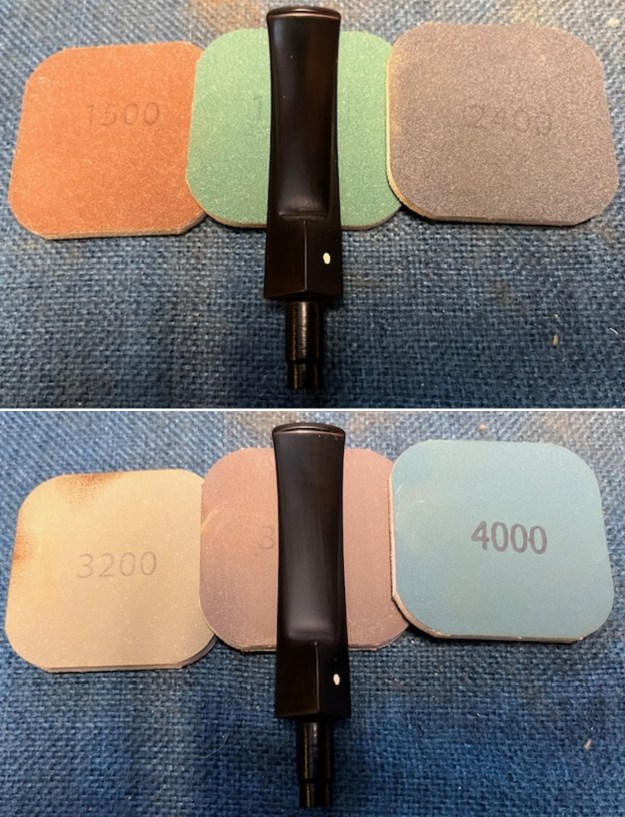
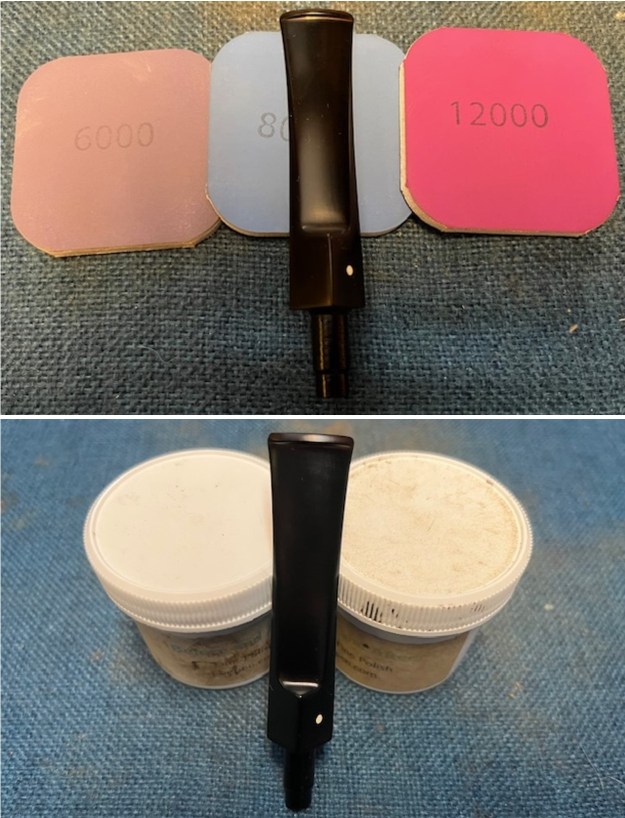
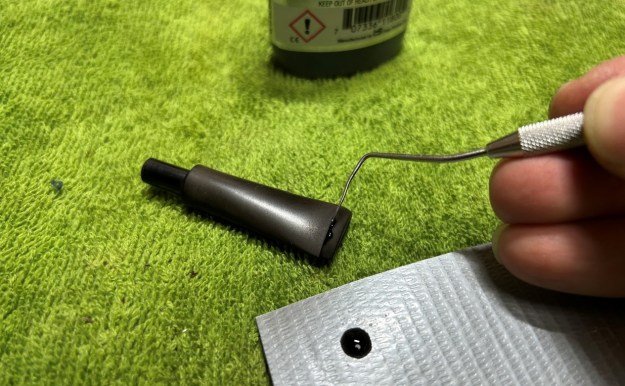 The penultimate step for the stem is sanding. First, with my set of needle files, I reduced the bulk of the cyanoacrylate repairs. I removed the excess adhesive as near to the surface as possible, without cutting into the vulcanite. Following that, I used all nine of the micromesh sanding pads (1,500 through 12,000 grit) to sand out flaws, even out the vulcanite, and provide gentle polishing of the finished surface. I also applied pipe-stem oil while using the last five micromesh pads. There was a wonderful, deep black shine to the stem when I was done. Alas, I forgot to take photos of this step.
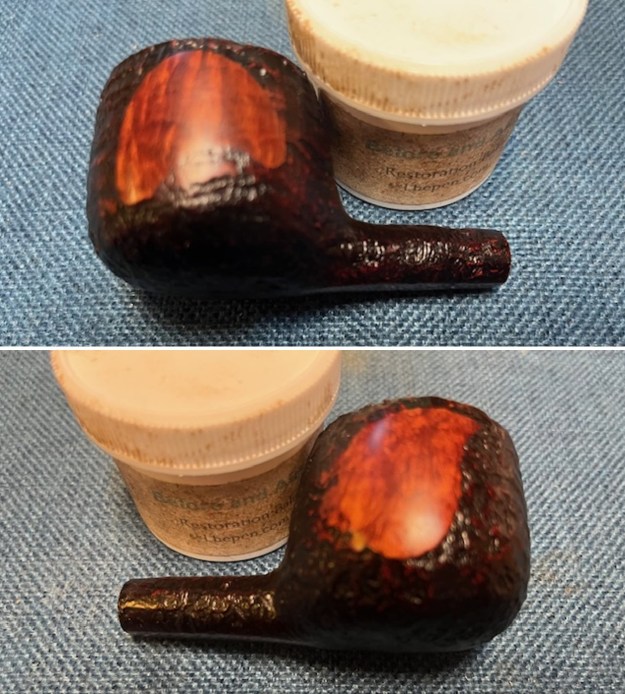
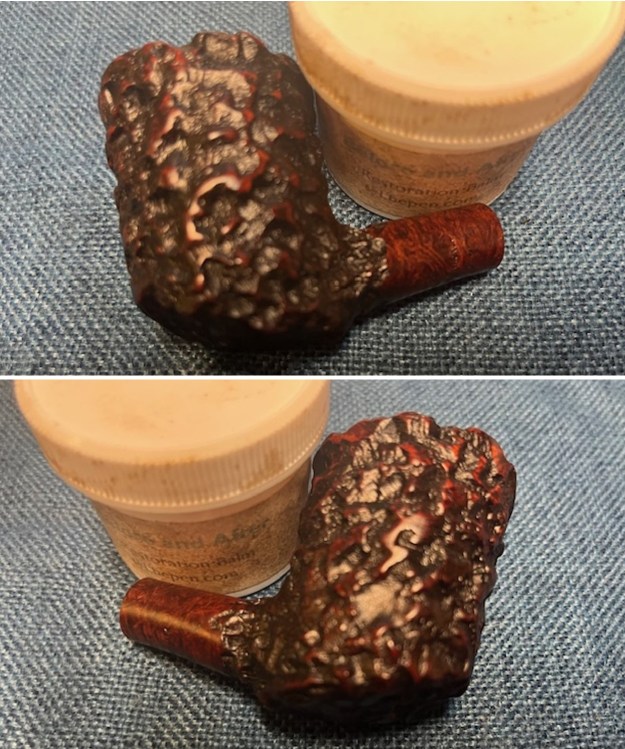
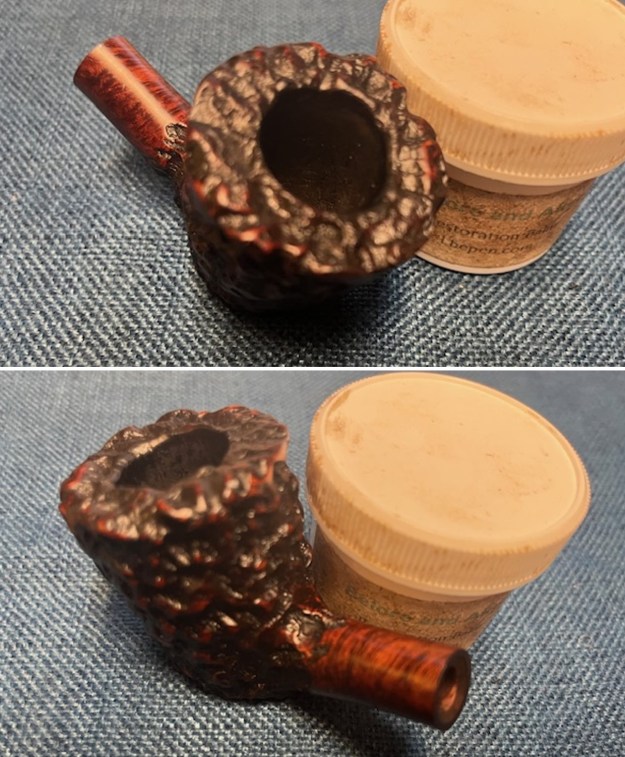
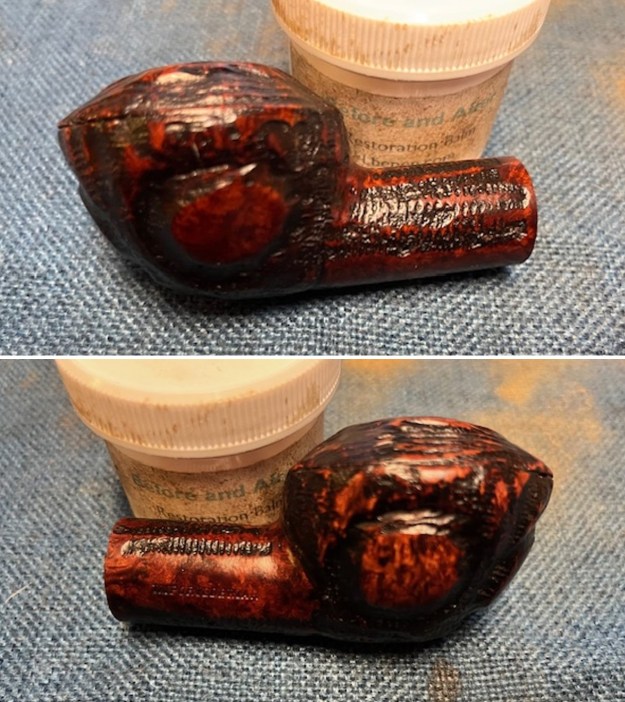
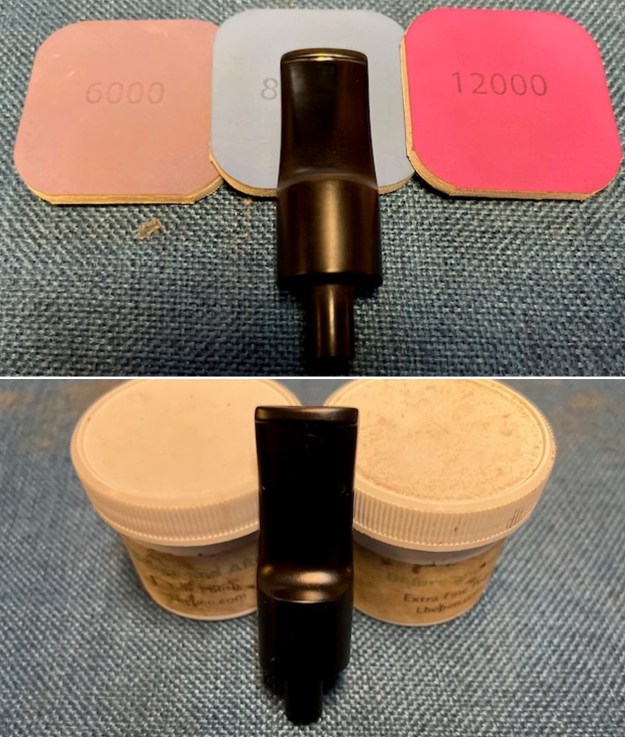
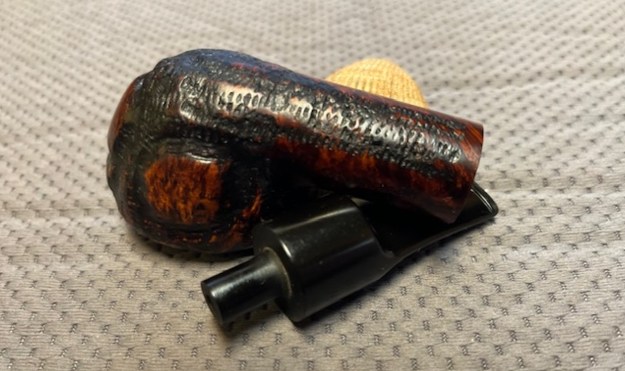
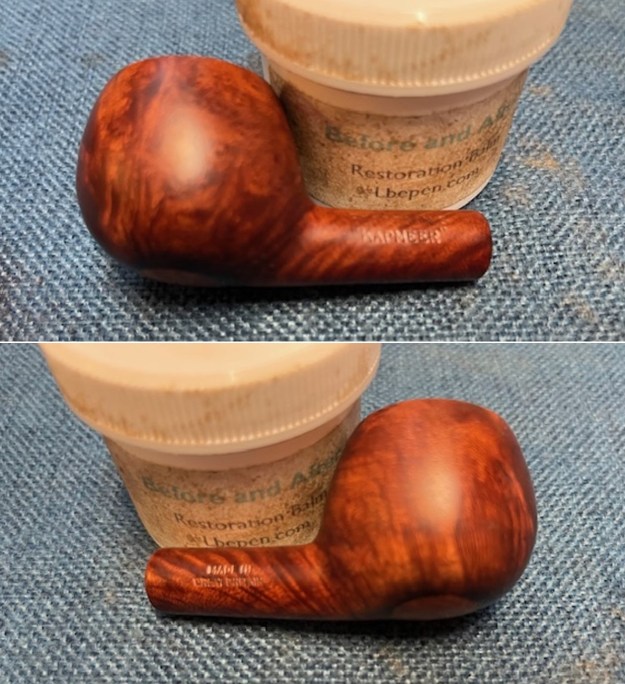
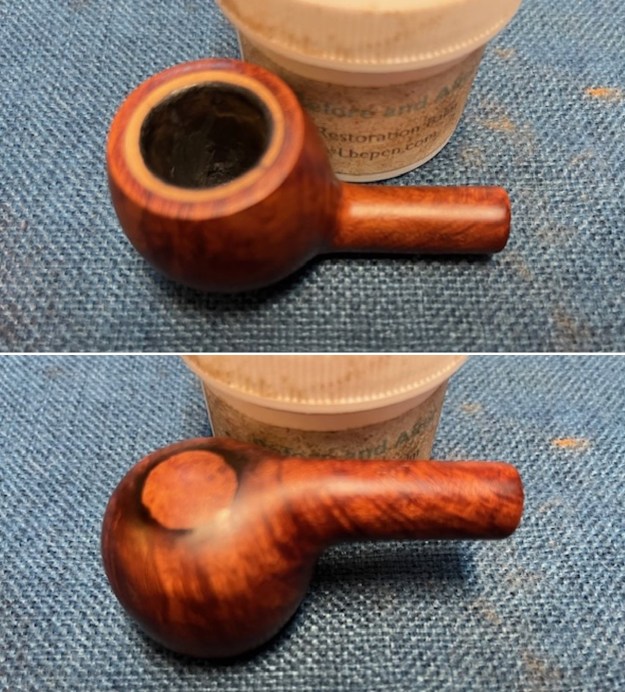
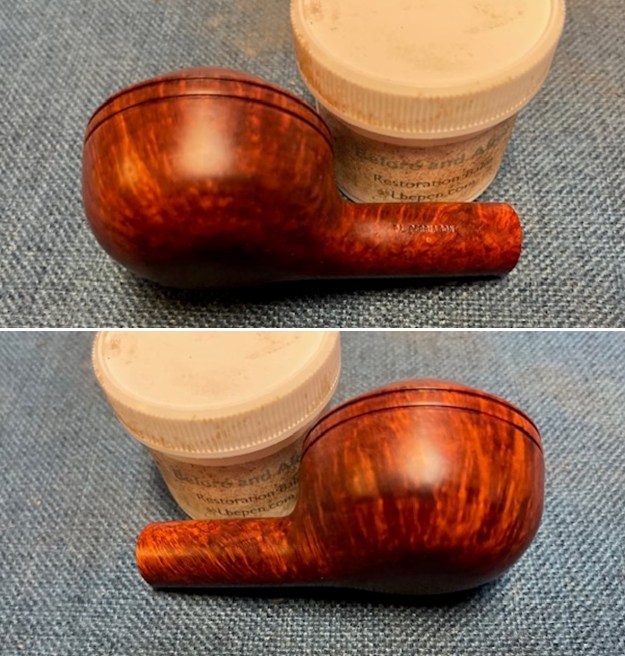
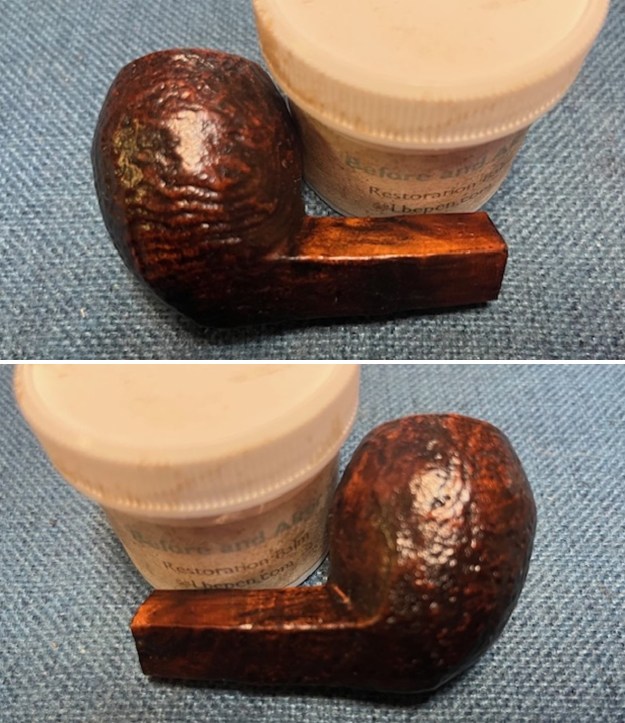
The inside of the shank needed to be cleaned thoroughly. Similar to the stem, I then cleaned it with both pipe cleaners and cotton swabs dipped in lemon-infused 99% isopropyl alcohol.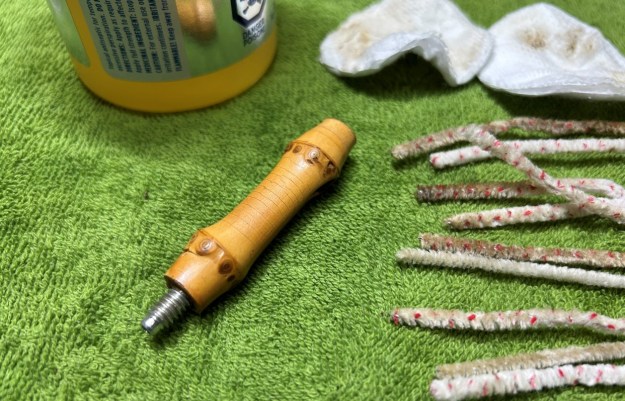 I didn’t sand the bamboo in any way, but I did rub it with some LBE Before & After Restoration Balm and let it sit for 30 minutes or so. The balm moisturizes the bamboo and gives a beautiful depth to it. I then buffed the shank with a microfibre cloth.
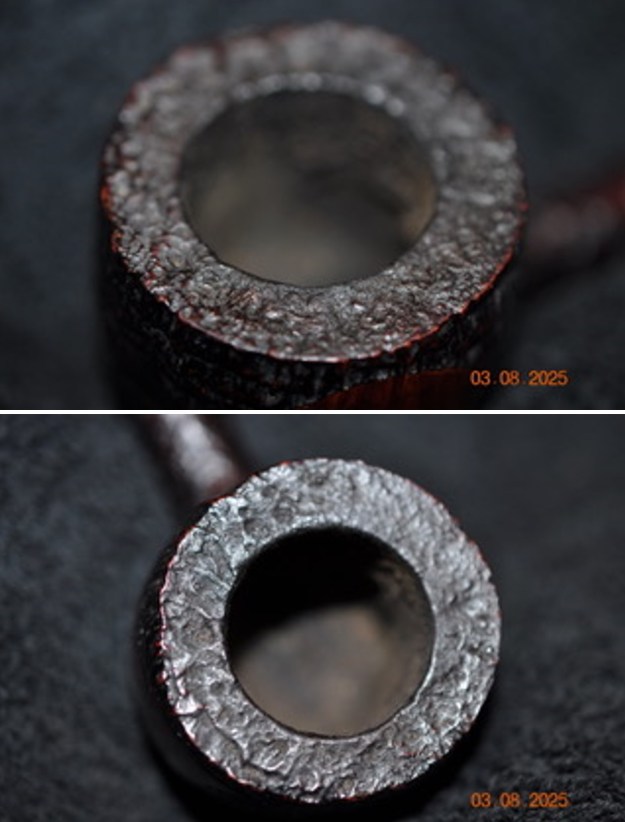
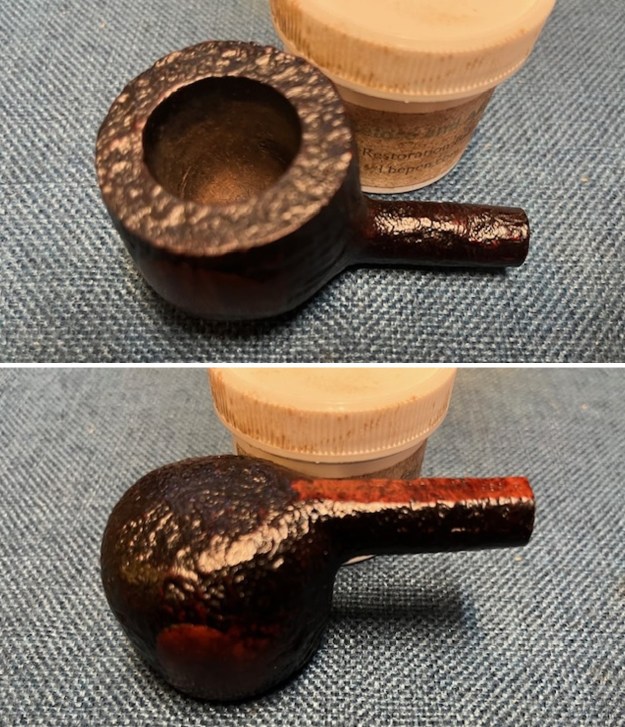
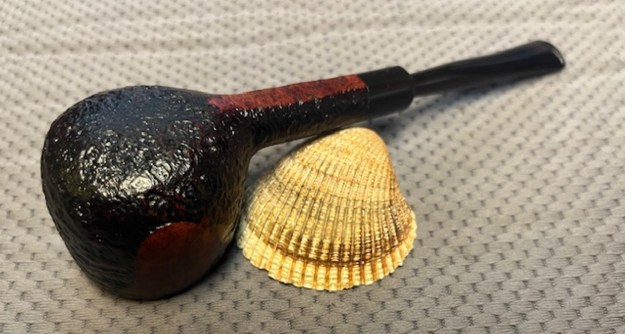
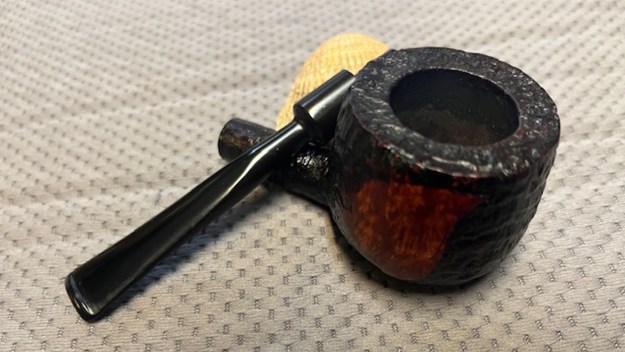
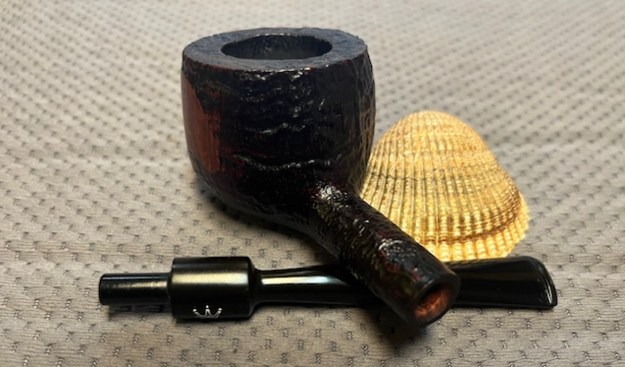
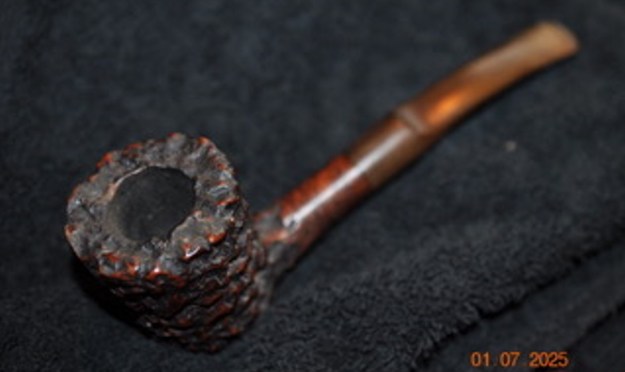
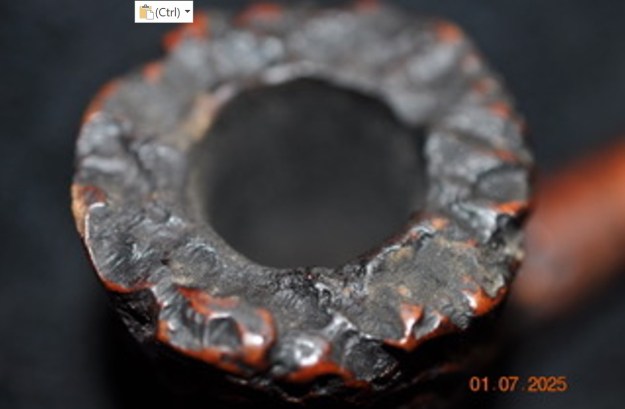
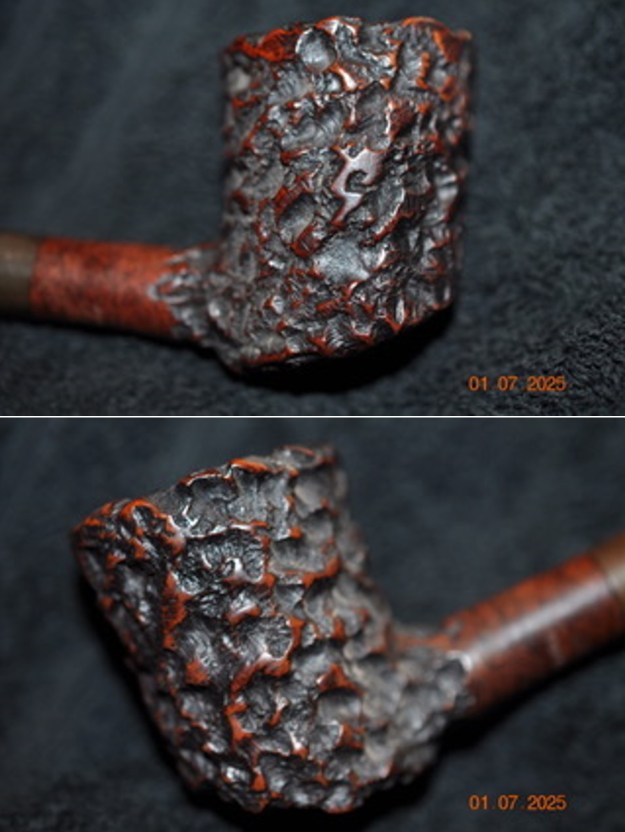
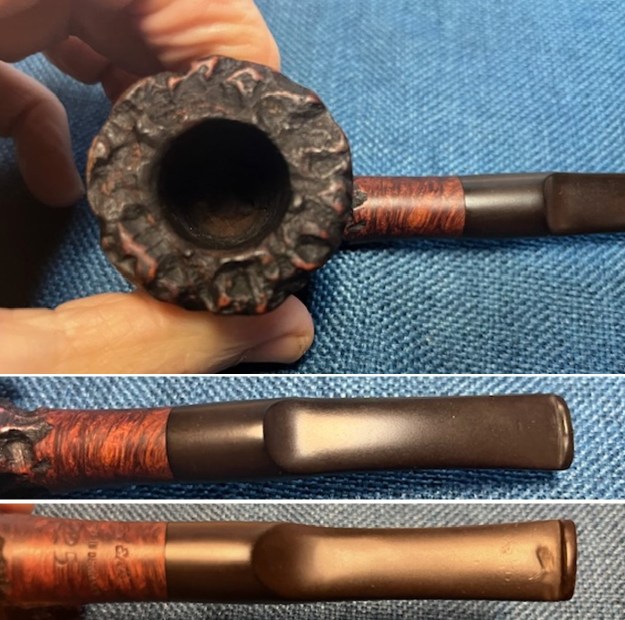
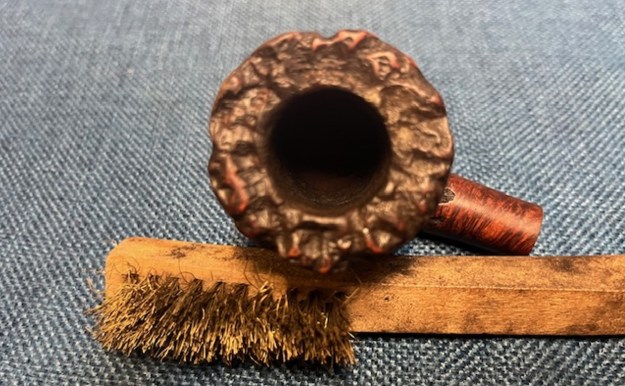
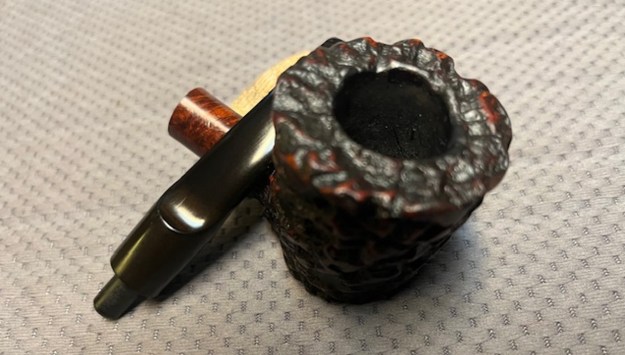
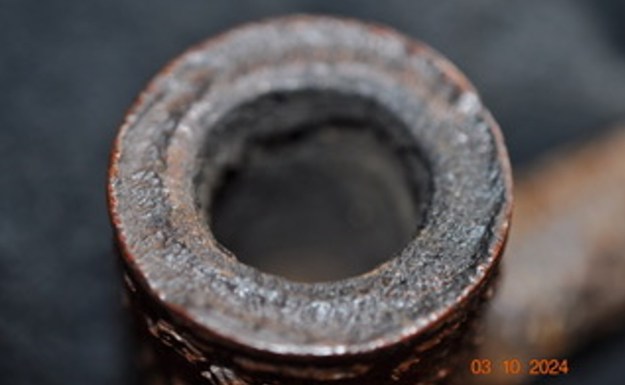
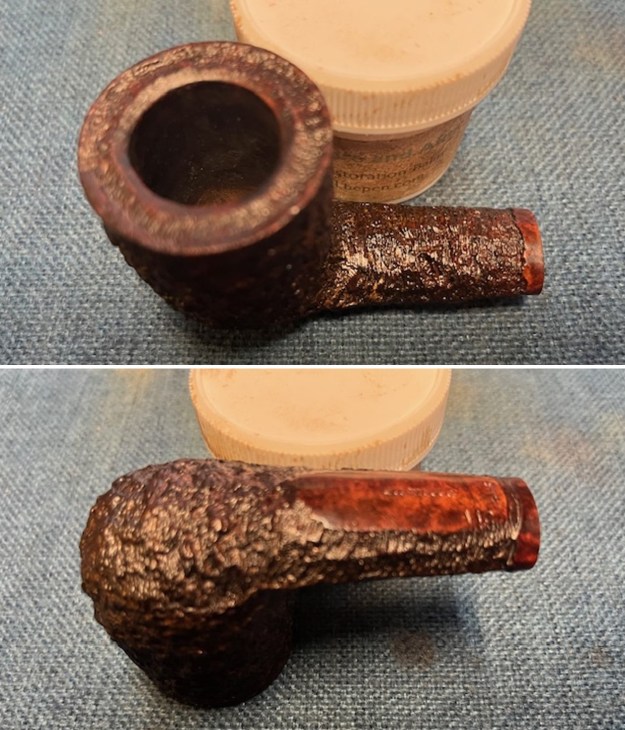
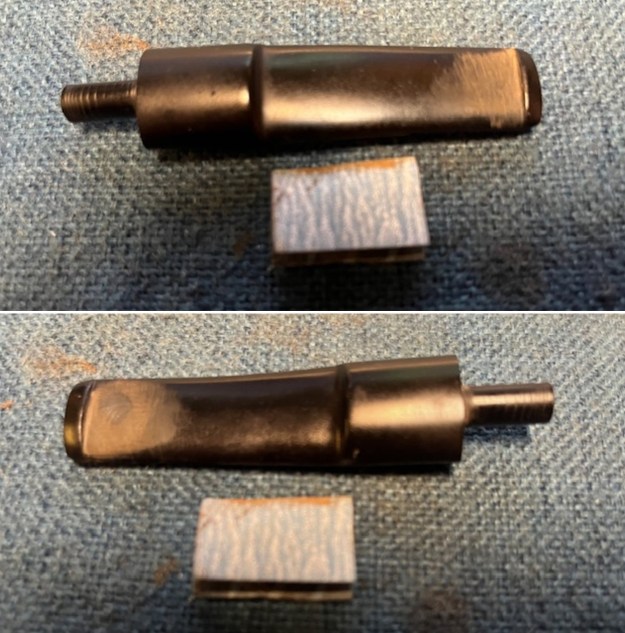
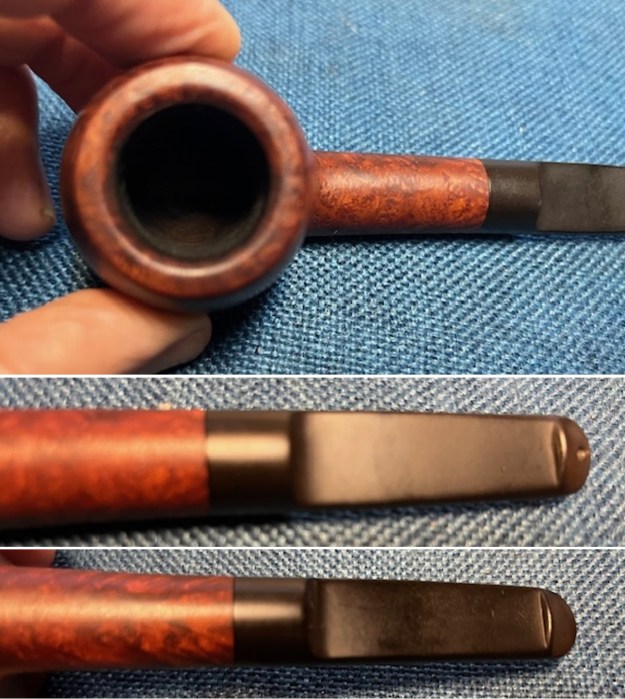
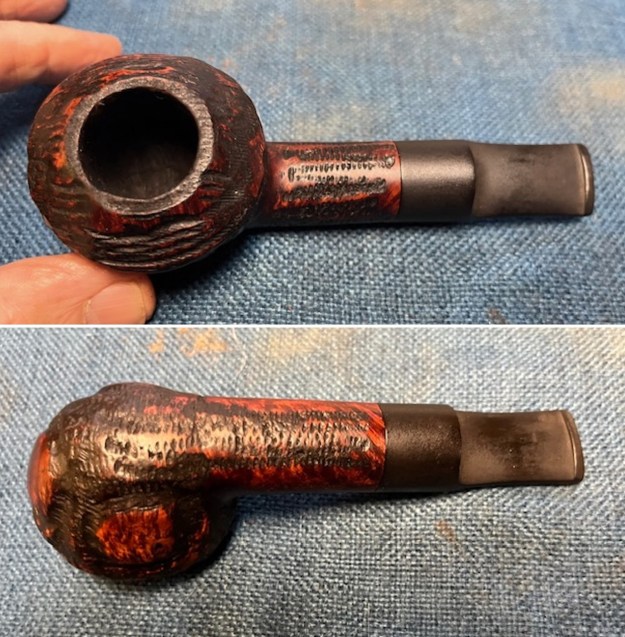
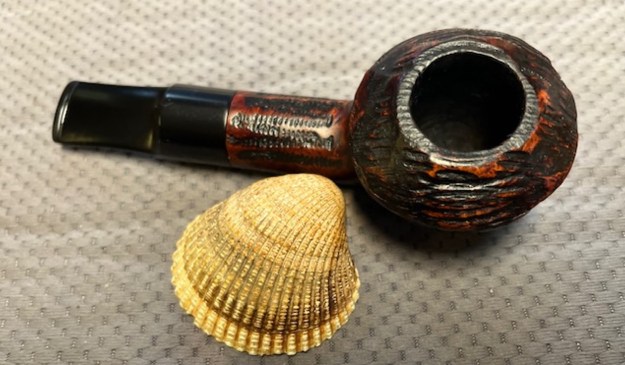
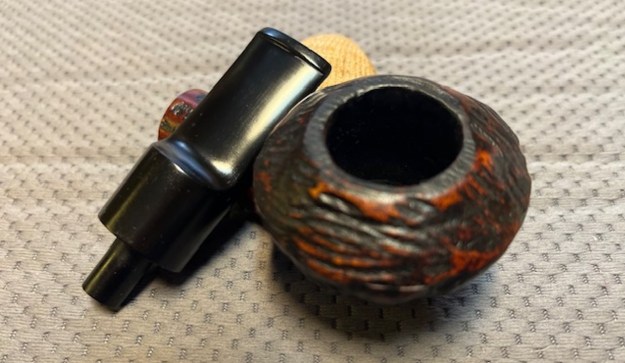
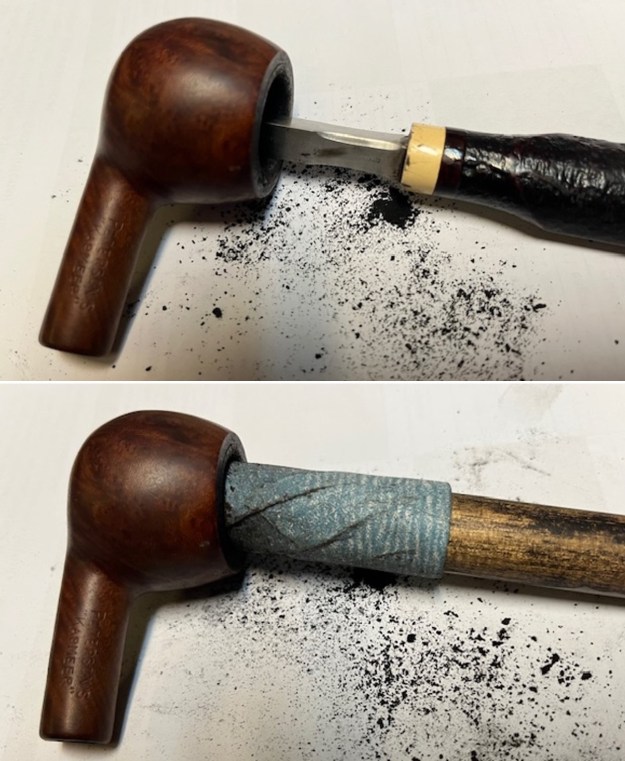
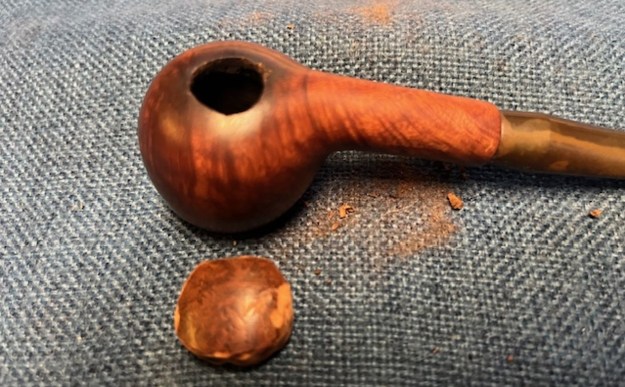
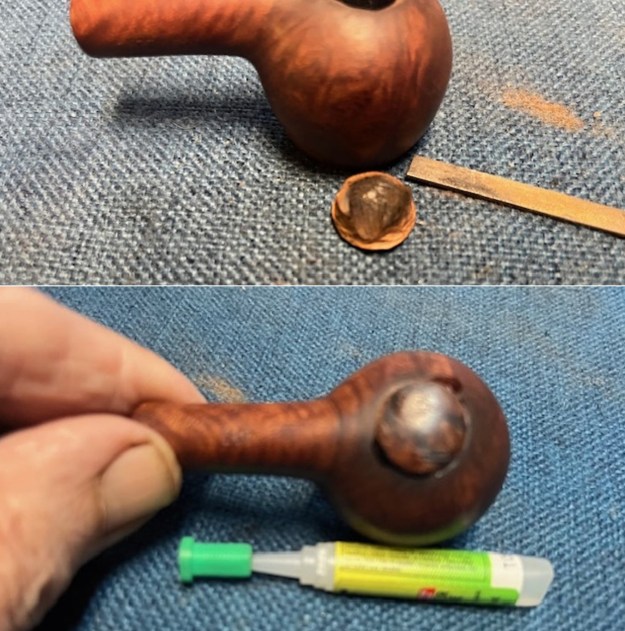
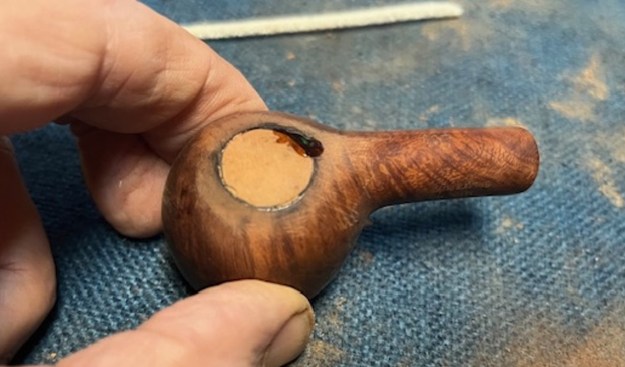
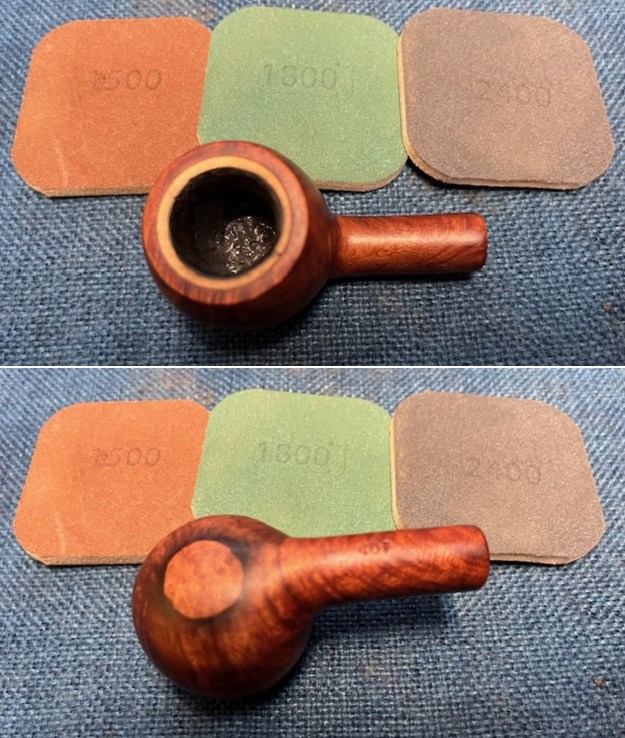
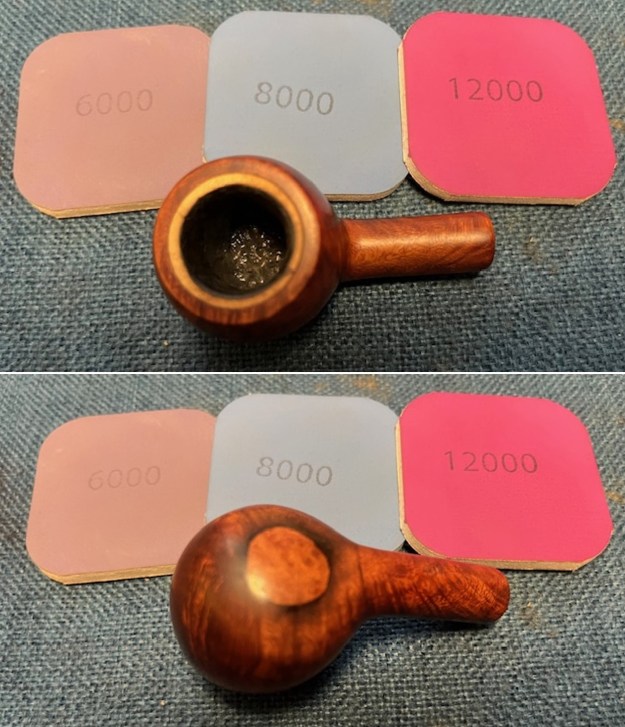
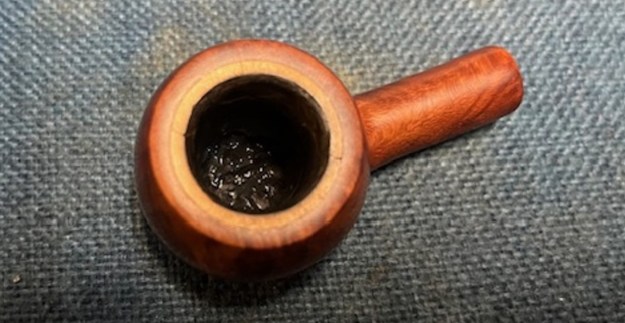
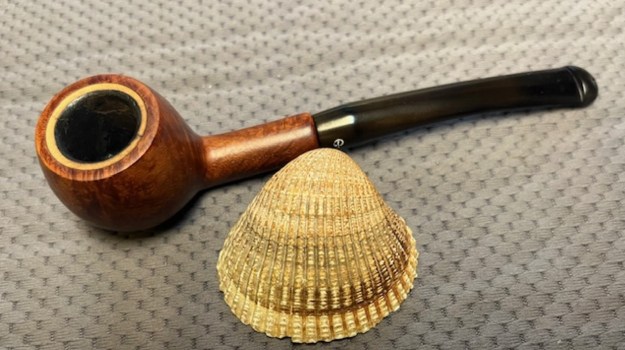
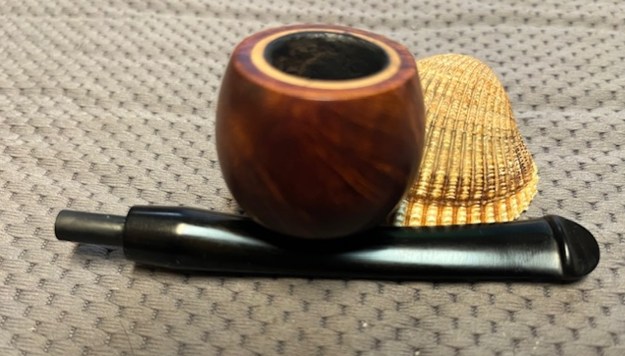
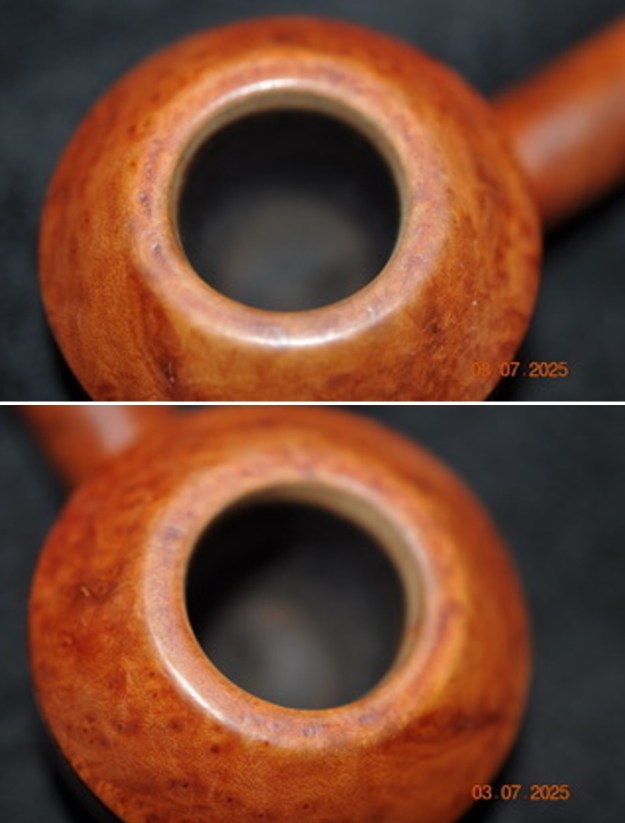
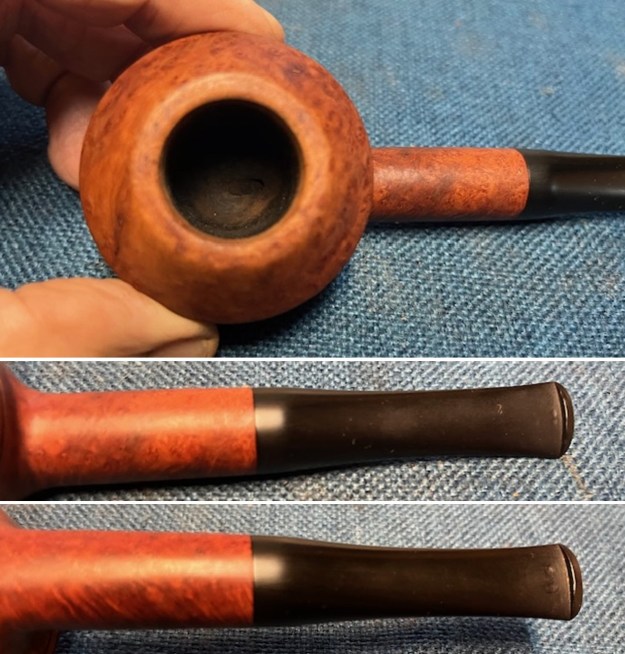
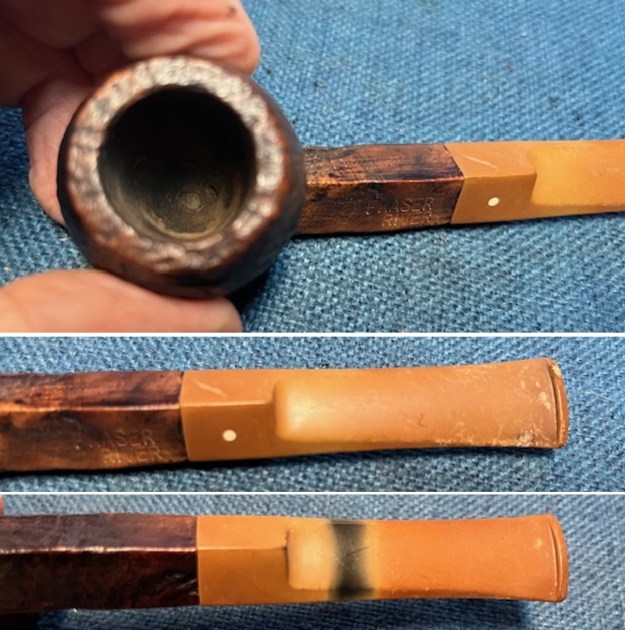
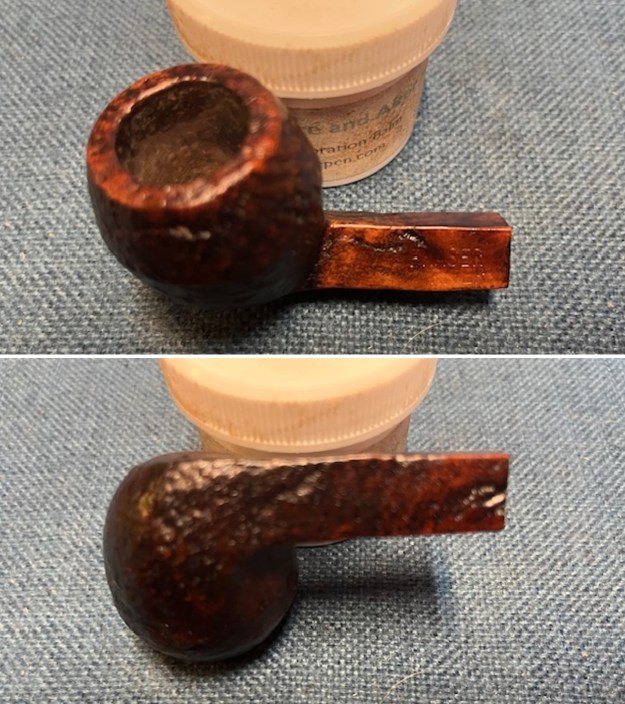
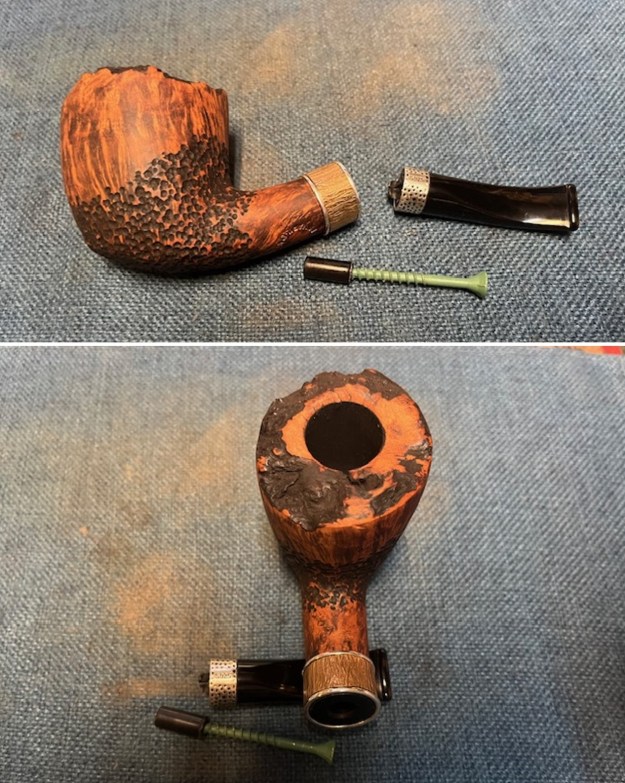
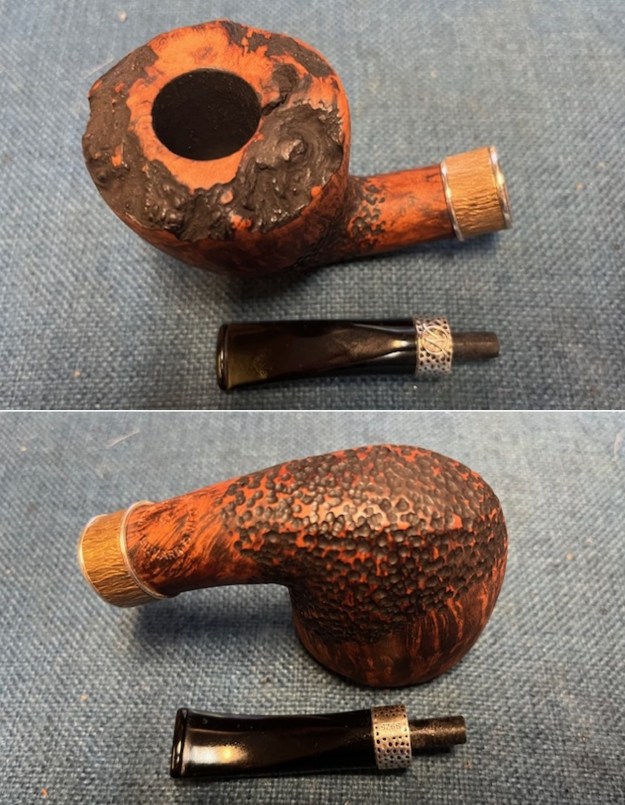
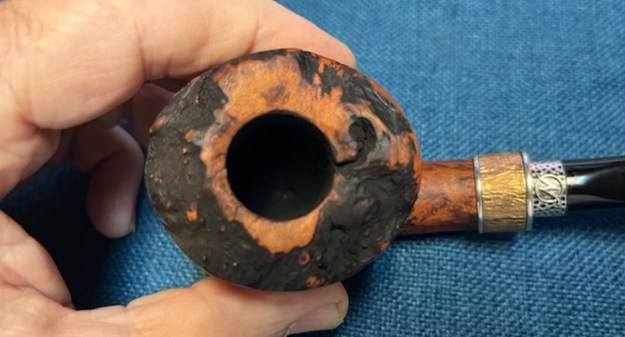
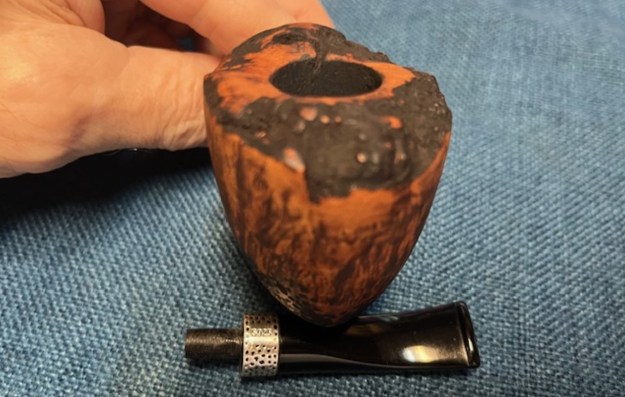
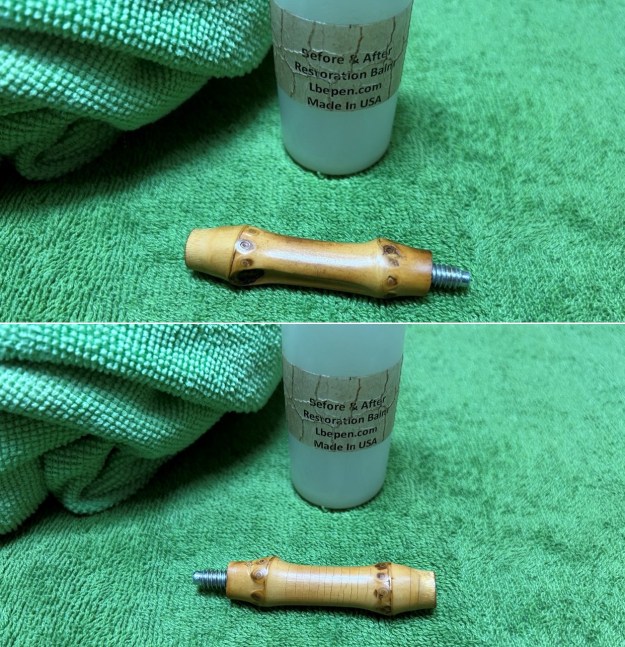 I moved on to the bowl. The first step was to ream it out – that is to say, remove all the cake inside the bowl. This accomplished a couple of things. First (and most obviously), it cleaned the bowl and provided a refurbished chamber for future smoking. Second, when the old cake was removed, I could inspect the interior walls of the bowl and determine if there was damage or not. Given the more fragile nature of meerschaum and the relative cleanliness of the smoking chamber, I only used a piece of sandpaper taped to a wooden dowel to clean things out. This was sufficient to ensure that all the debris was removed. My next step was to remove the lava on the rim. For this, I took a piece of machine steel and gently scraped the lava away. The metal’s edge is sharp enough to remove what I need, but not so sharp that it damages the rim.
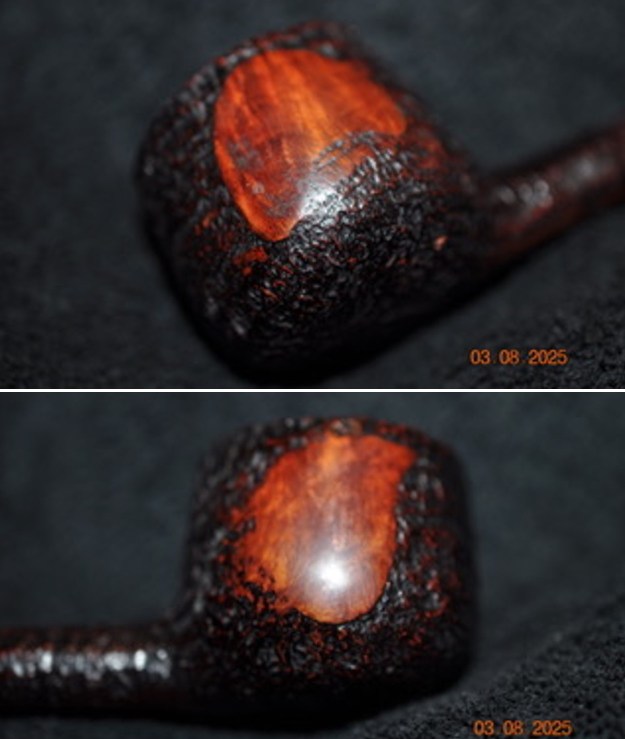
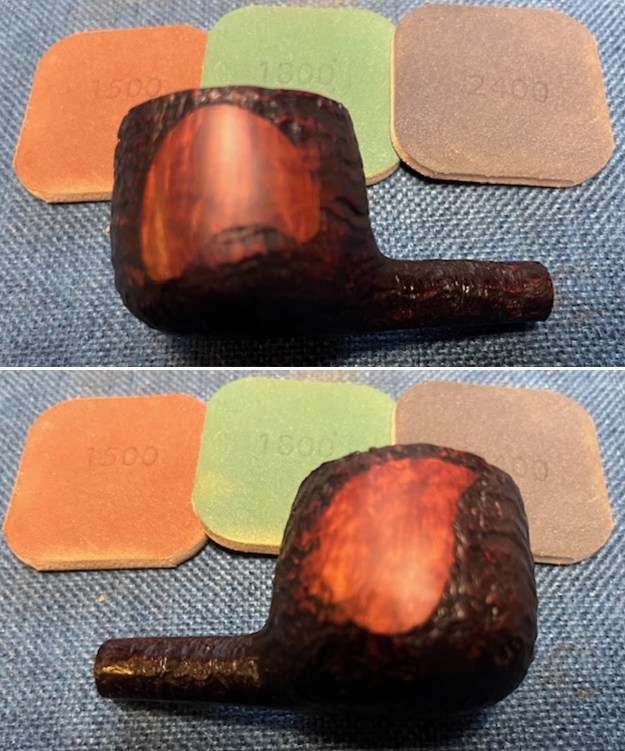
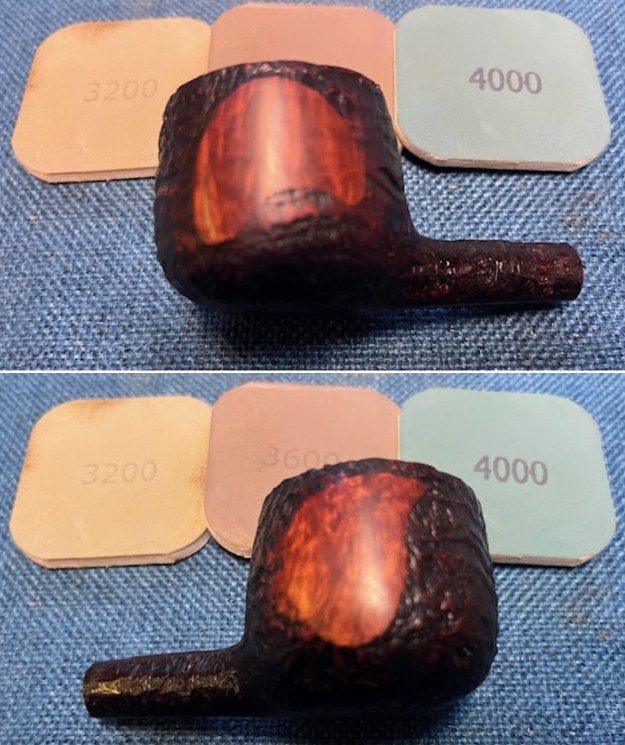
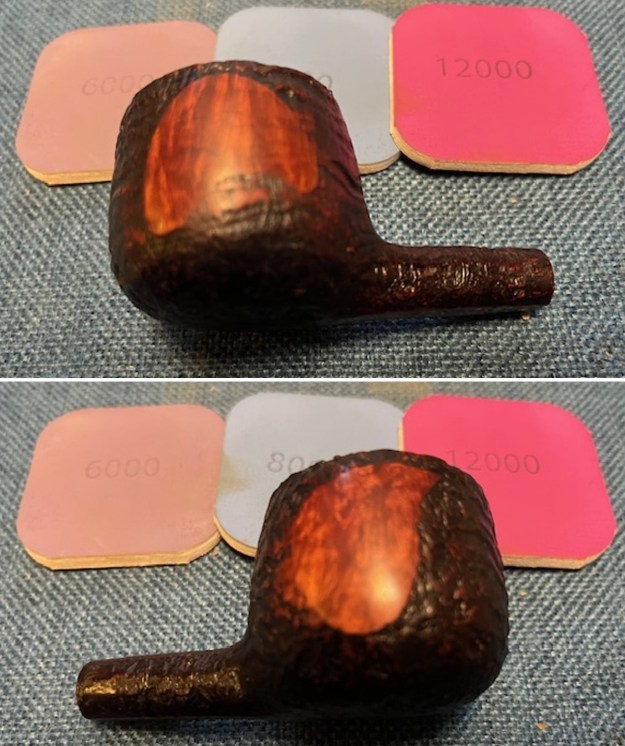
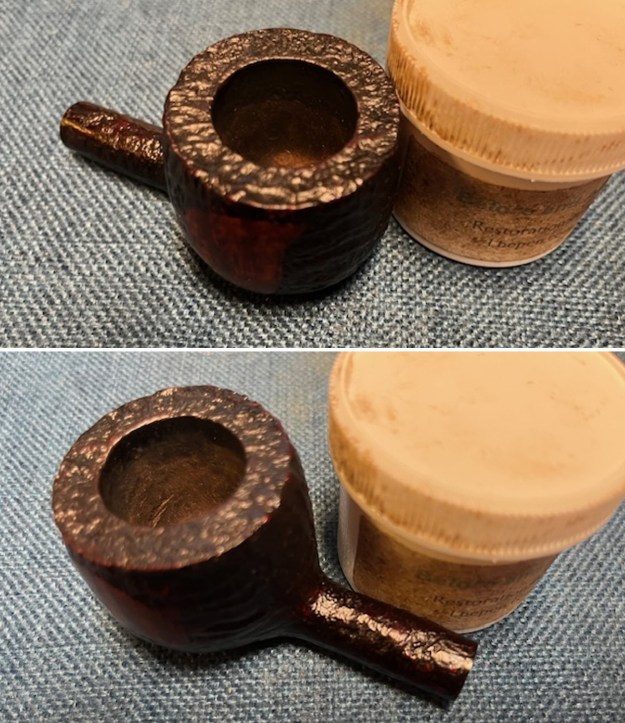
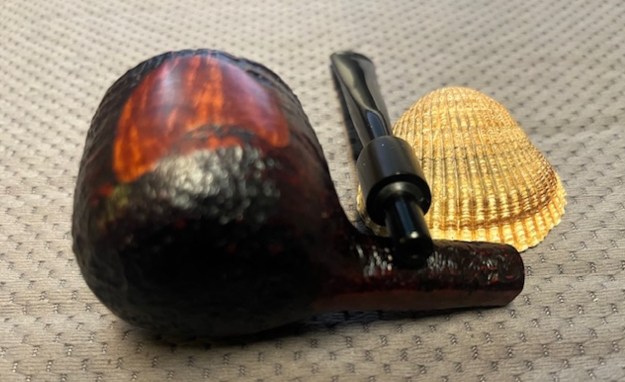
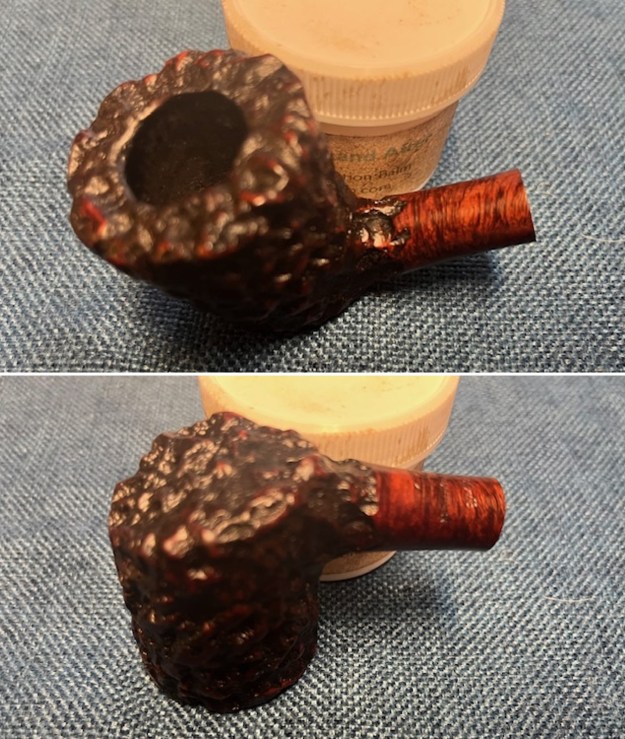
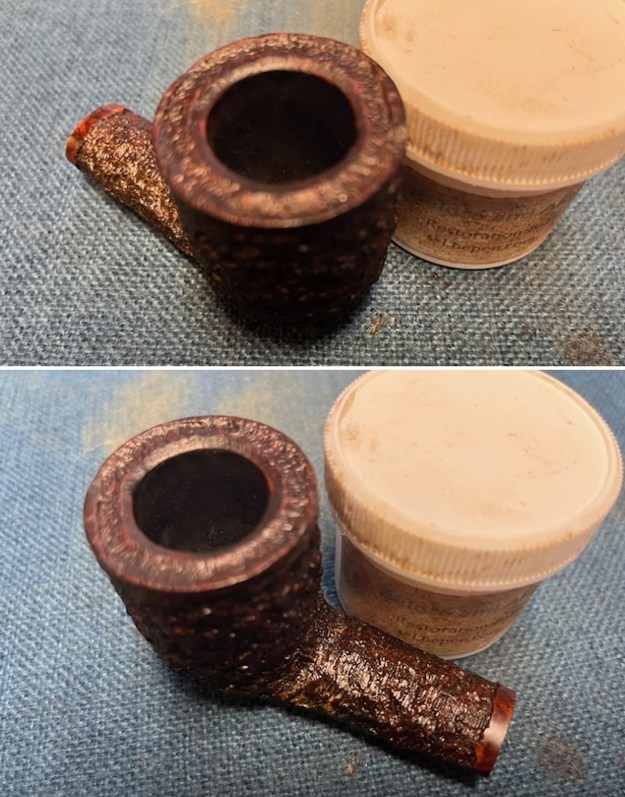
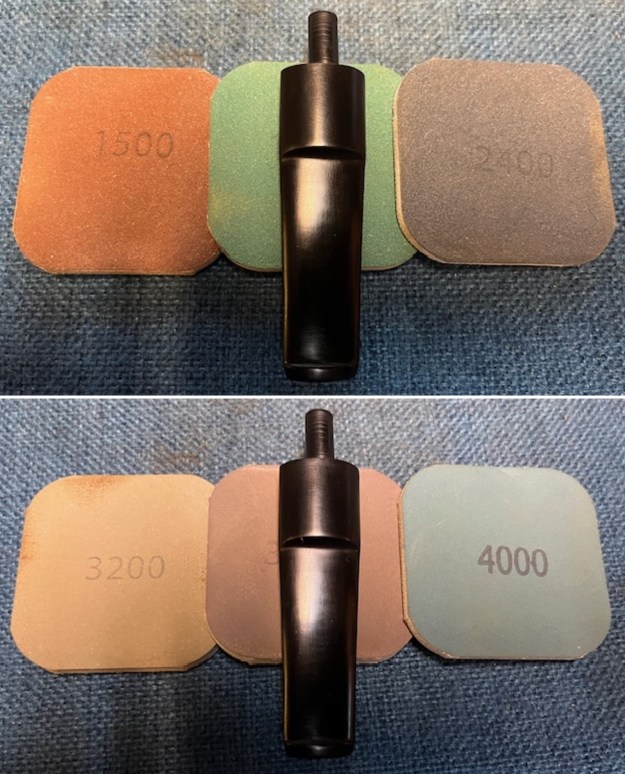
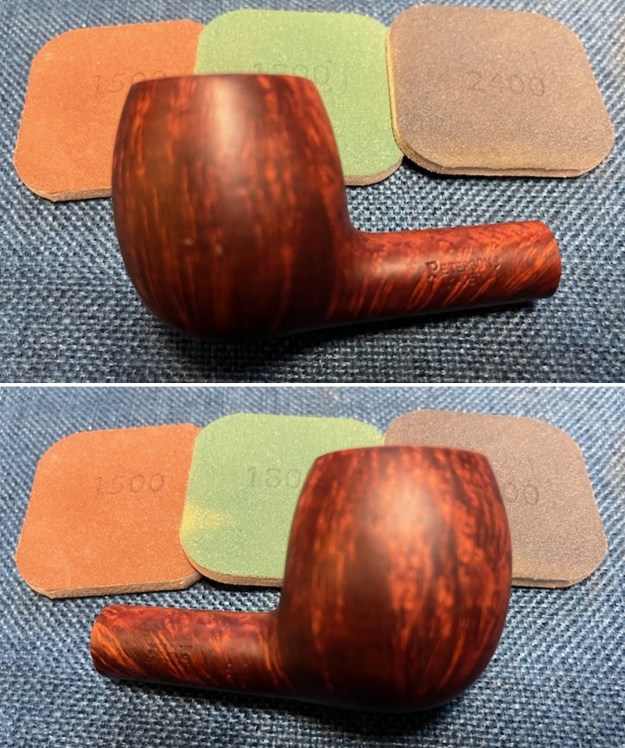
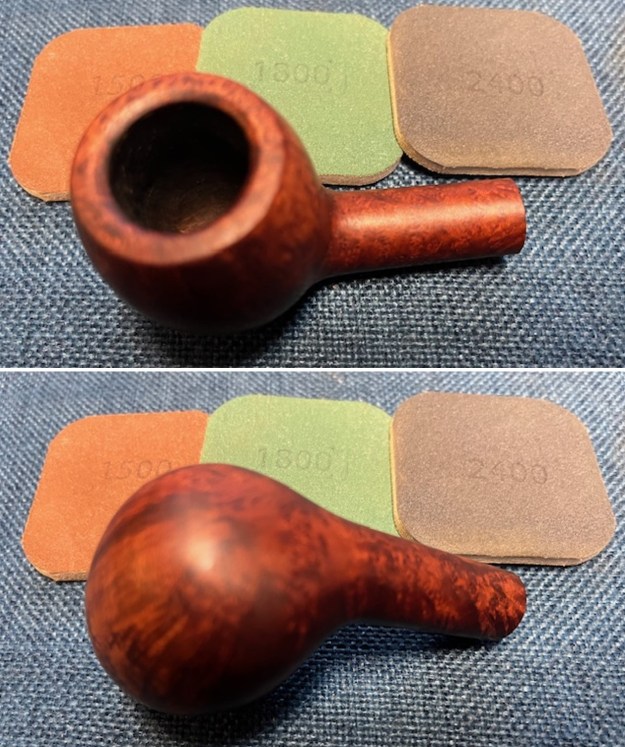
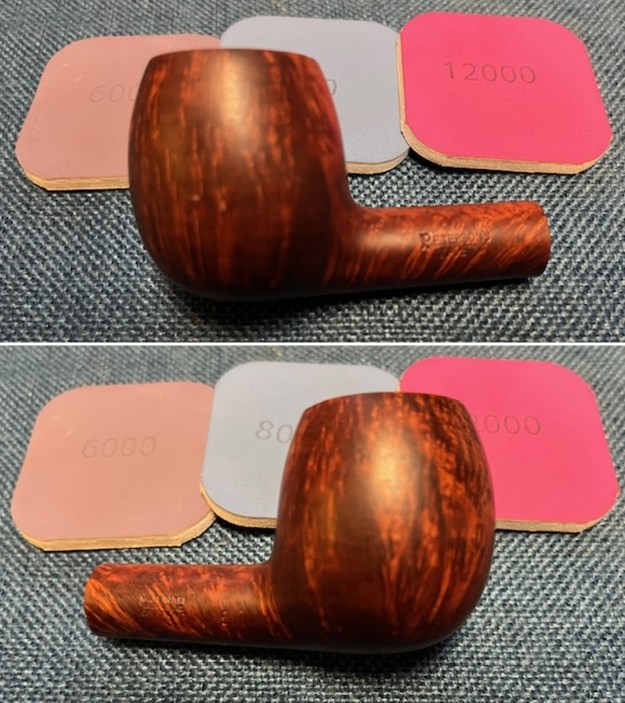
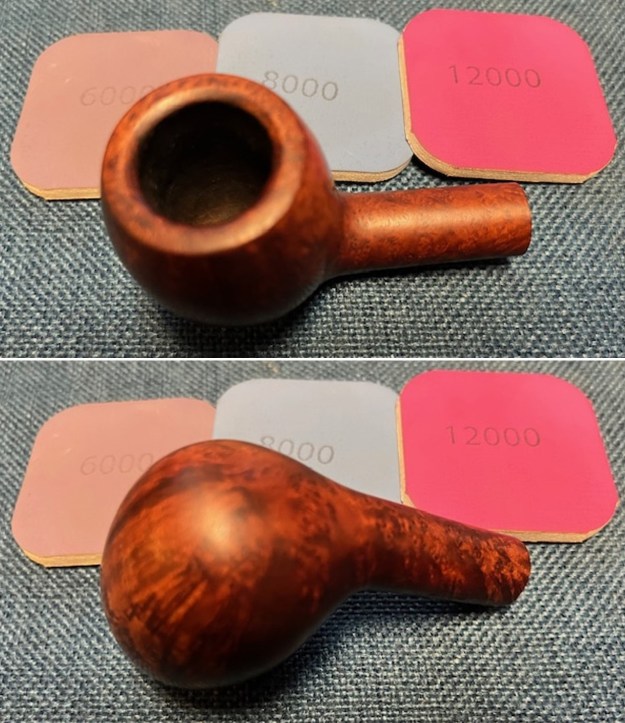
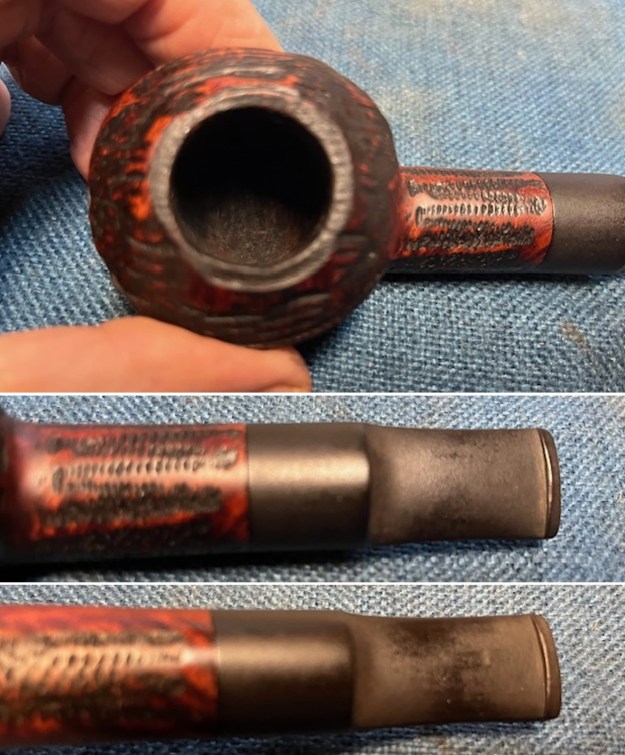
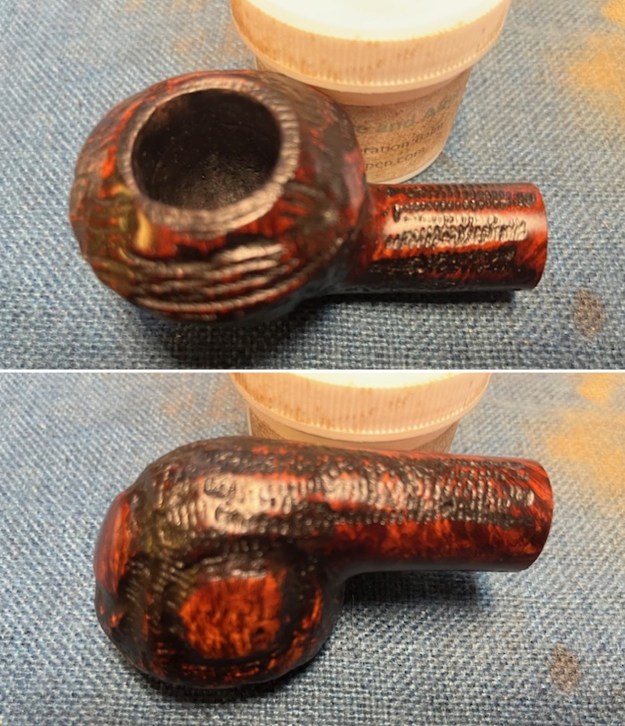
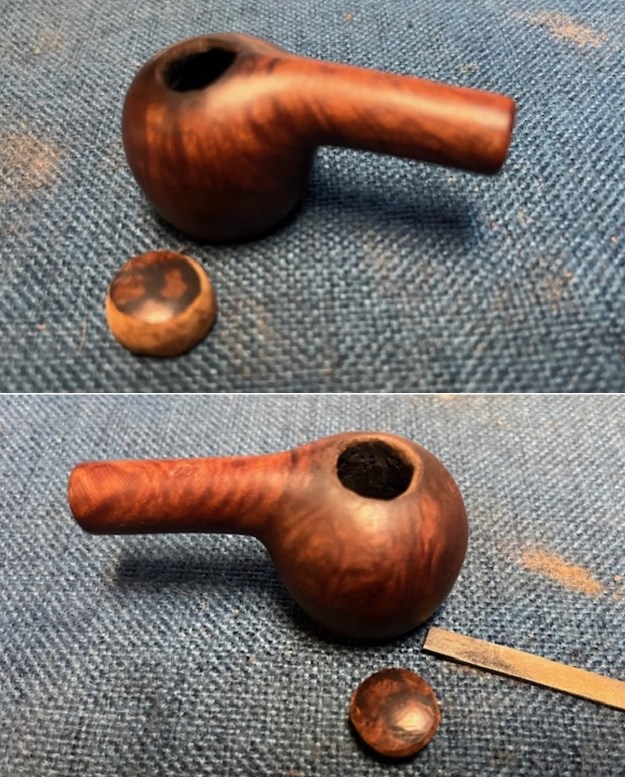
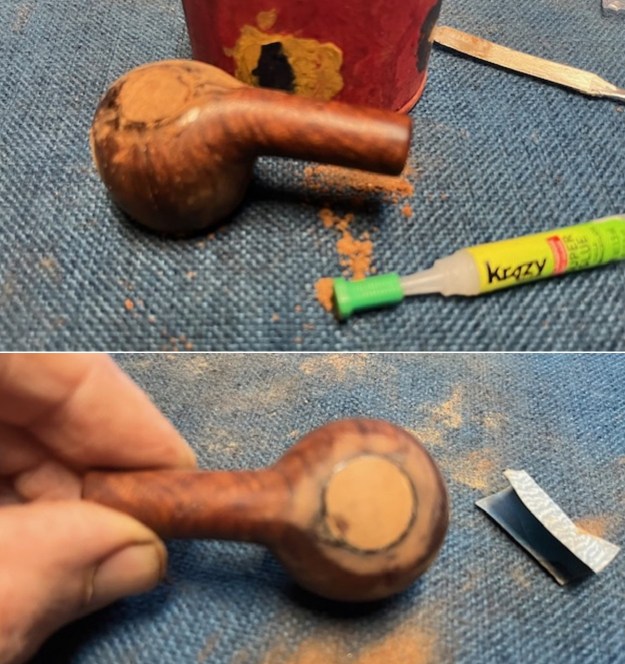
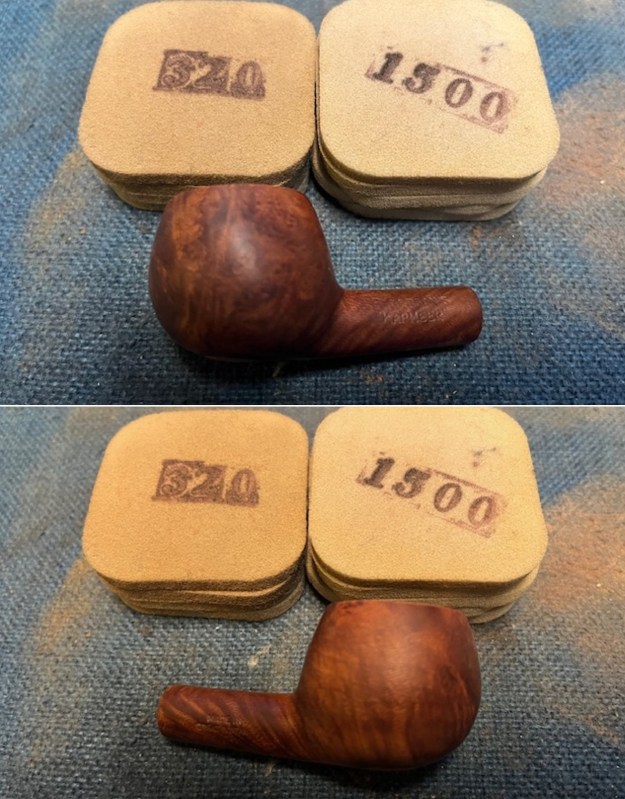
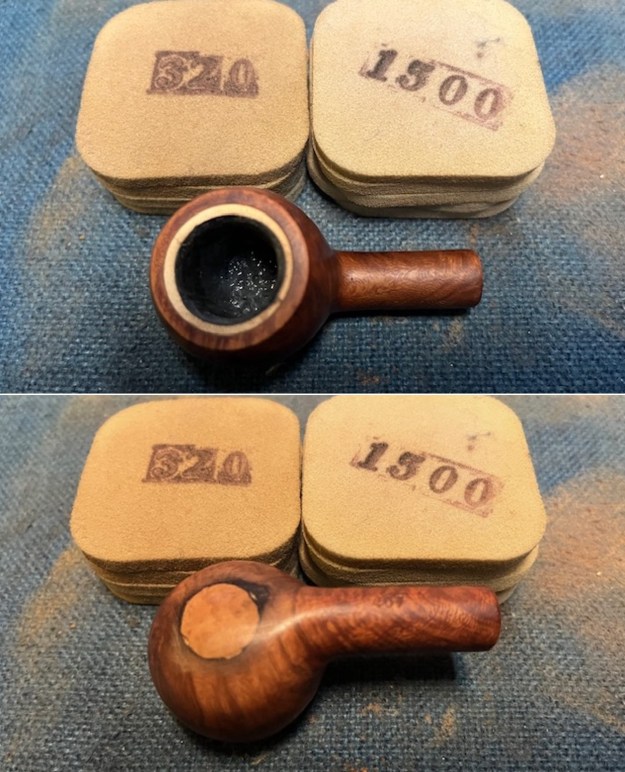
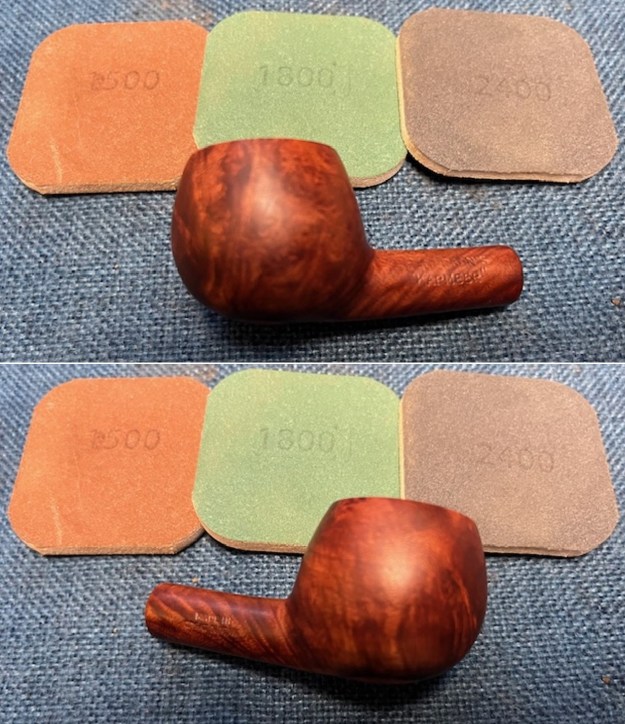
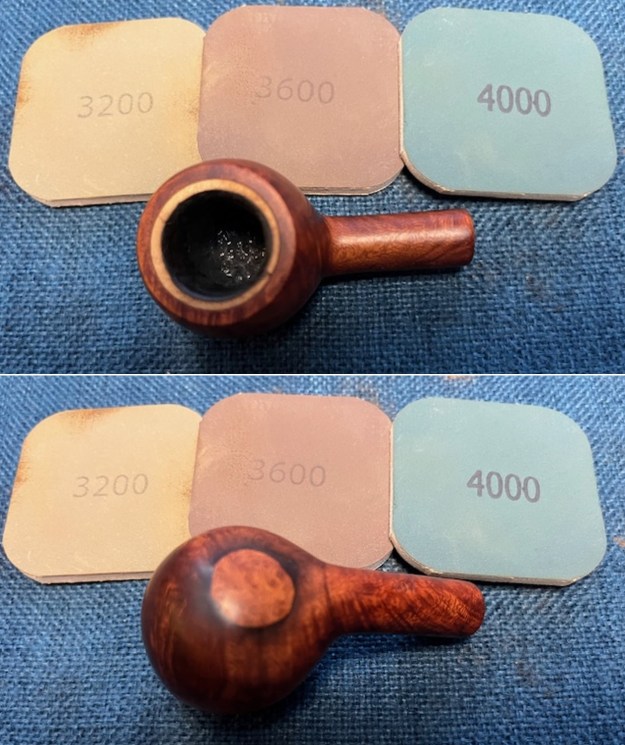
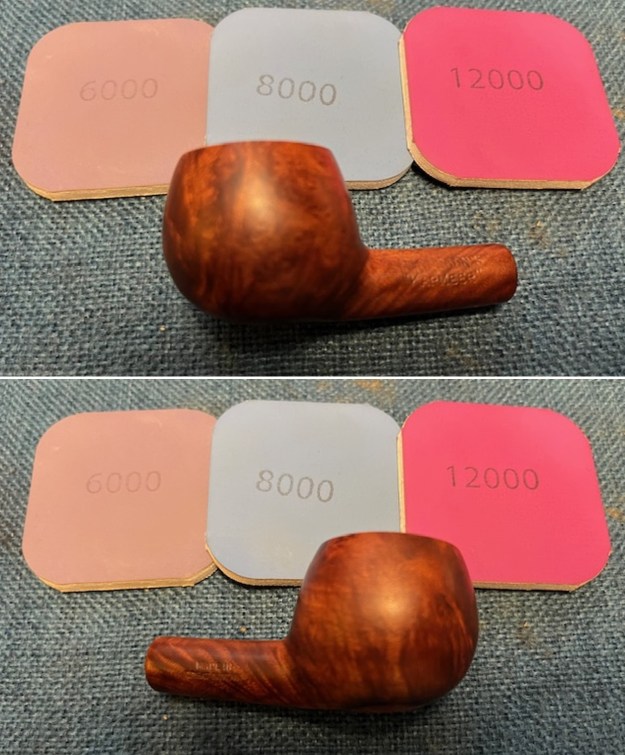
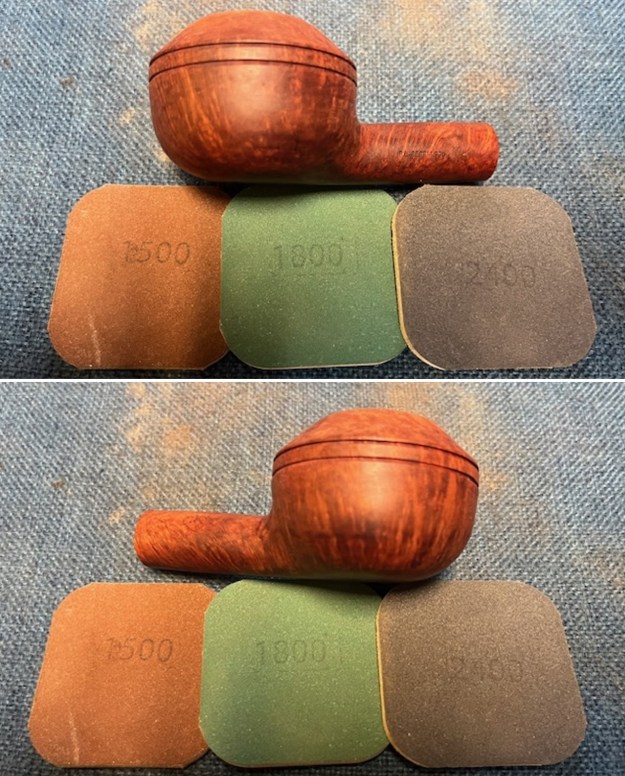
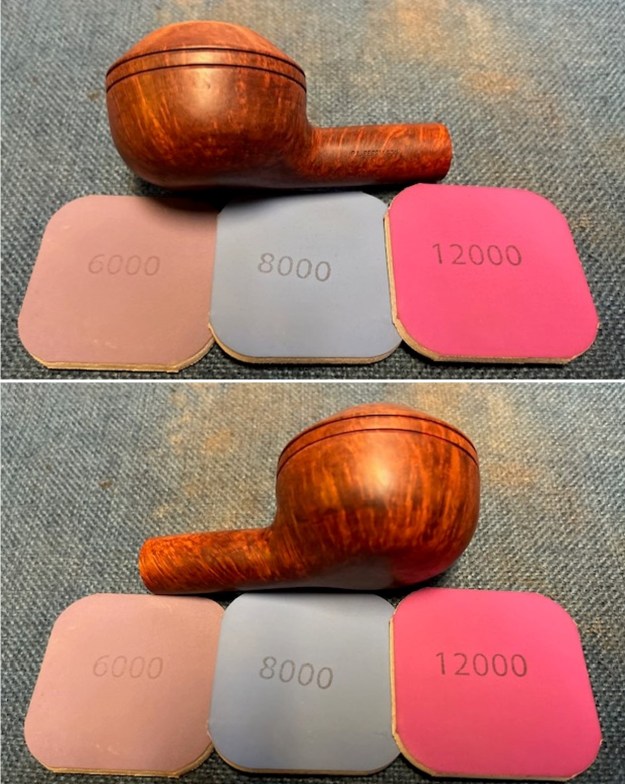
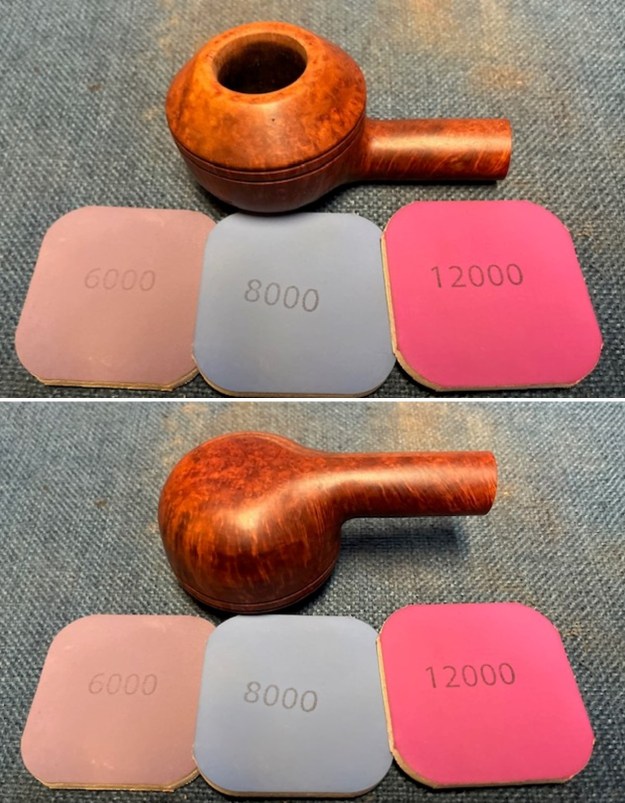
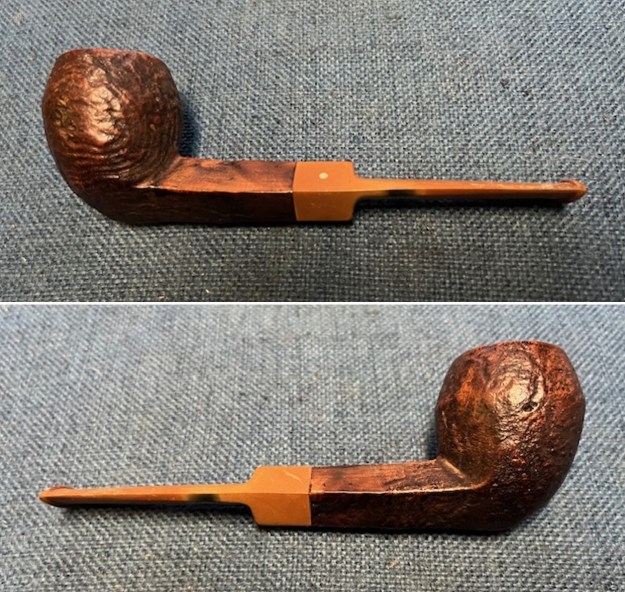
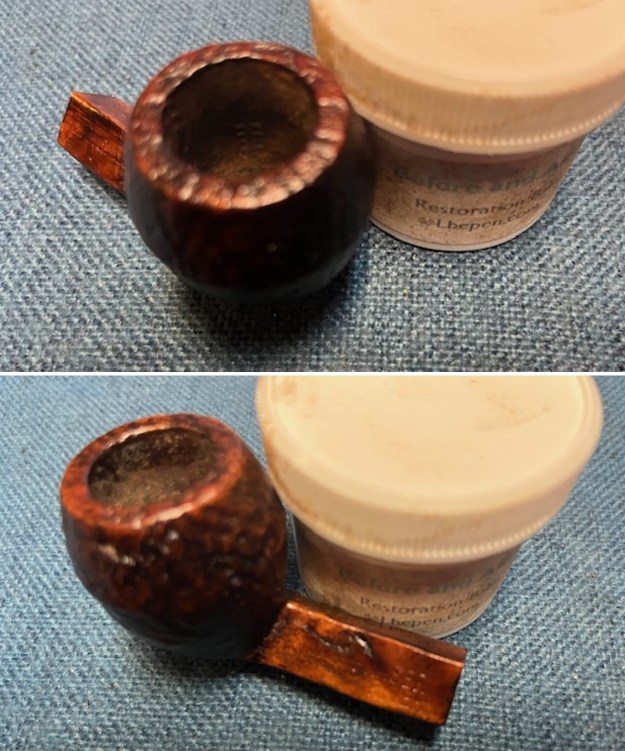
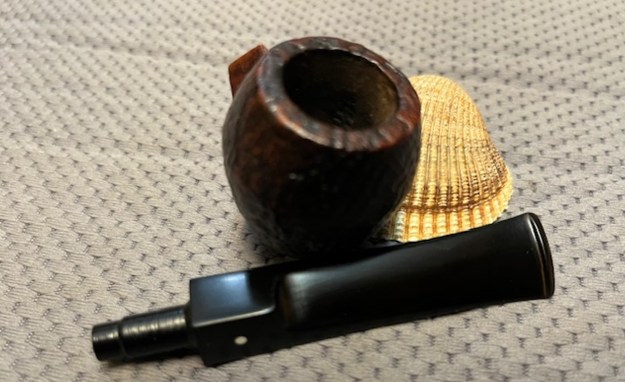
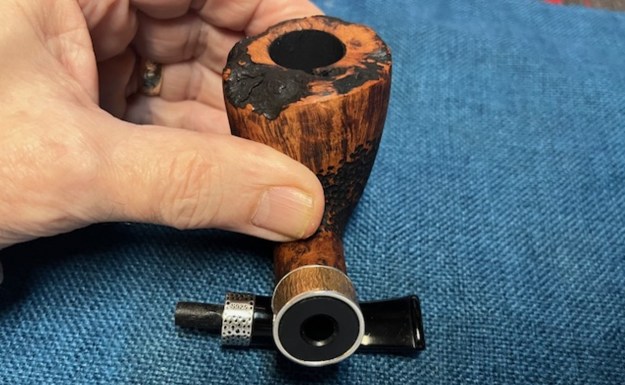
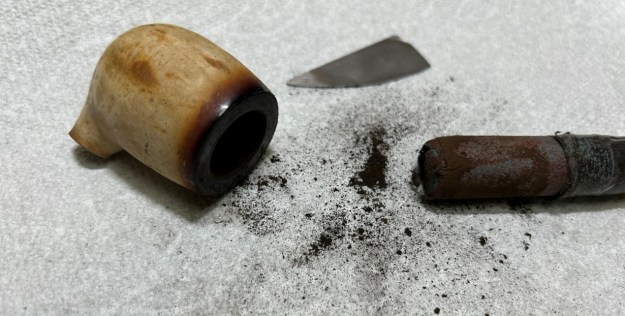 I then cleaned the entrance to the bowl with both pipe cleaners and cotton swabs dipped in lemon-infused 99% isopropyl alcohol. This was done cautiously, as too much liquid can cause softening of the meerschaum. Due to my care, no such problems were encountered. I used all nine micromesh pads (1,500 through 12,000 grit) to sand the outside of the bowl and finish it off. This sanding minimizes flaws in the meerschaum and provides a beautiful smoothness to it. As the photos show, I masked the darkened portion of the bowl with tape so as not to remove it while sanding.
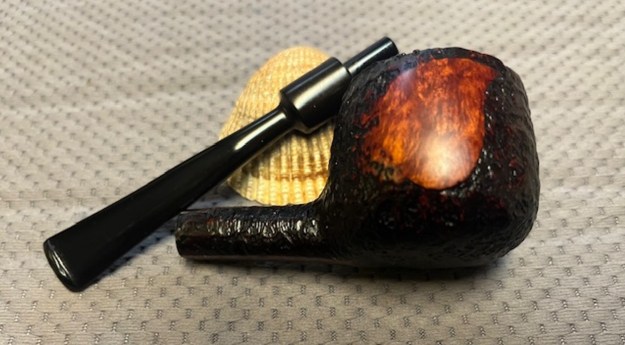
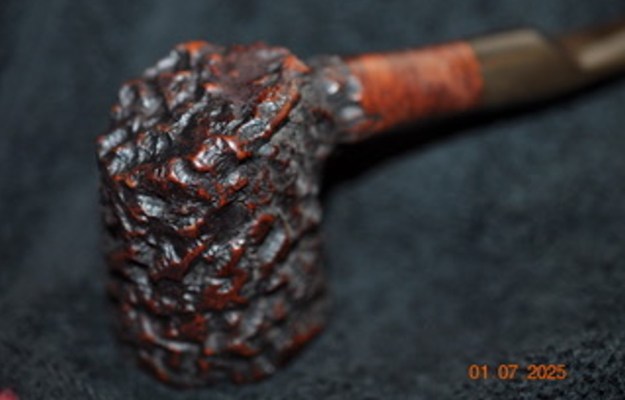
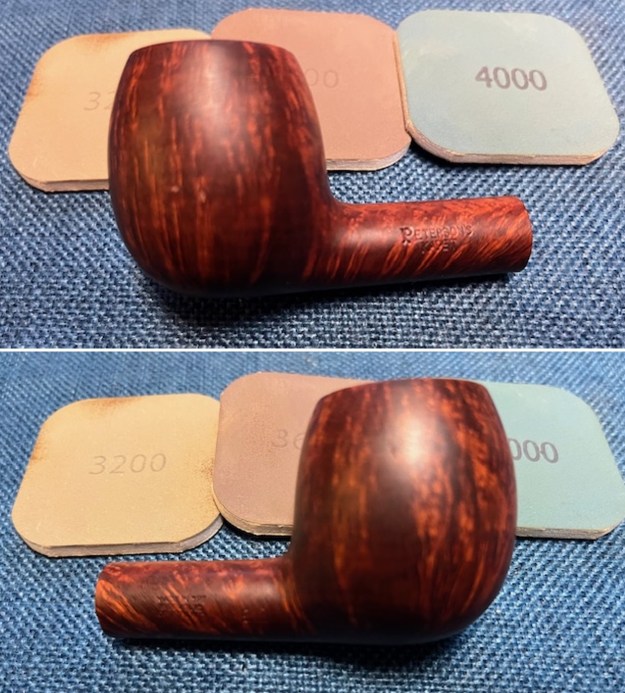
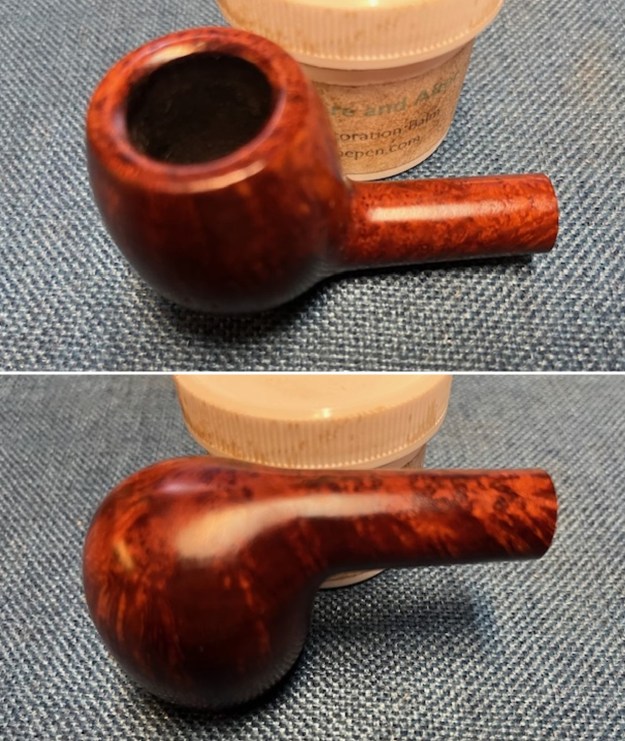
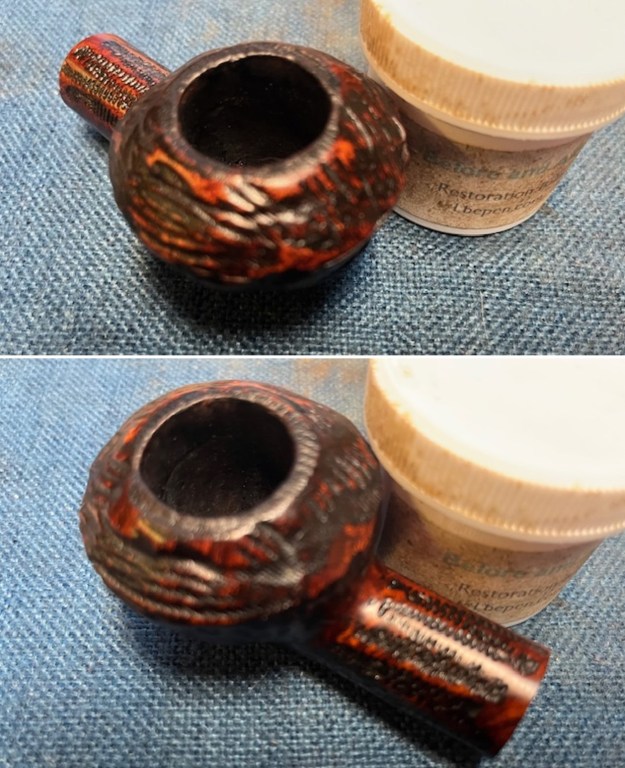
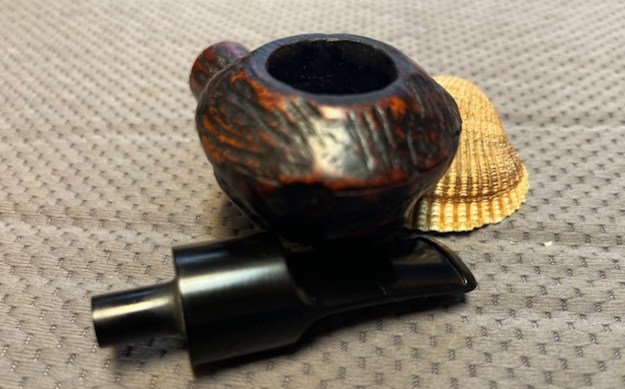
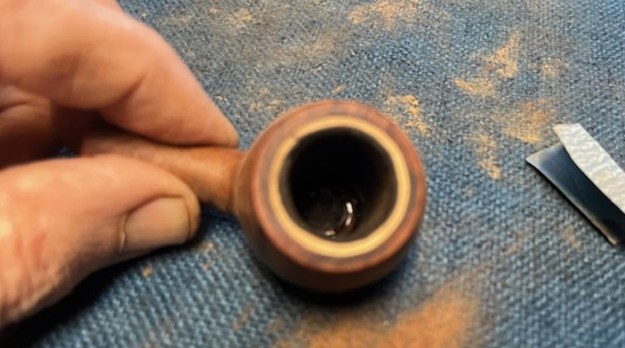
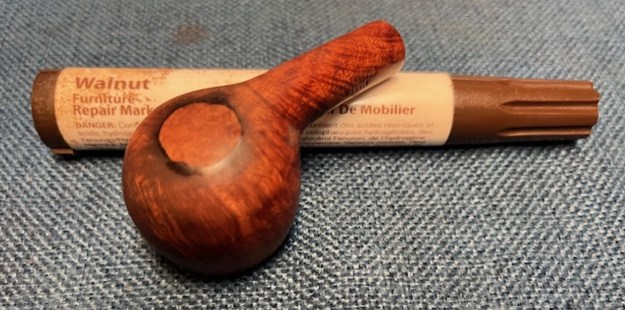
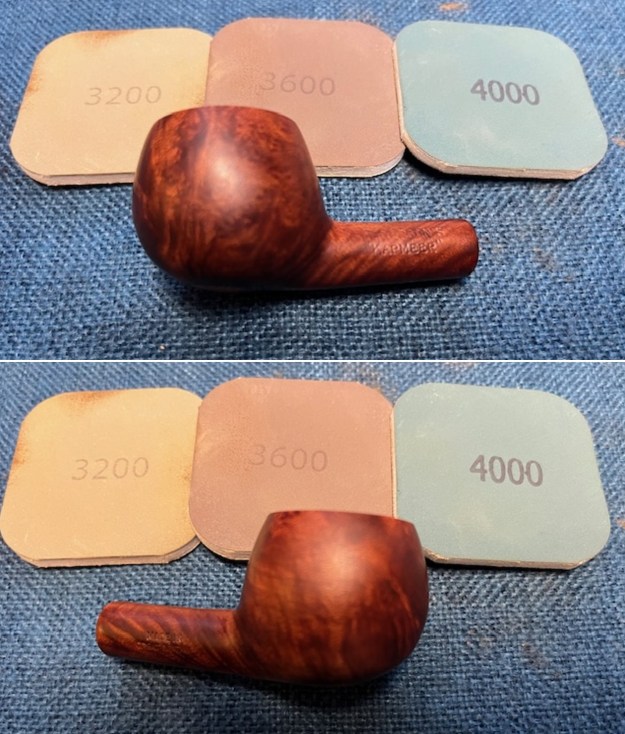
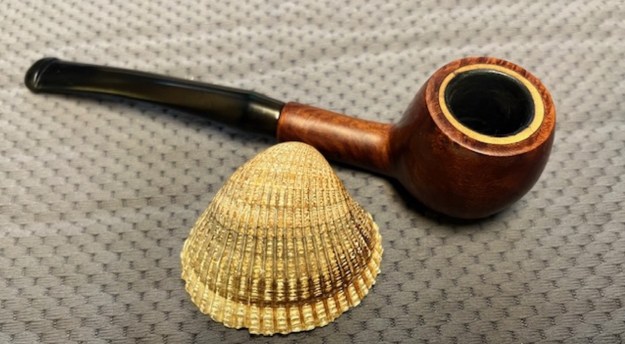
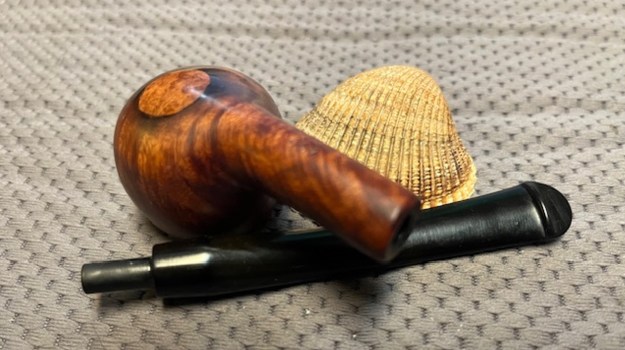
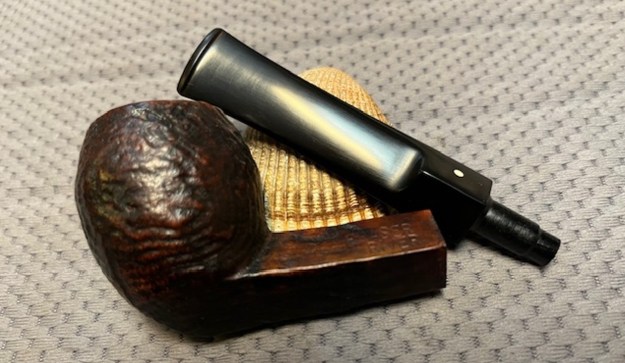
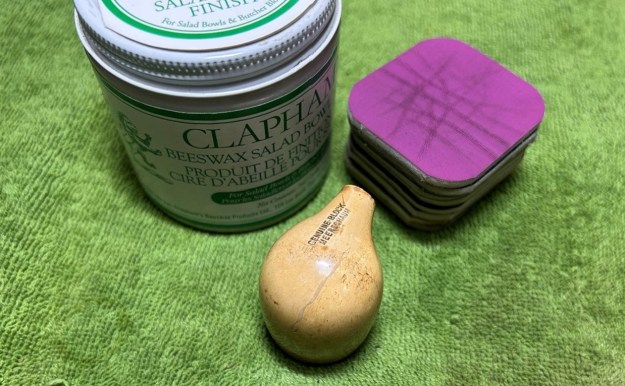
 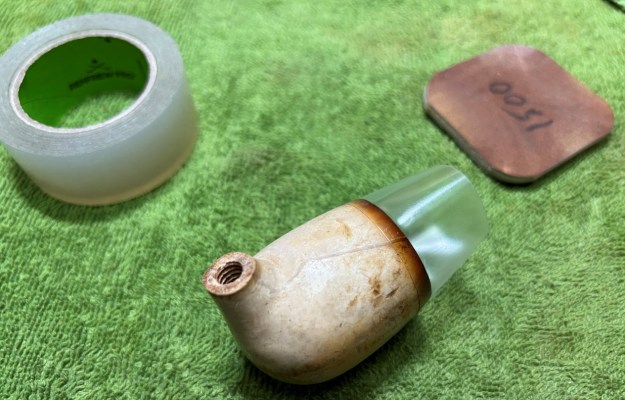 I rubbed some Clapham’s Beeswax Polish into the meerschaum and let it dry thoroughly. Then I buffed it carefully with a microfibre cloth. Ooo – what a shine!
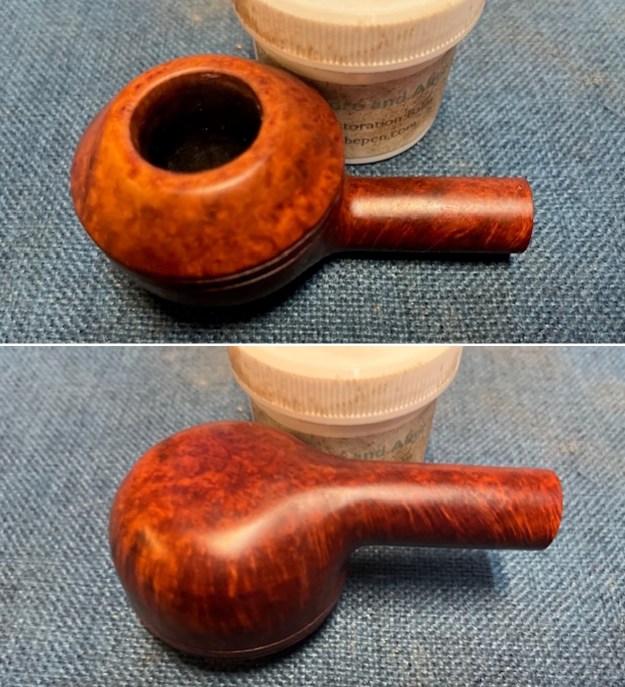
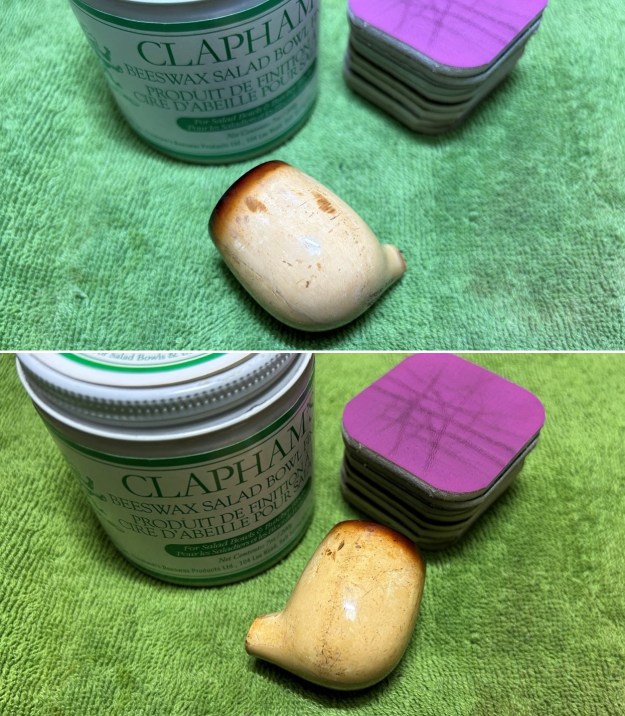
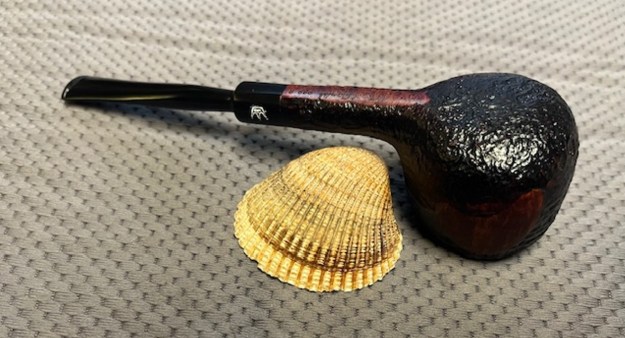
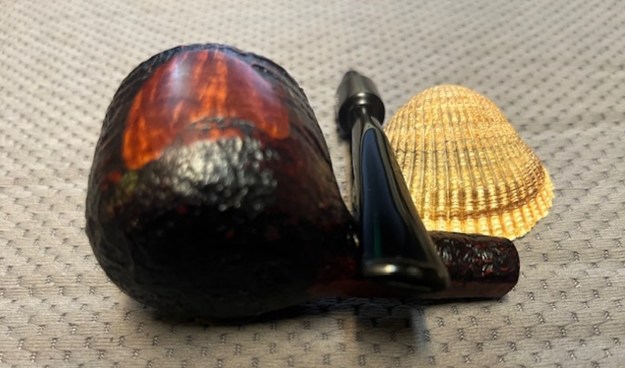
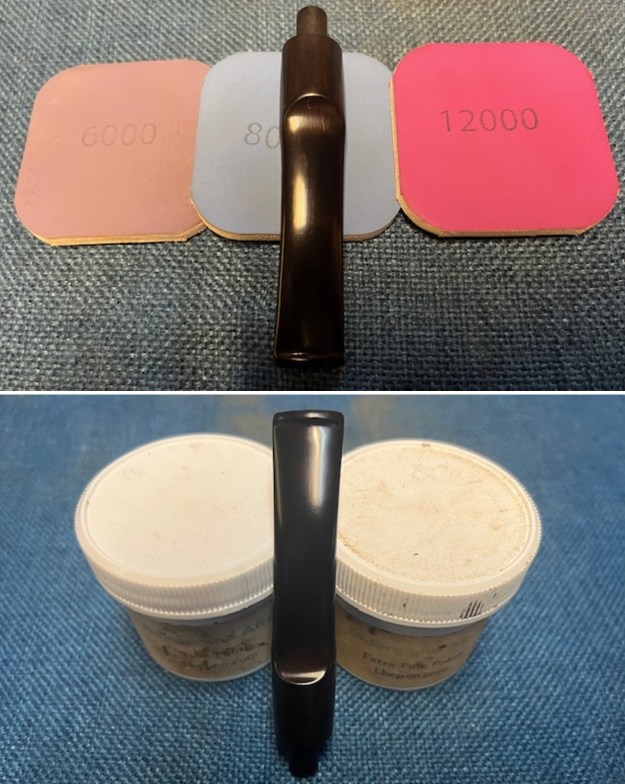
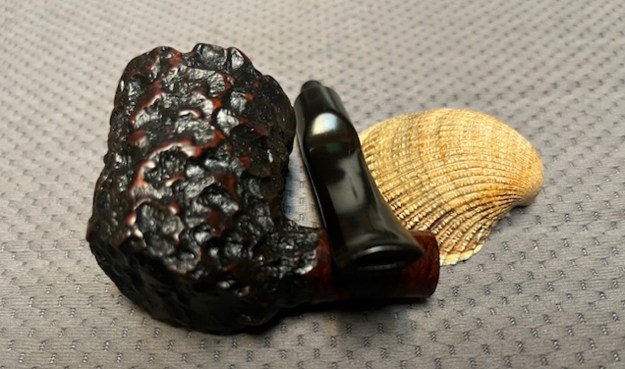
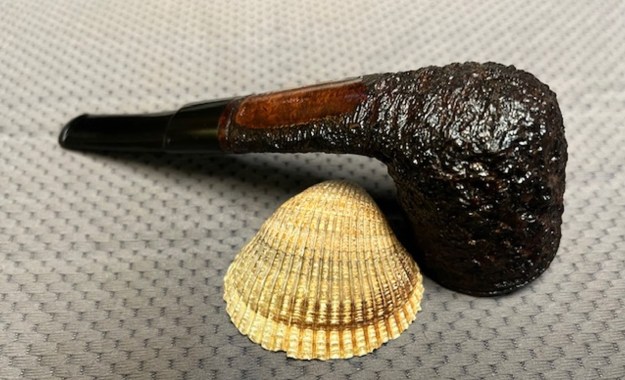
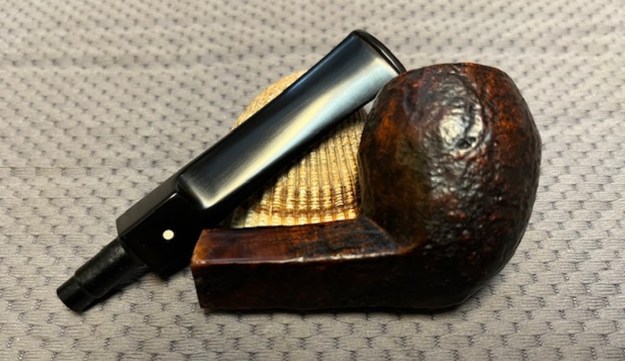
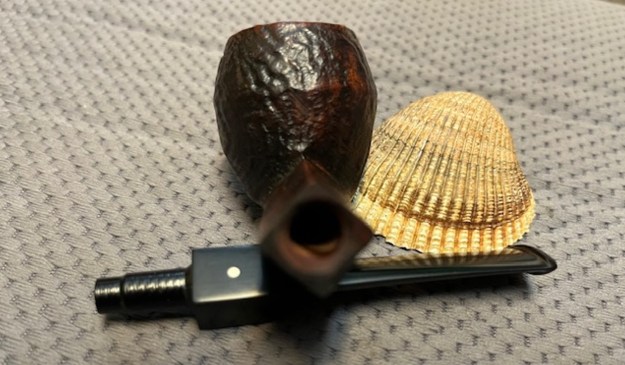
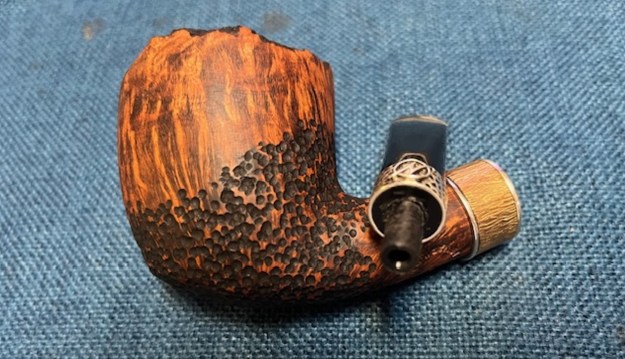
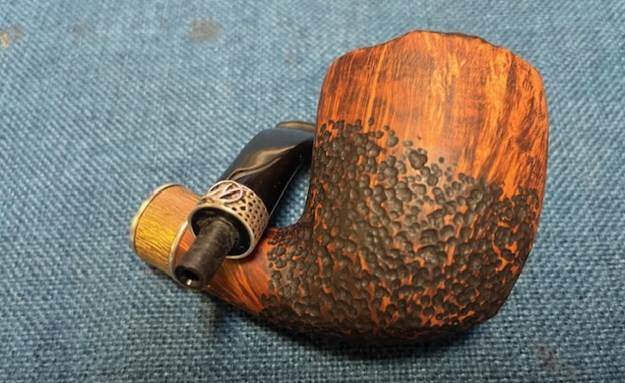
 For the final step, I took the pipe to my bench polisher and carefully buffed it – first with a blue diamond compound, then with three coats of carnauba wax. This procedure makes the pipe look its best – the stummel sings and the stem glows.
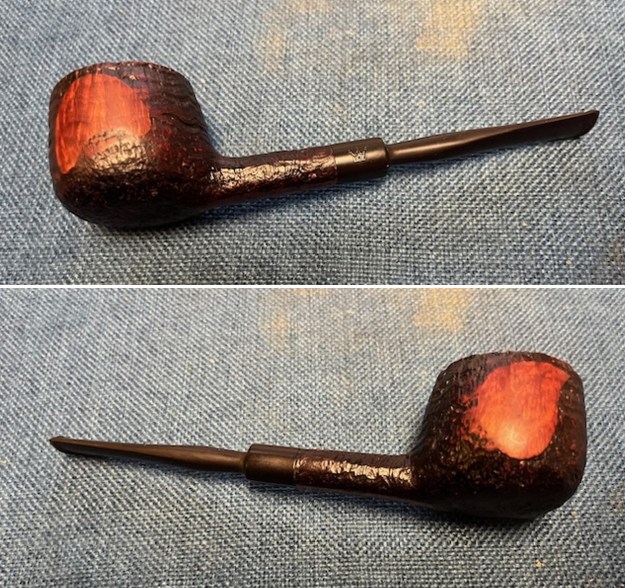
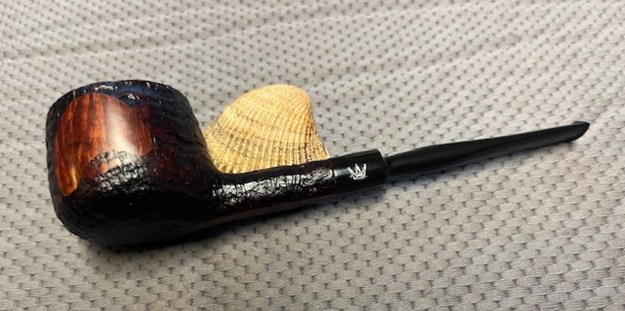
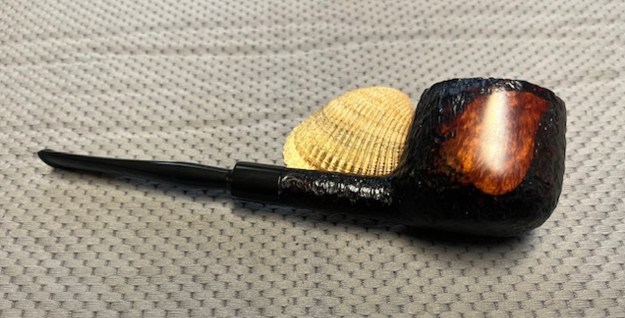
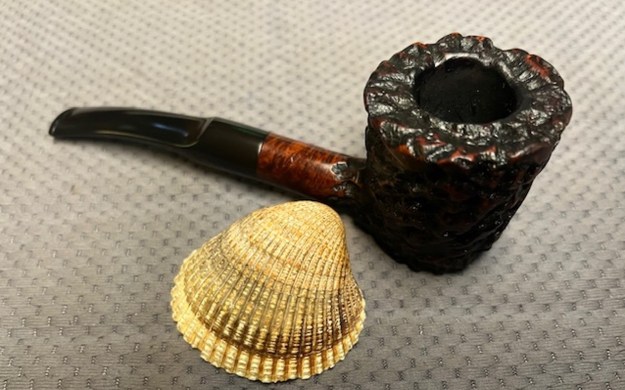
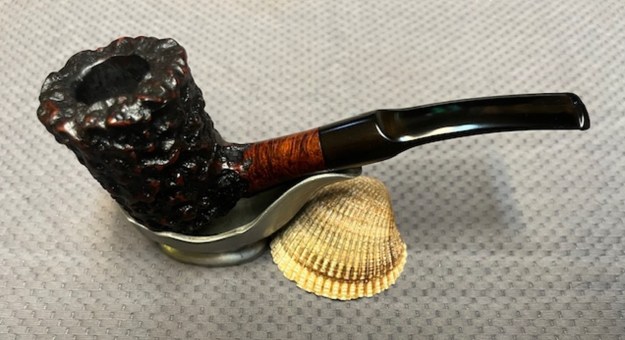
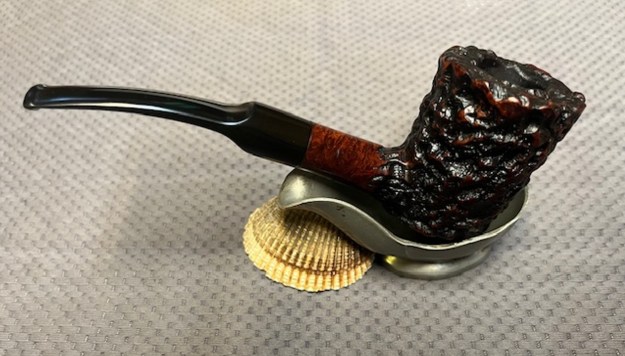
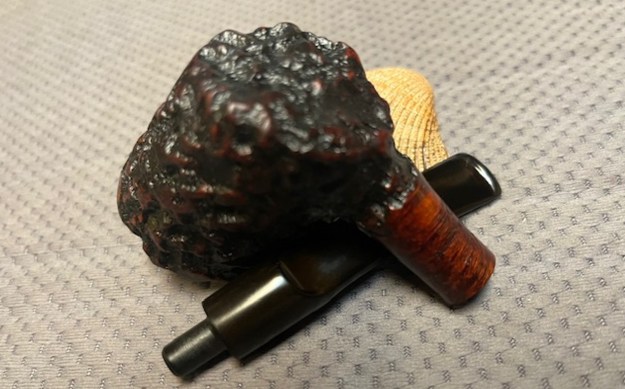
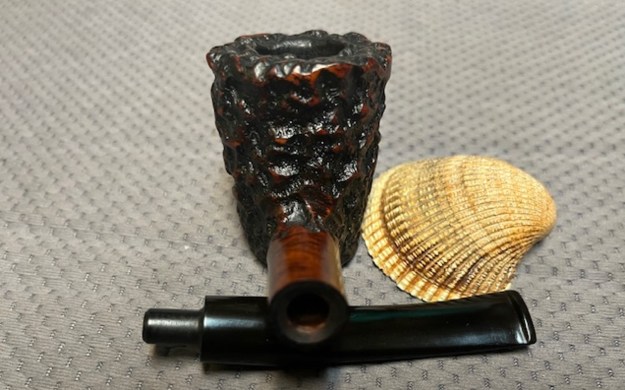
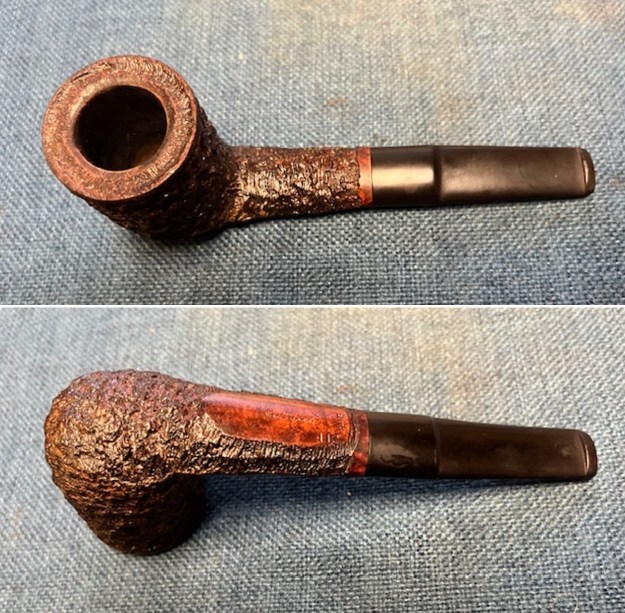
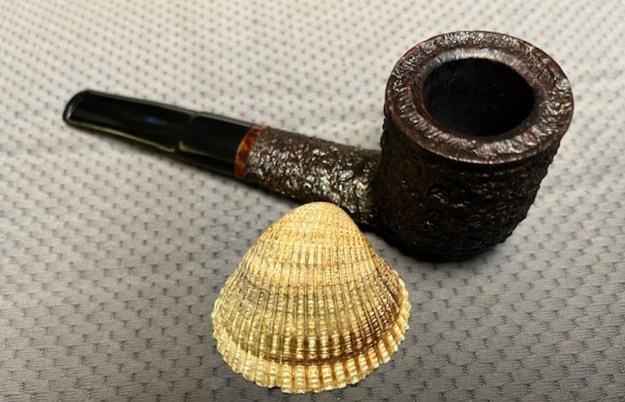
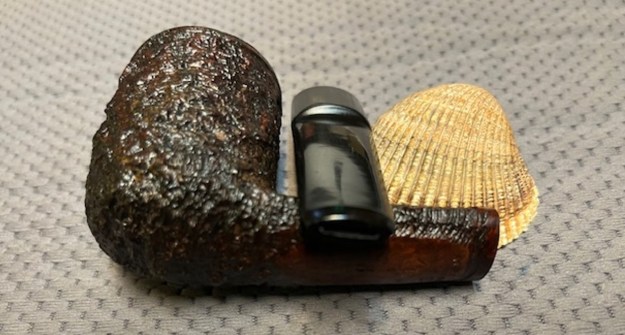
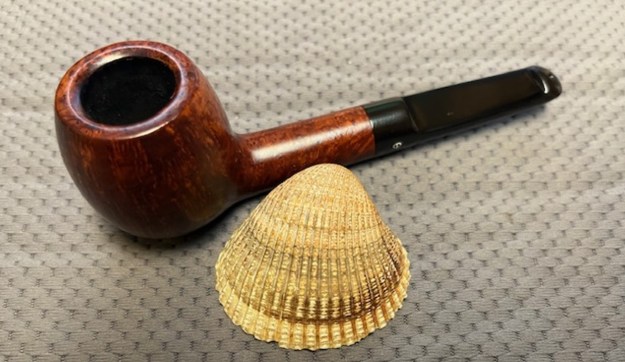
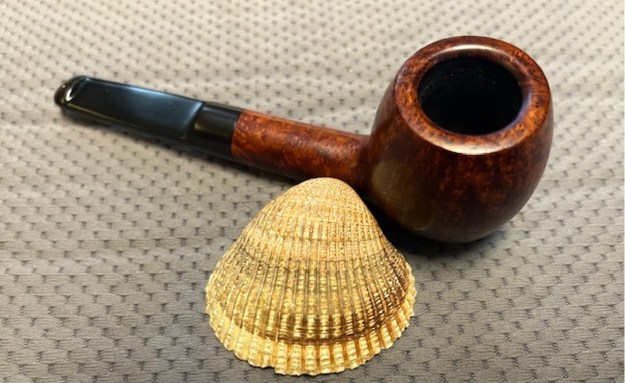
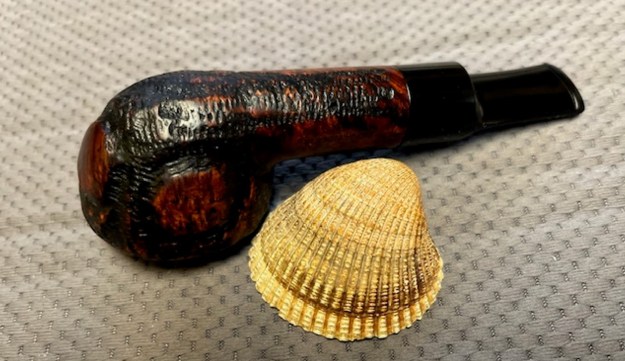
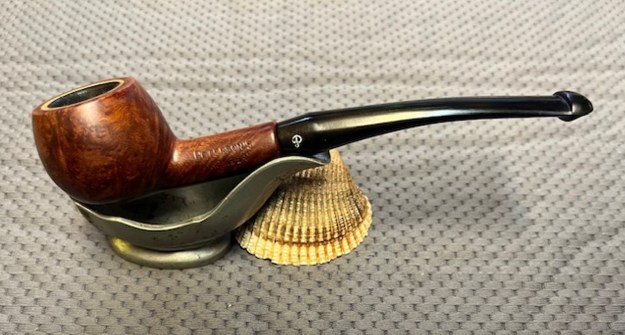
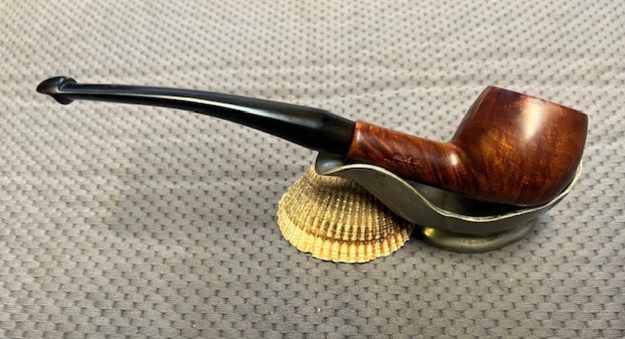
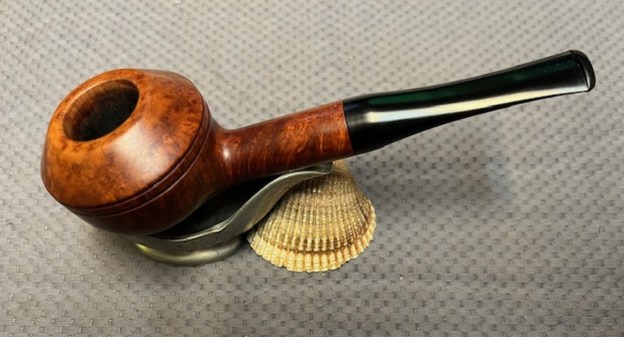
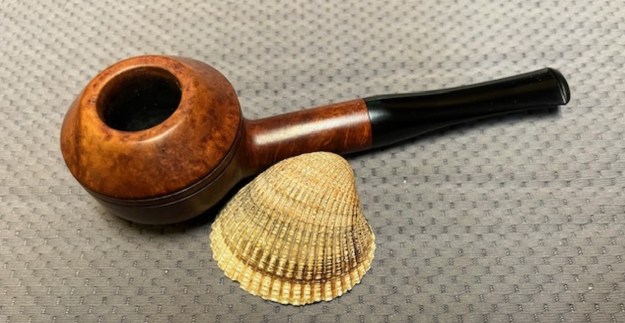
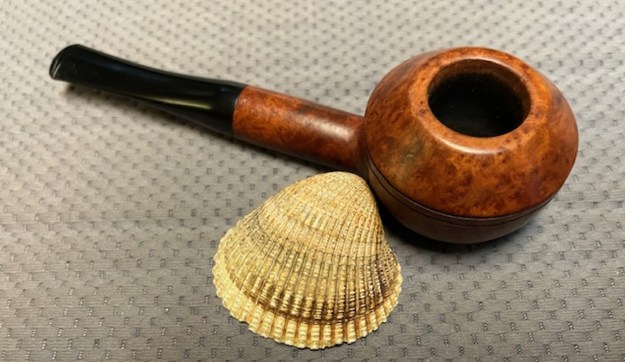
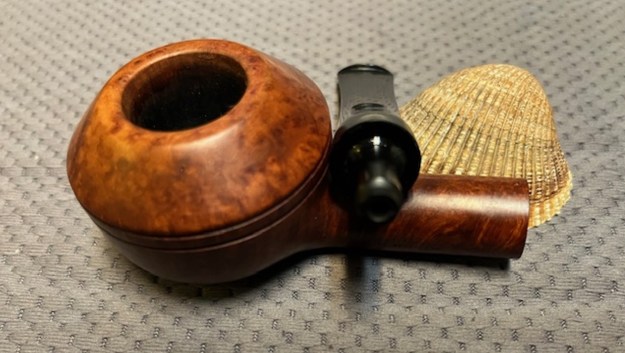
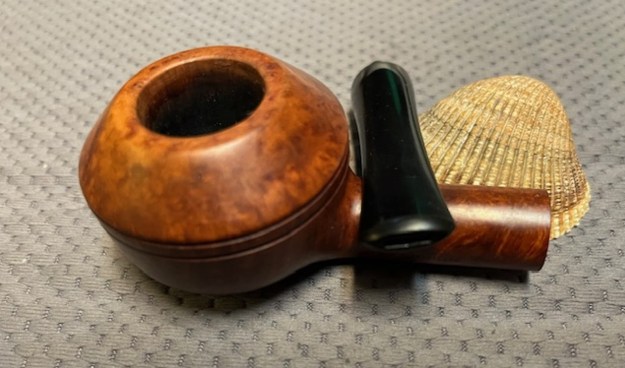
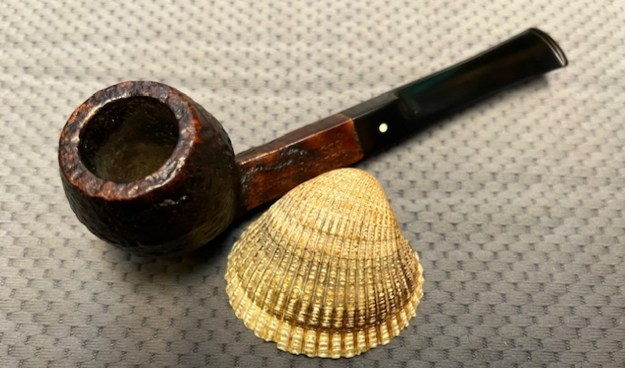
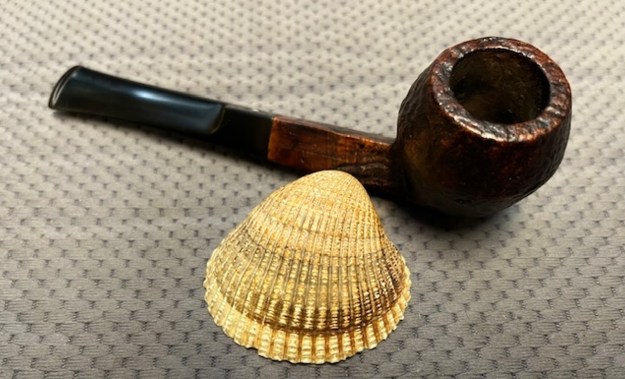
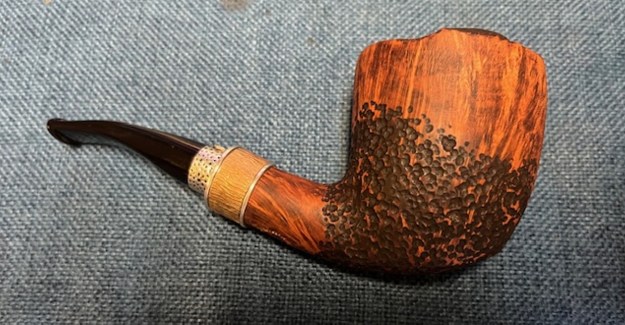
All done! This bamboo meerschaum billiard looks fantastic again and I am delighted with the results. As I mentioned before, I might keep this for myself, but you’re welcome to reach out to me if you’re interested in acquiring it: kenneth@knightsofthepipe.com. The approximate dimensions of the pipe are as follows: length 5⅝ in. (142 mm); height 1¾ in. (44 mm); bowl diameter 1⅜ in. (36 mm); chamber diameter ¾ in. (18 mm). The weight of the pipe is ¾ oz. (24 g). I hope you enjoyed reading the story of this pipe’s restoration as much as I enjoyed restoring it. If you are interested in more of my work, please follow me here on Steve’s website or send me an email. Thank you very much for reading and, as always, I welcome and encourage your comments.