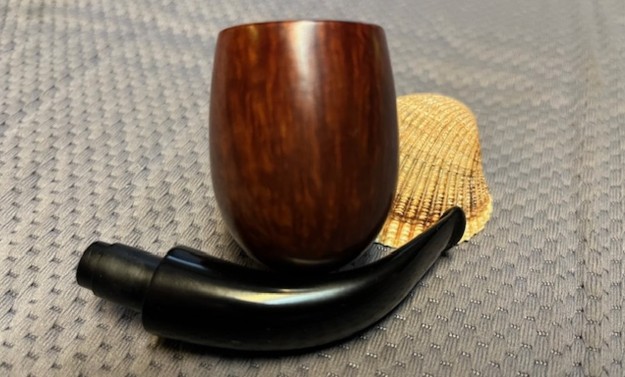
by Kenneth Lieblich
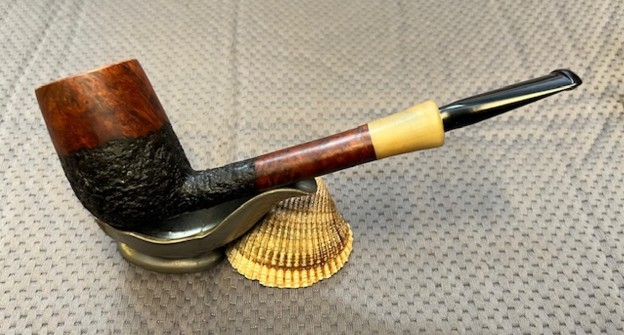
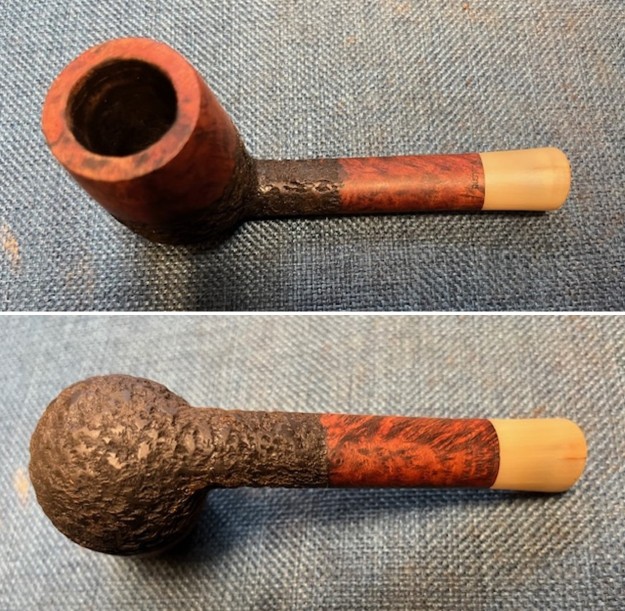
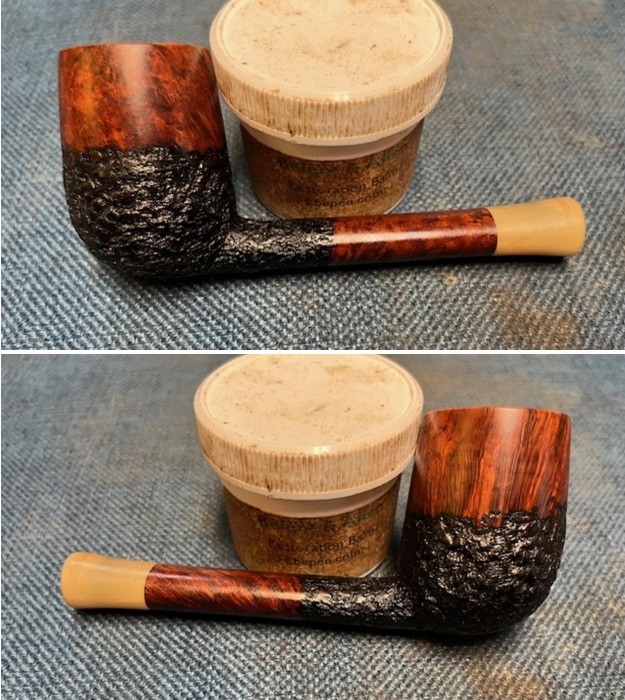
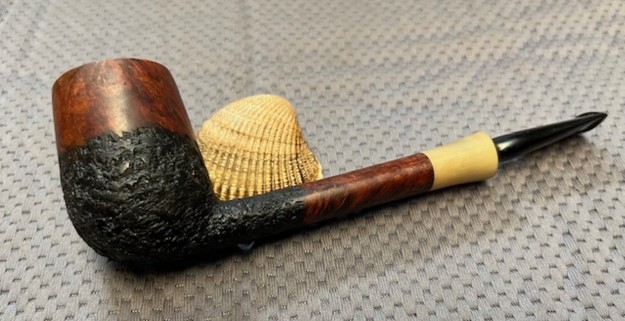
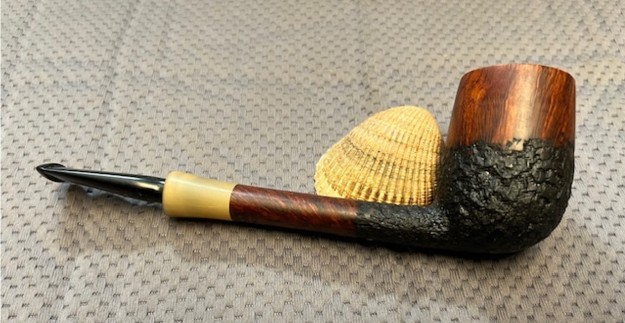
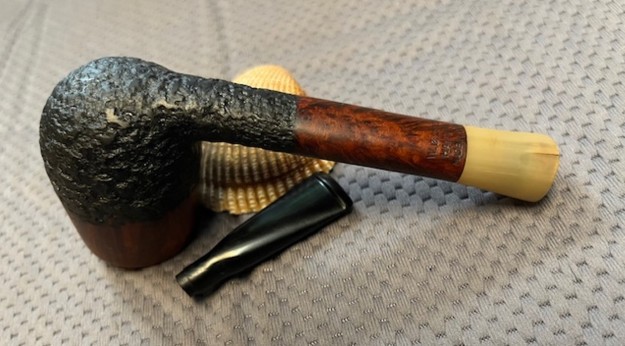
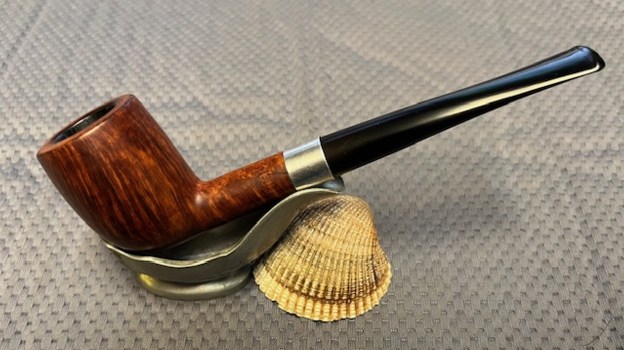
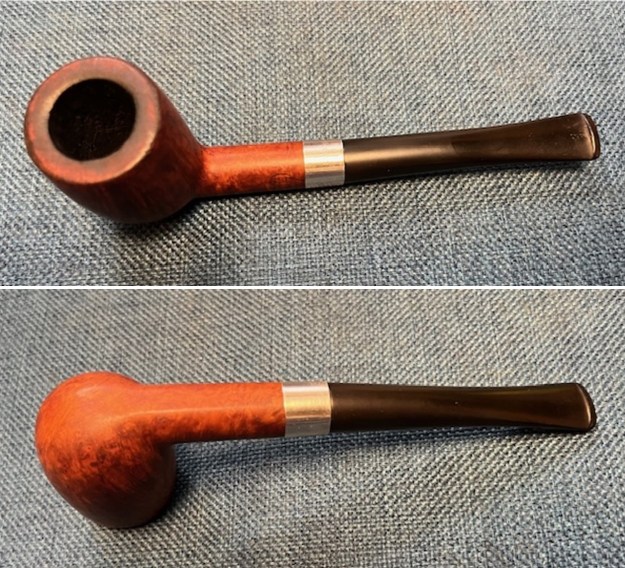
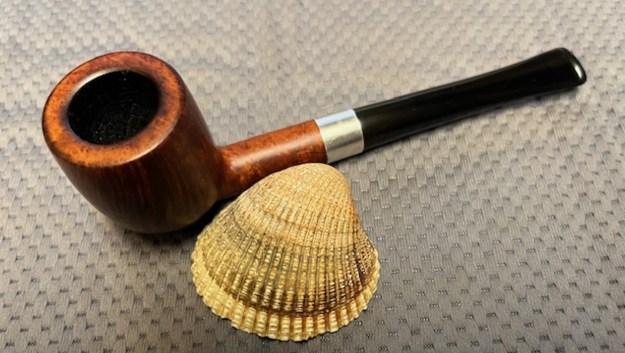
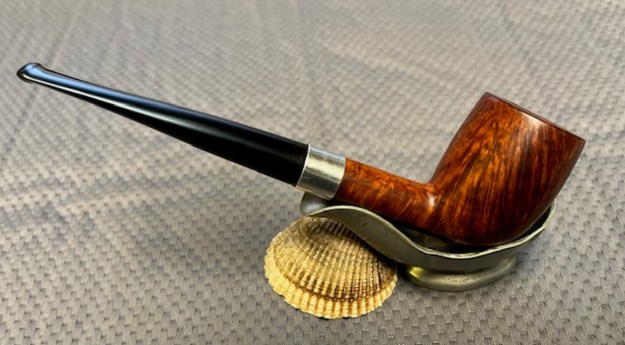
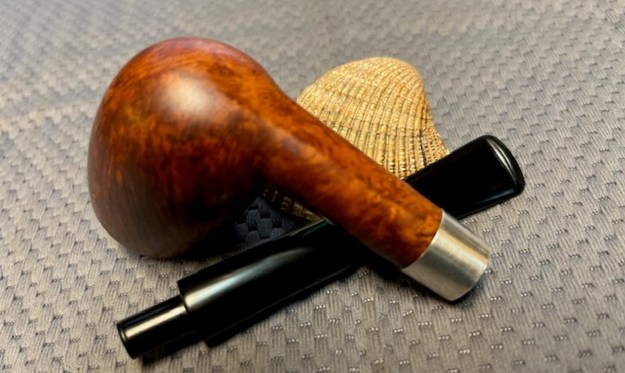
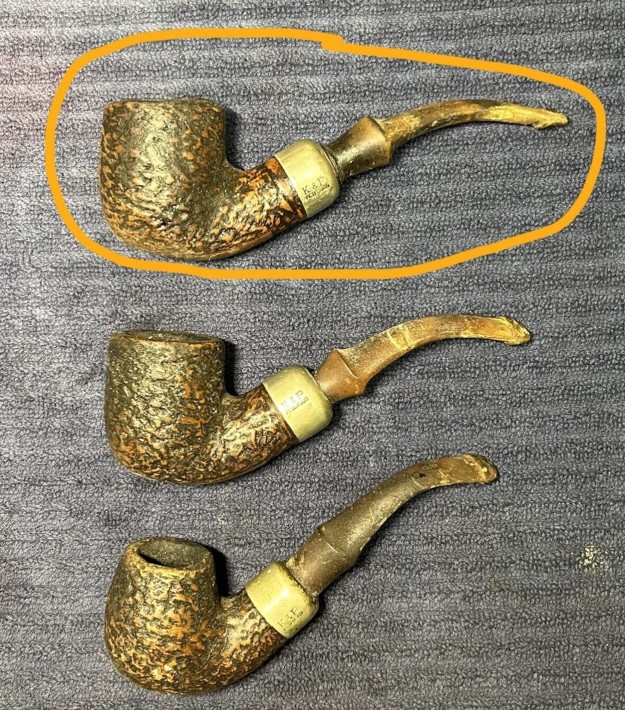
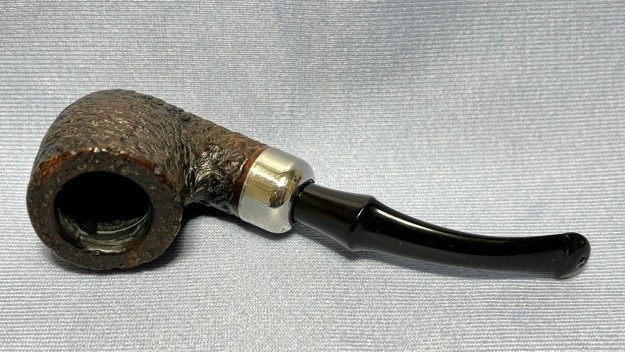
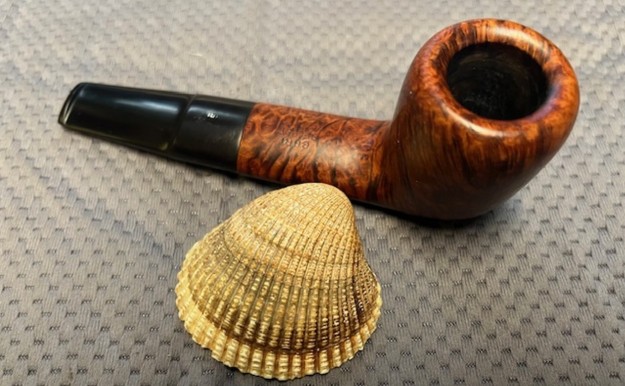
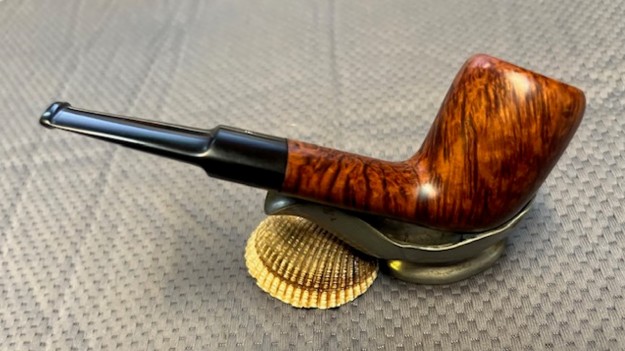
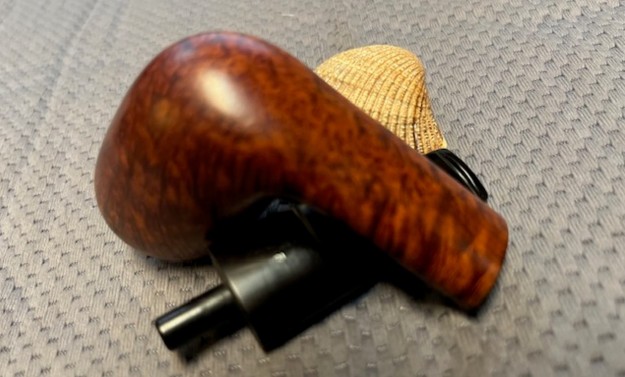
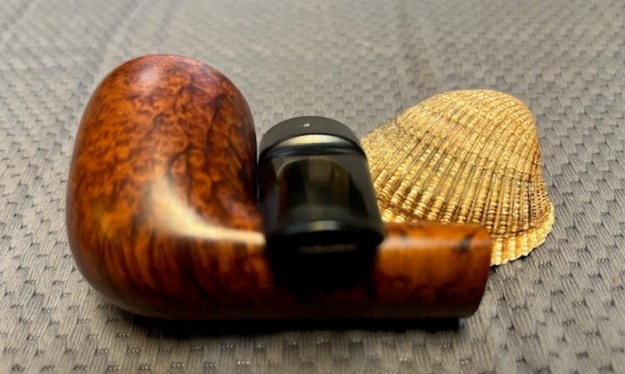
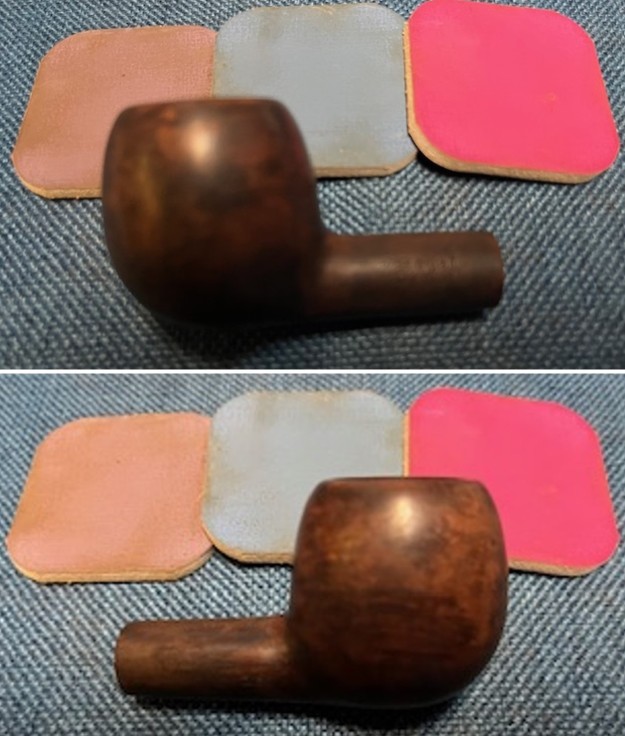
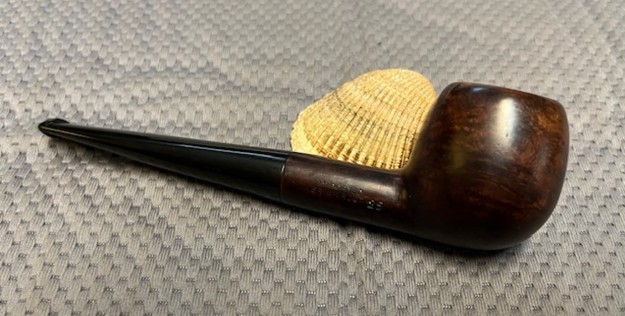
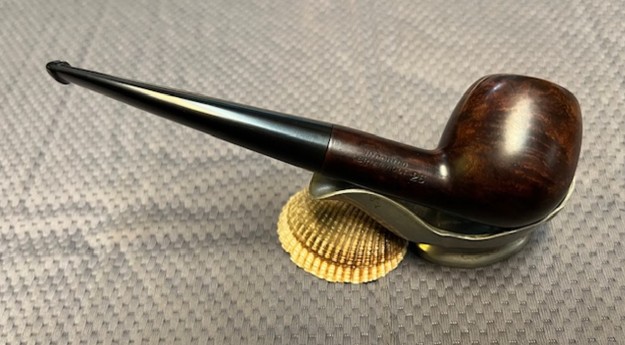
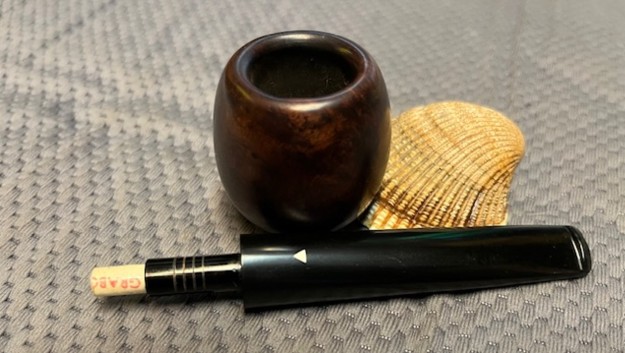
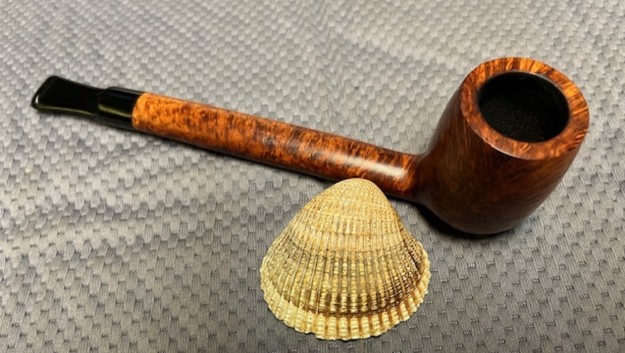
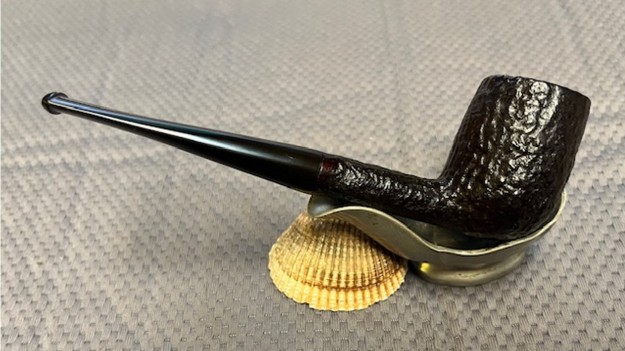
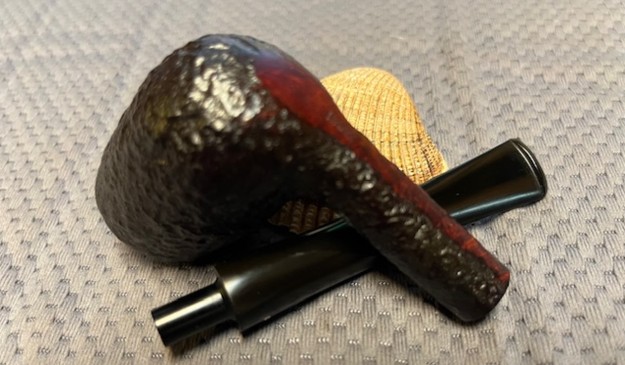
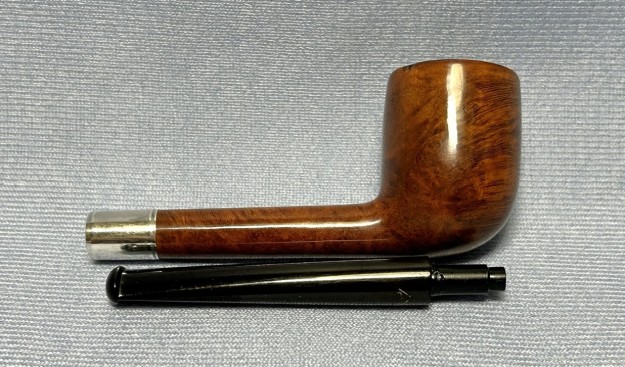
Next on the chopping block is a very personal pipe – and one that is staying in my collection. The pipe you see belonged to my late grandfather. It is this pipe’s restoration that I am recounting today. I have blogged here about some of my grandfather’s pipes before, but I haven’t done one in a while. In this case, I do not know where my grandfather acquired it (or under what circumstances), but I suppose it does not ultimately matter. My grandfather was an enthusiastic pipe smoker and I am definitely looking forward to cleaning this one up. It has a value well beyond dollars – especially because this is actually the first pipe I ever smoked. Unsurprisingly, I didn’t know what I was doing it with it, so any damage you see is almost certainly from me! I don’t remember why I picked this pipe of his to try, but it definitely worked well.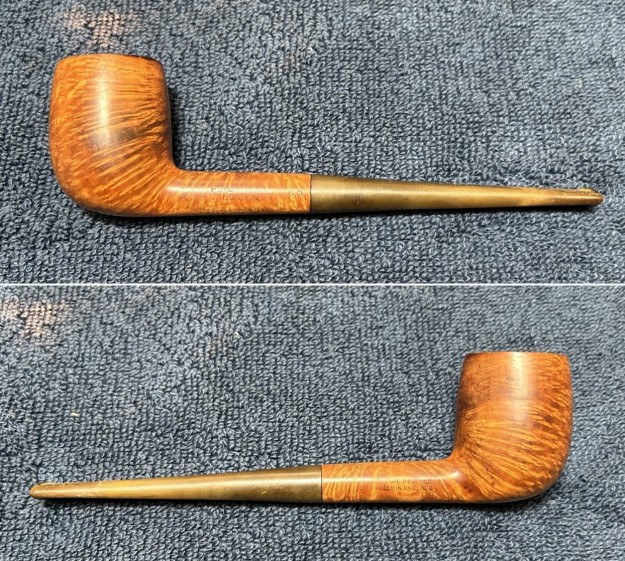
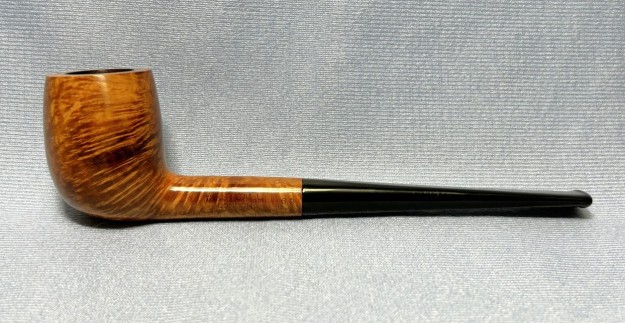
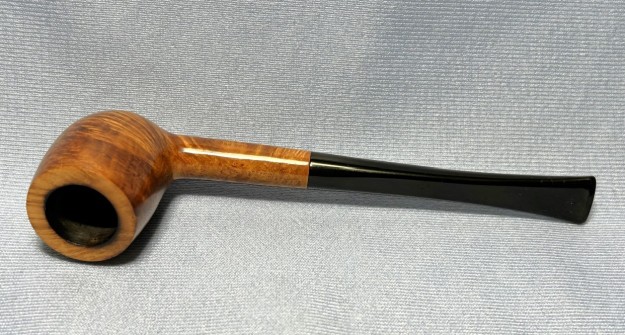
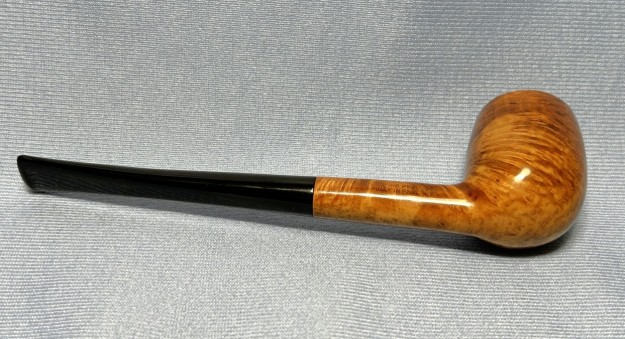
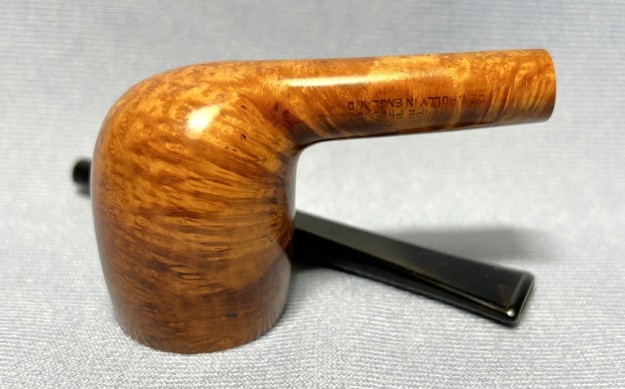
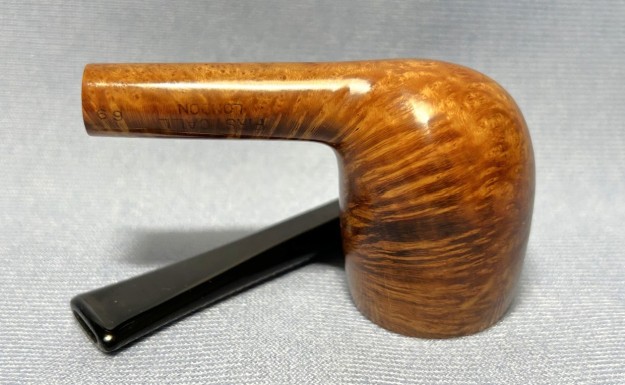
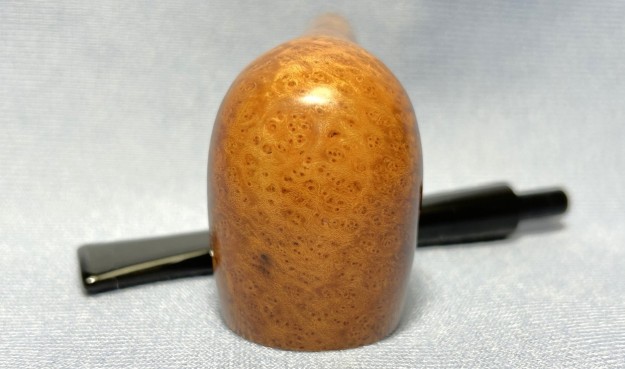
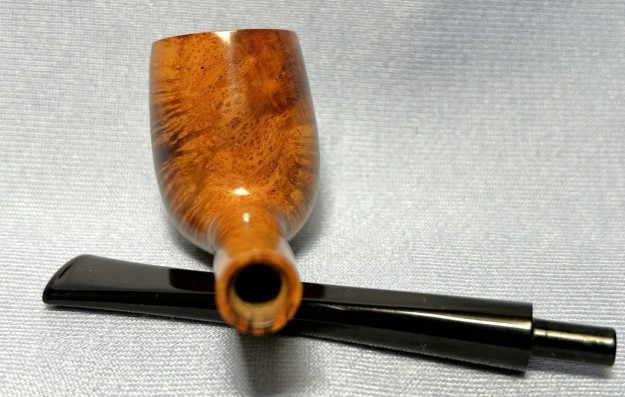
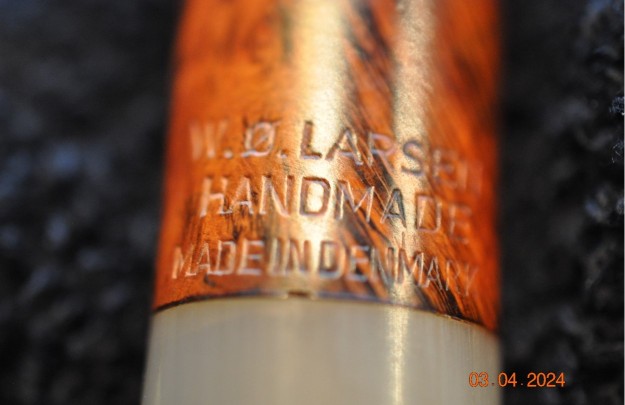
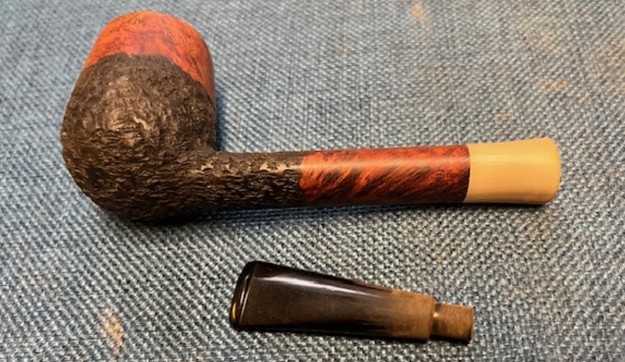
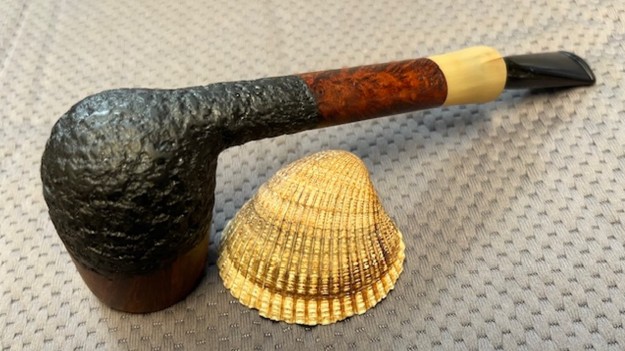
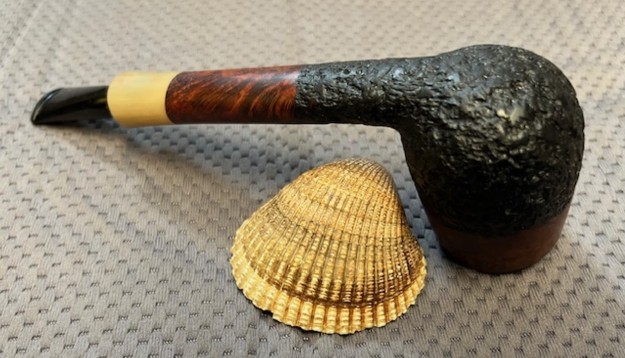
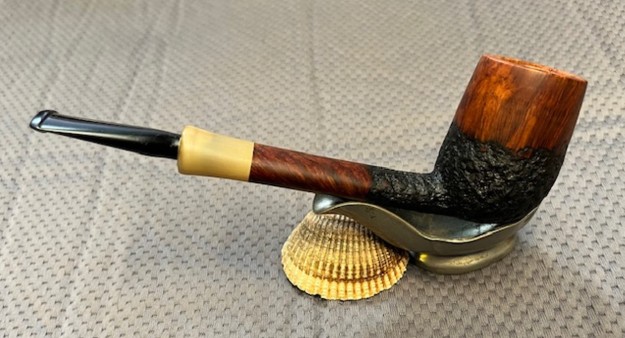
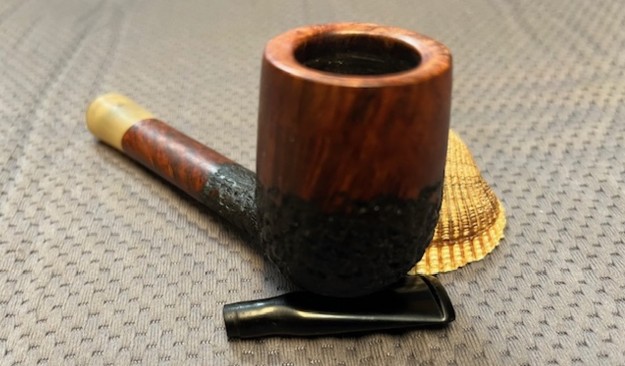
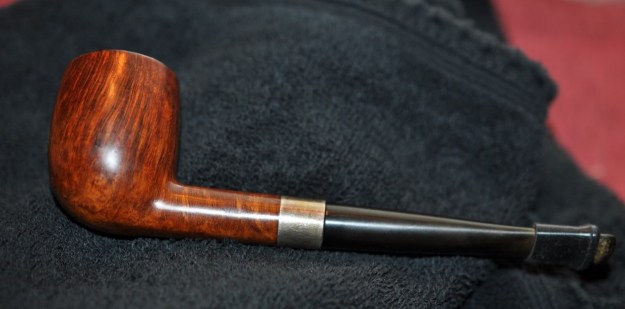
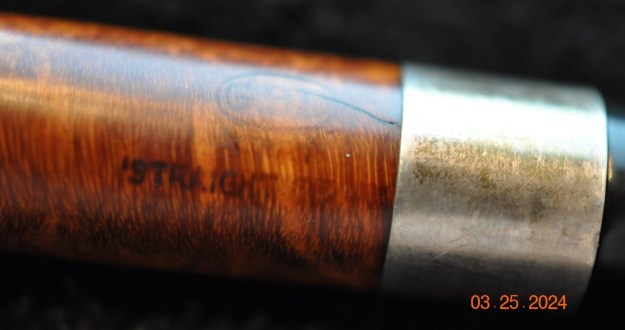
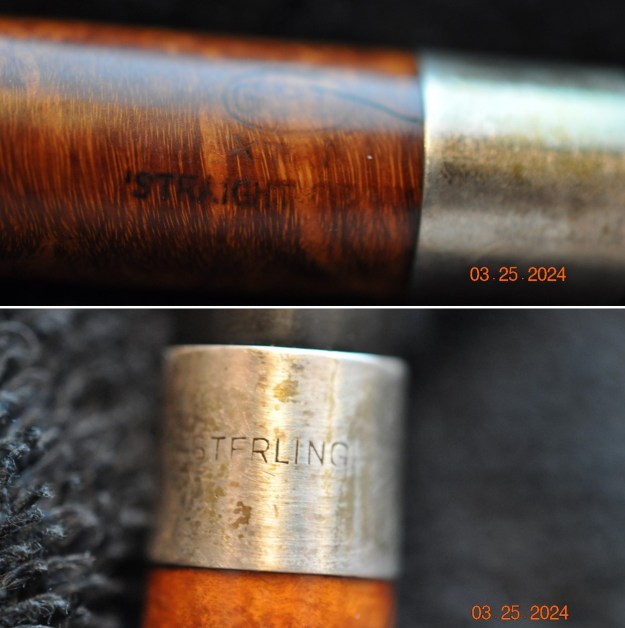
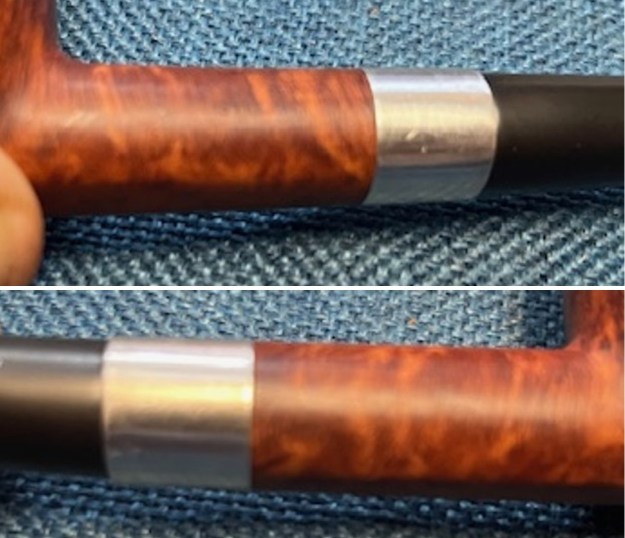
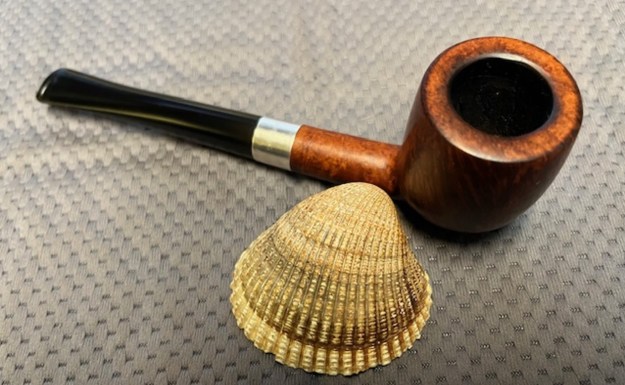
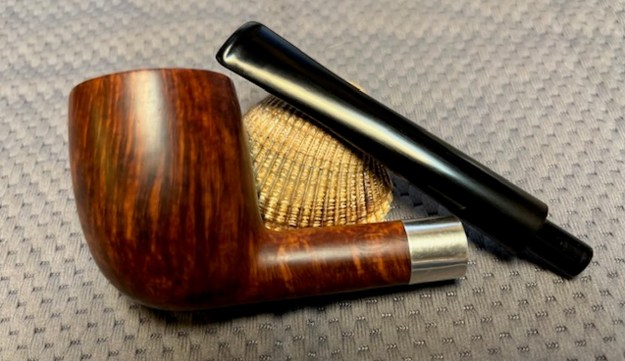
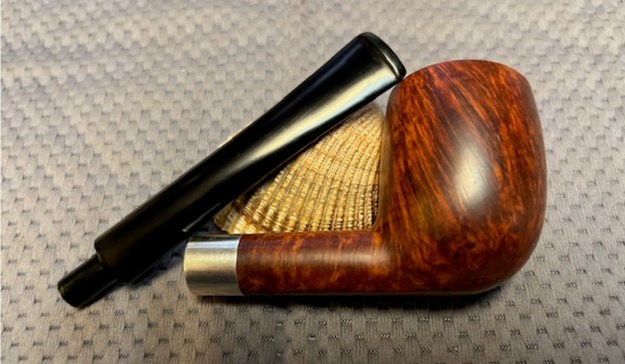
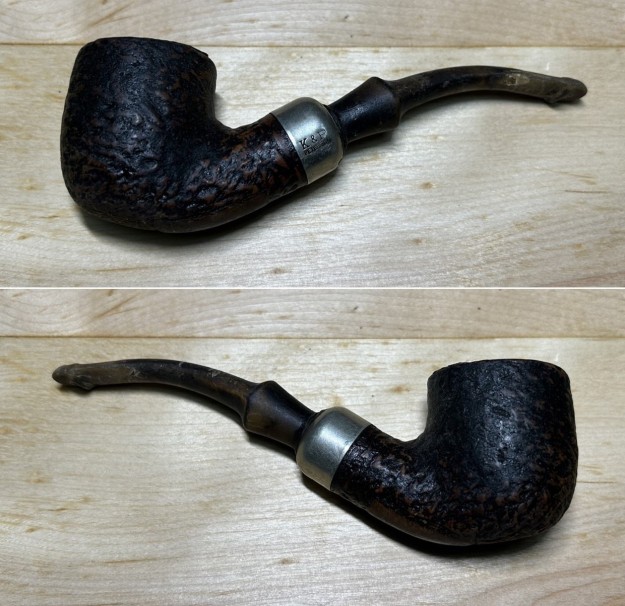
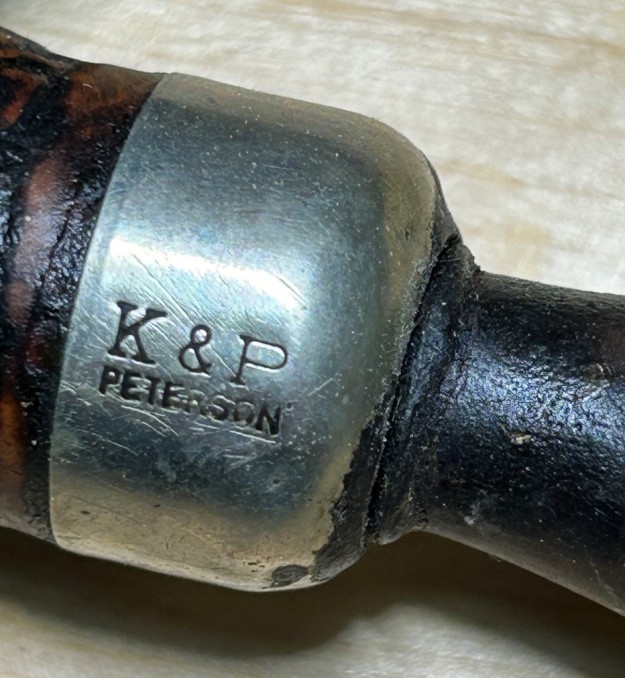
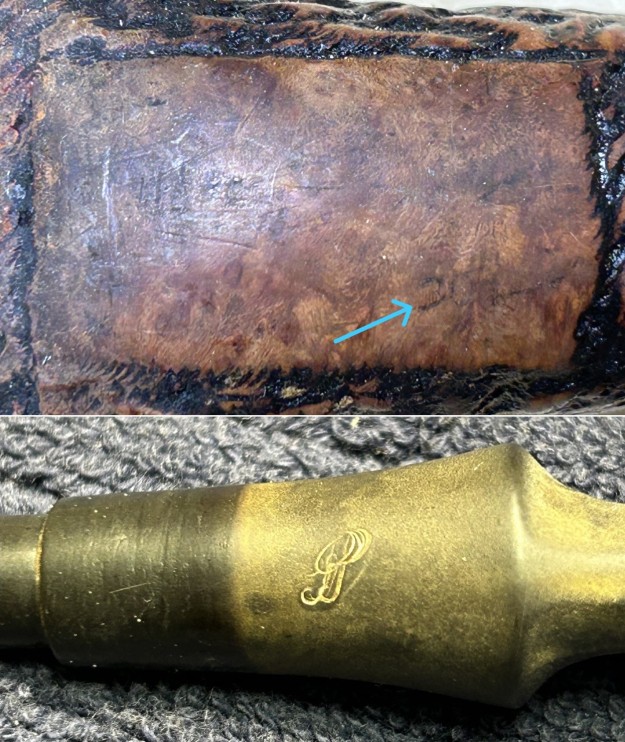
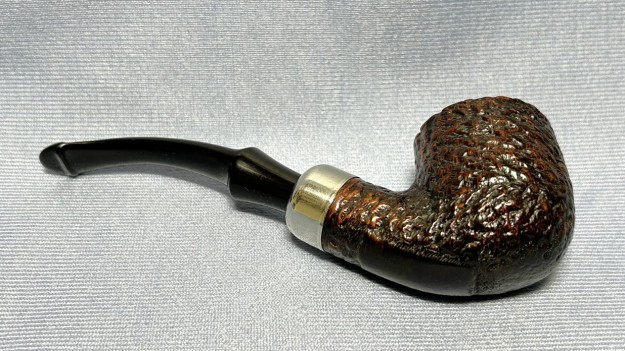
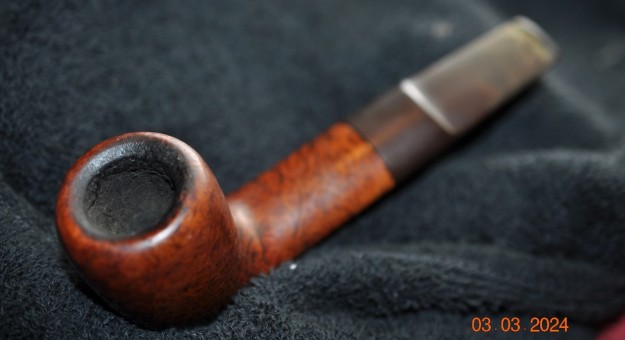
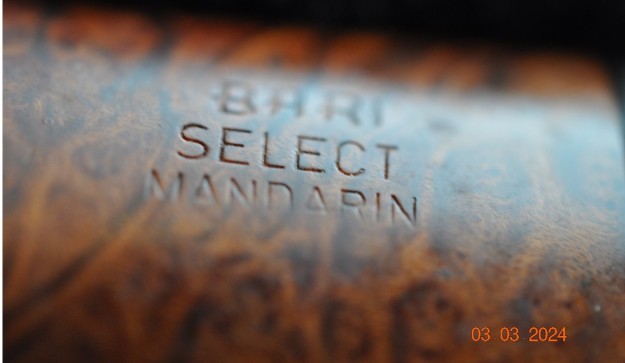
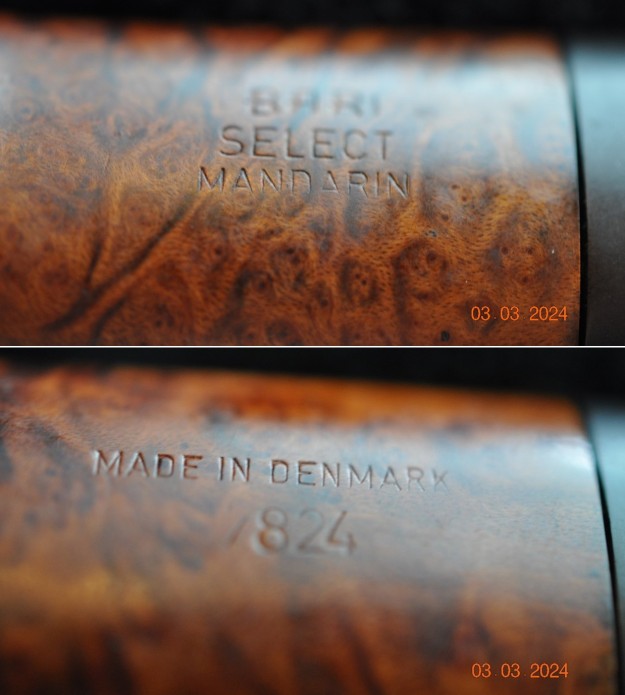
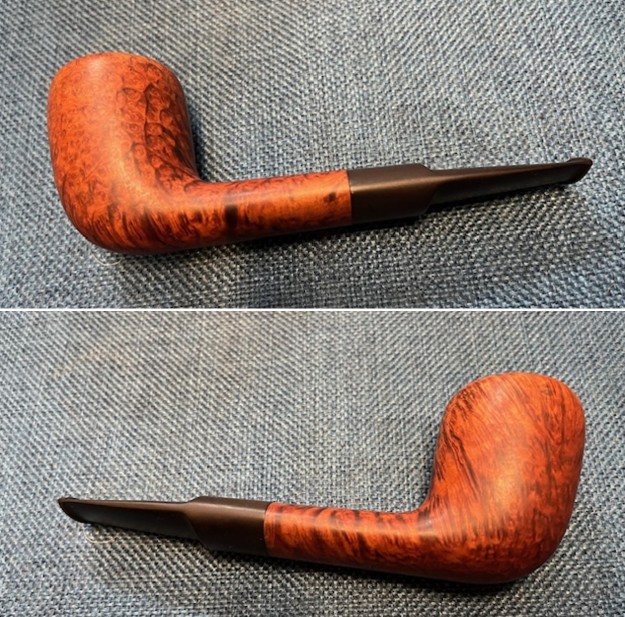
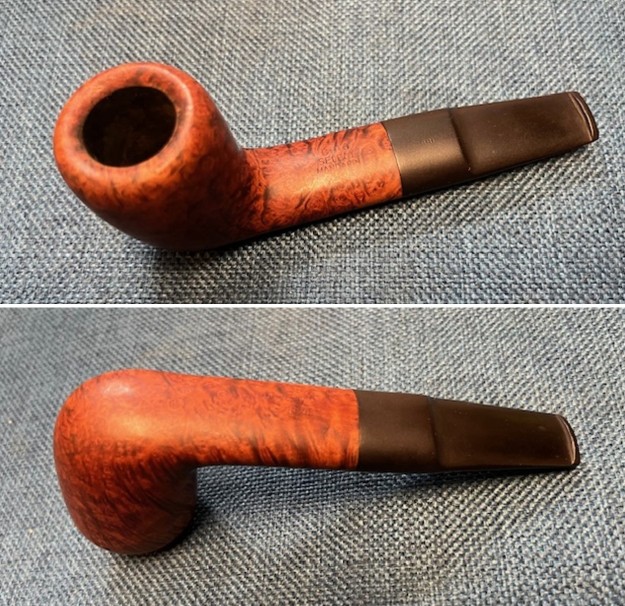
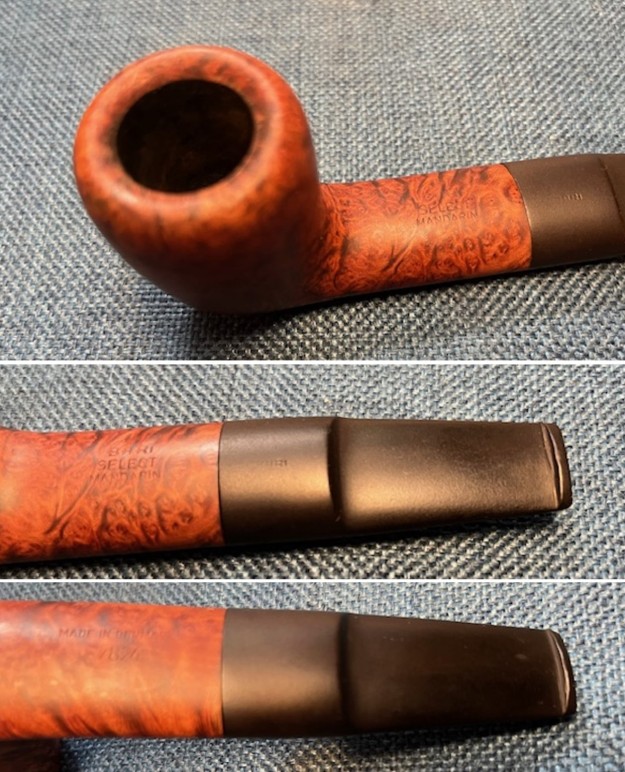
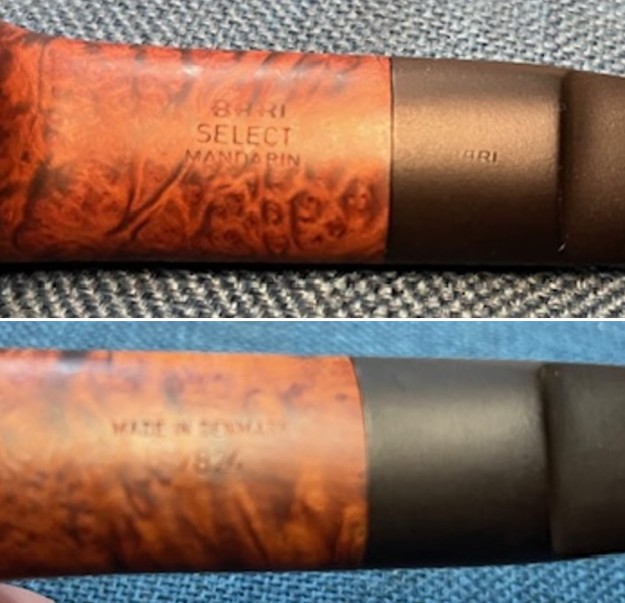
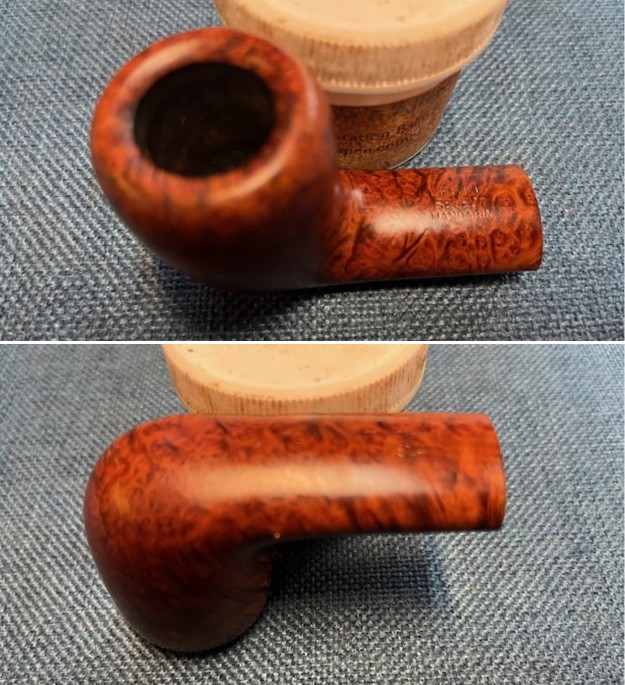
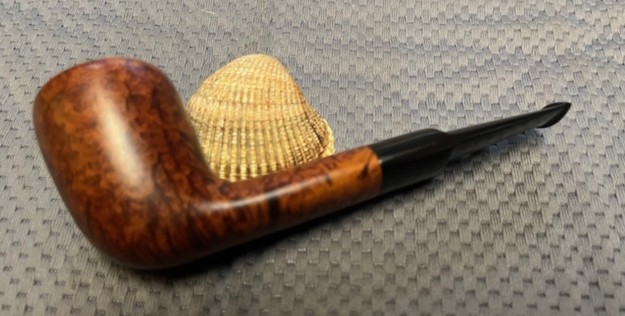
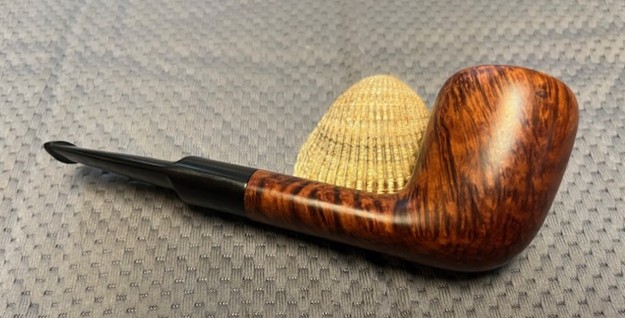
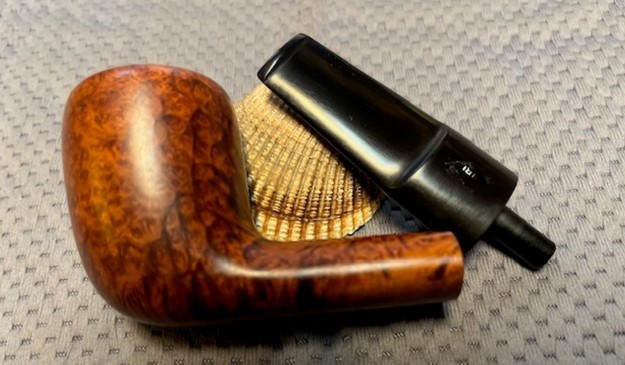
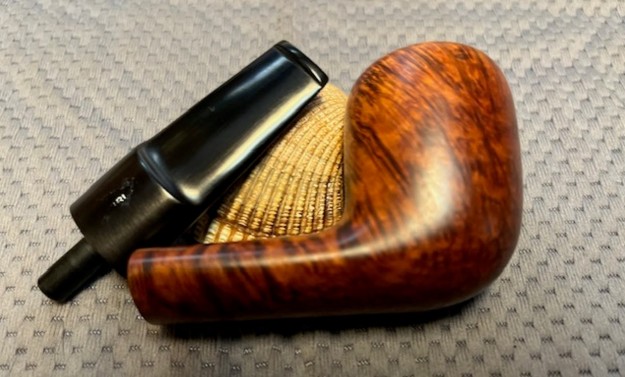
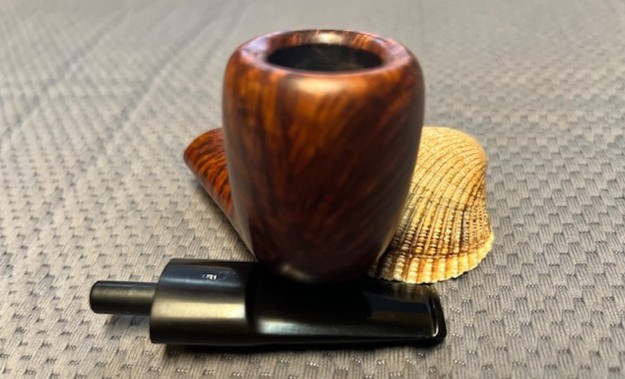
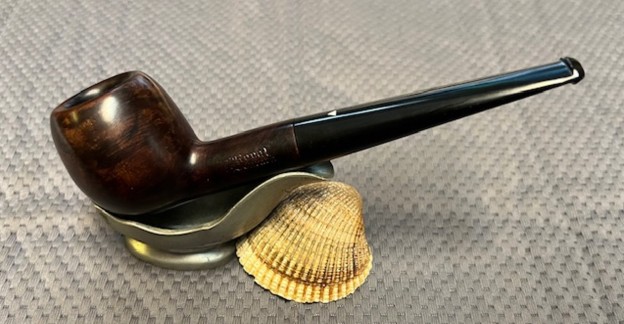
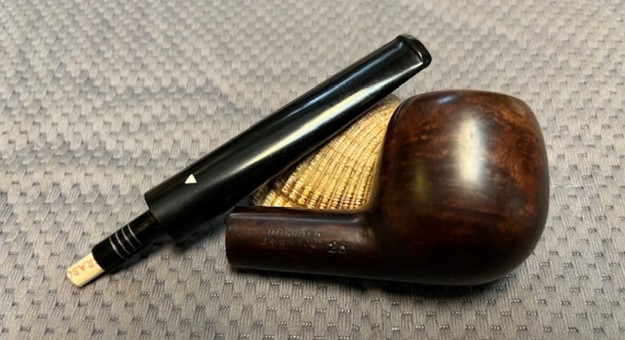
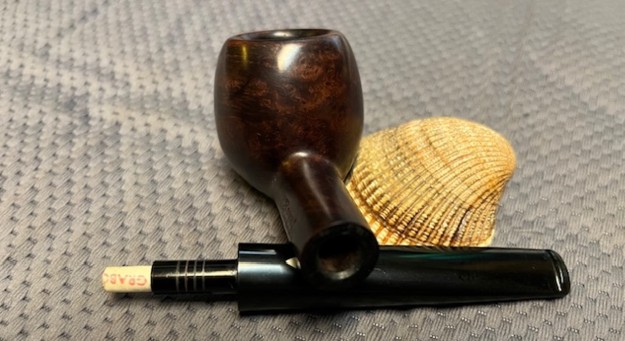
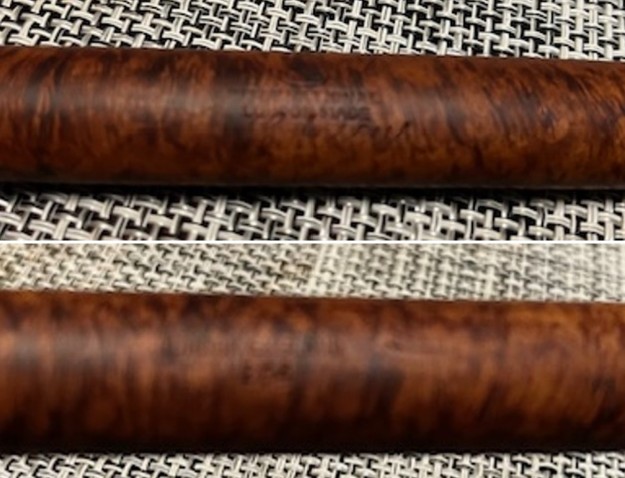
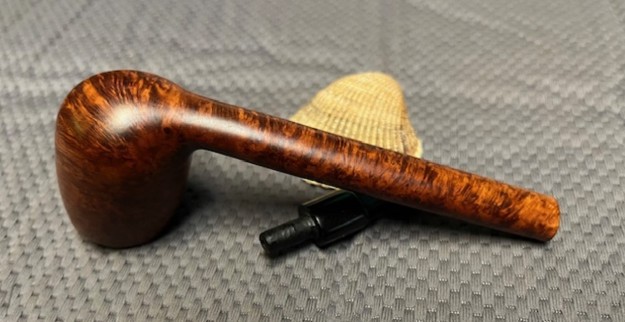
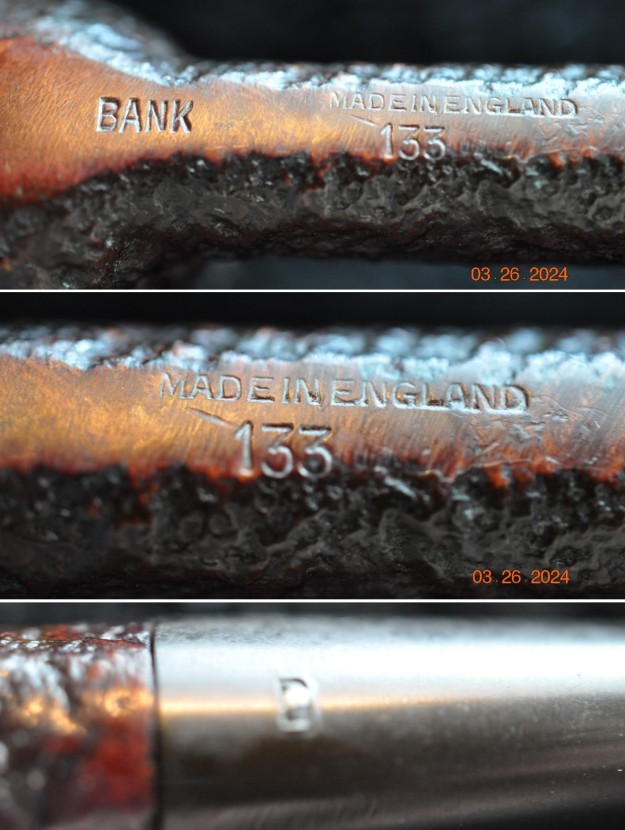
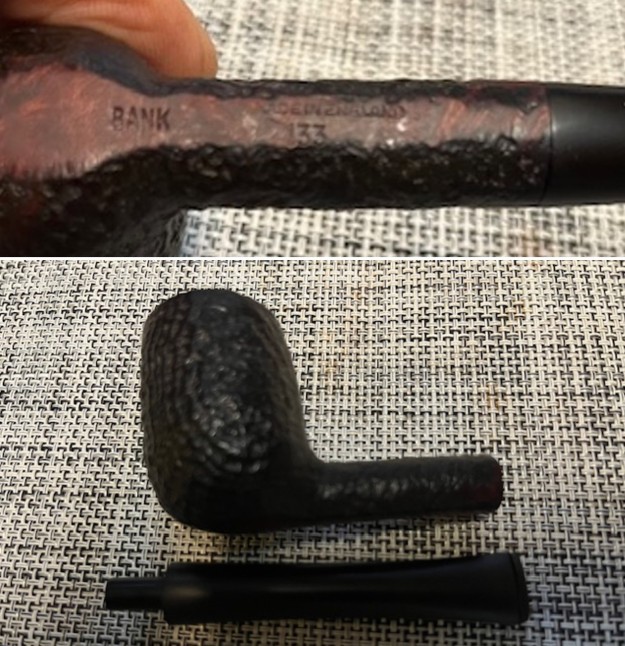
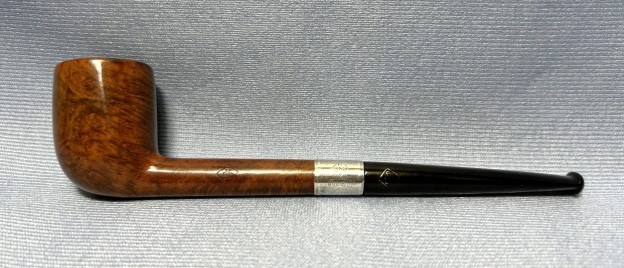
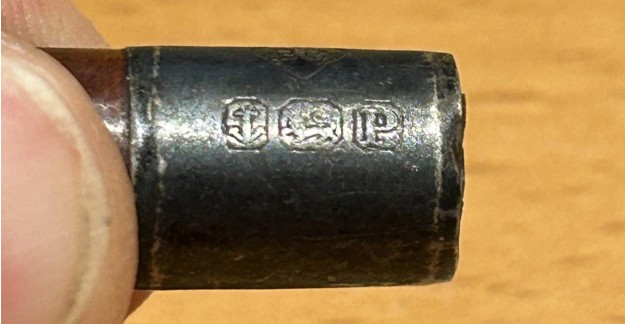
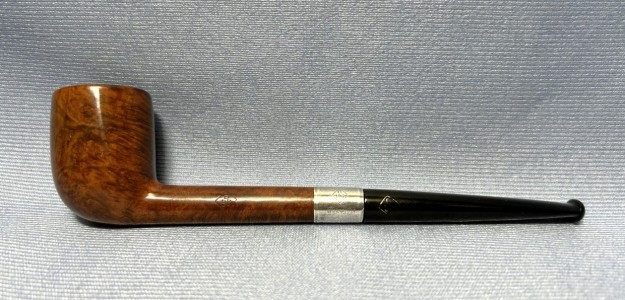
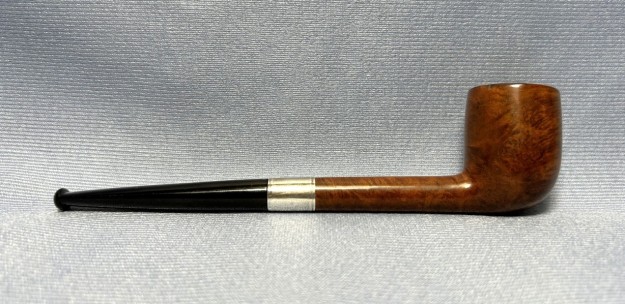
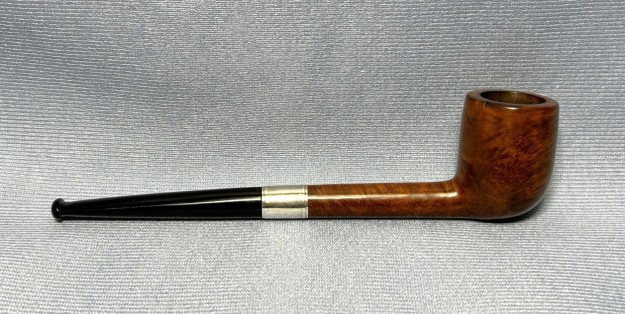
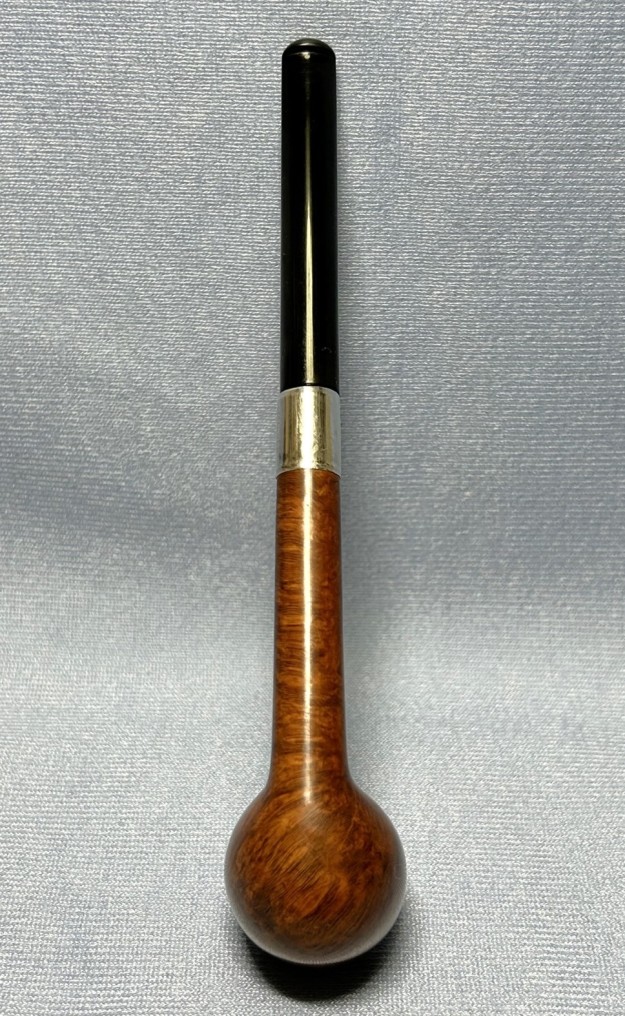
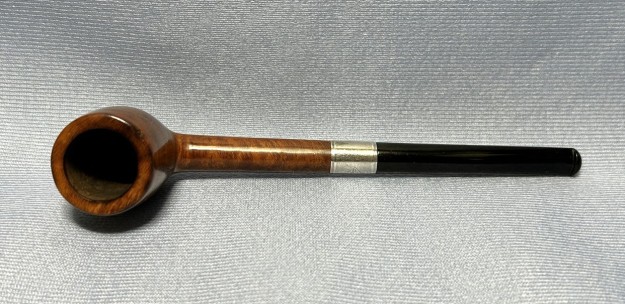
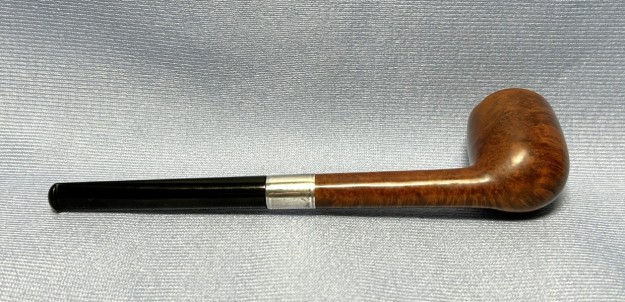
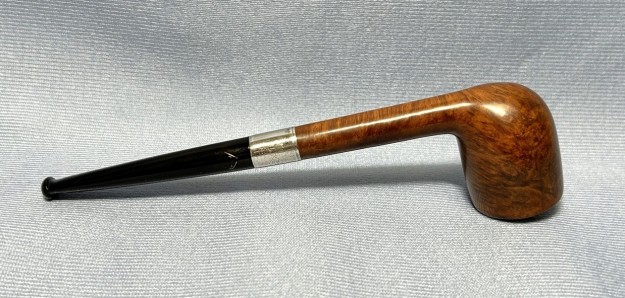
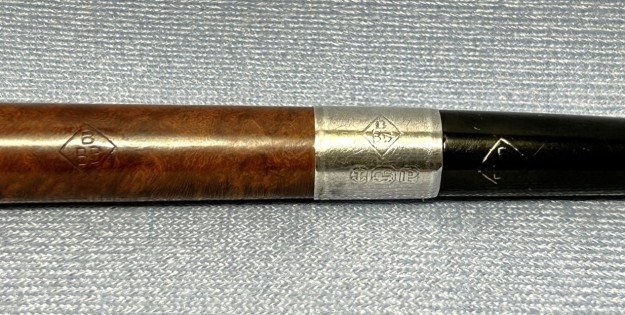
 The pipe is a classic billiard shape with a lovely, long stem. What a handsome pipe! I do not know the exact date of the pipe, but, knowing what I do about my grandfather and his pipes, it seems likely to be from the 1950s or 1960s. On the left-hand side of the shank, the pipe’s markings read, First Call [over] London. To the right of that is the number 69 – presumably a shape number. The right hand side of the shank also has markings, but they are more worn. They read, Portland Pipe Product [over] Made Wholly in England. I wasn’t familiar with these names, so I did some digging.
 I began my research with José Manuel Lopes’ book, Pipes: Artisans and Trademarks. As the photo shows, there was a little information, but not a lot.
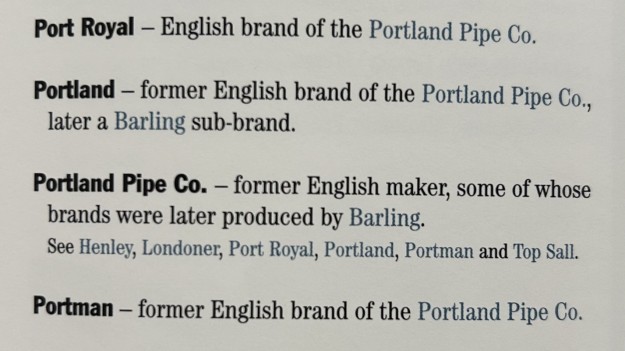 The connection with Barling was interesting, so I also checked Wilczak and Colwell’s book, Who Made That Pipe? From the photos below, you can see that First Call refers me to the Portland Pipe Co. and that they both make a connection to Barling too.
 Time to check online. Pipephil had a similarly brief write-up (included here).
 Pipedia was a bit more helpful. Their page on the Portland Pipe Co. includes the following information (the typos are in the original and are NOT mine):
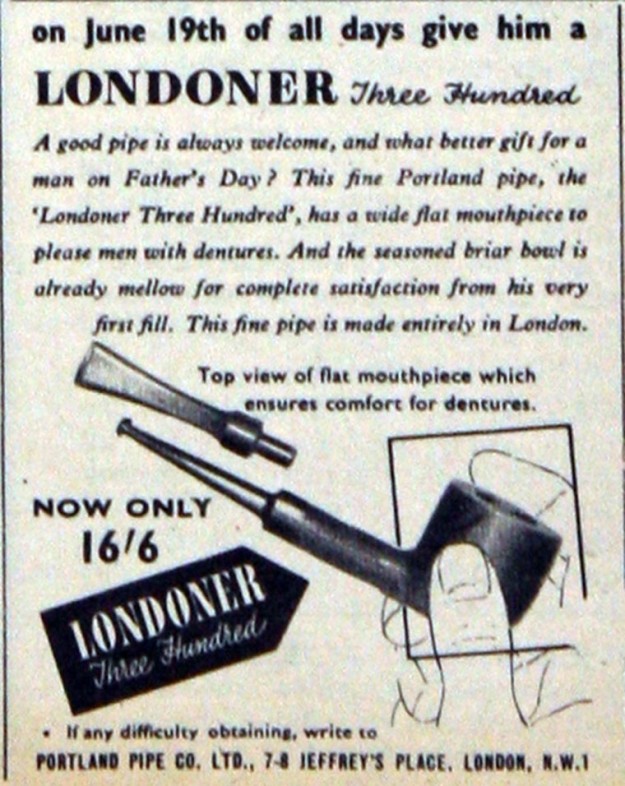
Portland Pipe Company was an English pipe maker, and appears to have started in the 1930’s, and went out of business in 1962. It’s though they had ties to Barling pipes from the 1930’s. They might have been a sub-brand or “second” which was separate from, but fully owned by Barling’s all along. It also thought that after Portland closed down, and during Barling’s corporate era (BB&S), Barling picked up some of the Portland brand (Londoner, Cragmoor and Portland) and made them for a while. WILCZAK & COLWELL in their book “Who Made That Pipe?” acknowledge the brand as from England, though some have been made in Italy as well (see Pipephil.eu). The Brand John Peel is a pipe which has the stamping: JOHN PEEL, A PORTLAND PIPE, MADE WHOLLY IN ENGLAND. I have a model with is also stamped SPECIAL, it’s a stack design with shape number 801. This pipe might have been made either by Portland or Barling. According to a 1940 price sheet, the following models were offered, along with the correlating prices:
Vintage (10/6)
Exchange (7/6)
Londoner (7/6)
Mosaic (7/6)
Portland Super (7/6)
Crustor (5/6)
Diploma (5/6)
Port Royal (5/6)
Port-de-Luxe (5/6)
Portland Patent (5/6)
Souk-el-Arba (5/6)
Times (4/6)
British Sovereign (3/6)
John Peel (3/6)
Jubilee (3/6)
Sirdar (3/6)
Campaigner (2/6)
Dandy (2/6)
First Call (2/6)
Knobby (2/6)
Topsall (2/6)
Topsall Comfort (2/6)
Portman (2/-)
British National (1/6)
Ruf Kut (1/6)
This seems to confirm that this pipe is in the lower range of Portland Pipes AND that it likely comes from before 1962. However, there are a few other tidbits of information. The PipesMagazine.com forums include an interesting comment from Barling expert Jonathan Guss: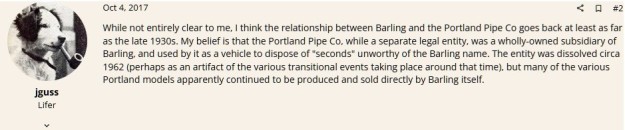 Finally, over at the Very Keen on Pipes website, a reader commented on one of their posts by saying:
“… Portland pipes make up one of the great mysteries of London pipe making. No one knows when Barling bought Portland but most of us barling guys believe it was mid to late 30’s. I saw a reference once online using the year 1936 but this cannot be confirmed. Next, John Peel was for a long time thought to have been a shop but there is no evidence proving that. However, John Peel pipes were almost certainly made by Portland. What most of use want in a pipe of this type is a pipe made before 1962, when the barling family was let go by the new owners and the brand went into a downward spiral quality wise. Re Portland, a number of them have recently turned up as a result of a “garage find” of a batch of pipes from the Toronto Canada area and they were mixed in with other wood from the 50’s and that seems to indicate a 50’s date of manufacture. Note: in those days several of the larger pipe makers made pipes or just bowls for other brands and these were mostly Charatan, Comoy and other makers such as Orlick. What is almost certain is that never did barling make / sell any pipes that were not carved by barling carvers untill after 1970. So, Portland and Peel were never actually barling made, these pipes were either made by Portland in house or, in later years past 1962, by Charatan and others. Also, if one looks at the style of the bits it evident that Portland and Peel pipes were not made that long ago, probably 50’s and 60’s unless there is a BB&S stamp which indicates post 1970 age (the & symbol being the give away since B.B.S was used in the older pre 1962 era.) Just some info for you to keep in mind… “
Let’s tie it all together. By inference (and some educated guesswork), this pipe of my grandfather’s was made in England, prior to 1962, and that the Portland Pipe Co. who made it was owned by Barling. As for the “69” shape number, I do not know what to say – this doesn’t correspond to Barling, so I suppose Portland had their own numbering system.
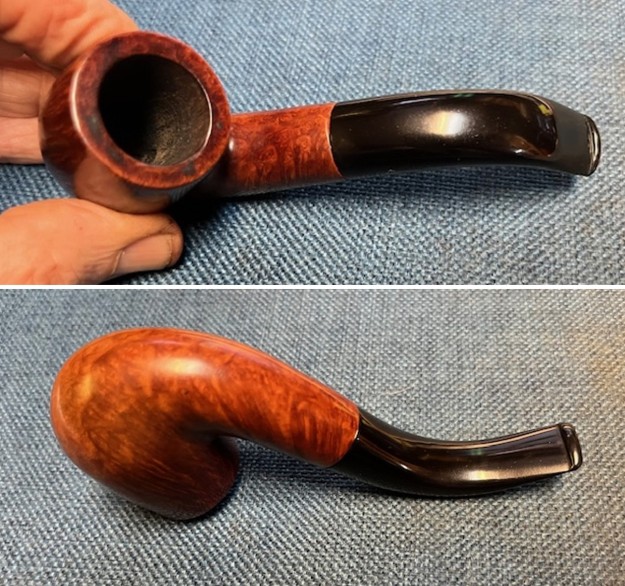
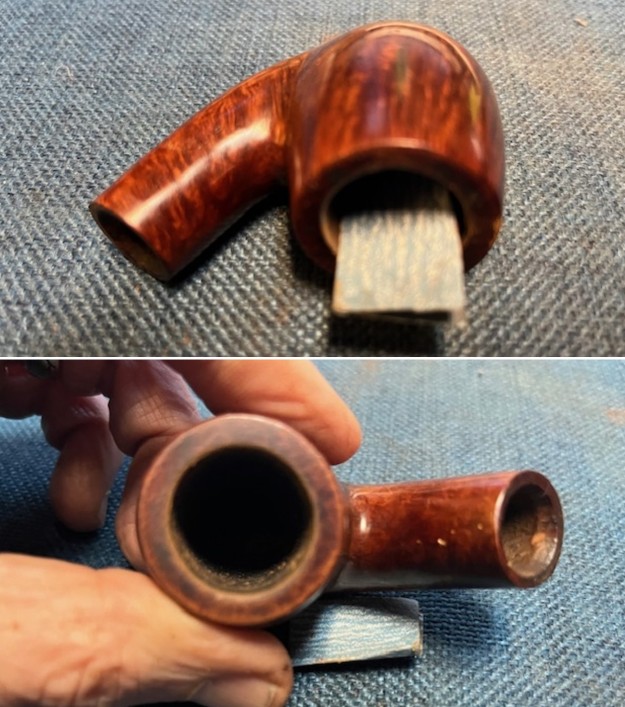
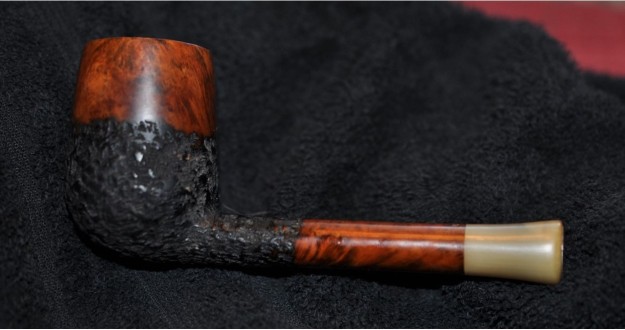
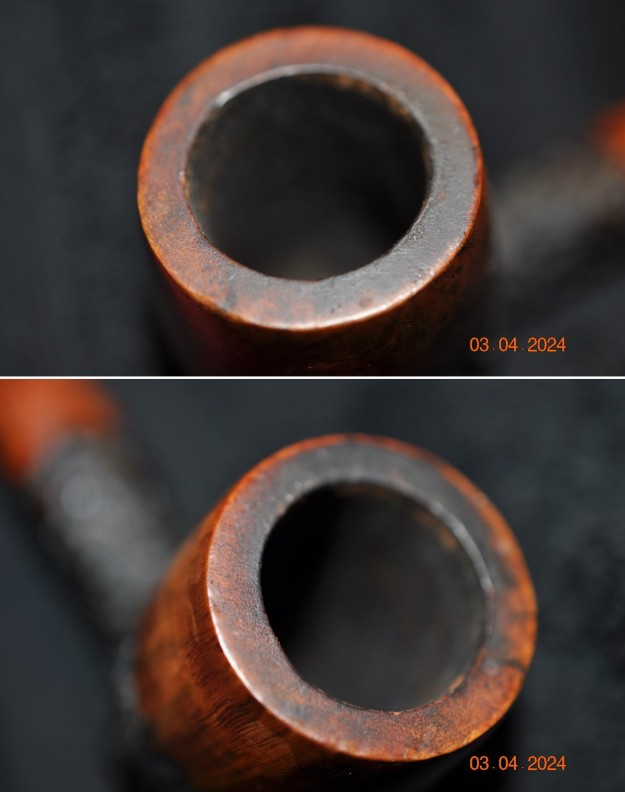
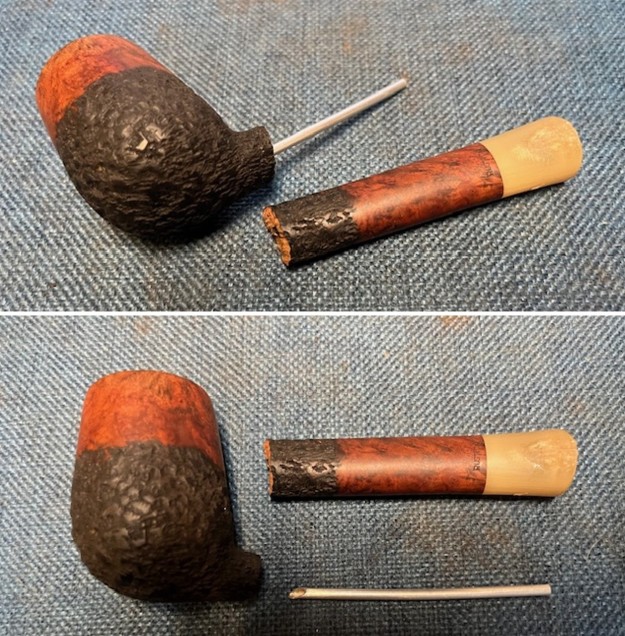
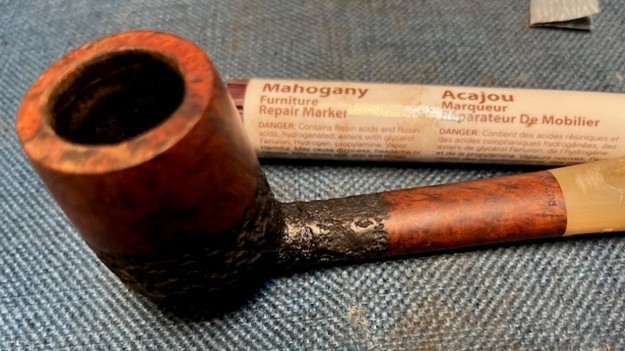
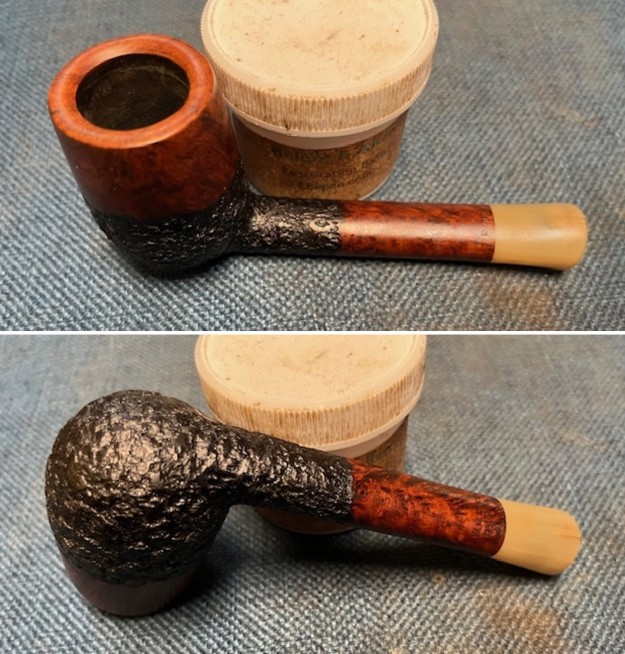
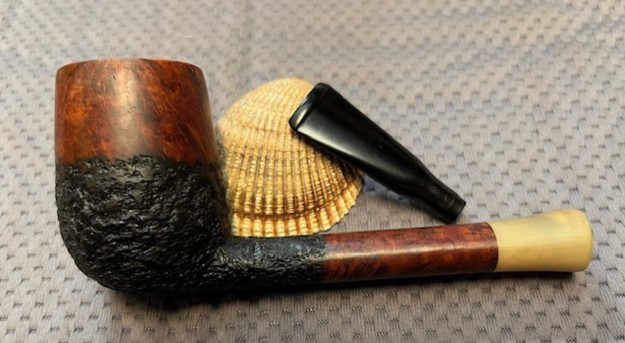
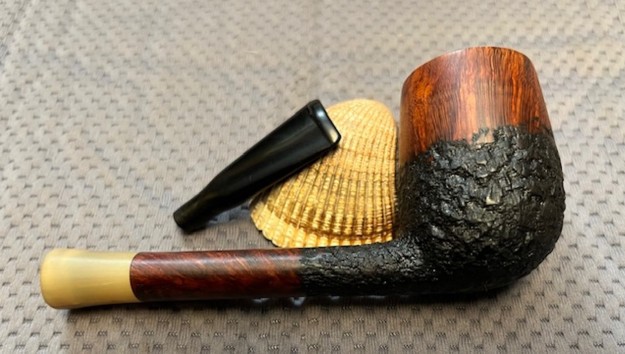
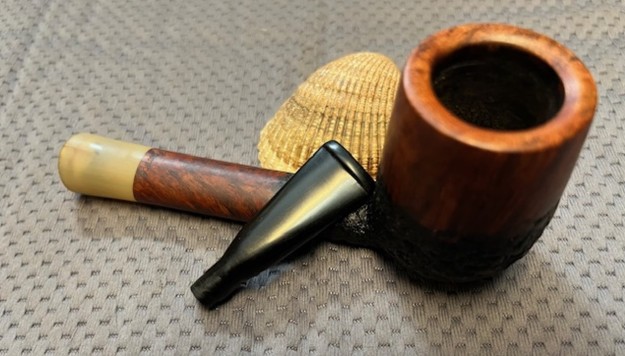
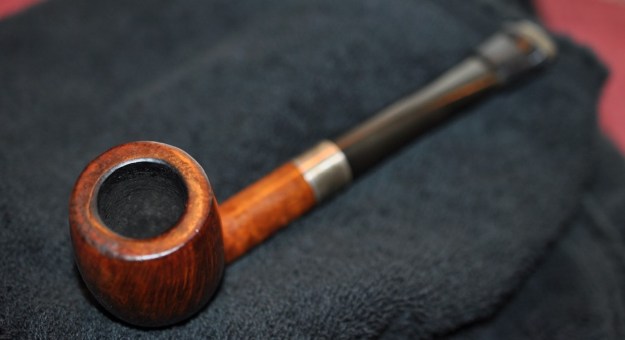
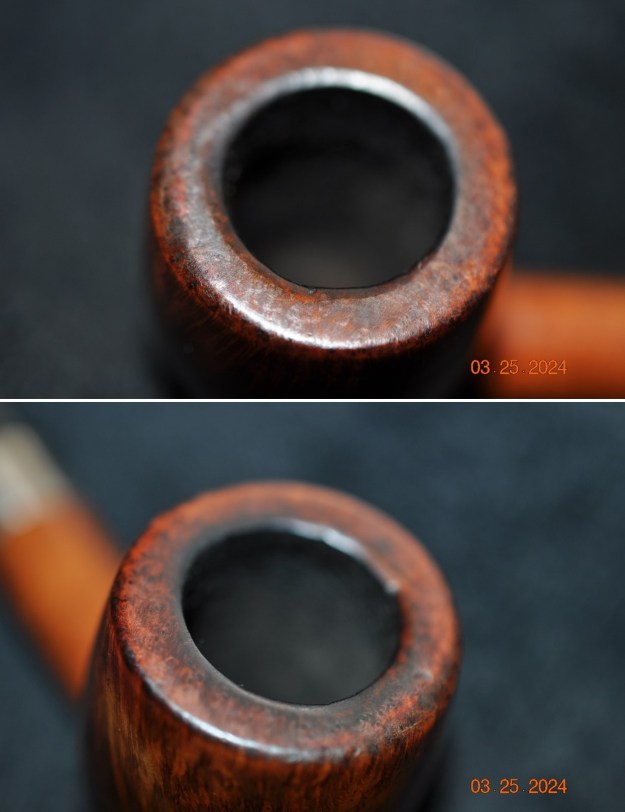
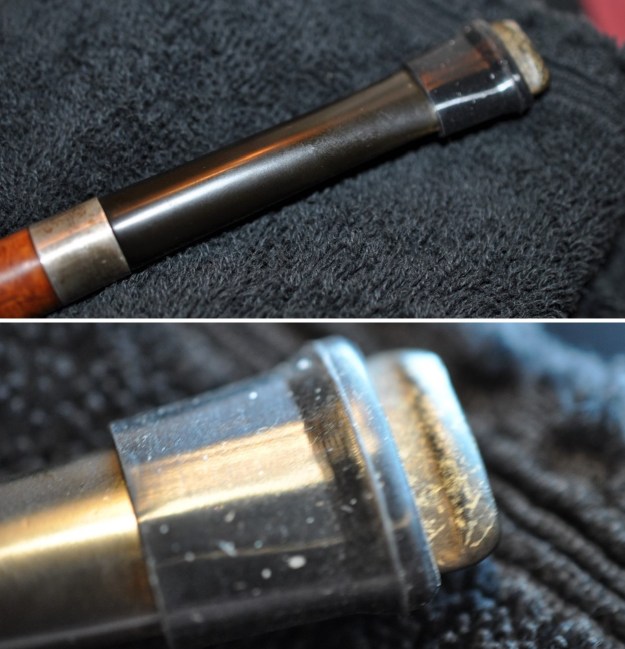
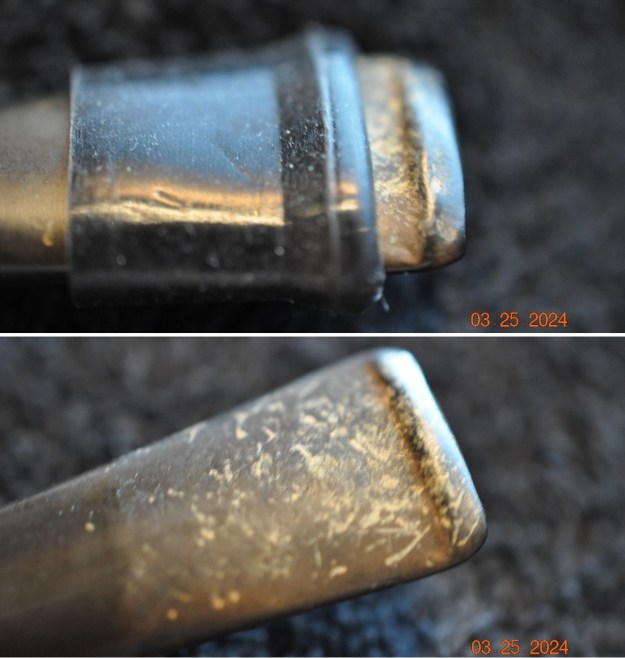
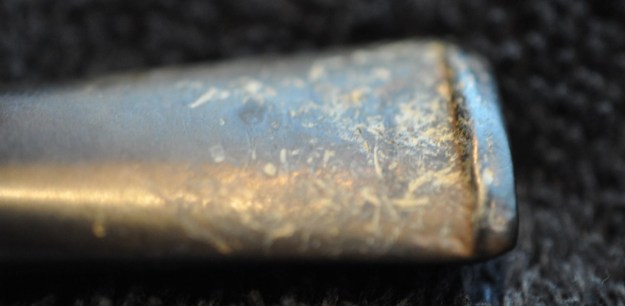
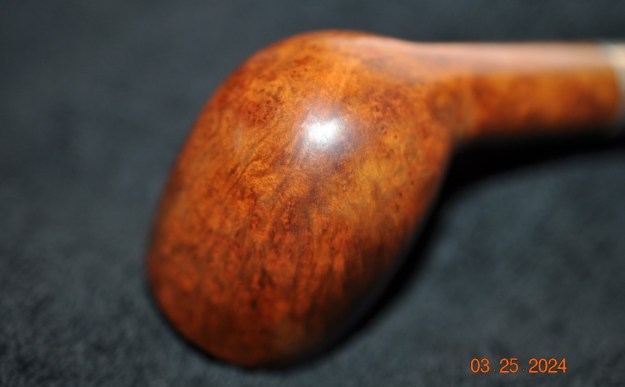
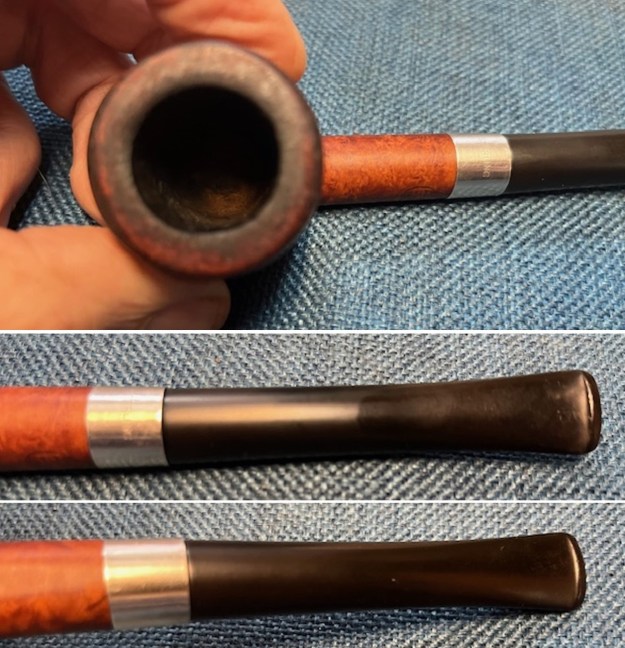
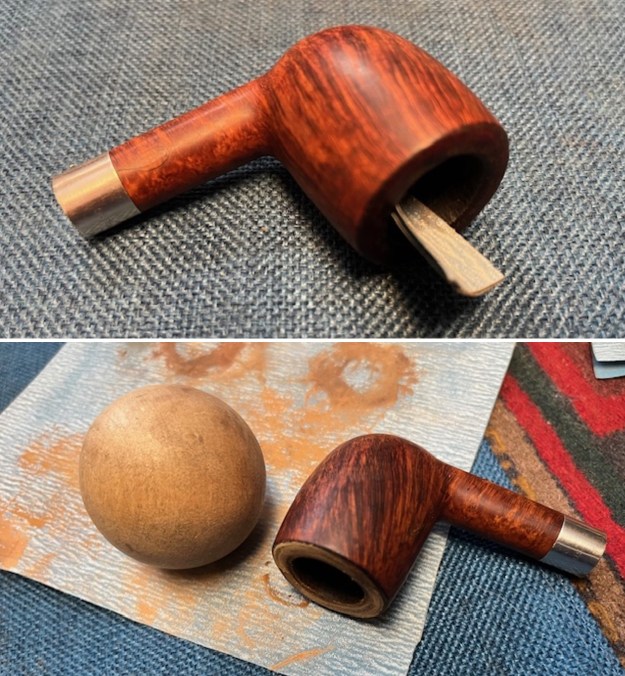
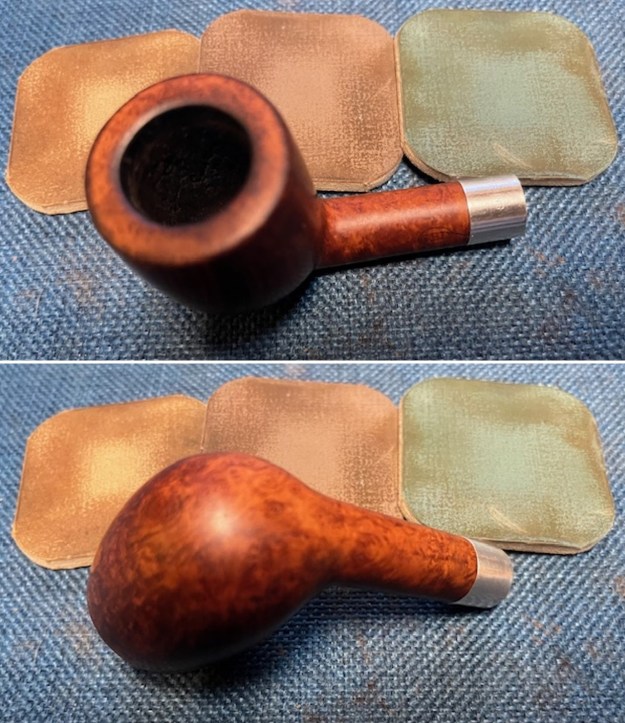
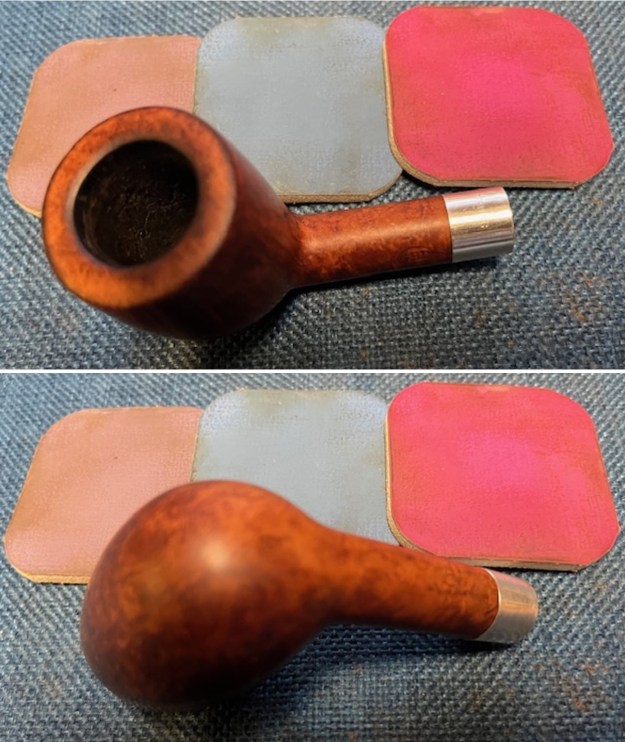
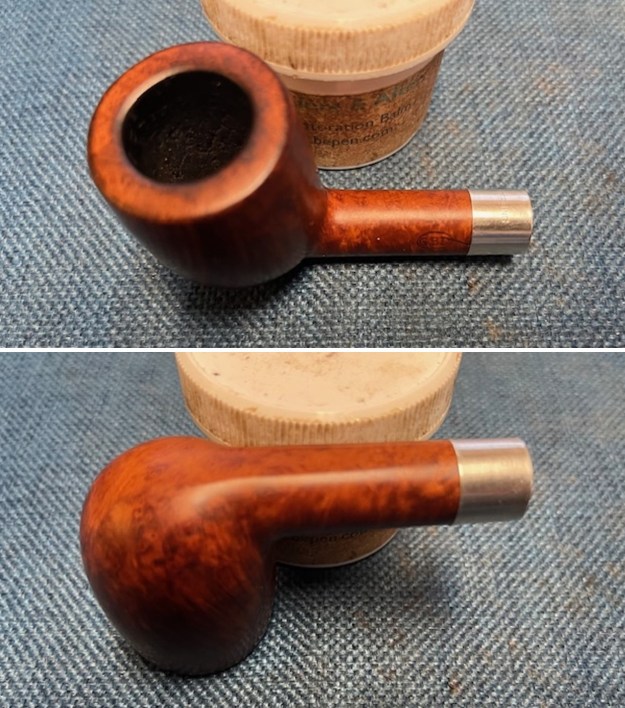
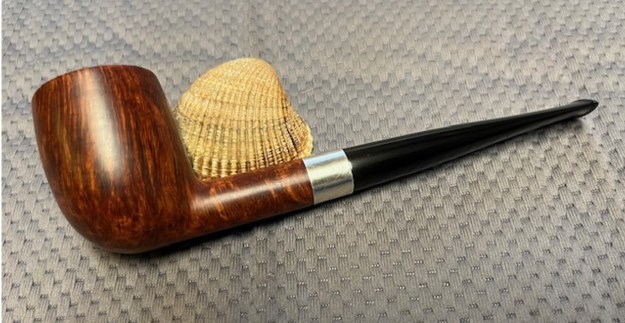
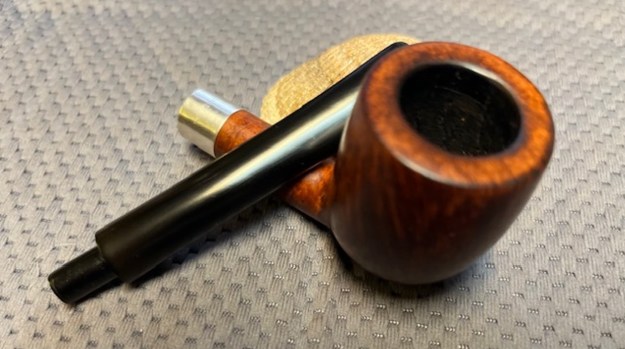
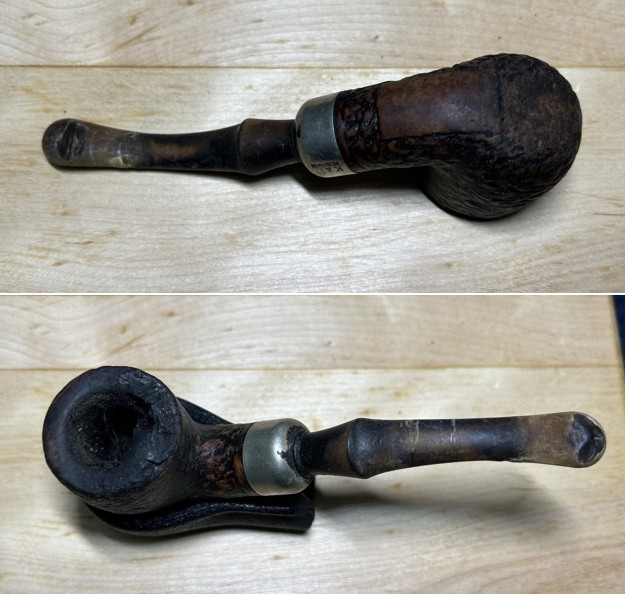
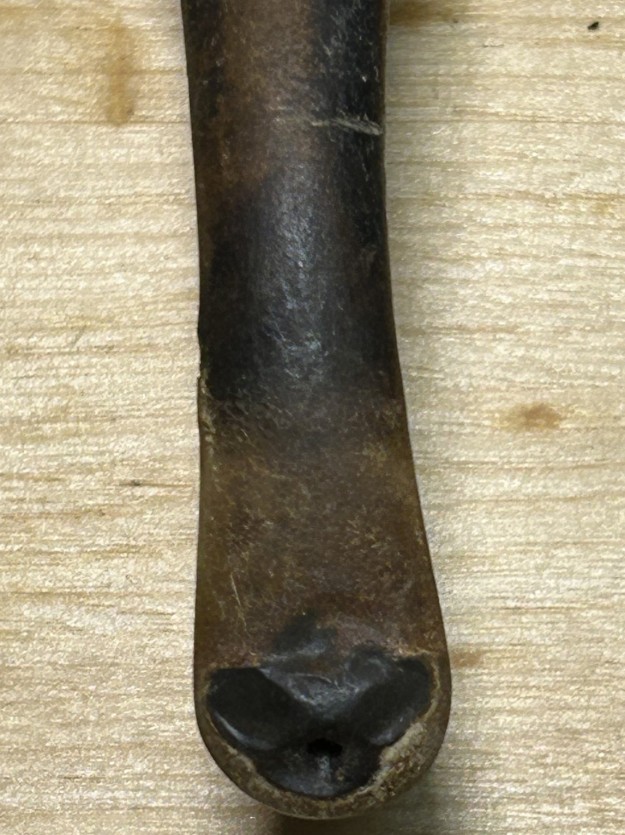
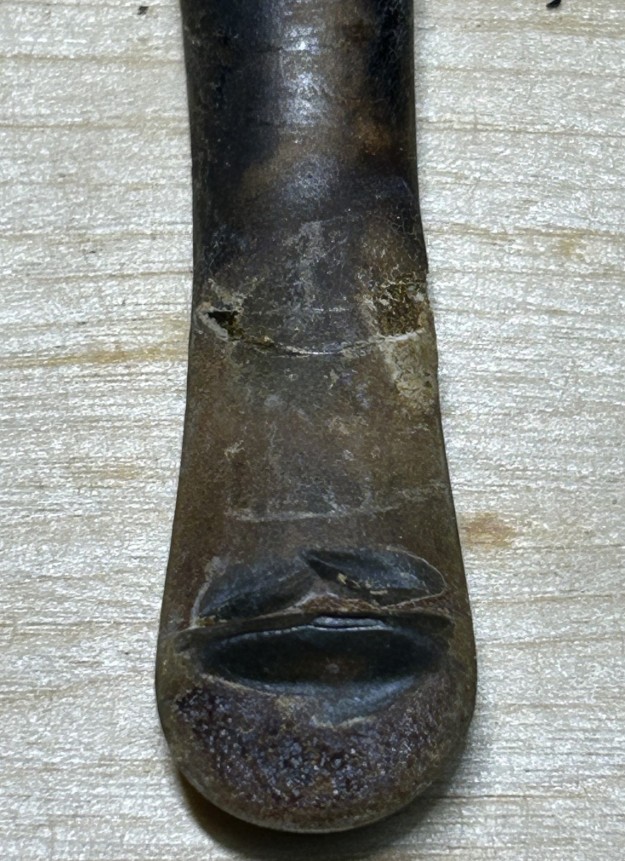
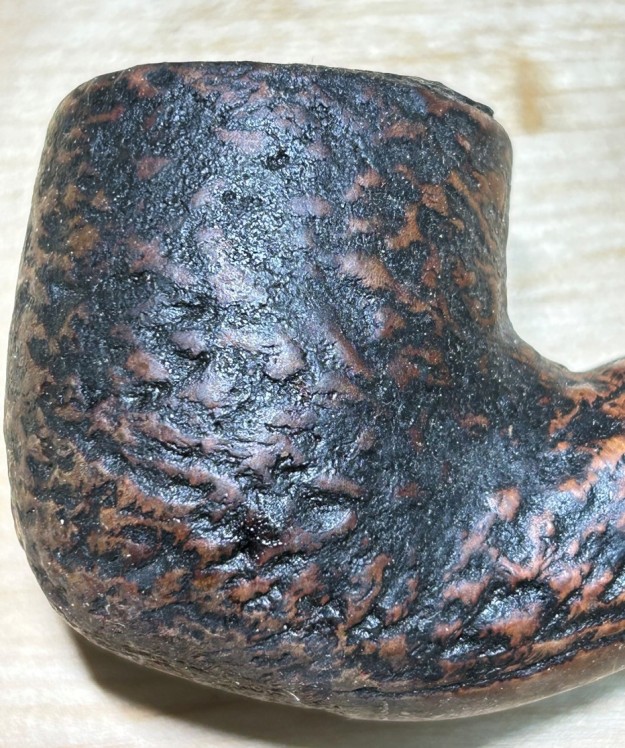
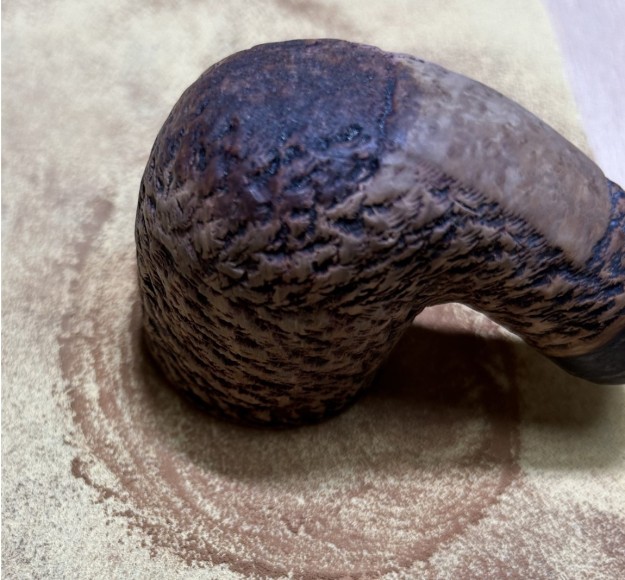
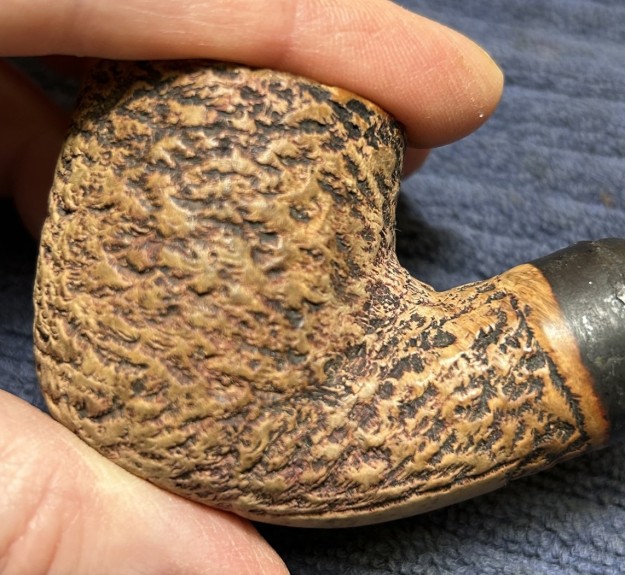
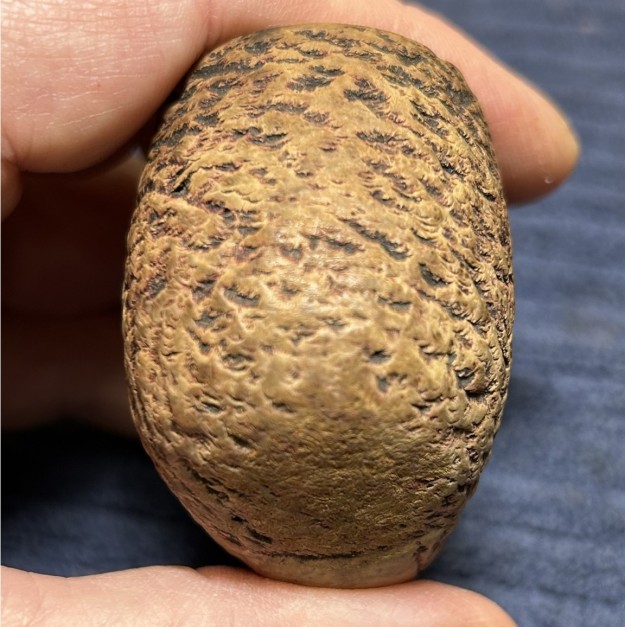
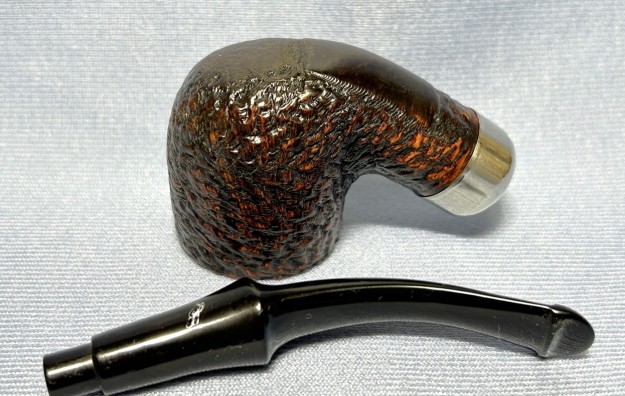
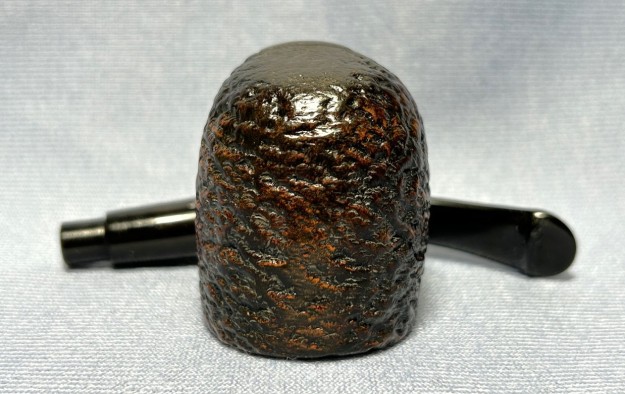
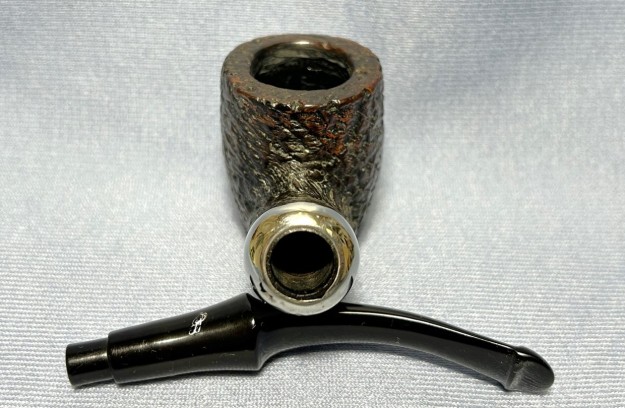
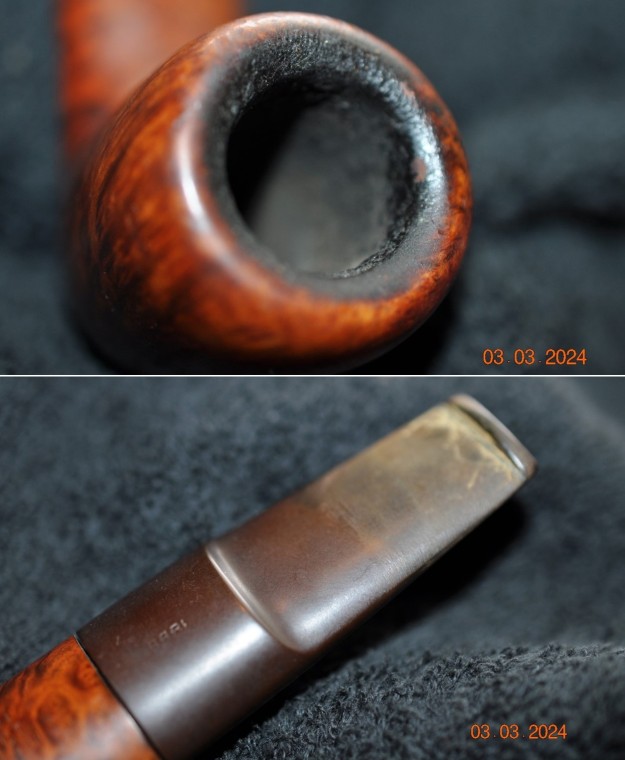
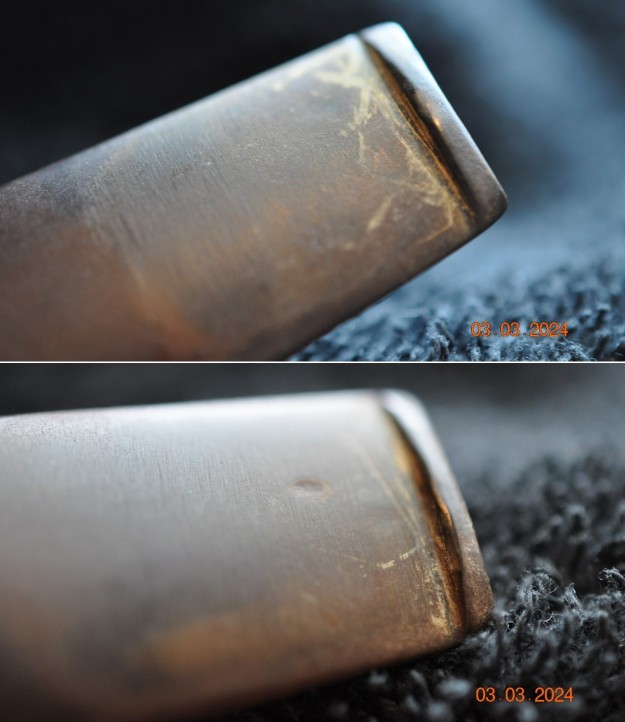
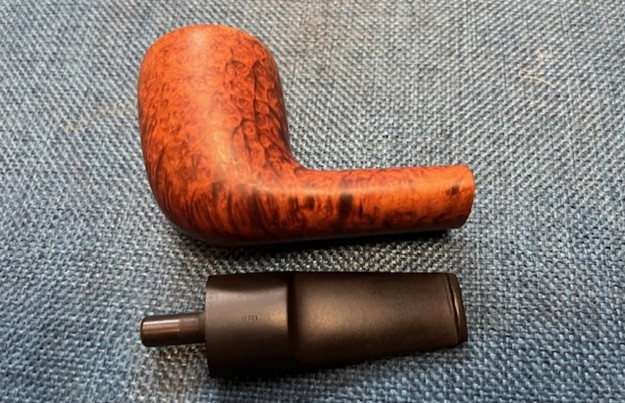
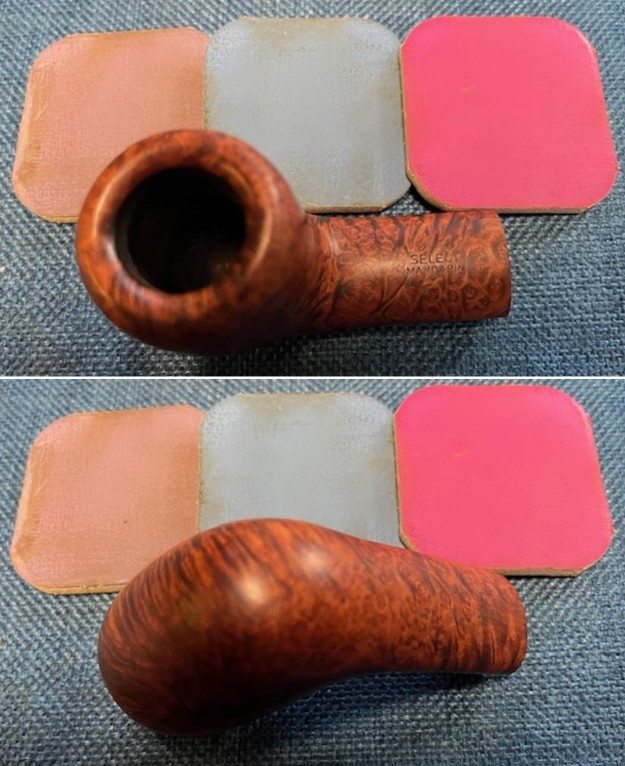
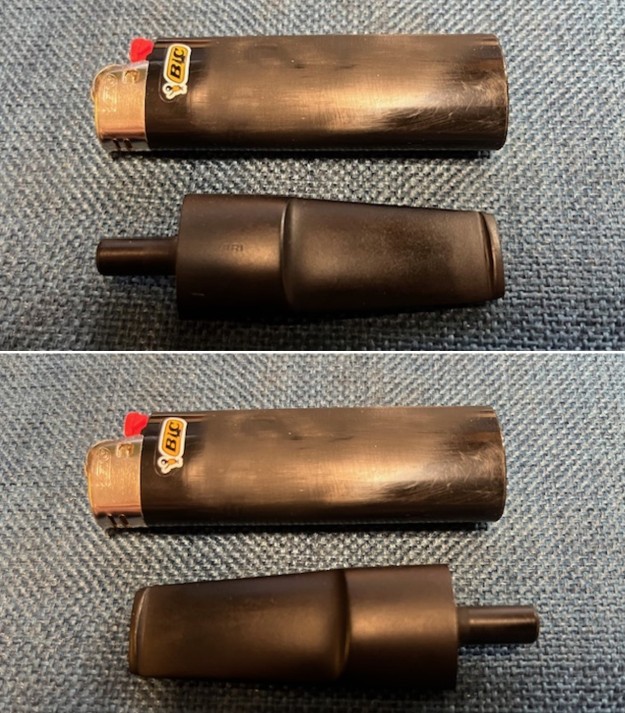
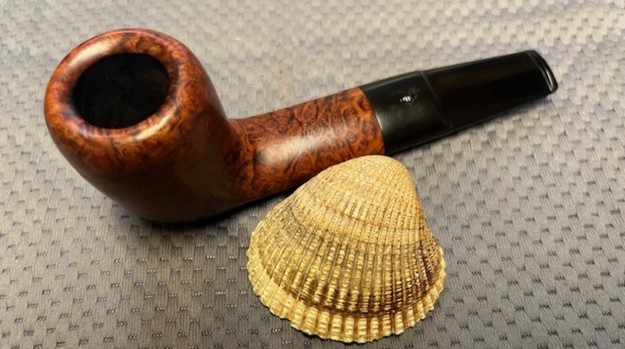
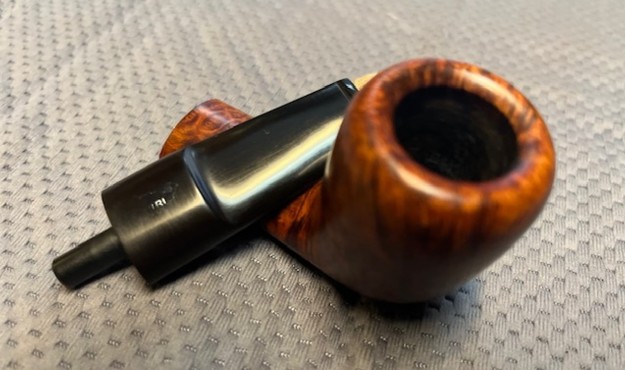
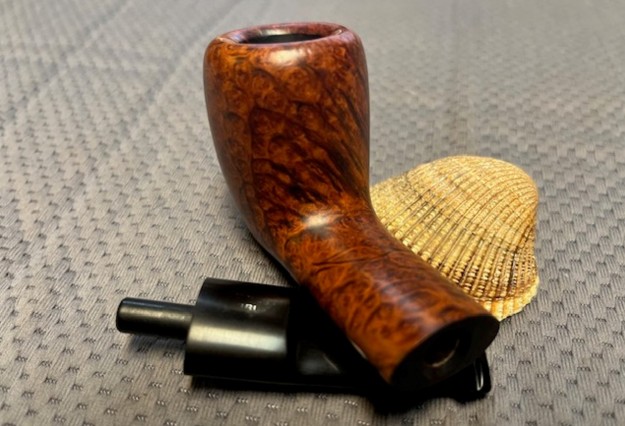
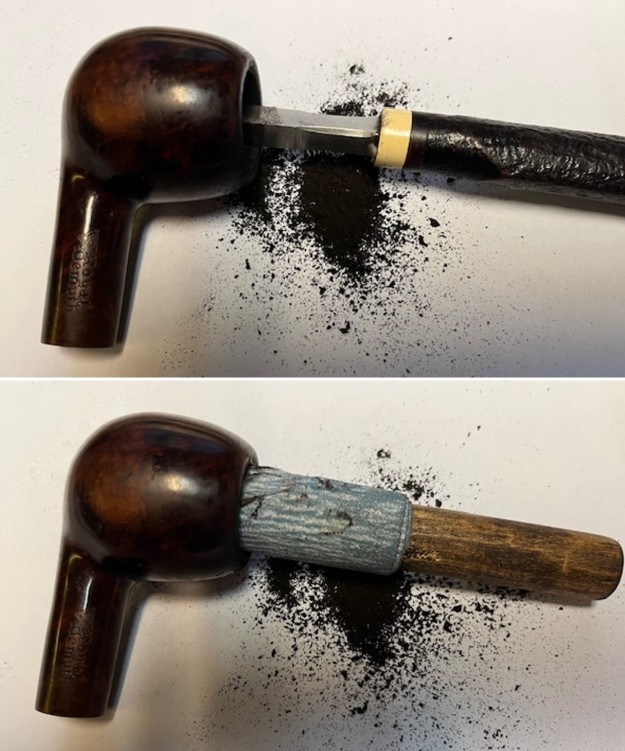
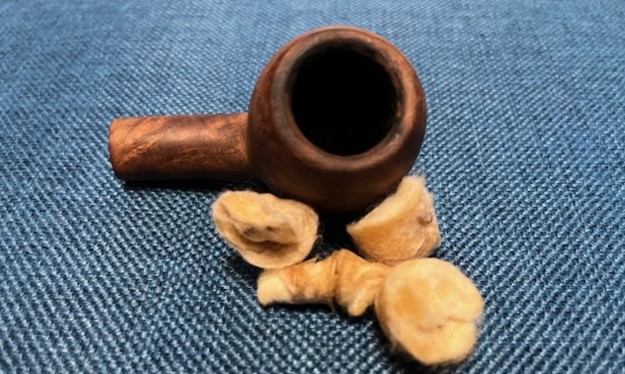
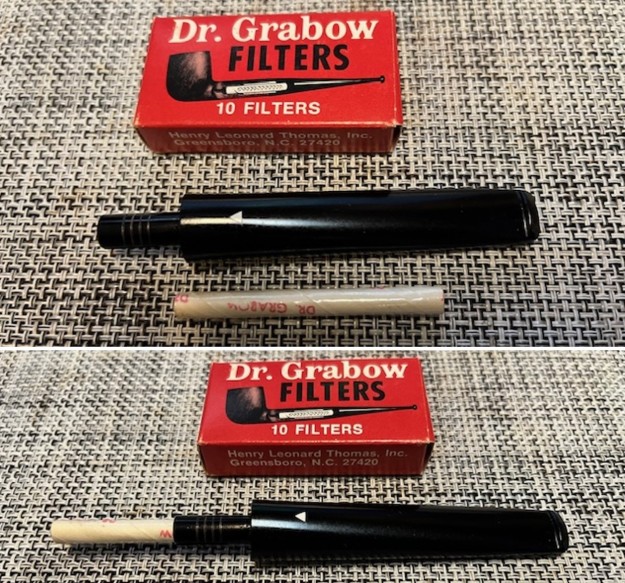
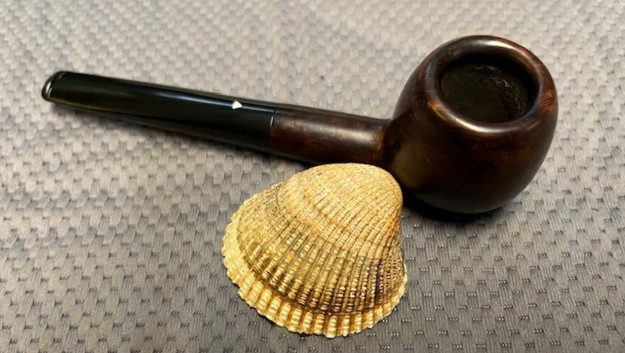
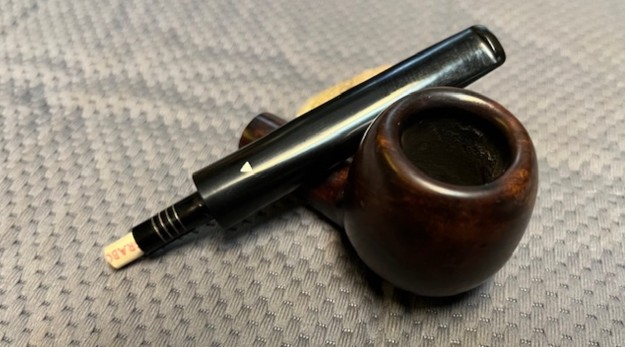
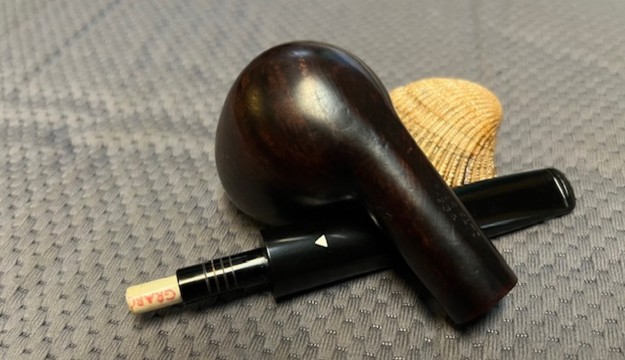
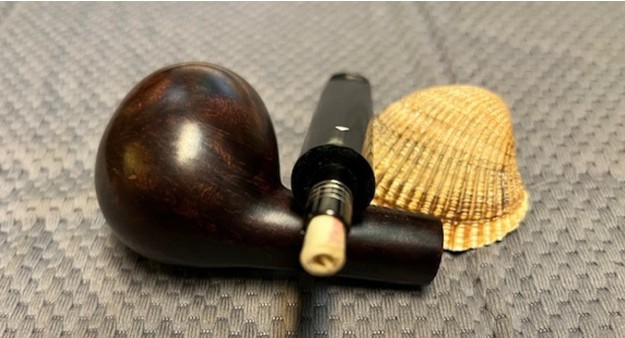
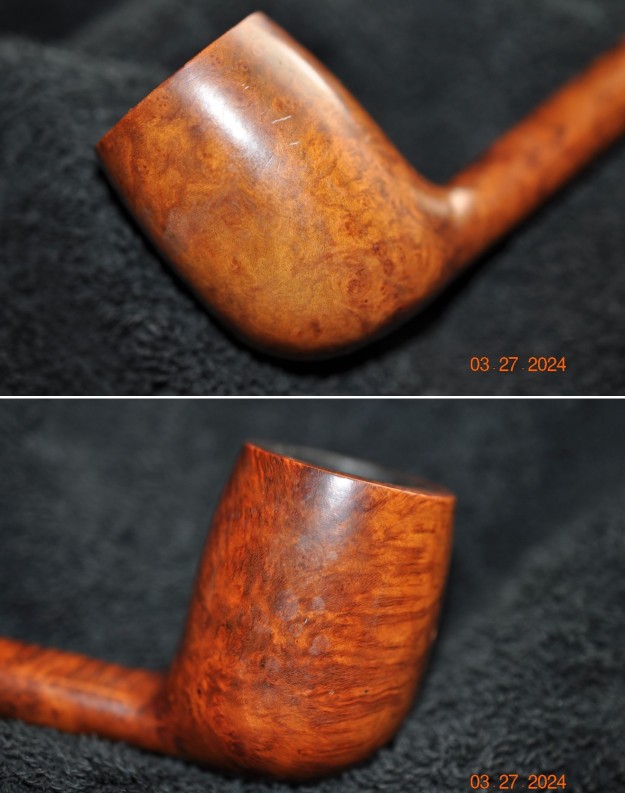
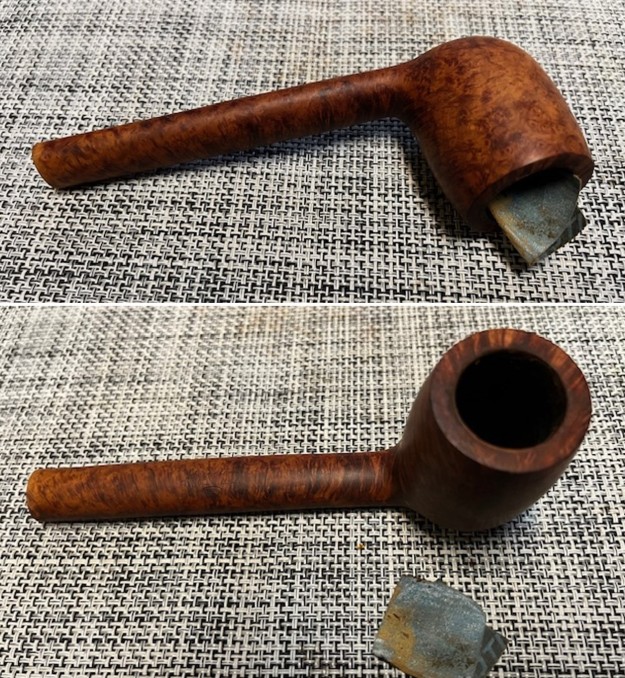
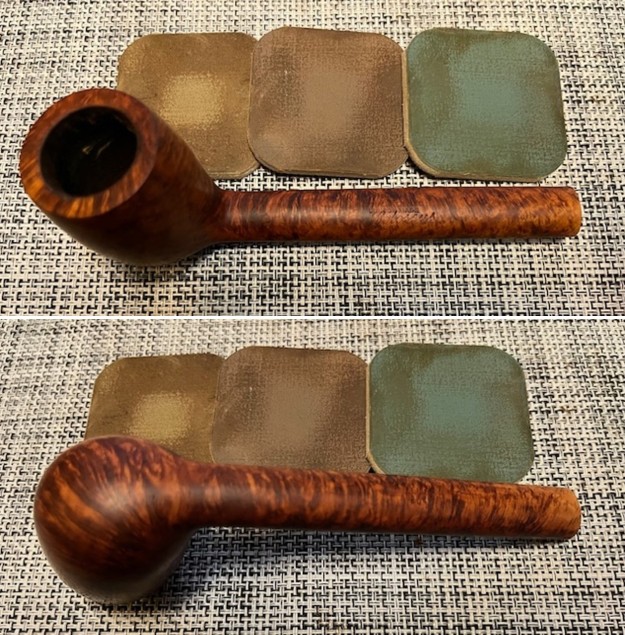
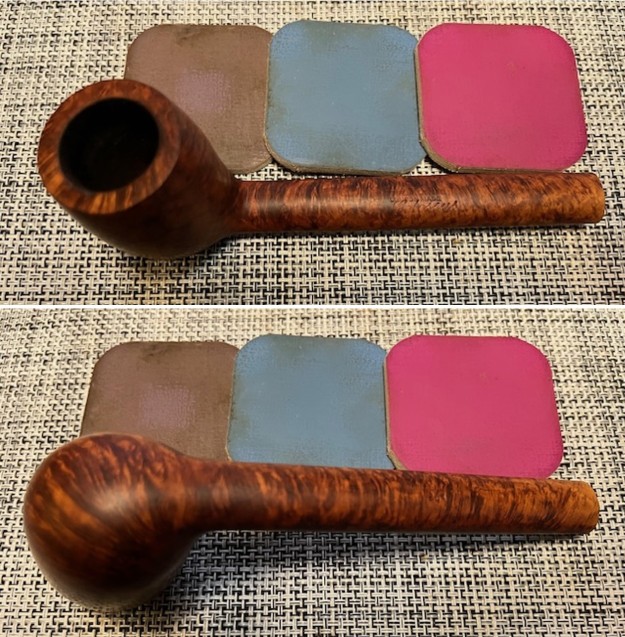
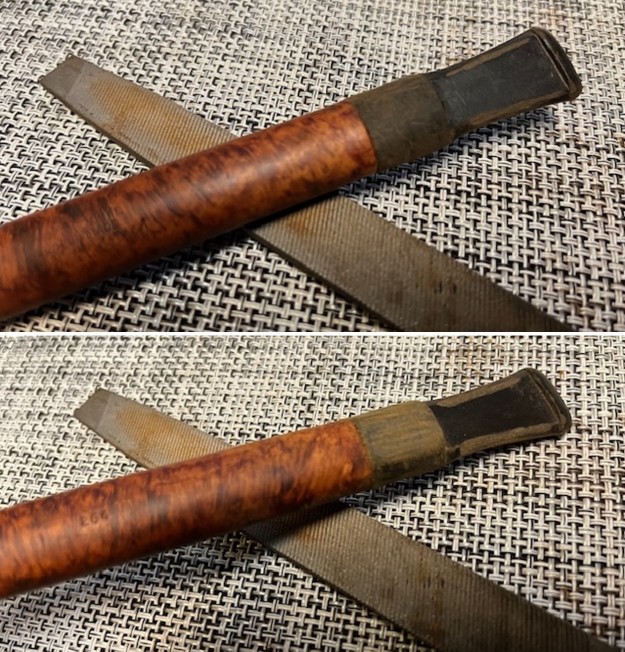
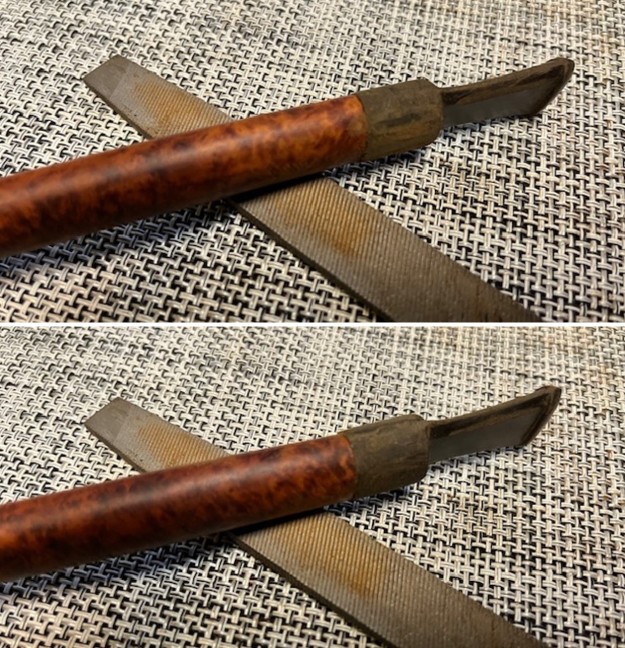
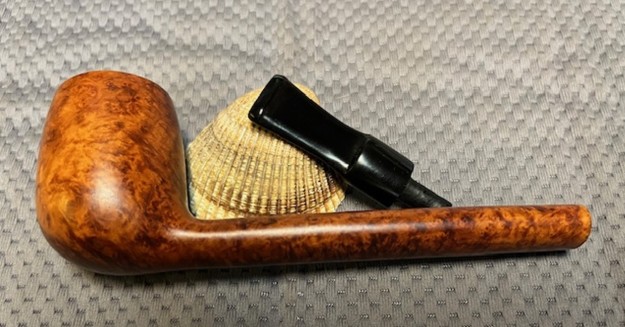
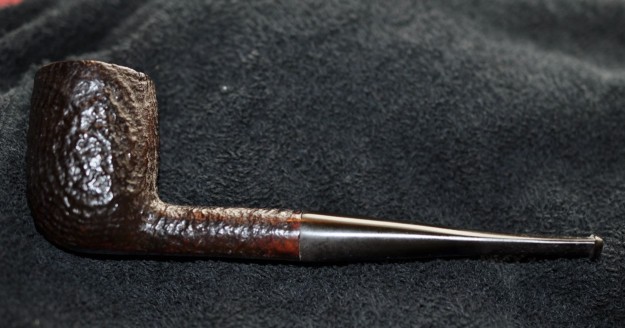
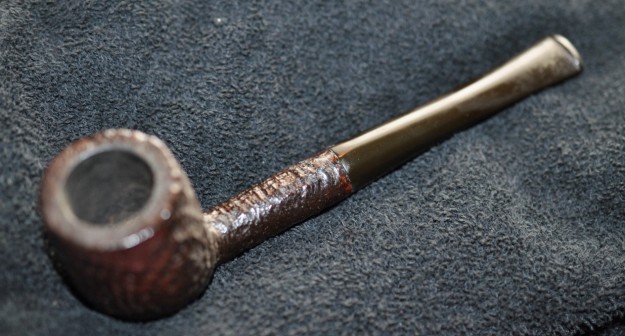
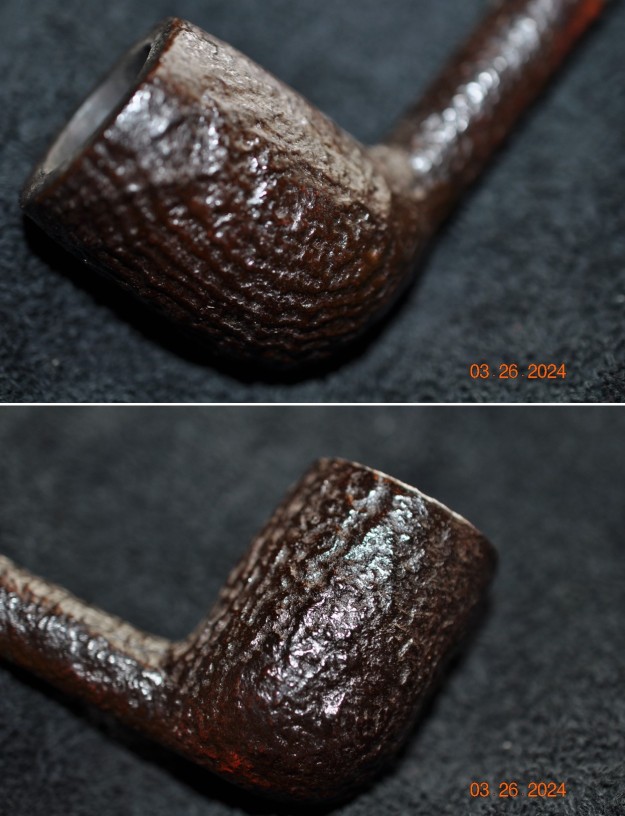
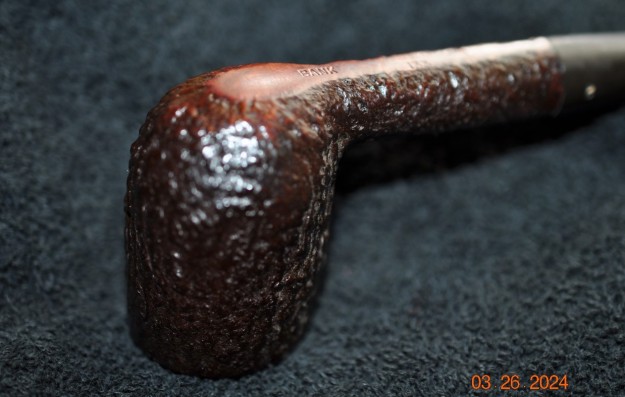
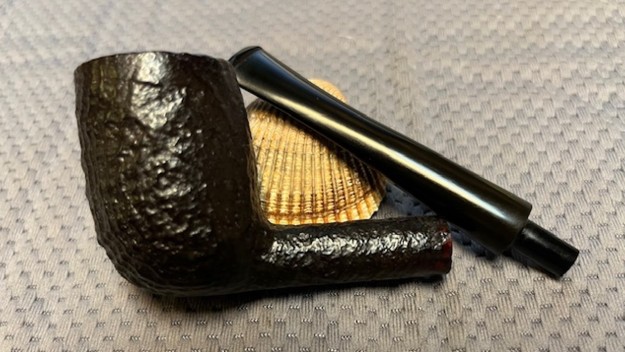
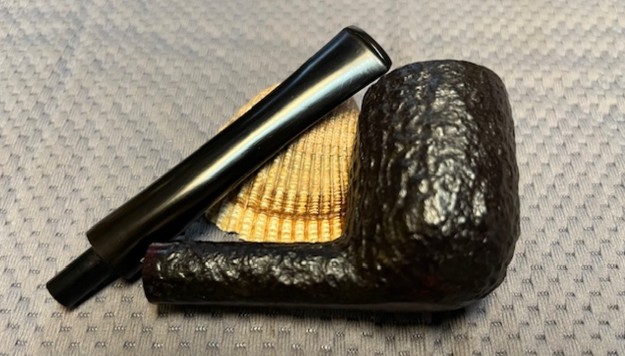
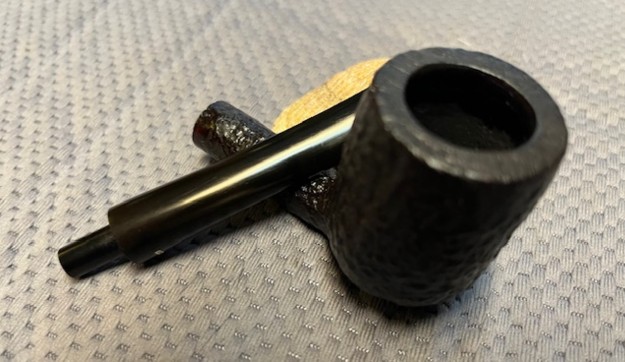
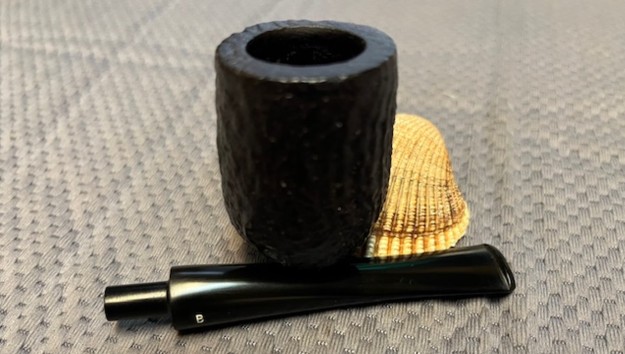
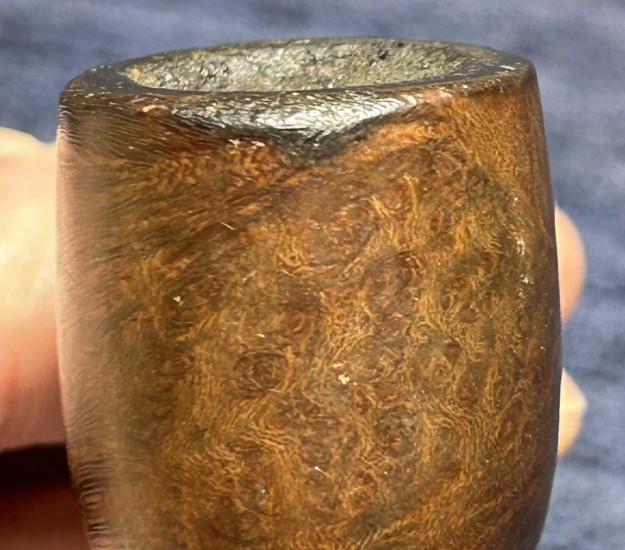
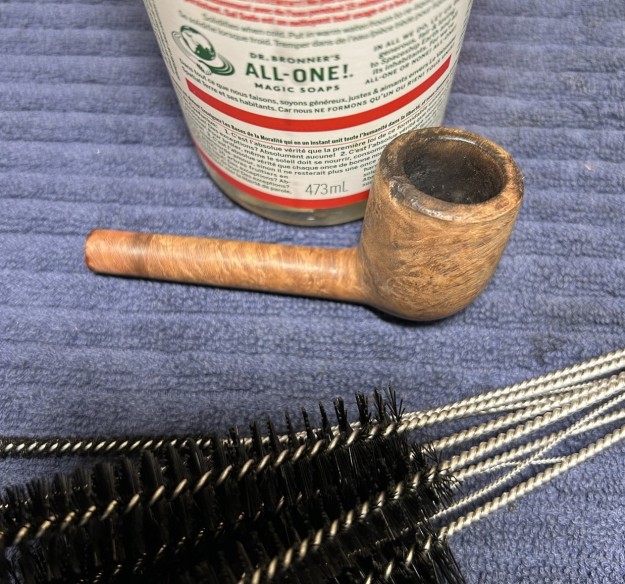
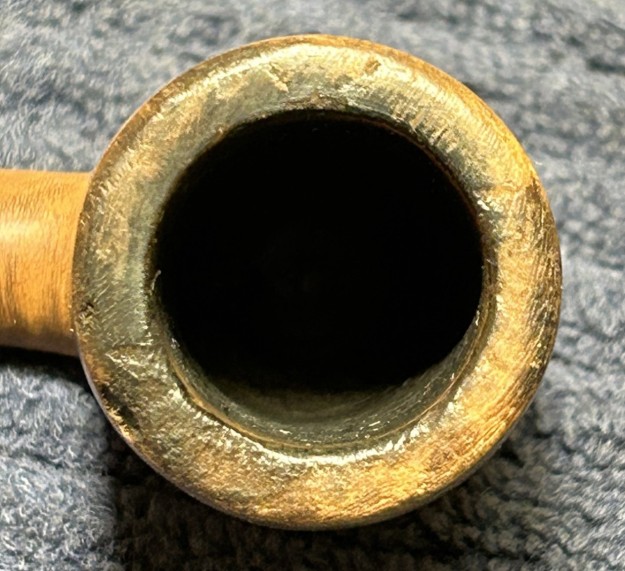
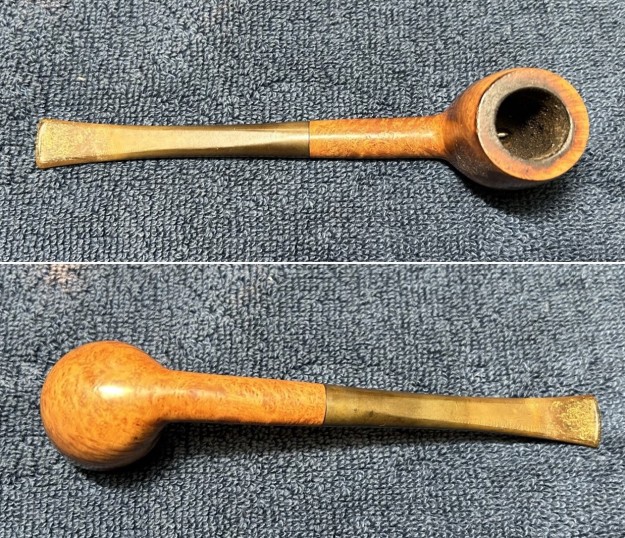
 It’s a nifty pipe – however, it was not without its issues. The stem had plenty of tooth chatter and was pretty oxidized. The stummel was actually in pretty good shape, except for the rim. I burned it pretty darn thoroughly. It had some minor wear, but nothing too tricky.
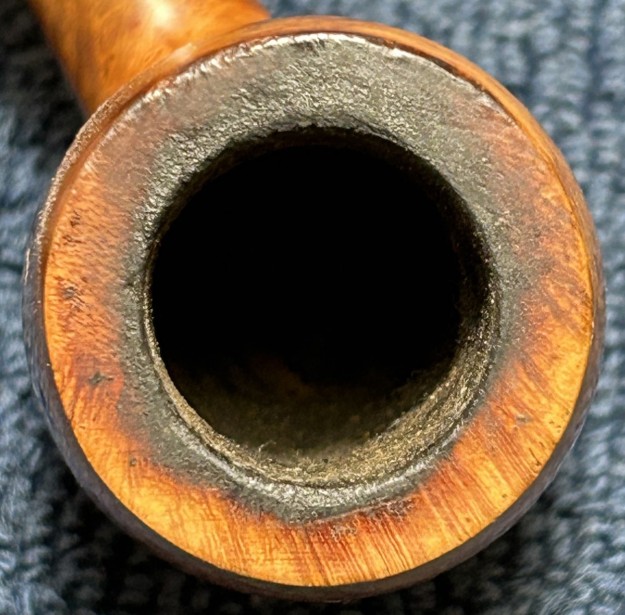

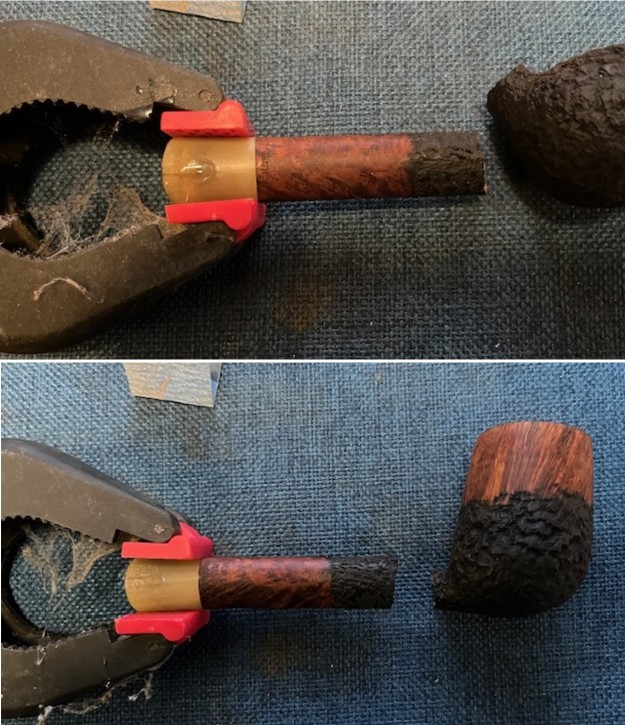
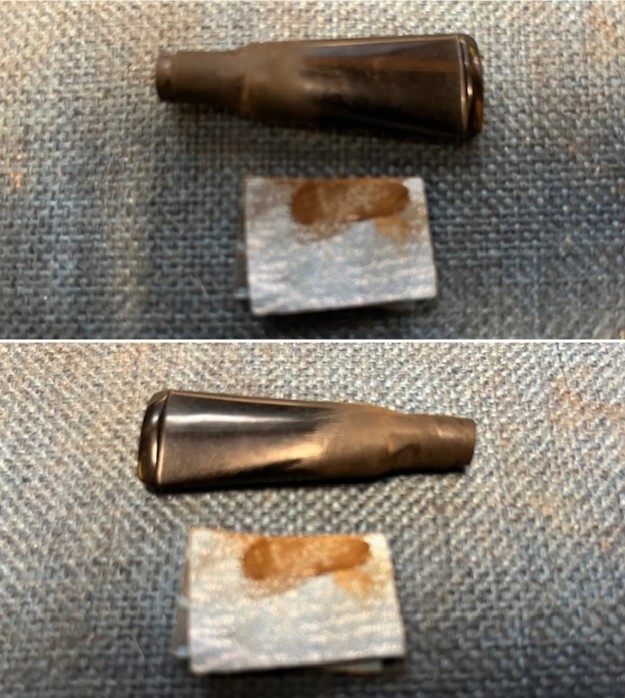
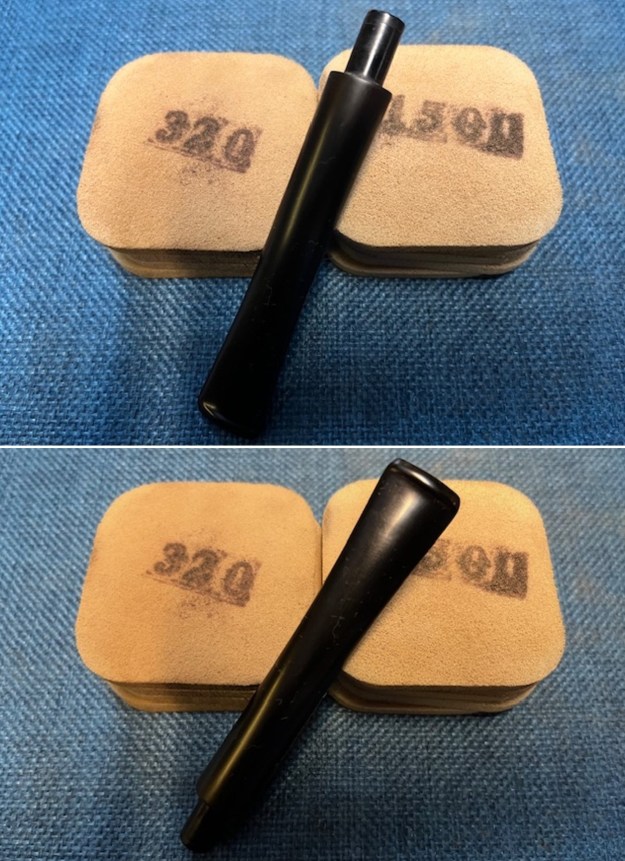
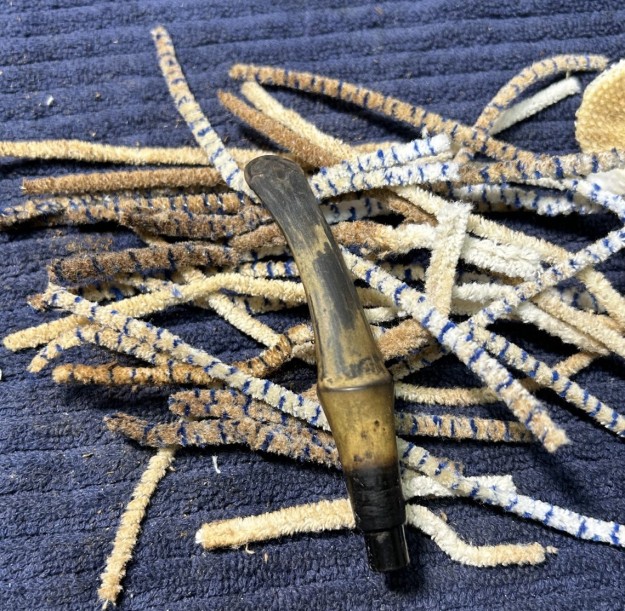
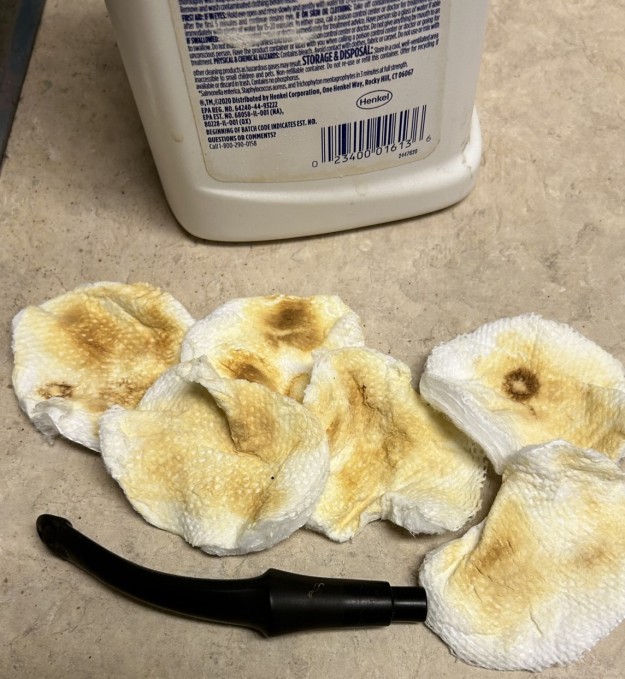
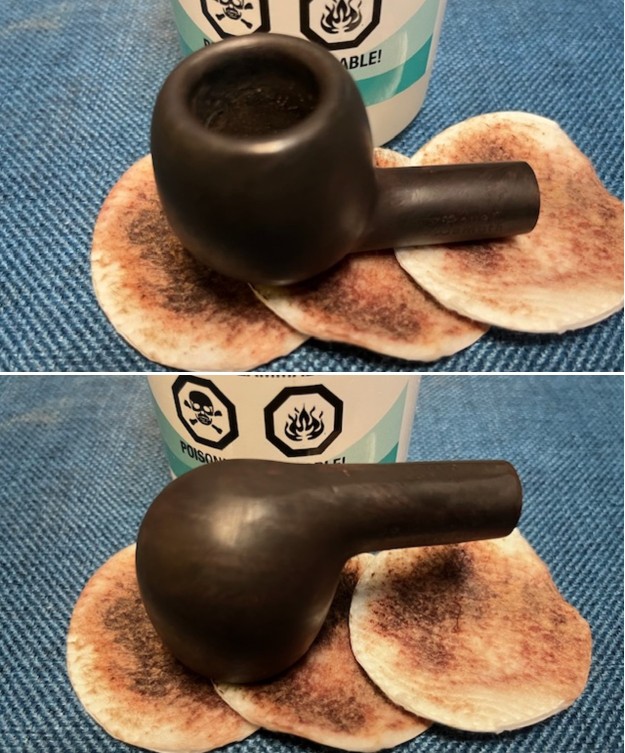
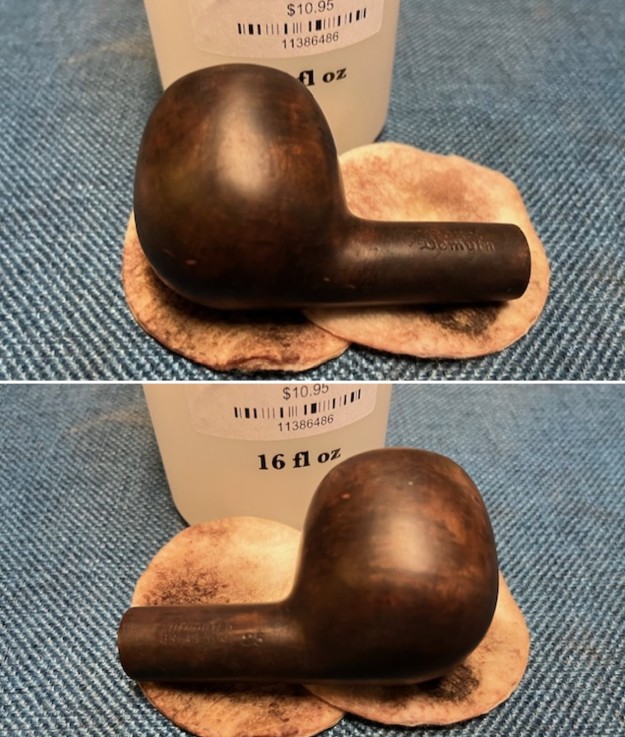
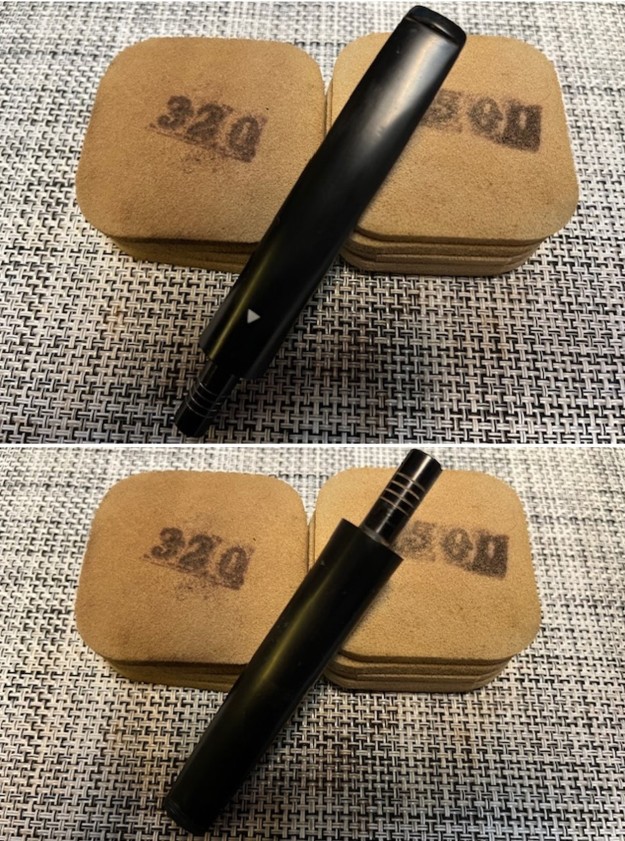
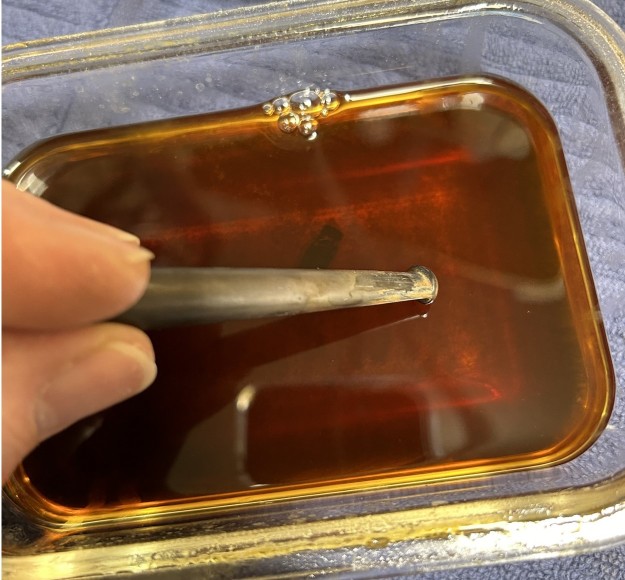
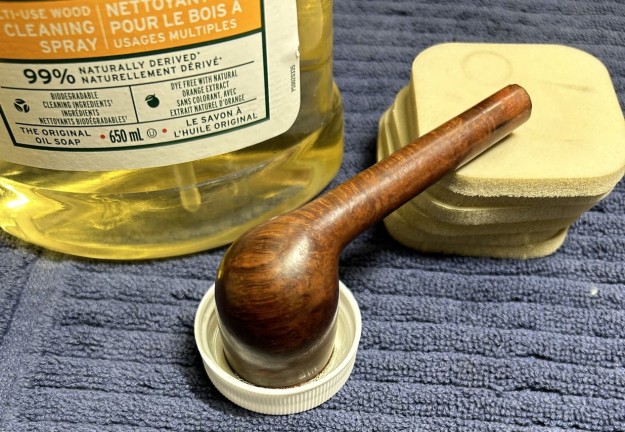
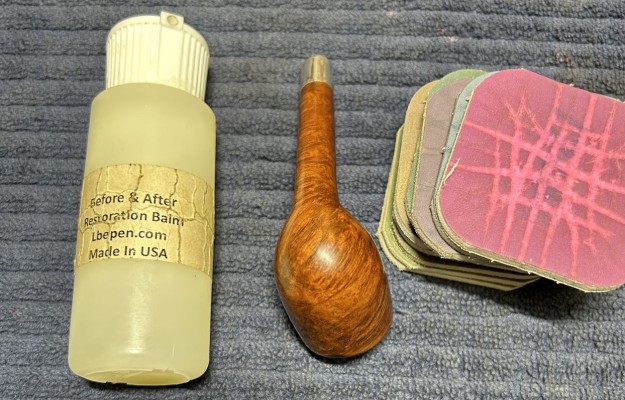
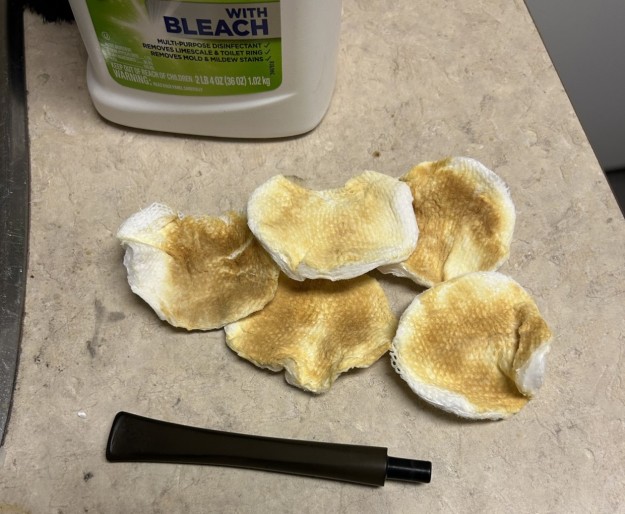
 The stem was first on my list. I wiped down the outside of the stem with Murphy’s Oil Soap on some cotton pads. Then, I cleaned out the insides with pipe cleaners and isopropyl alcohol. Then it went so soak in the deoxidizing fluid. After that, I wiped it down with some cleanser and removed the rest of the oxidation.
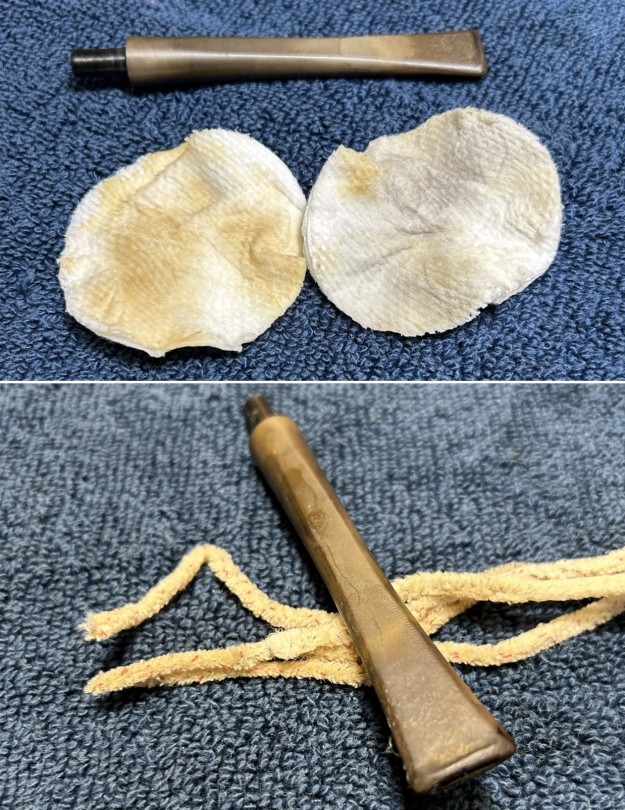
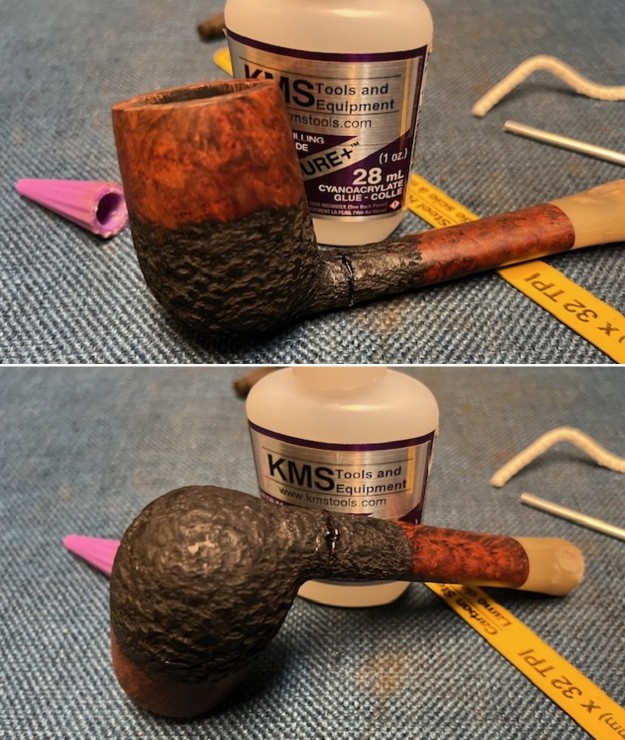
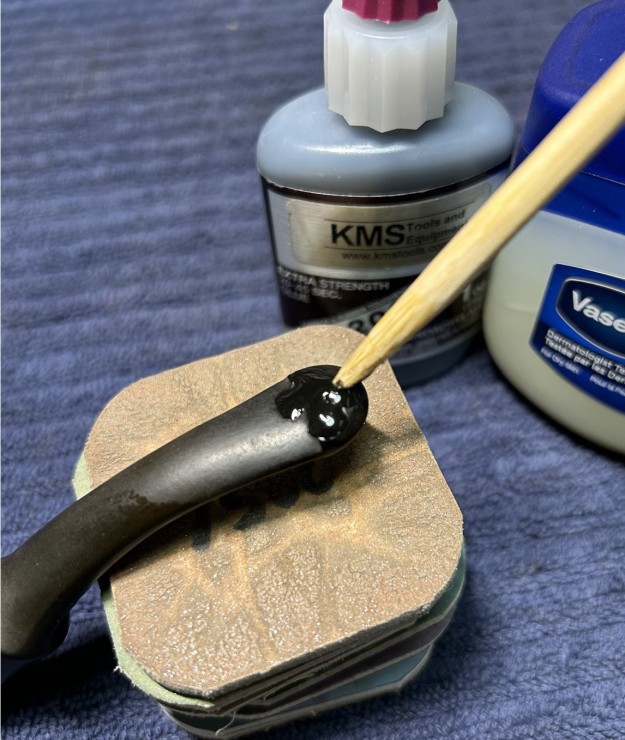
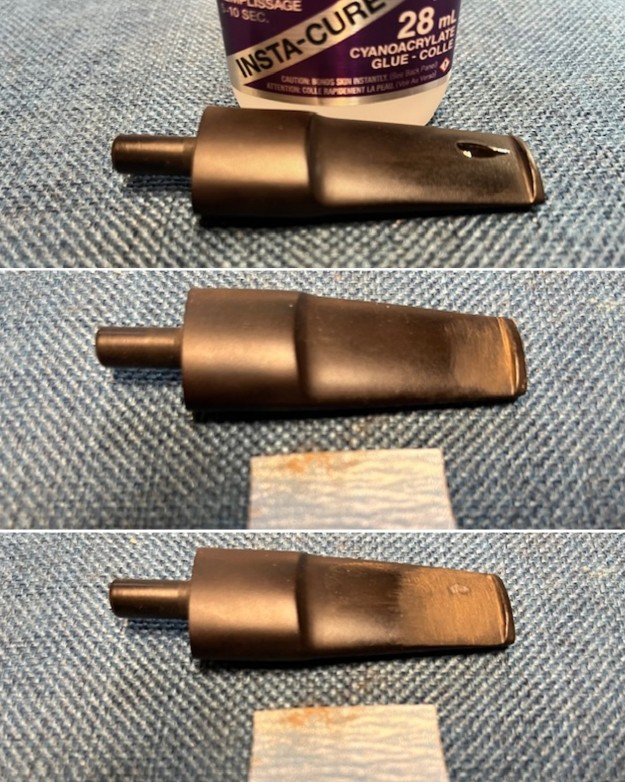
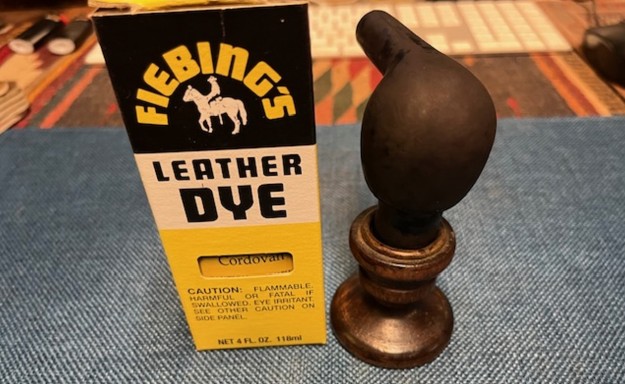
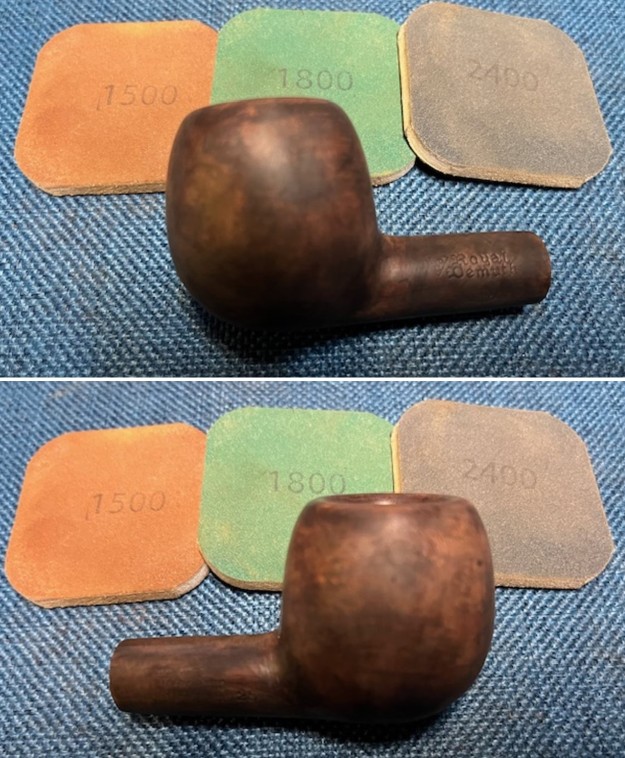
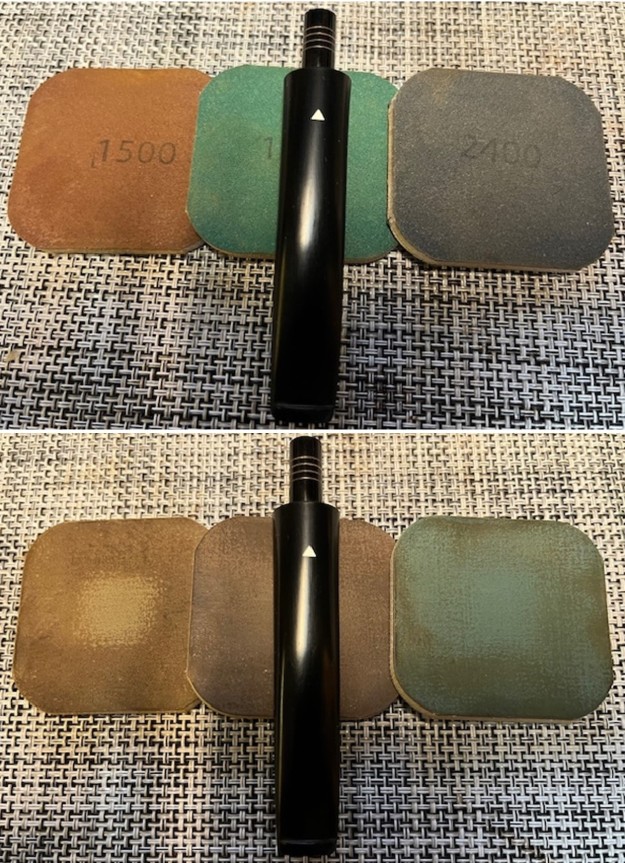
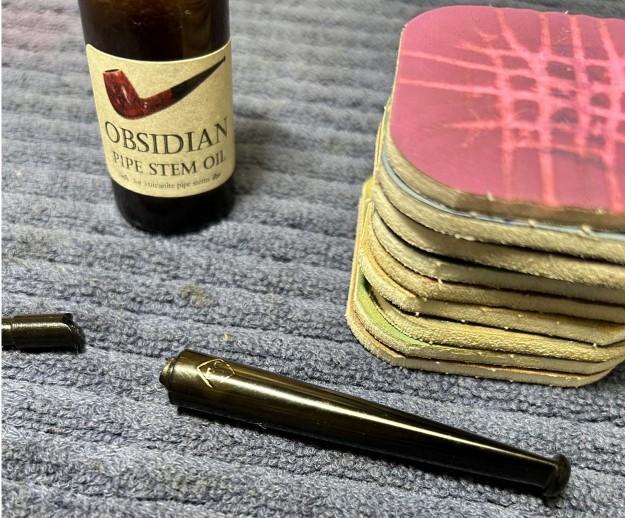
 Once clean, I built up the nicks and dents and scratches on the stem with black cyanoacrylate adhesive and let it fully cure.
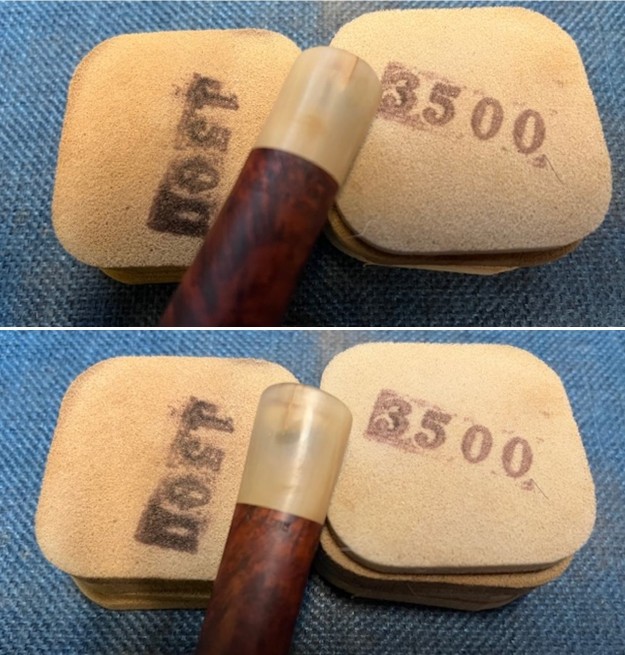
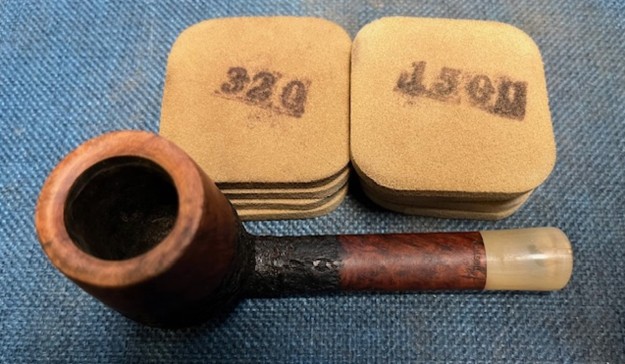
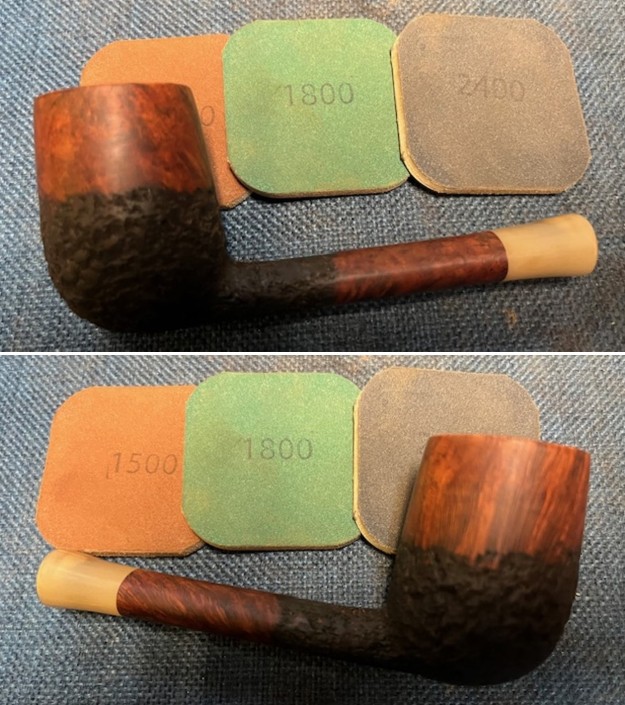
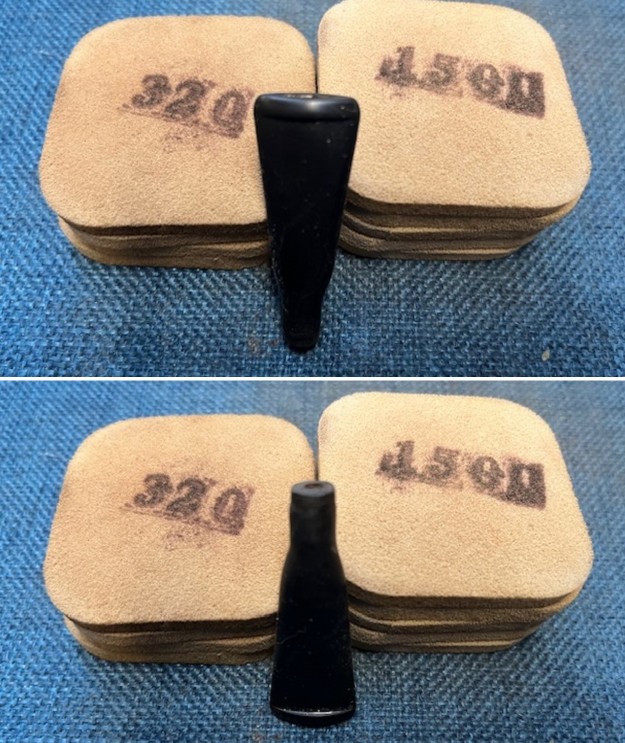
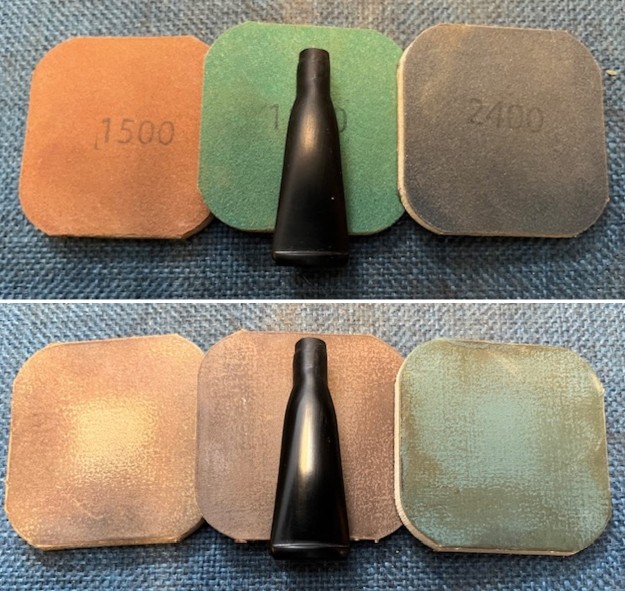
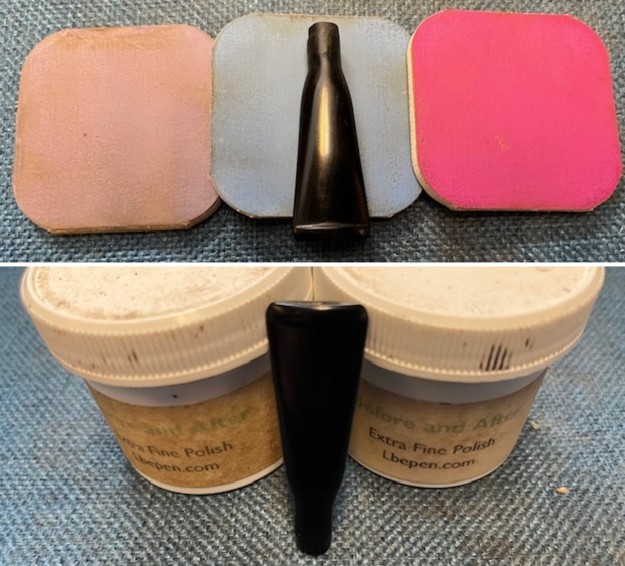
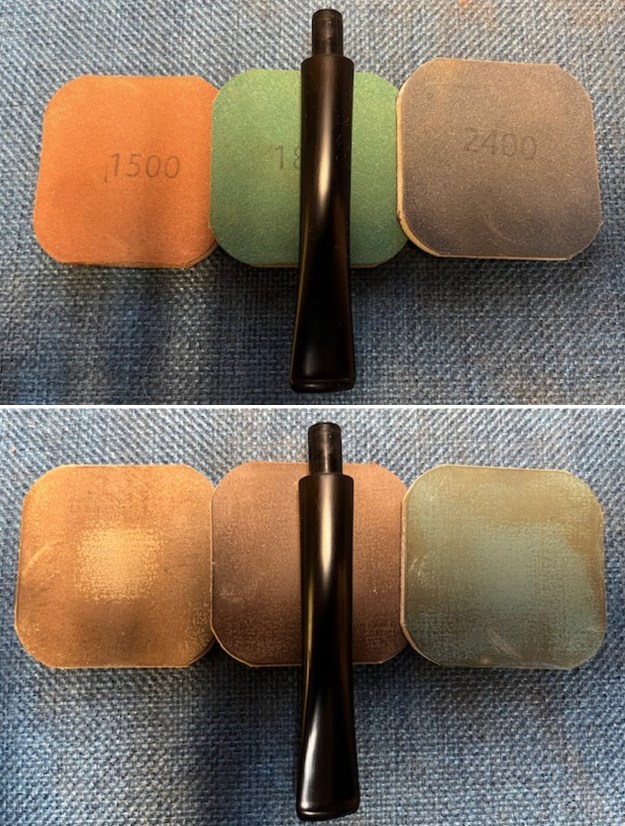
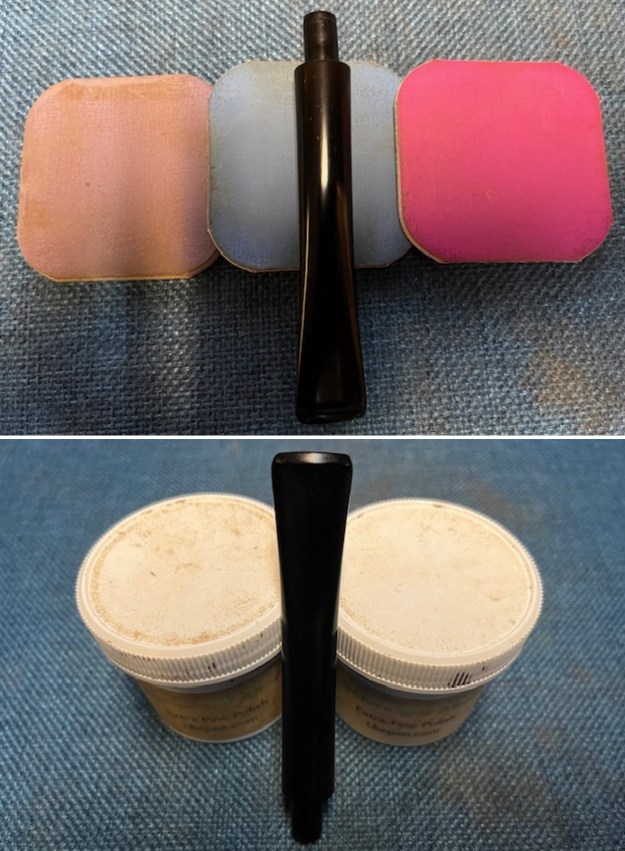
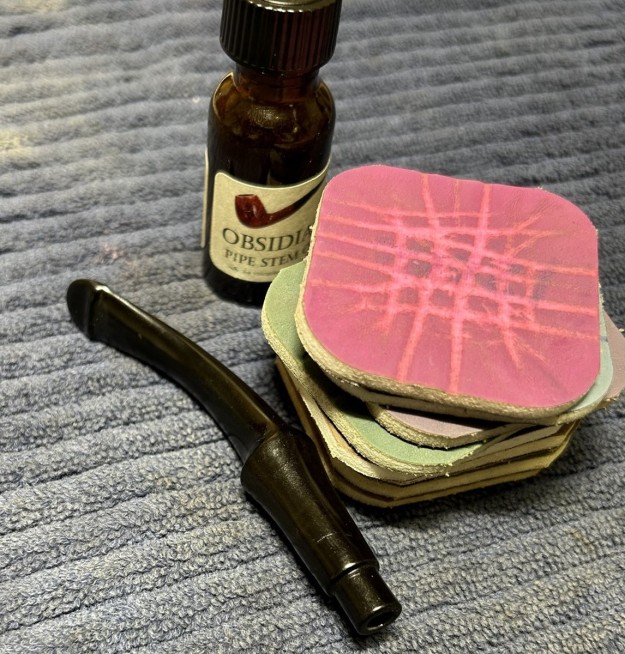
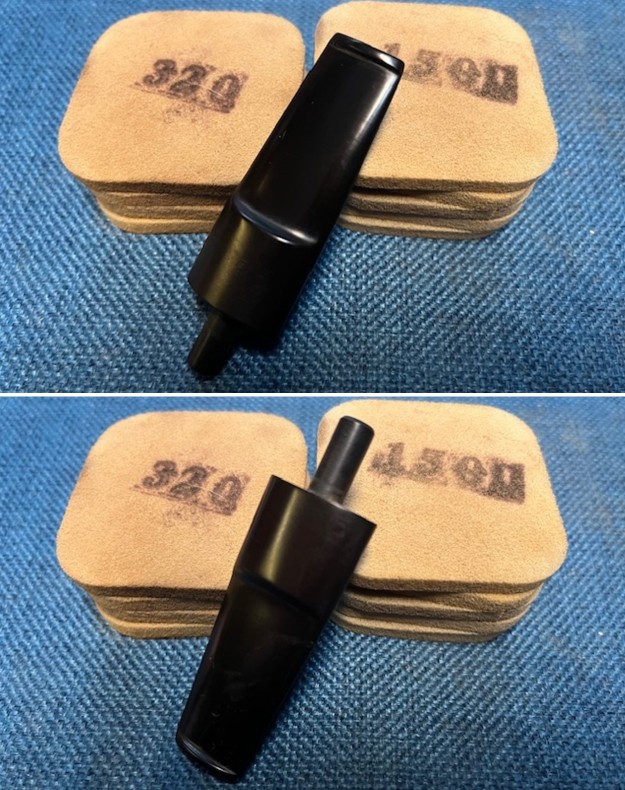
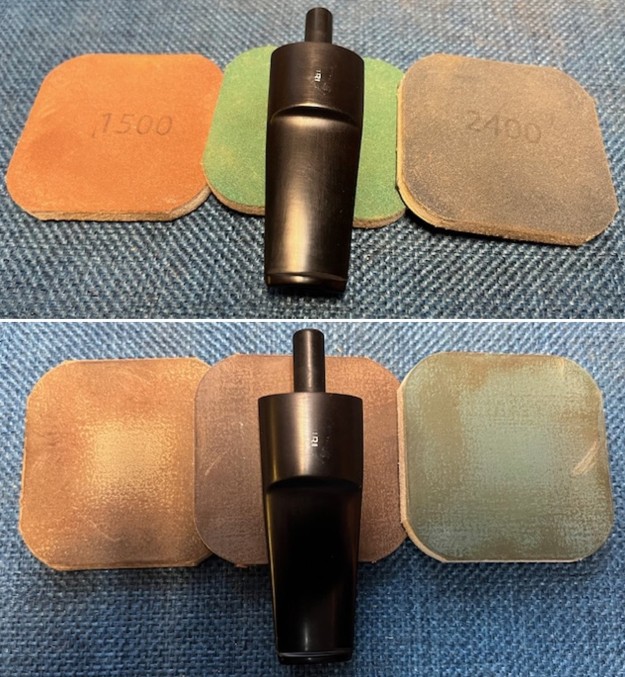
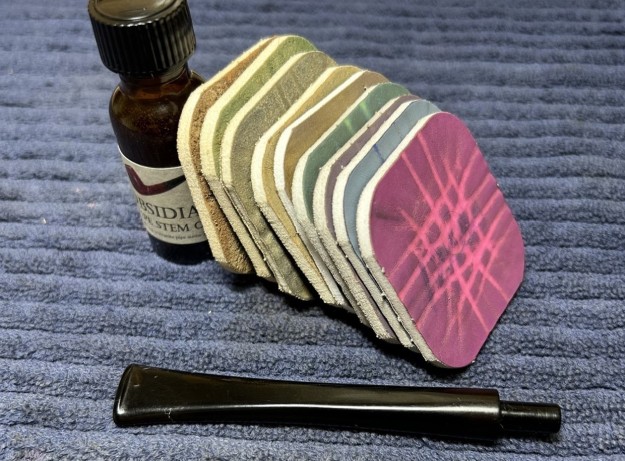
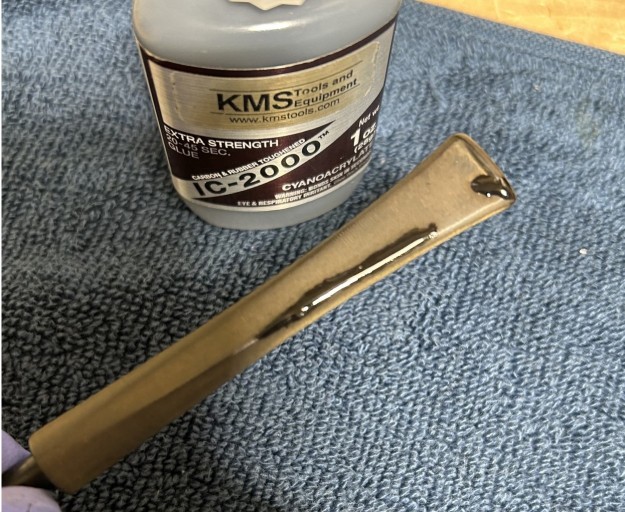 I then sanded the adhesive down with my grey pads to bring the repairs to the level of the stem. I ensured that the stem kept its shape and looked like it should. I then used all nine Micromesh pads (1,500 through 12,000 grit) to emphasize the beautiful black of the stem. I also used Obsidian Pipe Stem Oil in between each pad scrubbing, after 3,600.
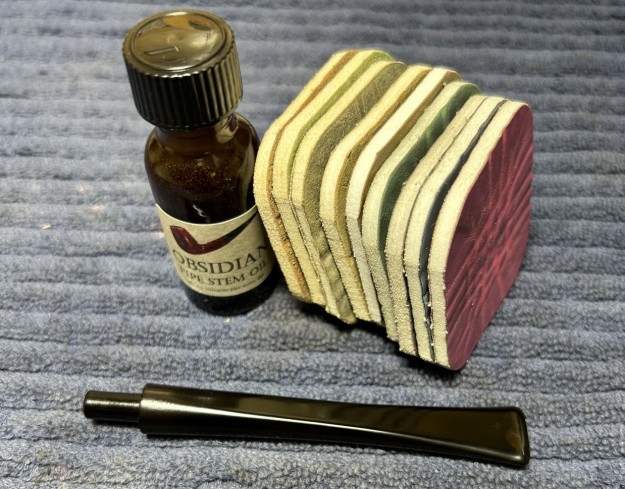
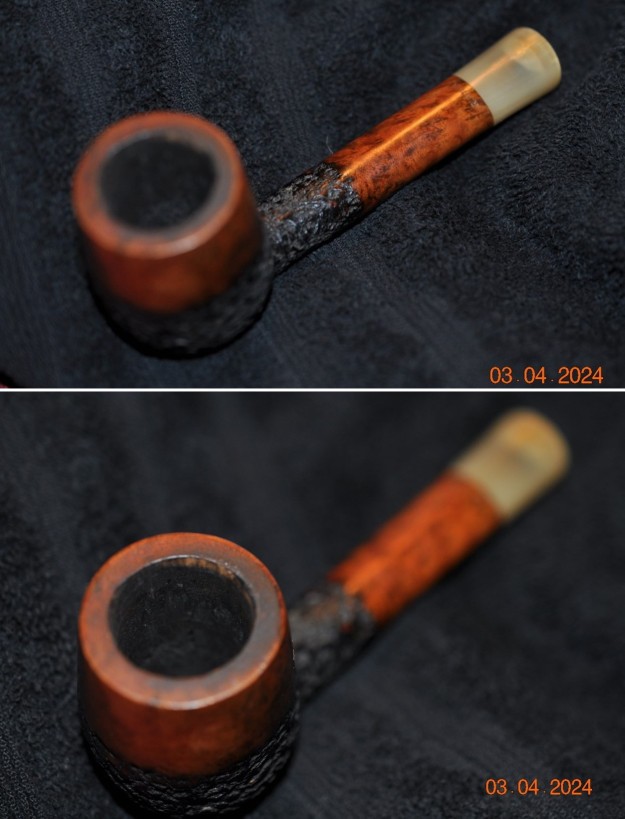
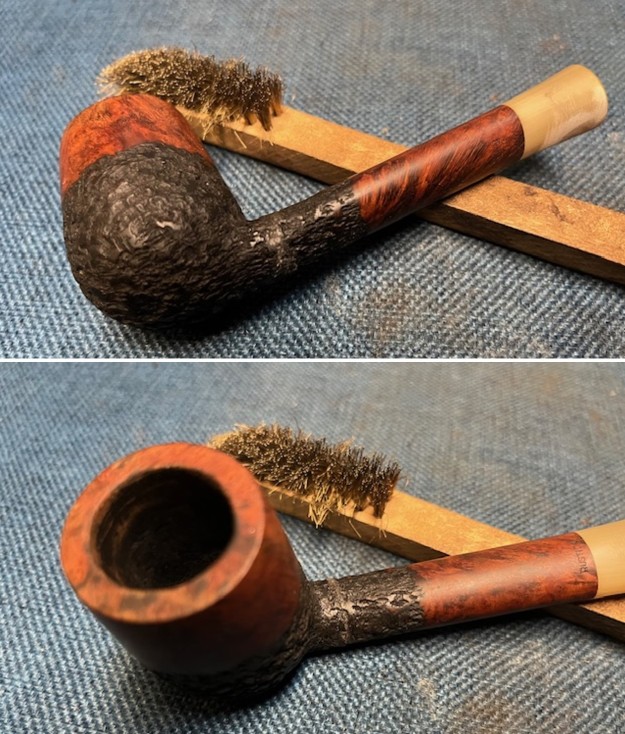
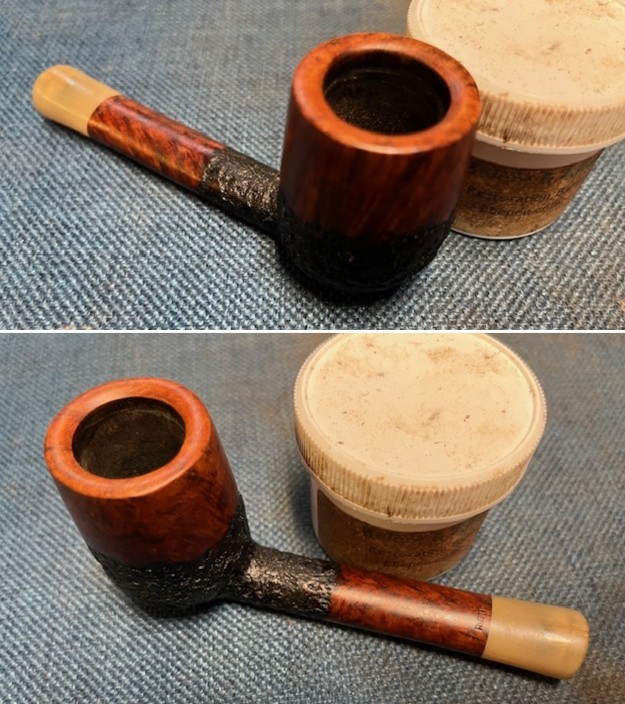
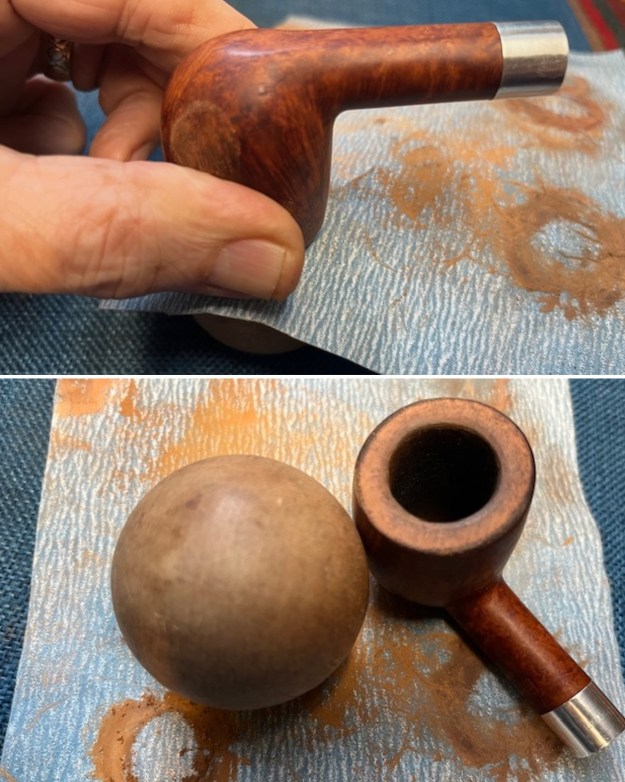
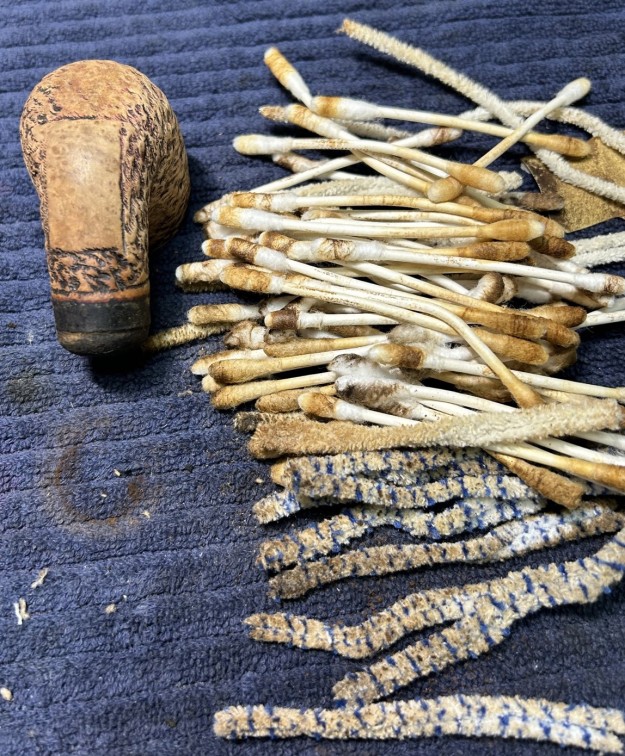
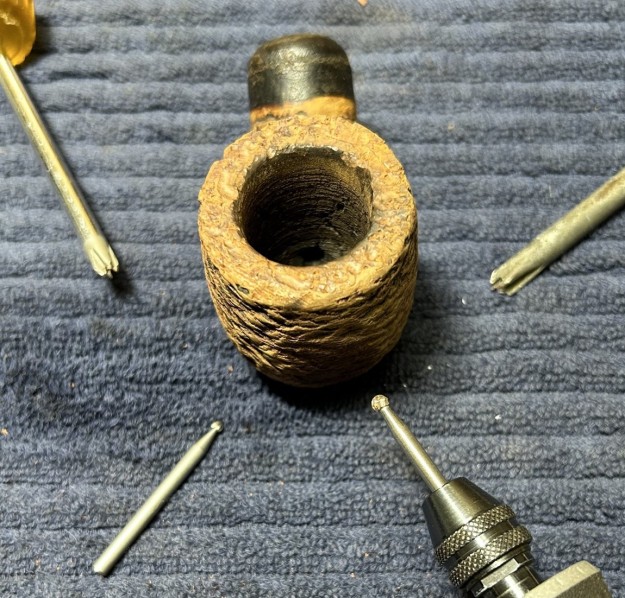
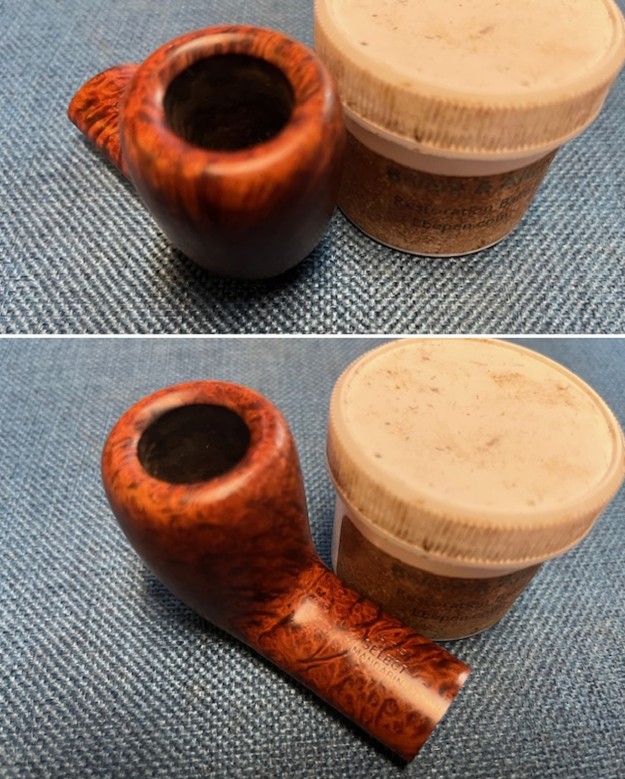
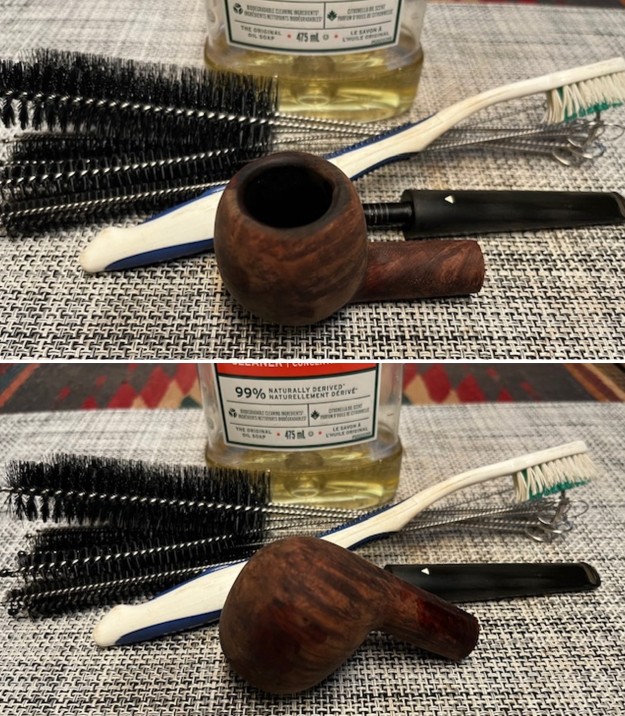
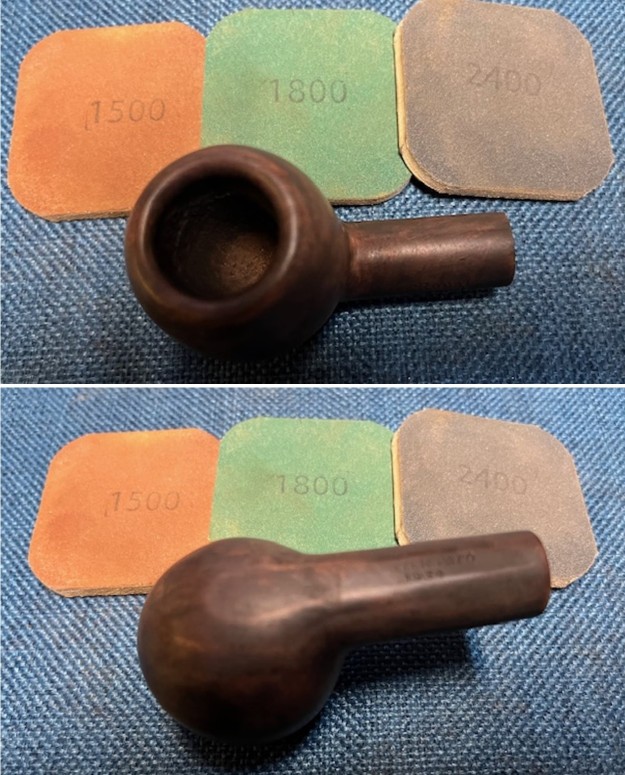
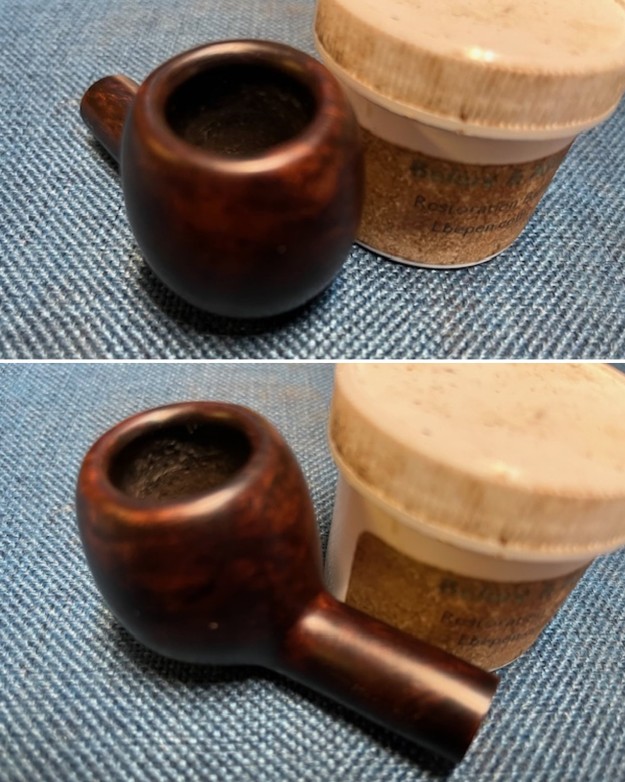
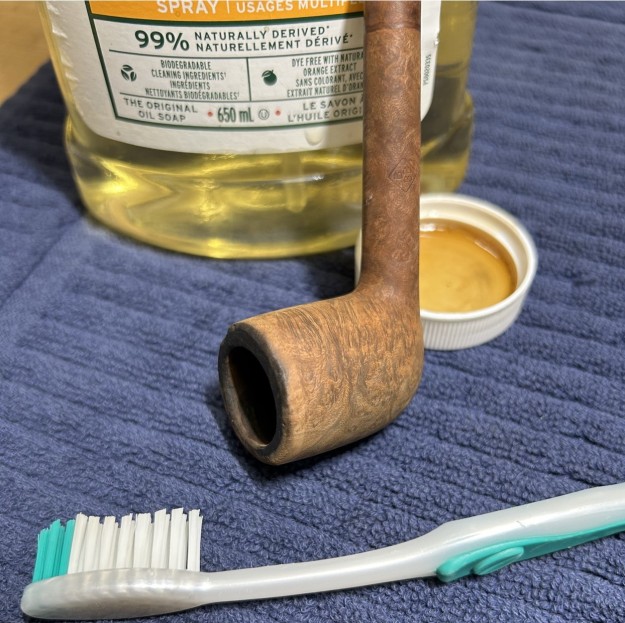
 On to the stummel, and the usual cleaning procedures were in order for this pipe. I used the KleenReem to remove the built-up cake, and followed that with 220-grit sandpaper to remove as much as I could. I wanted to take the bowl down to bare briar to ensure there were no hidden flaws in the walls of the bowl. Fortunately, there were none. I then proceeded to clean out the insides of the shank with cotton swabs, pipe cleaners, and isopropyl alcohol. There was quite a bit of filth inside this stummel – it took many pipe cleaners et cetera to clean it out.
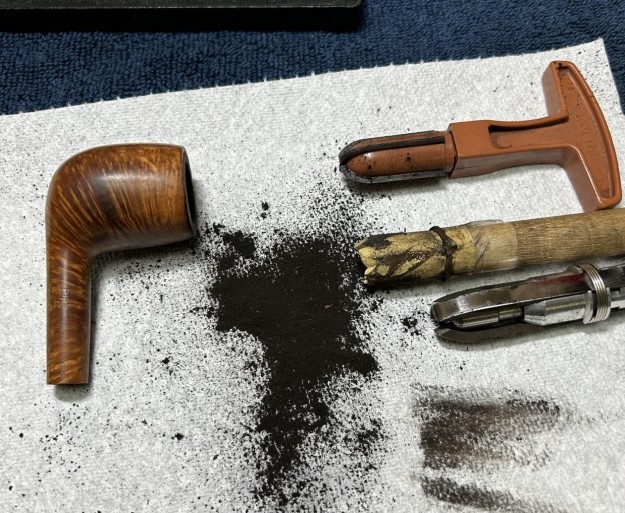
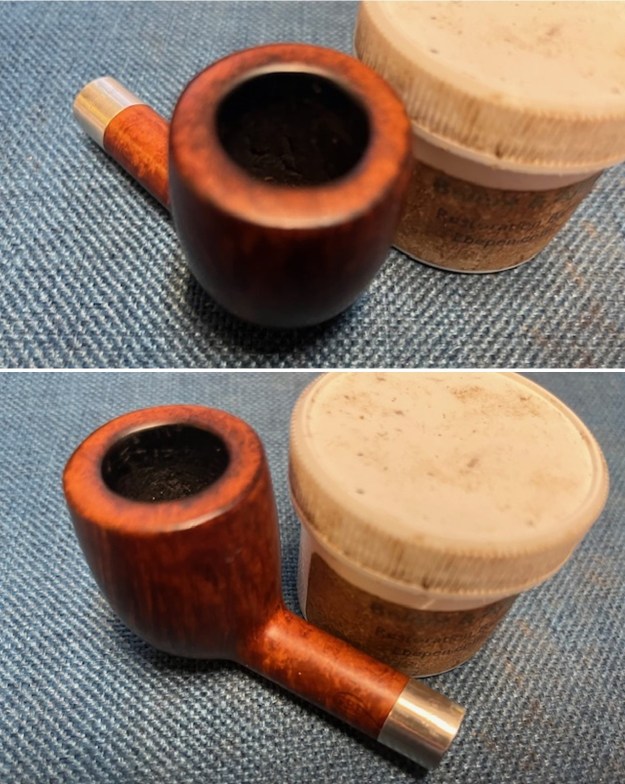
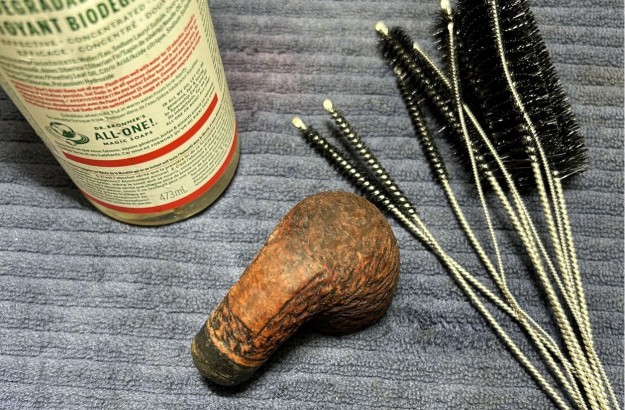
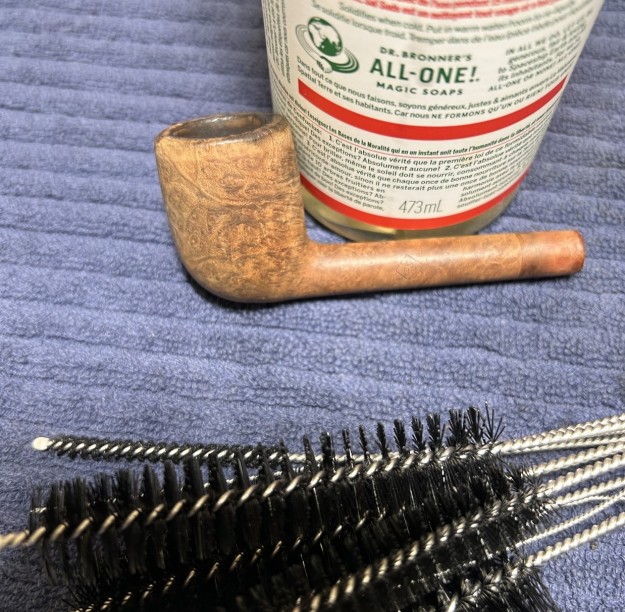
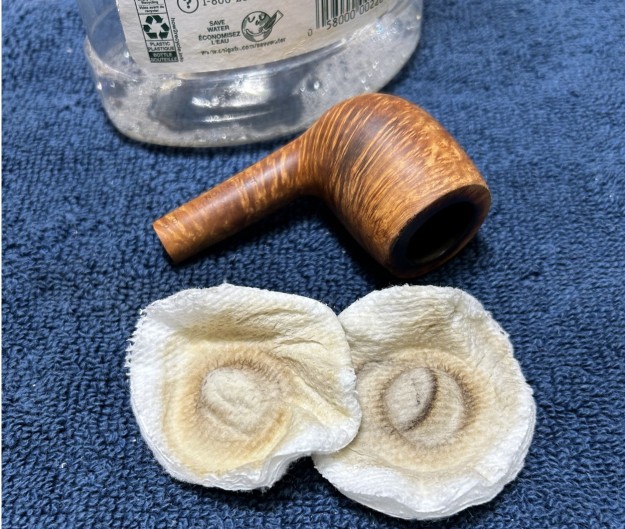
 I decided that a de-ghosting session would be a good idea. I thrust cotton balls into the bowl and the shank and saturated them with 99% isopropyl alcohol. I let the stummel sit overnight. This caused the oils, tars and smells to leach out into the cotton. The bowl was nice and clean after this.
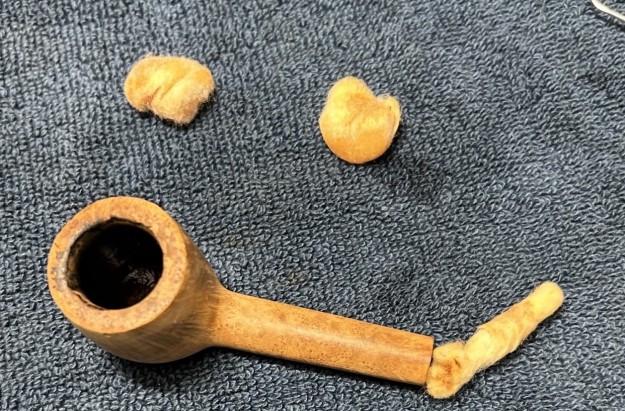 I followed that up by cleaning the insides with some dish soap and tube brushes. I then moved on to cleaning the outside of the stummel with Murphy’s Oil Soap and some cotton pads.
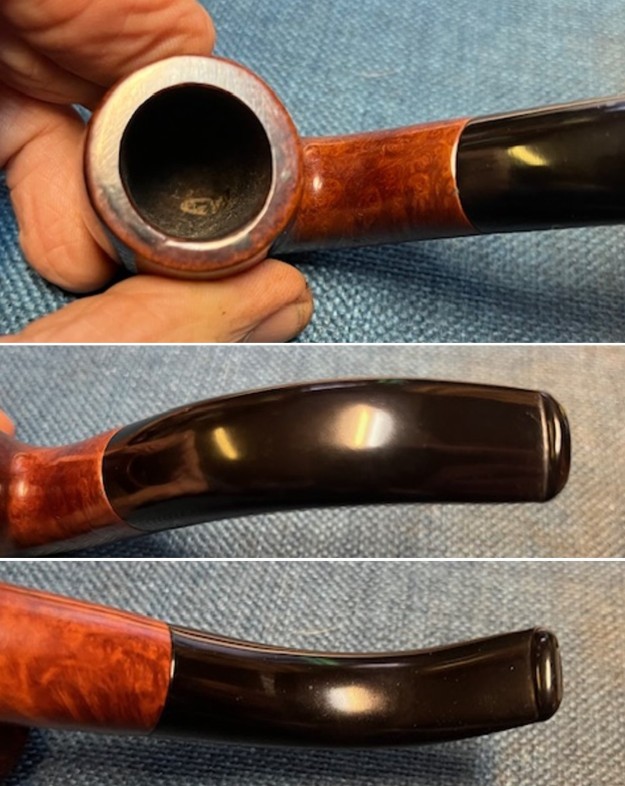
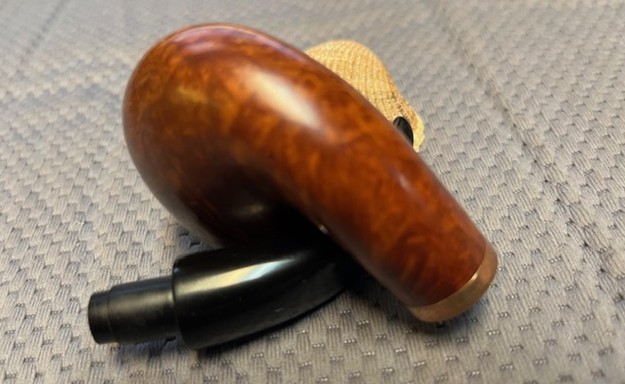
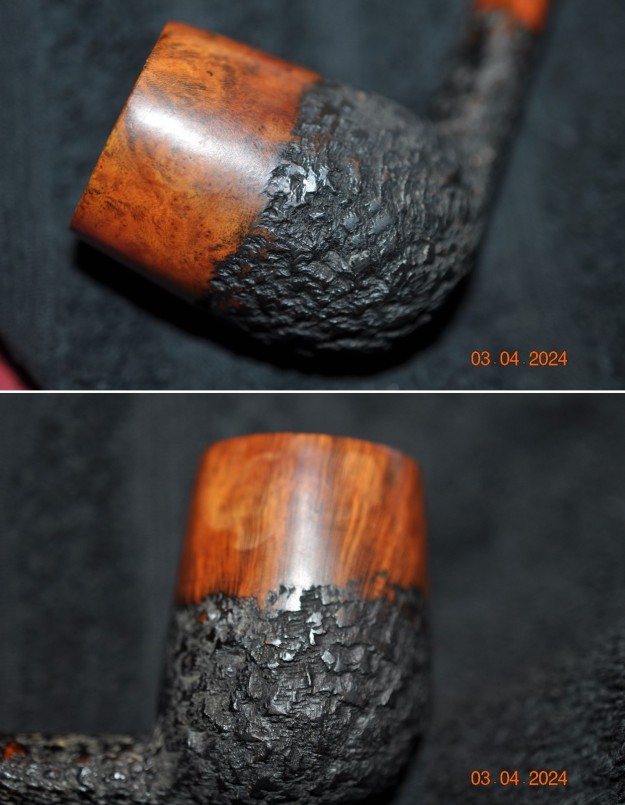
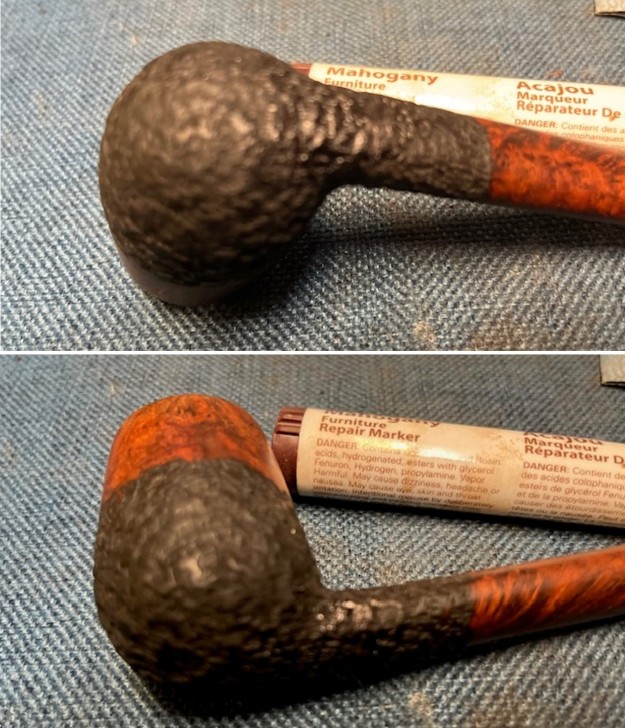
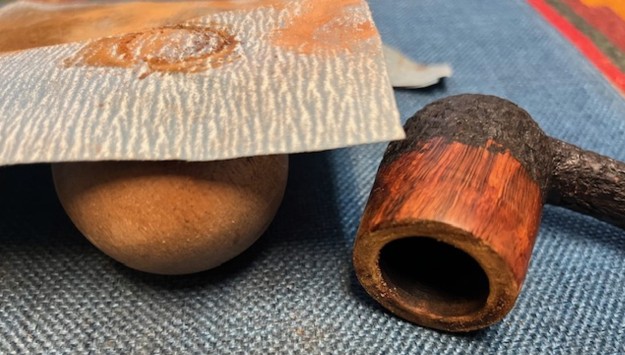
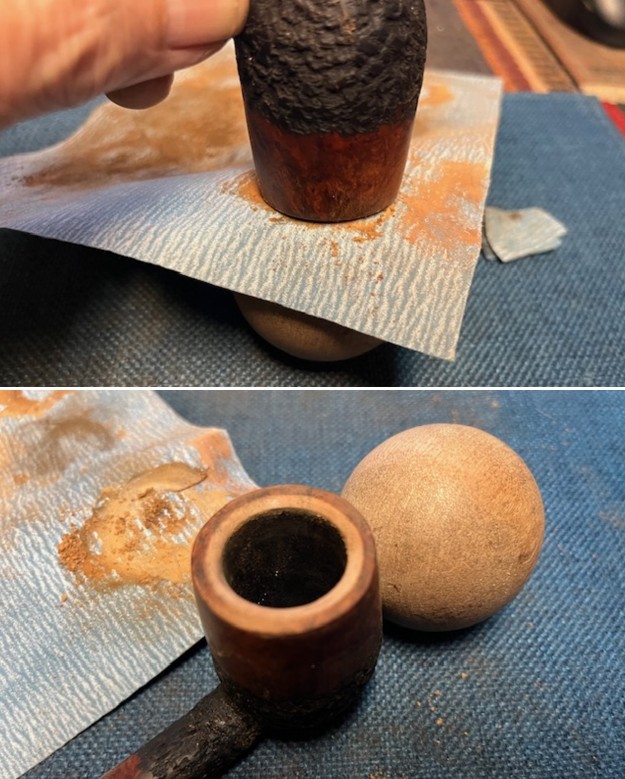
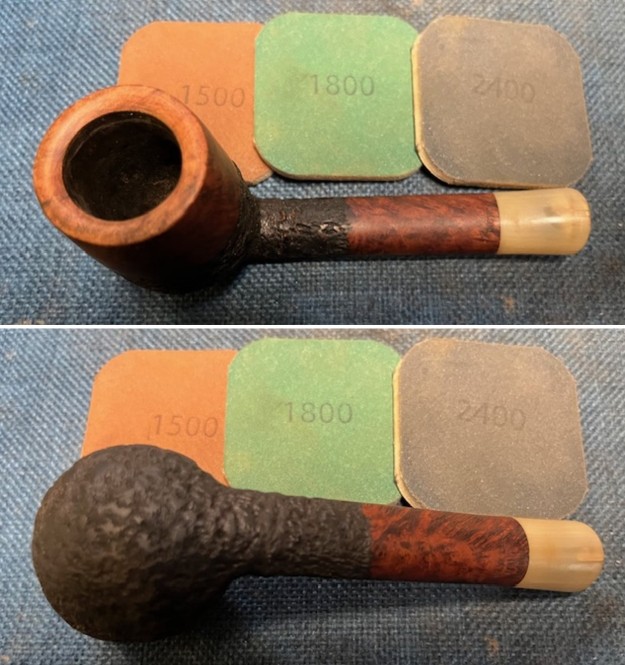
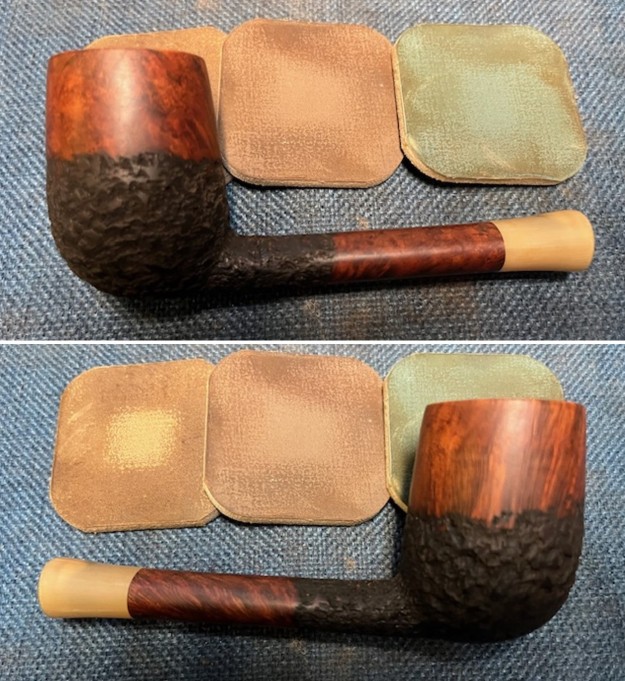
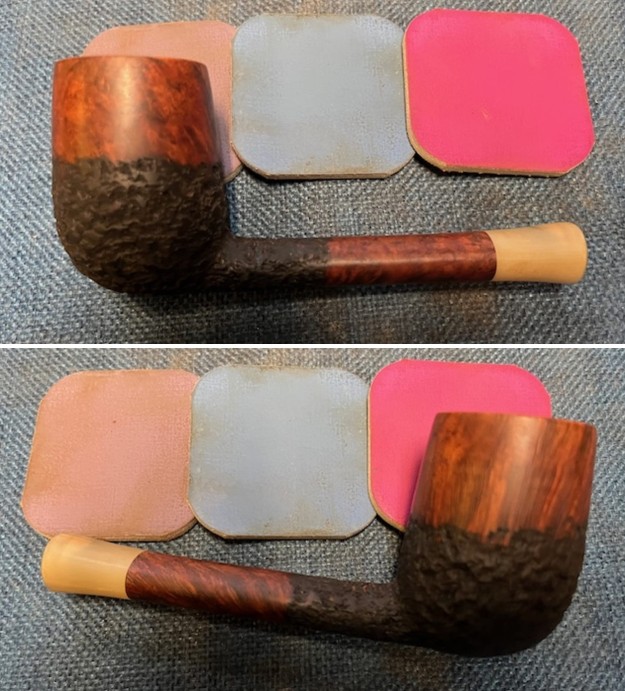
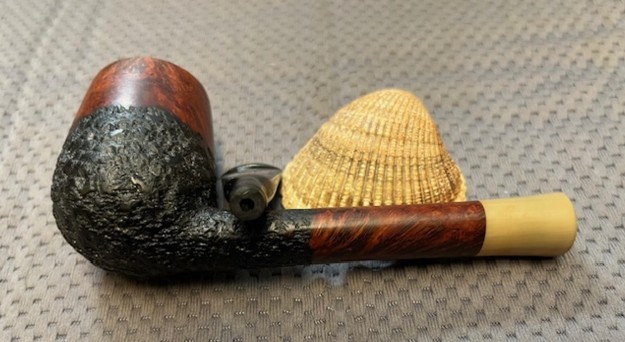
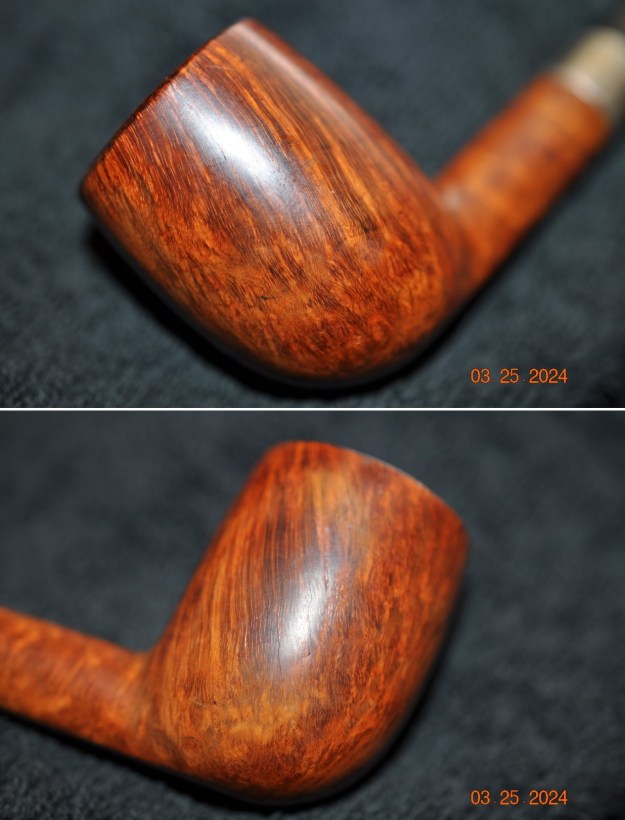
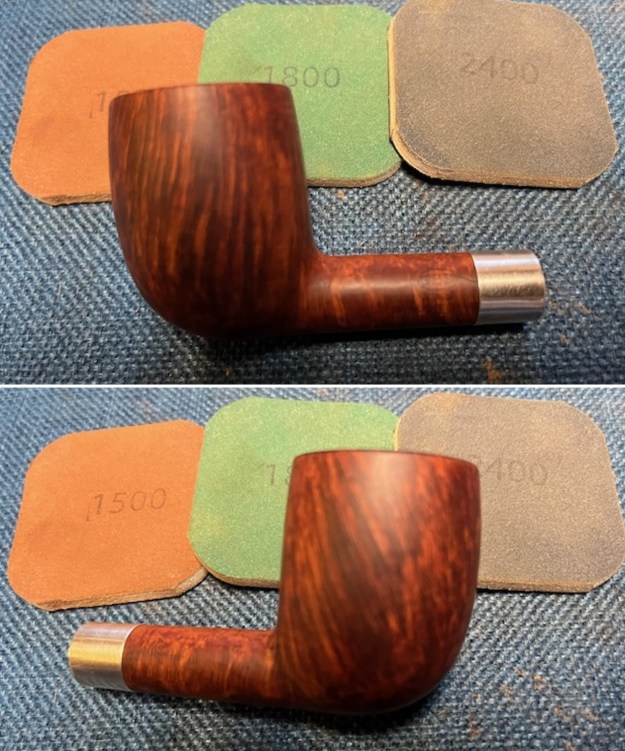
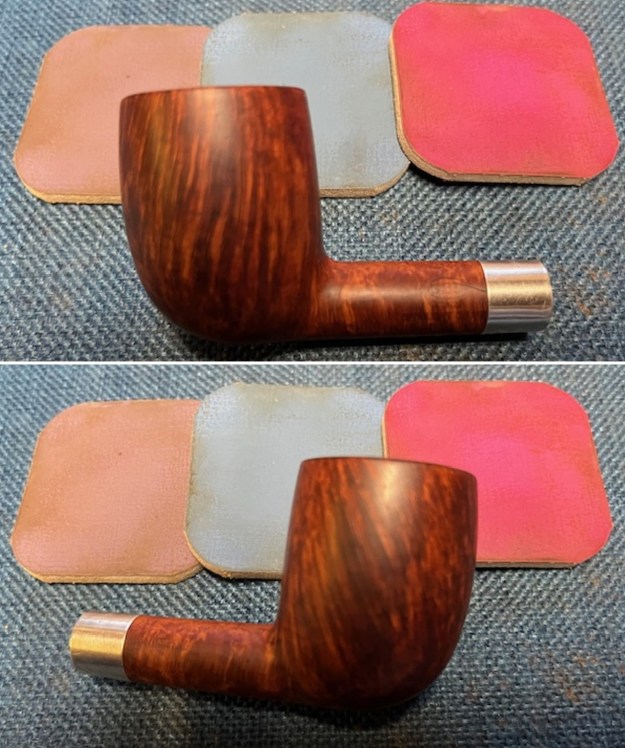
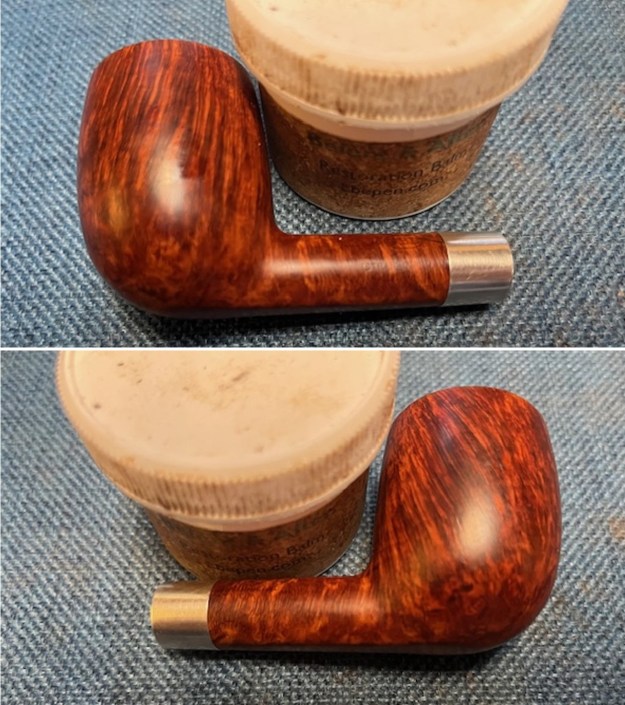
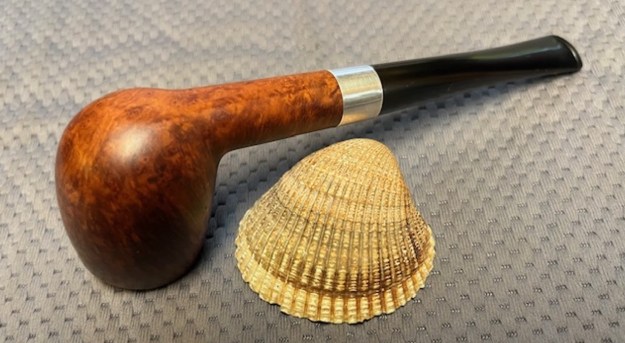
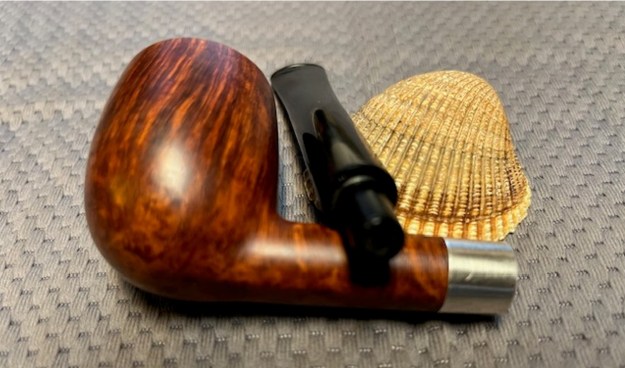
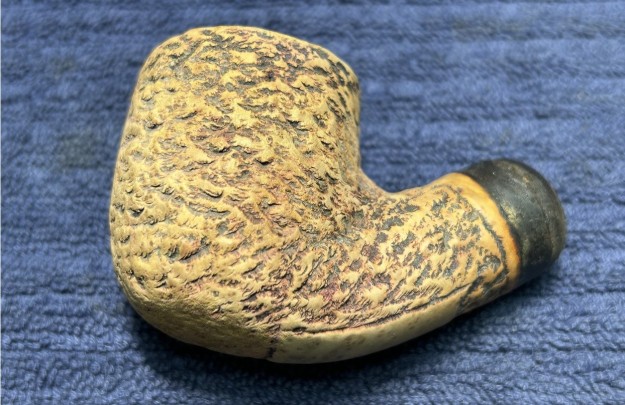
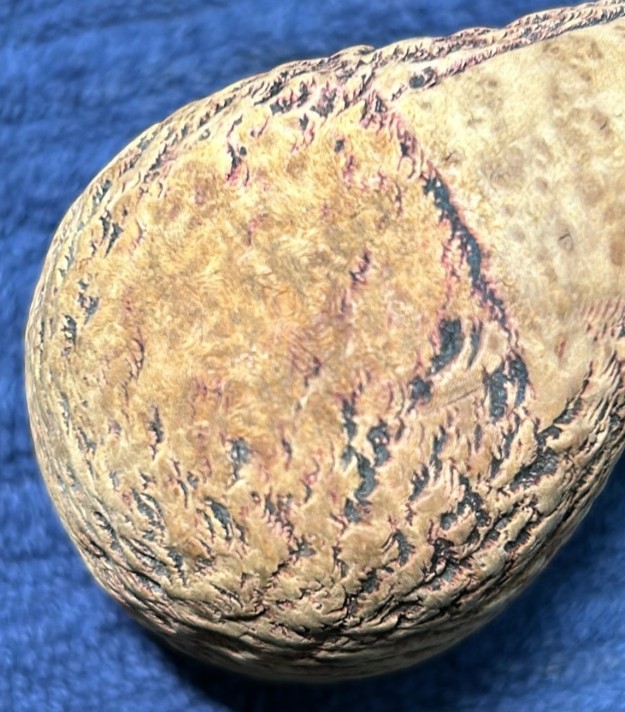
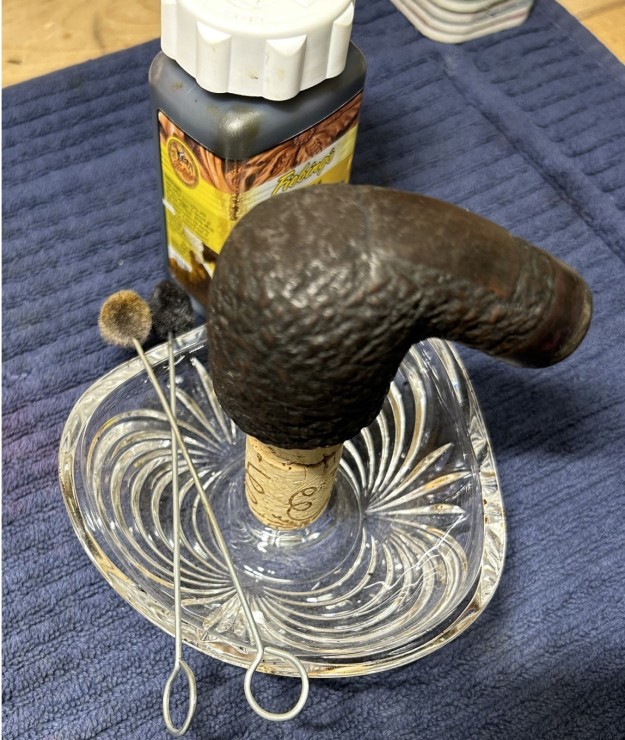
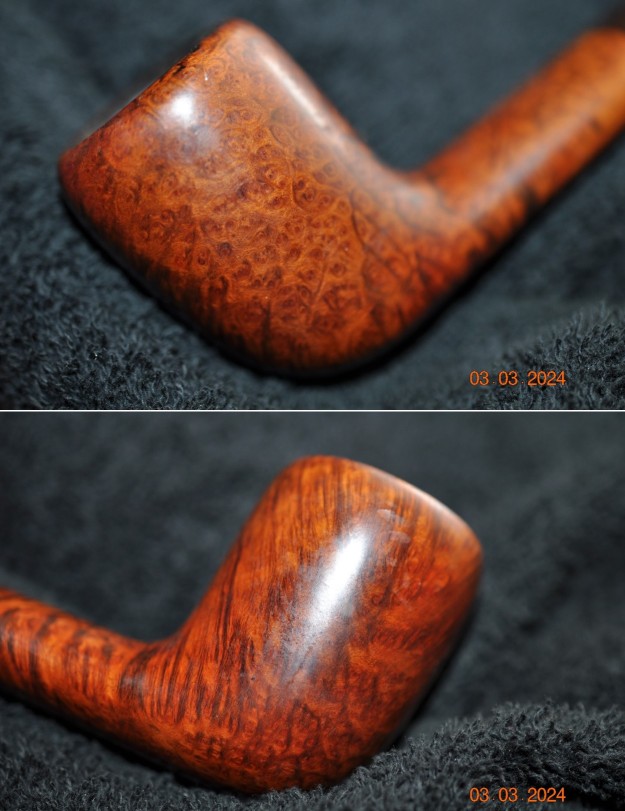
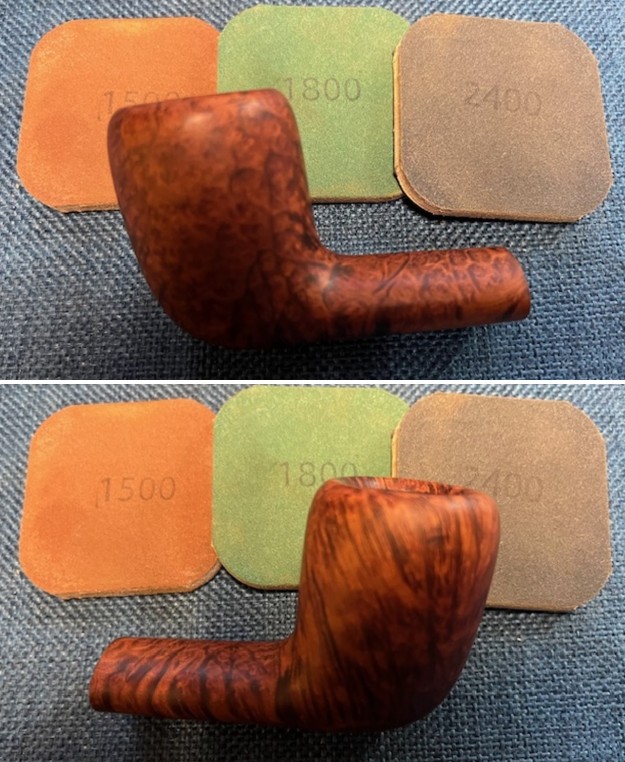
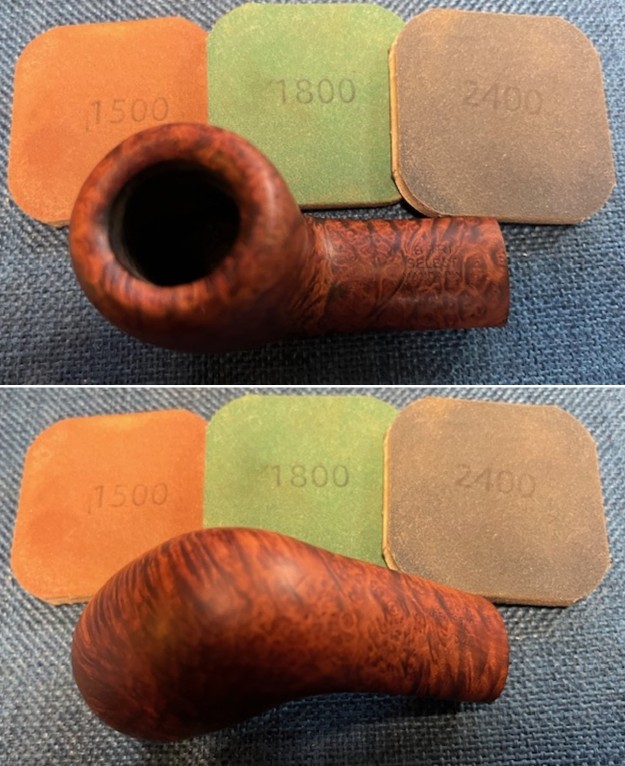
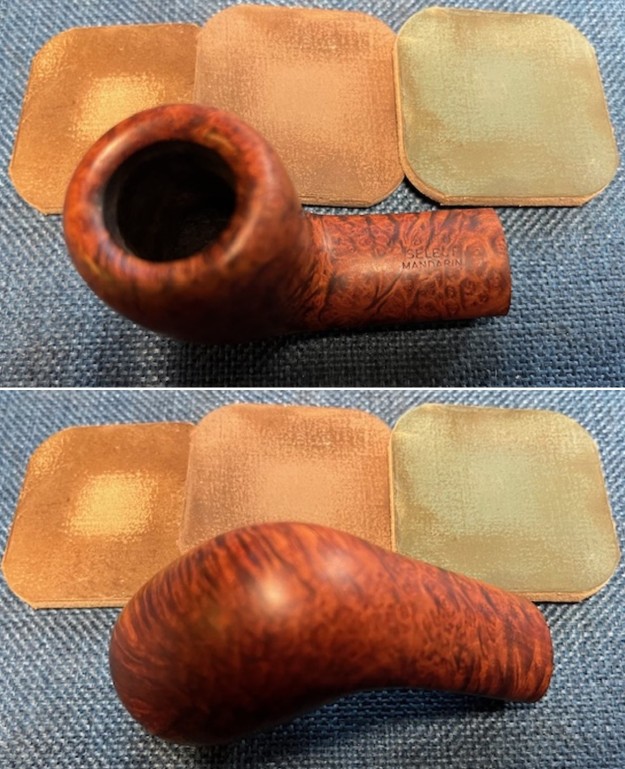
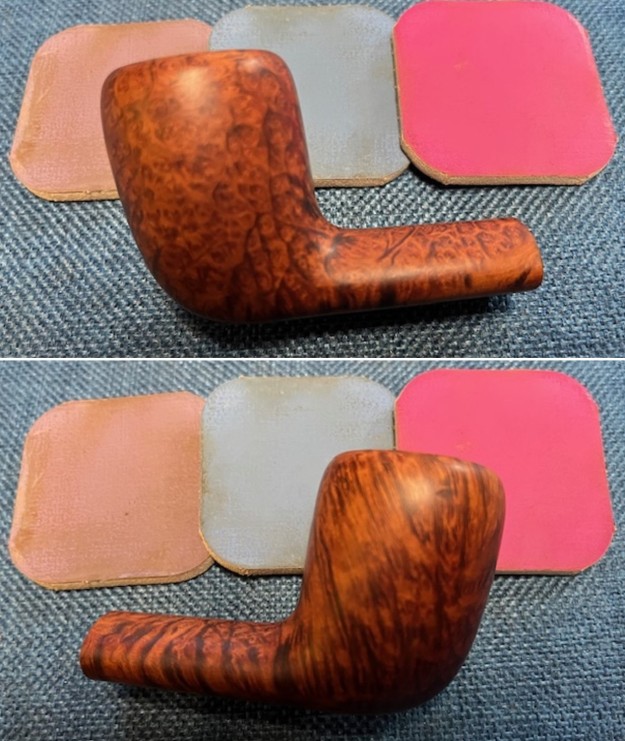
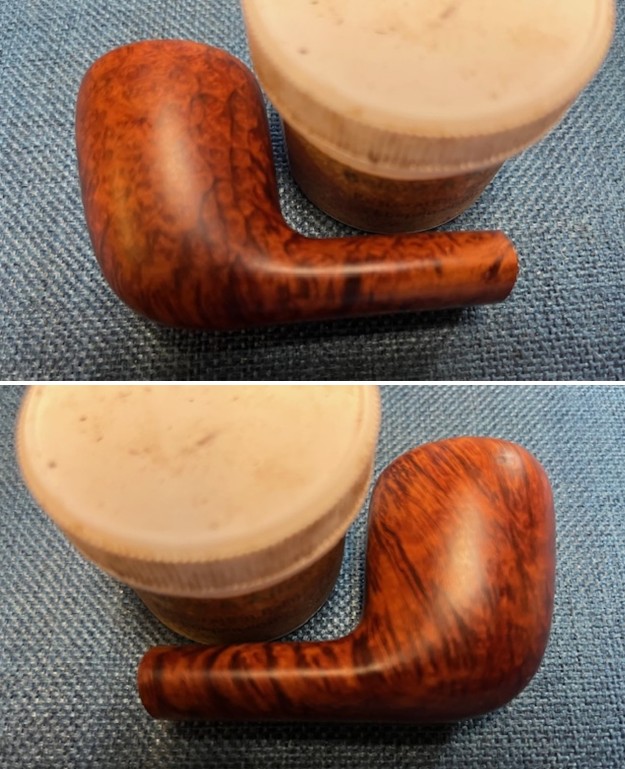
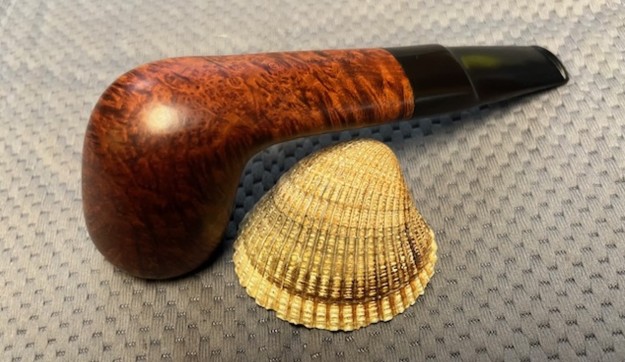
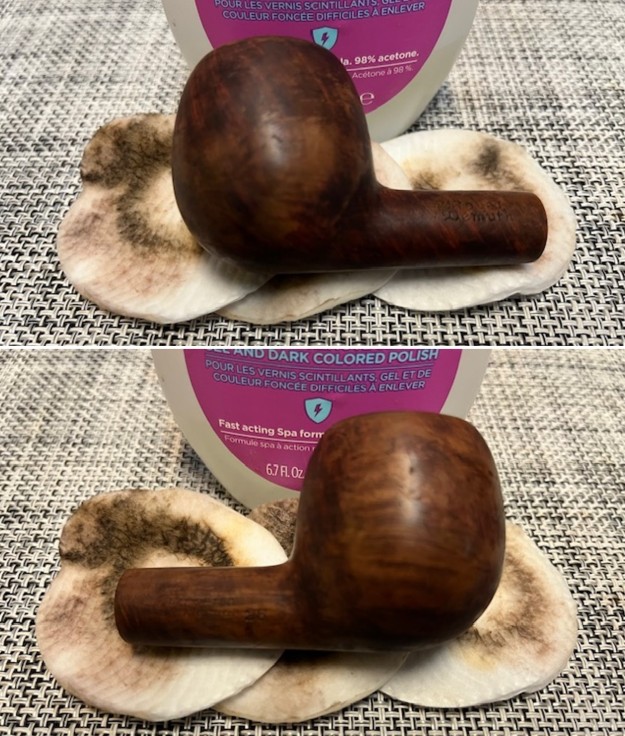
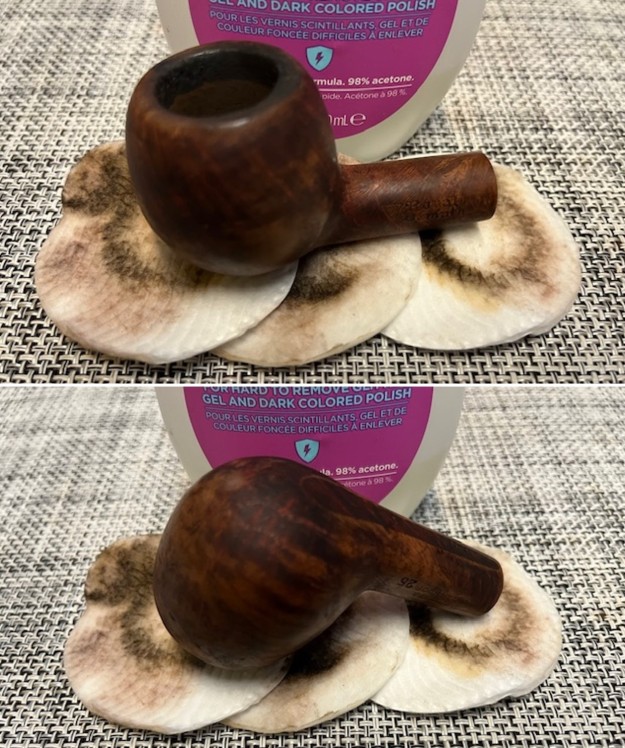
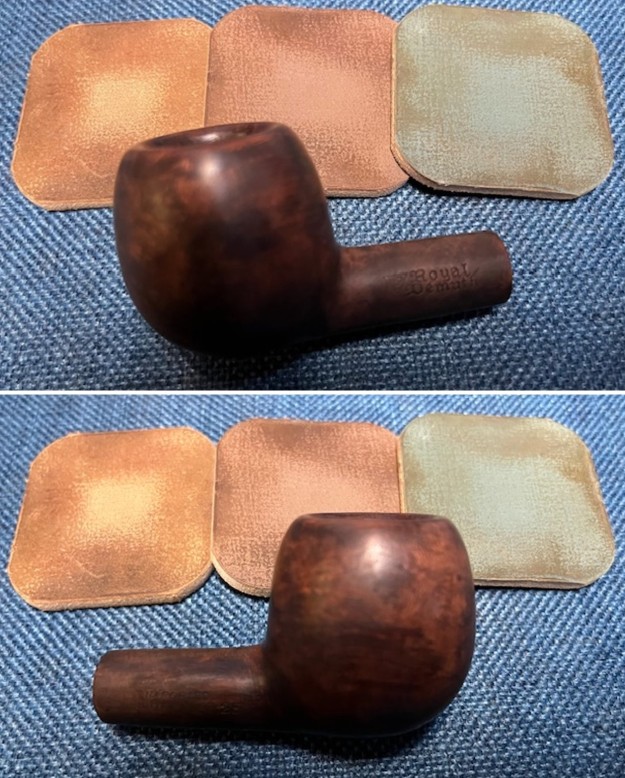
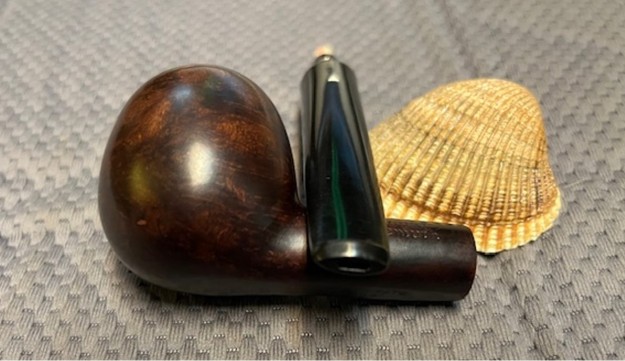
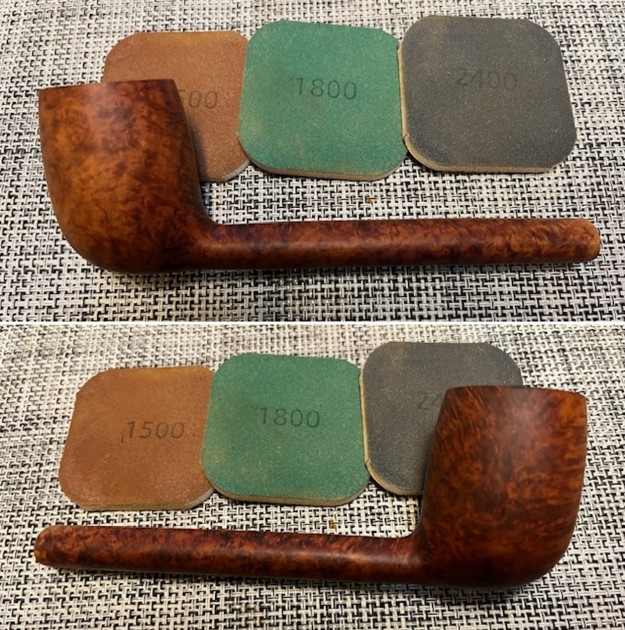
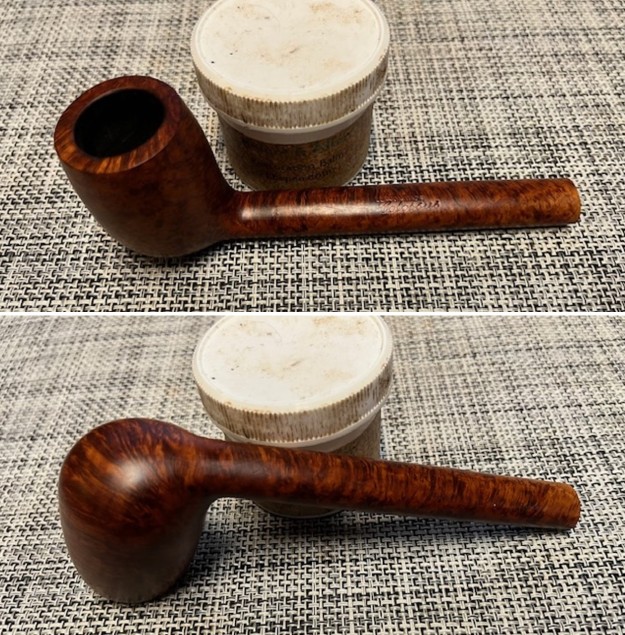
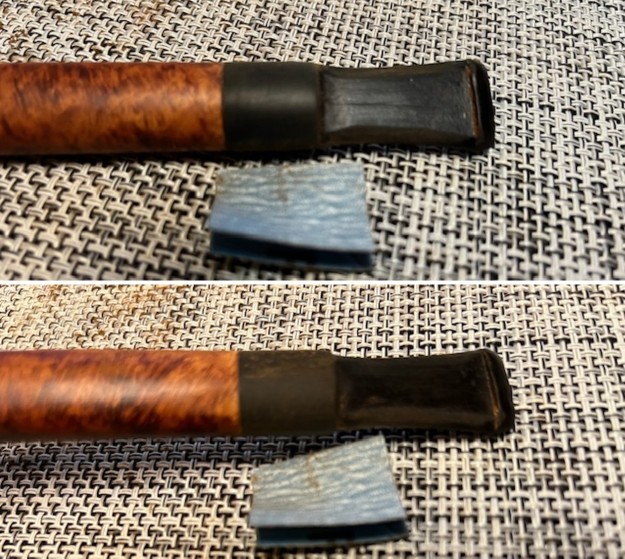
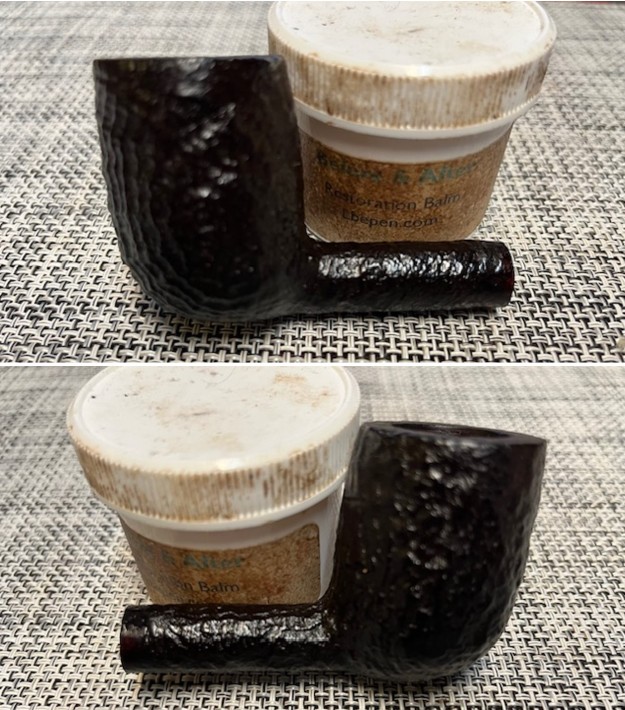
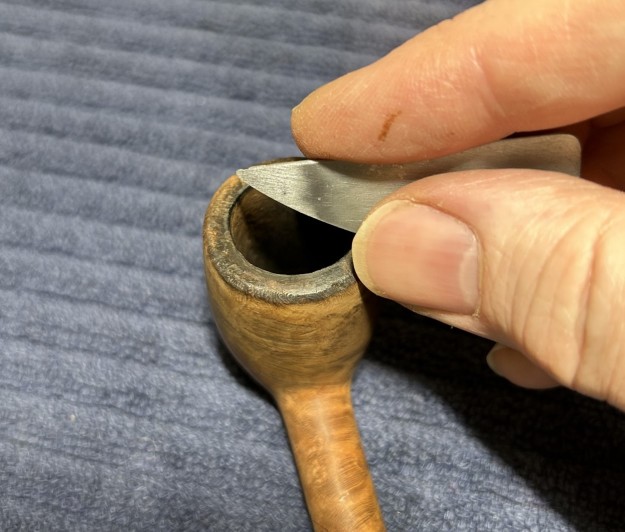
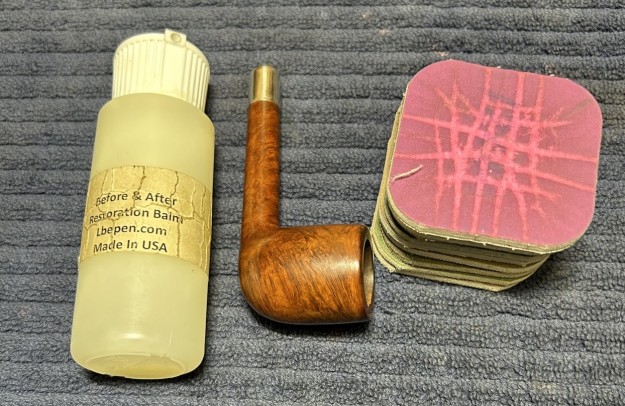
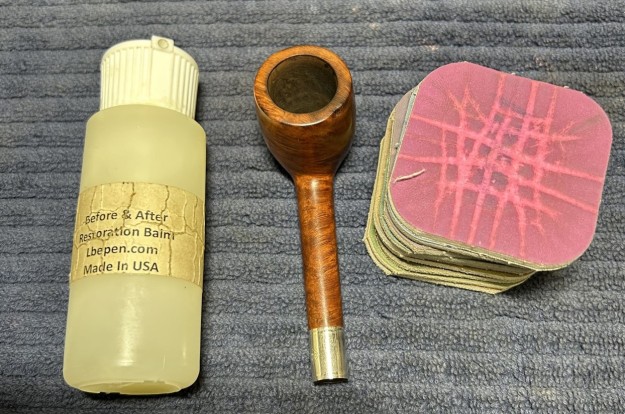
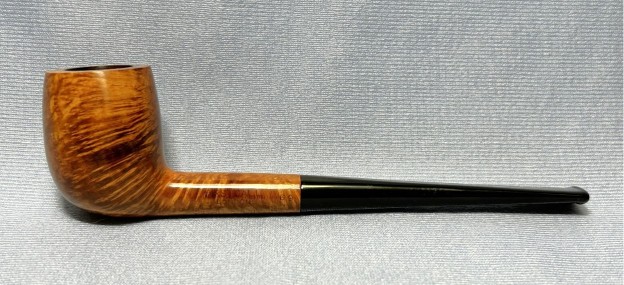
 Because of the extensive burning to the rim, I sanded away the damage on my topping board and it looked much improved. Now, it was time to sand down the stummel. I used all nine Micromesh pads (1,500 through 12,000 grit) to wet/dry sand everything smooth. After that, a light application of Before & After Restoration Balm brought out the best in the stummel’s grain. What a difference that made! There is some beautiful wood there!
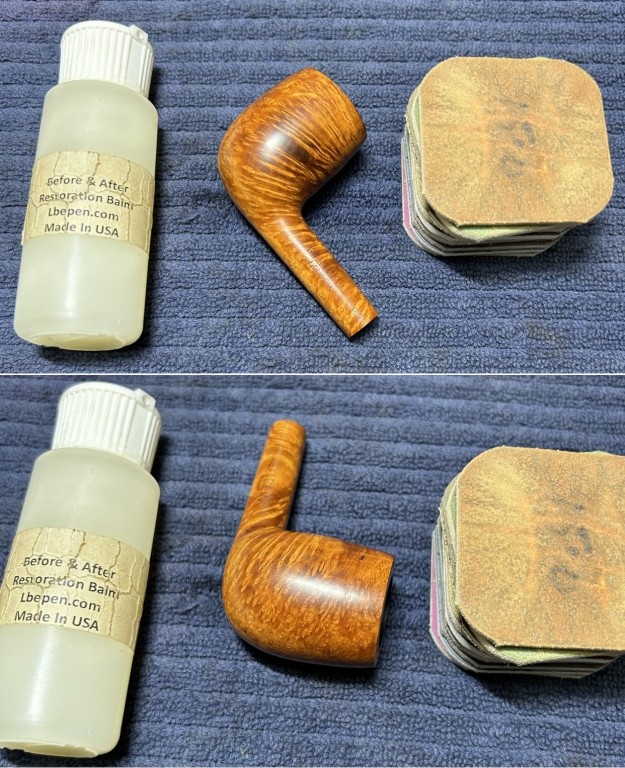
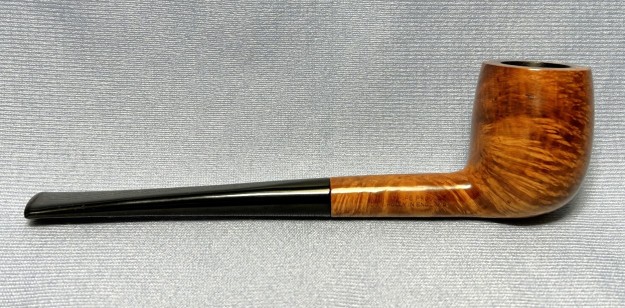
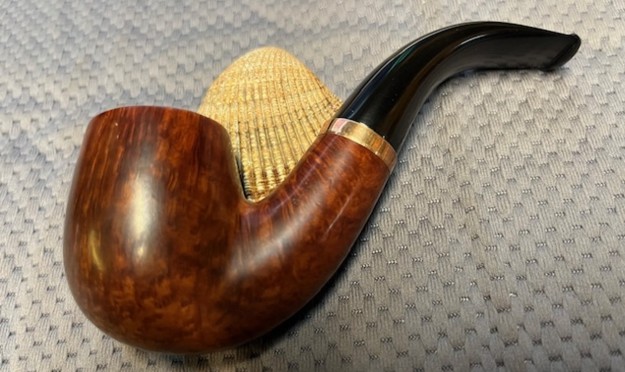
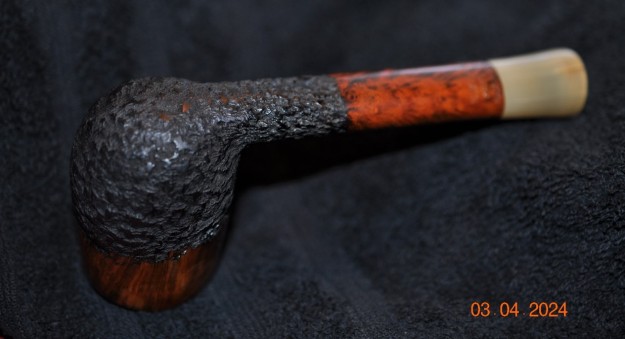
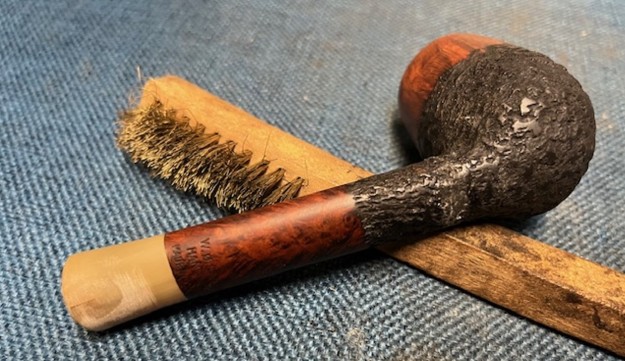
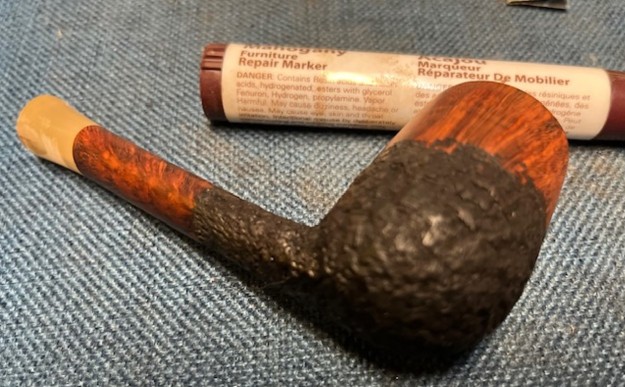
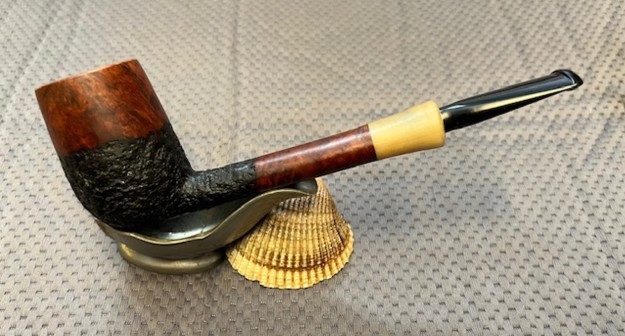
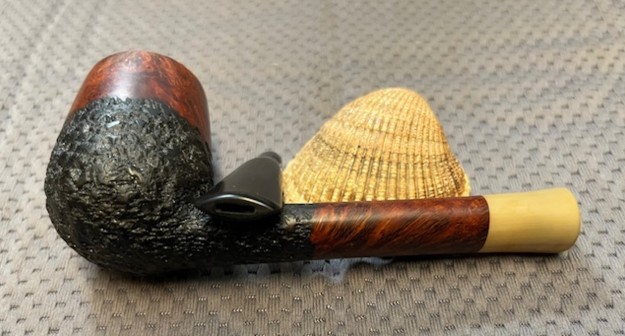
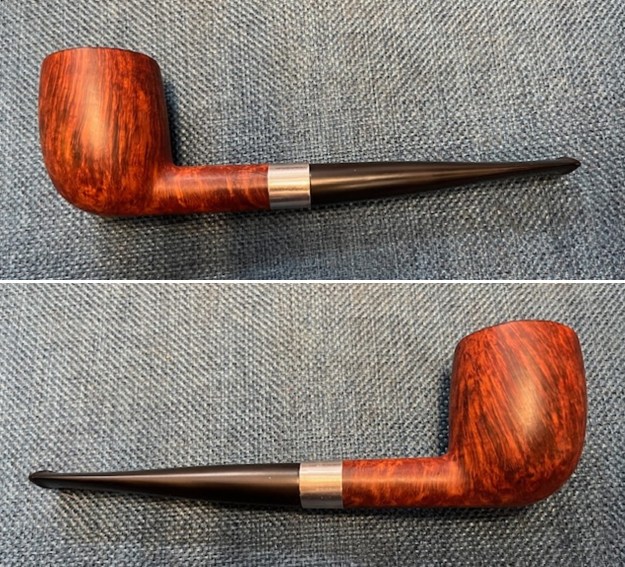
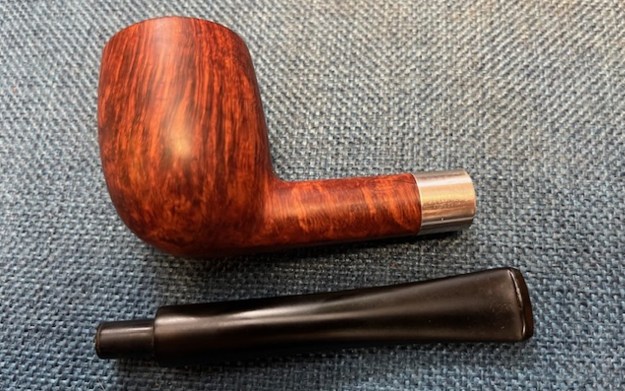
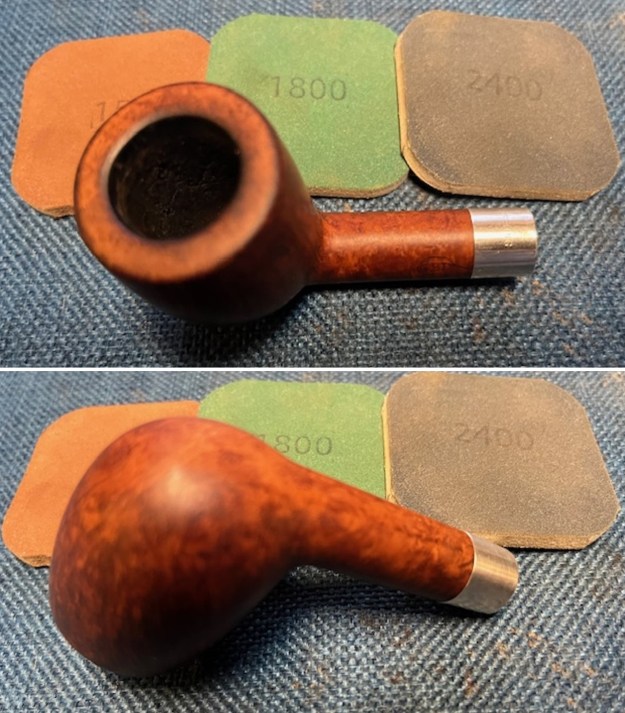
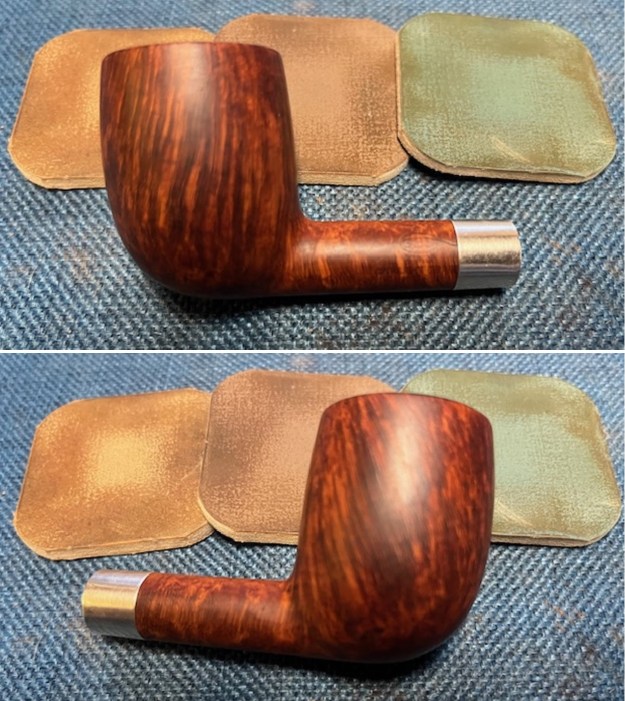
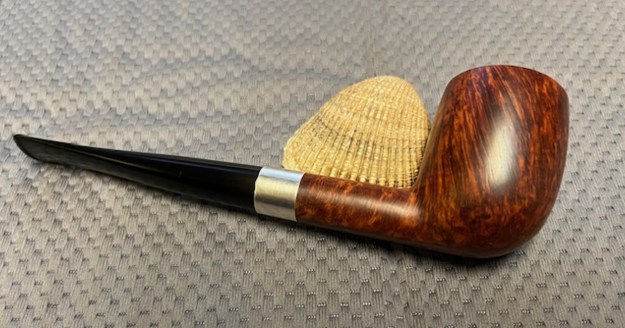
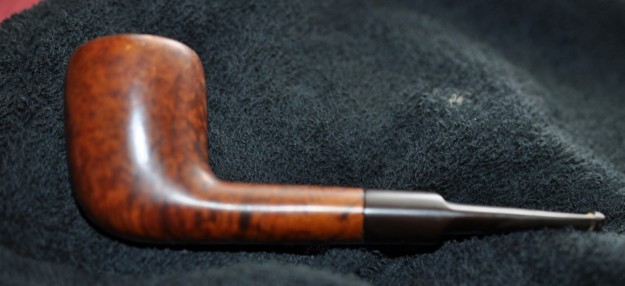
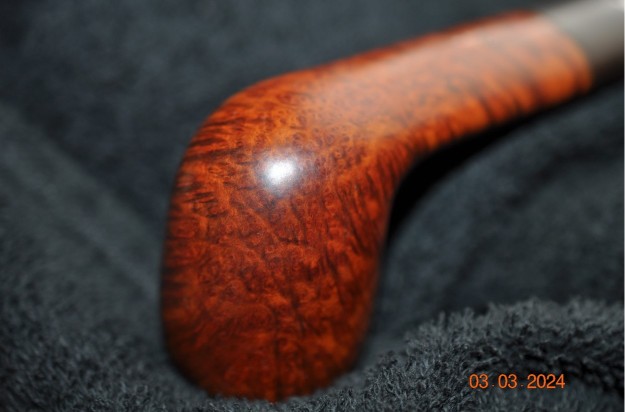
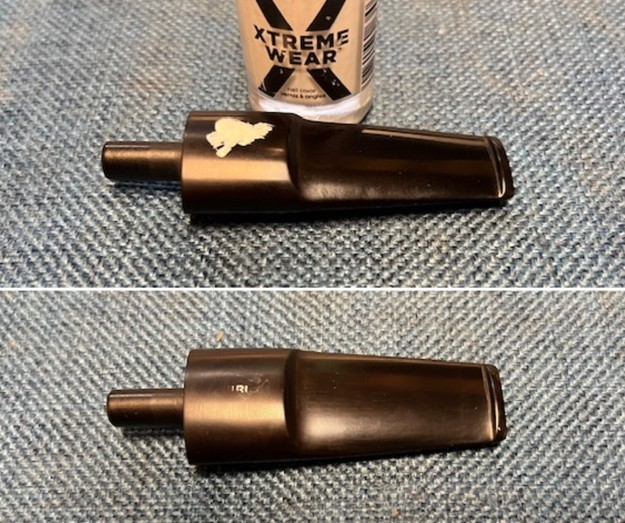
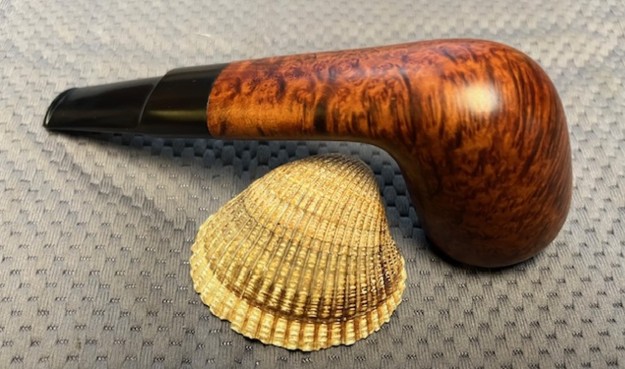
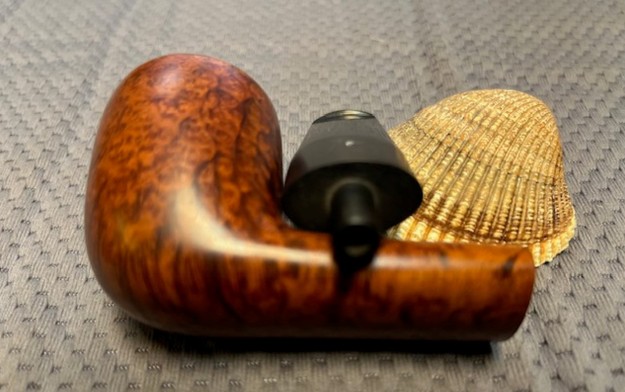
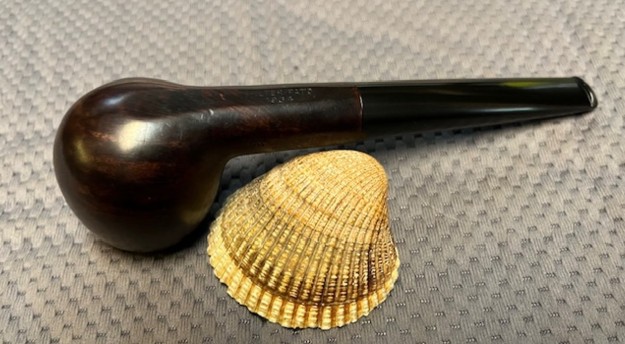
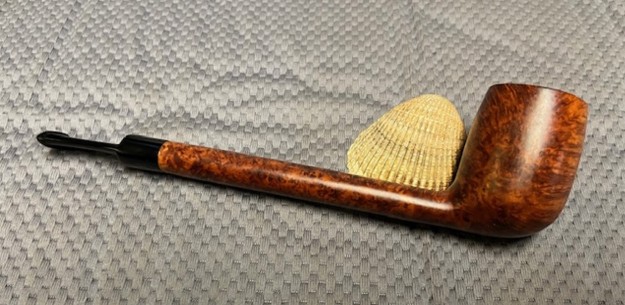
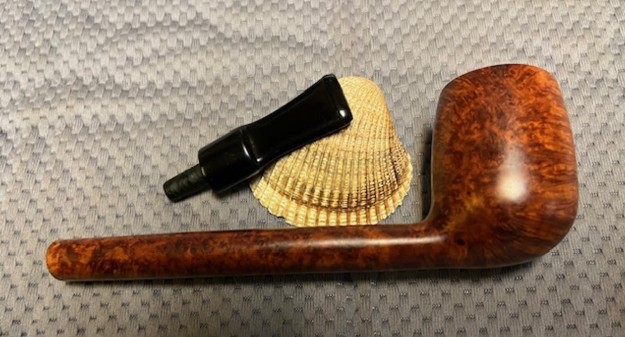
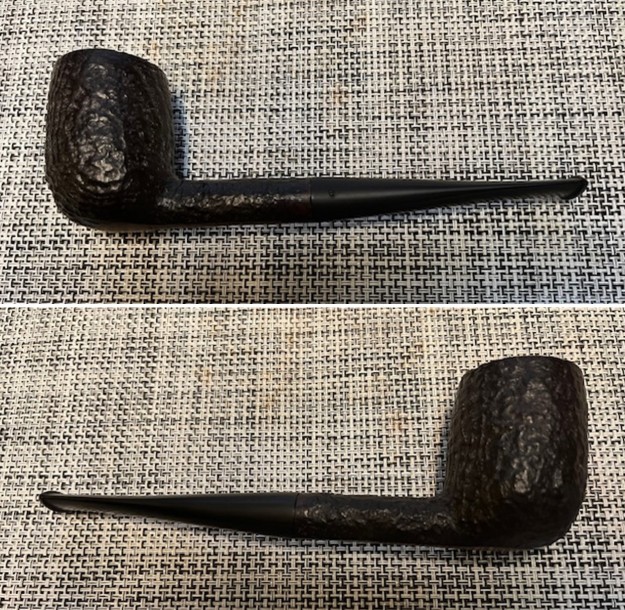
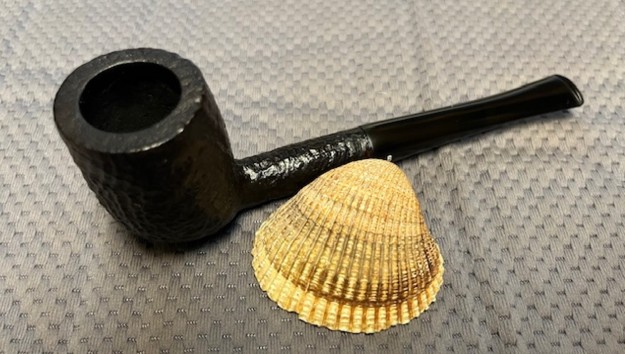
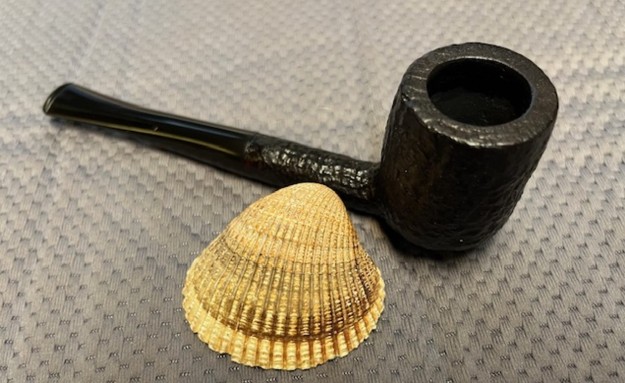
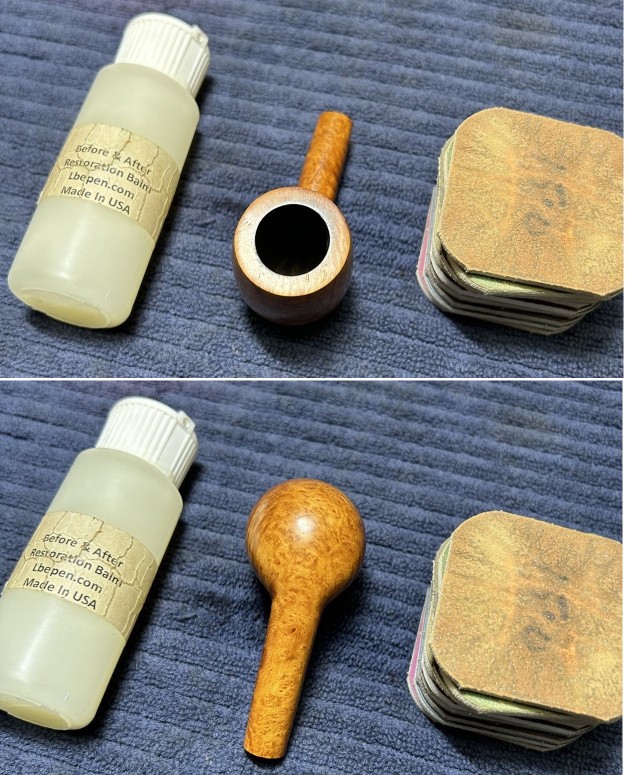 Then it was off for a trip to the buffer. A dose of White Diamond and a few coats of carnauba wax were just what this pipe needed. The lovely shine made the wood look absolutely beautiful.
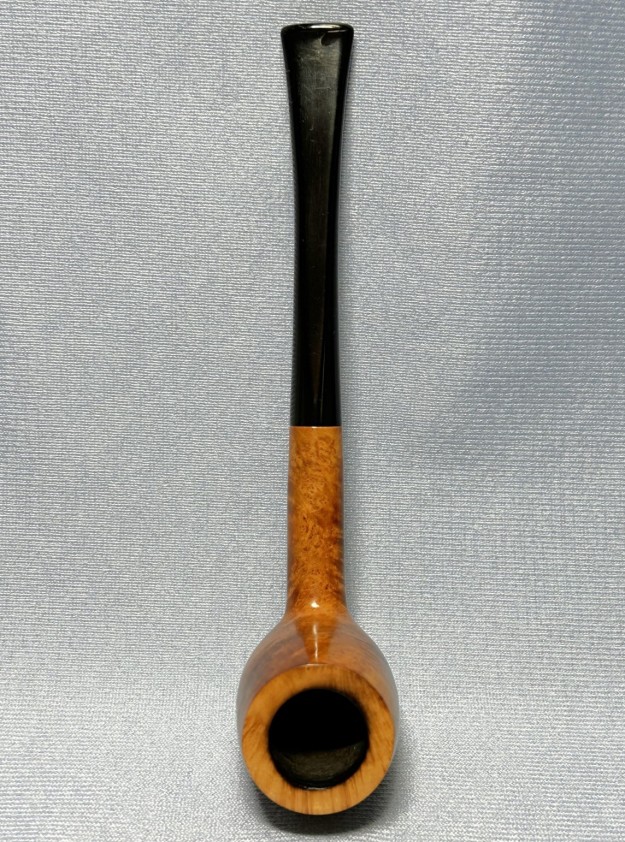
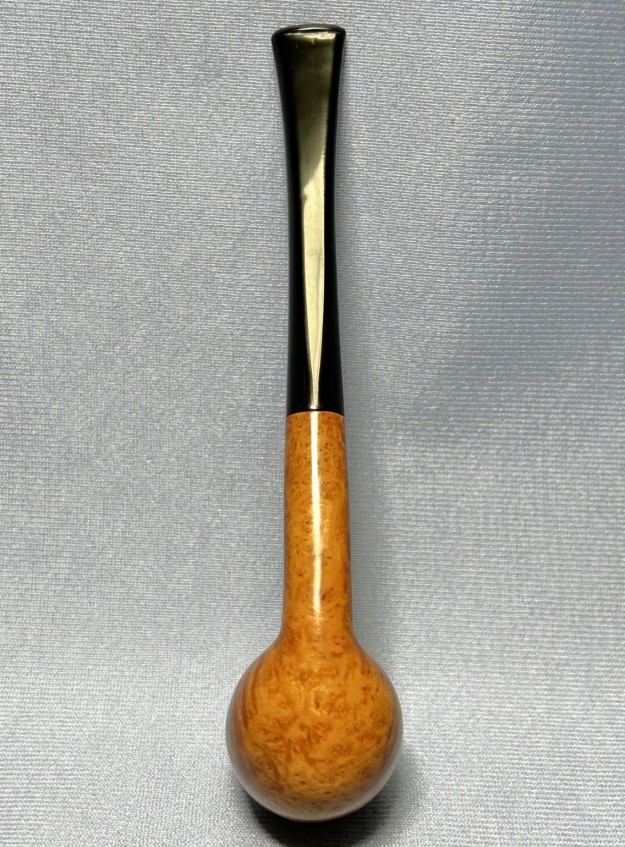
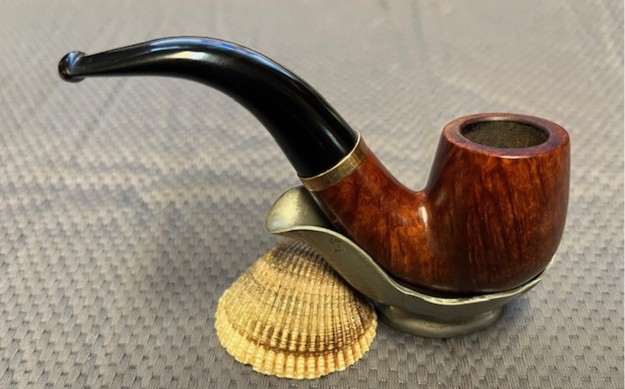
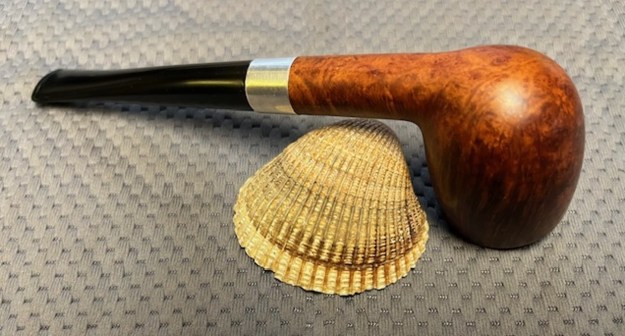
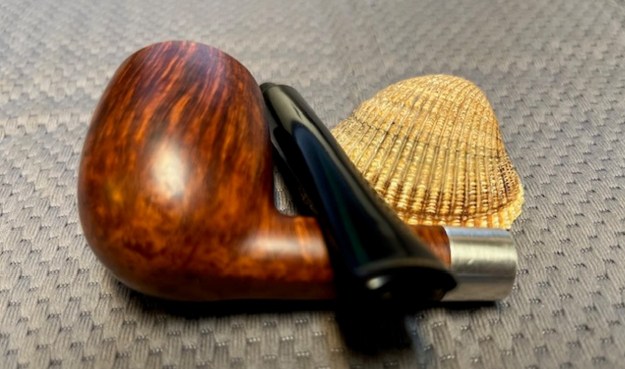
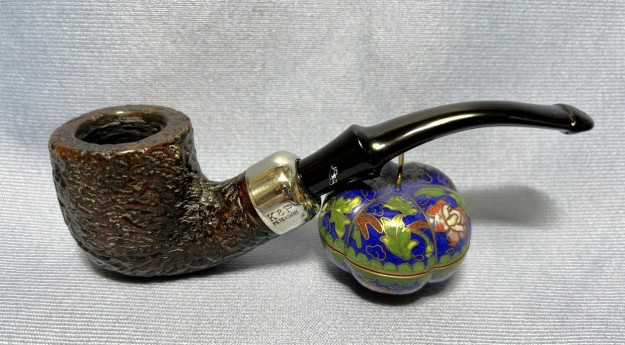
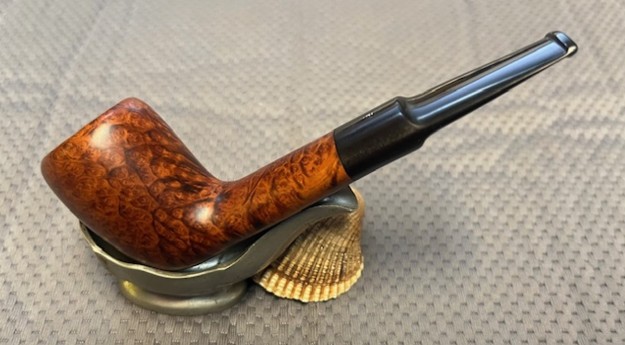
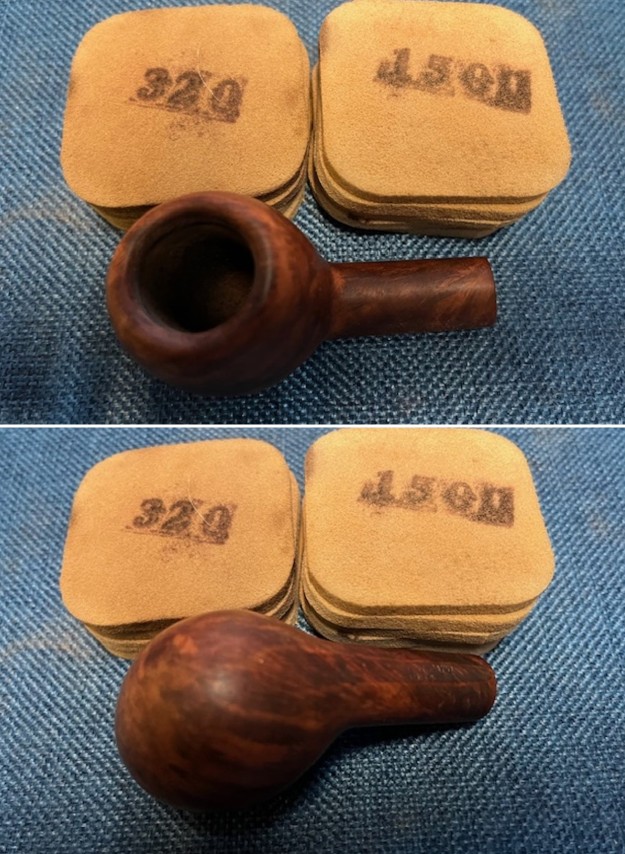
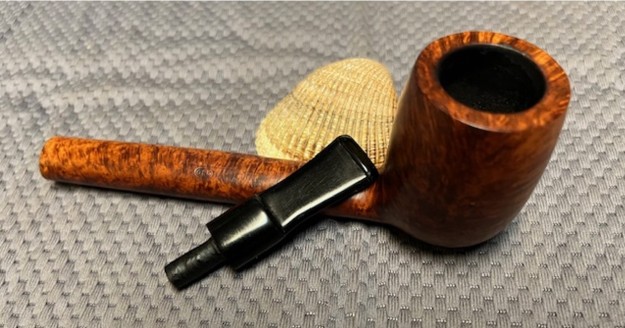
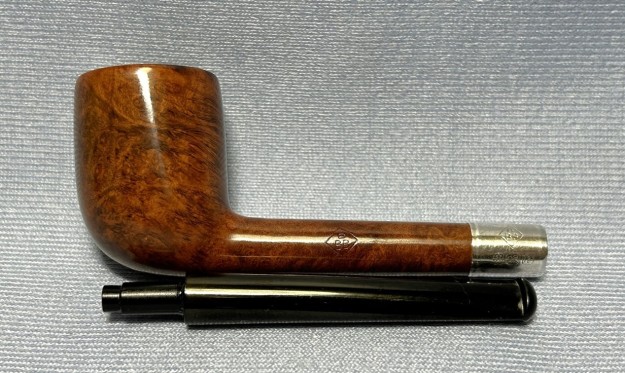
 This is a beautiful pipe that has a very elegant feel to it. I hope the final product is worthy of my beloved grandfather’s memory. Obviously, this is one pipe that I am keeping for myself and adding to my collection. The approximate dimensions of the Portland First Call are as follows: length 6⅓ in. (160 mm); height 1¾ in. (44 mm); bowl diameter 1¼ in. (32 mm); chamber diameter ⅔ in. (17 mm). The weight of the pipe is 1 oz. (30 g). I hope you enjoyed reading the story of this pipe as much I as I did restoring it. If you are interested in more of my work, please follow me here on Steve’s website or email me directly at kenneth@knightsofthepipe.com. Thank you very much for reading and, as always, I welcome and encourage your comments.