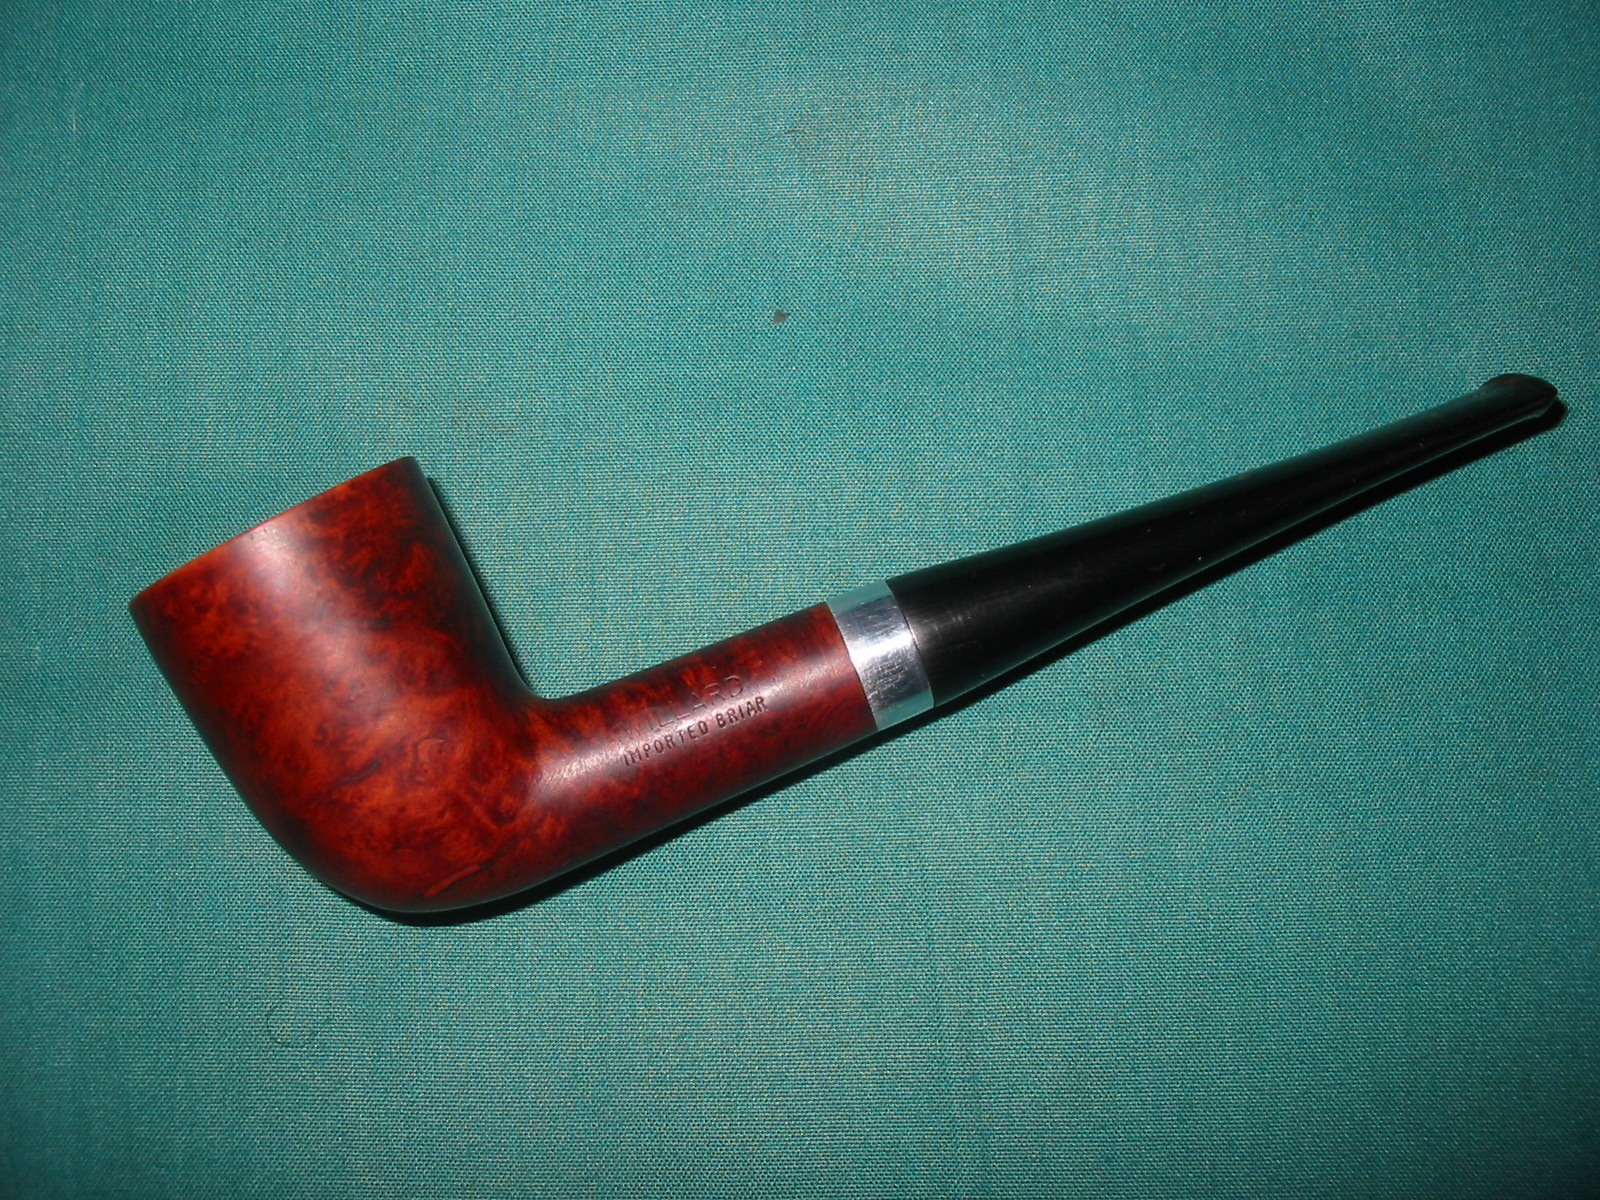
Blog by Steve Laug
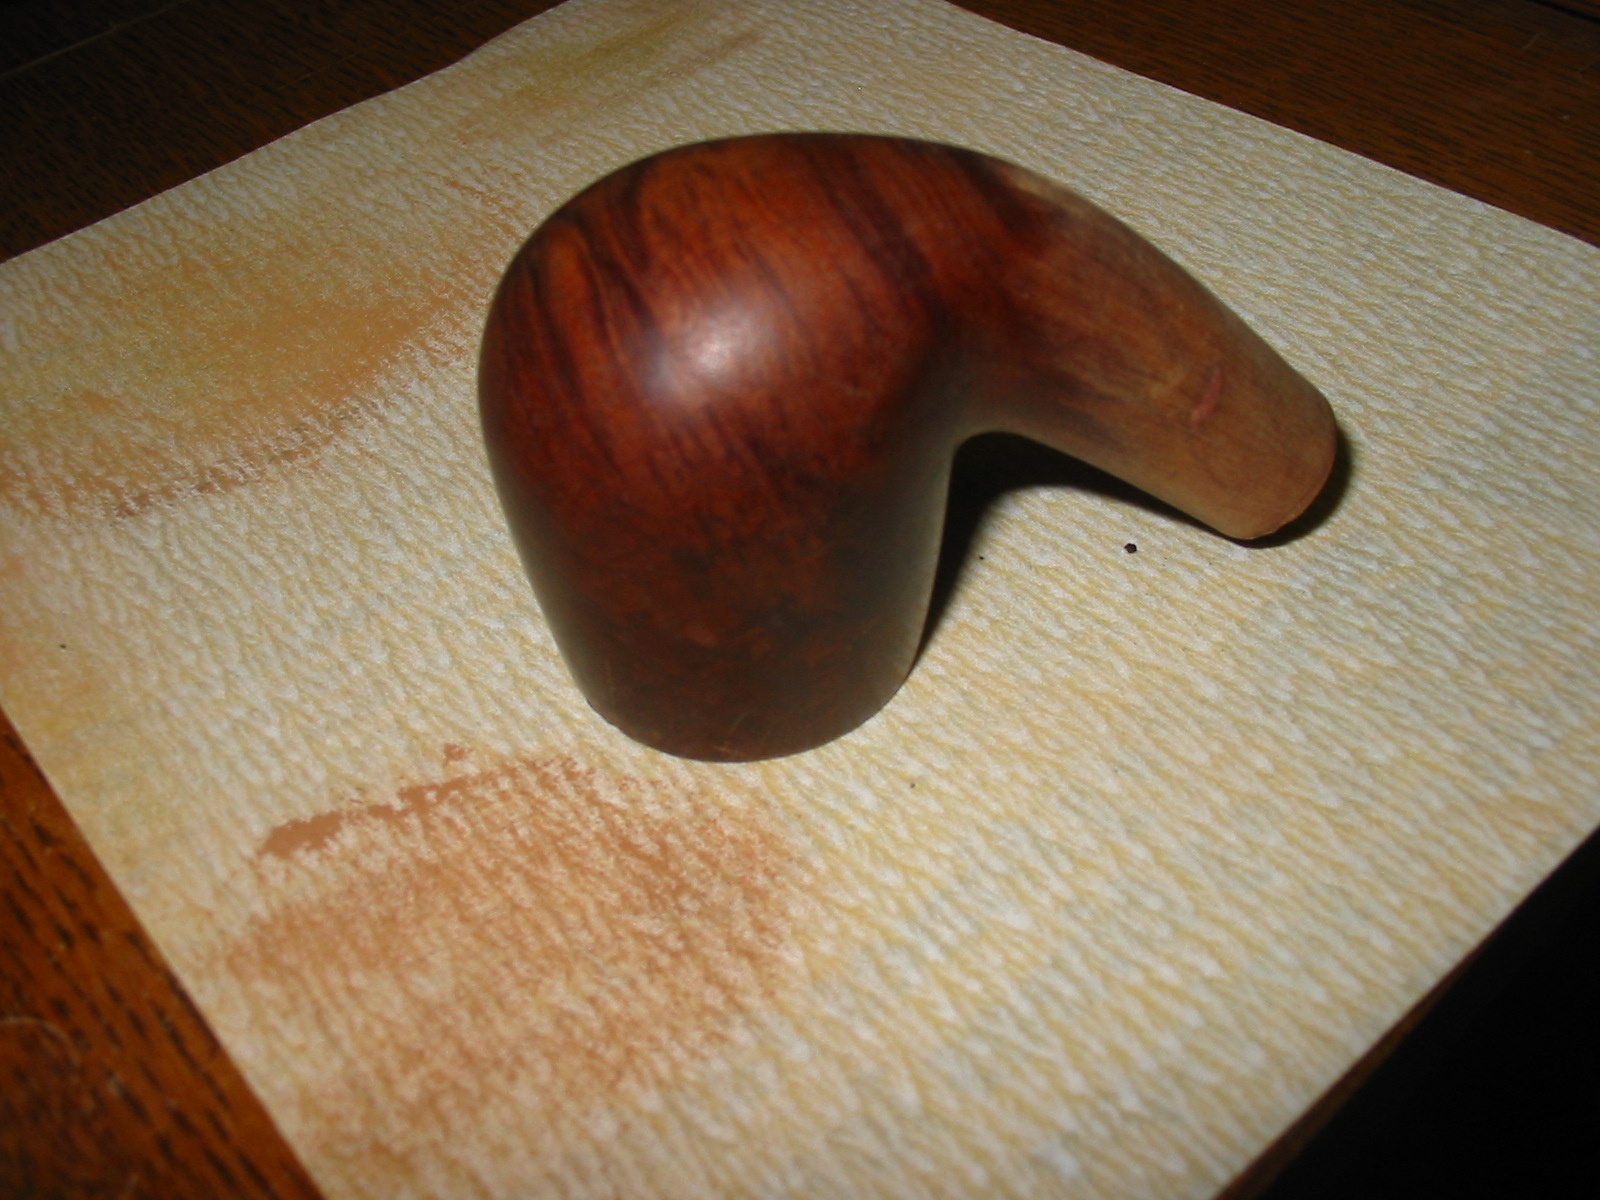
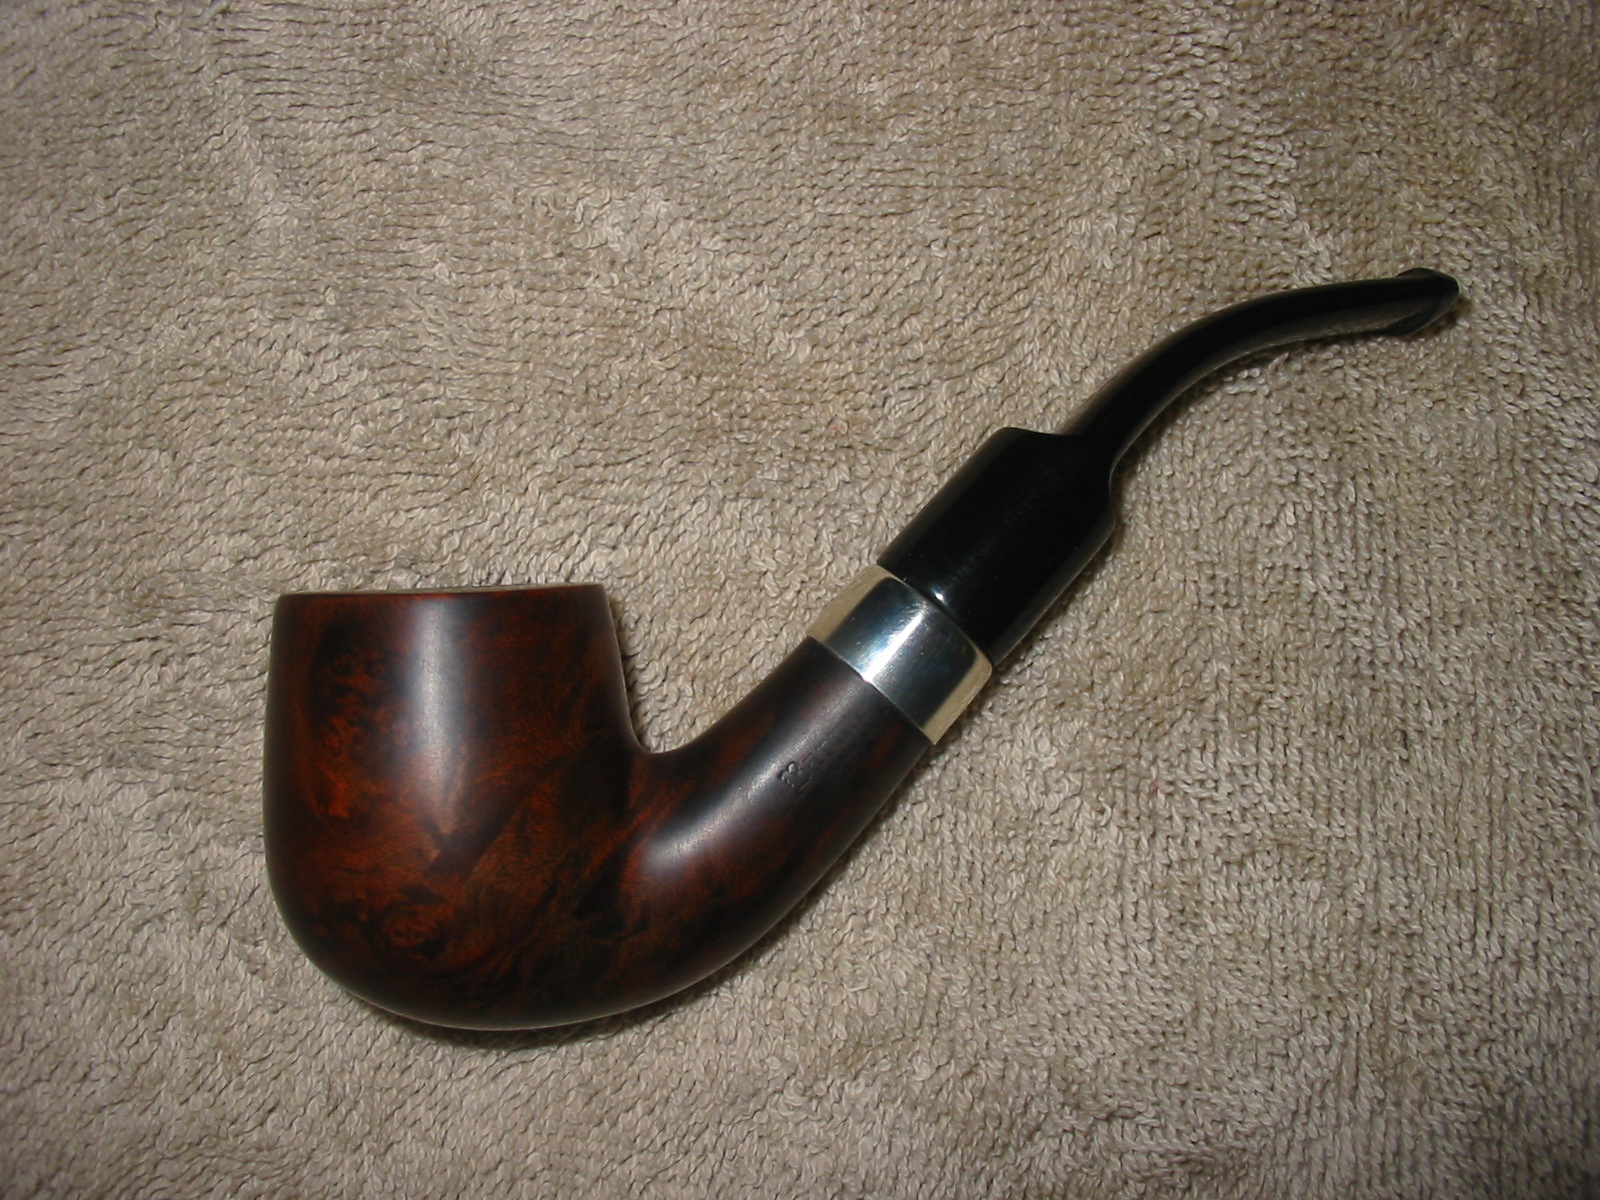
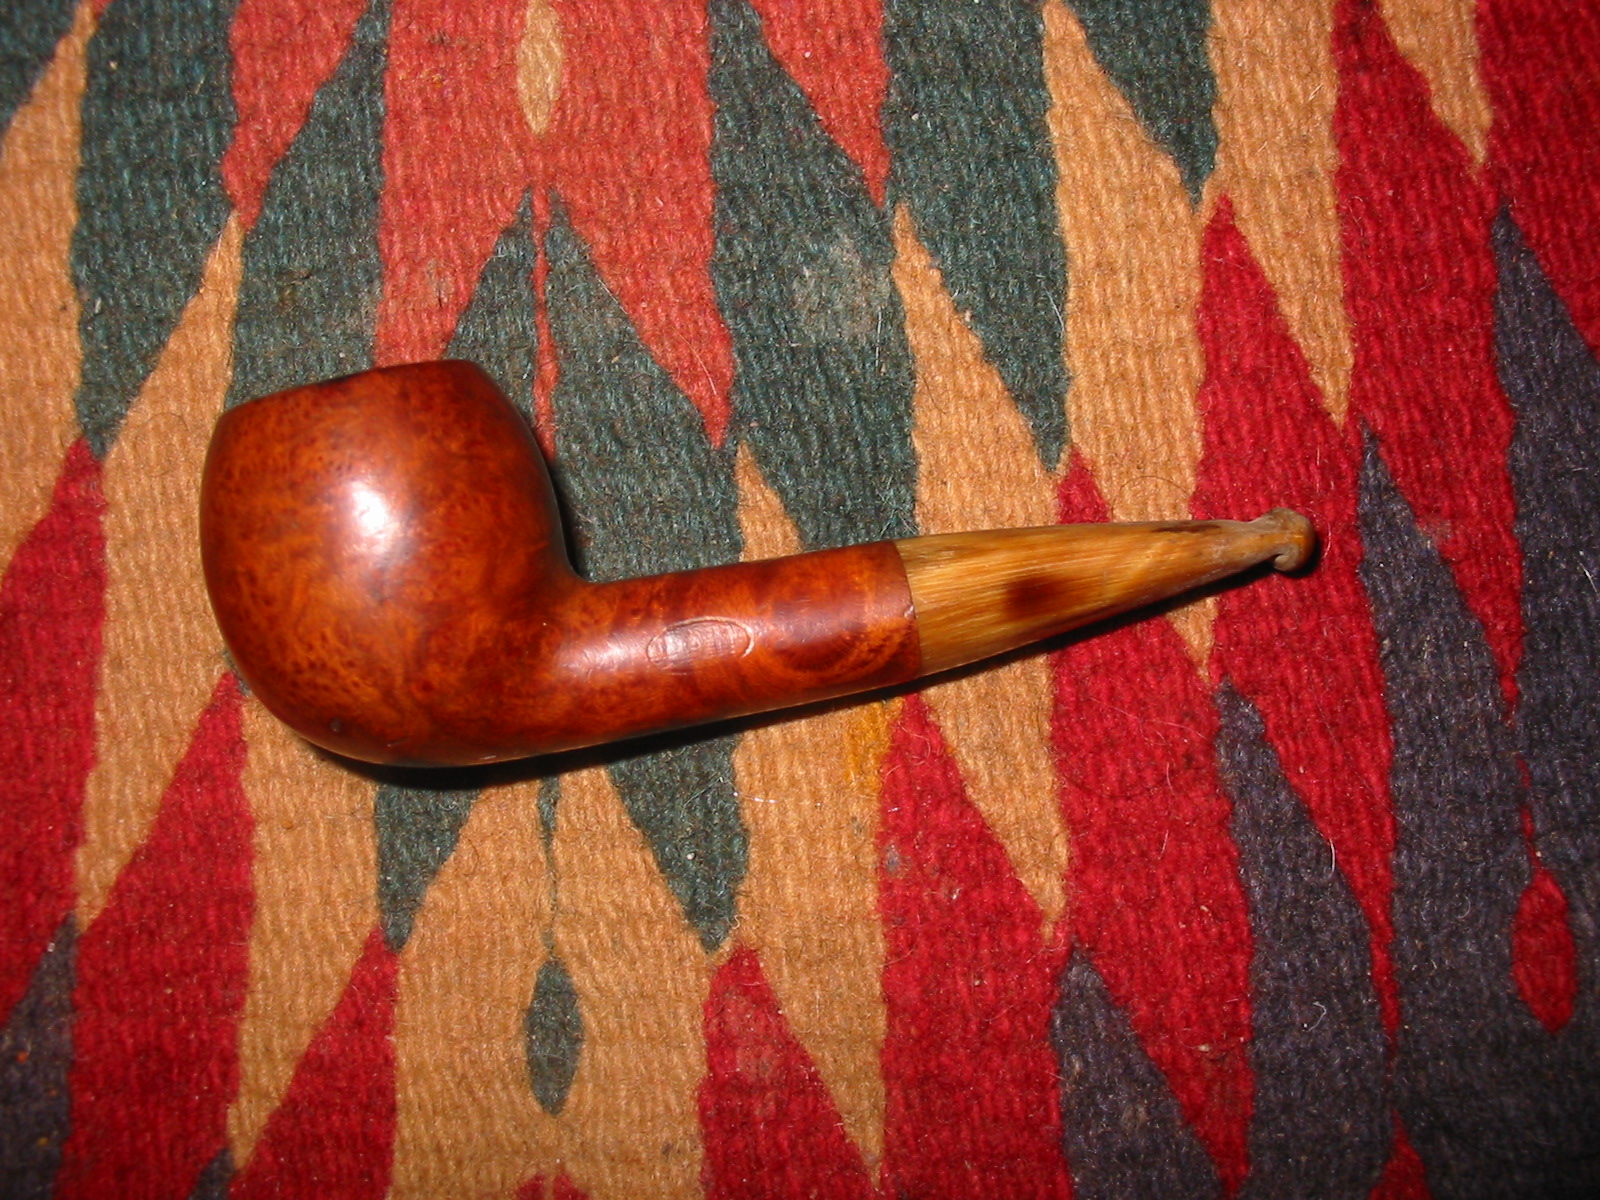
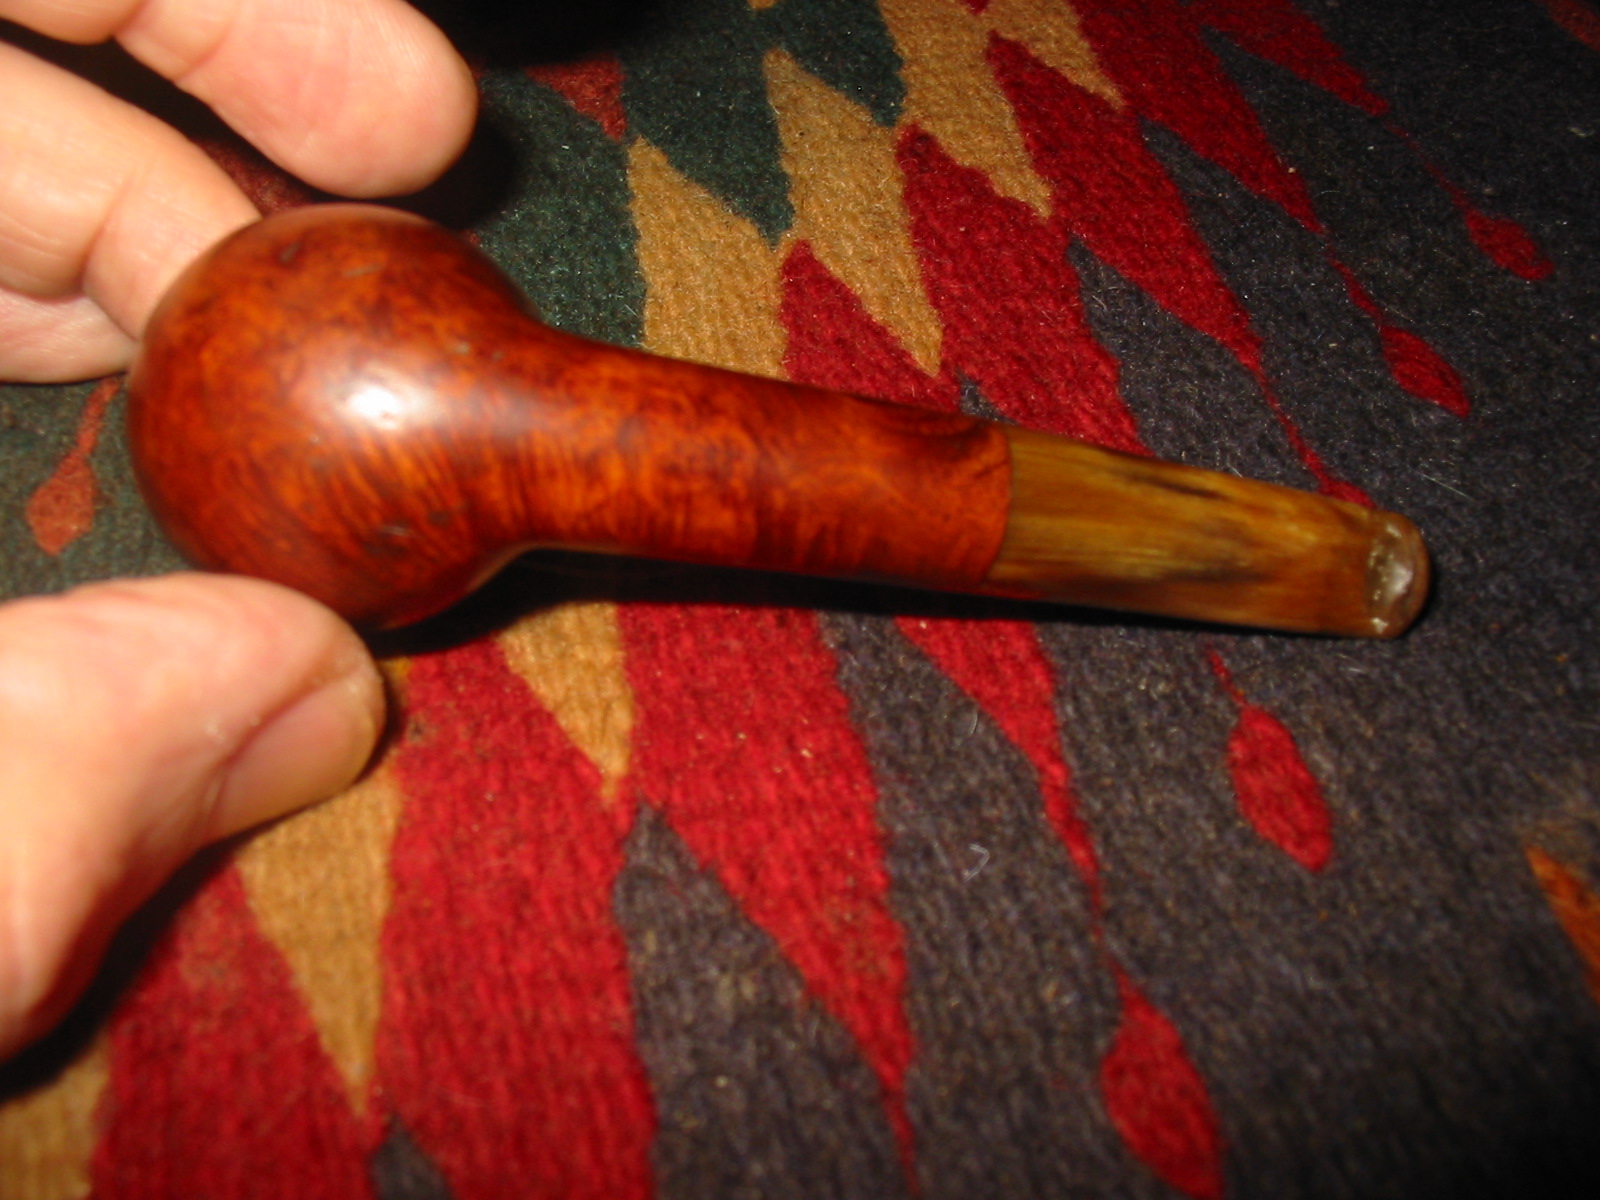
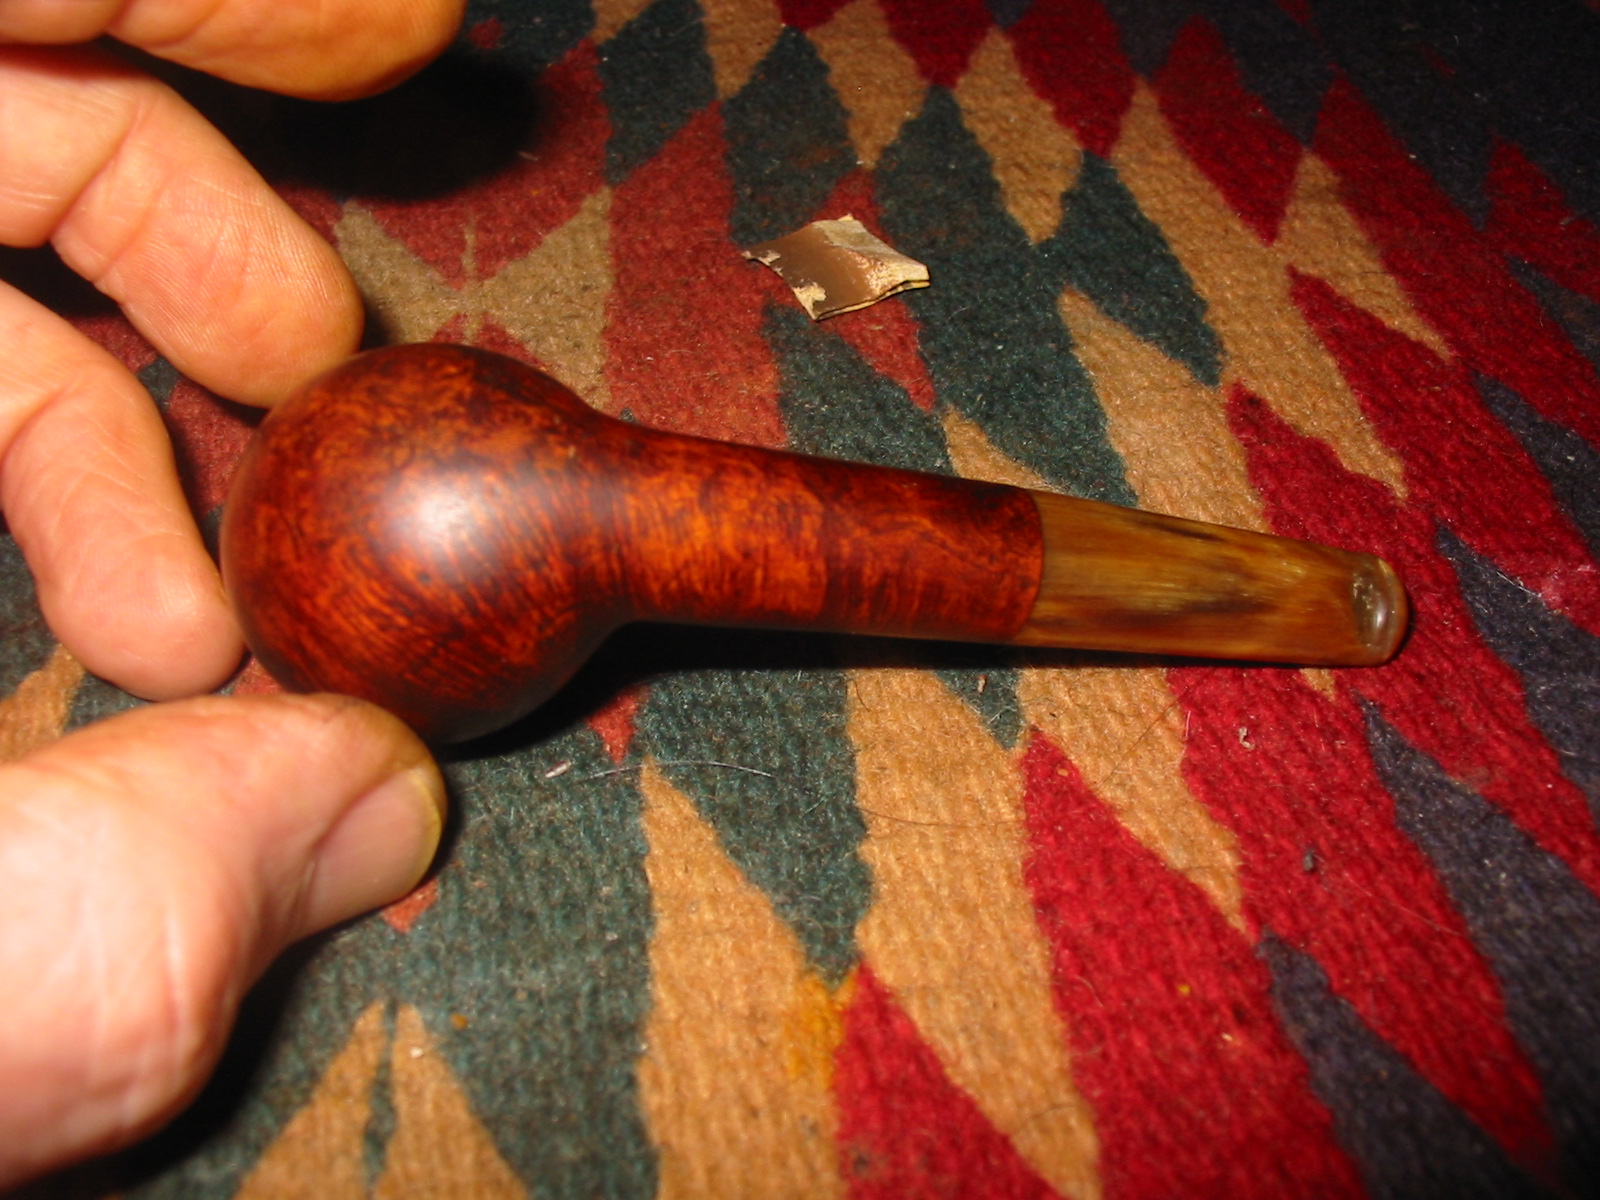
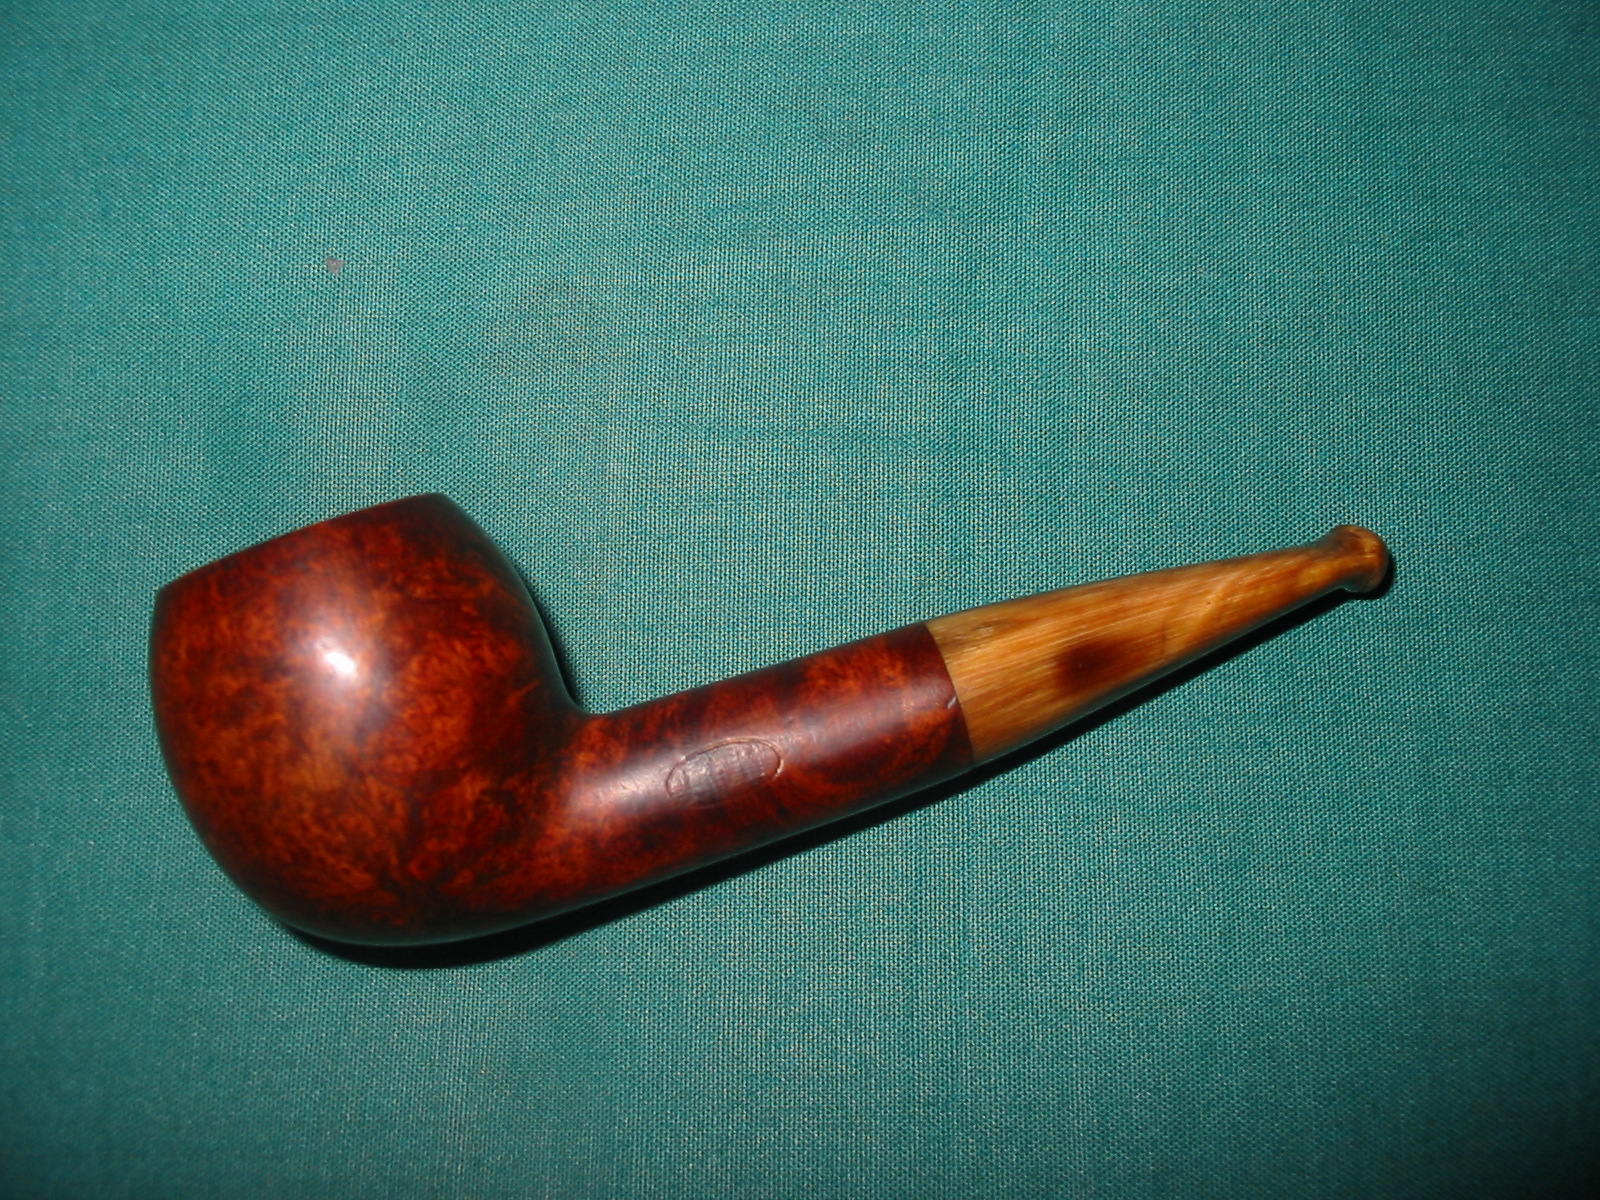
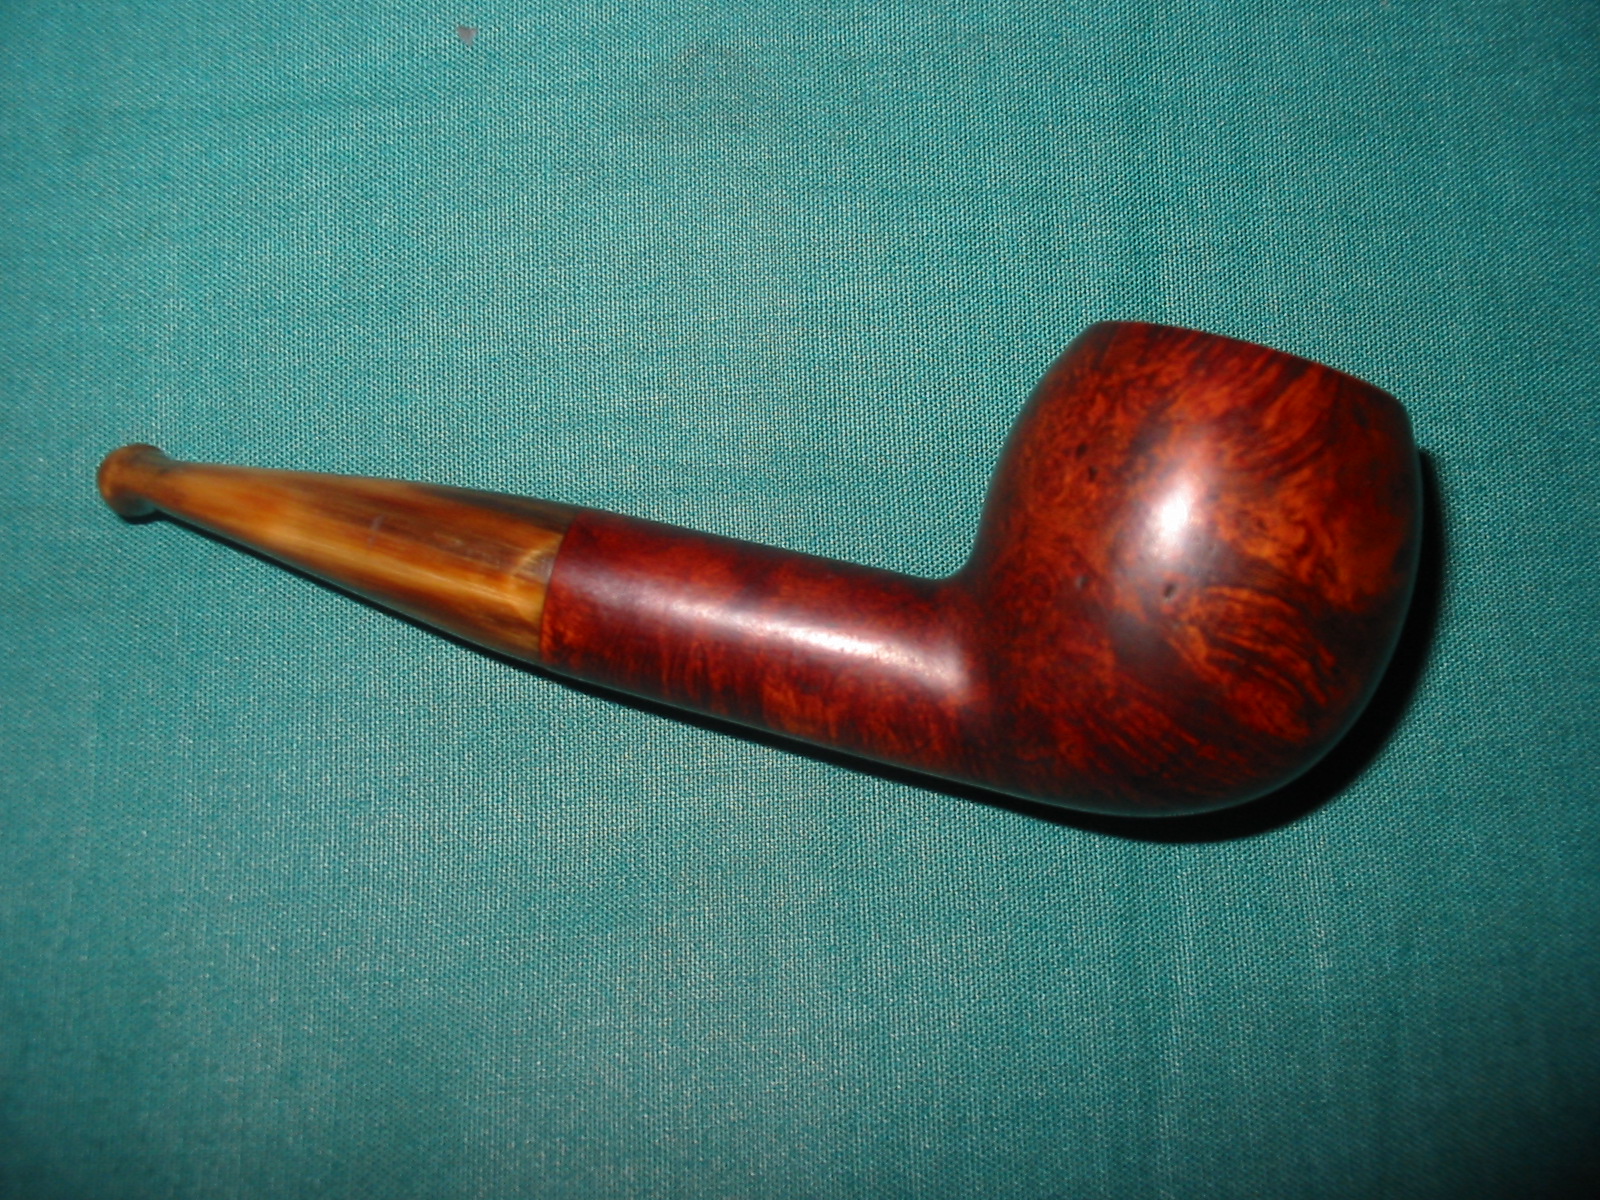
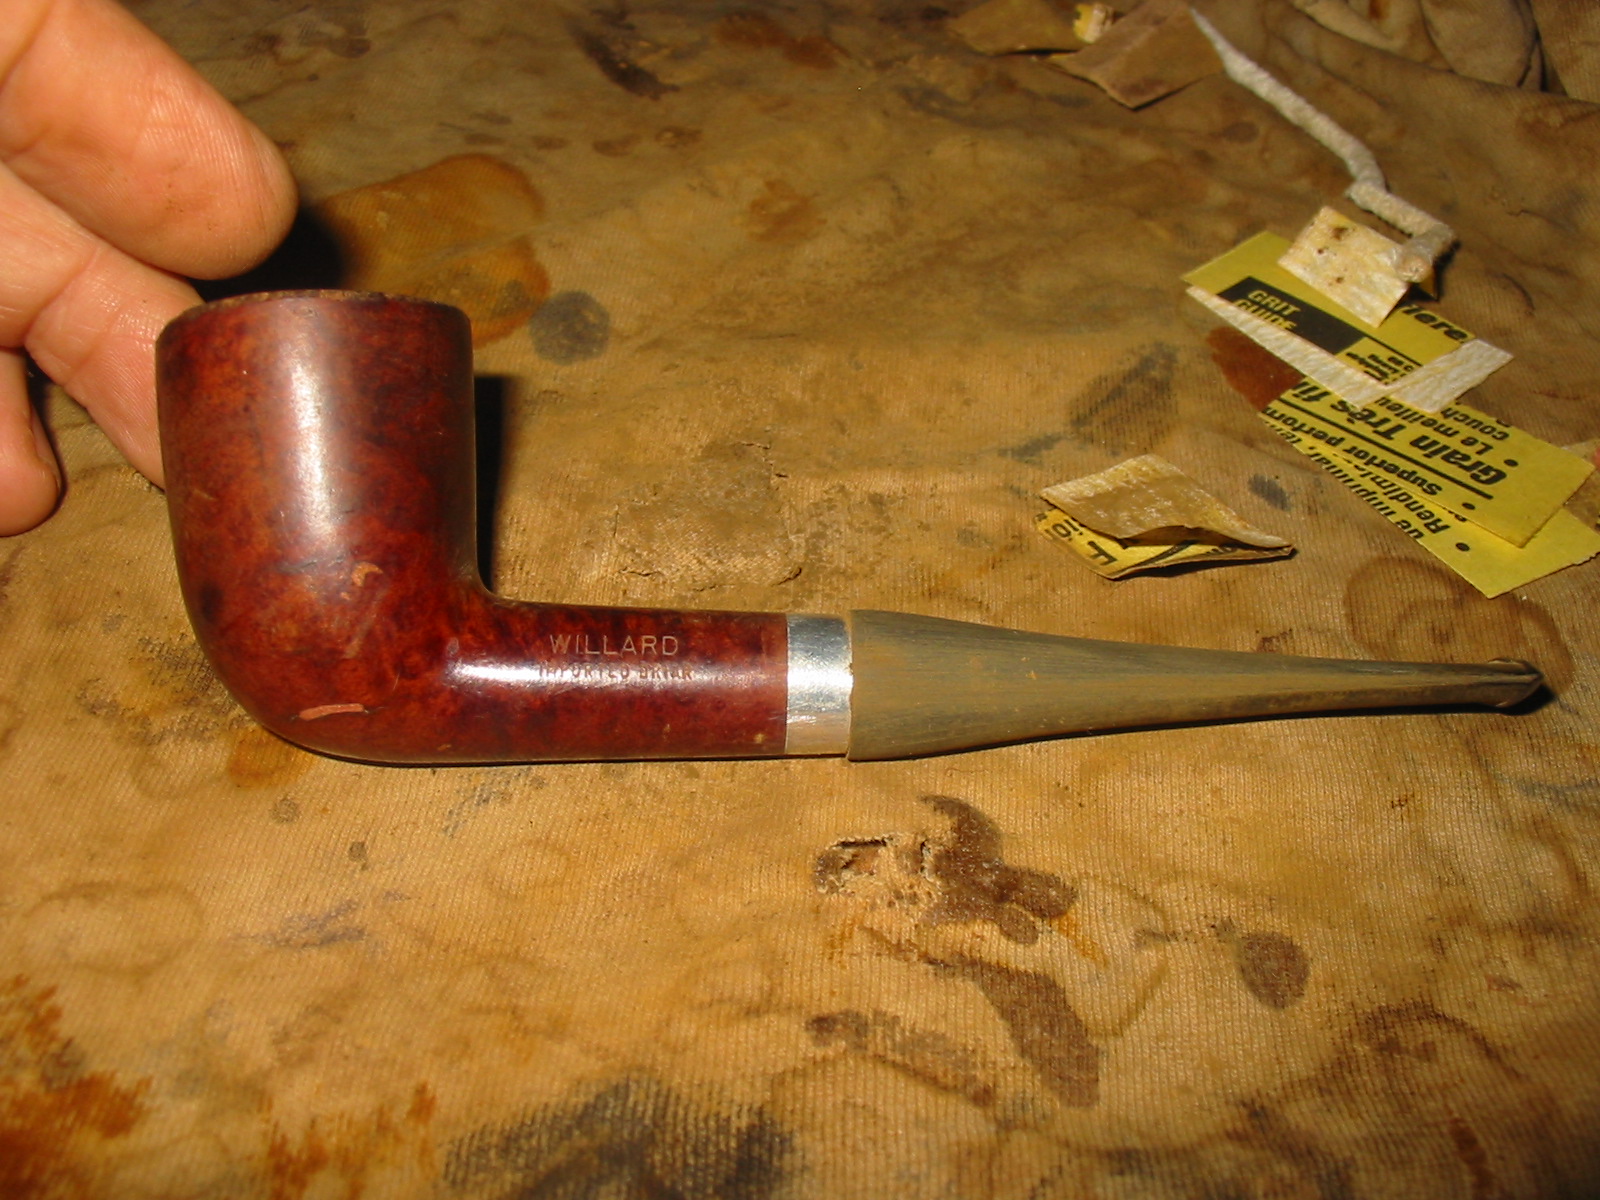
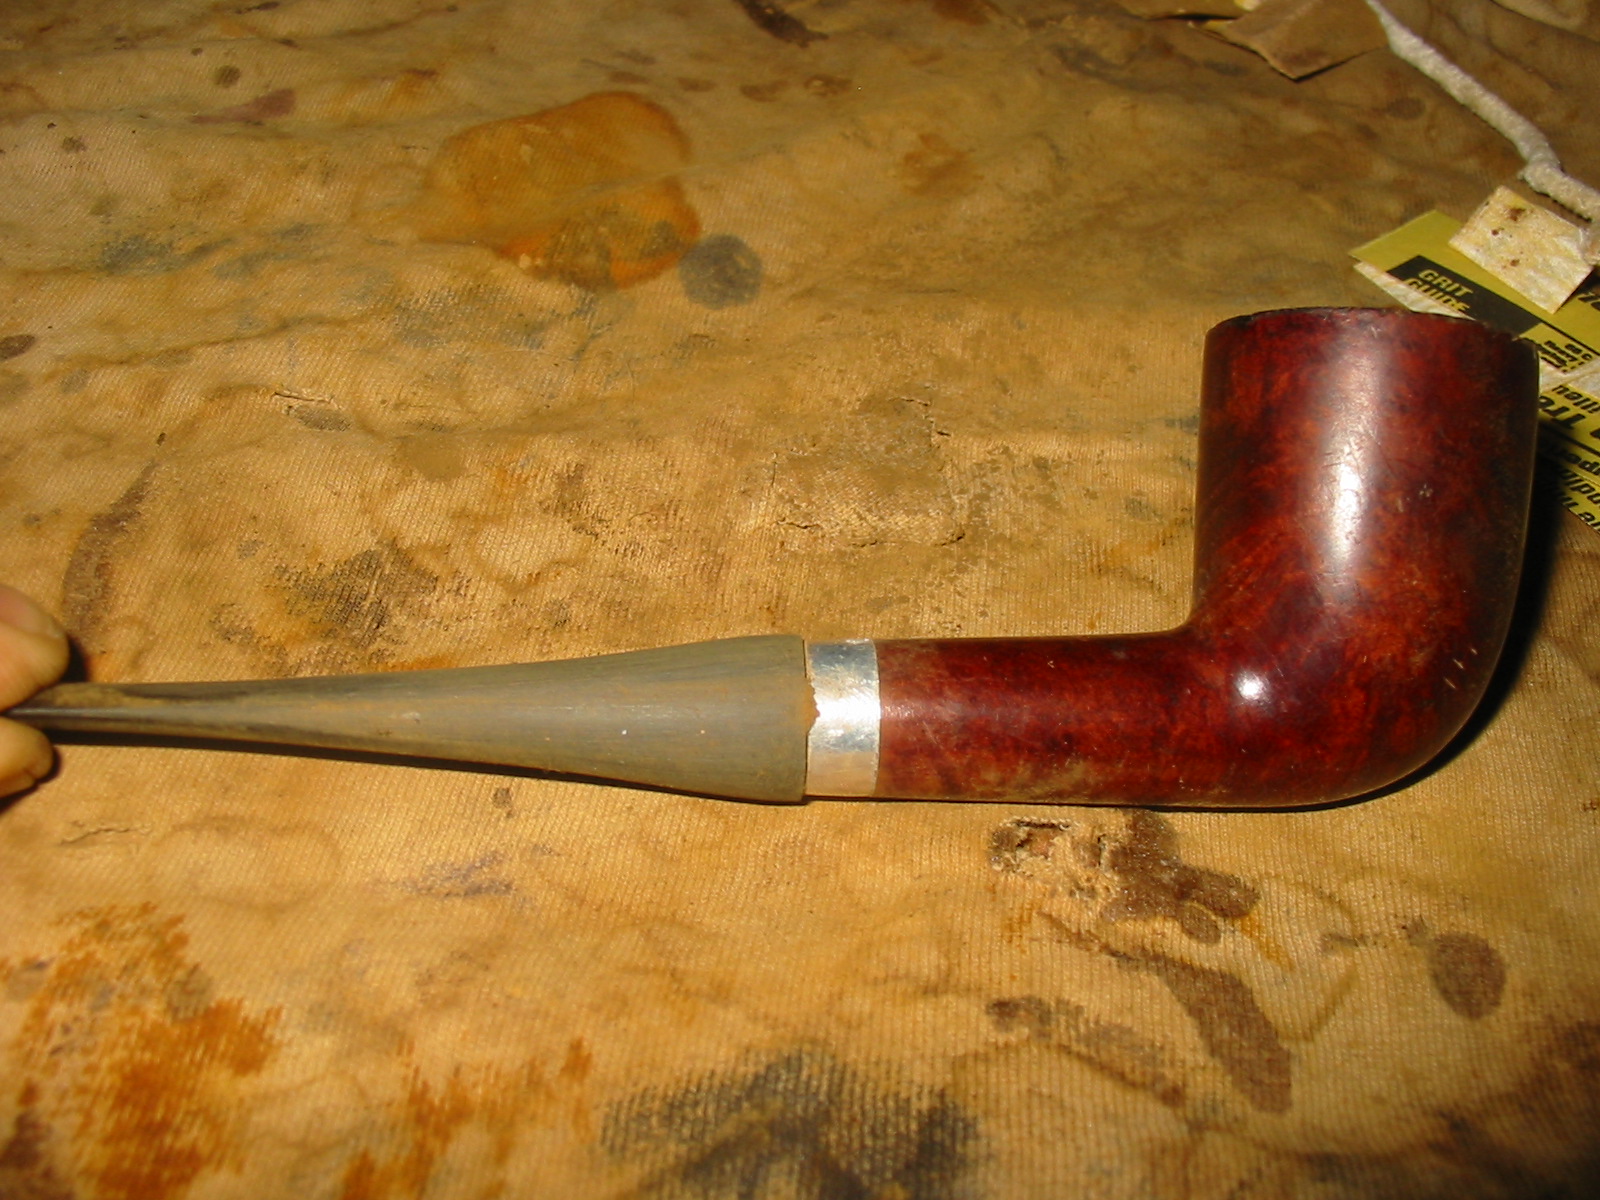
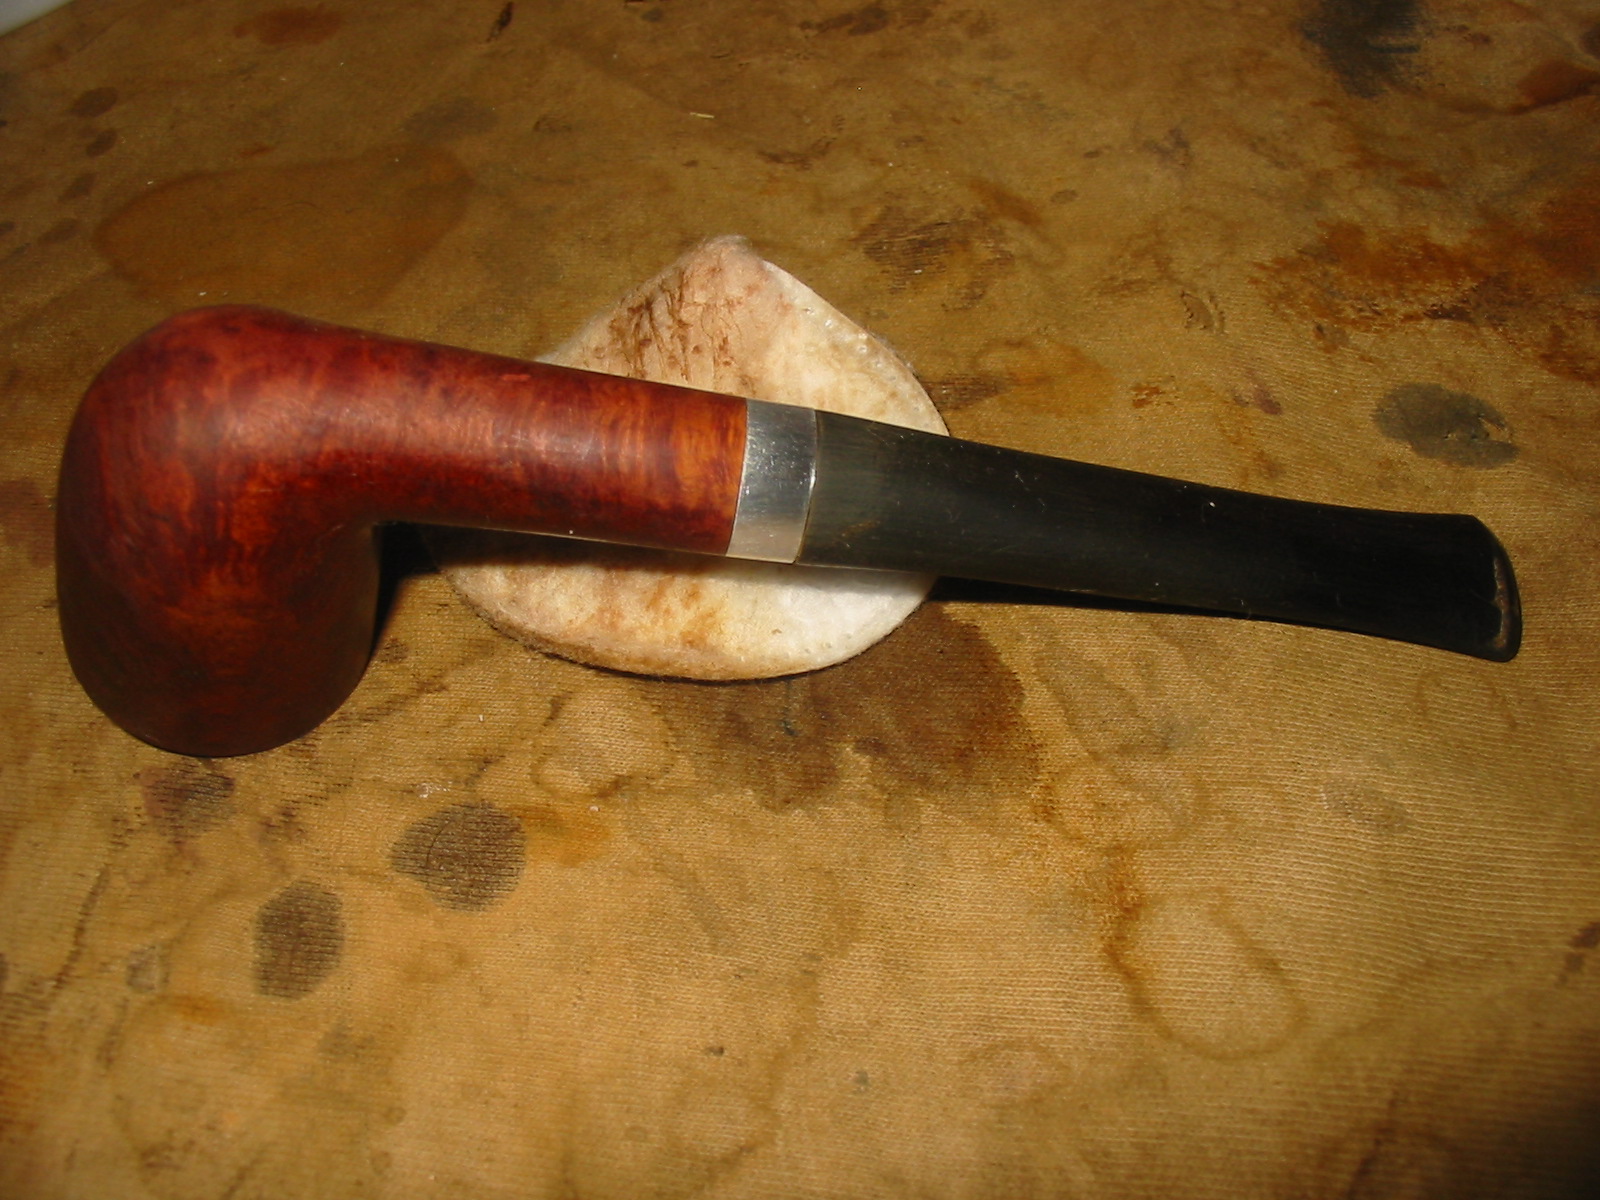
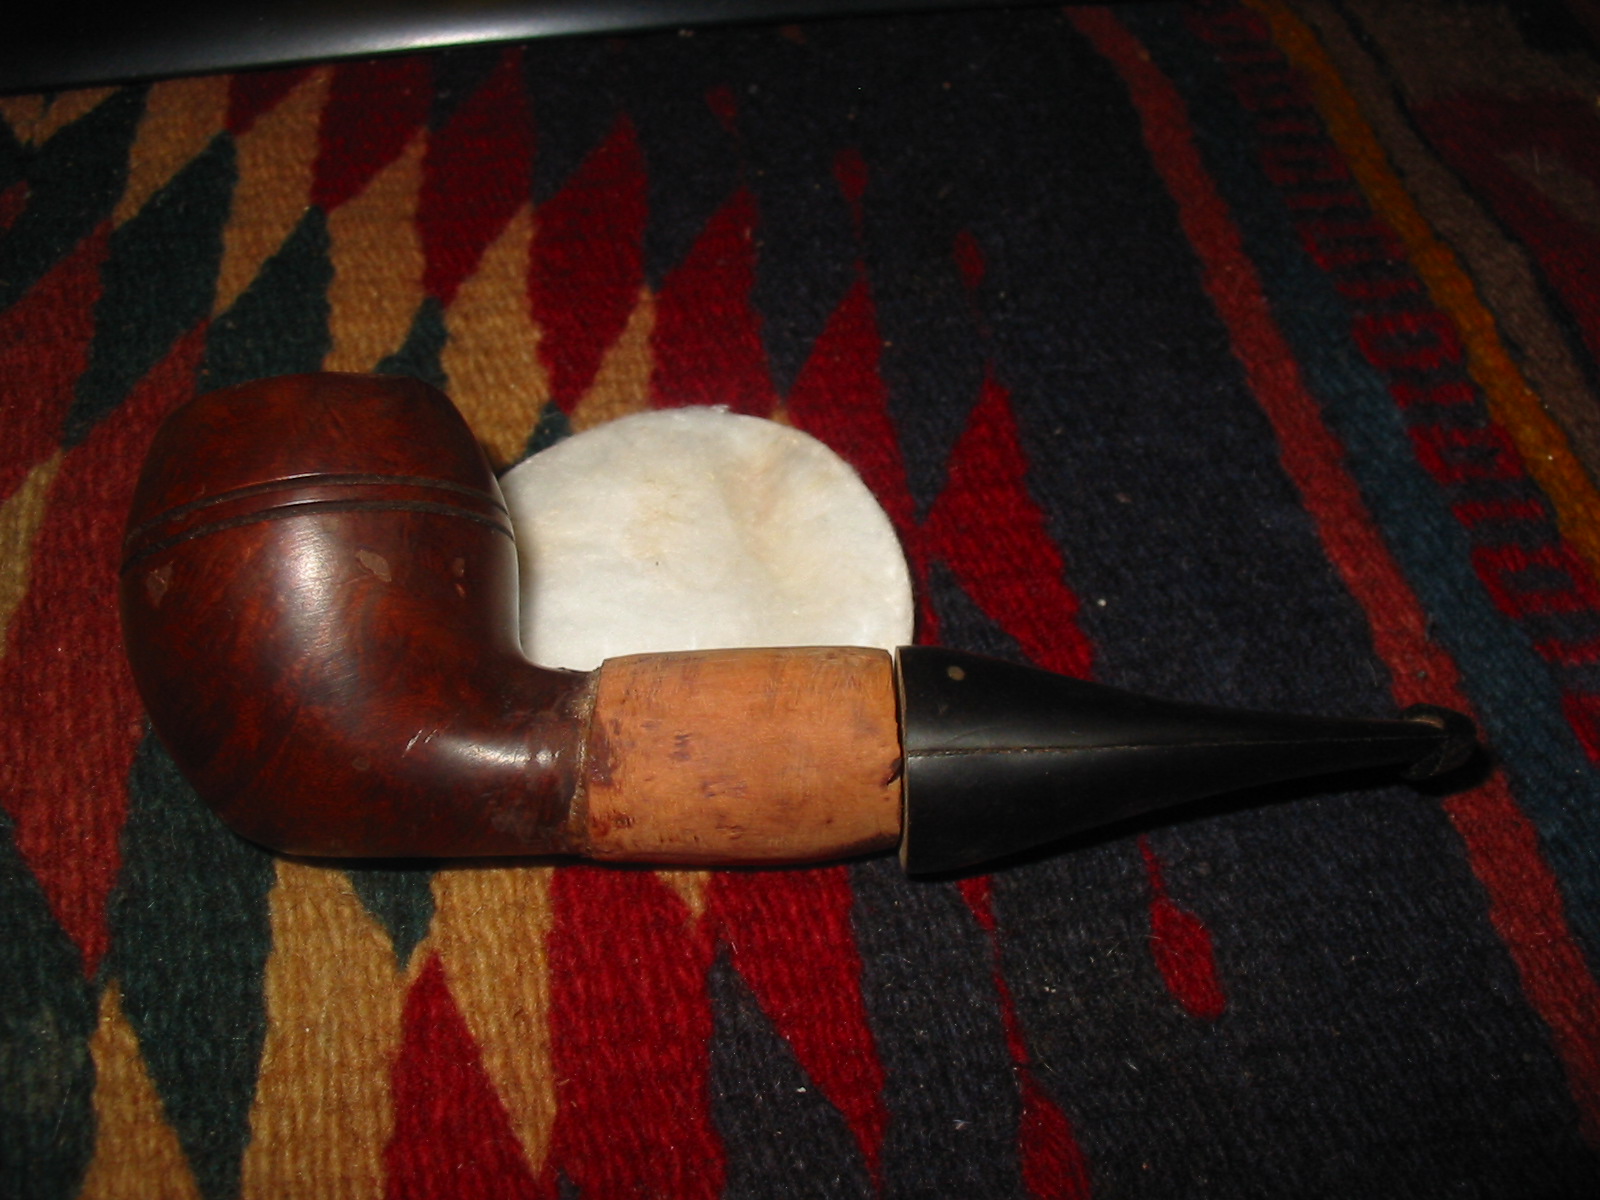
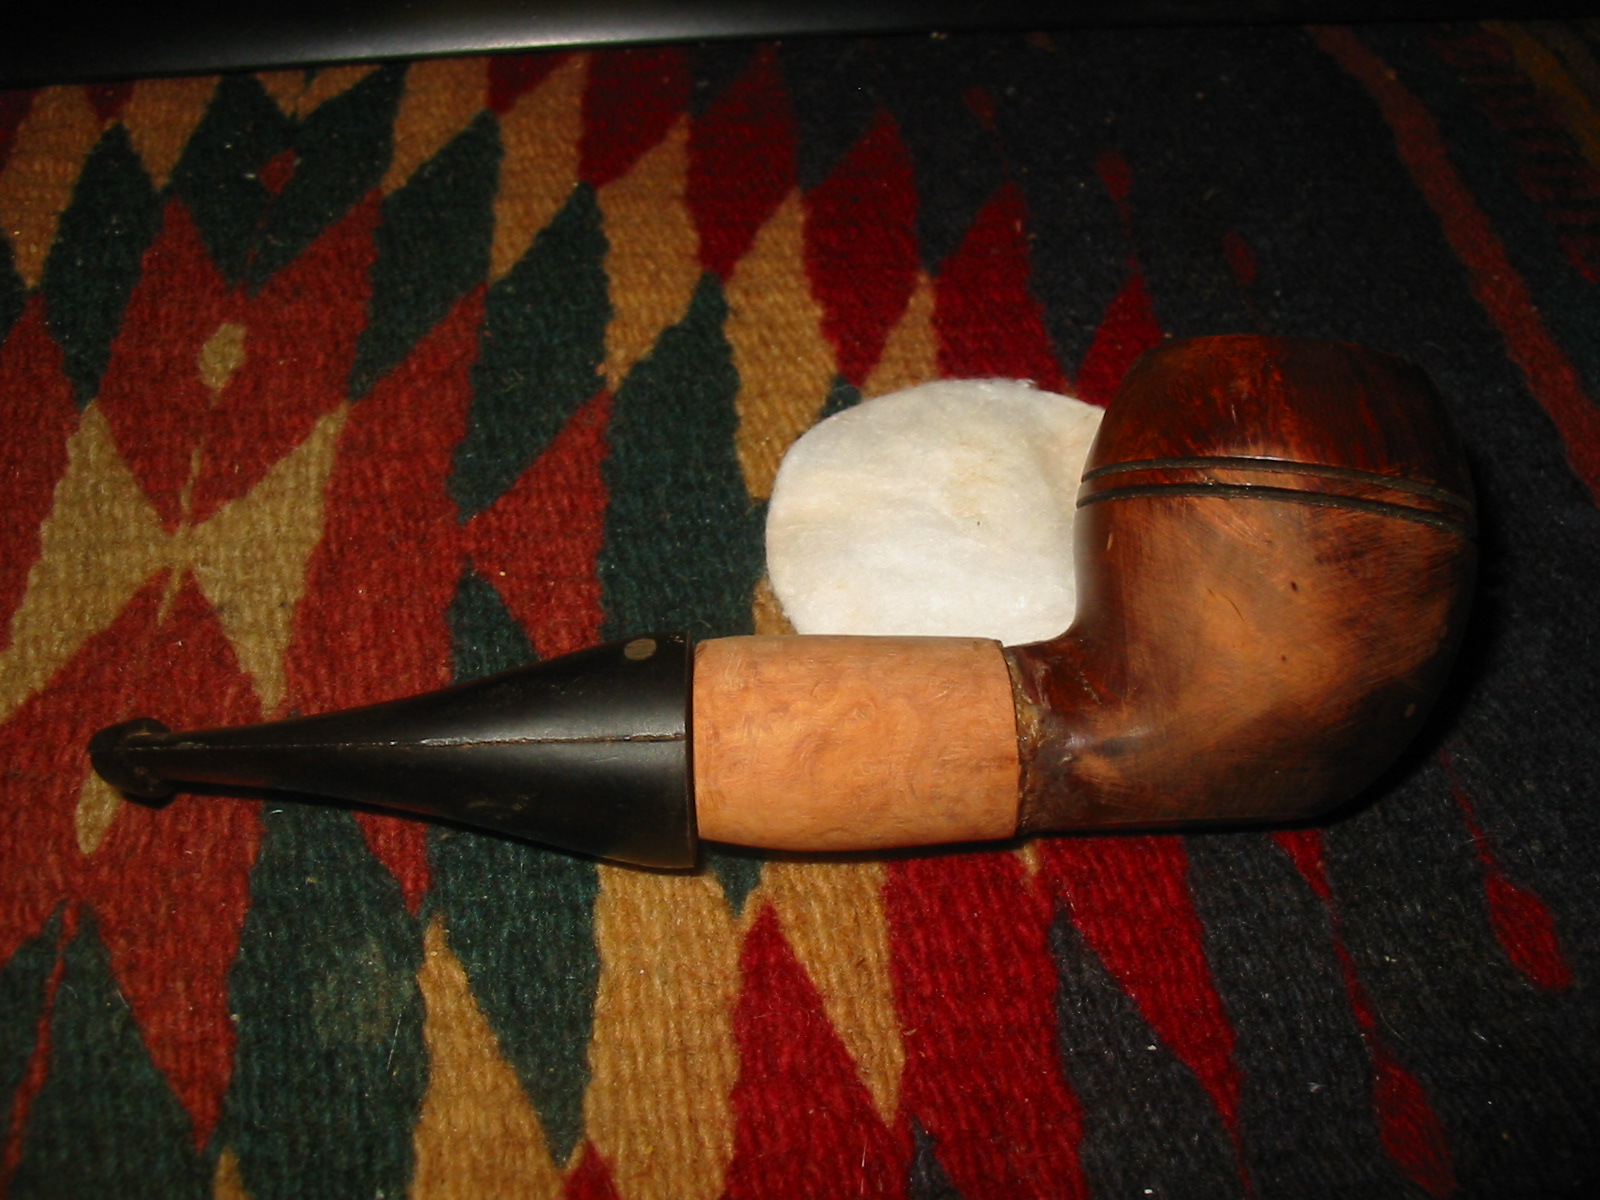
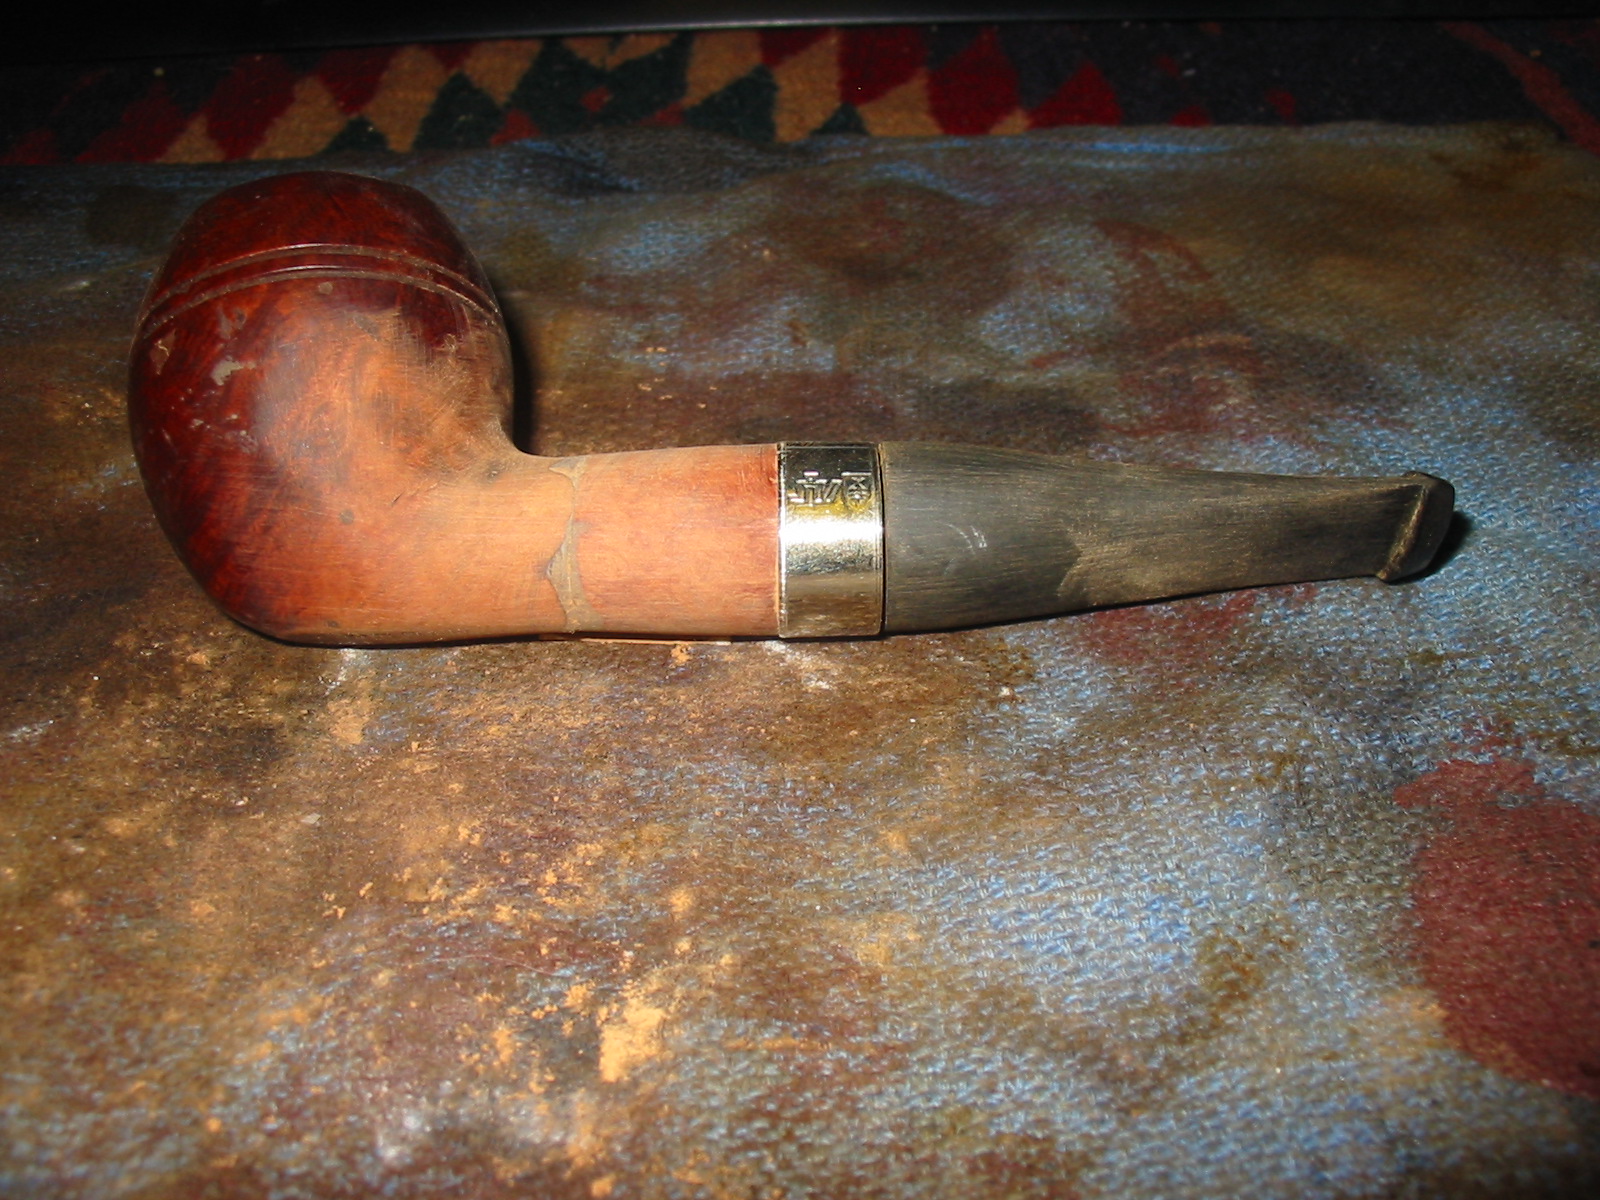
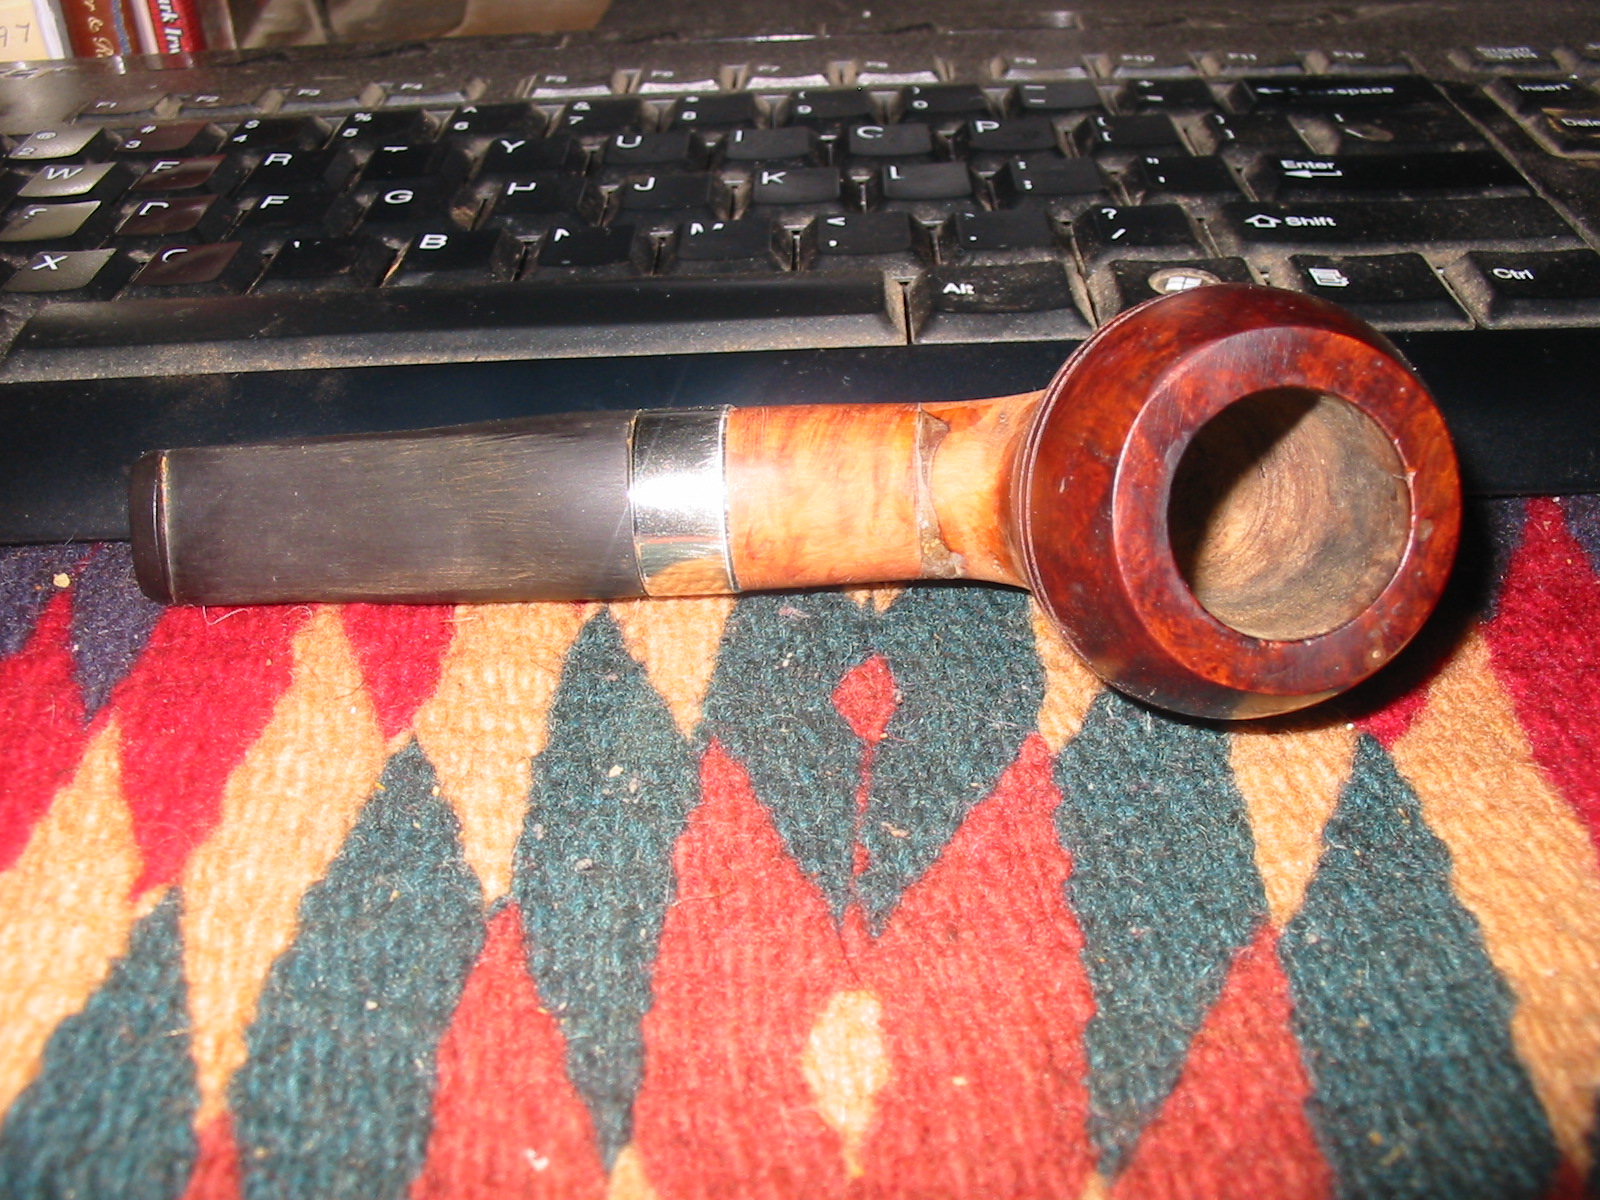
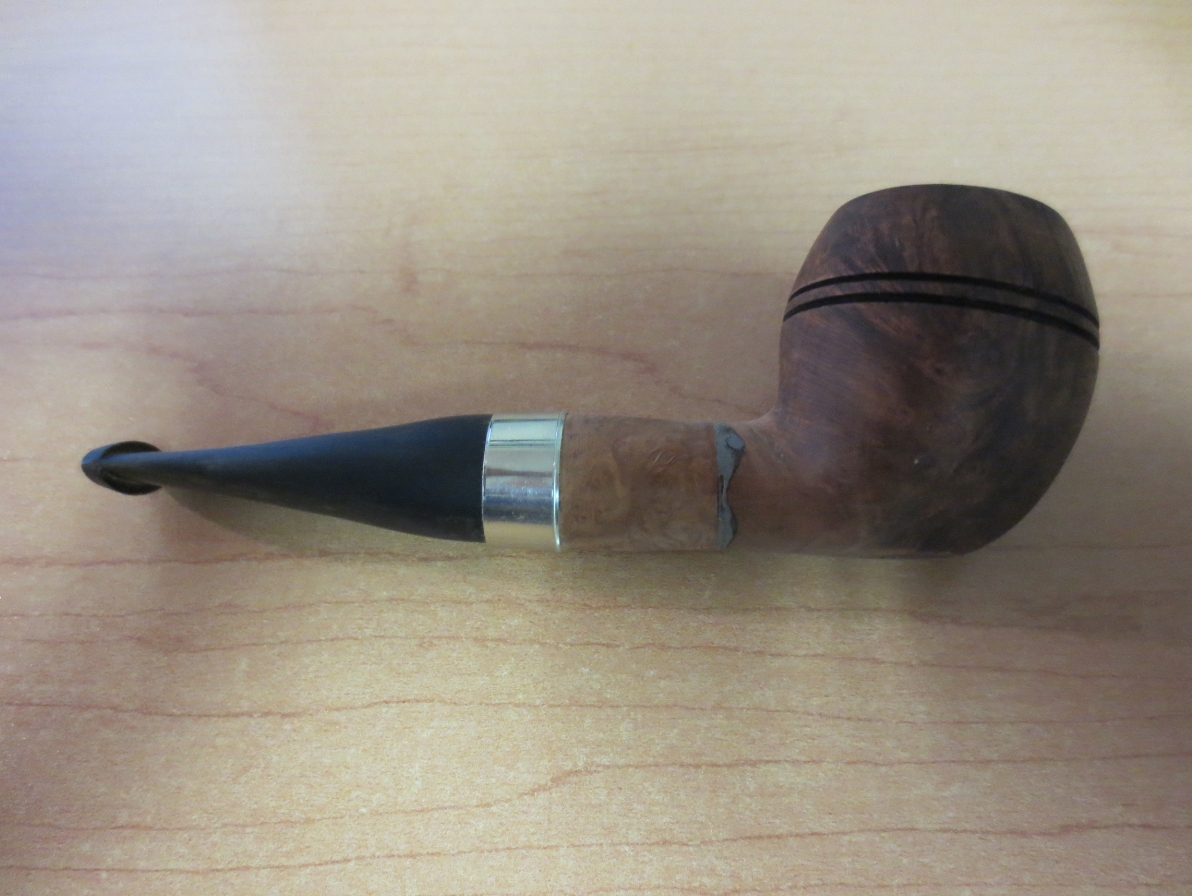
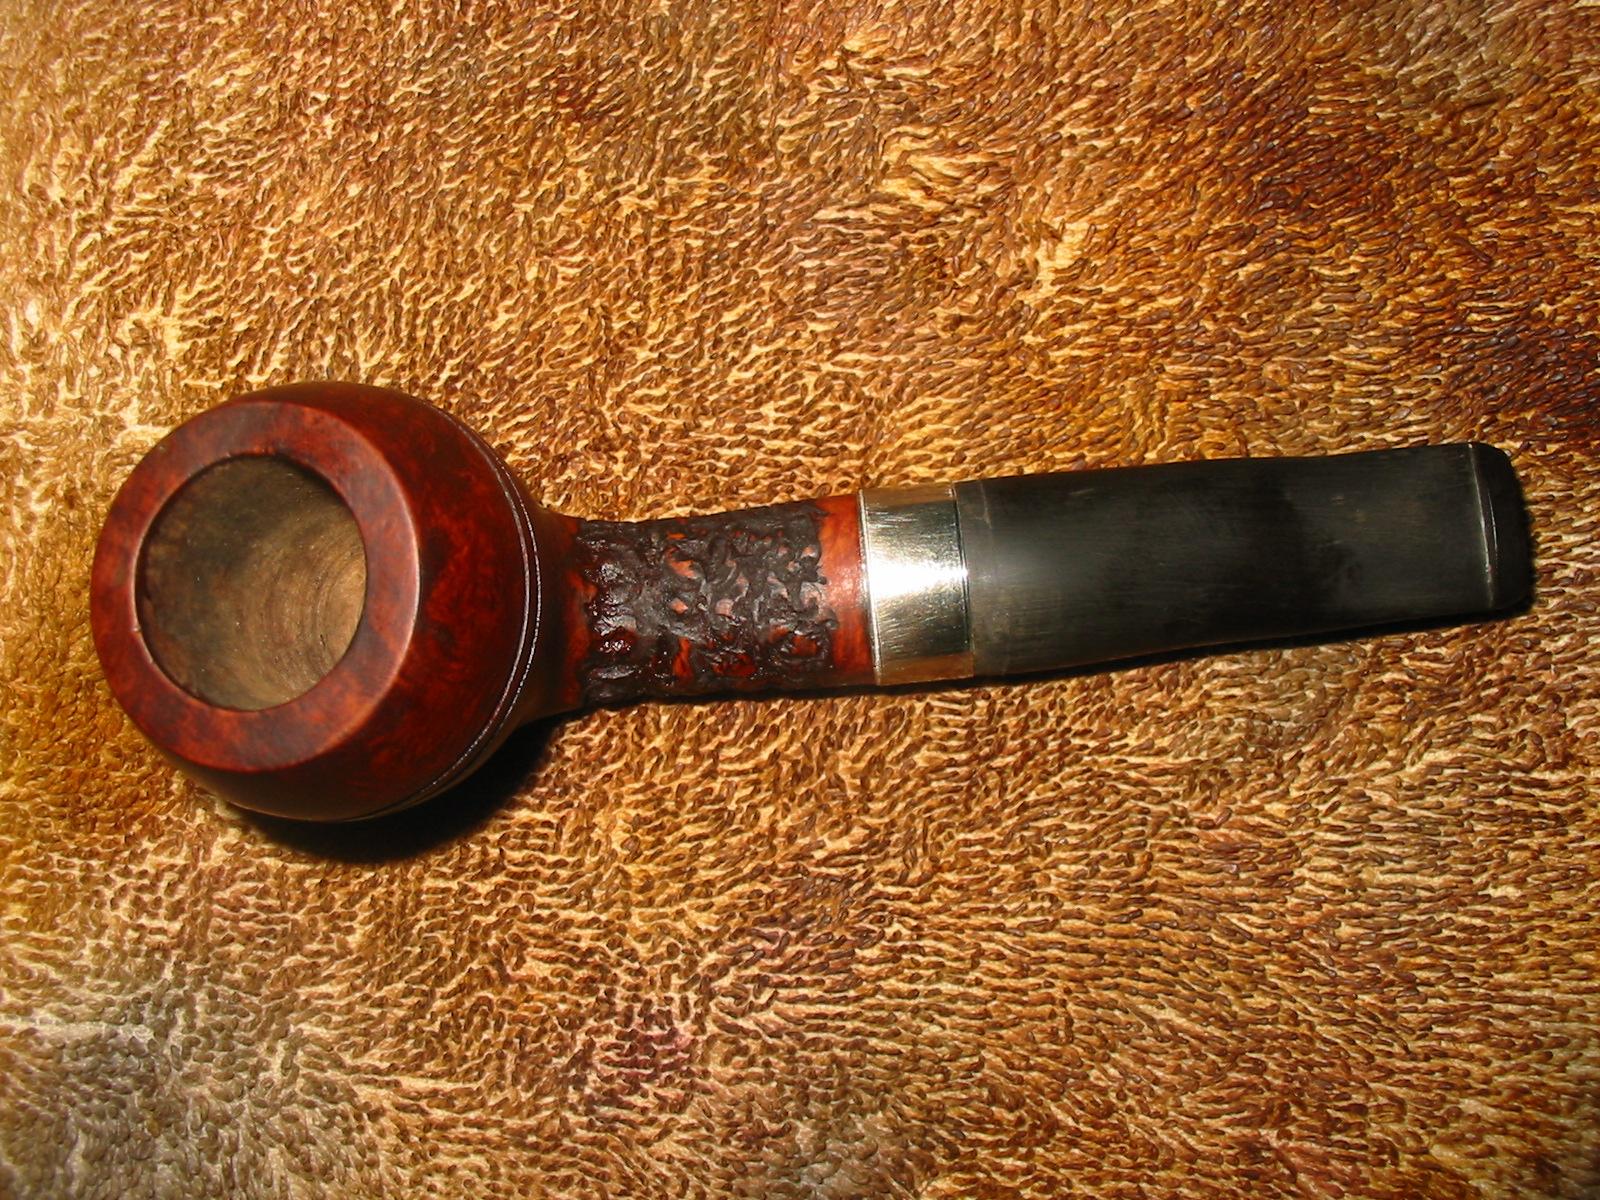
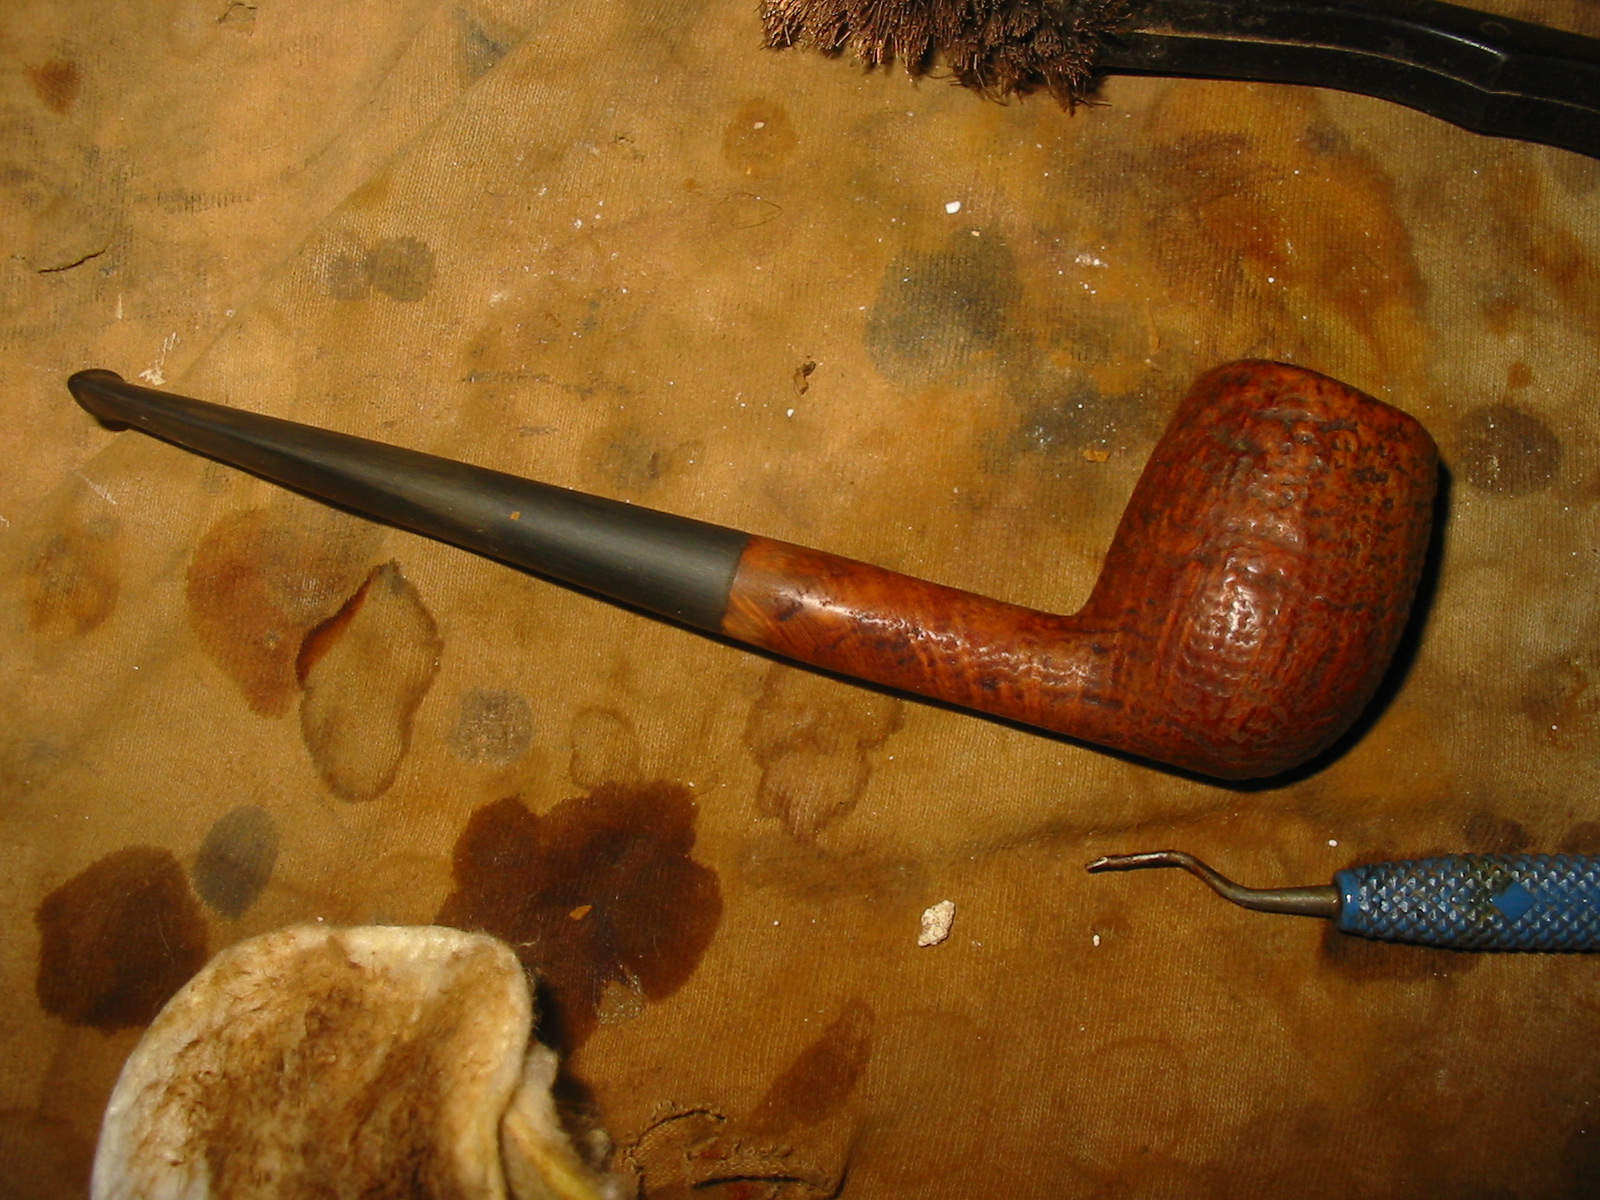
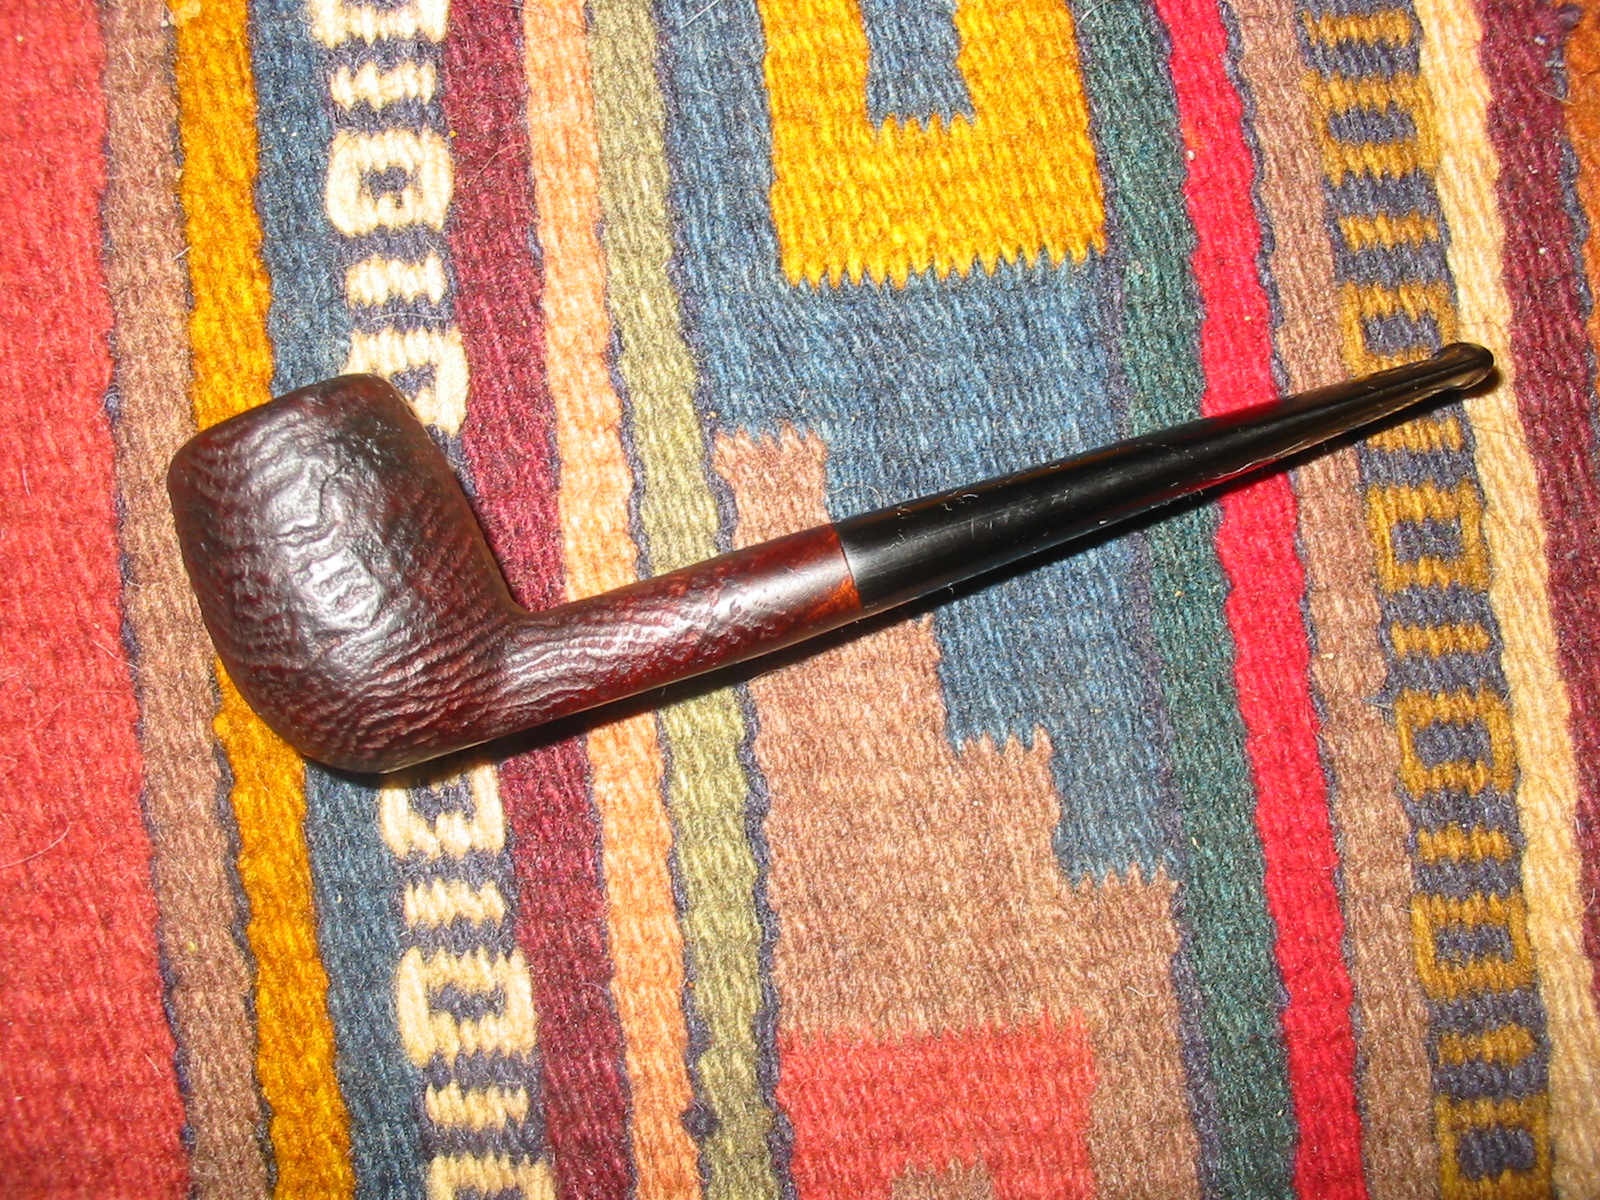
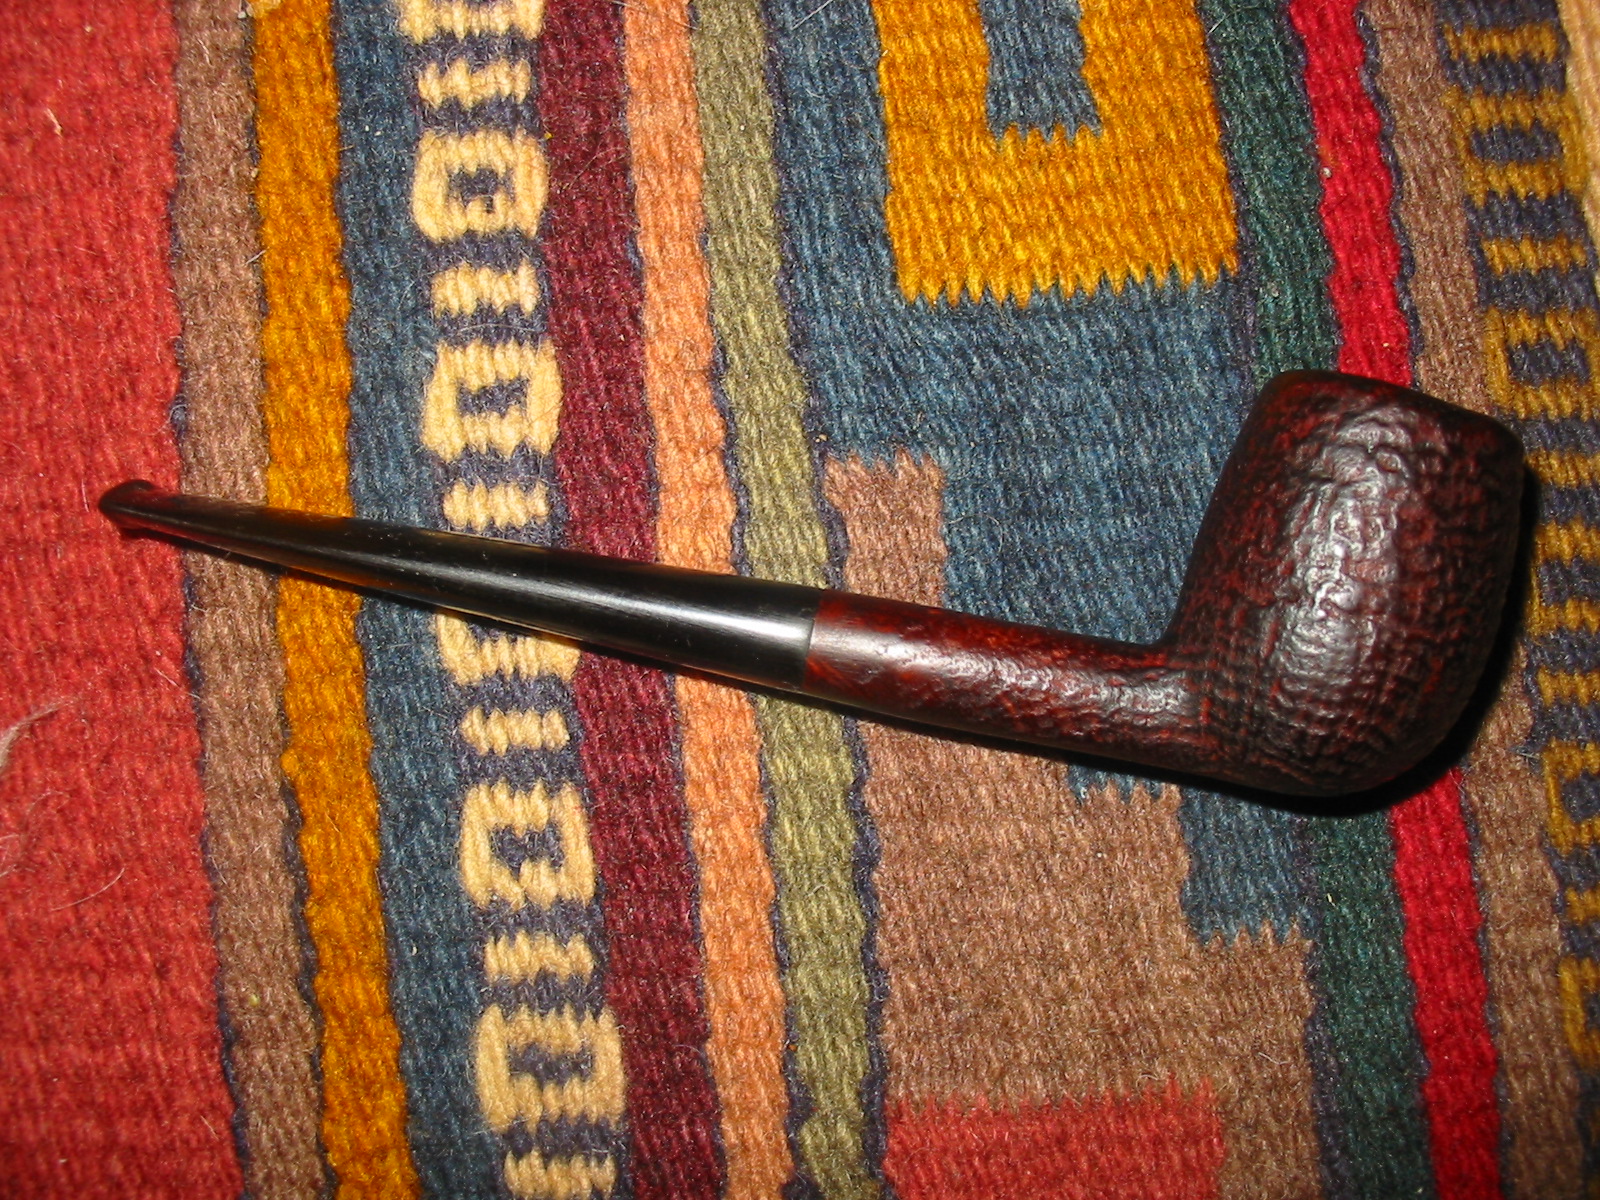
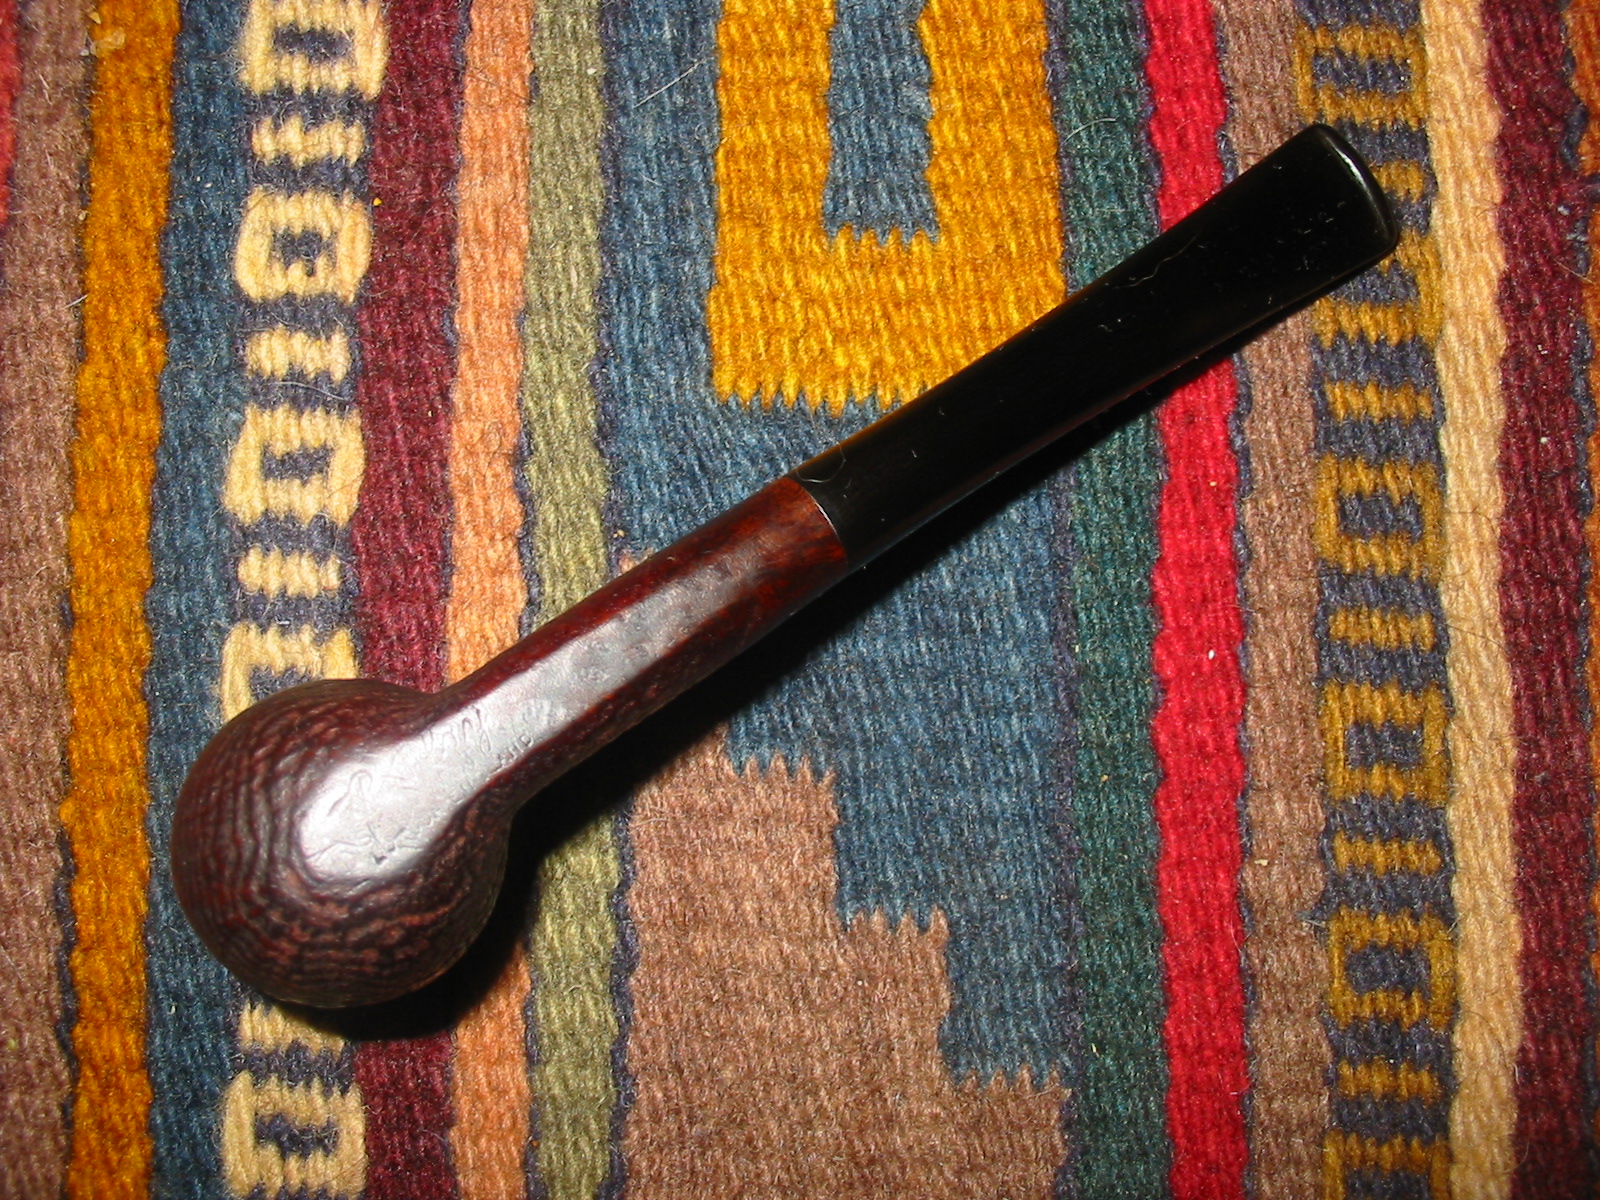
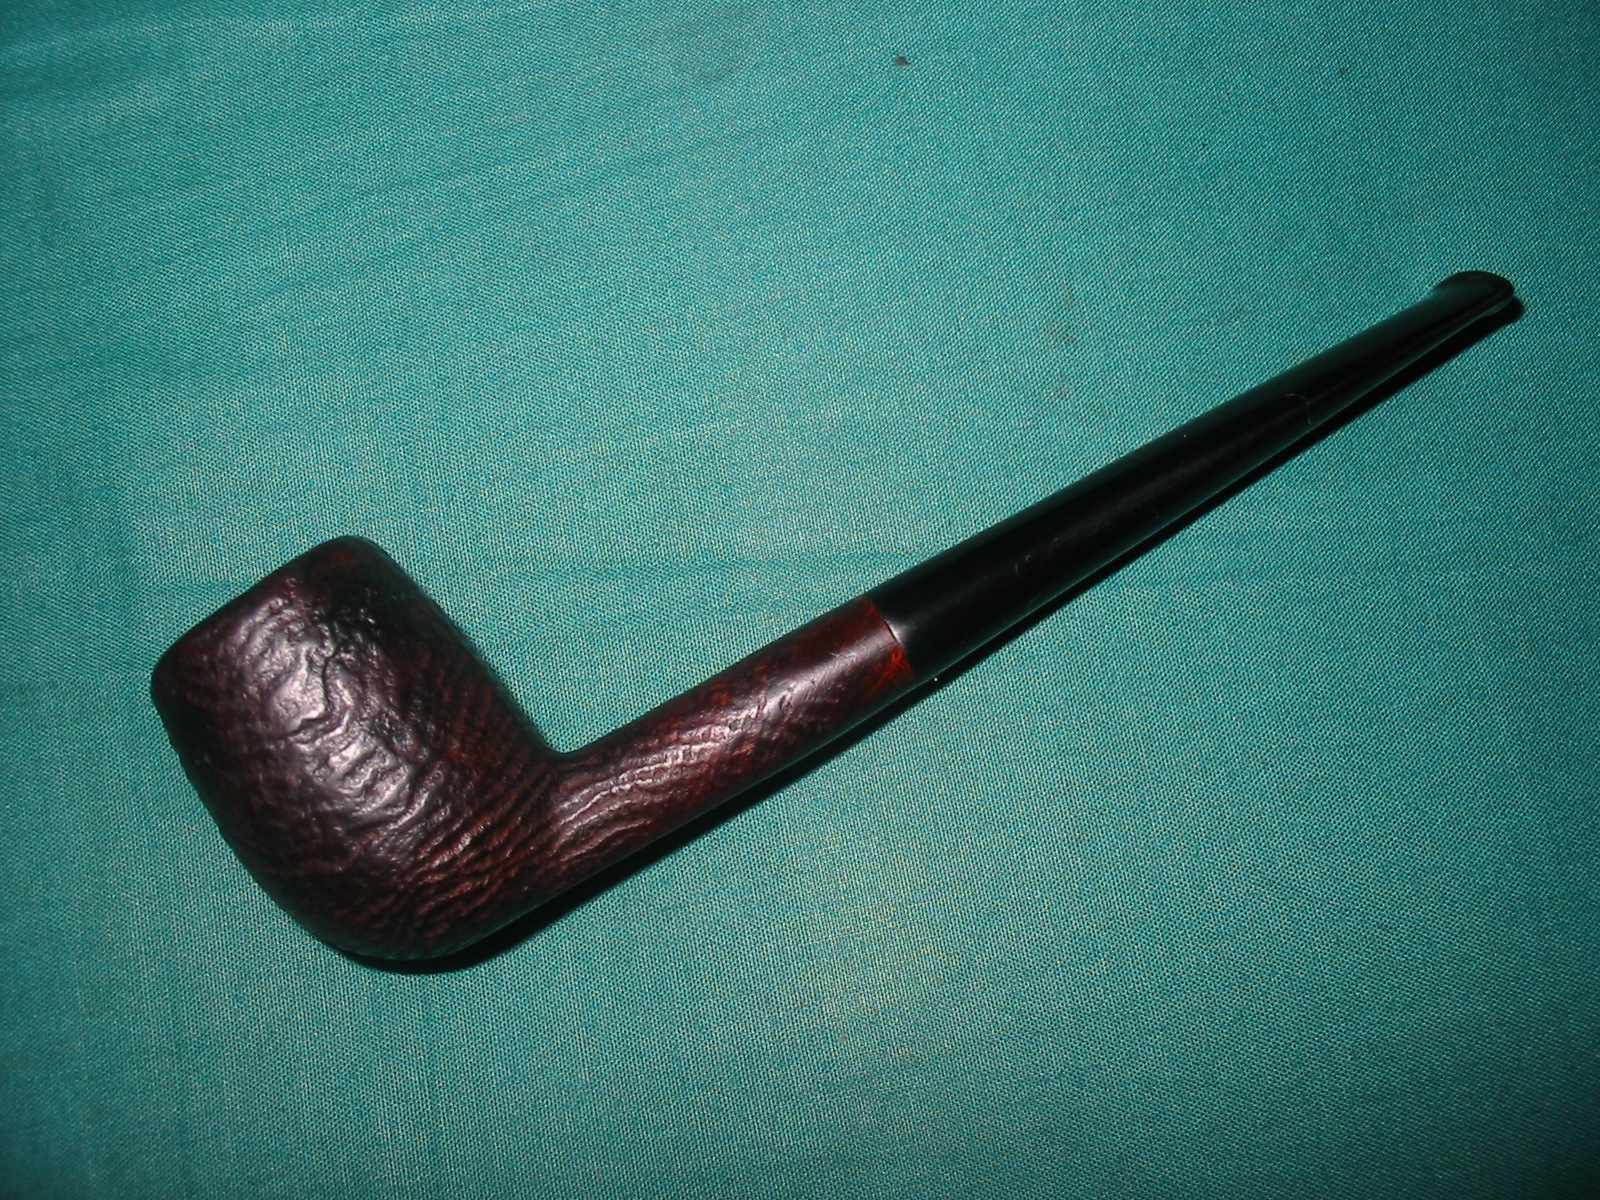
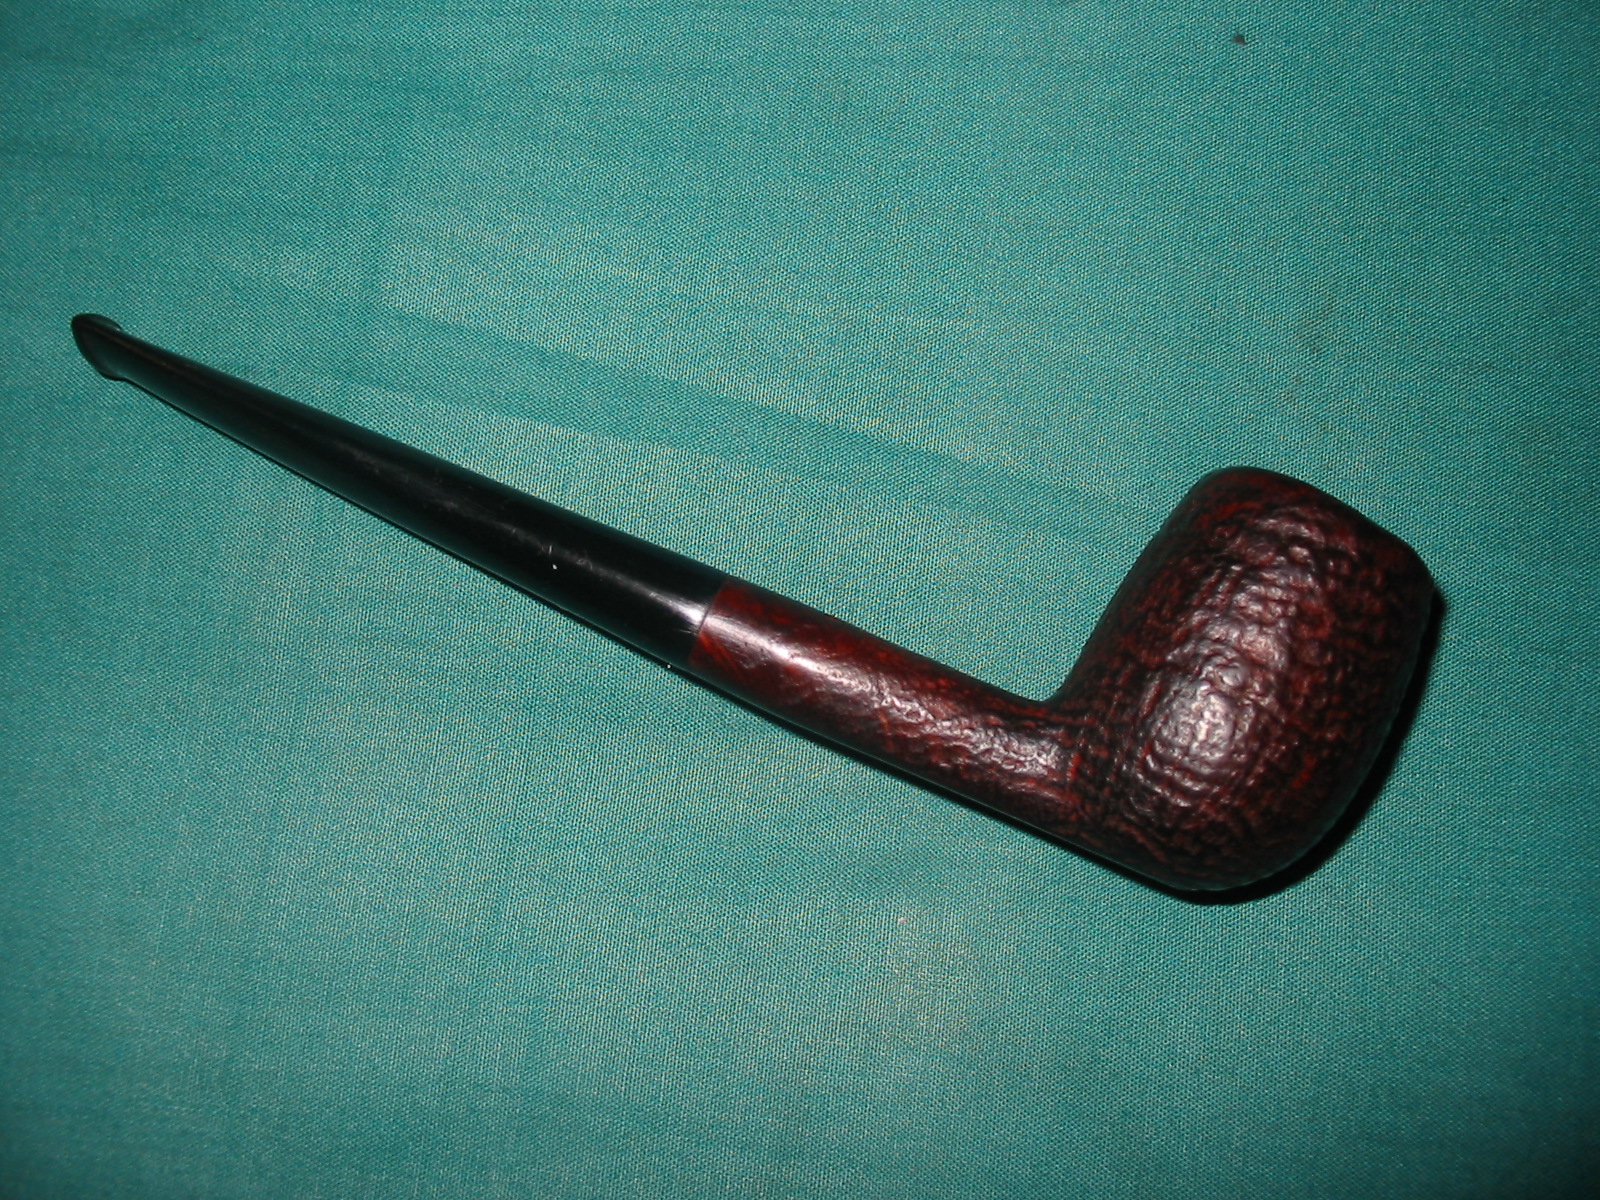
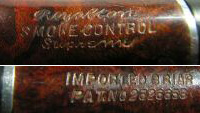
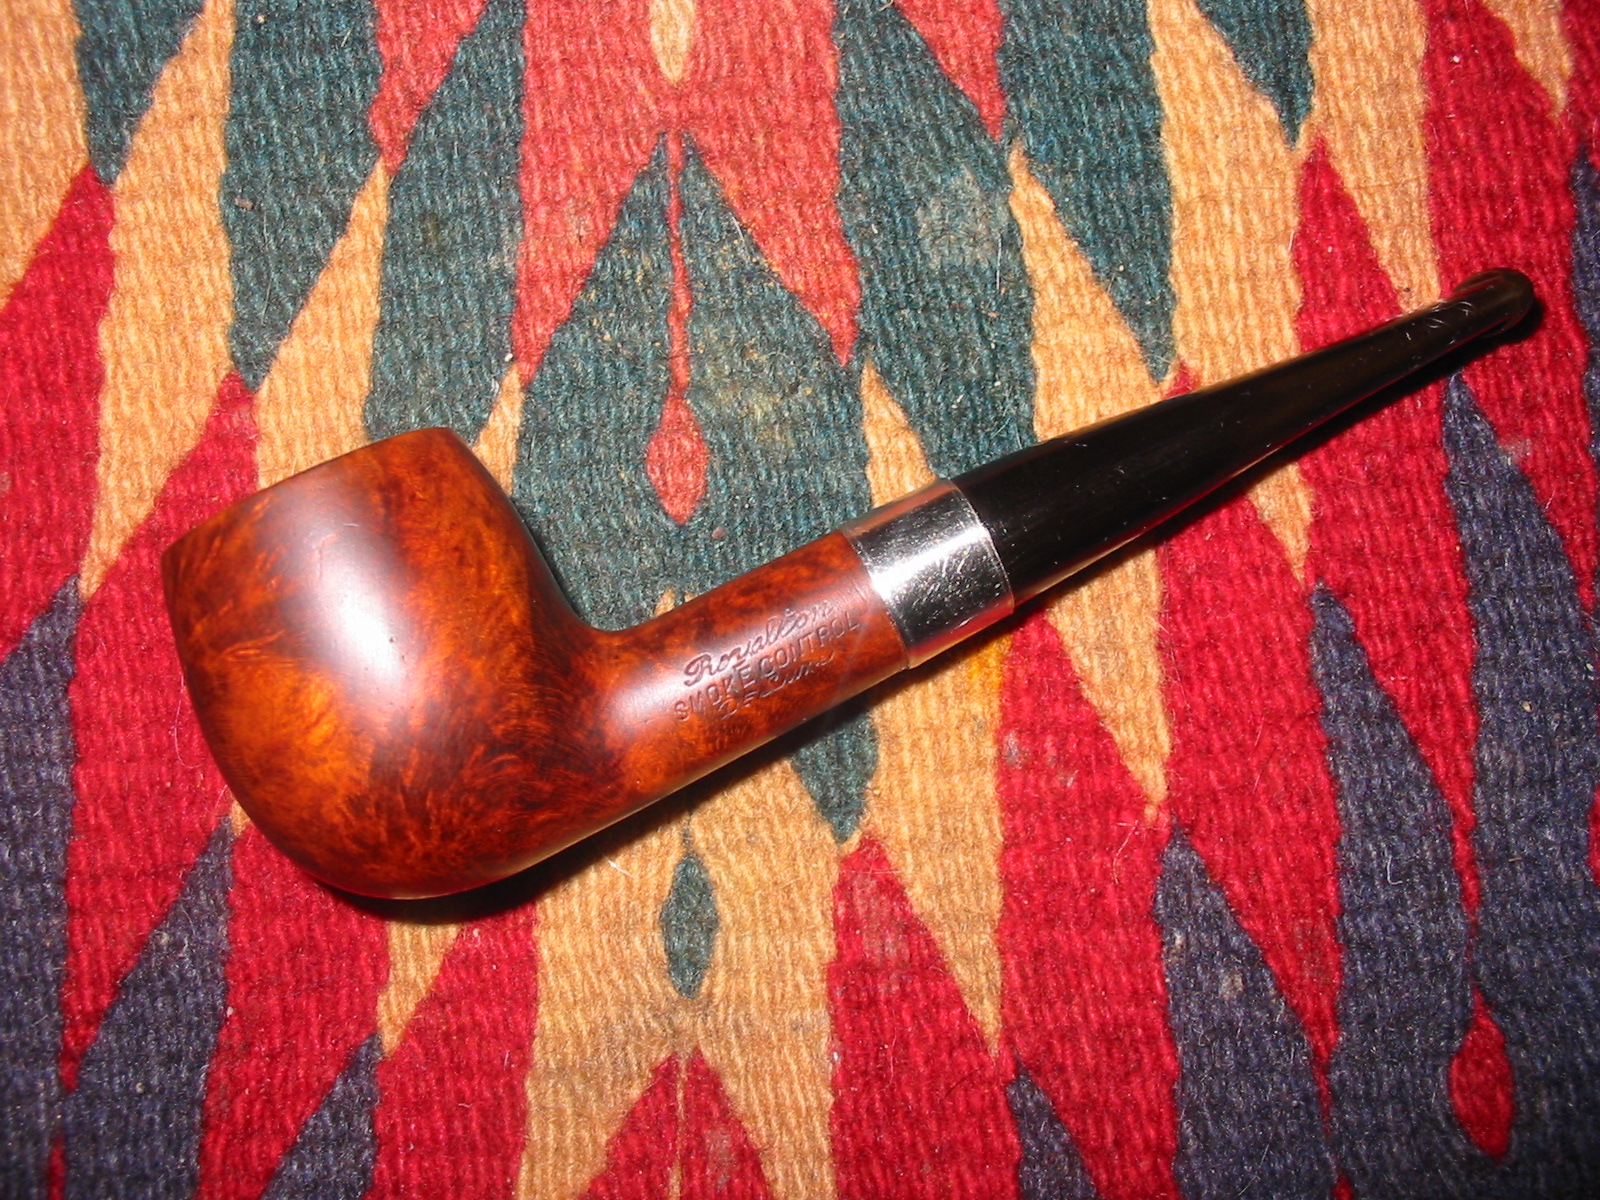
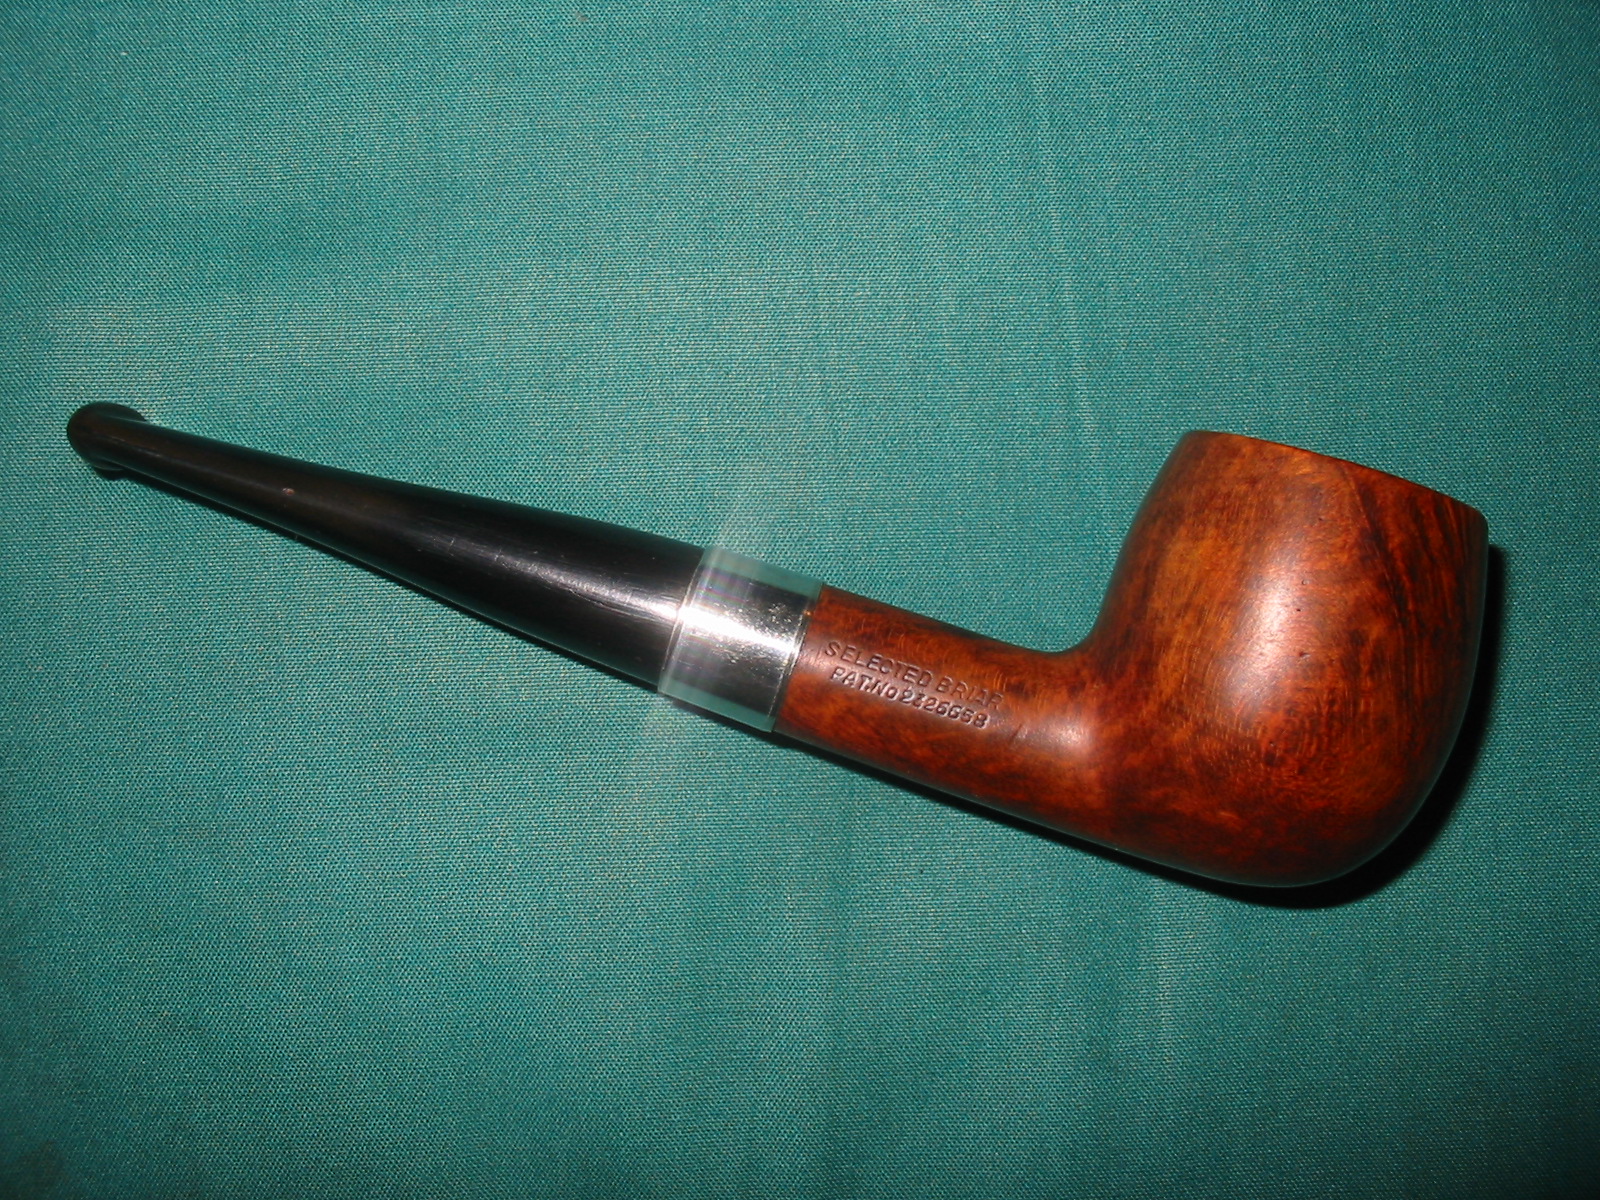
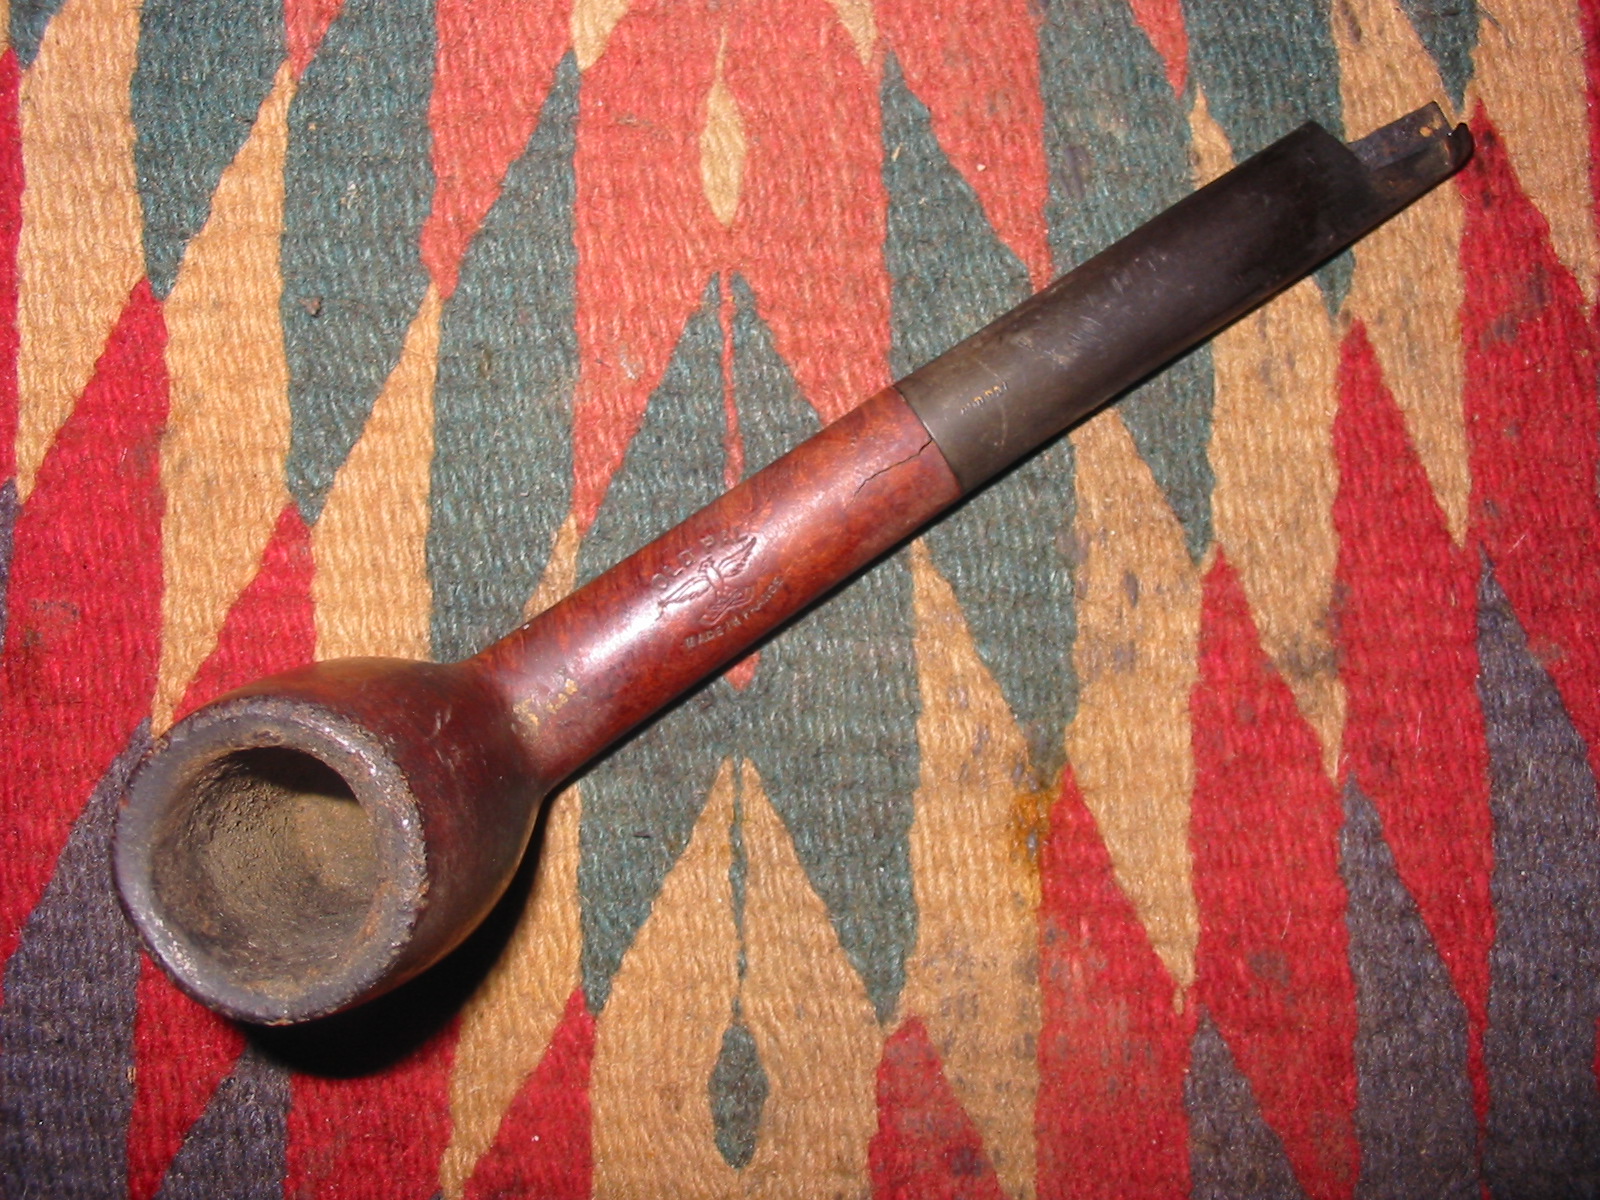
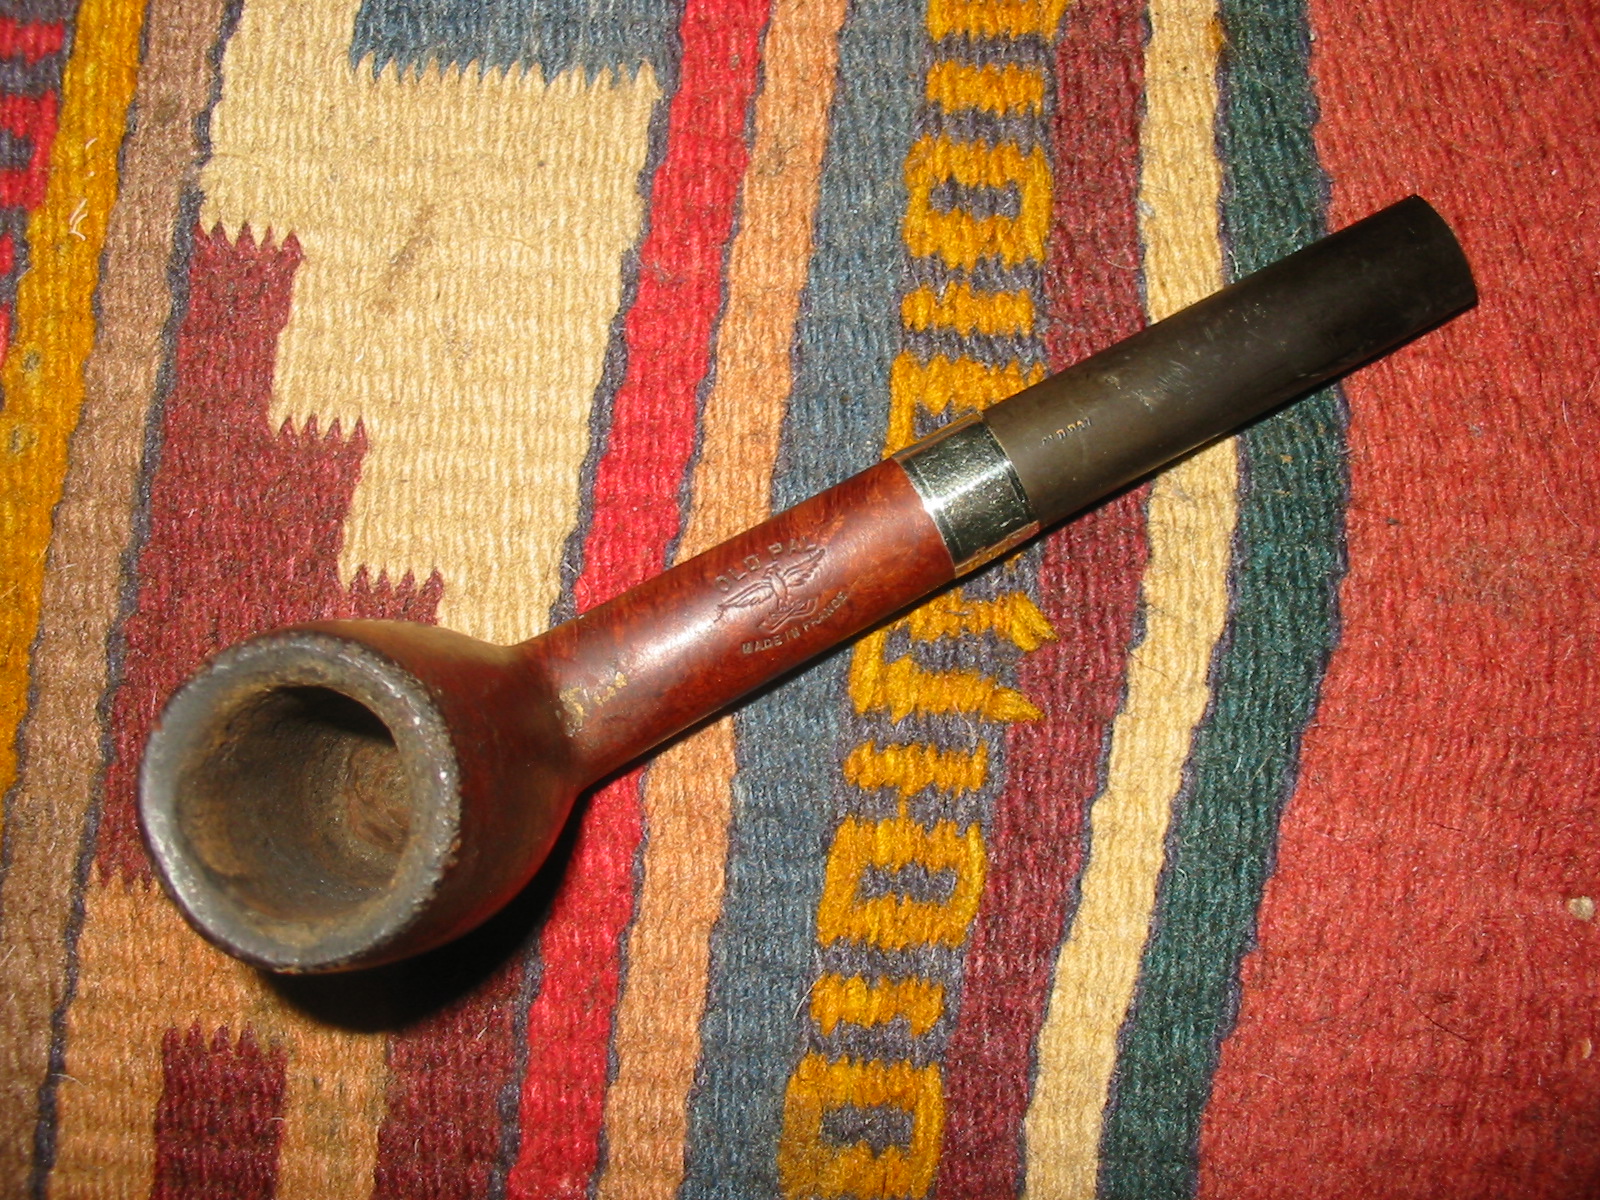
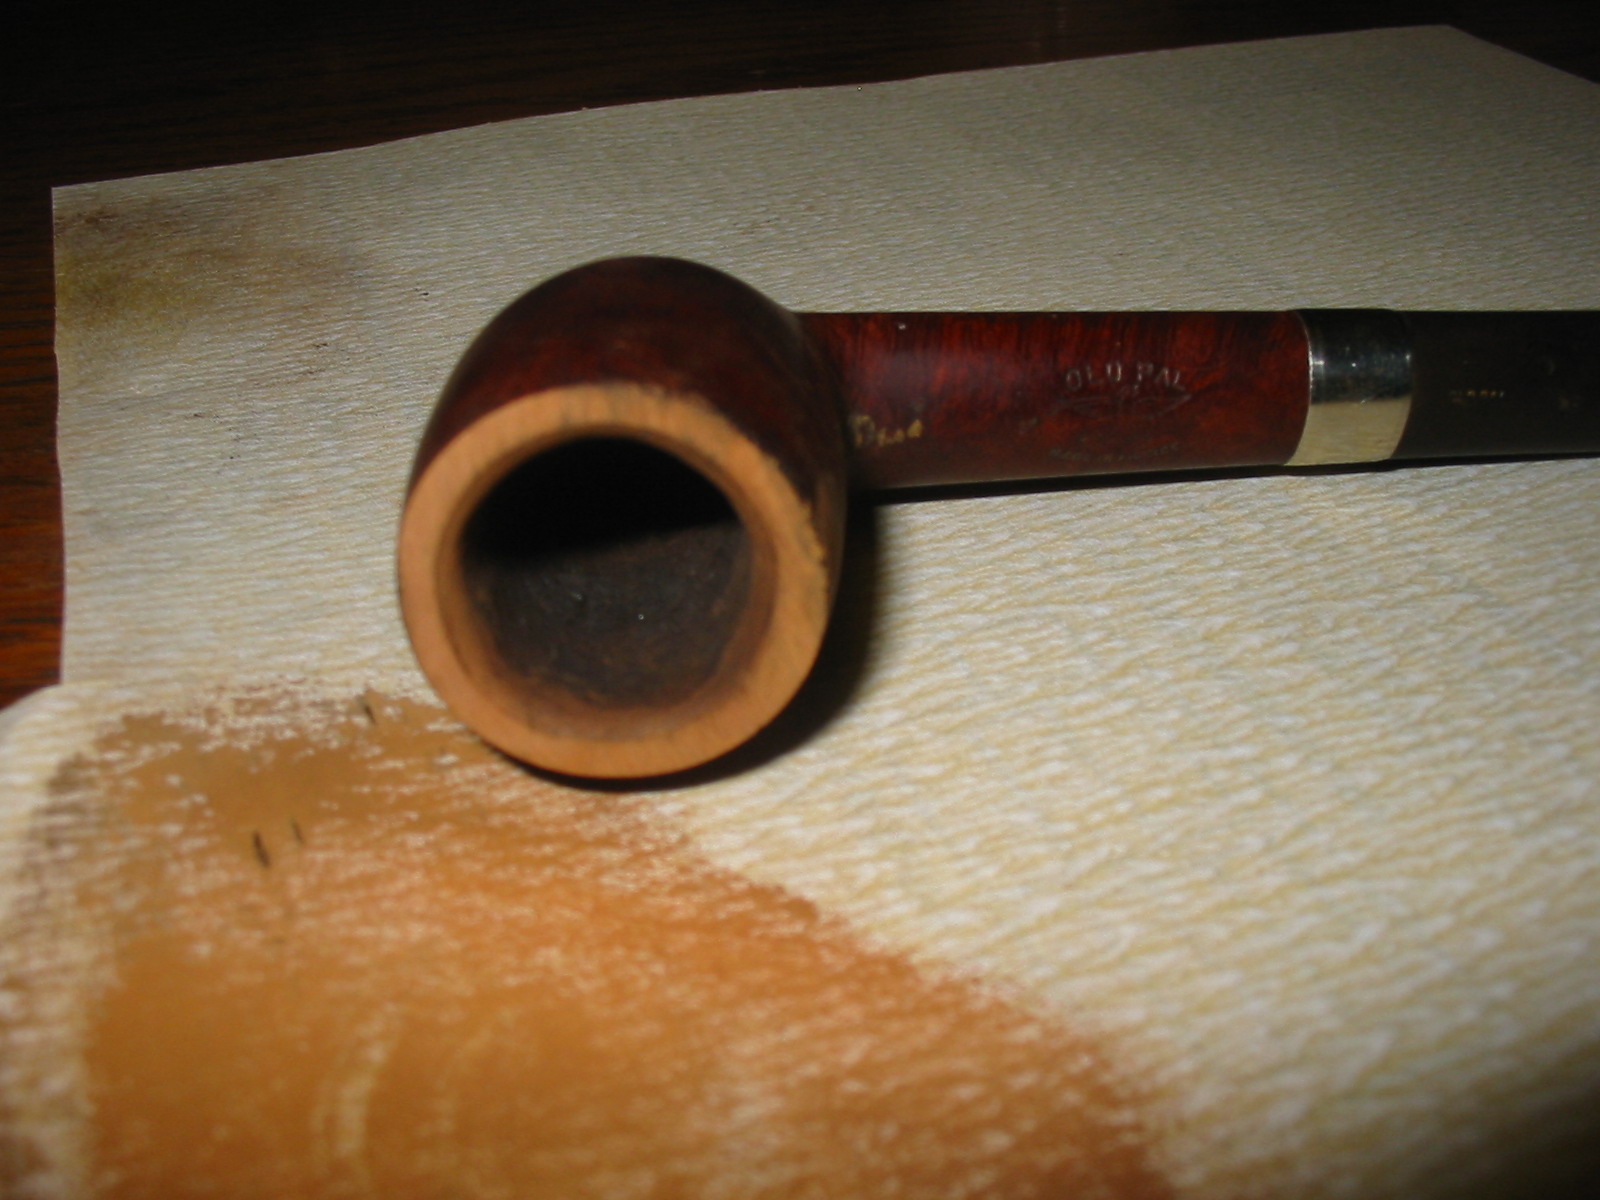
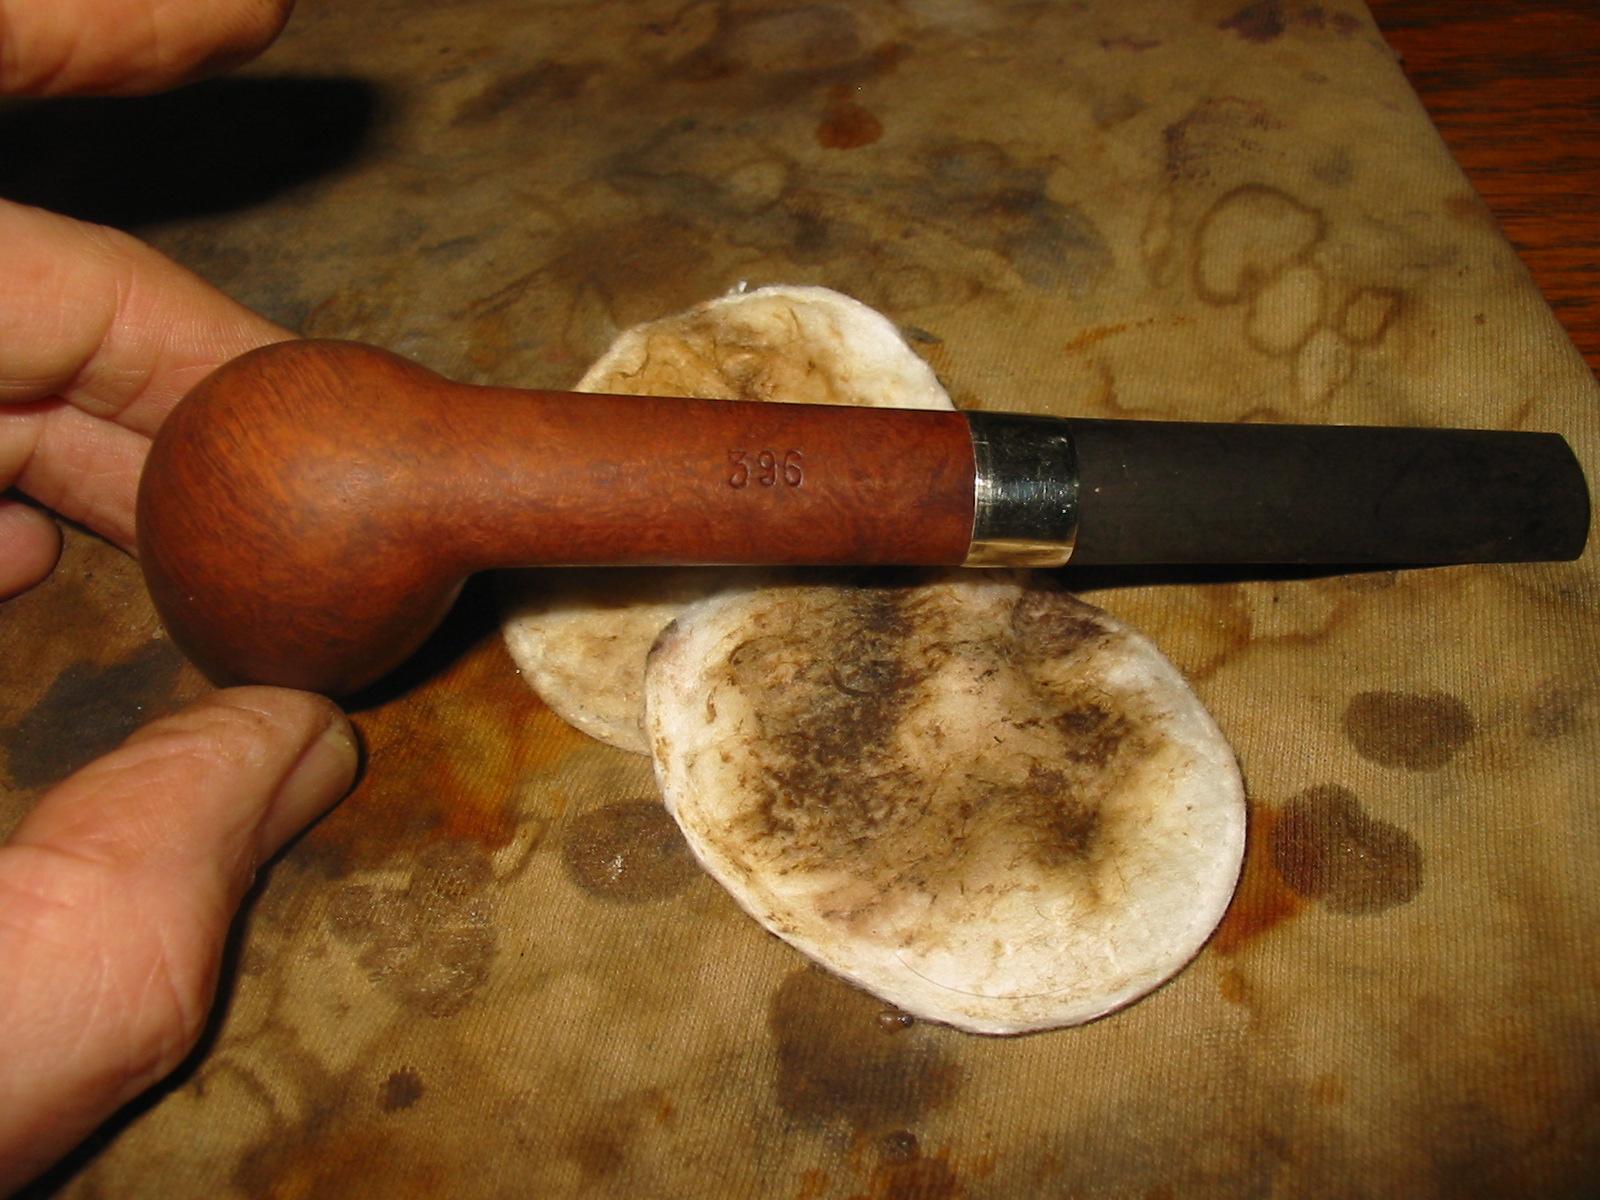
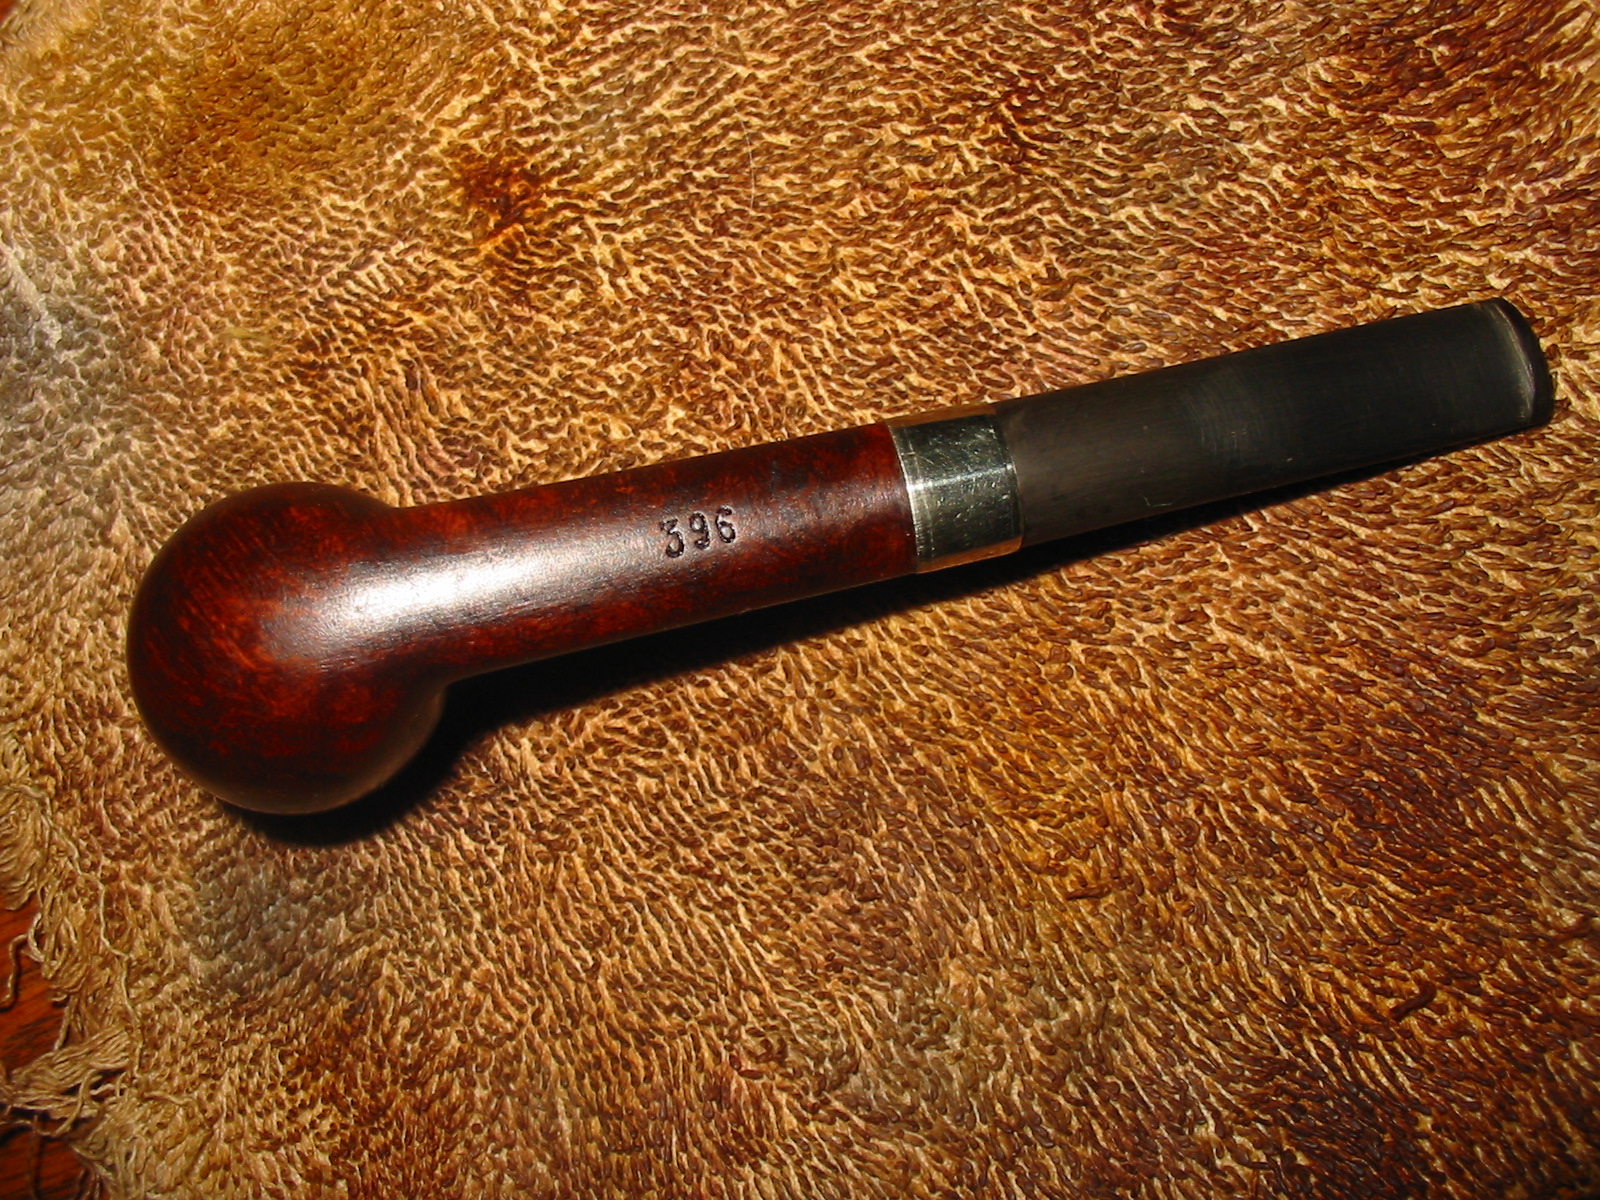
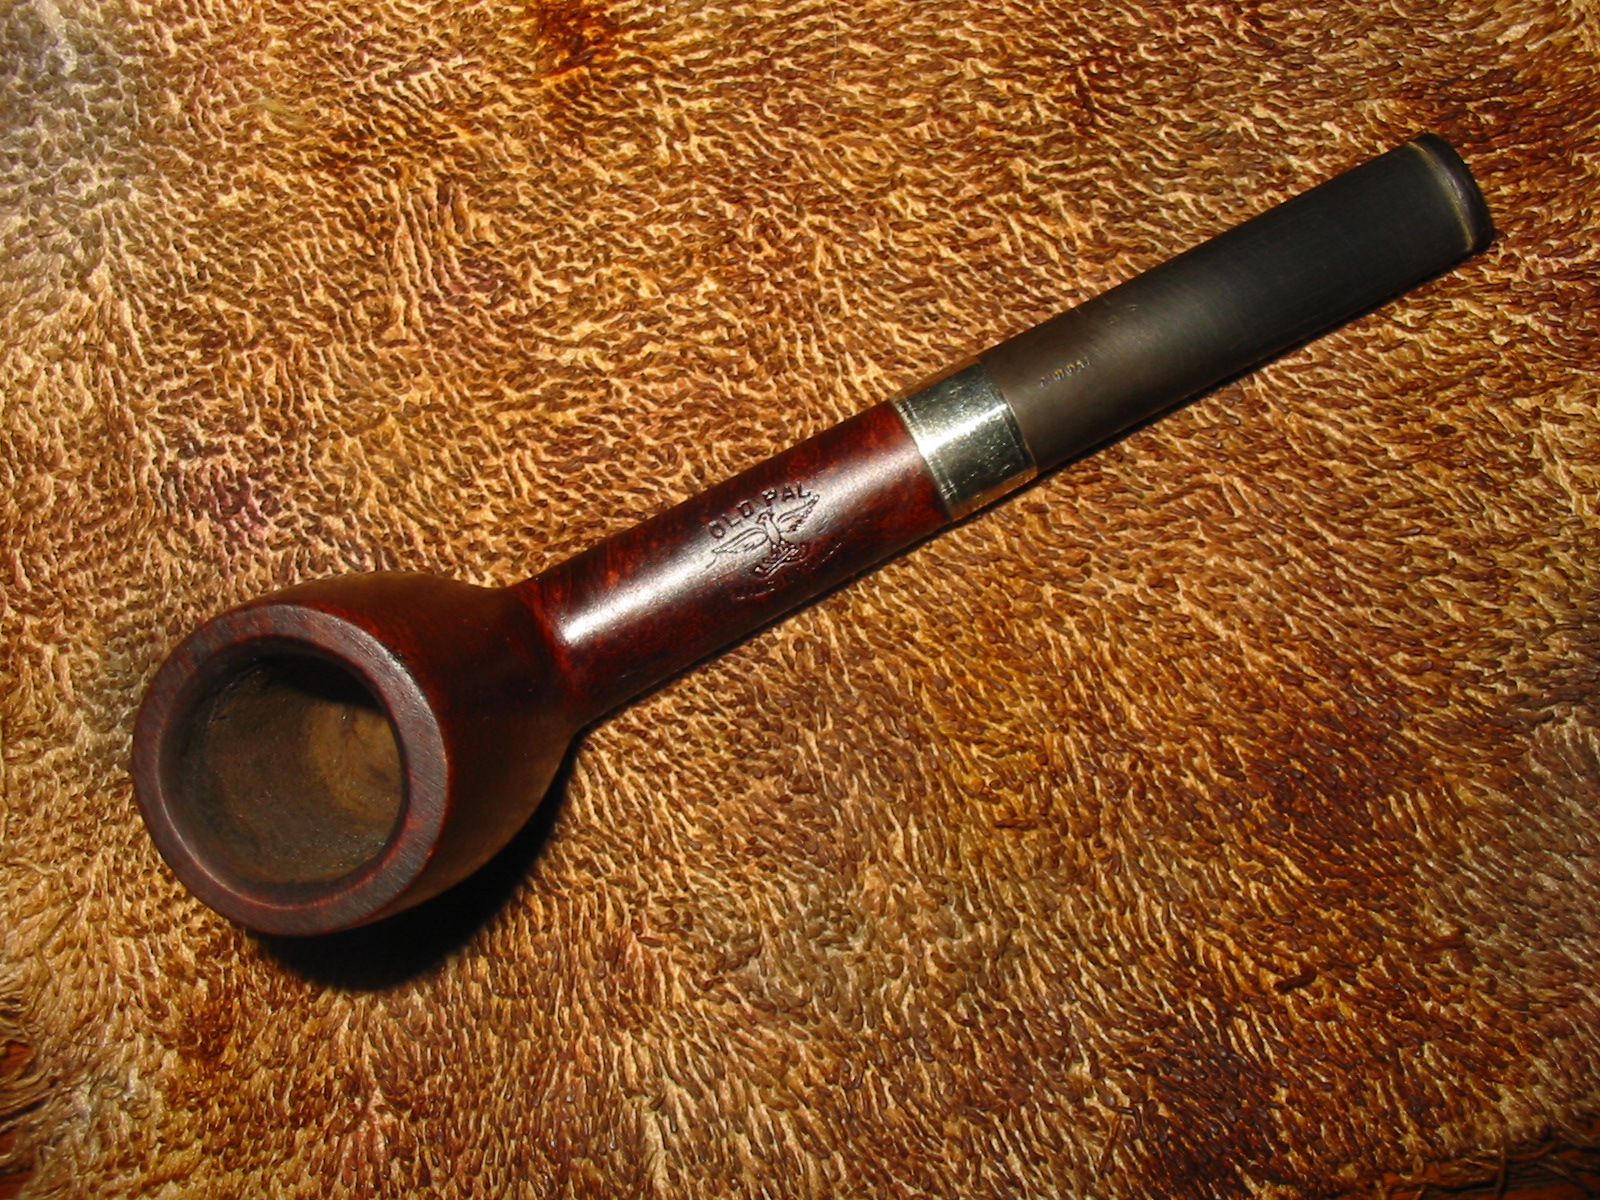
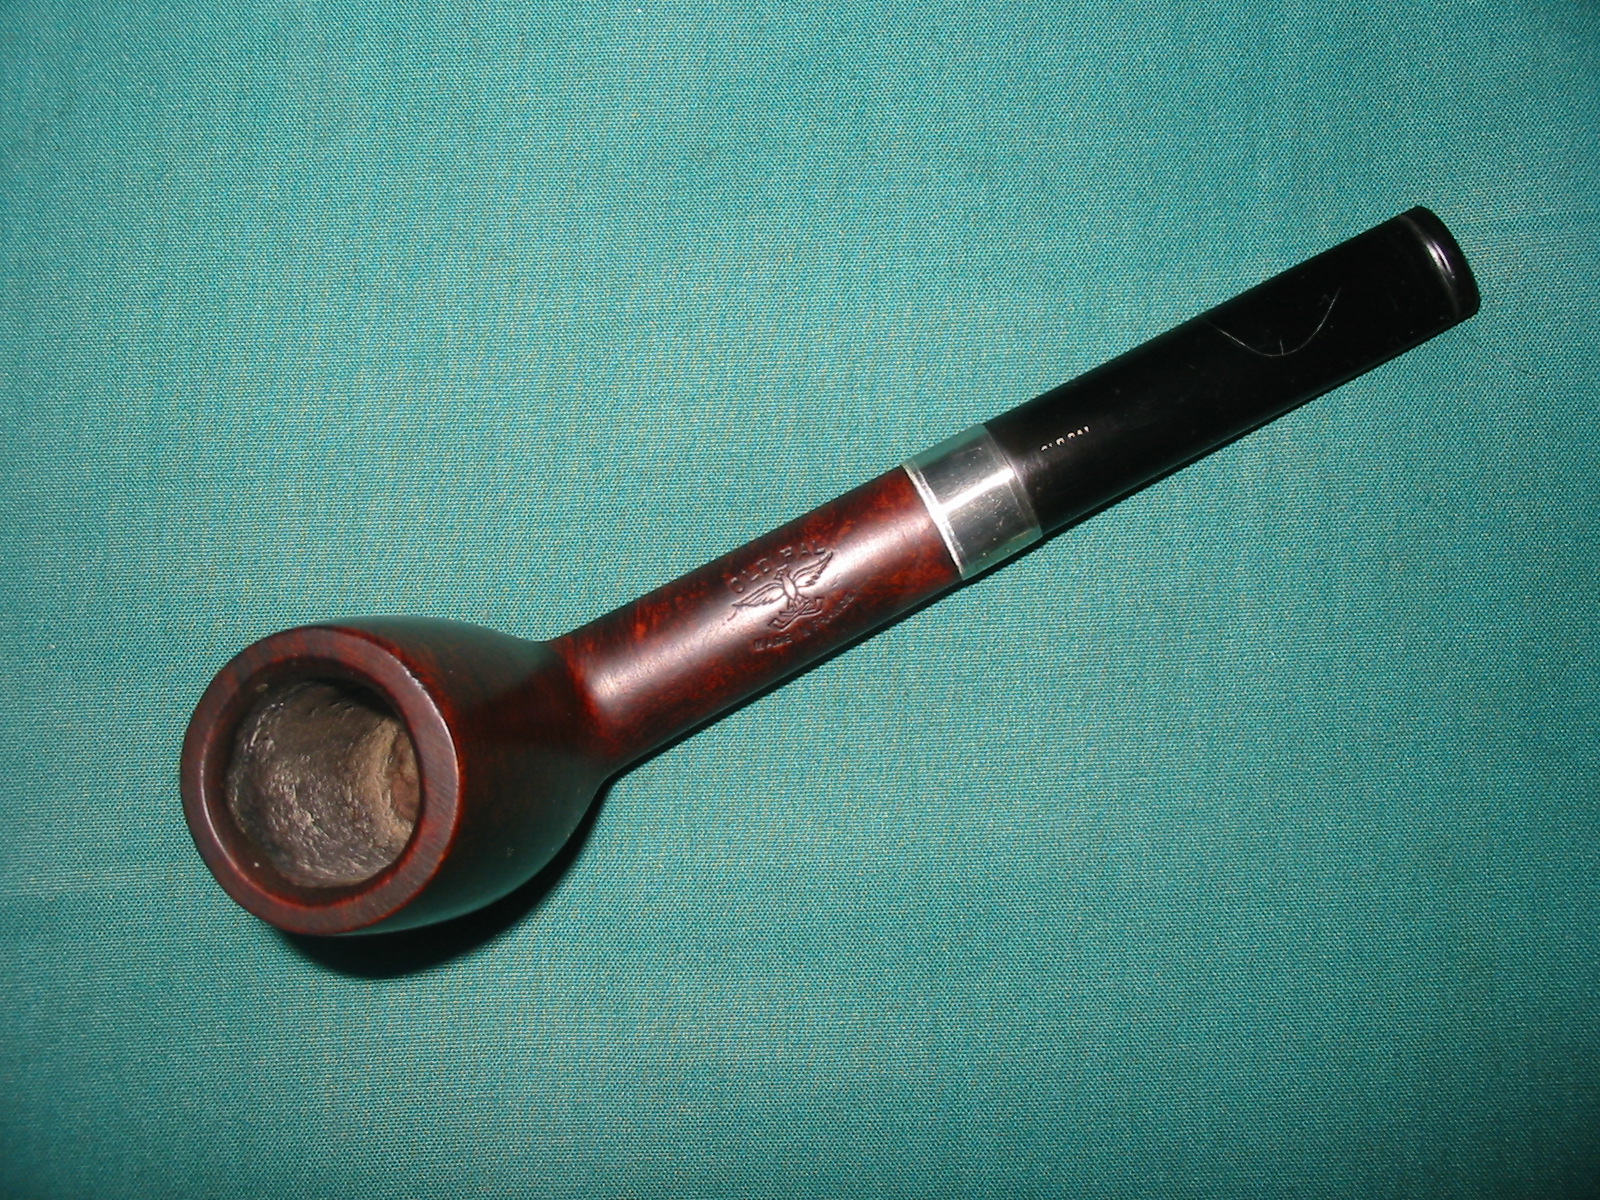
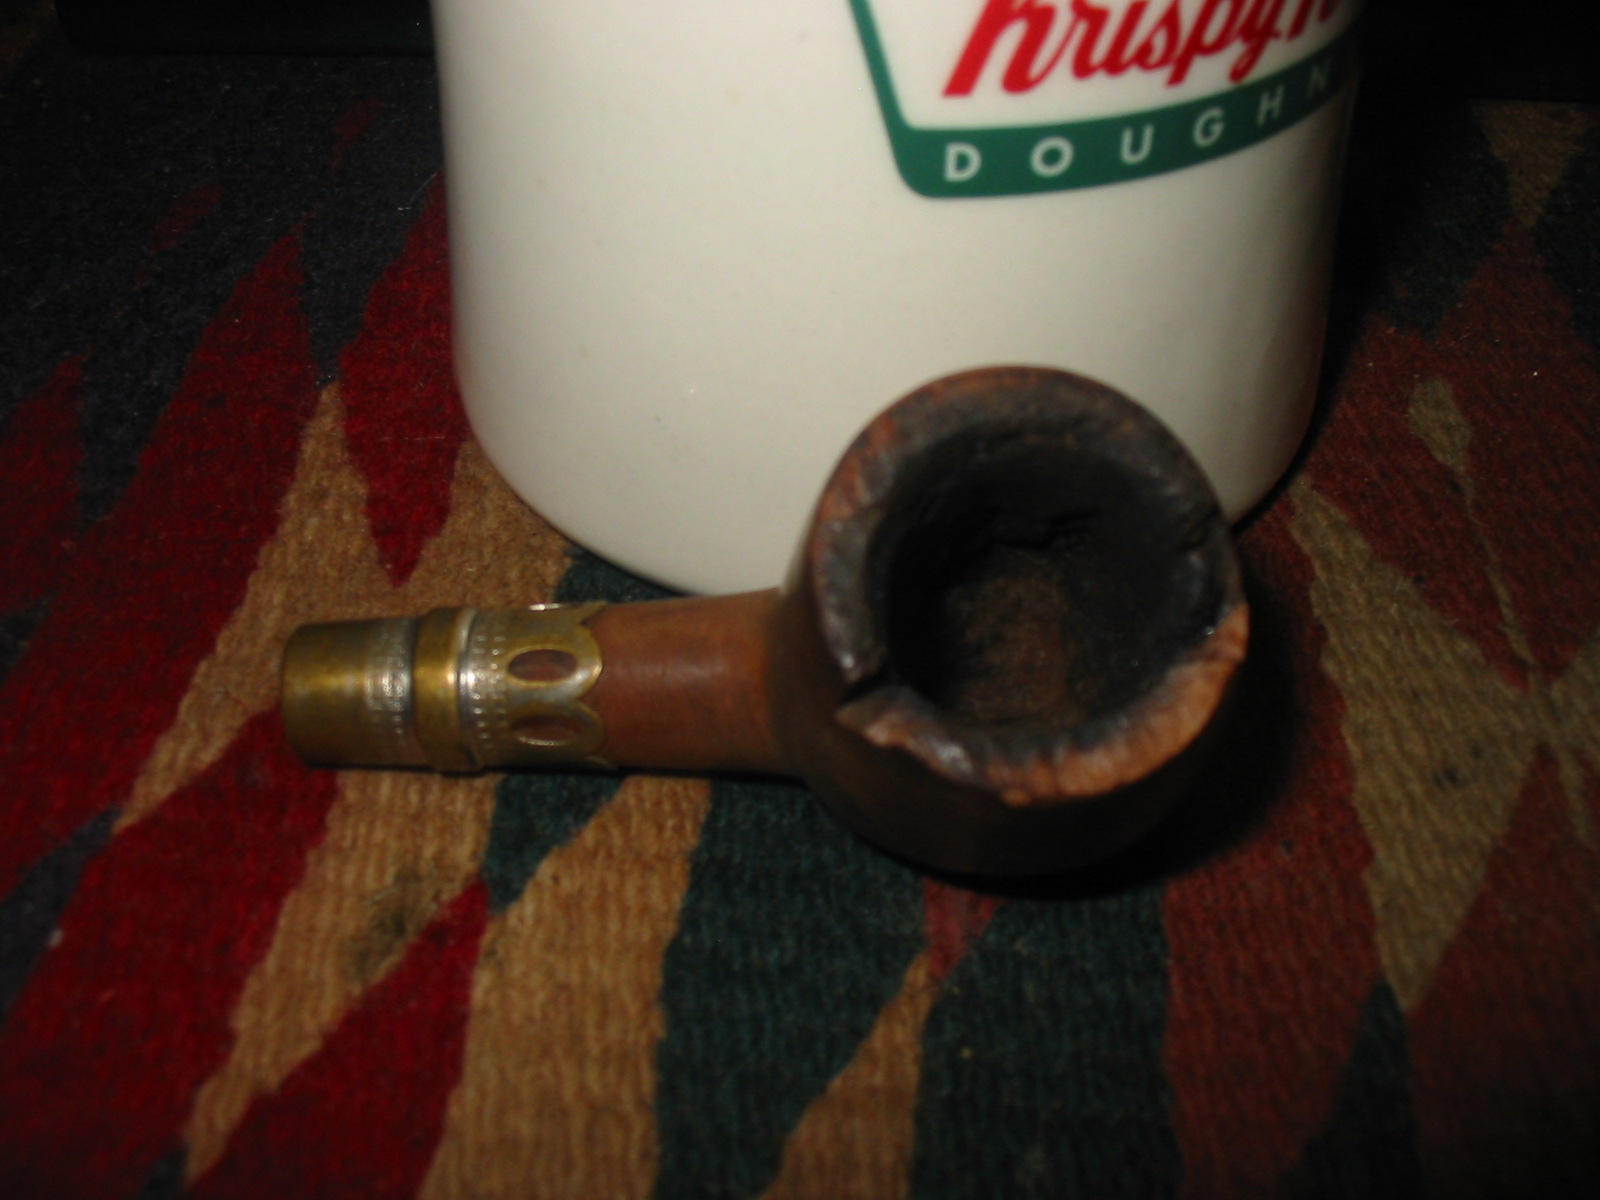
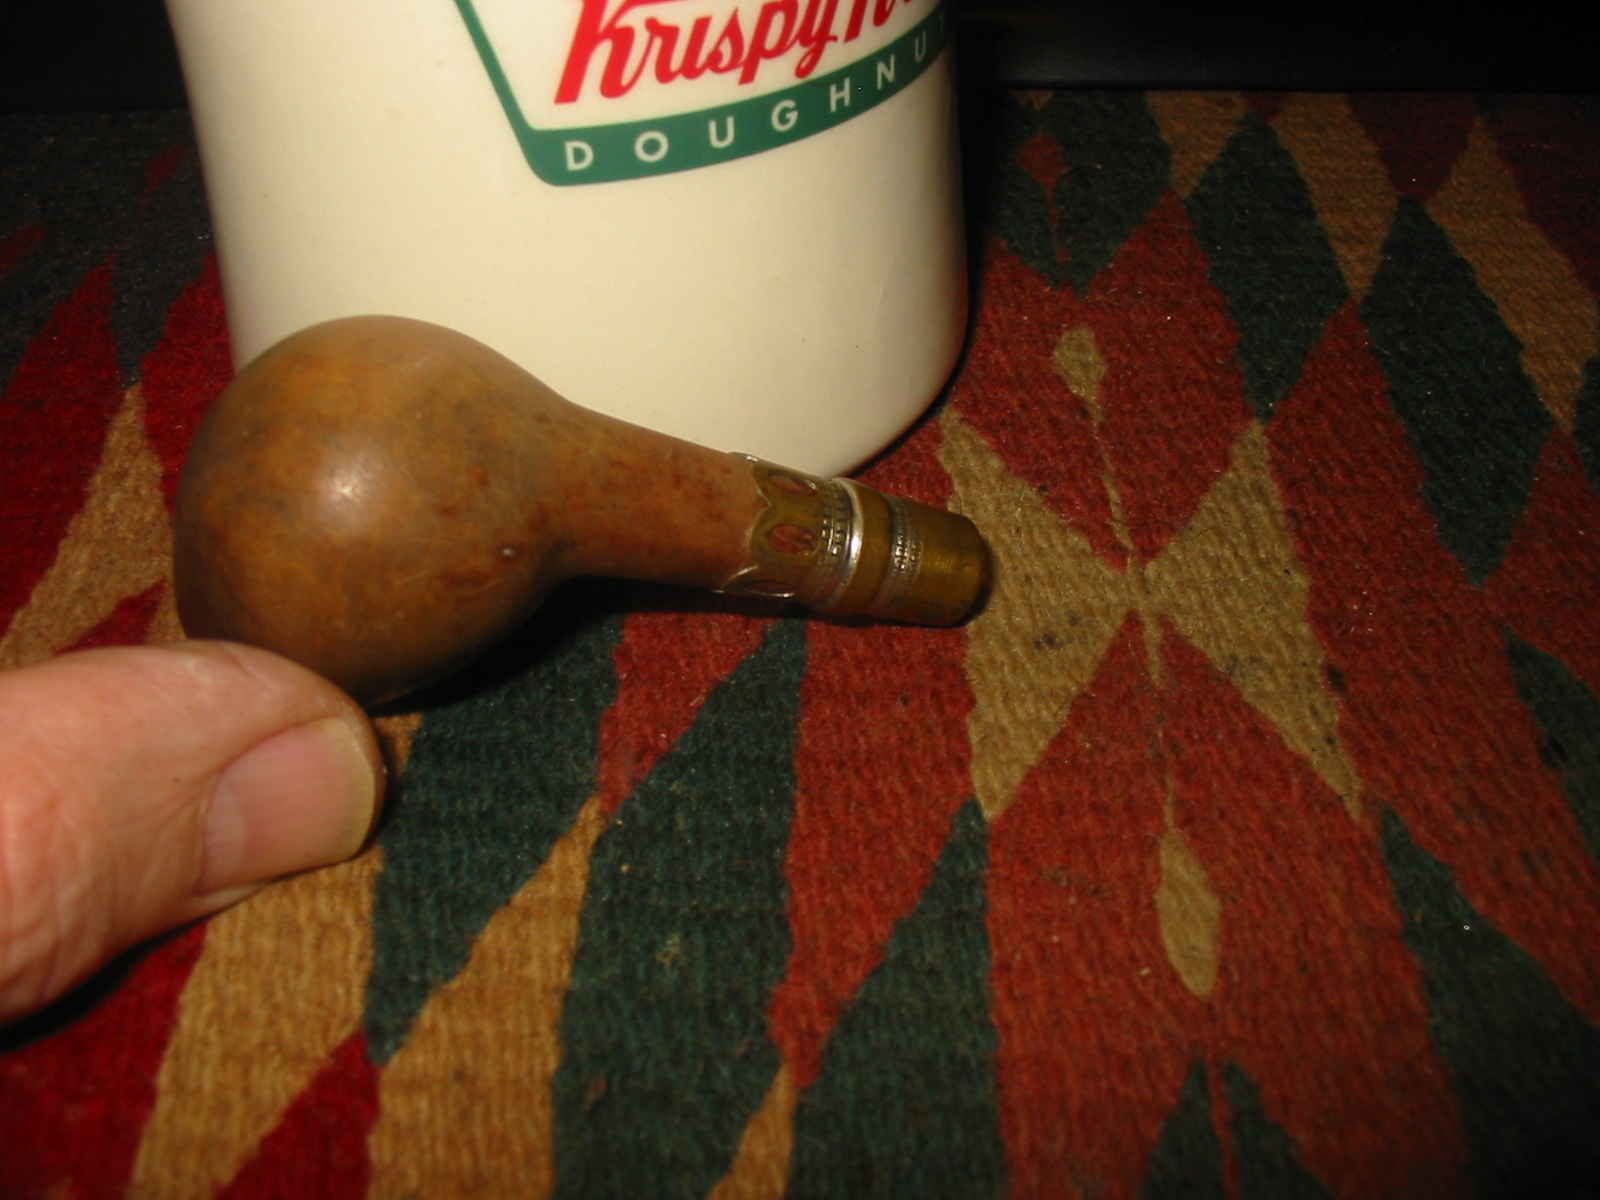
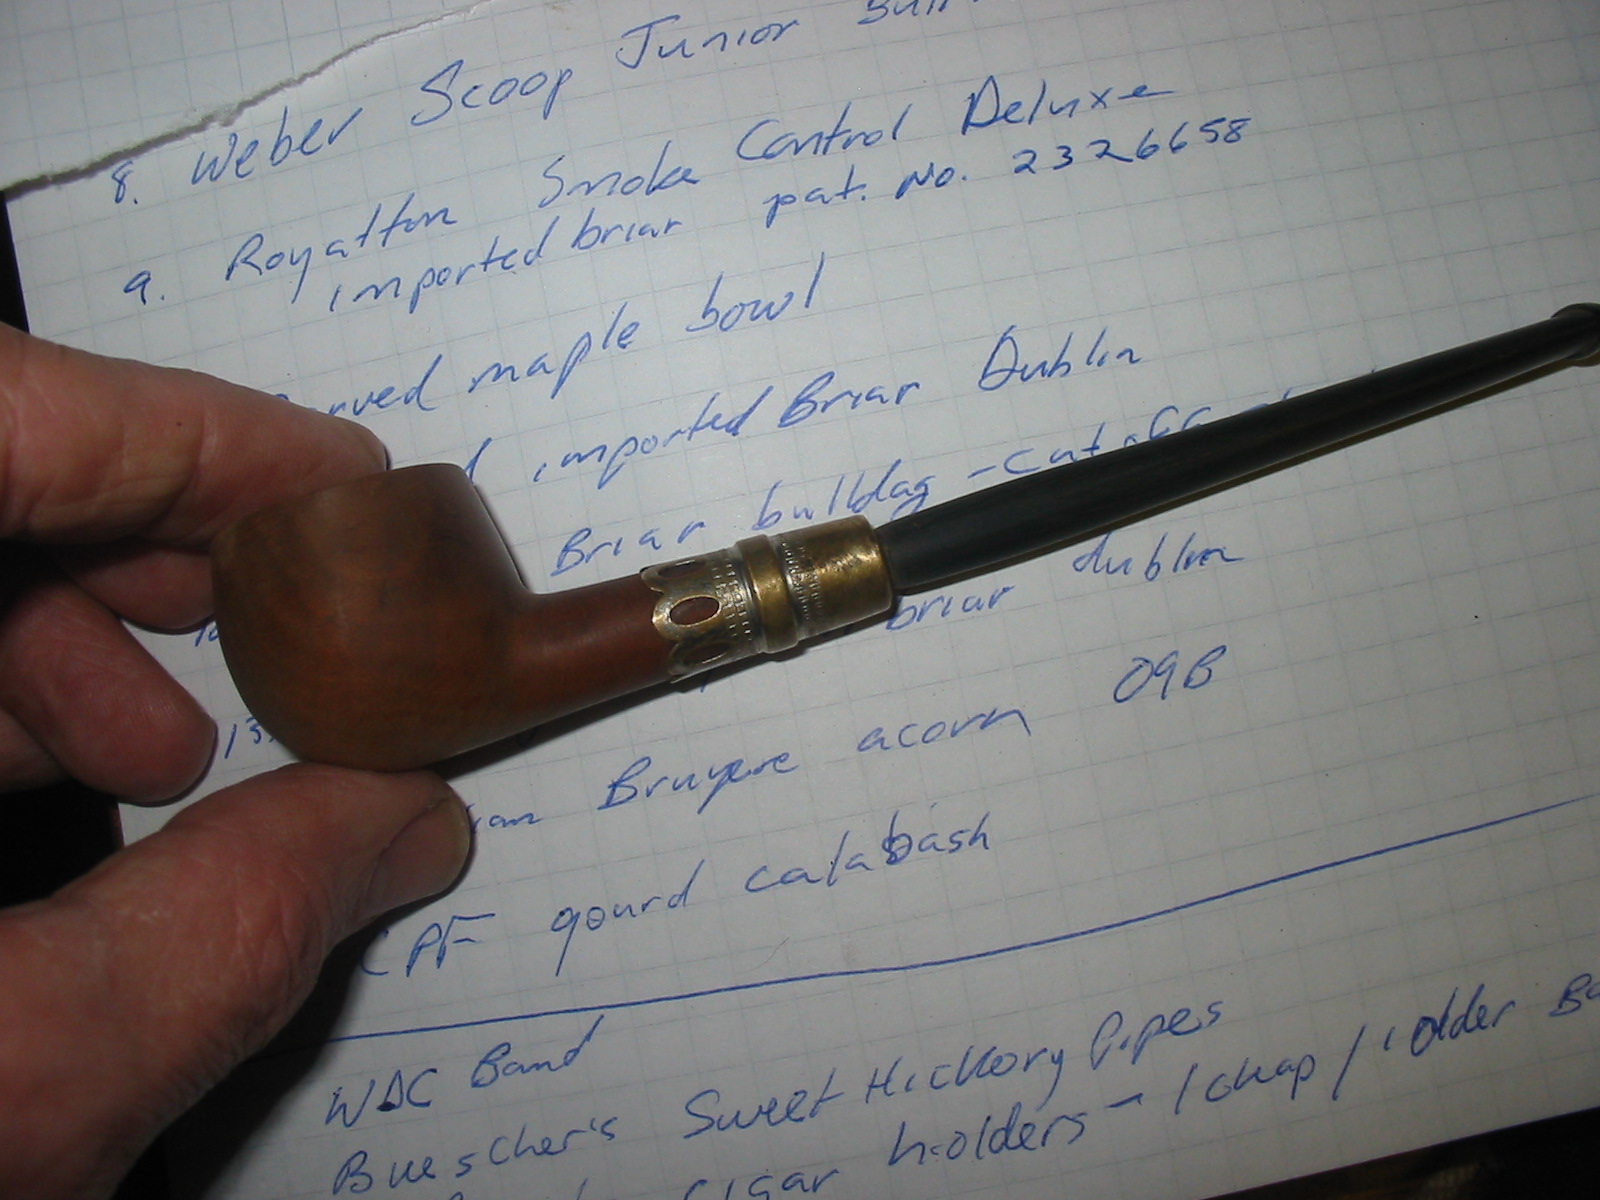
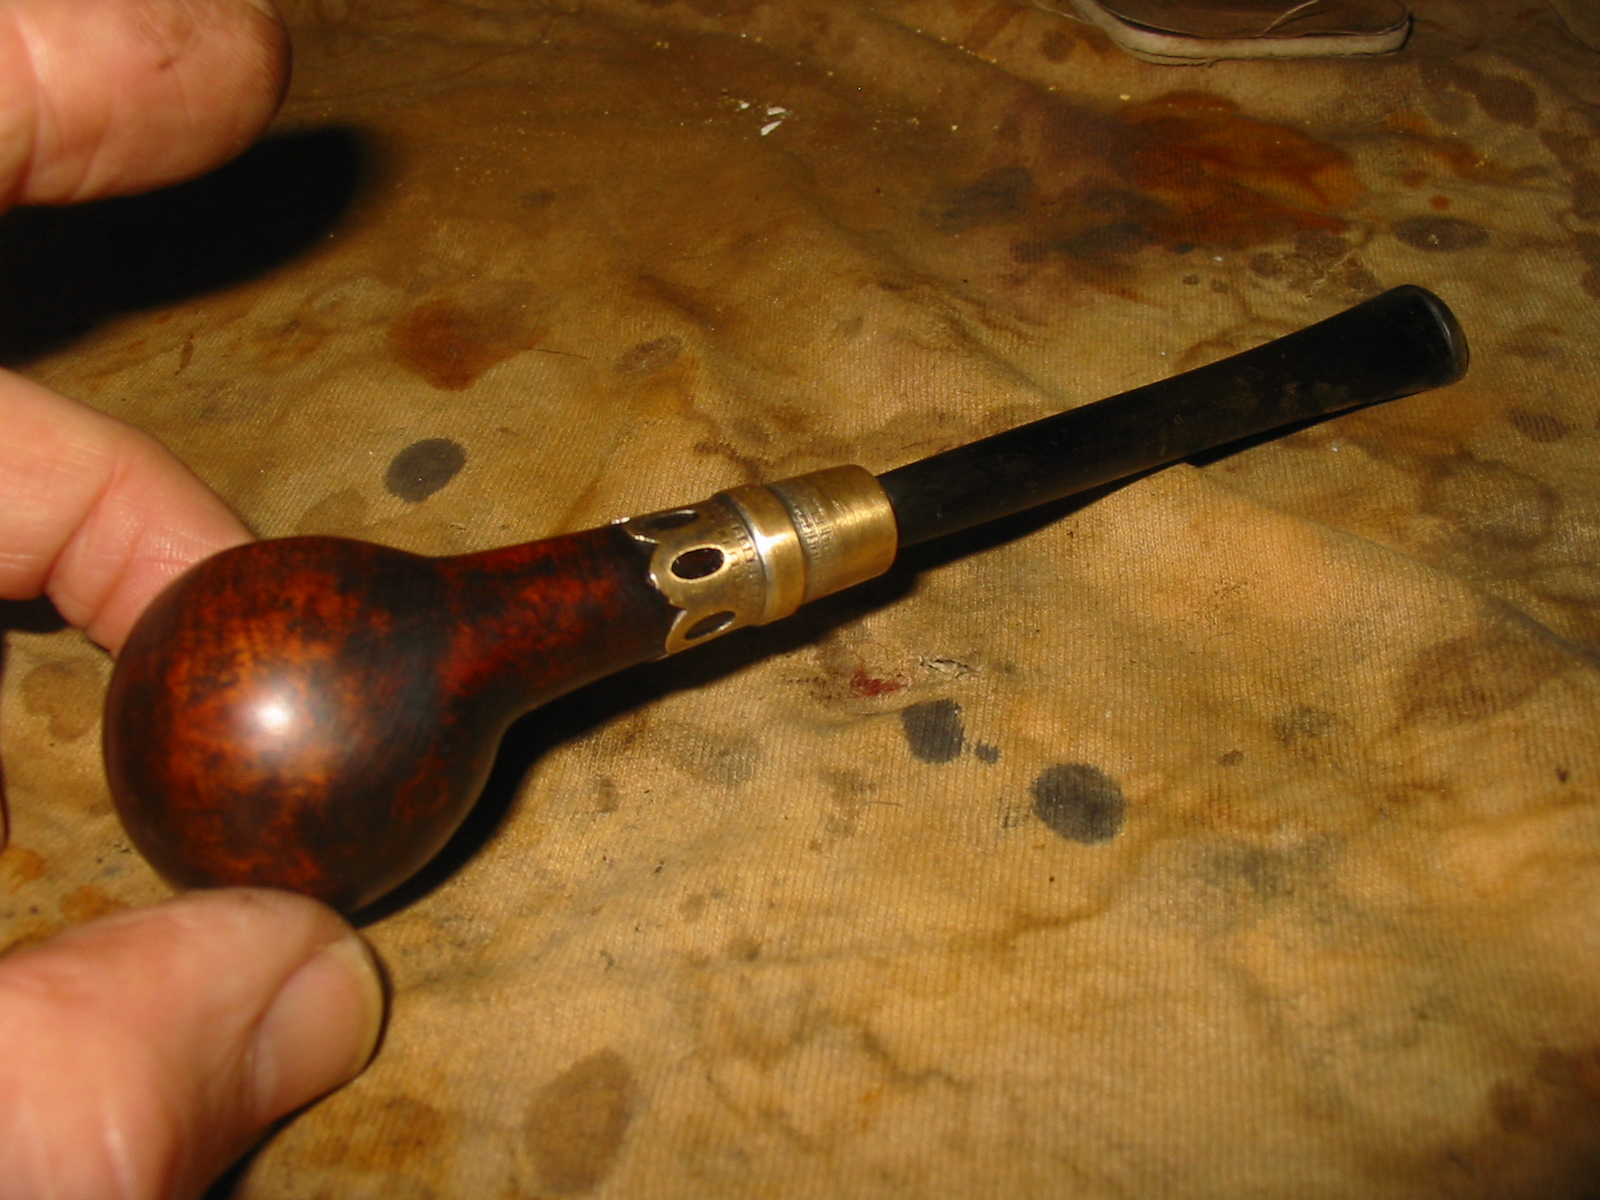
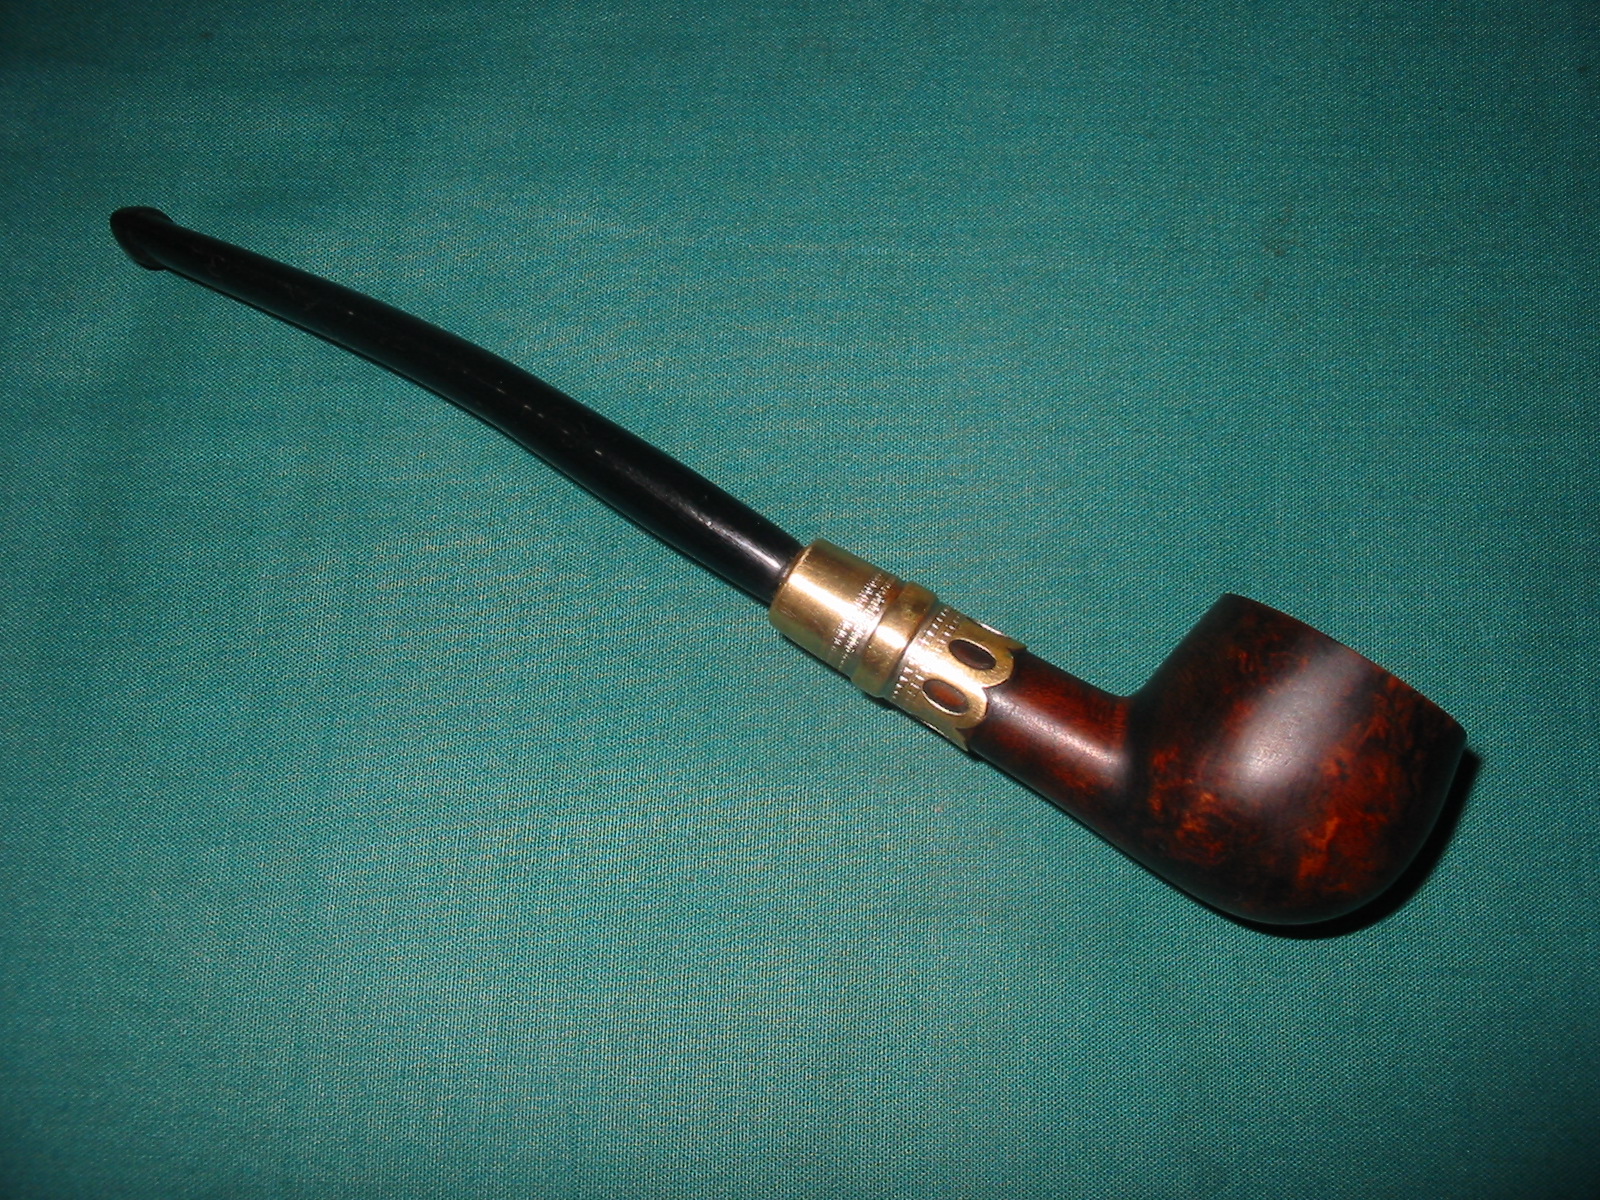
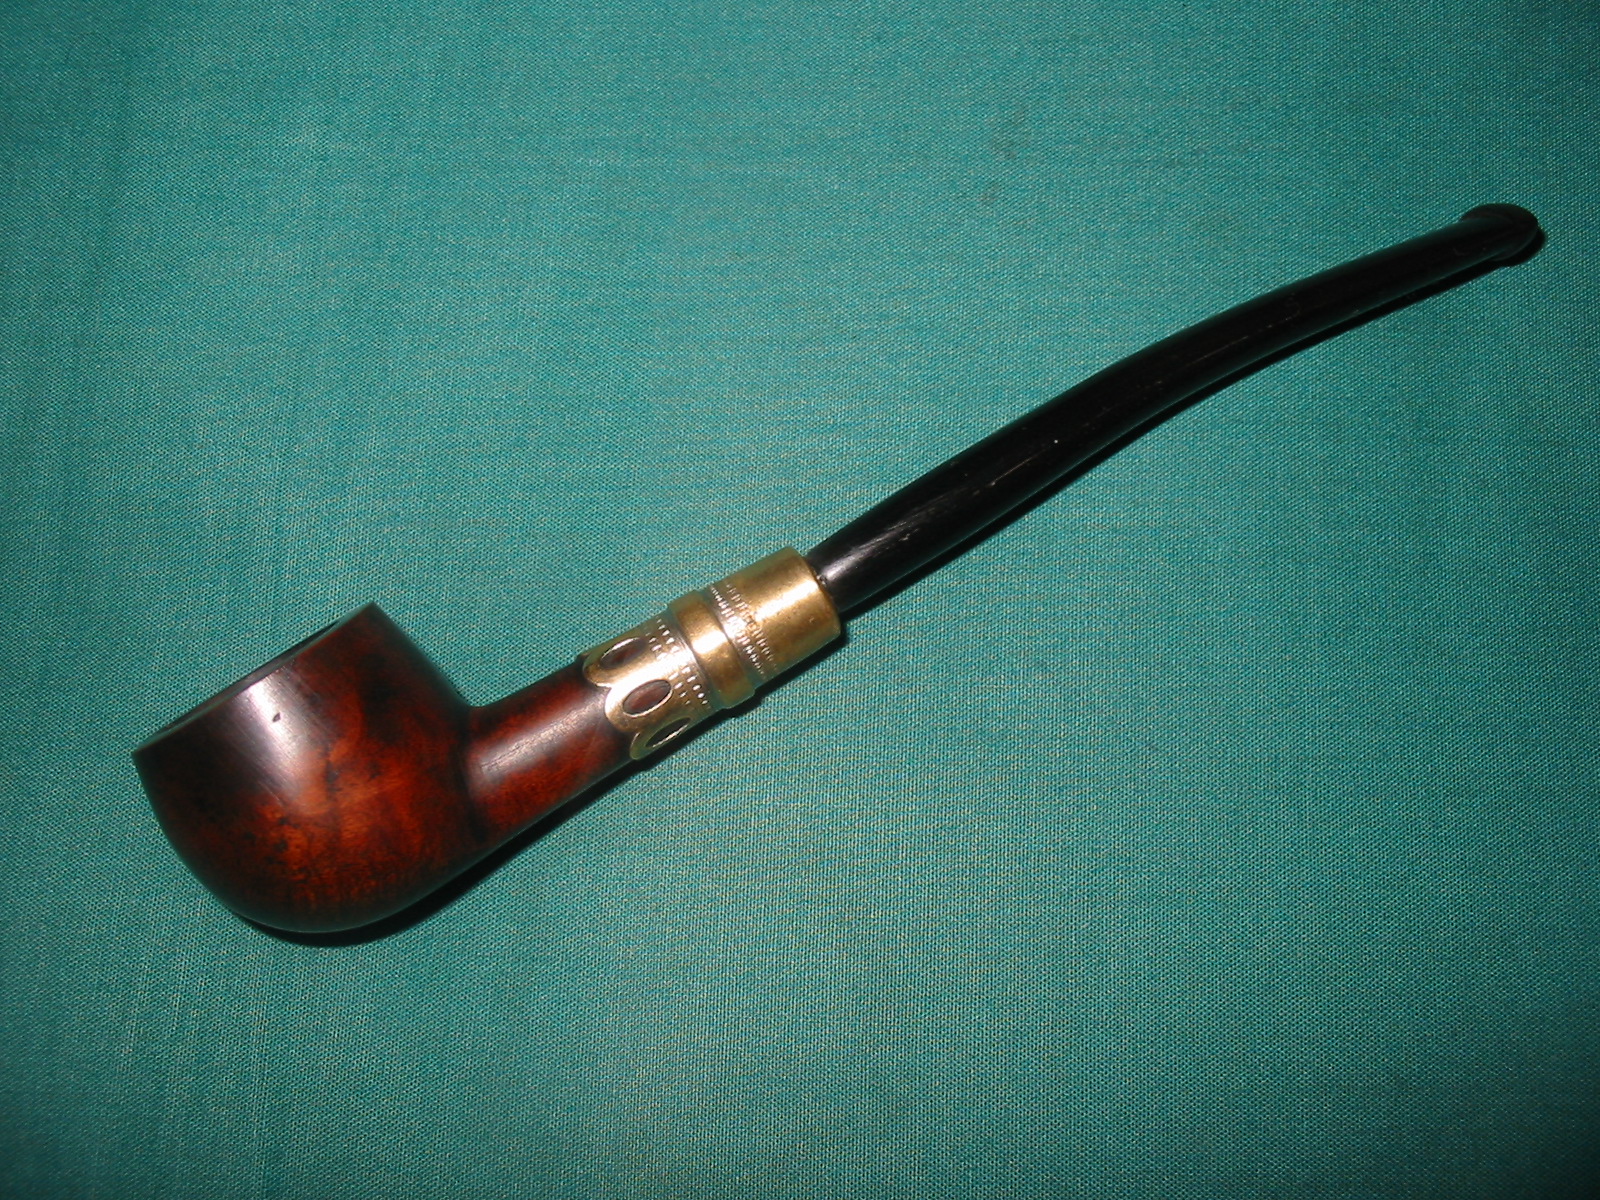
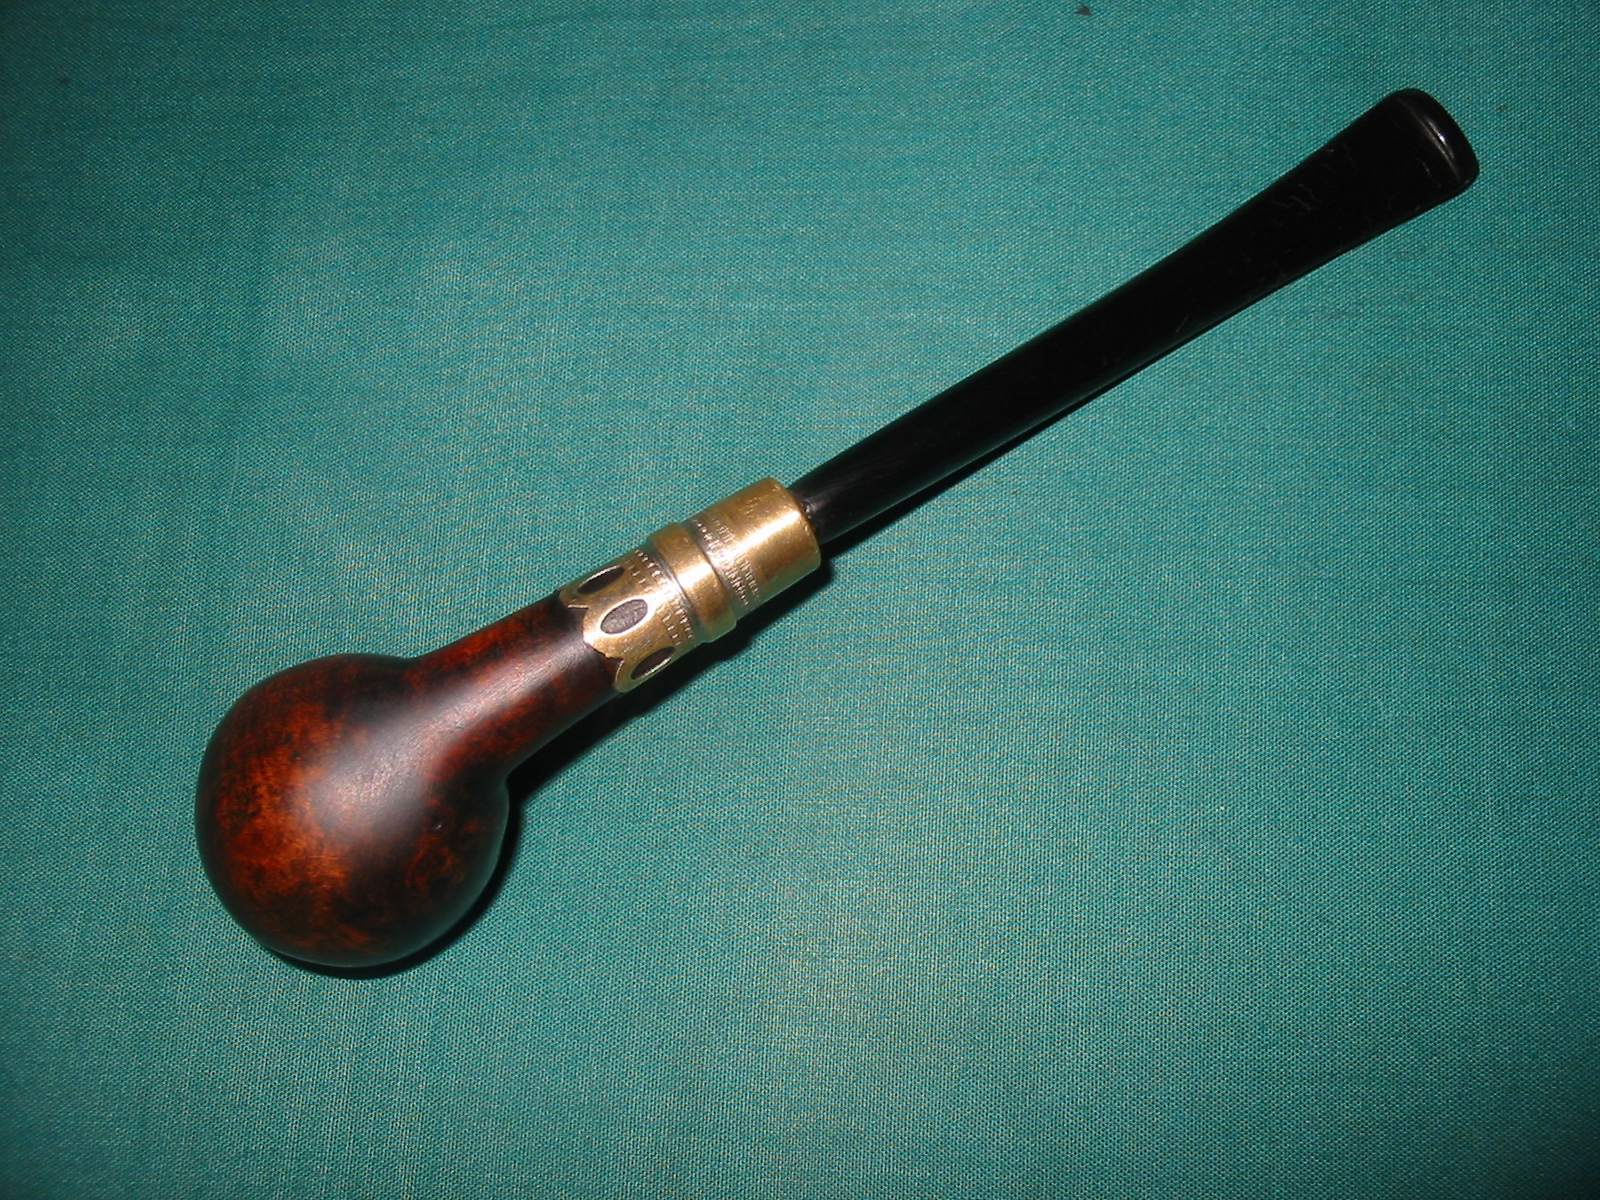
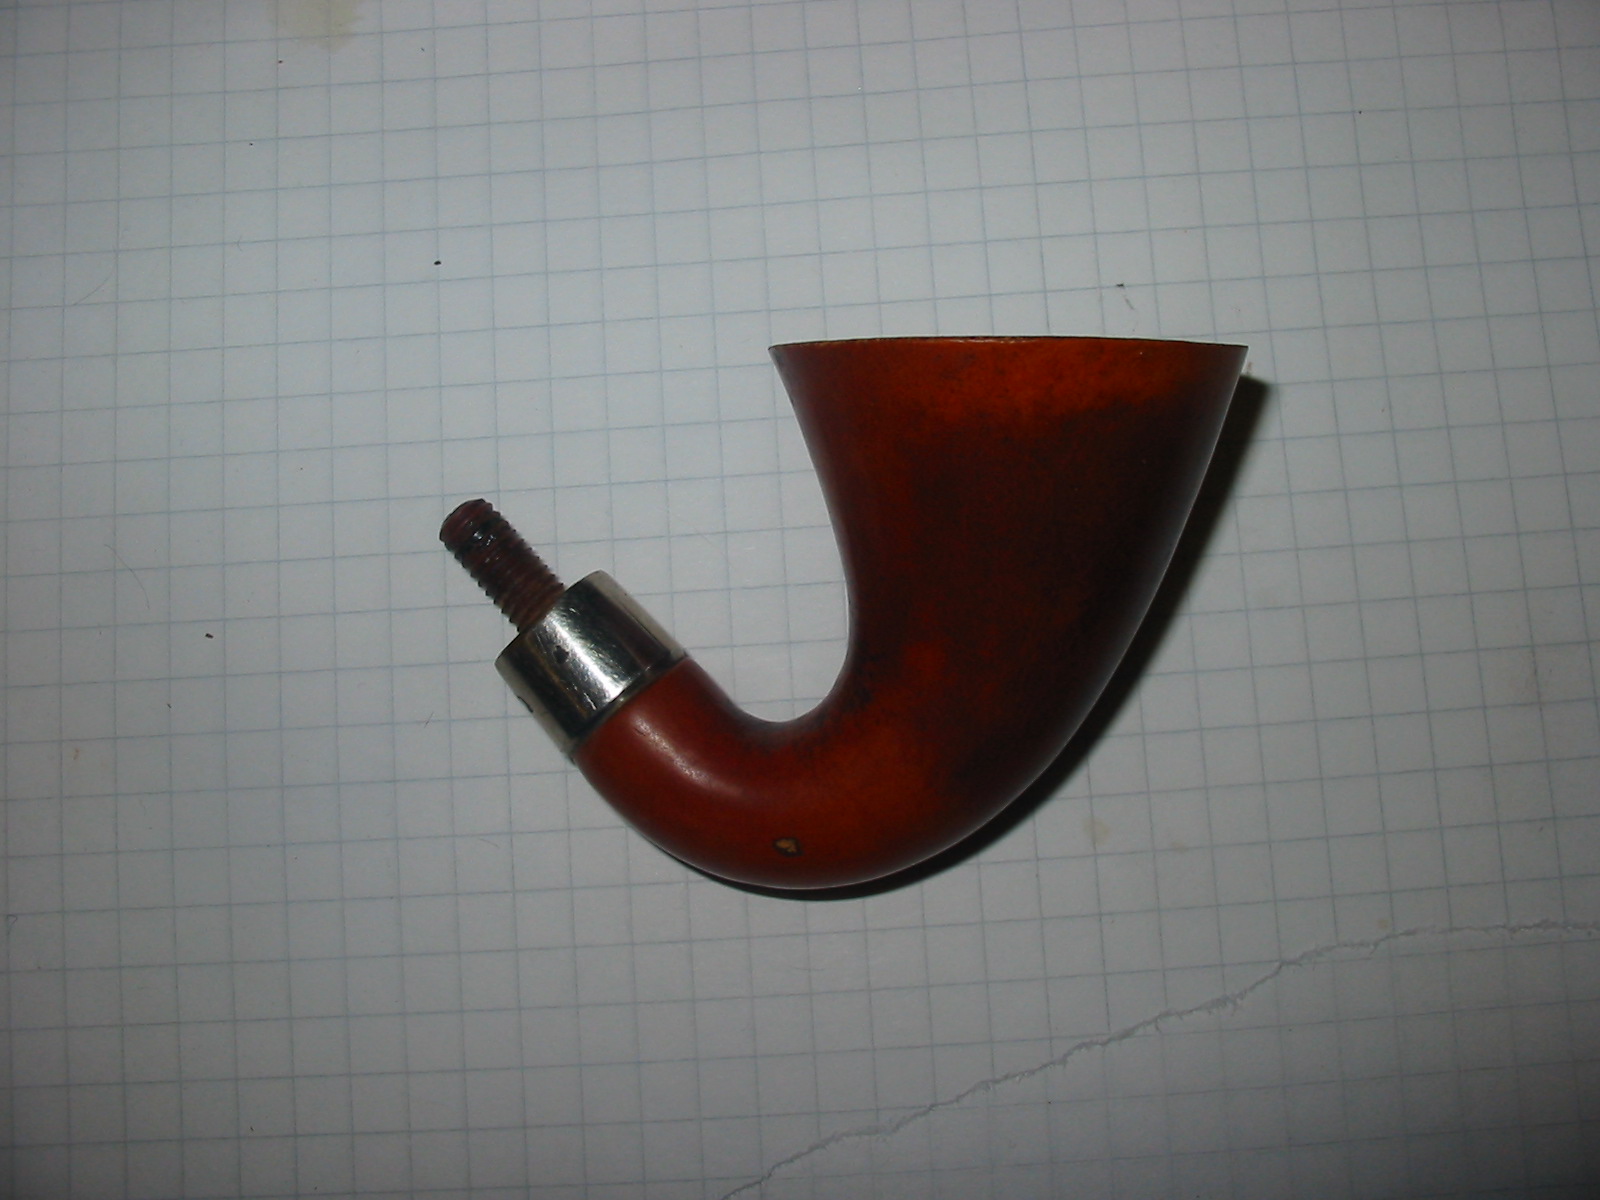
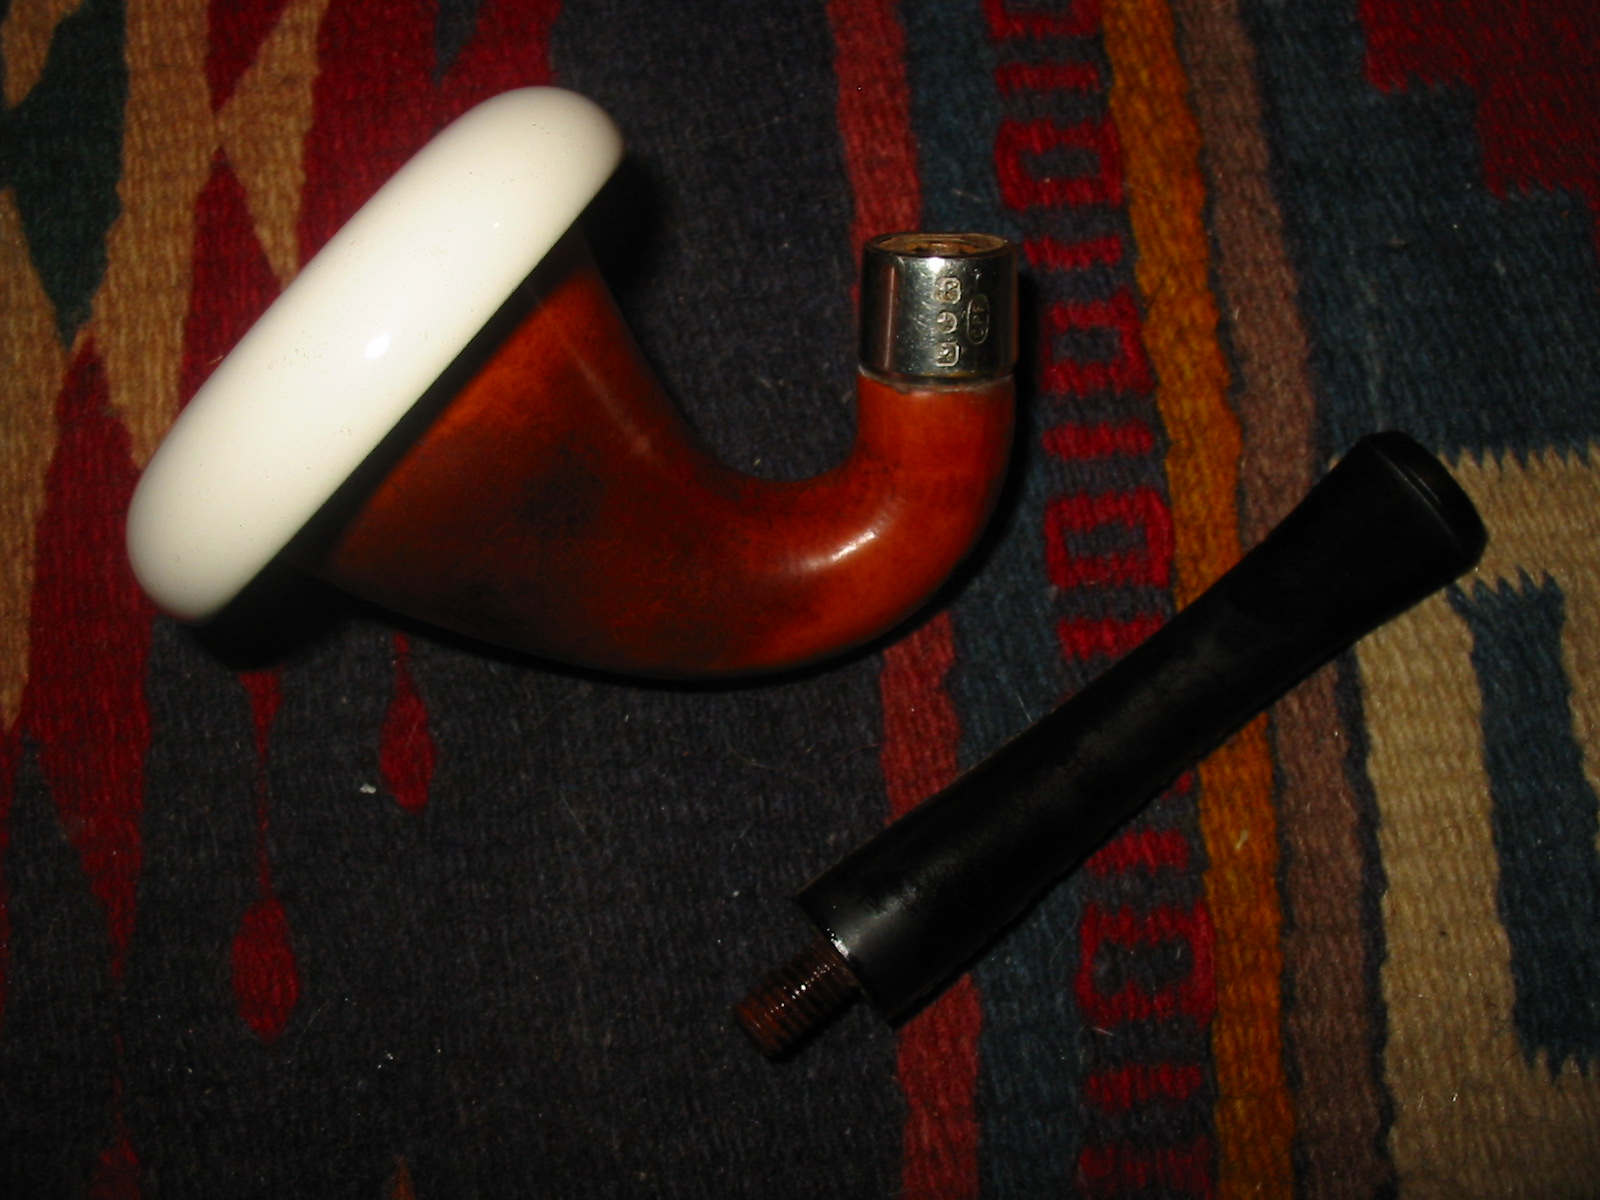
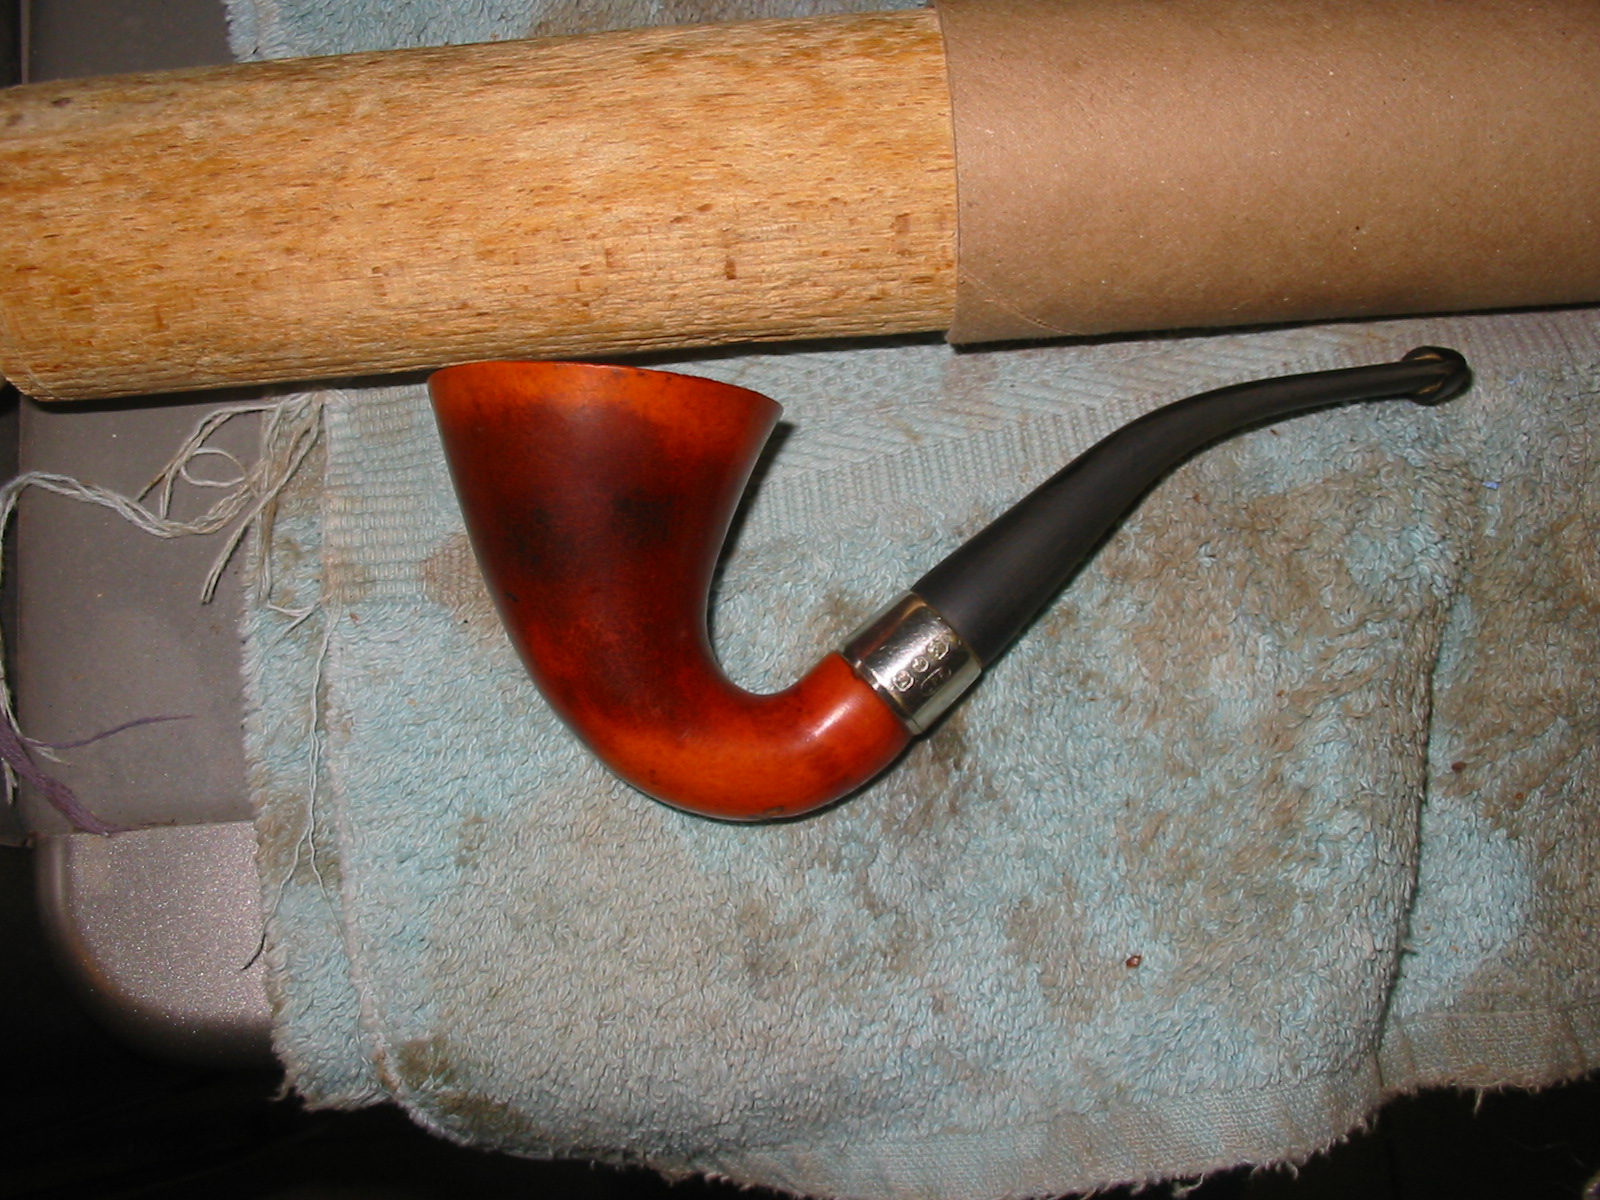
In my grab bag from the antique mall was a gourd calabash bowl. It has the original silver band with the CPF logo stamped on it and some faux hallmarks – an anchor, star and a figure. The CPF stands for Colossus Pipe Factory – a brand I researched and wrote about previously on the blog – https://rebornpipes.com/2013/04/14/so…-on-cpf-pipes/. The hallmarks on the band are an anchor with chain, a star and a figure of a man. From my research these are faux hallmarks. CPF pipes were made in New York and later became linked with KB&B pipes. Here is a link to an old catalogue linking the brand to KB&B that I posted previously on the blog https://rebornpipes.com/2014/03/05/an…cpf-catalogue/. Sadly there are no meerschaum pipes in the catalogue so I cannot ascertain the date for sure. I am fairly confident from comparing the band with others that I have which have similar bands that the pipe can conservatively be dated to the early 1900s or late 1890s. So it is a gourd bowl that has some age on it.

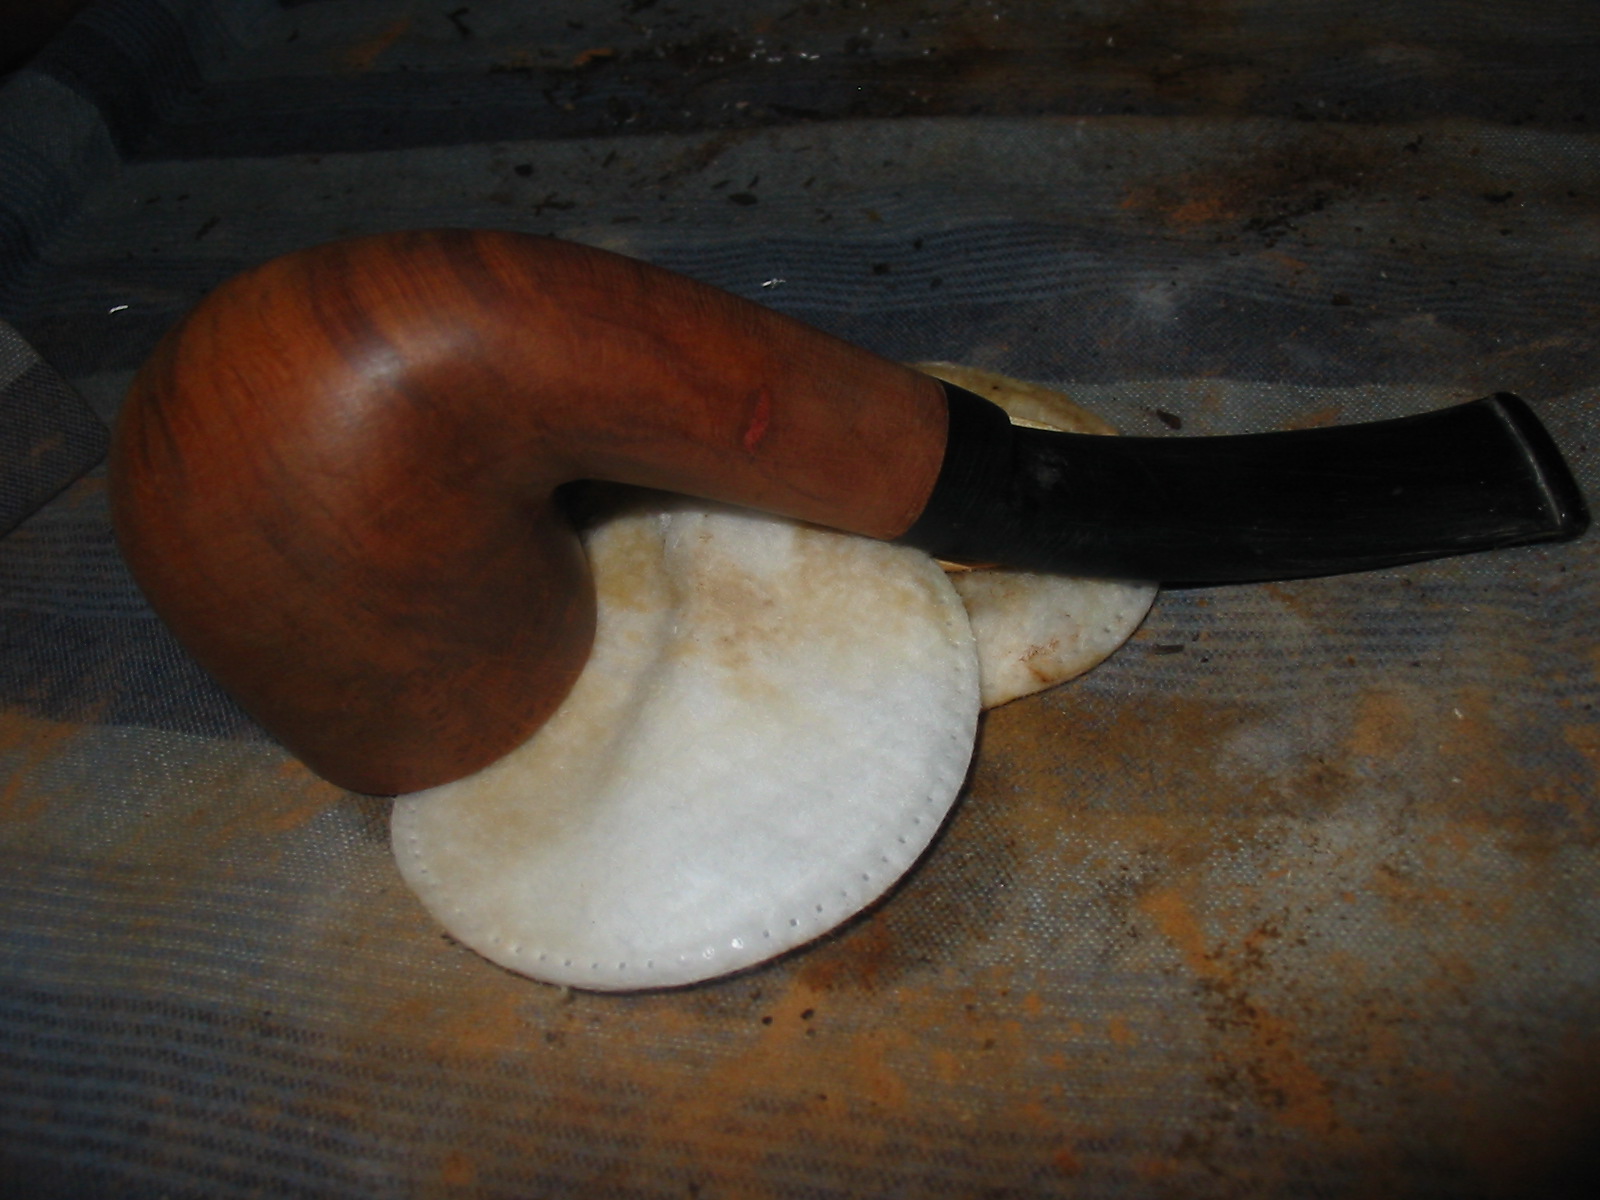
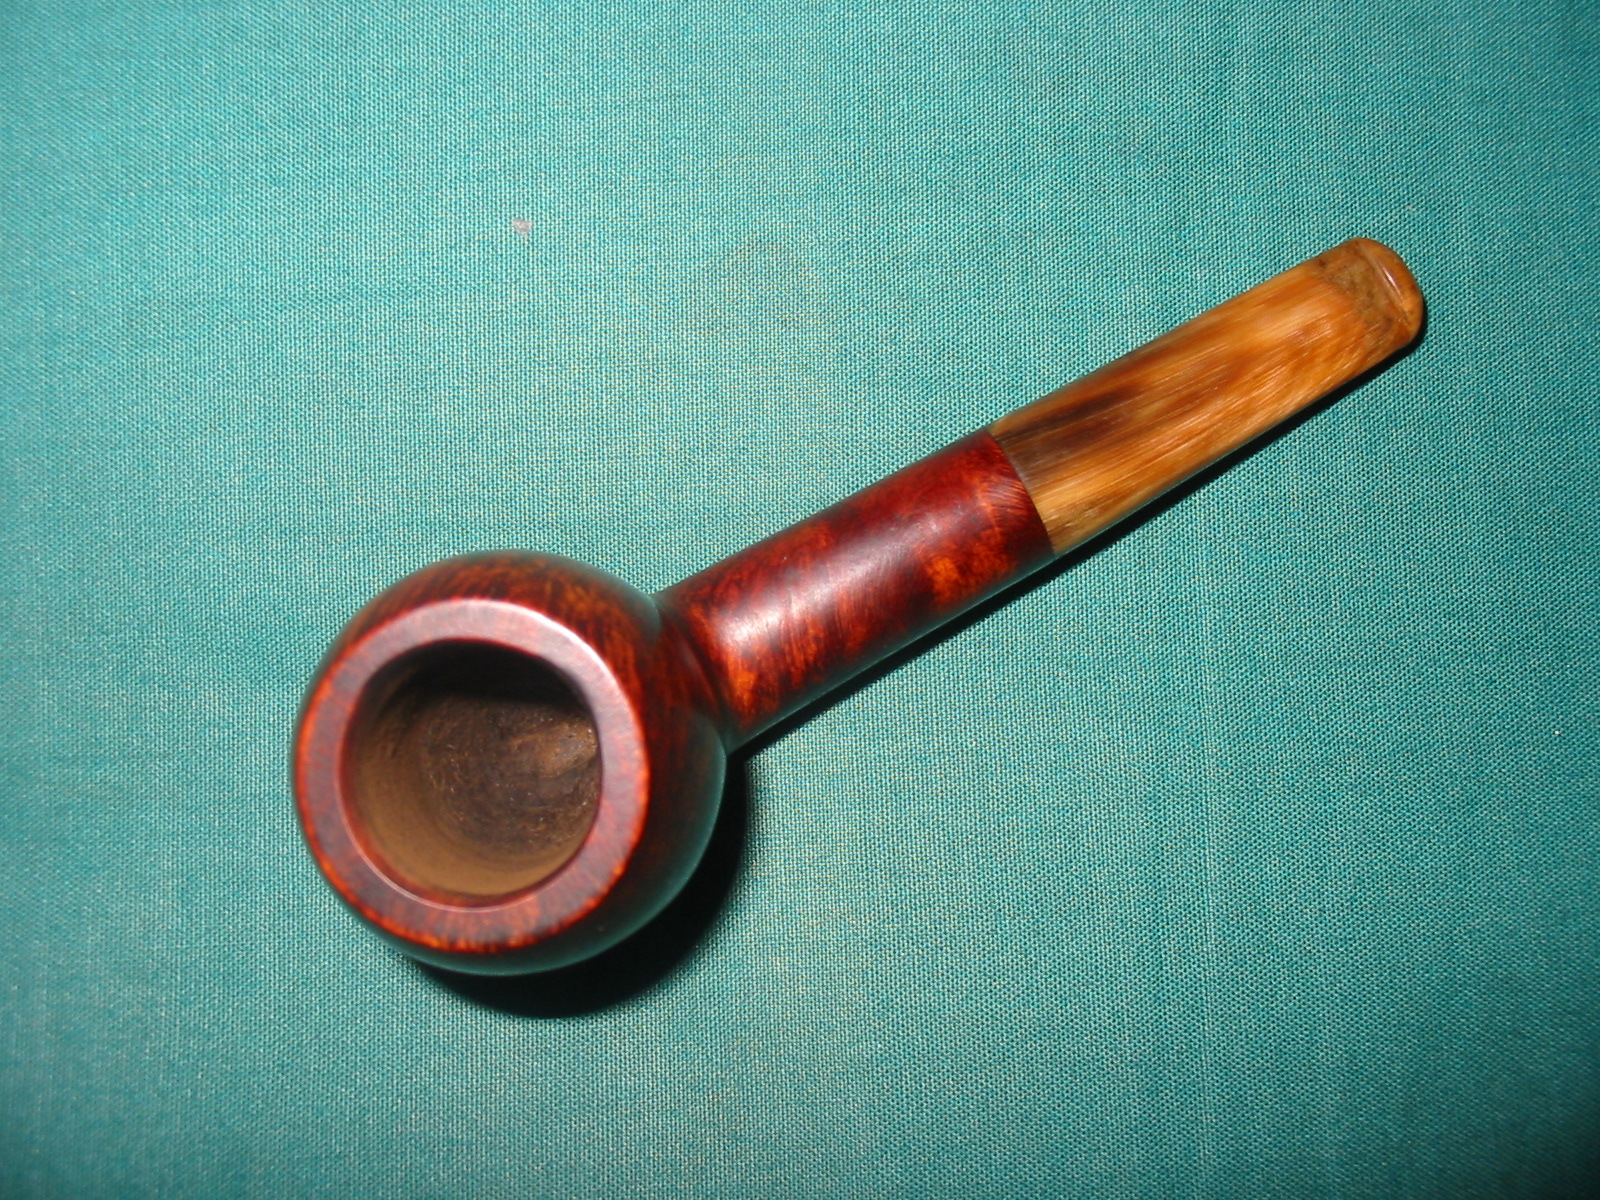
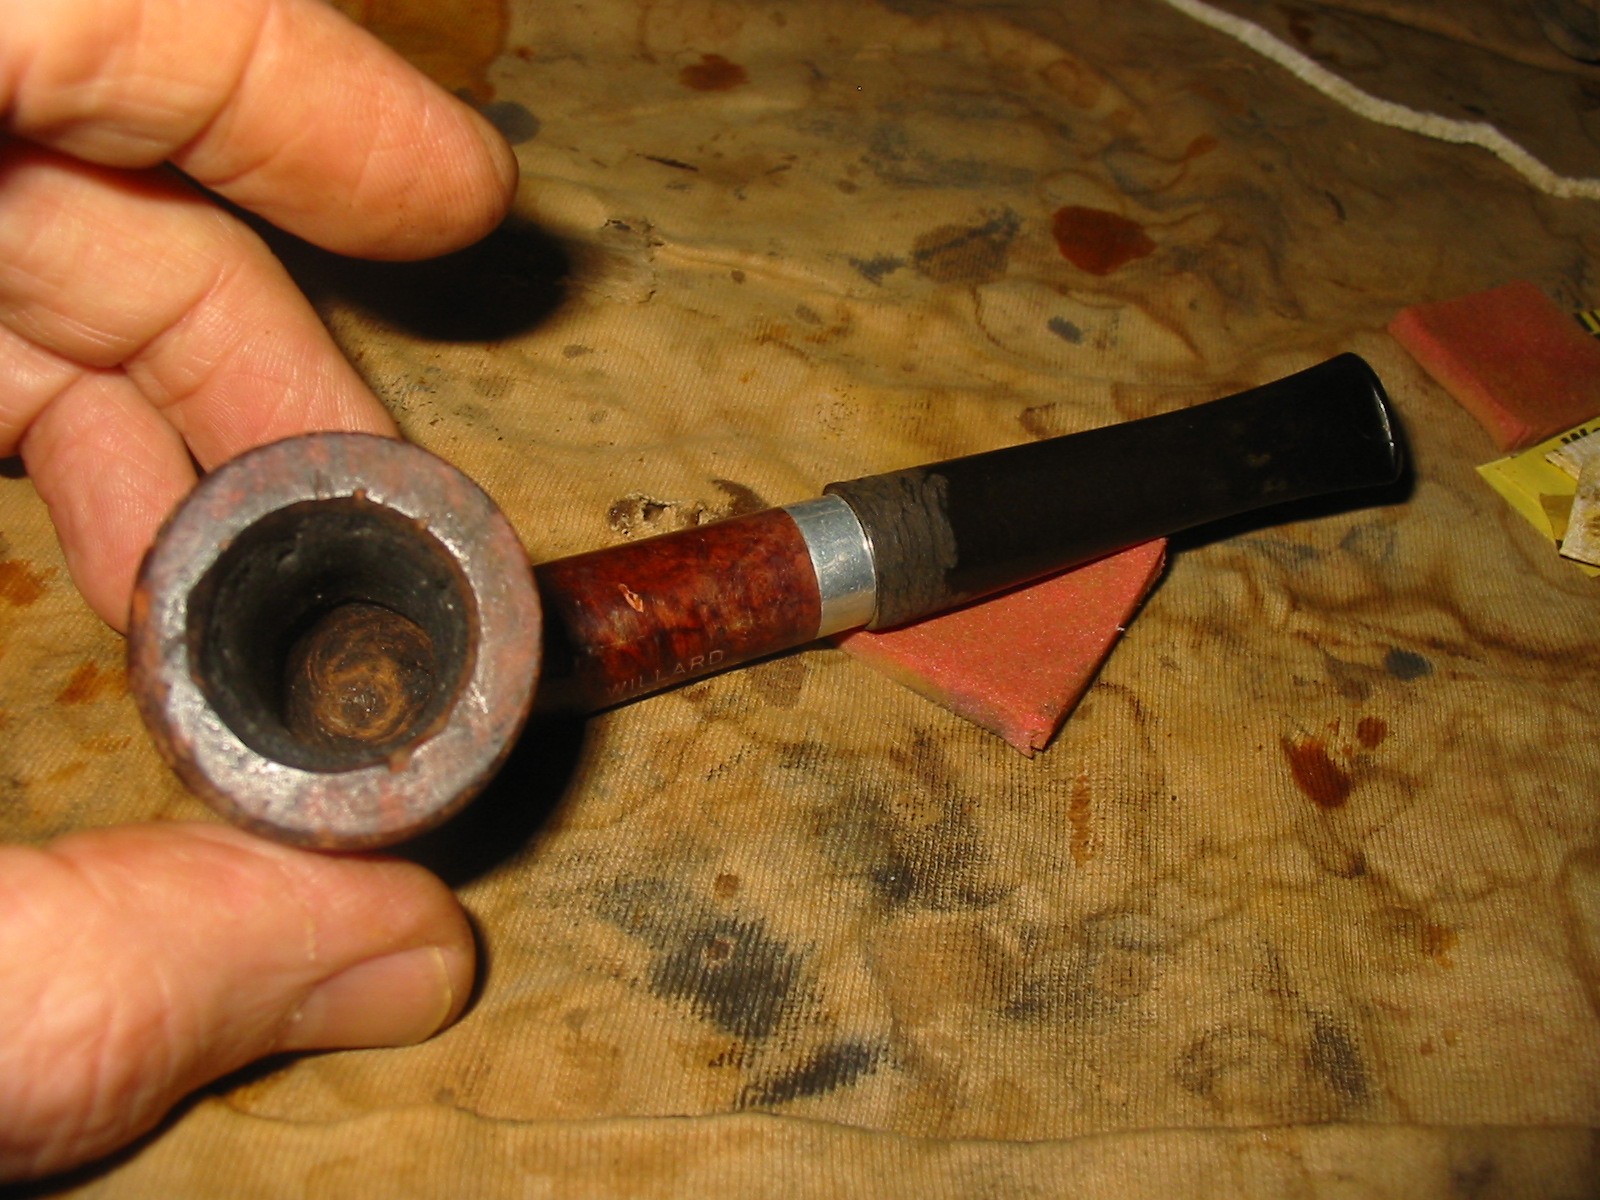
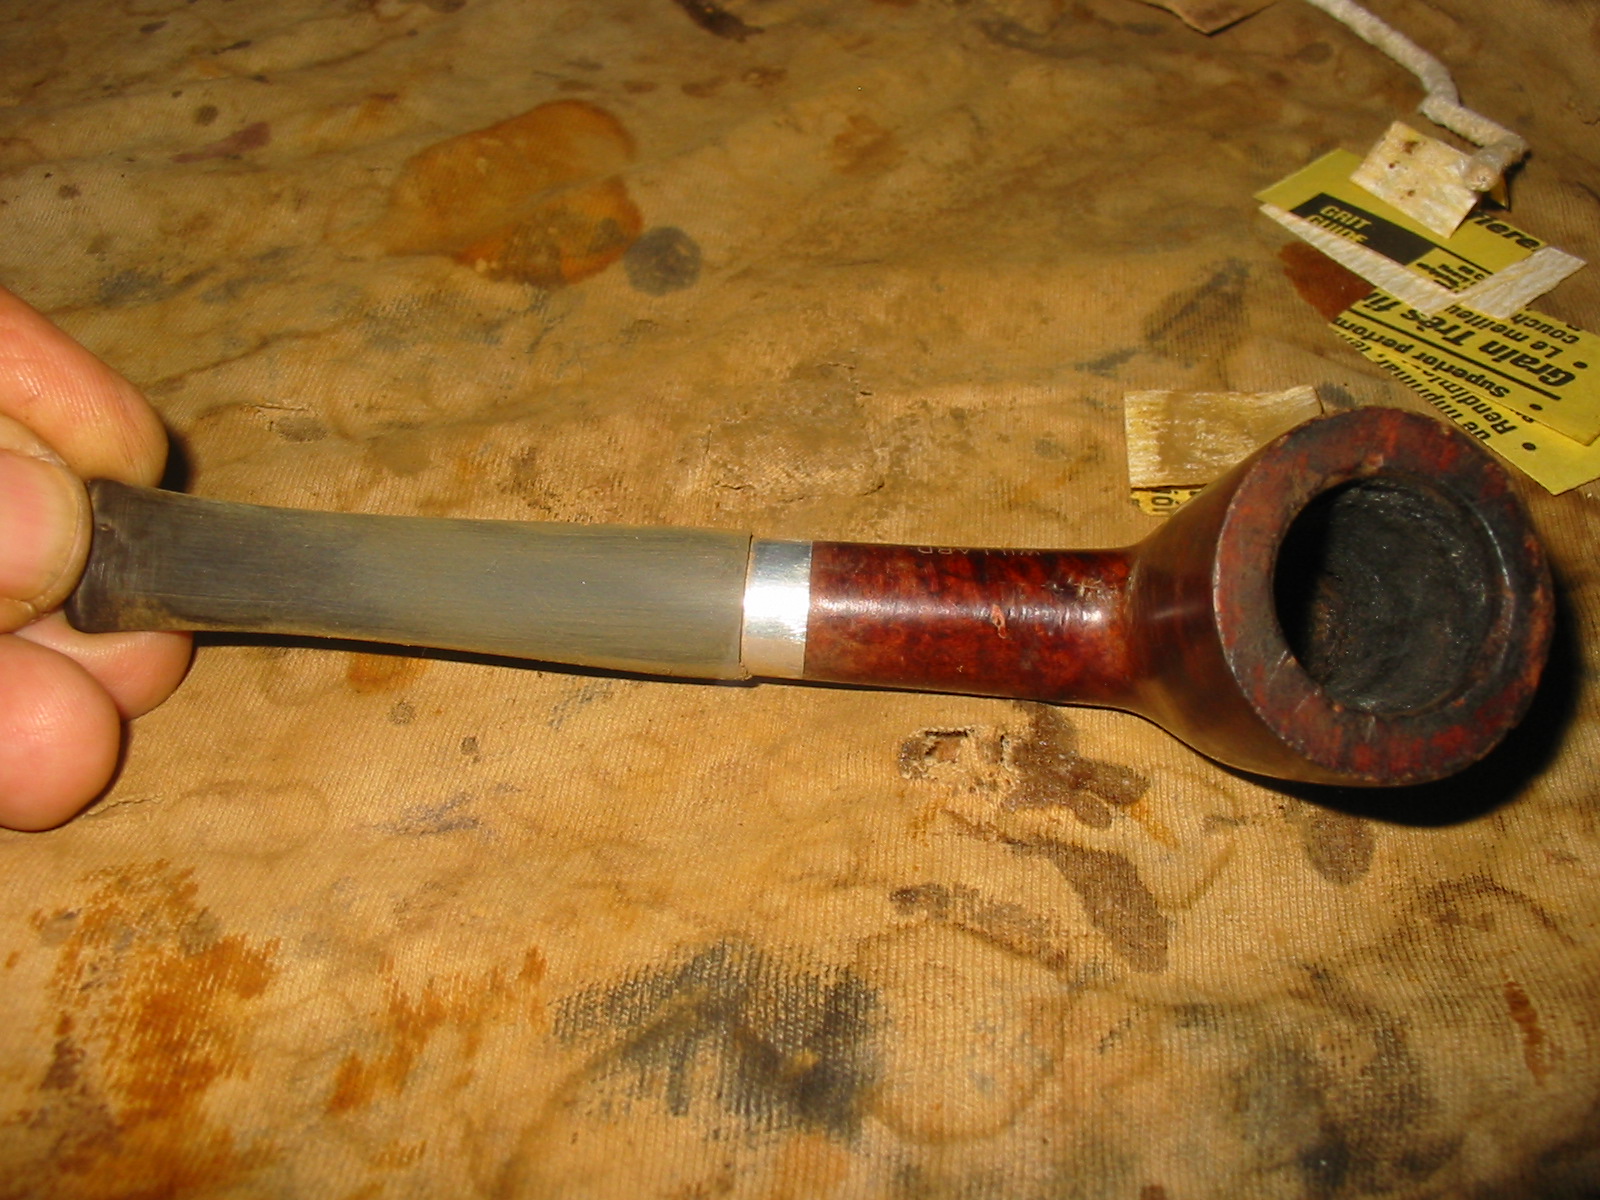
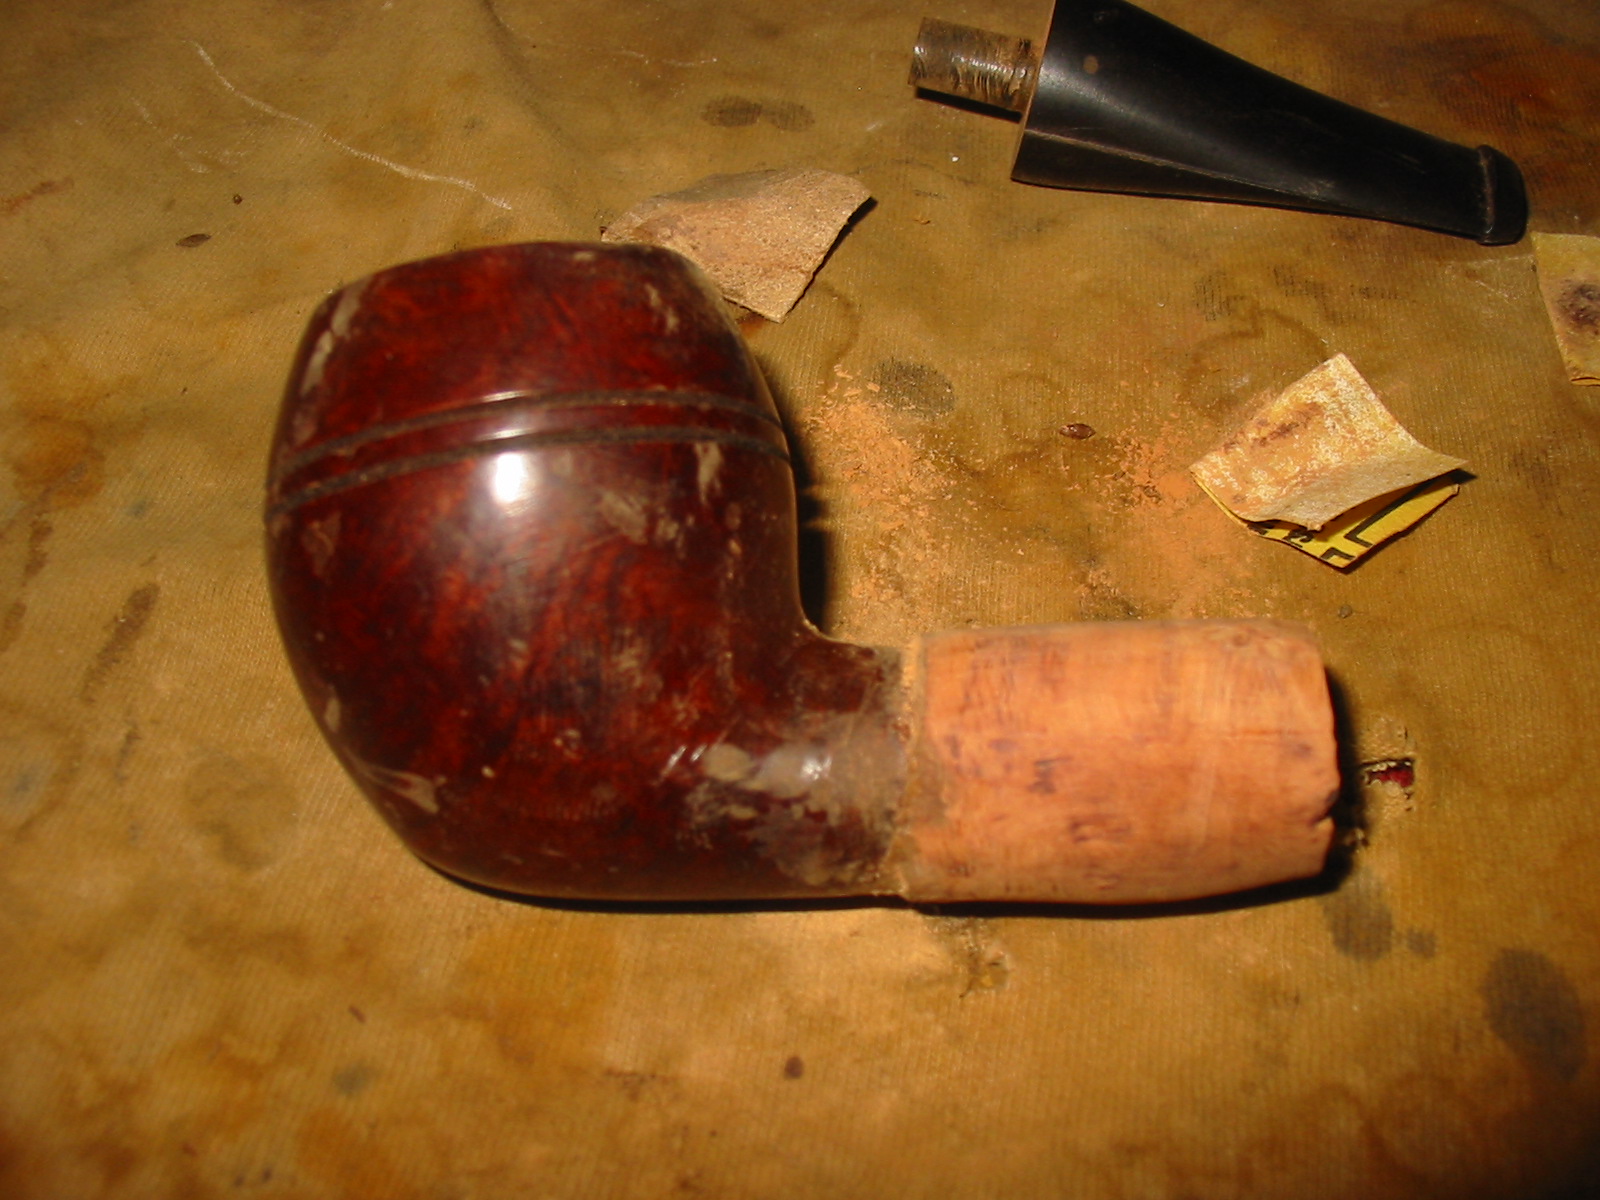
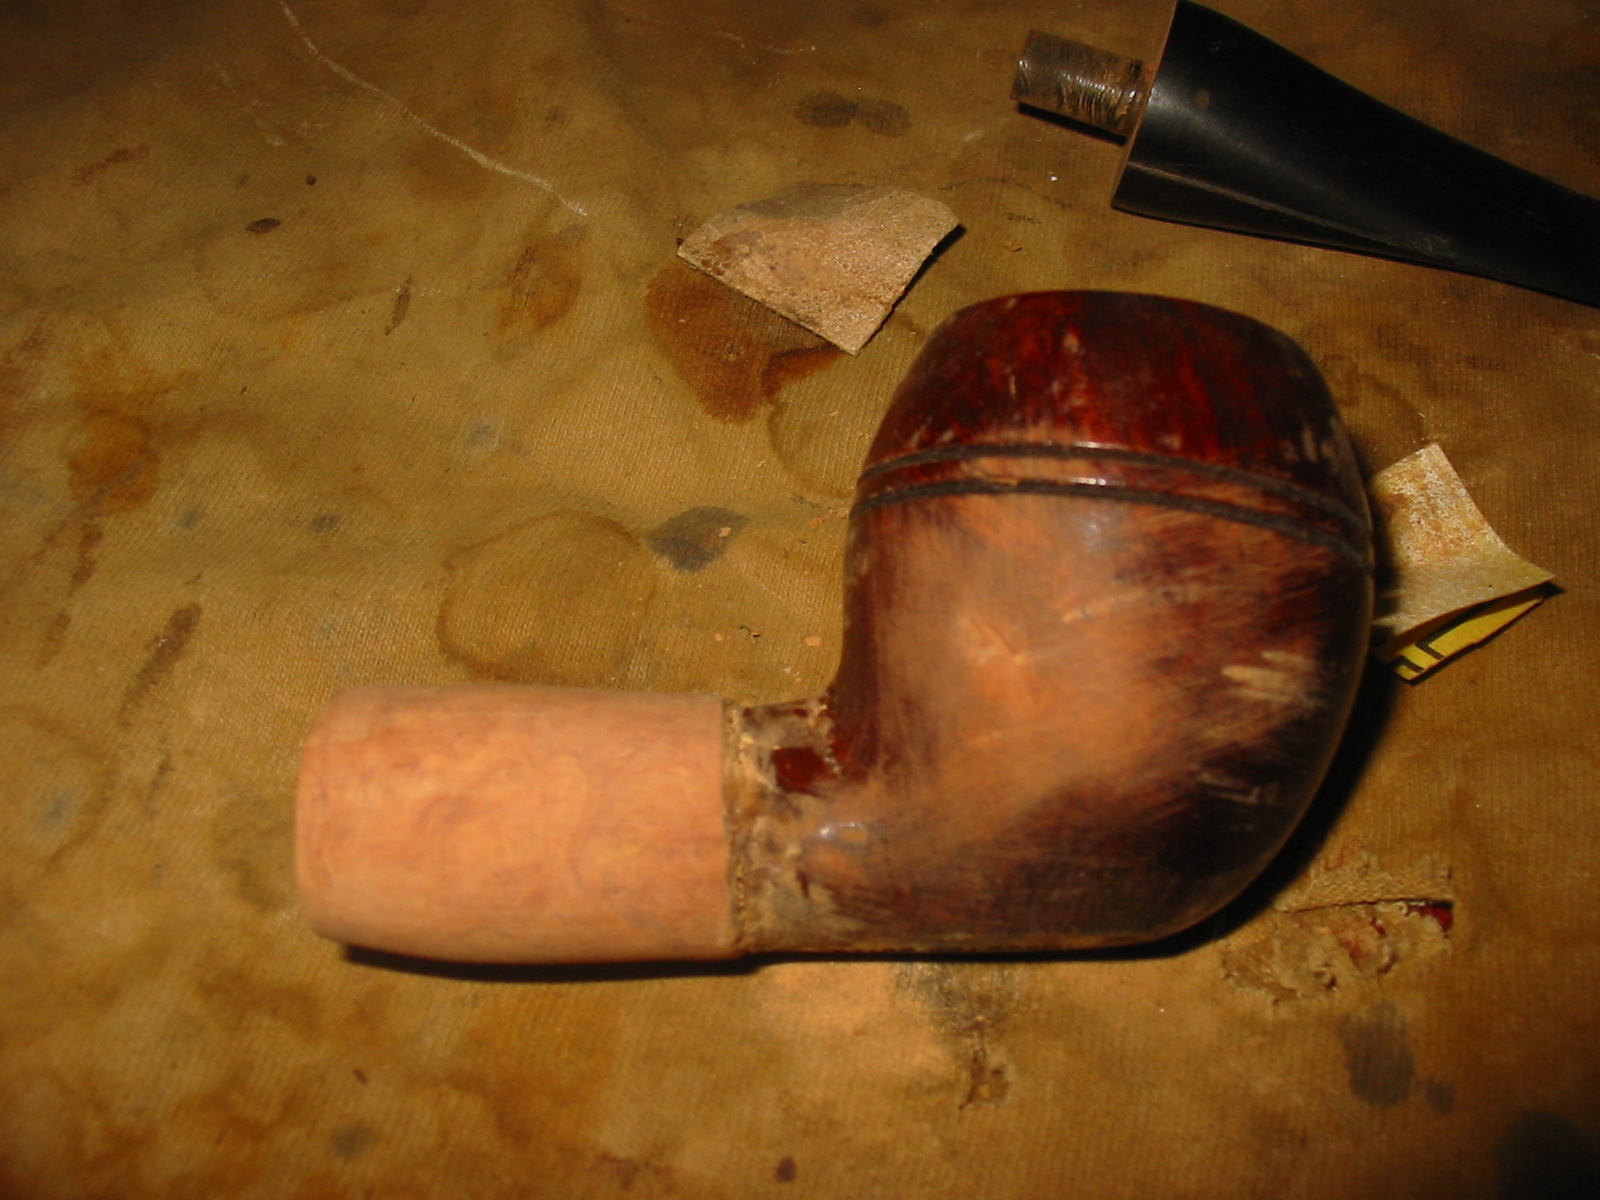
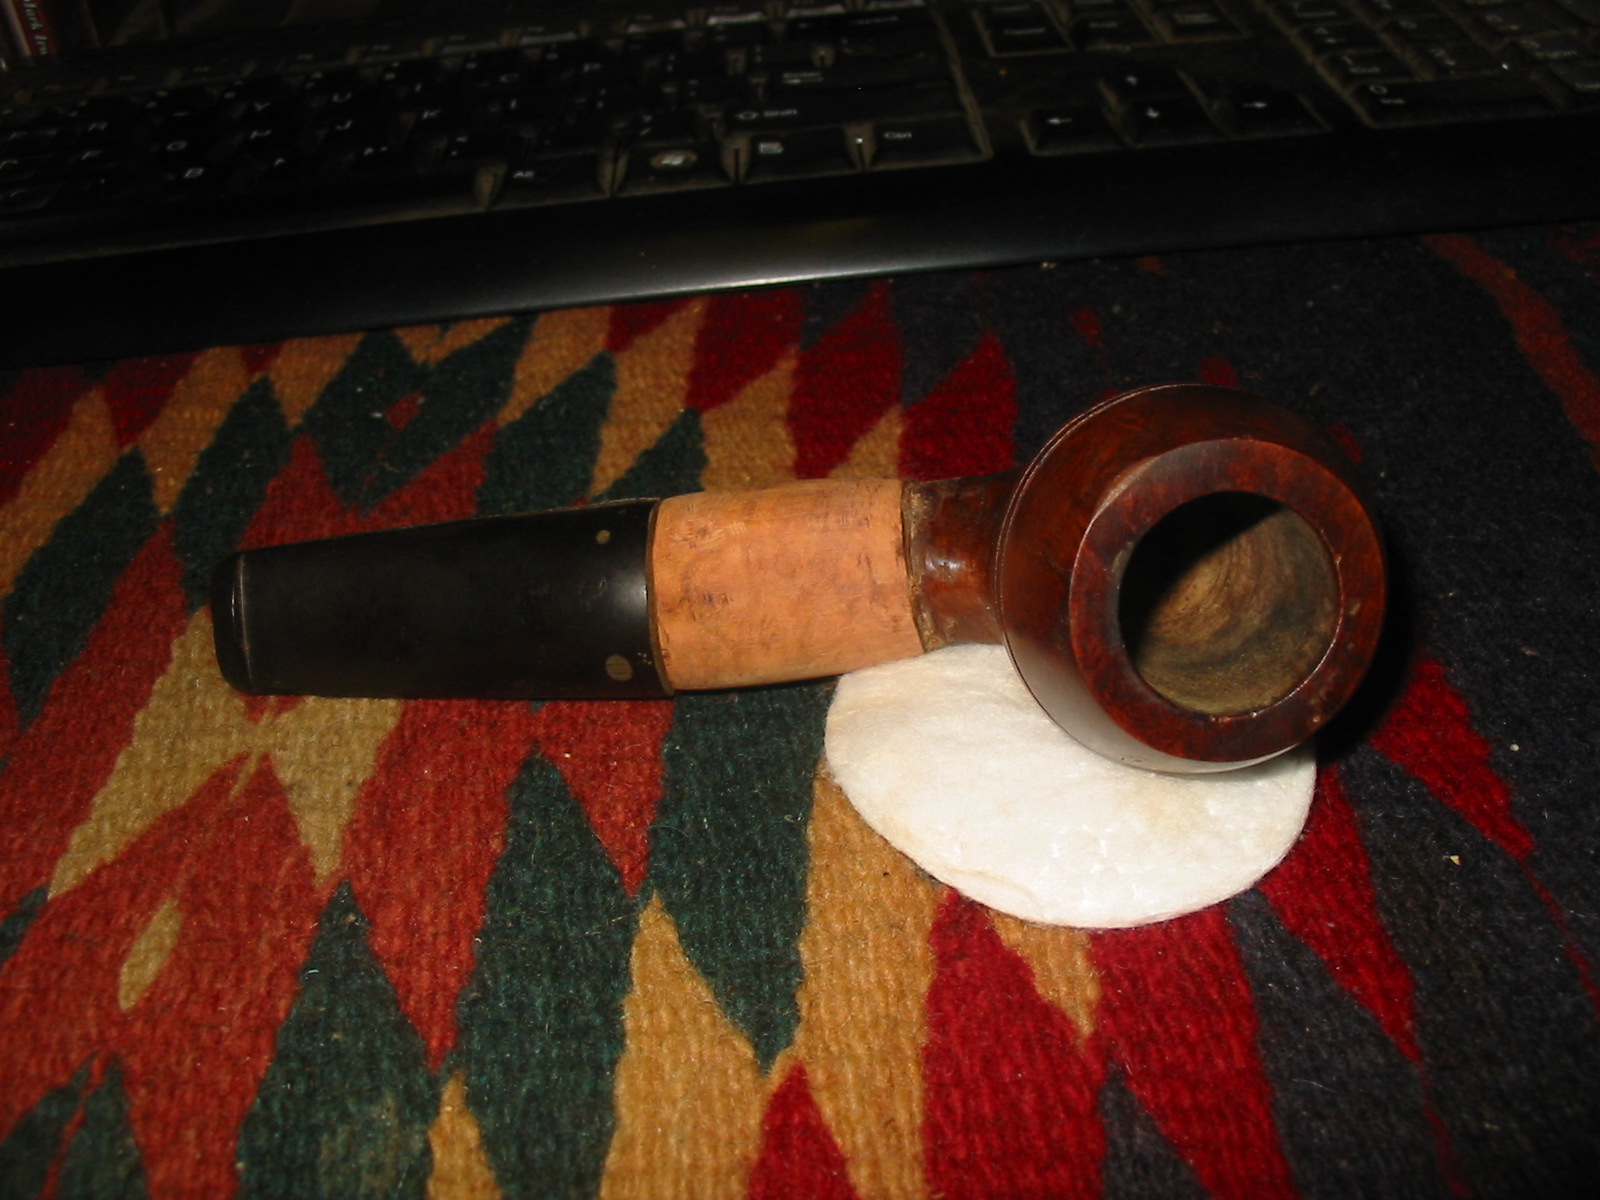
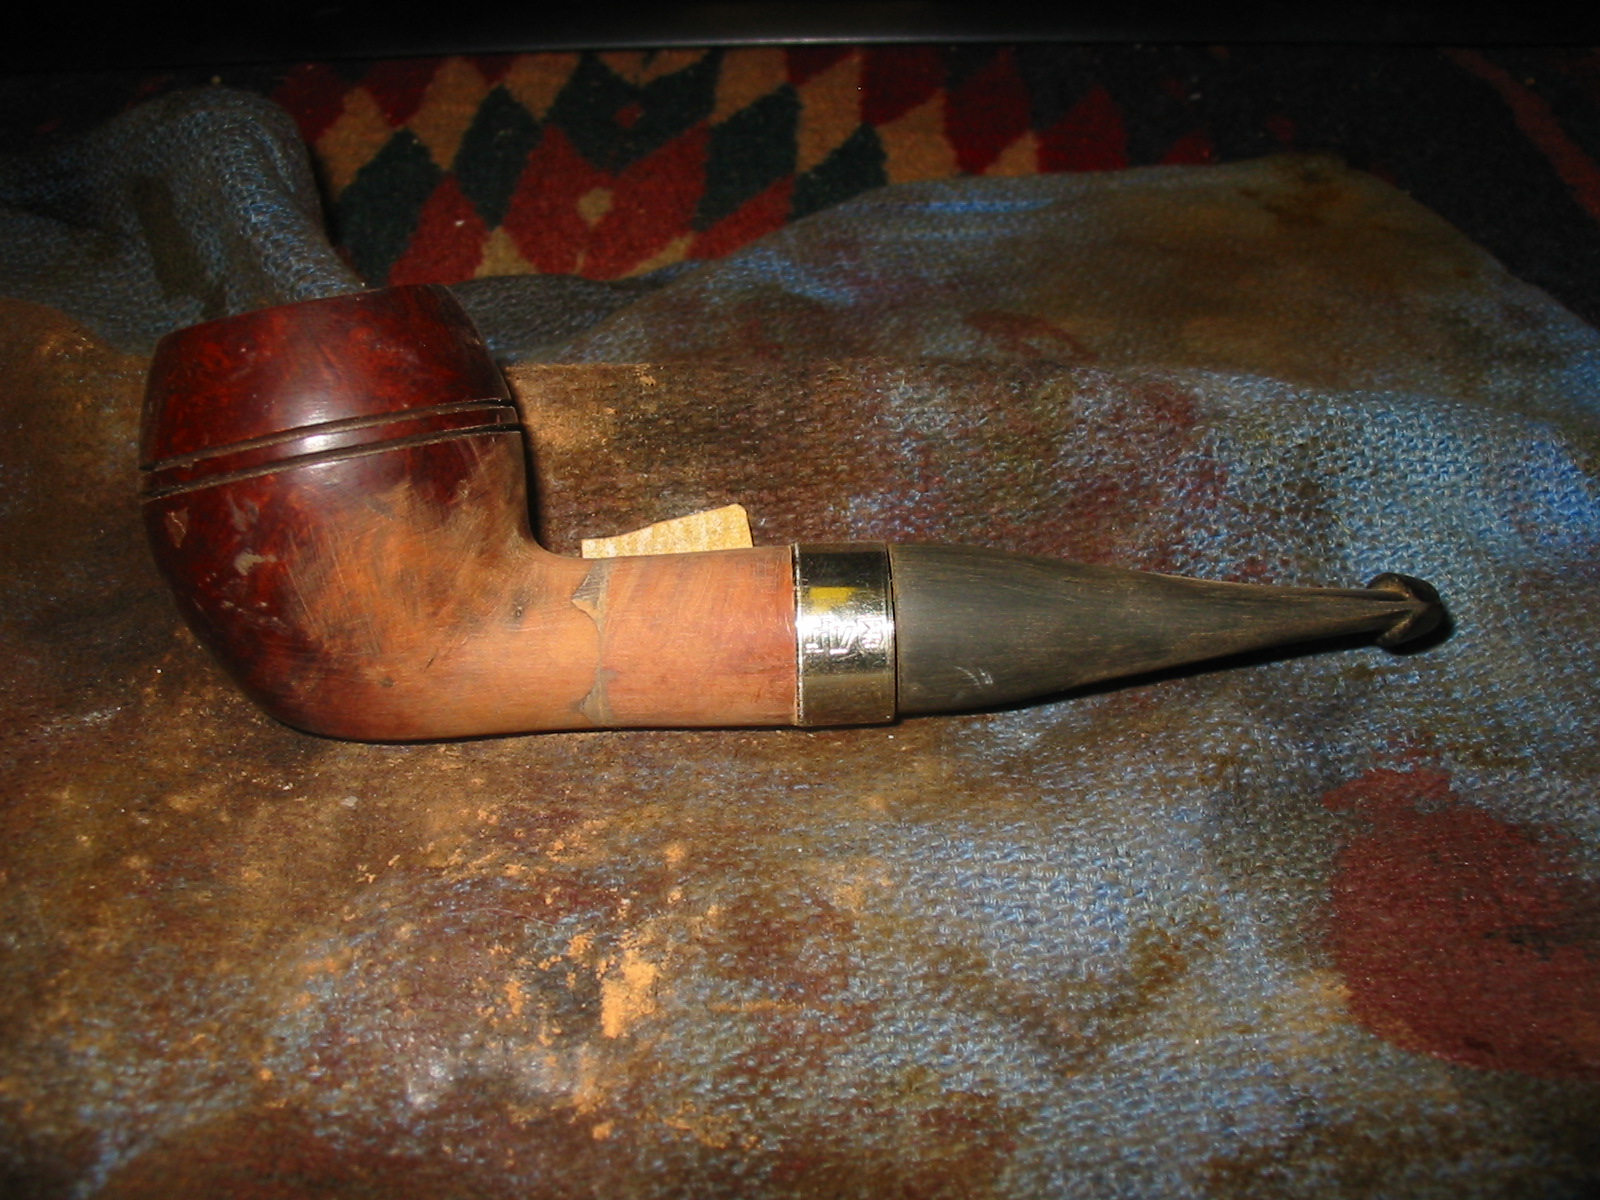
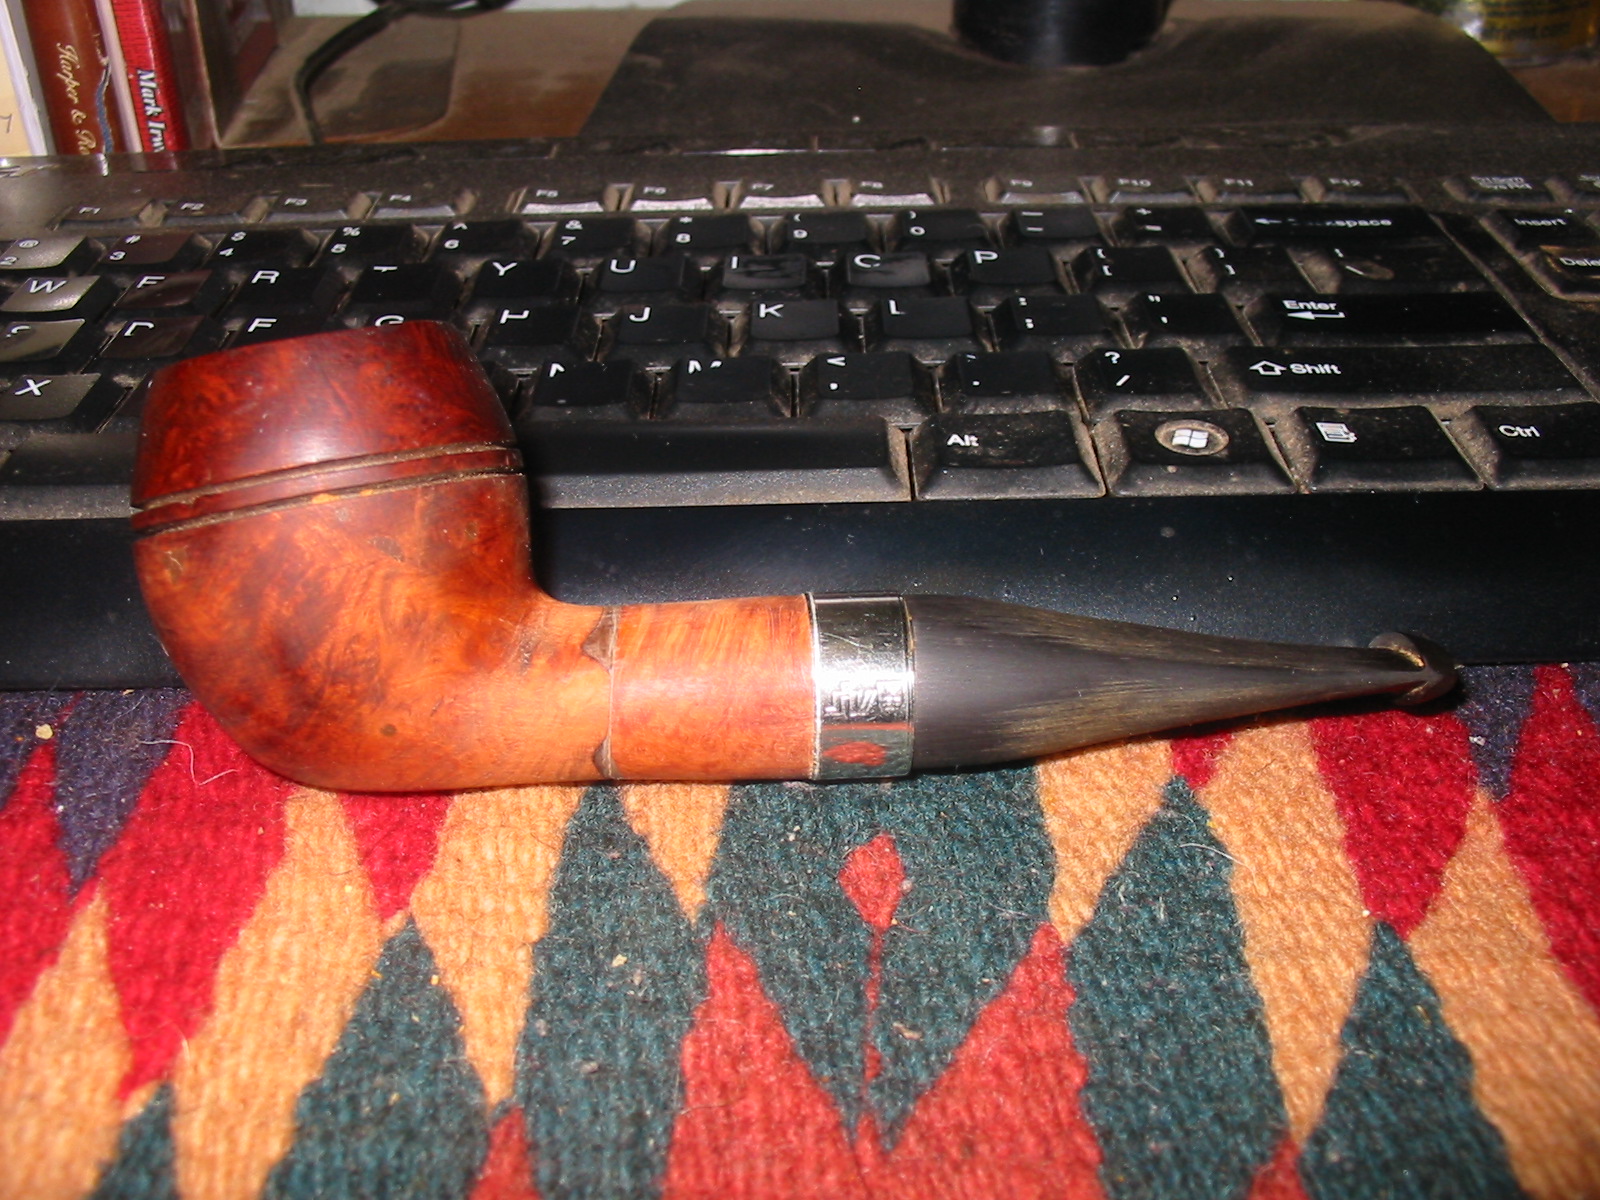
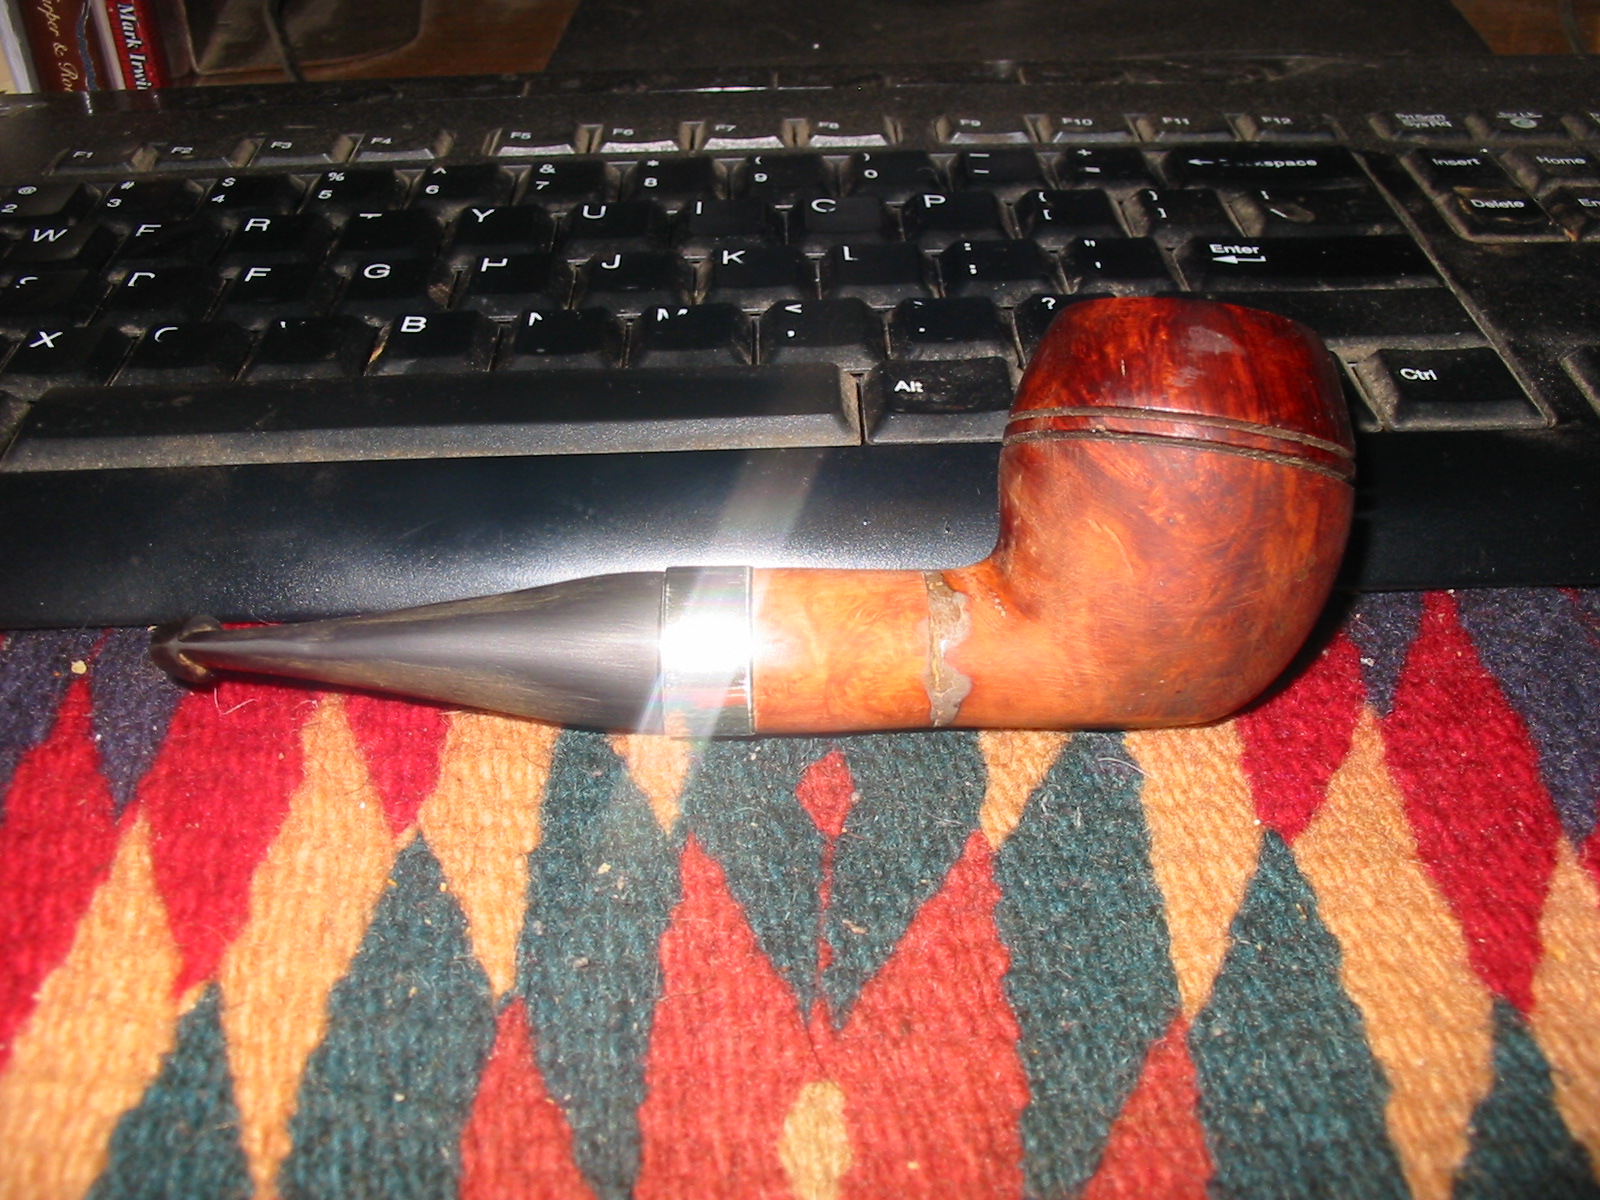
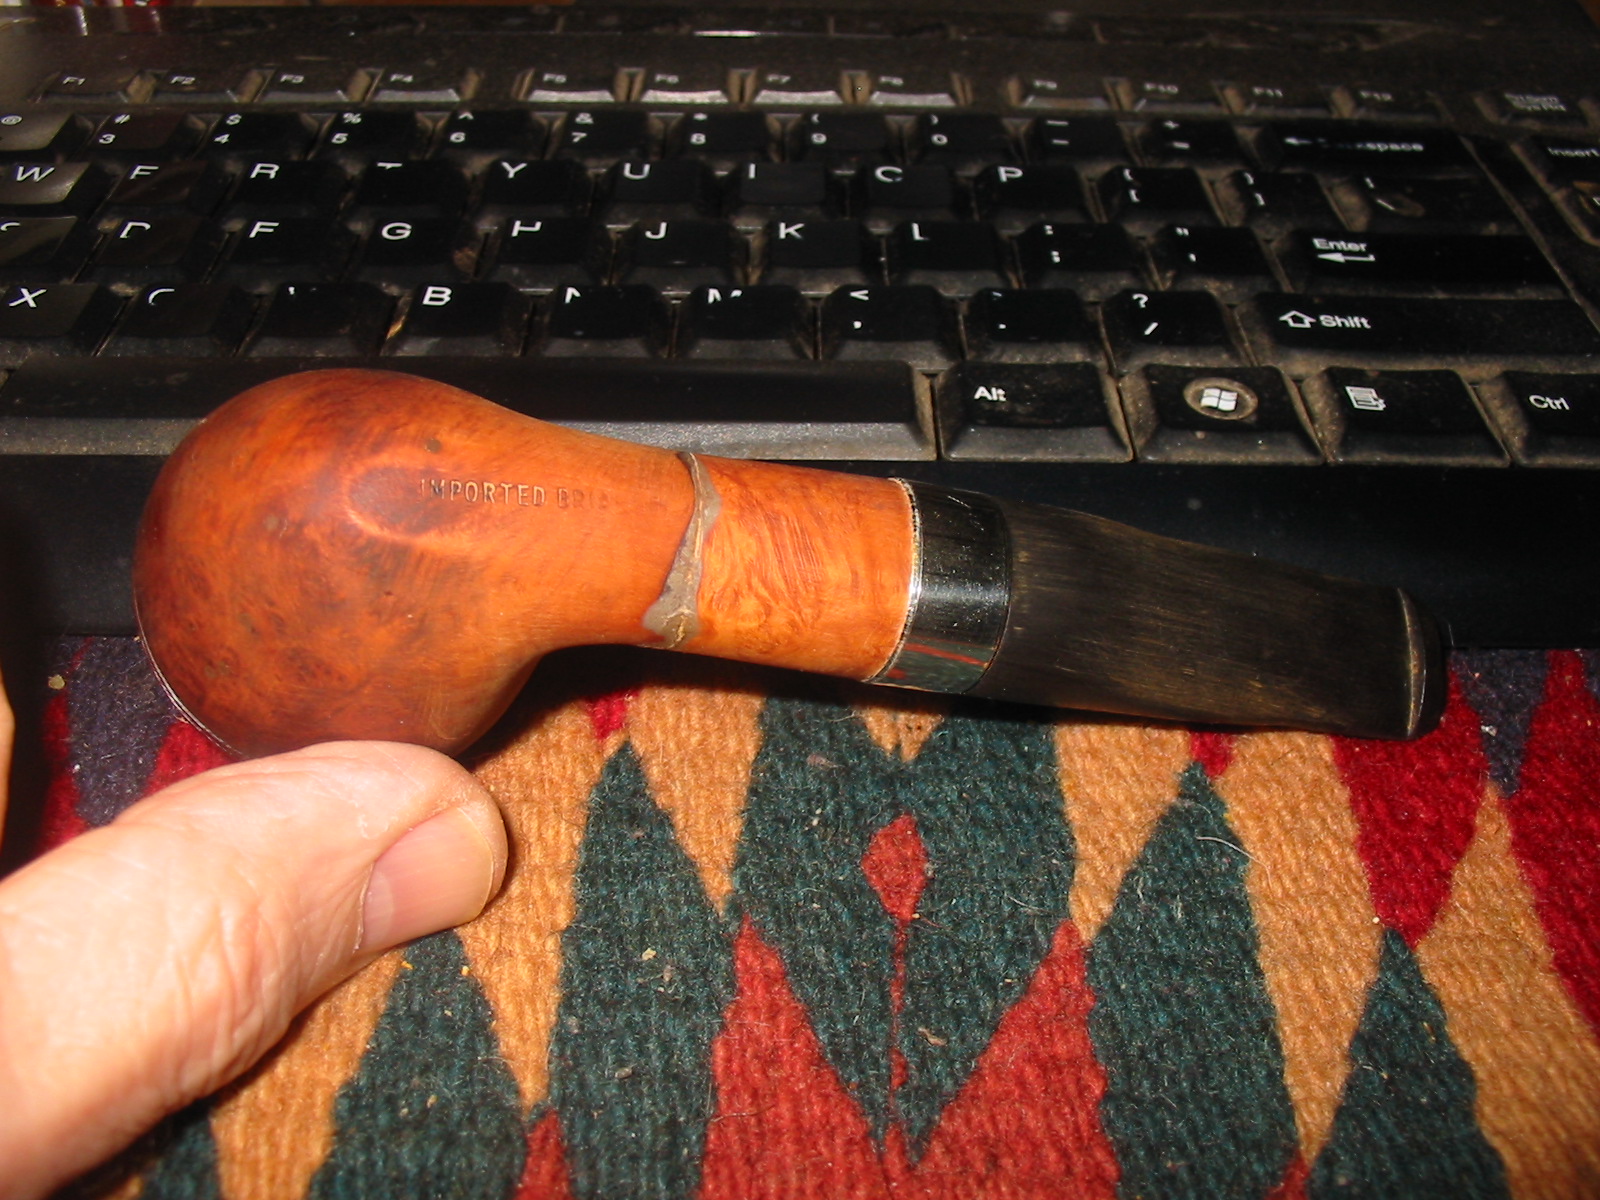
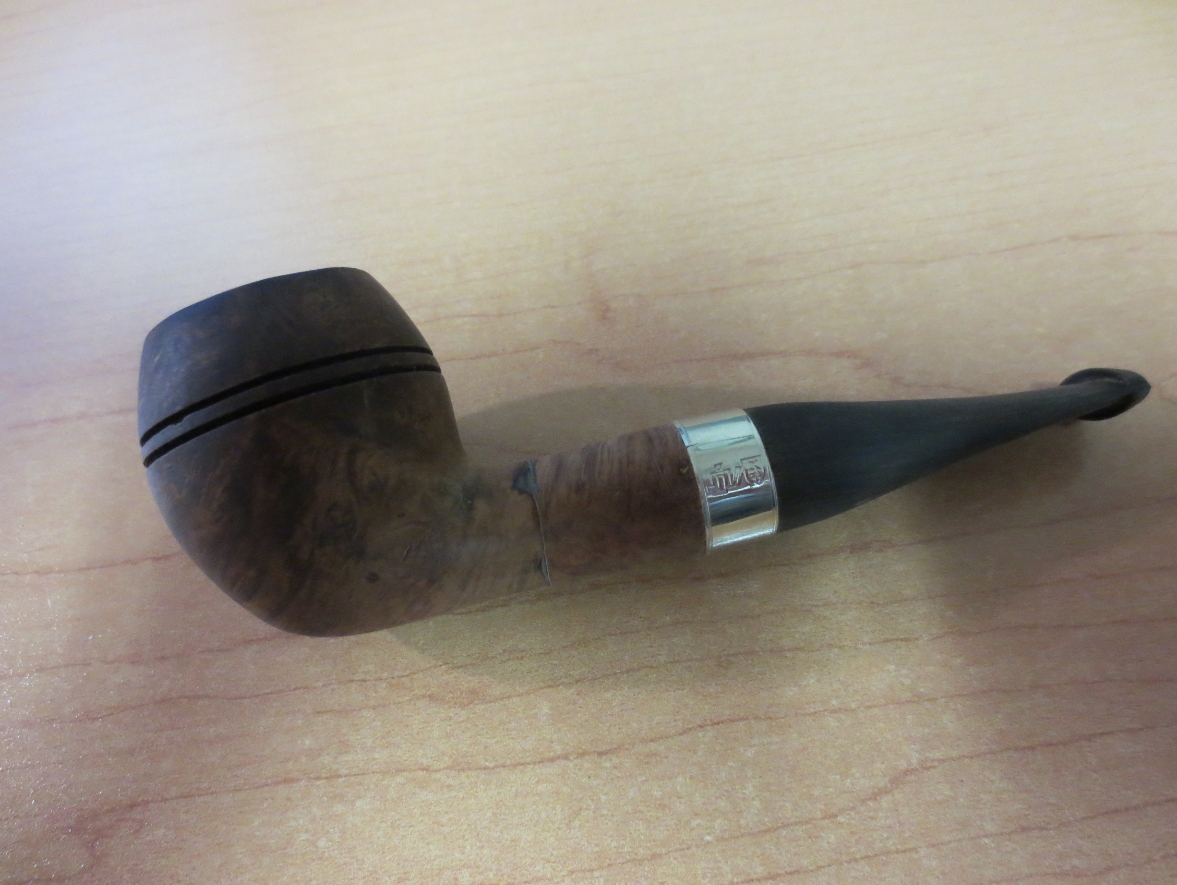
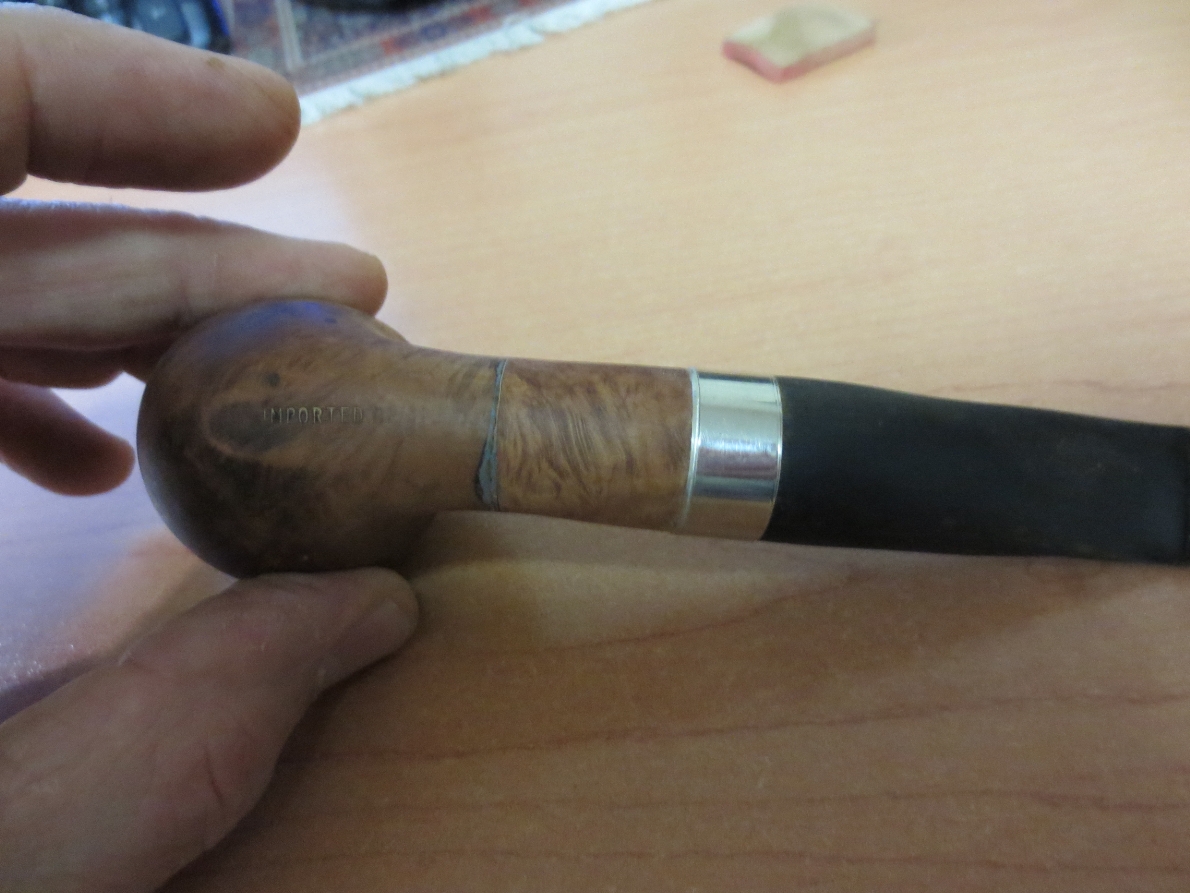
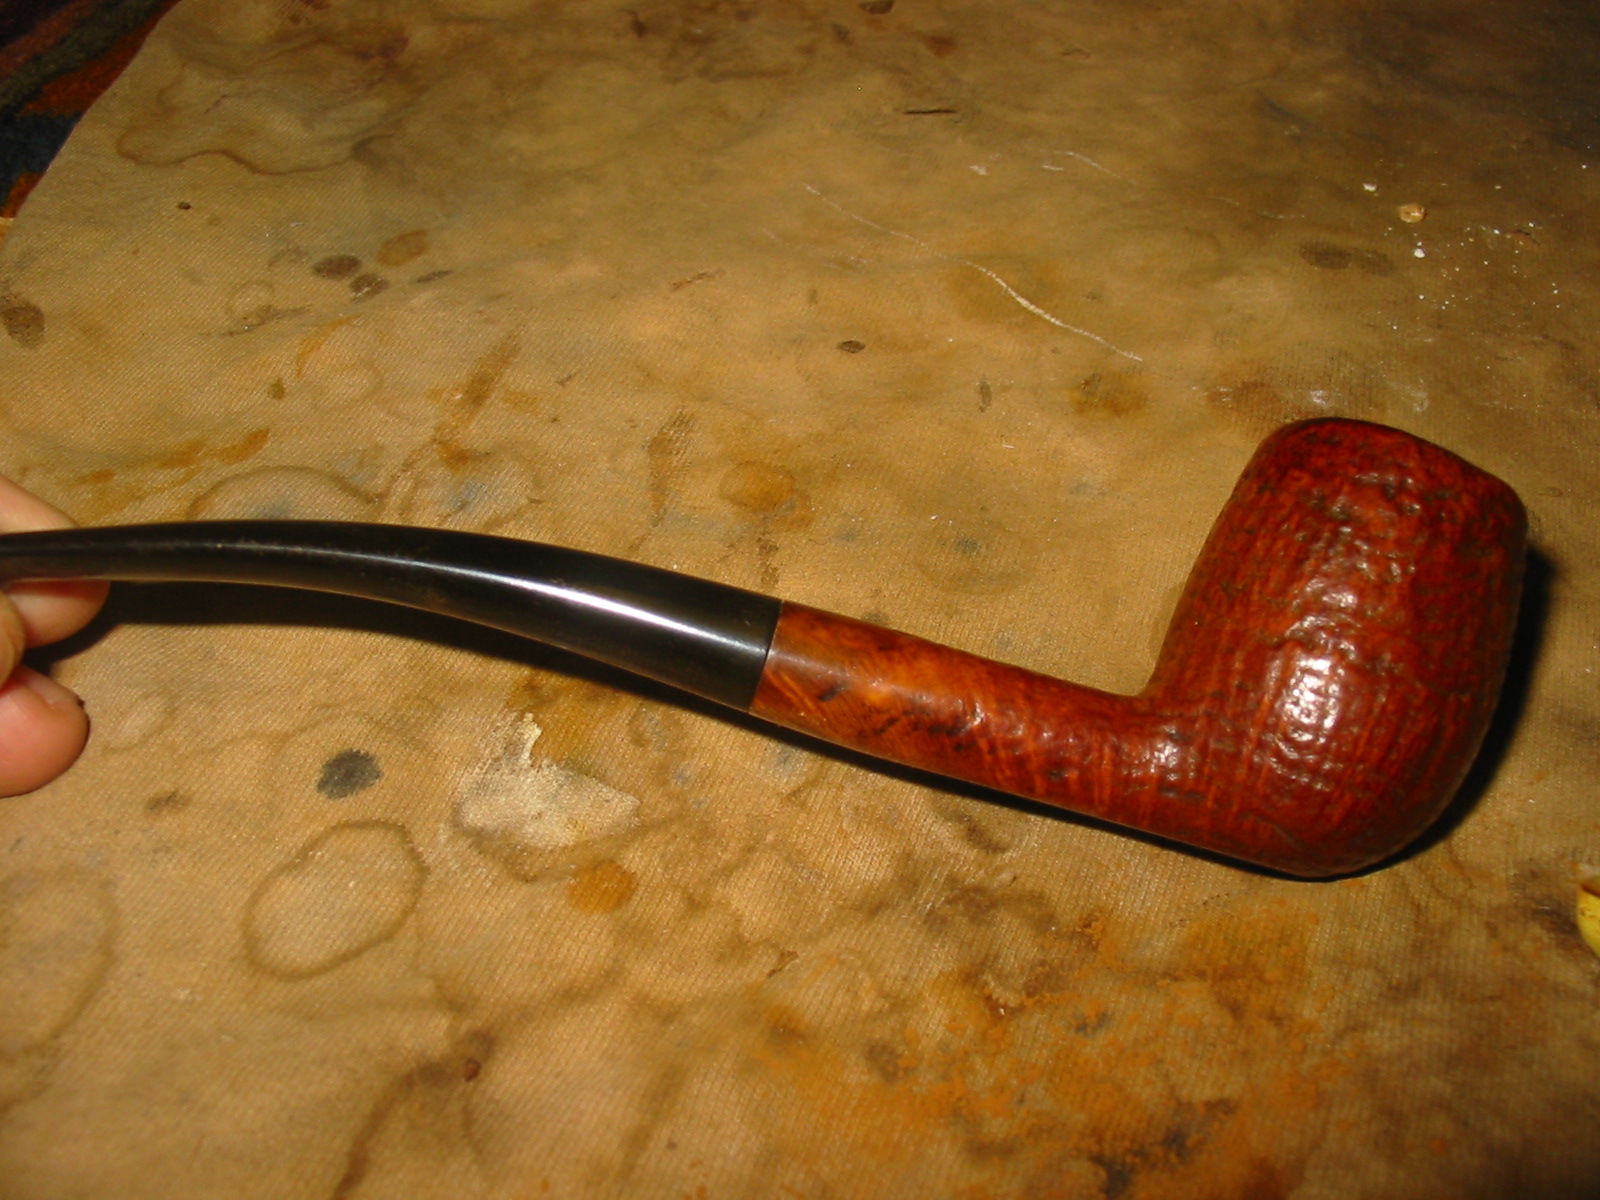
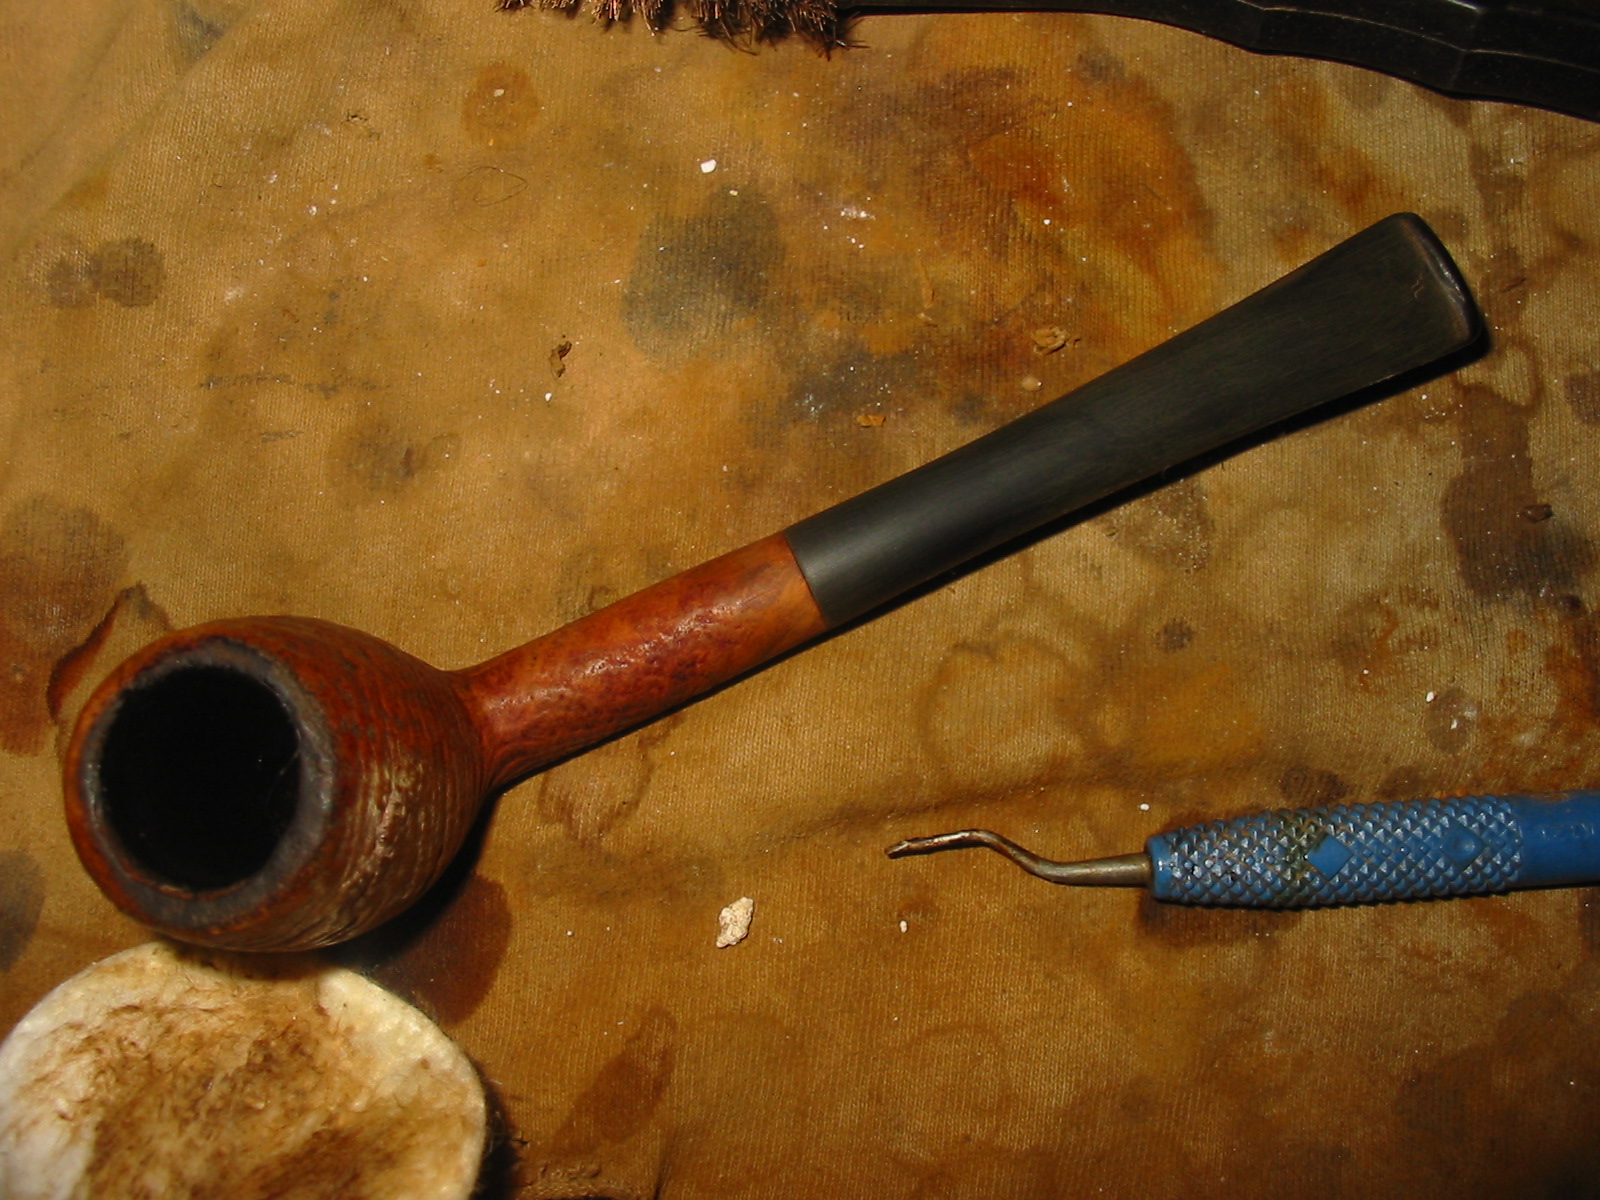
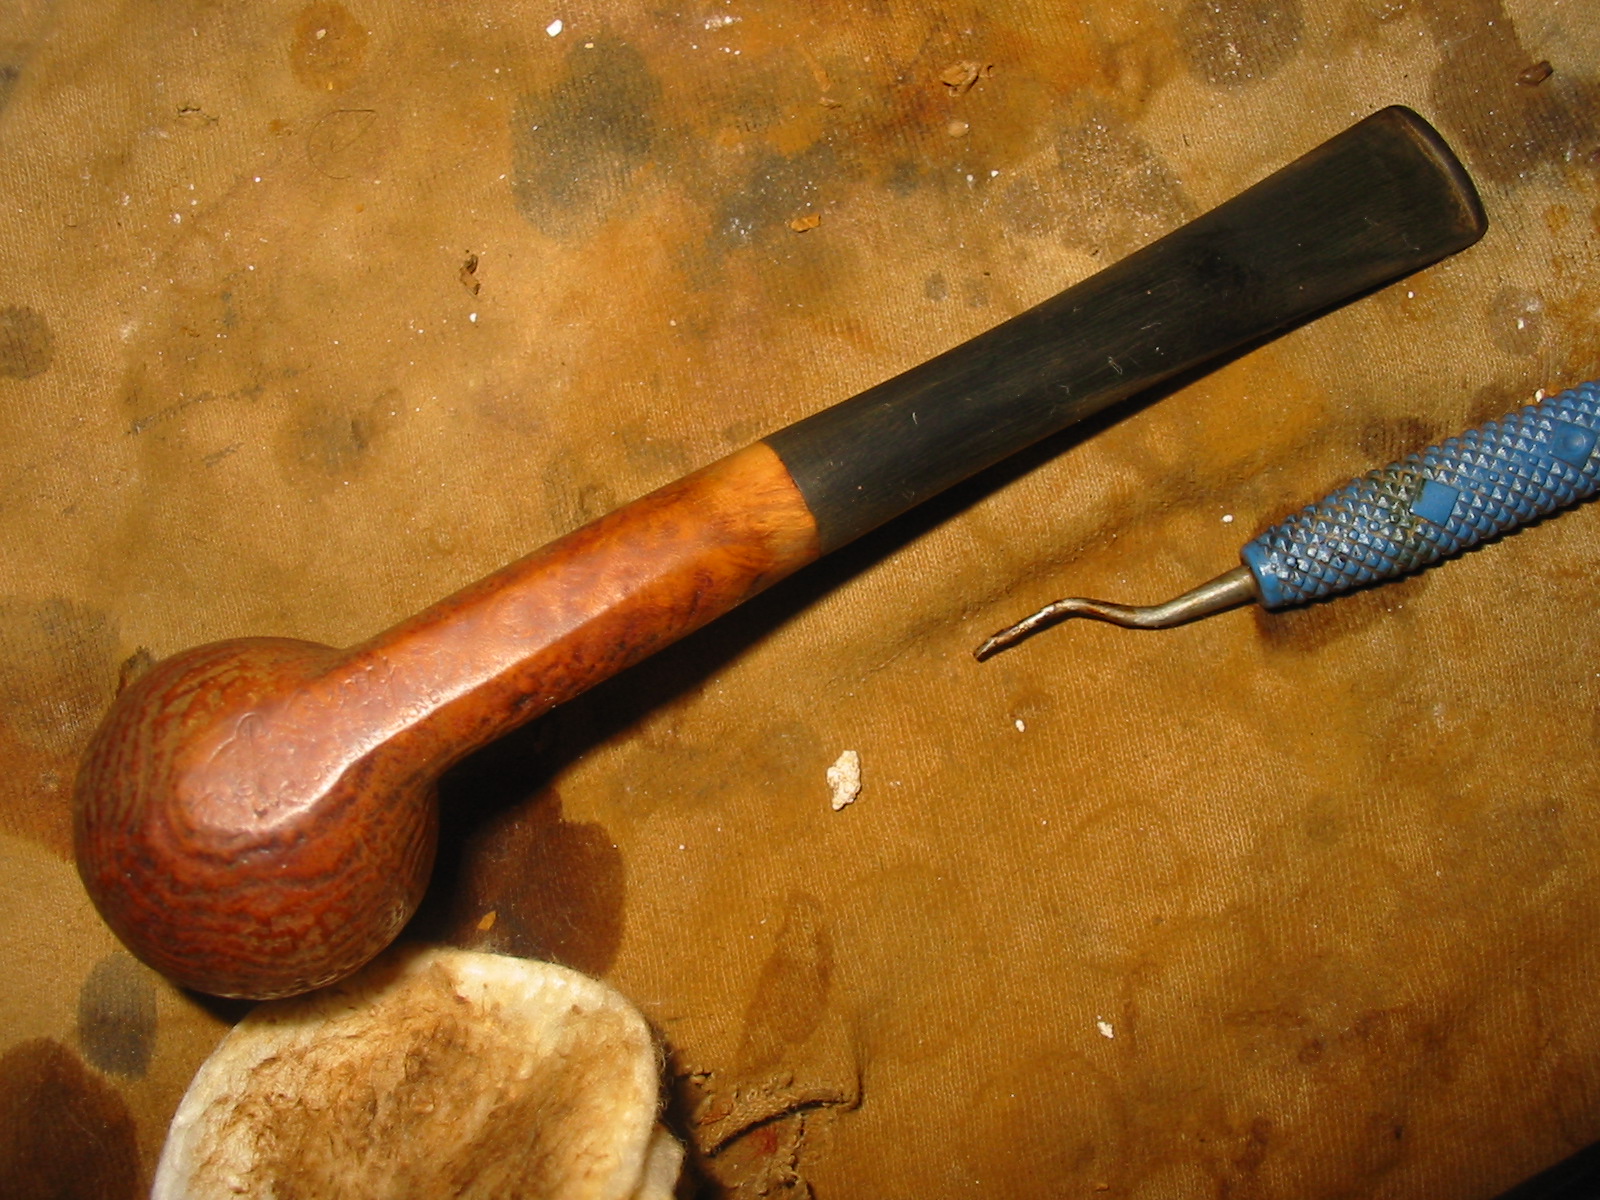
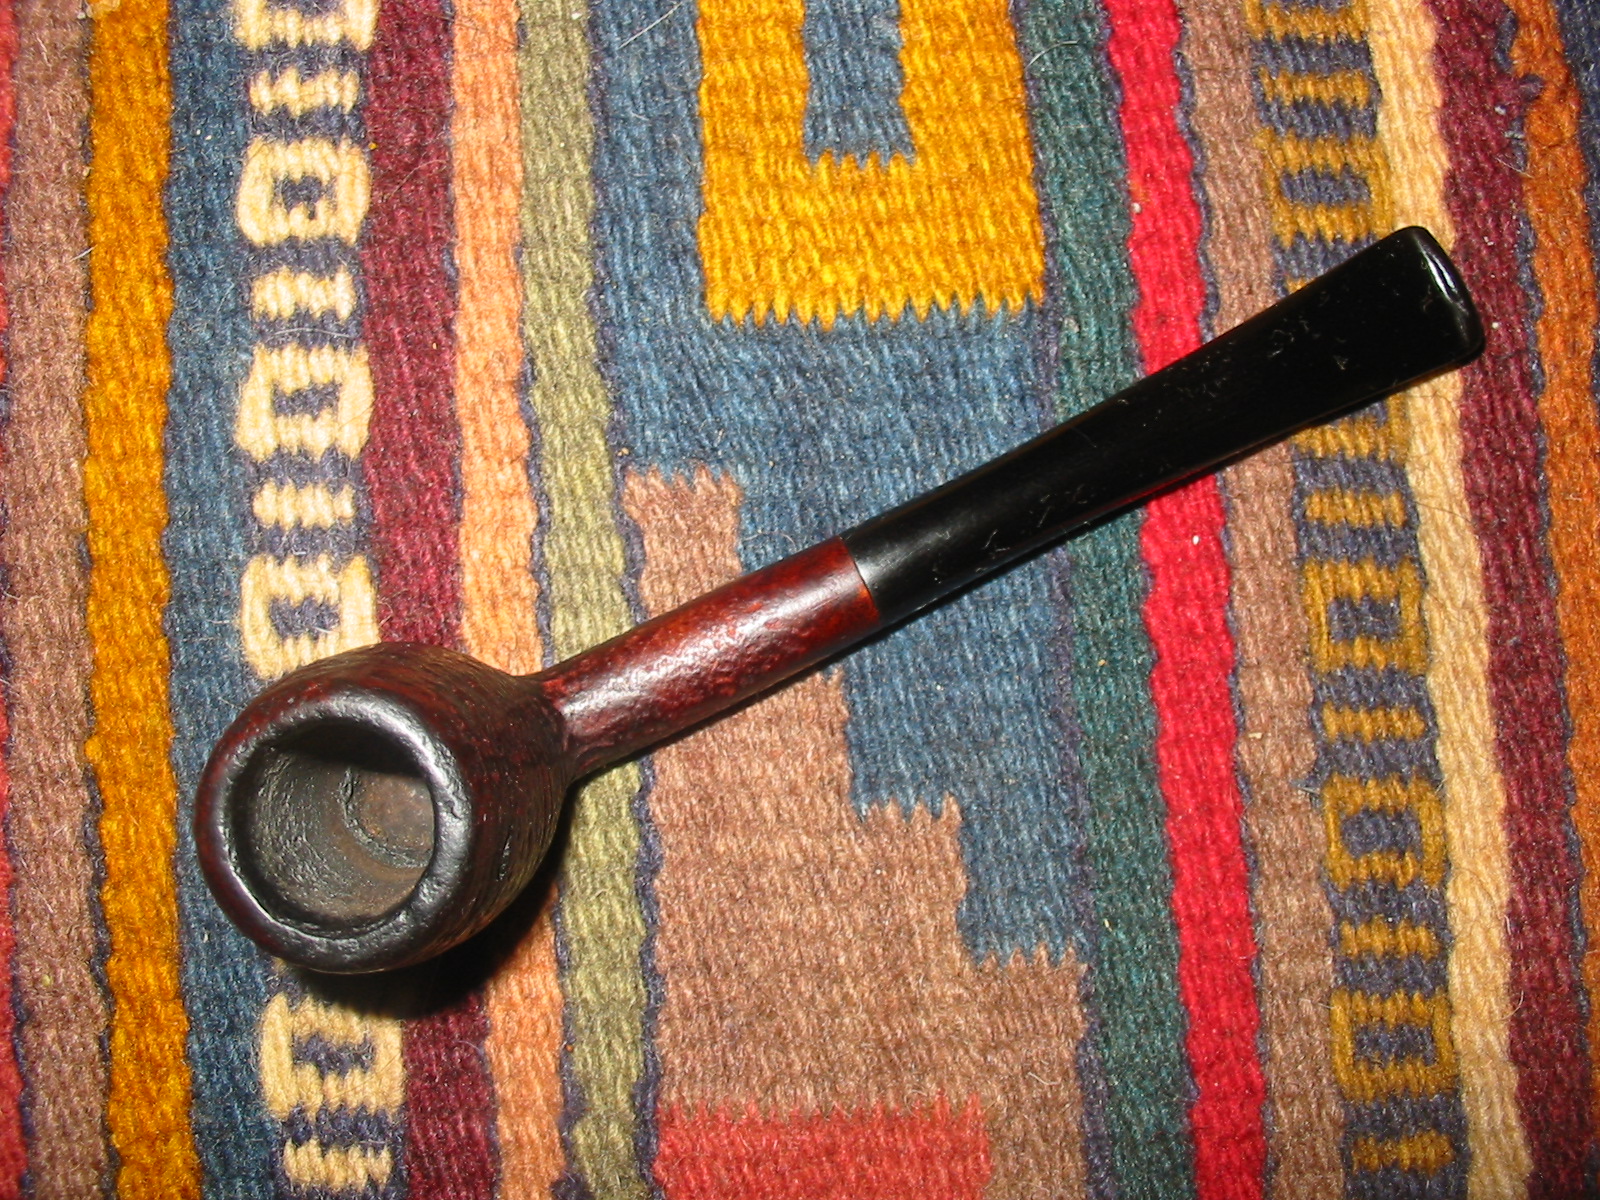
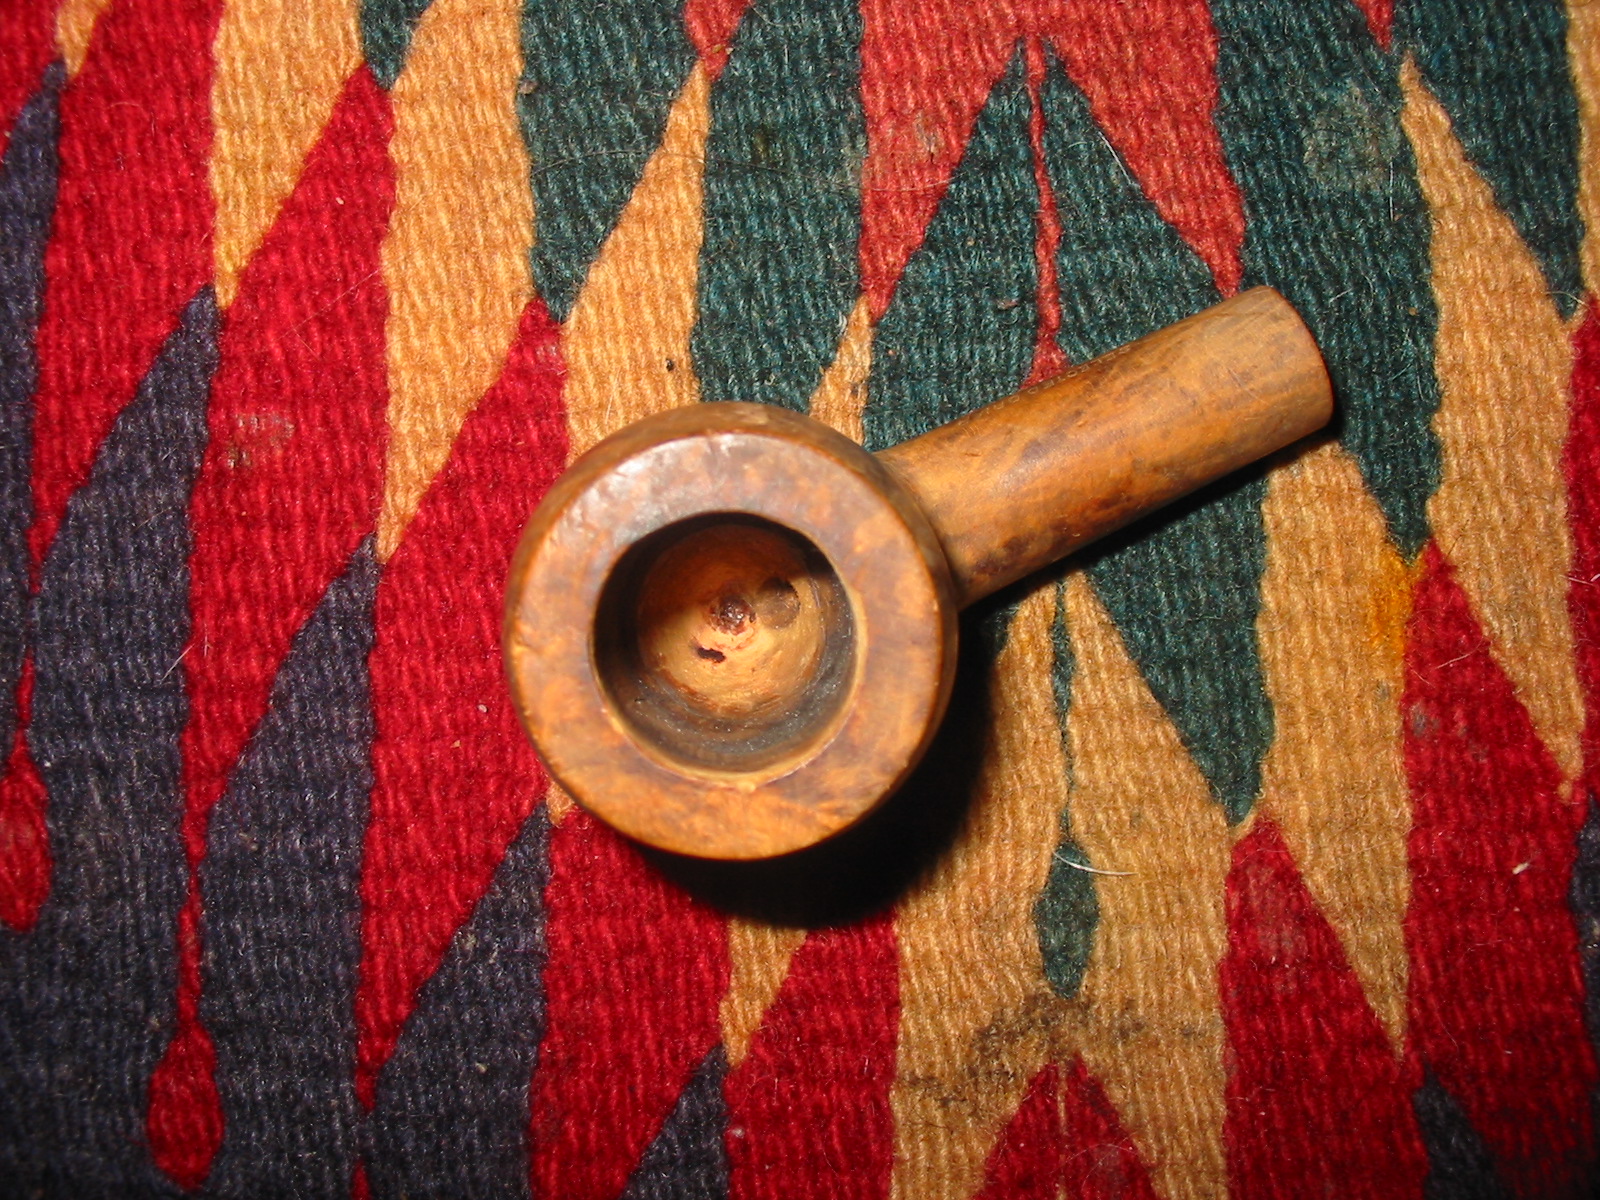
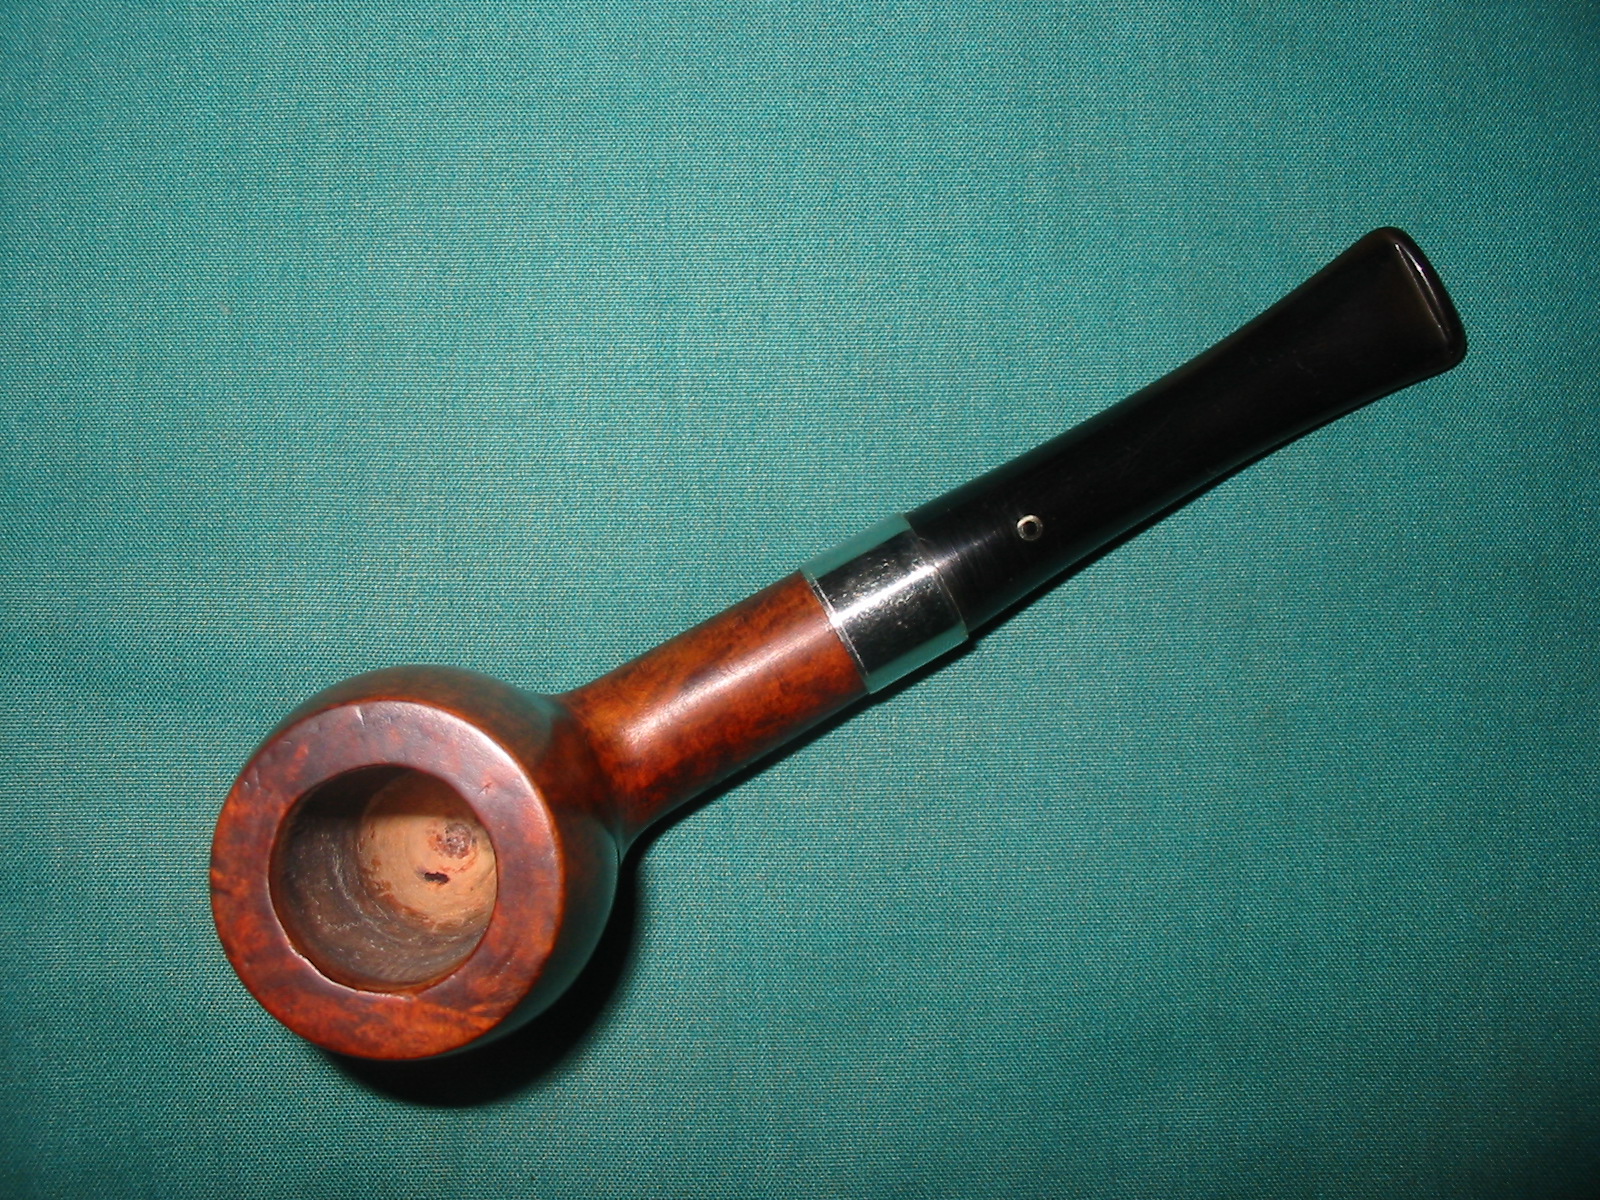
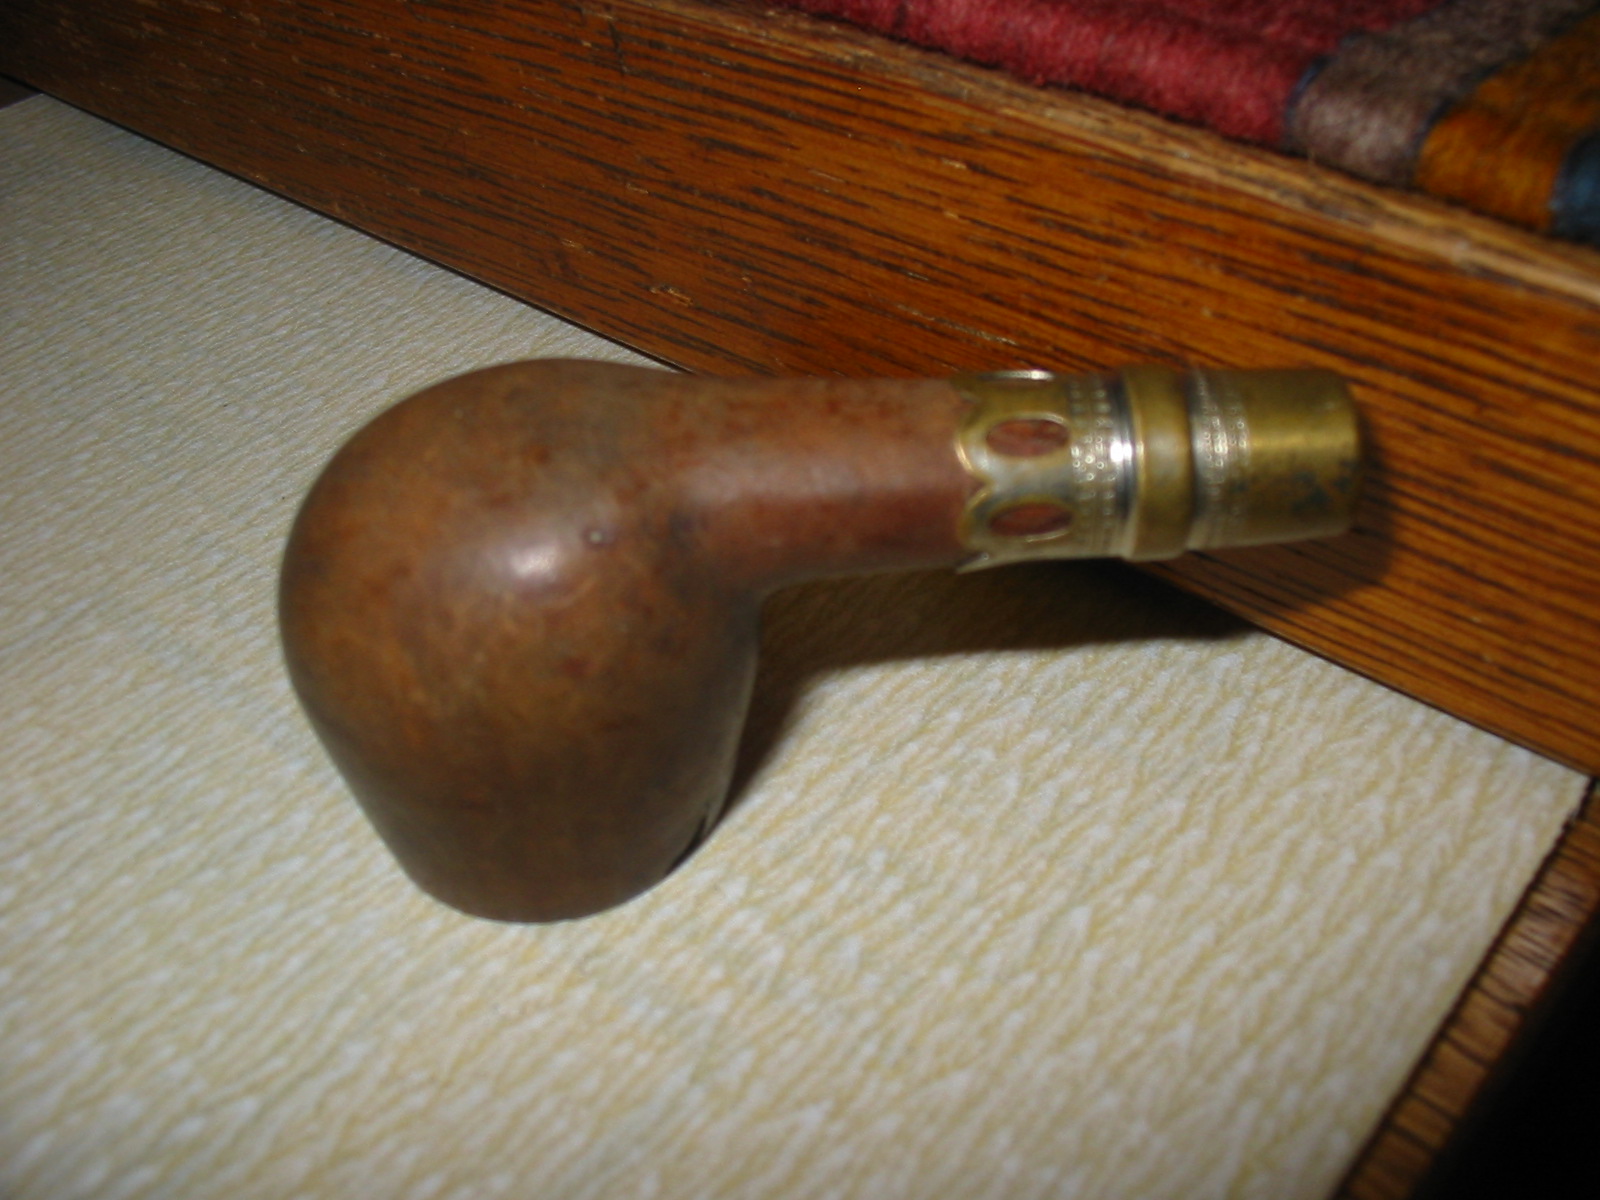
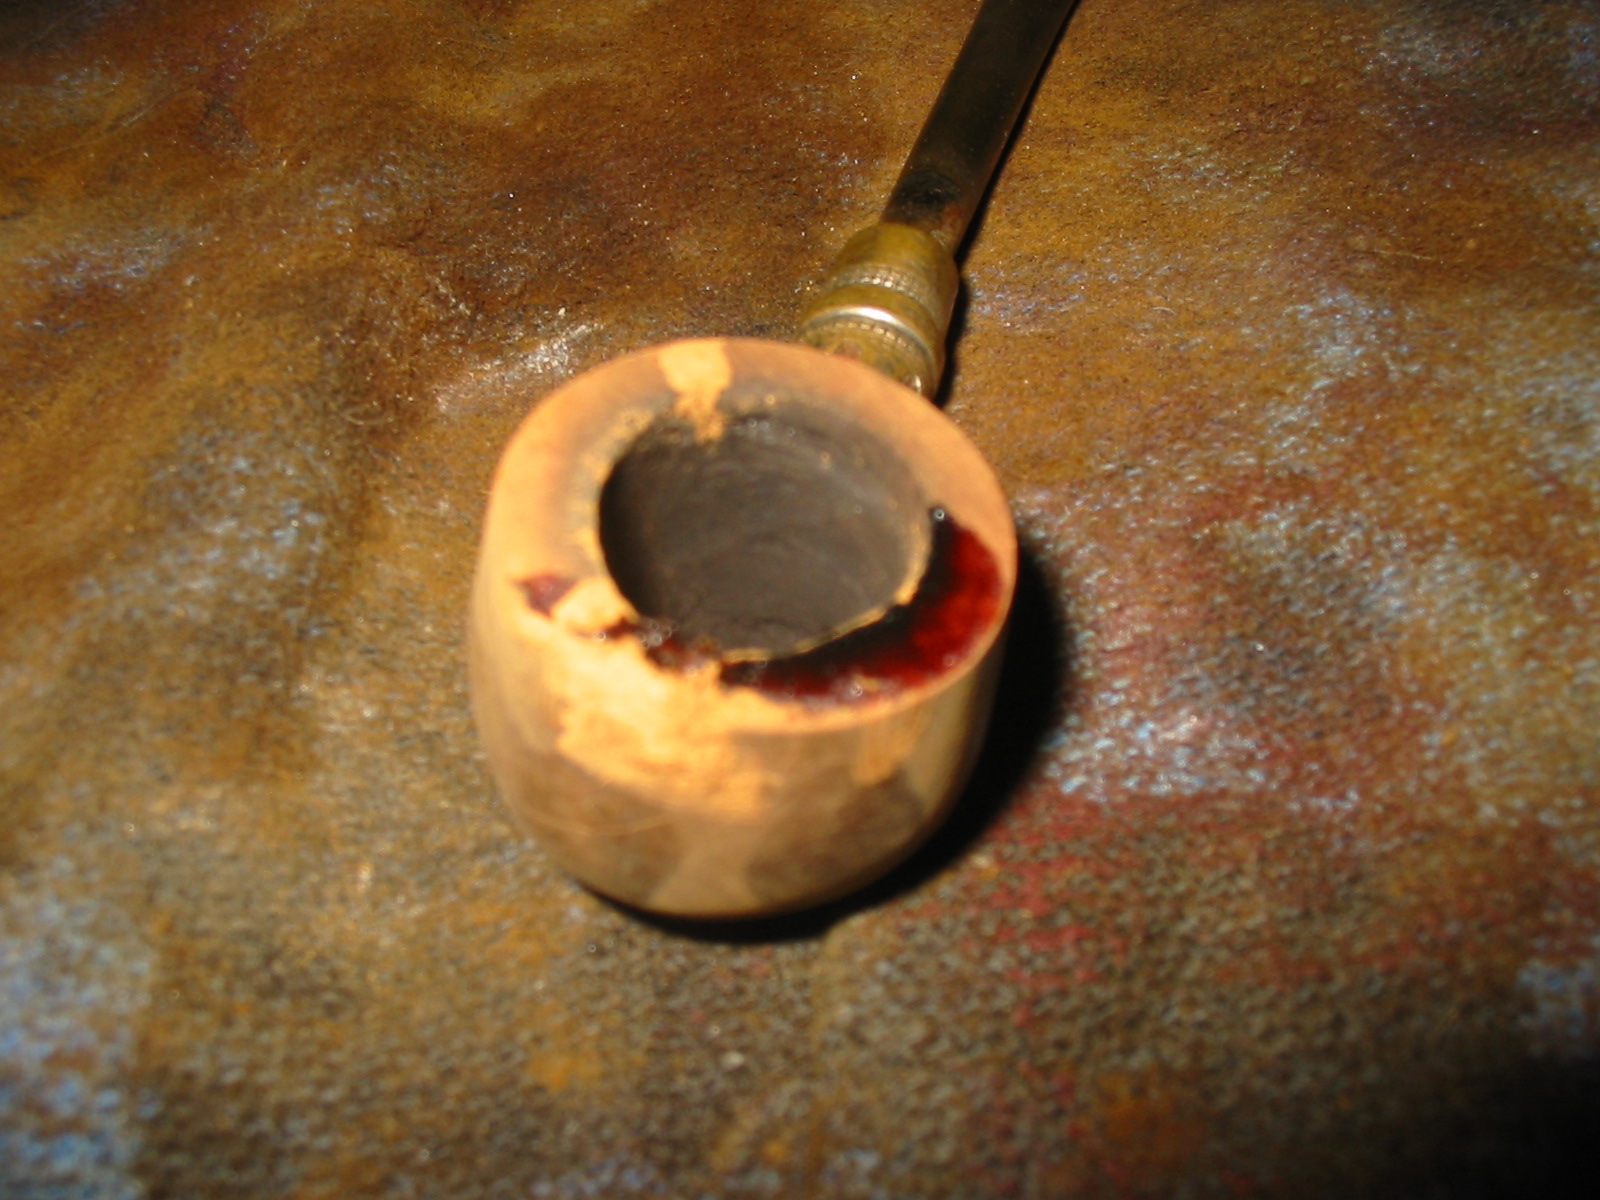
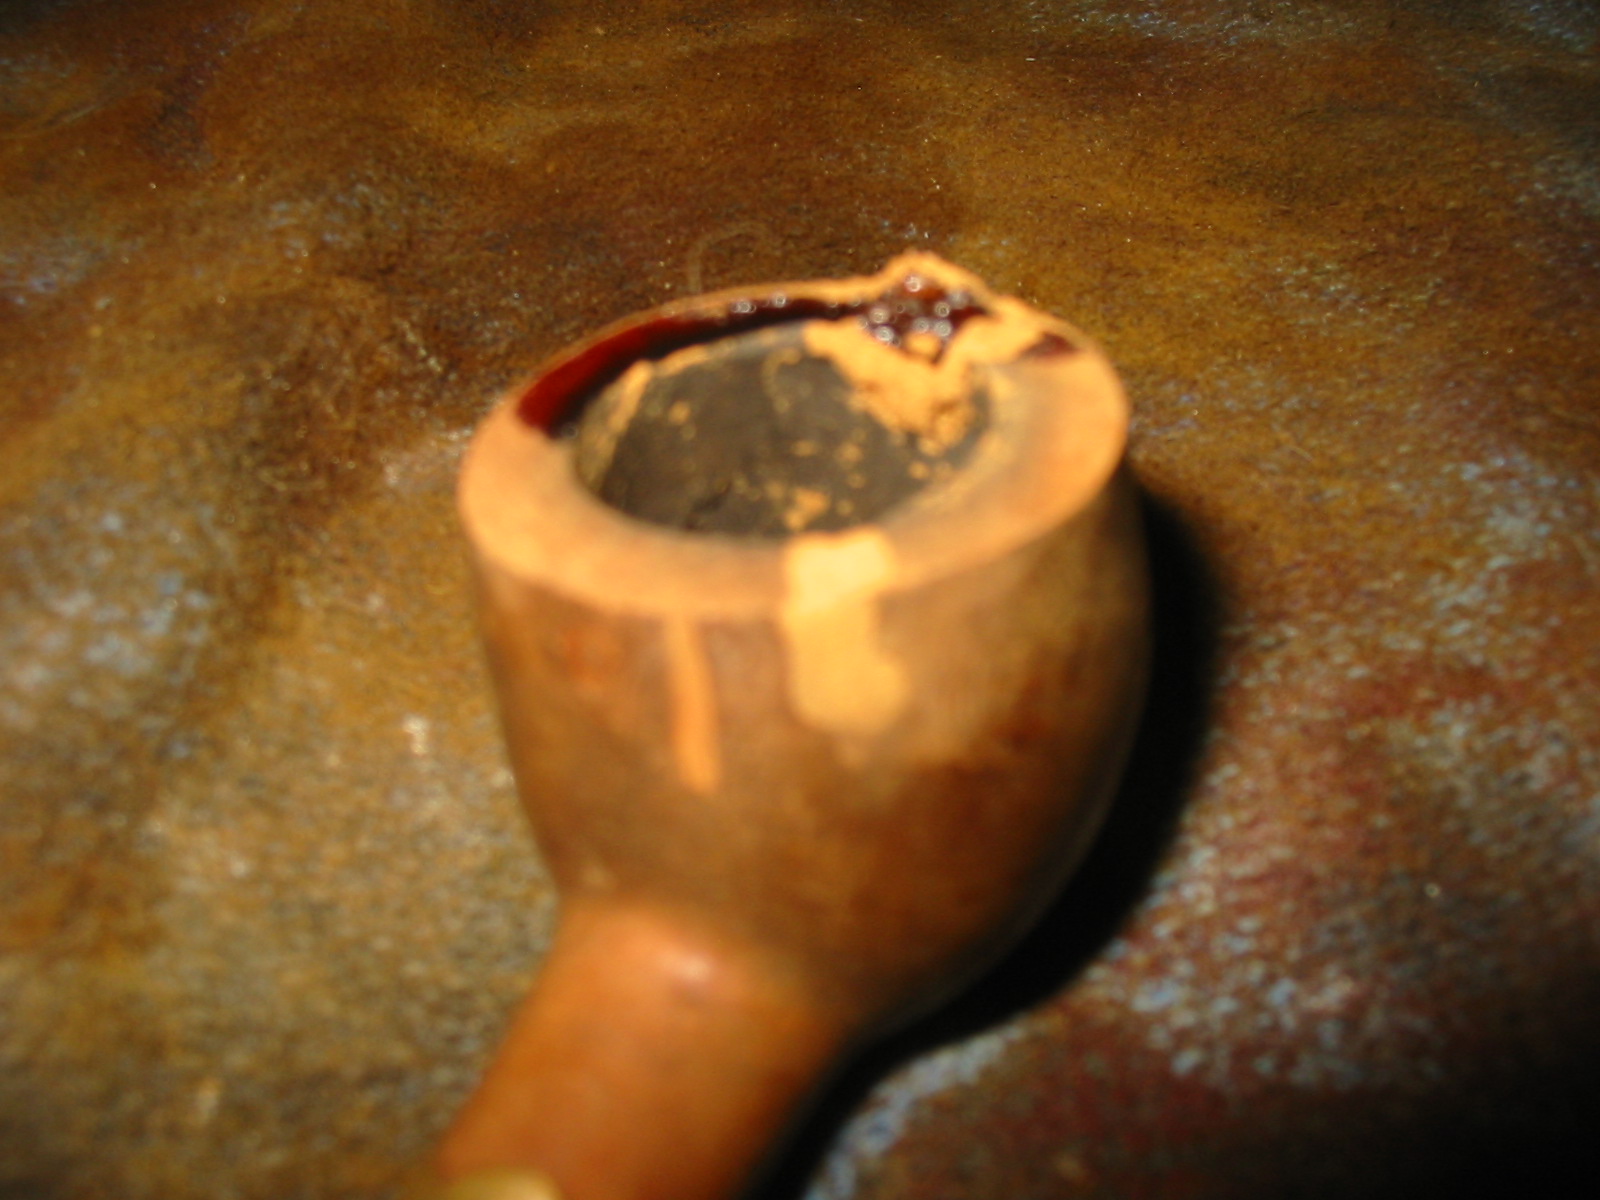
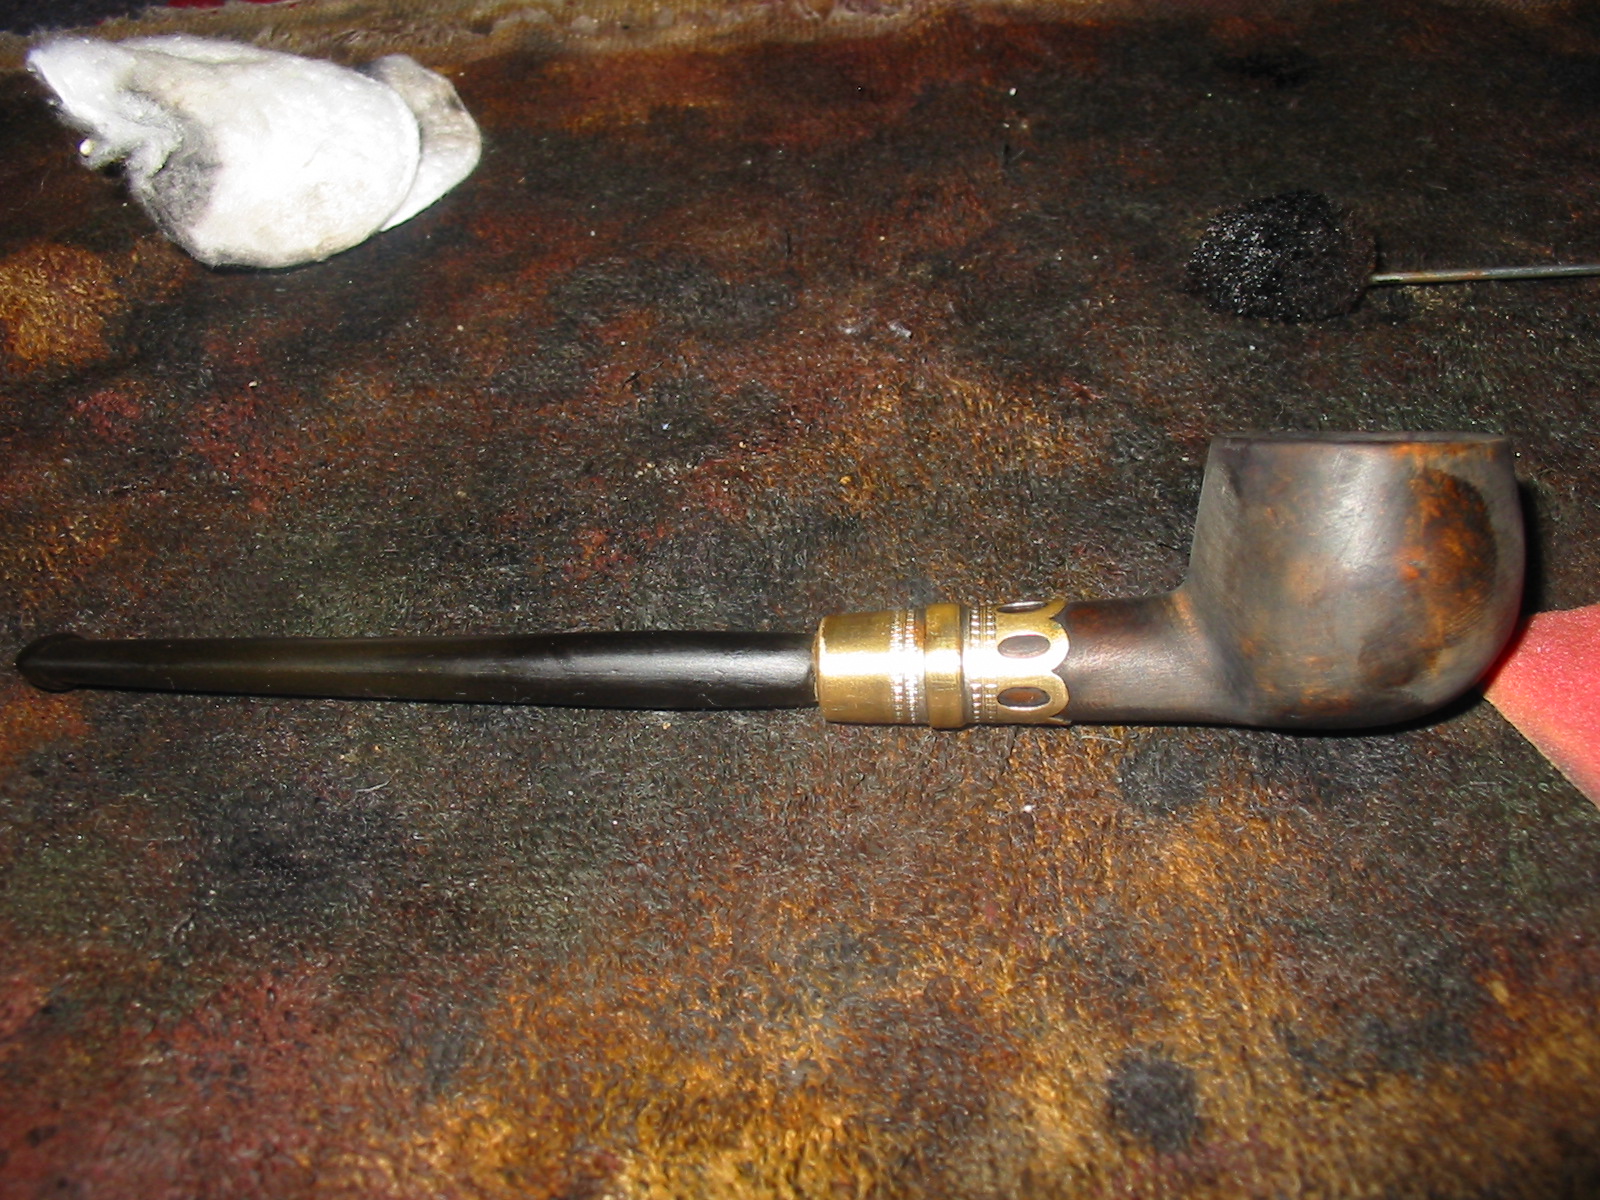
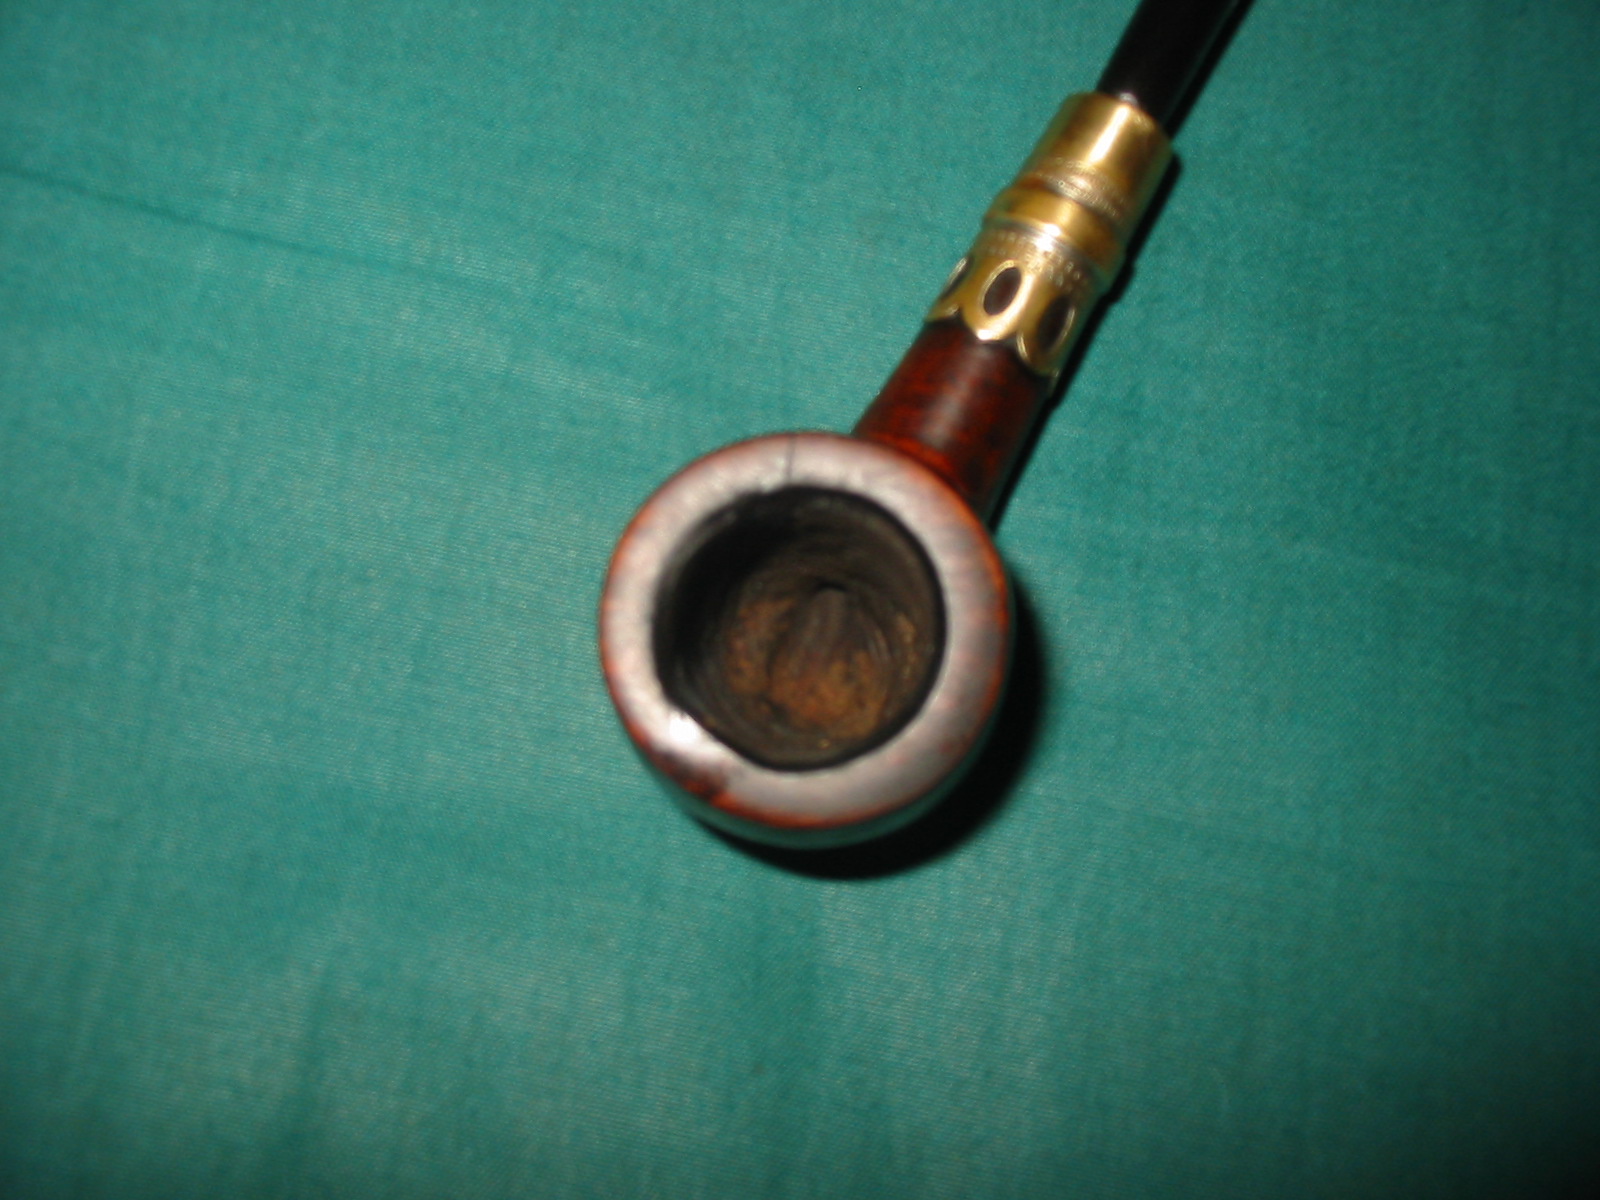
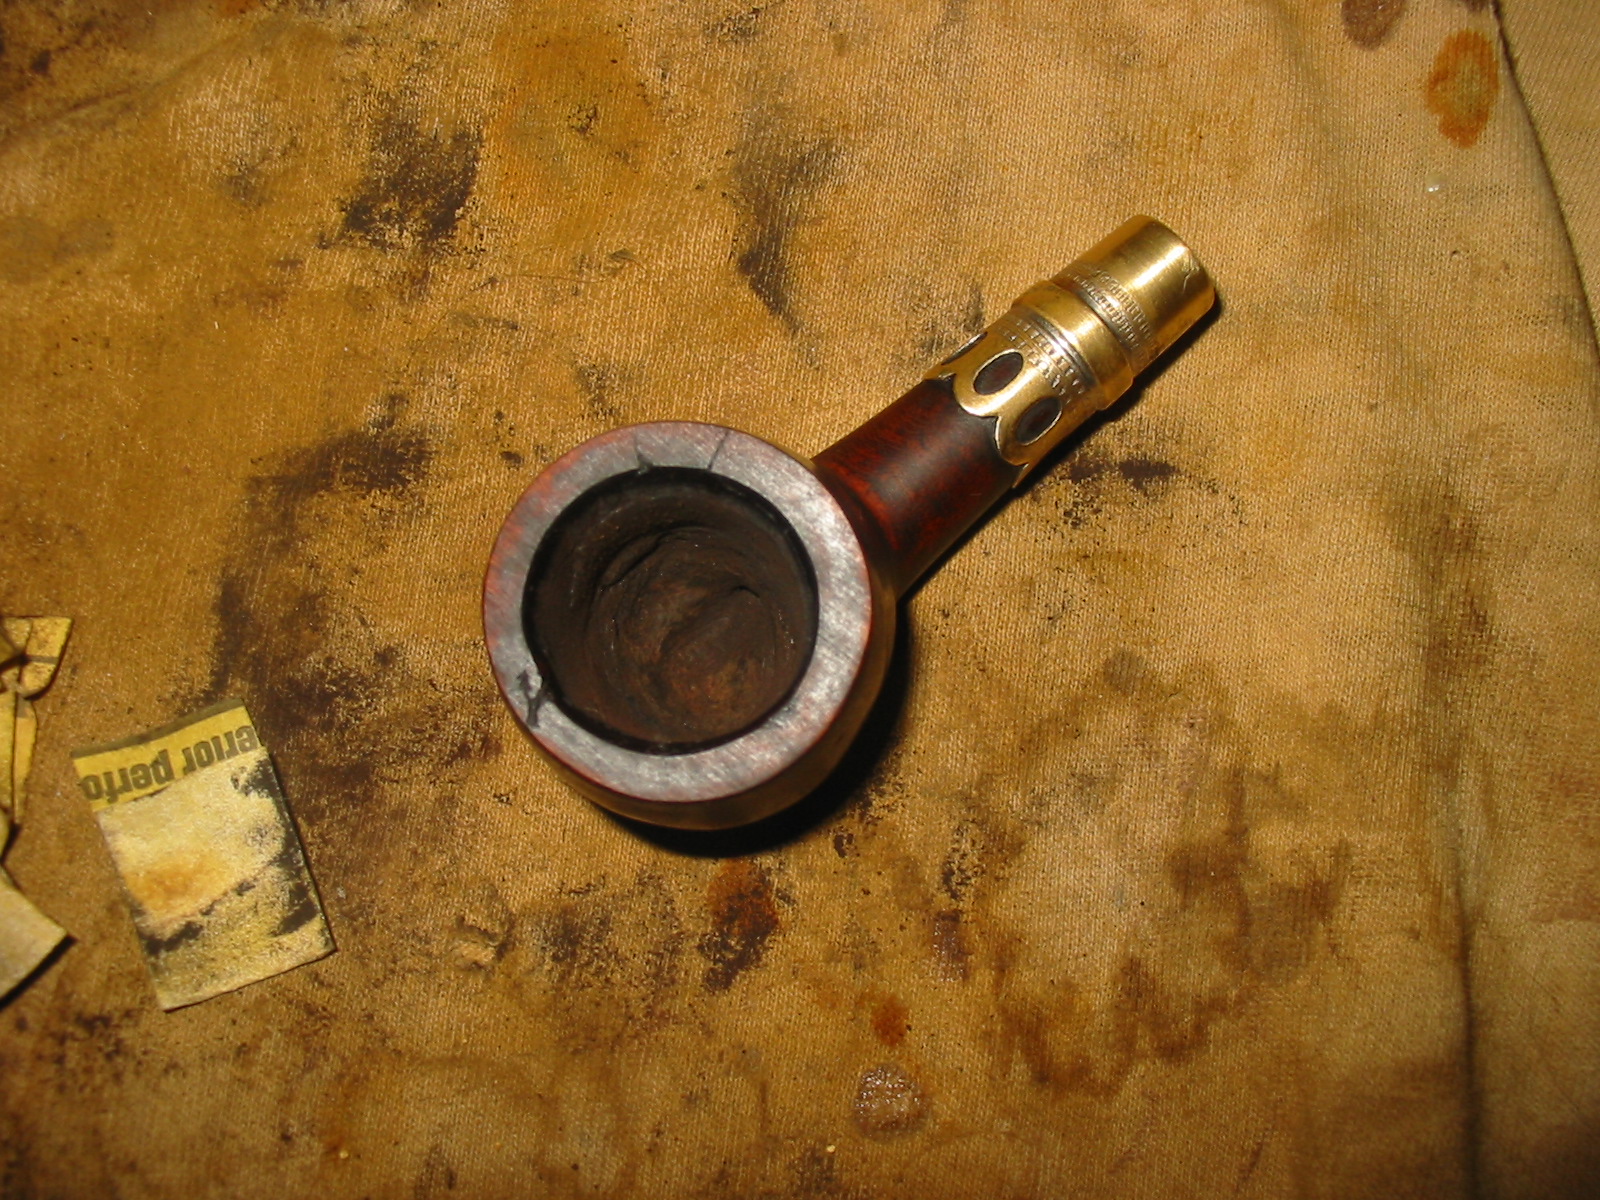
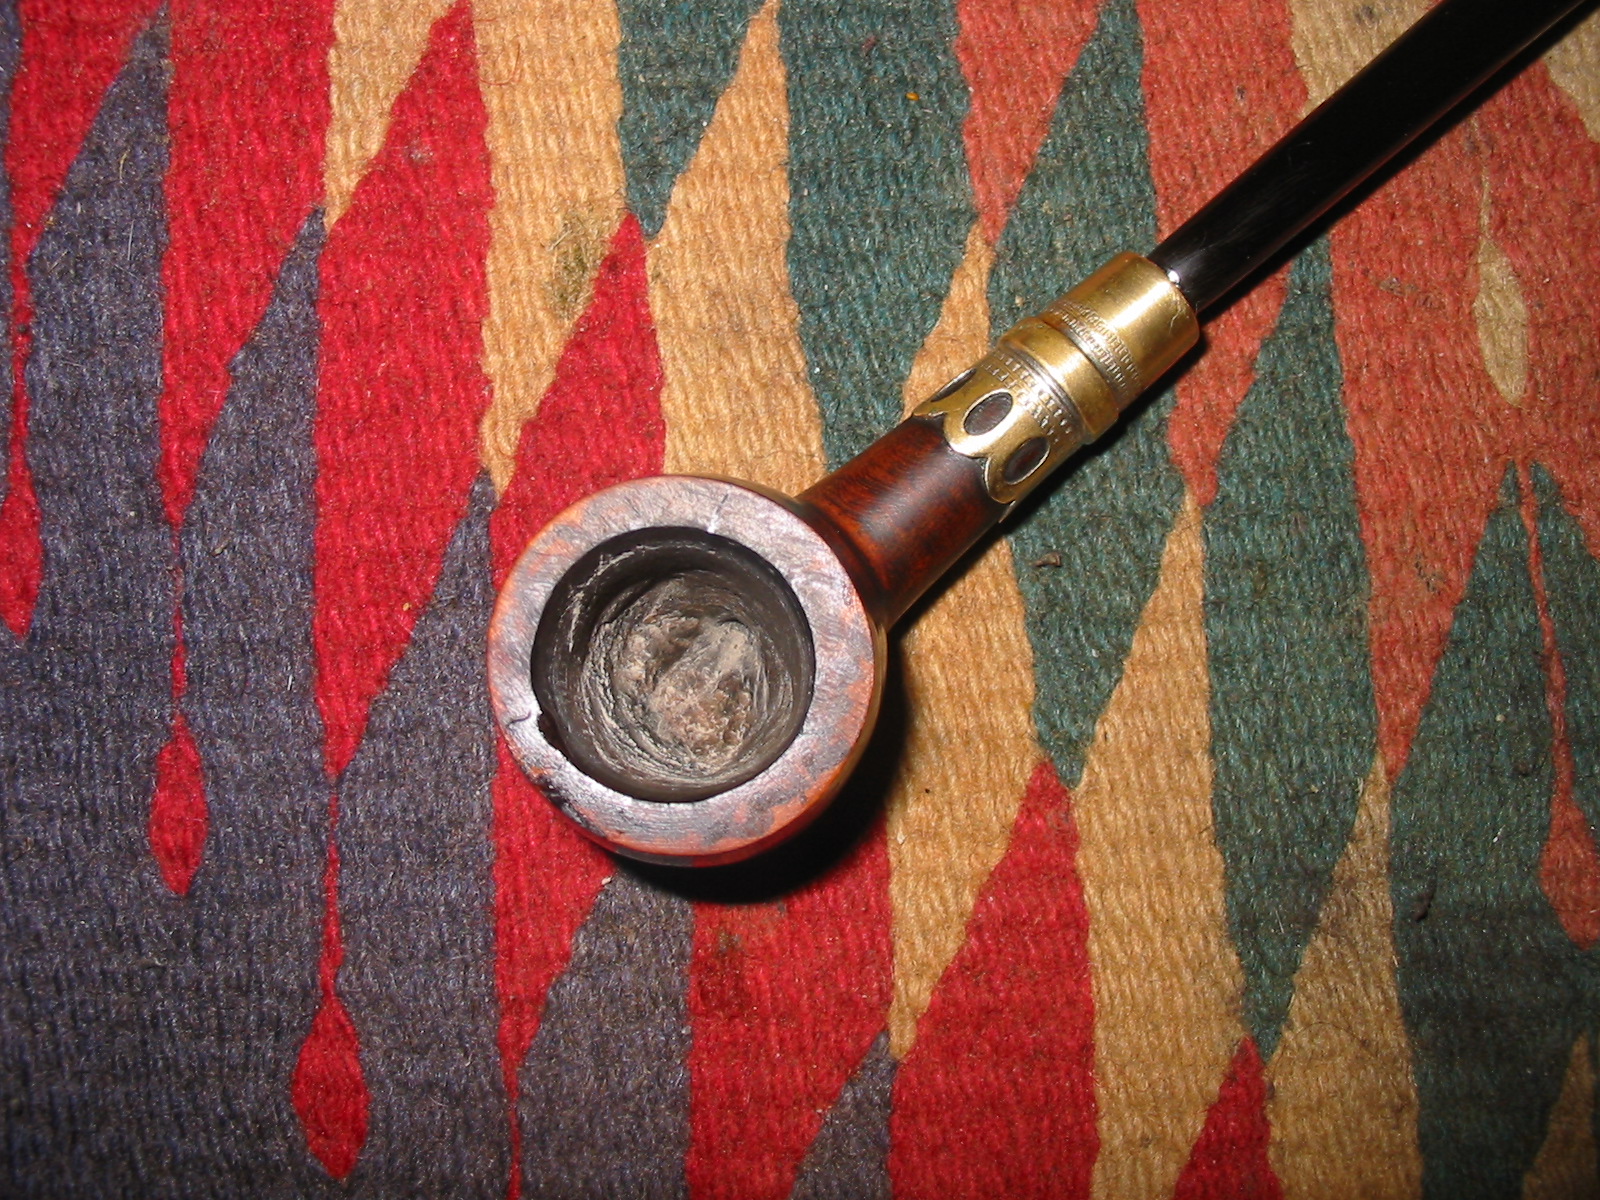
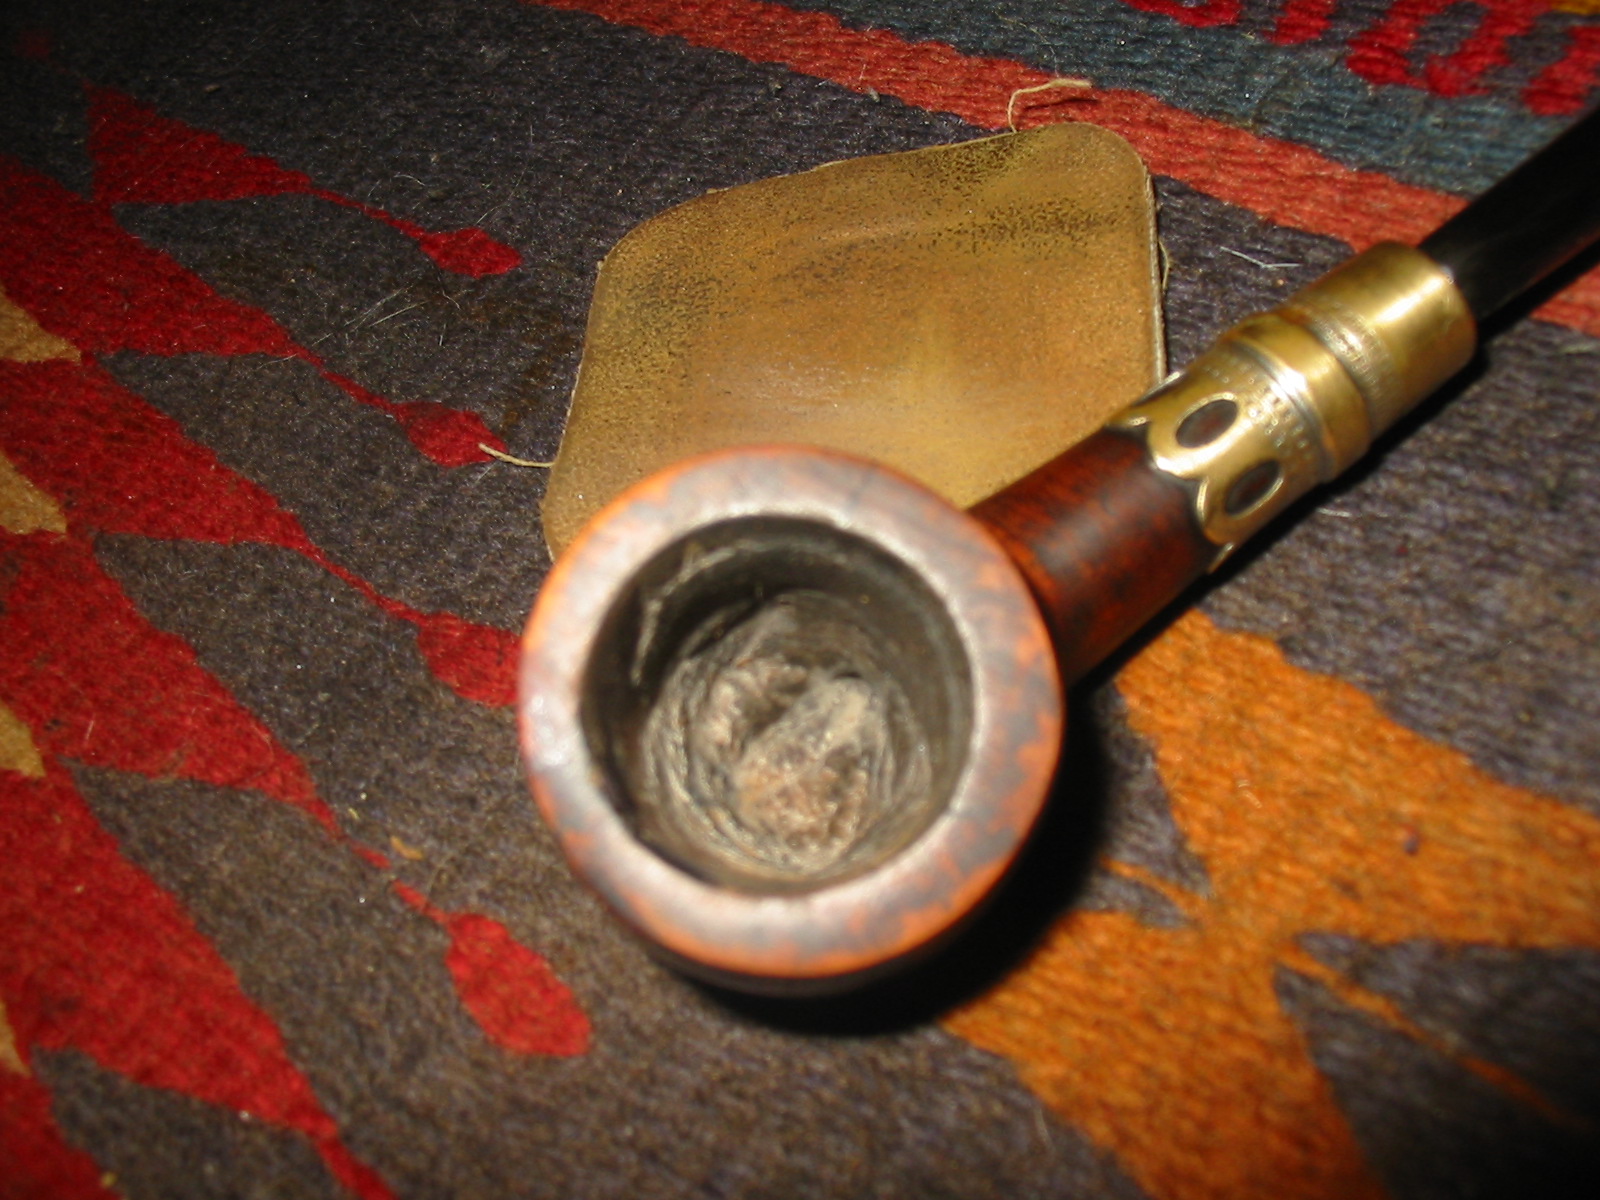
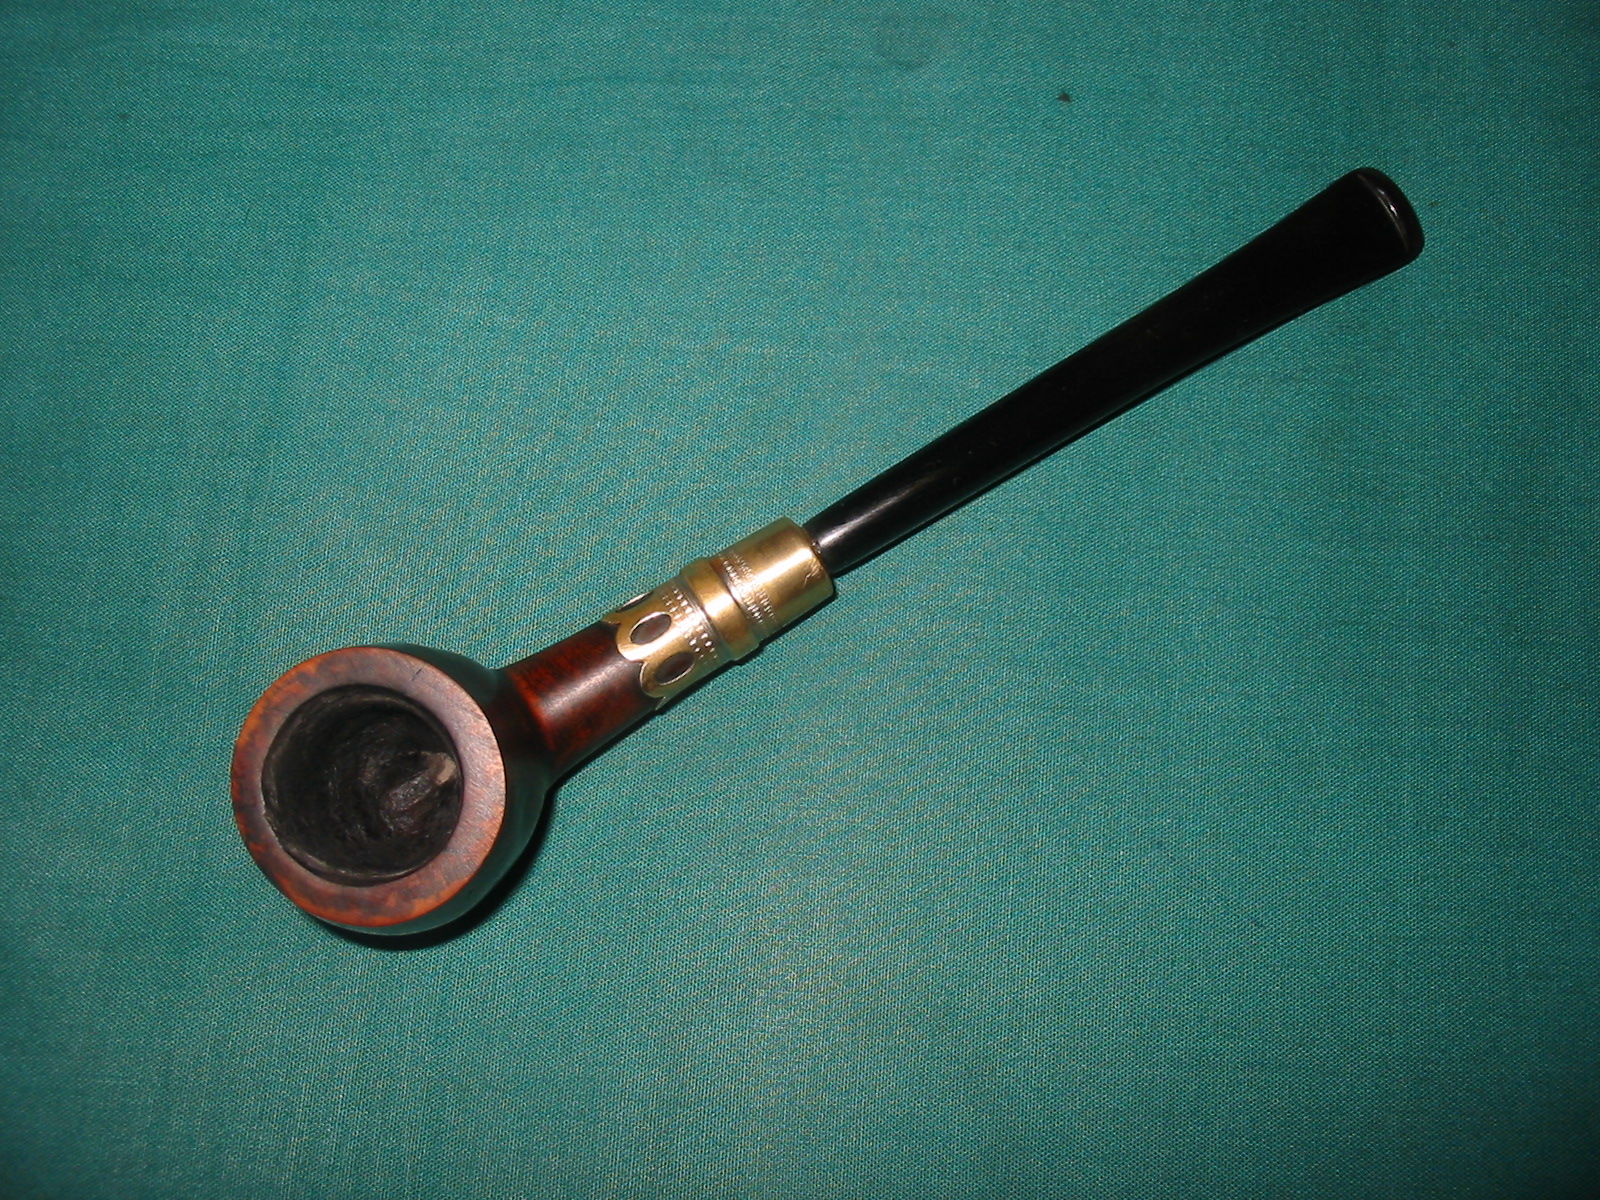
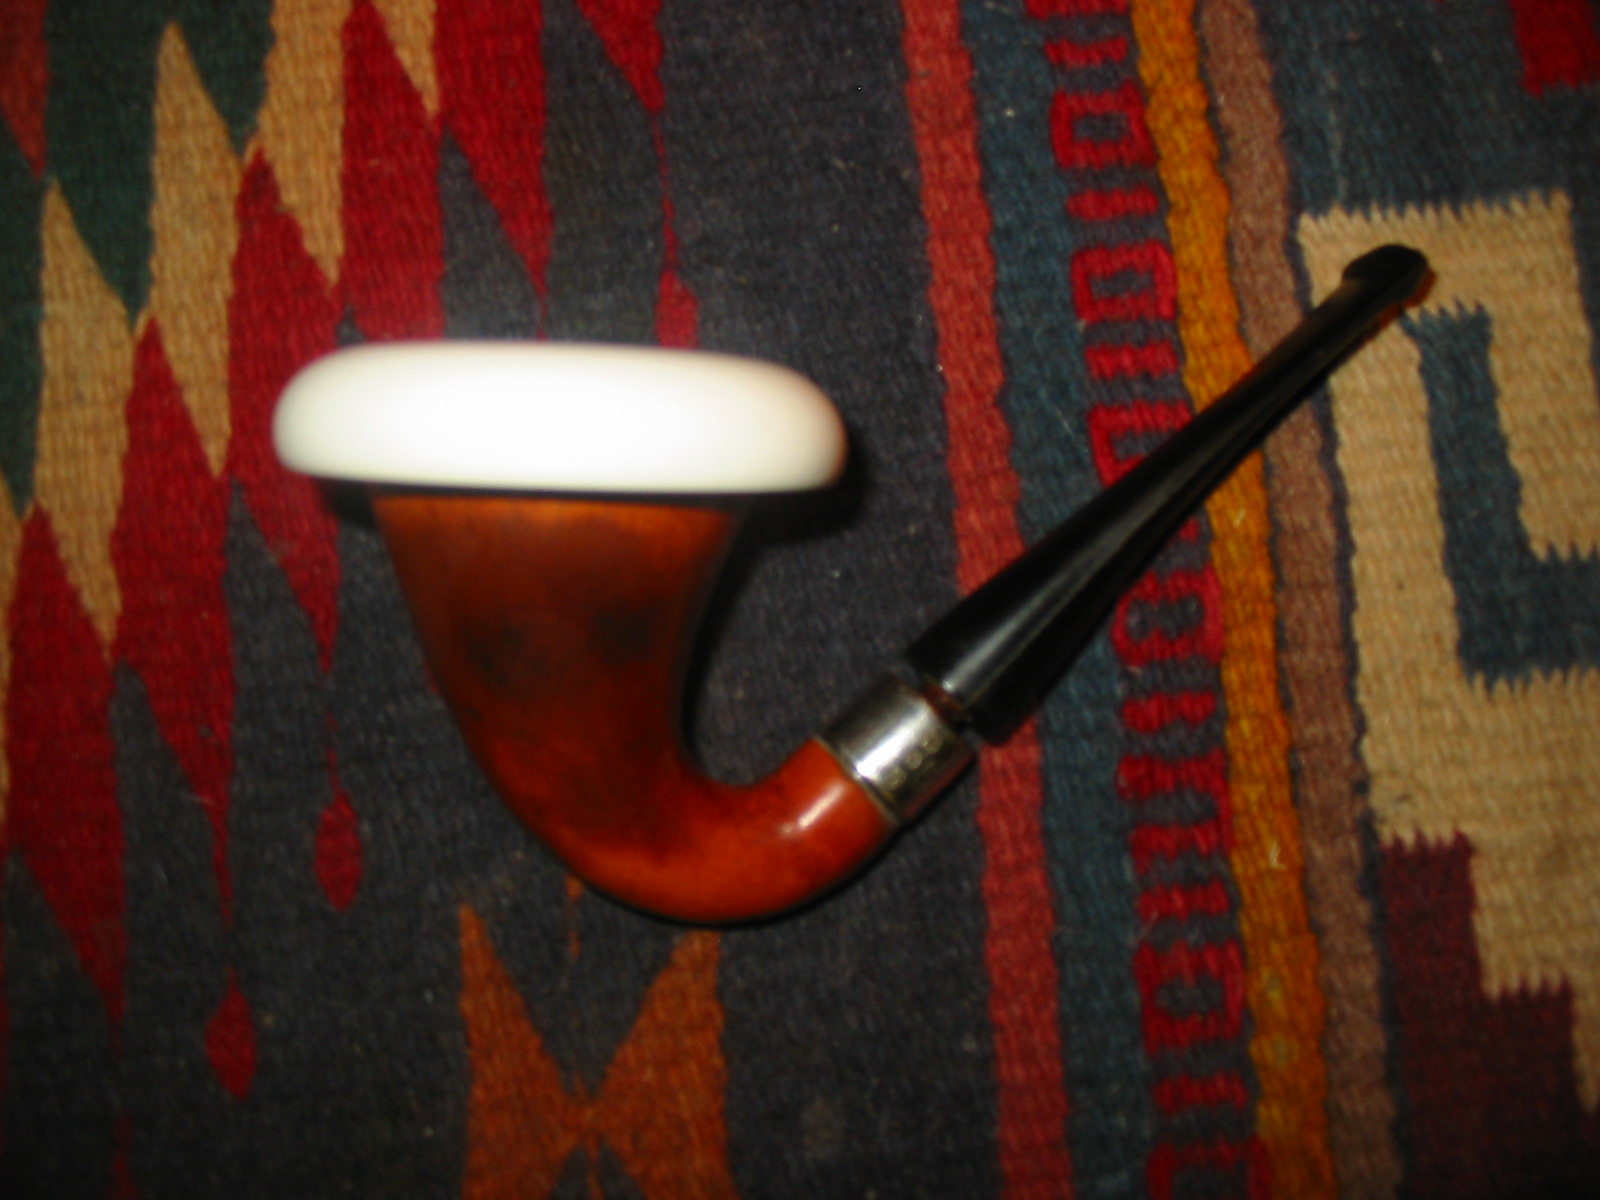
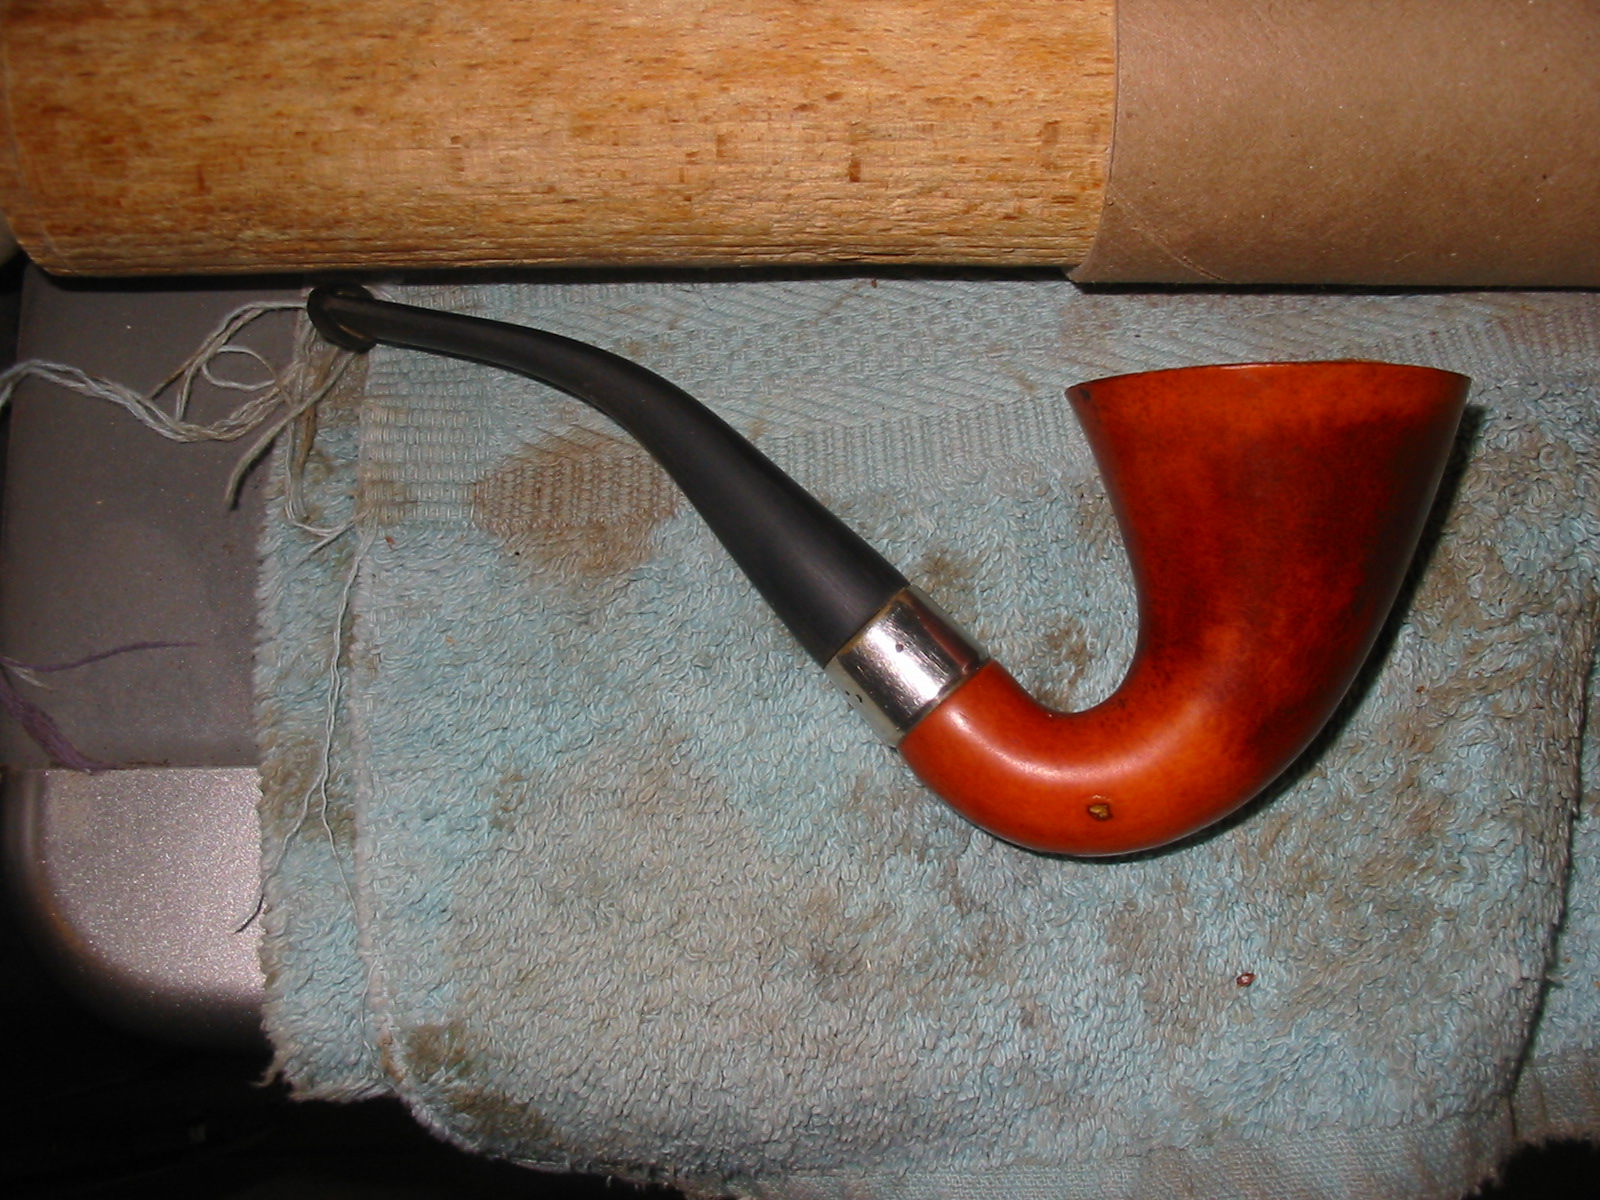
The bowl came with the band and a threaded bone tenon that was easily removed from the mortise. The gourd had darkened areas around the exterior of the bowl from the hand of the previous owners. There were several nicks in the gourd on the bottom of the shank next to the band and on the right side next o the band. The band had been pressed onto the gourd and it was obvious from the fit and the way it pressed into the shank ahead of it that it was original. The inside of the gourd had hard tars and tobacco oils on the walls down into the shank itself. There was nothing soft or sticky in either the shank or bowl. A pipe cleaner came out clean regardless of whether it was dry or wet. The top edge of the rim was pristine with no dents or nicks. There was a slight crack that ran down about ½ inch on the front of the bowl. I liked the shape of the gourd from the moment I took it out of the bag. It was not oddly shaped but was elegant in both the flare of the bowl and the curve of the shank. It would be well worth bringing back to life.

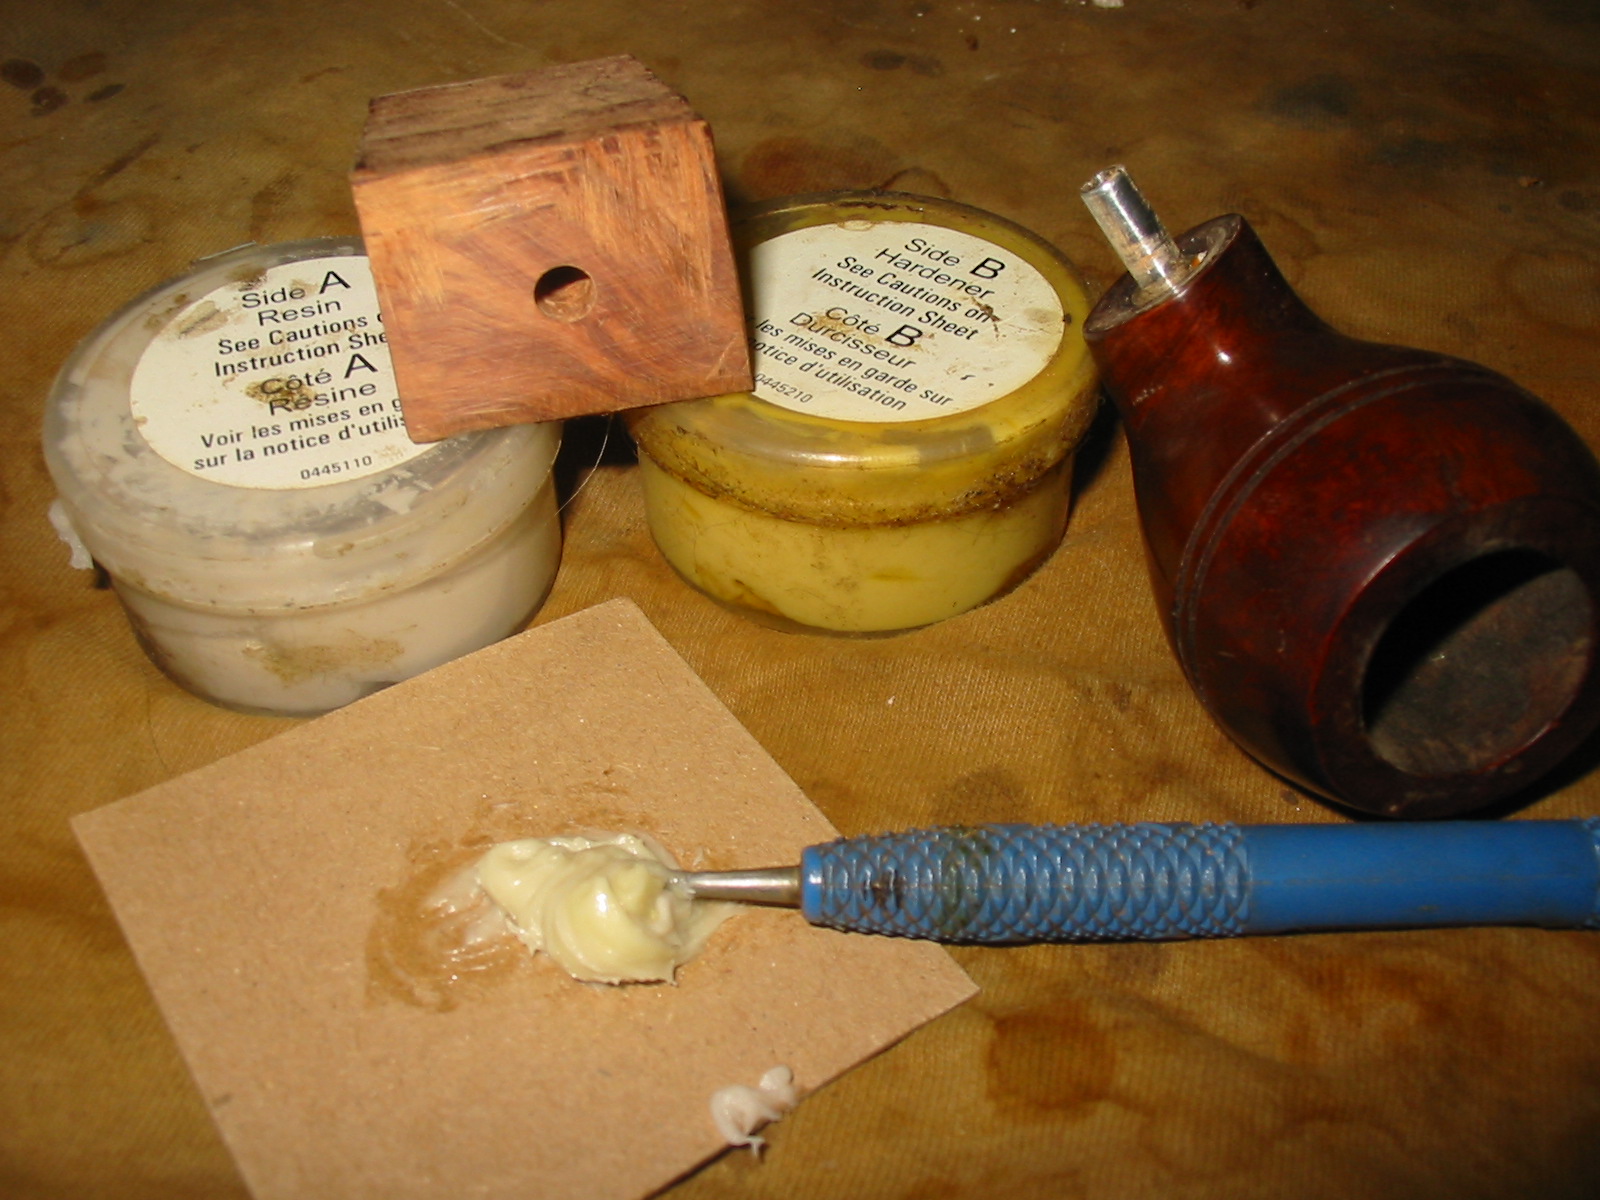
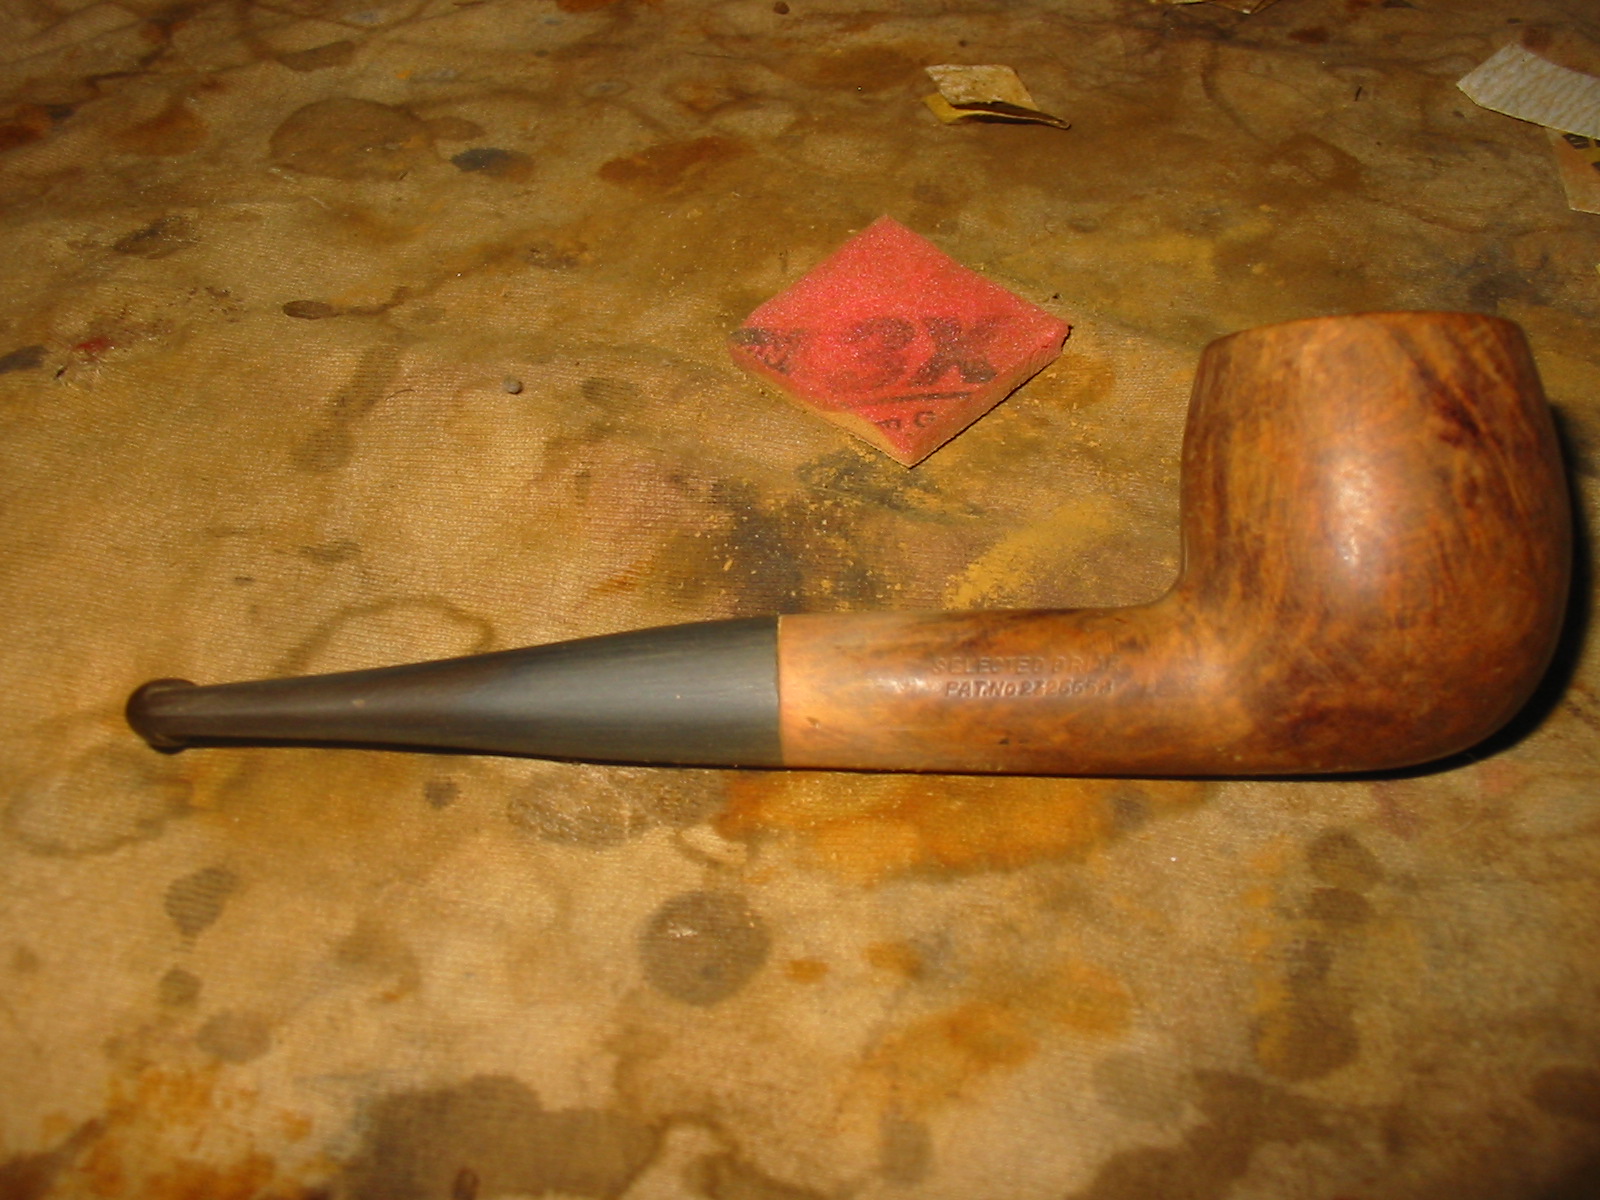
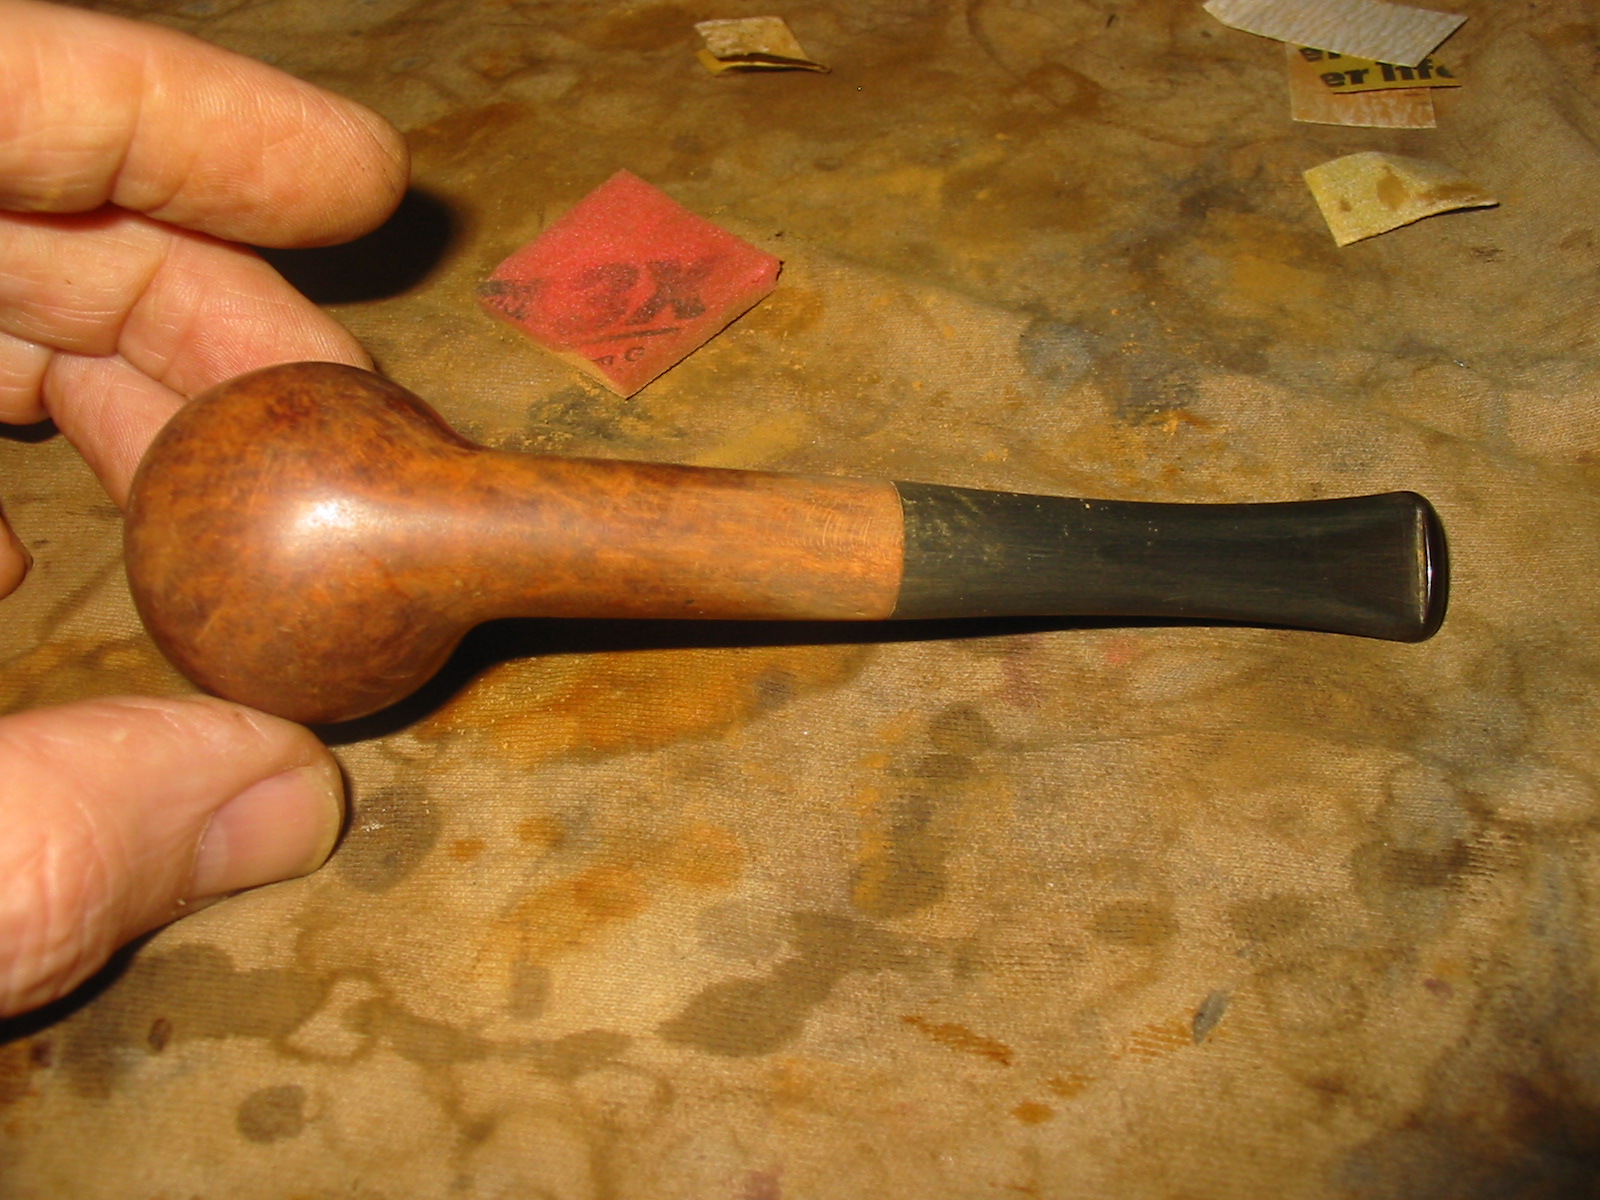
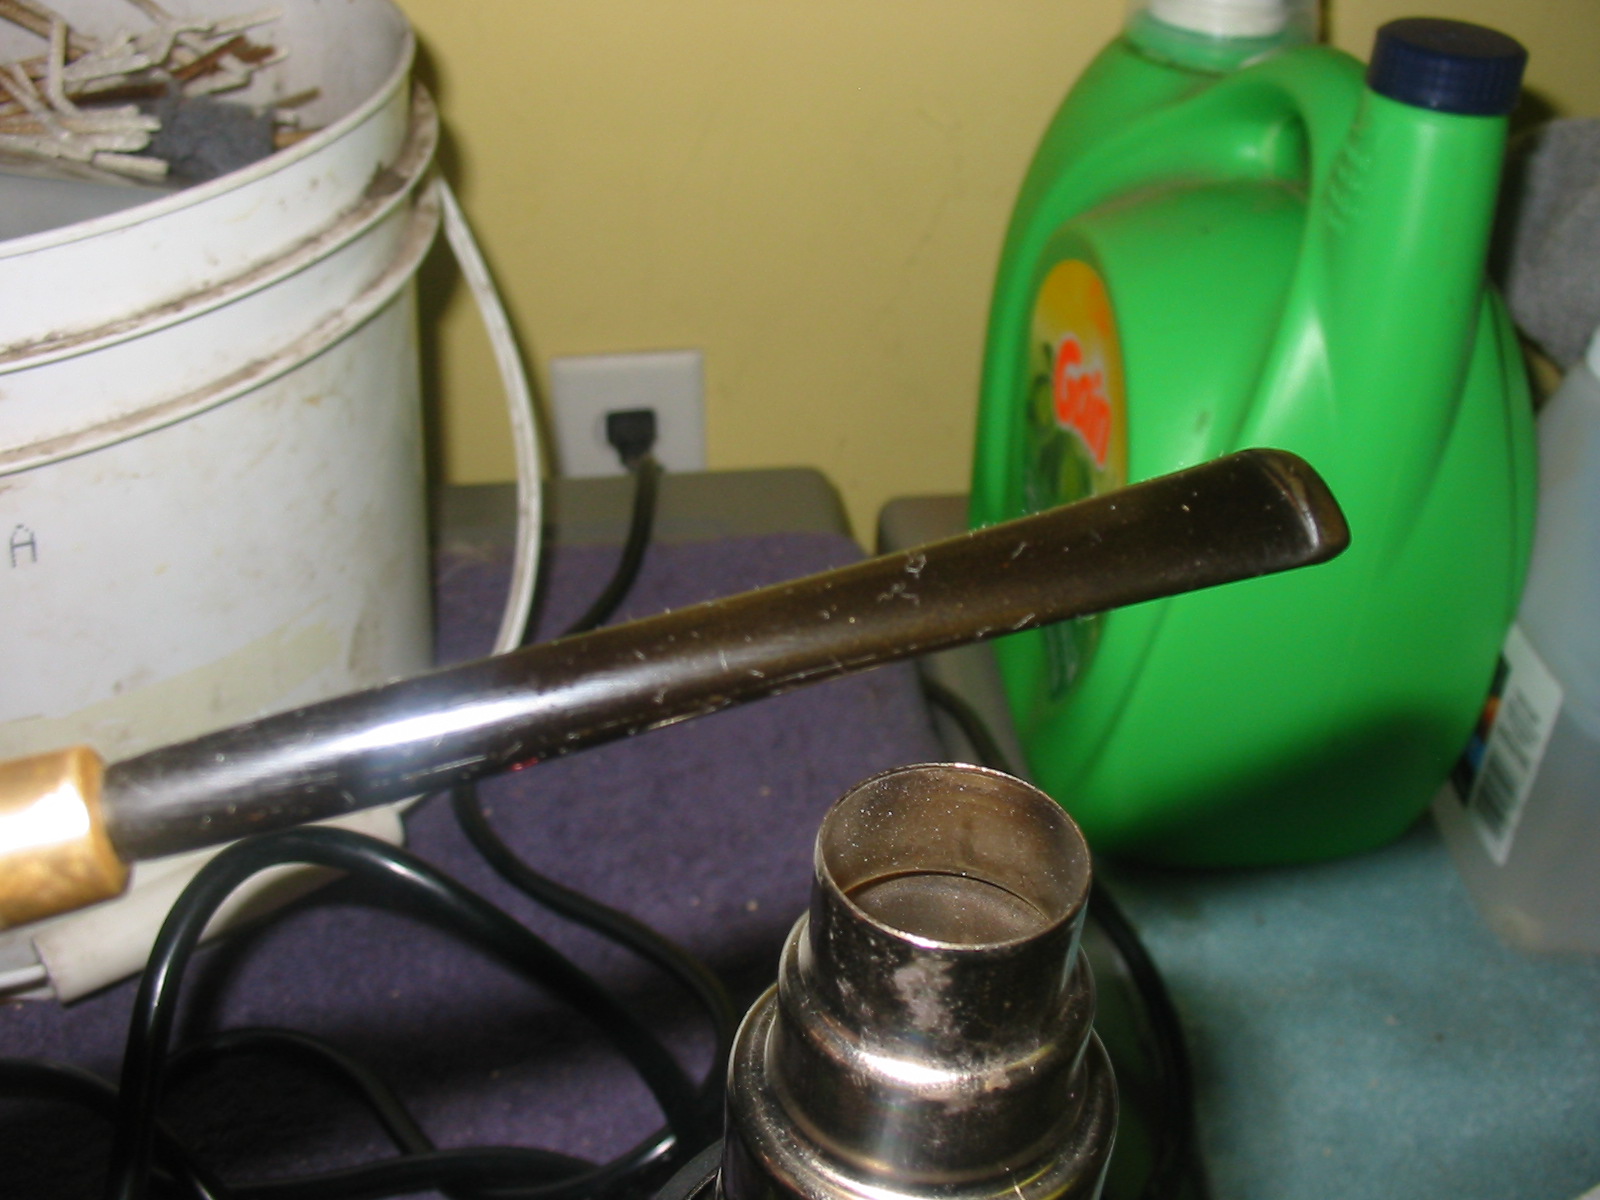
I measured the diameter of the bowl and the diameter of the bone tenon and made a call to Tim West at J.H. Lowe (http://www.jhlowe.com/) with the dimensions to see what he had in terms of a meerschaum bowl and a potential stem for the pipe. He asked for a photo of the bowl so he could have a look before recommending sizes of the stem or bowl. I told him that I was thinking about an amber acrylic a Bakelite stem. Once he saw the pictures Tim talked me out of that and said a vulcanite stem would be perfect for it. I asked if he would tap the stem for me before he shipped it. He said he would do it, no problem. He did a bang up job and sent it along with the meerschaum cup. Both of them arrived here in Vancouver quite quickly. I unpacked the bowl and stem from the box that Tim sent and that was the beginning of the issues that I faced with restoring this pipe. I will spell them out in detail as I write about the restoration of the pipe.
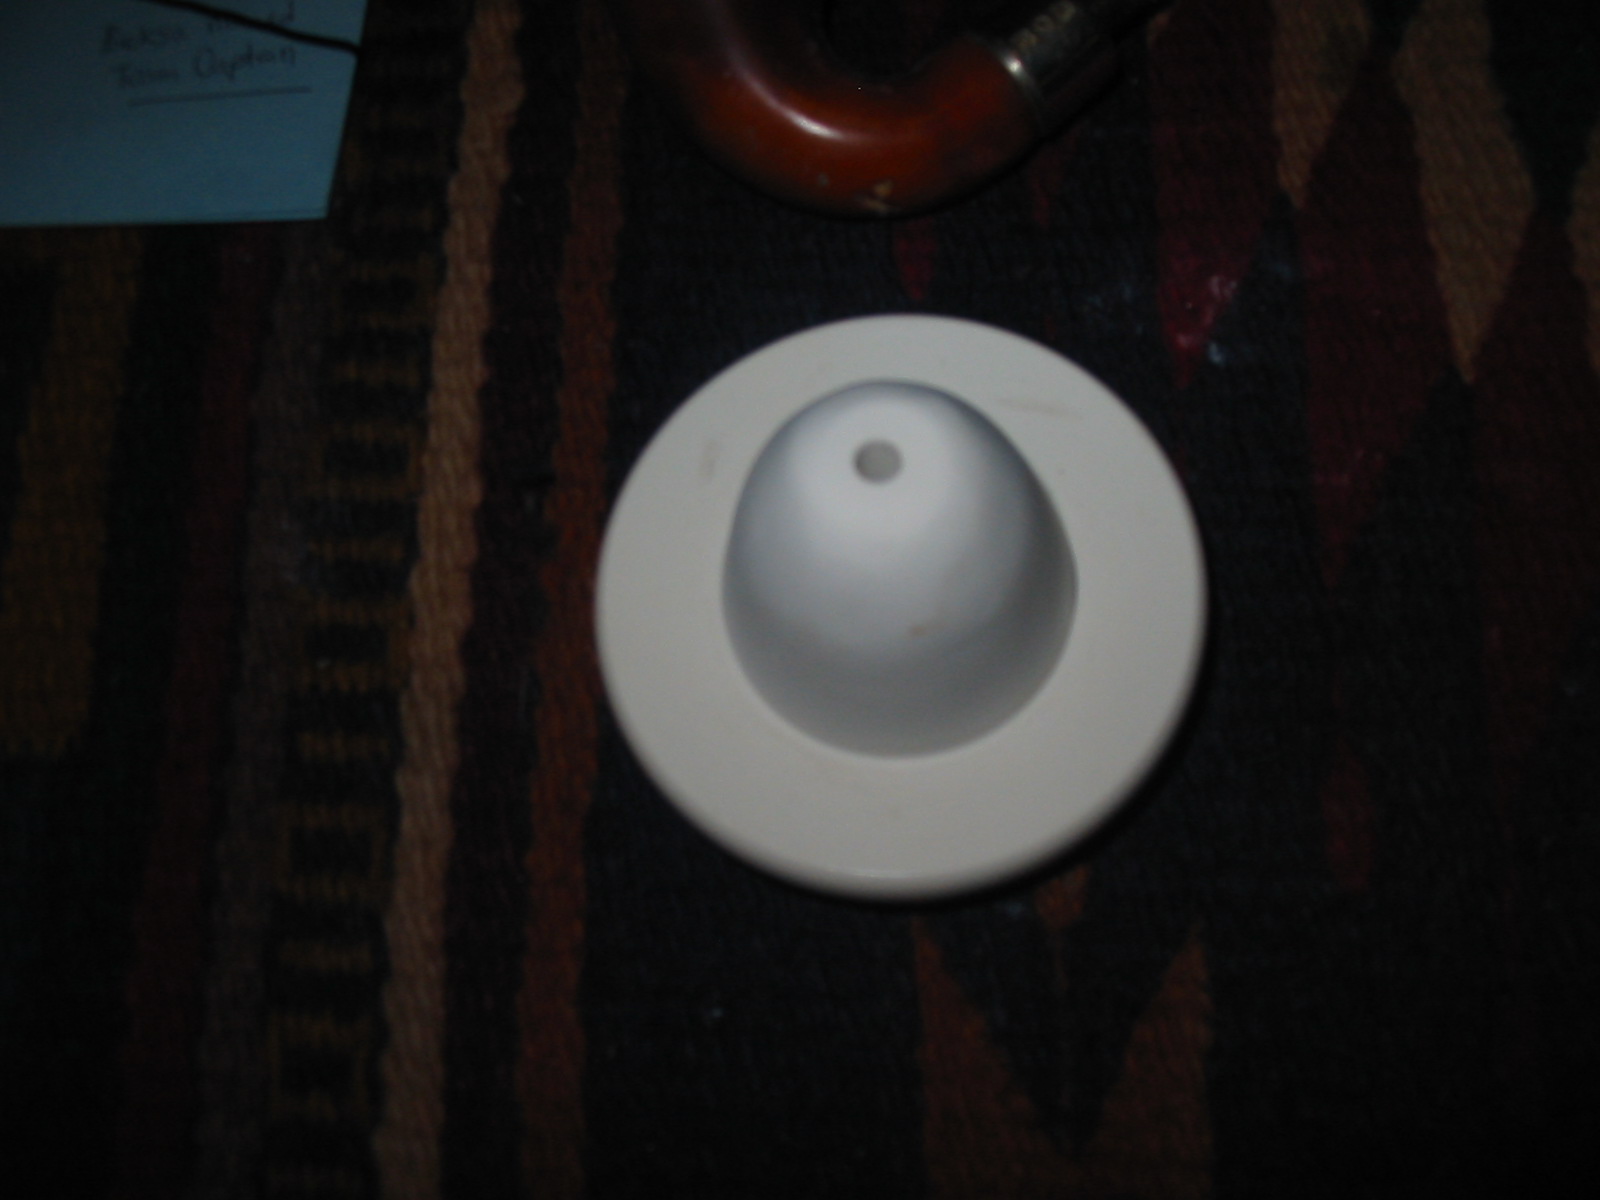
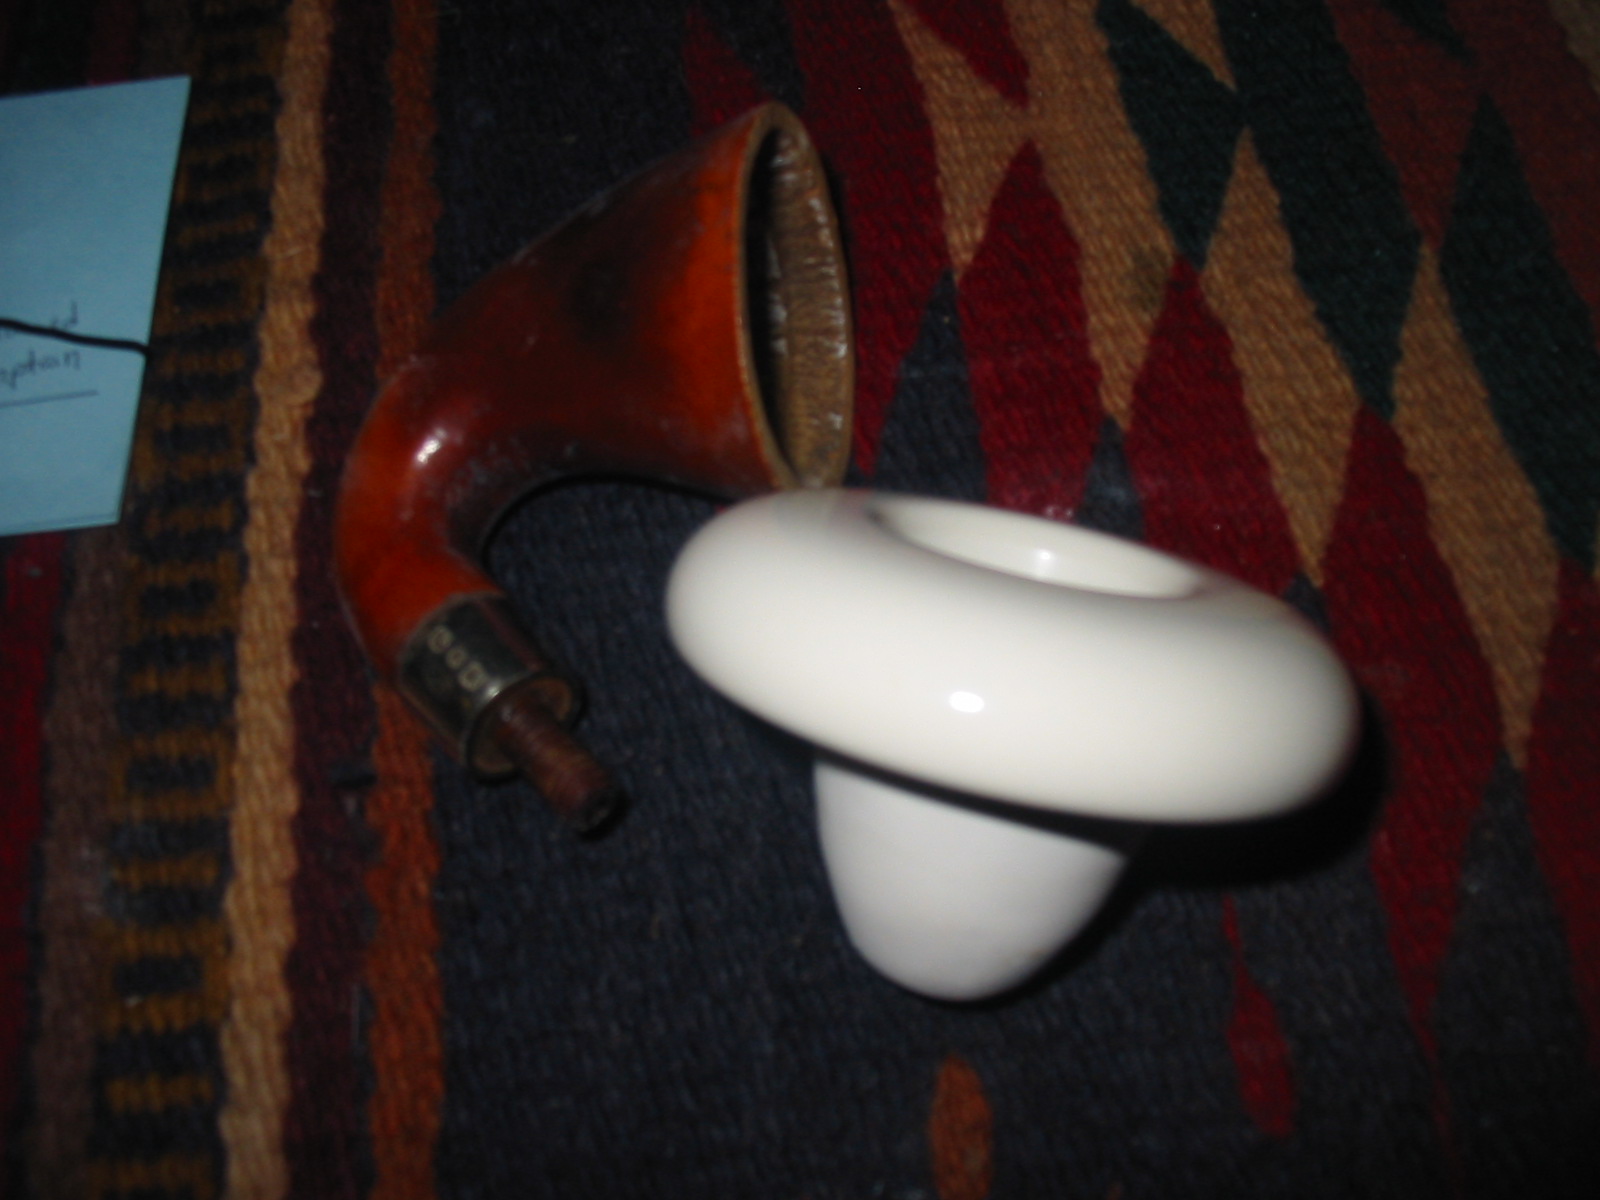
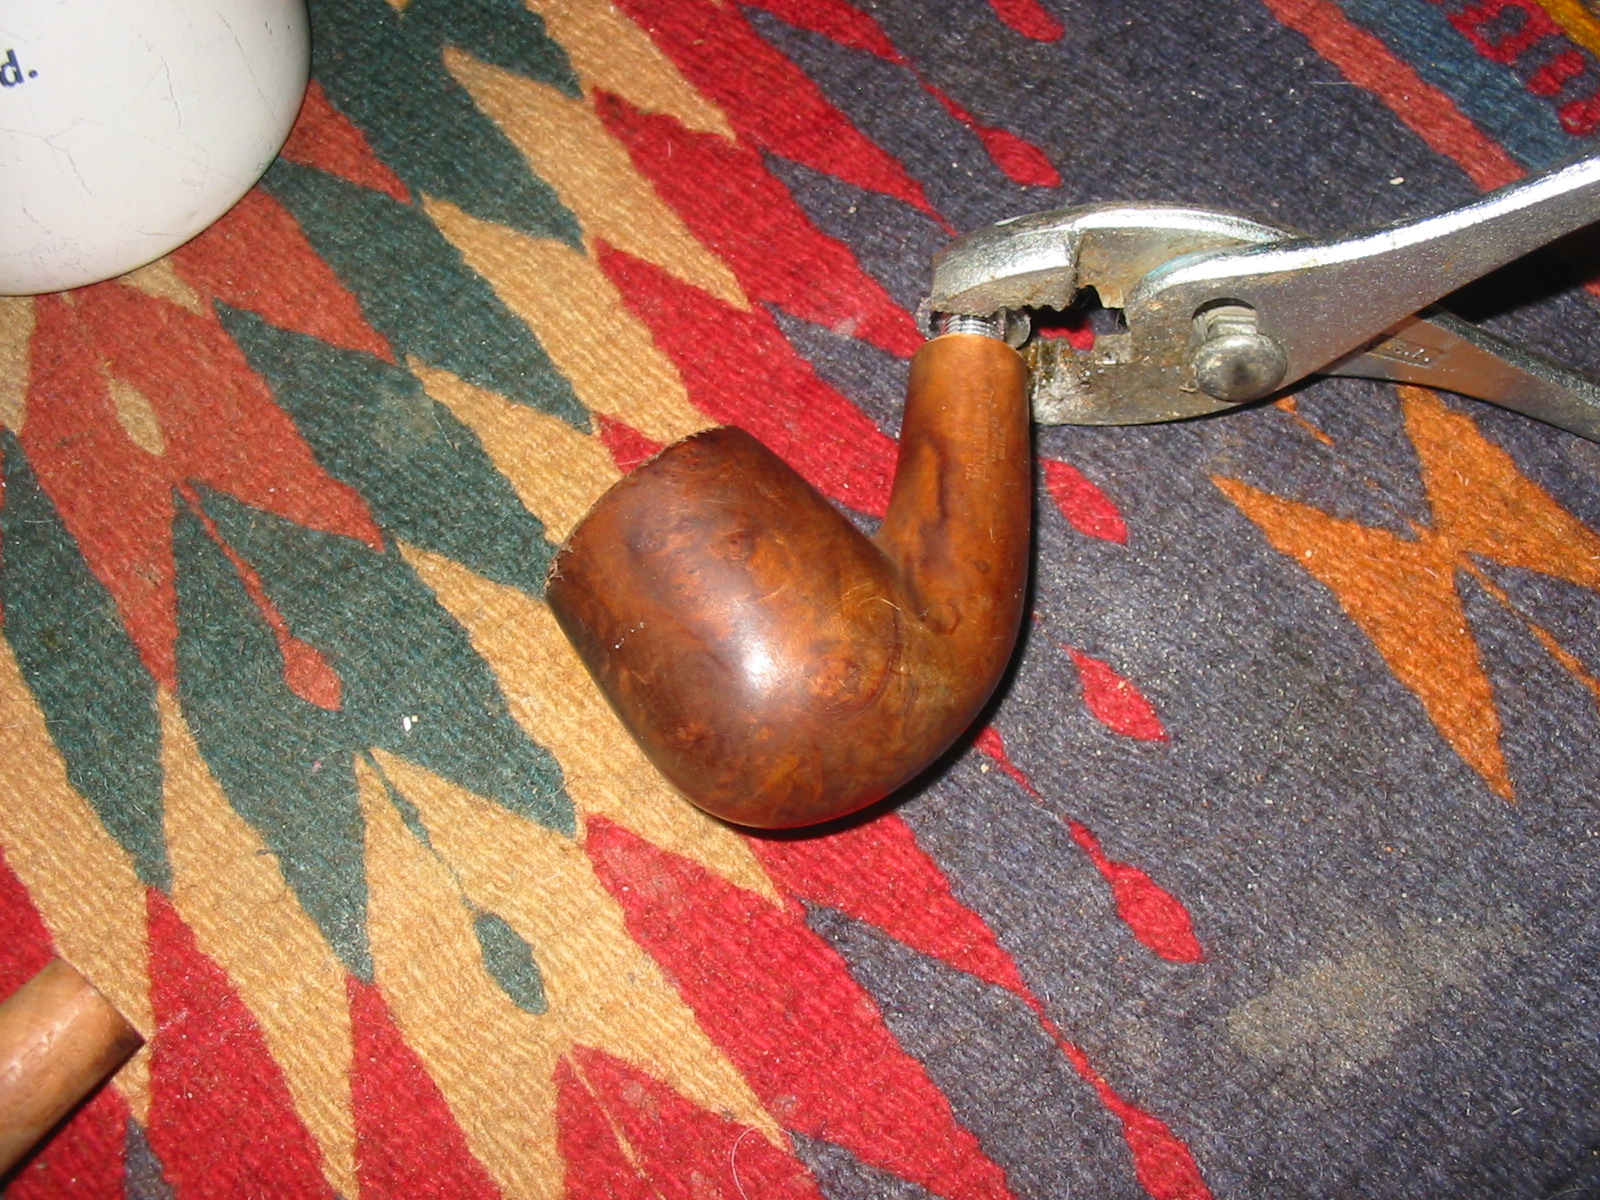
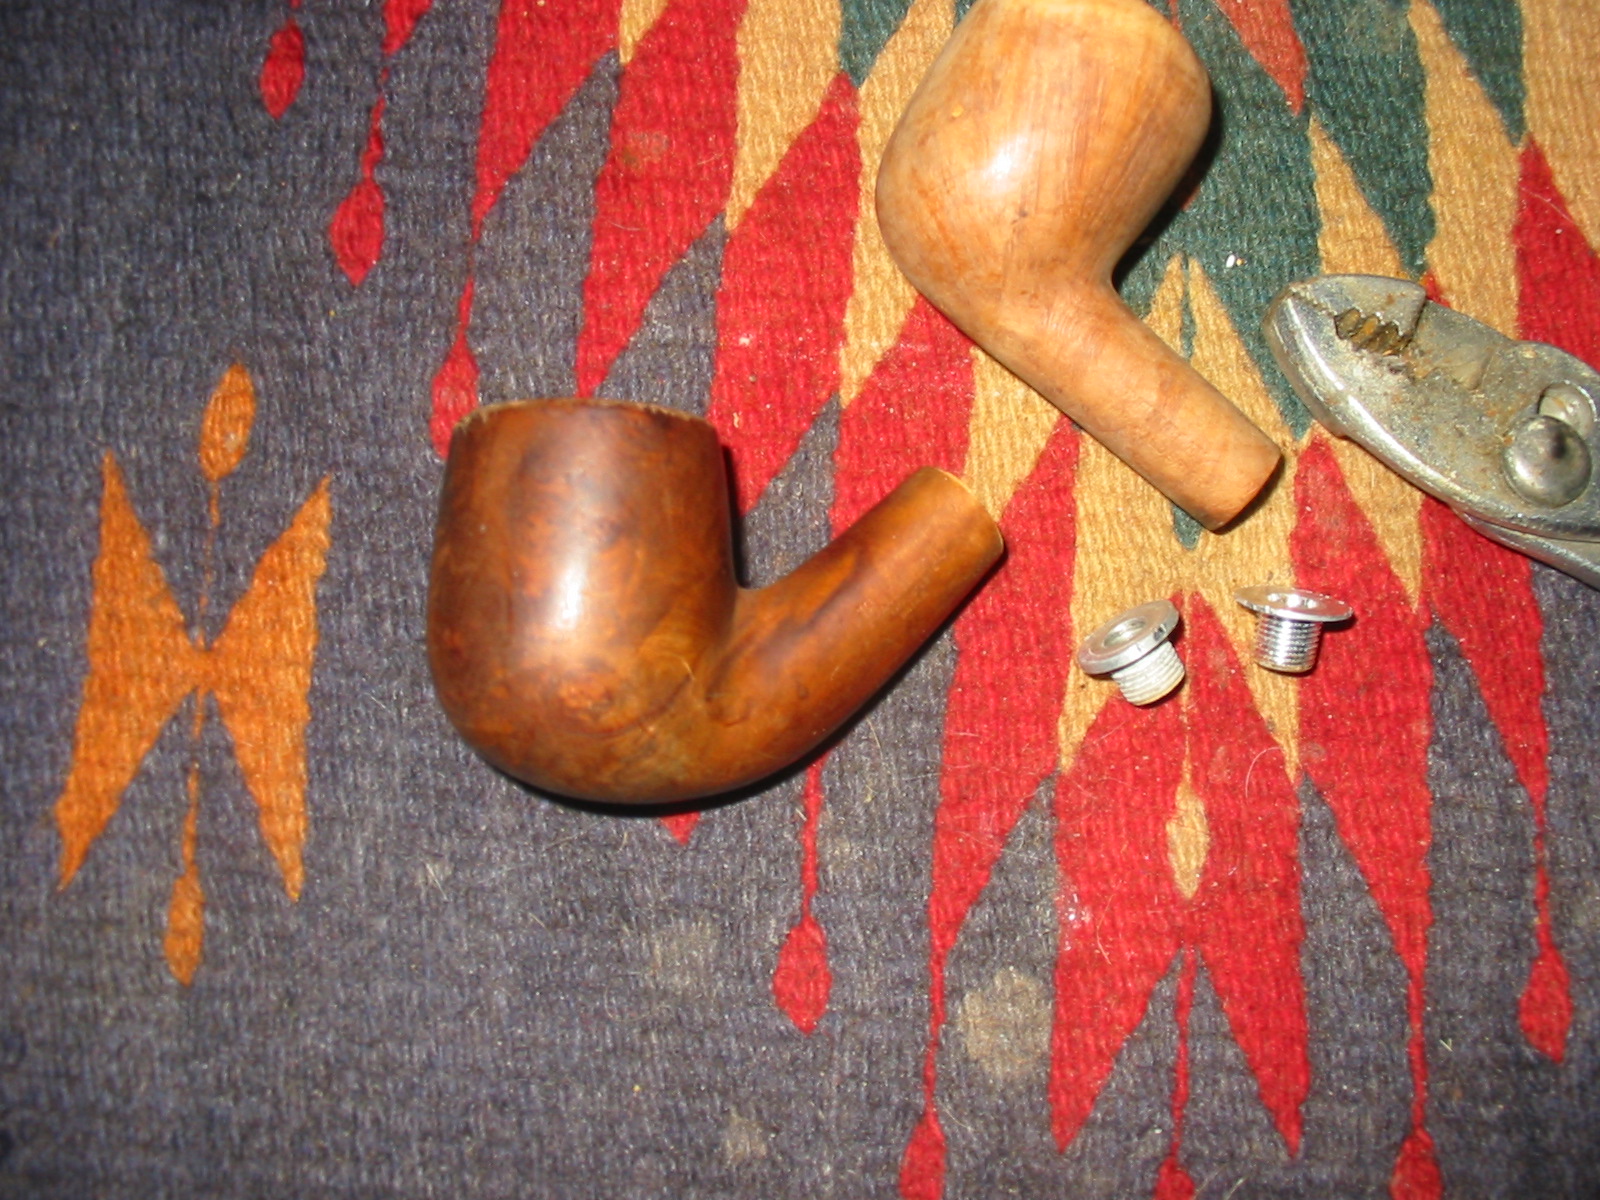
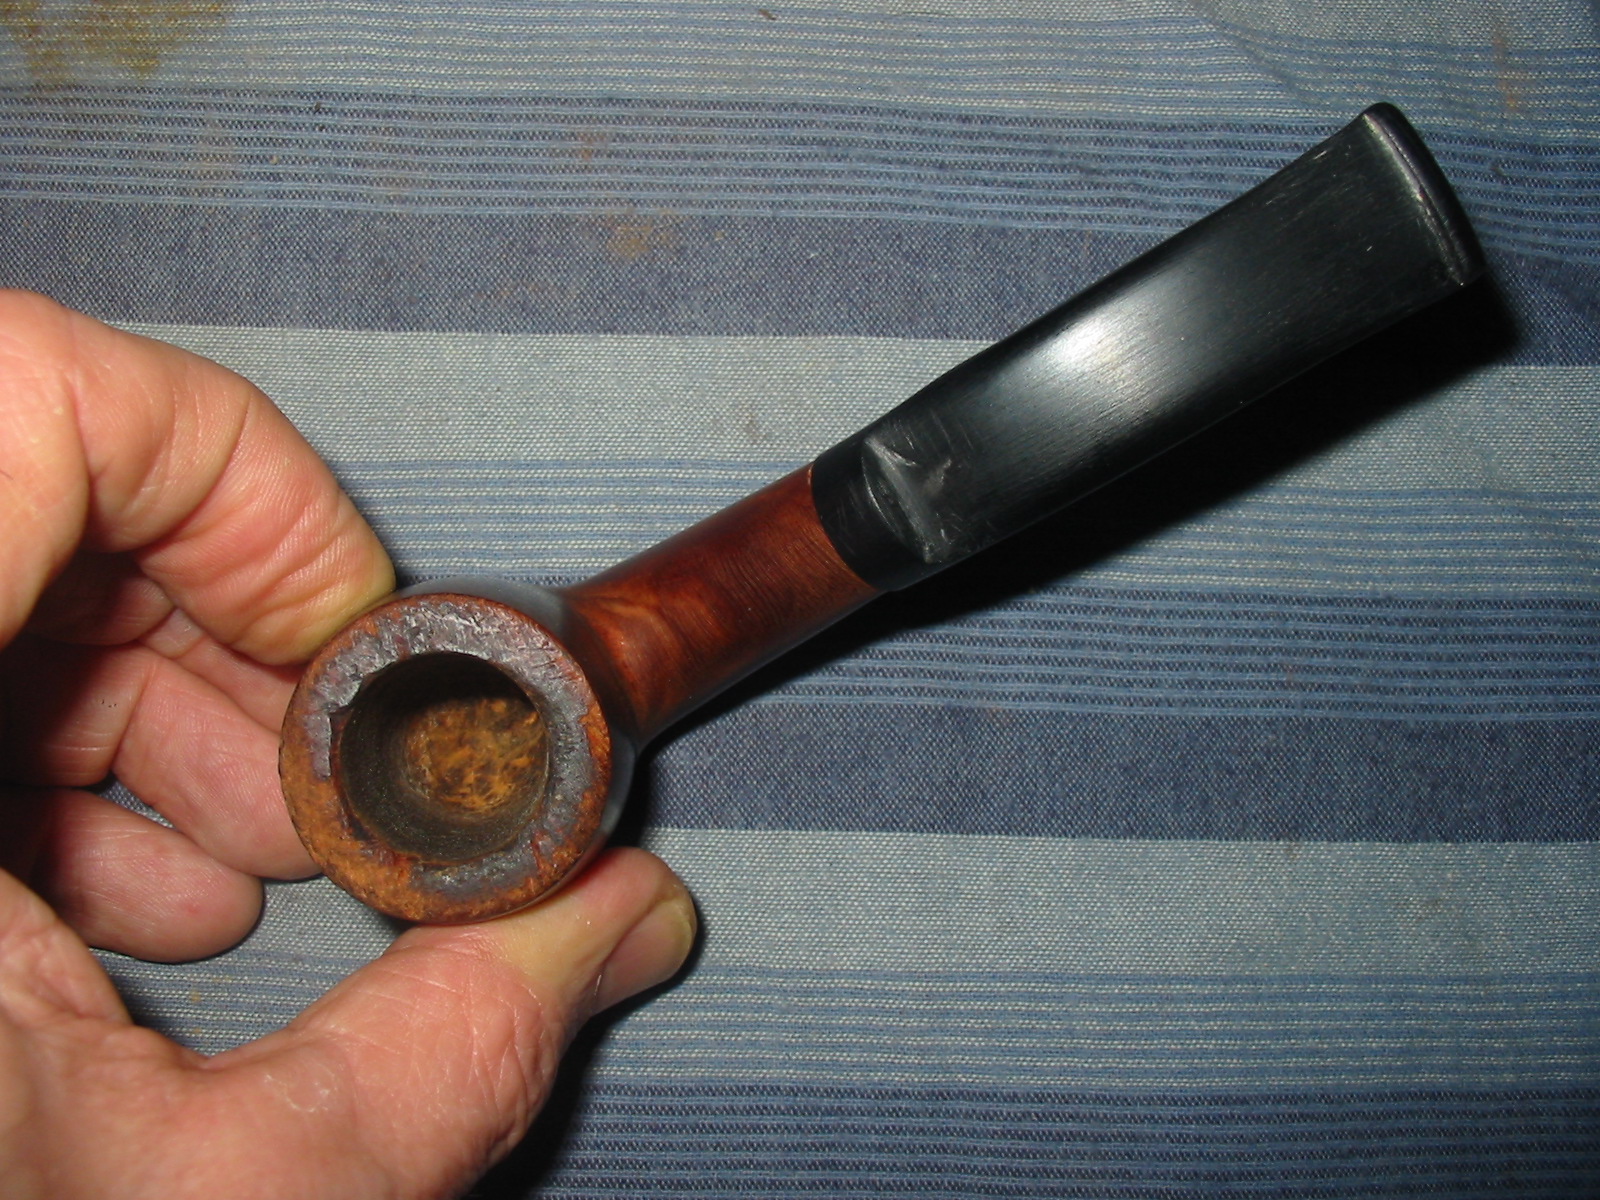
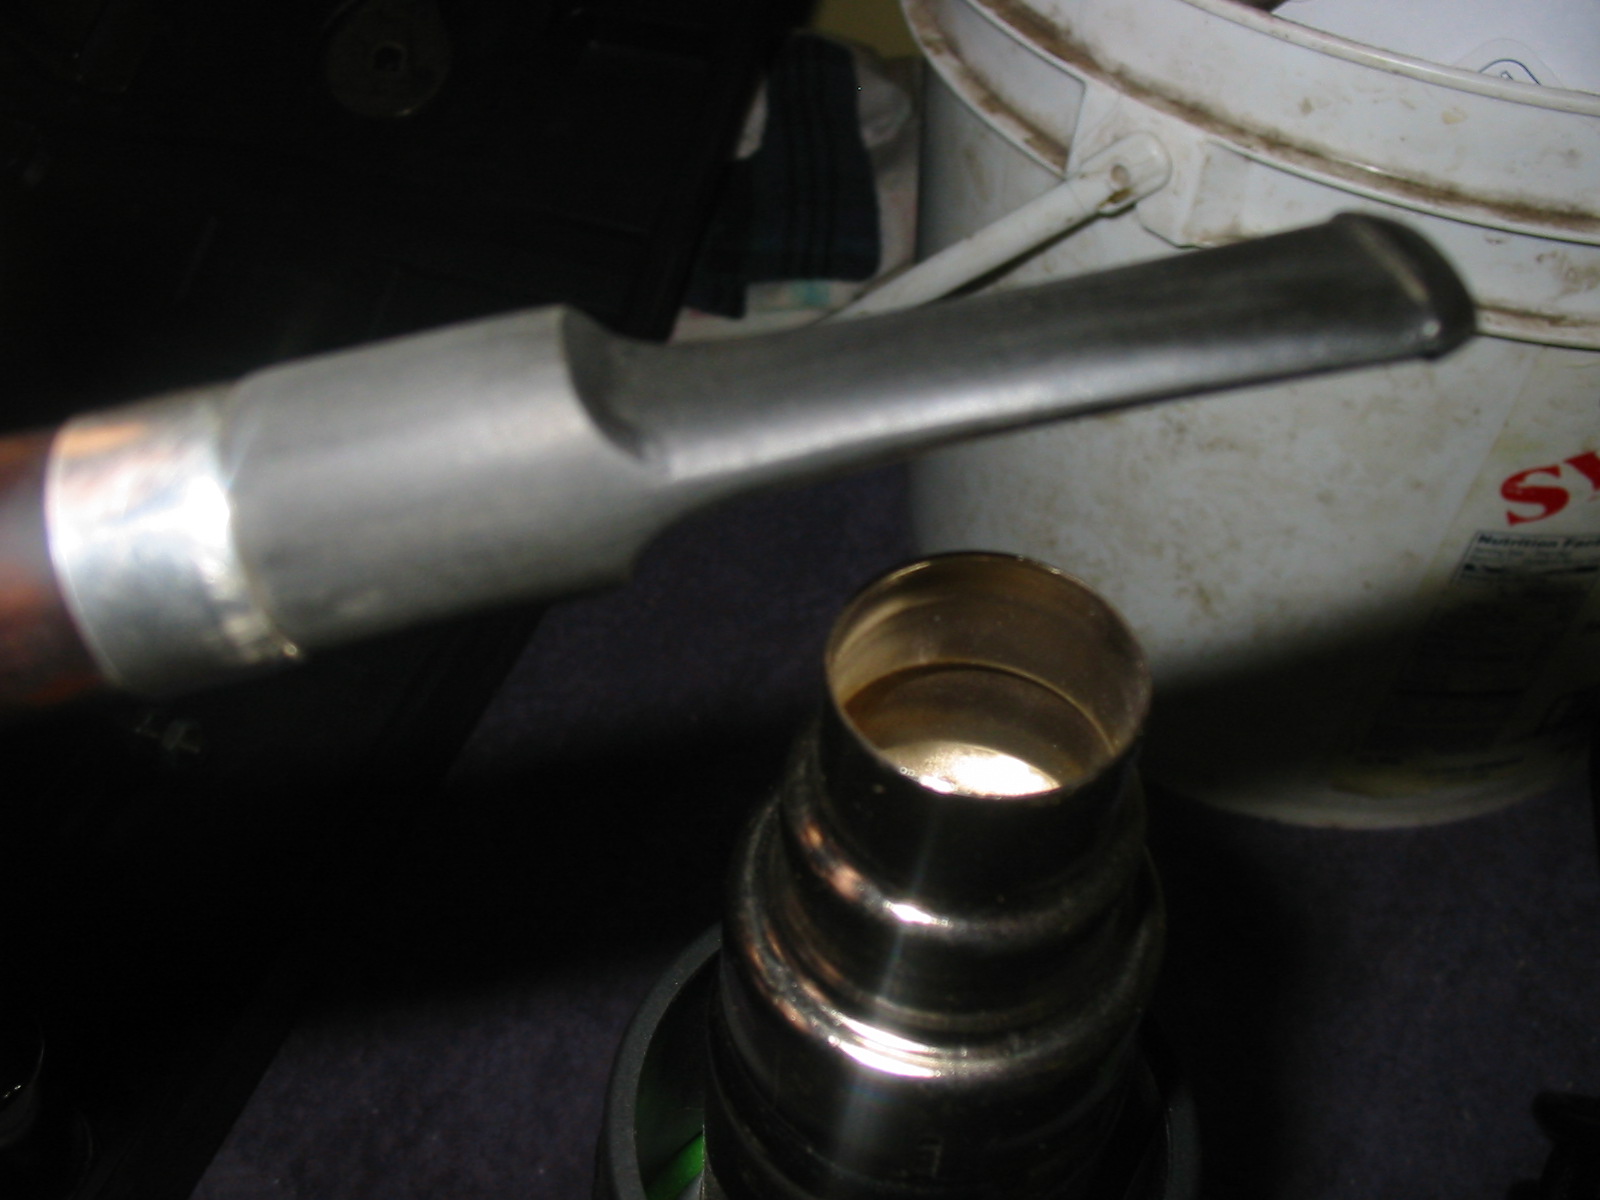
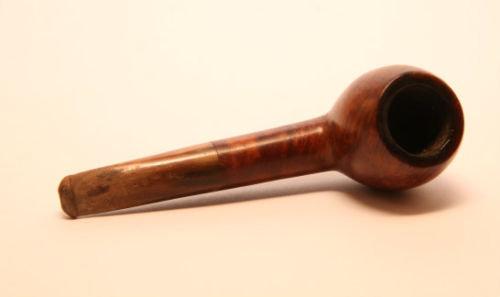
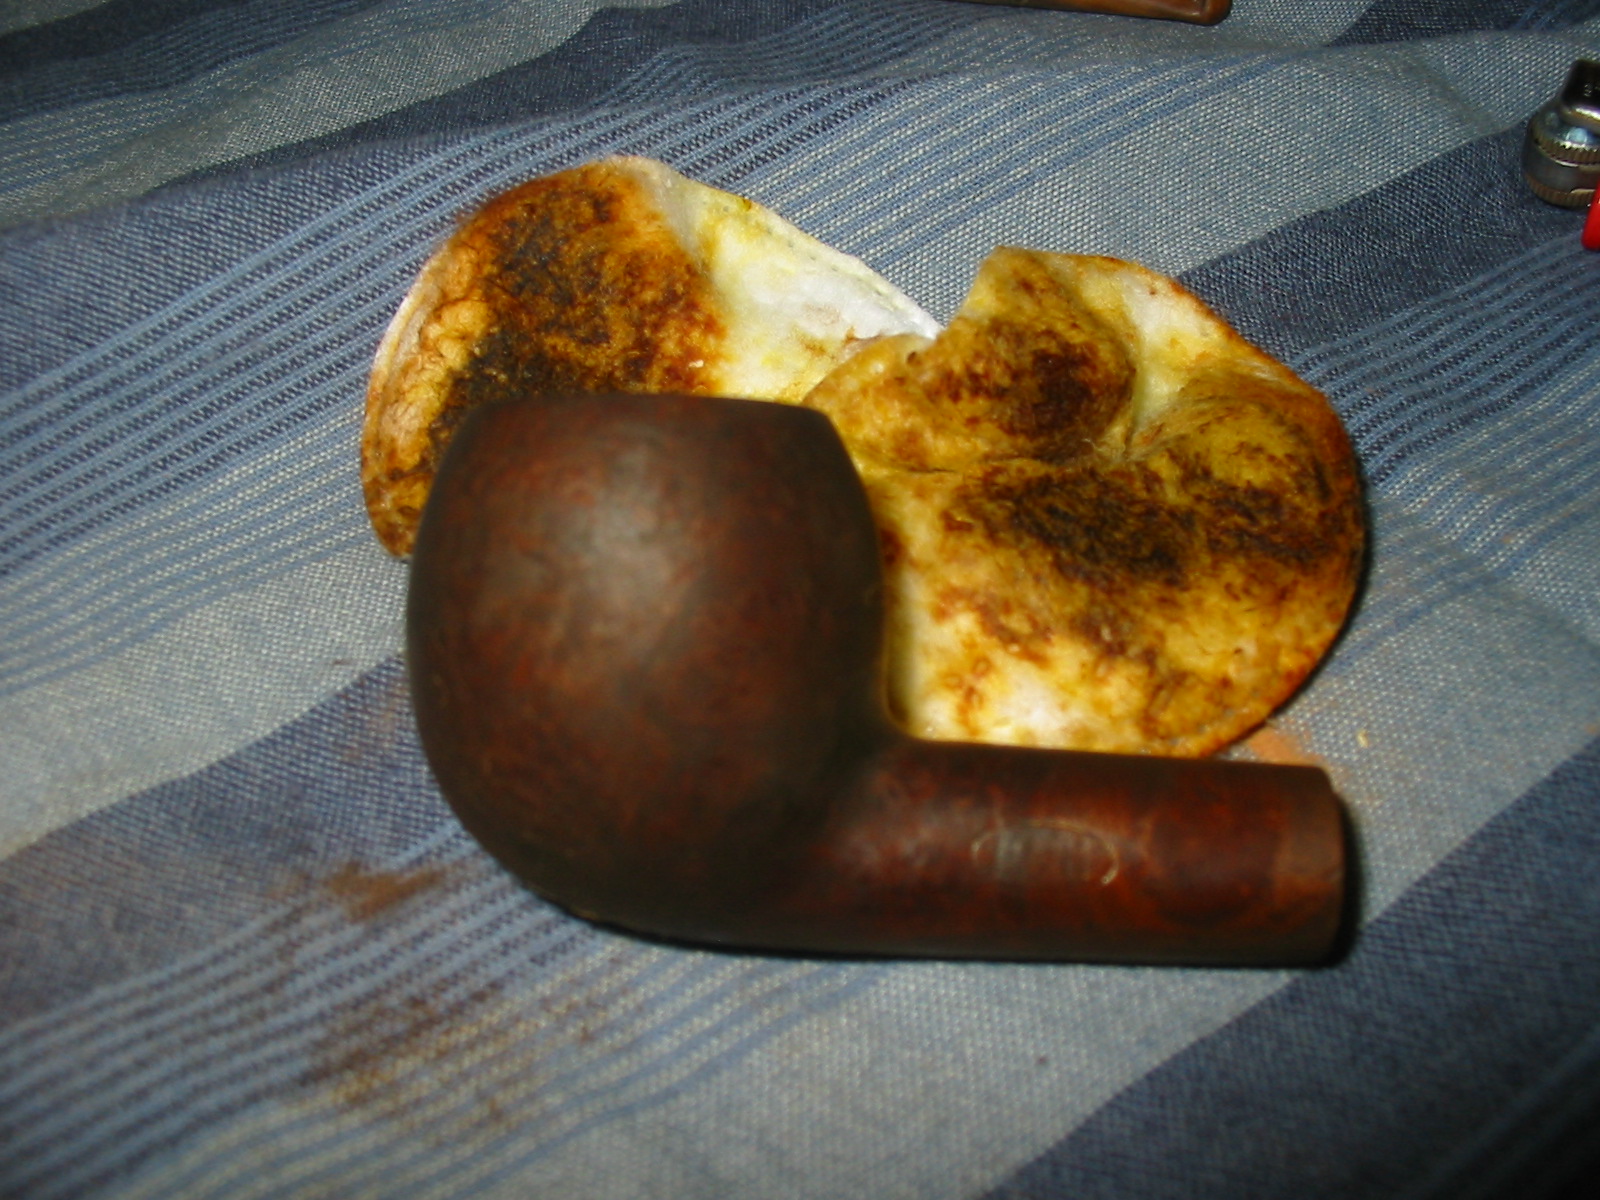
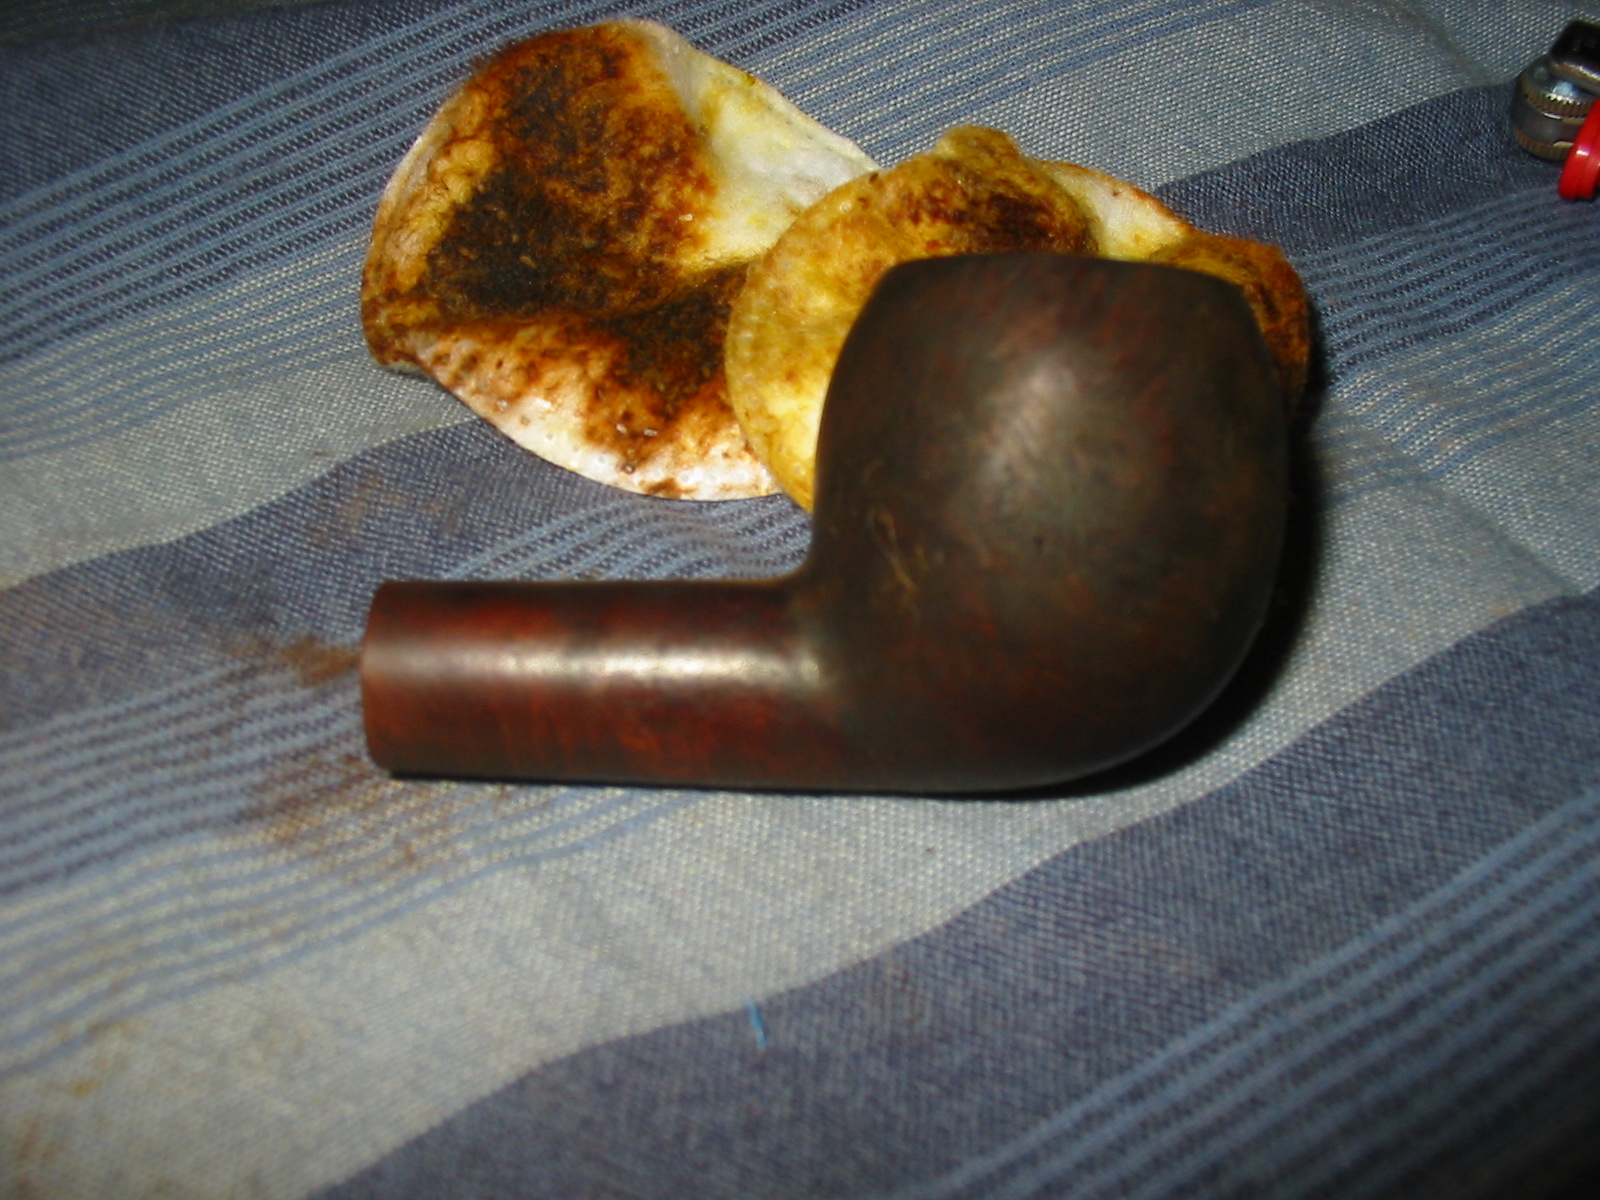
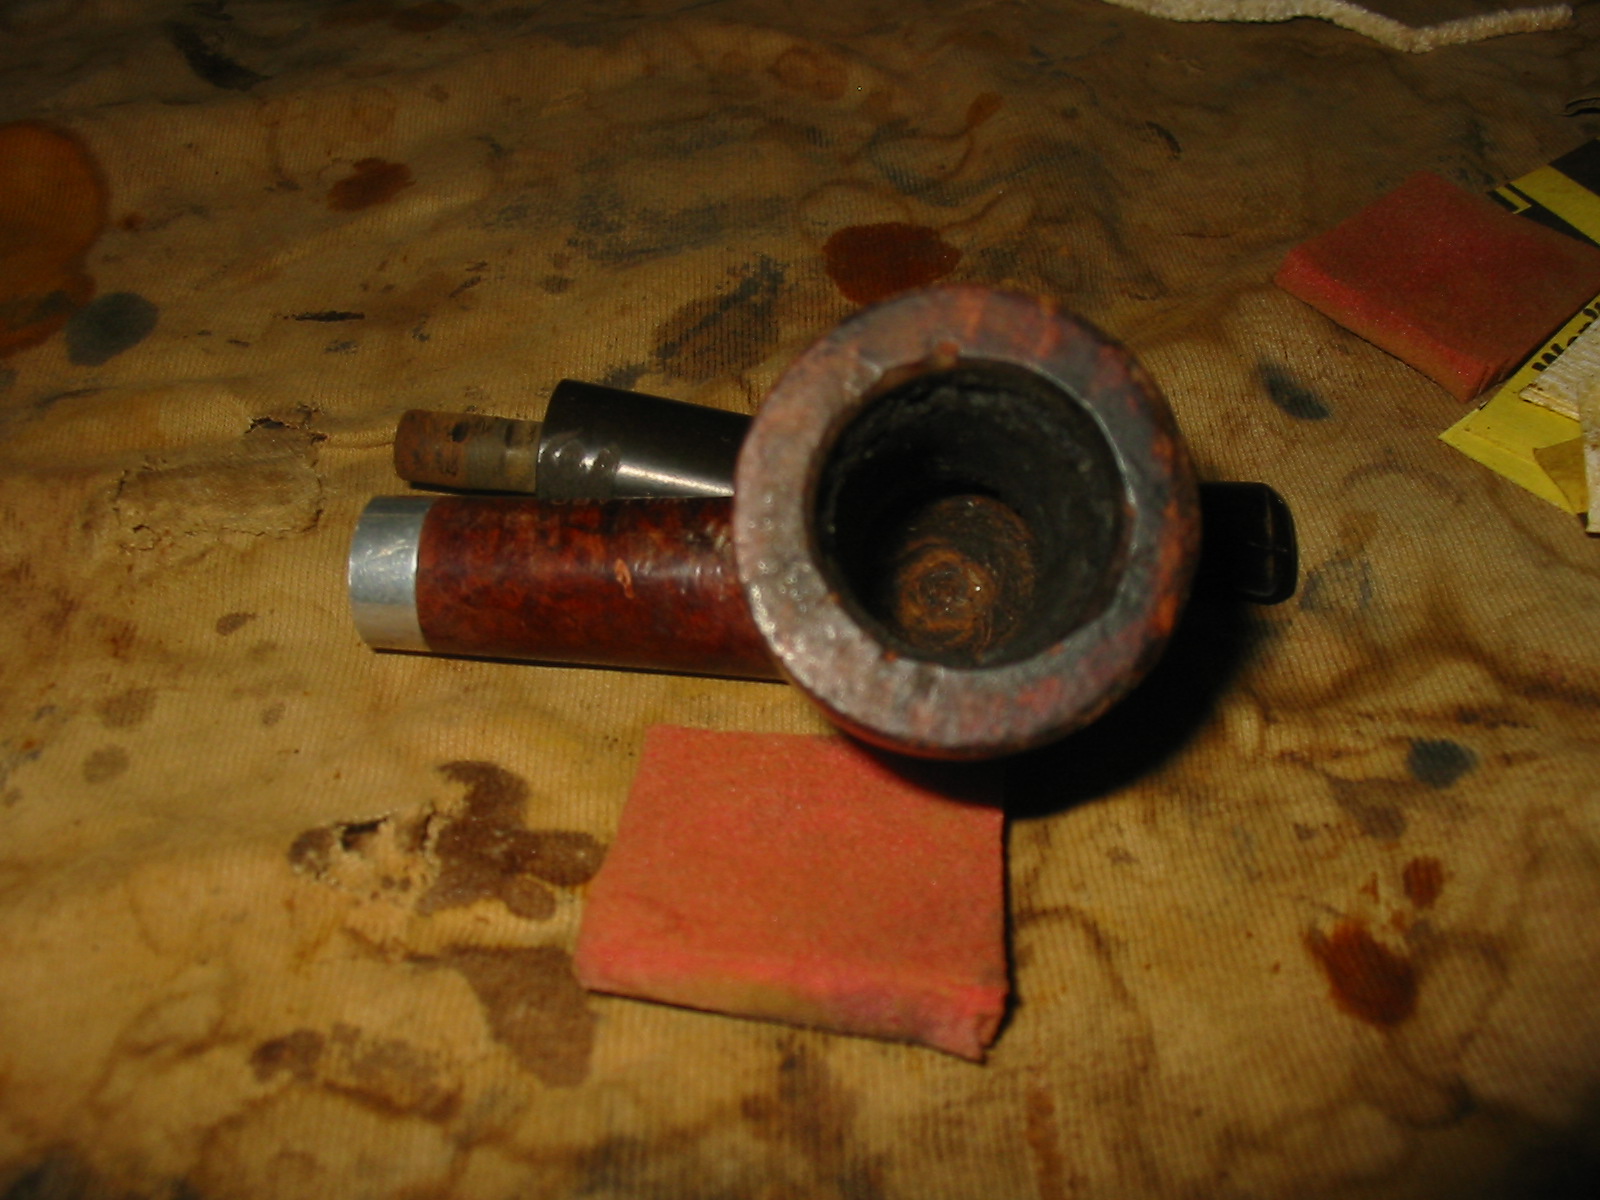
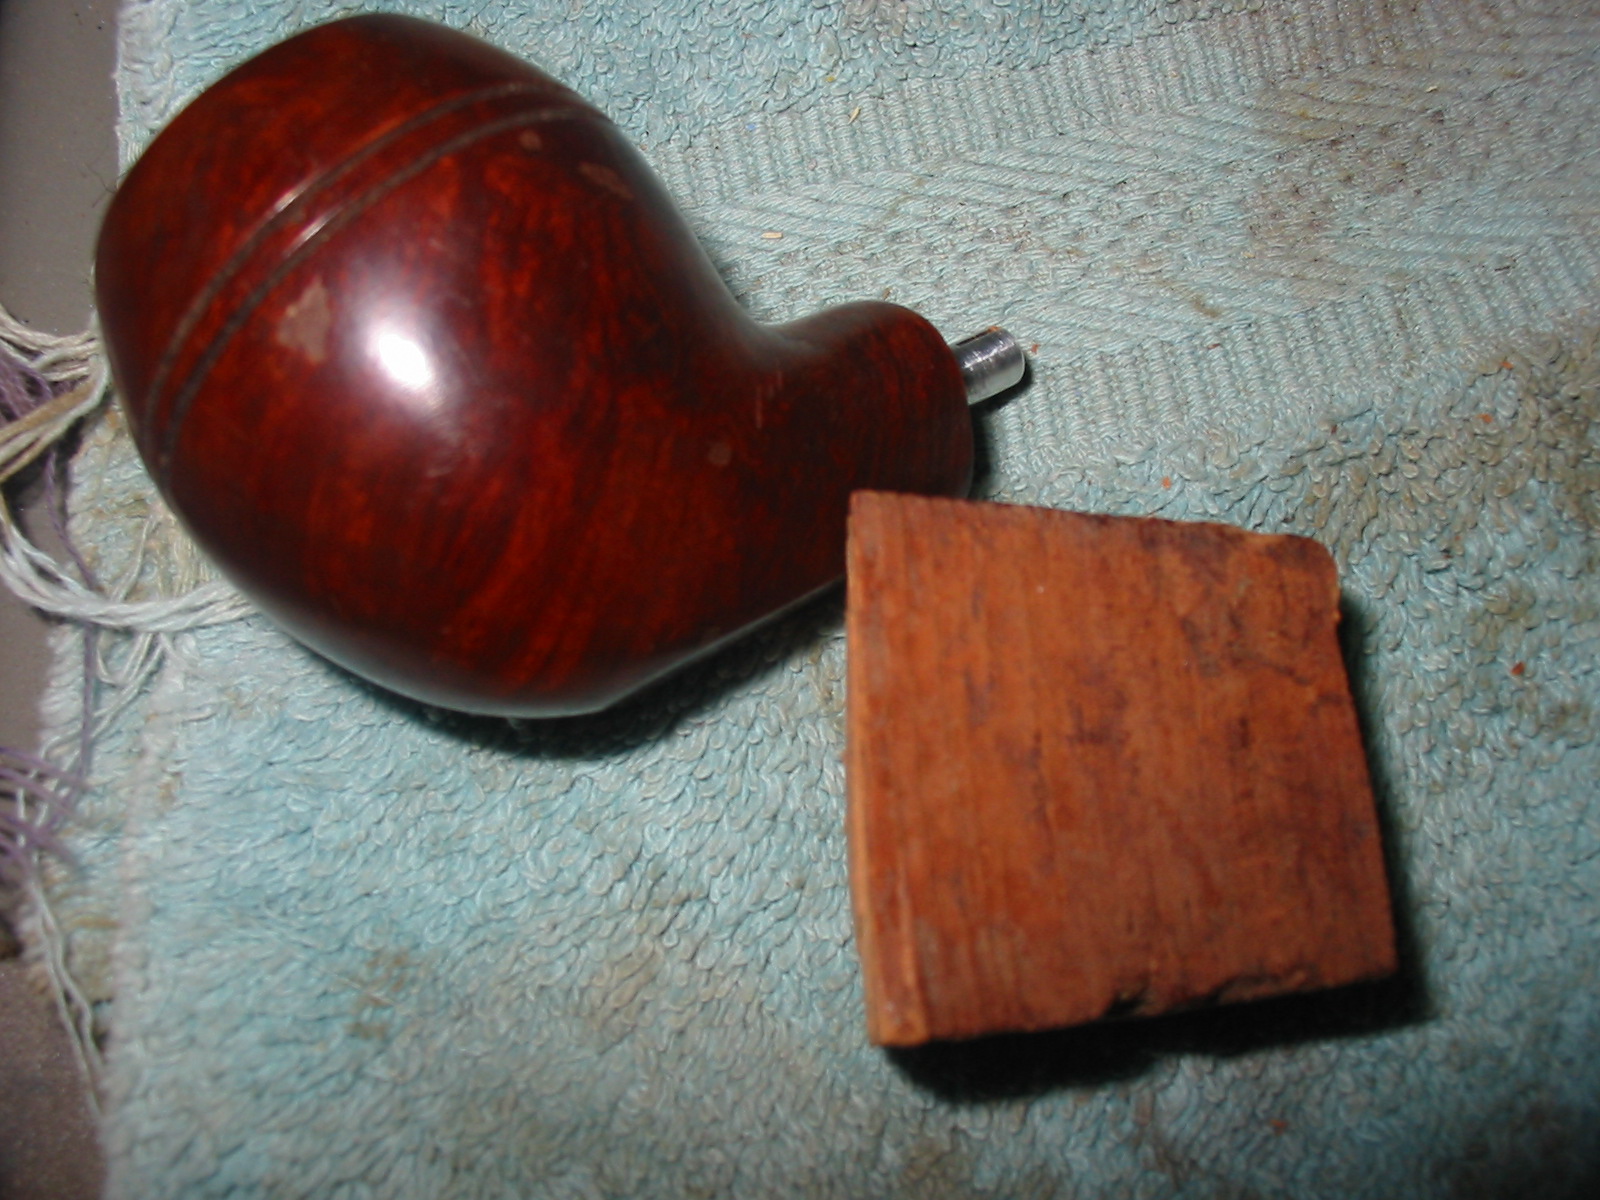
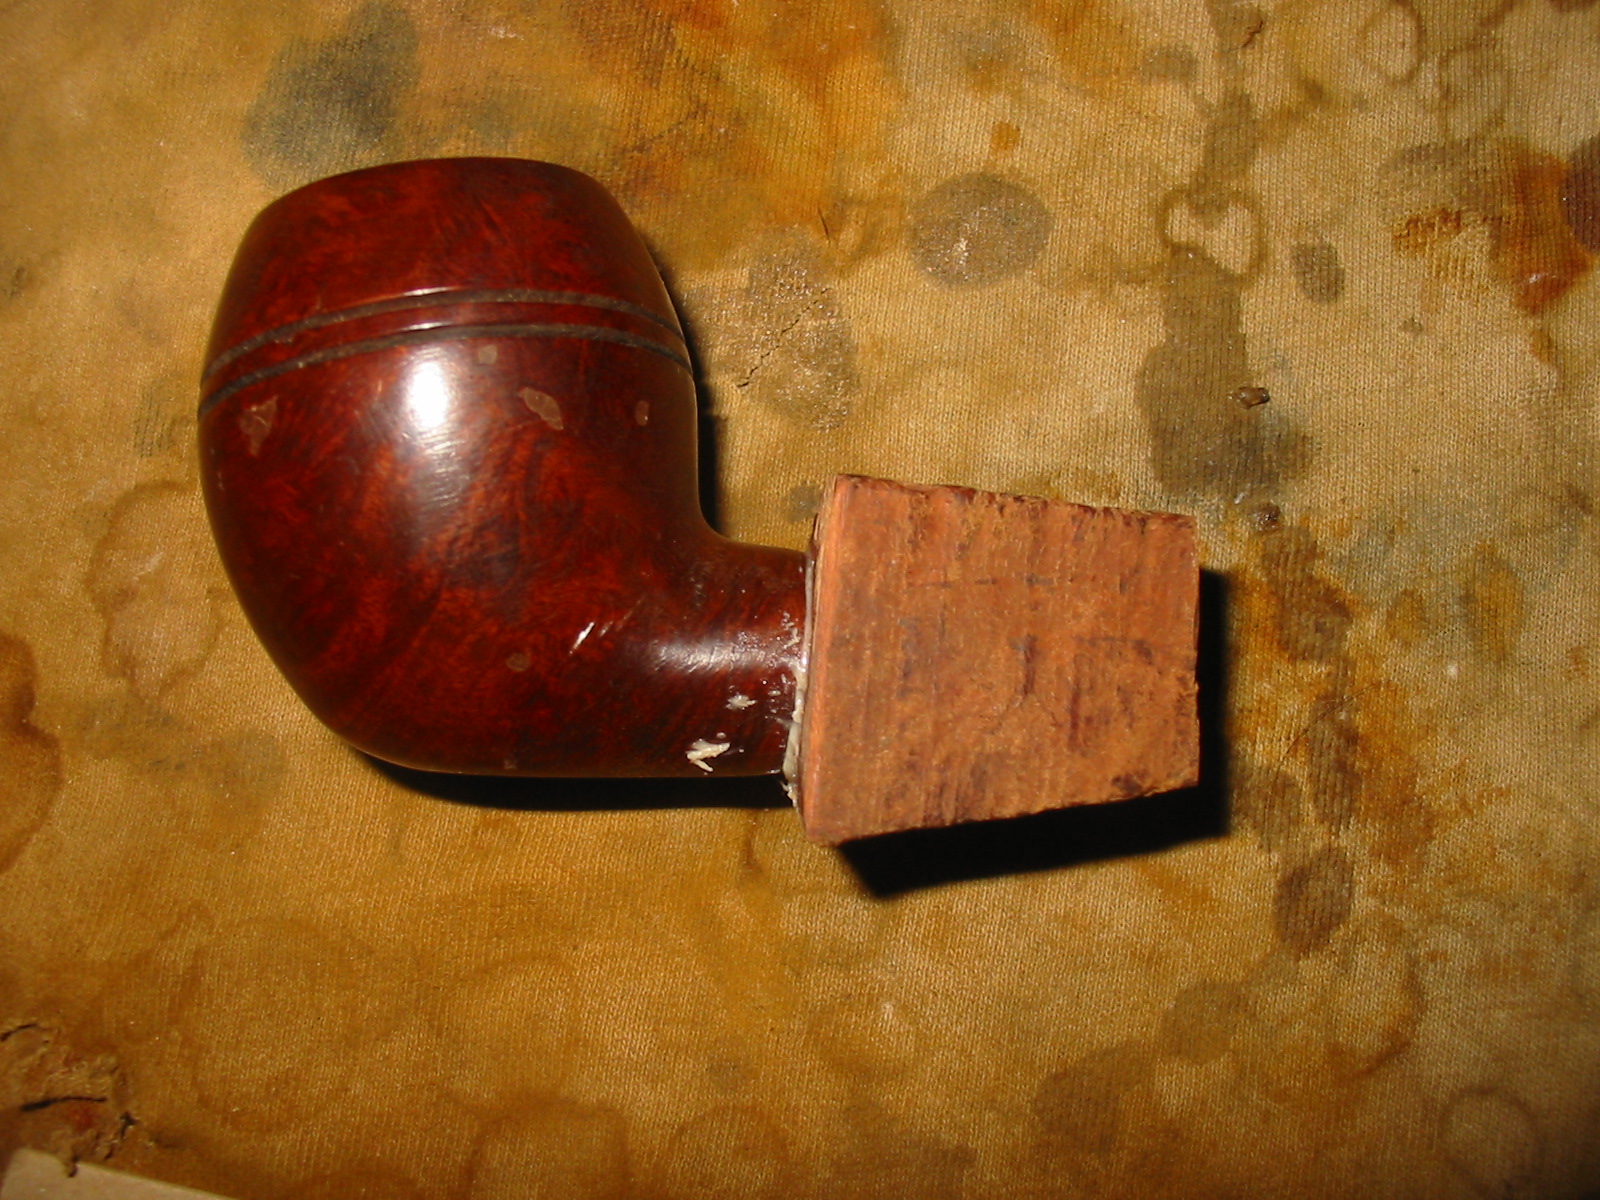
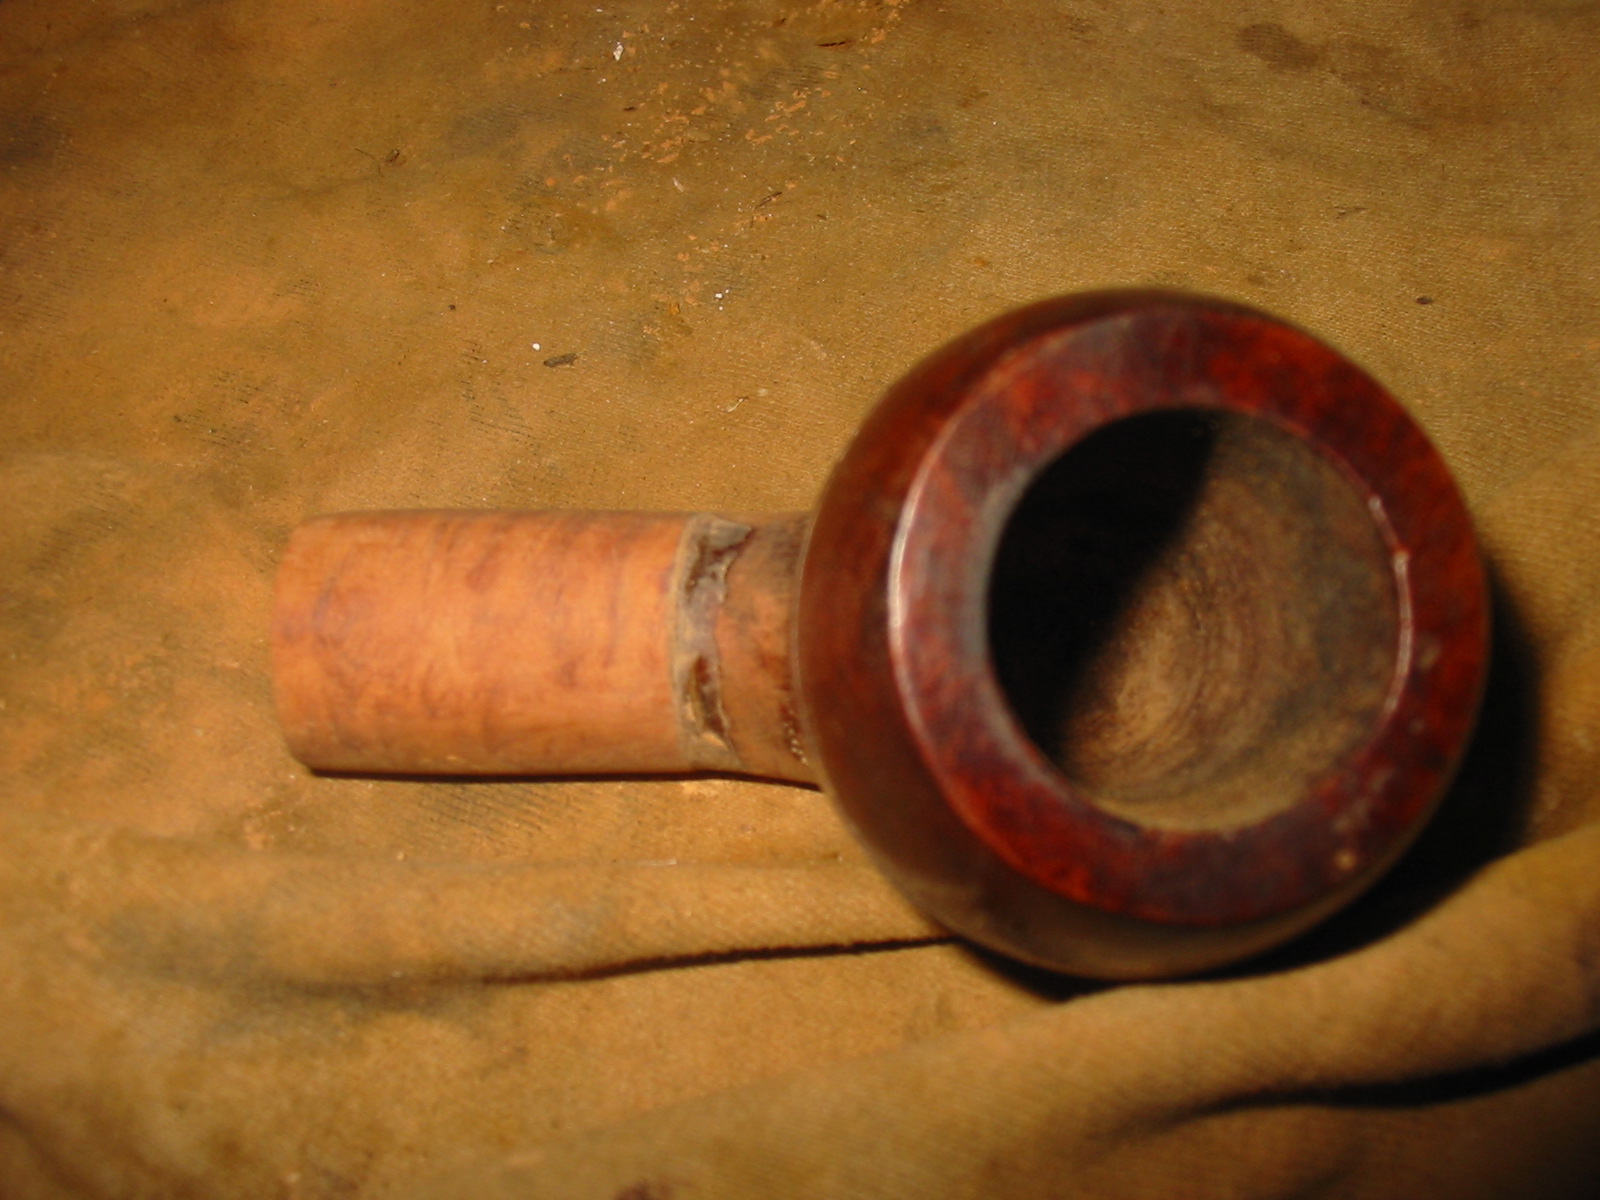
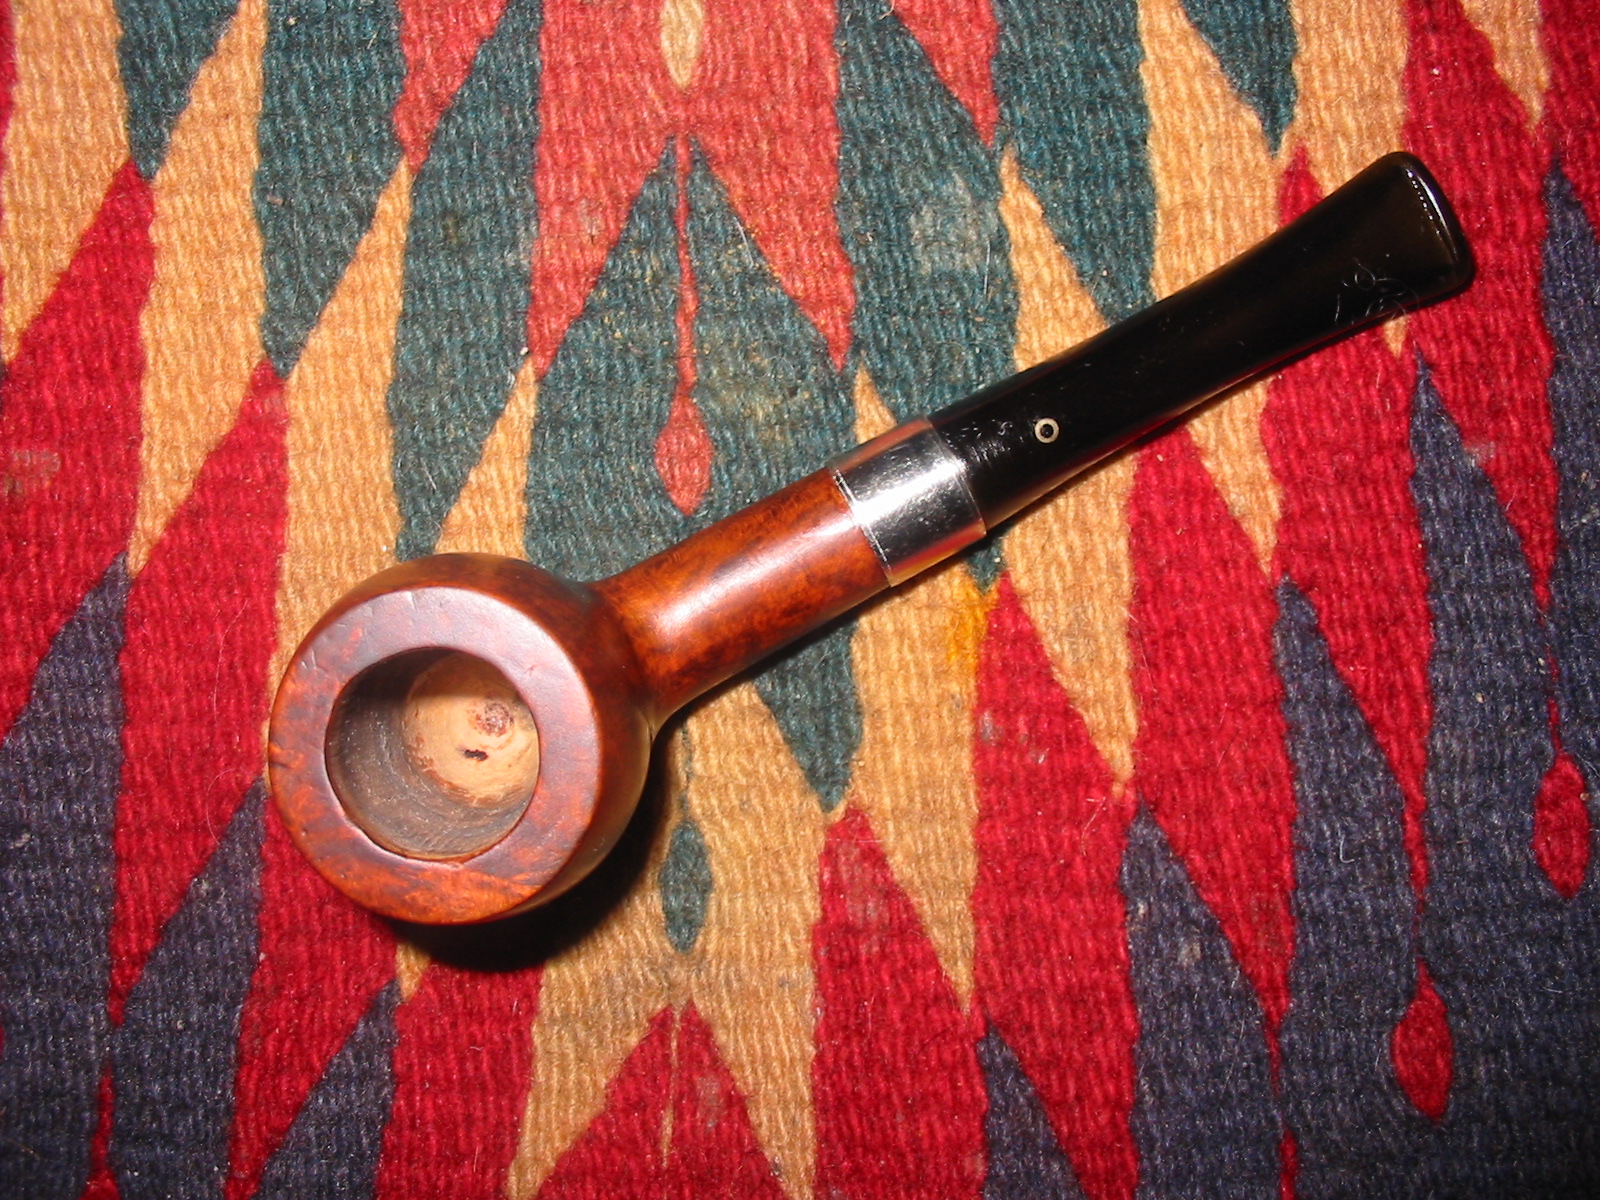
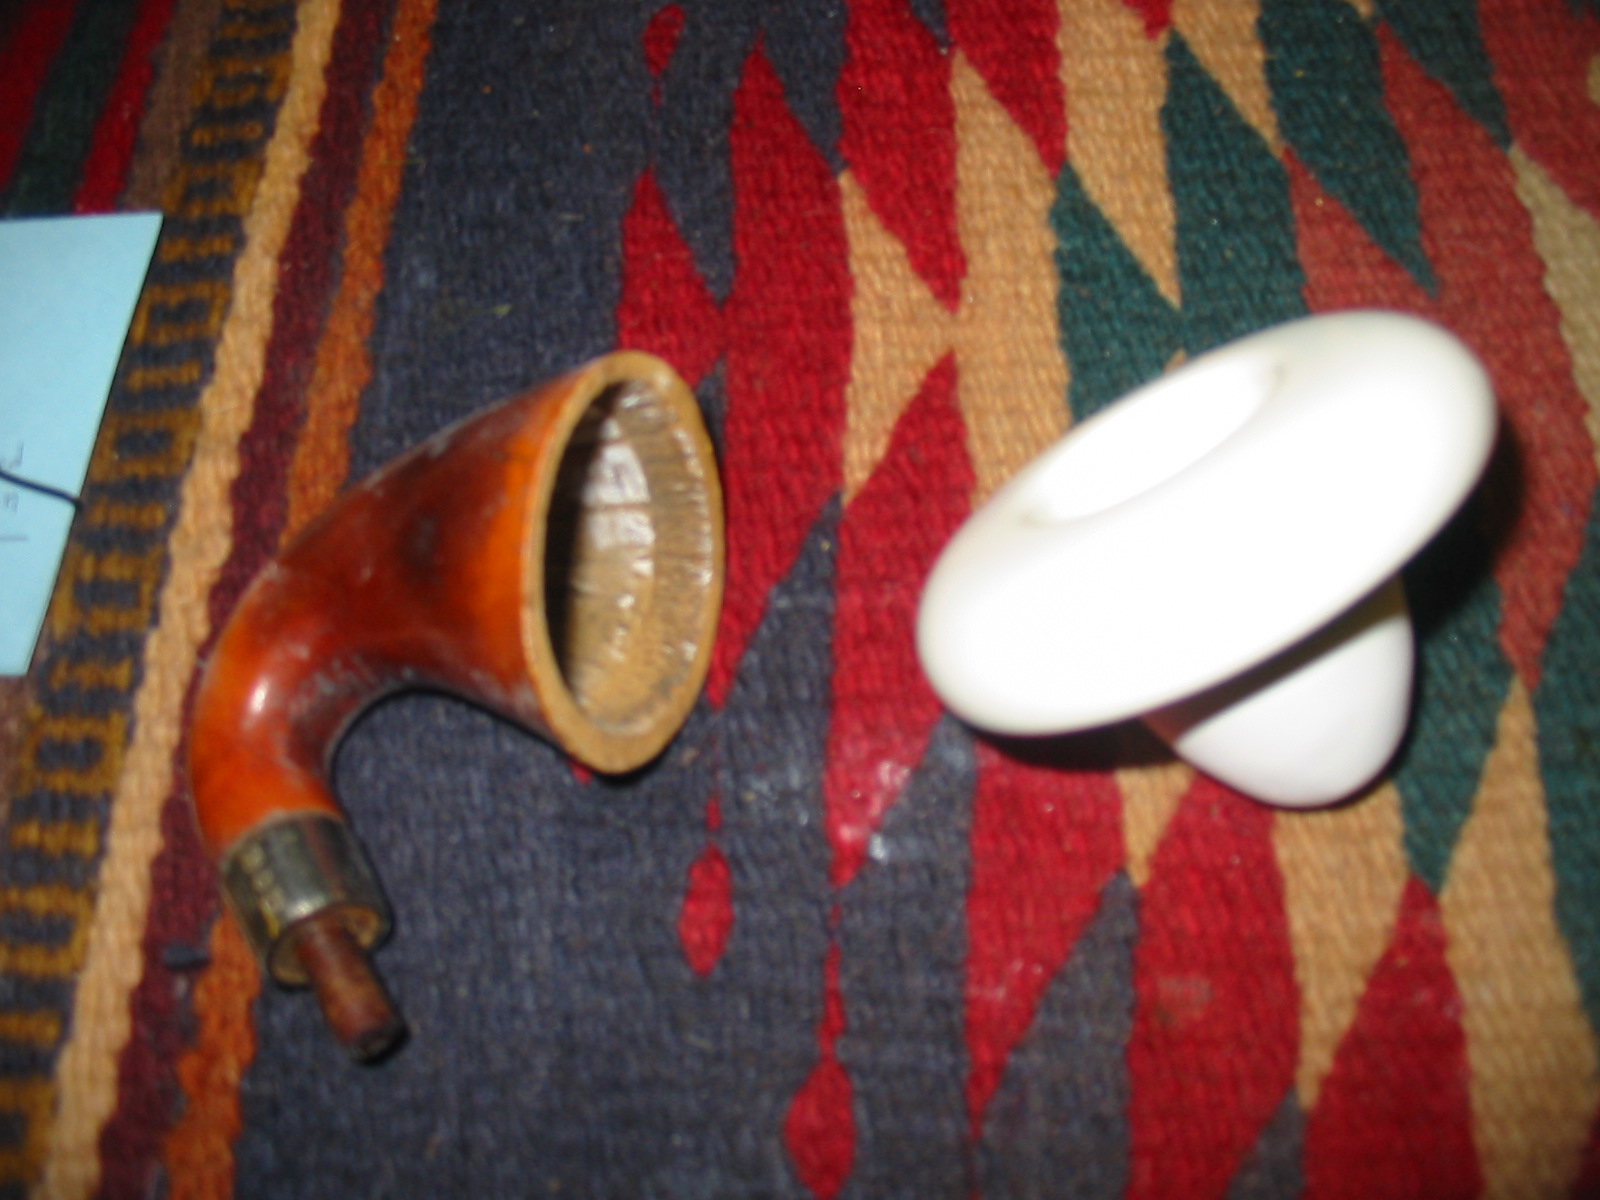
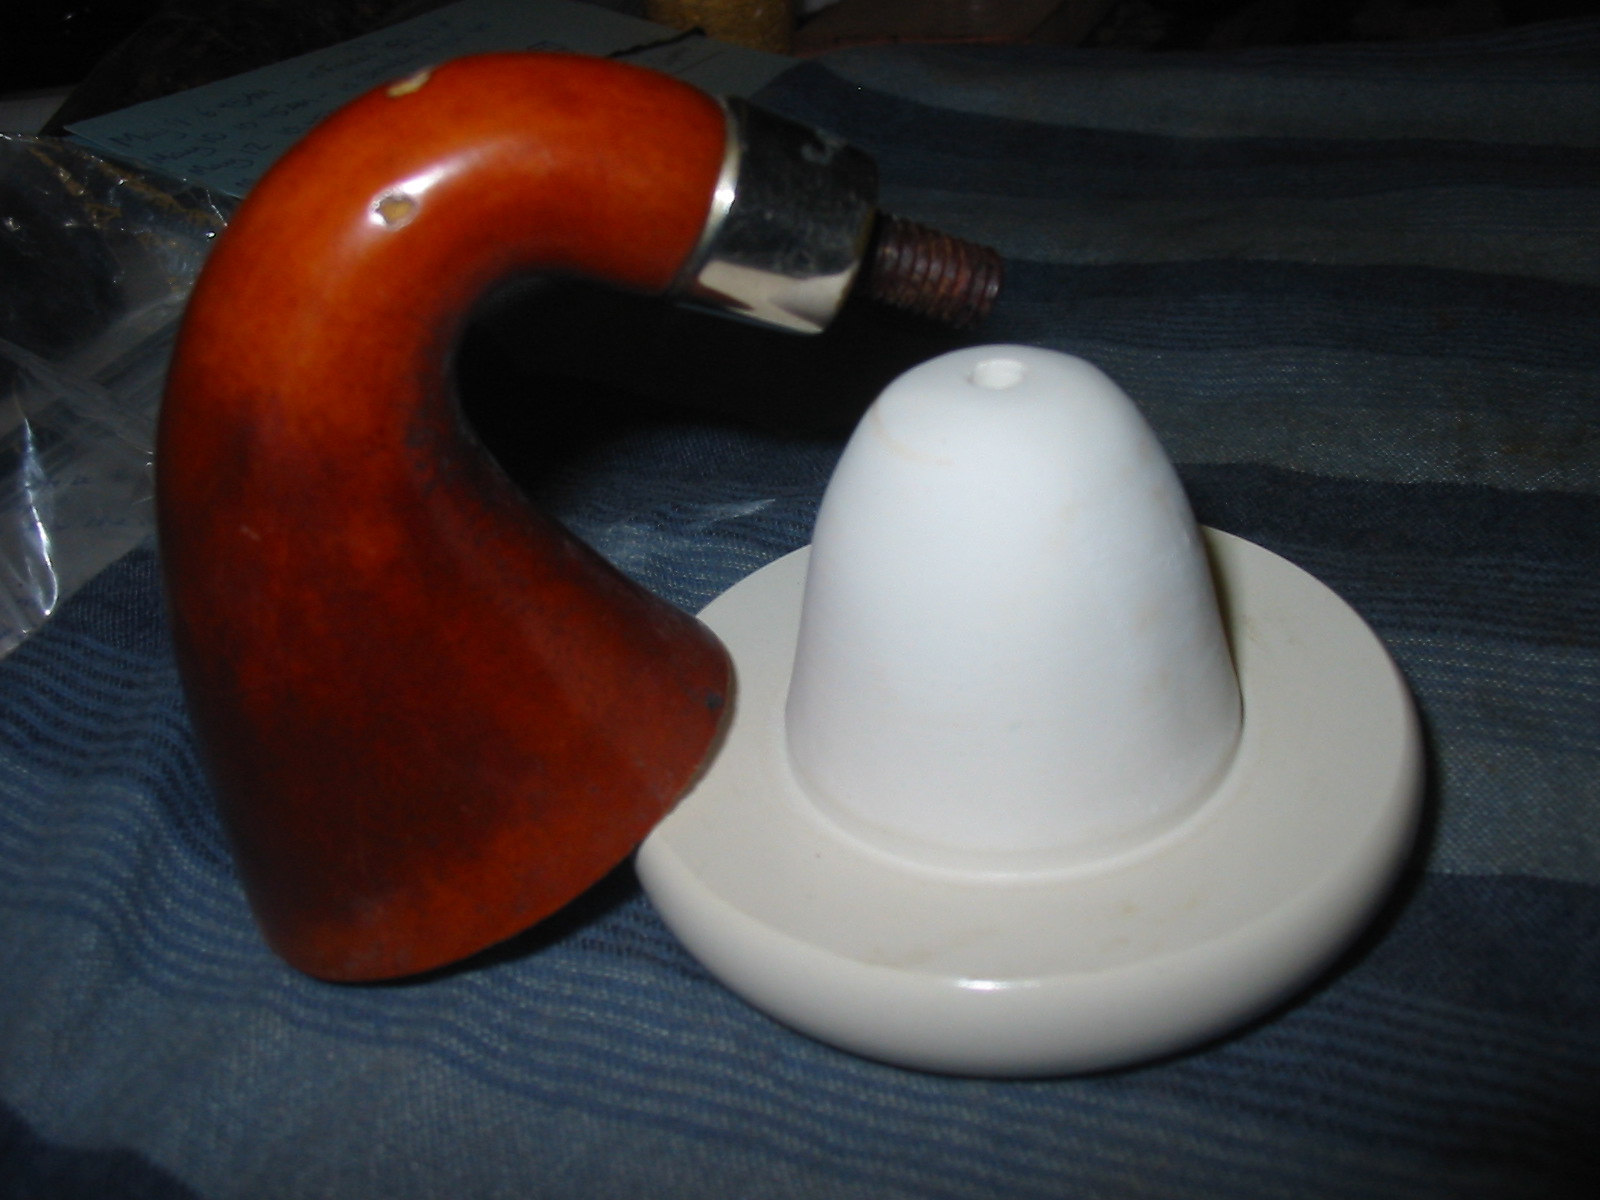
I tried fitting the meer cup into the gourd and found that there were several issues that I would have to deal with before it would fit well. The diameter of the bowl was perfect. The mushroom cap was big and draped over the top of the gourd and looked passable to me. The first problem was that the bowl had a lip around the top edge under the cap that was shaped the wrong direction – absolutely the opposite of the angle of the bowl. Because of that ridge the bowl would not sit in the gourd bowl correctly. Secondly I found that even without the ridge the cup was too deep to fit the depth of the gourd. The gourd tapered much more sharply than the meer cup so the bottom of the cup sat high in the gourd bowl. I would need to change the taper on the cup and shorten it so that it would sit in the gourd correctly and I would need to remove the lip around the top under the cap.
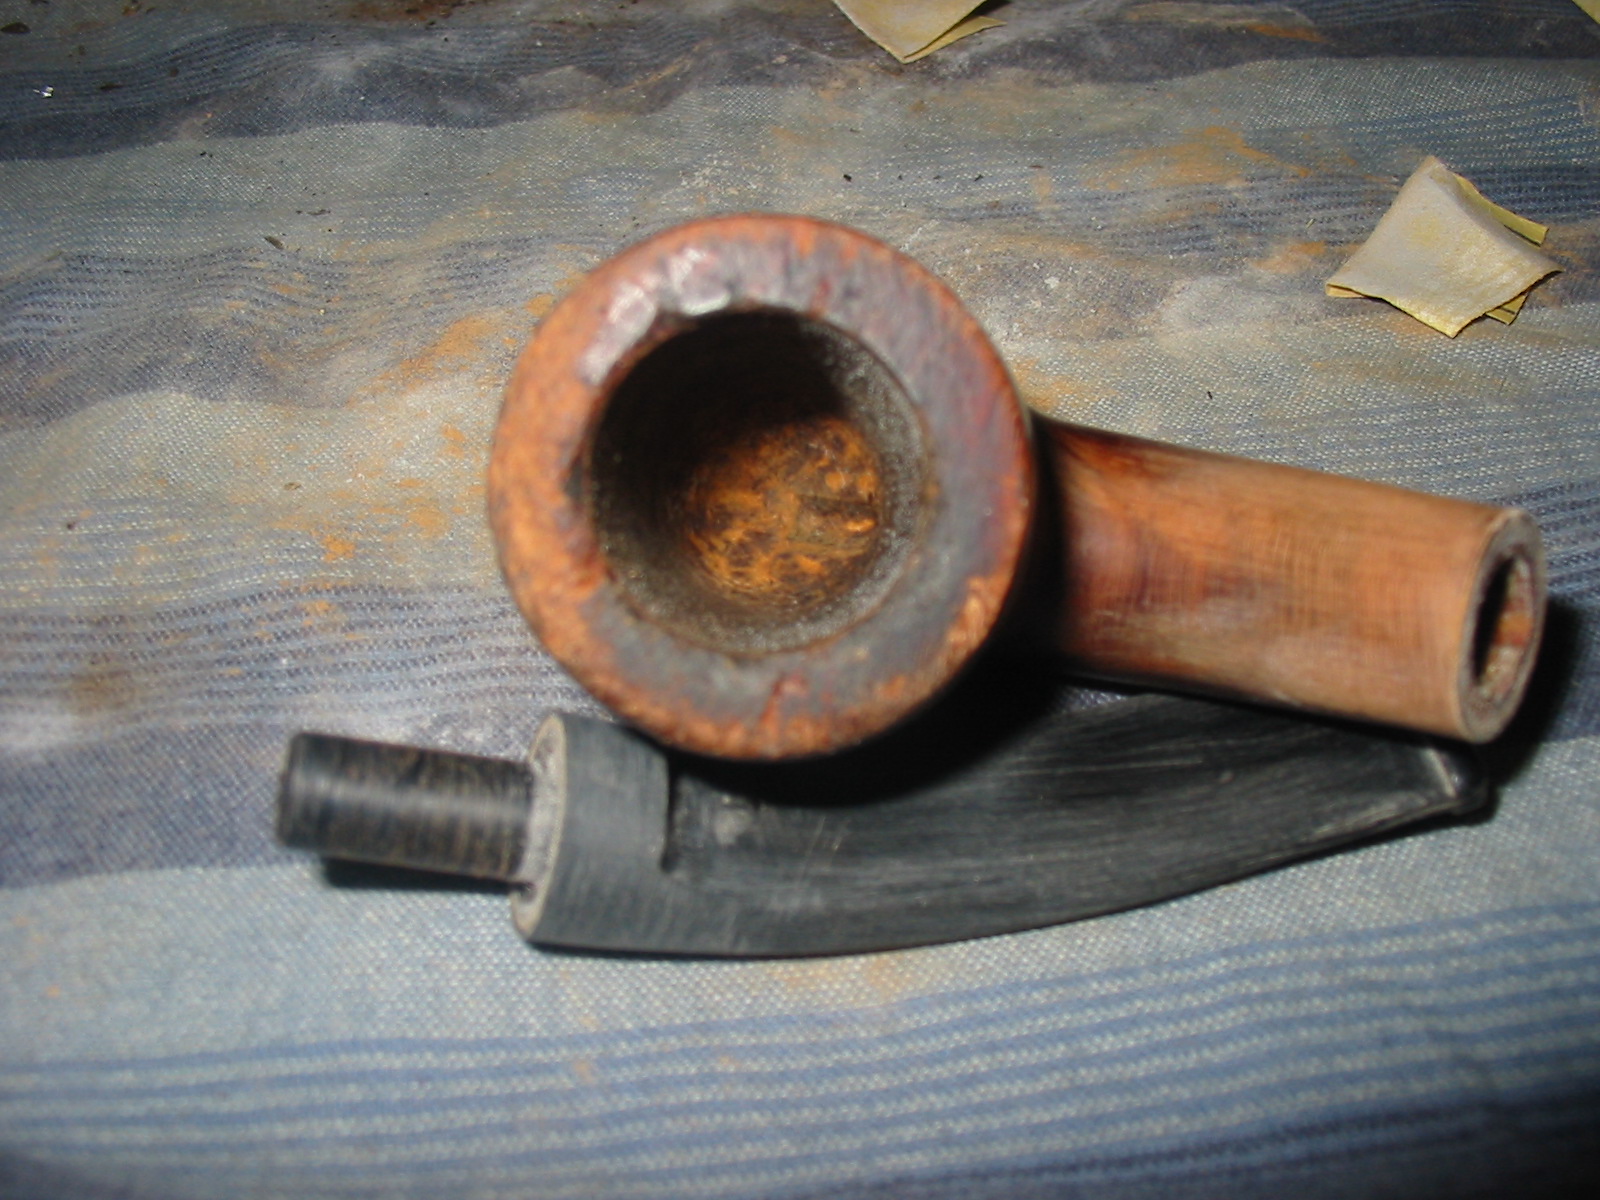
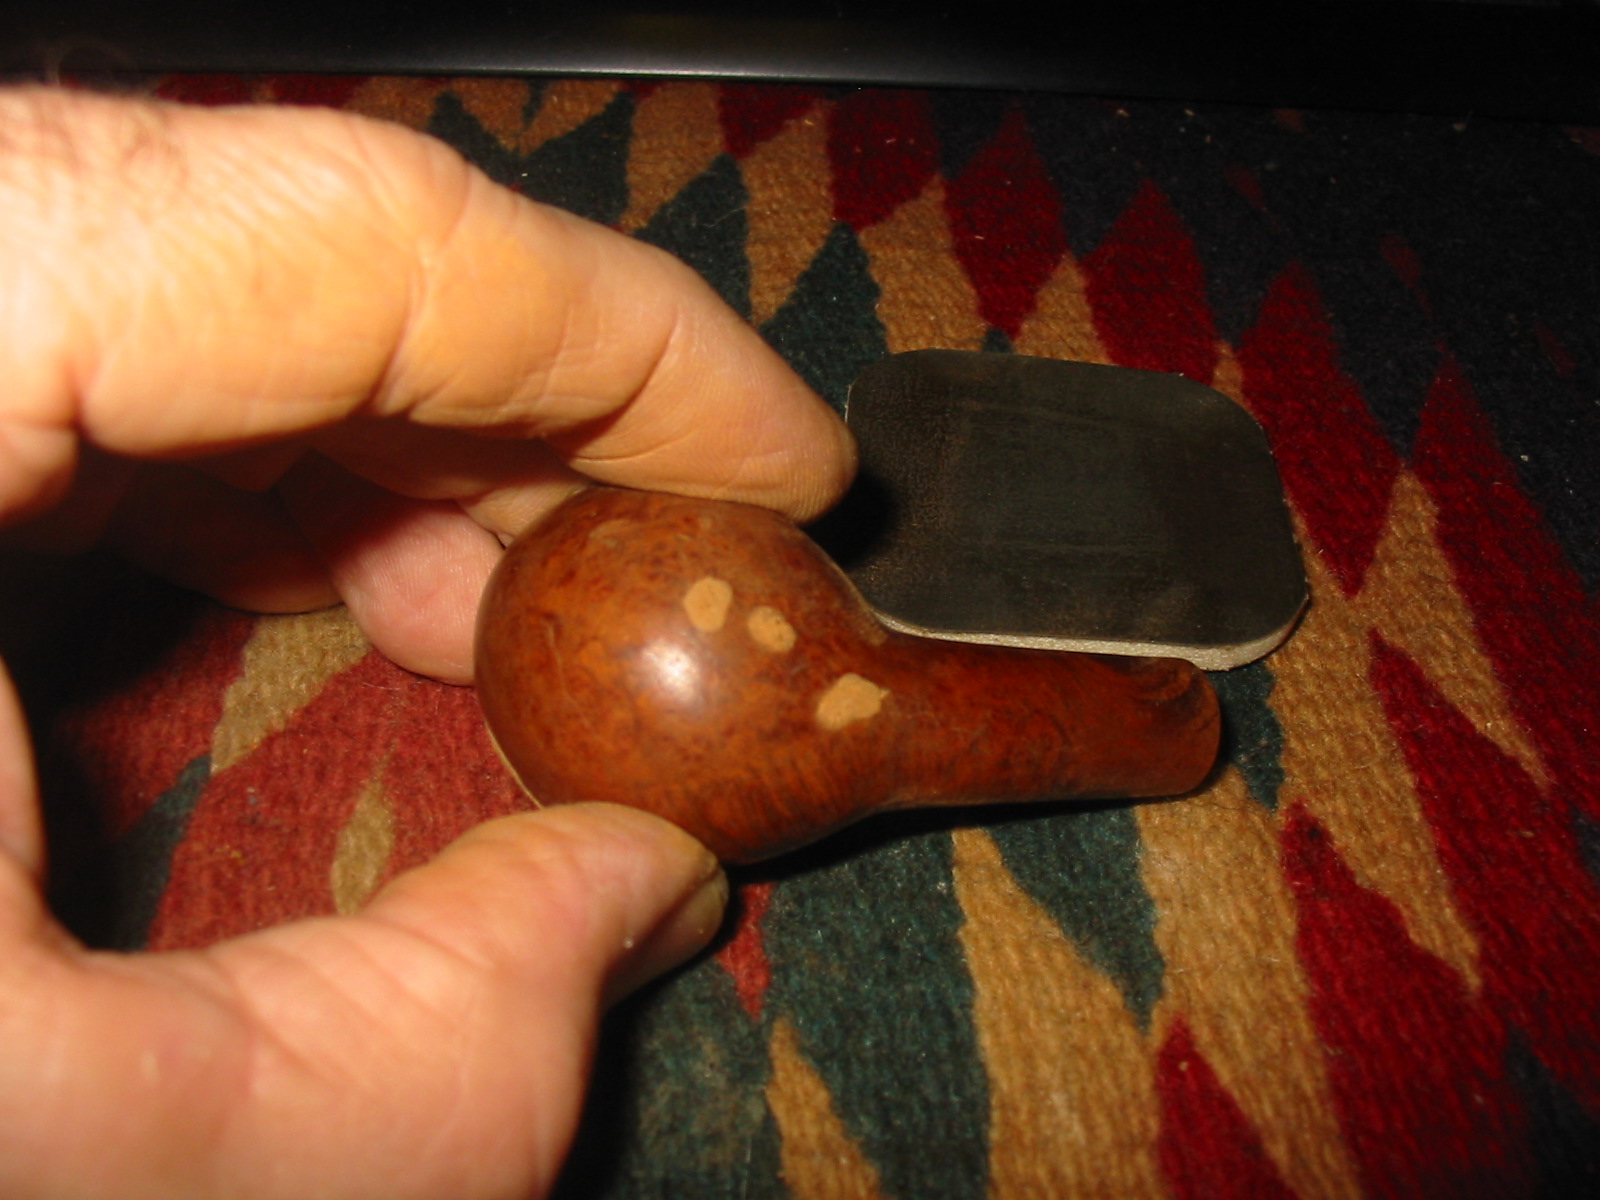
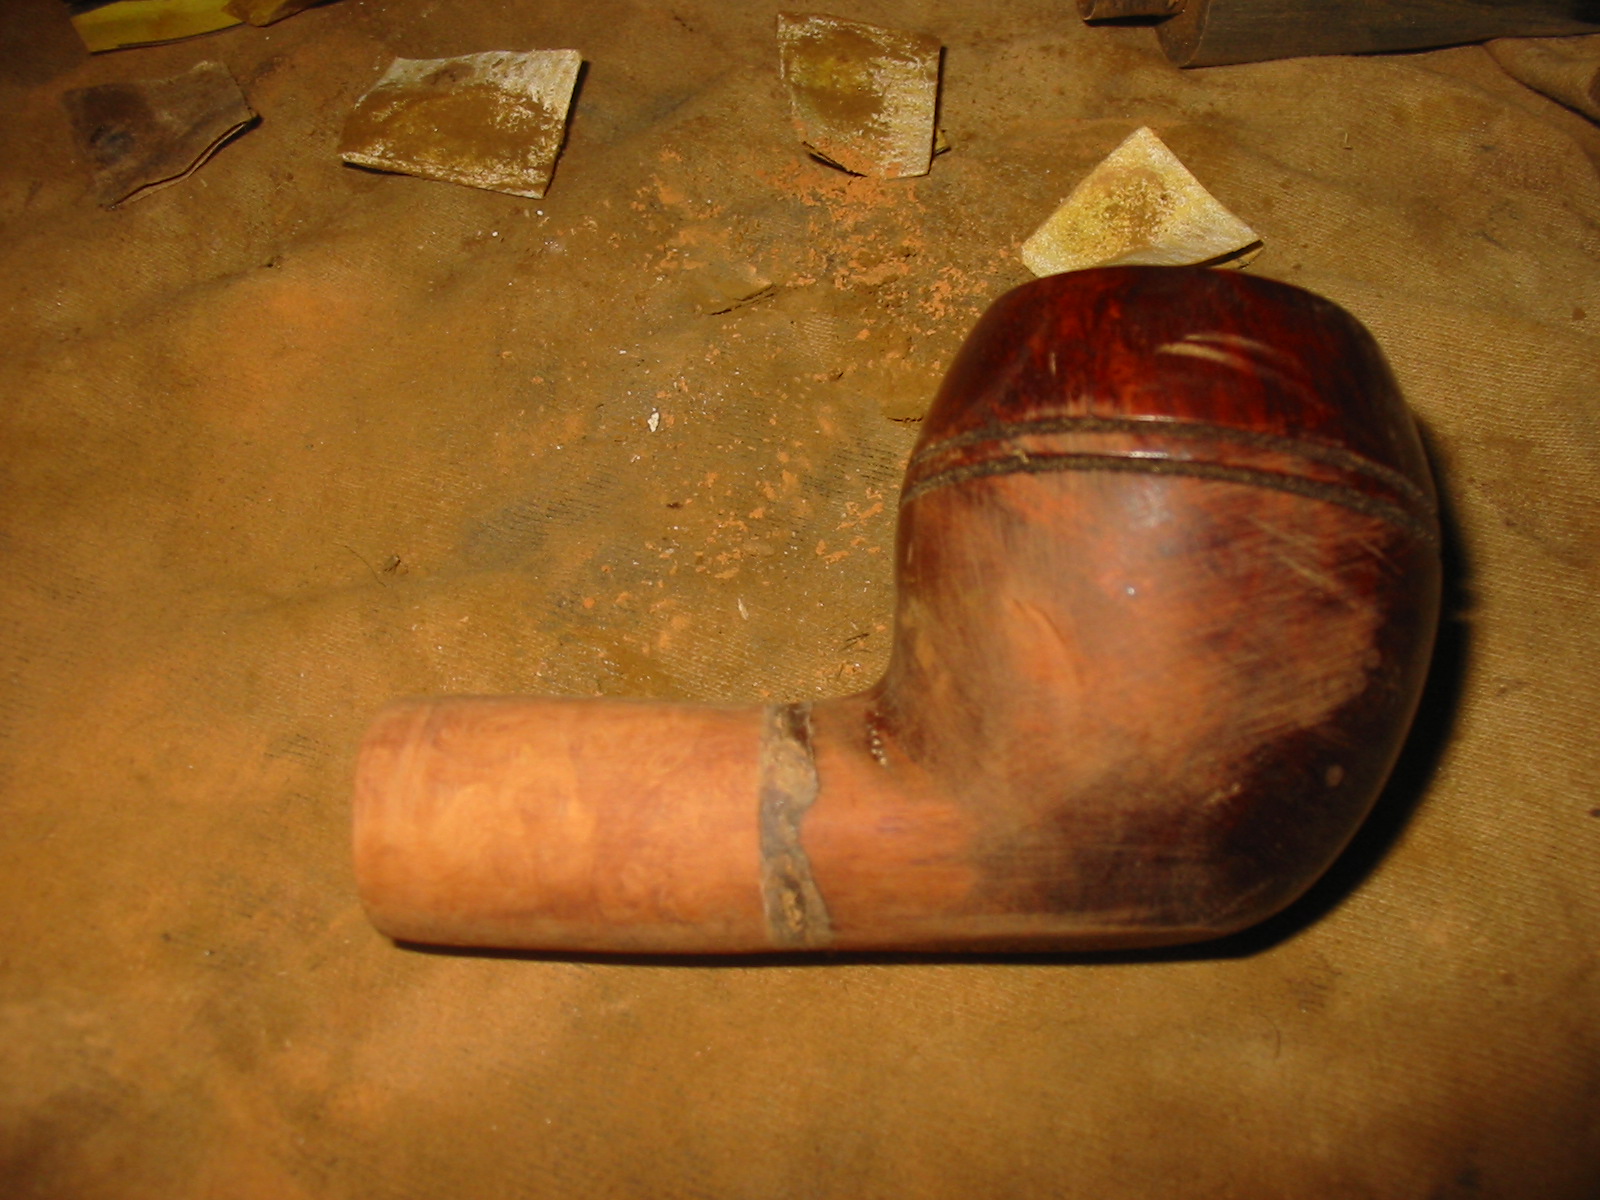
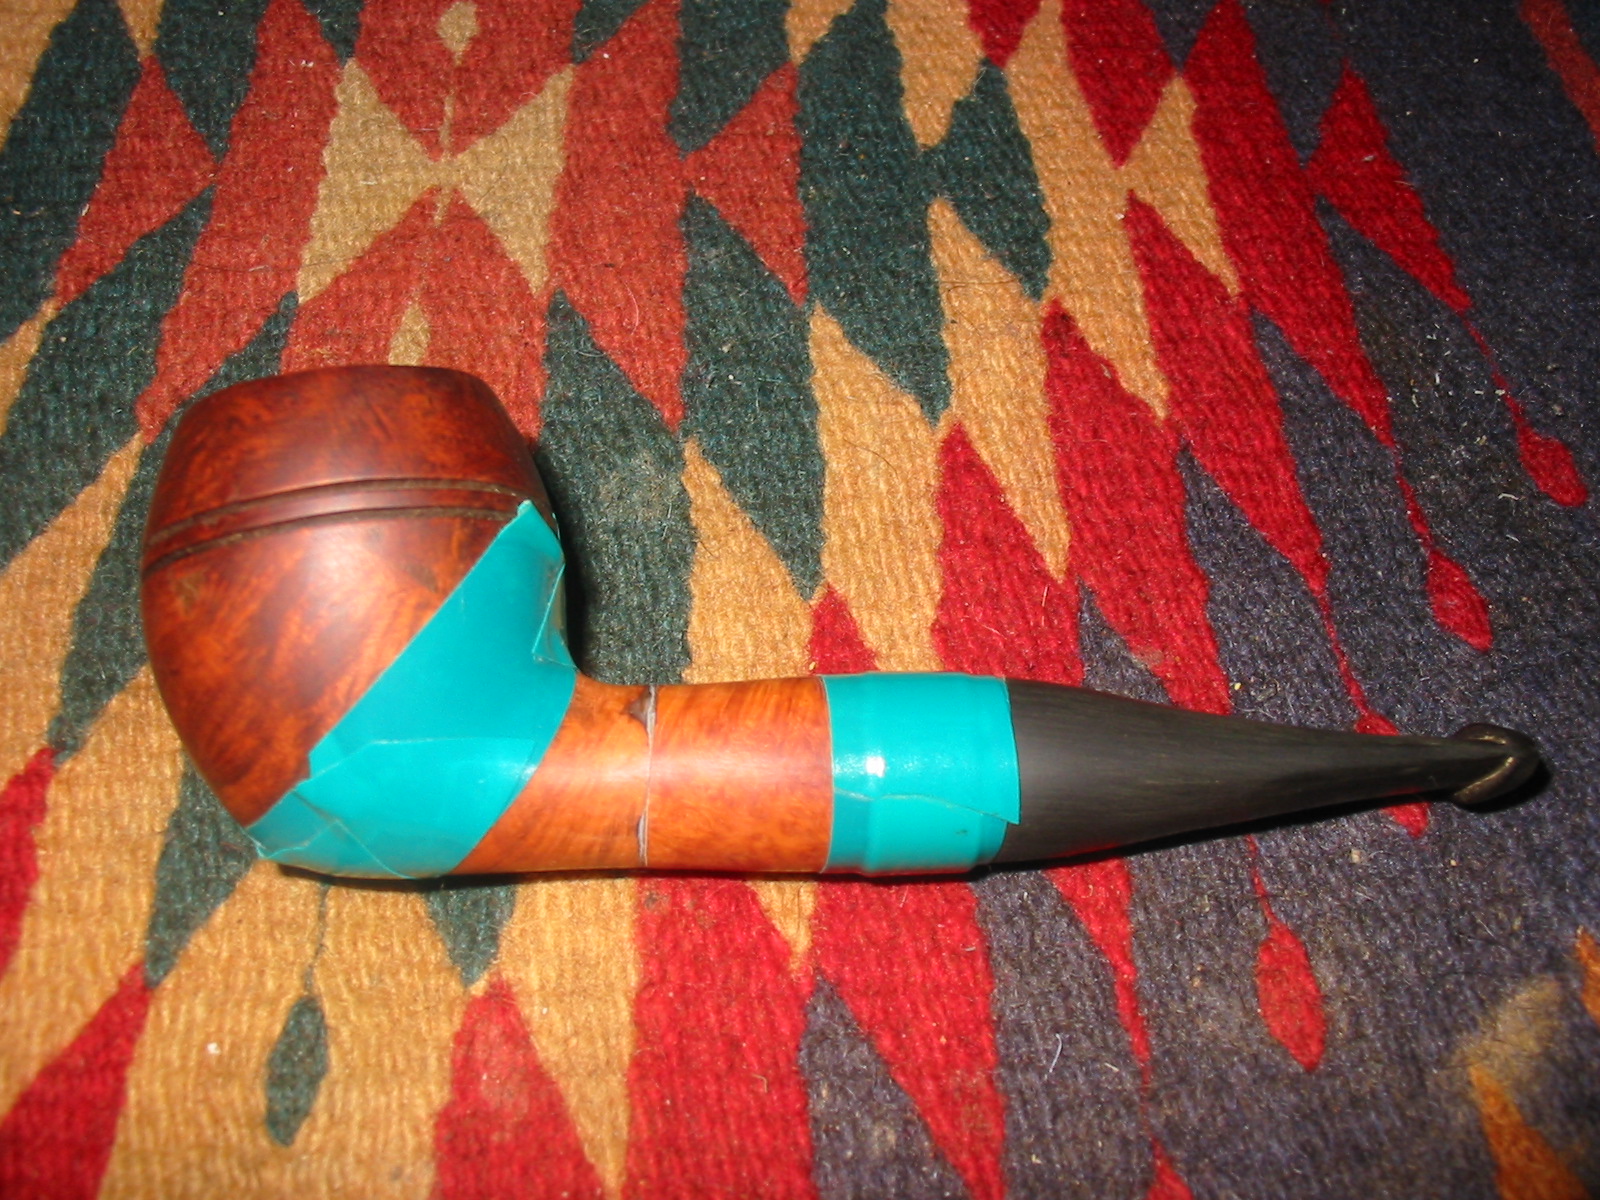
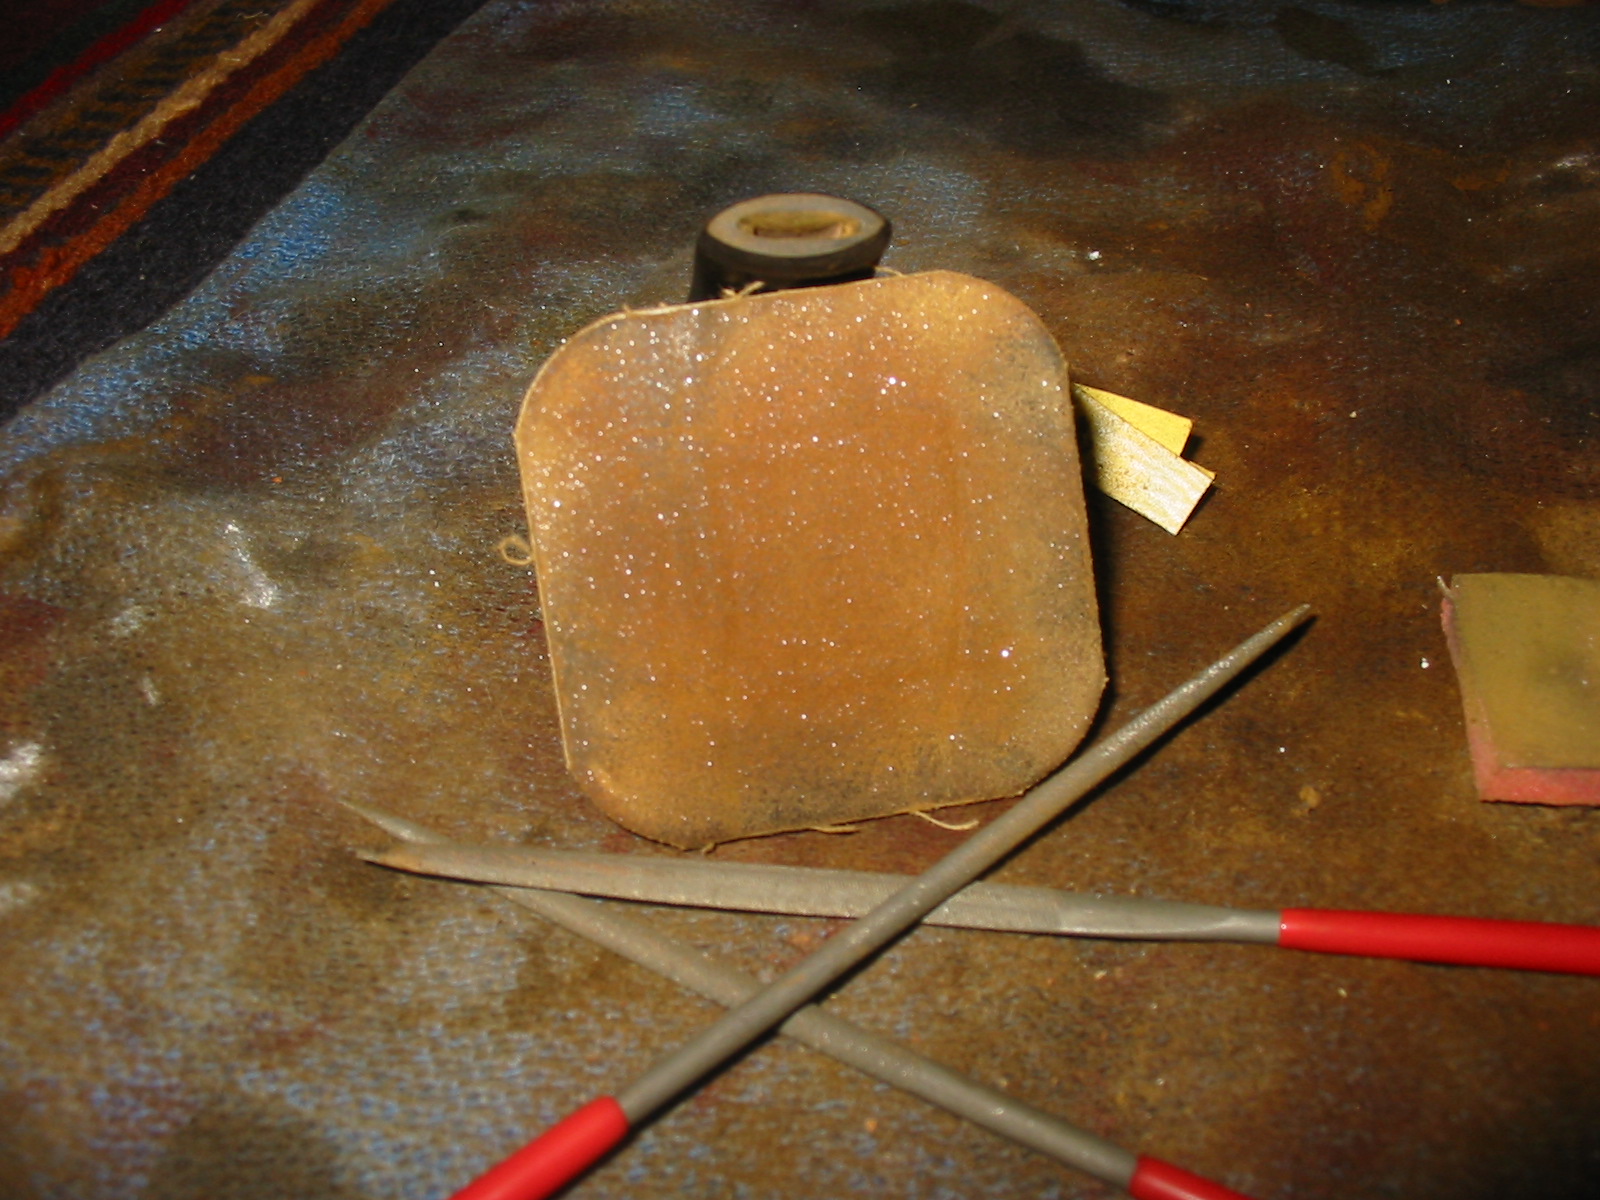
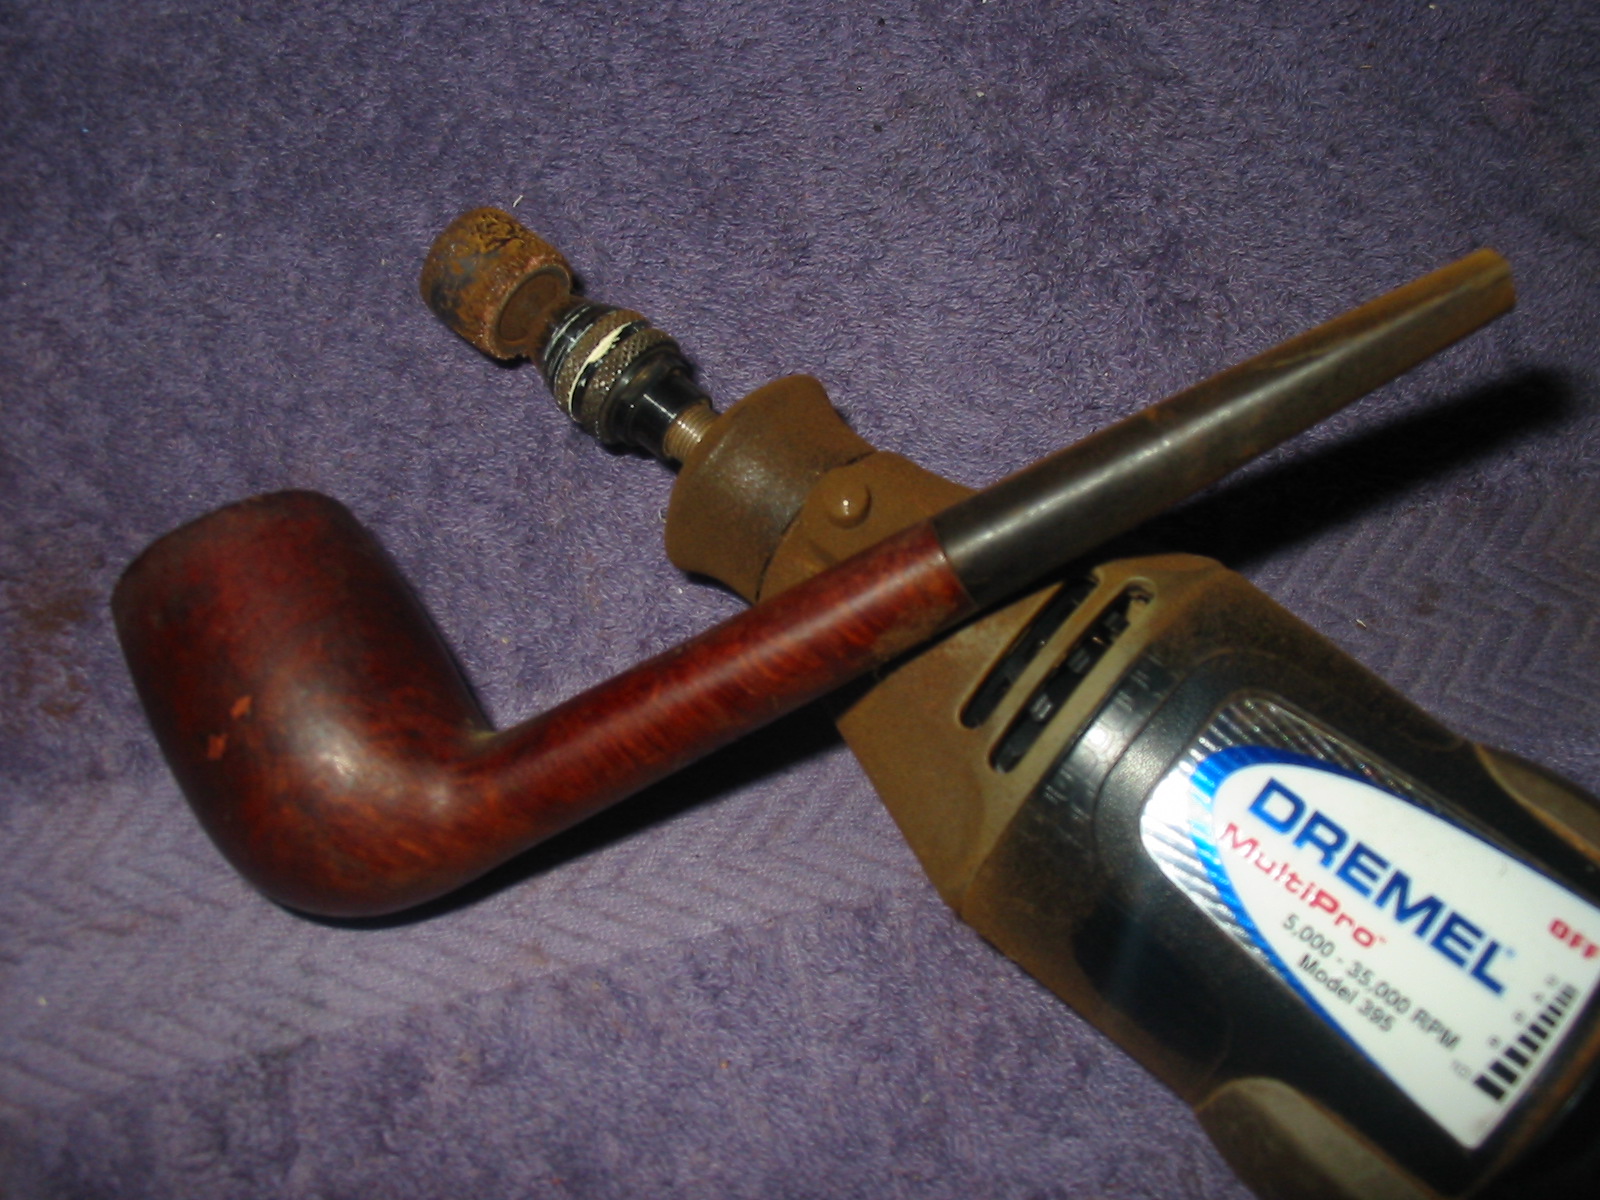
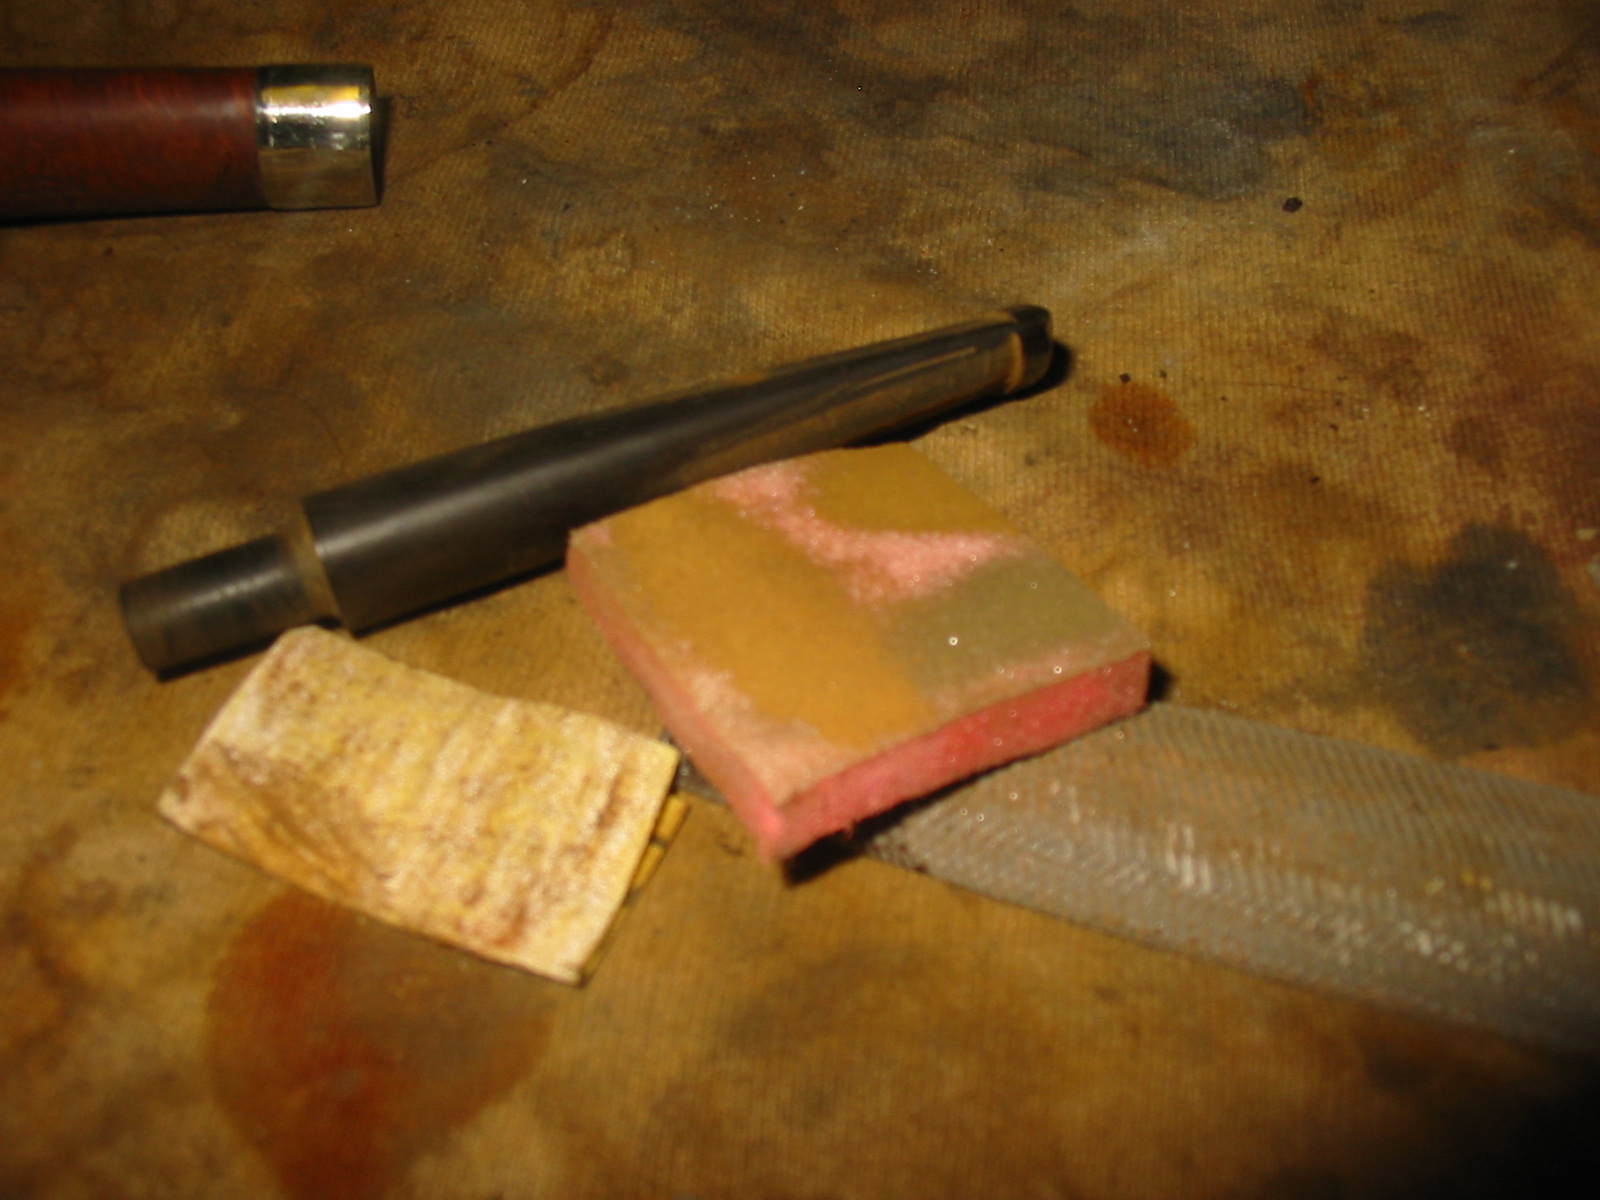
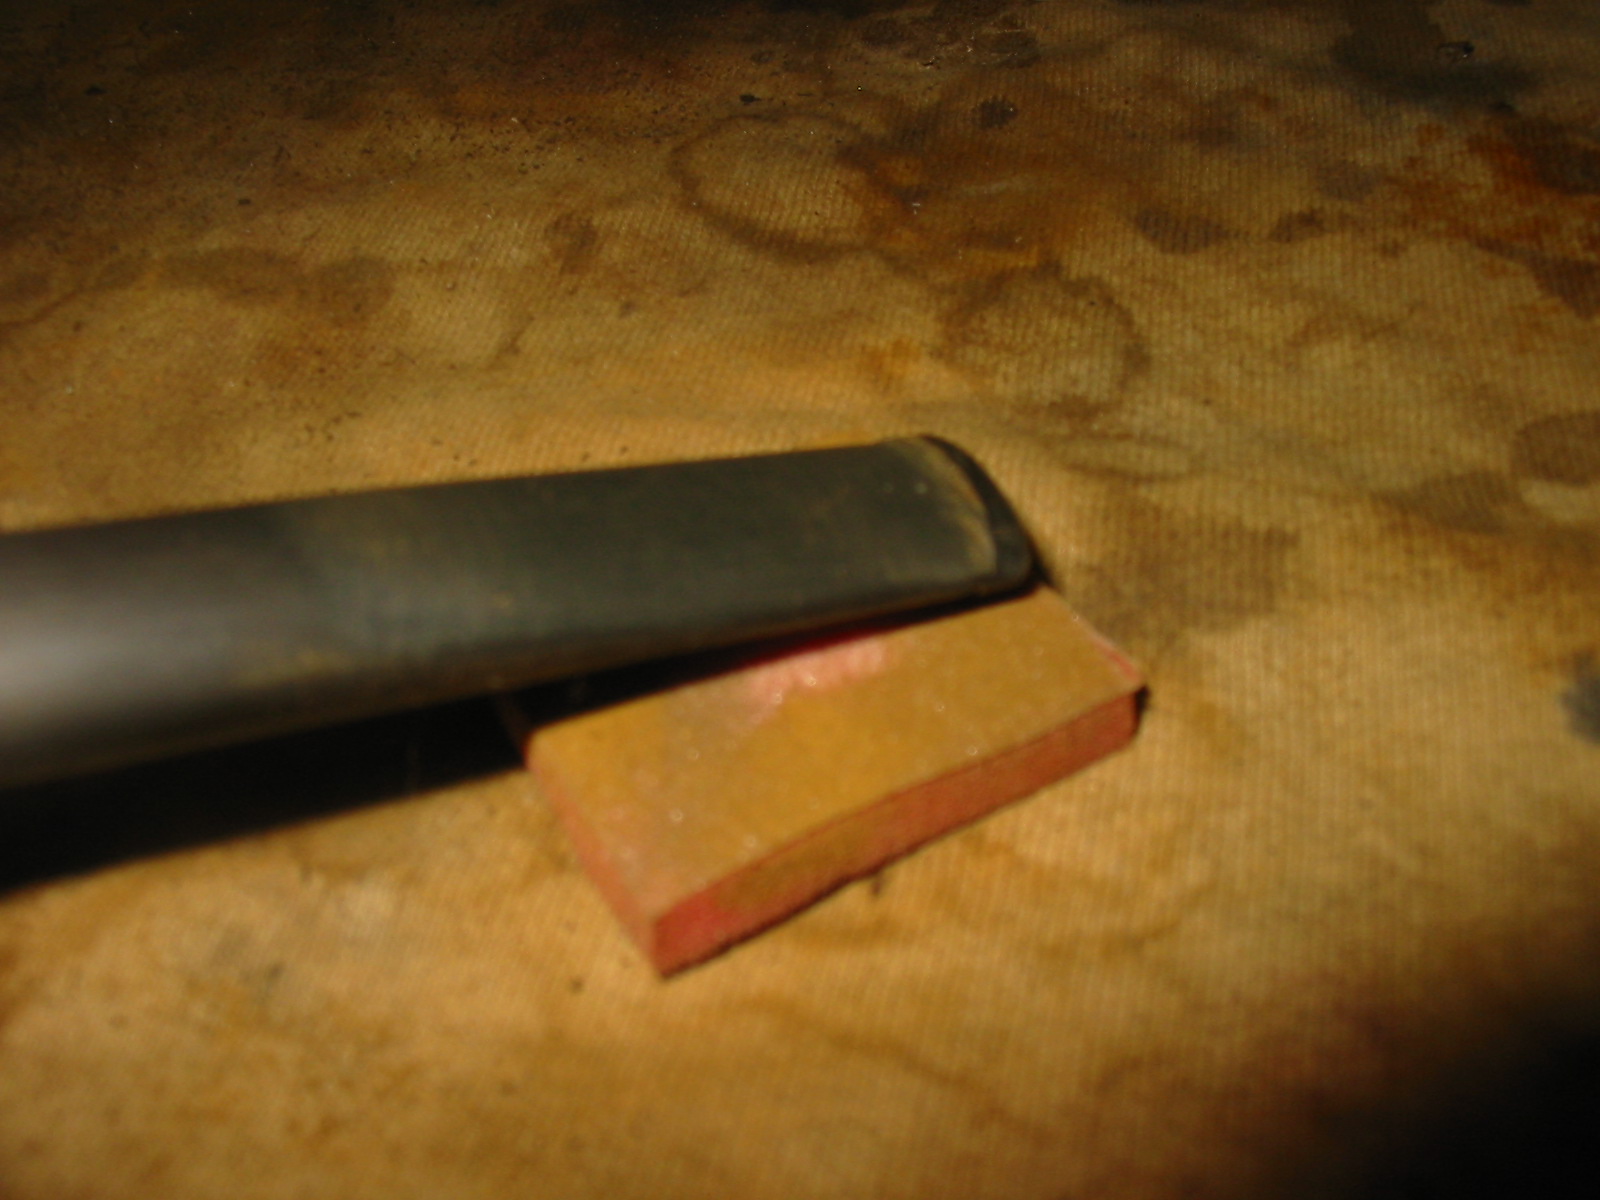
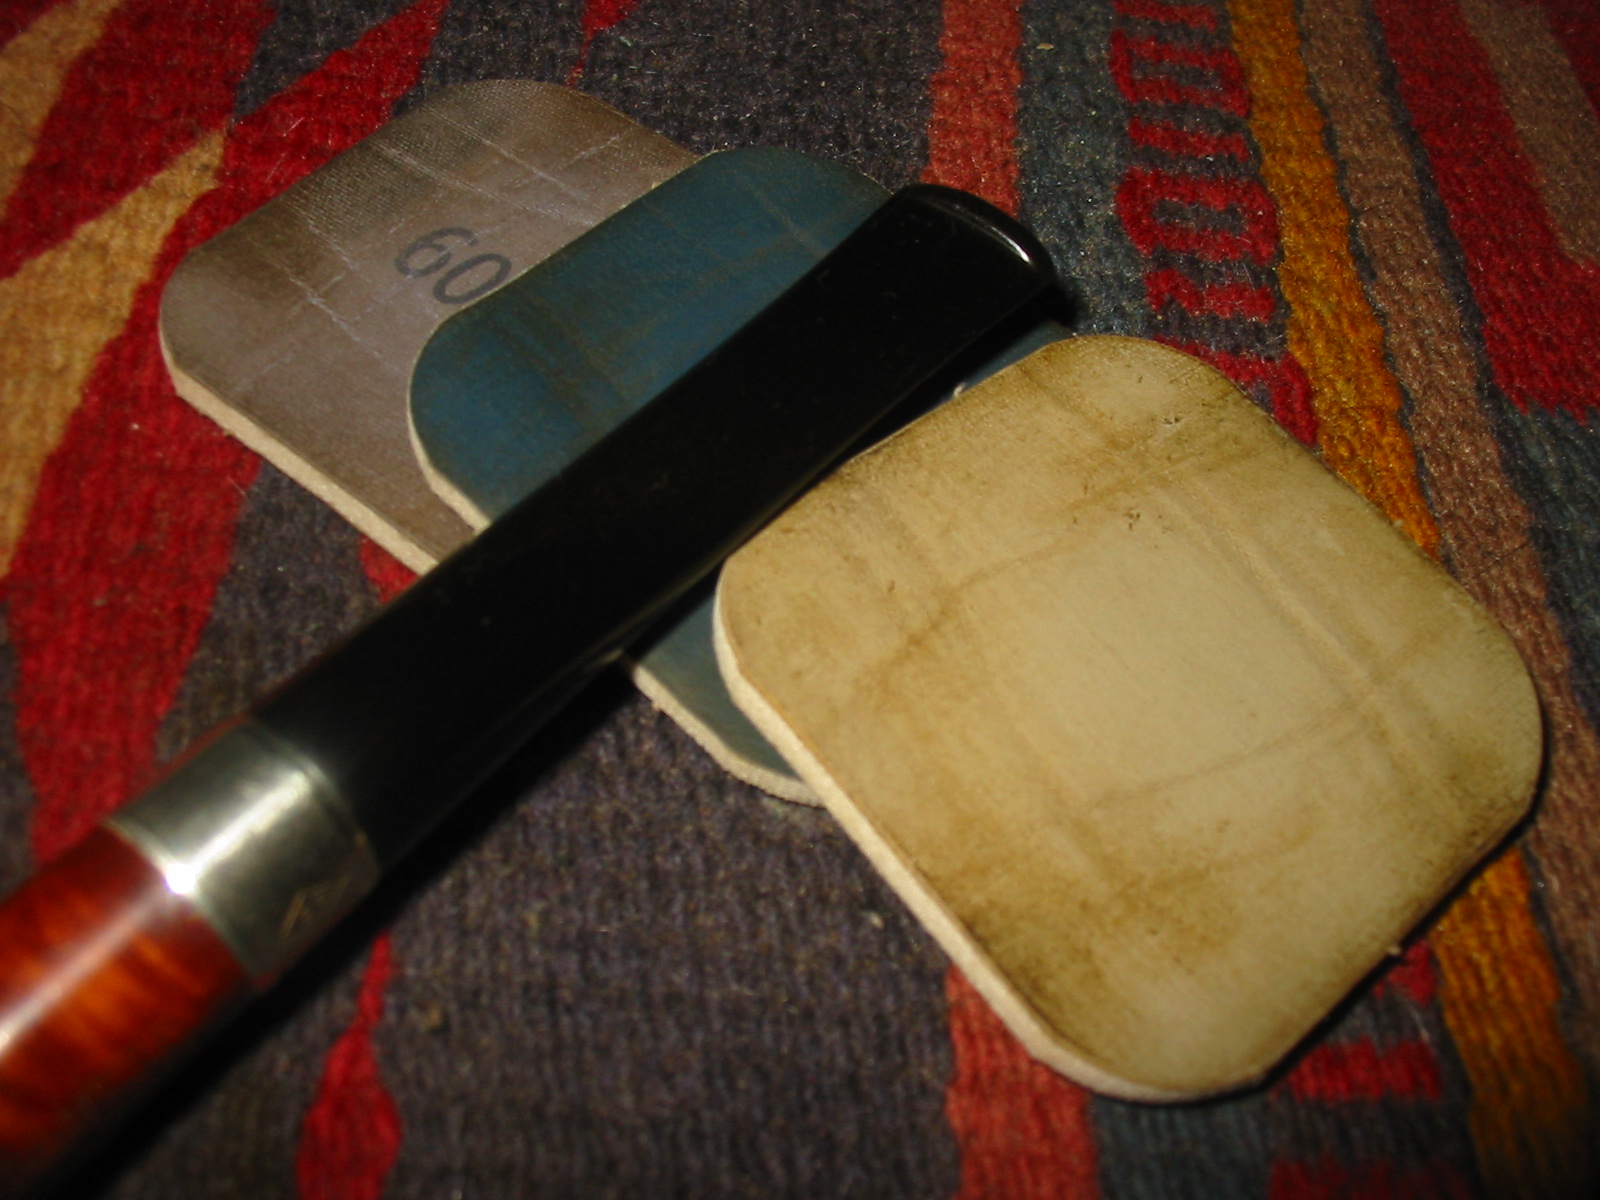
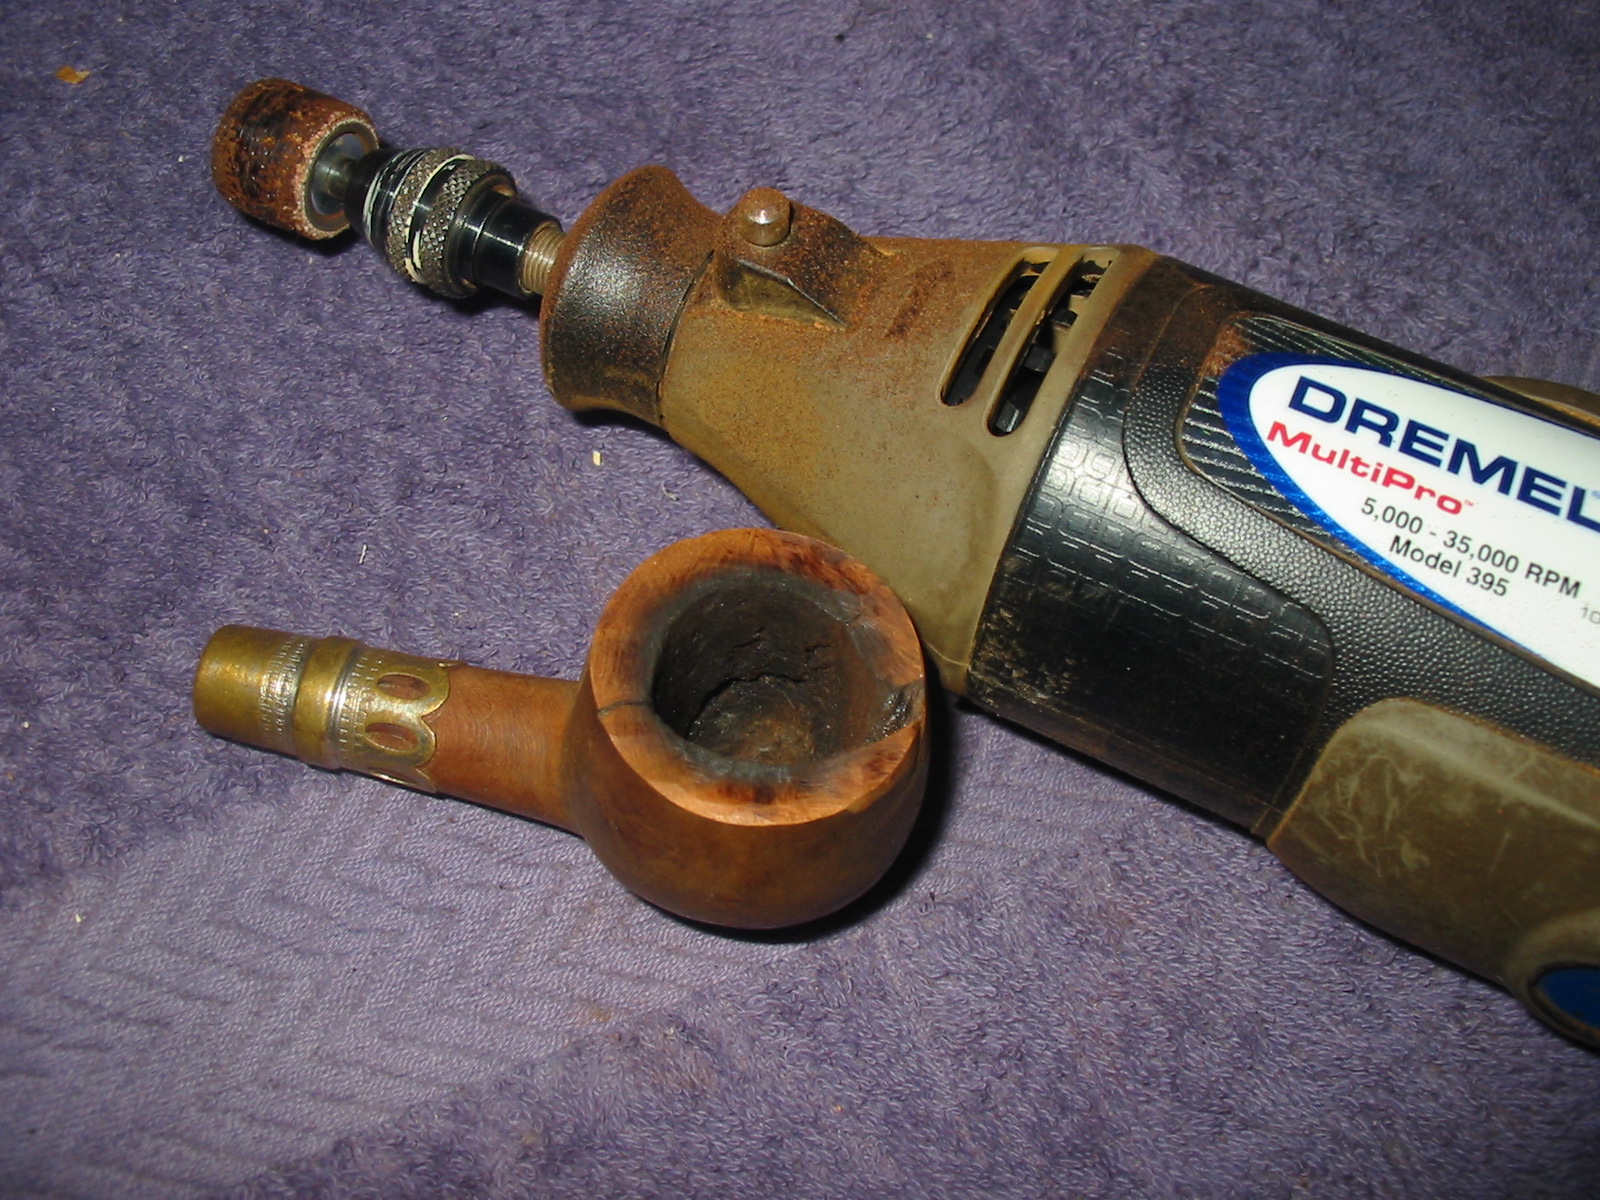
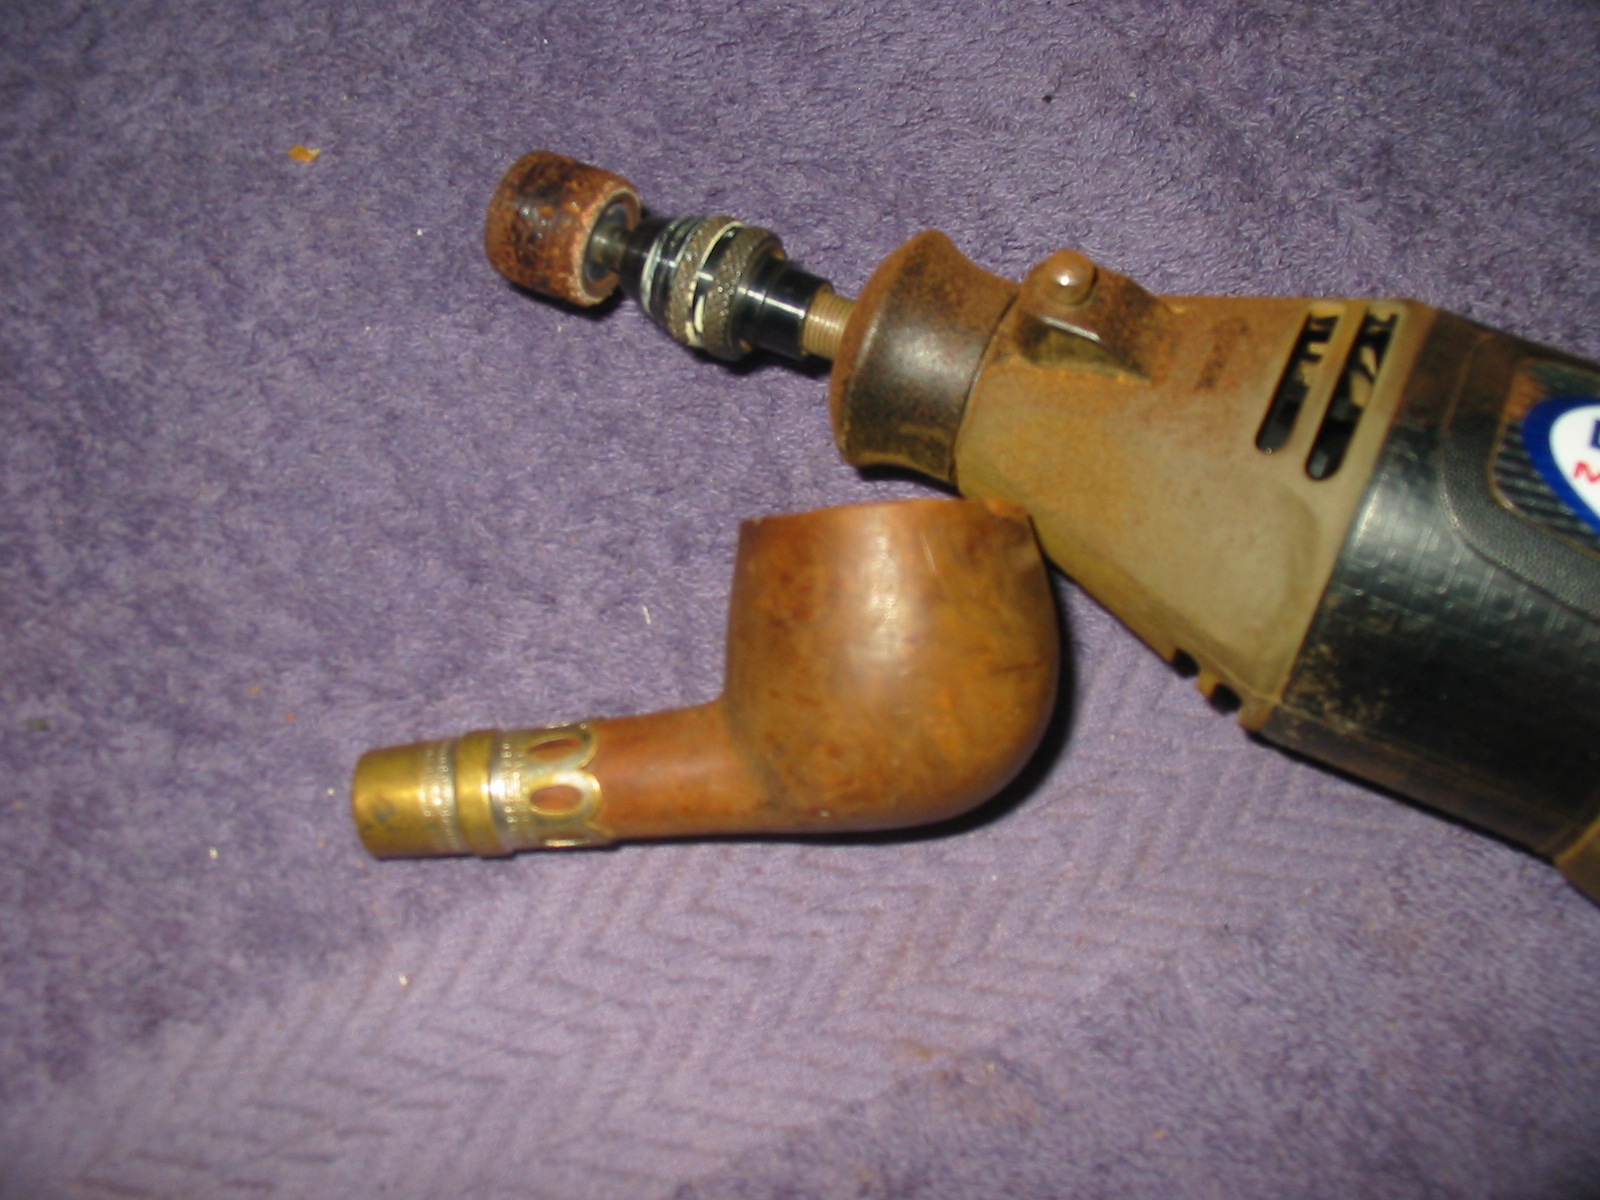
I measured the thickness of the bottom of the bowl and the thickness of the walls of the bowl around the cup to make sure I could remove the ridge and shorten the bowl without ruining the meer cup. I was happy to see that I had a lot of room to work with and could easily remove what was needed for a proper fit in the bowl. I used the Dremel to remove the ridge from under the cap edge. It was big enough that hand sanding would have taken a very long time. I took it down to match the rest of the bowl. I also used the Dremel to shorten the bowl. I flattened it out and took off approximately ½ inch. I then hand sanded the bowl with 220 grit sandpaper to reshape it and smooth out the Dremel work. I reshaped the taper of the cup to match the taper of the gourd. I sanded the flat edges of the bottom and reshaped it into a gentle curve. The photo below shows the newly reworked bowl. It fit well in the gourd after all of this work.
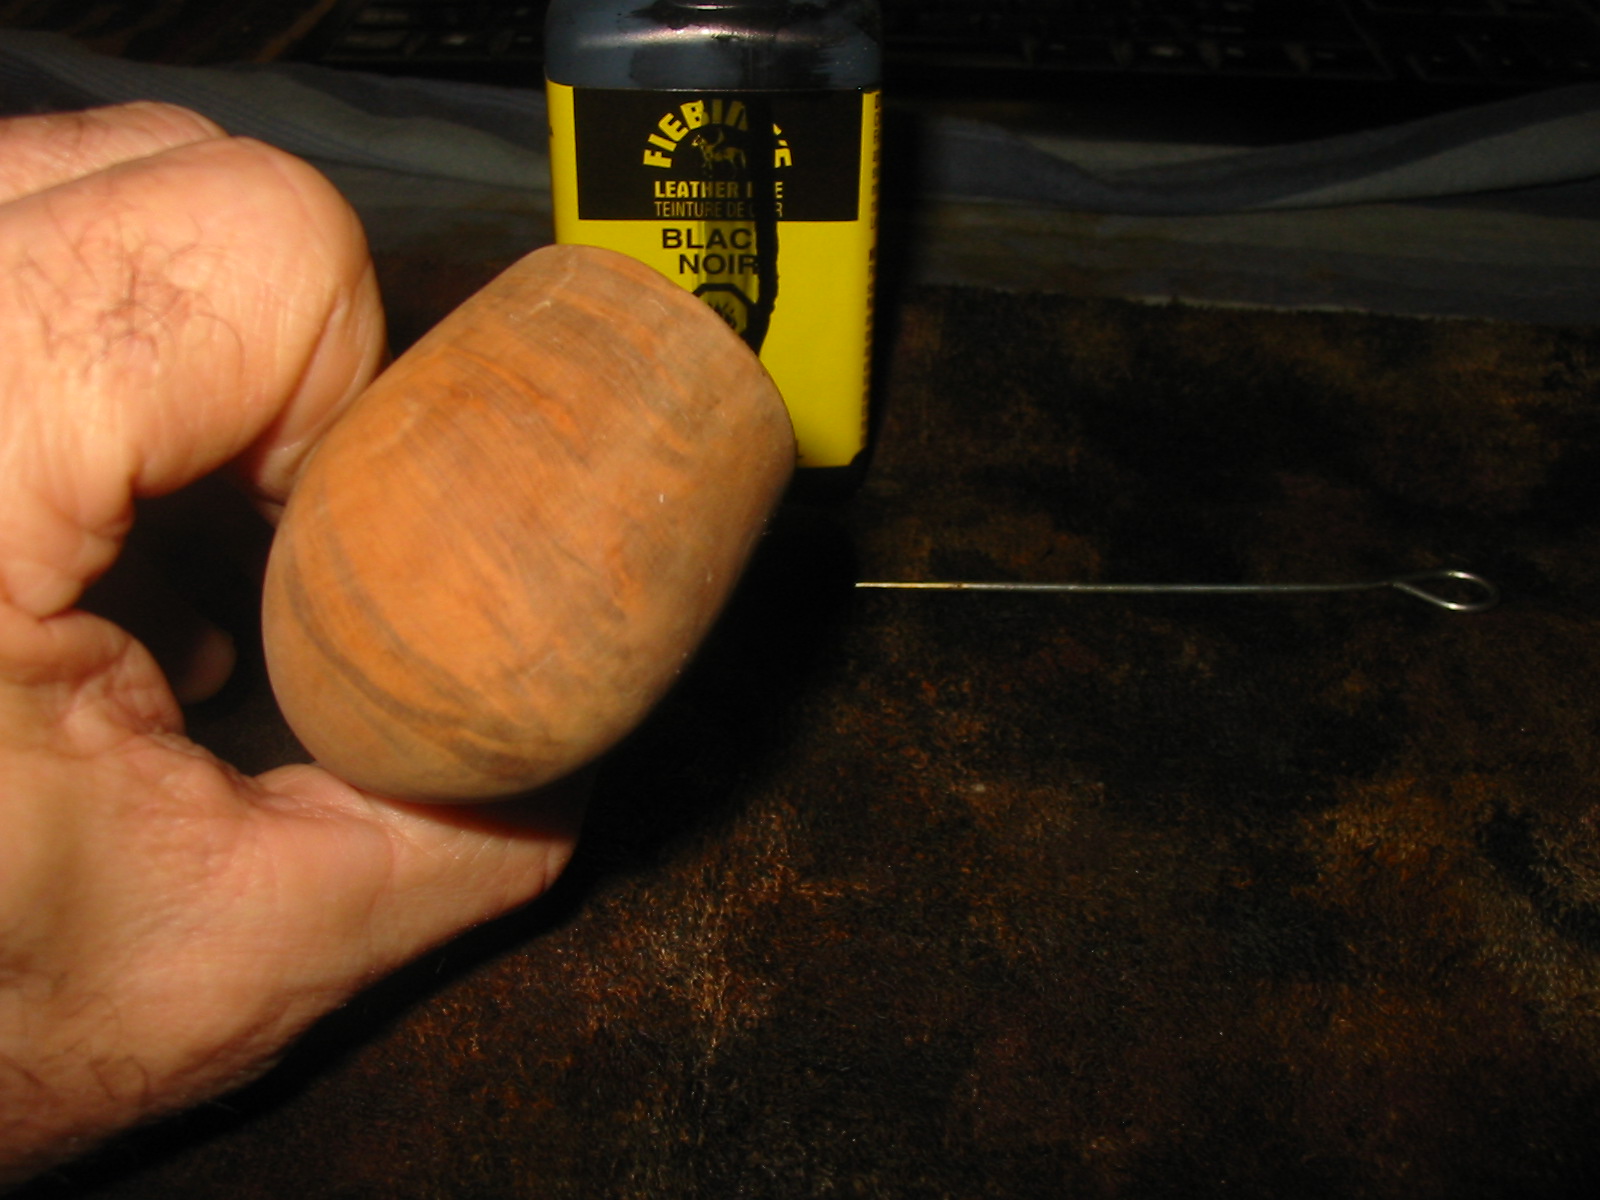
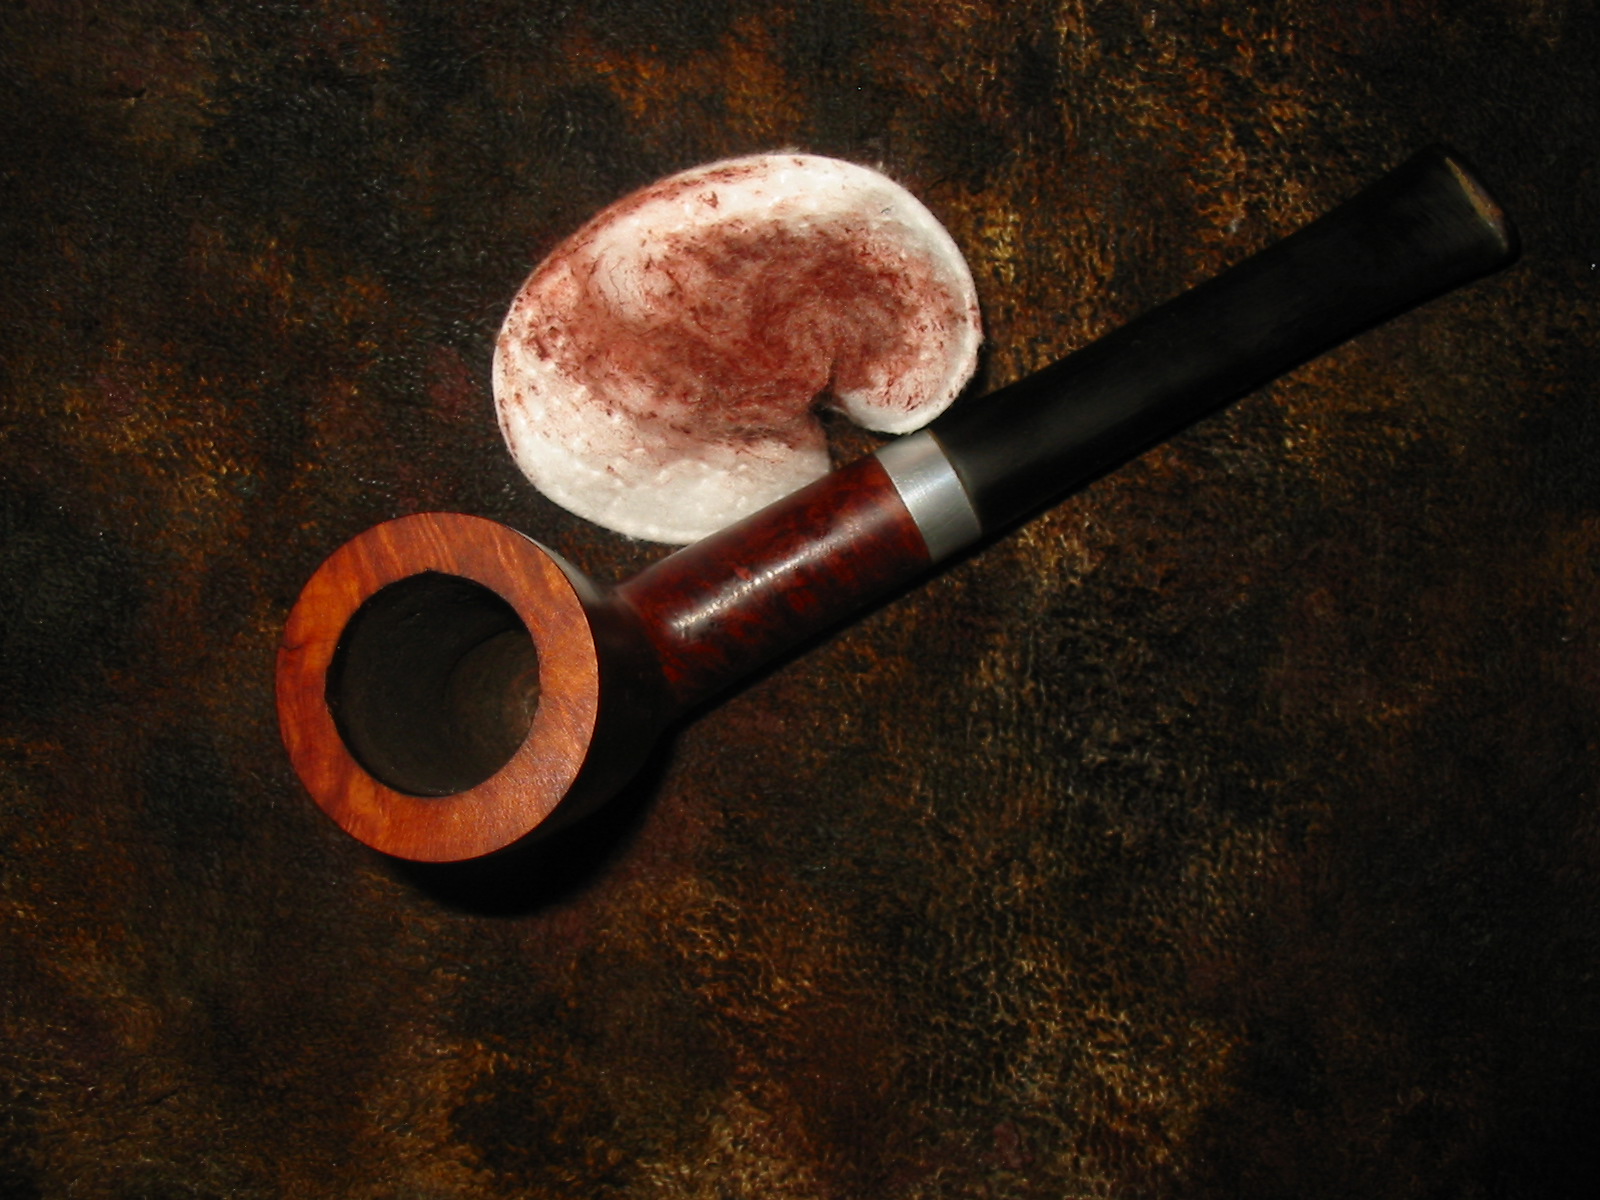
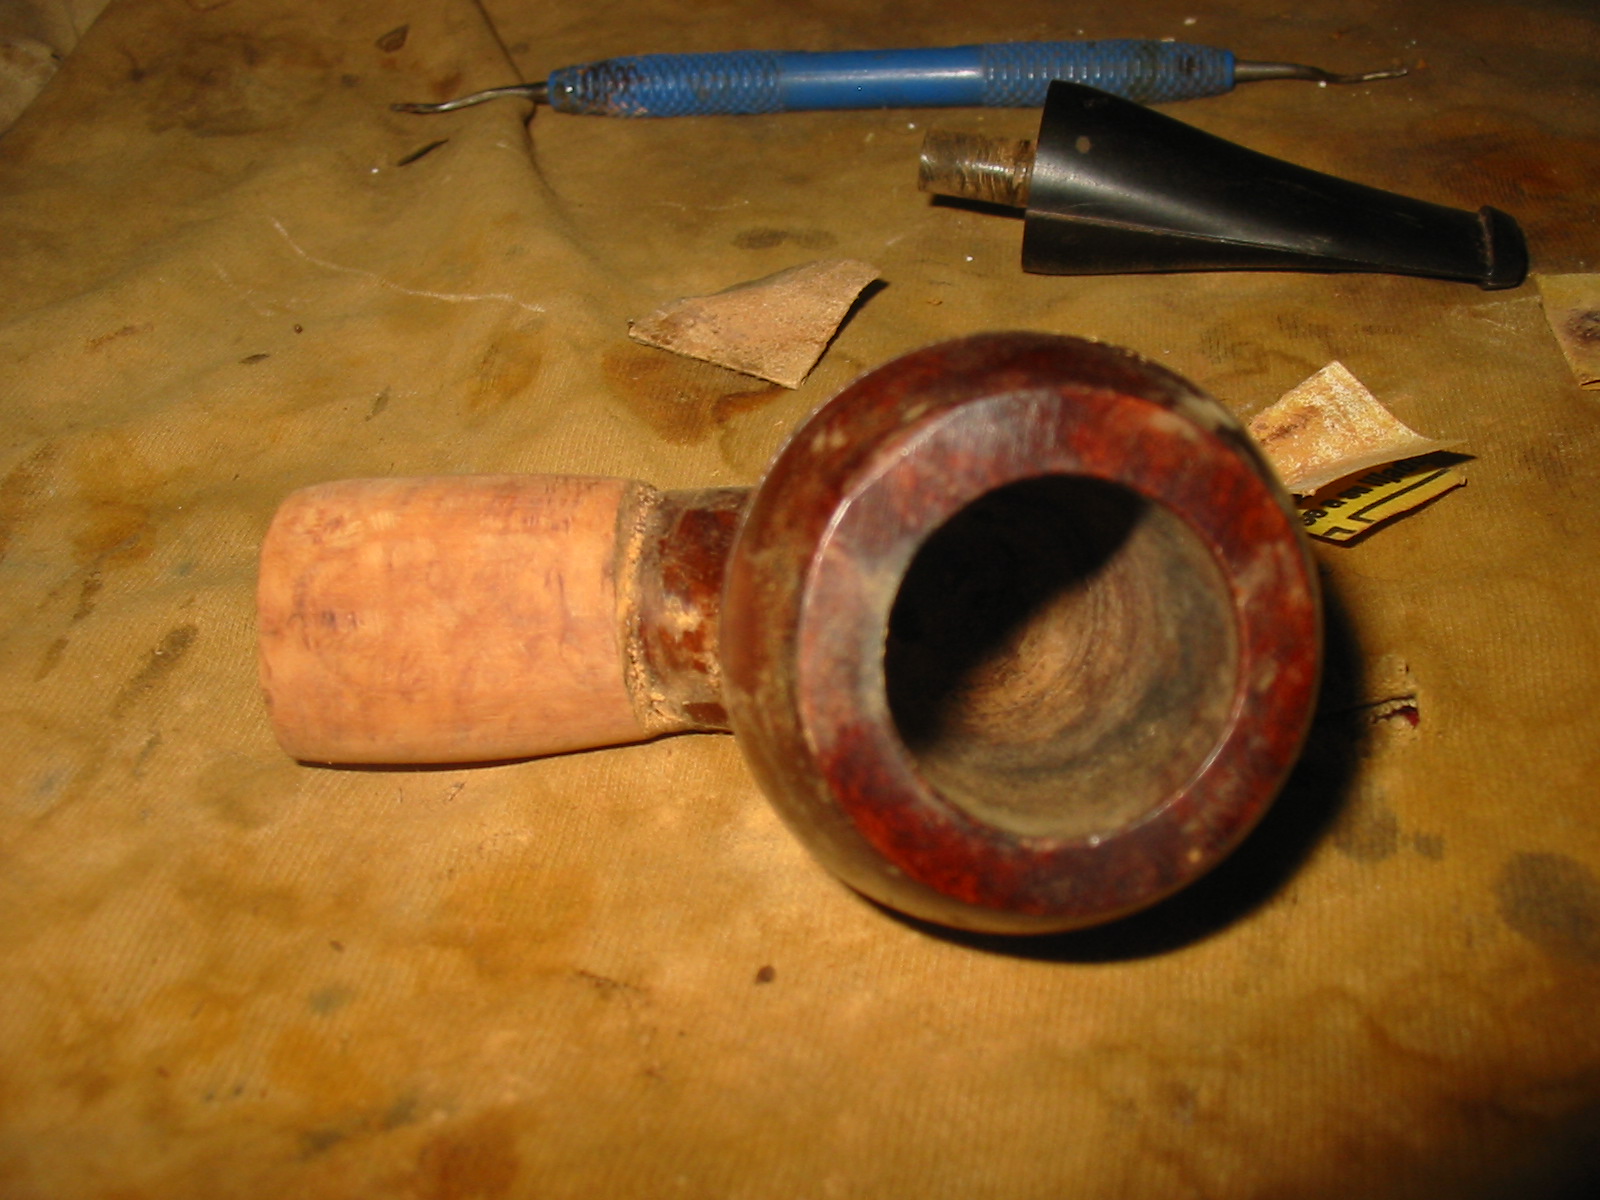
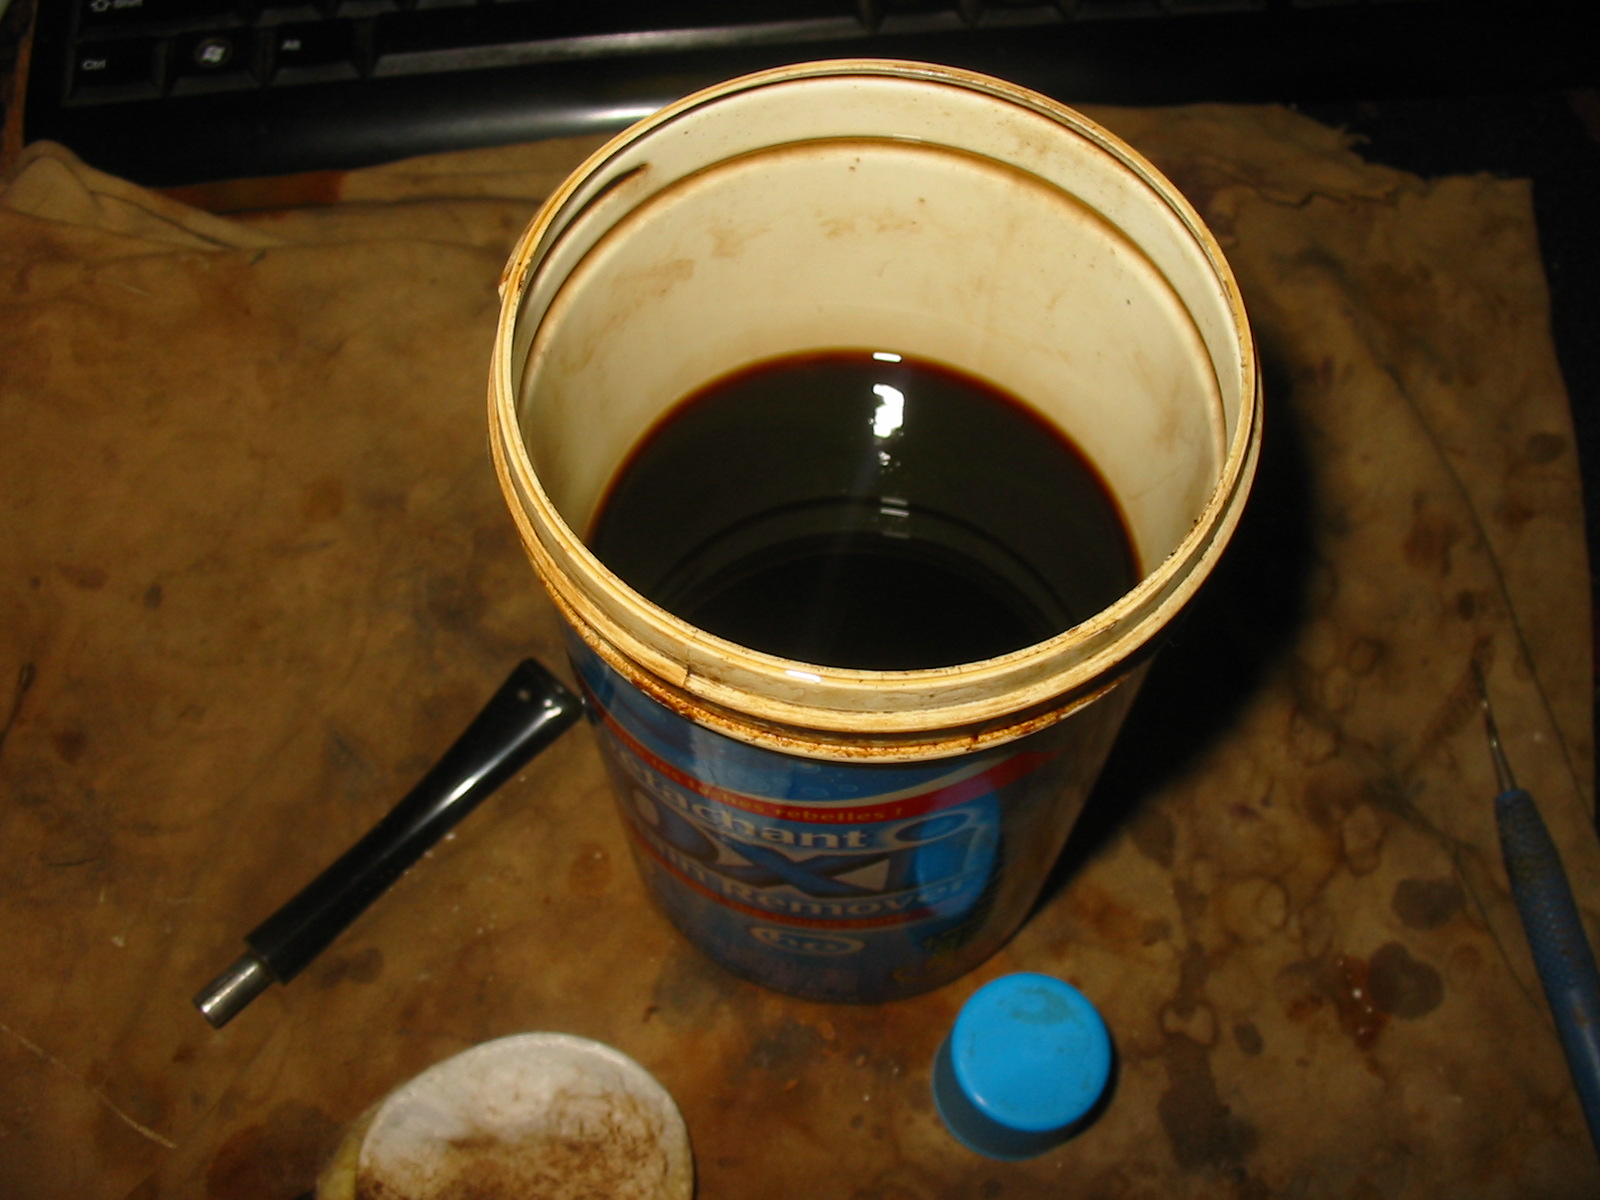
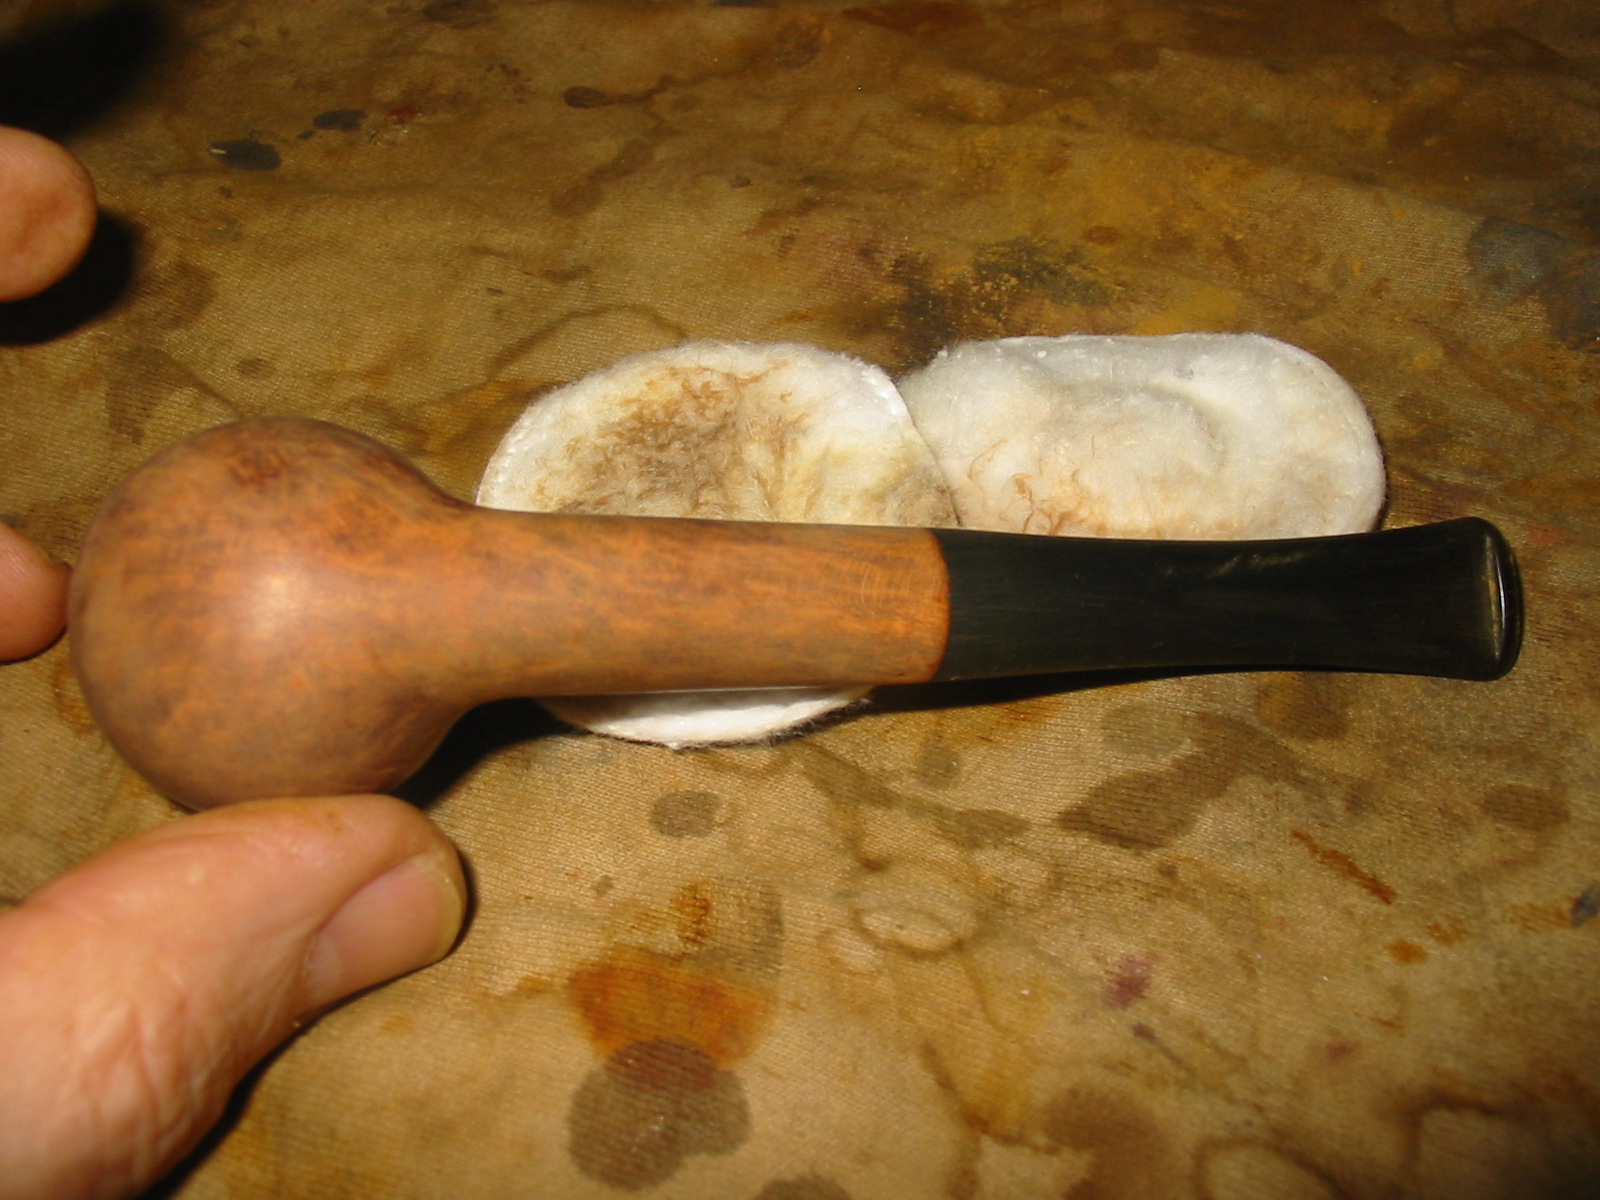
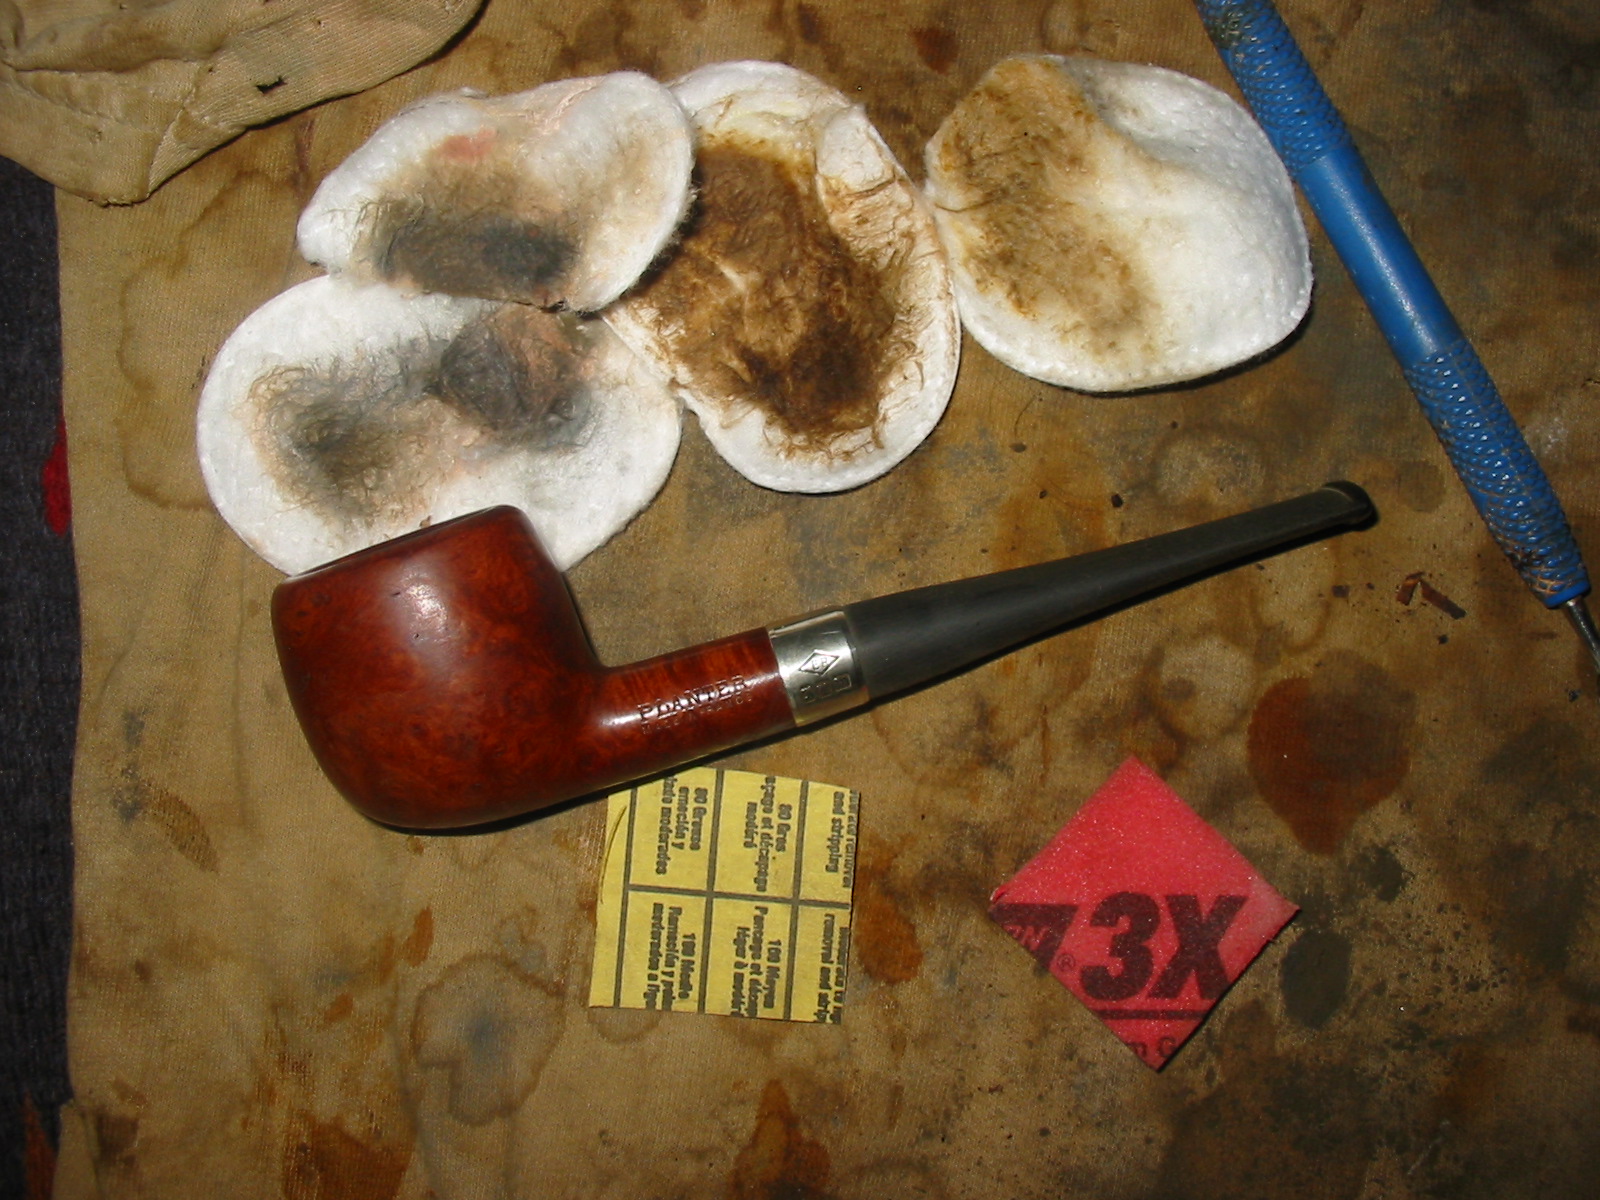
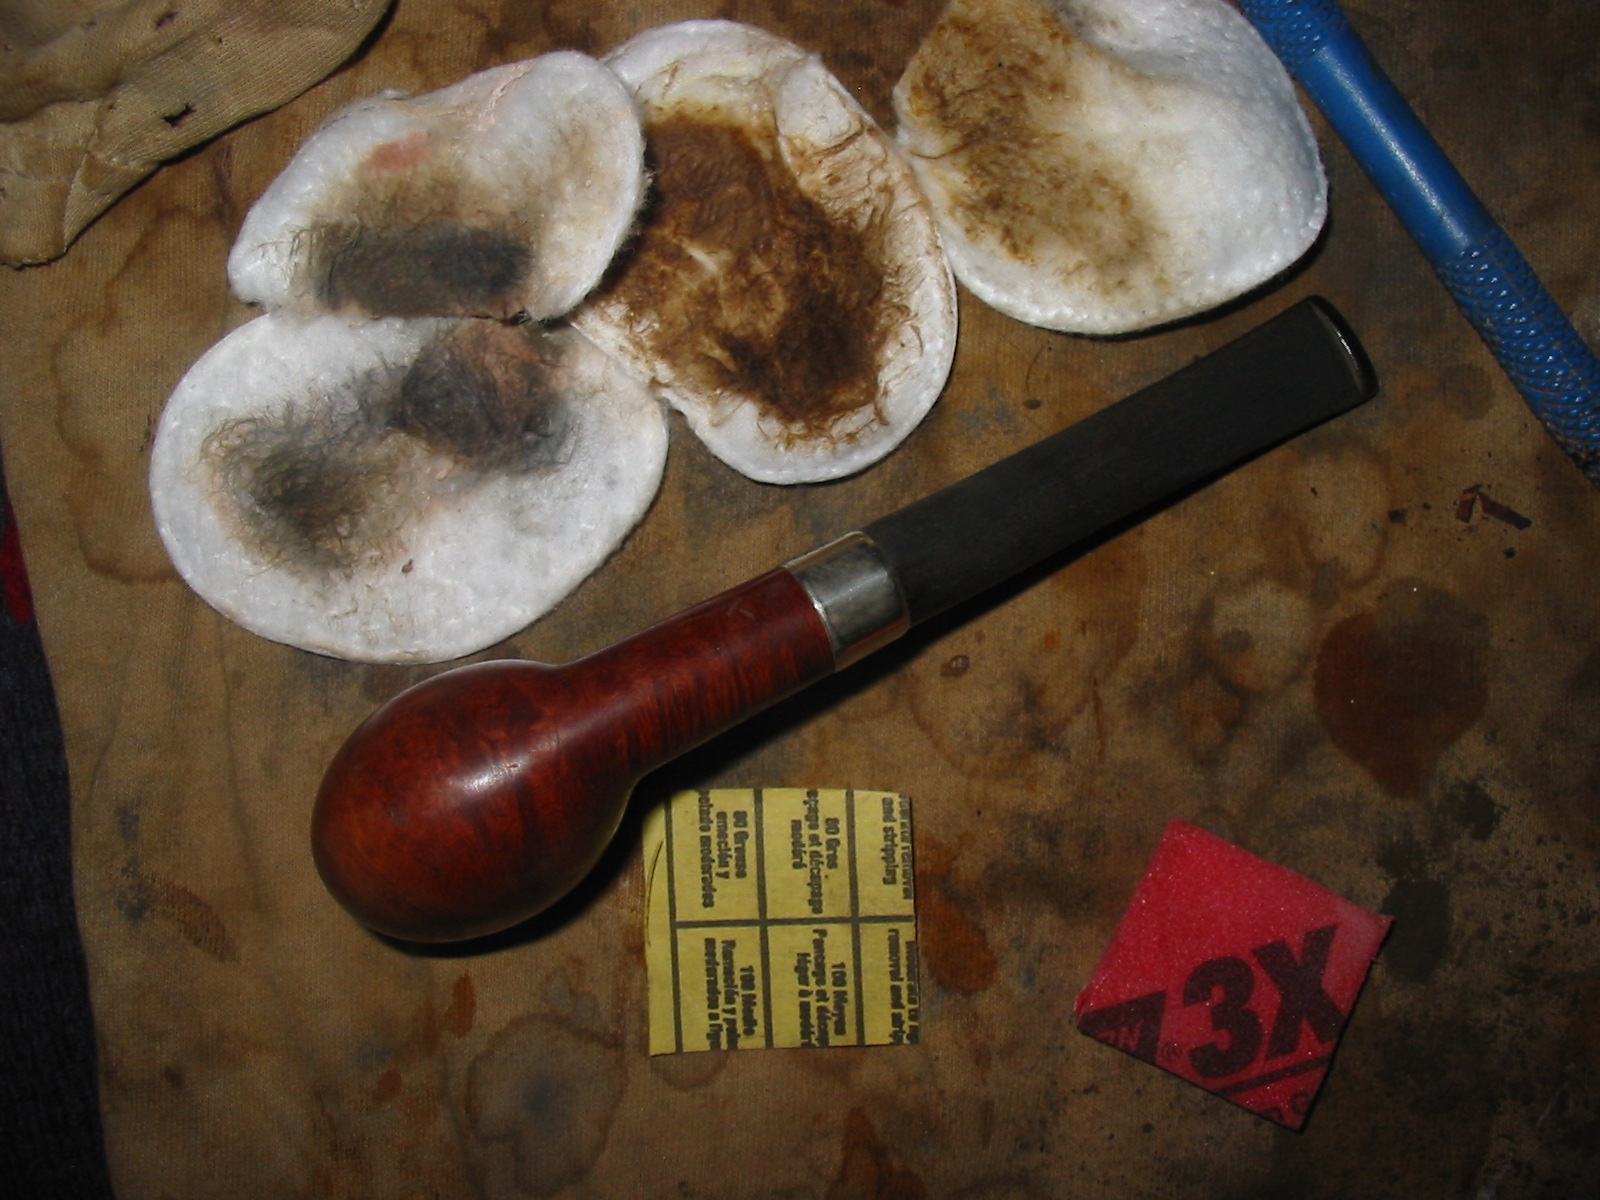
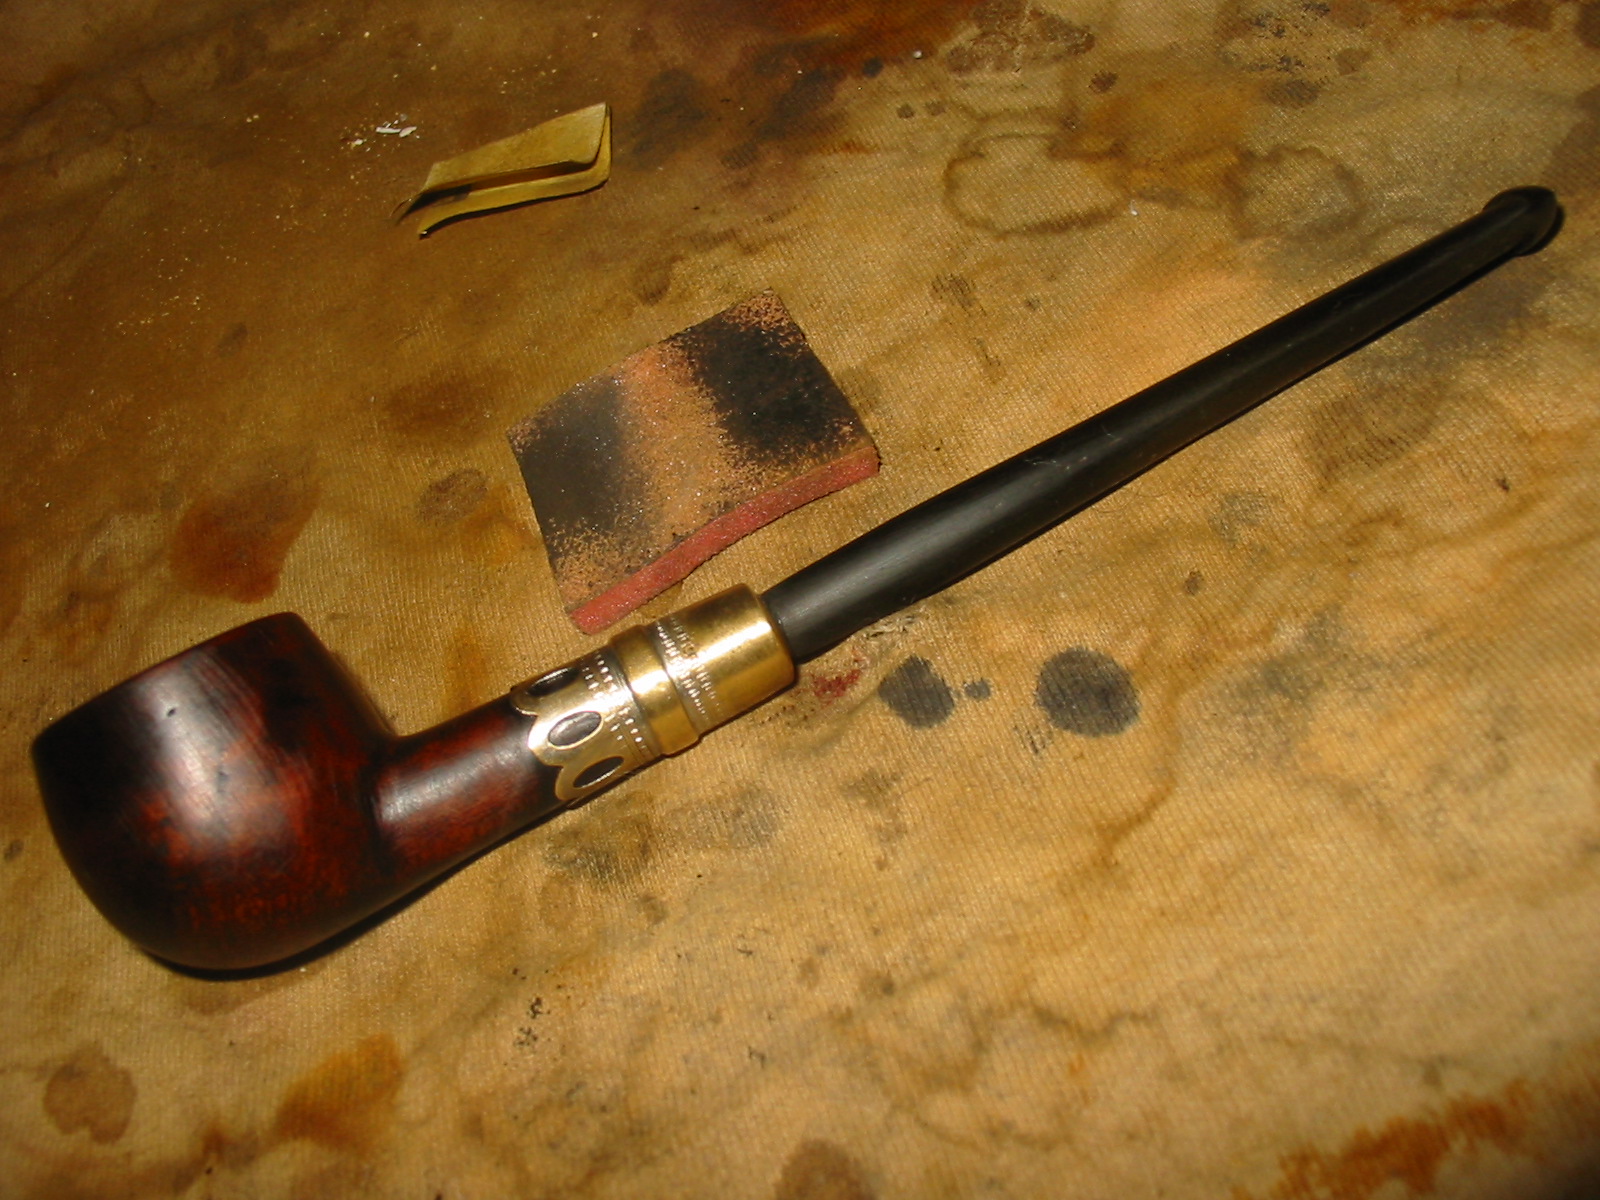
I set aside the meer cup and cleaned out the inside of the gourd removing the tars and build up. I washed down the outside with undiluted Murphy’s Oil Soap to remove the grease and buildup on the gourd. I did not want the soap wet as I did not want to wet the gourd. I rubbed the soap on with a cotton pad and scrubbed and removed it the same way. Once it was clean I noticed that the small hairline crack along the front of the bowl was slightly open. I opened it slightly and dripped some super glue in it to bind the crack and clamped it until the glue cured. Fortunately for this impatient man the super glue dries very quickly and I could move on to the inside of the gourd. I sanded it out with a folded piece of 220 grit sandpaper. I was able to reach quite far down into the shank and sanded the ridges of tars and oils out of the bowl. There was a thick ridge at the bottom where the original cup had rested against the walls of the gourd. I used a dental pick to loosen that area and then sanded it smooth. All of this cleaning work served to renew the inside of the gourd but also made a smooth base for the new meer cup.
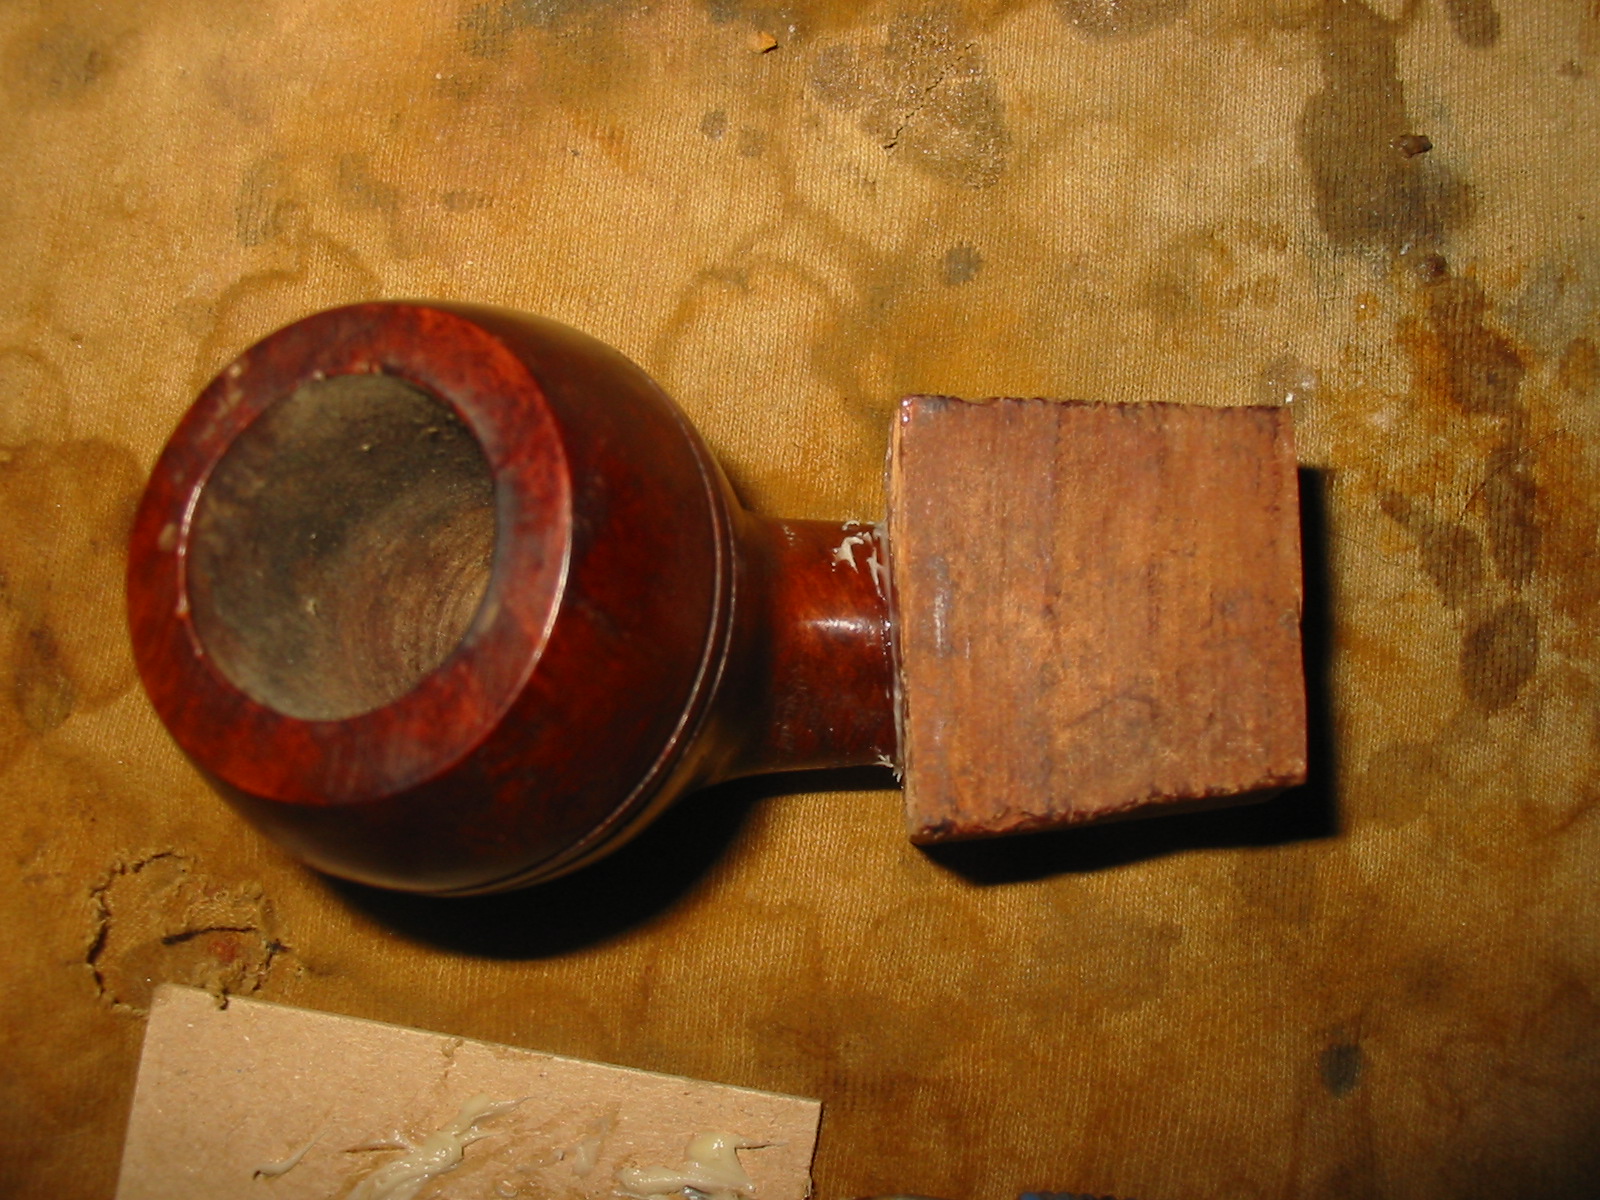
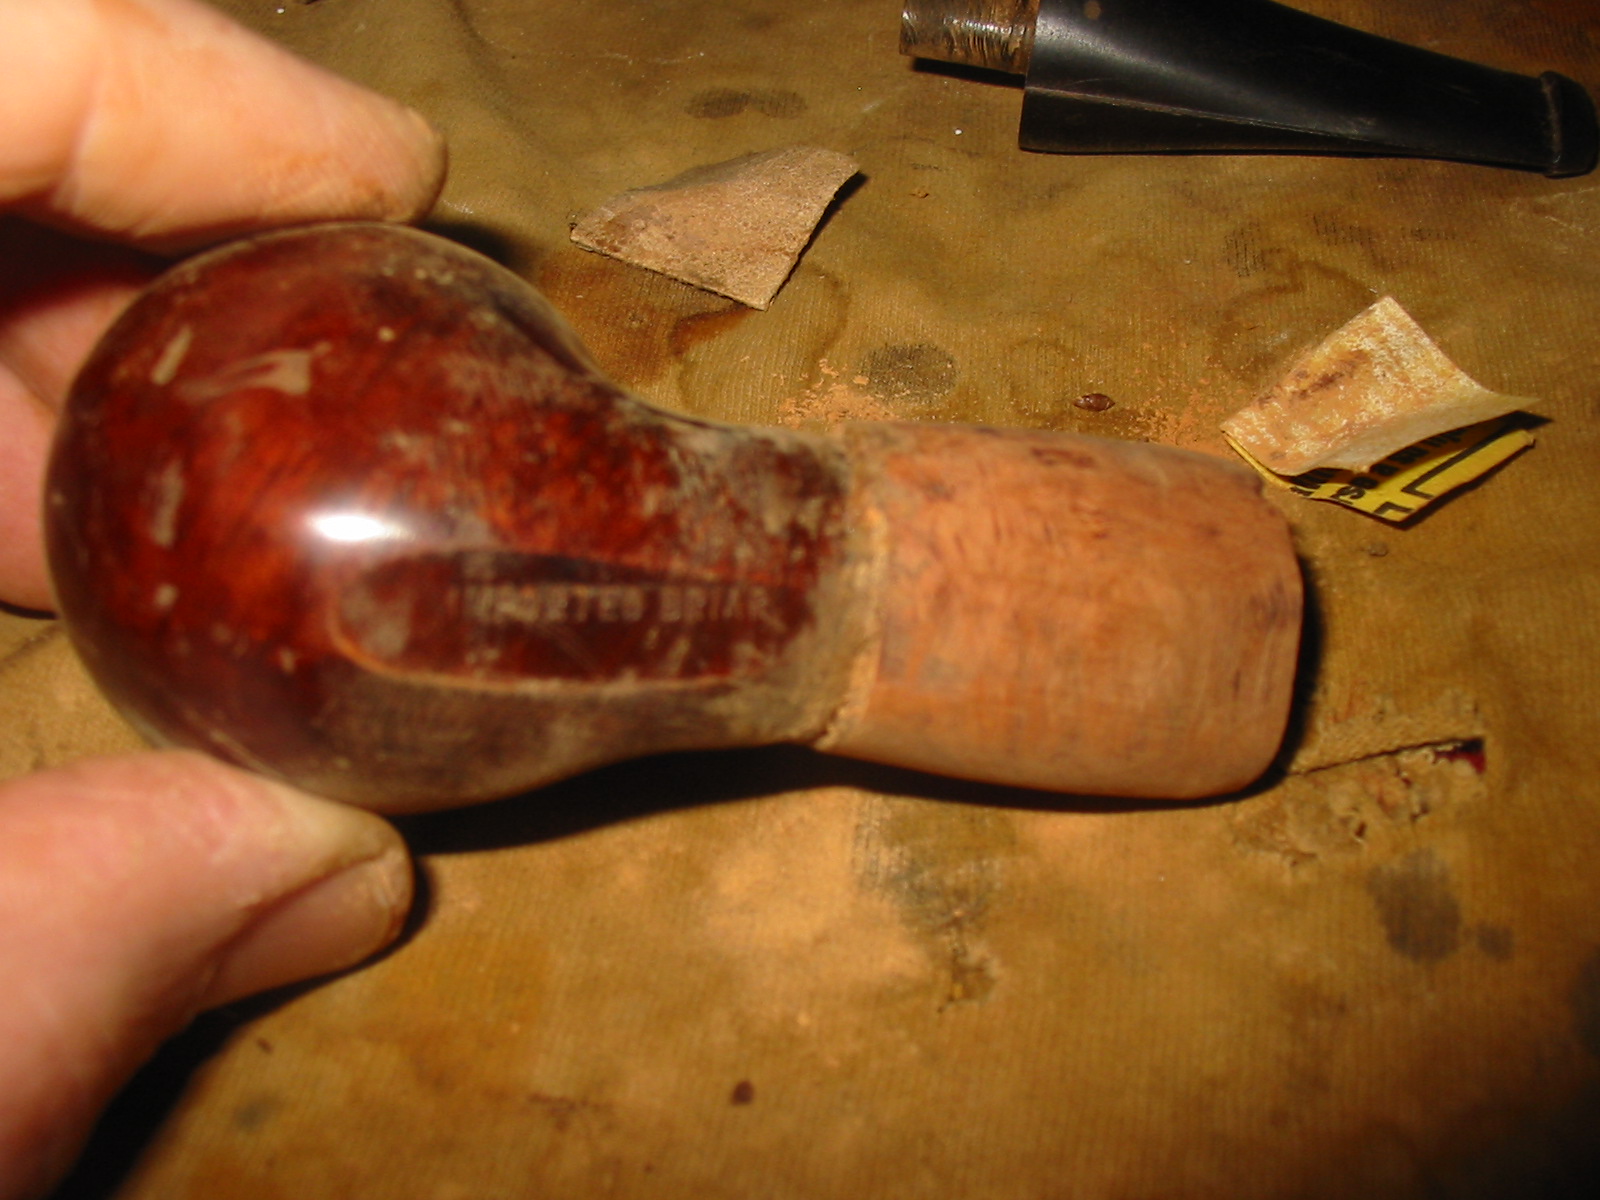
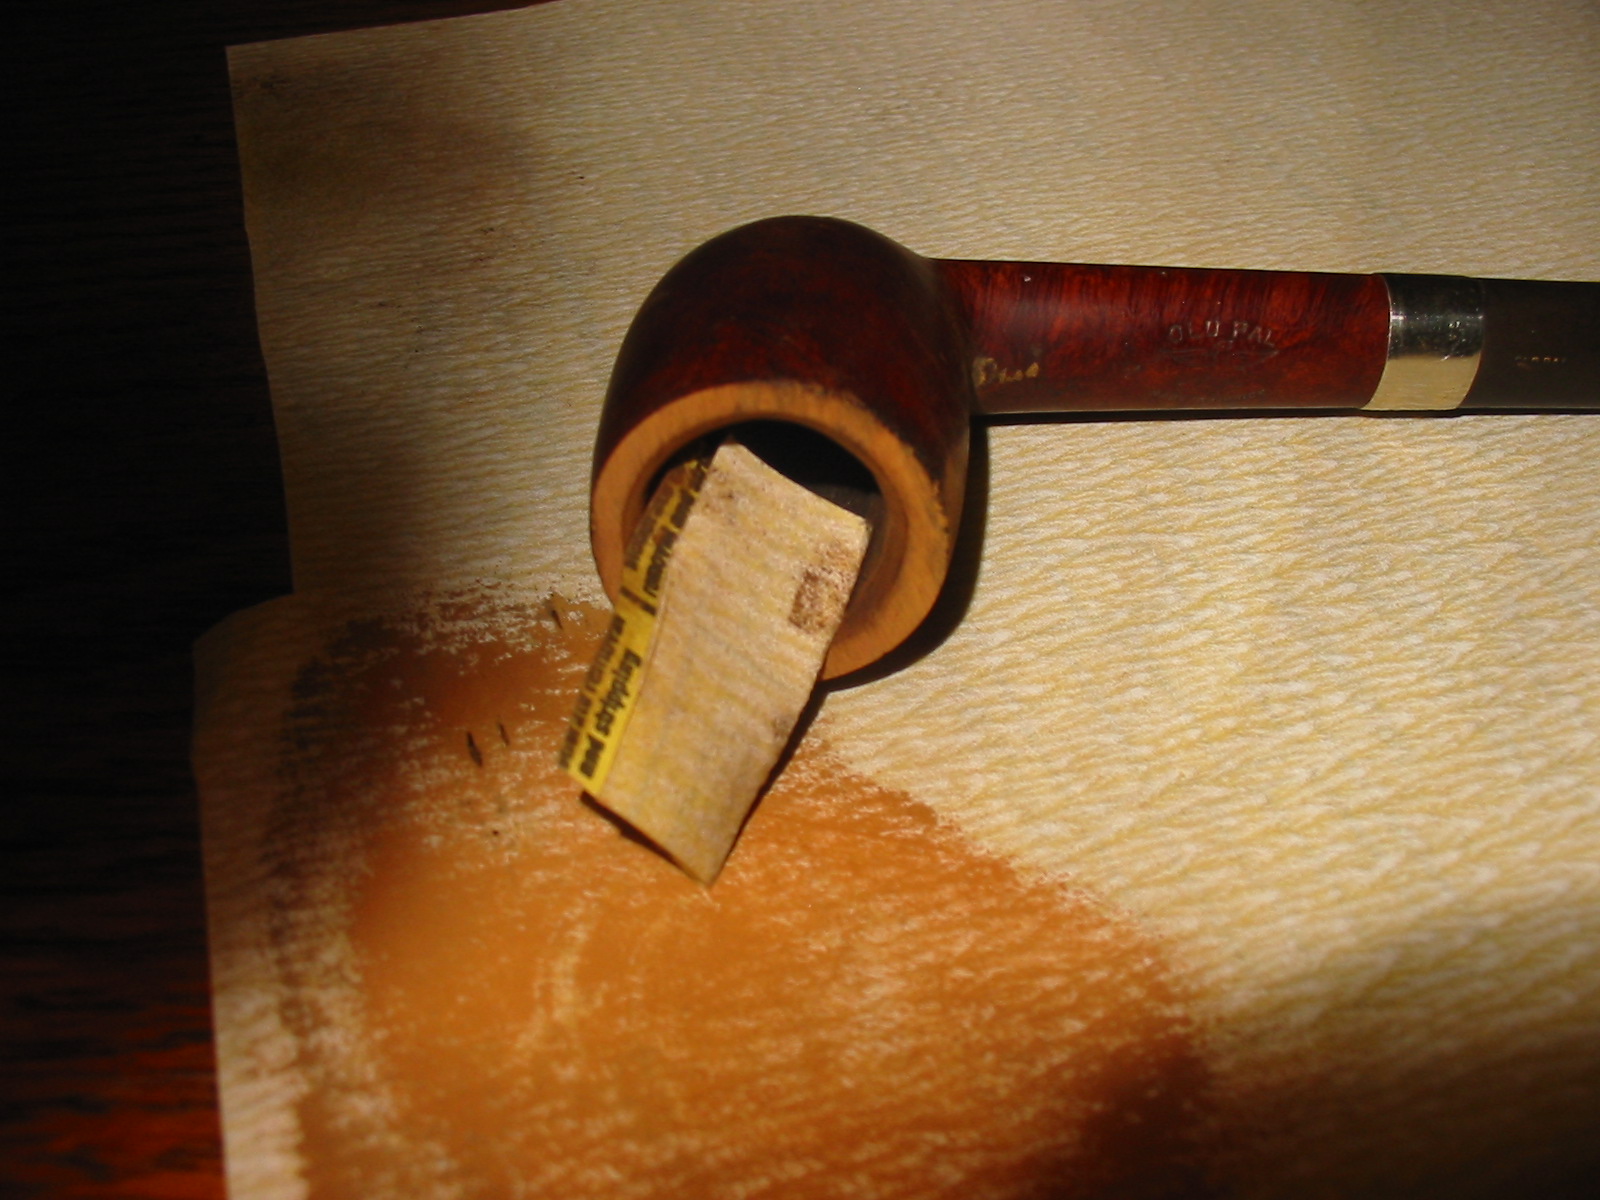
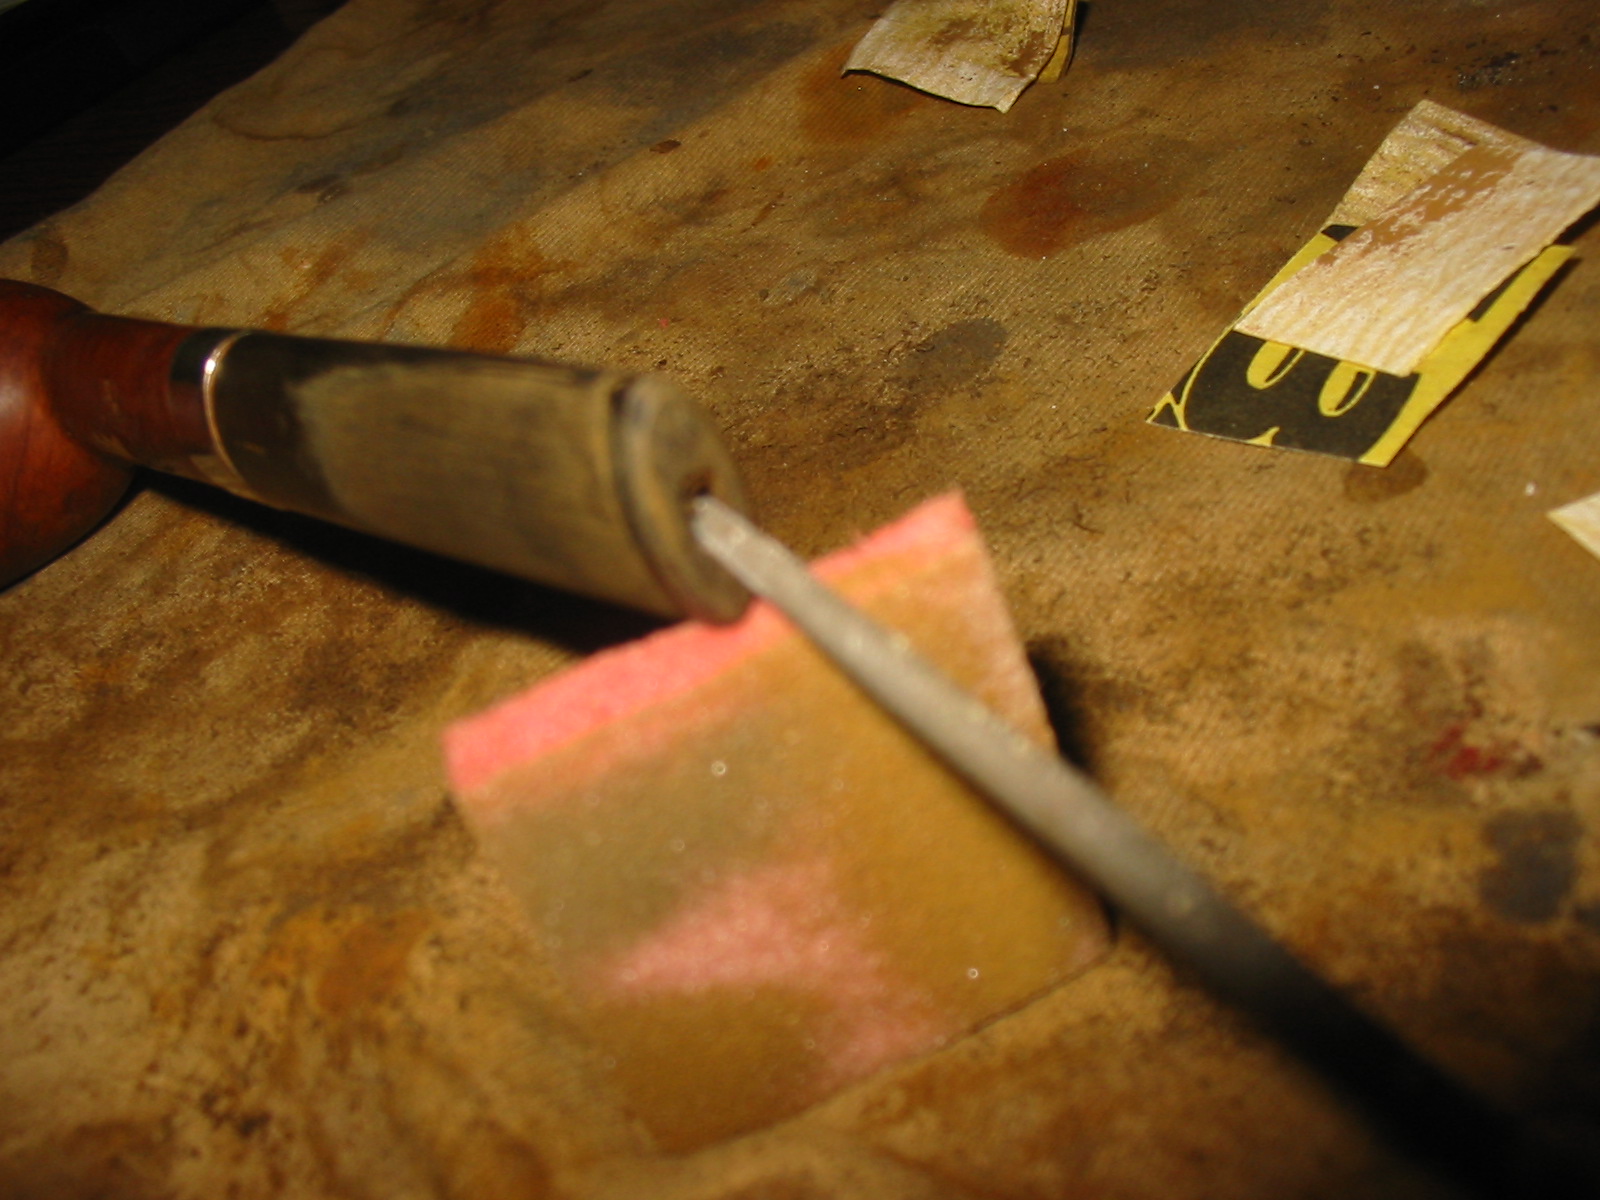
I cut a piece of cork to fit the inner edge of the gourd. It had to be trimmed in both height and length to fit properly. I glued it into place with white all-purpose glue. I pressed on it to make sure that it sat tightly against the gourd. This cork would serve as a gasket for the cup and also it fit perfectly against the small crack that I had repaired on the exterior. Together they would bind together the crack and provide a functional repair to that surface.

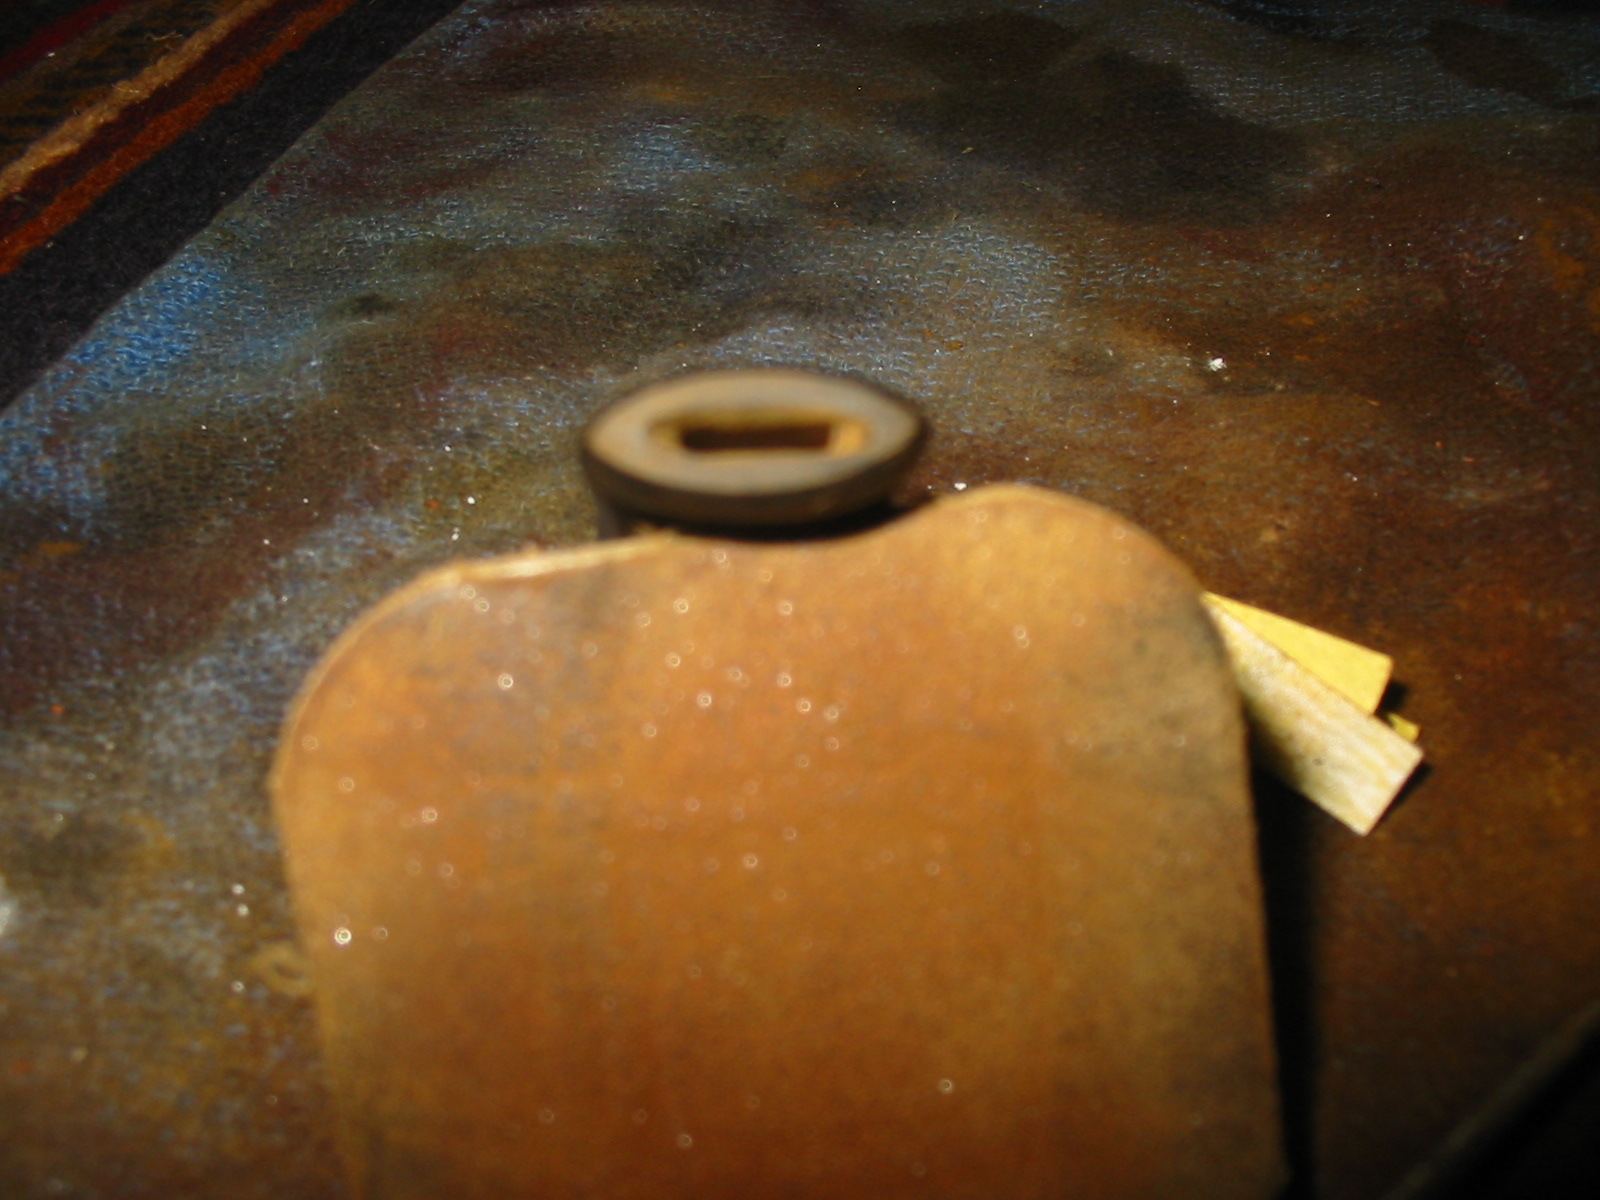
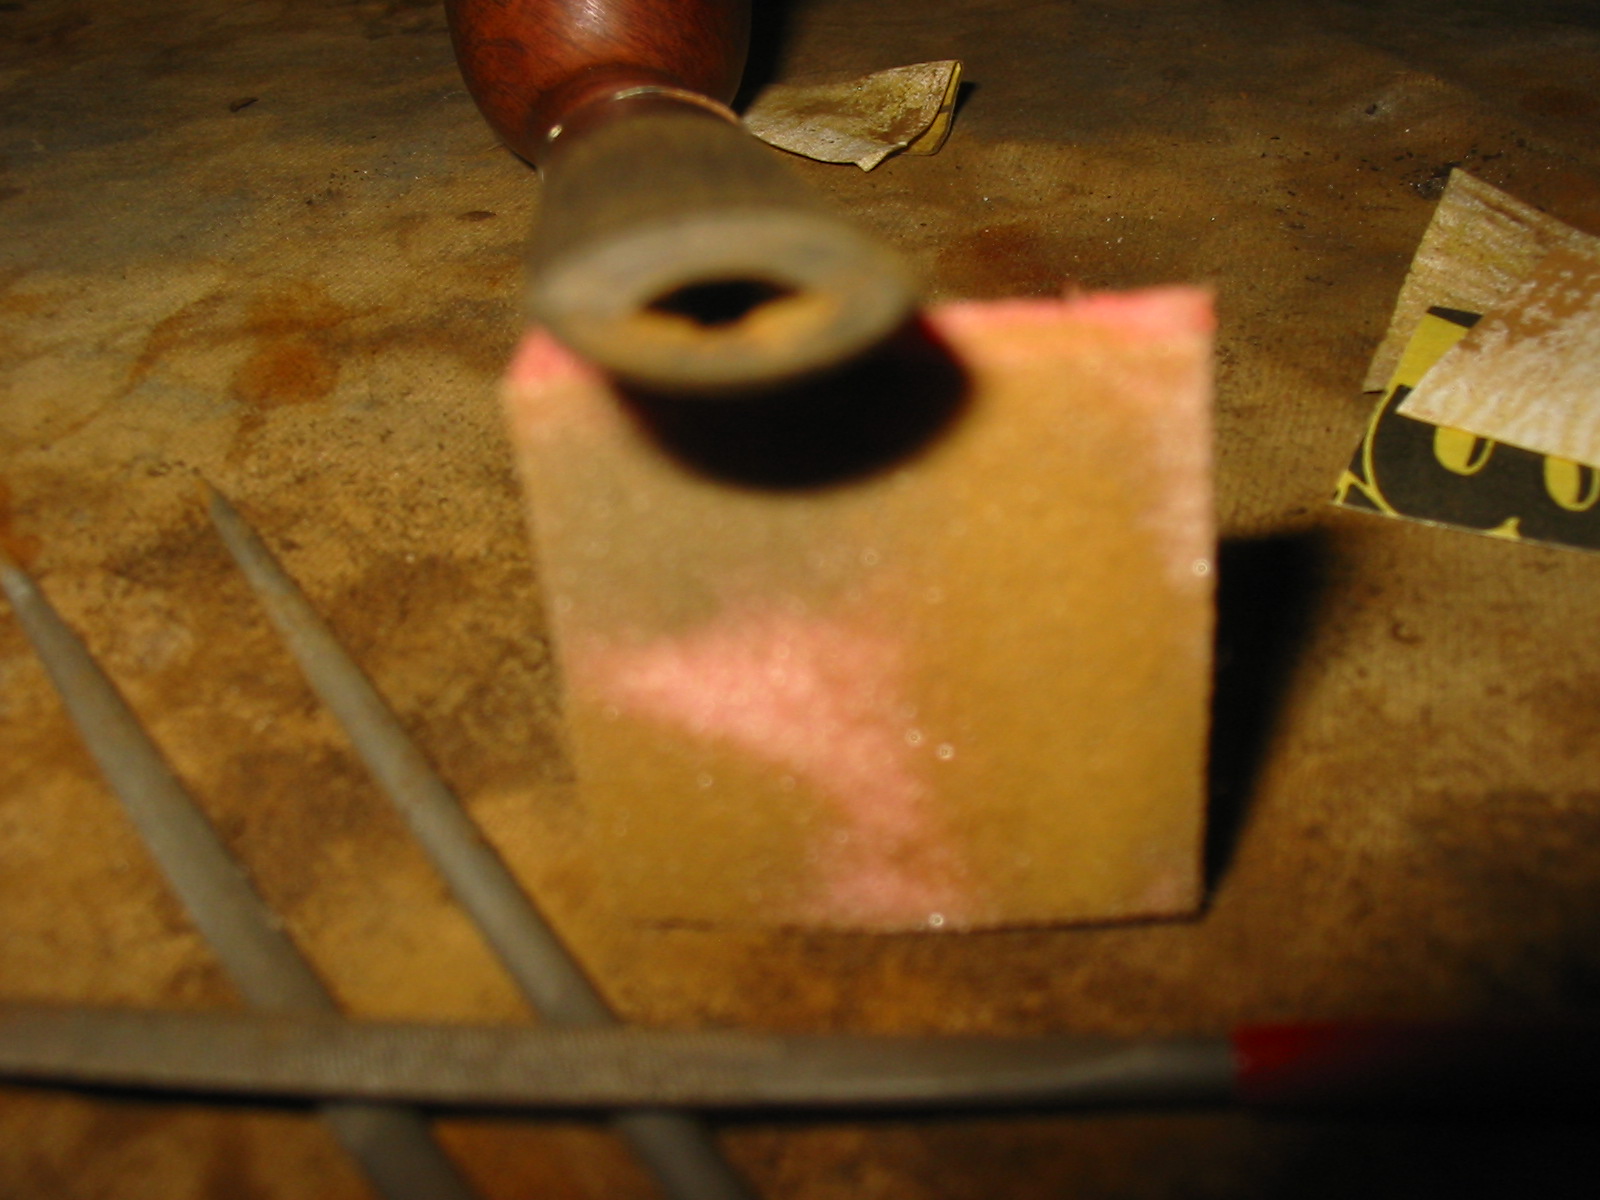
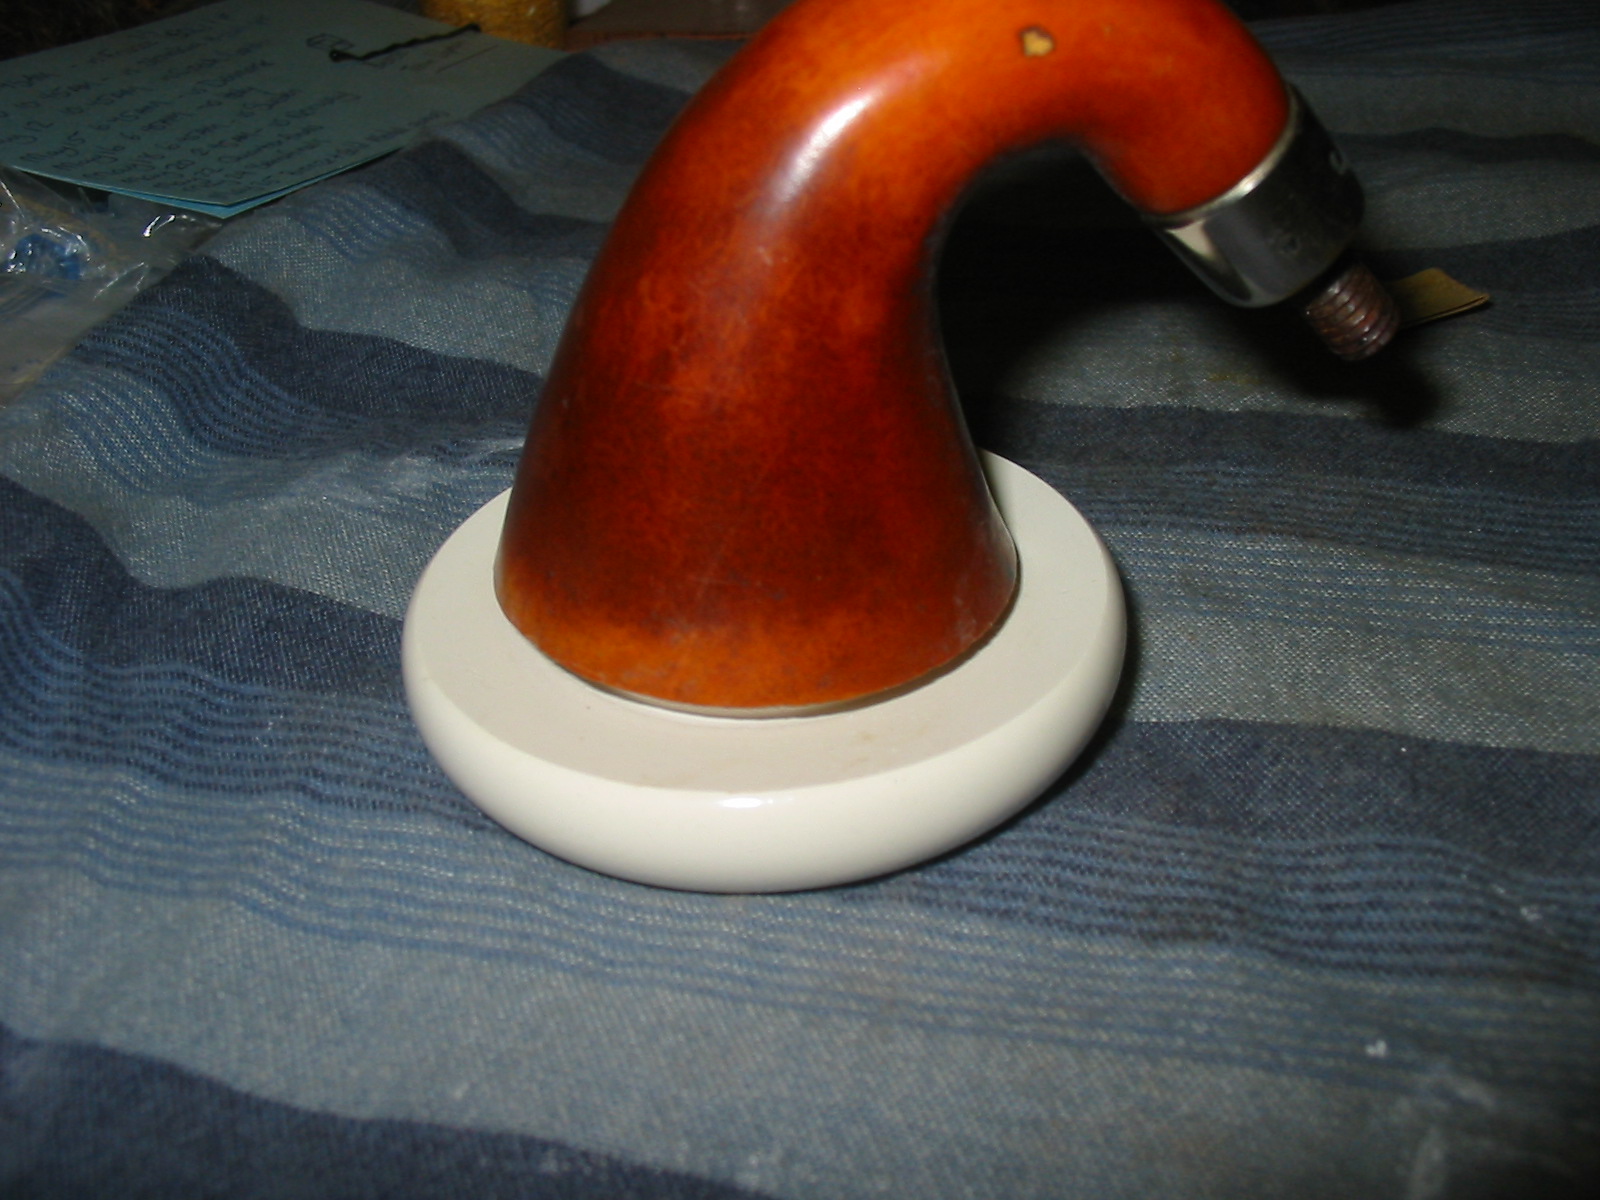
Once the glue dried I sanded the cork with 220 grit sandpaper (my go to sandpaper for much of the initial work I do on the pipe). I wanted it to be a smooth pressure fit that would hold the bowl in place. I rubbed down the cork gasket with Vaseline to soften it after the sanding. I find that cork left unused gets dry and brittle and the Vaseline brings it back to life. I pressed the bowl in place to check the fit and found that it still needed some adjustment to sit properly in the bowl. The top edge under the cap needed to be sanded some more to reduce the diameter of the cup.

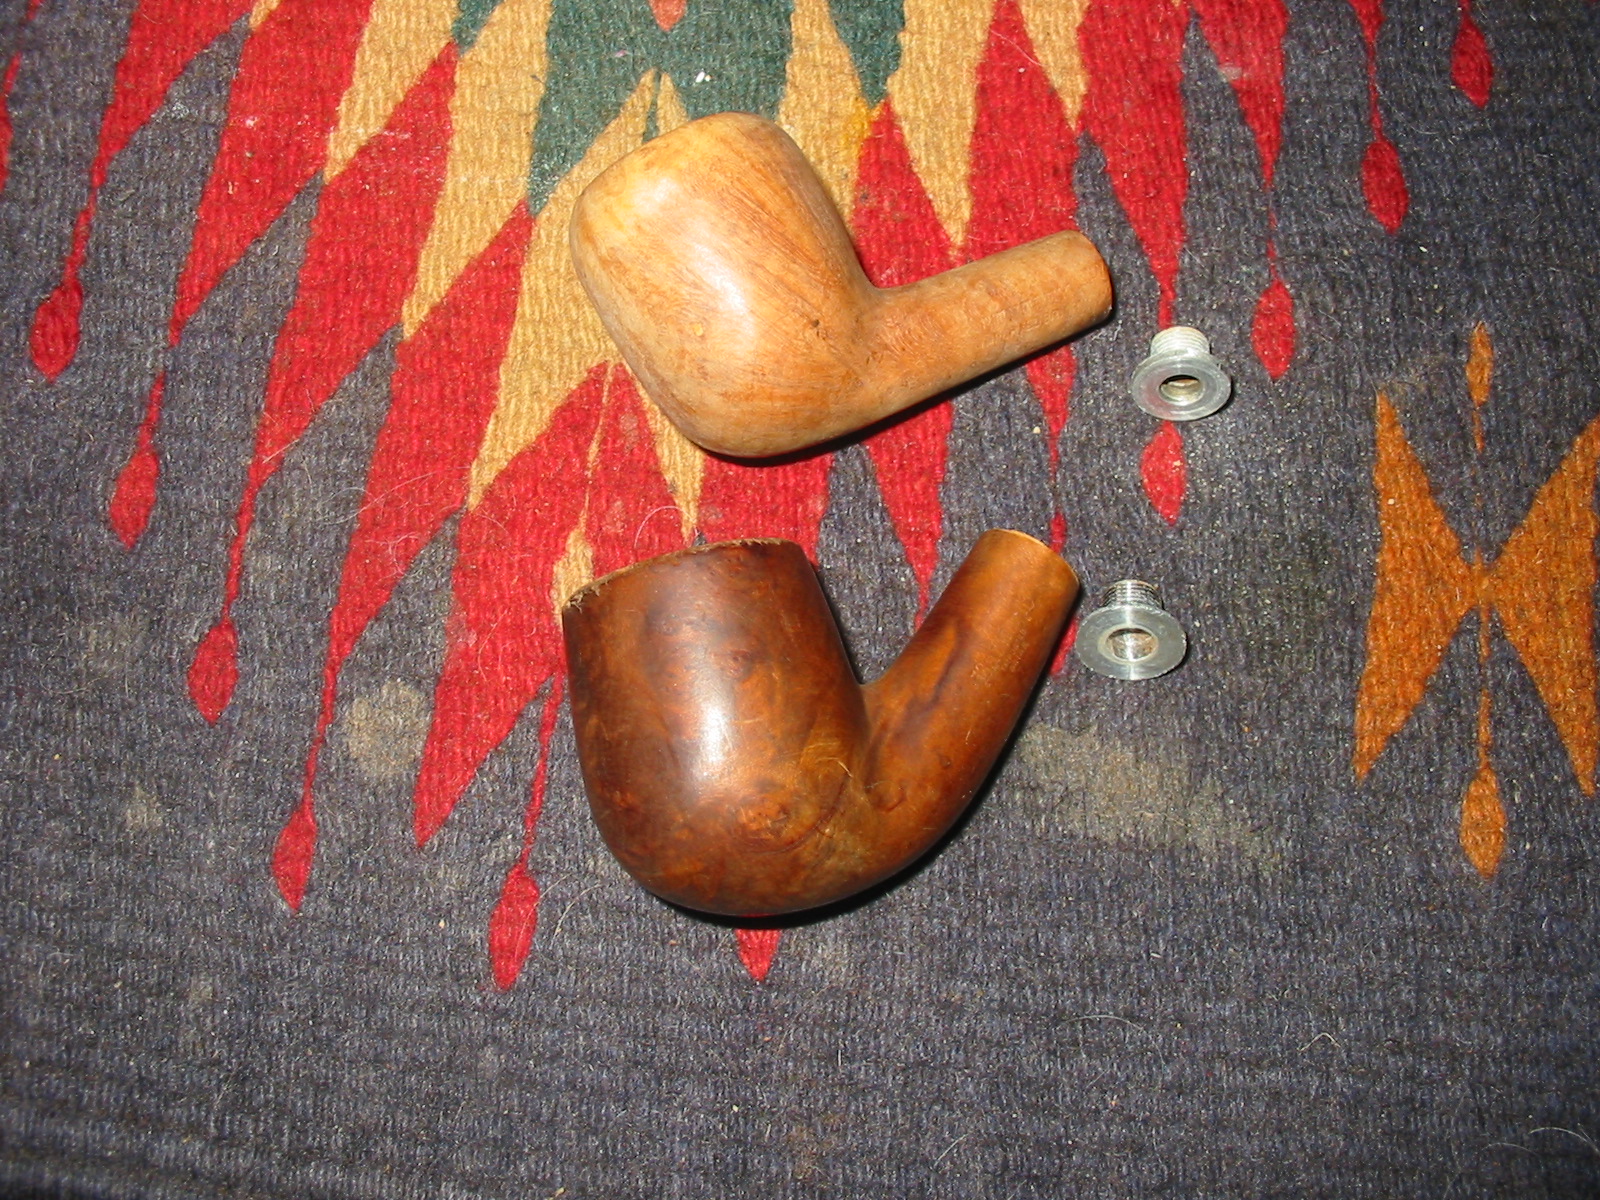
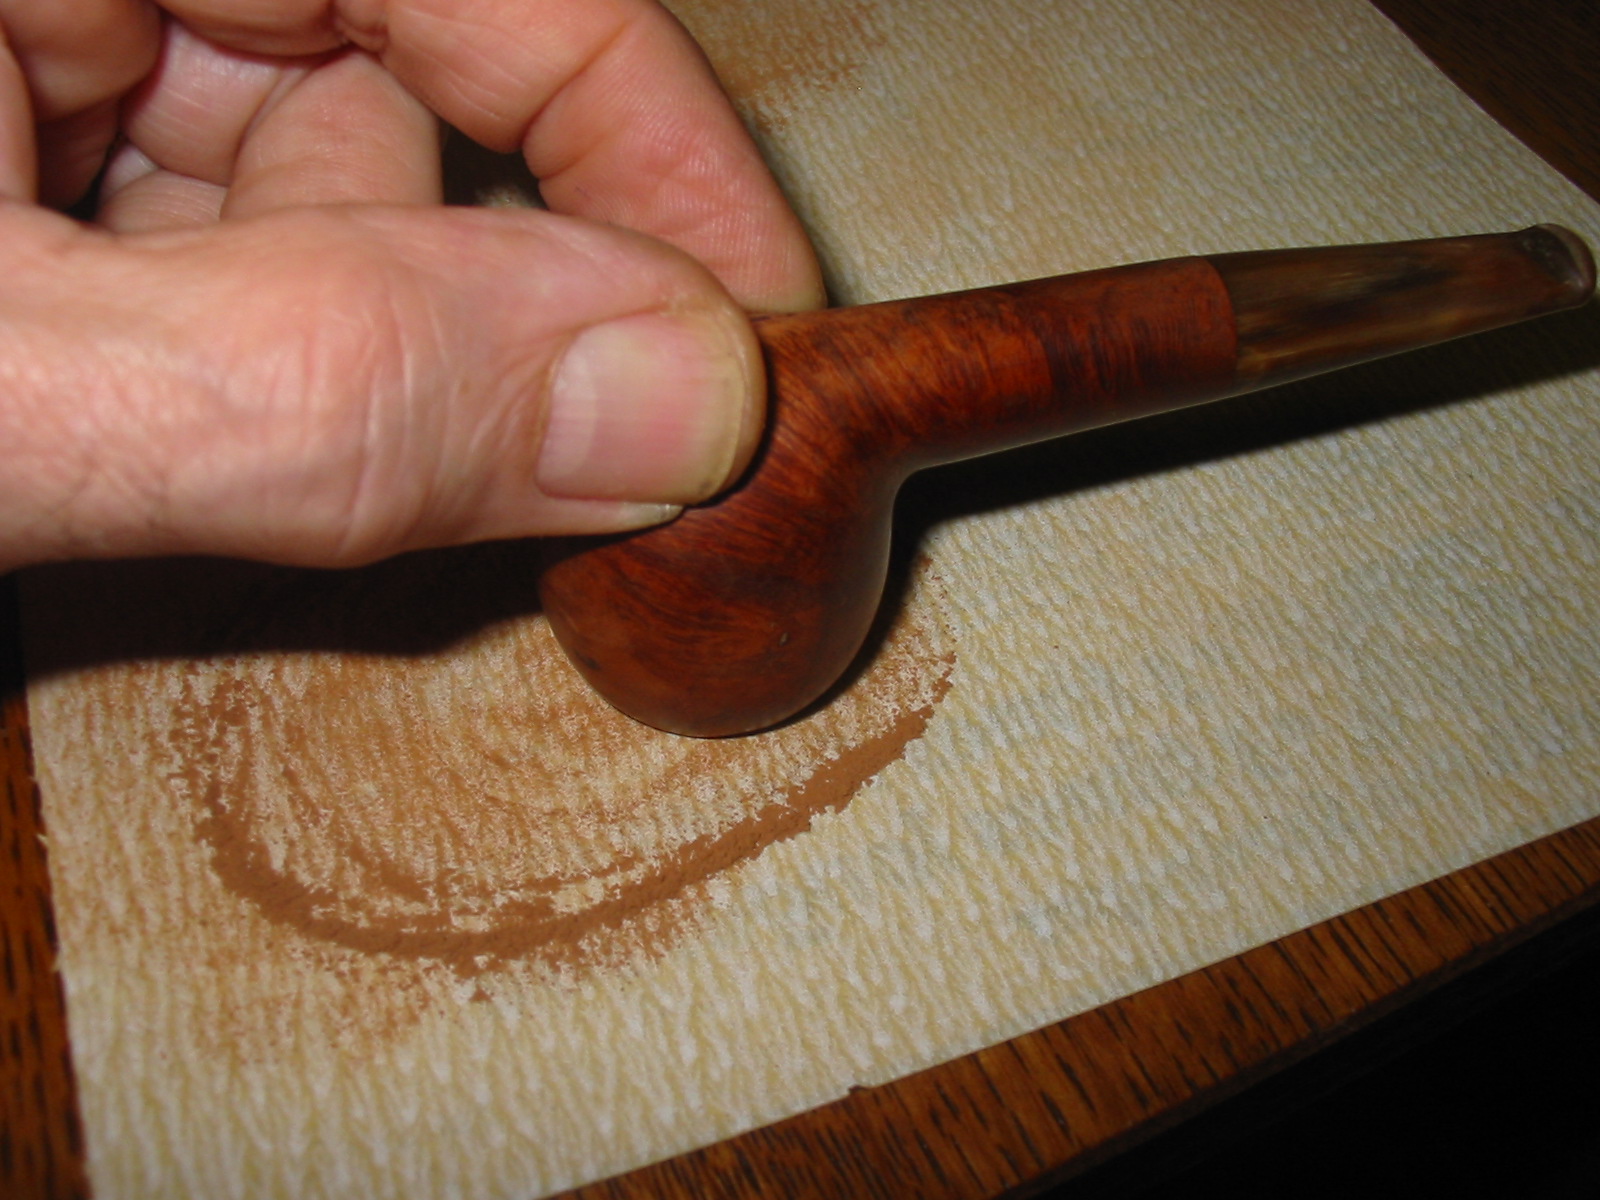
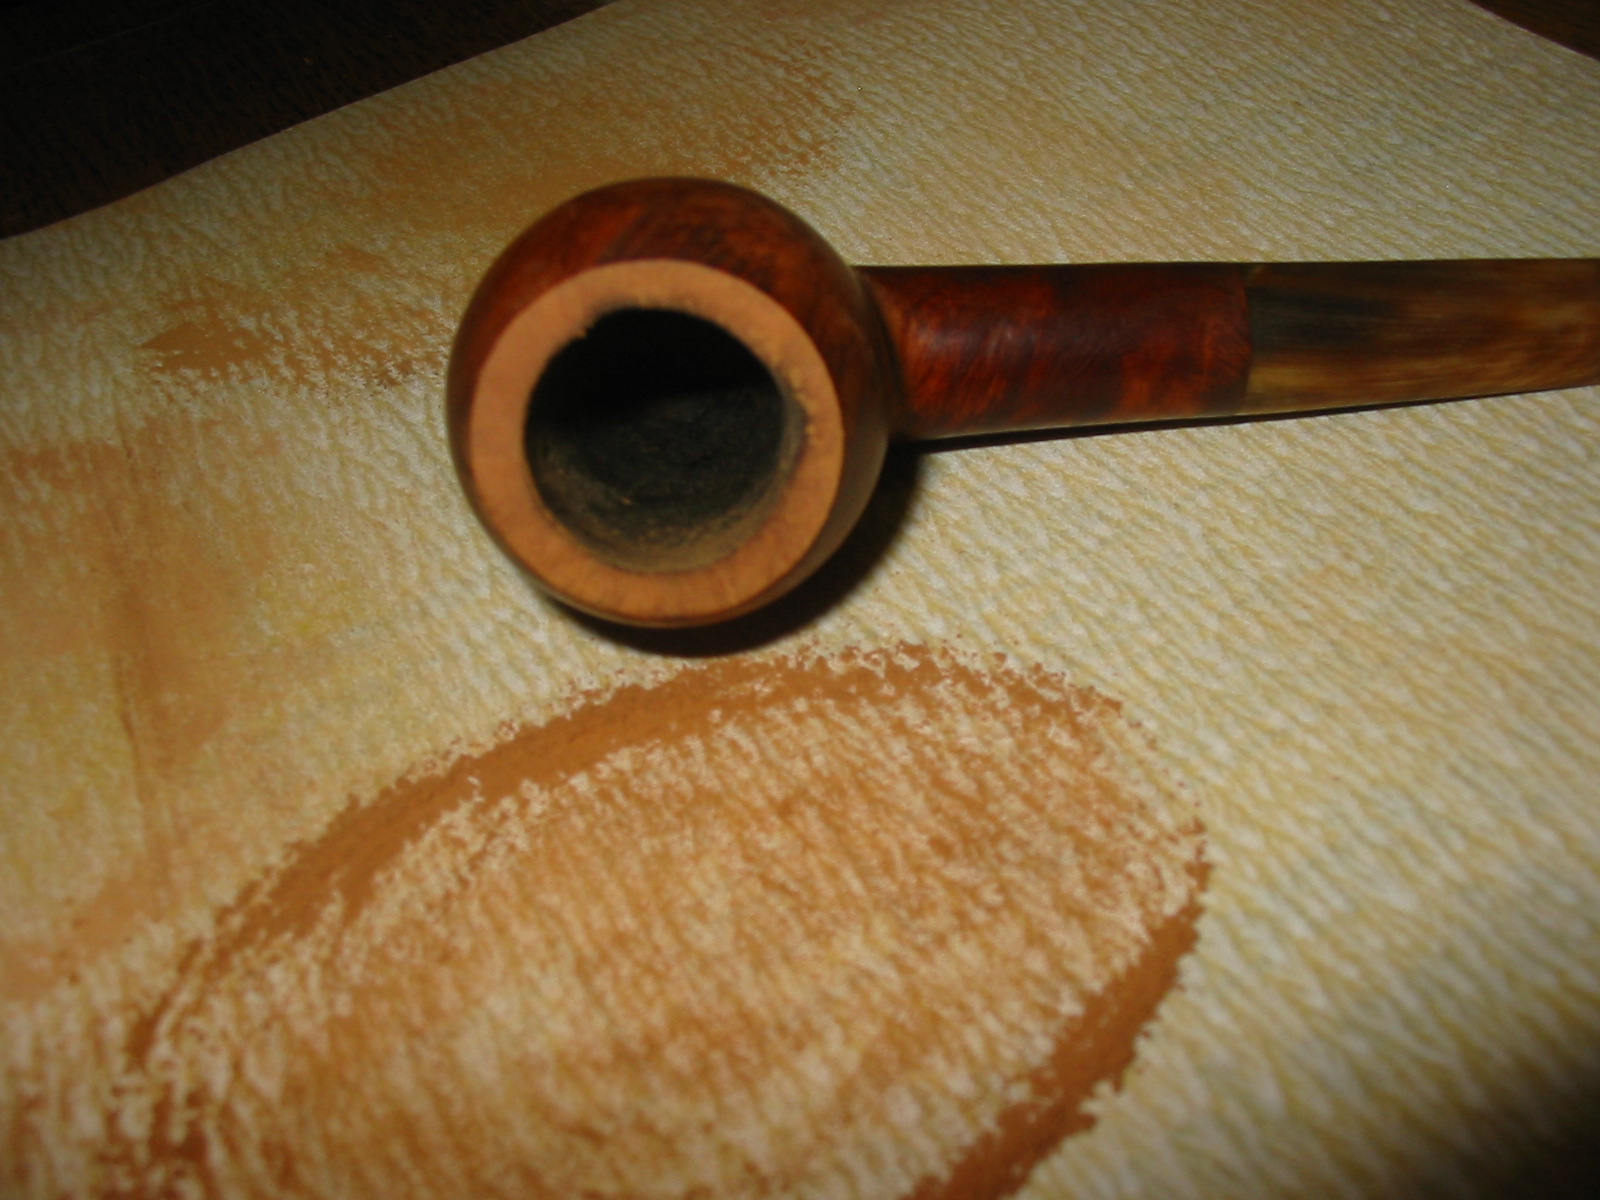
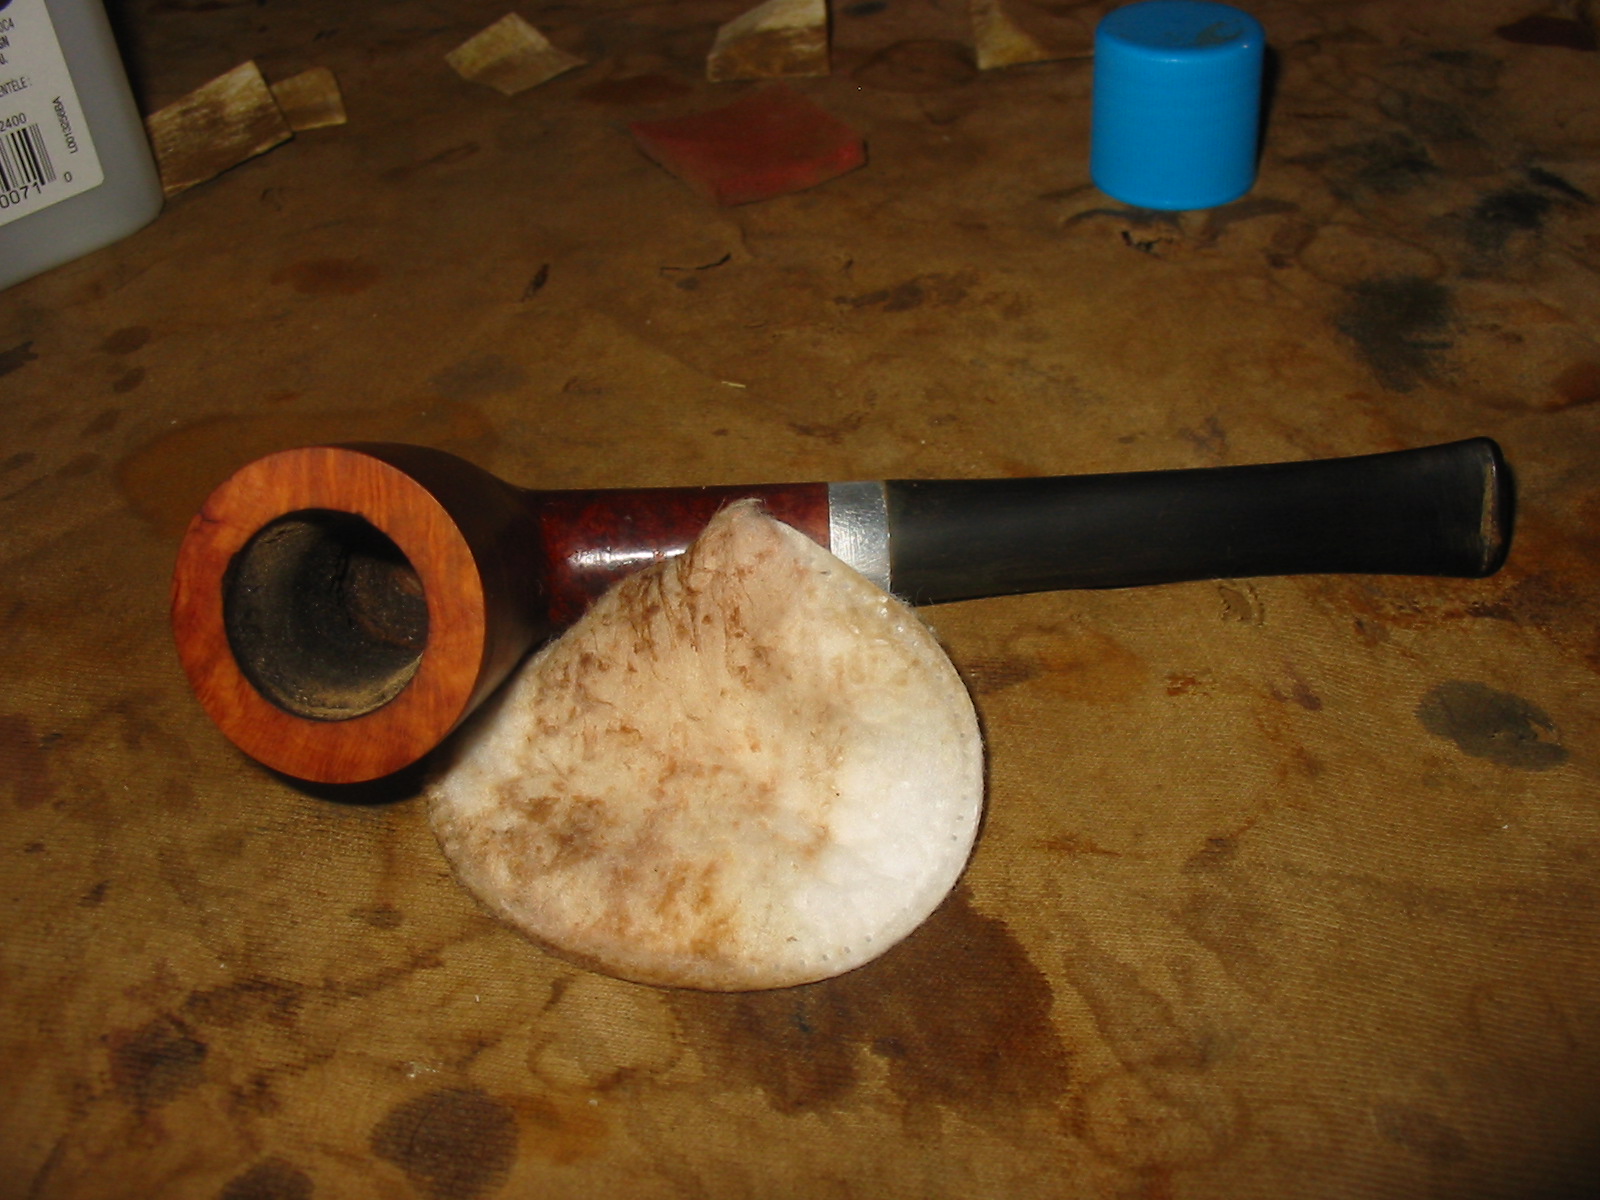
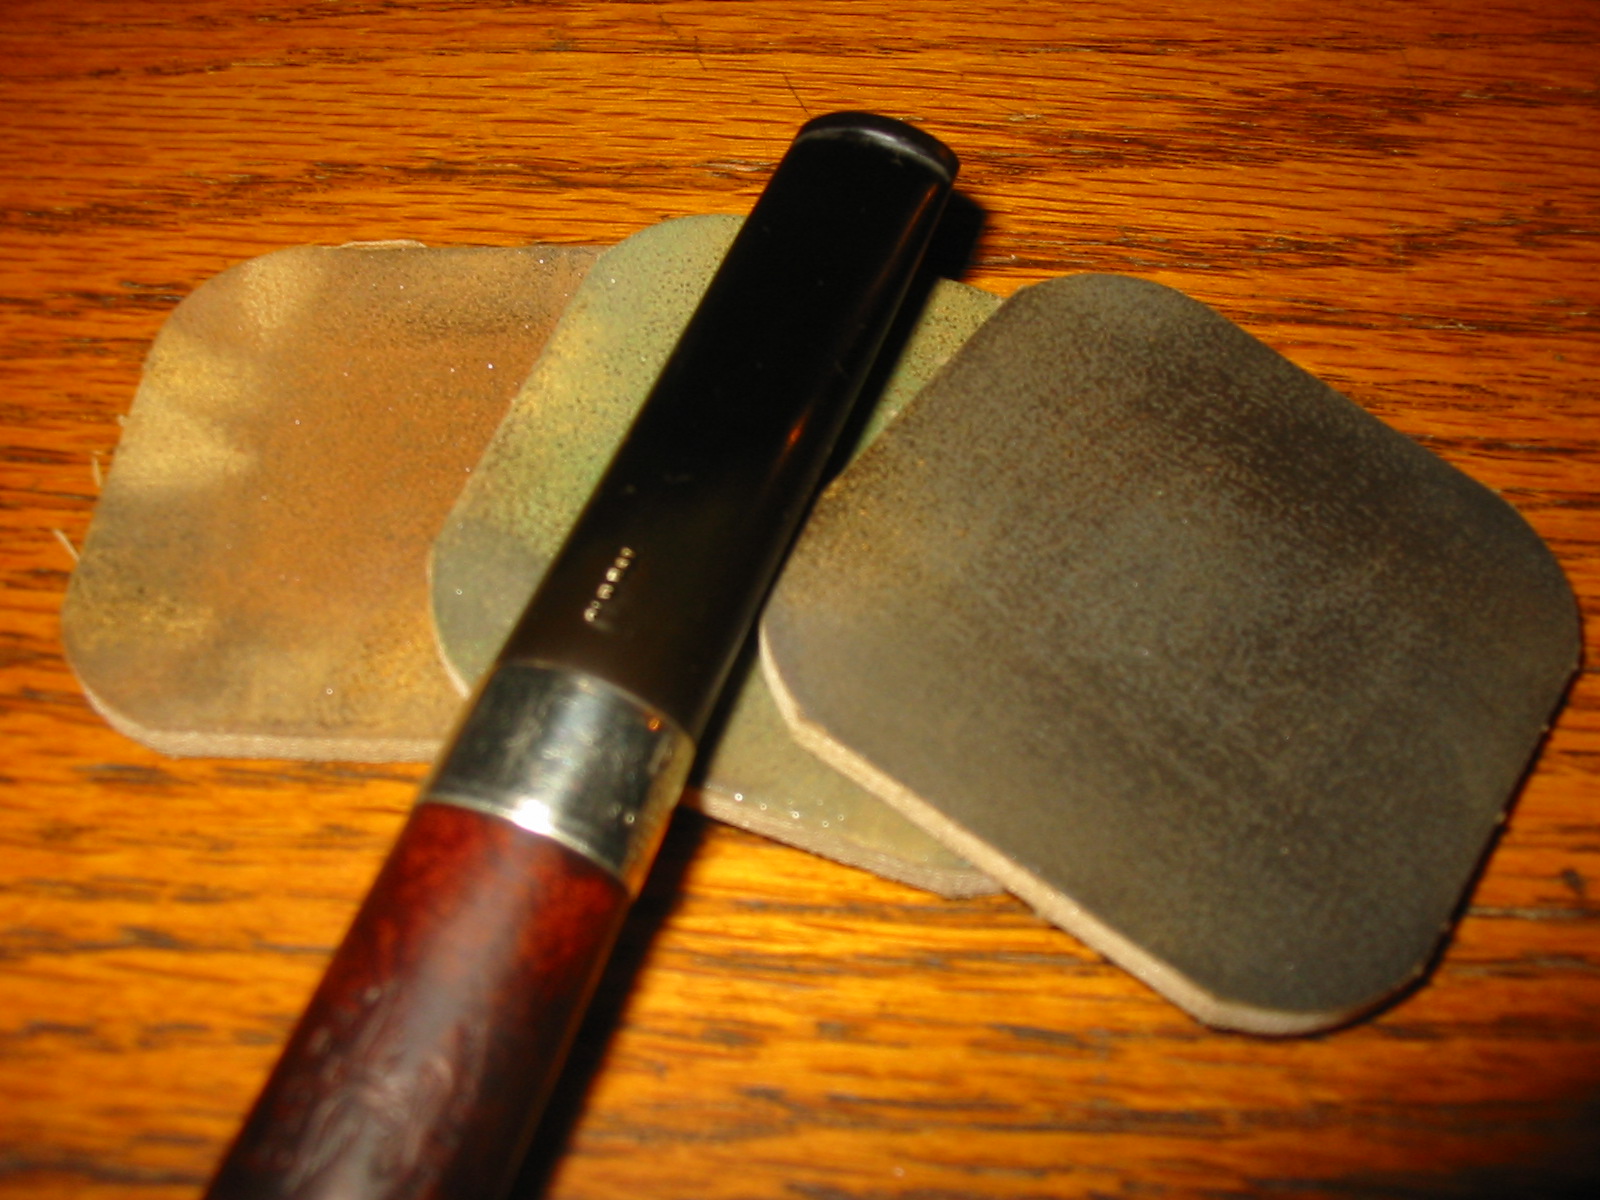
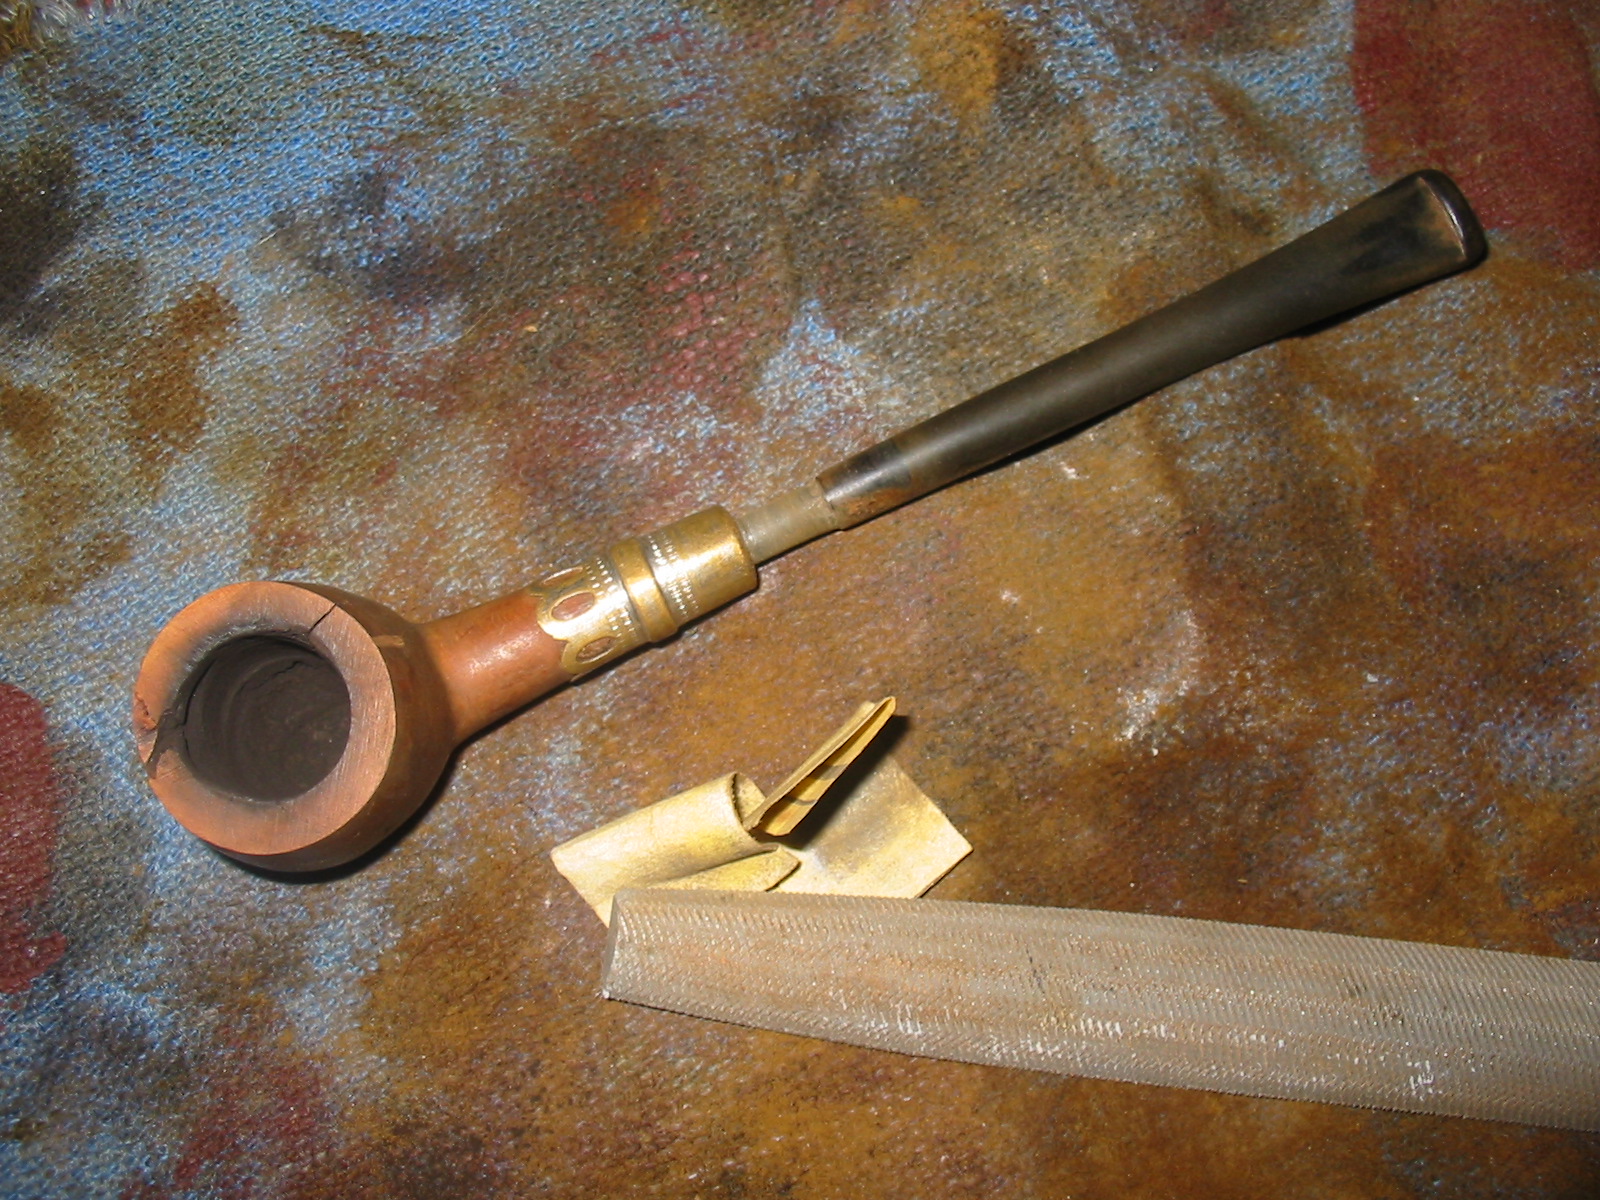
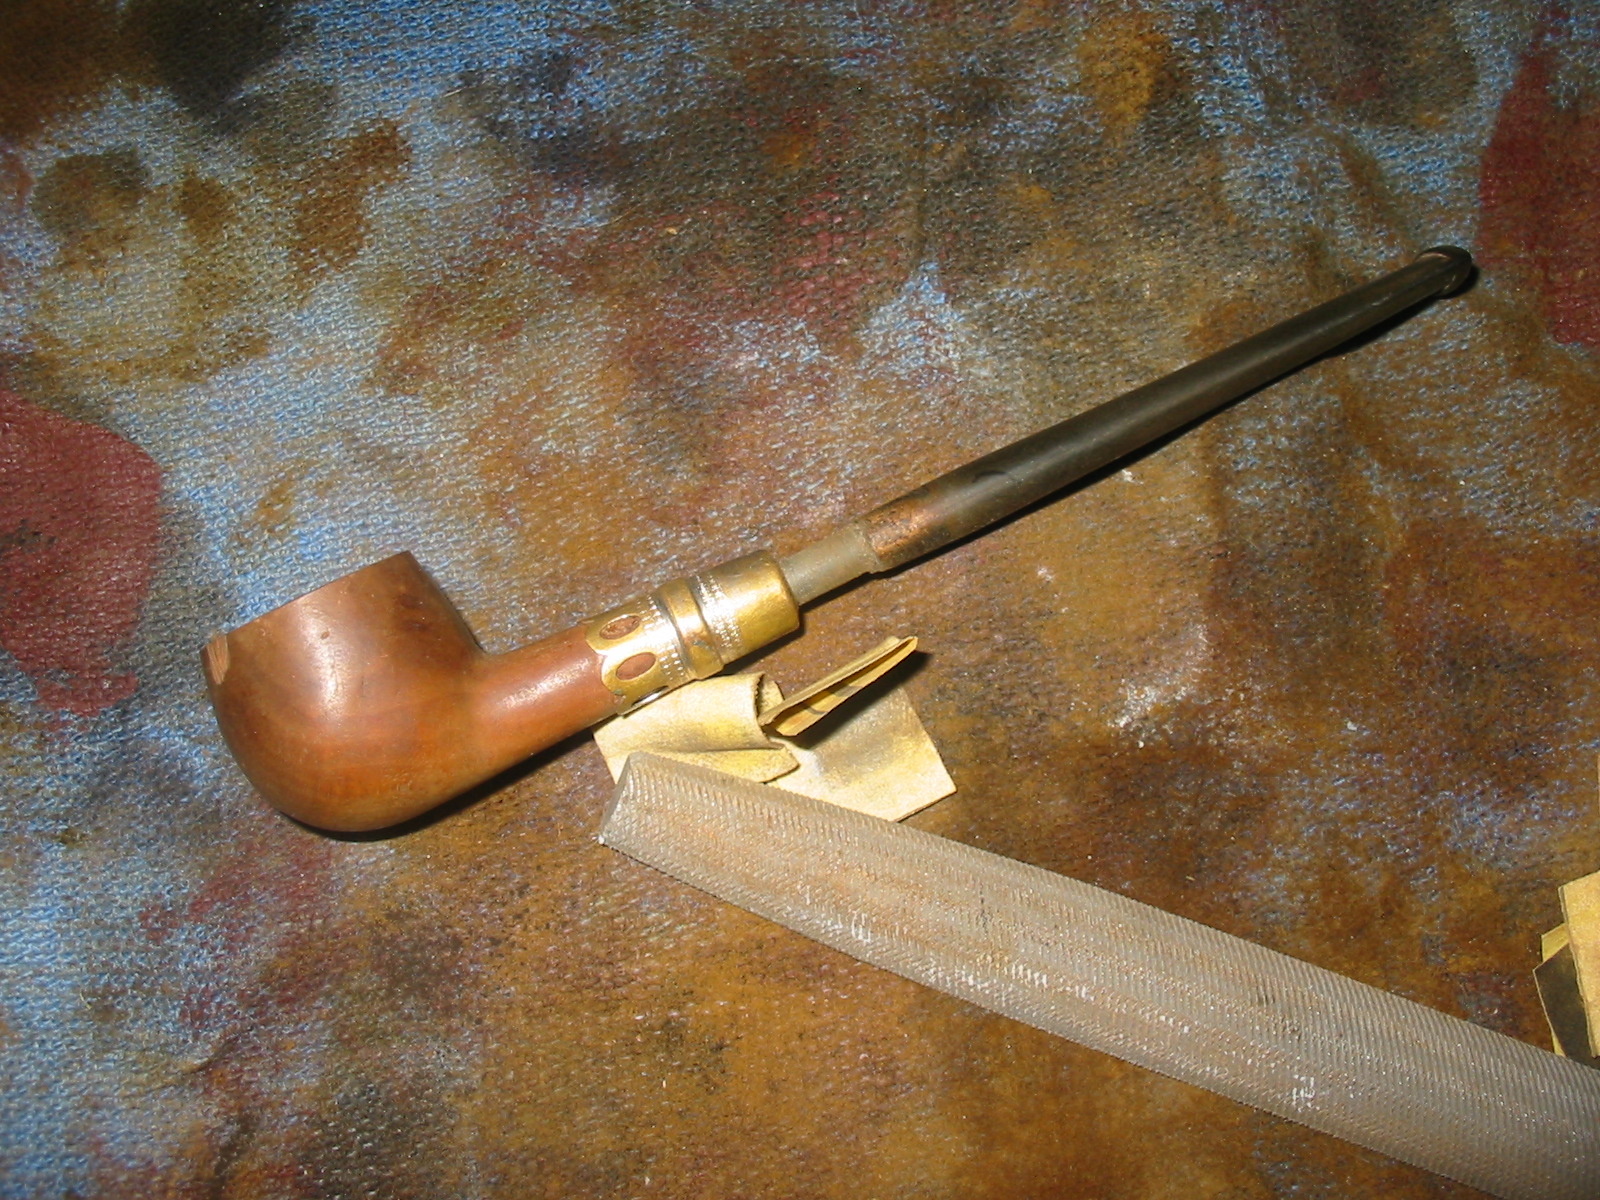
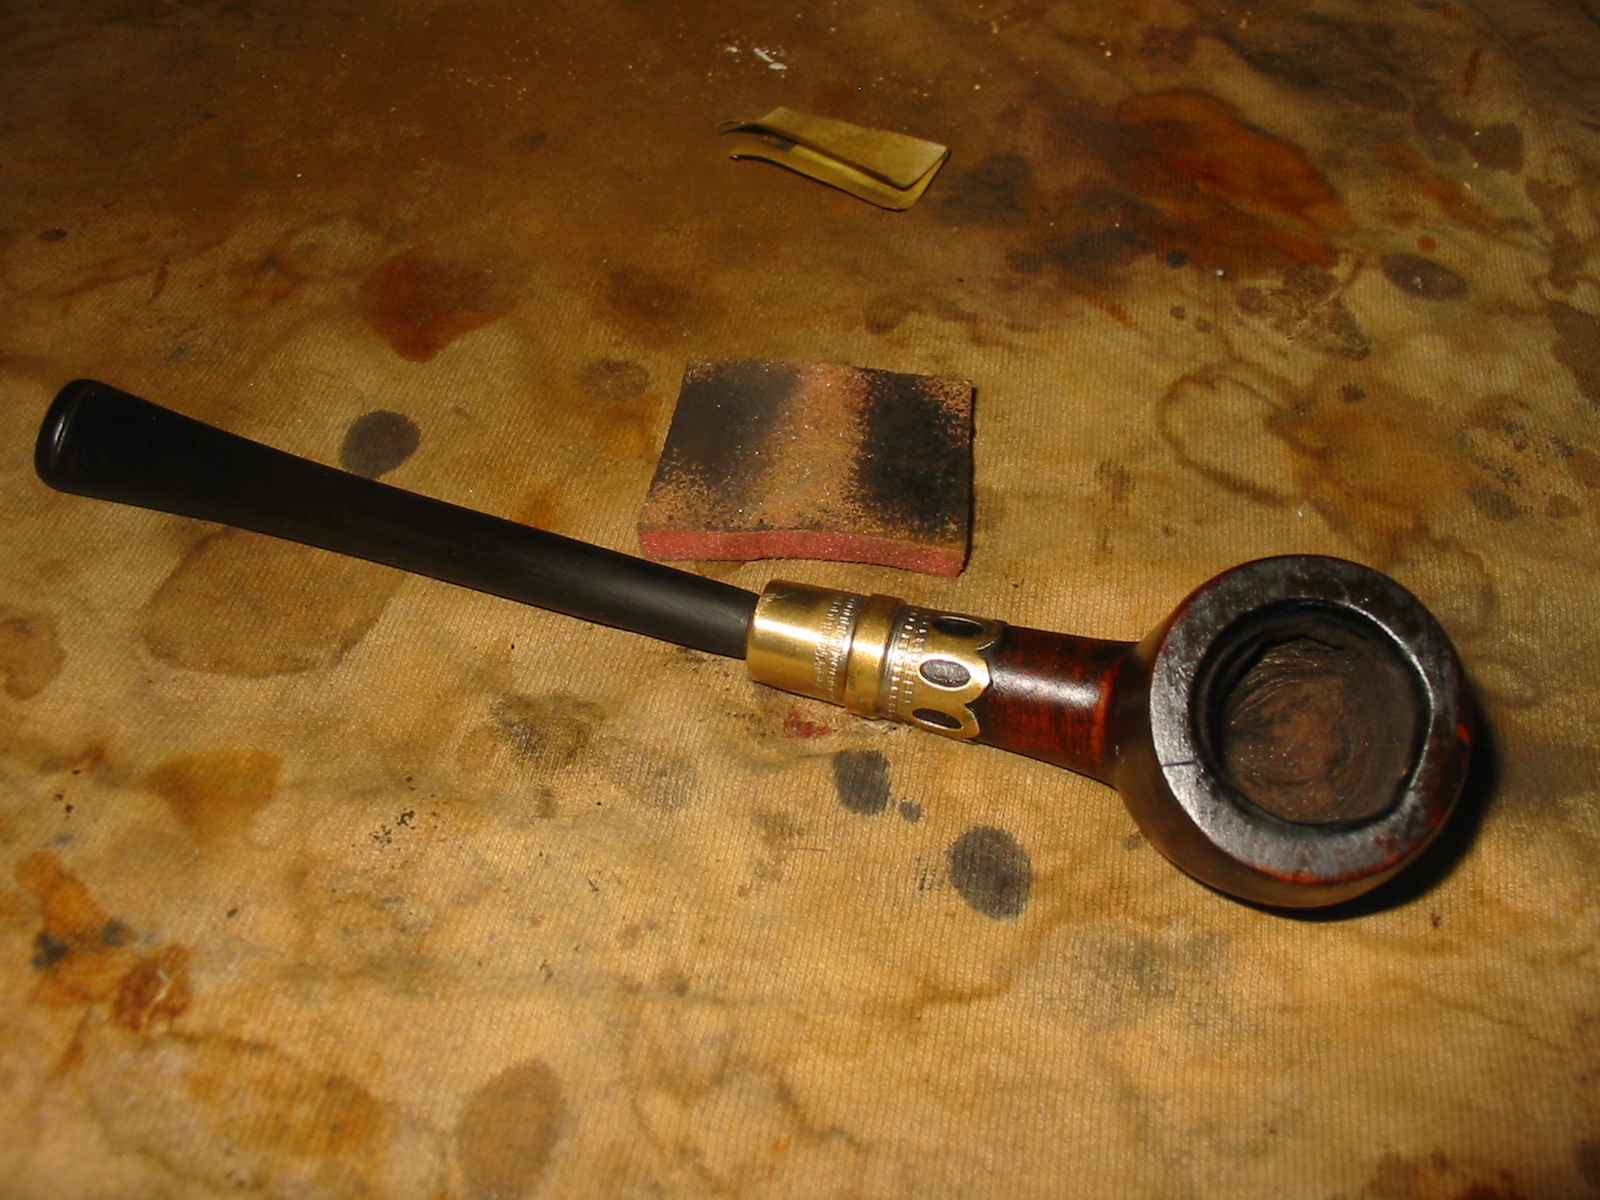
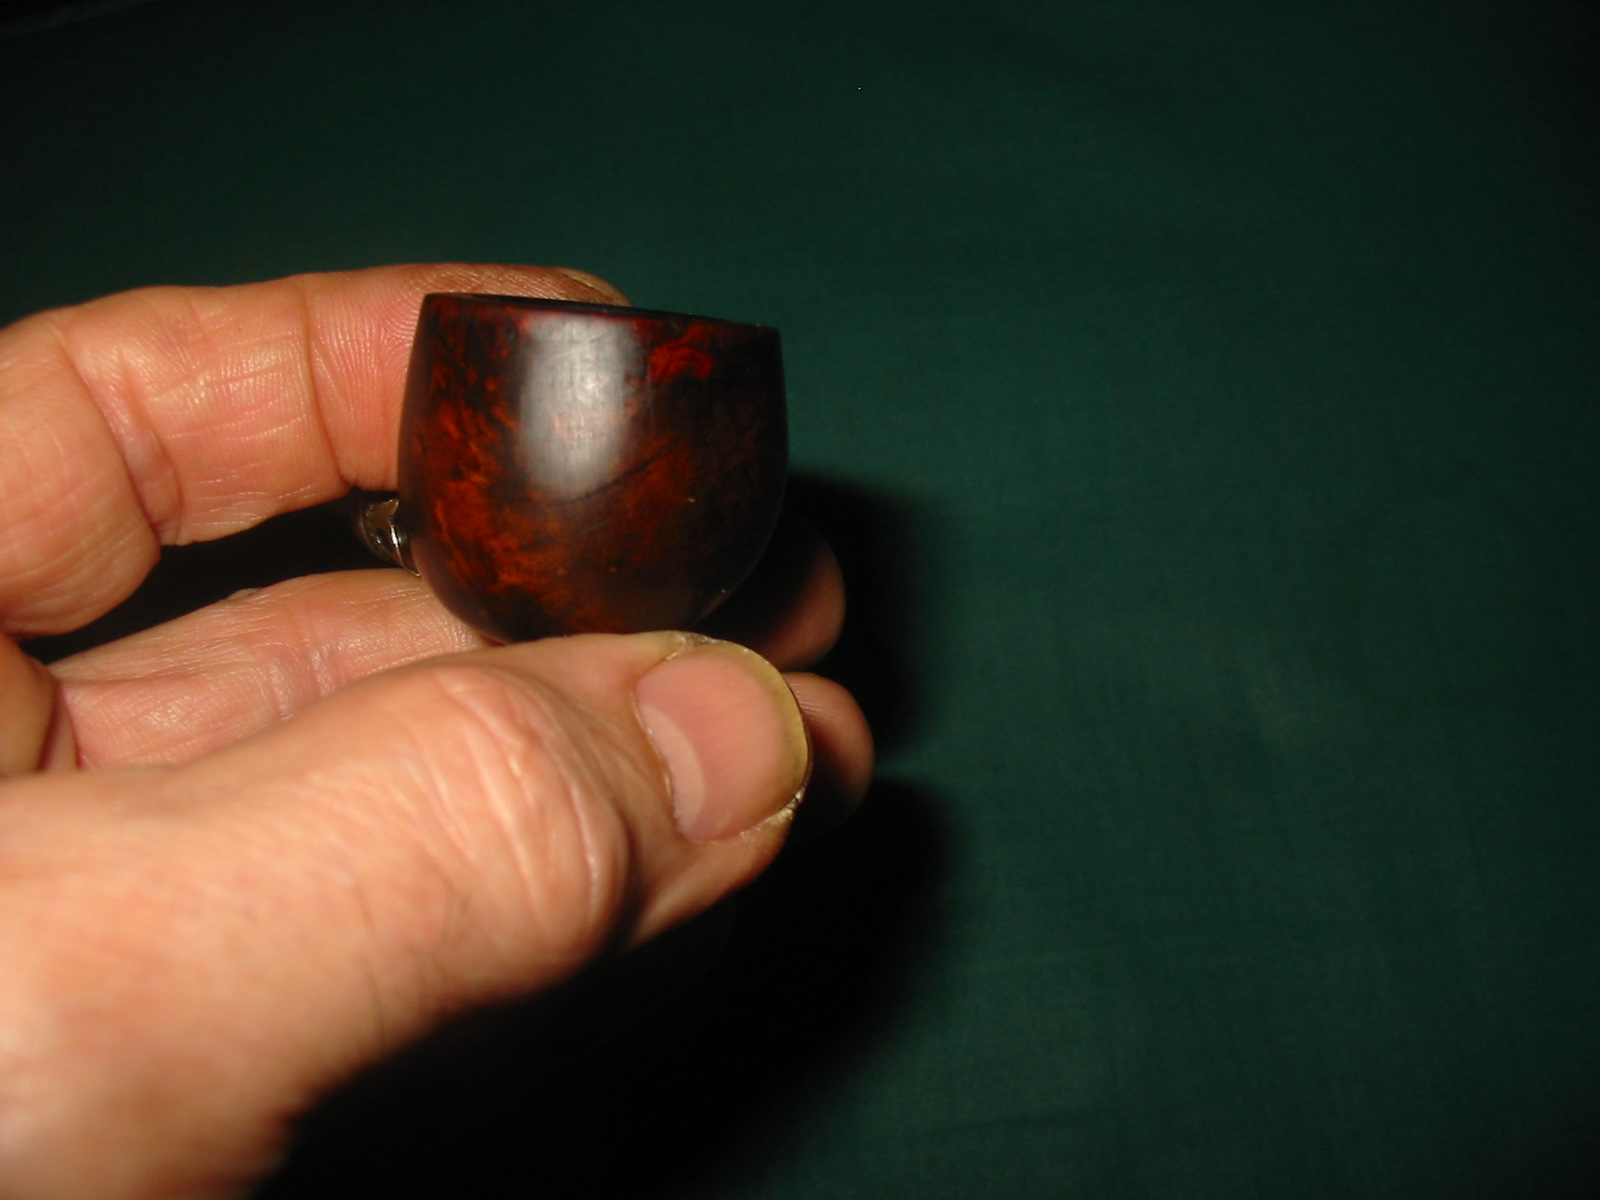
I took it out of the gourd and sanded it with the 220 grit sandpaper until it fit correctly. I polished the cup exterior with a fine grit sanding sponge and 1500 grit micromesh sanding pads before pressing it back into the gourd.
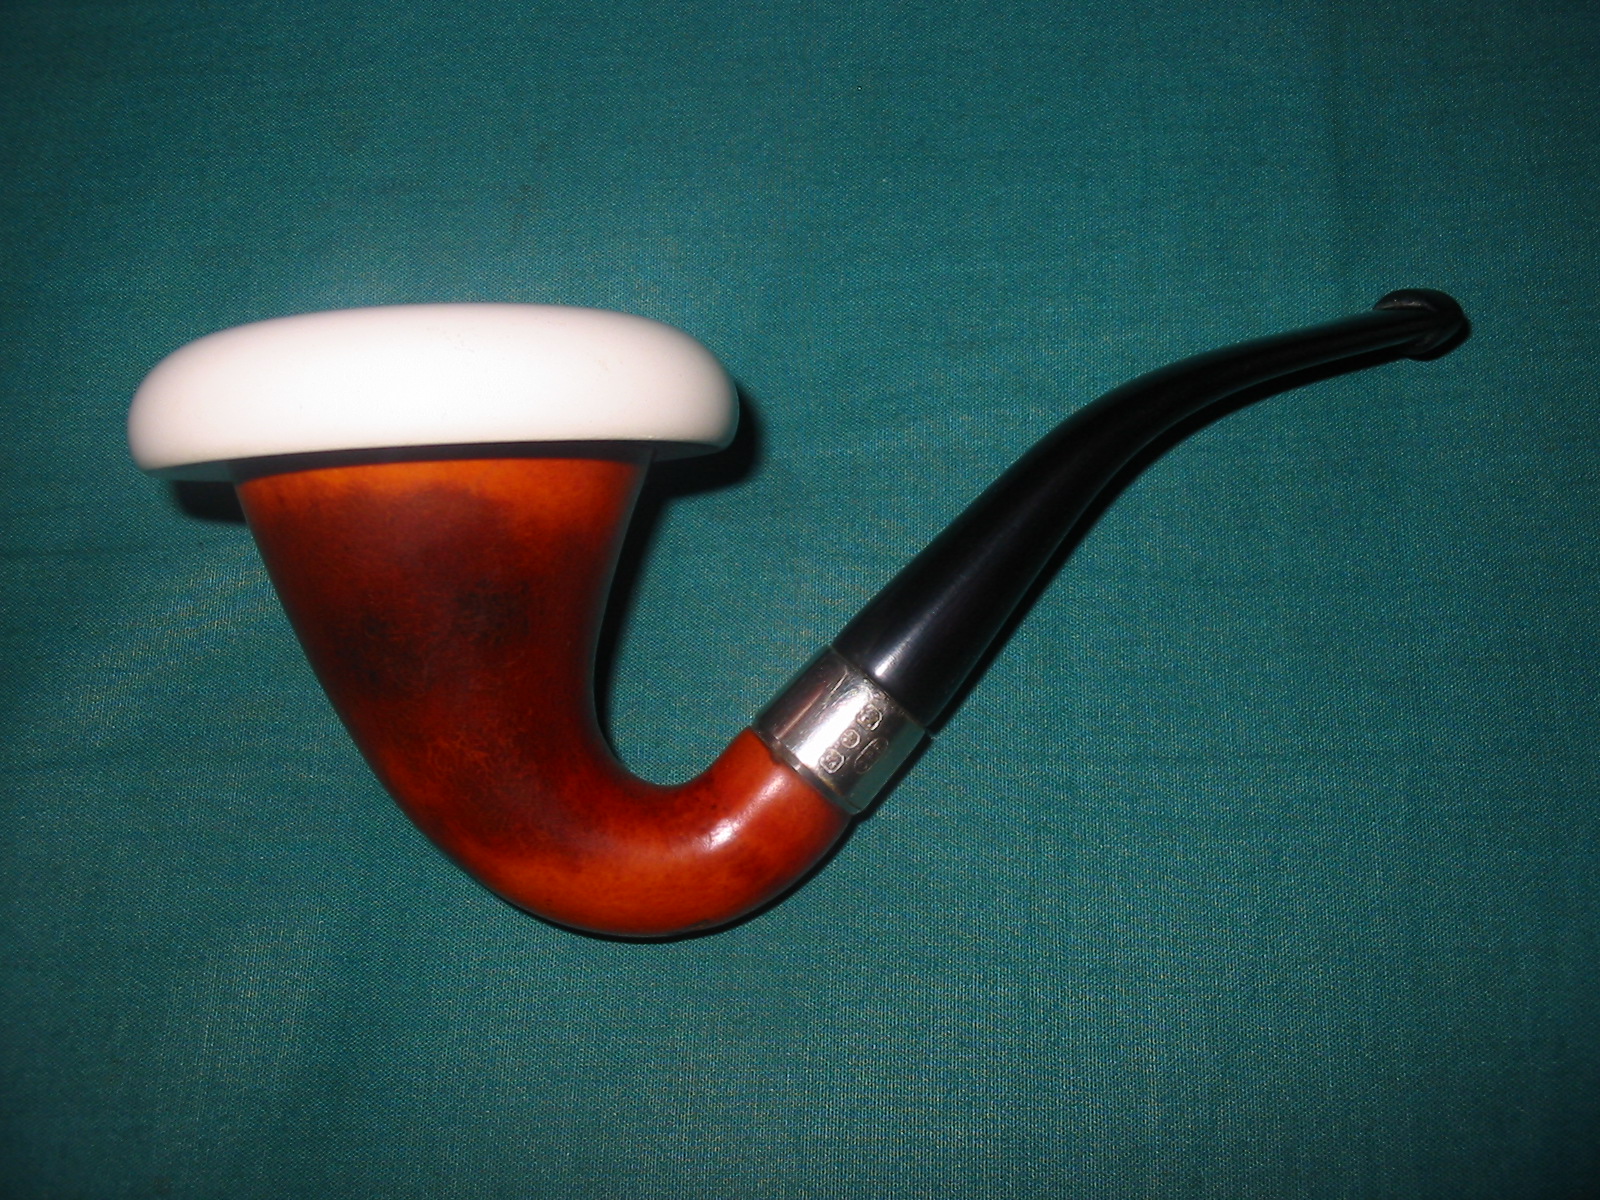
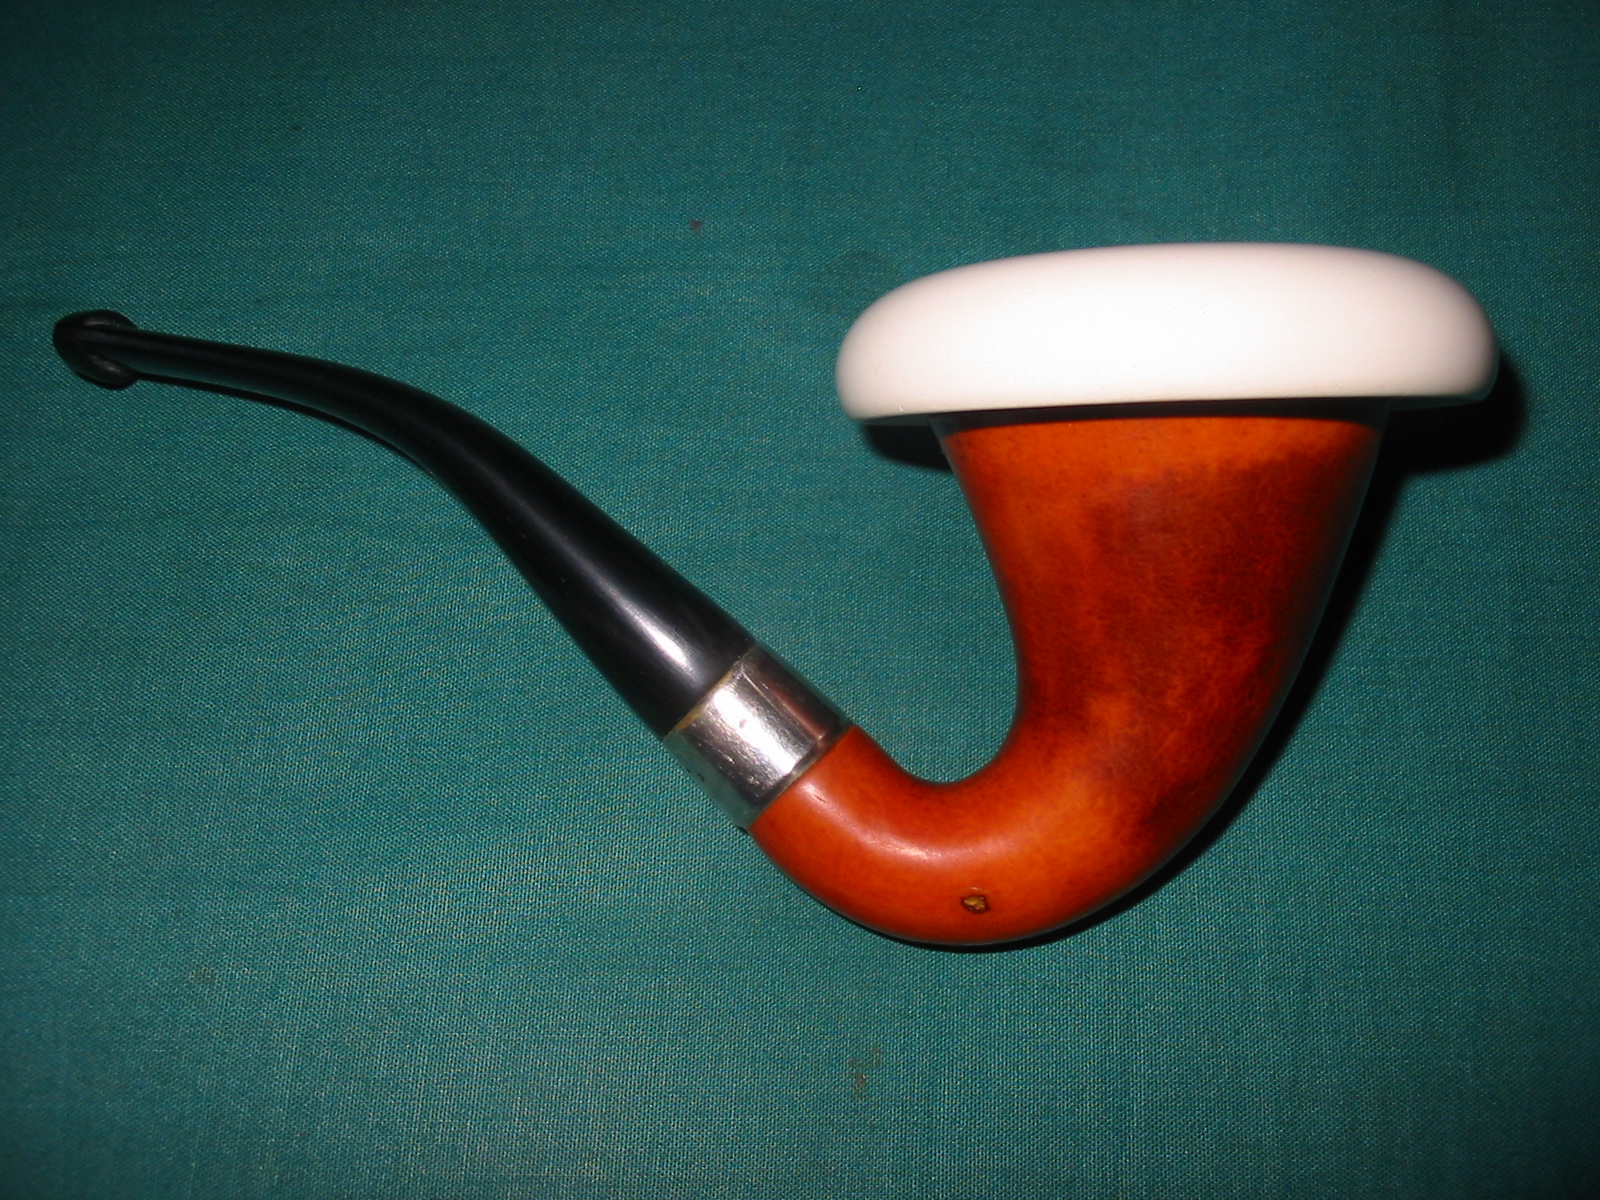
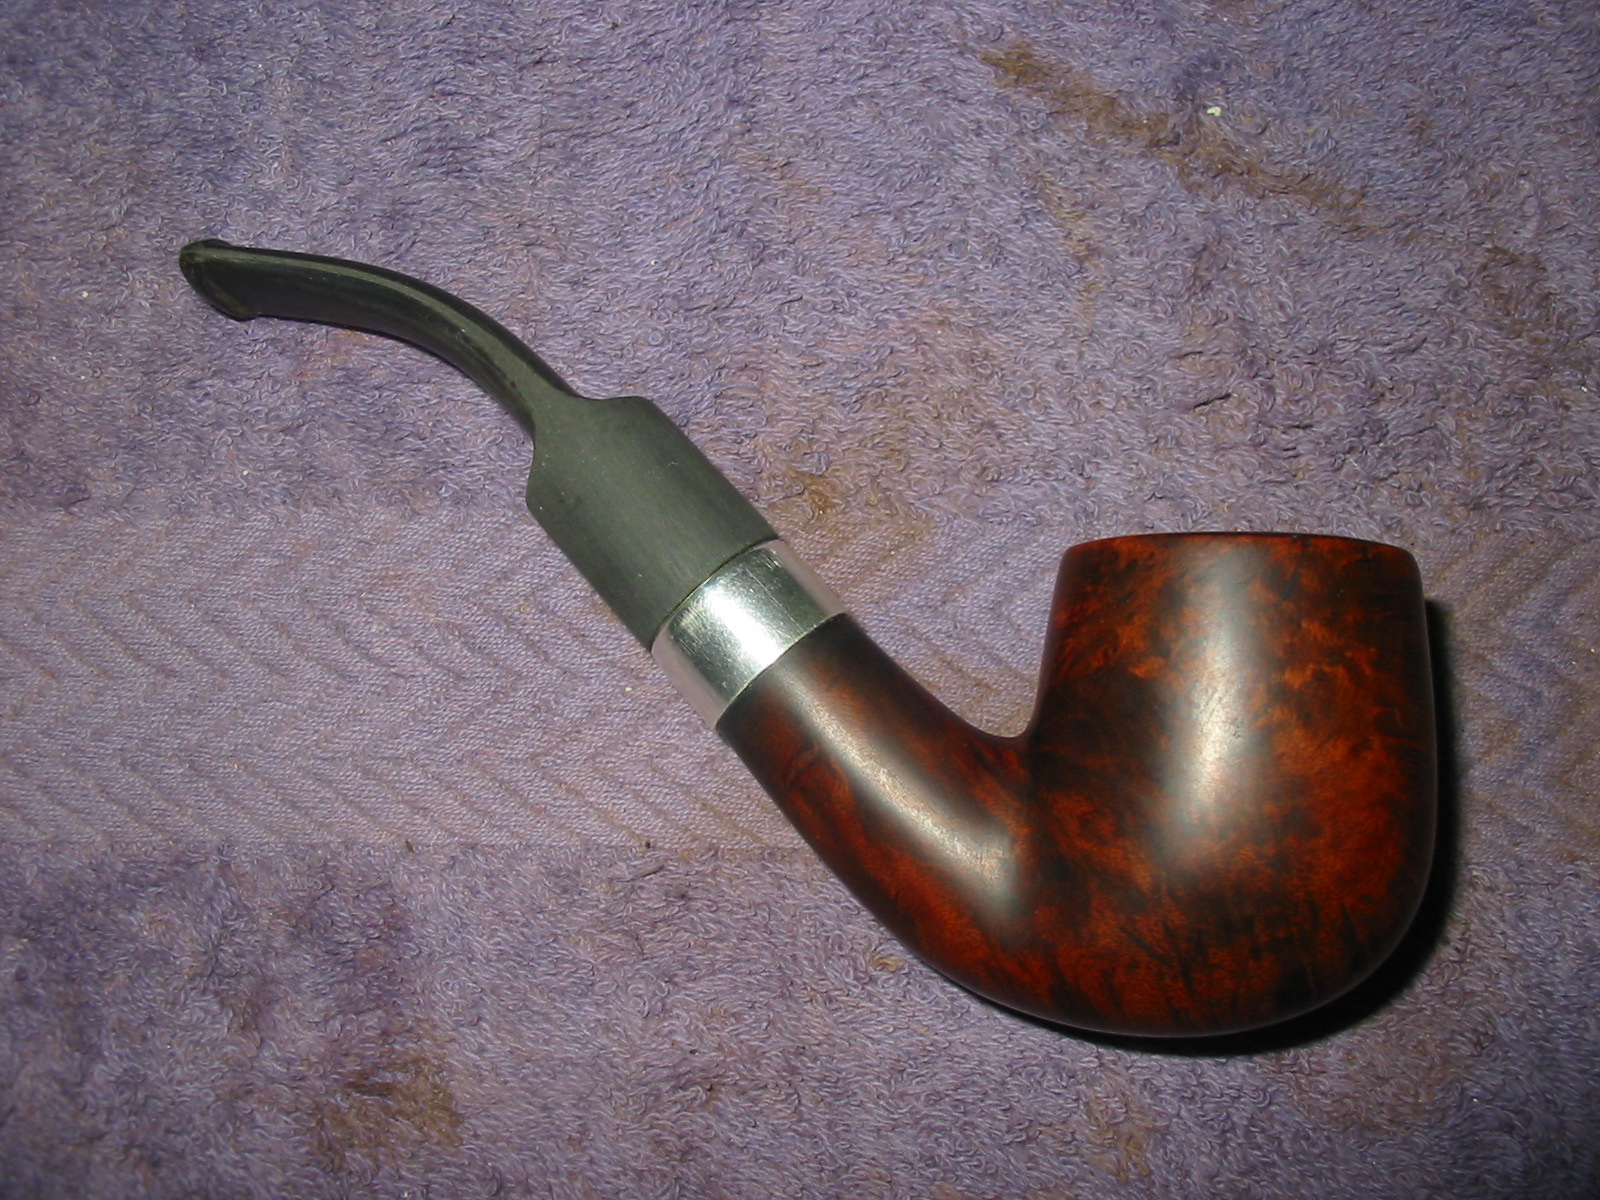
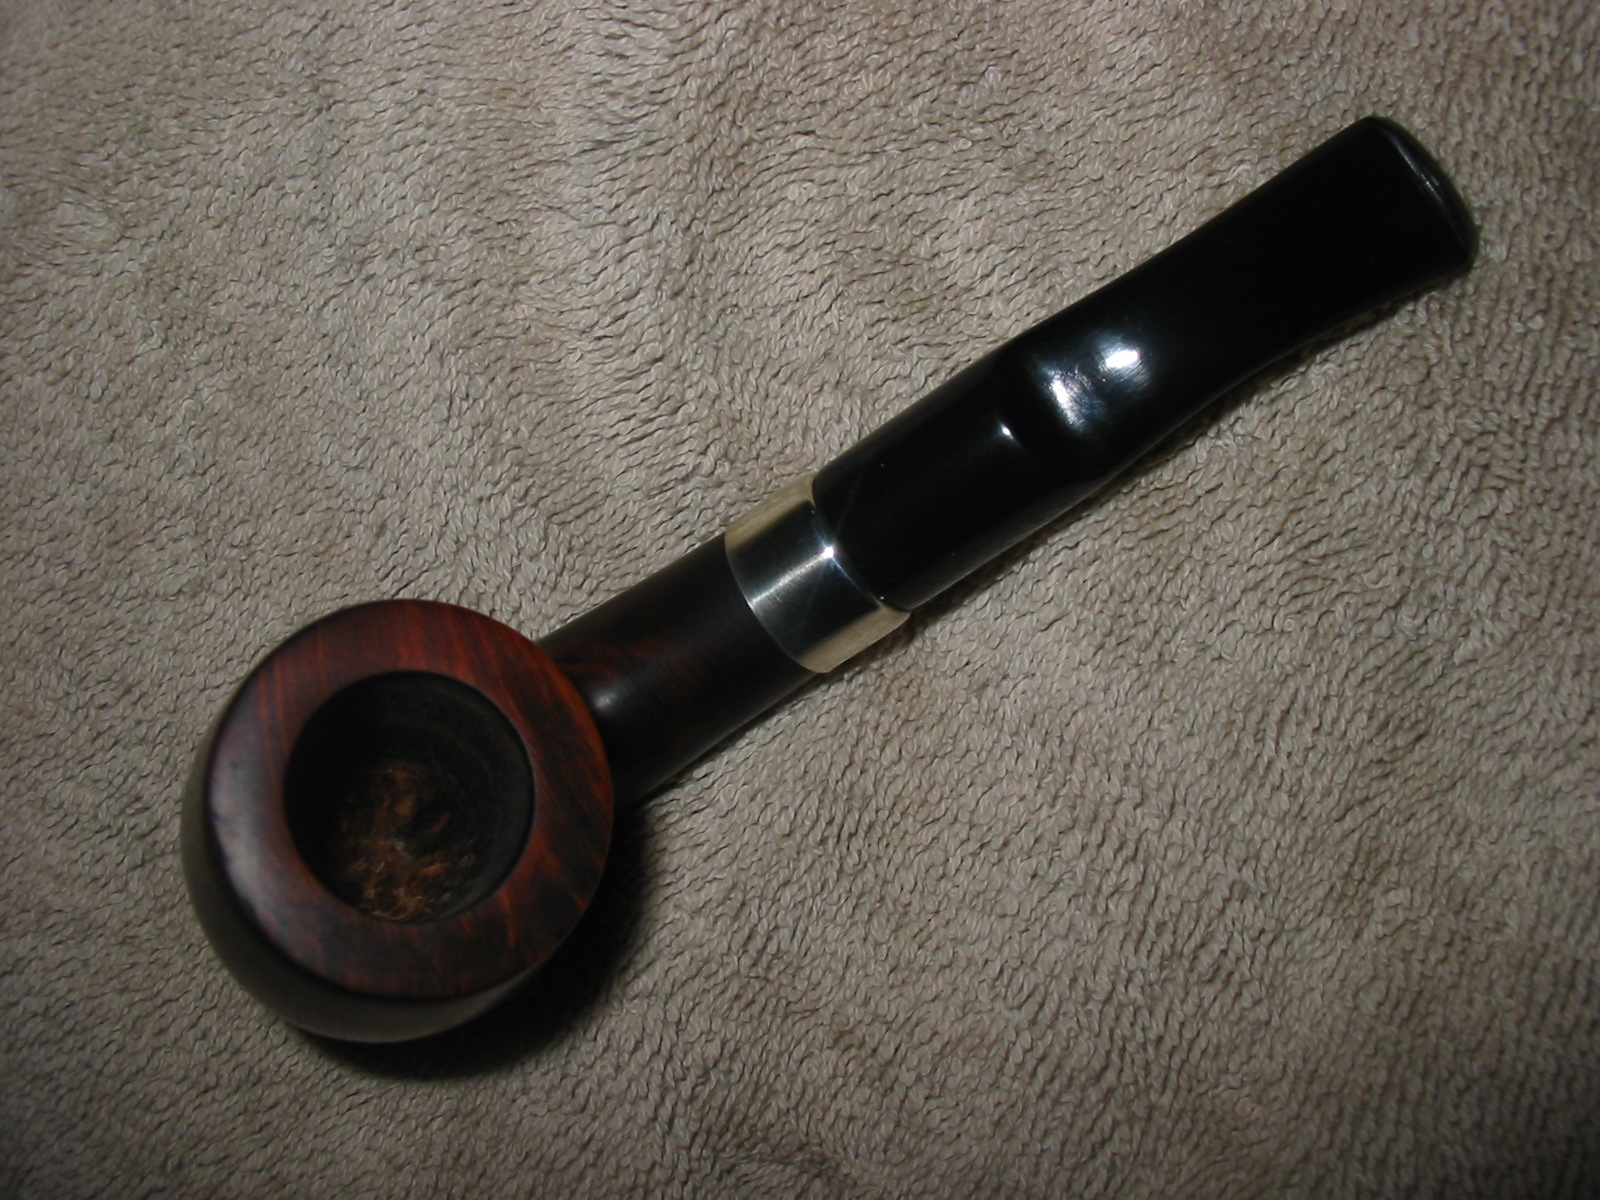
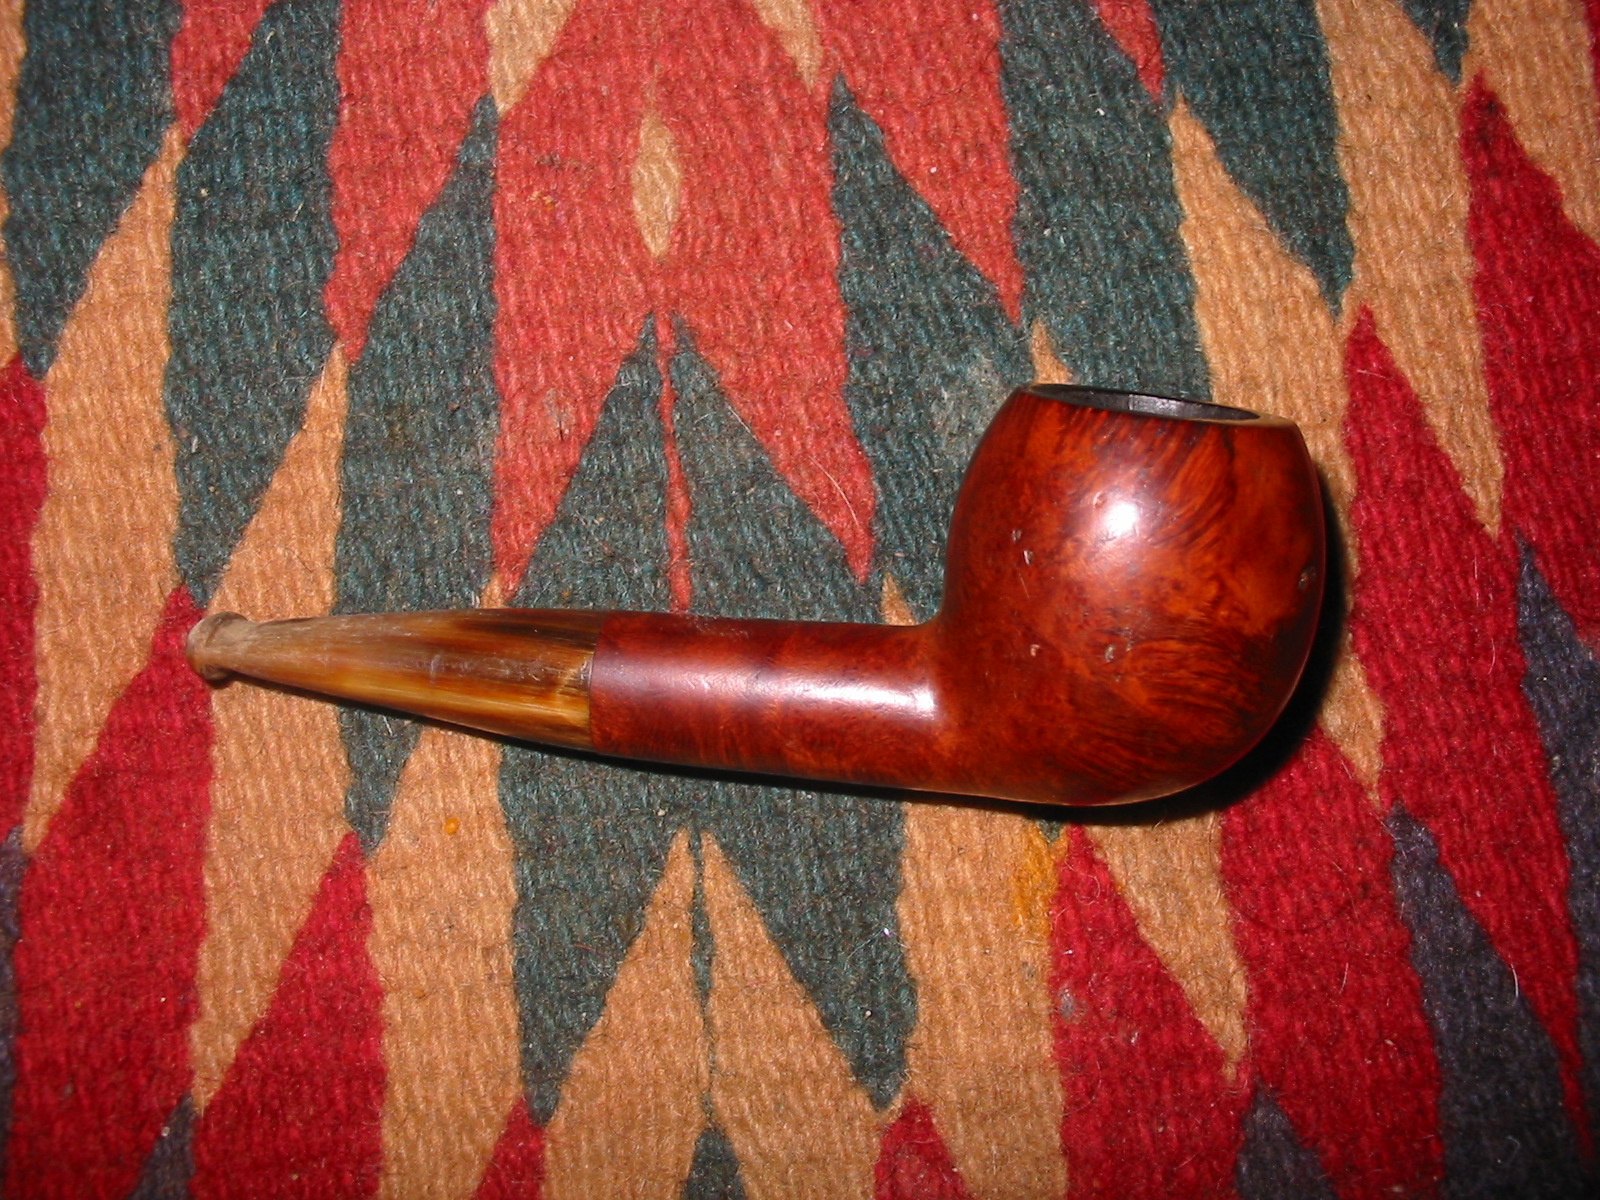
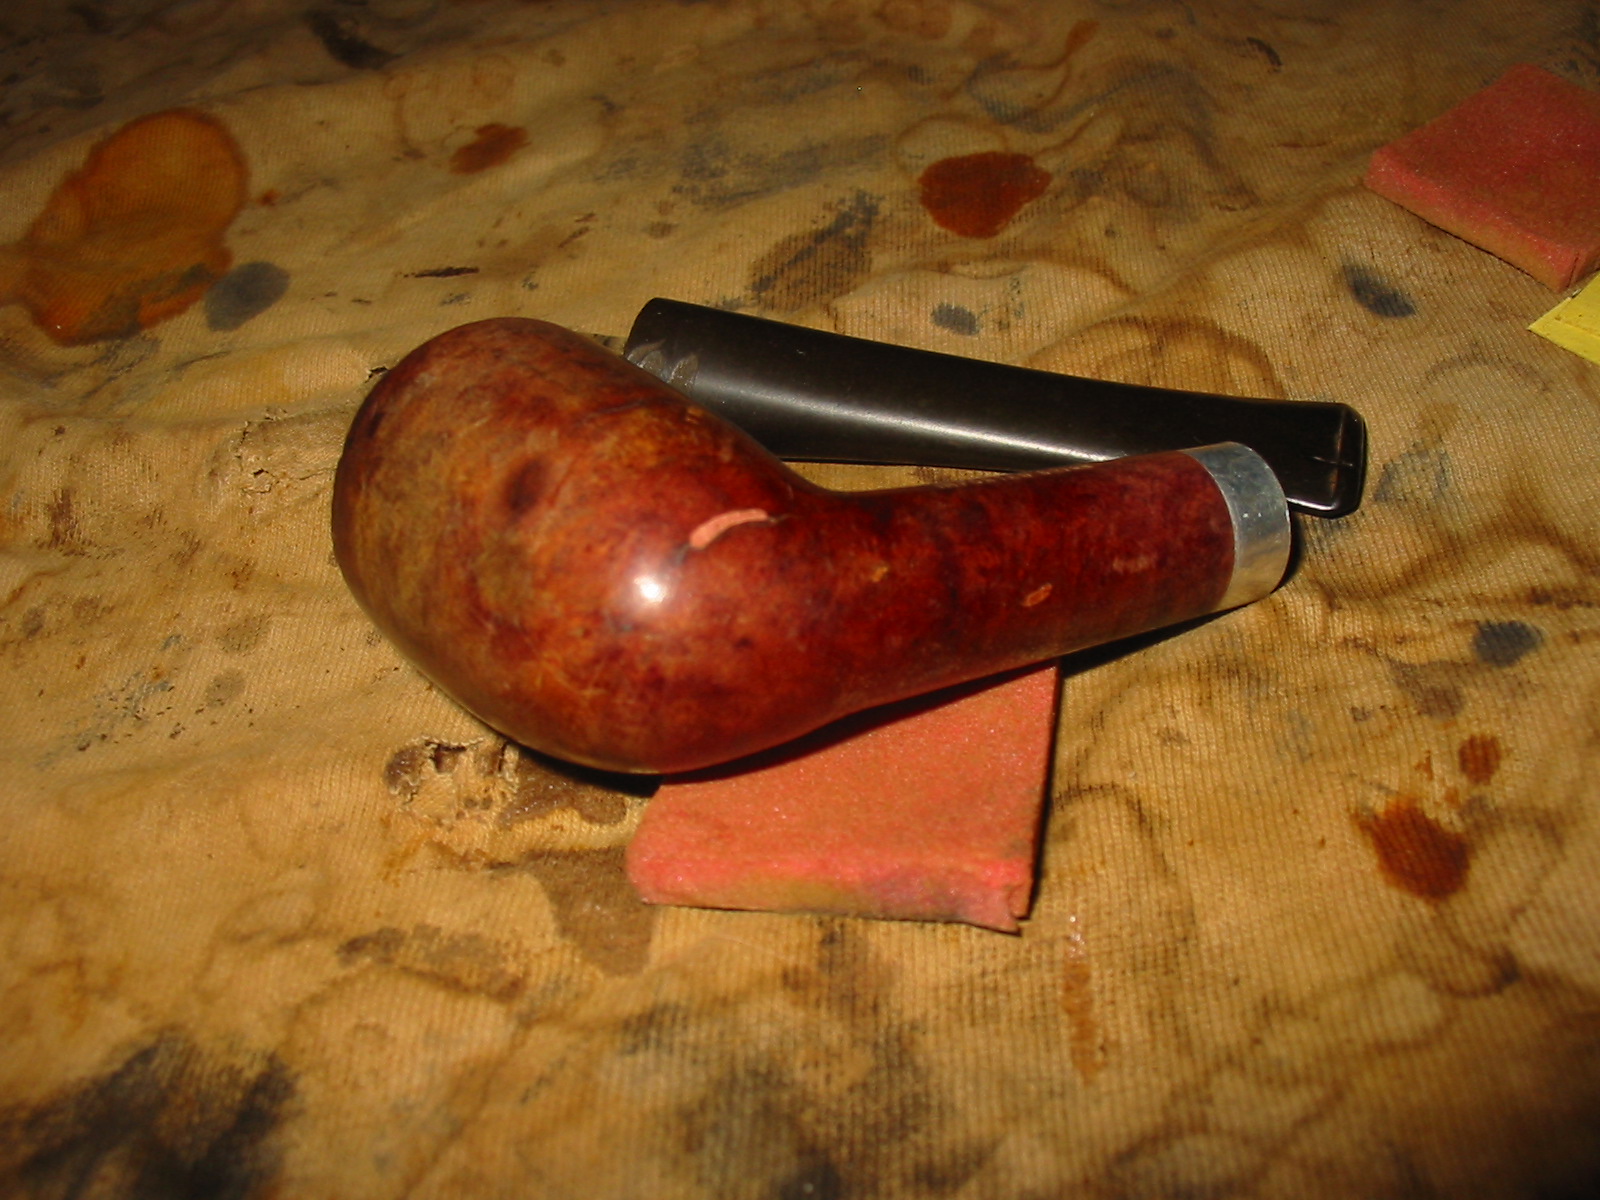
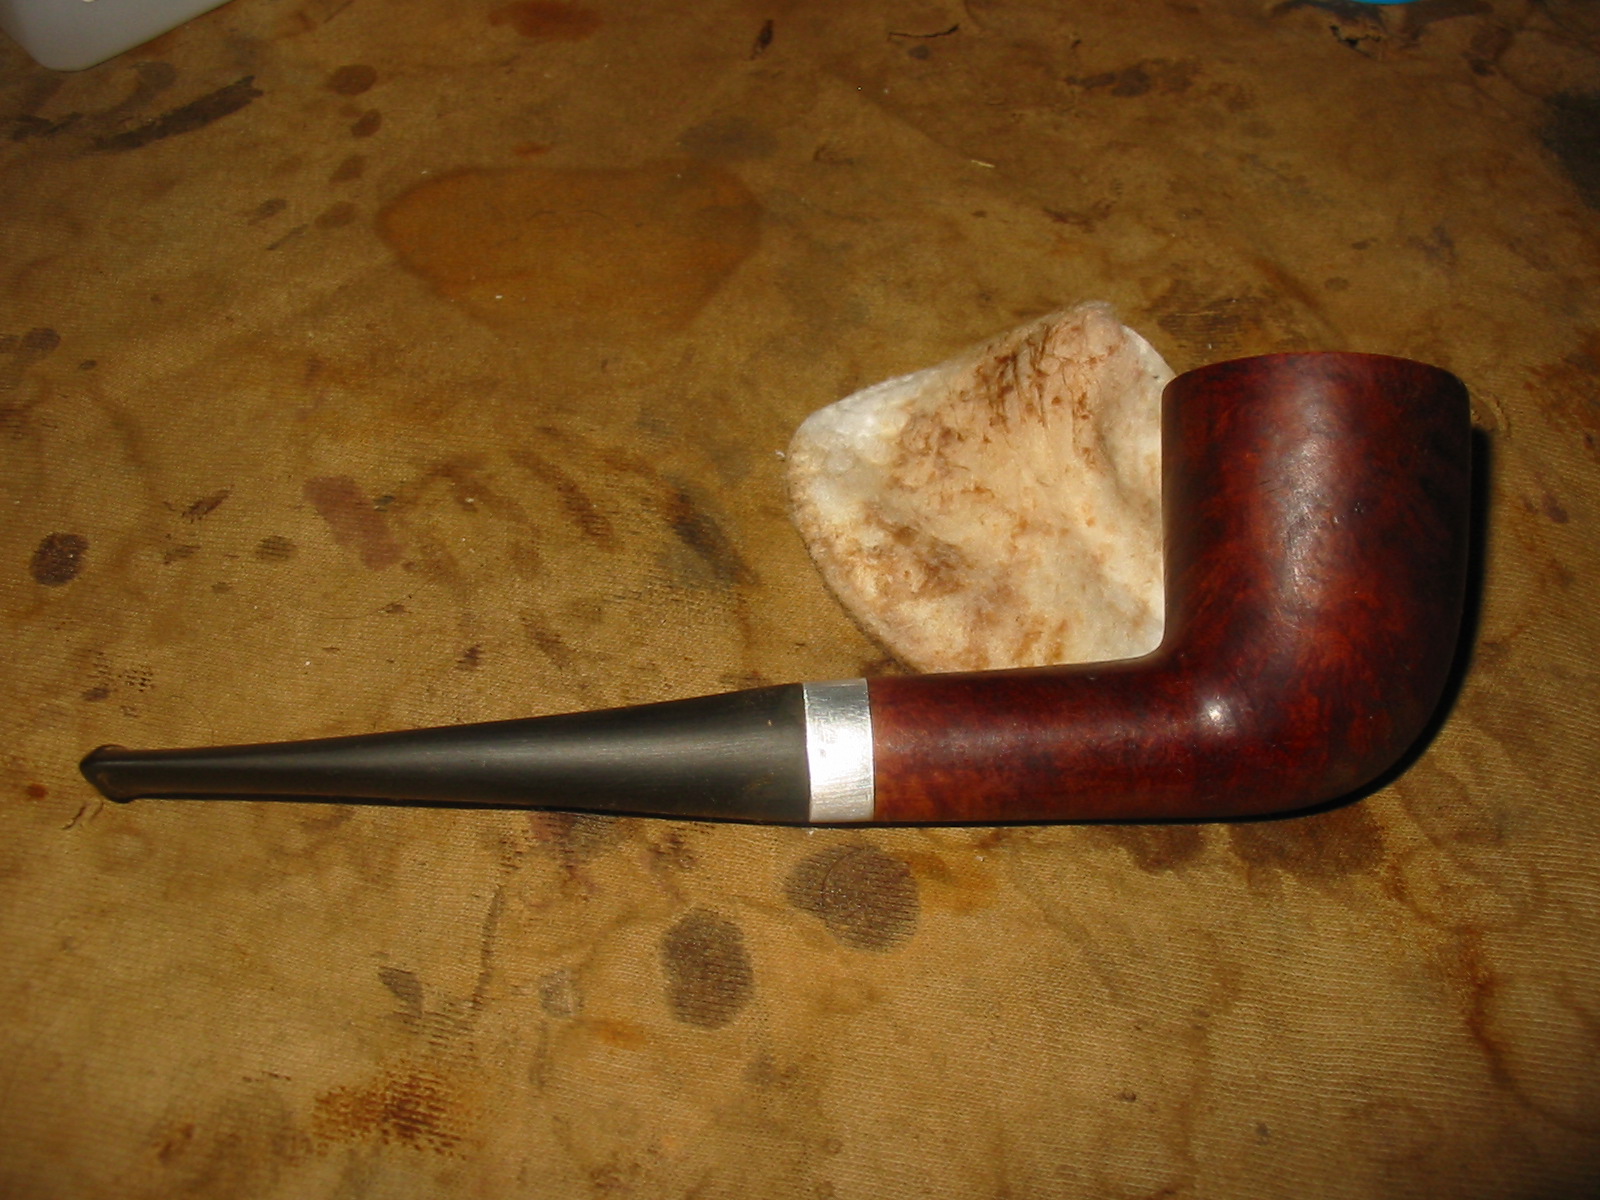
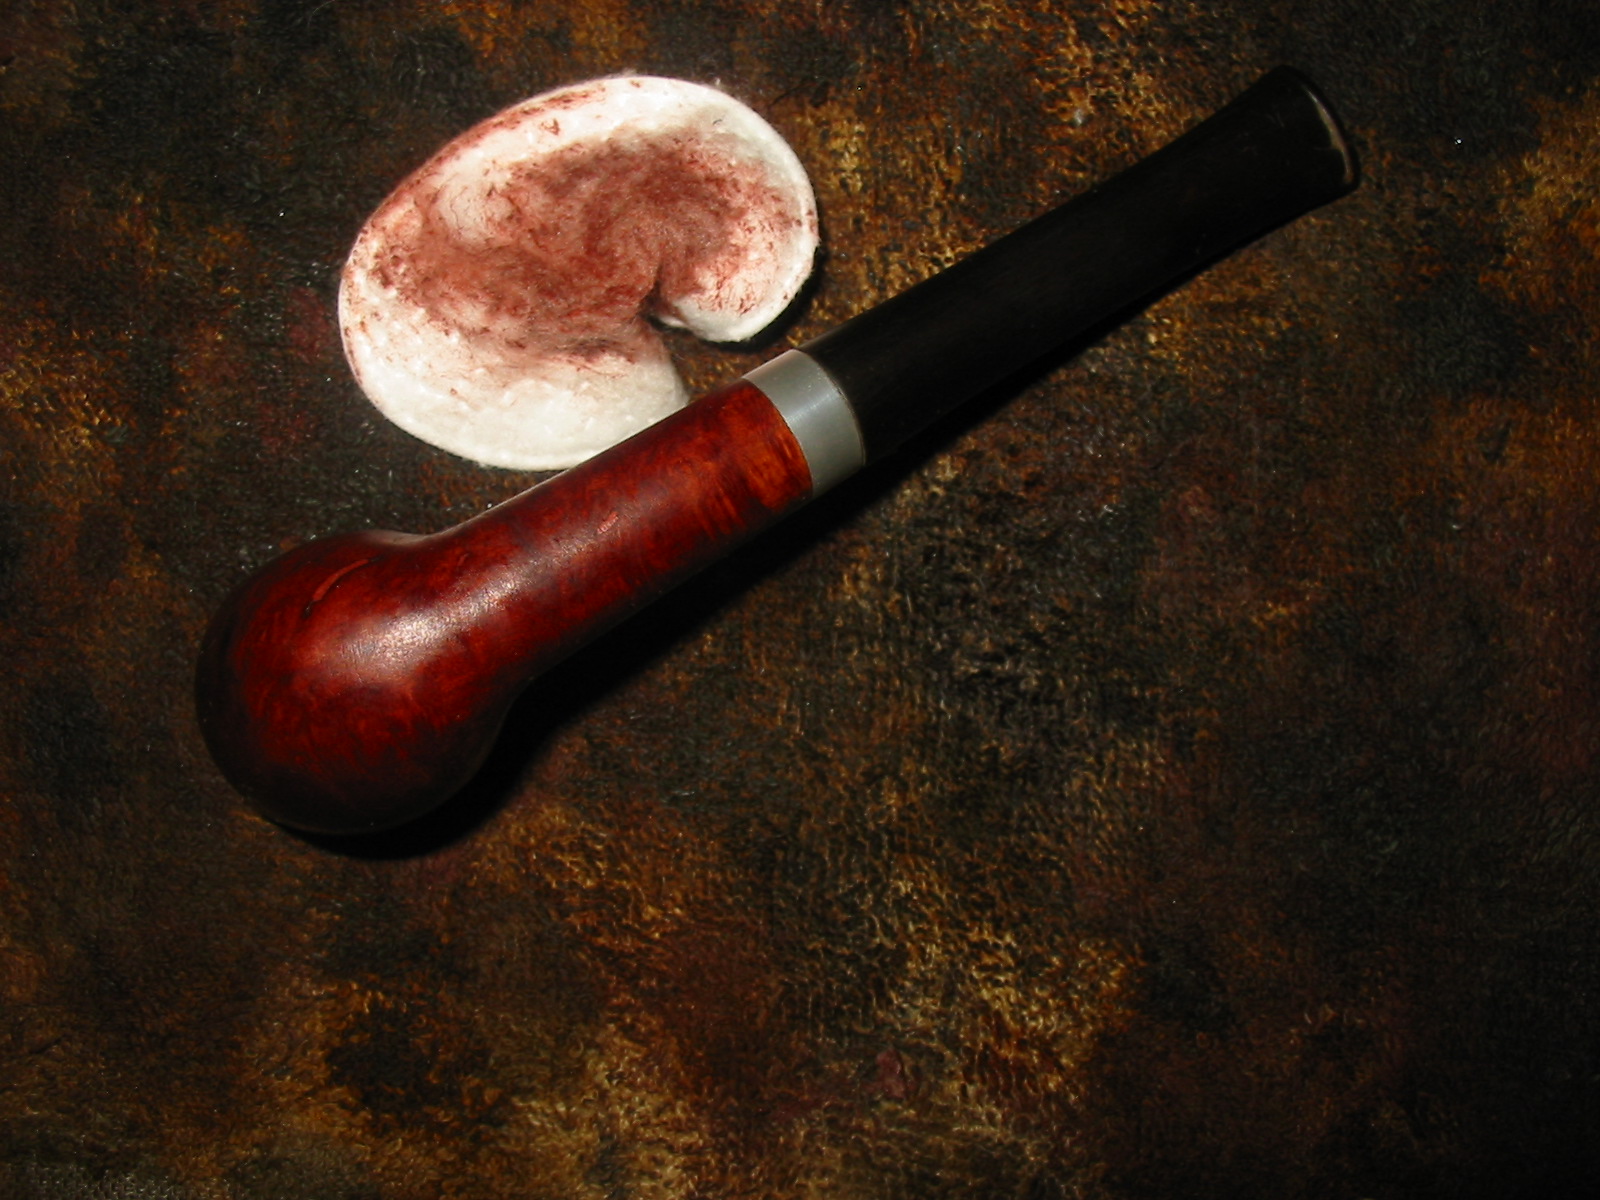
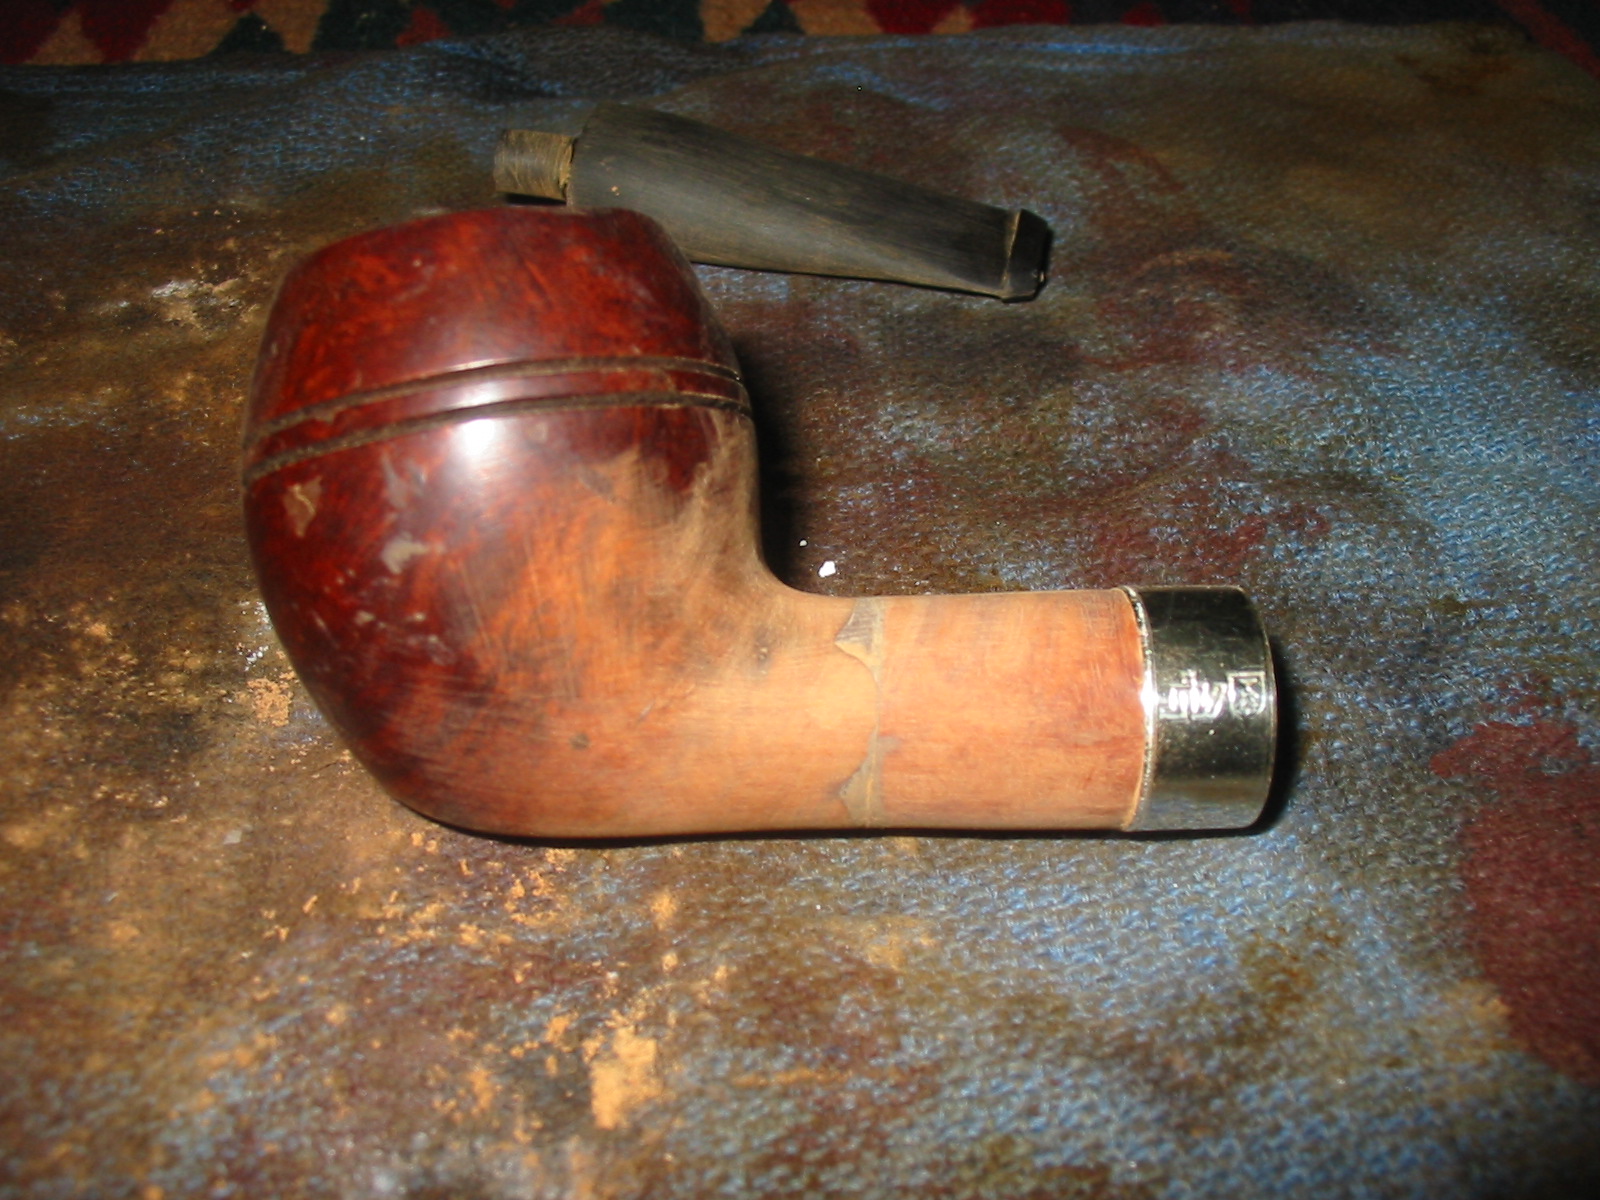
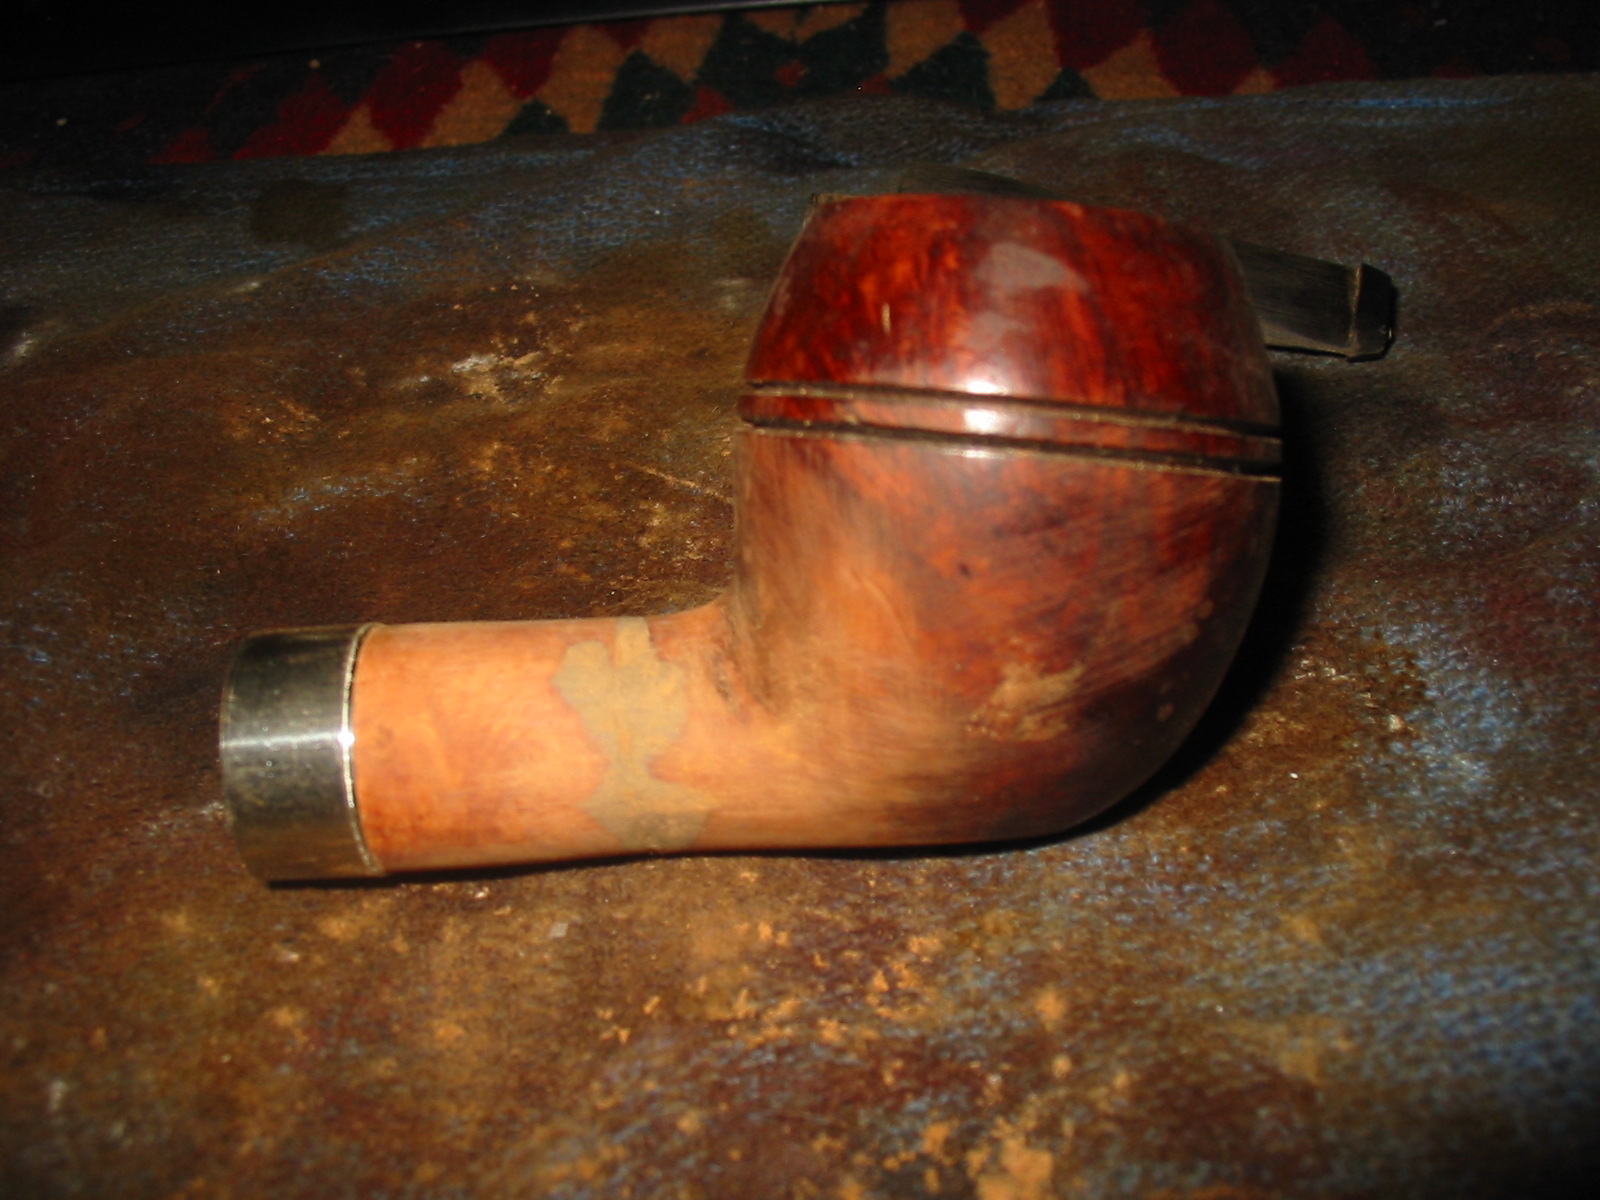
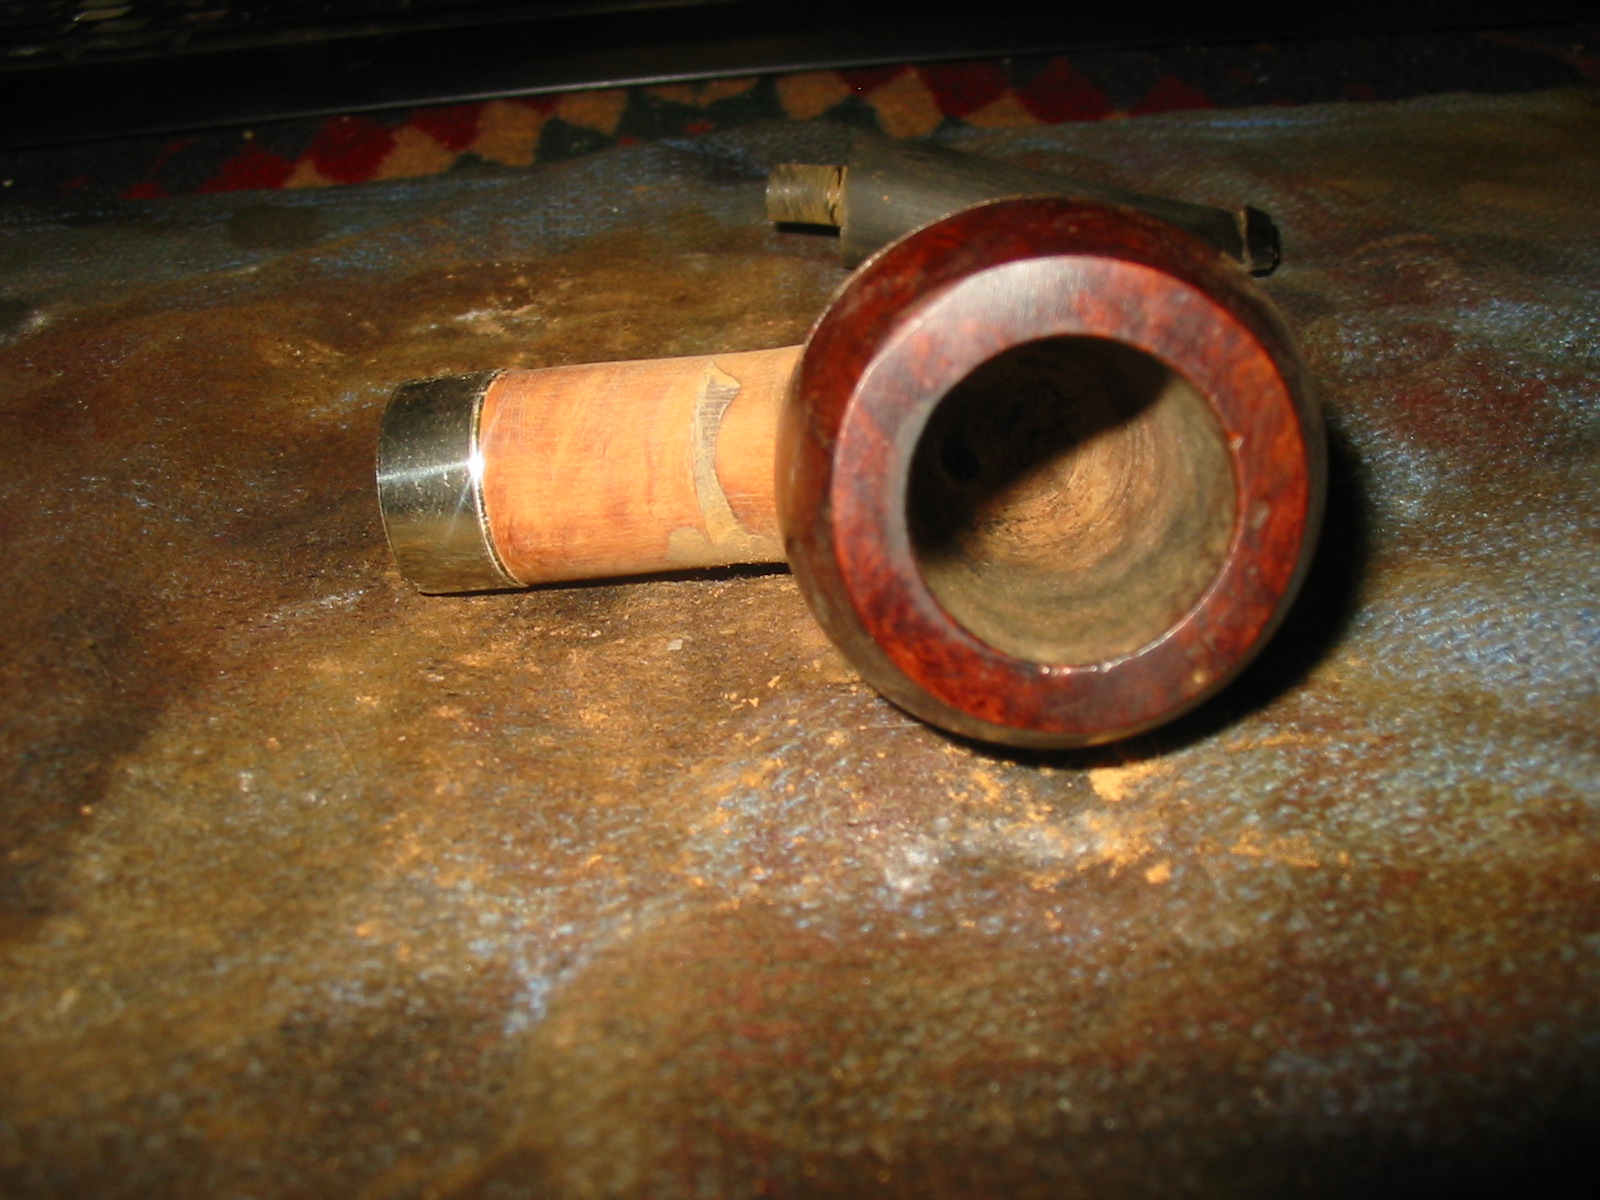
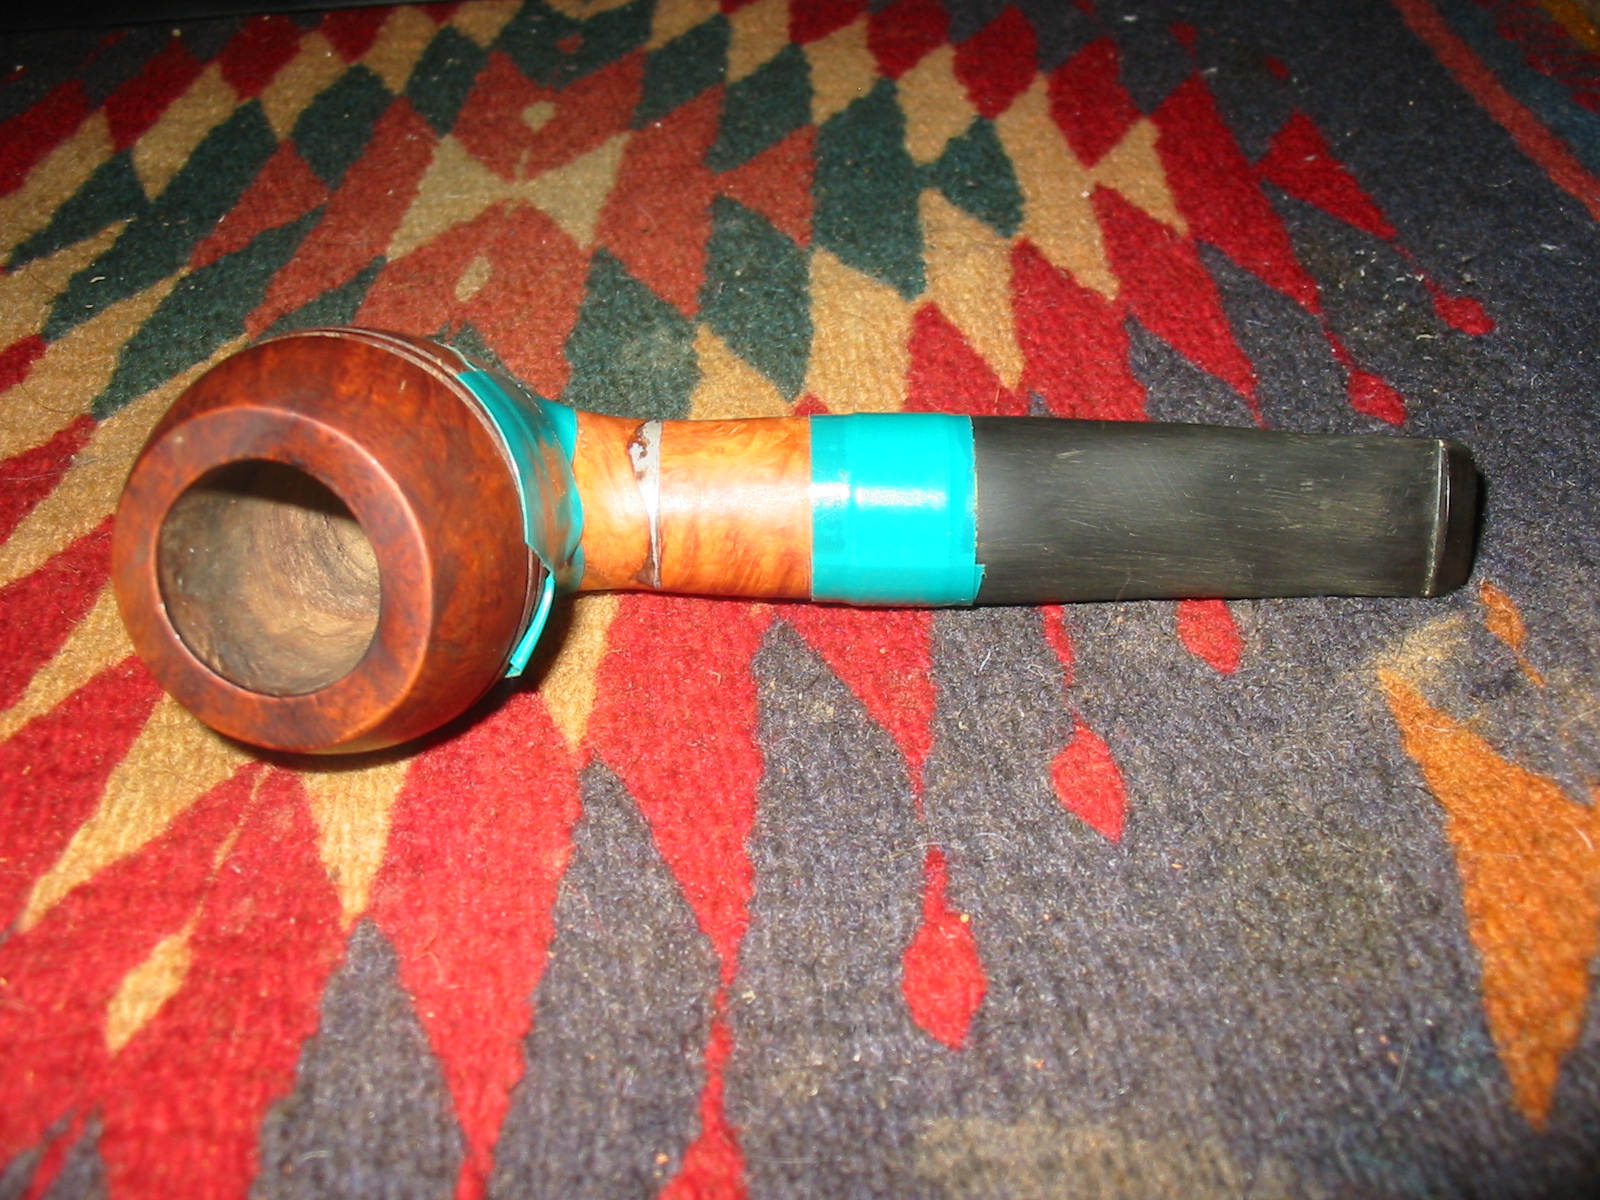
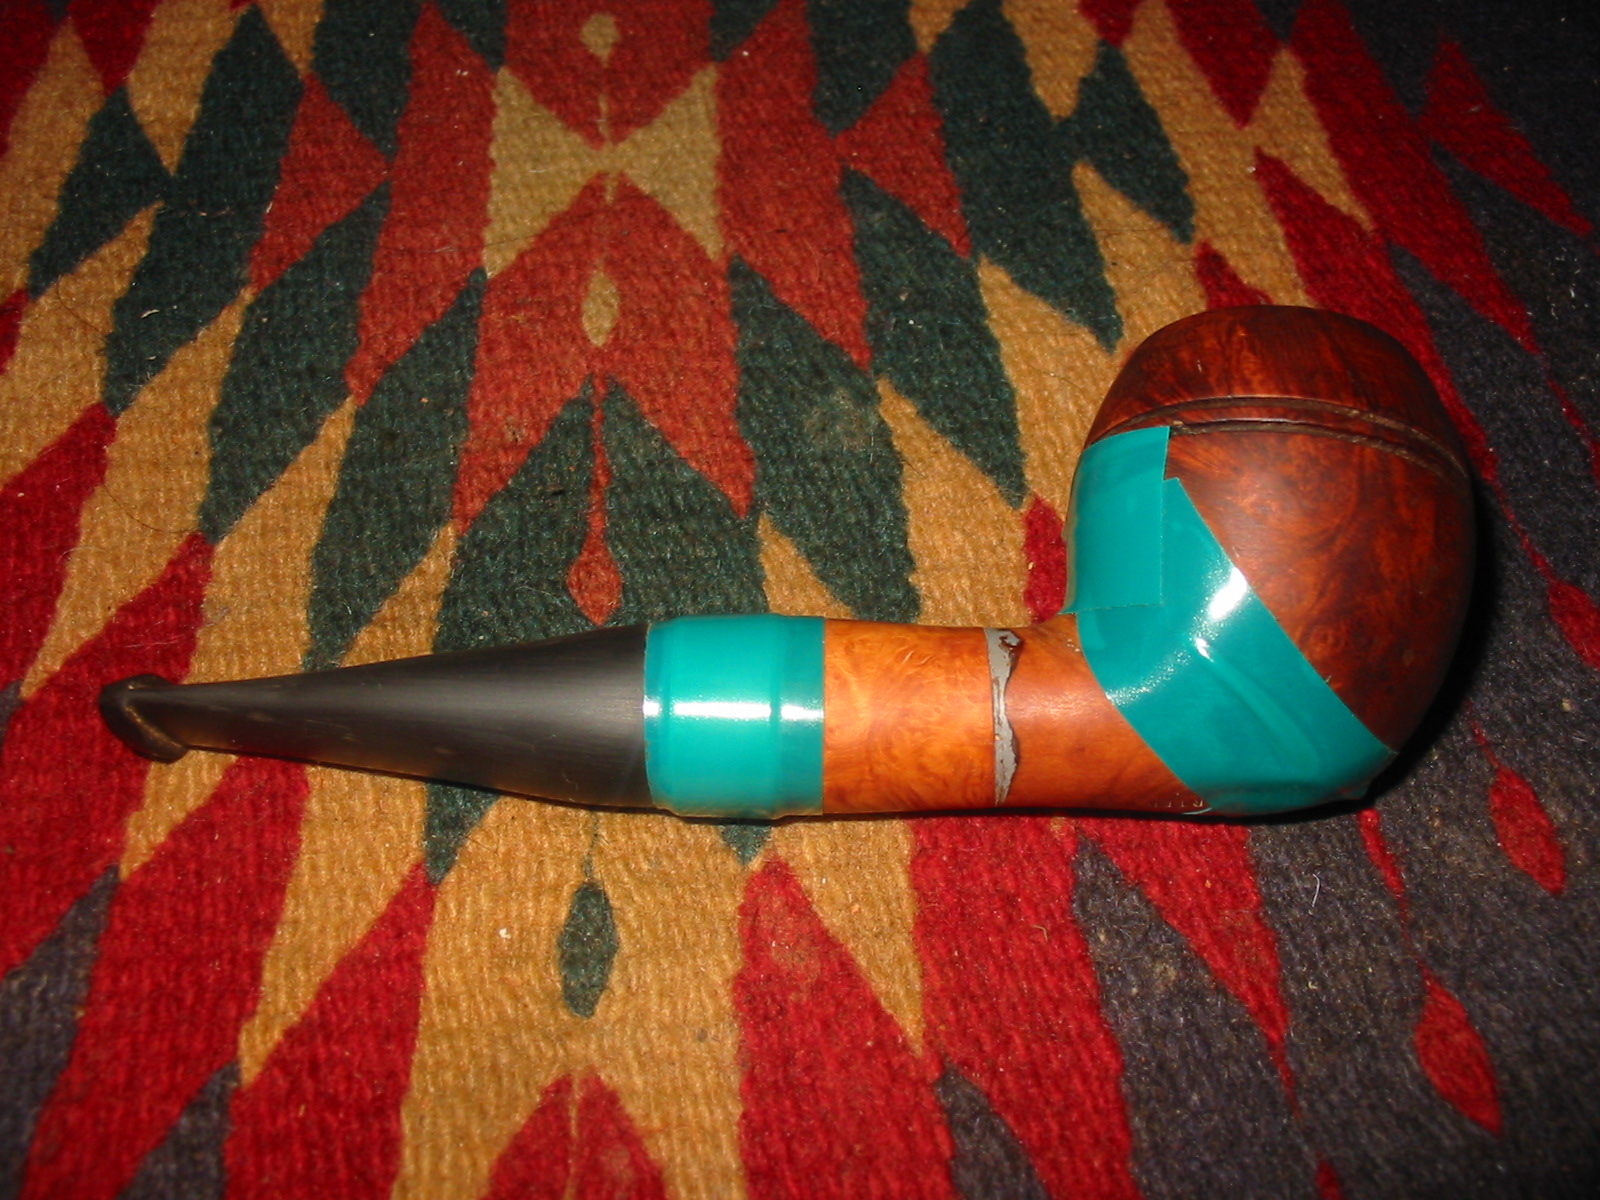
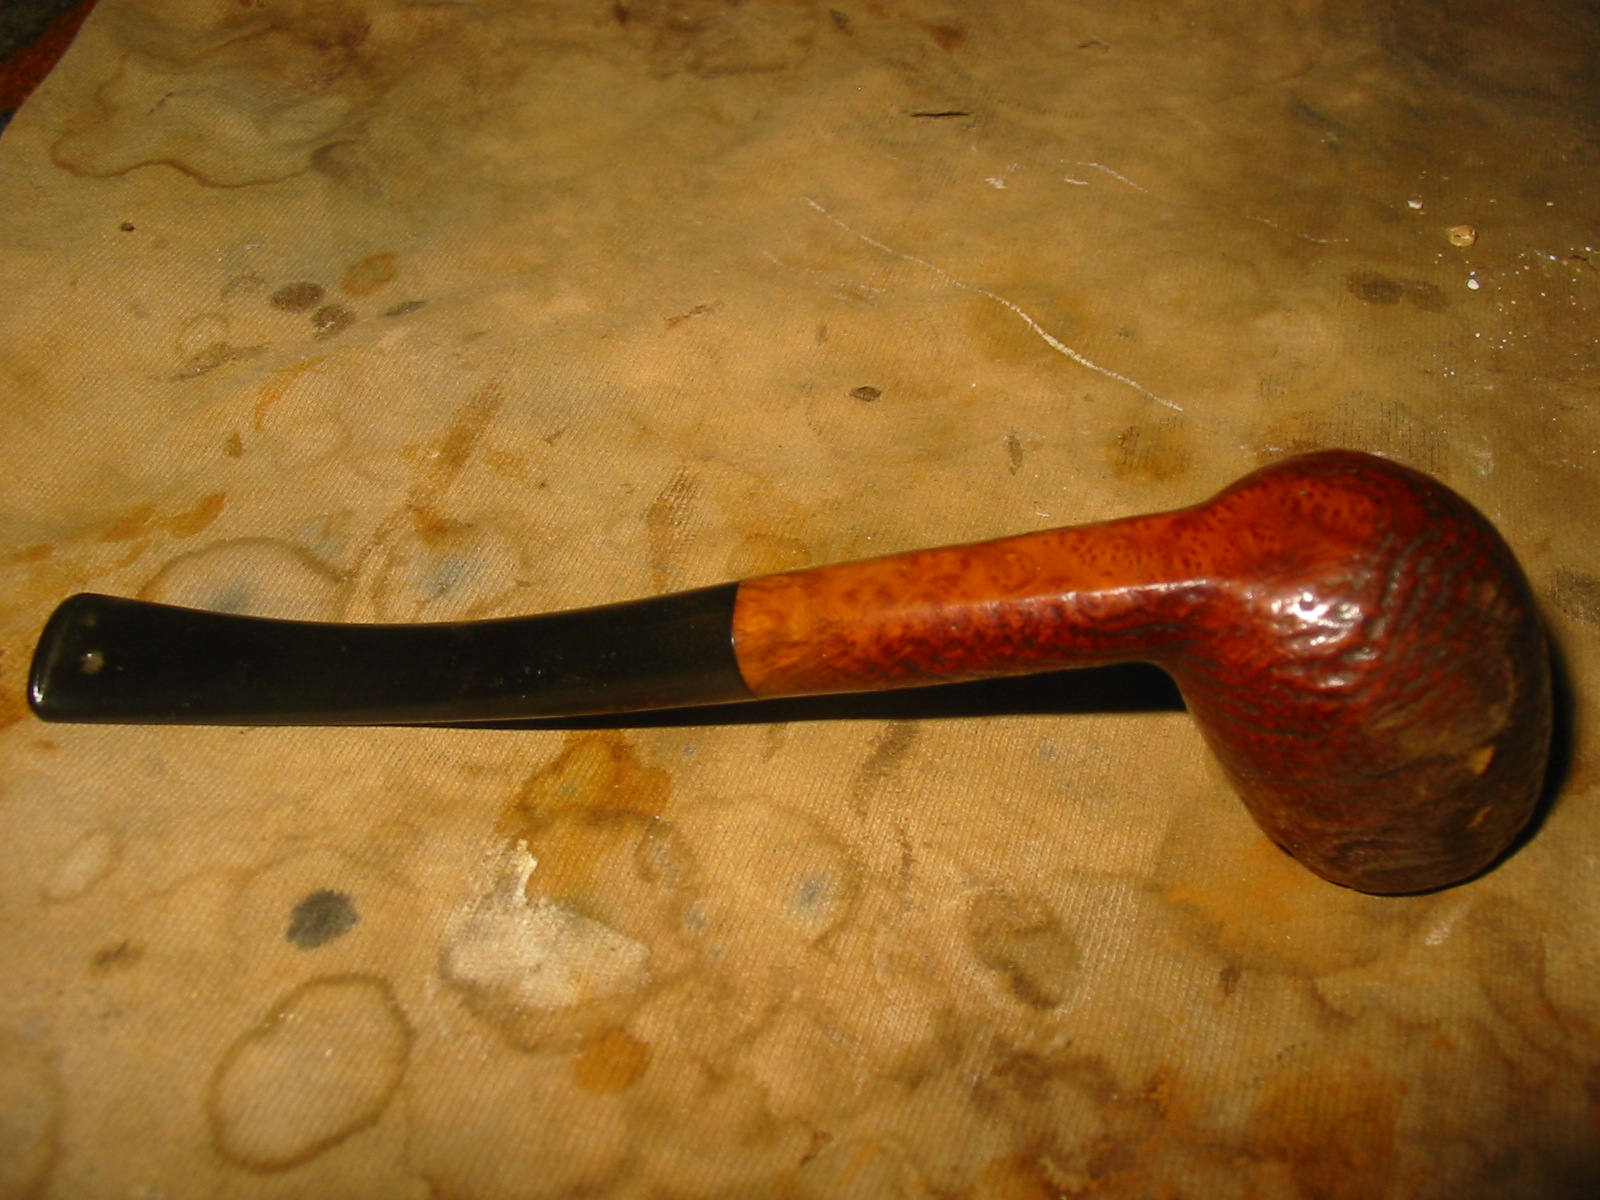
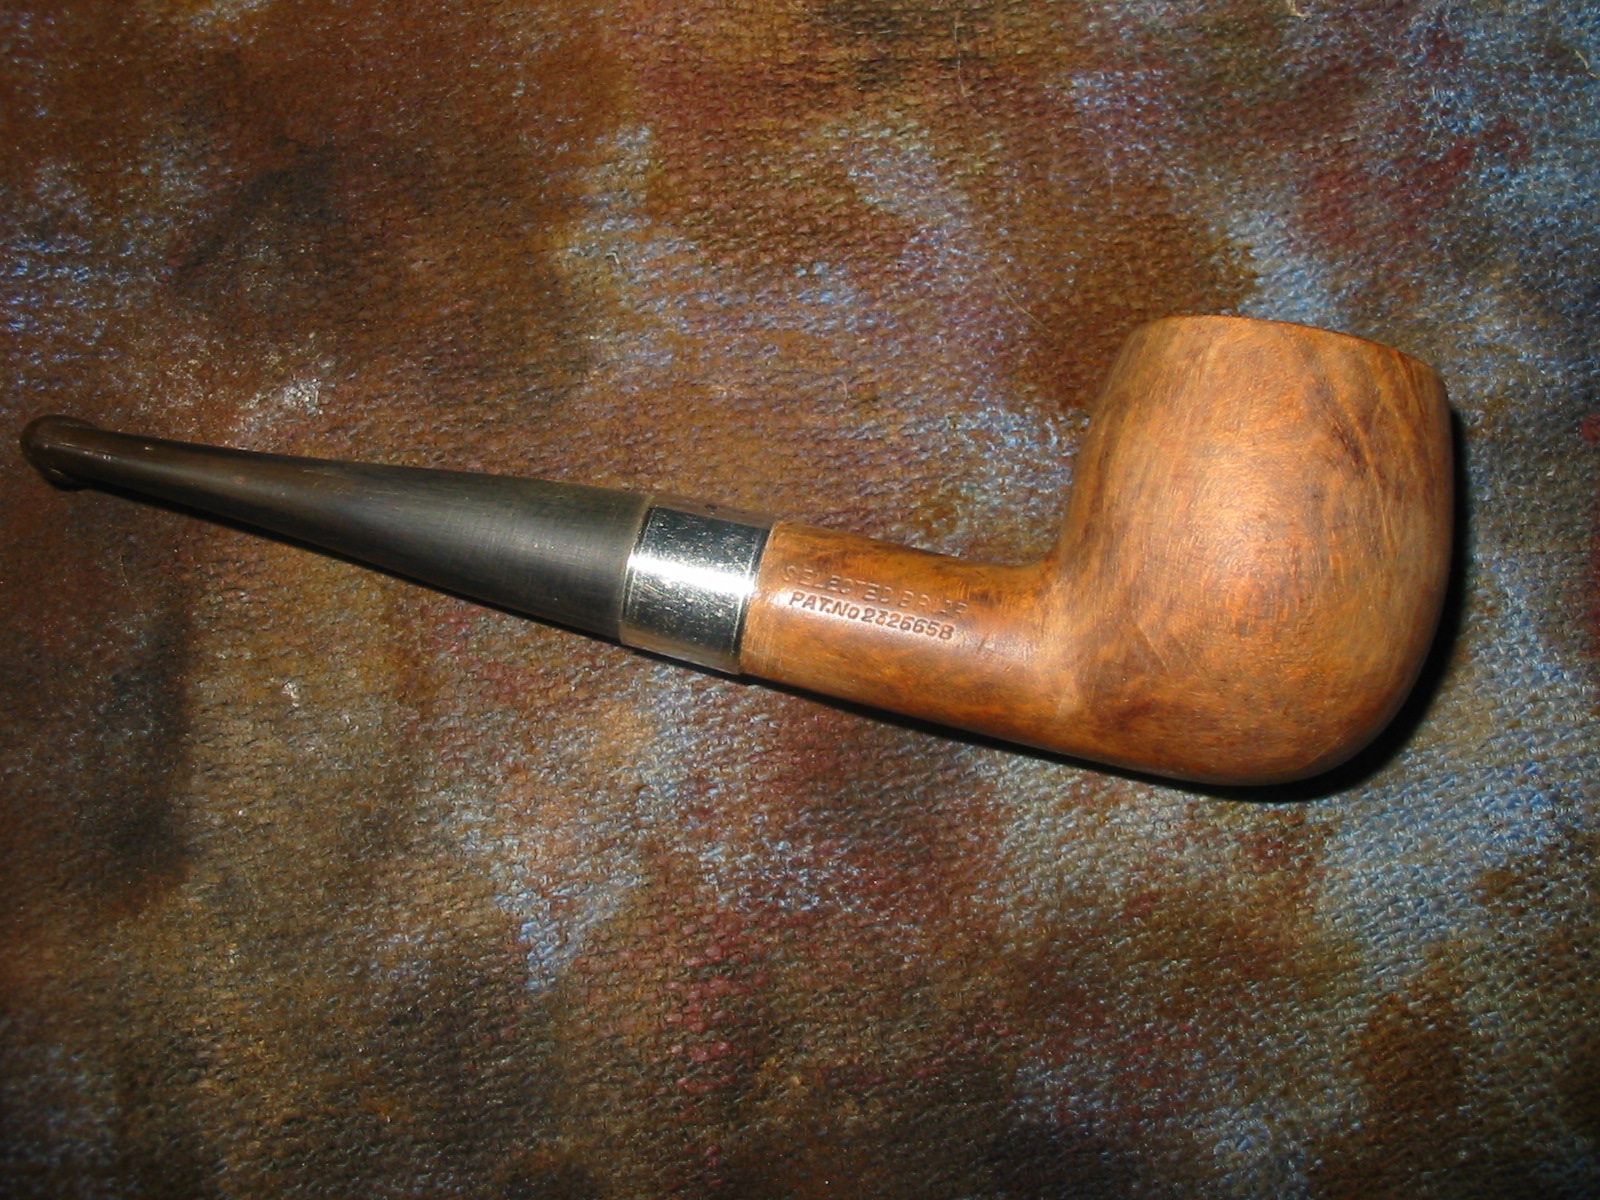
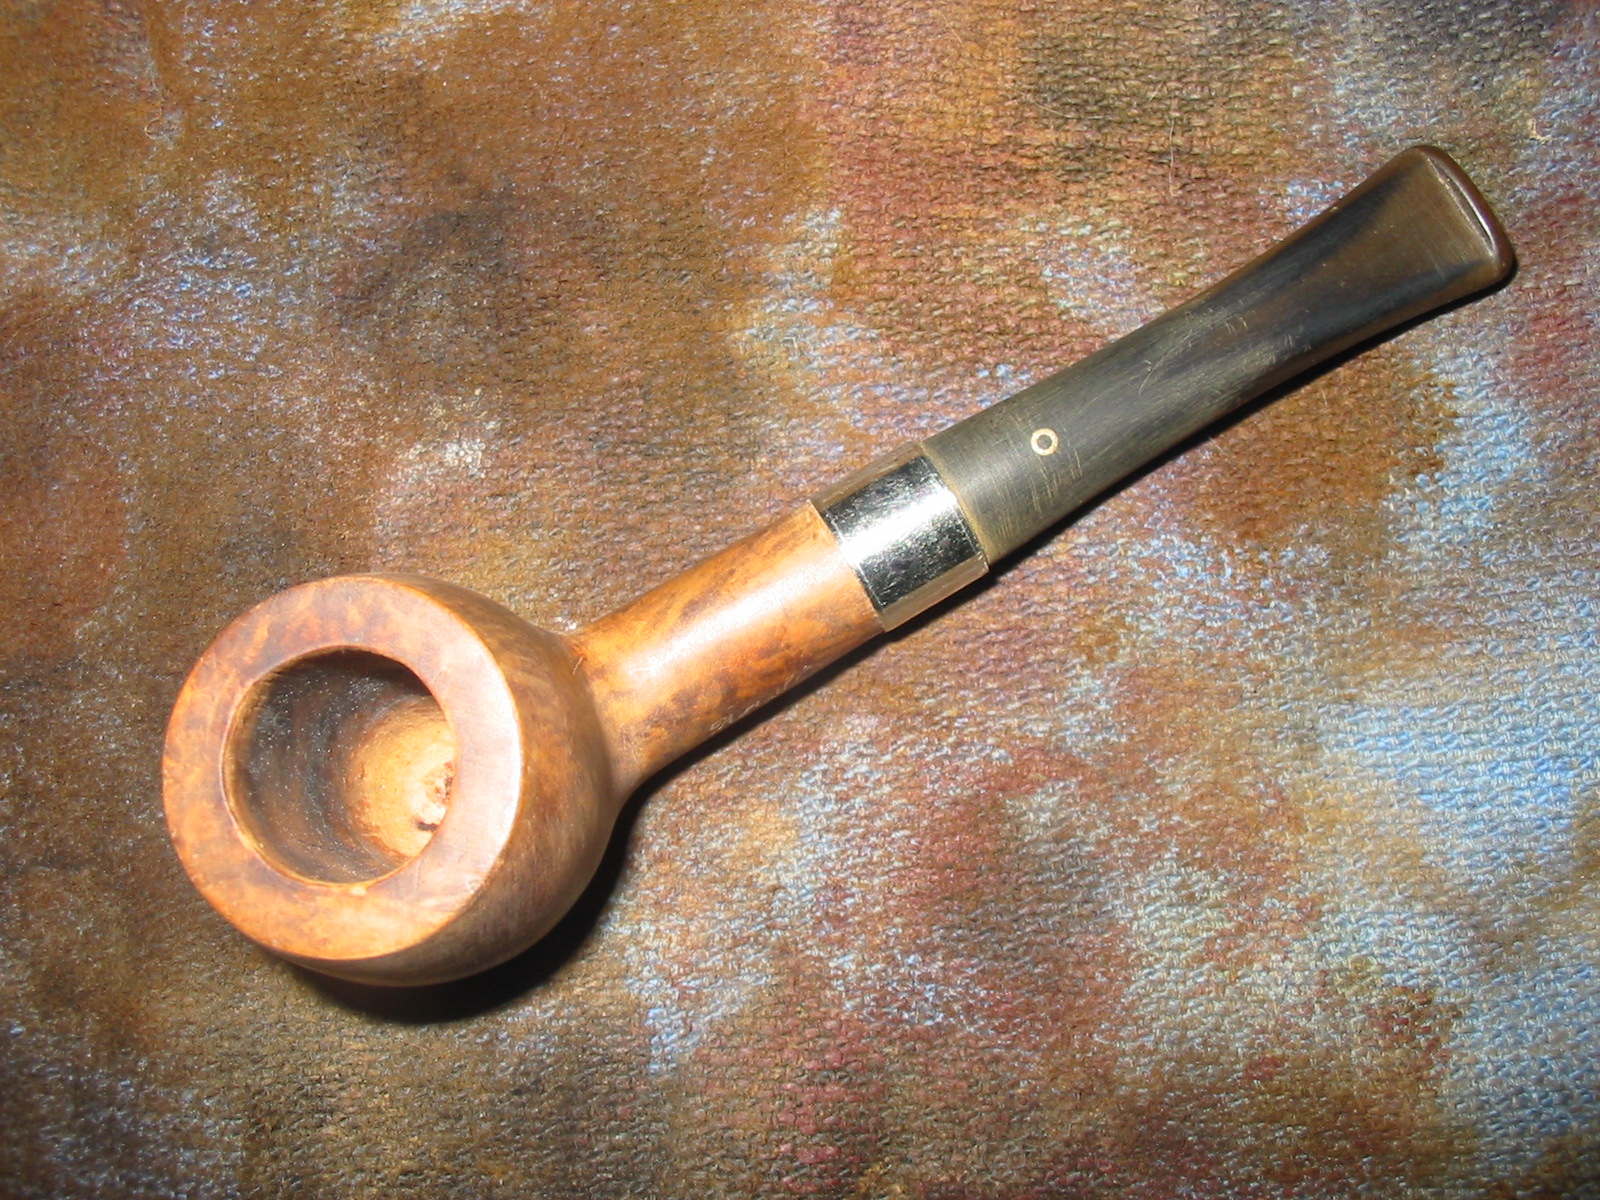
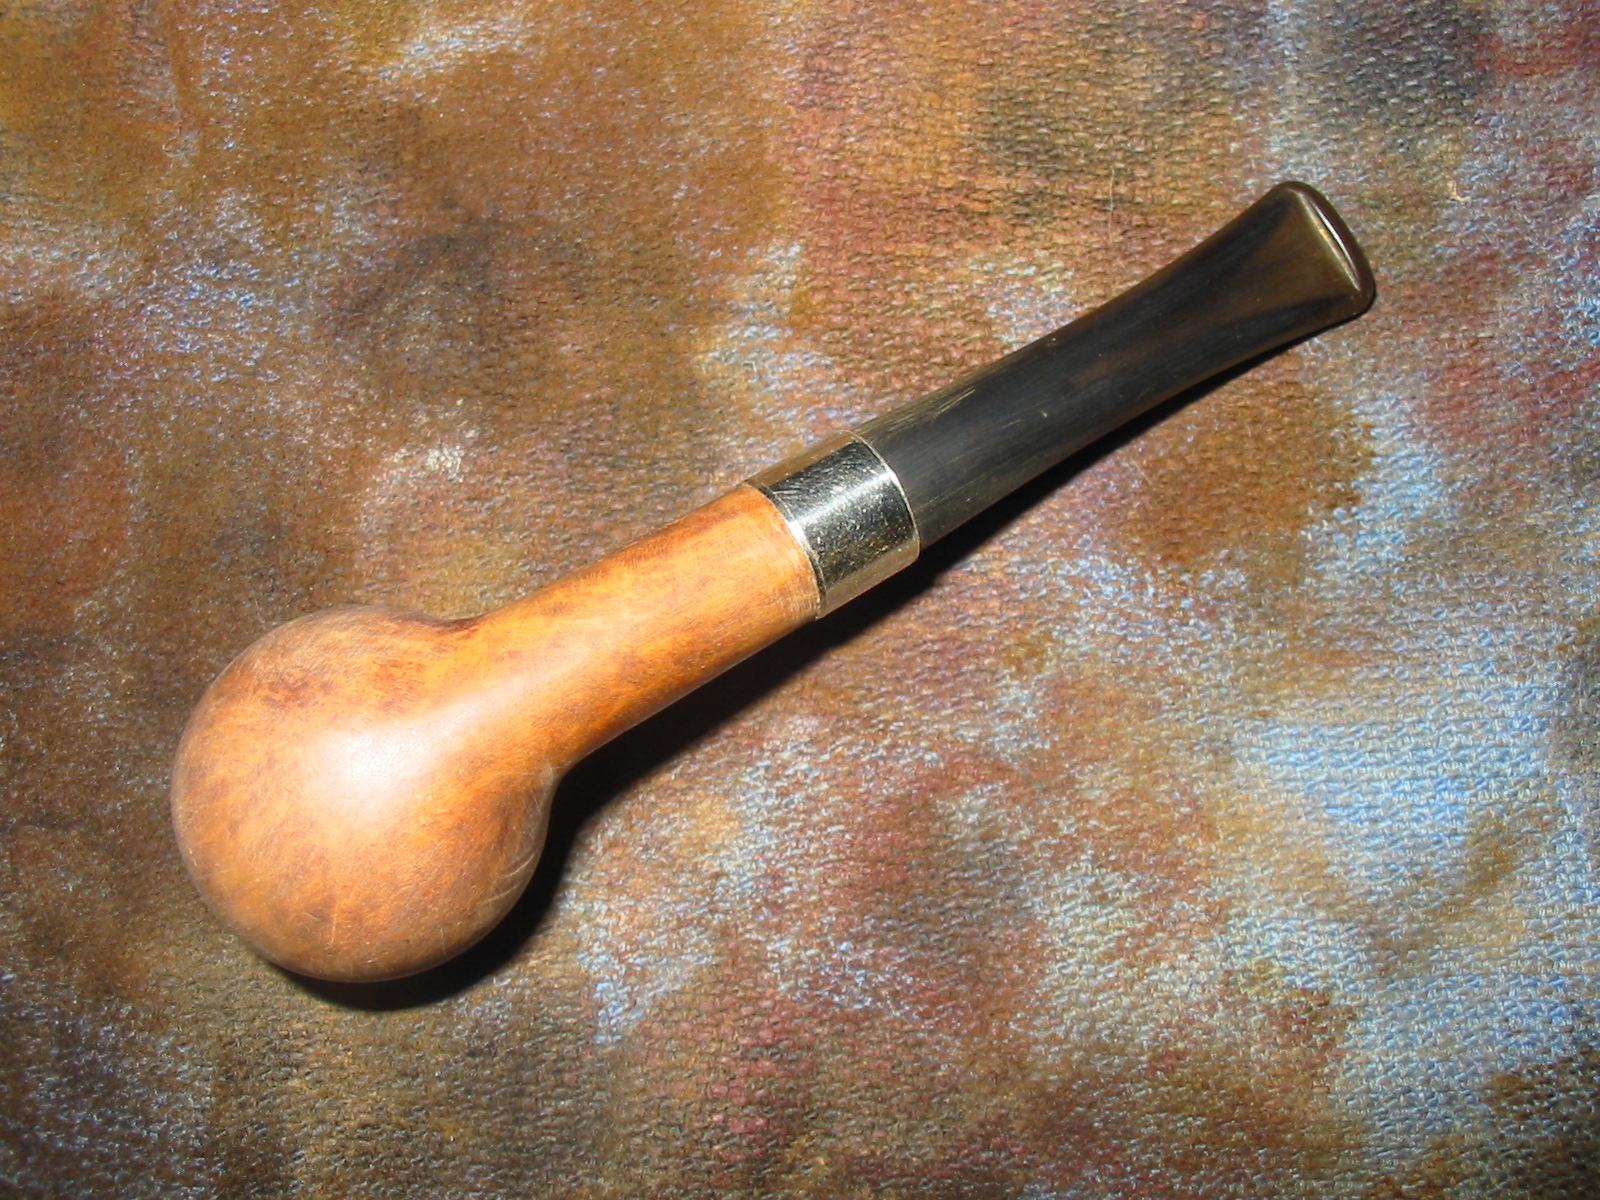
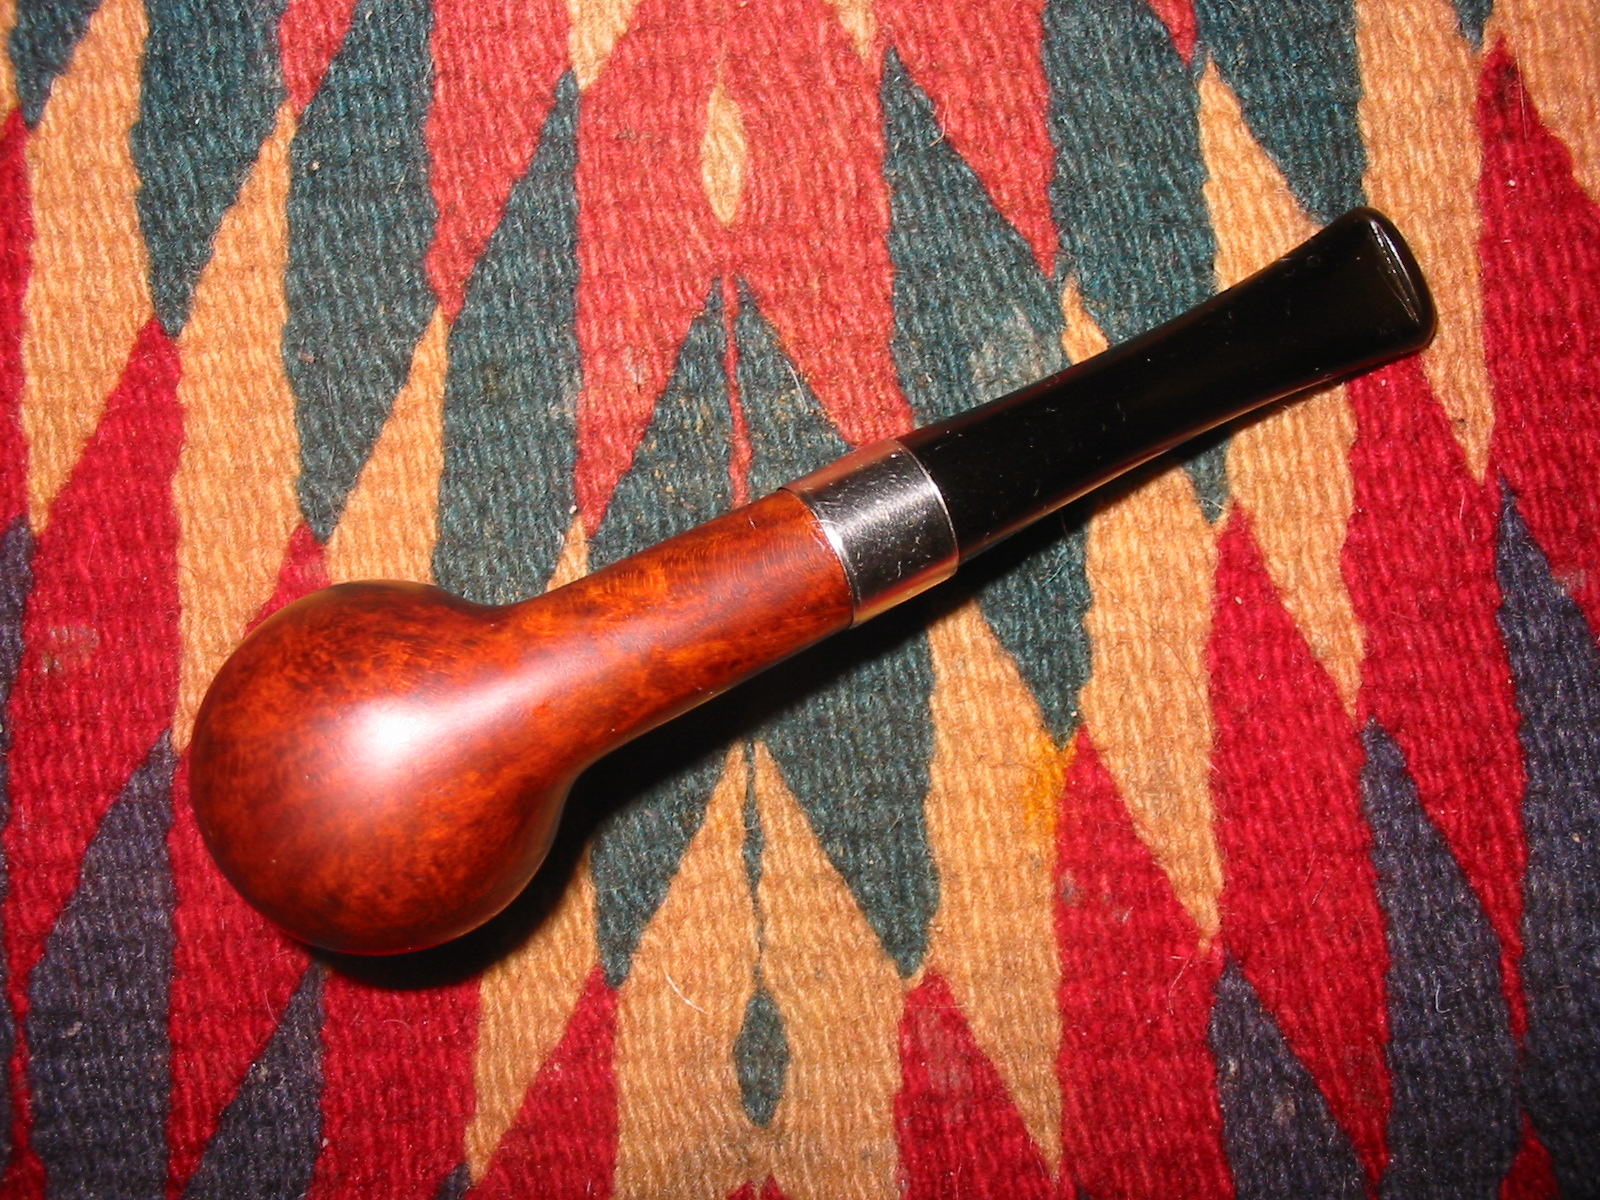
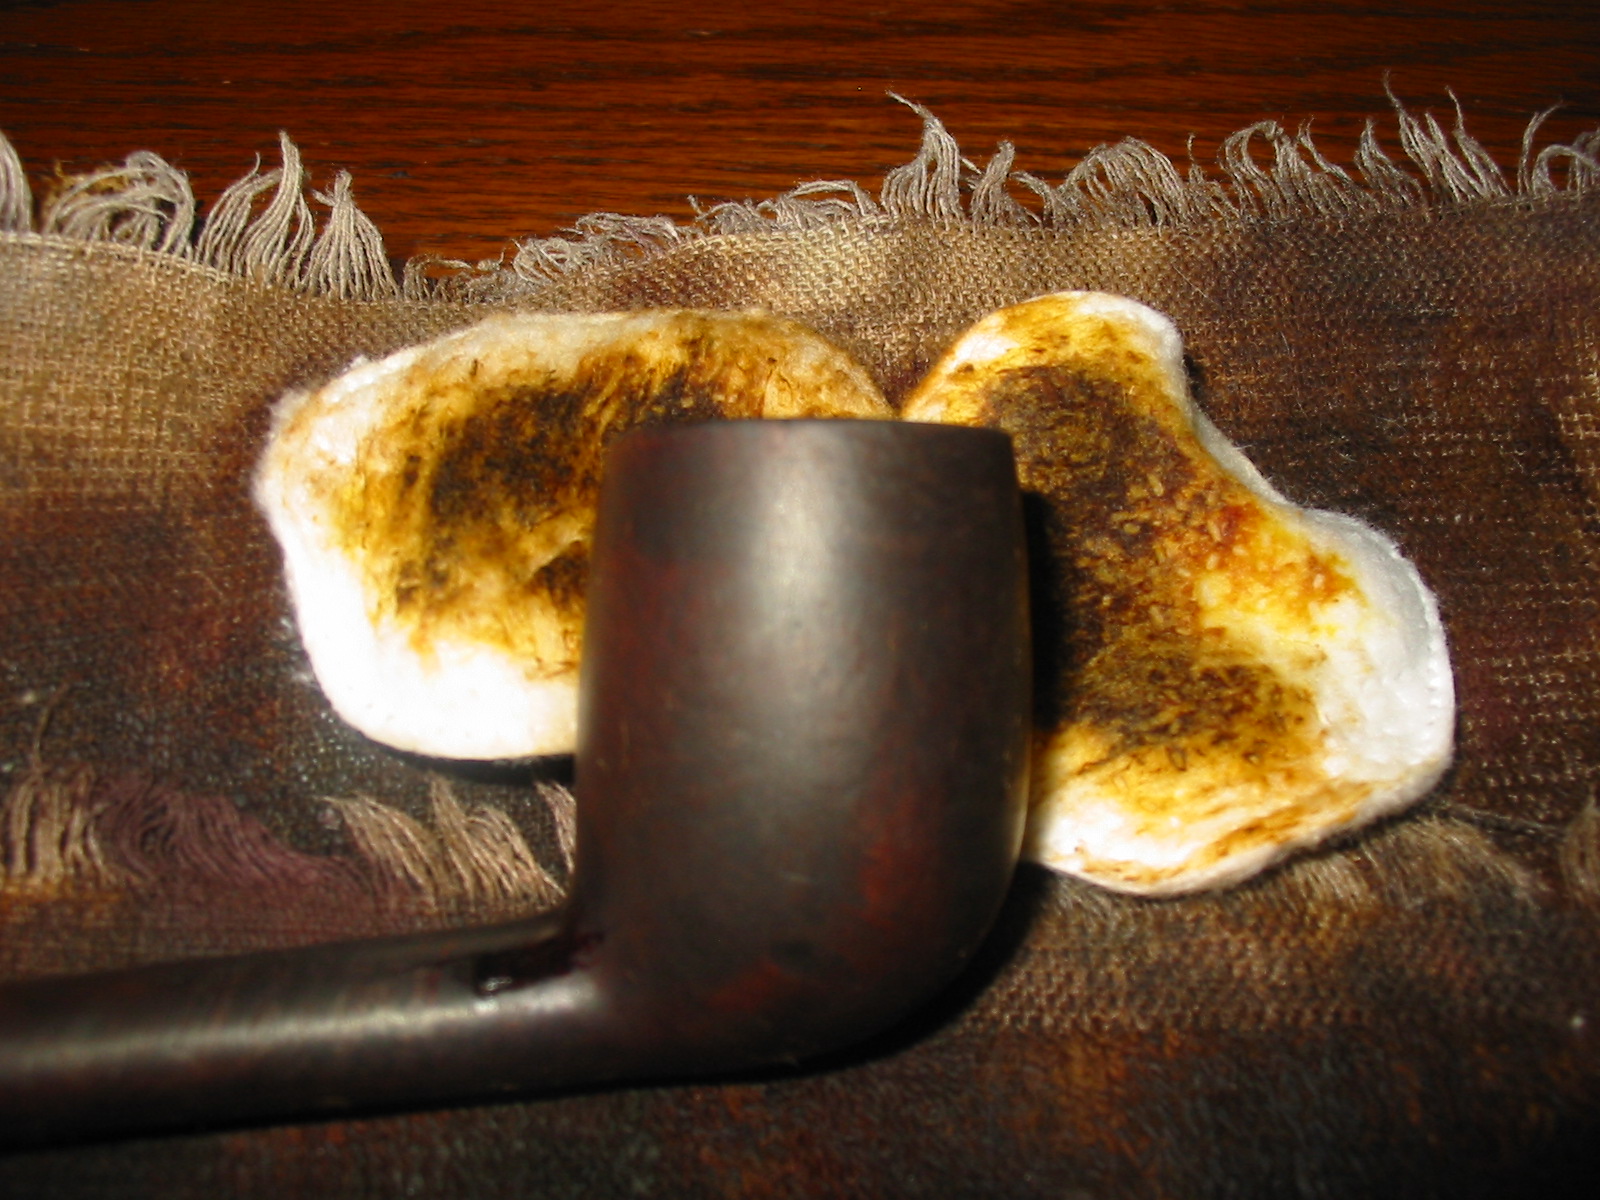
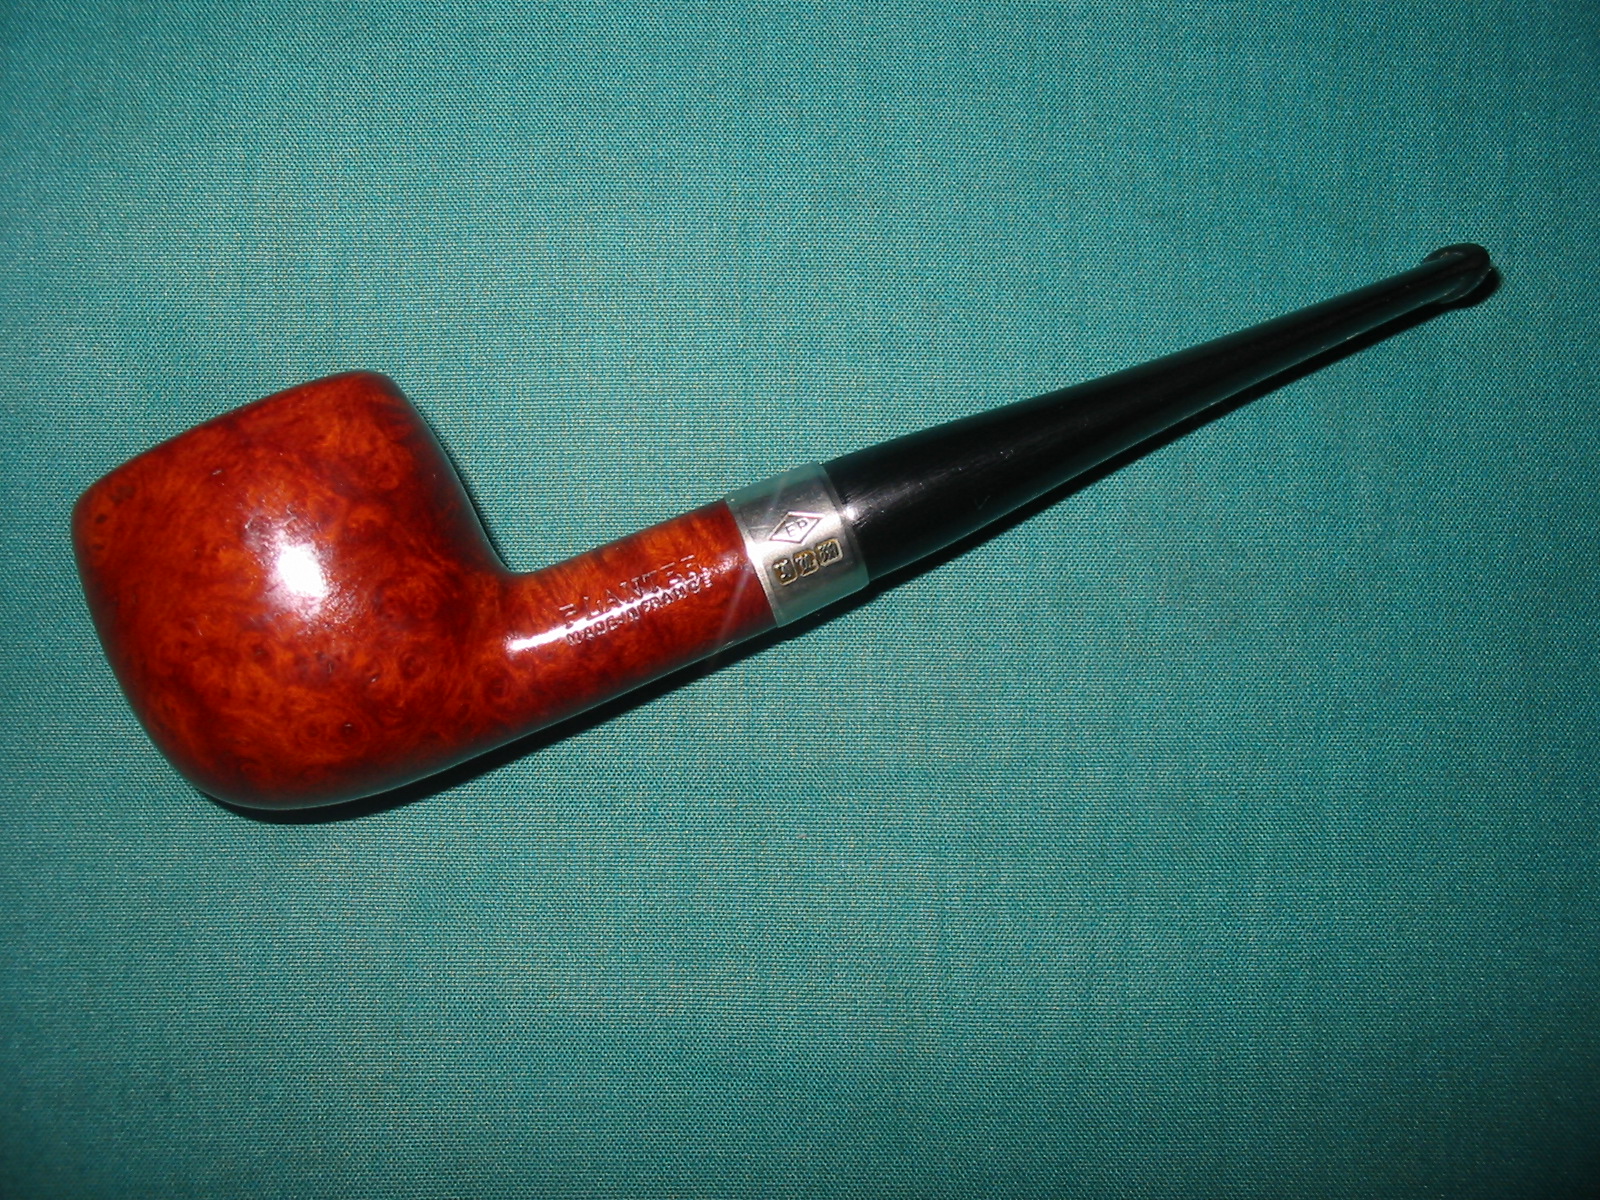
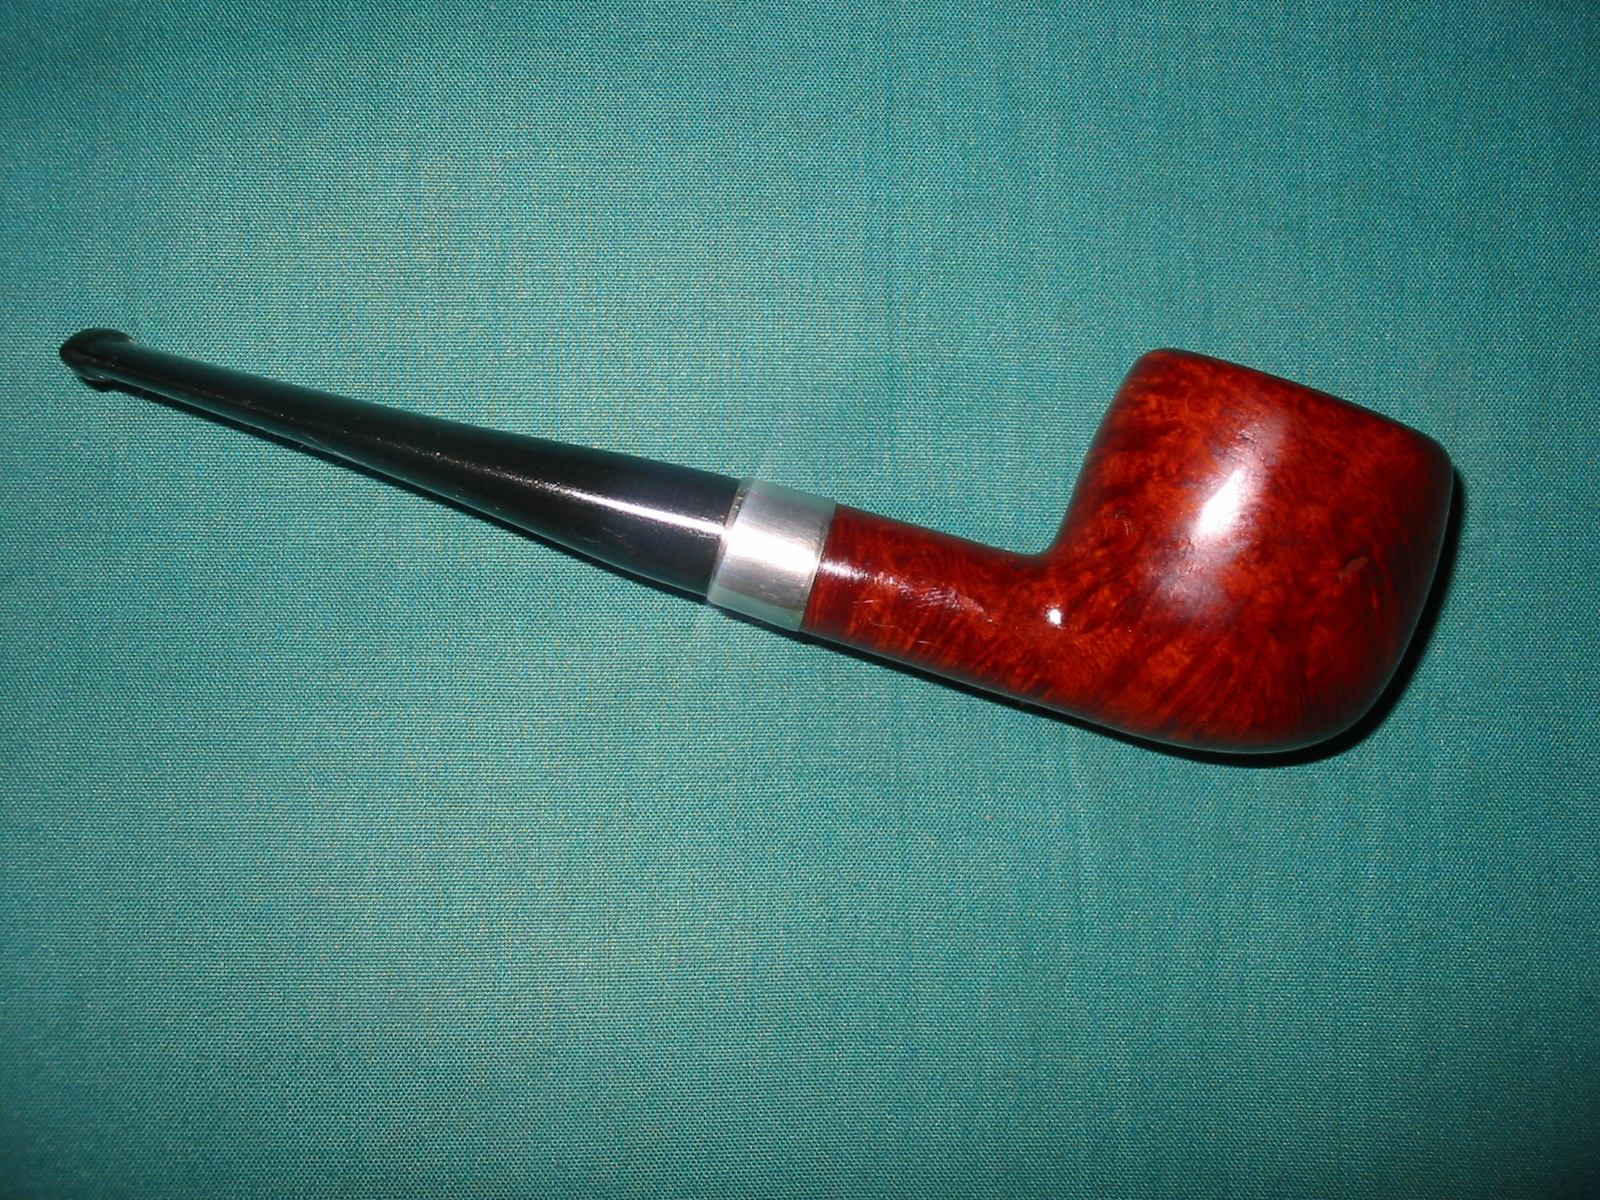
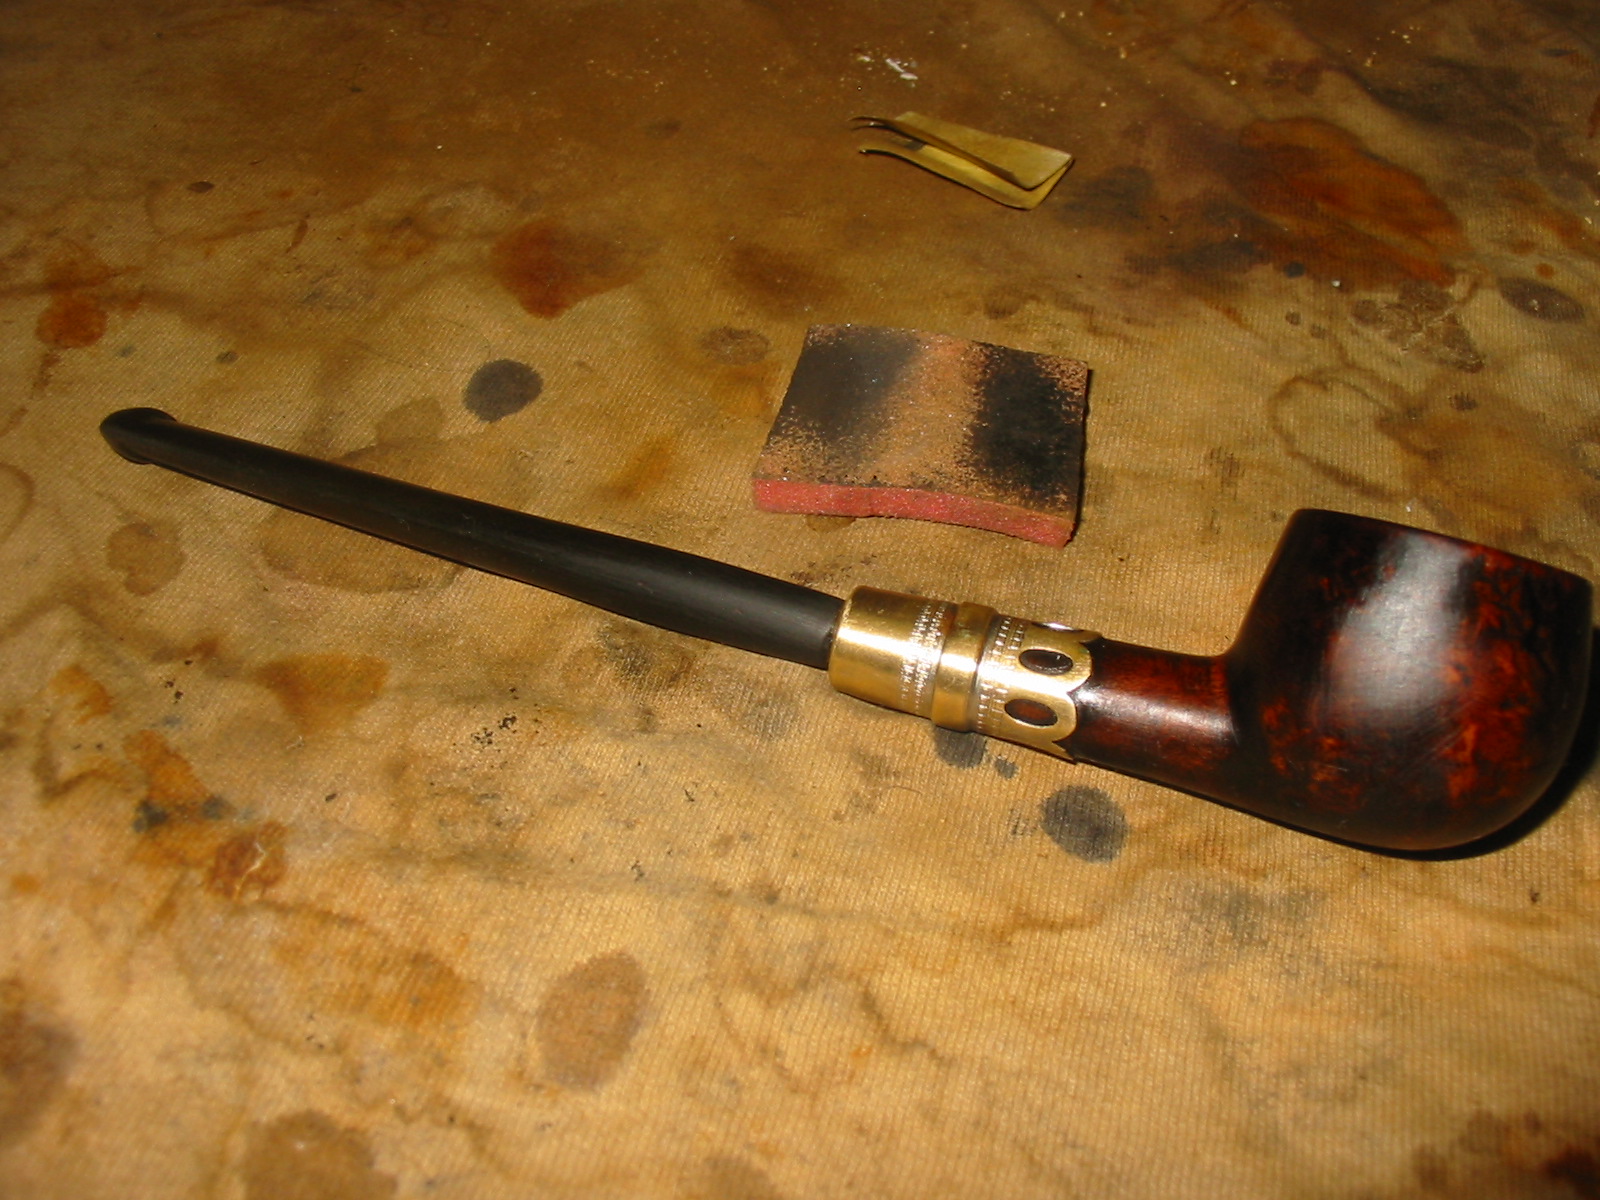
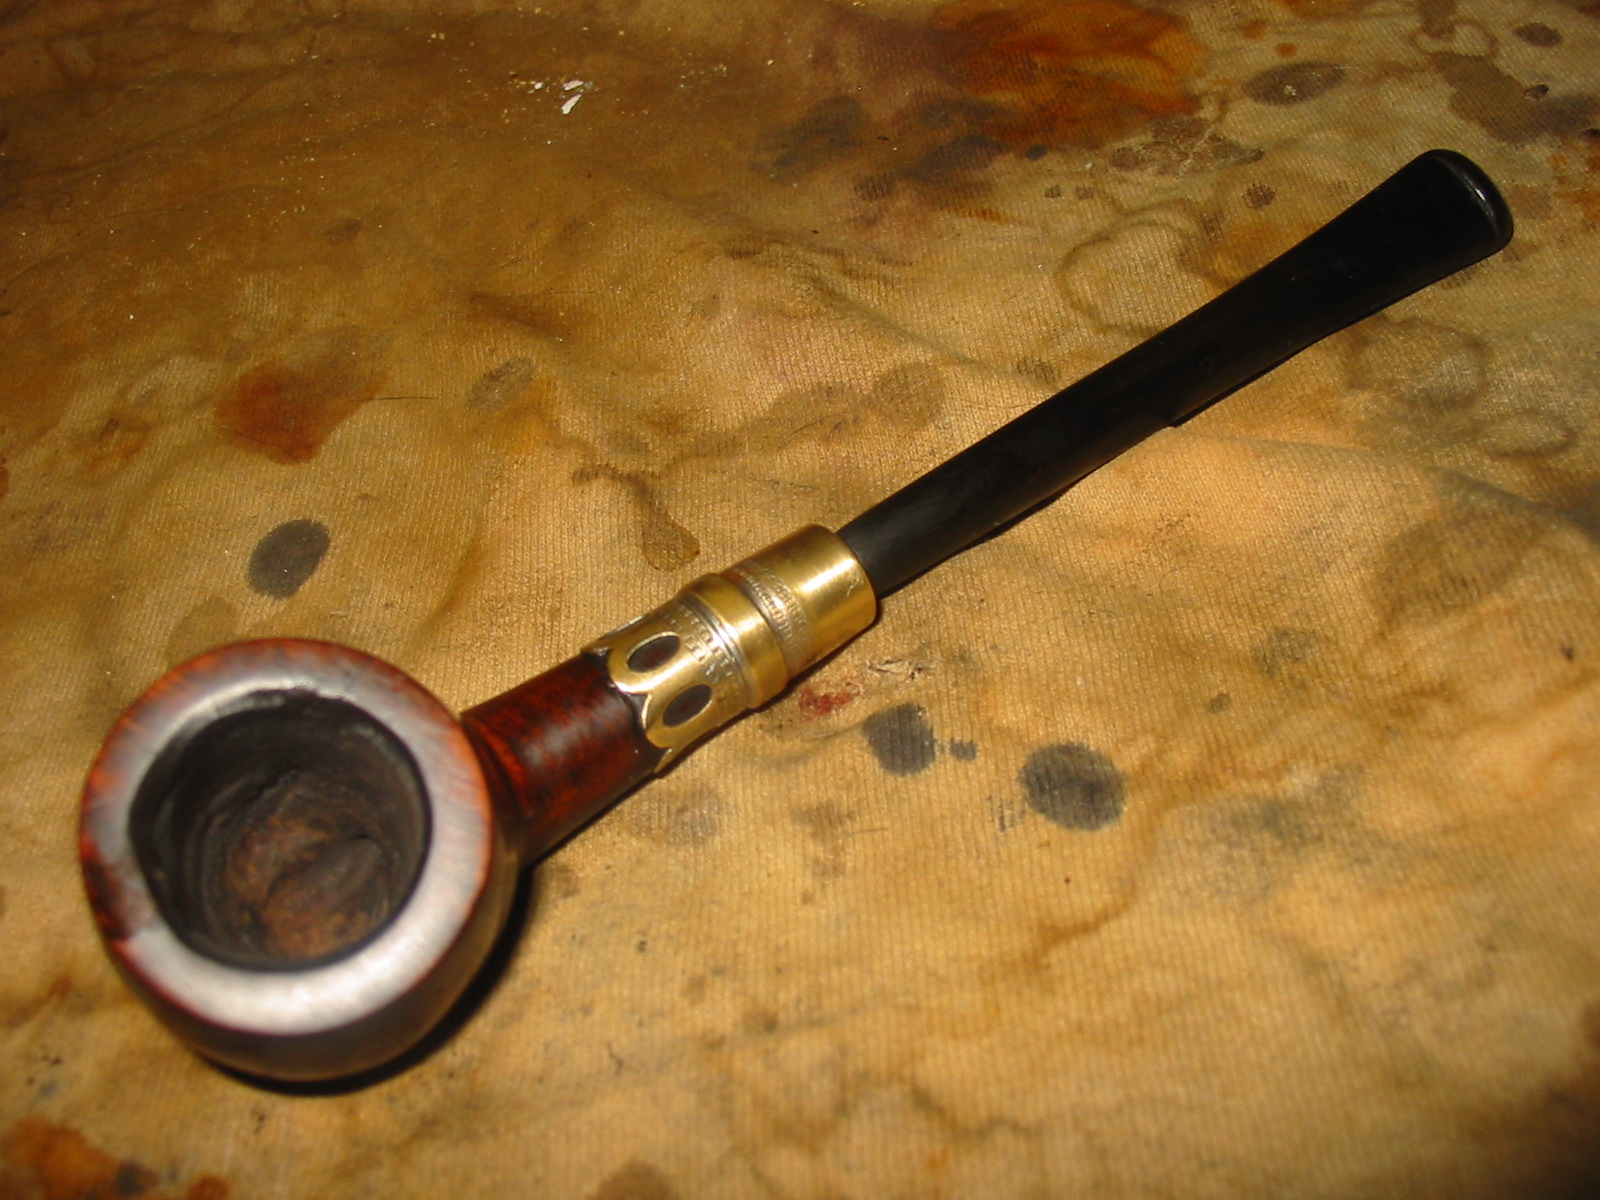
This time it fit was far better. The cup sat in the gourd like they were made for each other. The two photos that follow show the fit and look of the new bowl. At this point the calabash is showing great promise.
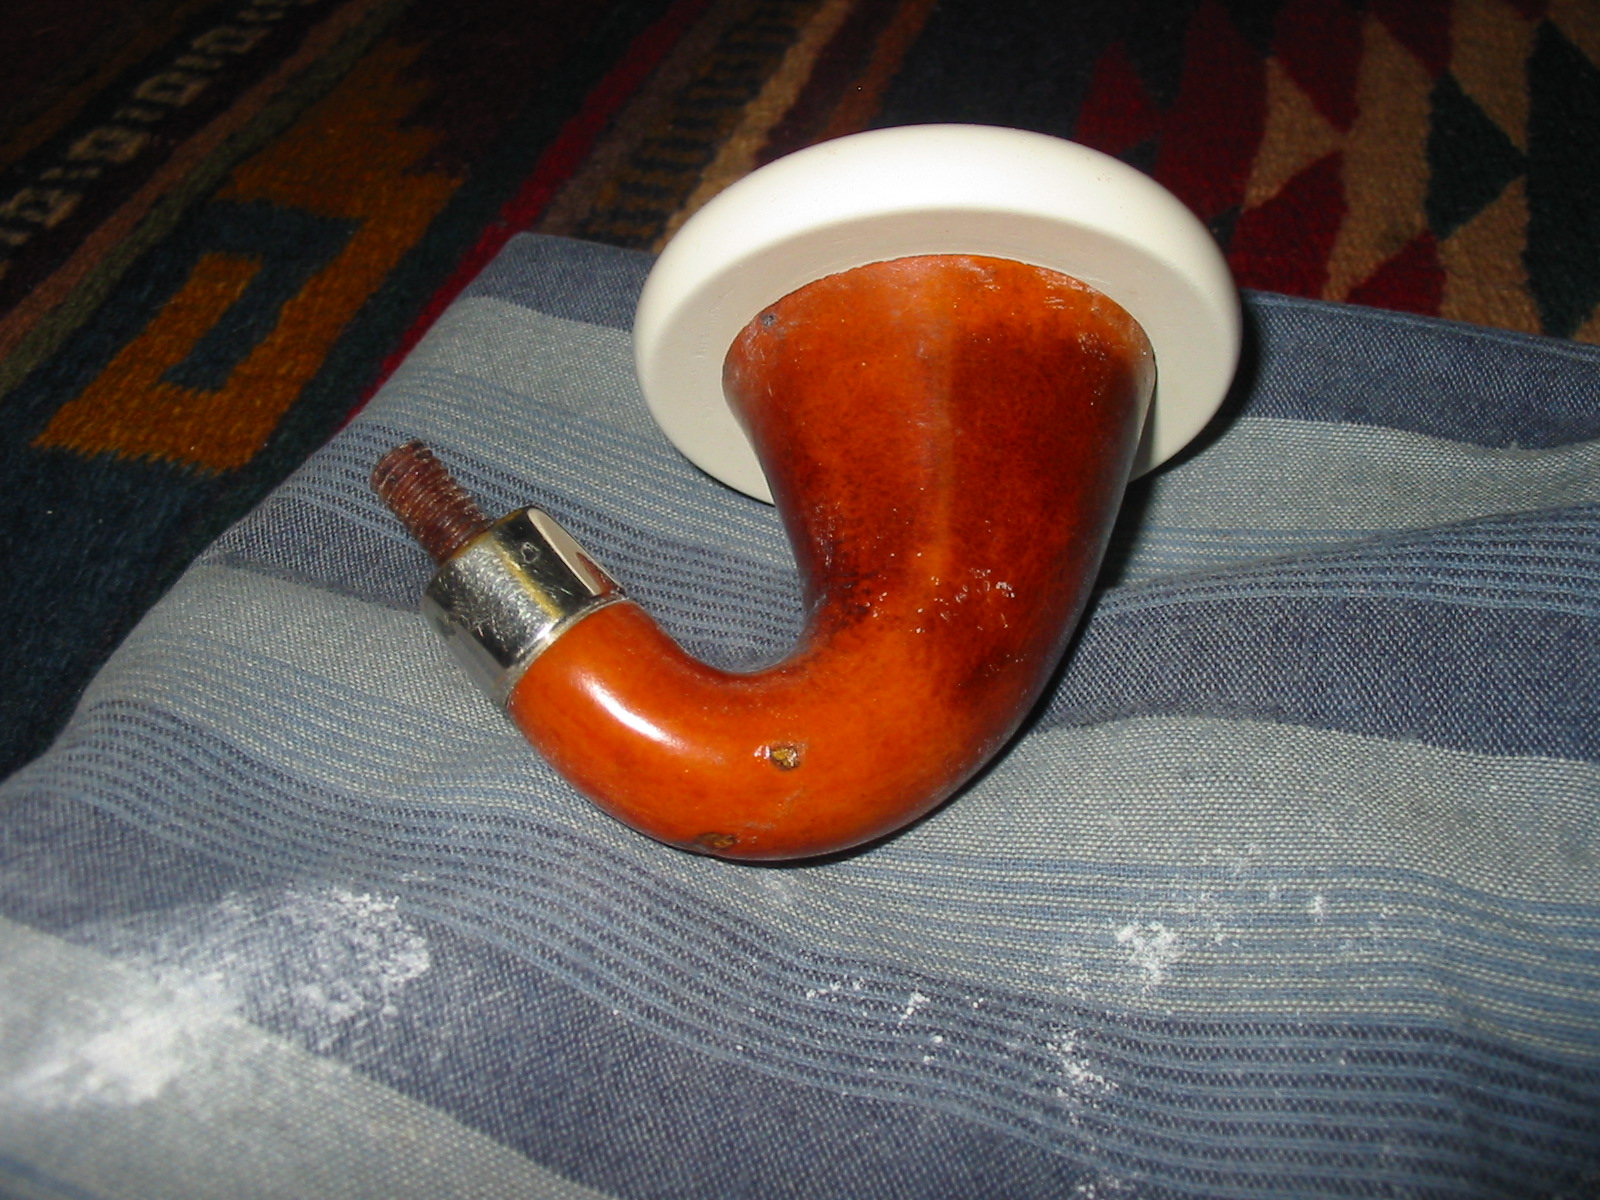
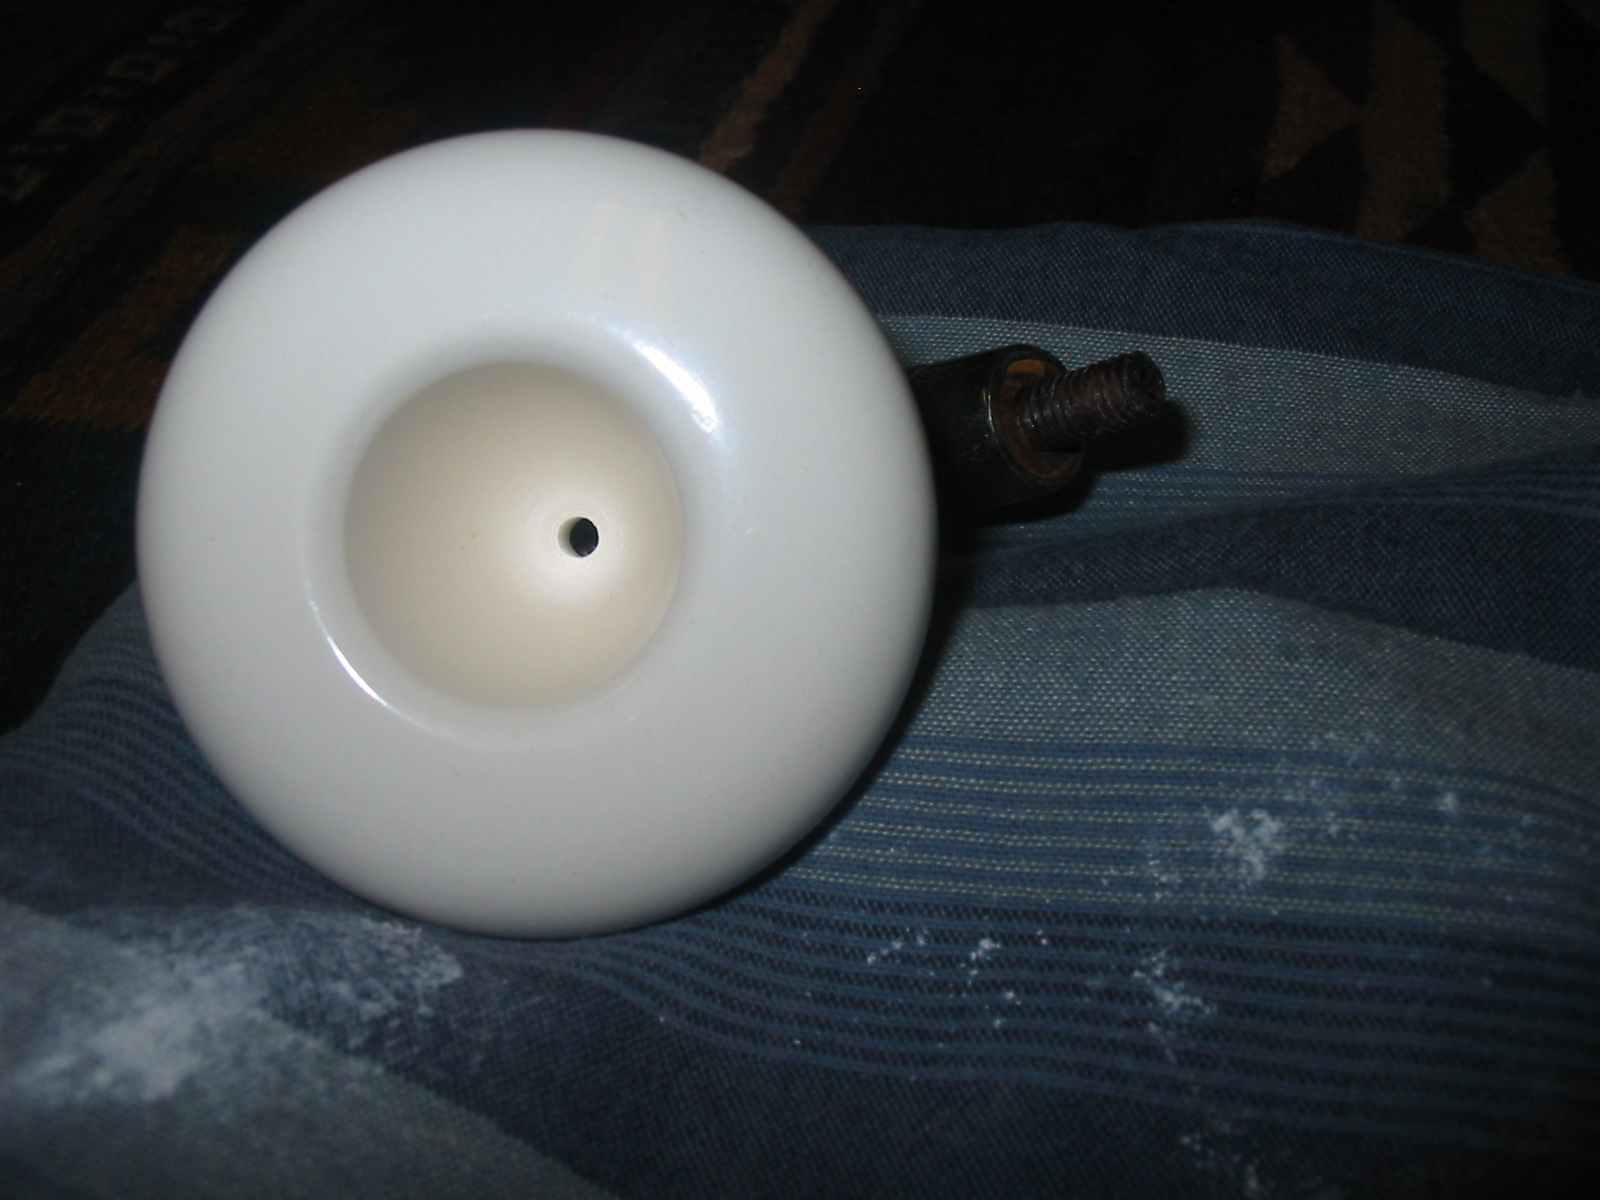
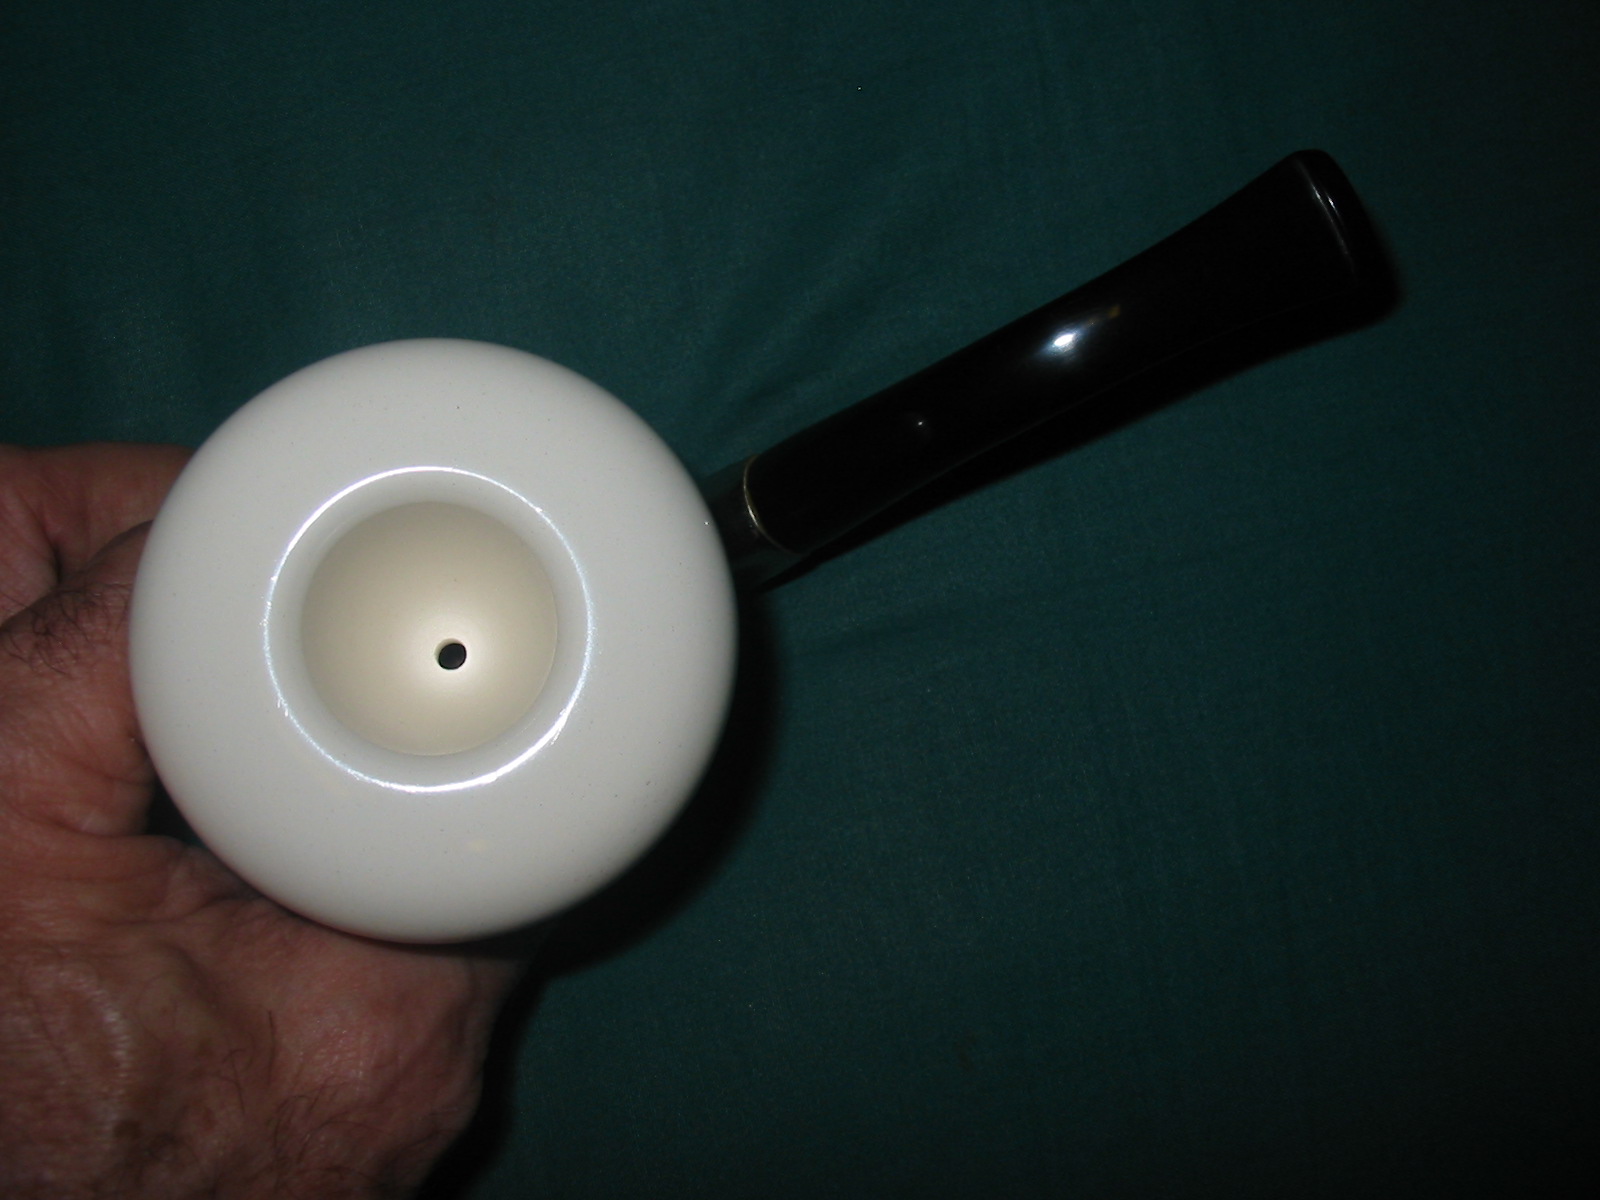
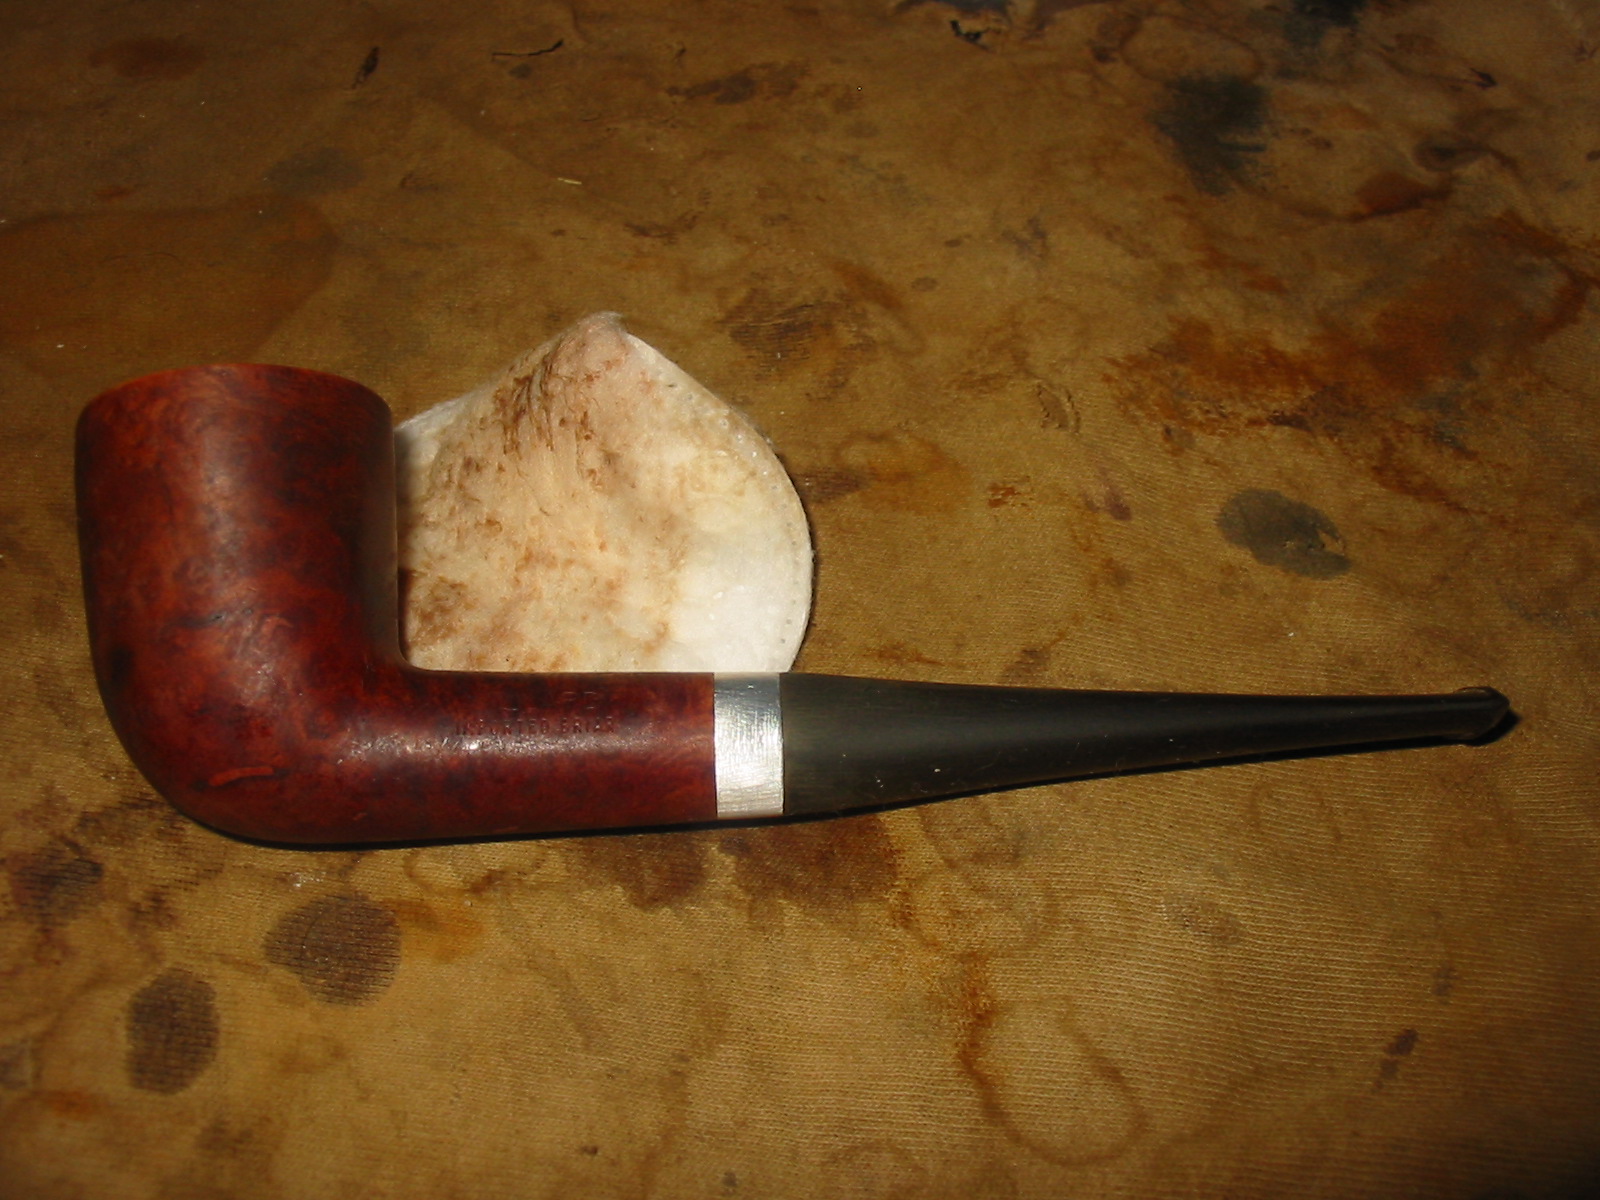
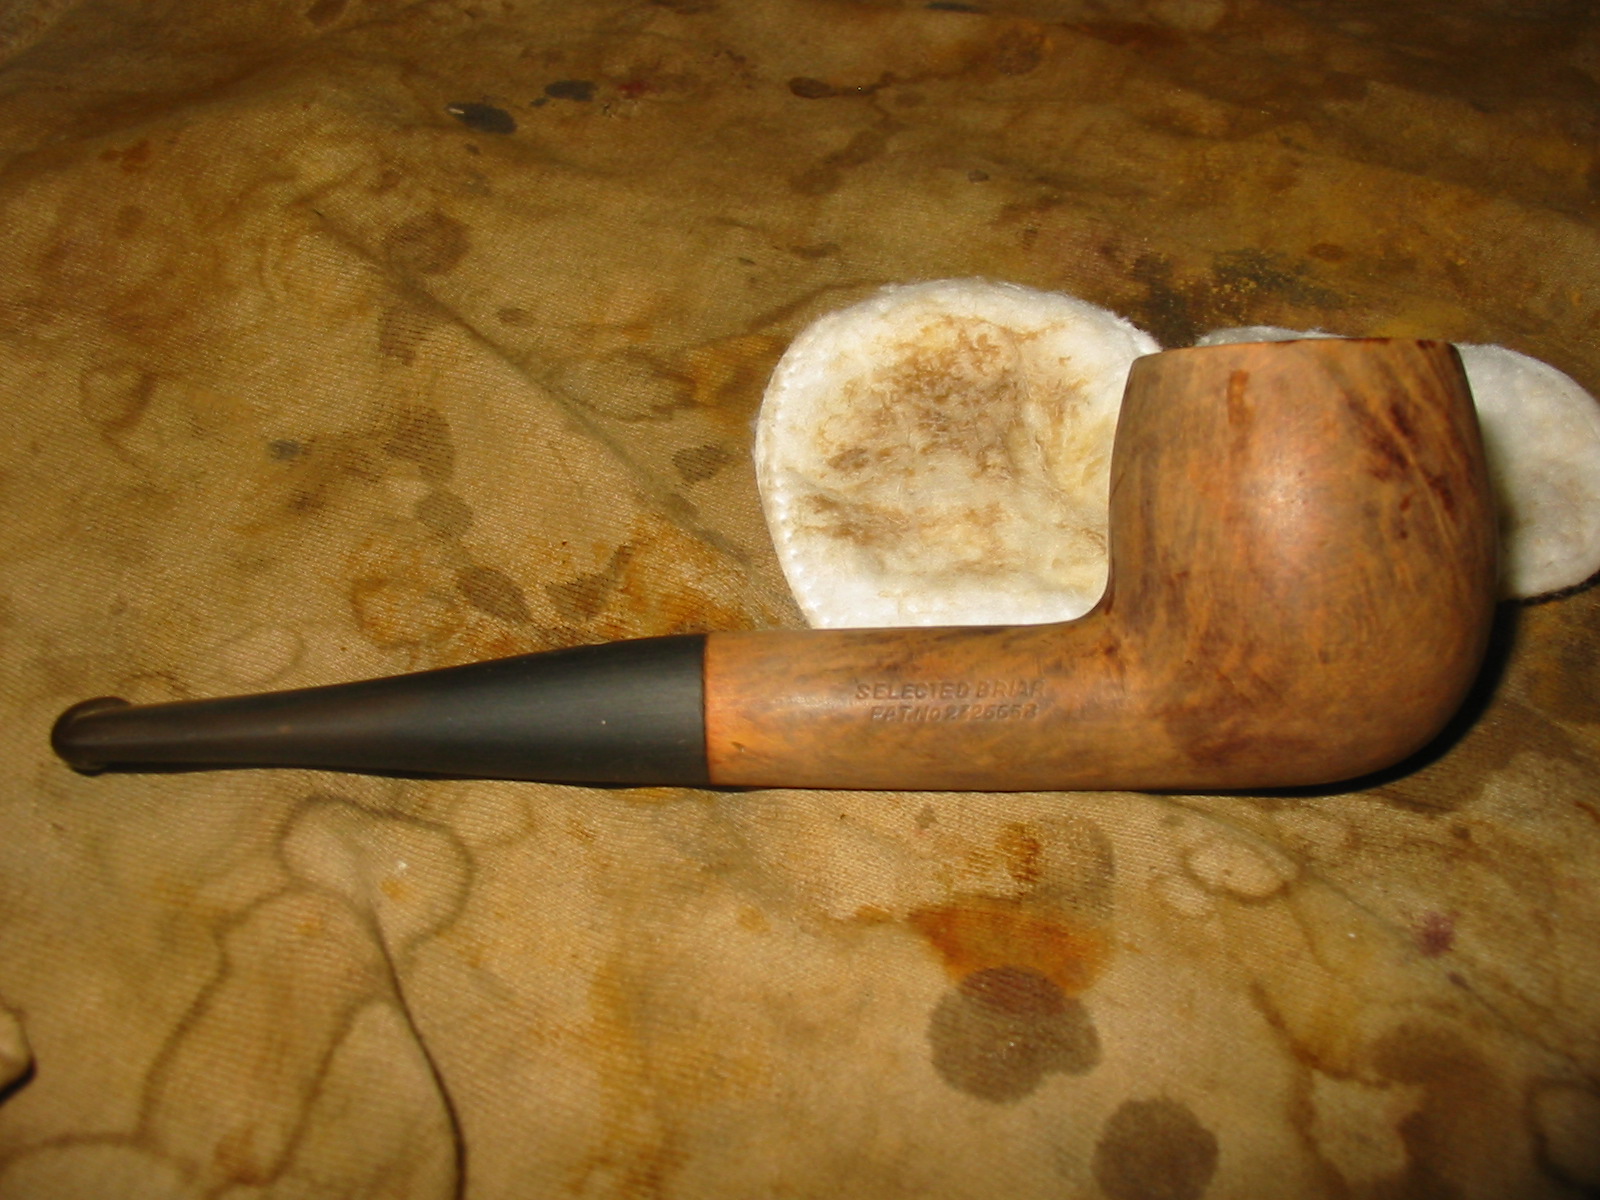
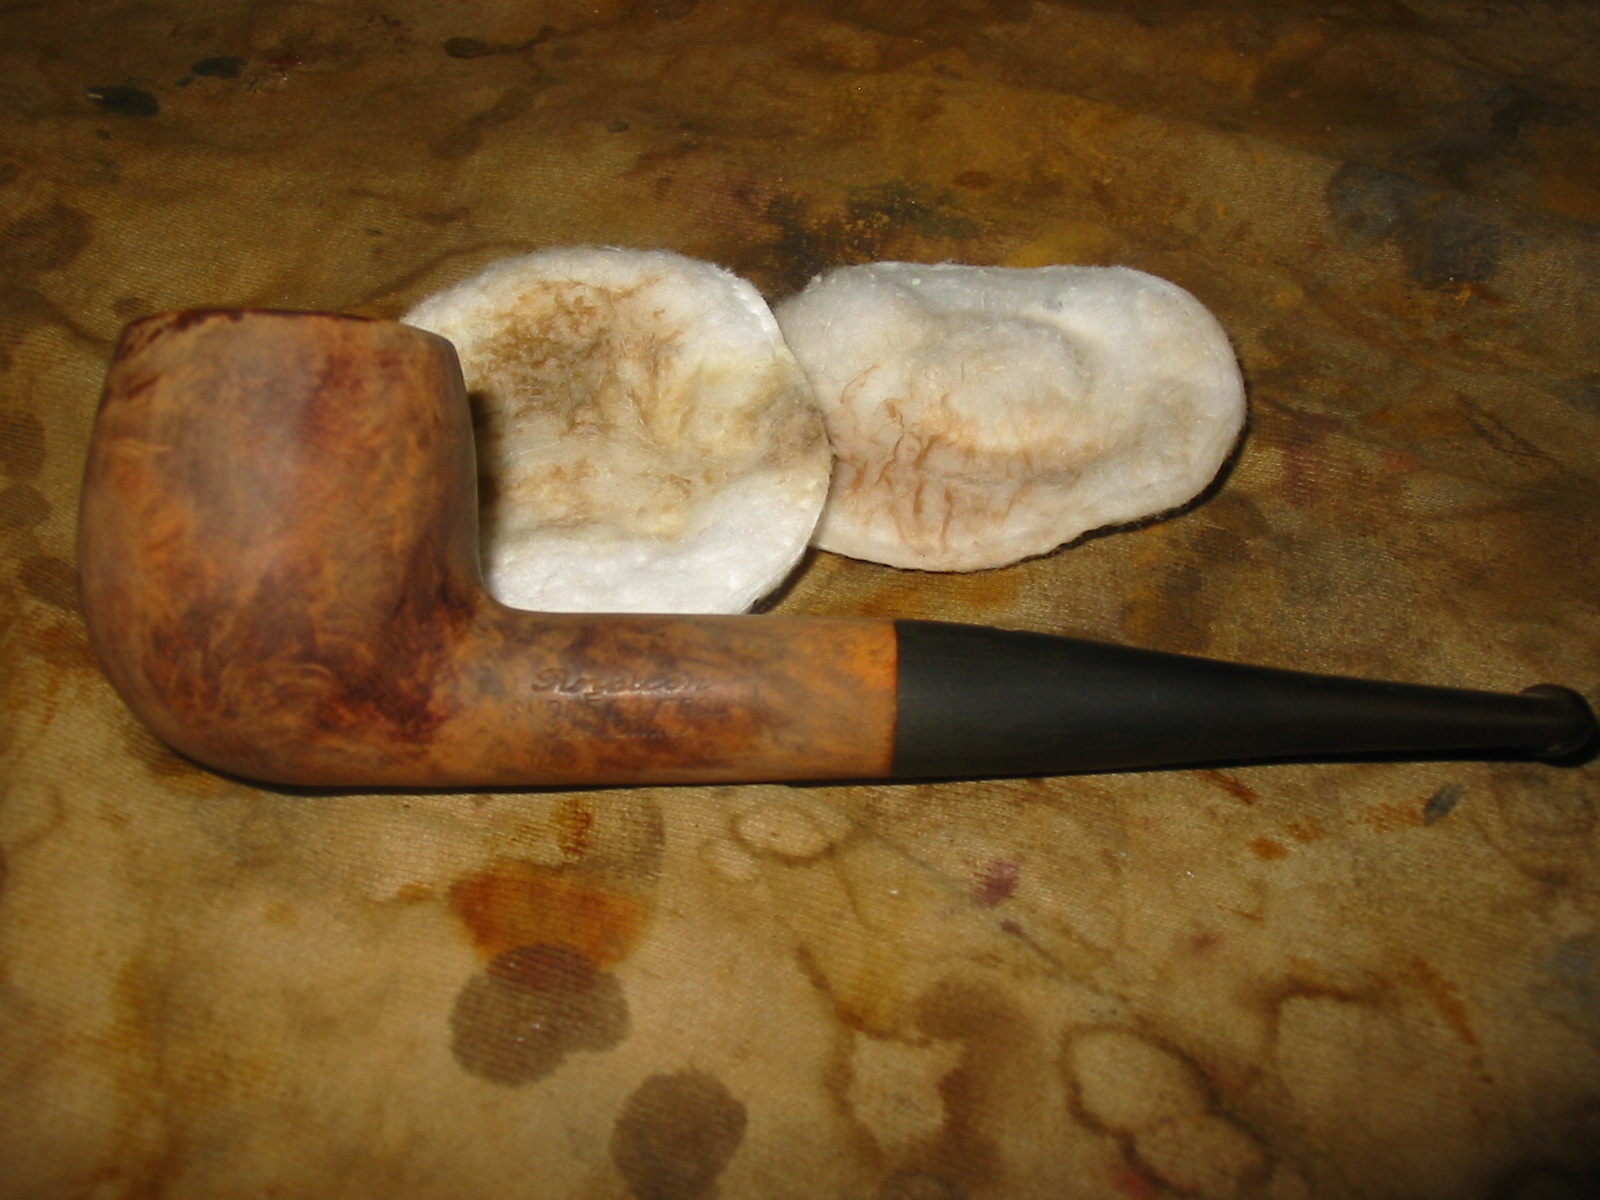
I cleaned up the mess of the meerschaum sanding dust that was everywhere on my work table. It is a messy fine powder that gets into everything if left to its own devices. Once I had done that I wiped down the exterior of the bowl and cup one more time and took a couple of photos to get a good look at the pipe.

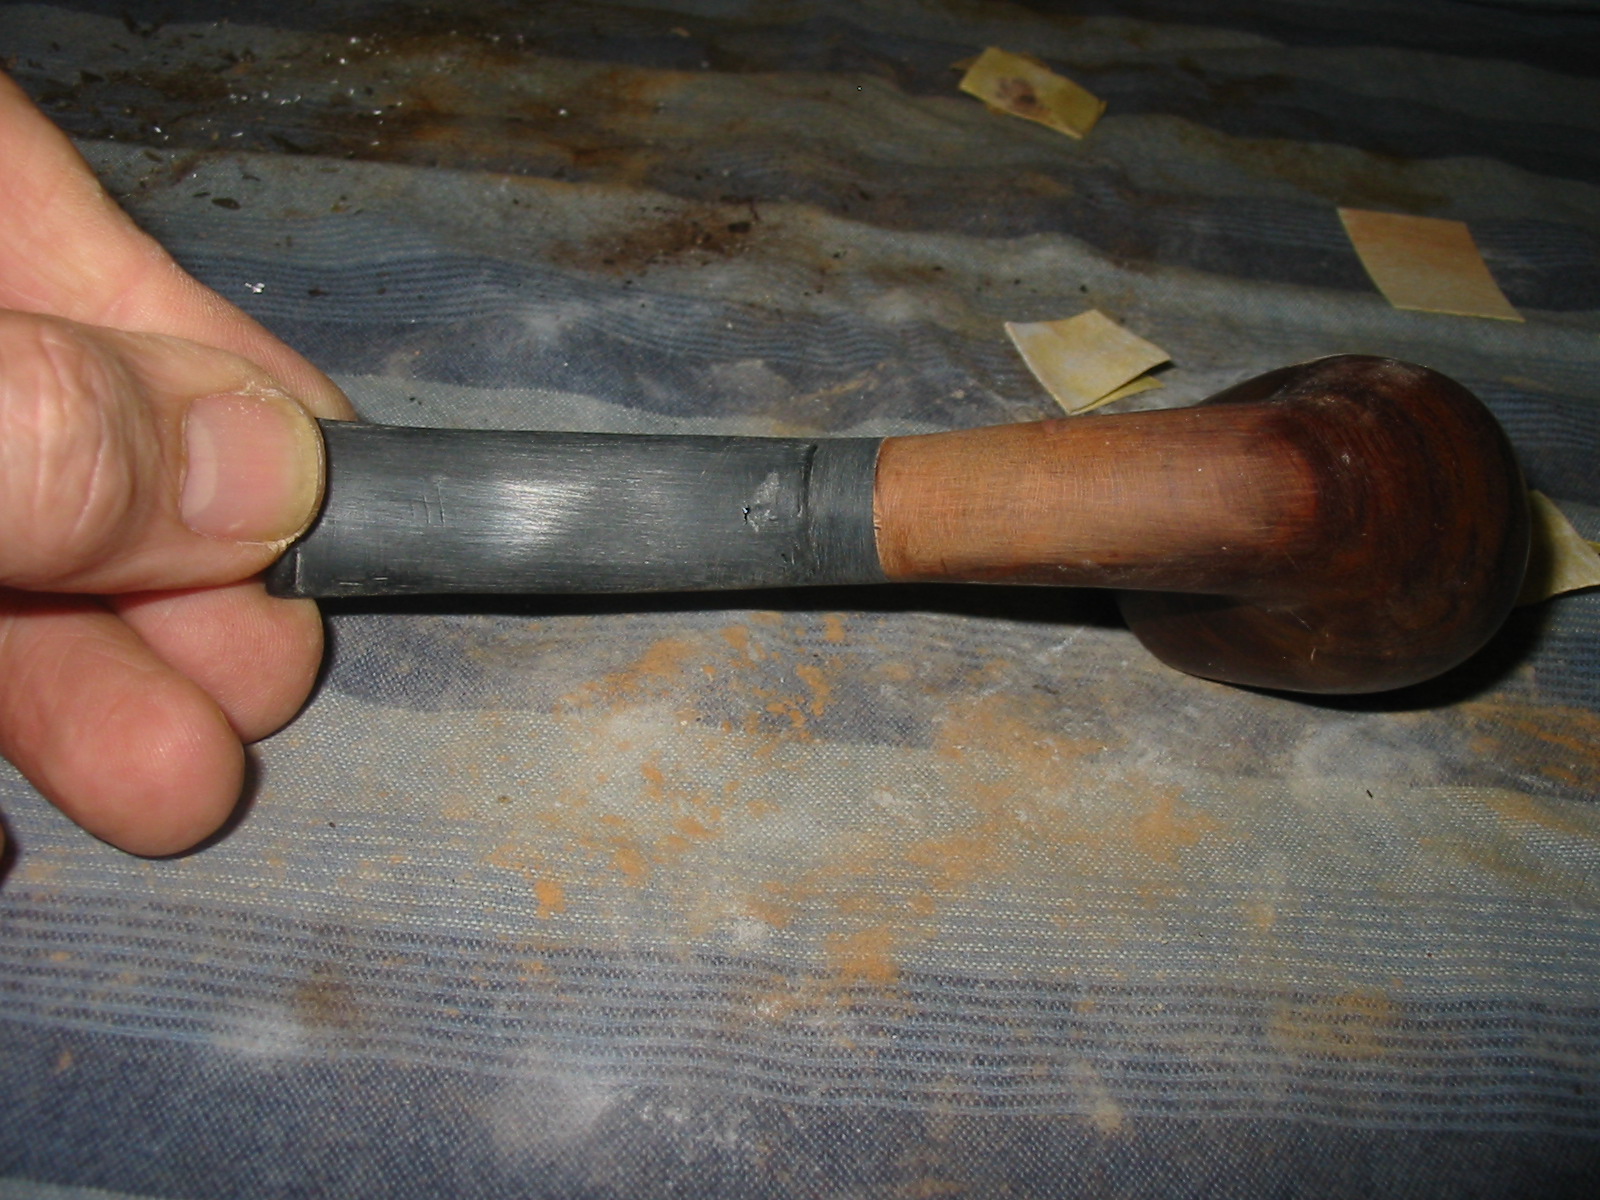
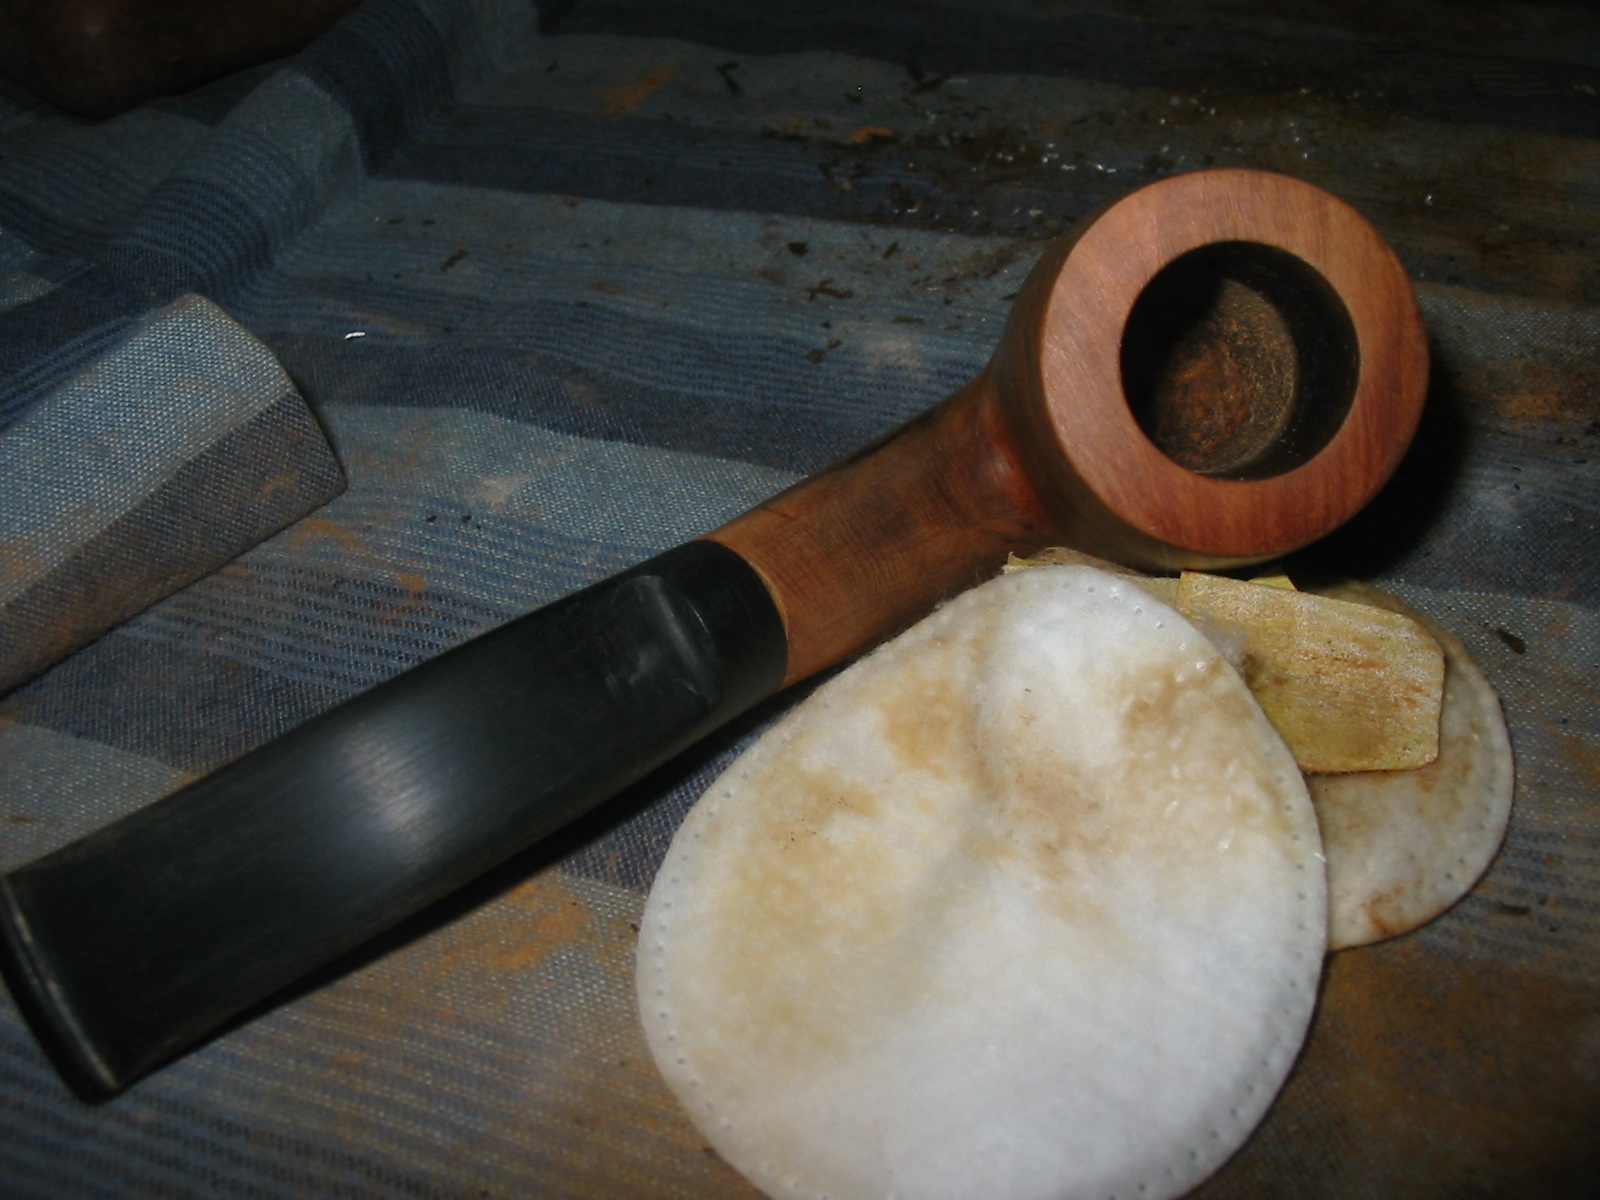
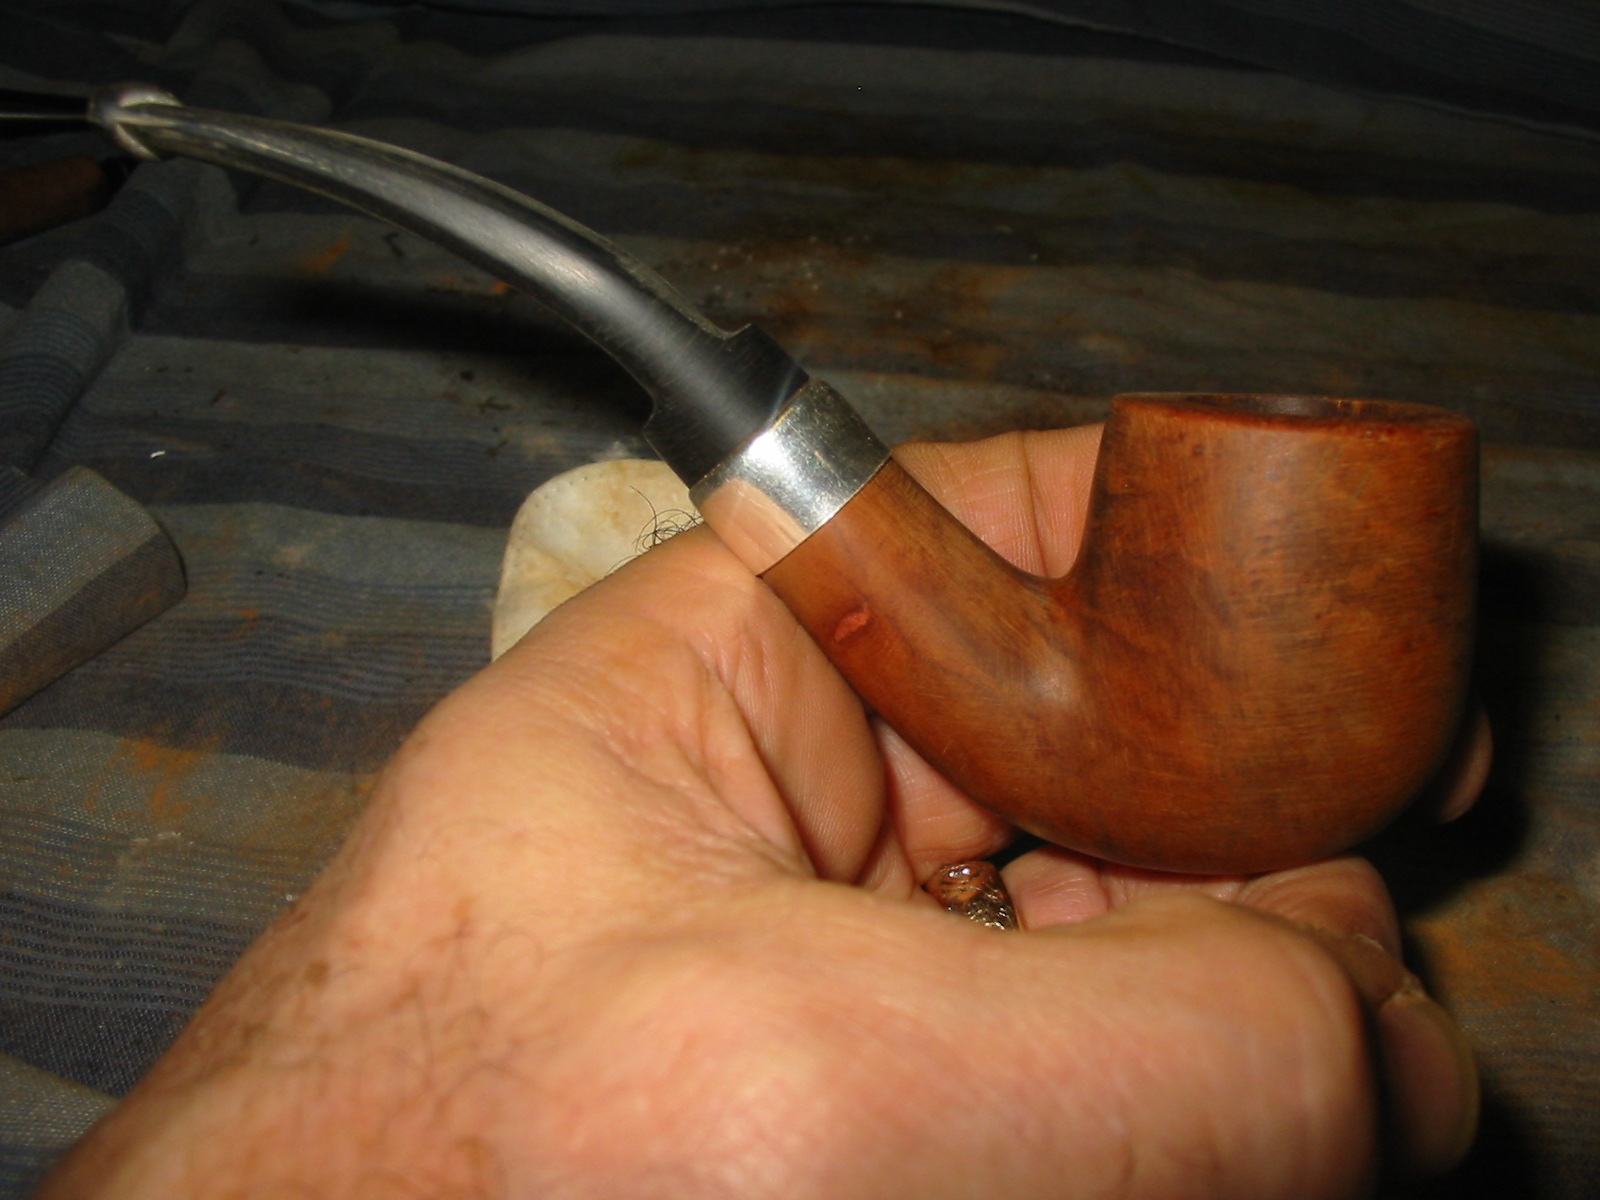
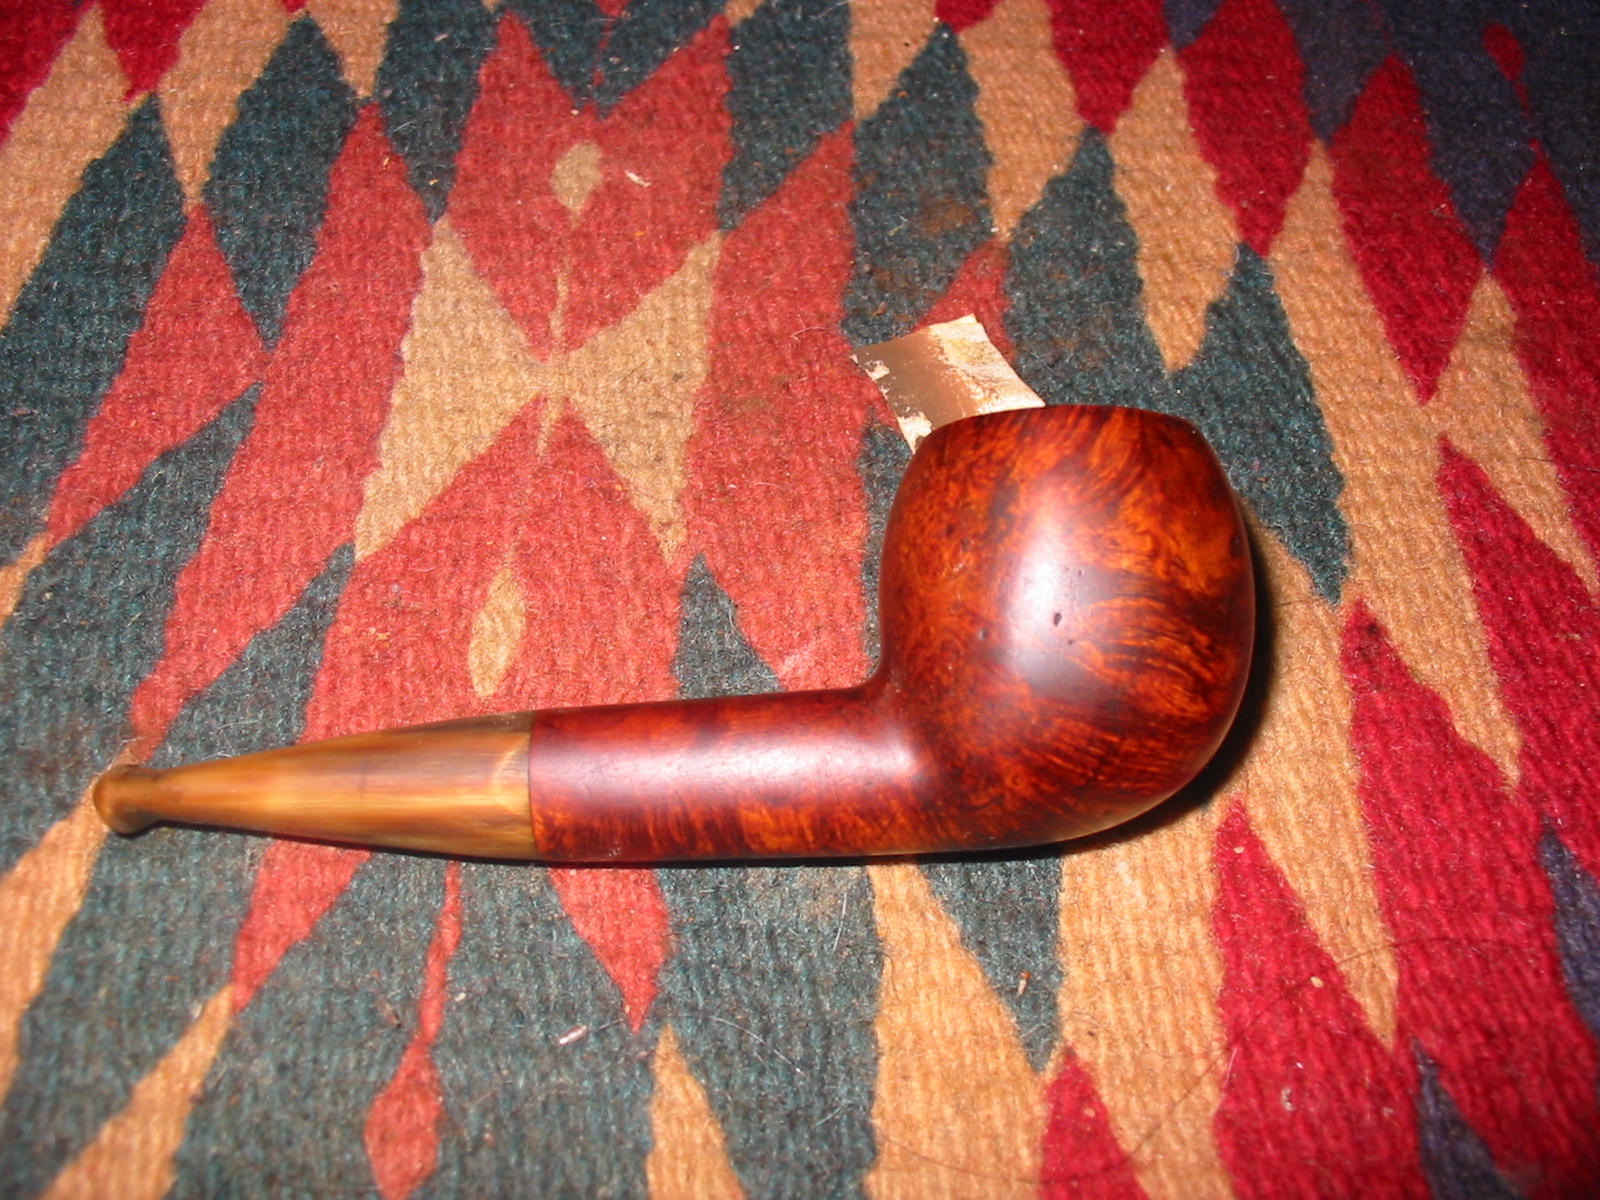
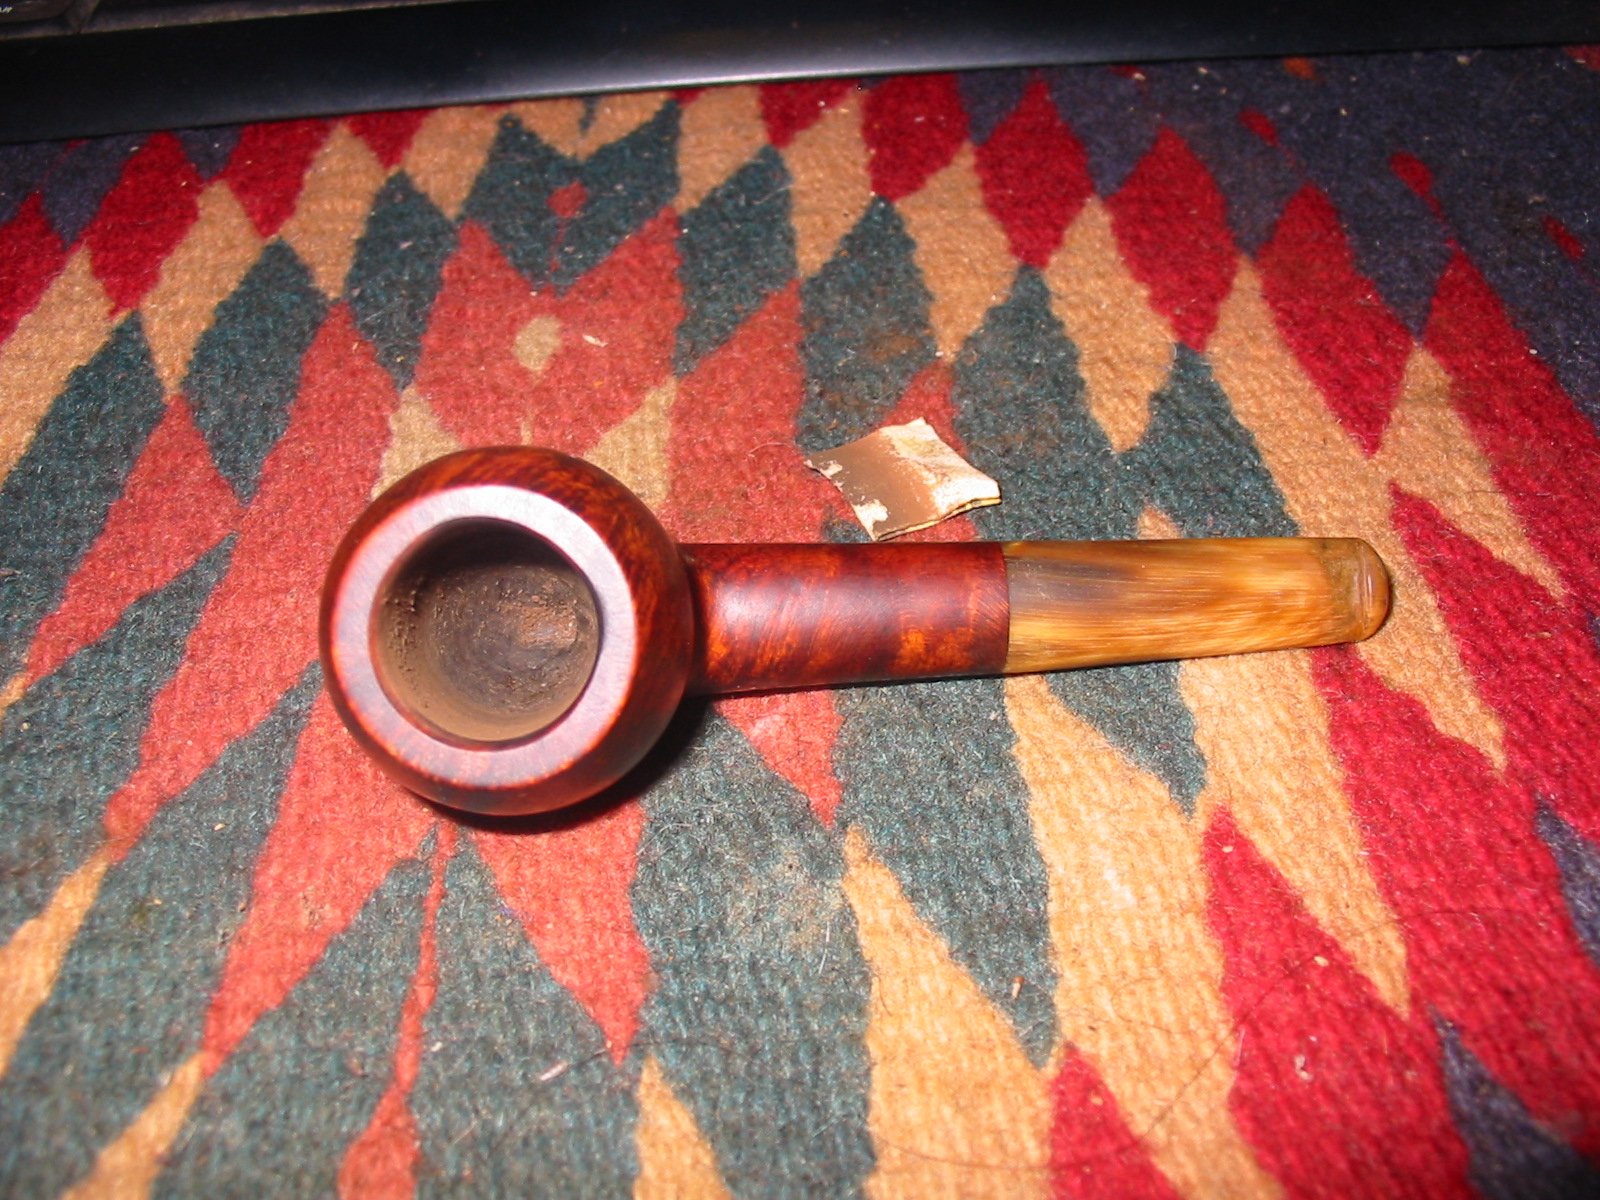
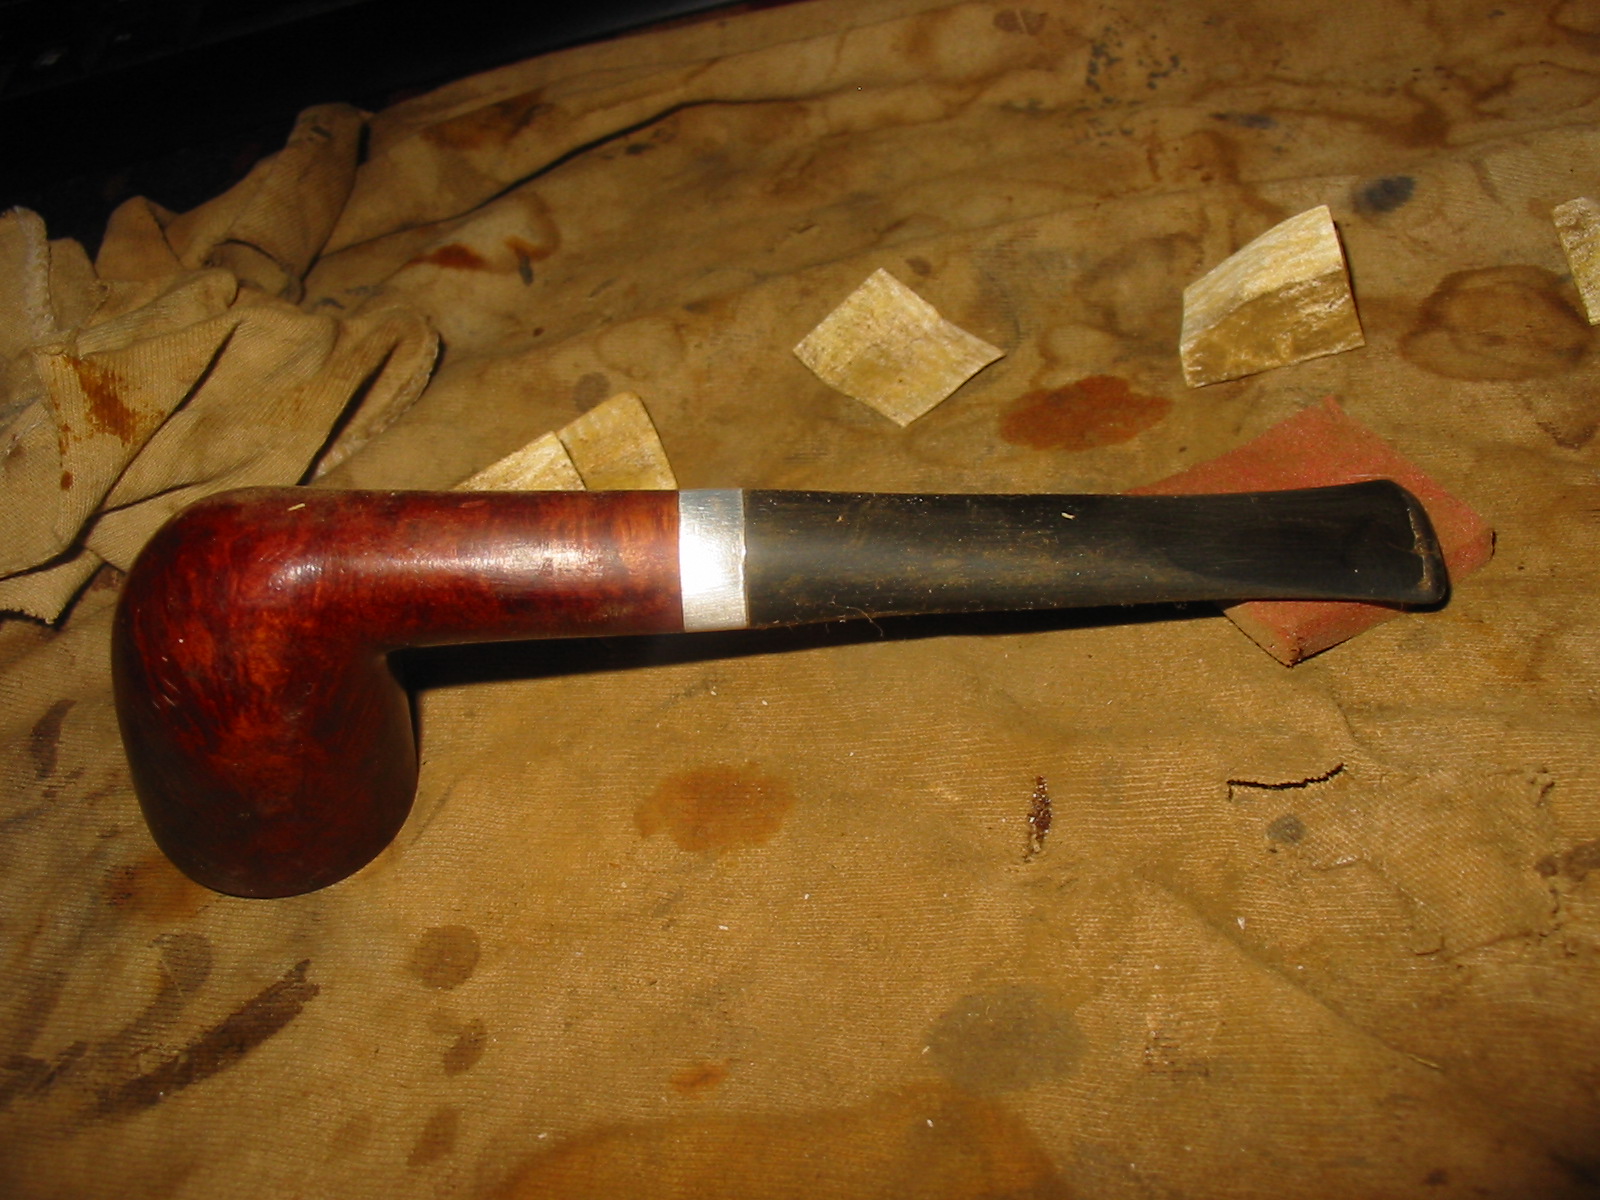
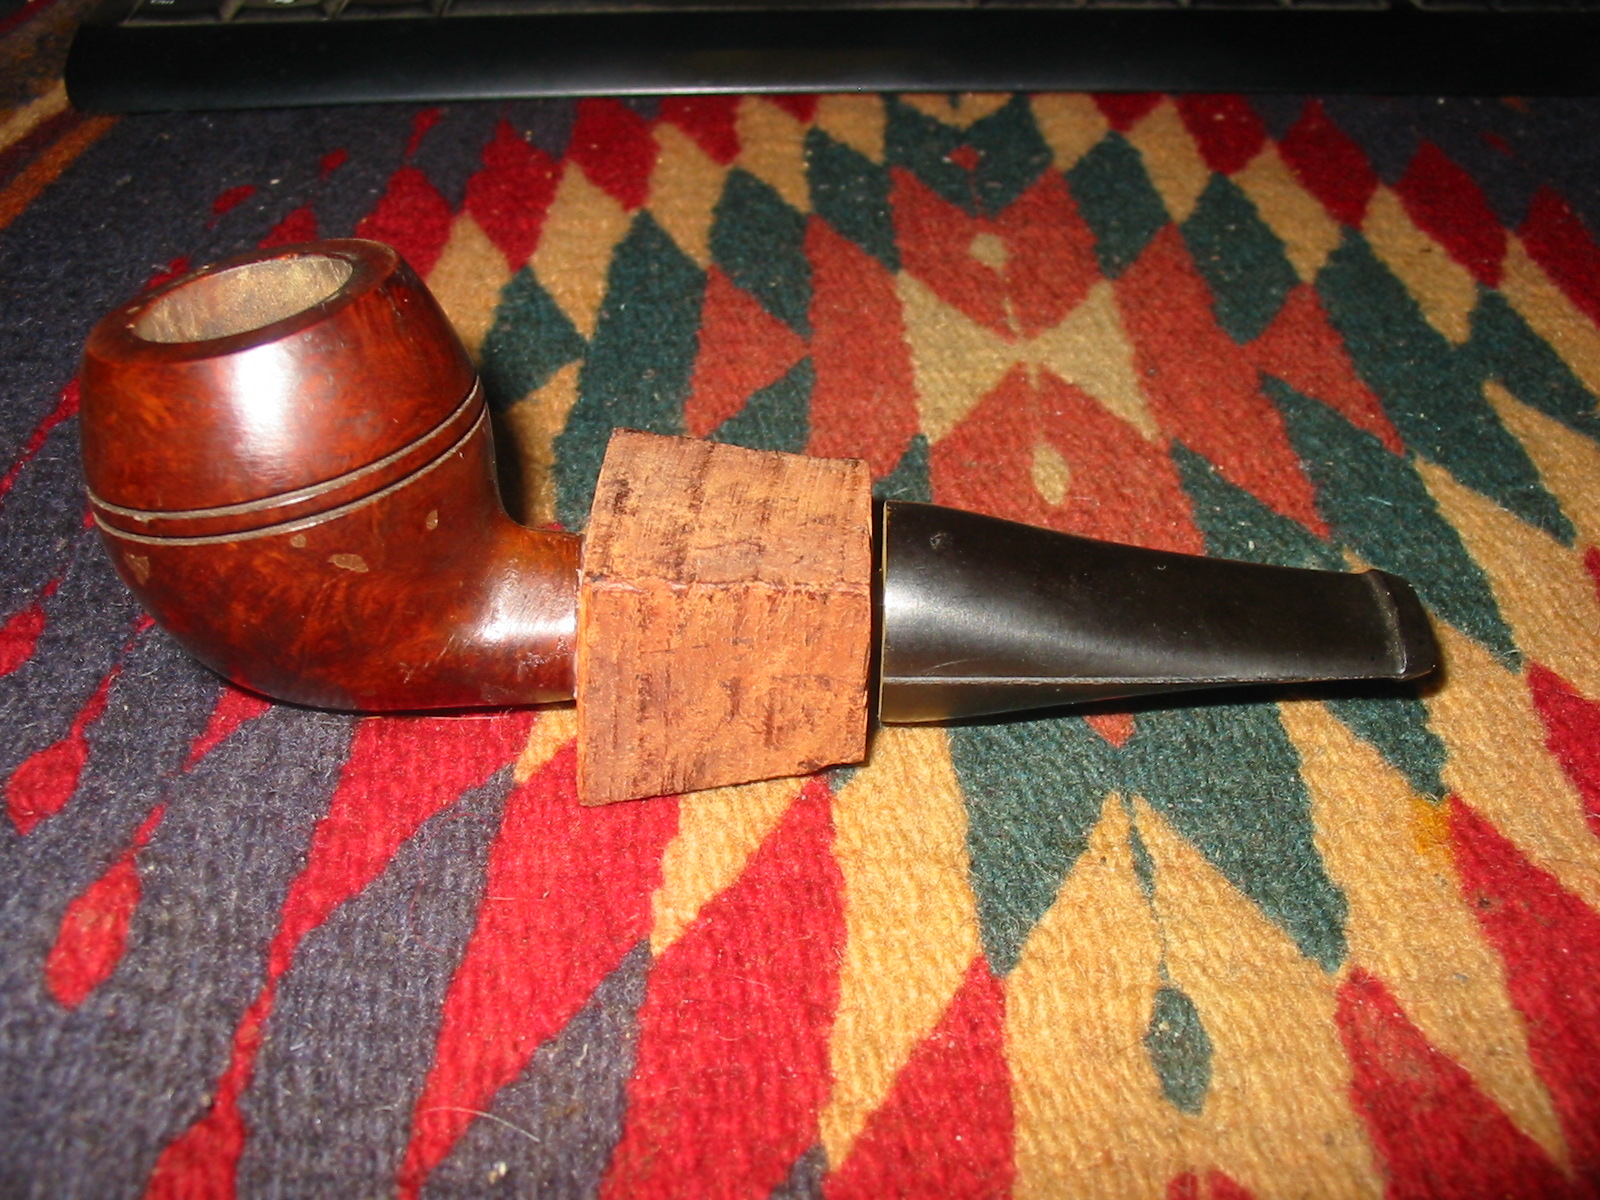
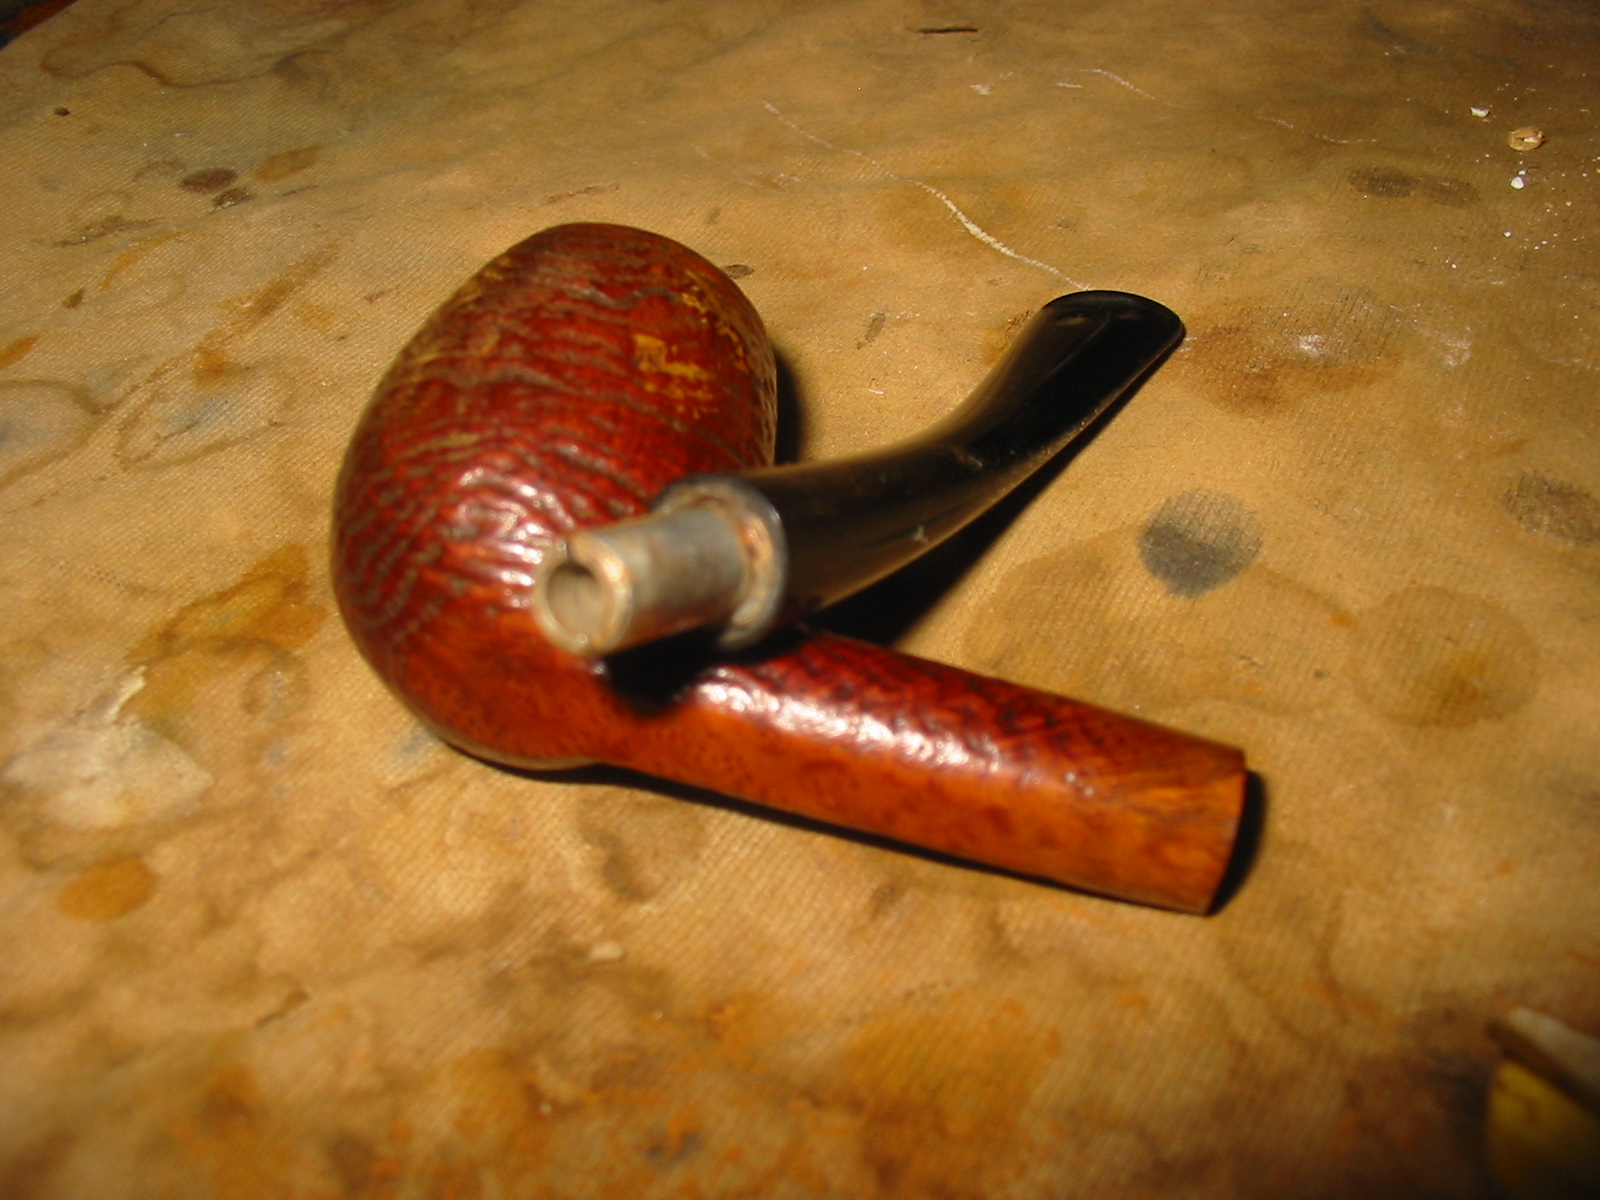
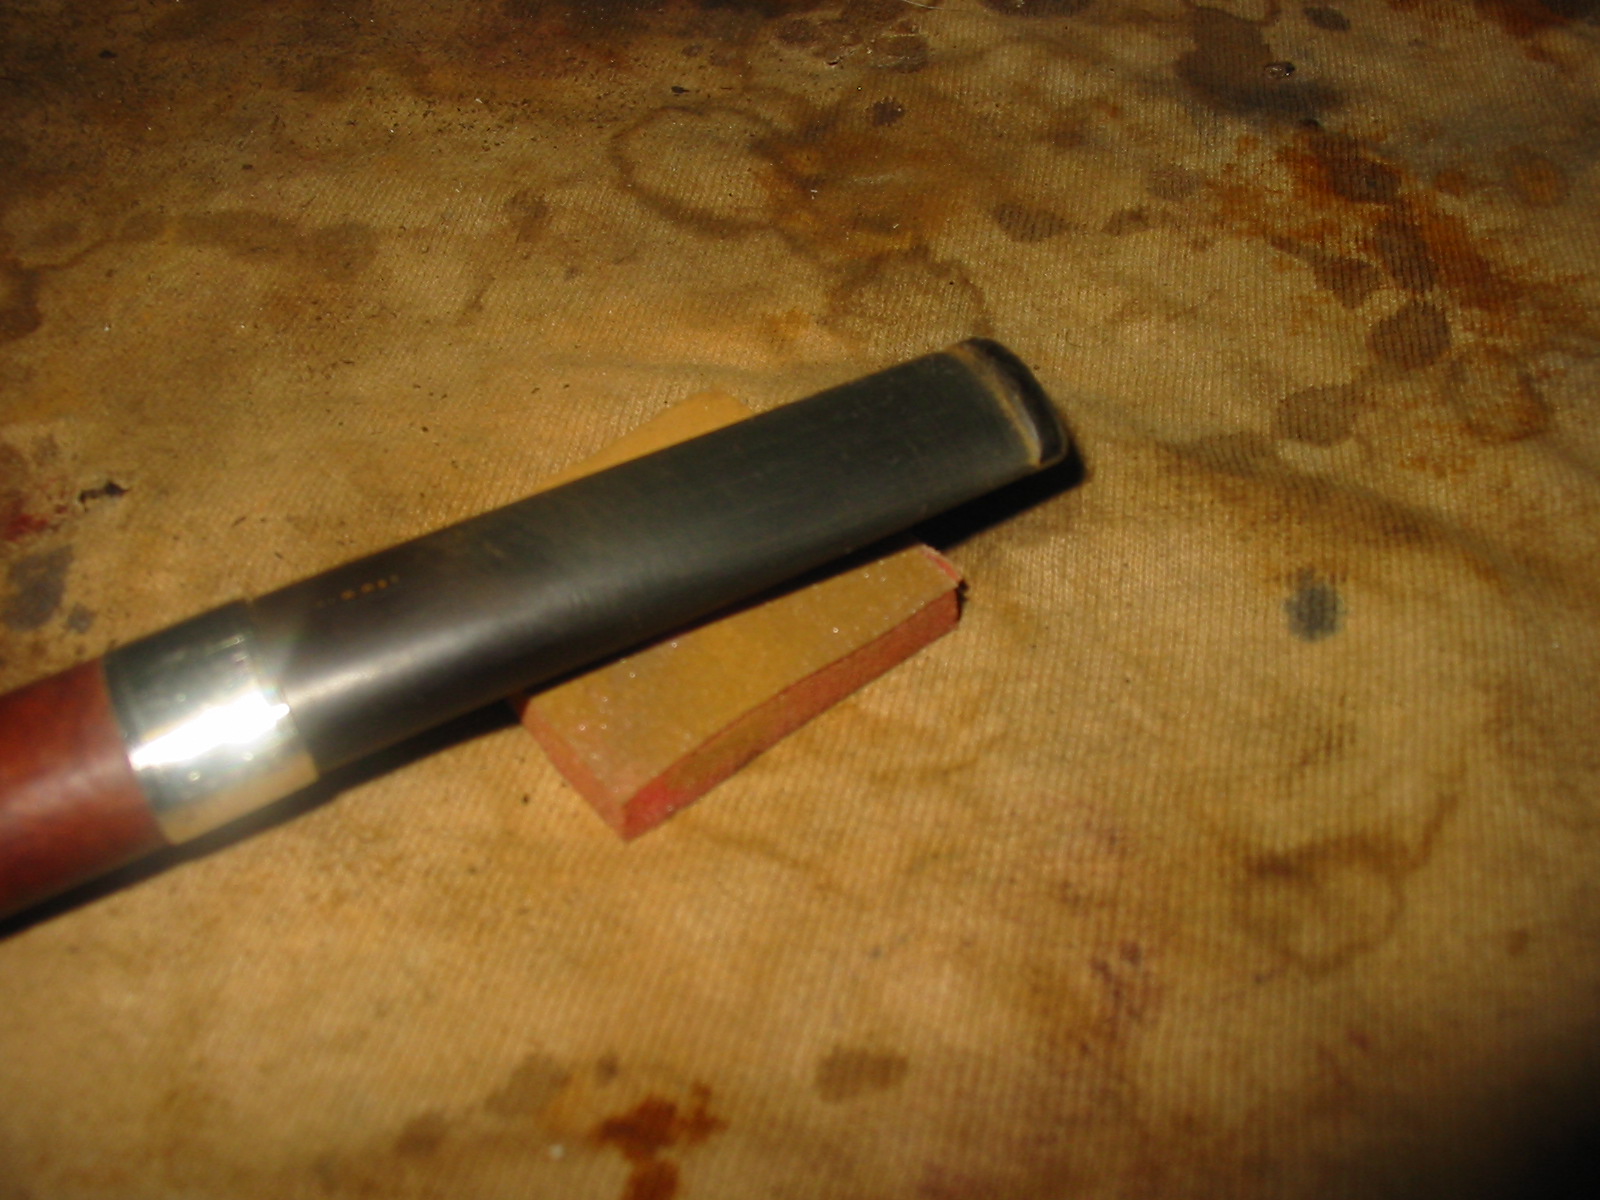
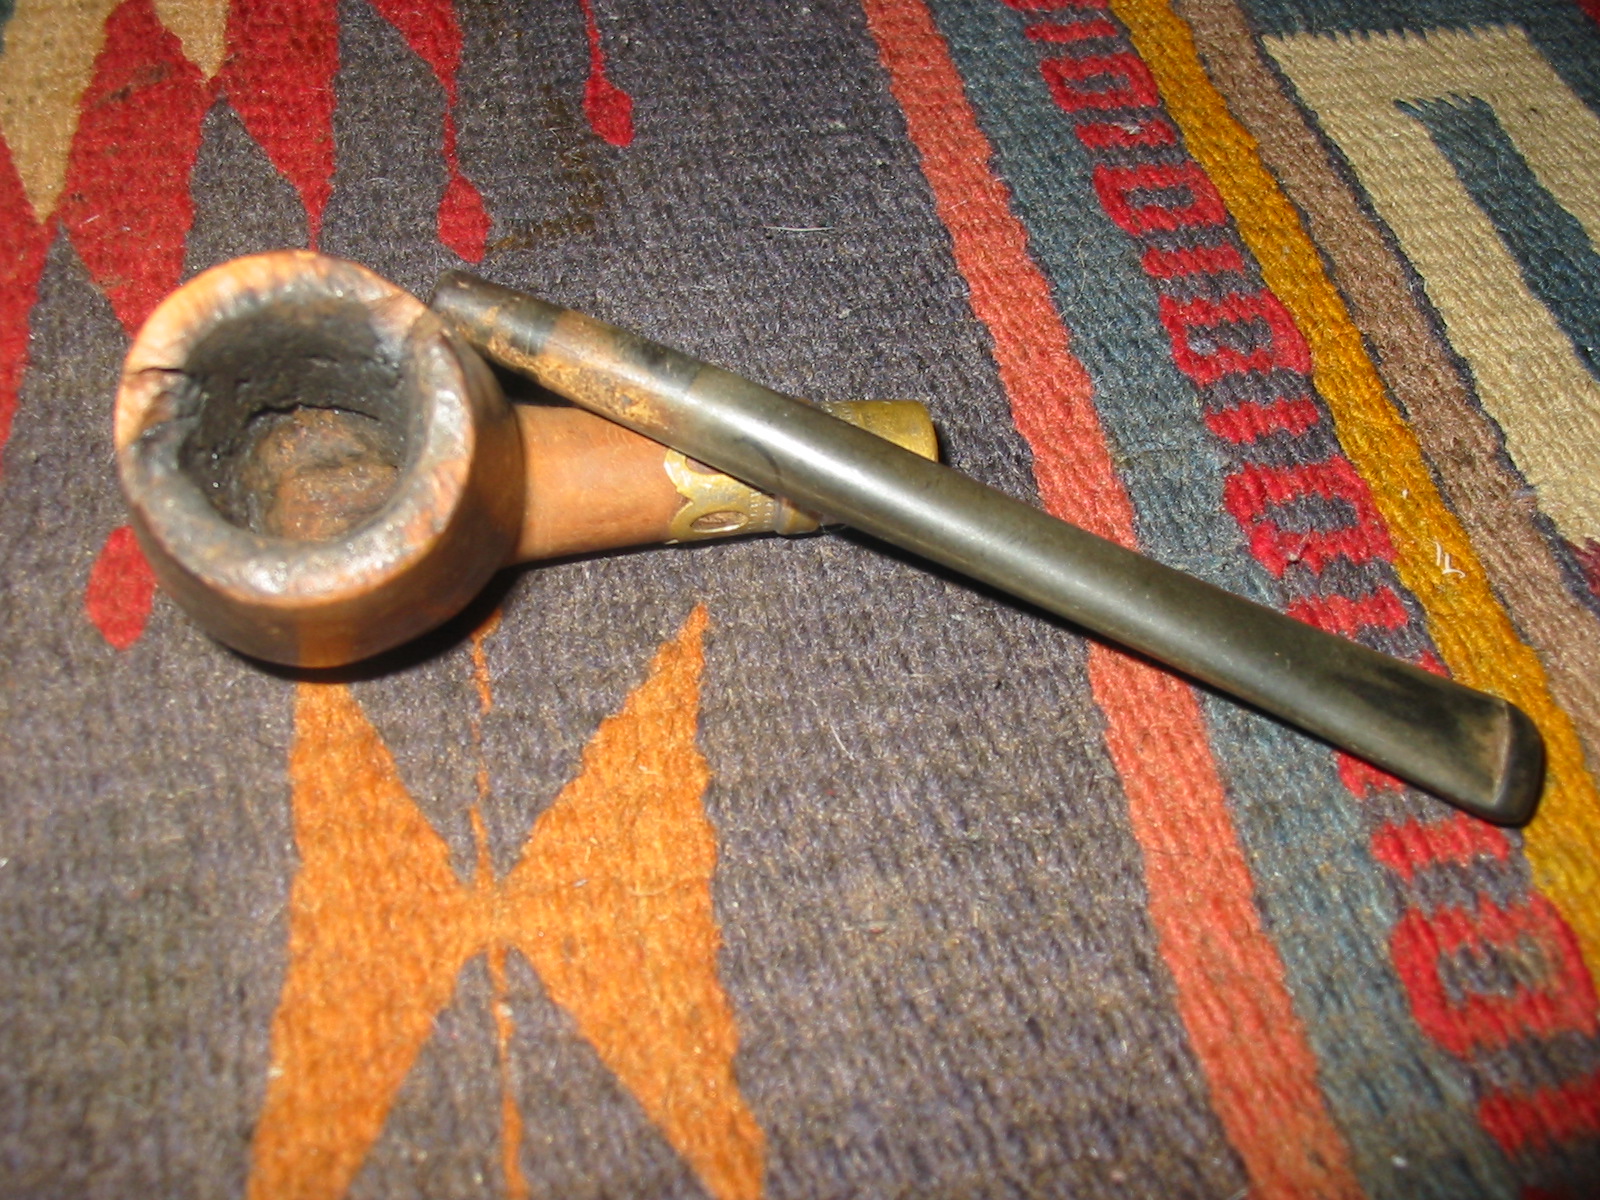
With the work on the bowl and cup finished I turned my attention to the stem. Tim’s drilling was spot on. The diameter was exactly what I had sent him – ¼ inch. The second problem I faced with this old calabash was that the bone tenon was not quite the 1/4 inch measurement I gave him. It would not fit in the tapped hole in the stem. I measured it again and found that is was closer to 3/8 inches than a ¼ inch. I re-tapped the stem to 3/8 and was able to thread the tenon into the stem. It looked great and it fit well in the mortise. I glued the tenon in place in the stem with all-purpose white glue and set it aside to cure over night.
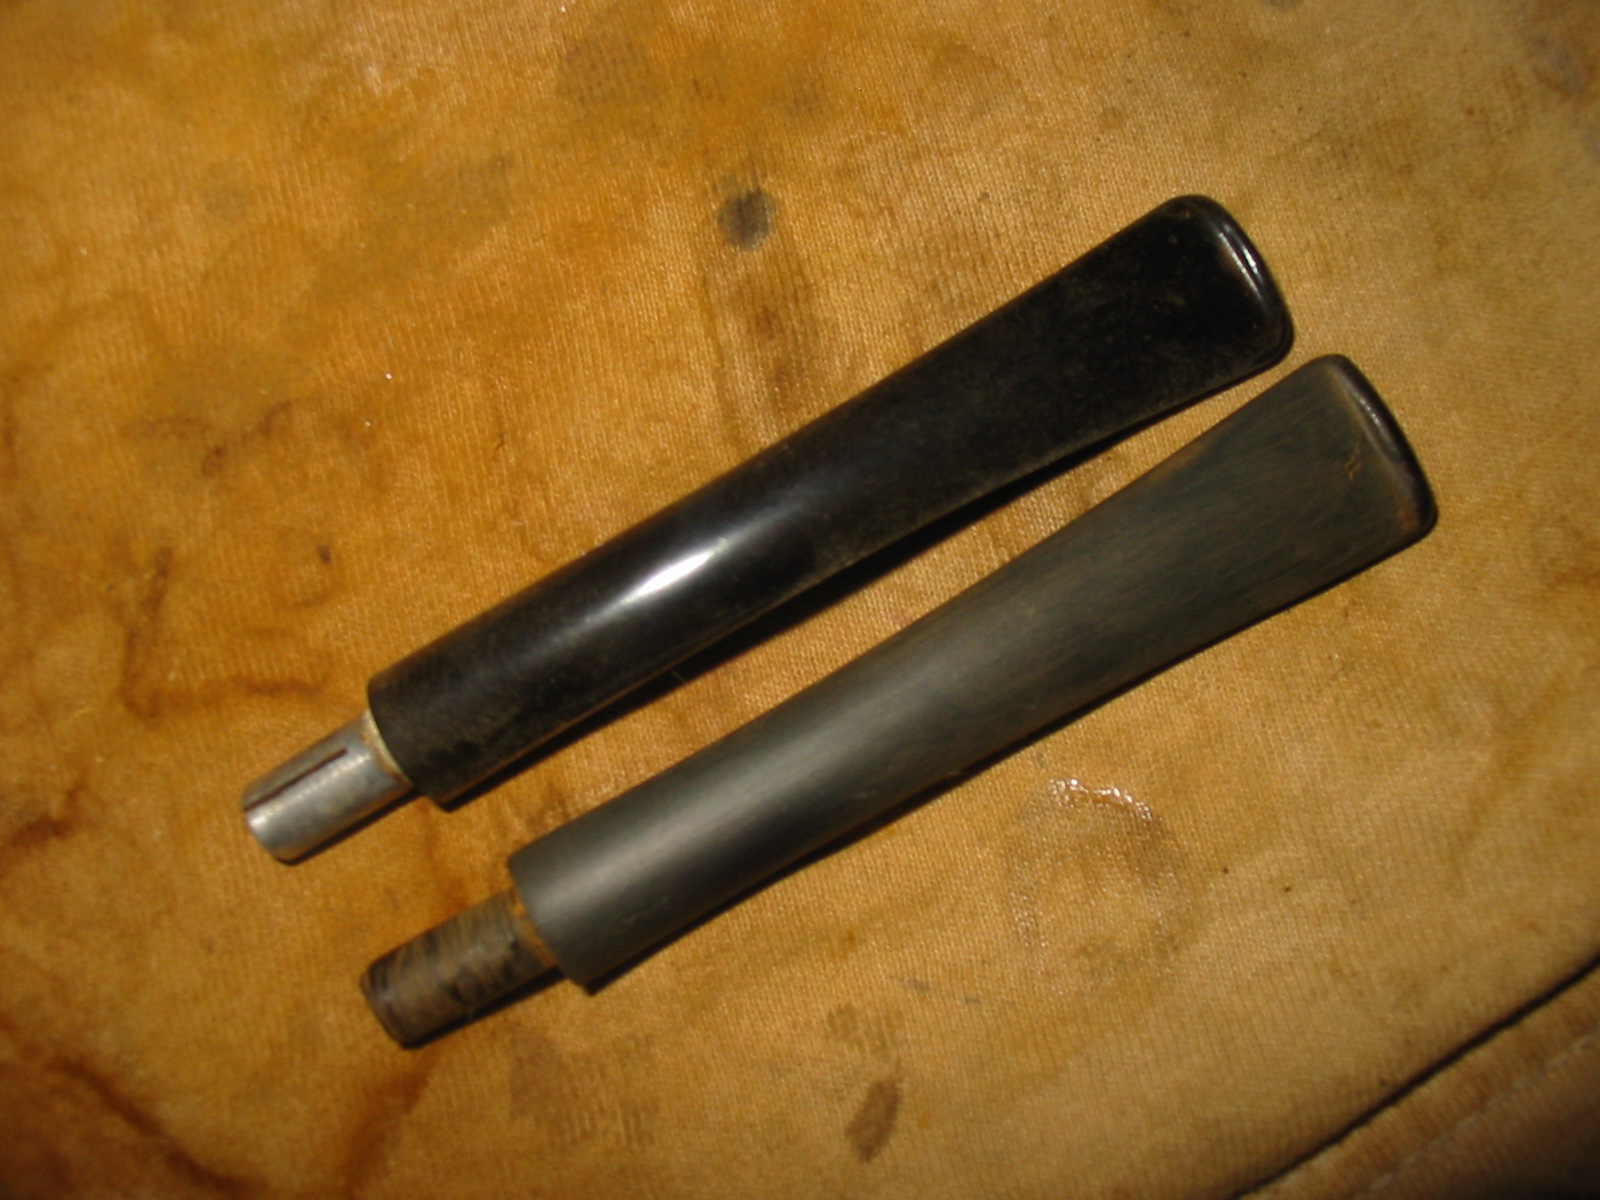
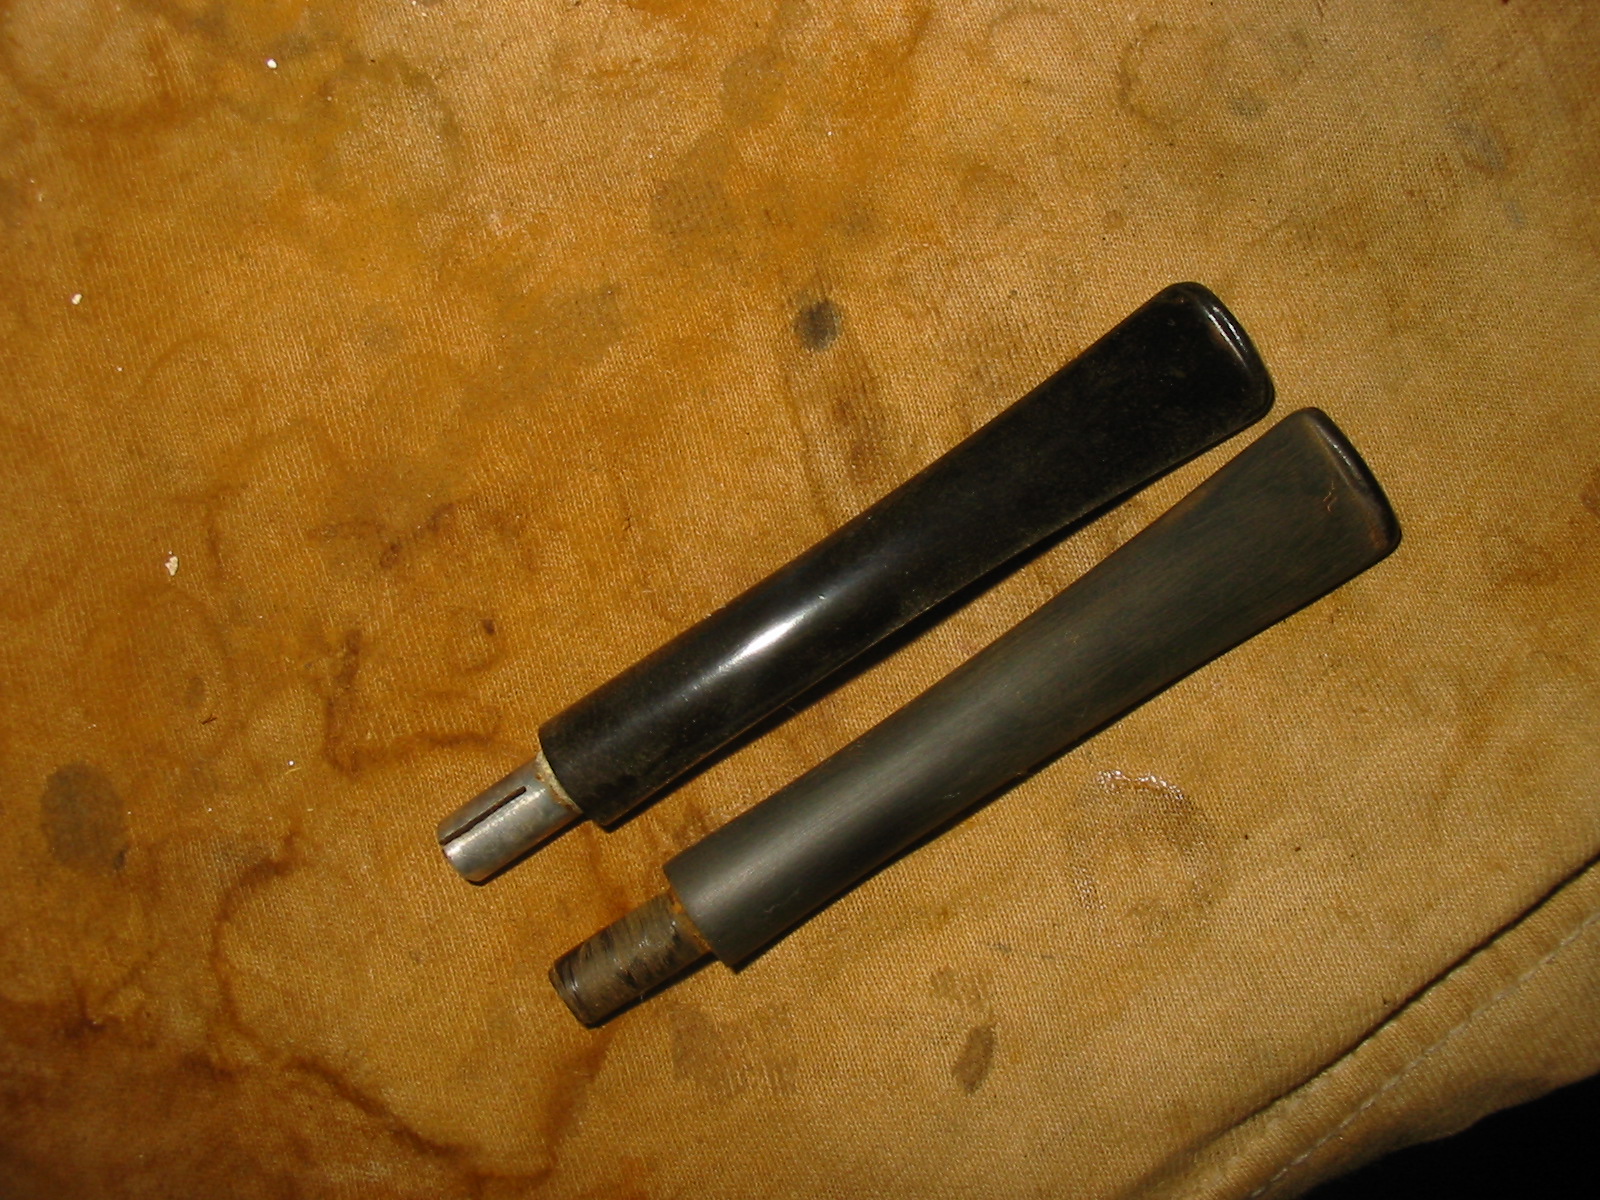
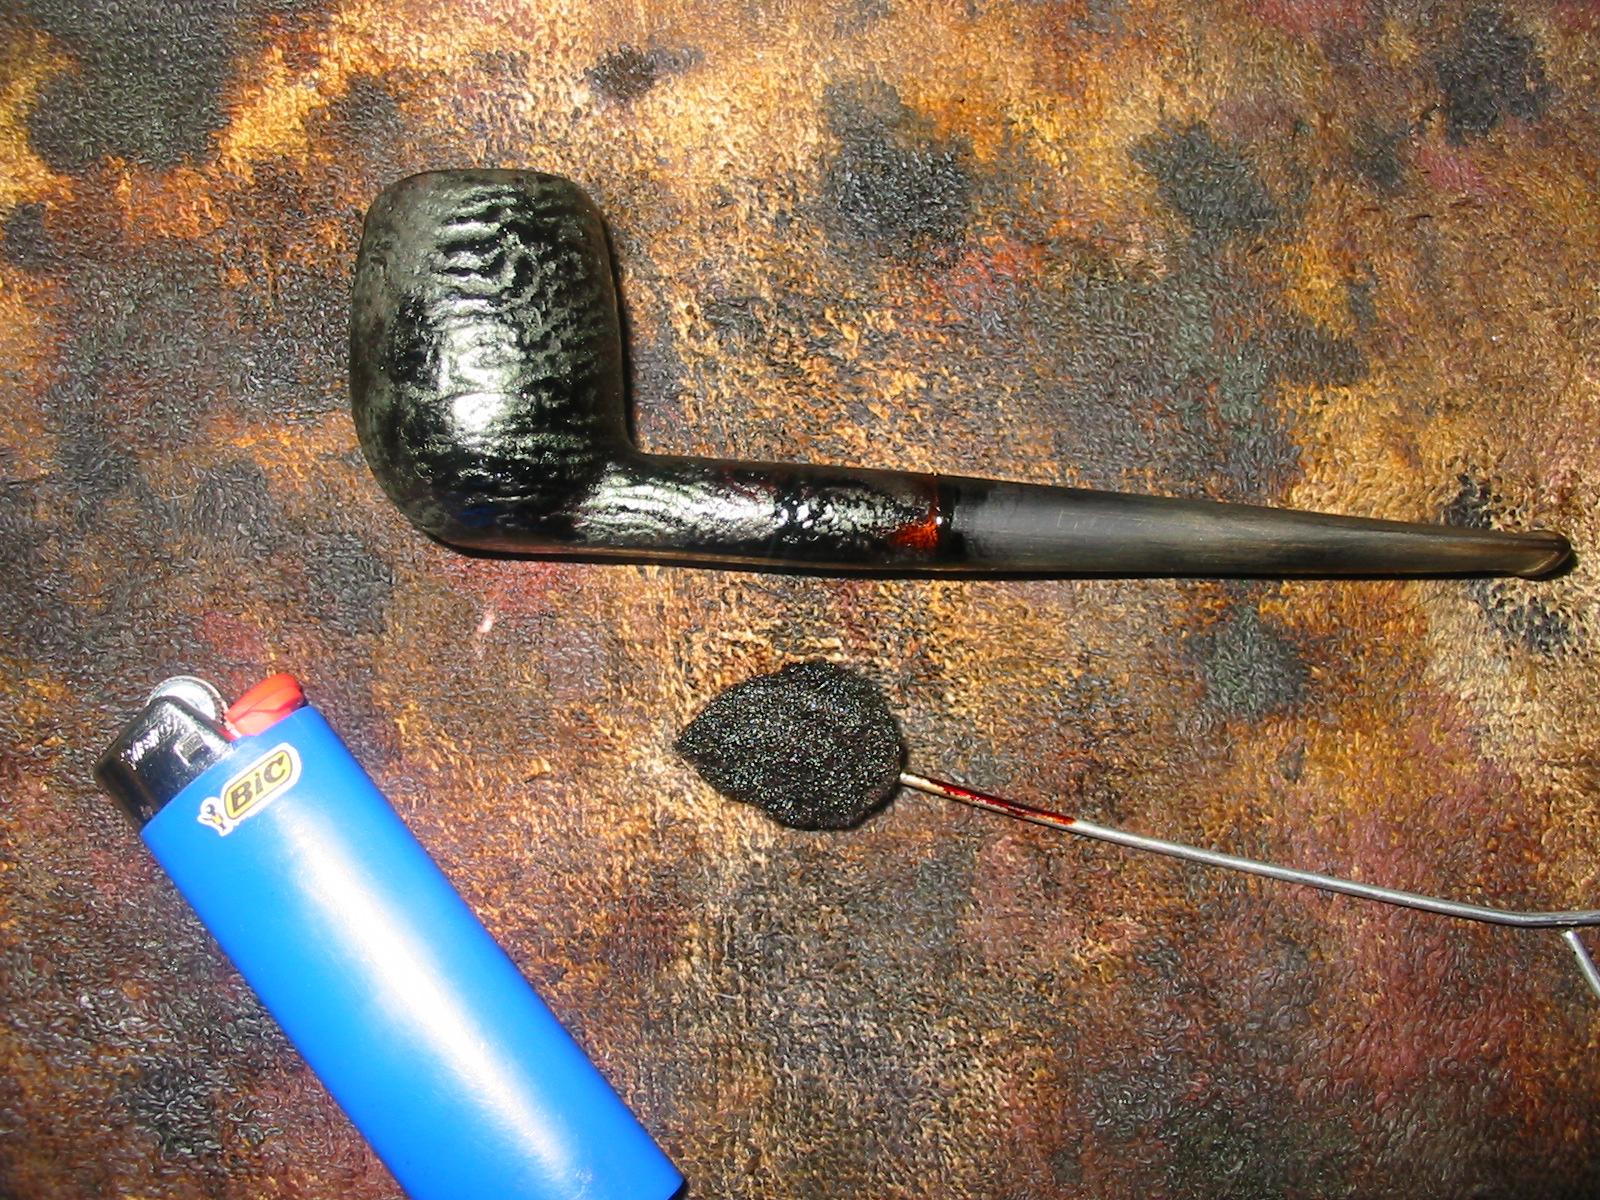
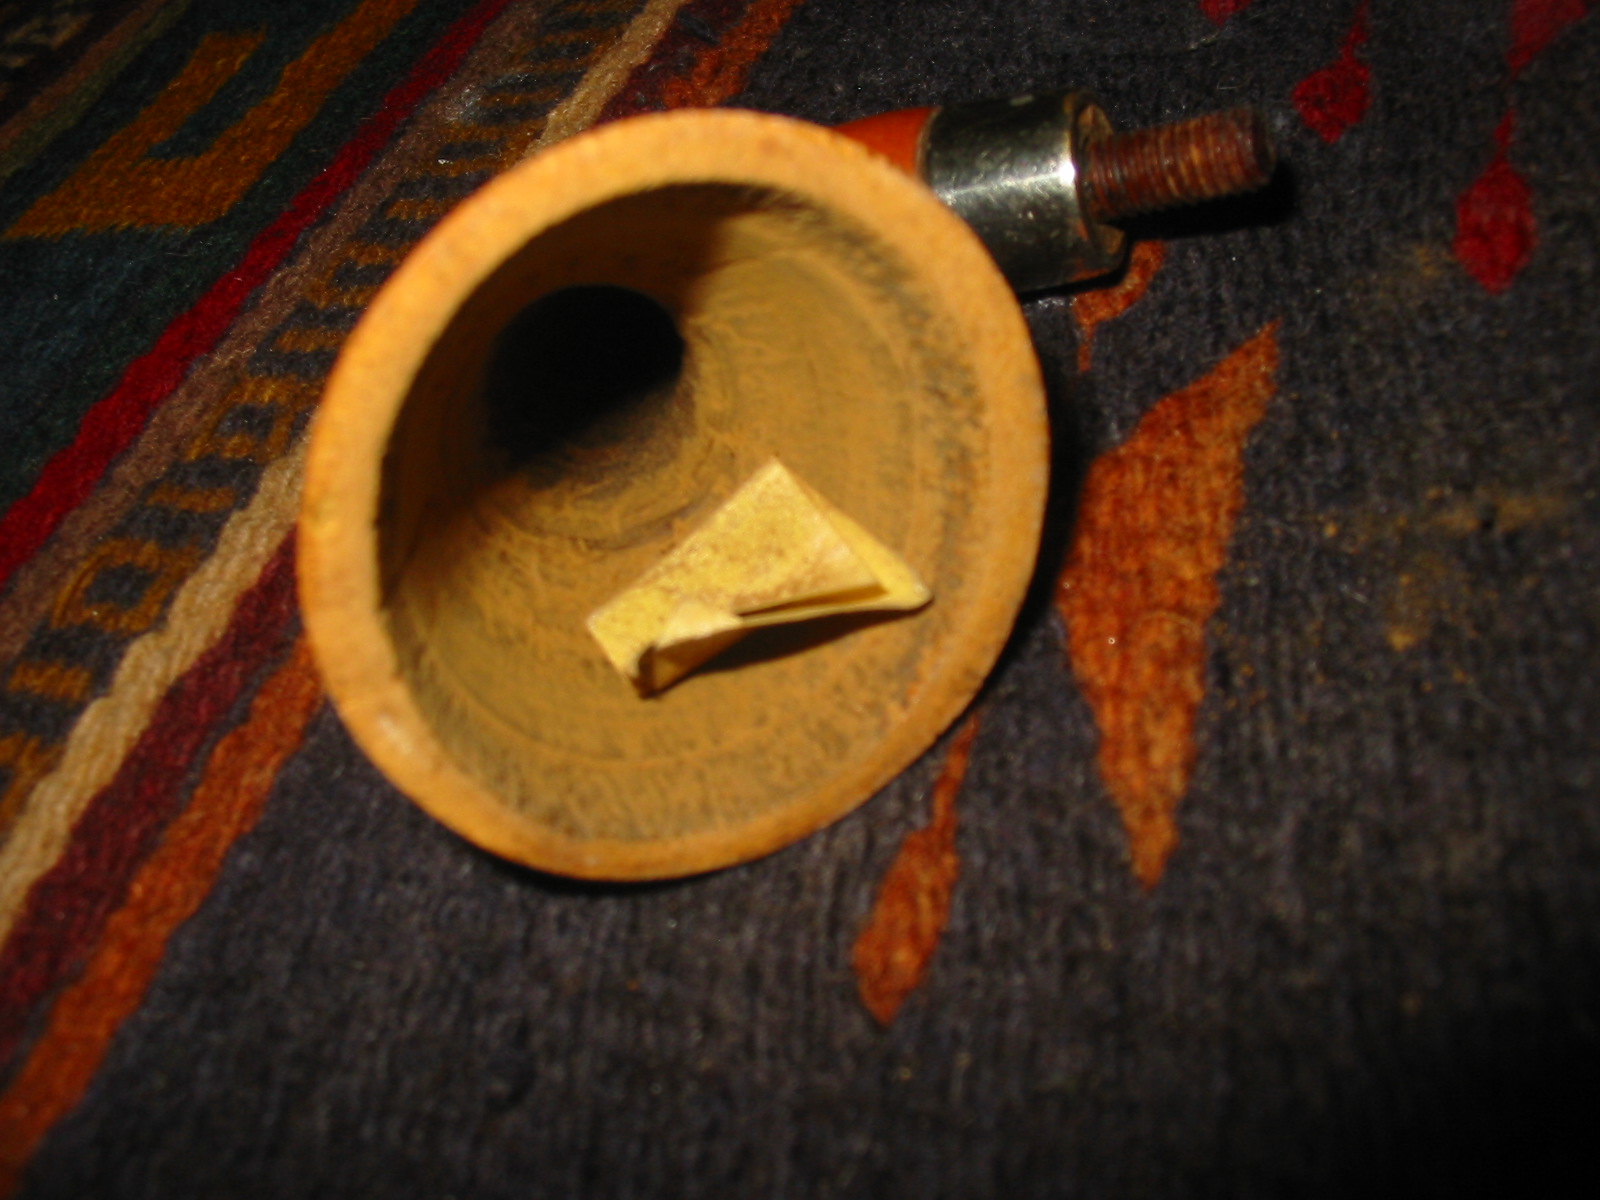
In the morning I slowly and carefully turned it into the bowl. Things were going really well. It looked like I would need to reduce the diameter of the stem slightly on one side and the top to match the diameter of the shank band. As I was turning it I heard a noise that is dreadful to me and to anyone who has heard it. It generally is not a good sound when you are this far along in a repair and signifies more work. The bone tenon broke in half. It obviously had been cracked and I had not seen that when I examined it. When I had turned it into the shank it had shattered. I was left with the broken half glued into the stem and the threaded half stuck in the shank of the pipe. Talk about frustration. I set the pipe aside and took a deep breath. Now I would have to go back to the drawing board in terms of how to attach a stem. I would have to drill out both the stem and the shank in order to move forward.
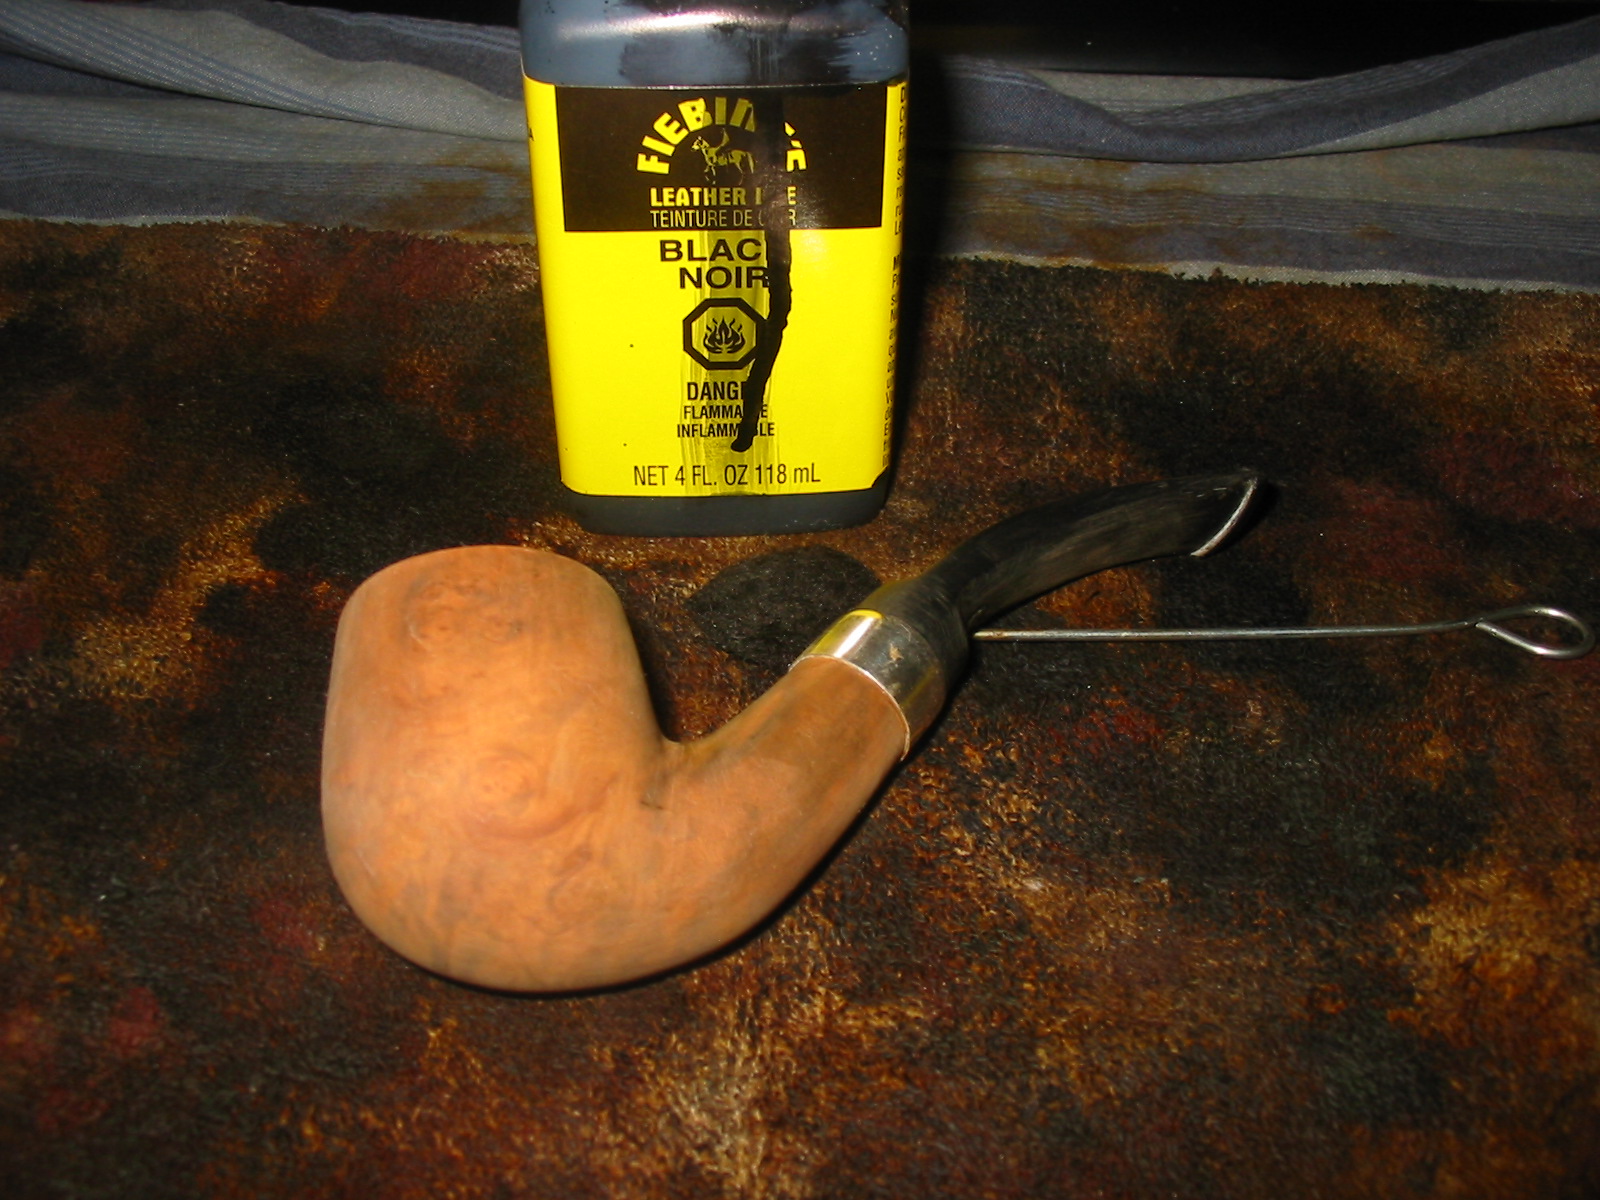
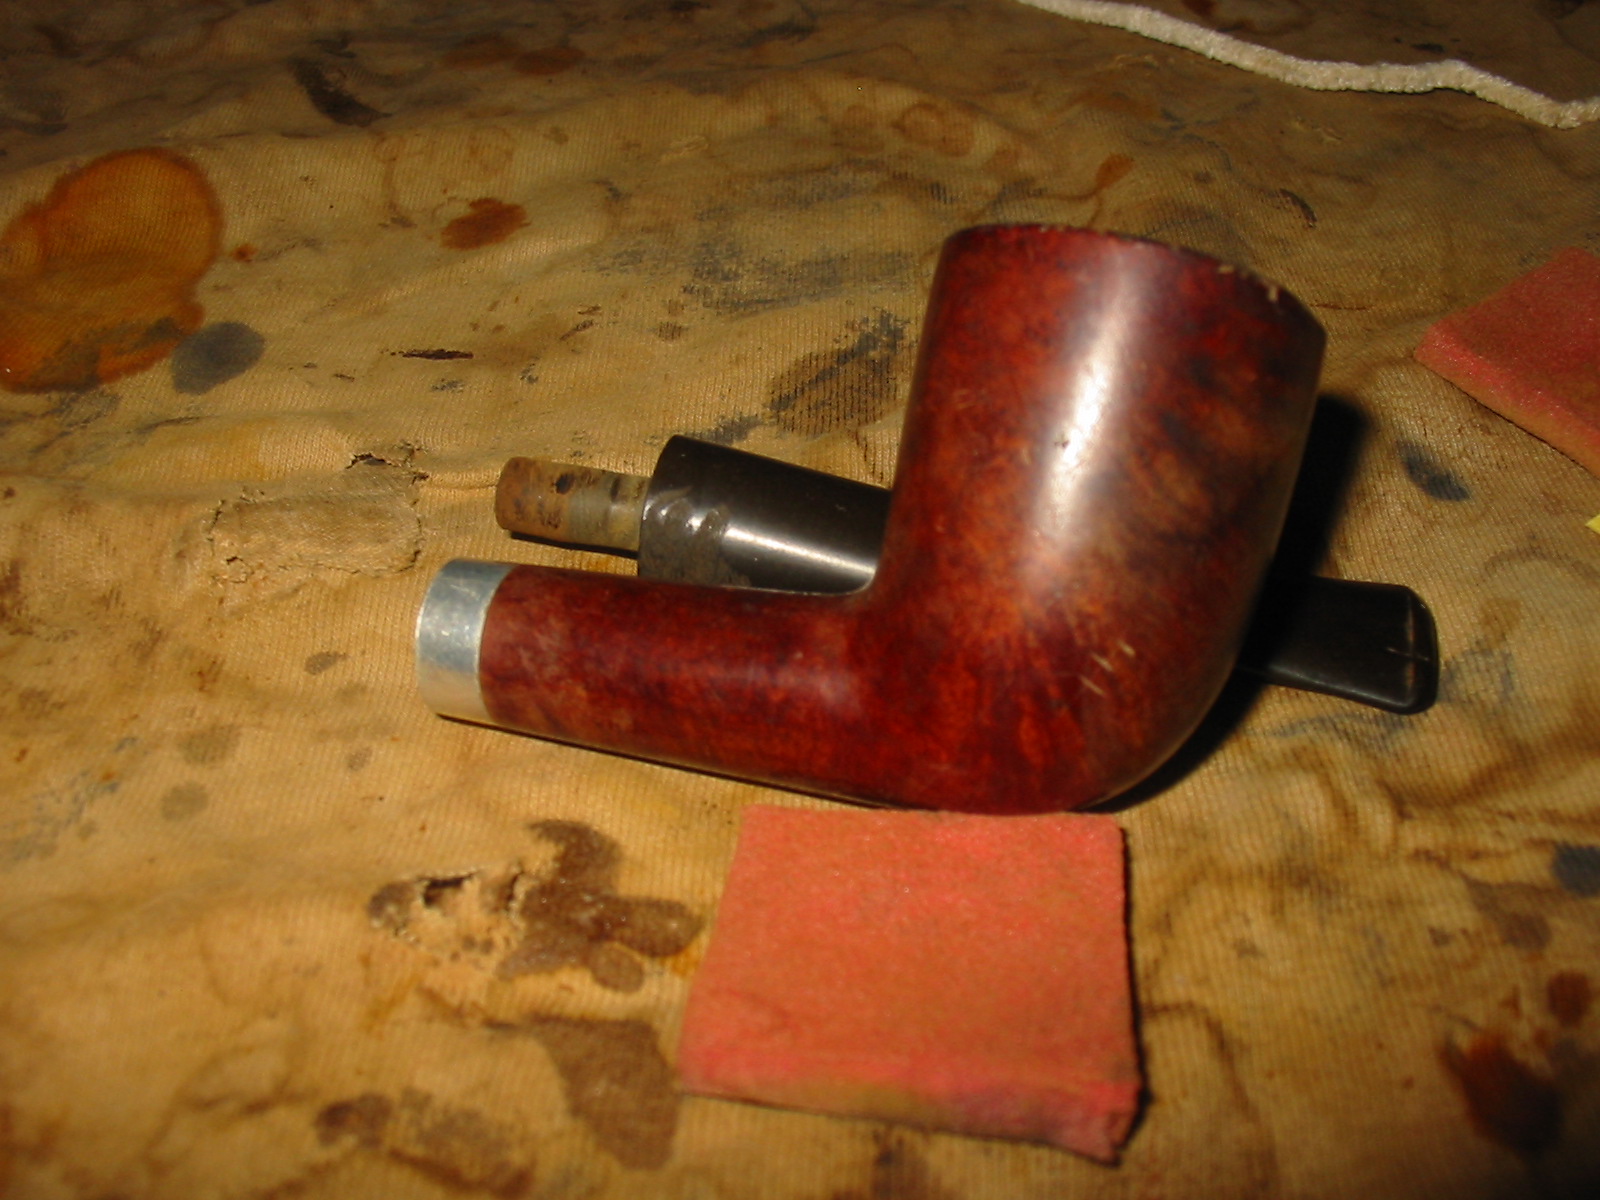
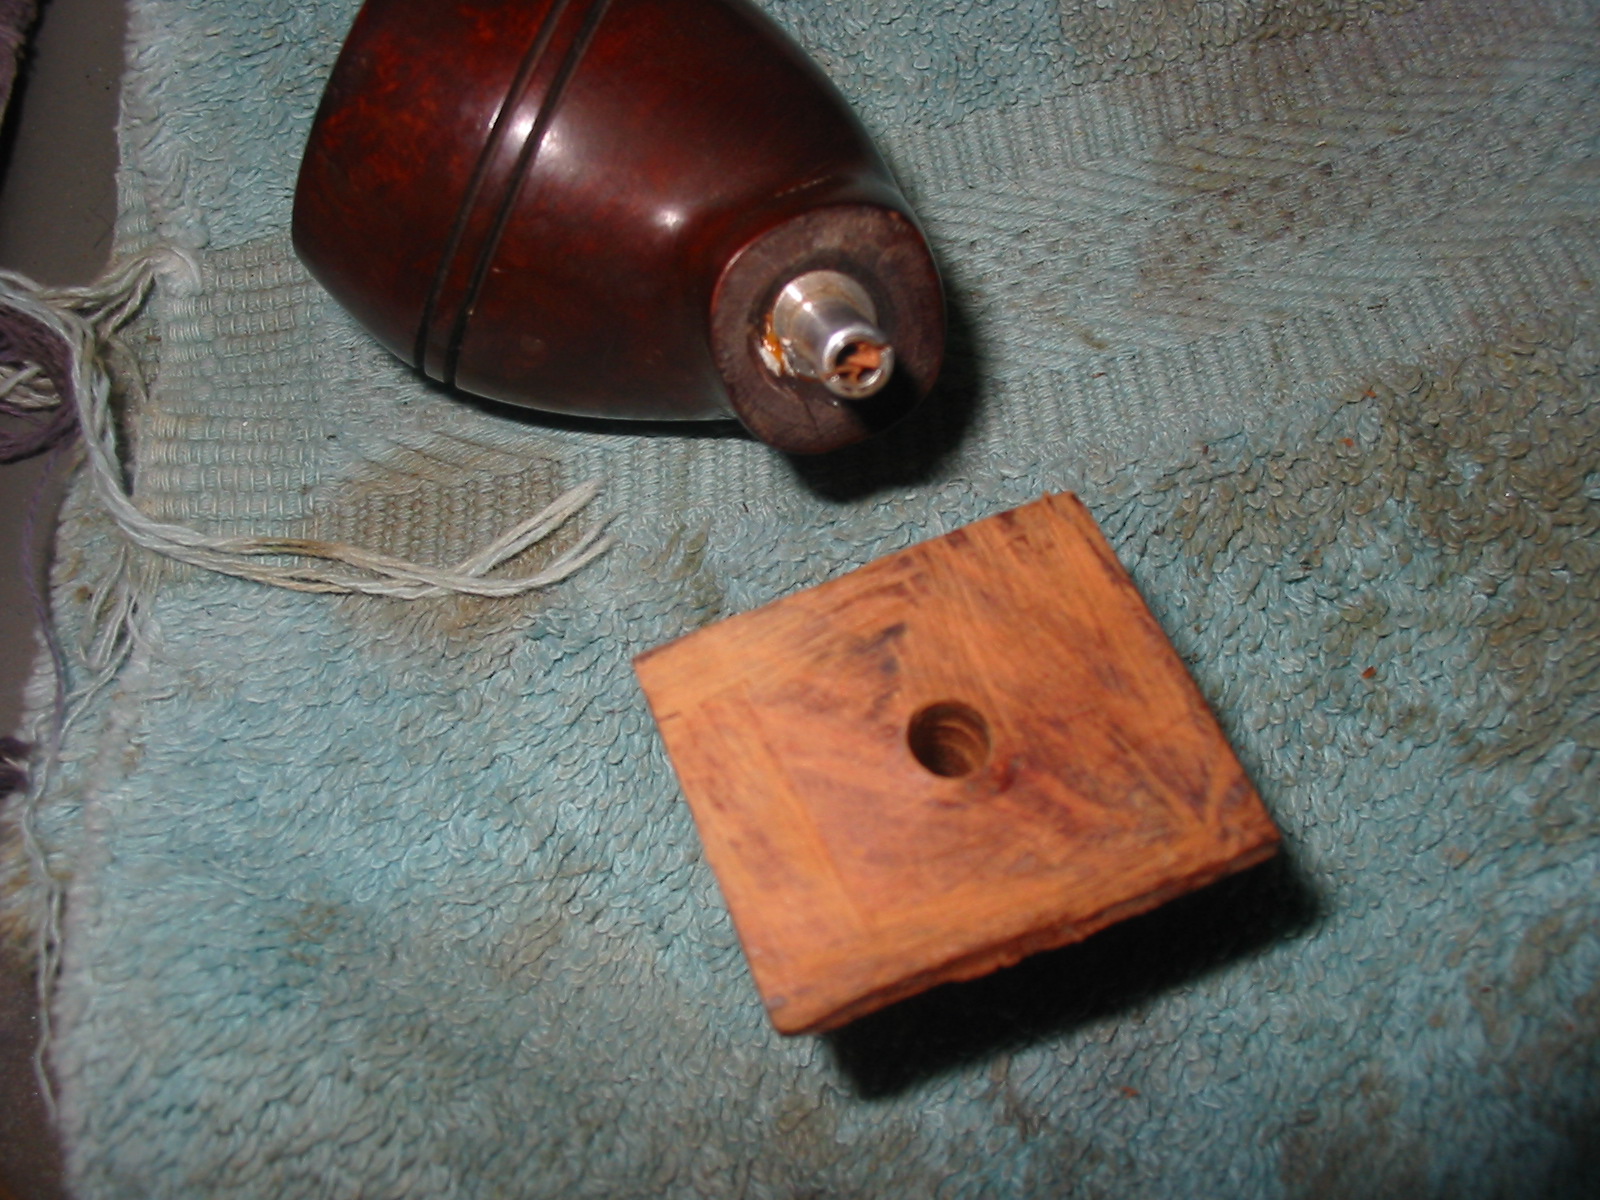
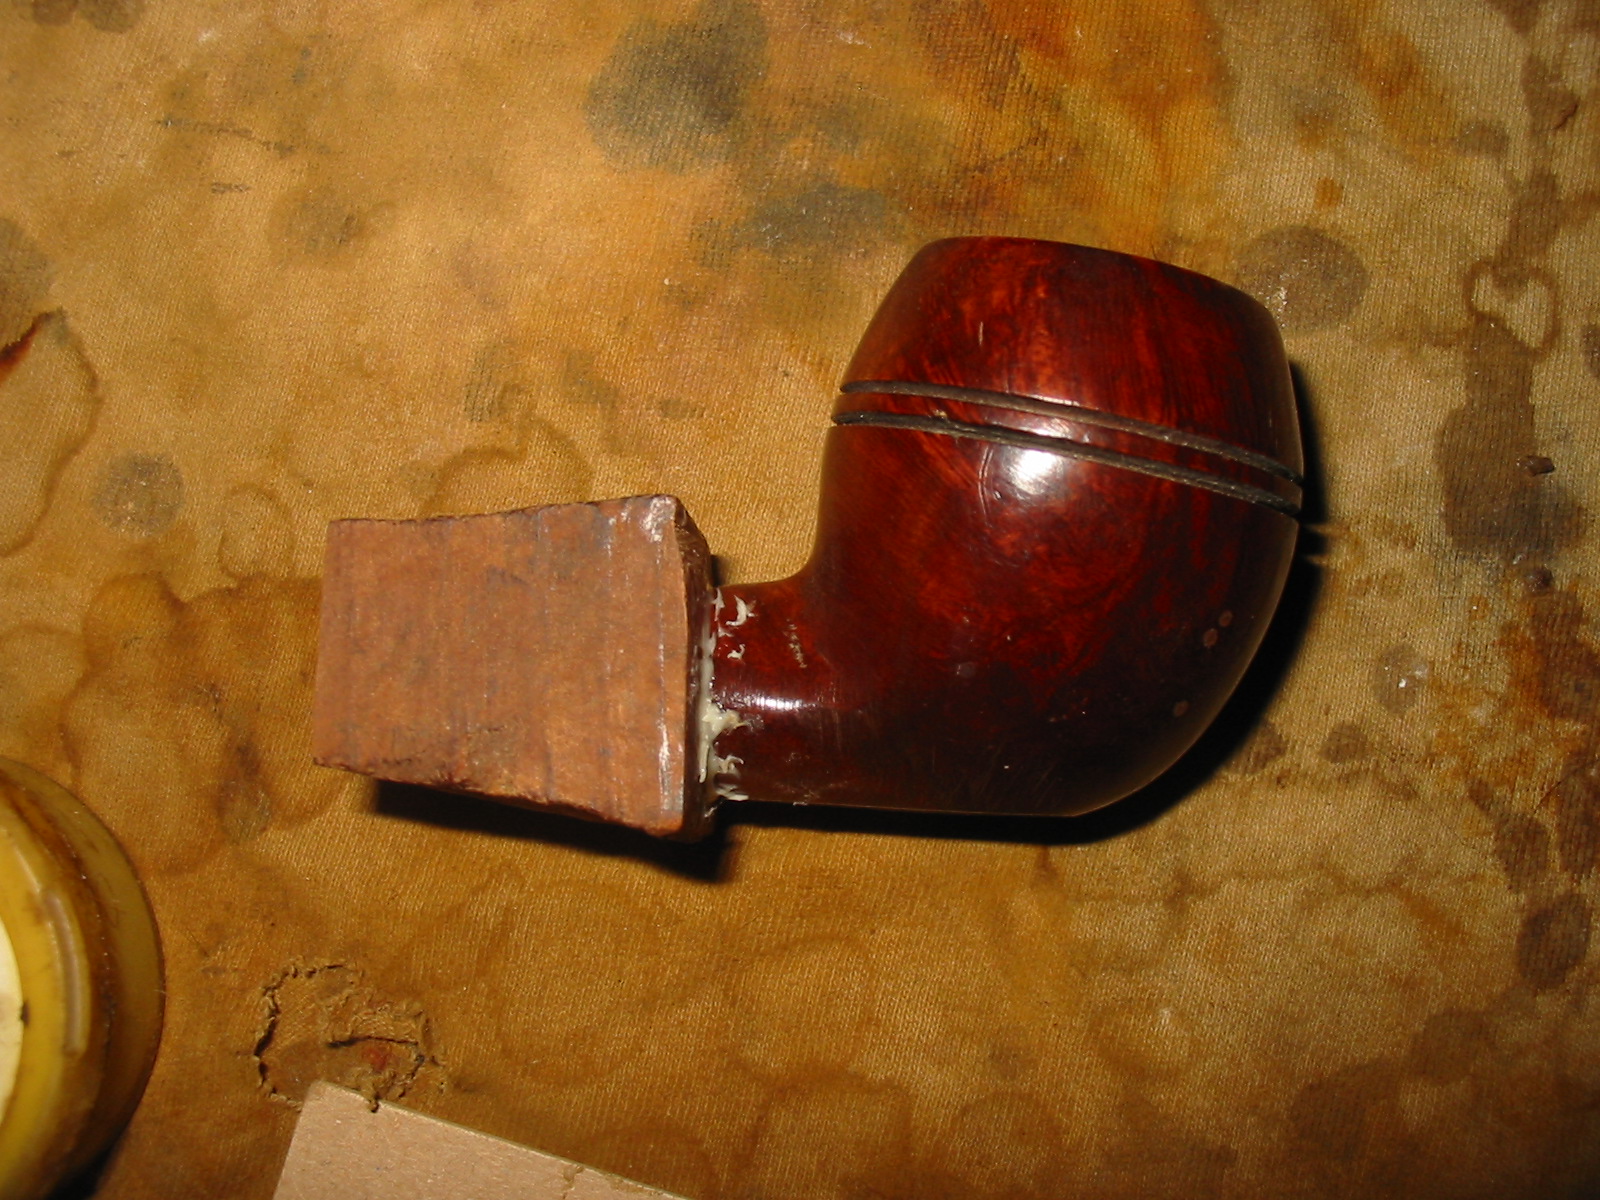
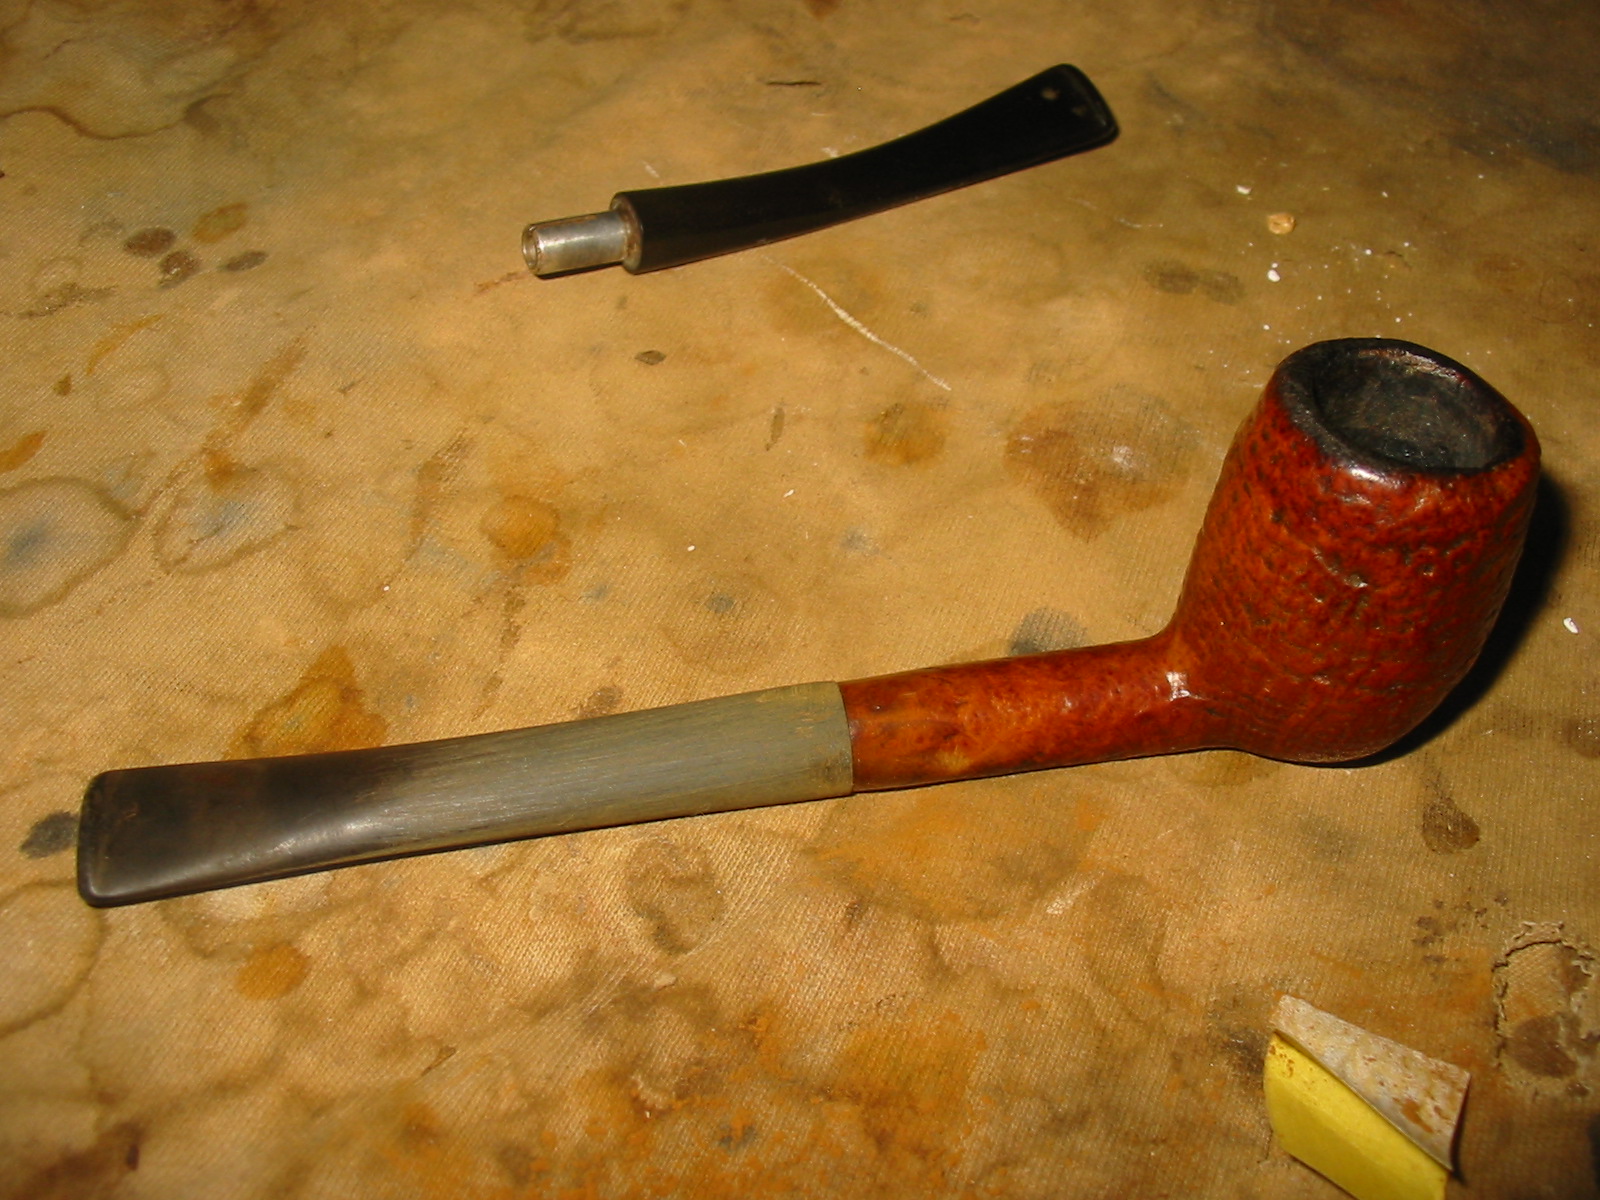
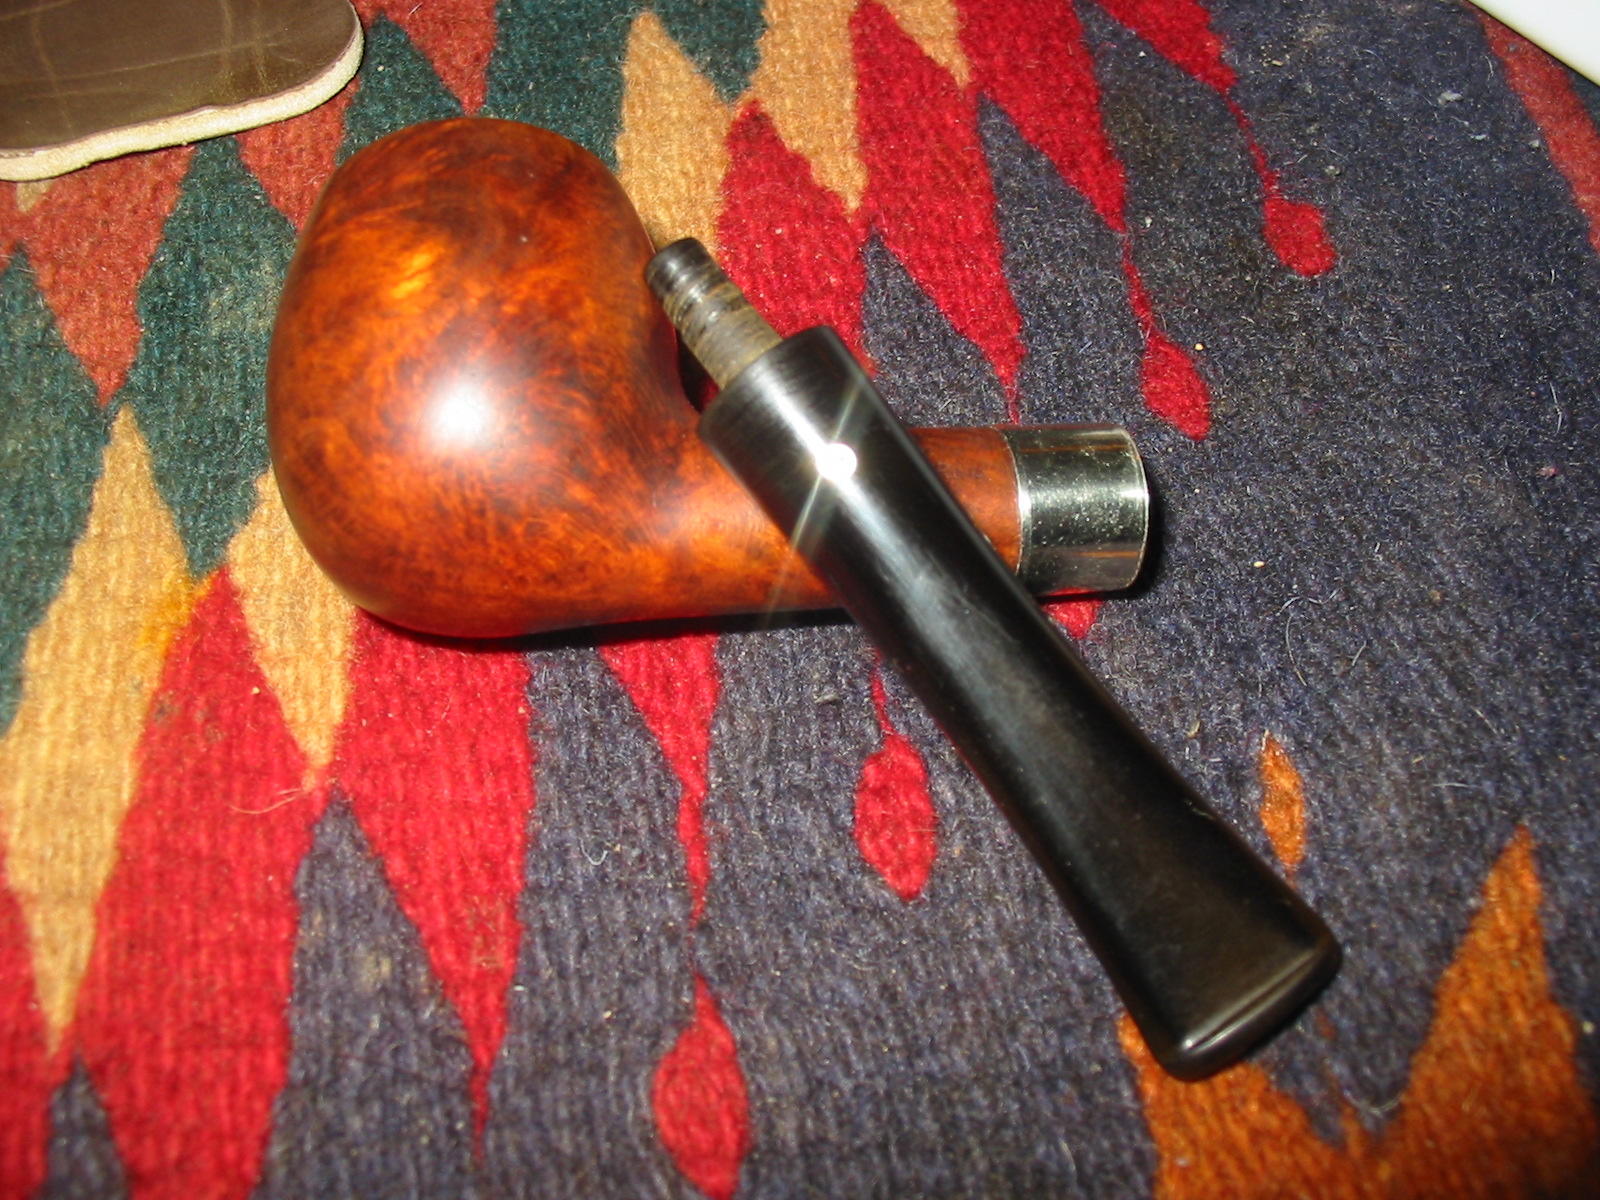
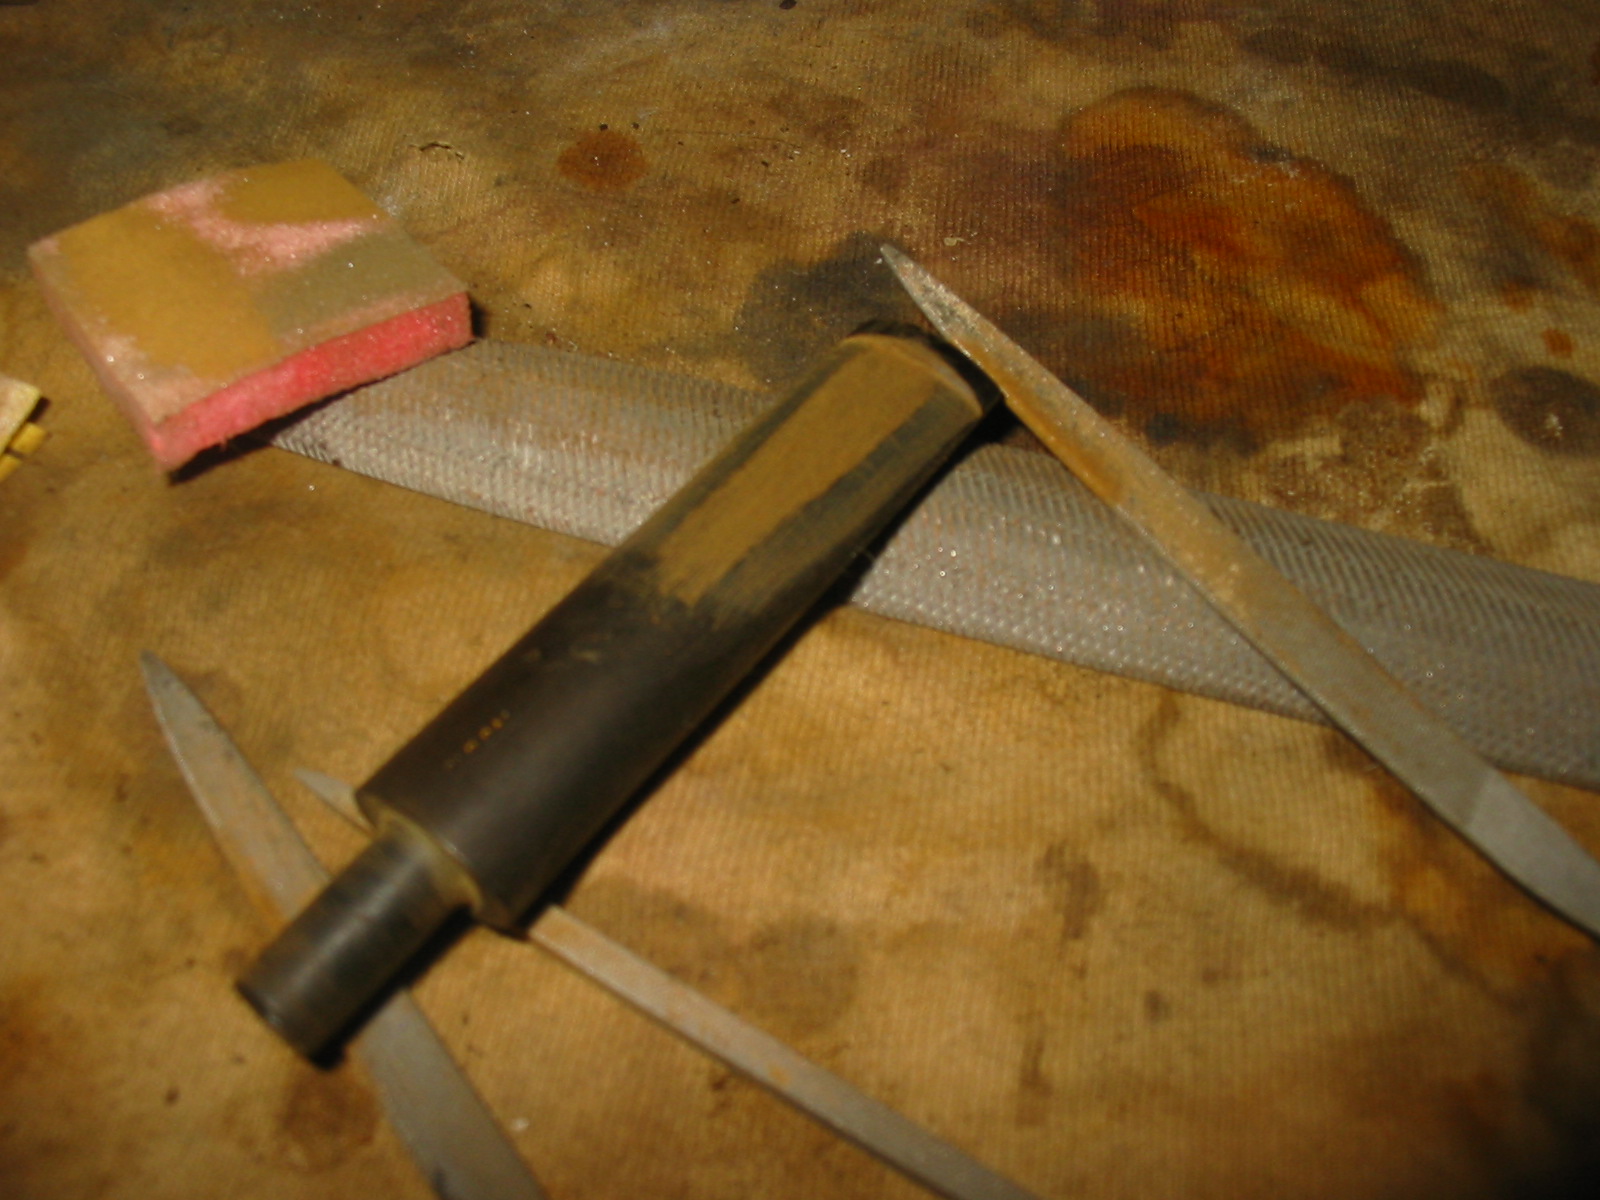
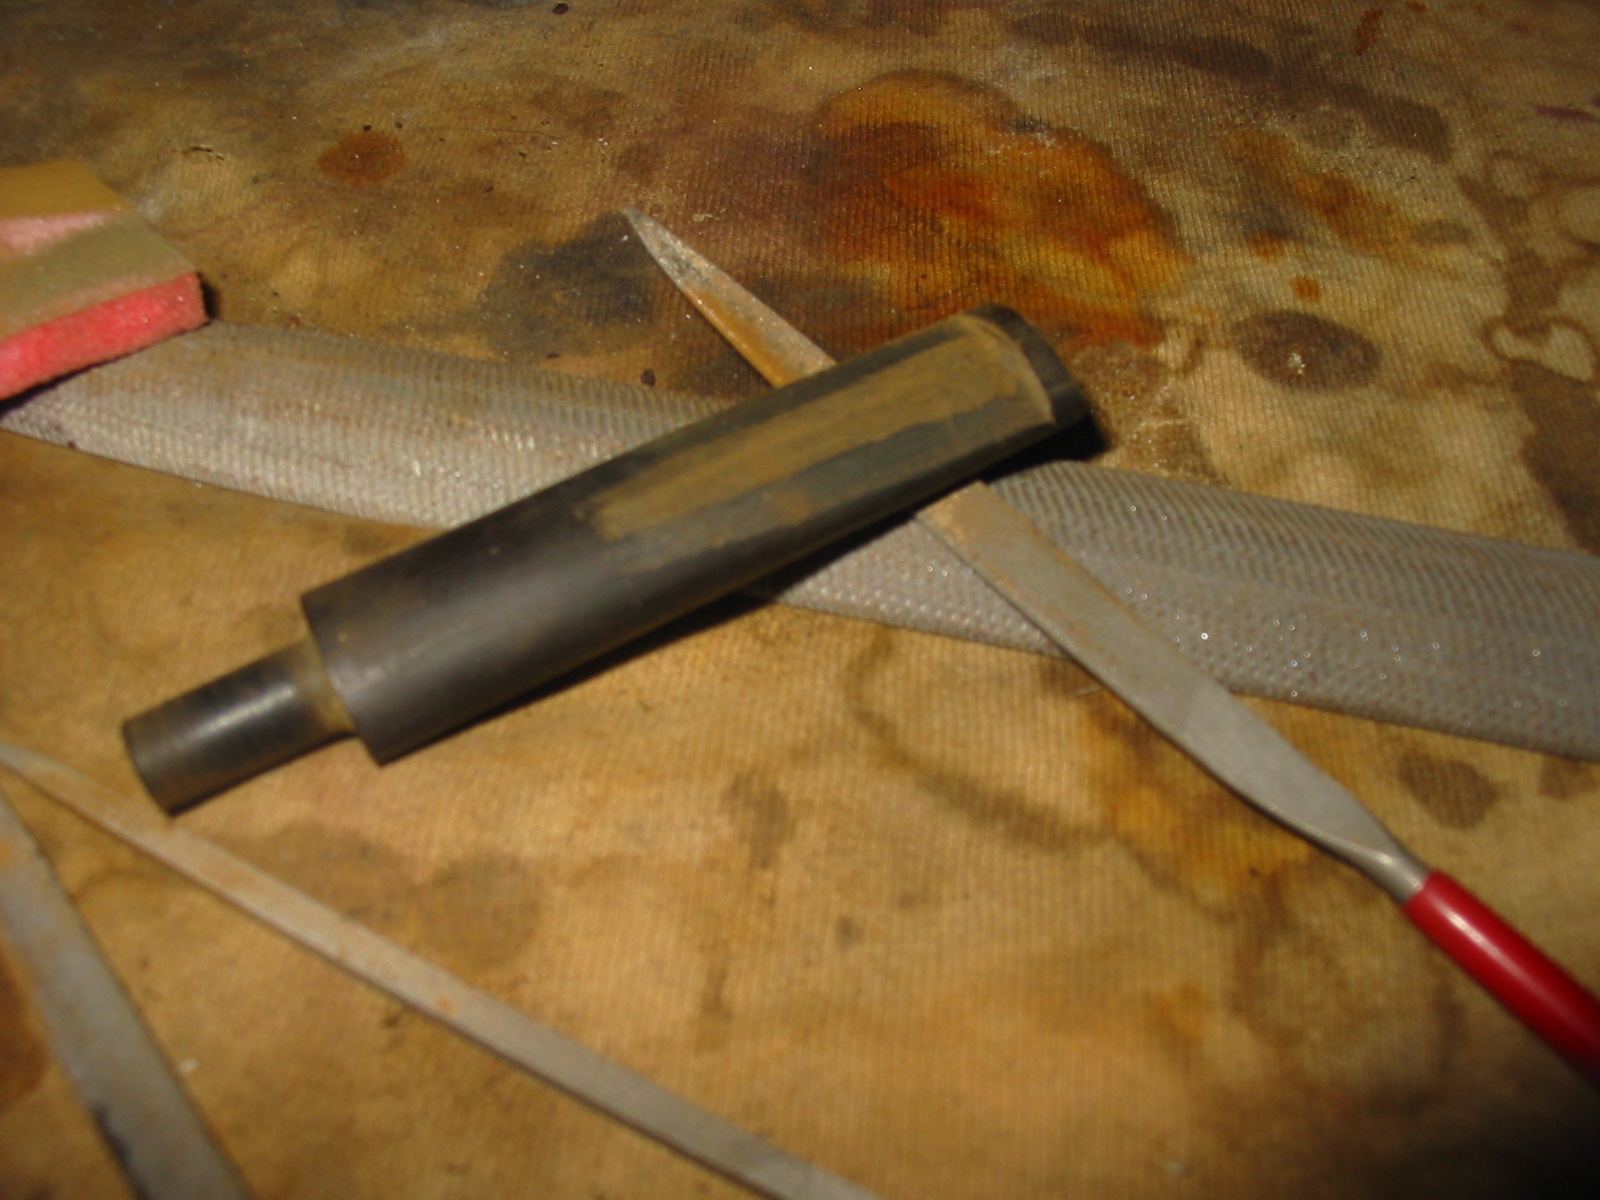
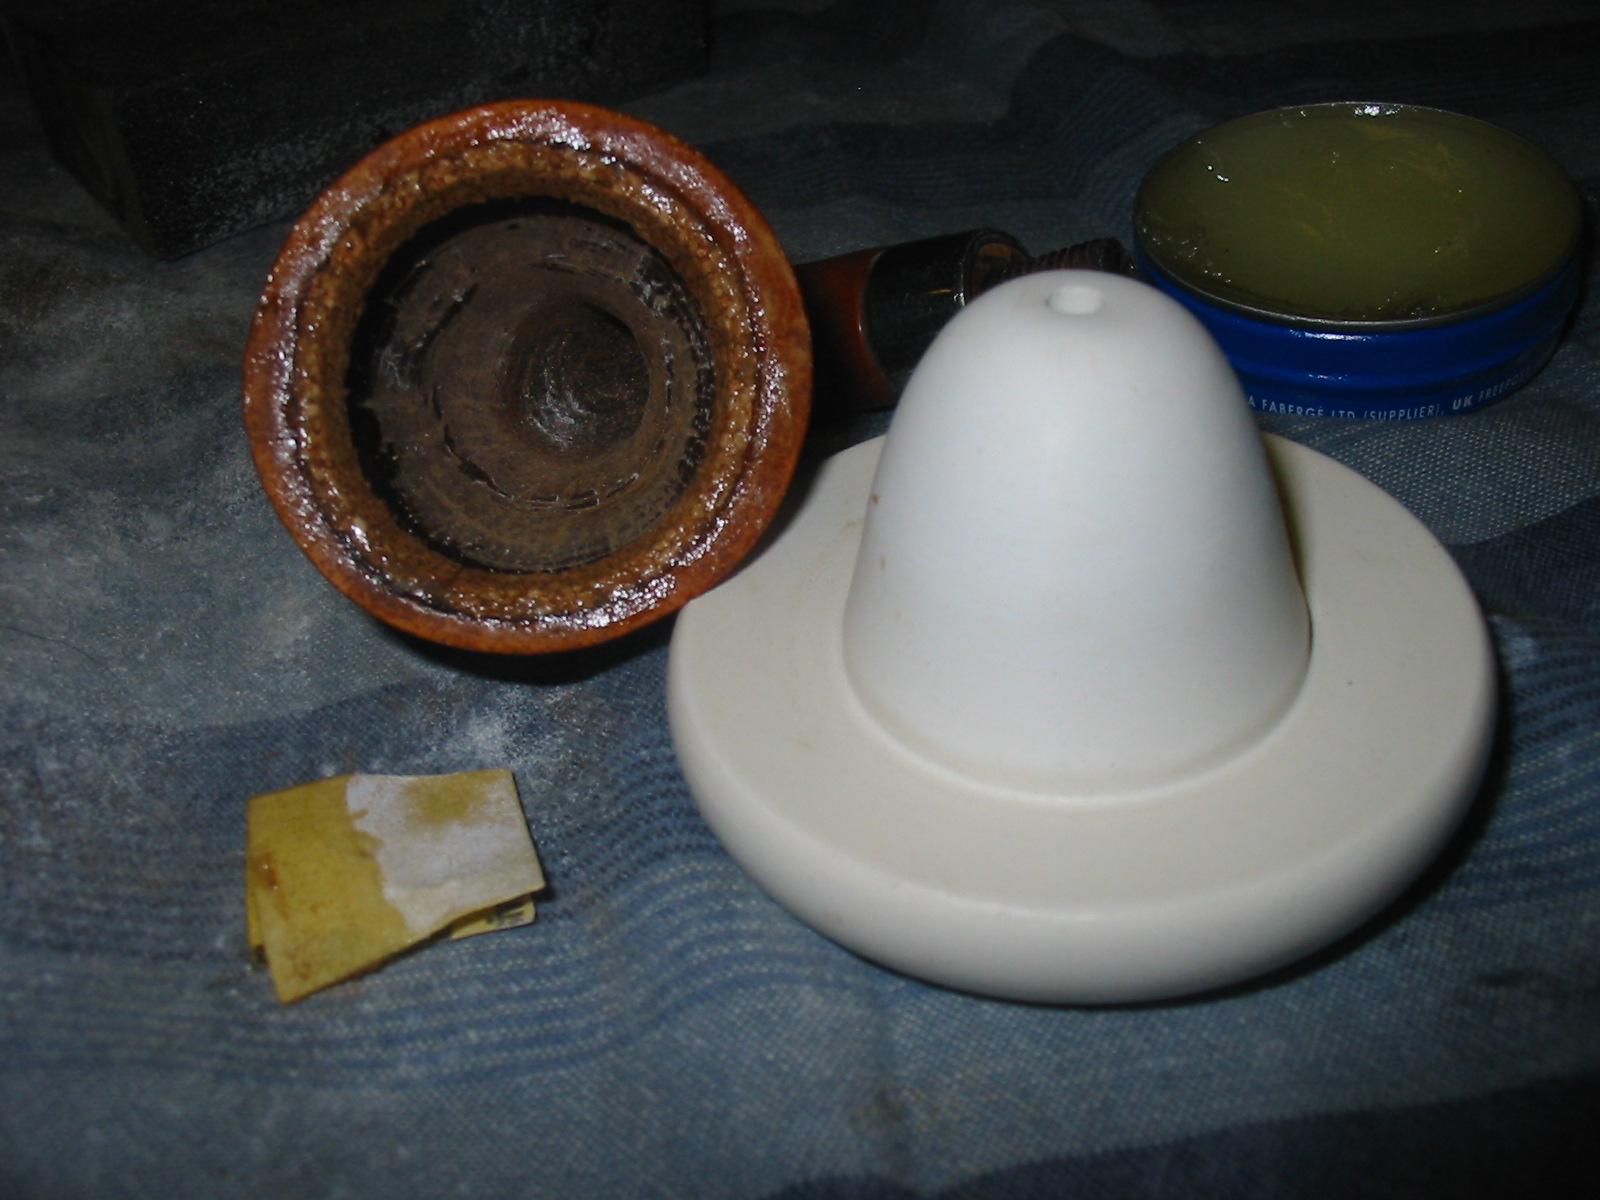
I pulled out a can from my drawer where I keep replacement tenons – threaded Delrin, straight Delrin rods cut to fit as tenons and some push stem conversion kits that had a mortise insert and tenon for converting threaded shanks in old meers to accommodate a push tenon. The conversion kit would work nicely in this situation. I would have to modify the shank of the calabash as the diameter of the mortise insert was too big for the 3/8 inch opening. I had to drill out the end of the gourd and then re-tap it to be able to put the insert in place. The thickness of the shank did not give me much wiggle room so I would only have one chance at this. I was able to drill it and tap it. I mixed the two part epoxy and inserted the mortise in place in the shank.
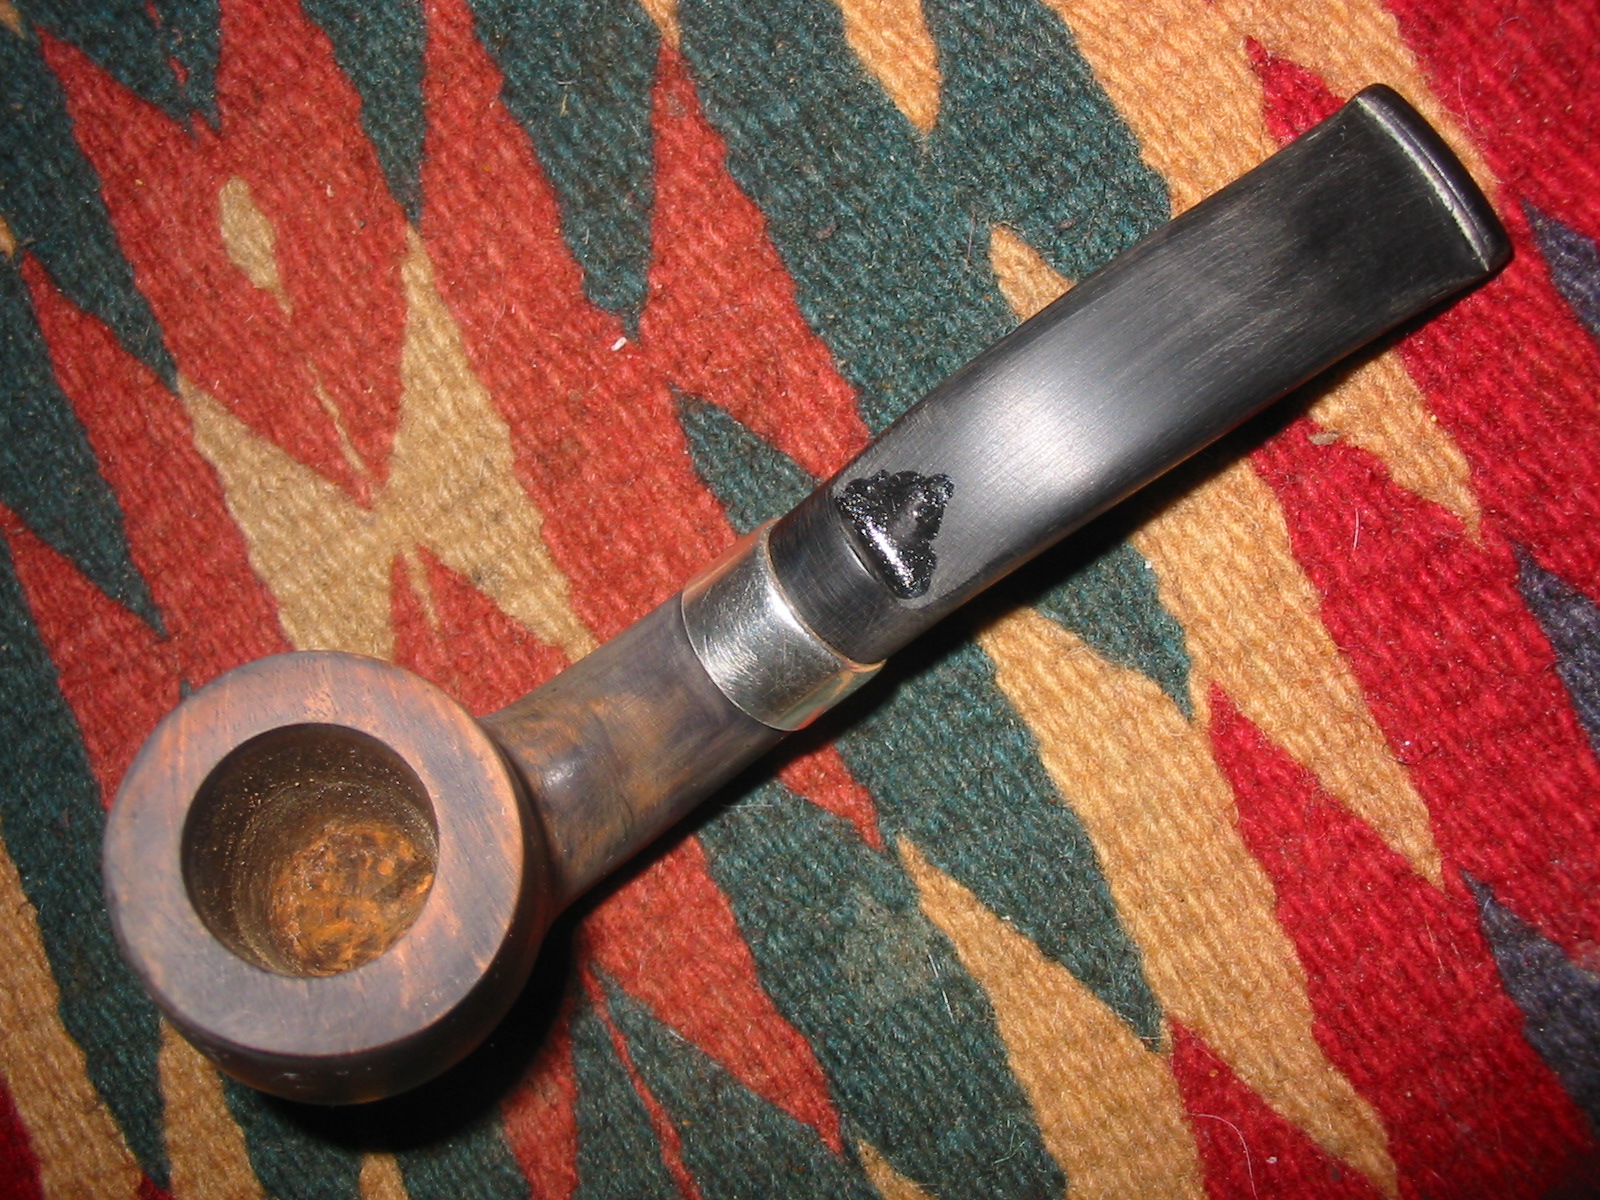
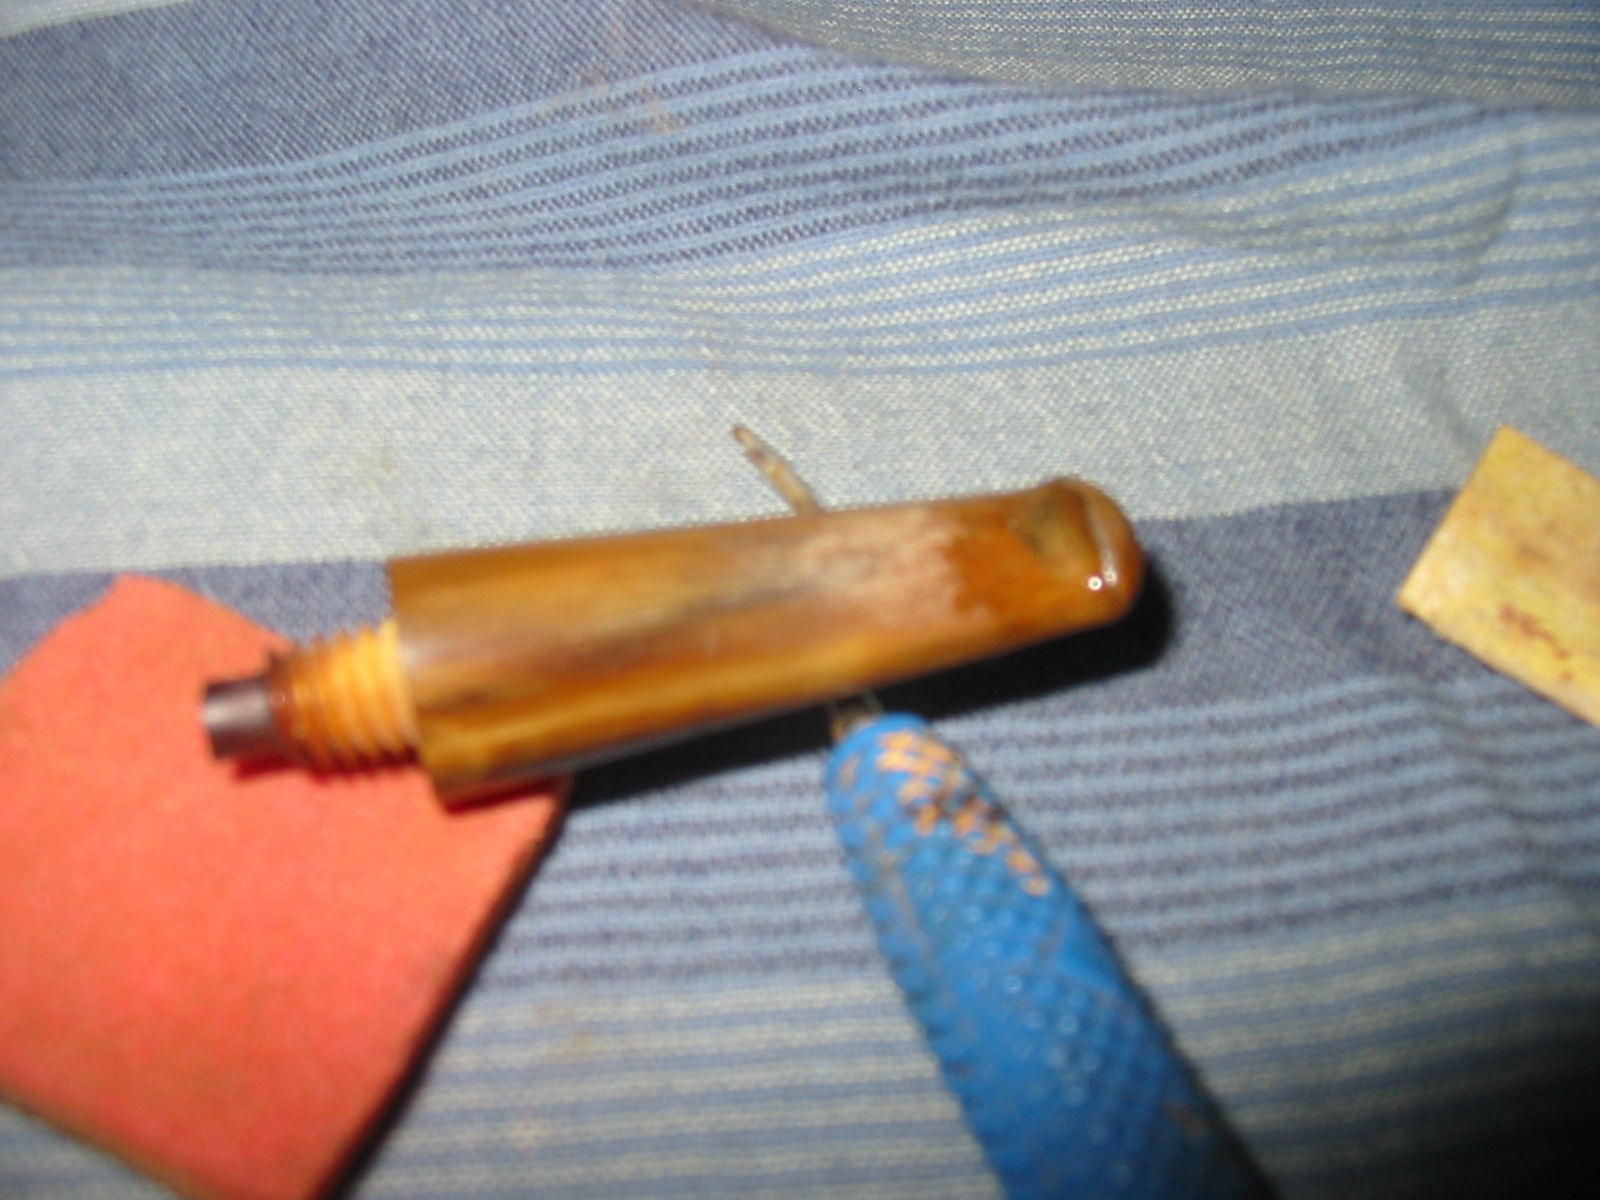
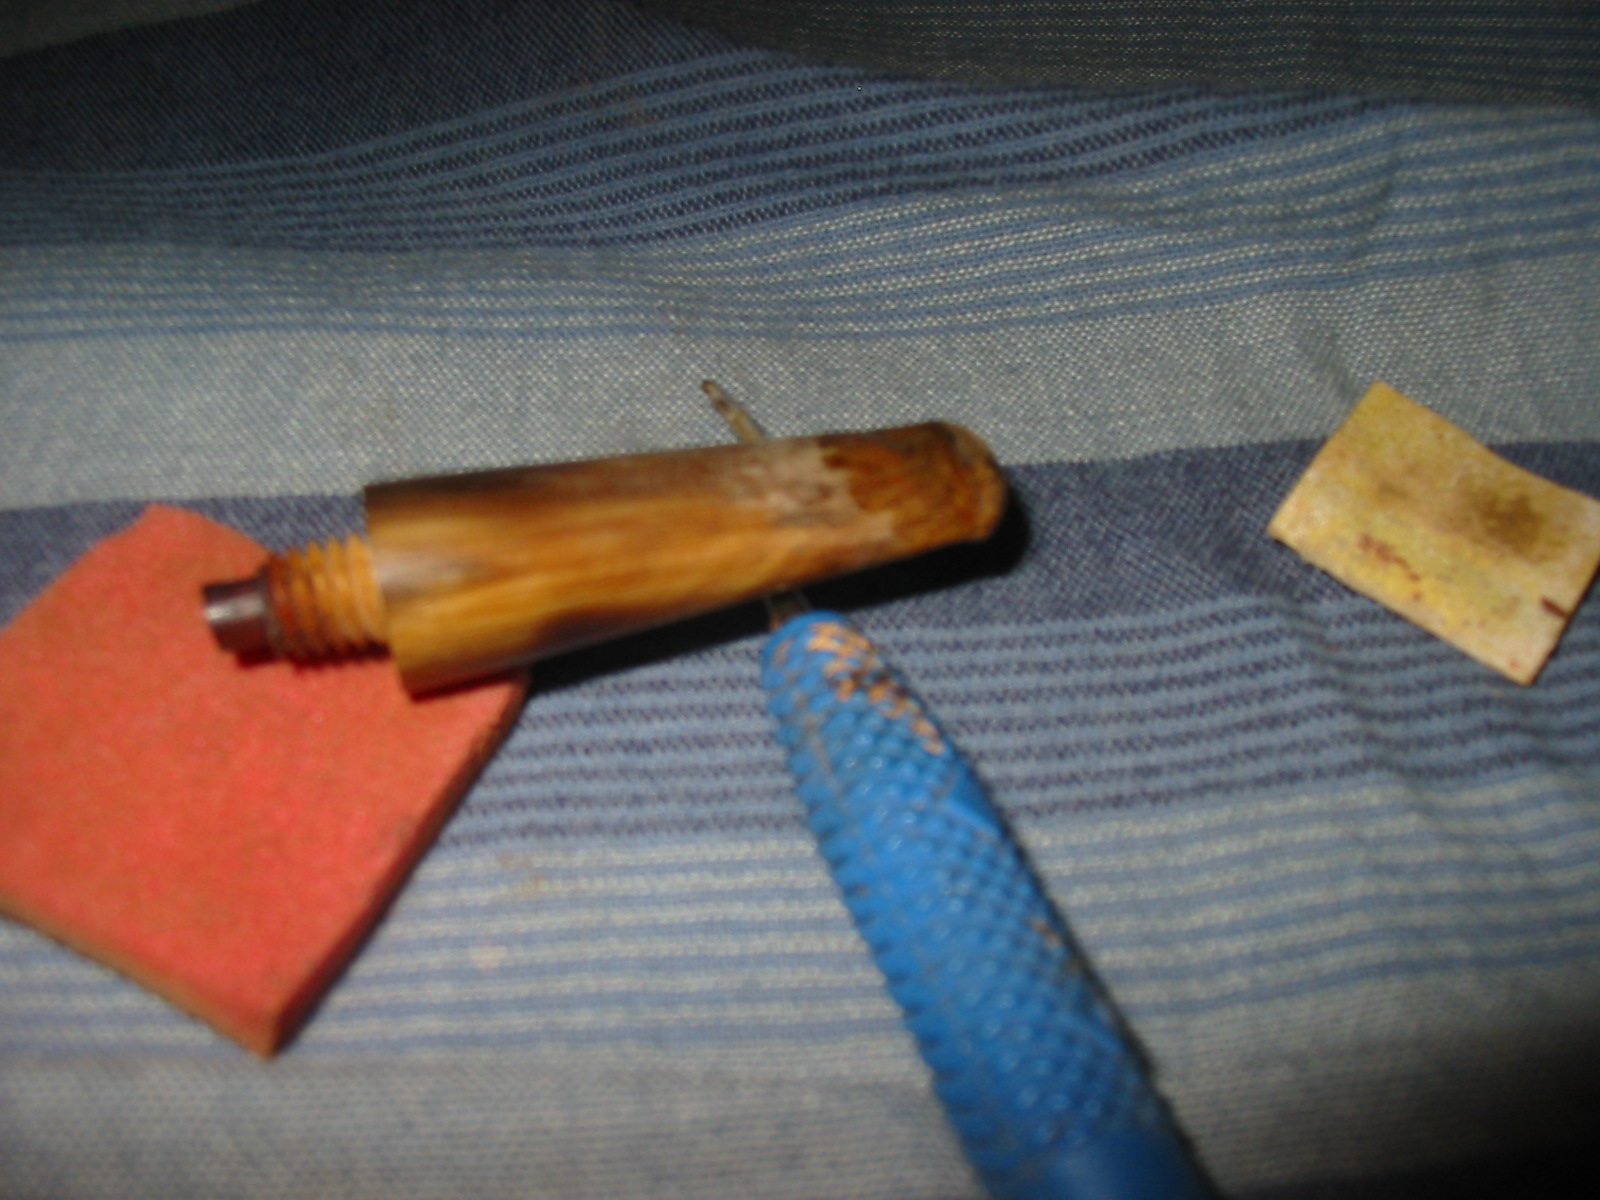
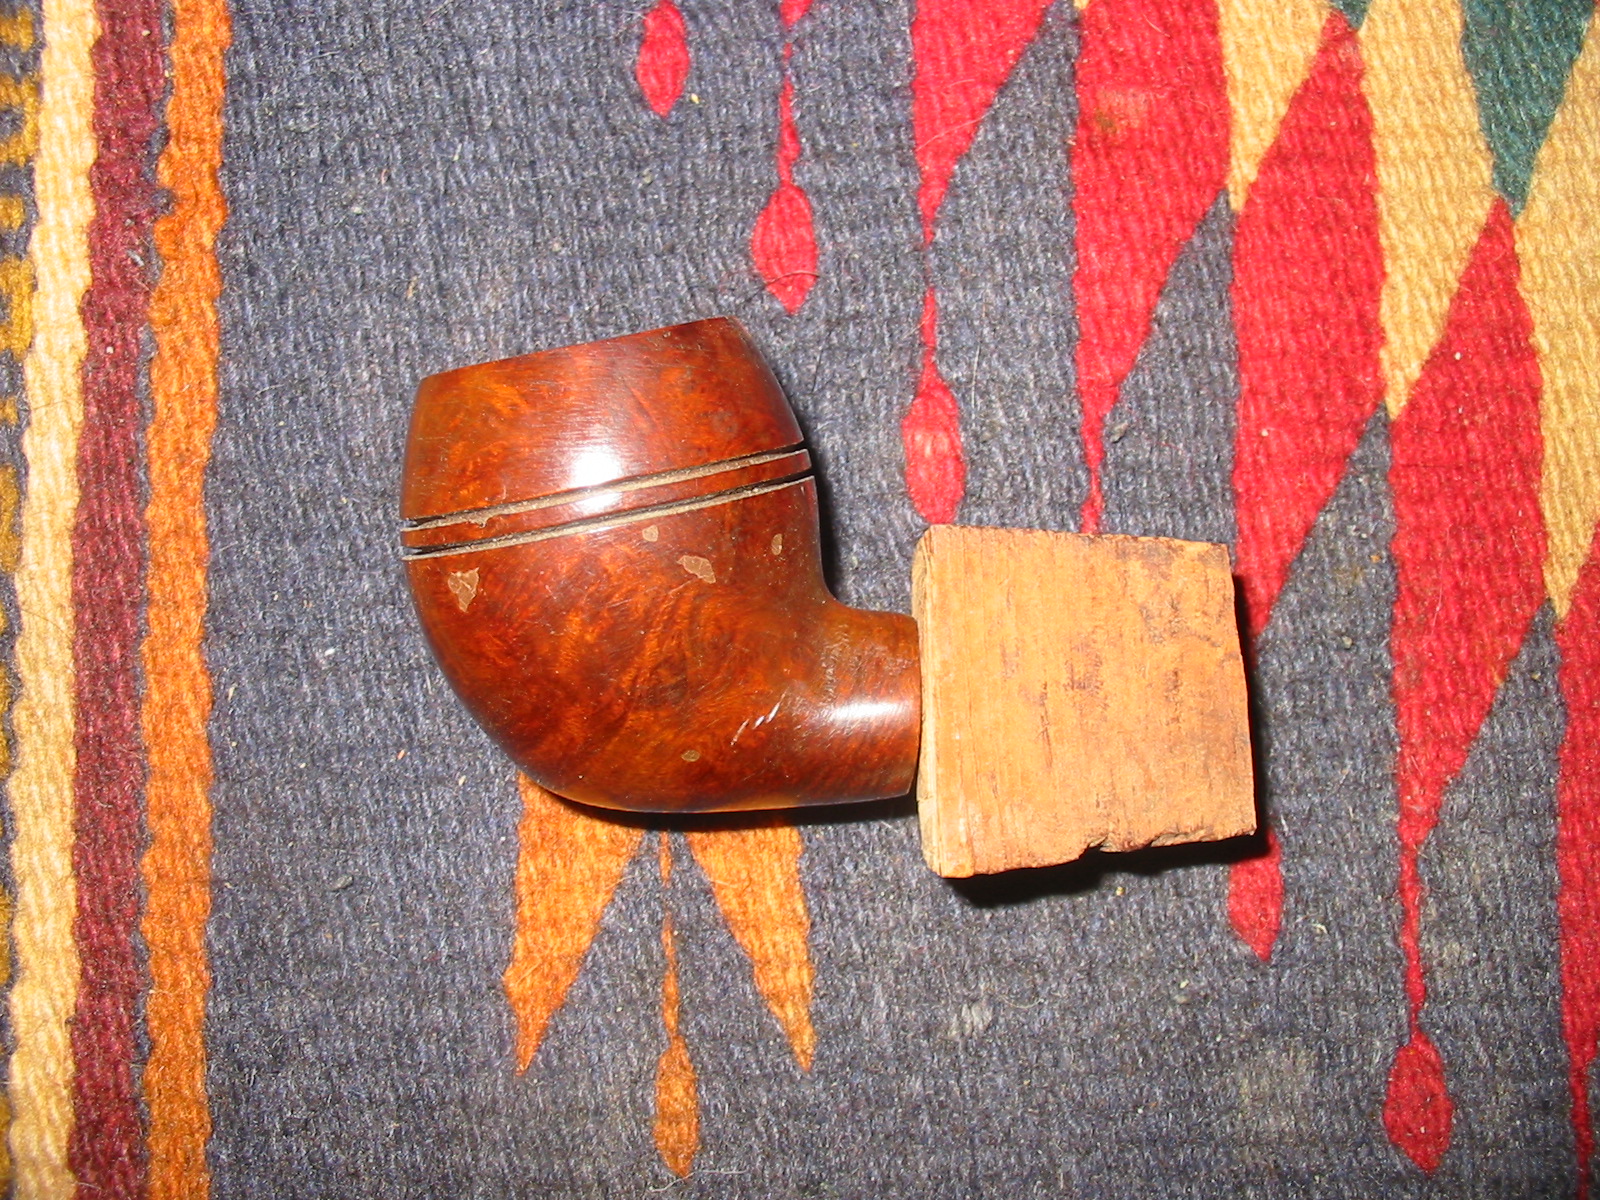
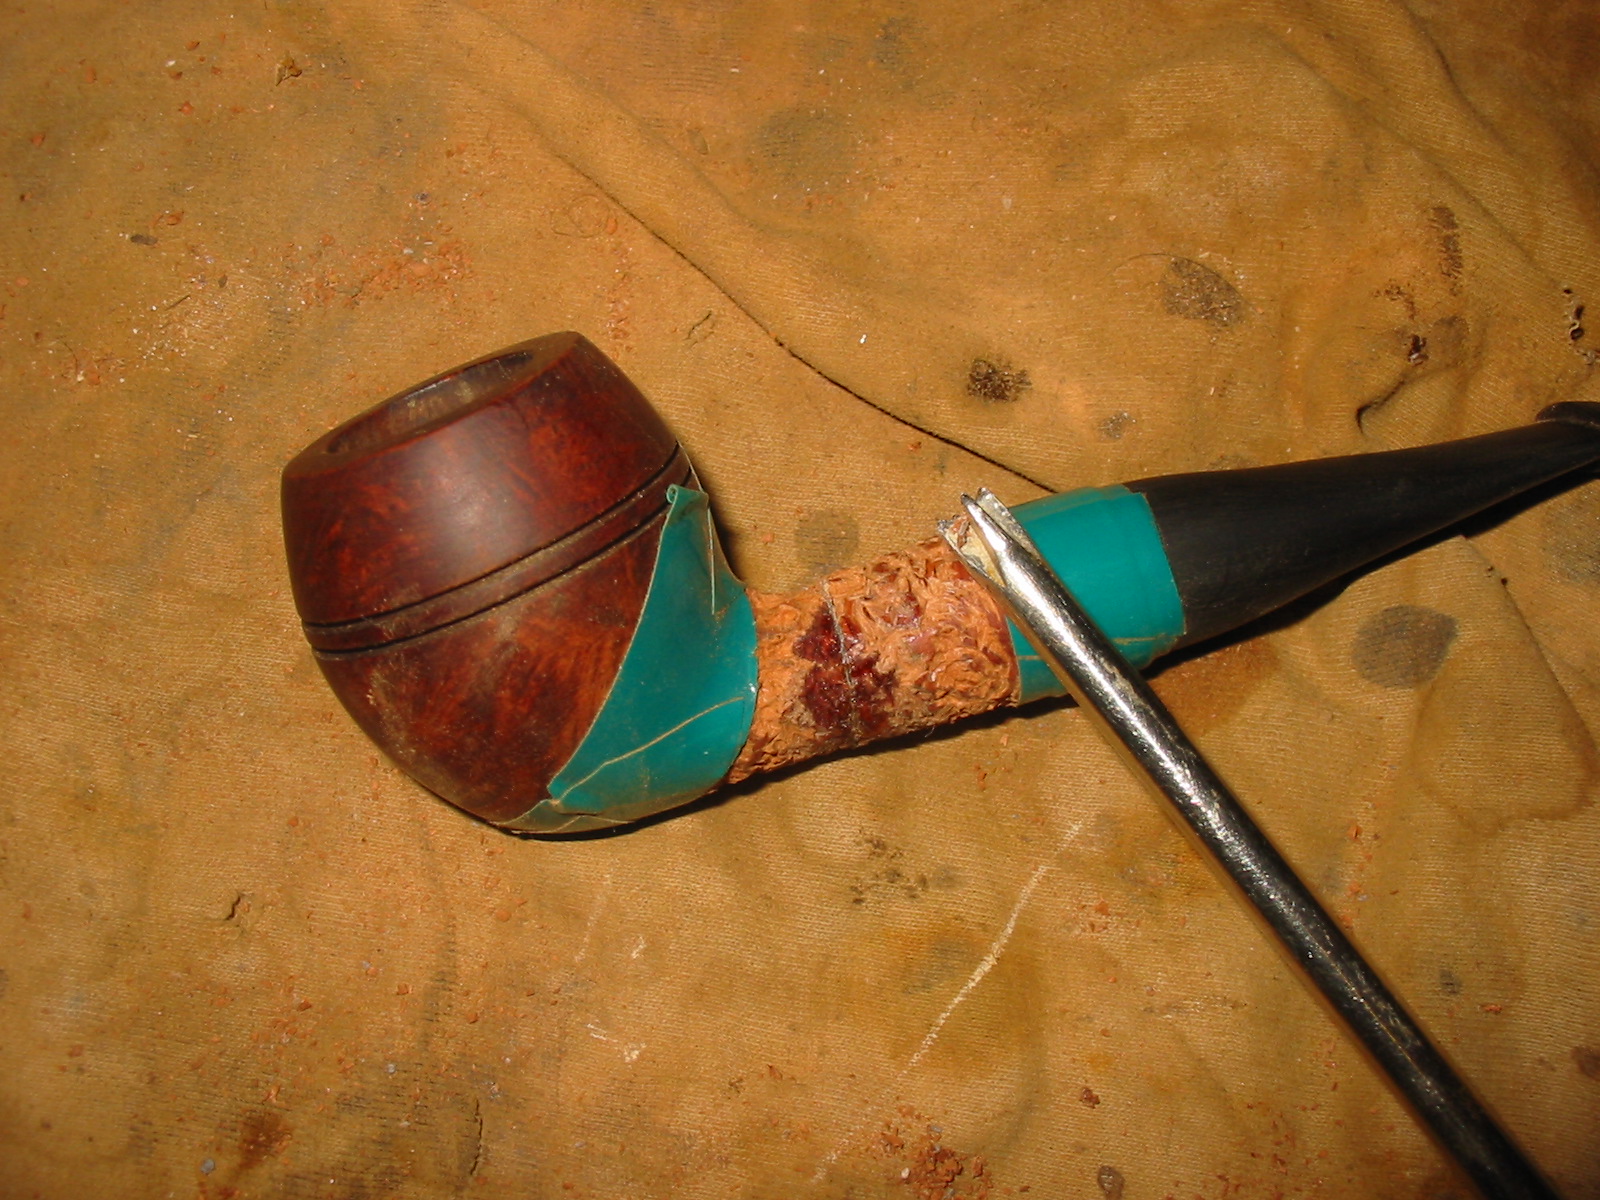
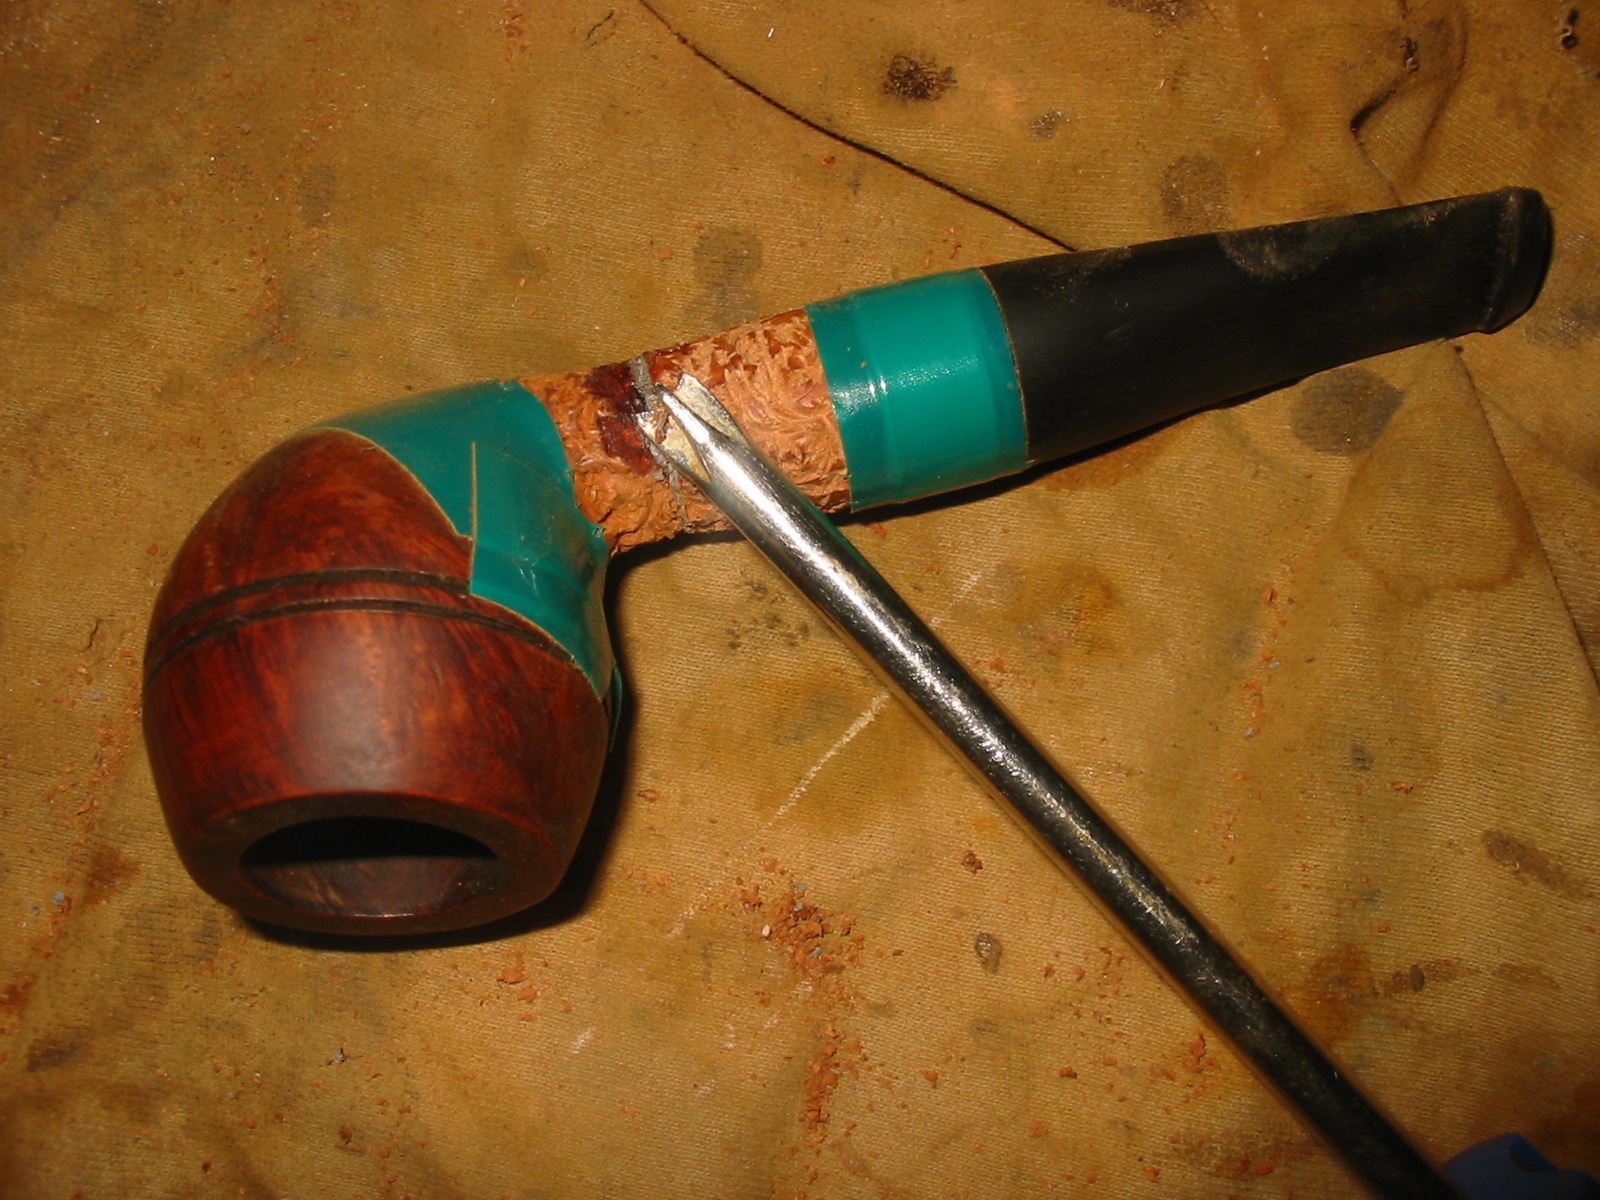
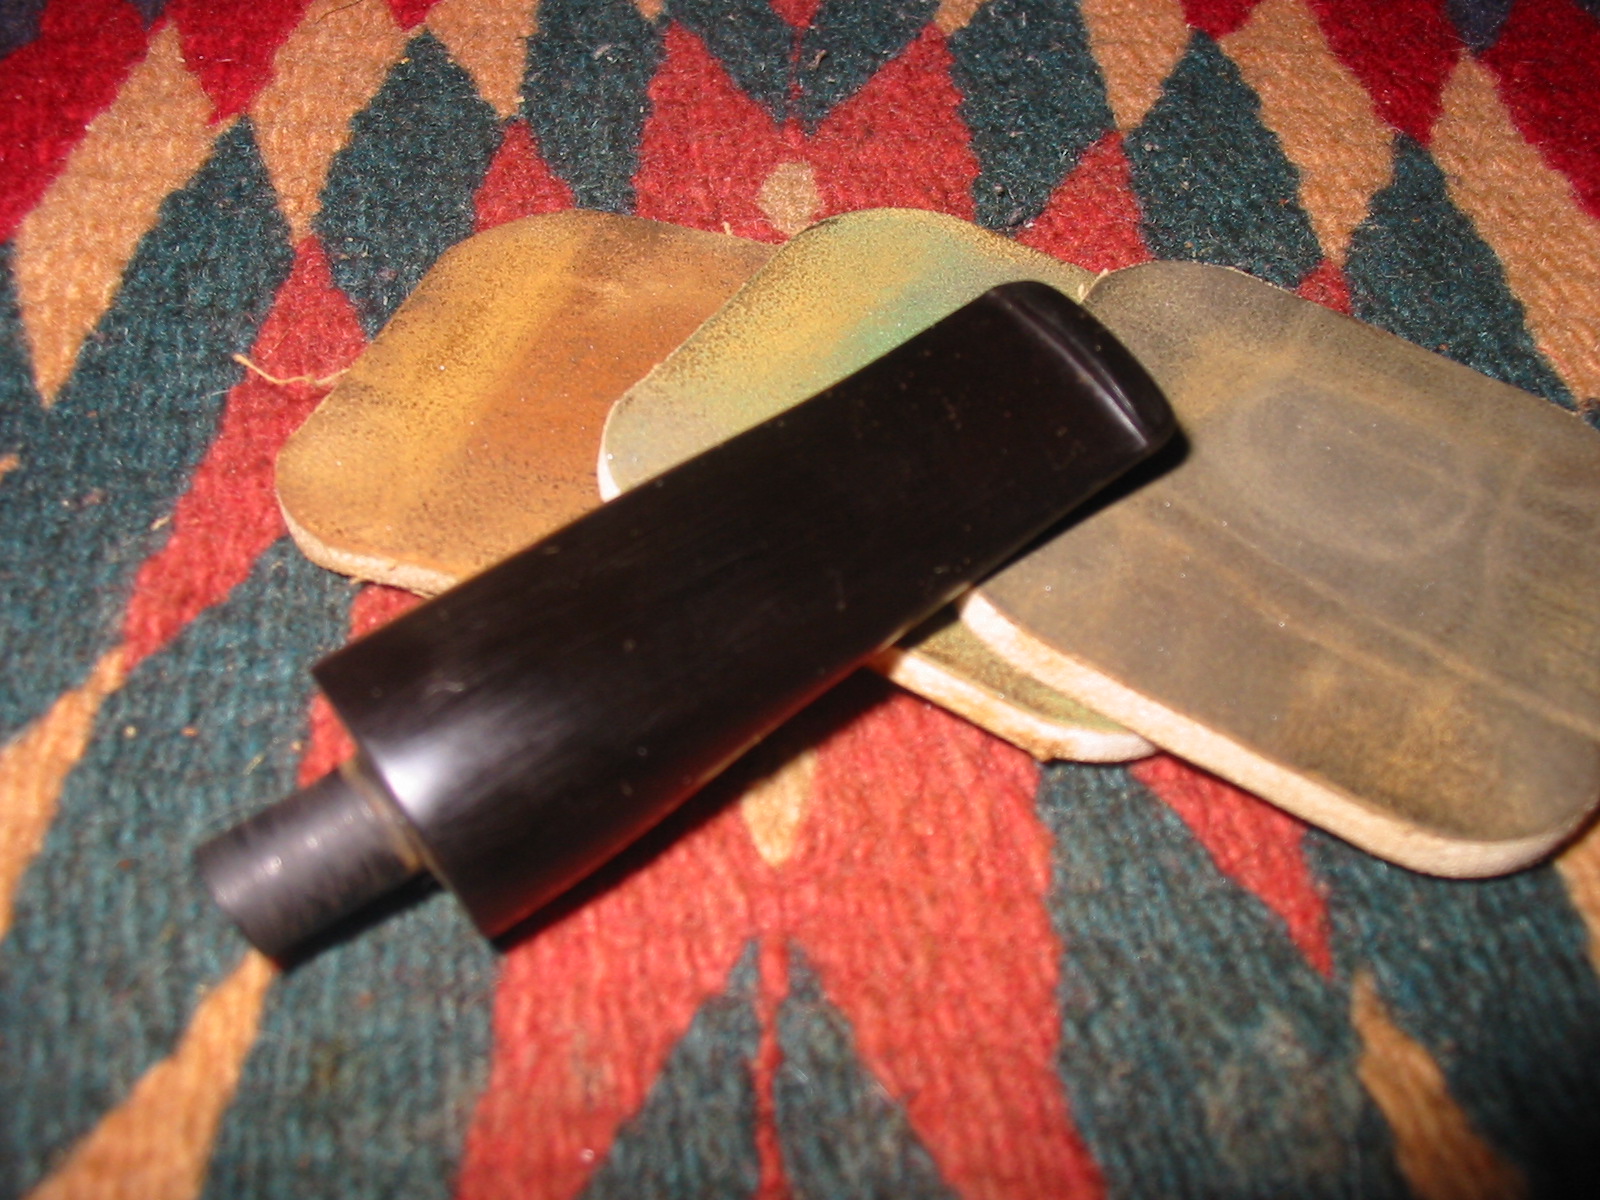
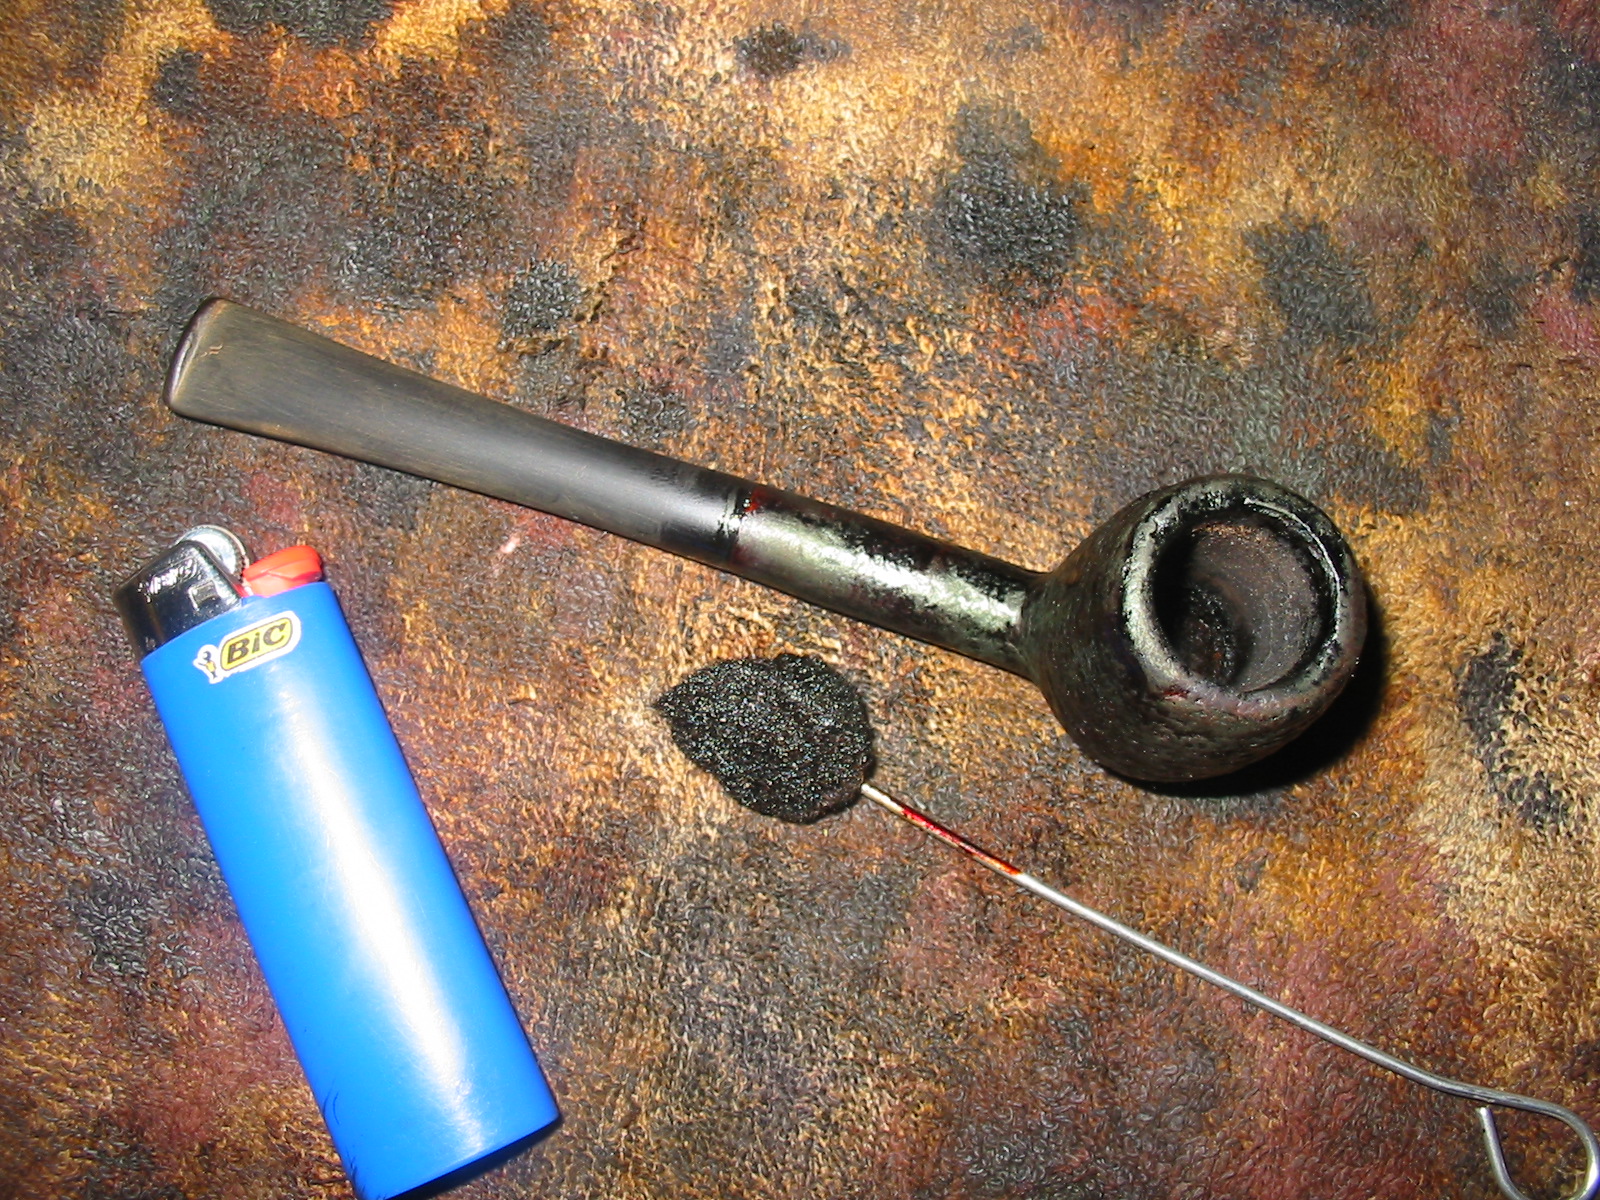
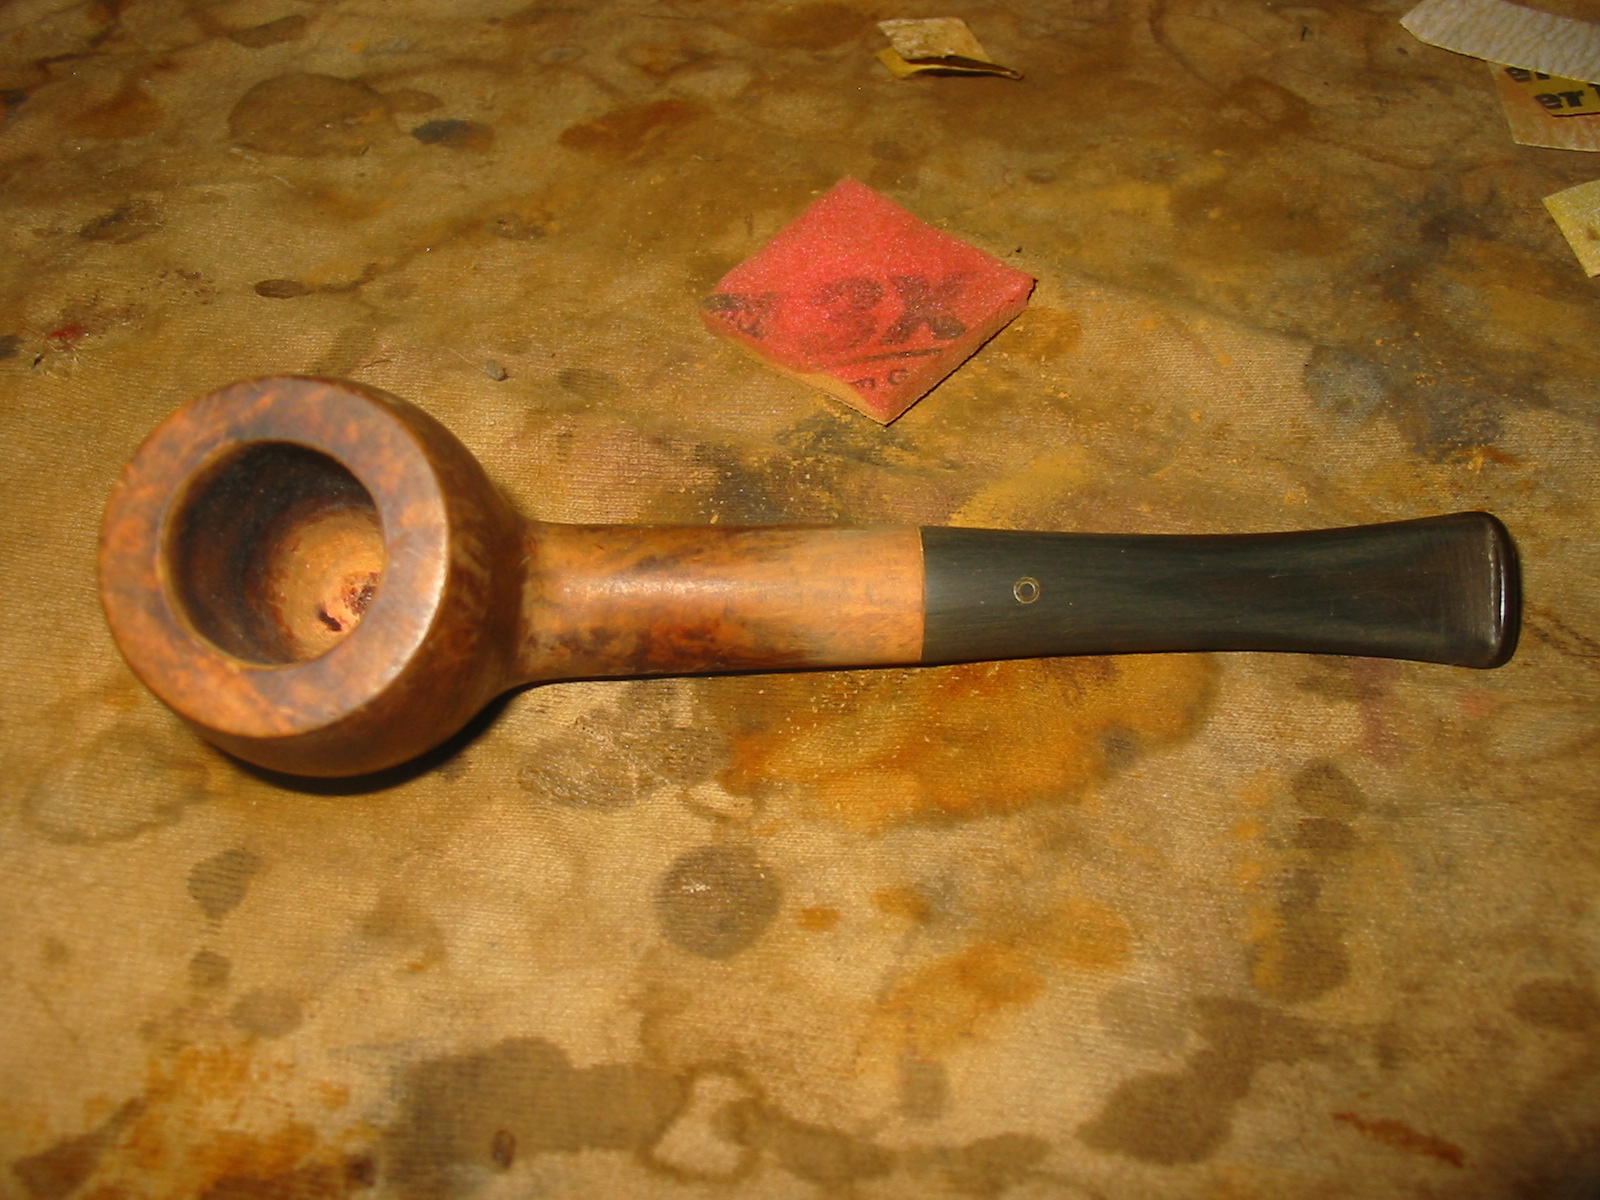
The tenon was a much simpler to repair. I carefully drilled out the broken bone tenon in the stem and was able to salvage the threads. Once I had blown out the dust from the stem the push tenon screwed neatly into the 3/8 inch tapped end of the stem. I removed it a final time and epoxied it in place. However, it too was not trouble-free. The tenon had a 1/16th inch lip that would not sit in the end of the drilling on the stem. I ended up having to carve it with a sharp knife to remove the lip. In the photo below you can see the epoxied insert in the shank and the tenon in the stem. The insert still needed to be countersunk and cleaned up and the tenon needed to have the lip trimmed away.

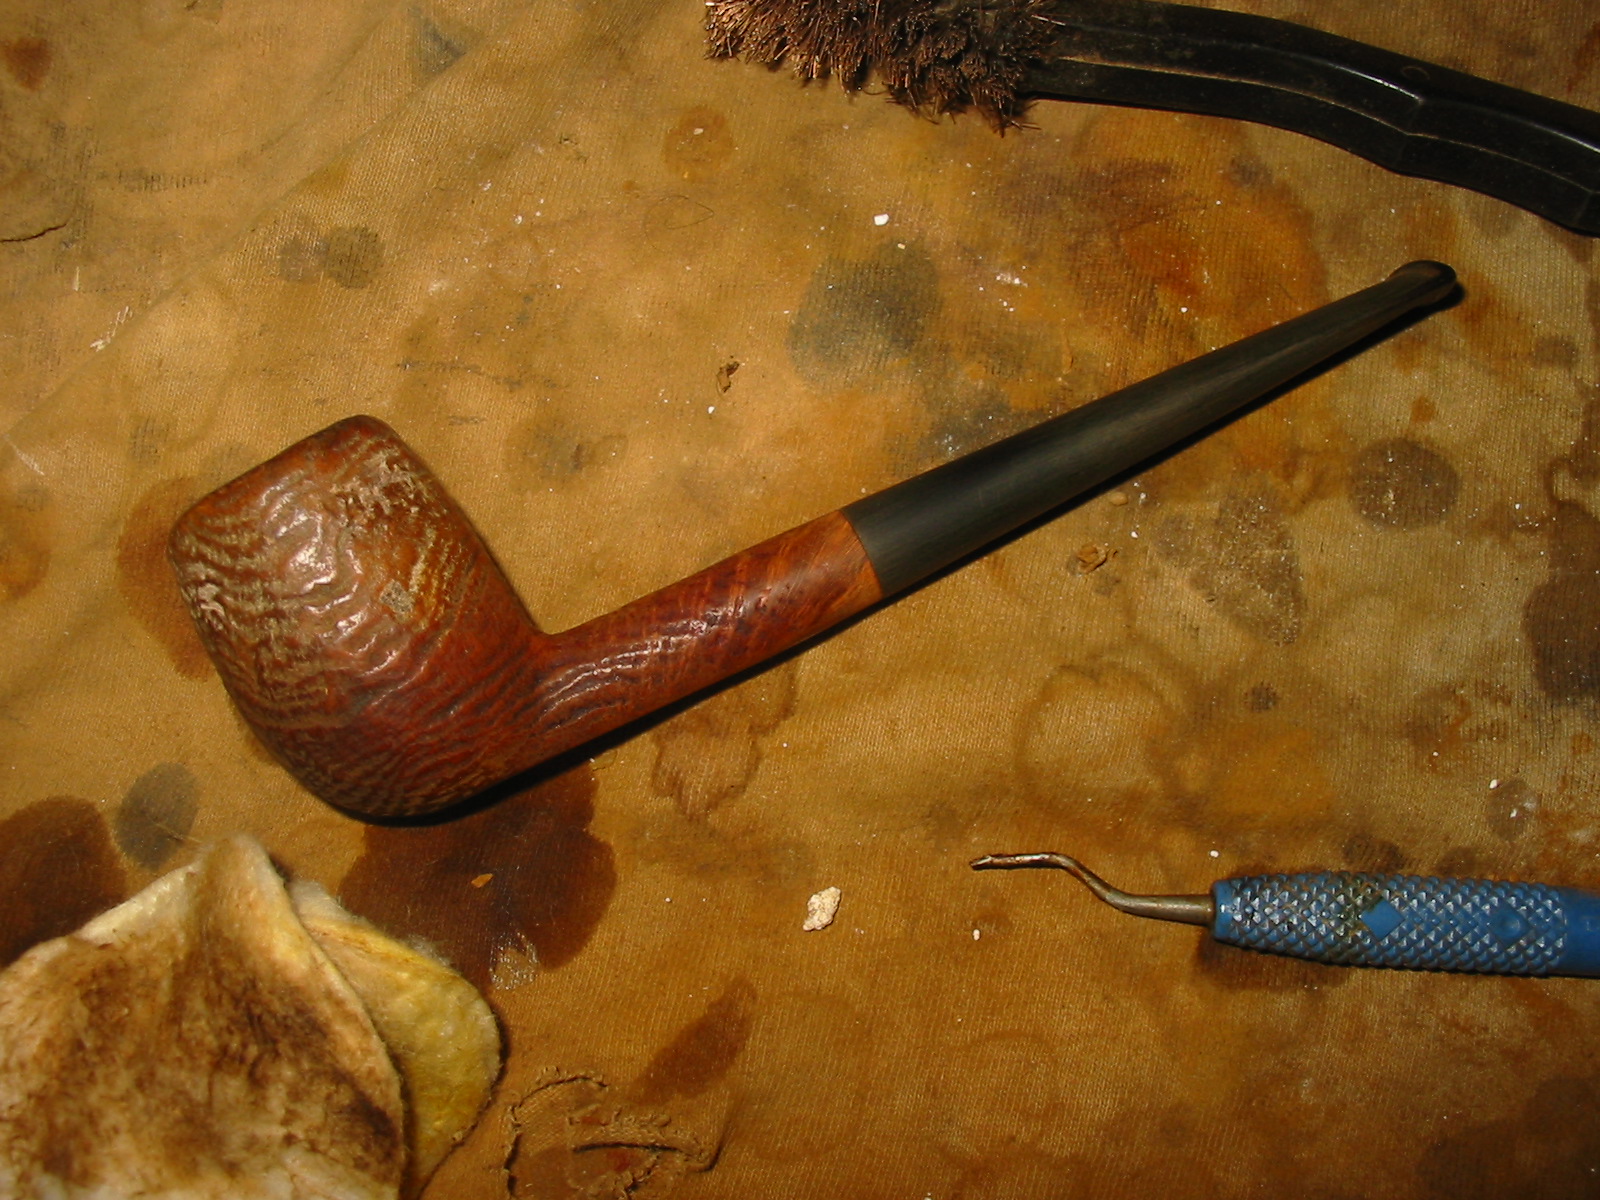
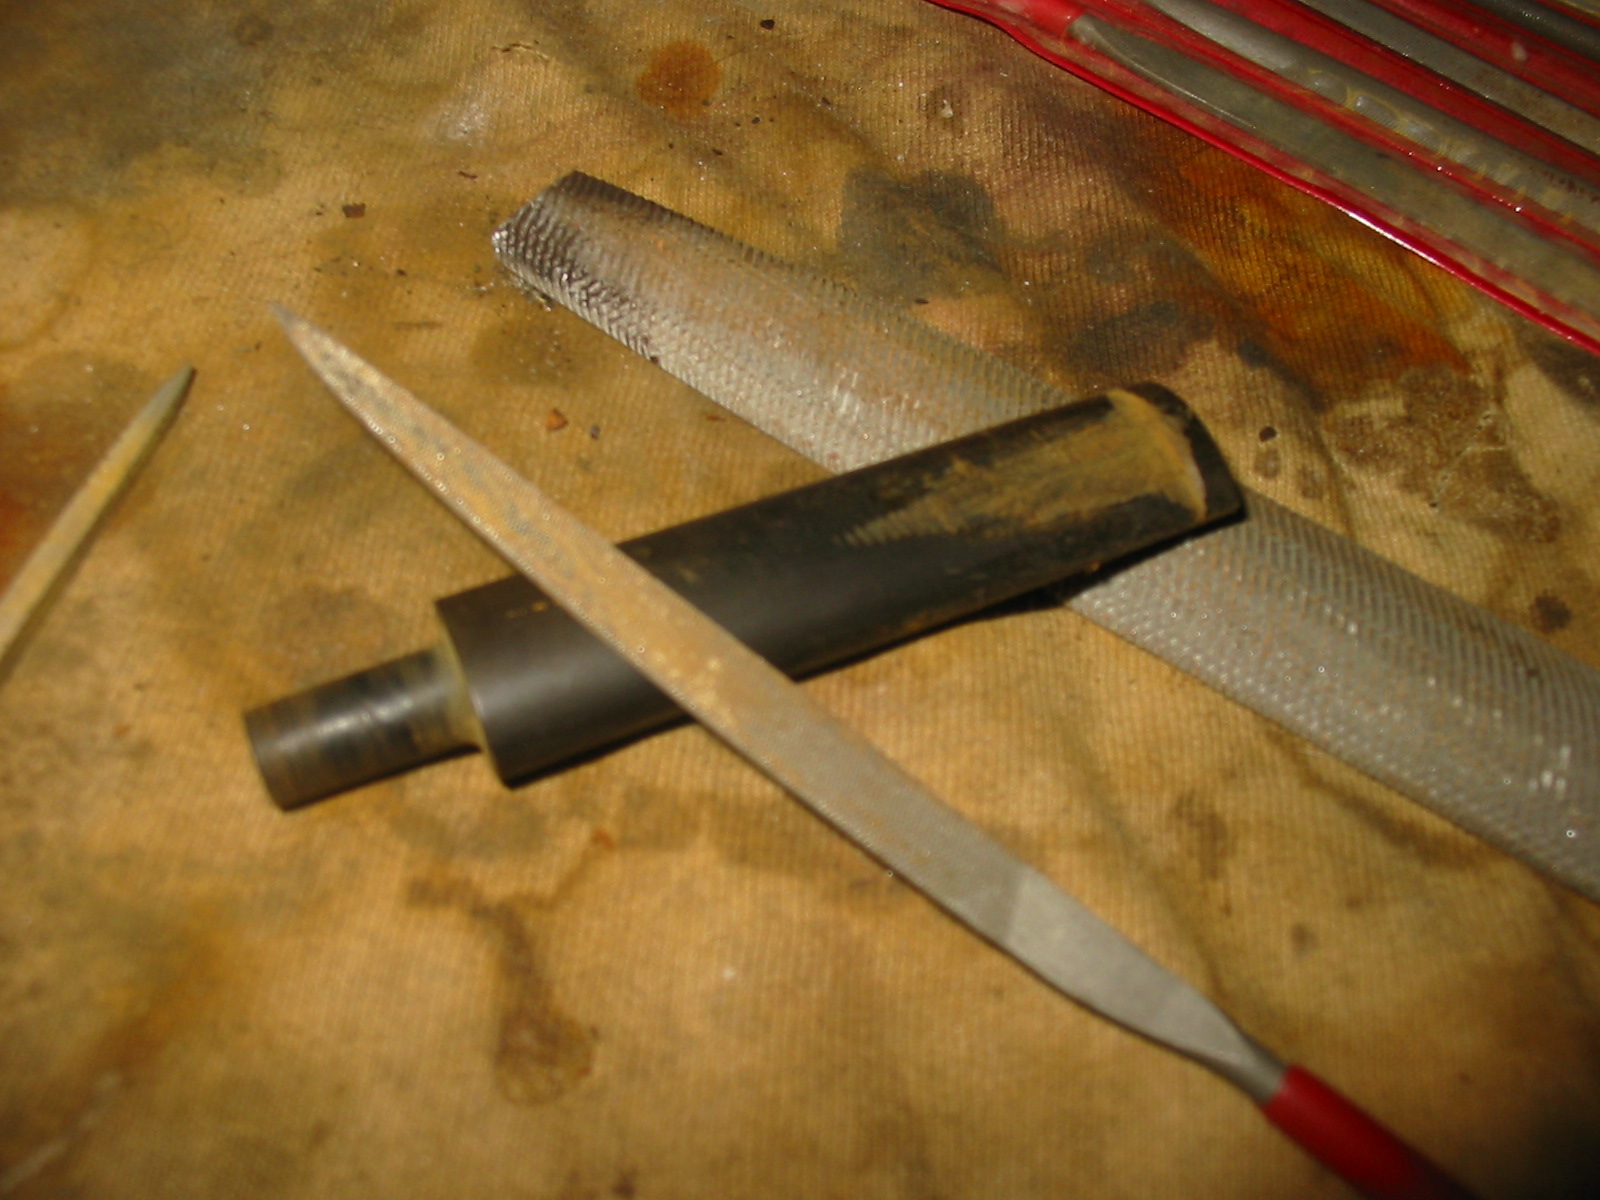
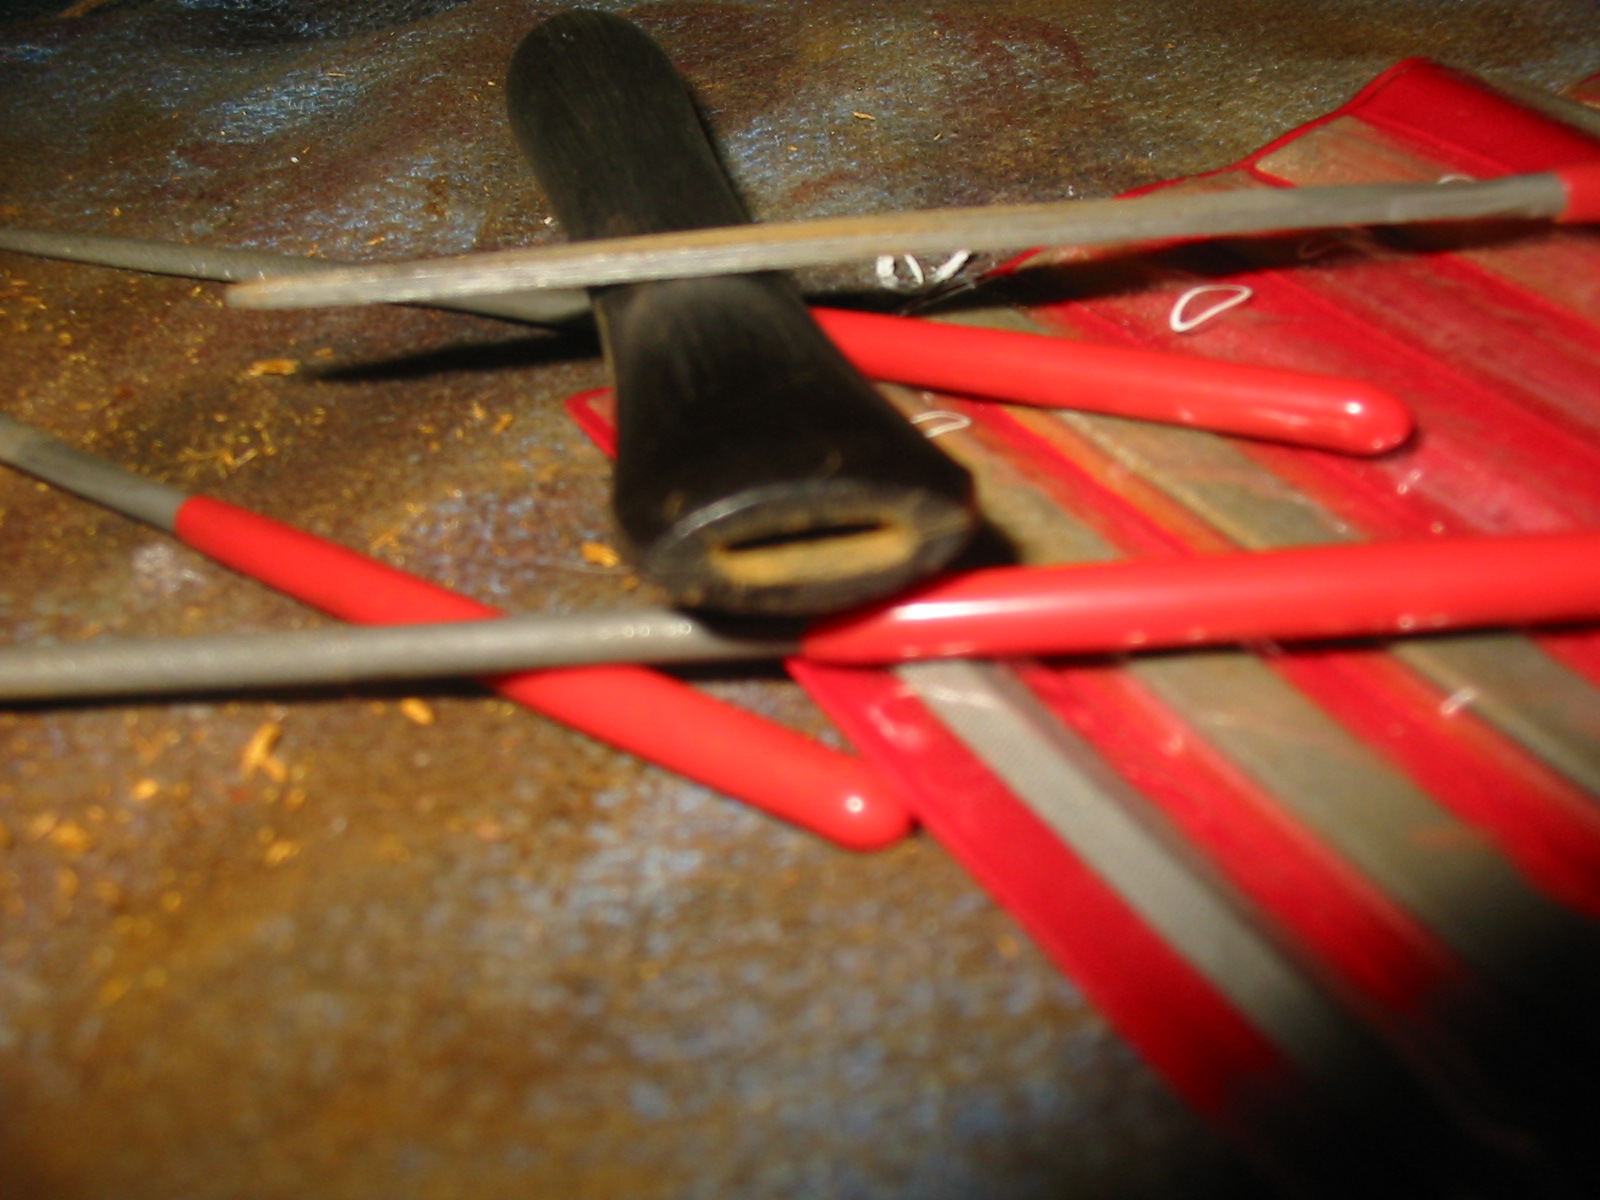
I set aside the calabash until the epoxy set. Once the stem was set I decided to work on the other end of the mouthpiece. It had a very tight slot on the end that was hard to push a pipe cleaner through so I opened that up with needle files. I used a flat oval file, an oval and a round file to do the majority of the work. I finished opening it with a flat angle file to open the top and bottom of the slot.
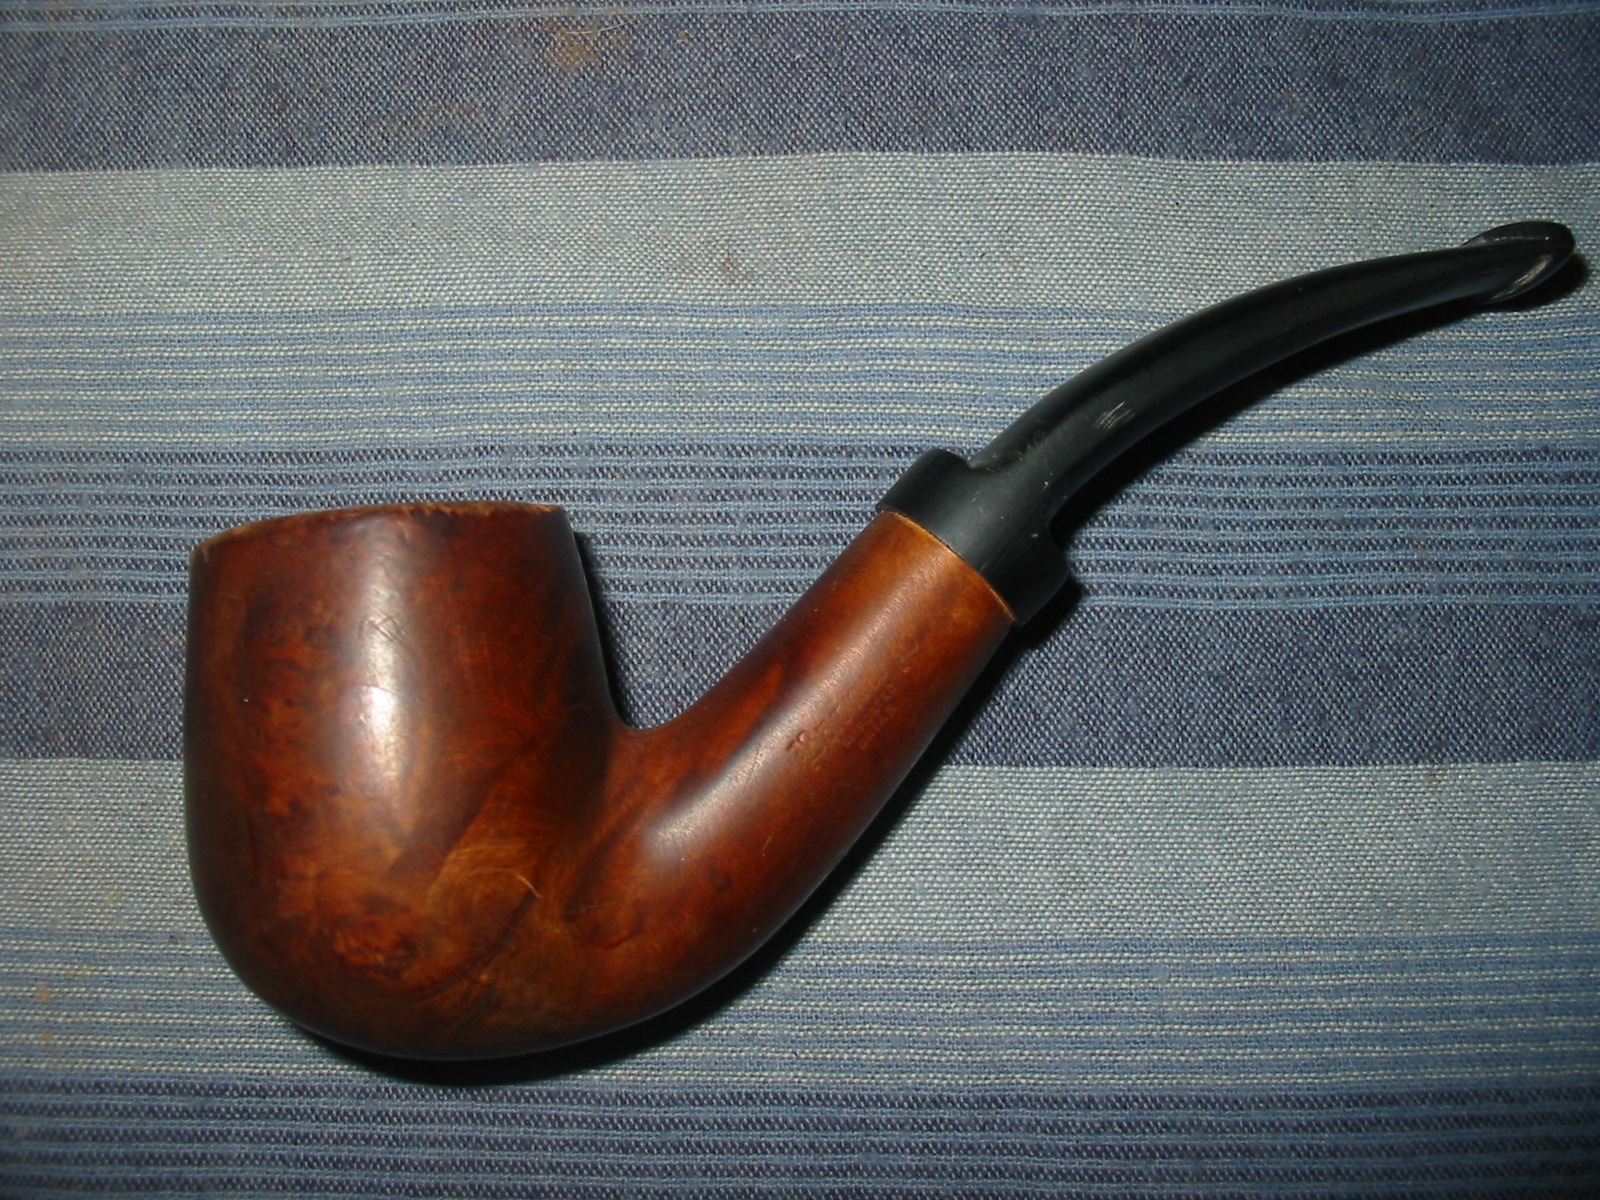
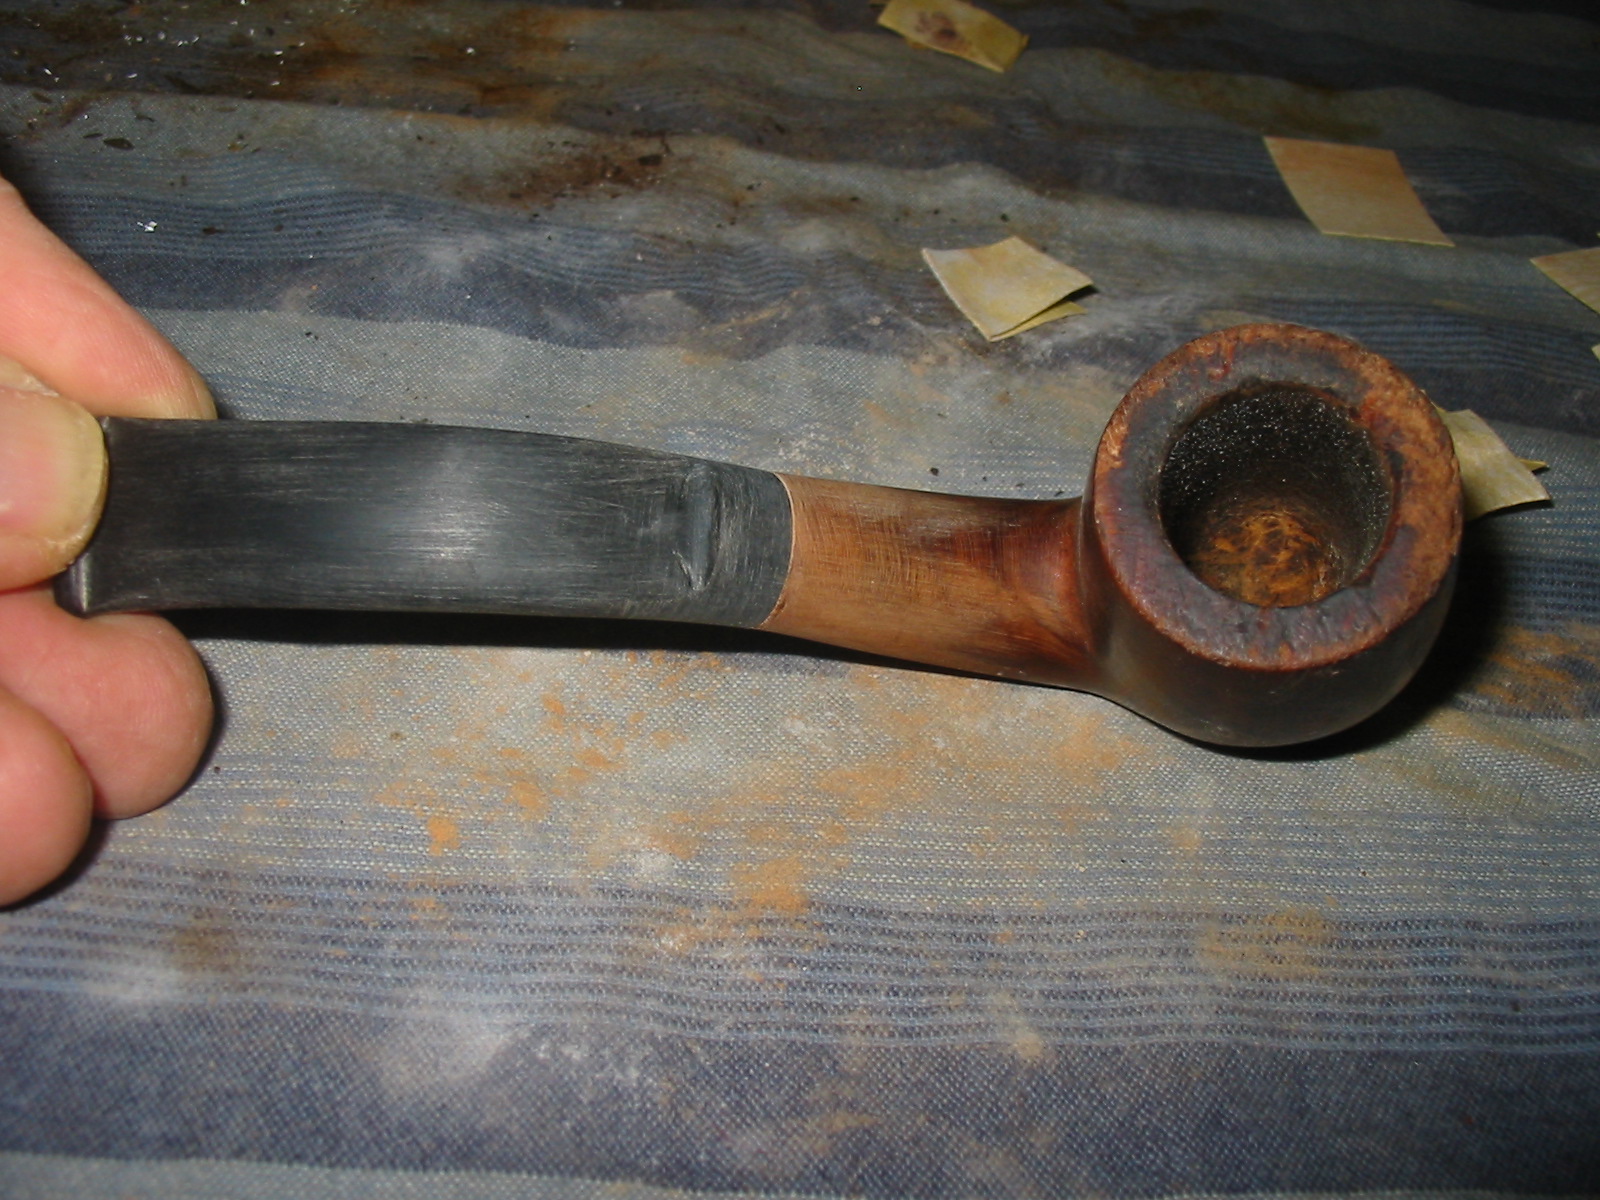
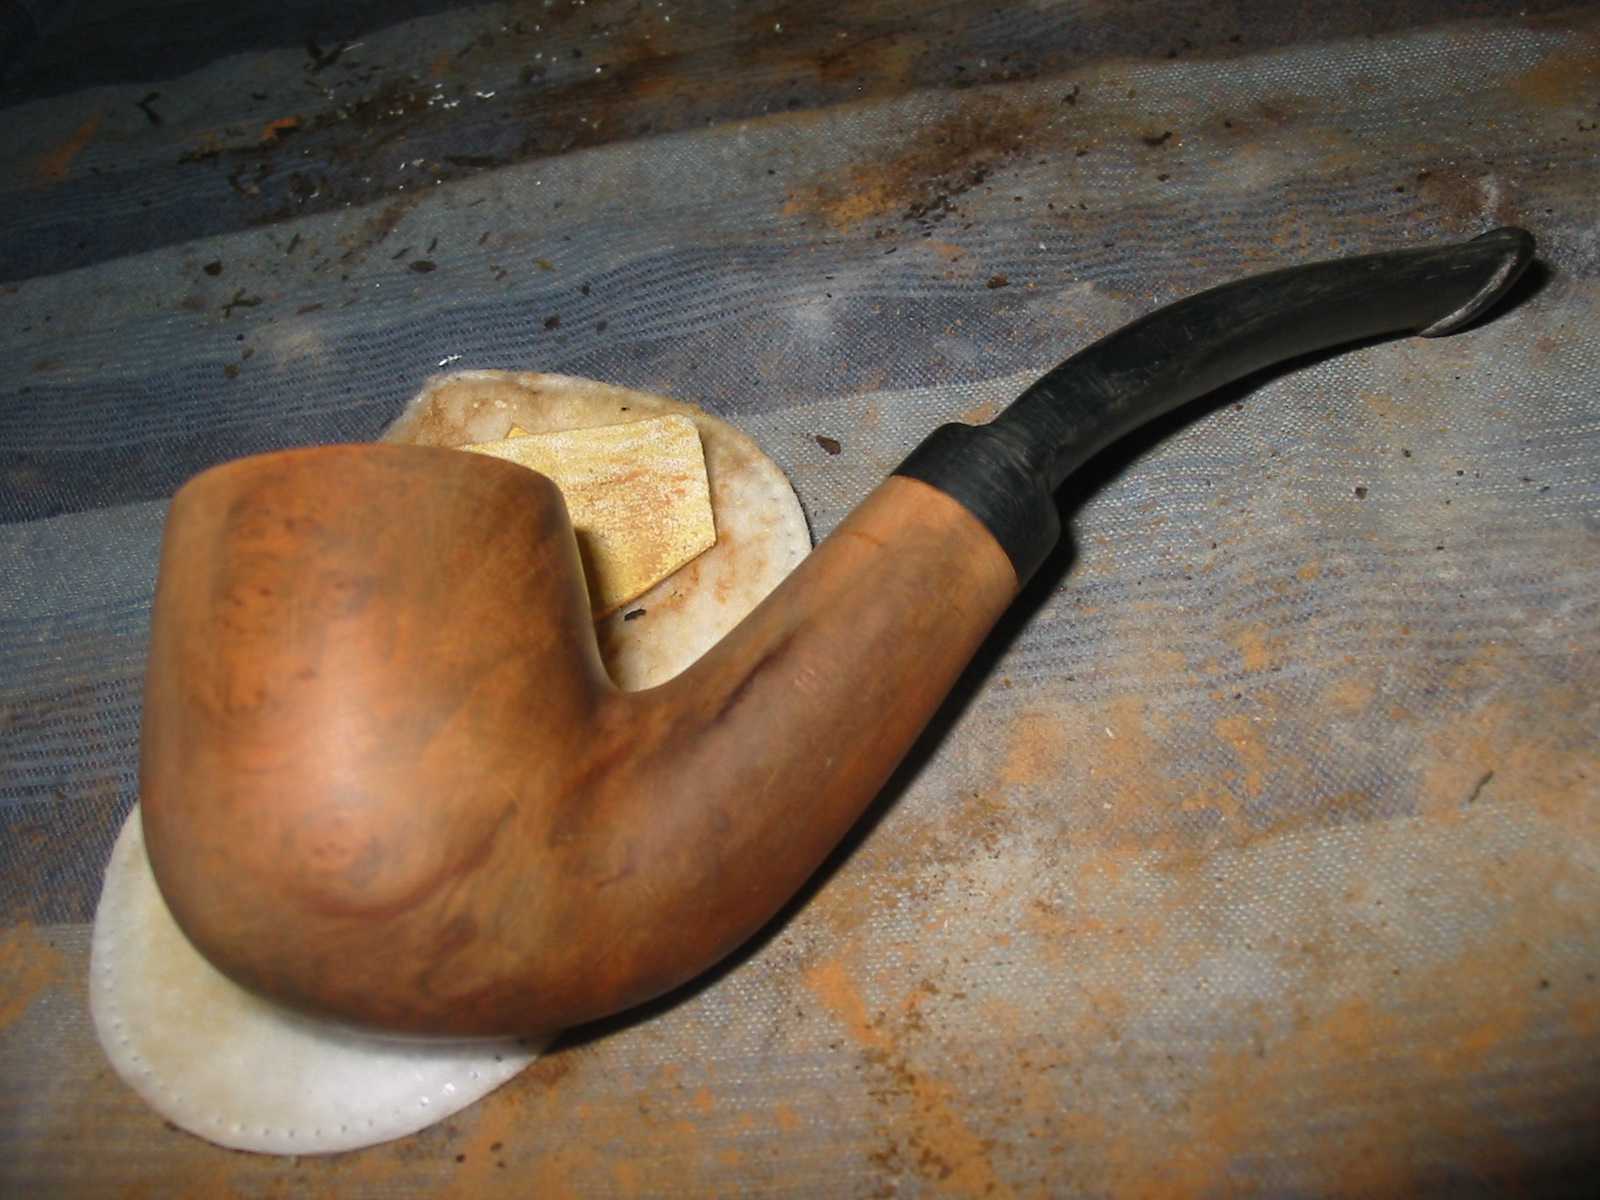
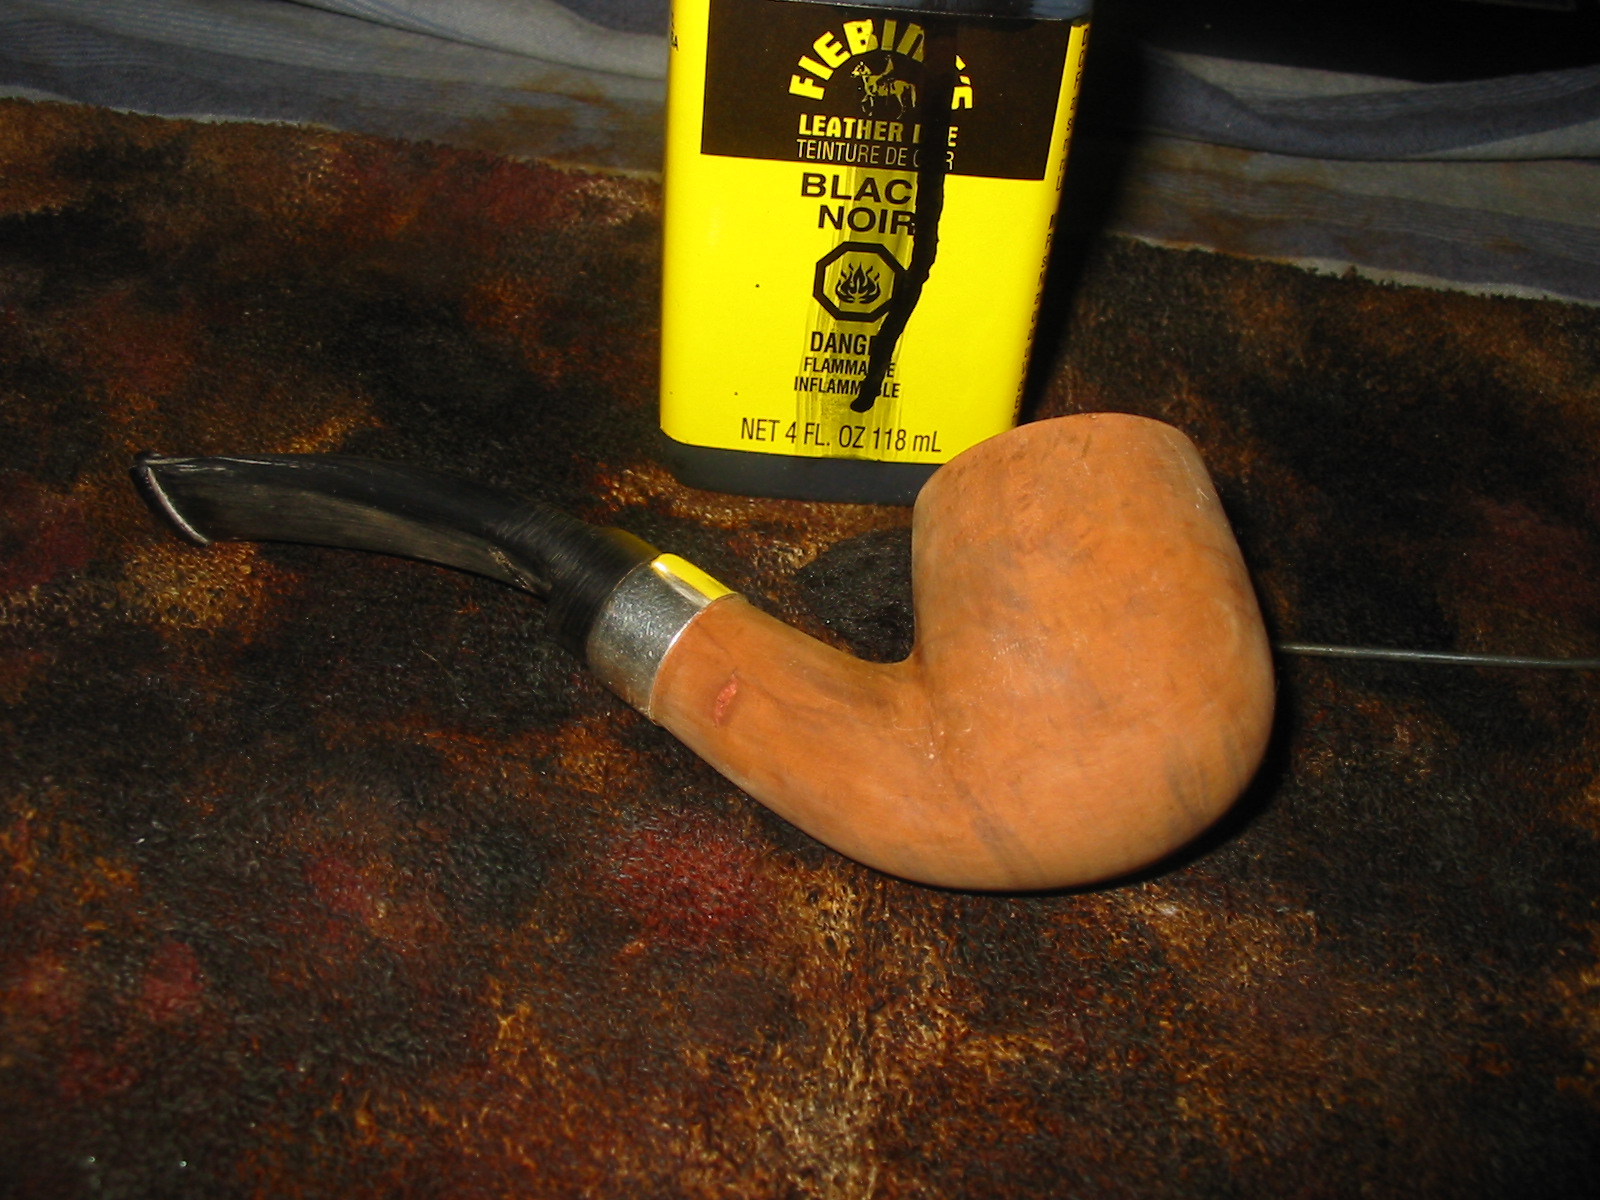
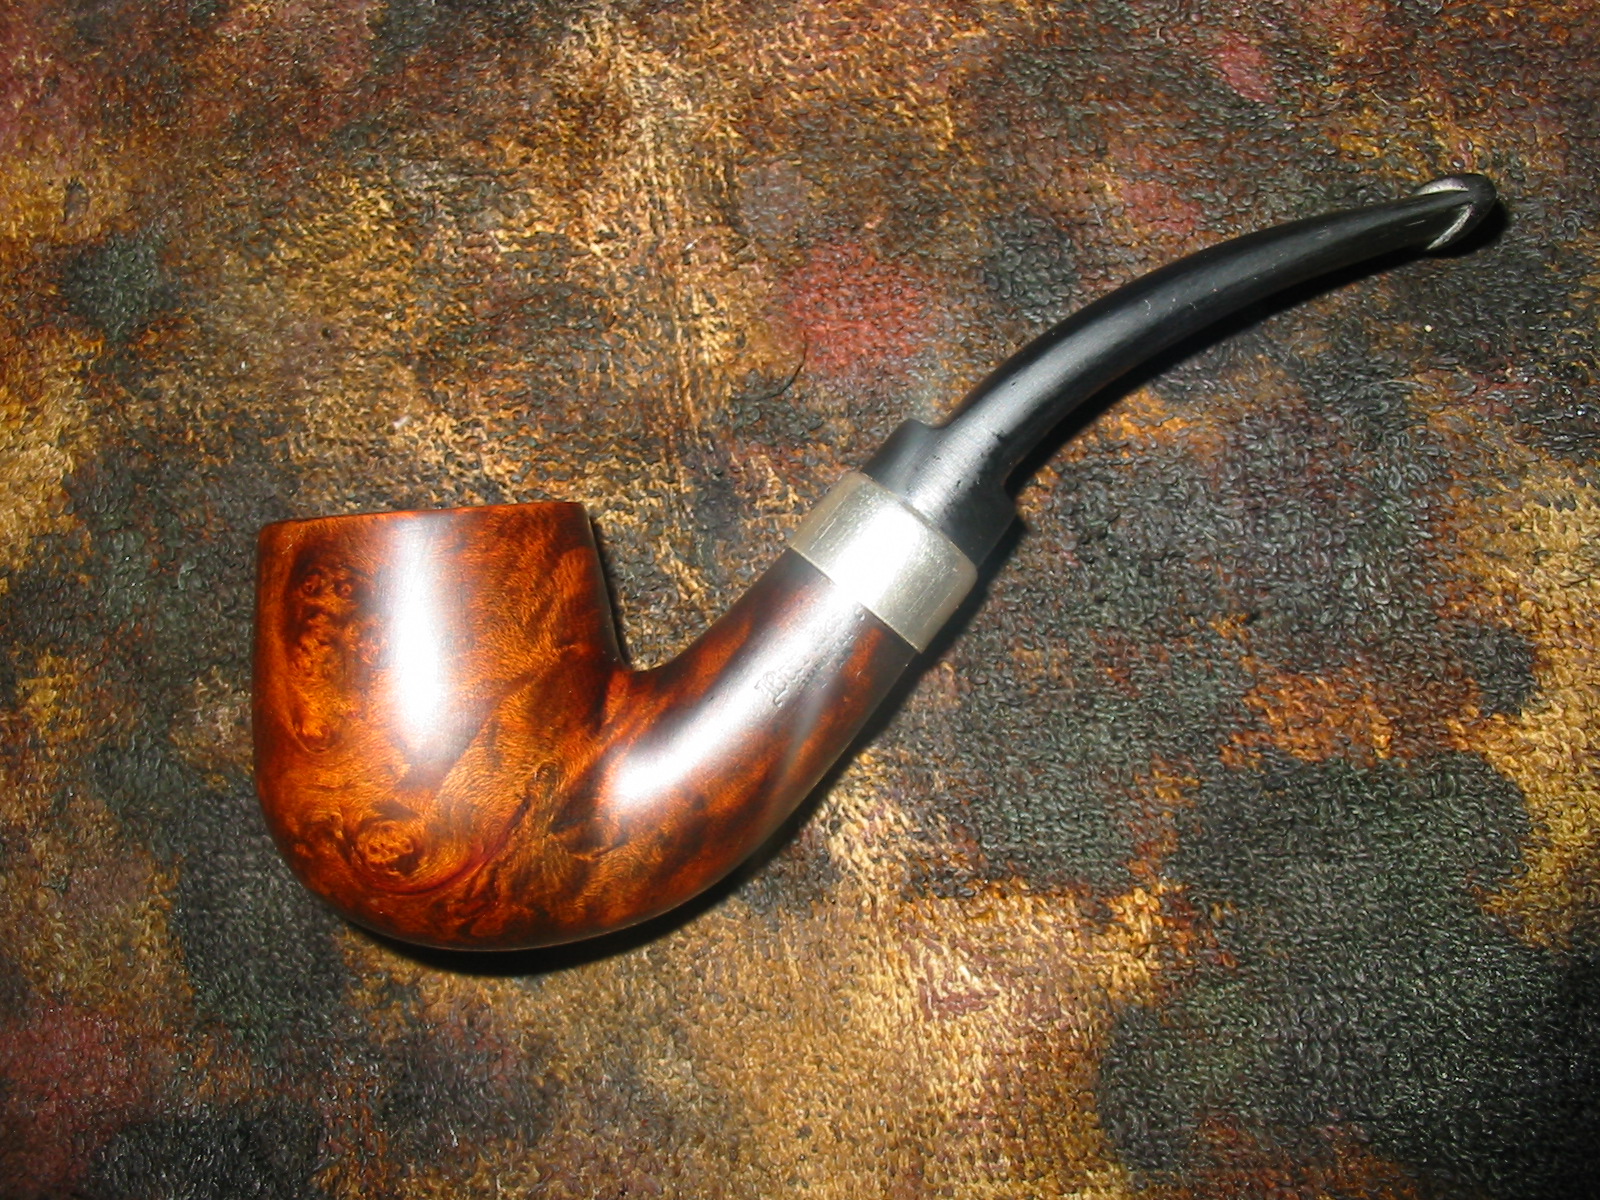
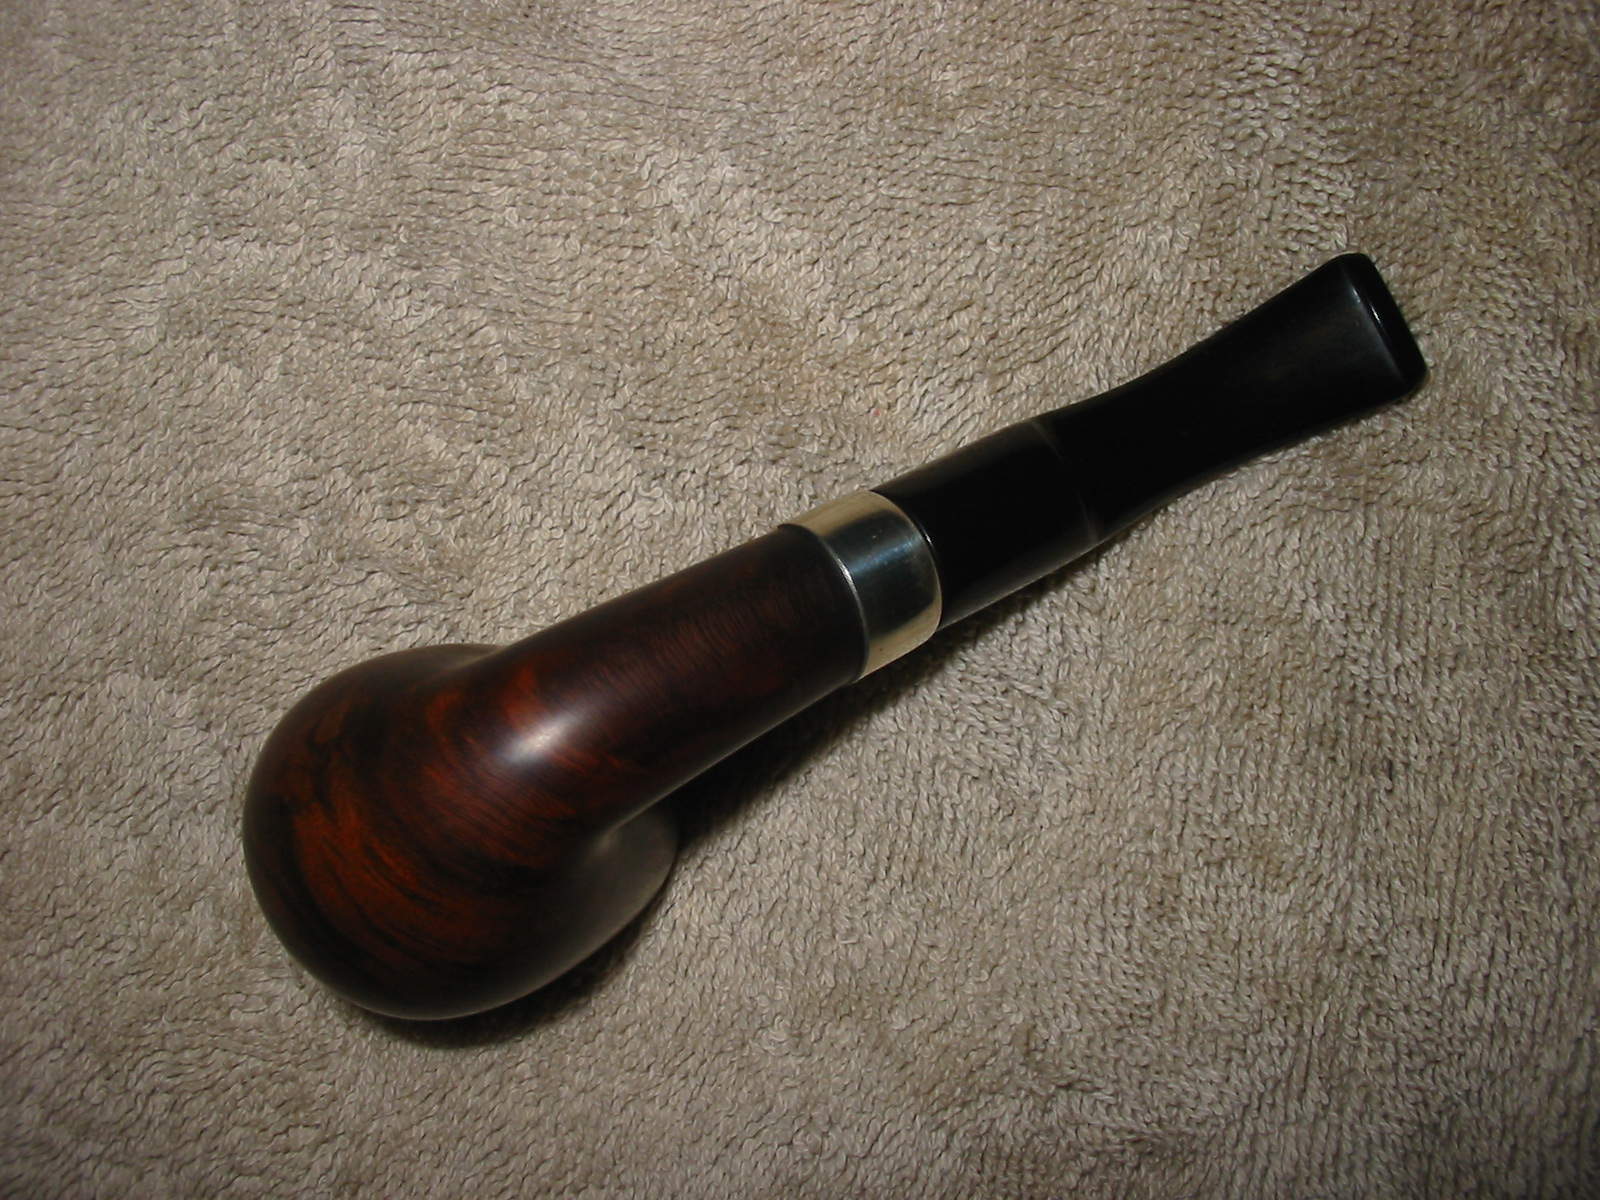
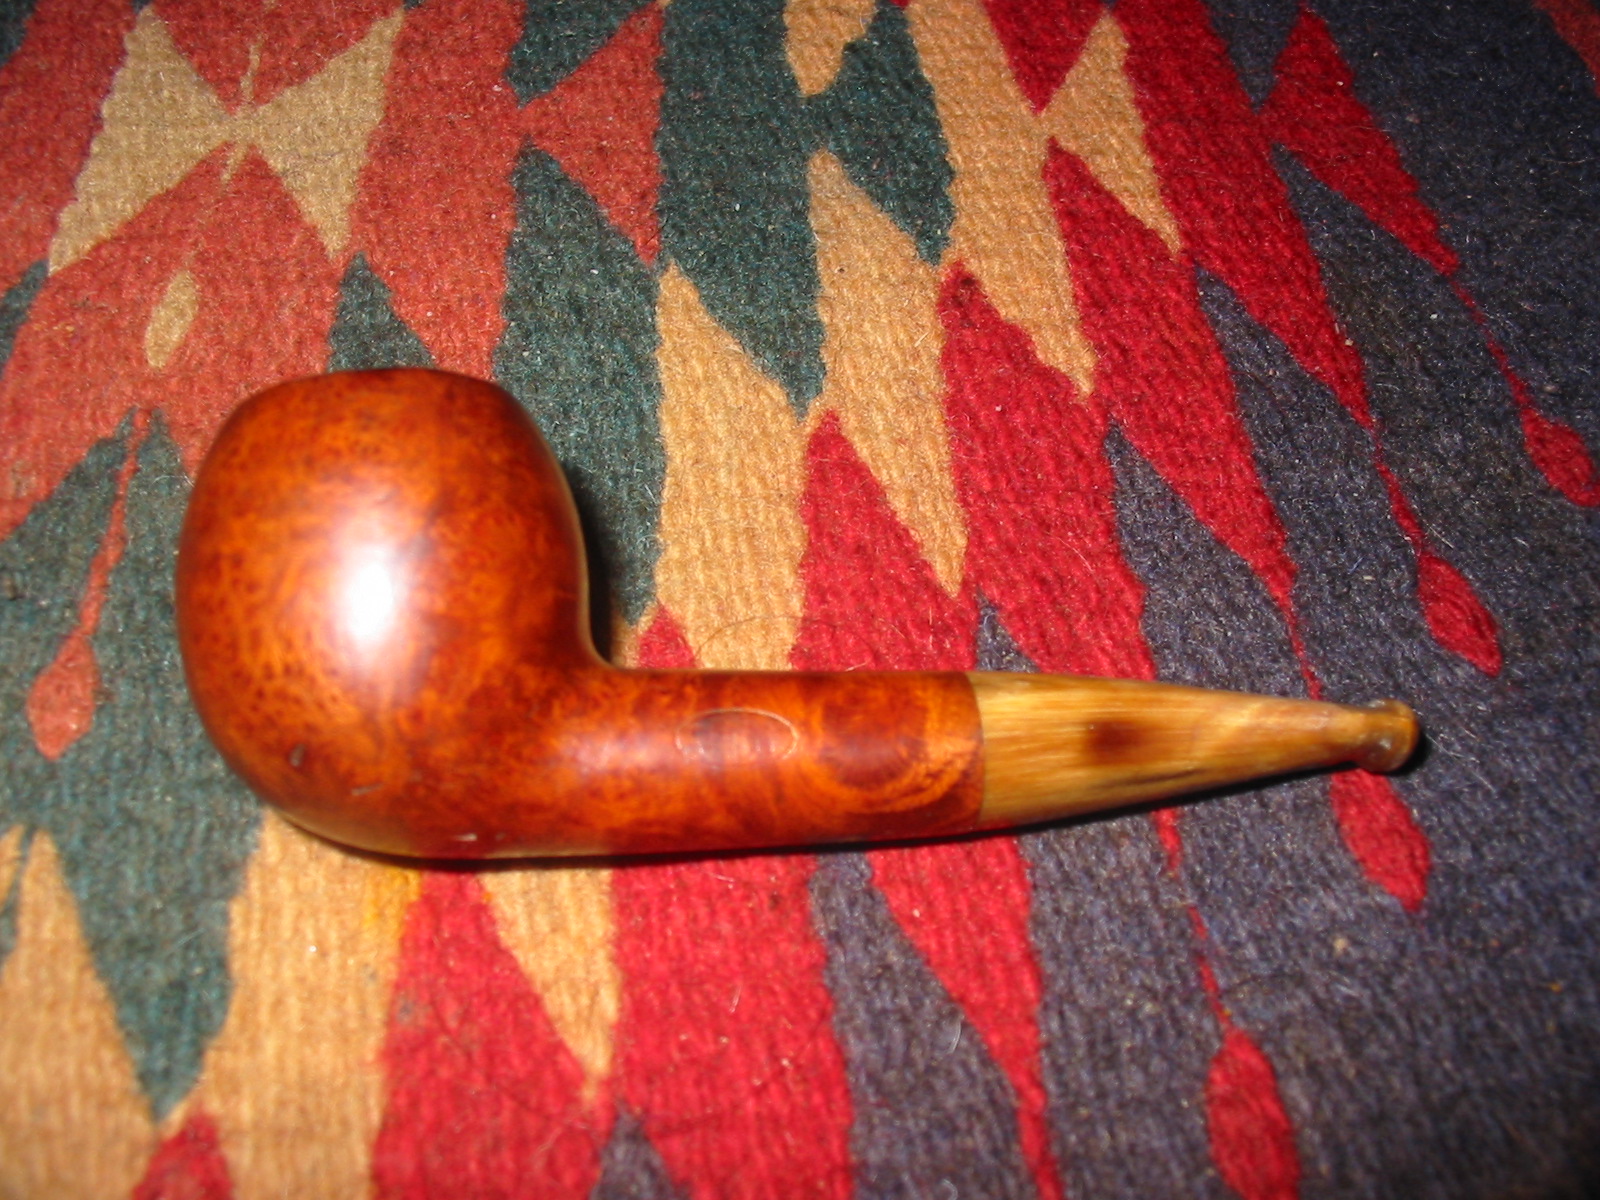
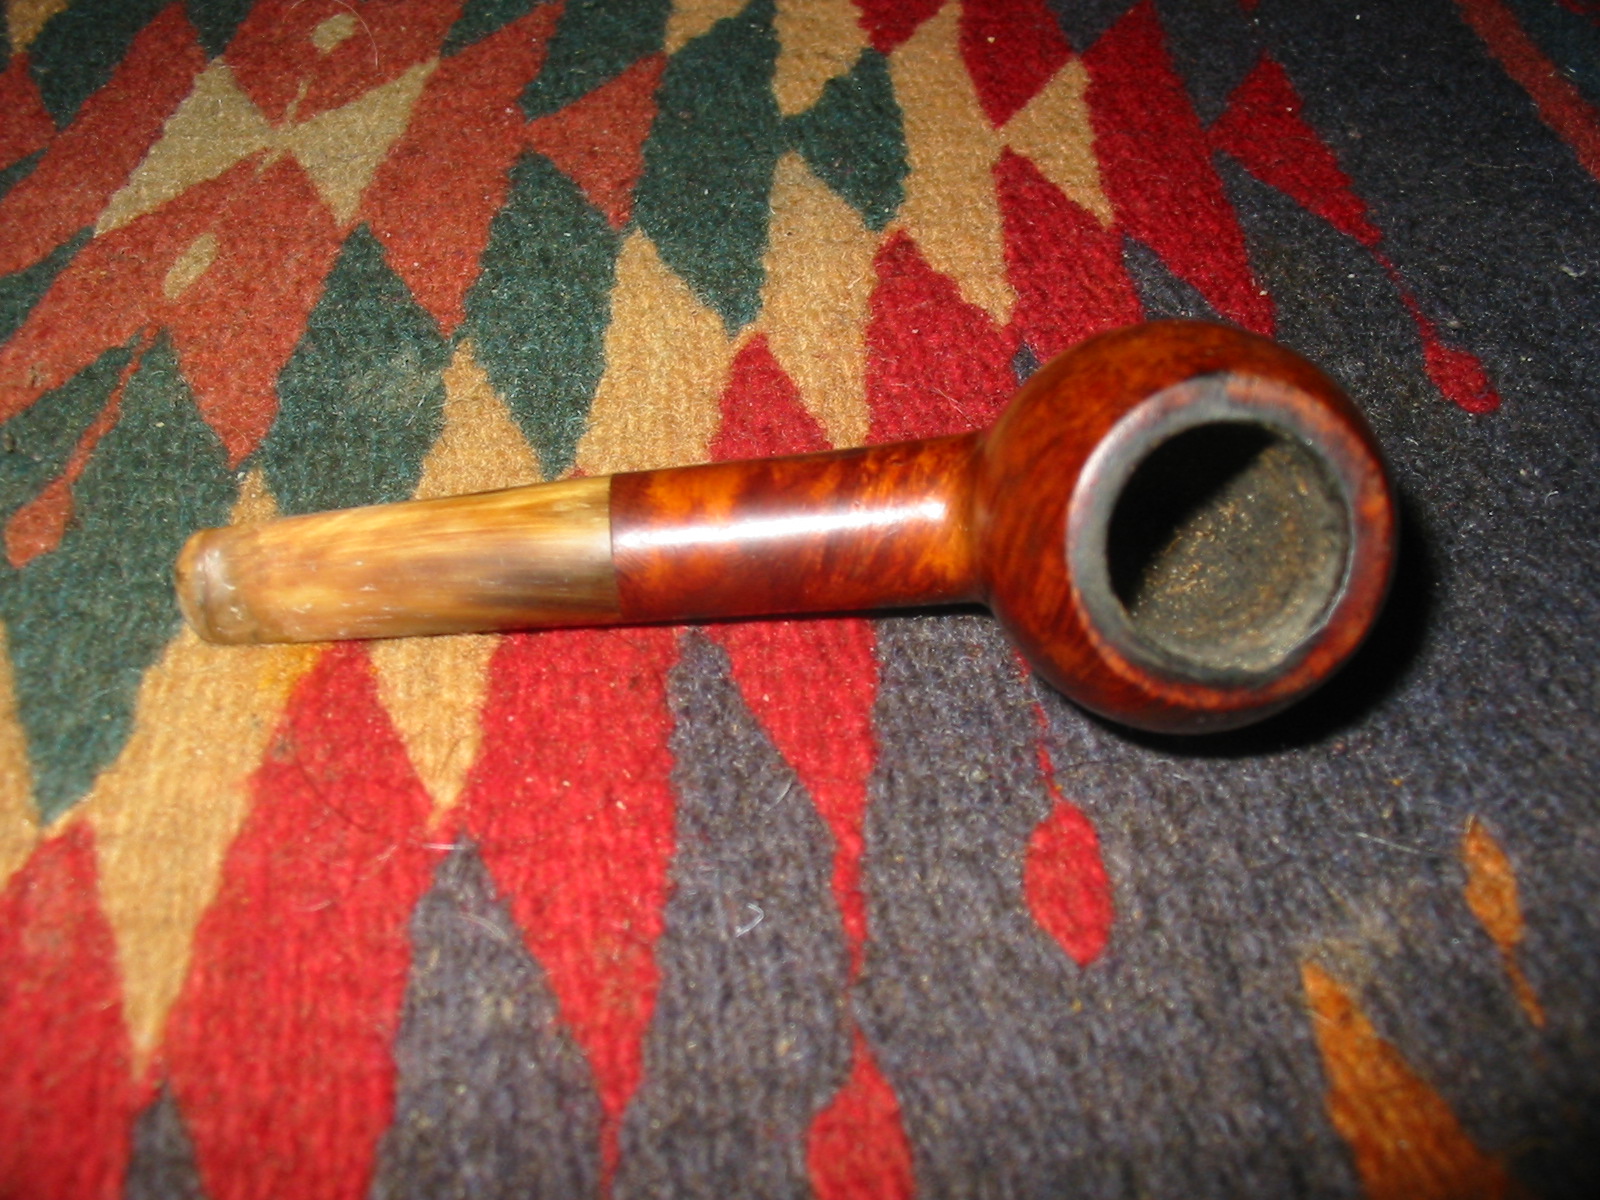
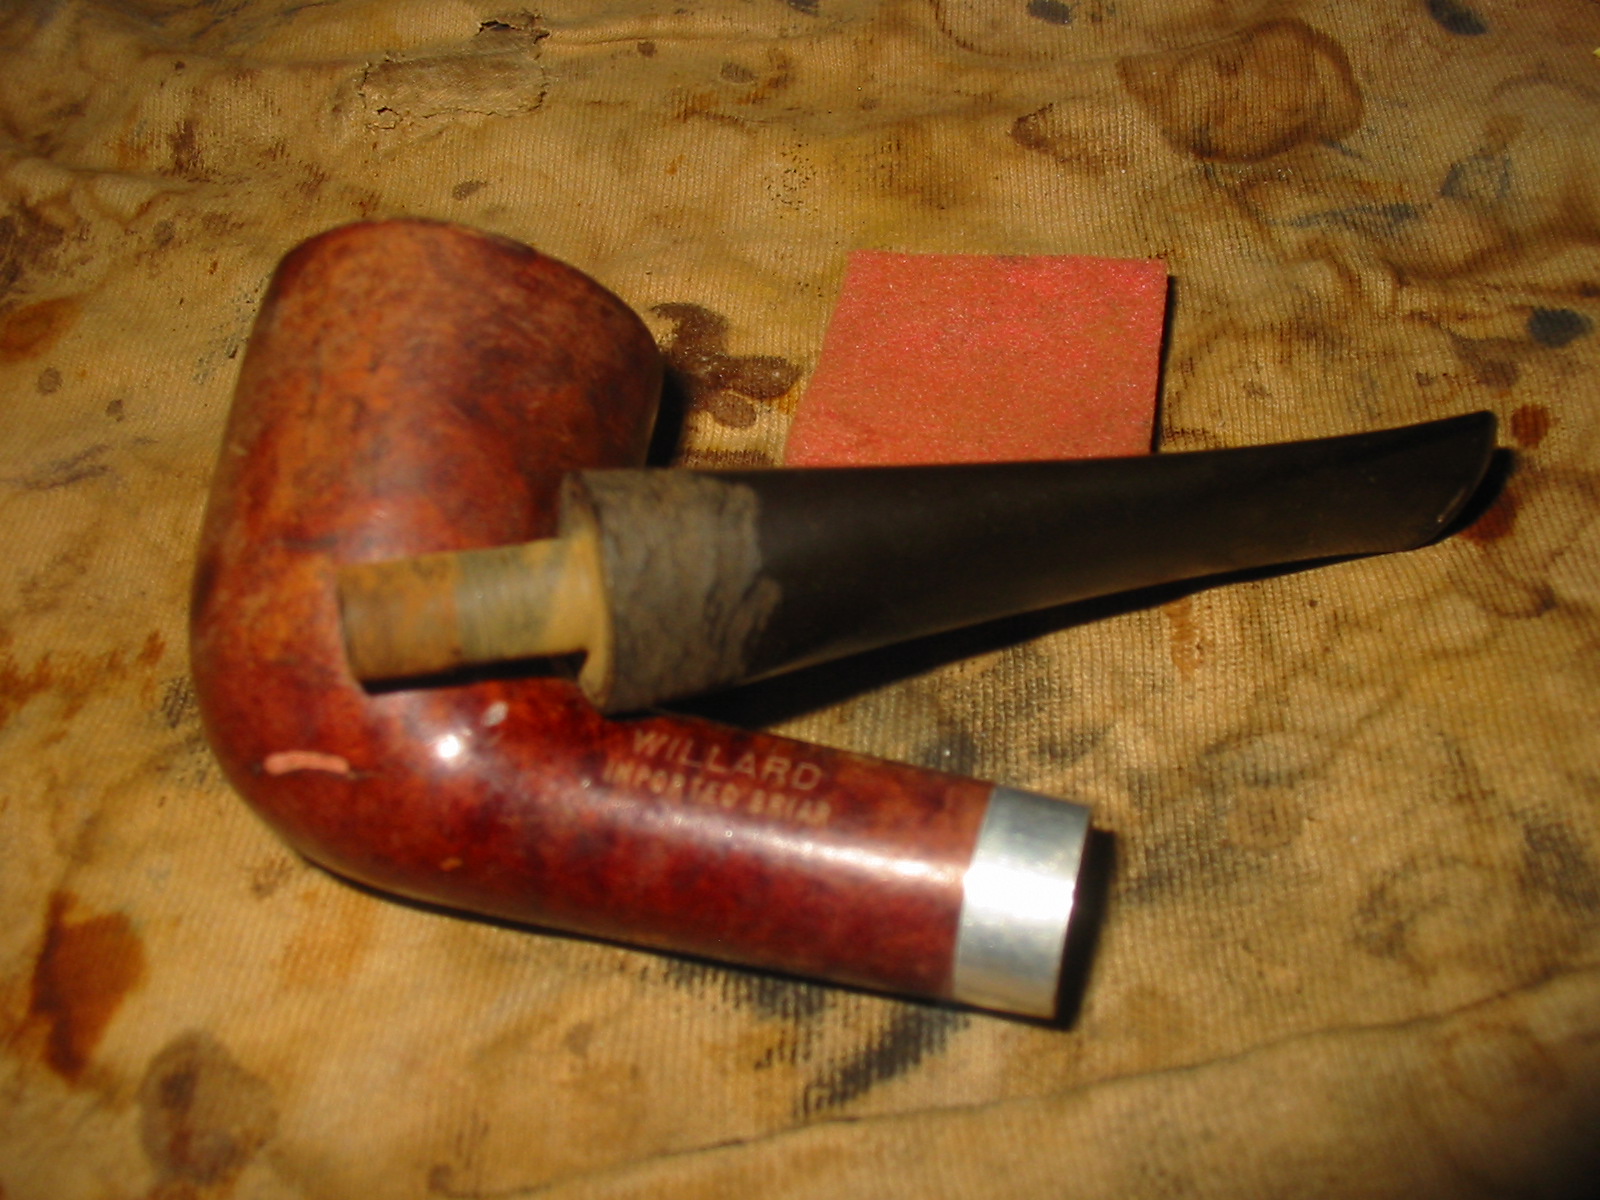
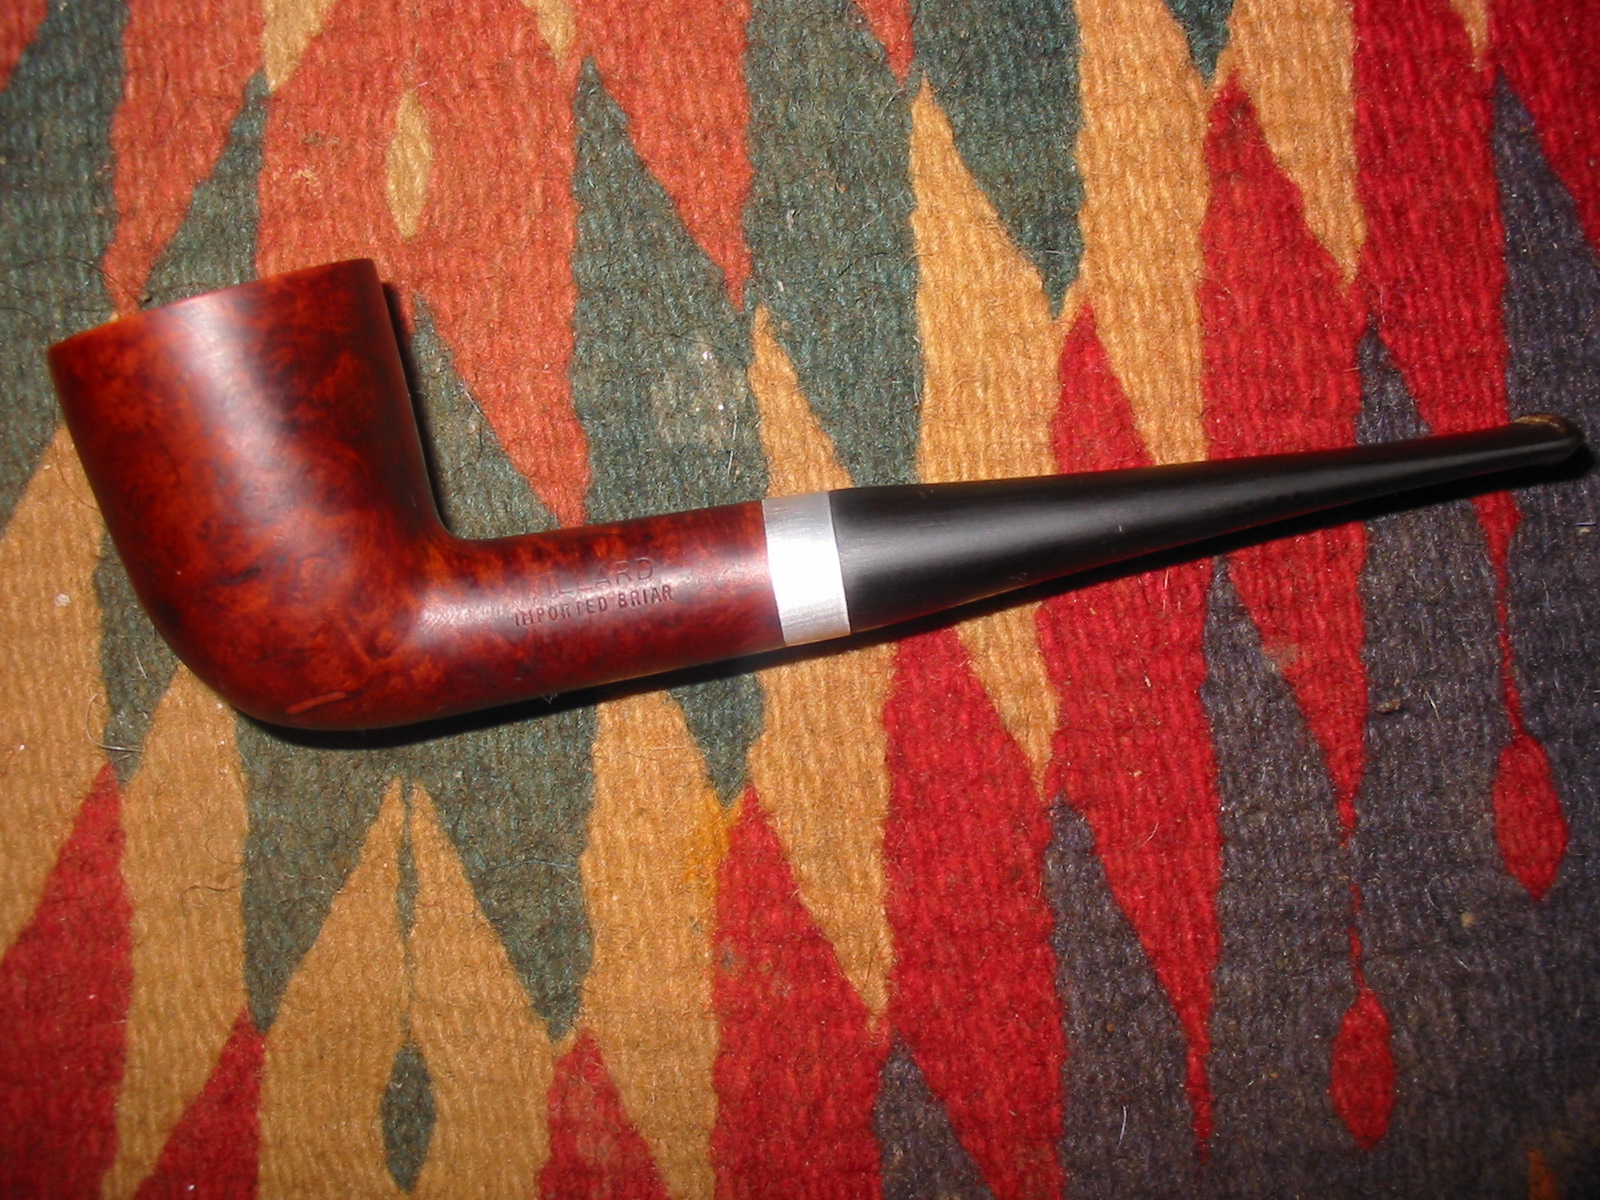
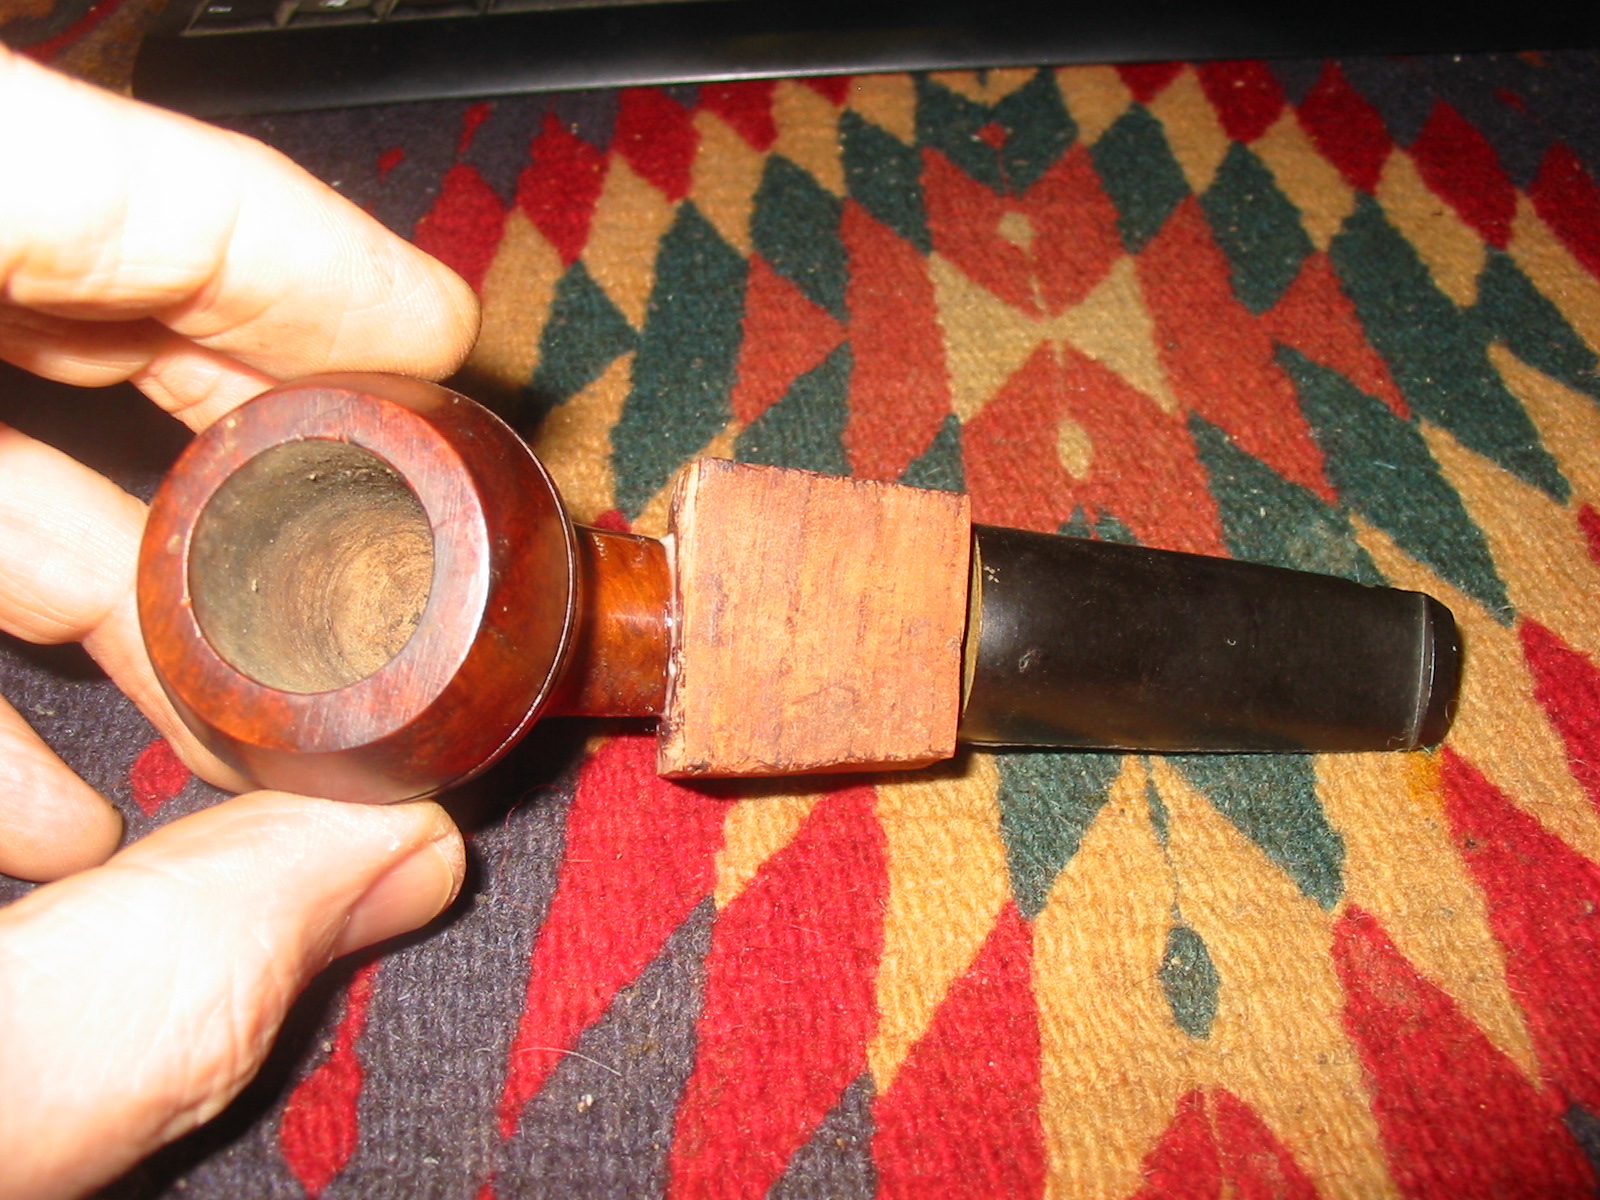
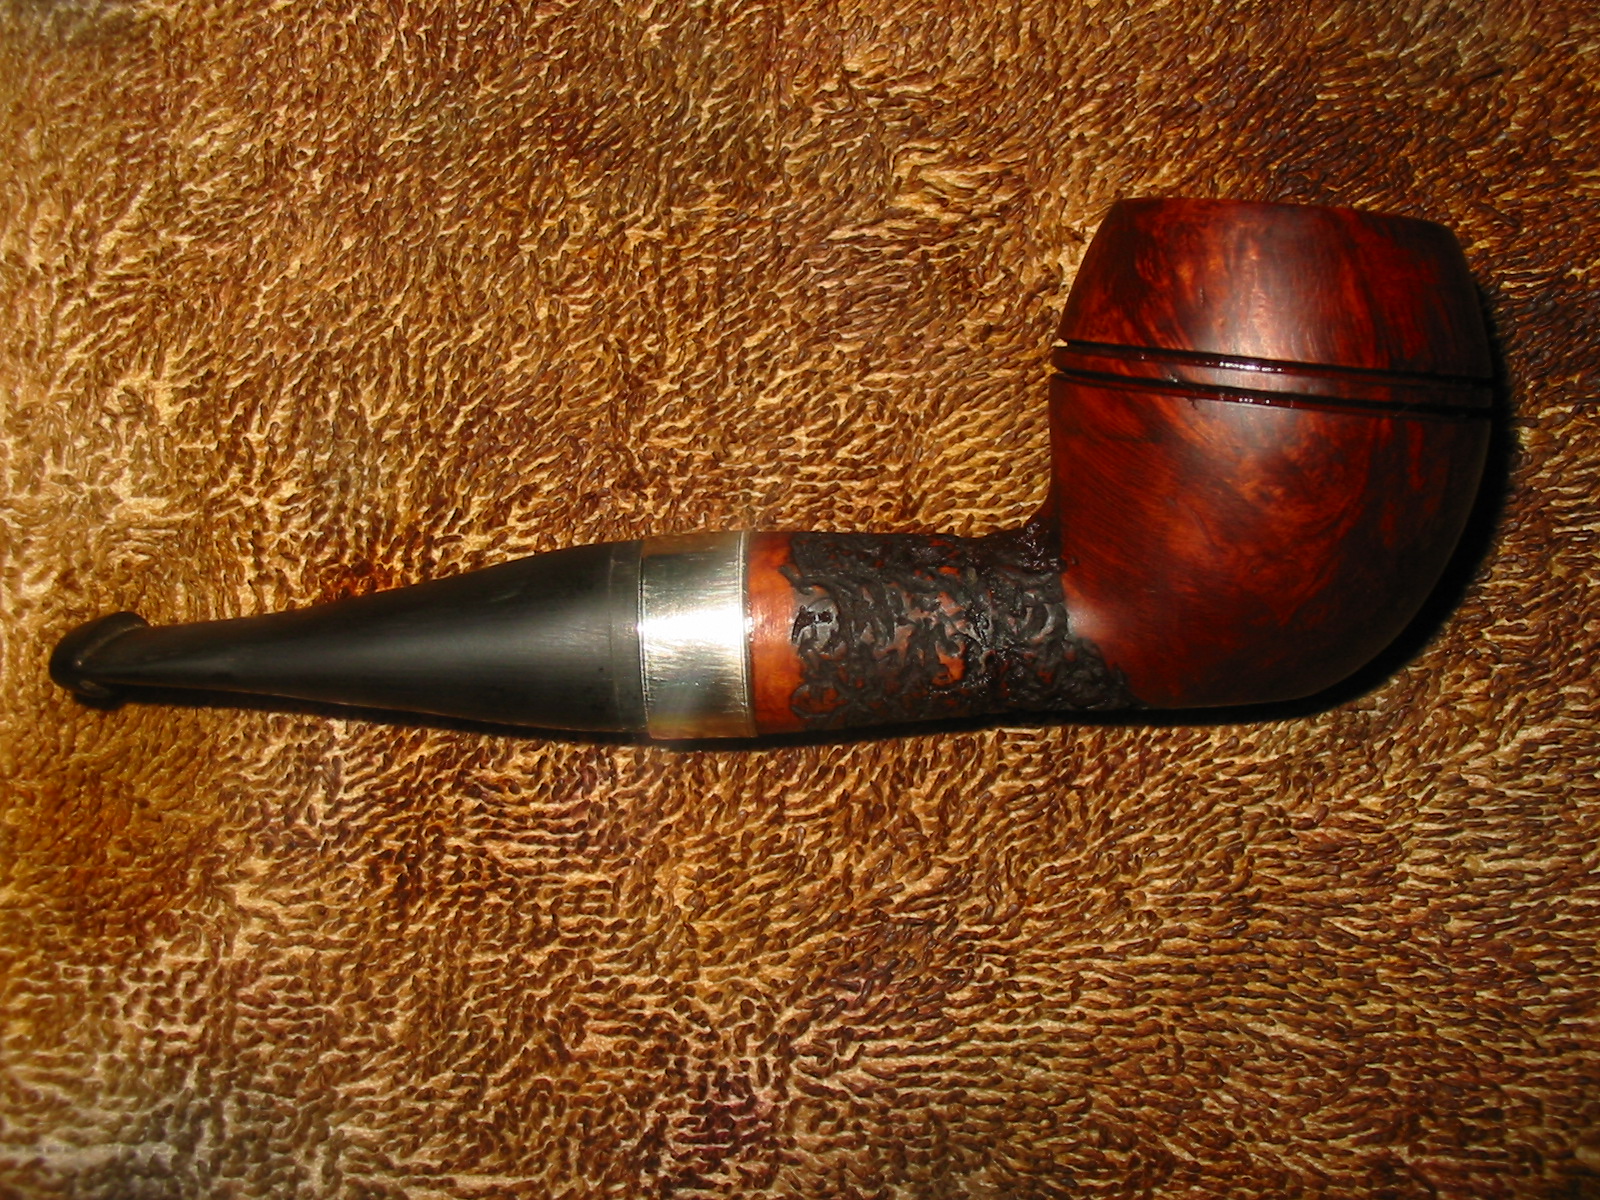
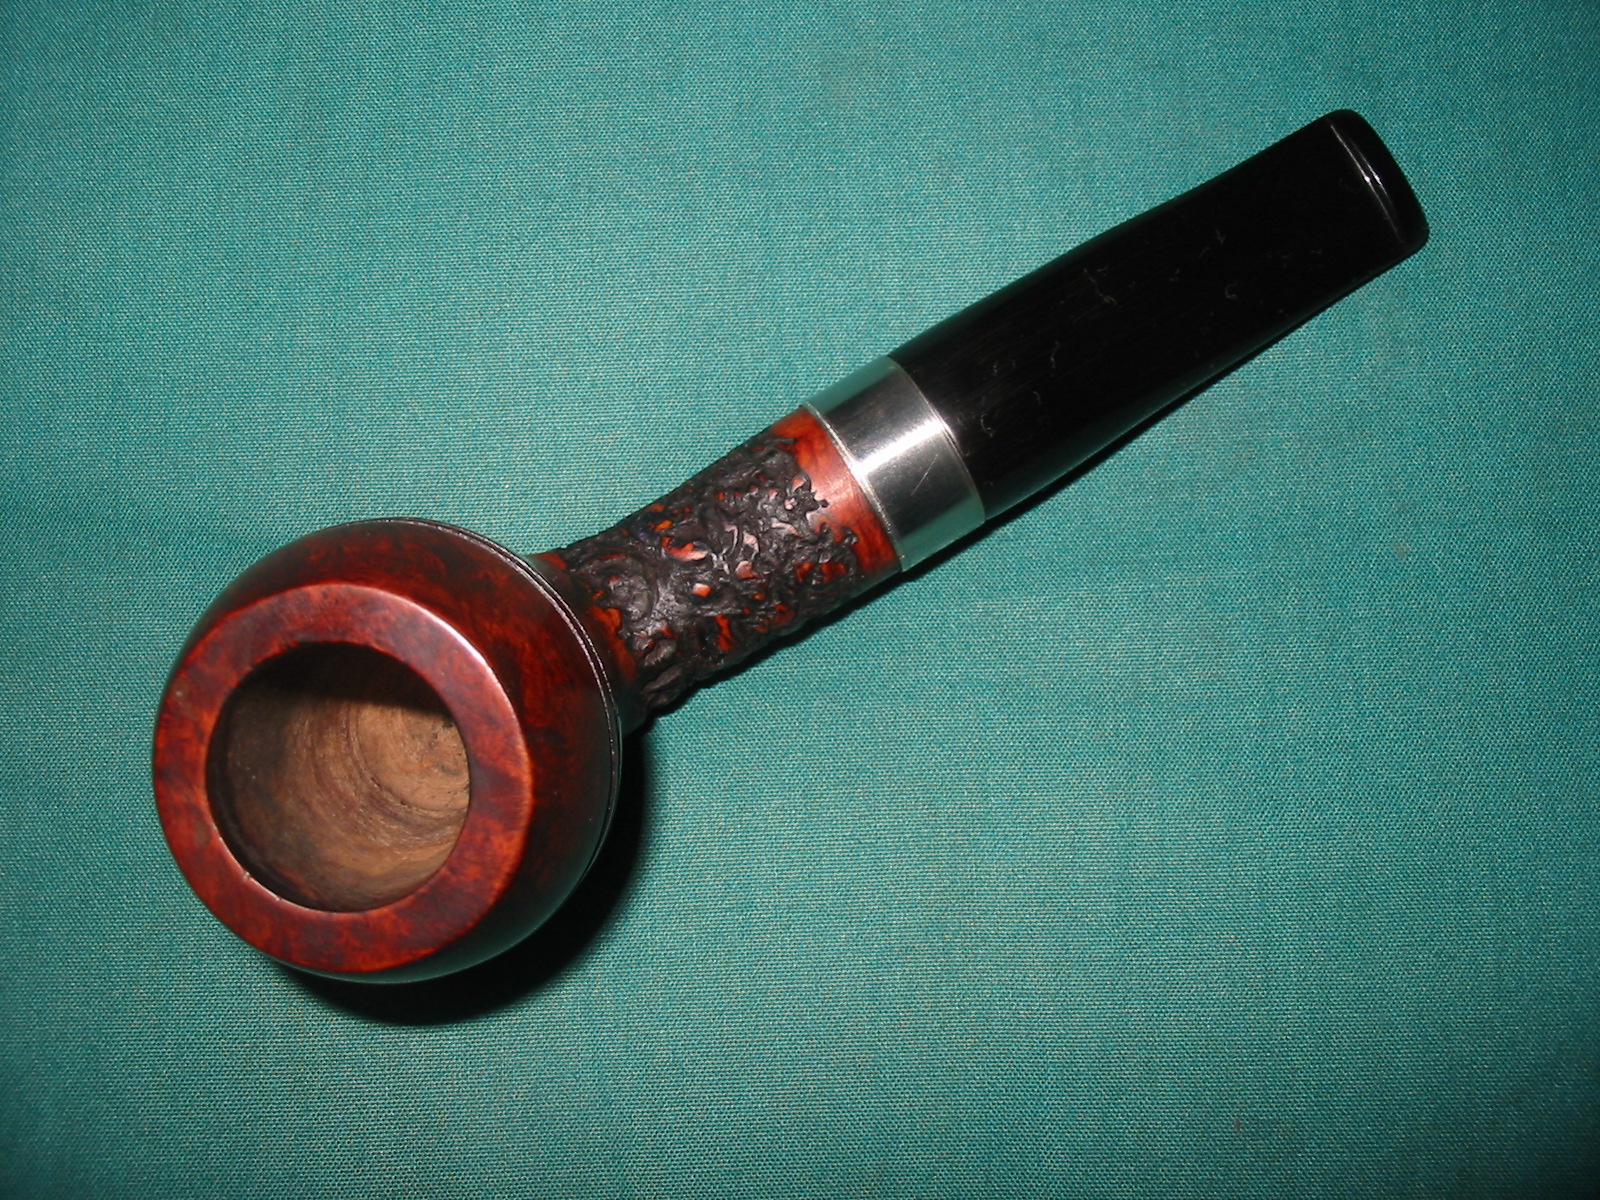
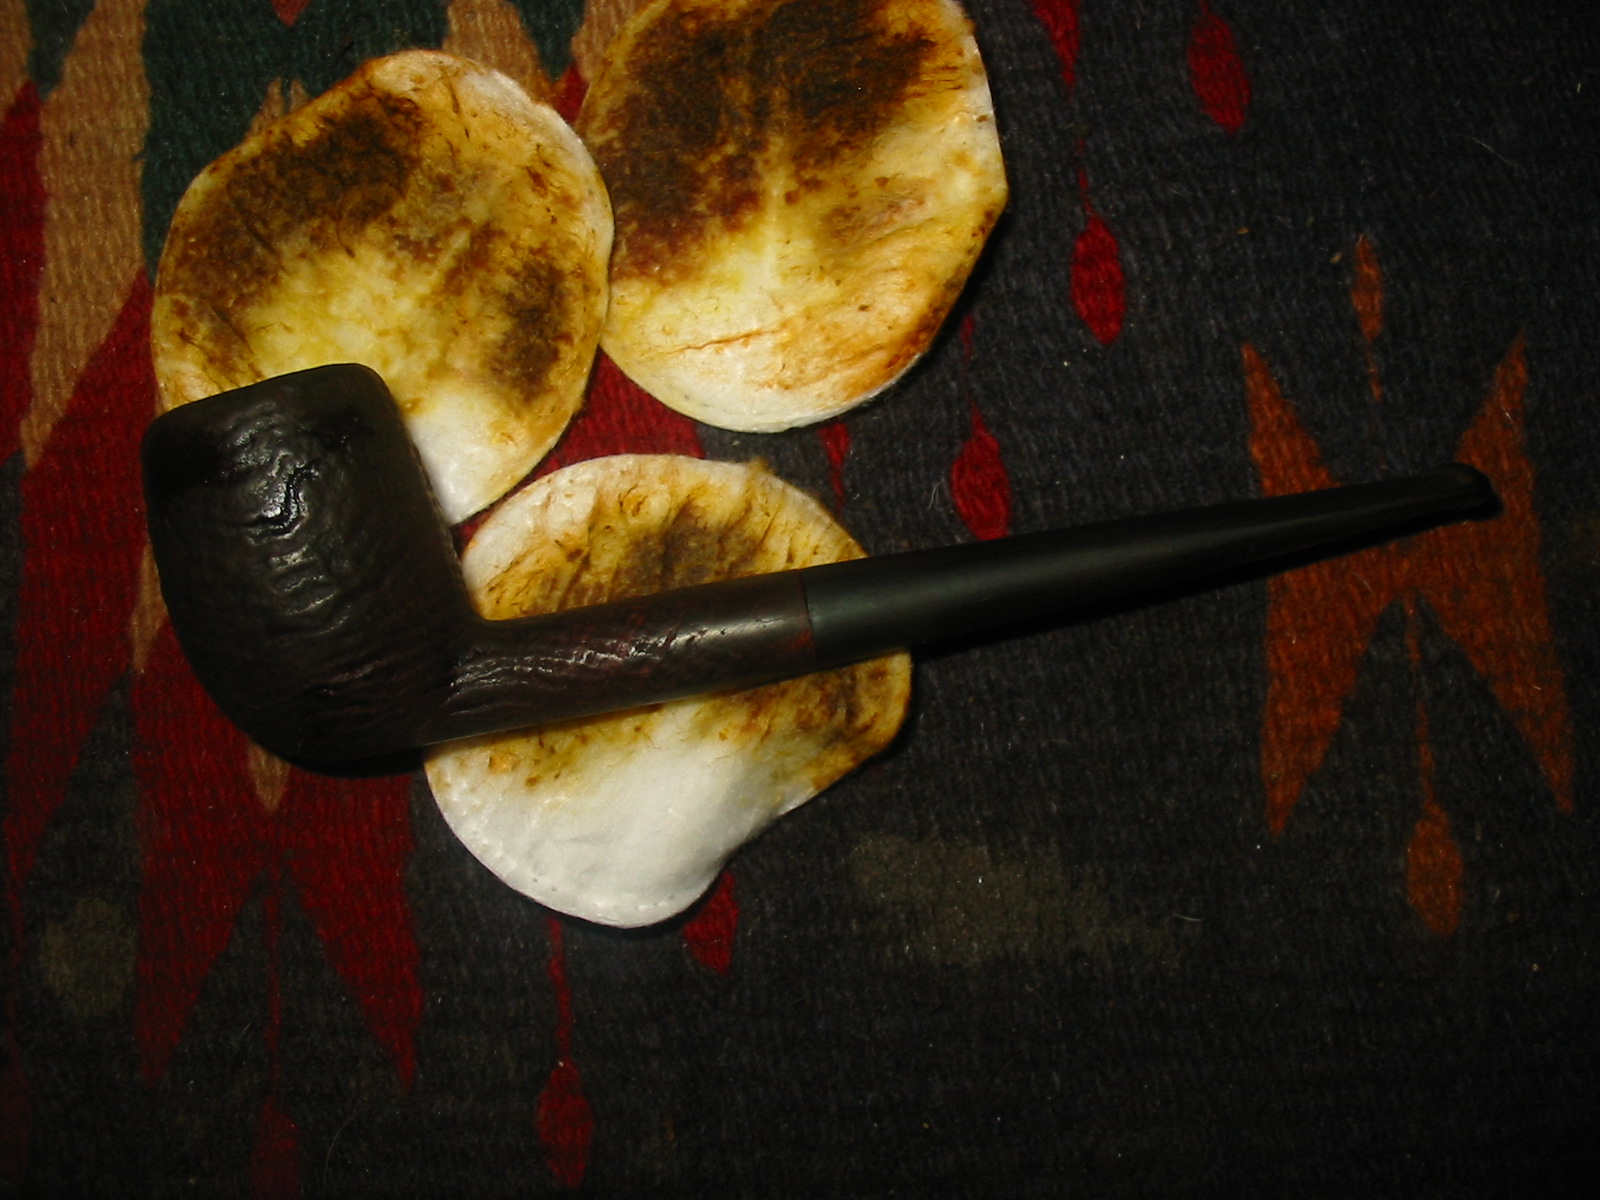
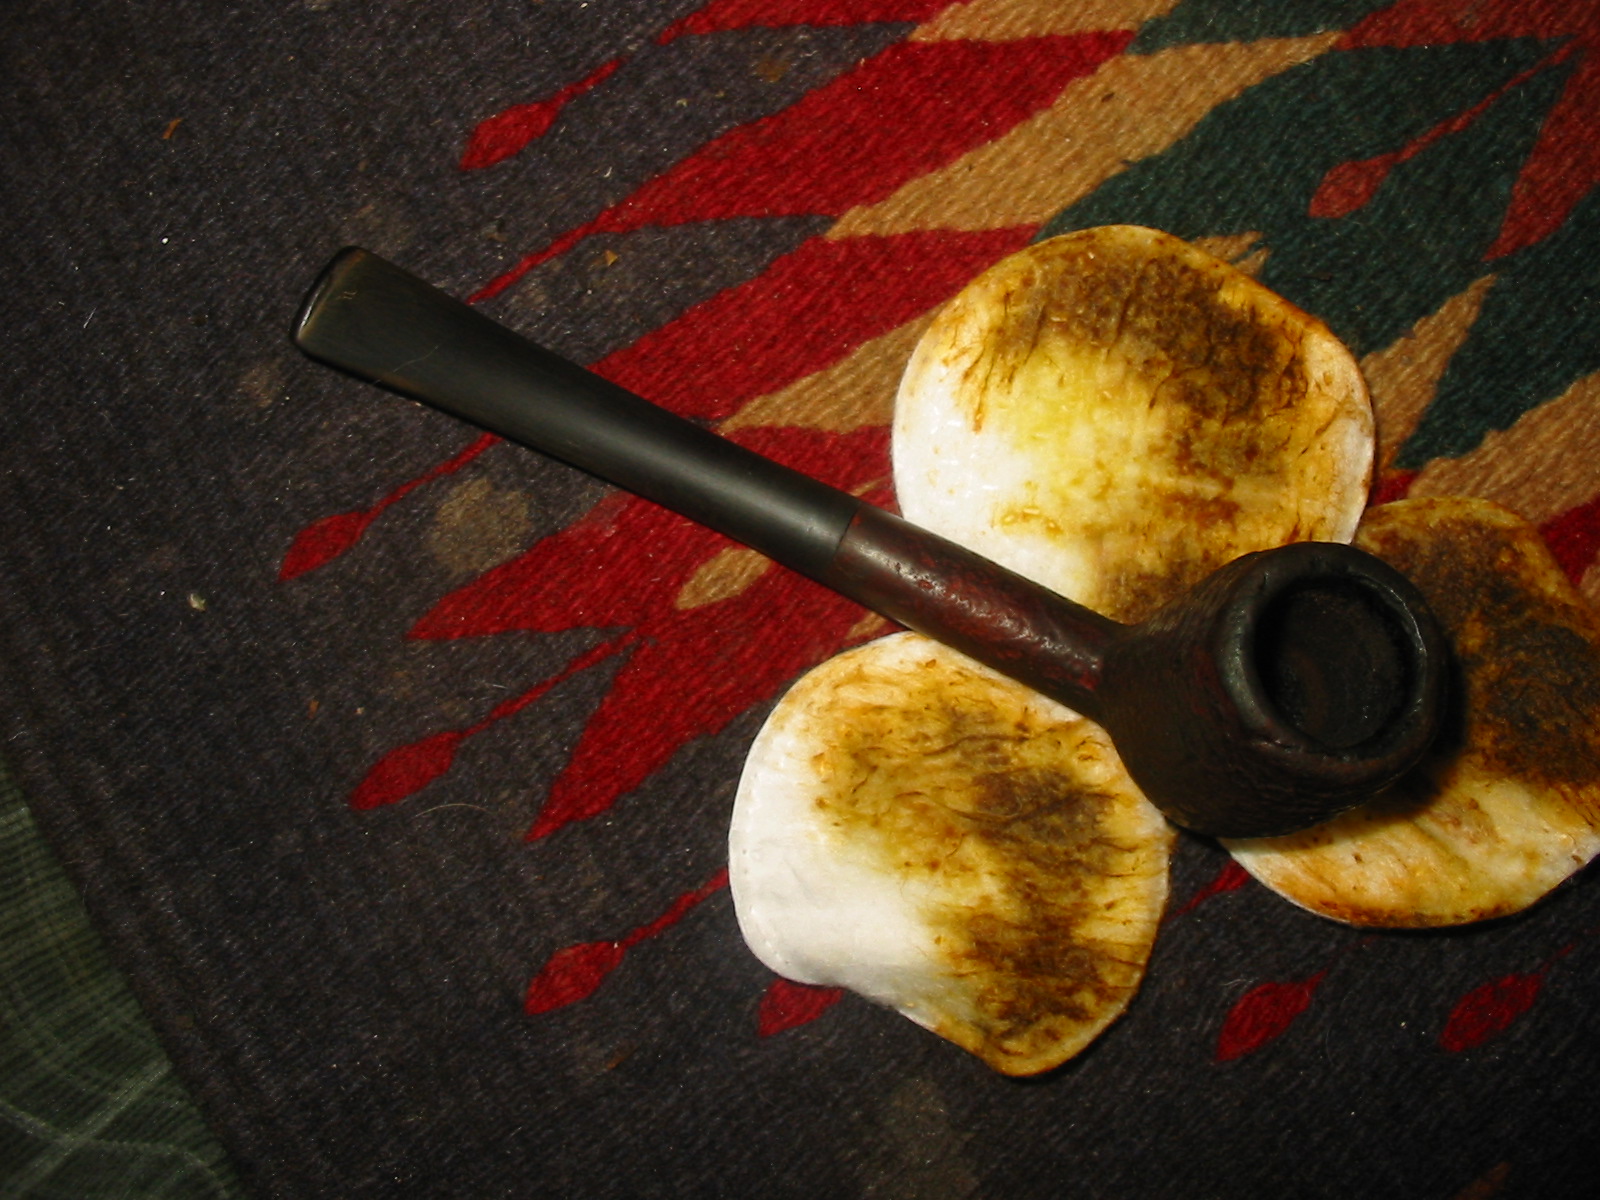
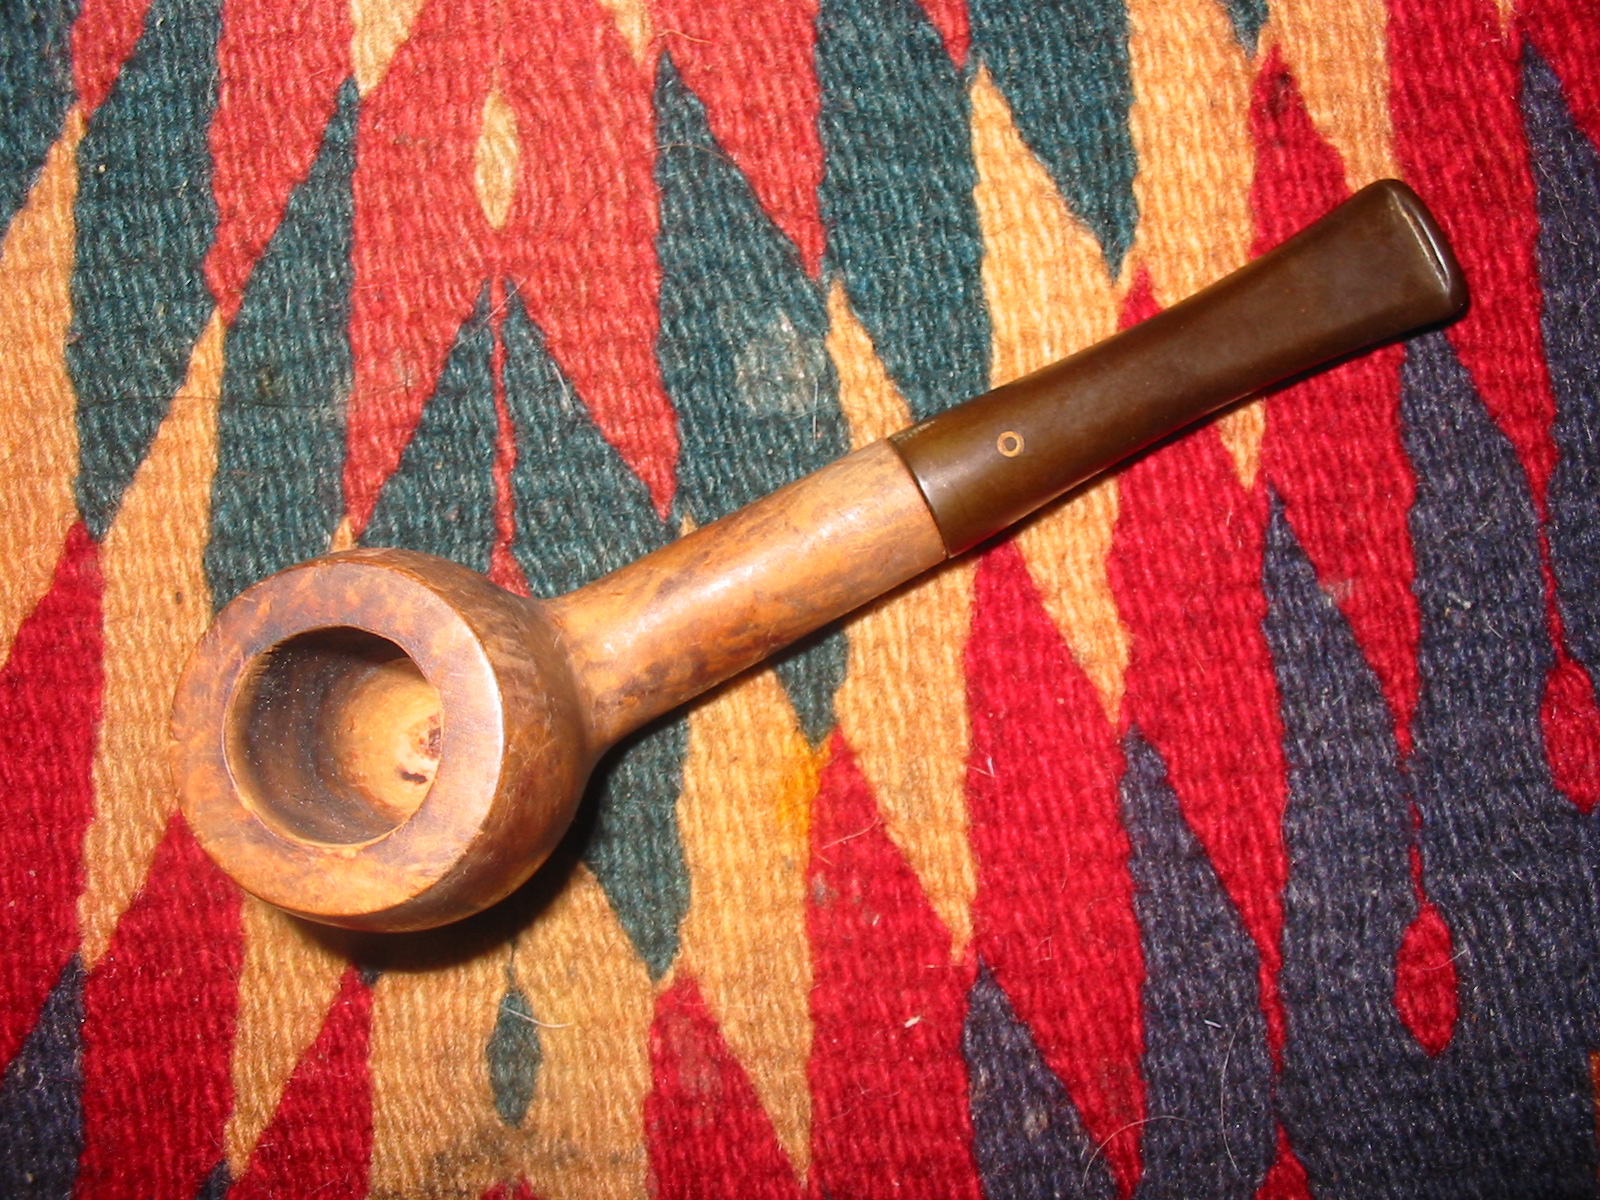
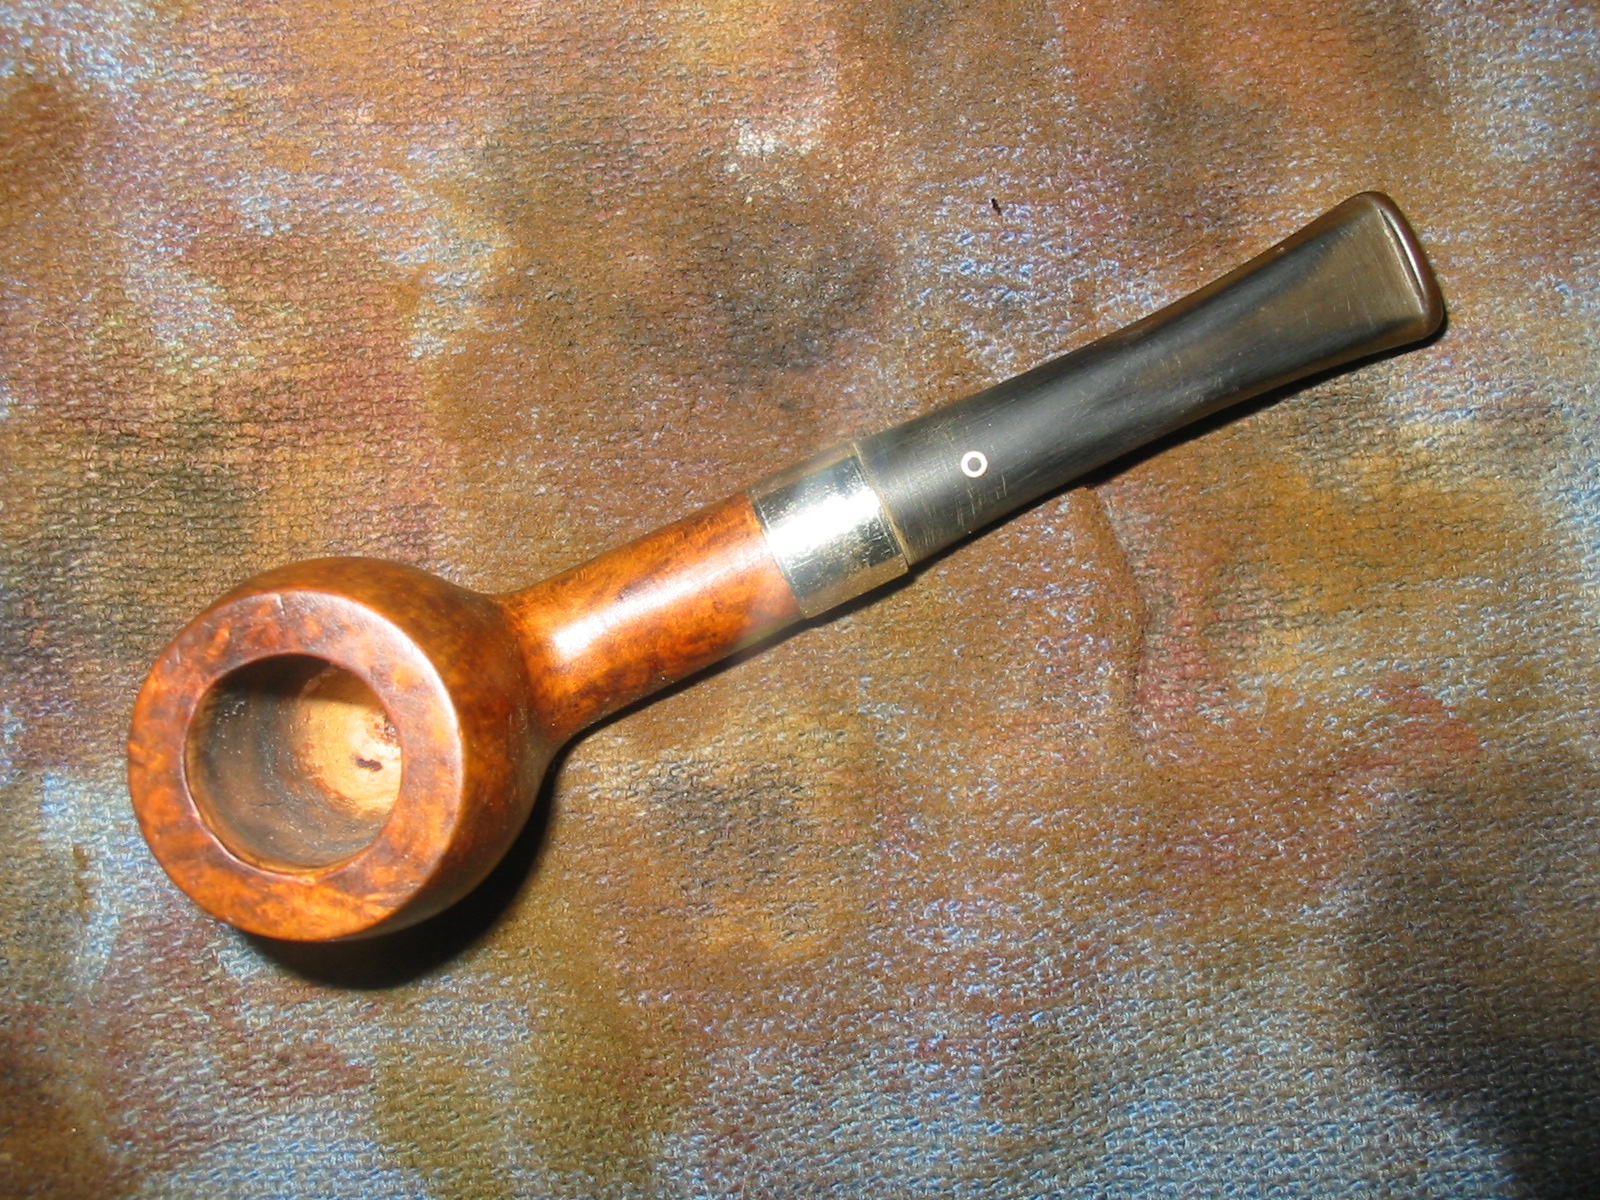
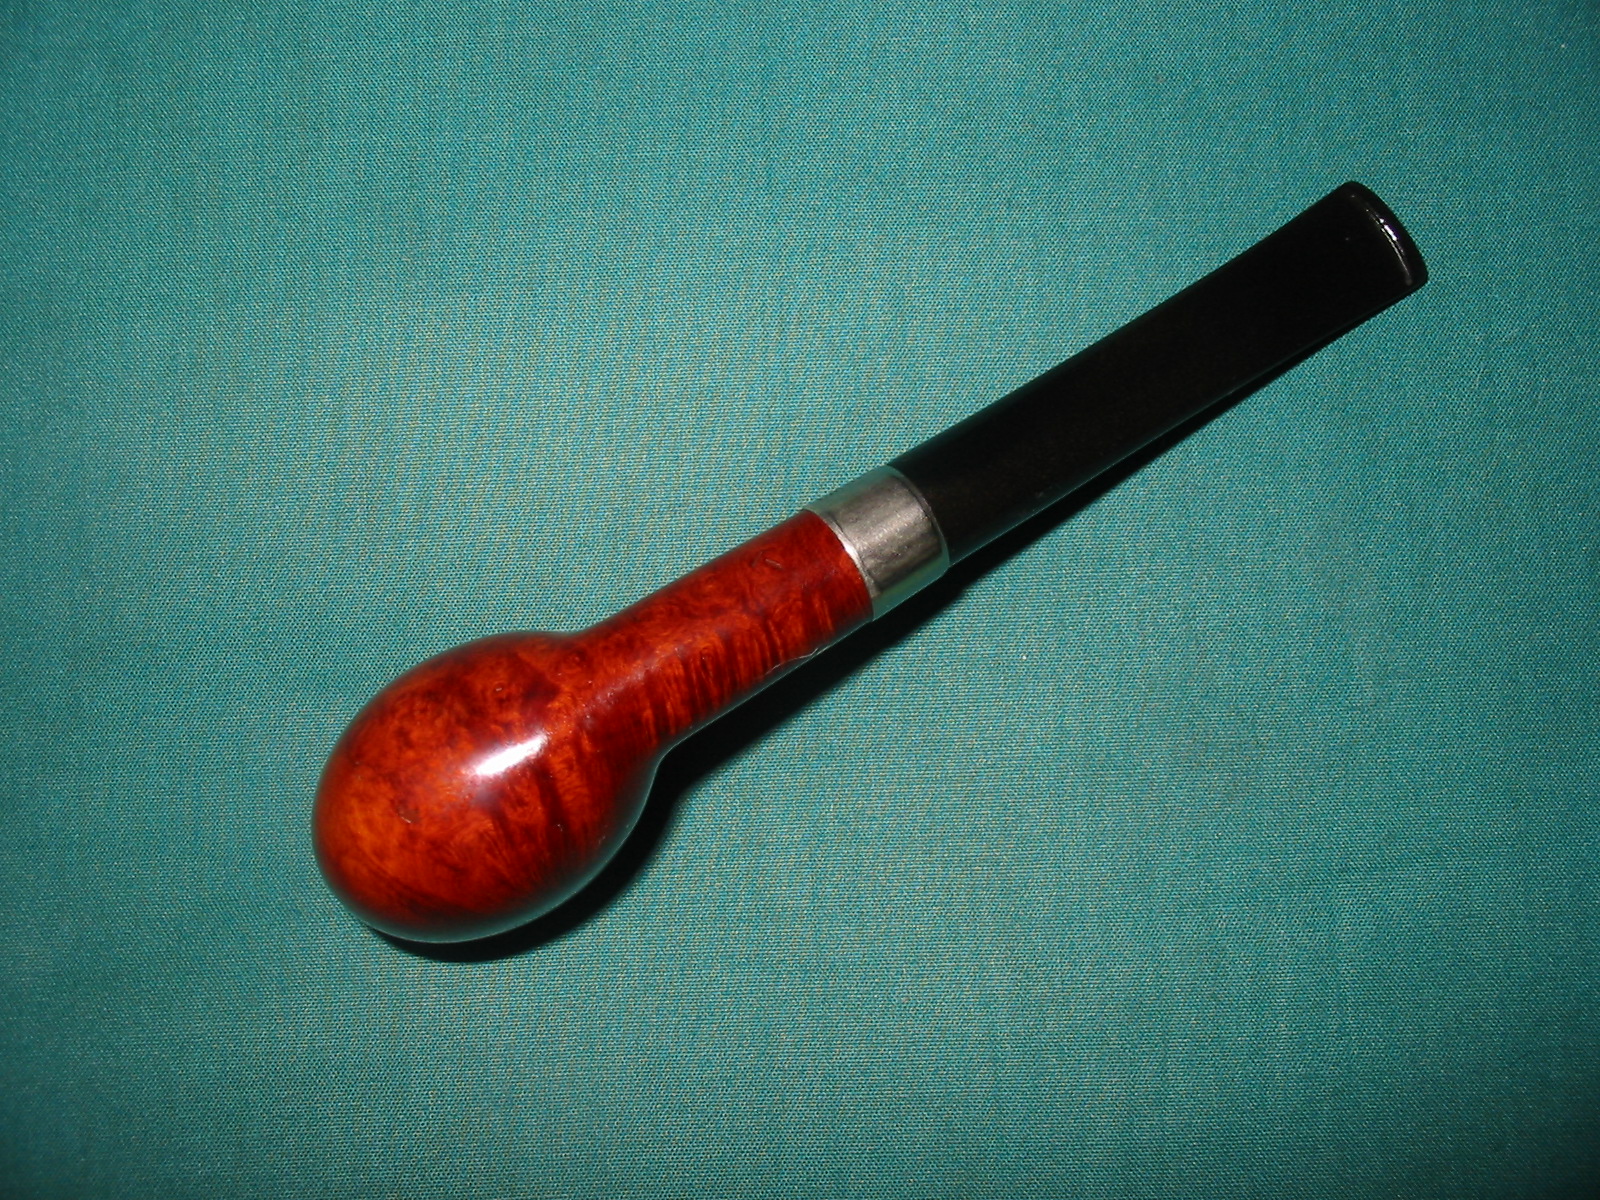
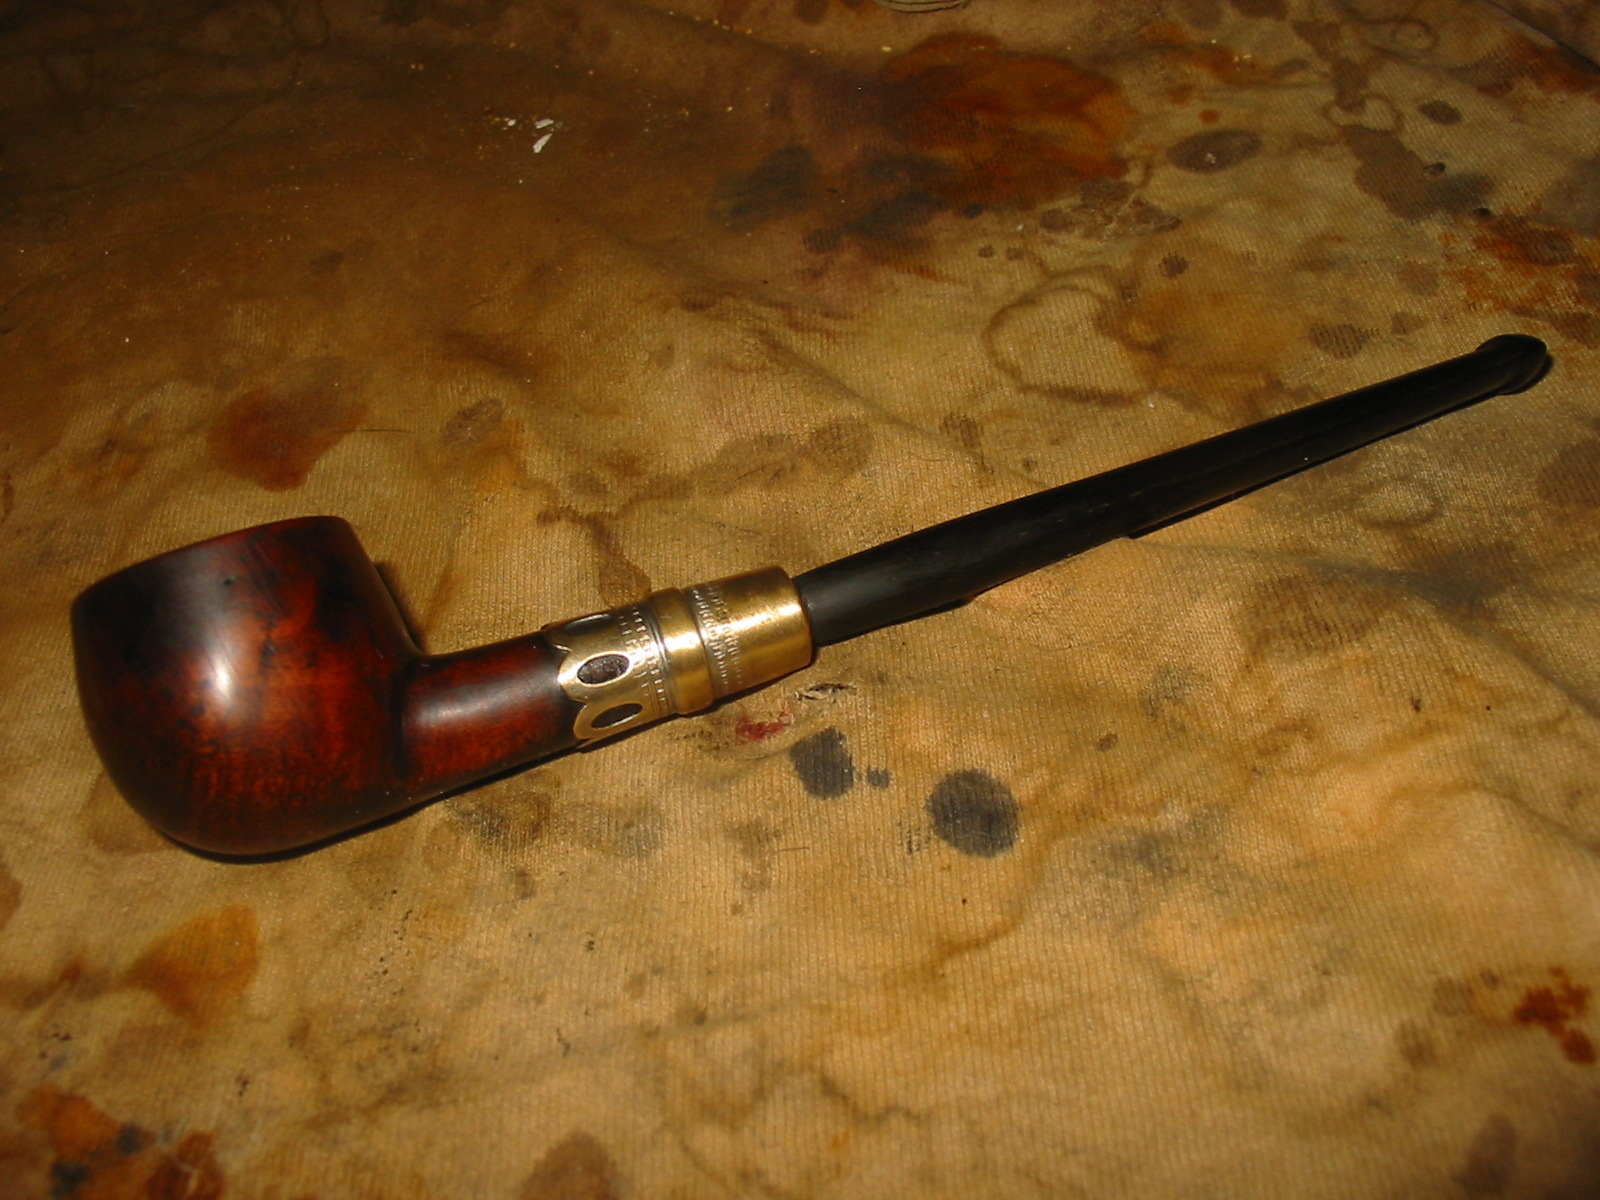
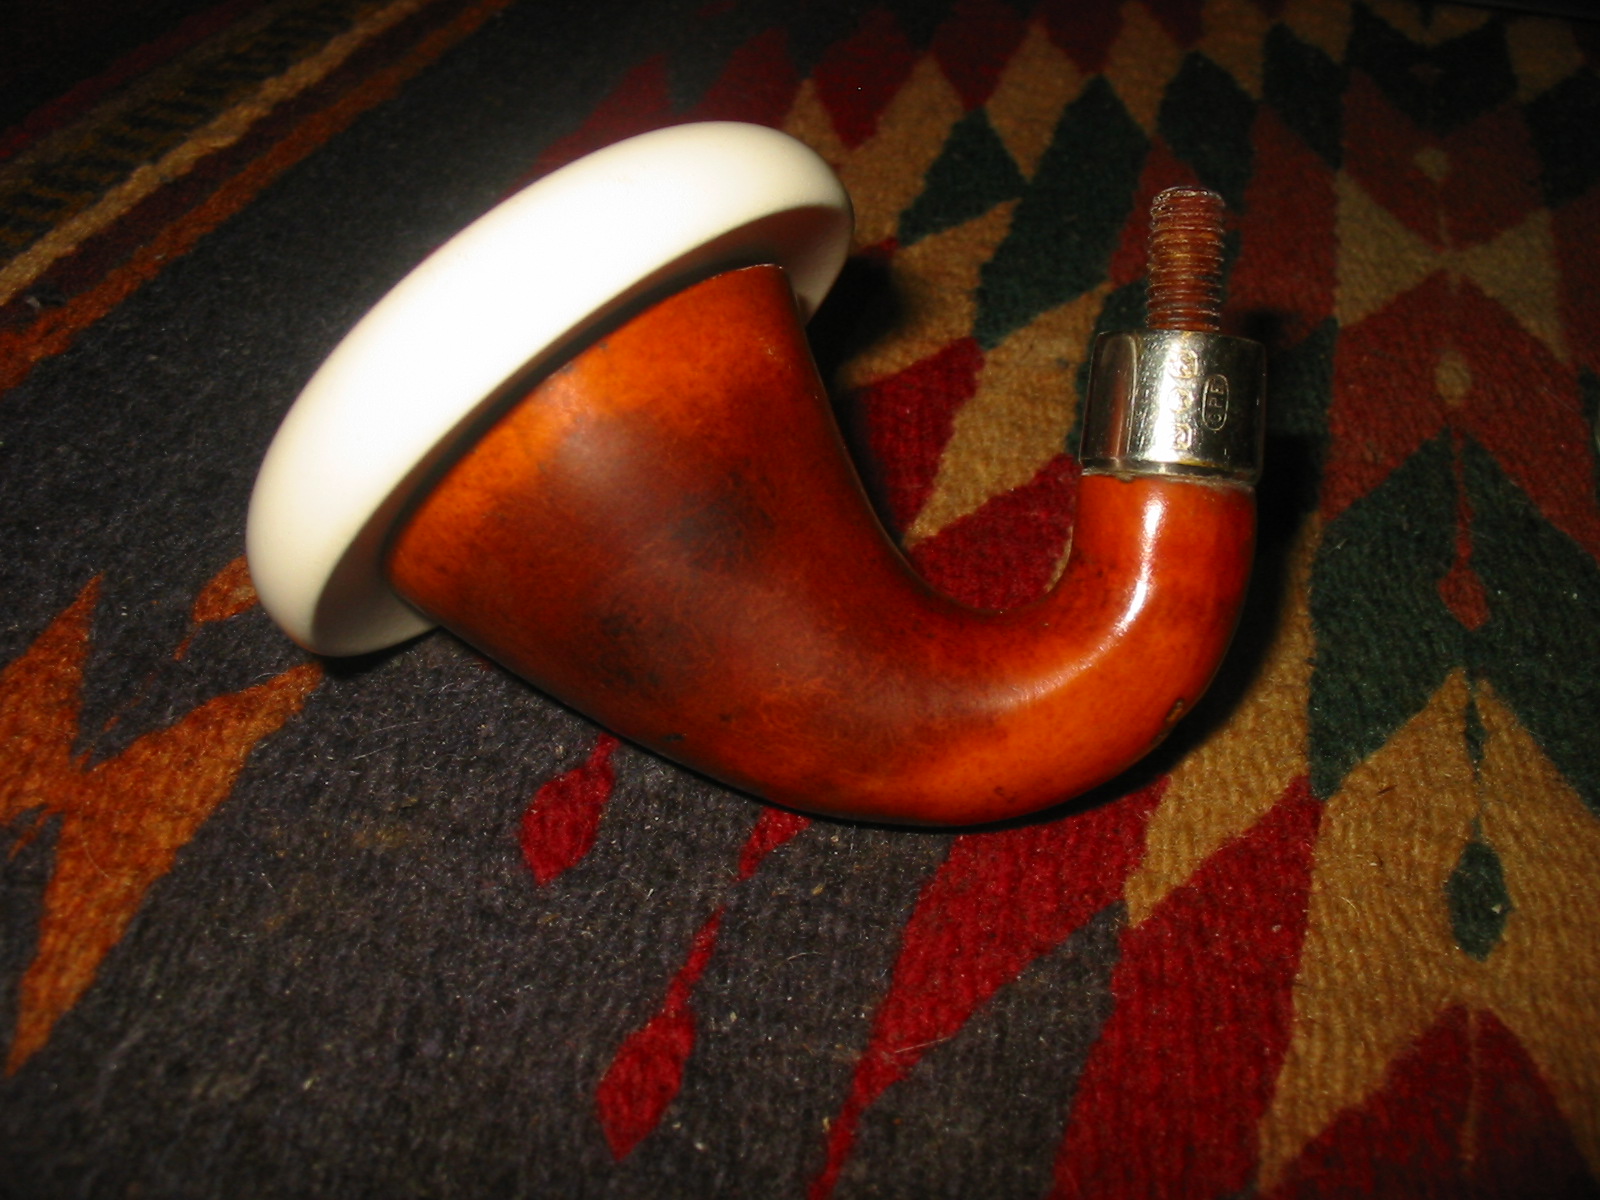
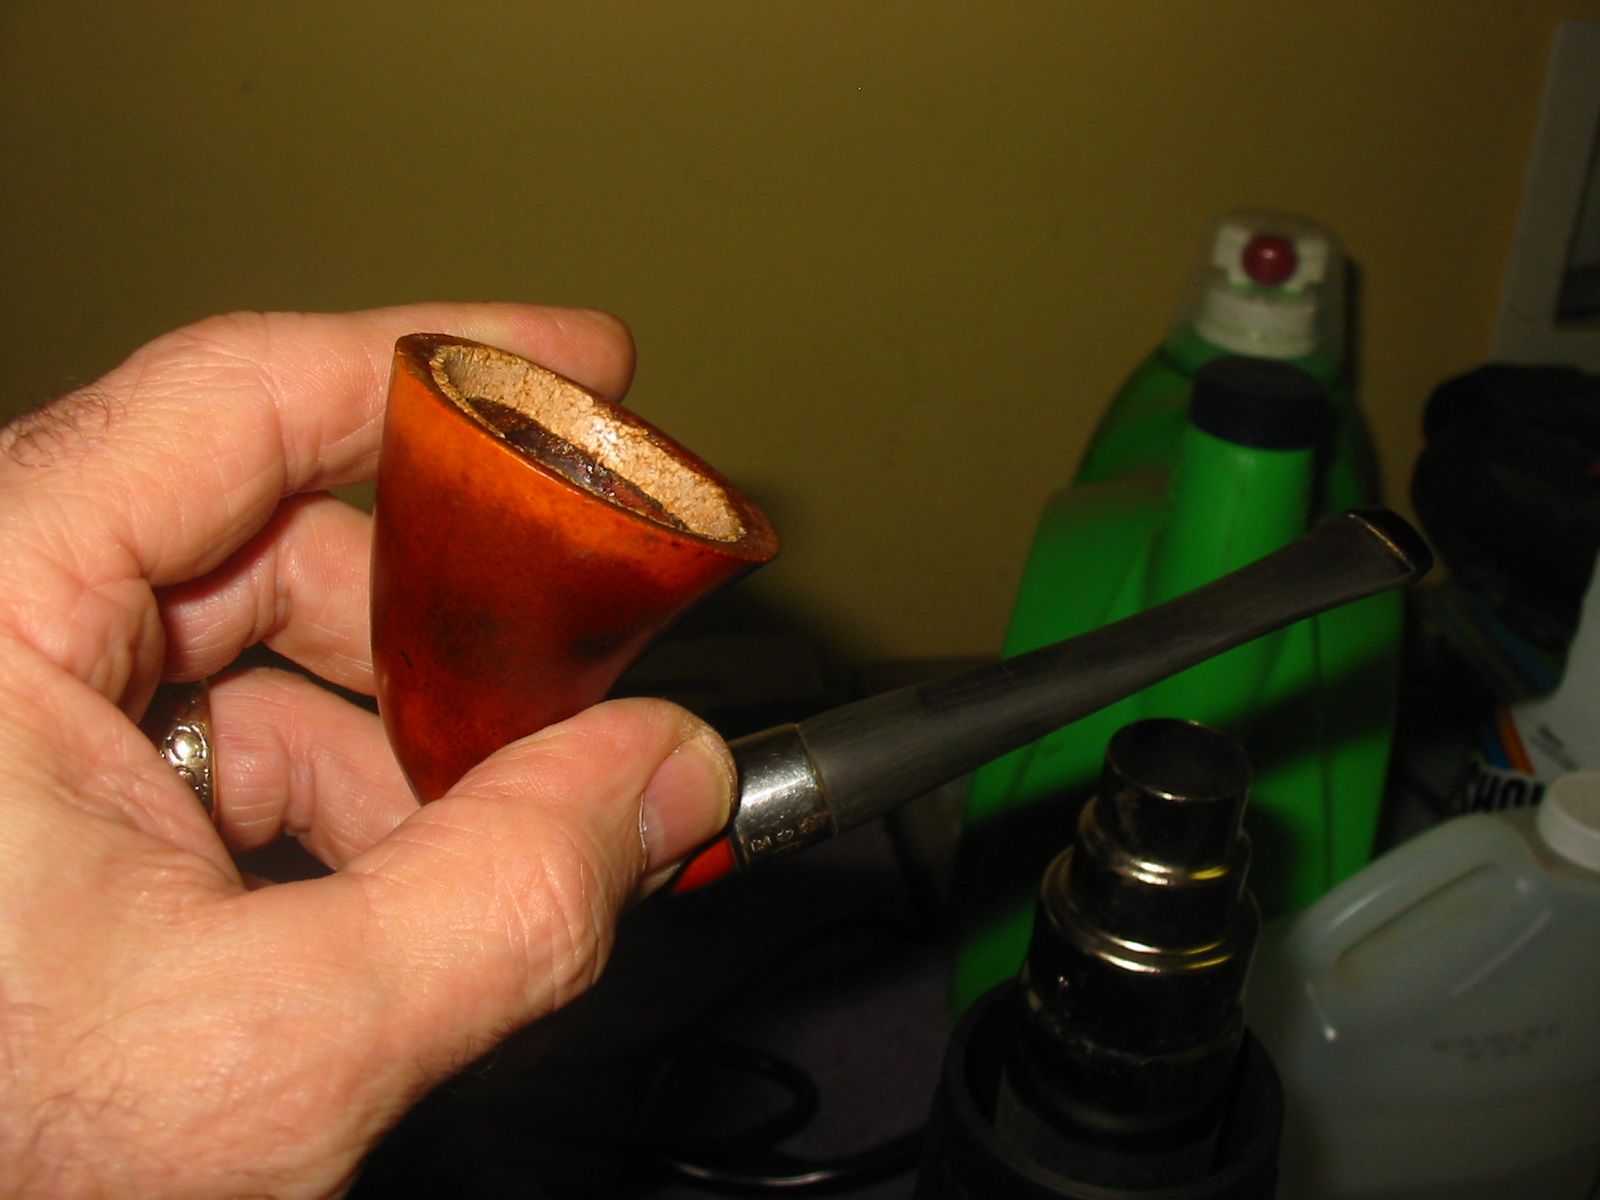
When the epoxy had cured I carefully pushed the stem into the shank to check out the fit. The next two photos show the look of the pipe at this point. I removed the stem and countersunk the mortise slightly. I did not want to use a drill and countersink to do the work so I used a very sharp knife and did it by hand. Once it was completed I replaced the stem in the shank and the fit against the band was clean and snug. My initial mission was accomplished. I had not only broken the bone tenon, I had removed it from the shank and stem and converted the pipe to a push stem. There was still work to do but at least I had salvaged the pipe from the damage I had done in my initial repair. Whew…


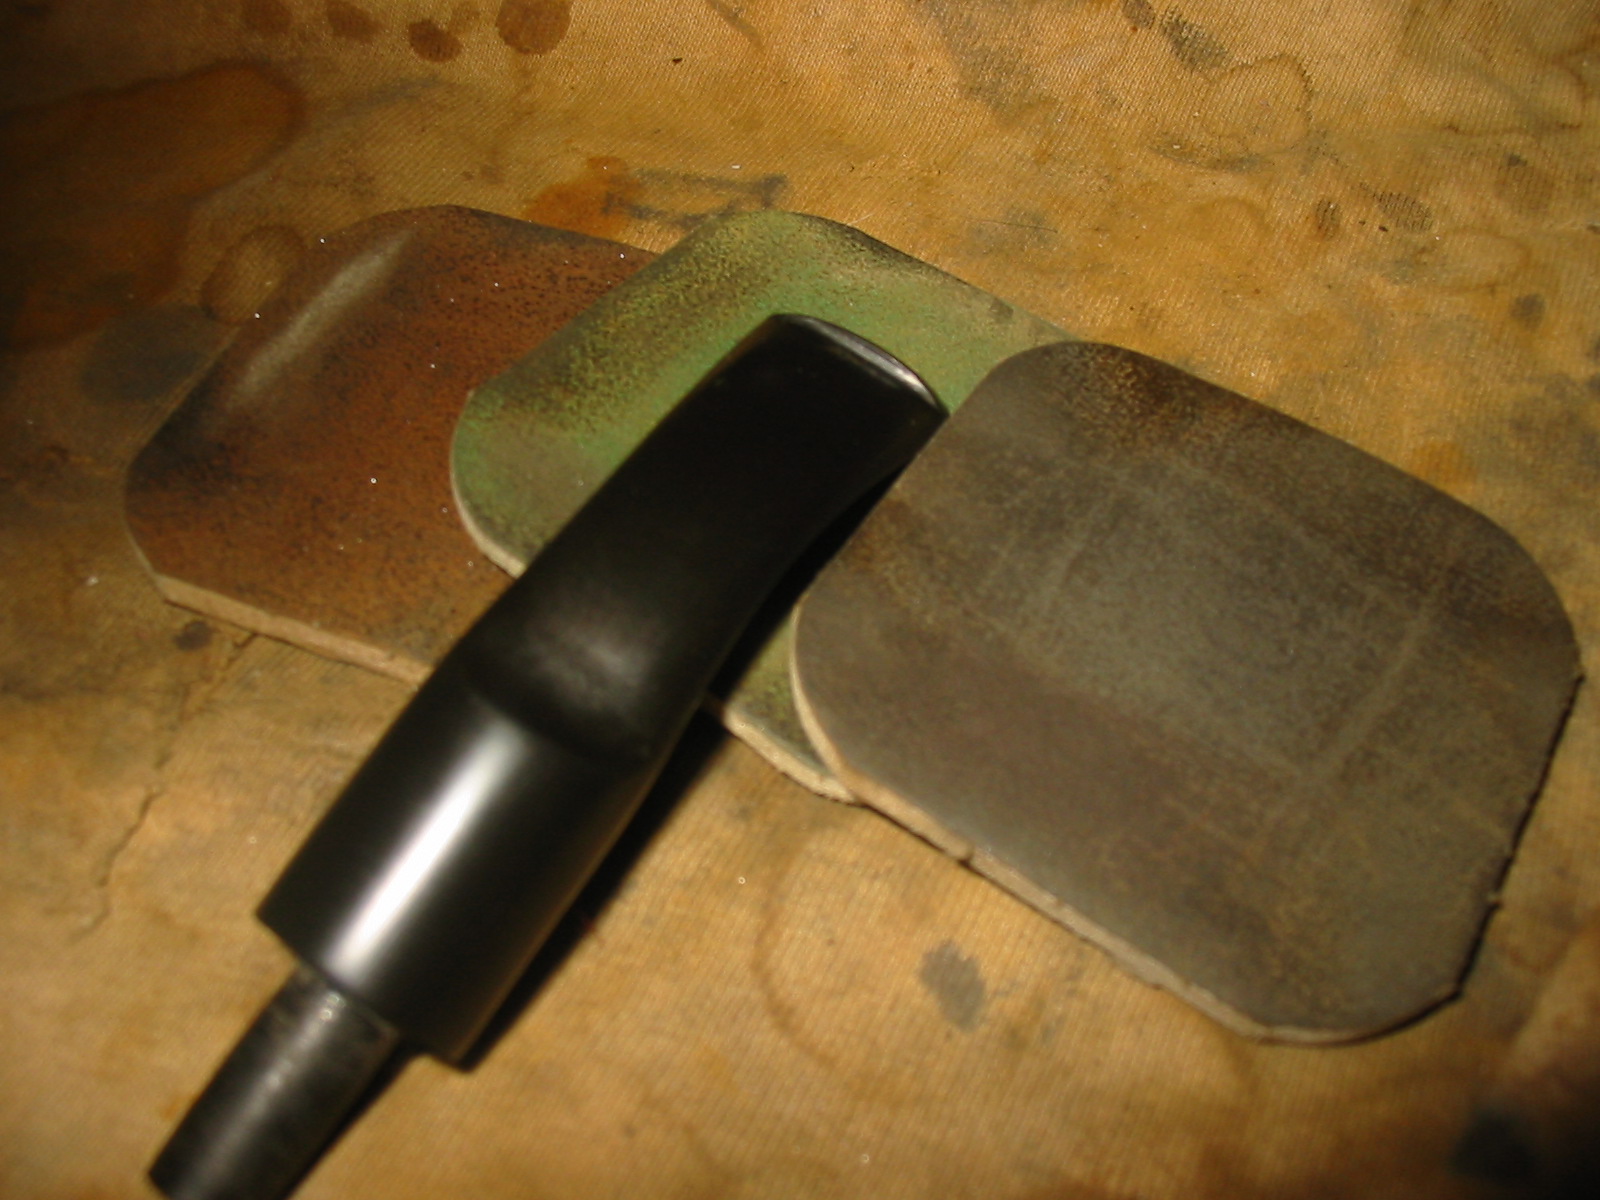
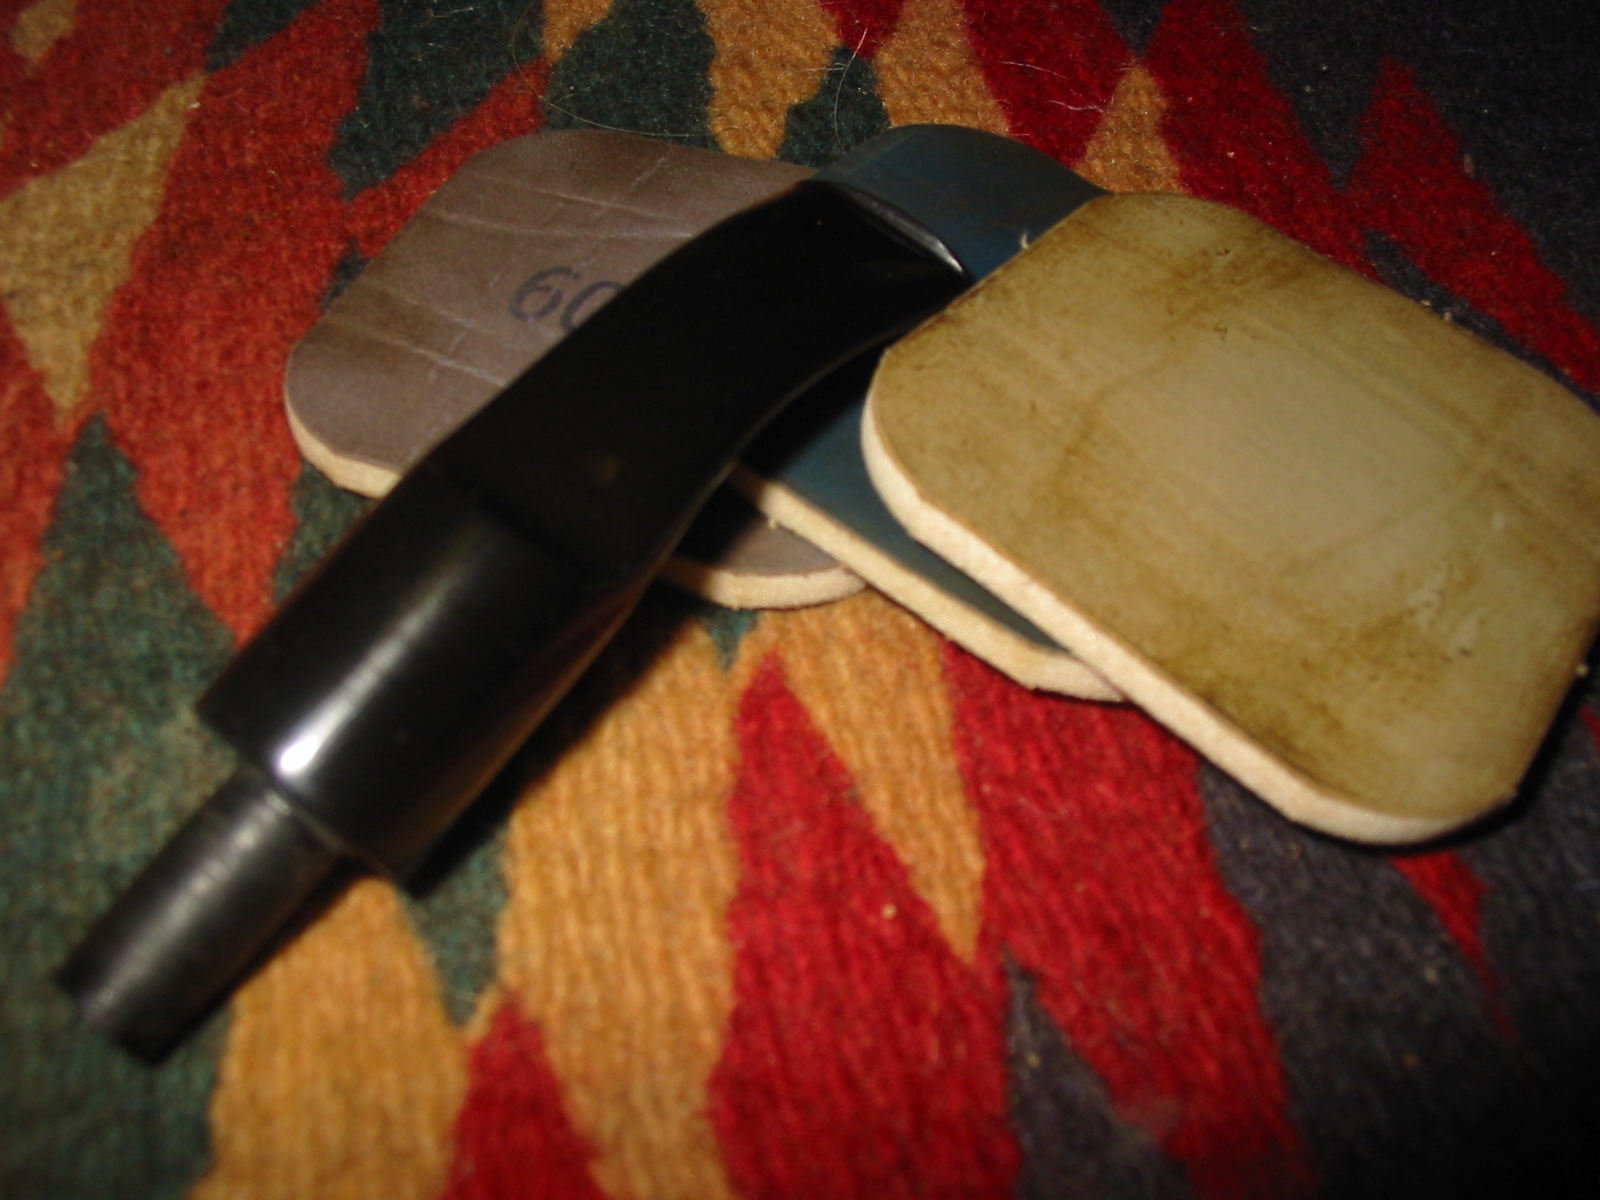
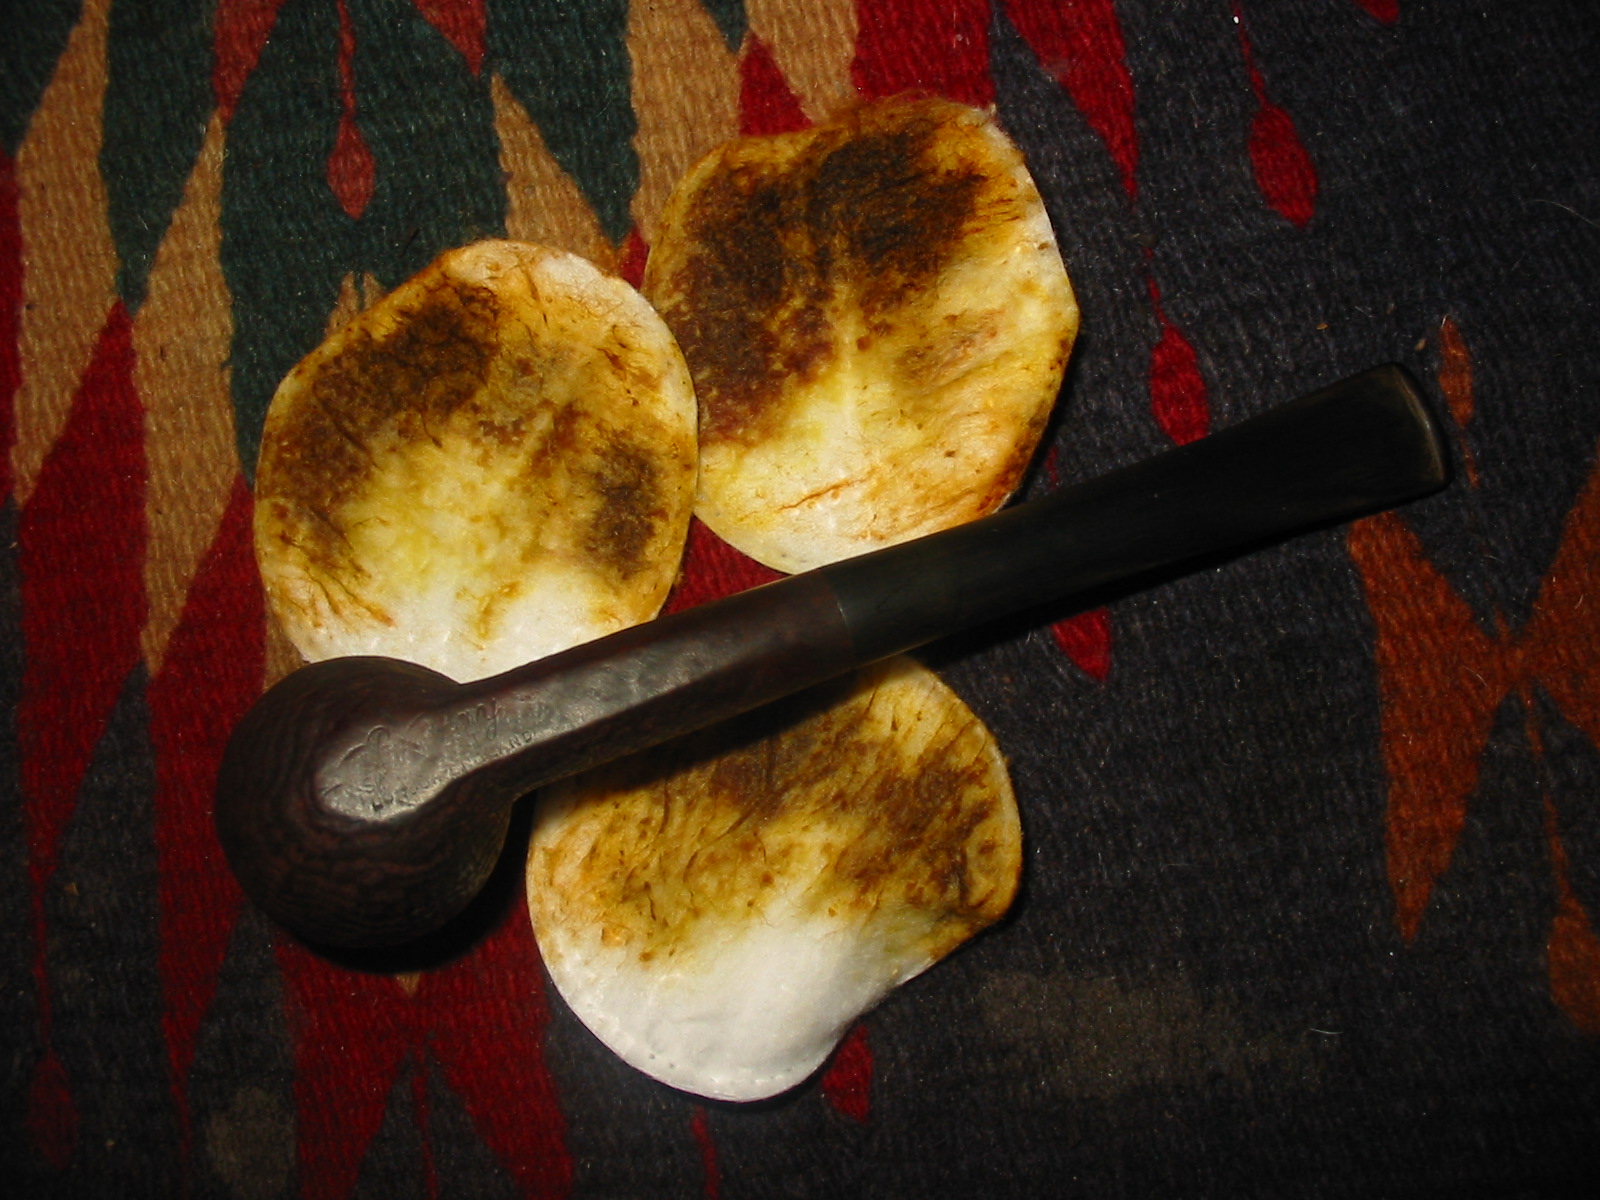
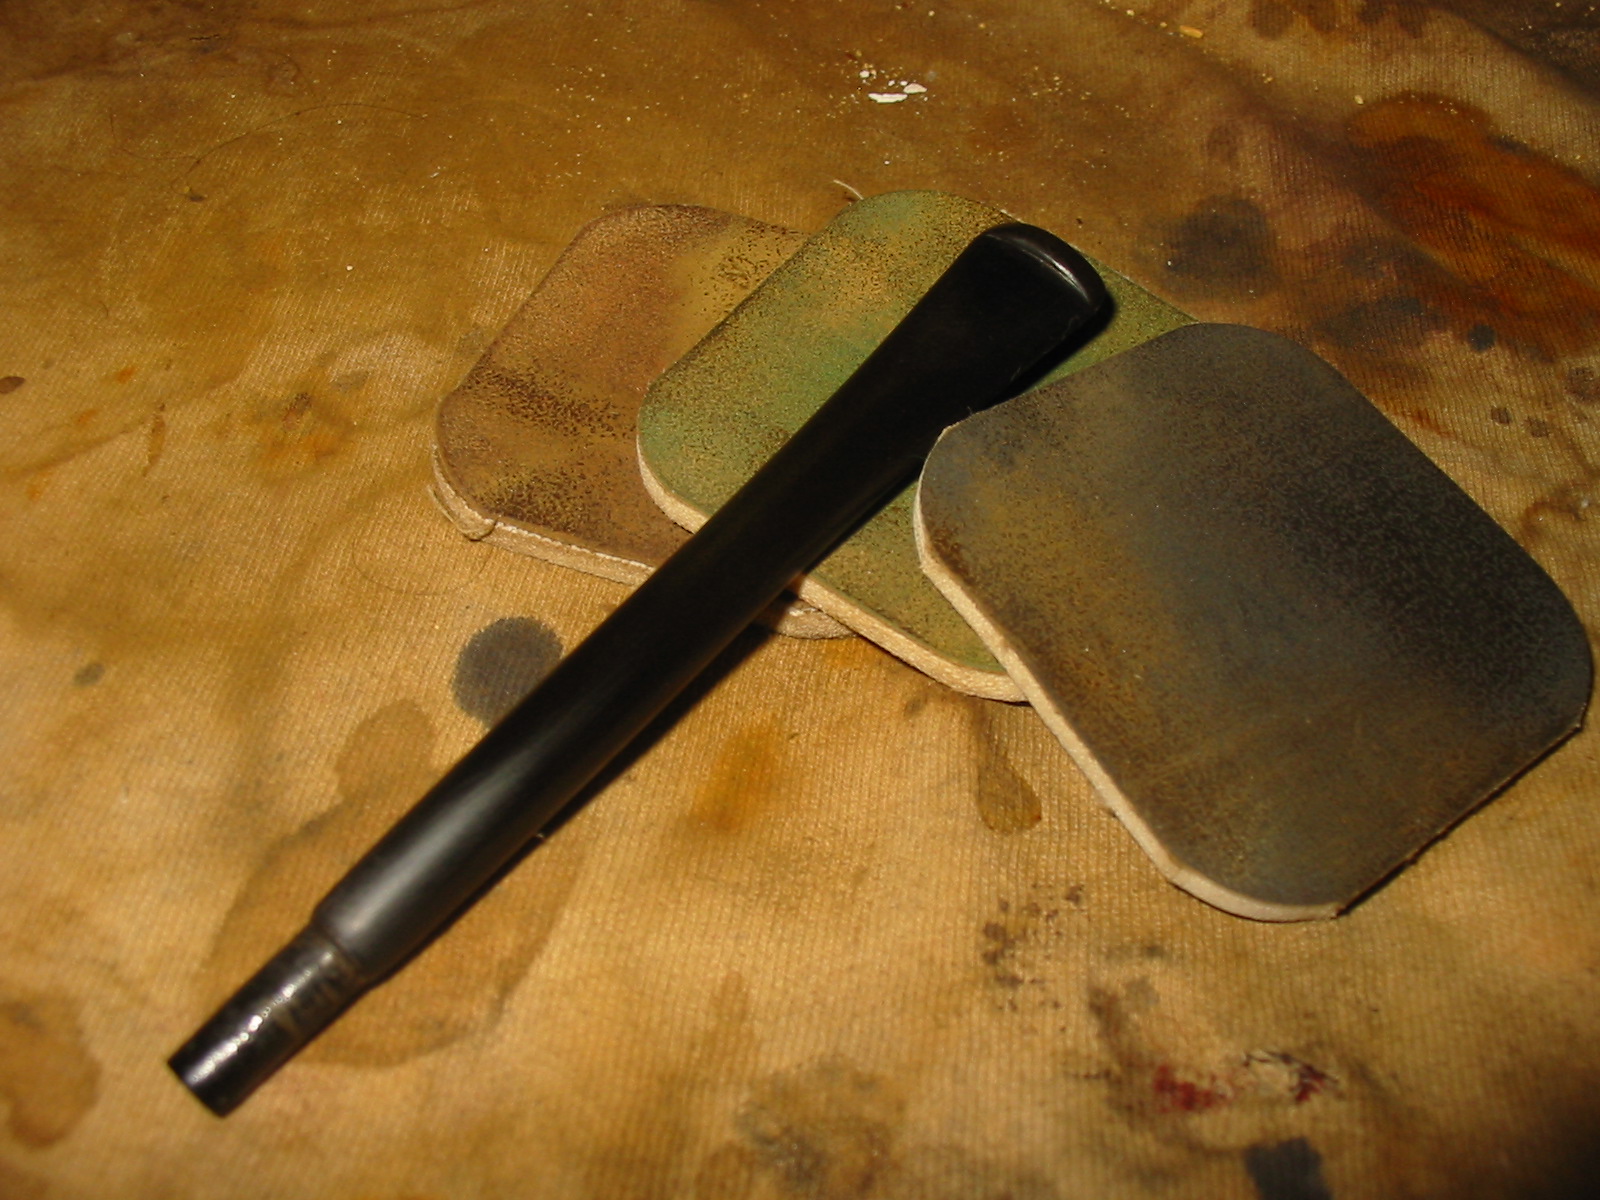
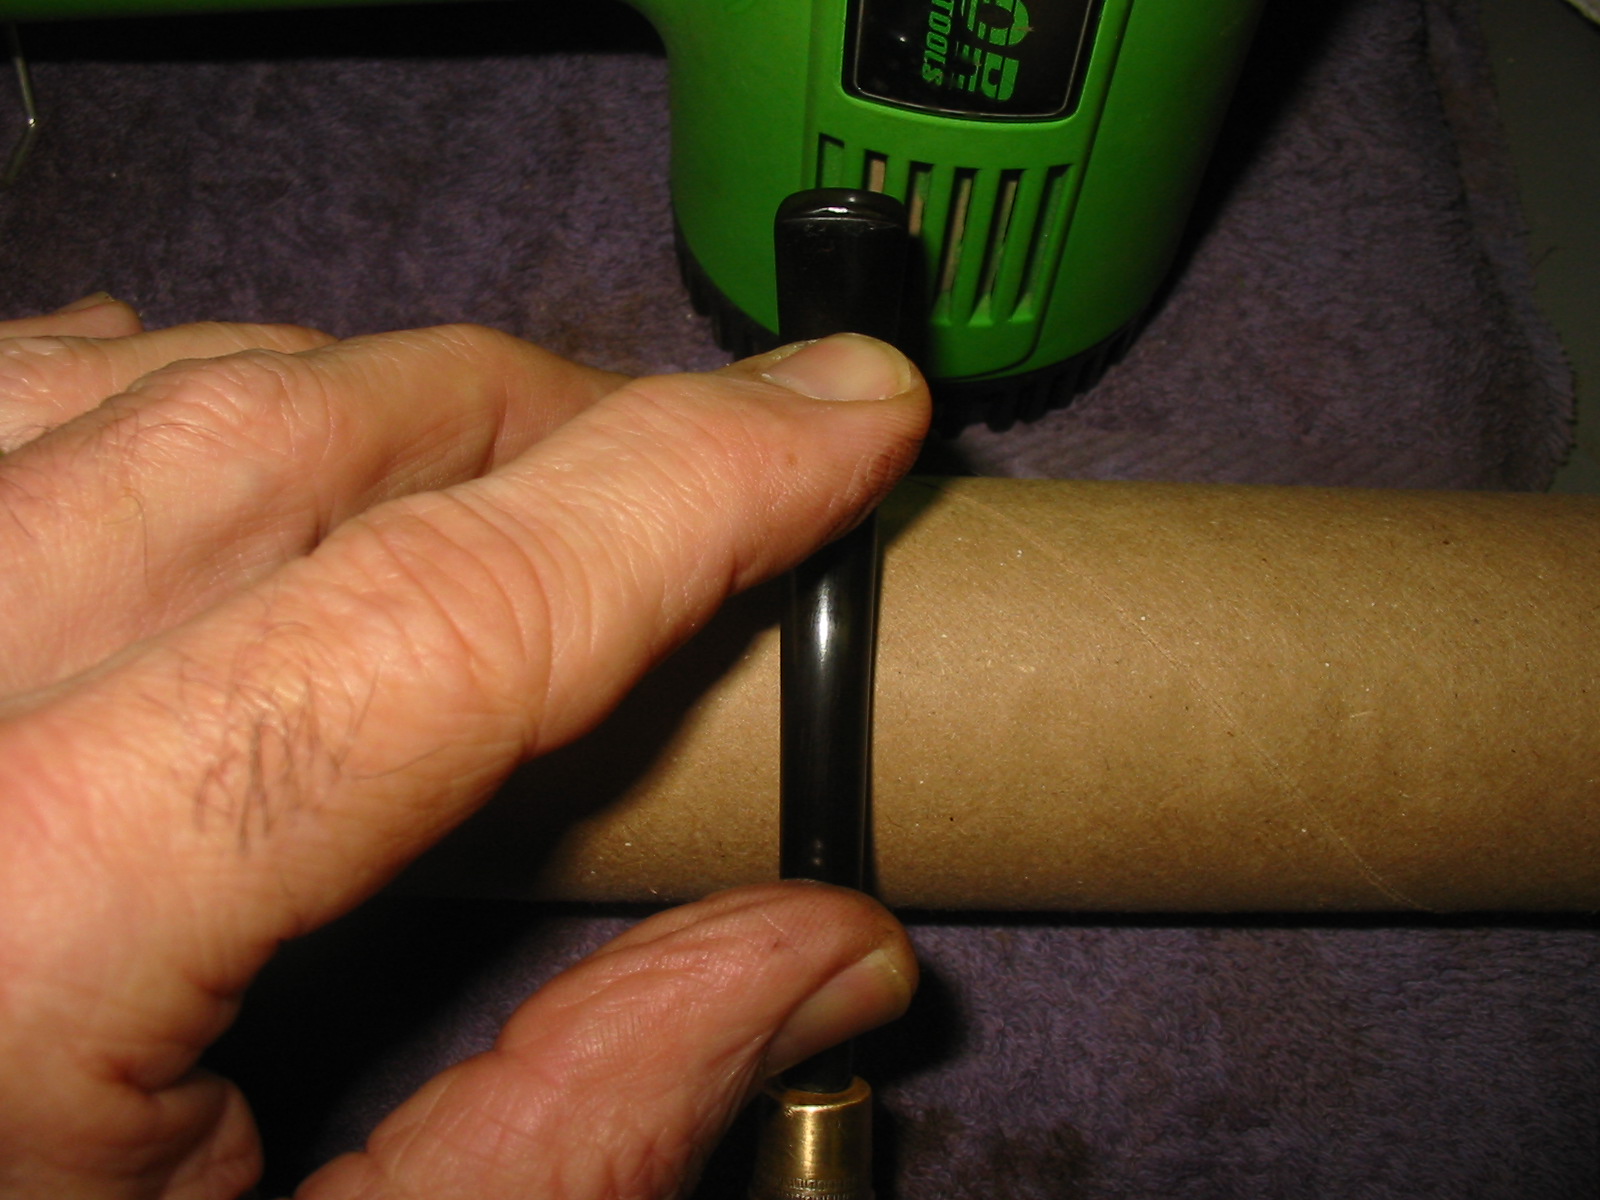
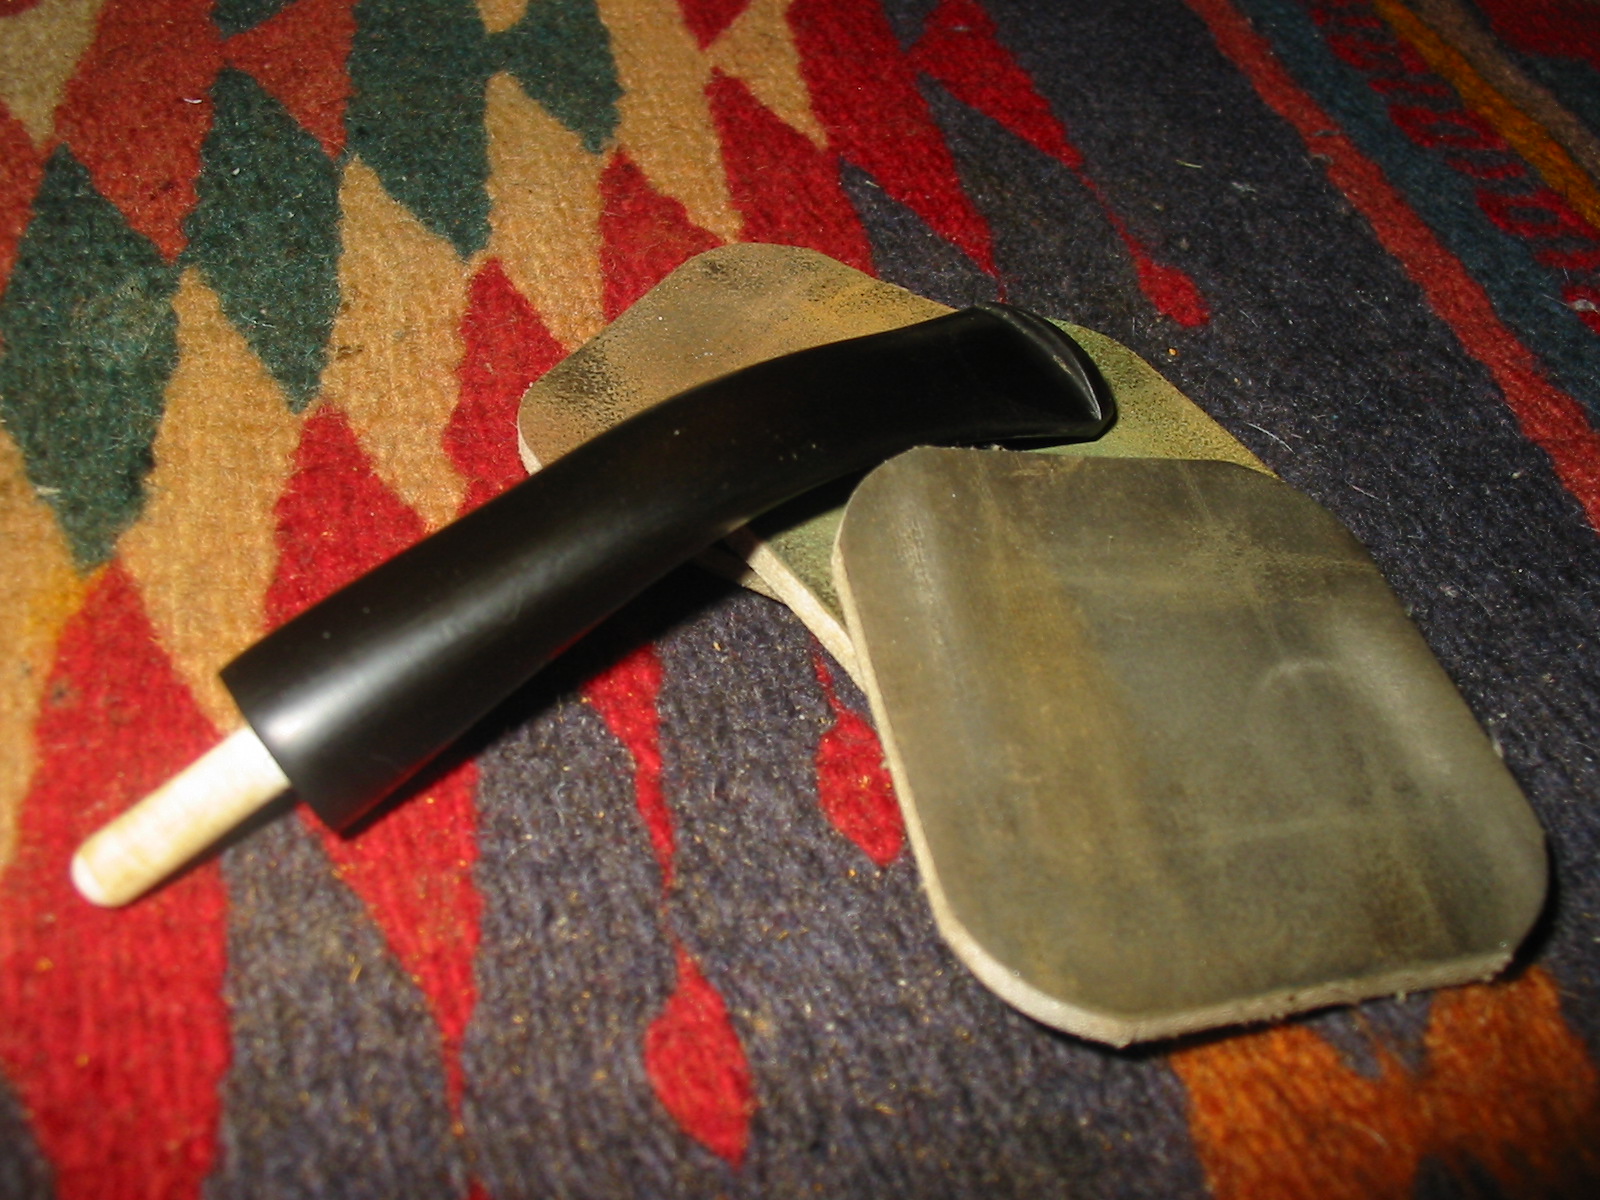
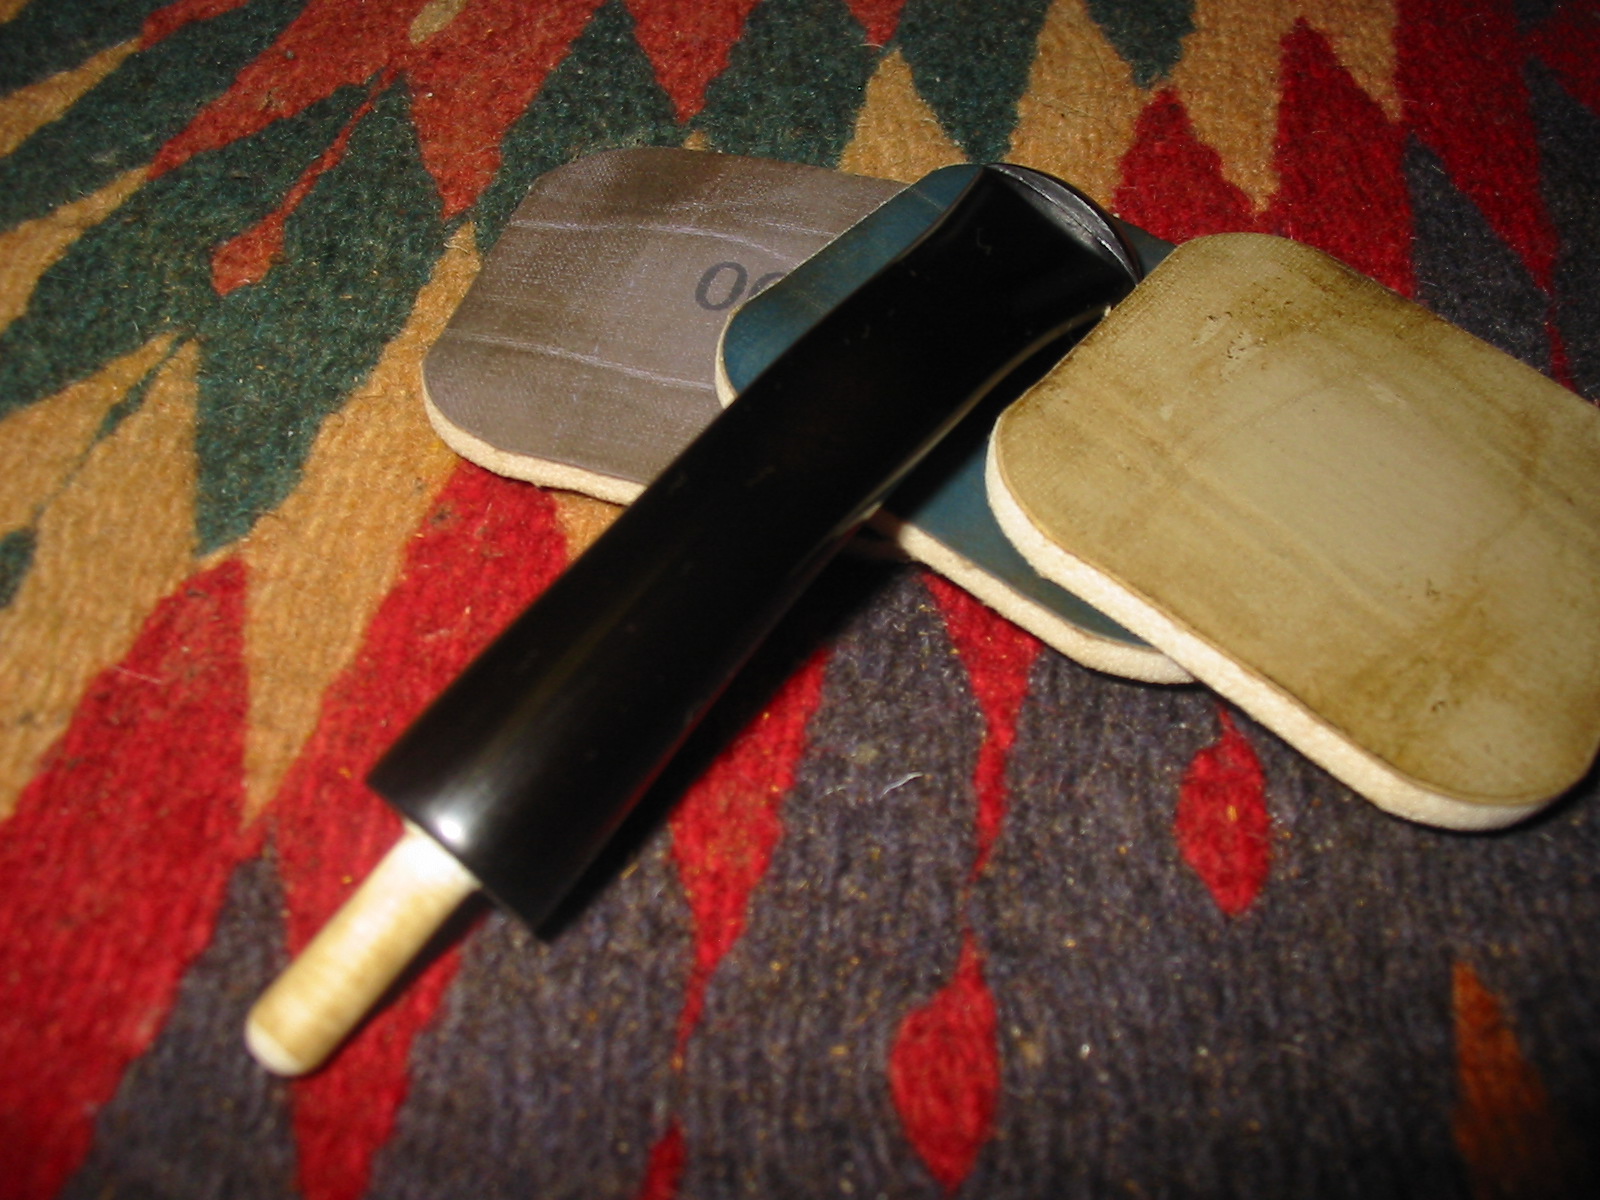
I sanded the stem with a medium and fine grit sanding sponge to remove the scratches left behind by the 220 grit sandpaper. I gave it a light buff with Tripoli on the wheel and then set up a heat gun to bend the stem. I held the stem about three inches above the heat and moved it around as it heated. I have learned that to leave it in one place as you heat it can damage the vulcanite and create more work. Once the stem was pliable I bent it over a wooden rolling pin that I use for that purpose. Lately I slid a cardboard tube over the pin to give a softer, smoother surface to bend the stem over. I had to do it twice to get the bend correct. It takes a bit longer to heat the thicker portion of the stem that needed to be bent so the repeated step made that possible.

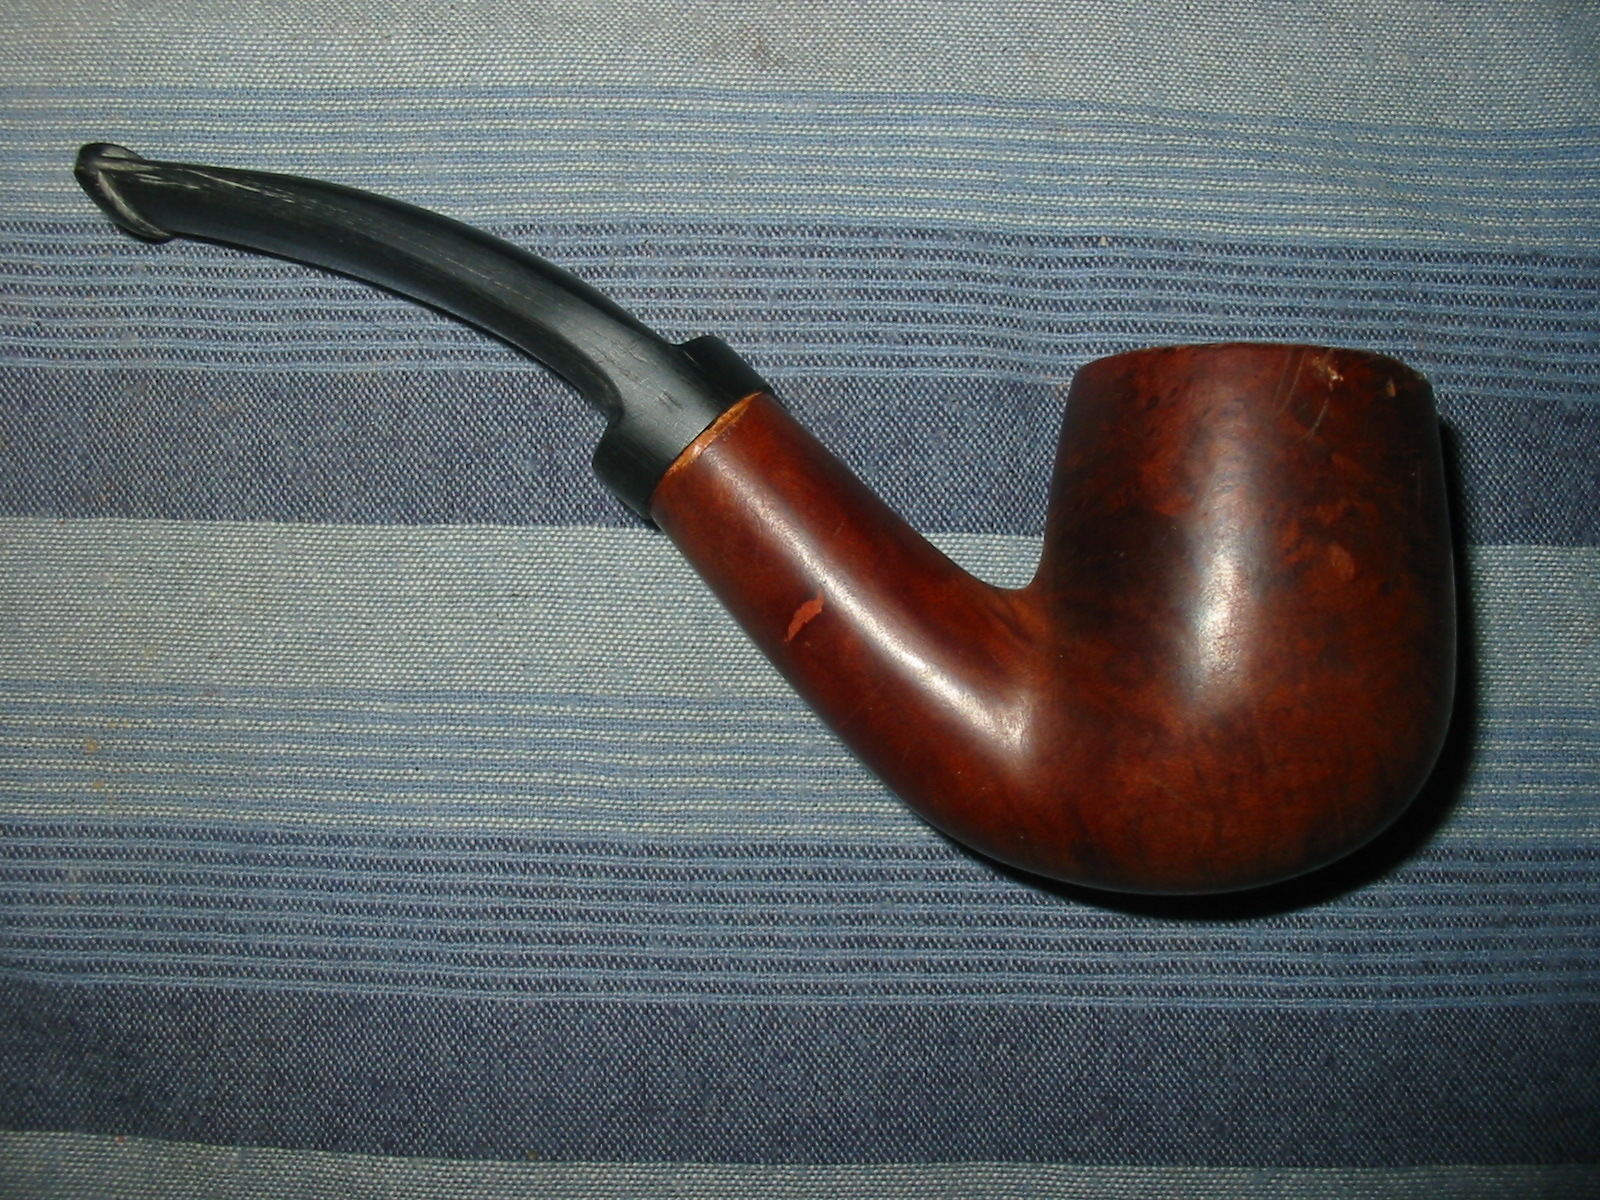
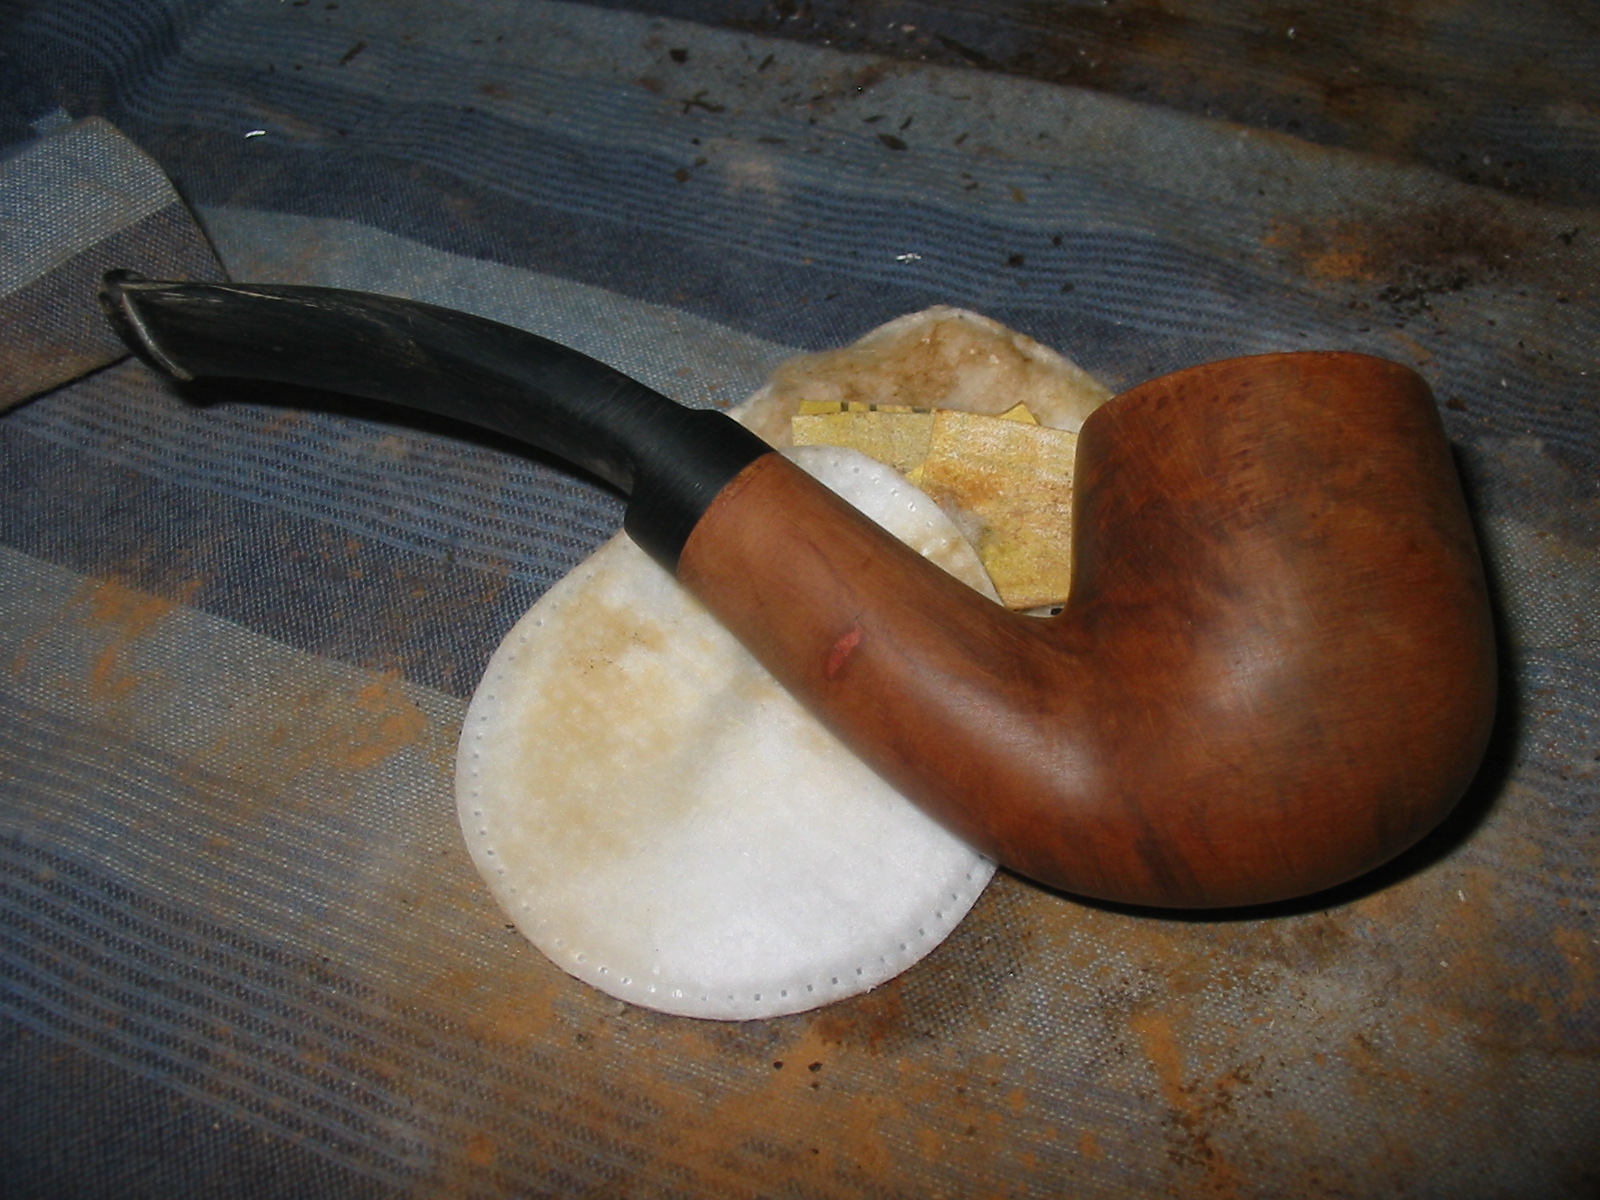
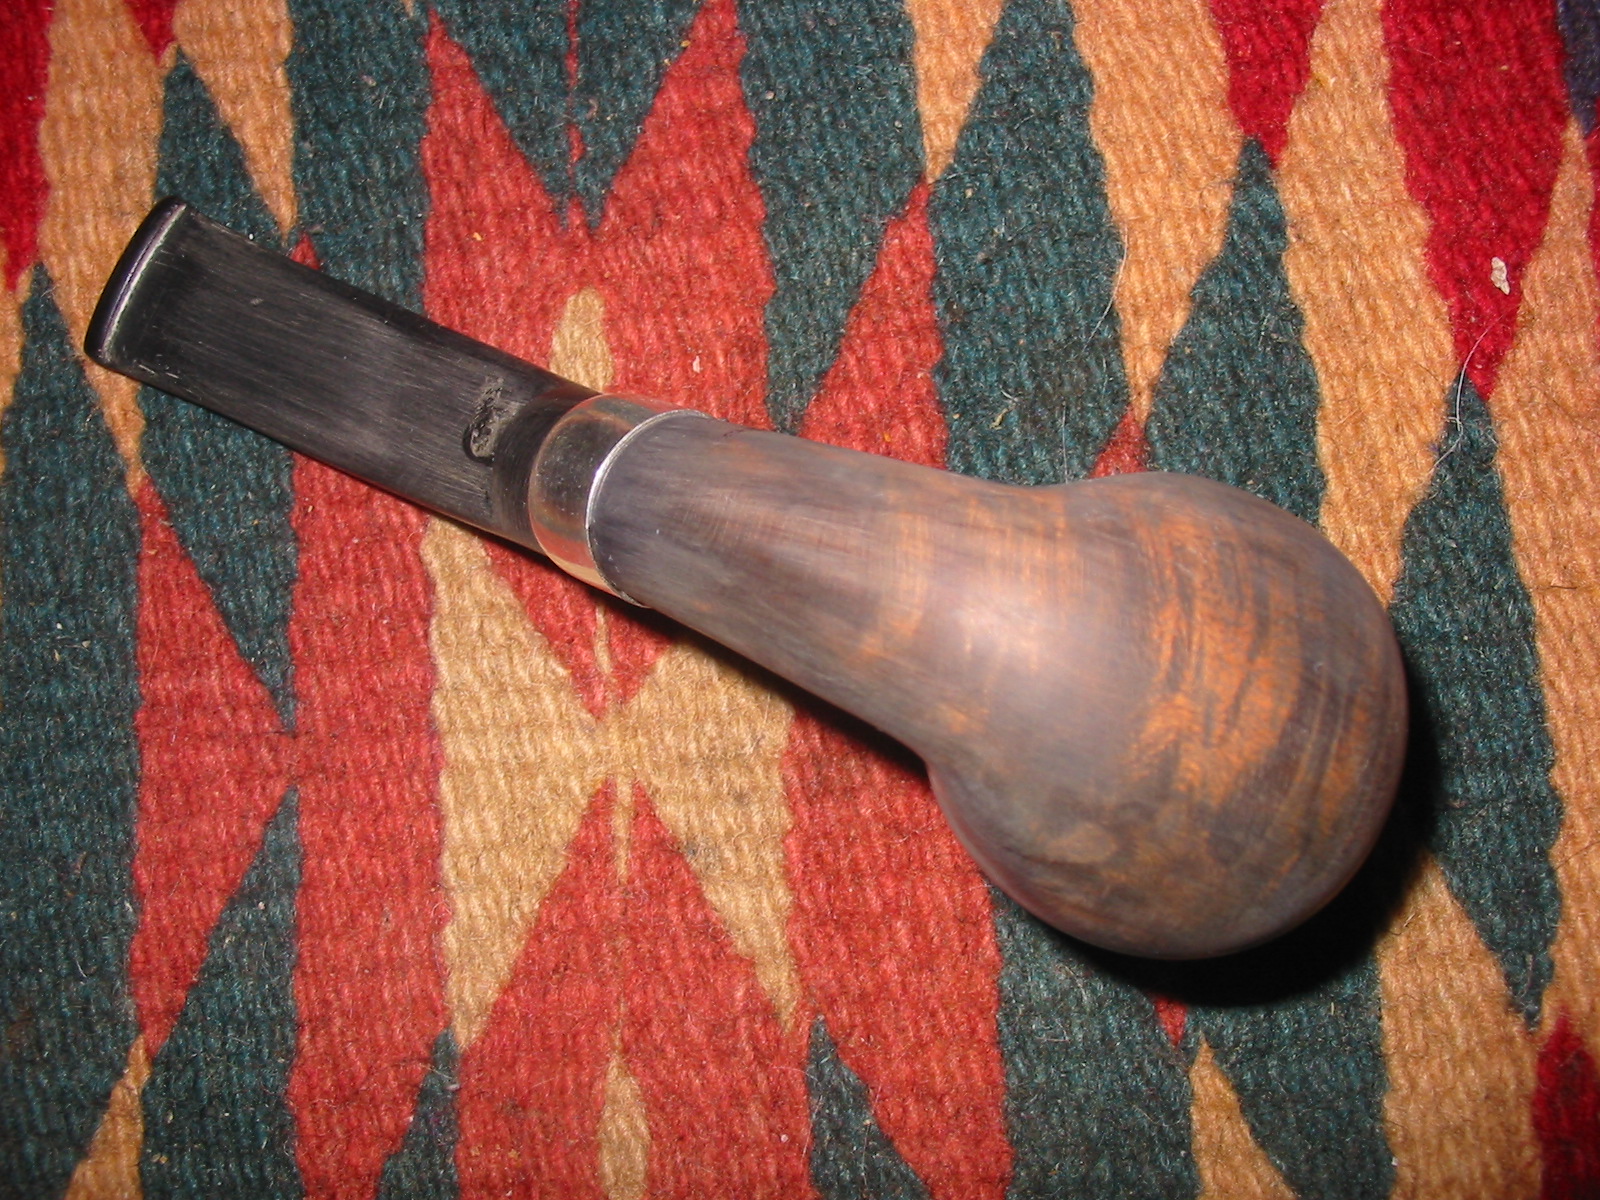
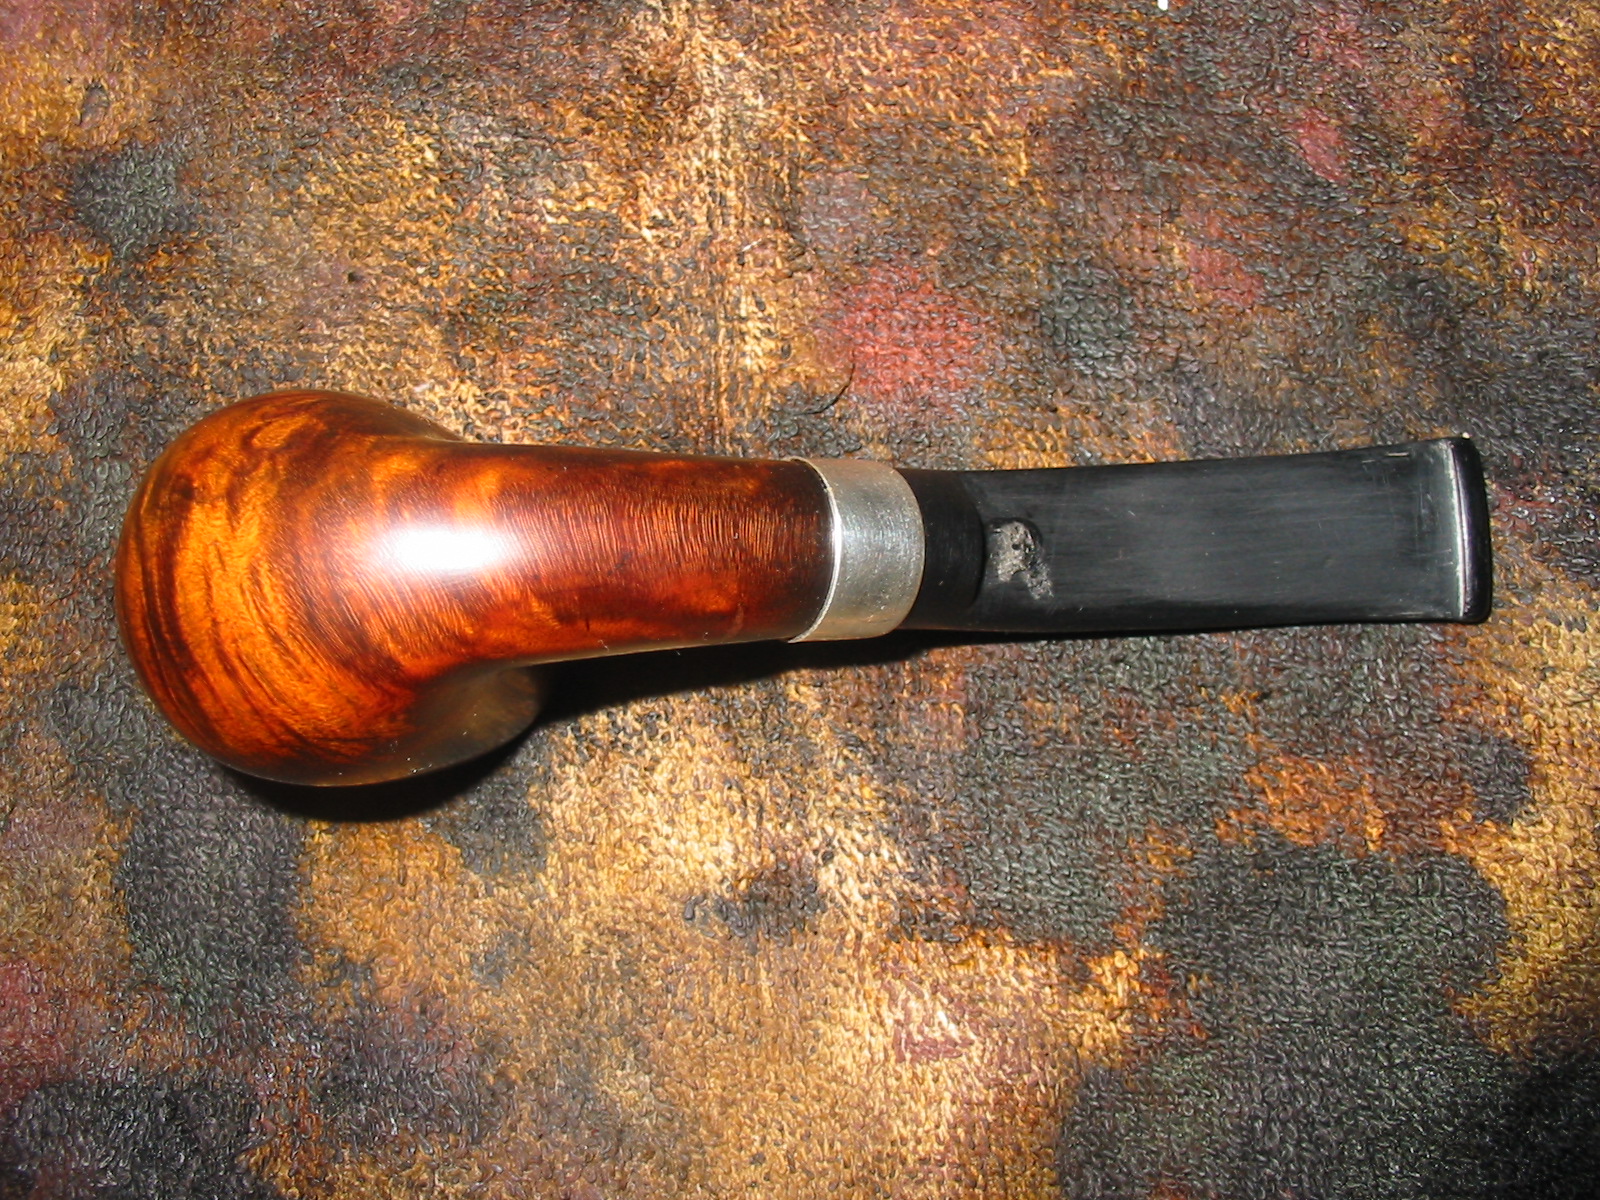
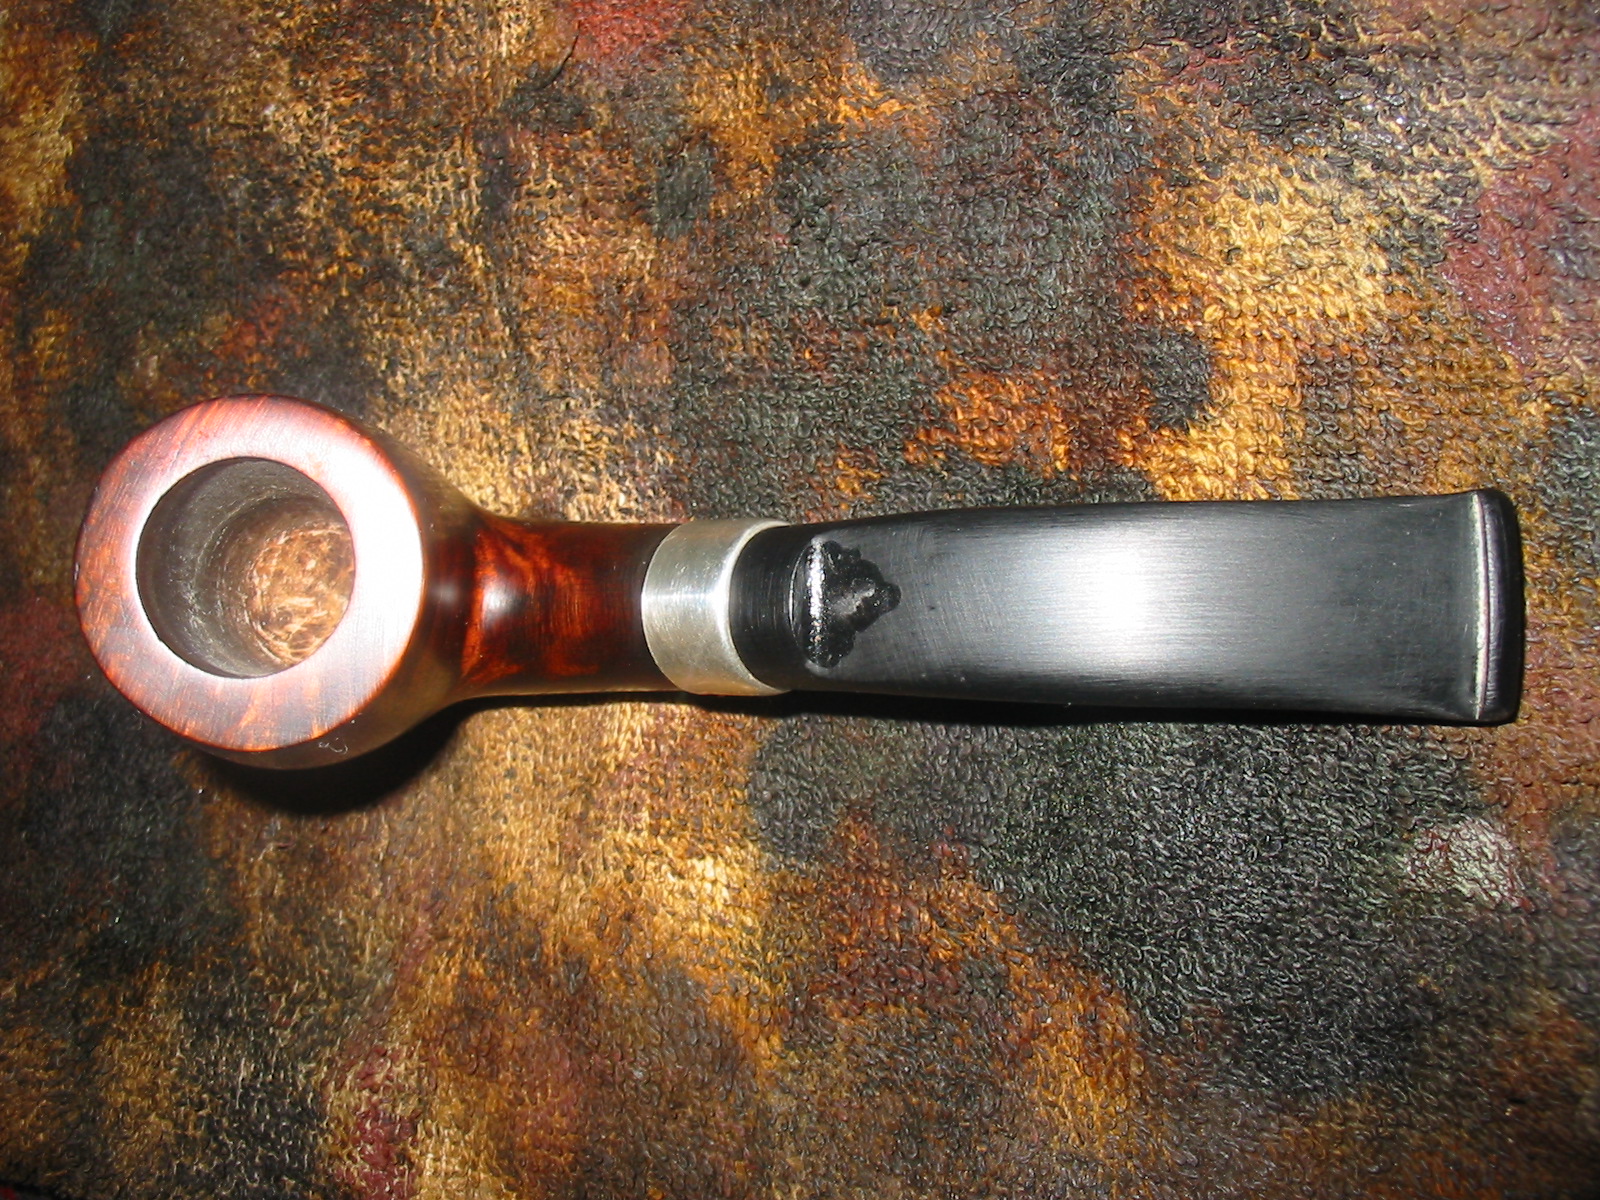
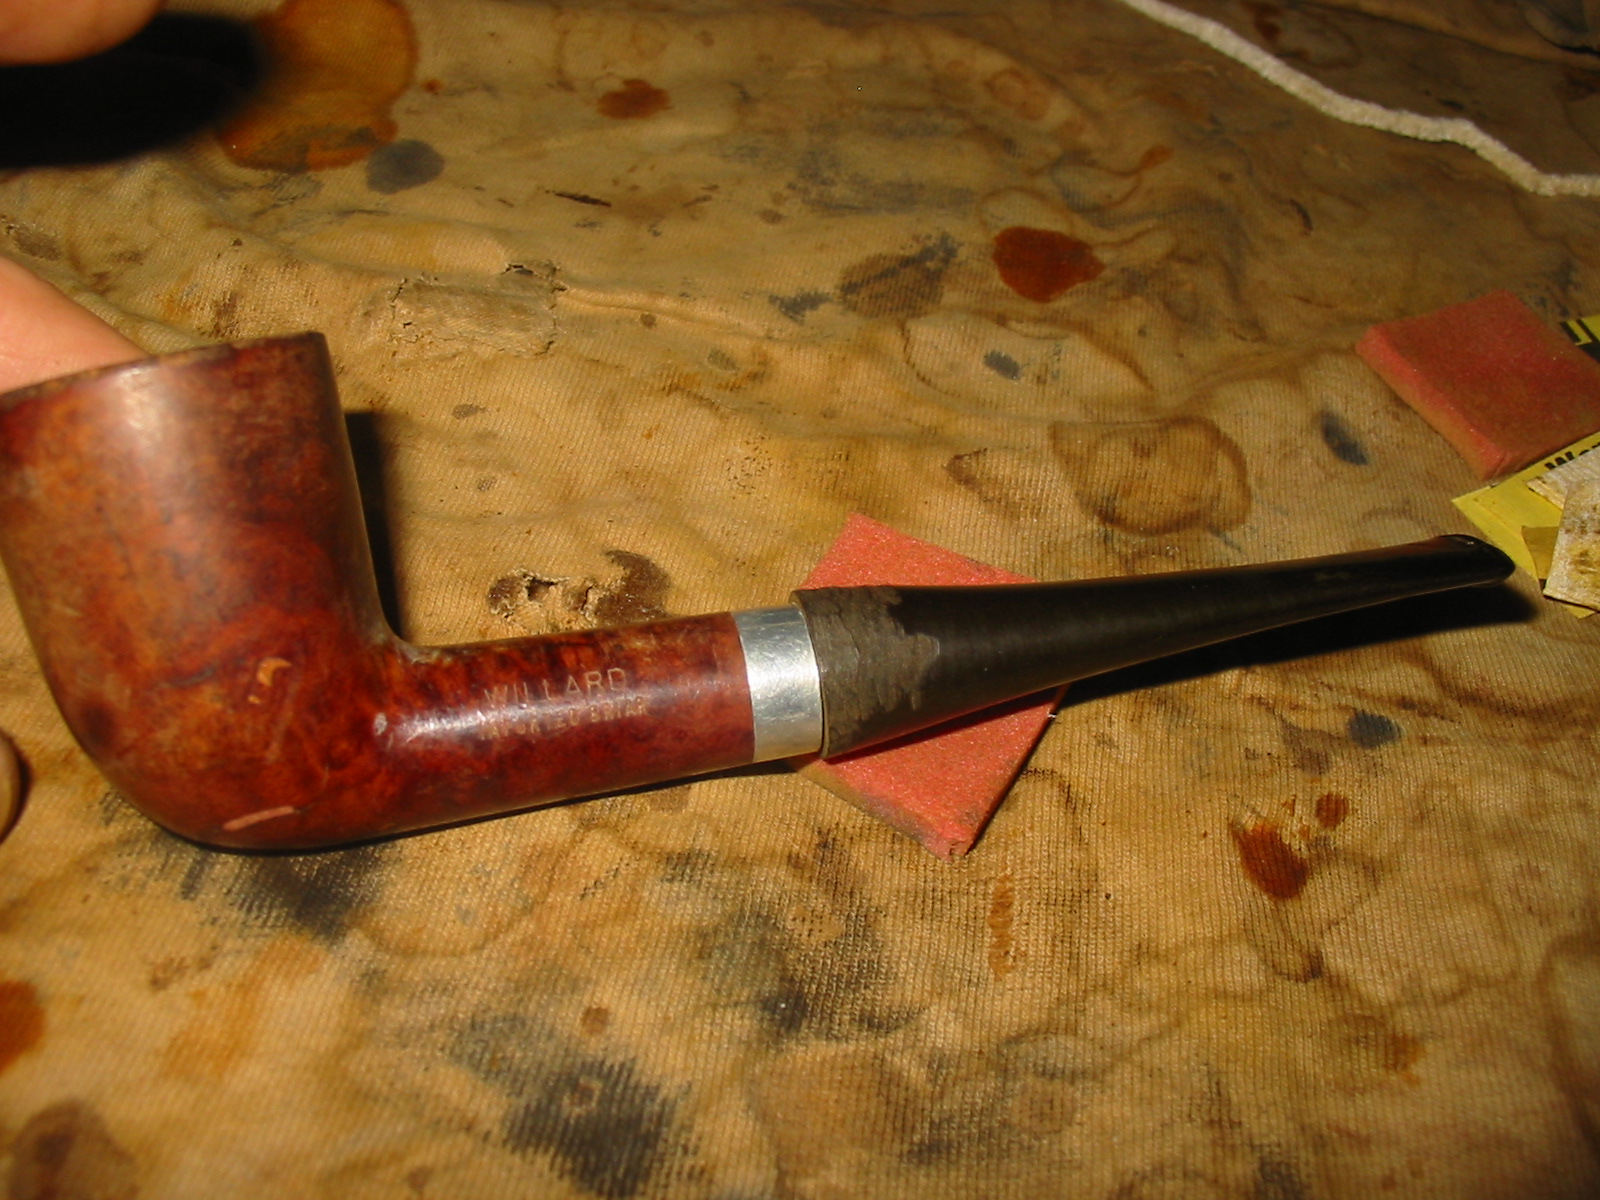
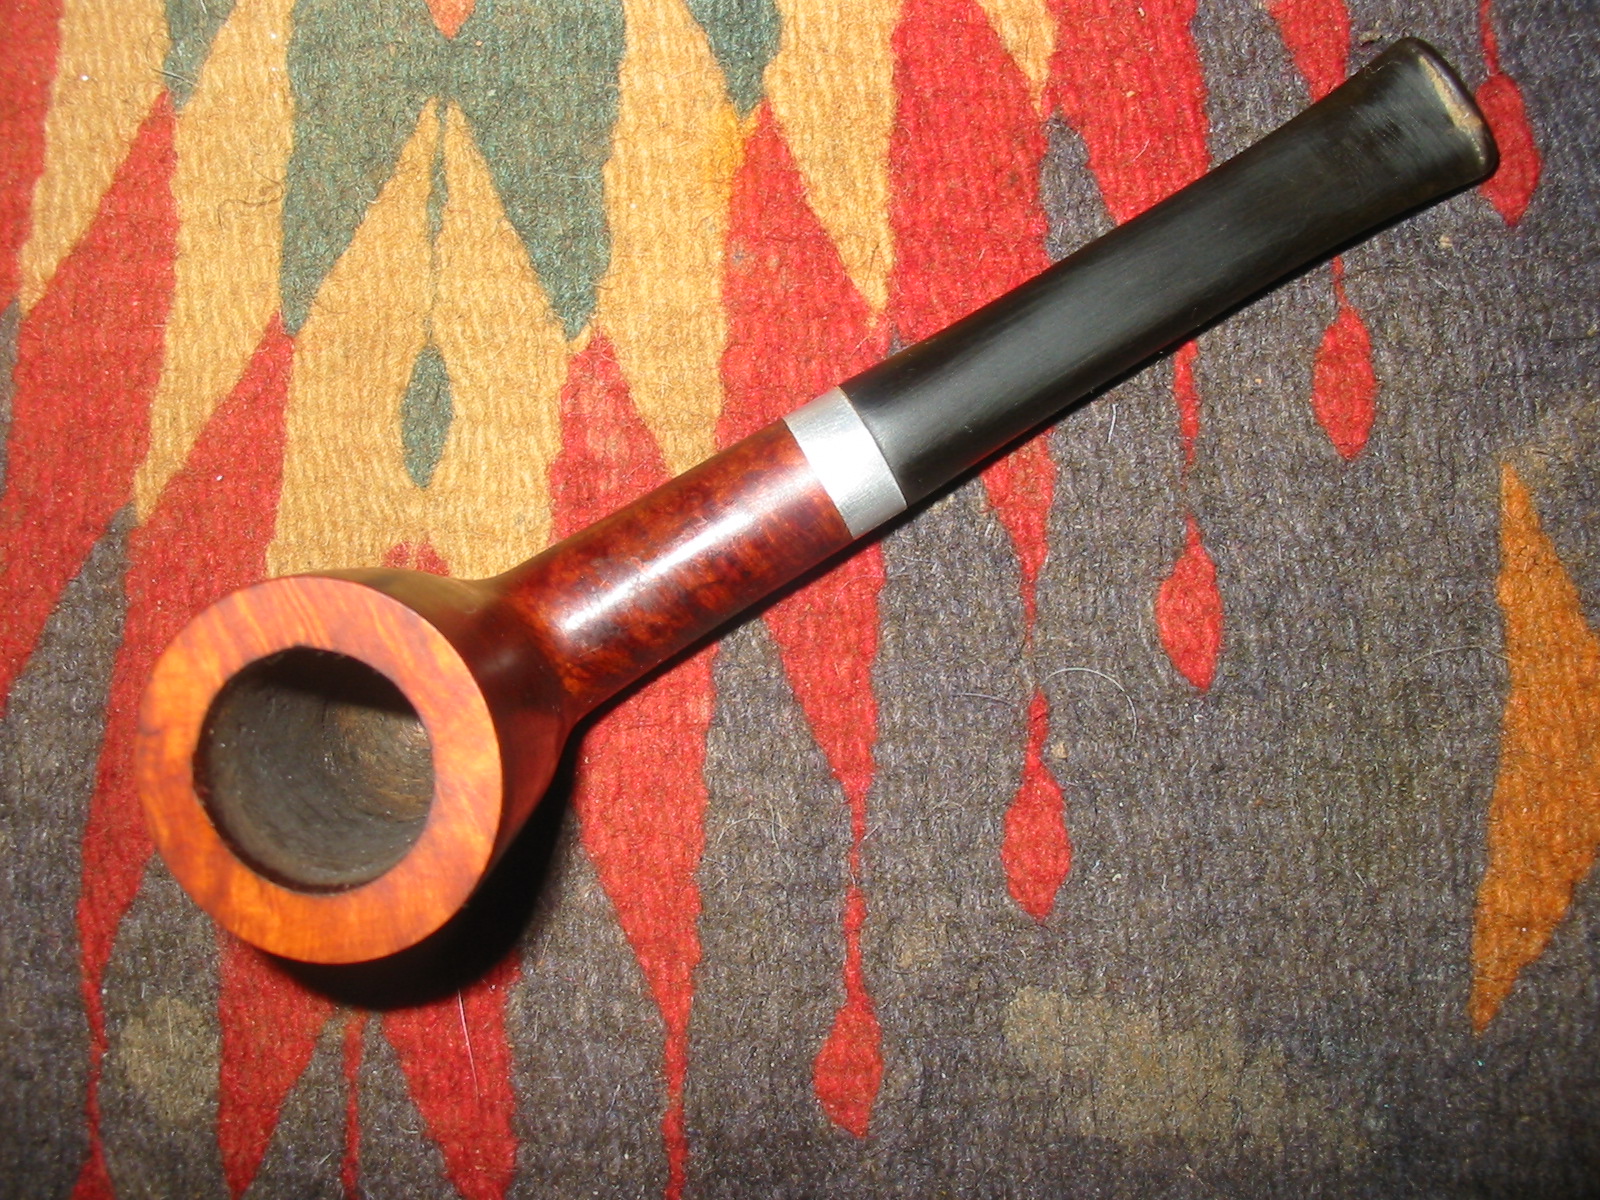
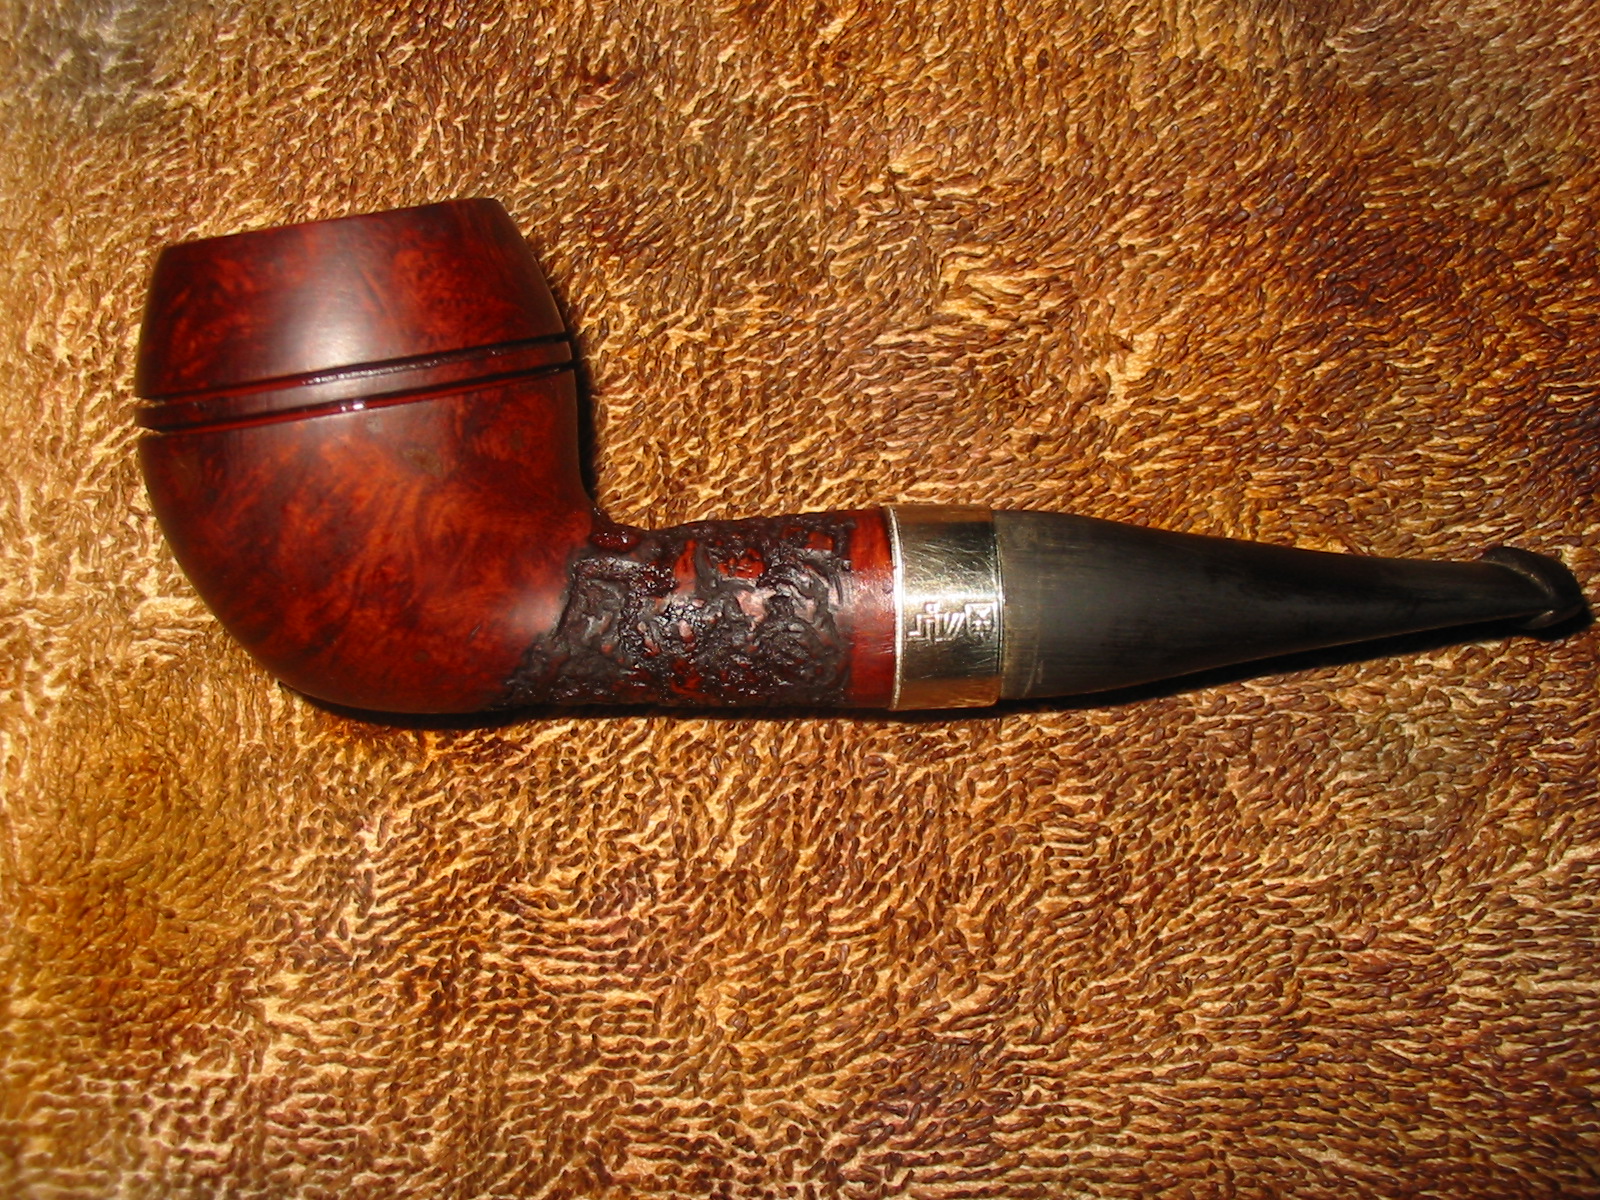
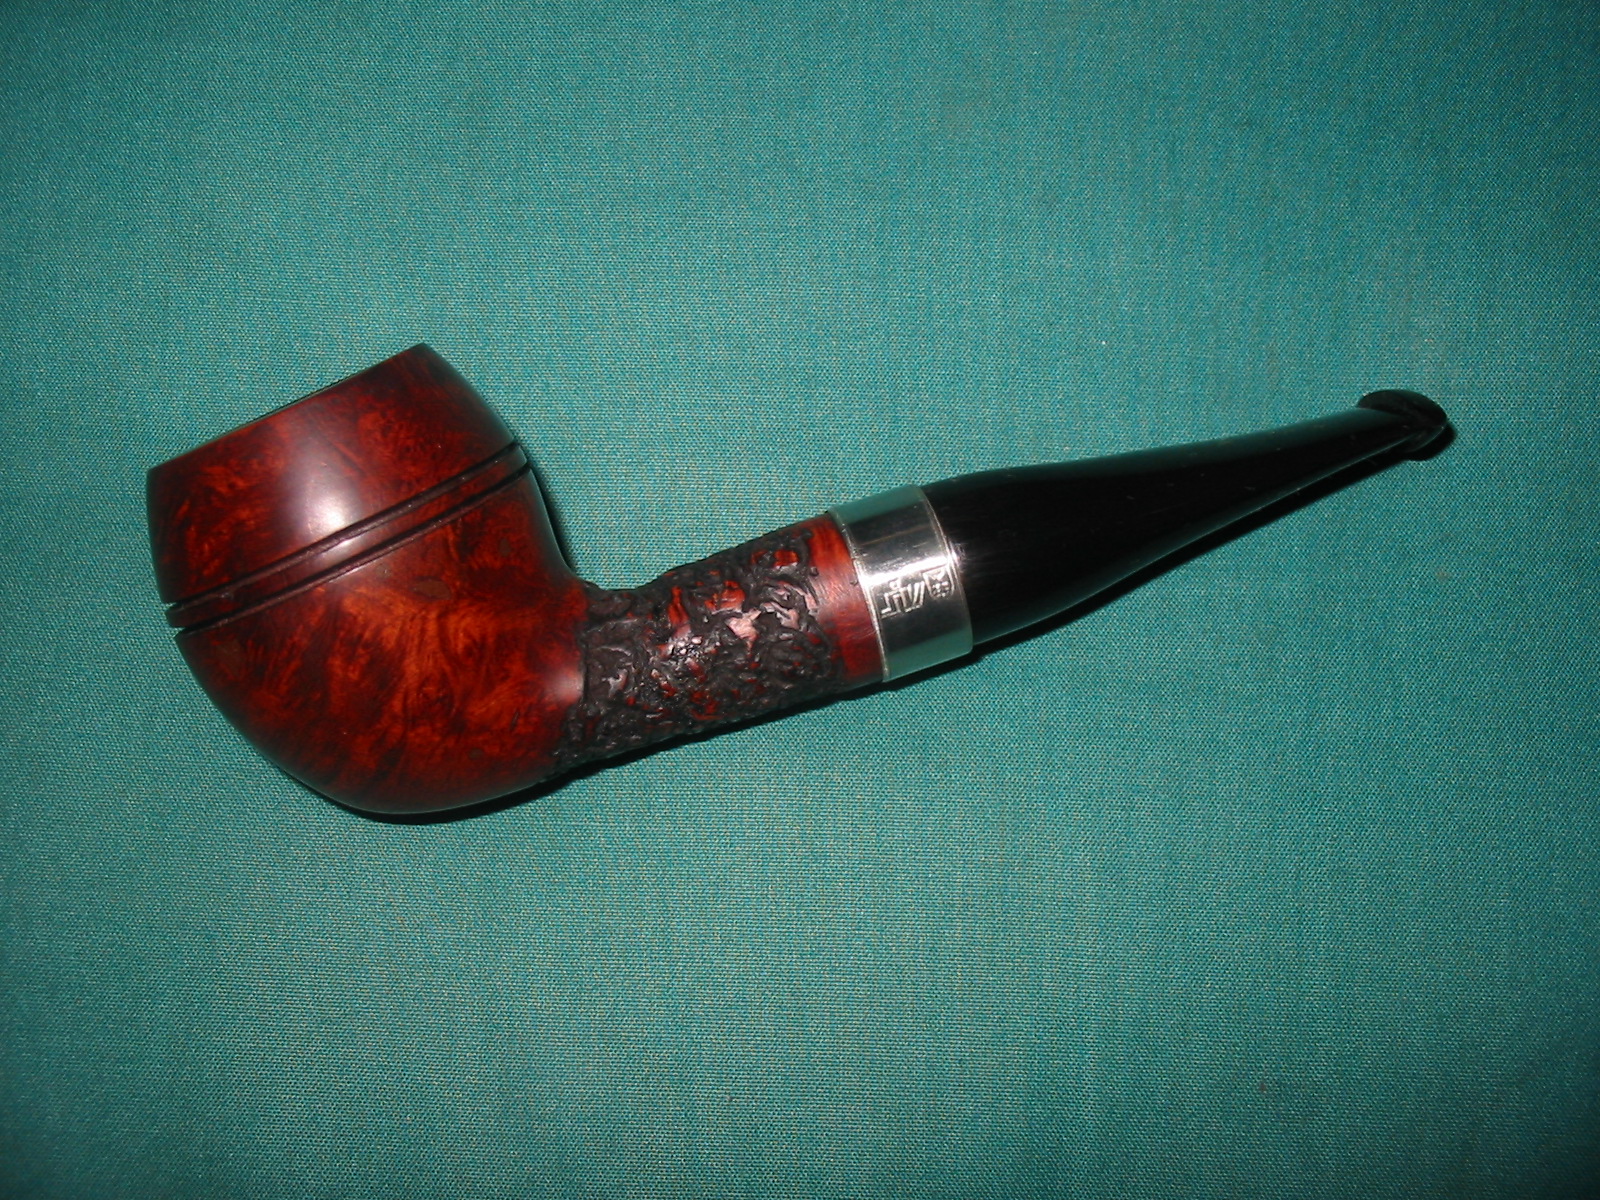
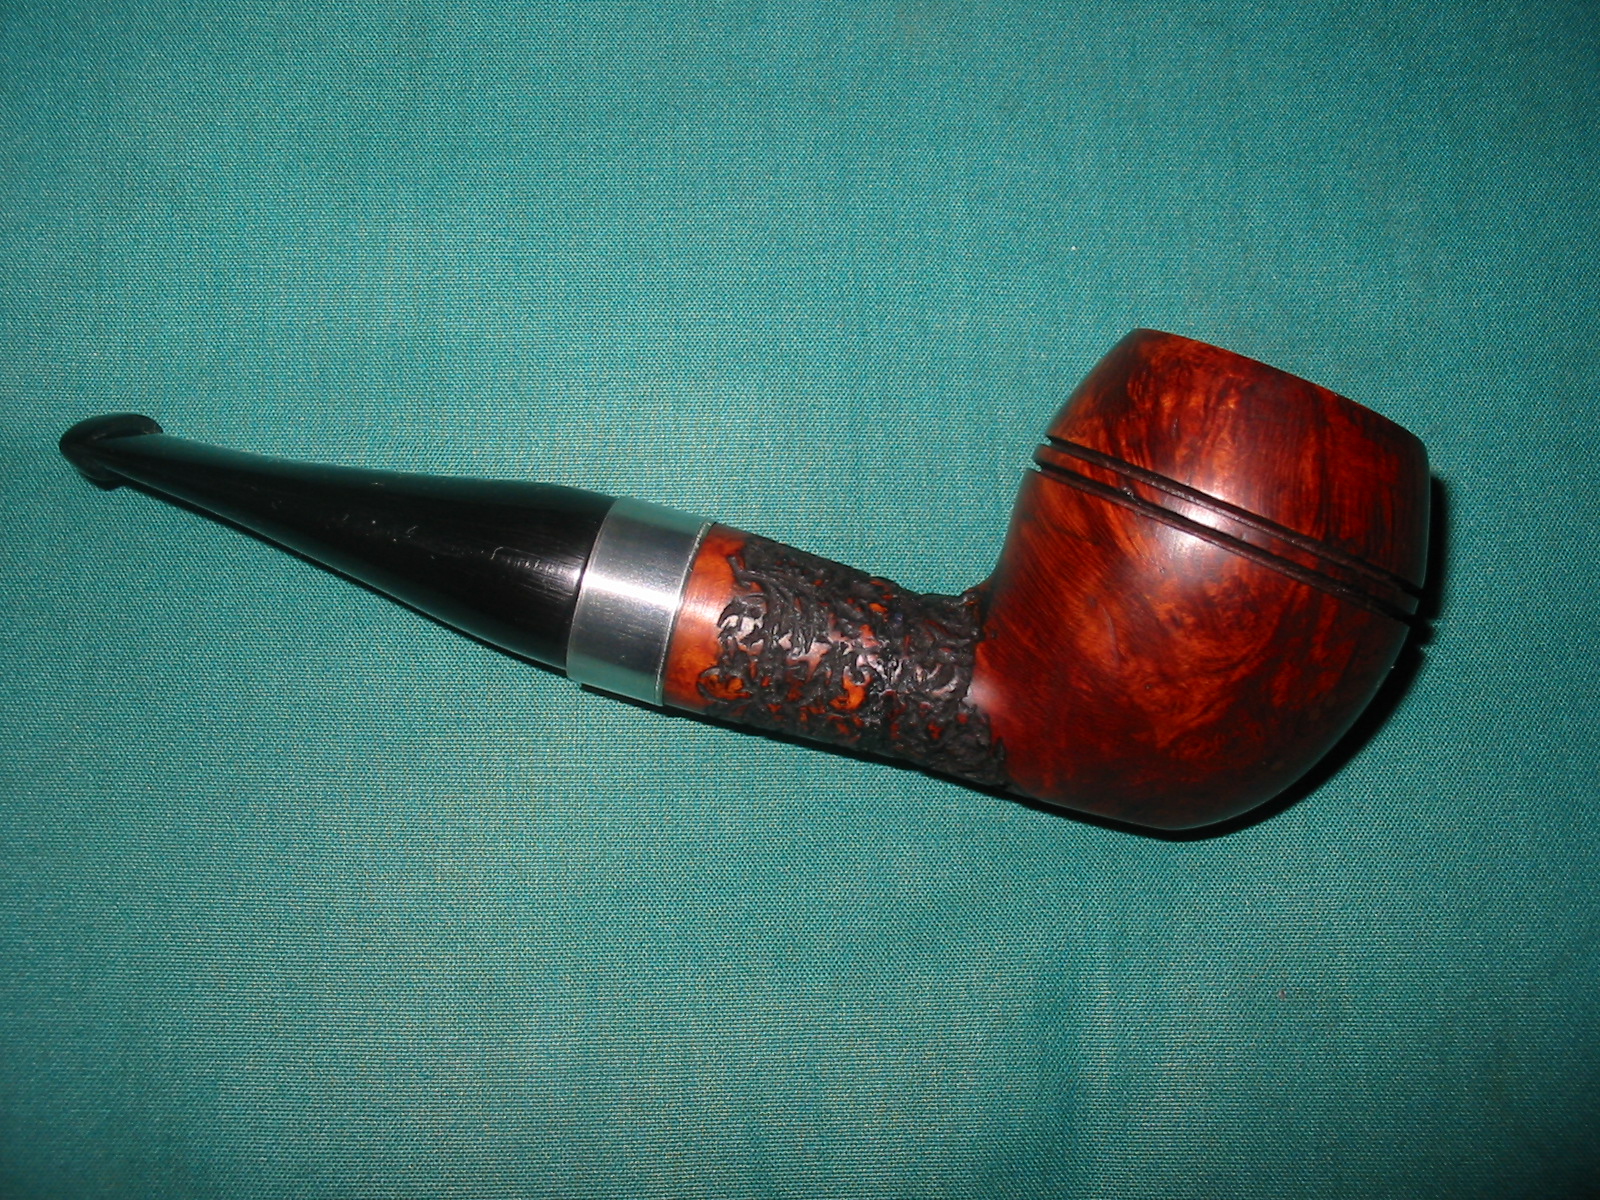
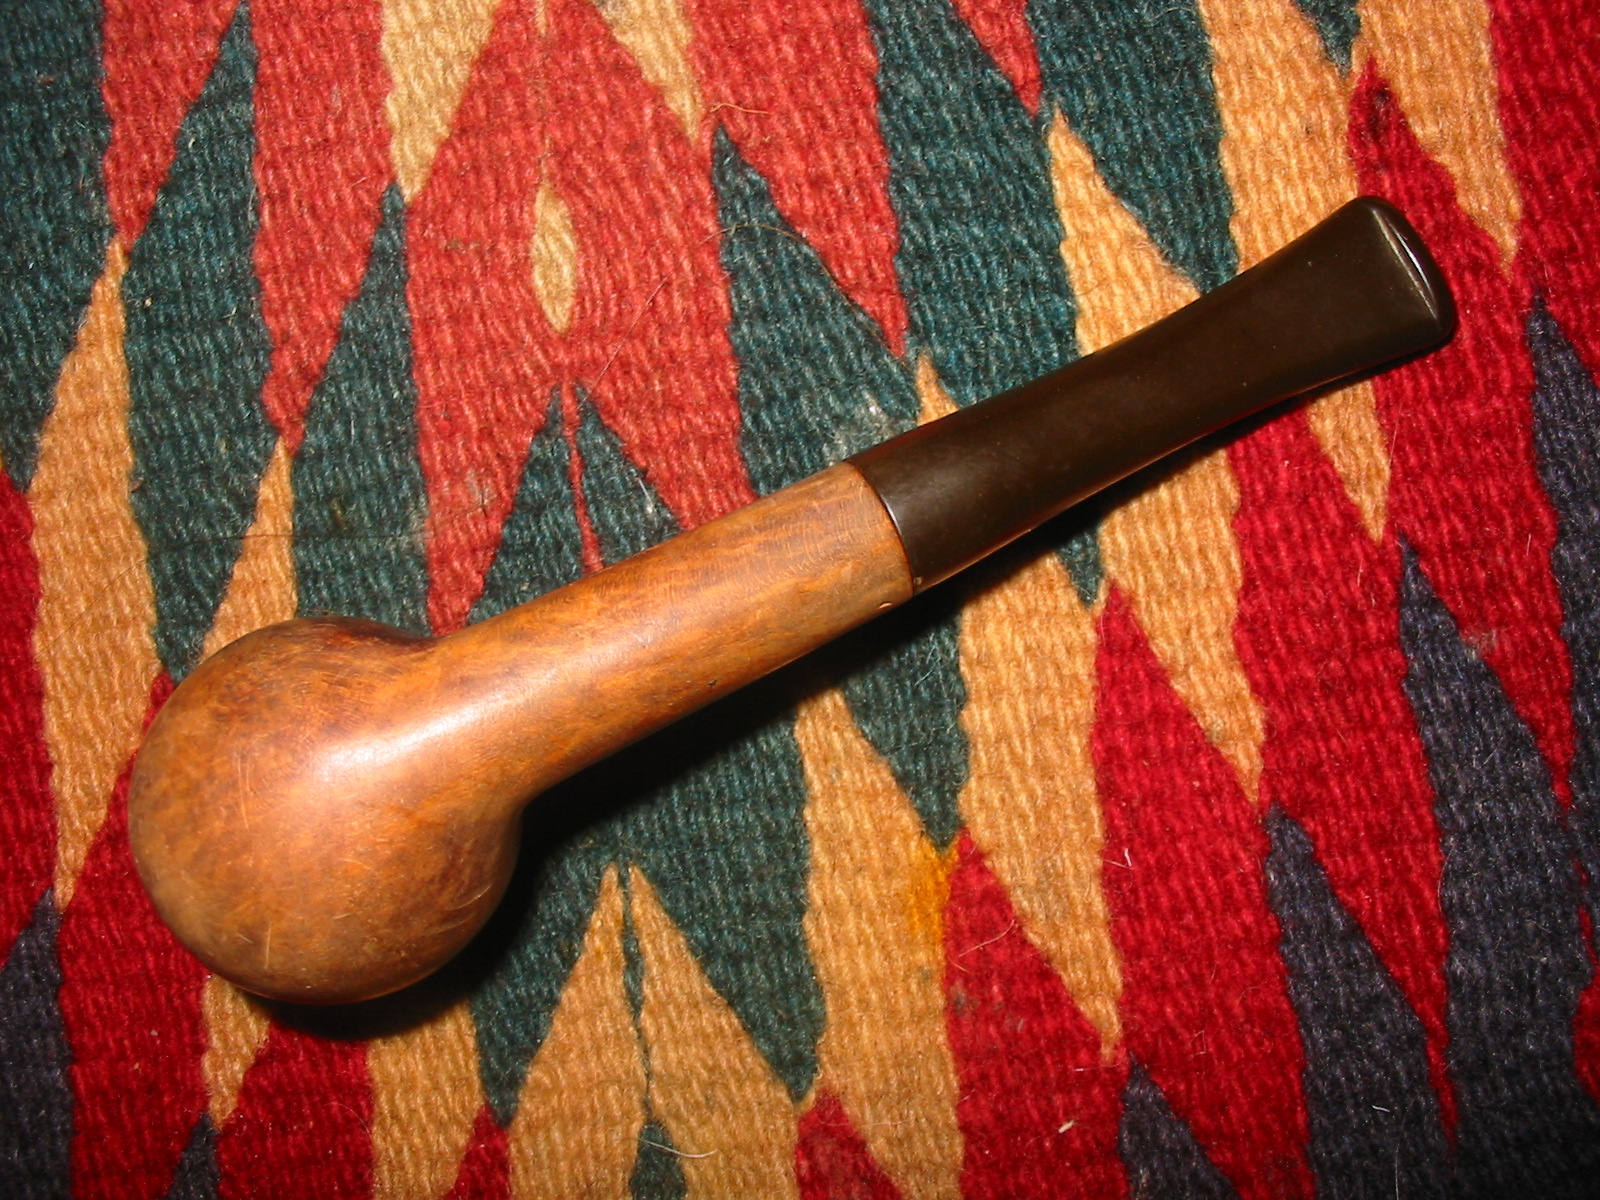
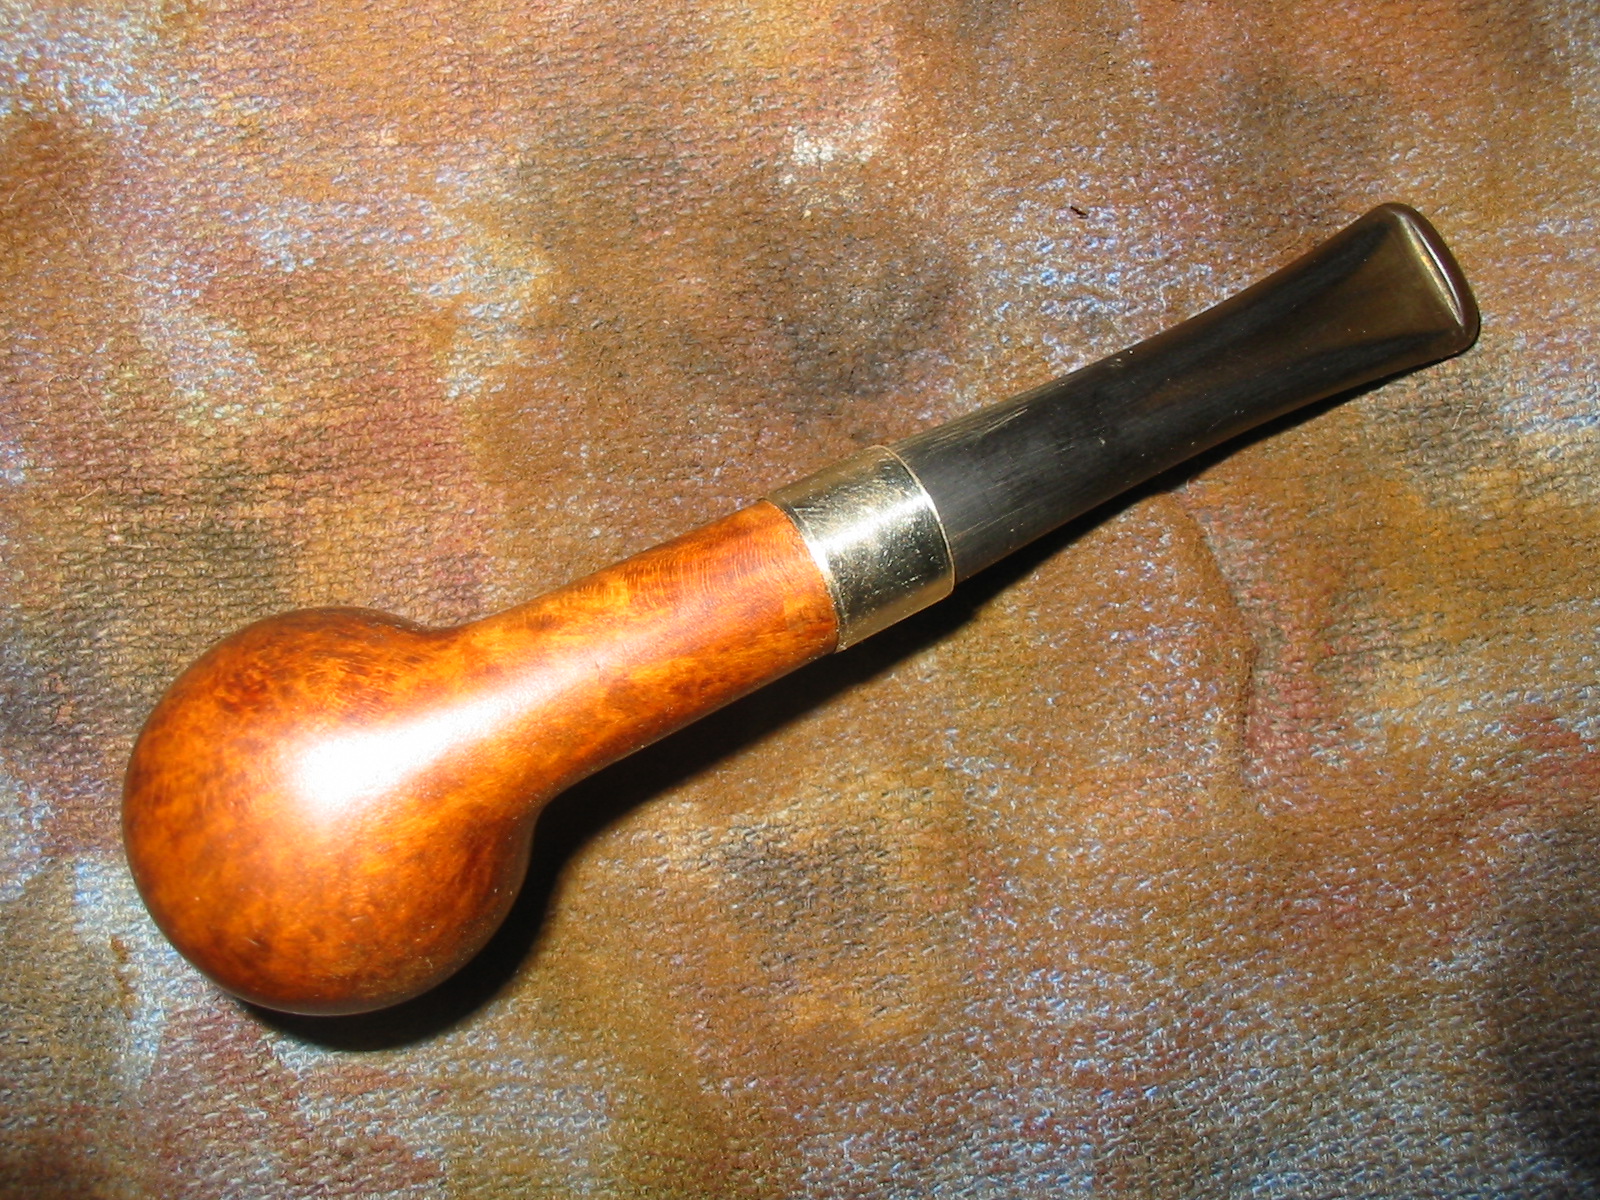
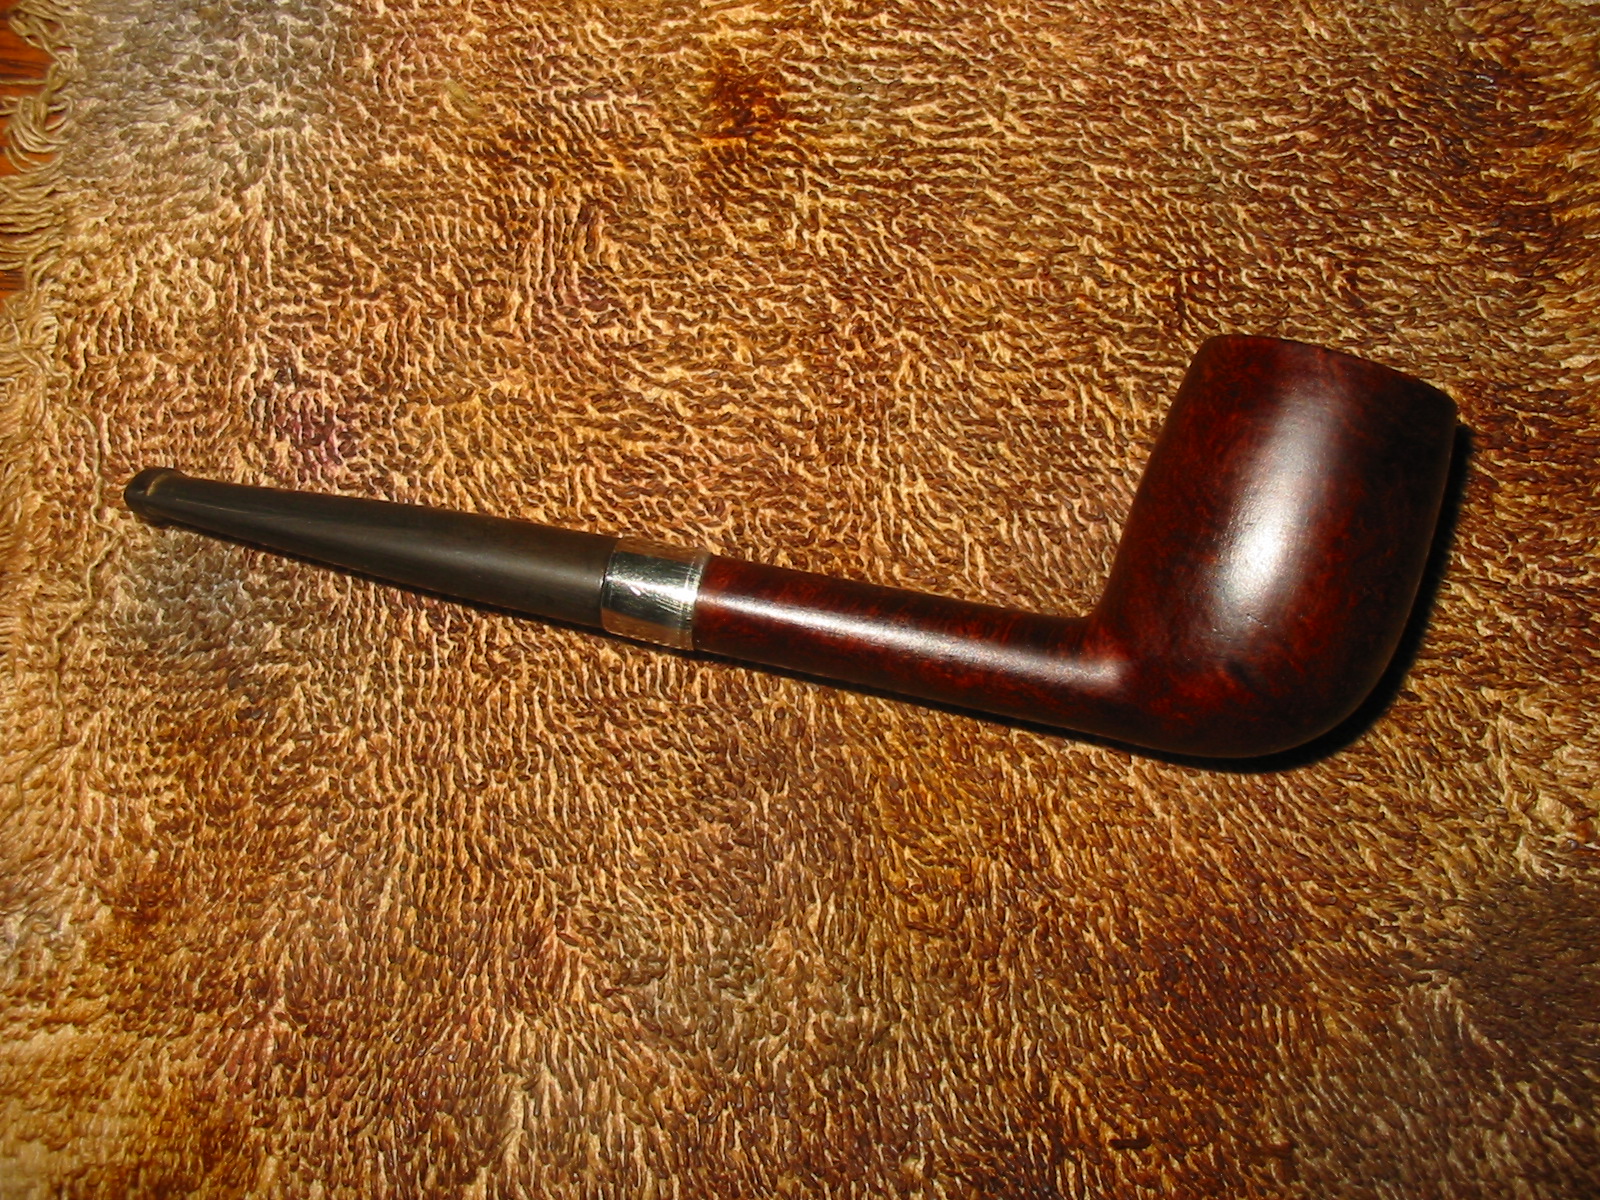
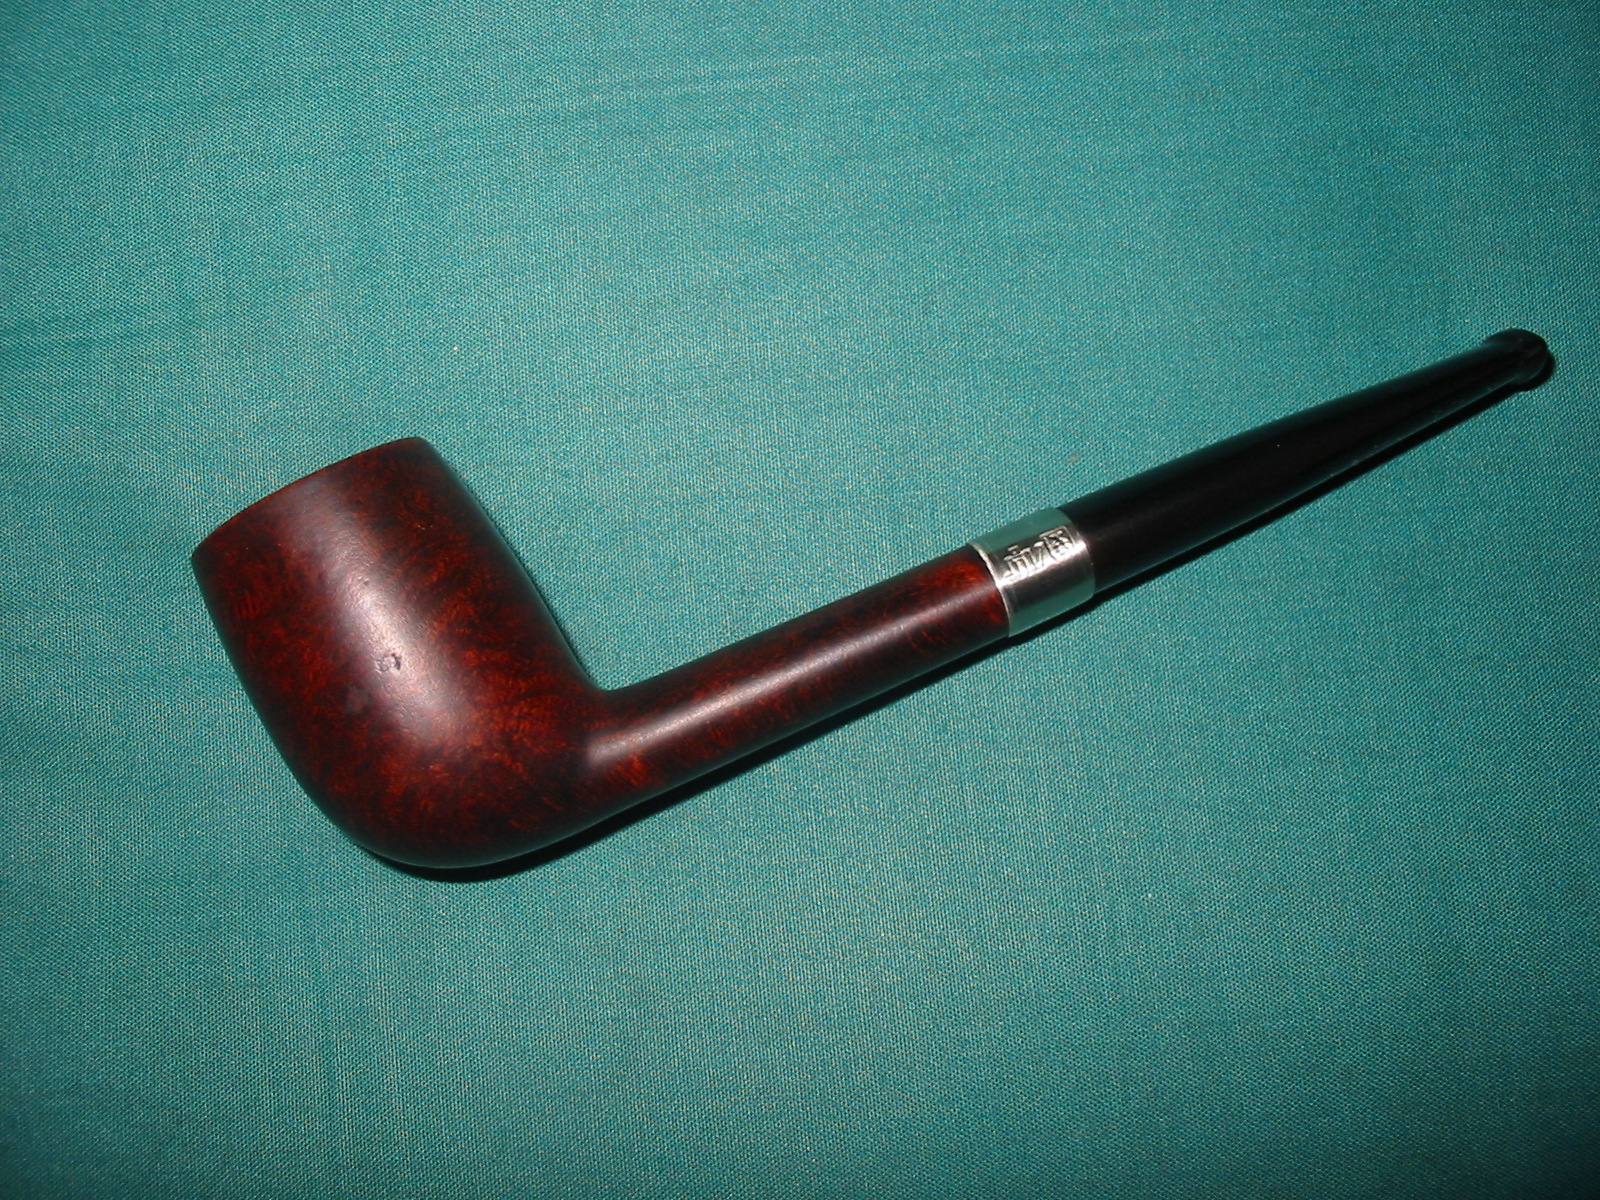
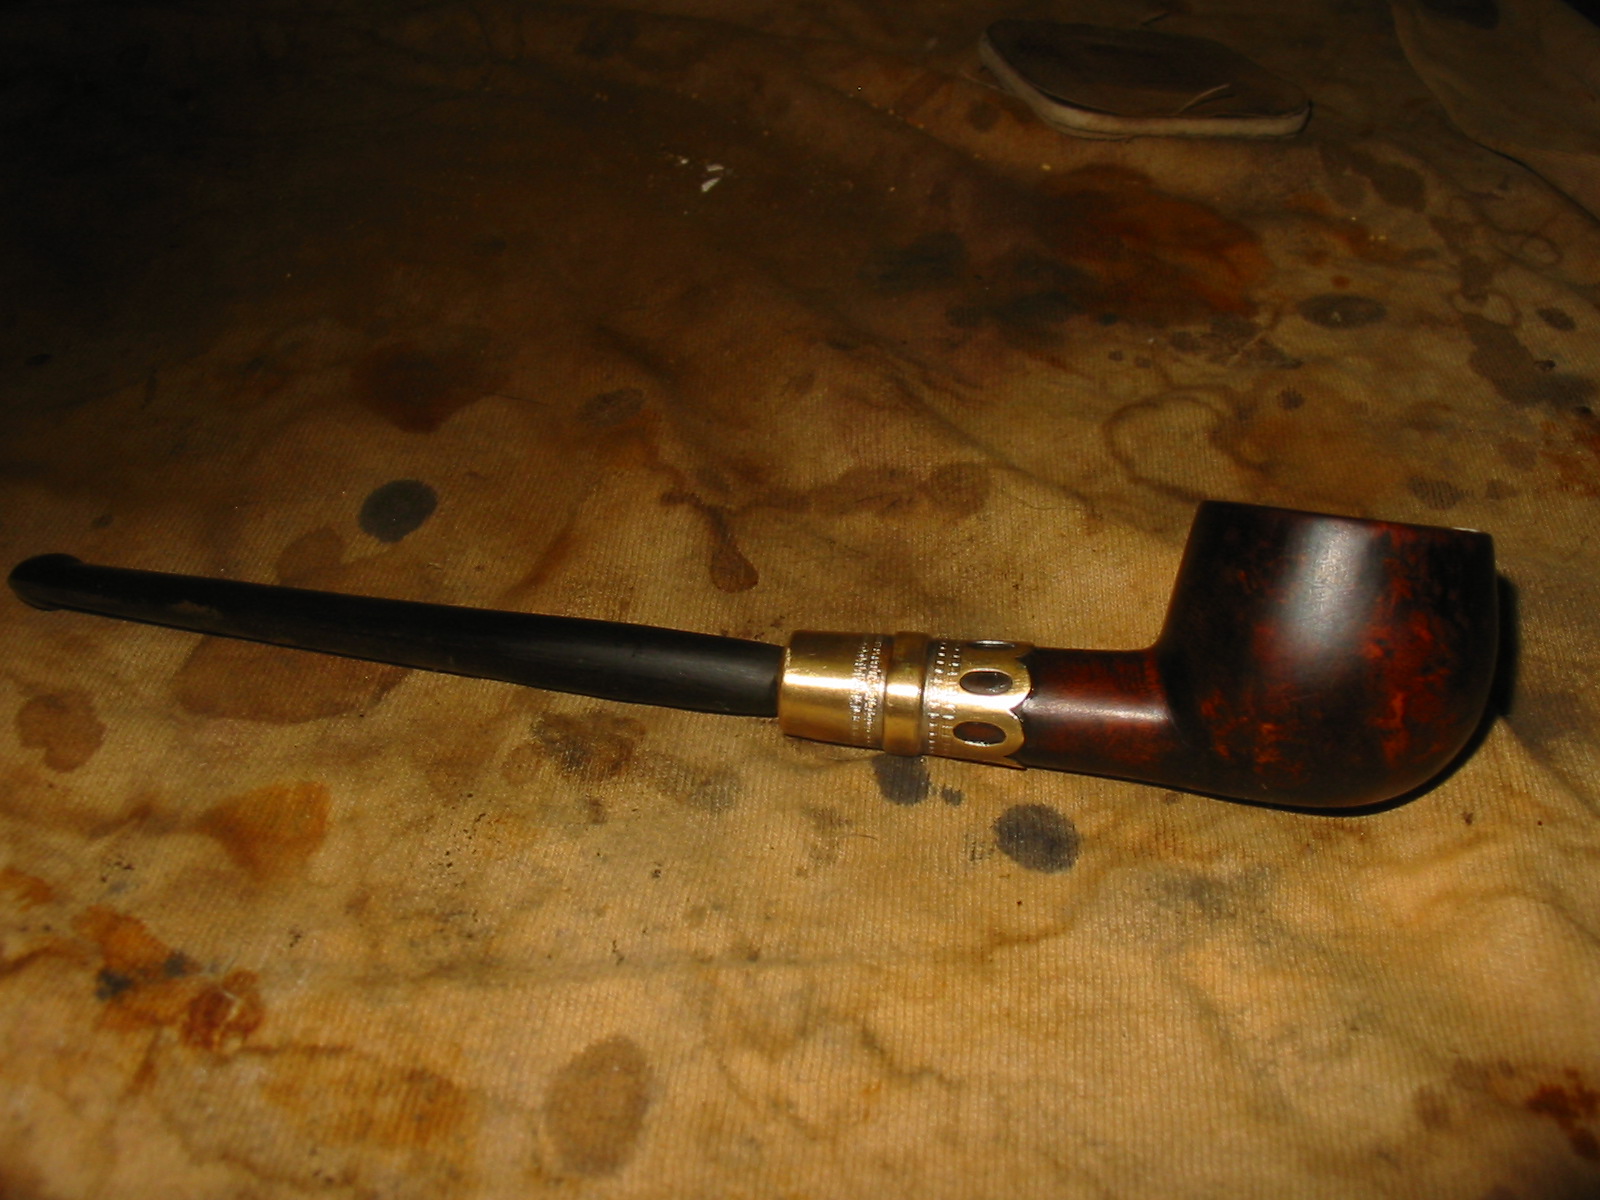
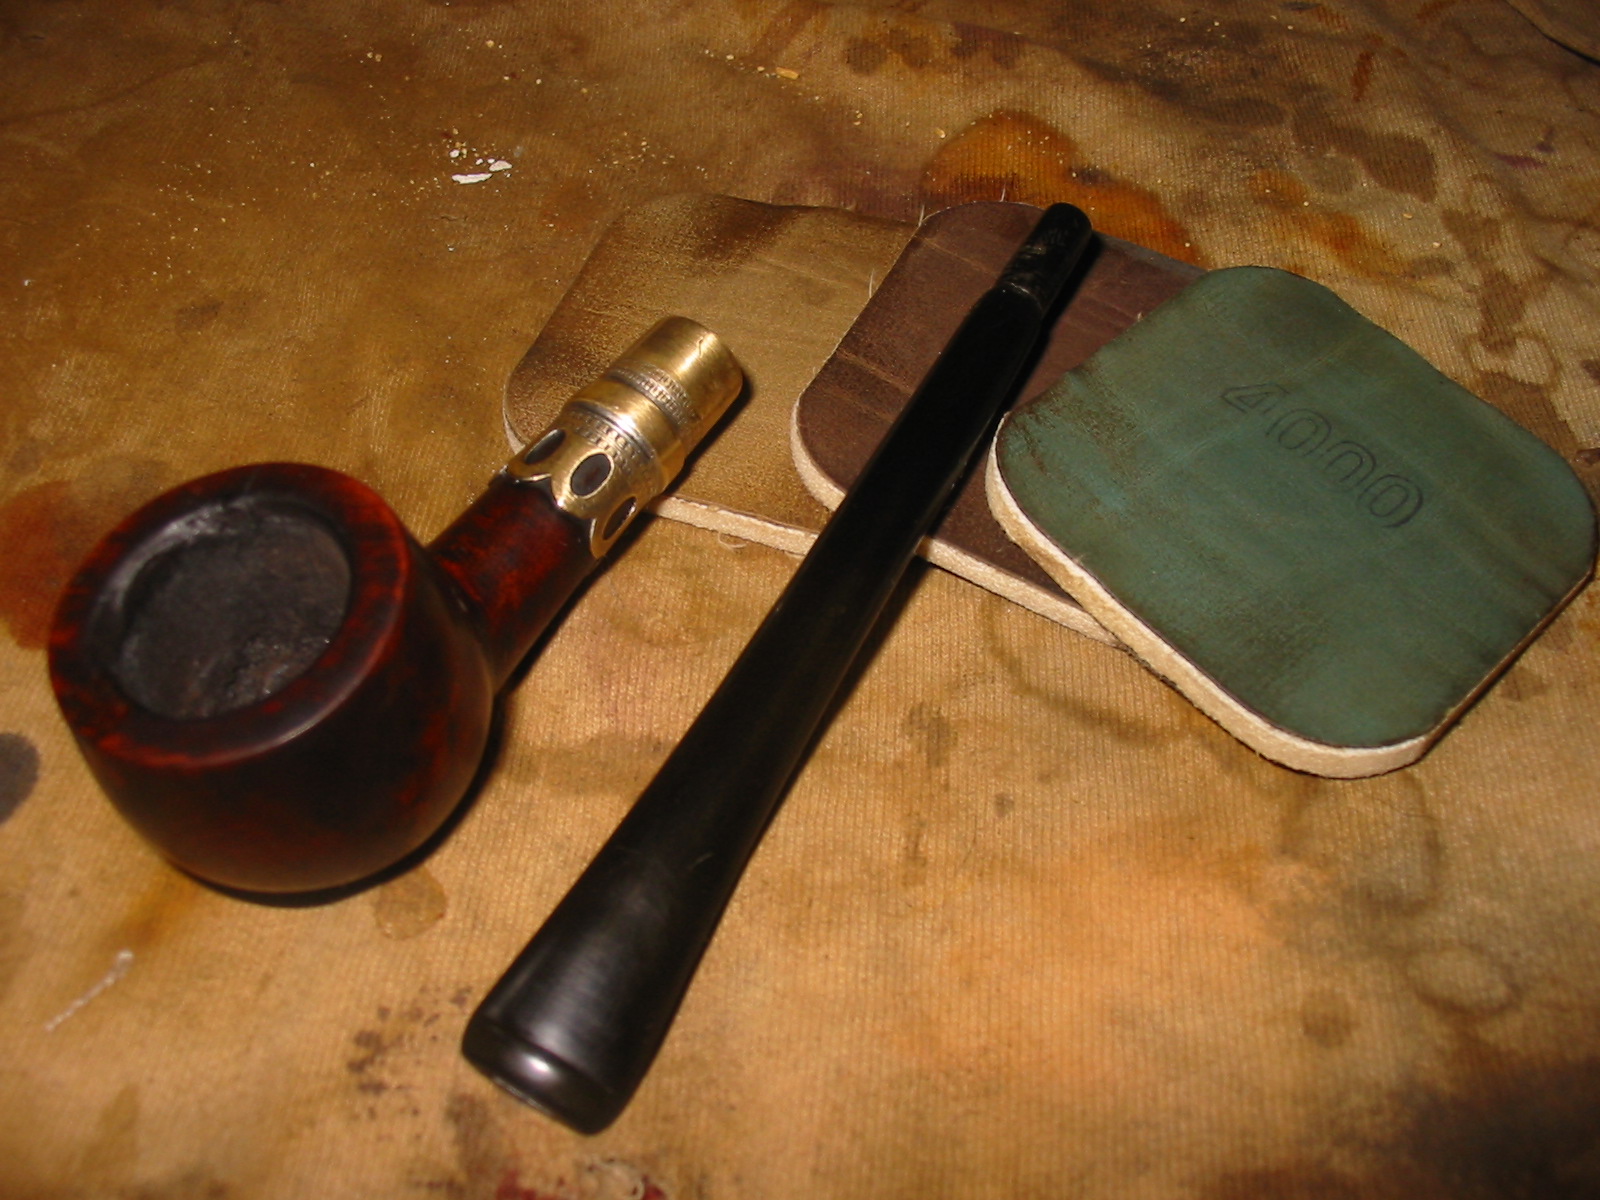
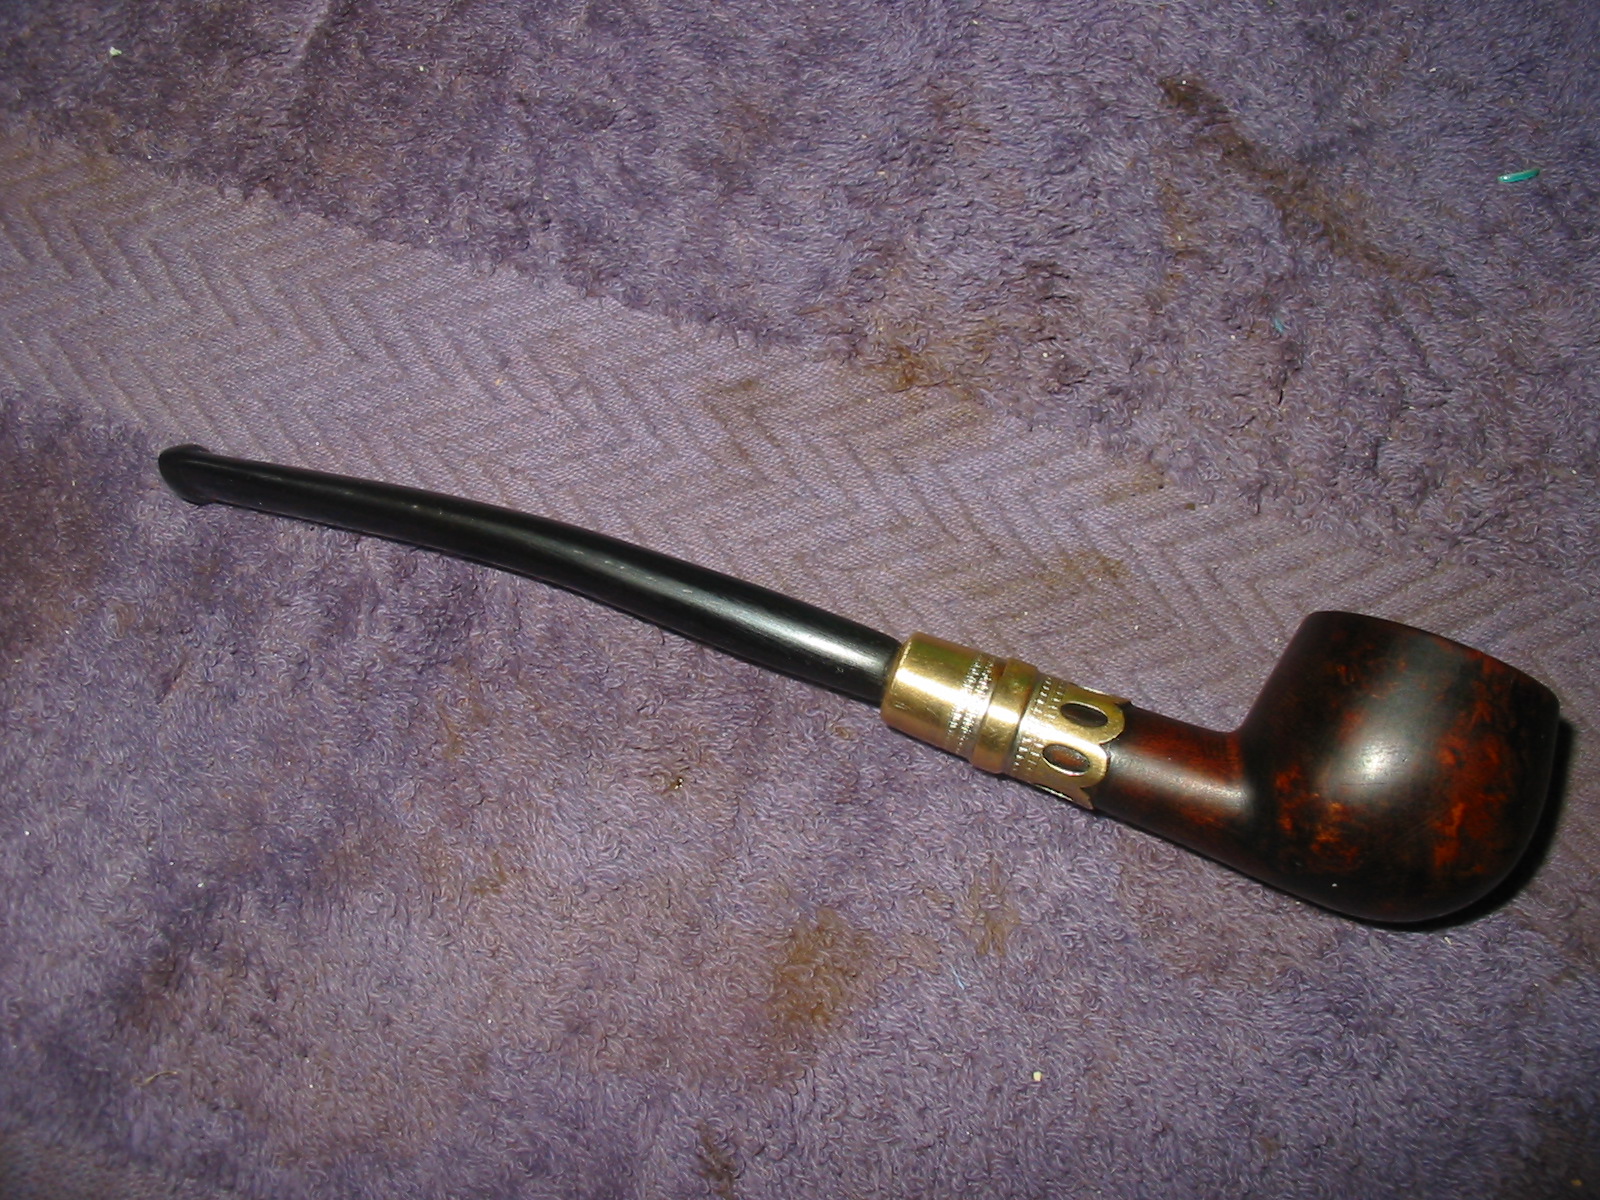
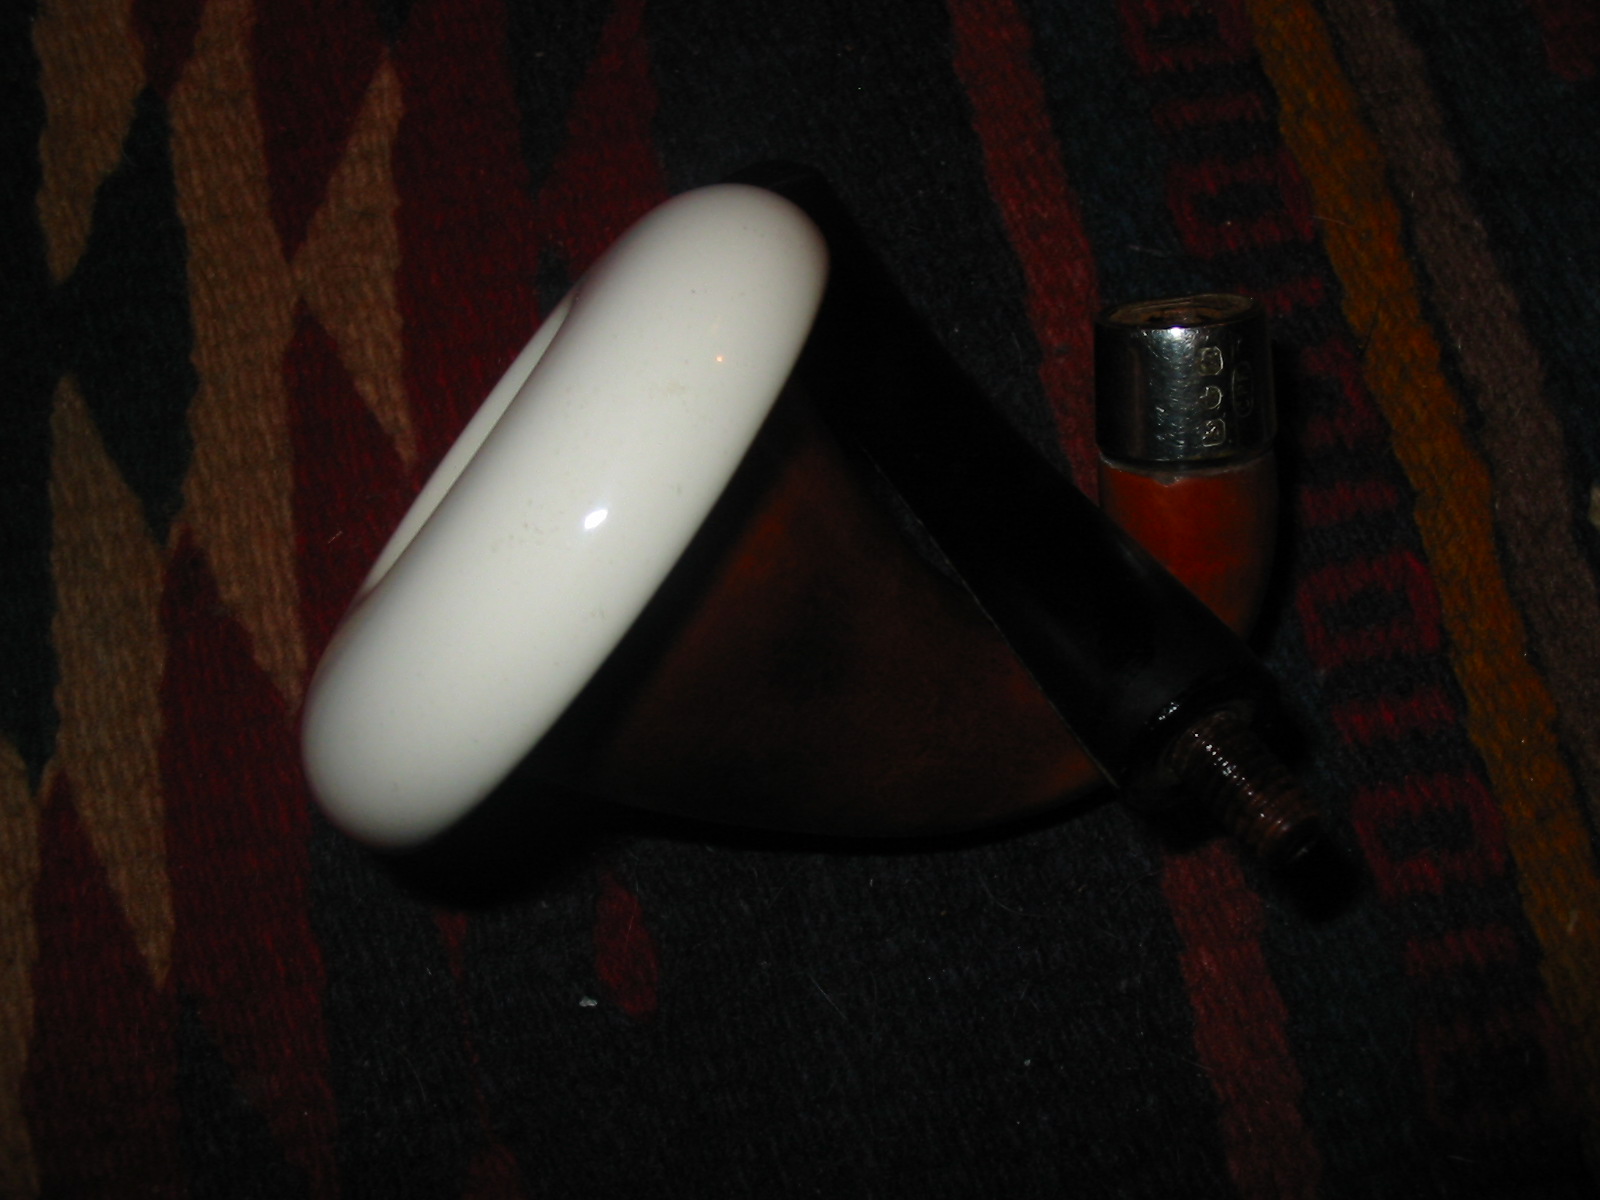
The finished bend is shown in the next two photos. I still needed to polish the stem before it was finished but the finished look is beginning to appear. The calabash is just about reborn.
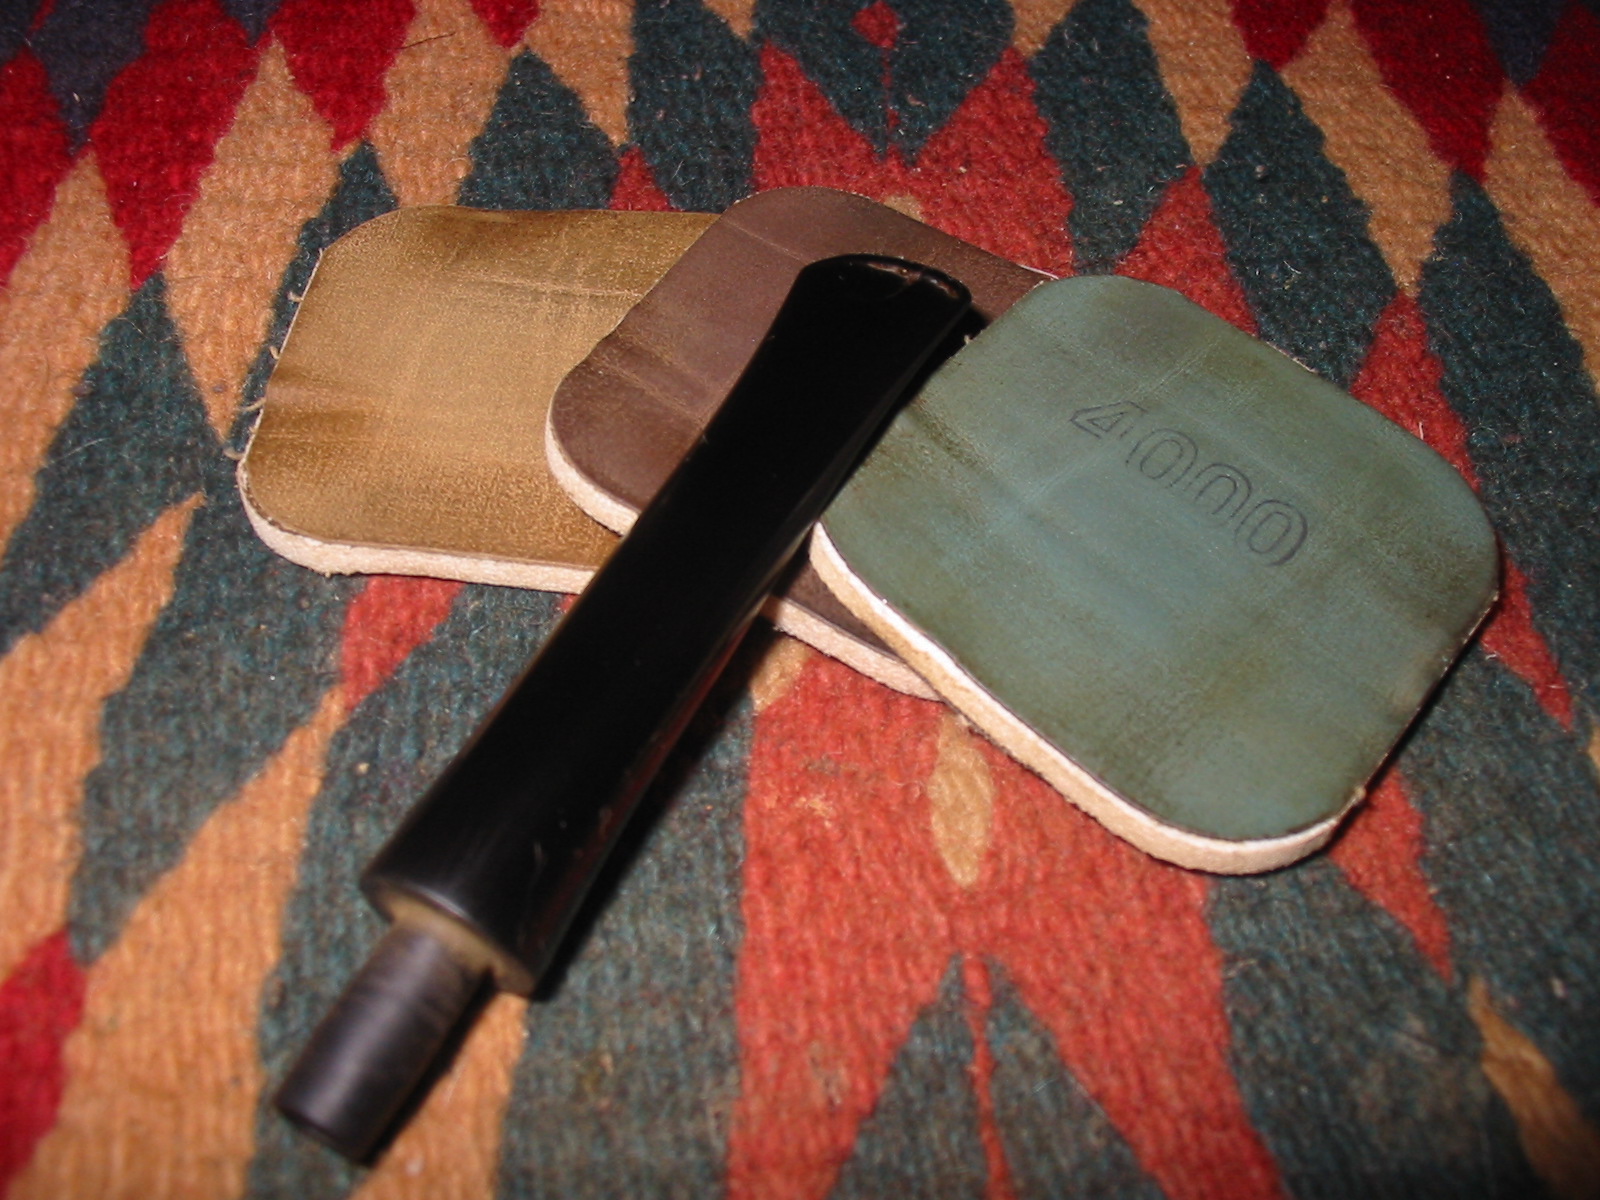
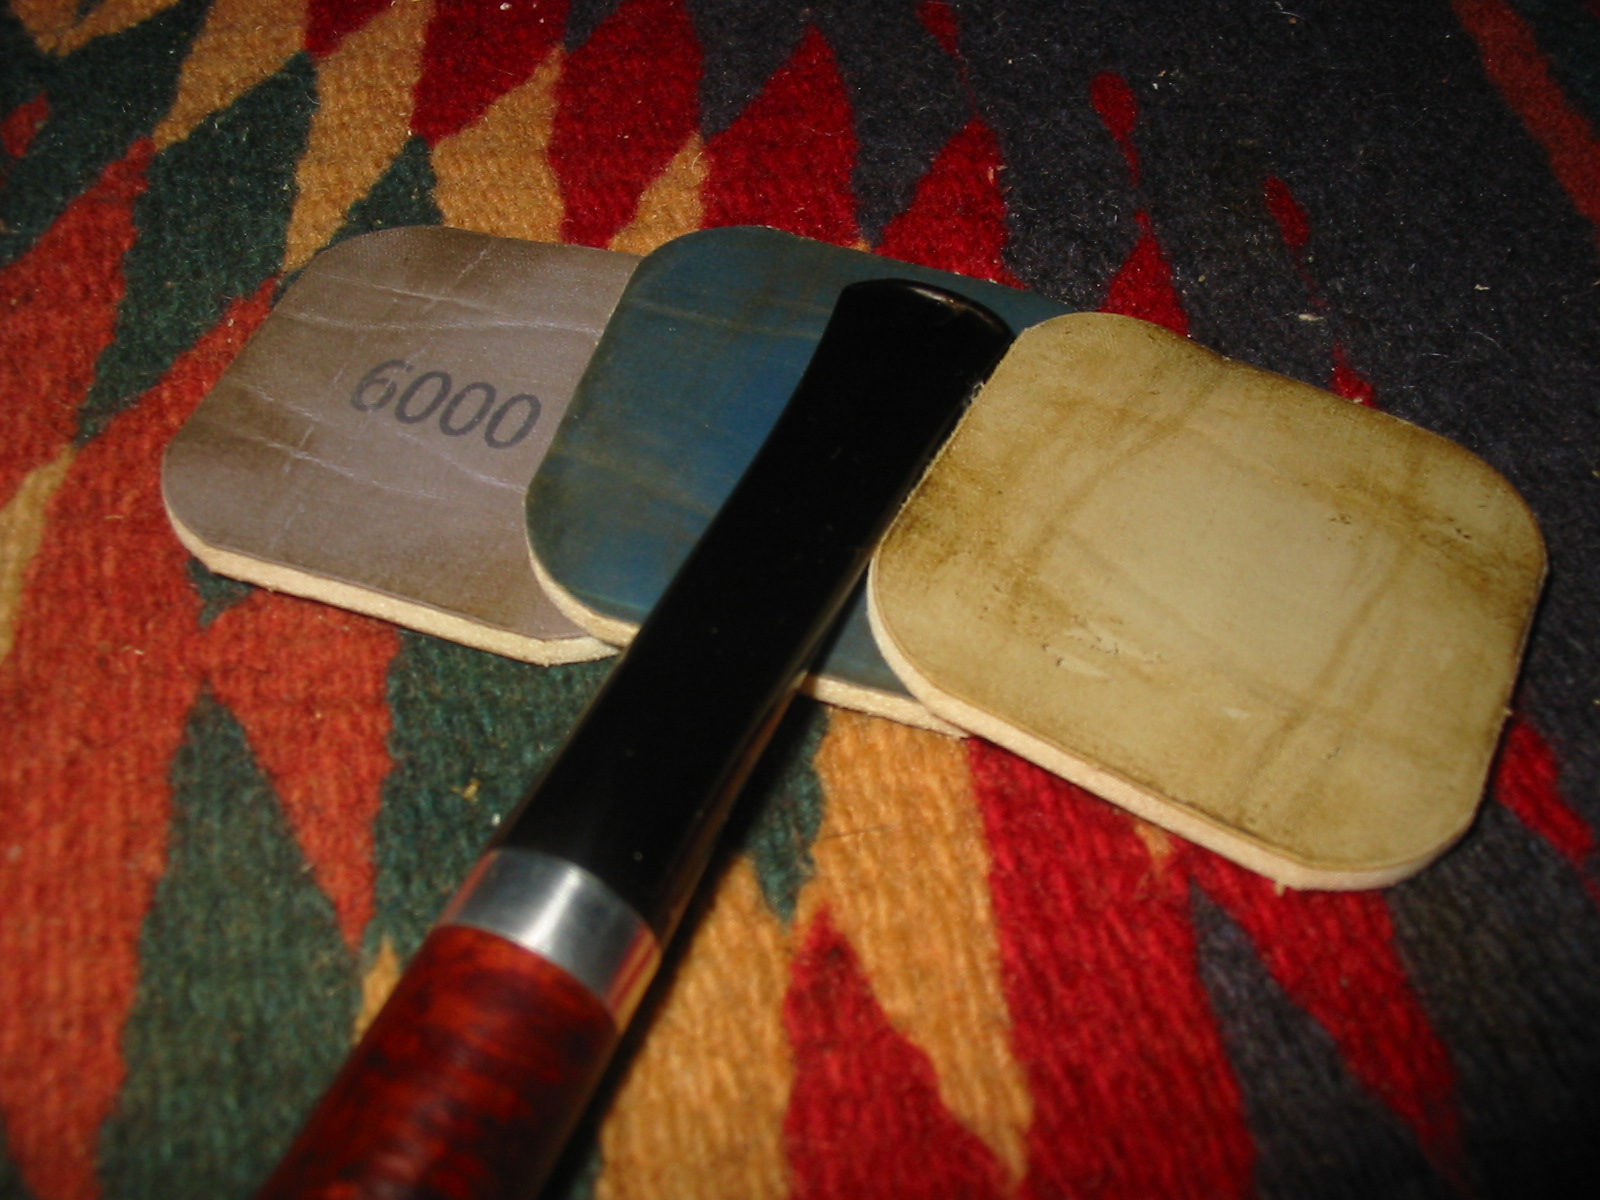
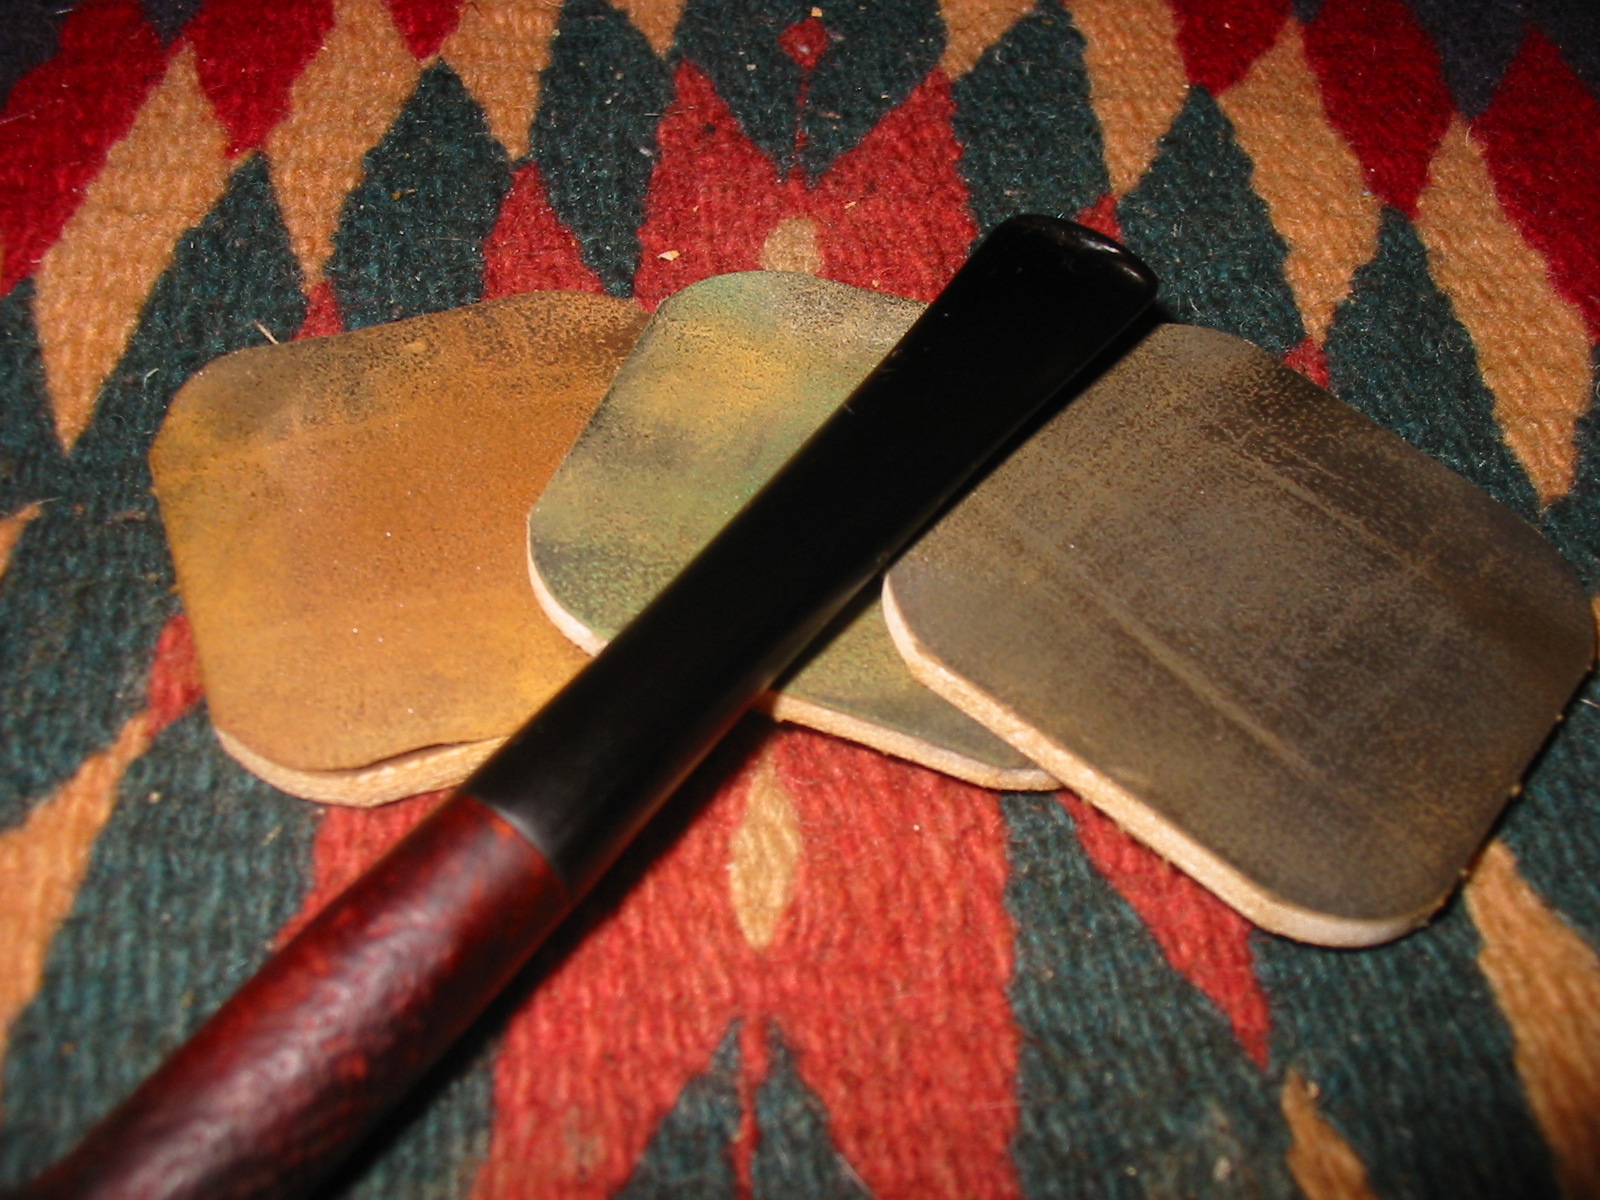
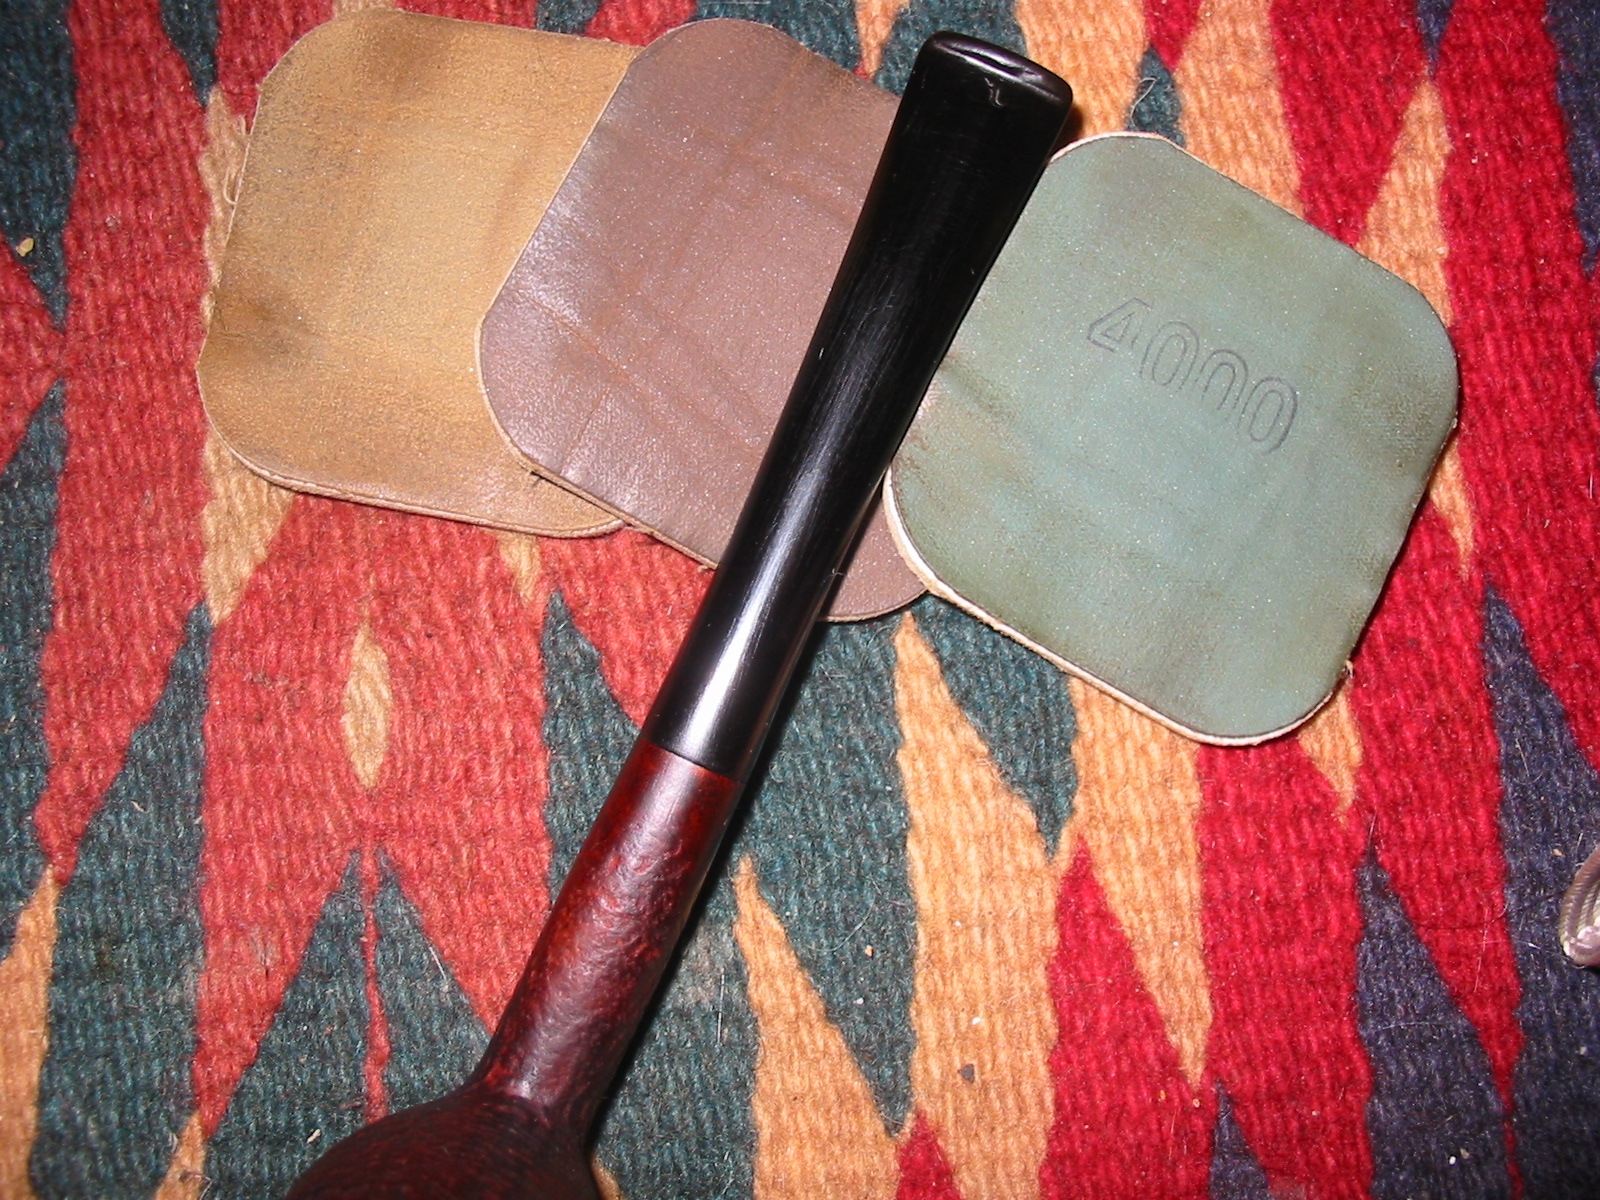
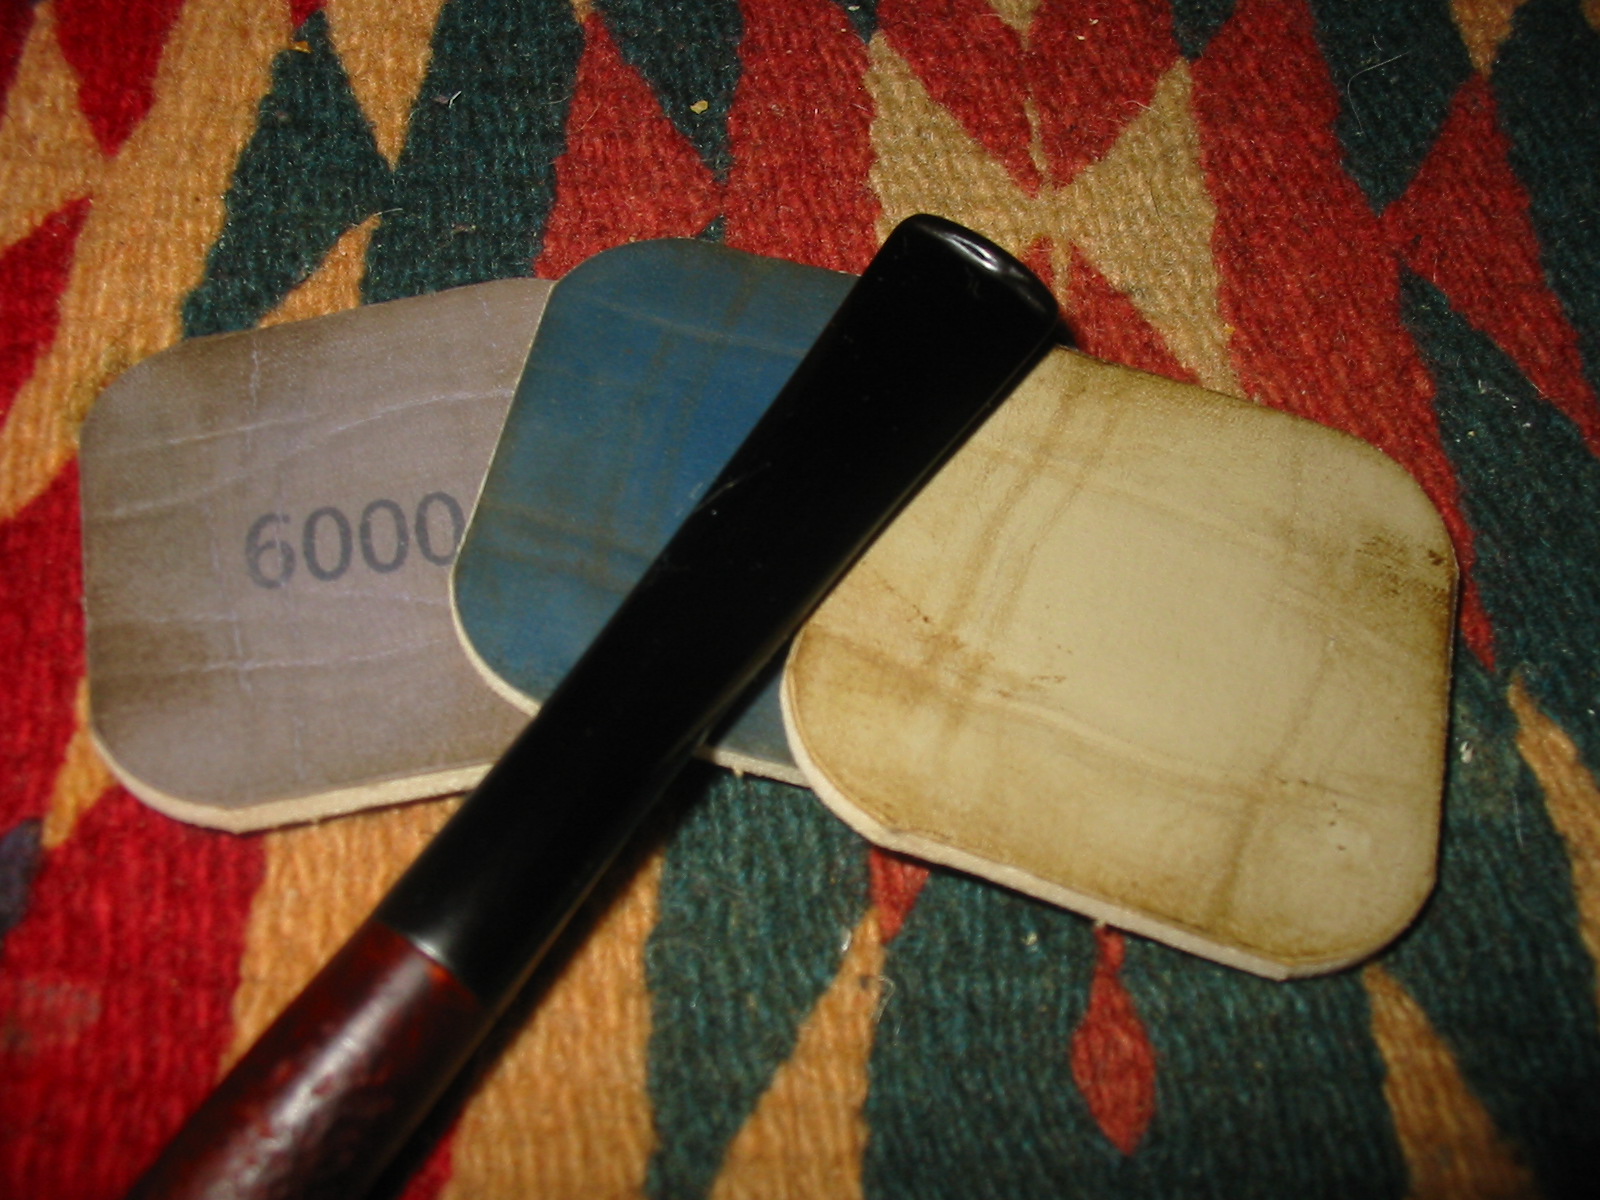
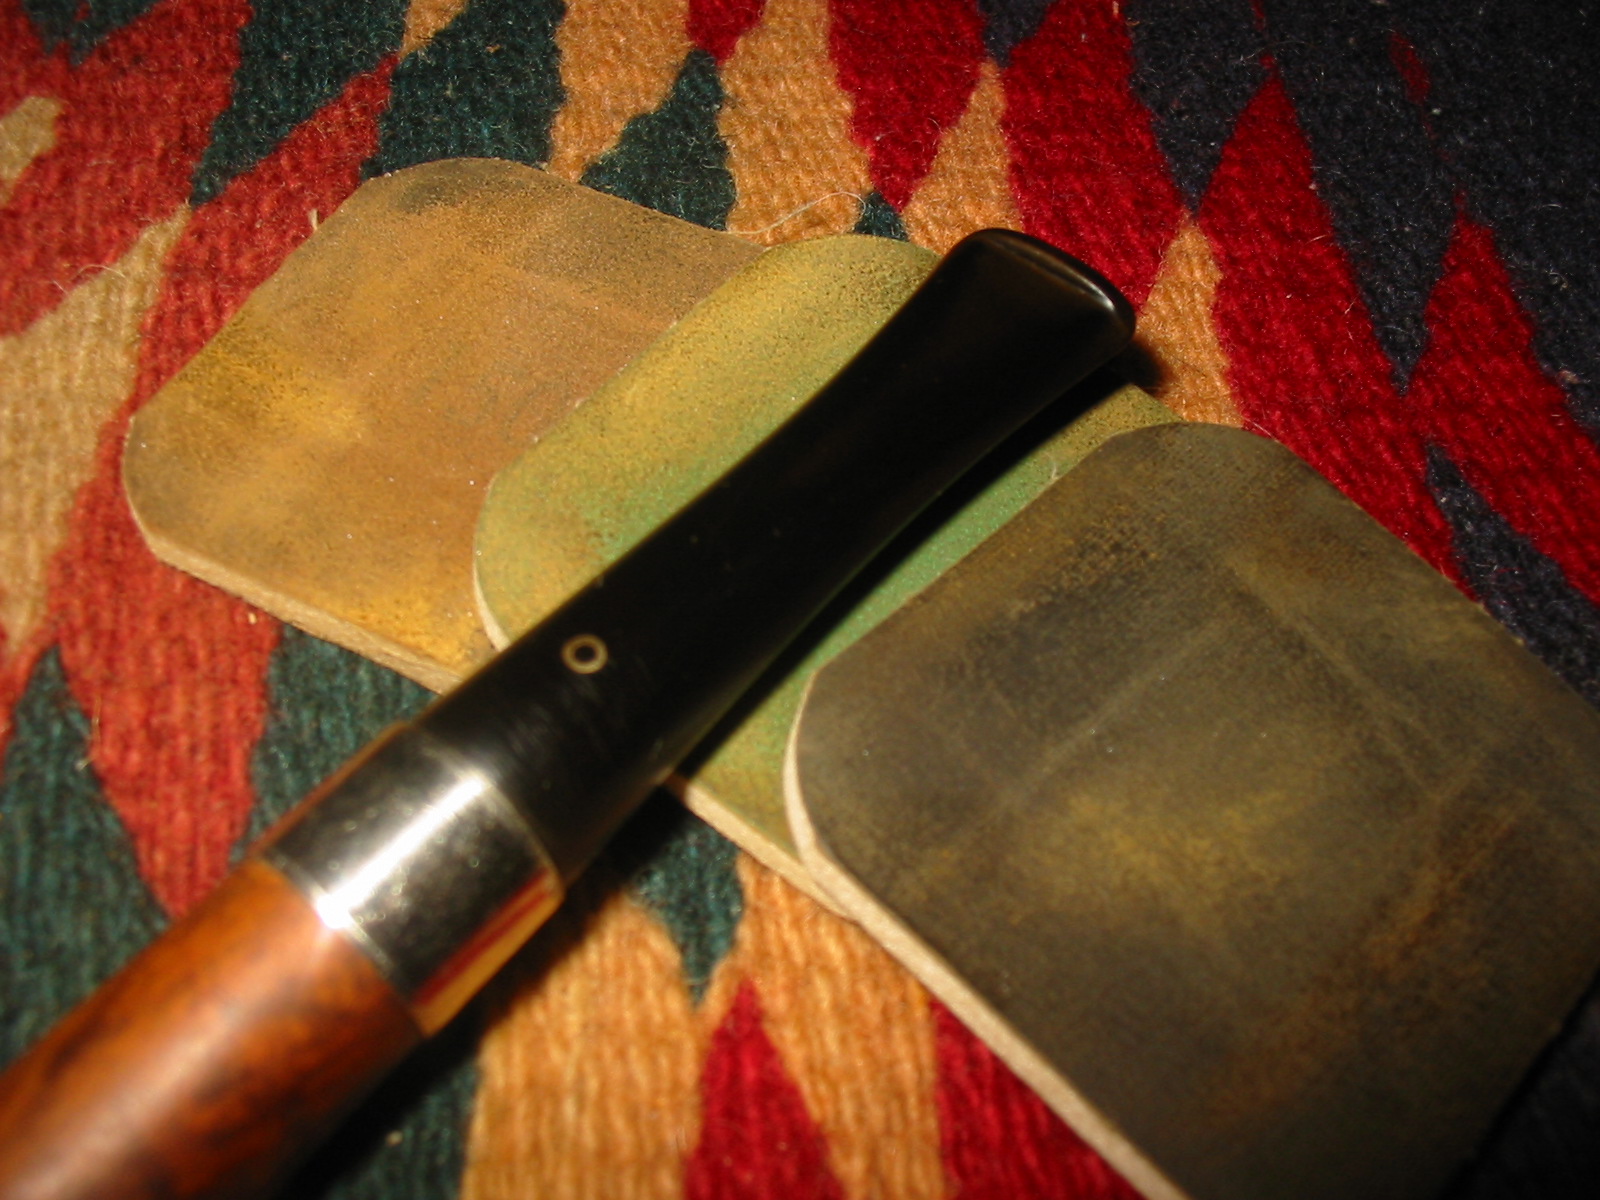
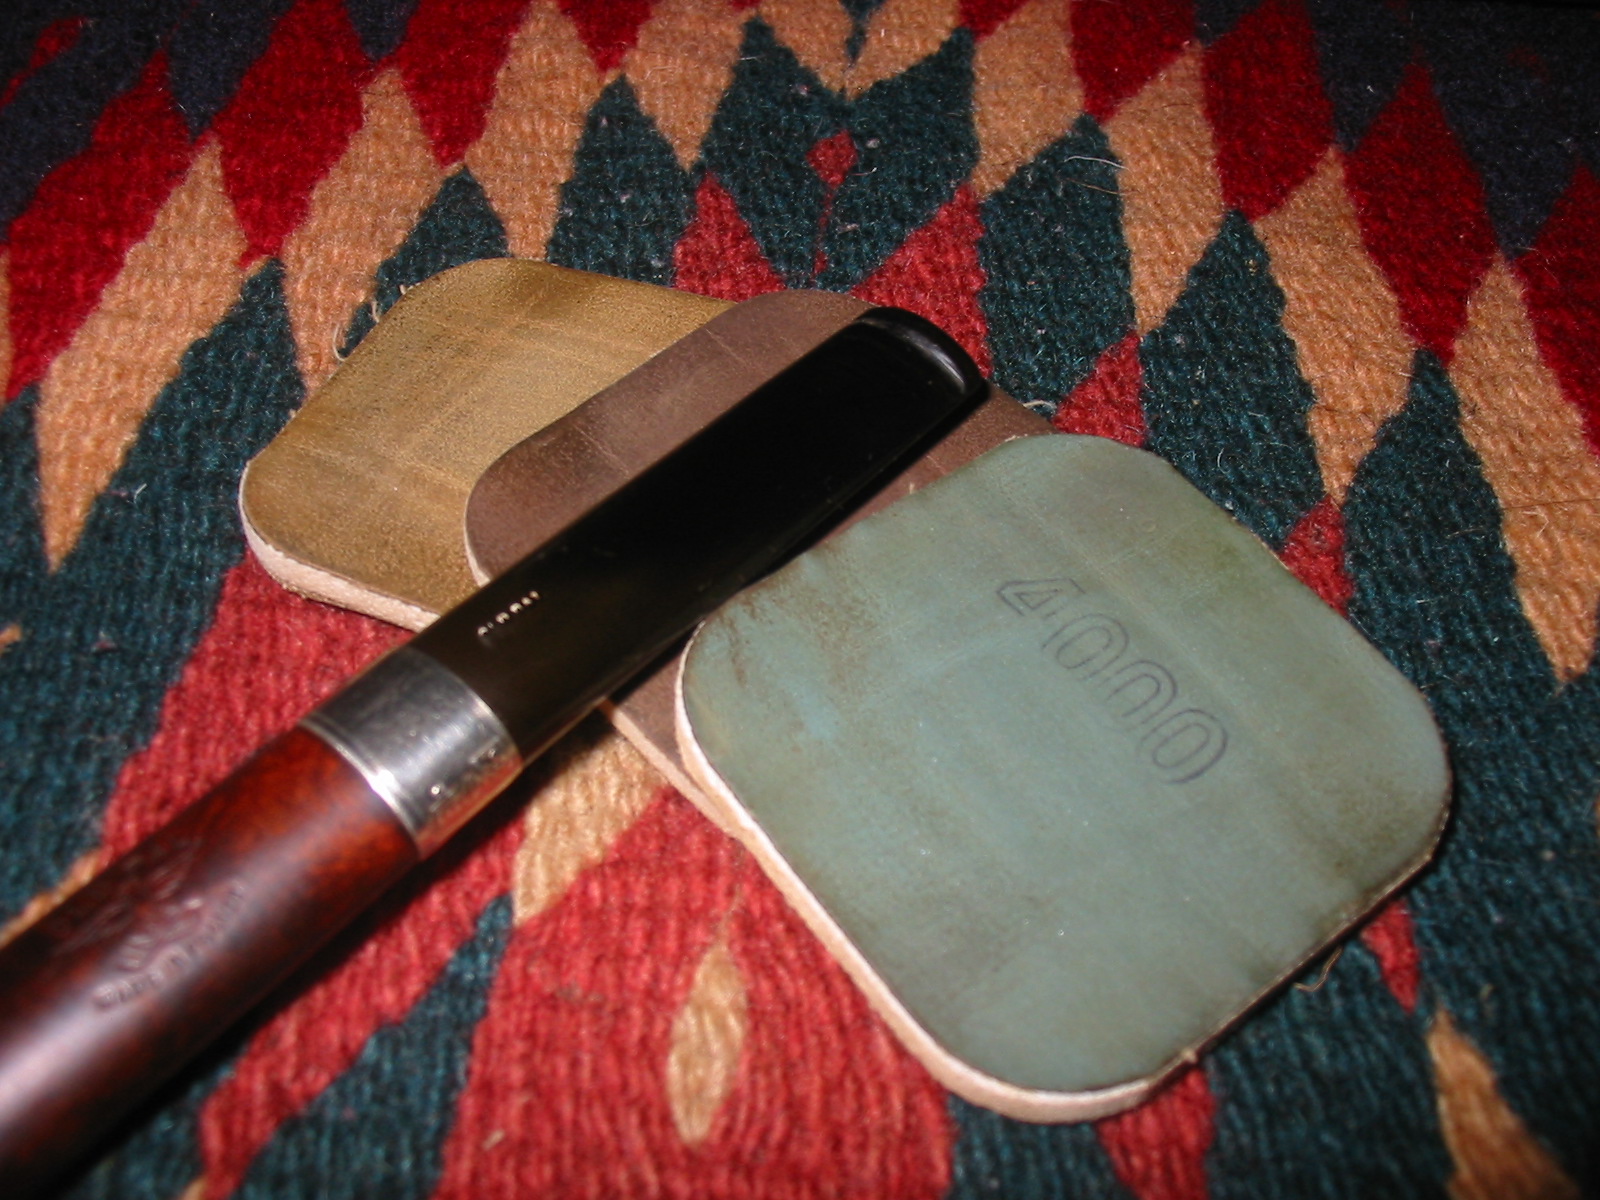
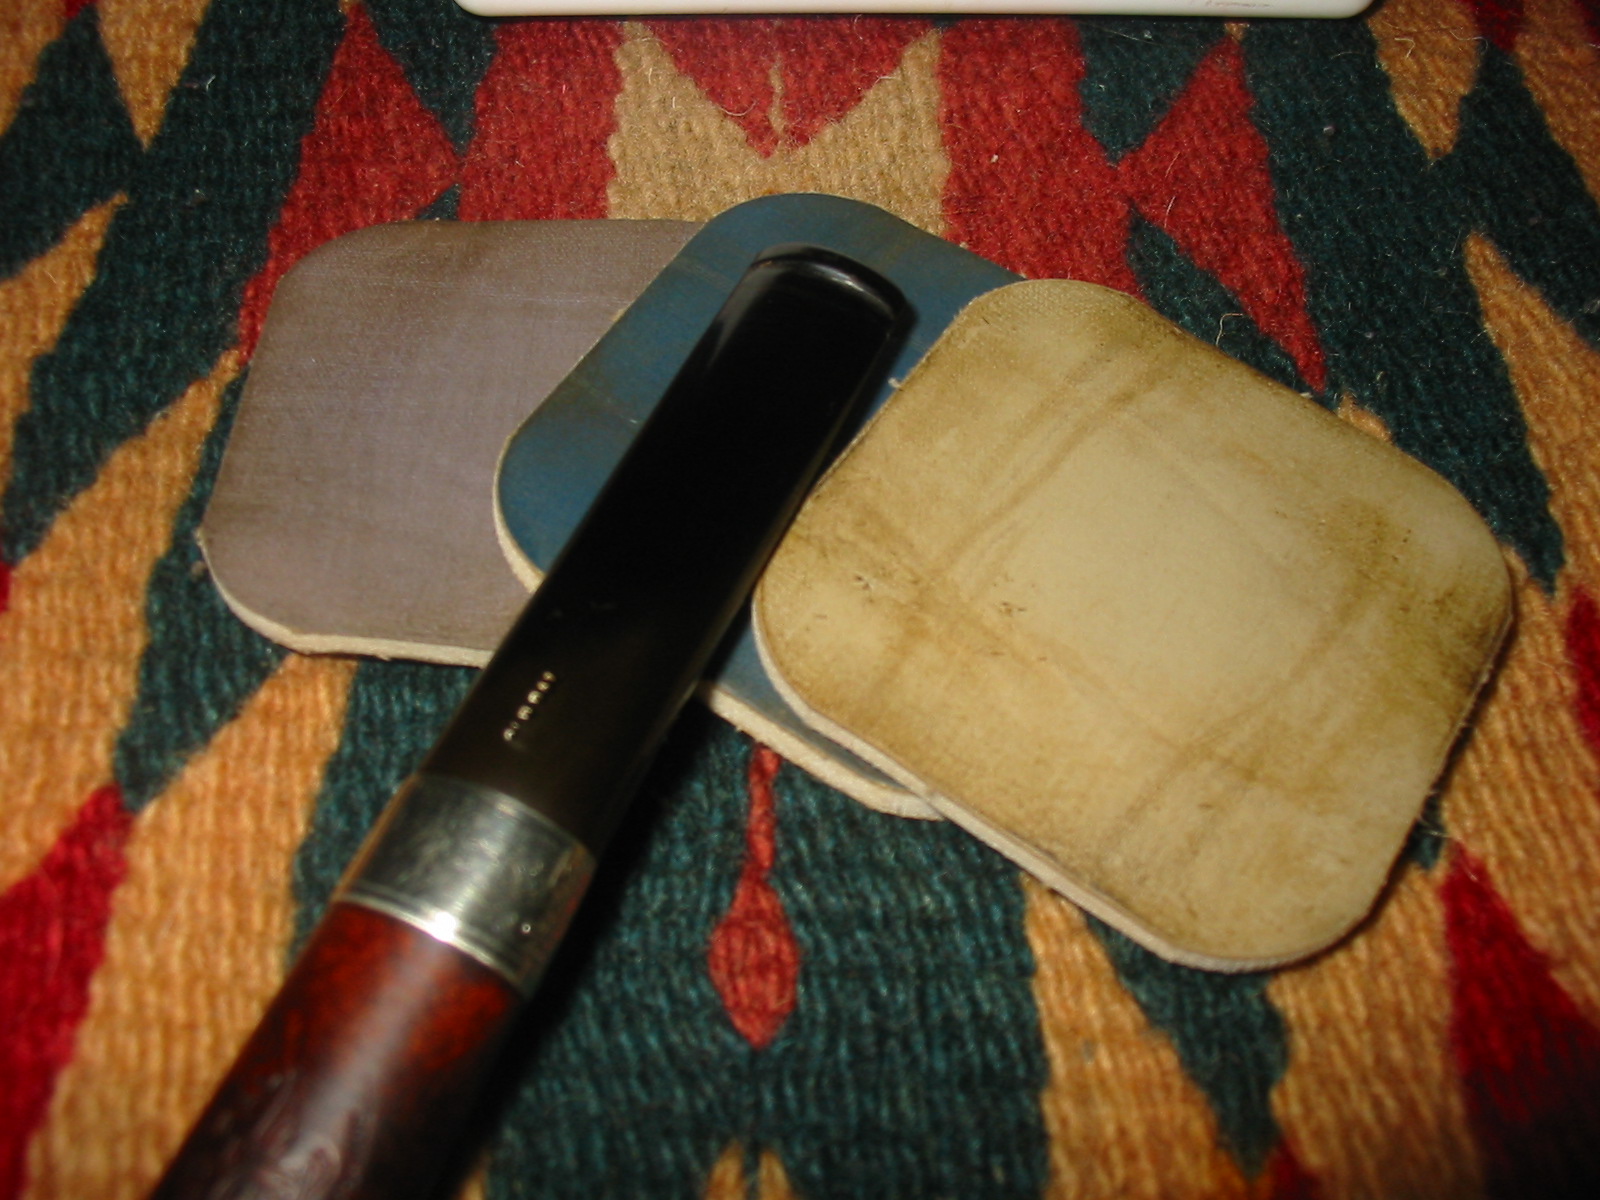
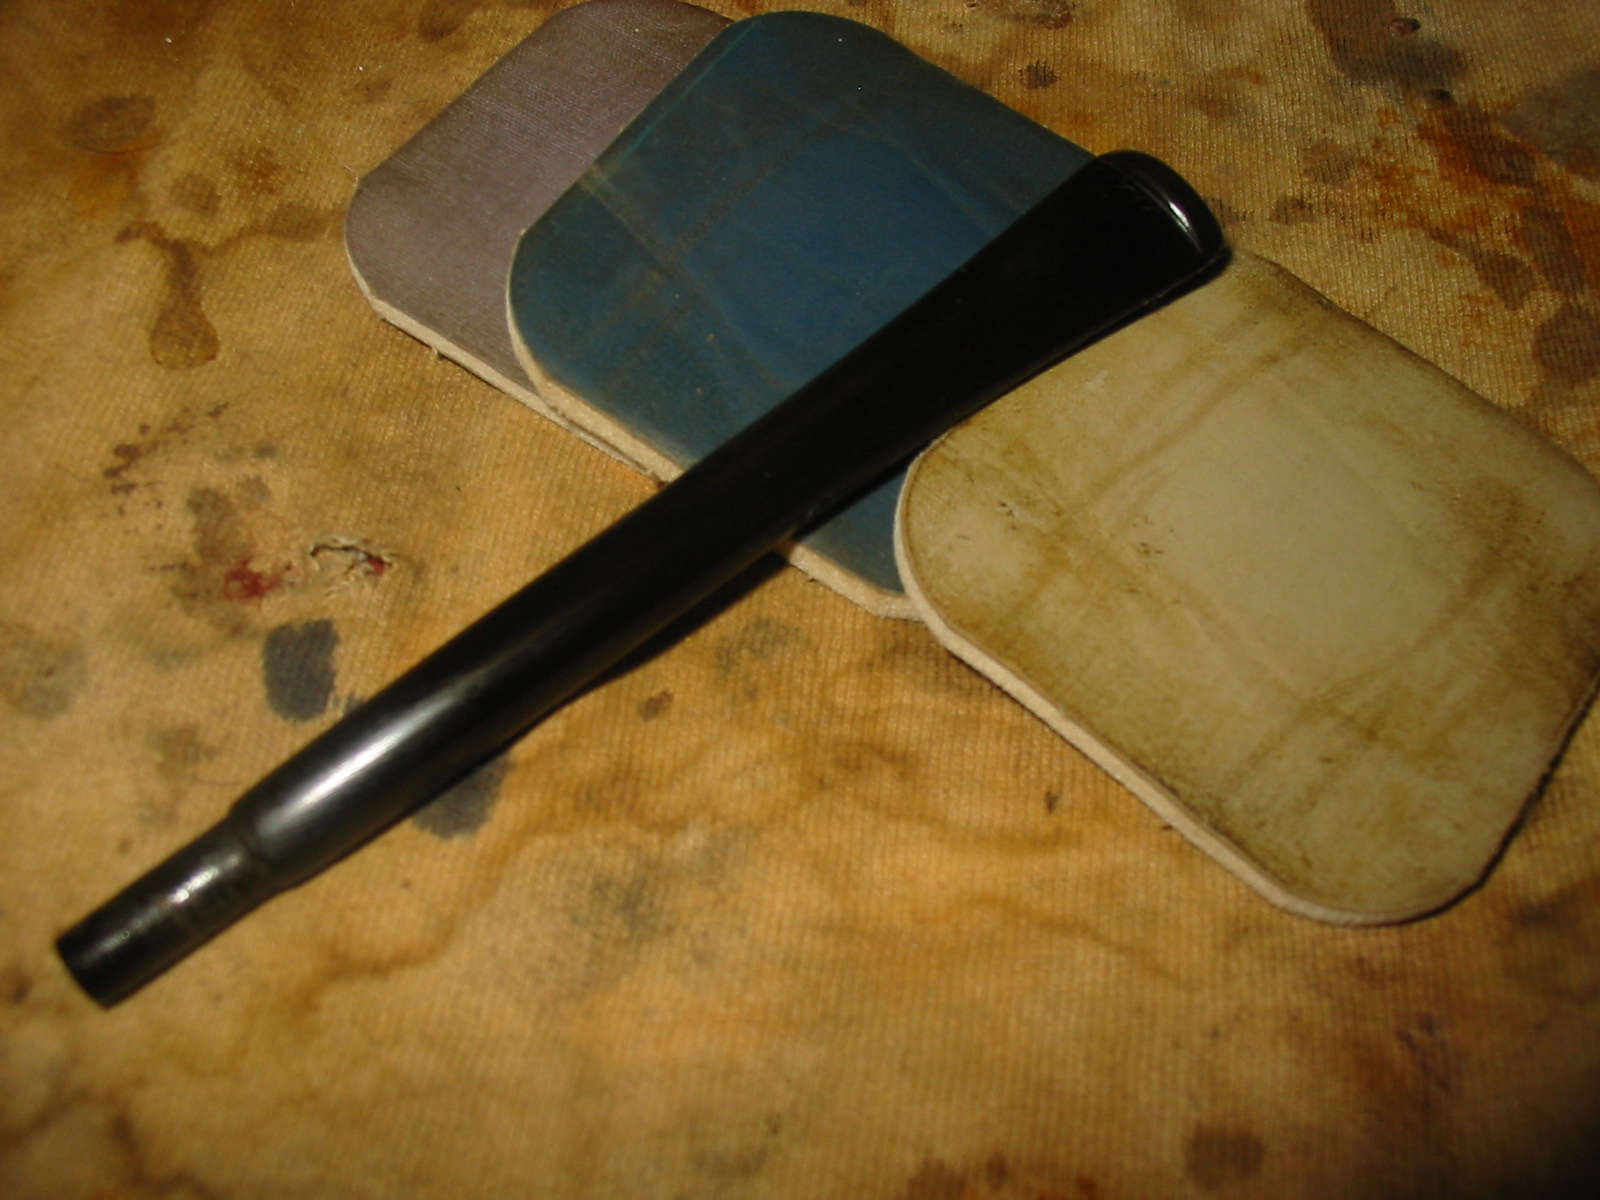
I removed the stem and worked on it with the sanding sponges and the micromesh sanding pads. I wet sanded with the 1500-2400 grit pads and dry sanded with the 3200-12000 grit pads. Between the wet and dry sanding I rubbed the stem down with Meguiar’s Scratch x2.0 and then buffed it with White Diamond. I finished the sanding and then rubbed the stem with Obsidian Oil. Once it was dry I gave it a quick buff with White Diamond and then gave it multiple coats of carnauba wax and buffed it with a soft flannel buff.

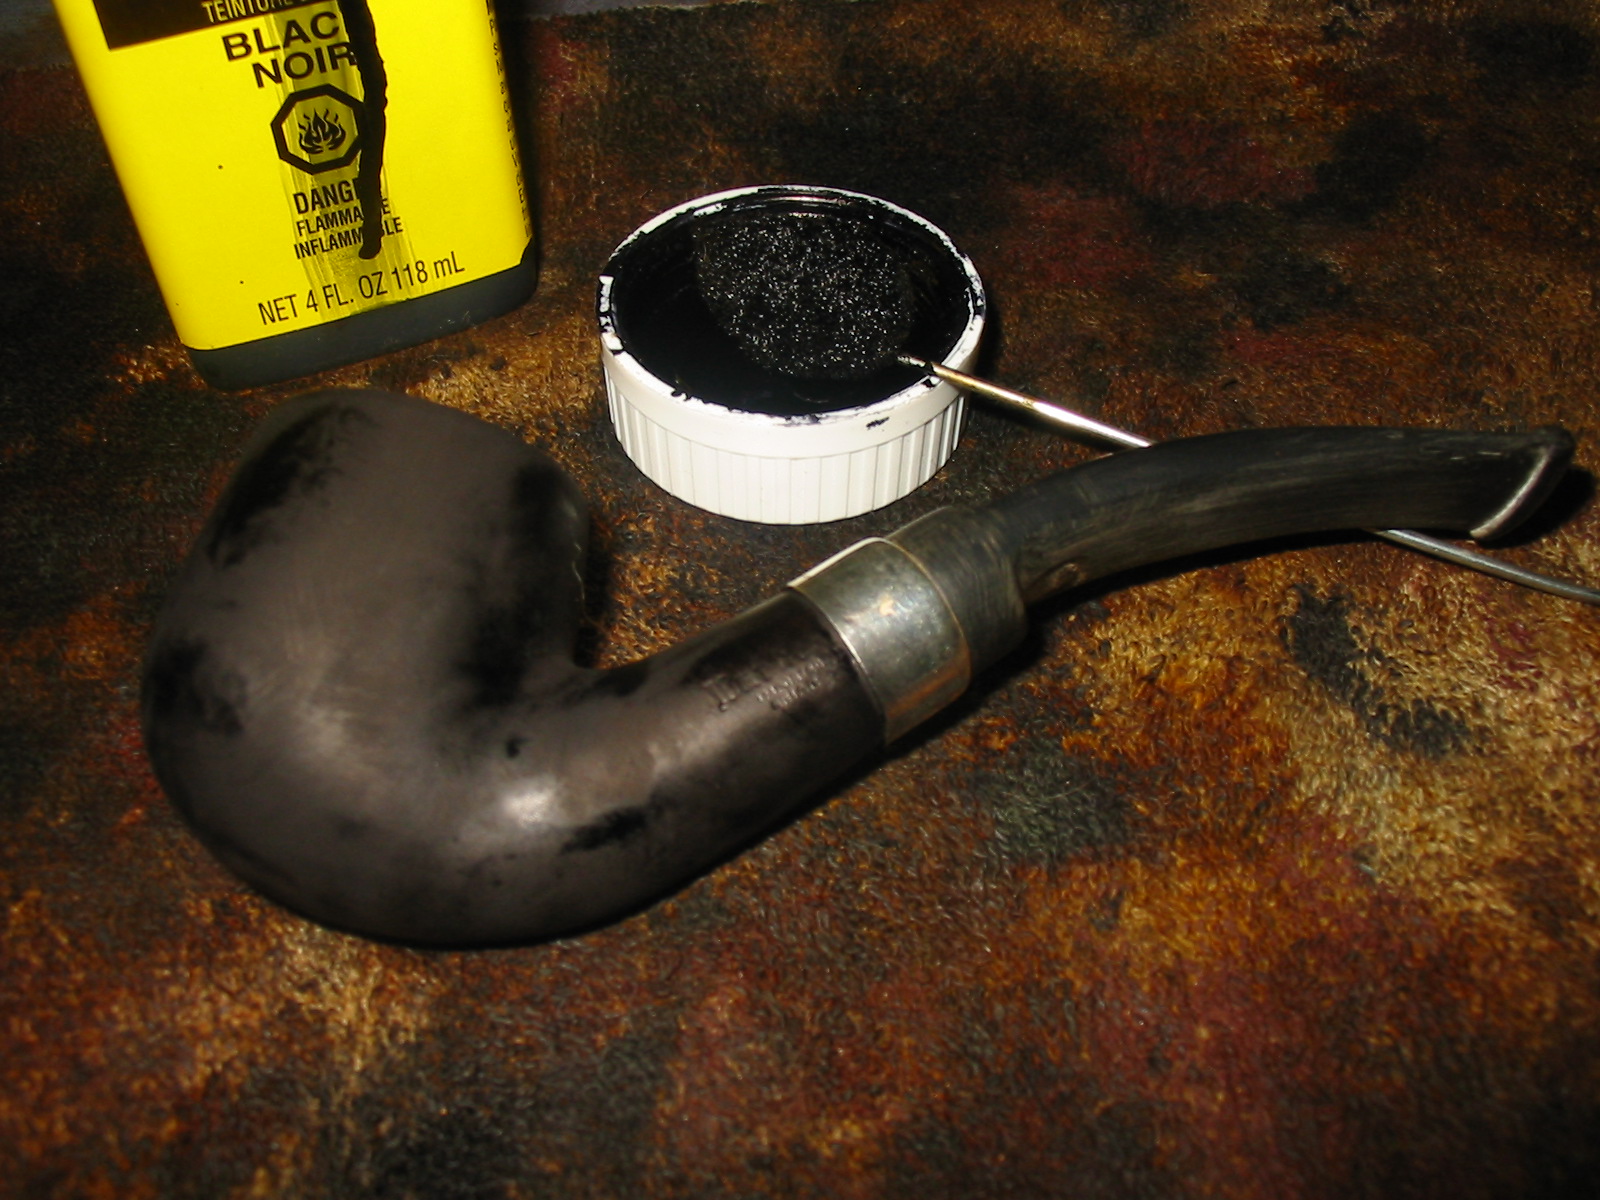
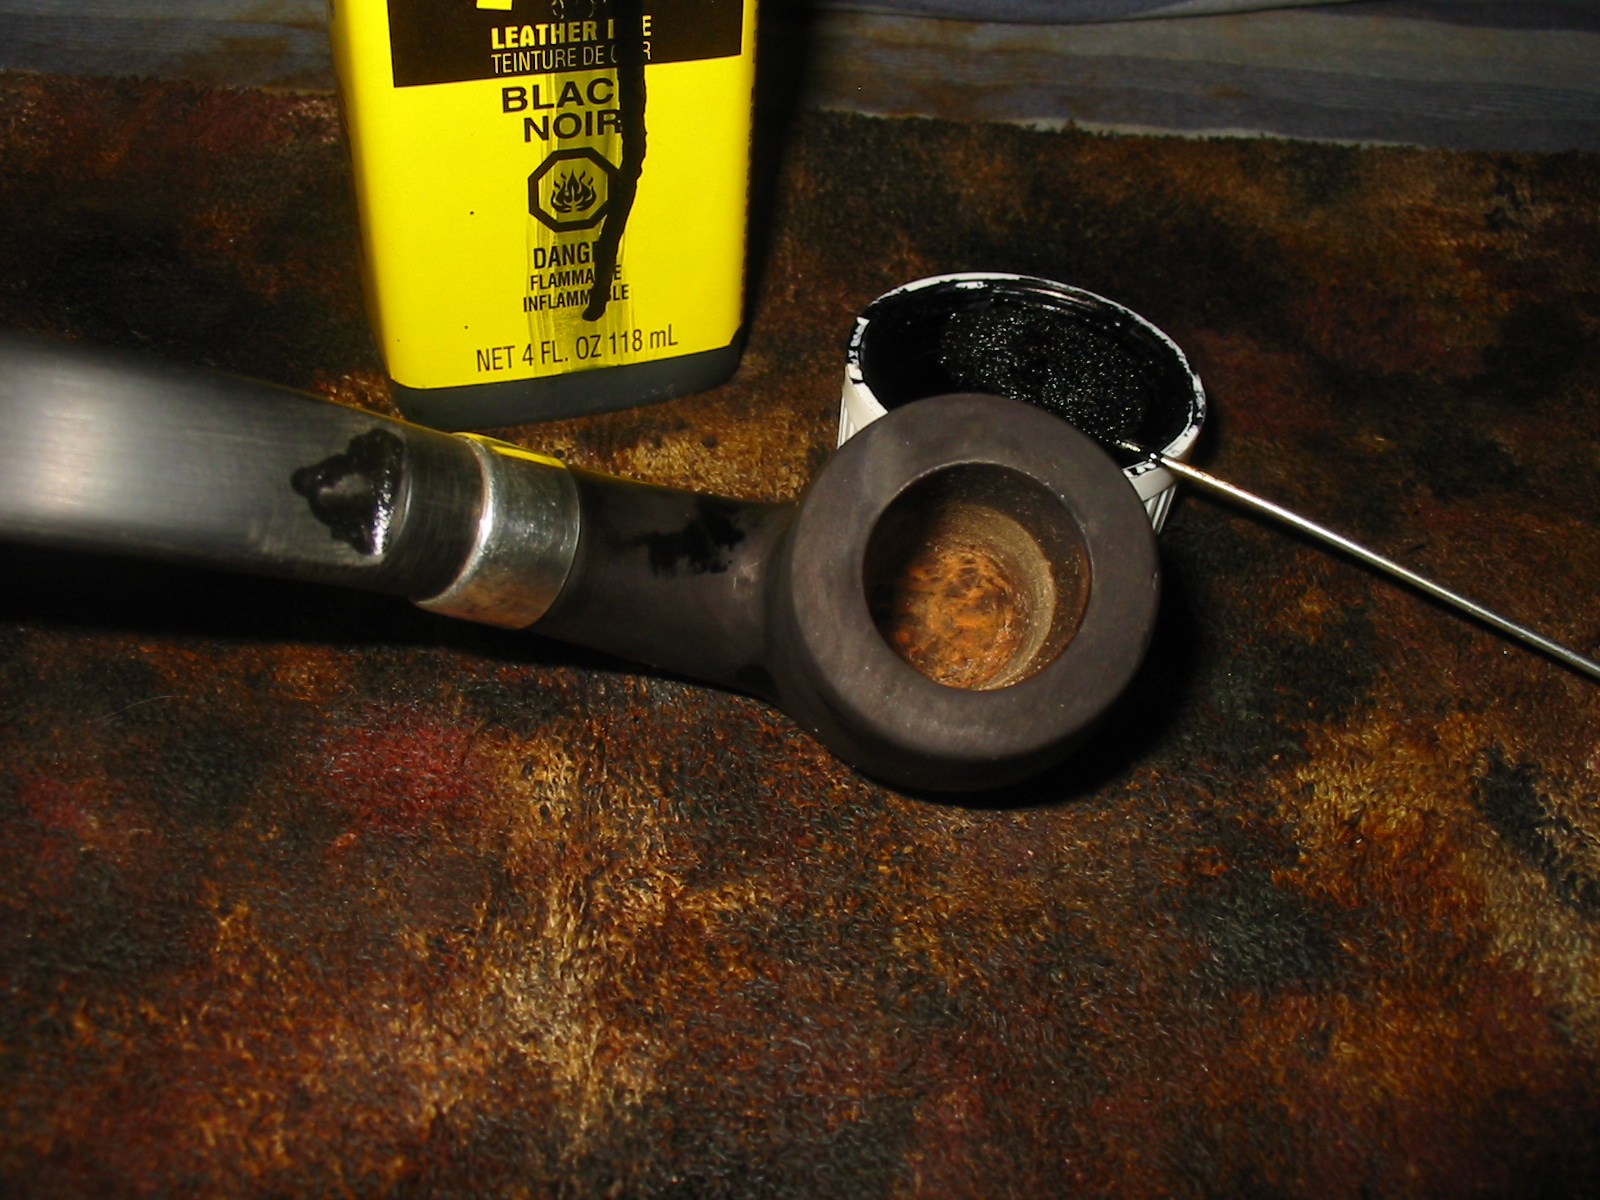
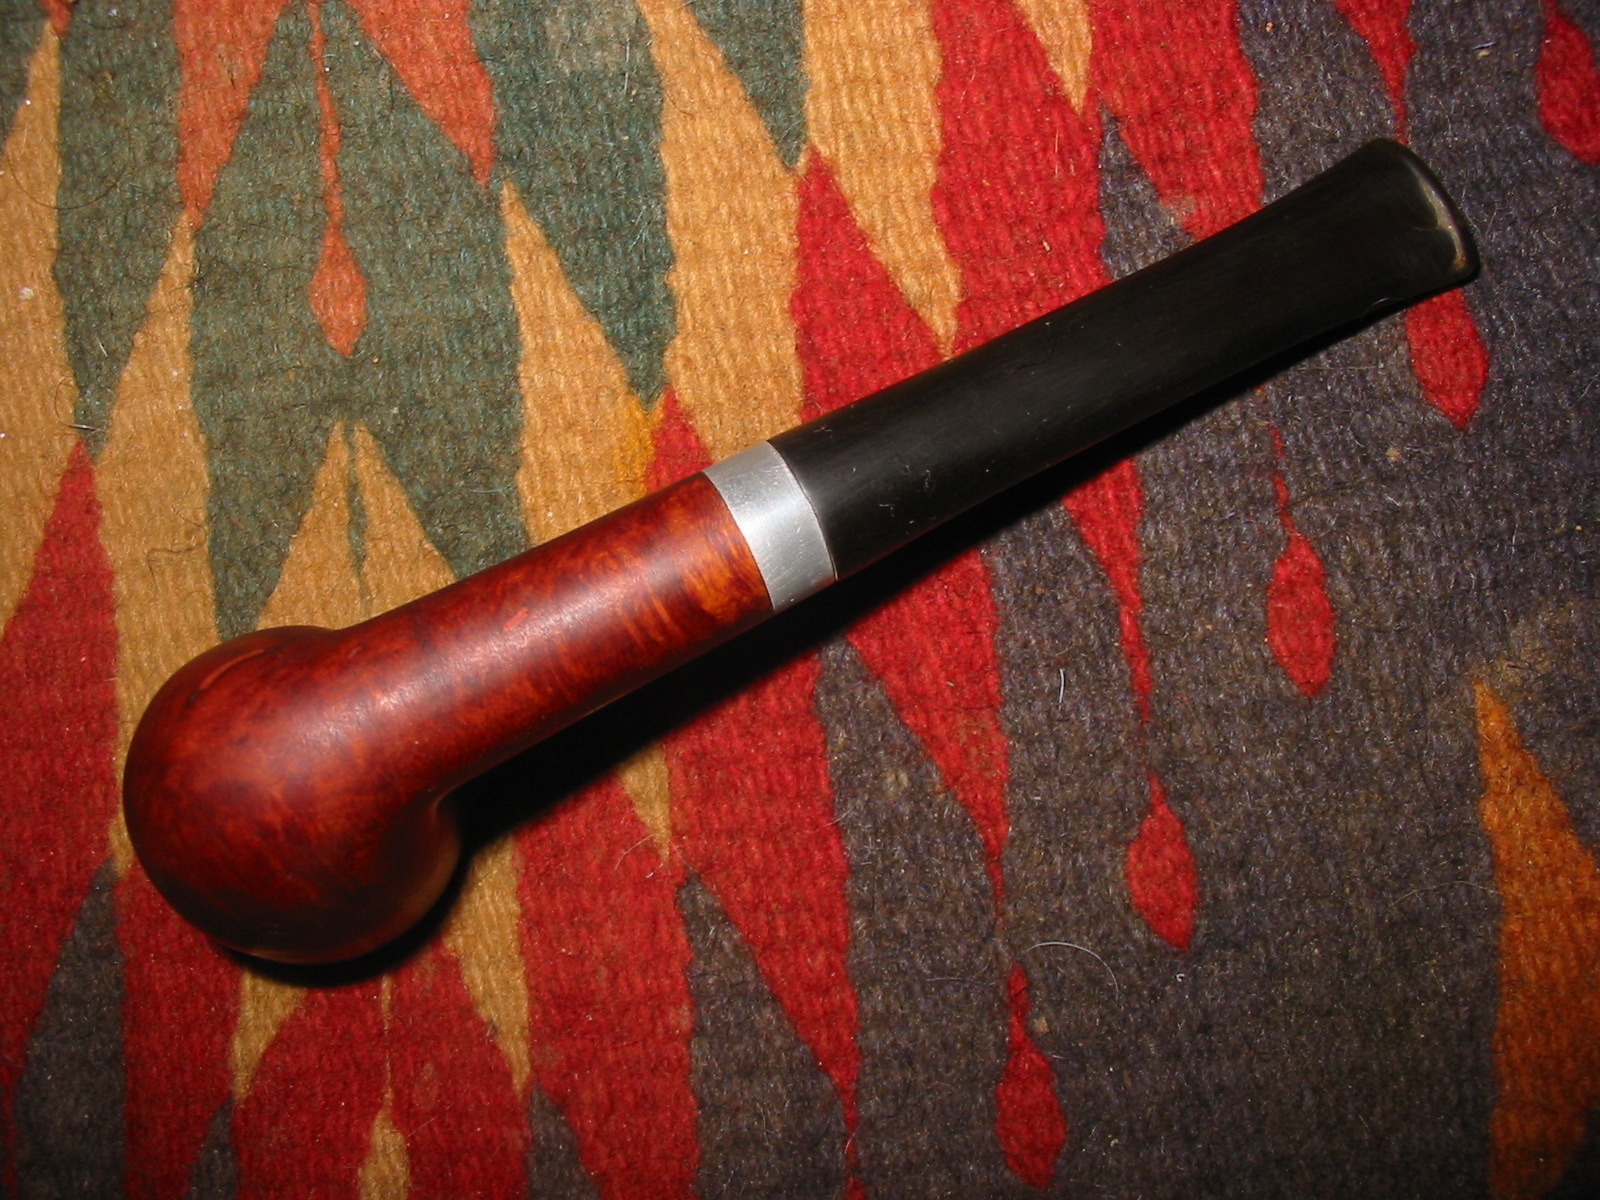
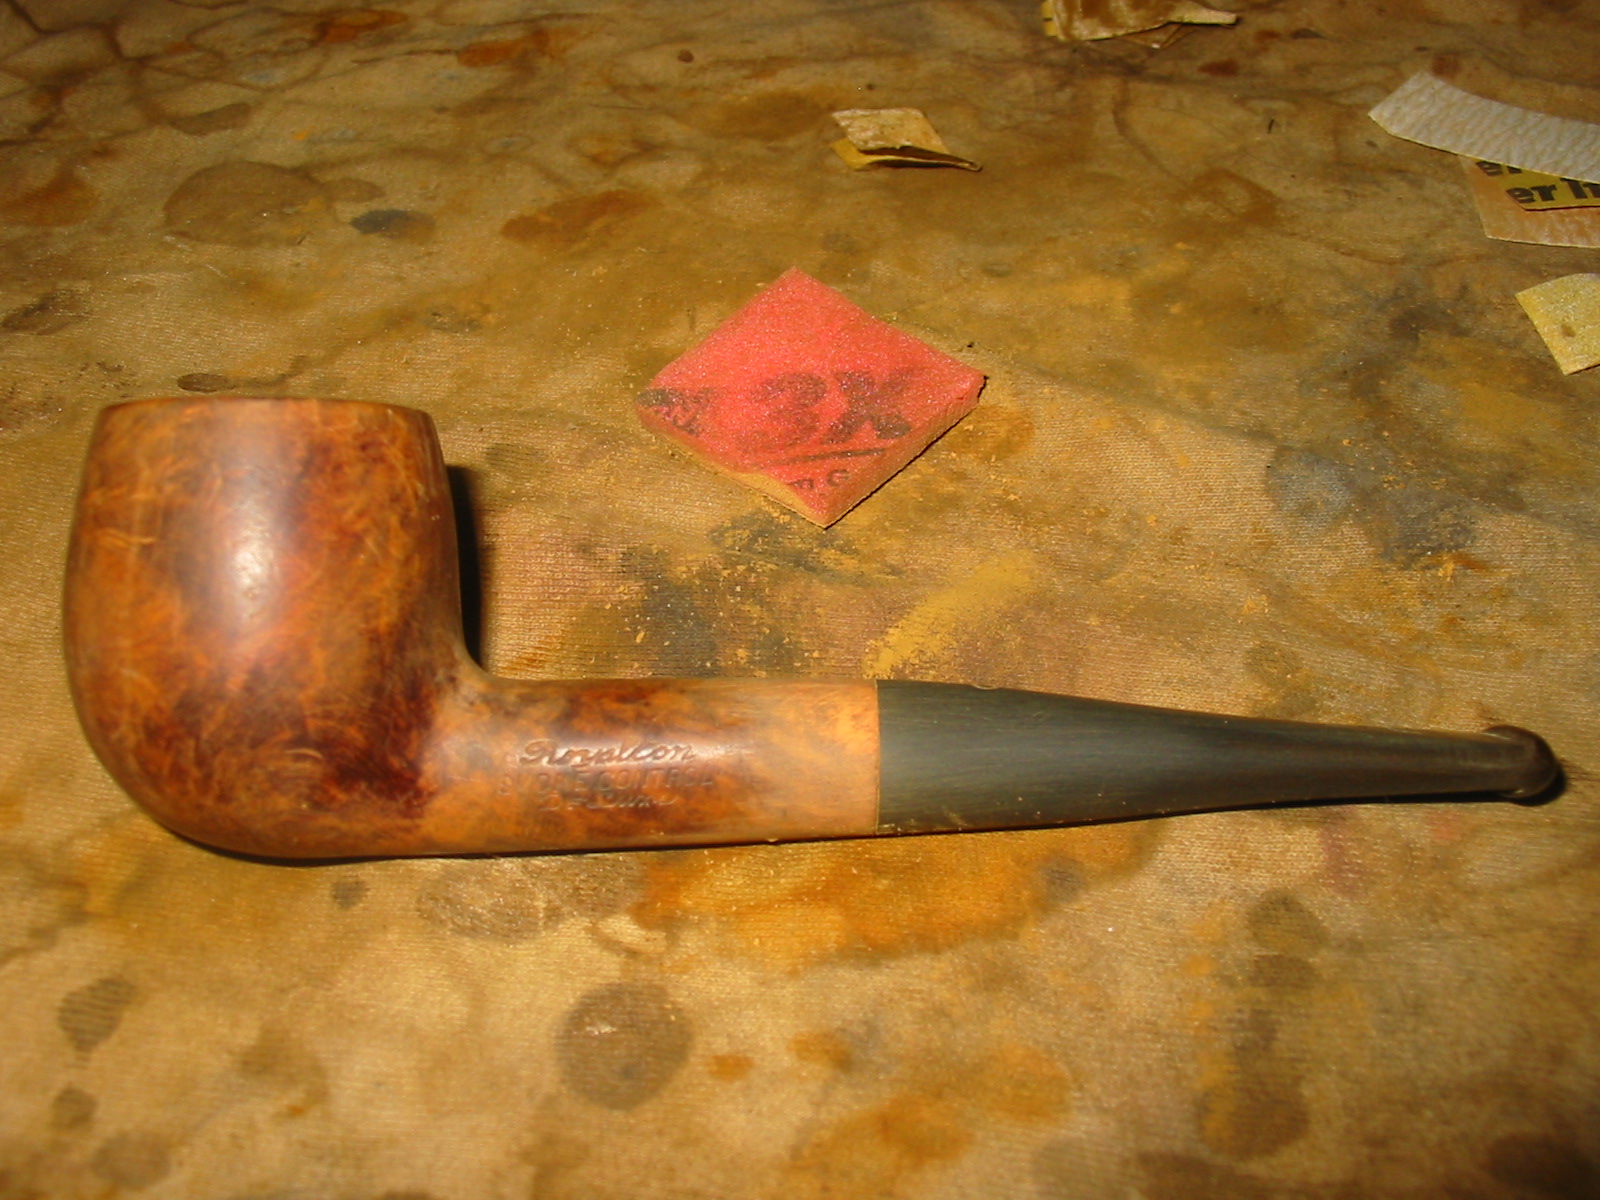
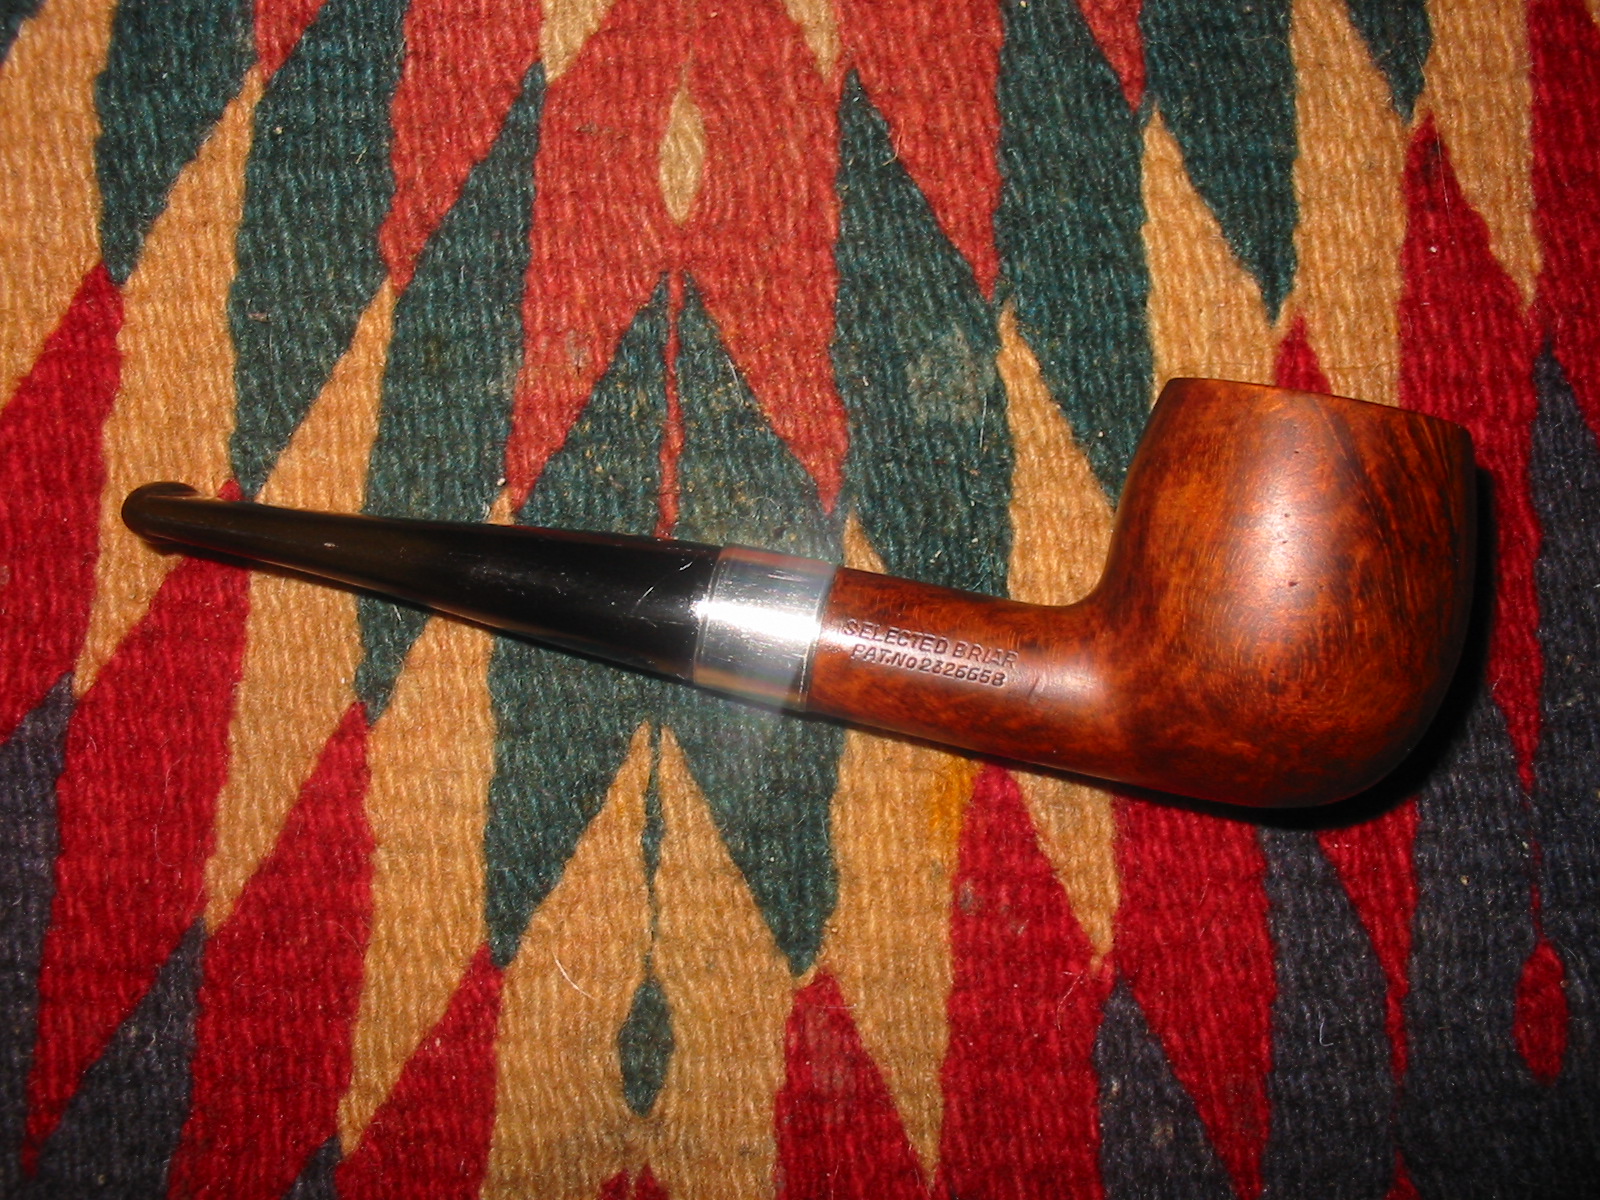
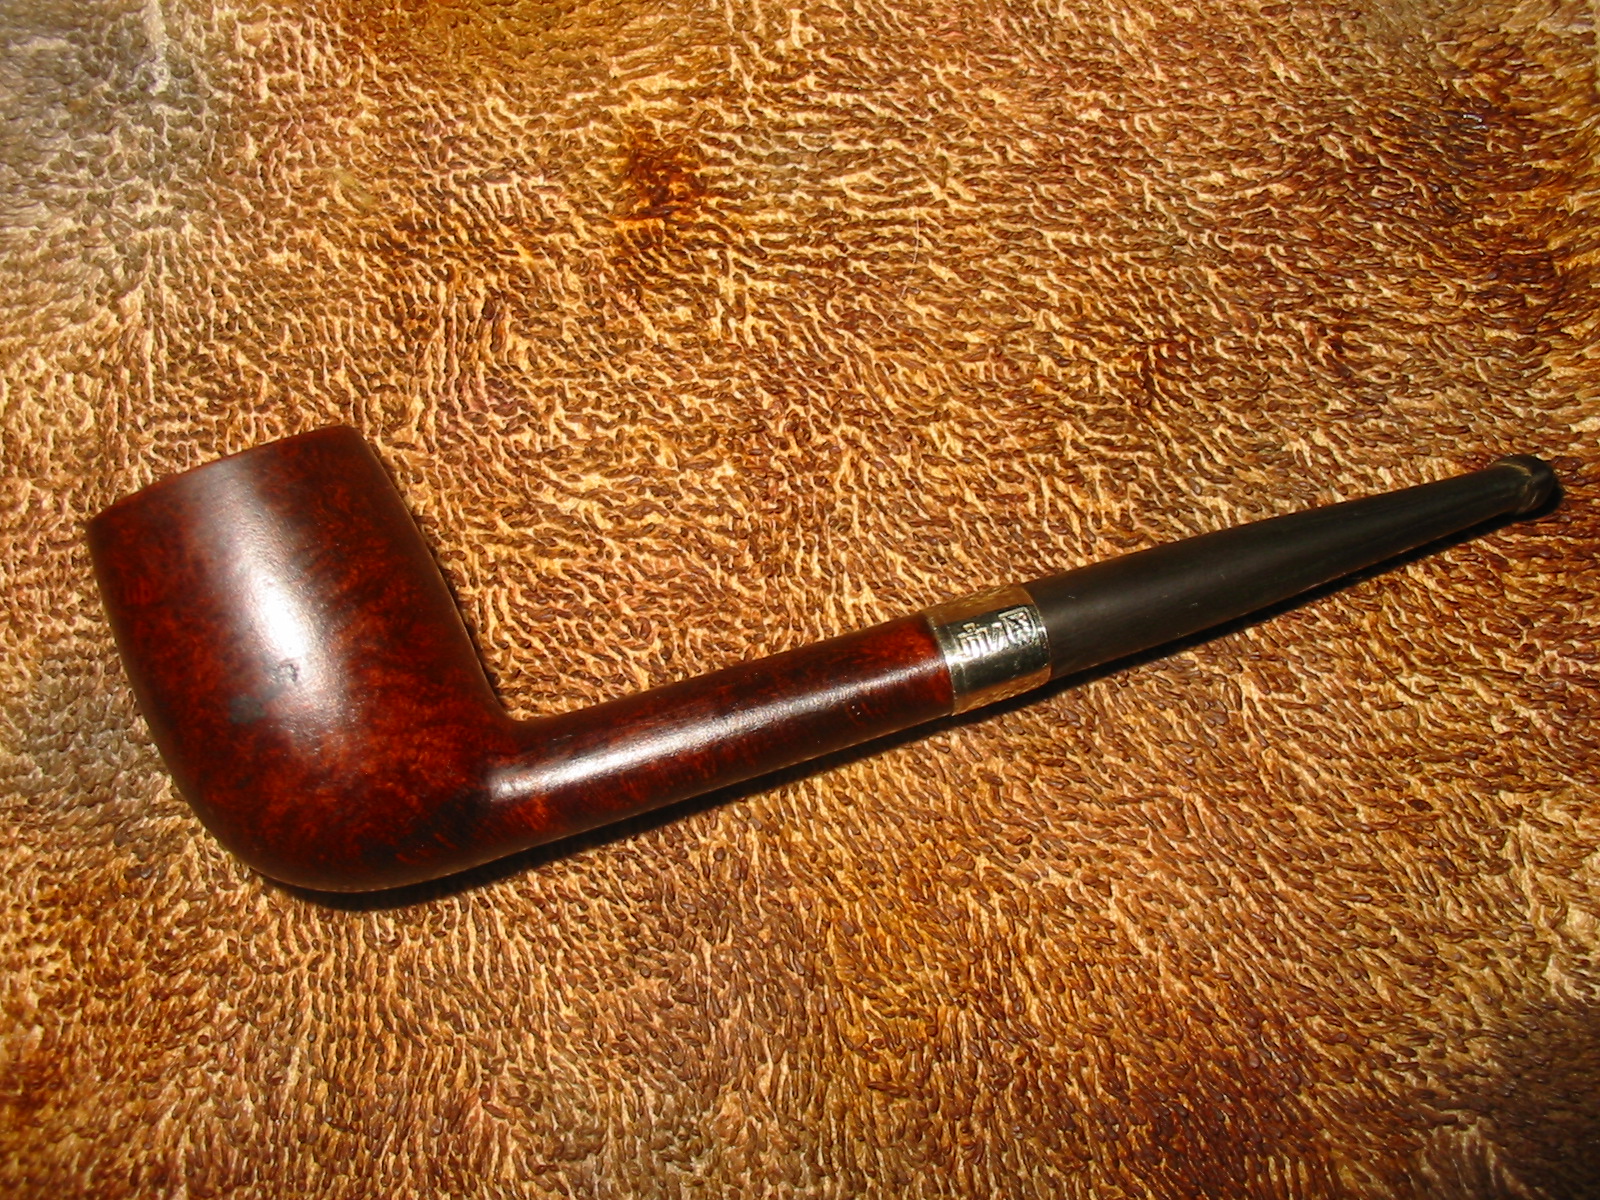
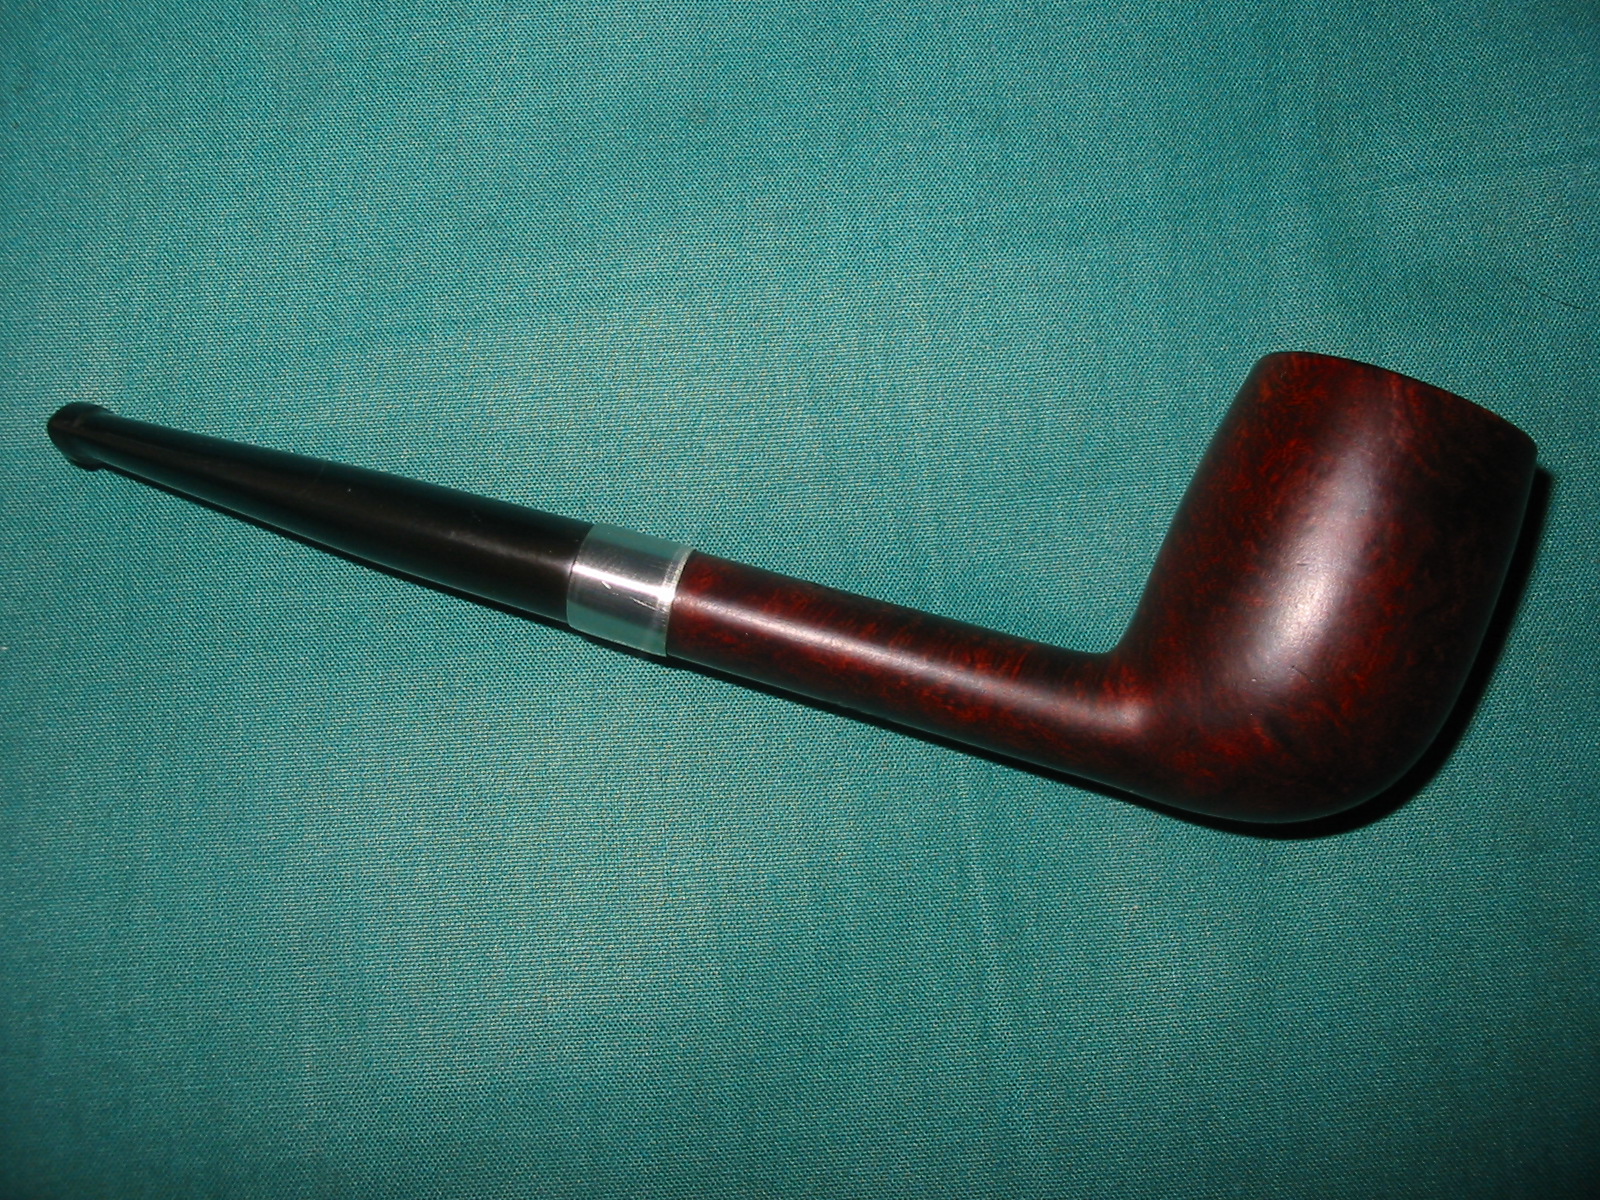
I scrubbed the surface of the gourd with Oil Soap and a light sanding with the fine grit sanding sponge to remove some of the deeper grime and oils in the gourd. I then applied several coats of Paragon Wax and hand buffed the gourd with a shoe brush to raise a shine. I polished the silver band with some silver polish and then reinserted the stem. I gave the whole pipe a final buff with the brush before setting the meerschaum cup in place. The finished pipe is shown in the photos below. It is a deep bowl and should hold a good pack of tobacco. The broad mushroom cap of the meerschaum cup looks good to me. The pipe is ready for its inaugural smoke. Now the only problem remaining is what tobacco to use to christen this restored calabash. Ah well that will sort itself out soon enough. Time to post this on the blog.