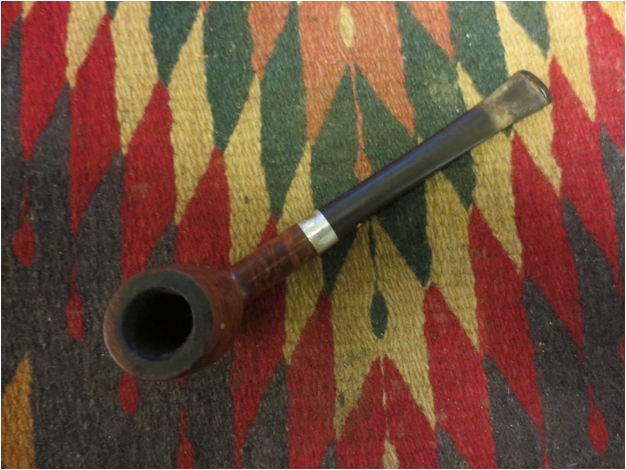
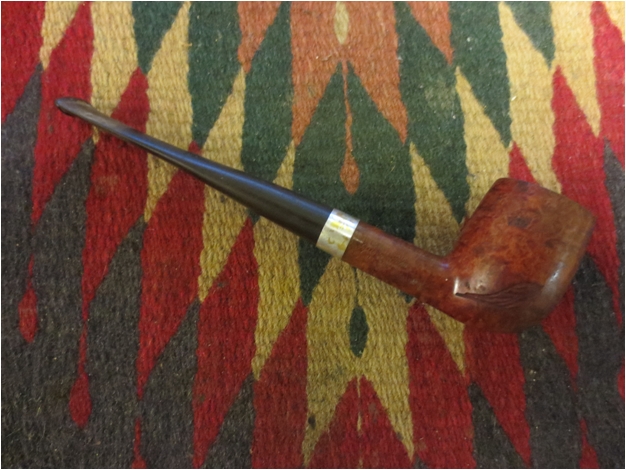
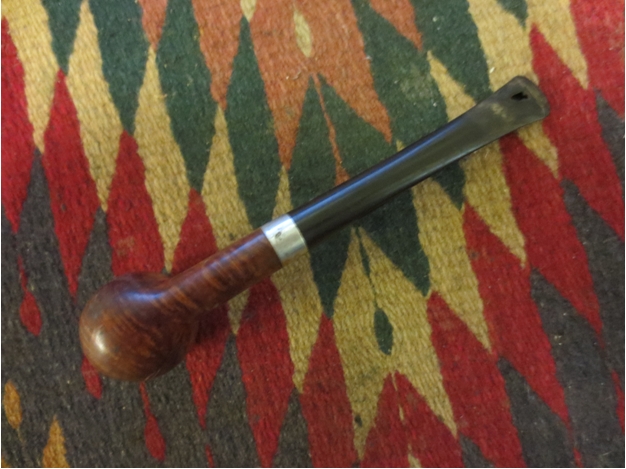
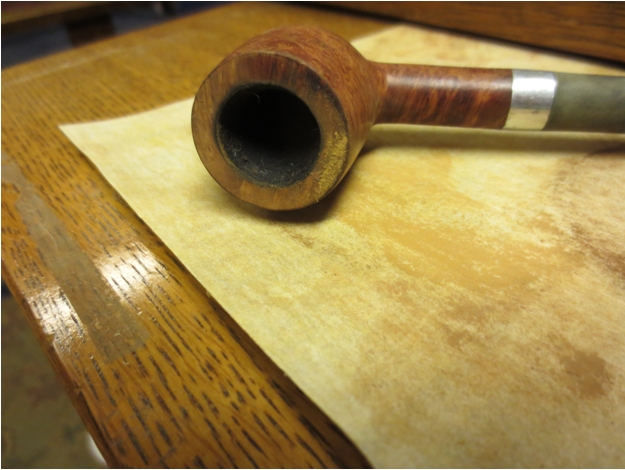
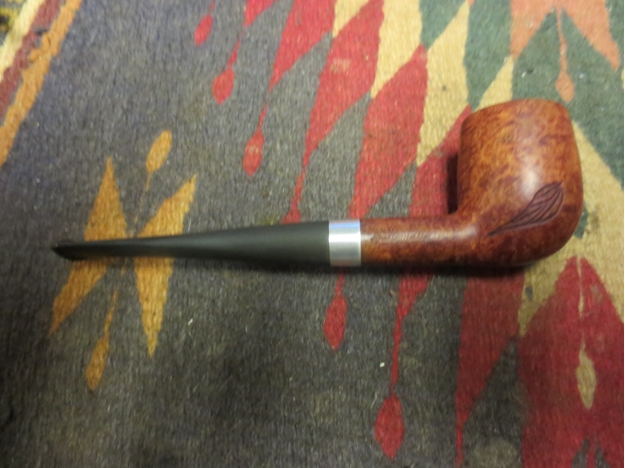
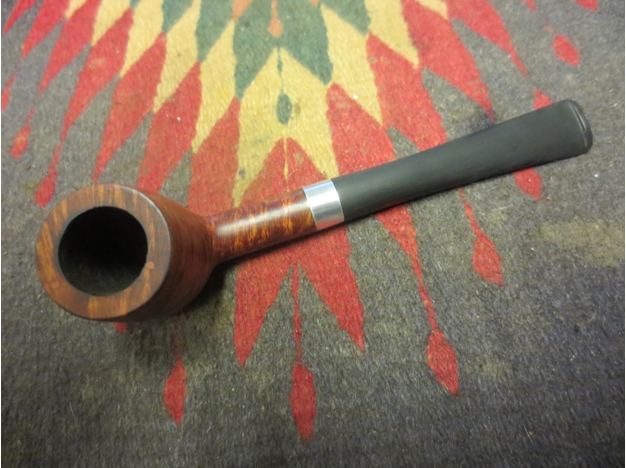
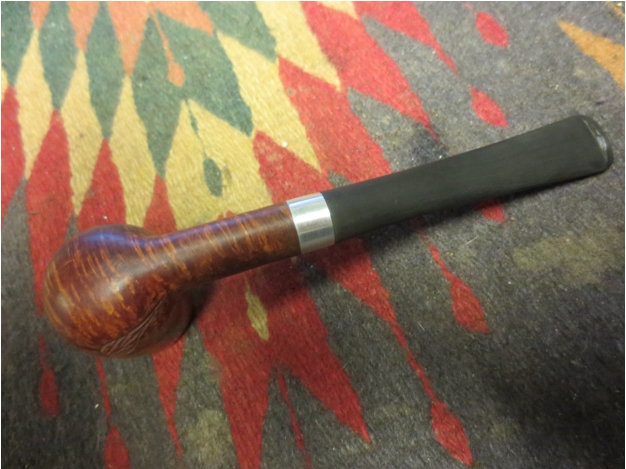
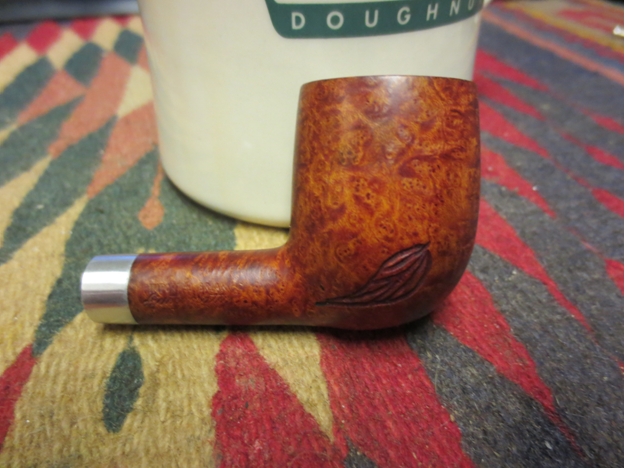
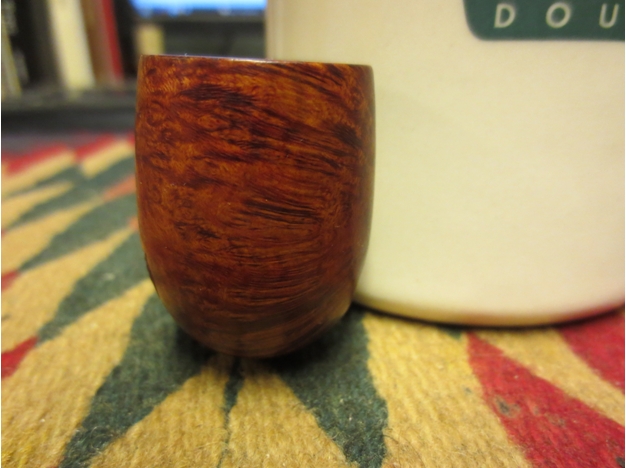
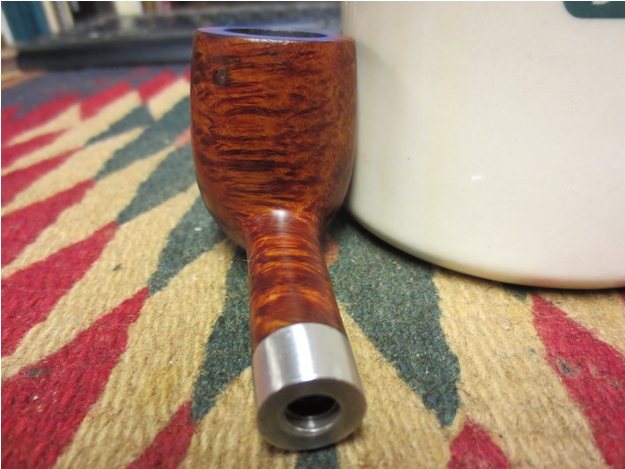
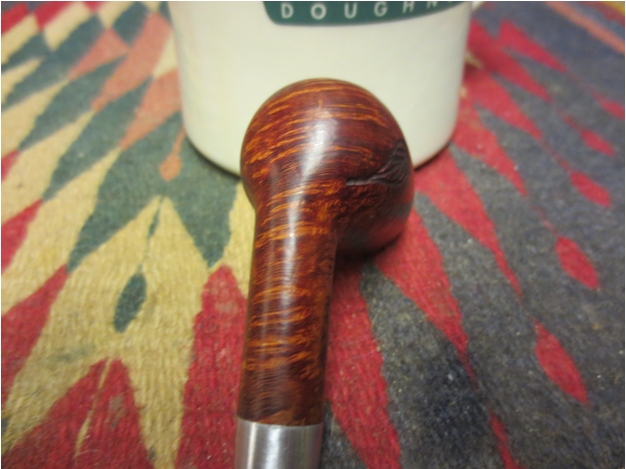
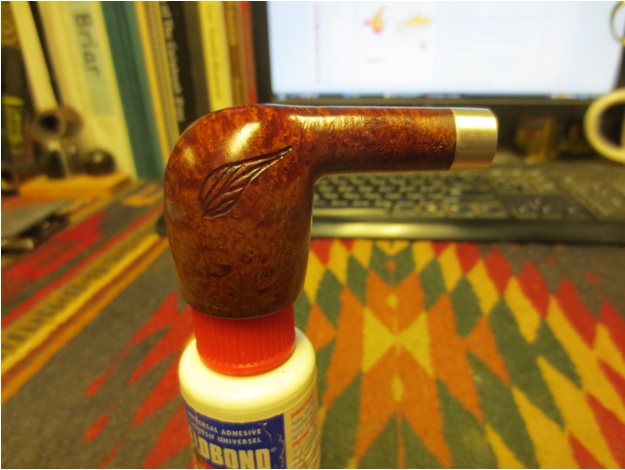
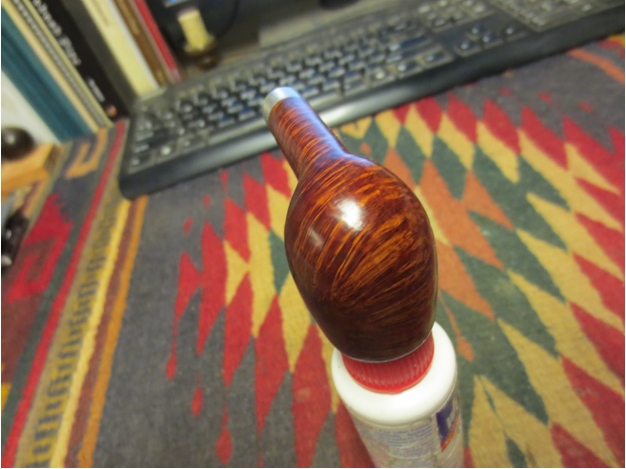
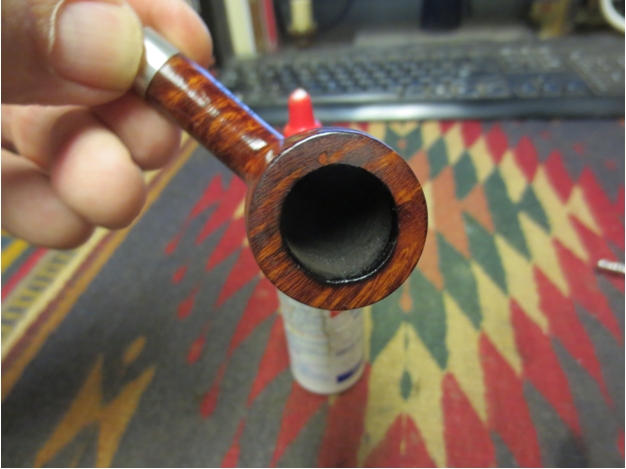
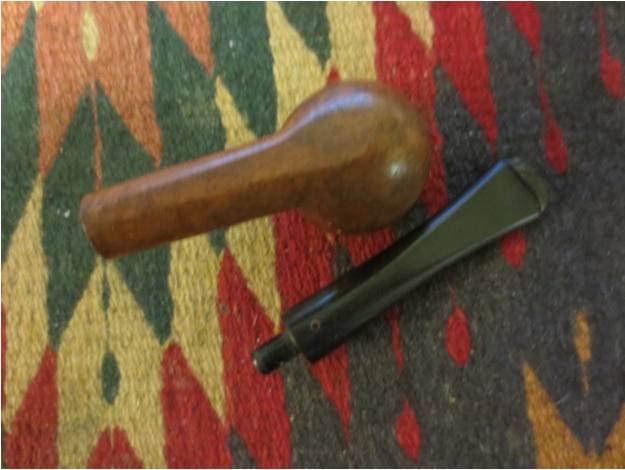
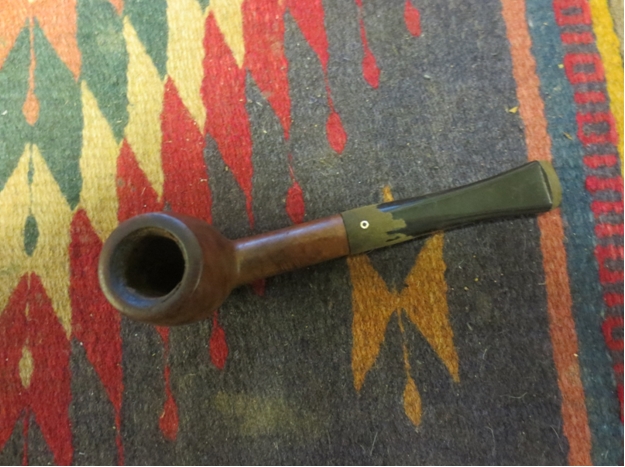
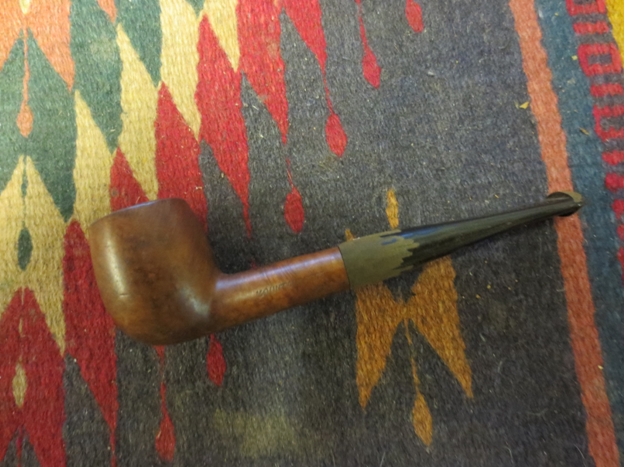
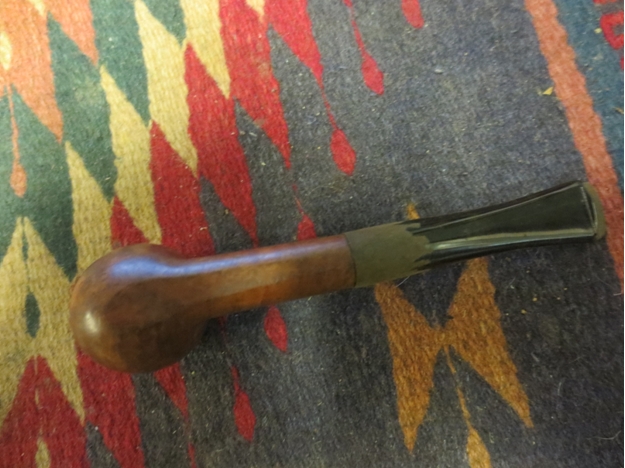
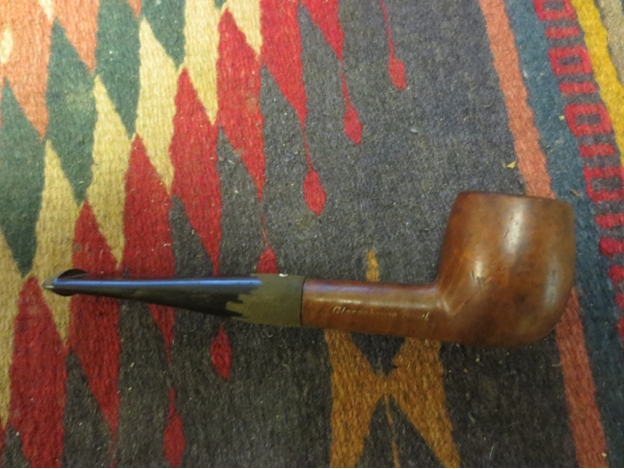
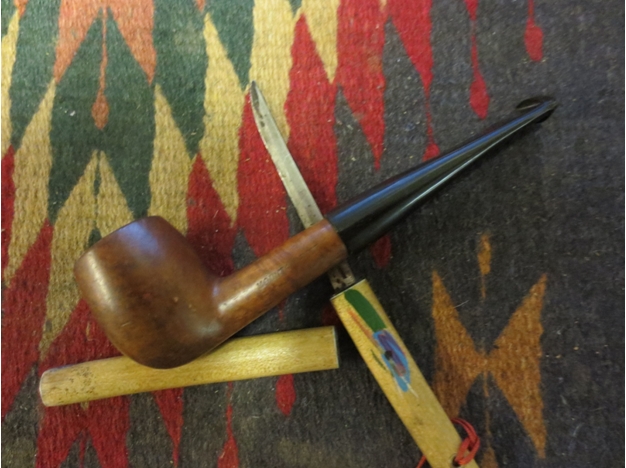
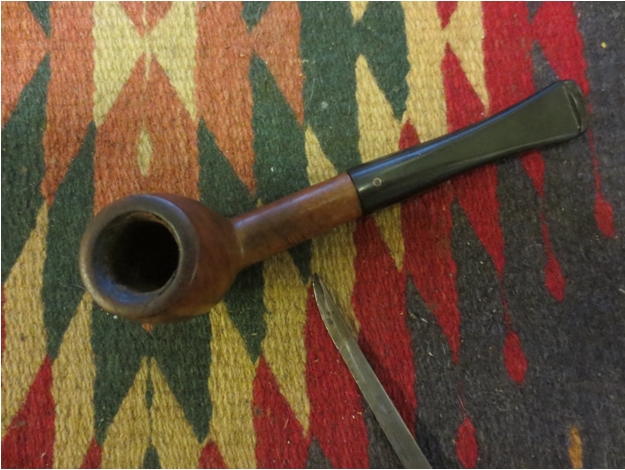
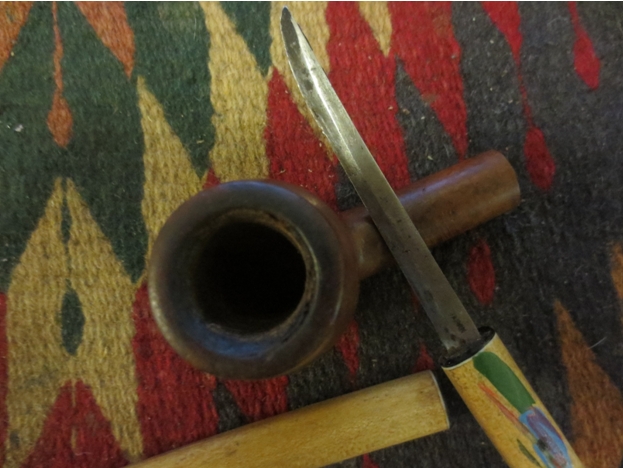
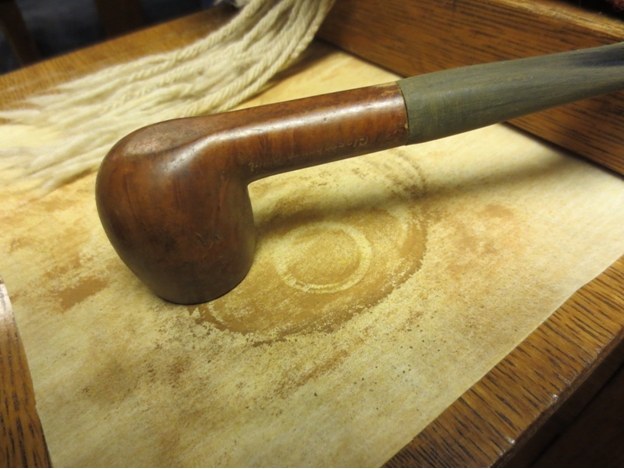
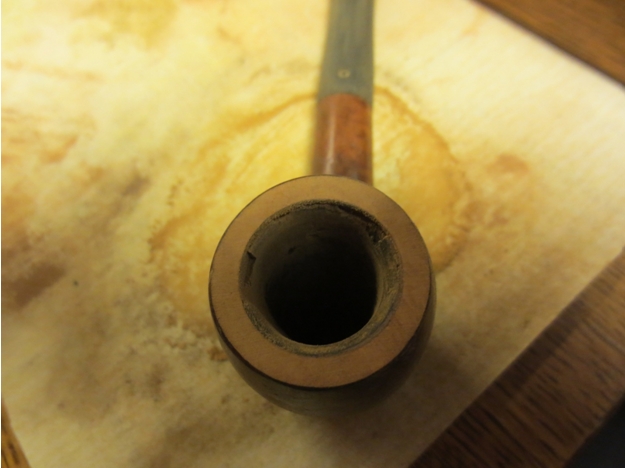
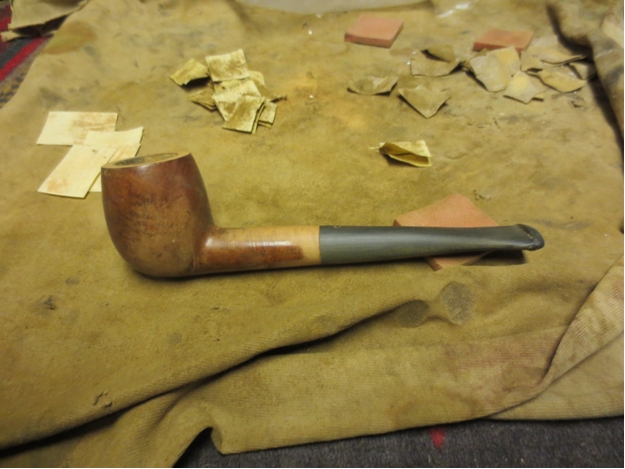
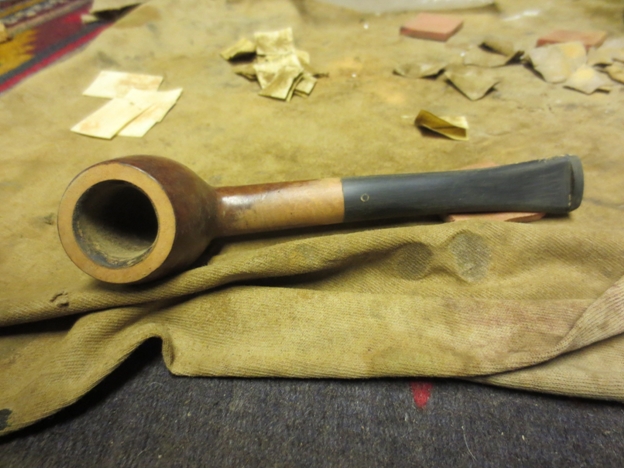
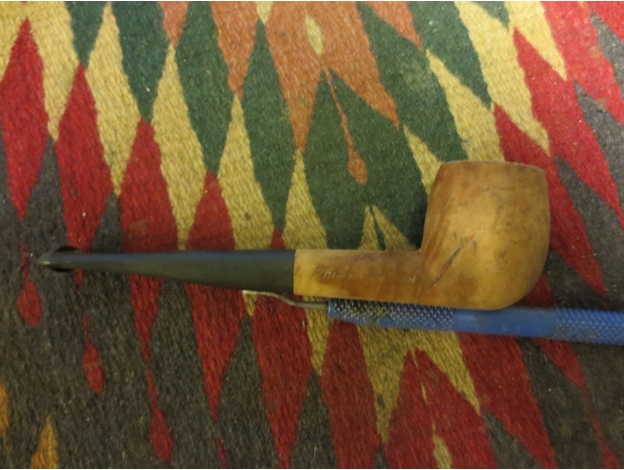
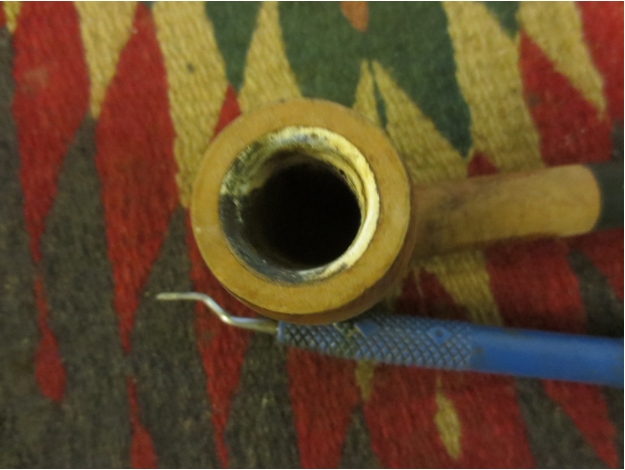
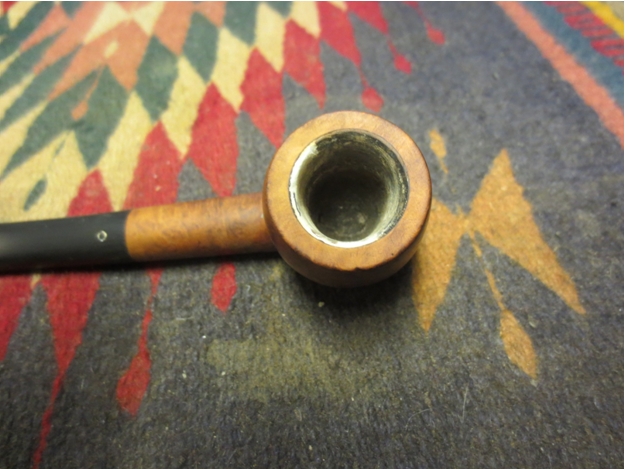
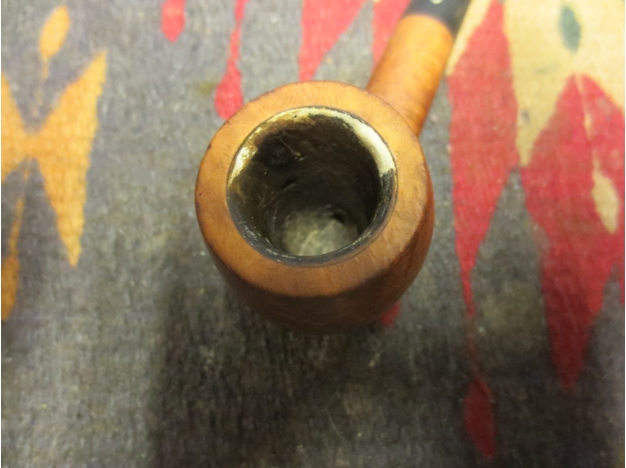
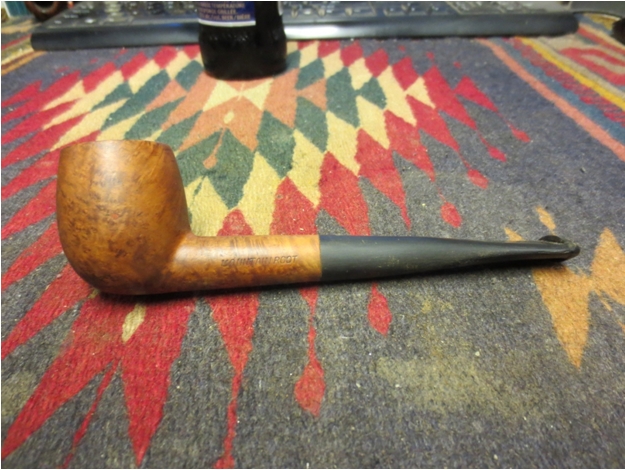
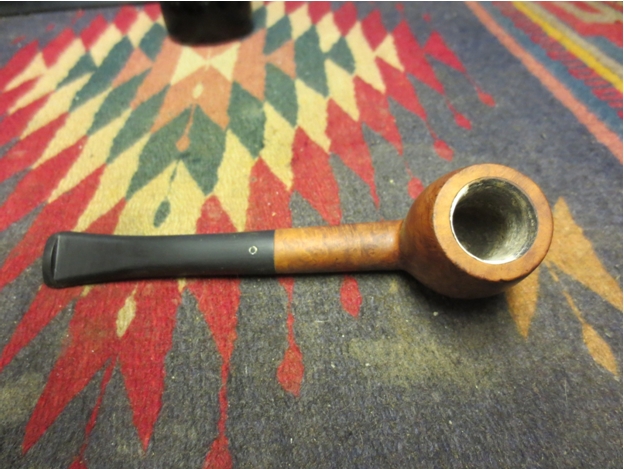
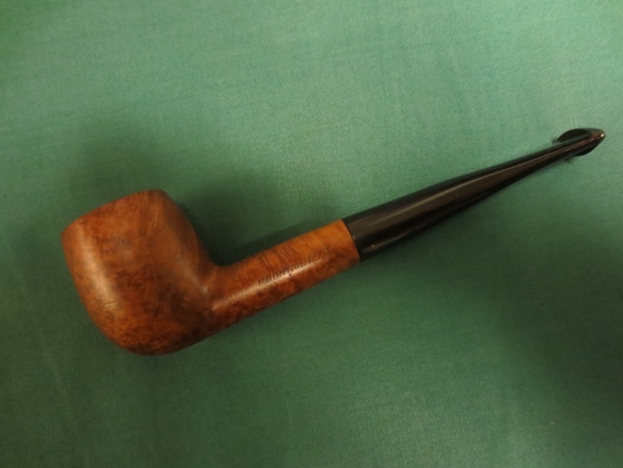
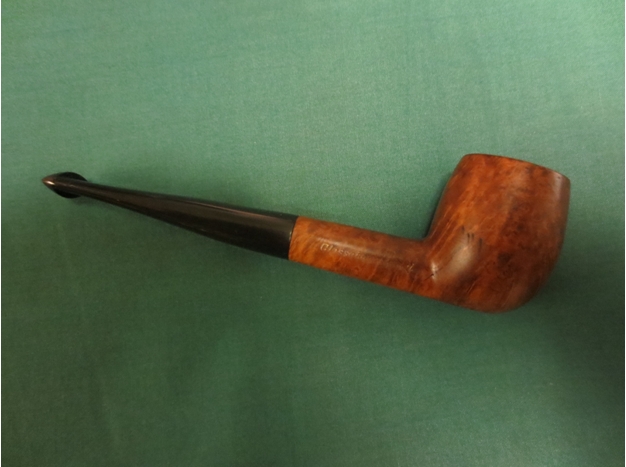
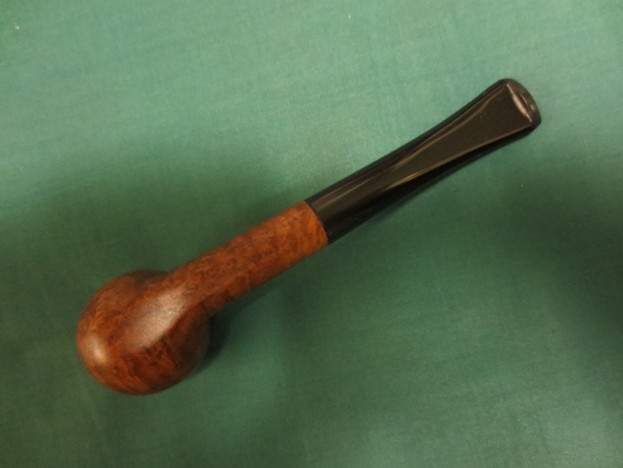
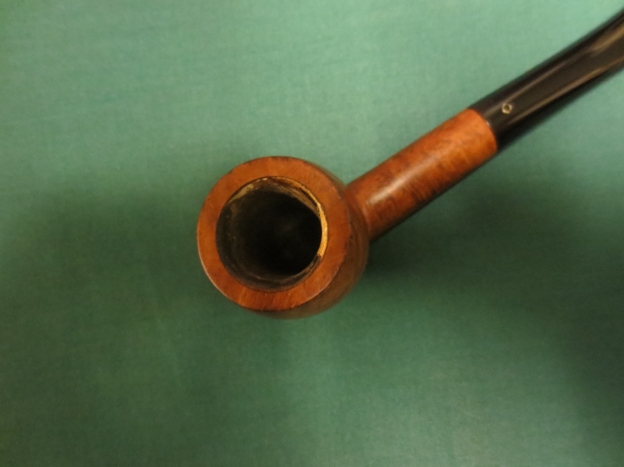
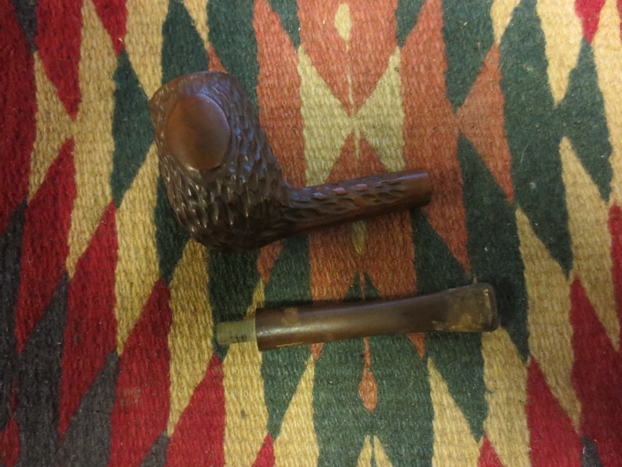
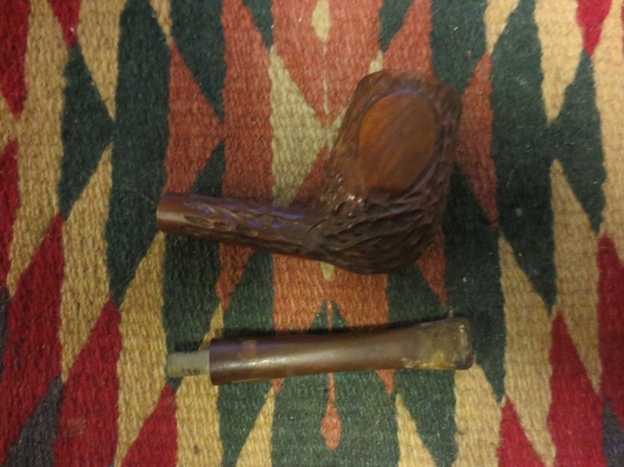
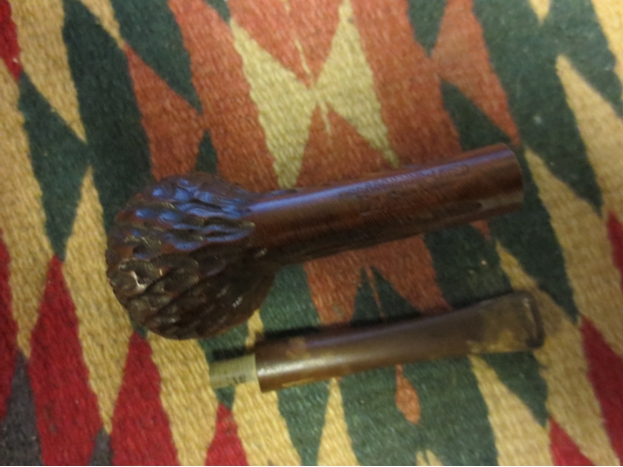
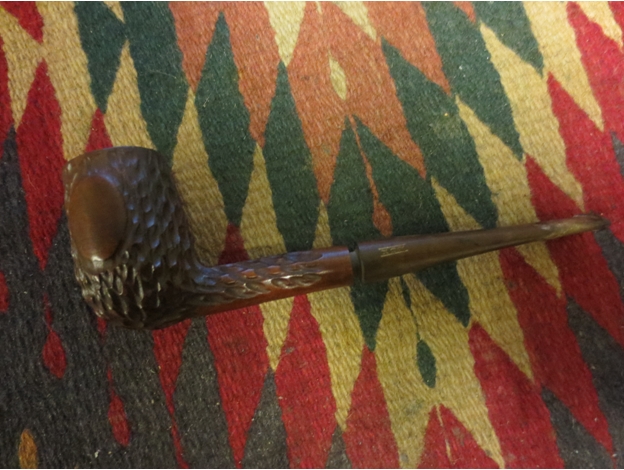
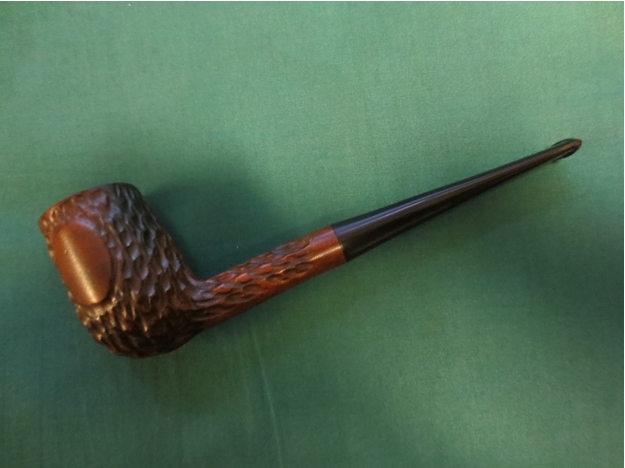
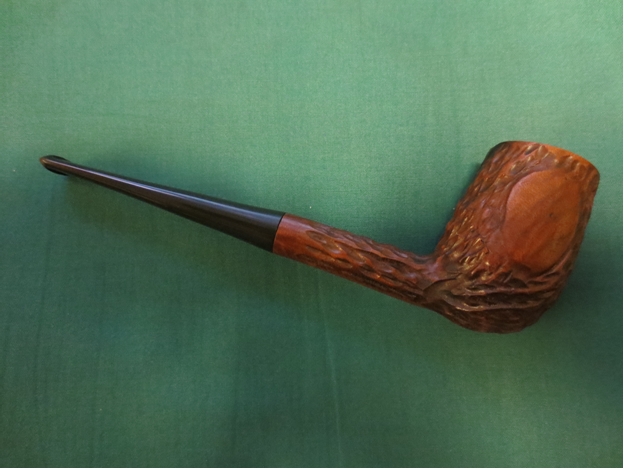
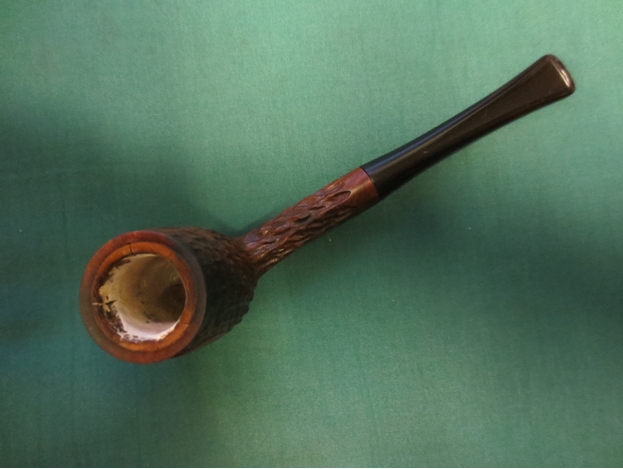
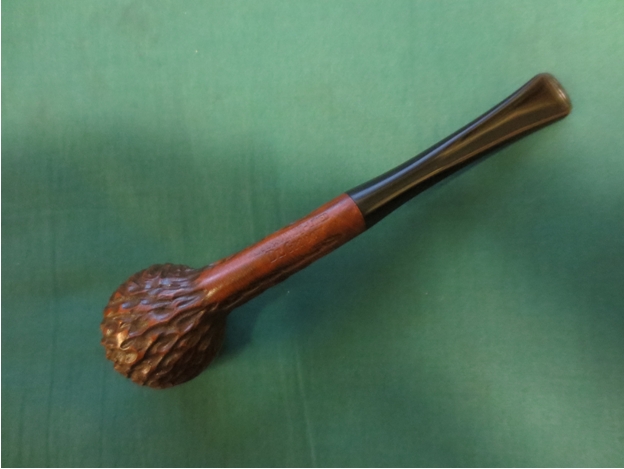
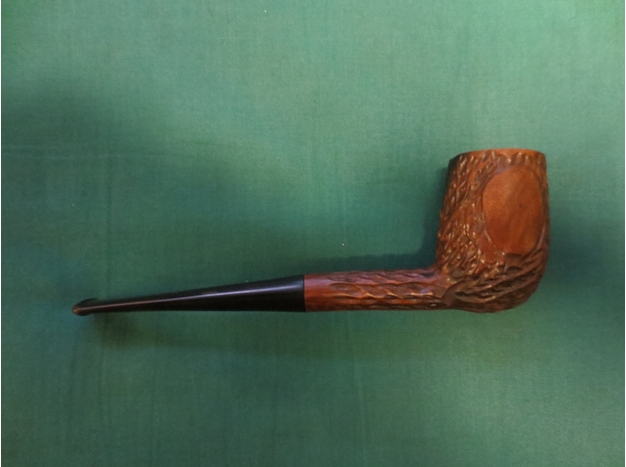
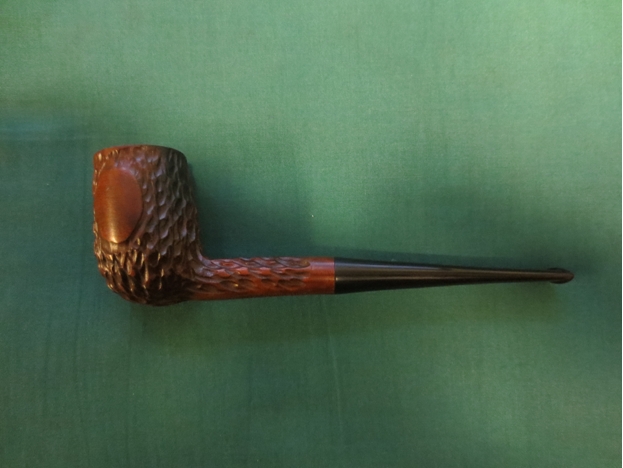
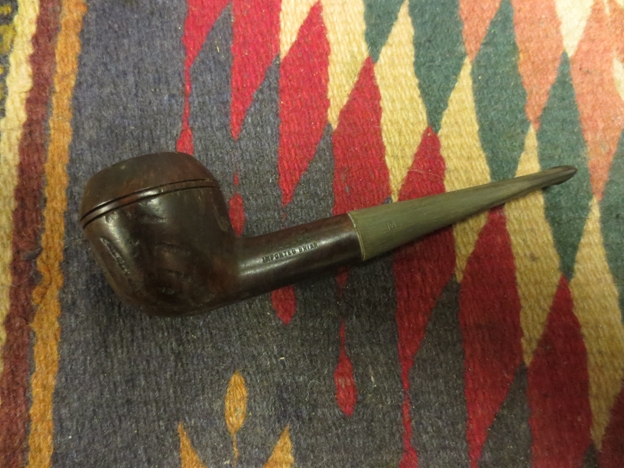
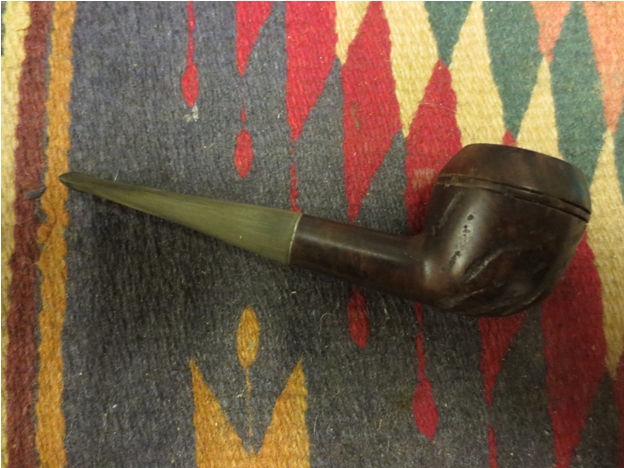
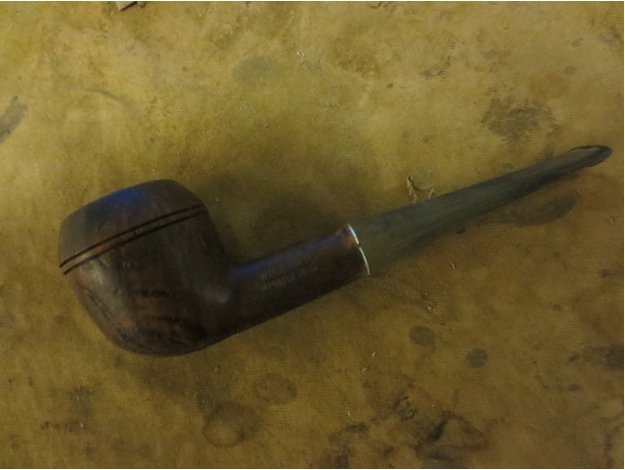
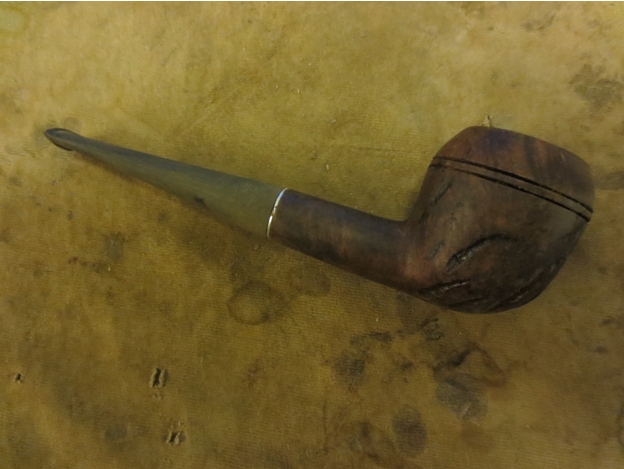
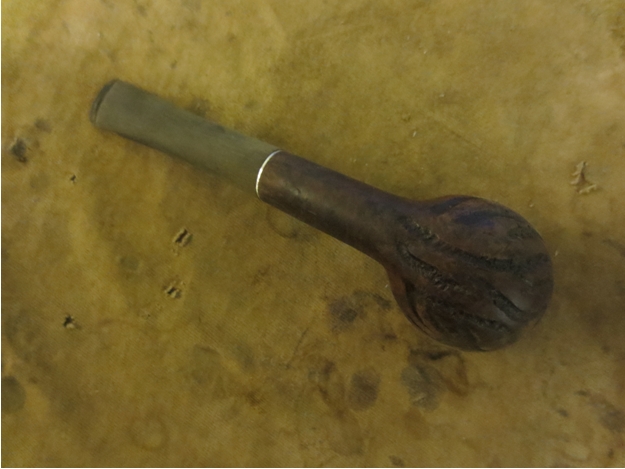
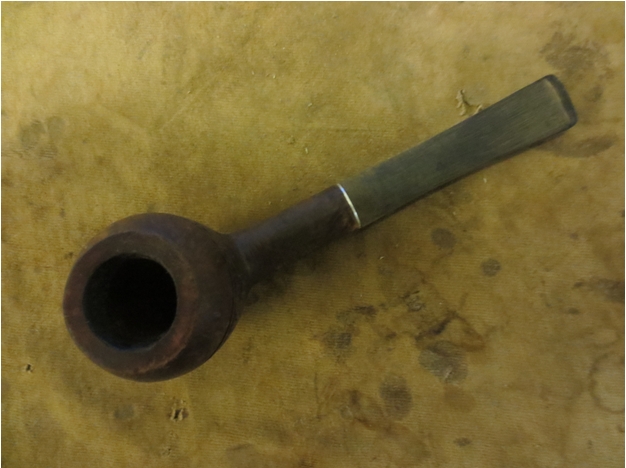
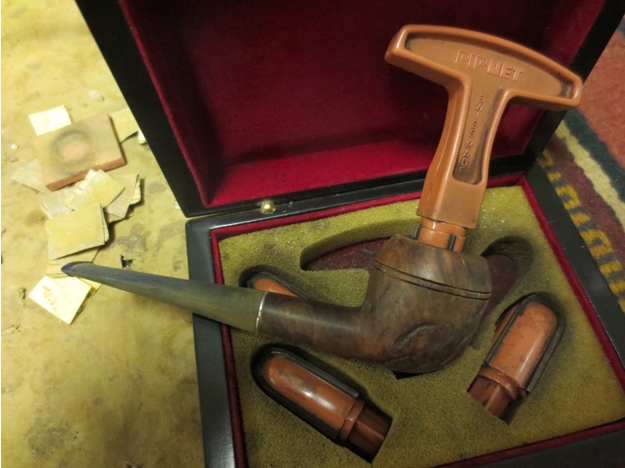
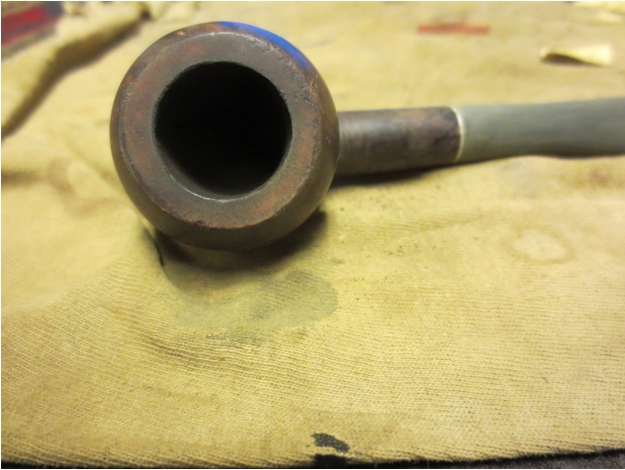
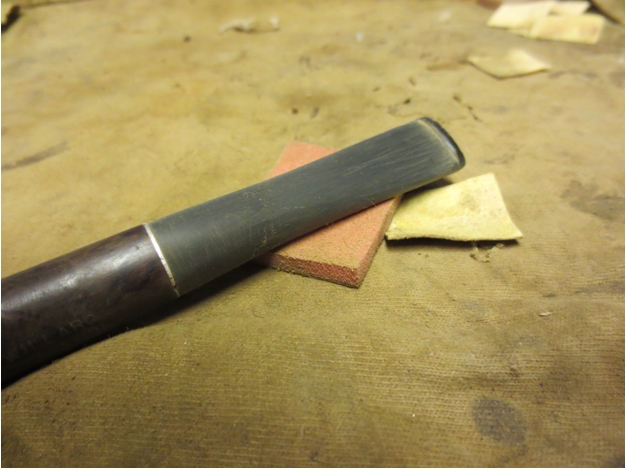
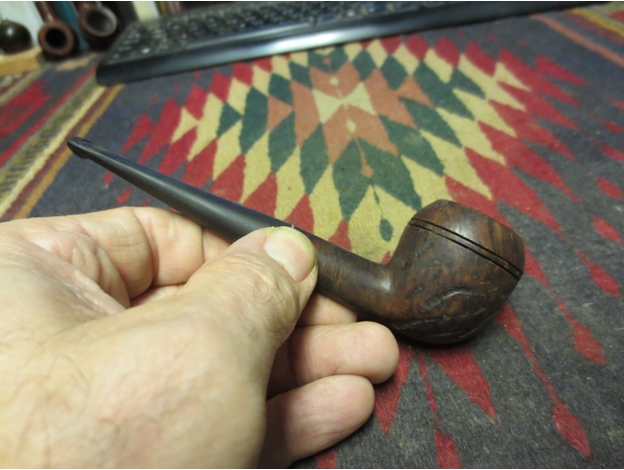
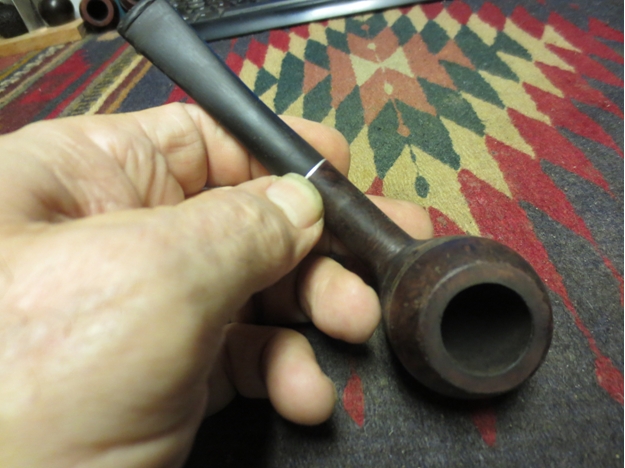
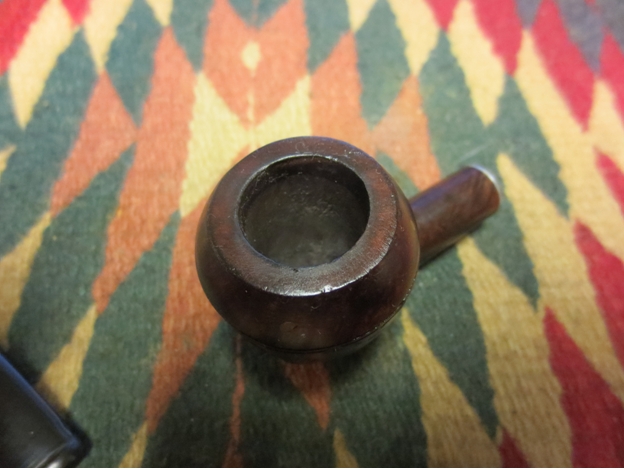
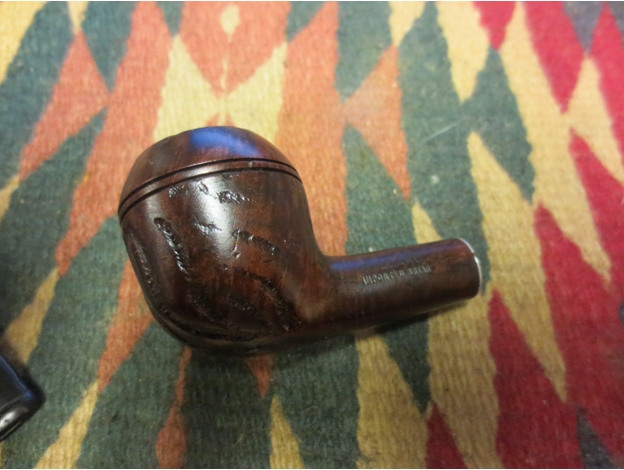
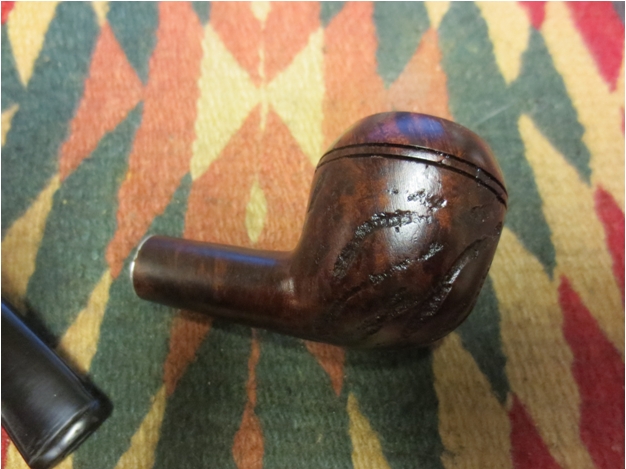
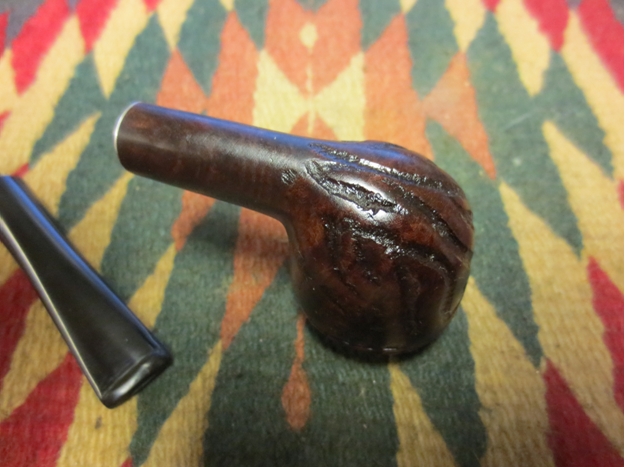
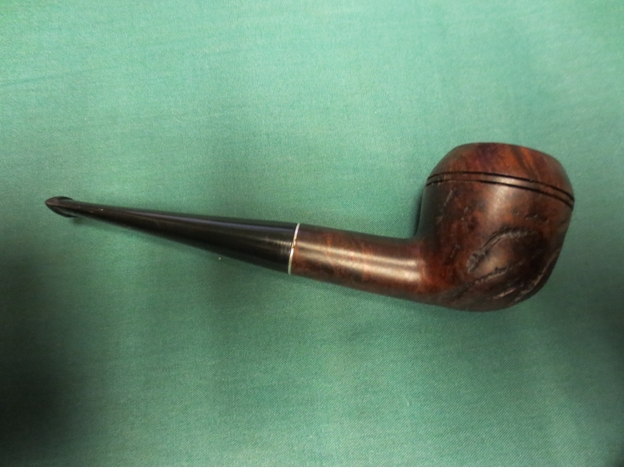
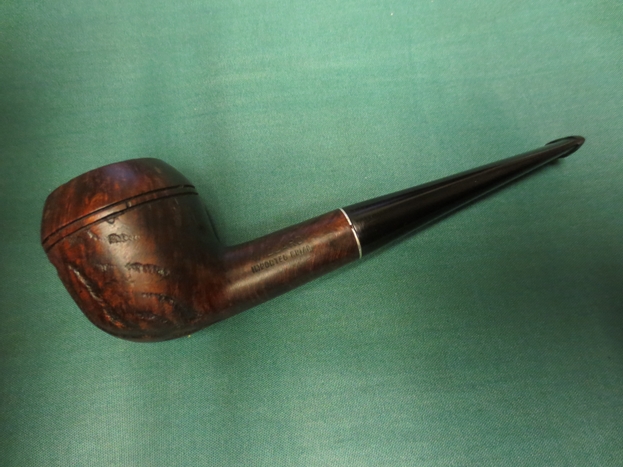
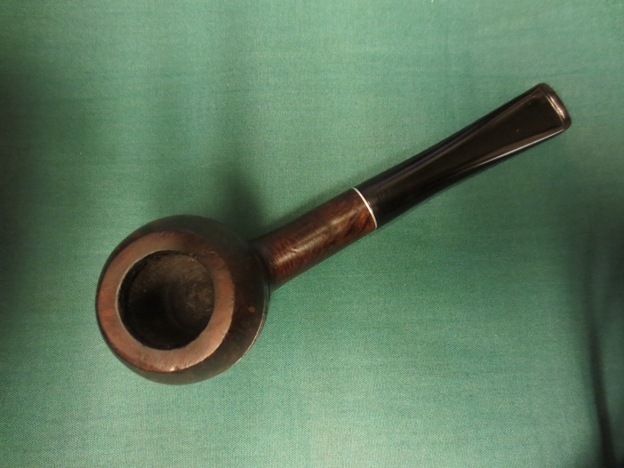
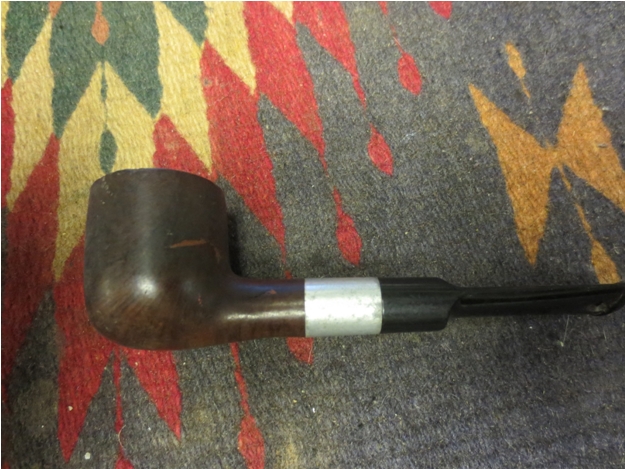
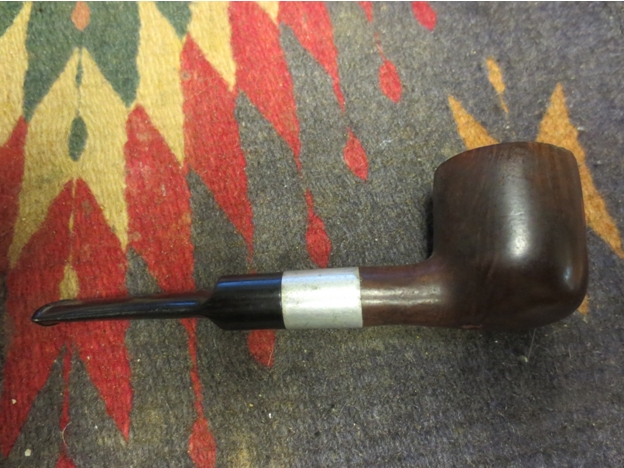
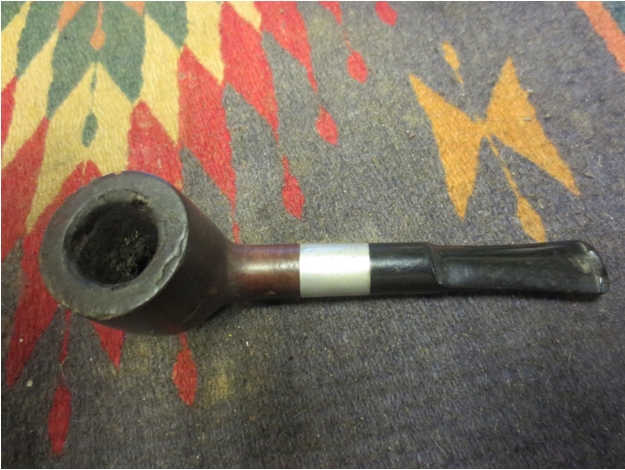
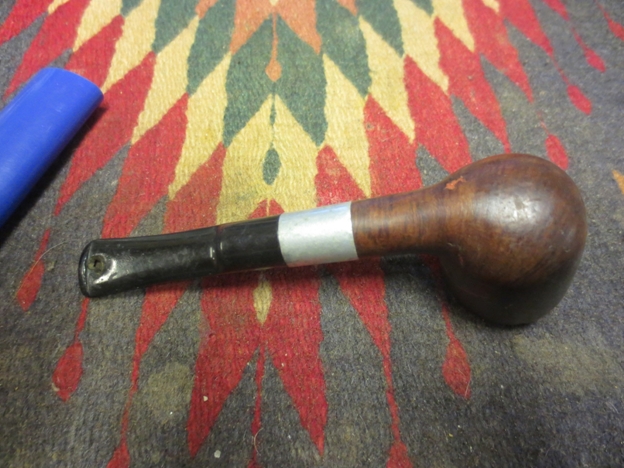
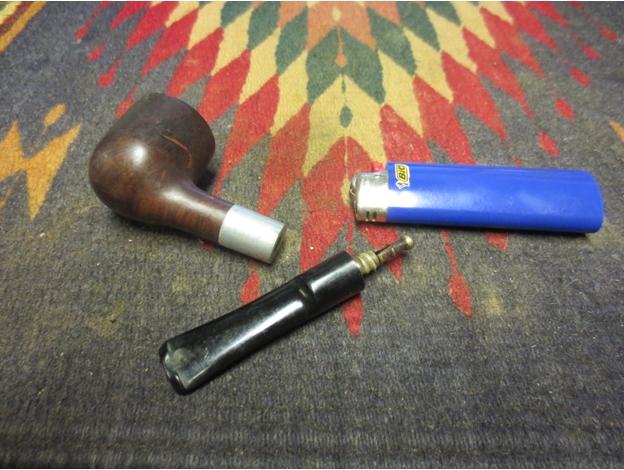
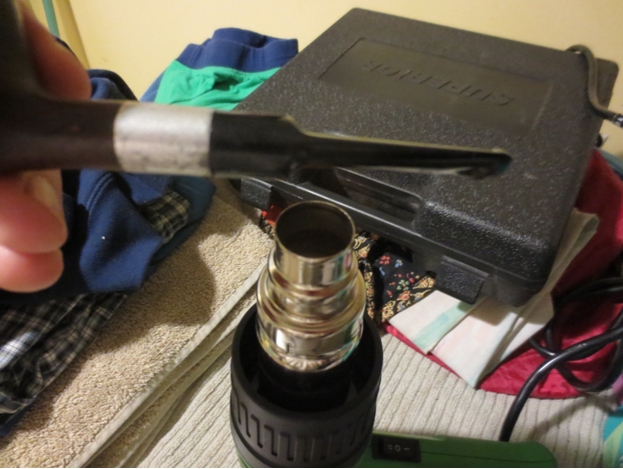
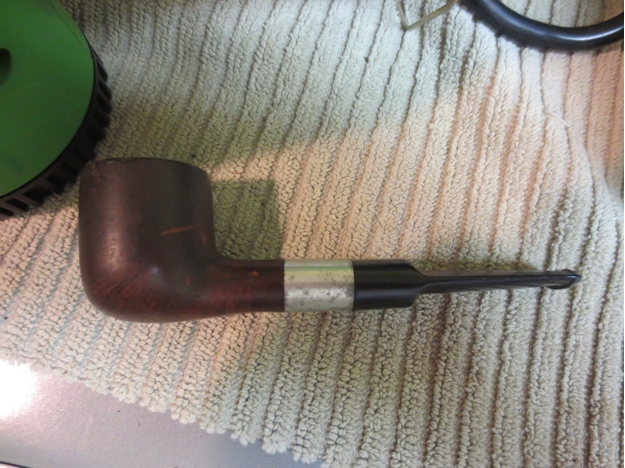
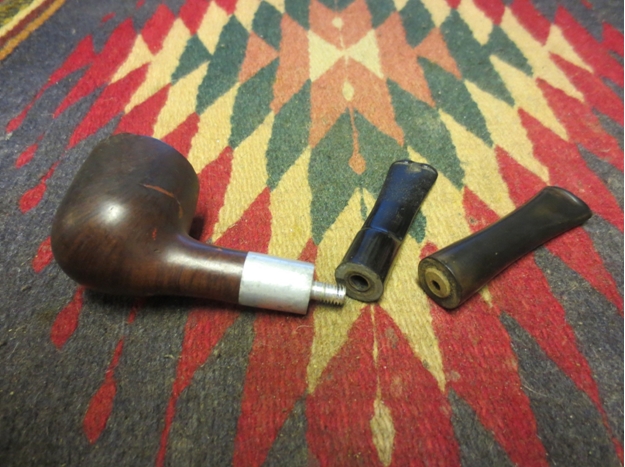
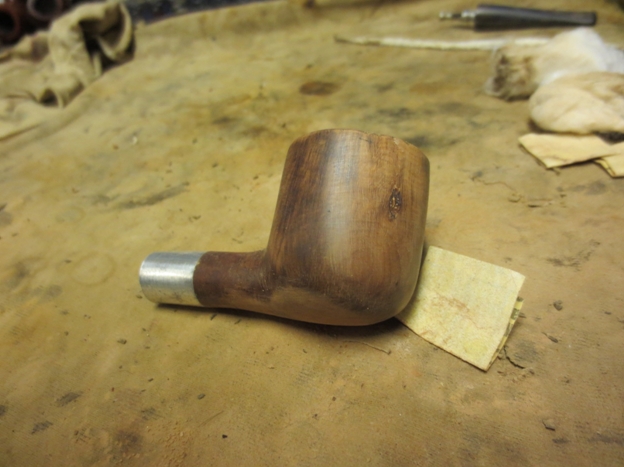
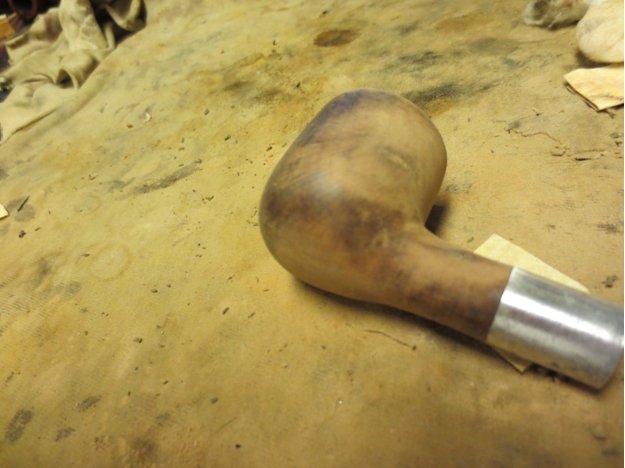
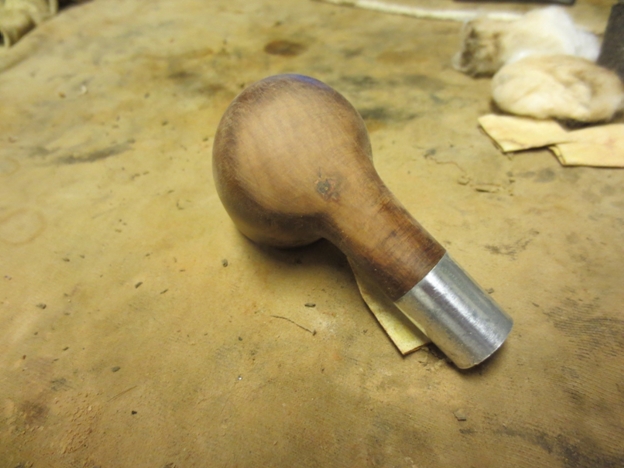
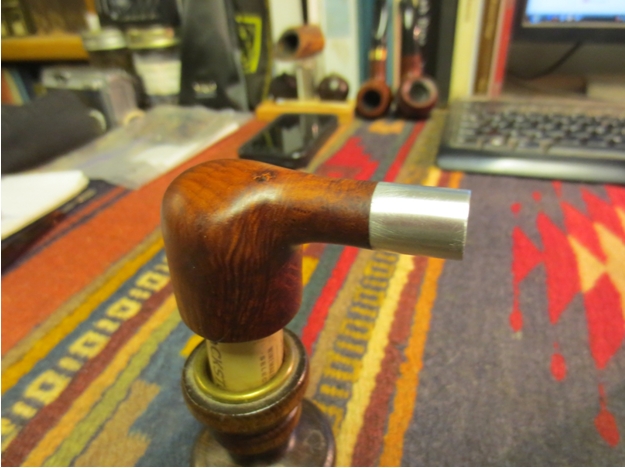
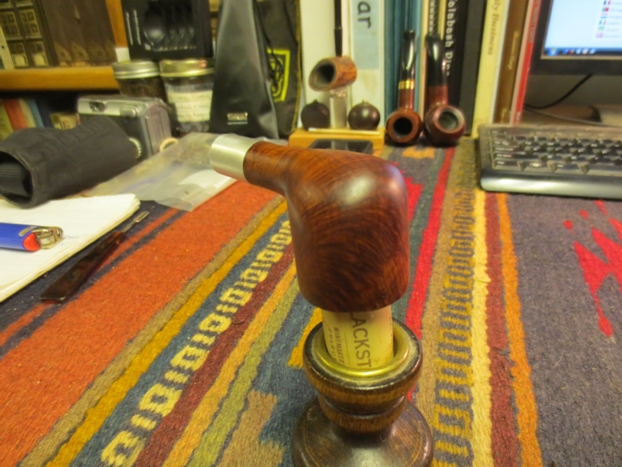
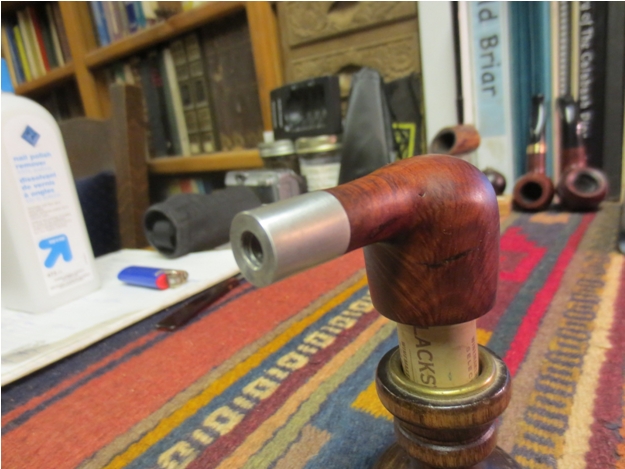
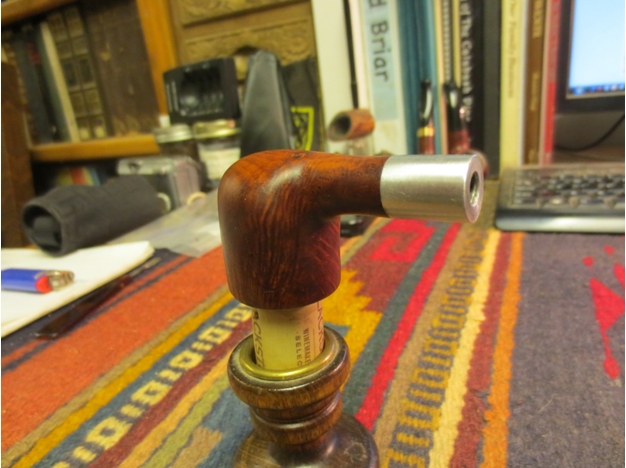
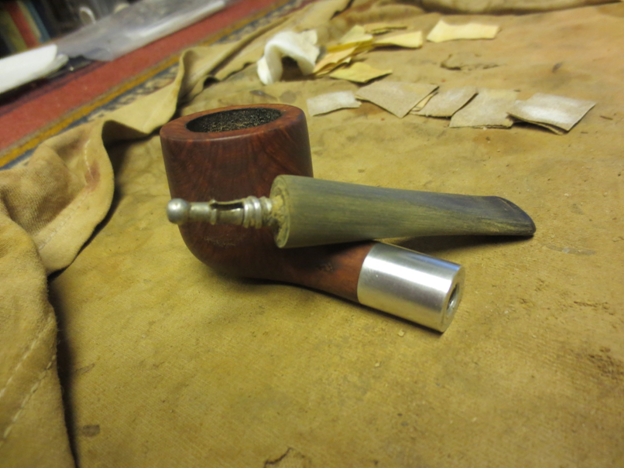
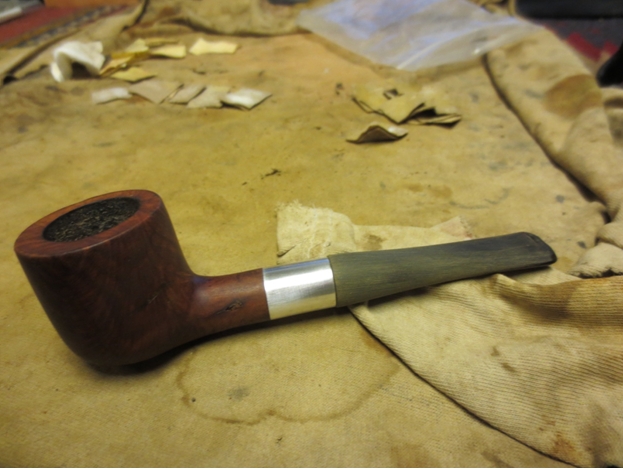
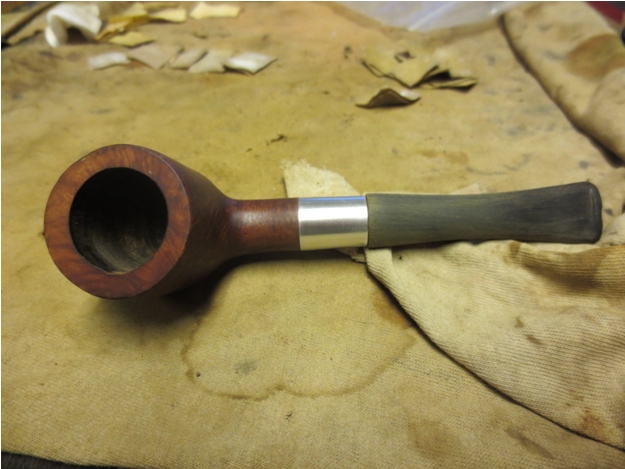
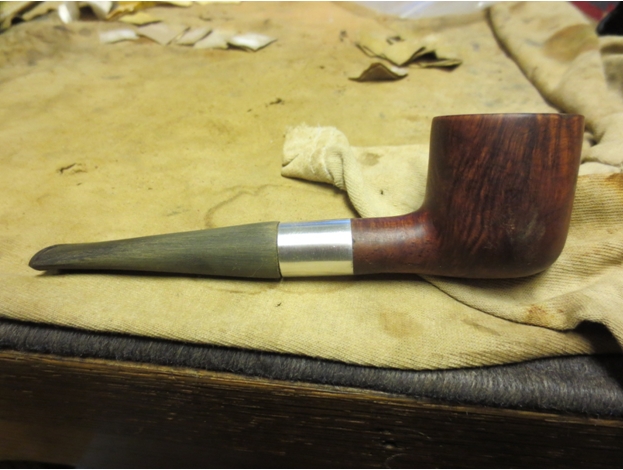
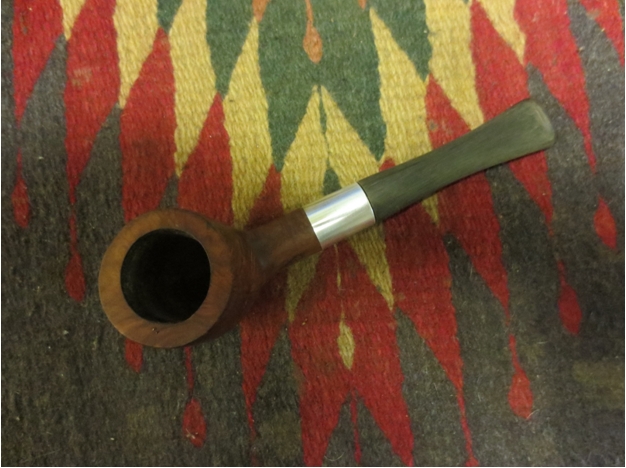
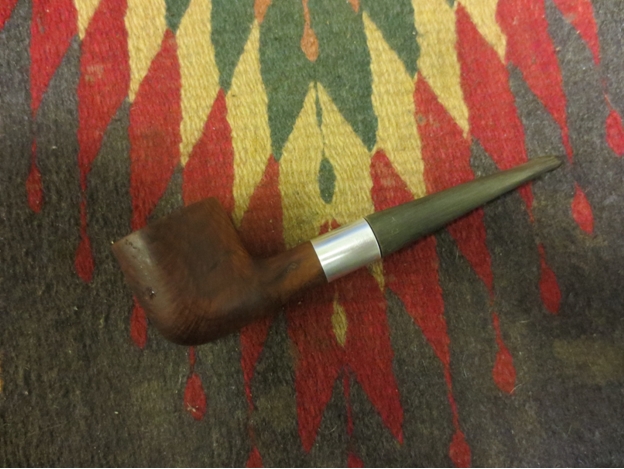
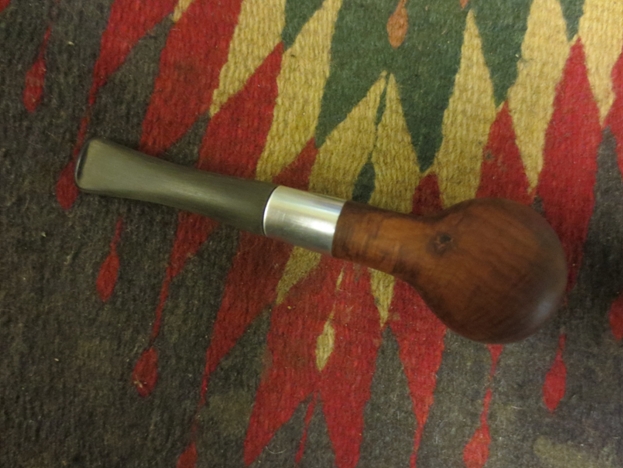
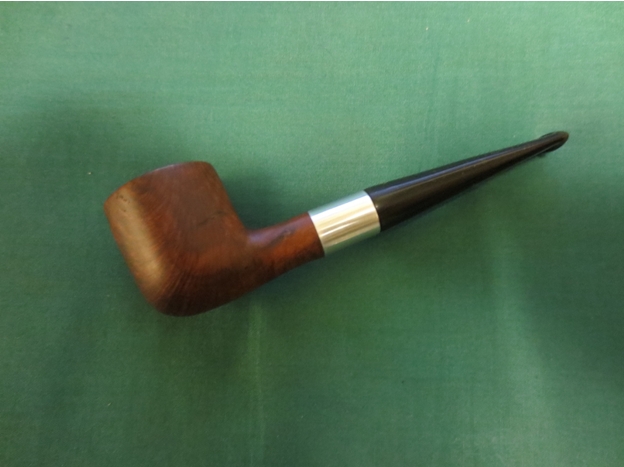
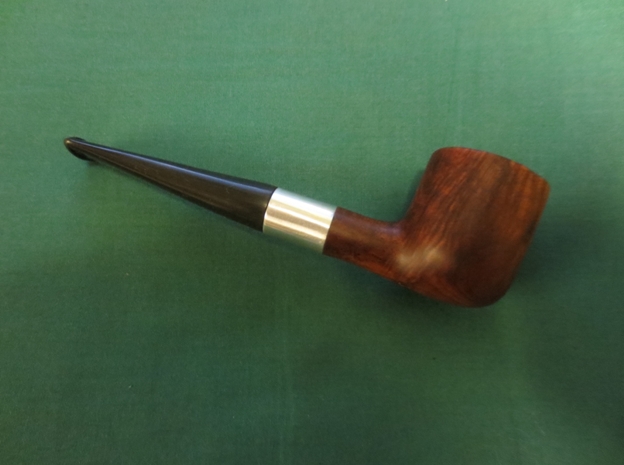
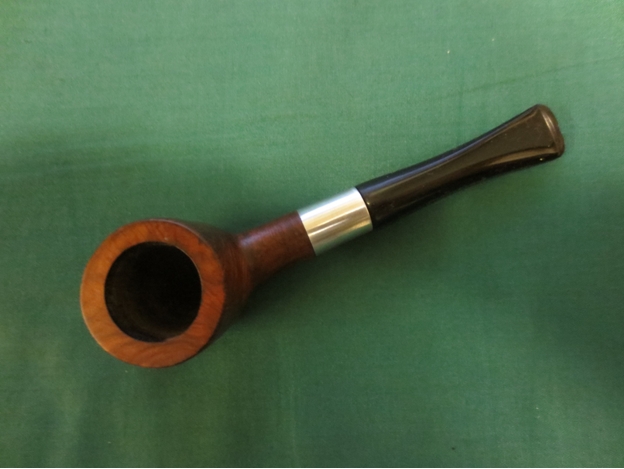
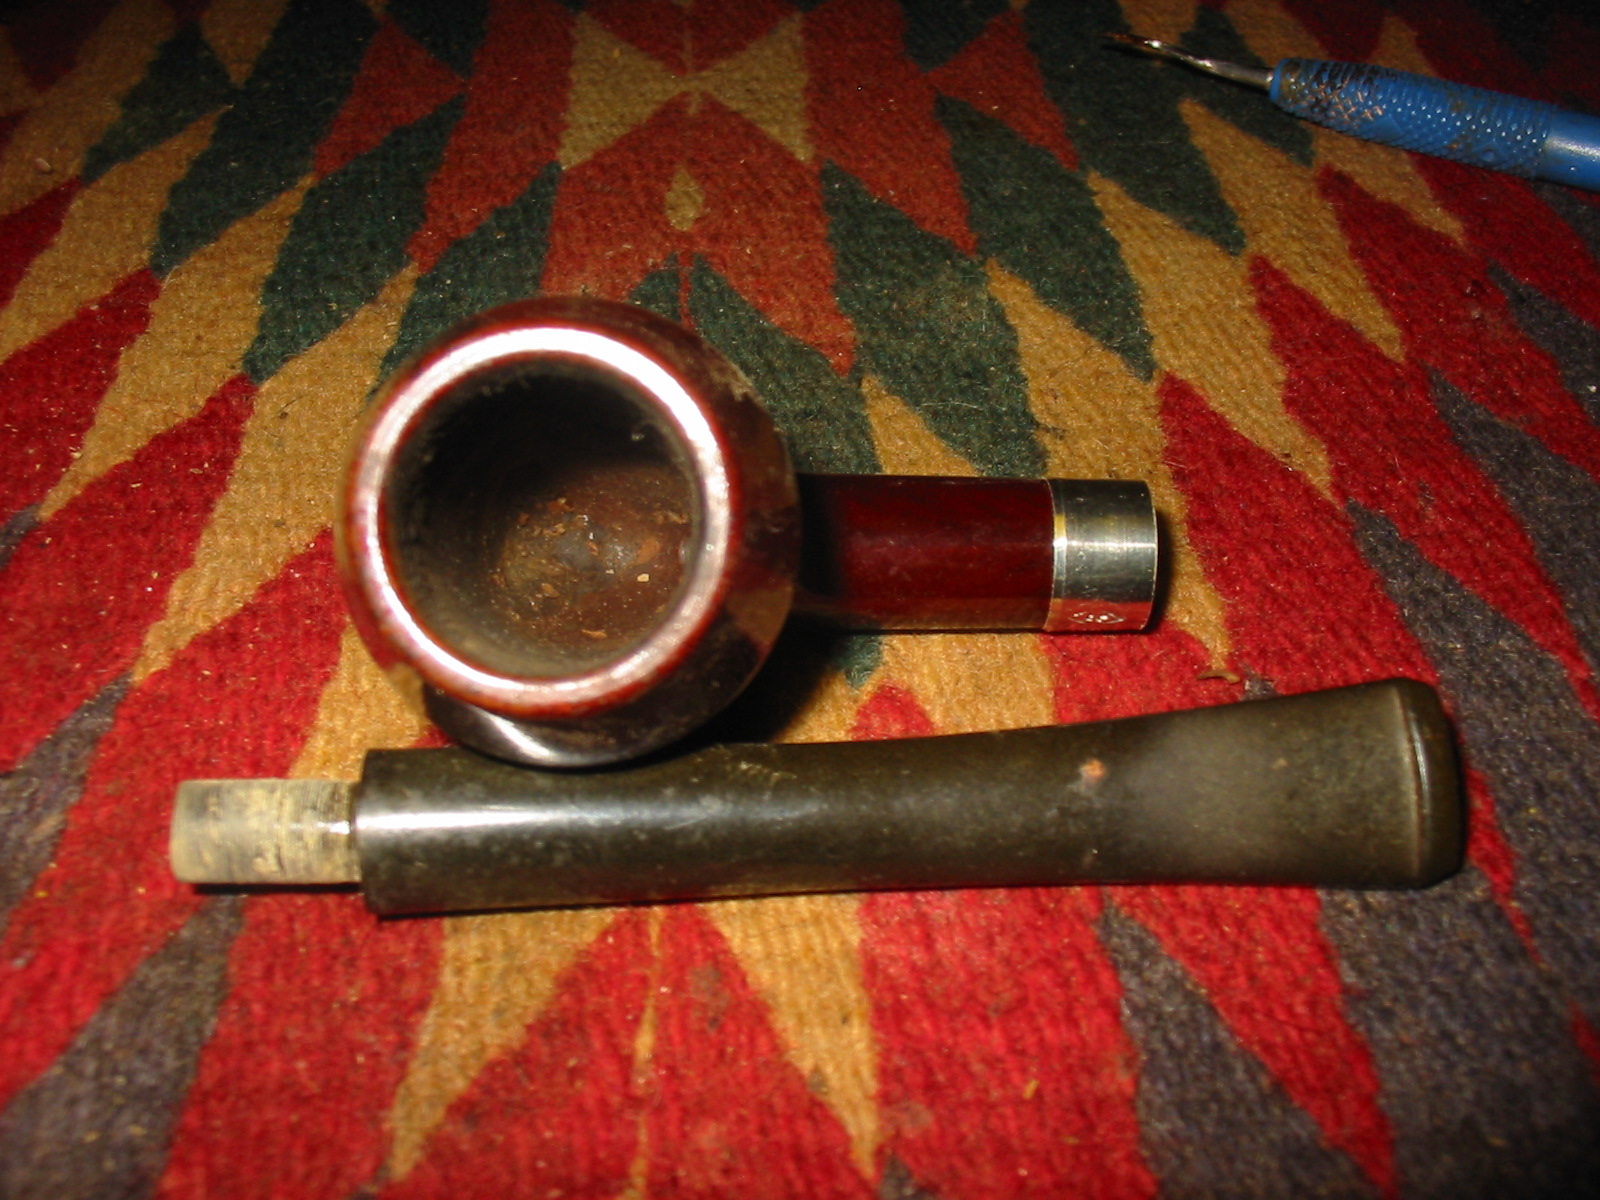
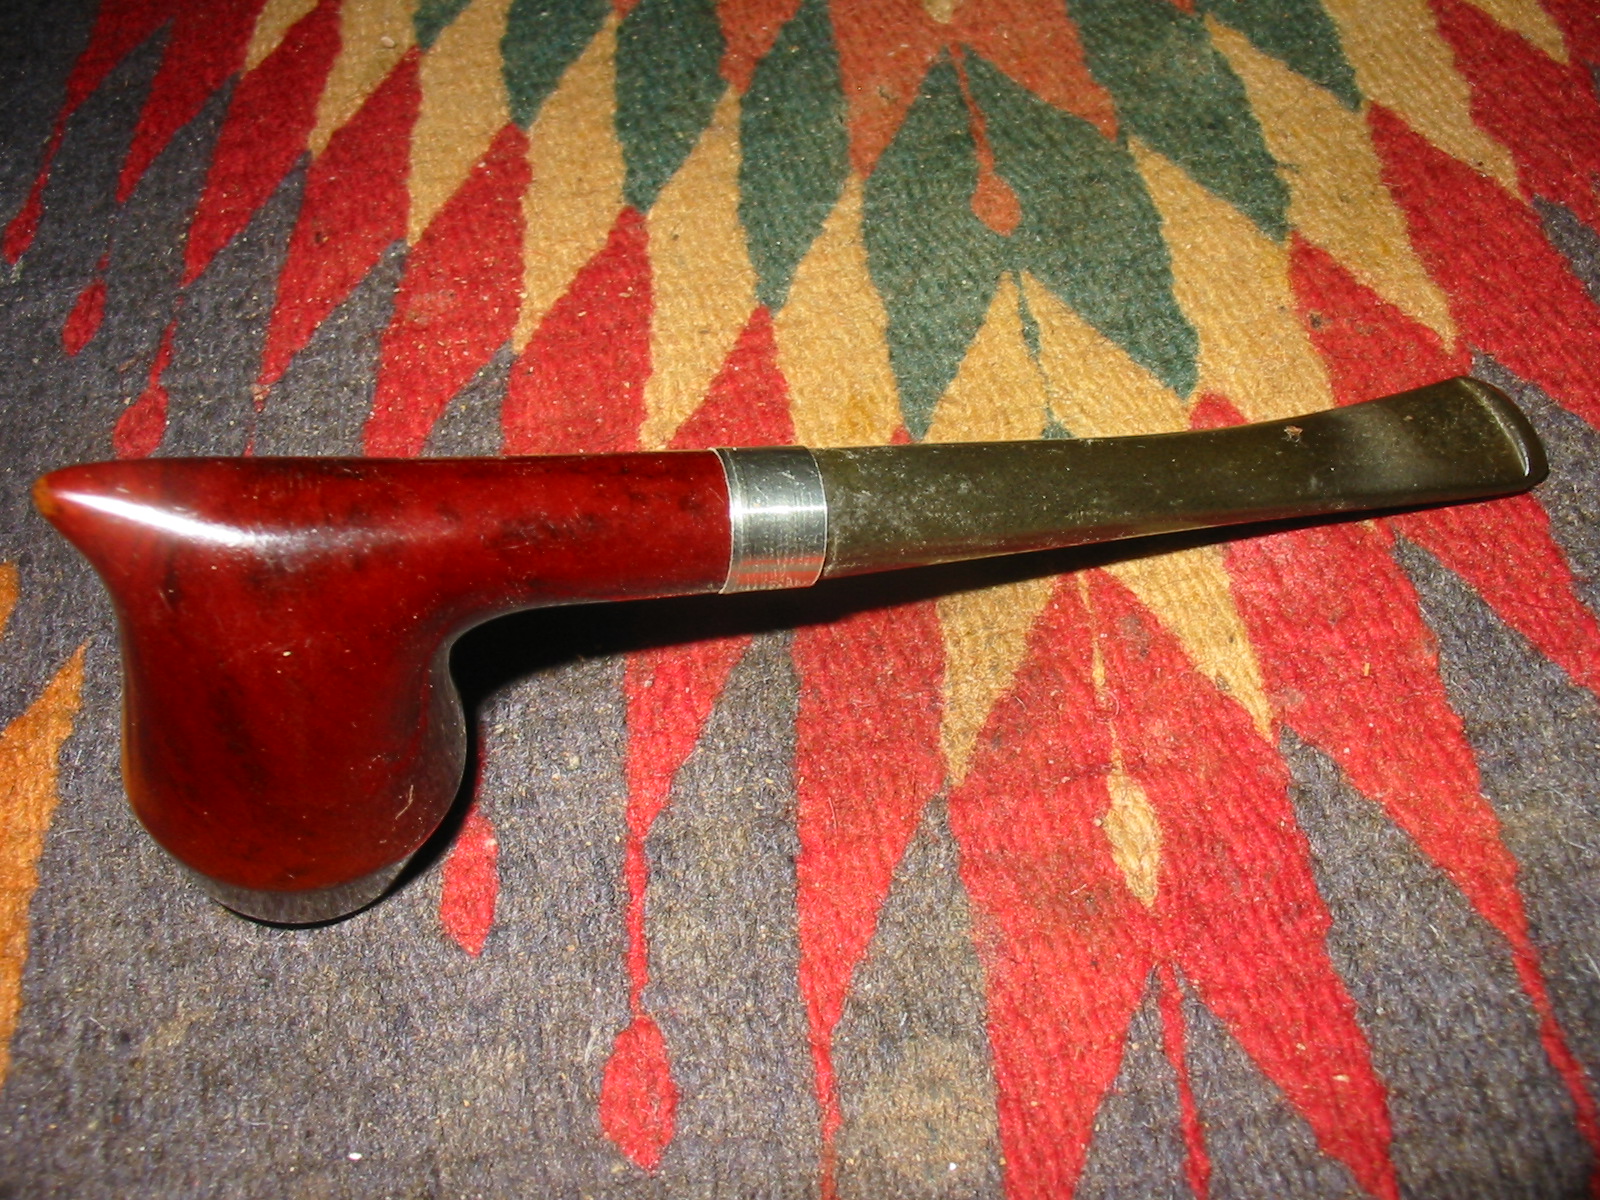
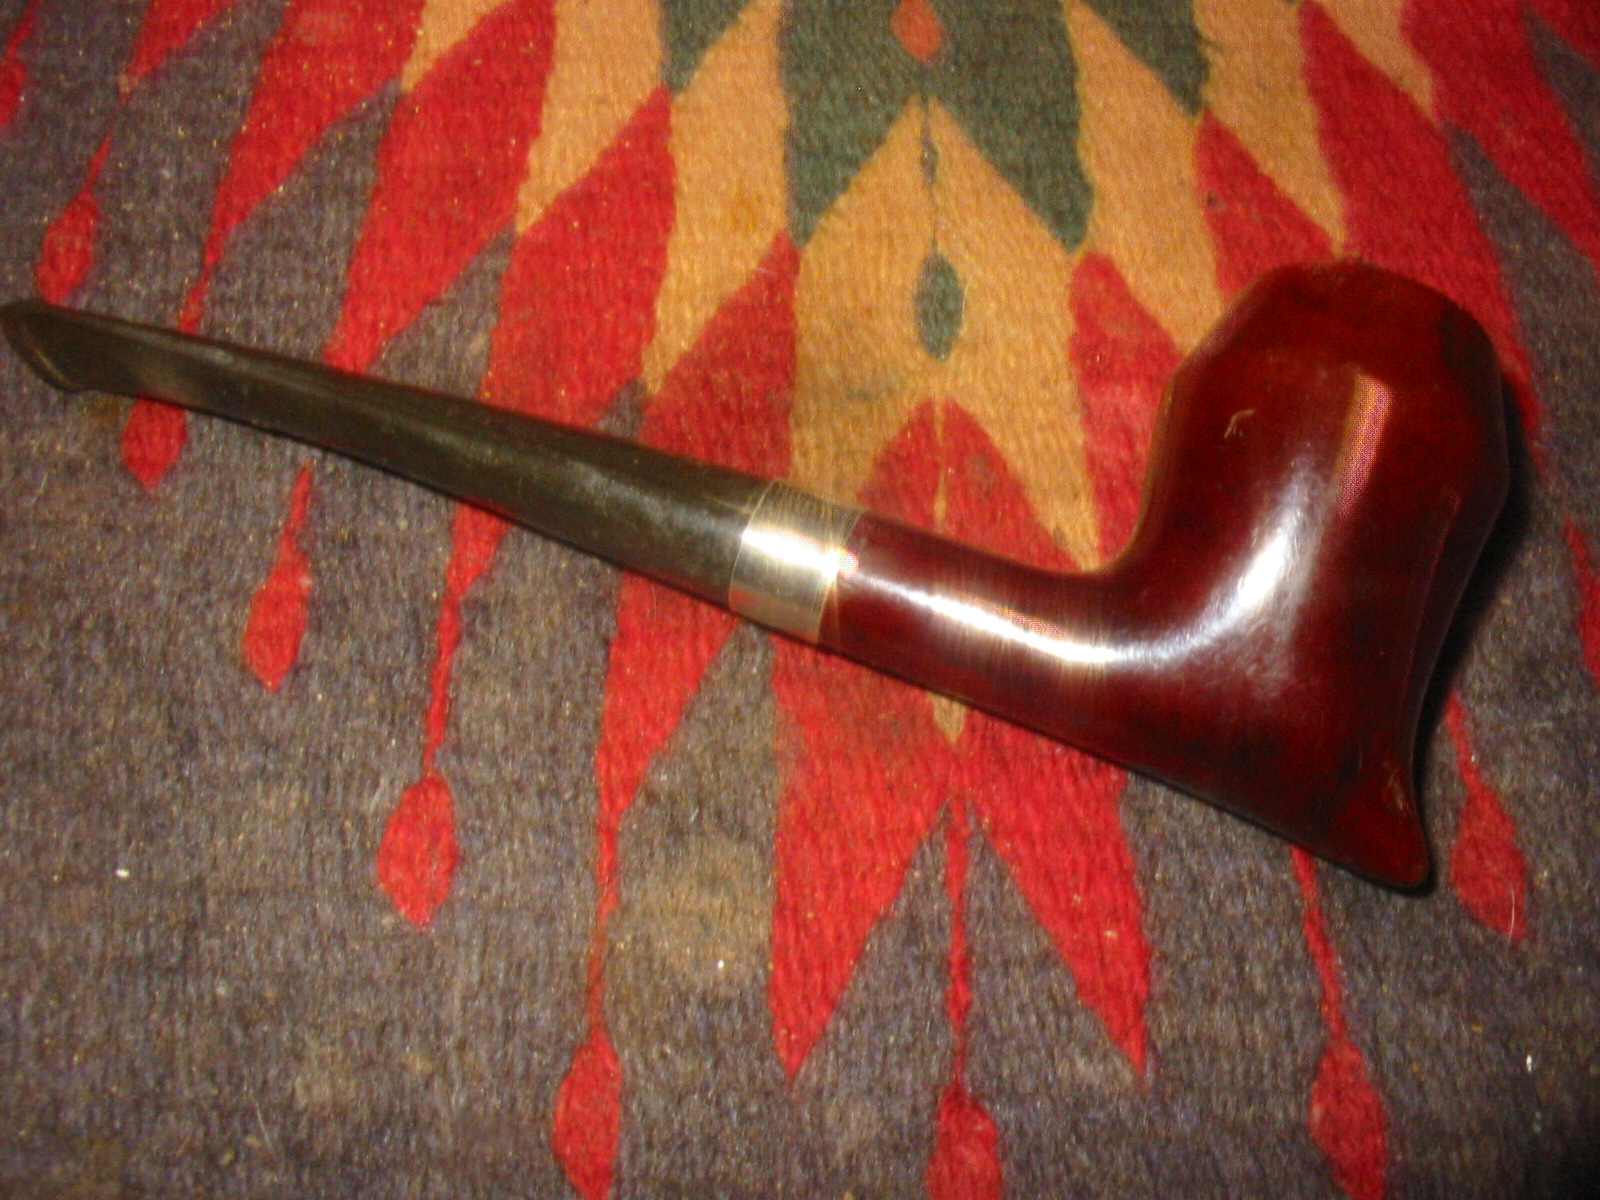
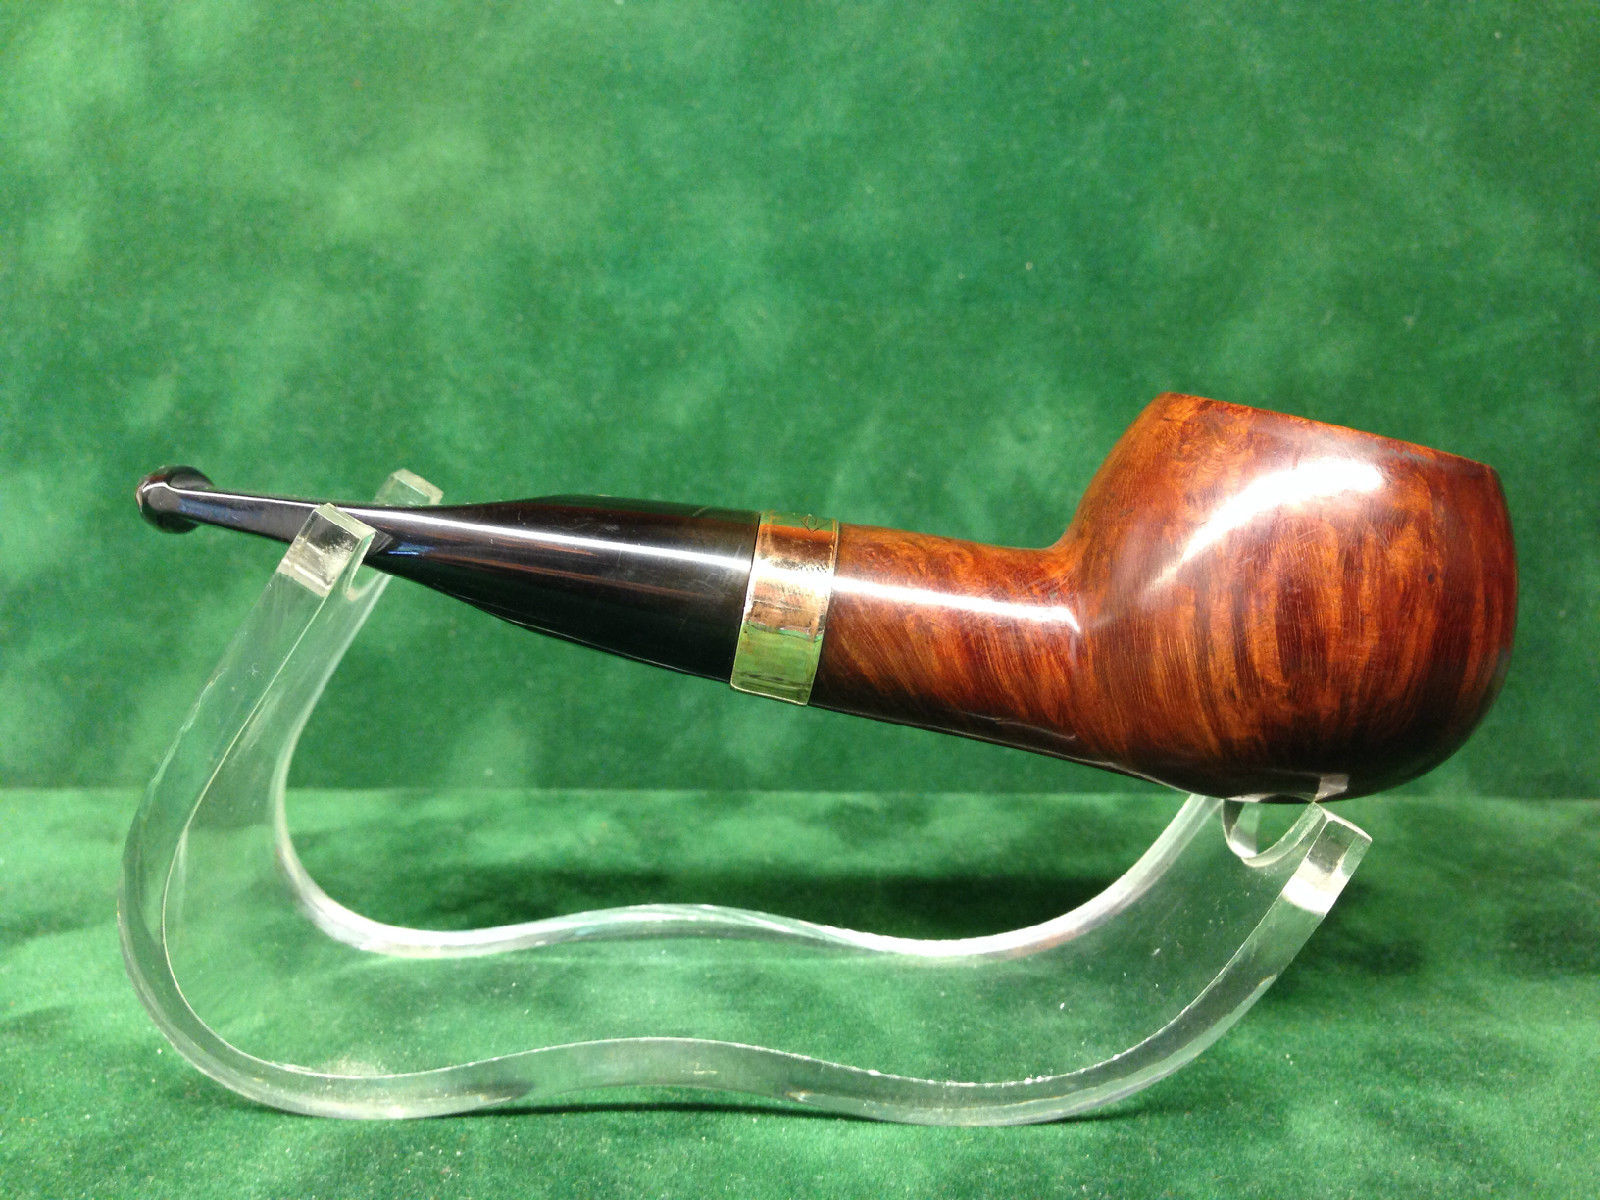
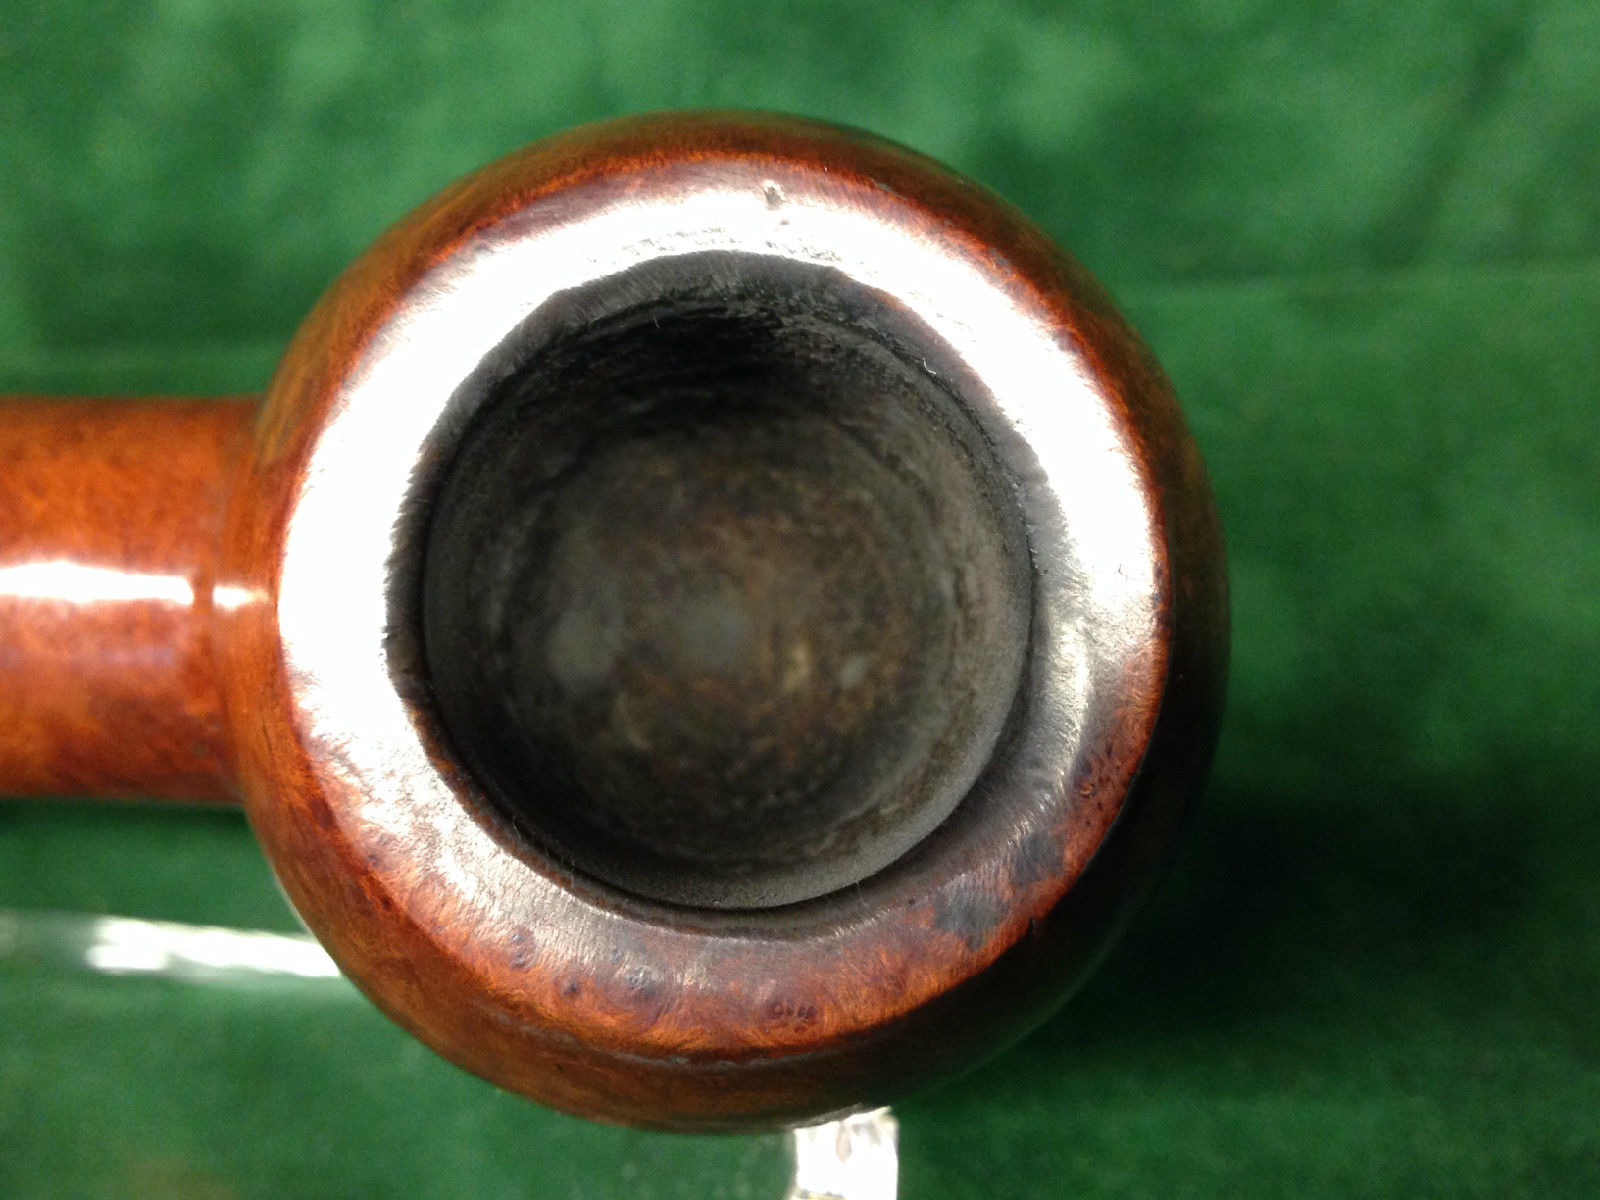
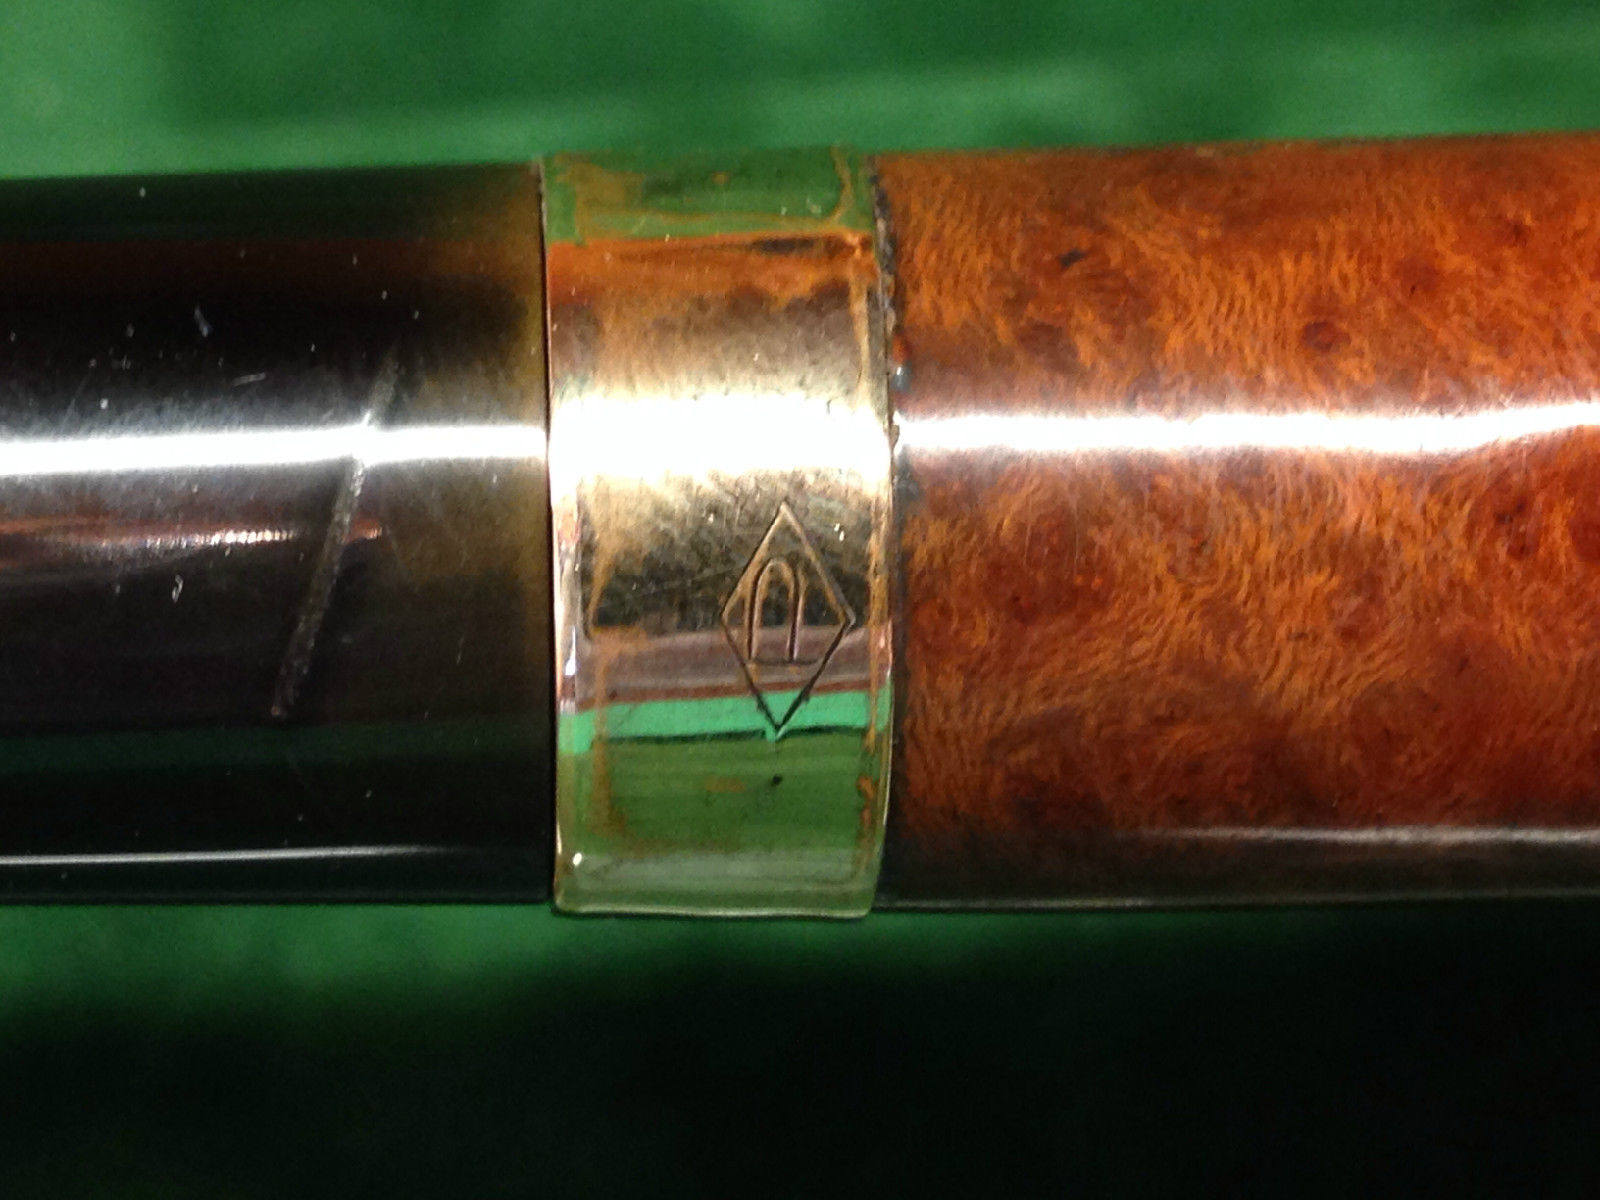
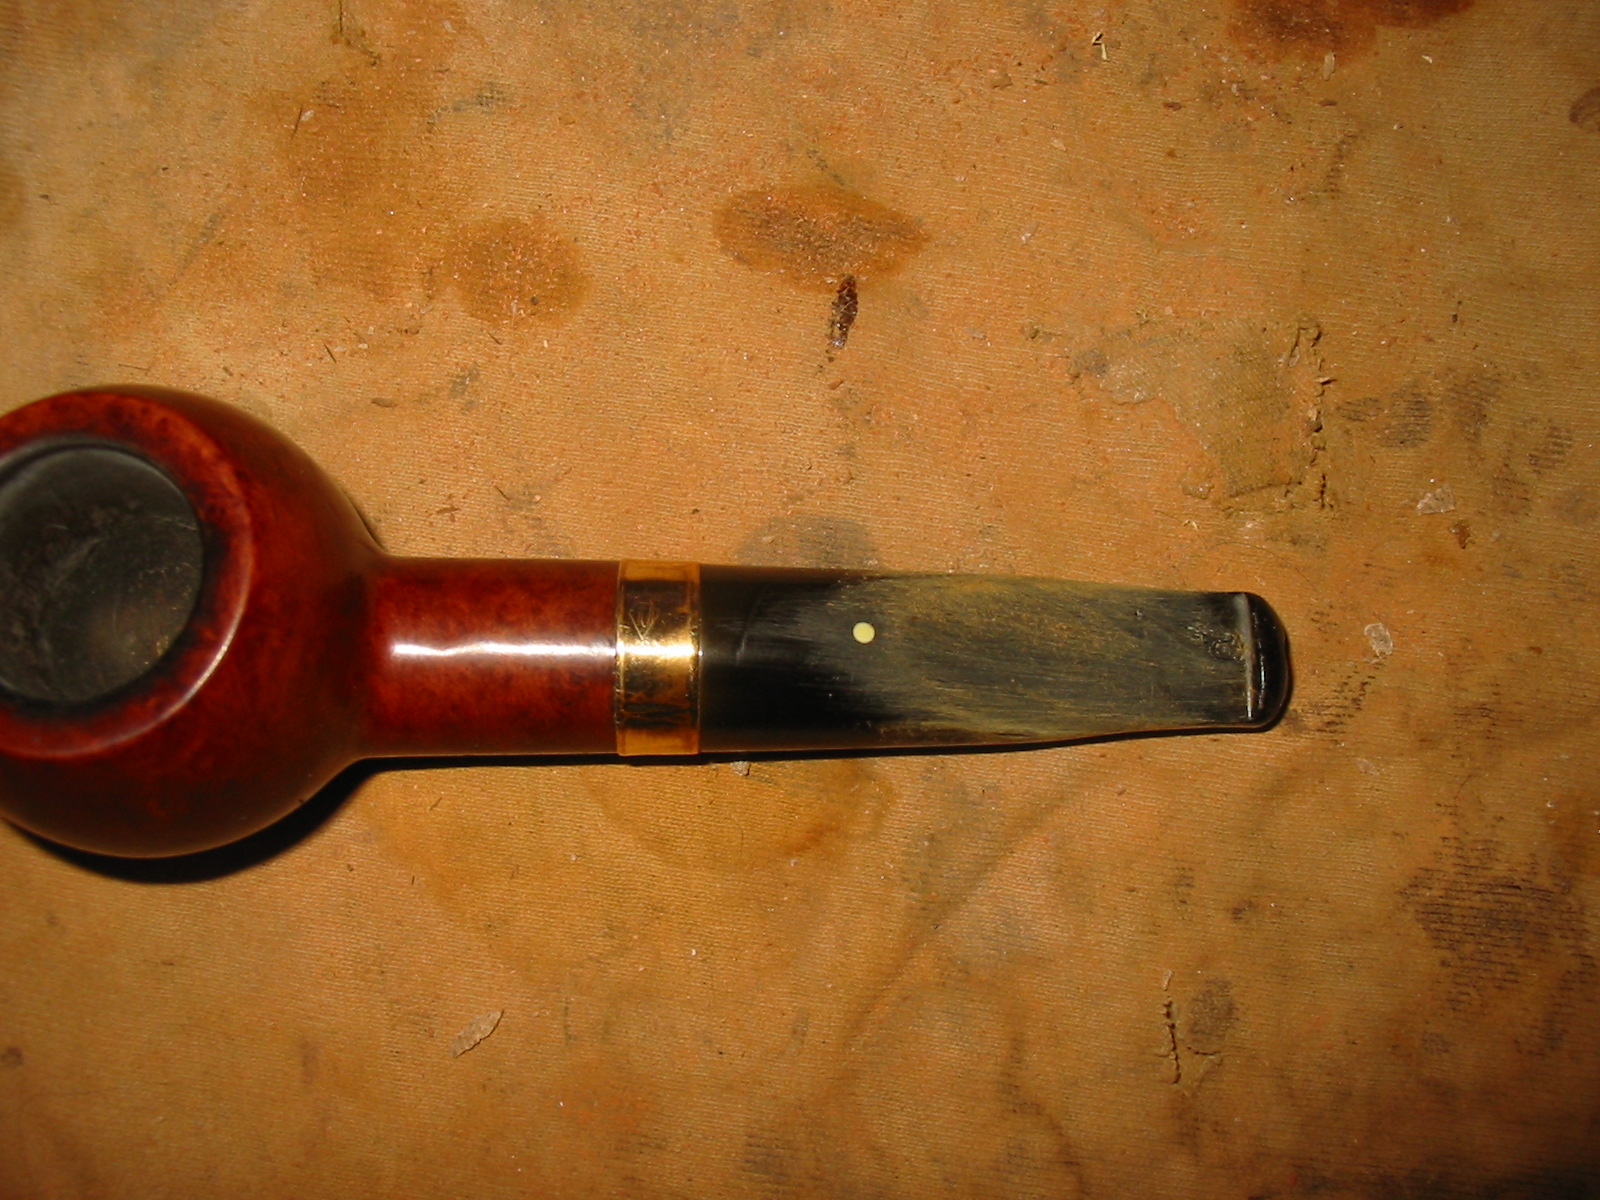
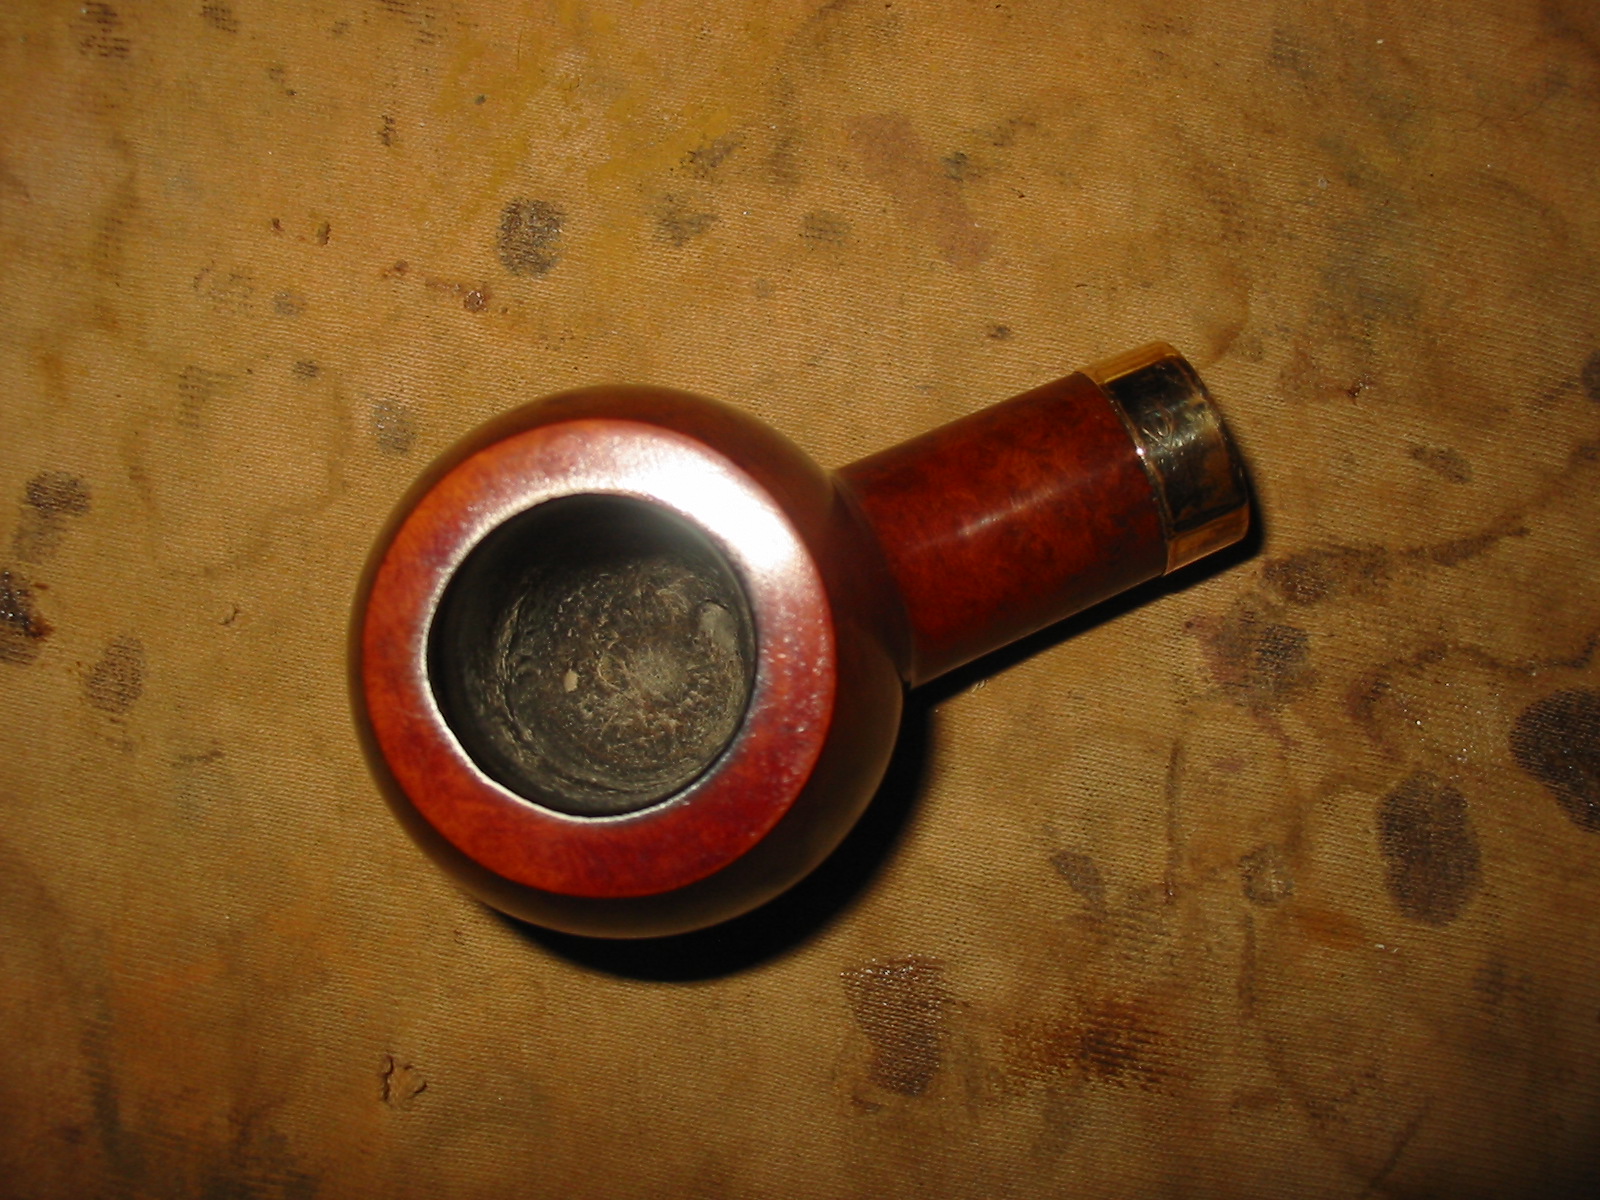
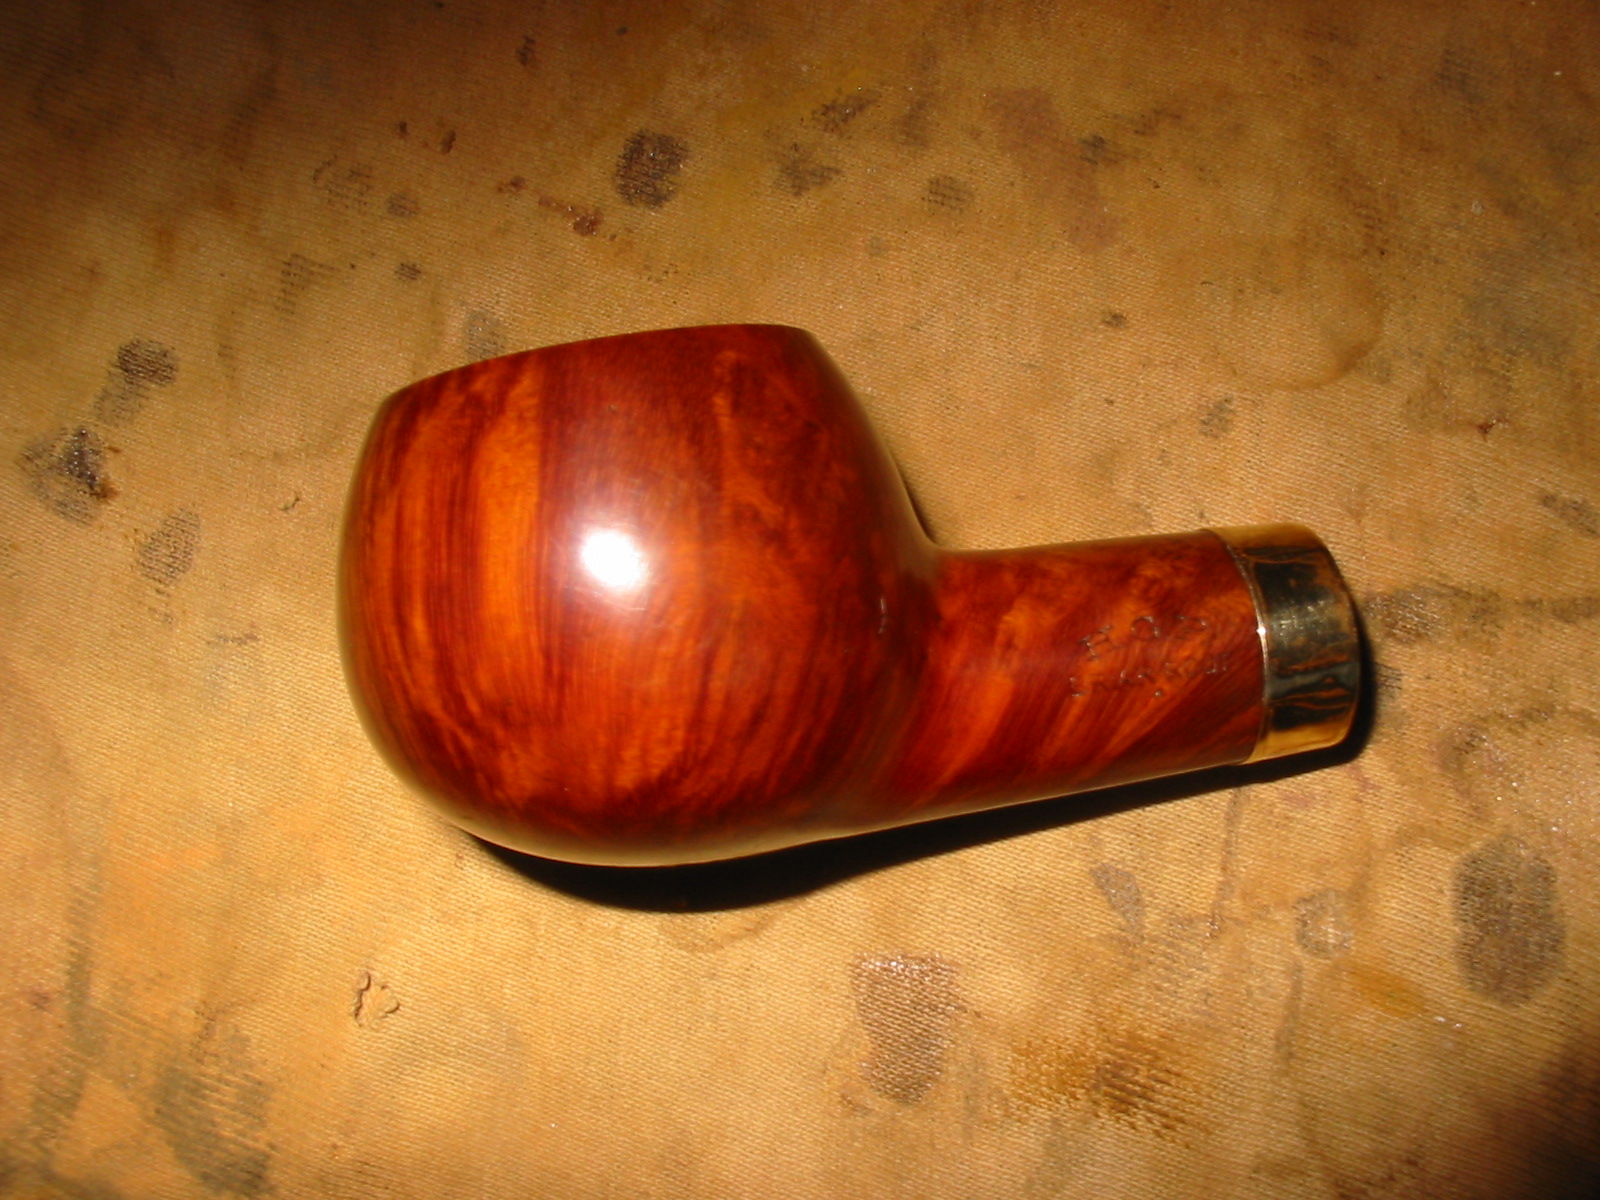
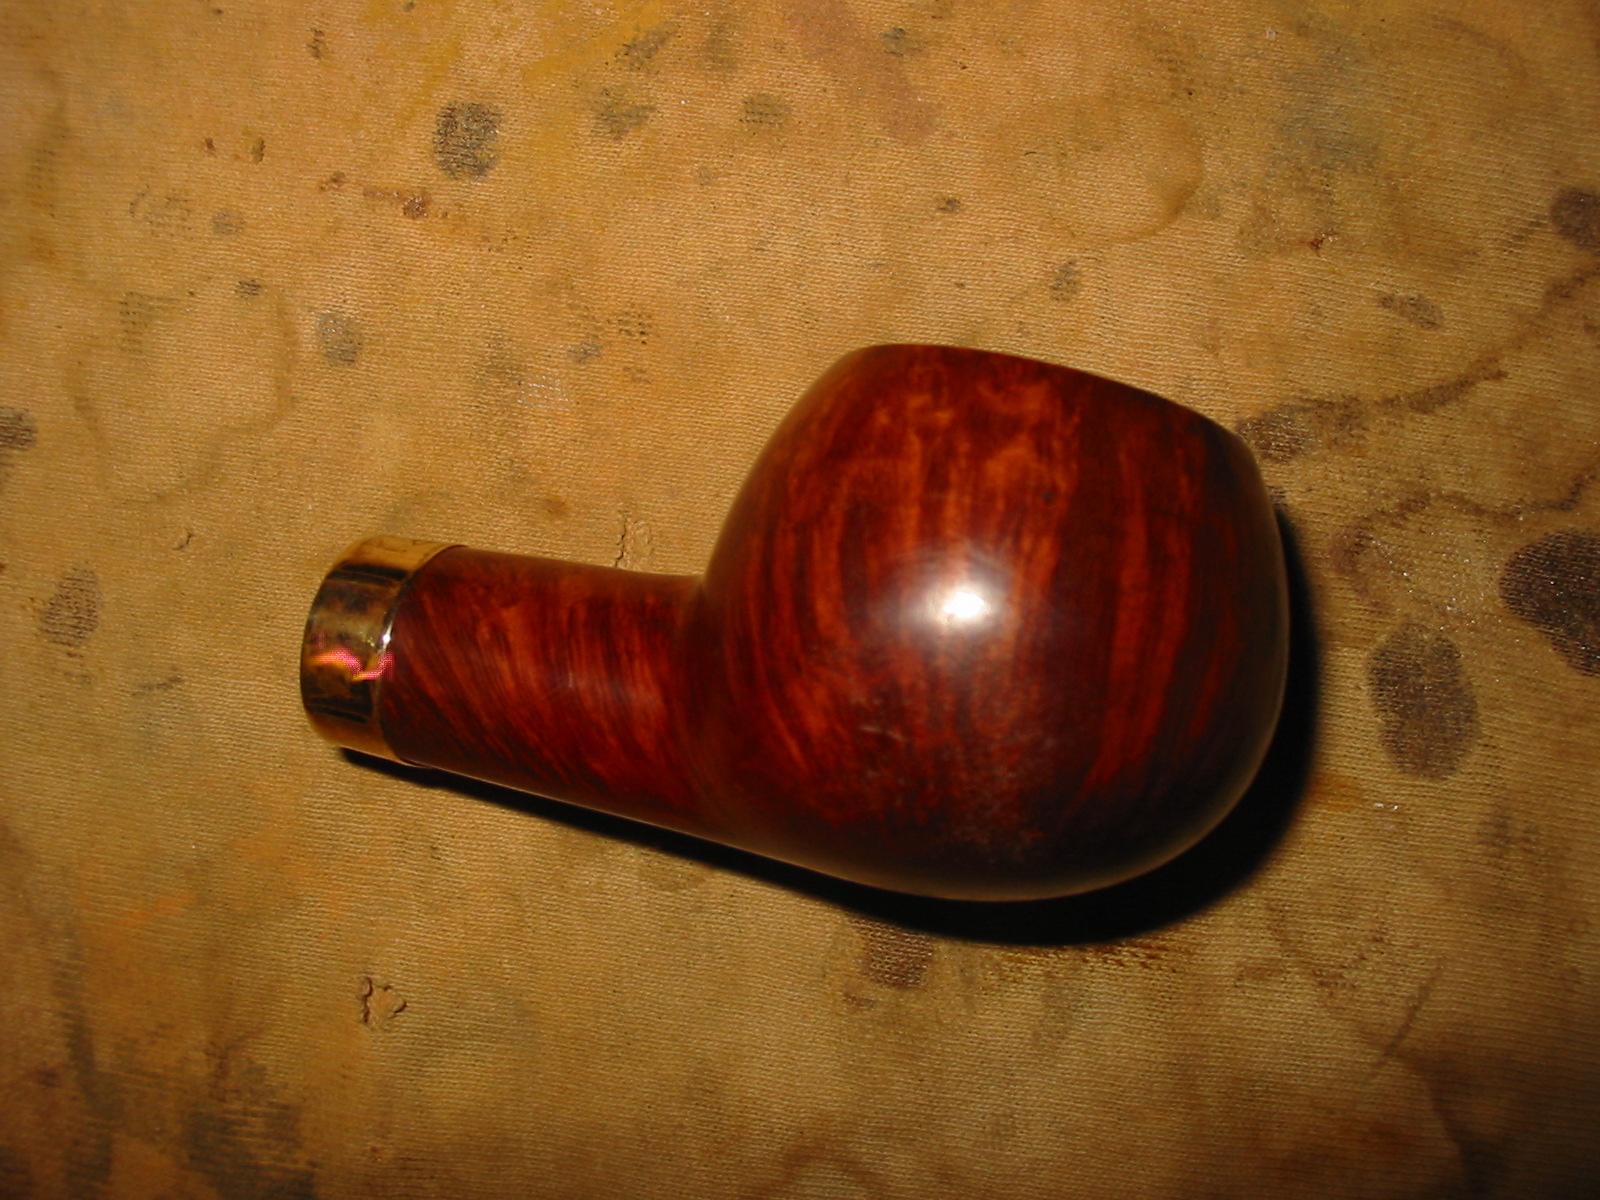
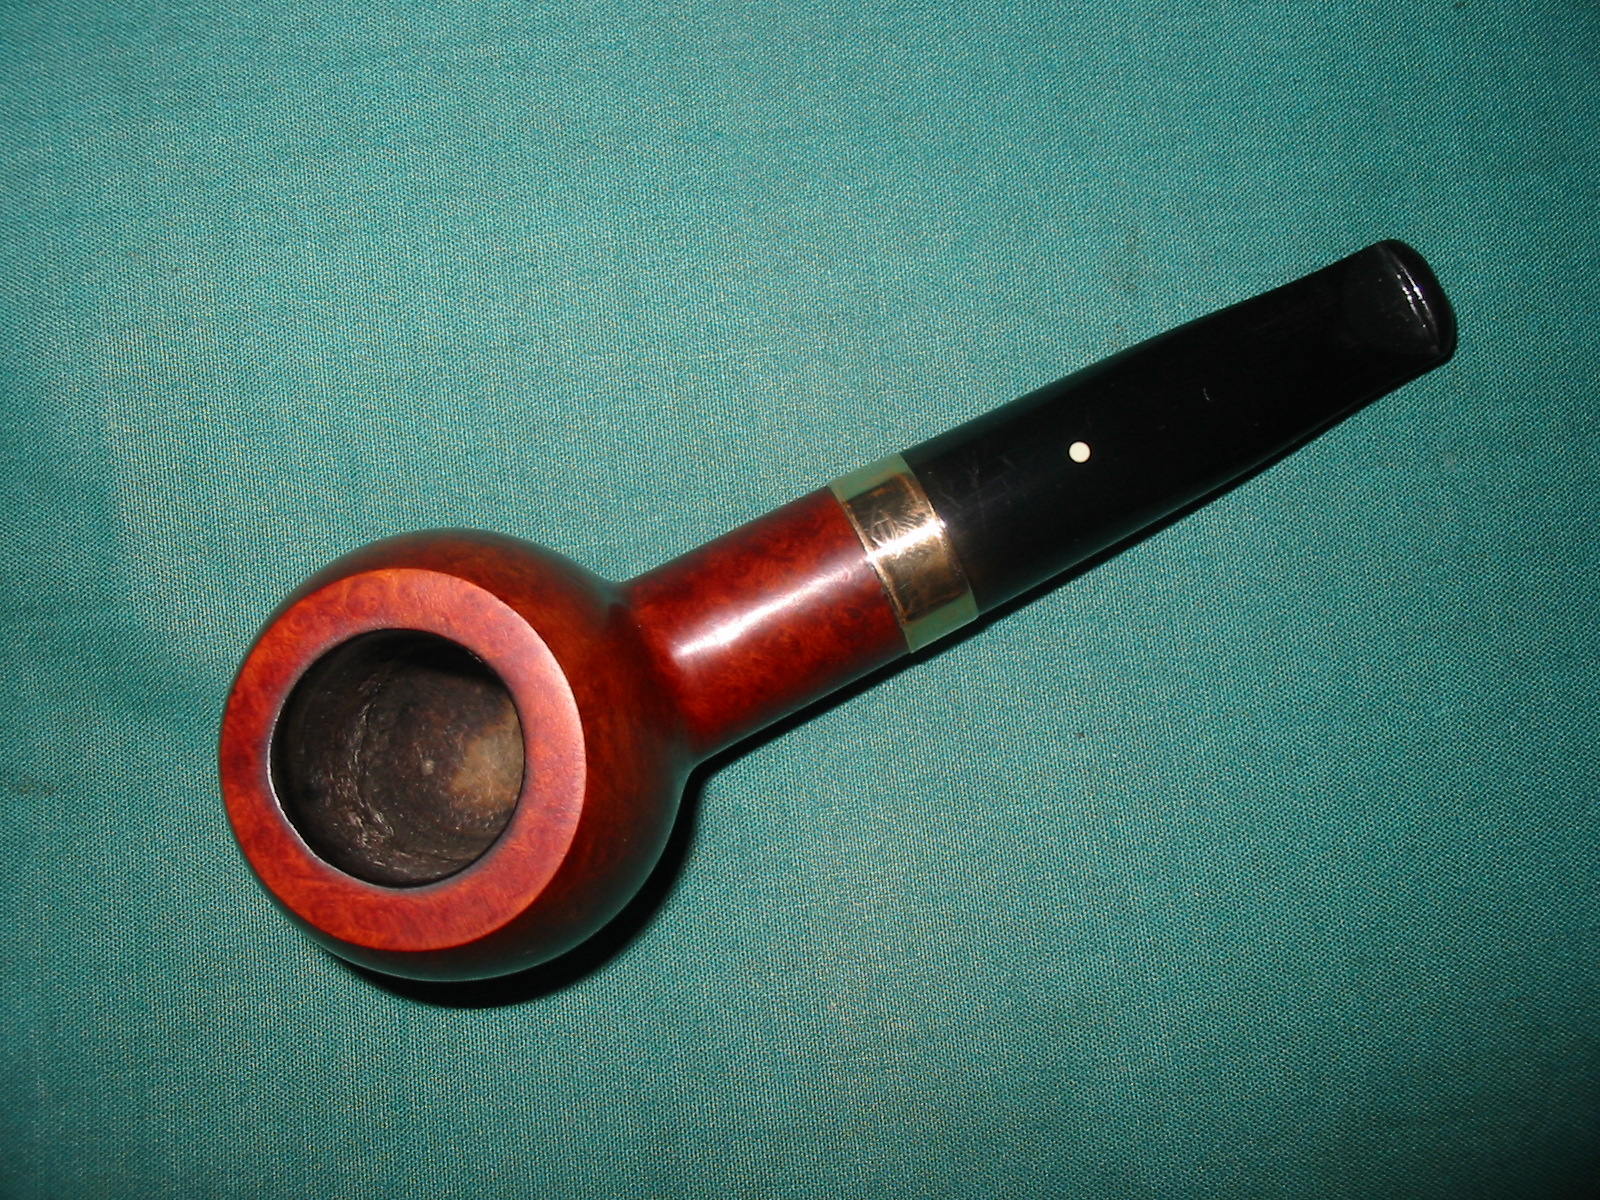
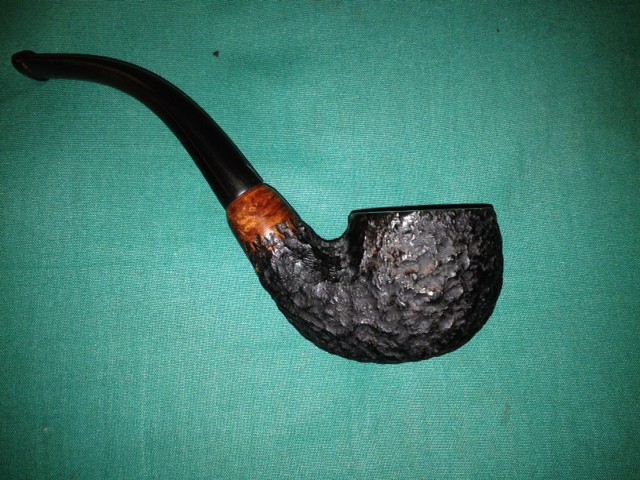
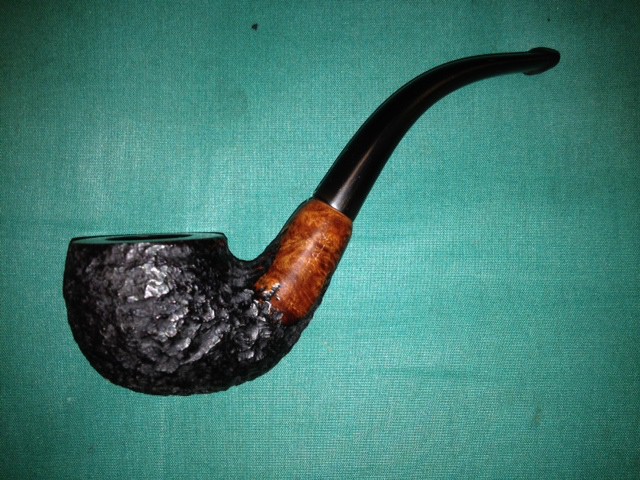
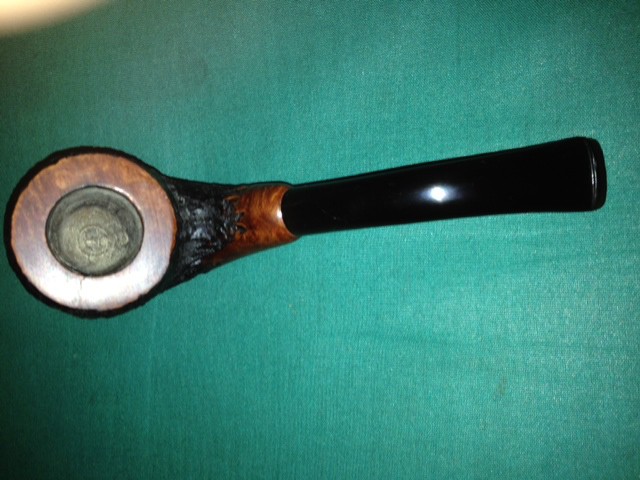
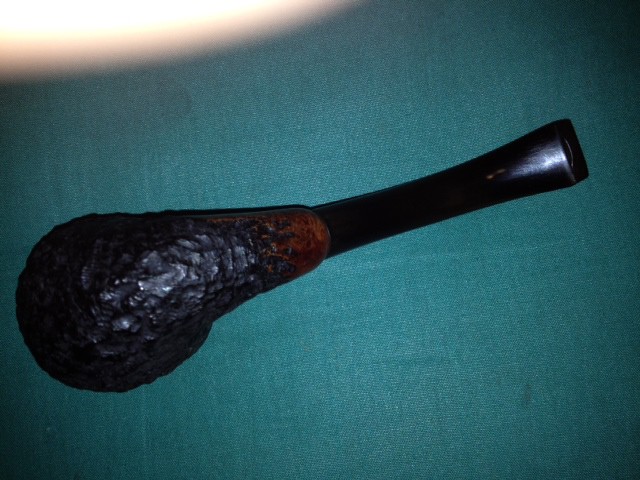
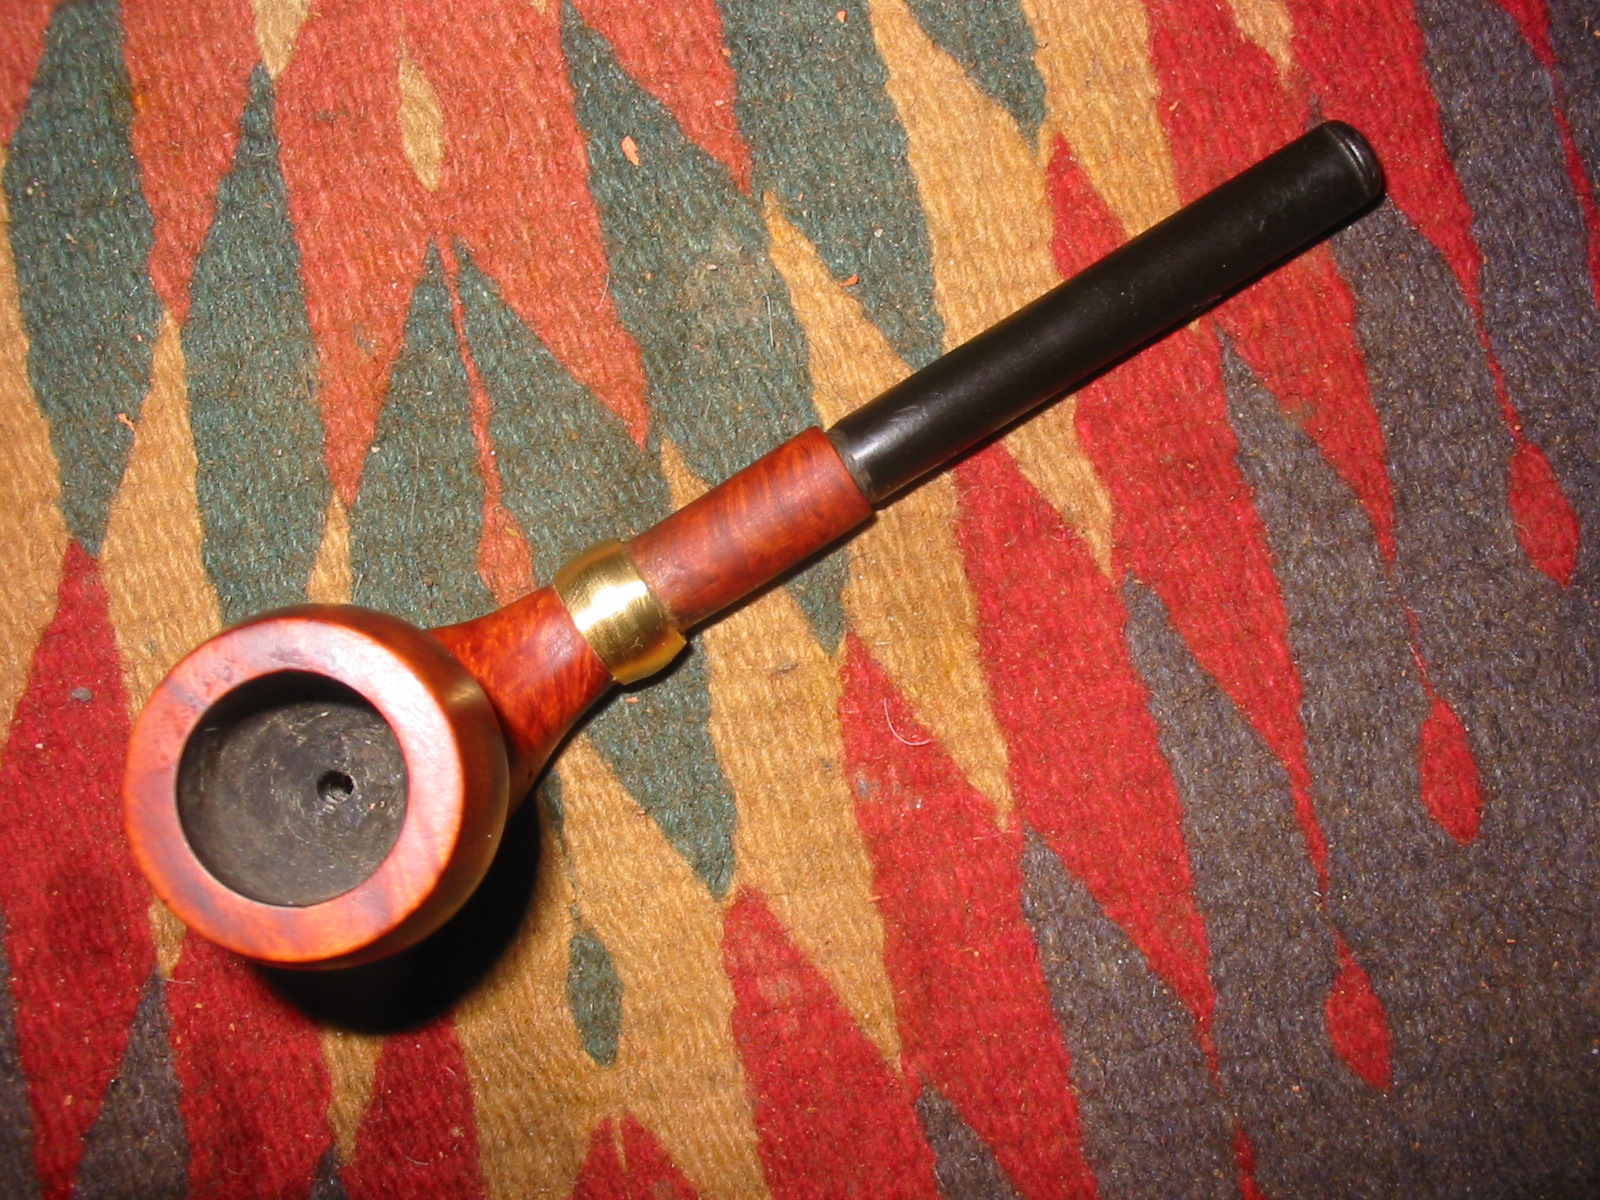
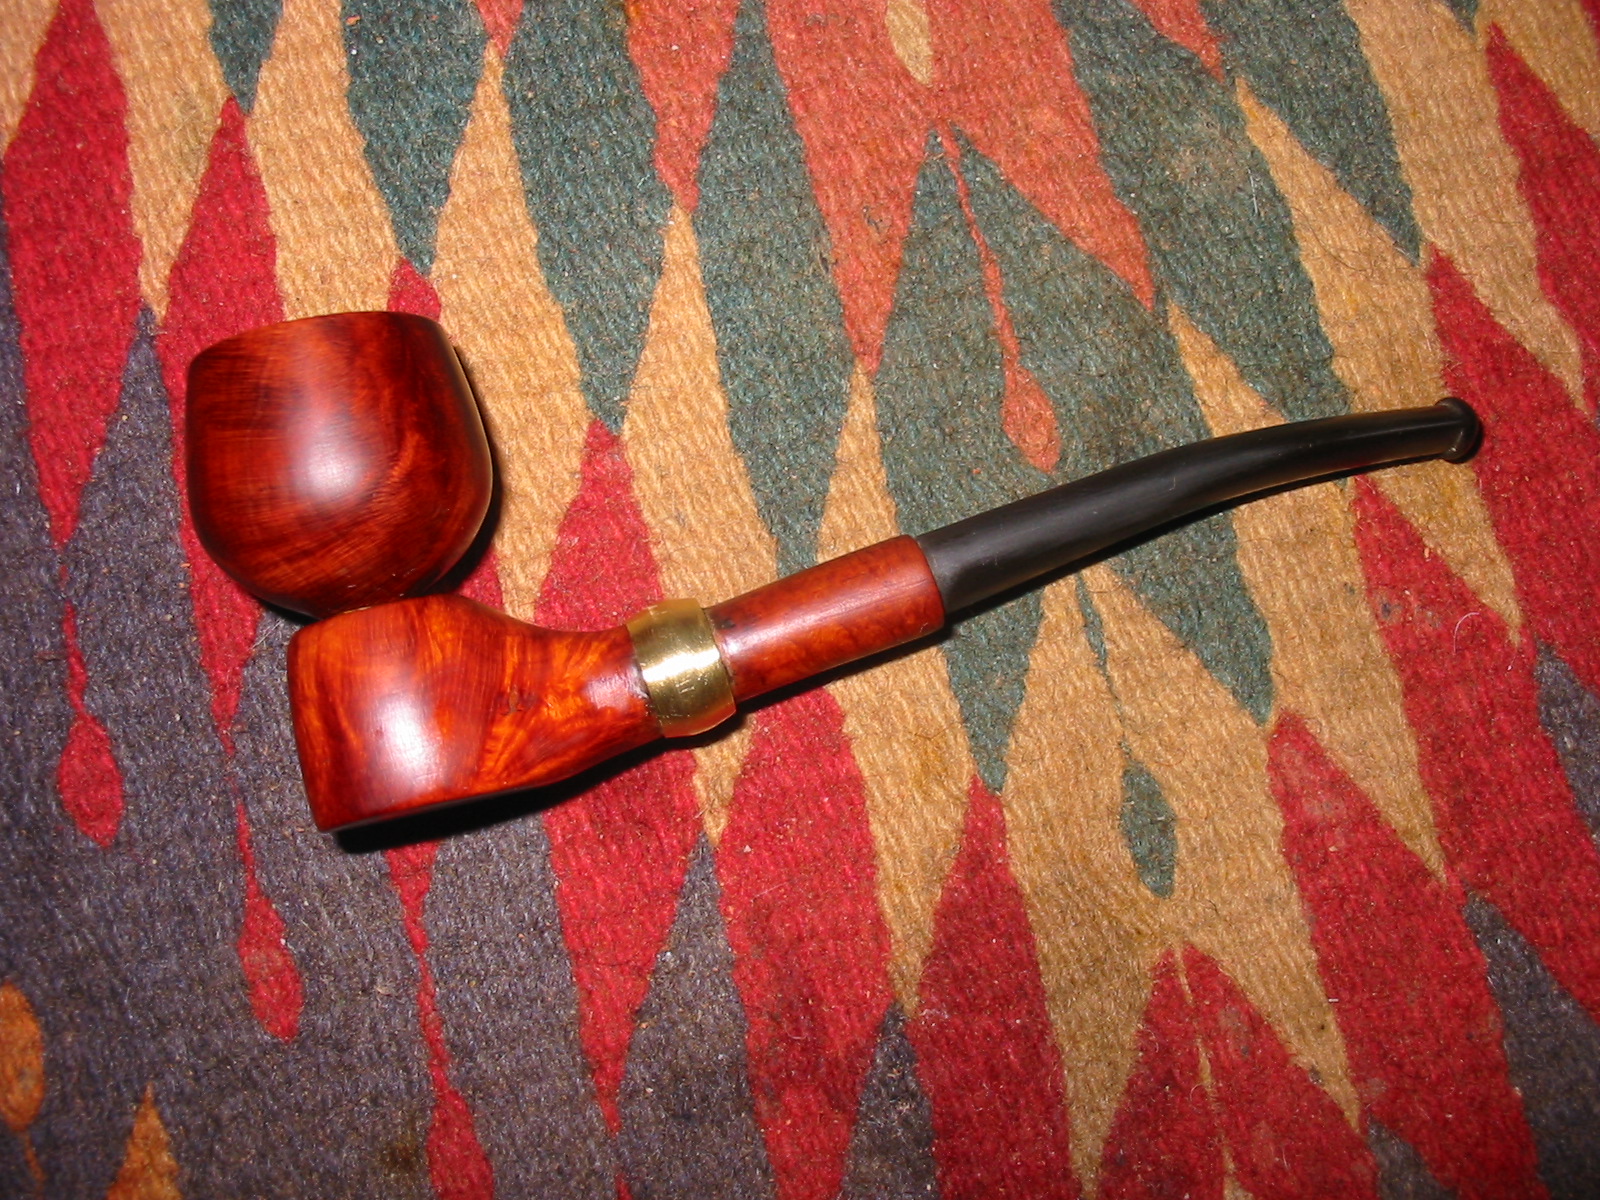
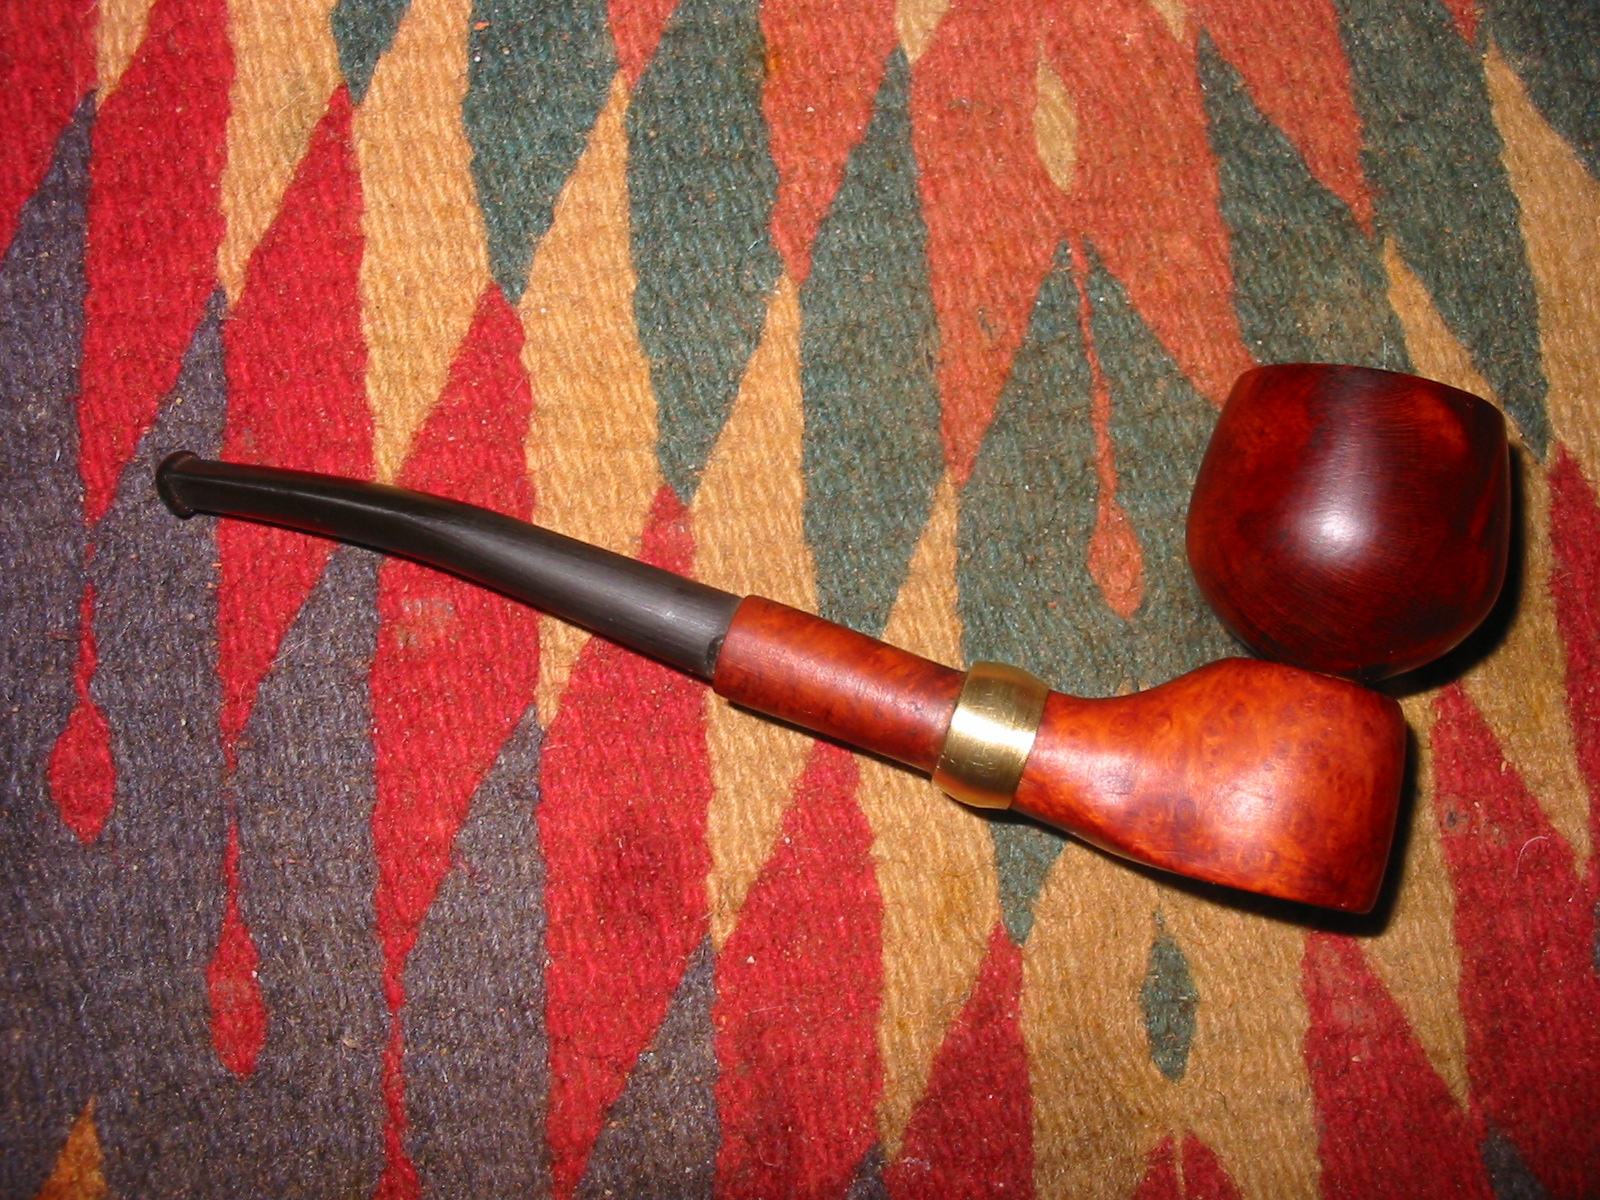
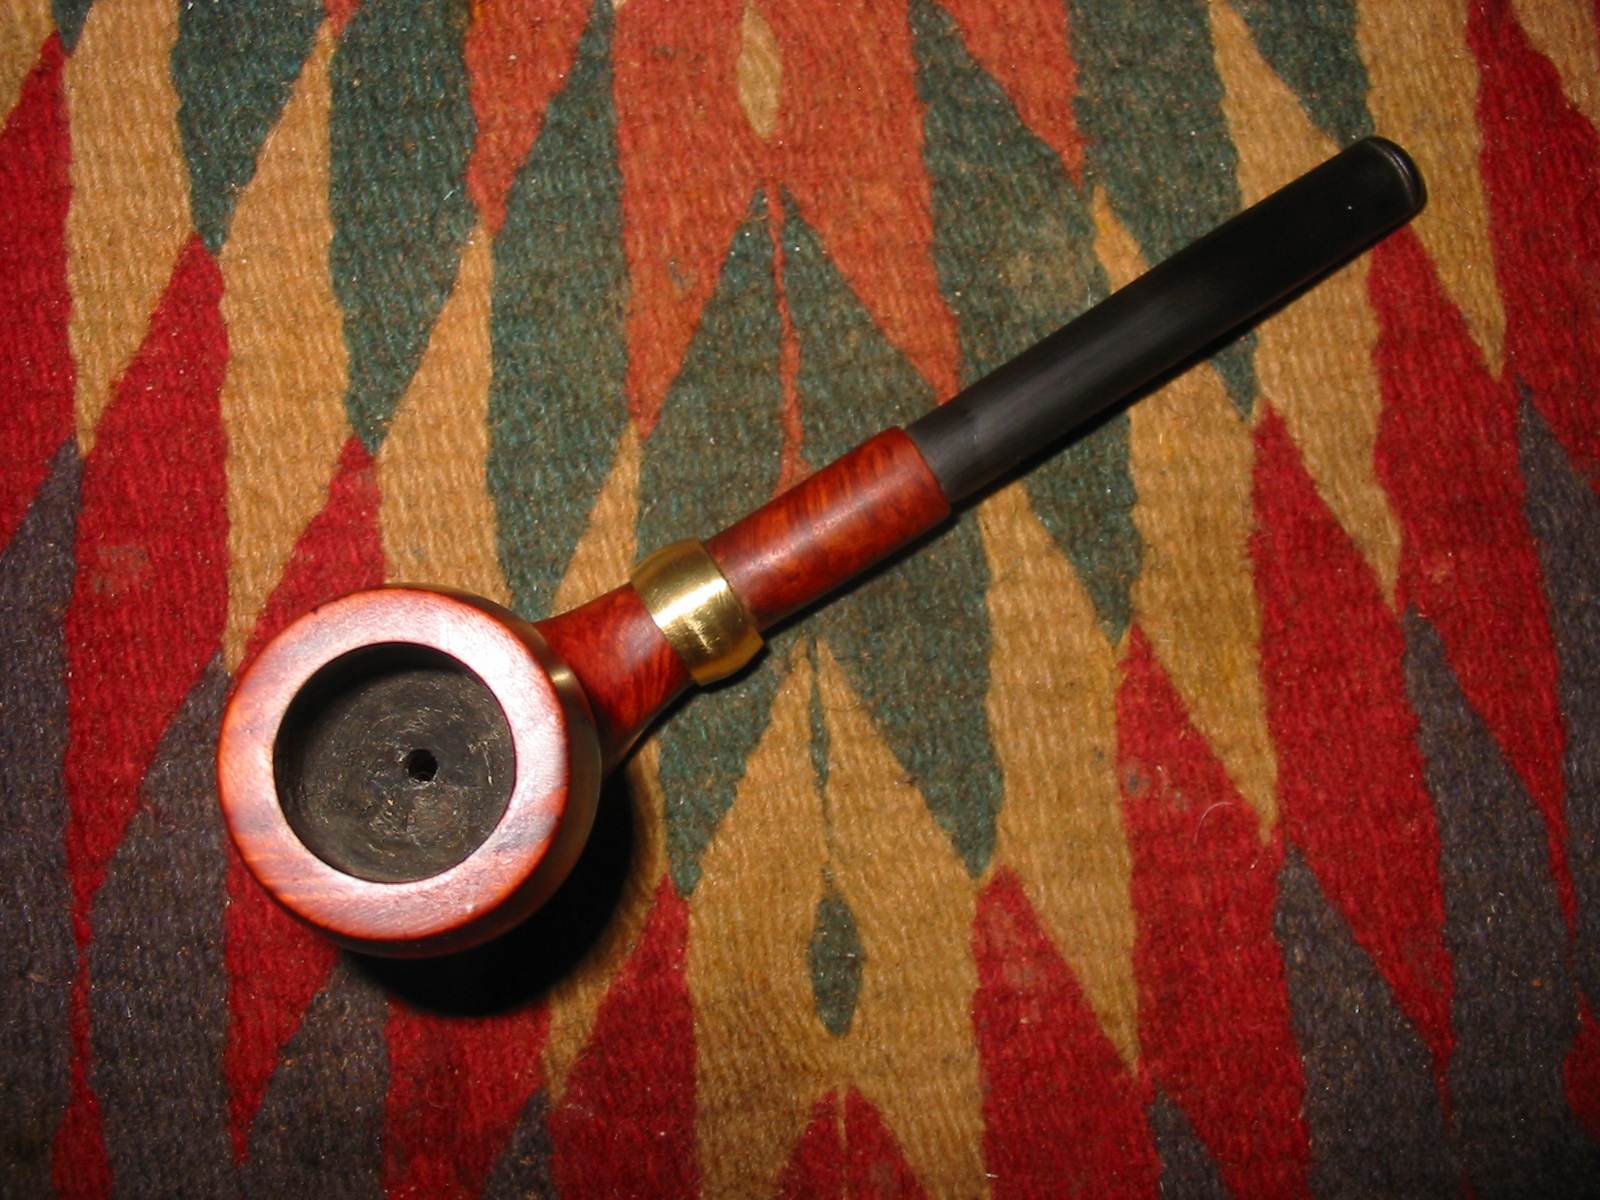
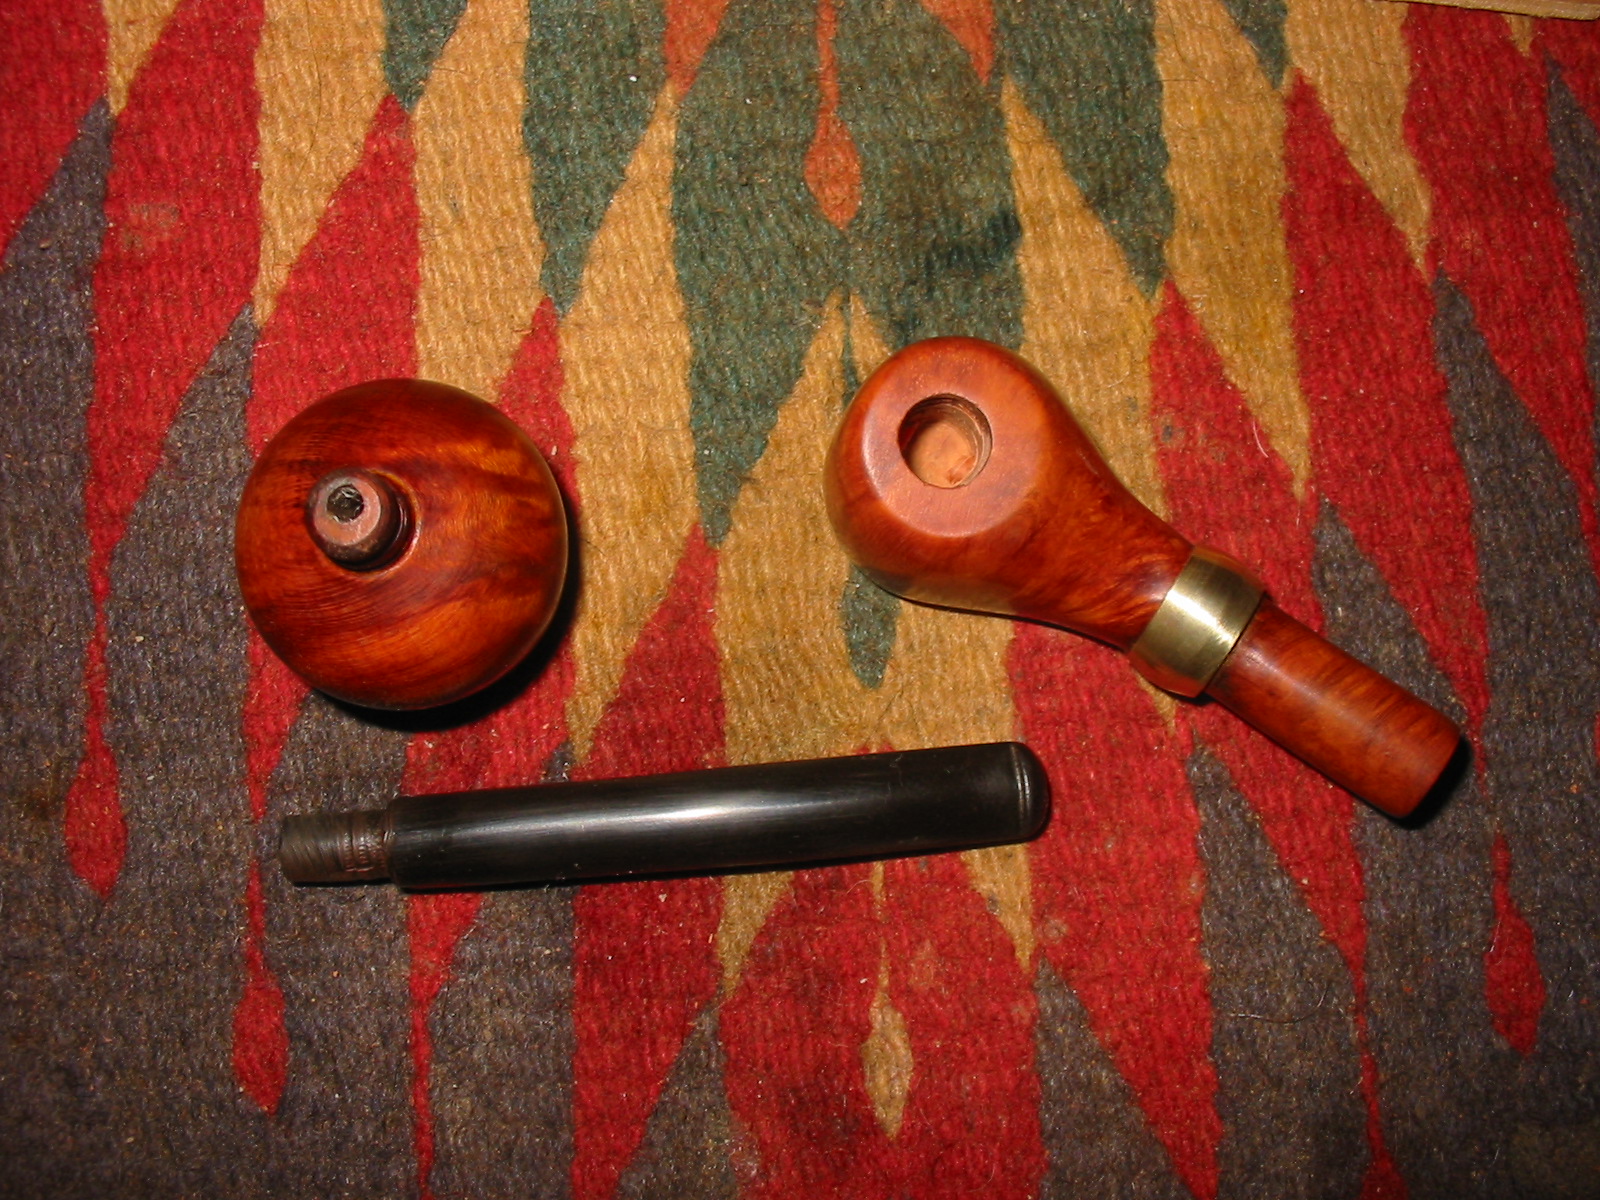
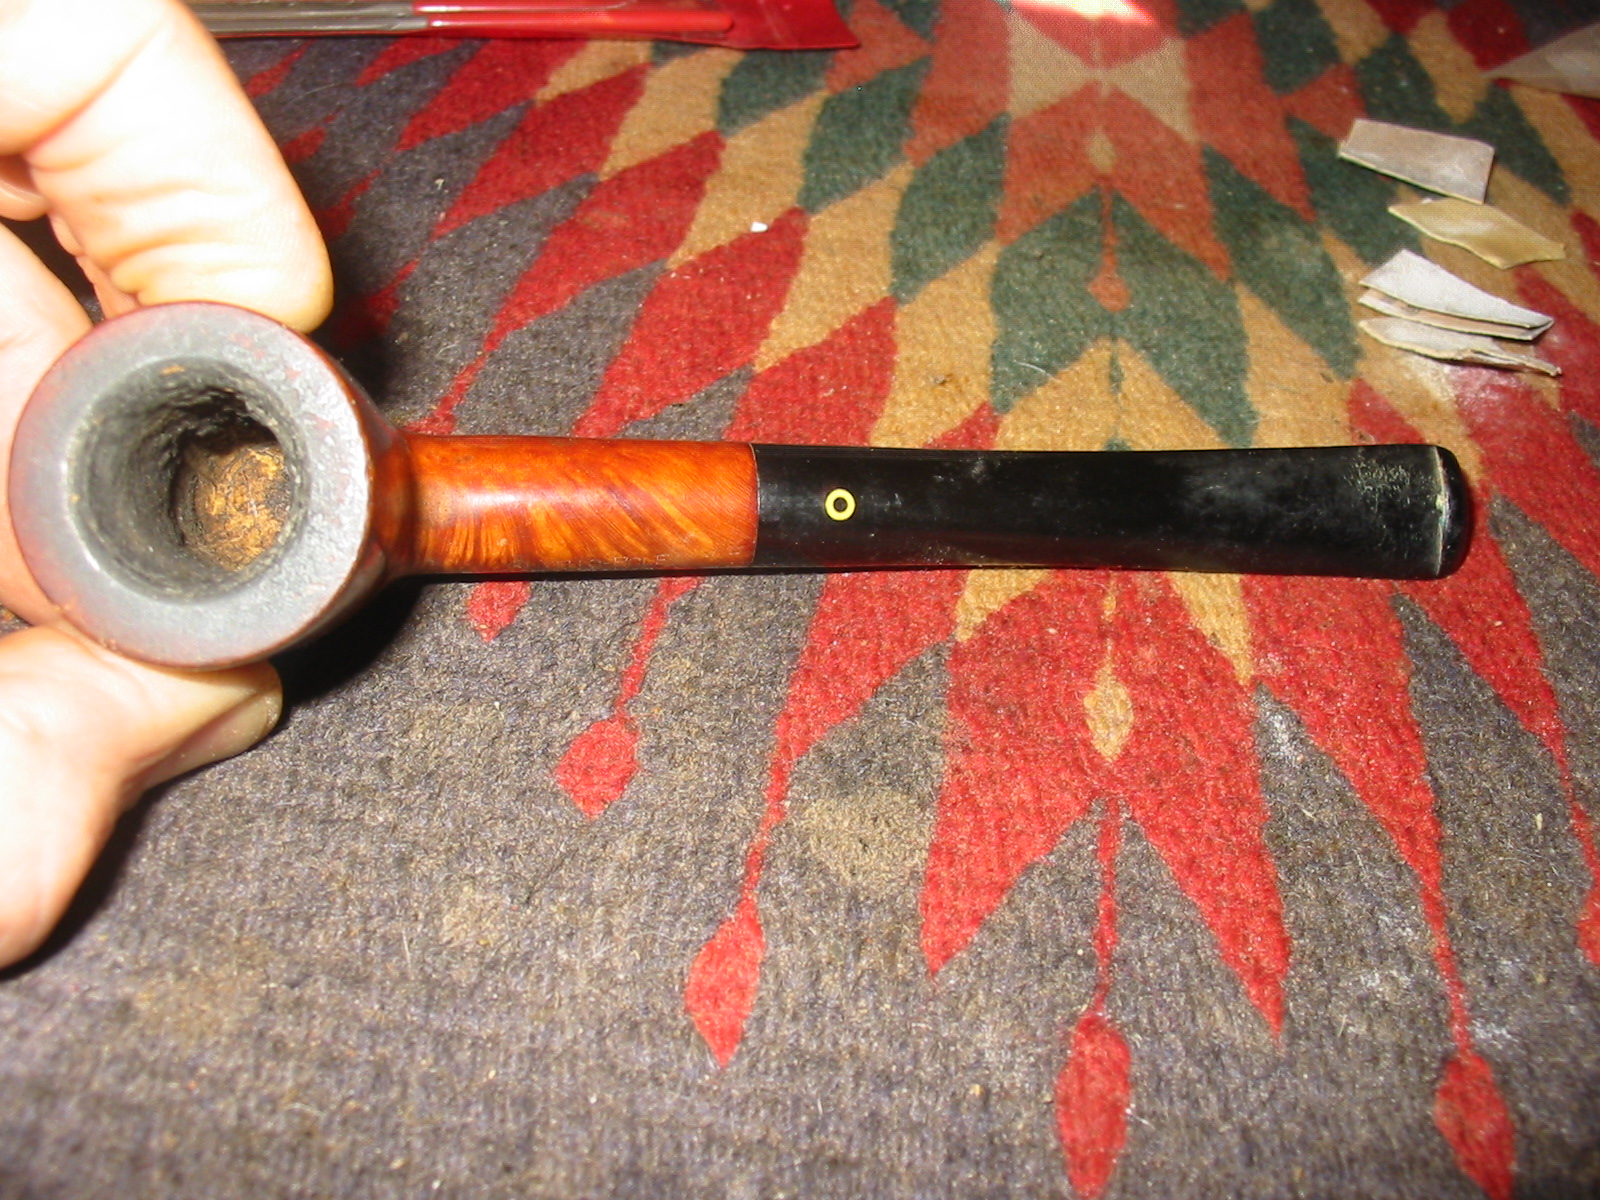
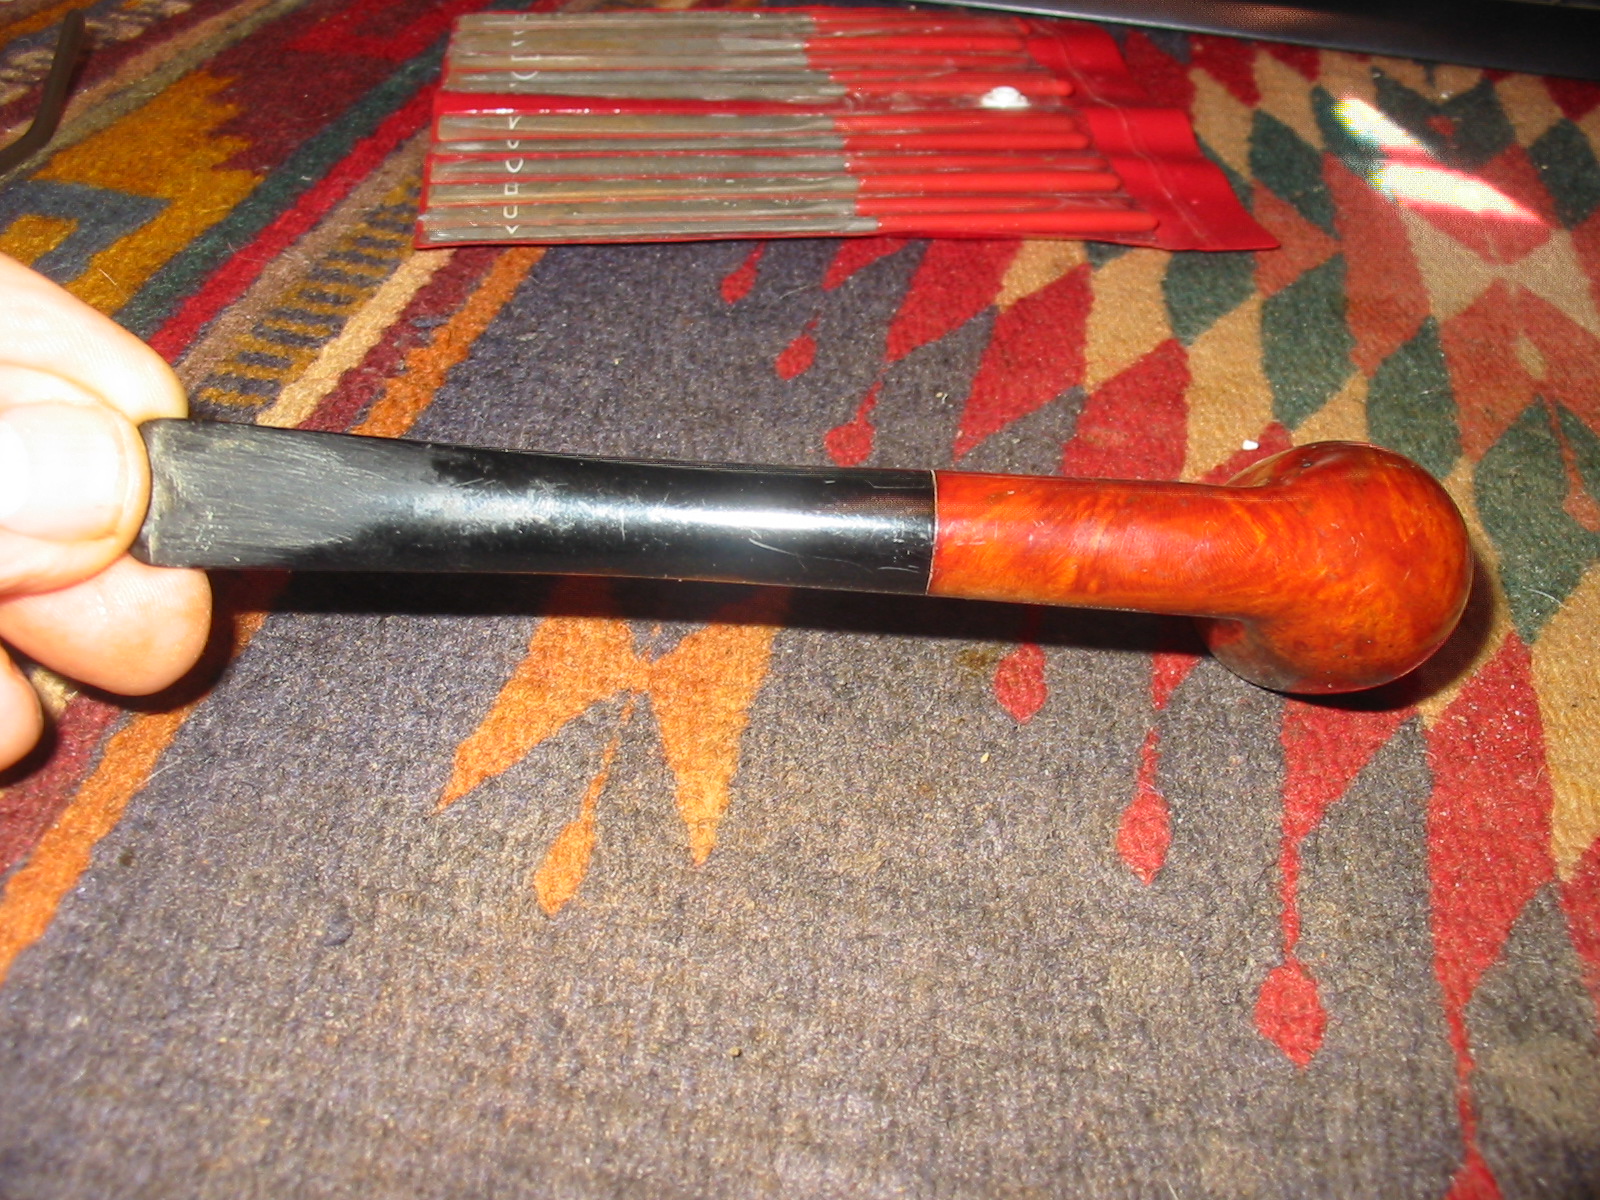
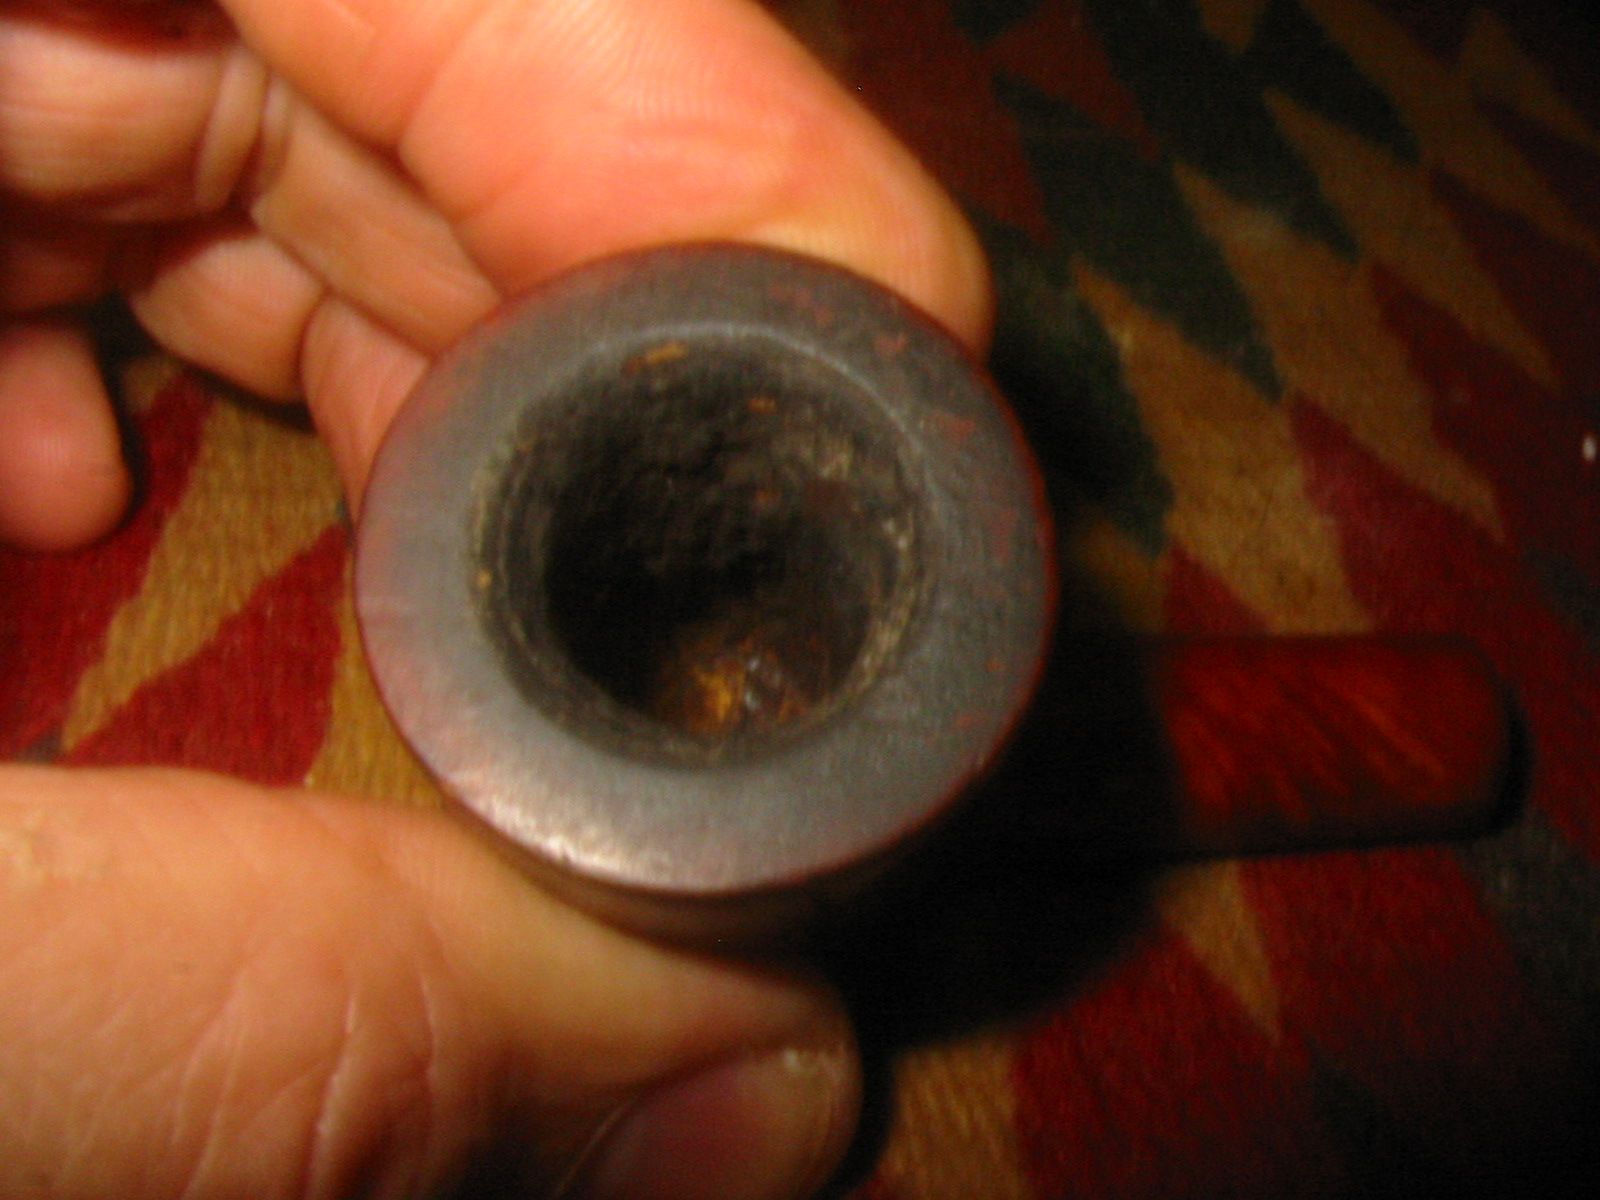
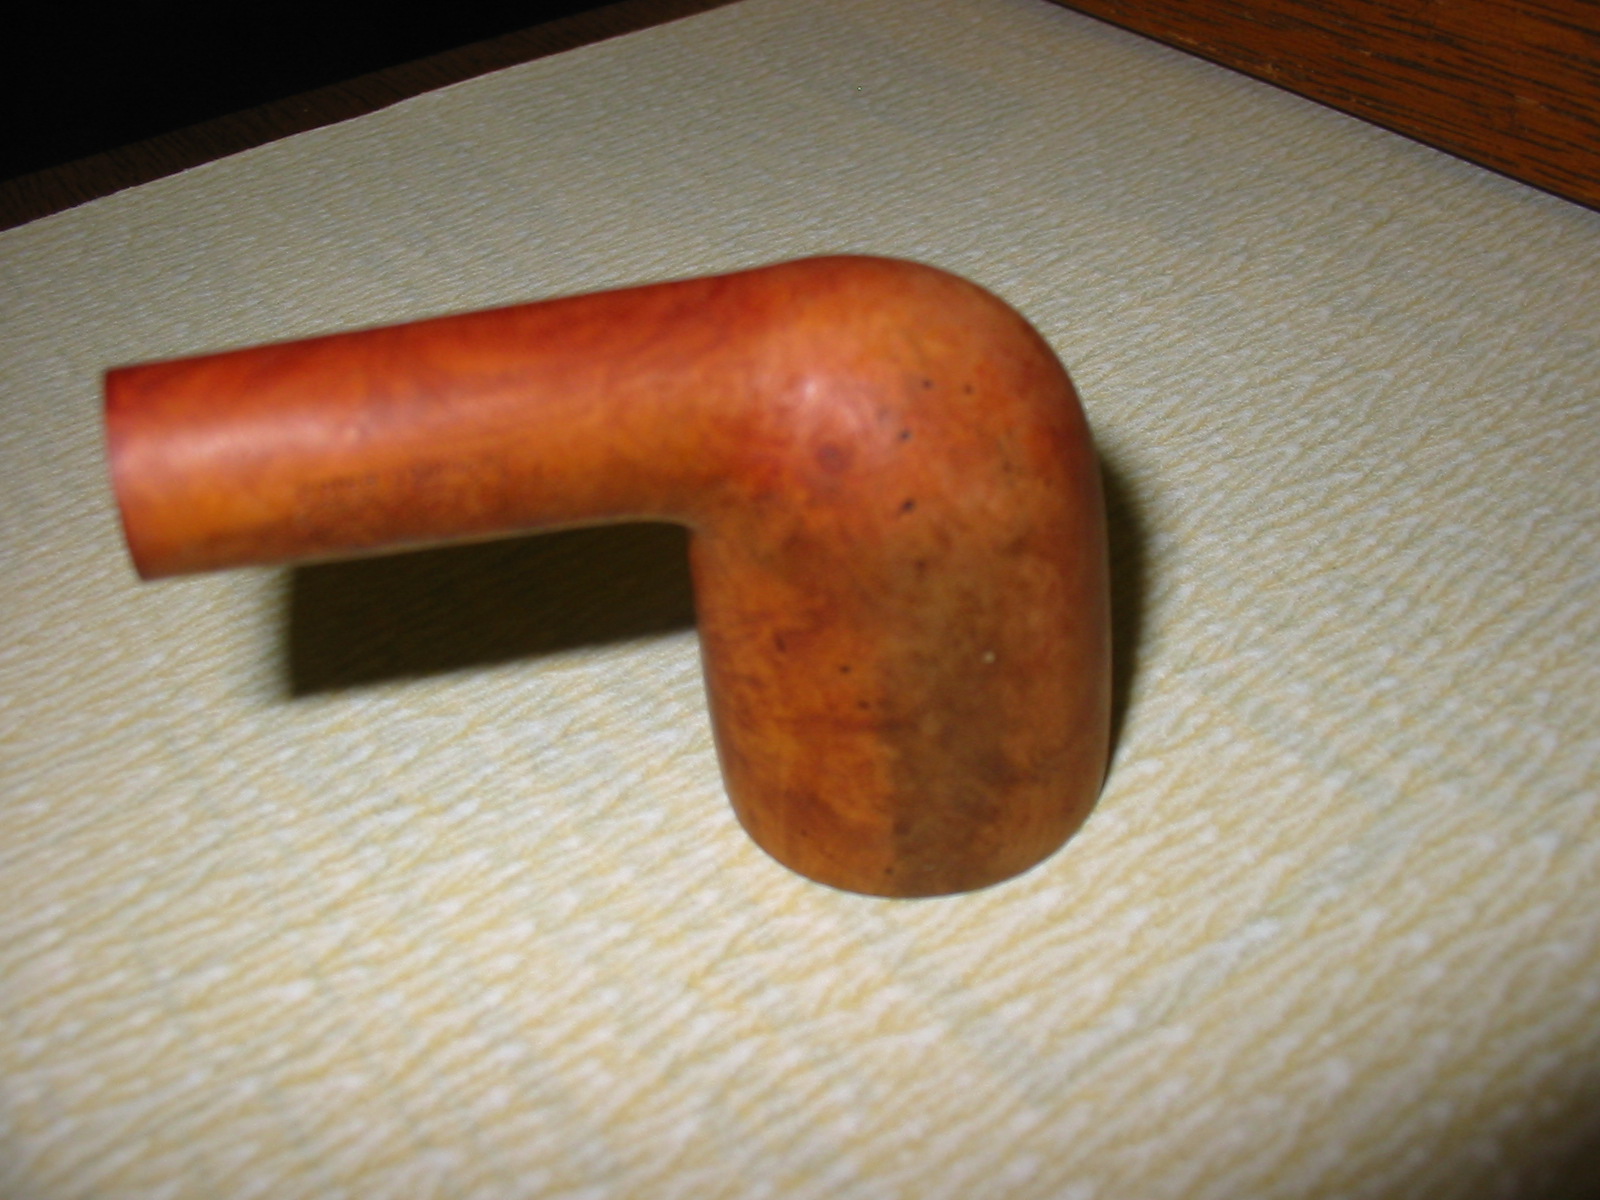
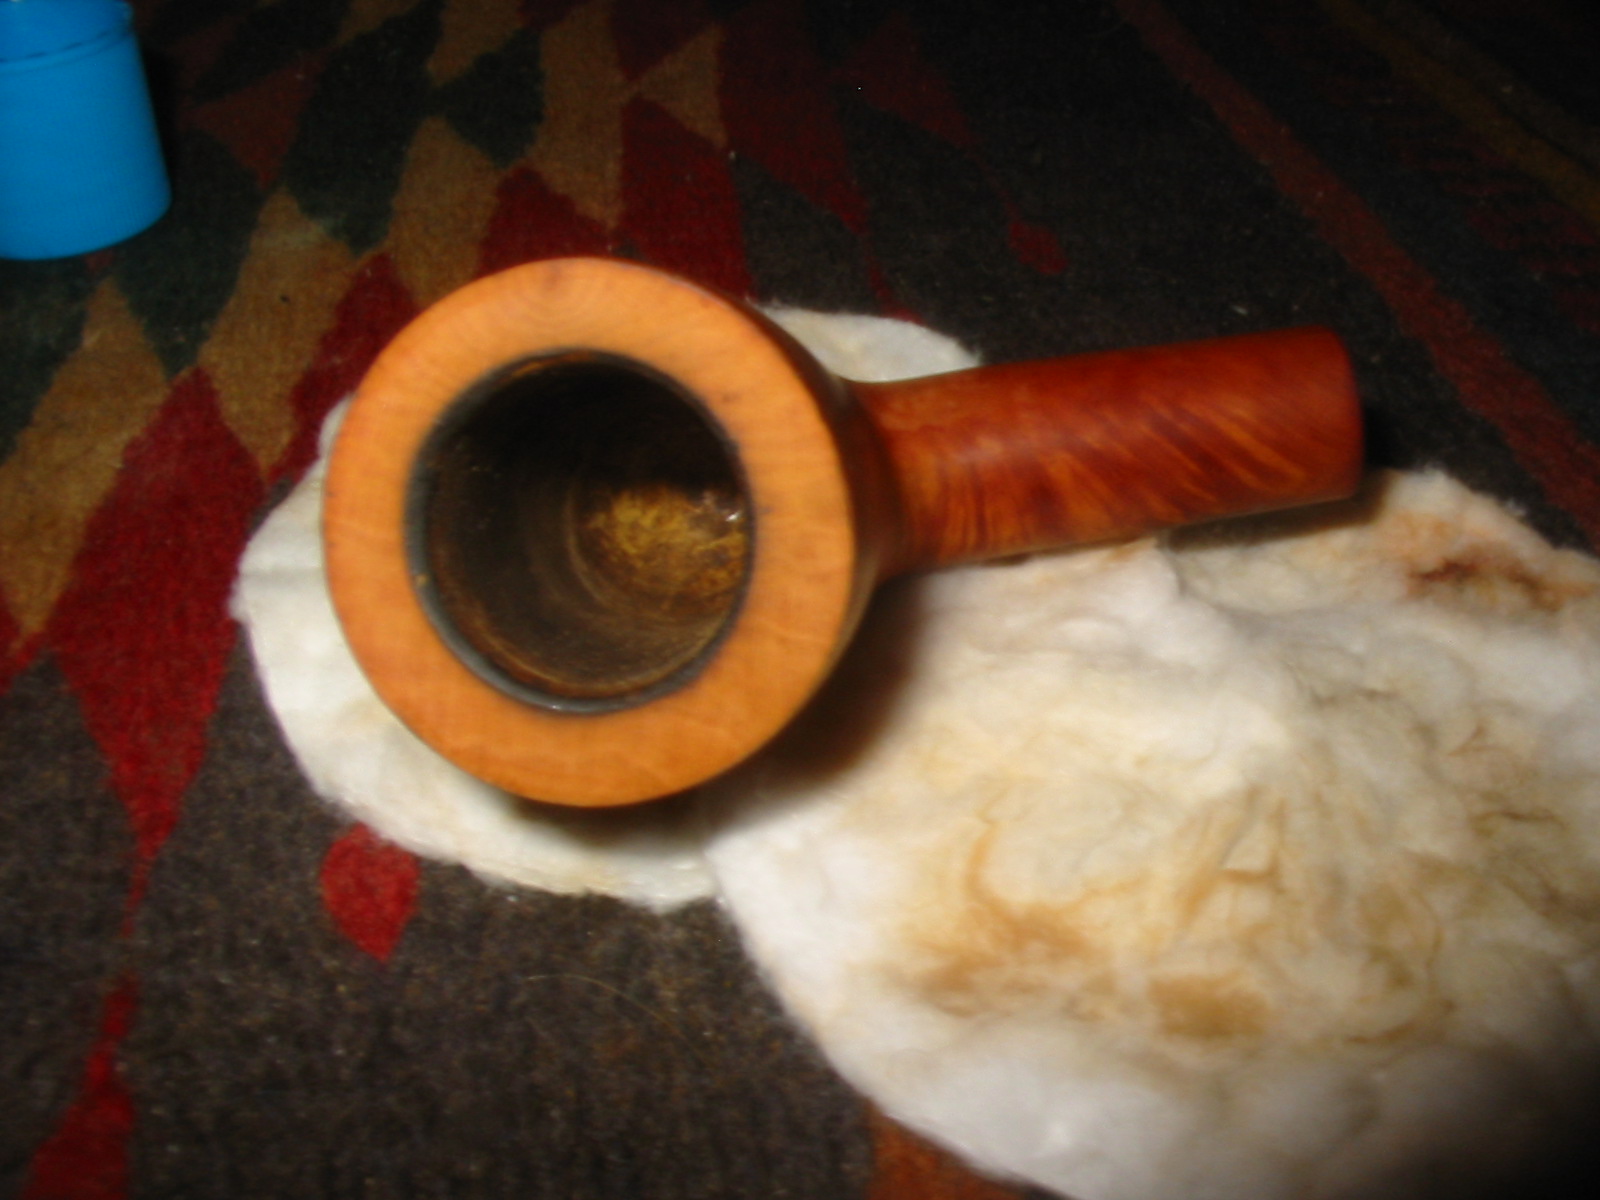
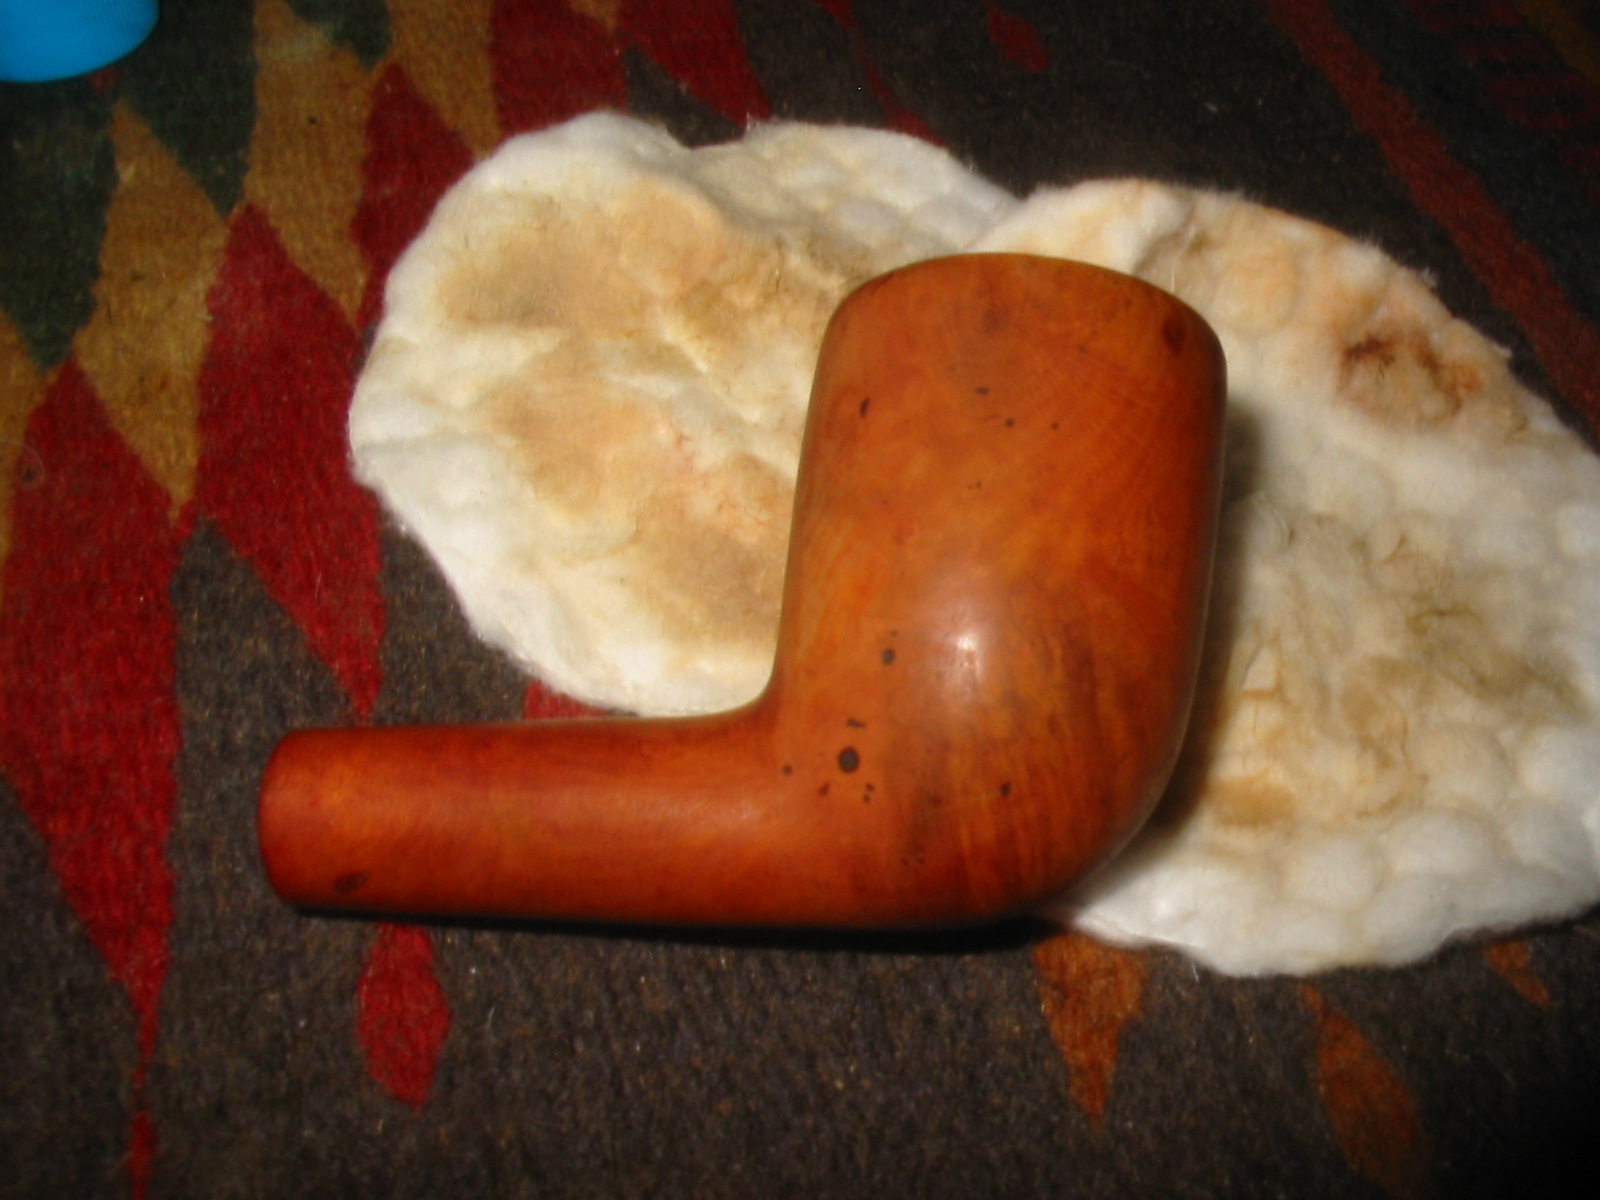
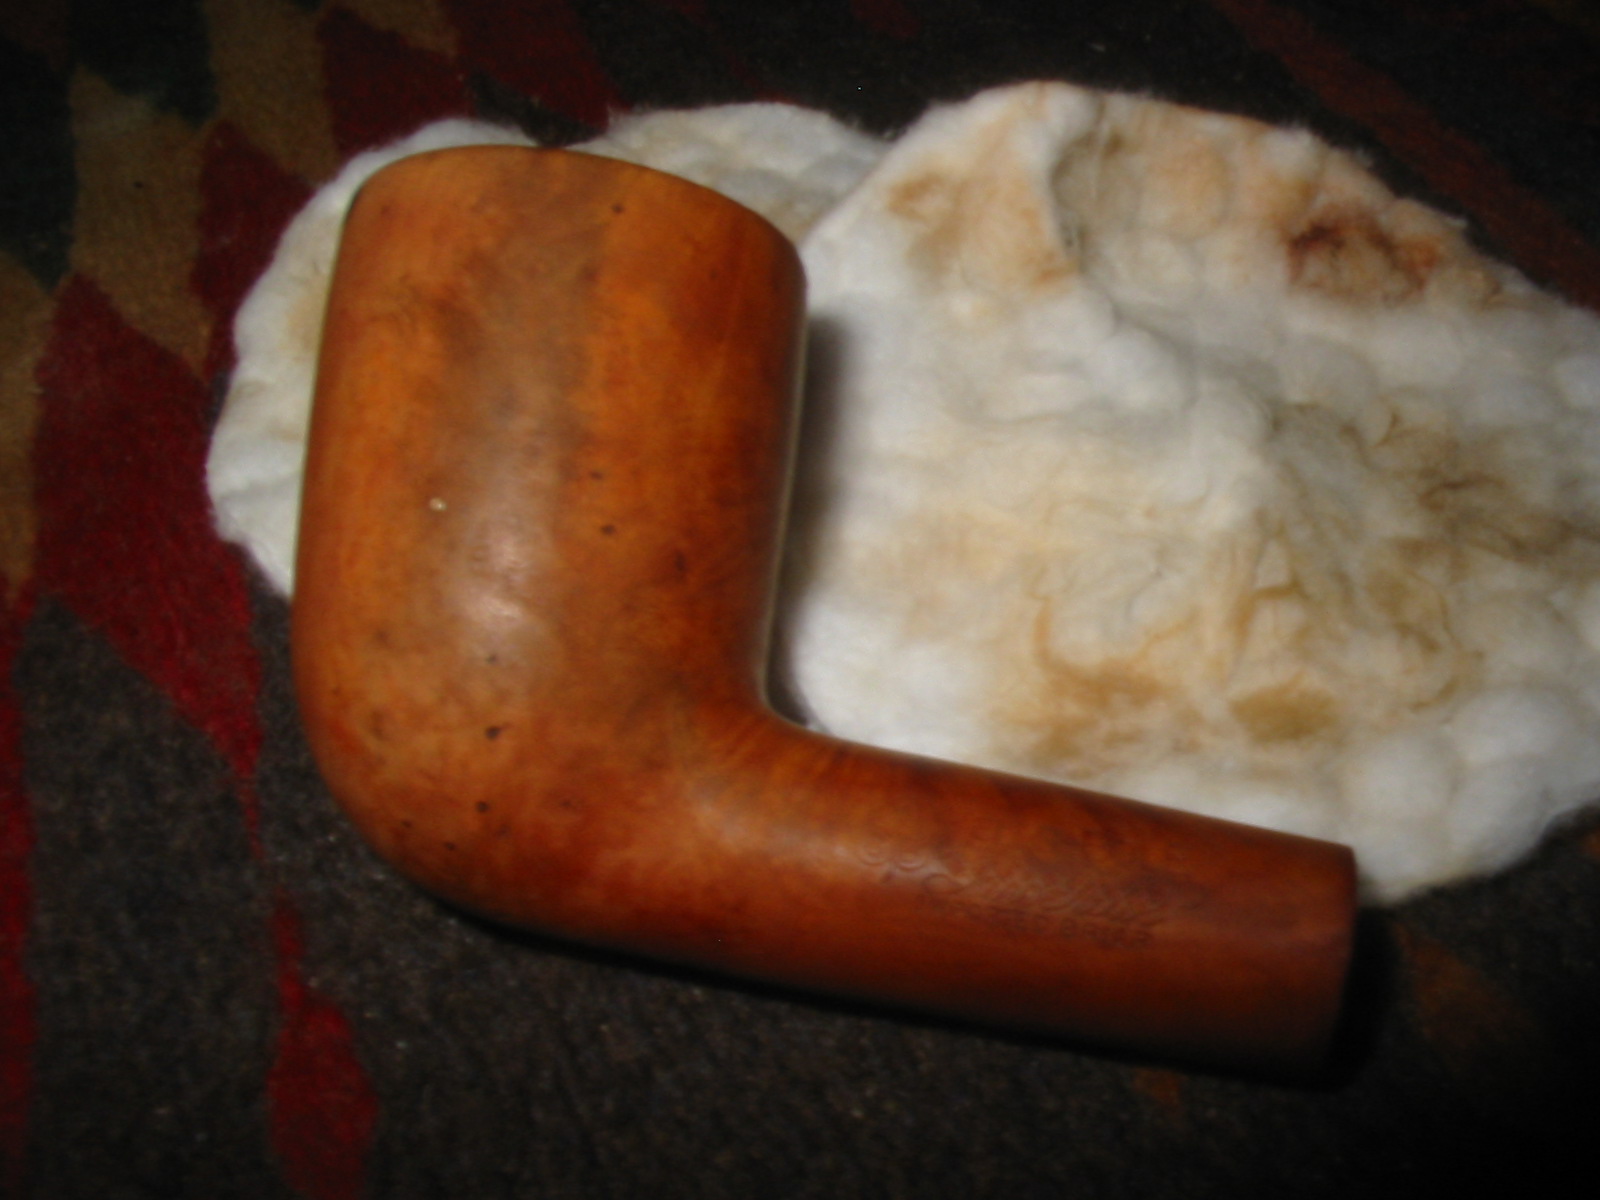
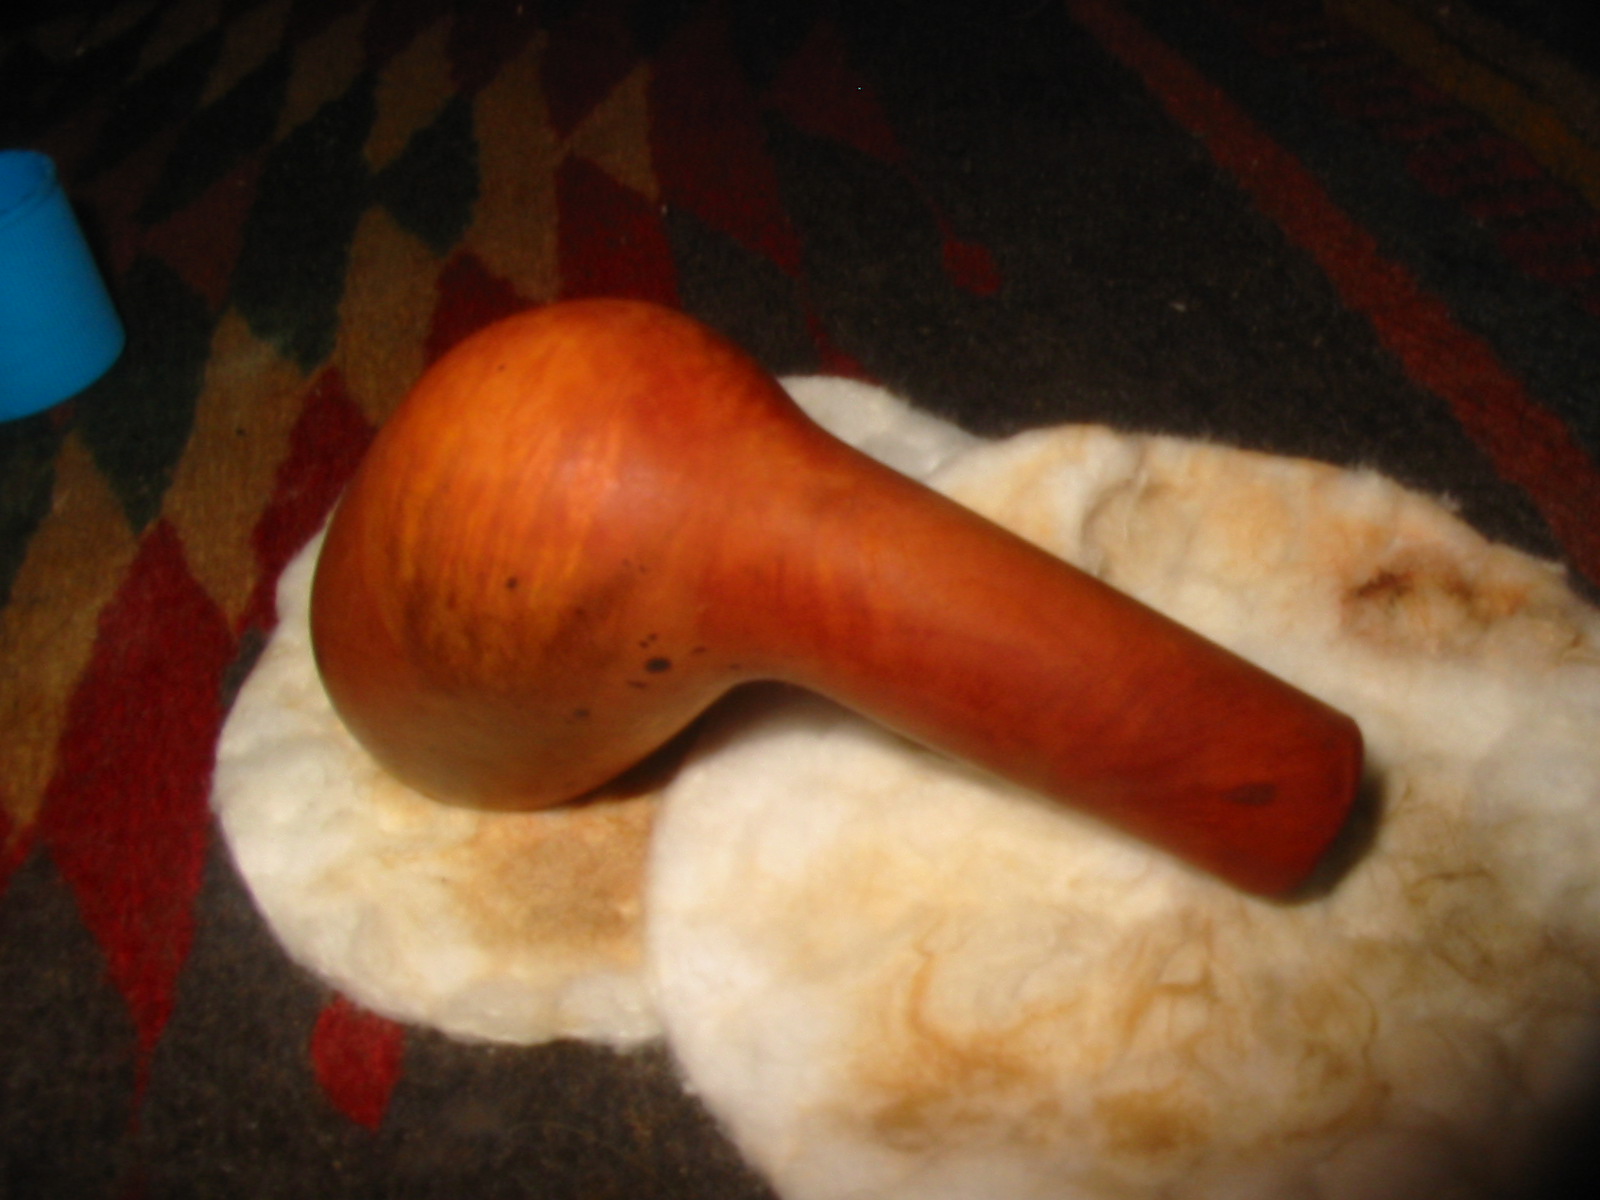
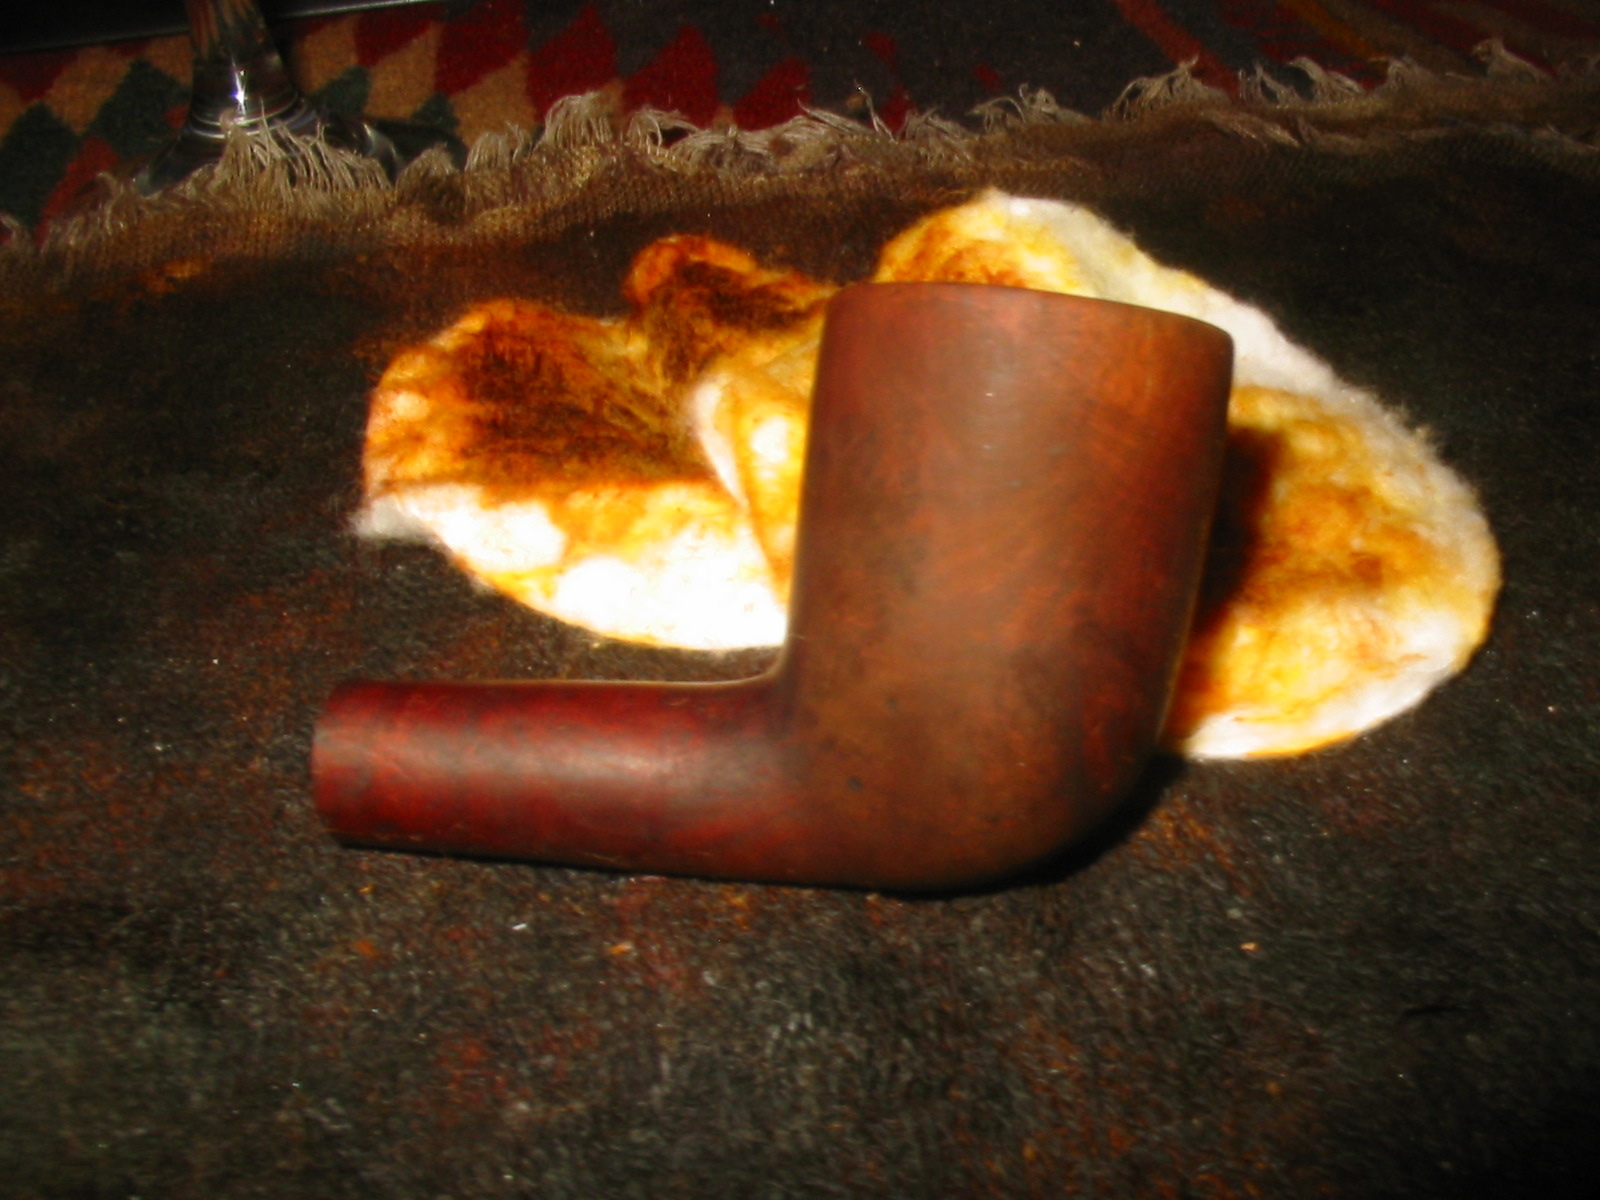
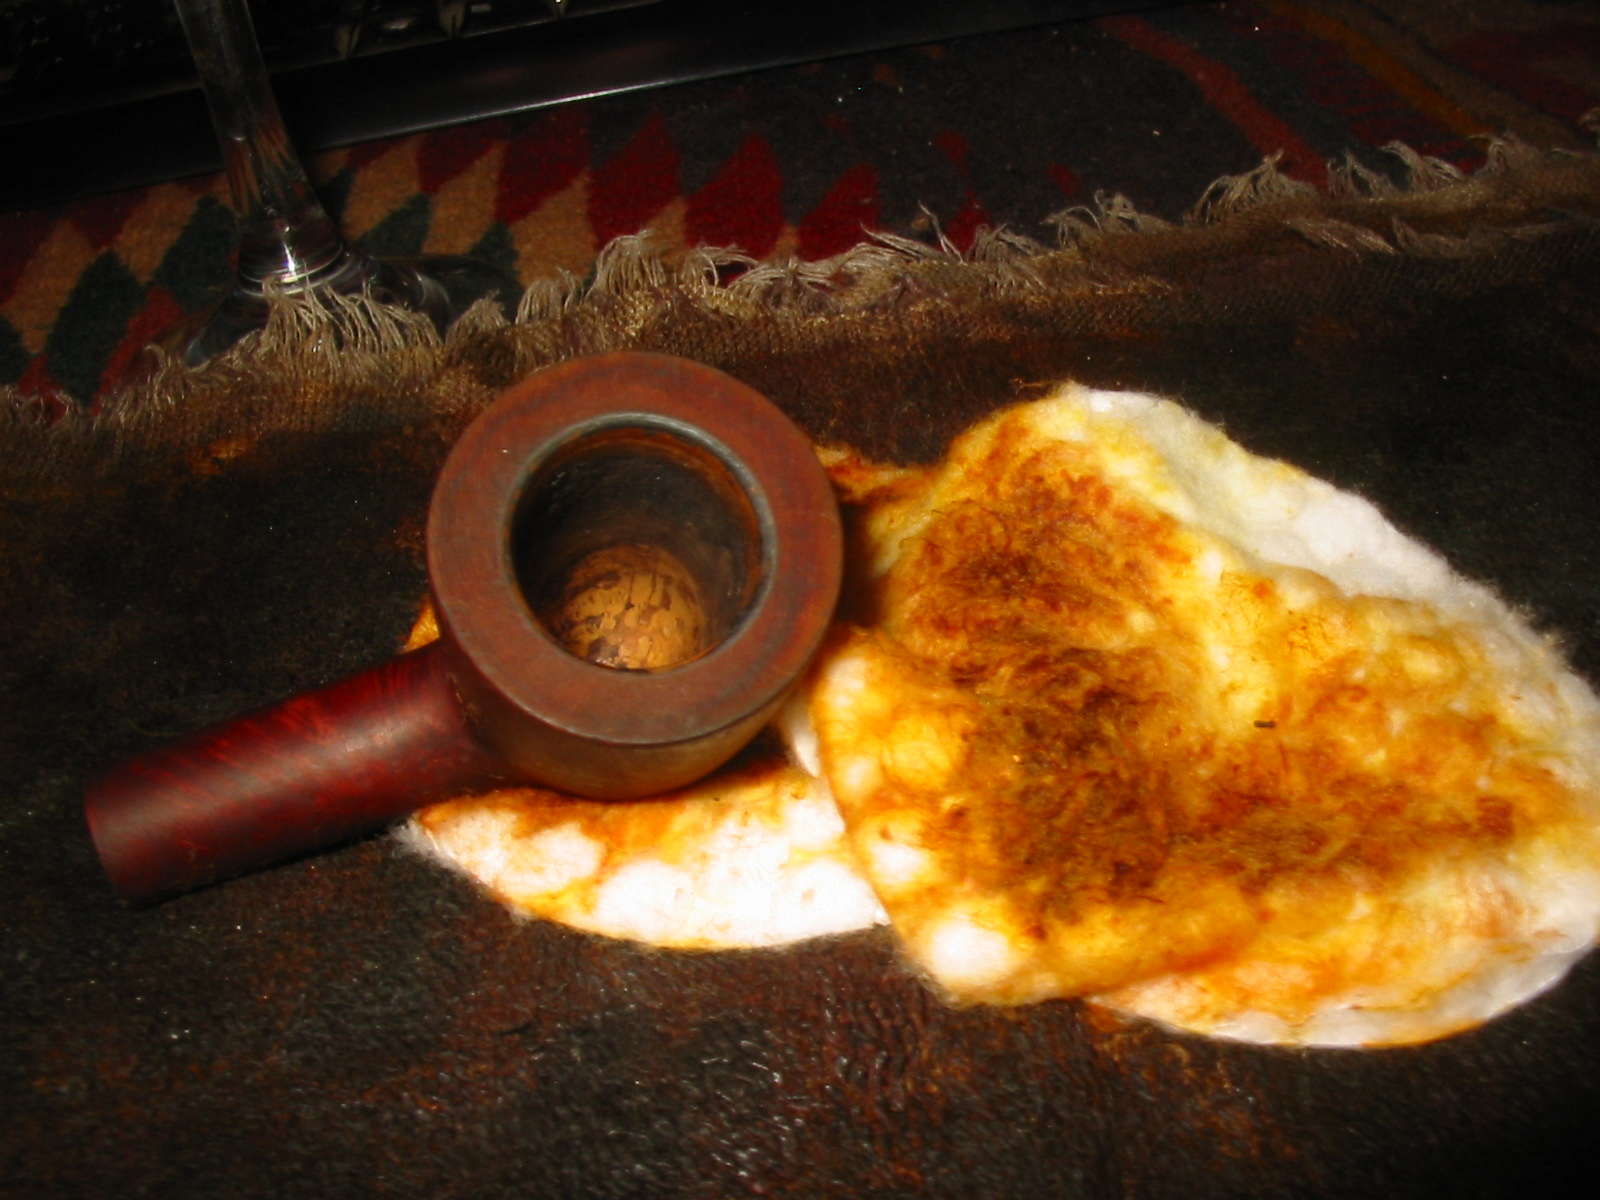
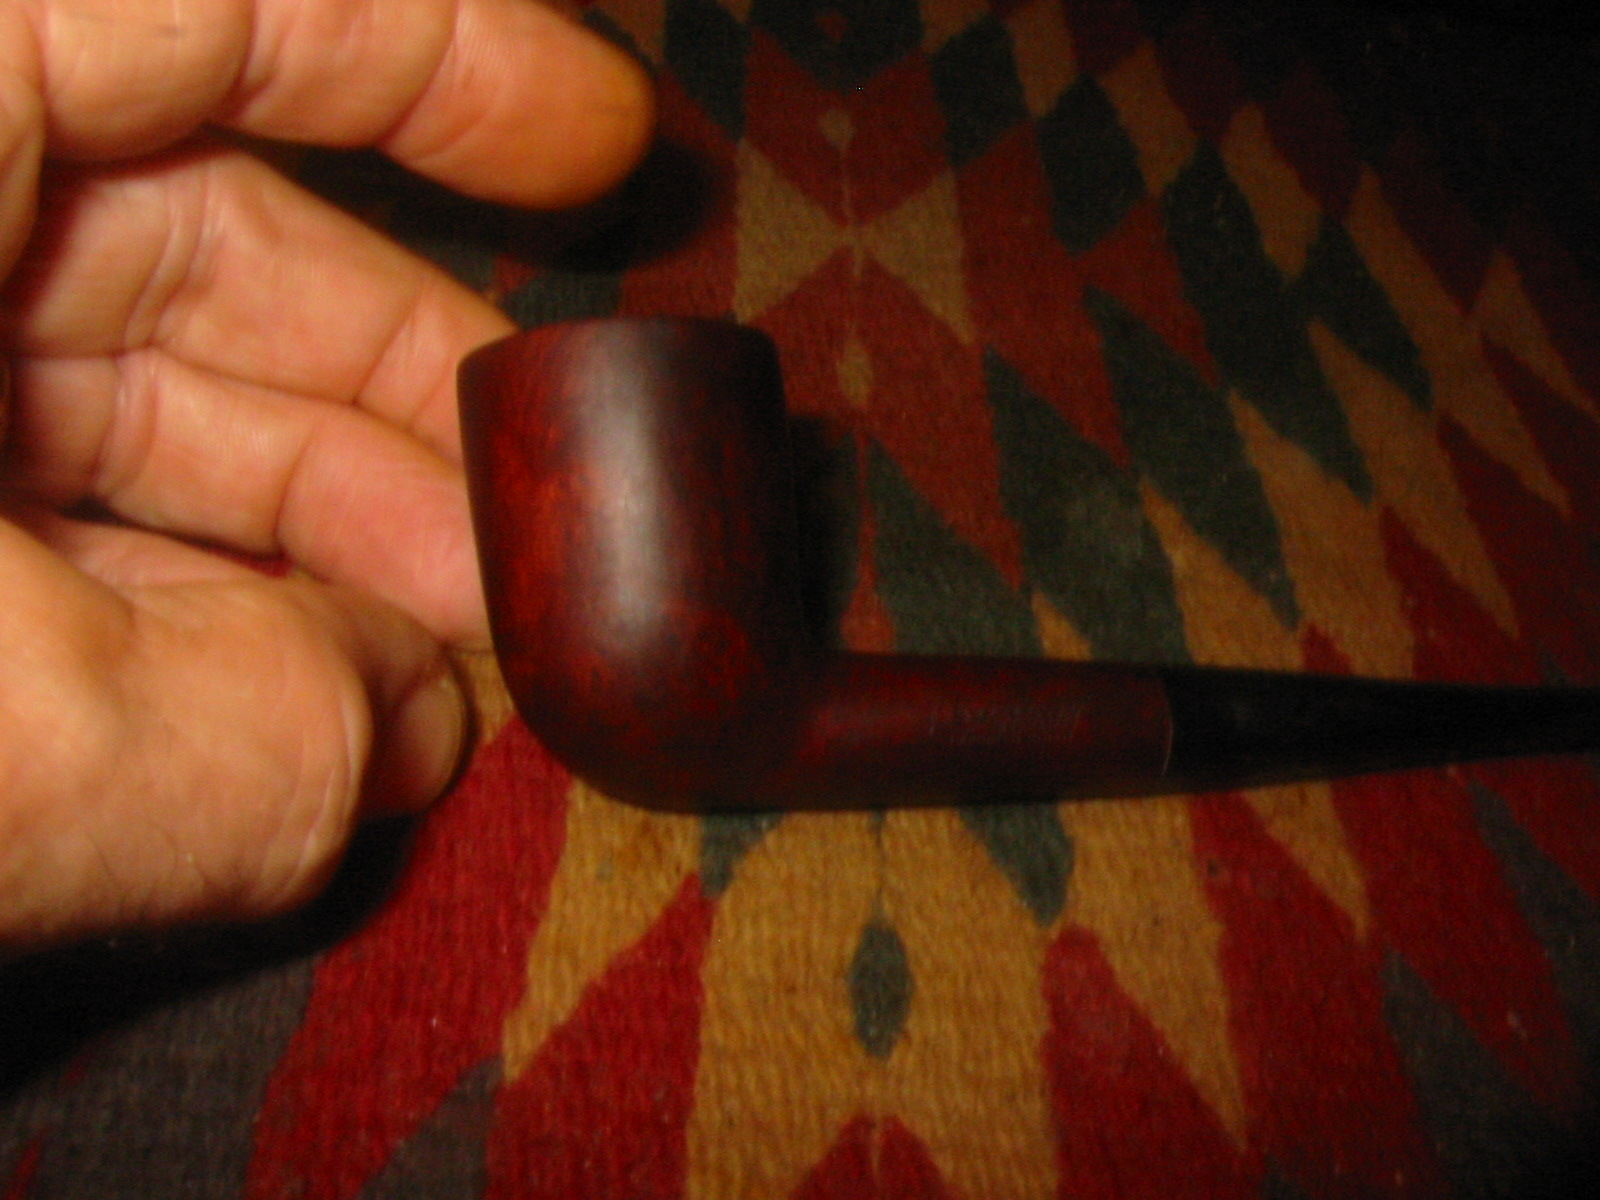
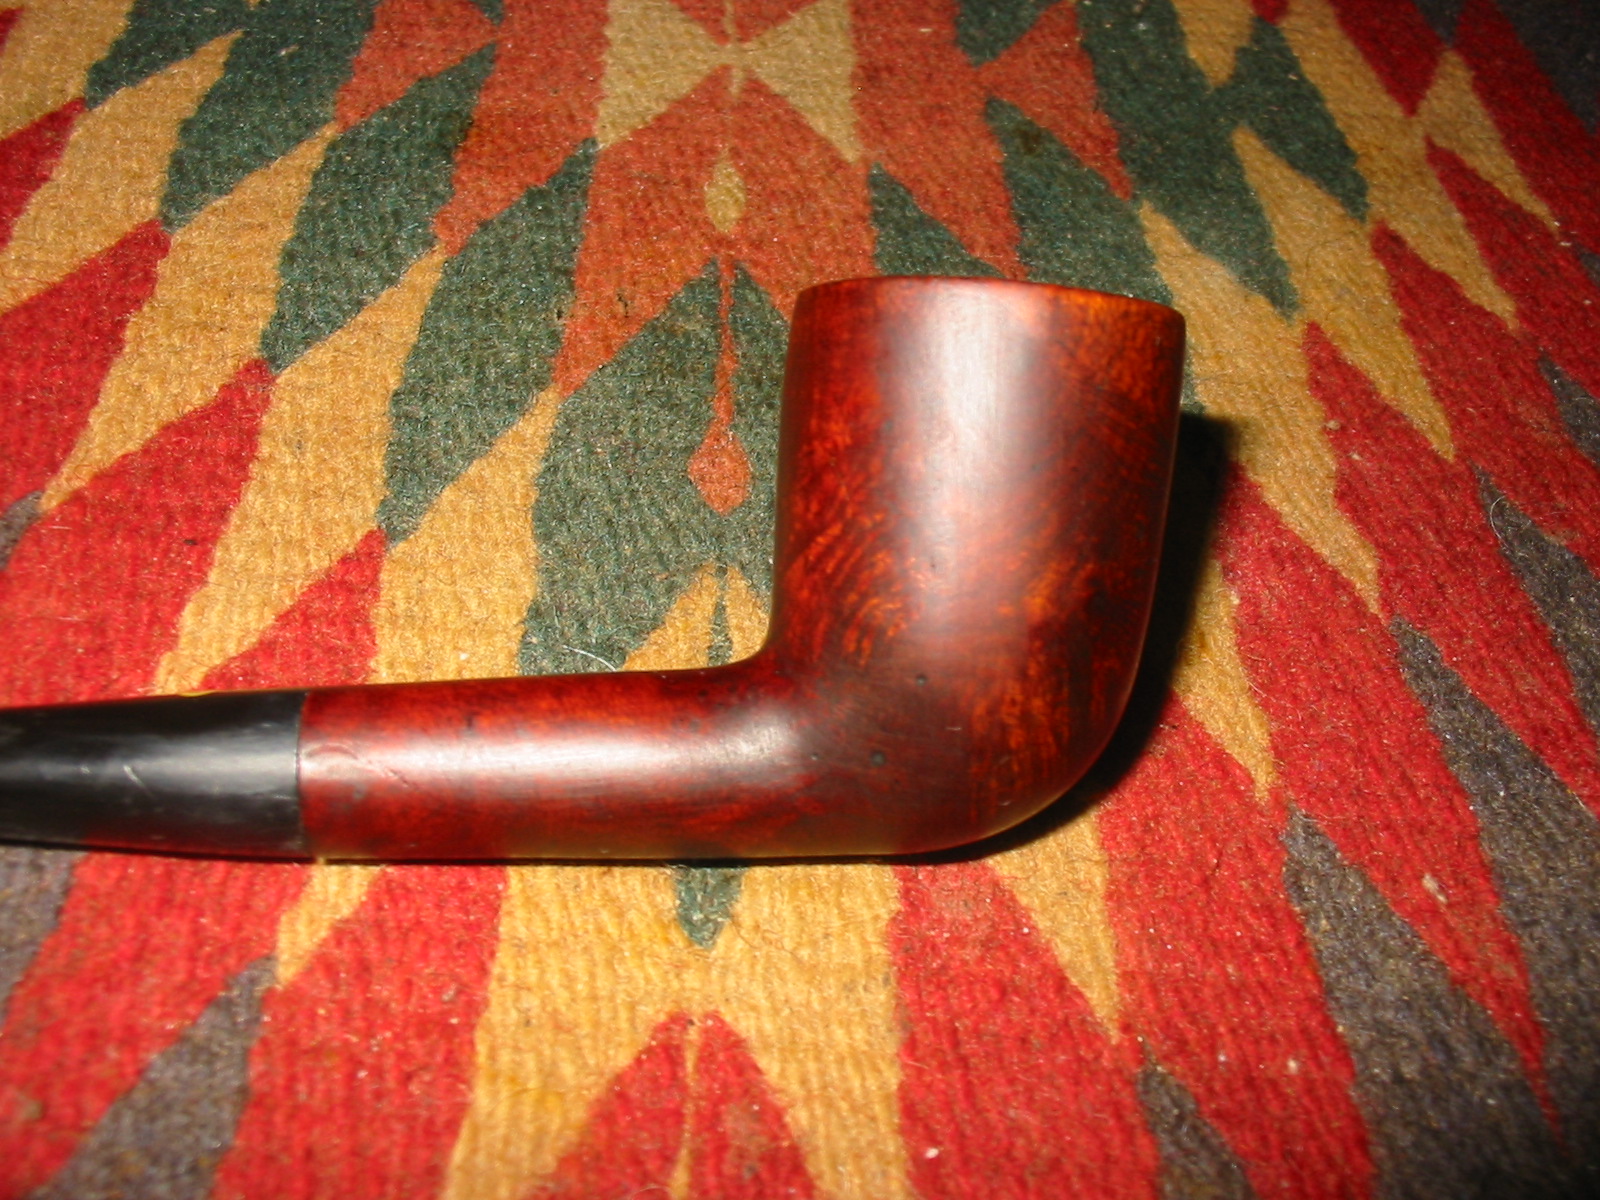
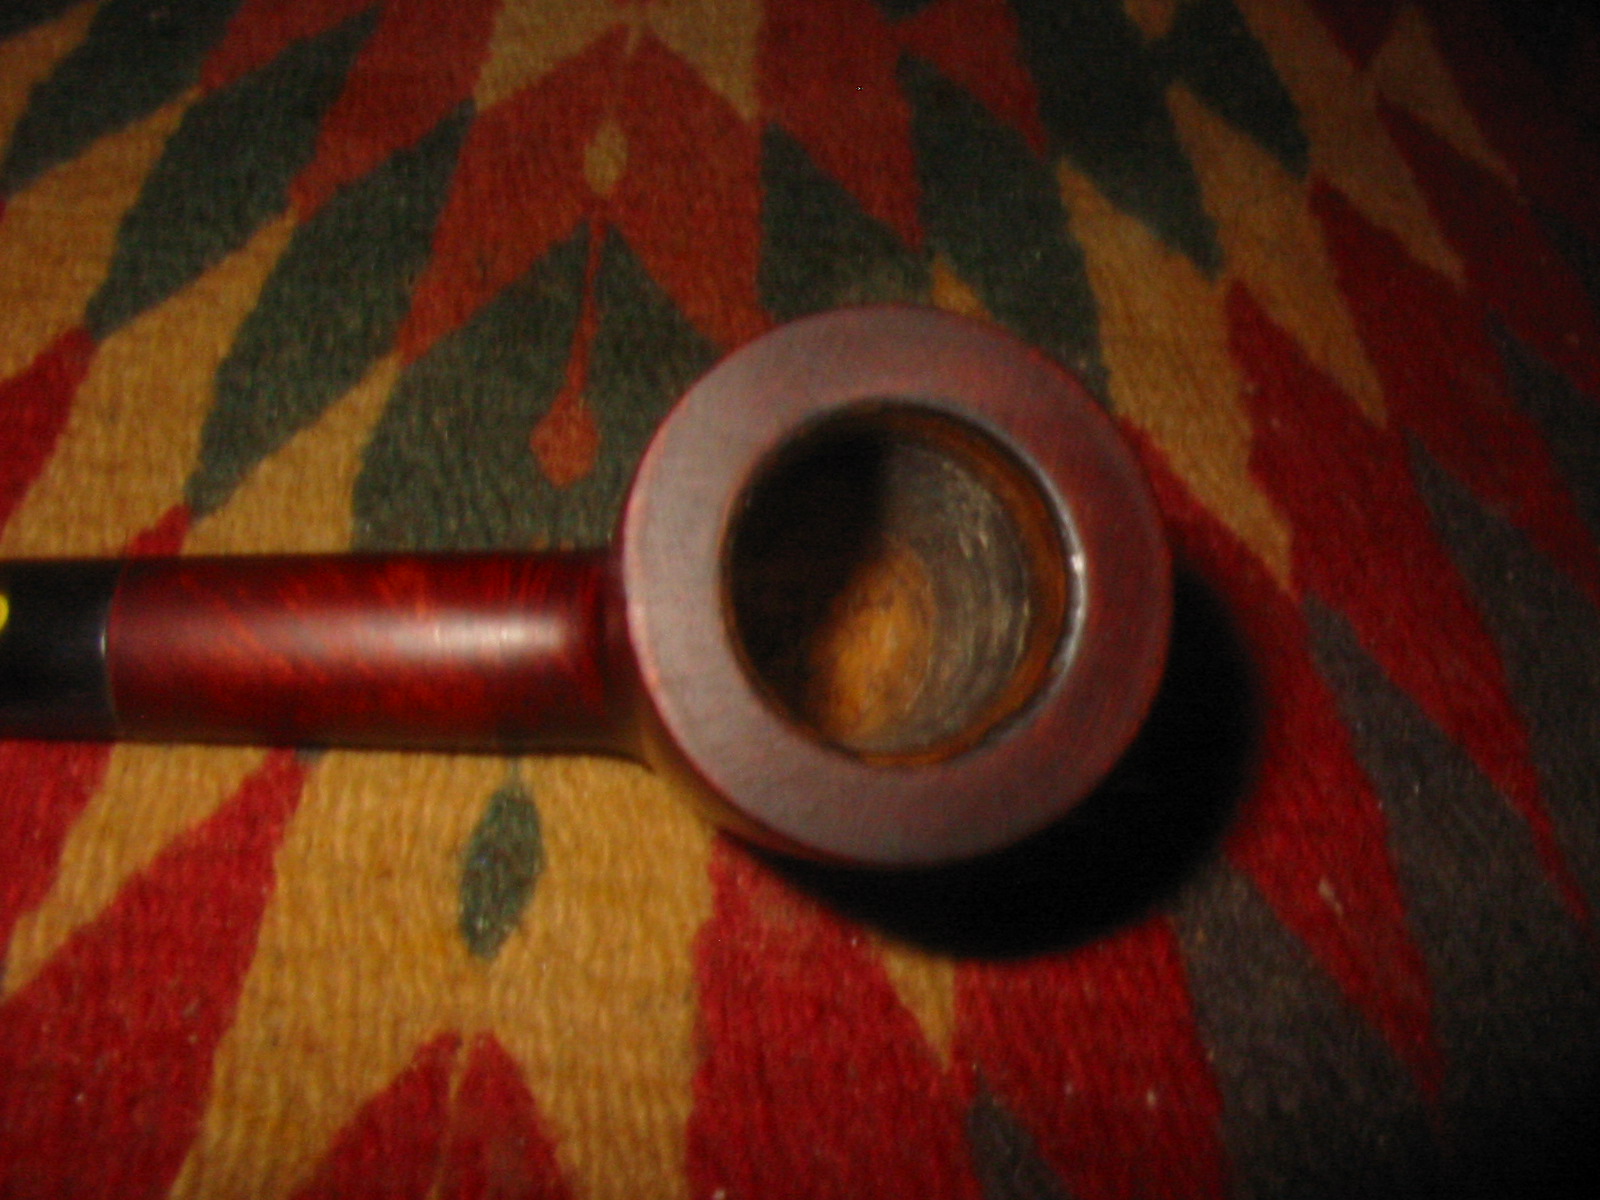
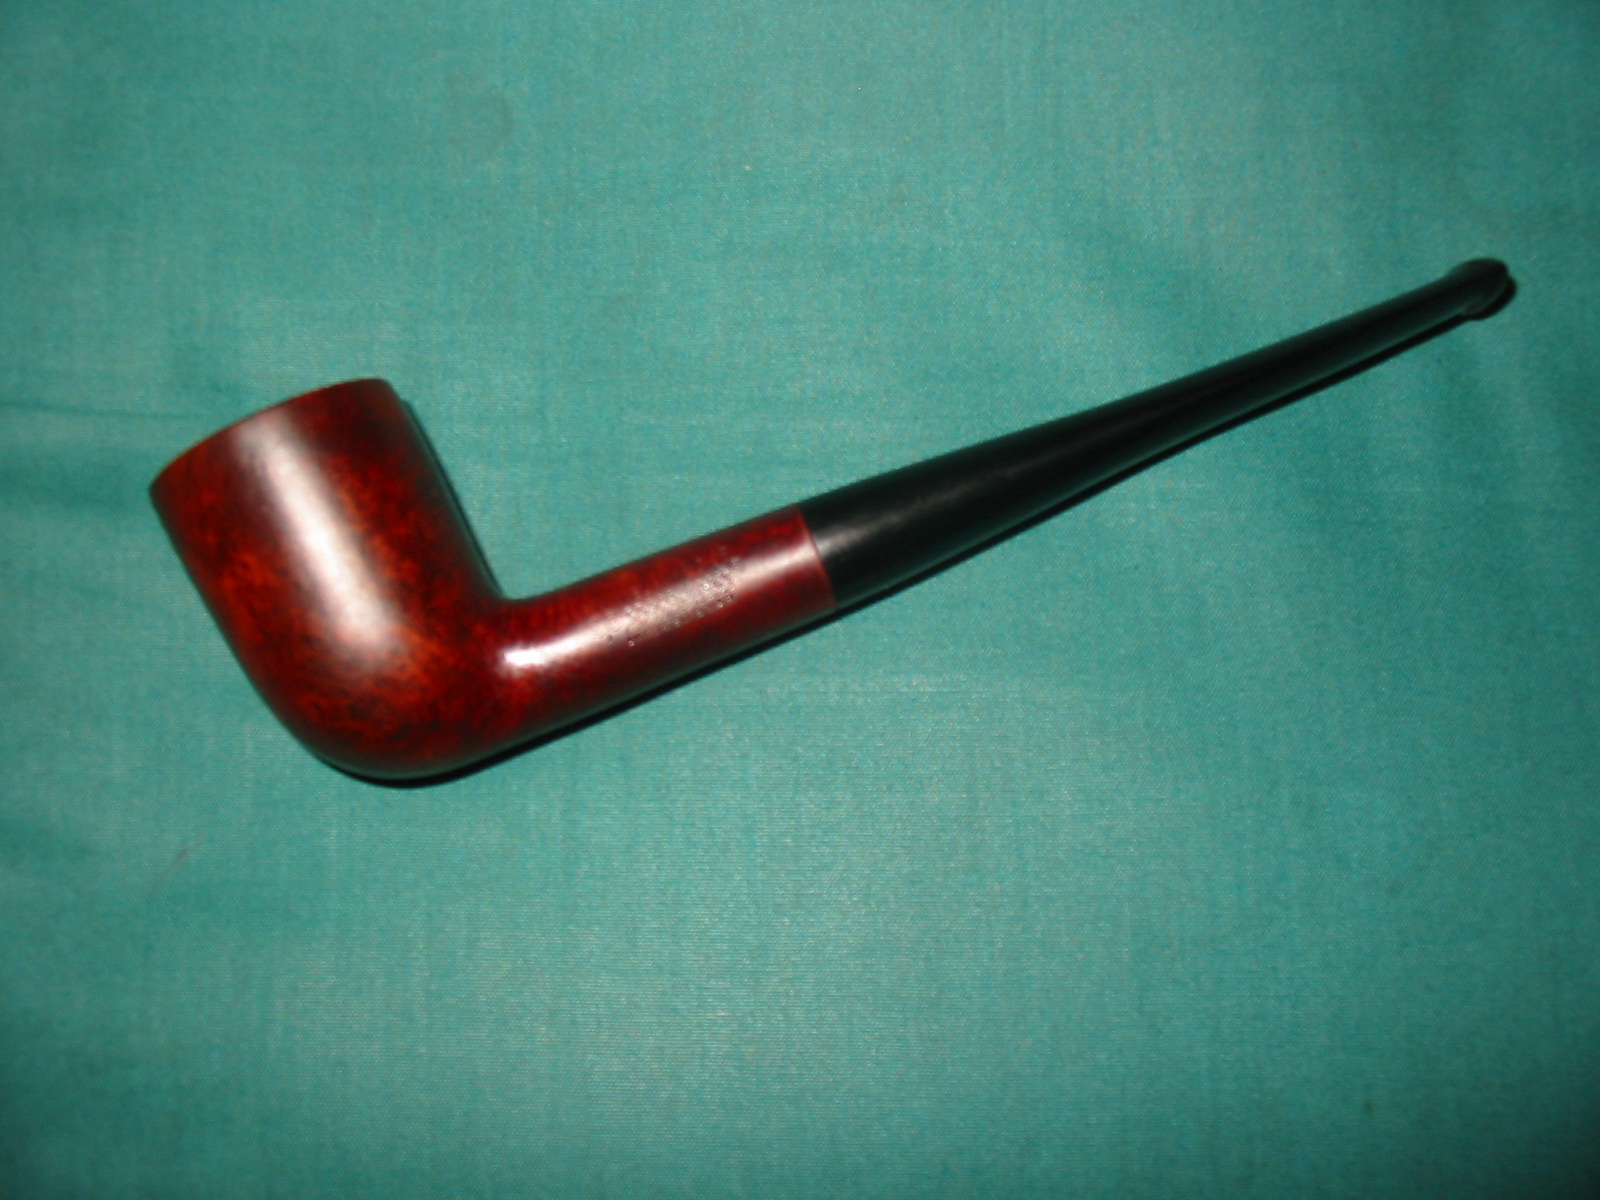
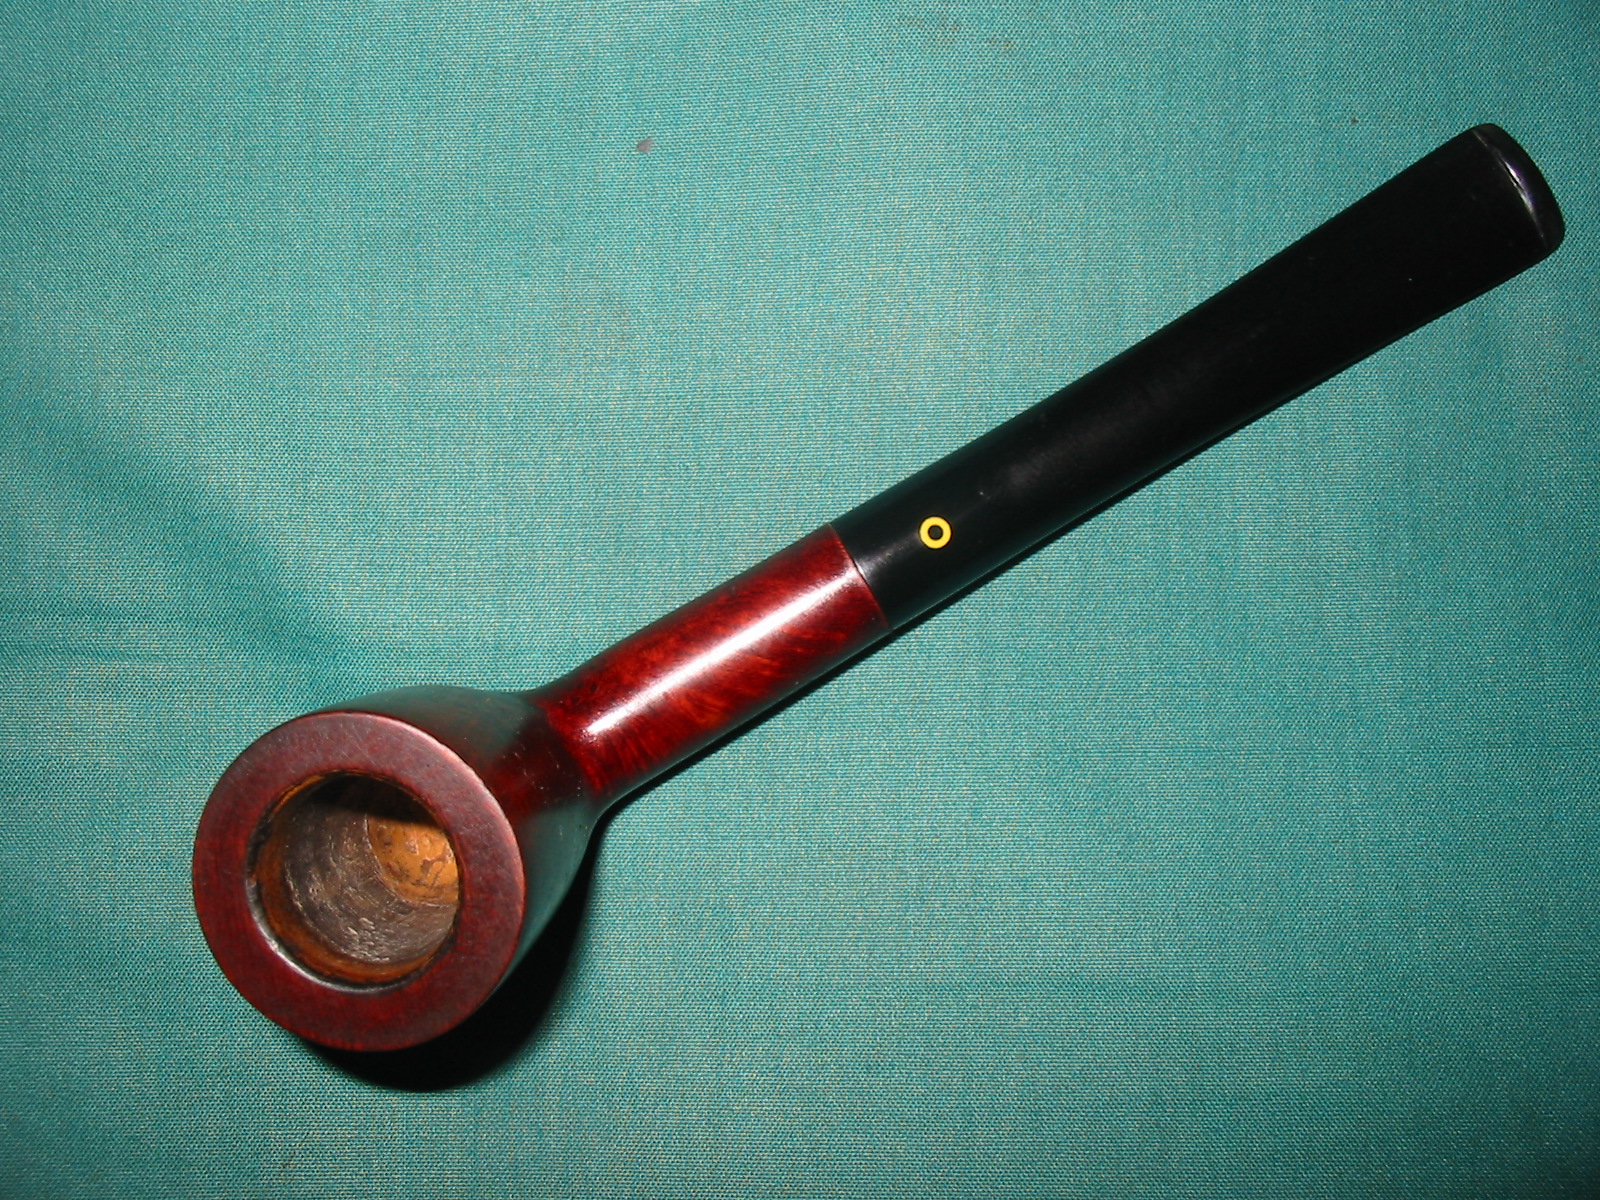
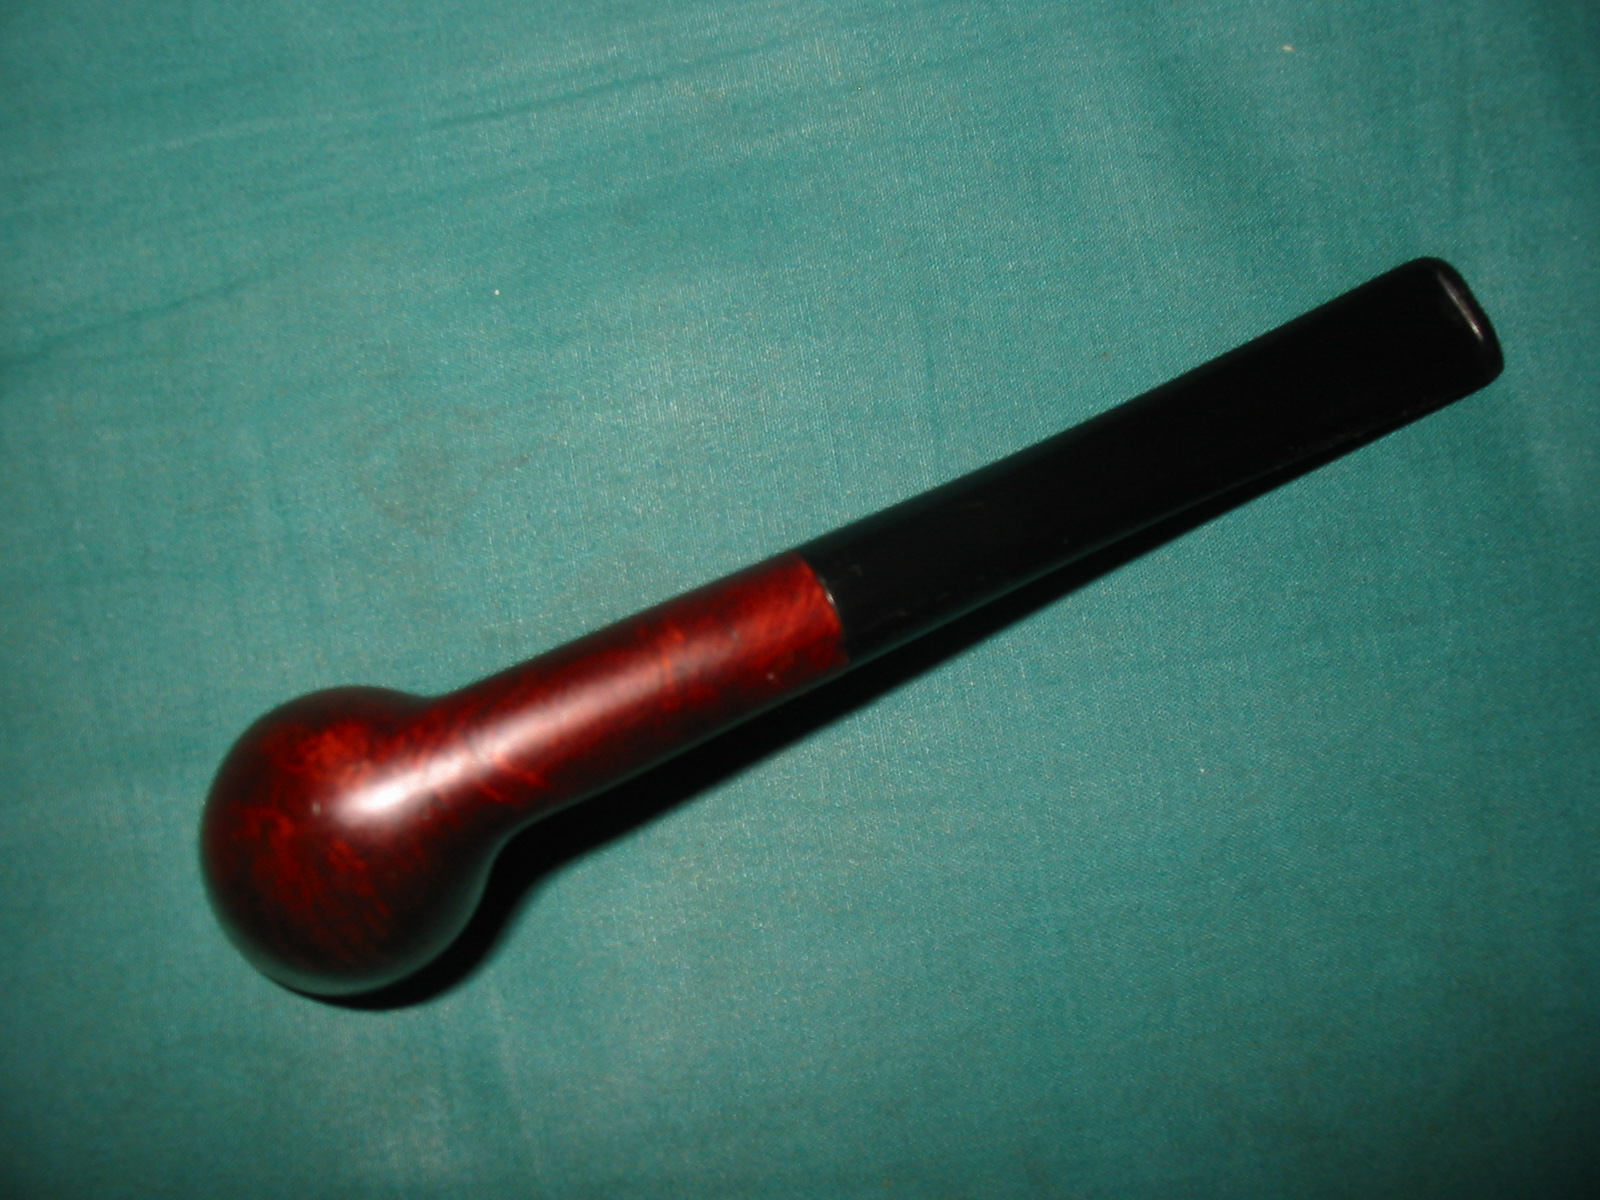
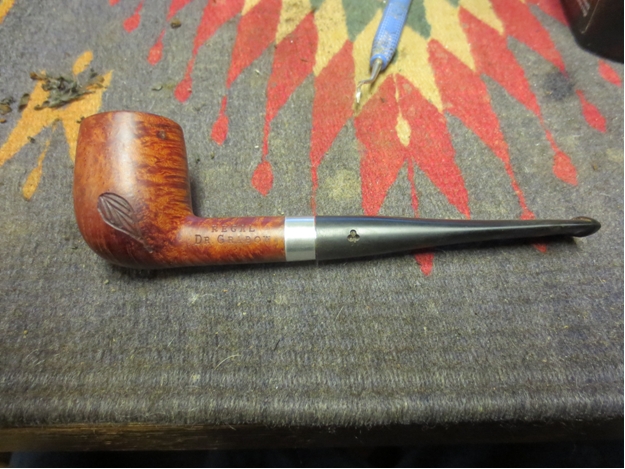
One of the few pipes with a stem included in my gift box of bowls was a nice little Dr. Grabow Billiard. It had a long stem that clearly fit the shank of the pipe and gave it an elegant look and feel. At first glance I figured this one would clean up quite easily. The varnish finish on the bowl was worn and spotty with pieces of the varnish coat peeling off the surface of the briar. The rim was coated with a thick layer of tars and oils but looked sound. The bowl had a thick cake particularly from mid bowl to the bottom of the bowl. It was very hard and was not crumbling at all. It had however, closed the bowl to a large degree. The mortise was part of the aluminum band on the shank. It was a threaded cast piece that was fitted against the briar and was oxidized. The internals were quite clean. The bowl was stamped on the left side: REGAL over Dr. Grabow. On the right side it was stamped Imported Briar over Adjustomatic over PAT. 2461905. I have written about the patent on the Adjustomatic tenon/stem in an earlier post on rebornpipes: https://rebornpipes.com/tag/dr-grabow-adjustomatic/ I included patent information and diagrams on that page so I will not repeat that material in this post. The stem had thick calcification on the top and bottom sides of the stem and looked like it had one time sported a softie bit. When I turned the stem over there was a large hole in the underside from the button forward.
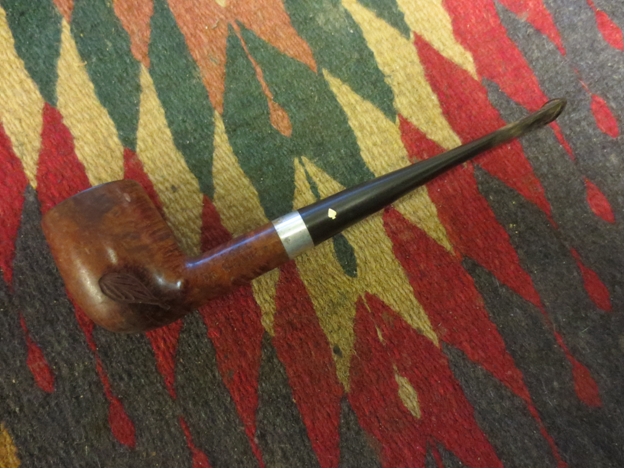
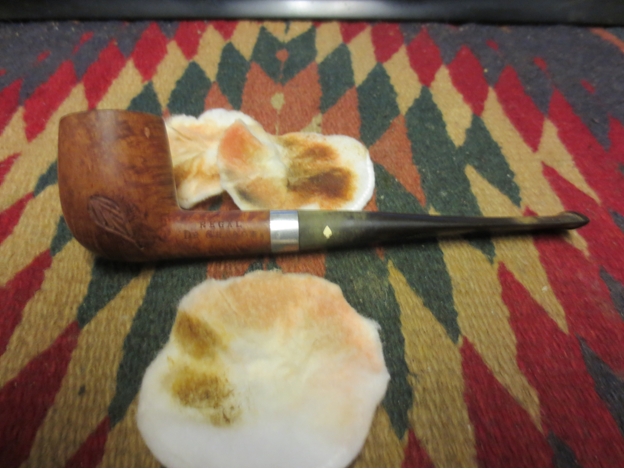
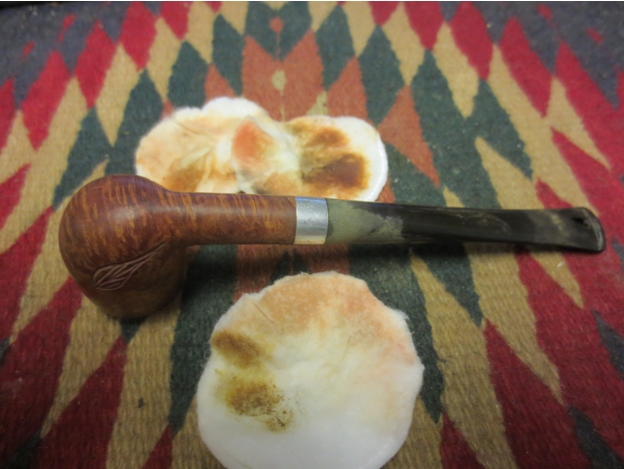
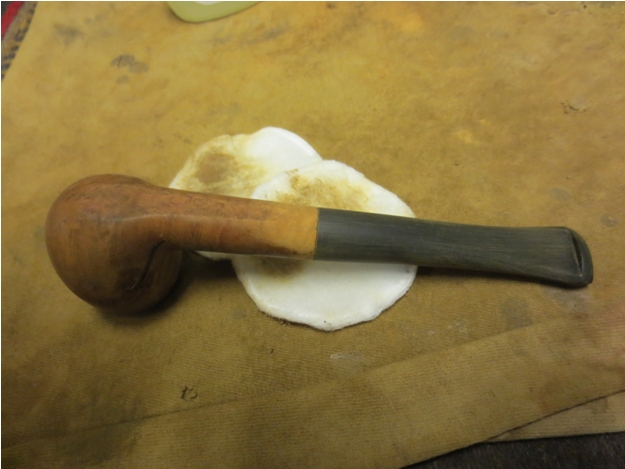
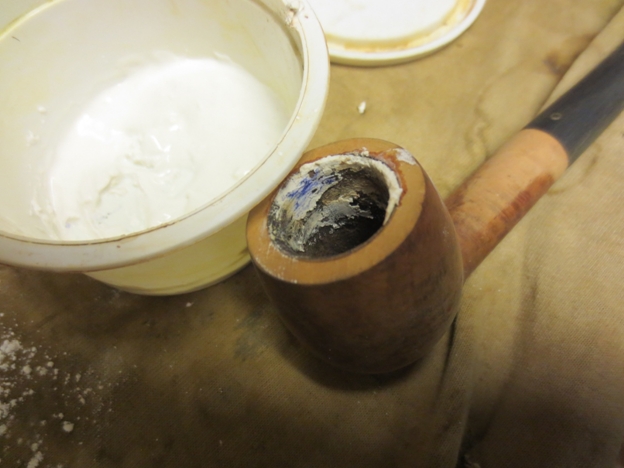
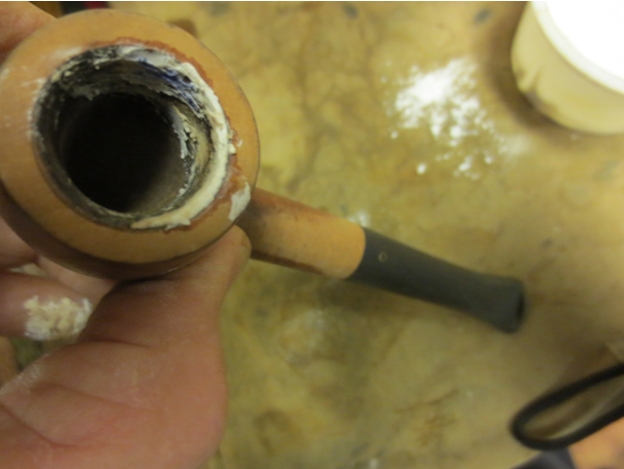
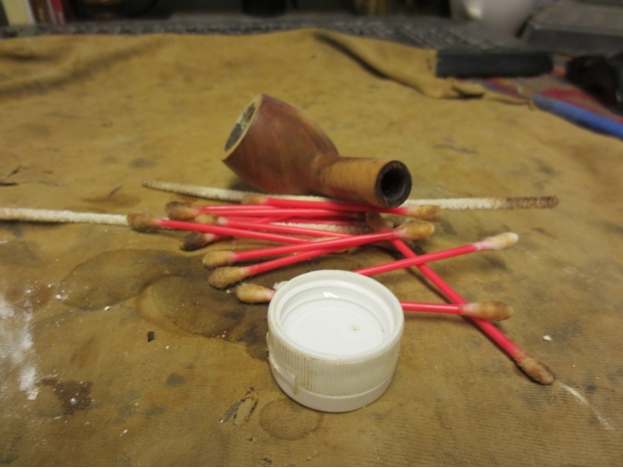
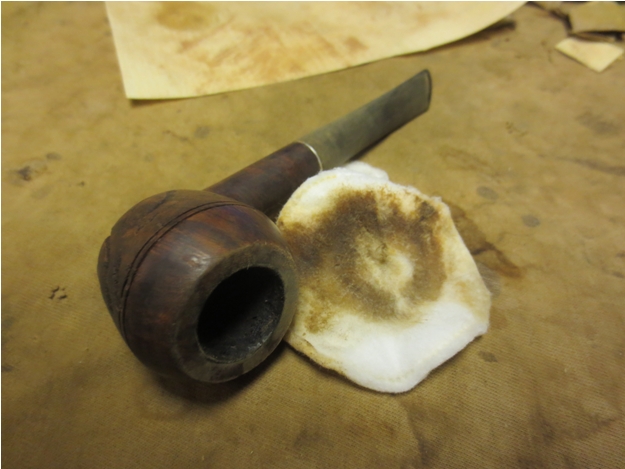
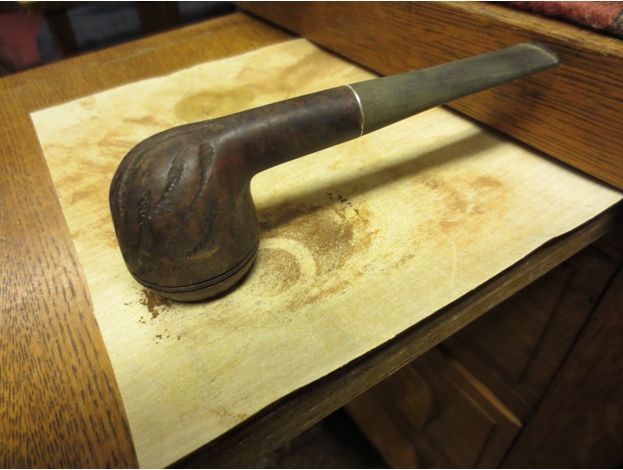
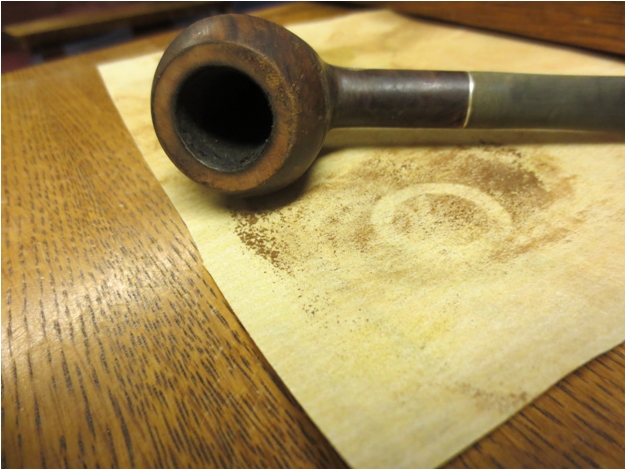
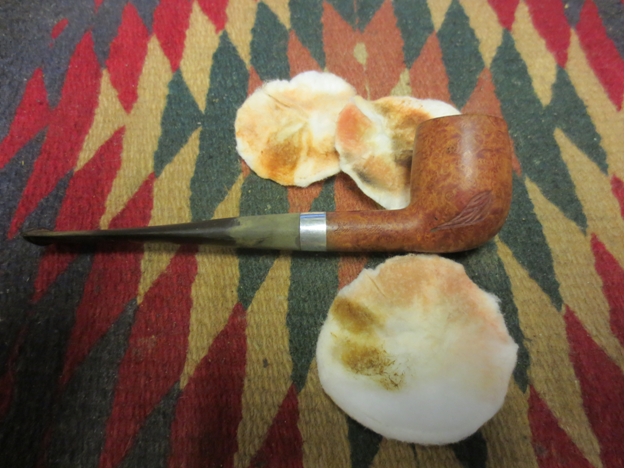
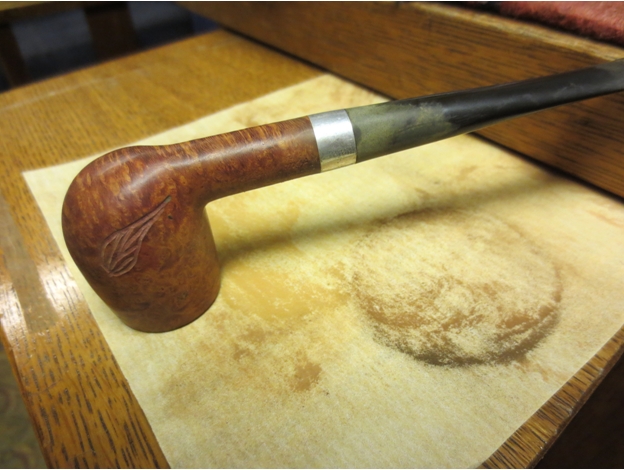
I wiped down the bowl with acetone on a cotton pad to remove the damaged varnish and prepare the bowl for possible restaining once the rim had been cleaned off. It took some scrubbing but I was able to get rid of the varnish from the surface and out of the grooves in the carved leaves on both sides of the bowl. It turned out that underneath the peeling varnish there was some very nice grain on the pipe. The top and bottom of the shank and the front and back of the bowl were really nice cross grain. There was a small nick in the back of the bowl near the top of the rim that had a small fill otherwise the briar was flawless. The sides were very nice birdseye grain. This was going to be a stunning pipe once it was finished.
I wiped down the buildup on the rim and was unable to even dent the hard tar. I lightly topped the bowl on a topping board to take of the buildup and not affect the rim itself. I carefully removed the tars, checking every move across the sandpaper to make sure that I was not damaging the surface of the rim.
Once I had cut through the buildup the briar was in very good shape. I used a PipNet reamer with the smallest cutting head to remove the carbon cake in the bowl. Even the smallest head was hard to turn against the rock hard cake of this bowl. I carefully worked it back and forth, being careful not to tip the cutting head to either side and lose the roundness of the bowl. Once I had gotten the head in as far as possible I used a pen knife to work on the bottom portion of the bowl and then reworked the reamer in that area.
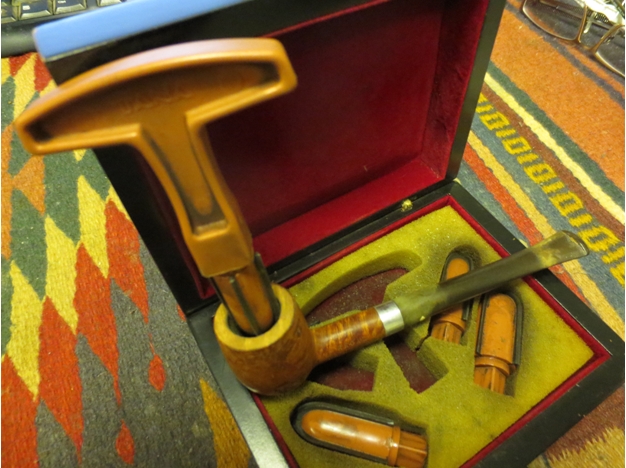
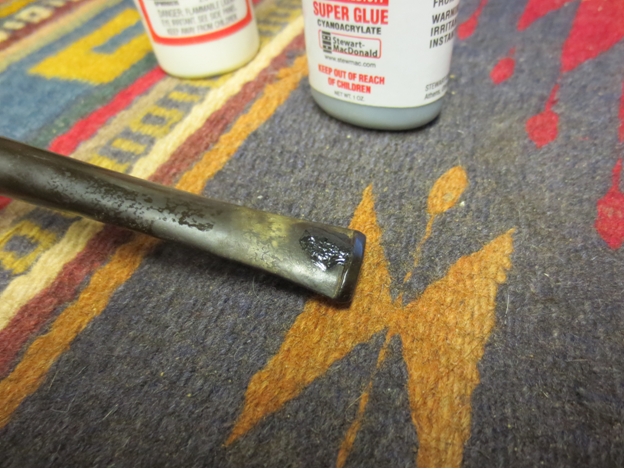
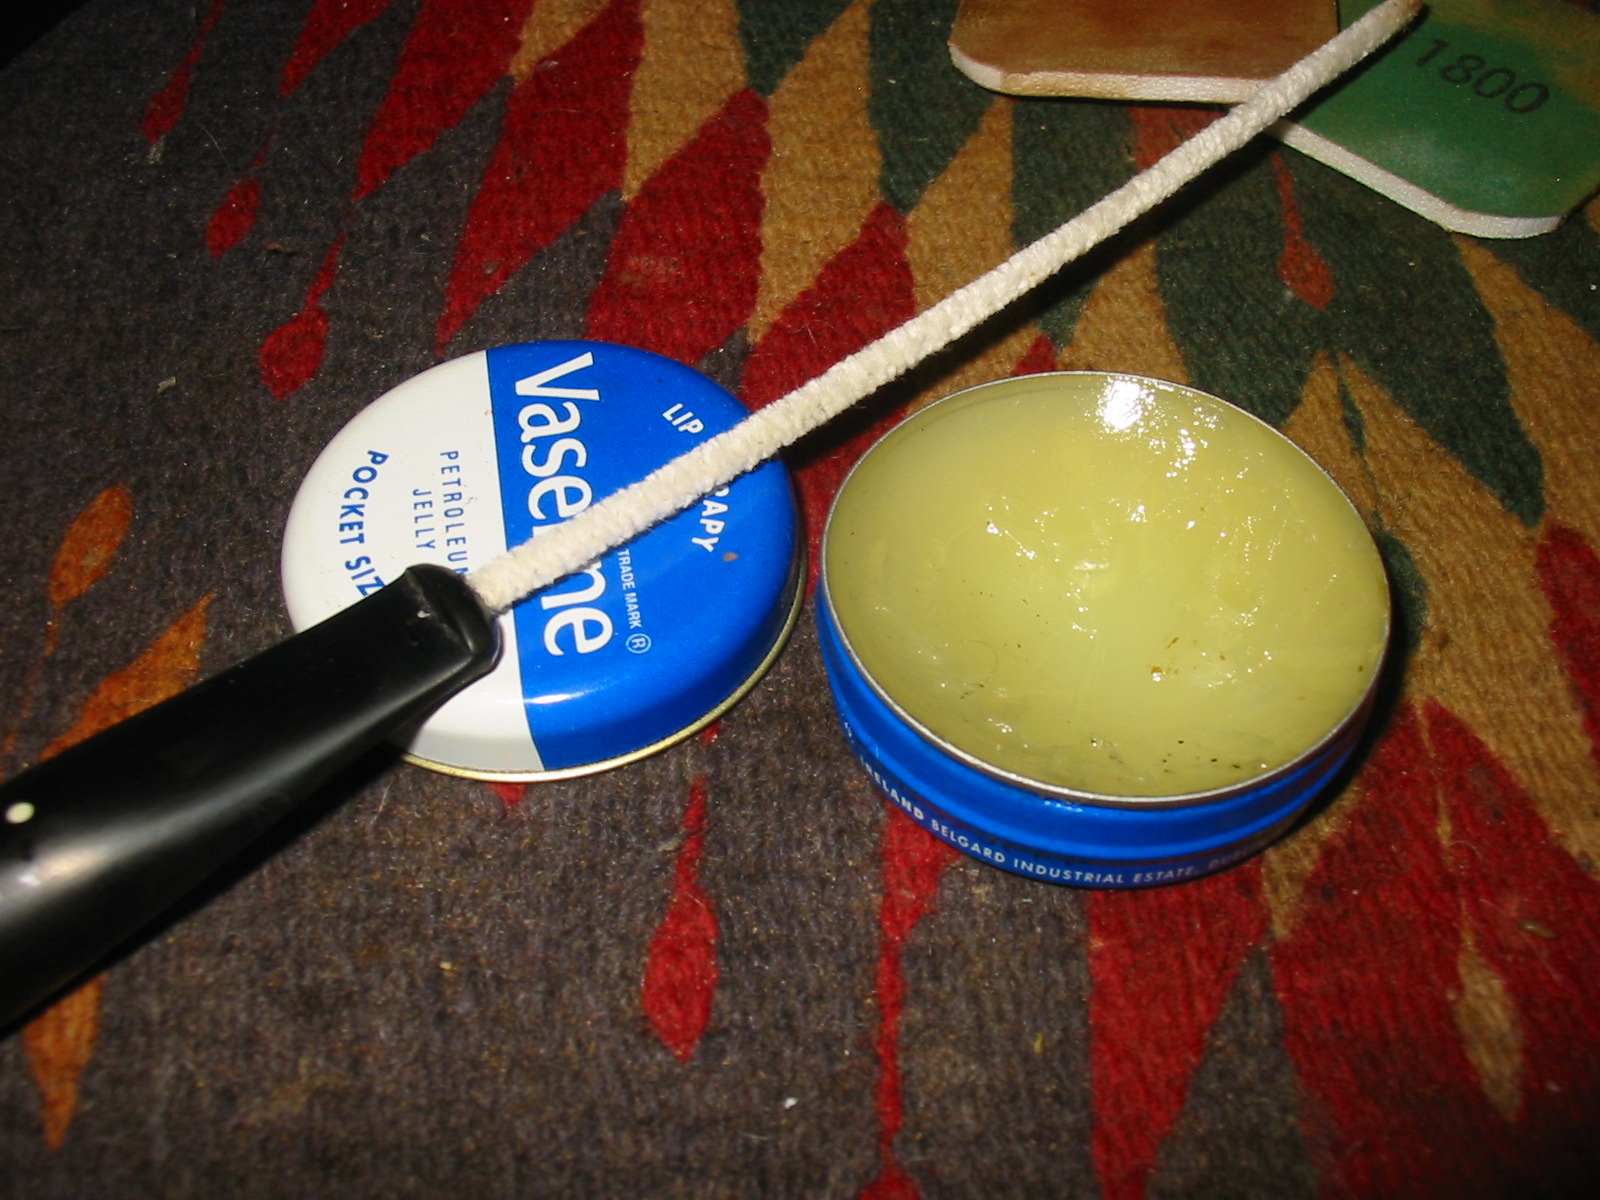
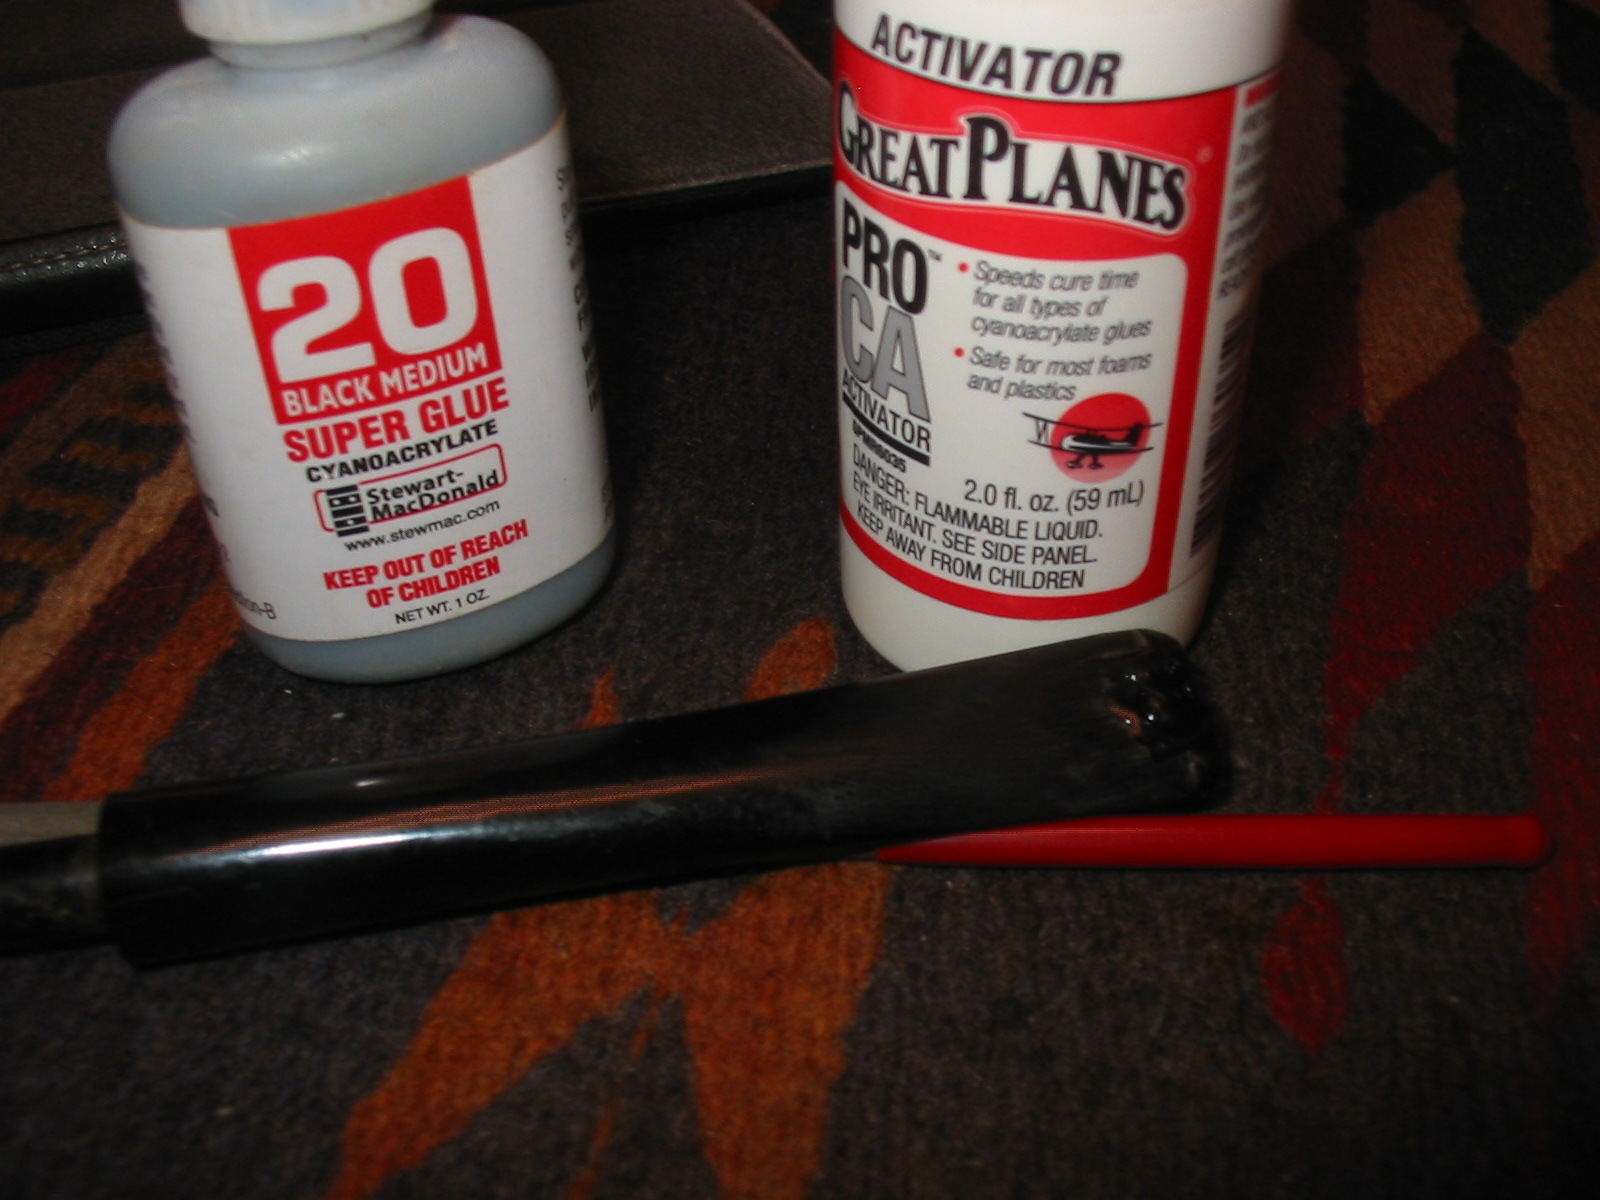
I decided to try to patch the hole in the stem. I cleaned hole and put Vaseline on a pipe cleaner. I inserted it in the airway then sprayed accelerator on the stem, put black superglue on the hole and let it sit. The hole was quite large and I was not sure that the repair would hold. I applied the glue in several layers building up the patch until it was quite thick. I sprayed it with the accelerator each time to speed the drying time.
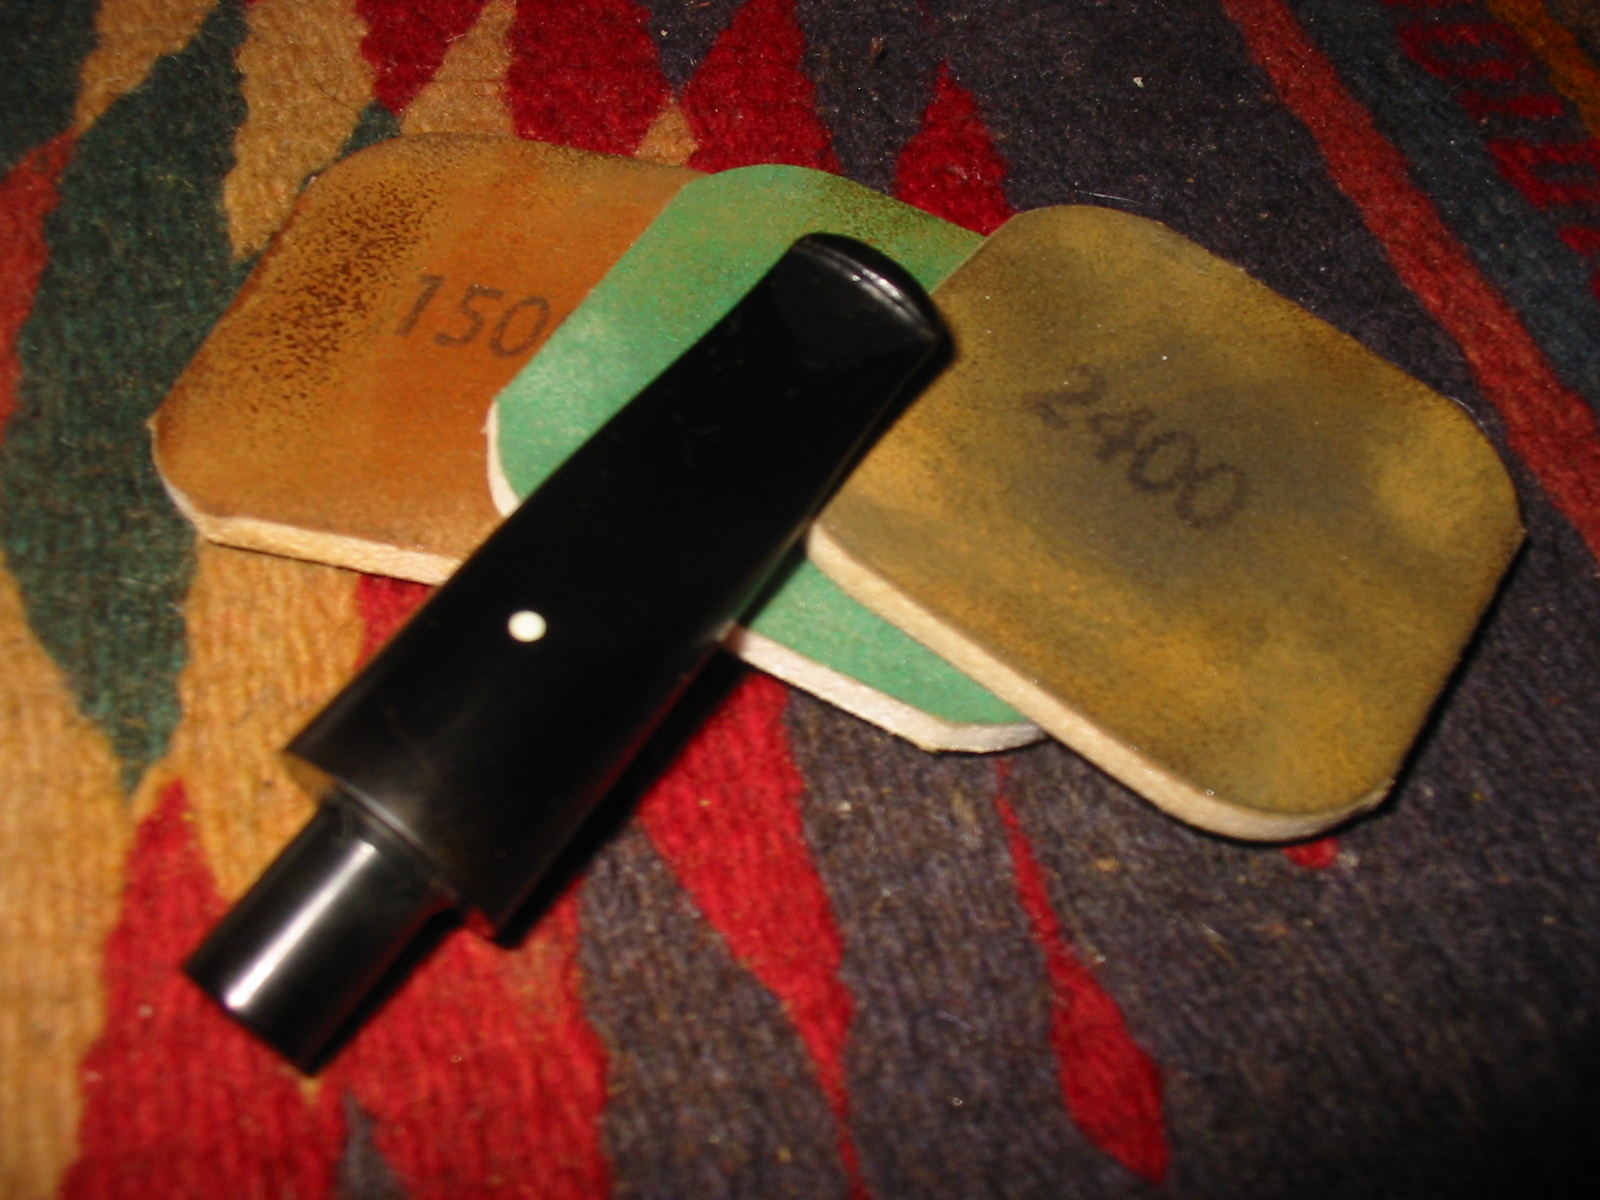
I sanded the patched area with 150 and 220 grit sandpaper to smooth out the patch and then reapplied more black super glue and accelerator.
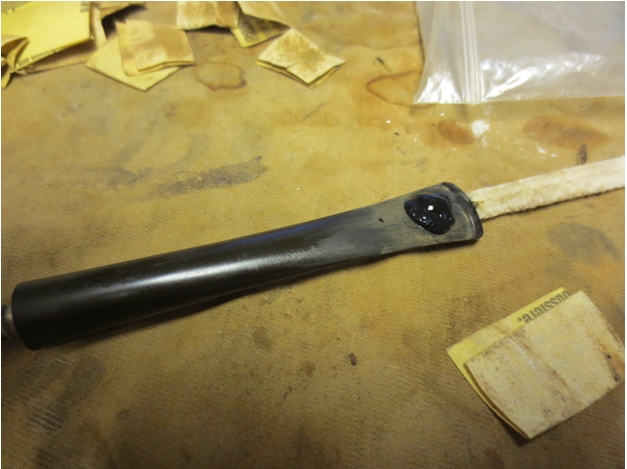
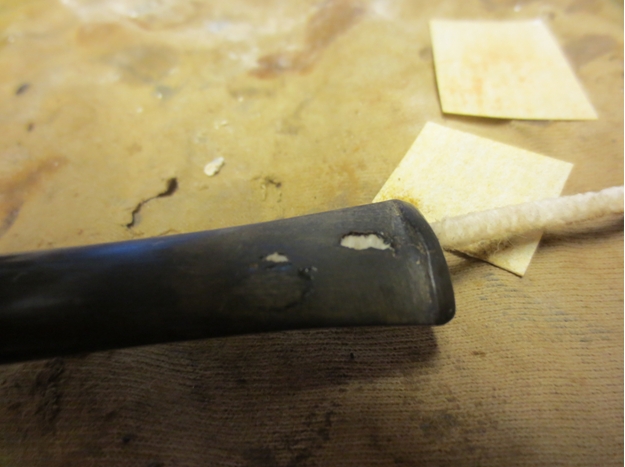
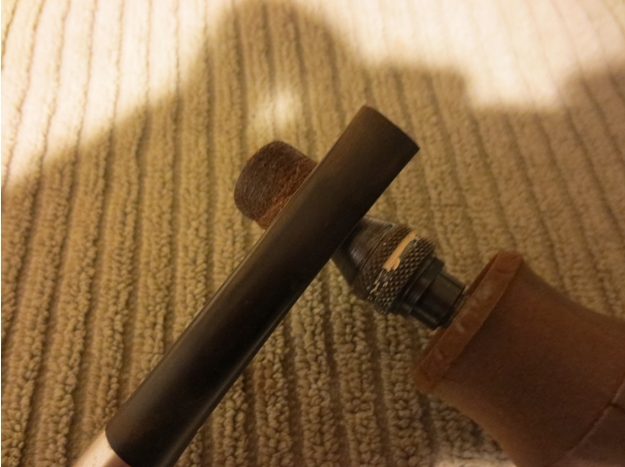
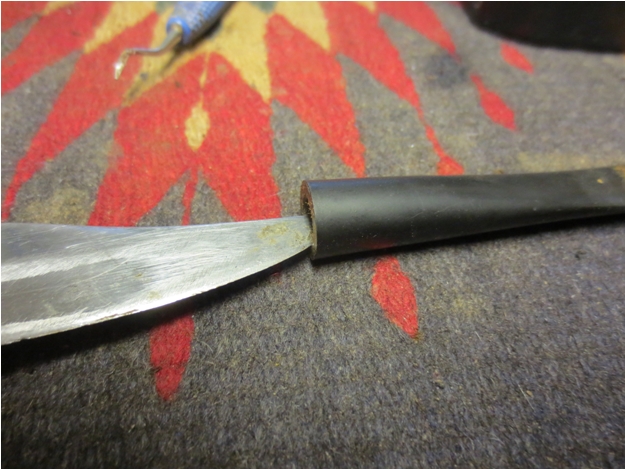
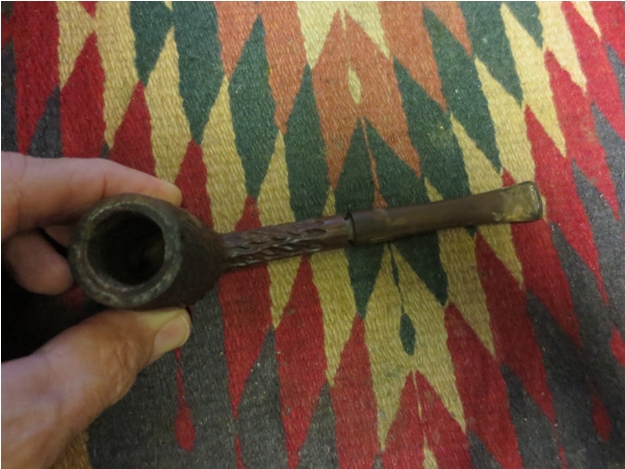
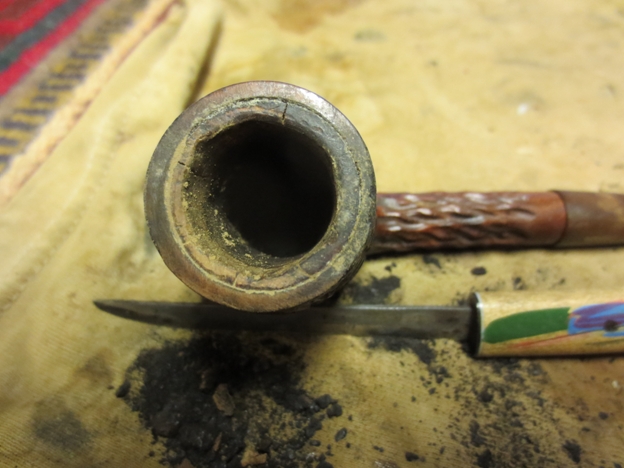
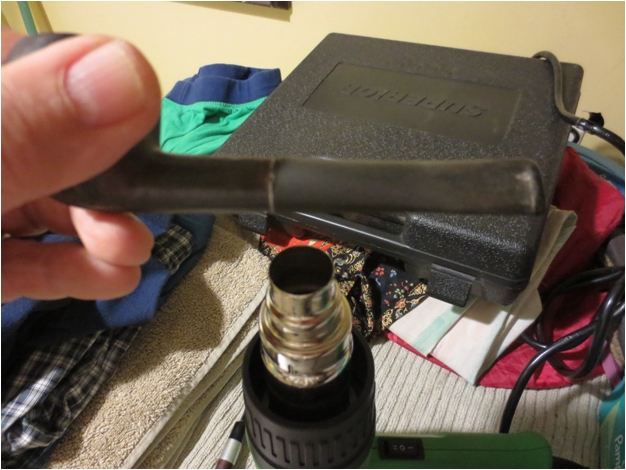
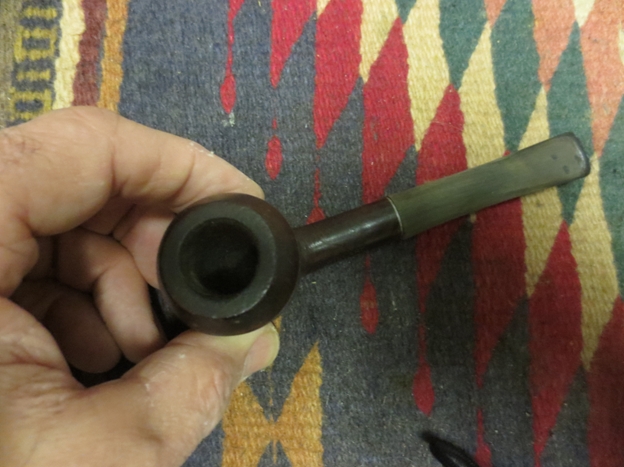
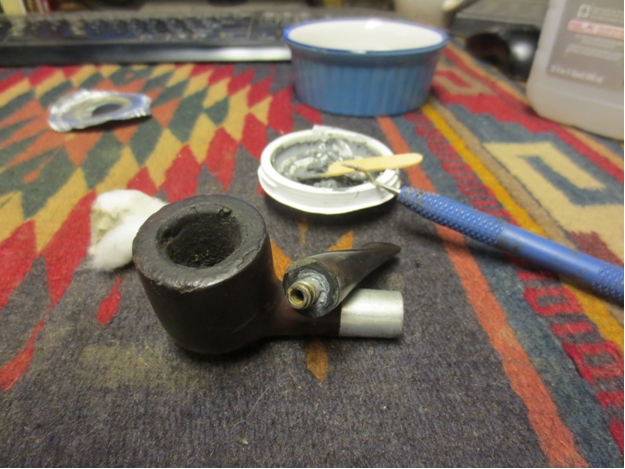
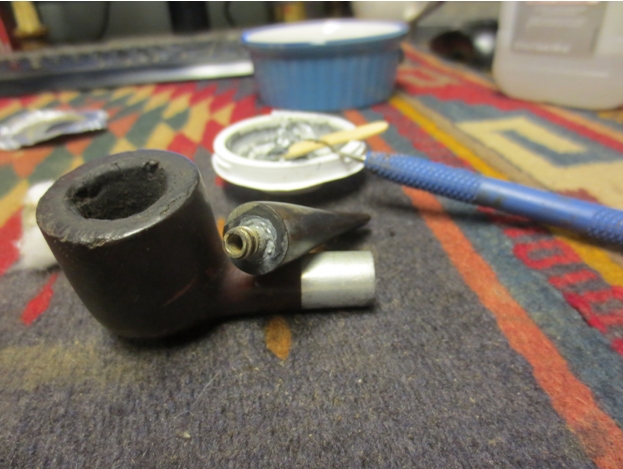
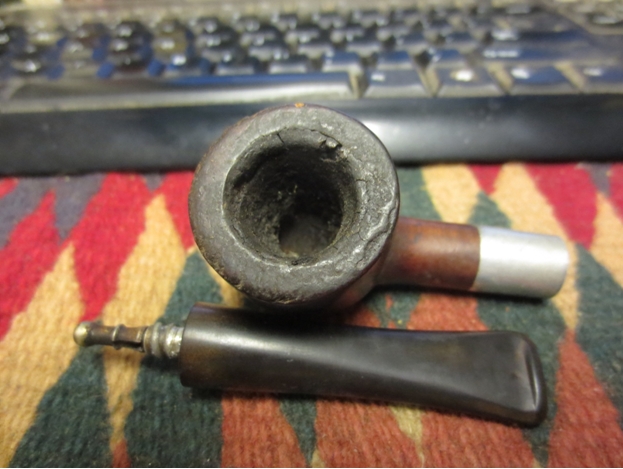
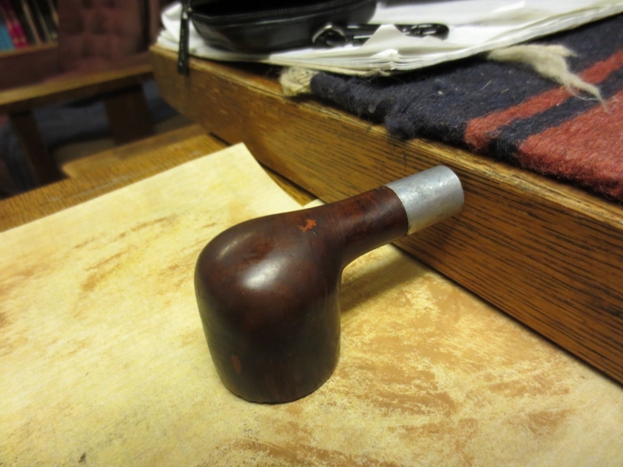
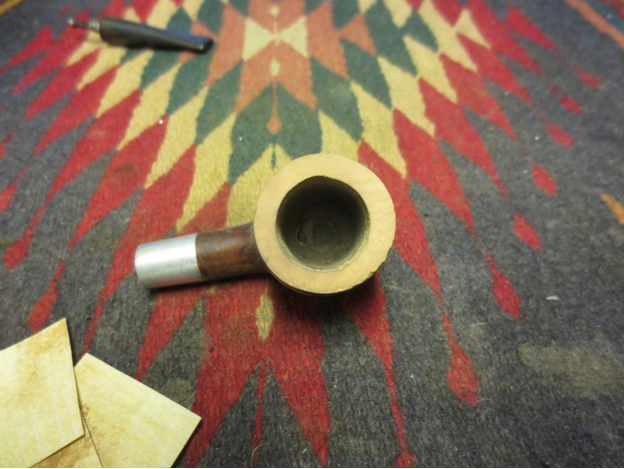
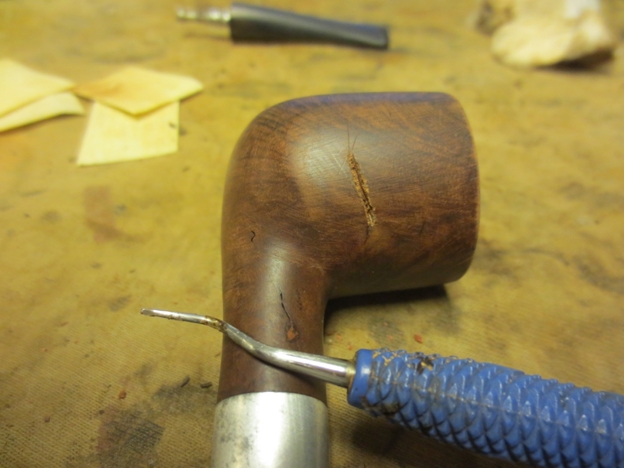
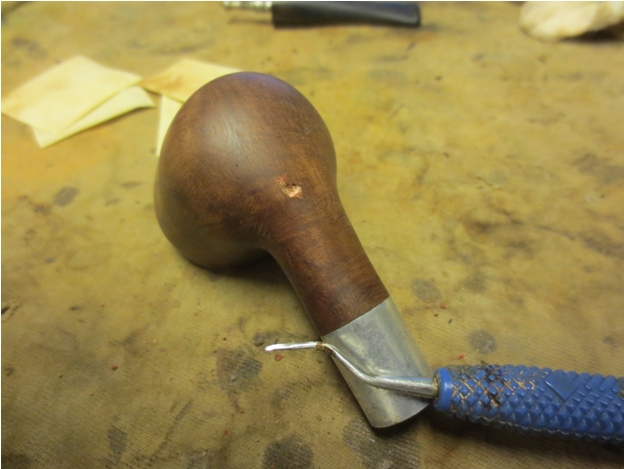
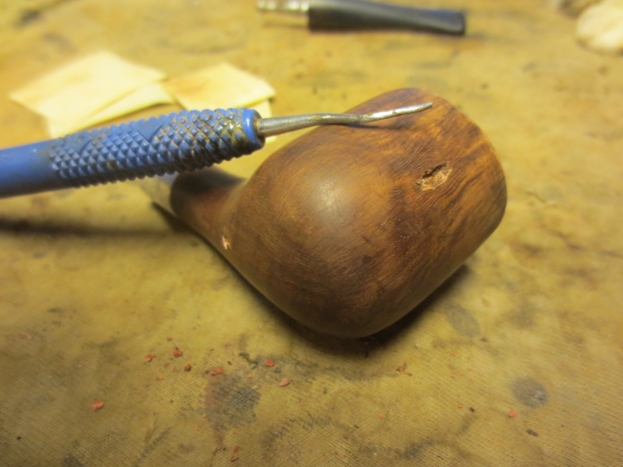
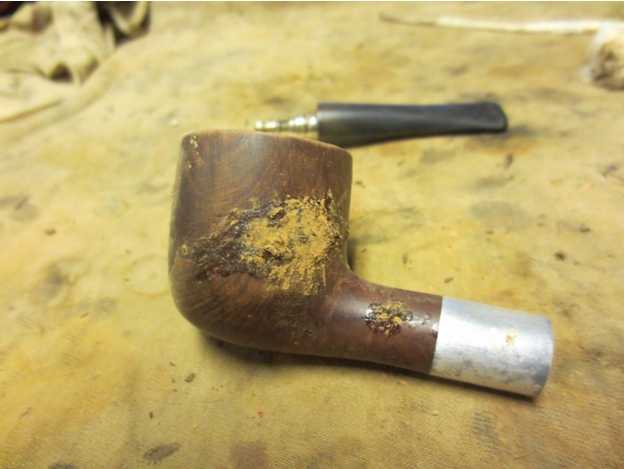
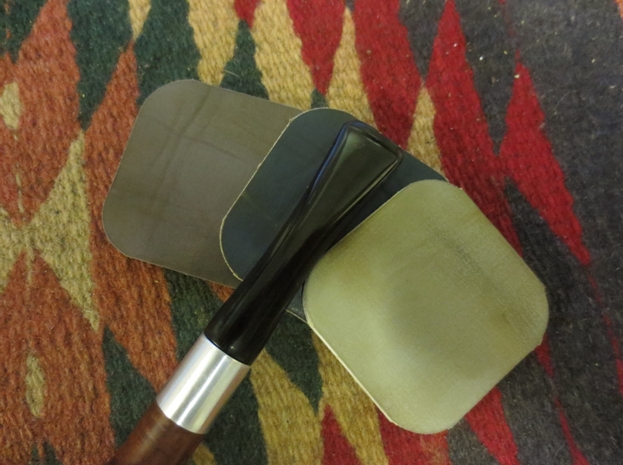
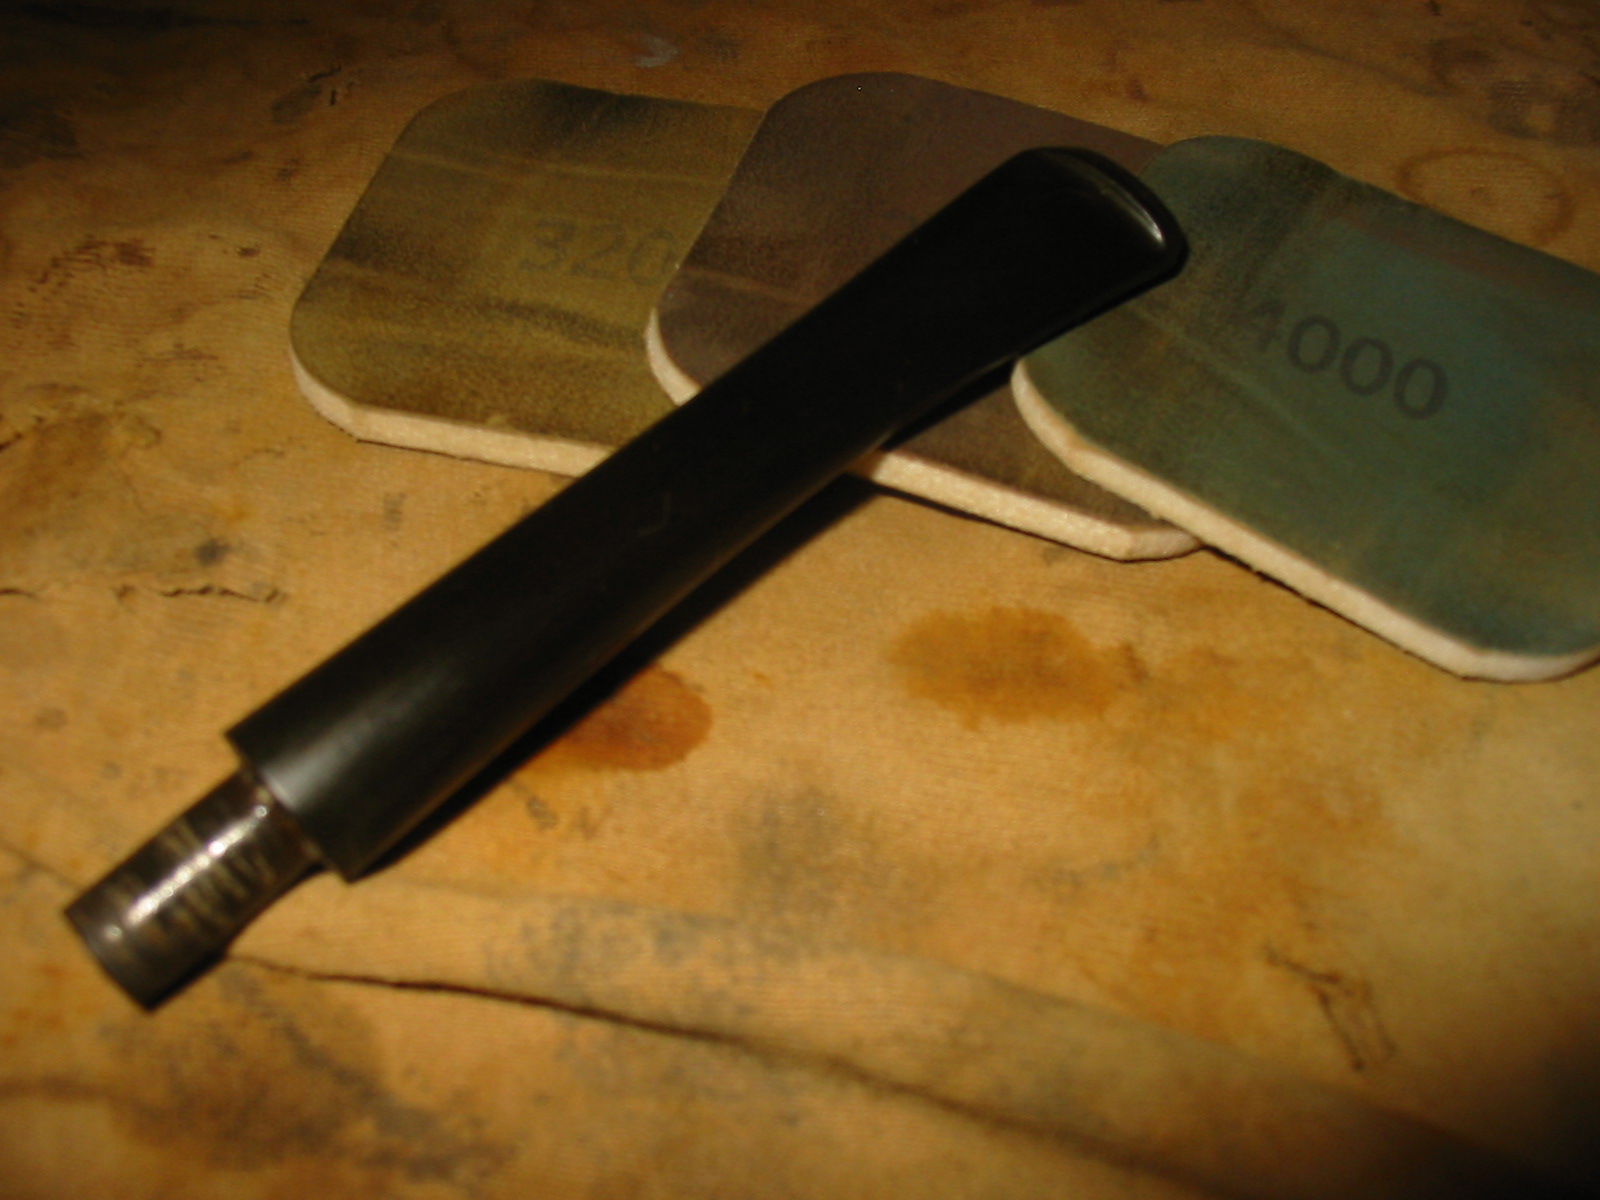
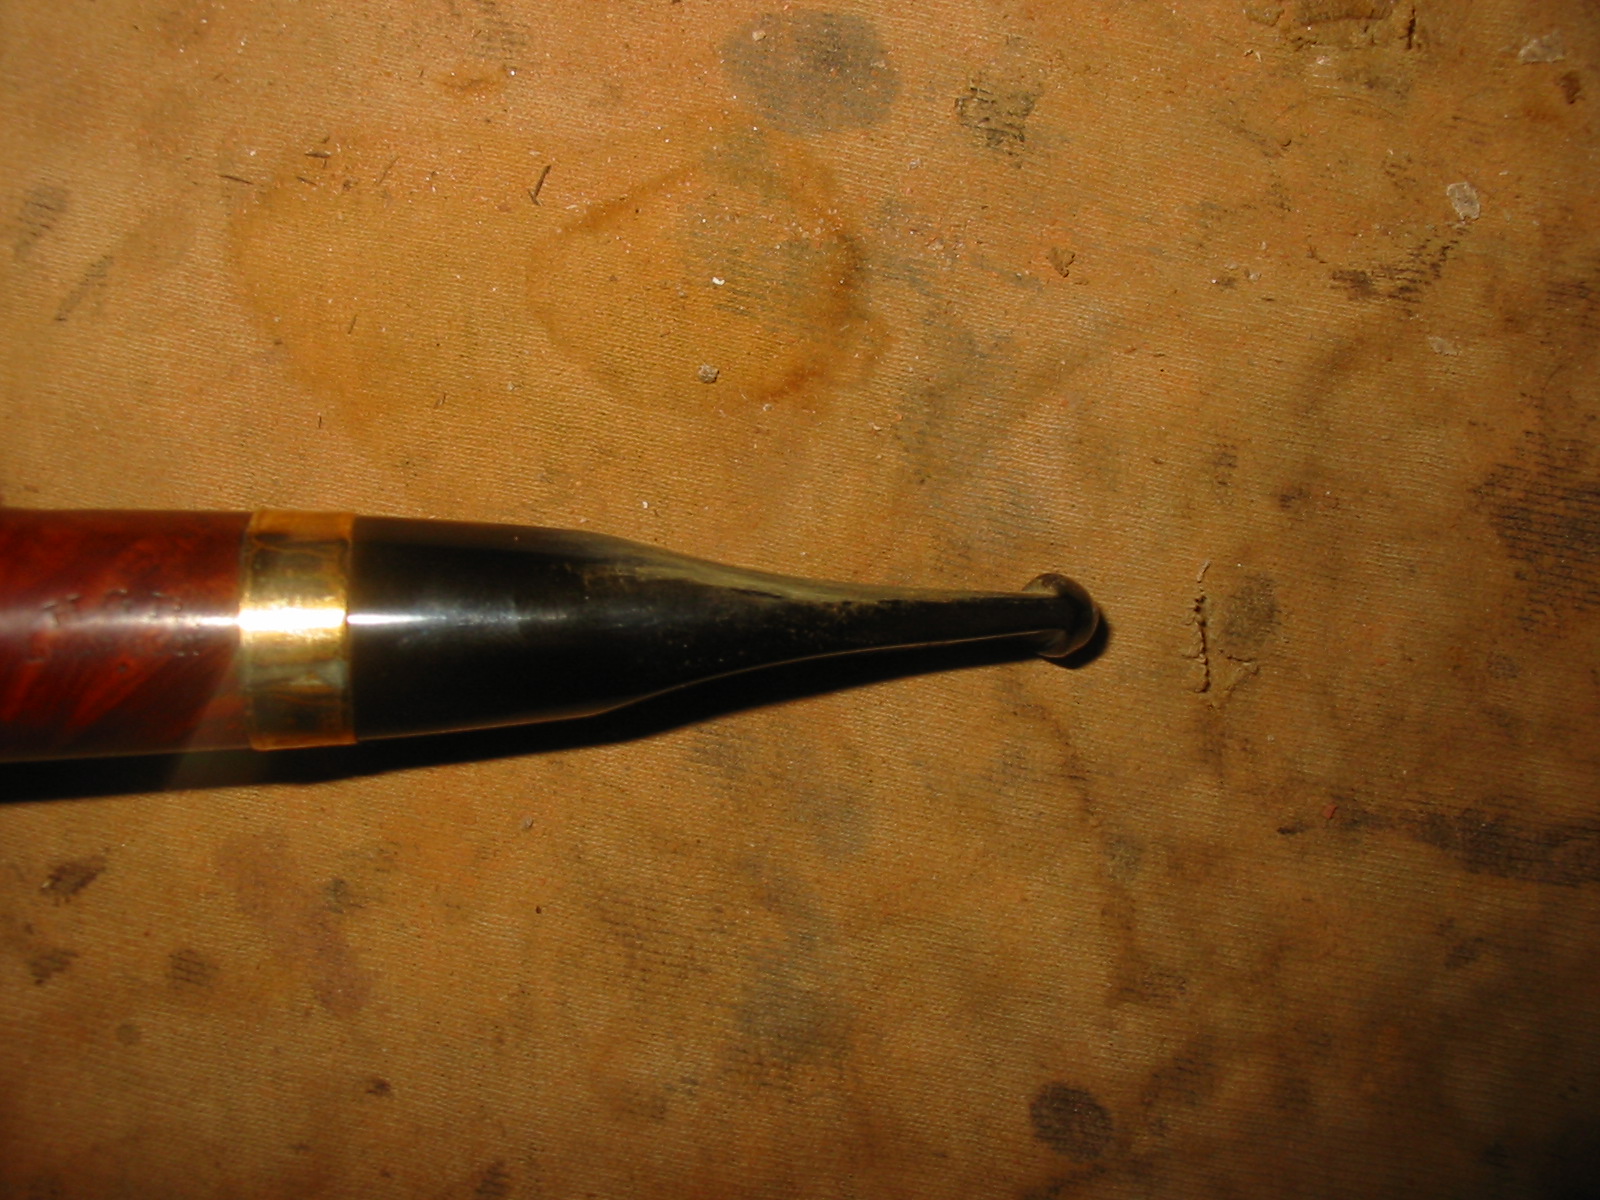
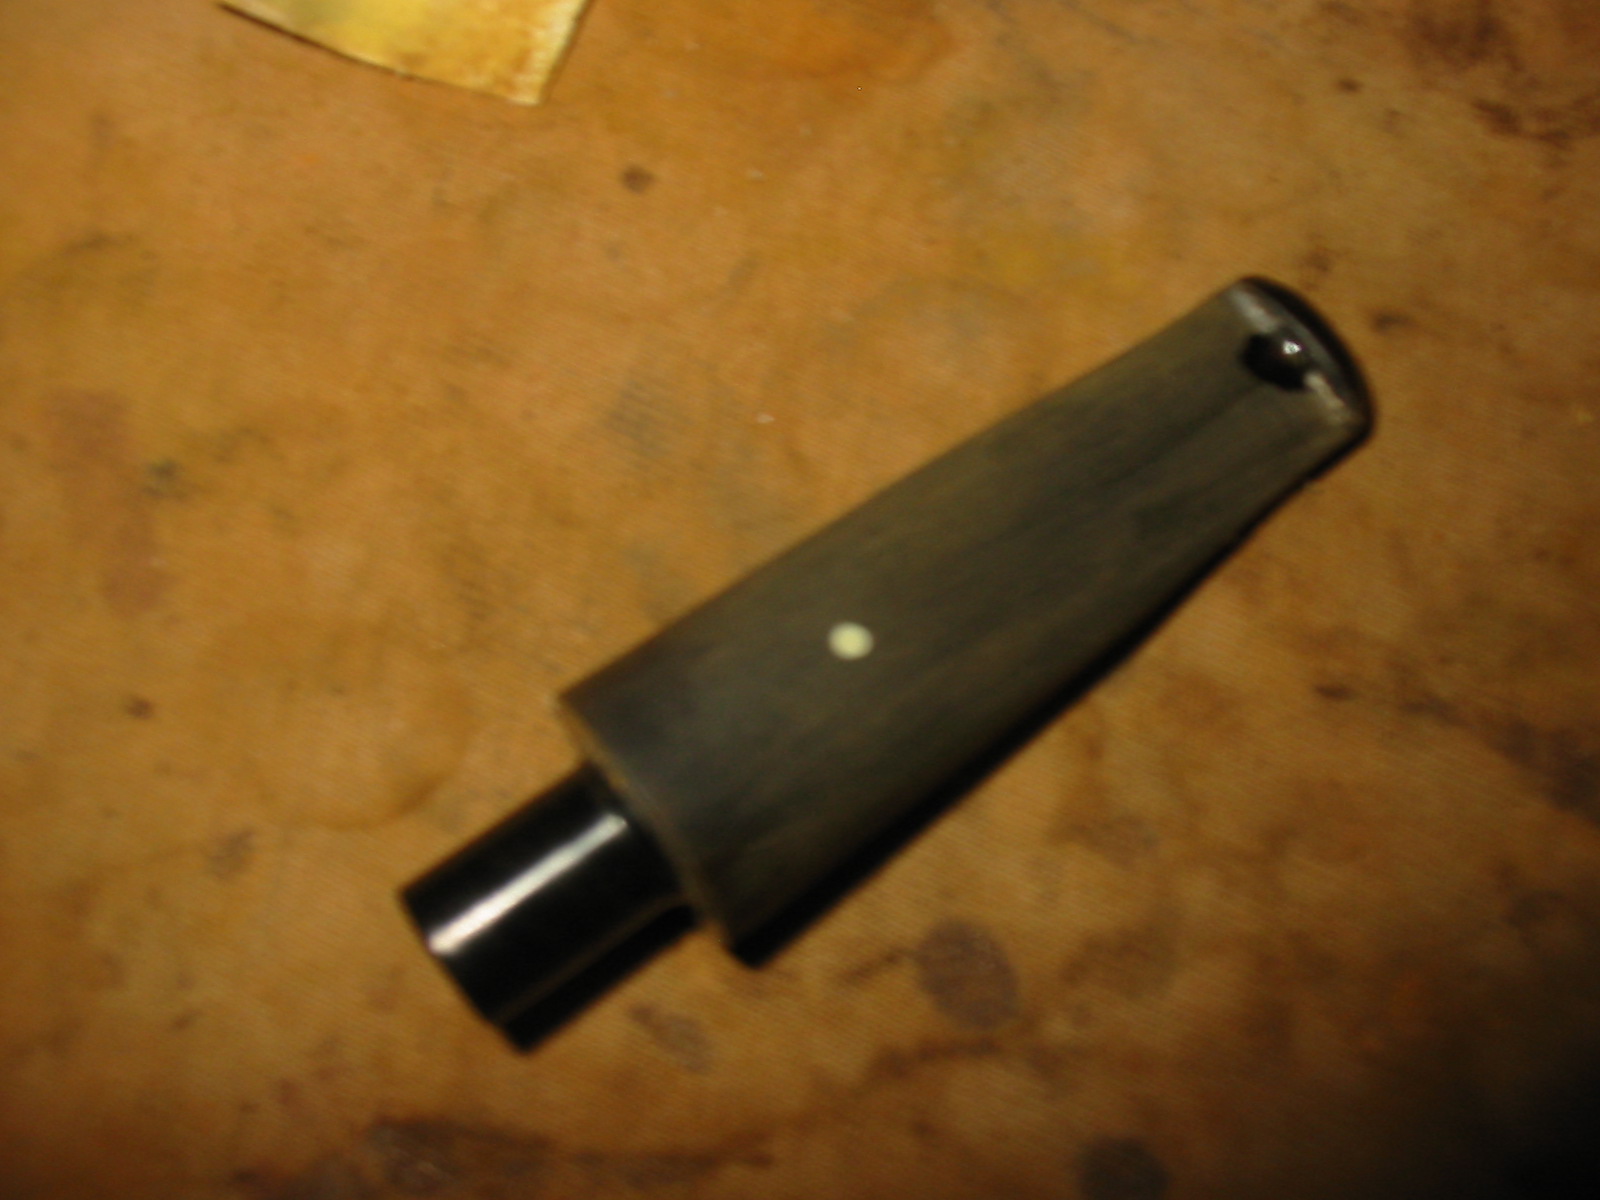
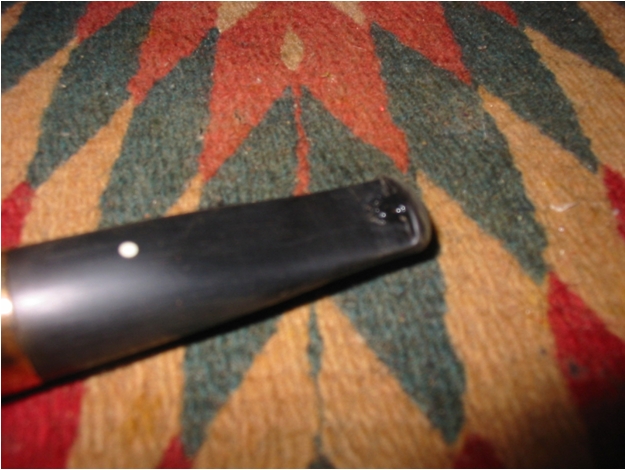
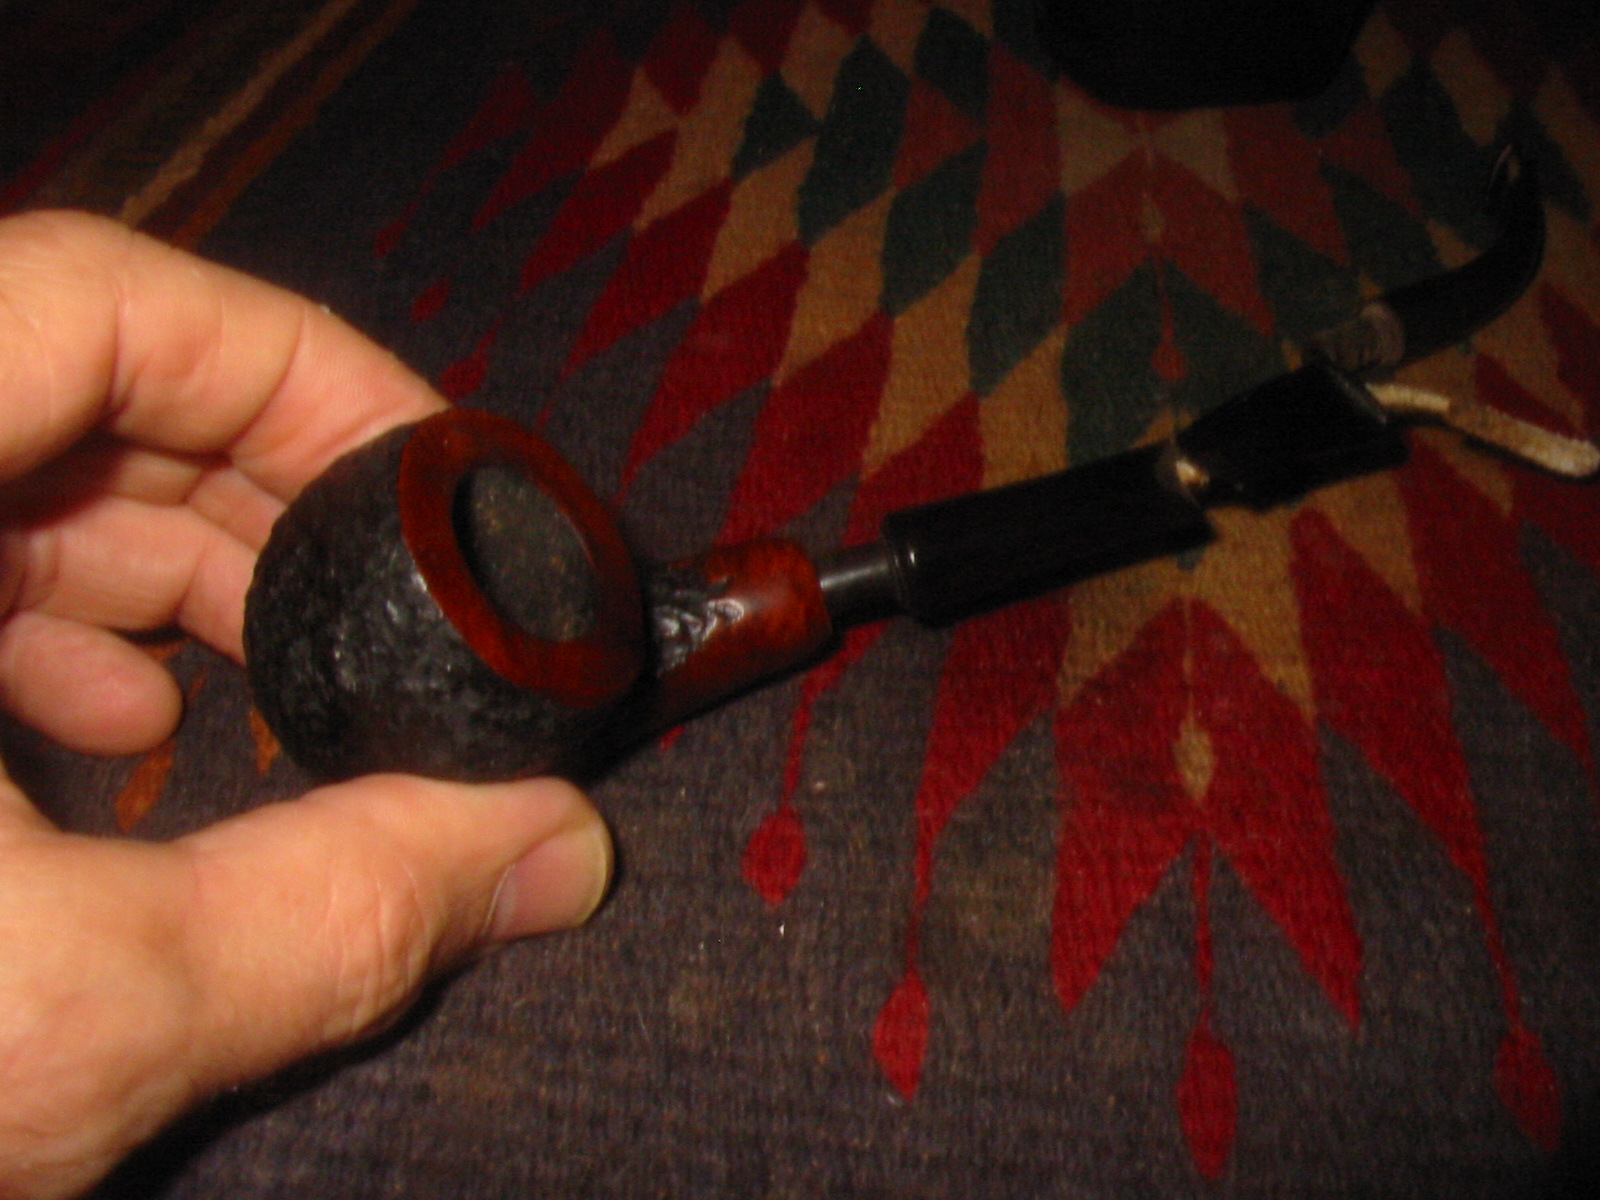
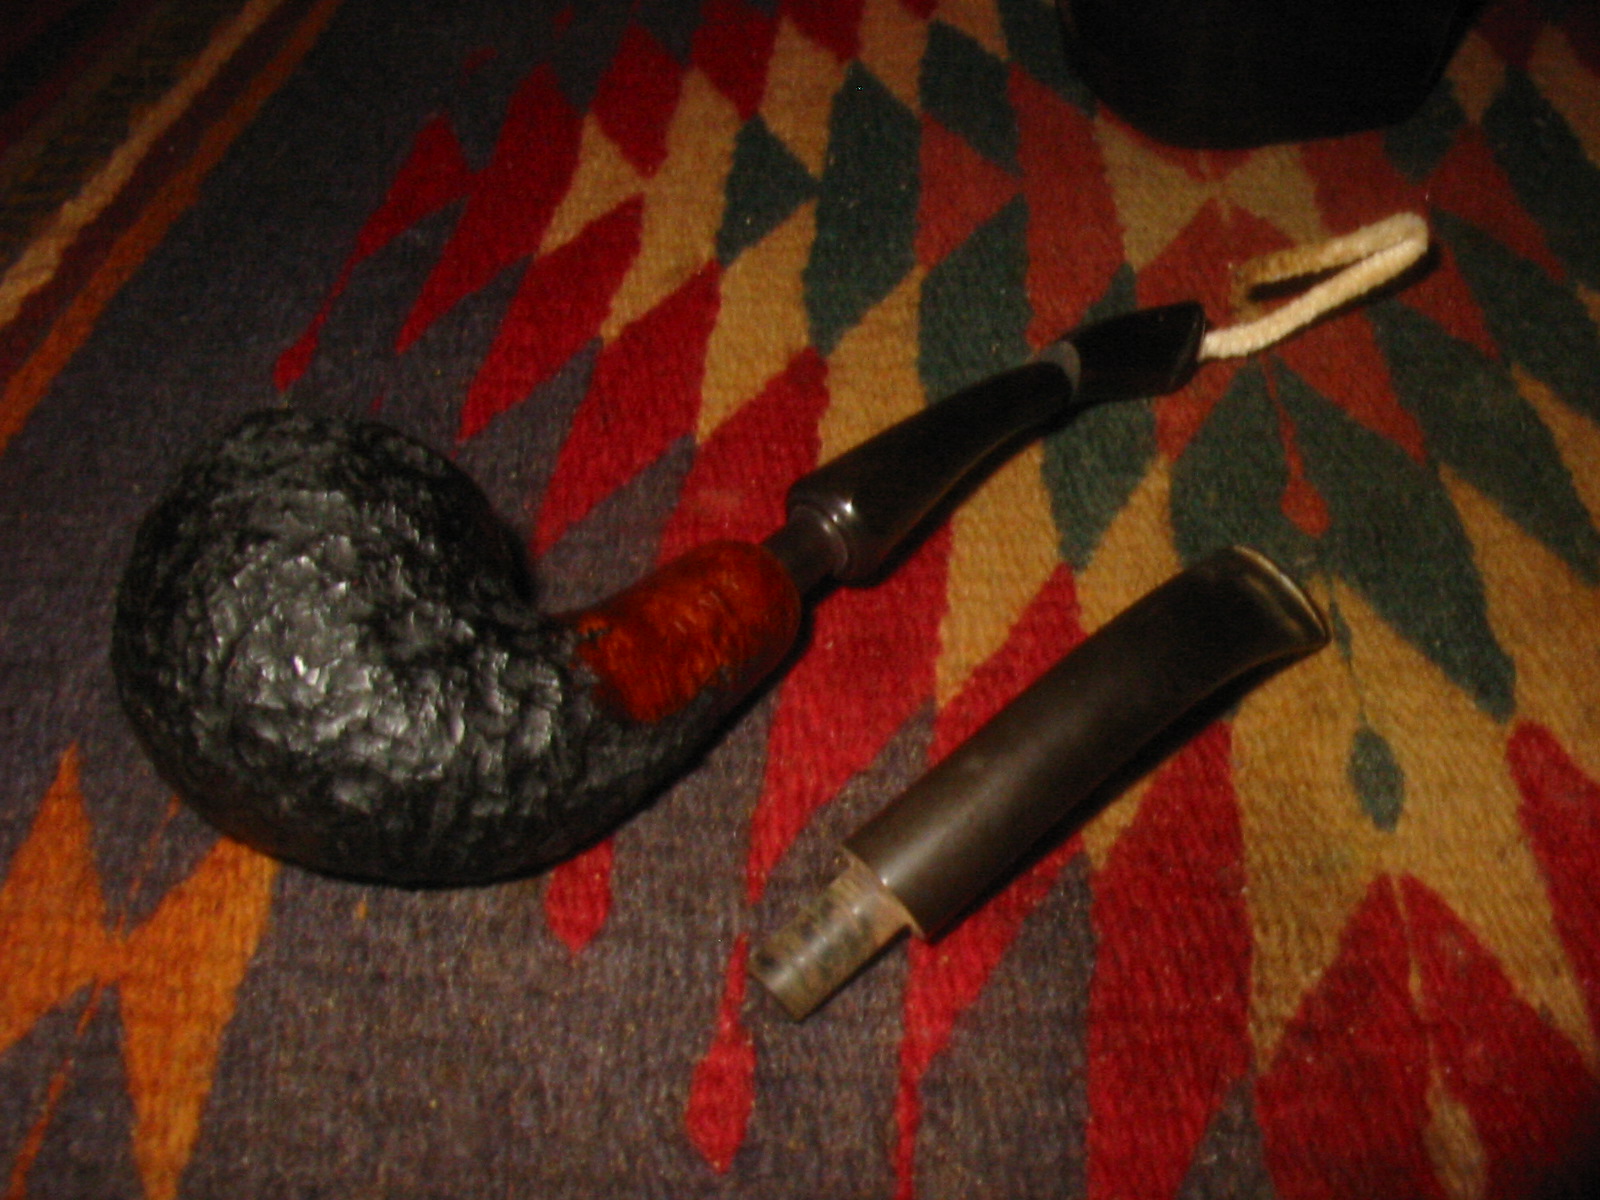
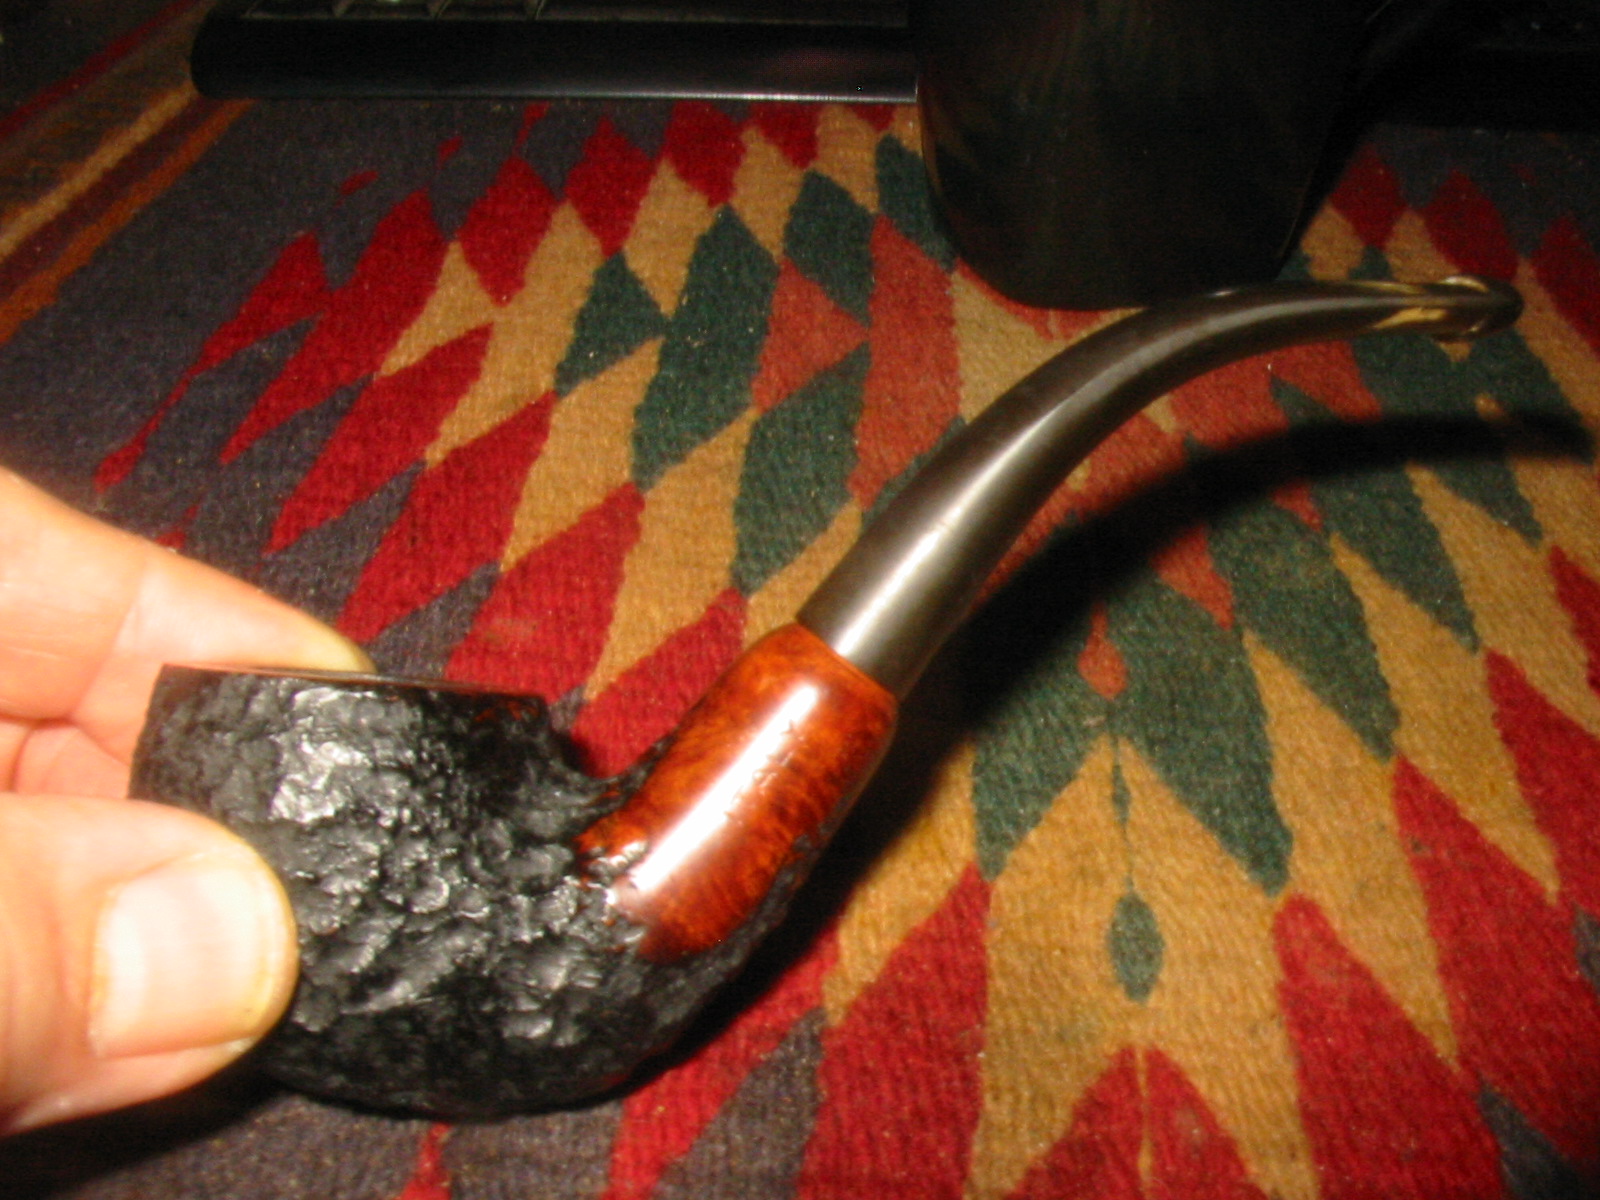
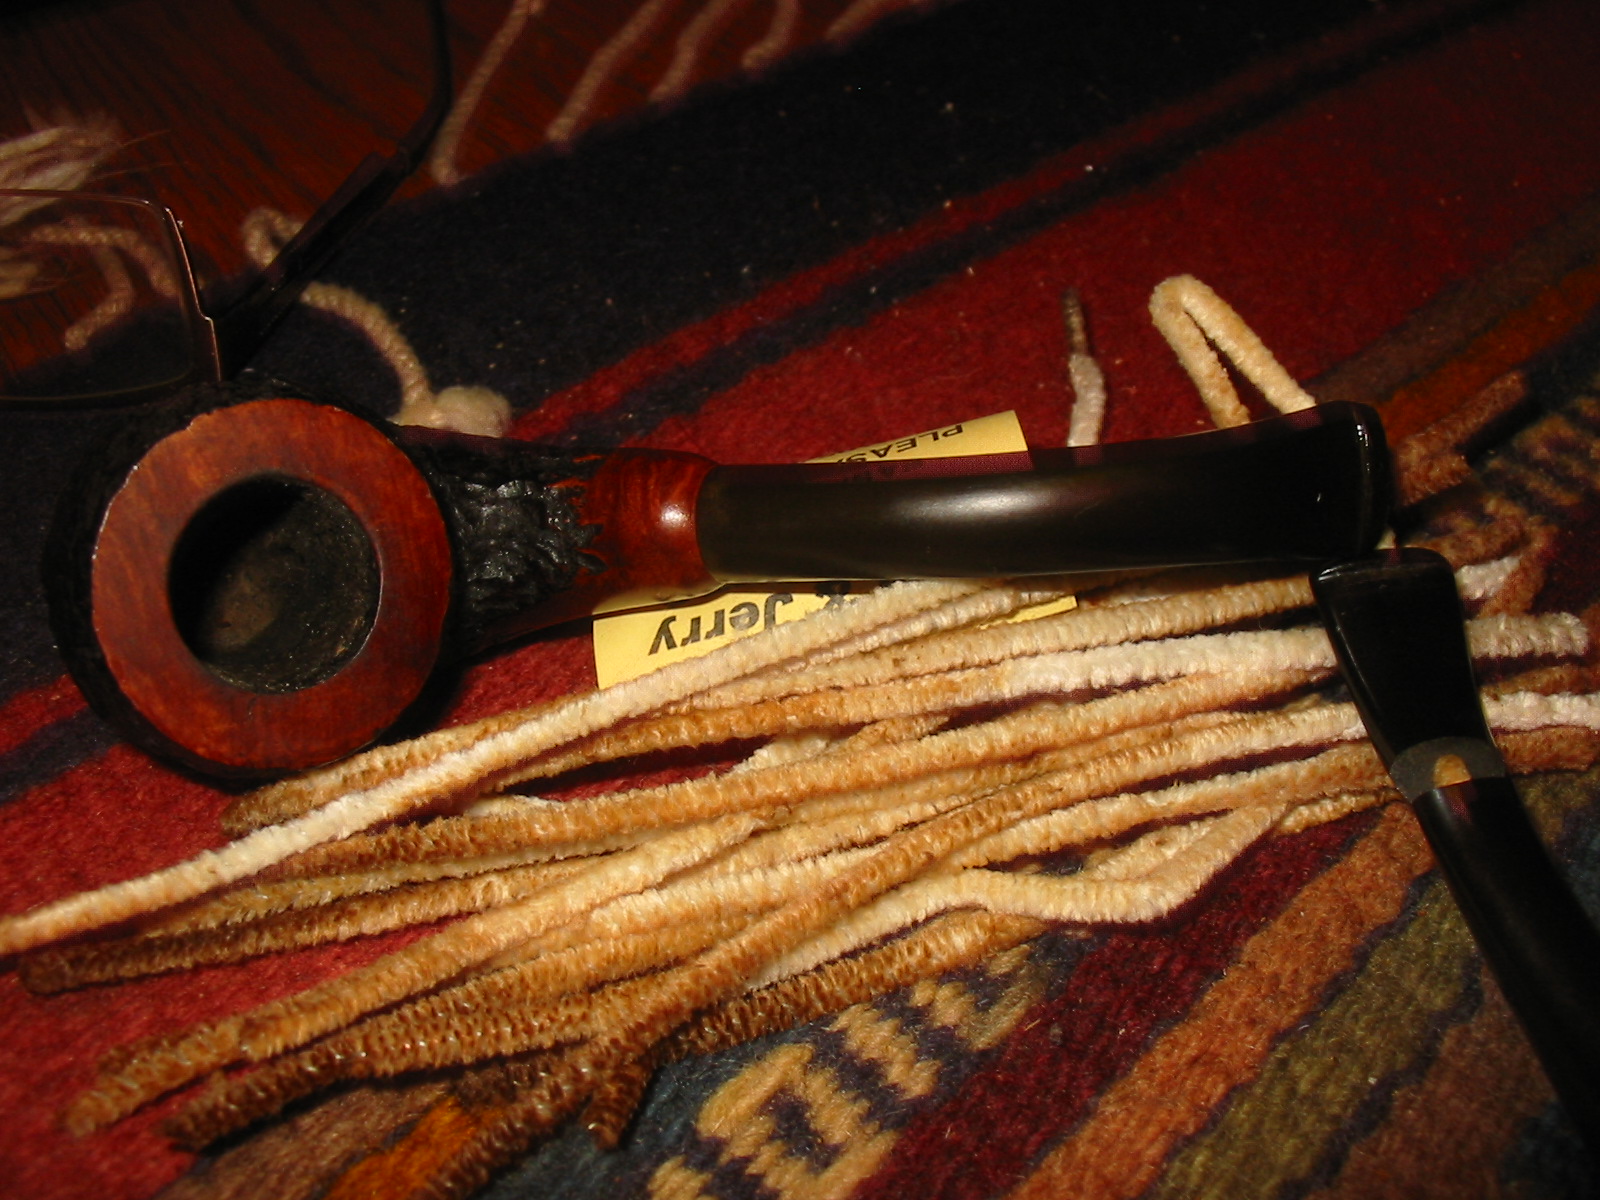
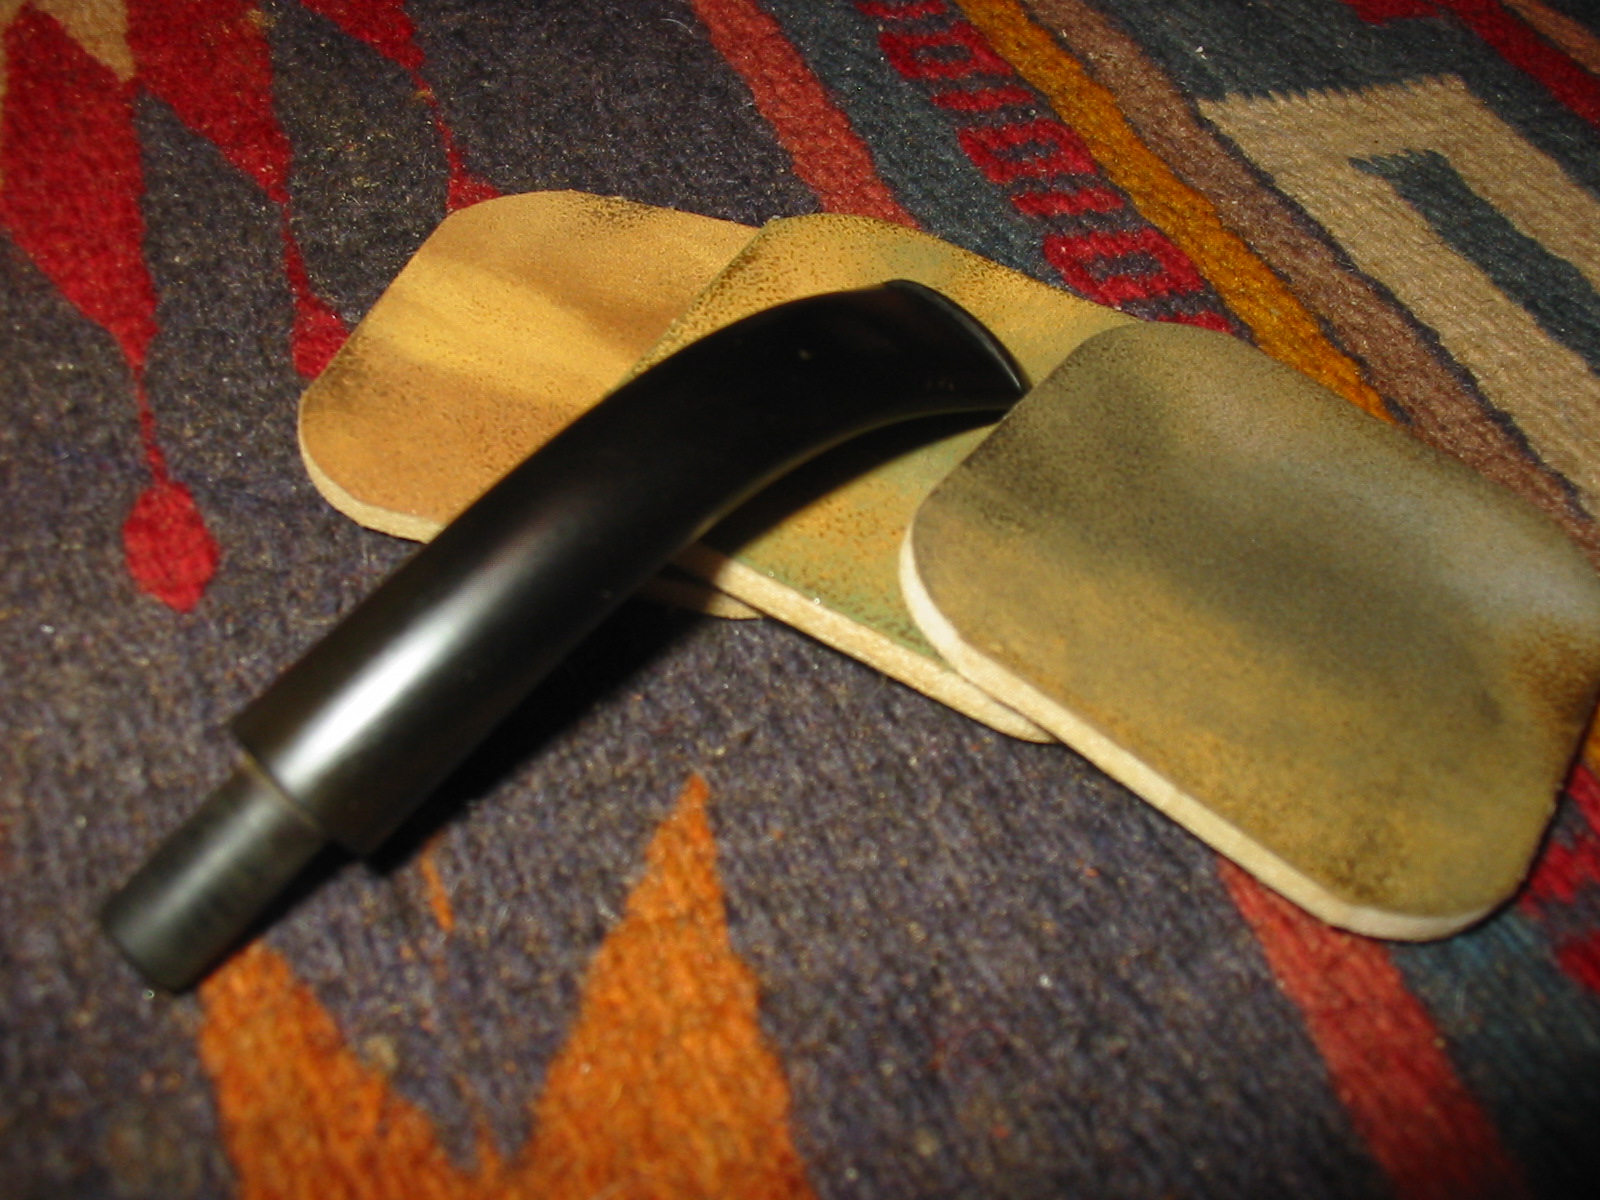
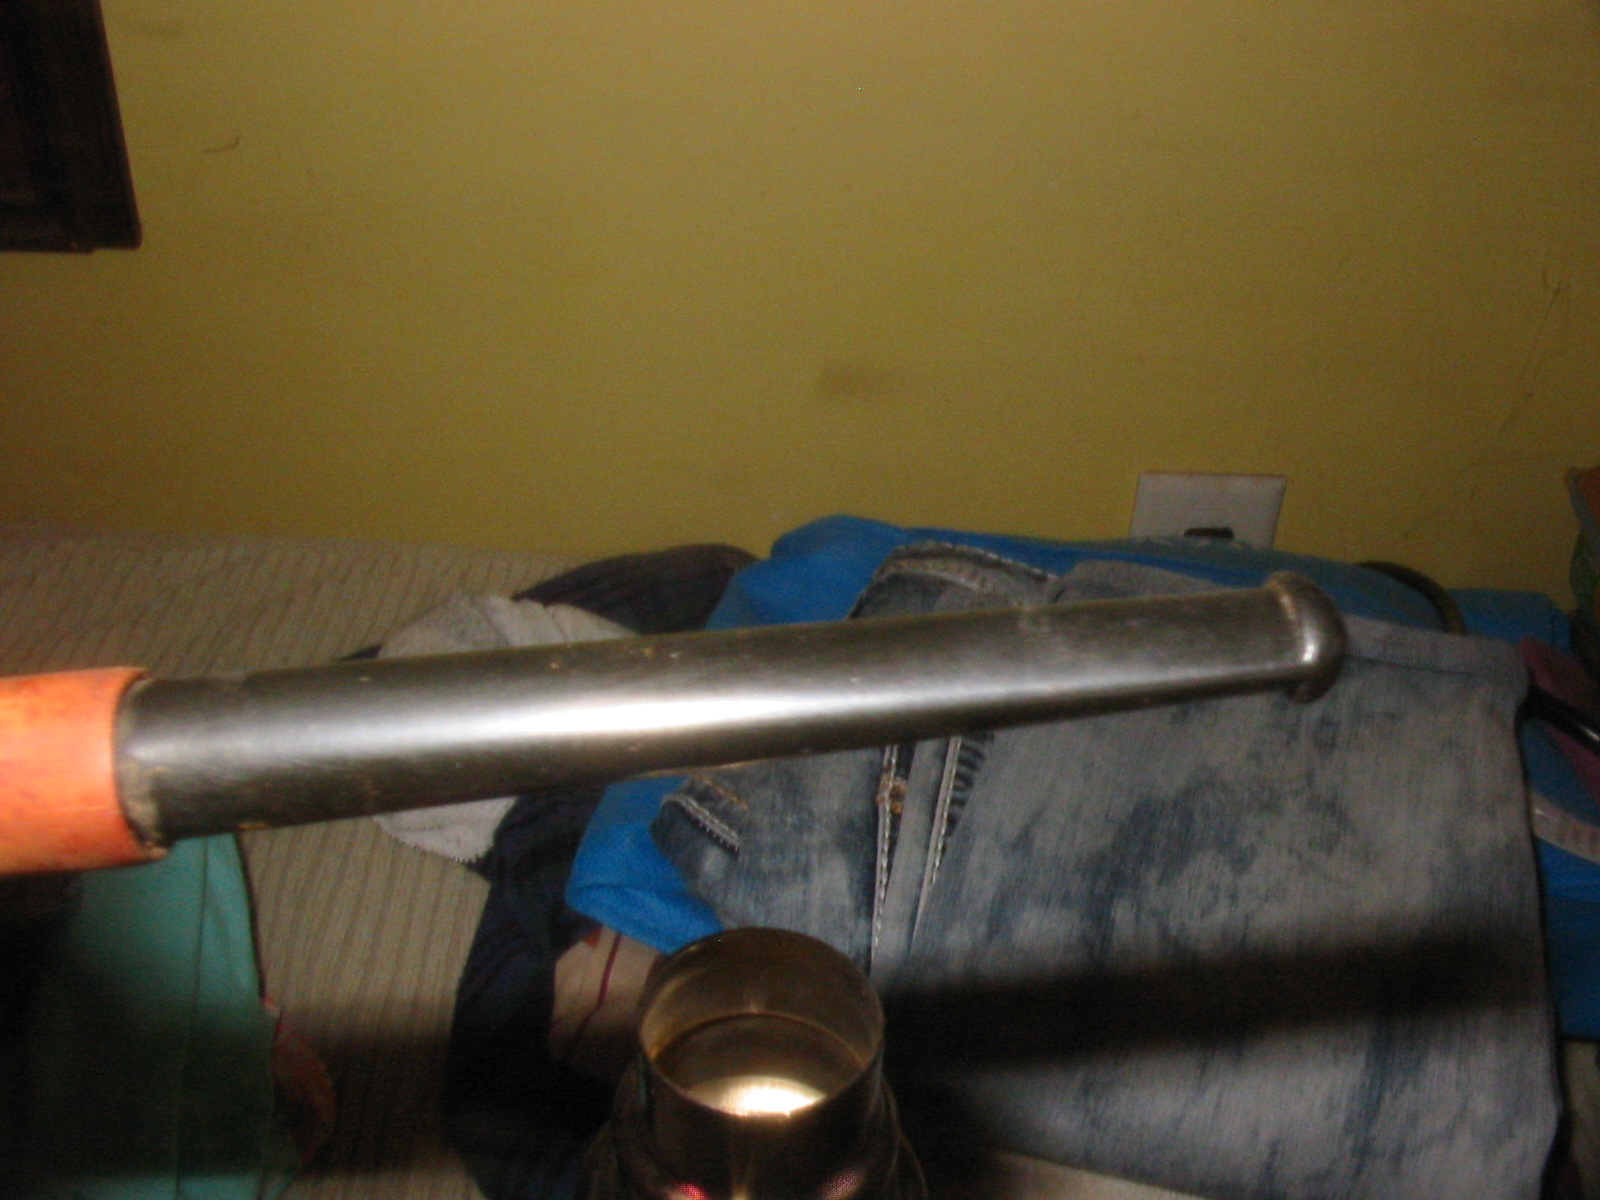
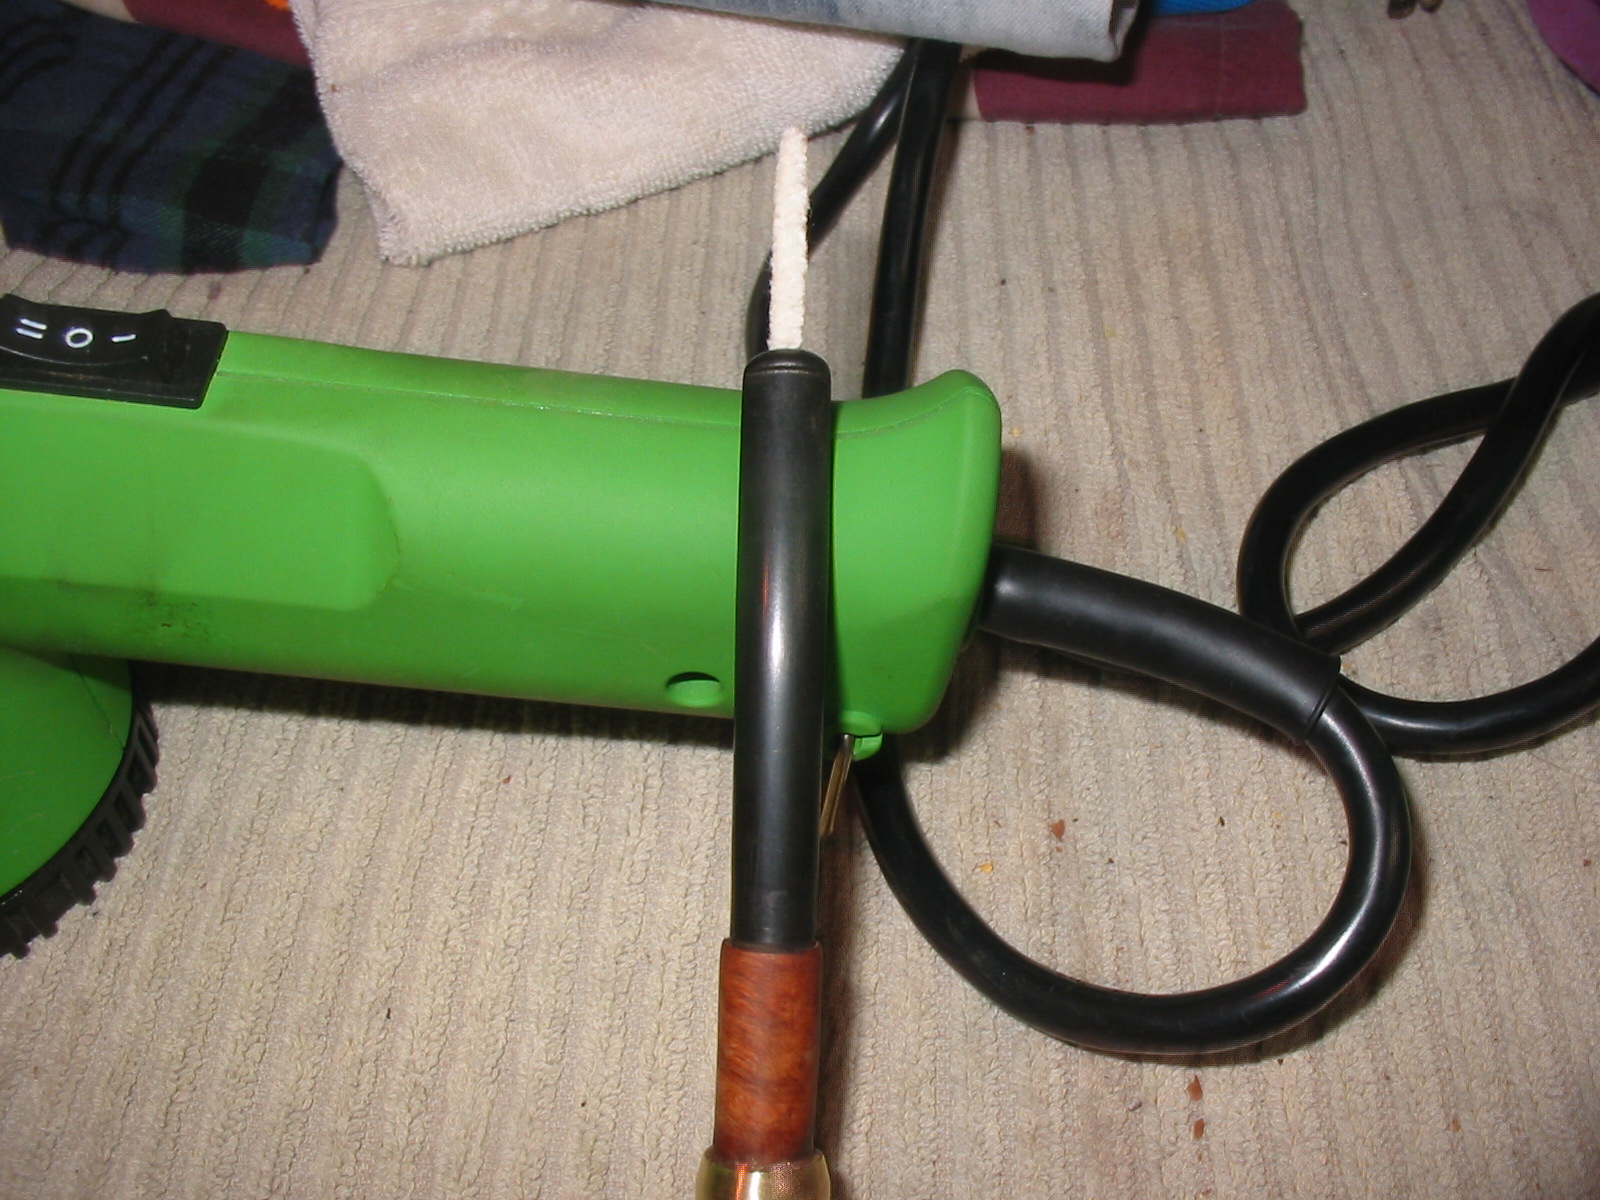
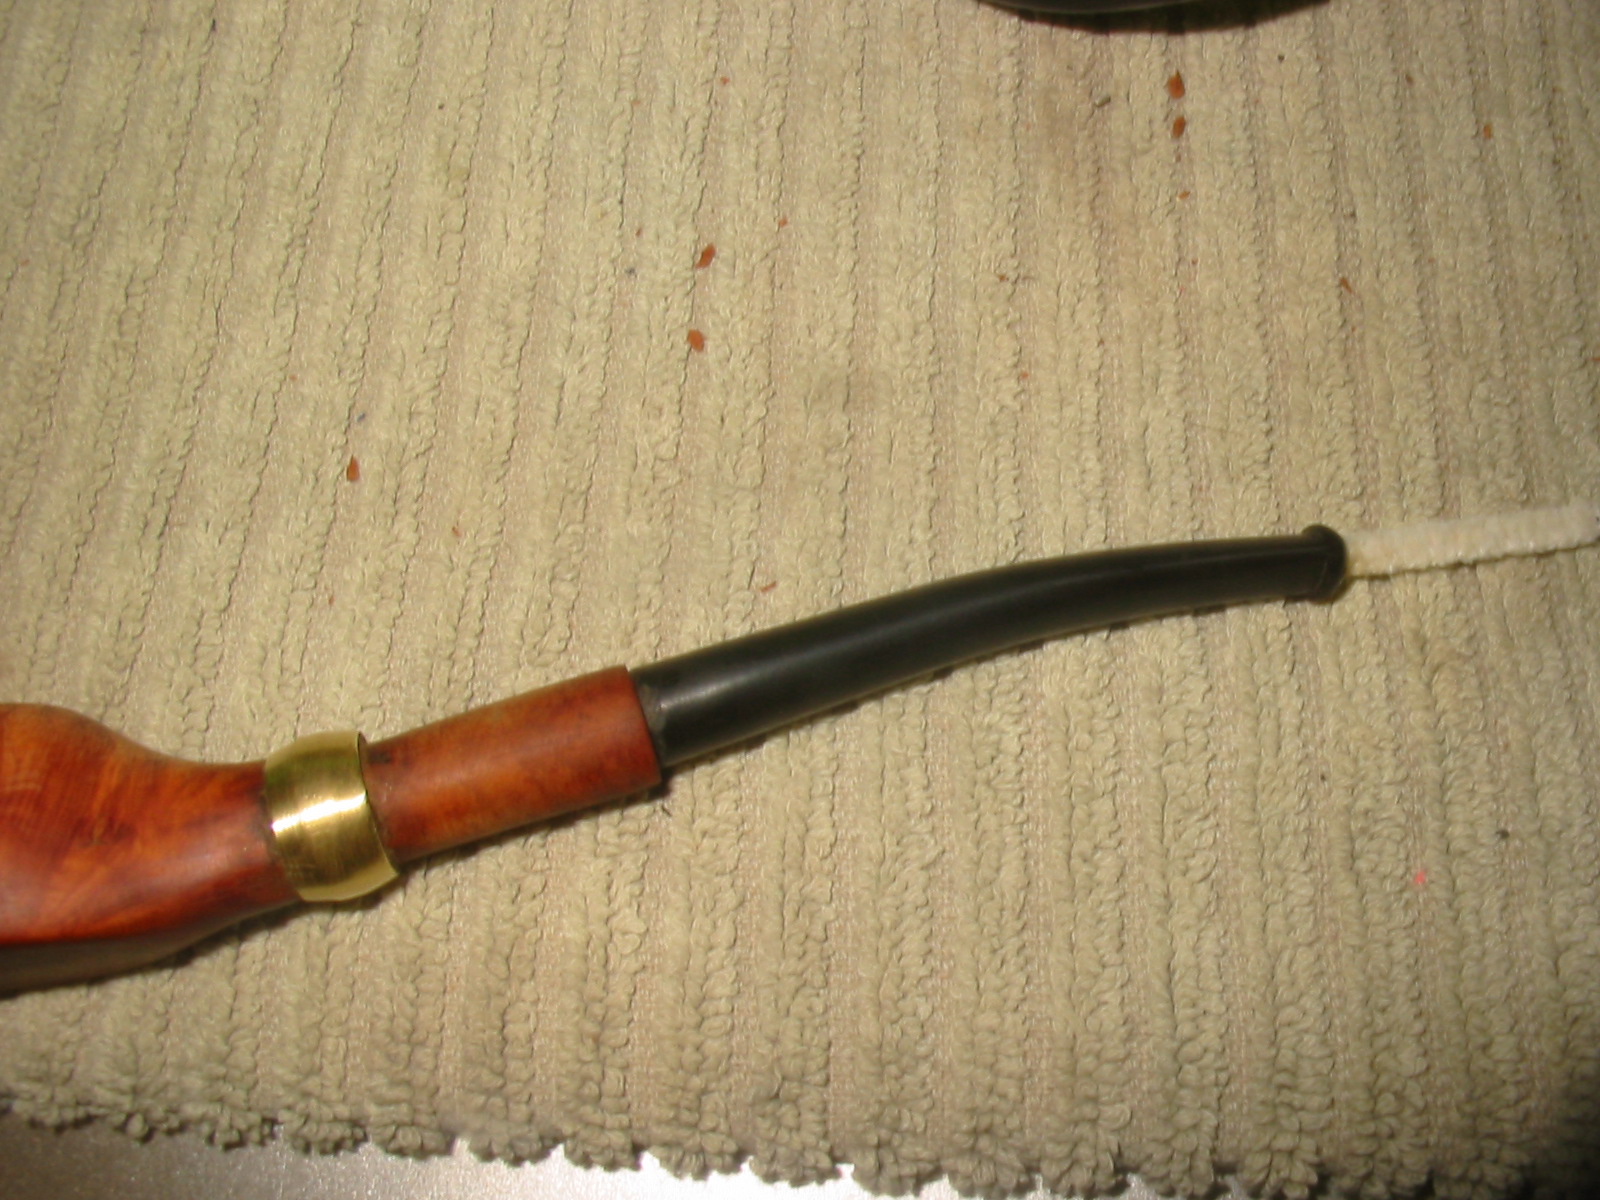
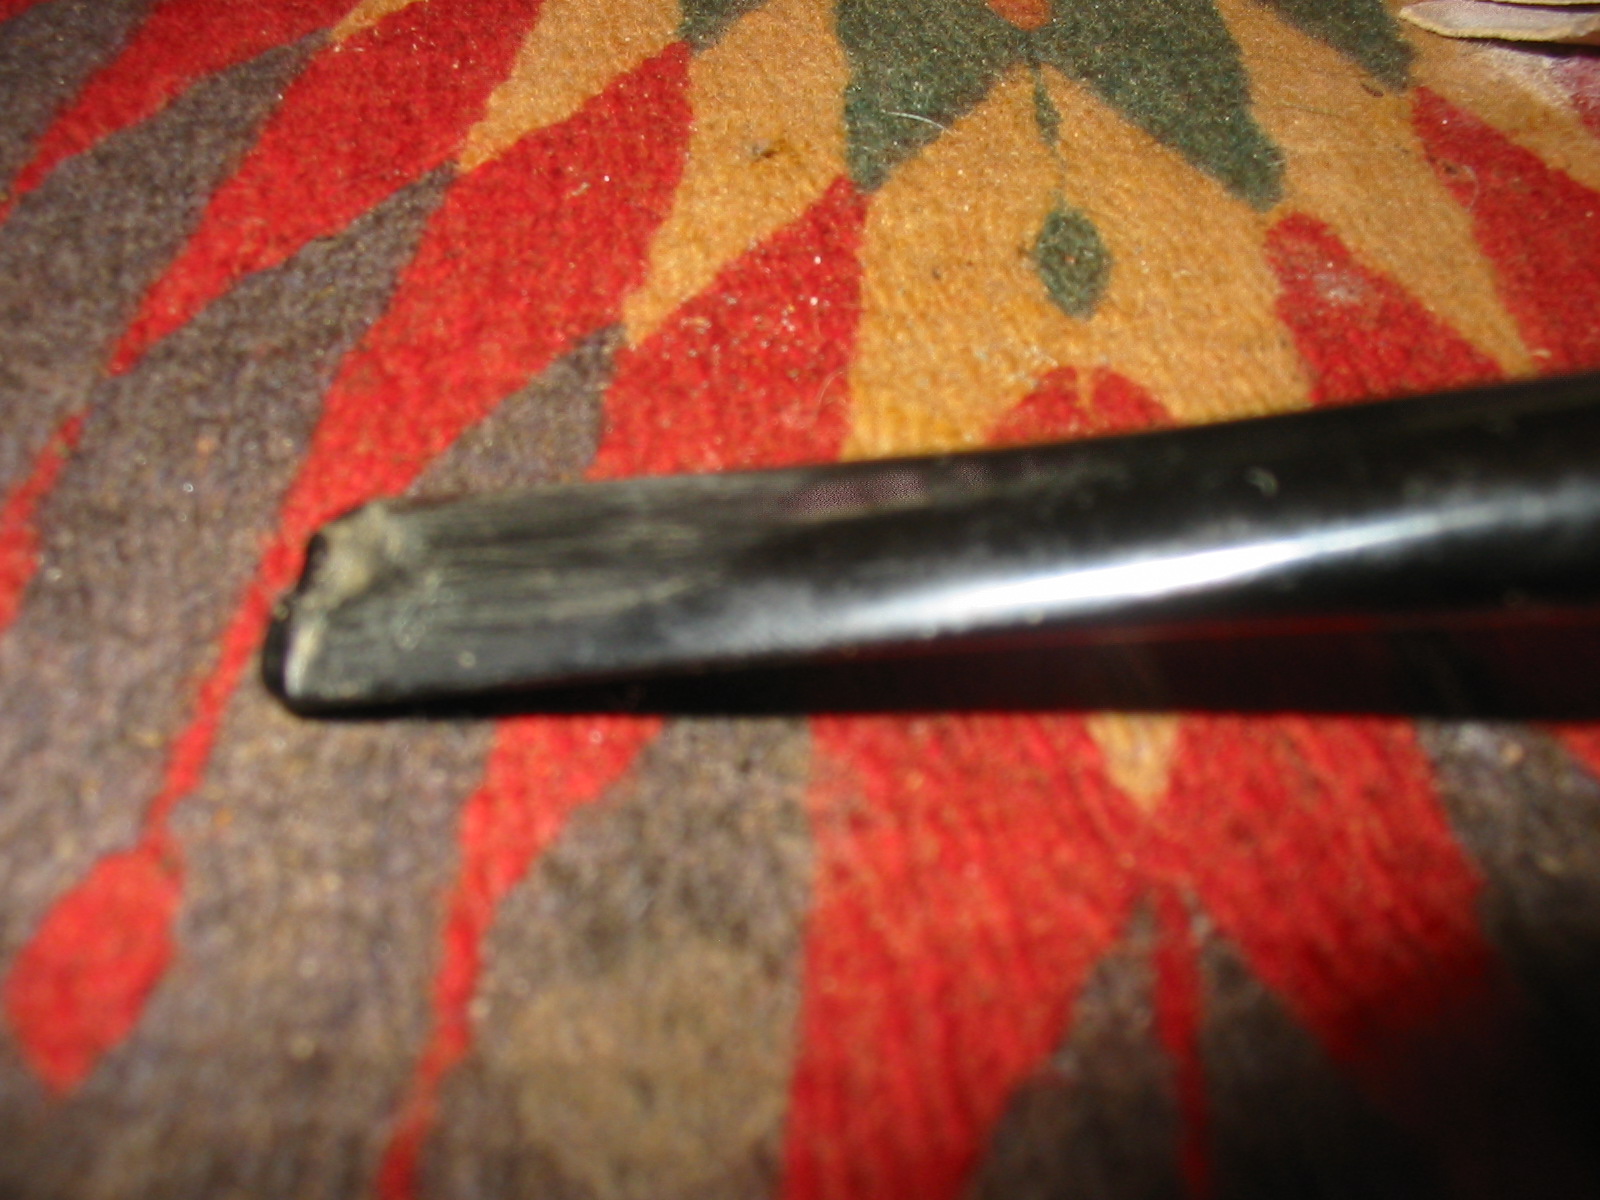
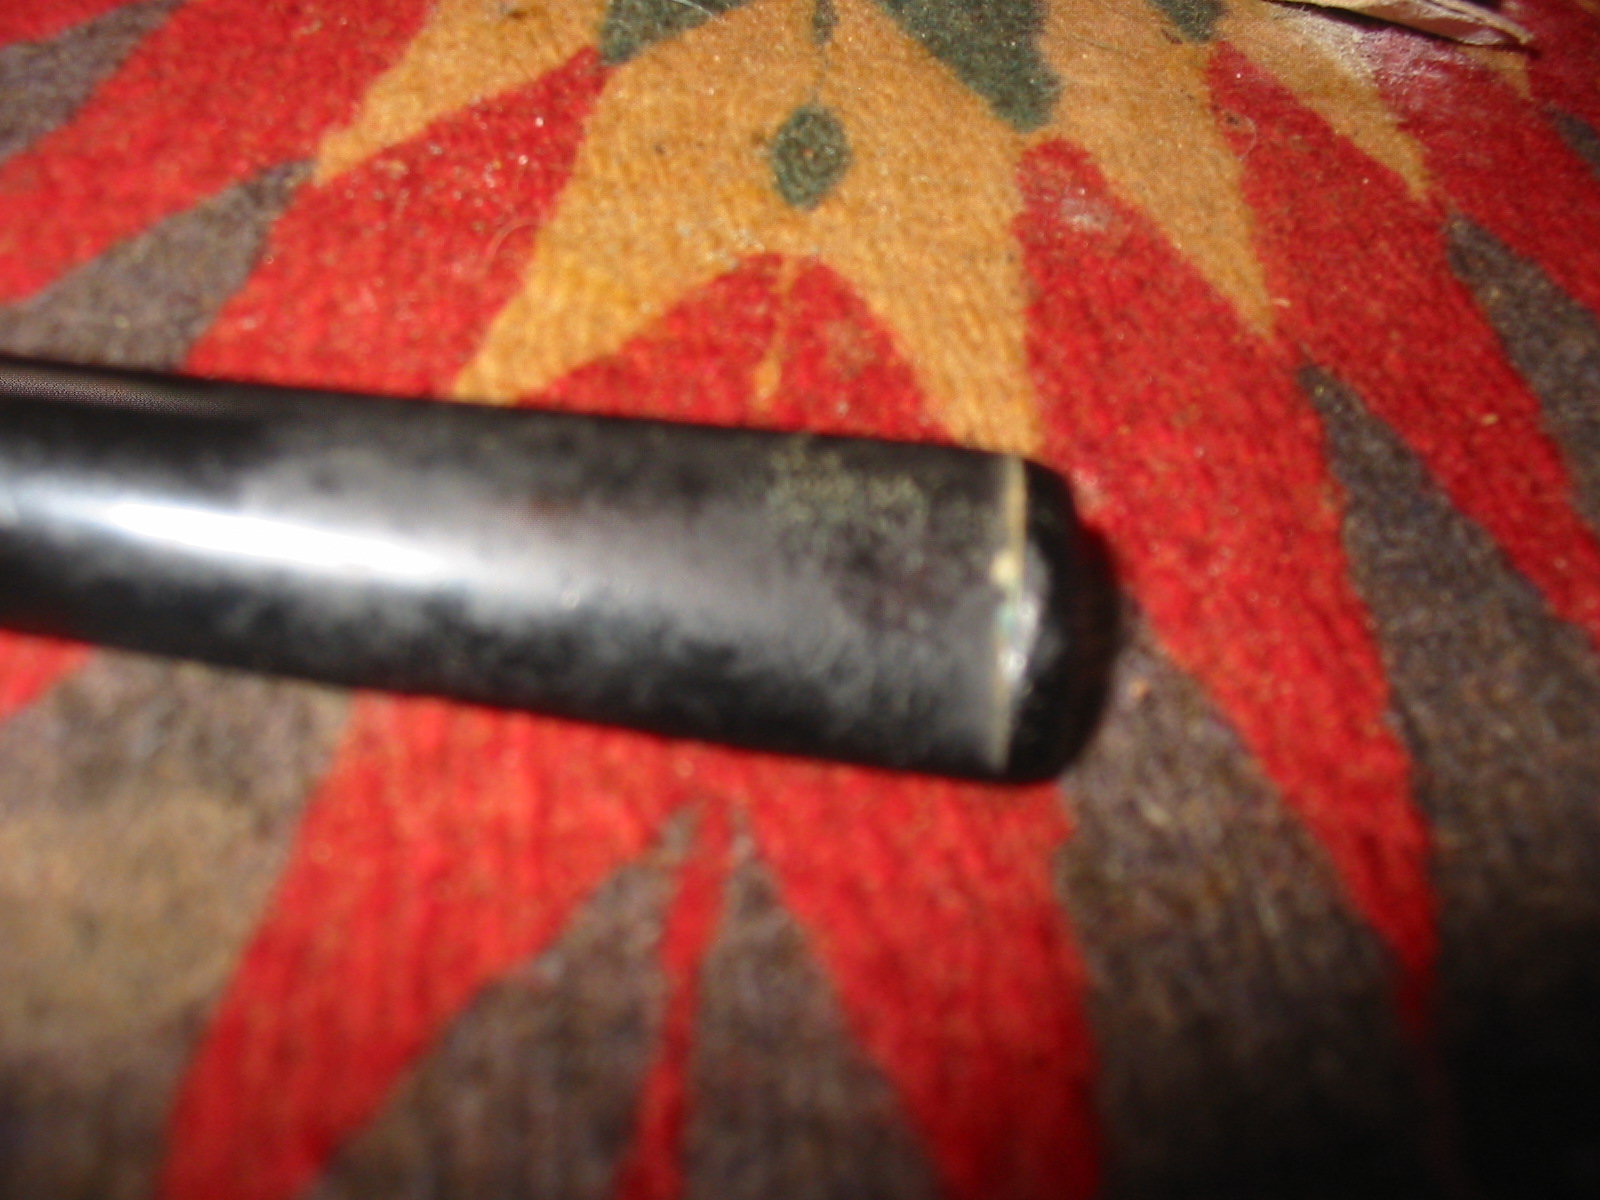
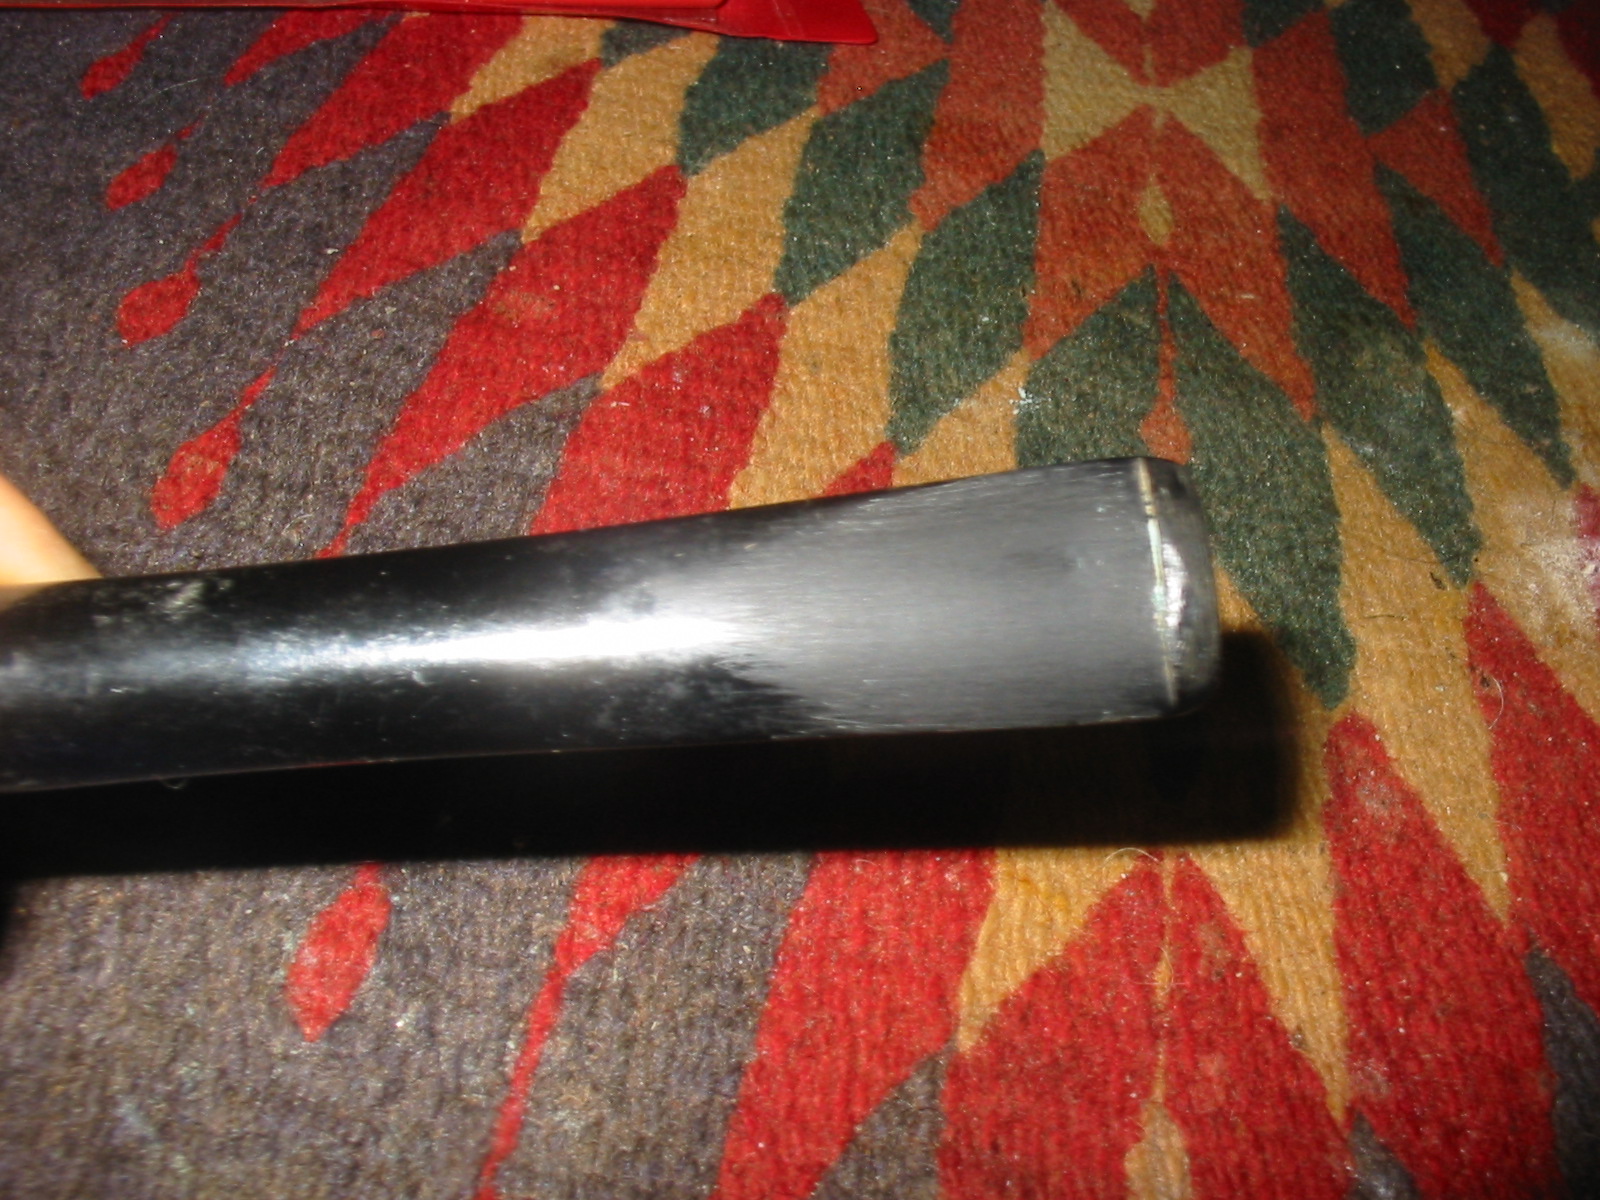
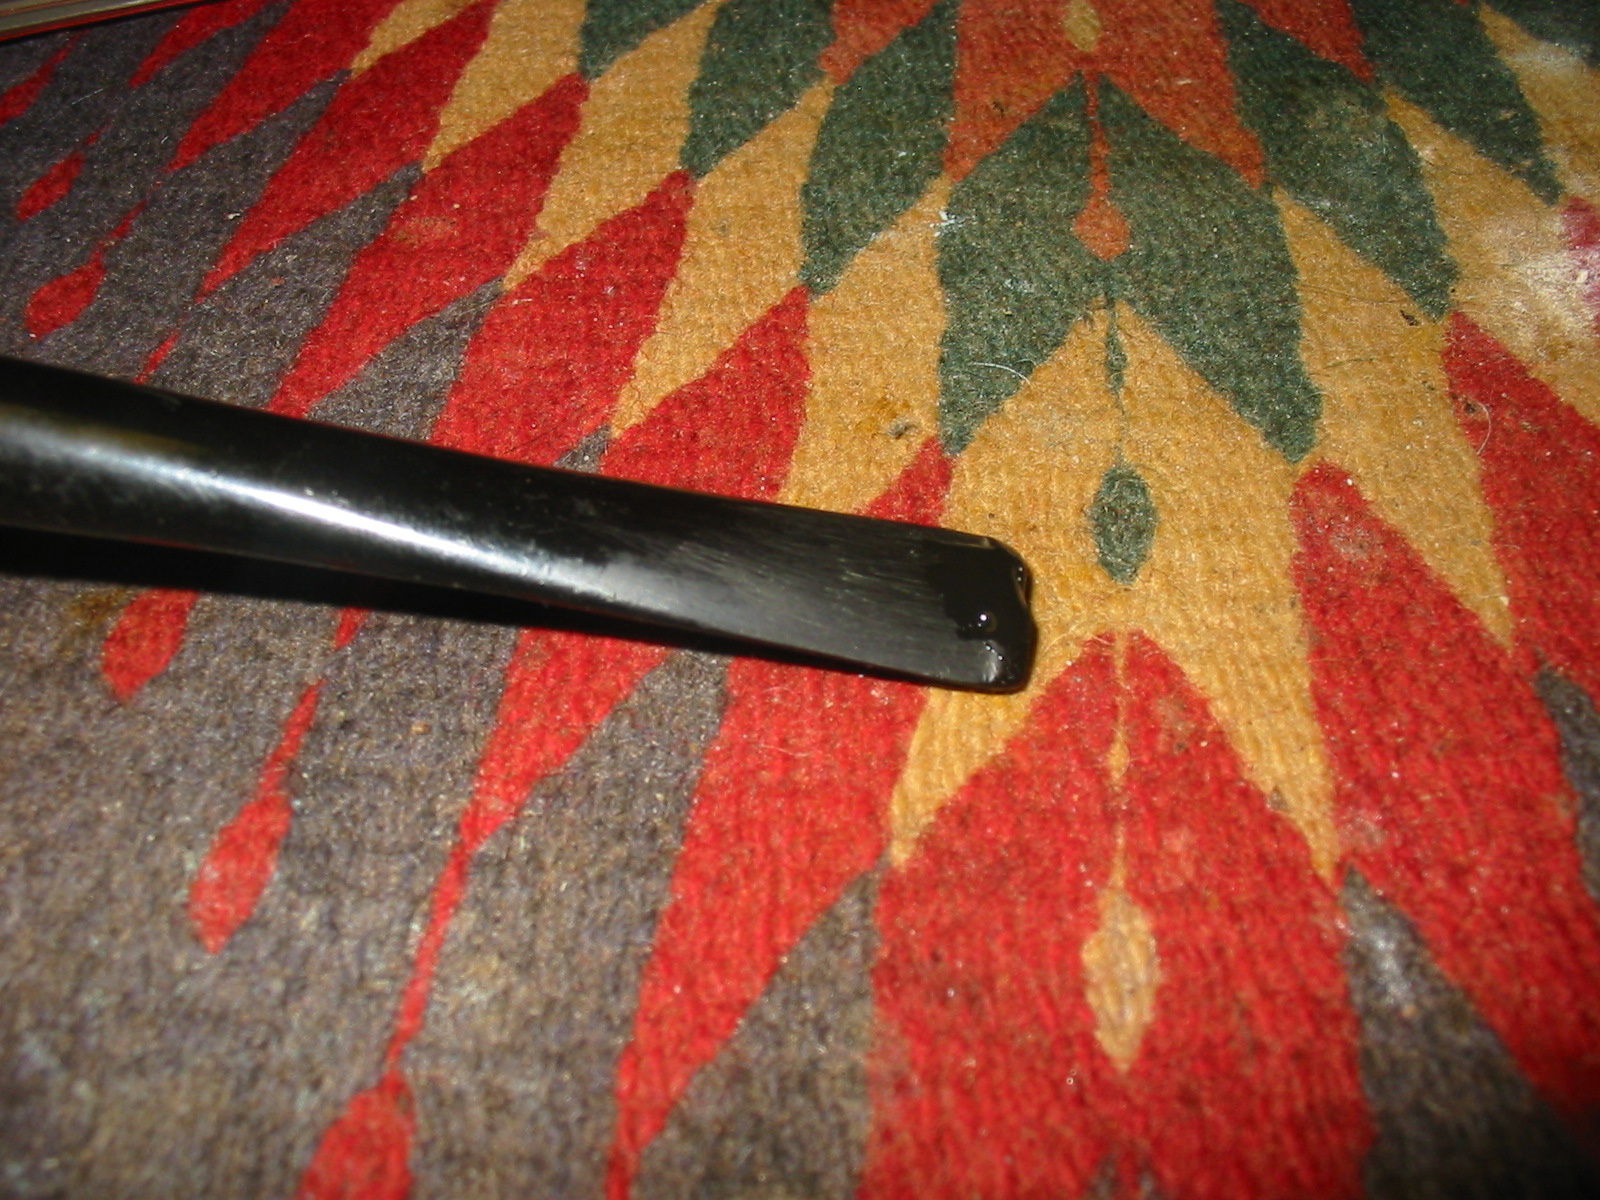
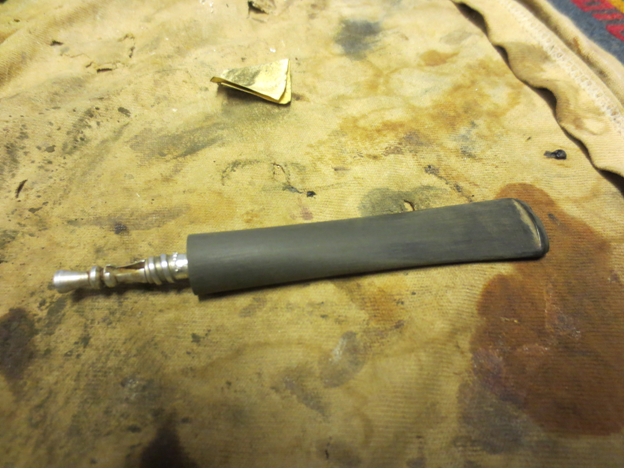
I set the stem aside and let it cure. In the morning I sanded the stem patch until it was smooth in the process my fingernail went through the stem above the patch. I explored the thickness of the stem up the stem and found that I could push through the airway quite a distance up the stem (Photo 1 below). After that fiasco I noticed that the patch was also quite unstable. I was able to push out the patch with my fingernail. The stem after patching and pushing through the repair is shown in Photo 2.
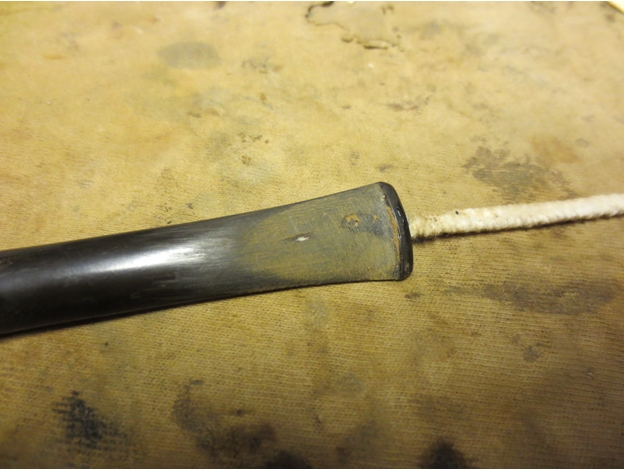
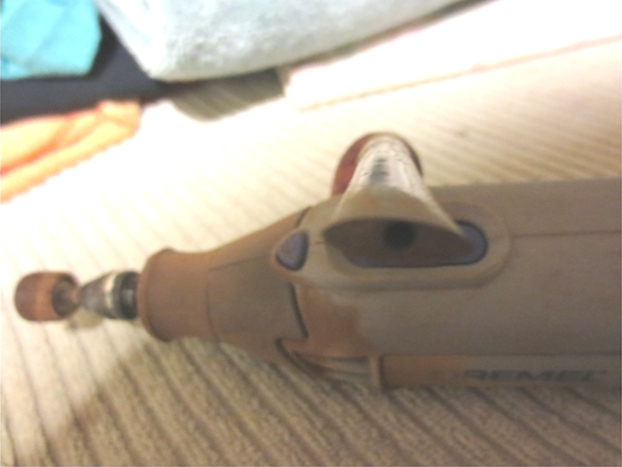
At this point it was clear that a stem patch would not work on this stem. With the thinness of the vulcanite extending up the stem about an inch it was not clear how far that would go. I was going to need to do something different. I cut off the stem with a Dremel and sanding drum.
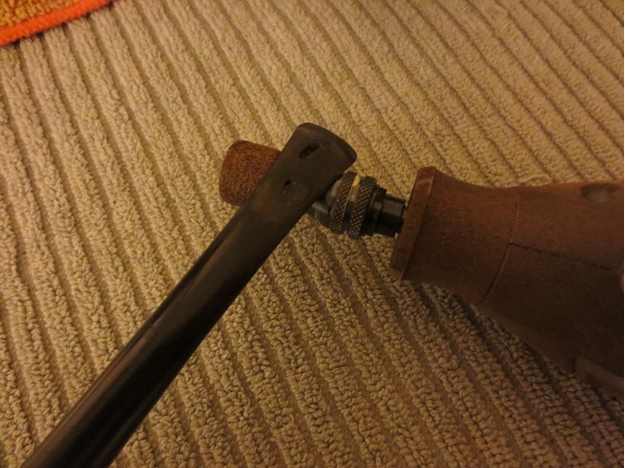
After cutting it off I could see the problem – airway was drilled very high in the stem. There was no room for cutting a new button on the stem and opening up the slot. The top of the stem was thin for another inch toward the tenon. I had to come up with something very different to address this issue.
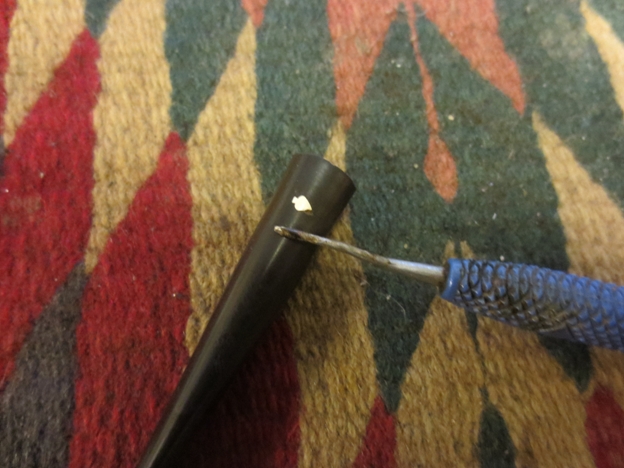
I had an old Kaywoodie stem in my can of stems that was about the same diameter as the damaged one. It was missing the club logo in the side of the stem but had a club shaped hole. I heated the stinger on the KW stem with a lighter and then was able to remove it with a pair of needle nose pliers.
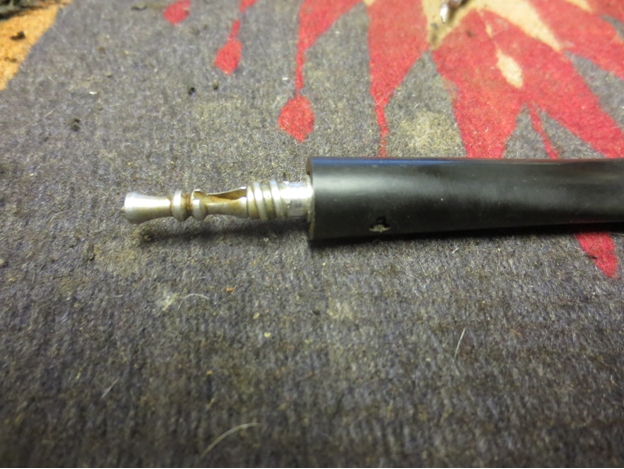
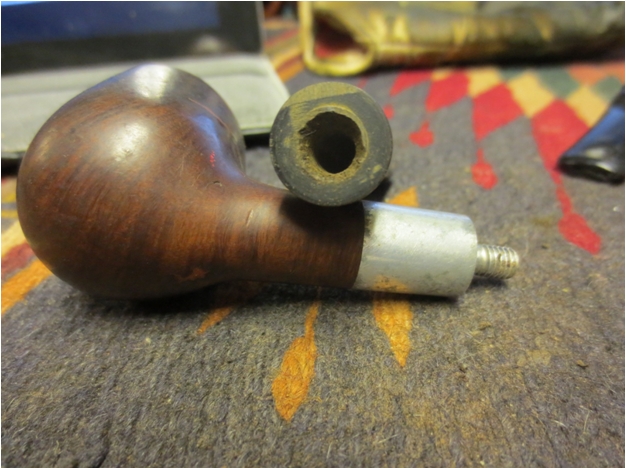
I also heated the Grabow stem with the lighter and worked on it with the pliers. It came out slowly. I finally screwed it into the bowl and turned it until the stem came off. I then unscrewed the tenon from the bowl. I tried it in the KW stem and it was just a little bit bigger than the hole in the stem. I would need to drill it one size larger to get a fit.
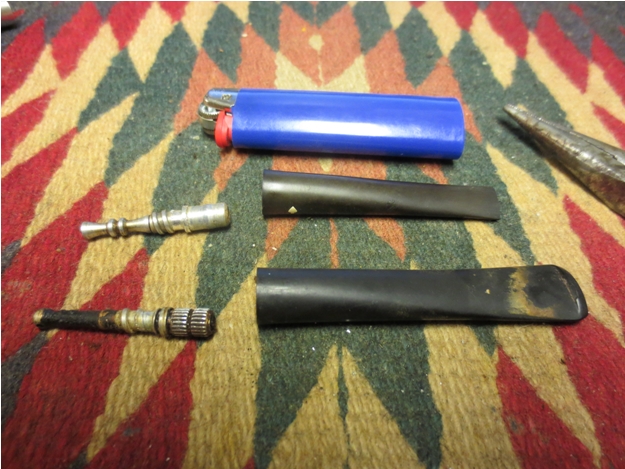
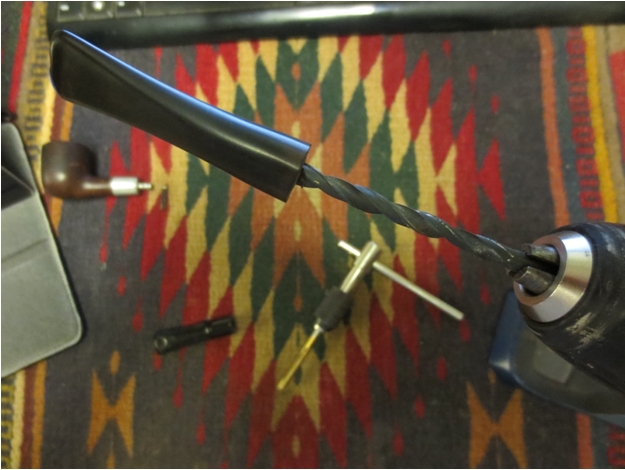
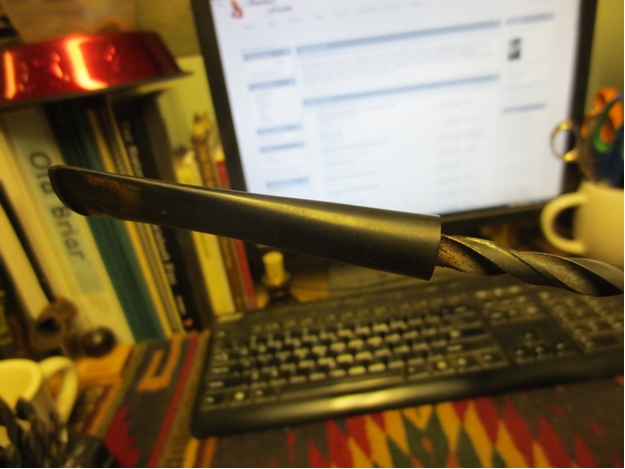
I used my cordless drill to drill it out. It had to be slightly larger and slightly deeper than the KW stinger apparatus. To make room for the lip on the aluminum piece I used a sharp knife to bevel the inner edge of the hole to accommodate the lip.
The Grabow tenon/adjustomatic apparatus fit in the shank and I pressed it into place to see if the fit was correct. I then removed it and used a white all purpose glue to hold it in place. There was a removable stinger end for the tenon so I reinserted that in place and the new insert was ready.
The fit of the stem against the shank was perfect. The diameter of the stem was slightly larger than the diameter of the shank so I would need to sand it to make them match. I tried to remove the Grabow insert from the old stem so that I could use it on the new stem. I tried to pick it out with a dental pick but was not able to remove it.
I filled the club hole with black superglue and then sanded it smooth. I used 220 grit sandpaper to work on the diameter of the stem. I also sanded the end of the stem around the button to remove the tooth marks and chatter.
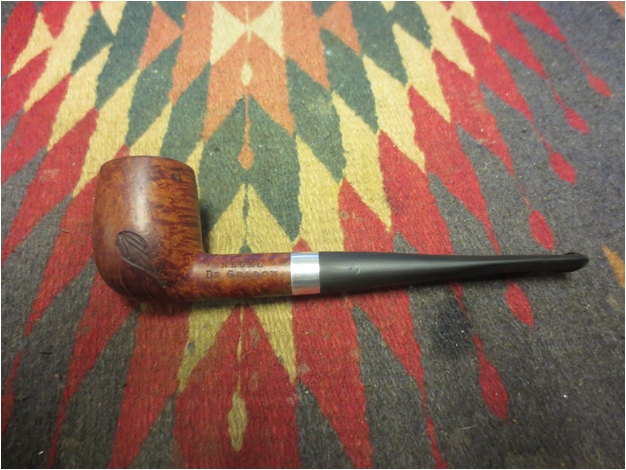
The next series of four photos show the stem after all of the sanding and shaping. The new stem looked quite good with the bowl. The fit was perfect and the lines and flow of the angles was exactly what I was looking for when I started.
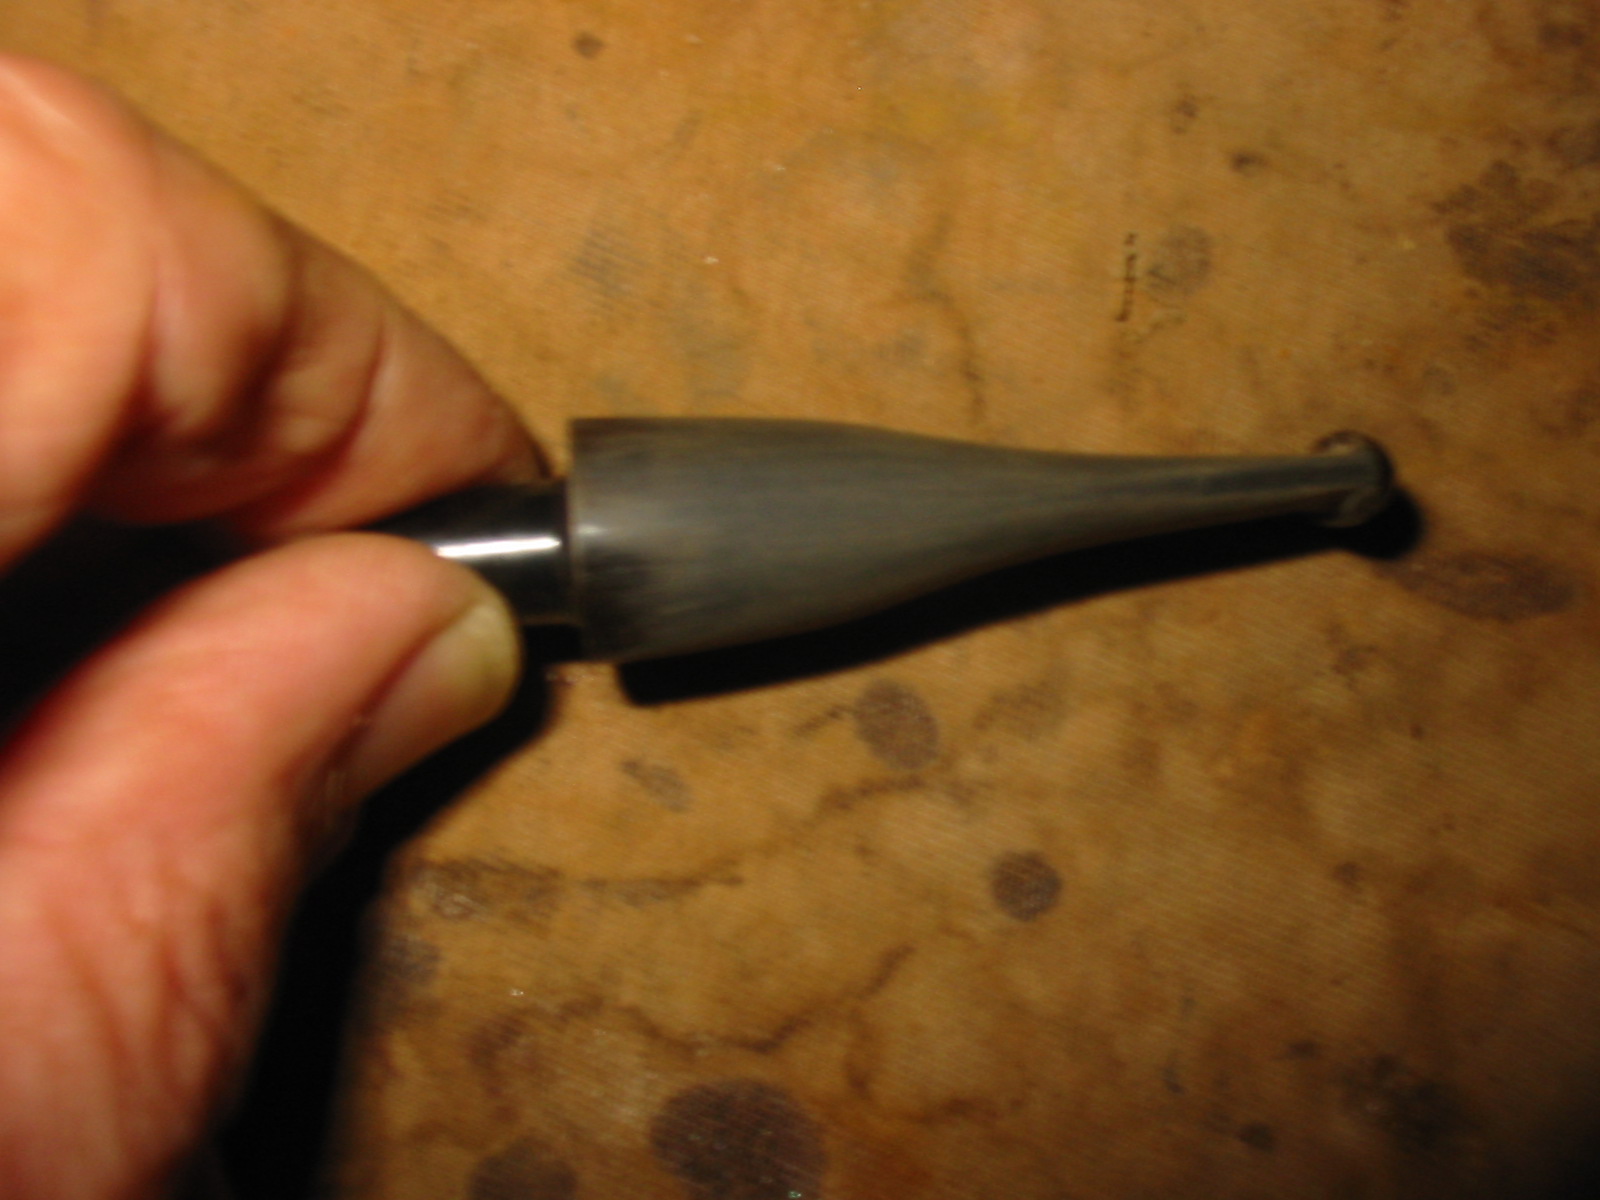
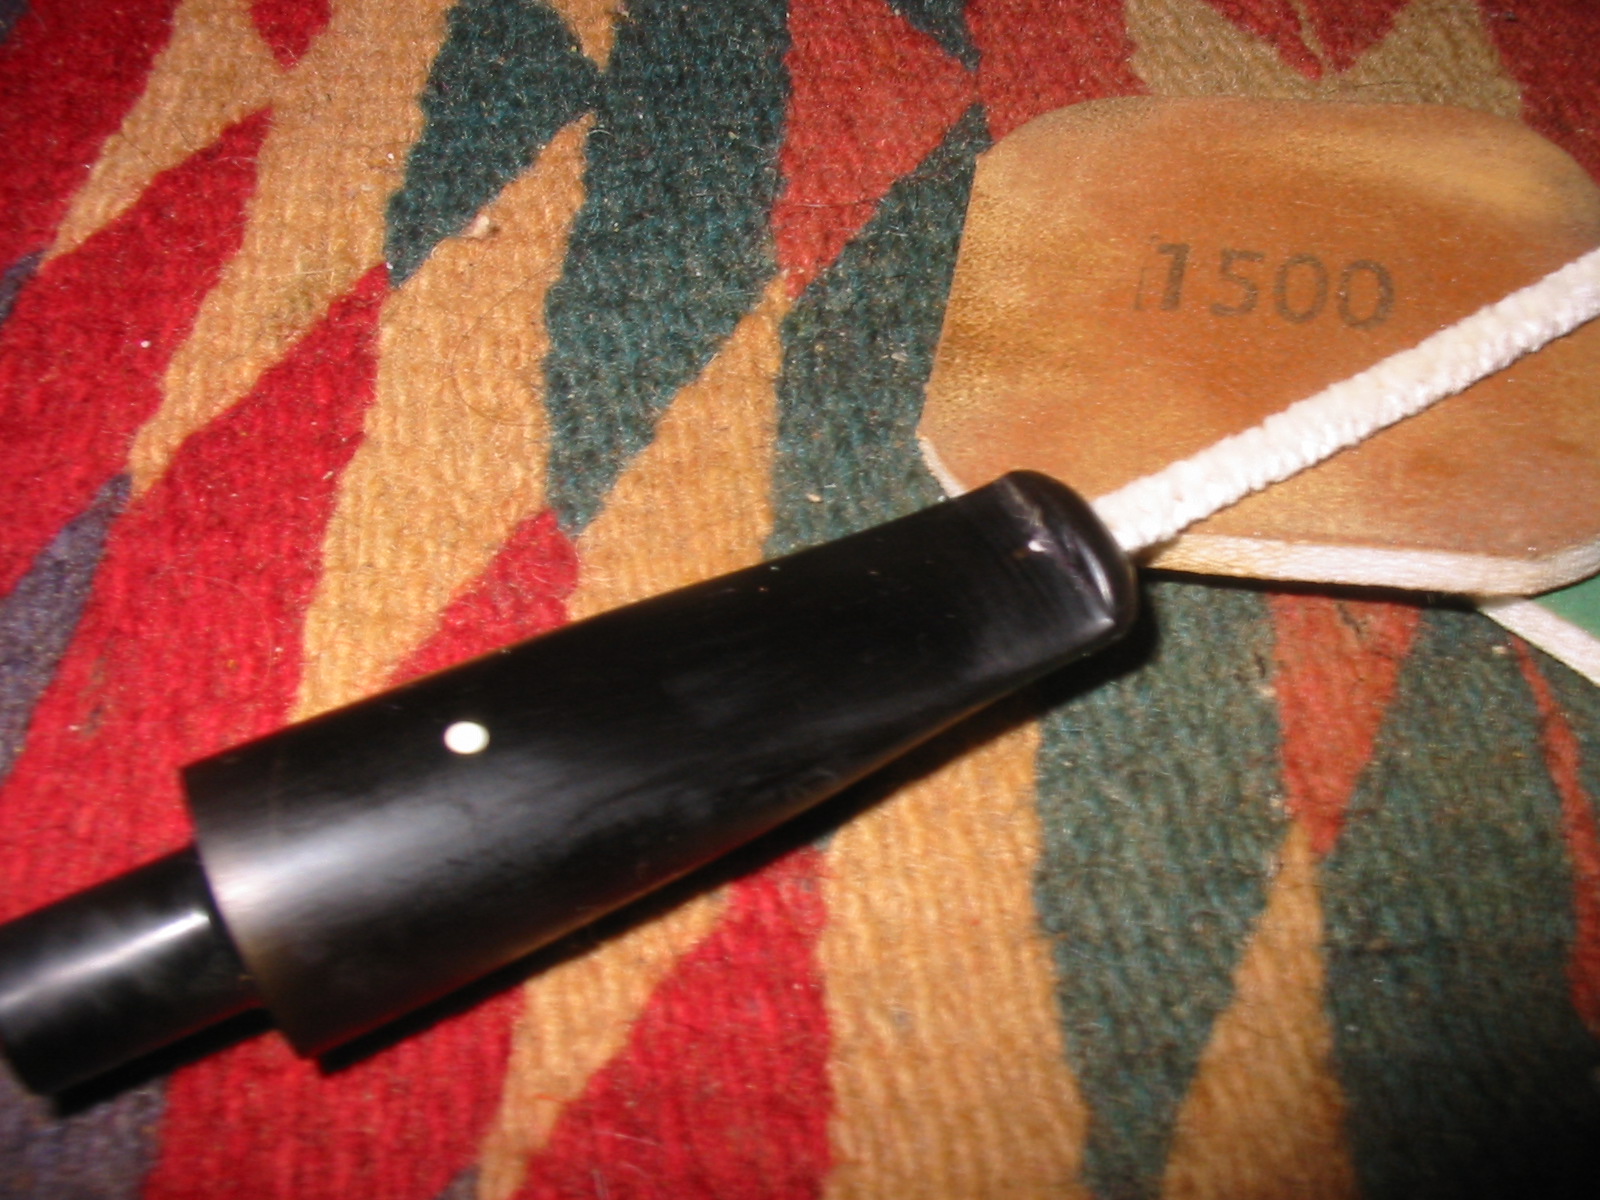
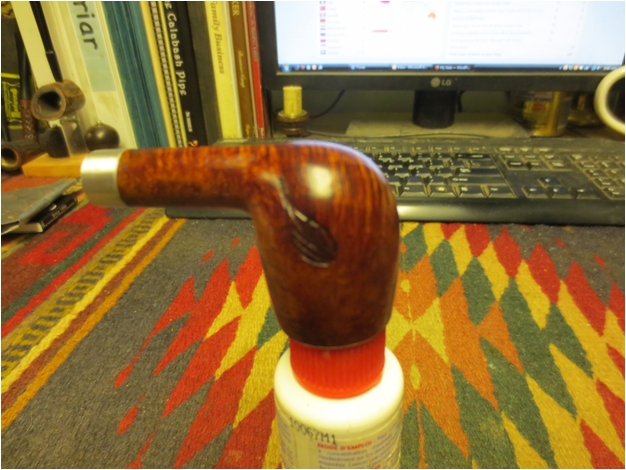
I sanded the stem with a medium and fine grit sanding sponge and then refilled the small holes around the patched club logo with more superglue. I sanded the patch down with 220 grit sandpaper and resanded it with the sanding sponges until it was smooth. The photo below shows the two stem side by side.
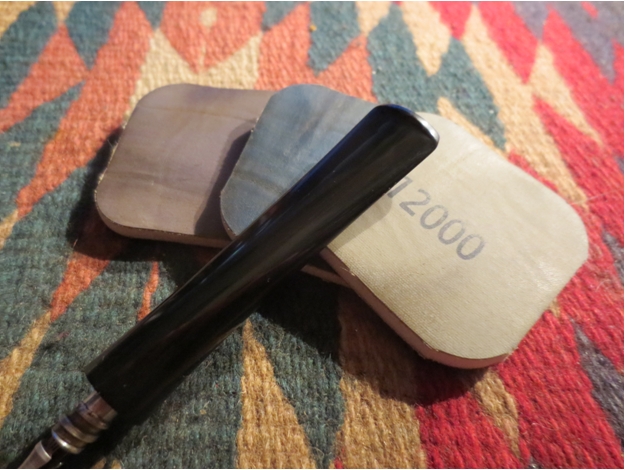
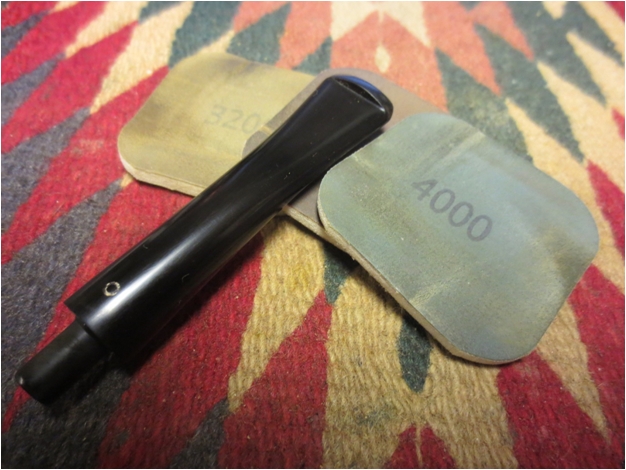
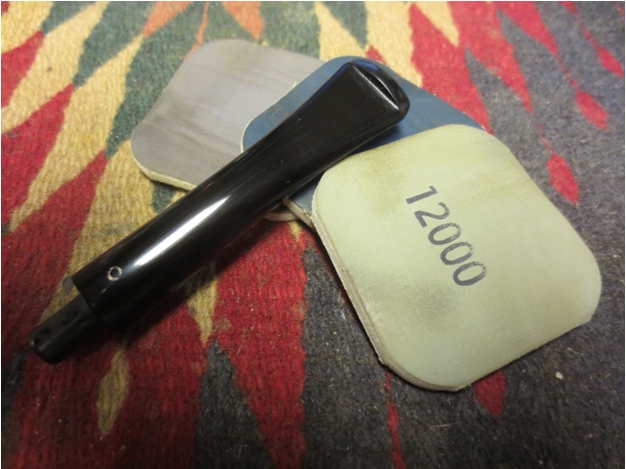
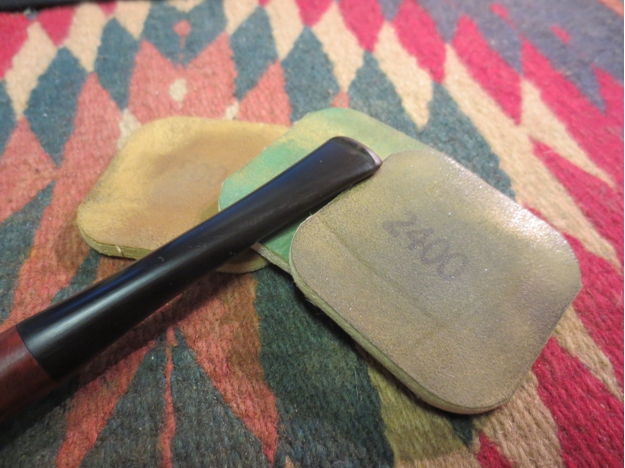
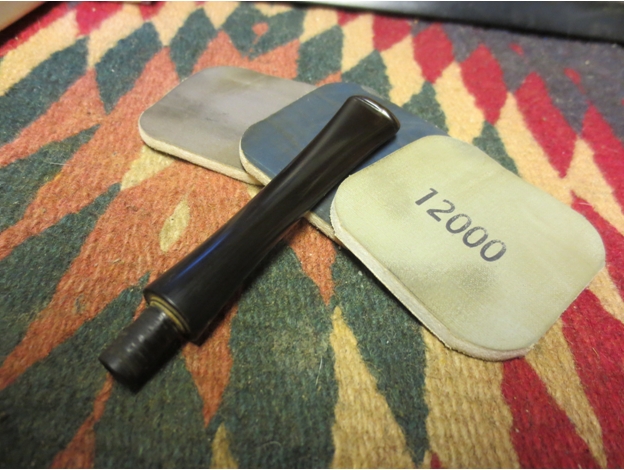
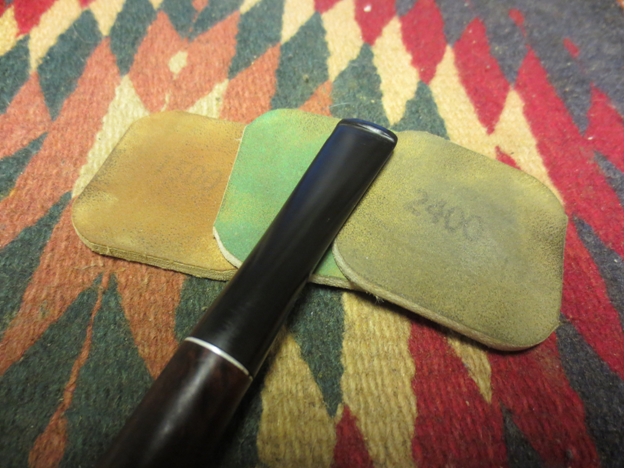
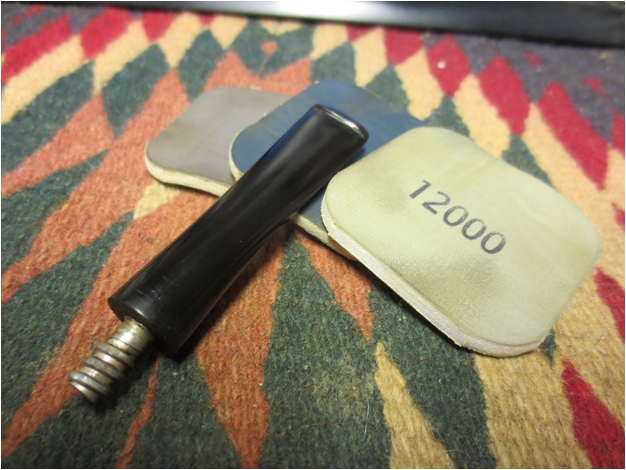
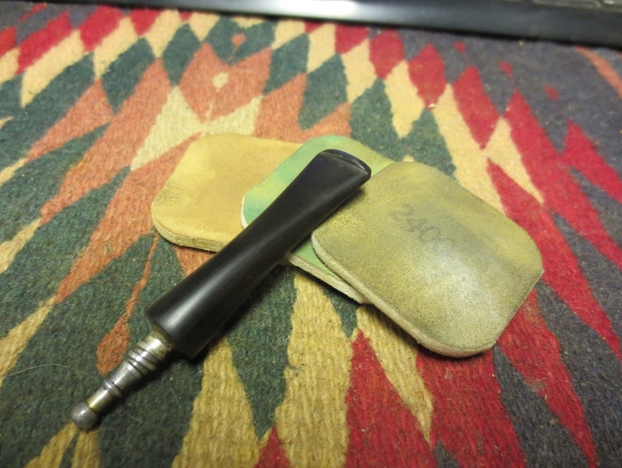
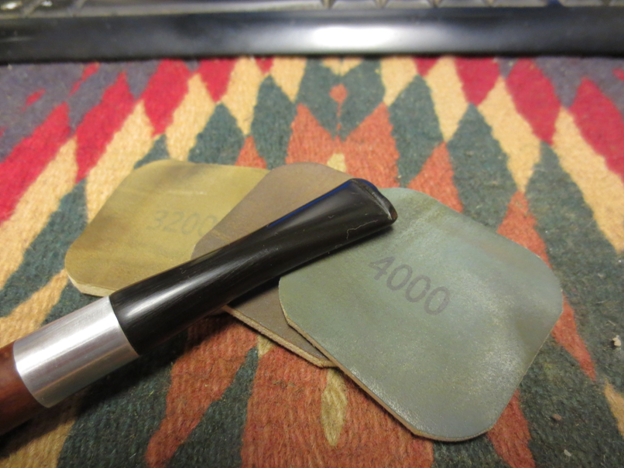
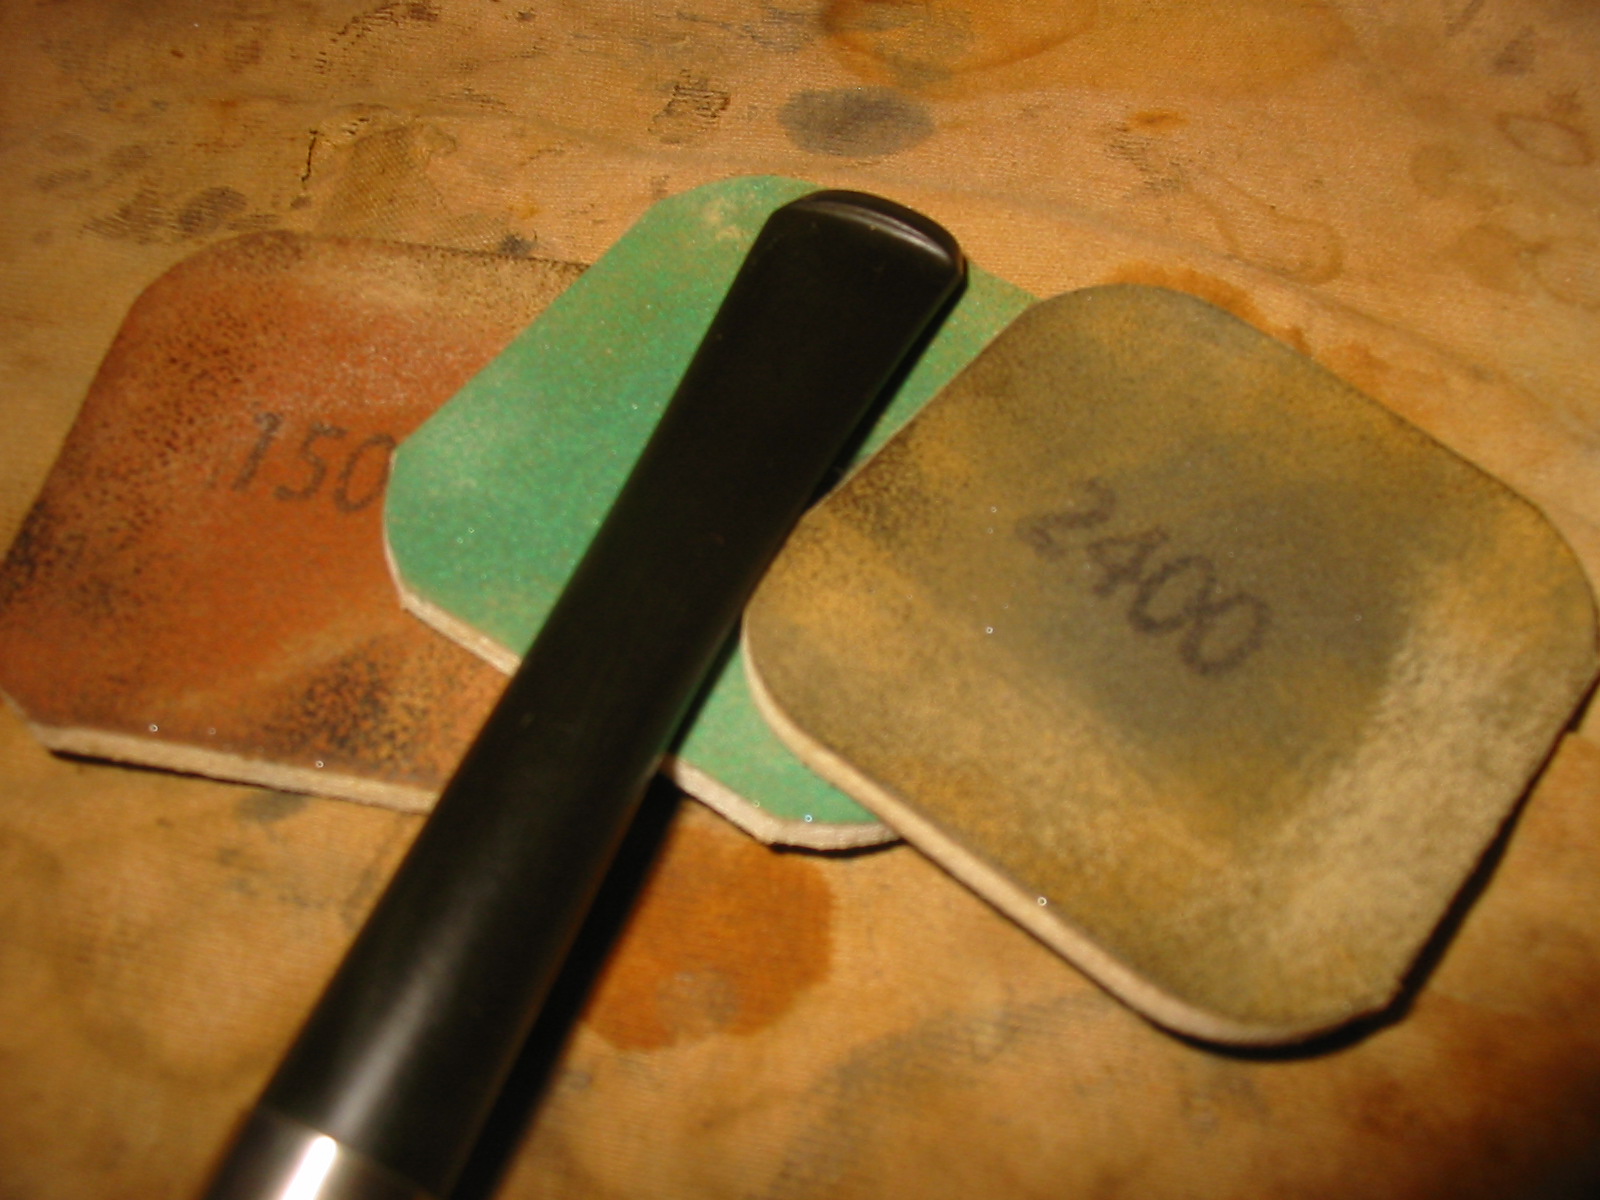
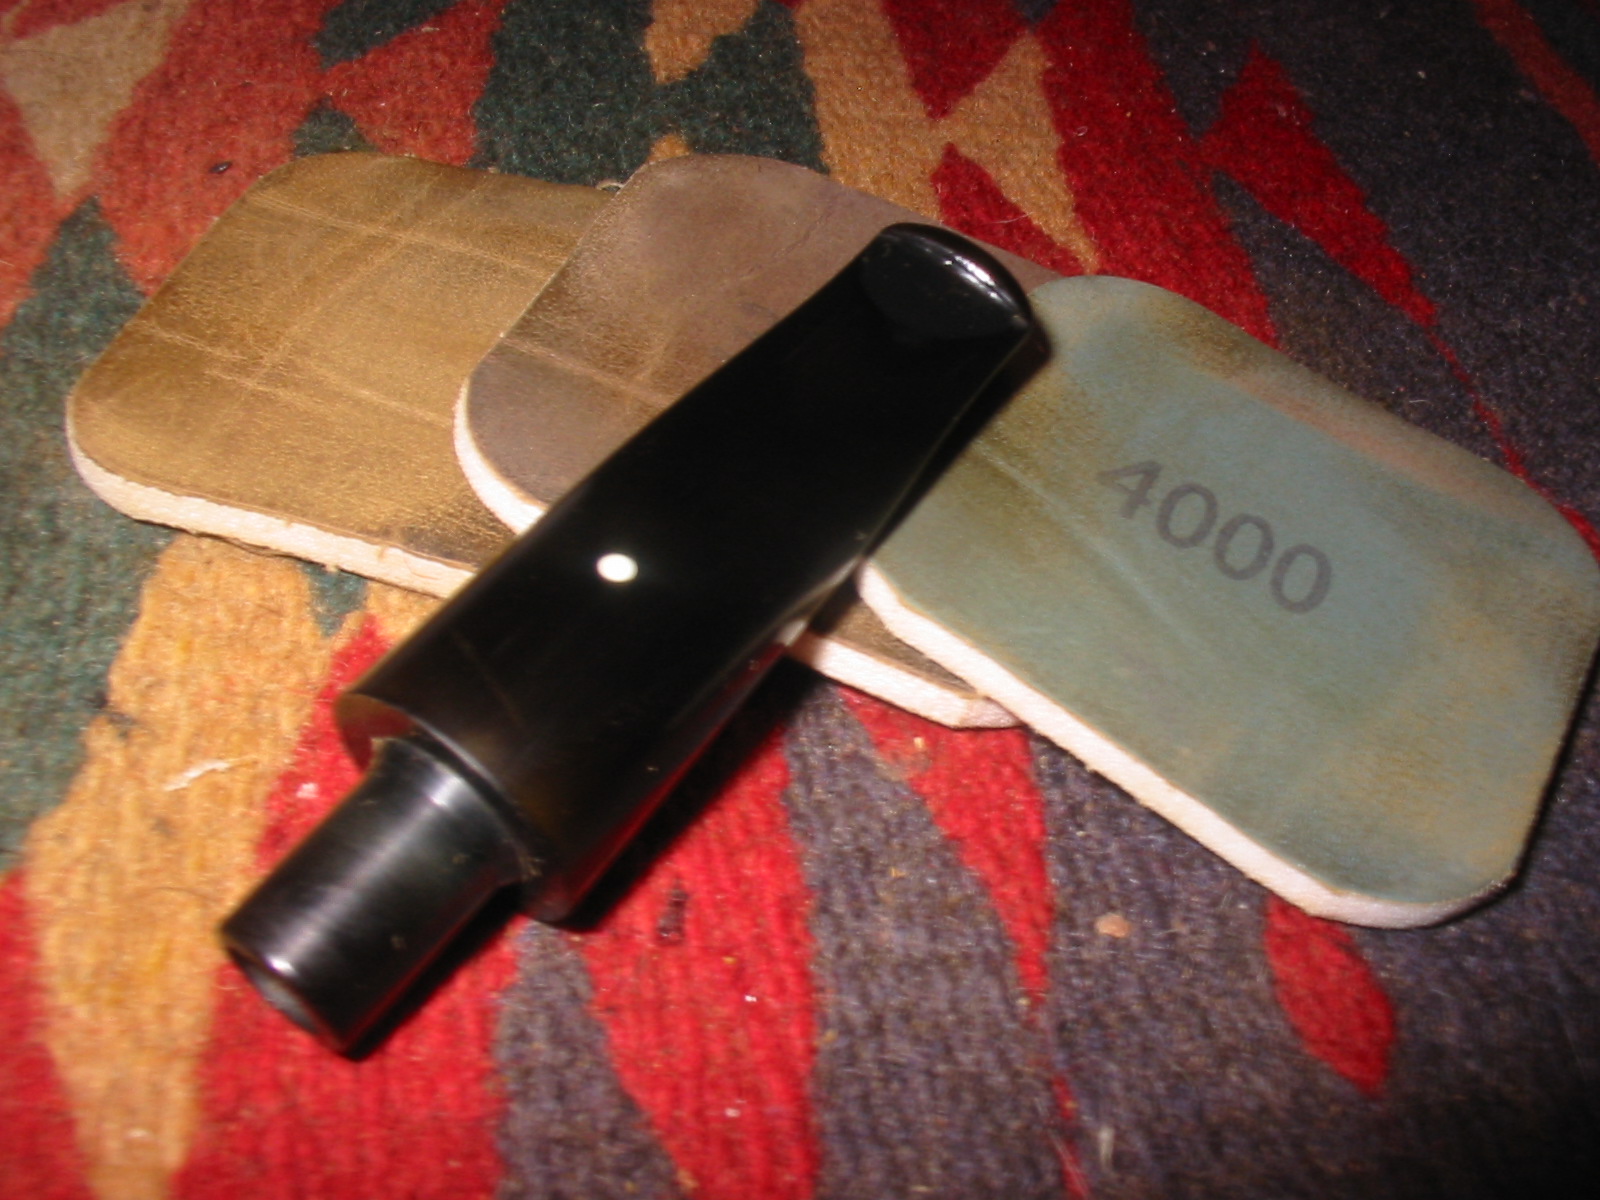
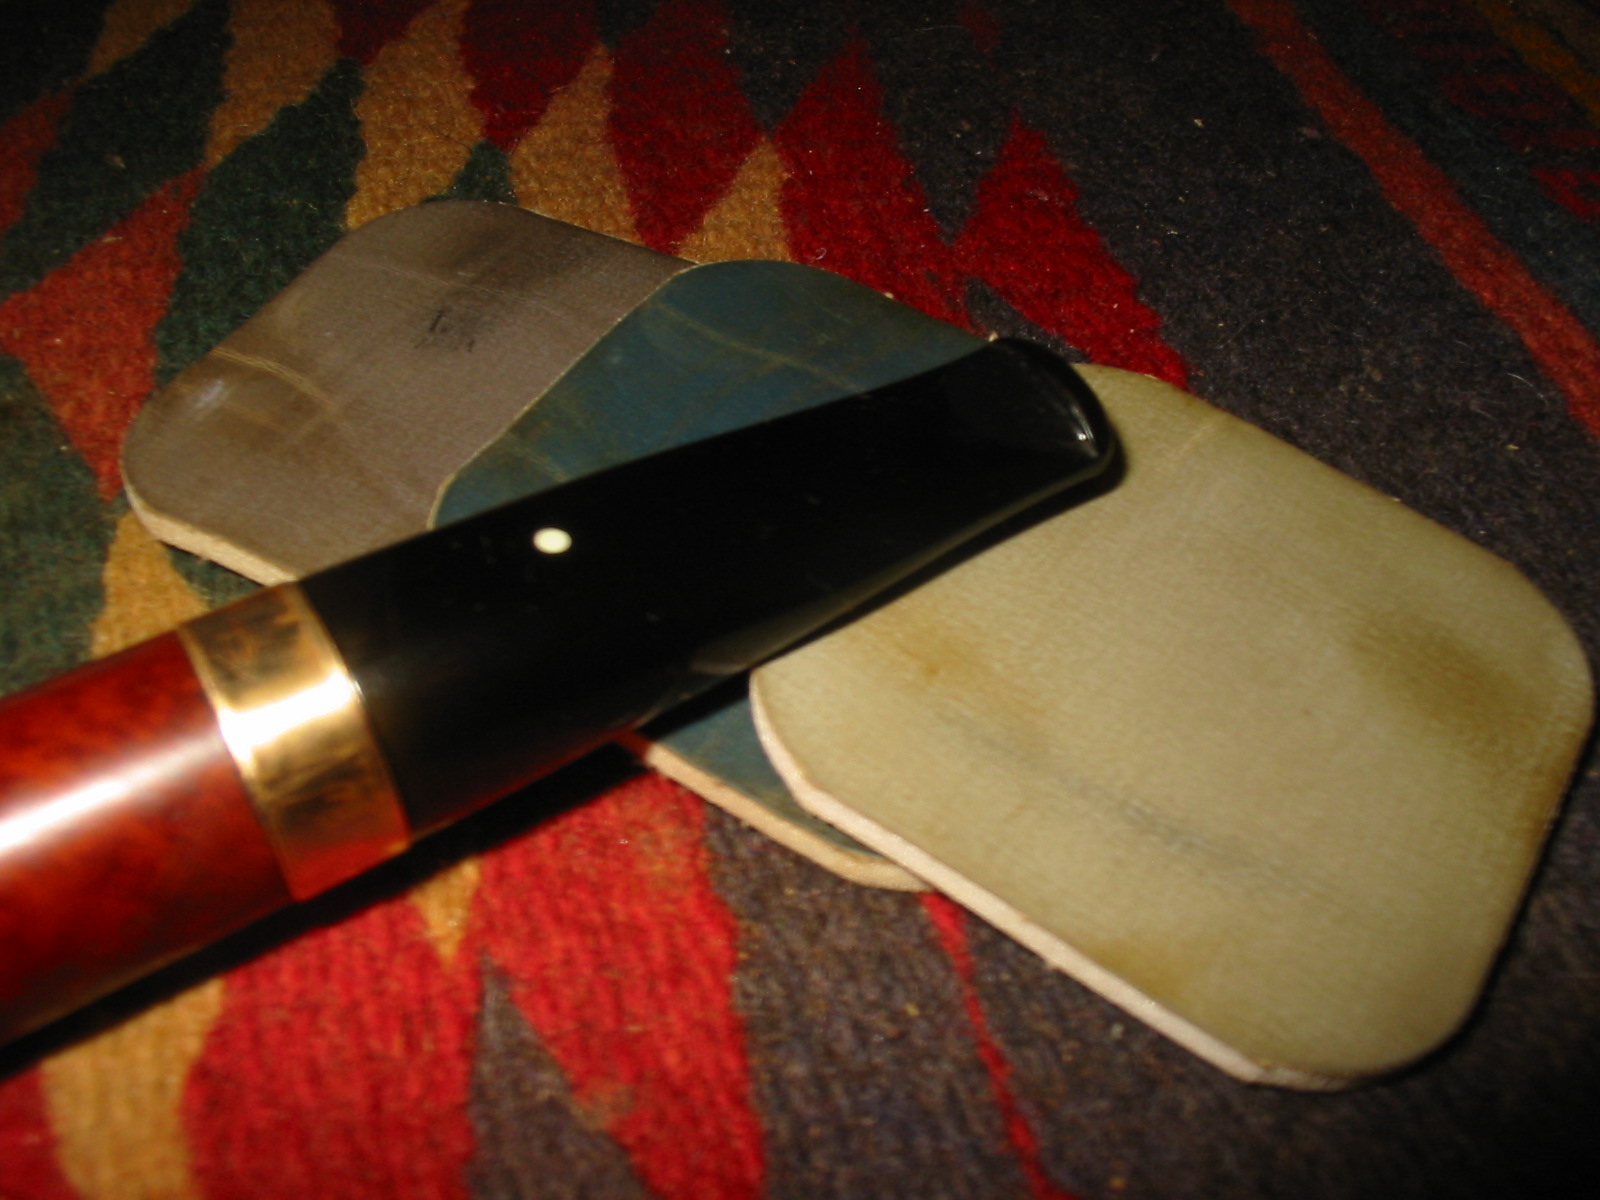
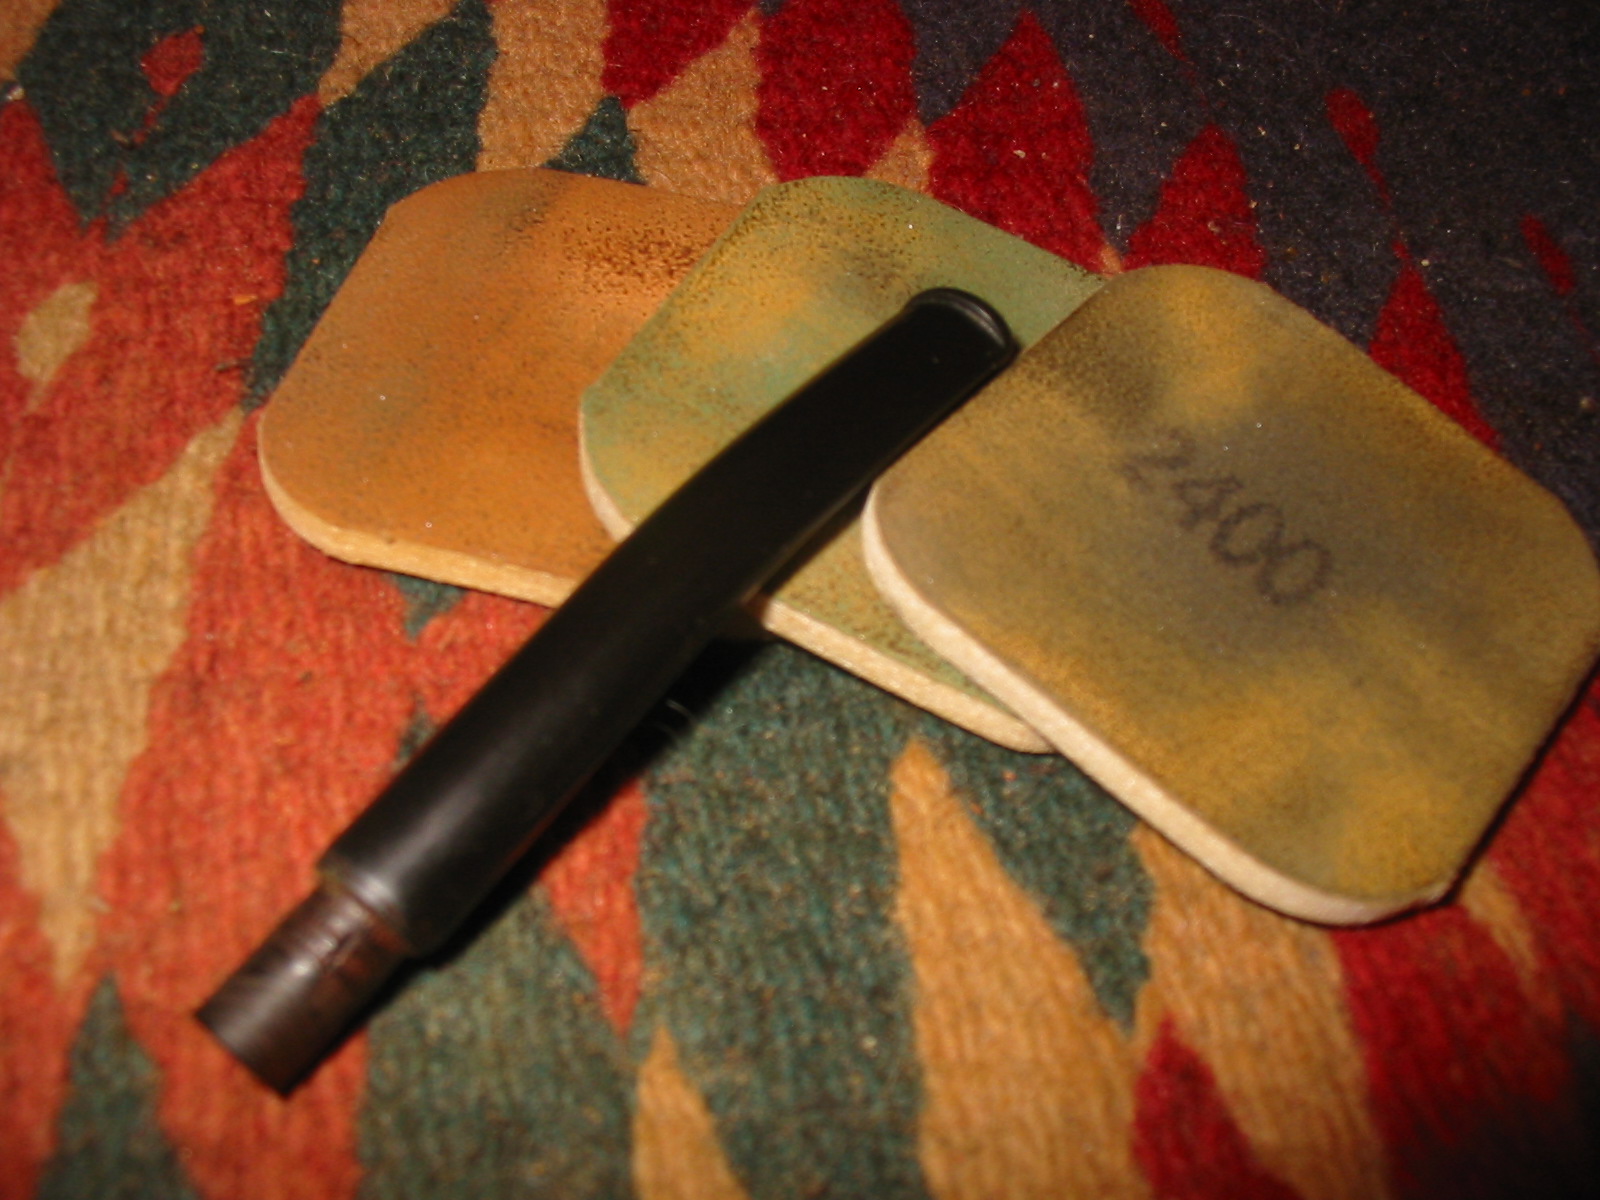
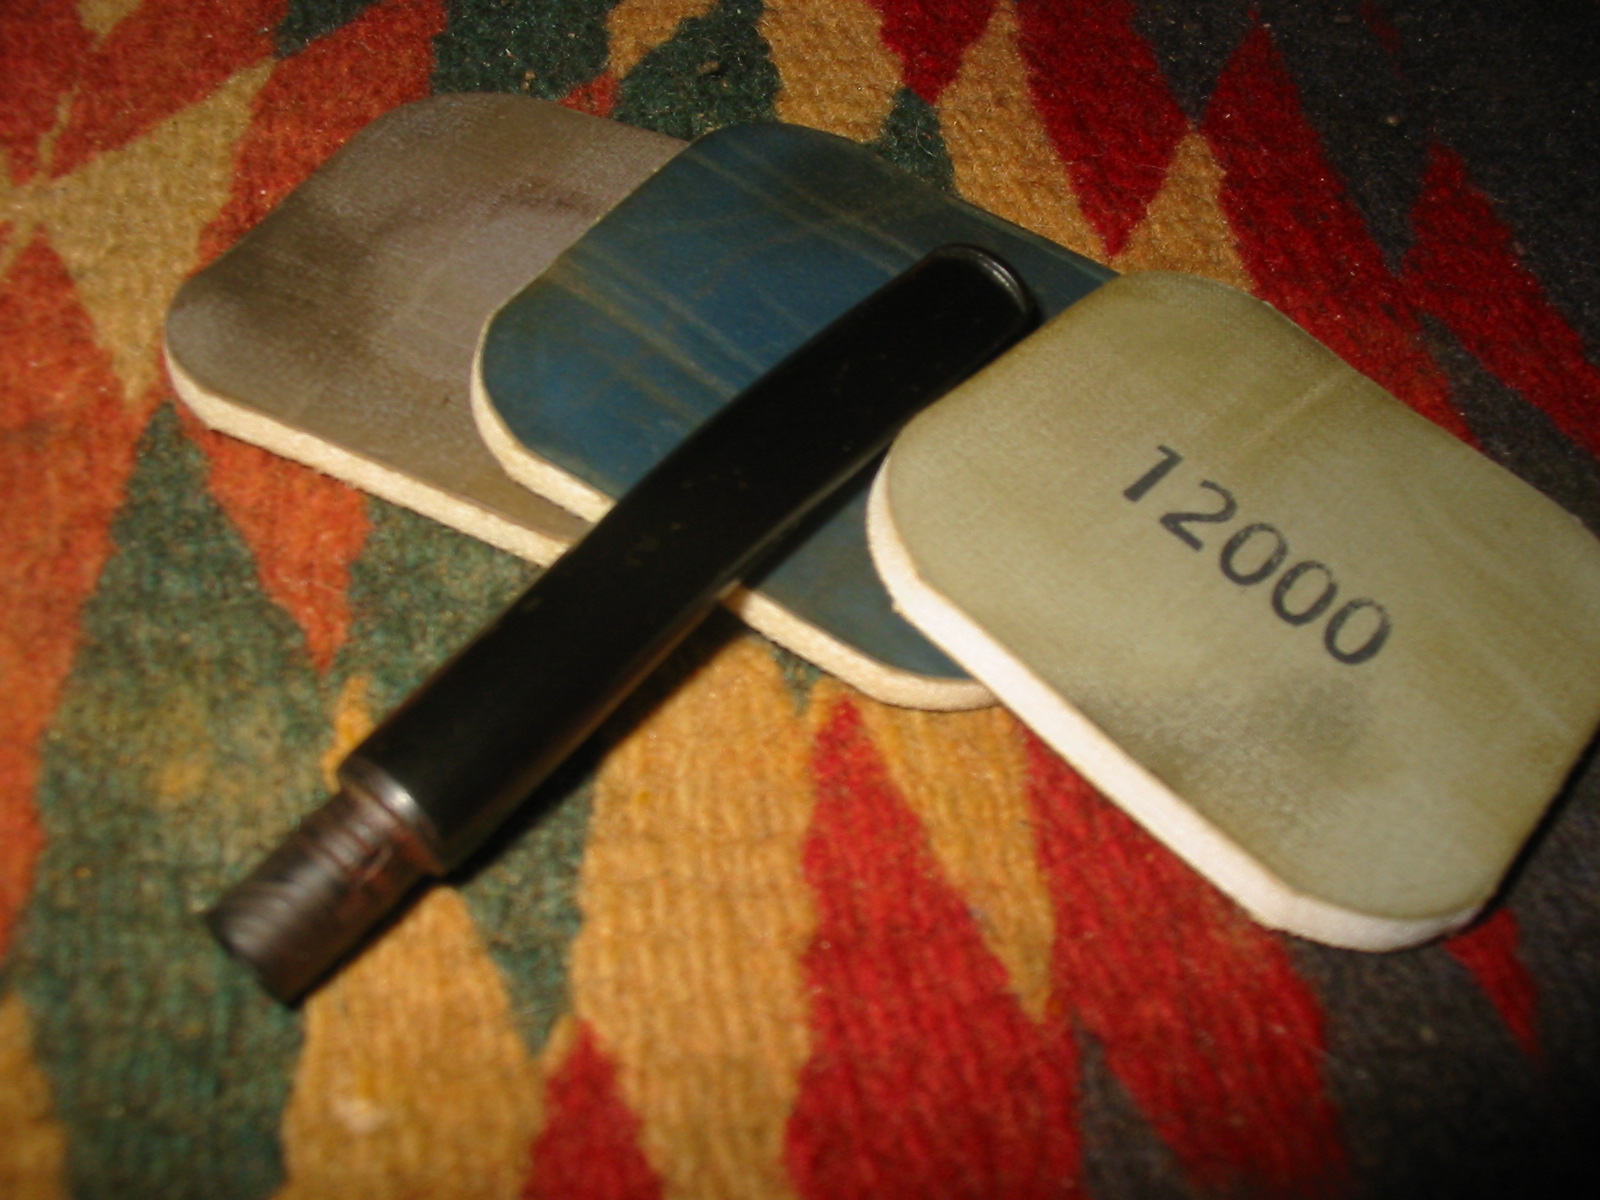
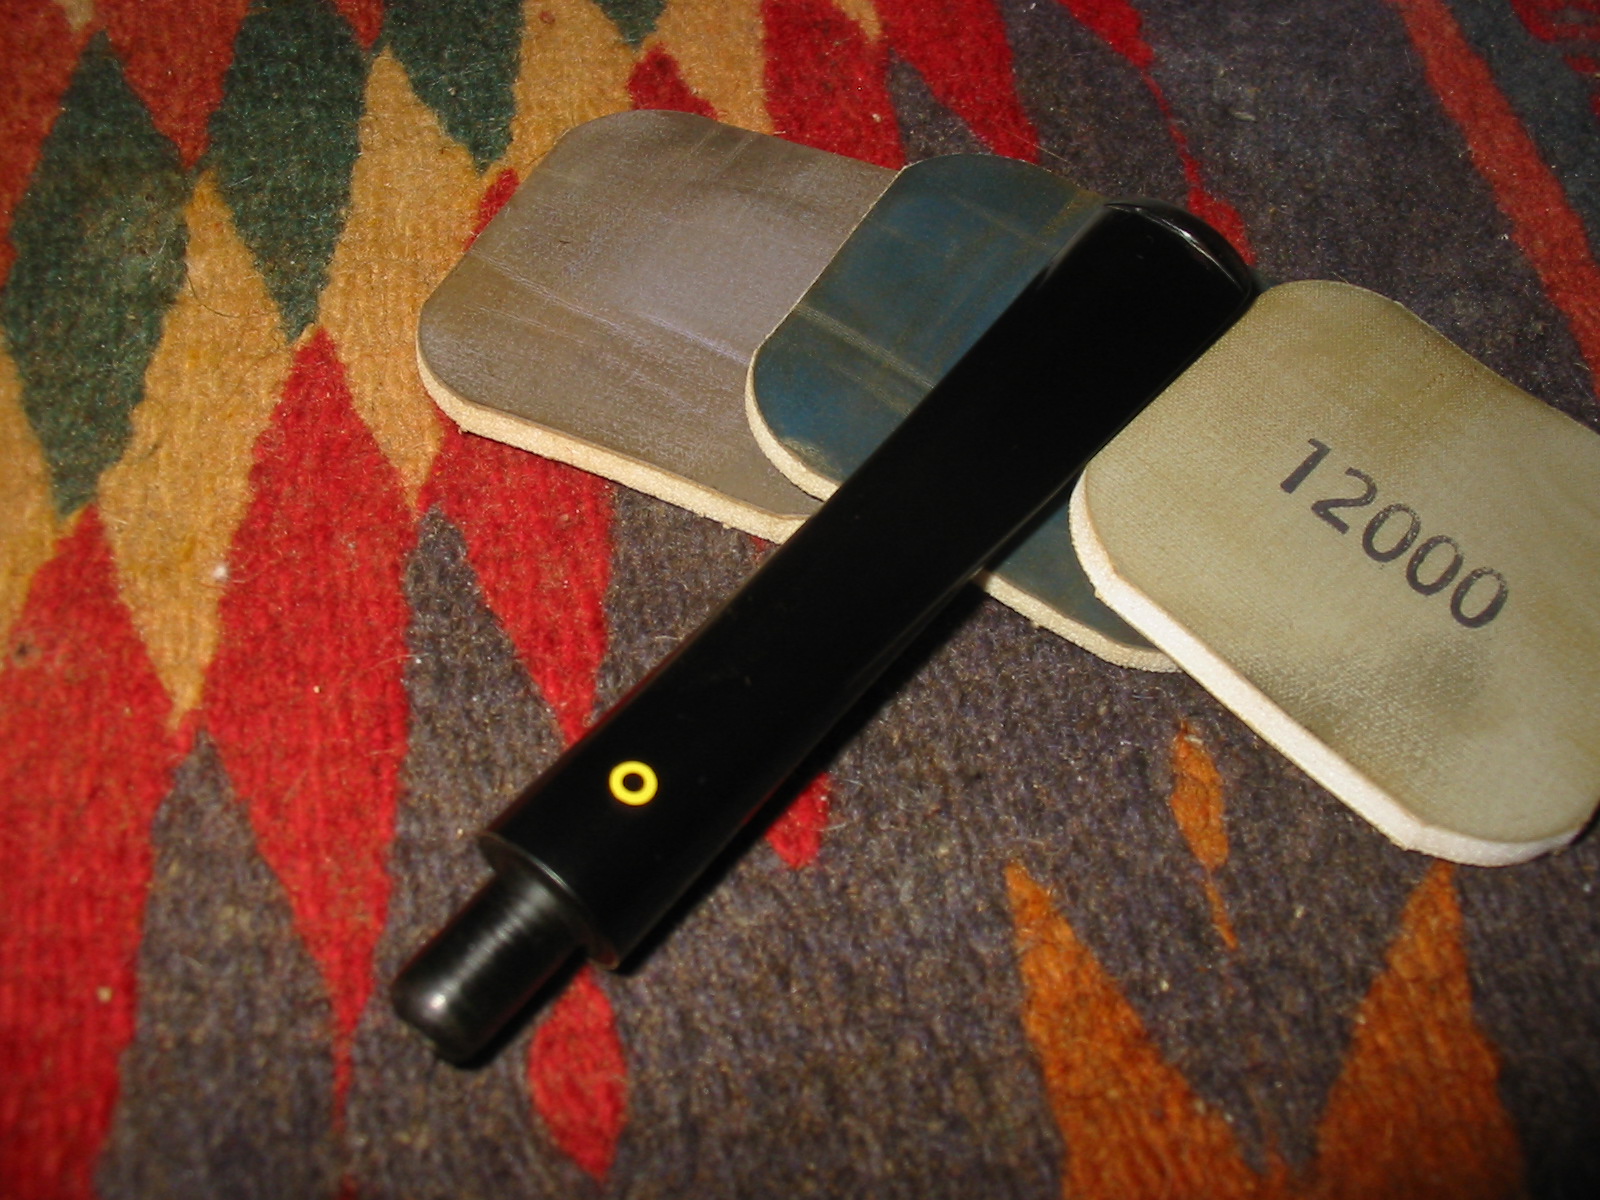
I sanded the stems with micromesh sanding pads – wet sanding with 1500-2400 grit pads and dry sanding with 3200-12,000 grit pads. I rubbed it down with Obsidian Oil between each set of three grits of micromesh. I buffed the stem with White Diamond and then gave it a final coat of Obsidian Oil and set it aside to work on the bowl.
I buffed the bowl with White Diamond and carefully buffed around the stamping on the sides. I polished the aluminum shank band with the higher grades of micromesh pads and then a polishing cloth to remove the scratches and bring up the shine. The next series of four photos show the polished bowl before I worked on it with some 8000-12,000 grit micromesh pads.
I gave the bowl a wiped down coat of Danish Oil and walnut stain. I wanted to give the briar a shine coat but not add much colour to the finish. It really made the grain pop on this one.
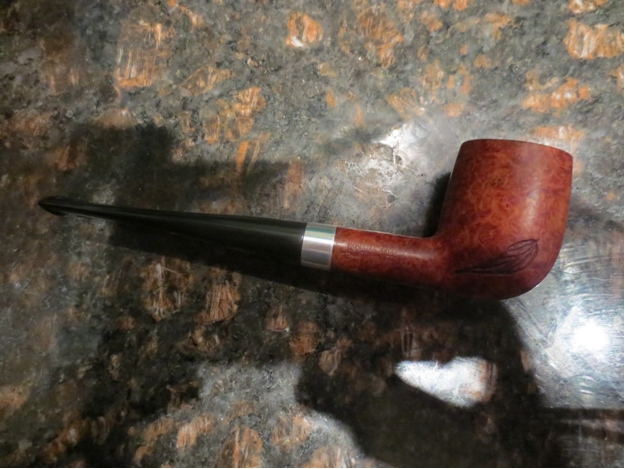
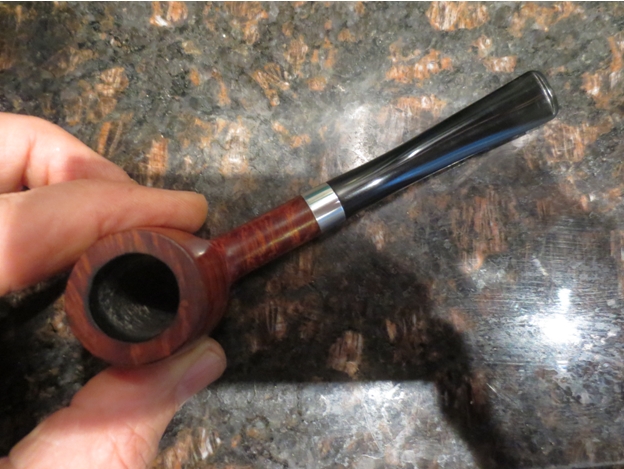
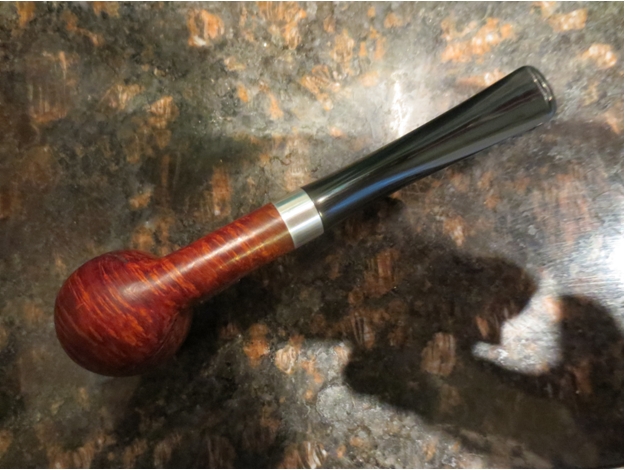
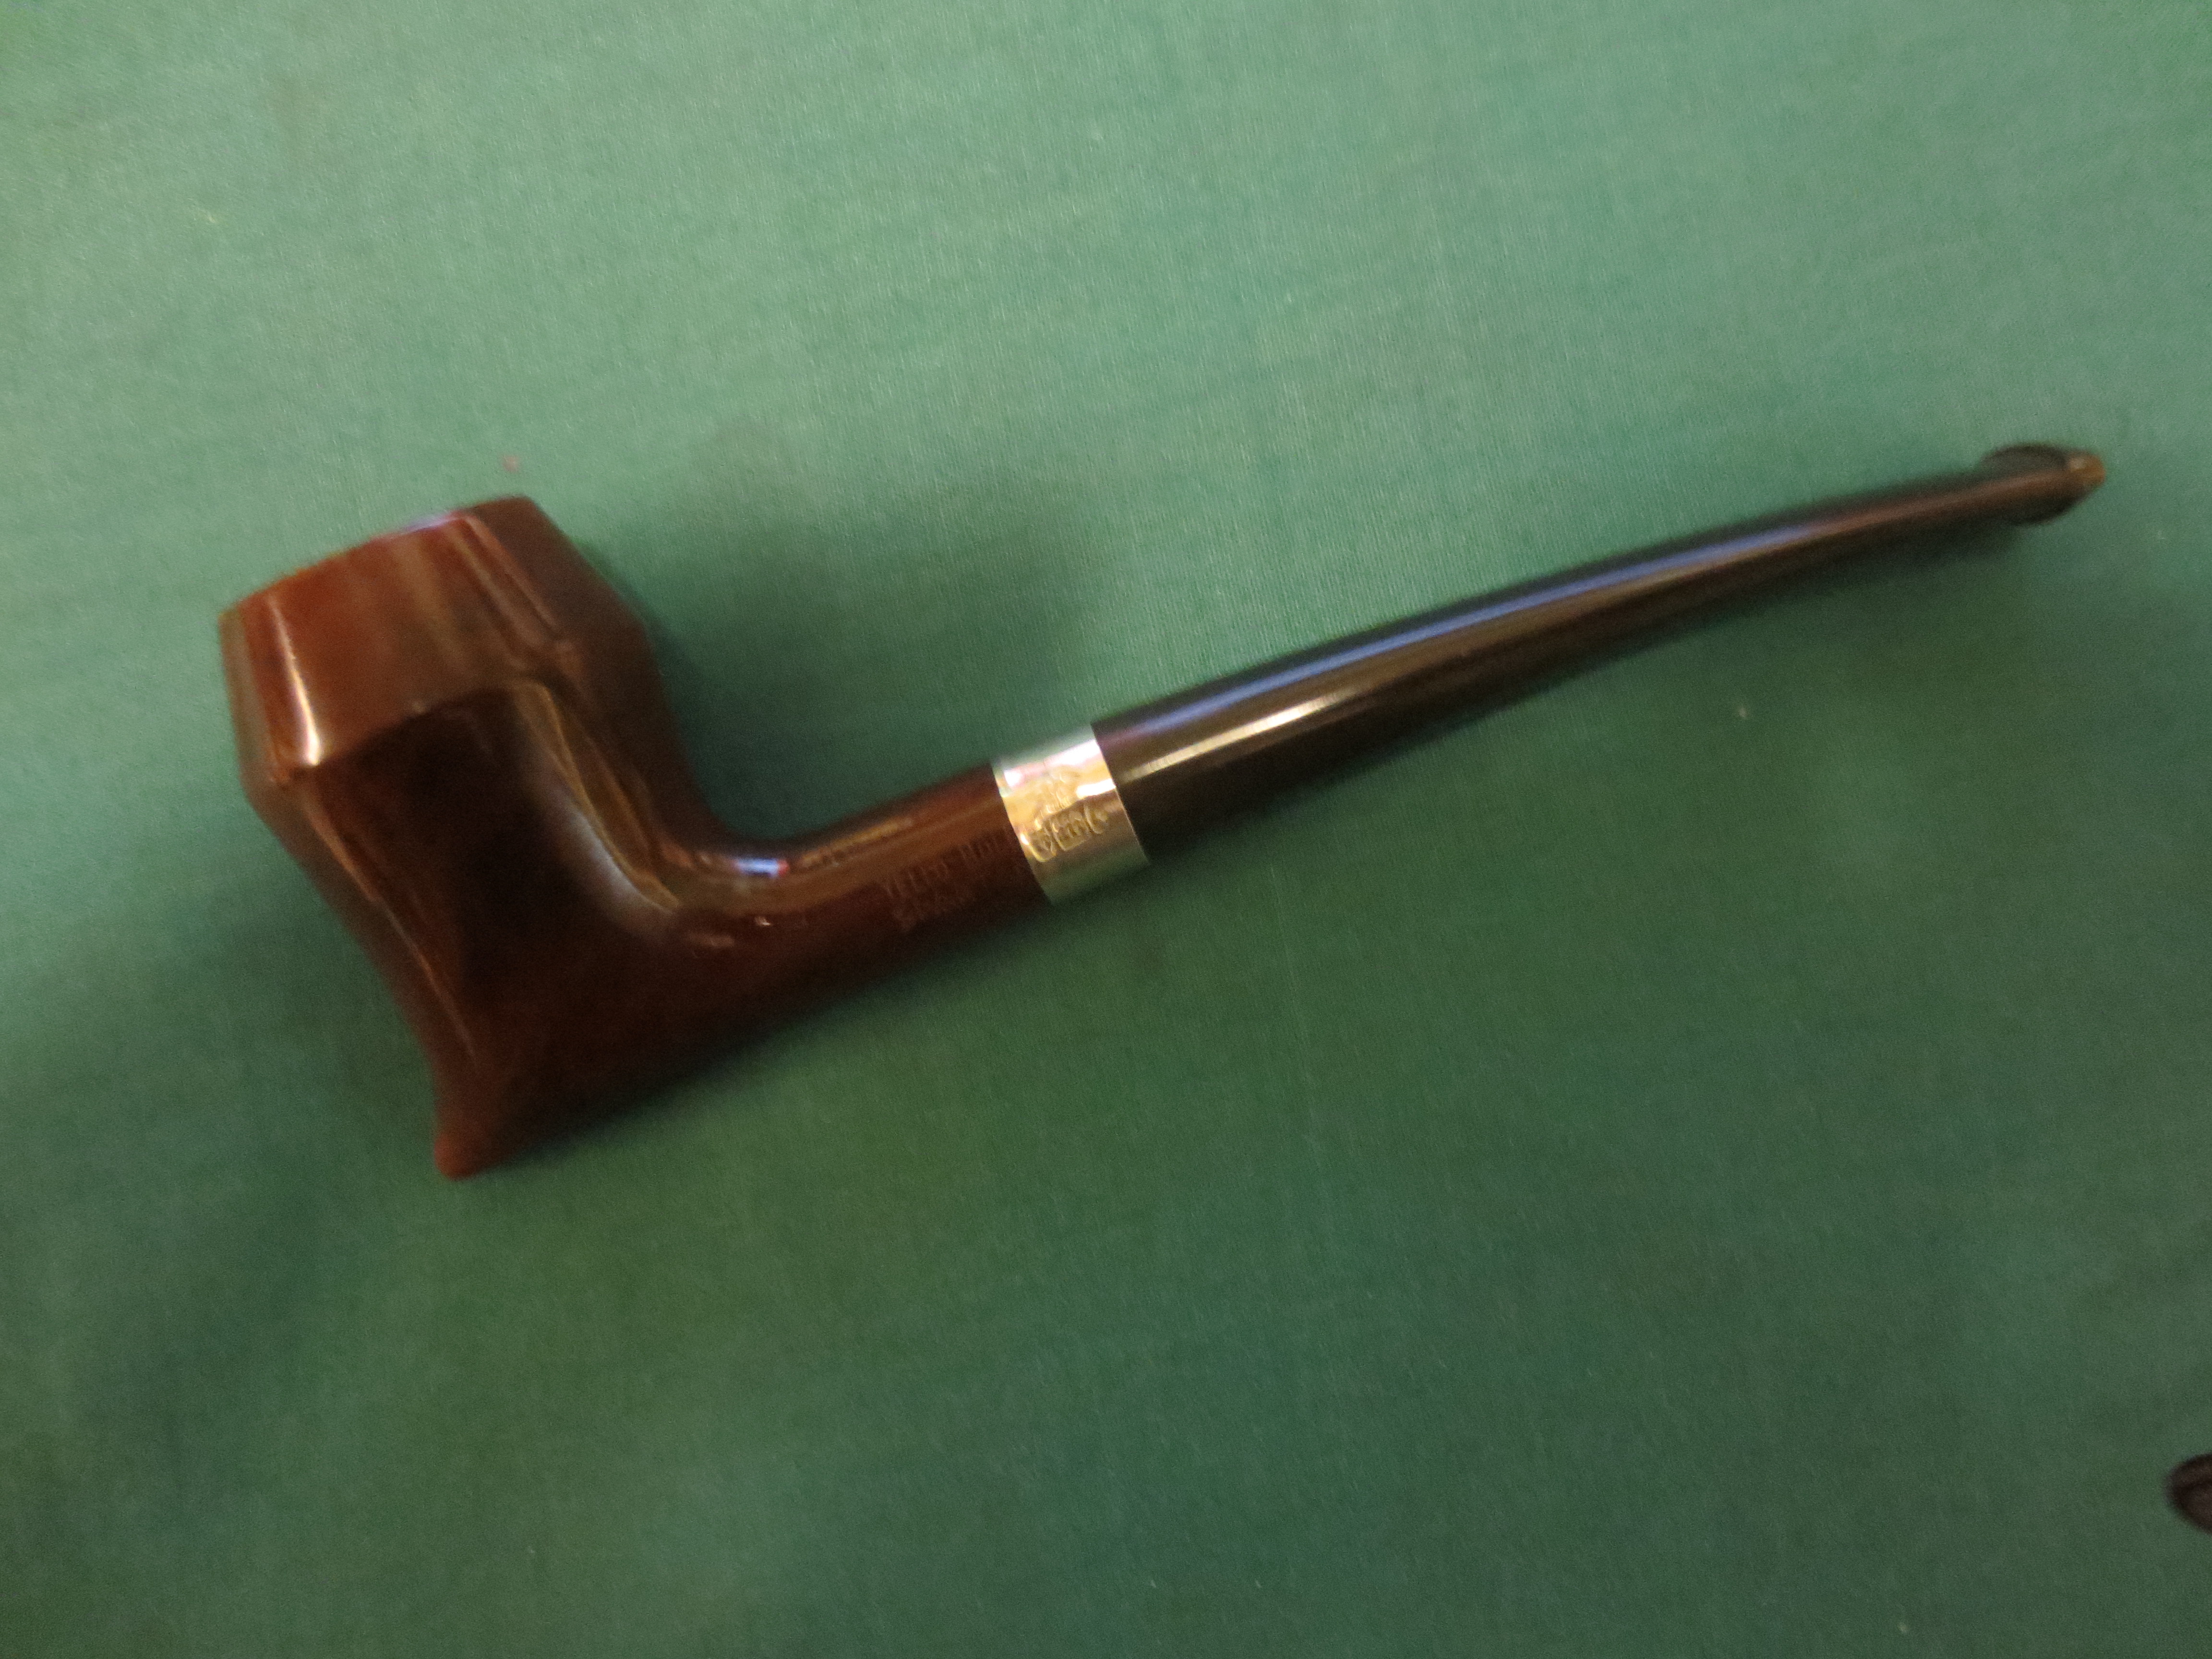
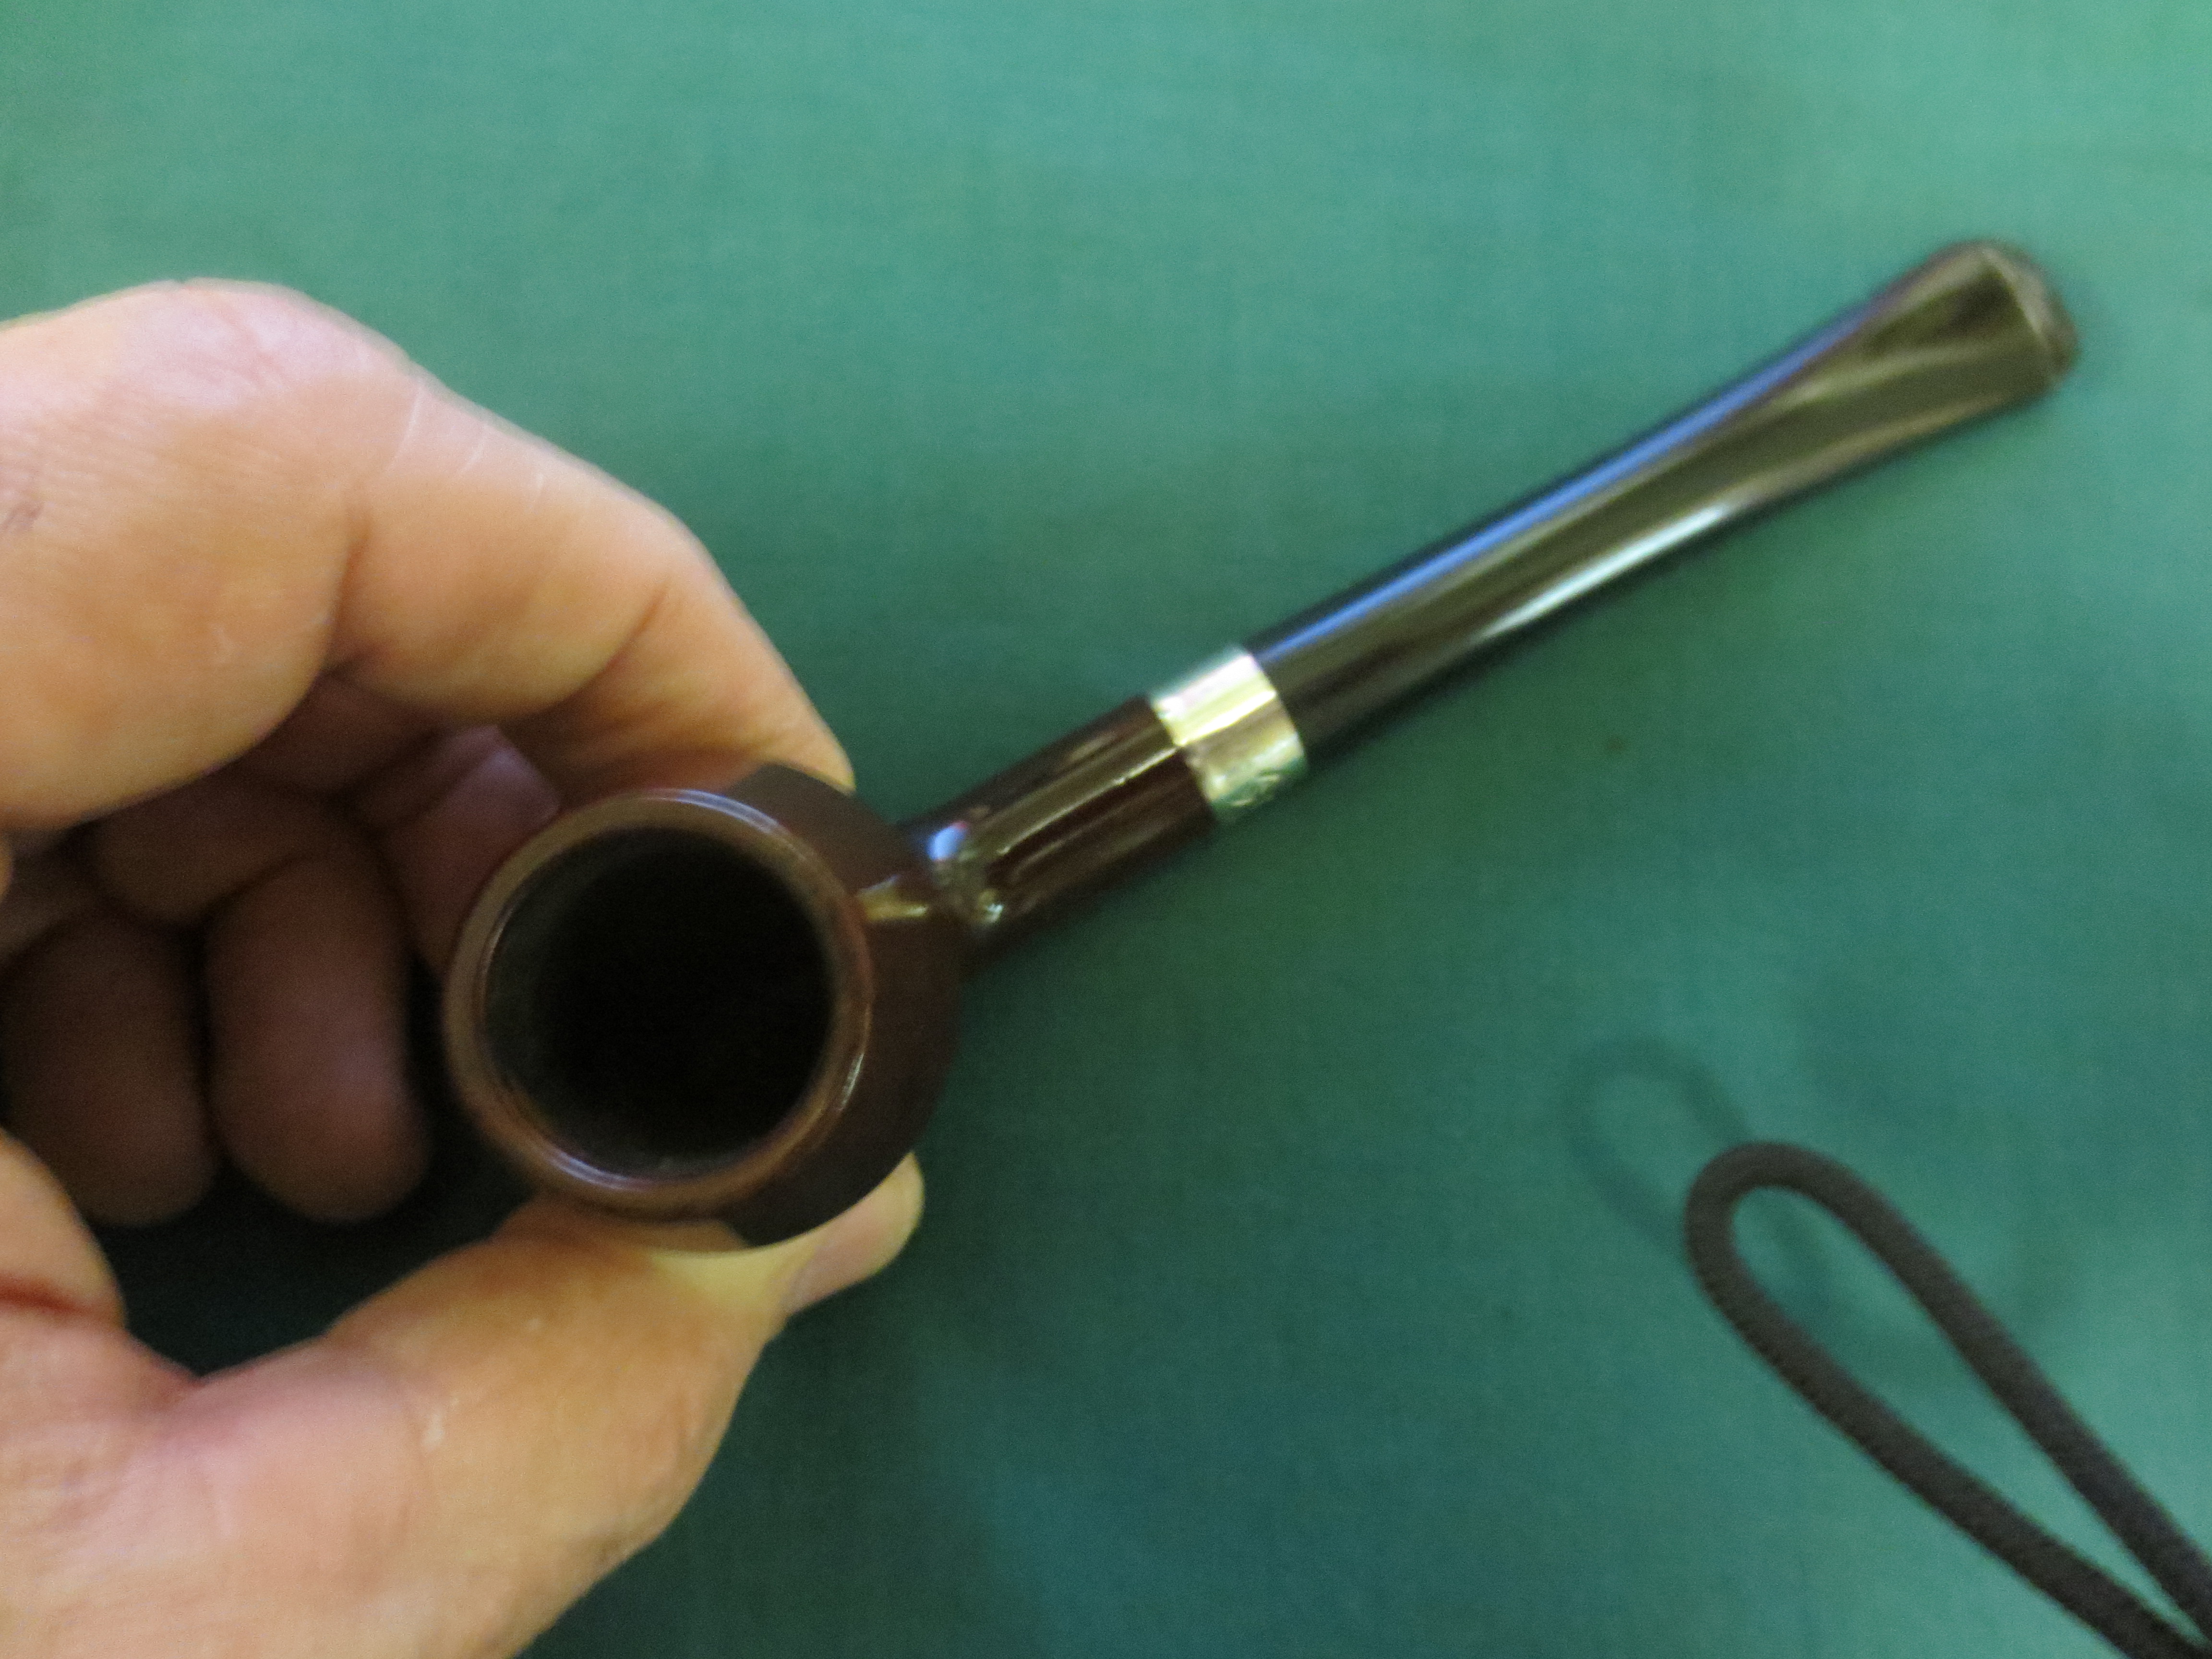
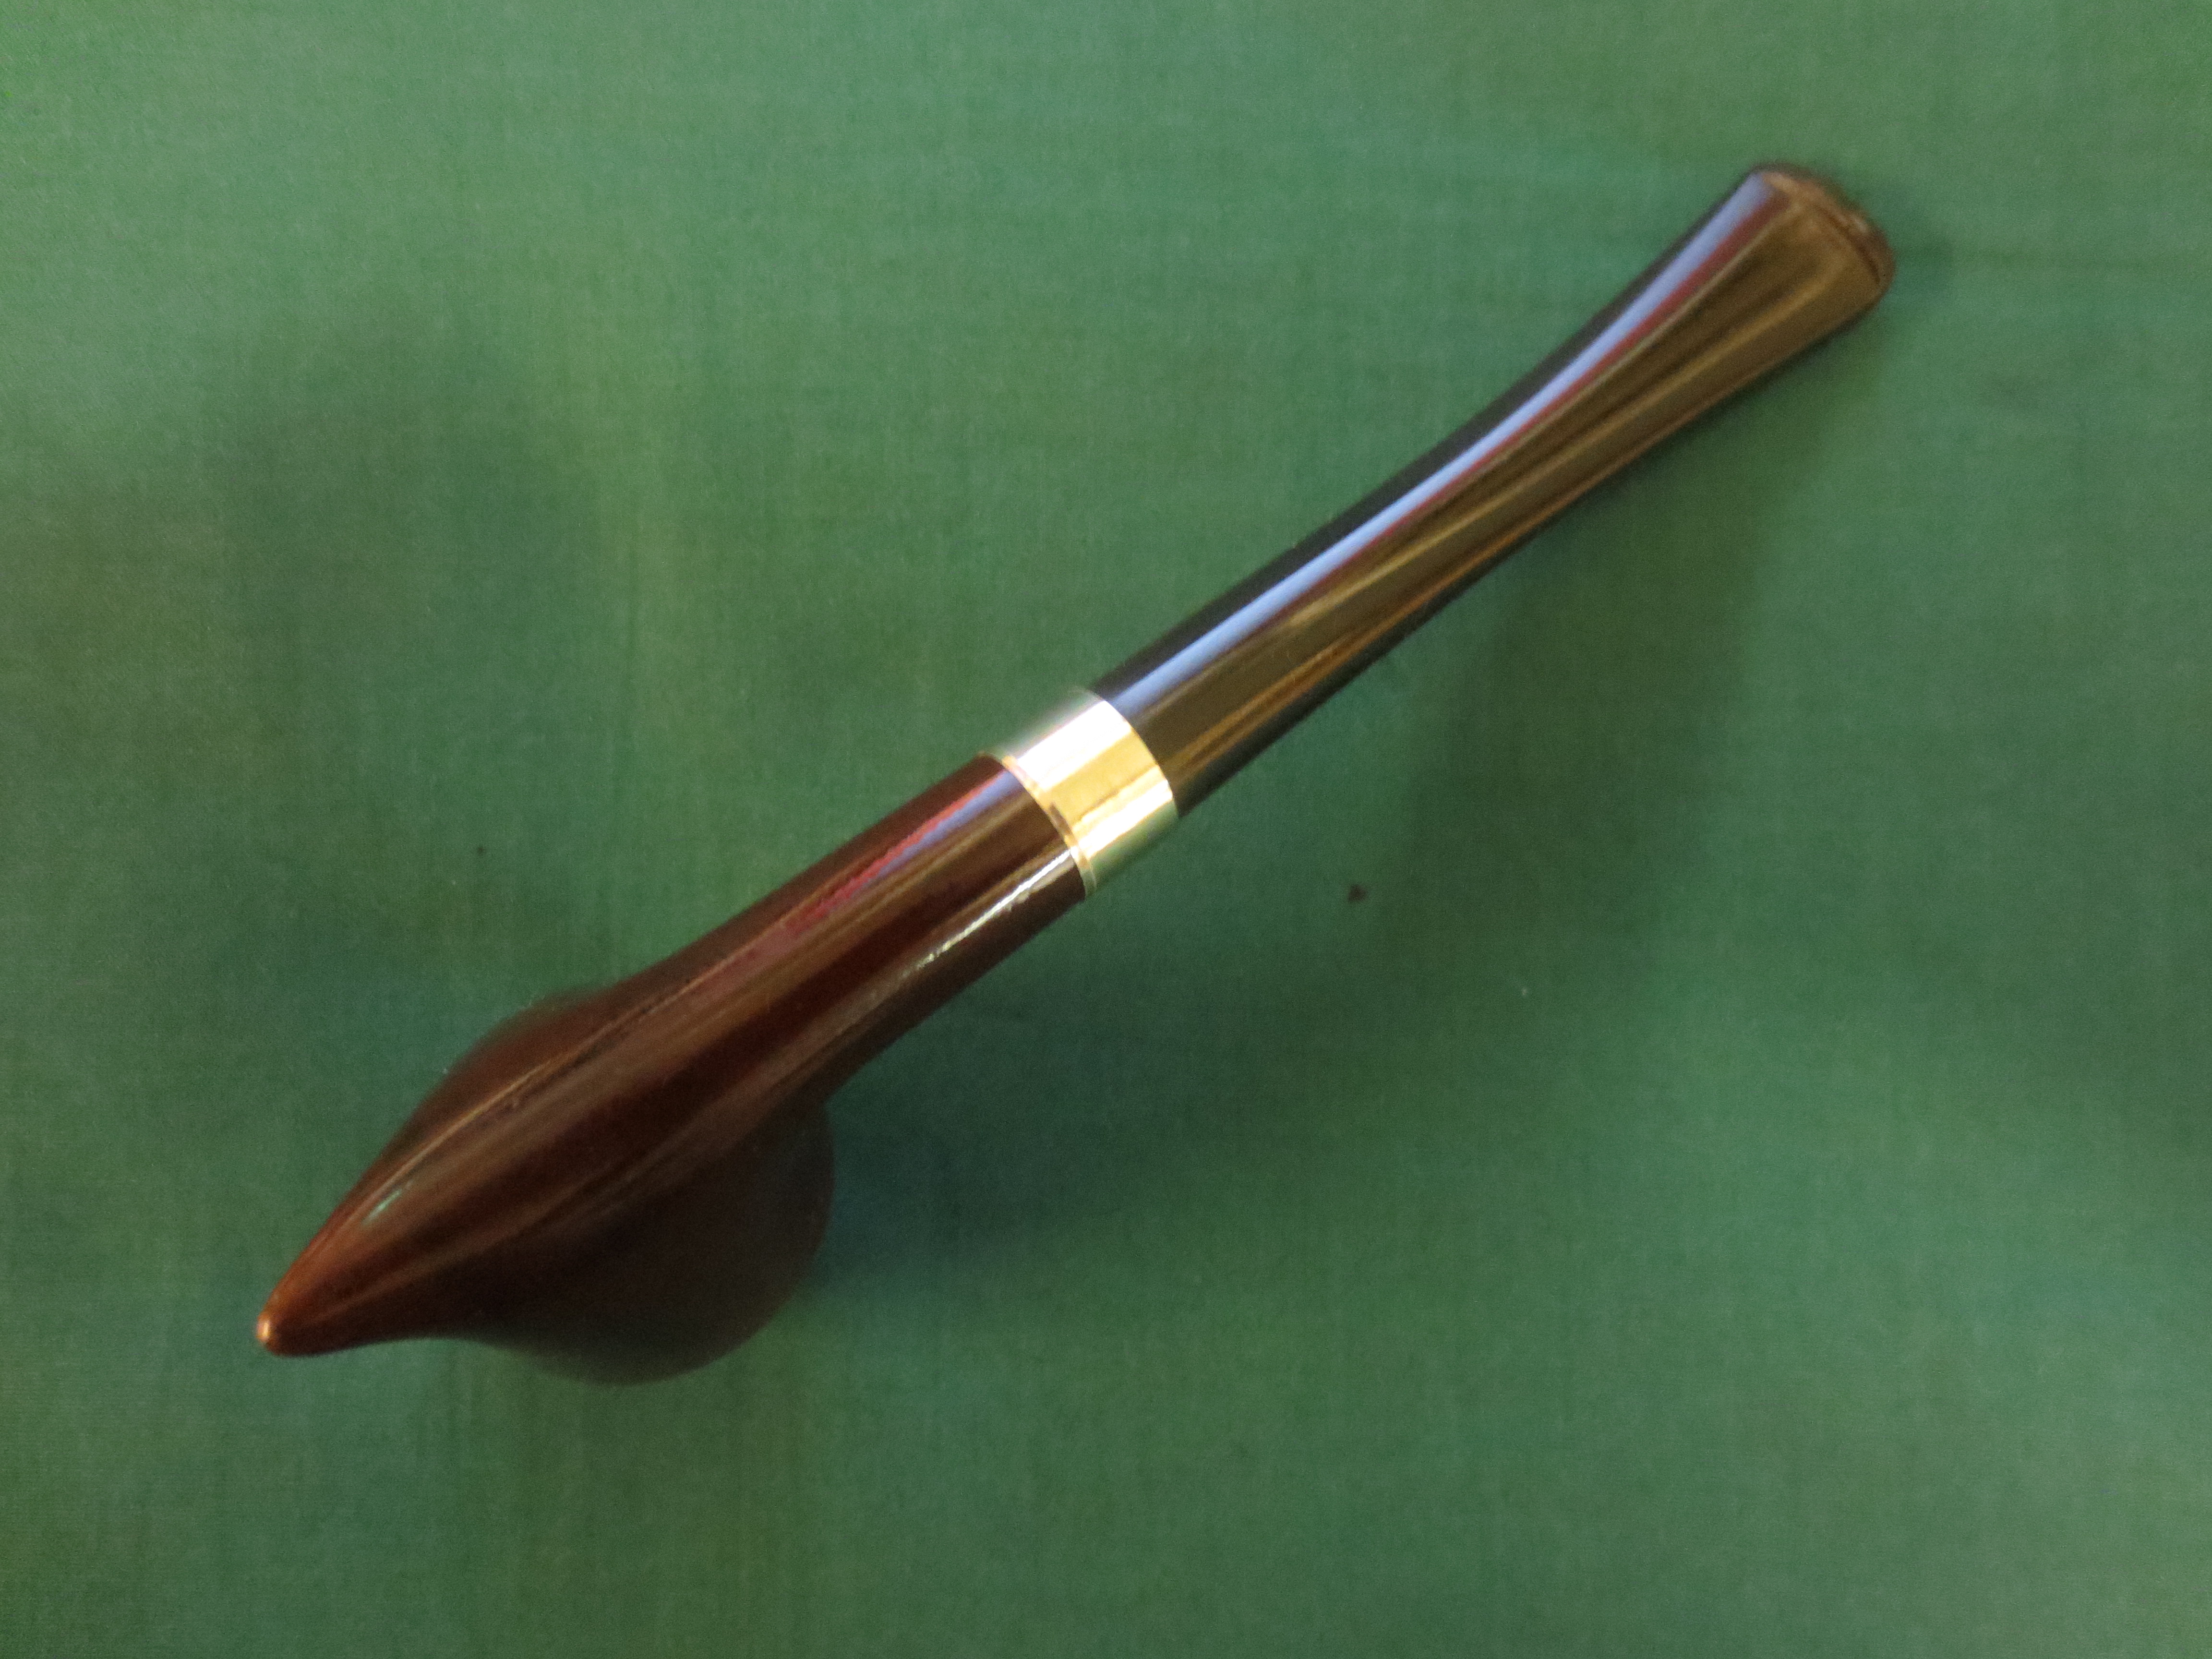
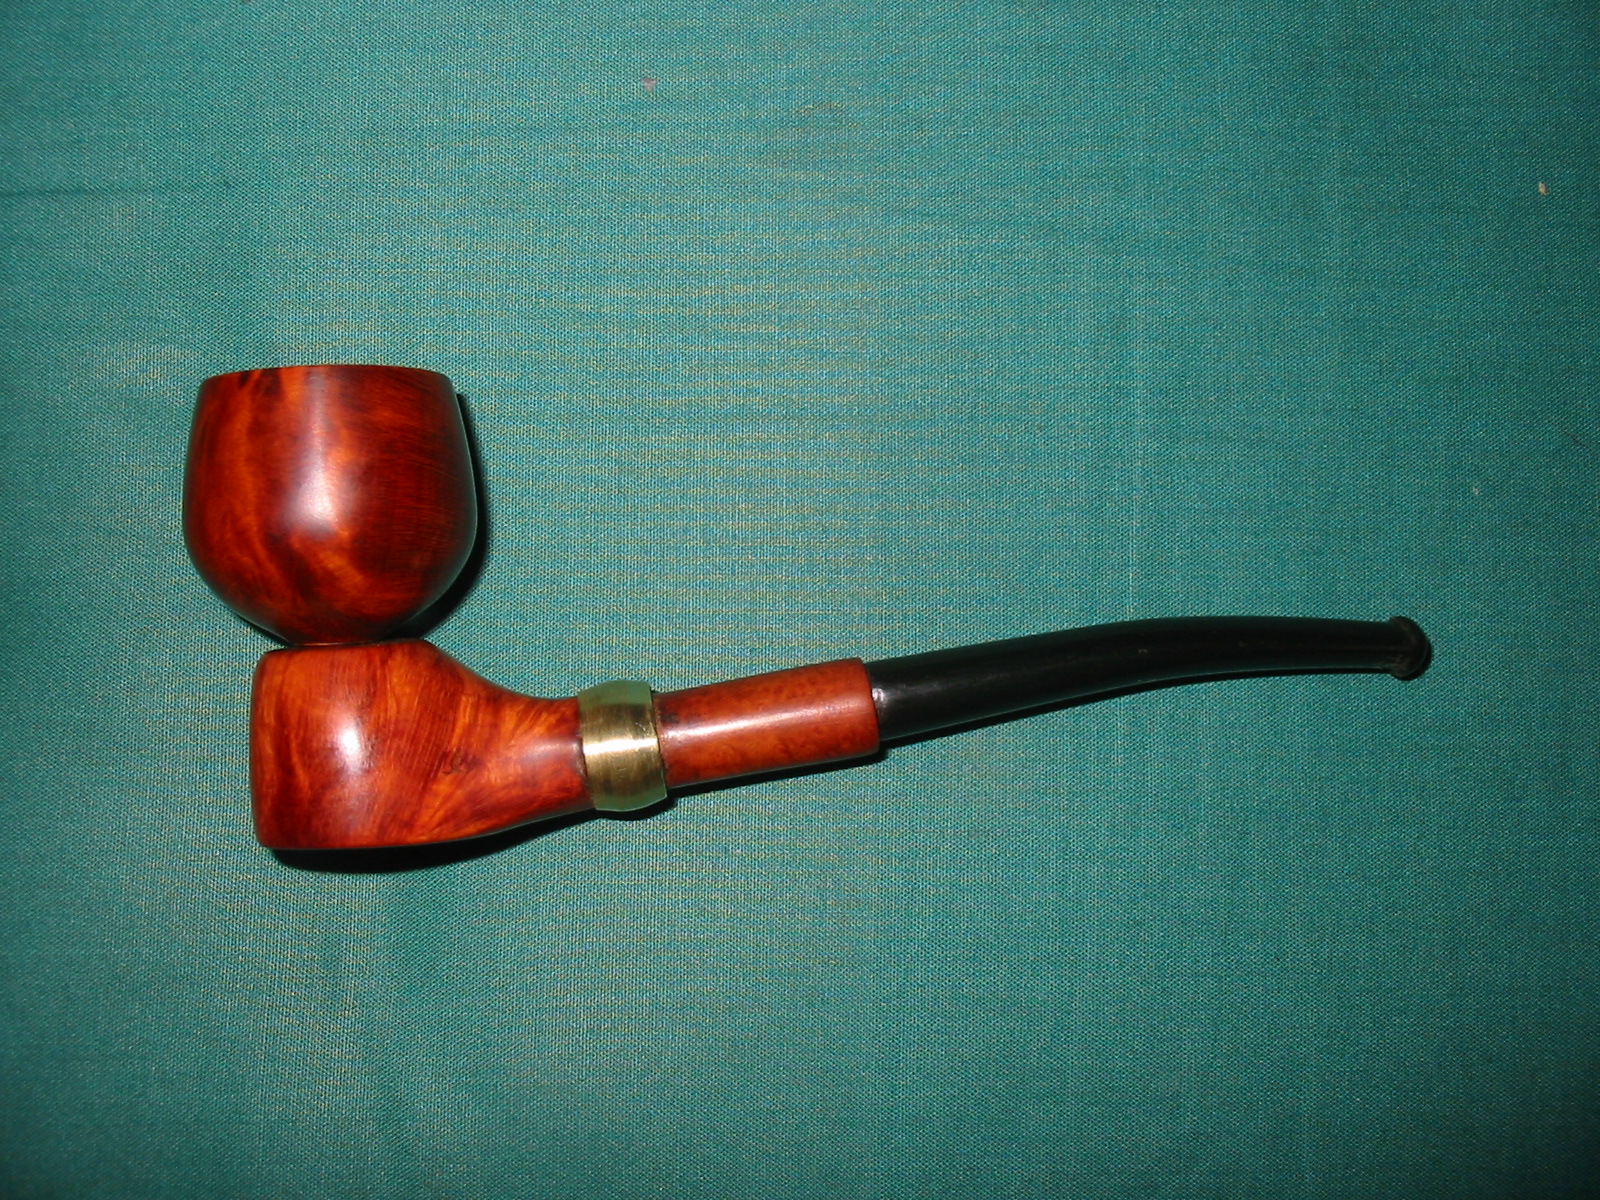
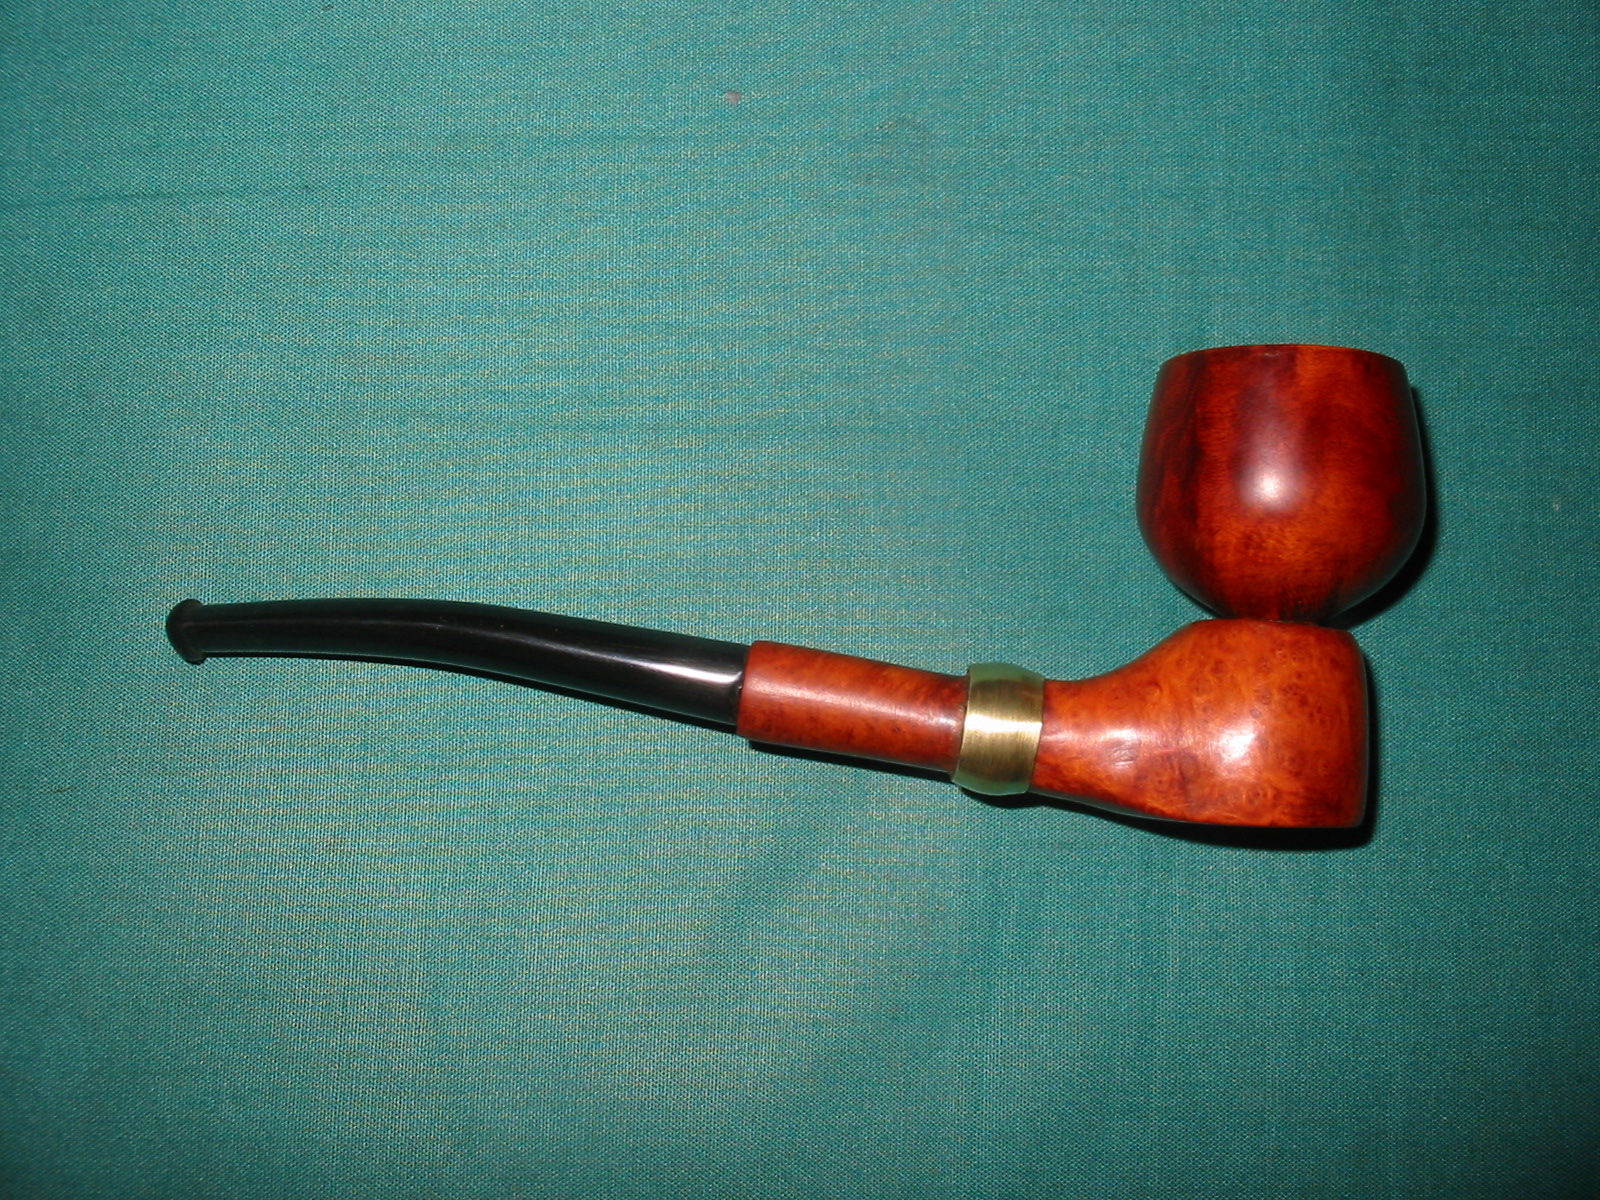
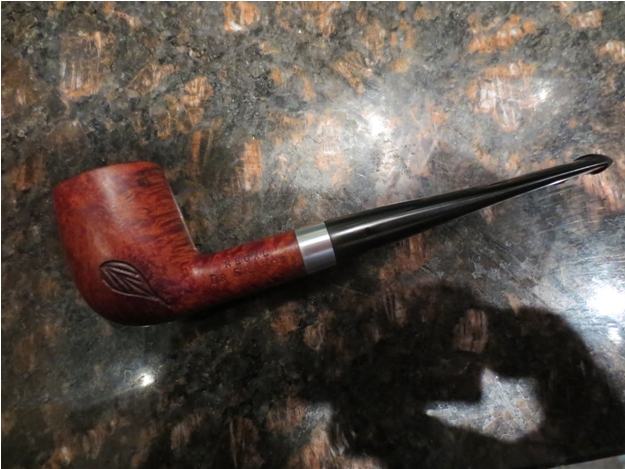
Once the oil had dried I buffed the bowl with White Diamond and then gave it several coats of carnauba wax. I buffed it with a soft flannel buff. I put the stem back in place and gave the bowl and stem several more coats of wax and buffed to a shine. The finished pipe is shown below. The look and feel of the pipe is like new. It is cleaned, restemmed, refinished and ready to fire up with its inaugural bowl of tobacco. It should last a long time and serve its owner well – whether I keep it or pass it on to another pipeman. (I decided to take these final photos on a piece of marble counter top to see if I could get a good contrast on the photos.)
Tag Archives: shaping a stem
What is a Mountain Root Pipe with a Glasschaum Bowl?
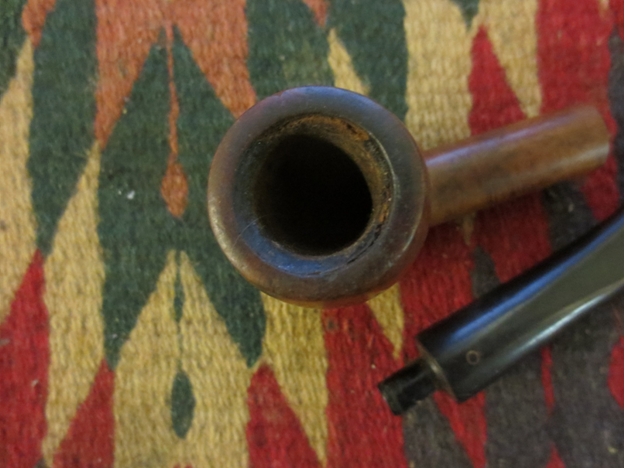
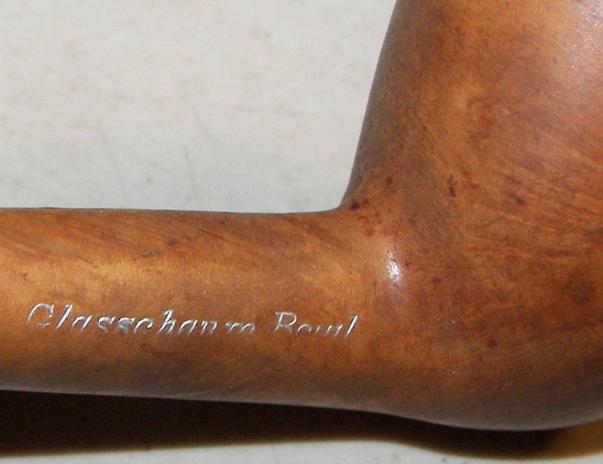
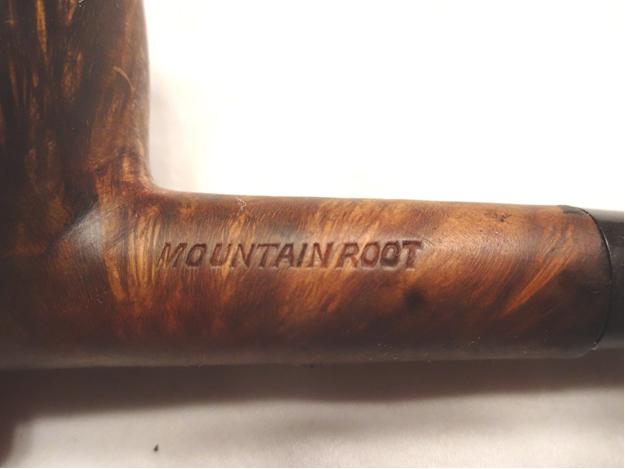
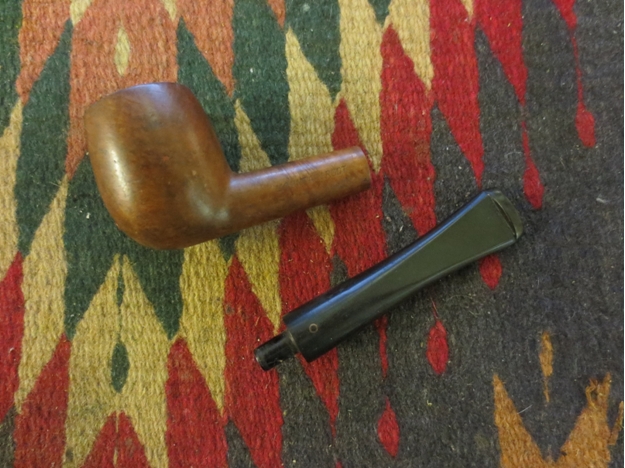
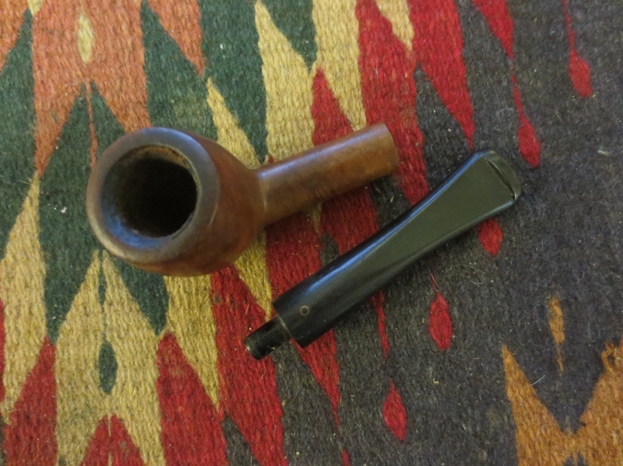
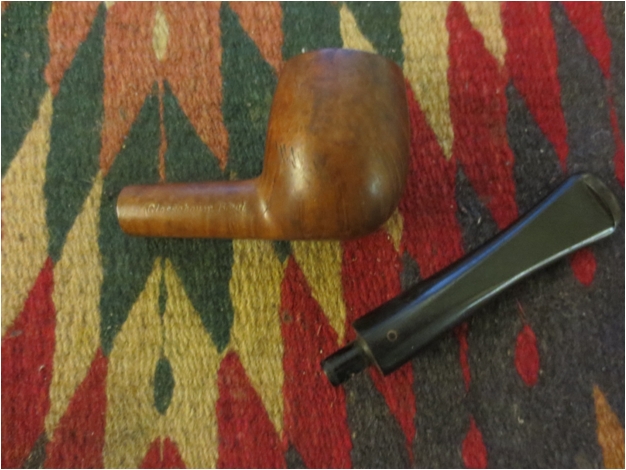
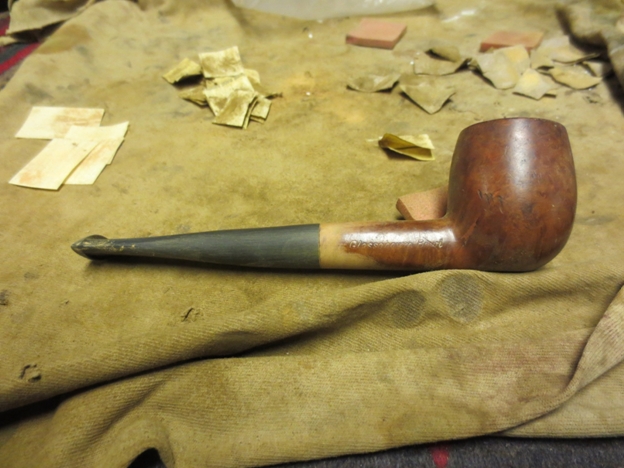
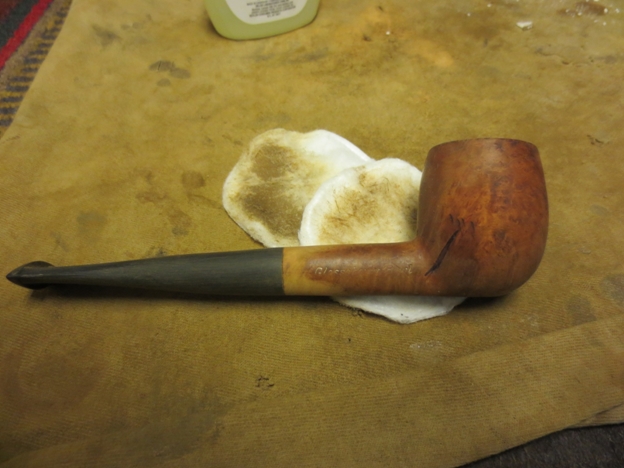
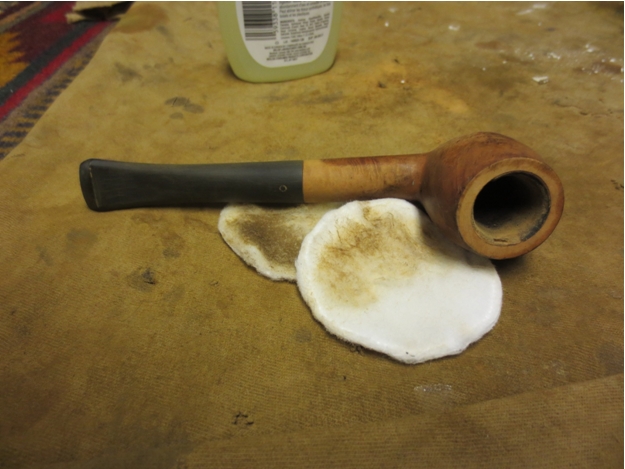
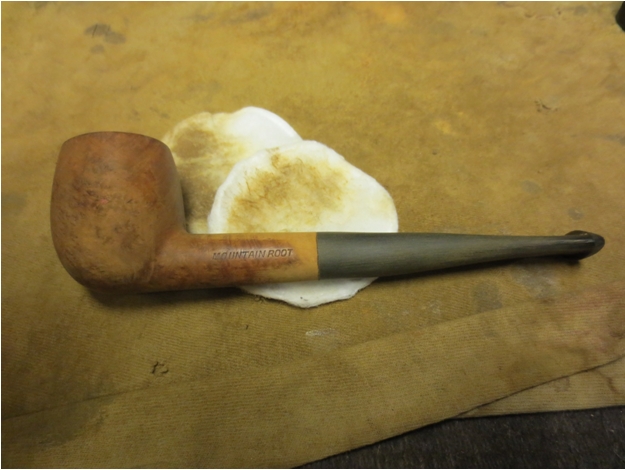
Another of the gift bowls that I received was an apple-shaped bowl stamped Mountain Root on the left side of the shank and on the right side Glasschuam Bowl. The Glasschaum Bowl stamping had remnants of silver paint in the indentations. The finish was rough with many scratches in the briar. The shank internally was very black and tarry. The bowl inside was dirty with a thin build up of cake. The internal edge of the meerschaum lining was chipped in several places but there were no cracks in the bowl.
The Mountain Root stamping and the Glasschaum Bowl stamp were both new to me. I looked in “Who Made That Pipe” for the Mountain Root brand and found nothing with that stamping. PipePhil did not have it on his site either, so I looked further on the web and found several posts on the brand on the Grabow forum. The link is: http://drgrabows.myfreeforum.org/about4008.html&highlight=
At that site a pipeman had posted about a pipe he purchased on Ebay: “I purchased this “Mountain Root” pipe on Ebay. Right shank is stamped “Glasschaum Bowl” and the inside of the bowl is lined with something similar to how Yello-Boles are lined with a yellow colored coating. The stinger is wooden and the stem inlay is a white or faintly yellow ring on top of the stem similar to Yello-Bole stem rings of the ’40’s except for the color.”
My pipe bowl looked just as he described though I would have said it had a meerschaum like bowl insert rather than the yellow coating on the Yello-Bole pipes. It was significantly thicker than the yellow painted coating. Mine also came without a stem so there was no wooden stinger apparatus or yellow ring on the stem.
He went on to inquire if anyone could help him with information on the brand. He received quite a few helpful replies to his query. One that summarized the lot is included below.
“Mountain Root probably refers to Mountain Laurel. That was one alternative wood used in WWII for pipes, when briar was not available or in very short supply. The wood stinger also suggests that era.”
This coincided with what I was thinking in terms of the link to Mountain Laurel and the WWII era pipes. I was not alone in thinking that I was dealing with a pipe from that era made from Laurel. The confirmation of that was not 100% certain and the next details make me wonder about that. I looked up Glasschaum Bowl pipes online and found that Ben Leibowitz, an American pipe maker marketed the Glasschaum pipe in 1941 and quickly disappeared off the scene. This reference was also confirmed in Who Made That Pipe. If it was indeed a Liebowitz pipe it would have been stamped Glasschaum Pipe with no other stamping. This one however had the Mountain Root stamping as well and it led me to believe I was dealing with something other than an American made Leibowitz pipe. Further digging was necessary.
I often turn to EBay to see if I can find a particular brand of pipe for information when it does not show up other places. In looking through the various pipes on EBay that bore the Glasschaum Bowl stamping I found several that had the identical stamping on the right side of the shank.
Some of them had Mountain Root (1st photo below) on the left side the same as the bowl I have, while others were stamped Gordon Deluxe in a Diamond on the left (2nd photo below).
I looked in “Who Made That Pipe?”and found that Gordon pipes were made by Villard & Strauss as well as Dan Jacobs/Comoy’s/R. Jack & Sons and Samuel Gordon (1918), all in made in England. There was also confirmation that The Samuel Gordon pipes had Gordon in a diamond logo. The fact that these were English made pipes made me question the Mountain Laurel wood comment above. The bowl also did not look like the wood on other Mountain Laurel pipes that I have in my collection so I am not at all certain of the assessment.
The information I had found made me lean toward the maker of this pipe being Samuel Gordon a London pipemaker. That meant that the pipe was English made. I don’t have a clear idea of the date of the pipe but looking at others on EBay that had the same stamping of the Gordon Deluxe stamping my thinking is that the pipes came from the 40s or 50s.
I went through my can of stems and found one that fit well in the shank with minimal sanding. When I chose the stem I had not done the research on the brand and found that the stem had a light yellow O on the top of the stem and the one I chose had a brass O on the top. Such is the one of the happy coincidences of the repair.
I lightly sanded the tenon of the stem until it fit snugly in the shank. I cleaned out the stem with alcohol and pipe cleaners before beginning the shaping. The diameter of the stem was larger than the diameter of the shank. I used a Dremel with a sanding drum to remove the majority of the excess vulcanite on the stem. I carefully do this with the stem in place and try to get as close as possible to the same diameter as the shank. I try not to nick the shank while I am working on it.
I used a sharp pen knife/letter opener to scrape the inside of the bowl. I wanted to remove the carbon build up around the middle of the bowl particularly and also on the upper sides of the bowl. The bottom half and the bottom of the bowl were quite clean.
After scraping the bowl clean the chips around the edges of the rim were visible. They were deeper on the back side of the bowl at about 5 and 7 o’clock. I needed to top the bowl to remove the damaged areas on the rim and bring the top closer to the edge of the meerschaum insert. I set up a topping board and 220 grit sandpaper and sanded down the rim.
With topping of the rim done the chipped areas were very clear. I sanded the inside edge of the rim with a folded piece of sandpaper to smooth out the areas that were not chipped and to bank the inner edge slightly. With this done the repairs to the insert edge would be quite simple to do.
Once I had the stem diameter close I took it back to the table and hand sanded it with 150 grit sandpaper until the angles and flow of the stem was also correct. I worked so that there was not a bulge or hip at the junction. I also sanded the button on the stem as it was very thick. I sloped it toward the end of the stem. When the fit and flow were close to what I wanted I removed the stem from the shank and sanded in long strokes from the tenon end to the button to smooth out potential scratches.
I put the stem back on and sanded with 220 grit sandpaper to remove the remaining excess and some of the heavier scratches. At this point I also sanded the shank of the pipe at the same time to make sure that the transition between the briar and the vulcanite was smooth and seamless. This took quite a bit of sanding. I did not want to remove too much briar as I did not want to change the look of the shank or the diameter of the shank. I was more concerned with getting the flow and lines smooth. I sanded it with a medium and a fine grit sanding sponge once I had the fit perfected.
I wiped the bowl down with acetone on cotton pads to remove the finish from the bowl and shank. I have found that this makes staining the rim and shank much easier to achieve and matching the stain is not a problem as it is all quite light.
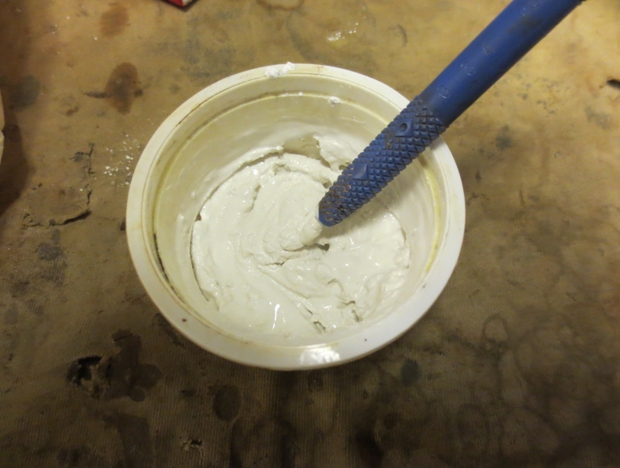
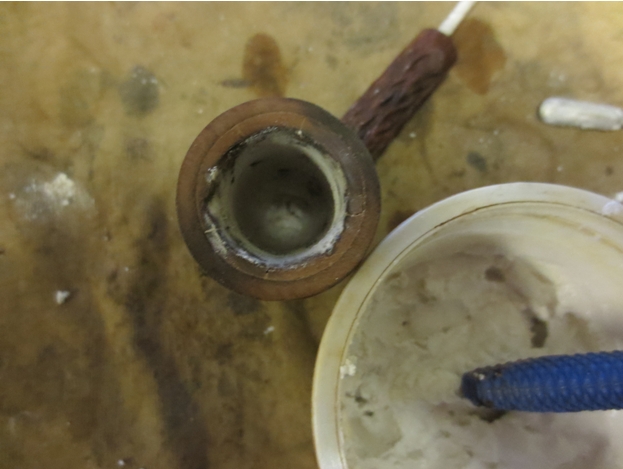
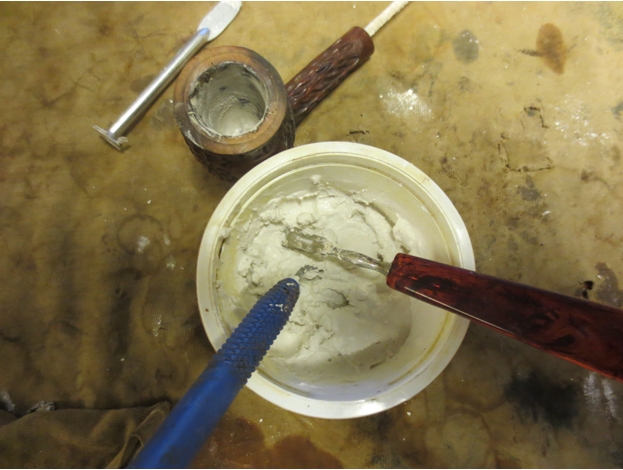
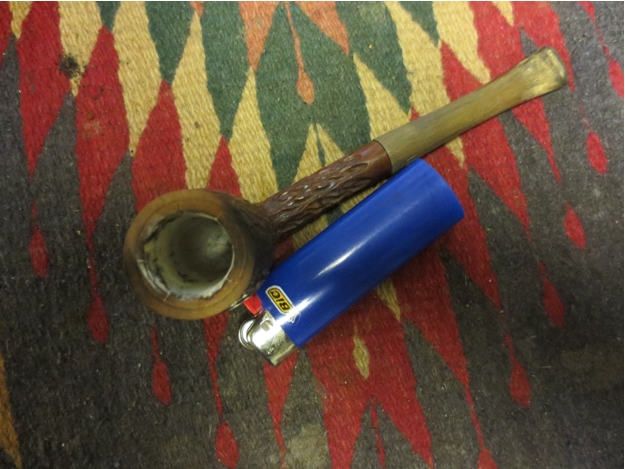
I wiped down the inside of the bowl edges with a wet cotton pad to remove loose particles of the liner and also any dust that was present from the sanding. I mixed a small batch of Plaster of Paris to work on the chipped edges of the insert. I mixed it into a thick mud consistency that was still wet but did not clump. I pressed into the chipped areas with the cuticle tool that I cleaned up. The curves on the spoon end are perfect for pressing the mud into the chipped areas of the bowl. The next two photos show the repaired area of the bowl insert. I purposely put the plaster on heavier than necessary and then shaped it with the spoon end of the tool. I set it aside to dry.
When the plaster was dry to the touch I cleaned out the shank with cotton swabs, pipe cleaners and isopropyl alcohol. There was some paper stuck to the inside of the shank from what appeared to be a washer that some previous owner had used to hold the stem tightly in place.
I sanded the bowl and shank, carefully avoiding the stamping with micromesh sanding pads – 1500-3200 grit to smooth out some of the scratches that were on the surface of the briar. I wiped it down with alcohol on a cotton pad to remove the dust from the finish. Looking at the bowl in this unfinished state it is clear that this is a piece of briar and not a piece of Mountain Laurel. The birdseye and cross grain are quite nice. I cleaned up the top of the bowl and left the inside edge untouched at this point. I wanted the plaster to cure over night before I sanded it and cleaned it up on the inside.
The next series of three photos show the work I did on the repair to the edge of the insert. The first shows the repair after it dried over night. It was hard and quite thick. The second photo shows the area after I sanded it with a folded piece of 220 grit sandpaper to smooth it out, bevel it slightly to match the rest of the rim edge and feather it into the surface of the bowl. The third photo shows it after the bowl has been wiped down with a damp cloth to clean up the dust from the sanding. The bright white areas are the repaired portions. After a few smokes this will blend in very well with the rest of the insert and will be unnoticeable.
I wiped the bowl and stem down with olive oil on a paper towel. I wipe it on and wipe it off again to give me a clear picture of areas of the bowl that still need work. It shows the scratches very clearly and also gives some colour and life to the bowl highlighting the natural grain. I am still undecided as to whether or not I will give it a coat of a light brown stain.
I sanded the stem with micromesh sanding pads – wet sanding with 1500-2400 grit pads and dry sanding with 3200-12,000 grit pads. In between each set of three grits I wiped the stem down with Obsidian Oil and when dry continued sanding the stem. I buffed it with White Diamond and gave it a final wipe down with Obsidian Oil before setting it aside to work on the bowl.
I wiped down the bowl with alcohol on a cotton pad and then gave the bowl a light coat of Danish Oil and walnut stain. I wiped it on the bowl and then wiped it off and set it aside to dry over night.
In the morning when it was dry I lightly buffed it with White Diamond on the wheel and then put the stem in place and repeated the buffing. I gave it several coats of carnauba wax and buffed it with a soft flannel buff. The finished pipe is shown in the photos below. It is restored and ready to be smoked. It should last for many more years ahead and provide a typical meerschaum lined smoke for the pipeman who smokes it next.

Restoring a Dr. Grabow Meerschaum-Lined Stack
Blog by Steve Laug
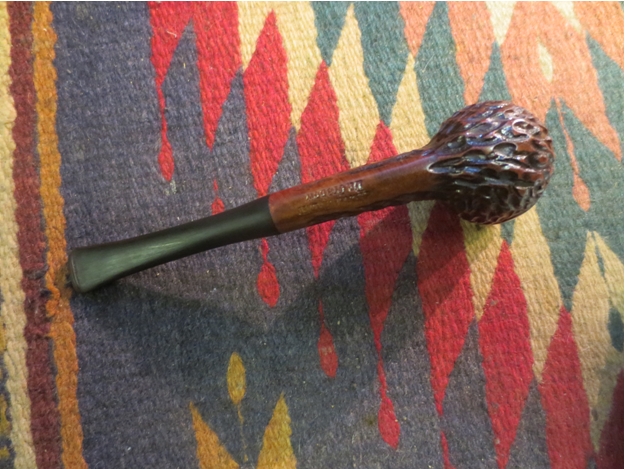
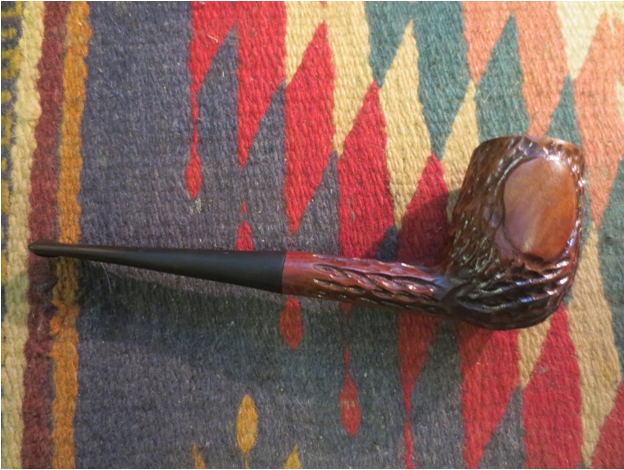
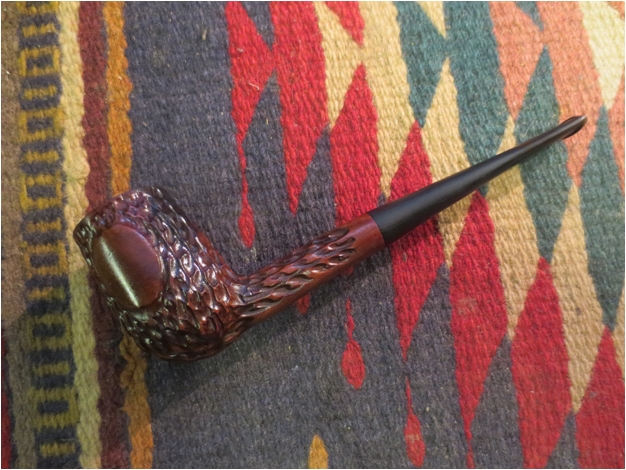
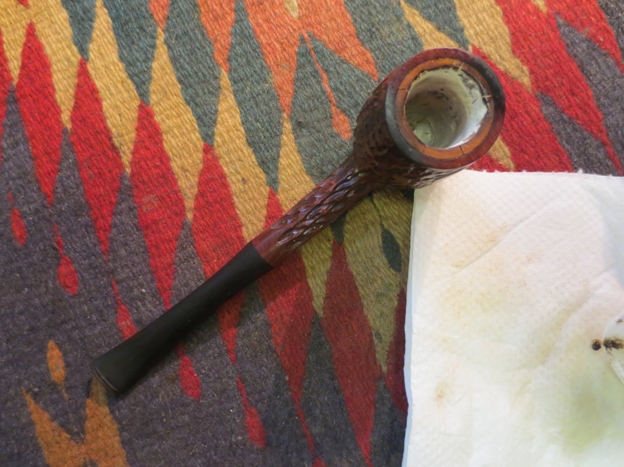
Another of the bowls I was gifted was a tall Meerschaum lined rusticated stack with a smooth spot on both sides of the bowl and the end of the shank. It is stamped on the underside of the shank, MEERSCHAUM-LINED over Dr. Grabow. The bowl exterior had some darkening on the back side of the bowl and the grooves of the bowl were caked. The rim had damage and the meerschaum lining was rough on the inside edge of the bowl. There were cracks in the meerschaum bowl insert on the rim. The bowl itself was cracked and missing from about mid bowl to the bottom of the bowl. The meerschaum pieces were lying in the bottom of the bowl and there was no stem for the pipe.
I did not know anything about the meerschaum lined Dr. Grabows and this one had a distinct look of an Italian made pipe. I went to my source on line for Grabow information the Dr. Grabow Forum (http://drgrabows.myfreeforum.org/sutra238.php). There I found a post on the meerlined pipes. It read in part as follows… “Meerschaum lined pipes were originally imported from M. Gasparini in Italy for Grabow. Sparta finally figured out how to do them and only imported the “plugs”. Early Grabow Meerschaum lined pipes were stamped Italy with no spade. After 1989 Dr. Grabow got rid of Italy and added the spade.” So, my sense of it being Italian was correct. It also dates this pipe as pre-1989.
I had an old stem in my can of stems that would be a good fit for this pipe. I needed to sand the tenon slightly to get a snug fit against the shank. The diameter of the stem was slightly larger than the diameter of the shank and would need to be sanded down to make a matched fit.
I used a pen knife to clean up the inside of the bowl. There was carbon build up on the lower part of the bowl about mid bowl that was holding together the broken pieces of the meer lining. I scraped away the carbon and removed the broken pieces of meerschaum that remained on the lower edge of the bowl insert.
I topped the bowl with a topping board and 220 grit sandpaper to remove the damage to the rim and the lining top.
I did not remove much of the bowl top but took off enough to make the bowl top and the rim top flush and smooth. In the photo below the cracks in the bowl insert are visible around the top edge of the bowl.
I used clear superglue to fill the cracks on the top edge of the insert and sanded them down. I mixed a batch of plaster of Paris and used the dental pick, the cuticle tool that I was gifts and a pipe nail to build up the interior of the bowl and replace the bottom half of the insert that was missing. I inserted a pipe cleaner in the shank and then packed in the plaster around the airway and tamped it in place on the bottom with the pipe nail and on the sides with the cuticle tool. I used one of the stain pens that I have to stain the rim to match the bowl.
I inserted my damp index finger into the bowl and rubbed down the sides of the bowl to smooth them out. I also pushed the plaster on the bottom of the bowl to more thoroughly pack it in place. I sanded the stem with 150 grit sandpaper to reduce the diameter of the stem and then 220 grit sandpaper to smooth out the stem.
I scrubbed the bowl down with acetone on a cotton pad to remove the finish and clean up the exterior of the bowl. I then rubbed it down with olive oil and let it soak into the finish. I also rubbed down the stem with the oil as I find that it makes sanding the stem easier to do.
I sanded the stem with micromesh sanding pads – wet sanding with 1500-3200 grit pads and dry sanding with 3600-12,000 grit pads. I wiped it down between each of the sets of three pads with Obsidian Oil. Once it was dry I buffed the stem with White Diamond and then with carnauba wax.
I put the stem back on the pipe and buffed it with White Diamond. I lightly buffed the bowl with carnauba wax and the stem more heavily. I finished by buffing the pipe with a soft flannel buffing pad to raise the shine. The finished pipe is shown below. The thin shank and the thin diameter of the stem give the pipe a delicate look. It is very light weight and fits well in the hand. I am going to let the plaster of Paris repair dry and cure for several days before I load a bowl and give it an inaugural smoke.

UPDATE: I just smoked this one after it had cured for two days. I loaded a bowl of The Malthouse Founder’s Reserve in the bowl and smoked it to the bottom of the bowl. It smoked cool and dry. The plaster of Paris is darkening nicely and will soon match the rest of the meer lining of the bowl.

Rejuvenating a Willard Straight Rhodesian
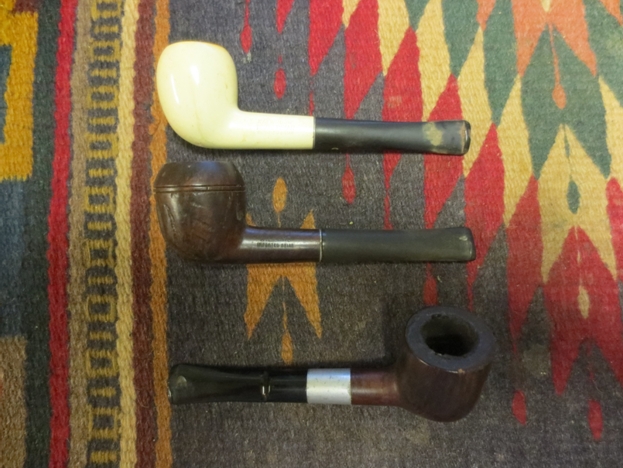
Another of the bowls from the gift box was this Willard Rhodesian. It was in pretty good shape other than being dirty and stemless. The bowl had a broken cake at the top of the bowl and remnants of tobacco left in the bowl. The rim was dirty and lightly caked with some damage caused from tapping the rim on something. The outer and inner edges of the bowl were undamaged. The interior of the shank was dirty. The shank was fitted with a threaded mortise that would take a threaded stem. I had a stem in m can of stems that fit well in the shank, was overturned but workable. The diameter of the stem was larger than the shank. The photo below shows the stem on the pipe in the middle of the threesome.
I set up a heat gun and held the stem about three inches above the heat. The first photo below shows the stem in place. To heat it I removed it from the bowl and heated the metal tenon. When it was warm I screwed it back in place and twisted it. I had to reheat it several times to get the alignment correct. The second photo shows the aligned stem.
I sanded the stem with 150 grit sandpaper to reduce the diameter of the stem. I also sanded the slope to the button to highlight the tooth marks on the stem.
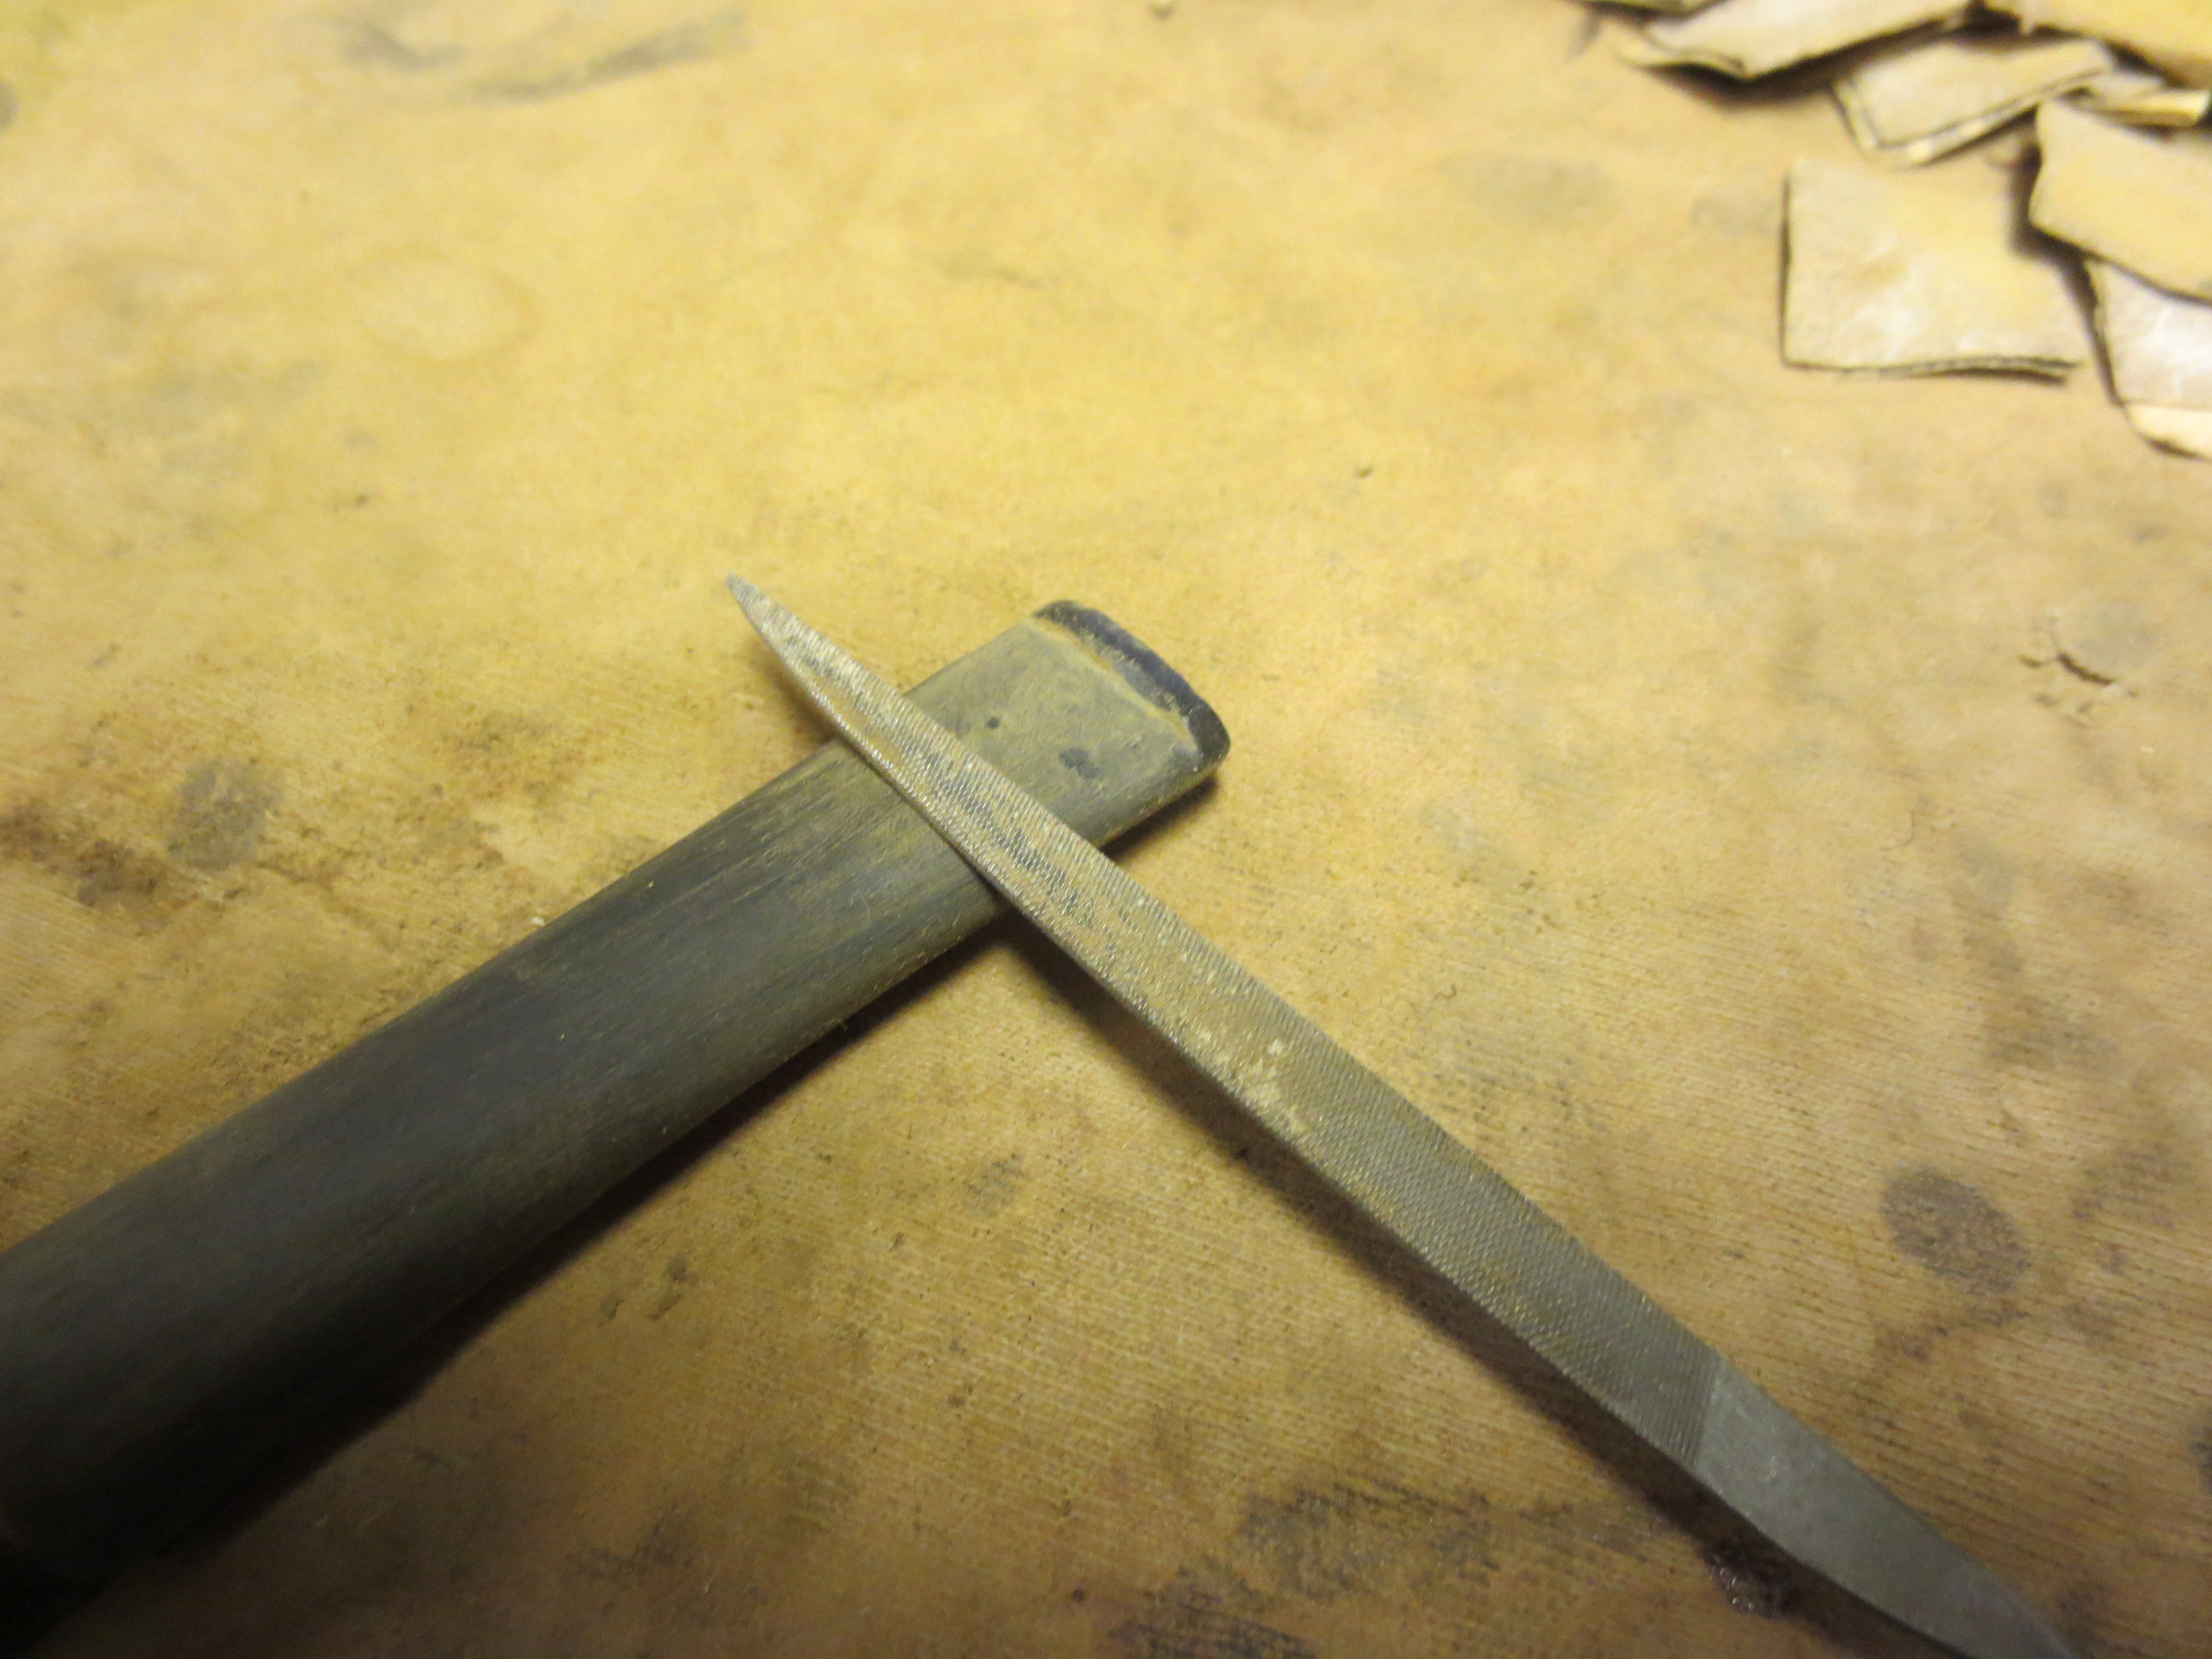
I used a needle file to sharpen the inner edge of the button and make the angles more distinct.
I wiped down the bowl with acetone to remove the grime and clean up the finish. I did not want to lighten the finish as much as to clean off the light coat of varnish on the briar.
I lightly topped the bowl to clean up the rim damage. I used a sanding board and 220 grit sandpaper to remove the damaged briar and then followed that by sanding with a medium and a fine grit sanding block.
I continued to sand the stem to match it to the diameter of the shank. I used 220 grit sandpaper to finish the sanding and shaping of the stem. I worked on the tooth marks on the top side and underside of the stem with 220 grit sandpaper until they were no longer visible.
I reamed the bowl with a PipNet pipe reamer beginning with the smallest cutting head and working up to the one that was the same diameter as the bowl. I reamed the bowl back to bare wood.
I sanded the stem with a medium and fine grit sanding sponge to reduce the scratches left behind by the 220 grit sandpaper.
There was one stubborn tooth mark that I could not get out on the underside of the stem next to the button. I cleaned the area with alcohol and then used clear super glue to repair it. I sprayed the path with an accelerator so that I could sand the patch sooner.
I sanded the stem with micromesh sanding pads – wet sanding with 1500-3200 grit pads and dry sanding with 3600-12,000 grit pads. I rubbed down the stem with Obsidian Oil between each group of three micromesh sanding pads and then when I finished sanding with the 12,000 grit pad I buffed it with White Diamond.
I buffed the bowl and shank with White Diamond and then gave it a coat of Danish Oil and walnut stain to protect and preserve the finish. When it was dry I buffed the pipe with White Diamond and then gave it several coats of carnauba wax.
The finished pipe is shown in the photos below. The new stem fits well. In fact it looks like it came with the pipe. The repairs to the stem are not visible. The bowl itself dried well and buffing the finish gave it a softer look. The finished pipe was given several more layer of carnauba wax and then buffed with a soft flannel buffing pad. It is now ready for many more years of service to another pipeman.

Worn and Tired No Name Pot Given a New Look
The next pipe I decided to work on from the gift box was a no name pot shaped bowl without a stem. There was a stem in the box that fit well in the threaded metal shank. The problem with the stem was that it was worn out. There was a large dent on the top of the stem and a large hole in the underside of the stem that also had much damage around the hole. The stem was also over turned. The shape was unique in that the bowl had a slight cant to it. The finish was ruined and the grit and grime on the bowl was heavy. There were four fills using pink putty that stood out on the bowl left side, front and bottom. The rim was thickly tarred and oiled. The outer edge was damaged all the way around the bowl. The cake was quite thick and was crumbling at the bottom of the bowl. The shank was thick with tars as well. The aluminum was oxidized.
I used a lighter and a heat gun to heat the metal tenon and was able to adjust the stem to a proper fit on the shank. It softened the glue and lined up nicely but when I heated the top side of the stem to try to raise the dent it bubbled even at a distance of three inches plus above the heat source. Yet another reason I don’t like nylon stems.
Looking at it carefully after I had straightened it out I could see that the stem was really worn out and would be better used on a different pipe after it had been cut down. I heated the tenon once again and was able to remove the stem from the tenon. The tenon itself was threaded and screwed into the stem. I had a taper stem in my can of stems that had a broken tenon. I sanded the remainder of the broken tenon until it was smooth.
The new stem was the slightly longer than the original stem and it was vulcanite. I drilled out the airway until the metal tenon end fit the in the stem. I held the drill firmly and turned the stem onto the drill bit by hand. I used a tap to cut threads in the freshly drilled hole.
I beveled the drilled hole to accommodate the lip on the threaded tenon so that it would sit flush with the face of the stem. I mixed a batch of two part quick dry epoxy and coated the threaded end of the tenon before threading it into the hole in the stem.
I set the stem aside to let the epoxy cure and turned to work on the bowl. The bowl needed to be reamed so I used a PipNet reamer to do the work. I started with the smallest cutting head and continued until I used one the same size as the bowl of the pipe. I scrubbed out the shank and bowl with alcohol and pipe cleaners and cotton swabs until the shank and bowl were clean.
I set up my topping board and a piece of 220 grit sandpaper and topped the bowl to remove the out rim damage and sharpen the edges of the bowl. I folded a piece of sandpaper and sanded the outer edge once it had been topped. I smoothed out the rough edges until the damage was minimized.
I used a dental pick to remove the pink putty fills. I cleaned the surface with acetone to remove the dust and the remaining putty in the holes after I had picked them out.
I packed briar dust into the holes in the briar and then dripped super glue into the briar dust to mix with the dust and make a hard fill. I over filled the holes in the briar with the dust and glue so that when it shrunk as it dried it would not leave dips in the surface of the briar.
I sanded the filled areas with 220 grit sandpaper to remove the excess and smooth out the fill until it was even with the surface of the briar. I sanded it with a medium and a fine grit sanding sponge and a fine grit sanding block. The new fills were black instead of the bright pink that was previously used in the repairs. Once stained they would be less obvious in the surface of the bowl than the previous ones.
I stained the bowl with Danish Oil and walnut stain and set the bowl aside to dry.
The next morning I checked the fit of the stem as the epoxy had plenty of time to set and cure. I sanded the stem to reduce the diameter at the shank. I used 150 grit sandpaper to remove the excess while repeatedly screwing it into the shank to check that I had removed enough but not too much.
I sanded the stem further with 220 grit sandpaper to remove more of the excess and to also reduce the scratches left behind by the 150 grit paper. I polished the aluminum with a fine grit sanding sponge and removed the oxidation and the scratches. When I had finished sanding the fit of the stem was exactly what I wanted and it only needed to be polished with micromesh sanding pads.
I wet sanded with 1500-2400 grit micromesh sanding pads and dry sanded with 3200-12,000 grit sanding pads. I rubbed the stem down with Obsidian Oil between each set of three grits. I buffed the stem with White Diamond to give it a final polish and then rubbed it down a final time with the Obsidian Oil. Once it was dry I hand buffed it and fit it on the pipe.
I buffed whole pipe with White Diamond and gave it several coats of carnauba wax to raise a shine. I wanted to protect and shine the bowl and stem. The finished pipe is shown in the photos below. The new stem with the retrofitted metal tenon fit extremely well. I like the overall look of the pipe far better than the original look with the saddle stem. The pipe is ready to give many more years of service to the next pipeman whose rack it graces. The end of the stinger is removable so that the pipe can be smoked with or without the stinger.

Yello-Bole Spartan – A Brylon Pipe Restemmed and Restored
Blog by Steve Laug
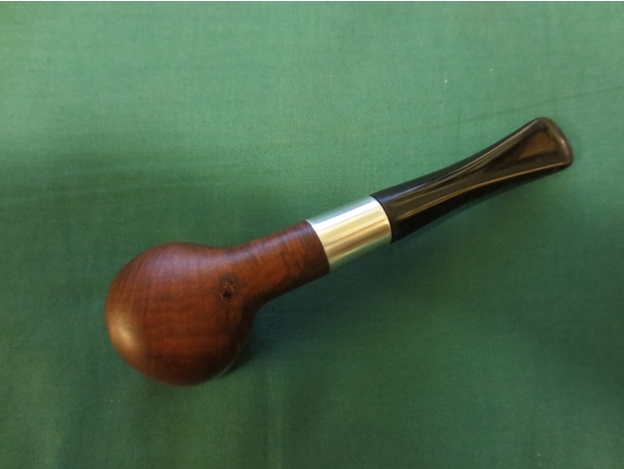
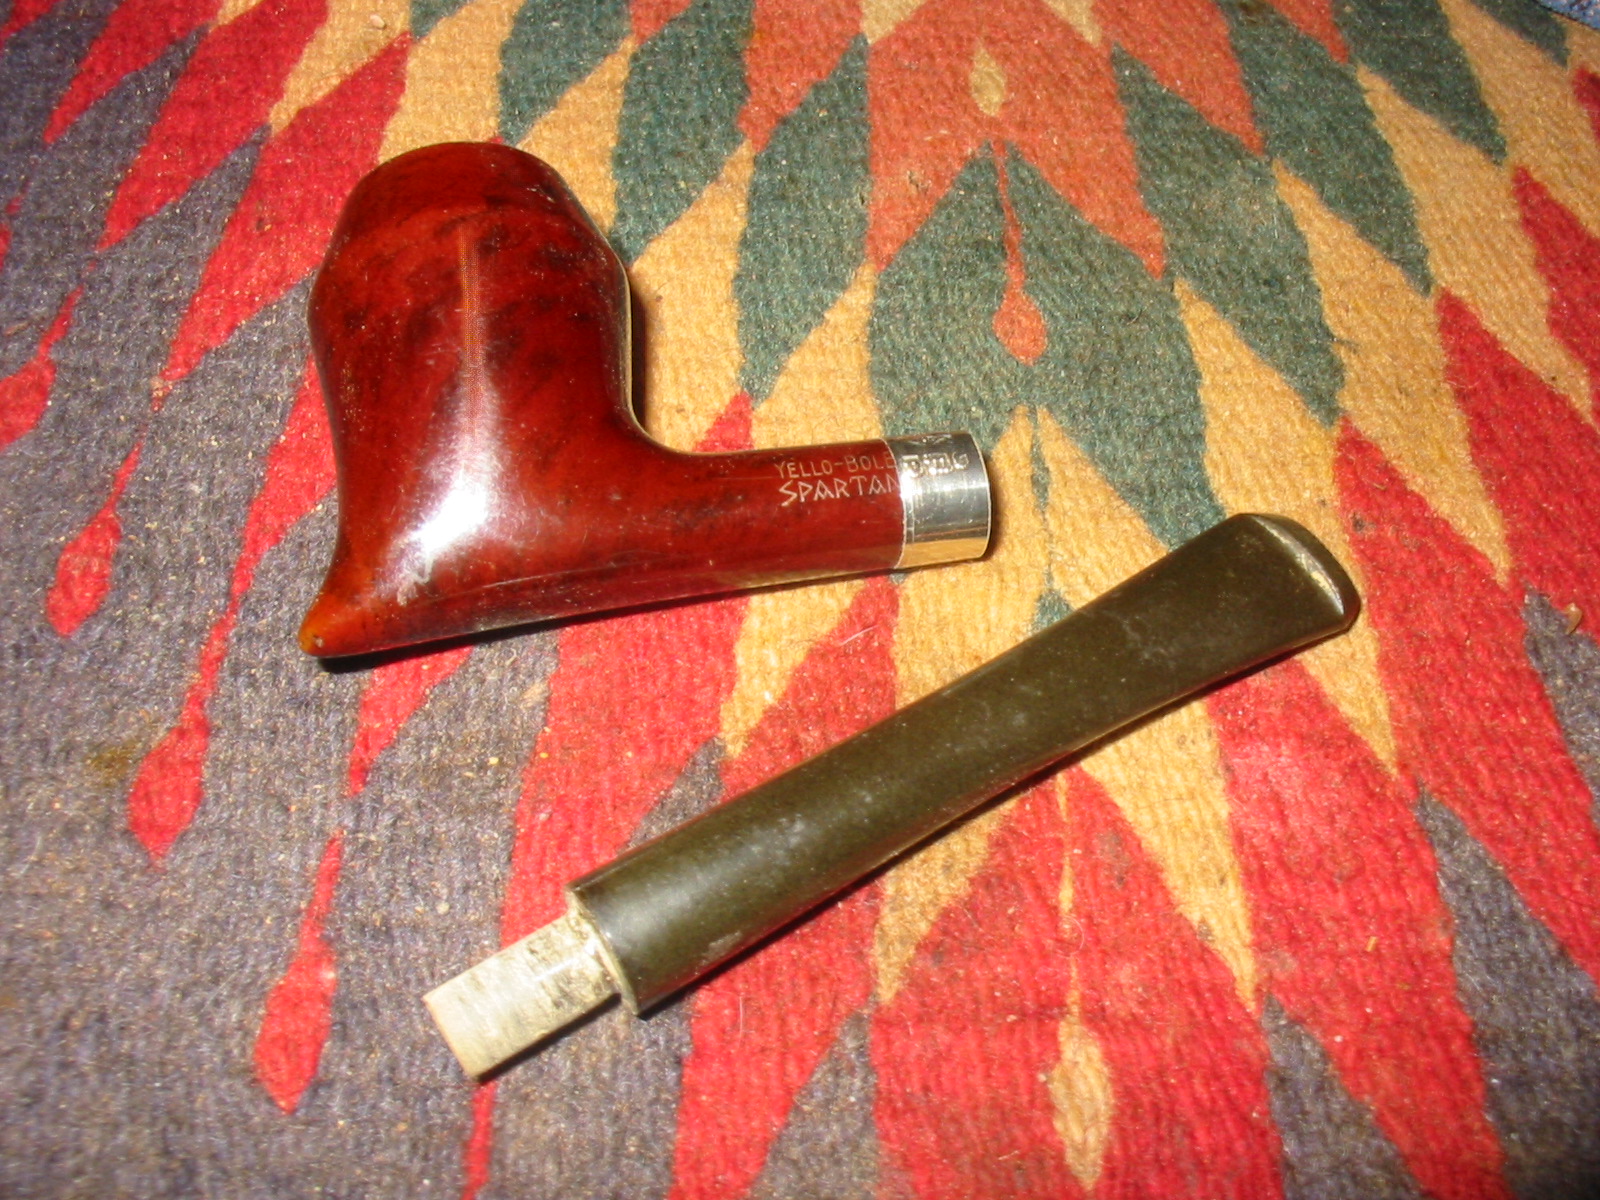
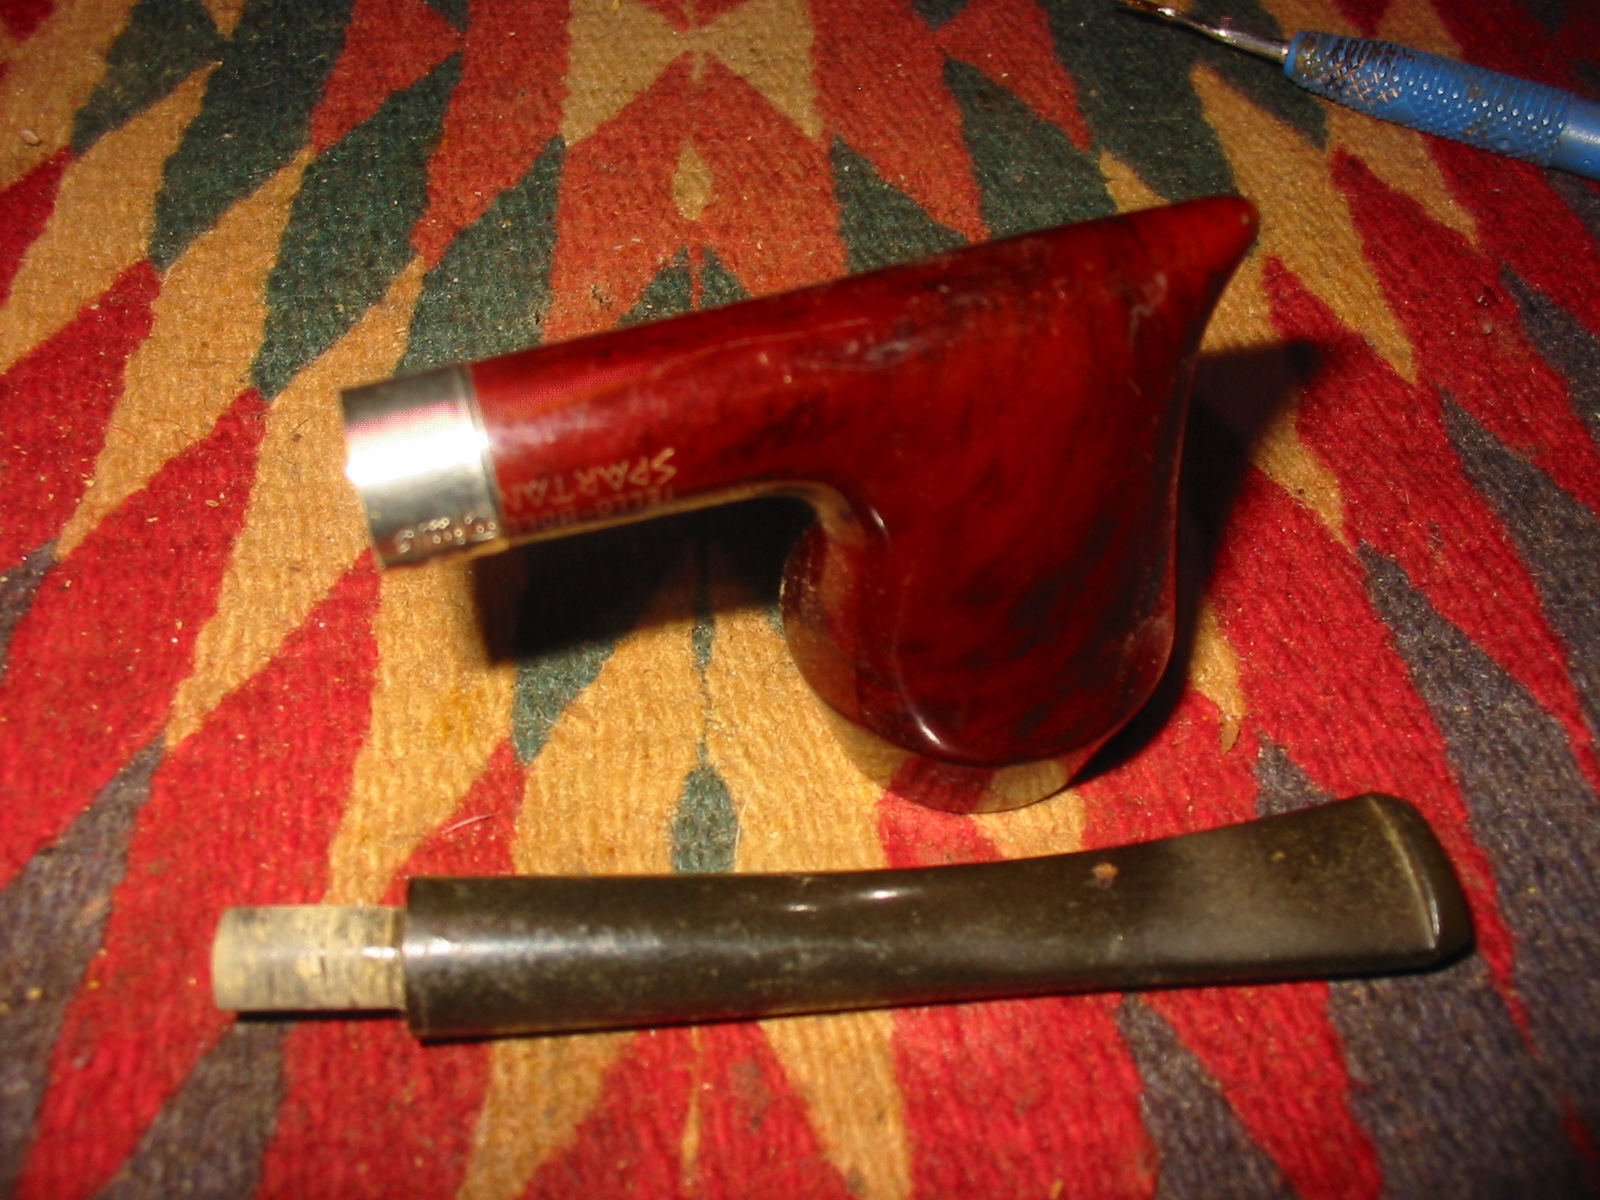
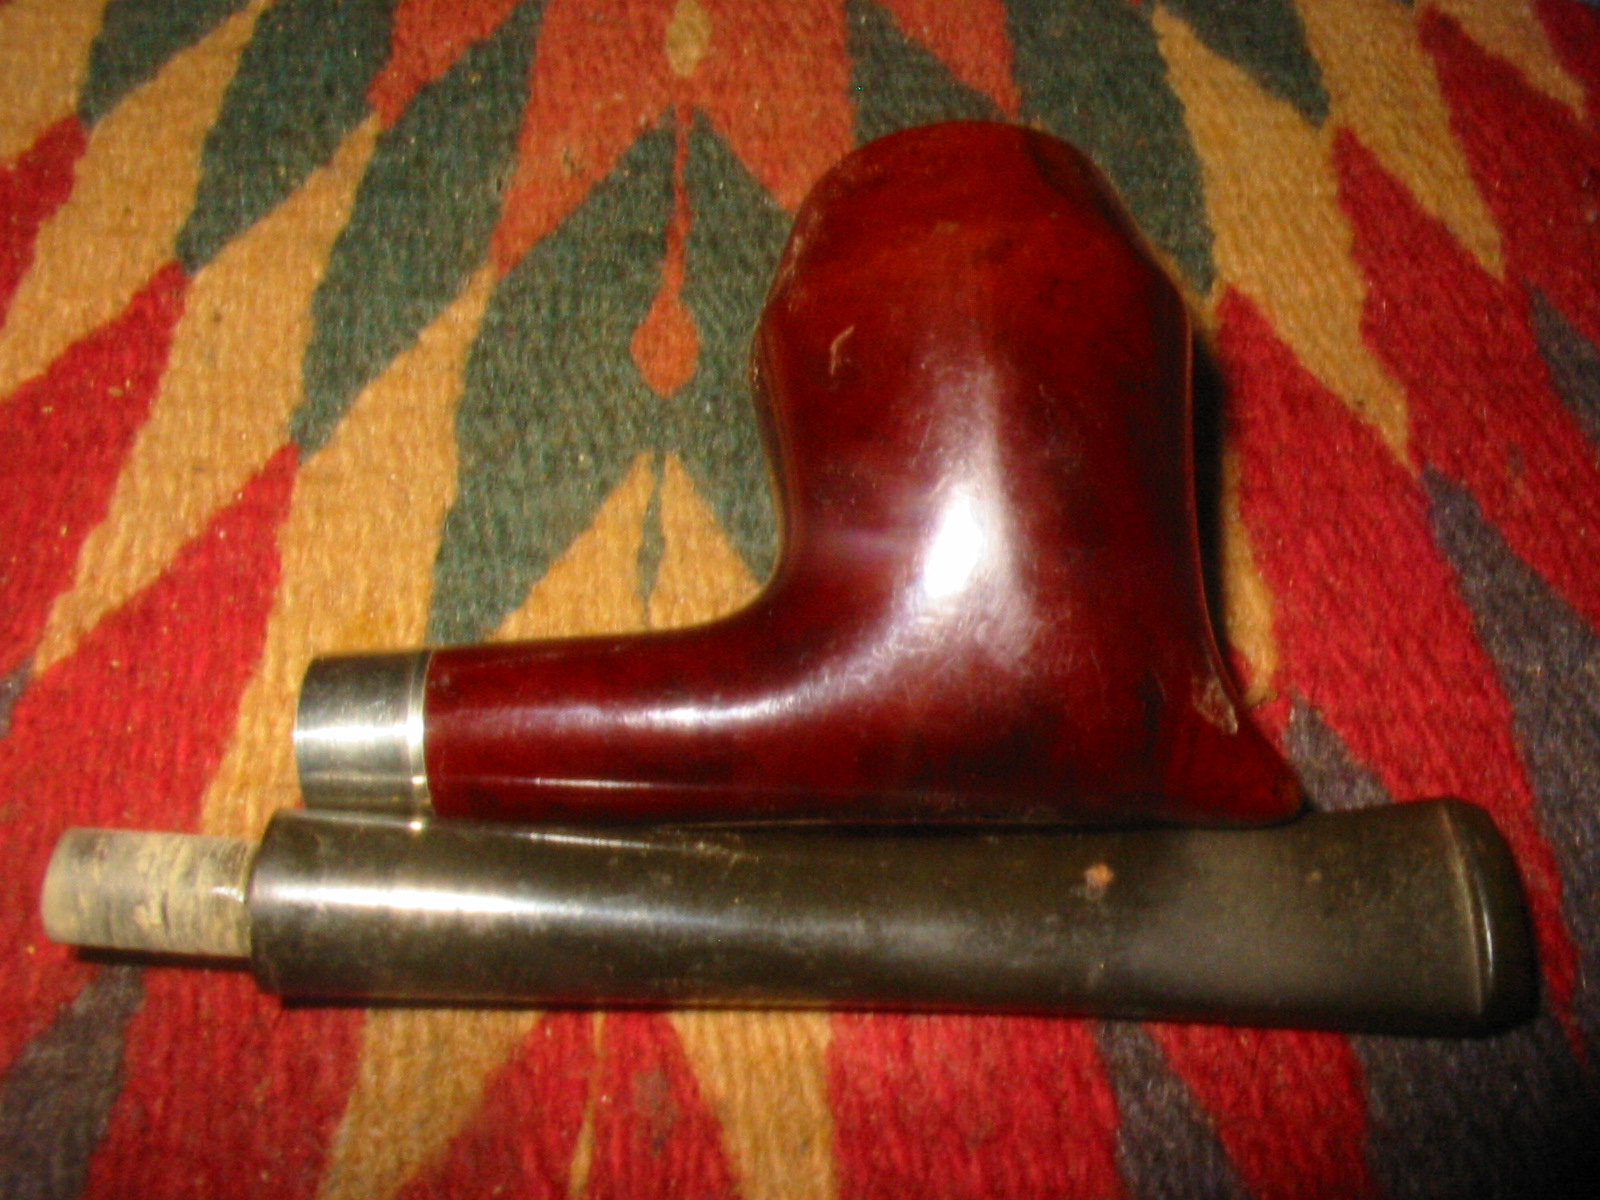
I was gifted a box of pipe bowls and stems from Jim Wagner on Smoker’s Forums. It is a great to have this box of interesting old pipes. Jim, I sure appreciate the gift box and am enjoying looking at it and choosing what to do next. The first one that caught my eye was a Yello-Bole Spartan. From reading about them the Spartan was originally a briar pipe but this one was definitely not briar. It was synthetic for sure and brown like some of the older Bakelite pipes that I have picked up over the years. I knew though from the feel of it that I was dealing with a Brylon pipe. Many folks hate them because they say the burn hotter and are heavier than briar pipes. While that may well be true I still have an older Medico I picked up 32 years ago when my first daughter was born and have smoked it a lot since that time. Several years ago I put a long Church Warden stem on it and a brass ferrule and made it into a good-looking long pipe. I have smoked it long enough that it even has developed a cake and now smokes quite well. If I am mindful to not puff hard it stays relatively cool.
Knowing that it was a Brylon pipe made me want to do a bit of digging into the history of the material. I looked on the S.M. Frank website (http://www.smfrankcoinc.com/home/?page_id=2) and found the following information:
“In 1966, S. M. Frank developed a synthetic material called Brylon as a cheaper alternative to briar. The material, a high temperature resin mixed with wood flour, was cheaper than briar, more resistant to cracking, chipping, charring and burnouts. However to some there are some drawbacks, heavier in the mouth, hotter when smoked quickly, and also simply put, “wasn’t briar.” Millions of these pipes have been sold in the 3 decades since and continue to be part of the Yello-Bole and Medico lines. Two Brylon lines in Kaywoodie, Marmont and Impulse, were briefly tried and abandoned in the late 80′s.”
I know that Brylon has a bad name among pipemen and gets a lot of disparaging comments whenever it is brought up on the pipe forums. However, pipes are still being made and sold so there must be some enduing quality. Maybe it is the indestructibility of the pipe. Perhaps we will never know what attracts folks to them. But I have one in my hand that needs work and I am loath to pass up the opportunity to learn from the process of rejuvenating this old pipe.
As usual reading the history of the material helped to give me a clearer picture of the pipe that I was working on this time. It also gave me some background on another Brylon pipe that I have in my collection. I bought that Brylon new at a 7-Eleven convenience store along with a pouch of Borkum Riff the day my oldest daughter was born. It was a delicate billiard and attracted me that early morning in 1982. I have smoked it enough that it has developed a good cake and finally smokes very cool. A few years back I restemmed it with a long Church Warden Stem and banded it with a brass ferrule to liven it up a bit. The finish was worn to I polished it. I still smoke that old Brylon and enjoy it.
However, back to the Brylon pipe at hand. This bowl was an unusual shape and one that I had not seen before. It was smoked but clean. There was the beginning of a cake in the bowl so it would soon be a cool smoker as well. It was without a stem so I found one in my stem can with a slight bend that had the same diameter as the shank and sanded the tenon by hand with 220 grit sandpaper until it was a snug fit in the shank. It looked good on the pipe but there was still something missing when I sat back and looked at the pipe. I thought maybe a bit of bling would do the trick so I went through my nickel bands and found one that was the perfect size to press on the shank and not cover the stamping on the left side.
I heated the band with a lighter and then pressed it into place on the shank. Heating the band causes it to expand and slide on to the shank while it is still hot. Once the band cools it contracts and the fit is tight unmovable. I used a sharp knife to bevel the inside edge of the mortise to accommodate the new stem solidly against the end of the shank.
The stem was one that I repurposed from another pipe and it looked like it belonged on the Spartan in my opinion. The slight bend looked good with the shape of this Brylon Spartan. The stem was oxidized and dirty but did not have any tooth marks of gouges. Once I had the pipe banded I pushed the stem into place and took the photos below.
I removed the stem and sanded it with 220 grit sandpaper followed by a medium and a fine grit sanding sponge. For me this step always cleans up the stem and allows me to deal with subtle reshaping of the stem. In this case the reshaping was minimal but I did some work on the underside to give it more of an arc than originally was present. I sanded until the scratches and oxidation was removed from the stem. It was clean and the flow and angles were what I was looking for. Then I sanded with micromesh sanding pads – wet sanding with 1500-2400 grit pads and dry sanding with 3200-12,000 grit pads. I rubbed the stem down with Obsidian Oil between each set of three micromesh pads. Since Brylon is plastic like I decided to also sand the Brylon bowl to remove some of the scratches and smooth out one small nick in the surface of the bowl. Each successive grit of micromesh gave the finish a deeper shine and the contrasts in the Brylon surface began to stand out.
When I had finished sanding the bowl and the stem I buffed them with White Diamond and then gave the pipe several coats of carnauba wax. I polished it with a soft flannel buff to give a shine. In retrospect, I think that Brylon must be pretty indestructible and I figure I could have just thrown the pipe in the dishwasher to sanitize it. I am sure it would not have caused the least bit of damage. The finished pipe is shown below. It is cleaned, has a light cake and is ready to be fired up with an inaugural smoke. Who knows I might even like it enough to keep it around as a yard pipe.

Restoration of a Barclay Rex HGP Briar Root Labelled “THE DUKE”
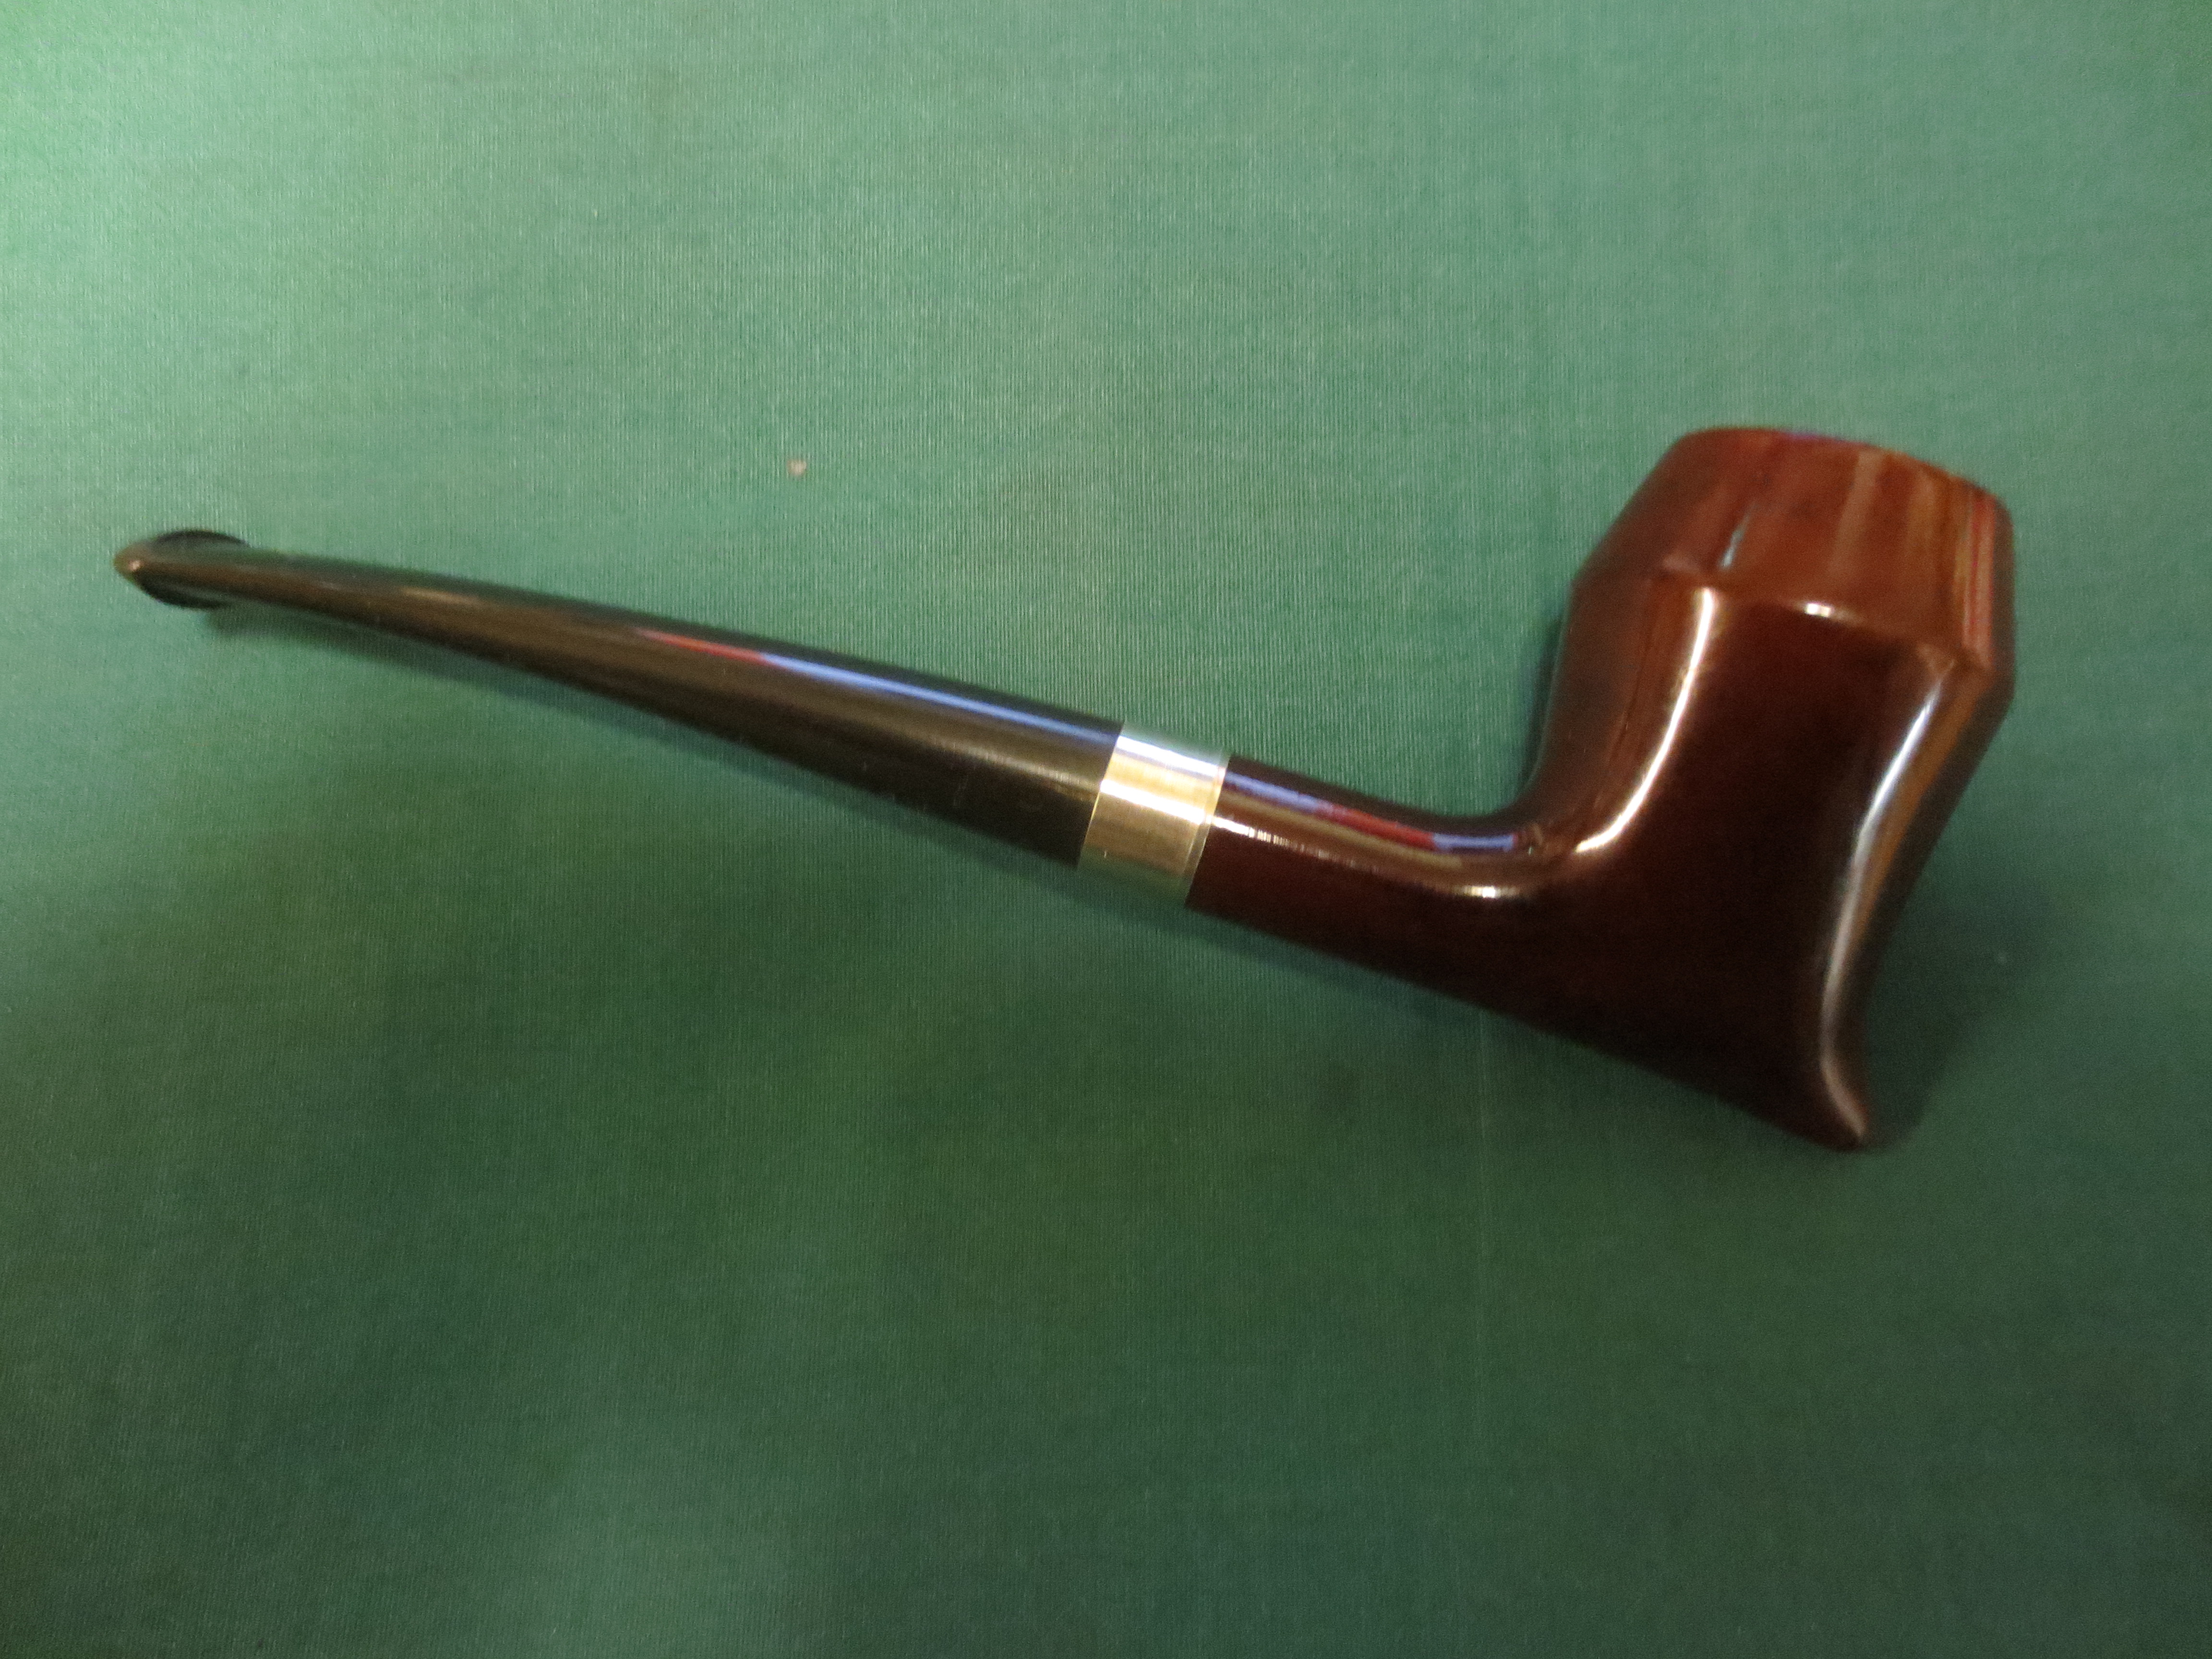
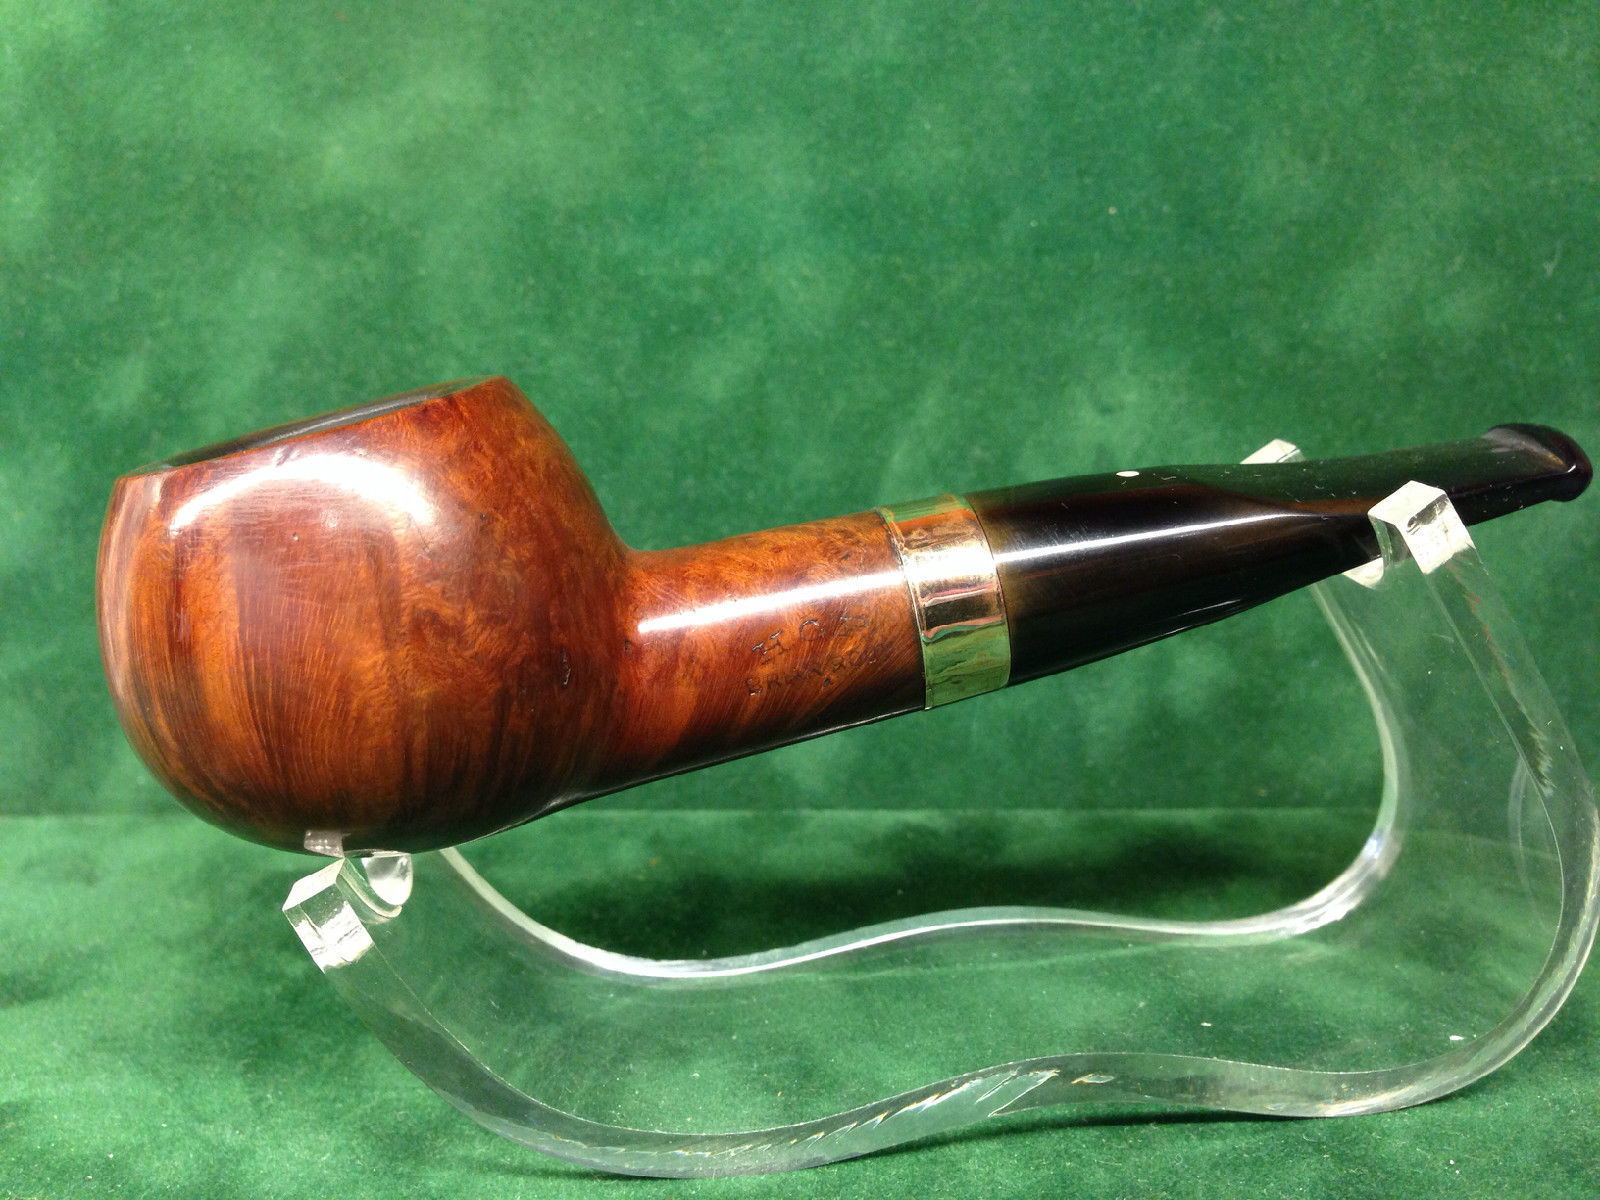
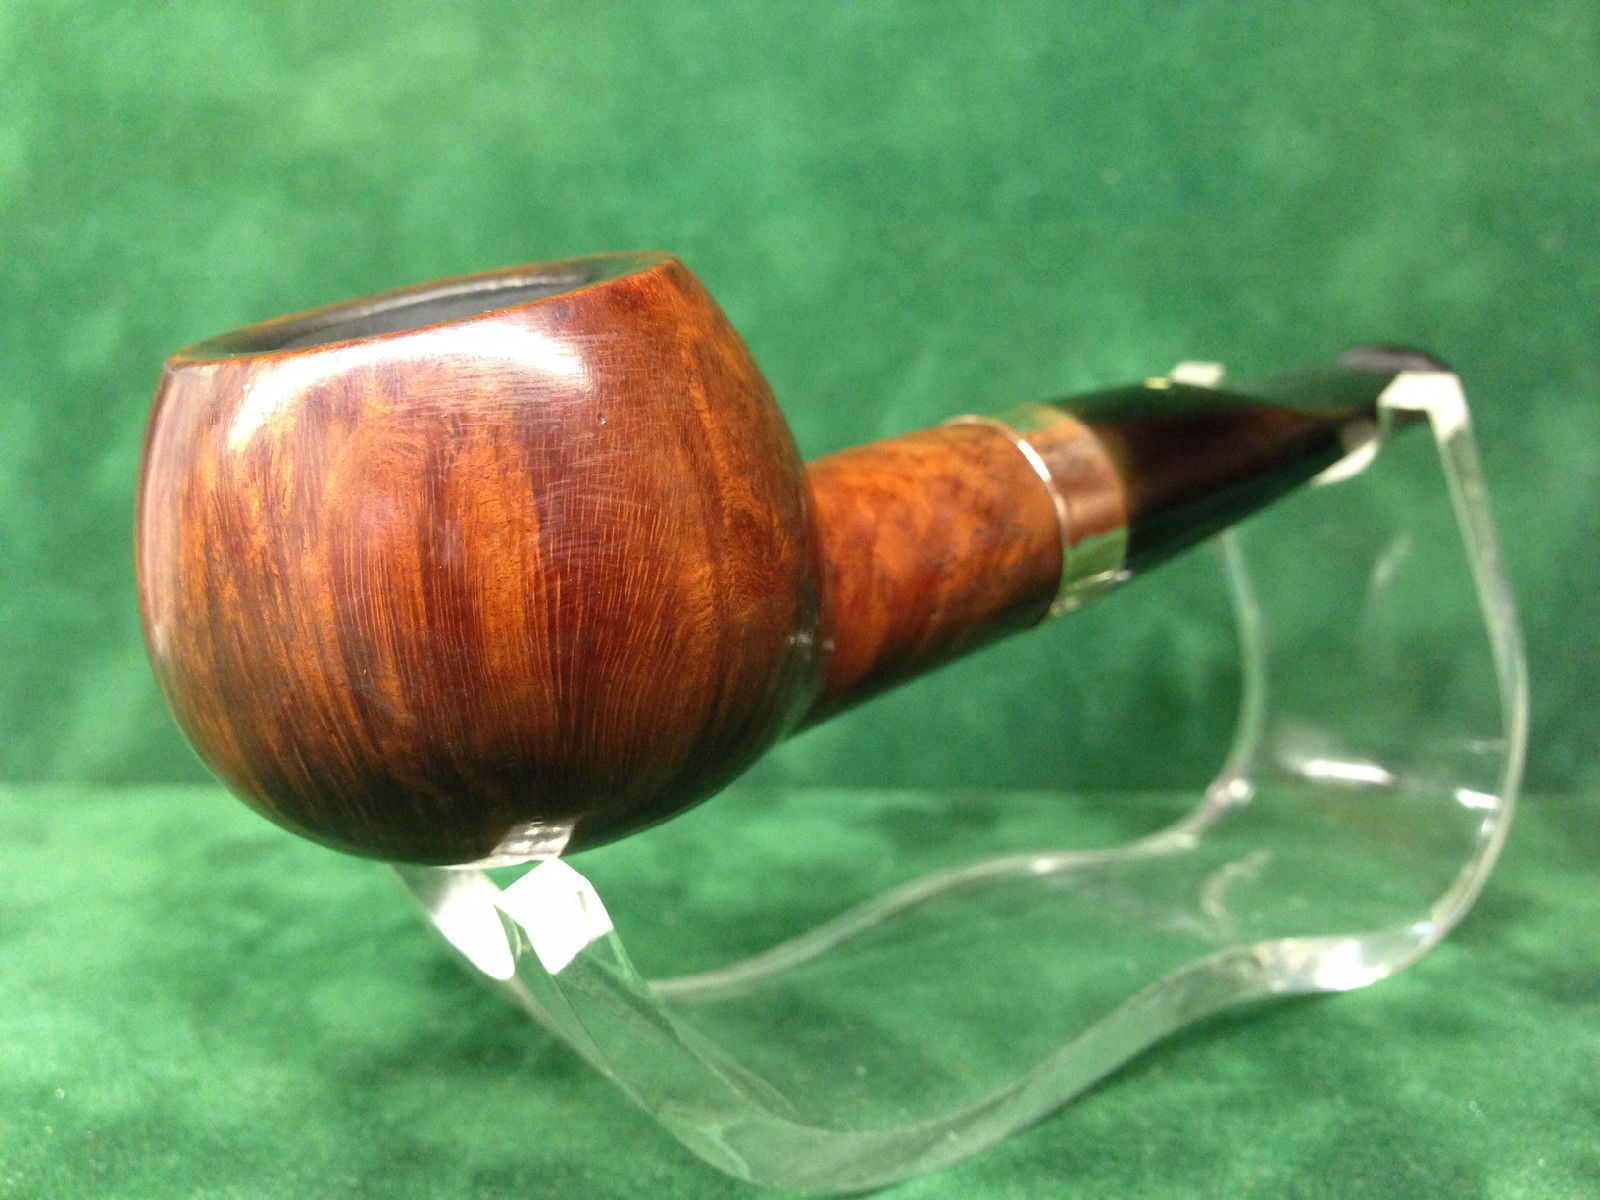
I read a post by dmcmtk on Pipe Smokers Unlimited Forum regarding a pipe he picked up that was a Barclay Rex with a white spot on the stem. He had written to the store and received a response that the pipe was made for them by Dunhill. I had no idea that Dunhill had made pipes for the NY shop so I began to hunt down some of these pipes looking for the tell-tale white dot on the stem. I found some on Ebay under the Barclay Rex shop store there and one stood out to me and seemed to call my name. The write-up on the ad read:
“This is a HGP Stubby Briar Root estate pipe that has been carefully restored on-site.The stem is in excellent condition and has very little visible wear; there are a few nicks on the bowl. This pipe was made by hand for Barclay Rex and likely dates to before 1960. The letters HGP actually stand for the craftsman’s initials.”
The story and the shape intrigued me and it had the white spot on the stem. I was hooked. It had a buy it now price so I went for it. I contacted the store and paid the bill and the pipe was mine. I was not too concerned about the condition as I would work on it anyway. The ad said that it had been carefully restored on-site so I would see what that meant when it arrived. The photos below were on Ebay and give a good idea of why the shape caught my attention.
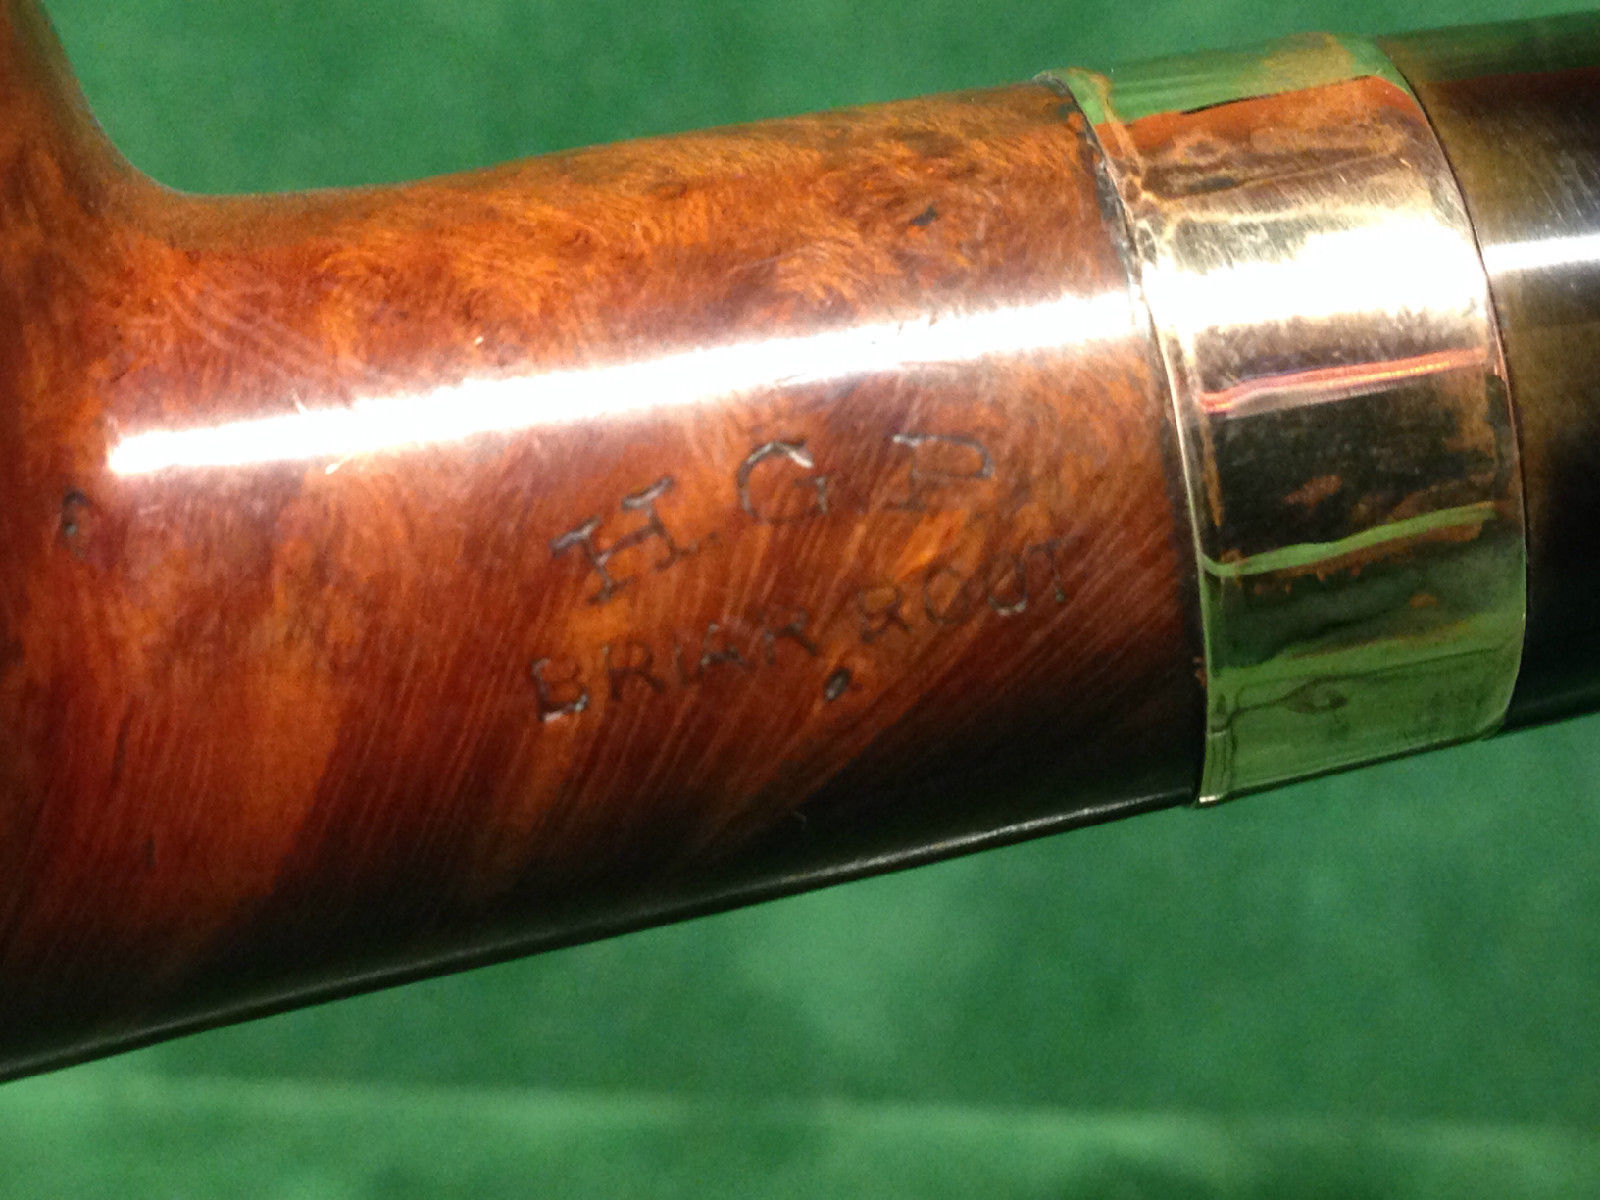
I wrote to Barclay-Rex to find out a little background information on this pipe and the stamping it showed in the pictures. I received this email response:
Dear Steve,
This was made by a pipe maker who worked for Barclay Rex for a time in the mid-20th century. His initials were HGP and he would stamp his pipes as such. We are unsure why the maker decided to place a white dot on his stem, but we have come across one or two more of his with the same combination. Unfortunately, his full name has been forgotten with time.
– barclayrex1910
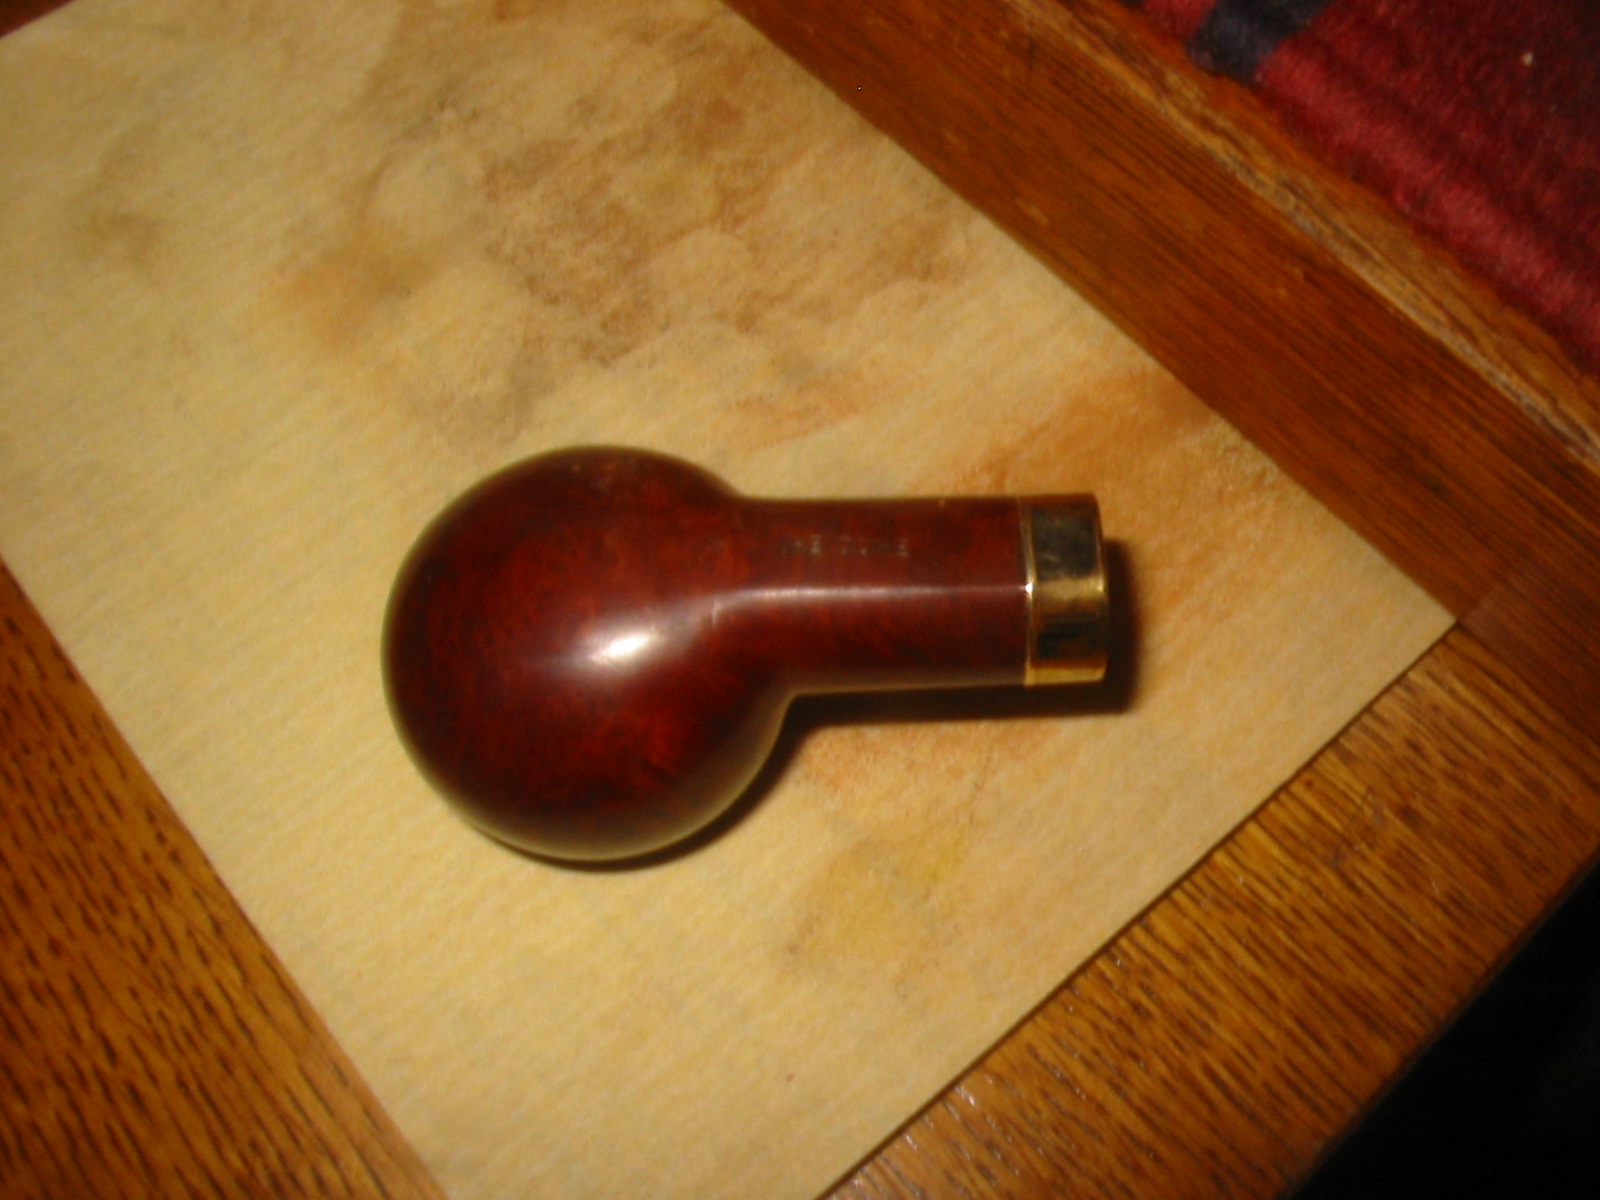
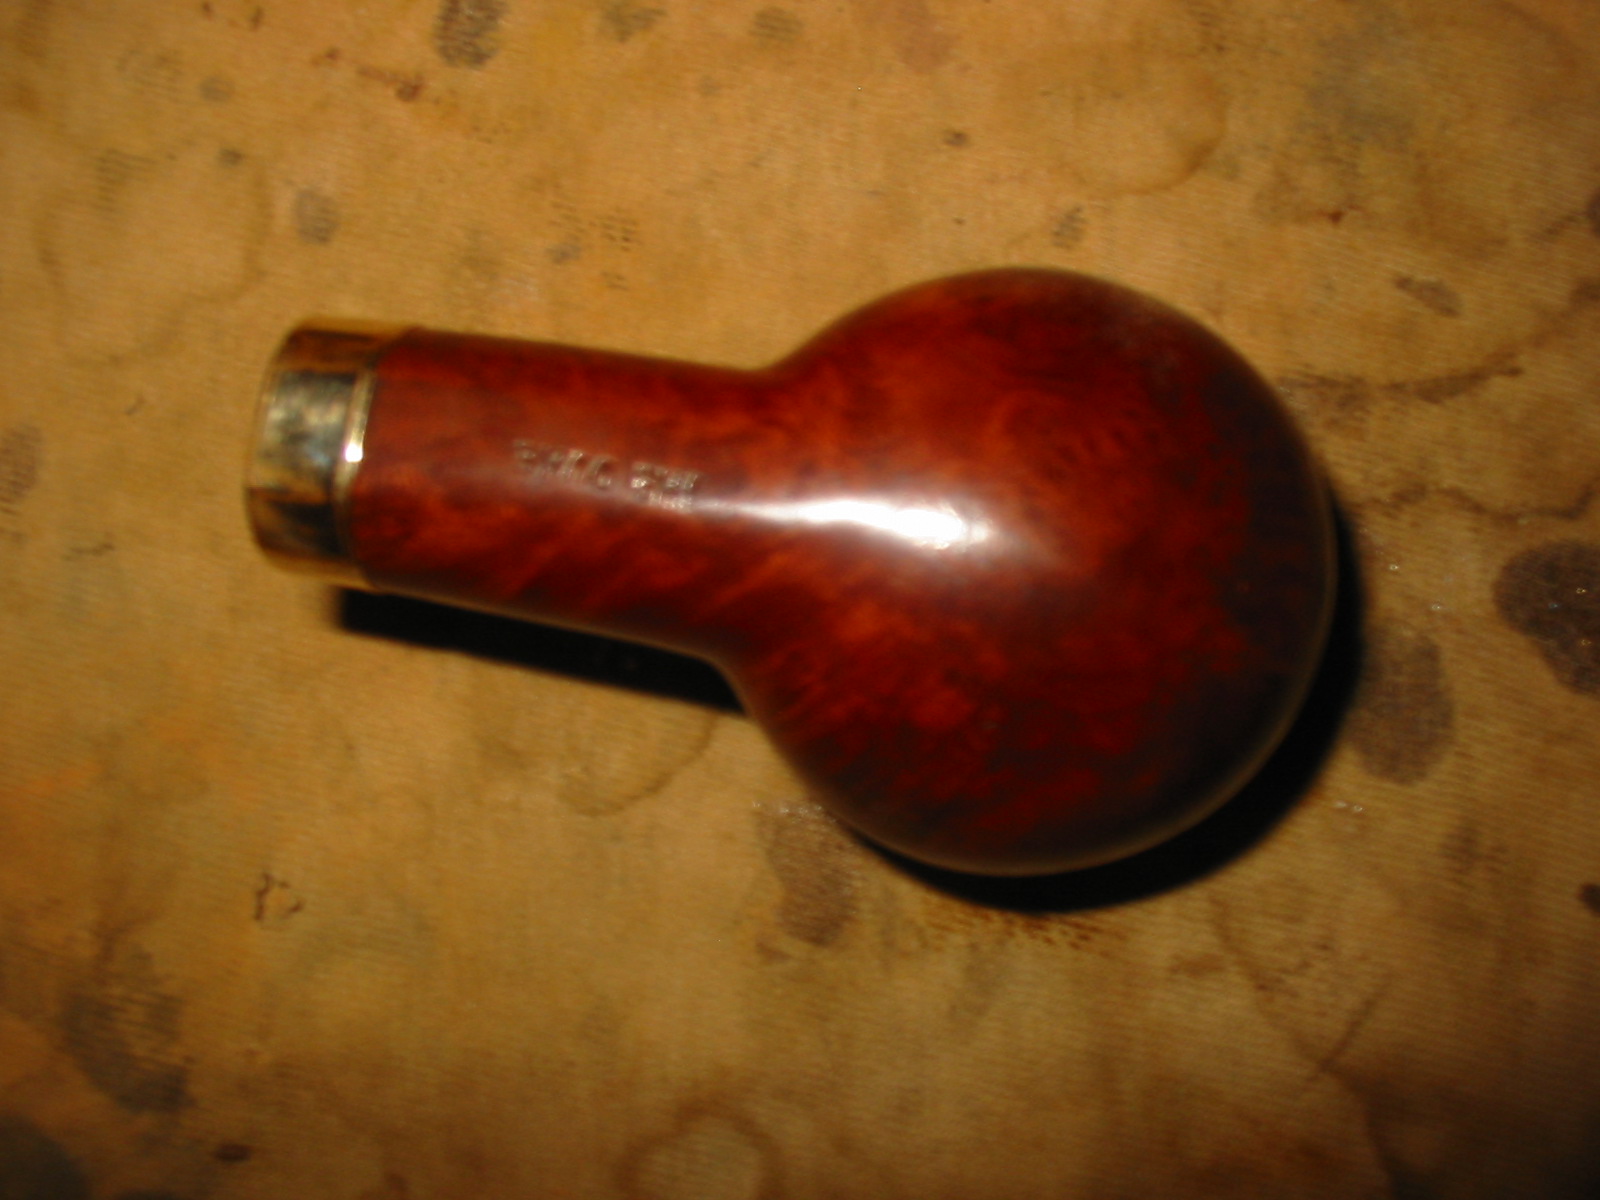
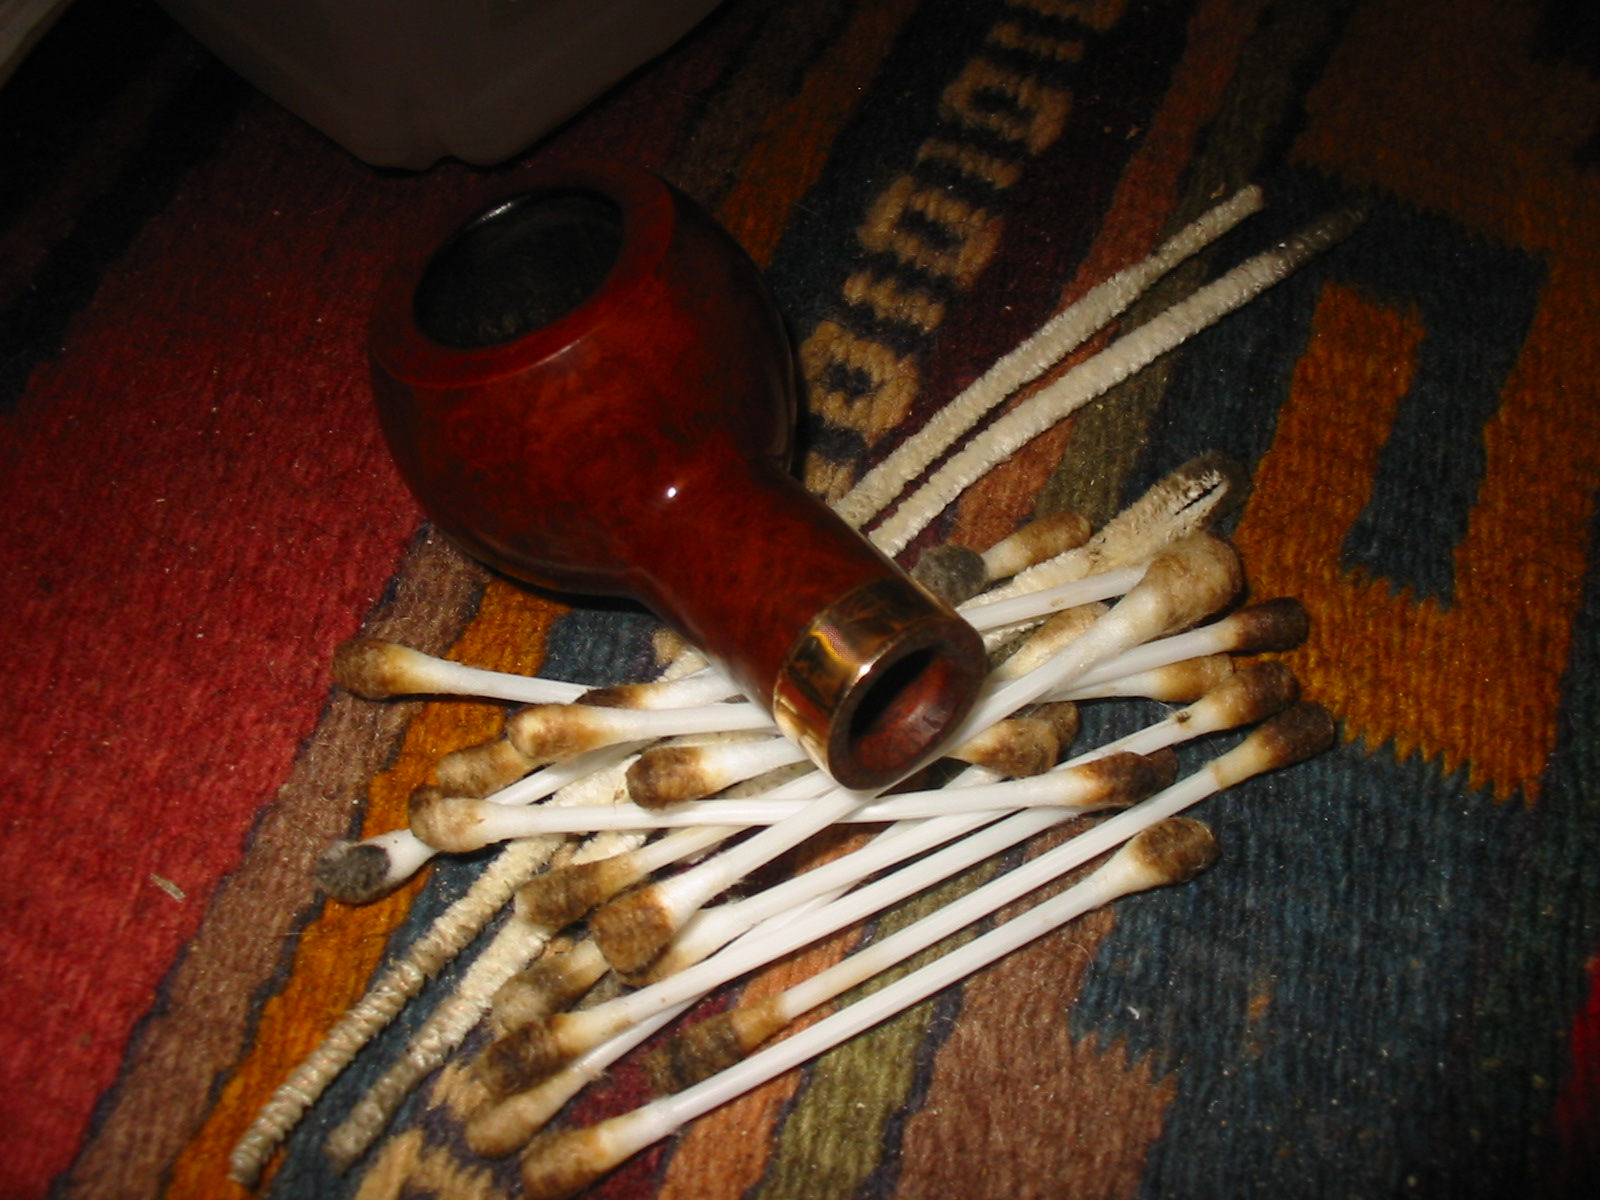
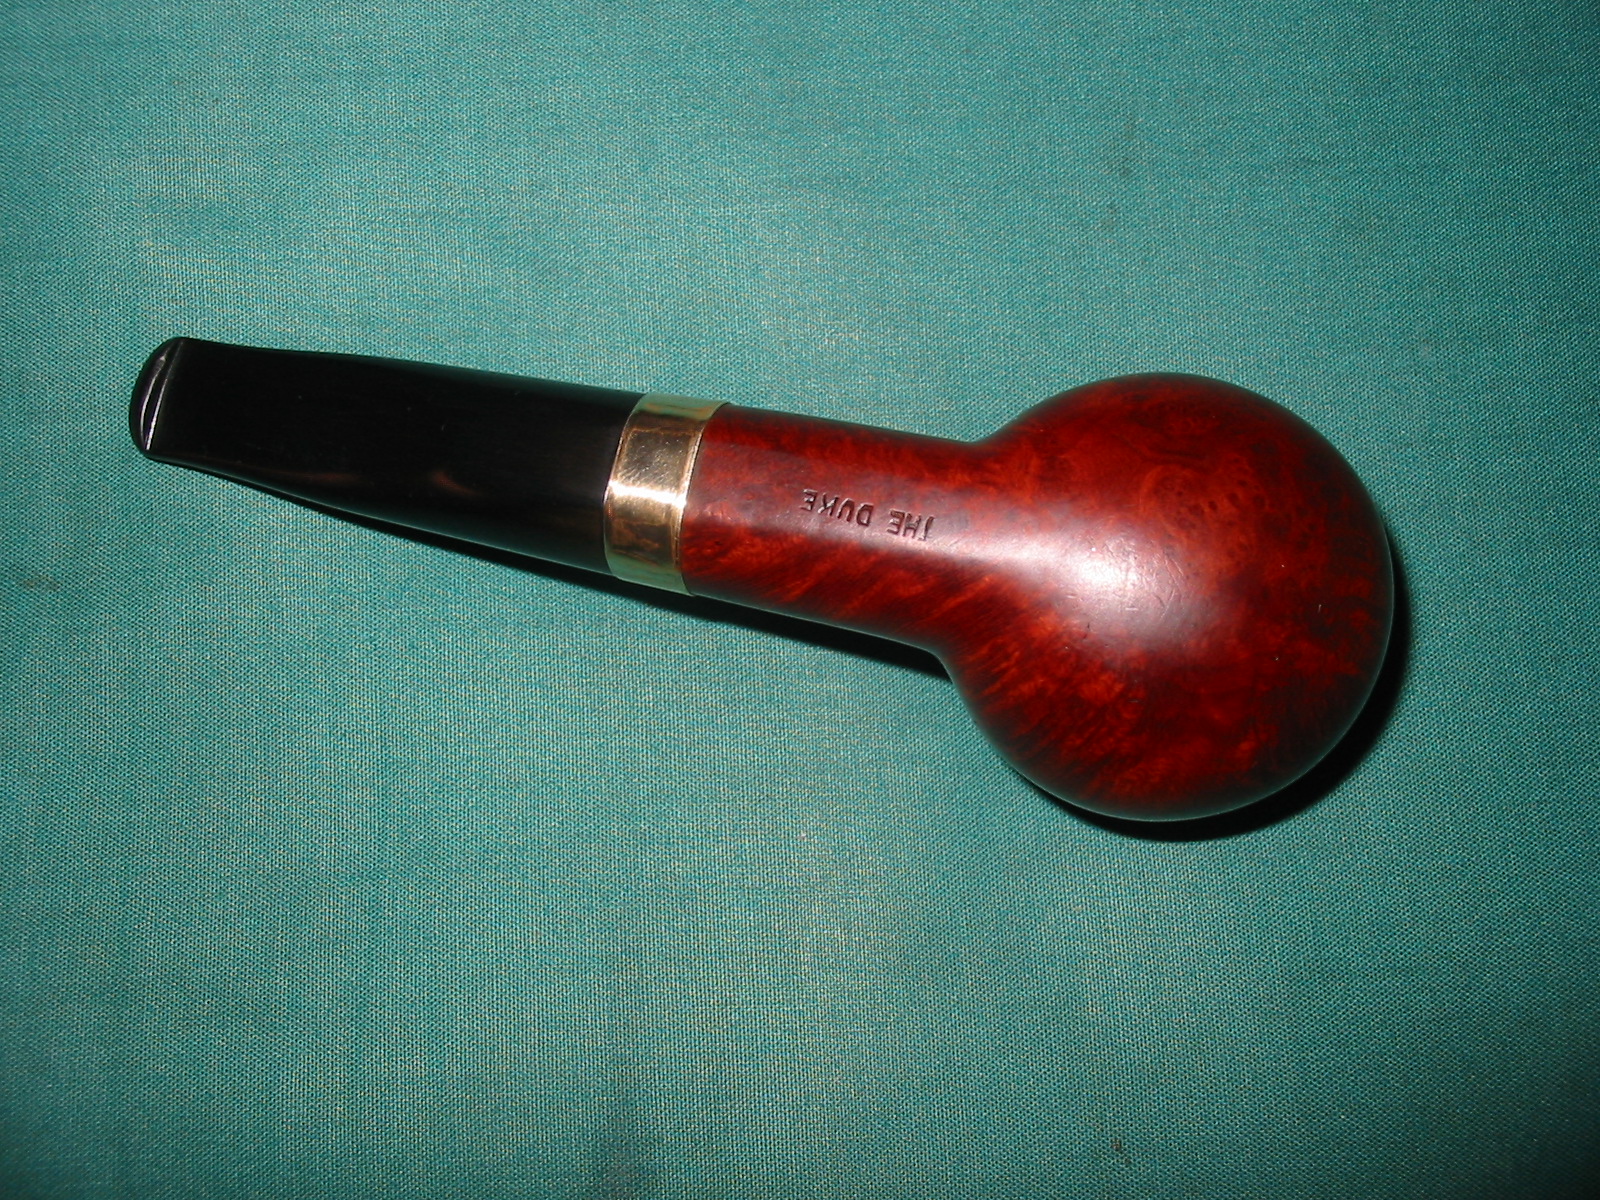
When the pipe arrived it was in good shape. The stamping indeed was HGP over Briar Root on the left side of the shank and The Duke on the bottom of the shank. Part of the shank and bottom of the bowl was flattened so that it was a sitter. I took it apart to examine it more closely. It was anything but cleaned and restored. The stem was rough – there was oxidation next to the band that went quite deep. There was a gouge on the right side of the stem that was quite deep. The top and the bottom of the stem from the taper to the button had obviously been modified to make a more pronounced taper. The file marks were still evident in the vulcanite. The width of the button end of the stem had also been modified and was narrower than originally designed as the sides of the stem also showed file marks. The button itself had a orific opening but someone had modified it into a poorly shaped slot. The stem had deep tooth marks on the surface of top and bottom near the button. There was a bite through on the top side next to the button. The angle of the taper was very abrupt and sharp with distinct cut marks. The tenon was fit for a filter by the appearance of it and the inside was very tarry. A filter would not have fit with all of the buildup in the stem. The bowl was another story. It was out of round with burn marks on the inner edge that needed some work. It had been reamed so that was not an issue. Then inside of the shank was filthy. The tars and oils were thick against the end of the mortise.
I decided to work on the stem first. I wanted to address the taper of the stem and cleanup the file marks and gouge in the top portion. I sanded the stem with 220 grit sandpaper to remove the scratches and reshape the taper. This took quite a bit of sanding to reshape the angles and edges of the stem. There was a slight hip on both sides of the stem that needed to be sanded out to get a smooth flow to the lines of the sides. The next series of photos show the progress in reshaping and repairing the stem. I worked on the taper first to remove the sharp angles of the sides and top of the taper and work on a flow to the profile of the stem.
I sanded the gouge on the top right side of the stem until it disappeared and also worked on the transition from the flattened top and bottom of the taper and the round end next to the shank. The wet spot on the first photo next to the button highlights the spot where the small hole in the top of the taper was. At this point the taper is smooth and the transition is beginning to look right. The profile shot below shows the work that has been done.
I continued to sand and smooth out the taper to give it a look similar to a Peterson tapered stem. The first photo shows the taper after all of the shaping. I rubbed some Vaseline on a pipe cleaner and inserted it in the orific slot in the button so that I could patch the hole in the top side of the stem. The second photo below shows the size and placement of the hole.
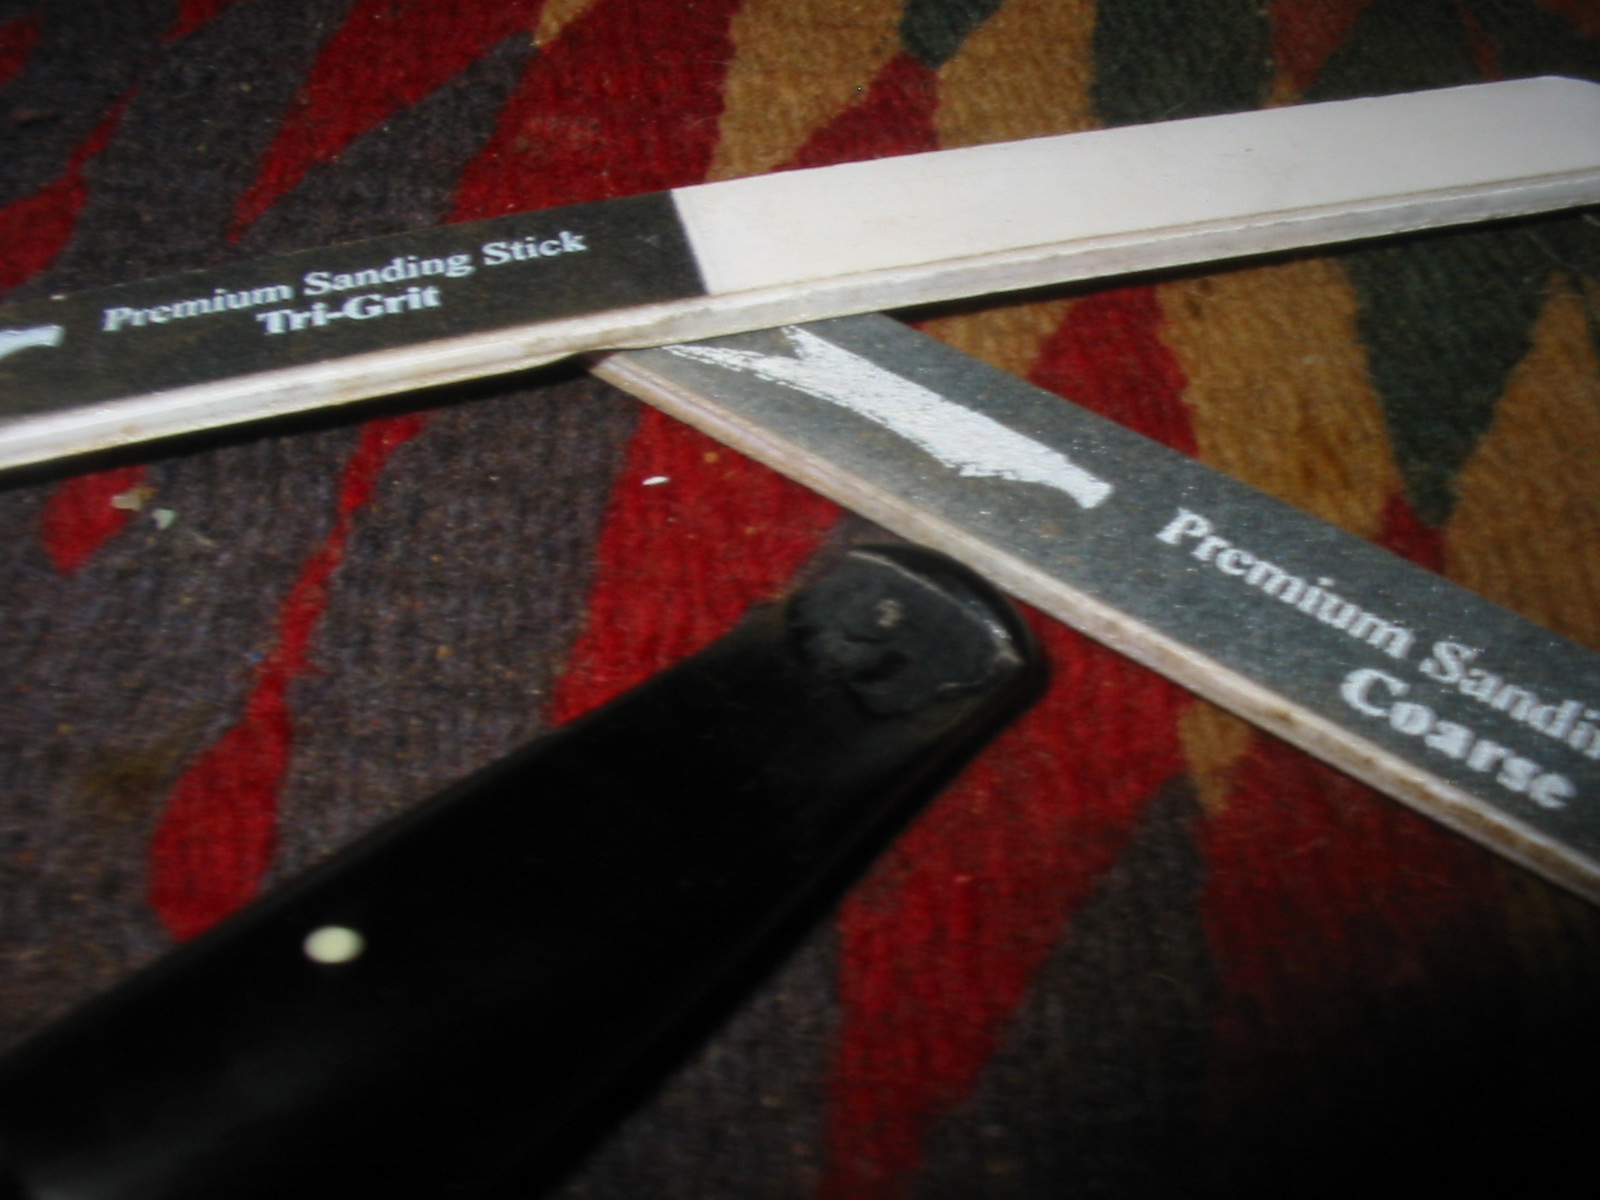
I used black super glue for the repair and sprayed it with the accelerator to harden it more quickly. I found that the accelerator allows me to sand more quickly but curing actually takes longer. I sanded it with sanding sticks to smooth it out and then build it up several more times to give more thickness to the stem at the button. I reshaped the sharp inner edge of the button with a needle file.
After sanding with the sticks I sanded the patched area with 220 grit sandpaper and then with medium and fine grit sanding sponges to smooth out the scratches and blend in the superglue patch with the rest of the stem surface.
I finished sanding the stem with micromesh sanding pads – wet sanding with 1500-3200 grit pads and dry sanding with 3600-12,000 grit pads. I rubbed the stem down with Obsidian Oil between each three grit sequence of pads and let it sit until absorbed before continuing with the next set of three pads. When I finished sanding with the last three grits of micromesh I rubbed it down with a final coat of Obsidian Oil and when dry put the back on the pipe and gave it a buff with White Diamond.
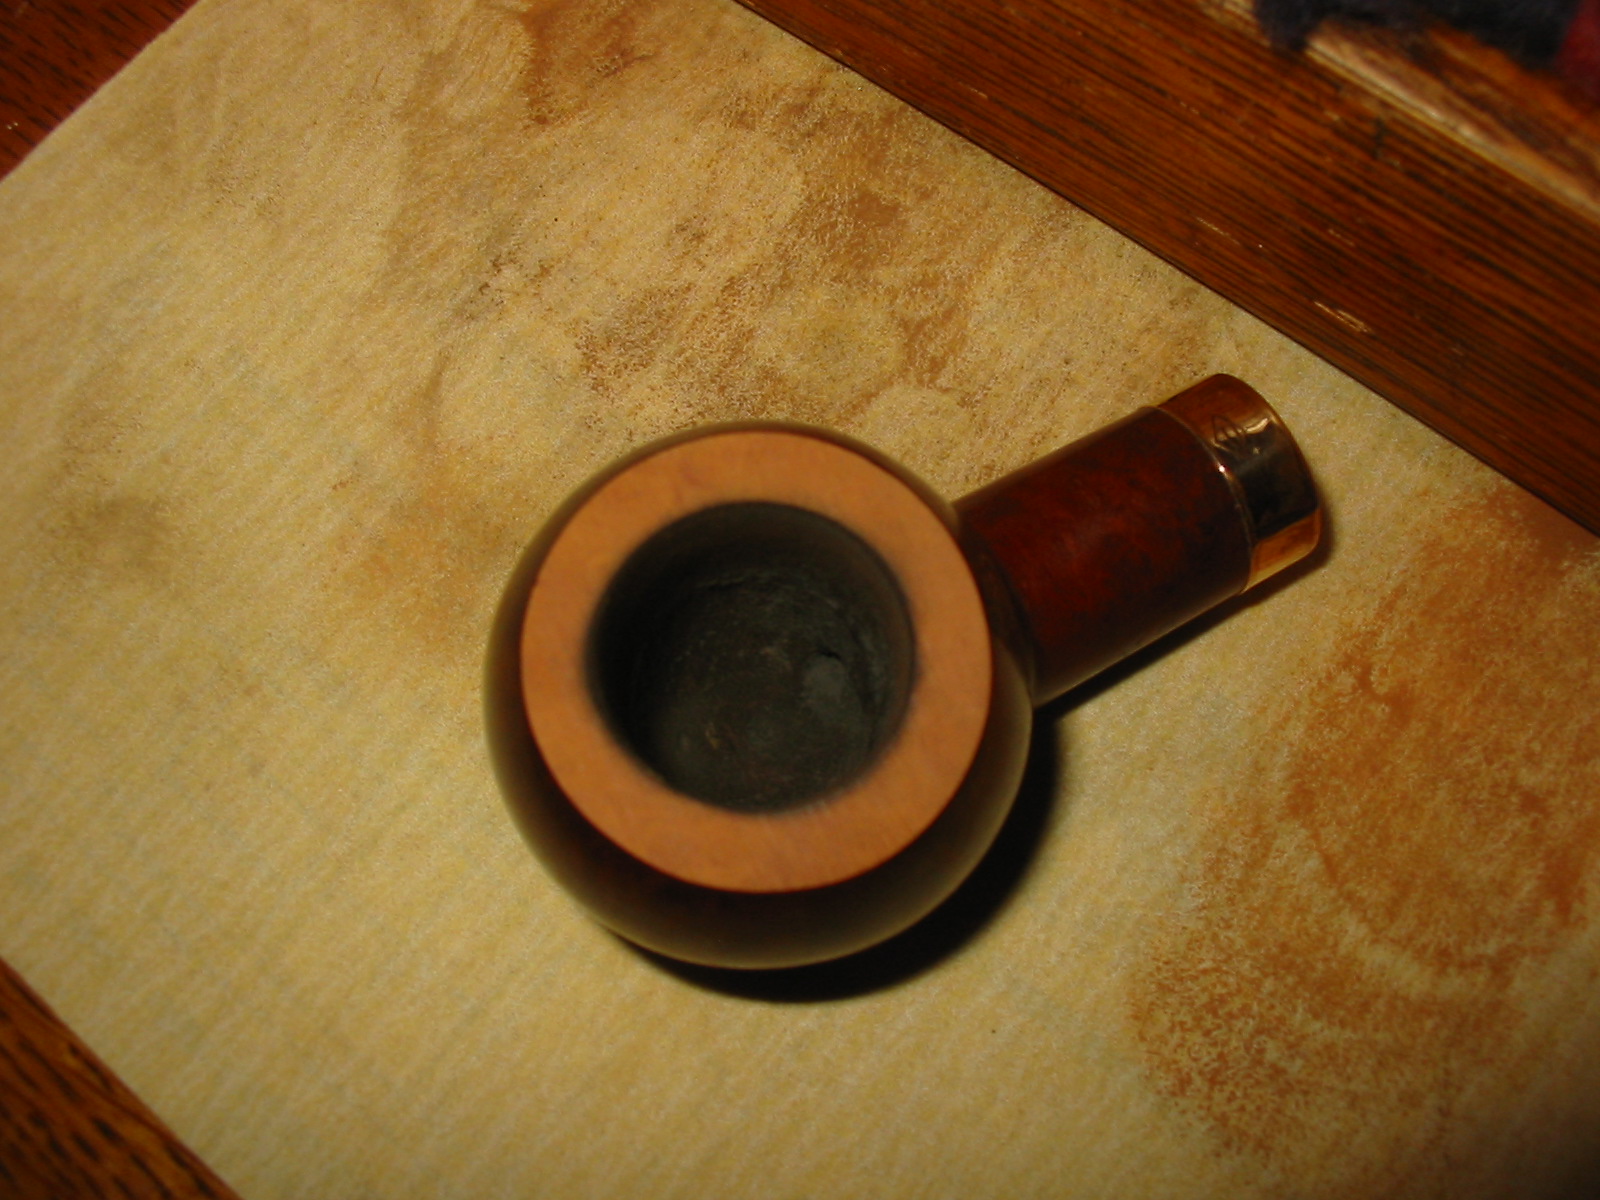
I set the stem aside and turned my attention to the bowl. I decided to top the bowl to even out the rim as most of the inner rim damage did not go too deeply into the bowl. Topping it would smooth out the rim and allow me to correct the damage that made it out of round. I set up the topping board with the 220 grit sandpaper and sanded the top until the rim was smooth and the burn damage was minimized. I sanded the inner edge with a folded piece of 220 grit sandpaper to further mask the damage to the inner rim.
I sanded the topped bowl with medium and fine grit sanding sponges and then with 1500-4000 grit micromesh sanding pads. I cleaned out the sanding dust from the bowl with a damp cloth and wiped down the top of the bowl with an alcohol wipe to prepare it for restaining. I decided against restaining the whole bowl and to just stain the rim. Thanks to Greg I have a set of staining pens that make this kind of thing quite easy. I started with the lightest stain pen and then used the medium stain pen to match the colour of the bowl. I buffed it with White Diamond and then gave the bowl and rim a quick buff with carnauba wax. After the buffing I sanded the band with the micromesh sanding pads and then polished it with a polishing cloth. The finished bowl is shown in the photos below.
The next photo shows what I did next, though in retrospective I probably should have done this first, I did not. I cleaned out the inside of the shank with isopropyl alcohol, cotton swabs and pipe cleaners to remove the tarry buildup in the mortise and airway of the pipe.
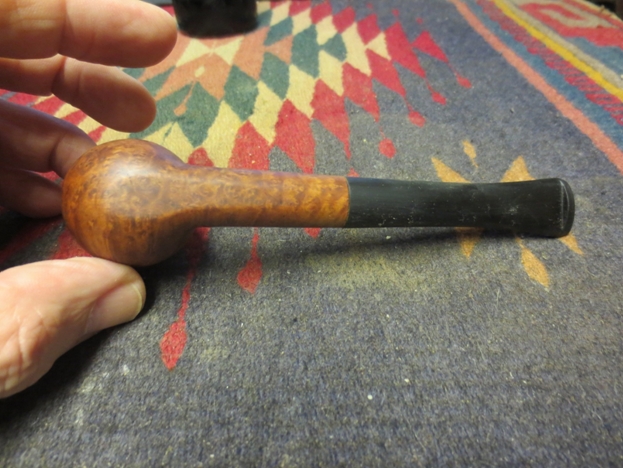
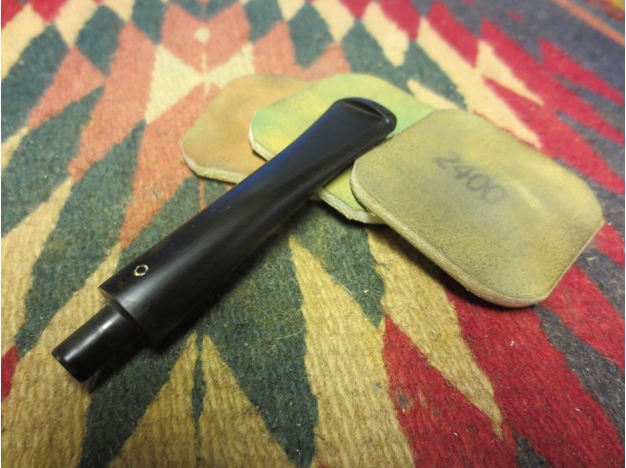
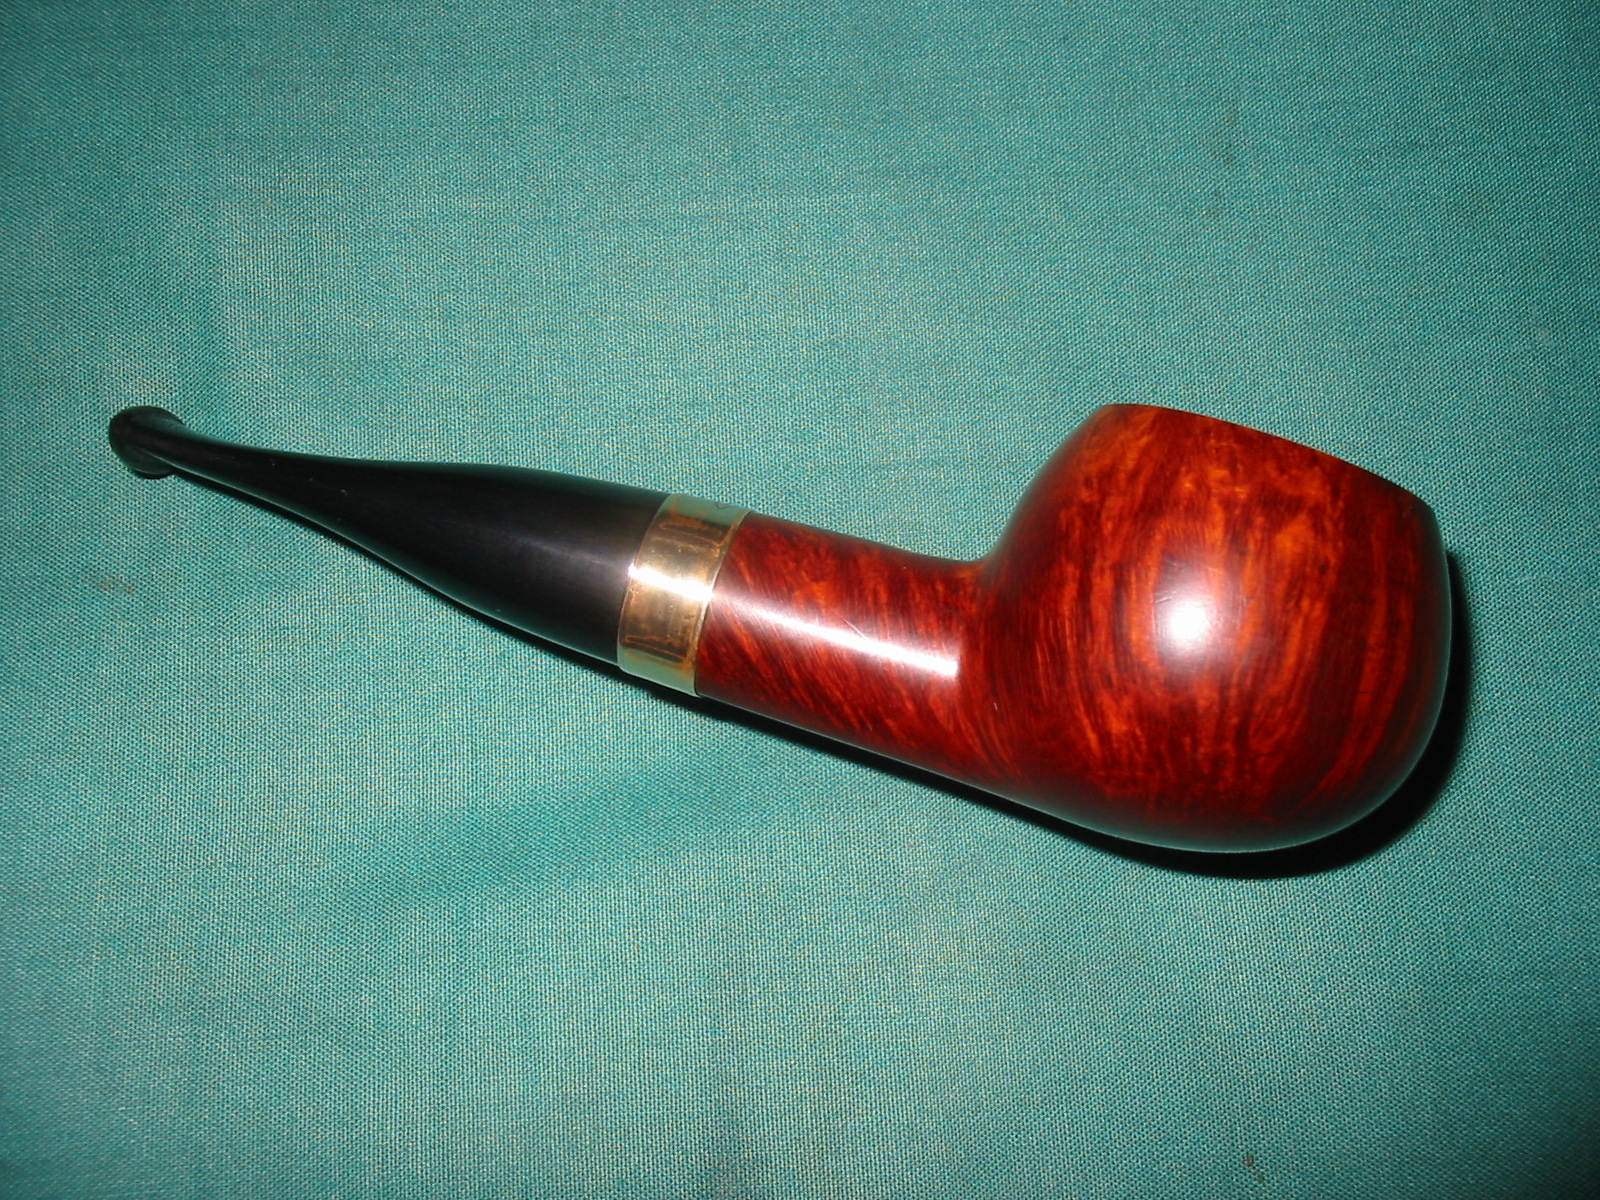
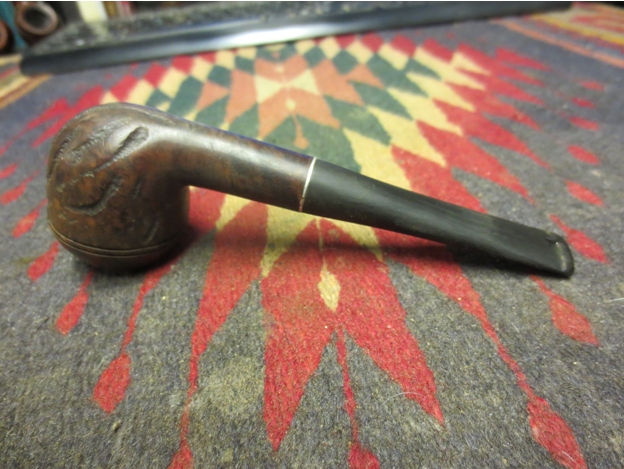
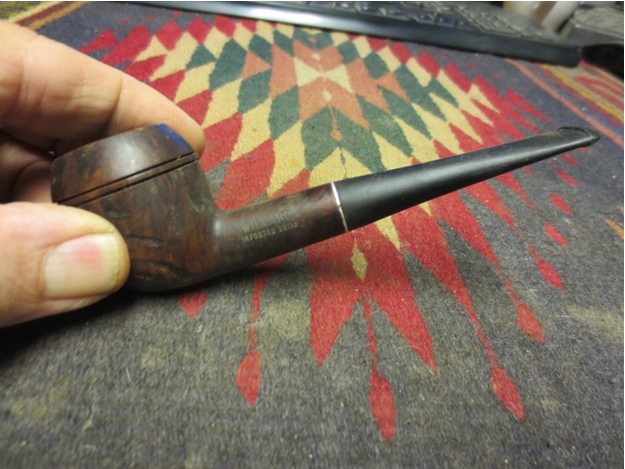
Once I finished cleaning out the inside of the pipe I gave it a quick buff with White Diamond and then gave it multiple coats of carnauba wax, buffing with a soft flannel buff between coats. The finished pipe is shown below. The restoration and refurbishment are complete and now it can be honestly said that it has been “restored”. The amount of work it took to bring this pipe back to a finished look was far more than I expected when I bid on it. I honestly was surprised at how dirty and unfinished it was when it arrived. Now I have a pipe that I can be proud of and enjoy smoking. The look and feel in the hand is exactly what I like and I look forward to firing up the first bowl in it very soon.
Restemming and Rejuvenating a Pipe for my Son-in-Law
Last evening my daughter and her husband had us over for a wonderful meal of pulled pork and salads. My daughter is a great cook but this time around her husband made the main course. My daughter called just before we went and asked that I bring my pipe and some tobacco to share. I could relax on the back porch and her husband, Lance and I could share a few bowls. It was a great evening and we shared a few bowls. I looked over his pipes and realized that most of them had come from me. In fact the first pipe he had ever smoked came from me – many years ago now. His brother had worked for me and I had introduced them both to the pipe. Anyway, as we spoke he said he had one with a broken stem. The pipe was an Italian basket pipe and had a hard Lucite stem. Somehow he had stepped on it and the stem had snapped in half. In the photo below you can see the break in the stem. It had been sitting with the stem out of the shank for a long time and the tenon no longer fit into the shank. The edges of the stem had been rounded to give it an interesting look, but it did nothing for me. The shank itself was also rounded so it would not take a stem the same diameter as the shank.
To take out the rounded end would have shortened the shank by almost ½ inch so I decided to leave that detail alone and restem it with a stem similar to the original. I also decided to use vulcanite instead of Lucite. The new stem is shown below. It is the same diameter as the previous stem and would have a similar look to it. I would not round the end of the stem but rather leave it flat to sit flush against the top of the crowned shank.
The stem was one from my stem can that had previously been on a different pipe. It was bent the proper angle already so I would not need to bend it or shape it. I just need to clean it up and remove the oxidation from the outside and clean out the interior as well. I also use some 220 grit sandpaper and worked on the tenon so that it had a good snug fit in the shank. I twisted it into place in the shank and took the photo below to get an idea of the new look.
The next two photos give a picture of just a few of the pipe cleaners I used to clean out the stem. I also used a sharp knife to bevel the end of the tenon into a funnel. The previous stem had been drilled off centre and did not match the airway in the end of the mortise. It was well drilled and centered so the funnel on the tenon end would encourage good airflow through the pipe. A quick draw on the stem demonstrated that the draught was good and open now as opposed to the tight draw that it had before. I sanded the calcification on the stem with 220 grit sandpaper and then with medium and fine grit sanding sponges to remove the scratches and the oxidation at the end of the stem.
I took the pipe to the buffer and gave it a quick buff with Tripoli and White Diamond to clean off the rim and also clean up the stem some more. I still need to sand the stem around the shank junction to remove stubborn oxidation and then polish it. I sanded the stem with 220 grit sandpaper and medium and fine grit sanding sponges to remove the oxidation near the shank. Then I used my usual array of micromesh pads – wet sanding with 1500-2400 grit pads and dry sanding with 3200-15,000 grit pads.
I wiped the stem down with Obsidian Oil and when it dried I buffed it with red Tripoli and worked on the area near the tenon. I buffed it with White Diamond after than to polish it. Then I took it back to the work table and sanded it with the last three micromesh sanding pads.
I polished the stem with Meguier’s Scratch X2.0 and then buffed a final time with White Diamond. I gave the stem multiple coats of carnauba wax and buffed it with a soft flannel buff. I lightly buffed the bowl with wax and a soft buff as well. The finished pipe is shown below. On Wednesday evening I will deliver it to my son in law so he can fire it up after several years of not using it. I look forward to hearing what he thinks of the new stem.

Yet Another Frankenpipe – A pipe made from assorted pieces
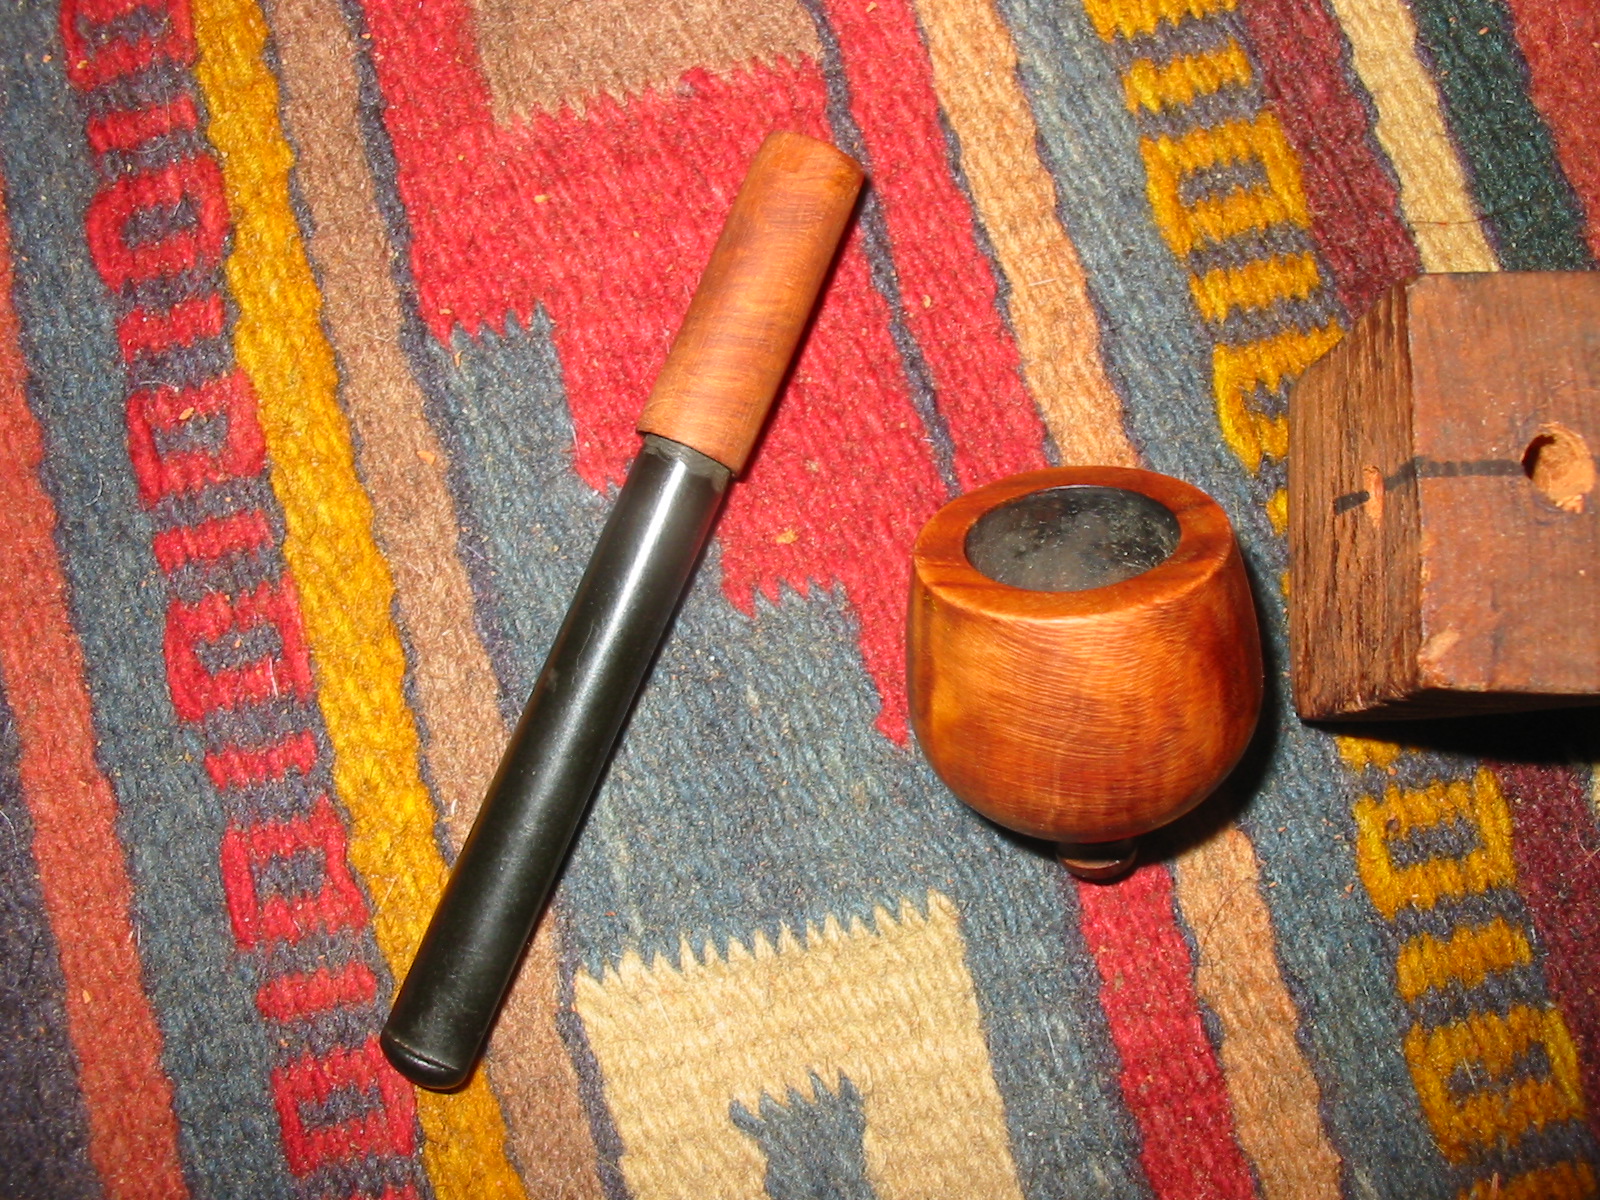
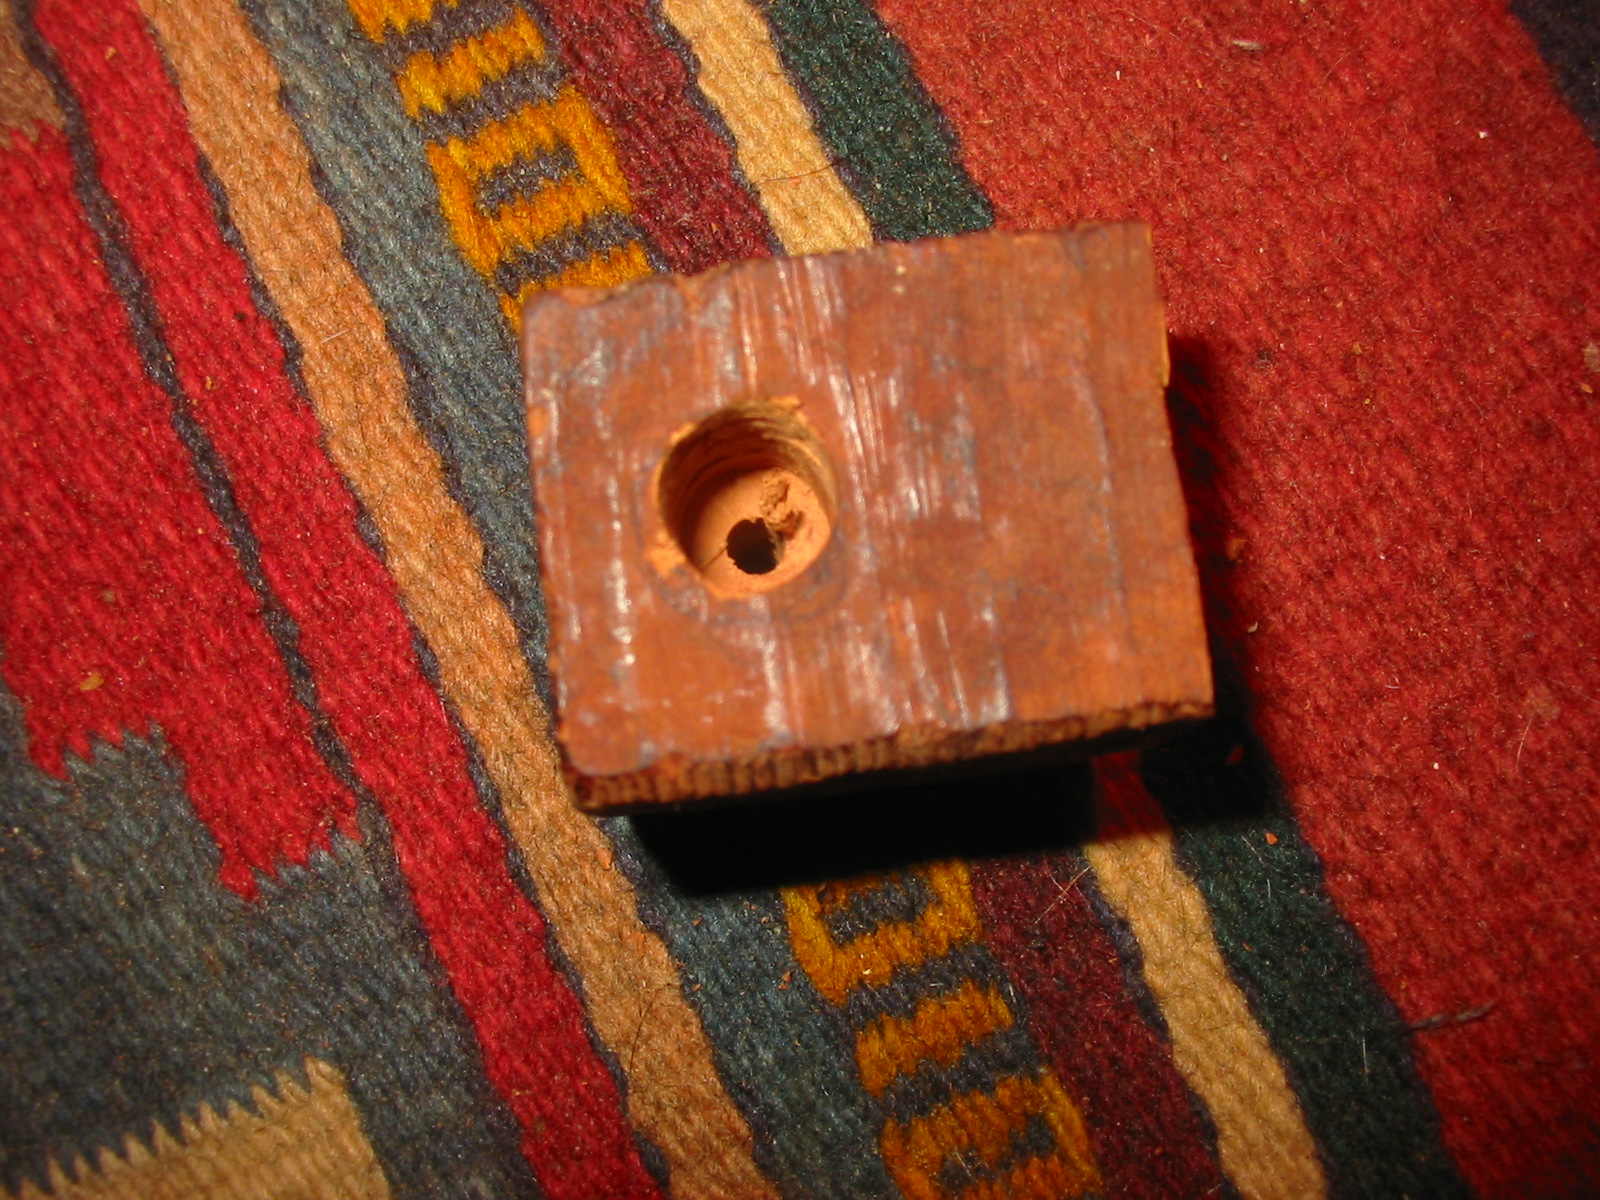
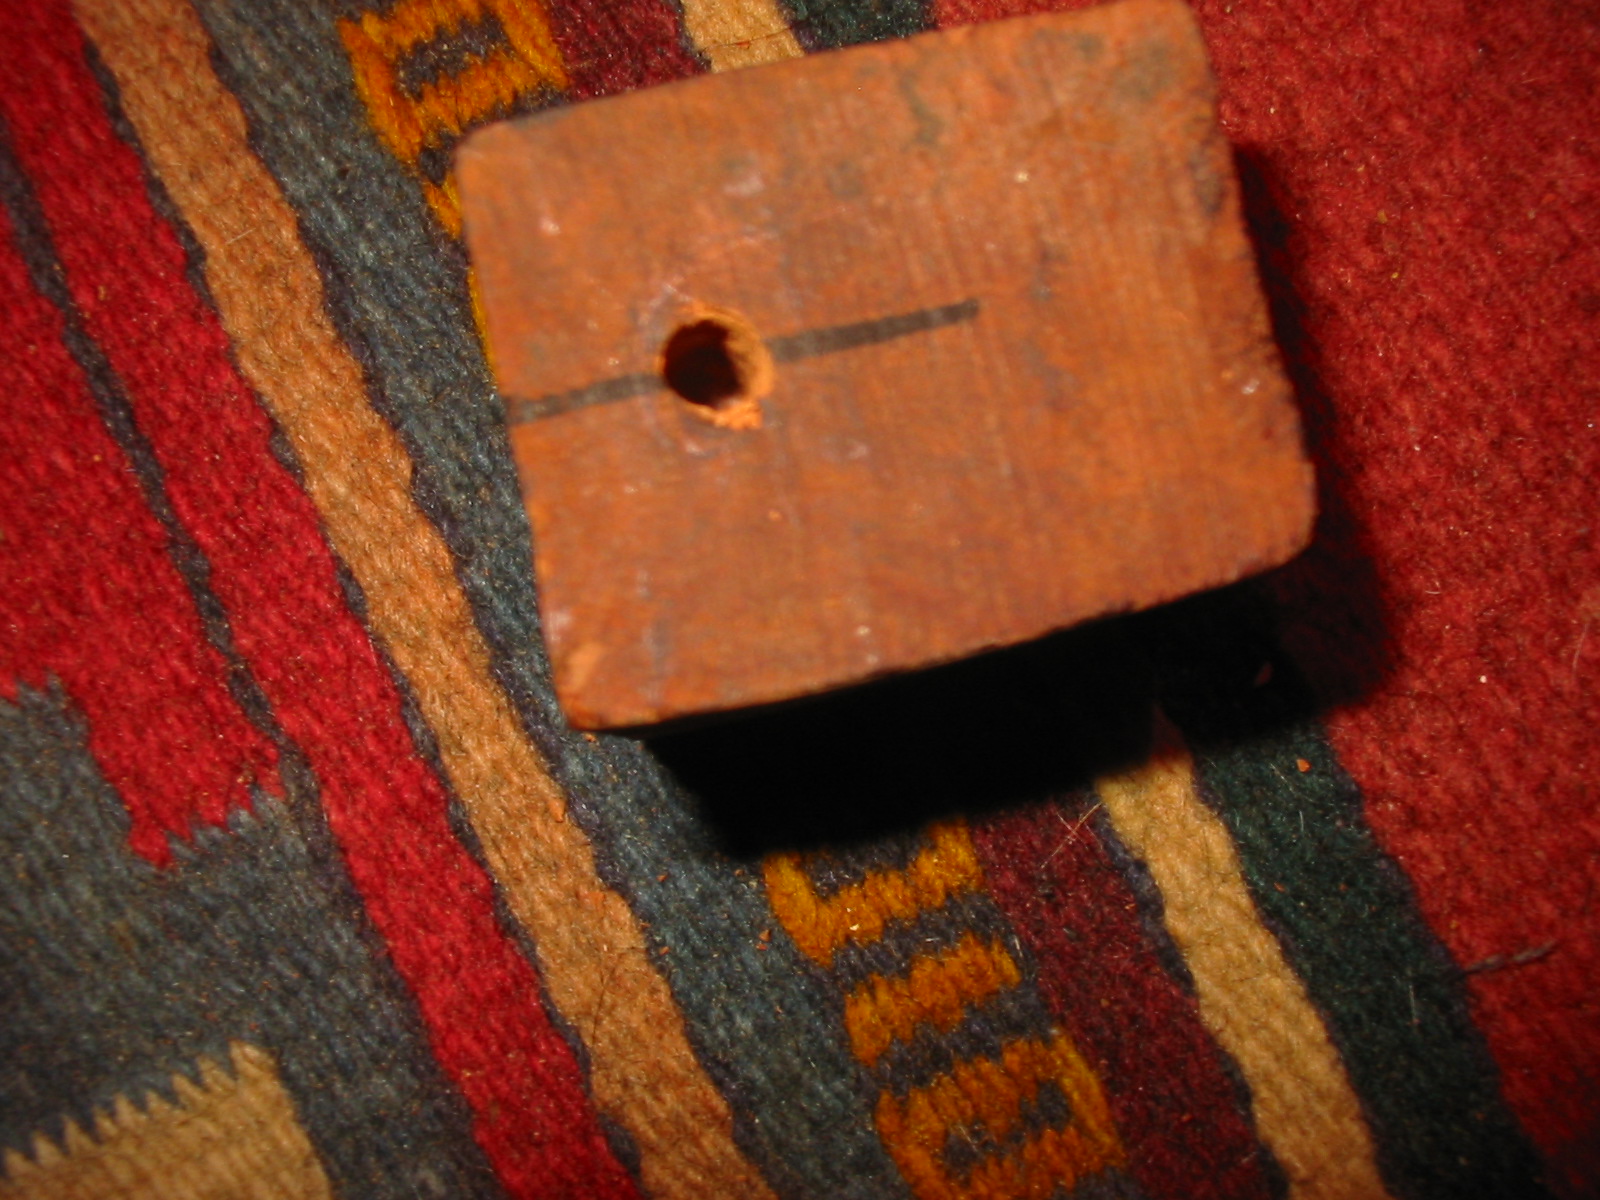
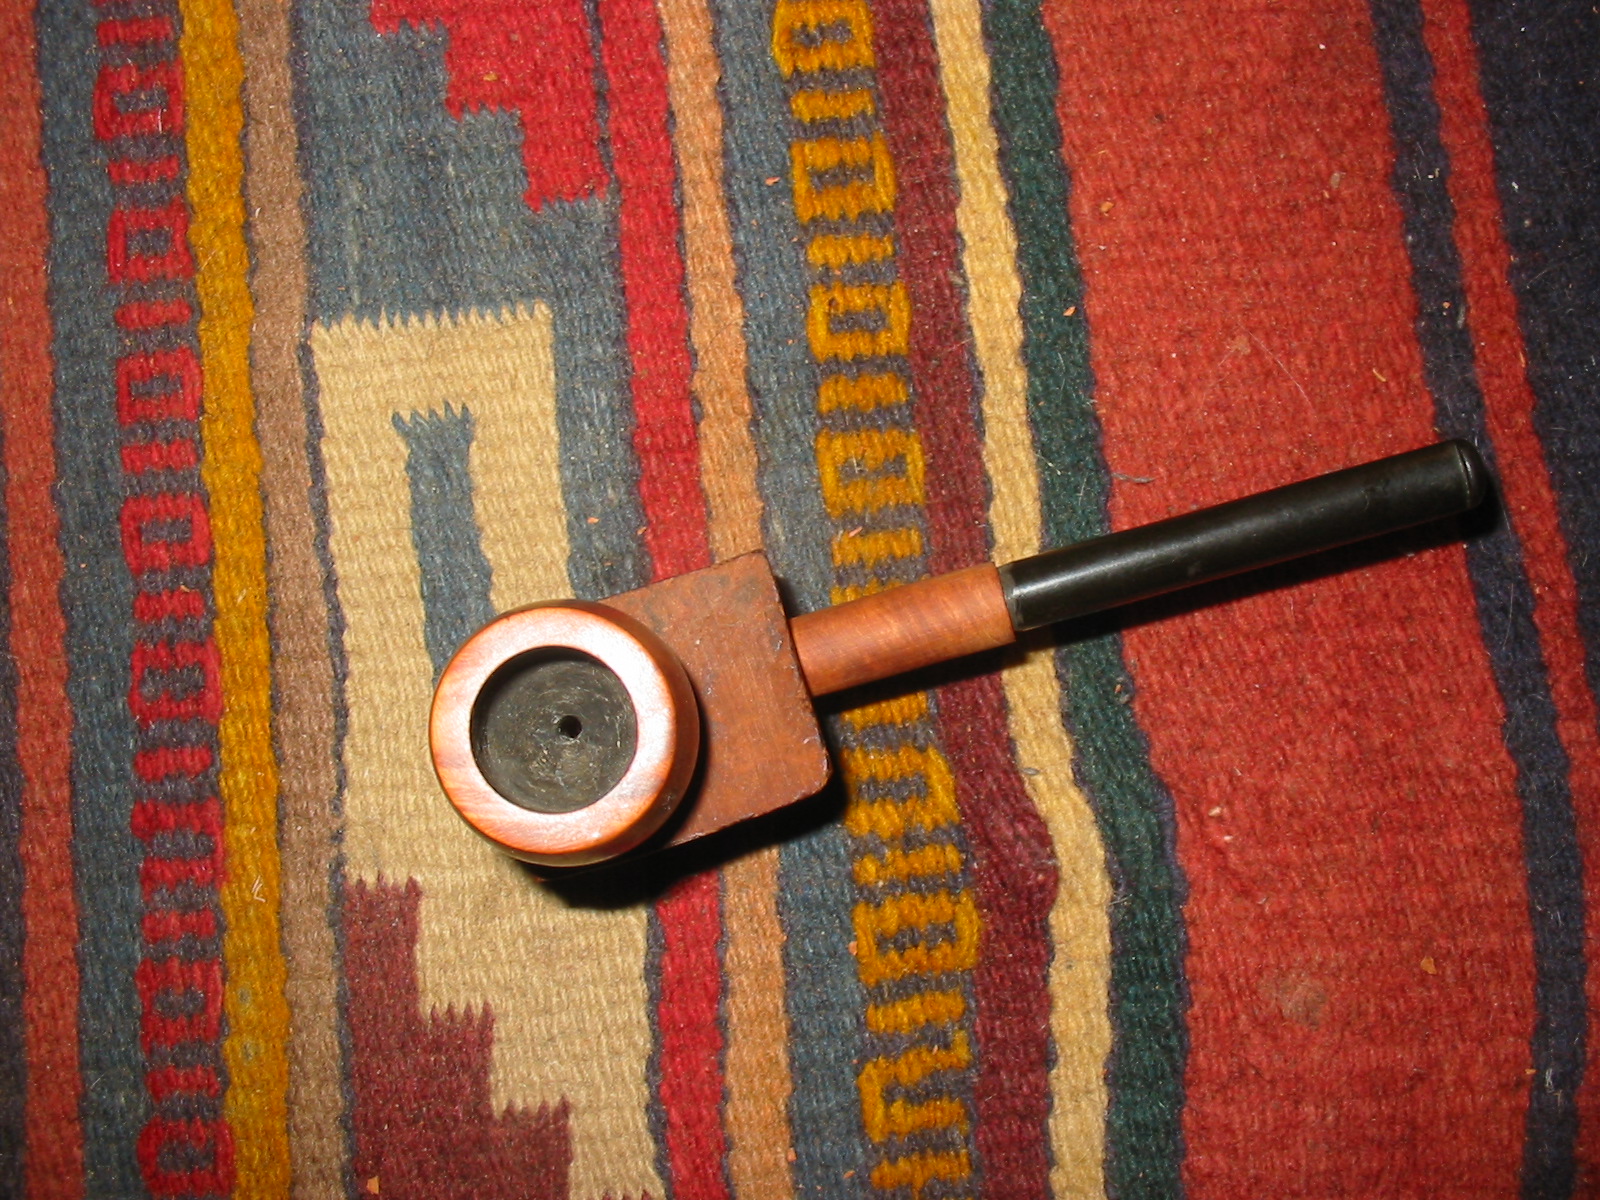
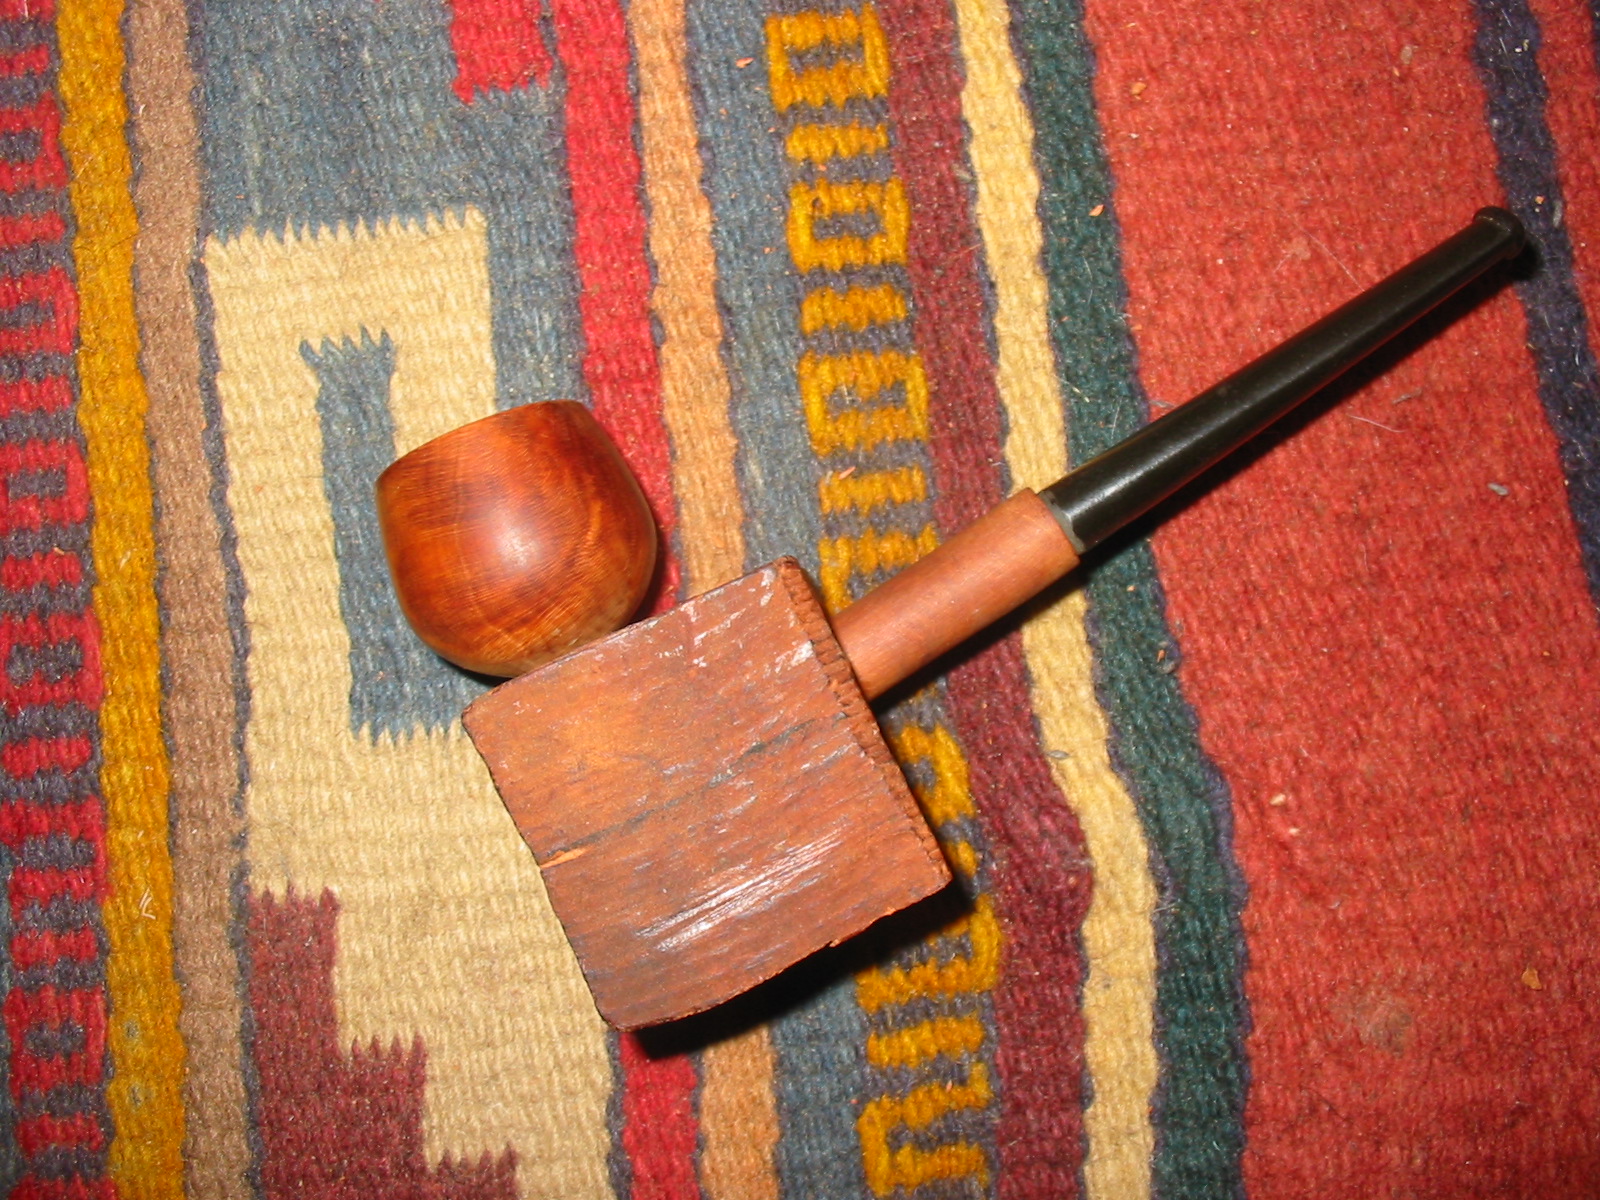
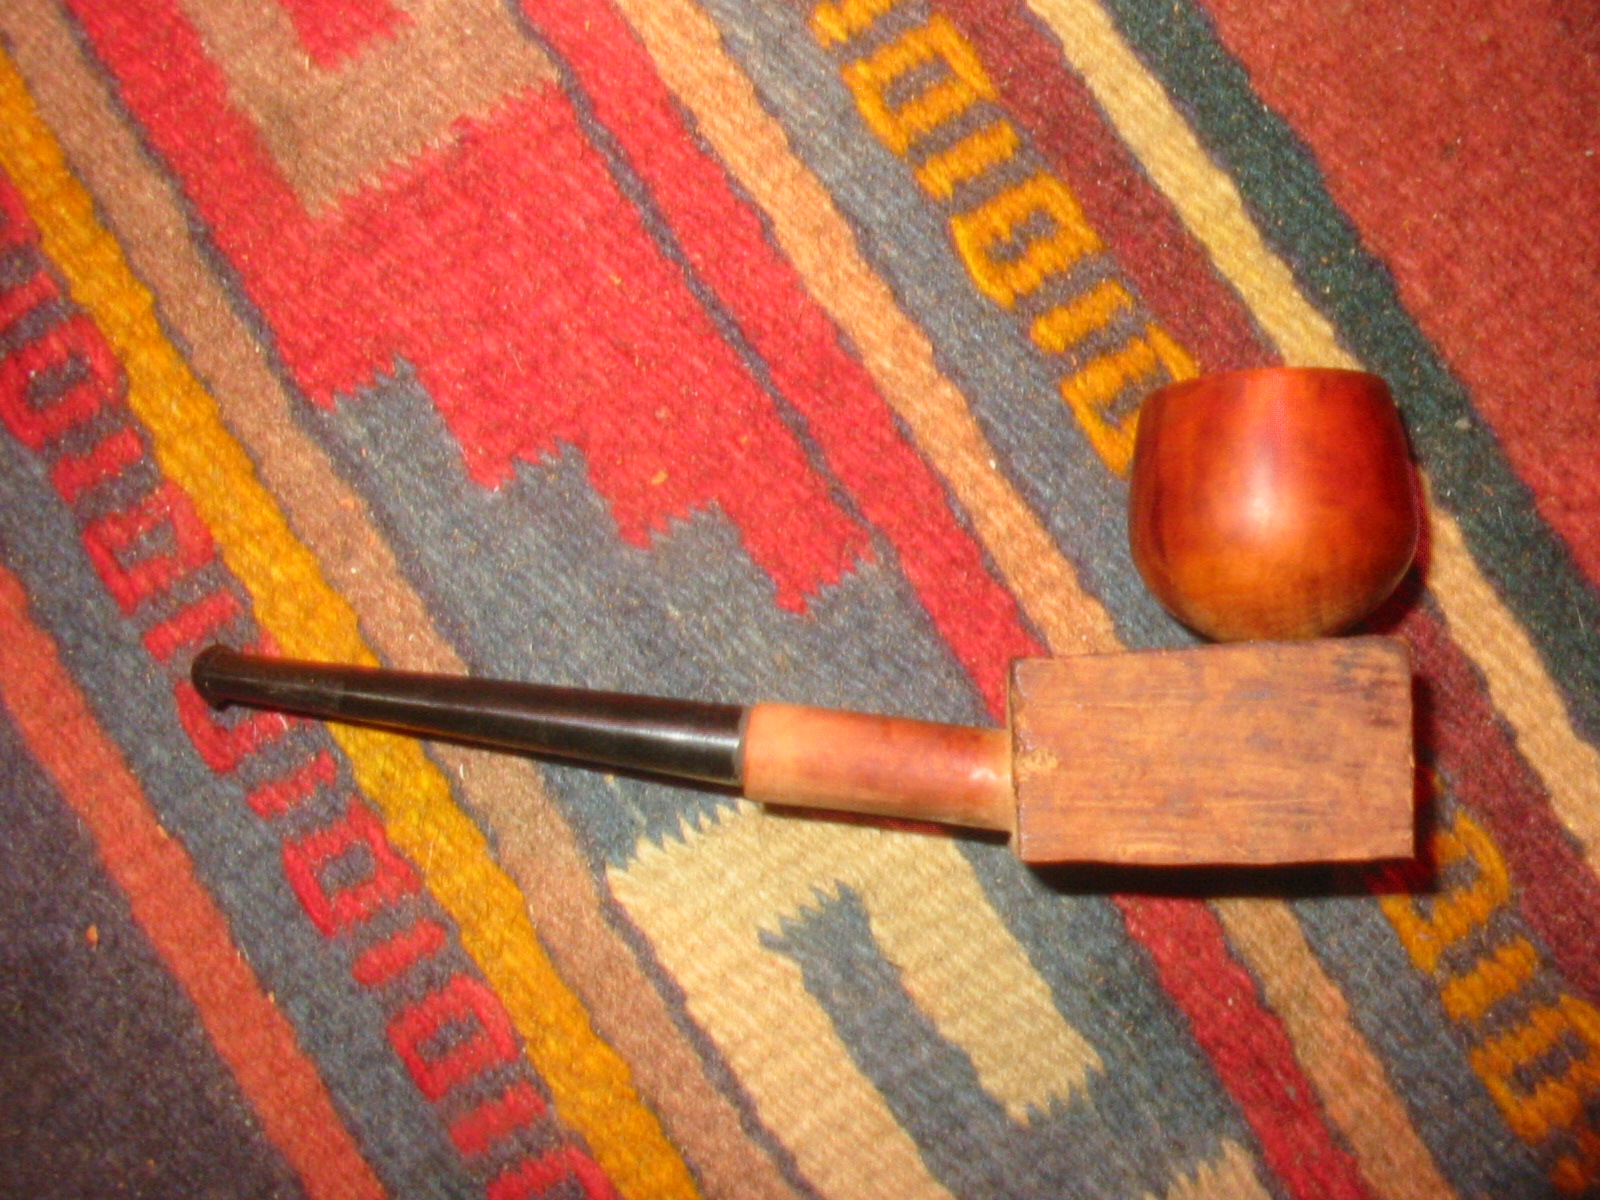
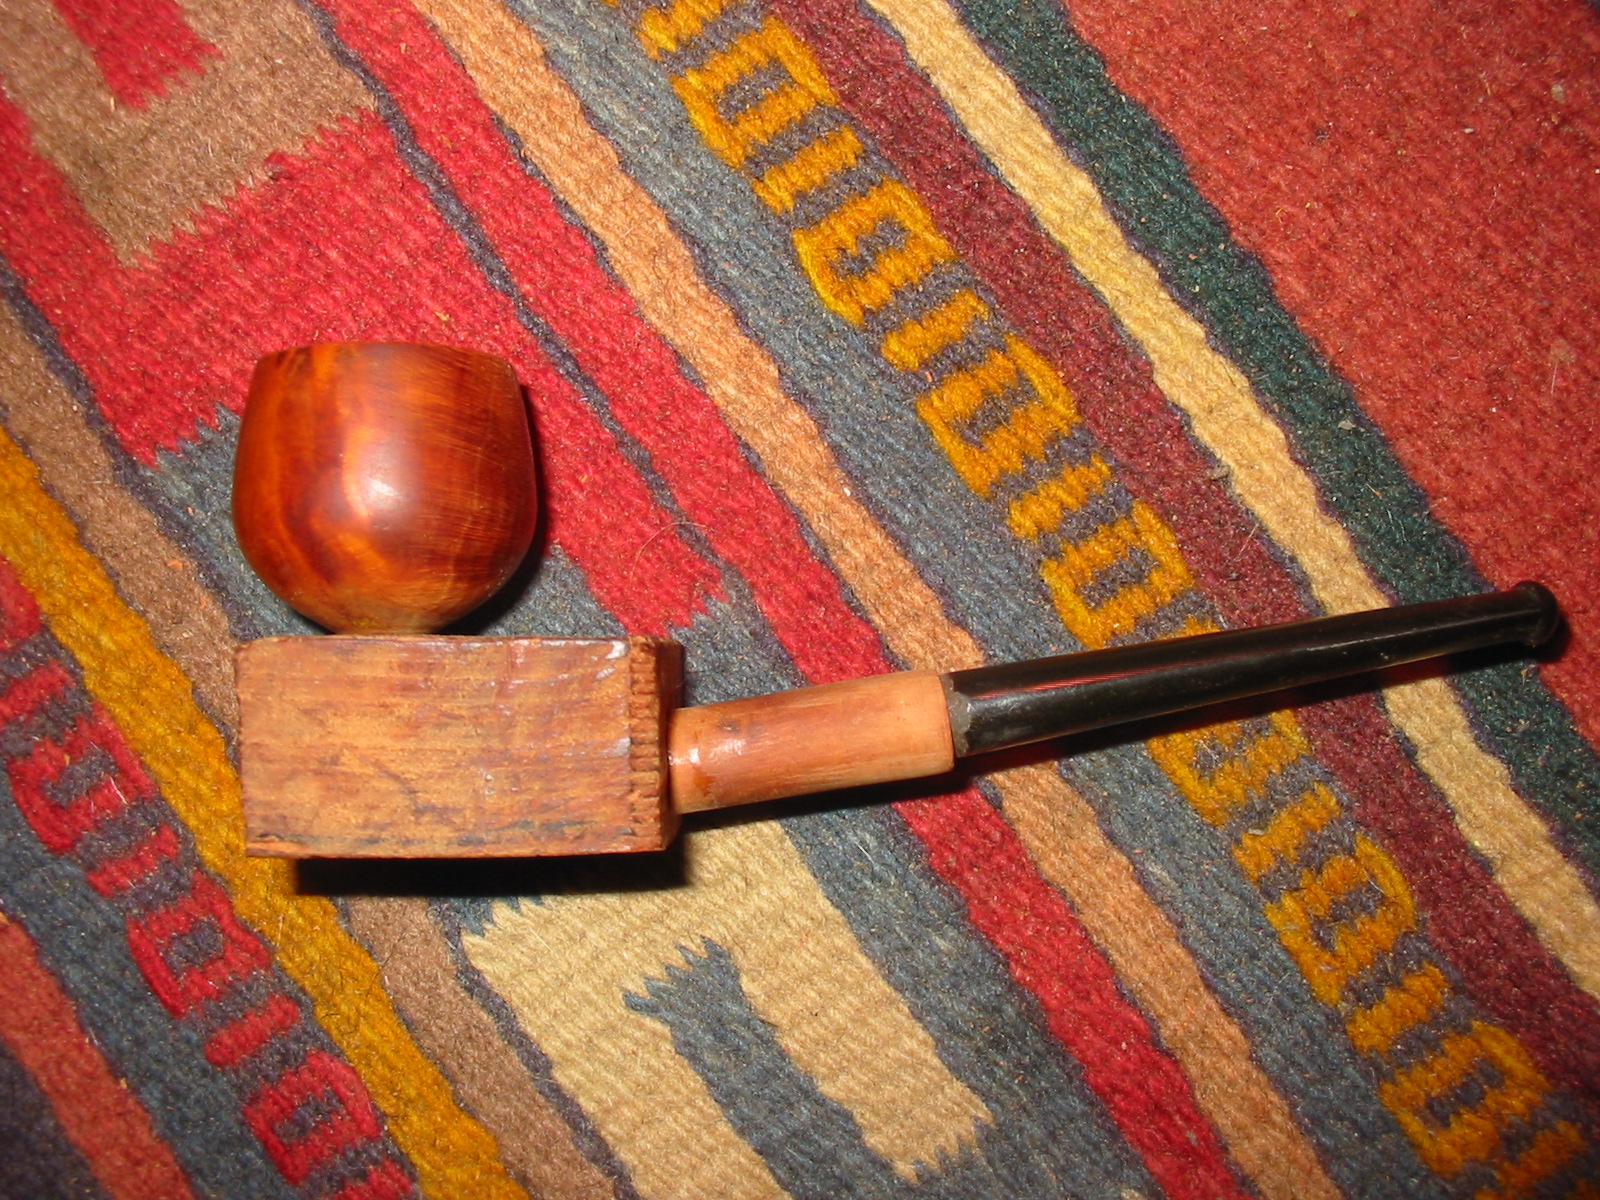
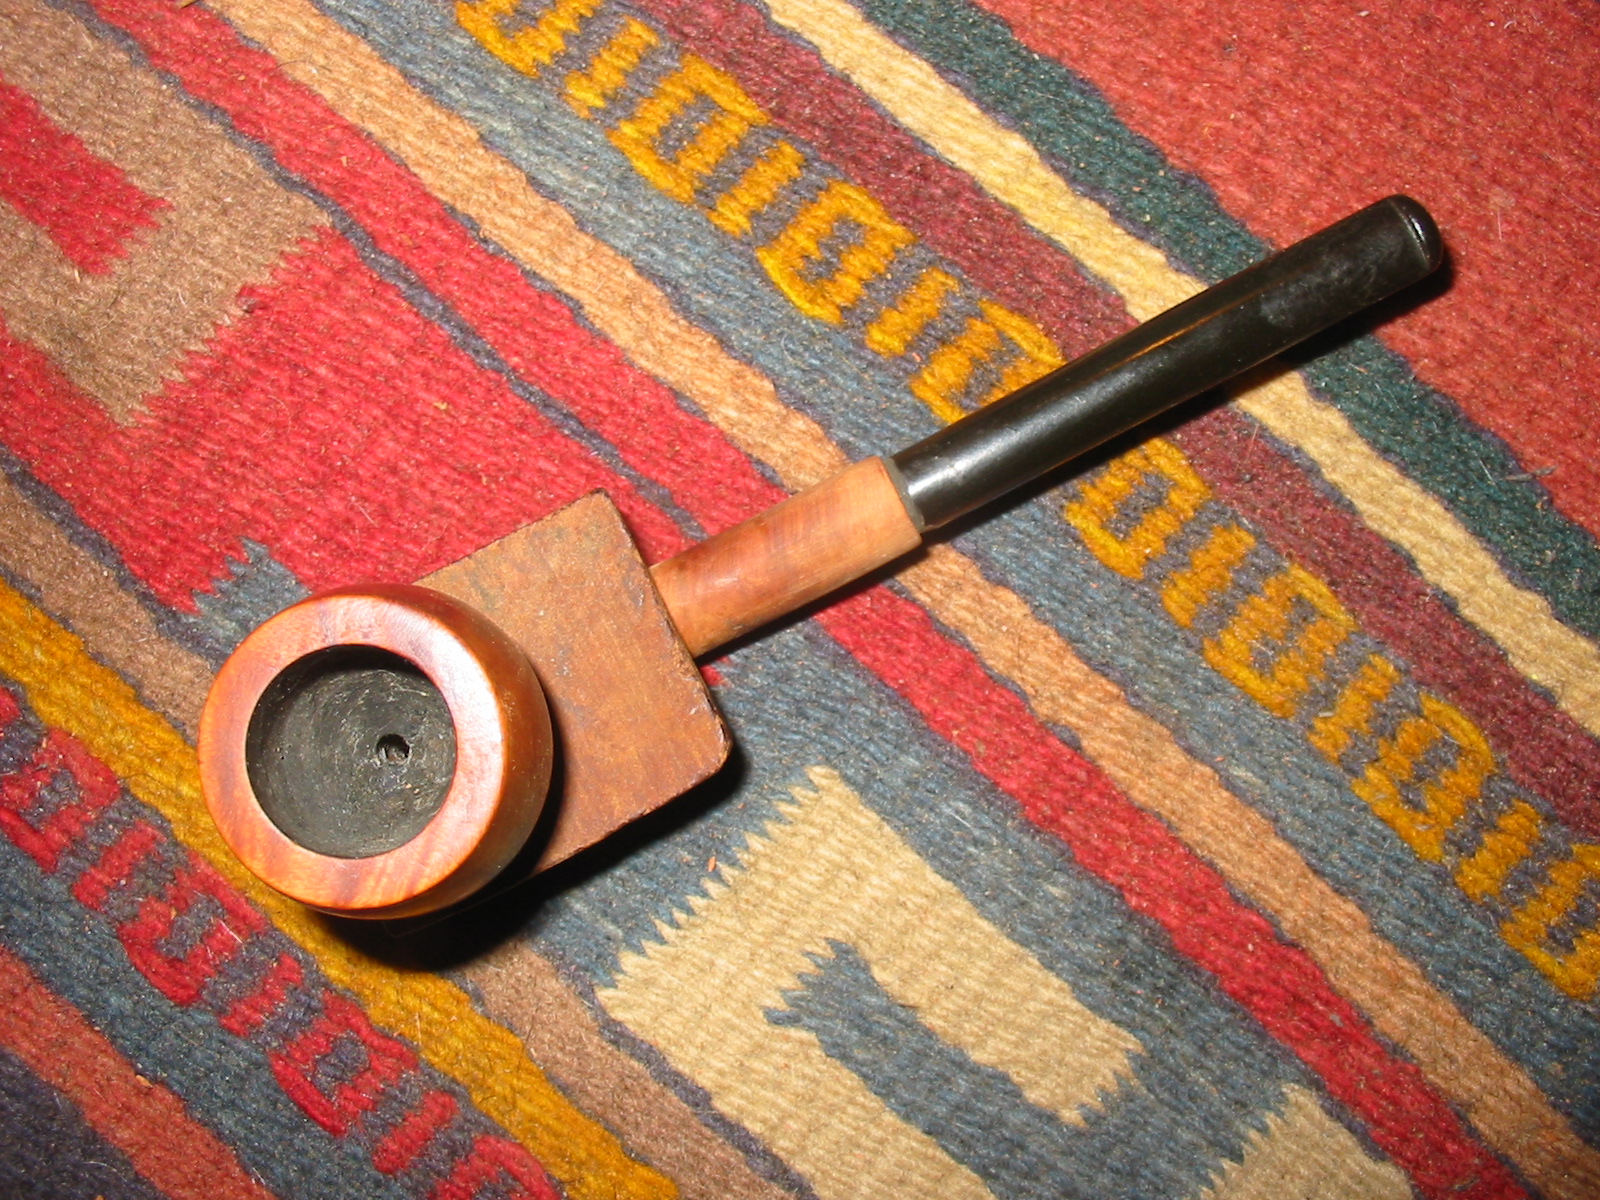
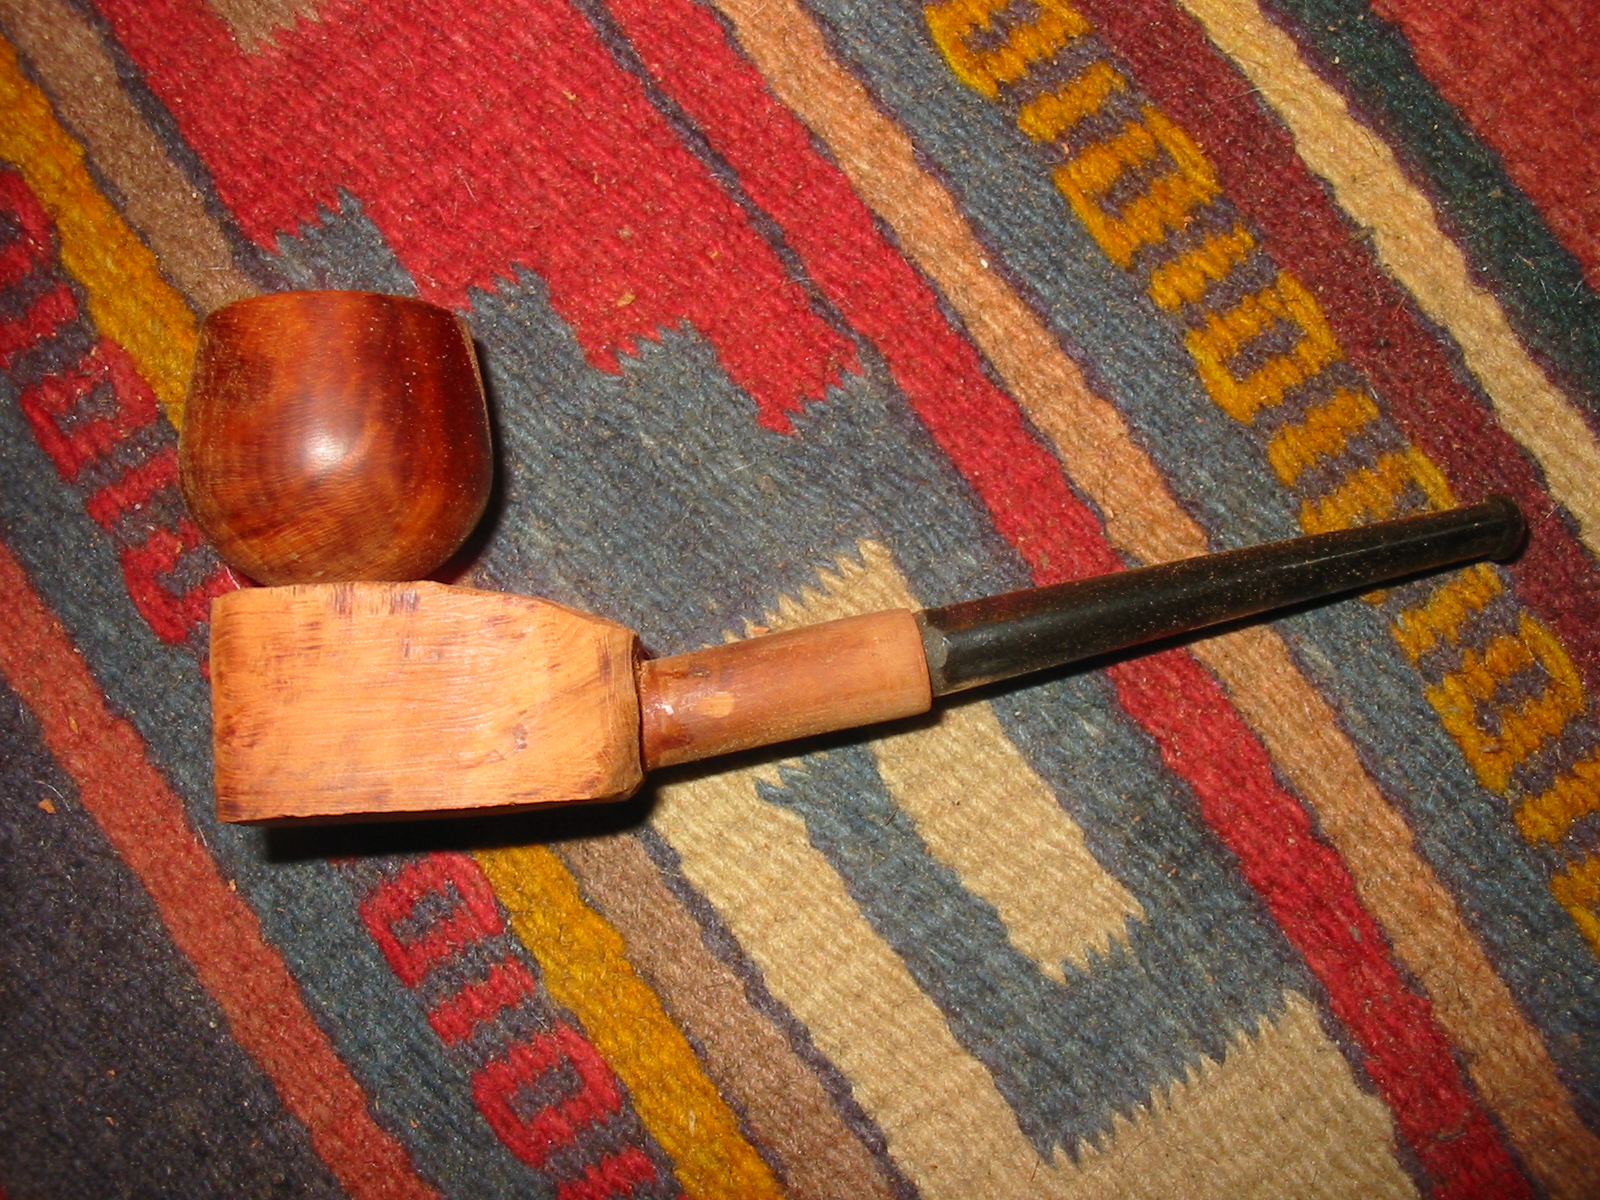
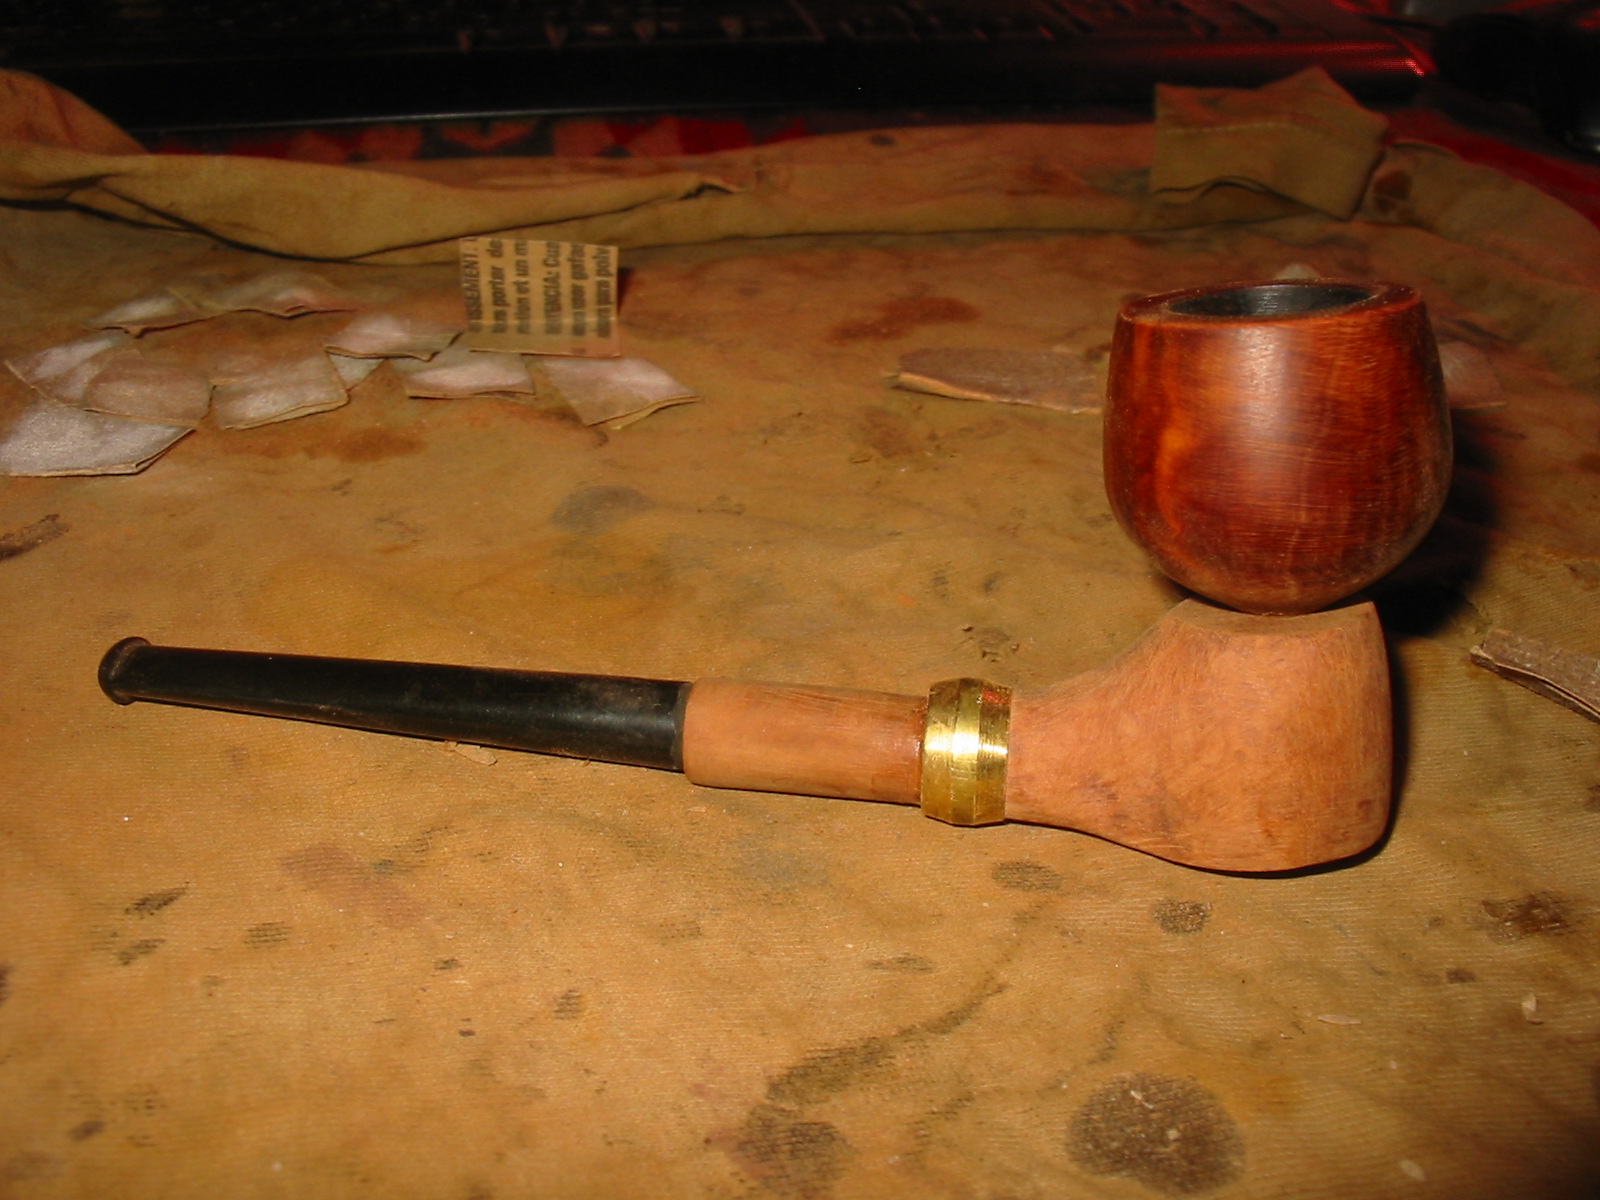
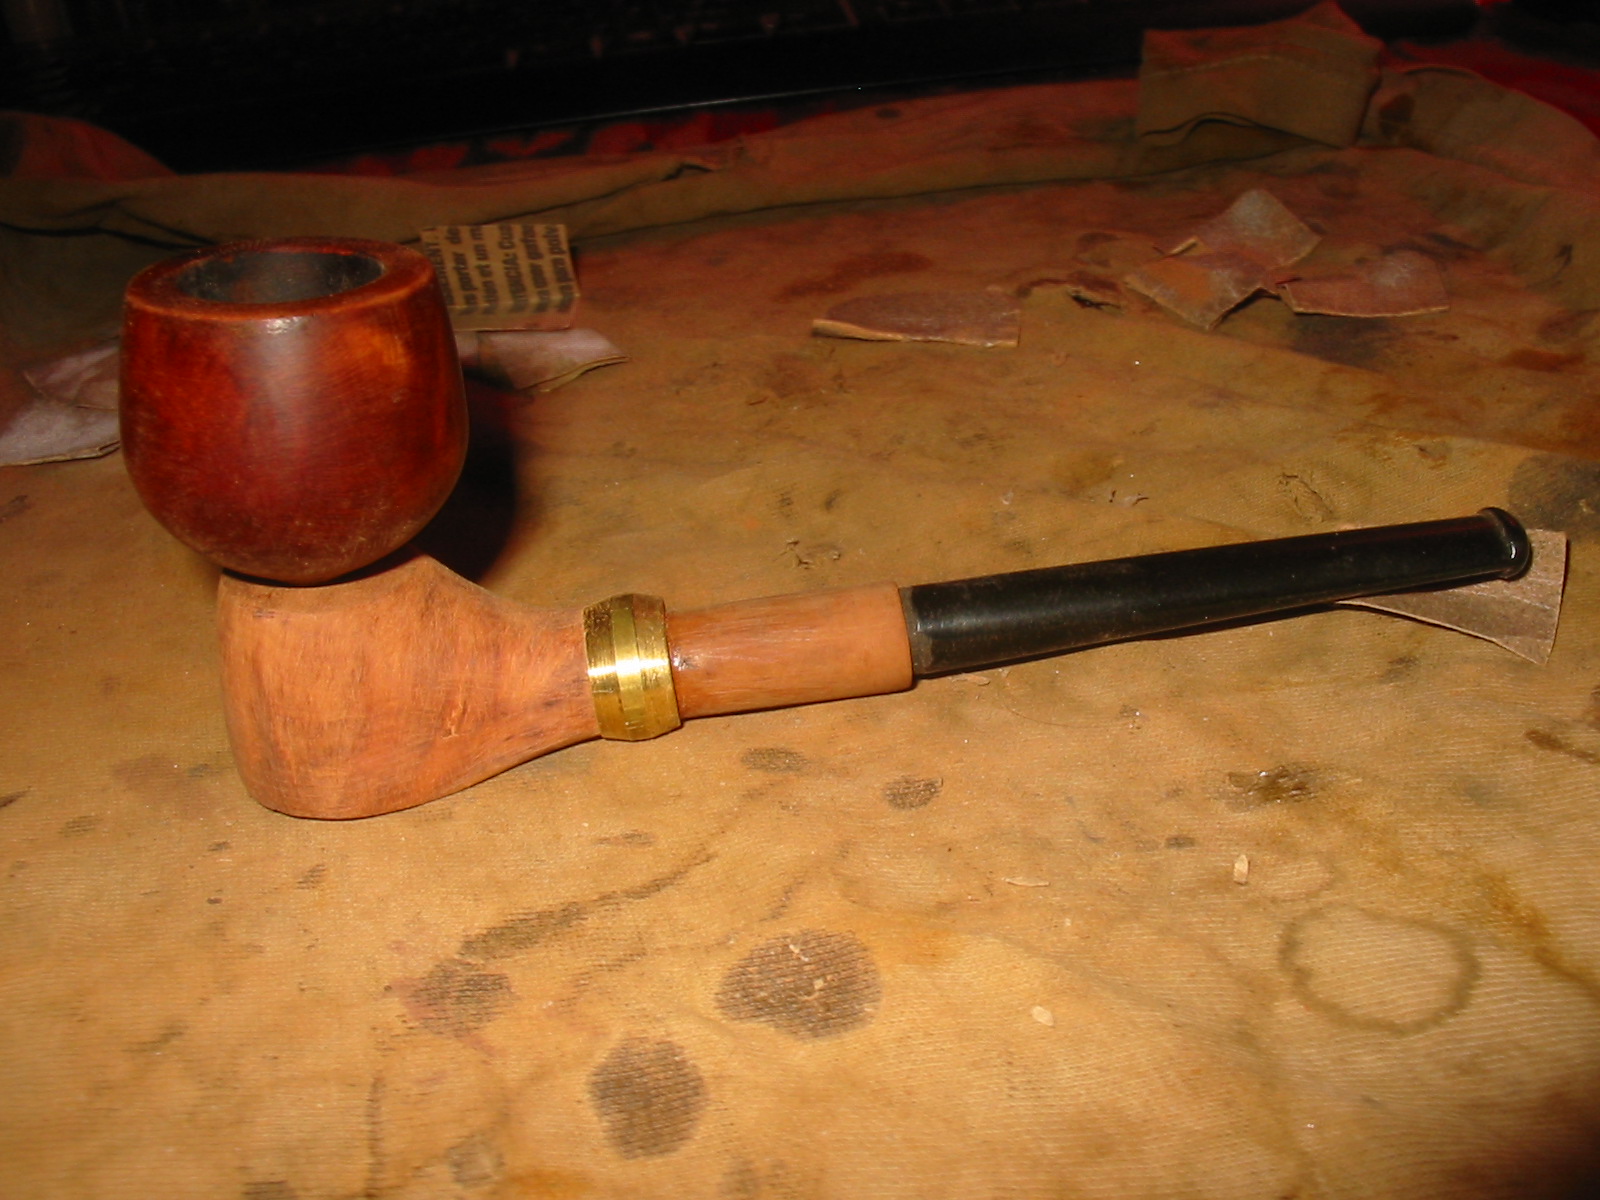
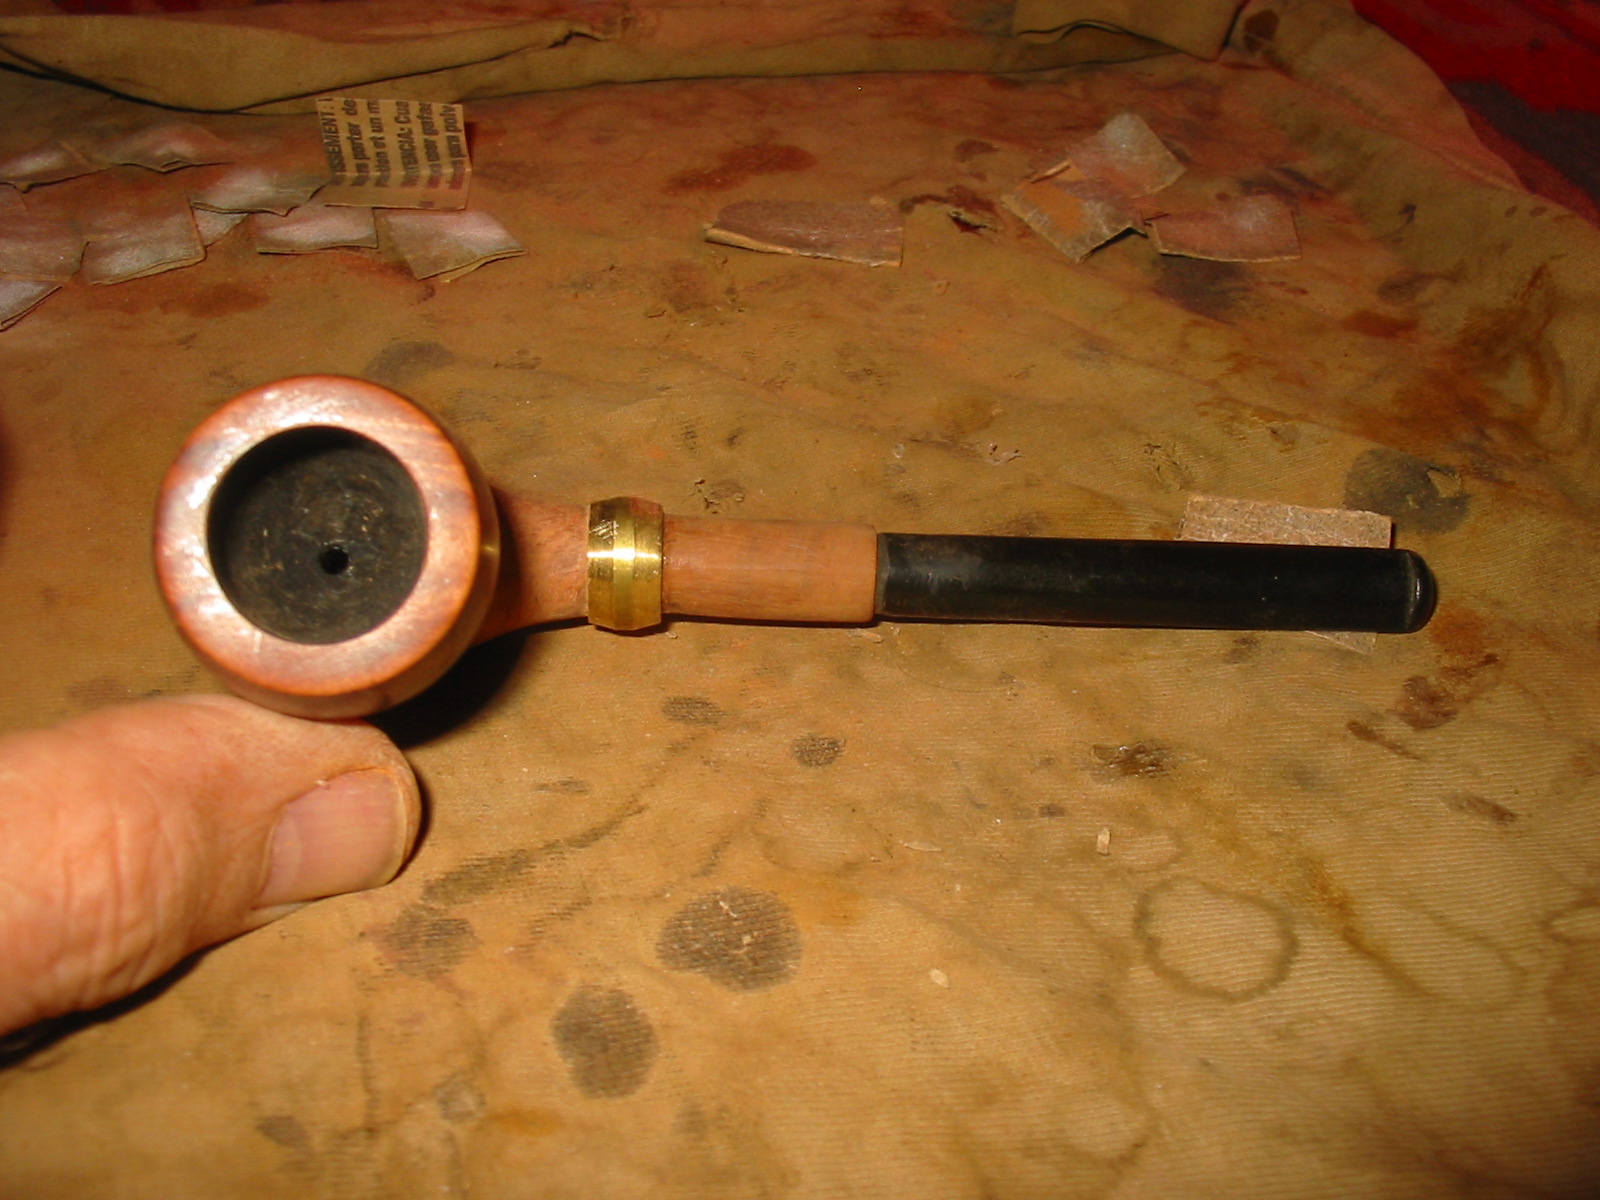
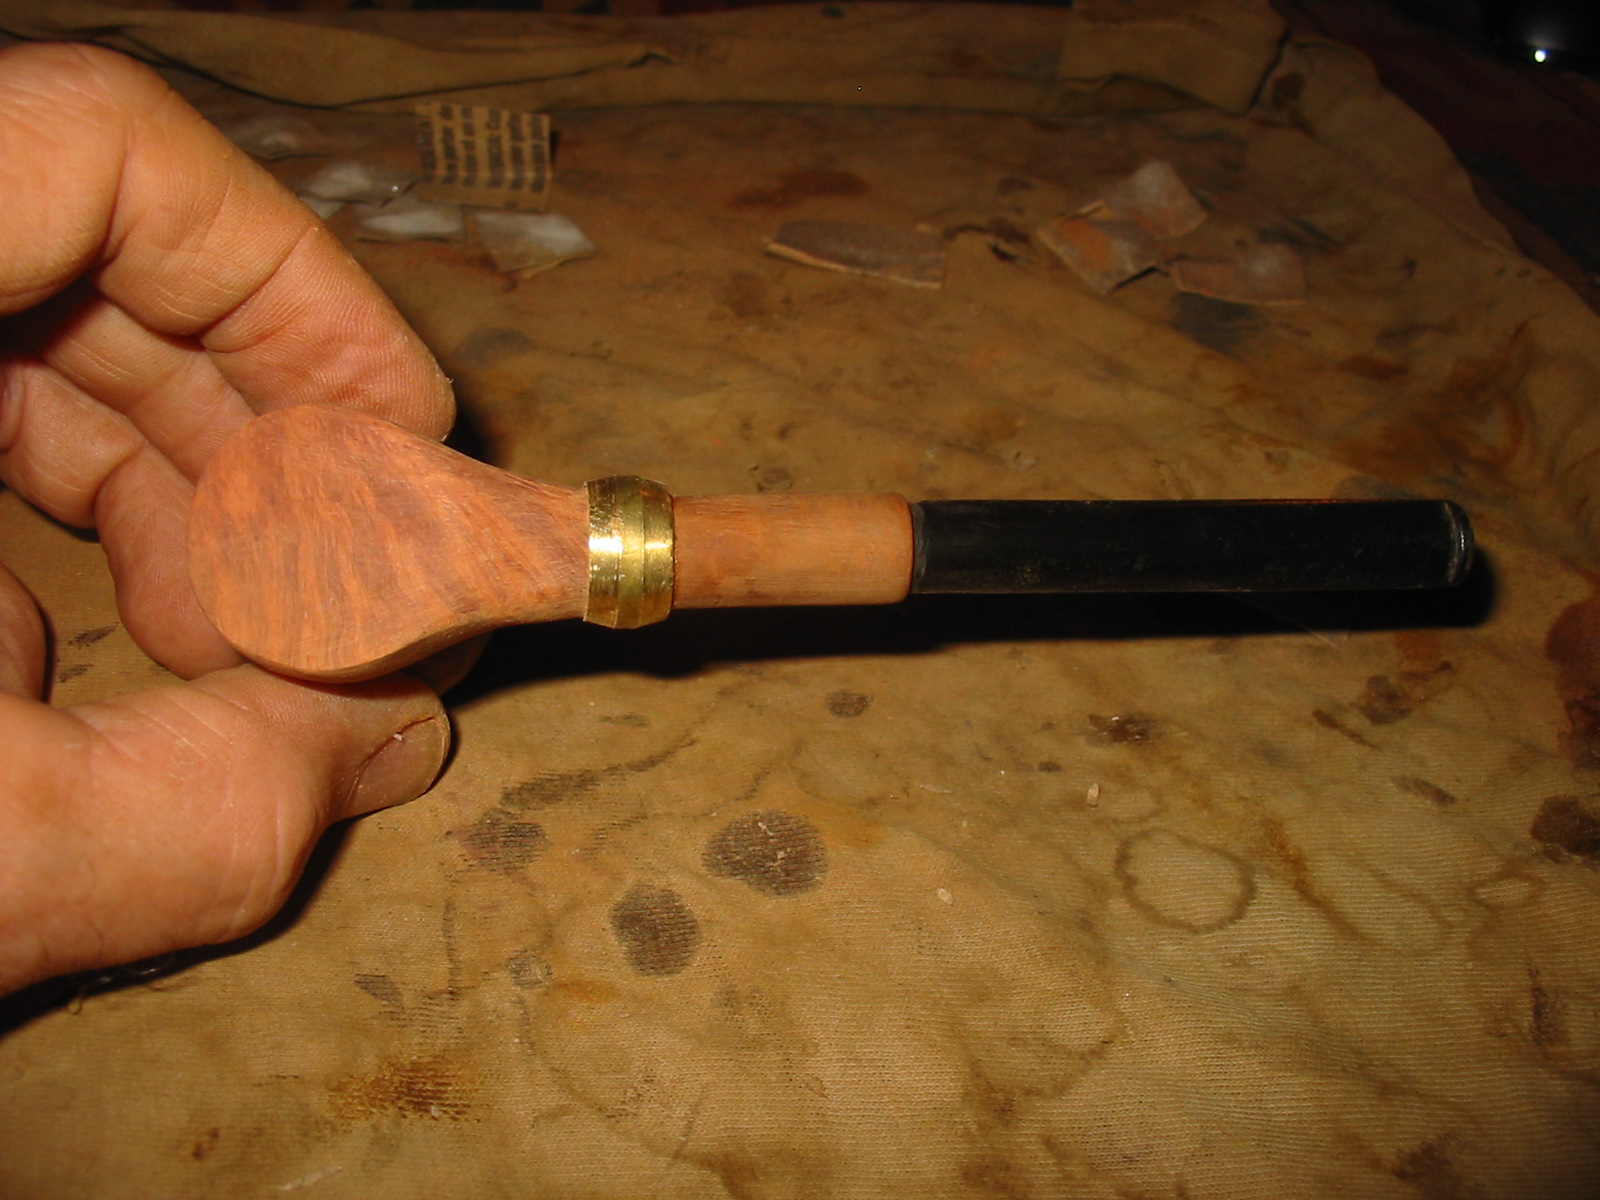
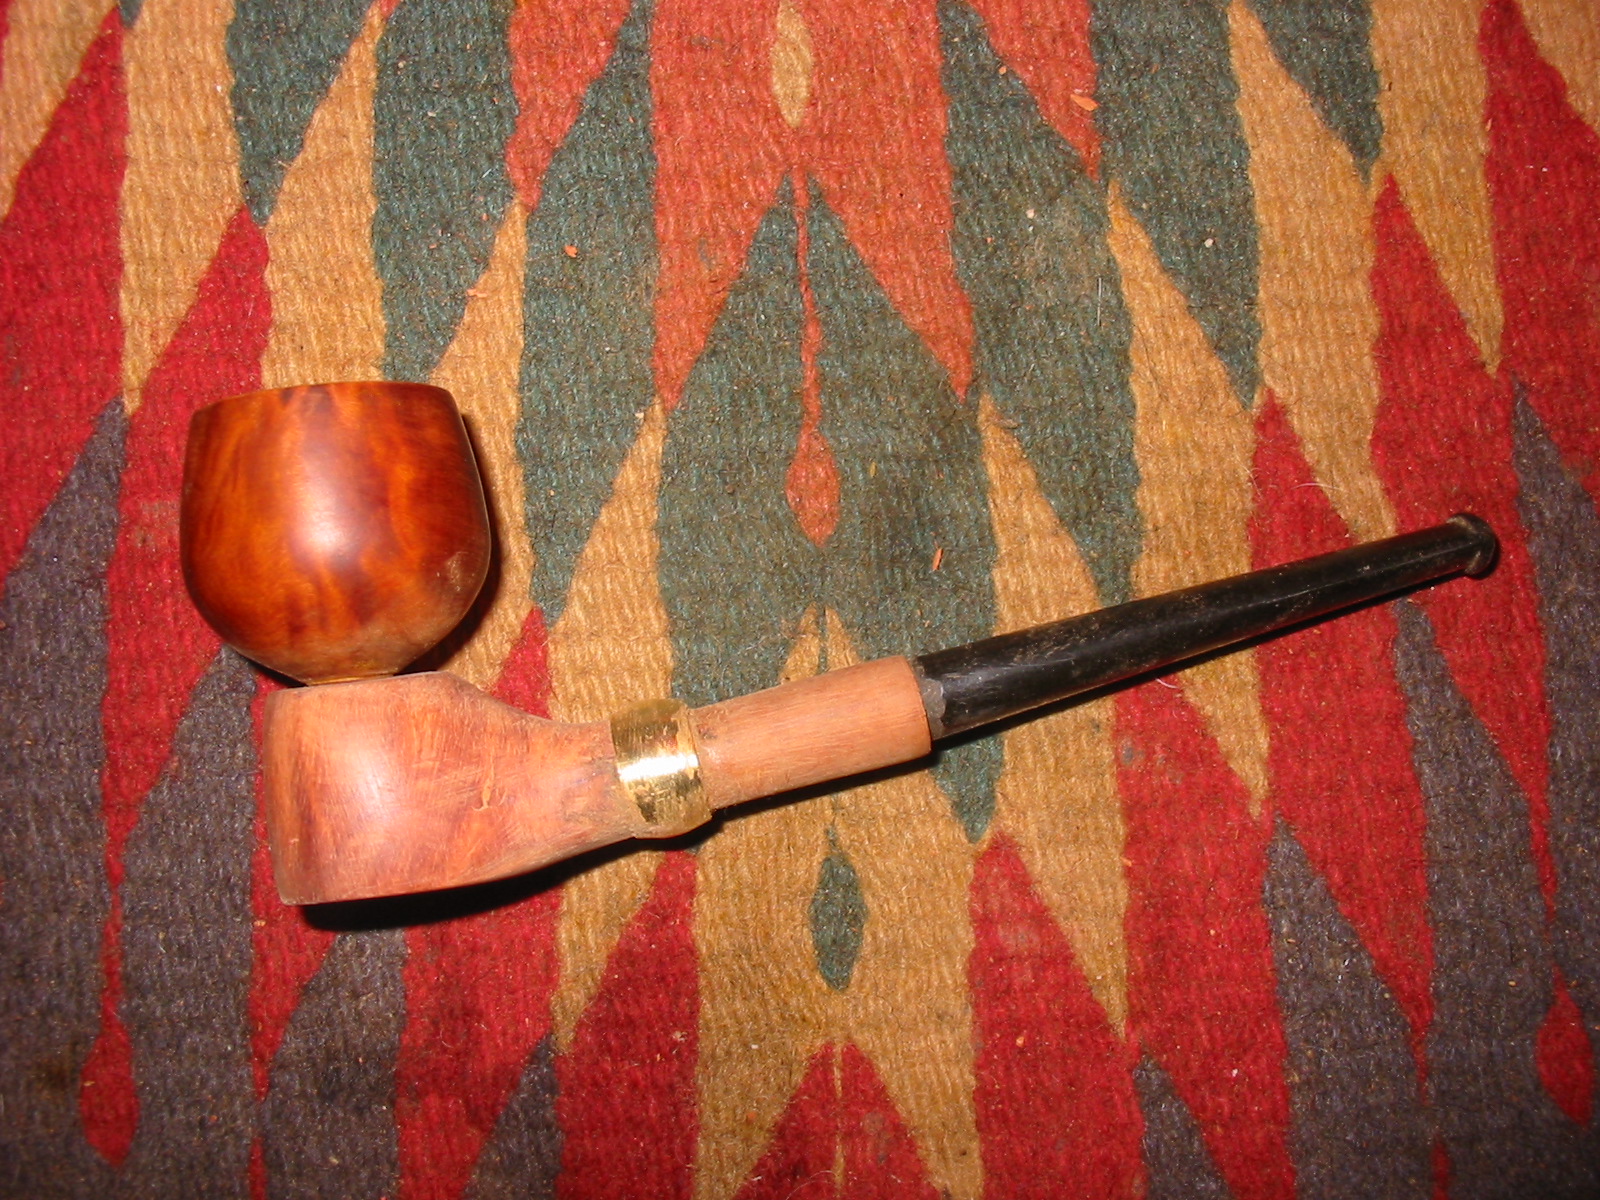
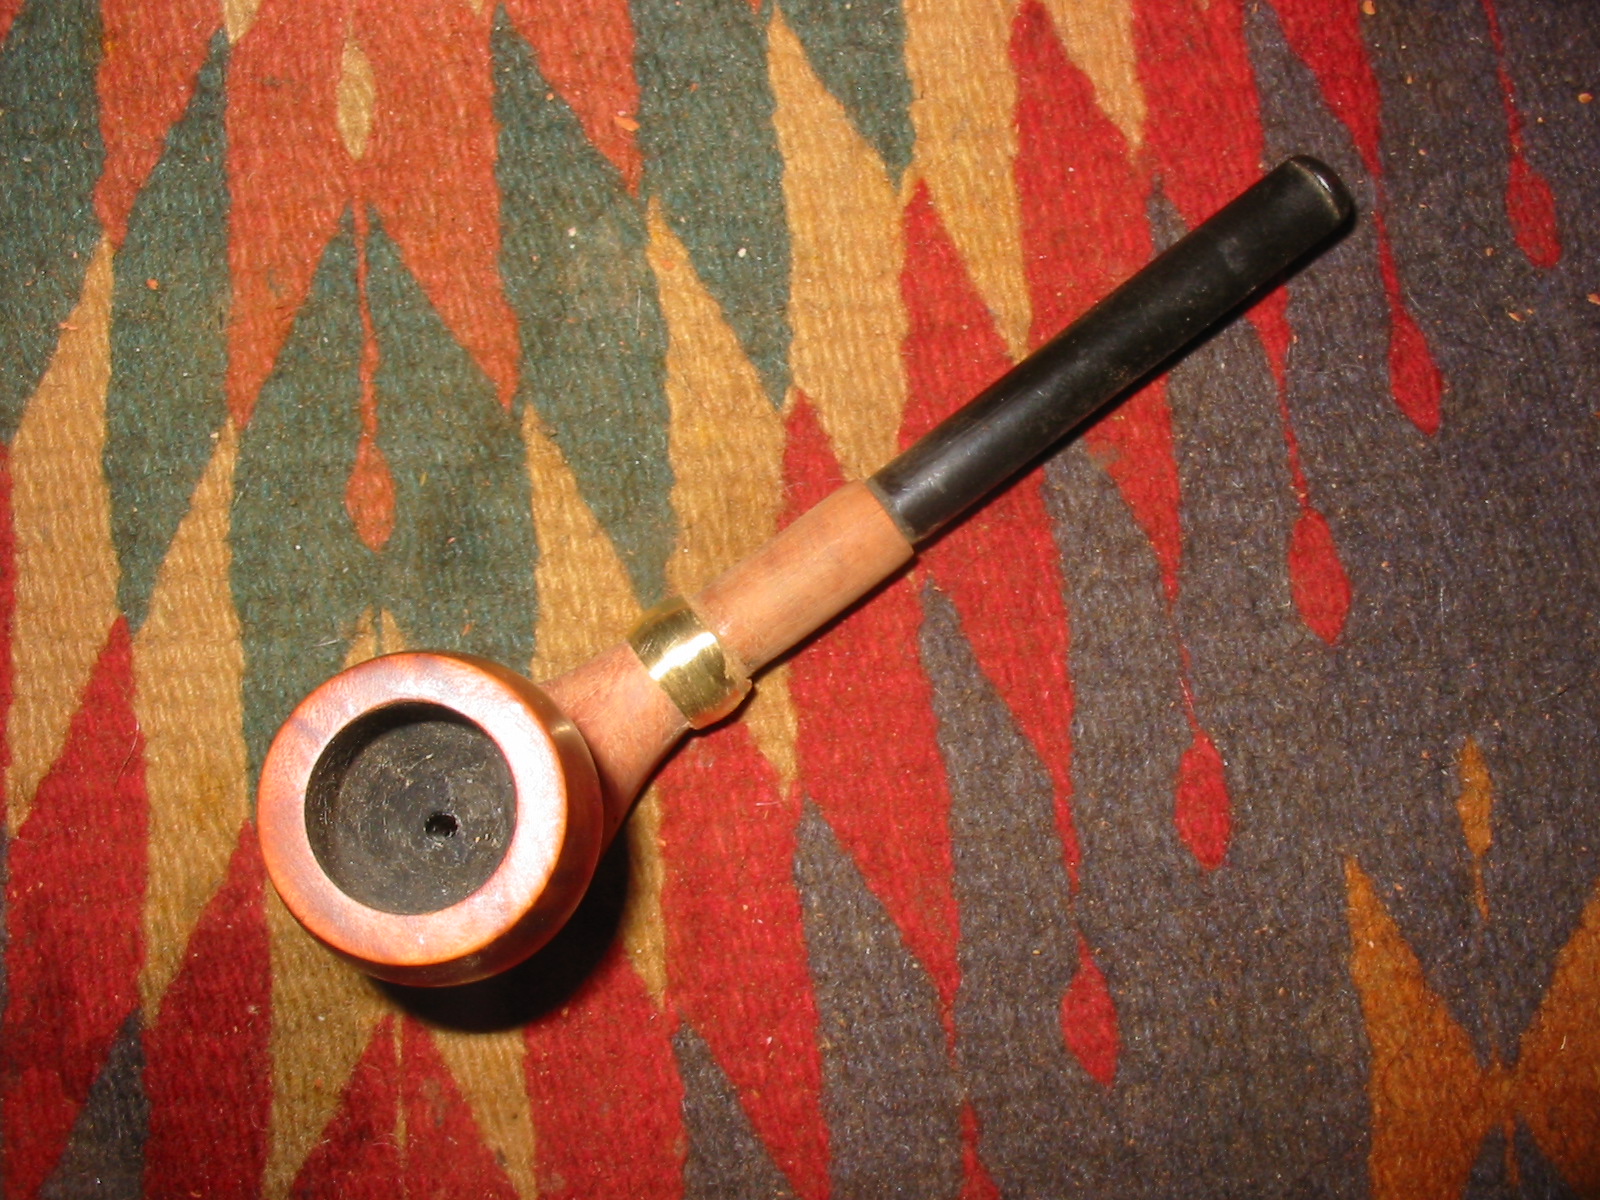
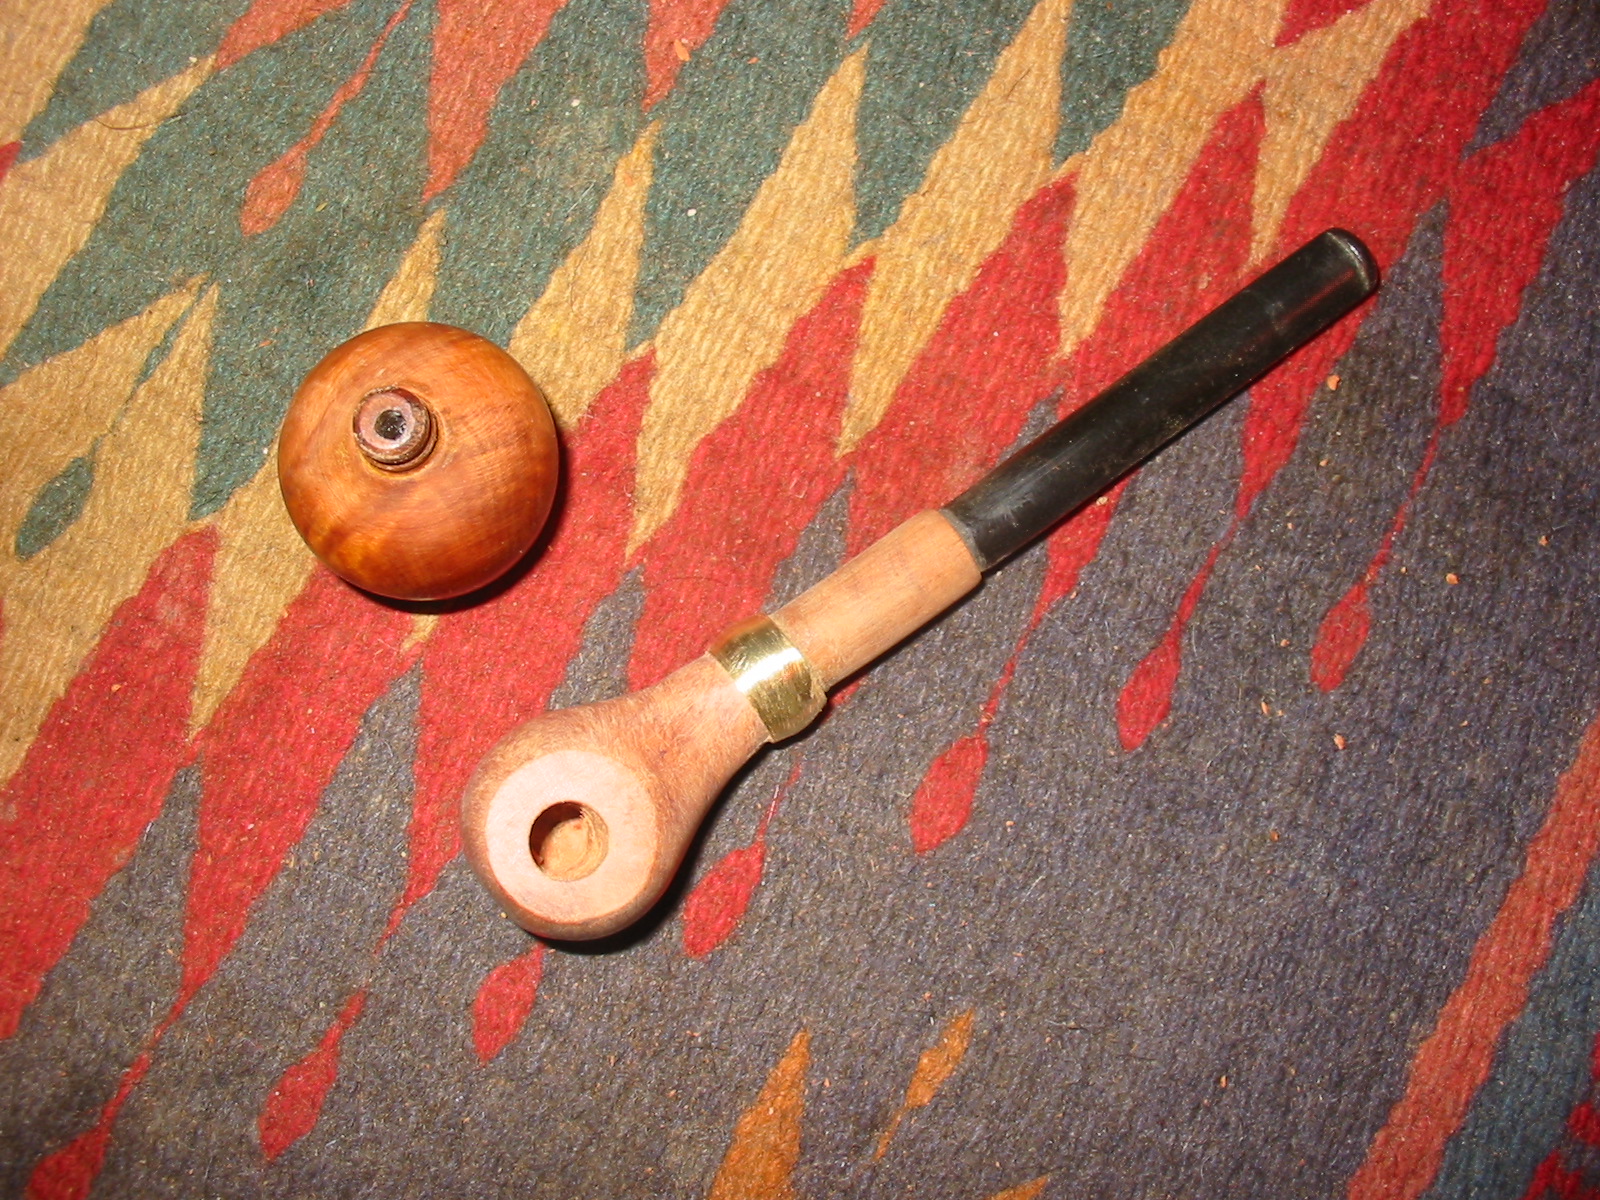
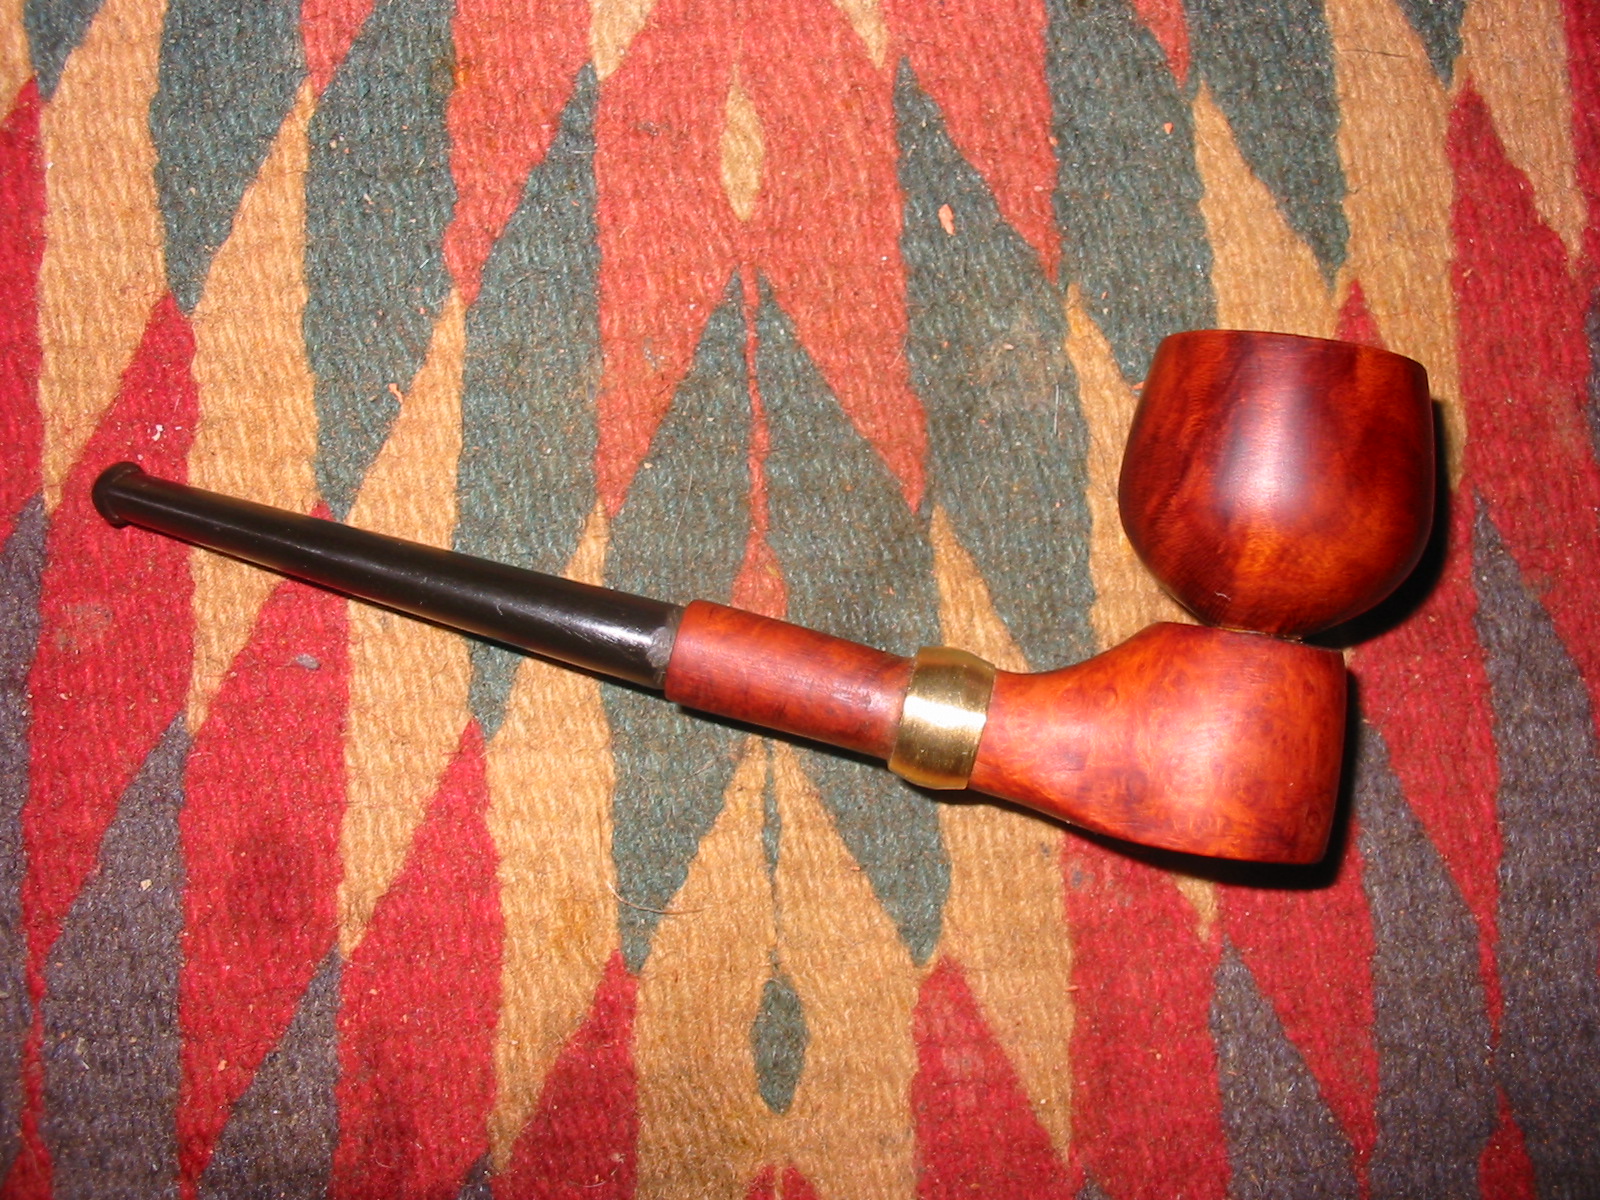
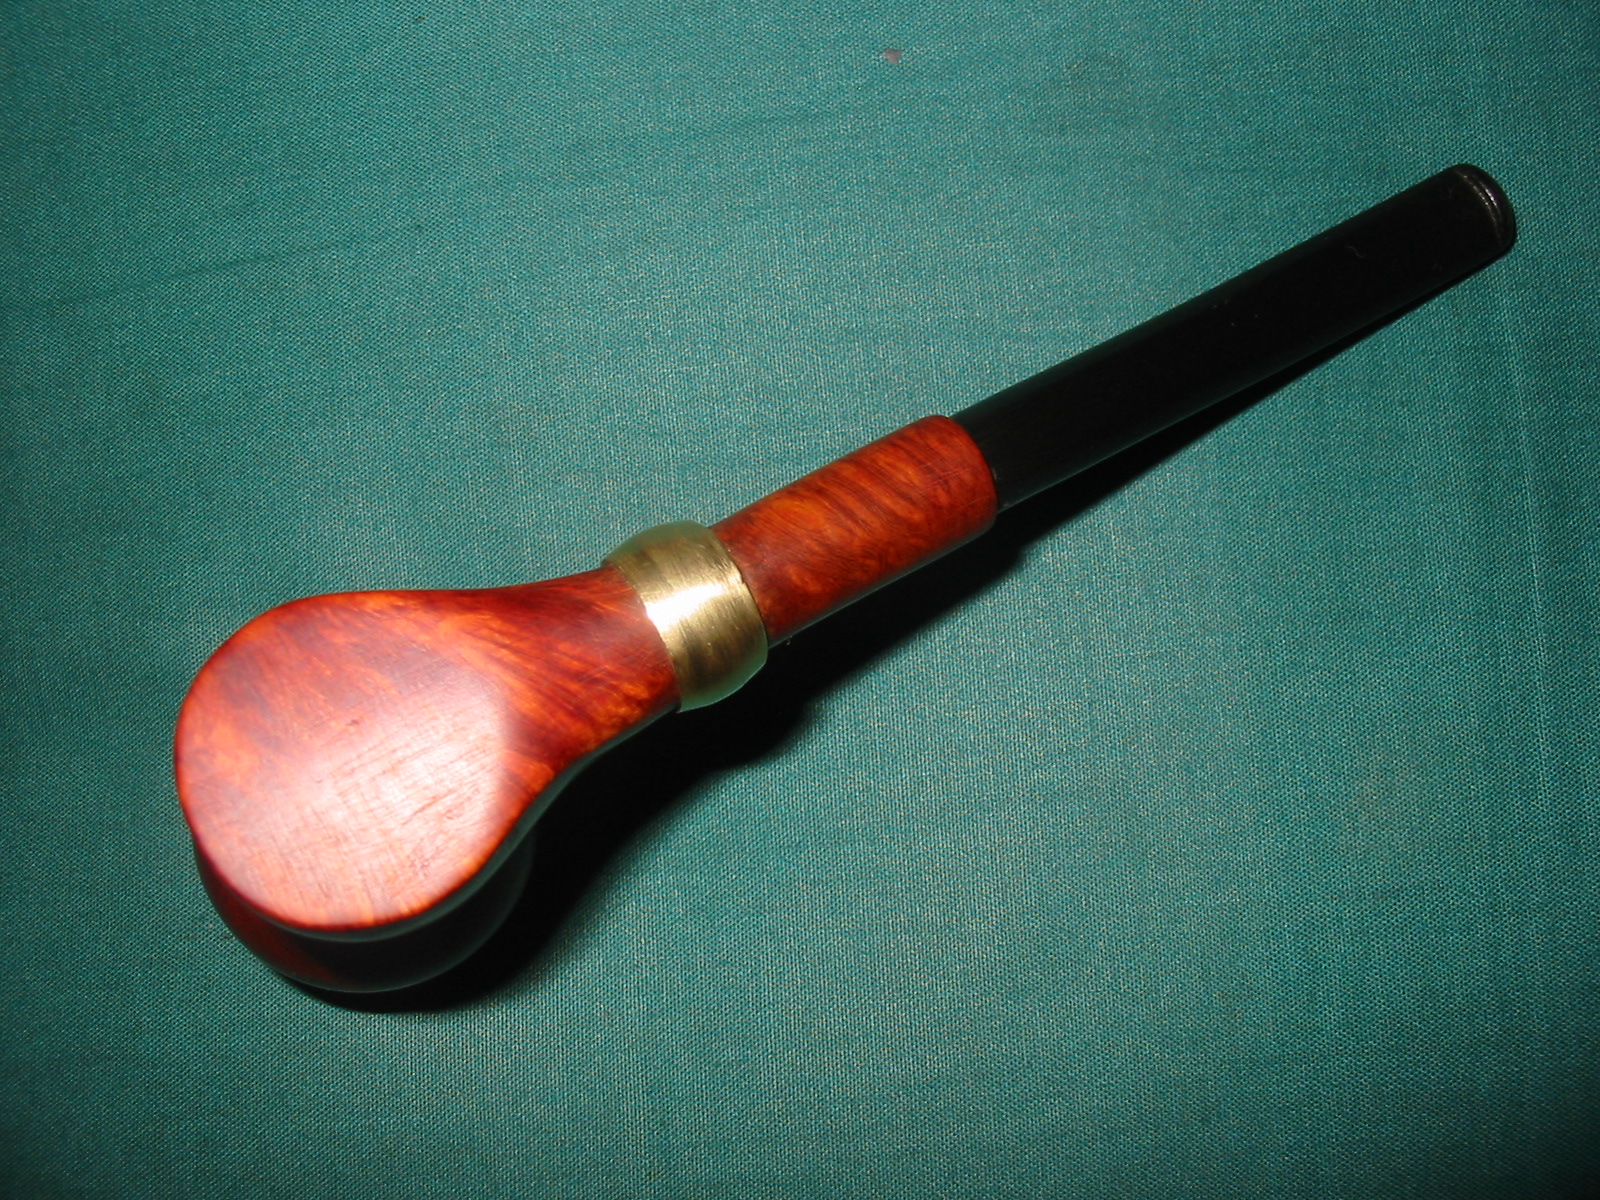
Frankenpipes are born out of having no more pipes in the refurb box to work on. I have many in transit at the moment but none with which to sit and unwind. That always is a recipe for me to dig in the boxes of parts and see what I can come up with to keep the hands busy. The pipe that follows was born of fiddling with parts in my parts box. The part I started with was an old bowl that I received in a gift box recently that did not have a pipe to go with it. It was a pressure fit bowl that obviously sat on a base of some kind of system pipe. I searched the Metal Pipes website to see if I could find out any information but did not find any likely candidates for this mystery bowl. It had some nice grain on it so it seemed like a shame to just let it sit in the box and wait for a potential pipe for it. I also I had a cut off shank piece that I had made for another purpose, a stem that fit the shank nicely and a block of briar that was too tiny for a pipe. The small block is one that I have been scavenging pieces off of to make plugs for burnout repairs. As I looked at the pieces I had an idea for putting them together into an interesting pipe that had kind of art deco feel to it. Now it was time to bring the pipe together and actualize my vision.
I measured out the drilling areas for the block. I needed to drill the airway large enough to insert the briar shank. I would use the Missouri Meerschaum concept of inserting the shank into the briar block. I started by drilling the first hole in the end of the block. I drilled the mortise area first. I did this in stages as it needed to be big enough for the shank piece to be pressure fit into place. Afterward I drilled the rest of the airway in the block. I decided to drill it all the way through to the other side of the block so that I could put in a funky plug on the front end. I looked around for what I would use and had several ideas. Time would tell which I would choose in the end.
I moved through several drill bits until the bit that was the size of the shank piece. I drilled it deep enough to inset the shank quite deep in the hole.
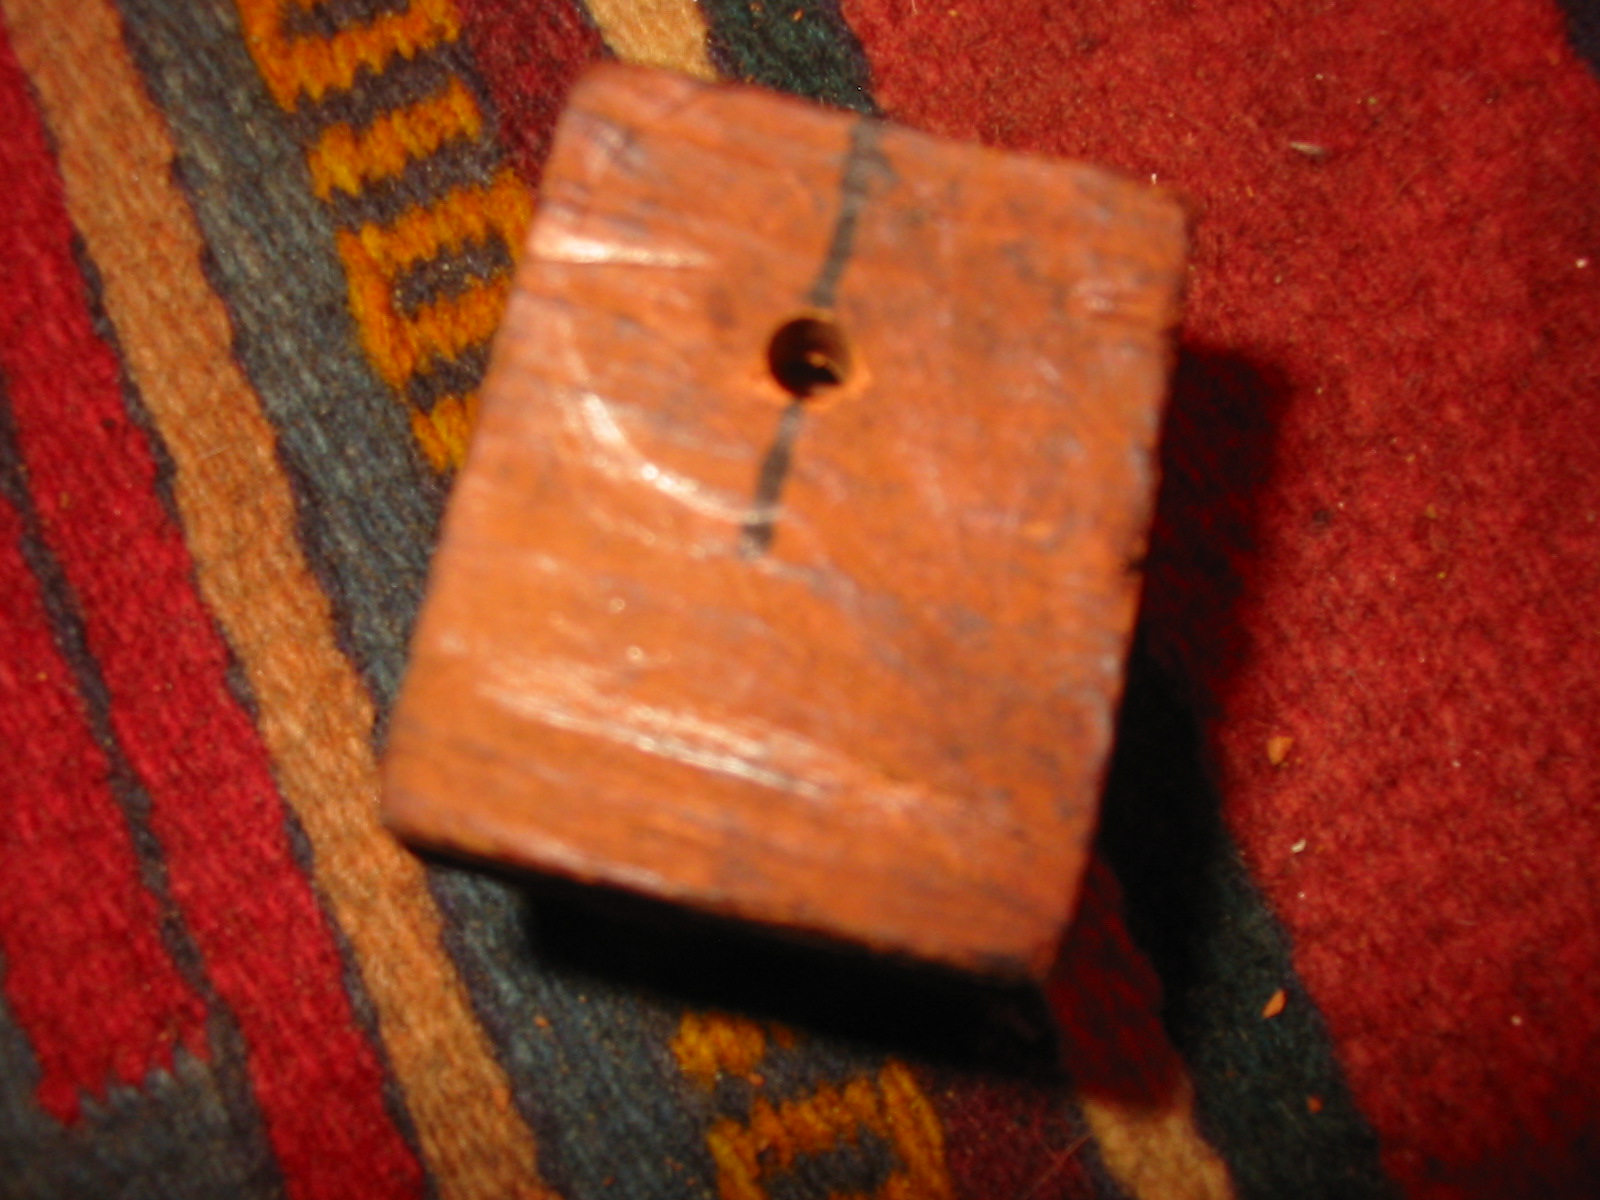
I marked the airway exit on the top of the block with a permanent marker and drew a line to show the track of the airway. I marked my drill bit to the depth of the top of the airway and drilled the hole in the top of the block. I wanted the hole to be the size of the nipple on the bottom of the bowl so that it would pressure fit into the hole. I wanted the hole to go through to the top of the airway so that the nipple on the bowl would sit on top and create good airflow from bowl to stem.
I pressure fit the bowl in the top of the block and the shank in the end of the block for the next two photos. I wanted to see if the parts all fit together well. I gave the shank a slight angle upward and would later bend the stem if the look was correct. Everything worked well at this point. For the plug on the end of the block I decided to do something simple. I wanted a plug that would be like a coloured dot on the end of the base. I cut off a piece of knitting needle and inserted it in the airway at the end of the block that is not showing at this point. I glued it in place and used the Dremel to take the overage back flush with the block.
The height of the block was too much so I wanted to cut it in half. I do not have power tools to do that kind of thing so a bit of sweat equity and a small hack saw did the job. I sliced off the bottom half of the block to be used in making bowl plugs at a later date and now the height was more suitable to this little sitter.
I glued the shank into place in the block with epoxy and angled it the way I wanted it to be when I finished the work on the base.
I used the Dremel and a sanding drum to begin to shape the block into a base for the pipe. I wanted a slope upward to the bowl – the sides would also slope upward. My idea was to have the bowl sitting on top of a volcano like base.
It took a lot of sanding to get the shape even close to what I had envisioned and in the process I ran into my first problem. The joint of the block and the shank could not be sanded smooth or the walls would be too thin and the shank would break too easily. I probably should have used a Delrin tenon to connect the two parts but as usual looking back is not overly helpful. So I had to improvise with this one. I had a small brass pressure fitting that would look kind of interesting on this little Frankenpipe so I worked the joint area to accommodate the brass fitting. The photos below show the pipe taking shape with the brass band high on the shank. (At the time of these photos I had not yet glued the band on the shank.)
I filled in the openings around the edges of the fitting where the shank joined the block with briar dust and wood glue packed into place with a dental pick. I sanded the ridges on the fitting with 150 grit sandpaper to remove them. I would have to do more work on the look of the band as I worked out the details later. I took the following photos after I had done more shaping of the base and glued the band in place. While the band is not beautiful it certainly strengthens the joint on the shank of the pipe and makes up for my lack of planning!
The photo below shows the base with the bowl removed. You can get a clear picture of the base without the bowl and how the bowl looks from the bottom. The hole in the base is the same size as the nipple on the bowl.
I sanded it for another hour before calling it a night and then wiped it down with some light olive oil to get an idea where the scratches were that I needed to do more work on and also to see the grain. The next four photos show the pipe at this point in the process. There is still more sanding to do on the base and shank as well as some minor shaping. The idea though is clear – and the pipe is smokeable. The draw is very good and there are no leaks around the joint where the bowl presses into the base. So far so good.
I set up a heat gun and bent the stem over the rounded handle of the heat gun to get a slight bend in it. I set the bend with cool water. With the bend the pipe is a sitter. The bend pulls the weight backward and the pip sits nicely on the button and the flat bottom of the base.
I did quite a bit more sanding and shaping of the base with 150 and 220 grit sandpaper. Once I had the shape to where I wanted it I sanded it with medium and fine grit sanding sponges. I gave the bowl and shank a wipe down with a cloth that was dampened with olive oil. Other than that the bowl and shank are not stained.
While the shaping was finished there was still a lot of sanding to do to remove the scratches that remain in the briar. I also want to do some sanding on the band to remove scratches and polish it as well. The vulcanite stem also needs sanding and polishing. I took the pipe apart and sanded all the pieces with micromesh sanding pads. I sanded all of them with 1500-2400 grit pads and then finished sanding them with a 6000 grit pad. I buffed the parts with red Tripoli and then White Diamond and gave each part of the bowl and base multiple coats of carnauba wax.
I sanded the stem with a fine grit sanding sponge and then with the various grits of micromesh sanding pads. I wet sanded with 1500-2400 grit pads and dry sanded with 3200-12,000 grit pads. I buffed the stem with White Diamond, rubbed it down with Obsidian Oil and finished by giving it a buff with carnauba wax.
I sanded the brass band with the micromesh pads to polish it as well. When I had finished I gave the pipe a final buff with White Diamond and then applied carnauba wax to each part. I buffed them with a soft flannel buff to finish the shine.
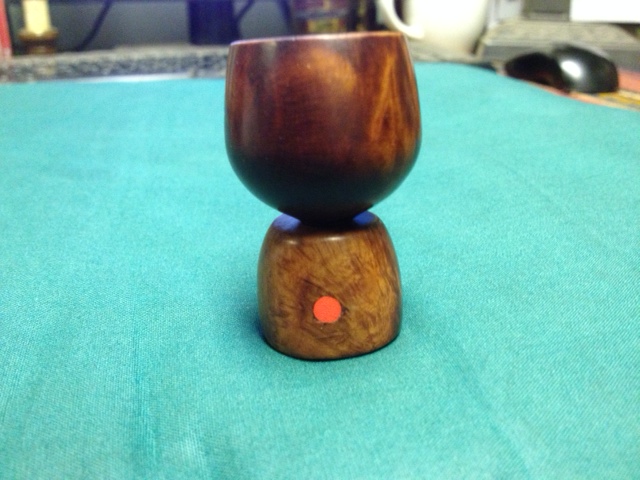
The final photo is of the front of the pipe. The knitting needle plug that I used is a bright reddish orange circle that sits at the base of the pipe on the front. The colour of the pipe is the red of the previous four finished photos. The last photo was taken with my cell phone and is a bit washed out. 
Restoring an older KBB Yello-Bole Imperial Dublin
Blog by Steve Laug
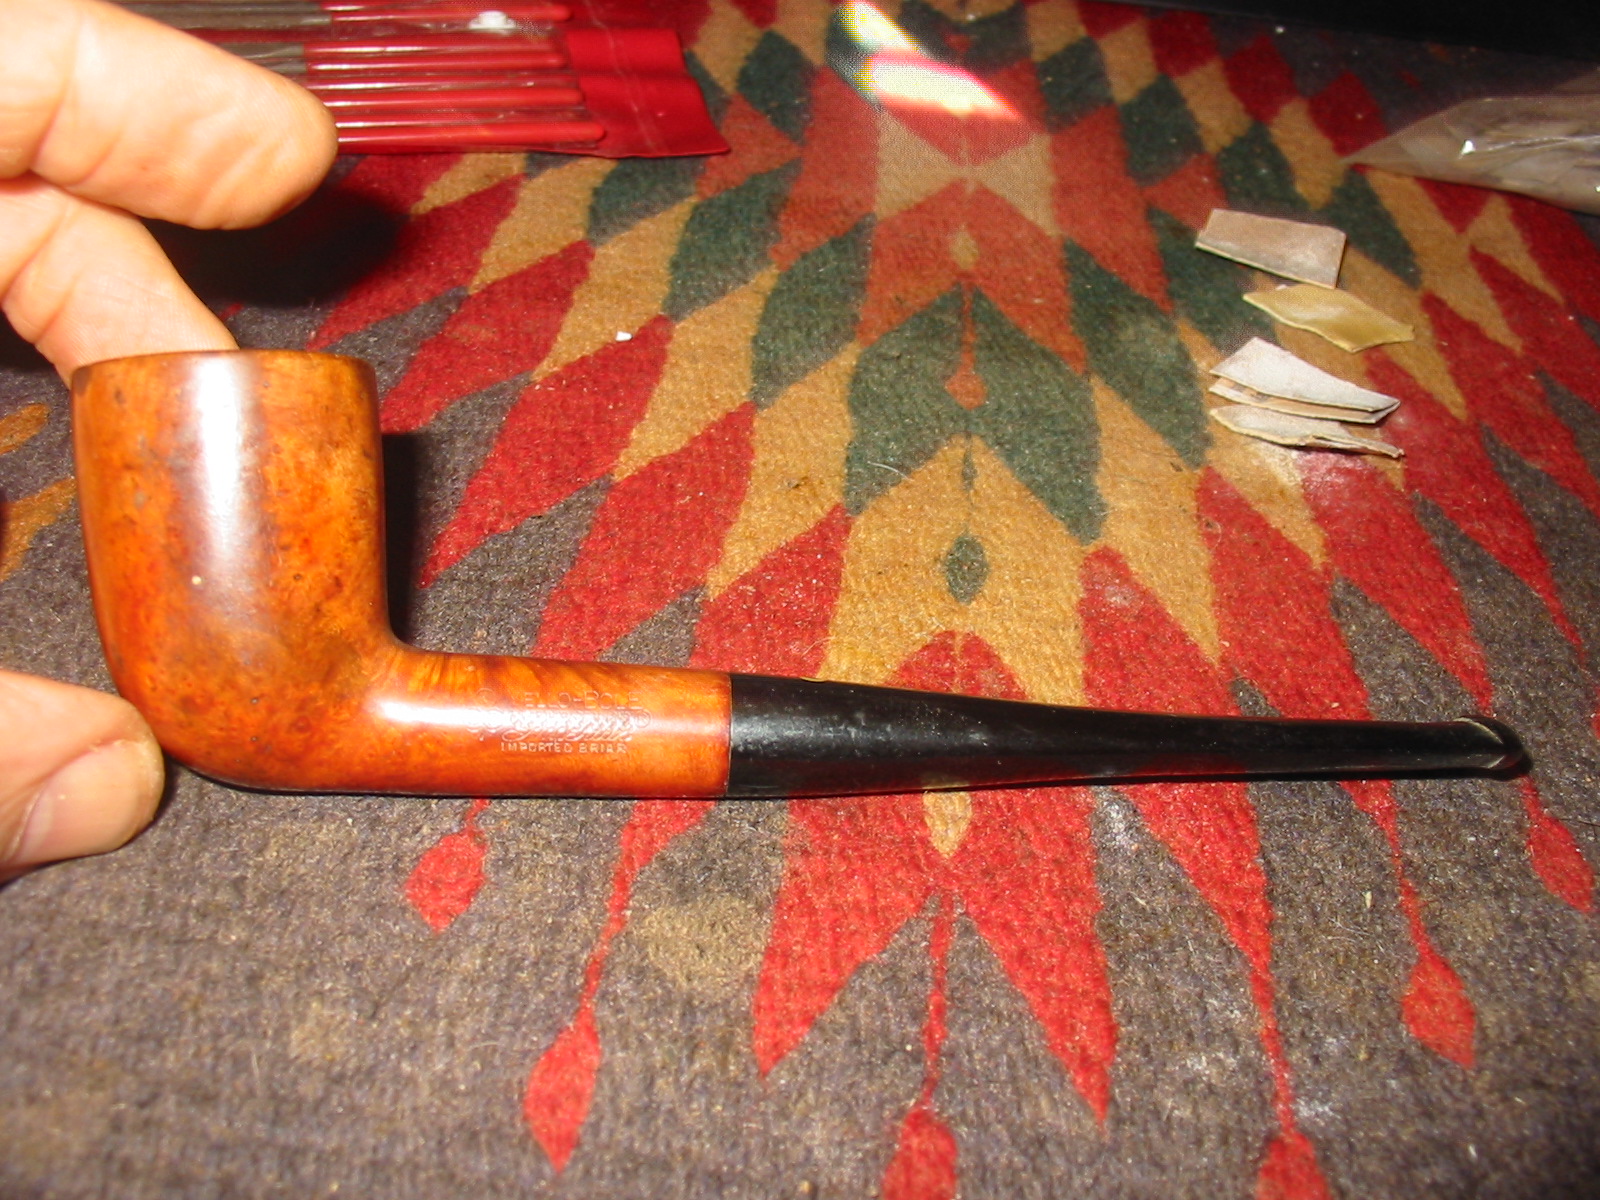
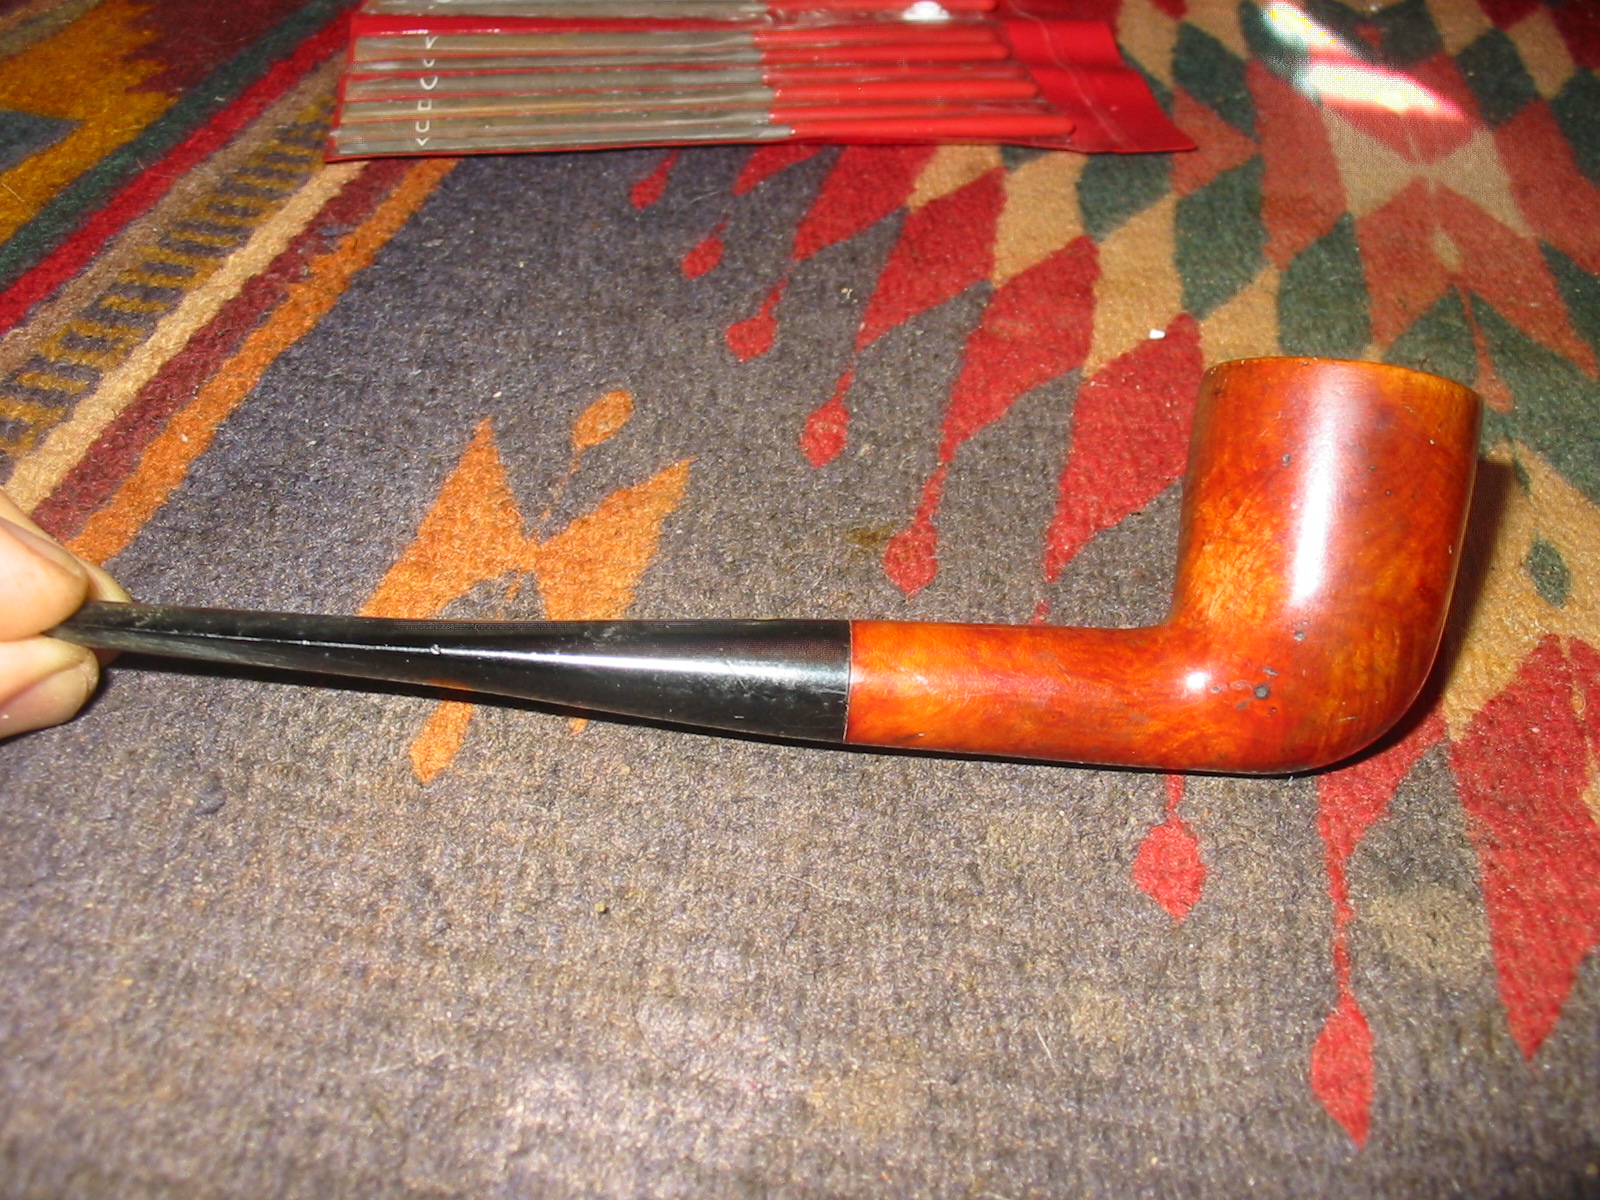
This is the last of the pipes I picked up when I was down in Washington State with my wife for 38th Anniversary. It is an older KBB (no ampersand between the two B’s). It had no shape numbers on the right side of the shank, but on the left side it had the KBB in the cloverleaf/club and next to it was stamped Yello-Bole over Imperial over Imported Briar. The Imperial stamping had been over-stamped with a cross hatch pattern. The bowl was in decent shape. The finish had dark soiling and oils on both sides of the bowl. There were also some dark spots on the sides of the bowl. There was a heavy coat of varnish over the bowl except for the worn spots where the oils and darkening was. The rim was heavily caked with tars and oils. The bowl was caked from the top half way down the bowl, though the yellow honey coating was still visible on the bottom half of the bowl. There were some burn marks along the outer edge and top of the rim.
Again since Yello-Bole is one of my favourite older US brands I did some more reading online to see if I could narrow down when this one was made. I have come to understand that these older Yello-Boles are great smoking pipes and underrated. I turned to one of my go to sources of information on all things KBB and Kaywoodie – the Kaywoodie forum http://kaywoodie.myfreeforum.org/ftopic13-0-asc-0.php. There I found a very helpful article by Dave Whitney that helped narrow down the date. The pipe I have has the shovel drinkless mechanism, the KBB-in-a-clover logo on the left side of the shank and the yellow circle on the stem. From what I can ascertain from Dave’s information it seems to have been produced between the years of 1938-42. I am fairly certain that it did not come from the later period of 1945-50 (World War II) since it did not have the aluminum stem ring and the aluminum drinkless mechanism which came out during those years.
The photos below show the pipe as it was when I found it in the antique shop.
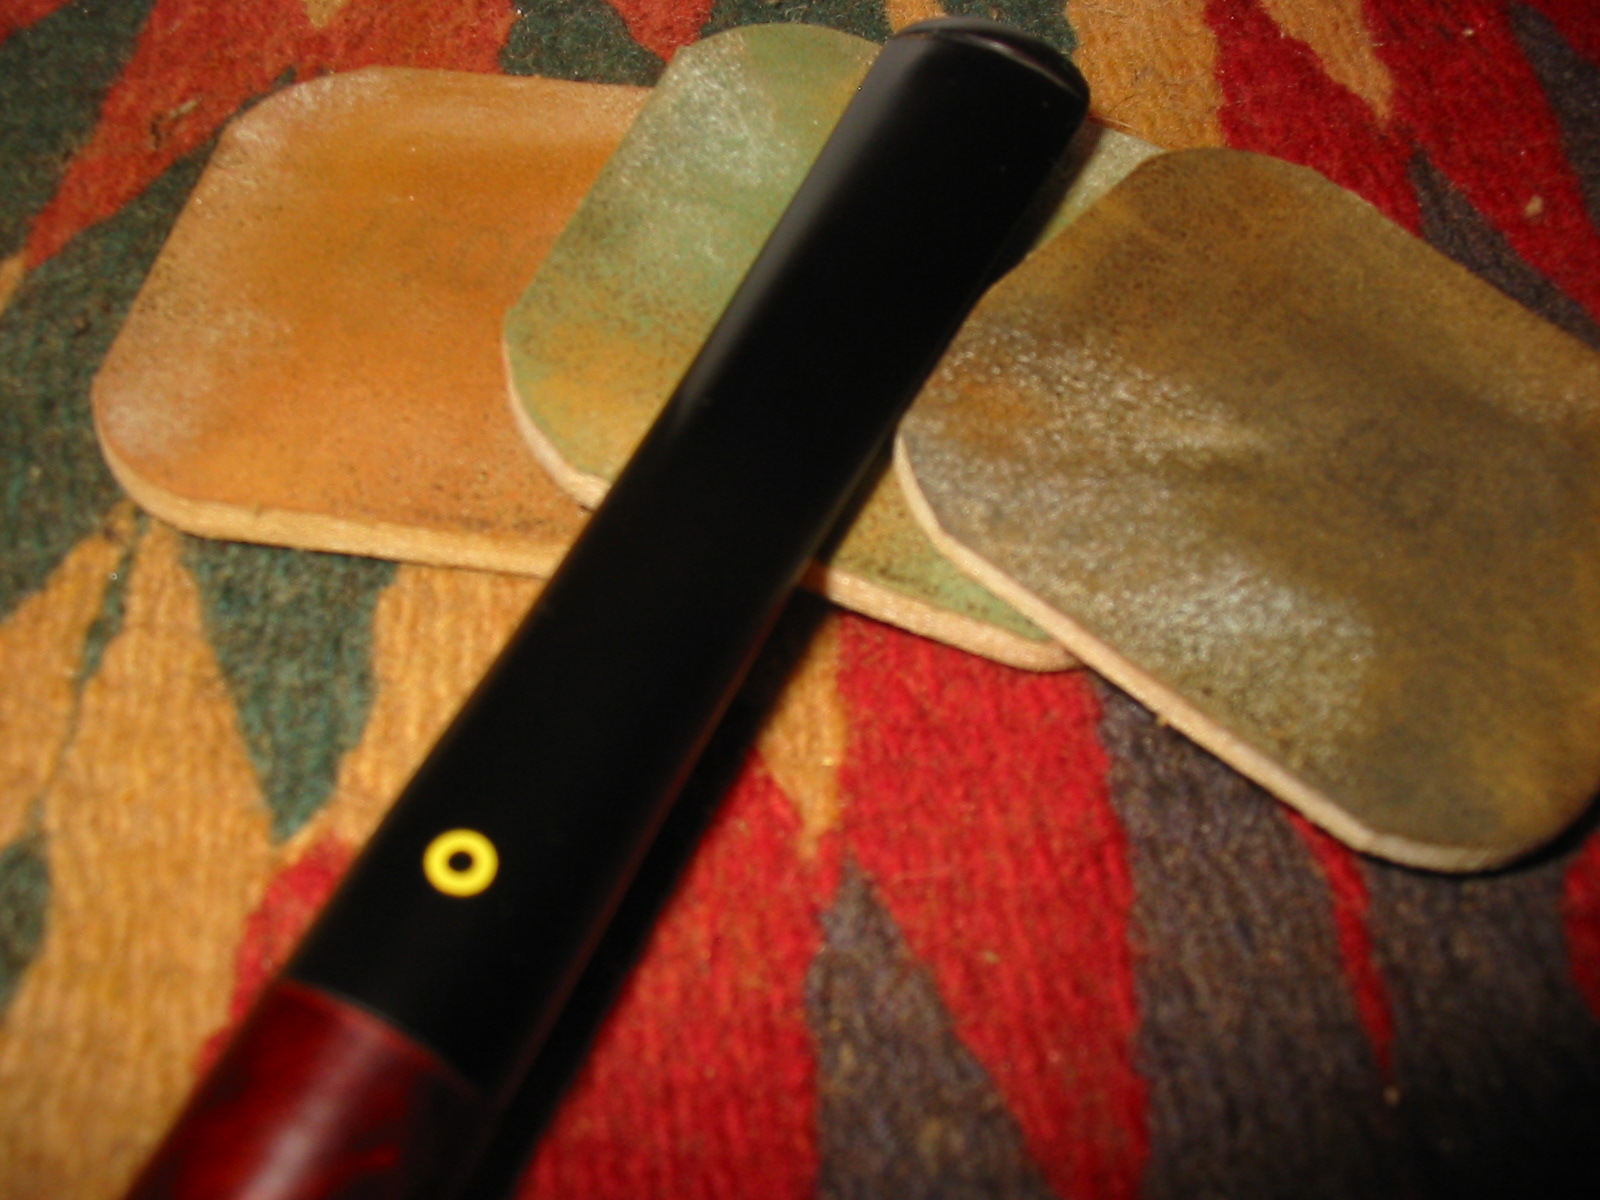
The stem is made of nylon rather than vulcanite. It has the yellow circle inset in the top near the shank of the pipe. The button area was chewed and dented. There was a shallow dent on top of the stem and deeper ones on the underside of the stem next to the button. The button had been chewed down and had deep dents on the underside while the slot had been dented in so that it was not longer straight.
I sanded the stem down and was able to remove the dents on the topside. The underside tooth mark was too deep to sand or even heat and raise.
I sanded it with 220 grit sandpaper to clean up the chatter further up the stem and then picked the area clean around the large dent with a dental pick. I wiped the stem down with alcohol to clean off the dust and then filled it with black super glue that I purchased from Stewmac online. I filled it the first time and sprayed it with an accelerator. Once it dried it had shrunken and left a divot in the stem surface. I refilled it with the glue and then sprayed it again with the accelerator. I set it aside overnight to cure and worked on the bowl.
The bowl and rim were caked with an uneven cake so I reamed it with a PipNet pipe reamer to take it back to the briar. The cake was soft and once I removed it from the middle portion of the bowl I could see the yellow coating on the bottom half and partway down from the rim. The only portion that was darkened was in the centre of the bowl.
I set up my topping board to remove the hard tars on the rim and also the burn damage. Fortunately the burn damage did not go too deep but merely sat on the surface under the tar coat.
I wiped down the bowl with acetone on cotton pads to remove the finish and as much of the dark staining on the side of the bowl as possible. The dark spots were deep in the finish of briar so I was not sure I would be able to remove them.
Even after wiping down the bowl repeatedly the dark stains on the sides remained, lighter though still present. The dark spots appeared to be ink stains and they too remained. I decided to let the bowl soak in an alcohol bath overnight and address it again in the morning.
The next morning I removed the bowl from the alcohol bath and found that it had done its magic. The stains were gone and the ink stains were significantly lighter. I cleaned out the shank with cotton swabs, pipe cleaners and alcohol. I kept cleaning until the pipe cleaners and swabs came out clean.
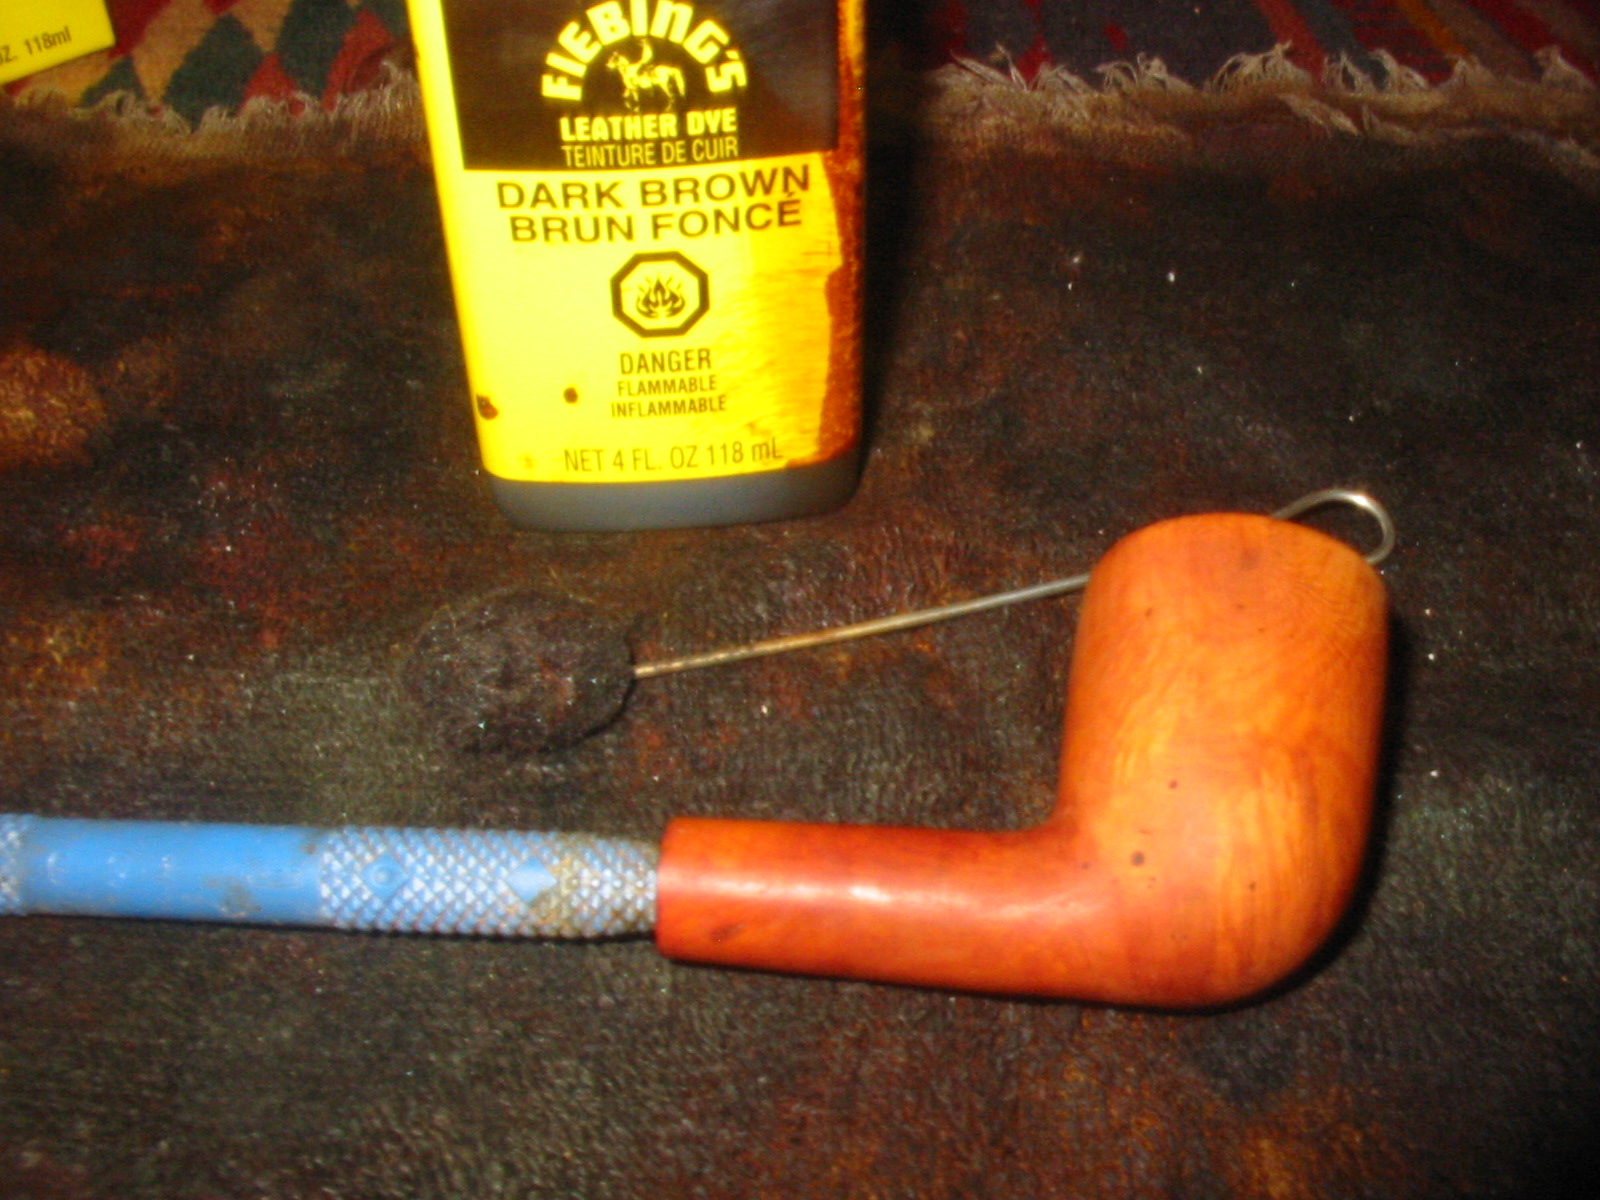
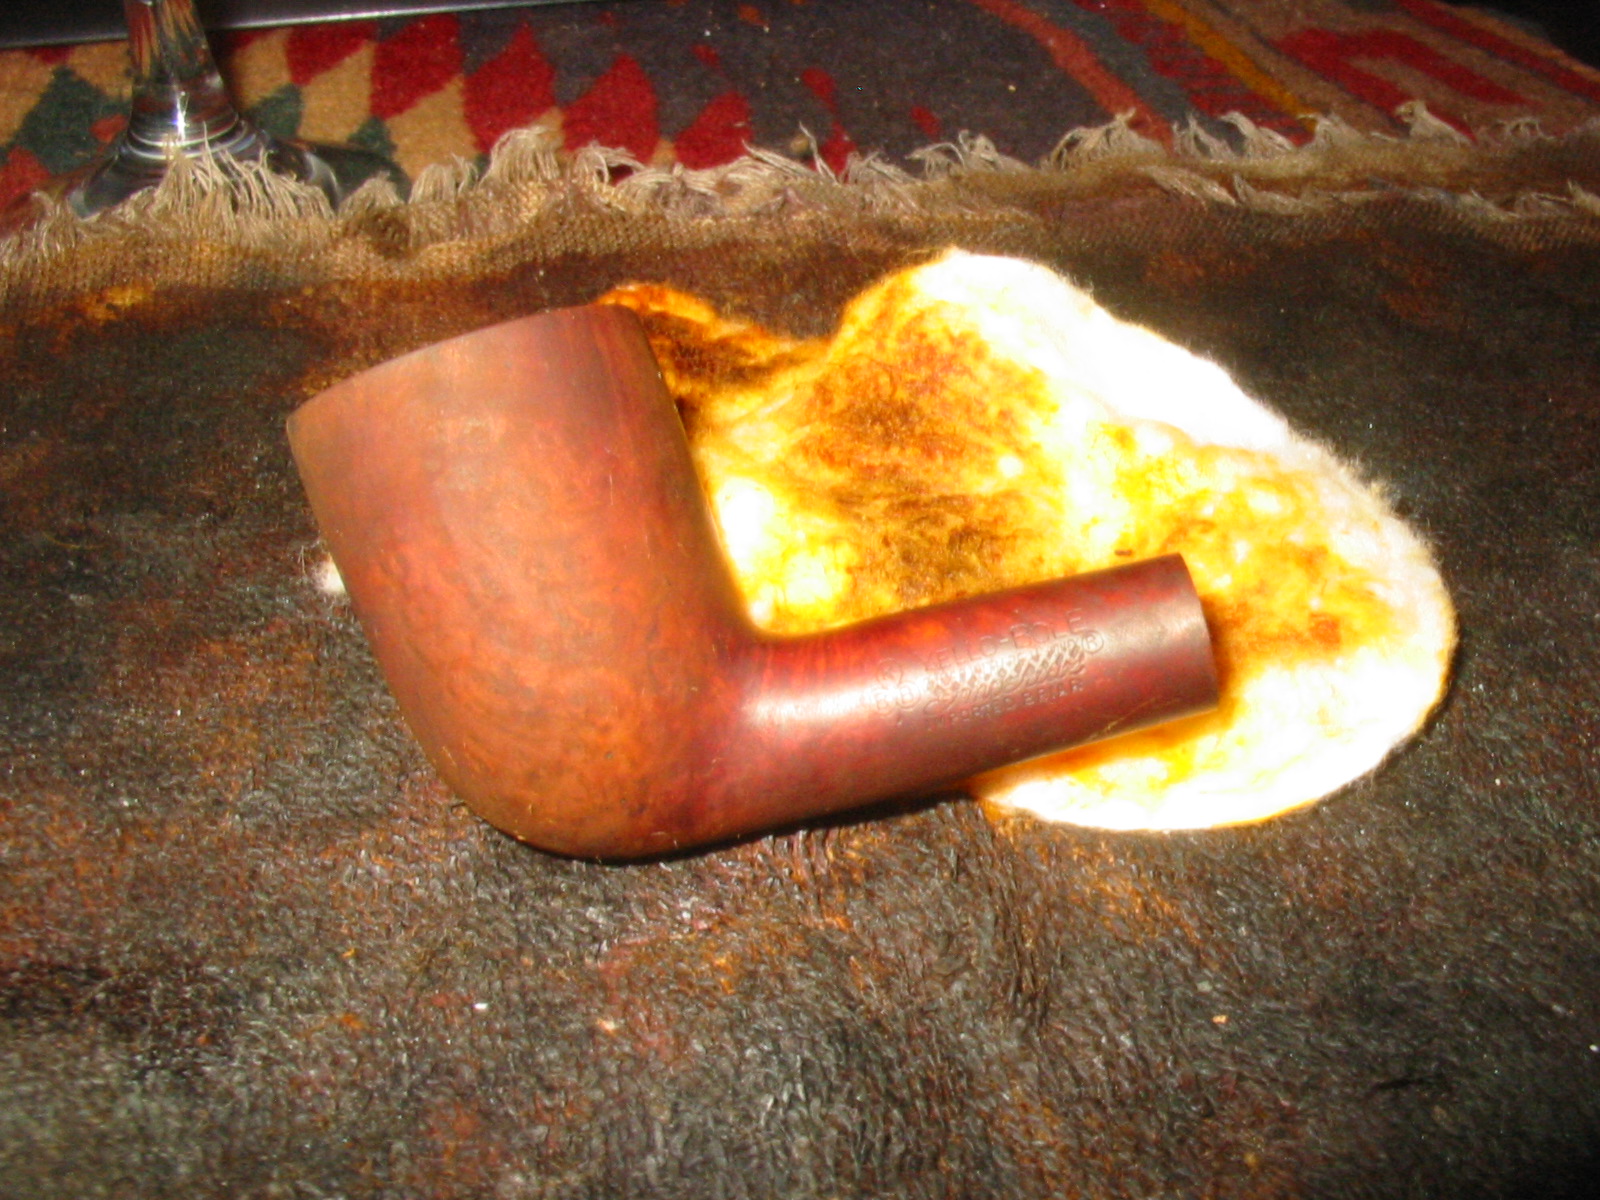
I stained the bowl with Fiebings Dark Brown aniline stain. I applied the stain and then flamed and repeated the process until the coverage was even.
I wiped it down with alcohol on cotton pads to remove some of the opaque colour of the stain and to make the grain more visible.
I buffed the bowl with White Diamond. The next three photos show the bowl at this point in the process.
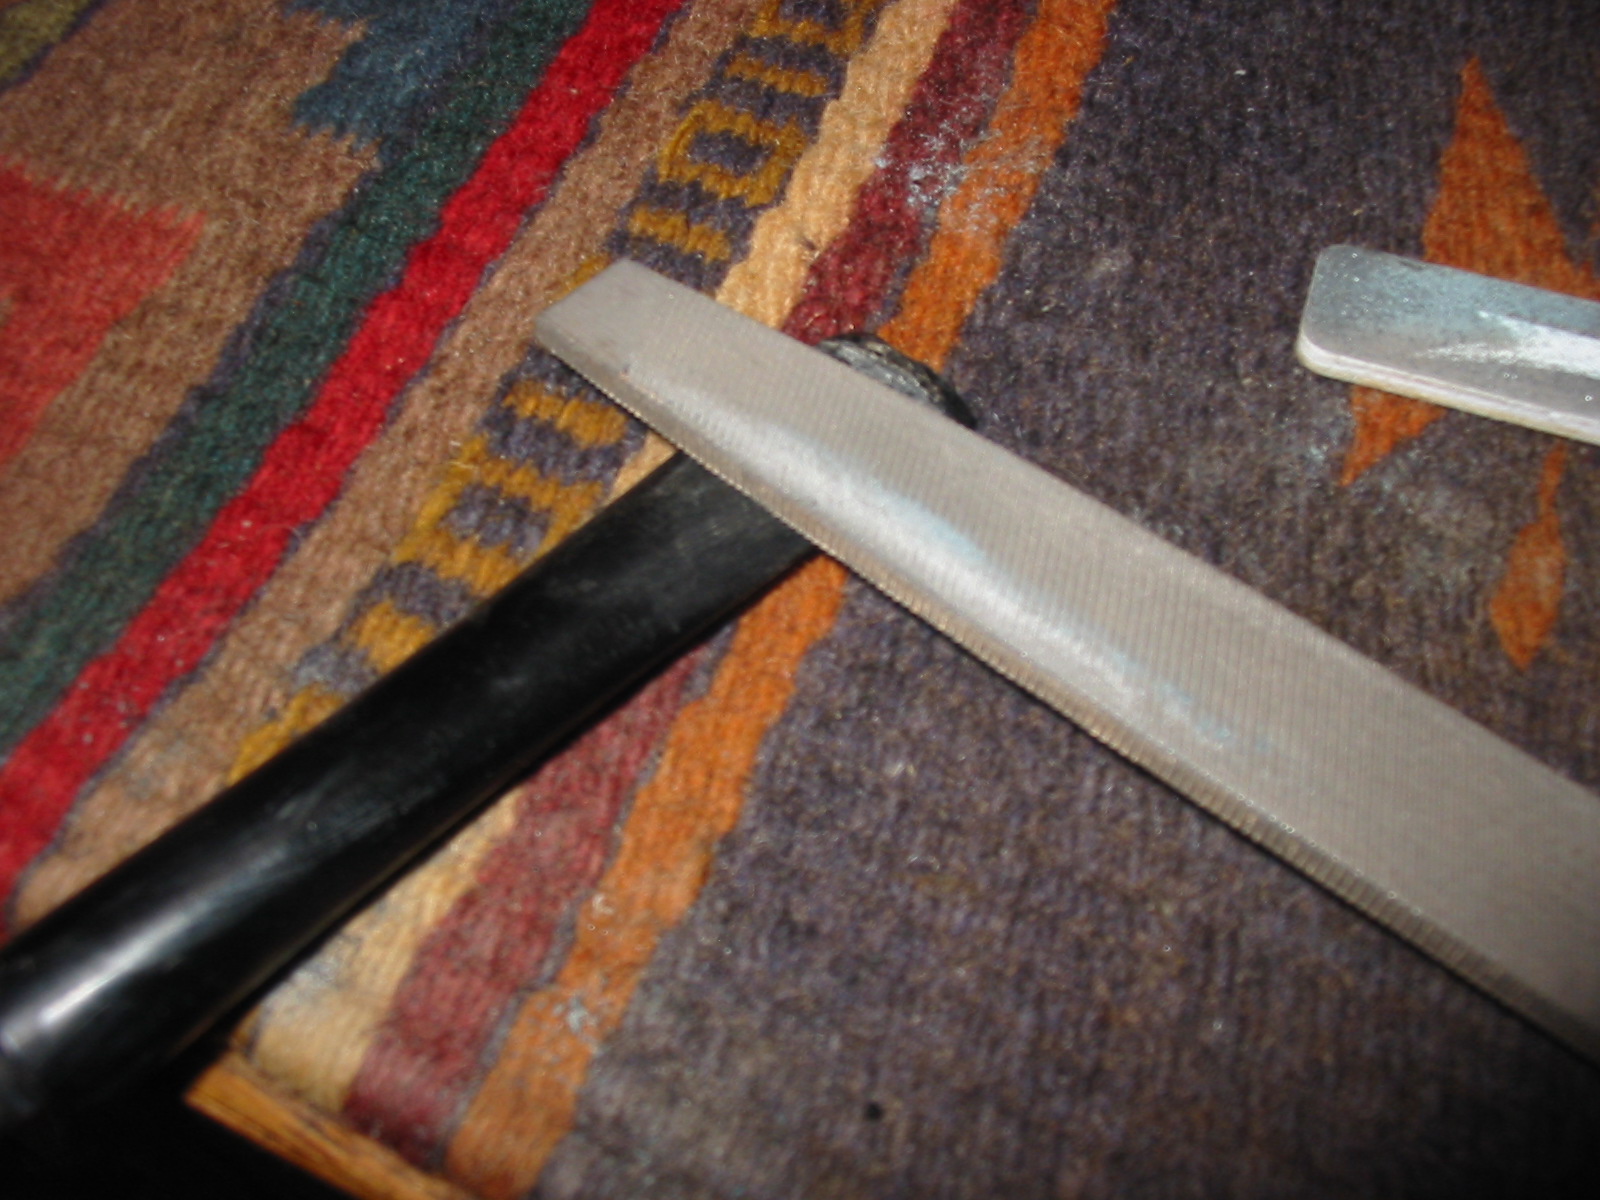
Once I had finished the work on the bowl to this point I decided to work on the stem. I used a coarse grit sanding stick to cut the sharp edge of the button. While it worked relatively well I could see that the hardened super glue needed something with more teeth to cut into the repair. I used a file to take off the overfill on the repair and then followed that with the sanding stick and 220 grit sandpaper.

I sanded the stem further with the 220 grit sandpaper and then with medium and fine grit sanding sponges to remove the scratches in the surface. I wet sanded with 1500-2400 grit micromesh sanding pads and dry sanded with 3200-12,000 grit pads. Between each grit of micromesh I wiped the stem down with olive oil. I have found that the olive oil allows the micromesh sanding pads to really cut into the surface of the nylon stem. I cleaned up the stinger with alcohol and cotton pads and then 0000 steel wool.
I gave the bowl a coat of walnut stain and boiled linseed oil to bring out a shine. I wanted the pipe to have a similar shine to what it originally had when it left the factory but did not want to use a varnish coat. I wiped it on the bowl with a cotton pad and then set it aside to air dry.
Once the finish had dried I buffed the pipe with White Diamond and then gave it several coats of carnauba wax and buffed to a shine with a soft flannel buff. I hand waxed the stem with Paragon Wax as I find that the nylon stems are hard to buff. Without a light touch the wheel can do irreparable damage to the nylon stem. The heat generated by the buffer will actually cause the stem to melt. The final photos below show the finished pipe cleaned, polished and ready to enter into the next years of its life. I think that this one will outlive me if properly cared for by the next pipeman after me.