Blog by Steve Laug
This pipe bowl came up on eBay and I bid on it. I really liked the diamond-shaped shank and the pipe looked to be in great condition. I did a bit of research and found that the brand was either made by Comoy’s or Charatan. The style of the stamping, which read Made in London over England, made me more inclined to think it was a Charatan made pipe. The diamond shank and the overall style of the pipe also seemed to point to it being Charatan made. The photos below were the ones included by the seller. 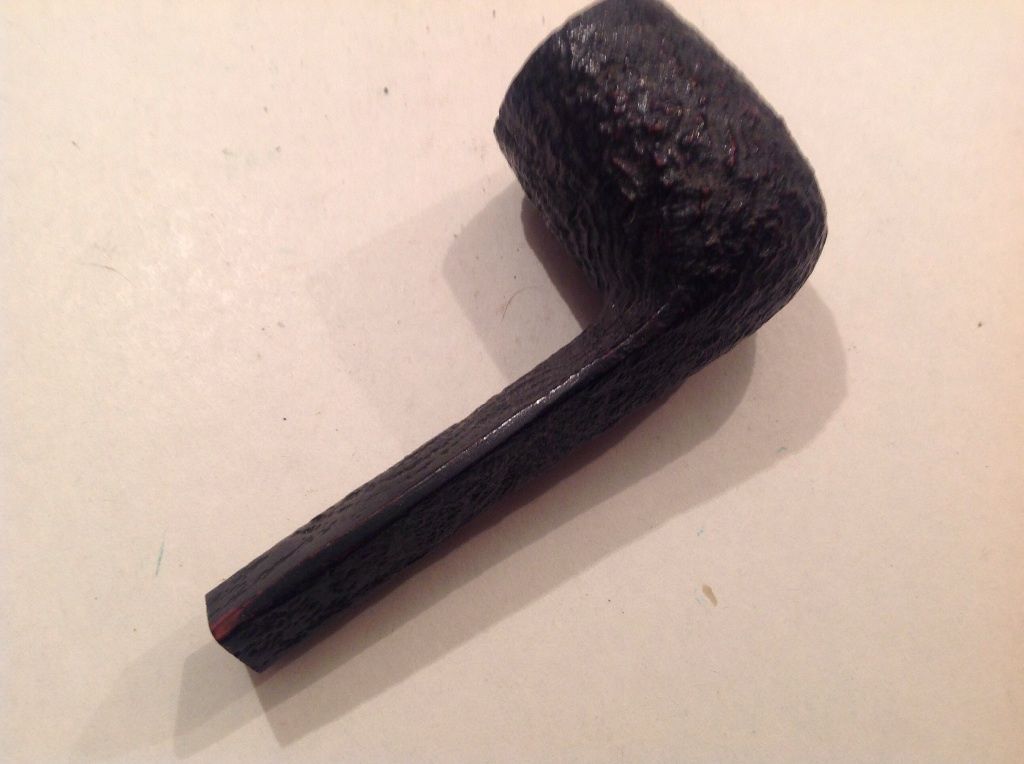
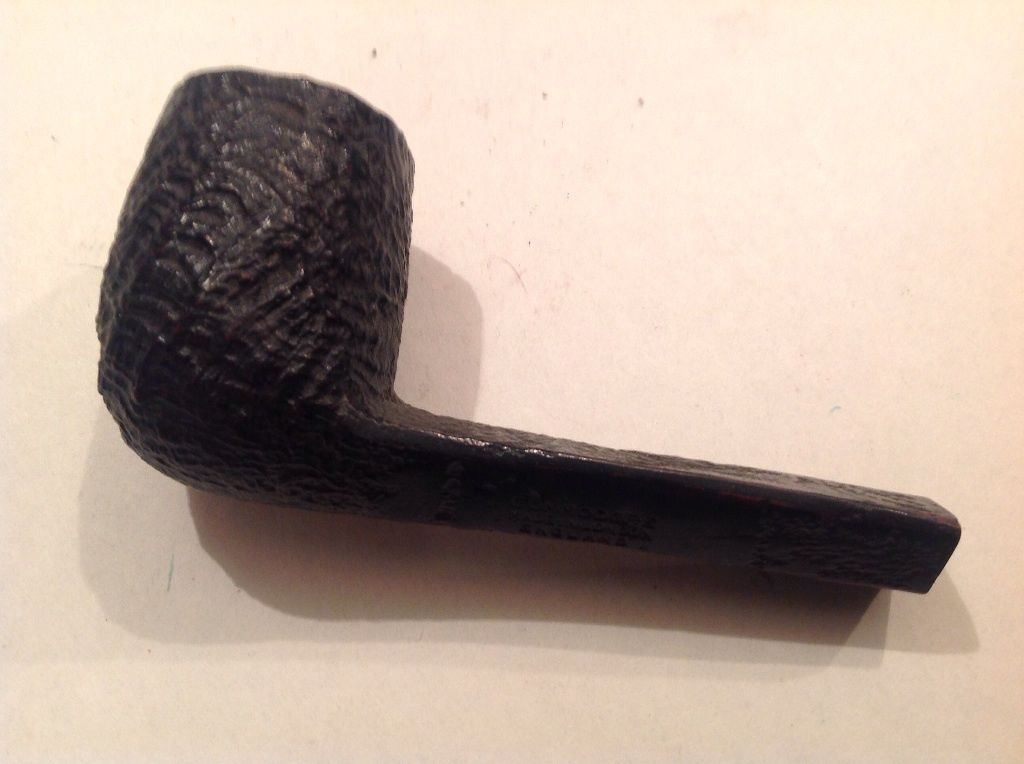

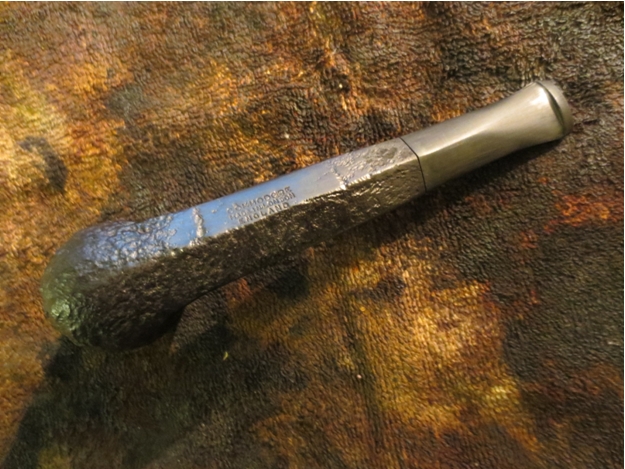
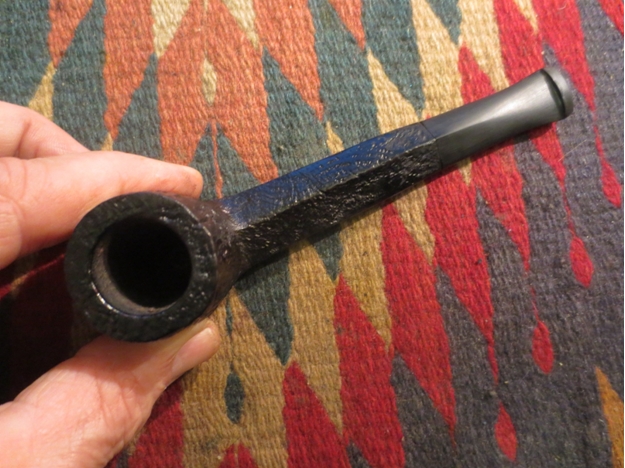
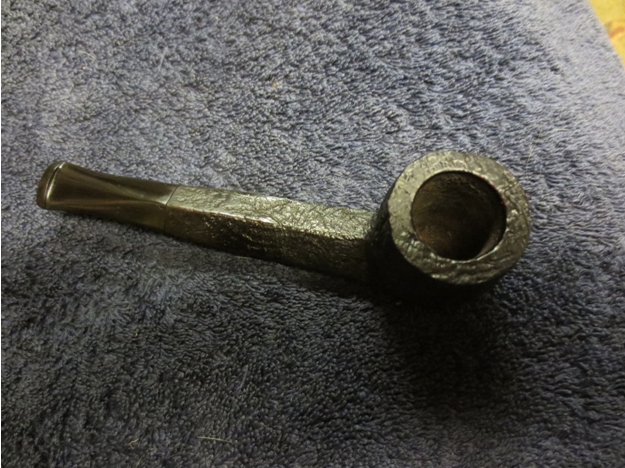
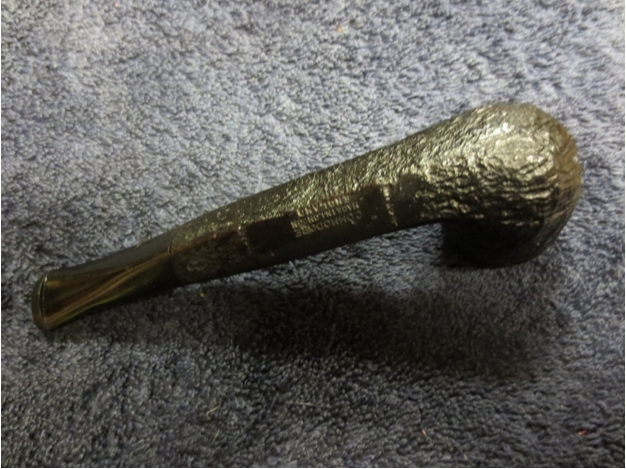
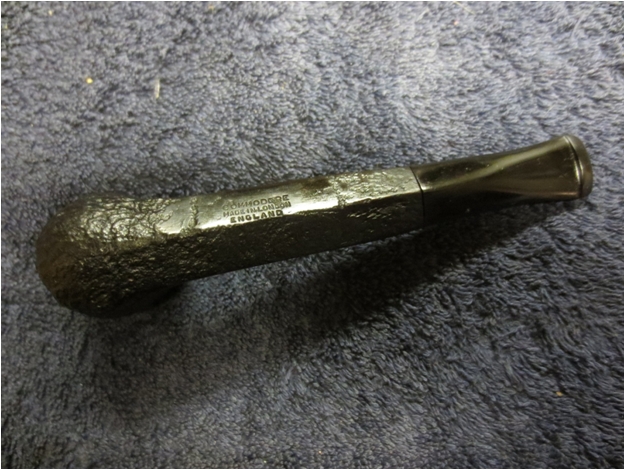
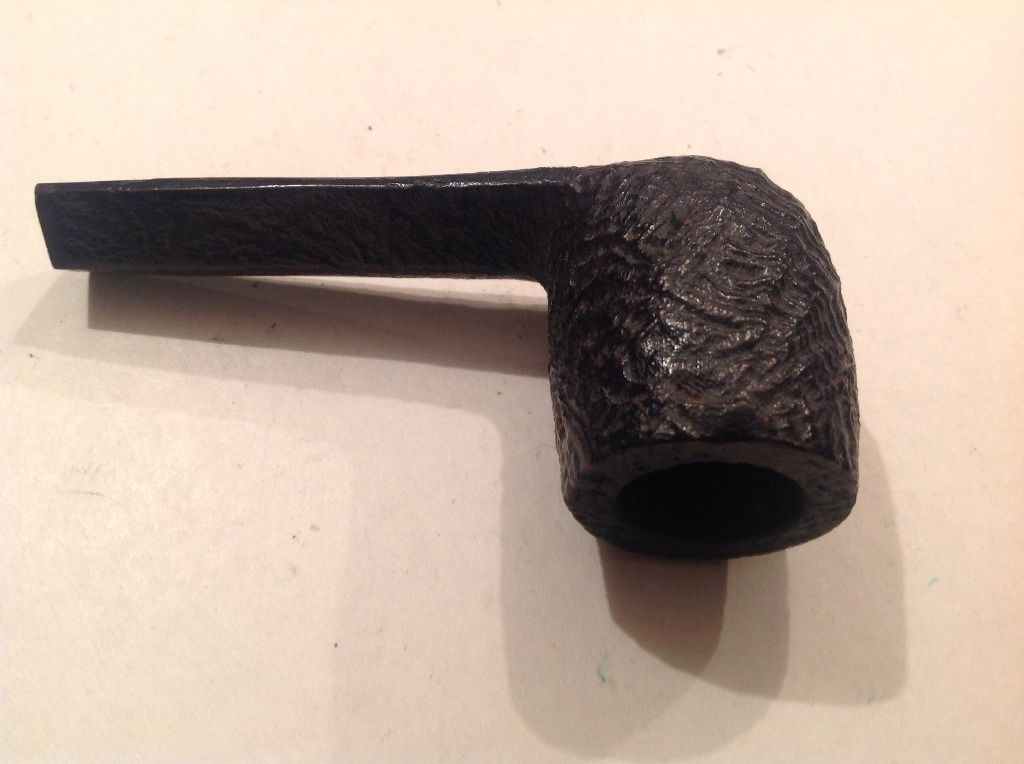 The sandblast was very rugged and craggy. The rim had a lighter blast and the shank had a blast about 2/3 of the way back from the bowl toward the stem. The last 1/3 was rusticated to match the blast of the first portion of the bowl. The diamond shank was flattened – it was wider from side to side than it was tall. The sides of the shank were sanded smooth and the bottom left side of the shank was smooth and stamped COMMODORE over Made in London over England. The bowl had a light cake and some shards of tobacco still in the bowl. The finish was in very good shape other than the sides next to the shank end – it was worn and the stain was worn. The rim had some tars on it and a light build up. There was not a stem with this bowl.
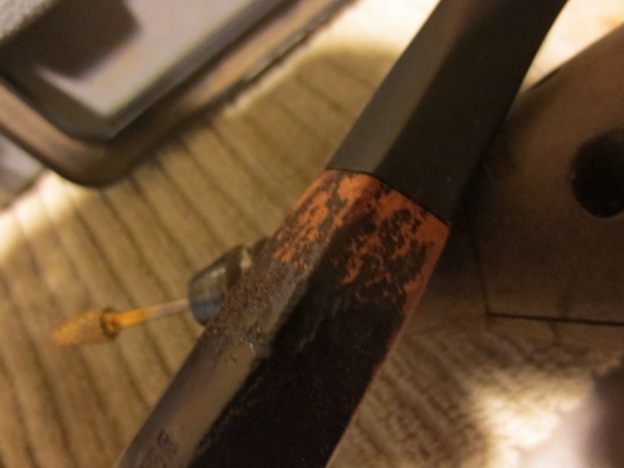
The first steps I took in this process I forgot to document with my camera. The battery was dead when I did remember so I will have to describe it with words. I went through my can of stems to see if any of the diamond-shaped stems would fit this shank. None of them were wide enough for the width of the shank. I had several oval stems that were close in width and height. I looked through the stems until I found one that was the right height and width for the shank. I turned the tenon on a PIMO Tenon Turning Tool until it was a close fit and then sanded it by hand until it fit snuggly in place. The end of the shank was not quite square so there was a slight gap on the side corners. Filing and shaping the stem would help with the fit. I shaped it with a Dremel and sanding drum as well as hand sanded until it was a flattened diamond. I sanded the stem in place on the shank to make the transition smooth between the shank and stem. It took a lot of sanding to shape it correctly.

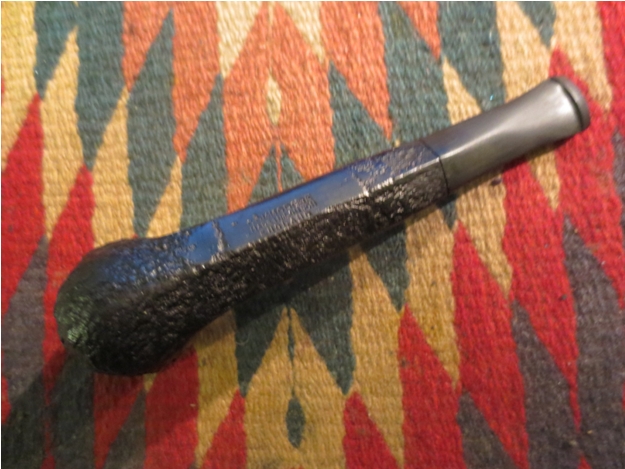
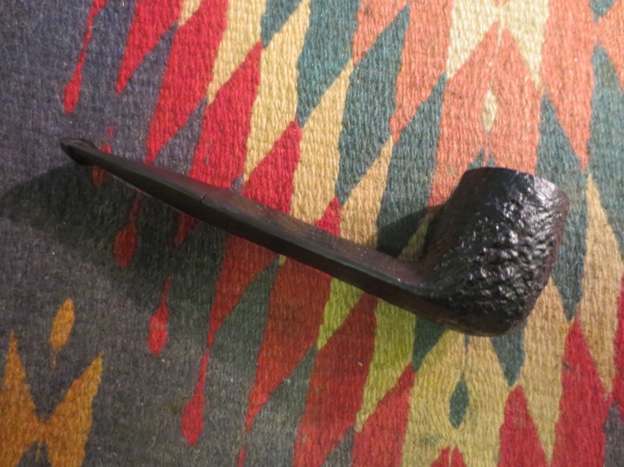
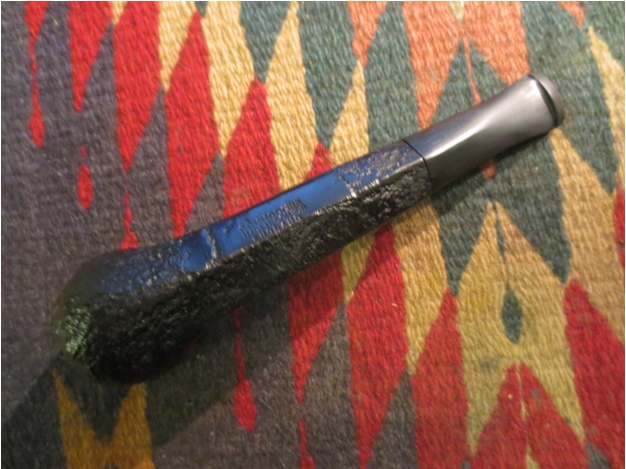
 The photo below shows the shape of the finished stem. There was still a lot of work to do to smooth out the end of the tenon to remove the casting marks and to smooth out the diamond shape of the stem but the diamond shape was basically finished.
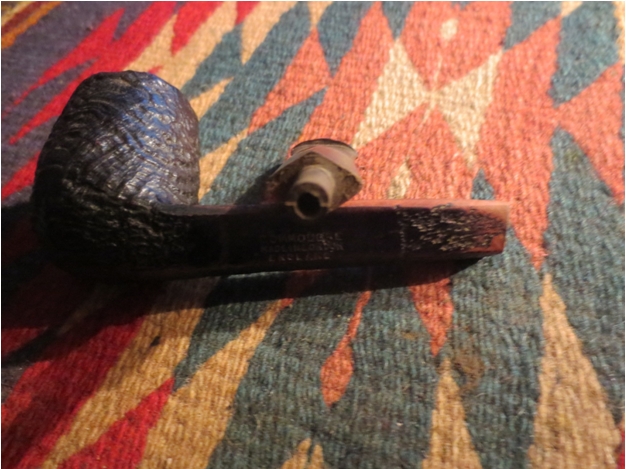 I reamed the bowl with a PipNet reamer to remove the slight cake and the tobacco shards that were stuck to the sides of the bowl.
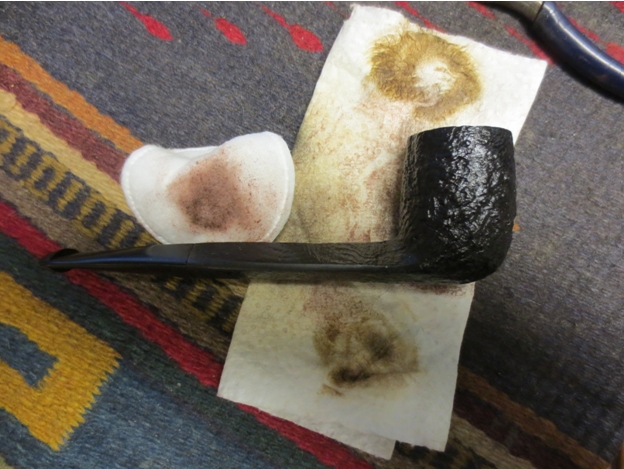
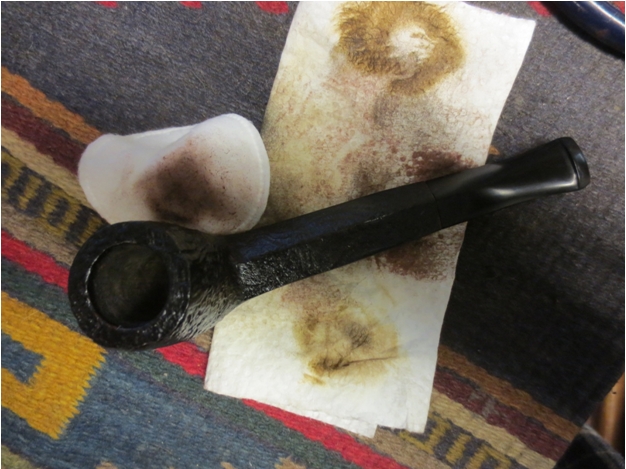
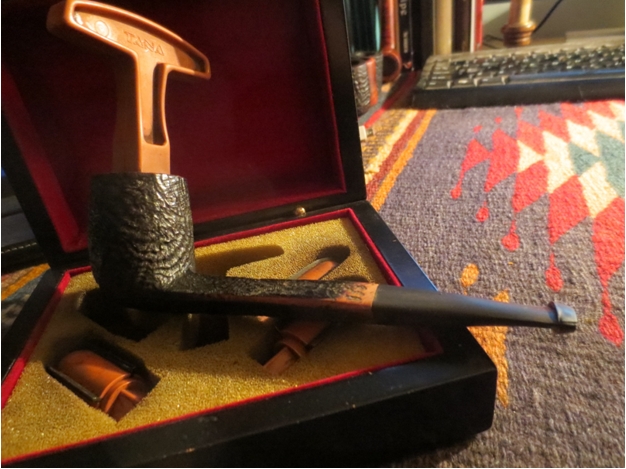 I used a brass bristle tire brush to clean the rim top and remove the overflow of cake on the top. I wiped it down with a cotton pad and alcohol to remove the dust and clean out the grooves in the blasted rim.
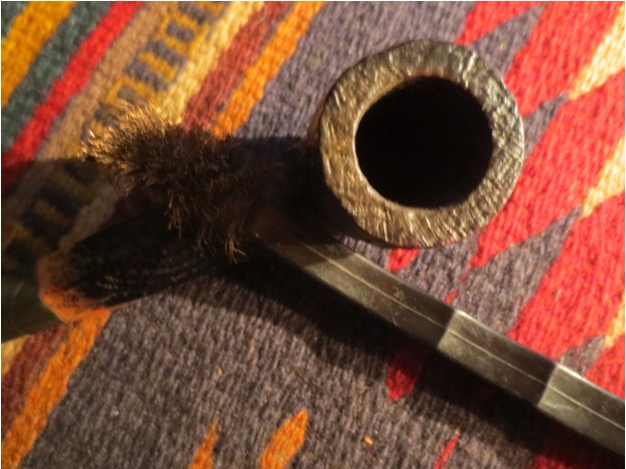
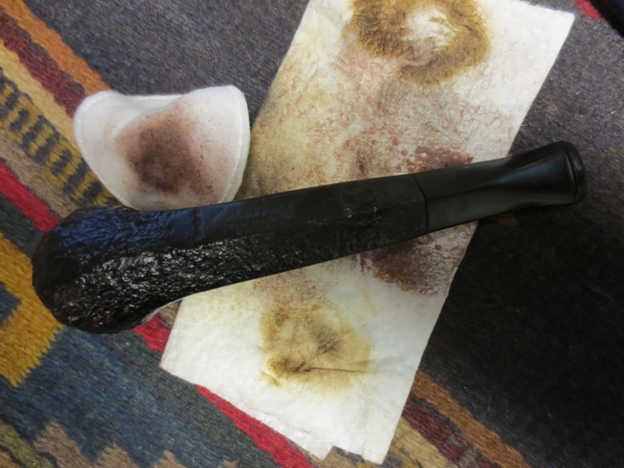
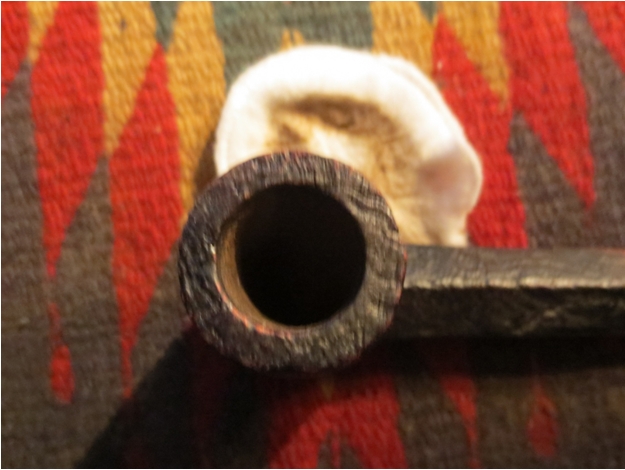 I wiped down the bowl and shank with cotton pads and alcohol to remove the dirt in the finish and prepare it for working on the shank.
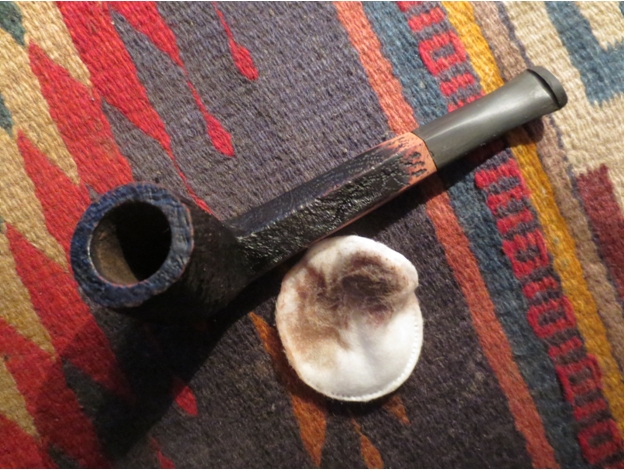
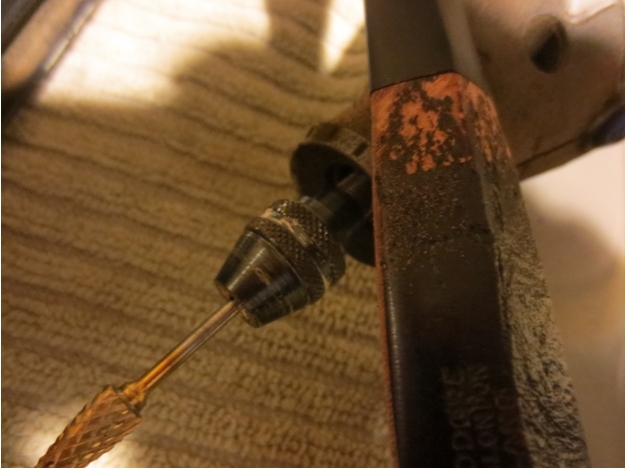
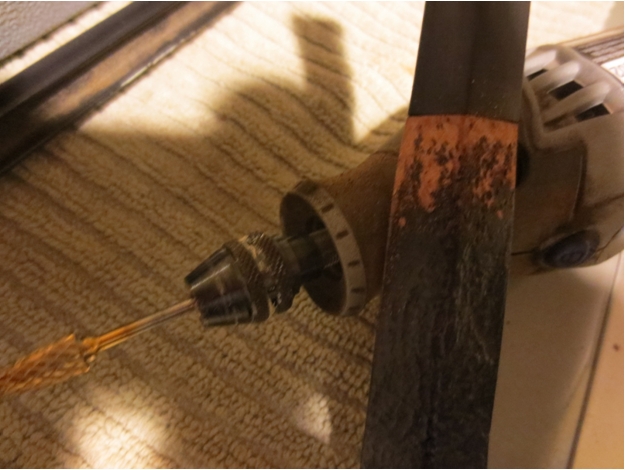
 I used a dental burr in the Dremel to re-rusticate the shank area where I had sanded it smooth. I ran the Dremel at a slow speed to match the pattern on the rest of the shank.
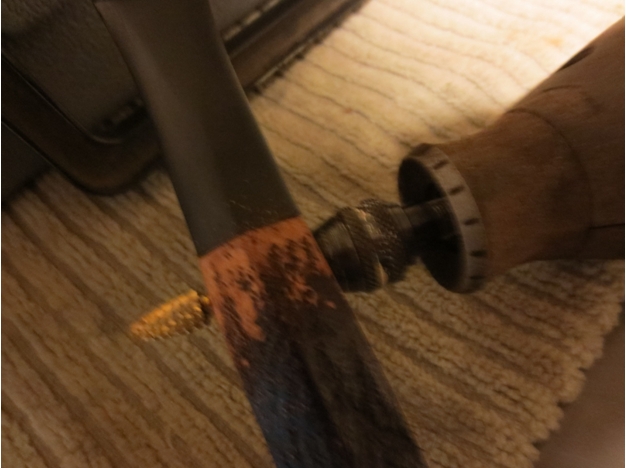
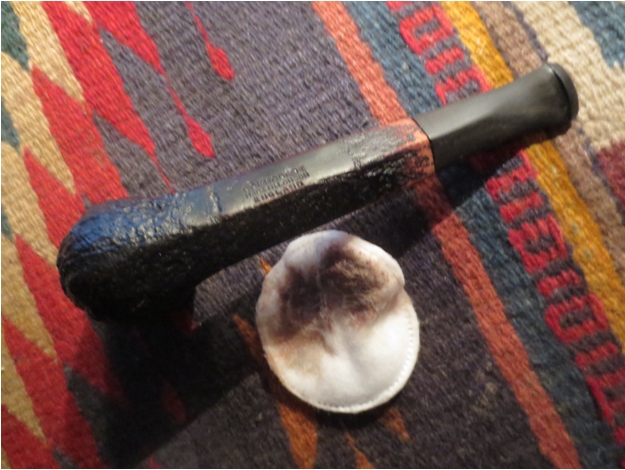
 I wiped down the rusticated shank area and wiped down the dust on the rest of the bowl to prepare it for the new stain coat. I used a black aniline stain for the stain on the newly rusticated areas and also gave the entire bowl a coat of the black stain to cover the worn areas. I applied the stain, flamed it and repeated the process until the coverage was even on the bowl.
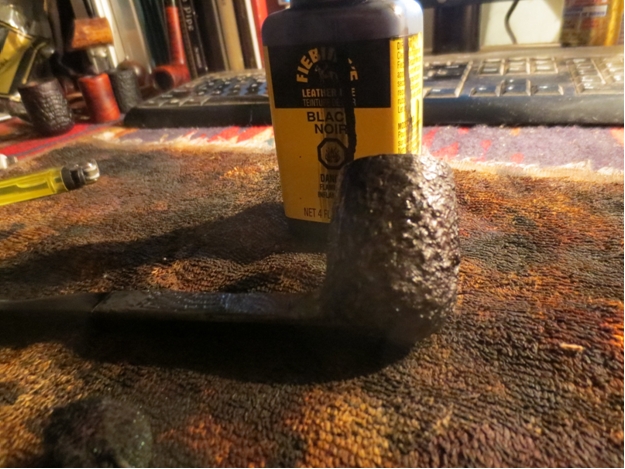
 I hand buffed the pipe with a rag I use for that purpose. It picks up the stain coat and evenly spreads it across the bowl and rim.
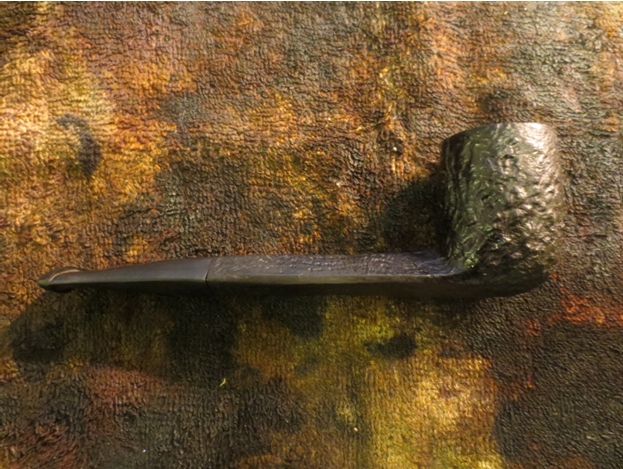
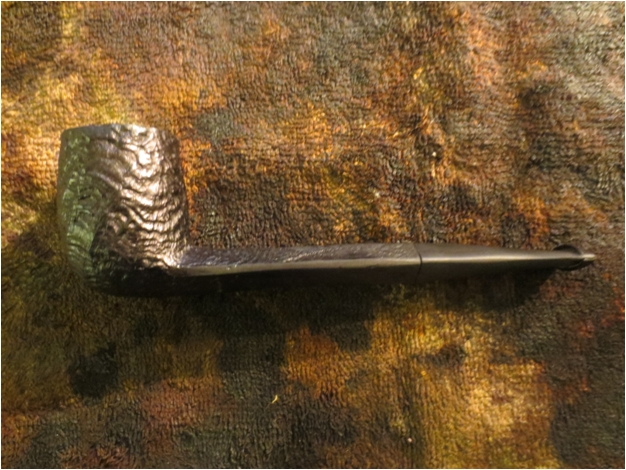
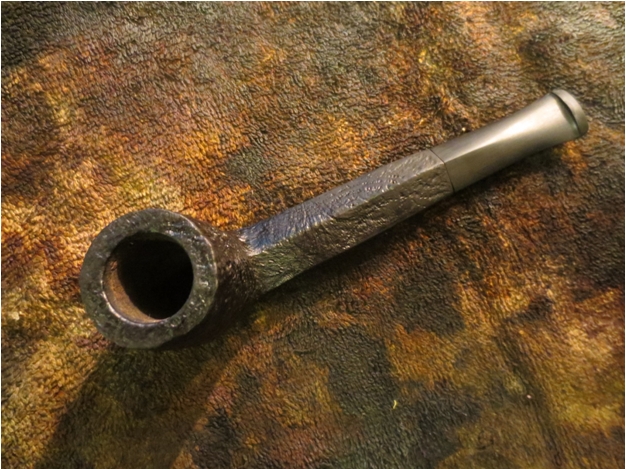
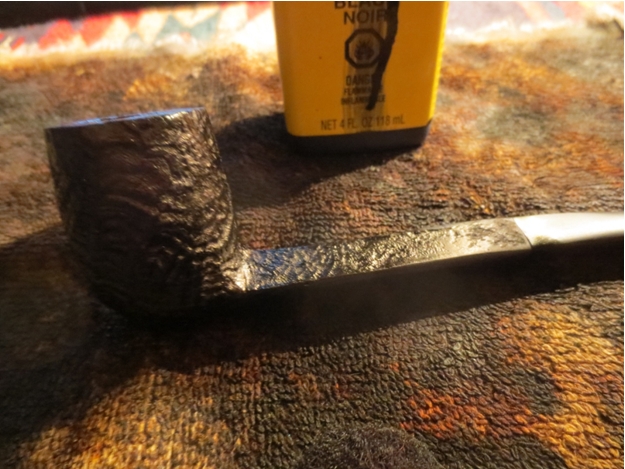
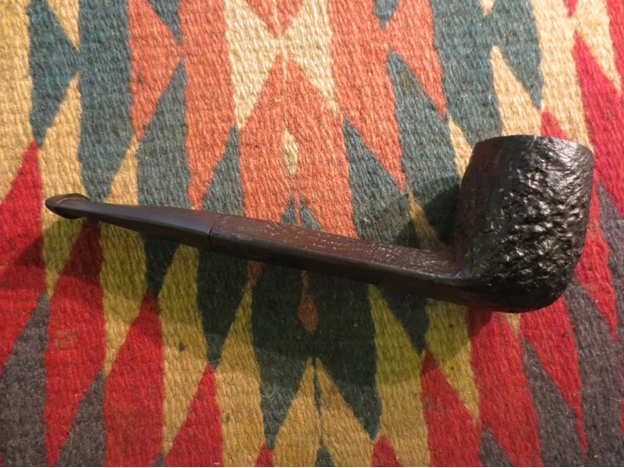
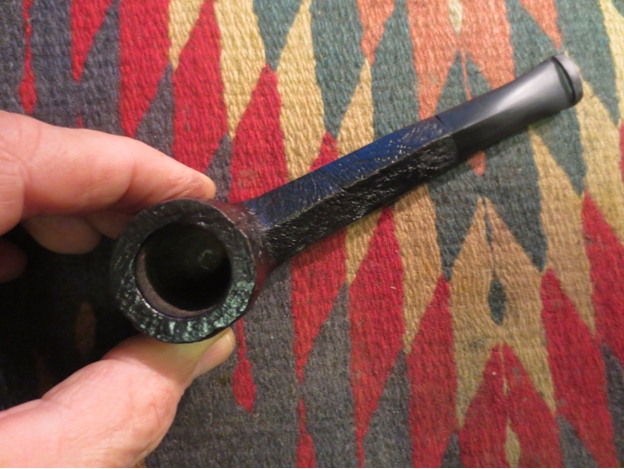
 I buffed the pipe with White Diamond to polish the new stain and to blend it better with the rest of the bowl colour. The next series of four photos below show the pipe after this initial buffing.
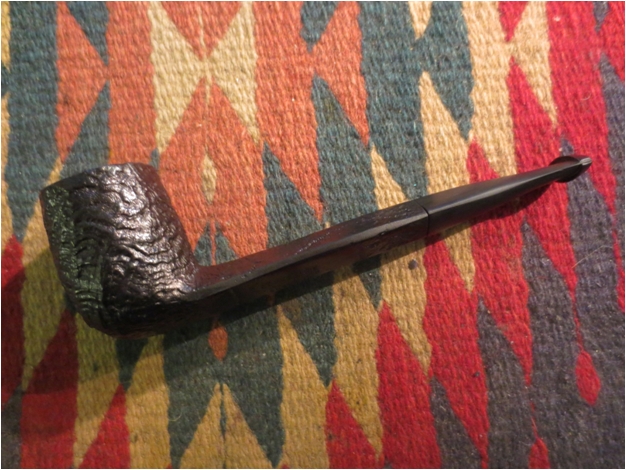
 I decided to give the bowl a coat of wax to see what black looked like when polished. I wanted to see if I would need to give it another coat of stain to highlight the higher spots on the sandblast. I applied it by hand and then buffed it with a shoe brush.
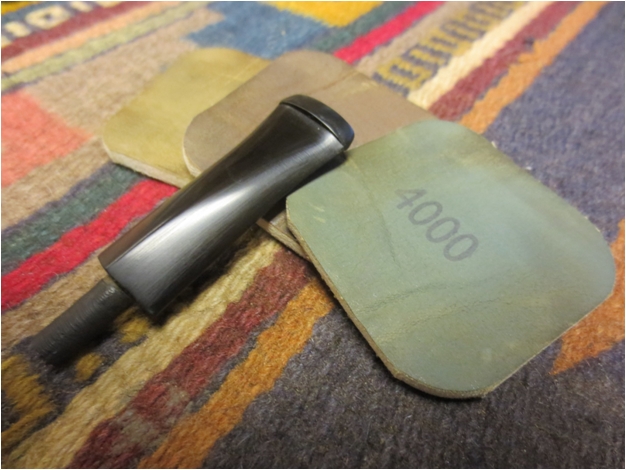
 I set the bowl aside to work on the stem. I sanded it some more with the 220 grit sandpaper and then with the medium and fine grit sanding sponges. I followed those up by sanding with my usual array of micromesh sanding pads. I wet sanded with 1500-2400 grit pads and dry sanded with 3200-12,000 grit pads. I rubbed the stem down with Obsidian Oil between each group of three pads. I buffed the stem with White Diamond to polish it.
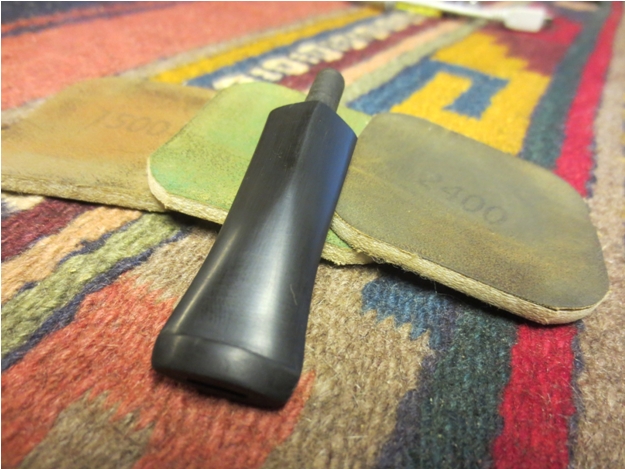
 I decided to give the pipe a second coat of stain to highlight the black. I used a oxblood stain to give it the contrast that I was looking for. I applied the topcoat of stain and wiped it off. I buffed the pipe and stem with White Diamond again to polish the stain coat and stem.
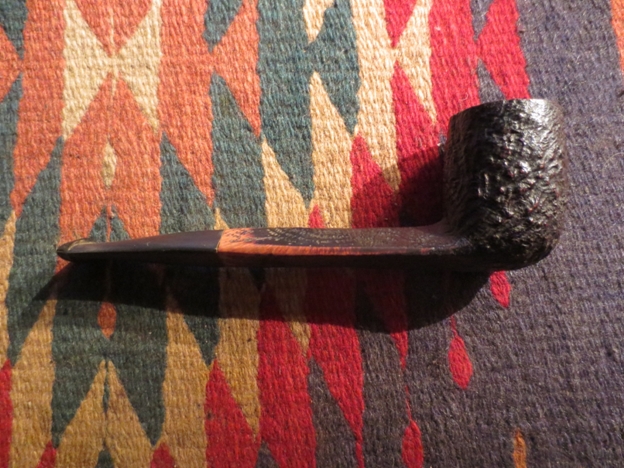
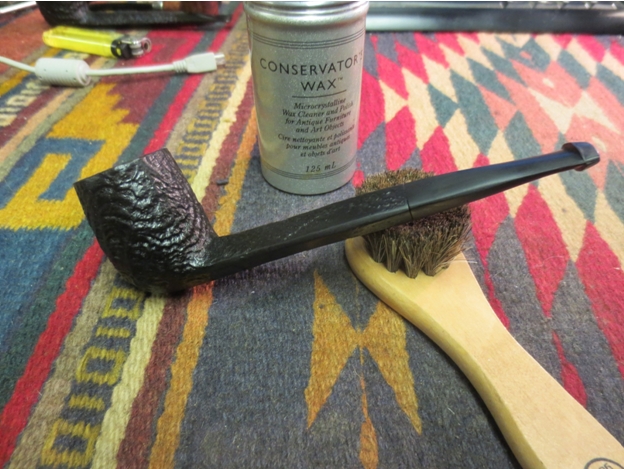
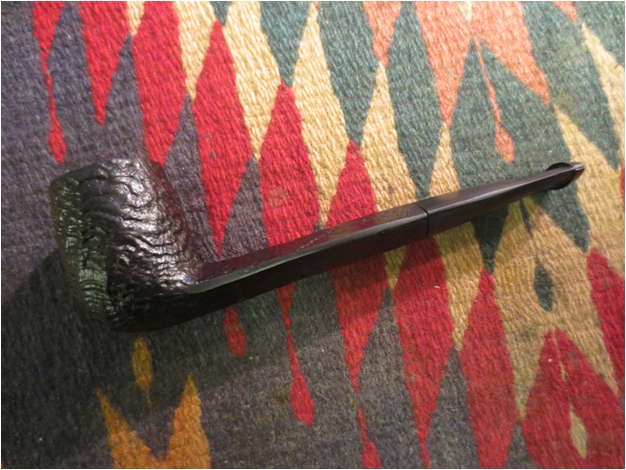
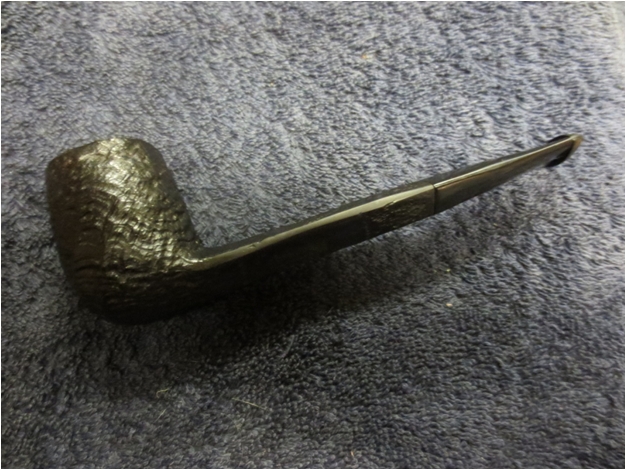
 I waxed it with several light coats of carnauba wax. I use a light touch so as not to gum up the wax in the sandblast. At the same time I want the shine that a good coat of wax gives the bowl and stem. The finished pipe is shown below. The new stem works well with the shape of the shank and gives the pipe a quiet, understated elegance. I hope to load up a bowl and give it an inaugural smoke tomorrow out on the front porch and relax with a good bowl of aged Virginia.
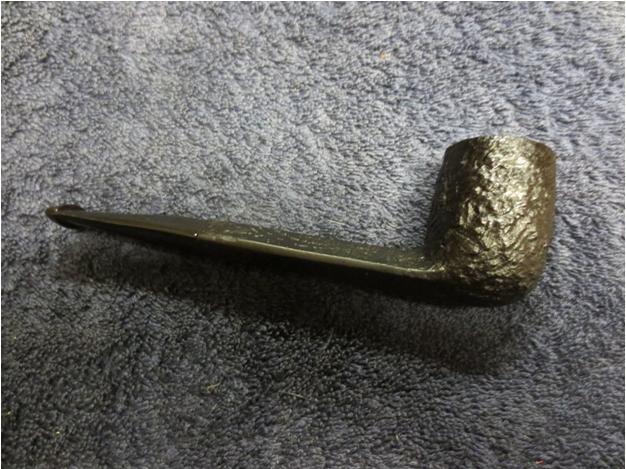

I recently won a Commodore Lumberman with similar rustication. After some minor cleaning it has become a really great smoker.
LikeLike
Great pipe. The stain, and stem looks like “factory”.
LikeLike
nice! how much?
LikeLike