Daily Archives: September 19, 2014

Tenon Troubles- Why I Stretch Rather Than Squash


Blog by Greg Wolford

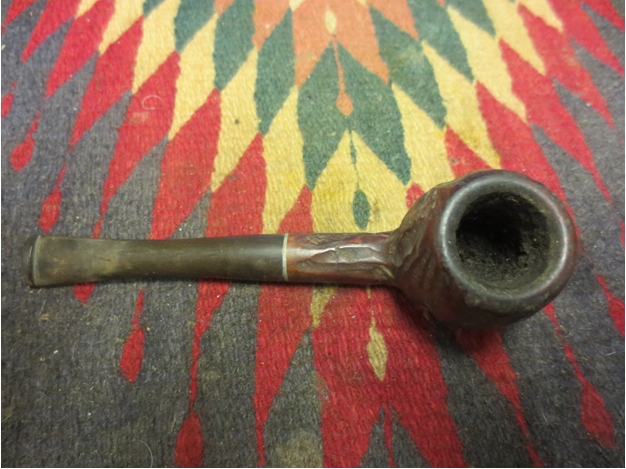
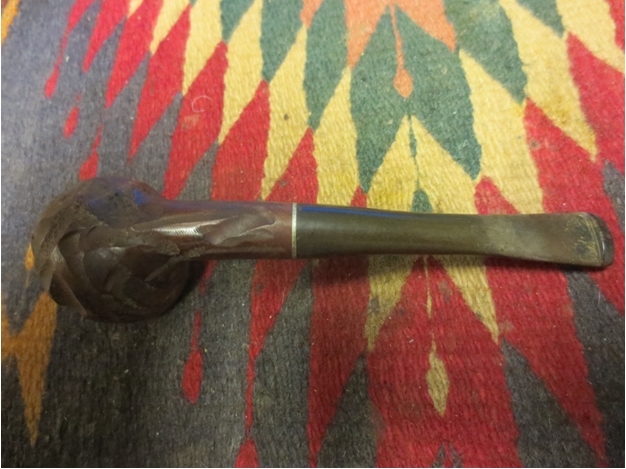
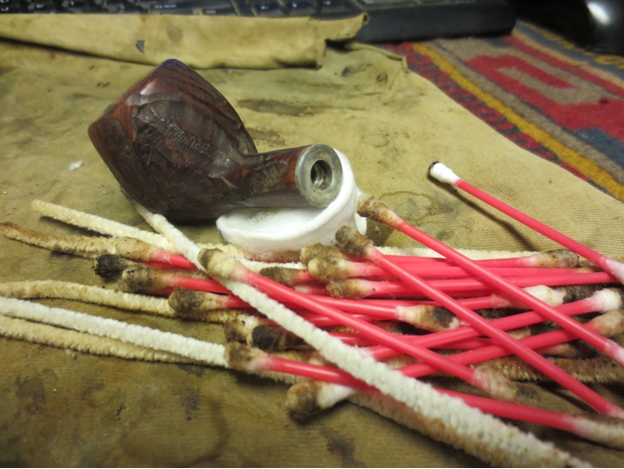
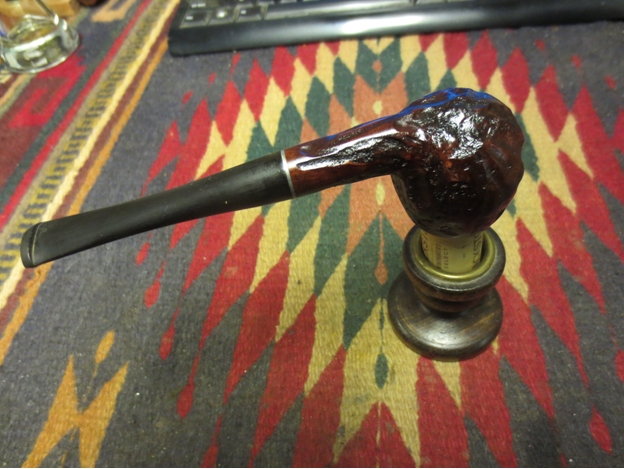
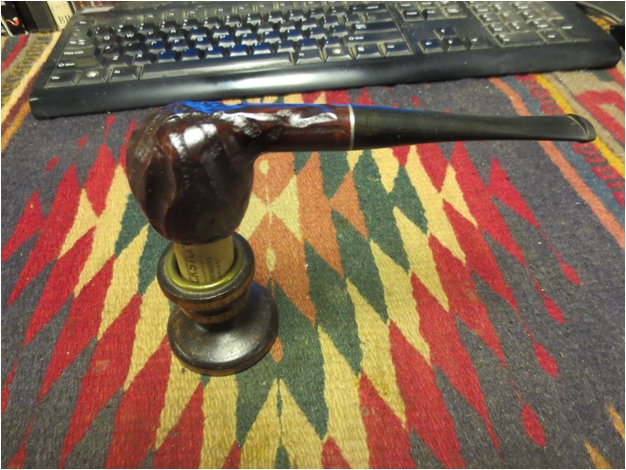
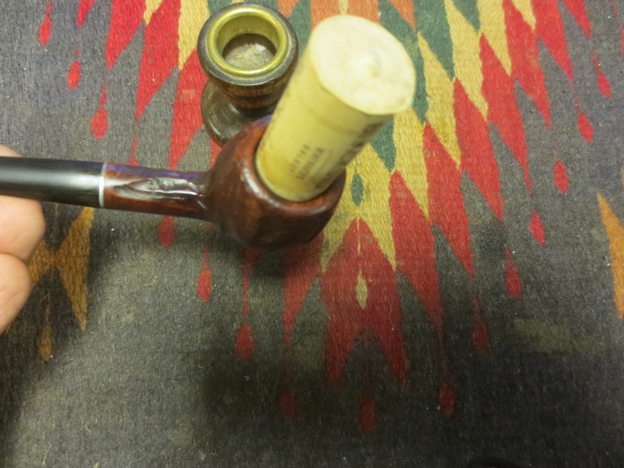
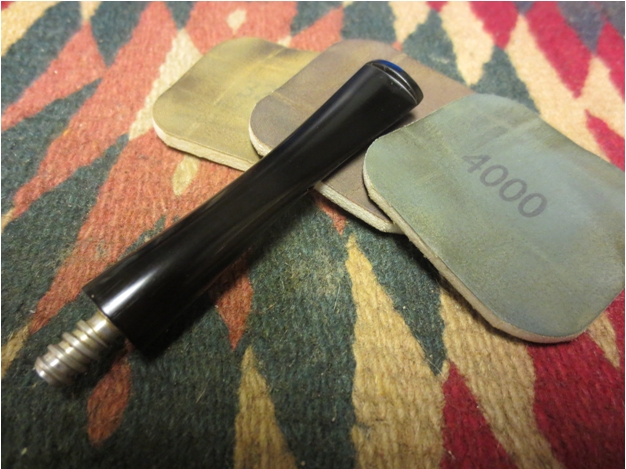
Not long ago I was asked why I go through the trouble of using a drill bit (the blunt end) to stretch out a tenon instead of simply pressing it down to enlarge it when I’m fixing a loose stem. (The original article is posted HERE) I answered with because it is less likely to bend or mushroom the tenon doing it this way but there’s another reason to use this method: “headspace”.

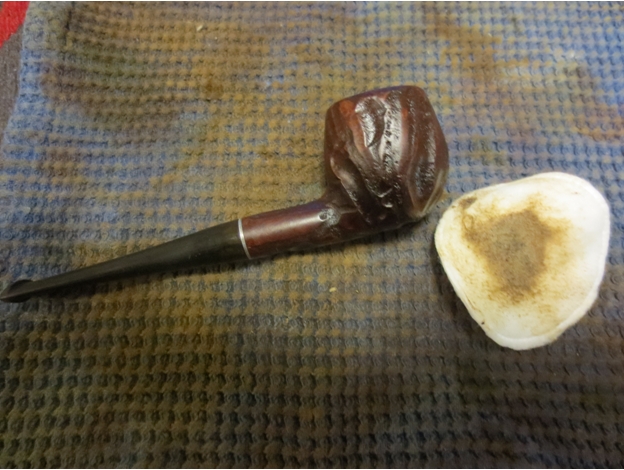
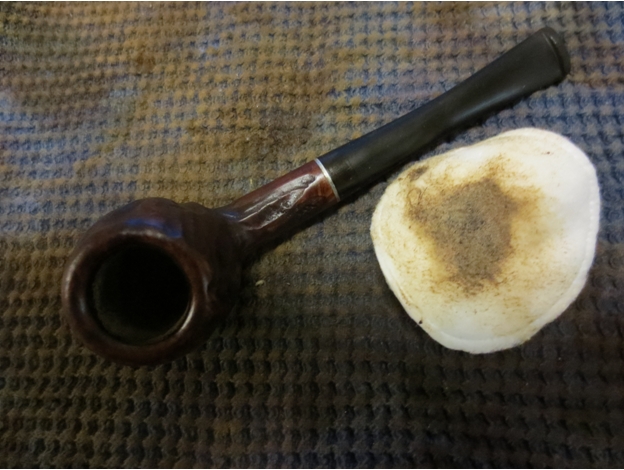
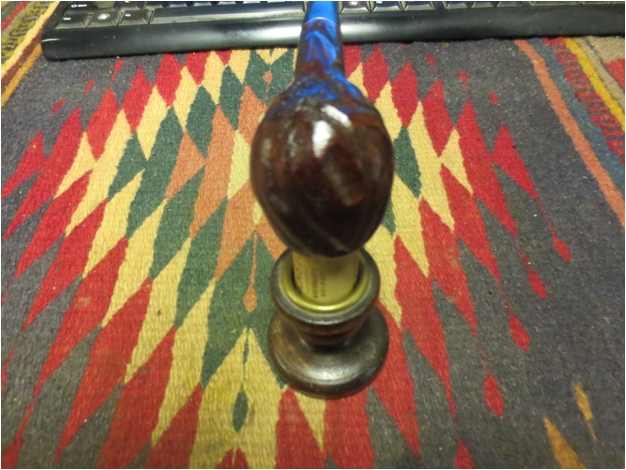
Ideally the tenon should fit snugly against the mortise with little or no “headspace” or gap. When a stem is loose enlarging its diameter is the best long term fix but the method for the fix has an impact on the pipe’s smoking characteristics on my opinion.

Pressing it down while it’s warm will increase the diameter but also shorten the tenon, thus increasing the gap or headspace, too, which is undesirable. By stretching the tenon to the right fit, you get a nice, snug stem and no increase in the headspace. If you are a listener to the PipesMagazine Radio show you already know the reason why this is important; and if you’re not a listener you should be! Anyway, the increased gap allows more gunk to build up in the shank and can cause a pipe to smoke wetter, neither are desirable things. So, again, in my opinion, the extra time and effort the stretch-method requires is well worth the investment.

Got Today’s Apple! Restoring an Imported Briar Apple


Yet another gift pipe bowl that I had in my box was a no name Imported Briar Apple. It had a threaded tenon and I just “happened” to have a stem that fit it perfectly in my can of stems. (One day I need to get the stems sorted and organized more. Currently I have a can of round stems and a can of everything else stems. This necessitates emptying the entire can on the work table each time I need them and sorting through to find what I need.) The stem was a used Grabow stem that was missing the stinger but the tenon was intact. It was oxidized and dirty but very functional. There were no tooth marks or bite marks on the surface. When twisted onto the pipe it was slightly overturned. IMG_2015 IMG_2016 The bowl had an interesting finish in that the briar was smooth around the rounded rim and down the bowl. Then there were grooves or what I call worm trails cut vertically down the sides of the bowl and horizontally on the shank. The all culminated in rusticated pattern on the bottom of the bowl. The finish was shot and the worm trails had all nature of detritus packed into them. The grooves were full in some places. The stain was present but worn. If there had ever been a varnish coat it too was gone. The aluminum mortise insert was well oxidized. The bowl had a thick buildup of cake and loose pieces of tobacco handing on the sides. The rim was dirty but did not have any damage. IMG_2017 IMG_2018 I heated the tenon with a Bic lighter and straightened the overclocked stem. I reamed the bowl with a PipNet pipe reamer and then scrubbed the bowl down with Murphy’s Oil Soap and a tooth brush. I rinsed it with lukewarm water and dried it off. I scrubbed the buildup on the rim with a cotton pad and saliva and then used isopropyl alcohol on a cotton pad until I had broken through the tough outer coat. I used a medium grit sanding sponge to sand off the rest of the buildup and then wiped it down again with alcohol. IMG_2019 IMG_2020 I wiped down the exterior of the bowl and shank with acetone on cotton pads to remove the remaining finish. IMG_2022 I sanded the stem with 220 grit sandpaper to remove the oxidation and the calcification buildup at the button. I worked in the creases with a sanding stick. Once I had cut through the oxidation I sanded the stem with a medium and a fine grit sanding sponge.IMG_2026 IMG_2027 IMG_2028 IMG_2029 Once I had removed the finish and did the initial sanding on the stem I cleaned out the shank and stem with cotton swabs, pipe cleaners and alcohol until they were clean. IMG_2024 IMG_2025 I sanded the aluminum mortise insert with medium and fine grit sanding pads. I stained the bowl with a Danish Oil Walnut stain. IMG_2030 IMG_2031 IMG_2032 After I had stained the pipe I put a cork in the bowl and set it aside in an old candle stick holder to dry while I worked on the stem. IMG_2033 IMG_2034 IMG_2035 IMG_2036 I sanded the stem with my usual array of micromesh sanding pads – wet sanding with 1500-2400 grit pads and dry sanding with 3200-12,000 grit pads. I rubbed it down with Obsidian Oil between each set of three sanding pads and gave it a final coat of the oil after sanding with the 12,000 grit pad. I took it to the buffer and buffed it with White Diamond. IMG_2037 IMG_2038 IMG_2040 When the stain on the bowl had dried I put the stem on the pipe and then gave the entire pipe another buff with the White Diamond and then gave it multiple coats of carnauba wax. I finished by buffing it with a soft flannel buff to raise the shine on the bowl and stem. The finished pipe is shown below. The stem actually looks like it is the original stem and the pipe looks as good as new. It is ready for a long life in the hands of the next pipeman who takes it home to join his/her rack. IMG_2041 IMG_2042 IMG_2046 IMG_2048