The Aran Line: In Praise of Meat & Potatoes
Leave a reply
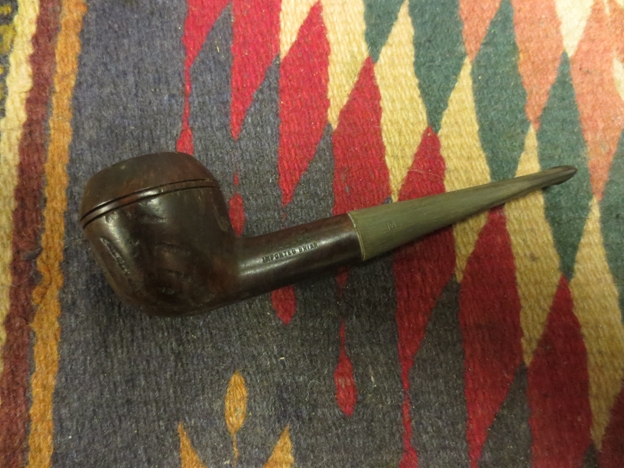
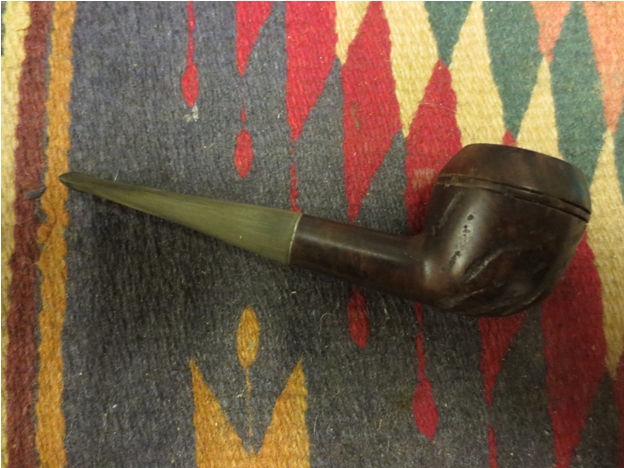
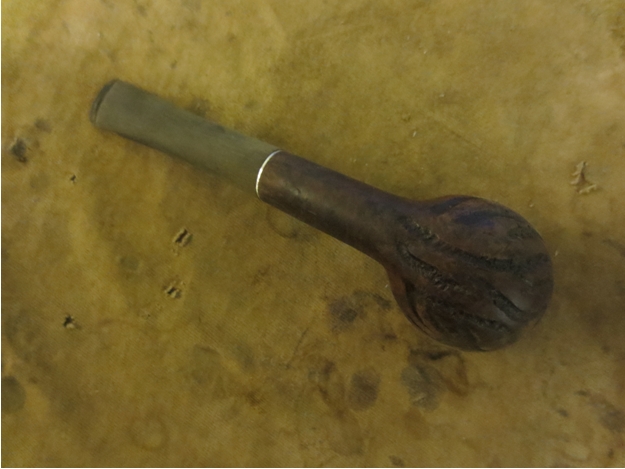
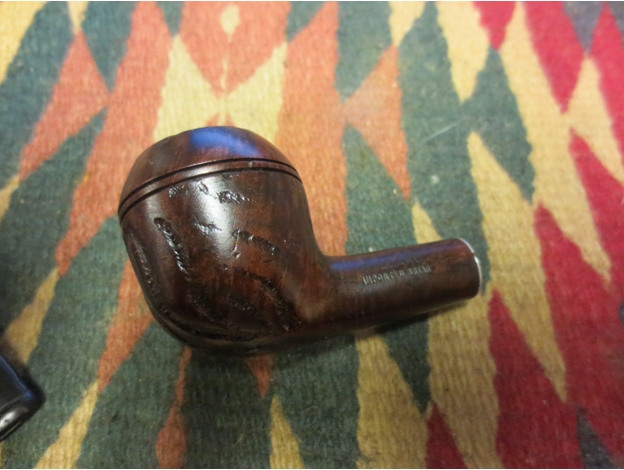
Another of the bowls from the gift box was this Willard Rhodesian. It was in pretty good shape other than being dirty and stemless. The bowl had a broken cake at the top of the bowl and remnants of tobacco left in the bowl. The rim was dirty and lightly caked with some damage caused from tapping the rim on something. The outer and inner edges of the bowl were undamaged. The interior of the shank was dirty. The shank was fitted with a threaded mortise that would take a threaded stem. I had a stem in m can of stems that fit well in the shank, was overturned but workable. The diameter of the stem was larger than the shank. The photo below shows the stem on the pipe in the middle of the threesome. 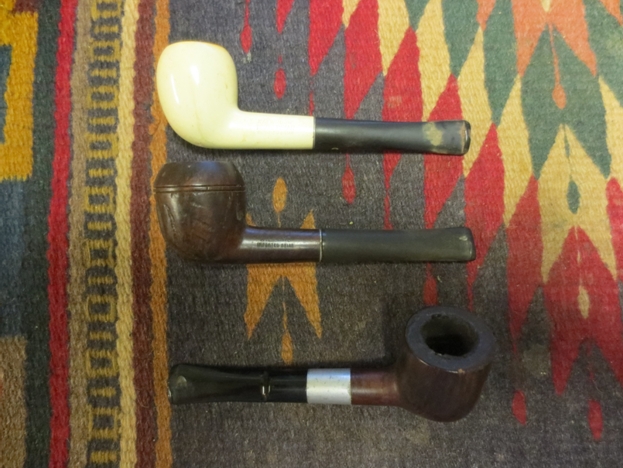 I set up a heat gun and held the stem about three inches above the heat. The first photo below shows the stem in place. To heat it I removed it from the bowl and heated the metal tenon. When it was warm I screwed it back in place and twisted it. I had to reheat it several times to get the alignment correct. The second photo shows the aligned stem.
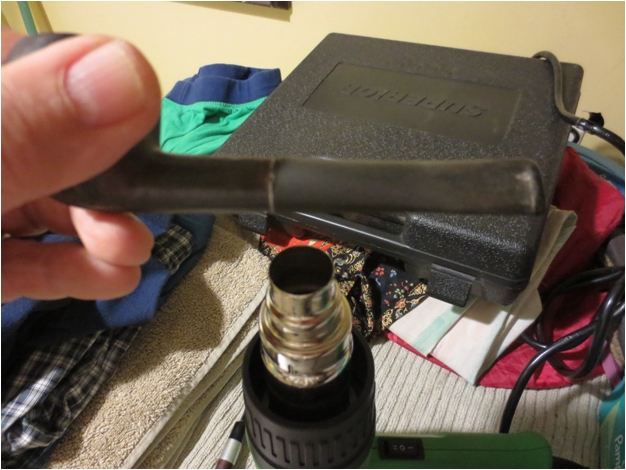
 I sanded the stem with 150 grit sandpaper to reduce the diameter of the stem. I also sanded the slope to the button to highlight the tooth marks on the stem.
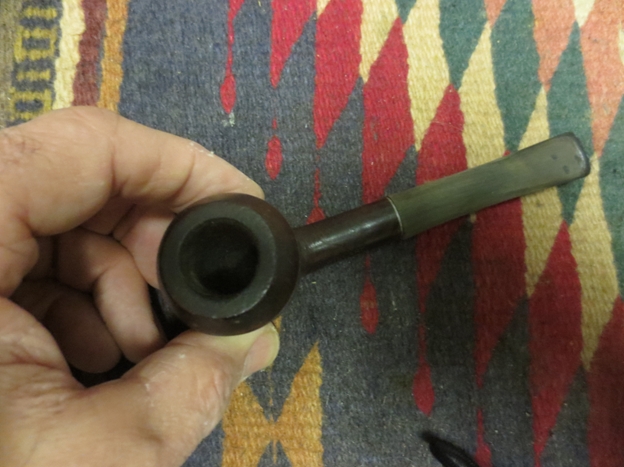
 I used a needle file to sharpen the inner edge of the button and make the angles more distinct.
 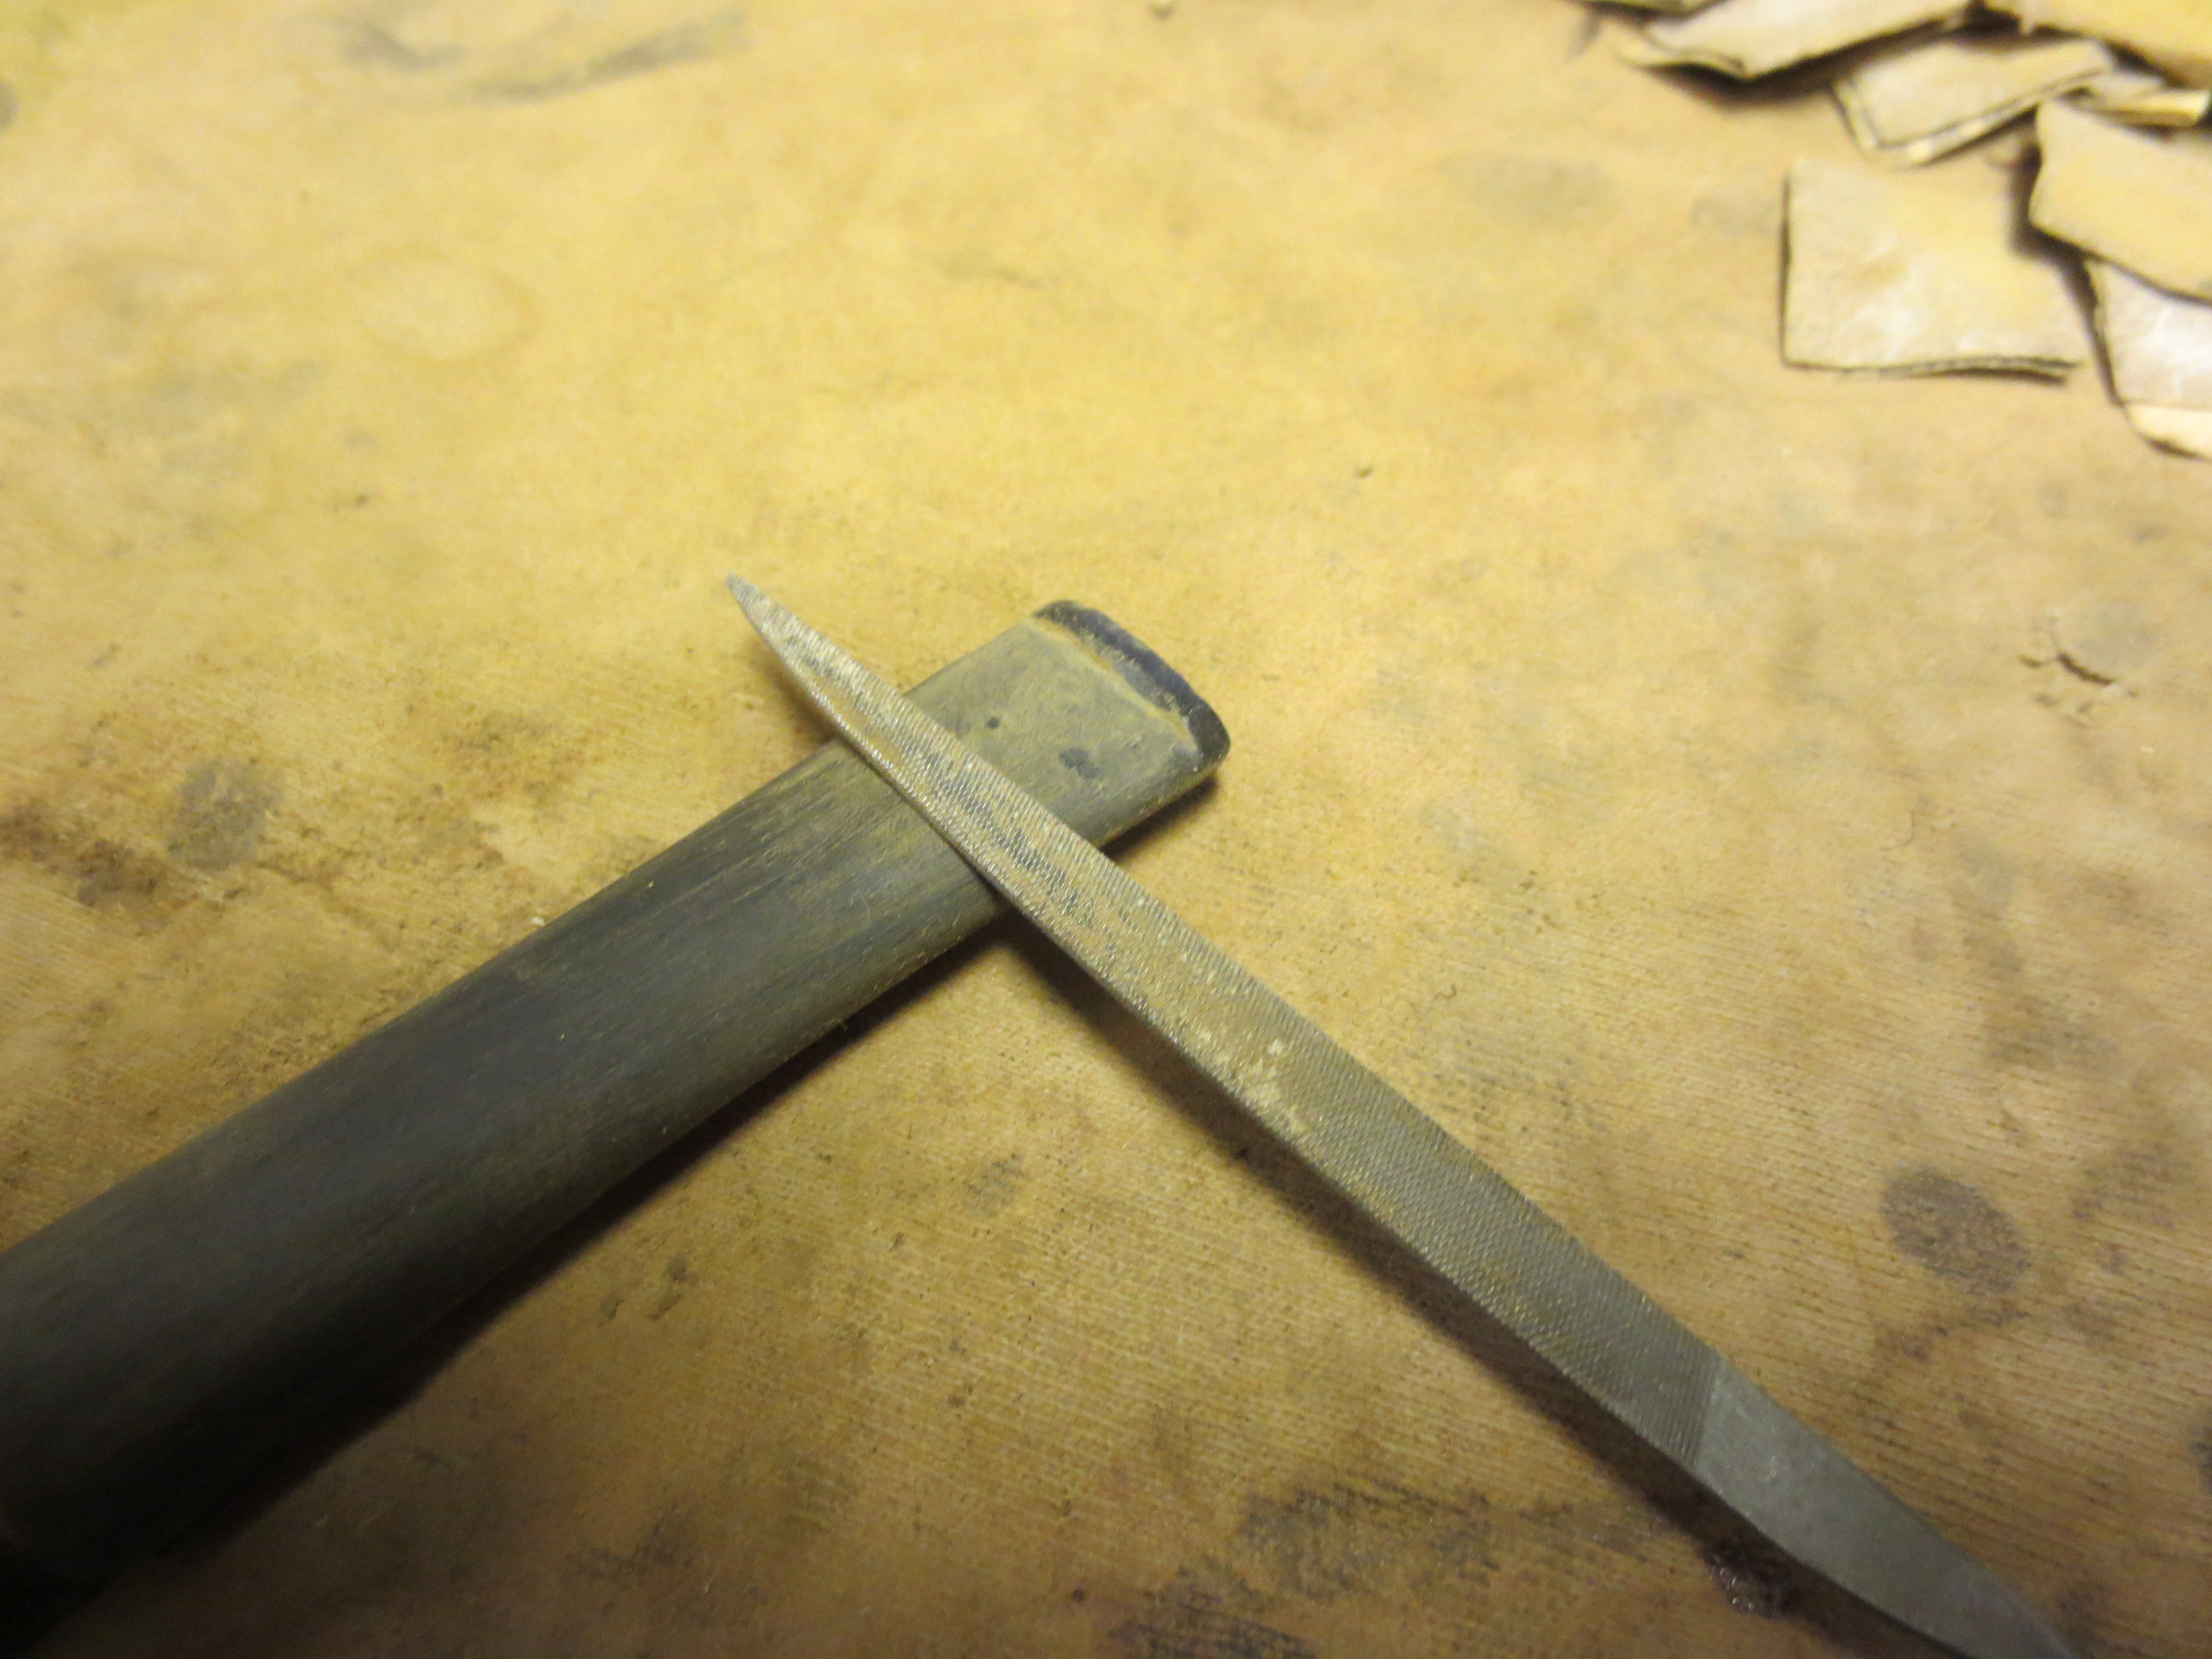 I wiped down the bowl with acetone to remove the grime and clean up the finish. I did not want to lighten the finish as much as to clean off the light coat of varnish on the briar.
 I lightly topped the bowl to clean up the rim damage. I used a sanding board and 220 grit sandpaper to remove the damaged briar and then followed that by sanding with a medium and a fine grit sanding block.
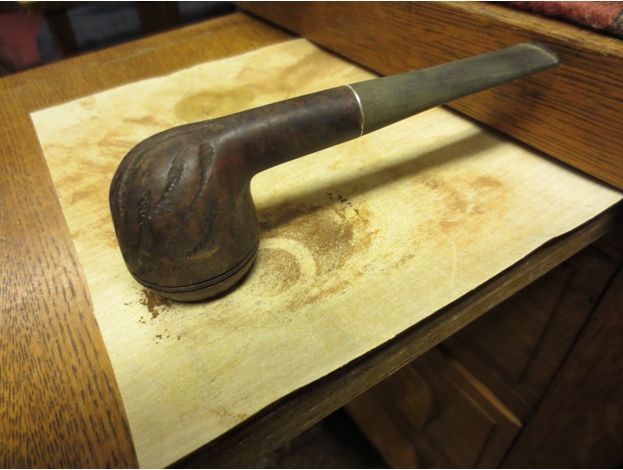
 I continued to sand the stem to match it to the diameter of the shank. I used 220 grit sandpaper to finish the sanding and shaping of the stem. I worked on the tooth marks on the top side and underside of the stem with 220 grit sandpaper until they were no longer visible.
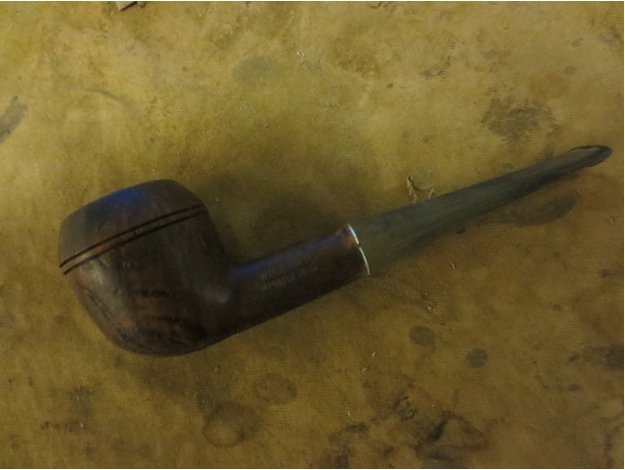
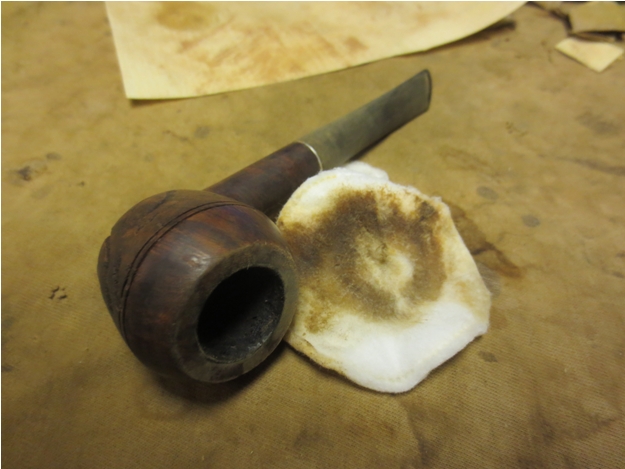
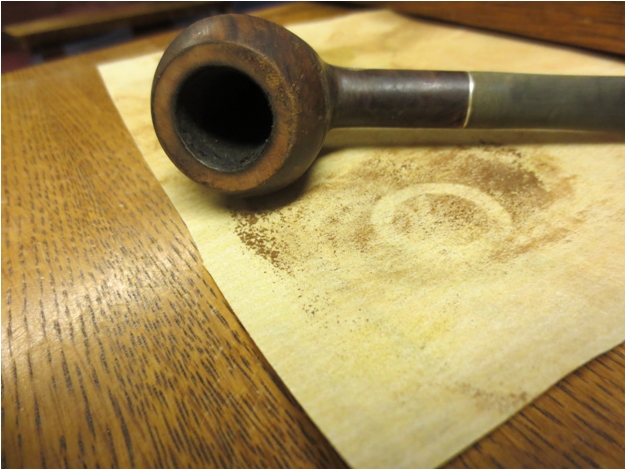
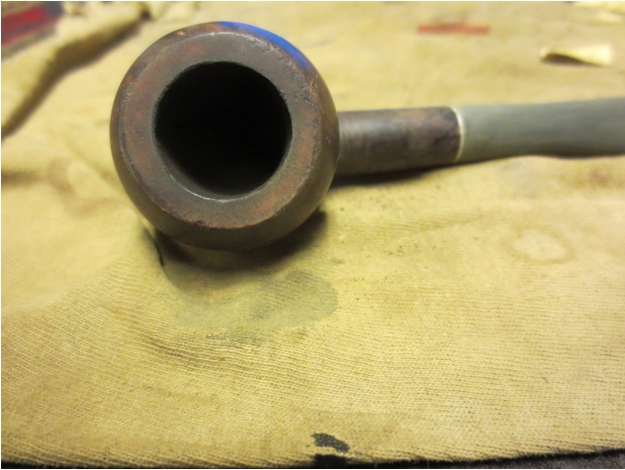
 I reamed the bowl with a PipNet pipe reamer beginning with the smallest cutting head and working up to the one that was the same diameter as the bowl. I reamed the bowl back to bare wood.
 I sanded the stem with a medium and fine grit sanding sponge to reduce the scratches left behind by the 220 grit sandpaper.
 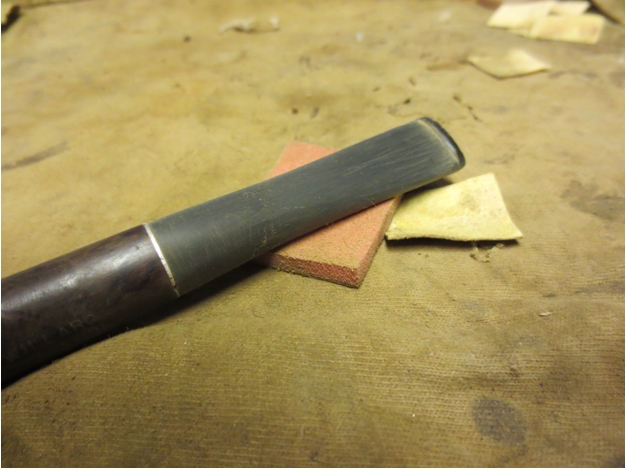 There was one stubborn tooth mark that I could not get out on the underside of the stem next to the button. I cleaned the area with alcohol and then used clear super glue to repair it. I sprayed the path with an accelerator so that I could sand the patch sooner.
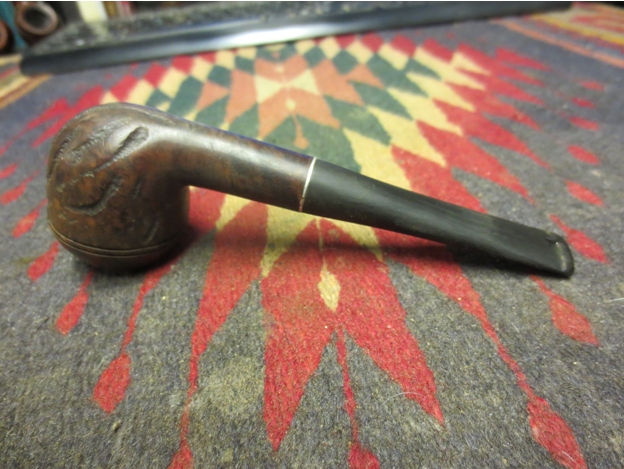

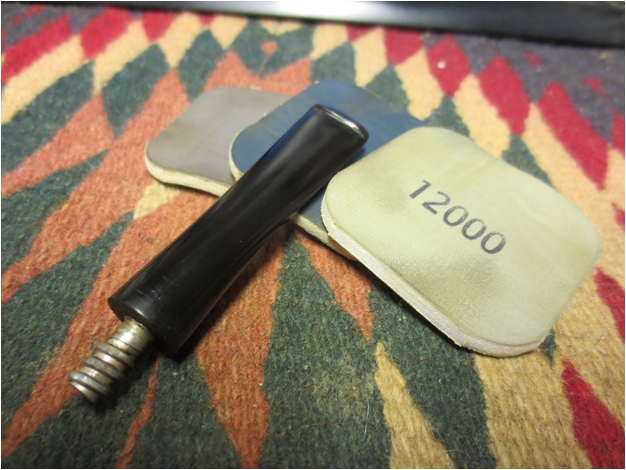
 I sanded the stem with micromesh sanding pads – wet sanding with 1500-3200 grit pads and dry sanding with 3600-12,000 grit pads. I rubbed down the stem with Obsidian Oil between each group of three micromesh sanding pads and then when I finished sanding with the 12,000 grit pad I buffed it with White Diamond.
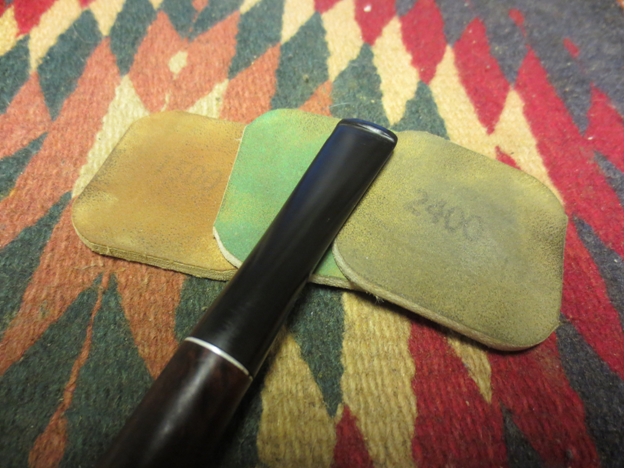

 I buffed the bowl and shank with White Diamond and then gave it a coat of Danish Oil and walnut stain to protect and preserve the finish. When it was dry I buffed the pipe with White Diamond and then gave it several coats of carnauba wax.
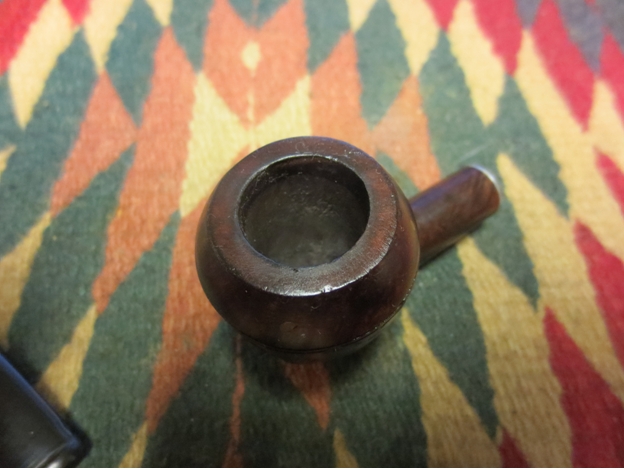

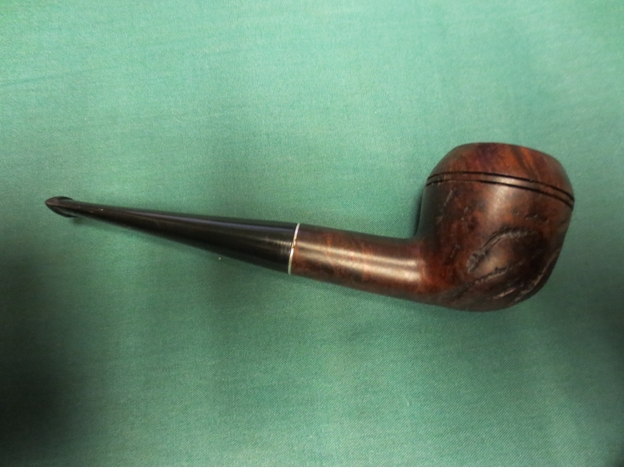
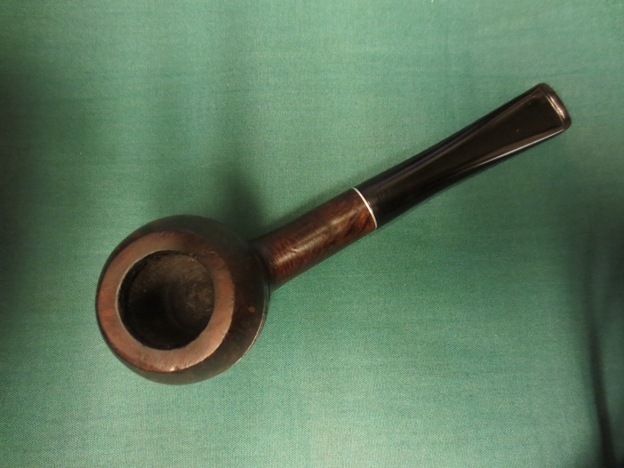
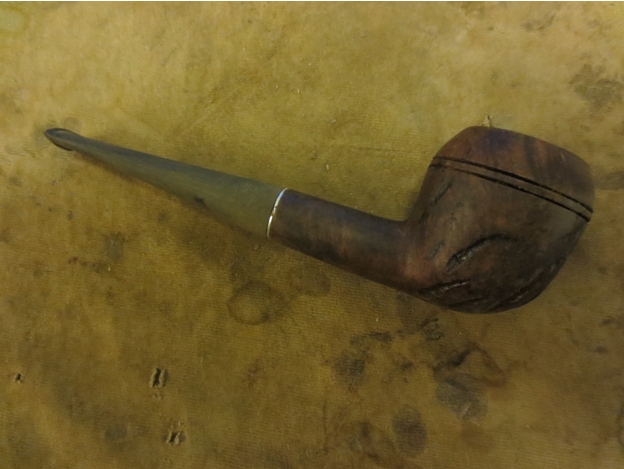
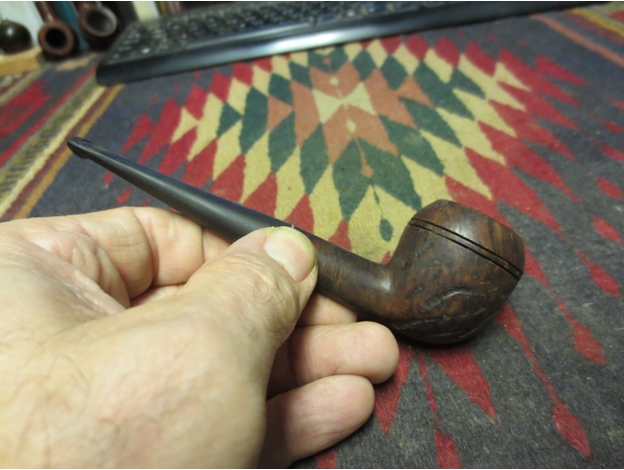
 The finished pipe is shown in the photos below. The new stem fits well. In fact it looks like it came with the pipe. The repairs to the stem are not visible. The bowl itself dried well and buffing the finish gave it a softer look. The finished pipe was given several more layer of carnauba wax and then buffed with a soft flannel buffing pad. It is now ready for many more years of service to another pipeman.