Blog by Steve Laug
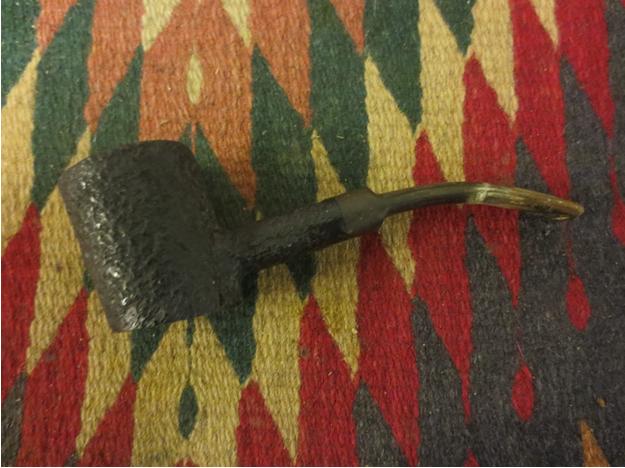
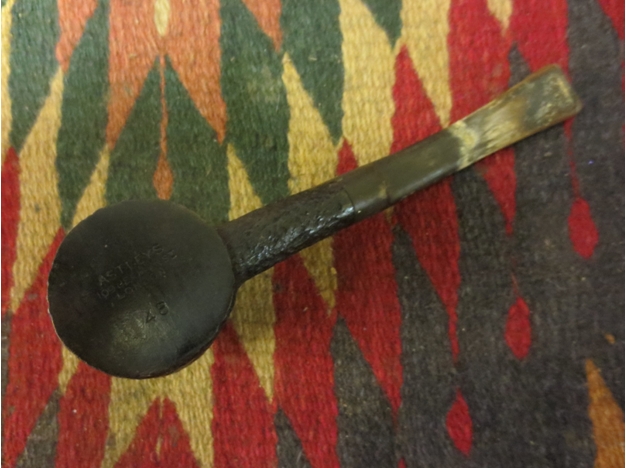
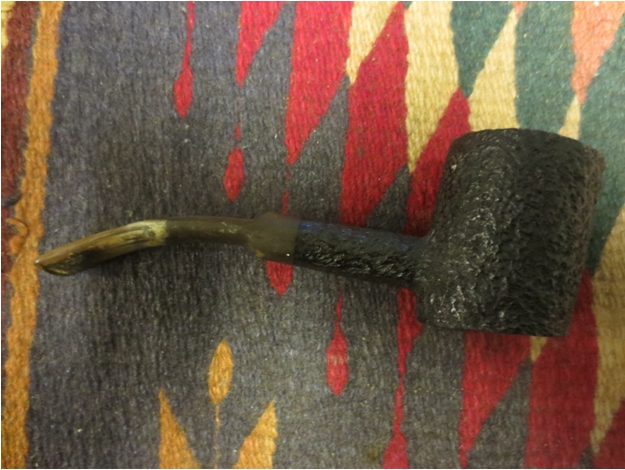
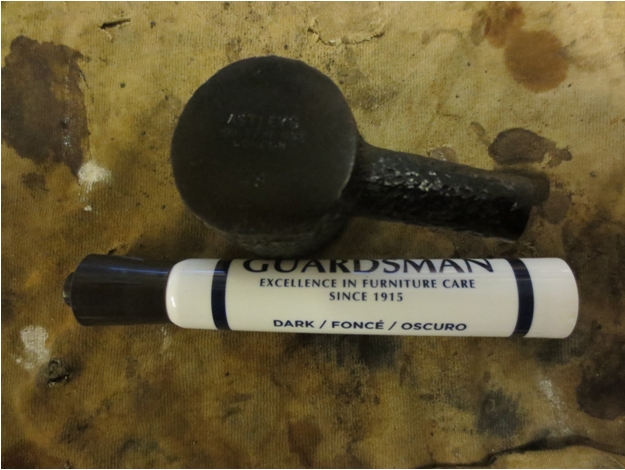
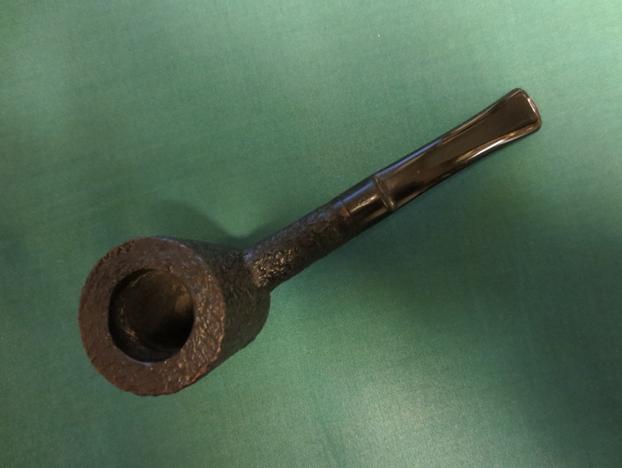
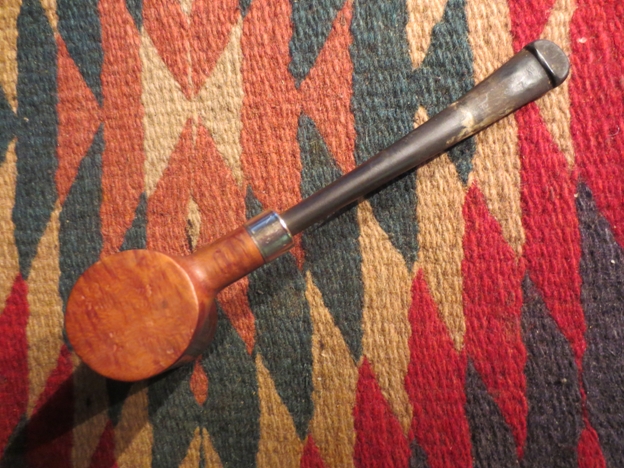
I have looked for one of these little Peterson Tankards for a long time. I have always liked the delicate simplicity of the pipe. The bowl is a round tankard and the pencil shank with the silver Peterson collar looks elegant. The rim is rounded and crowned. The stem has a gentle bend that allows the pipe to sit plat on the base. It is stamped on its base Peterson Tankard, Made in the Republic of Ireland. The pipe is pictured in the photo below, the third pipe down. It was one of the five I found on my recent pipe hunt. The Tankard was in worn but decent shape. The finish was dirty and there was darkening around the bowl middle from the hands of the previous owner. The rim had a thick buildup of tars and oils that had hardened. There were burn marks around the inner edge of the rim at the back of the pipe and the right front. The burn on the front of the bowl was more extensive that then one on the back inner rim. The bowl had a thick cake in it and the shank was dirty. The stamping was readable but faint. The stem had tooth marks on the top and bottom sides of the stem near the crease on the P-lip. It was badly oxidized and there was a heavy calcification around the stem about an inch in from the button. The silver ferrule was clean and would shine up easily.
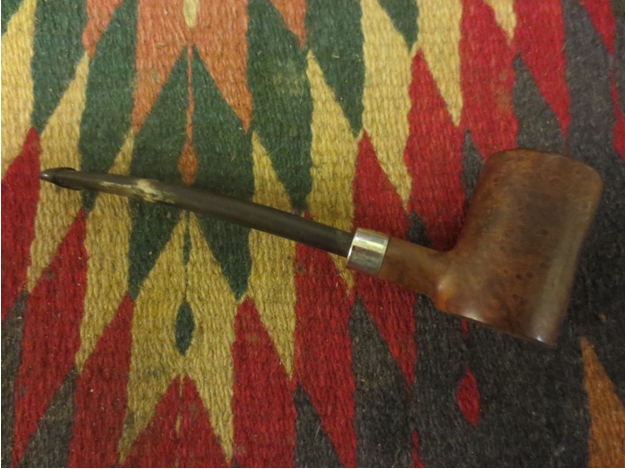

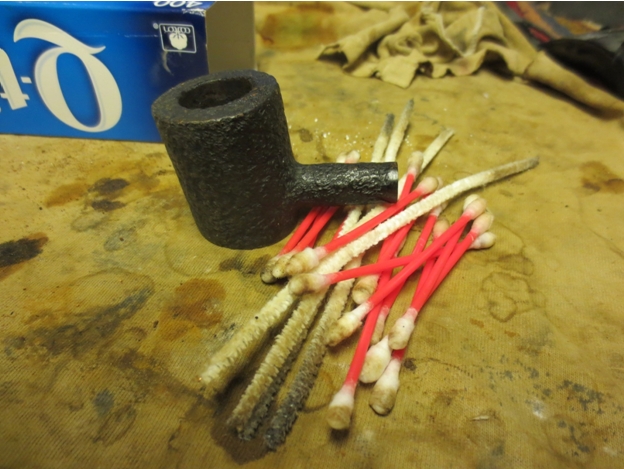
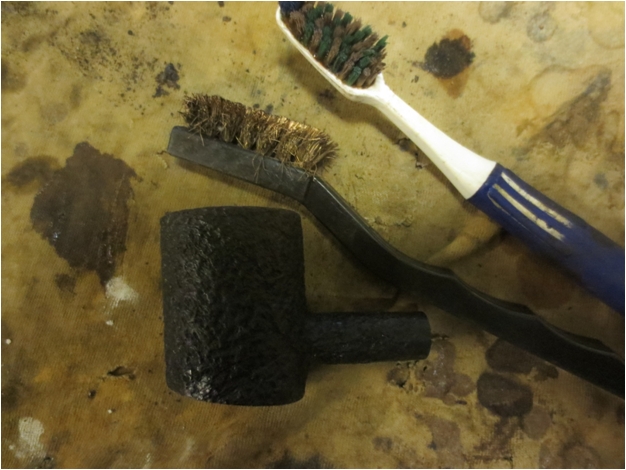
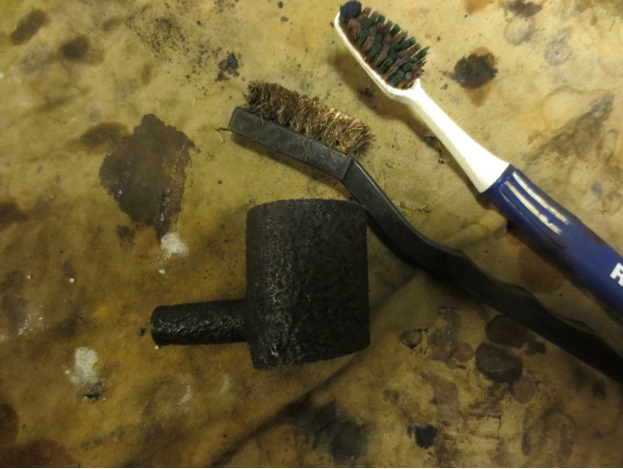
 I reamed the bowl with a PipNet reamer to remove the cake back to bare wood. I scrubbed down the exterior with Murphy’s Oil Soap on a cotton cloth and wiped it off to clean the briar.
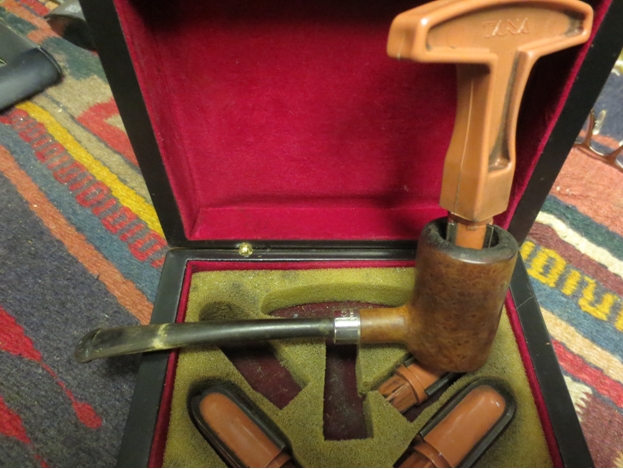
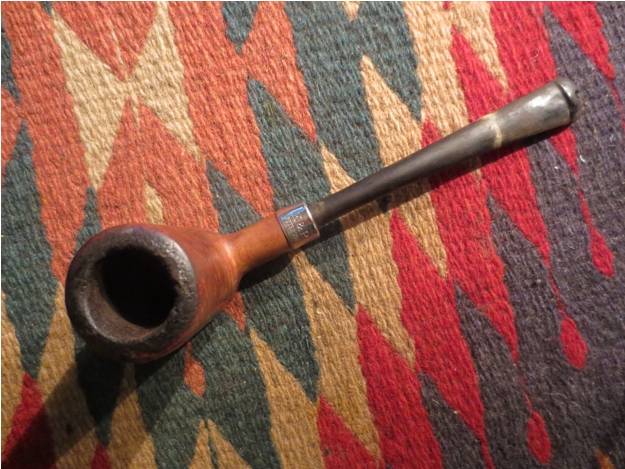
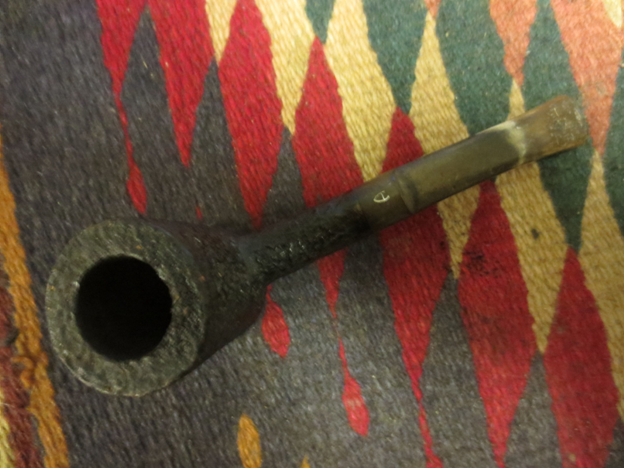
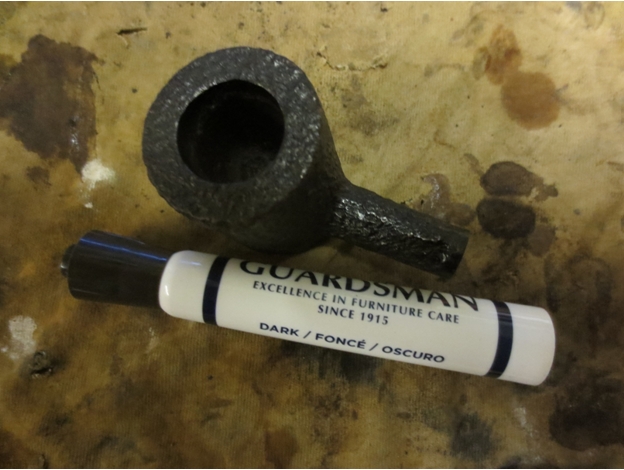
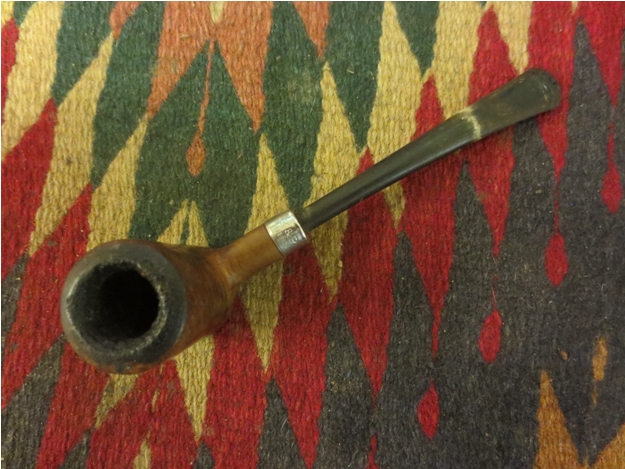
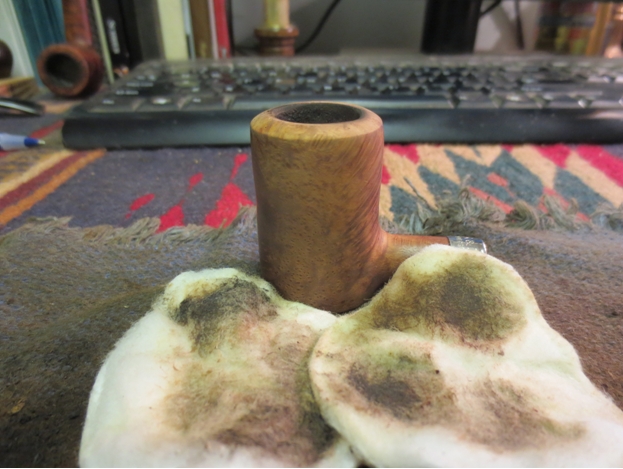
 The next photo shows the reamed bowl and the caked rim top. It was very thick so it would take some work with sandpapers and oil soap to remove the tars. I scrubbed it with the soap and then with alcohol to remove as much of the tars as possible. I then sanded it with 220 grit sandpaper and a medium grit sanding sponge. I wiped it down with acetone once I had finished sanding it. The extent of the rim damage can be seen in the second photo.
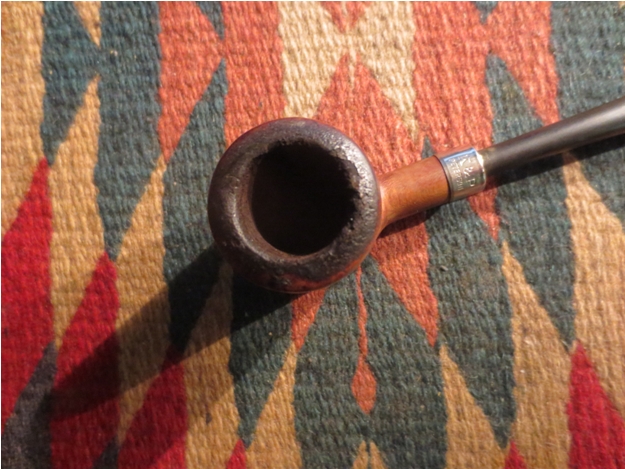
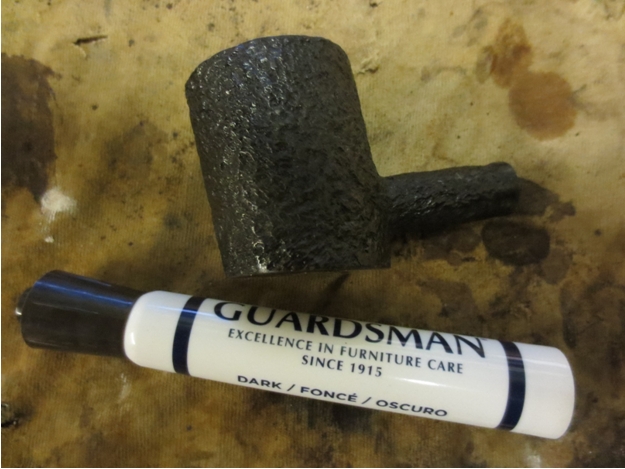
 I wiped down the finish with acetone on cotton pads to completely remove the wax and the finish from the outside of the bowl.
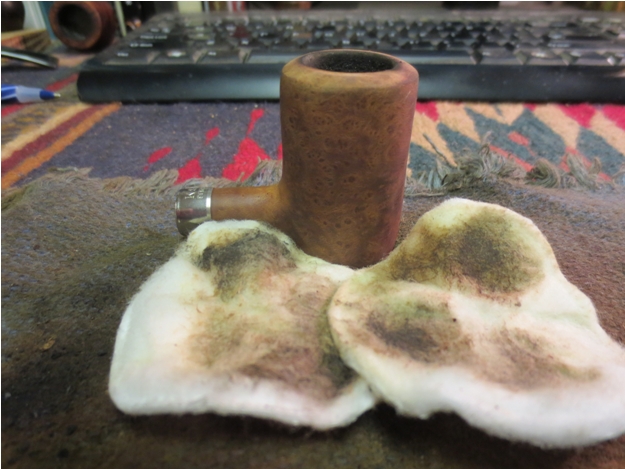
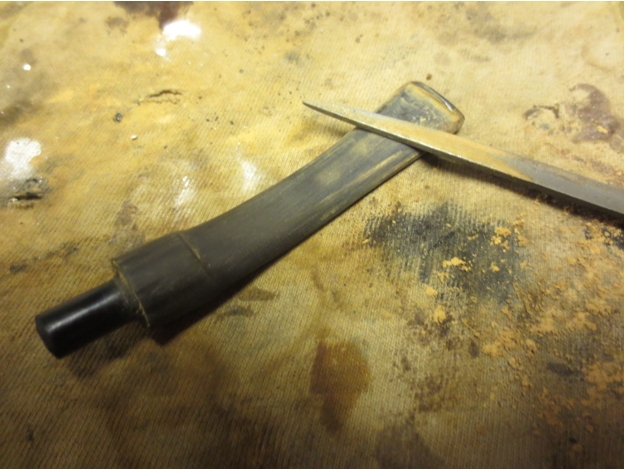
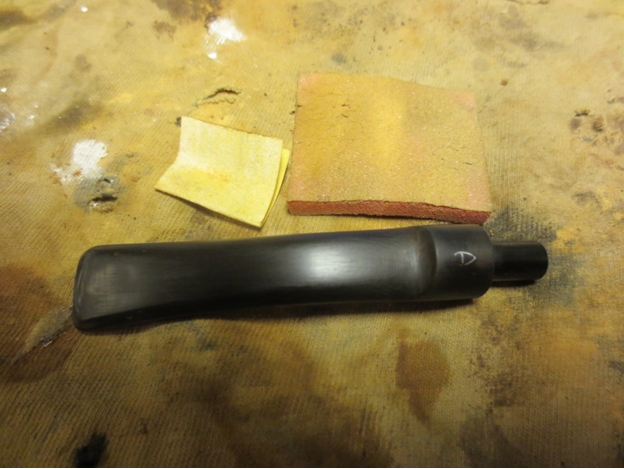
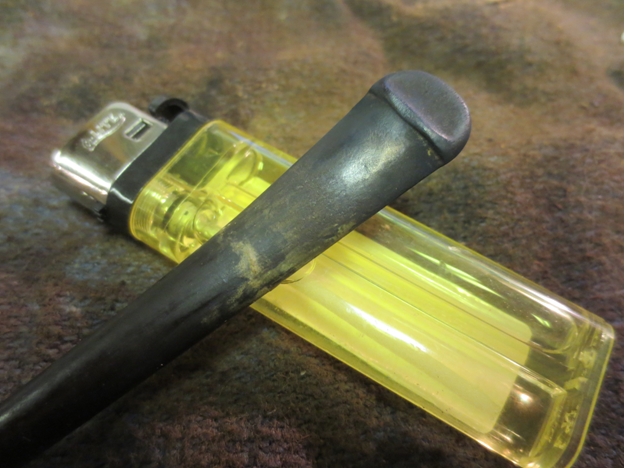
 I set the bowl aside to work on the stem. I used a Bic style lighter to “paint” the surface of the stem and lift the tooth marks. Doing this I was able to remove many of the tooth dents and lessen the depth of the remaining ones.
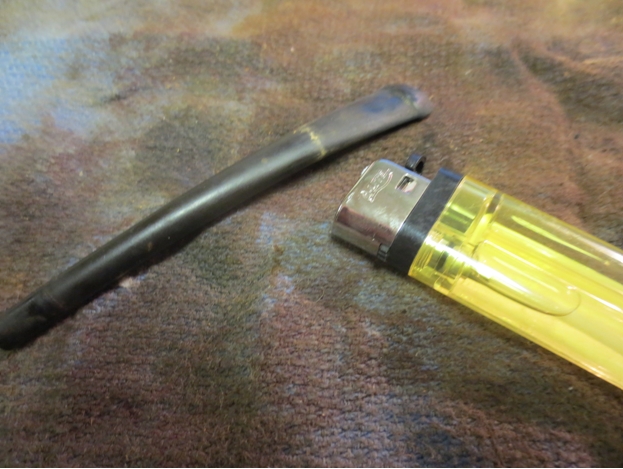

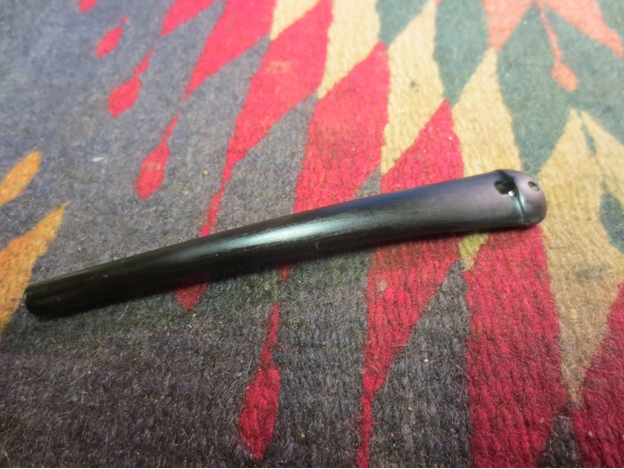
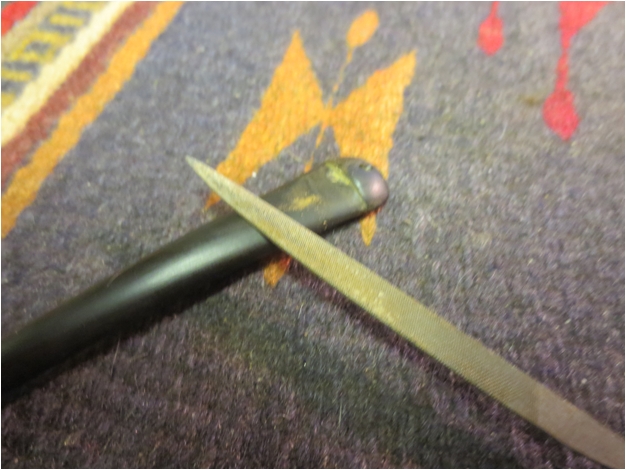
 I sanded the stem with 220 grit sandpaper to remove the rest of the dents and the oxidation and calcification. I reshaped the button and the crease to sharpen them. There was one tooth mark that I could not minimize further without damaging the thickness of the stem at the crease. I used a clear super glue to fill that spot. Once the glue had dried I sanded it and then used a needle file to reshape the crease and smooth things out. I sanded the repair with 220 grit sandpaper and then with medium and fine grit sanding sponges until I had blended it into the surface of the vulcanite.
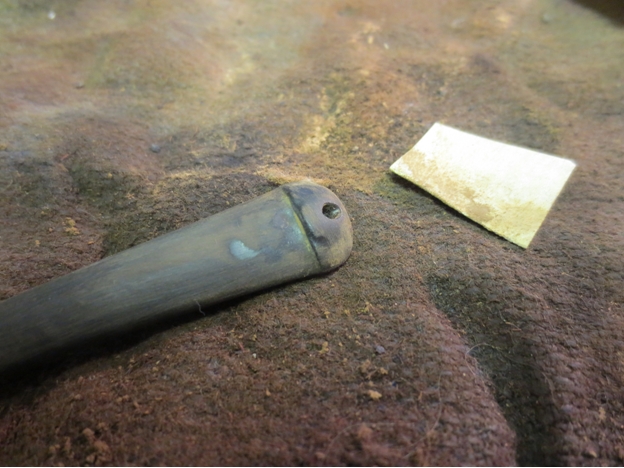

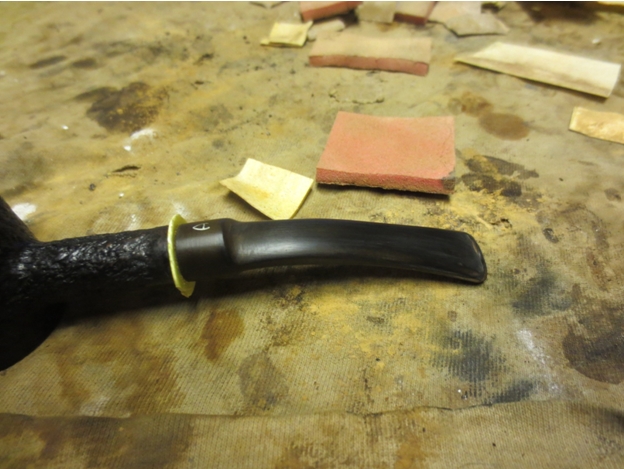
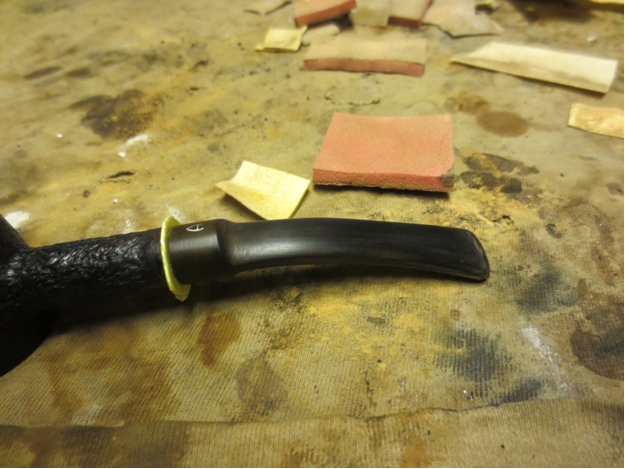
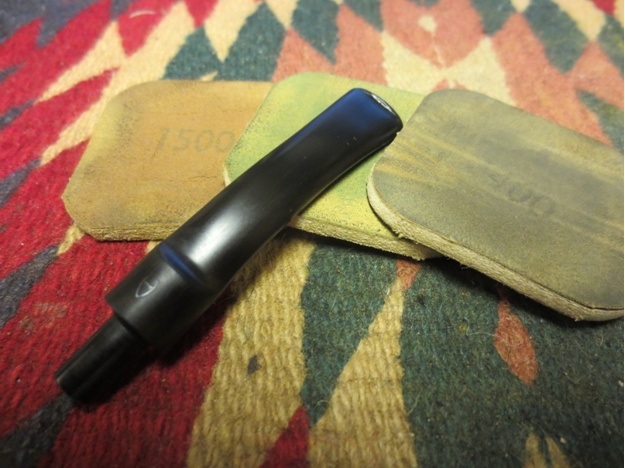
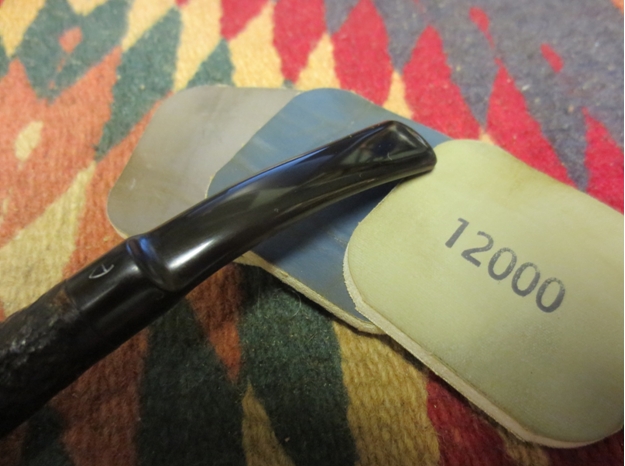
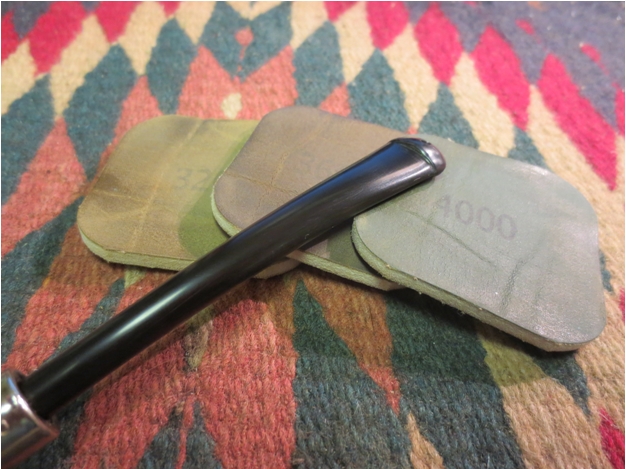
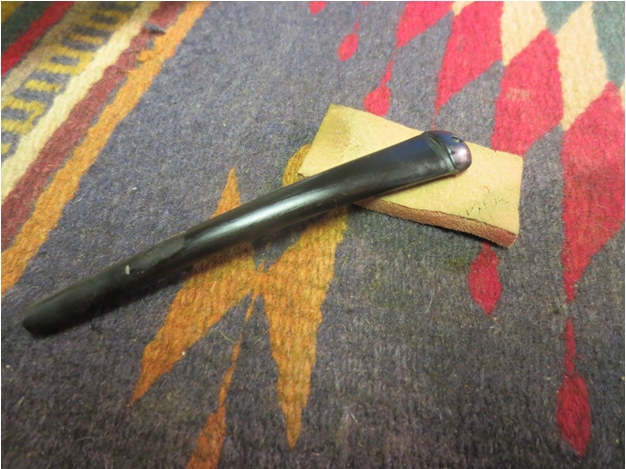 I sanded the stem with my usual array of micromesh sanding pads to polish and finish it. I wet sanded with 1500-2400 grit sanding pads and dry sanded with 3200-12,000 grit pads. I wiped it down with Obsidian Oil between each set of three grits. Once I finished with the micromesh pads I buffed the stem with White Diamond and then gave it several coats of carnauba wax to protect it and give it a deep shine.
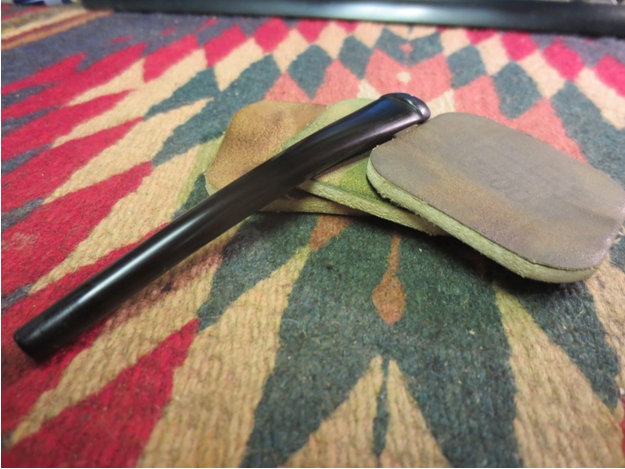
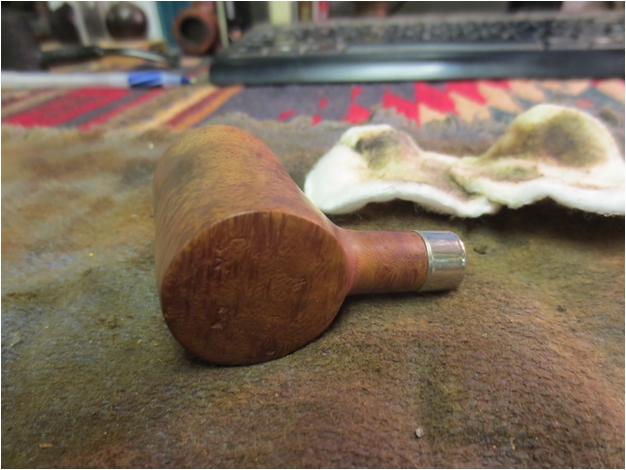
 I decided to leave the finish natural and not stain it. I rubbed it down with a light coat of olive oil to enhance the redness of the briar.
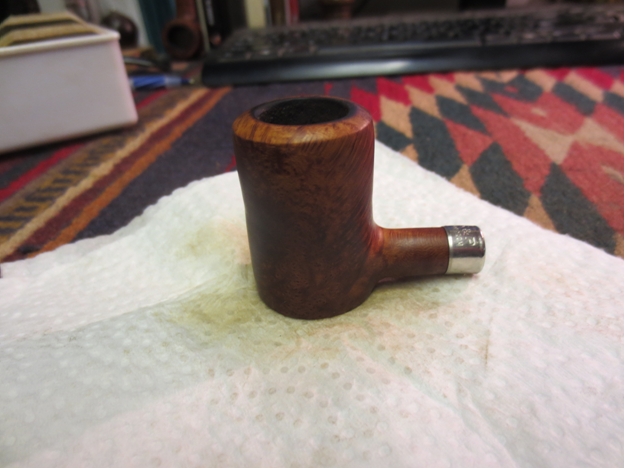

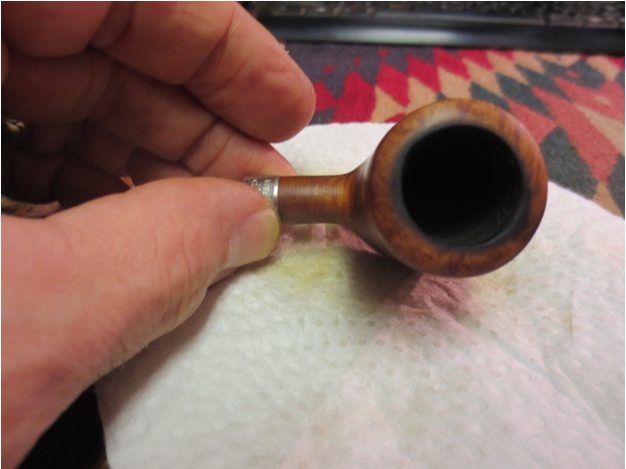
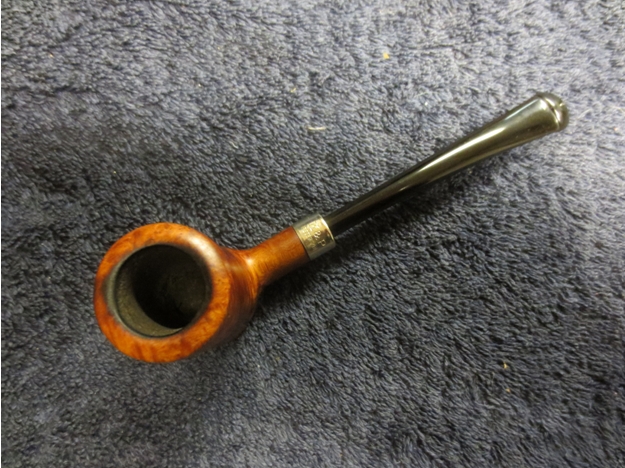
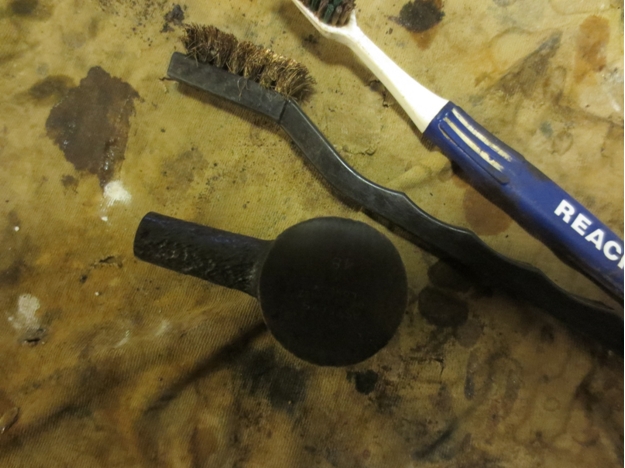
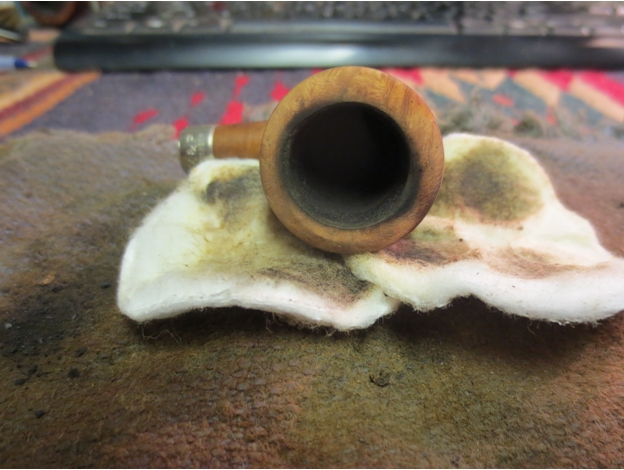
 I took a close up photo of the rim to see if the scratches were still visible. At the back side of the rim there were still some scratches that I needed to work on more to remove. I also wanted to see if I could also remove some more of the rim damage from the burn marks.
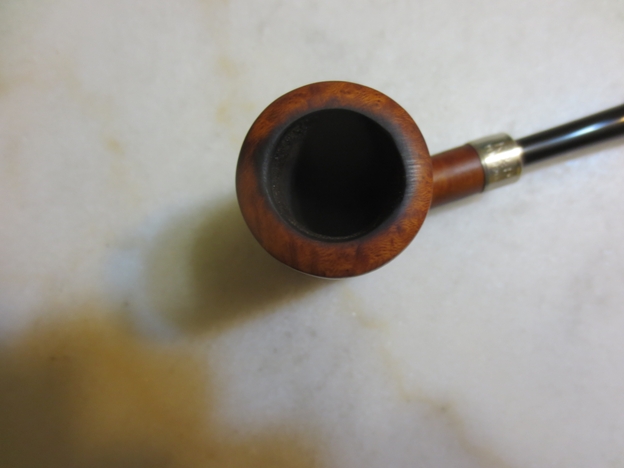 I sanded the rim with a medium and a fine grit sanding sponge to work on the scratches and the burn marks. Working on the surface with the sanding sponge I was able to remove the scratches and some more of the burn marks from the surface.
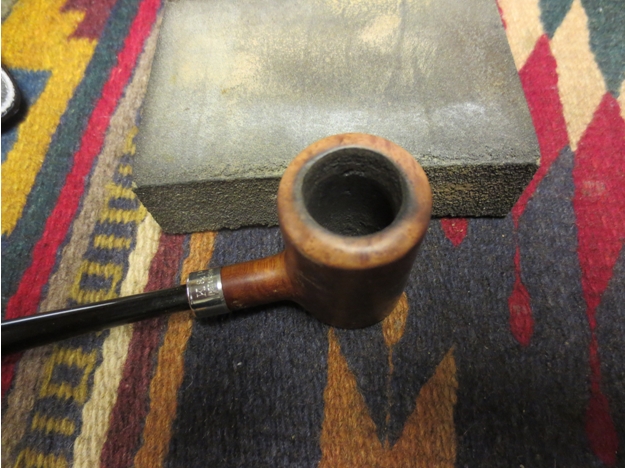
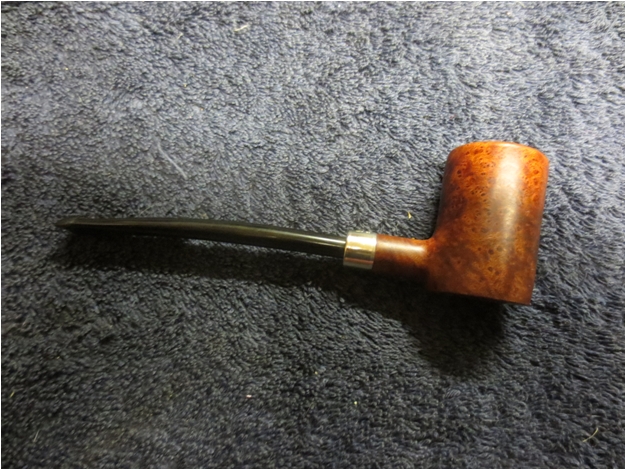
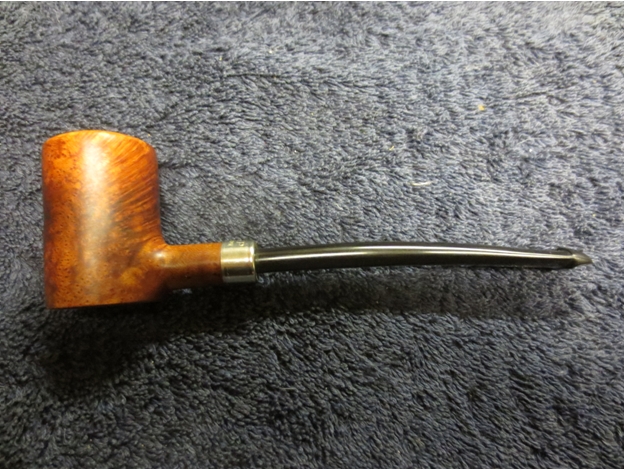
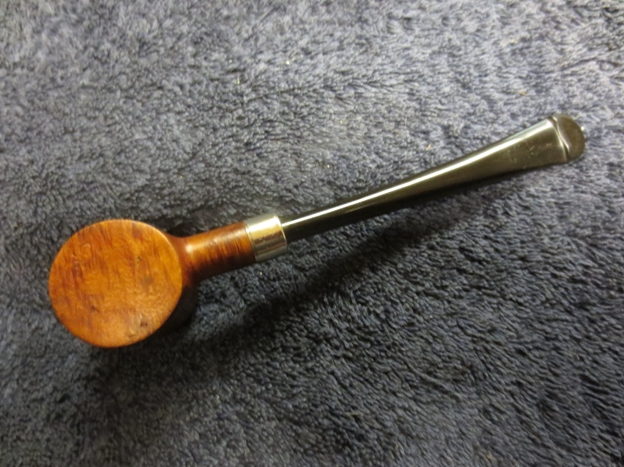
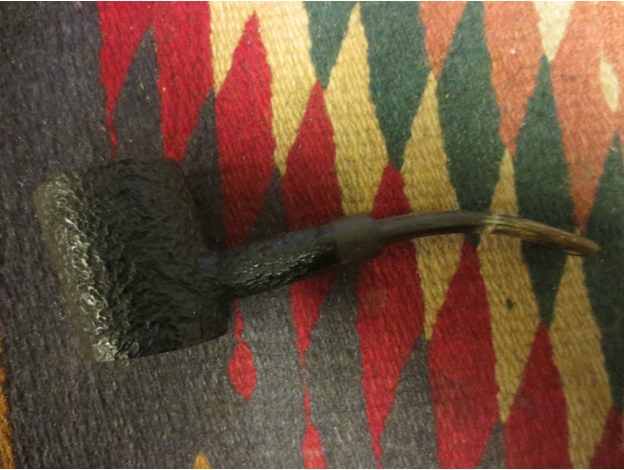
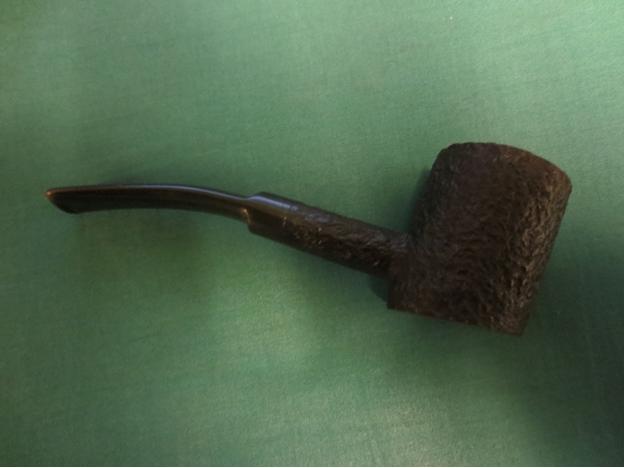
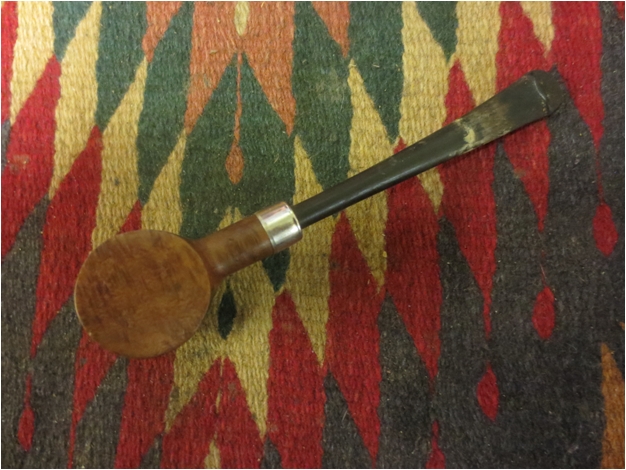
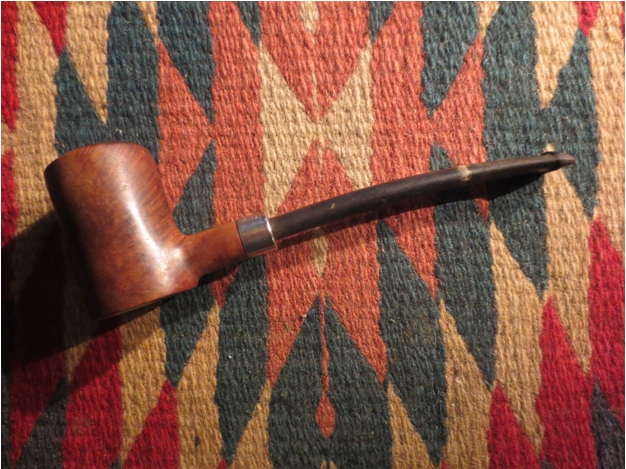
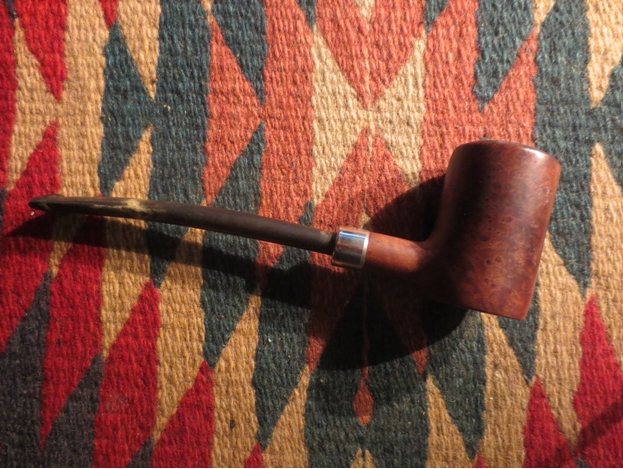
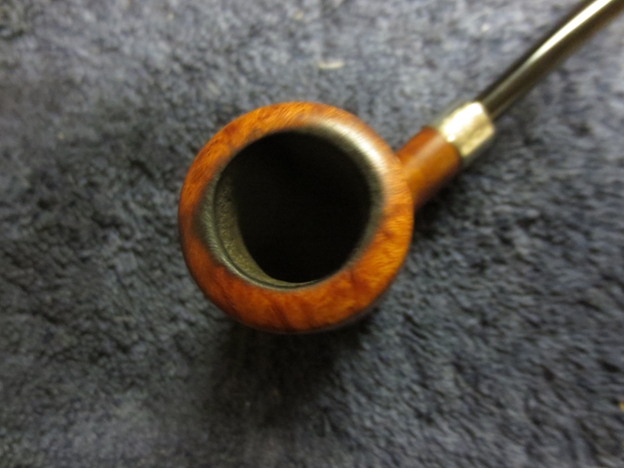 I sanded the bowl with the same fine grit sanding sponge and then buffed it with White Diamond. I took special care around the stamping to make sure that I did not damage the light stamping. I gave it multiple coats of carnauba wax and lightly buffed it to a shine with a soft flannel buffing pad. The finished pipe is shown below. The birdseye grain on the sides and the cross grain on the ends both work really well. It is a beautiful pipe and I think it will be a great smoking pipe as well. It should provide many more years of service and certainly live beyond my lifetime to be passed on to a new generation of pipemen.