Guest Blog by Robert M. Boughton
Member, North American Society of Pipe Collectors
http://www.roadrunnerpipes.com
http://about.me/boughtonrobert
Photos © the Author
“Age should not have its face lifted, but it should rather teach the world to admire wrinkles as the etchings of experience and the firm line of character.”
— U.S. author Clarence Day, 1874-1937
INTRODUCTION
I agree that facelifts in most cases are attempts, nothing more than vain at best and narcissistic at worst, by those with money to burn to avoid the inevitable, and often enough have undesired effects the recipients deserve. However, in the case of a very battered and generally abused meerschaum pipe, as with some people who have suffered at the hands of others, at least a bit of a makeover is in order. This holds true with a bulldog, the animal breed of which many coarse or misguided folks think lacks beauty in the first place.
The unknown brand I will discuss, clearly a fine Turkish block example, is one of those exceptions. For reasons which will be obvious it resembled a dog that had been in a fight. I received it as part of a lot of eight from eBay that I purchased in large part because I saw the poor bulldog alone among all of the briars, and upon closer scrutiny with the magnifier observed it was filthy and somewhat oddly colored and had horrible scratches all over its once smooth, white, pristine body. Some unknown carver trying to eke out a living as his father and generations before him had done likely made it without even a signature of any sort, as is unfortunately all too common among Turkish crafters due to the central nature of humility in Islamic beliefs.
THE RESTORATION
This unfortunate meerschaum was in about as bad shape as I had ever seen any pipe I still wanted to buy. I thought, if not I, then who? There were others of more merit in the lot, but that one cried out to me. Then again, I do have a sizable collection of meerschaums and knew I would be more than happy to keep that one if things didn’t work out restoration-wise. A former roommate told me many years ago that I am attracted to strays, and although he said it with sarcasm I told him he was right. I see nothing wrong with that trait. By the way, I also tend to root for the underdog – although not as often in organized sports– such as the bull versus the matador. Nothing pleases me more than seeing a jerk in a pompous outfit, with all kinds of helpers, gang up on a bull and find himself gored and bleeding out. But that’s just a dark part of me.
THE PIPE RESTORATION
I have had fair success restoring meerschaums, including the following befores and afters: 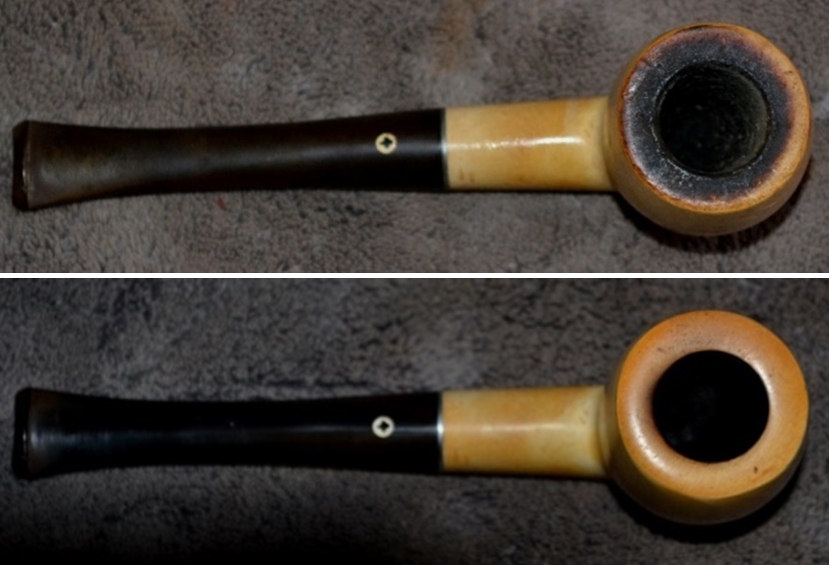


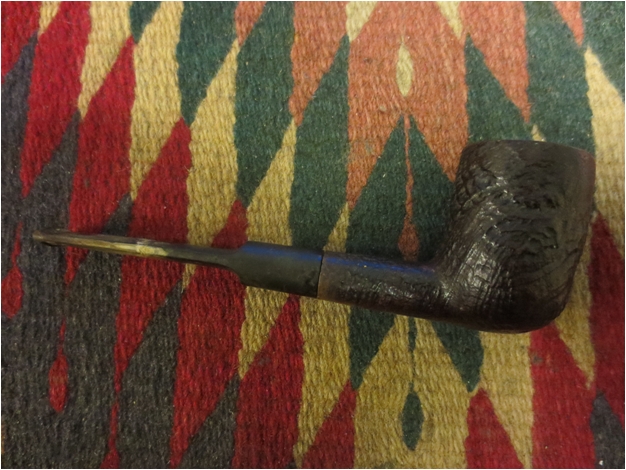
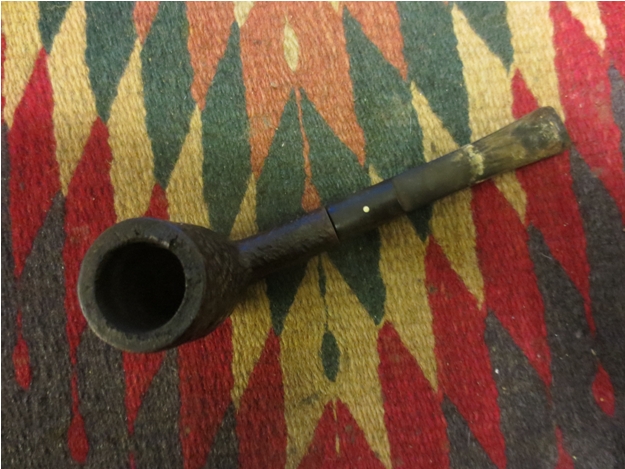
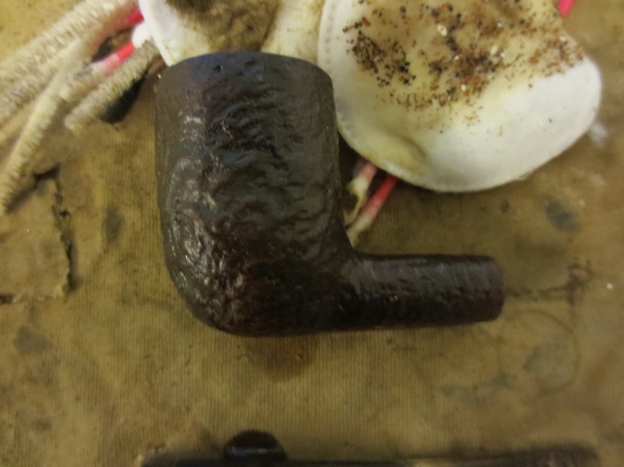
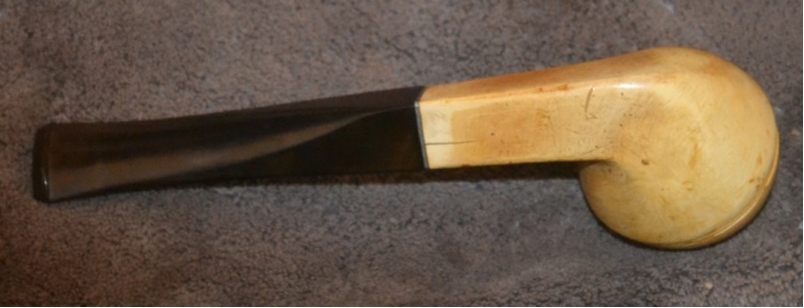
 And so I figured I would give this poor ol’ dog a shot:
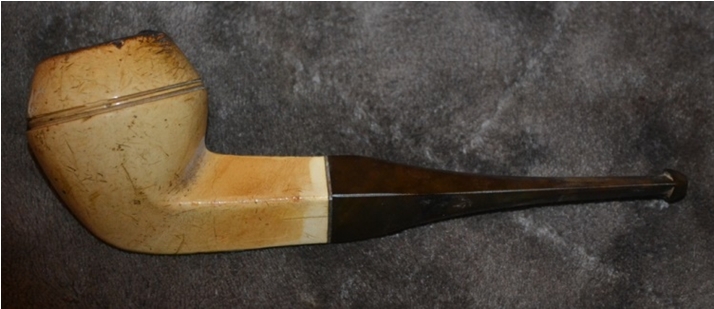

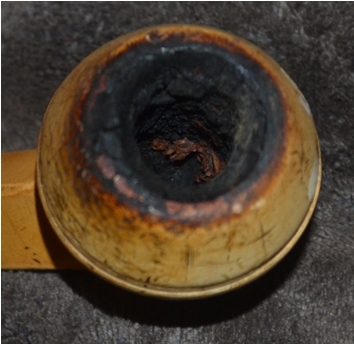


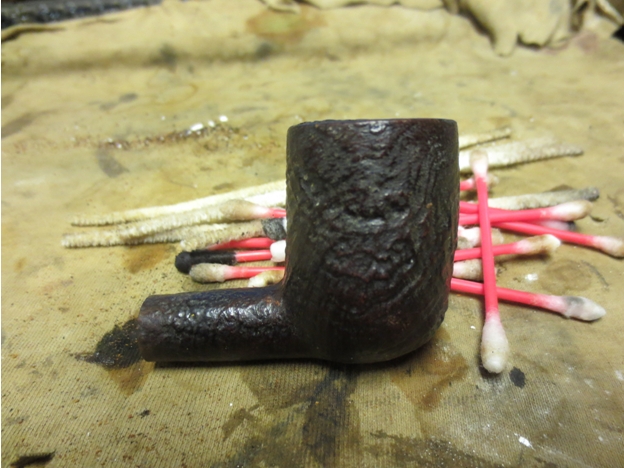
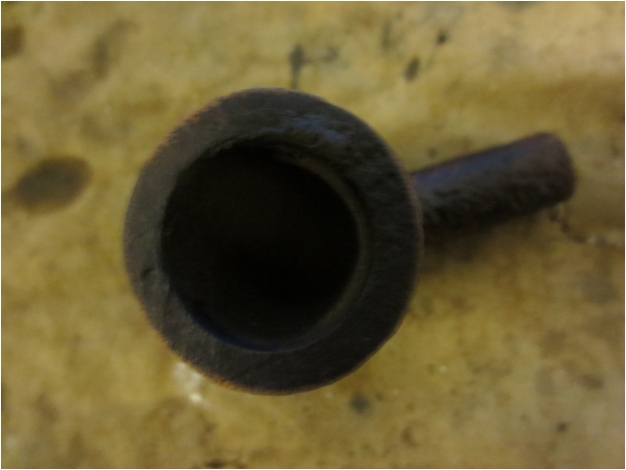
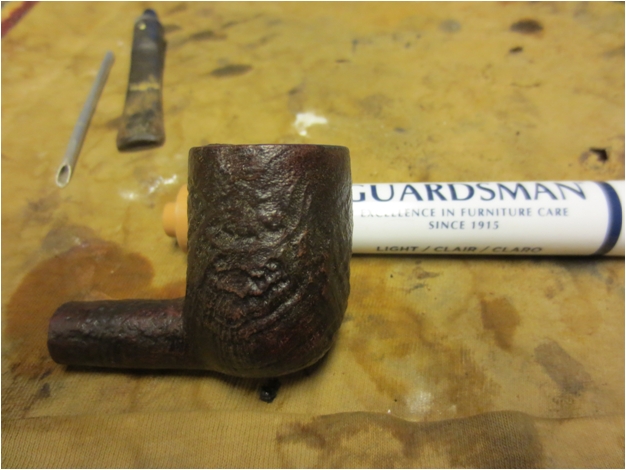
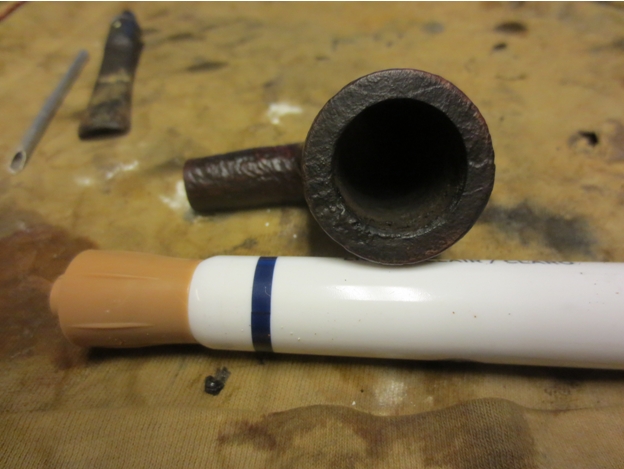
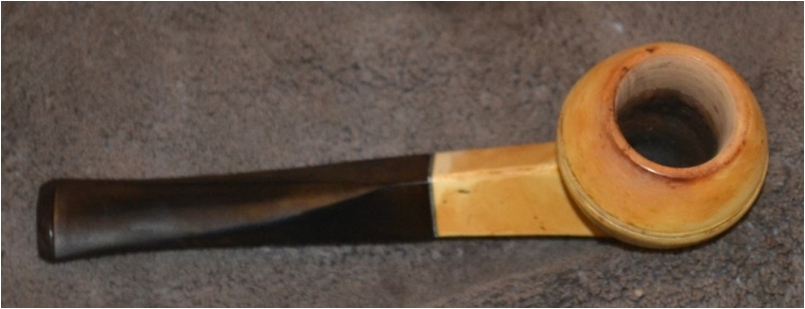
 Despite the deplorable condition of the bowl and rim, I knew from the past that they would be the easy part of this job, so I tackled them first. I reamed the bowl and then used #800 micromesh to smooth it out. Surprisingly, with a light touch and a piece of 400-grit paper, I took the blackness right off of the rim and didn’t hurt the coloring at all. There were a few dings that rubbed out easily with #1000 micromesh.
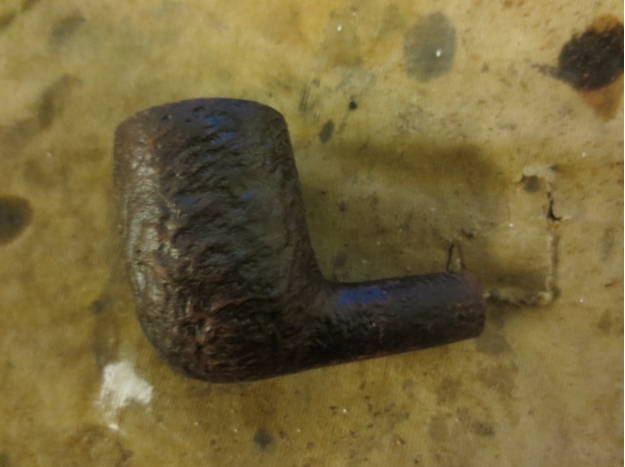
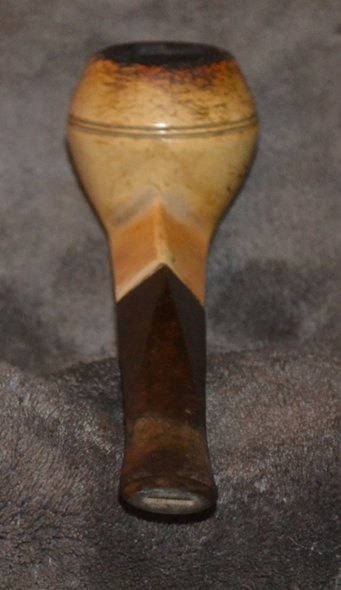
The hard part, I knew and remember already indicating, but it bears repeating, was to remove as many of the scratches and other blemishes as I could with a minimum of damage to the nice if oddly distributed color on the outside of the bowl and shank. The spread of yellow and orange, not to mention the lack of any shine to the meerschaum, suggested over-hot smoking of this delicate if strongly shaped and named pipe. That conclusion would seem to be a no-brainer given horrendous caking within the bowl and cooking of the rim. And somehow I doubt the maker never treated it with beeswax or something else, yet it was as flat as could be.
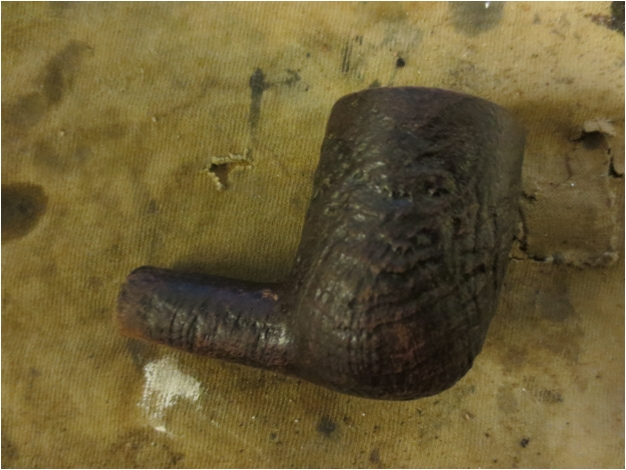
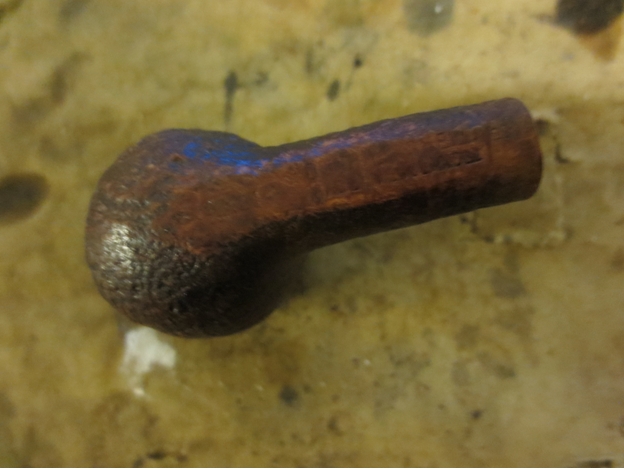
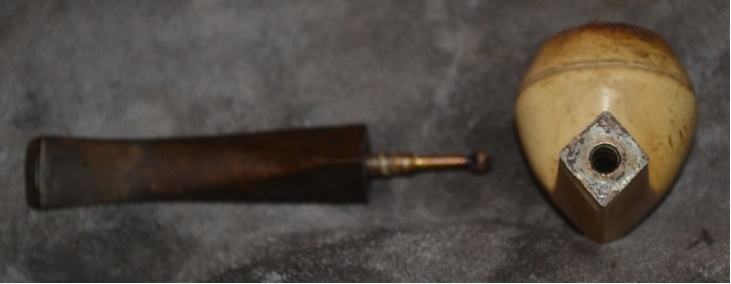
My experience with washing the outside of a pipe with distilled water in general is that it seems to give a brighter light on the job at hand by removing all of the filth that has built up over time smoking any pipe. I could see this one was going to be worse than most, but nothing prepared me for the indefensible groping with dirty hands by whatever anti-aficionado of pipe smoking who had abused the bulldog with apparent joyful perversity. Why, I even had to scrub the muck out of the trademark groove beneath the rim! The result was not one or two, but three small pieces of cotton cloth spent and blackened with the physical dirtiness of some variety of pipe lecher.
Therefore, with the highest care, I applied stronger use of the #1000 micromesh to the seemingly endless scratches and other stray marks, like signs of skin cancer, that were everywhere. When I had stopped and resumed again time after time, finding more and more marks upon this wonderful pipe, I was at last as satisfied with the results as I knew I would ever be.
Then I used more stem cleaners and pipe freshener than I had ever expended on a single pipe, let me just say that, to sanitize the stem, shank and bowl, and by the end of it I have to admit only the stem came out perfectly clean. But I knew it was sanitized and ready to smoke one good bowl of tobacco, so I chose my own blend of burleys, Oriental, perique, a touch of Cavendishes and a bit of Virginias including red cake that I call Sneaky Rabbit (and which will soon be a house blend at my favorite tobacconist) to smoke the pipe once.
True enough, I wanted to know how this unusual bulldog smoked, but my main reason for lighting up a pipe I intend to sell and therefore knew I would have to give another quick clean was to heat the meerschaum enough to melt beeswax from a bar evenly over the outer area. I swear to it! I had researched online different processes for accomplishing this necessary completion for previous restorations, and the method I described had worked before so I knew it would again.
And so, once the smoking enjoyment had reached a high enough degree, I began applying the beeswax as described, and it worked just as well as I was certain it would. I took my last puffs of the pipe and cleared out the ash with care quickly before rubbing the beeswax vigorously into the meerschaum with a big soft cotton cloth.
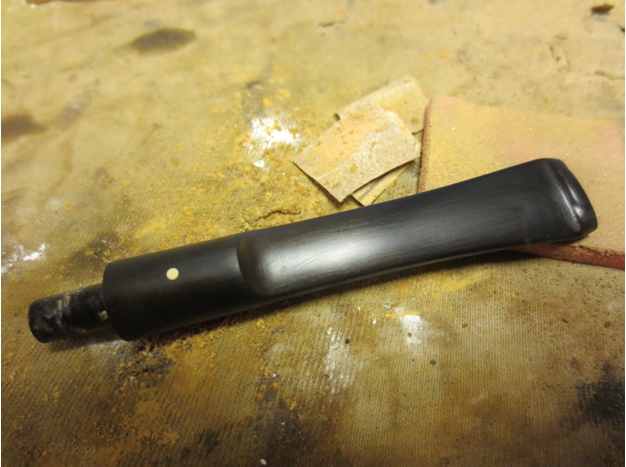
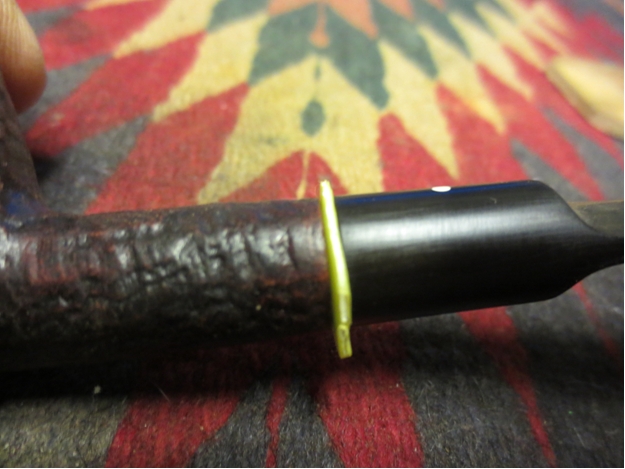
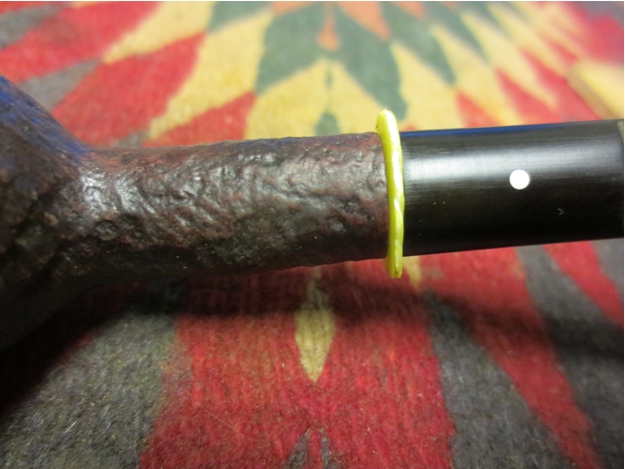
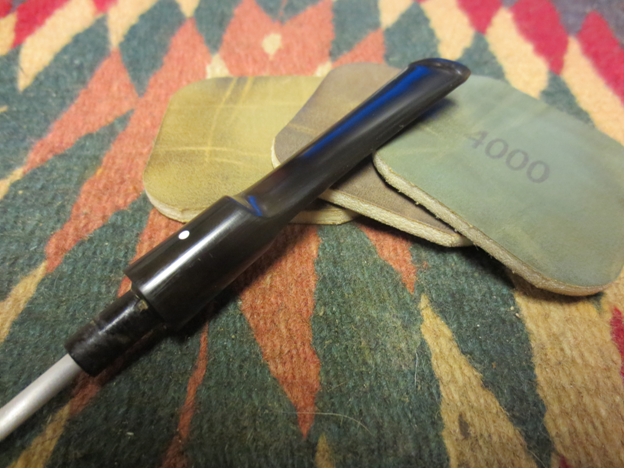
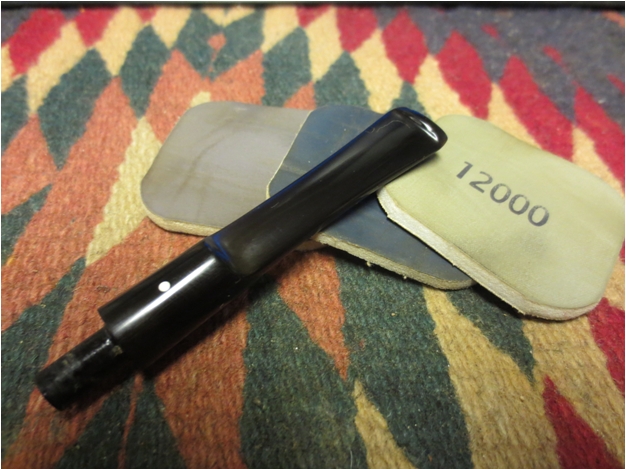
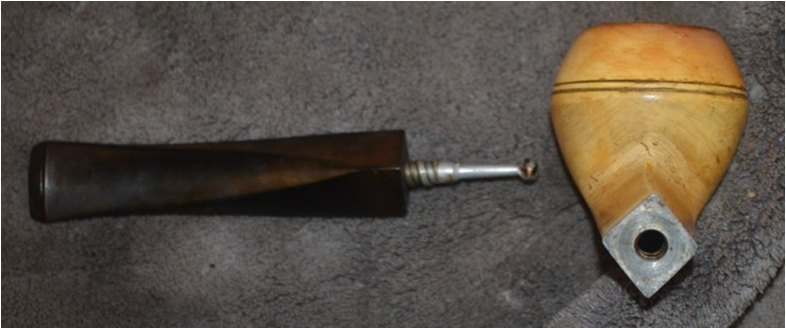
The stem, despite the awful damage inflicted on the meerschaum, to my great surprise was in okay shape and only need some sanding and micro-meshing to prep it for a spin on the wax wheels.
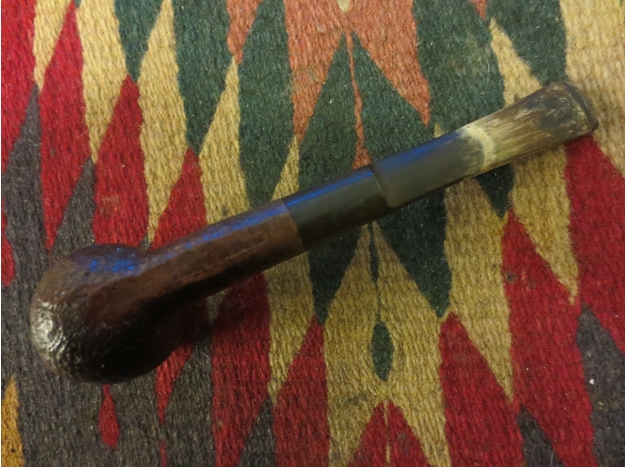
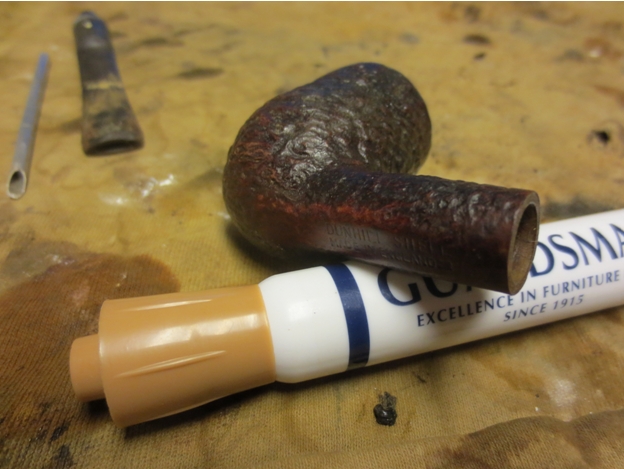
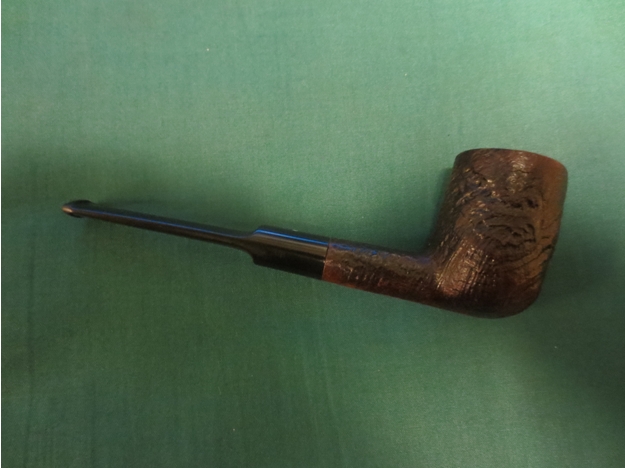
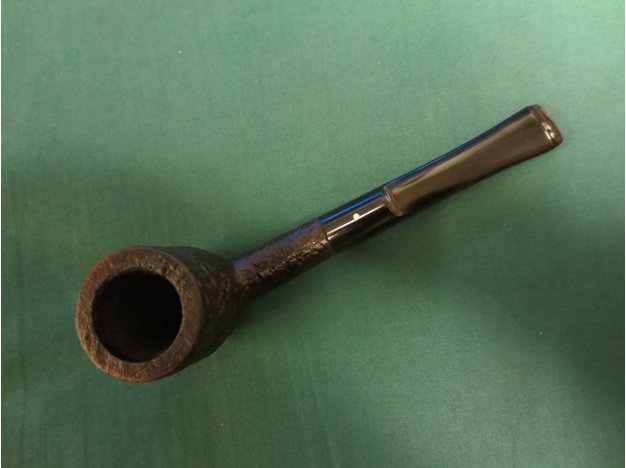
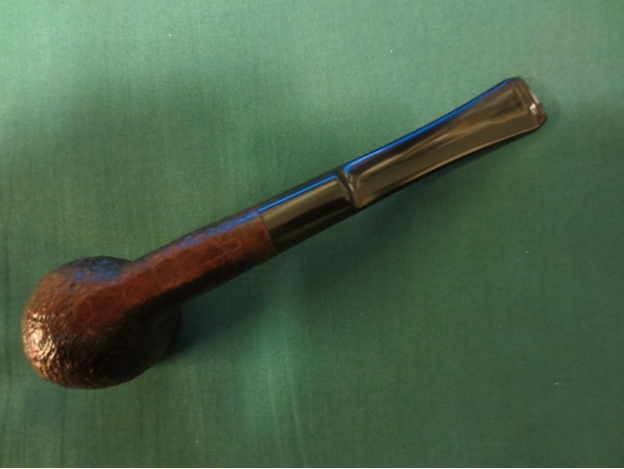
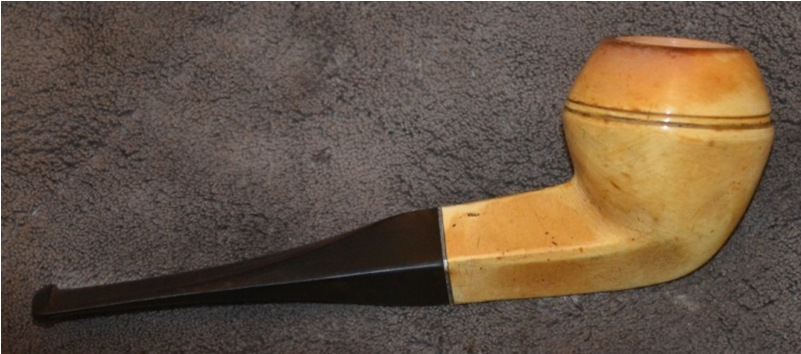
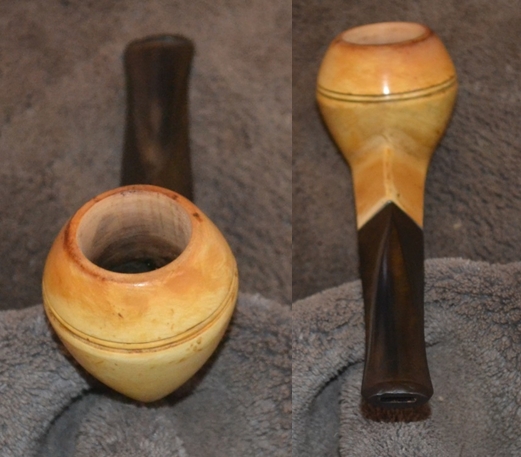
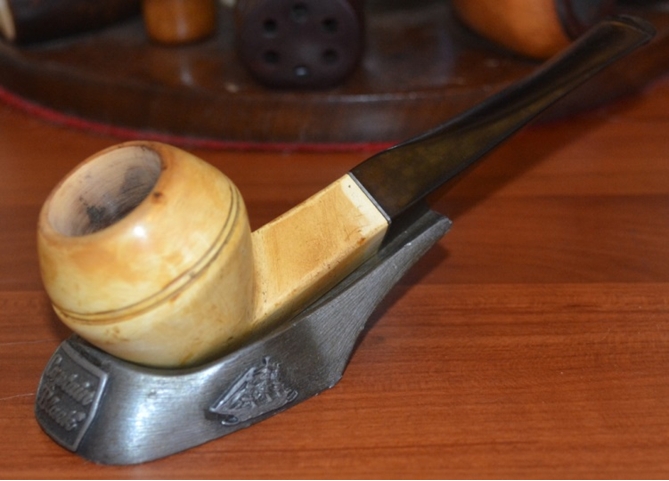
Here are the final results: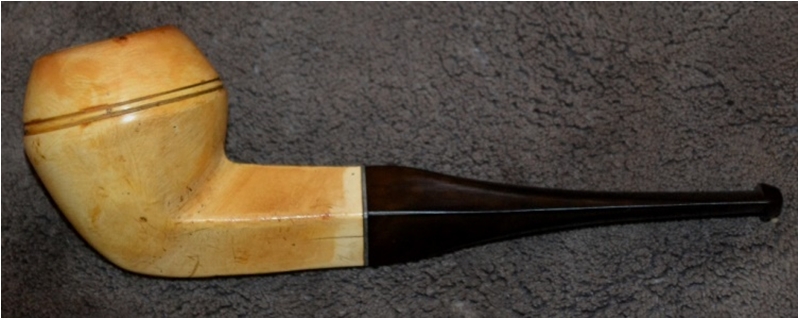
 CONCLUSION
This was a work of love, and I know the results are a little rough around the edges. But I was determined throughout the process to assure that no more damage than had already been perpetrated against this pipe be made. It is already up for sale, but if nobody ever buys it, I know it is safe in my possession.