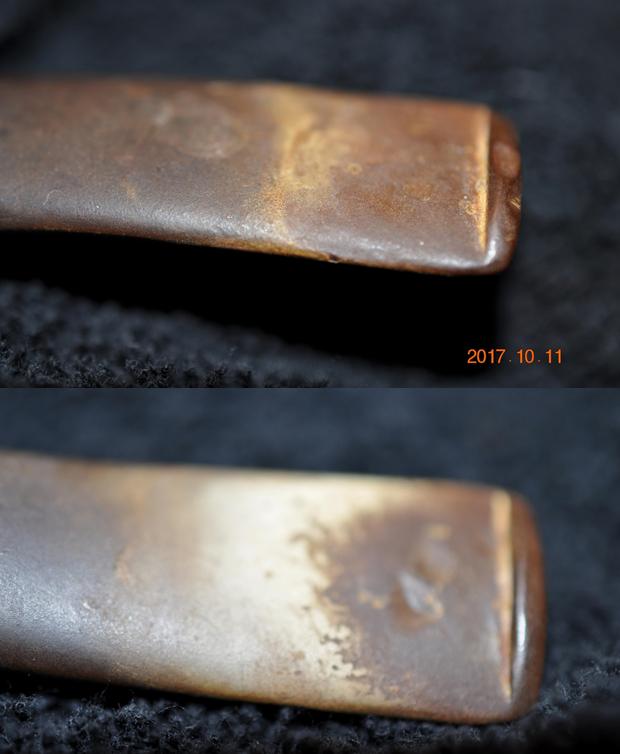
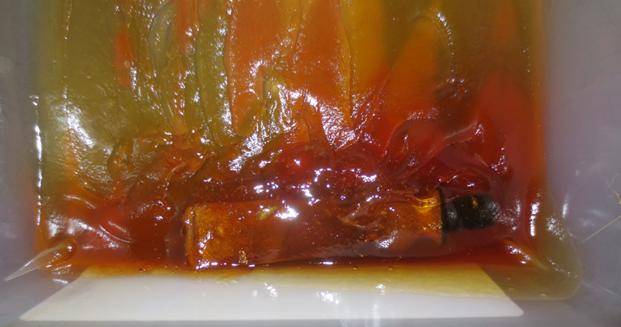
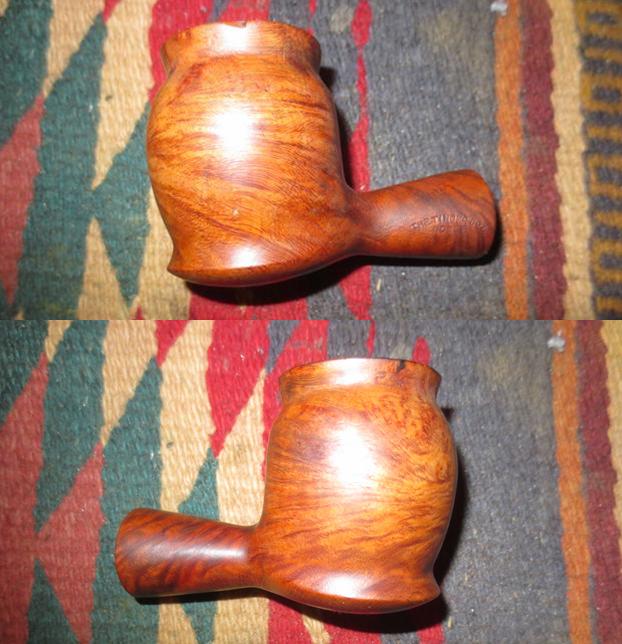
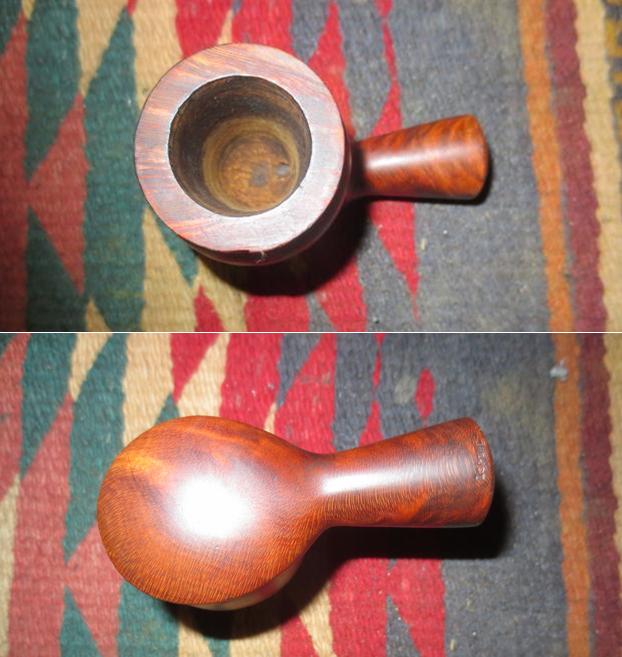
Tag Archives: shaping a stem

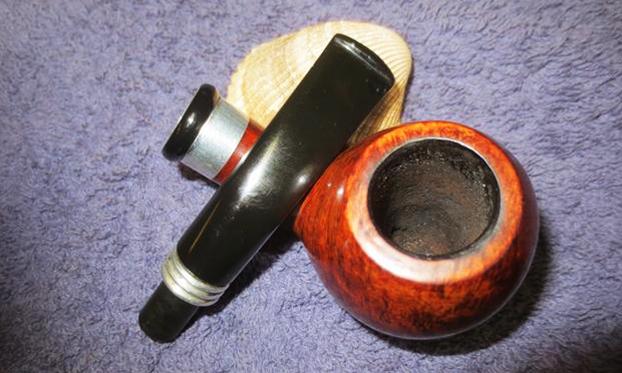
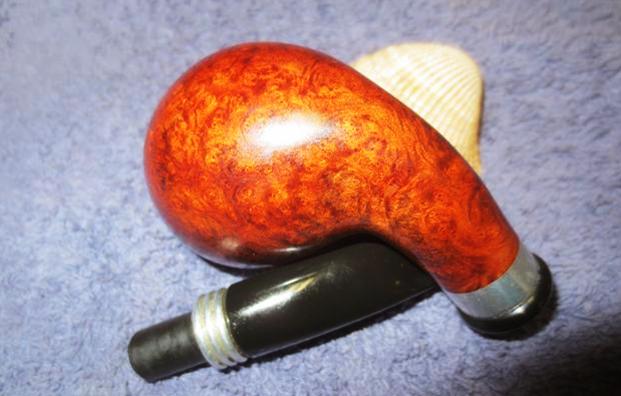
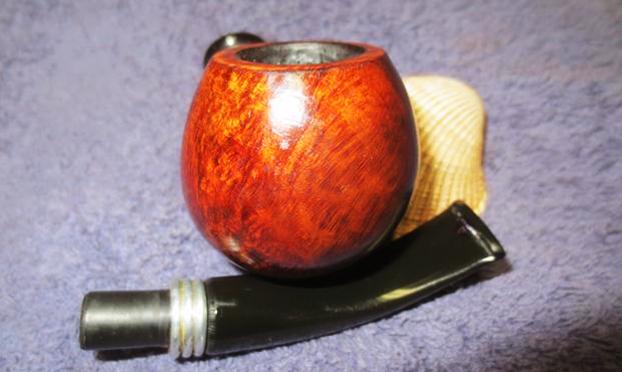
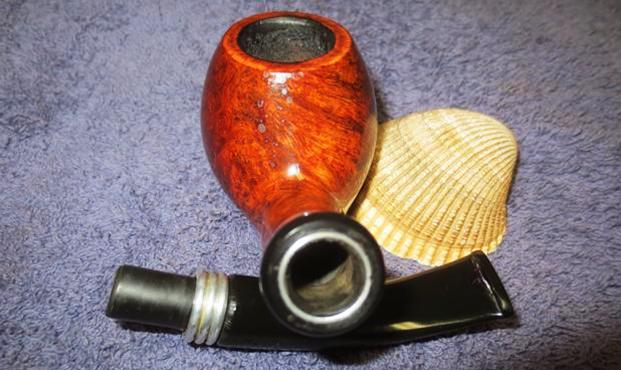
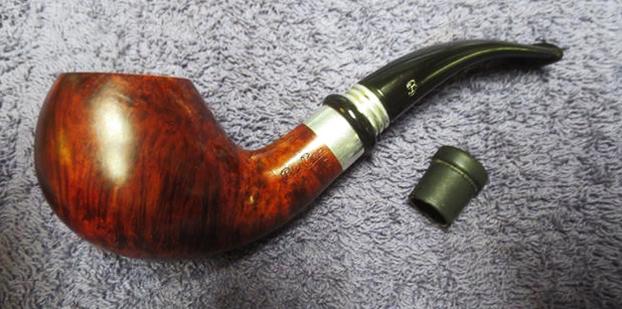
Breathing Life into a Dr. Grabow Omega Bent Billiard


Blog by Steve Laug

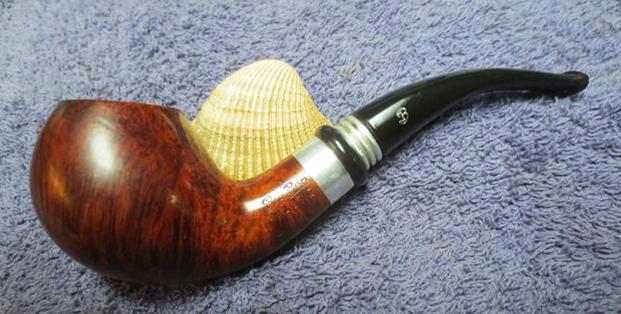
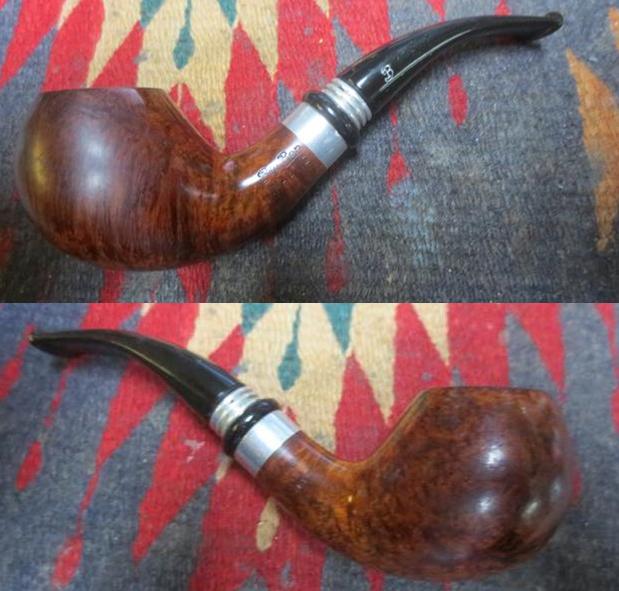
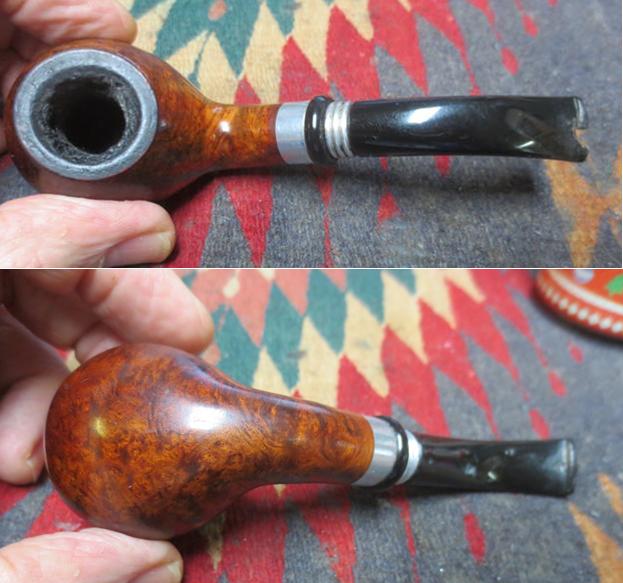
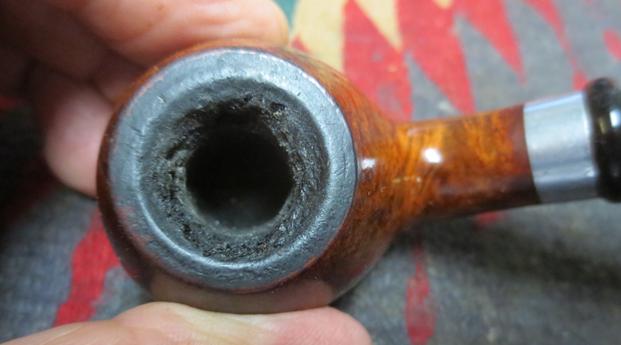
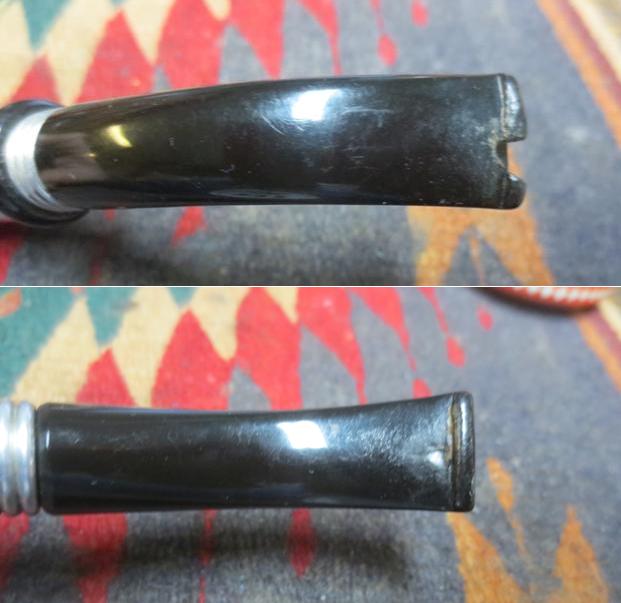
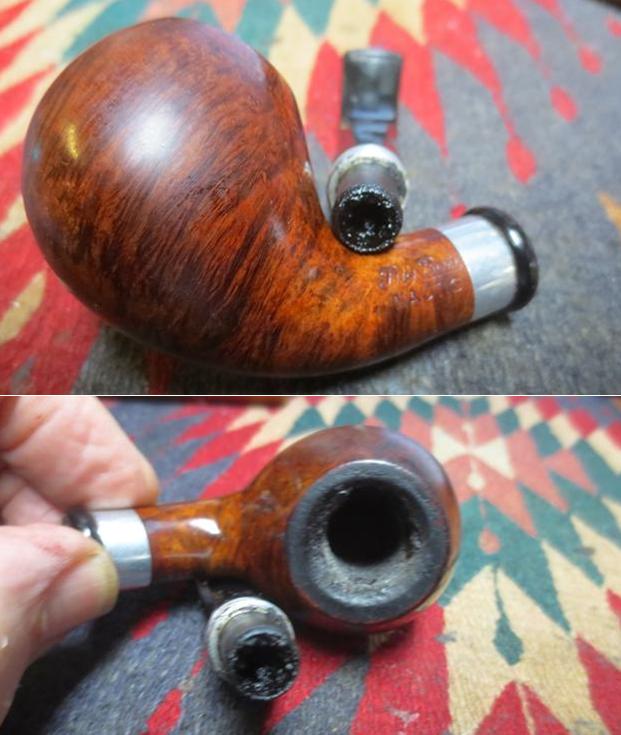
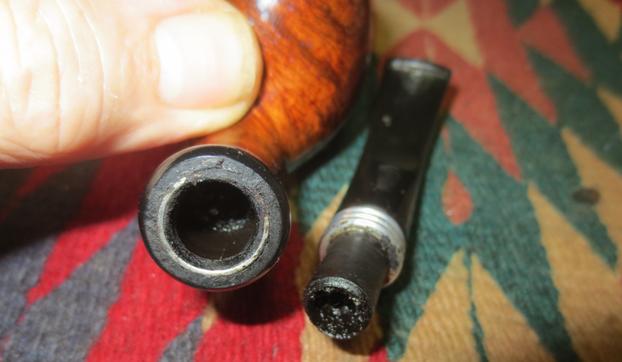
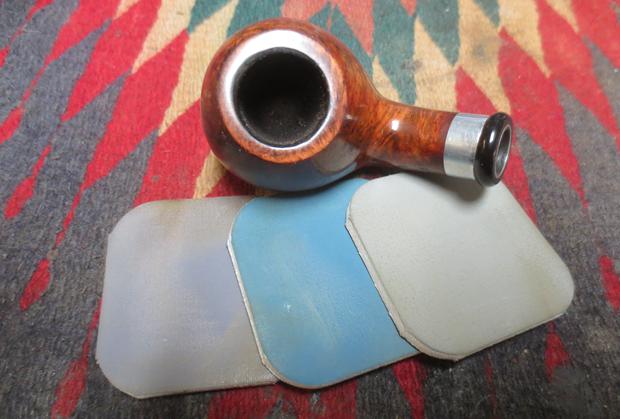
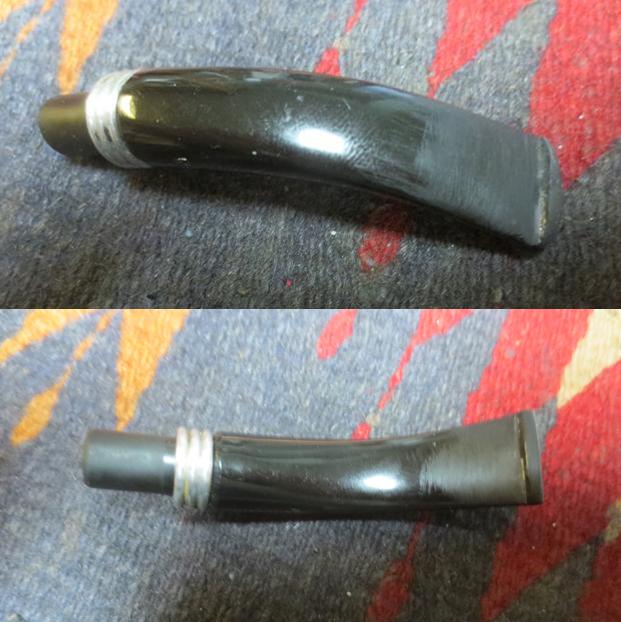
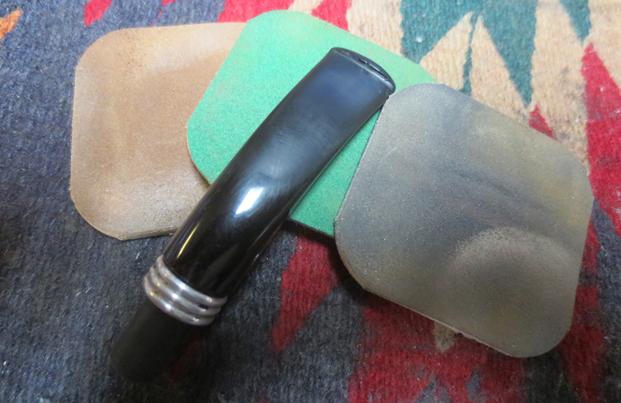
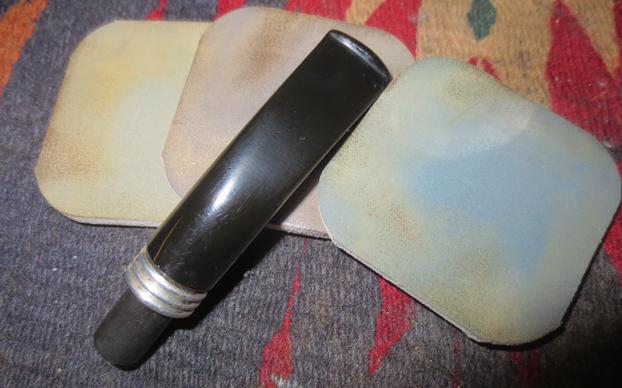
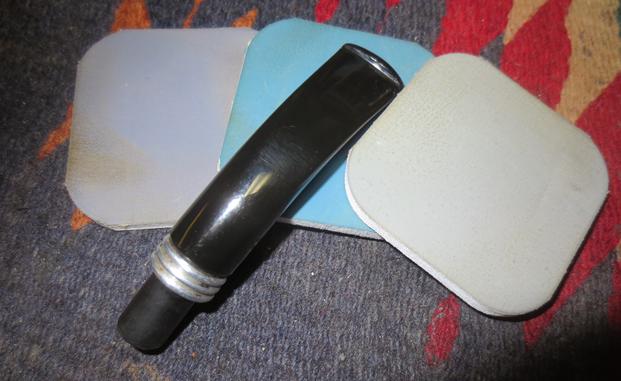
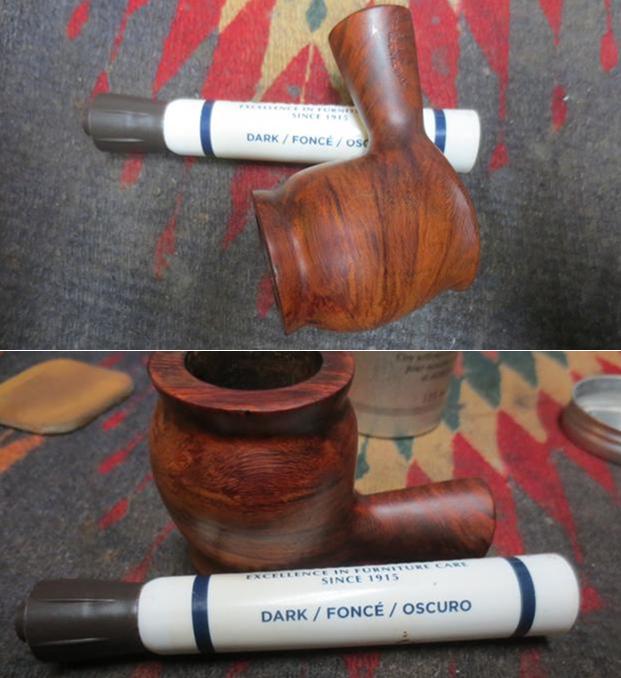
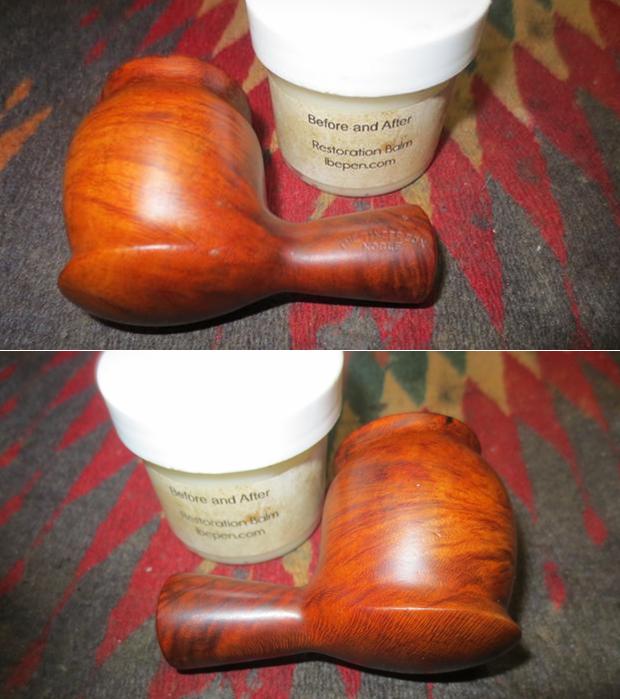
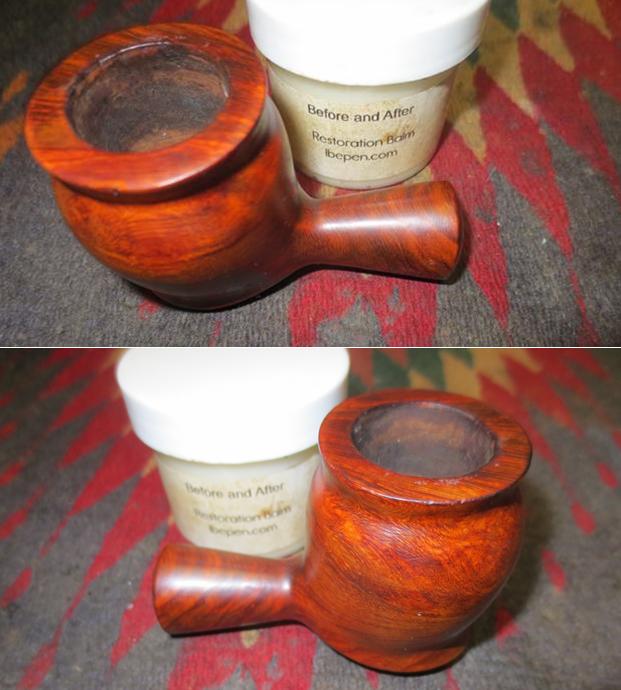
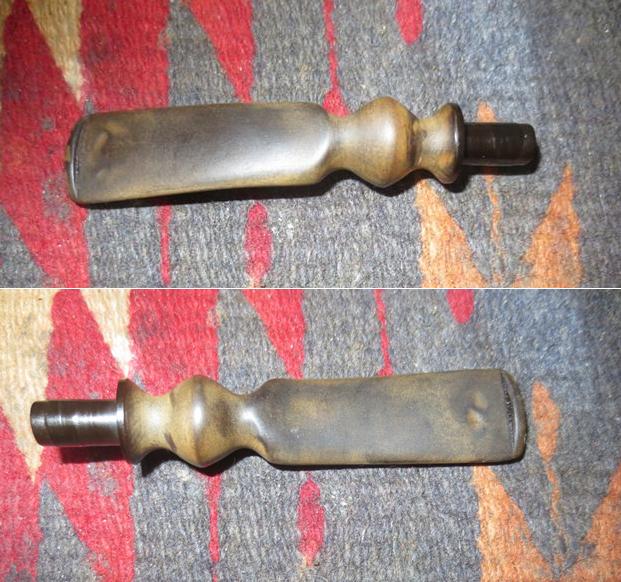
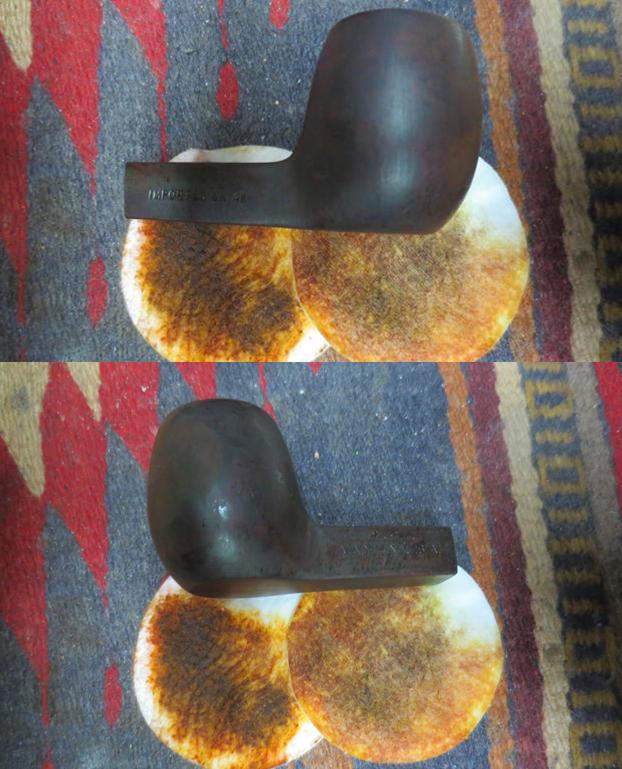
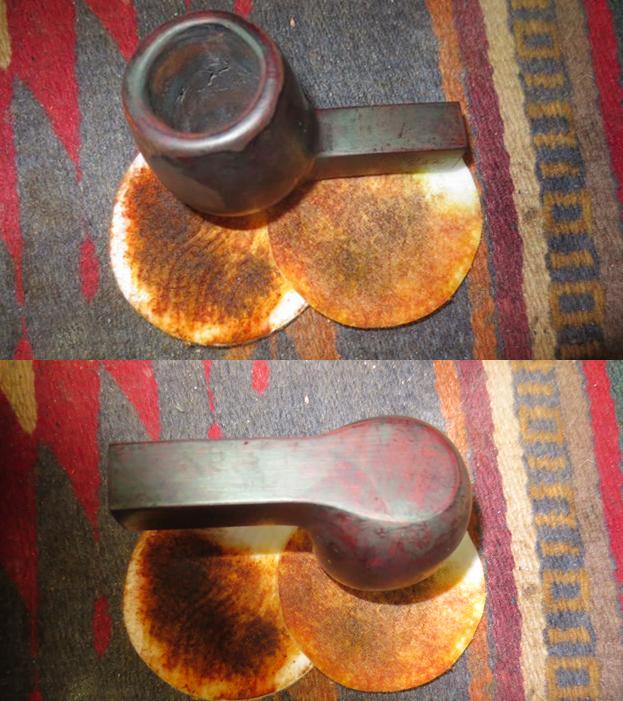
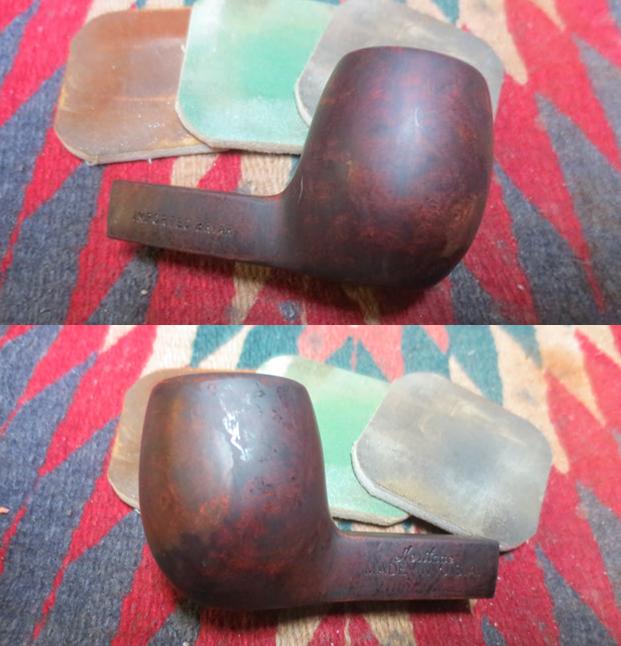
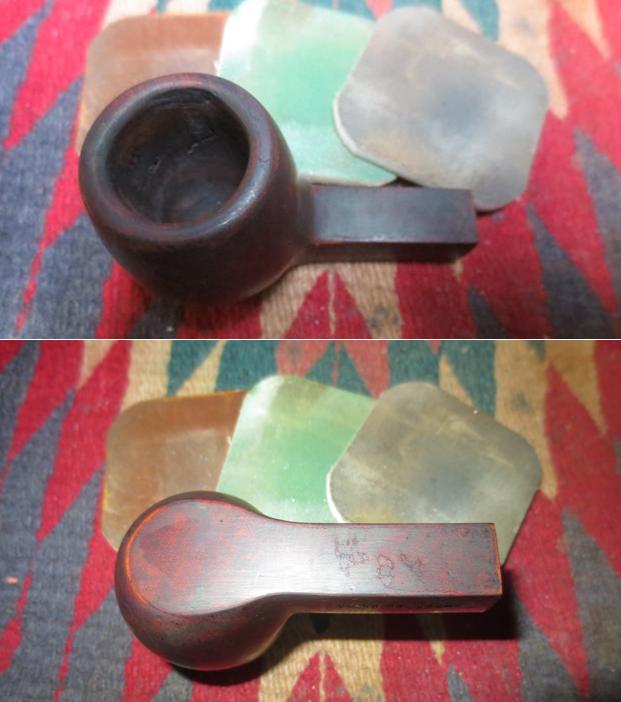
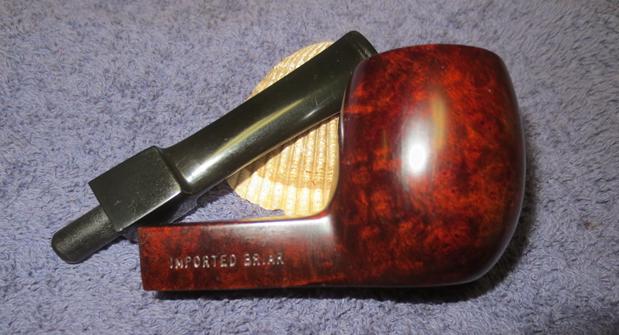
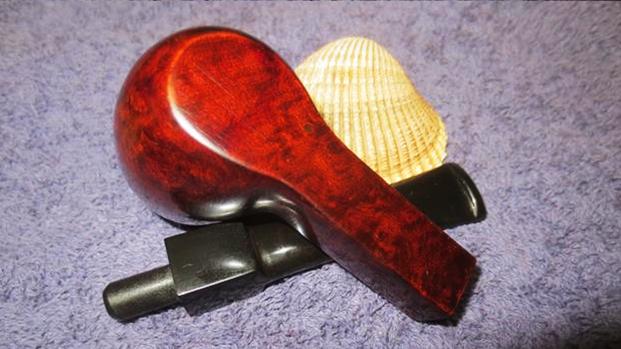
I have always liked the look of the Dr. Grabow Omega pipes. I have worked on quite a few over the years and have found them well made. The briar is a mixed grain pattern usually but the look of the classic shape and the feel in the hand is quite nice. The style of the stem mimics the Peterson P-Lip but up close it is very different. The airway exits not on the top of the button as in a P-Lip but out the end as in a standard fish tail stem. This old timer was no exception so when Jeff sent it I was interested in what it would look like after his cleanup. The bowl was structurally sound but the finish was worn and tired looking with a lot of scratches all around the sides and bottom of the bowl. The bowl had a thick cake that had flowed over the top. The rim was coated in lava and it was beat up. It had a lot of small holes in it like it had been knocked out on concrete and the outer front edge of the bowl was roughened and rounded over. The inner edge of the bowl looked like it was undamaged. The nickel ferrule was oxidized and scratched. The stem had some tooth marks on the top and underside near the button and was oxidized. Jeff took photos of the pipe to show its condition before he started his cleanup work. The next photo shows the cake in the bowl and the condition of the lava overflow on the rim top. You can see that it is quite thick. You can also see the rough condition of the outer edge of the bowl.Jeff took several photos of the bowl from various angles to show the general condition of the finish. There were scratches and nicks but none of them look too deep in the briar. The finish also appears to be very dirty and the varnish coat that is usually present seems worn and tired looking on the sides and bottom of the bowl. The next two photos not only show the stamping on the shank but also the buildup of tars and grime around the edges of the ferrule. It is almost as if the shank was weeping under the ferrule. The stamping is worn but readable. It is stamped OMEGA over Dr. Grabow on the left side of the shank and on the right Imported Briar.When Jeff took the pipe apart it appeared that the seller had put a newer Grabow Paper Filter in the shank of the pipe to make the pipe appear to have been cleaned. The next three photos show the condition of the tenon end of the stem and the filter. The oxidation on the stem is also visible in the photos below. The stem was scratched and worn but the Grabow Spade logo was in good condition on the left side of the shank. The top and underside of the stem had some deep tooth marks around the button and the sharp edge of the top of the button was quite worn and damaged.I did some searching to find out a bit of history about the Omega. I found that it was first released around 1975 and was a copy of a well pipe imported from Italy. It has continued to be offered for sale in their catalogues.

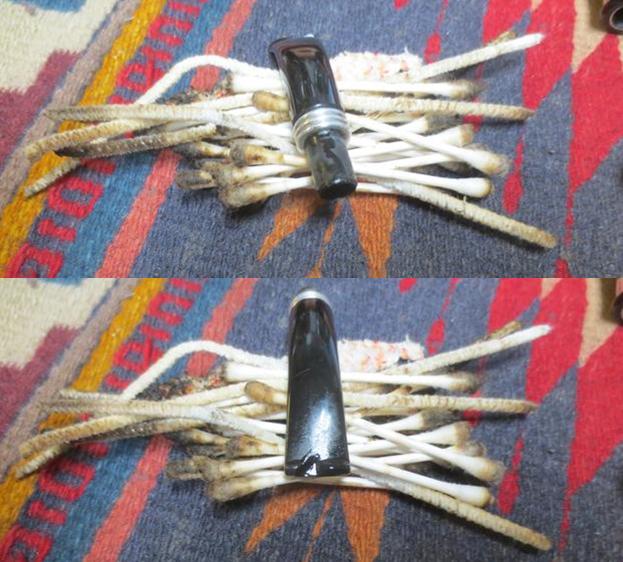
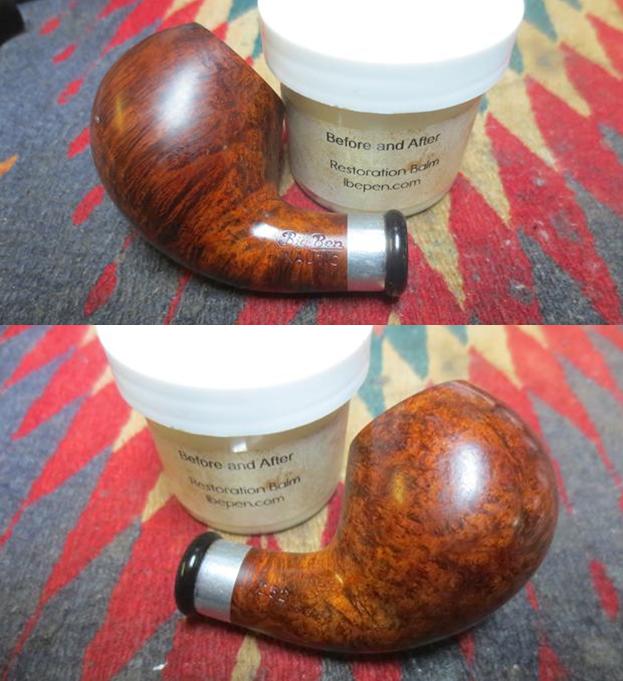
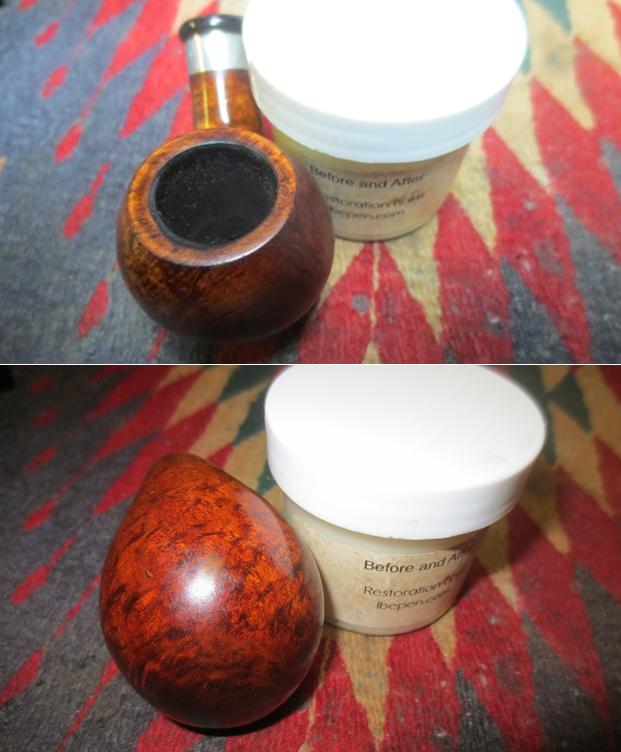
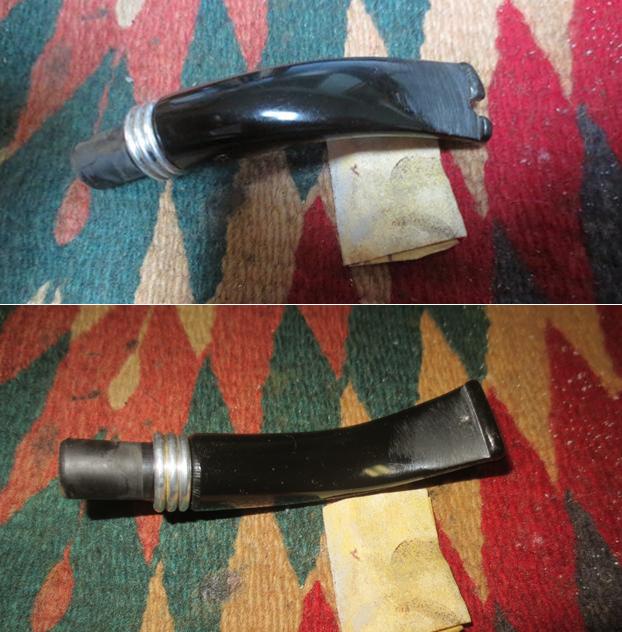
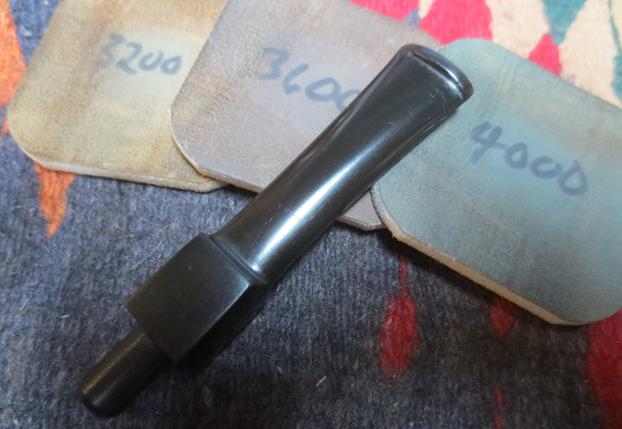
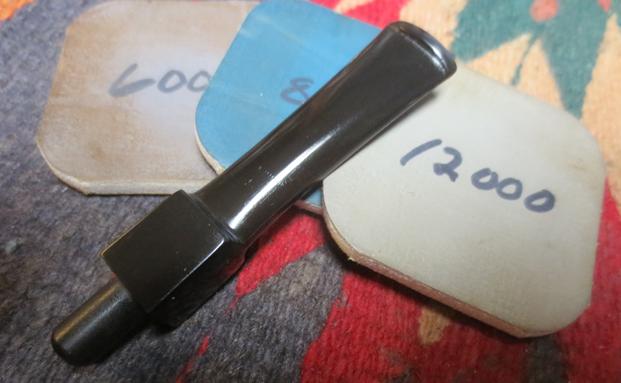
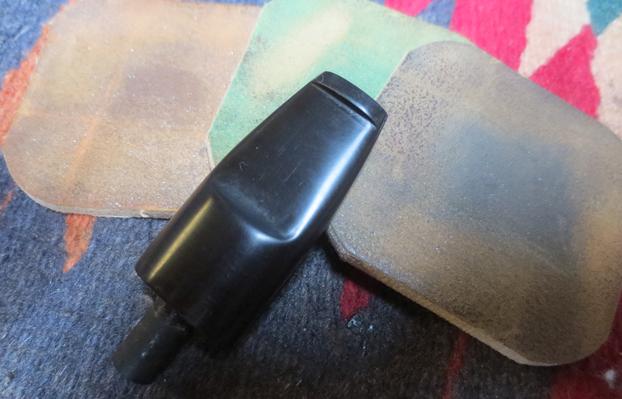
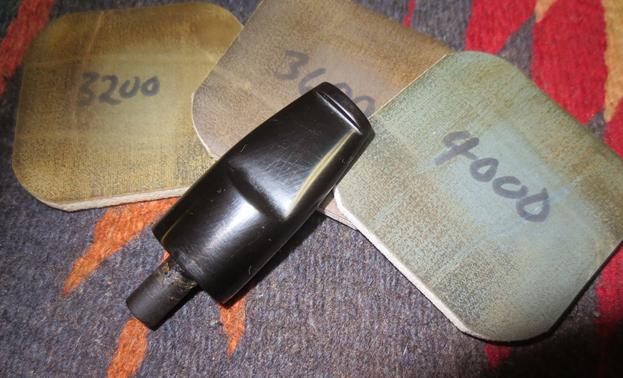
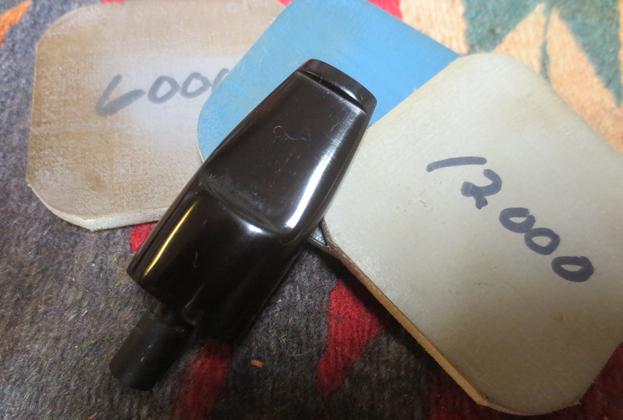
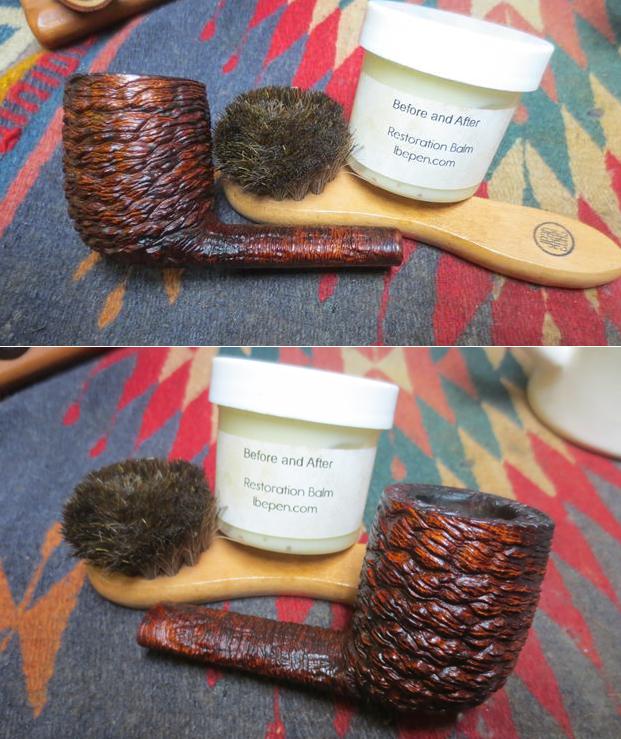
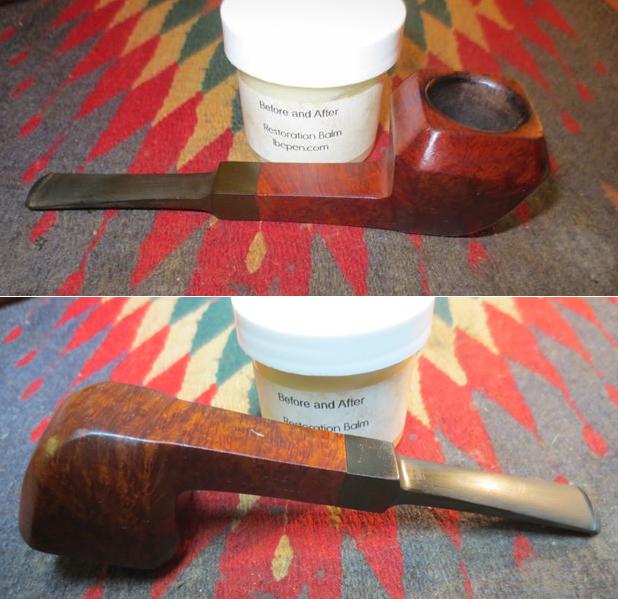
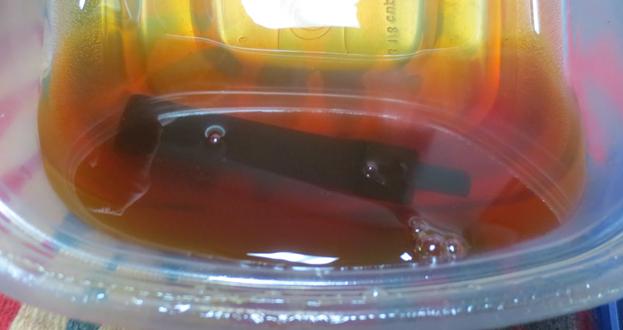
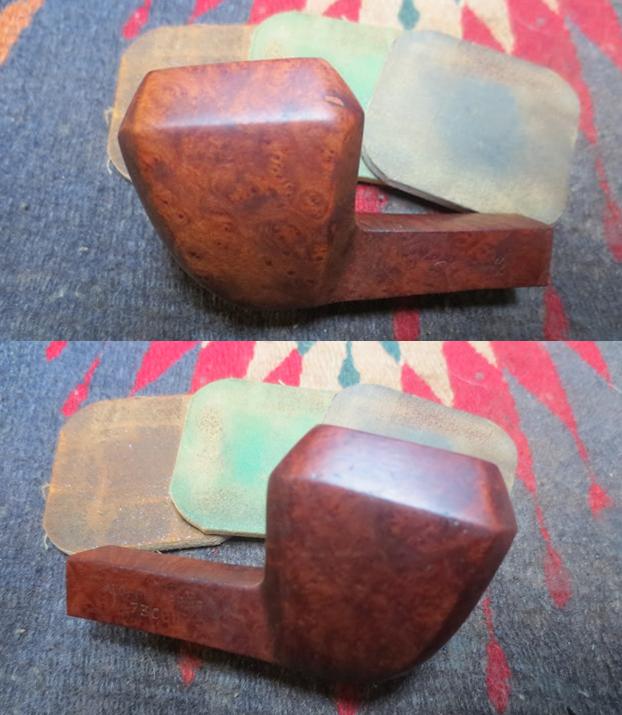
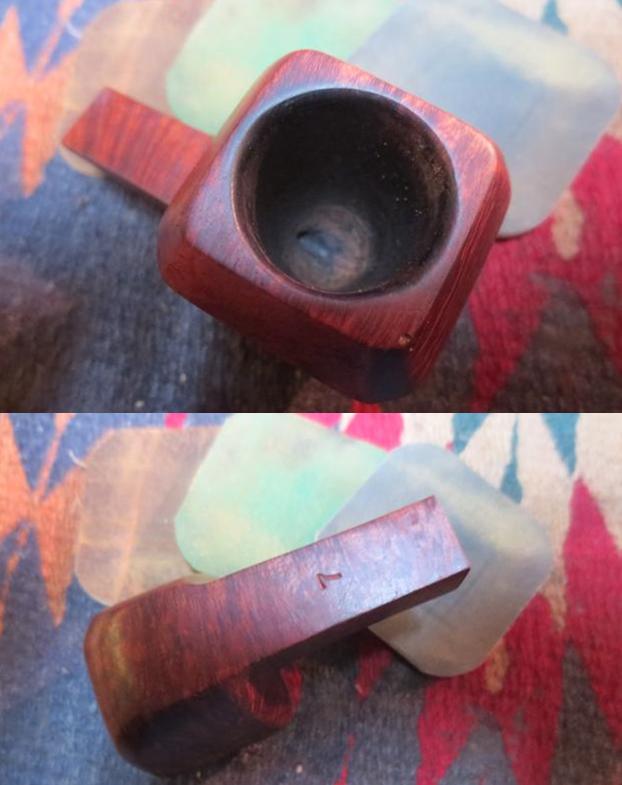
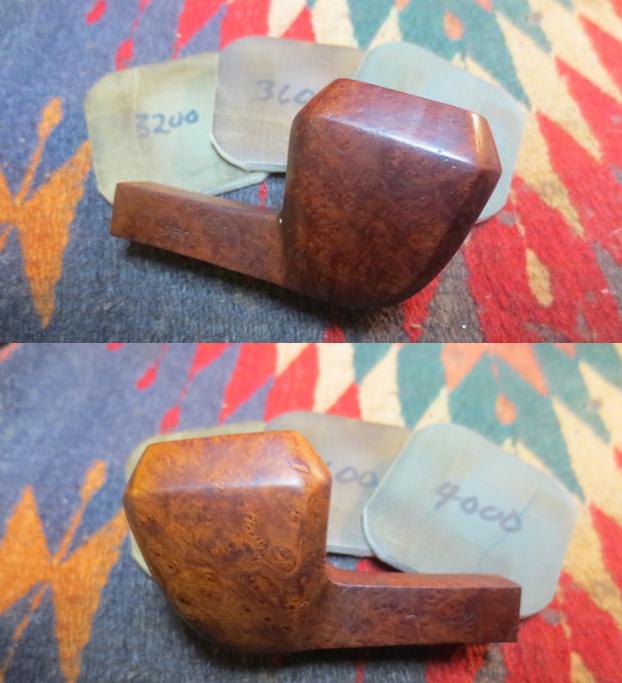
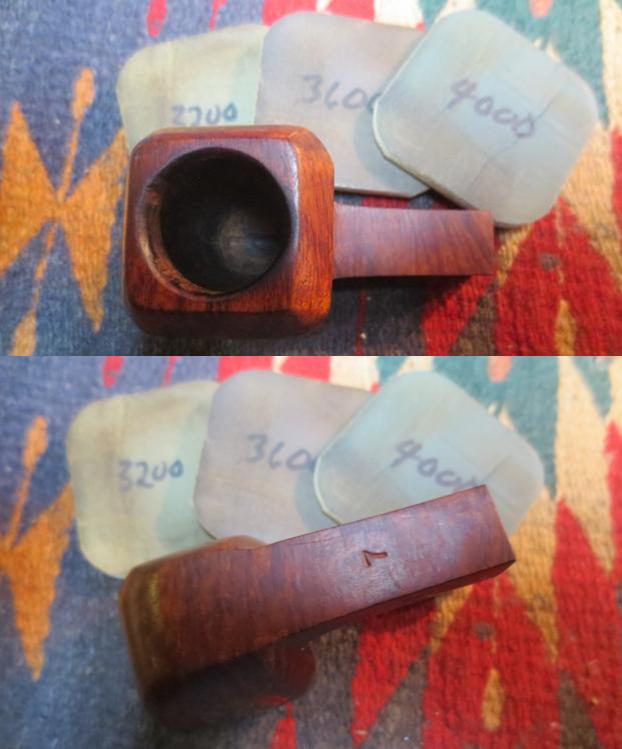
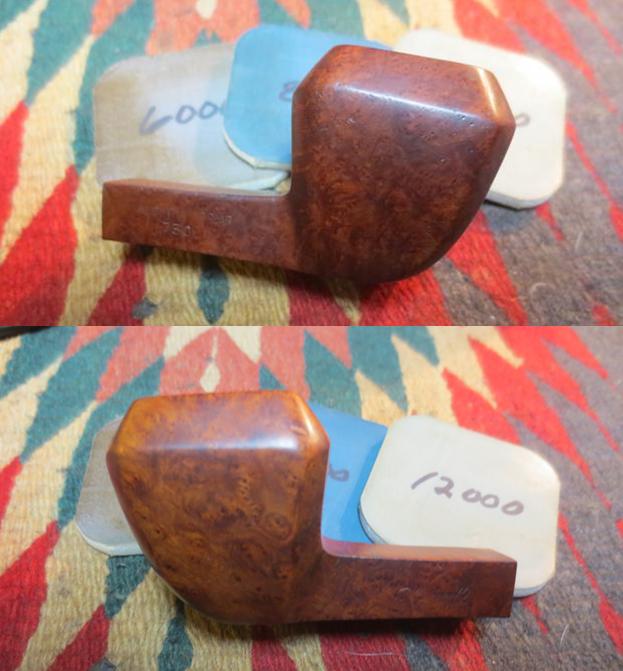
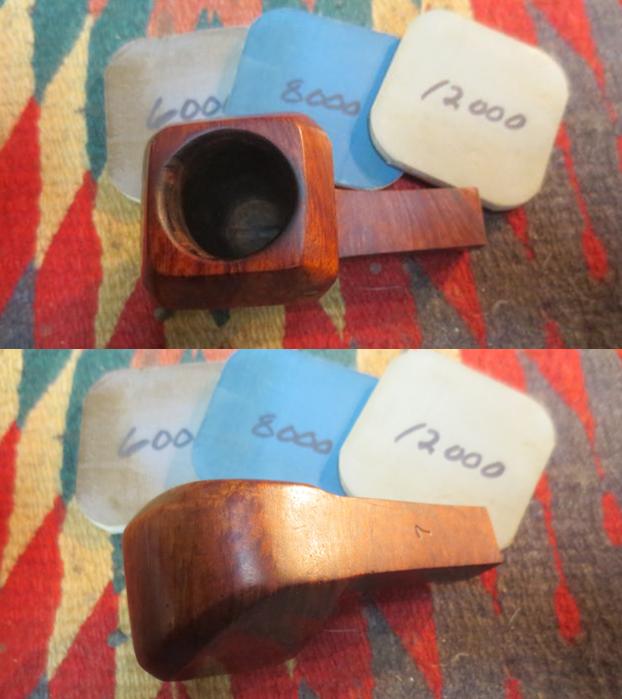
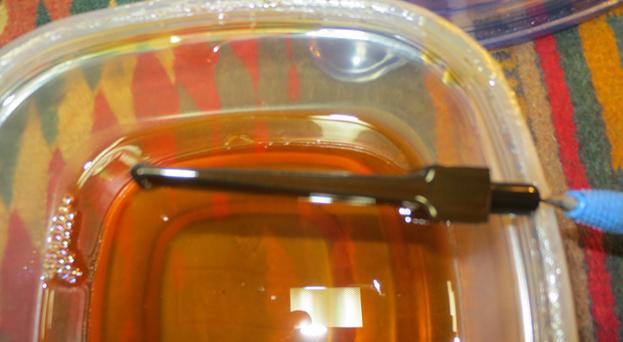
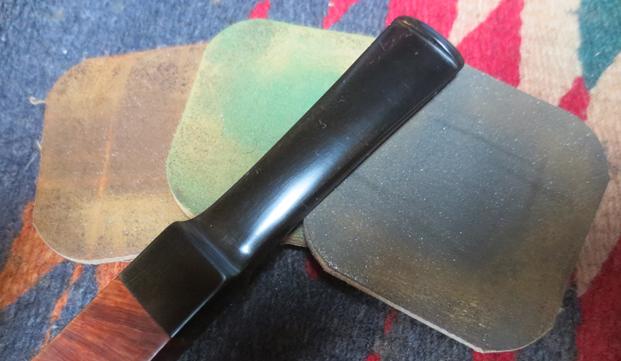
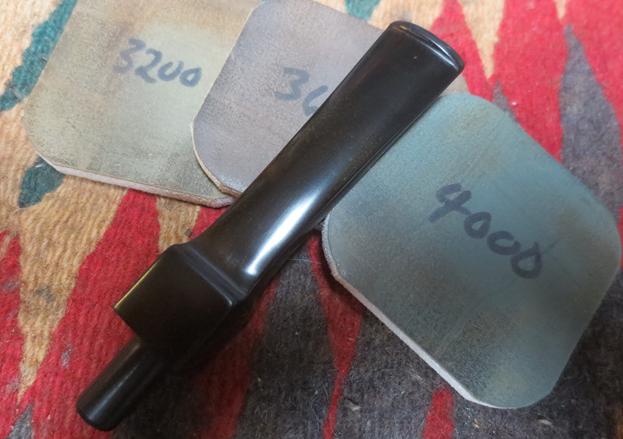
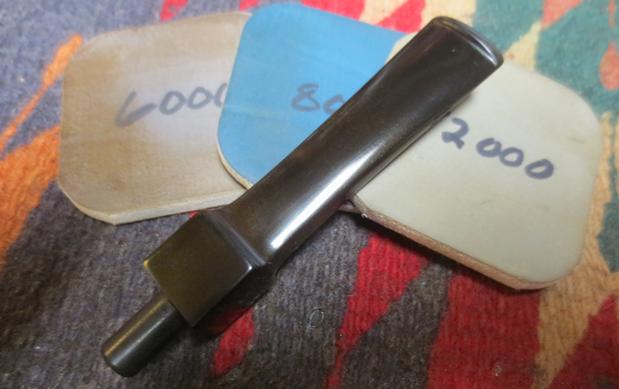
Jeff did a thorough cleanup on the bowl and stem. He reamed the bowl back to bare briar with a PipNet pipe reamer and cleaned up the remnants with a Savinelli Fitsall reamer. He cleaned the internals with alcohol, pipe cleaners and cotton swabs – scrubbing out the mortise as it was very dirty. He scrubbed the exterior of the pipe with Murphy’s Oil soap and a tooth brush and was able to remove all of the tars and oils built up on the briar. He was able to remove all of the tars and lava on the rim top and left it looking very clean. The damage on the rim top and outer edge was clean and visible. He soaked the stem in an Oxyclean bath to raise the oxidation to the surface of the vulcanite. When it arrived I took some photos of it to show how it looked before I did the restoration.  Jeff was able to remove the thick lava coat from the rim and revealed what I thought would be underneath the thick coat. The rim top was speckled with tiny dents and marks and the outer edge was damaged all the way around the bowl. There was a little damage on the inner edge on the right side of the bowl.The Oxyclean soak had really raised the oxidation to the surface. The stem was clean but heavily oxidized when it arrived.Because the was so oxidized after the soak in Oxyclean, I put it in a bath of Before & After Pipe Stem Deoxidizer to soak overnight and work on the vulcanite oxidation. In the morning I removed the stem from the deoxidizer and wiped off the excess deoxidizer from the surface of the stem with a paper towel. I cleaned out the airway in the stem with pipe cleaners and alcohol to remove any remnants of the bath from that part of the stem. The photos below show the stem after the soak and rub down. The oxidation looked much more manageable and what remained would be easily dealt with. The tooth chatter on the top and underside of the stem is hard to see in the photos, but it is present.I sanded the stem with 220 grit sandpaper to remove the tooth chatter and minimize the tooth marks on both sides of the stem. I reshaped the button with the sandpaper and a needle file. I sanded the rest of the stem to break up the remaining oxidation.I polished out the sanding scratches and marks in the vulcanite with micromesh sanding pads – wet sanding it with 1500-2400 grit pads and dry sanding it with 3200-4000 grit pads. I wiped the stem down with Obsidian Oil after each sanding pad. I buffed the stem with Blue Diamond on the buffing wheel being careful around the spade logo insert as they can easily be damaged. I brought it back to the table and sanded it with the final three 6000-12000 grit pads. After the final pad I gave it a final coat of oil and set it aside to dry. The outer edge of the rim was damaged all around the bowl but the worst damage was on the front edge. You can see the roughness of the rim edge in the next photo. With the small pin prick holes on the rim top and the damage on the inner edge of the right side of the bowl I decided to top the bowl. I top a pipe on a topping board with 220 grit sandpaper and work the bowl over the sandpaper holding the rim flat against the topping board and working the bowl to evenly sand the bowl top smooth and remove the damage. Once the rim edges were almost smooth I used a folded piece of sandpaper to smooth out the outer edge of the bowl all the way around the bowl. I polished the rim top with micromesh sanding pads – wet sanding with 1500-2400 grit pads and dry sanding with 3200-12000 grit pads. I wiped the rim down after each pad with a damp cotton pad. When I finished the polishing I wiped it down a final time. I blended some light and medium brown stain from a stain pen to restain the rim top and edges to match the colour of the rest of the bowl. The blend works well in trying to get this particular shade of brown. I hand buffed the stain to polish it and blend the colours together.I rubbed the bowl down with Before & After Restoration Balm to deep clean the smooth finish, enliven and protect the briar. I hand rubbed it with my fingers and wiped it off with a soft cloth. I buffed the bowl with Blue Diamond on the wheel to polish it. It really began to have a deep shine in the briar. I took some photos of the bowl at this point to mark the progress in the restoration. I decided to leave the small nicks in the bowl surface as marks of character rather than damage the original finish by sanding them all out. I cleaned and polished the nickel ferrule with micromesh sanding pads. I was careful in sanding the nickel in that the dust from the metal can discolour the briar and make more work. I was happy with the finished end cap. I buffed the briar on the wheel with Blue Diamond to polish it more. I was careful around the already light stamping. I hand buffed the bowl and ferrule with a microfiber cloth and took photos of the bowl at this point. I put the stem back on the bowl and worked the pipe over on the buffing wheel using Blue Diamond to polish the bowl and shank. I buffed the stem to raise the gloss on the vulcanite. I gave the bowl and stem multiple coats of carnauba wax. I buffed the entire pipe with a clean buffing pad to raise the shine. I hand buffed it with a microfiber cloth to deepen the shine. The finished pipe is shown in the photos below. The dark to medium brown stain on the billiard shaped bowl works well with the polished nickel ferrule and the rich black of the vulcanite stem. This old Omega pipe has some interesting grain and has lots of life in it to add your own story to the ongoing saga of the briar. The dimensions of the pipe are: Length: 6 inches, Height: 1 3/4 inches, Diameter of the bowl: 1 1/4 inches, Diameter of the chamber: 5/8 inches. I will be adding this one to the rebornpipes store shortly if you are interested in adding it to your collection. It will make a fine addition to the rack. If you are interested email me at slaug@uniserve.com or send me a message on Facebook. Thanks for looking.


Restoring & Repairing a Damaged Stem on a Big Ben Nautic 252


Blog by Steve Laug

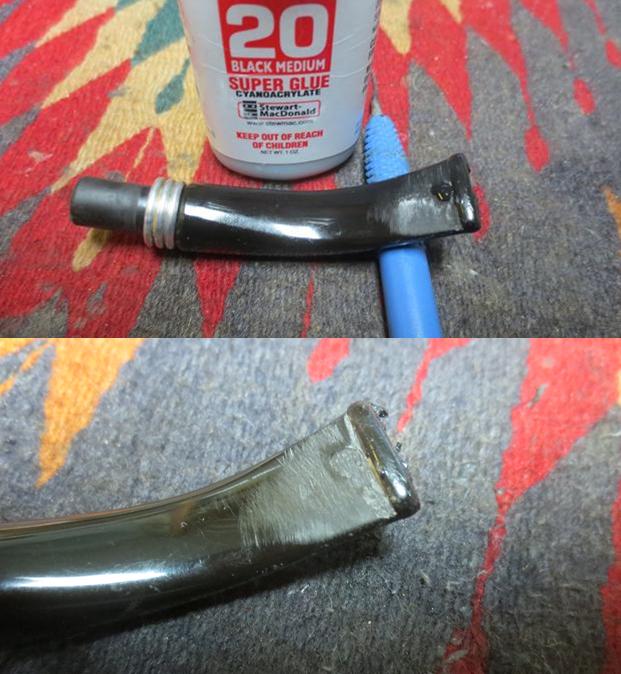
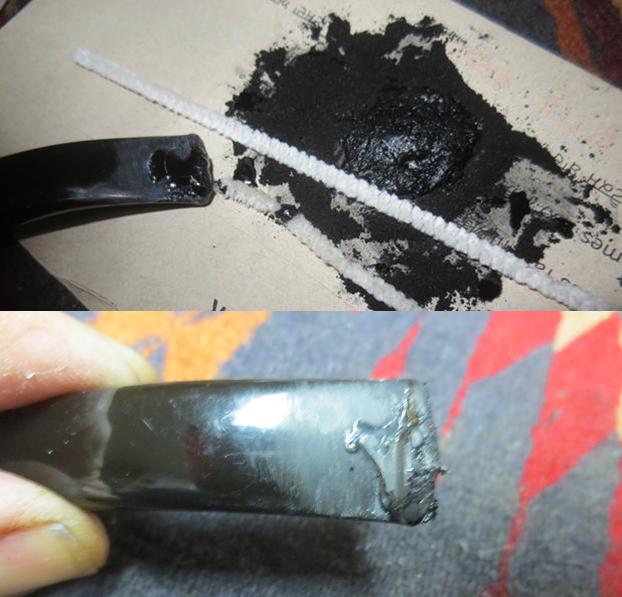
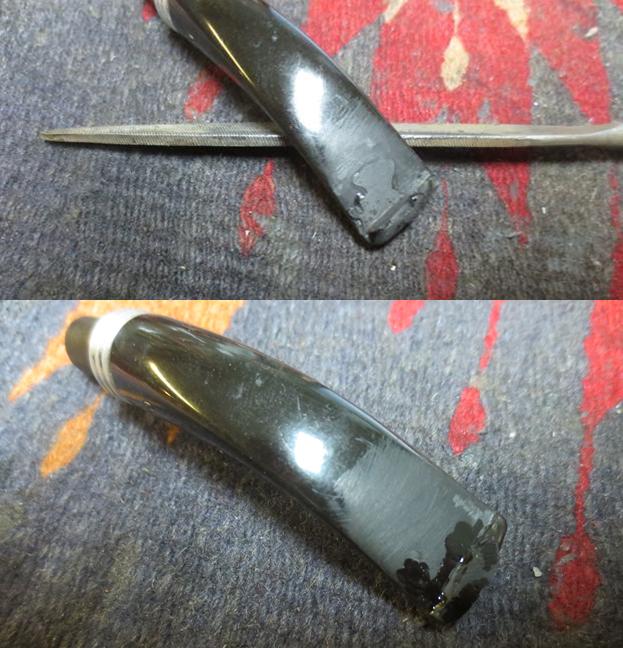
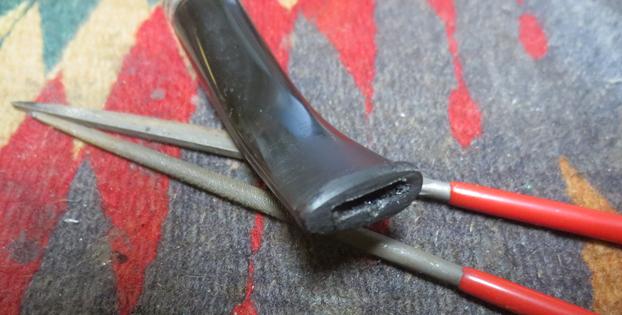
Not long ago I received a phone call from an interesting woman who had been given my phone number by a local pipe and cigar shop. She had a couple of pipes that needed some stem repair. In our conversation it turned out that they belonged to her husband and he had a total of two pipes. Both of them needed work and she was determined to get them repaired for him. In our talking we spoke of the options – either repairing the stem or making a new stem. She spoke with him and they decided to repair them. A few days later her husband stopped by the house to show me the two pipes. We talked and he decided to work on one pipe at a time so that he would have one to smoke while I repaired the other one. The first of these was a Big Ben Nautic shape 252. It is a bent apple kind of quasi brandy shaped pipe with some really nice grain on the sides of the bowl. I took some photos of the pipe to show the condition it was in before I started my clean up.From the side view photos above the pipe looked pretty good. The finish was dirty but the pipe appeared to be in decent condition. The next photos show what the bowl and stem looked like from the top and underside views. The bowl had never been reamed and there was a thick cake that was composed of aromatic tobacco. It was soft and sticky. The lava overflow on the rim top was also sticky to touch. The smell of the pipe was a sickly sweet and sour smell of a pipe that had never seen a pipe cleaner and never had been cleaned. The stem had suffered gnawing that had broken the top edge and a bit of the stem in front of the button. It was a mess. The underside had deep bite marks and was also damaged. The poor pipe was a mess but it was obviously his favourite pipe to smoke.I took a close up photo of the bowl and rim to show the thickness and composition of the cake and the thick overflow of lava on the rim top. The good news was that since it had never been reamed or scraped the edges of the rim looked to be in very good condition.I also took some photos of the stem damage so that you could see what I was up against. The sad thing to me was that his second pipe had exactly the same damage to the stem and the bowl looked identical as well.When I removed the stem I was not surprised to find that the mortise and the airways in the shank and stem had also never been cleaned. But even more surprising was the fact that the stem and shank were made for a 9mm filter and the pipe had been smoked sans filter to the point that the airway in both were almost closed off with the gunk (technical term for the black, oily, tarry stuff that filled the stem and shank). The next series of three photos show the clogged condition of the airways and mortise. I am amazed that the pipe man was able to load any tobacco in the bowl and draw any smoke through the pipe. I decided to rid the pipe of the smell that permeated my work space when I had the pipe on the worktable. I used pipe cleaners, cotton swabs and alcohol to clean out the interior of both. I used a dental spatula to scrape the walls of the shank and the filter tenon. It took a lot of pipe cleaners to remove all of the buildup but once it was clean the pipe smell better and would be easier to work on. I reamed the bowl back to bare briar with a PipNet pipe reamer. I started reaming it with the smallest cutting head and worked my way up to the cutting head that fit the diameter of the bowl. I touched up the reaming with a Savinelli Fitsall Pipe knife.I scraped off the thick lava coat on the rim top using a pen knife. I was able to remove all of it. There was still some rim darkening but I figured that it would also come of the rim. I scrubbed the rim top with saliva and cotton pads.I polished the rim of the bowl with micromesh sanding pads. I started by wet sanding it with 1500-2400 grit pads until all of the darkening and remnants of lava on the rim. I dry sanded it with 3200-12000 grit pads until the rim was shining. I wiped it down with a damp cotton pad after each micromesh sanding pad to remove the grime that came free. The rim began to look almost new again. I rubbed the bowl and shank down with Before & After Restoration Balm to deep clean the smooth finish, enliven and protect the briar. I hand rubbed it with my fingers and wiped it off with a soft cloth. I buffed the bowl with a soft cotton cloth to polish it. It really began to have a deep shine in the briar. I took some photos of the bowl at this point to mark the progress in the restoration. I sanded the top and underside of the stem with 220 grit sandpaper to clean up the edges of the damaged area on the top side of the stem and button and on the underside where there was a deep tooth mark and lots of tooth damage. I roughened the surface of the stem to give the glue and charcoal powder something to bite into and hold.I filled in the deep tooth mark on the underside of the stem with black super glue. The damaged area was not too large so the black super glue alone would work on this part of the stem. Once the repair had dried I used a needle file to sharpen the edge of the button and sanded out the repair to blend it into the surface of the underside of the stem.I greased a pipe fluffy pipe cleaner with Vaseline and flattened it to insert into the slot in the stem. I wanted to keep the airway open when I applied the repair material. I mixed some activated charcoal powder with black super glue to make a thick paste and applied it to the top of the stem with a dental spatula. I flattened it with the spatula and built it up heavier on the top of the button than on the flat portion of the stem. The repair dries fairly quickly to touch but I like to let it sit and cure for several days to make sure that the very centre of the patch is hardened.After the repair had cured I used a small flat bladed needle fill to recut the button and smooth out the repaired area on the stem. Once I had flattened out the repair there were some air bubbles in the patch that needed to be touched up. I filled in the air bubbles with clear super glue.When the repair had dried I used a knife blade and a round needle file to open and reshape the slot in the button.I sanded the repaired area with 200 grit sandpaper to smooth out the repair and blend it into the rest of the stem. I reshaped the button with the sandpaper at the same time so that it was the same all the way across the stem and on the top and underside of it.I polished out the sanding scratches and marks in the repaired area in front of the button on both sides of the stem and the button surface itself with micromesh sanding pads – wet sanding it with 1500-2400 grit pads and dry sanding it with 3200-12000 grit pads. I wiped the stem down with Obsidian Oil after each sanding pad. After the final pad I gave it a final coat of oil and set it aside to dry. I buffed the bowl with a soft cloth to polish away the remaining Restoration Balm. I worked the pipe bowl over on the buffing wheel using Blue Diamond to polish the bowl and shank. I hand buffed the stem to raise the gloss on the stem and polished the metal stem adornment with a silver polishing cloth. I gave the bowl multiple coats of carnauba wax and buffed it with a clean buffing pad to raise the shine. I gave the stem multiple coats of Conservator’s Wax. I buffed the entire pipe with a clean microfiber cloth to deepen the shine. The finished pipe is shown in the photos below. The medium brown stains on the apple/brandy shaped bowl works well with the rich black of the Lucite stem. The polish and the reworking of the stem material left this a beautiful and well-made pipe. Thanks for looking. I am recommending that the pipe man smoke this pipe with a softee bit in place to protect the repair. Once he has seen the repair I will install the softee bit on the stem. It should give some protection from his incessant chomping on the stem. If not the stem will face repeated repairs.

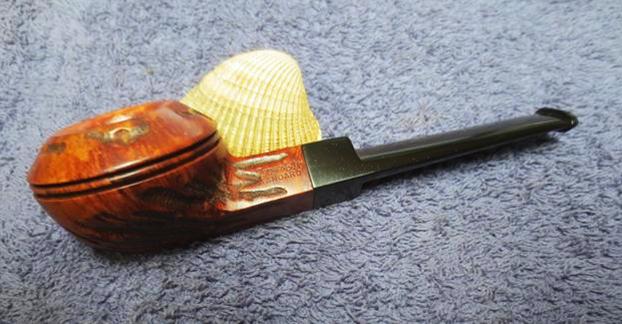
Restoring a Custombilt Standard 302 Bulldog


Blog by Steve Laug

Those of you that collect Tracy Mincer made pipes know all about the variety of stampings on the pipes that he made. They go from Custom-Bilt, Custom-bilt, Custombilt, Doodler and even those named after himself. His pipes are unique and the Custom-Bilt pipes (no matter how you spell the name) that he made are immediately recognizable. Their chunky Rhodesian or Bulldog/Bull moose shape along with the unique worm trail deep rustication and the stubby fit in the hand makes them easy to identify. When Jeff sent me photos of the next pipe that came to the worktable, I was not sure where it fit in the world of this brand. I have read Bill Unger’s opus on the brand so I had a bit of an idea but I wanted to spend time working on the pipe before I narrowed down the period. It has a more refined shape and refined application of the rustication to the bowl. It seemed more controlled and predictable than the other typical Custom-Bilt pipes I have worked on and restored. The stem also had a different feel than the others I have worked on and the amount of briar in the body of the pipe seemed less that what I expect in these pipes. Jeff took photos of the pipe before he started to work on it so I could have an idea of what we had in our hands.The pipe appeared to be in decent condition. The finish was dirty but did not look like it was damaged. The bowl had a thinner cake that the others I have been working on lately. There was lava overflow on the top of the rim. I am sure there would be some darkening and possible some burn marks on the inner edge of the beveled rim top. The outer edge appeared to be undamaged. The stem was vulcanite and had a very light oxidation on the top surfaces. There was tooth chatter on both sides of the stem just ahead of the button. The edge of the button also had some tooth wear. The previous owner had put a light bend in the stem in the last 1 inch. To me it did not look right and would need to be straightened.Jeff took two close up photos of the bowl and rim top to show the condition of the pipe when it arrived. The first shows the rim close up and the second shows it in relation to the rest of the bowl. He also included a photo of the underside of the bowl to show the carving and rustication pattern there. The pipe is stamped on the left side and reads Custombilt as one word over Standard. On the right side of the shank it is stamped with a number which I assume identifies the shape – 302.The stem had light oxidation and tooth chatter so it would be a pretty straightforward cleanup as well.I wanted to refresh my memory regarding the time periods the different Custom-Bilt pipes were made so I did a bit of research. I looked first on the Pipephil website to see what information he had on the brand. This is the link: http://www.pipephil.eu/logos/en/logo-c8.html

Tracy Mincer stopped making Custom-Bilt pipes in the early 1950s. The trademark was successively bought by Leonard Rodgers (1953), Consolidated Cigars (1968) and Wally Frank Co. (early 1970s). The later began to produce again his version of the pipe in 1974 or 1975 at Weber pipe factory (NJ). In 1987, the pipes were made out of the Butz-Choquin factory (France) and then Mexico until the late 1990s. Currently (2010), the Custombilt name is owned by Tobacalera of Spain which is part of Altadis. It is generally admitted (but not proved) pipes stamped “Custom – Bilt” (with the hyphen) are from the Mincer era. The name might have changed from Custom-Bilt to Custombilt (without the hyphen) in 1946.

I also looked on the Pipedia website and found confirmation to the Pipephil information and some additional information. Here’s the link to that article: https://pipedia.org/wiki/Custom-Bilt

In 1946, the name was changed to Custombilt after Mincer began an association with Eugene J. Rich, Inc. There were some big changes in advertising and distribution. The slogan “AS INDIVIDUAL AS A THUMBPRINT” began at this time as well. In the early 1950’s, Tracy Mincer developed severe financial problems that caused him to stop making the Custombilt, and he lost the name. In 1953, Leonard Rodgers bought the company and emphasized tobacco pouches and butane lighters. (However, it appears Mincer was working on his new pipe, the Doodler.) In 1968, Rodgers sold the Company to Consolidated Cigars. In the early 1970s, Wally Frank Co. bought the Custombilt trademark and began to produce their version of the pipe in 1974 or 1975. Hollco Rohr owned the Weber pipe factory, located in New Jersey, and produced the Custombilt pipes there. In 1987, the pipes were made out of the Butz-Choquin factory (France) and then Mexico until the late 1990s. Currently, the Custombilt name is owned by Tobacalera of Spain…

Given that information I knew that the pipe was made after 1946 when the name was changed to Custombilt. To me the lack of the characteristic shape and carving pointed to after Mincer lost the company and stopped making the brand. The shape reminds me of several Wally Frank pipes that I have had in the past so I am thinking it was made after they bought the trademark in 1974-1975. It also could be the Weber version of the brand when Hollco Rohr owned it. That is as specific as I can get in identifying the time frame for the manufacture of this pipe. I am pretty certain it is not a Tracy Mincer made pipe so that pushes it to the later 1974-75 dates.

Jeff did a thorough cleanup on the bowl and stem. He reamed the bowl with a PipNet pipe reamer and cleaned up the last bit of cake with a Savinelli Fitsall reamer. He cleaned the internals with alcohol, pipe cleaners and cotton swabs – scrubbing out the mortise as it was very dirty. He scrubbed the exterior of the pipe with Murphy’s Oil soap and a tooth brush and was able to remove all of the tars and oils built up on the briar. He was able to remove all of the tars and lava on the rim top and left it looking very clean. He soaked the stem in an Oxyclean bath to raise the oxidation to the surface of the vulcanite. When it arrived I took some photos of it to show how it looked before I did the restoration. He did a great job removing the cake in the bowl and the lava on the rim top. The inner edge of the bowl is damaged on the back right side and the left front of the pipe. There were also some burn marks in those spots on the rim surface.The oxidation came to the surface of the stem after the soak in Oxyclean. The tooth chatter is visible on the top and underside near the button. You can also see the light damage on the edge of the button on both sides. I put it in a bath of Before & After Pipe Stem Deoxidizer to soak overnight and work on the vulcanite oxidation.In the morning I removed the stem from the deoxidizer and wiped off the excess deoxidizer from the surface of the stem with a paper towel. I cleaned out the airway in the stem with pipe cleaners and alcohol to remove any remnants of the bath from that part of the stem. The photos below show the stem after the soak and rub down. The oxidation was pretty much gone and what remained would be easily dealt with. The tooth chatter on the top and underside of the stem is hard to see in the photos, but it is present.I sanded the stem with 220 grit sandpaper to remove the tooth chatter on both sides of the stem as well as the oxidation that remained in the angles of the saddle stem.I heated the stem with a heat gun to straighten out the bent end. I liked the straight look on the stem better than the slight tweak that last pipe man had put in it.I polished out the sanding scratches and marks in the vulcanite with micromesh sanding pads – wet sanding it with 1500-2400 grit pads and dry sanding it with 3200-4000 grit pads. I wiped the stem down with Obsidian Oil after each sanding pad. I buffed the stem with Blue Diamond on the buffing wheel. I brought it back to the table and sanded it with the final three 6000-12000 grit pads. After the final pad I gave it a final coat of oil and set it aside to dry. I sanded out the burn marks on the rim with 220 grit sandpaper to remove them and smooth out the surface. I worked on the inside edge of the rim to bring it back to round. When I was finished I polished the rim top and edge with micromesh sanding pads – wet sanding with 1500-2400 grit pads and dry sanding with 3200-12000 grit pads. I was able to polish out all of the scratches in the rim top and edges. I used a medium brown stain pen to restain the rim and inner edge of the bowl to blend it in with the rest of the bowl. The burn marks are invisible now and the polished rim top looks pristine.I rubbed the bowl down with Before & After Restoration Balm to deep clean the nooks and crannies of the rusticated finish, enliven and protect the briar. I hand rubbed it with my fingers and wiped it off with a soft cloth. I buffed the bowl with a horsehair shoe brush to polish it. It really began to have a deep shine in the briar. I took some photos of the bowl at this point to mark the progress in the restoration. I buffed the bowl with a soft cloth to polish away the remaining Restoration Balm. I put the stem back on the bowl and worked the pipe over on the buffing wheel using Blue Diamond to polish the bowl and shank. I buffed the bowl with a light touch so as not to get any of the buffing compounds in the grooves of the rustication. I buffed the stem to raise the gloss on the vulcanite. I gave the bowl multiple coats of Conservator’s Wax and gave the stem multiple coats of carnauba wax. I buffed the entire pipe with a clean buffing pad to raise the shine. I hand buffed it with a microfiber cloth to deepen the shine. The finished pipe is shown in the photos below. The medium brown stains on the rusticated bulldog shaped bowl works well with the rich black of the vulcanite stem. The polish and the reworking of the stem material left this a beautiful and well-made pipe. The dimensions of the pipe are: Length: 6 inches, Height: 1 ½ inches, Outside Diameter: 2 inches, Diameter of the chamber: 3/4 inch. I will be adding this one to the rebornpipes store shortly if you are interested in adding it to your collection. It will make a fine addition to the rack. If you are interested email me at slaug@uniserve.com or send me a message on Facebook. Thanks for looking.

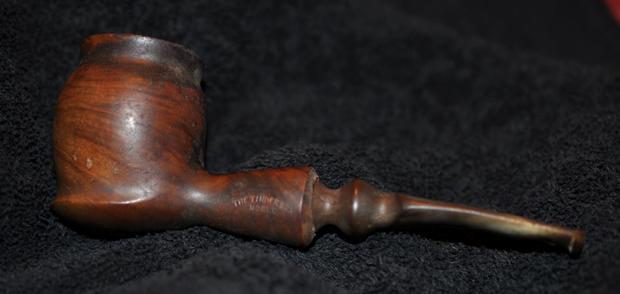
New Life for an interesting Tinderbox Noble


Blog by Steve Laug

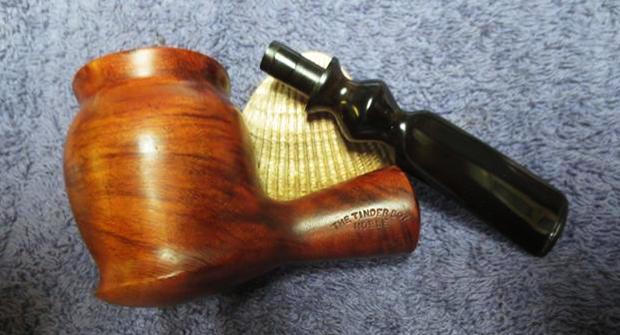
When this pipe arrived it had the look of an older Shalom pipe from Israel. The shape and style of the stem, the type of briar and the shape of bowl all said to me that it was pipe made by The Shalom Pipe Co. Once I looked over the pipe it was confirmed. It was stamped on the underside of the shank ISRAEL. On the side of the shank it reads The Tinderbox in an arch over Noble. So I was working on a Shalom pipe made for Tinderbox. The Shalom Pipe Factory in Israel was owned by Bernard Hochstein, former CEO of Mastercraft. The Alpha line was made exclusively for export to the United States. They were made in Israel from the 1970s into the 1980s. The Shalom Pipe Company made a lot of shop pipes for local pipe shops in the US. This is one of those pipes.

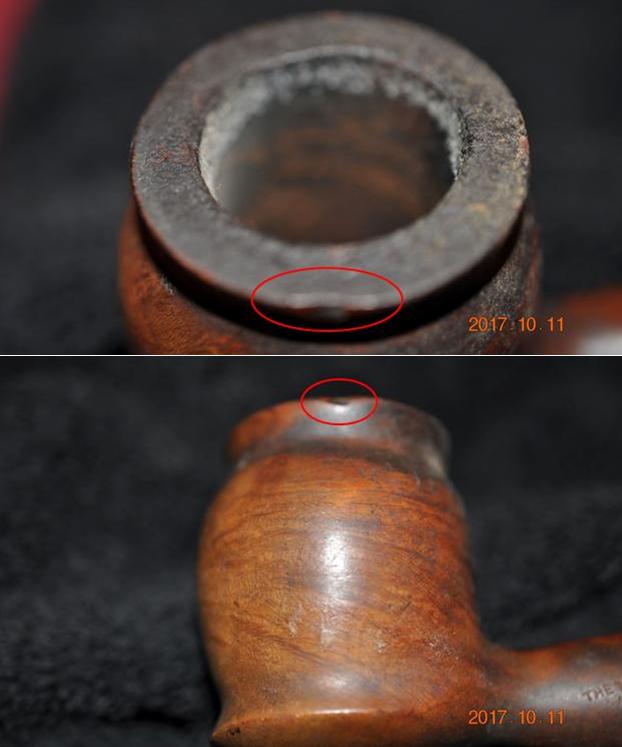
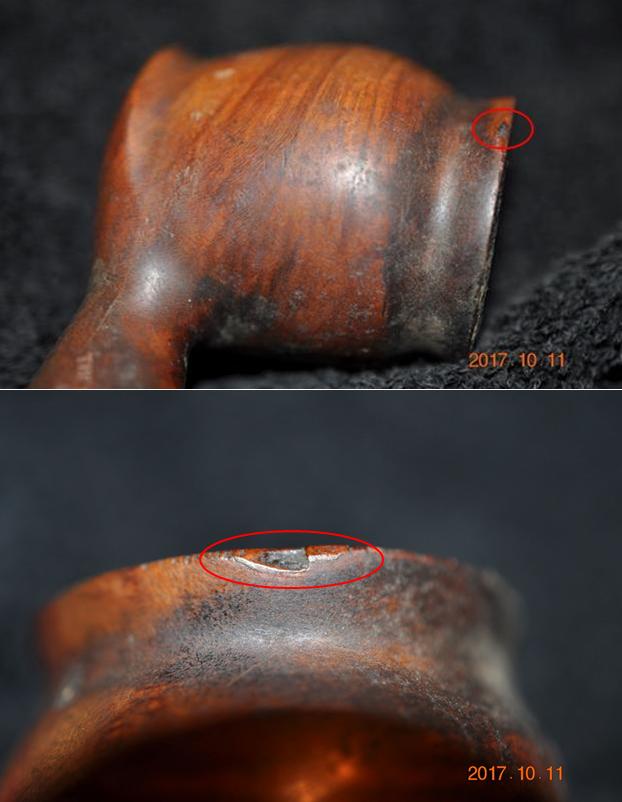
I am not sure where on his travels Jeff found this old tired pipe but it had a unique shape and look that I liked. It showed promise – the grain on the briar was a mix of cross grain, flame grain and birdseye. There was a chip out of the outer edge of the rim on the right side of the bowl and some light rash on the bowl side. The end of the shank was inset for the stem. It gave the pipe a dressy look. The bowl had a thick cake that had formed a hard lava coat on the rim top. The finish on the bowl was very dirty with a lot of oils and grime ground into the briar. The stem had deep oxidation in the vulcanite and there were very deep tooth marks on both sides near the button. Jeff took photos of the pipe before he started his clean up on it. He took a close up photo of the rim top and bowl. You can see the thickness of the cake in the bowl and the heavy lava coat on the top. The bowl exterior was also caked with tars and grime around the groove around the top of the bowl. Jeff also took photos of the sides of the bowl to show the condition of the pipe. The first four photos show the damaged area on the top edge of the right side of the bowl. I have circled the damaged areas in red on the photos to highlight the issue. The fifth photo shows the underside of the bowl. The grain is quite beautiful and shows through the grime on the finish. The stamping on the left side of the shank and the underside are very clear. The left side reads The Tinderbox in an arch over Noble as noted above. The underside is stamped Israel next to the shank end.The stem was pitted from the oxidation and it was deep in the surface of the vulcanite. There were visible tooth marks on both the top and underside of the stem as well as on the edges of the button itself.Jeff did his usual thorough clean up on the bowl and stem. He reamed the bowl with a PipNet pipe reamer and cleaned up the last bit of cake with a Savinelli Fitsall reamer. He cleaned the internals with alcohol, pipe cleaners and cotton swabs – Spending extra time scrubbing out the mortise as it was very dirty. He scrubbed the exterior of the pipe with Murphy’s Oil soap and a tooth brush and was able to remove all of the tars and oils built up on the briar. He was able to remove all of the tars and lava on the rim top and leave it looking very clean. He soaked the stem in an Oxyclean bath to raise the oxidation to the surface of the vulcanite.

When it arrived it looked like a different pipe. I was excited to start working on it so I pulled the stem off and put it in a bath of Before & After Pipe Stem Deoxidizer and left it to soak overnight. I totally forgot to take photos before doing this.I remembered in time to take photos of the bowl before I started working on it. It was very clean and would look amazing once it was finished. The shank end had been turned and was inset so that the stem could be inset into the shank giving it a unique and trim look.I filled in the chipped divot on the outer edge of the rim with clear super glue. I layered it into the divot until the edge matched the surrounding areas. I also applied it to the rim top to cover that damaged area. I used the super glue to fill in the road rash on the left side of the bowl below the chipped area.When the repair had dried I sanded the repaired areas with 220 grit sandpaper to blend them into the rest of the bowl. I was able to blend the chipped area into the surface of the bowl so that it was virtually invisible. I sanded the road rash area with 220 grit sandpaper as well and blended it into the bowl side. I sanded it with micromesh sanding pads – wet sanding it with 1500-2400 grit micromesh pads and dry sanding it with 3200-4000 grit pads. I stained the sanded areas with a dark brown stain pen to match it to the rest of the stain on the briar. I hand buffed it with a soft cloth to raise a shine.I rubbed the bowl down with Before & After Restoration Balm to deep clean the smooth finish, enliven and protect the briar. I hand rubbed it with my fingers and wiped it off with a soft cloth. I buffed the bowl on the wheel with Blue Diamond to raise the shine. I took some photos of the bowl at this point to mark the progress in the restoration. In the morning I removed the stem from the deoxidizer and wiped off the excess deoxidizer from the surface of the stem with a paper towel. I cleaned out the airway in the stem with pipe cleaners and alcohol to remove any remnants of the bath from that part of the stem. The photos below show the stem after the soak and rub down. It was still quite oxidized. The oxidation was significantly less than when I started but it was still present. I decided to work on it without further soaking. It would be a stem that I would have to hand work to get rid of all the oxidation. The tooth marks are visible on the top and underside of the stem in the photos.I sanded the stem with 220 grit sandpaper to remove the oxidation from inside the tooth marks, reshape the button on both sides and wiped down those areas with alcohol to remove the sanding dust. I painted the tooth marks with the flame of a Bic lighter to lift them as much as possible before repairing them. I filled in the tooth divots with black super glue and sprayed them with accelerator to speed the drying time. Once the repairs were dry I sanded them with 220 grit sandpaper to blend them into the surface of the stem. The first two photos below show the repairs after I first sanded them. The third and fourth photos show the stem after I had sanded the repaired areas to match the surface of the stem. I polished out the sanding scratches and marks in the vulcanite with micromesh sanding pads – wet sanding it with 1500-2400 grit pads and dry sanding it with 3200-4000 grit pads. I wiped the stem down with Obsidian Oil after each sanding pad. I buffed the stem with Blue Diamond on the buffing wheel. I brought it back to the table and sanded it with the final three 6000-12000 grit pads. After the final pad I gave it a final coat of oil and set it aside to dry. I put the stem back on the bowl and worked the pipe over on the buffing wheel using Blue Diamond to polish the bowl and shank. I buffed the stem to raise the gloss on the vulcanite. I gave the bowl and stem multiple coats of carnauba wax. I buffed the entire pipe with a clean buffing pad to raise the shine. I hand buffed it with a microfiber cloth to deepen the shine. The finished pipe is shown in the photos below. The medium brown stain on the cauldron shaped bowl works well with the rich black of the vulcanite stem. This is a unique, beautiful and well-made pipe. The dimensions of the pipe are: Length: 6 inches, Height: 2 inches, Diameter of the bowl: 1 1/2 inches, Diameter of the chamber: 7/8 inches. I will be adding this one to the rebornpipes store shortly if you are interested in adding it to your collection. It will make a fine addition to the rack. If you are interested email me at slaug@uniserve.com or send me a message on Facebook. Thanks for looking.

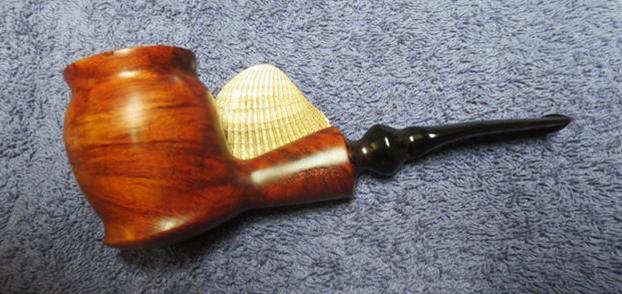
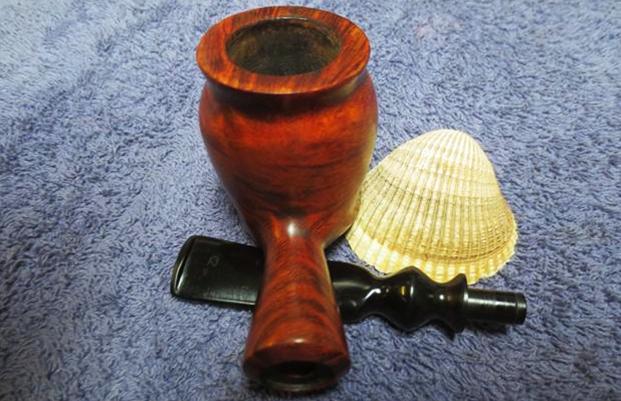
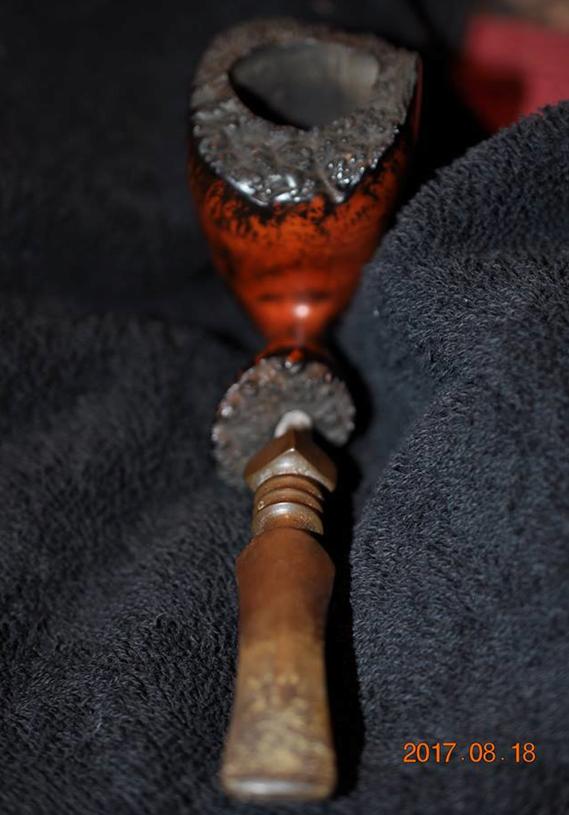
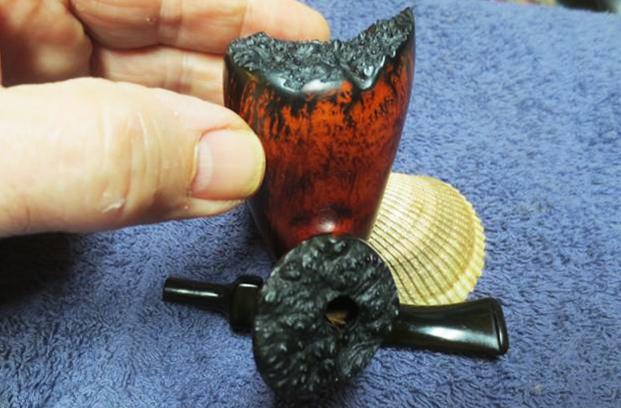
Breathing new life into a SON Freehand – an early pipe by Eric Nording


Blog by Steve Laug

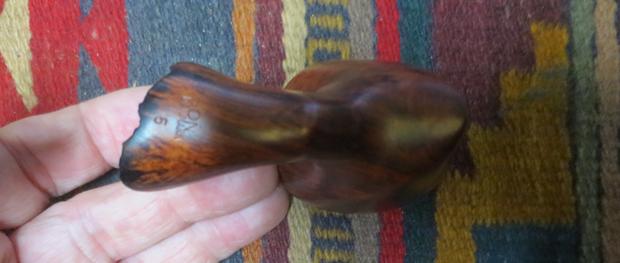
When my brother Jeff saw this pipe he went for it. I am not sure if he bought it on one of his travels or on EBay but it is the kind of pipe that catches his attention. The grain on the bowl is a mix of flame, straight and swirled patterns. The stain on the bowl is dark from the top of the bowl down about ½ inch all around the bowl. It similar to other pipes from the 60s that had a bit of a flume finish on the top edges of the bowl. The plateau on the top of the rim and the end of the shank are blackened and the dark rough plateau in those spots works well with the reddish brown stain on the bowl. The pipe was dirty with a thick cake in the bowl and an overflow of lava on the rim top filling in much of the plateau top. The stem was dirty with some built up calcification on the tenon and around the rings on part way up the stem. This is visible in the photo below. The stem was heavily oxidized and was a brownish green colour. There was tooth chatter and tooth marks on both sides of the stem near the button. Jeff took some photos of the pipe before he did his cleanup. The next photo shows the rim top. You can see the cake in the bowl and the overflow of lava and grime that filled in some of the ridges and grooves in the plateau.The grain on the bowl though dirty, showed promising patterns – straight grains and flame. There were also some swirls in the grain. The photos below show what the finish looked like and under the grime it looked good. There was a flaw in the grain on the right side of the bowl (shown in the second photo below). I have circled it in red. The stamping on the underside of the shank is very readable. It reads SON over DANMARK over the number 5. At this point I had no idea who the maker of the SON brand was. I would need to do a bit of research to figure out who the maker was. The style though was very 1960s era but I had no proof of that at the moment.Jeff took some photos of the insert stem showing the calcification on the tenon and in some of the rings on the vulcanite stem. The oxidation is also very visible in the vulcanite. You can also see the grime in the grooves of the plateau on the end of the shank.The photos of the stem show a lot of tooth chatter on both sides of the stems. There are also some tooth marks on the button top and bottom.I decided to do a bit of research on the brand to see who made the SON brand. I looked first on Pipephil’s site http://www.pipephil.eu/logos/en/logo-s10.html. I quote from a note on the site next to photos of the stamping on the pipes of that brand.

“The brand’s name stems from a partnership between Soren Skovbo and Erik Nording. It lasted for two years in the mid-1960s before the partnership ended and the brand ceased. That dates this pipe to the 1960s.”

I looked on Pipedia for further information: https://pipedia.org/wiki/N%C3%B8rding. In the listing of pipemakers by country the entry for SON linked back to Nording pipes. I went to that page and read the following information. I have included a portion of that article below that gives the pertinent connections.

Long before he graduated from engineering school at age 25 he was a more experienced pipe smoker than most men his age. He frequented a pipe shop in Copenhagen and often had his pipes repaired there. “The guy who did the repairs in that shop” says Nording. “could see that it was a good business, and he wanted to start his own pipe making shop.” That repairman’s name was Skovbo. One day he approached the young Erik Nording with a proposition. “You are a blacksmith and an engineer,” Skovbo said to Nording. “You must know a lot about machinery. Can you make me some pipe making machinery?”

“I told him I could make anything he wanted,” says Nording. “But I didn’t have any money. So I borrowed S200 to buy some bearings, and I scoured junkyards for old broken machinery. I bought inexpensive housings and put in new bearings and new shafts.” It was Nording’s first contract and he wanted to get a good start, so he took great care in making the best possible tools for the pipe maker. “I made him a little polishing machine, and a lathe, and a sander for shaping pipes.” When he had everything put together and running perfectly, he called Skovbo and told him his machinery was finished.

“He came out and looked it over,” says Nording. “He turned on the electricity and watched everything run. He had some blocks of wood with him, and he tried everything out. Finally he looked at me and said, ‘It’s exactly as I wanted. Perfect. How much do I owe you?’ I told him the price—I don’t remember how much it was, but it was very inexpensive.”

Skovbo thought the price was very good. “That’s fantastic,” he said. “The price is right. Now I’ll start out for myself, make some pipes and when I earn some money I’ll pay you.”

It must have been a terrifically discouraging moment for a young man who had just completed what he thought was his first paying job in a new career. As Erik Nording now remembers that moment, sitting in a beautiful home that contains a pipe making shop large enough for 20 workers making tens of thousands of world-famous pipes, his face exhibits amusement at that memory. But back then, as a youngster trying to get a foothold in the world, his expression must have been more akin to horror.

“I told him that was not good enough,” says Nording. “I told him I was a poor man, I didn’t have any money, I needed to be paid for my work.” But Skovbo told Nording that he couldn’t pay him.

“Then I will keep the machinery,” said Nording. “I’ll make pipes myself.”

“You don’t know how to use this machinery,” said Skovbo. “You know nothing of pipe making.”

“Well, you’re not getting it. You should have told me before I did all this work that you didn’t have the money to pay for it.”

Skovbo thought it over. “Why don’t we start together?” he said.

That’s how Erik Nording became a pipe maker.

There are still a few of those early pipes around. “I saw some at a shop I visited a while back,” says Nording. “The shop owner offered to give them to me as mementos but I refused. They may be worth quite a bit of money to collectors. You never know”…

Those first pipes carried the name SON”, which was an acronym for the combination of the names Skovbo and Nording. Each of the partners borrowed $5,500 to get the business going, to rent a space and get the electricity turned on and to buy two bags of briar. Skovbo taught Nording how to make pipes, “but I didn’t have much time because I was still studying,” says Nording. “And I never got the chance to learn much from him, because shortly after we started he said that I would never be a pipe maker, he said that my hands had no skill for the craft, that I could never learn. I never understood how he could make such a judgment, but he did.”

To his credit, Nording shows no sign of triumph in the fact that he has proved Skovbo wrong by becoming one of the best-known pipe makers in the world. “He said that he would continue with SON pipes alone, that he no longer needed me,” says Nording. However, the partners had a legal agreement that whoever wished to dissolve the partnership first would leave the company to the remaining partner and be paid off without interest over five years. So Nording became the one to keep the company…

…Nording continued with SON pipes for only a year or two before changing the company name to Nording in the mid-’60s. “I figured nobody could ever take that name away from me,” he says. Nording’s were exclusively freehand shapes, graded from A, B, C, D, up to its highest grade, extra. Later an “F” grade was added—less expensive than the “A.”

Jeff worked his magic in cleaning up this pipe. He reamed it with a PipNet reamer and smoothed the walls of the bowl with a Savinelli Fitsall pipe knife. He scrubbed out the mortise and the airway in the shank and the stem with alcohol, cotton swabs and pipe cleaners. He scrubbed the exterior of the bowl, rim and shank with a tooth brush and Murphy’s Oil Soap to the oils and tars on the bowl, rim and shank. He rinsed it under running water. He dried it off with a soft cloth. The cleaning of the stem raised more oxidation in the vulcanite. The tooth marks and chatter was clean but visible. I took the stem off and put it in a bath of Before & After Stem Deoxidizer and totally forgot to take pictures of the pipe before I started.I did however; remember to take photos of the bowl to show its condition before I started my work on it. While the stem sat in the deoxidizer bath I worked on the bowl. I decided to start by addressing the flaw and the nick in the briar on the right side of the bowl. I wiped down the area around the damaged and flawed spot with cotton pad and alcohol. I filled in the flaw with clear super glue. Once it had cured I sanded the filled in area with a piece of 220 grit sandpaper to smooth out the repair and blend it into the rest of the briar. I decided to scrub the briar with Before & After Restoration Balm. I rubbed it into the briar with my finger working it into the plateau on the rim top and shank end. The product worked to lift the grime and debris out of the grooves of the briar. I rubbed it down and scrubbed it deeper into the grooves of the briar with a shoe brush. I polished the briar with a soft cloth to remove the balm from the briar. The photos below show what the pipe looked like after scrubbing the briar with the product. The balm helped to blend in the repaired area with the surrounding briar. The briar had a new life and the plateau on the rim top and shank end also looked alive. I set the bowl aside and turned back to the stem. I removed it from the soak in the Before & After Deoxidizer and wiped it down. I cleaned out the inside of the airway with alcohol to remove the product from the stem. I polished the stem with a soft cloth to remove all of the deoxidizer and give it a bit of a shine. It had removed much of the light oxidation though there were remnants in the rings and grooves above the tenon. There were still some spots of oxidation that needed to be addressed and the button needed to be reshaped on both sides to remove the tooth marks and chatter. The photos below show what it looked like at this point.I used a folded piece of 220 grit sandpaper to work on the tooth chatter and to reshape the edges and surface of the button.  I worked over the spots of oxidation on the flat portions and on the rings and grooves in the turned stem with the sandpaper at the same time to remove it from the surface of the hard rubber stem.I polished out the sanding scratches and marks in the vulcanite with micromesh sanding pads – wet sanding it with 1500-2400 grit pads and dry sanding it with 3200-4000 grit pads. I wiped the stem down with Obsidian Oil after each sanding pad. I buffed the stem with Blue Diamond on the buffing wheel. I brought it back to the table and sanded it with the final three 6000-12000 grit pads. After the final pad I gave it a final coat of oil and set it aside to dry. I put the stem back on the bowl and worked the pipe over on the buffing wheel using Blue Diamond to polish the bowl and shank. I used a gentle touch on the briar when I was buffing it so that the grooves of the rustication would not be filled in and make more work for me. I buffed the stem with a harder touch to raise the gloss on the rubber. I gave the bowl multiple coats of Conservator’s Wax and gave the stem multiple coats of carnauba wax. I buffed the pipe with a clean buffing pad to raise the shine. I hand buffed it with a microfiber cloth to deepen the shine. The finished pipe is shown in the photos below. It looks better than it did in the beginning. It is a beautiful pipe. The dimensions of the pipe are: Length: 7 inches, Height: 3 1/4 inches, Diameter of the bowl: 2 inches, Diameter of the tapered chamber at the top of the bowl: 1 1/4 inches. I will be adding this one to the rebornpipes store shortly if you are interested in adding it to your collection. It will make a fine addition to the rack. If you are interested email me at slaug@uniserve.com or send me a message on Facebook. Thanks for looking.


Something is different about this Heritage Square Shank Apple


Blog by Steve Laug

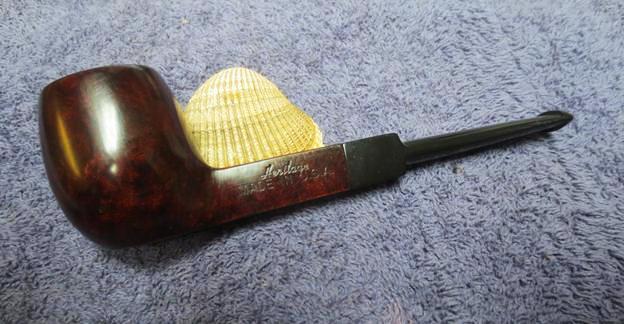
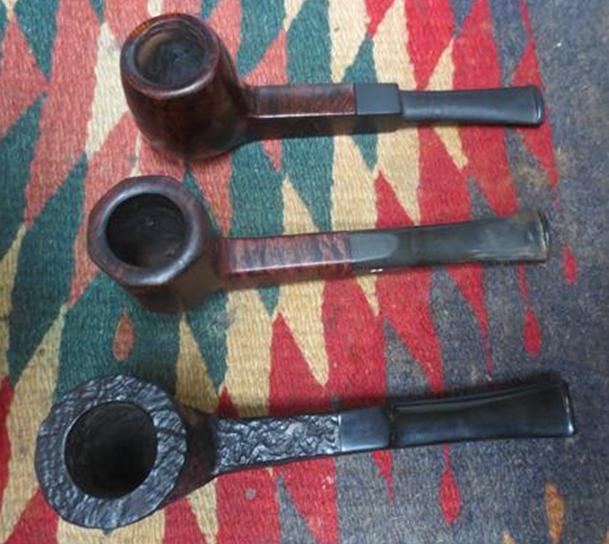
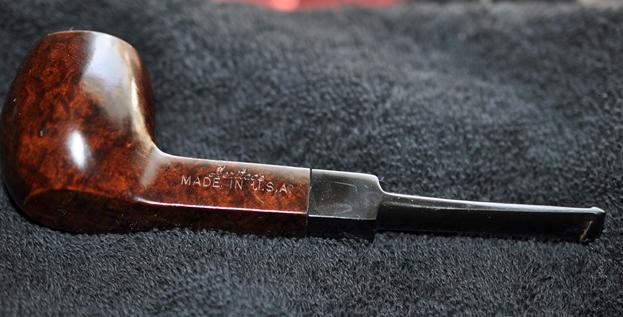
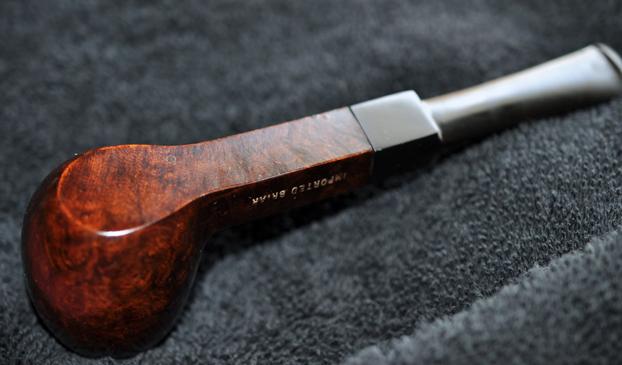
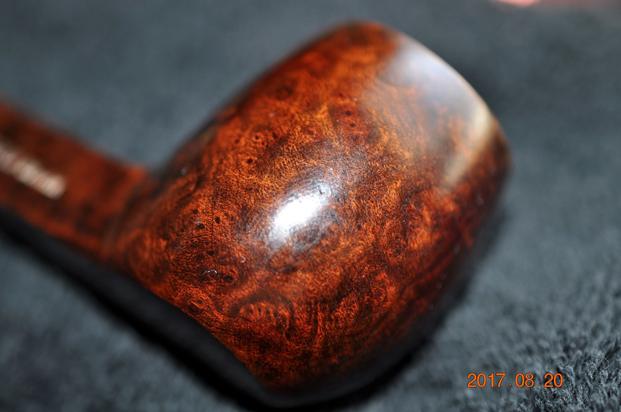
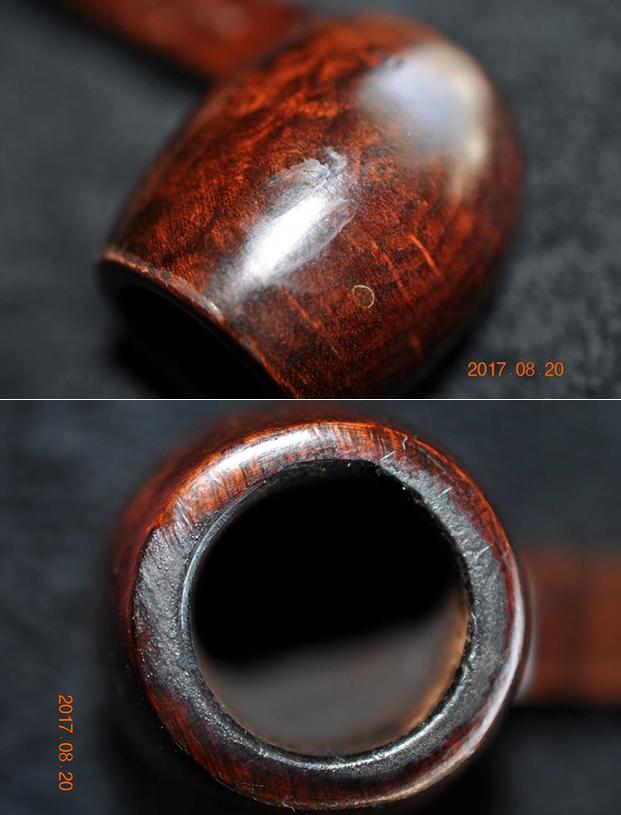
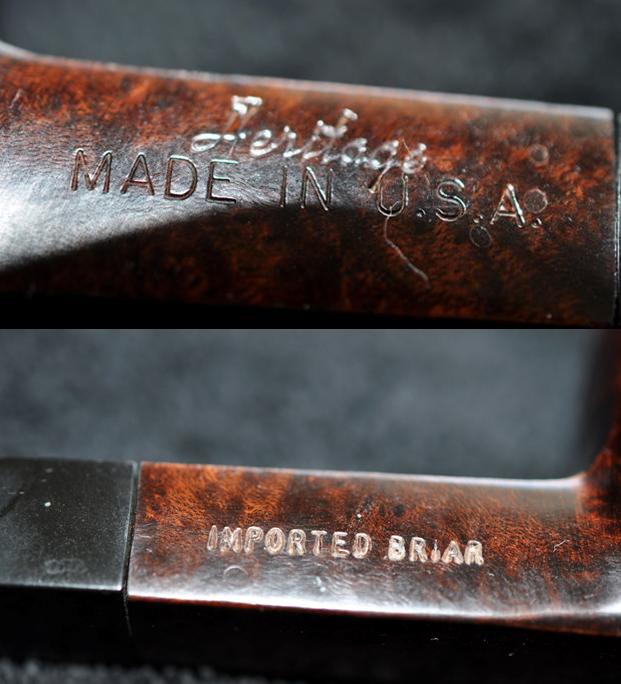
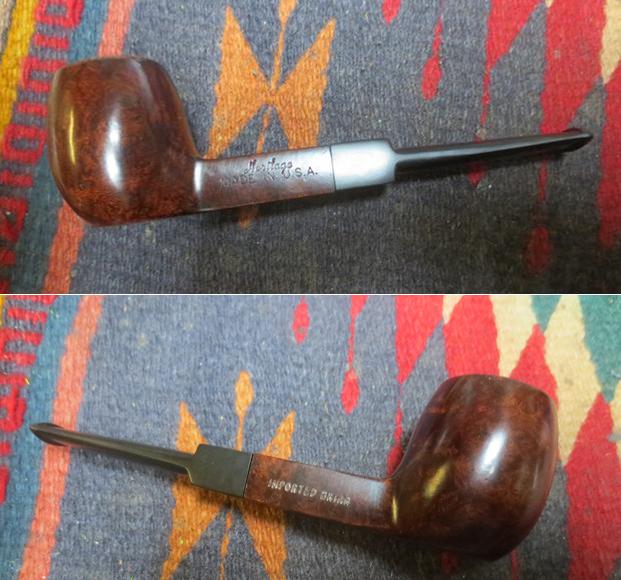
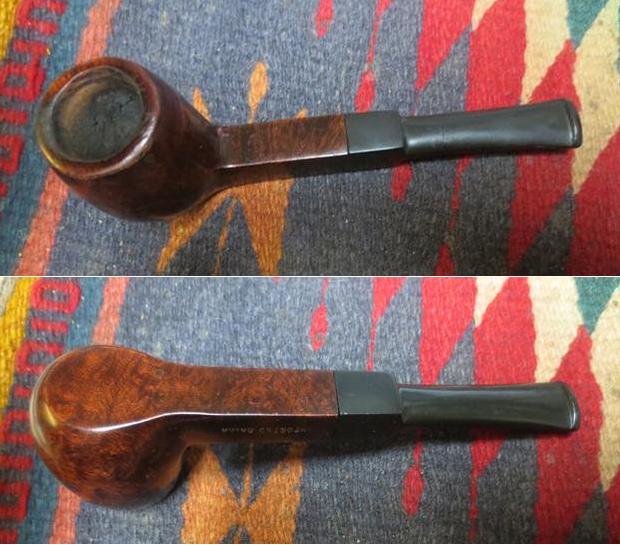
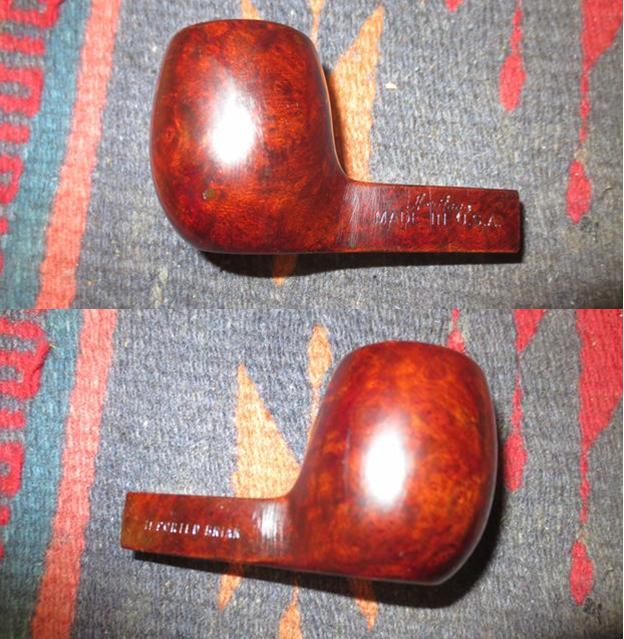
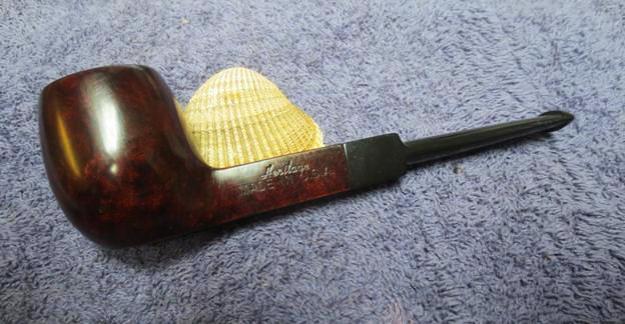
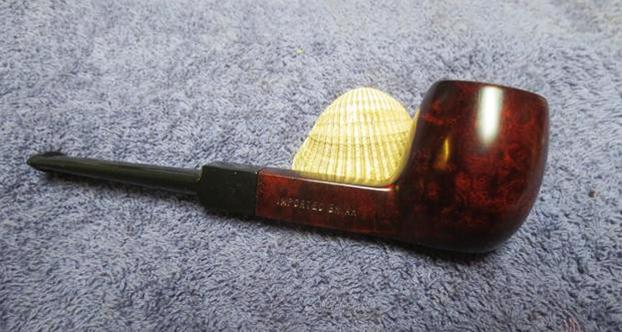
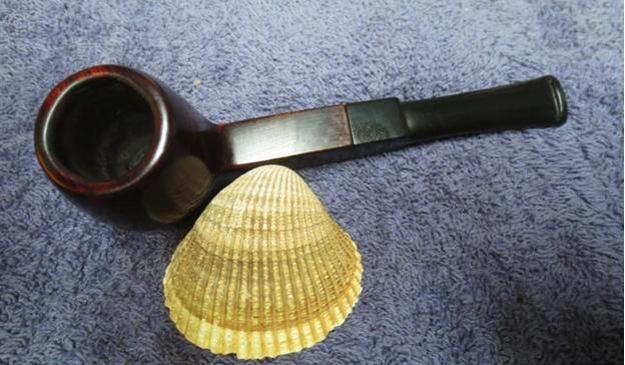
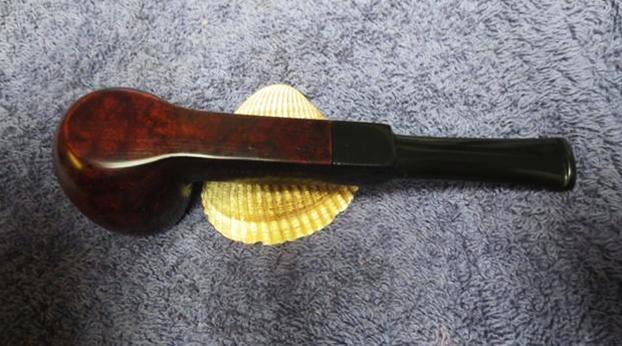
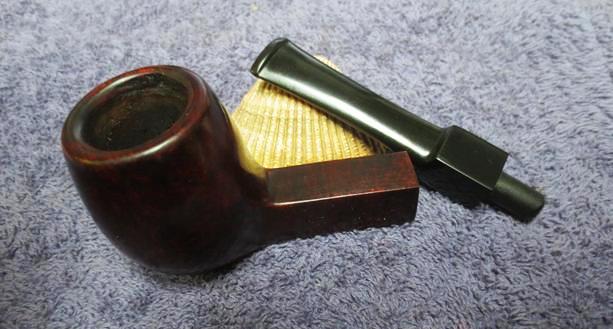
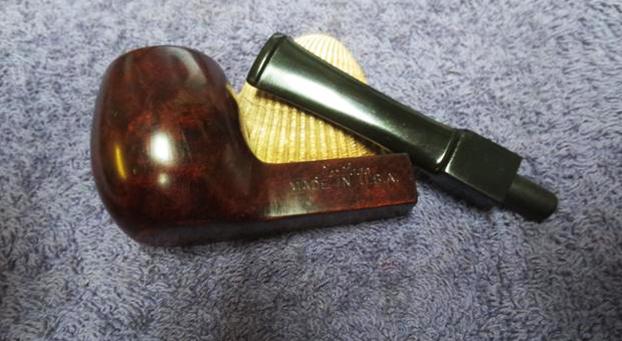
As I mentioned in the first blog I did on the Heritage threesome – the 45S Antique, earlier this summer I was relaxing and surfing Ebay on my iPad and I came across three listings for Heritage Pipes. All were square shank pipes and all were in decent condition. Two of them had original stems while the third had a stem I was not sure about. Several years ago I had learned about the brand through Andrew Selking who writes for rebornpipes. Since then I have kept an eye out for them. There do not seem to be too many showing up on Ebay but every so often there is one. This time there were three. I contacted my brother with the links and he bid and won the threesome. I have finished the middle and bottom pipe and have written blogs about them (The Heritage Antique – https://rebornpipes.com/2017/10/08/cleaning-up-the-first-of-three-heritage-pipes-45s-dublin/, The Heritage Diplomat – https://rebornpipes.com/2017/10/14/new-life-for-heritage-diplomat-8-panel-billiard/). The last of the threesome is what is on the work table now. It the top pipe in the photos below. When I got to looking carefully at this pipe I immediately saw some differences from the other two Heritage pipes. Though it is stamped Heritage with a similar font on the left side of the shank, it also is stamped Made in USA under that. The stamping is more like the Kaywoodie pipes I have worked on. The right side of the shank is stamped Imported Briar. The finish on this pipe is nowhere near as nice as the other two pipes. The quality is good but not stellar like the others. The stem fit and shape is different from the other two and seems to be a stem blank rather than a custom made stem. It is not a replacement as I first thought but is the original stem. I also cannot find it on the Heritage Brochure that Andrew provided. The overall look and feel of the pipe leads me to think that this pipe was made later than the other ones and is probably a Kaywoodie of lesser quality. Even though that is true I think it has value in that it is a historical piece that may be transitional in nature. I am including the next two photos as they show the condition of the pipe when my brother received it and the stamping on the shank. For your reference if you are interested I am including a summary of the history of the brand that Andrew wrote on a previous blog on rebornpipes. I find that it is helpful and clear. There is not a lot of information on the brand available on-line so anything helps fill the gap. Here is the link: https://rebornpipes.com/2014/12/23/refurbishing-a-heritage-heirloom/.

Heritage pipes were Kaywoodie’s answer to Dunhill. According to one of their brochures, Heritage pipes were made from “briar burls seasoned and cured for up to 8 months,” with only “one briar bowl in over 300 selected to bear the Heritage name.” “Heritage stems are custom fitted with the finest hand finished Para Rubber stems. Mouthpieces are wafer thin and concave.”

The Heritage line began in the early 1960’s, with the trademark issued in 1964. The line was started at the request of Stephen Ogdon, (who worked for Kaywoodie in 1962). Mr. Ogdon had previous experience working for Dunhill, either running the New York store or working for Dunhill North America. Mr. Ogden was made President of Heritage Pipes, Inc., Kaywoodie Tobacco Co.,Inc. and Kaywoodie Products Inc. as well as a Vice President of S.M. Frank & Co. Heritage Pipes were produced from 1964 until 1970 (Source Kaywoodie.myfreeforum.org).

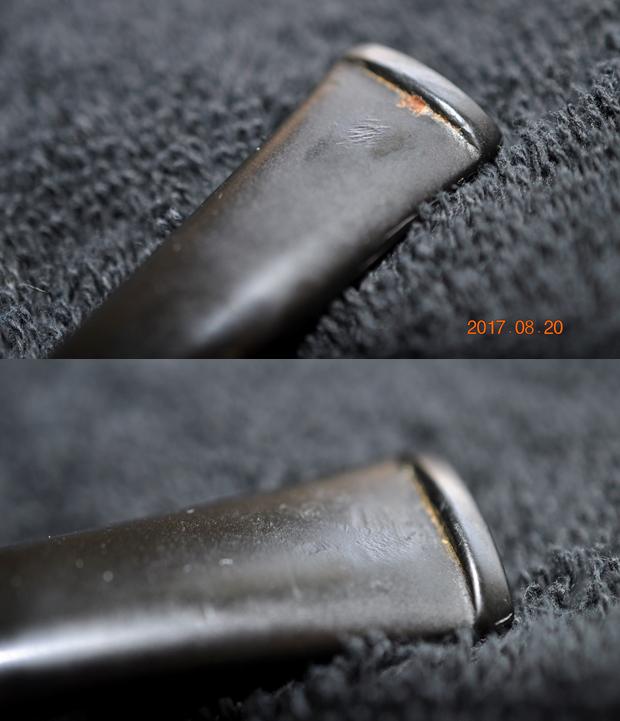
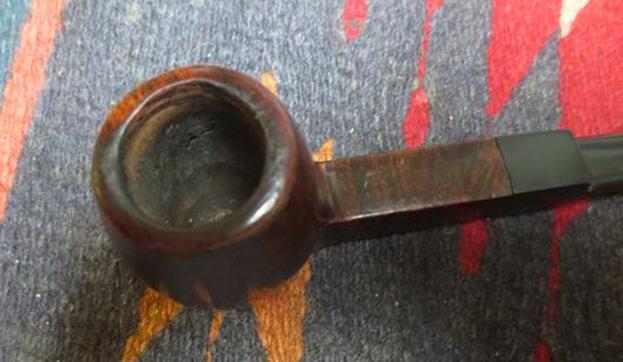
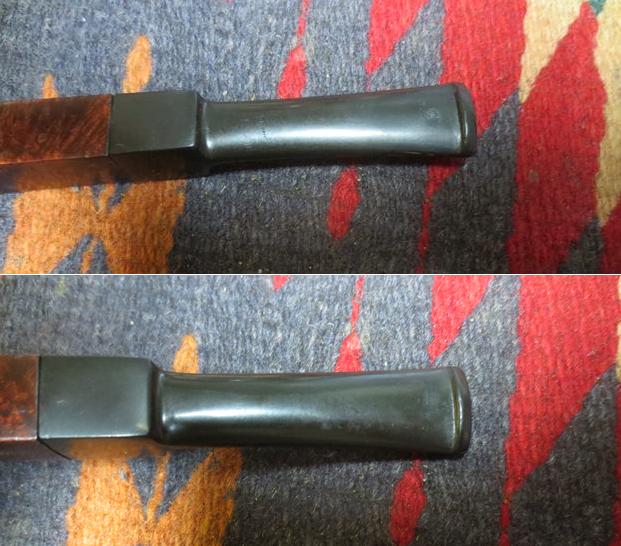
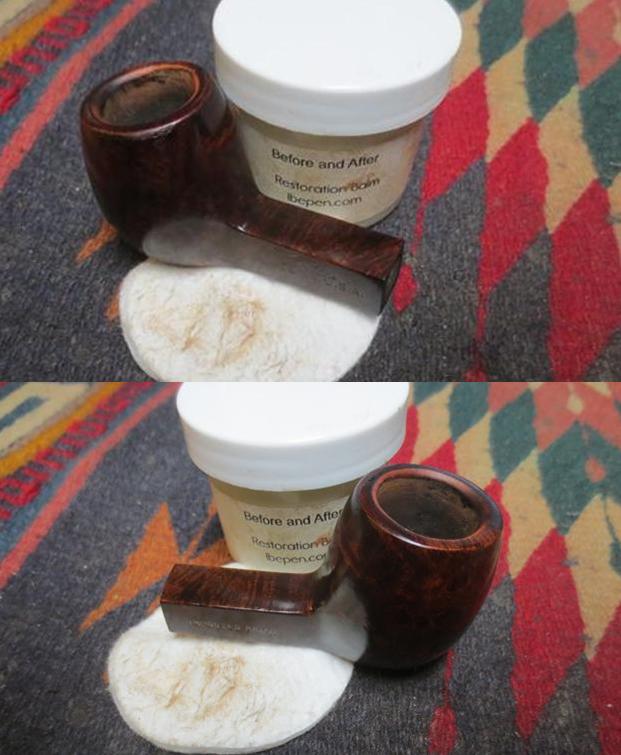
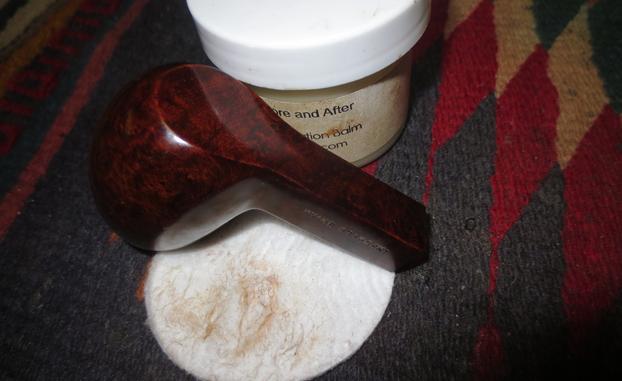
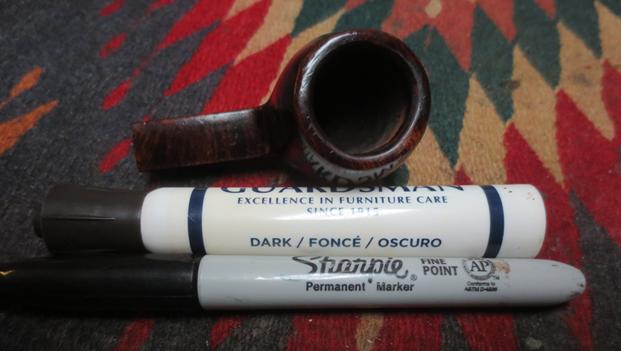
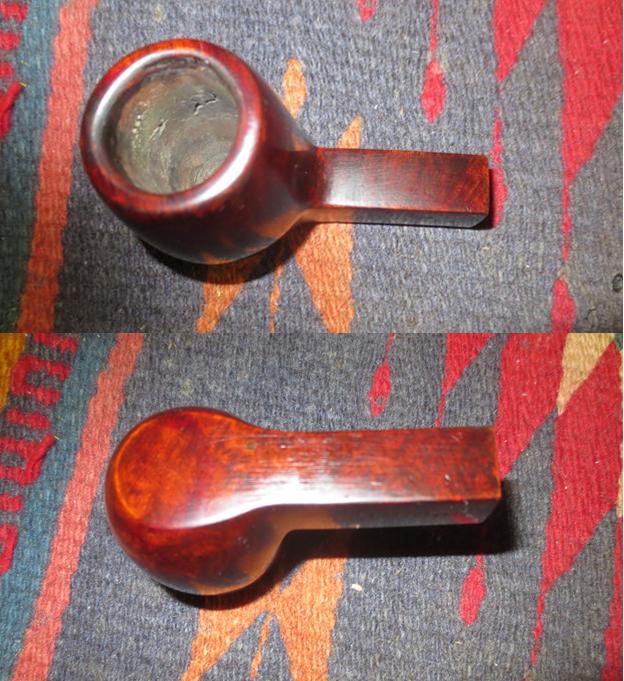
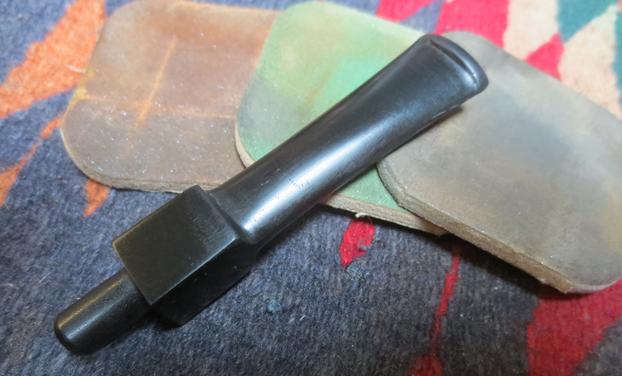
From Andrew’s helpful blog I would put a 1970s date on this one. It may well have been done after the closure of the line. Jeff took photos of the grain around the bowl to give an idea of the quality of the briar. While it was dirty and scratched there was some nice grain on the pipe. The photos show some slight wear on the outer edge of the rim and on the inner edge. The rim top shows some wear and some lava buildup. It is hard to know from these photos how much damage there is to the inner edge of the rim. I will know more once the grime and lava are removed. Time will tell. The next two photos show the stamping on the shank. There are some subtle differences to the Heritage font and the not so subtle differences of the Made in USA and Imported Briar stamp that were not present on the other two pipes of this threesome. The stem did not have the PARA Hard Rubber stamping of the other two and did not bear the Heritage logo on the left side of the saddle. This could either point to a replacement stem (which is possible) or to a later version of the brand that did not include those items. I am not sure which is the case. The stem was good quality rubber and did not show too much oxidation. There was tooth chatter and some tooth marks on both sides of the stem near the button. There was also some wear on the sharp edge of the button on both sides.Jeff worked his magic in cleaning up this pipe. He reamed it with a PipNet reamer and smoothed the walls of the bowl with a Savinelli Fitsall pipe knife. He scrubbed out the mortise and the airway in the shank and the stem with alcohol, cotton swabs and pipe cleaners. He scrubbed the exterior of the bowl, rim and shank with a tooth brush and Murphy’s Oil Soap to the oils and tars on the bowl, rim and shank. He rinsed it under running water. He dried it off with a soft cloth. Once the grime was removed the finish seemed to be coated with a varnish coat. It was peeling around the outer edges of the rim and also there were some damaged spots on the sides of the bowl where the finish was slightly peeling. There was some wear around the edges of the rim top and the inner edge showed some burn damage on the right side. The cleaning of the stem did not raise any oxidation in the vulcanite. The tooth marks were clean but visible. I took photos of the pipe to show its condition before I started my work on it. I took some close up photos of the rim top and the stem to show the condition of both before I worked on them. The photo of the rim top shows the damage on the inner edge of the right side of the rim and the wear on the outer edge around the bowl. Other than the tooth chatter and tooth marks the stem was in good condition with no oxidation that I would need to worry about. I decided to start on the bowl and address the rim damage. I used a folded piece of 220 grit sandpaper to slightly bevel the inner edge of the rim and blend in the damaged area with the rest of the bowl. I wanted to bring it back to round as much as possible and remove the damage. The second photo shows the reshaped rim edge. I think the process worked pretty well!I decided to use Mark Hoover’s Before & After Restoration Balm. I have written a review about the product in an earlier blog. I rubbed it into the surface of the briar and scrubbed it with a cotton pad. Mark has said that the product was designed to pull the dirt off of the briar as well as polish it. He added some anti-oxidants to keep the briar from getting damaged from both UV rays and water. It worked very well as you can see from the following photos that show the cleaned briar and the grime on the cotton pad. Remember that this pipe had already been scrubbed with oil soap and rinsed. It appeared to be clean for all intents and purposes but it still had residual grime in the pores of the briar. I blended black Sharpie Marker and a Dark Brown Stain pen to colour the inner edge of the rim and the repaired area on the rim top. The combination matched the colour of the stain on the bowl perfectly.It is at this point a couple of things caught my eye. There were what looked like water spots on the front and the left side of the bowl. I looked closely and they were very odd. Almost like some of the varnish finish had bubbled and been removed. The longer I looked at it the more ugly it looked. What had looked like an easy restore suddenly looked a lot harder. I was going to have to remove the varnish coat and restain the entire pipe. Just a little discouraging when things were moving ahead so well. But, chin up and do the job!

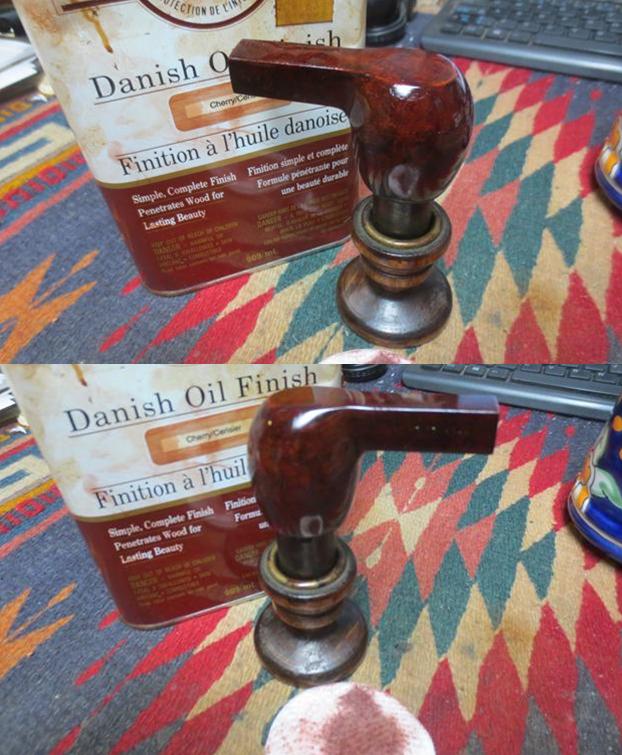
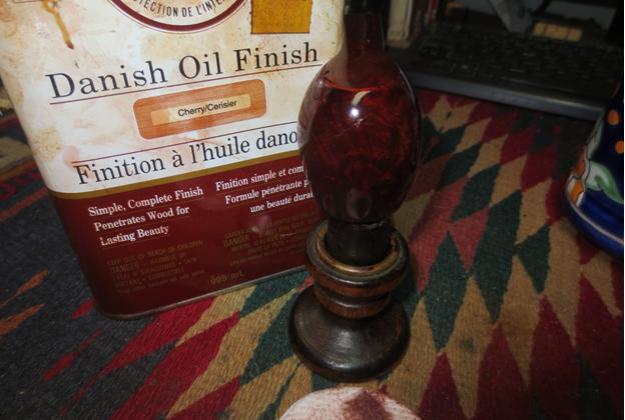
I wiped the bowl down with acetone to try to cut through the finish. It did not budge! Oh man, that meant I was dealing with some kind of plasticized coating and it would be a bit more difficult to remove. I sanded the bowl and shank with 220 grit sandpaper to break through the surface of the topcoat. I wiped it down repeatedly with the acetone to see if I was making progress.  It was slow going. I sanded it with a medium and a fine grit sanding sponge and was able to make more progress. I wiped it down again. The photos below show the pipe when I had removed all of the plastic coating. It was odd in that there were two large spots on the front of the bowl and around the rim edges where the finish came off as well as the plastic. The rest of the finish was deeply set in the grain. I have only seen that on pipes where there was some oil in the briar that was not properly removed before staining and finishing. I wiped the bowl down with acetone a final time scrubbing the unstained portions with extra care. I wiped it down with alcohol in those areas and heated the briar to see if I could open the pores before staining. I used a dark brown stain pen to precolour the briar before restaining the entire pipe. I wanted to get deep coverage on the briar. I warmed the briar once again by painting it with the flame of a lighter. I stained the entire bowl with dark brown aniline stain and set it in the grain with a lighter. I repeated the process particularly on the front, sides and rim top until the coverage was even all around the bowl. I set the bowl aside to cure overnight.Work and general busyness kept me from working on the pipe again for several days. When I finally got a moment I wiped the bowl down with alcohol and cotton pads to even out the finish and give it a bit more transparency. I sanded the newly stained bowl and shank with micromesh sanding pads – wet sanding with 1500-2400 grit pads and dry sanding with 3200-12000 grit pads. I wiped the bowl down after each pad with an alcohol dampened cotton pad. I buffed the pipe with Blue Diamond to further polish out the scratches and then gave it several coats of Danish Oil with a Cherry Stain to give the bowl a rich finish similar to the one on the Heritage Diplomat that I restored earlier. The pipe is beginning to look really good in my opinion and in many ways is far better than when I started. I buffed the bowl with a soft cotton cloth to polish the Danish Oil. I took the following pictures to show the bowl at this point in the process. I still need to buff it again on the wheel and give it multiple coats of carnauba wax. I set the bowl aside and turned my attention to the stem. I sanded out the tooth marks and chatter with 220 grit sandpaper. I carefully blended them into the surface of the vulcanite. I also worked over the sharp edges of the button to clean up the marks that were left behind there. The sanding dust left behind on the sandpaper was a rich, dark black which spoke well of the quality of the vulcanite that was used on this stem. To me it also was further proof of the stem being original rather than a later poor quality replacement.The one oddity to the pipe was that the shank was thinner on the right side than the left. The mortise was drilled straight but it was definitely not centered in the shank. Due to that the tenon on was slightly off to the right side of the shank to match. I polished the stem with micromesh sanding pads. I wet sanded it with 1500-2400 grit pads and wiped it down with Obsidian Oil after each pad. I dry sanded with 3200-12000 grit pads and again wiped it down with Obsidian Oil. I finished the polishing with the pads and gave it a final coat of the oil and set it aside to dry. I put the stem back on the bowl and worked the pipe over on the buffing wheel using Blue Diamond polish to further remove scratches on the bowl and shank. I gave the bowl and stem multiple coats of carnauba wax and buffed the pipe with a clean buffing pad to raise the shine. I hand buffed it with a microfiber cloth to deepen the shine. The finished pipe is shown in the photos below. It looks better than it did in the beginning. I still think it is a transitional piece between the classic higher end Heritage line and the later line that came out when the classic line ended. It is still a beautiful pipe. The finish is good but not nearly as well done as the classics. The dimensions of the pipe are: Length: 5 ½ inches, Height: 1 ¾ inches, Diameter of the bowl: 1 1/8 inches, Diameter of the chamber: ¾ inches. Thanks for looking.

Restoring an interesting old Bakelite Cavalier


Blog by Steve Laug

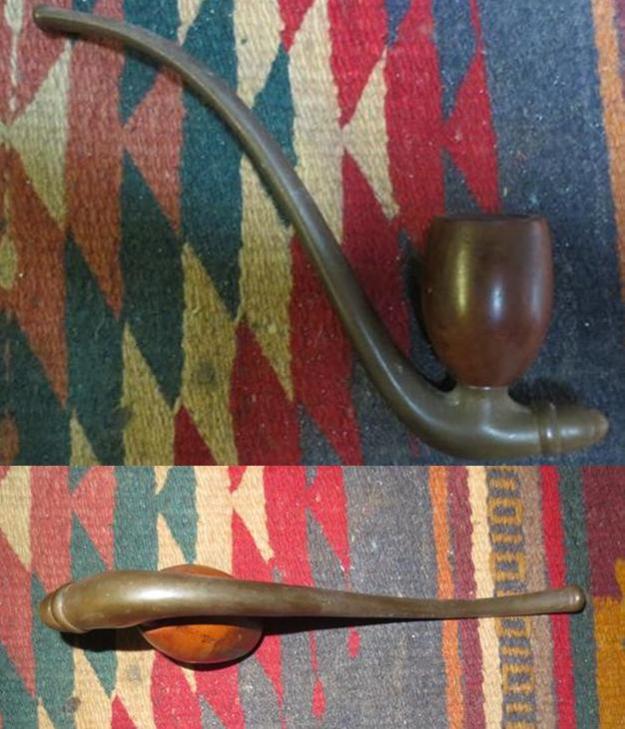
One of the sellers I follow on eBay often has unique older pipes that catch my eye. I can’t remember how long I have been following him but it has been quite a while now and I have purchased many pipes from him. When this old style cavalier came up for sale on his page it caught my eye and I wanted to add it to the collection. There were no distinguishing marks on the stem or shank. It was identified as a no name Cavalier. The bowl appeared to be briar though I was not certain of that. The base unit was one integral piece from the tip of the cavalier end to the end of the preformed button. The bowl looked like it had been smoked as there was a cake in it that had run over like lava on the rim top. It had a small nick in the side of the bowl that can be seen in the first photo below. The stem looked to be oxidized but I was not sure what the material was – it could have been vulcanite or even Bakelite. I would know more when it arrived in Vancouver from England.The second photo shows the delicate look of the bowl and the base. There is something simple and flowing about the pipe. It is that look that caused me to bid on the pipe. It just flowed nicely from the button to the end of the base.While I waited for it to arrive I did a bit of research on the web. I checked my favourite site for metal and non-metal pipes that have either threaded or push fit bowls. I was not sure what I was dealing with on the above pipe because there were no photos of it with the bowl removed. My guess was that it was a push fit bowl. I did find a similar looking pipe on the Smoking Metal website. The link is http://www.smokingmetal.co.uk/pipe.php?page=325 and the pipe bears the stamp L.M.B. in a rectangular banner on the left side of the shank. The bowl looks identical to the one that I picked up and the base had a very similar shape. I would be able to tell more about it when it arrived.When the pipe arrived I was in Europe for work so it sat for three weeks. When I got home I opened it to see what I was dealing with. I took some photos of the pipe before I started to work on it to show what it looked like when I began. I was not sure what the stem and base was made of – I was leaning toward Bakelite rather than vulcanite but the cleanup would verify. I took a close up photo of the bowl and the rim. The bowl had an uneven, thick cake that all but clogged the air hole in the bottom of the bowl. The rim had a lava overflow that covered the flat surface.The stem and base were oxidized. It had the brown tint of oxidation. I still wondered if the stem was vulcanite or if it was Bakelite. I dropped it in a container of Before & After Deoxidizer to let it soak.When I took it out of the Deoxidizer the oxidation was gone and the underlying colour of the stem and base unit was a rich dark brown. It turned out to be Bakelite not vulcanite. It would clean up nicely and be a beauty. I cleaned out the airway and the inside of the base of the pipe with pipe cleaners, cotton swabs and alcohol to remove the build up inside. It took a bit of work before I could remove all of the grime. I reamed the bowl and scraped the tars off the rim top with a Savinelli Fitsall Pipe Knife. It took a bit of work to scrape away all of the buildup and the lava overflow. I used a bristle brush to clean out the airway in the bottom of the bowl and remove the clogged hole. I wiped the bowl down with an alcohol dampened cotton pad to remove the grime on the bowl. The wood underneath did not appear to be briar. I am thinking that it is maple or some other hardwood with a tight grain pattern. I sanded the bowl with micromesh sanding pads – wet sanding with 1500-2400 grit pads and dry sanding with 3200-12000 grit pads. When I finished polishing it with the micromesh sanding pads I rubbed the bowl down with Before & After Restoration Balm. The Balm brought the briar to life. The rich colour and the grain on the alternate wood came to life. With the bowl finished I turned the attention to the Bakelite base and stem. I polished it with micromesh sanding pads – wet sanding with 1500-2400 grit pads and dry sanding it with 3200-12000 grit pads. The photos below show the process. I pressed the bowl back on the base and buffed it with Blue Diamond on the buffing wheel to polish the stem and the bowl. I gave the base and stem multiple coats of carnauba wax and buffed it with a clean buffing pad to raise a shine. I gave the bowl multiple coats of wax and buffed it until the bowl shown. I hand buffed the pipe with a microfiber cloth to deepen the shine. The finish on the bowl and dark brown Bakelite stem combine to present a beautiful pipe. The dimensions of this pipe are Length: 8 inches, Height: 2 inches, Bowl diameter: 1 1/4 inches, Chamber diameter: 3/4 inches. The finished pipe is shown in the photos below. Thanks for looking.

This Old Italian Canadian showed Promise


Blog by Steve Laug

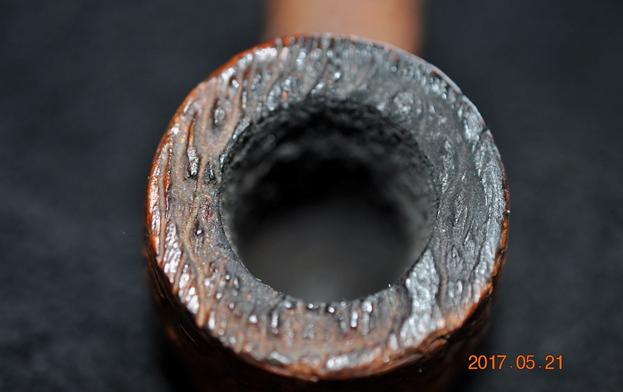
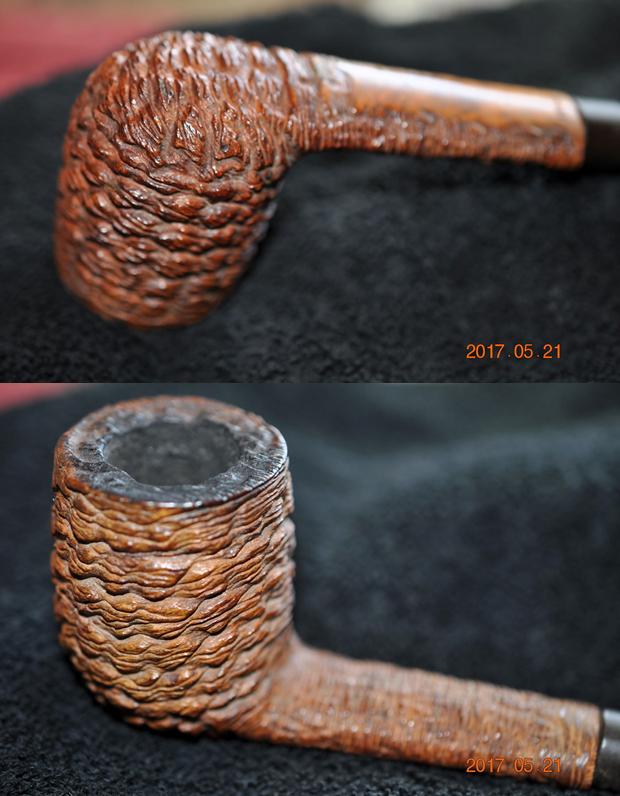
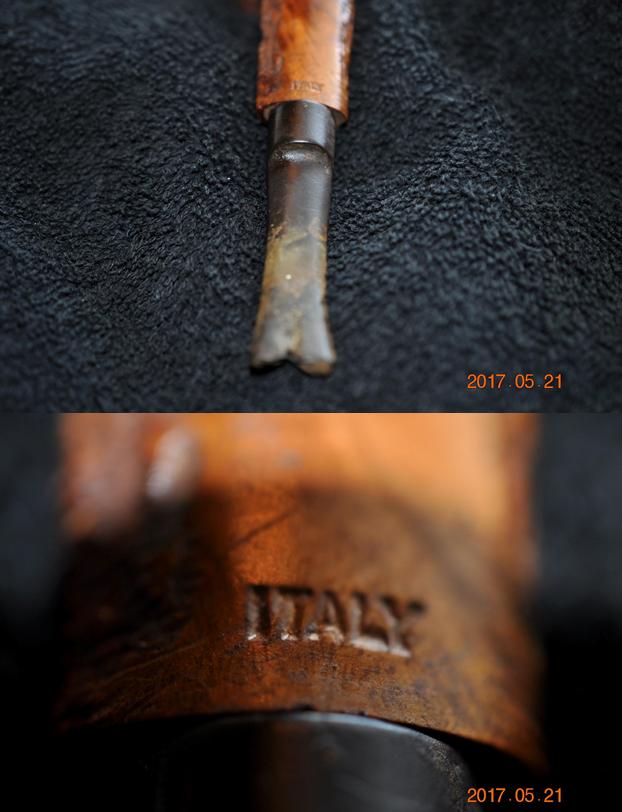
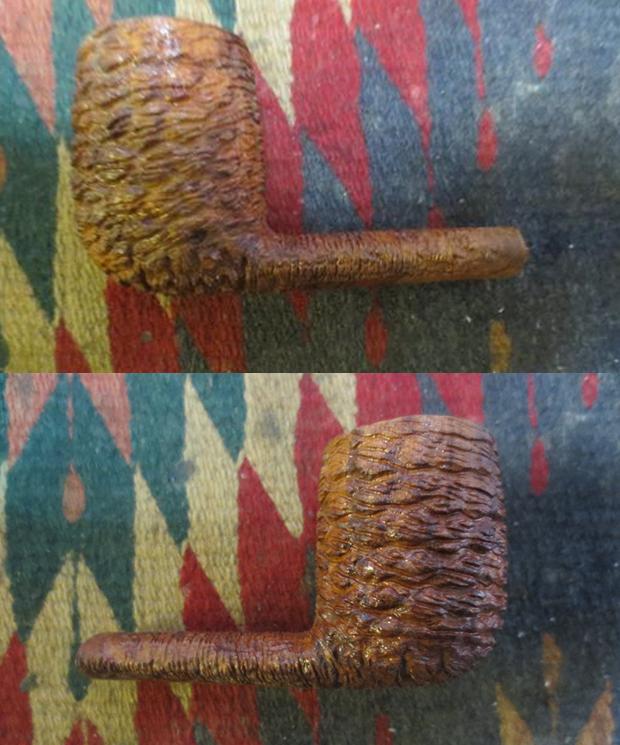
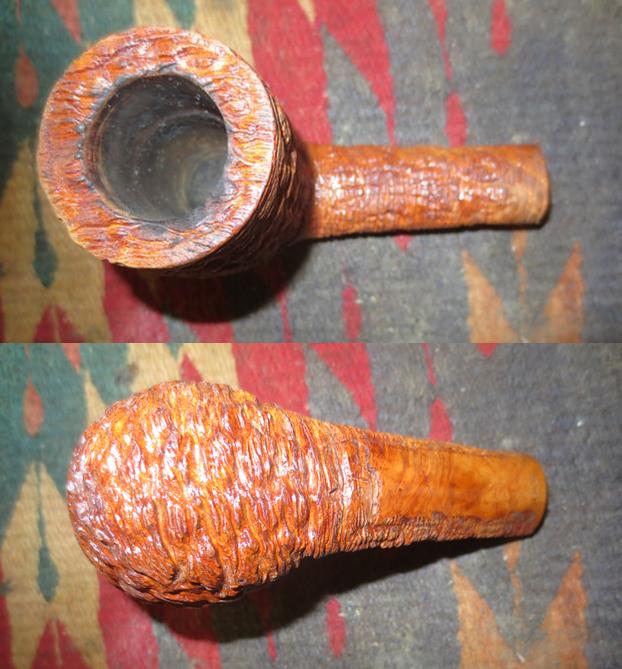
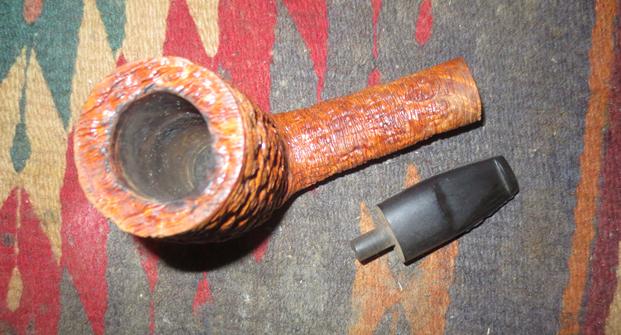
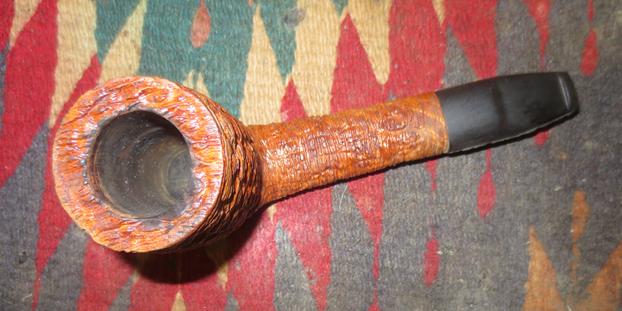
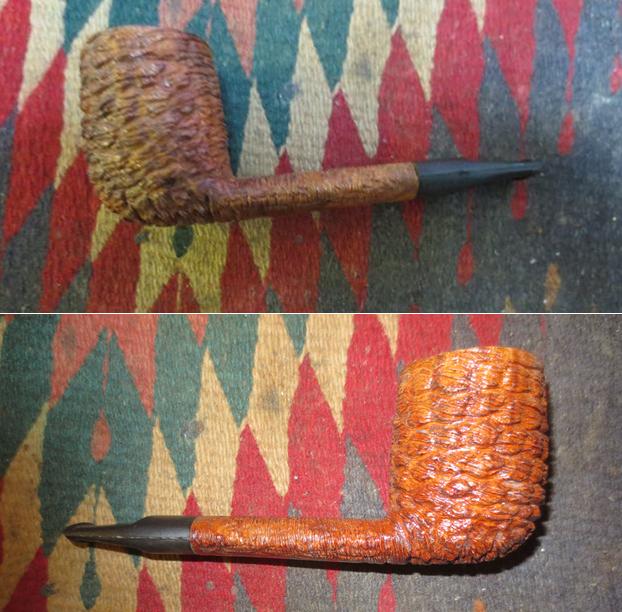
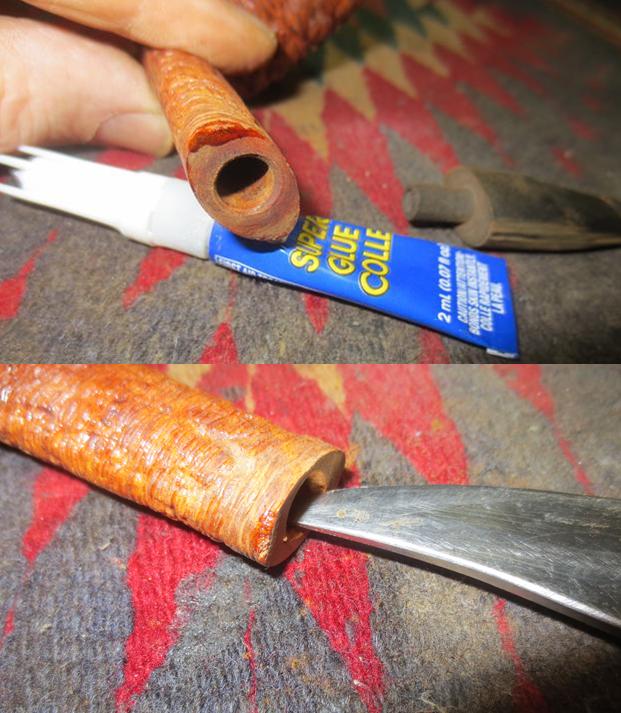
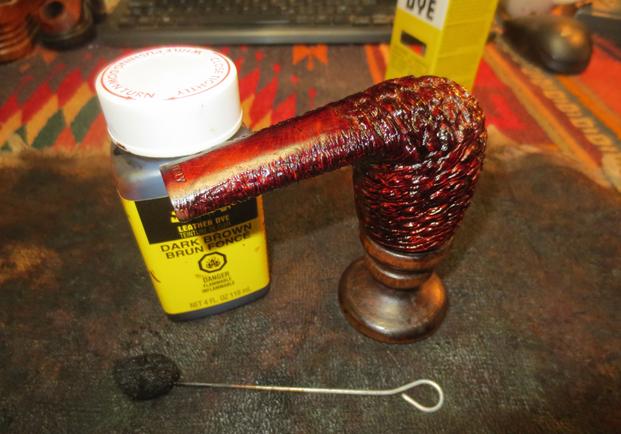
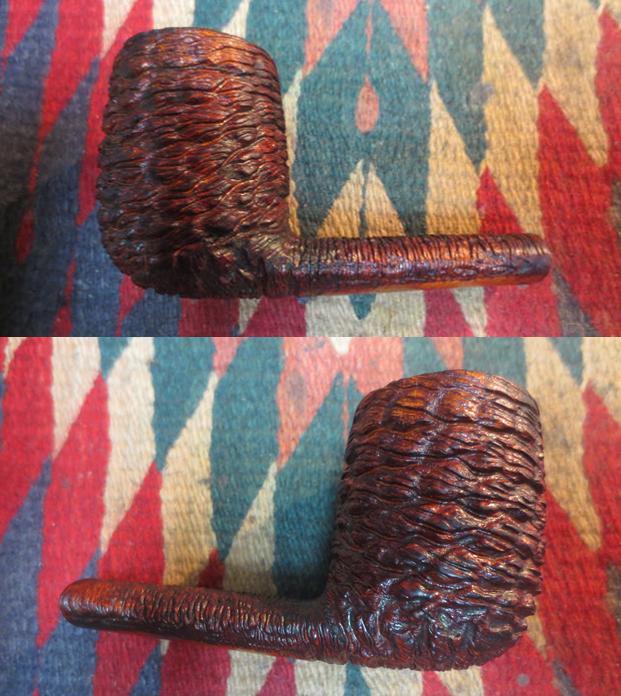
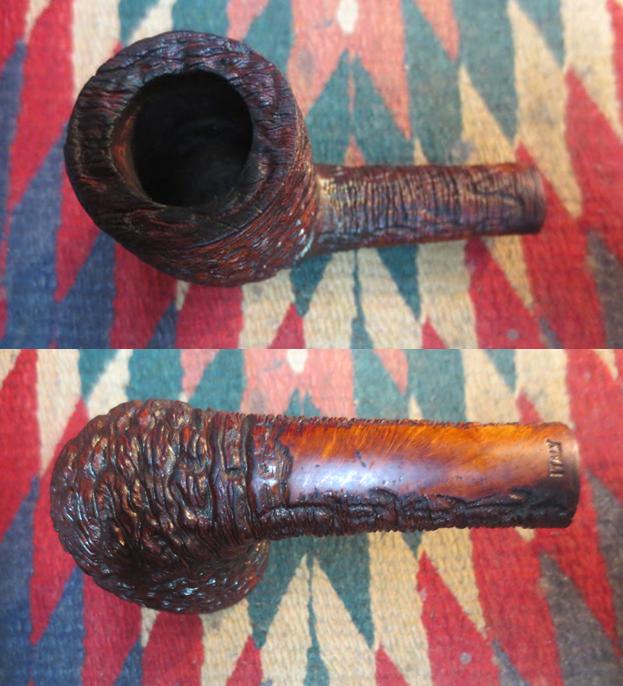
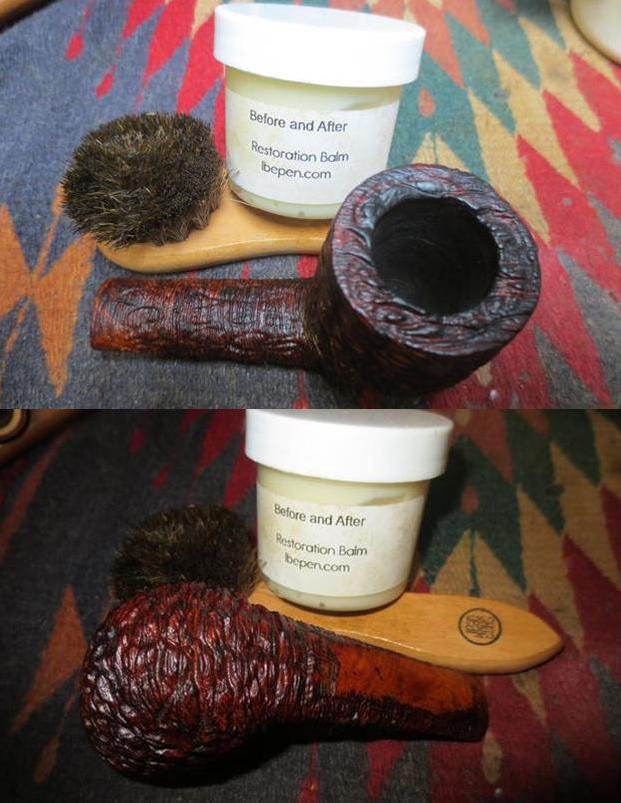
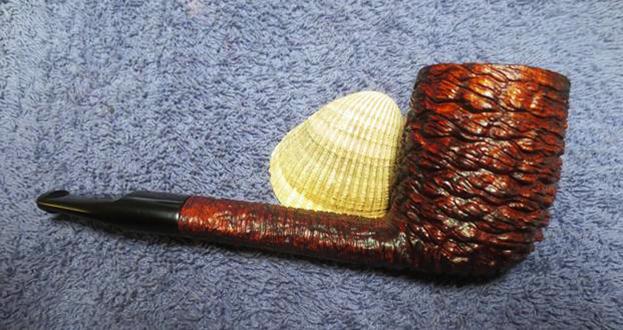
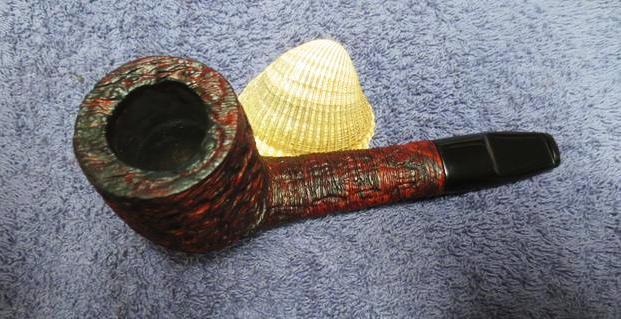
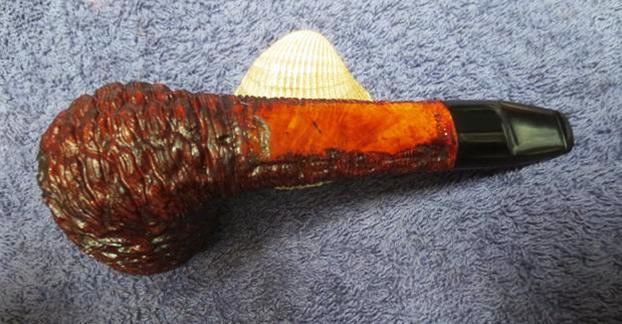
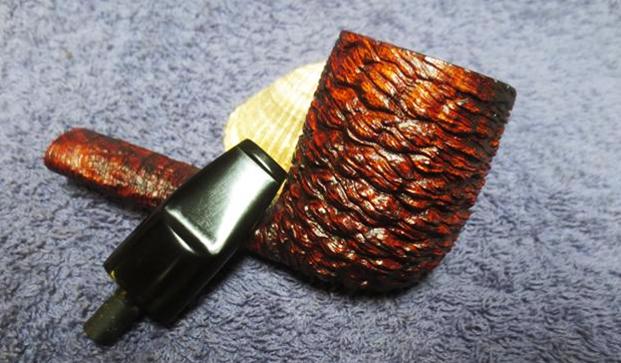
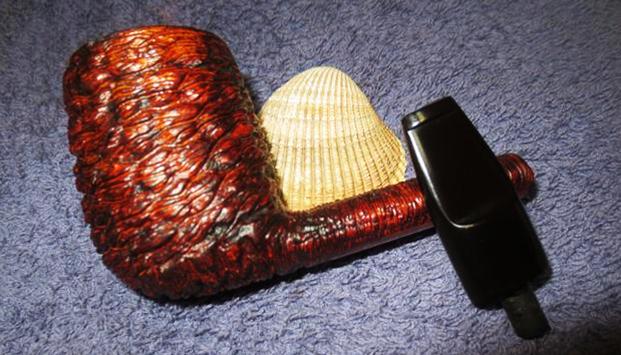
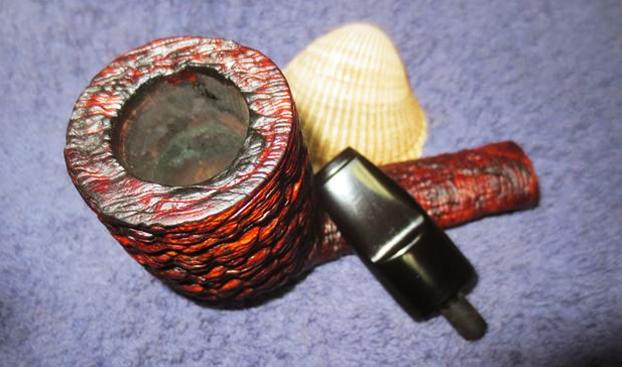
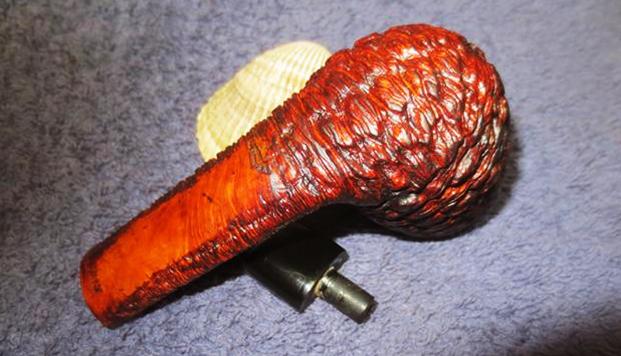
Jeff picked this heavily rusticated pipe up on one of his recent forays into the antique shops and malls of Montana. It is sea rock like rustication on the bowl and shank with a wire rustication on top of that. The finish was very dirty with a lot of dirt and grime in the deeper grooves of the rustication. There was a random stem stuck in the shank when he picked it up – I think it was just to make it more sellable. The stem is a round saddle stem while the shank is oval. The finish was dirty and there were some nicks in it around the shank end. The bowl had a heavy cake in it with some lava overflow filling in the rustication pattern on the rim top. There appeared to be some burn damage on the back left side of the rim top. The pipe had a smooth portion on the underside of the shank for stamping but the only stamping was at the shank/stem junction where it read ITALY. Jeff took photos of the pipe before he started his clean up. The rim top can be seen in the next photo. You can see the thick cake and the lava overflow on the top of the rim. It is hard to know if there is damage to the inner edge of the rim but the outer edge was clean and undamaged. It appeared that there was some burn damage on the back left side of the inner rim edge but we would not know until Jeff cleaned the pipe.Jeff took pictures of both sides of the bowl to show the rocky, craggy appearance of the finish on the bowl. It is unusual and interesting at the same time.The next photos show the shank and Italy stamping on the shank end. The stem is obviously the wrong one. You can see the variation of the round saddle portion of the stem and the oval shank. I am not too worried about the stem as it is going in the bin anyway as I will need to fit a new stem on the shank. Jeff worked his magic in cleaning up this pipe as it was a real mess on the rim and deep grit and grime in the grooves of the finish. He reamed it with a PipNet reamer and smoothed the walls of the bowl with a Savinelli Fitsall pipe knife. He scrubbed out the mortise and the airway in the shank and the stem with alcohol, cotton swabs and pipe cleaners. He scrubbed the exterior of the bowl, rim and shank with a tooth brush and Murphy’s Oil Soap to the oils and tars on the bowl, rim and shank. He rinsed it under running water. He dried it off with a soft cloth. Once the grime was removed the finish actually looked quite good condition. I took photos of the pipe to show its condition before I started my work on it. I did not bother with the old stem as it would be replaced. I went through my can of stems and found one that had the same diameter all the way around as the shank. The fit against the shank end was almost perfect. I would need to make the edges taper a bit more at the shank. The stem was new and still had castings on the sides and the end of the button. The tenon was a perfect fit in the mortise. I put the stem in the shank and took photos of the restemmed pipe. The pipe looks good with the new stem. There is promise in the appearance at this point. I repaired the chip on the left side of the shank end with clear super glue. I needed to rebuild that edge to remove the damaged area and allow the stem to fit snug against the shank. I used a sharp knife to bevel the edges of the mortise to accommodate the hip at the tenon/stem junction.I used a brass bristle wire brush on the rustication to clean off any remnants of the finish and then wiped the bowl down with acetone on cotton pads to remove the dust. I stained the bowl with a dark brown aniline stain and flamed it to set it in the briar. I repeated the process several times until I was happy with the coverage on the bowl. I set the bowl aside to dry overnight before proceeding with polishing the briar.In the morning I buffed the bowl with a shoe brush to raise a shine on the briar. I took the following photos to show what the pipe looked like at this point in the process. The bowl is looking good with a lot of colour variation due to the roughness of the rustication. I laid aside the finished bowl and turned my attention to the stem. I sanded out the casting marks and scratches on the stem with 220 grit sandpaper. I opened up the slot in the button with needle files to make it easier to push a pipe cleaner through. After I had removed the casting marks and the scratches on the stem surface it was time to work on it with micromesh sanding pads. I wet sanded it with 1500-2400 grit pads and wiped it down after each pad with Obsidian Oil to give the next pad more bite when I sanded. I dry sanded it with 3200-12000 grit pads and again wiped it down with the oil after each pad. After the final pad I wiped it down with a final coat of oil and set it aside to dry. Each photo shows it progressively getting a shine. I set aside the stem and picked up the bowl once again. I used the Mark Hoover’s Before & After Restoration Balm on the briar. I rubbed it into the grooves on the bowl sides with my fingers. I wanted it to go deep in the grooves to further test the effectiveness of the product. This would be a good test as it one of the roughest rustications that I have worked on with the product. As I have mentioned in previous blogs Mark had said that the product can be used on briar or stems – whether vulcanite, acrylic or horn. He said it was designed to pull the dirt off of the briar as well as polish it. I figured this deep rustication would certainly put those claims to a test. He said that he had added some anti-oxidants to keep the briar from getting damaged from both UV rays and water. Once I had all the grooves and surfaces of the bowl covered I wiped it down with a clean cotton pad and then buffed it with a shoe brush. It seemed to work very well and I took the following photos to show the results. I put the stem back on the bowl and buffed it with Blue Diamond on the buffing wheel to polish the stem and lightly polish the briar. I gave the stem multiple coats of carnauba wax buffed it with a clean buffing pad to raise a shine. I gave the bowl multiple coats of Conservator’s Wax and rubbed it into the rusticated finish. I buffed it with a shoe brush and then with a clean buffing pad to raise the shine. I hand buffed the pipe with a microfiber cloth to deepen the shine. The variegated finish on the bowl and stem combine to present a beautiful pipe. The pipe really does look good with the new stem. The dimensions of this pipe are Length: 5 1/2 inches, Height: 2 1/8 inches, Bowl diameter: 1 1/2 inches, Chamber diameter: 7/8 inches. The finished pipe is shown in the photos below. I will soon be adding it to the rebornpipes store if you are interested in adding to your collection. It is a beauty and will serve someone very well. Email me at slaug@uniserve.com or send me a message on Facebook. Thanks for looking.


Cleaning up a Pair of Goedewaagen Delft Ceramic Pipes


Blog by Steve Laug

This pair of double walled ceramic pipes was originally white with a blue Delft style scene painted and cured into the ceramic on the front of both bowls. They both have a painting of a scene that is a famous picture from Troost Tobacco where one man is in the stocks and another, rather portly man is helping him smoke a pipe. There is no other stamping on either pipe. Both pipes have begun to develop a nice patina as the bowls darken from smoking them. The stem on the smaller of the two (photos 1-4) was a typical freehand stem like many I have seen and used in the past. The one on the larger calabash (photos 5-8) shaped one is like the stems on WDC Wellington’s – kind of a faux p-lip with the airway coming out the end of the button rather on the top like a Peterson. The smaller pipe had a rubber stopper in the end of the shank to hold the stem in place and the larger one had a crumbling cork stopper. Both pipes were very dirty with cake in the bowls and oxidation on the stem surfaces. The pipes were made by an old Dutch pipe making house called Goedewaagen. Here is the link to their website. Have a look at the history page on the site. It gives a detailed background on the Company that made the pipes. Even though the link is in Dutch it is worth translating with Google Translate. http://www.goedewaagen.nl/goedewaagen/. I have included the cutaway diagram of the double walled ceramic pipe to help give and idea of the concept and construction of the pipe.Both pipes came to me from the estate of a Vancouver pipe smoker whose widow left them with RJ Clarke’s Pipe Shop after he died. I was asked to clean them up and sell them for the shop as it has since closed. I decided to work on them together as they will need the same kind of cleanup and restoration. The photos below show both pipes as they were when I brought them to my work table. I took photos of each of the bowls to show the cake lining the walls and the condition of the bowl and rim top. Both had a thick cake and the airway at the bottom of both bowls was half plugged making the airflow quite restricted.The paintings on both bowls were identical – a painting of a scene that is a famous picture from Troost Tobacco where one man is in the stocks and another, rather portly man is helping him smoke a pipe. As mentioned above both shanks used a stopper in the mortise to hold the stem in place. The smaller pipe used a rubber stopper and the calabash style pipe had a cork stopper. The rubber one was in good condition while the cork one was crumbling and pushed into the mortise. The photos below show the two stoppers.The stems were quite different in terms of condition. It appeared to me that the one on the smaller pipe was better quality vulcanite than the other one and it was barely oxidized. There was light tooth chatter on the stem. The stem on the calabash pipe was heavily oxidized and the tooth chatter and marks were heavier. I put both stems in the Before & After Pipe Stem Deoxidizer bath to soak overnight. I knew that it would work well on the stem from the smaller pipe as it was less oxidized. The heavier oxidation on the calabash stem would be harder because the bath was getting less effective after soaking and cleaning 80-90 stems in it.I scraped out the cake in both bowls using the Savinelli Fitsall Pipe Knife. I removed all of the cake and sanded the inside of the bowls with 220 grit sandpaper to remove the remnants. I used a dental pick to clean out the clogged airway at the bottom of each bowl.The rubber stopper on the smaller pipe was in good condition and still usable. The cork stopper was crumbling and I could hear pieces rattling in between the double walls of the ceramic pipe. I used a pen knife to clean out the pieces of cork. I cleaned both bowls under warm running water. I filled the space between the two walls of both pipe with hot water and shook it to loosen any residual tars or oils that had collected in those spots. I shook the water out and repeated the cleaning until the shanks and insides of both pipes were clean. I scrubbed the outside of the bowl and the inside of the bowl with hot water and a light detergent to remove the dirt on the glazed ceramic finish. While I was cleaning the bowls I remembered that I had inherited a bag of corks that were drilled or Le Peltier ceramic pipes. I took one out and was glad that it was the proper diameter for the calabash.  I dried out the shank and the bowl with paper towels and wetted the cork to cause it to swell. The fit in the mortise was perfect. I used a dental pick to carefully lift it out of the mortise and coated it with all-purpose glue. I pressed it in to the mortise until the surface of the end of the cork was the same distance from the outer edges as the rubber stopper on the other pipe. I set the bowl aside to let the glue dry before trying the stem on the pipe. I took photos of both bowls to show how clean they were at this point in the process. By this time the stems  had been soaking since the night before. I took them out of the bath and held them over the container to let the thick solution drip clean of the stems. When the majority had dripped clean I dried them off with a rough cotton cloth the wipe off as much of the oxidation on the rubber as possible in the drying process. I cleaned the airway on both stems with alcohol and pipe cleaners until the deoxidizer and the tars and oils in the stems was removed and they were clean. In retrospect I should have cleaned them before soaking them but hindsight is always better anyway. The stem with the lighter oxidation came out almost perfect. The other one was certainly better than before the soak.The stems looked good but more work would need to be done before the final black gleam was back. I buffed both stems with red Tripoli to remove the remaining oxidation. I sanded both stems with 220 grit sandpaper to remove the tooth chatter from both sides near the button. I did more work on the stem from the calabash to remove the heavier oxidation of the vulcanite and to reshape the button. Once I was finished with the sanding I buffed both stems again with the red Tripoli. After buffing them I polished them with micromesh sanding pads – wet sanding them with 1500-2400 grit pads and wiping them down after each pad with Obsidian Oil to give the next pad more bite when I sanded. I dry sanded them with 3200-12000 grit pads and again wiped them down with the oil after each pad. After the final pad I wiped them down a final time with the oil and set them aside to dry. I put the stem back on the bowl and buffed the entire pipe with Blue Diamond on the buffing wheel to polish the stem and the bowl. I used a soft touch on the bowl as I did not want to damage the paintings on the bowl fronts of the ceramic polish in any way. I buffed stem hard to work over the remaining small scratches and minute oxidation that was still on the rubber of both stems. It took some work but they cleaned up nicely. I gave the bowls and the stems multiple coats of carnauba wax buffed them with a clean buffing pad to raise a shine. I hand buffed the pipes with a microfiber cloth to deepen the shine. The two double walled bowls with the Delft style painting on the front and the developing brown patina combined with the black vulcanite stems present a beautiful pair of pipes. I find these interesting double walled Goudewaagen ceramic pipes a pleasant change to the briar pipes that I normally work on. The finished pipes are shown in the photos below. The dimensions of the smaller brandy shaped pipe are Length: 6 inches, Height: 1 ¾ inches, Bowl diameter: 1 ½ inches, Chamber diameter: 7/8 inches. The dimensions of the larger calabash pipe are Length: 7 inches, Height: 2 ½ inches, Bowl diameter: 2 inches, Chamber diameter: 7/8 inches.I will be adding both of these pipes to the rebornpipes store shortly. I already have several of these pipes so I will be passing these on to others to try. Thanks for looking.
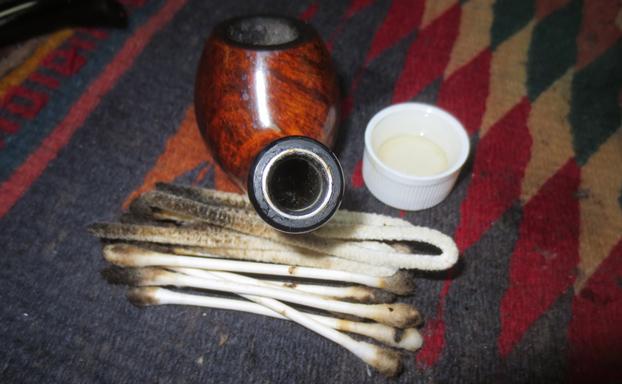
Restoring an Edwards 730 – 4 Panel Rhodesian with a Square Shank


Blog by Steve Laug

When my brother sent me this Edwards Panel Rhodesian (at least that is what I would call it), I immediately thought of William and wondered if he would be interested in it. He had earlier purchased an Edwards paneled pipe from me so it was not a far stretch to wonder if he might be interested in this one as well. I set it aside and pretty much forgot about my initial thought. However, not long afterward, William wrote about a pipe he wanted to send me to clean up for him. He sent the package to me and when it arrived, I opened it to find an Edwards Octagon shaped paneled Dublin that he wanted reworked. When I saw that, I remembered the other pipe I had that might interested him. I wrote and sent him photos of this pipe to see if he had any interest in adding it to his collection. He wrote back and said he was definitely interested in it. I figured I would restore it the same time I worked on his other pipe and could save postage by mailing them both back to him in the same package. With that in mind, I worked on the pair at the same time. I have already written about the restemming and the restoration of his Octagon shaped pipe (https://rebornpipes.com/2017/10/17/restoring-an-edwards-hexagon-dublin-sitter-97/).
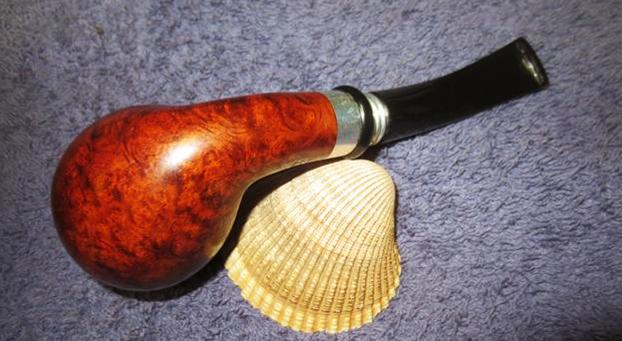
The pipe is stamped Edwards on the left side of the shank and on the right it reads Algerian Briar over the shape number 730. The underside of the shank bears as a large number 7. The Edwards stamp while readable was faint in the middle. The pipe was in pretty decent shape for an estate. There was a light cake in the bowl and some darkening on the rim top but nothing thick or horrible. Even the inner beveled edge of the bowl was in good shape. The finish has some nicks and scratches on the sides and front of the bowl. There were a few small fills in the briar on the rim cap but the pipe was in very god condition. The next series of photos show the condition of the finish on the bowl. The old oiled finish that Edwards put on their pipes was worn but the grain still showed through. There was a mix of grains on the sides and bottom of the bowl and shank – cross grain, birdseye and mixed. The next photos show the stamping on the shank of the pipe. All of it is readable. The last picture shows the France stamp on the underside of the saddle stem. The stem was oxidized and had tooth chatter and tooth marks on both sides near the button. There was some damage to the top edge of the button as well from being chomped.Jeff did his usual impeccable job cleaning off the debris and grime on this old bowl. He reamed the light cake from the bowl with a PipNet reamer and smoothed the walls of the bowl with a Savinelli Fitsall pipe knife. He scrubbed out the mortise and the airway in the shank and the stem with alcohol, cotton swabs and pipe cleaners. He scrubbed the exterior of the bowl, rim and shank with a tooth brush and Murphy’s Oil Soap to the oils and tars on the bowl, rim and shank. He rinsed it under running water. He dried it off with a soft cloth. Once the grime was removed the finish underneath was in decent condition. The rich patina on the grain of the older briar really stood out after the pipe was cleaned. I took photos of the bowl to show its condition before I started my work on it. The condition of the bowl and rim was good. There was a little damage on front right of the inner edge that I had not seen before that would need to be address but otherwise it was clean.The stem had some oxidation around the saddle portion of the stem and the tooth chatter and marks would need to be addressed.I decided to start working on the stem first. I lightly sanded the tooth chatter and marks out of the surface of the stem on both sides at the button. I heated the stem with a lighter to try to raise the marks. While many of them responded well to the heat some of them remained. I have found that if the marks are dents they respond well to heat and typically return to a flat condition. If however, they have any sharp edges on then the heat only works minimally well. I filled in the larger tooth mark and the damage to the top edge of the button with black super glue. I also filled in the lighter, smaller mark on the underside at the same time.While the stem repair was drying I worked on the bowl itself. I wiped down the surface with acetone on cotton pads to remove any remnants of debris and grime that had escaped my brother’s attention or had been picked up in the shipping wrappers. I lightly sanded the inner edge of the bowl to take care of the light damage on the front right edge. By this time the repair on the stem was dry. I recut and reshaped the button with a needle file and smoothed out the surface repairs. I sanded the stem with 220 grit sandpaper to blend the repairs into the rest of the stem. I sanded the stem to remove the oxidation that is visible in the next photos. I put the stem on the bowl and rubbed the bowl down with Before & After Restoration Balm. As part of my ongoing experiment I thought it would be good to use it on an oil finished bowl and this one was a prime candidate. I rubbed it in (using the stem for a handle) and wiped it off with a cotton pad. I removed the stem and dropped it in a bath of Before & After Pipe Stem Deoxidizer to attack the oxidation. My bath is getting older and it is not as effective as it was when I first started using it but it would help minimize the work on the stem for me. (I am waiting for a new jar of the deoxidizer to replace this one. I have cleaned between 80-90 stems with the product so it is tired.) I put the lid on the bath and left it to soak until morning.Before calling it a night I worked on the finish on the bowl some more. I lightly buffed the bowl with red Tripoli to remove as many of the surface scratches and nicks as I could. Doing that got rid of a lot of them and polishing it with micromesh would minimize what remained. I hand polished the briar with micromesh sanding pads – wet sanding with 1500-2400 grit pads and dry sanding with 3200-12000 grit pads. I worked on the beveled inner edge of the bowl to clean it up the damage and the darkening a bit more. I wiped the bowl down with a damp cloth after each pad. I hand buffed it with a microfibre cloth after the 12000 grit pad. The pictures below show the progress of the polishing on the briar. In the morning I took the stem out of the bath and let the excess product drain off into the bath before wiping it down with a cotton pad to remove the oxidation that was attached to the product. I ran a pipe cleaner through the airway with alcohol to remove the remnants of the bath. The stem looked good but more work would need to be done before the final black gleam was back. I buffed the stem with red Tripoli to remove the remaining oxidation. I polished the stem with micromesh sanding pads – wet sanding it with 1500-2400 grit pads and wiping it down after each pad with Obsidian Oil to give the next pad more bite when I sanded. I dry sanded it with 3200-12000 grit pads and again wiped it down with the oil after each pad. After the final pad I wiped it a final time with the oil and set it aside to dry. I put the stem back on the bowl and buffed the entire pipe with Blue Diamond on the buffing wheel to polish the stem and the bowl. I used a soft touch around the stamped areas as I did not want to flatten them or polish them away. I buffed stem hard to work over the remaining scratches in the rubber. It took some work but they are smoothed out. I gave the bowl and the stem multiple coats of carnauba wax buffed it with a clean buffing pad to raise a shine. I hand buffed the pipe with a microfiber cloth to deepen the shine. The four panel Rhodesian shaped bowl, and the square shank and saddle stem combine to present a beautiful pipe. I find these interesting shaped Edwards four sided, six sided and eight sided Dublin shaped pipe a real pleasant variation on the normal classic shapes. The combination of grains and the natural oil finish give the pipe a rich patina that is highlighted by the black of the polished vulcanite stem. The finished pipe is shown in the photos below. I think William is going to really like this new pair of Edwards pipes. They are both ready to pack up and head back to him in the mail. Thanks for looking.