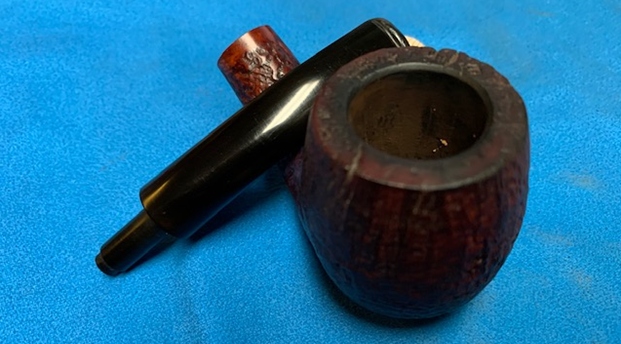
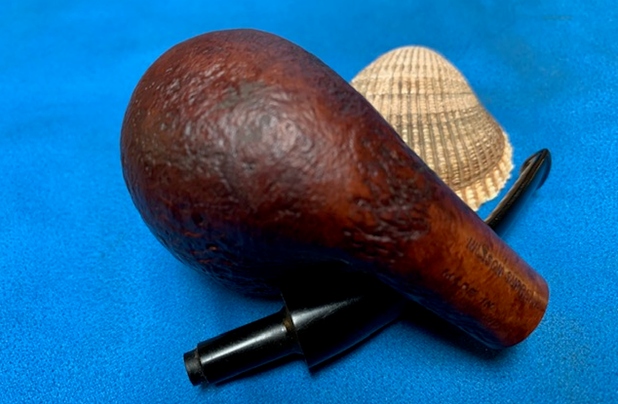
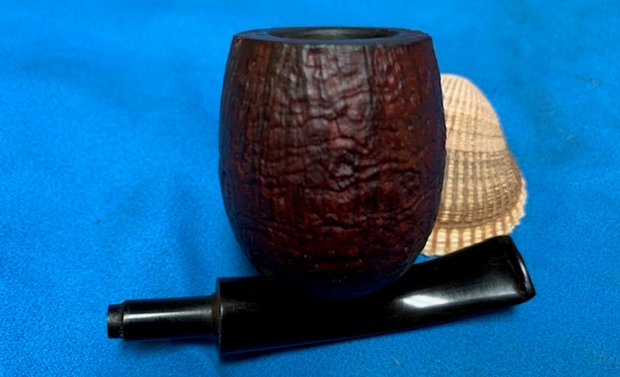
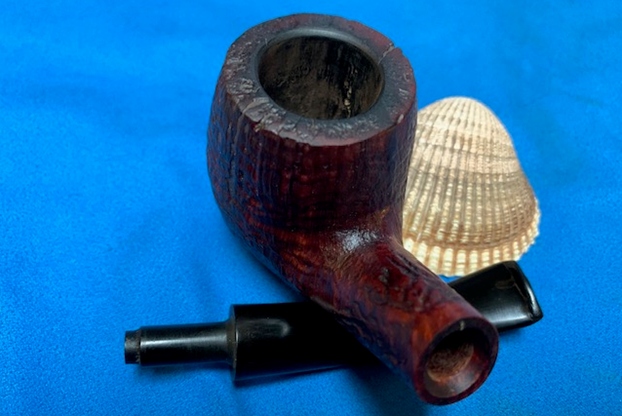
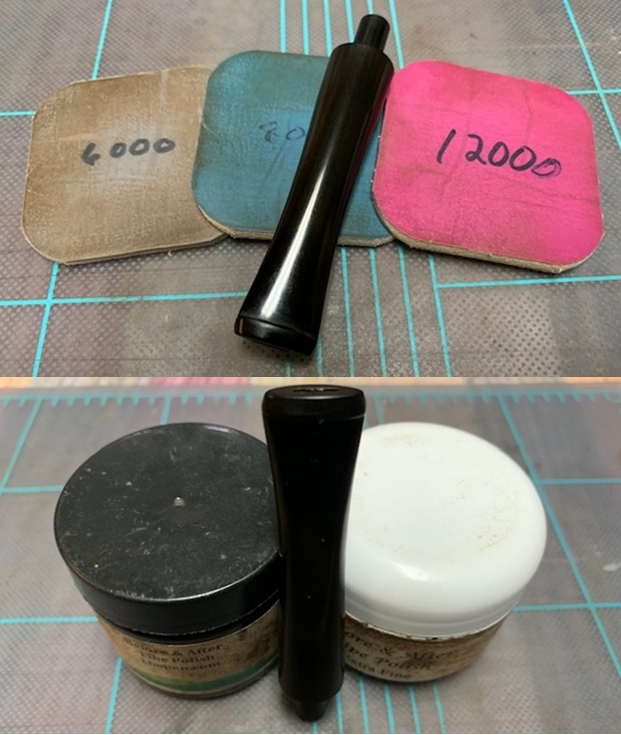
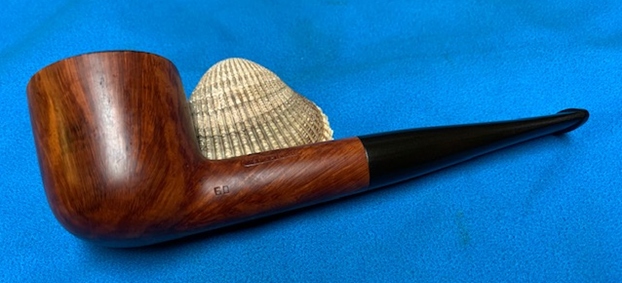
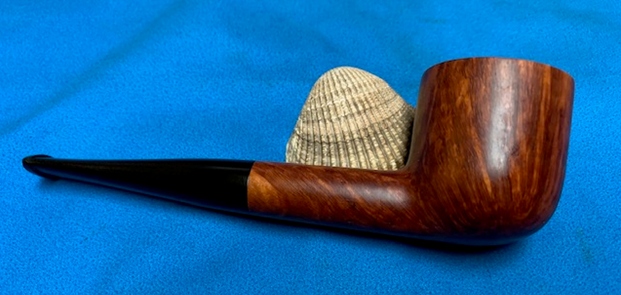
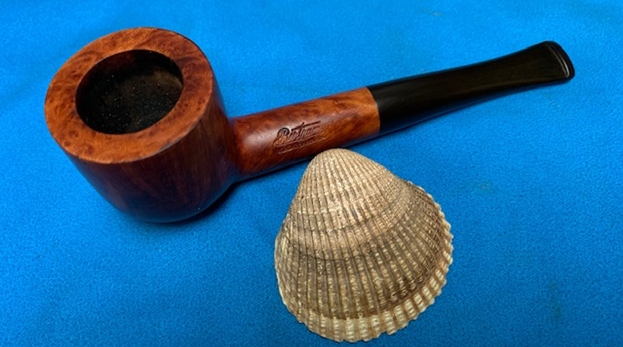
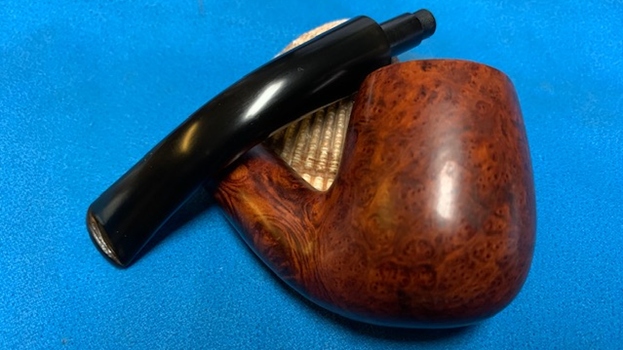
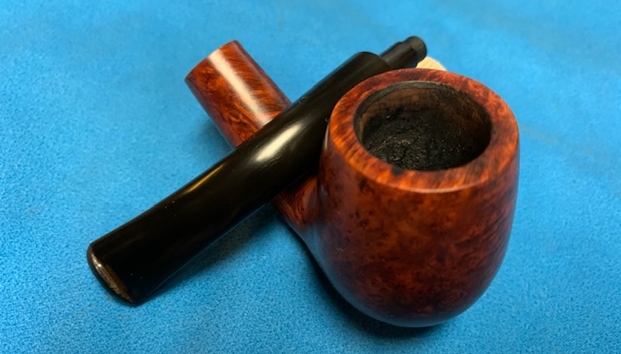
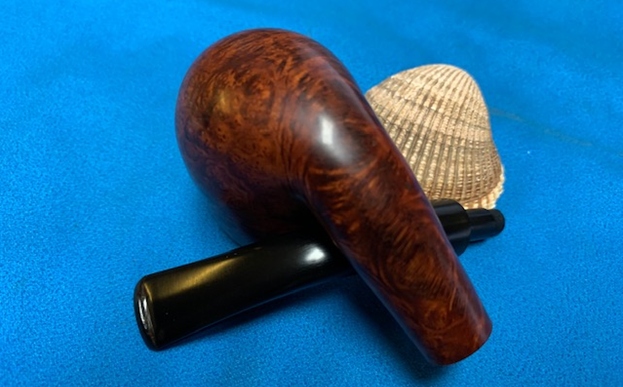
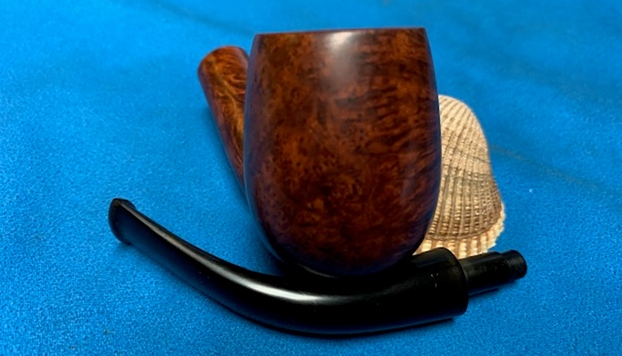
Tag Archives: shaping a stem

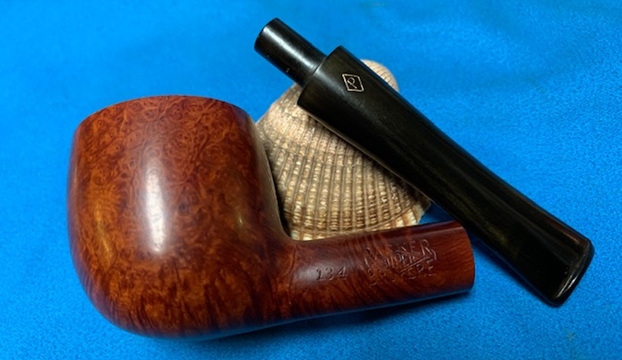
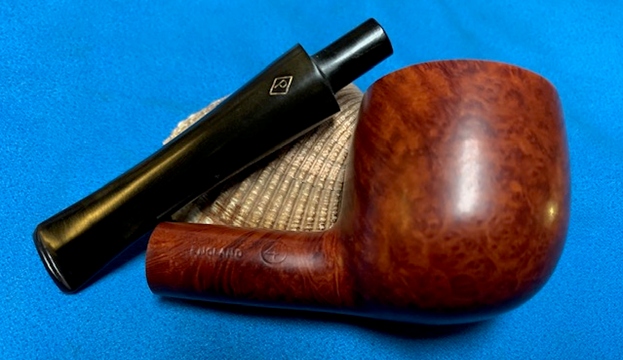
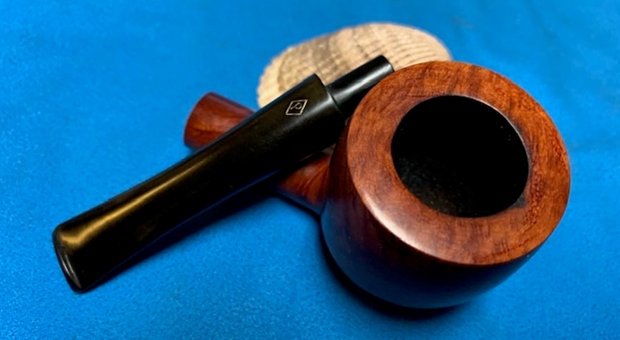
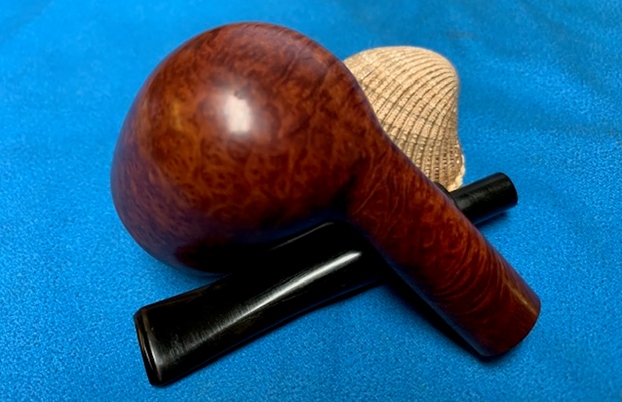
Restoring a Parker Super Bruyere 134 Circle 4 Pot


Blog by Steve Laug

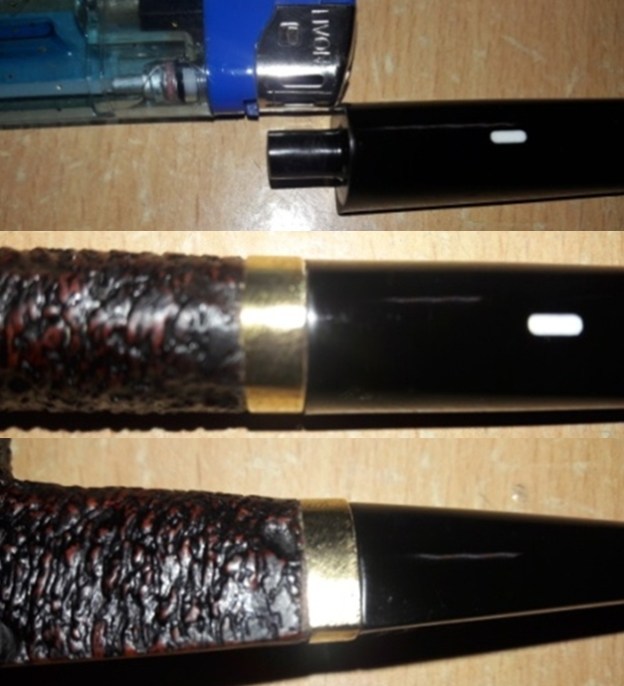
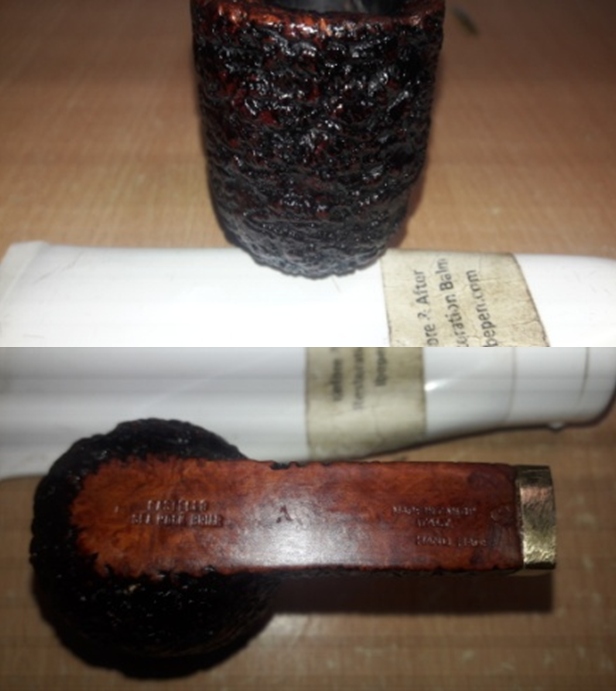
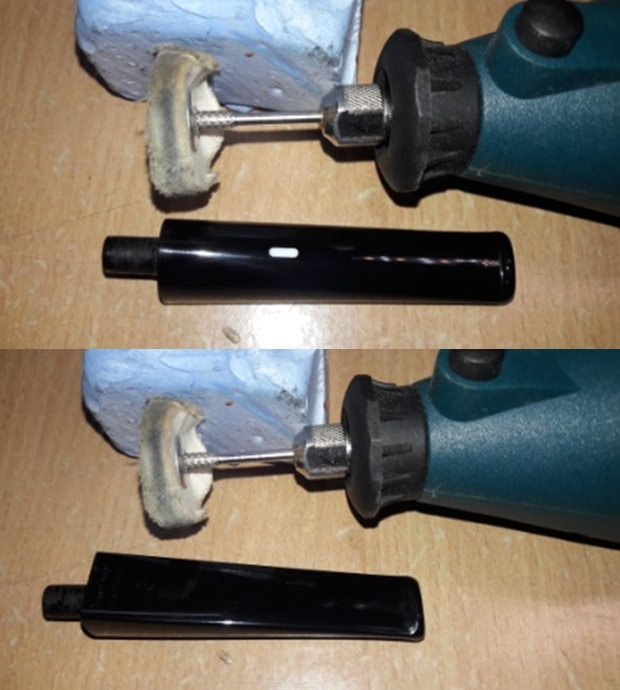
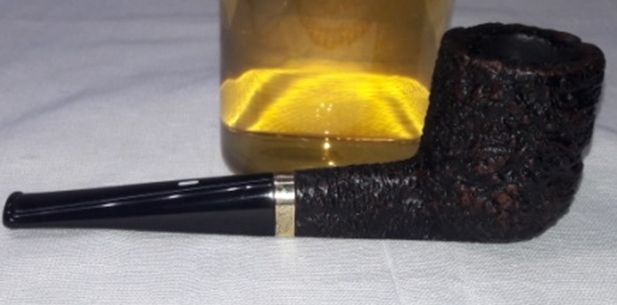
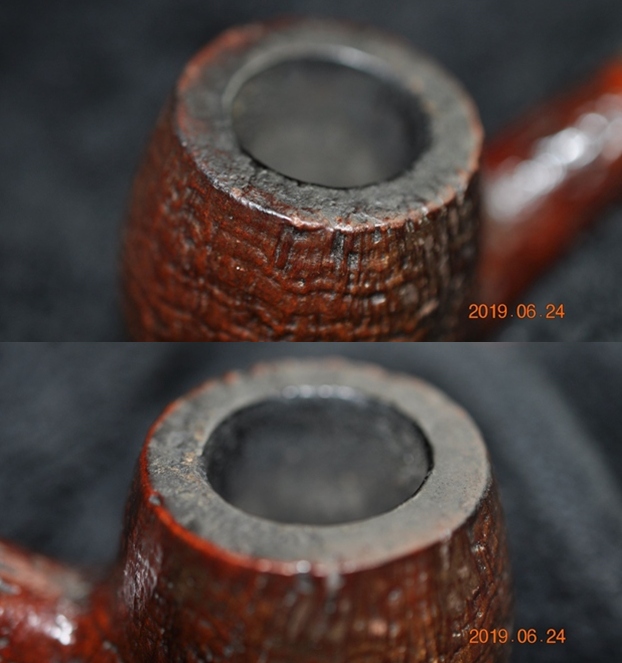
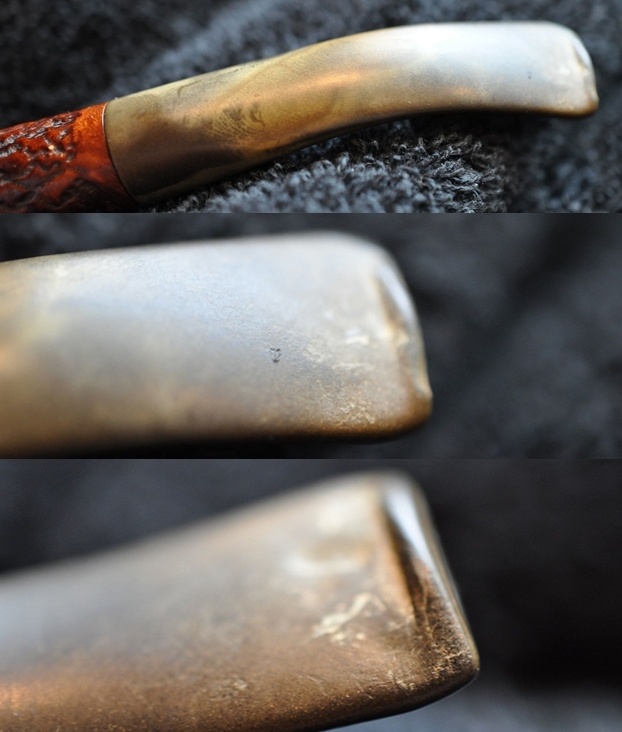
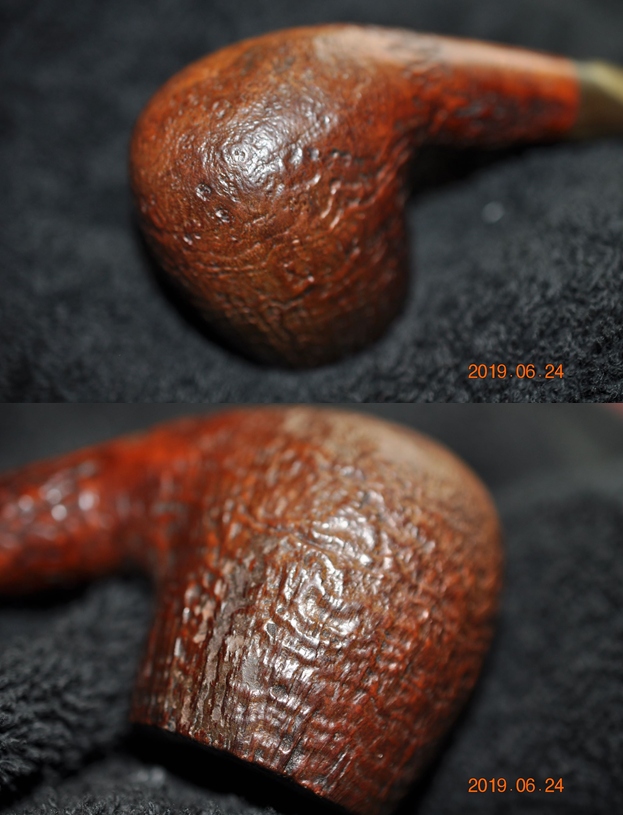
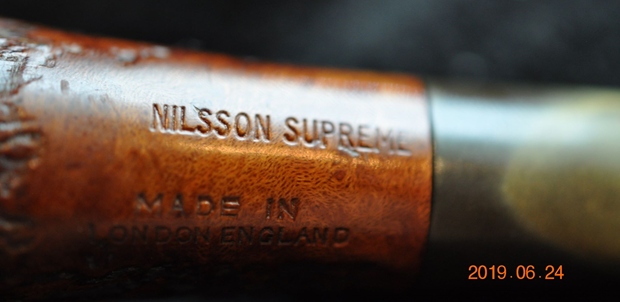
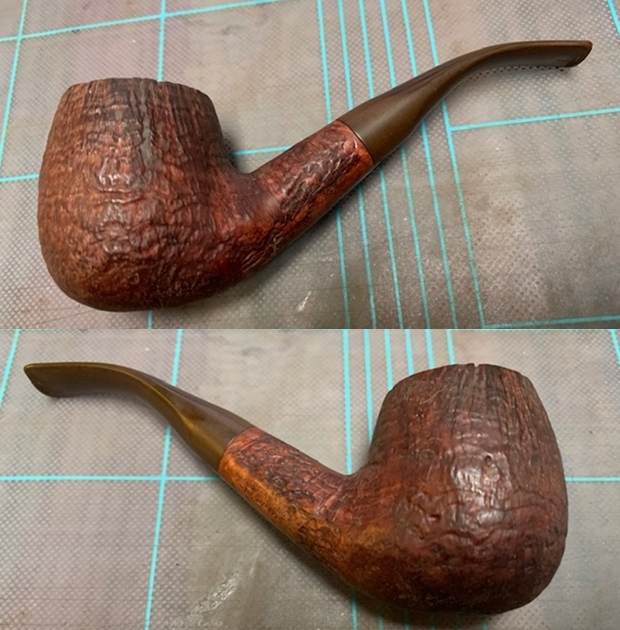
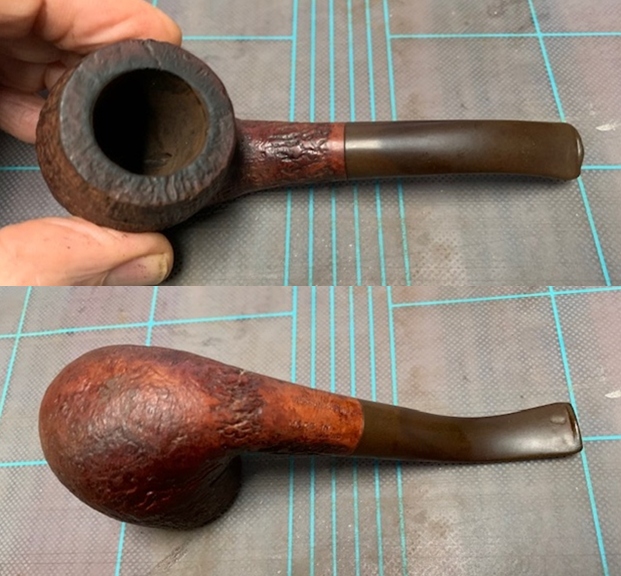
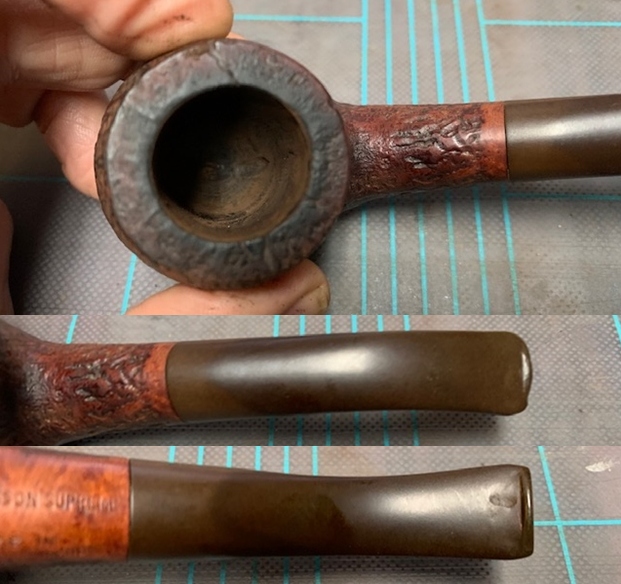
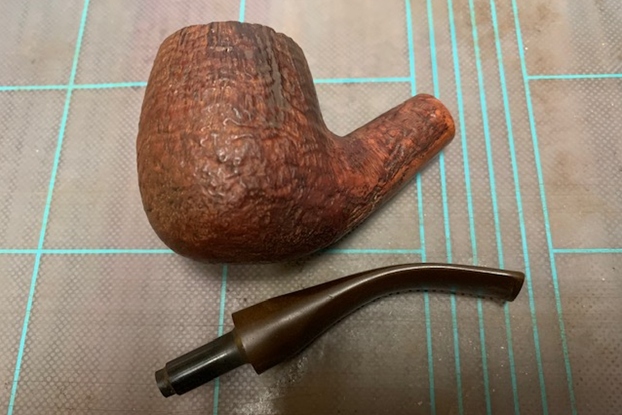
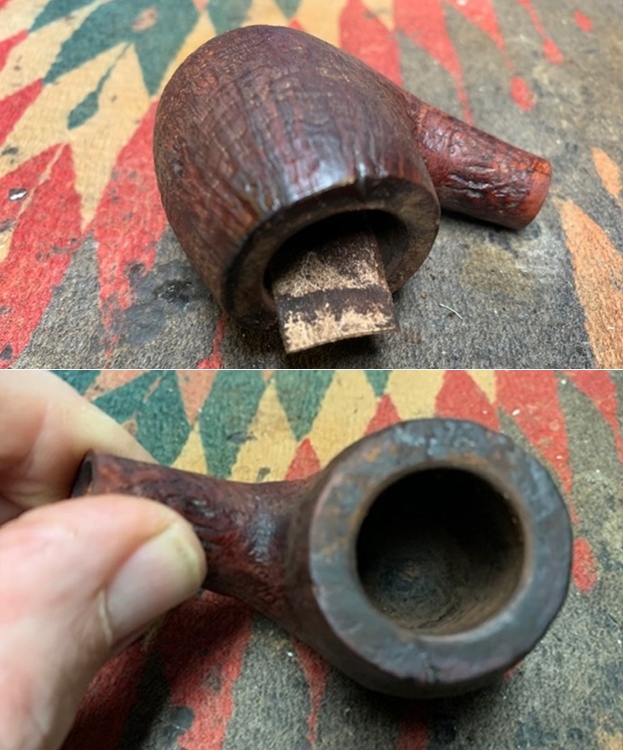
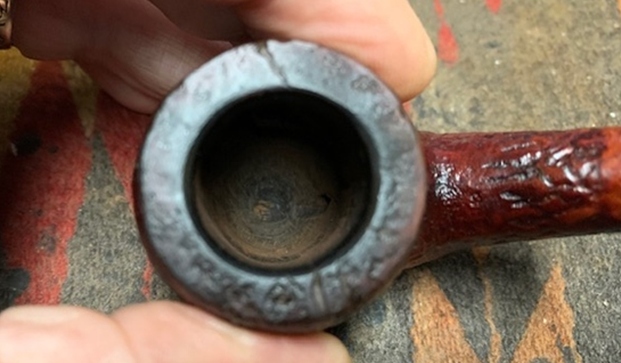
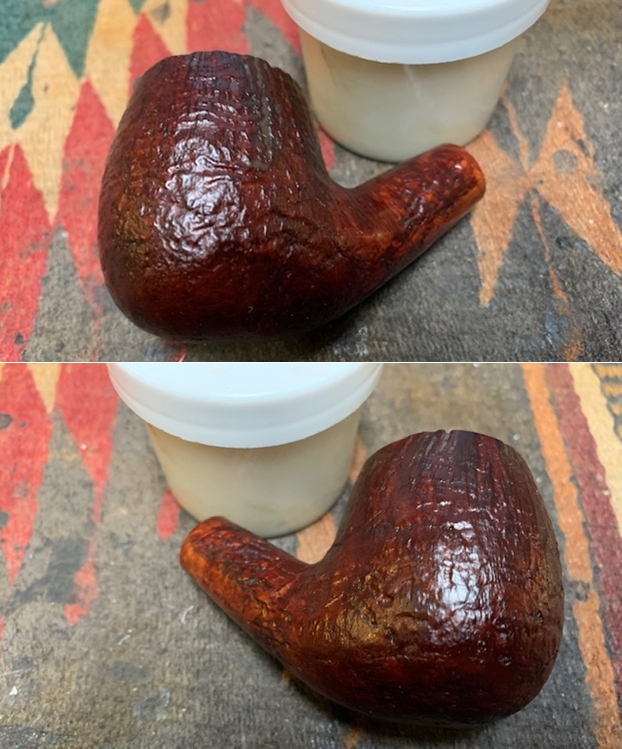
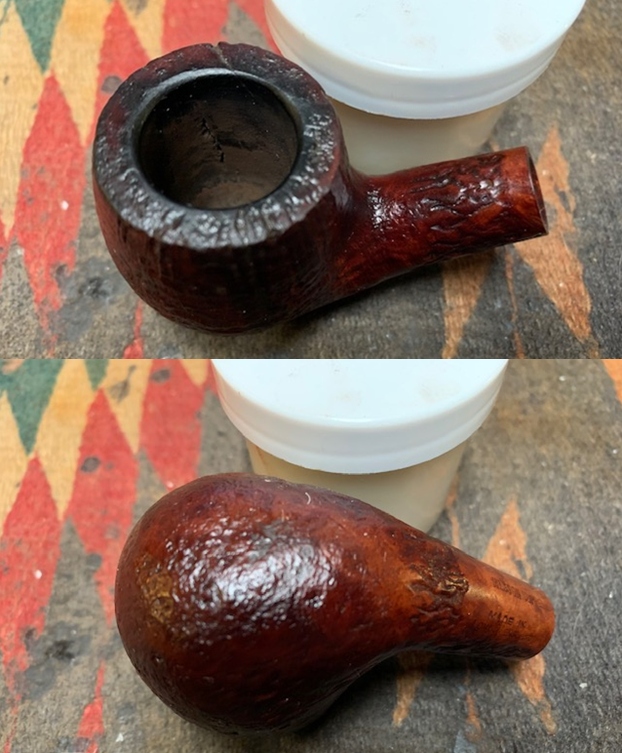
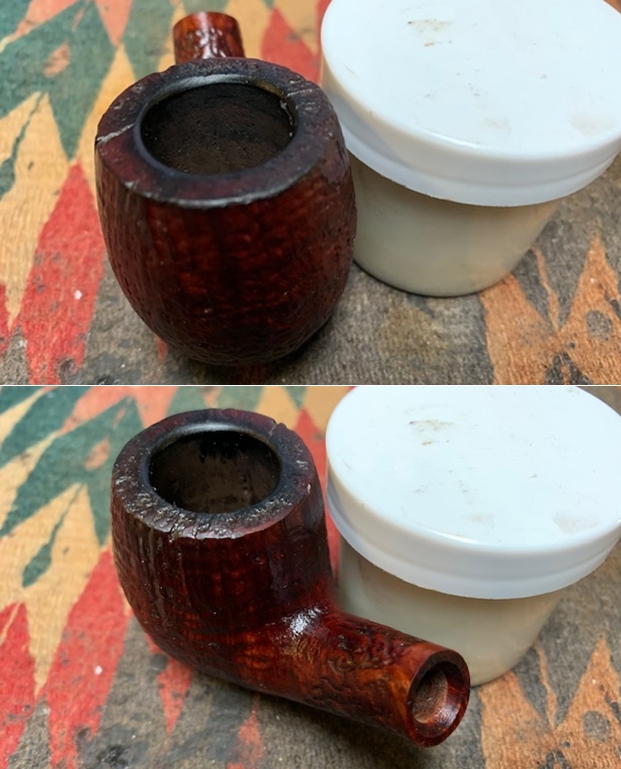
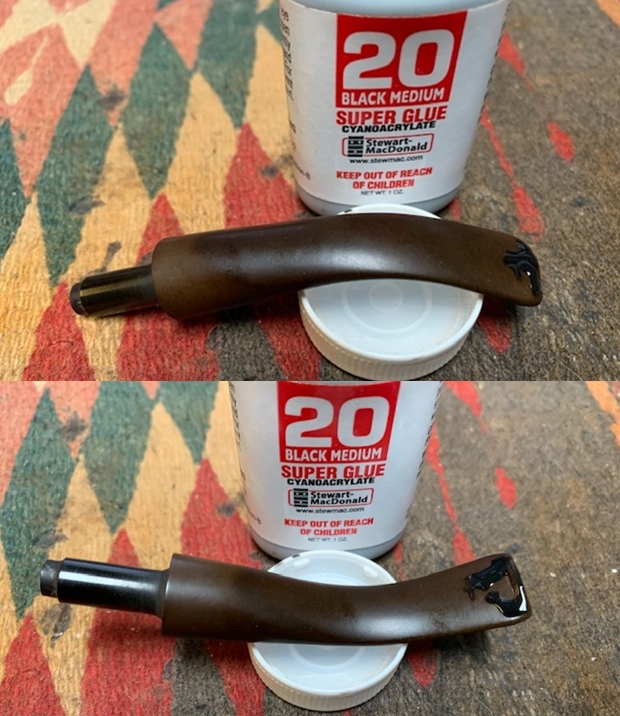
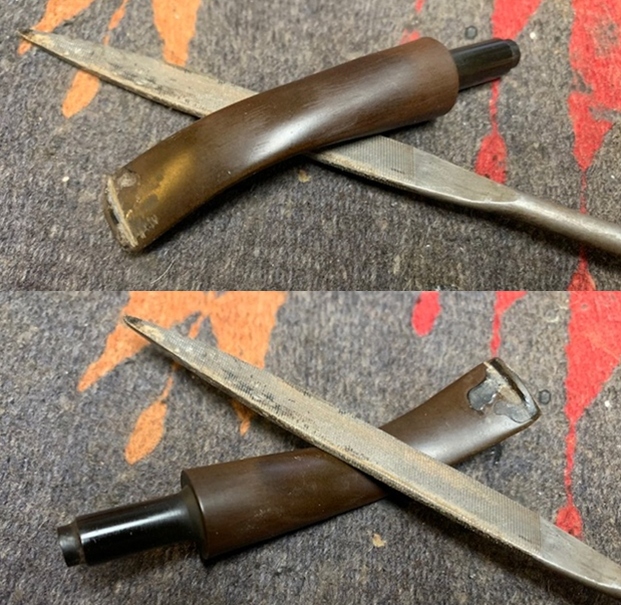
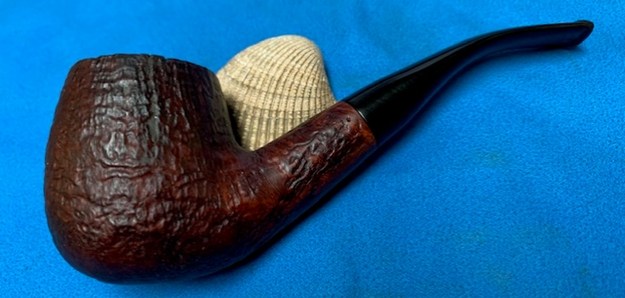
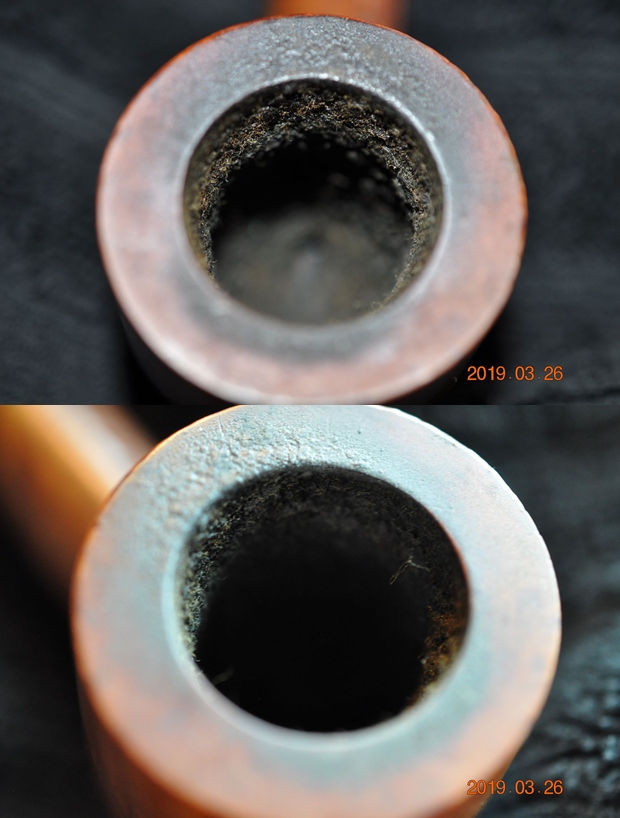
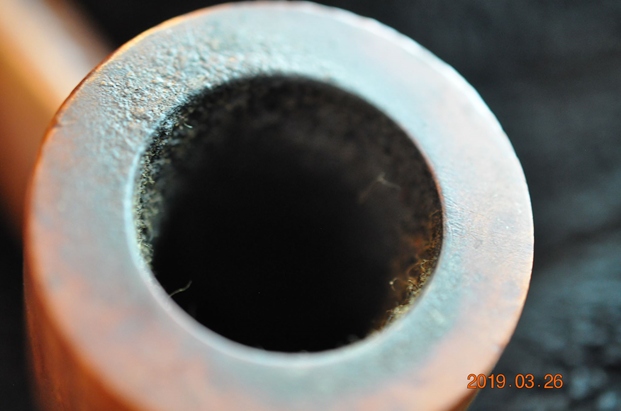
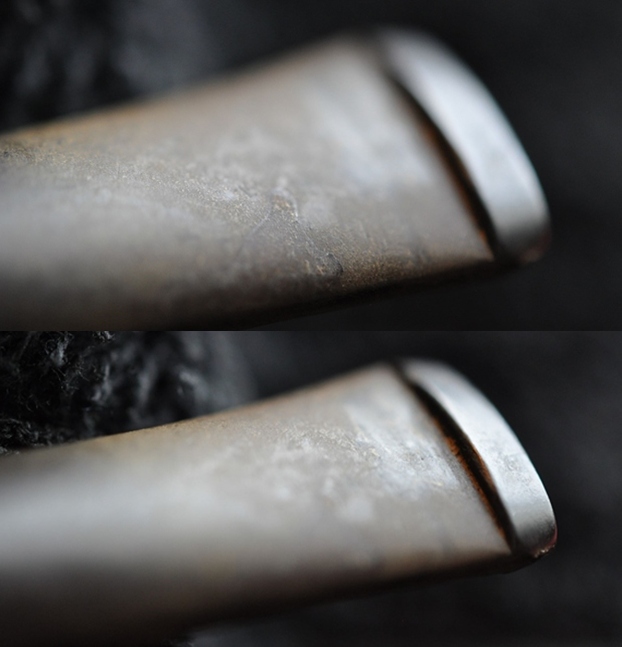
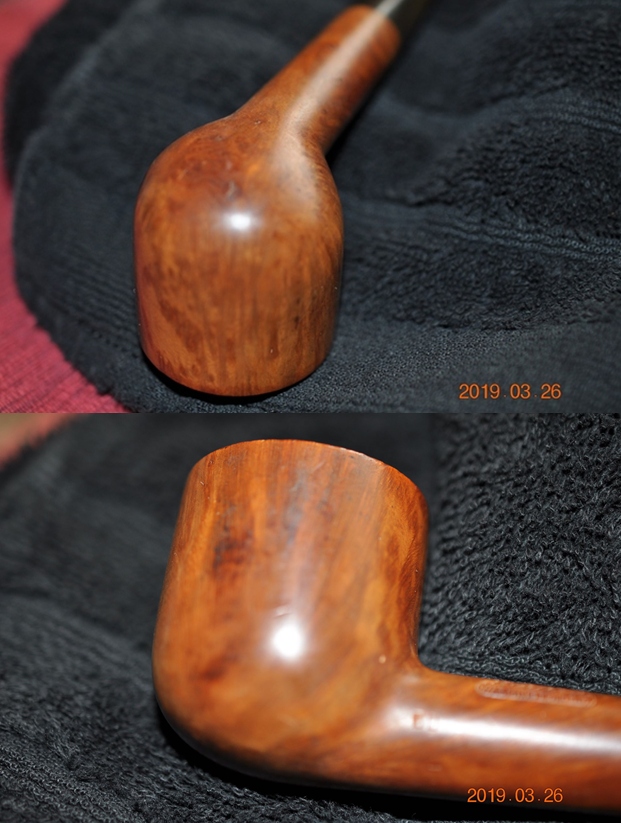
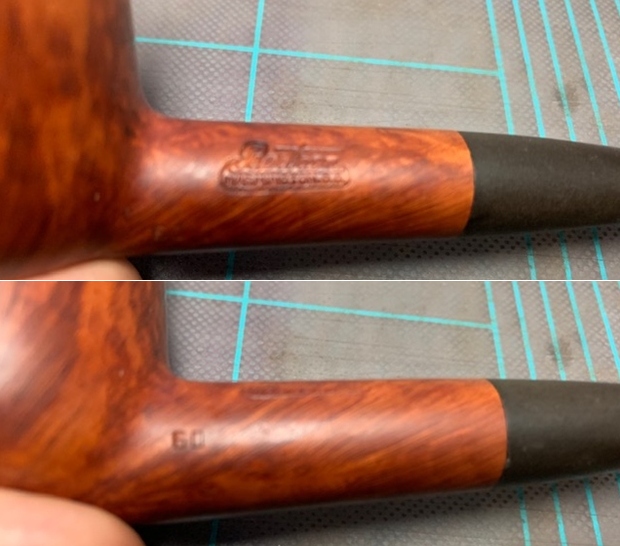
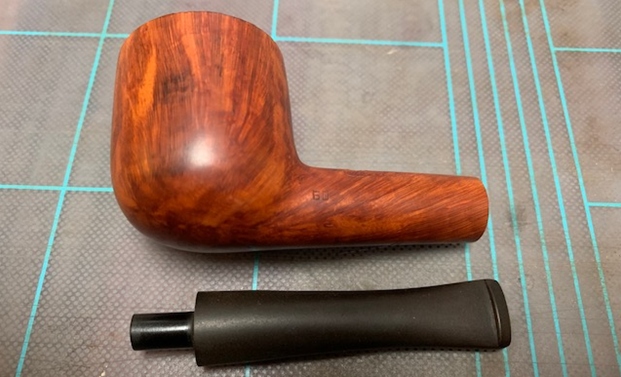
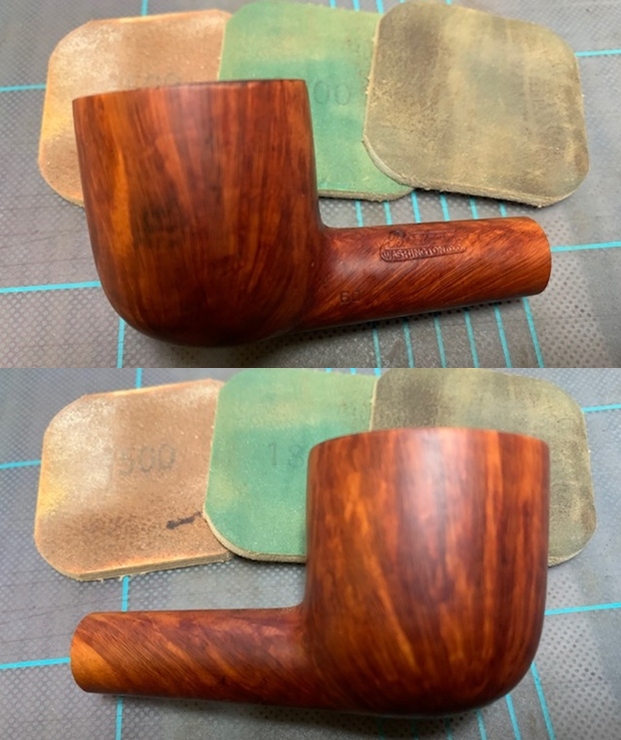
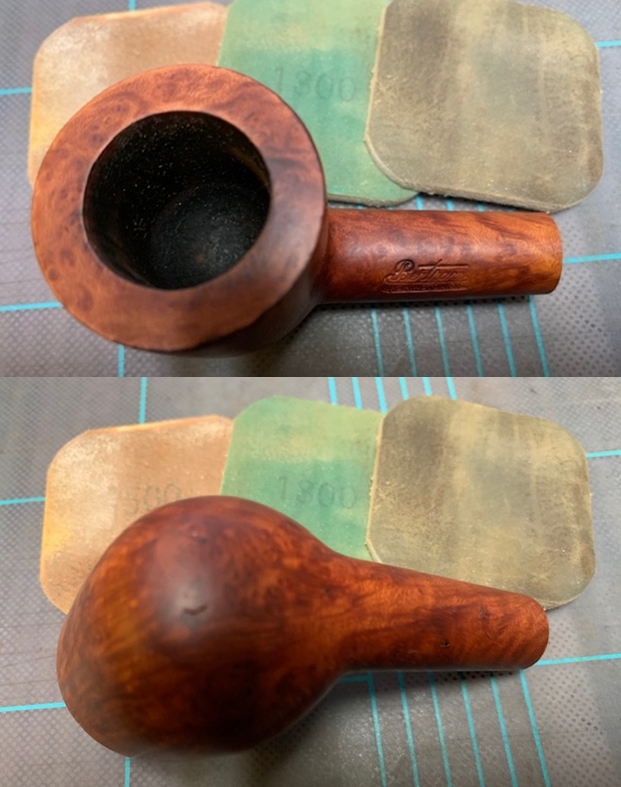
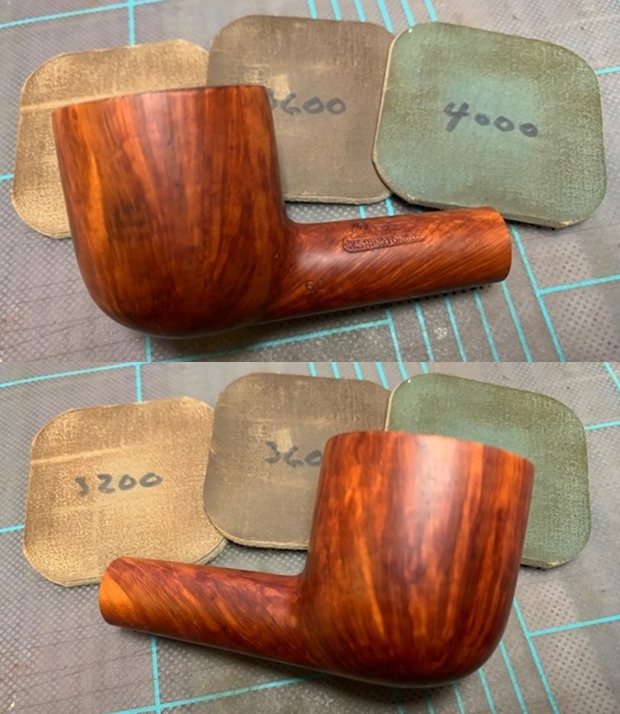
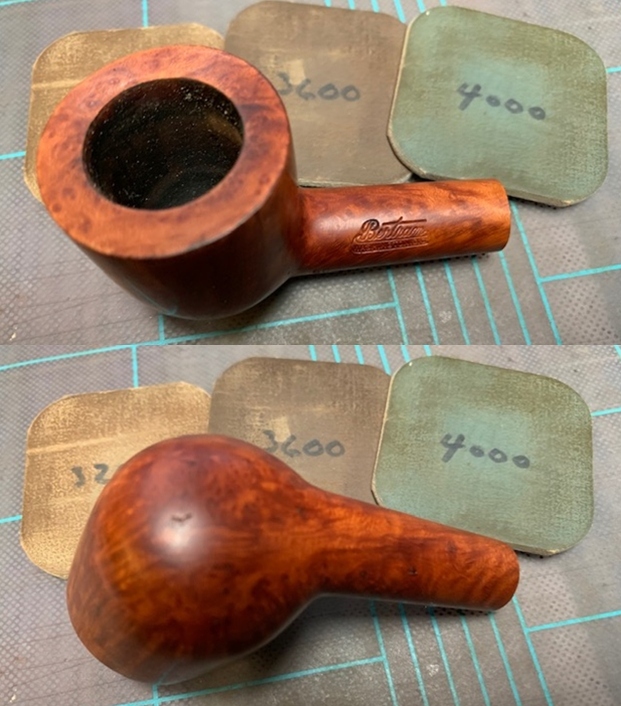
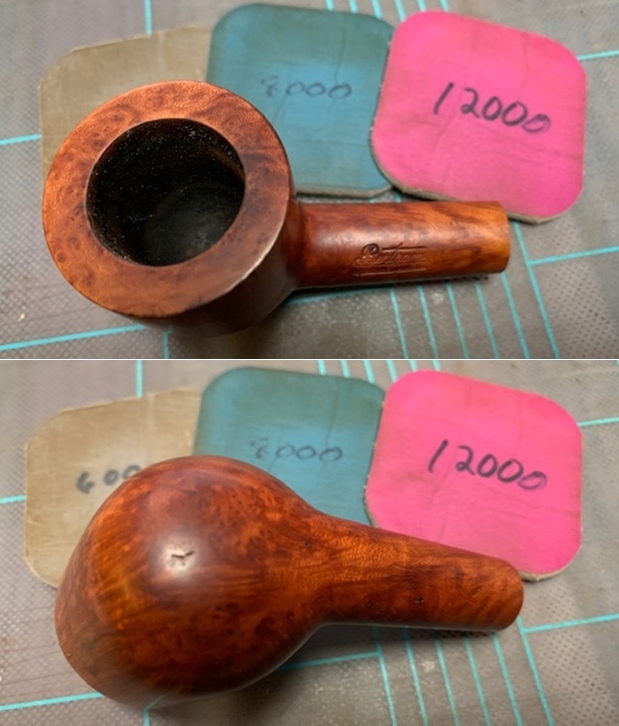
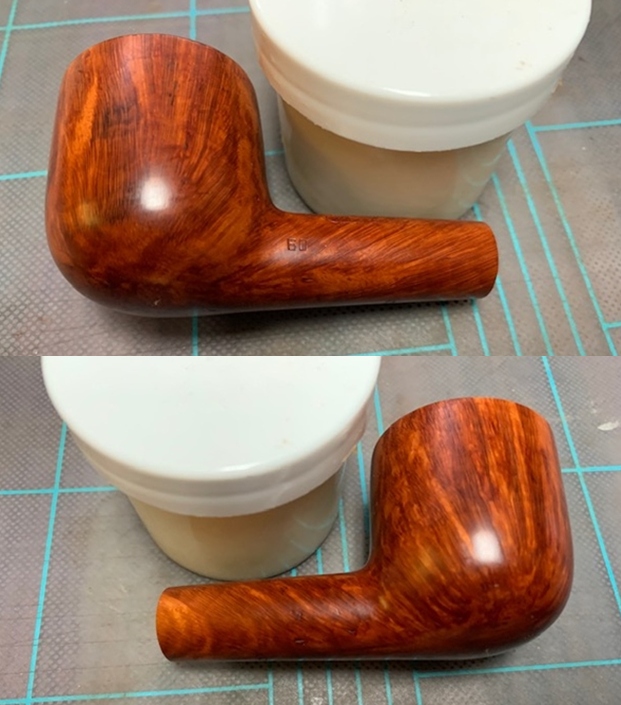
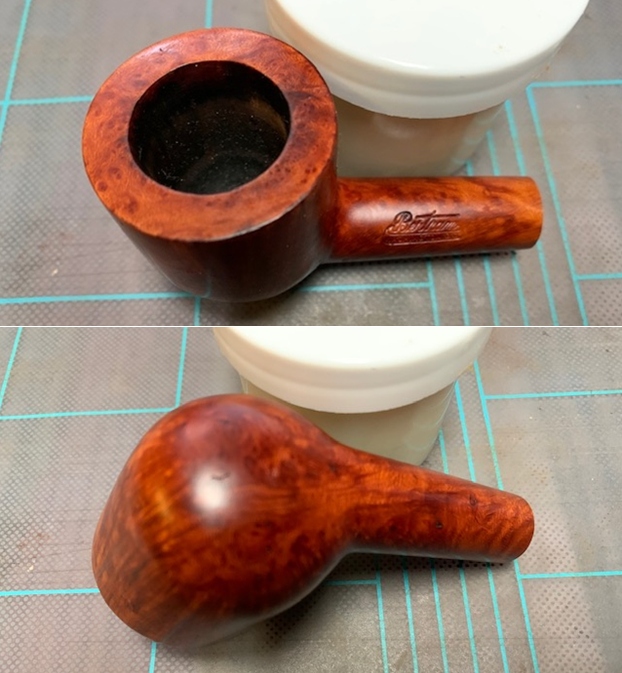
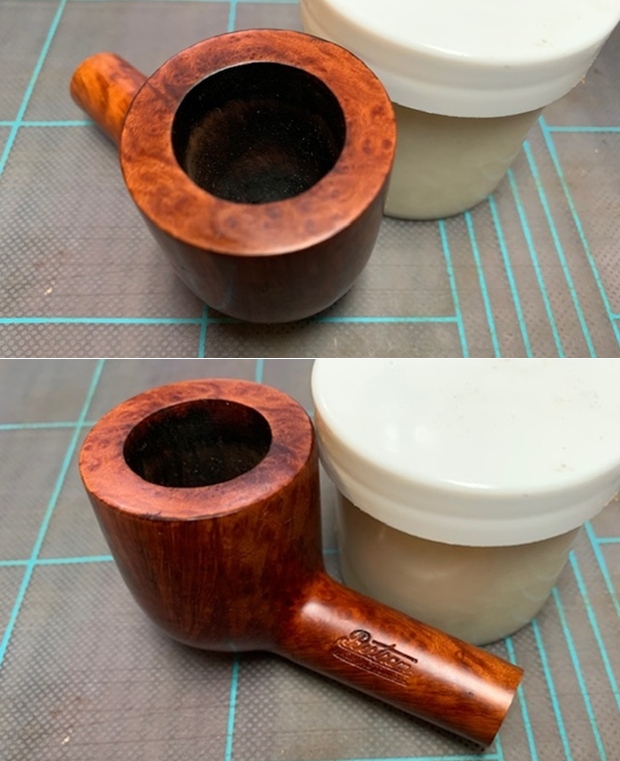
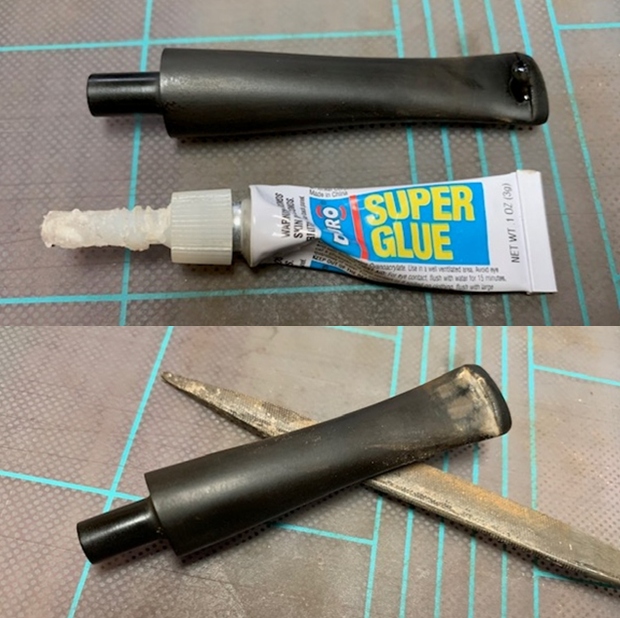
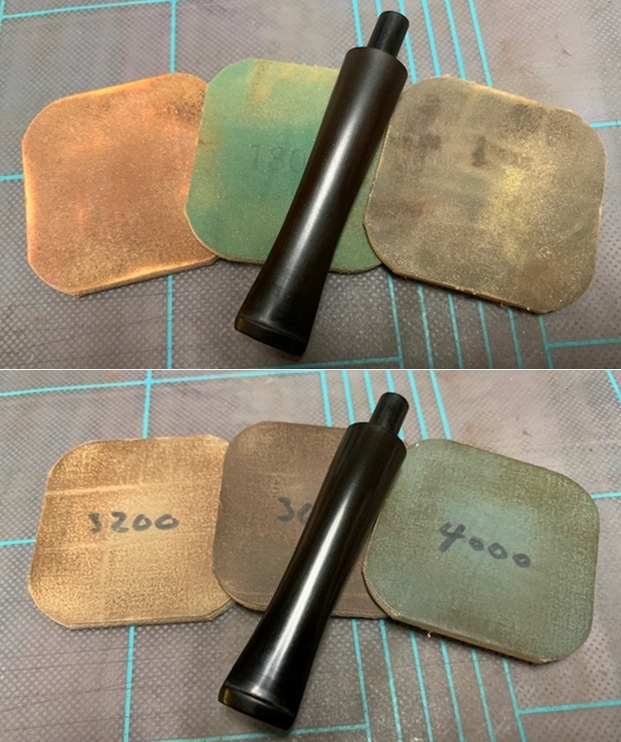
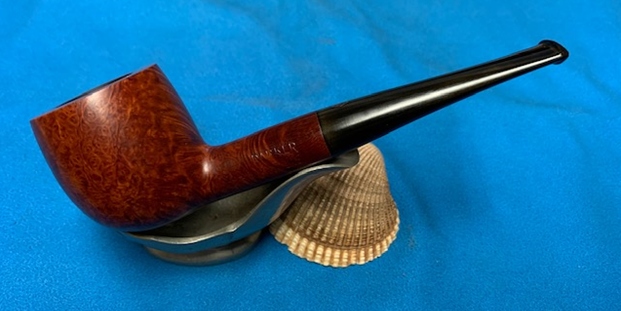
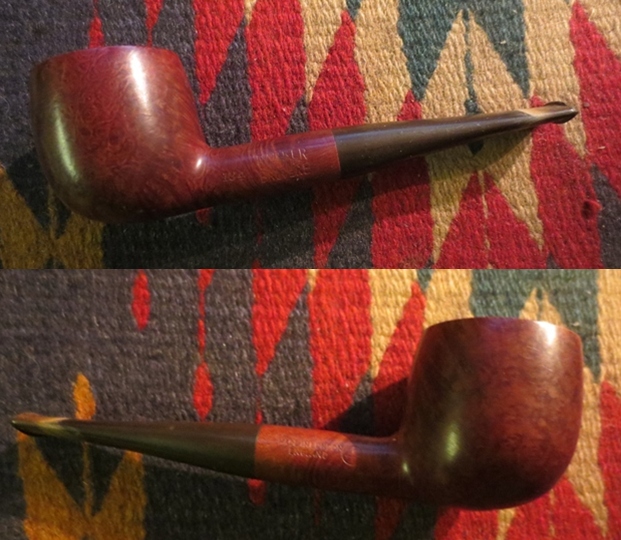
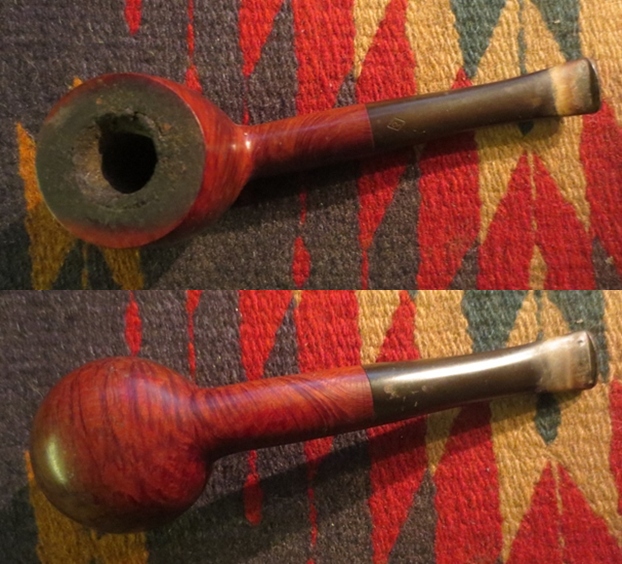
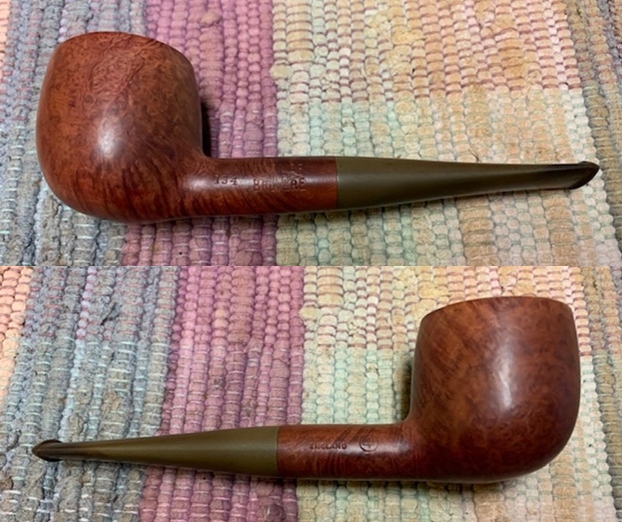
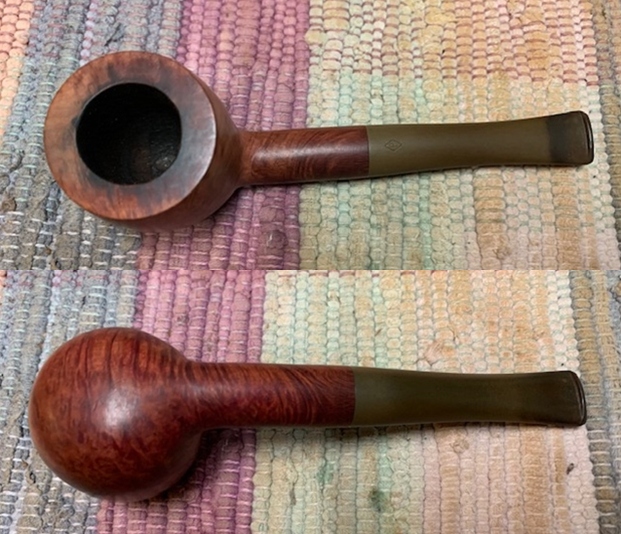
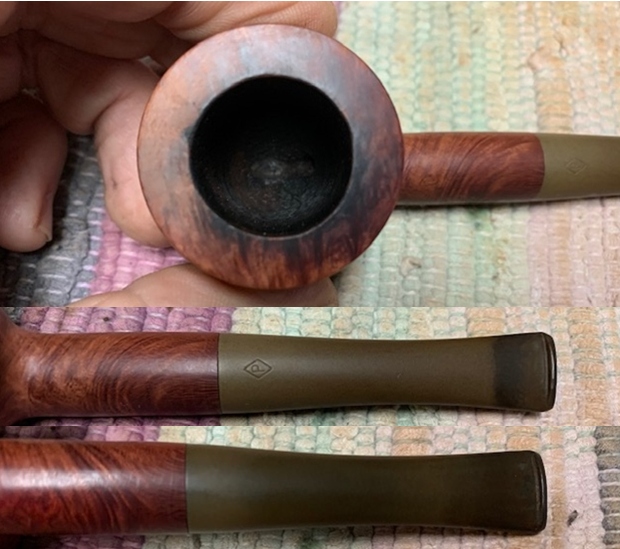
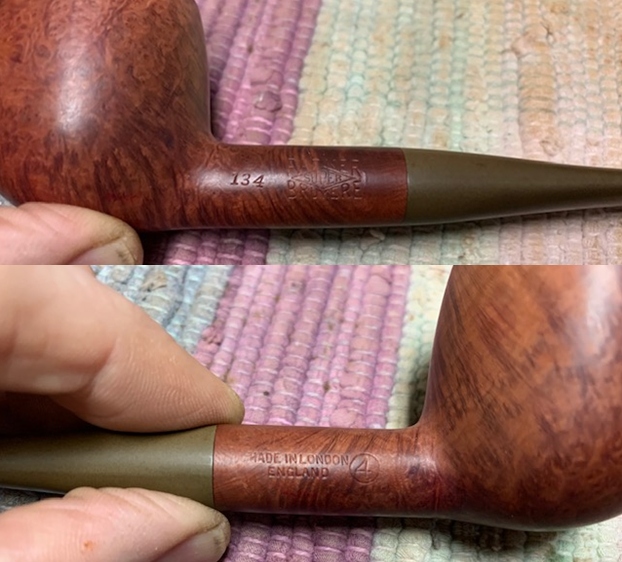
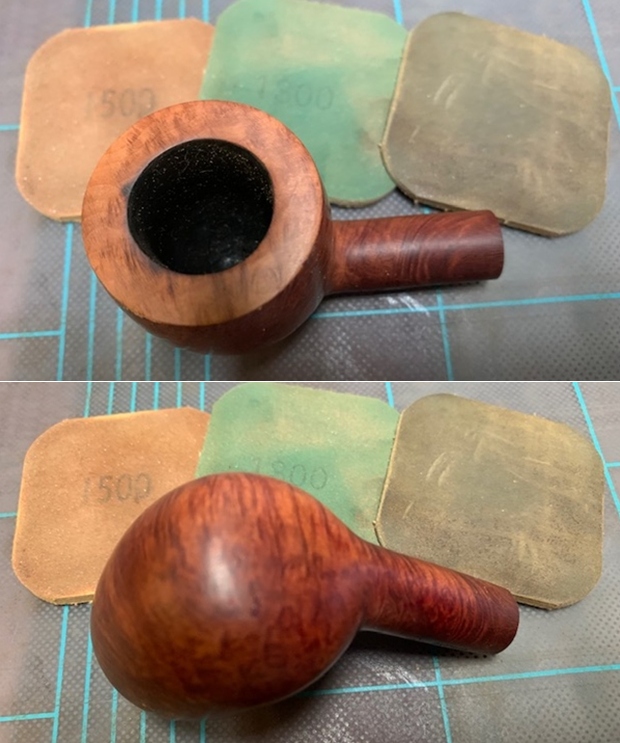
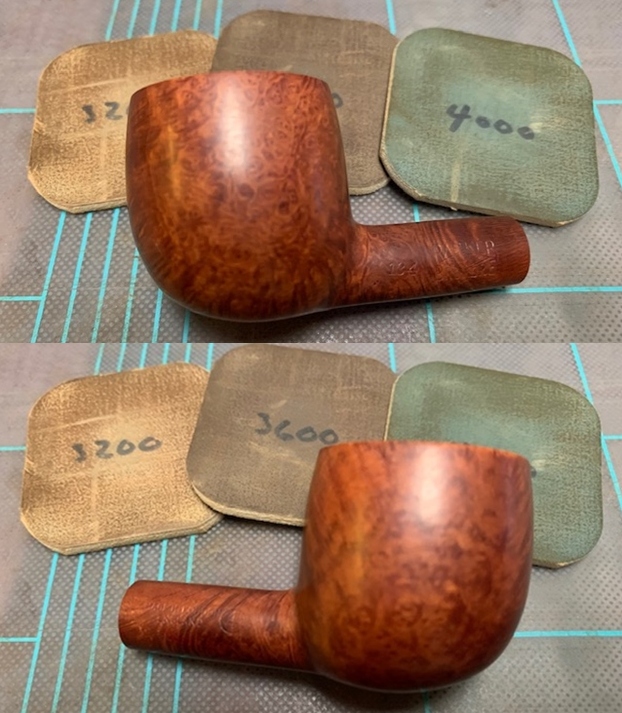
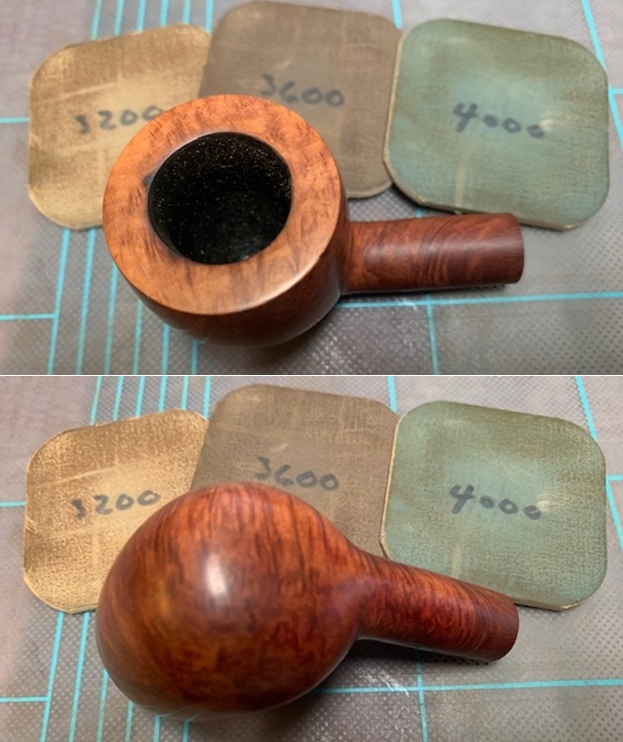
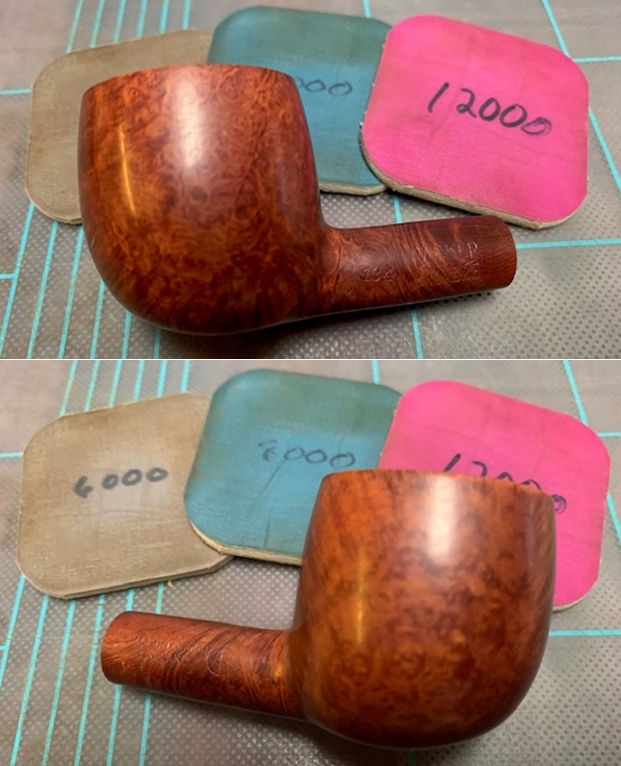
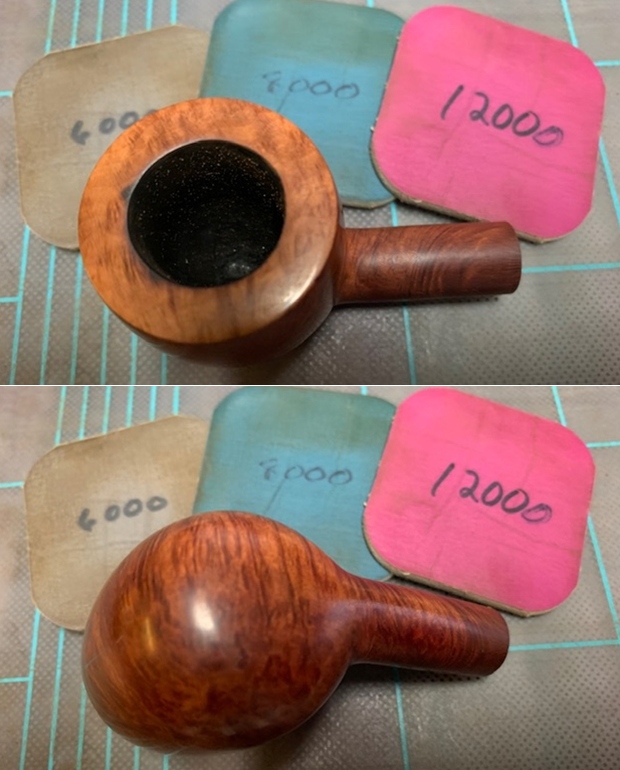
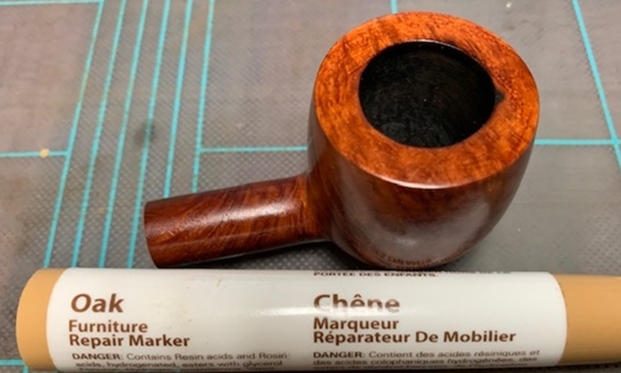
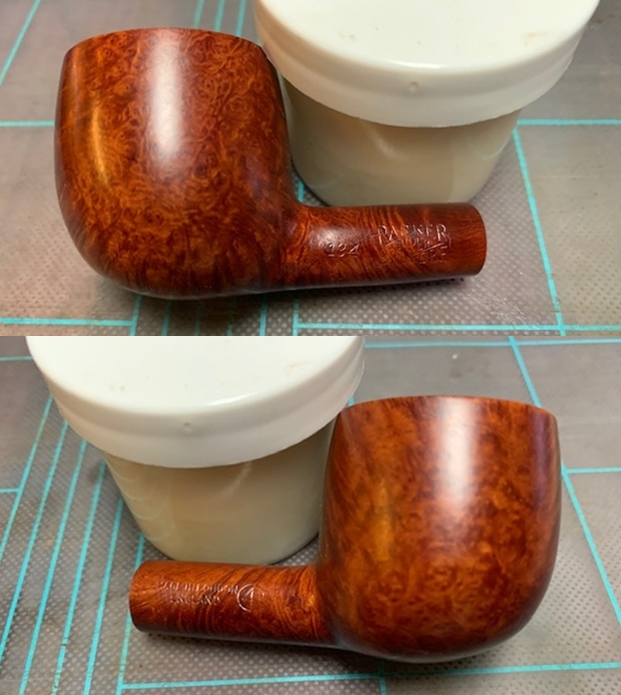
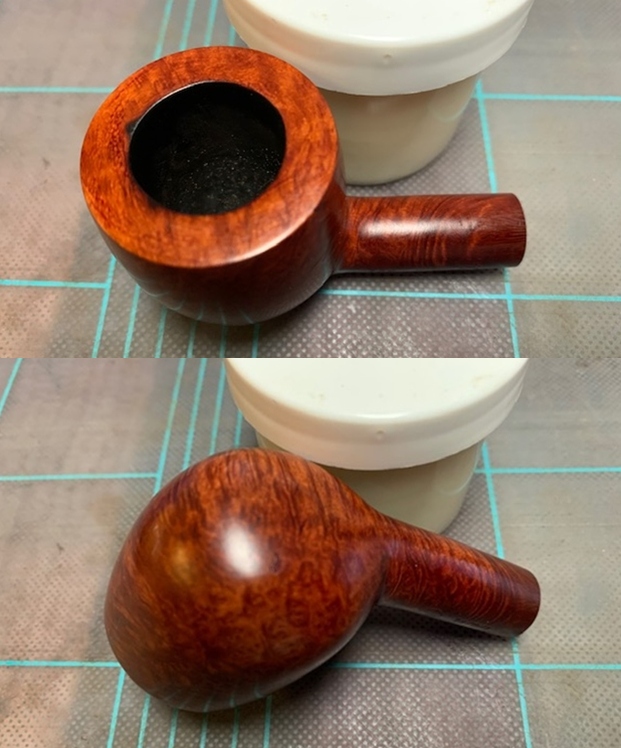
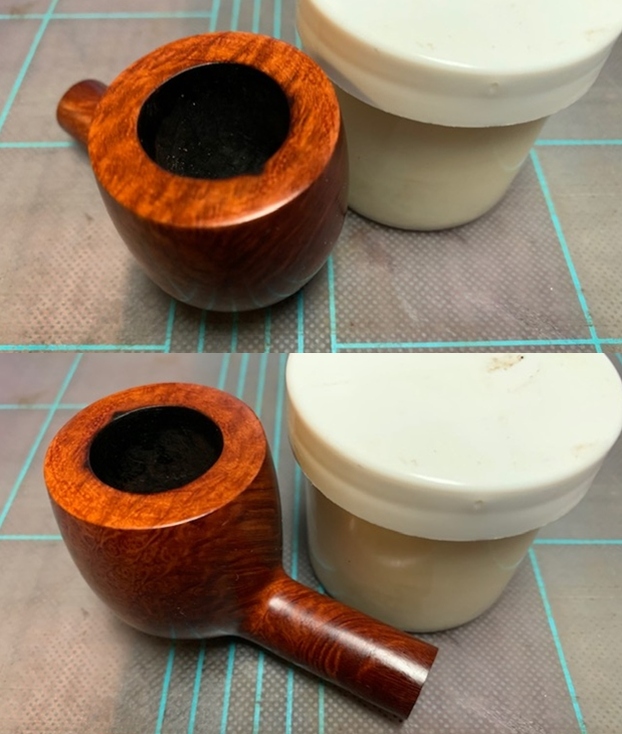
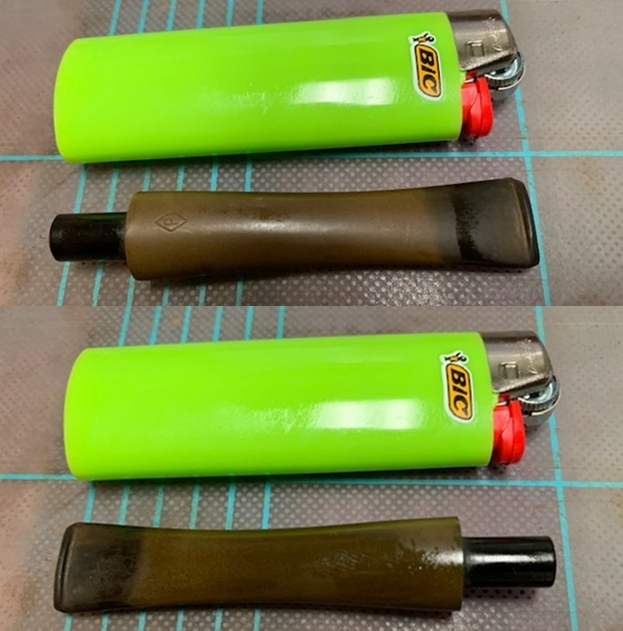
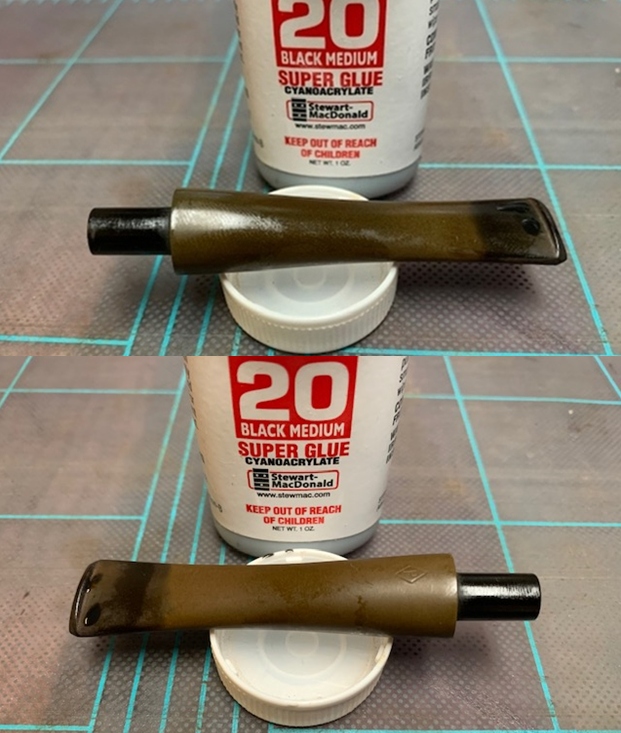
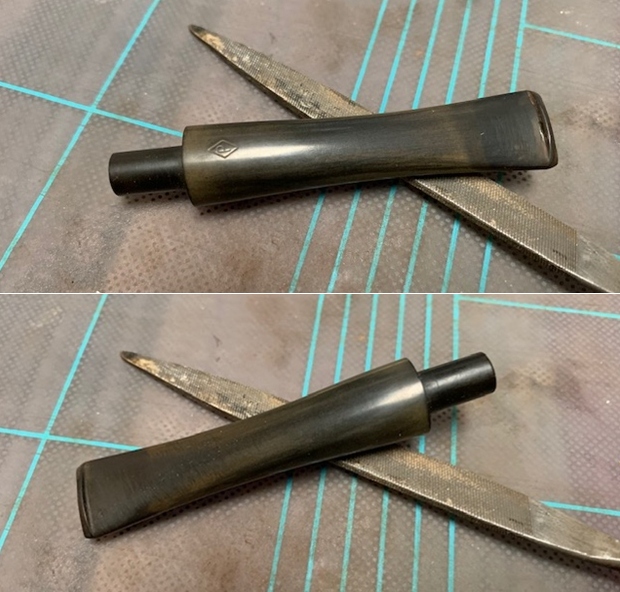
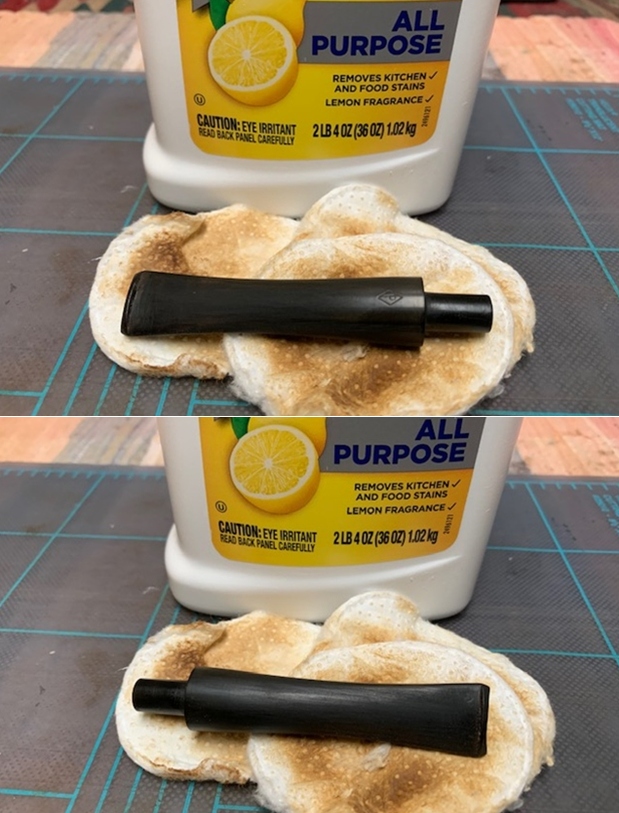
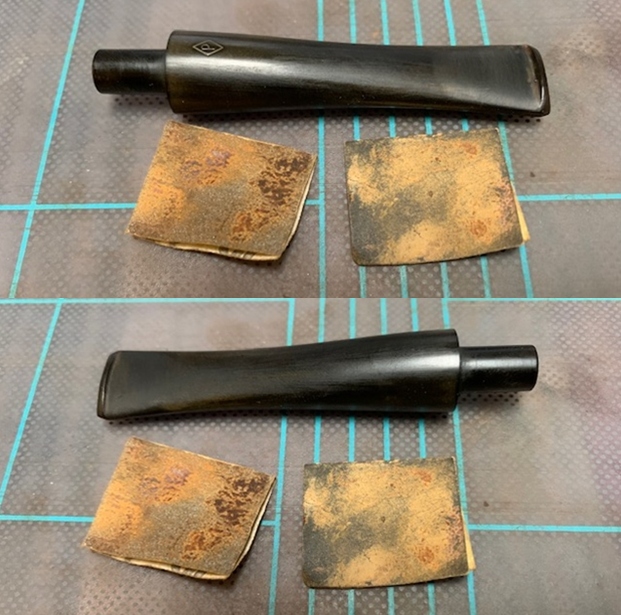
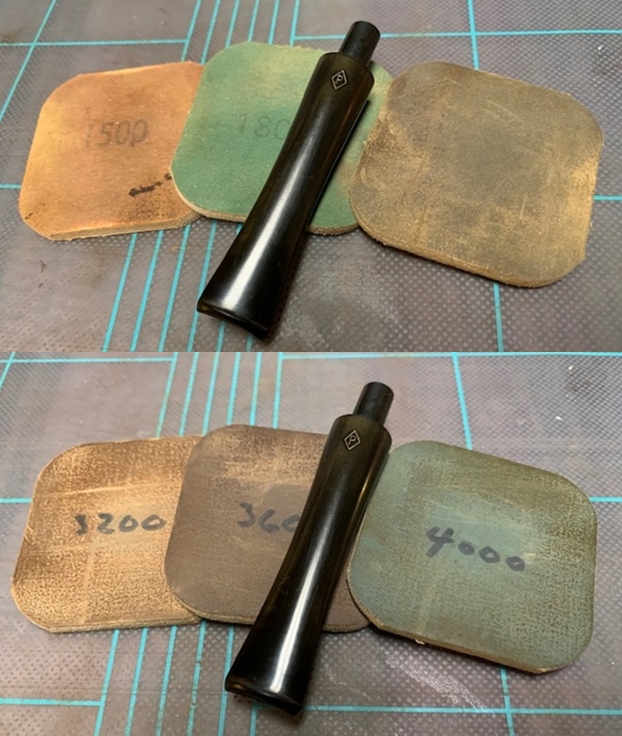
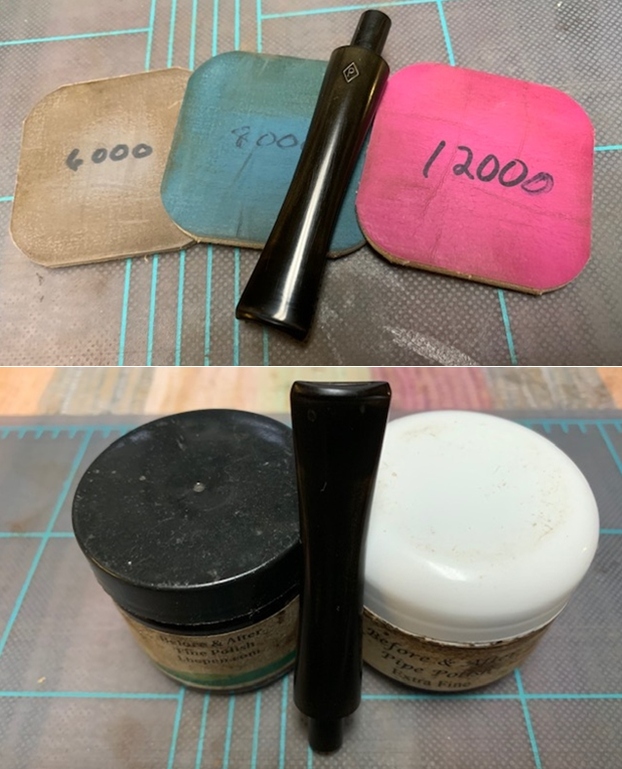
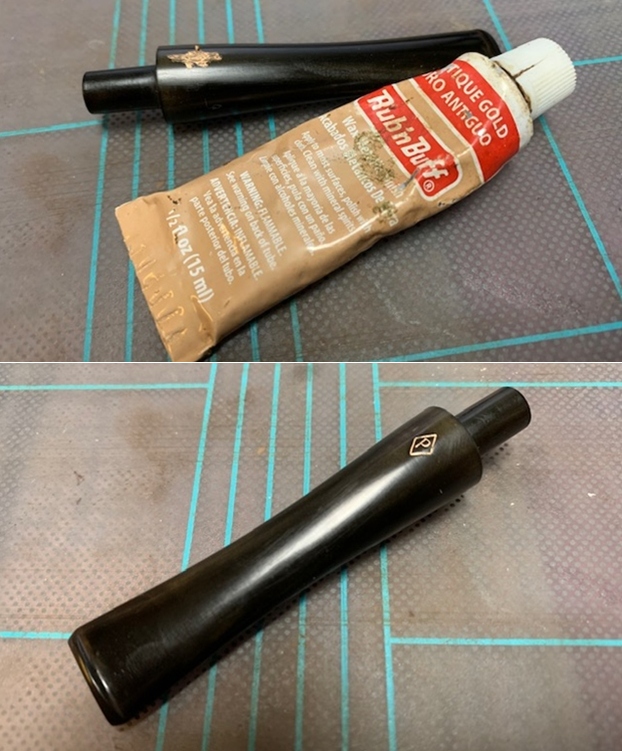
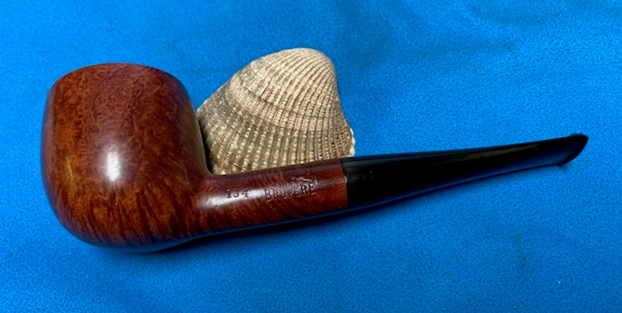
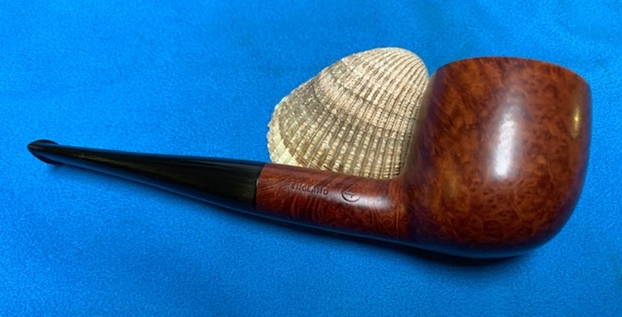
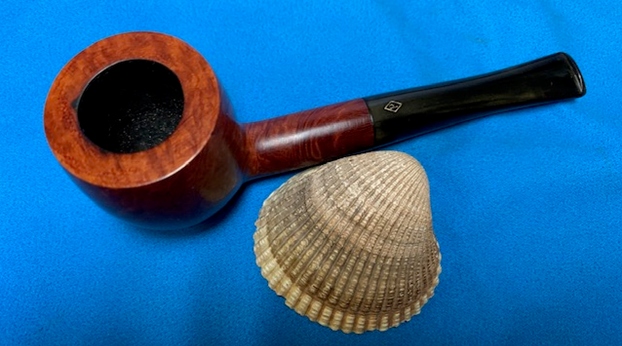
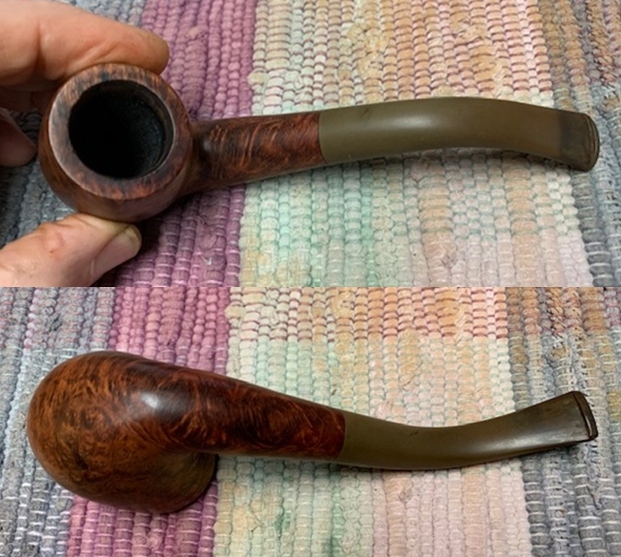
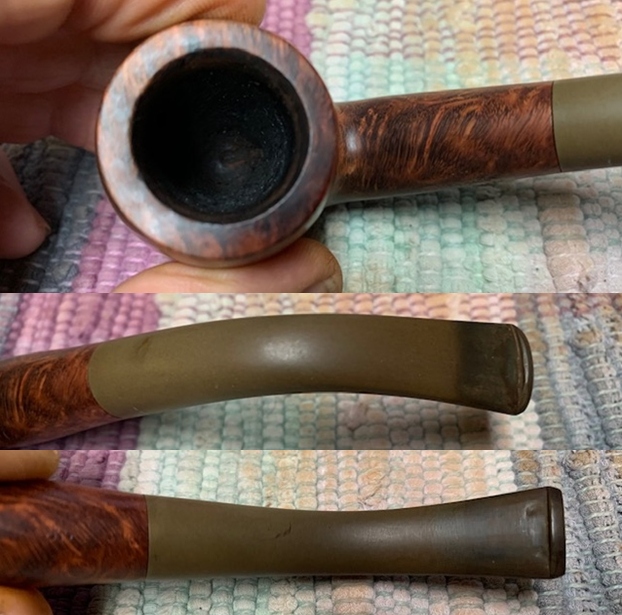
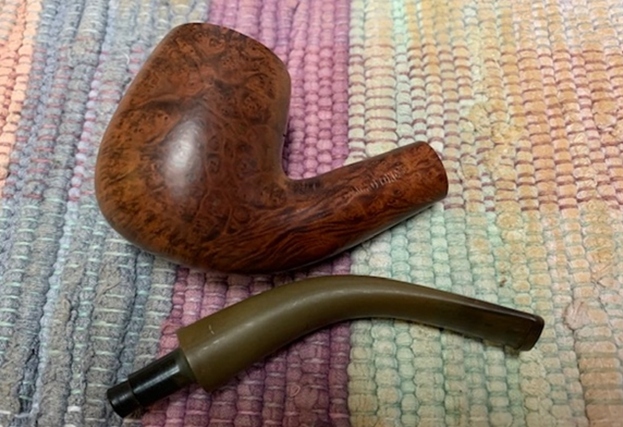
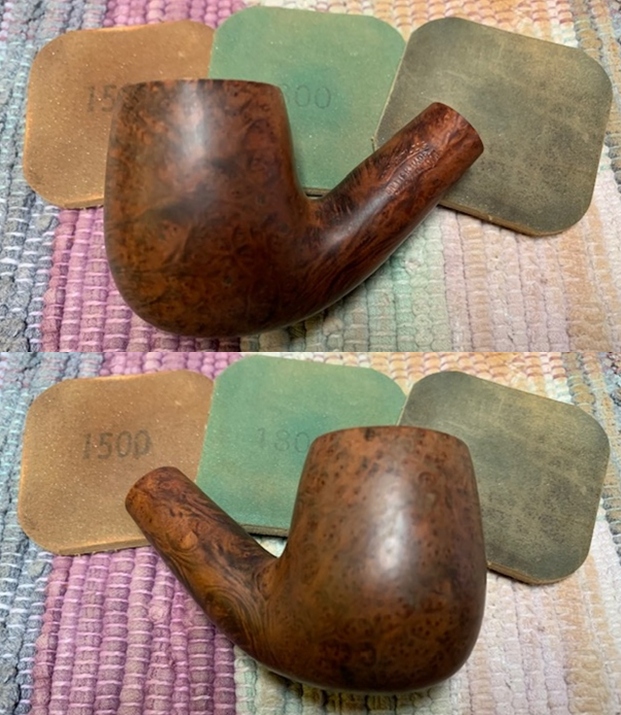
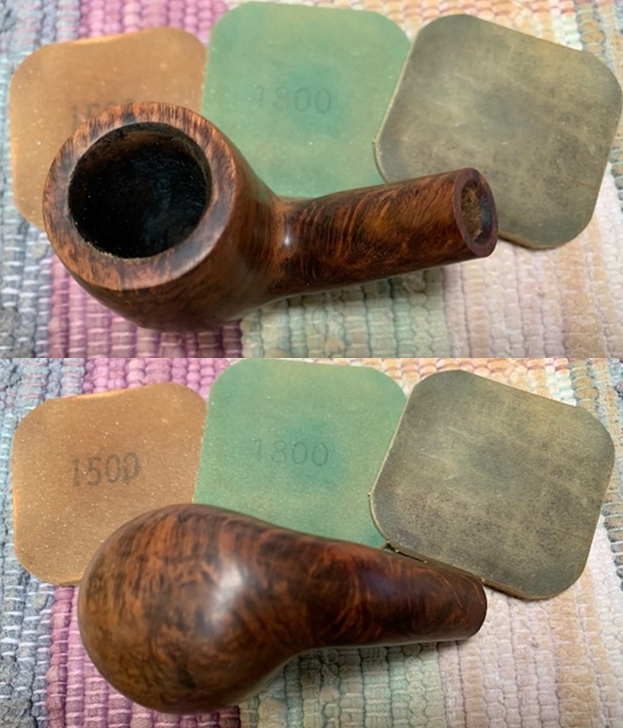
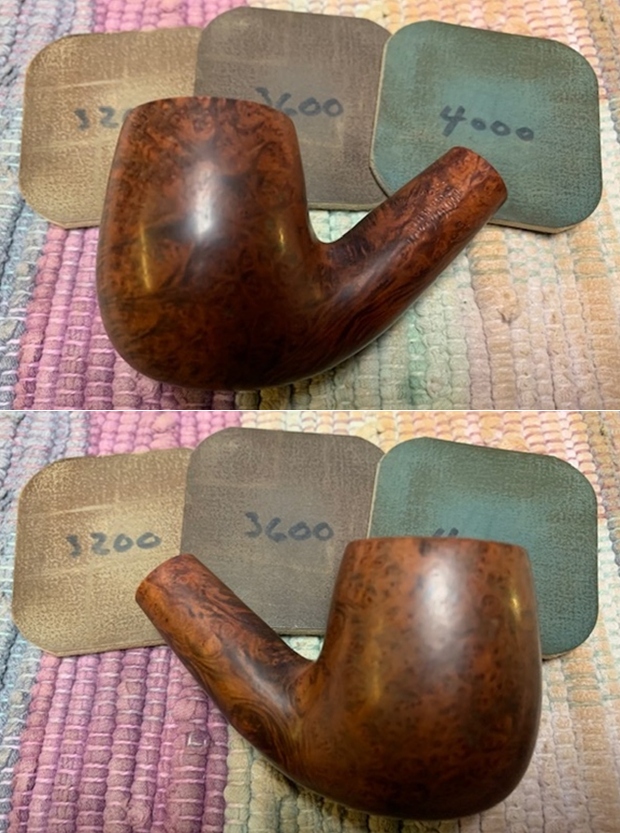
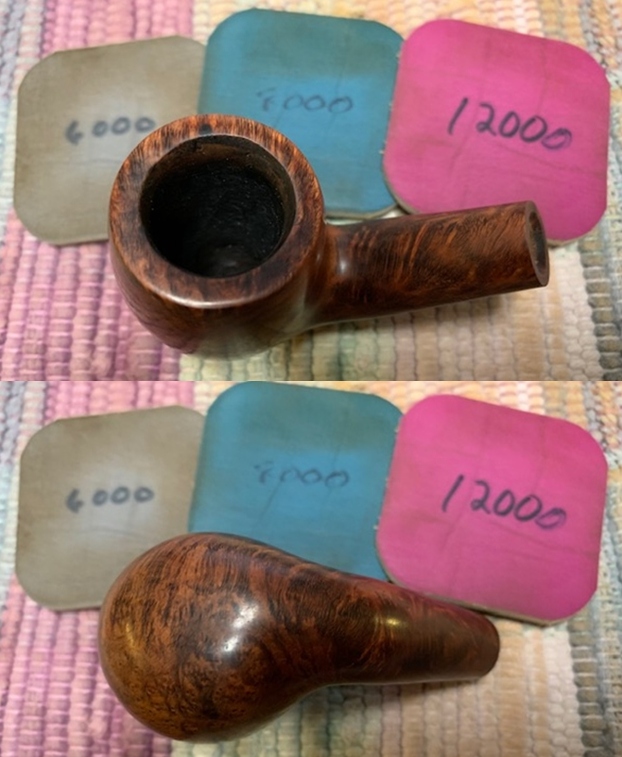
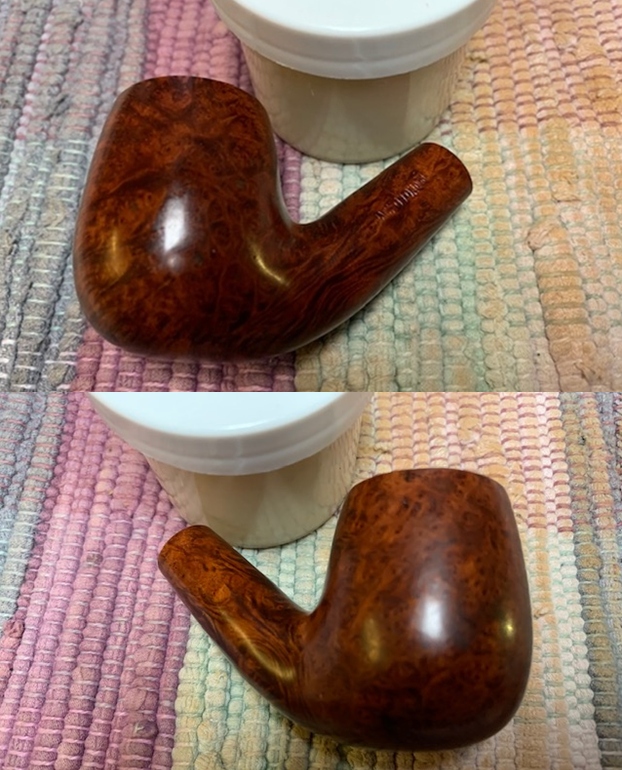
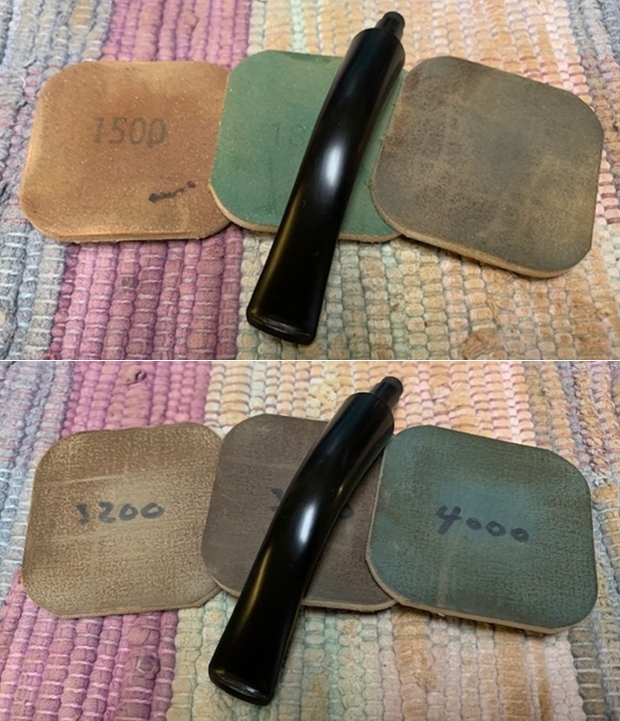
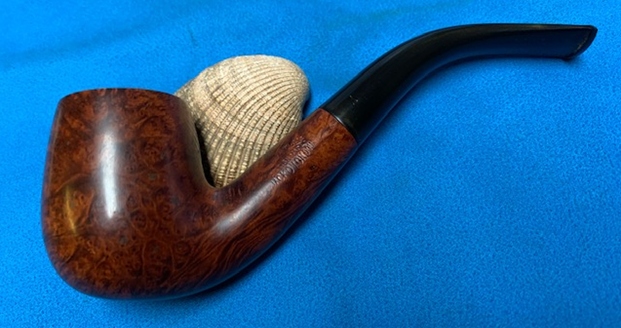
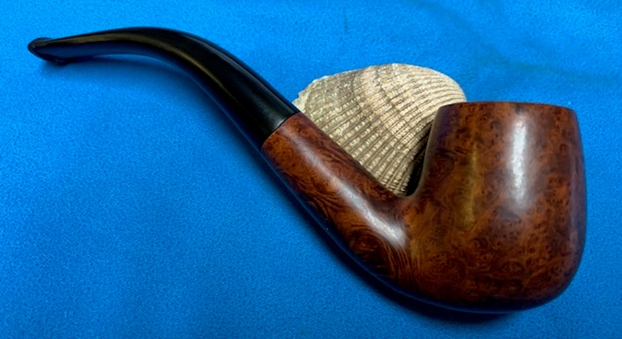
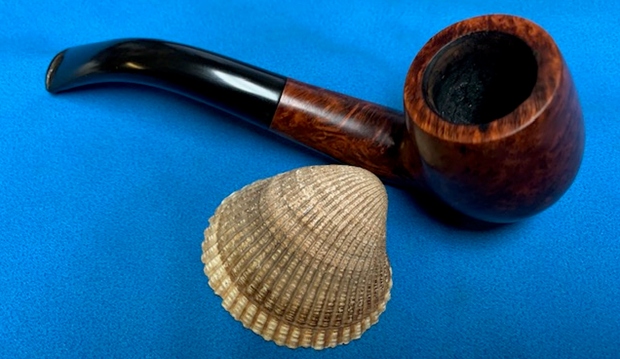
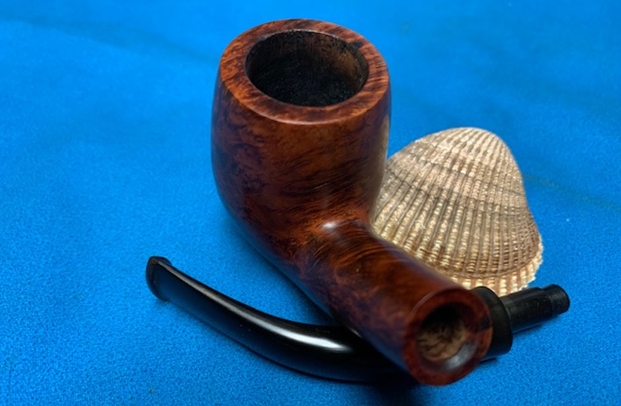
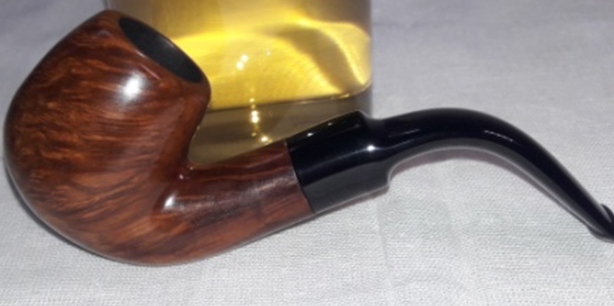
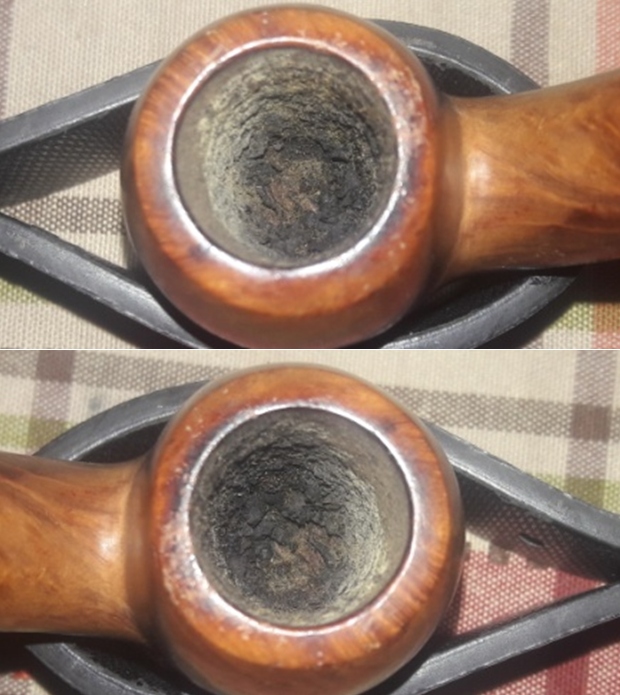
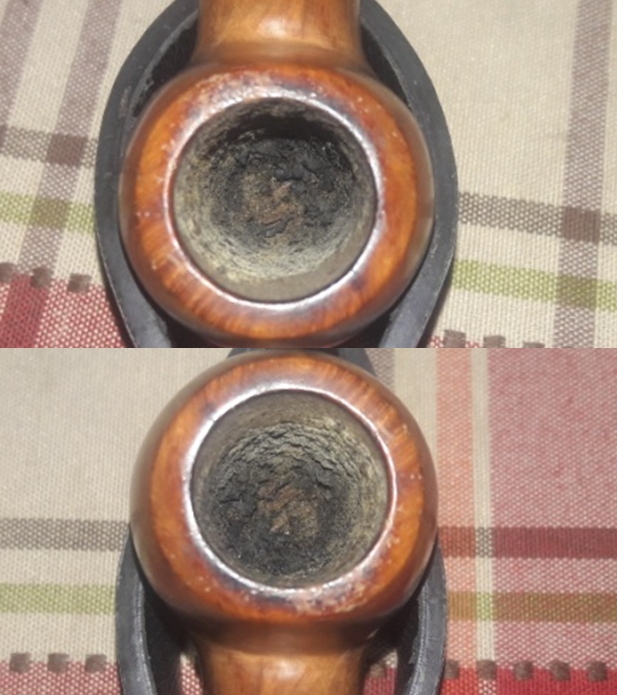
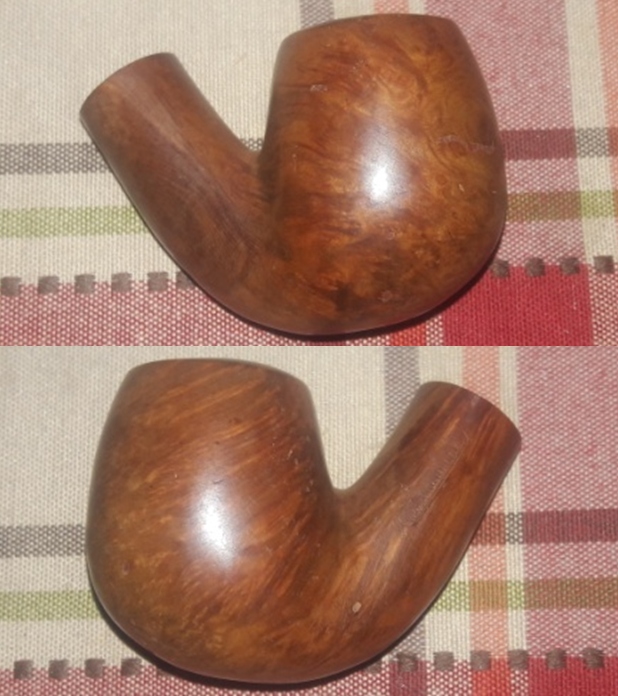
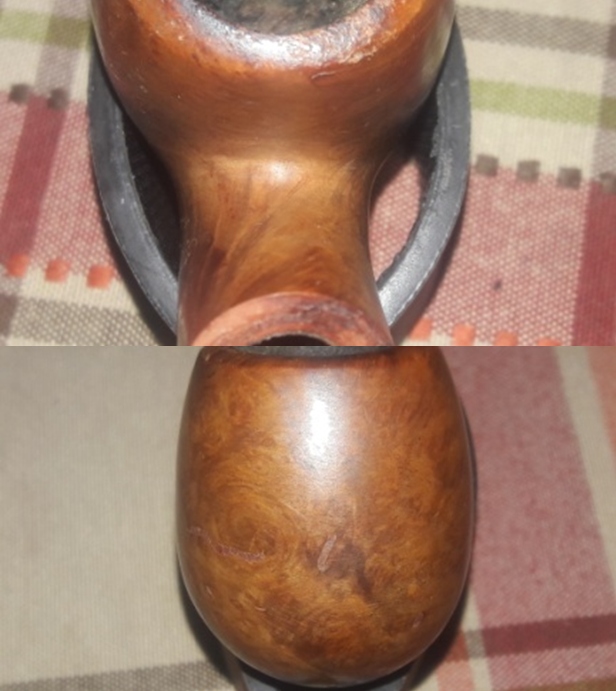
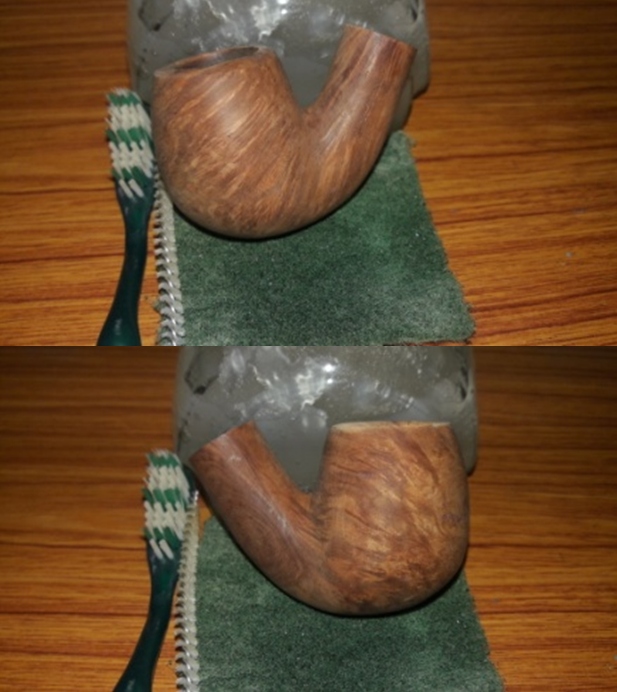
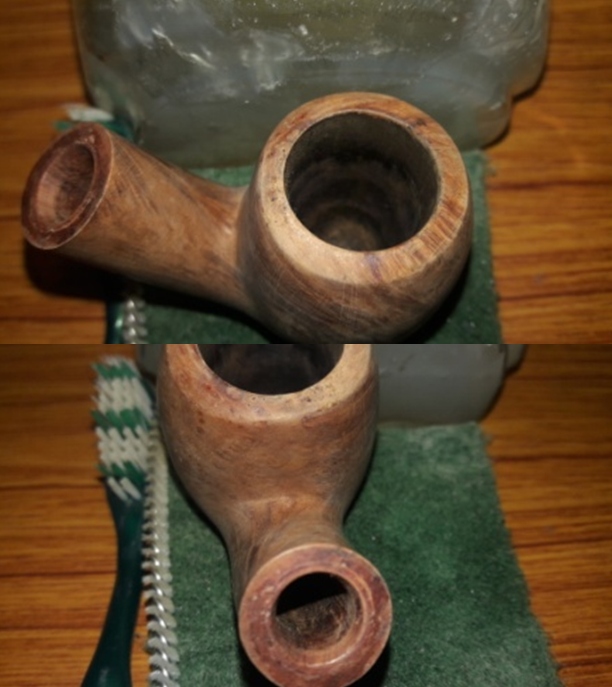
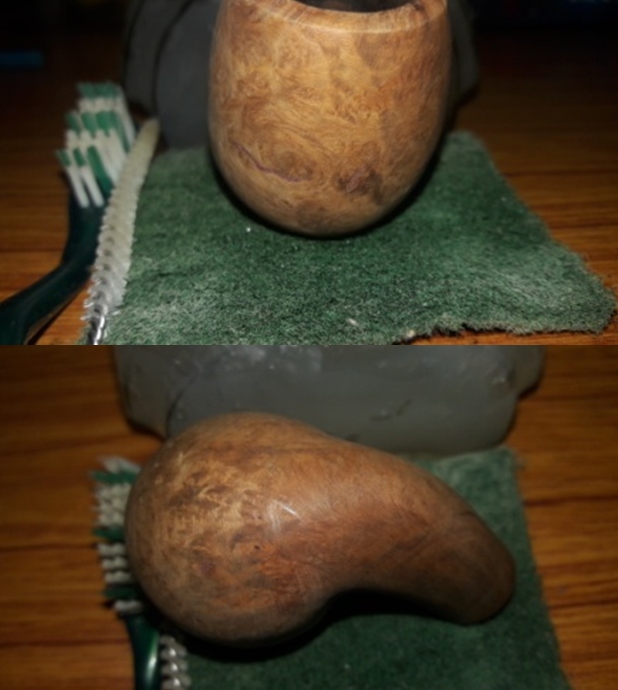
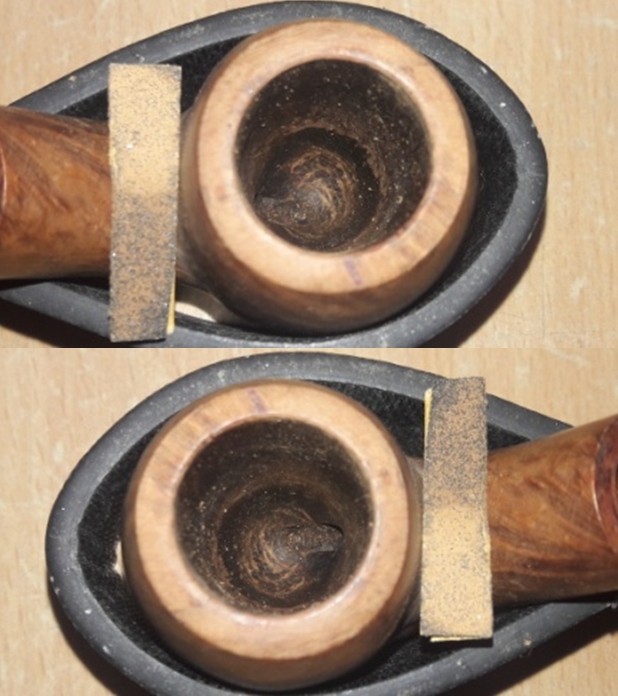
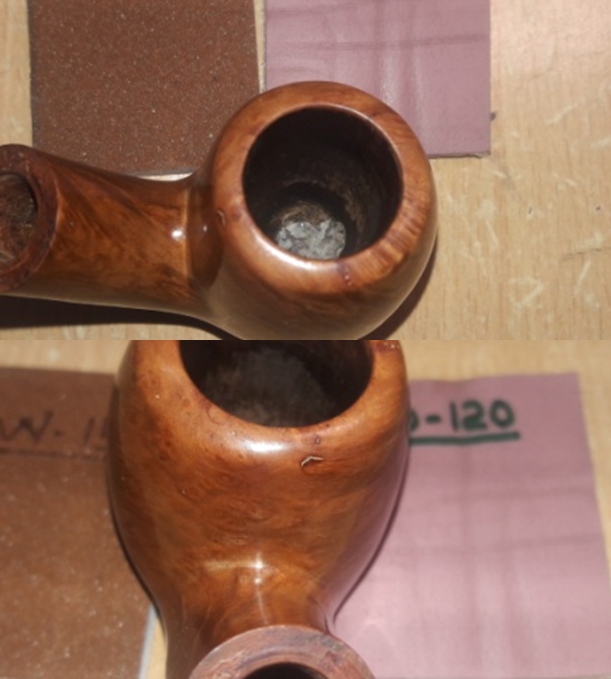
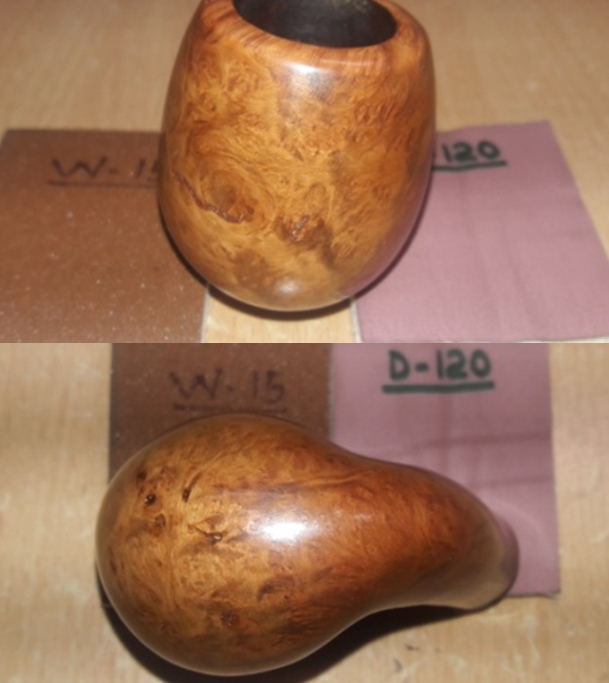
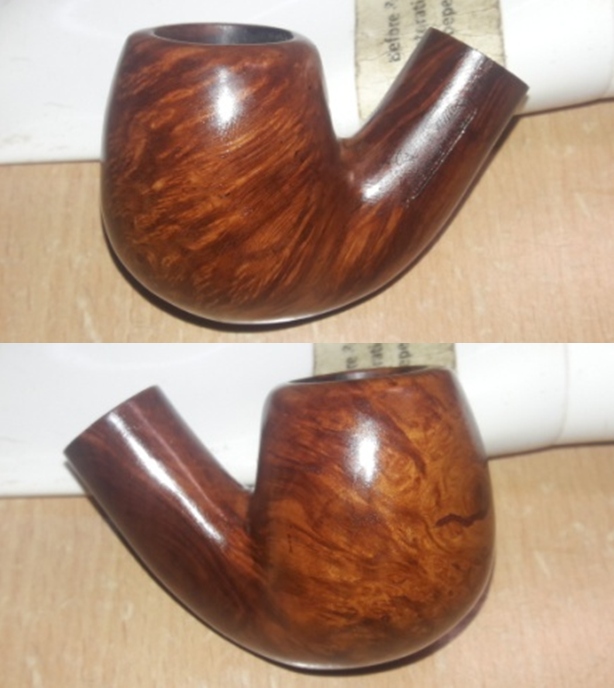
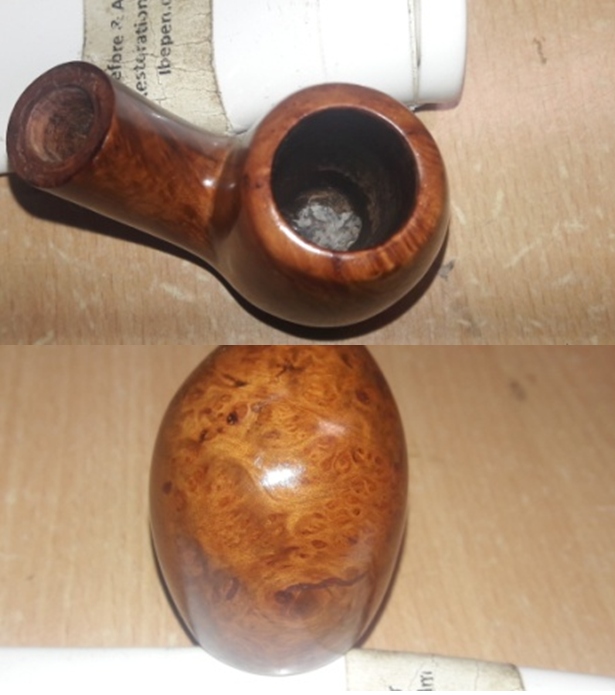
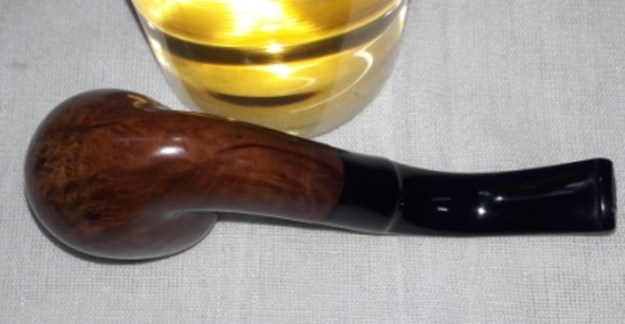
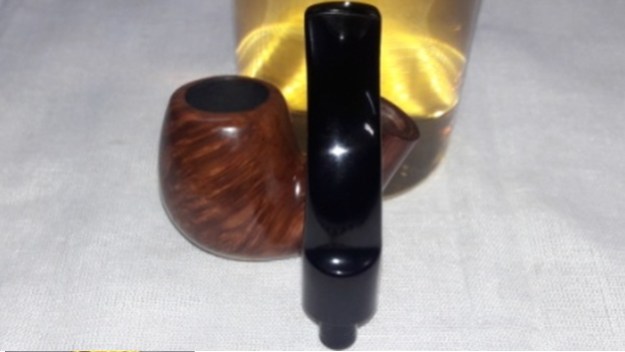
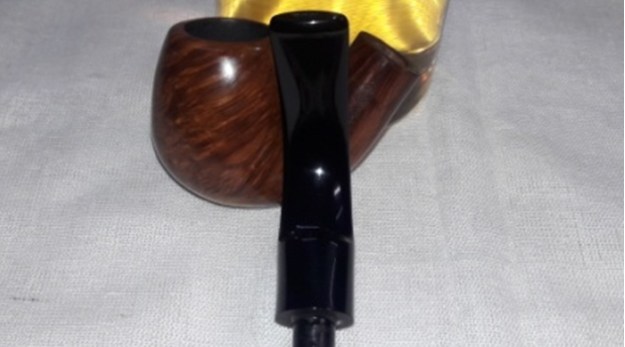
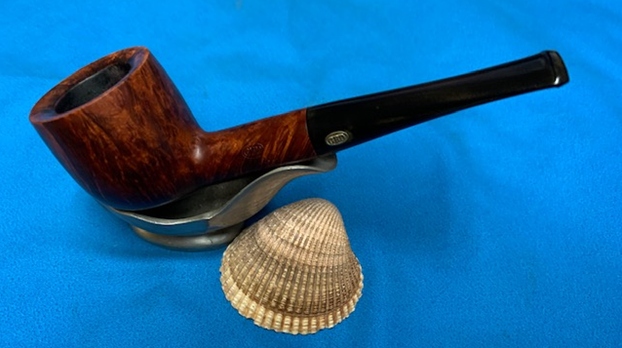
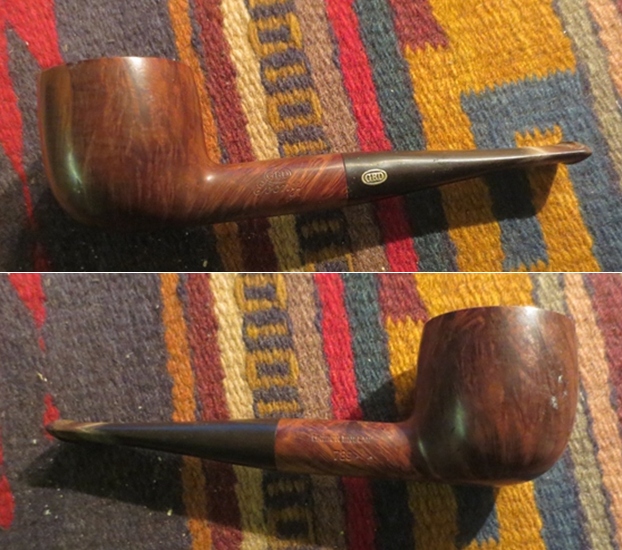
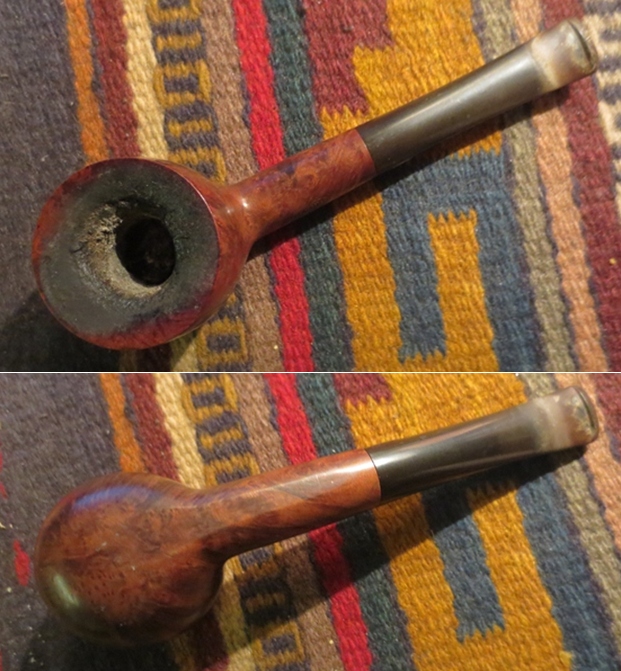
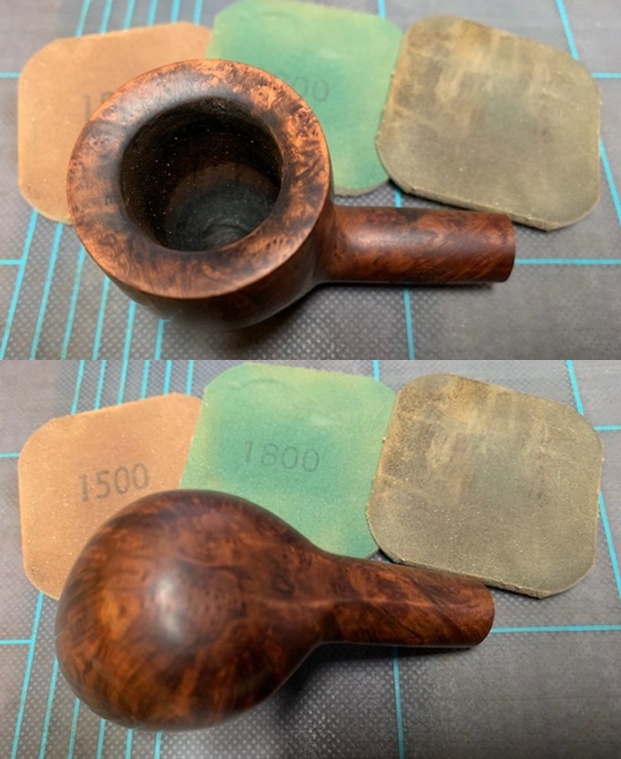
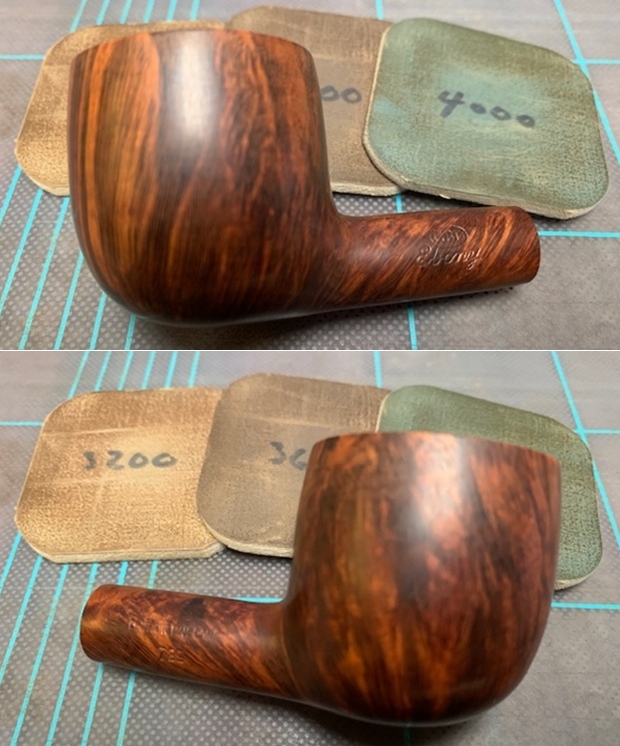
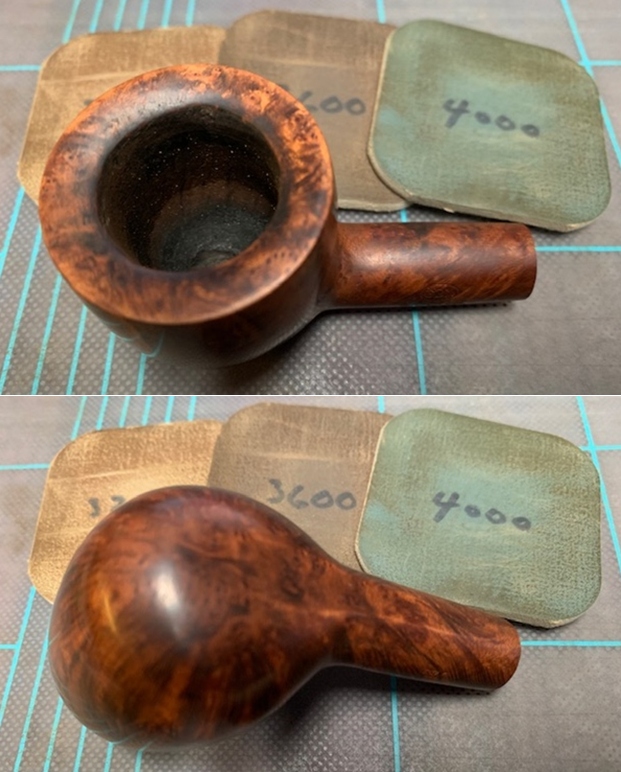
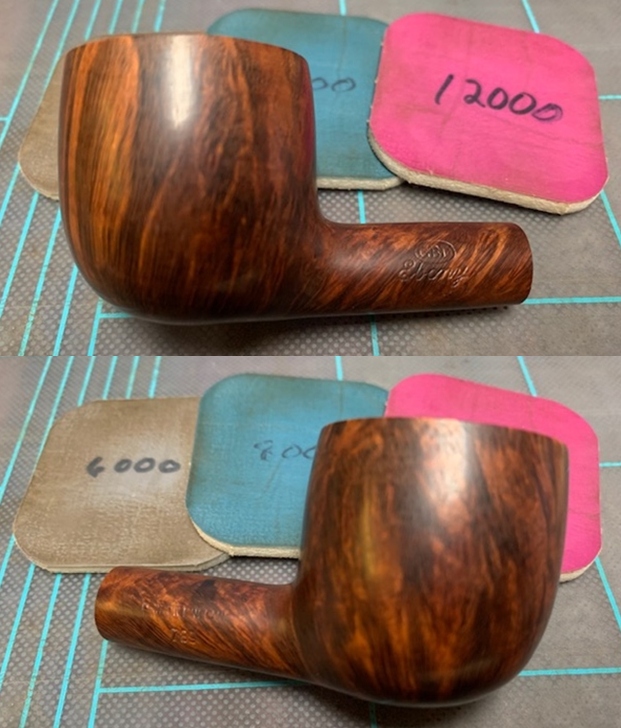
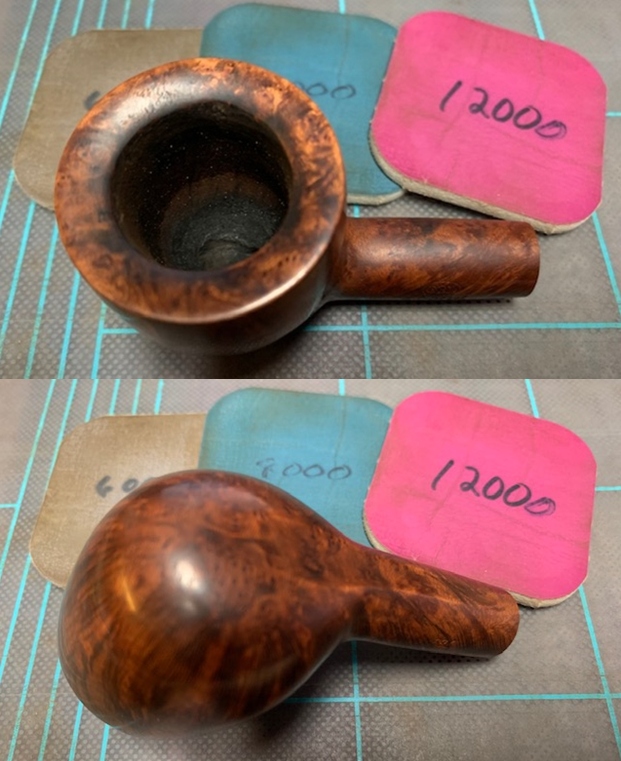
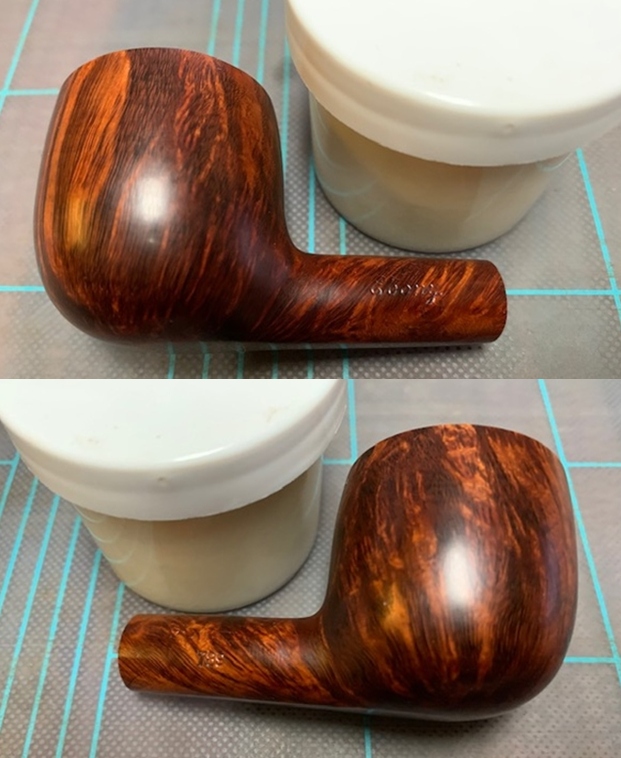
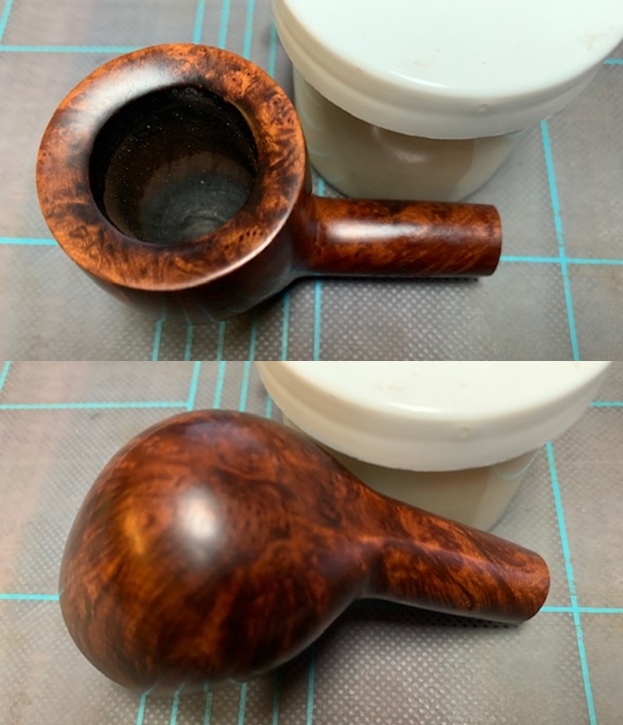
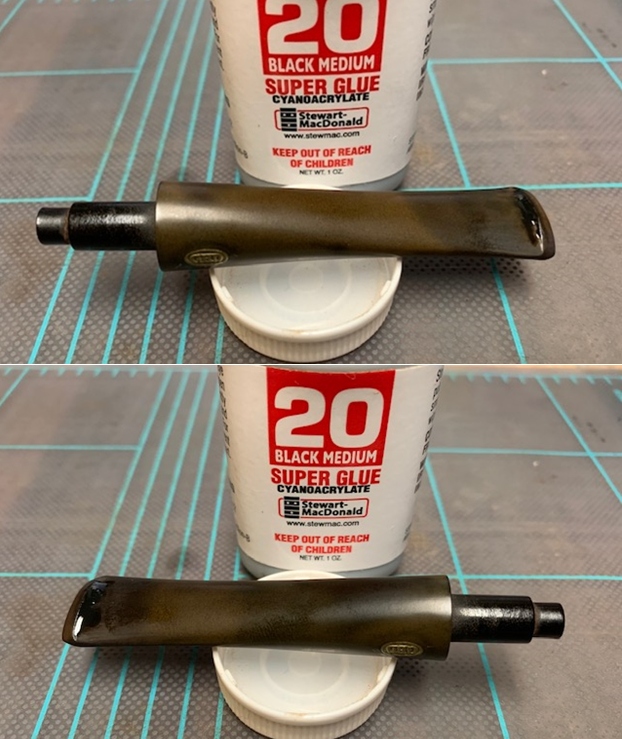
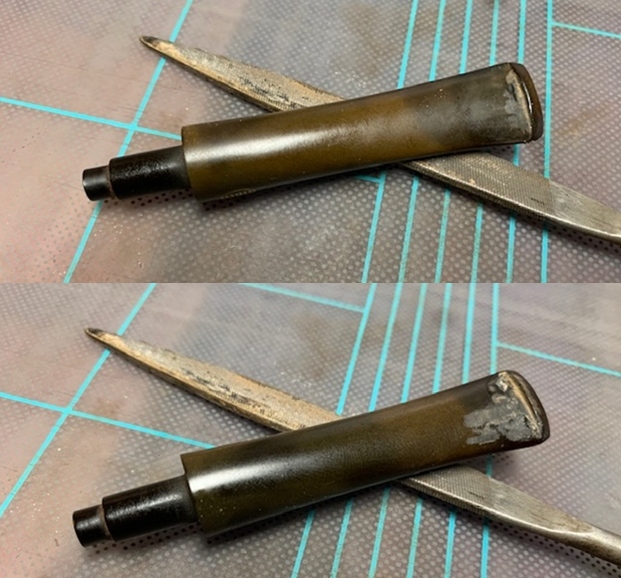
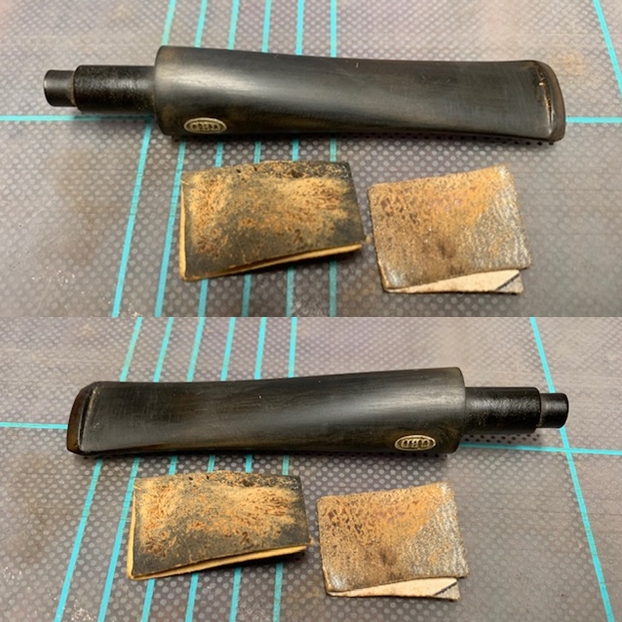
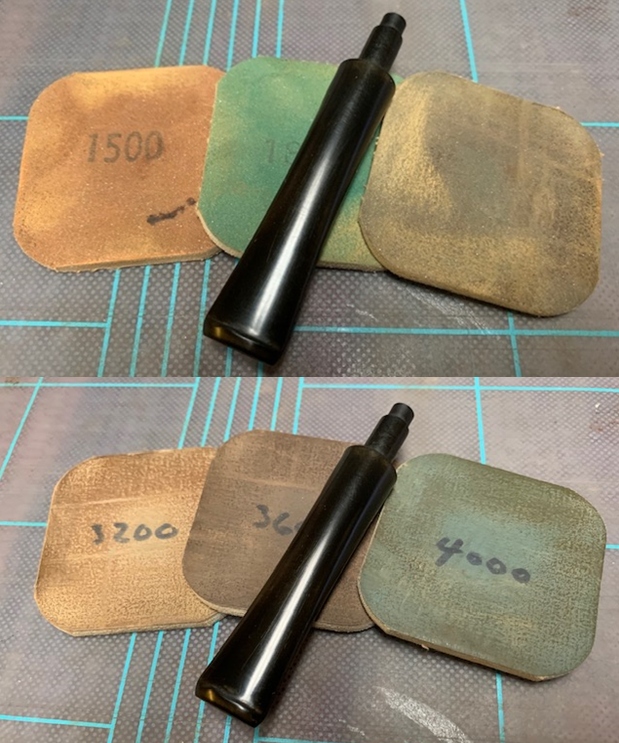
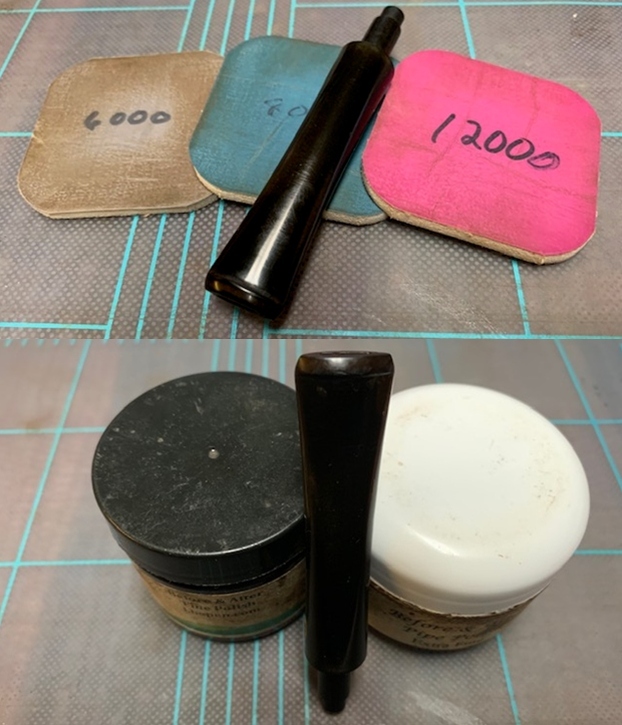
The next pipe on the work table came to me from the estate of a Vancouver pipe smoker whose widow left them with a local Pipe Shop after he died. I was asked to clean them up and sell them for the shop as it has since closed. This is another interesting looking piece – great grain showing through underneath the grime. There is cross grain and birdseye grain around the bowl. The pipe is stamped on the left side of the shank and reads shape #134 followed by Parker [over] Super in a diamond [over] Bruyere. On the right side of the shank it is stamped with the size number 4 in a circle followed by Made In London England. The finish was dull and lifeless with a lot of grime ground into the briar. The bowl was heavily caked with a lava coat on the top of the rim. It was hard to tell how the inner and outer edge of the rim actually looked until the bowl was reamed. The stem was oxidized, calcified and had tooth chatter and marks on the top and underside near the button. It had promise but it was very dirty. I took some photos of the pipe when I received it.   I have worked on quite a few Parkers over time and I have seen them stamped like the one I have however, there was a superscript after the D in England that was lacking in this one. I turned to Pipedia to see what I could find out a Super Bruyere without a date code after the England stamp (http://www.pipephil.eu/logos/en/logo-parker.html). I have included a screen capture of the section showing a similarly stamped. I had sent the batch of pipes from the shop to my brother Jeff in Idaho and he had cleaned them up for me. It was several years ago now that he sent them back to me and I am just now getting to finish them. He reamed them with a Pipnet Reamer and cleaned up the reaming with a Savinelli Fitsall pipe knife.  He had scrubbed the exterior of the bowl with Murphy’s Oil Soap and a tooth brush and rinsed it off with warm water to remove the grime from the finish. He cleaned the internals of the shank and stem with alcohol, cotton swabs and pipe cleaners to remove the tarry residue and oils in the shank and airway. He soaked the stem in Before & After Deoxidizer to remove the oxidation on the stem surface. When it arrived here on my work table I took photos of the pipe before I started my part of the restoration. The bowl was a definite improvement but the stem still showed some oxidation.    The inner and outer edges were in good condition. There was some darkening around the inner edge of the rim and some damage to the rim top. The stem look good but there was still some oxidation and there were tooth marks and chatter on both sides near the button. The underside was worse than the topside.     I took a photo of the stamping on the sides of the shank. The stamping is clear and readable and reads as noted above.         I took the stem off the pipe and took a photo of the parts to show the look of the pipe as a whole.I topped the bowl with 220 grit sandpaper on a topping board to remove the damage to the rim top. I used a folded piece of sandpaper to clean up the inner edge of the bowl. I polished the rim top and bowl with 1500-12000 grit micromesh sanding pads to polish the briar.      I used an Oak stain pen to touch up the rim top and blend it into the rest of the bowl. Once it was buffed it would be a perfect match.I rubbed the bowl and shank down with Before & After Restoration Balm. I worked it into the surface of the bowl sides and shank with my fingertips to clean, enliven and protect the briar. I let the balm sit for a little while and then buffed with a cotton cloth to raise the shine. You can see the grain showing through the deep glow. I set the bowl aside and turned my attention to the stem. I “painted” the stem surface with the flame of a Bic lighter. I was able to lift the majority of the dents but there were two on the underside and a dent along the button on the top side. I filled them in with clear super glue and set it aside to cure. Once the repairs cured I used a needle file to smooth out the repairs and blend them into the surrounding vulcanite. I scrubbed the surface of the stem with Soft Scrub all-purpose cleanser to remove the oxidation that remained on the stem surface. I smoothed out the repair with 220 grit sandpaper to blend it into the surface of the surrounding vulcanite. I started polishing the stem with 400 grit wet dry sandpaper.       I polished the vulcanite stem with micromesh sanding pads – 1500-12000 grit pads. I wiped it down with a damp cloth after each sanding pad. I used Before & After Pipe Polish – both Fine and Extra Fine to further polish the stem.        I touched up the Diamond P stamp with Antique Gold Rub’n Buff. I pushed it into the stamping with a tooth pick. I rubbed it off with a cotton pad to remove the excess and still leave some in the stamping.   This Parker British Made Super Bruyere Pot is a great looking pipe now that it has been restored. This great looking pipe that came to me from the local pipe shop estate that I am restoring and selling for them. The medium brown stain highlights the grain and works well with the polished vulcanite taper stem. I put the stem back on the bowl and carefully buffed the pipe with Blue Diamond on the buffing wheel using a light touch on the briar. I gave the bowl and the stem multiple coats of carnauba wax on the buffing wheel and followed that by buffing the entire pipe with a clean buffing pad. I hand buffed the pipe with a microfiber cloth to deepen the shine. The finished straight pot fits nicely in the hand and feels great. Give the finished pipe a look in the photos below. The dimensions of the pipe are Length: 5 ¼ inches, Height: 1 ¾ inches, Outside diameter of the bowl: 1 ½ inches, Chamber diameter: ¾ of an inch. If you are interested in adding this pipe to your collection send me a message or an email. I have a variety of brands to work on from the shop. Perhaps one of those will catch your attention. Thanks for reading this blog and my reflections on the pipe while I worked on it. This is an interesting estate to bring back to life.

Restoring a Hardcastle’s British Made Jack O’London


Blog by Steve Laug

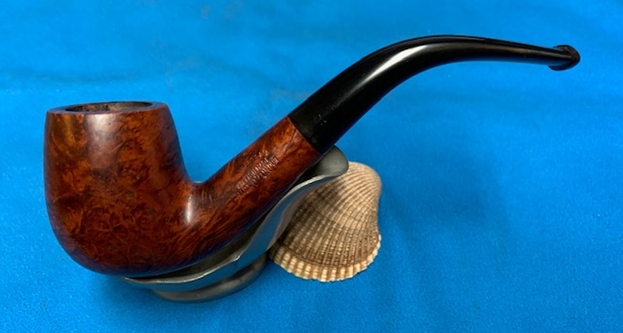
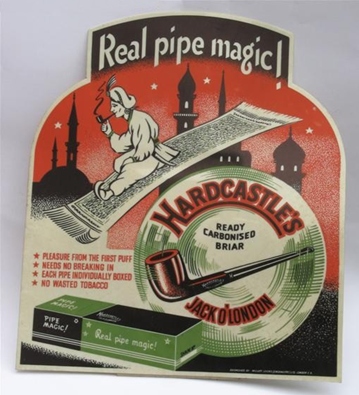
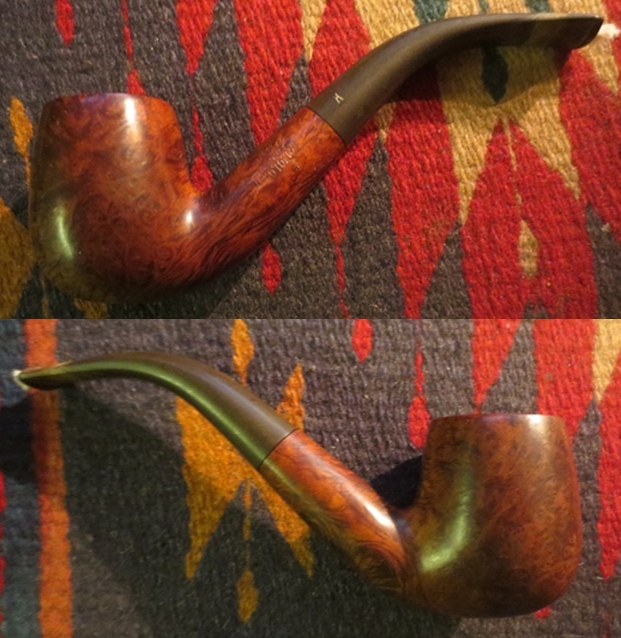
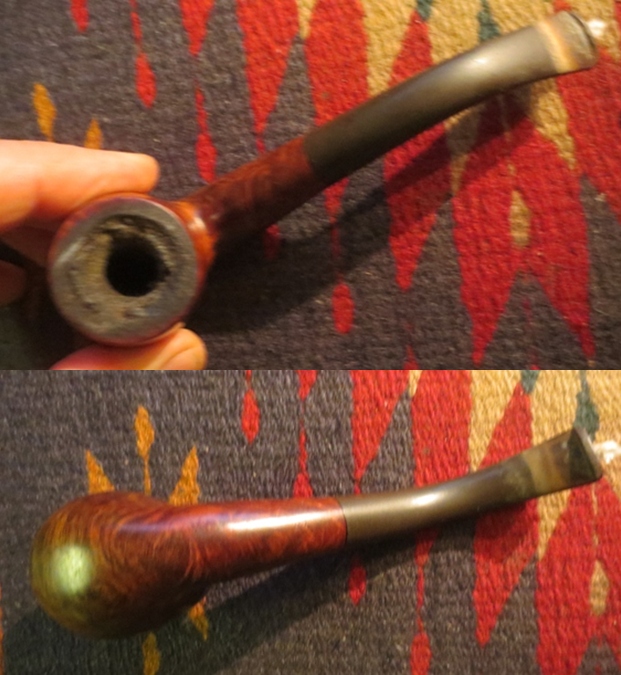
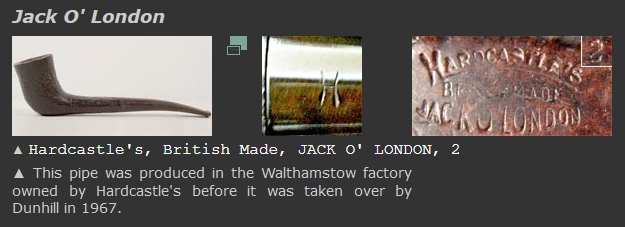
The next pipe on the work table came to me from the estate of a Vancouver pipe smoker whose widow left them with a local Pipe Shop after he died. I was asked to clean them up and sell them for the shop as it has since closed. This is another interesting looking piece – great grain showing through underneath the grime. There is cross grain and birdseye grain around the bowl. The pipe is stamped on the left side and reads Hardcastle’s [over] British Made [over] Jack O’London. On the underside of the shank it is stamped with the number 85. The finish was dull and lifeless with a lot of grime ground into the briar. The bowl was heavily caked with a lava coat on the top of the rim. It was hard to tell how the inner and outer edge of the rim actually looked until the bowl was reamed. The stem was oxidized, calcified and had tooth chatter and marks on the top and underside near the button. It had promise but it was very dirty. I took some photos of the pipe when I received it. I was curious about the particular line of Hardcastle’s pipes that I was working on. I wanted some more information on the Hardcastle’s Jack O’London line so I did some searching on Pipephil (http://www.pipephil.eu/logos/en/logo-hardcastle.html). I including the following screen capture below.I turned to Pipedia (https://pipedia.org/wiki/Hardcastle) to try to gather more information on the line. The quote below links it to the Family Period of Hardcastle’s.

Models & Grades – Family Period

Straight Grain, Supergrain, Leweard, Nut Bruyere, De Luxe, Royal Windsor Sandhewn, Royal Crown, The Crown, Phito Dental, Old Bruyere, Jack O’London, Dental Briar, Phito, Dental, Dryconomy, Drawel, Phithu, Telebirar, Camden, Lightweight, The Table, Dovetail, Dental, Crescent Extra, Lonsdale, Welard De Luxe

That could make sense as there is a Henry Birks and Sons Ltd. in Vancouver. Since the pipe came through a Vancouver based pipe shop there could be a connection. It is one of those mysteries that I am not sure will be solved.

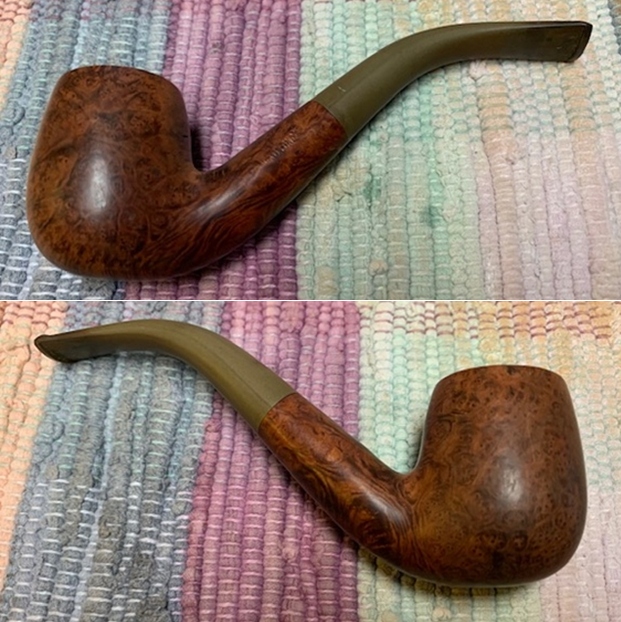
I had sent the batch of pipes from the shop to my brother Jeff in Idaho and he had cleaned them up for me. It was several years ago now that he sent them back to me and I am just now getting to finish them. He reamed them with a Pipnet Reamer and cleaned up the reaming with a Savinelli Fitsall pipe knife.  He had scrubbed the exterior of the bowl with Murphy’s Oil Soap and a tooth brush and rinsed it off with warm water to remove the grime in the rustication. He cleaned the internals of the shank and stem with alcohol, cotton swabs and pipe cleaners to remove the tarry residue and oils in the shank and airway. He soaked the stem in Before & After Deoxidizer to remove the oxidation on the stem surface. When it arrived here on my work table I took photos of the pipe before I started my part of the restoration. The bowl was a definite improvement but the stem still showed some oxidation.     The inner and outer edges were in excellent condition. There were nicks and damaged areas on the rim top. There was also some darkening on the top. The stem look good but there was still some oxidation and there were tooth marks and chatter on both sides near the button. The underside was worse than the topside.      I took a photo of the stamping on the sides of the shank. The stamping is clear and readable and reads as noted above.      I took the stem off the pipe and took a photo of the parts to show the look of the pipe as a whole.I polished the rim top and bowl with 1500-12000 grit micromesh sanding pads to polish the briar.      I rubbed the bowl and shank down with Before & After Restoration Balm. I worked it into the surface of the bowl sides and shank with my fingertips to clean, enliven and protect the briar. I let the balm sit for a little while and then buffed with a cotton cloth to raise the shine. You can see the grain showing through the deep glow.       I set the bowl aside and turned my attention to the stem. I “painted” the stem surface with the flame of a Bic lighter. I was able to lift the majority of the dents but there were two on the underside and a dent along the button on the top side. I filled them in with clear super glue and set it aside to cure. Once the repair cured I smoothed out the repairs with a needle file.    I sanded out the repair with 220 grit sandpaper to blend it into the surface of the surrounding vulcanite. I started polishing the stem with 400 grit wet dry sandpaper.     I polished the vulcanite stem with micromesh sanding pads – 1500-12000 grit pads. I wiped it down with a damp cloth after each sanding pad. I used Before & After Pipe Polish – both Fine and Extra Fine to further polish the stem.       This Hardcastle’s British Made Jack O’London Bent Billiard is a great looking pipe now that it has been restored. This great looking pipe that came to me from the local pipe shop estate that I am restoring and selling for them. The medium brown stain highlights the grain and works well with the polished vulcanite taper stem. I put the stem back on the bowl and carefully buffed the pipe with Blue Diamond on the buffing wheel using a light touch on the briar. I gave the bowl and the stem multiple coats of carnauba wax on the buffing wheel and followed that by buffing the entire pipe with a clean buffing pad. I hand buffed the pipe with a microfiber cloth to deepen the shine. The finished Hardcastle’s Bent Billiard fits nicely in the hand and feels great. Give the finished pipe a look in the photos below. The dimensions of the pipe are Length: 6 inches, Height: 1 ¾ inches, Outside diameter of the bowl: 1 ¼ inches, Chamber diameter: ¾ of an inch. If you are interested in adding this pipe to your collection send me a message or an email. I have a variety of brands to work on from the shop. Perhaps one of those will catch your attention. Thanks for reading this blog and my reflections on the pipe while I worked on it. This is an interesting estate to bring back to life.

Refurbishing a Second Bertram From the Lot Of 13 – a Bent Egg # 25


Blog by Paresh Deshpande

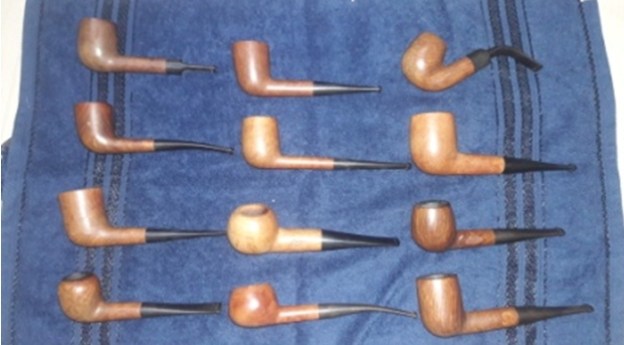
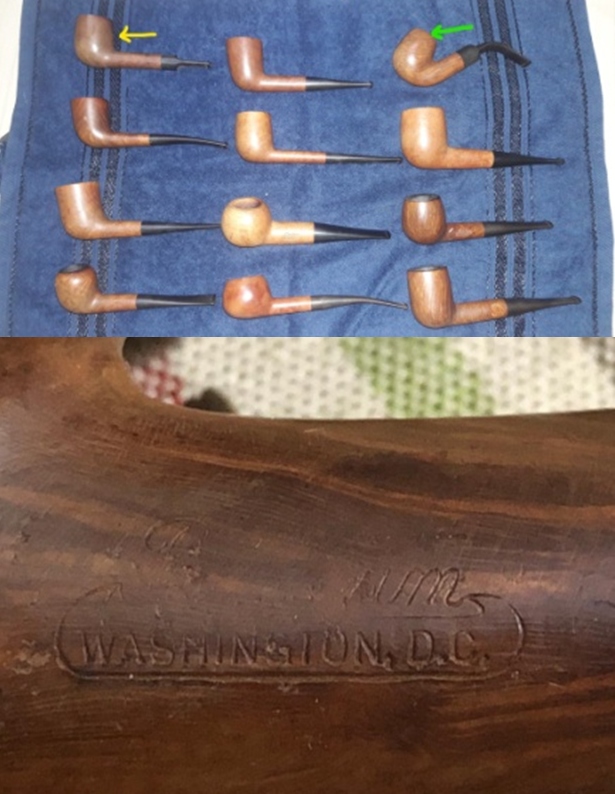
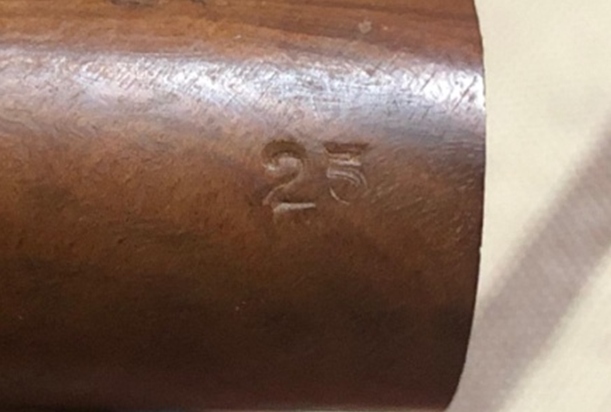
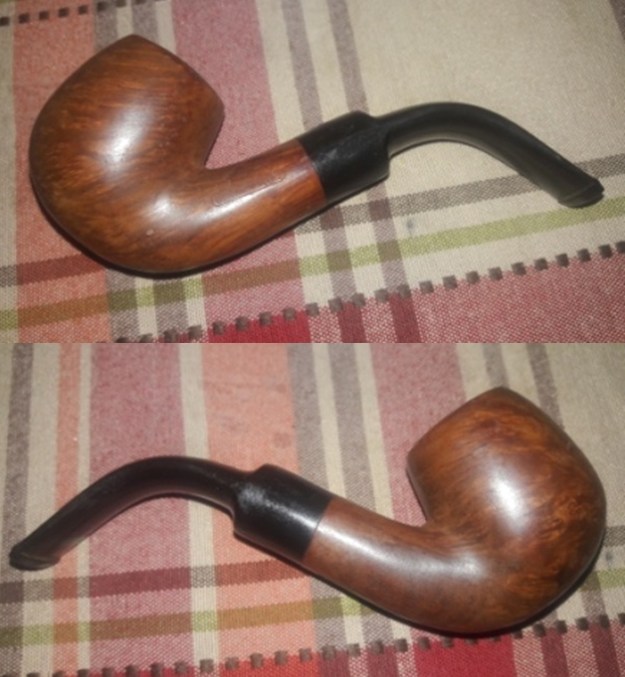
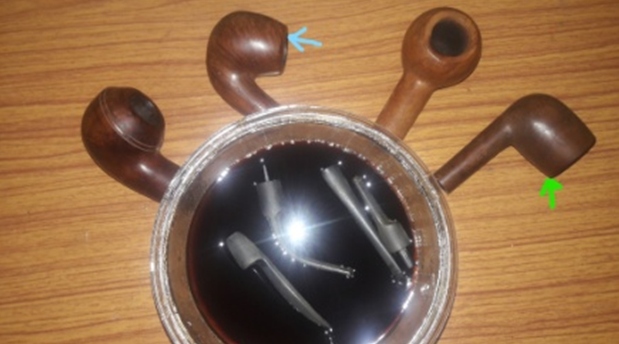
Last year while on a Face Time chat with my Guru, Mentor and friend, Steve Laug, we got talking about the Bertram lot that he had been working on at that point in time. He spoke about how overwhelming it was just to look at the large lot of about 200 plus pipes that he and Jeff had acquired. Never to miss an opportunity to add to my meager pipe lot that was available for me to work on, I suggested that if it was okay with him I would be more than willing to take a few of them off his hands. We worked out the details and soon a job lot of 12 pipes traveled all the way from US to Canada and then on to India!! That was one long journey undertaken by this lot of Bertram pipes. Here is the lot of Bertram pipes that I received. This lot contained a variety of nicely shaped and grained pipes which I had been looking forward to work on.The second pipe that I decided to work on from this lot is a Full Bent Egg shaped pipe, marked in green arrow, with swirls to the front and cross grains to the sides and over the shank surfaces. This pipe is stamped on the left shank surface as “Bertram” in running hand over “WASHINGTON D C” in block letters in a straight line. The grade code “25” is stamped on the bottom surface at the shank end. The stampings are slightly worn out but still readable by naked eye. The bent vulcanite saddle stem is sans any stamping. The size and feel of the pipe is solid in hand. This pipe has been well researched and chronicled by Steve when he worked on many of the Bertram pipes in his possession and thus, shall not waste time in proverbial “reinventing the wheel”. Interested readers may like to follow the link given below to get to know the brand better. https://rebornpipes.com/2019/04/10/the-4th-of-a-collection-of-bertrams-a-bertram-dublin-70s/

INITIAL VISUAL INSPECTION
This pipe has a compact bowl size that narrows slightly towards the rim with a sharply raked round shank and a bent saddle stem that lends itself nicely to clenching. The stummel boasts of some beautiful cross grains to the sides and all around the shank. The stummel is covered in dirt and dust. The entire stummel is peppered with a number of fills, both large and small. There is a thick layer of cake in the chamber and some damage is likely to the back of the rim top surface. The stem is lightly oxidized with tooth chatter in the bite zone. The pipe, as it sits on my work table, presents an encouraging picture. DETAILED INSPECTION OF THE PIPE AND OBSERVATIONS
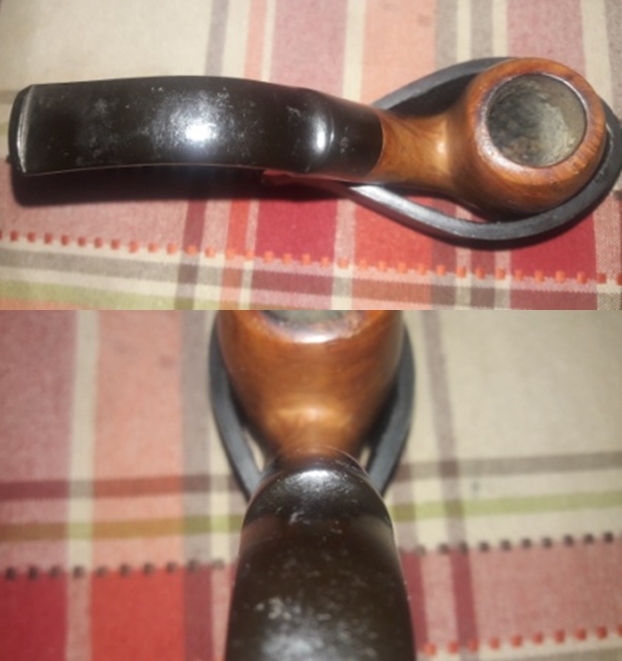
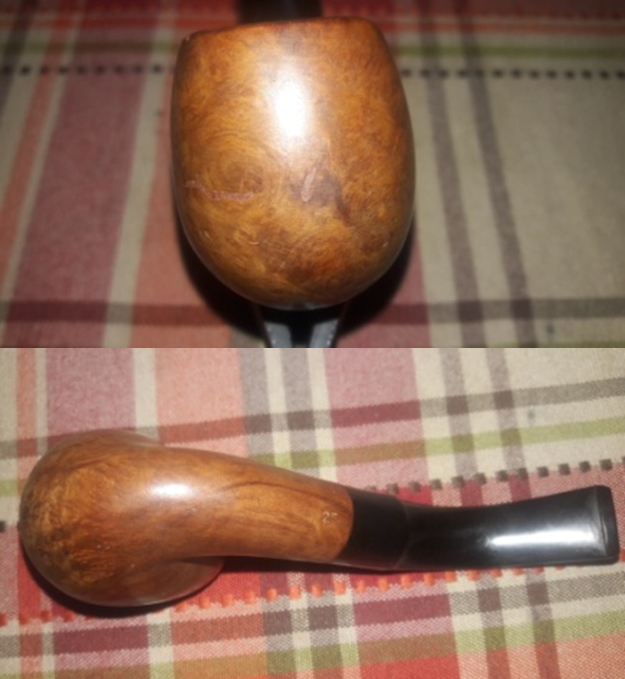
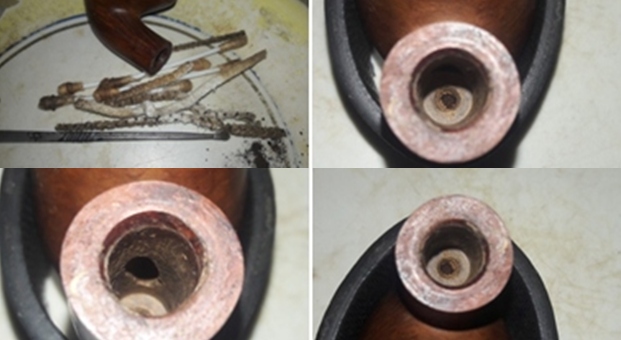
The chamber has a slight taper towards the rim top and a chamber depth of about 1 ¼ inches. The outer edge of the rim towards the shank is slightly flattened while the rest of it is perfectly rounded. The chamber has an even layer of thick hard cake with remnants of un-burnt tobacco seen at the heel of the chamber. The rim surface has light traces of lava overflow over the rim surface. Through this layer of lava, a few dings can be seen over the rim top surface. The outer rim edge is sans any damage. The condition of the inner walls of the chamber can be commented upon after the cake has been taken down to the bare briar. The ghost smells in the chamber are not very strong. The stummel appears solid to the touch all around and hence I do not foresee any serious damage to the walls in the form of burnout/ deep heat fissures/ lines or pits. The ghost smells should reduce once the cake from the chamber is removed and the shank has been cleaned. The smooth stummel surface is covered in dust and grime through which one can make out the beautiful cross grains over the sides of the bowl and shank. The stummel surface is shows a couple of large and small fills. These fills stand out like flesh wounds against the briar surface. The briar is looking lifeless and bone dry. Thorough cleaning and rising of the stummel under warm water should loosen old fills while also serving to highlight the grain patterns. Once the stummel has been thoroughly cleaned, these fills will be more apparent and I intend to refresh only those fills which have loosened out with a fresh fill of briar dust and superglue. Micromesh polishing will help in blending these fills while imparting a nice shine to the briar. The mortise has a reservoir at the bottom that has accumulated oils, tars and gunk. The walls of the shank are filthy and covered in grime and dust. The mortise appears to be clogged as a pipe cleaner did not easily pass through it. I have worked on many Pete System pipes and cleaning the sump had always been a chore. Fervently hoping that is not the case this time around! The fit of the stem in to the mortise is slightly tight. However, once the shank walls are cleaned, this issue should be resolved.The high quality vulcanite saddle stem is lightly oxidized. Some minor tooth chatter and calcified deposit is seen on both the upper and lower stem surfaces in the bite zone and at the bottom of the button edge respectively. The tenon has accumulated ash and oils/ tars that have dried out on the inside as well as on the outside. The horizontal slot has scratch marks which will have to be addressed. The tooth chatter and the calcified deposits will be removed by sanding with a piece of 220 grit sand paper.THE PROCESS
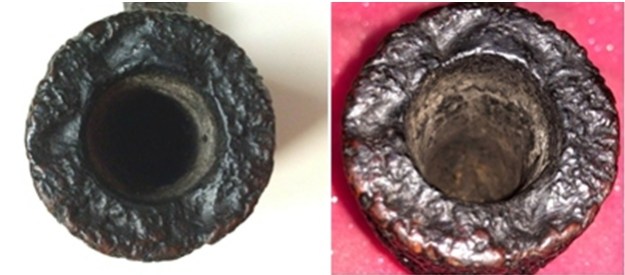
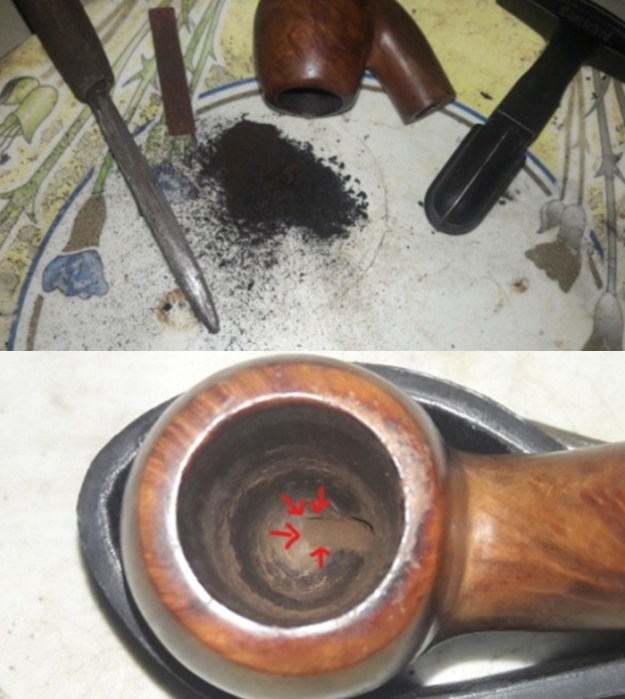
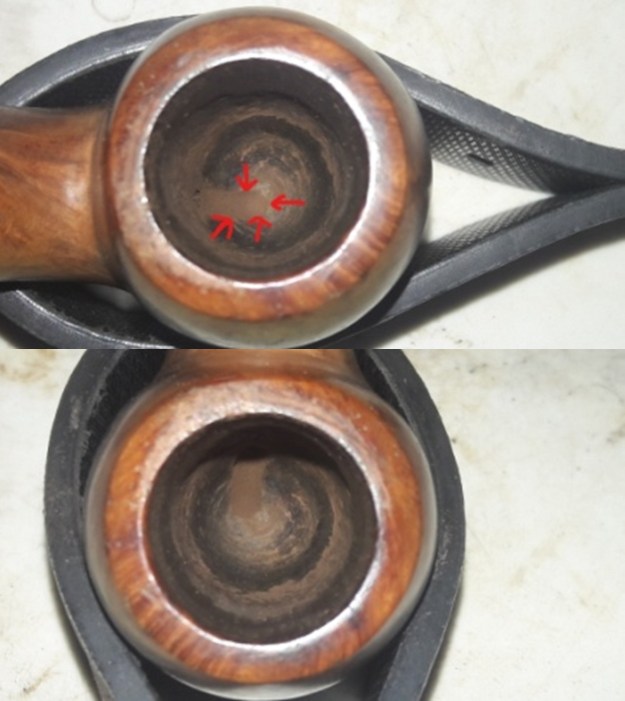
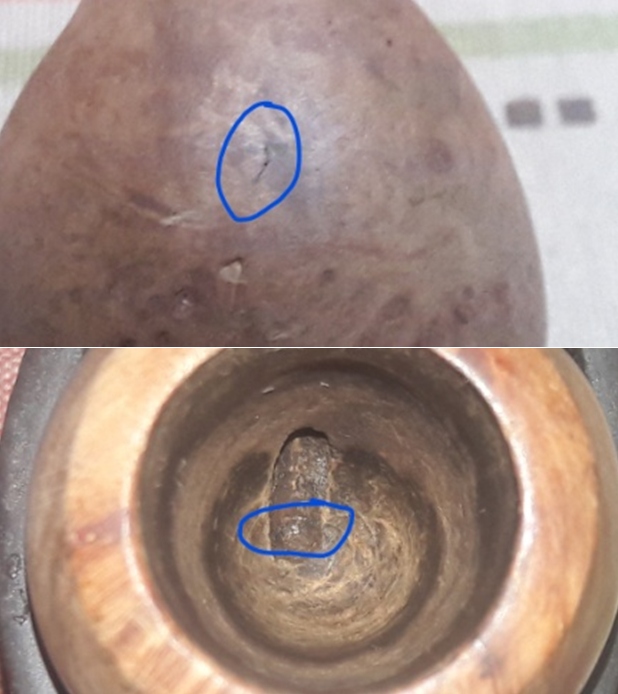
I started the restoration of this pipe by first cleaning the internals of the stem with bristled pipe cleaners and 99.9% pure isopropyl alcohol. I scraped out the dried oils and tars from the tenon end with my fabricated knife and also removed the dried oils and tars from the slot end. I followed it up by sanding the entire stem with a folded piece of 220 grit sand paper to remove the surface oxidation. It has been our (Abha, my wife and self) experience that sanding a stem before dunking it in to the deoxidizer solution helps in bringing the deep seated oxidation to the surface which in turn make further cleaning a breeze with fantastic result.I dropped the stem in to “Before and After Deoxidizer” solution developed by my friend Mark Hoover. The solution helps to draw out heavy oxidation to the surface, making its further removal a breeze, while the minor oxidation is eliminated to a very great extent. The initial sanding helps to draw out the complete oxidation as the sanding opens up the stem surface that has been initially covered with oxidation. I usually dunk stems of 4-5 pipes that are in-line for restoration and this pipe is marked in pastel blue arrow. I generally allow the stems to soak in this solution overnight to do its work.While the stem was soaking in the deoxidizer solution, I worked on the stummel by first reaming the chamber with size 2 Castleford reamer head. I further scraped the chamber walls with my fabricated knife to remove the remaining carbon deposits where the reamer head could not reach. I scraped out the lava overflow from the rim top surface. Once the cake was reamed back to the bare briar, I used a 150 grit sand paper followed by 220 grit sand paper to remove all the traces of remaining cake and also to smooth out the inner walls of the chamber surface. Finally, to remove the residual carbon dust, I wiped the chamber with a cotton pad wetted with 99.9% pure isopropyl alcohol. And it was at this stage that I got the first (and hopefully the last) inkling of the likely damage to the heel of the chamber. The mortise and draught hole had been over zealously cleaned with pipe cleaners/ shank brush by the previous piper and which had resulted in a deep trough from the draught hole to the center of the heel with raised edges on the sides. This trough is indicated with red arrows. If or not the damage has extended to the foot of the stummel will be confirmed once the stummel surface has been cleaned. The chamber walls, inner and outer rim edges are pristine and without any damage. I followed up the reaming with cleaning the mortise using cue tips, pipe cleaners and shank brush dipped in isopropyl alcohol. I scraped the walls of the mortise with my fabricated knife to remove the dried oils and tars. The ghost smells have been eliminated and the chamber smells clean.With the bowl internals clean, I move to clean the exterior of the stummel. I used a hard bristled tooth brush and Briar Cleaner, a product that has been developed by Mark Hoover, to scrub the stummel and rim top. I set the stummel aside for 10 minutes for the product to draw out all the grime from the briar surface. After 10 minutes, I washed the stummel under running warm water with anti oil dish washing detergent till the stummel surface was clean. I dried it using paper towels and soft cotton cloth. I simultaneously cleaned the shank internals with the detergent and hard bristled shank brush and set the stummel aside to dry out naturally. The stummel surface has cleaned up nicely and the beautiful grain patterns are now on full display. The fills, even the smallest ones, are now clearly discernible. I probed each fill with a sharp dental tool to check for solidity and thankfully, each fill was nice and solid without any give, save for the fills at the foot of the stummel. I took a closer look at the foot of the stummel and the worst of my fears was staring right back at me with a smile!!! There is a small smiley crack right in the centre of the foot. Truth be told, looking at the heel, I had inkling that the foot may have some such damage, but now to be sure that the damage does exist, is painful. Desperately seeking some positives, I was relieved to note that the damage has not progressed to an extent that would be termed as a burnout. I did the tap test over and around the damaged foot (with the back of a spoon or any hard instrument gently tap the damaged area) and was relieved to hear a crisp sharp note signifying that nothing is lost. The briar around still feels solid over and around the damaged foot. The pipe still has many years of life left in it and with the repairs that I plan, this will last even longer. I plan to drill a counter hole at either ends of the crack and seal it with briar dust and super glue. This will prevent further spread of the crack in either direction. The trough formed at the heel of the chamber will be spot filled with J B Weld which will prevent the burning tobacco from coming in to direct contact with the now weak spot in the heal.While the stummel was drying, the next morning, Abha removed the stem that had been soaking in the deoxidizer solution overnight. She cleaned the stem under running warm water and scrubbed the raised oxidation from the stem surface using a scotch brite pad and cleaned the airway with a thin shank brush. She further removed the oxidation by scrubbing the stem with 0000 grade steel wool and applied a little EVO to rehydrate the stem. There is a need to further sand the stem to completely remove the oxidation.My significant half, Abha, used a 220 grit sand paper to sand the stem and remove all the oxidation that was raised to the surface. This step further reduced the tooth chatter and bite marks present on the stem. She wiped the stem with Murphy’s Oil soap on a cotton swab. This helps in cleaning the stem surface while removing the loosened oxidation. As is the norm, whenever she works on a pipe, taking pictures NEVER EVER crosses her otherwise sharp mind!!! No exceptions here…

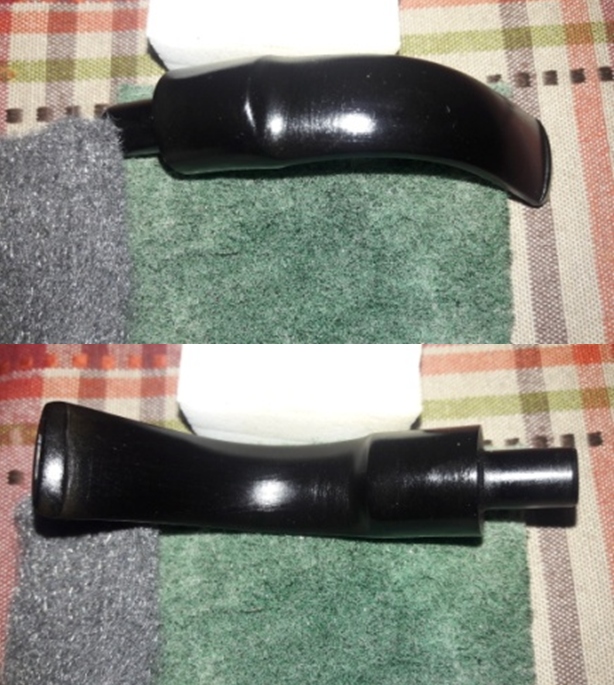
To bring a deep shine to the vulcanite stem, she polished it by wet sanding with 1500 to 2000 grit sandpapers followed by further wet sanding with 3200 to 12000 grit pads. She wiped the stem with a moist cloth after each pad and rubbed it down with Extra Virgin Olive oil to rejuvenate the vulcanite. The finished stem is shown below. I checked the fit of the stem in to the mortise of the stummel and realized that the fit is very loose. This may happen when the mortise has been cleaned of the entire accumulated gunk and the briar has dried out completely. I shall address this issue by moistening the mortise with water and if that does not work, I shall use more invasive methods. RESTORATION ON THIS PIPE WAS PUT ON HOLD AS ALL THE NECESSARY TOOLS AND EQUIPMENT REQUIRED FOR FURTHER REPAIRS ARE AT MY PLACE OF WORK AND I WAS ON LEAVE INITIALLY AND THEREAFTER IN A NATION WIDE LOCKDOWN TO CONTAIN THE SPREAD OF THE DEADLY CORONA VIRUS!!!

PART II
Finally back at my work place…… After enjoying a compulsorily extended leave of three months with family and having honed my culinary and domestic chores skill set, I was happy to rejoin my duty and get back to completing the pending pipe restorations. The first in line was this Bertram Bent Egg # 25.

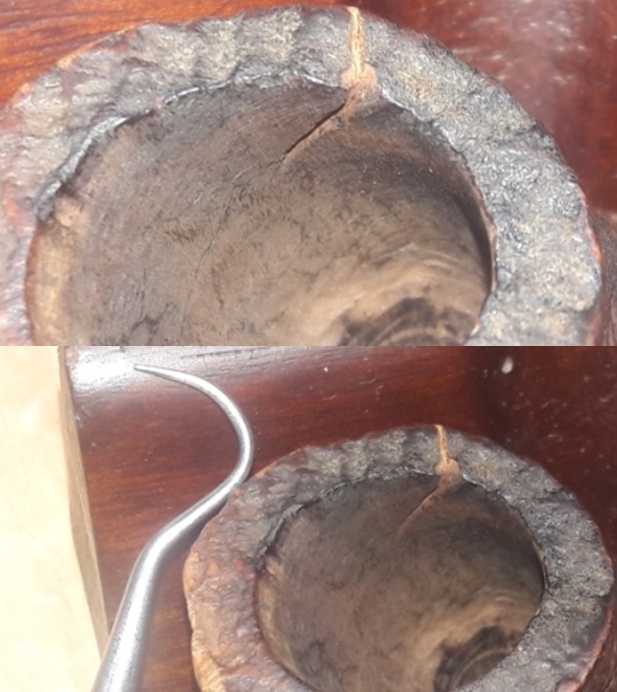
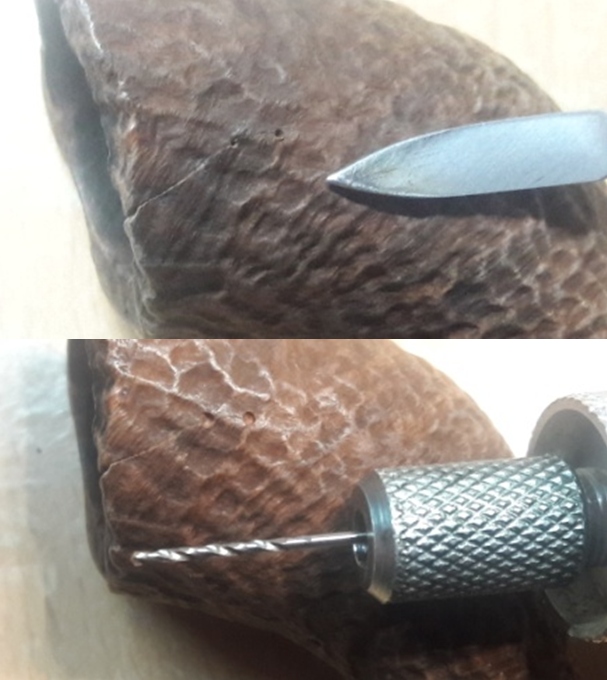
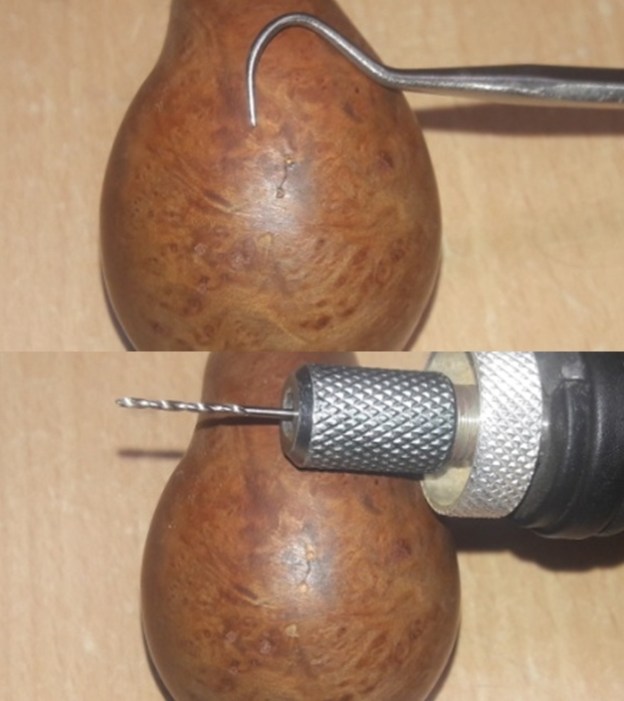
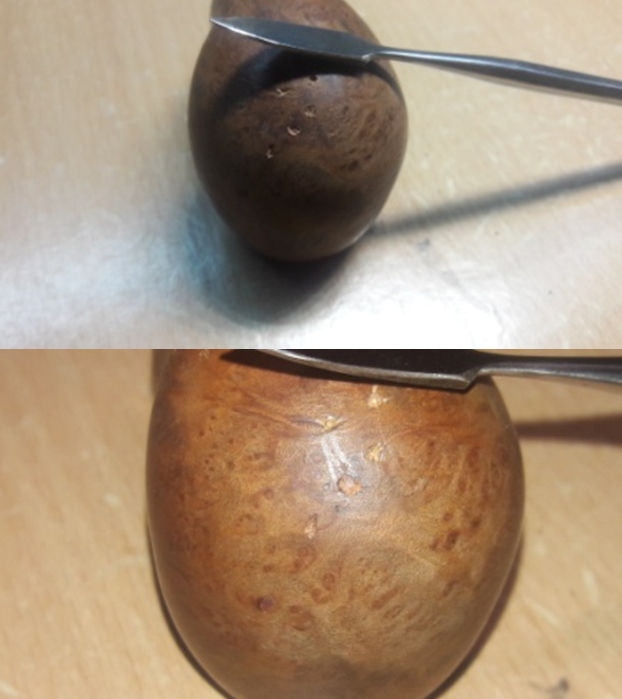
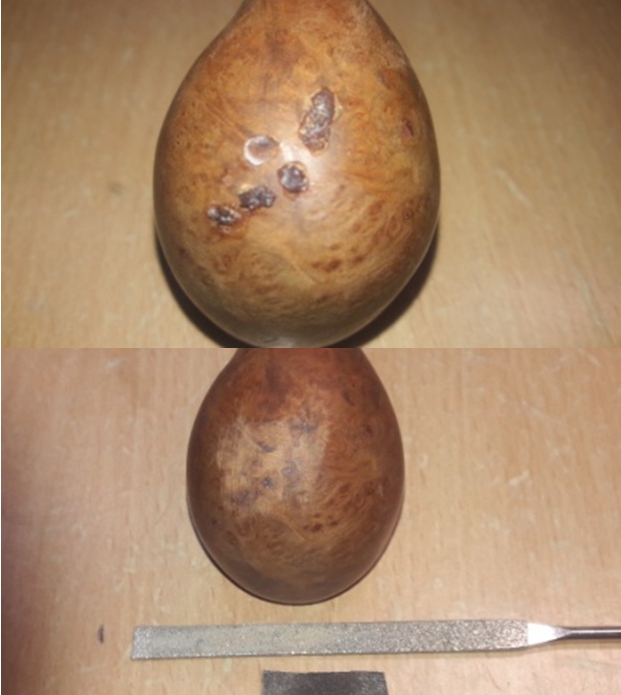
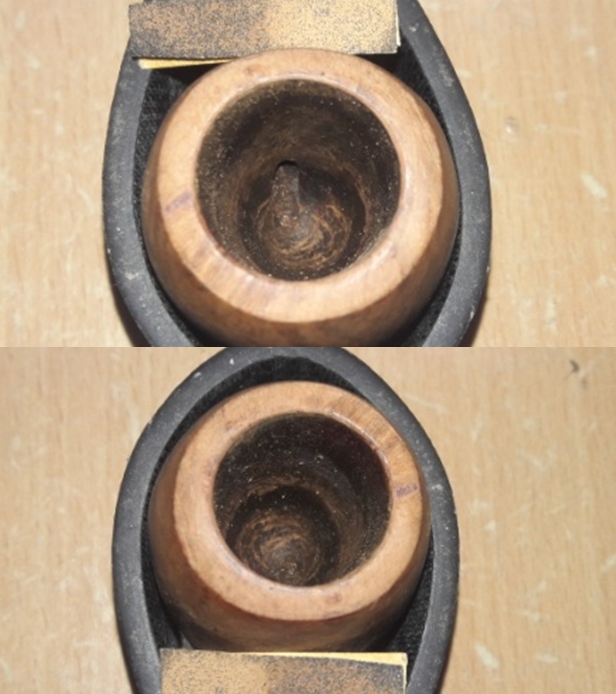
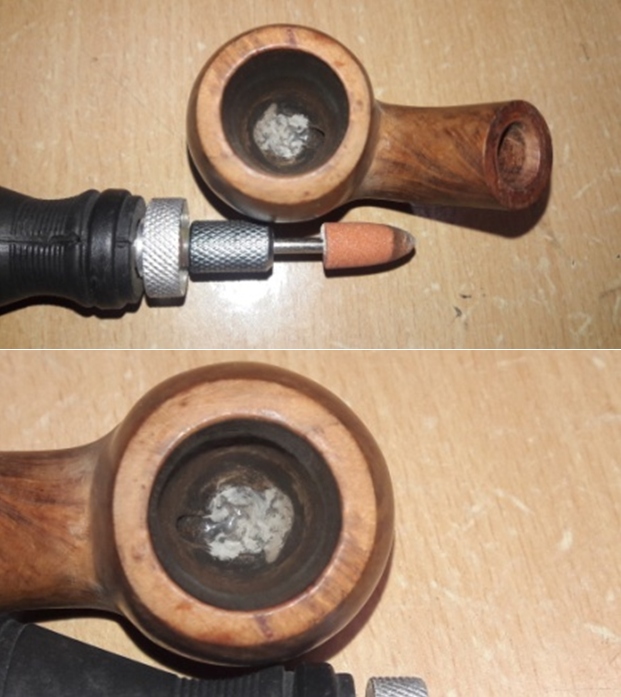
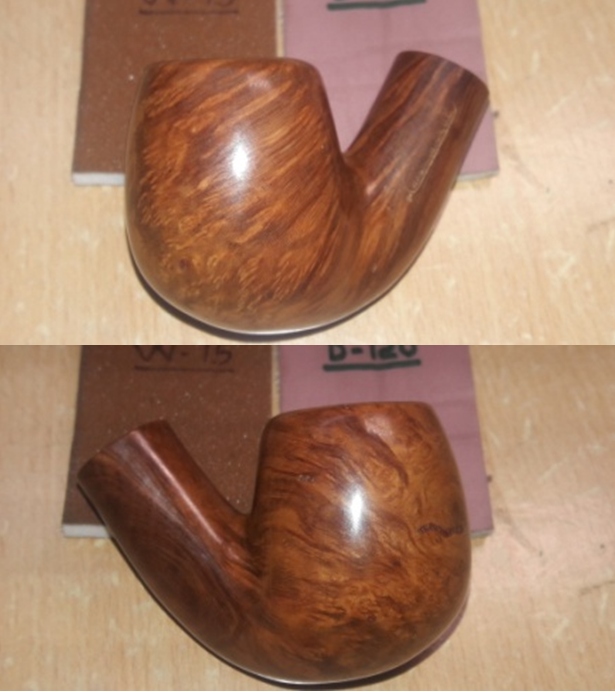
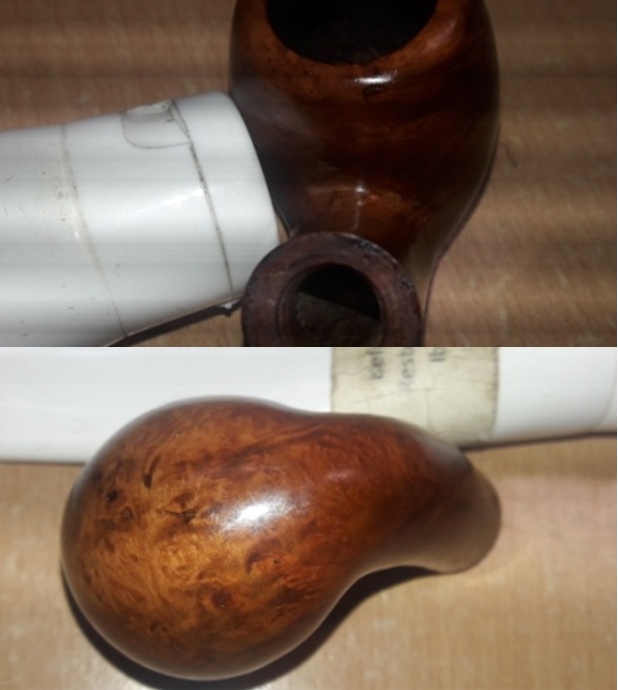
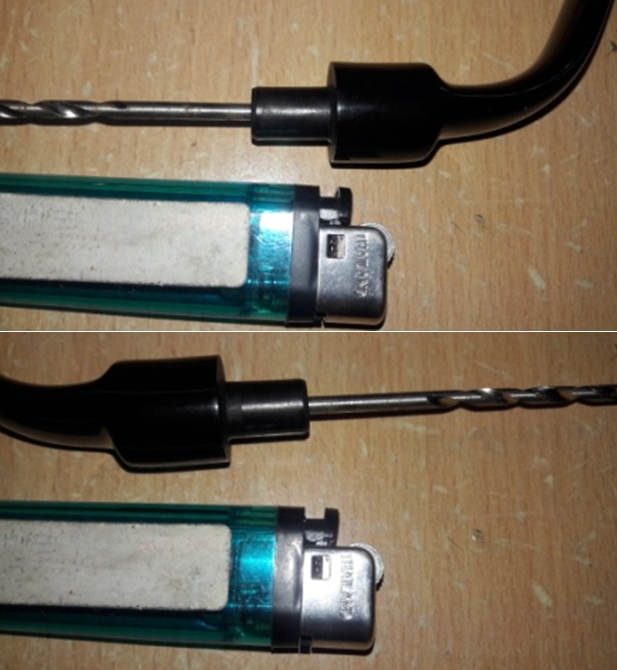
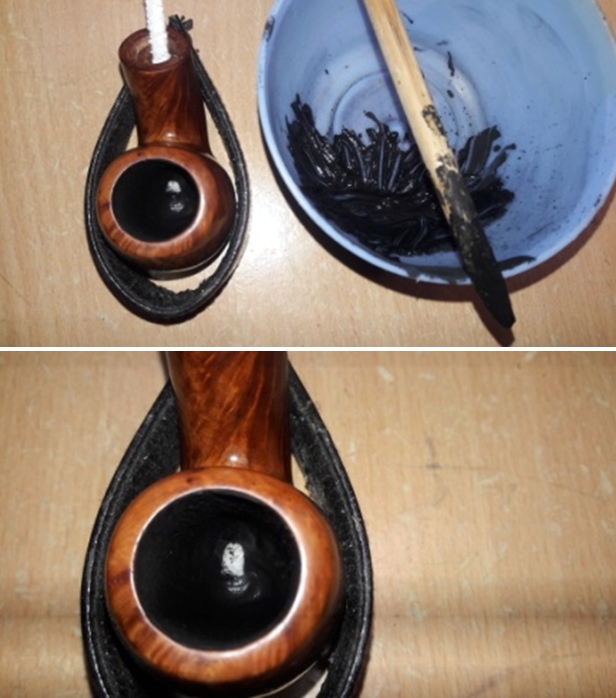
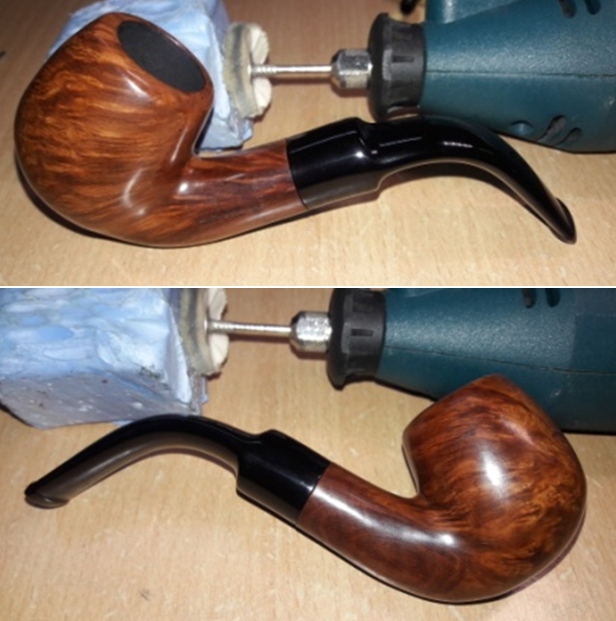
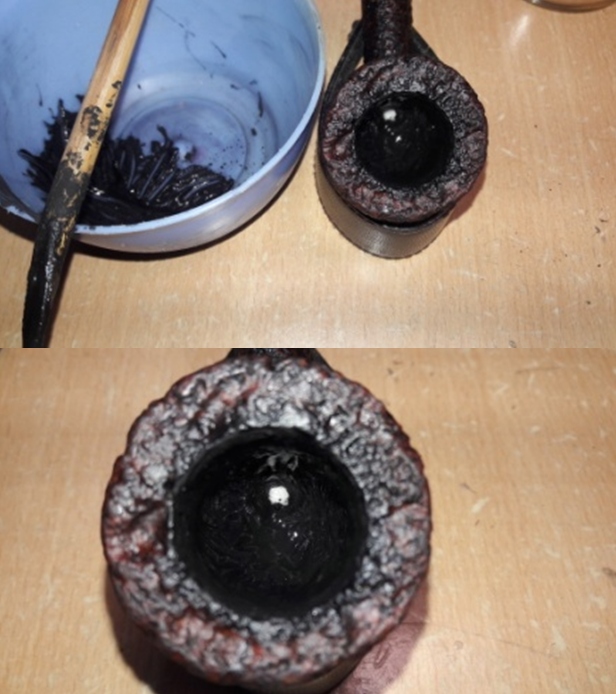
I decided to address the crack to the foot of the stummel. I marked the end points of the crack on either ends with a sharp dental tool under magnification. This helps to identify these end points later with naked eye and also provides initial traction for the drill bit to bite in. With a 1 mm drill bit mounted on to my hand held rotary machine, I drilled a hole each on either ends of the crack, taking care not to go too deep and end up drilling a through-hole.Simultaneously, I gouged out a few old fills that had loosened out from the foot of the stummel. I cleaned the stummel with isopropyl alcohol and cotton swab as I prepared the surface for the fill.I filled the gouges and the drilled holes with a mix of CA superglue and briar dust and set the stummel aside for the fill to cure. A few hours later, the fills had hardened completely. I sand them down with a flat head needle file to achieve a rough match with the rest of the stummel. I fine tuned the match with the rest of the surface by further sanding with a piece of 220 grit sandpaper. I shall decide to stain the stummel or otherwise after I have finished with the polishing with micromesh pads.I evened out the dents and dings from the rim top surface by sanding it with a folded piece of 180 grit sand paper. It was a tricky job since the rim top surface is not flat but slopes outwards from the inner to the outer edge. This peculiar shape ruled out topping the rim top. Now that the external repairs are done, I decided to address the trough that was formed at the heel of the chamber. To protect the heel from coming in to direct contact with the burning tobacco and also to prevent the heat from reaching the foot of the stummel causing a burnout, I plan, firstly, to coat only the heel of the chamber with J B Weld followed by a second coat of activated charcoal and yogurt to the entire chamber which would assist in faster cake formation. J B Weld is a two-part epoxy Cold Weld that consists of two parts; hardener and steel which are mixed in equal parts in a ratio of 1:1 with hardening time of 5-6 minutes and complete curing time of 6-8 hours. I poured the contents of the two tubes and mixed it well. With a flat bamboo frond, I applied this mix, as evenly as possible, over the intended areas. I worked fast to ensure a complete and even coating of the trough in the heel and set the stummel aside for the J B Weld to harden.By the next afternoon when I got back to working on this pipe, the J B Weld coat had completely cured and hardened considerably. With a folded piece of 150 grit sandpaper, I tried to sand the weld coating to a smooth surface. However, I could not sand the Weld as there was no space for maneuvering my finger with the sand paper. I decided to use a conical grinding stone which I had received along with my DIY hand held rotary tool kit and accessories. I mounted the conical grinding stone on to the rotary tool, set the speed at its lowest RPM and sanded the J B Weld coat till I had as thin a coat as was essential to protect and insulate the heel from the direct heat of the burning tobacco. I did not apply any downward pressure while sanding and let the rotary tool use the motor rpm to sand the weld to desired thickness.I followed it by wet sanding the stummel with 1500 to 12000 grit micromesh pads, wiping frequently with a moist cloth to check the progress. I really like the looks of the stummel at this point in restoration. The grains and the clean lines of this piece of briar are worthy of appreciation. Next, I rubbed a small quantity of “Before and After Restoration Balm” deep in to the briar with my finger tips and let it rest for a few minutes. The balm almost immediately works its magic and the briar now has a nice vibrant appearance with the beautiful grain patterns displayed in their complete splendor. I further buffed it with a horse hair brush. The dark browns of the bird’s eye and cross grains spread across the stummel makes for a visual treat. It really is a nice piece of briar. With the stummel rejuvenation almost complete, save for the final wax polish, I worked the stem. I moistened the shank with a q-tip dipped in water. I checked the seating of the tenon in to the mortise after an hour. It was still very loose. This called for stretching the tenon to improve the seating of the stem in to the shank. I selected a drill bit that was slightly larger in diameter than the tenon air hole. I heated the tenon with the flame of a lighter till it was slightly pliable and inserted the back of the drill bit in to the opening to enlarge it. I cooled the tenon under cold running water to set the increased diameter of the tenon. I checked the fit and it was much better, though not very snug. I remedied this issue by applying a coat of clear nail polish and set it aside for the nail polish to dry out. Now that the cosmetic aspects of this pipe have dealt with, all that remained was the functional aspect that needs to be taken care of. The J B Weld coated surface needs to be protected from the direct heat of the burning tobacco and for this; I coat the complete chamber walls with a mix of activated charcoal and yogurt and set it aside to harden naturally. The mix has to be of the right consistency; neither too thick nor too runny. It should be of a consistency that is thick enough to spread easily, evenly and stick to the walls. Also the coating should not be very thick. A thin film is all that is required. Another important aspect to remember is that it is essential to insert a pipe cleaner in to the mortise and through the draught hole for two reasons; first is obviously to keep the draught hole from getting clogged and secondly, the pipe cleaner absorbs all the moisture from the mix and helps in faster and even drying of the coat.To put the finishing touches, I mount a cotton cloth buffing wheel on to my hand held rotary tool and polished the stummel and stem with Blue Diamond compound. This compound helps to remove the minor scratch marks that remain from the sanding.Next, I mount another cotton buffing wheel that I have earmarked for carnauba wax and applied several coats of the wax. I finished the restoration by giving the entire pipe a rigorous hand buffing using a microfiber cloth to raise the shine further. The grains on this finished pipe looks amazingly beautiful and coupled with the size, heft and the hand feel, makes it quite a desirable pipe. If you are interested to enjoy this pipe for years to come, please let Steve know and we shall make arrangements for it to reach you. P.S. In one of my previous write up, a question “Why do I enjoy bringing these old battered and discarded pipes back to life?” had popped up in my mind. I had given my second reason in my last write up and in all my subsequent write ups I intend to share with the readers my reasons as to why I really love this hobby.
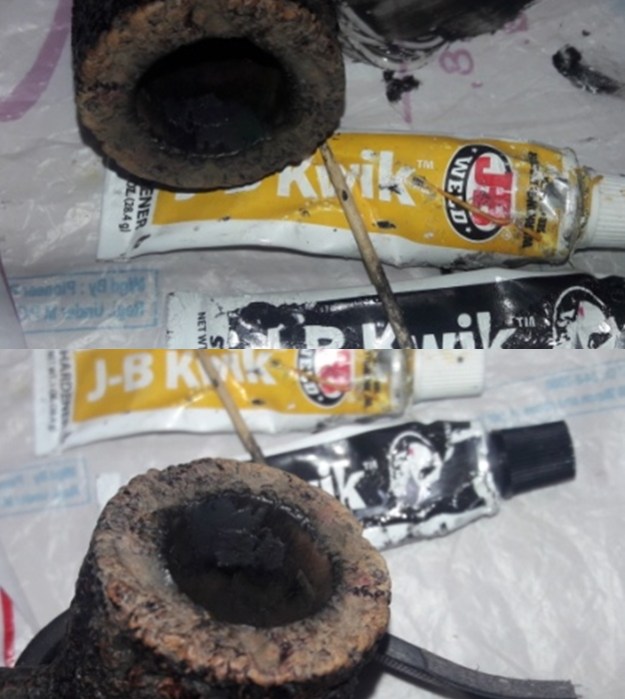
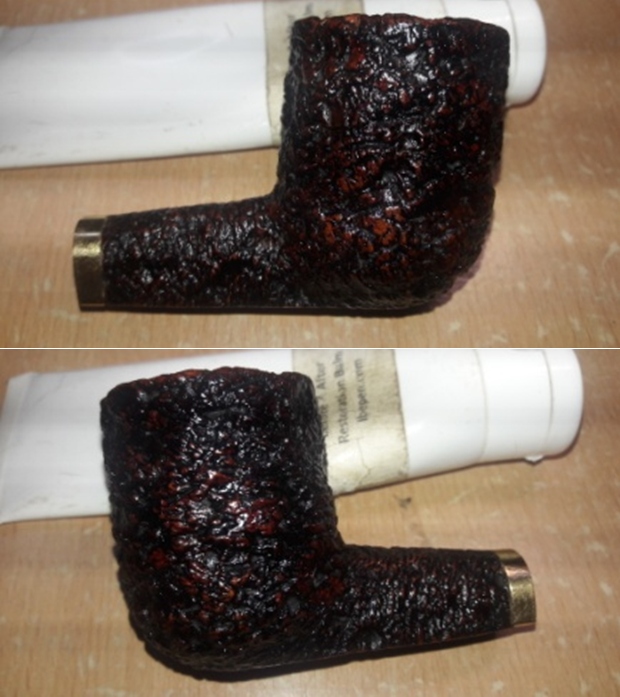
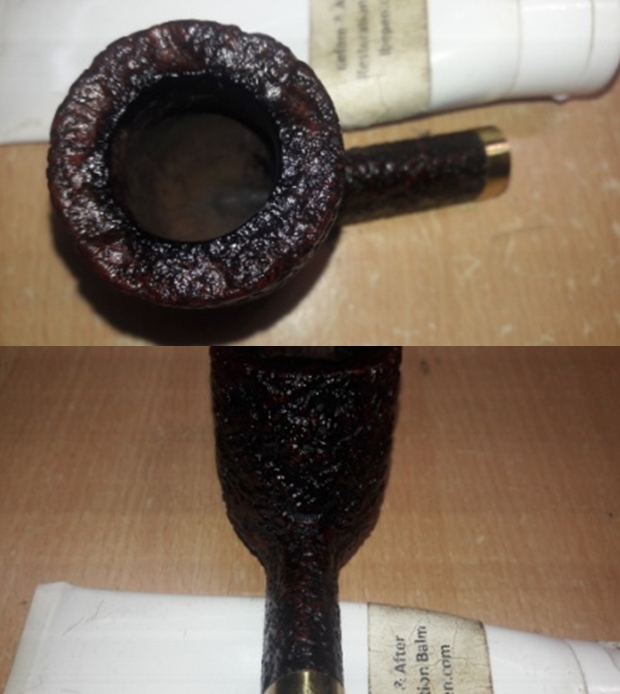
The third reason is that every pipe has a HISTORY attached to it. That history, in part, is about the maker/ carver of the pipe and the other part is the person who had posed faith in this piece of briar during his life time. Take the case of a Dunhill pipe that I had restored that once belonged to Late Mr. John Barber, an explorer who had been to Arctic and the Antarctic in the 1950s- 60s and an avid pipe smoker! His favored pipes were DUNHILL. His daughter, Farida had passed on his pipes to Steve to restore and trade these pipes for the family. Well, one of the Dunhill pipes was sent to me by Steve to let me test my skills in pipe restoration with the rider that “if I could restore it, I get to keep it!” This pipe had all the challenges that a pipe restorer usually faces while restoring a pipe and then some more. However, it was successfully repaired and restored and now is a part of my daily rotation (https://rebornpipes.com/2019/12/06/a-project-close-to-my-heart-restoring-a-dunhill-from-faridas-dads-collection/)

The point I want to convey is that whenever I smoke this pipe, it reminds me of Late Mr. John Barber and images of him smoking this pipe in the cold snow desert and the warmth, peace and comfort it must have provided him in that desolate environment…AND NOW I GET TO BE A PART OF THAT HISTORY/ LEGACY OF THE PIPE and this is what I just love!

I wish to thank each one for sparing their valuable time to read through this write up and each one is in my prayers. Stay home…stay safe!!
Restoring a GBD Ebony 789 Beautifully Grained Pot


Blog by Steve Laug

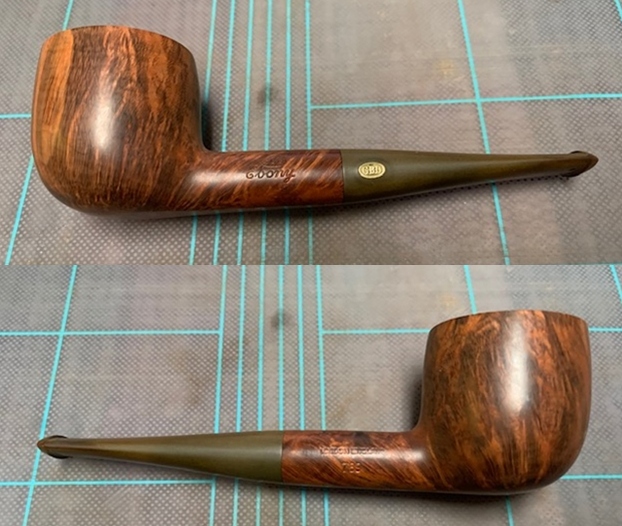
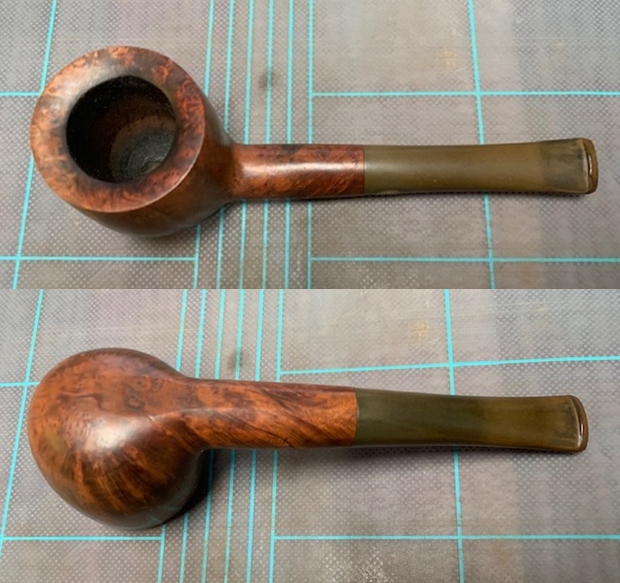
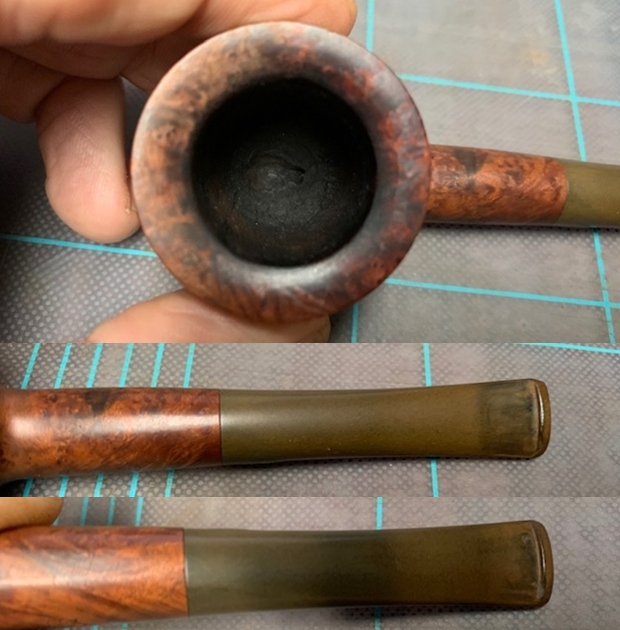
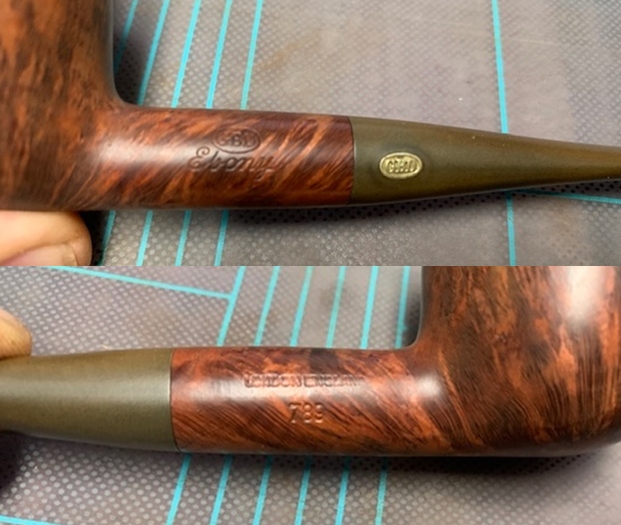
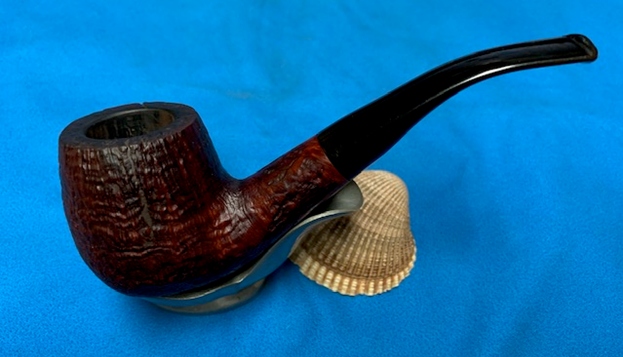
The next pipe on the work table is another one that came to me from the estate of a Vancouver pipe smoker whose widow left them with a local Pipe Shop after he died. I was asked to clean them up and sell them for the shop as it has since closed. This GBD Pot is an interesting looking piece – great grain showing through underneath the grime. There is straight and flame grain around the bowl. The pipe is stamped on the left side and reads GBD in an oval [over] Ebony. On the right side it is stamped London England [over] 789. The finish was dull and lifeless with a lot of grime ground into the briar. The bowl was heavily caked with a lava coat on the top of the rim. It was hard to tell how the inner and outer edge of the rim actually looked until the bowl was reamed. The stem was oxidized, calcified and had tooth chatter and marks on the top and underside near the button. It had promise but it was very dirty. I took some photos of the pipe when I received it. I was curious about the GBD Ebony line. I turned to Pipedia’s GBD Model Information to get a bit of information on the line (https://pipedia.org/wiki/GBD_Model_Information). I have included a screen capture below:I turned to Pipedia’s listing of shape numbers (https://pipedia.org/wiki/GBD_Shapes/Numbers). I have included a screen capture below:The Ebony line was made in England and maybe France. They were stained with light to medium brown stain and muted black undertones. It was listed as appearing in 1976 catalogues with a matte finish with dual tone. Now it is was time to work on the pipe itself.

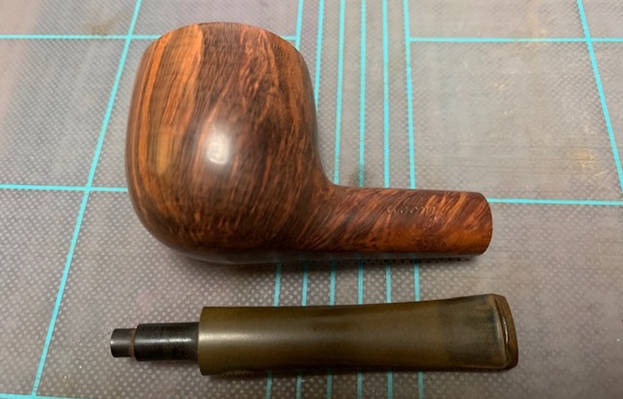
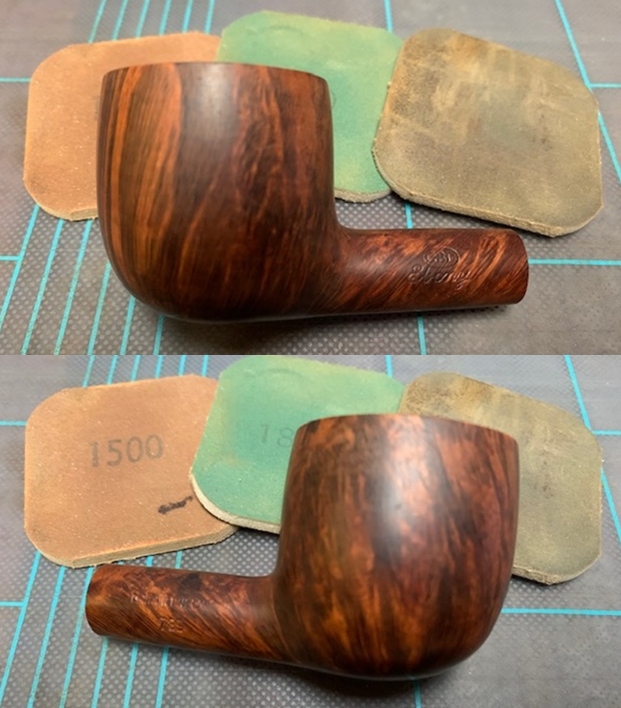
I had sent the batch of pipes from the shop to my brother Jeff in Idaho and he had cleaned them up for me. It was several years ago now that he sent them back to me and I am just now getting to finish them. He reamed them with a Pipnet Reamer and cleaned up the reaming with a Savinelli Fitsall pipe knife.  He had scrubbed the exterior of the bowl with Murphy’s Oil Soap and a tooth brush and rinsed it off with warm water to remove the grime in the rustication. He cleaned the internals of the shank and stem with alcohol, cotton swabs and pipe cleaners to remove the tarry residue and oils in the shank and airway. He soaked the stem in Before & After Deoxidizer to remove the oxidation on the stem surface. When it arrived here on my work table I took photos of the pipe before I started my part of the restoration. The bowl was a definite improvement but the stem still showed a lot of oxidation.   The rim top looked really good. The inner and outer edges were in excellent condition. There was no charring or damage to the top or edges. I was pleased. The stem look good but there was still some heavy oxidation and there were tooth marks and chatter on both sides near the button. The underside was worse than the topside.   I took a photo of the stamping on the sides of the shank. The stamping is clear and readable and reads as noted above. I took the stem off the pipe and took a photo of the parts to show the look of the pipe as a whole.The pipe was in great condition so I moved to polishing the bowl with micromesh sanding pads. I sanded it with 1500-12000 grit pads and wiped it down between each pad with a damp cloth. By the end you can see the shine on the briar.   I rubbed the bowl and shank down with Before & After Restoration Balm. I worked it into the surface of the bowl sides and shank with my fingertips to clean, enliven and protect the briar. I let the balm sit for a little while and then buffed with a cotton cloth to raise the shine. You can see the grain showing through the deep glow.   I “painted” the stem surface with the flame of a Bic lighter. I filled in the remaining tooth marks with black super glue. Once it cured I smoothed out the surface of the repair with a needle file. I sanded out the repair with 220 grit sandpaper to blend it into the surface of the surrounding vulcanite. I started polishing the stem with 400 grit wet dry sandpaper.     I polished the vulcanite stem with micromesh sanding pads – 1500-12000 grit pads. I wiped it down with a damp cloth after each sanding pad. I used Before & After Pipe Polish – both Fine and Extra Fine to further polish the stem.   This GBD Ebony 789 Pot is another great looking pipe that came to me from the local pipe shop estate that I am restoring and selling for them. It has turned out to be a great looking pipe. The medium brown finish and dark highlights makes the grain stand out and works well with the polished vulcanite taper stem. I put the stem back on the bowl and carefully buffed the pipe with Blue Diamond on the buffing wheel using a light touch on the briar. I gave the bowl and the stem multiple coats of carnauba wax on the buffing wheel and followed that by buffing the entire pipe with a clean buffing pad. I hand buffed the pipe with a microfiber cloth to deepen the shine. The finished GBD pot fits nicely in the hand and feels great. Give the finished pipe a look in the photos below. The dimensions of the pipe are Length: 5 ½ inches, Height: 1 ½ inches, Outside diameter of the bowl: 1 ½ inches, Chamber diameter: 7/8 of an inch. If you are interested in adding this pipe to your collection send me a message or an email. I have a variety of brands to work on from the shop. Perhaps one of those will catch your attention. Thanks for reading this blog and my reflections on the pipe while I worked on it. This is an interesting estate to bring back to life.
Restoring a Benson & Hedges Peewit (Acorn) Made in the USA


Blog by Steve Laug

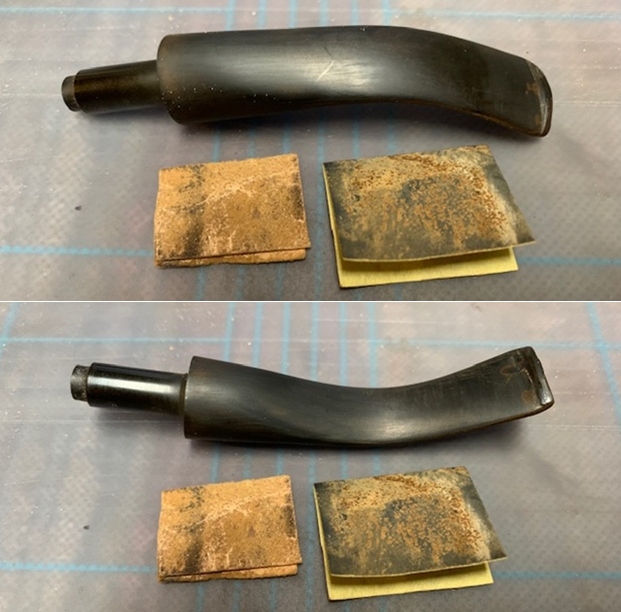
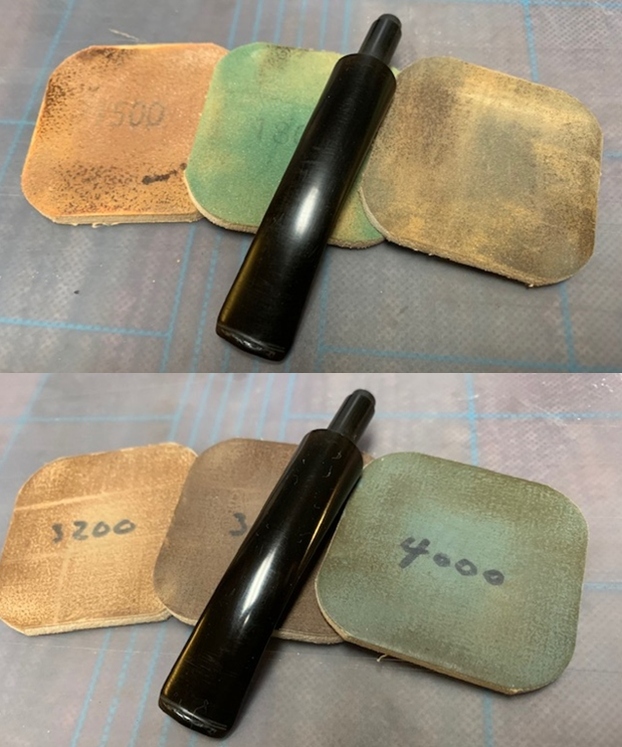
The next pipe on the work table came to me from the estate of a Vancouver pipe smoker whose widow left them with a local Pipe Shop after he died. I was asked to clean them up and sell them for the shop as it has since closed. This American Made Benson & Hedges Peewit is an interesting looking piece – great grain showing through underneath the grime. There is cross grain and birdseye grain around the bowl. The pipe is stamped on the left side and reads Benson & Hedges and on the right side it is stamped Made in U.S.A. The finish was dull and lifeless with a lot of grime ground into the briar. The bowl was heavily caked with a lava coat on the top of the rim. It was hard to tell how the inner and outer edge of the rim actually looked until the bowl was reamed. The stem was oxidized, calcified and had tooth chatter and marks on the top and underside near the button. It had promise but it was very dirty. I took some photos of the pipe when I received it. I was curious about the maker of the pipe so I did some searching. In Who Made that Pipe it says that the pipe is English Made even though this one says Made in USA. In Pipedia says that it was likely made by Comoy for the London Tobacco Company. Then it lists the following stamping “London Made”. http://pipedia.org/wiki/British_Pipe_Brands_%26_Makers_A_-_D There was one other note that Orlik made pipes that were stamped with the Benson and Hedges label. Nowhere in the listings that I could find did anyone mention the stamping on this one: MADE IN U.S.A. Even though many B&H pipes were made in England by noted English Pipe Makers this one is obviously not one of those. I can find no mention of an American Maker for the brand so I guess this is one mystery that I can go no further in unraveling. Now it was time to work on the pipe.

I had sent the batch of pipes from the shop to my brother Jeff in Idaho and he had cleaned them up for me. It was several years ago now that he sent them back to me and I am just now getting to finish them. He reamed them with a Pipnet Reamer and cleaned up the reaming with a Savinelli Fitsall pipe knife.  He had scrubbed the exterior of the bowl with Murphy’s Oil Soap and a tooth brush and rinsed it off with warm water to remove the grime in the rustication. He cleaned the internals of the shank and stem with alcohol, cotton swabs and pipe cleaners to remove the tarry residue and oils in the shank and airway. He soaked the stem in Before & After Deoxidizer to remove the oxidation on the stem surface. When it arrived here on my work table I took photos of the pipe before I started my part of the restoration. The bowl was a definite improvement but the stem still showed a lot of oxidation. The rim top looked really good. The inner and outer edges were in excellent condition. There was no charring or damage to the top or edges. I was pleased. The stem look good but there was still some heavy oxidation and there were tooth marks and chatter on both sides near the button. The underside was worse than the topside.   I took a photo of the stamping on the sides of the shank. The stamping is clear and readable and reads as noted above.   I took the stem off the pipe and took a photo of the parts to show the look of the pipe as a whole.The pipe was in great condition so I moved to polishing the bowl with micromesh sanding pads. I sanded it with 1500-12000 grit pads and wiped it down between each pad with a damp cloth. By the end you can see the shine on the briar. I rubbed the bowl and shank down with Before & After Restoration Balm. I worked it into the surface of the bowl sides and shank with my fingertips to clean, enliven and protect the briar. I let the balm sit for a little while and then buffed with a cotton cloth to raise the shine. You can see the grain showing through the deep glow. I “painted” the stem surface with the flame of a Bic lighter. I filled in the remaining tooth marks with black super glue. Once it cured I smoothed out the surface of the repair with a needle file. I sanded out the repair with 220 grit sandpaper to blend it into the surface of the surrounding vulcanite. I started polishing the stem with 400 grit wet dry sandpaper.      I polished the vulcanite stem with micromesh sanding pads – 1500-12000 grit pads. I wiped it down with a damp cloth after each sanding pad. I used Before & After Pipe Polish – both Fine and Extra Fine to further polish the stem.       This Benson & Hedges Peewit made in USA is nice Danish looking pipe that came to me from the local pipe shop estate that I am restoring and selling for them. It has turned out to be a great looking pipe. The medium brown finish highlights the grain and works well with the polished vulcanite saddle stem. I put the stem back on the bowl and carefully buffed the pipe with Blue Diamond on the buffing wheel using a light touch on the briar. I gave the bowl and the stem multiple coats of carnauba wax on the buffing wheel and followed that by buffing the entire pipe with a clean buffing pad. I hand buffed the pipe with a microfiber cloth to deepen the shine. The finished Peewit fits nicely in the hand and feels great. Give the finished pipe a look in the photos below. The dimensions of the pipe are Length: 6 inches, Height: 2 inches, Outside diameter of the bowl: 1 ¼ inches, Chamber diameter: ¾ of an inch. If you are interested in adding this pipe to your collection send me a message or an email. I have a variety of brands to work on from the shop. Perhaps one of those will catch your attention. Thanks for reading this blog and my reflections on the pipe while I worked on it. This is an interesting estate to bring back to life.
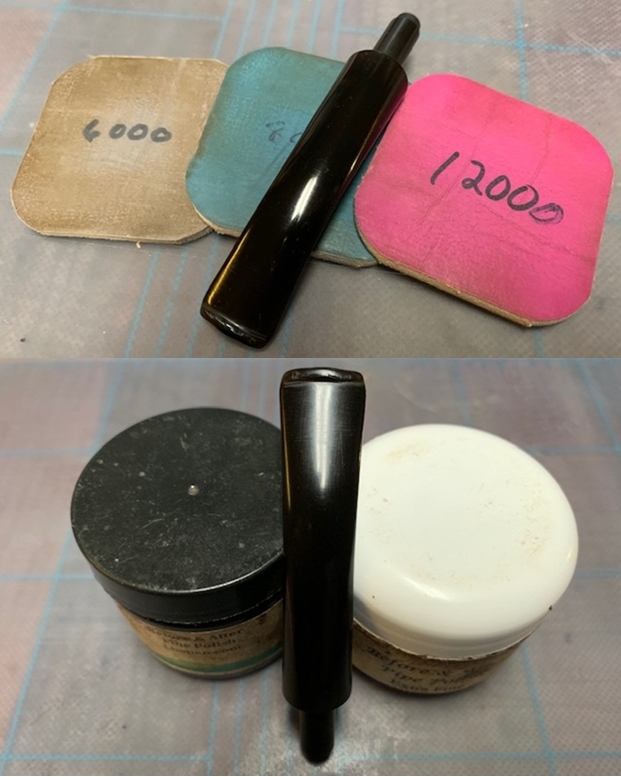
Restoring a Rossi 129 Rope Rusticated Lovat


Blog by Steve Laug

The next pipe on the work table came to me from the estate of a Vancouver pipe smoker whose widow left them with local Pipe Shop after he died. I was asked to clean them up and sell them for the shop as it has since closed. This Italian Made Rossi 129 Lovat is an interesting looking piece – a rope like rustication with the grain showing through underneath and a smooth rim top. The pipe is stamped on the left side and reads Rossi in an oval and on the right side it has the shape number 129. On the underside of the shank at the stem/shank junction it was stamped Italy. The finish was dull and lifeless with a lot of grime ground into the briar. The bowl was heavily caked with a lava coat on the top of the rim. It was hard to tell how the inner and outer edge of the rim actually looked until the bowl was reamed. The rustication around the bowl was filled in with dust and debris. There were quite a few fills on the shank top and underside. The stem was oxidized, calcified and had tooth chatter and marks on the top and underside near the button. It had promise but it was very dirty. I took some photos of the pipe when I received it. I turned to Pipephil’s site (http://www.pipephil.eu/logos/en/logo-n1.html#ninorossi) to see what I could find out about the brand. I found a photo and listing for the brand I was working on. The following screen capture shows the stamping that is the same as the one I am working on.I turned to Pipedia (https://pipedia.org/wiki/Rossi) and read the section on the rough outline on history of the brand. It is a great read. Take time to have a look at it if you are interested. I am including a section of the article that helps with dating the pipes.

From, approximatively, Twenties, Rossi pipes were marked with “FRB” (Fratelli Rossi Barasso) or “MFRB” (Manifattura Fratelli Rossi Barasso), into an oval and above “OLD BRIAR” (or similar – sometimes, there was also “MFD. BY ROSSI”, as “Manufactured by Rossi”); on the stem, there was generally the “R” letter in circle. However, “FRB OLD BRIAR” was mantained for the “traditional pipes” (for cheap models – see below), surely, to Sixties.

From, approximatively, the fiftieth anniverary (1936), pipes were marked with “Rossi” (in cursive font), with model name just under it; on the stem, there was “ROSSI” (for expensive models like “extra”, which had the best quality; “racine”, which was rusticated by hand; “extra grain”, which was accurately sandblasted; “super”, which had the best briar selection, and a limited production; “fiamma”, which was the best selection of Sardinia and Greece briar, and a very limited production) or “R” in circle (for unexpensive models like “standard”, “grana” and “FRB”).

From, approximatively, Seventies, until 1985, Rossi pipes were marked with “ROSSI”, into an oval (sometimes there was also “ITALY” on the shank); on the stem, there was “ROSSI”. In these years, appeared the signature “Nino Rossi” (in cursive font): he was the last heir of the factory.

When Savinelli took back the production, it is said that first pipes had a twinbore mouthpiece, with “ROSSI” on the stem, and they were marked with “ROSSI” on the shank. Today most of them had 6 mm or 9 mm adapter (also, for the most part, the stem was made by methacrylate, always with “Rossi” on the side).

I think that this places the pipe in the 1970-1985 period as it is stamped Rossi in an oval and has the stamping Italy on the underside of the shank. Now it was time to work on the pipe.

I had sent the batch of pipes from the shop to my brother Jeff in Idaho and he had cleaned them up for me. It was several years ago now that he sent them back to me and I am just now getting to finish them. He reamed them with a Pipnet Reamer and cleaned up the reaming with a Savinelli Fitsall pipe knife.  He had scrubbed the exterior of the bowl with Murphy’s Oil Soap and a tooth brush and rinsed it off with warm water to remove the grime in the rustication. He cleaned the internals of the shank and stem with alcohol, cotton swabs and pipe cleaners to remove the tarry residue and oils in the shank and airway. He soaked the stem in Before & After Deoxidizer to remove the oxidation on the stem surface. When it arrived here on my work table I took photos of the pipe before I started my part of the restoration.   The rim top looked far better but there was some darkening on the surface as well as a flaw in the briar on the left front. The inner edge of the rim was damaged and showed some nicks and cuts. The stem look good but there was some heavy oxidation and there were tooth marks and chatter on both sides near the button. The underside was worse than the topside.   I took a photo of the stamping on the left side of the shank. I forgot to take photos of the shank number on the right side of the shank and the underside as well. The stamping is clear and readable and reads as noted above.I took the stem off the pipe and took a photo of the parts to show the look of the pipe as a whole.I topped the bowl on a topping board with 220 grit sandpaper and then worked on the inner edge of the rim with a folded piece of 220 grit sandpaper to give it a slight bevel. Once it is finished the rim top and edge looks much better.   I filled in the flaw in the rim top with clear super glue. I topped it again once the glue had cured to smooth it out. The rim top looks very good.   I polished the newly topped rim and the bowl with micromesh sanding pads. I sanded it with 1500-12000 grit pads and wiped it down between each pad with a damp cloth. By the end you can see the shine on the briar.     I rubbed the bowl and shank down with Before & After Restoration Balm. I worked it into the surface of the bowl sides and shank with my fingertips and a horse hair shoe brush to clean, enliven and protect the briar. I let the balm sit for a little while and then buffed with a cotton cloth to raise the shine. You can see the underlying grain begin to show through the rustication. I filled in the remaining tooth mark with black super glue. Once it cured I smoothed out the surface of the repair with a needle file. (I forgot to take photos of the filing but I did it before I sanded it with 220 grit sandpaper.)    I sanded out the repair with 220 grit sandpaper to blend it into the surface of the surrounding vulcanite. I started polishing the stem with 400 grit wet dry sandpaper.   I polished the vulcanite stem with micromesh sanding pads – 1500-12000 grit pads. I wiped it down with a damp cloth after each sanding pad. I used Before & After Pipe Polish – both Fine and Extra Fine to further polish the stem.     This Rossi 129 Rope Rusticated Lovat, an Italian made pipe from the local pipe shop estate that I am restoring and selling for them. It has turned out to be a great looking pipe. The rope rustication on the medium brown finish is in excellent condition and works well with the polished vulcanite saddle stem. I put the stem back on the bowl and carefully buffed the pipe with Blue Diamond on the buffing wheel using a light touch on the briar. I gave the bowl and the stem multiple coats of carnauba wax on the buffing wheel and followed that by buffing the entire pipe with a clean buffing pad. I hand buffed the pipe with a microfiber cloth to deepen the shine. The finished Rossi Lovat fits nicely in the hand and feels great. Give the finished pipe a look in the photos below. The dimensions of the pipe are Length: 5 inches, Height: 1 ¾ inches, Outside diameter of the bowl: 1 ¼ inches, Chamber diameter: ¾ of an inch. If you are interested in adding this pipe to your collection send me a message or an email. I have a variety of brands to work on from the shop. Perhaps one of those will catch your attention. Thanks for reading this blog and my reflections on the pipe while I worked on it. This is an interesting estate to bring back to life.

Restoring a Tall BBB Silver Grain 264 Stack


Blog by Steve Laug

The next pipe on the work table came to me from the estate of a Vancouver pipe smoker whose widow left them with a local Pipe Shop after he died. I was asked to clean them up and sell them for the shop as it has since closed. This is another English pipe – a BBB Silver Grain Stack. It is a smooth finished pipe with some interesting grain – cross grain and mixed grains. The pipe is stamped on the left side and reads BBB [over] Silver Grain and on the right side it is stamped London, England [over] the shape number 264. The bowl has a thick and heavy cake with a thick lava coat on the top of the rim. It was hard to tell how the inner and outer edge of the rim actually looked until the bowl was reamed. The smooth finish had years of dust and debris ground into it around the bowl. The stem was oxidized, calcified and had tooth chatter and marks on the top and underside near the button. There was a brass BBB Diamond on the topside of the stem that was oxidized and dirty. The tall stack had promise but it was very dirty. I took some photos of the pipe to show what it looked like when I received it.  I had sent the batch of pipes from the shop to my brother Jeff in Idaho and he had cleaned them up for me. It was several years ago now that he sent them back to me and I am just now getting to finish them. He reamed them with a Pipnet Reamer and cleaned up the reaming with a Savinelli Fitsall pipe knife.  He had scrubbed the exterior of the bowl with Murphy’s Oil Soap and a tooth brush and rinsed it off with warm water to remove the grime in the rustication. He cleaned the internals of the shank and stem with alcohol, cotton swabs and pipe cleaners to remove the tarry residue and oils in the shank and airway. He soaked the stem in Before & After Deoxidizer to remove the oxidation on the stem surface. When it arrived here on my work table I took photos of the pipe before I started my part of the restoration.    The rim top looked far better but there was some darkening on the surface as well as some scratches. The inner edge of the rim looked very good other than a flaw on the back right inner edge. The stem look good but there was some heavy oxidation and there were light tooth marks and chatter on both sides near the button.   I took a photo of the stamping on the sides of the shank. The stamping is faint but still readable and reads as noted above.     I took the stem off the pipe and took a photo of the parts to show the stinger apparatus and the look of the pipe as a whole.I topped the bowl on a topping board with 220 grit sandpaper and then worked on the inner edge of the rim with a folded piece of 220 grit sandpaper to give it a slight bevel. Once it is finished the rim top and edge looks much better.   I polished the newly topped rim with micromesh sanding pads. I sanded it with 1500-12000 grit pads and wiped it down between each pad with a damp cloth. By the end you can see the shine on the rim surface.    I rubbed the bowl and shank down with Before & After Restoration Balm. I worked it into the surface of the bowl sides and shank with my fingertips and a horse hair shoe brush to clean, enliven and protect the briar. I let the balm sit for a little while and then buffed with a cotton cloth to raise the shine. You can see the underlying grain begin to show through the rustication.    I “painted” the surface of the stem and button with the flame of a lighter to raise the bite marks. The process worked very well and lifted all of the marks on the top side and there was a slight dip along the button on the top side and two remaining marks left on the underside.    I filled in the remaining tooth marks with black super glue. Once it cured I smoothed out the surface of the repair with a needle file.  I sanded out the repair with 220 grit sandpaper to blend it into the surface of the surrounding vulcanite. I started polishing the stem with 400 grit wet dry sandpaper.   I polished the vulcanite stem with micromesh sanding pads – 1500-12000 grit pads. I wiped it down with a damp cloth after each sanding pad. I used Before & After Pipe Polish – both Fine and Extra Fine to further polish the stem.      This beautiful BBB Silver Grain 264 Stack, an English made pipe from the local pipe shop estate that I am restoring and selling for them is a great looking pipe. The smooth medium brown finish on the pipe is in excellent condition and works well with the polished vulcanite taper stem. I put the stem back on the bowl and carefully buffed the pipe with Blue Diamond on the buffing wheel using a light touch on the briar. I gave the bowl and the stem multiple coats of carnauba wax on the buffing wheel and followed that by buffing the entire pipe with a clean buffing pad. I hand buffed the pipe with a microfiber cloth to deepen the shine. The finished BBB Silver Grain Stack fits nicely in the hand and feels great. Give the finished pipe a look in the photos below. The dimensions of the pipe are Length: 5 ½ inches, Height: 2 inches, Outside diameter of the bowl: 1 1/8 inches, Chamber diameter: ¾ of an inch. If you are interested in adding this pipe to your collection send me a message or an email. I have a variety of brands to work on from the shop. Perhaps one of those will catch your attention. Thanks for reading this blog and my reflections on the pipe while I worked on it. This is an interesting estate to bring back to life.


New Life for an Ornsby System Pipe – the Ongoing Hunt for a Cooler Smoke.


Blog by Steve Laug

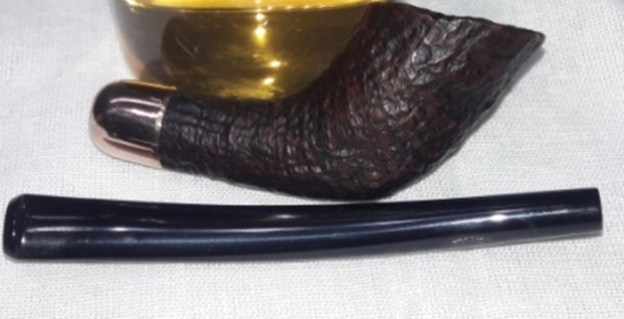
After reading Paresh’s blog on his restoration of an Ornsby pipe I decided to work on the one I have in my queue. While his was a smooth finished bowl mine is a very nice black sandblast finished pipe. I had it in my box here since 2018 so it was about time to work on it. The pipe is a uniquely designed system pipe with a spear like stem that inserts into the base of the bowl. The finish is a rugged sandblast that shows some around the sides of the bowl and rim. The carver did a great job utilizing the block of briar to maximize the grain. There was a thick cake in the bowl and lava overflow that fills in the sandblast rim top. The exterior of the briar was dusty with grime ground into the briar. The vulcanite taper stem and metal insert is a single unit. There is an interlocked OP on the top of the stem just behind the metal portion. The stem is lightly oxidized and has light tooth marks and chatter on both sides. The stem was in good condition under the grime. Jeff took the photos below to tell the story and give a glimpse of the pipe before his cleanup. The exterior of the pipe was very dirty – grime and grit ground in from years of use and sitting. The rim top was covered with grime and there was a coat of lava that overflowed the bowl. There was a thick, hard cake in the bowl.Jeff took photos of the sides and the heel of the bowl to give a better feel for the condition of the bowl.  He took photos of the bowl and stem taken apart. The sandblast finish is rugged and looks great under the grime in the sandblast. The second photo below shows the hole in the back side of the base. The third photo shows the slot on the heel of the bowl with a hole in the bottom of the bowl.   The next two photos show the spear like stem end with a slot that matches the hole in the bottom of the bowl. You can see the tars and oils in the slot and on the aluminum end.    The next photo shows the stamping on the topside of the stem and it is very readable. It reads as noted above.    The stem was dirty and oxidized and had tooth chatter and marks on both sides ahead of the button.      When I read Paresh’s blog on the Ornsby pipe that he worked on I remembered that I had one of them in my “to do” box. I went looking for the pipe and once I found it decided to work on it. I reread Paresh’s interesting blog for the background information that he had found on the brand. https://rebornpipes.com/2020/06/17/a-difficult-to-identify-but-simple-restoration-of-ornsby-pipe/ I quote the information below.

Lack of Maker’s stampings and COM stamp made research of this pipe very difficult. There was no point visiting rebornpipes.com as I did not have any name to search for. Similarly, visiting pipedia.org would not help as I did not have COM stamp to follow. Finally I turned to pipephil.eu and searched the Logos with a geometrical pattern and Logos with miscellaneous symbols sections. Again I came up with nothing matching the stem logo on the pipe in front of me. As a last resort, I just typed “pictures of unusual tobacco pipes” in to the Google search bar and there before me were a plethora of pictures. As I was scrolling through these images, after a couple of hours, I finally found a picture that was an exact replica of the pipe on my work table. A click on to this image took me to the site smokingmetals.co.uk. Here is the link to the web page; http://www.smokingmetal.co.uk/pipe.php?page=106.

From the read I understood that this design was a part of the piper’s eternal quest for a cool and dry smoke. I reproduce a part of the information that should provide the readers with an insight in to the designer of the pipe and the Company that manufactured these pipes.

Invented by Chief Marine Officer, William Edward Ornsby in an attempt to create a cooler smoke and a dry bowl. Marketed by the Ornsby Pipe Company Ltd, Pennywell, Sunderland, Tyne & Wear, England, predominately in the North of England, this pipe is virtually a stem direct to bowl.

The push fit stem/bit can be rotated to clear any shreds of tobacco that may be blocking the airway. A half turn of the stem will cut any trapped leaf in the airway and a quick blow will eject the offending particle. As the centre photo shows, the metal part of the stem goes right through the bowl. The packaging was also unusual in that it was a tube.

The pipe came with two choices of stem, straight or curved and there was a choice of six bowls: Natural, Brown Sandblast, Black Sandblast, Smooth Mahogany Finish, Deep Cut Horizontal Carved or the Deep Cut Vertical Carved.

Overall length 5 3/4 inches (146 m/m)

My thanks to Richard Adamek for the following:

“ORNSBY PIPE COMPANY LIMITED At an Extraordinary General Meeting of the Members of the above-named Company, duly convened, and held at 7 Benton Terrace, Sandyford Road, Newcastle-upon-Tyne, on 27th October 1980, the following Extraordinary Resolution was duly passed:

“That it has been proved to the satisfaction of this Meeting that the Company cannot, by reason of its liabilities, continue its business, and that it is advisable to wind up the same, and accordingly that the Company be wound up voluntarily and that Brian Leslie Wilson, of Wilson Johnson, 7 Benton Terrace, Sandyford Road, Newcastle-upon-Tyne, be and he is hereby nominated Liquidator for the purposes of the winding-up.”

(803) Brian Dobinson, Director”

Richard also found the patent number… US patent 242261 of 1976

Thus from the above, it is now established that the pipe that I am dealing with is an ORNSBY with a Natural smooth finish and a straight vulcanite stem. The pipe was awarded a US Patent in 1976 and the company was liquidated in 1980. This places the pipe in between the period from 1970s to 1980 making it 40 plus years old!!
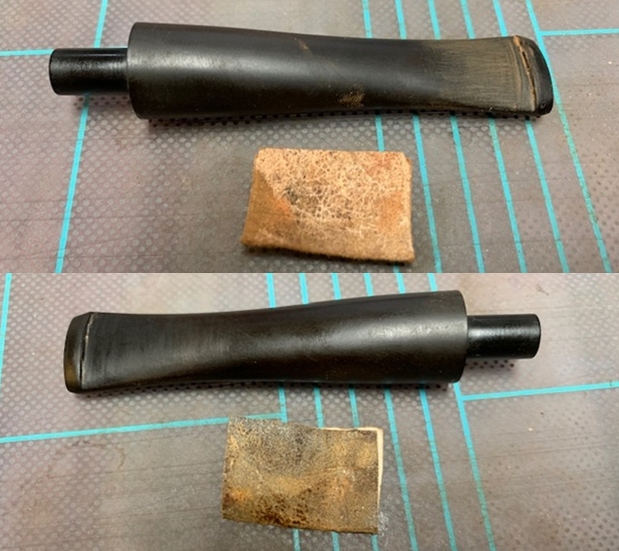
Jeff cleaned the pipe with his usual penchant for thoroughness that I really appreciate. Once he finished he shipped it back to me. He reamed it with a PipNet pipe reamer and cleaned up the reaming with a Savinelli Fitsall Pipe Knife. He scrubbed out the internals with alcohol, pipe cleaners and cotton swabs until the pipe was clean. He scrubbed the exterior of the bowl with Murphy’s Oil Soap and a tooth brush to remove the grime and grit on the briar and the lava on the rim top. The finish looks very good with good looking grain around the bowl and shank. Jeff soaked the stem in Before & After Deoxidizer to remove the oxidation on the rubber. When the pipe arrived here in Vancouver for the second stop of its restoration tour it looked a lot better. I took photos before I started my part of the work.    I took some close up photos of the rim top and also of the stem surface. I wanted to show what cleaned bowl and rim top looked like. The rim top and edges are in excellent condition. There is one deep nick that could well be a sandblast. I also took close up photos of the stem to show the light tooth marks on the stem surface.   I removed the stem for the shank and took a photo of the bowl and stem to give a picture of what it looked like. You can see scratches in the stem surface.   Now, on to my part of the restoration of this Ornsby System pipe. I decided to start by rubbing the bowl down with Before & After Restoration Balm. I worked it into the surface of the bowl sides and shank with my fingertips to clean, enliven and protect it. I let the balm sit for a little while and then buffed with a cotton cloth to raise the shine. I set the bowl aside and turned my attention to the stem. I filled in the remaining tooth mark with clear super glue. Once it cured I smoothed out the surface of the repair with a needle file.  I sanded out the repair with 220 grit sandpaper to blend it into the surface of the surrounding vulcanite. I started polishing the stem with 400 grit wet dry sandpaper.   I decided to touch up the OP stamp on the top of the stem using Papermate Liquid Paper. Once the repair cured I scraped it off with a tooth pick and the white remained in the stamp. It looks very good at this point.     I polished the vulcanite with micromesh sanding pads – 1500-12000 grit pads. I wiped it down with a damp cloth after each sanding pad. I used Before & After Pipe Polish – both Fine and Extra Fine to further polish the stem.    This Ornsby System pipe is a beauty and it cleaned up very well. The finish on the pipe is in excellent condition and works well with the polished aluminum and vulcanite saddle stem. I buffed the bowl and the spear like stem with Blue Diamond on the buffing wheel using a light touch on the briar. I gave the bowl and stem multiple coats of carnauba wax on the buffing wheel and followed that by buffing the entire pipe with a clean buffing pad. I hand buffed the pipe with a microfiber cloth to deepen the shine. The finished Ornsby pipe is a great looking pipe that looks almost new. The flow of the sandblast around the bowl and the shape contribute to beautiful look of this pipe. It fits nicely in the hand and feels great. Give the finished pipe a look in the photos below. The dimensions of the pipe are Length: 5 ½ inches, Height: 1 ½ inches, Outside diameter of the bowl: 1 ¼ inches, Chamber diameter: ¾ of an inch. This pipe will be added to my own collection of pipes from the “ongoing hunt for the perfect smoke”. I look forward to enjoying it. Thanks for reading this blog and my reflections on the pipe while I worked on it. This was an interesting estate to bring back to life.

Breathing Life into a Top Grade Malaga – a Raskassa Dublin


Blog by Steve Laug

With two pipes left to work on from Bob Kerr’s estate I needed to take a break and work on something different. Jeff had asked me about a Malaga Raskassa pipe that he said he had sent me. I could not find it in any of the boxes I had here. It turned out that it has been here for several years. I found it in a box of pipes awaiting restoration that I was going through to put together grab bags. I was surprised and decided it was the next one I would work on. The pipe is a Malaga Dublin with some beautiful grain around the oil cured bowl and shank. There is beautiful birdseye grain on the front and back of the bowl and cross grain on the sides. The pipe has not been stained but sports the usual Malaga oil cured look. The carver did a great job utilizing the block of briar to maximize the grain. The pipe is stamped on both sides of the shank. On the left it reads MALAGA and on the right side it is stamped RASKASSA. The saddle stem is vulcanite and has no marking or stamping. There was a thick cake in the bowl and a light lava overflow and darkening on the rim top. The exterior of the briar was dusty with grime ground into the briar. The stem is lightly oxidized and has light tooth chatter on both sides. The stem was in good condition under the grime. Jeff took the photos below to tell the story and give a glimpse of the pipe before his cleanup. The exterior of the pipe was very dirty – grime and grit ground in from years of use and sitting. The rim top was covered with grime and there was a spotty coat of lava that overflowed the bowl. There was a thick, hard cake in the bowl.    Jeff took photos of the sides and the heel of the bowl to give a better feel for the condition of the bowl.  The next photos show the stamping on the sides of the shank and it is very readable. It reads as noted above.    The stem was dirty and oxidized and had tooth chatter and marks on both sides ahead of the button. For those of you who are unfamiliar with the brand, I am also including the link to a blog that I wrote that gives some of the history of the Malaga brand and the Malaga Pipe Shop in Royal Oak, Michigan in the USA. Here is the link – https://rebornpipes.com/tag/malaga-pipes/. That blog also includes links to a catalogue and the history of the pipemaker George Khoubesser. If you are interested to learn more then I invite you to follow the link to get a feel for the brand and the pipemaker.

I am also am including some printed material on the Malaga brand that came to me from the daughter of George Koch to help identify the particular stamping on the pipe. The link takes you to the entire collection of materials that were sent to me. I am also including one particular page that helps identify the RAS KASSA stamping on the pipe. https://rebornpipes.com/2019/02/27/malaga-pipes-catalogue-of-pipes-and-tobaccos/

It basically says that the stamping is applied to pipes with special rare grain patterns in the briar. These appear to be straight grain, birdseye, swirled grains etc. that are tight patterns. They are rare – 1 or 2 in every hundred pipes. This pipe is one of those. You can read the description in the detailed explanation below.

Jeff cleaned the pipe with his usual penchant for thoroughness that I really appreciate. Once he finished he shipped it back to me. He reamed it with a PipNet pipe reamer and cleaned up the reaming with a Savinelli Fitsall Pipe Knife. He scrubbed out the internals with alcohol, pipe cleaners and cotton swabs until the pipe was clean. He scrubbed the exterior of the bowl with Murphy’s Oil Soap and a tooth brush to remove the grime and grit on the briar and the lava on the rim top. The finish looks very good with good looking grain around the bowl and shank. Jeff soaked the stem in Before & After Deoxidizer to remove the oxidation on the rubber. When the pipe arrived here in Vancouver for the second stop of its restoration tour it looked a lot better. I took photos before I started my part of the work.  I took some close up photos of the rim top and also of the stem surface. I wanted to show what cleaned bowl and rim top looked like. The rim top and edges are in excellent condition. I also took close up photos of the stem to show the light tooth marks on the stem surface.    I took photos of the stamping on both sides of the shank and it is clear and readable. It is stamped as noted above.  I removed the stem for the shank and took a photo of the bowl and stem to give a picture of what it looked like. You can see scratches in the stem surface.Now, on to my part of the restoration of this Malaga Raskassa Dublin. I decided to start by polishing the bowl and rim top with micromesh sanding pads – wet sanding with 1500-12000 grit pads and wiping the briar down with a damp cloth after each sanding pad.   I rubbed the bowl down with Before & After Restoration Balm. I worked it into the surface of the bark on the bowl sides and shank with my fingertips to clean, enliven and protect it. I let the balm sit for a little while and then buffed with a cotton cloth to raise the shine.   I set the bowl aside and turned my attention to the stem. I “painted” the surface of the stem with the flame of a lighter. The heat lifted the scratches and dents in the stem surface that left behind only one small tooth dent. It also had the added benefit of burning off some of the oxidation.I filled in the remaining tooth mark with clear super glue. Once it cured I smoothed out the surface of the repair with a needle file.     I sanded out the repair and scratches to blend it into the surface of the surrounding vulcanite. I started polishing the stem with 400 grit wet dry sandpaper.      I polished the vulcanite with micromesh sanding pads – 1500-12000 grit pads. I wiped it down with a damp cloth after each sanding pad. I used Before & After Pipe Polish – both Fine and Extra Fine to further polish the stem.    After finding this Malaga Raskassa that I have been looking for through my boxes I was glad to finish it. It really is a great looking pipe. The finish on the pipe is in excellent condition and works well with the polished vulcanite saddle stem. I put the stem back on the bowl and carefully buffed the pipe with Blue Diamond on the buffing wheel using a light touch on the briar. I gave the bowl and stem multiple coats of carnauba wax on the buffing wheel and followed that by buffing the entire pipe with a clean buffing pad. I hand buffed the pipe with a microfiber cloth to deepen the shine. The finished Malaga Raskassa Dublin is a great looking pipe that looks almost new. The flow of the grain around the bowl and the shape contribute to beautiful look of this pipe. It fits nicely in the hand and feels great. Give the finished pipe a look in the photos below. The dimensions of the pipe are Length: 5 ½ inches, Height: 2 inches, Outside diameter of the bowl: 1 ½ inches, Chamber diameter: ¾ of an inch. I have been looking for a Malaga Raskassa for my own collection so this one fits the bill for me. I look forward to enjoying it. Thanks for reading this blog and my reflections on the pipe while I worked on it. This was an interesting estate to bring back to life.

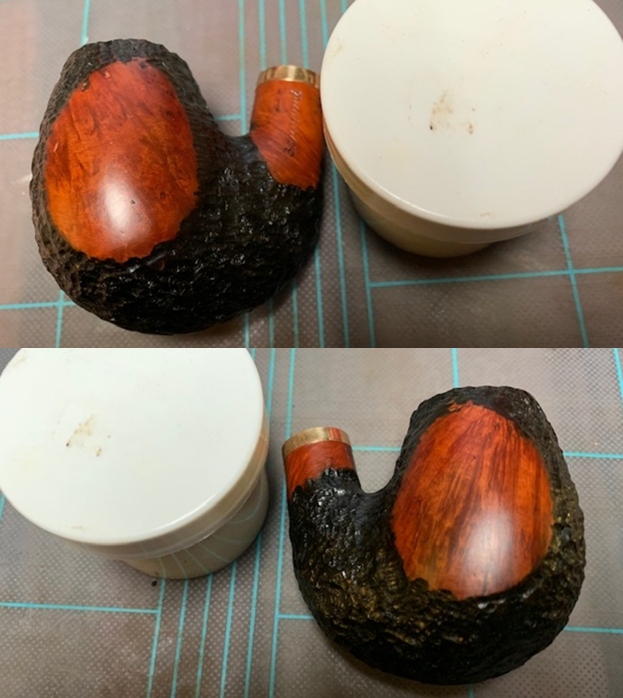
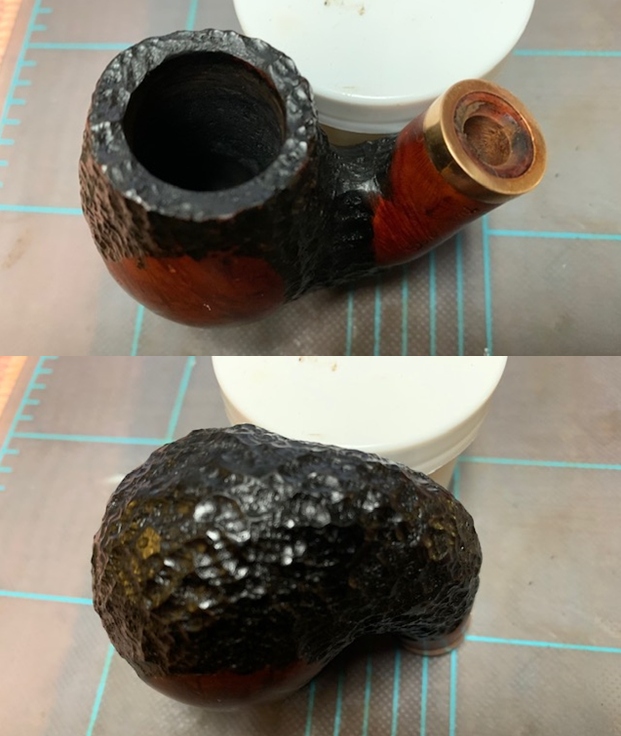
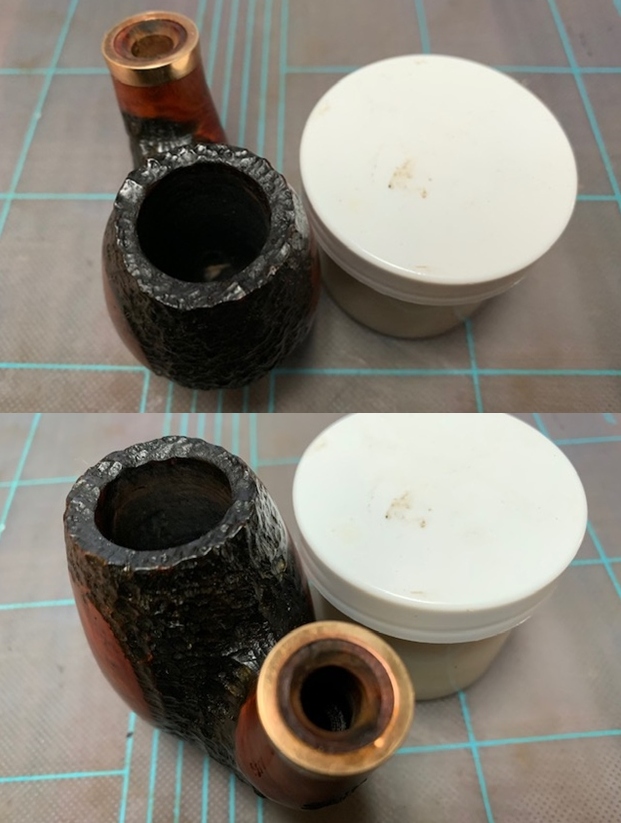
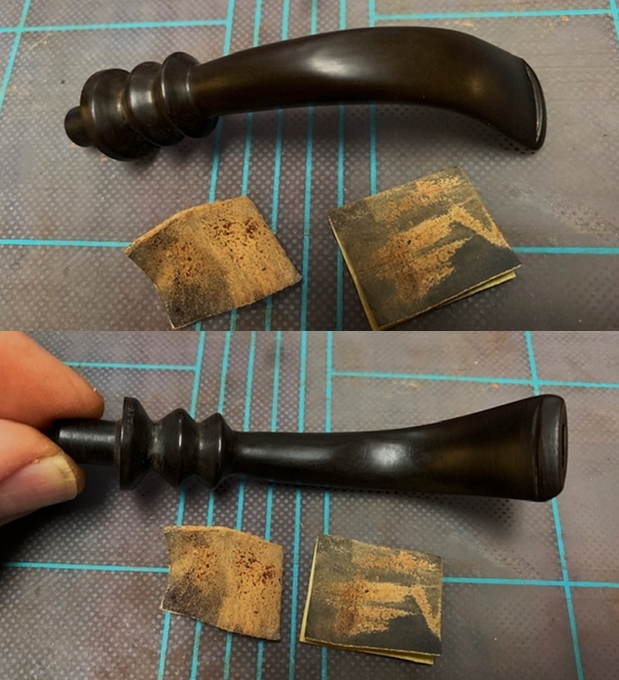
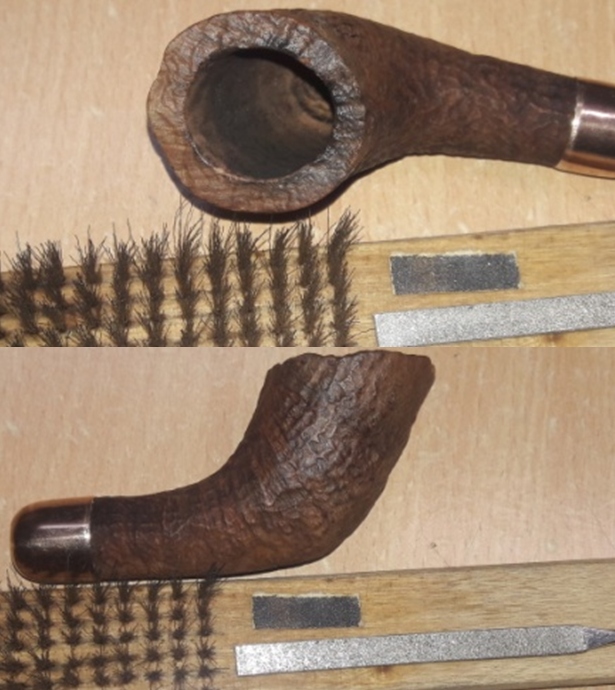
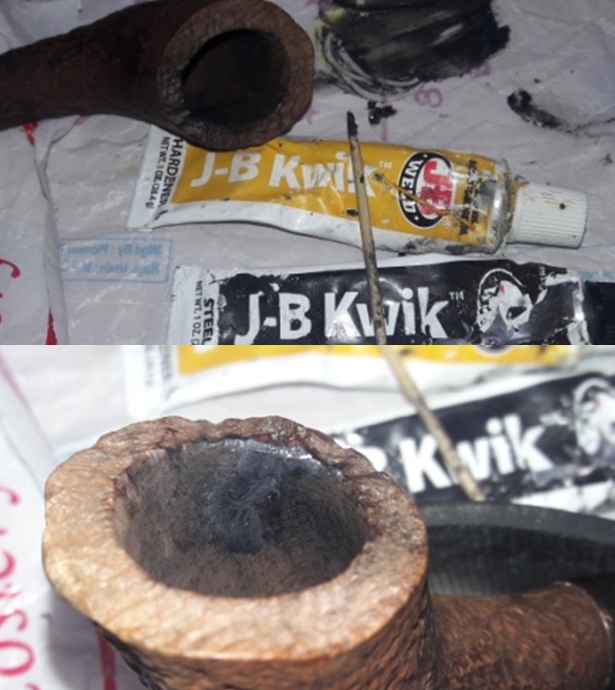
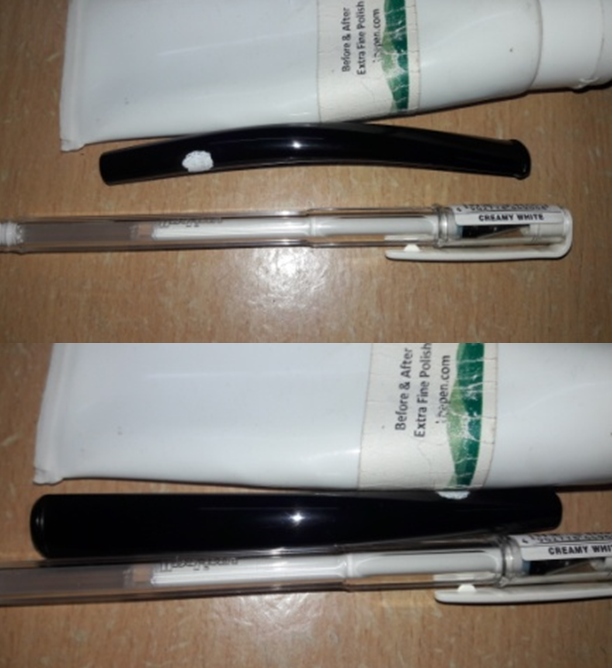
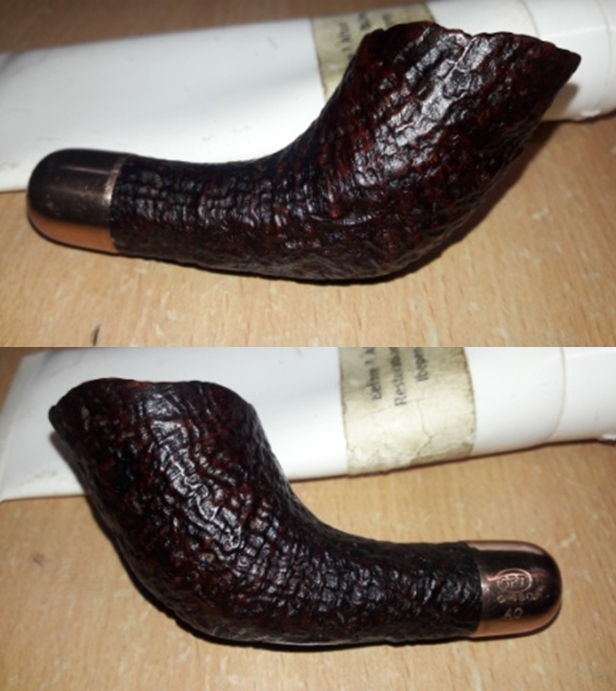
Restoring & Restemming a Celtic Craft Block Meerschaum from Bob Kerr’s Estate


Blog by Steve Laug

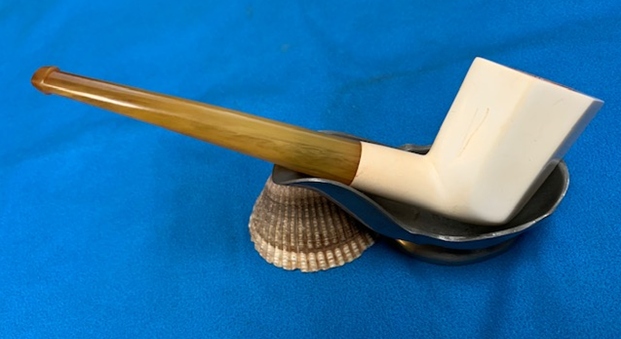
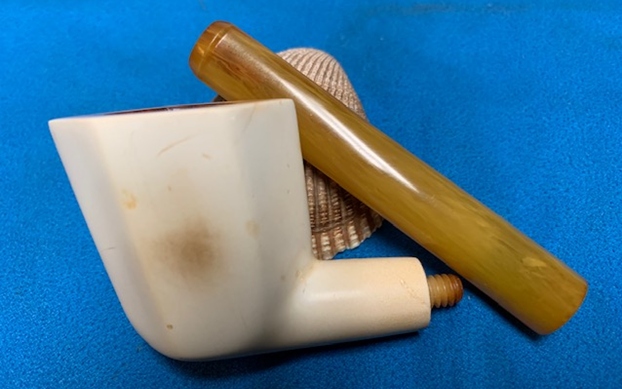
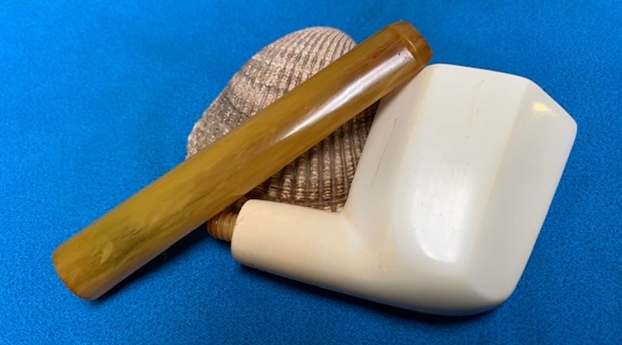
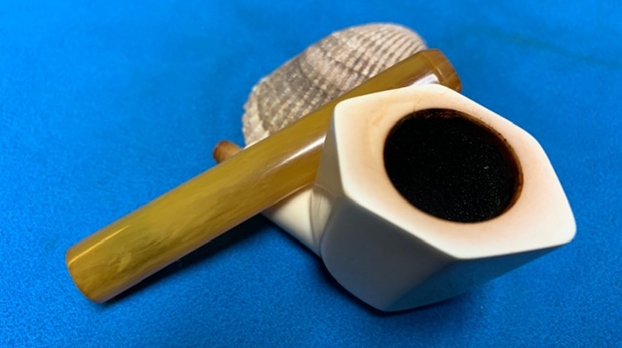
The next pipe I have chosen from the four remaining pipes from Bob Kerr’s Estate is a Genuine Block Meerschaum with a damaged stem. This is the last of Bob’s Block Meerschaum pipes that I have to work on. (Bob’s photo is to the left). If you have not “met” the man and would like to read a bit of the history of the pipeman, his daughter has written a great tribute that is worth a read. Because I have included it in most of the restorations of the estate to date I thought that I would leave it out this time. Check out some of the recent Dunhill restoration blogs (https://rebornpipes.com/2020/01/01/restoring-the-last-of-bob-kerrs-dunhills-a-1962-dunhill-bruyere-656-f-t-bent-billiard/).

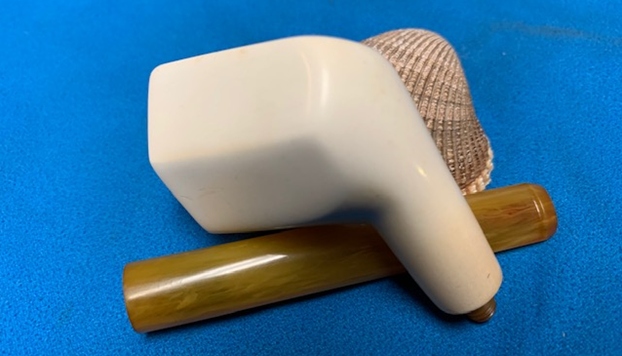
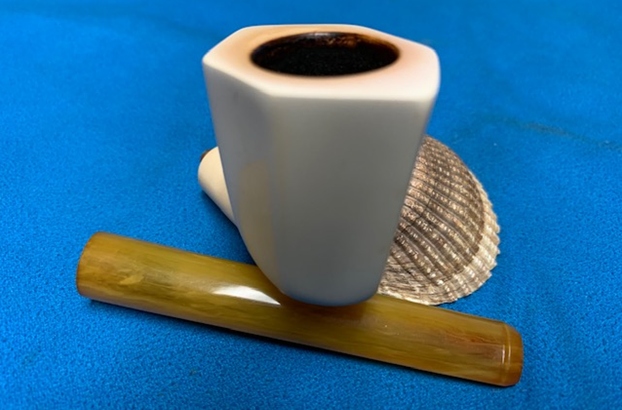
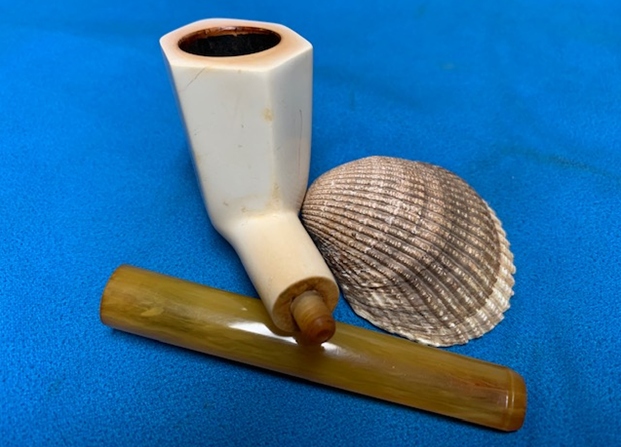
This Meerschaum is stamped Celtic [over] Craft on the left side of the shank. On the underside it is stamped Genuine Block Meerschaum. Over that on the shank end was stamp GT at the top and below the stamp read N14 which is probably the shape number. The fancy vulcanite stem is oxidized, calcified and has a large chunk missing from the underside of the button and stem. From the damage it looked to me like it needed to be replaced. The exterior of the bowl is grimy and dirty. The black flumed top was worn and tired looking on both the rim top and the shank end. There is a thick cake and lava overflow on the rim top. It is thick enough that it is hard to know if there is any damage on top and edges but it looked like there was some damage. Jeff took photos of the pipe to show its general condition before he did his cleanup.   The exterior of the pipe was very dirty – grime and grit ground in from years of use and sitting. This one was obviously one of Bob’s favourites. The rim top was covered with a coat of thick lava that overflowed the bowl. There was also some damage on the rim top and edges of the bowl. The bowl itself had a thick cake with flecks of tobacco stuck in the cake on the sides.  Jeff took photos of the sides and the heel of the bowl to give a better feel for the condition of the bowl. It is dirty but the rustication is interesting. The next photos show the stamping on the sides of the shank. The left side is clear and readable and reads as noted above. The stamping on the underside of the shank was also clear and readable as noted above. Jeff also took photos of the stem shank connection with the stem in place and the stem removed. The tenon was metal and inset in the end of the stem. The shank end was filthy and worn.  The stem was dirty and extremely oxidized, calcified and had tooth marks on both sides ahead of the button. It was missing a large chunk of vulcanite from the underside of the stem and button.   I have not heard of the Celtic Craft brand but the way it was made and the stamping style and placement on the pipe and the finish on the pipe was identical to the look and feel of the block meerschaum pipe that restored earlier – a BELT (https://rebornpipes.com/2020/06/11/restoring-a-heavily-smoked-belt-meerschaum-peterson-like-pipe/). I turned to that blog to check if it was possible that the CELTIC CRAFT pipe was made by the same company. While there was nothing definite I am convinced that it is made by the same company. I quote from that blog:

The BELT brand is not one that I am familiar with. I have never heard of the brand in my years of doing this work. I decided to pause before I started my part of the work on the pipe and see what I could learn on the web. I looked on Pipephil’s site and could find nothing listed. I did the same on Pipedia and initially found nothing either. I did a google search for the brand and low and behold the brand came up under Danish Pipe Making Companies under the heading London Meerschaum (https://pipedia.org/wiki/London_Meerschaum). I quote the brief article below as taken from Jose Manuel Lopes book.

“London Meerschaum made some pipes under the name of BELT or THE BELT, I had this confirmed by Bonds of Oxford St. who have 5 smooth bowl versions in stock at the time of writing, these look very similar to standard system full bent Peterson Meerschaums, the smooth versions have silverware stamped L&JS {Les & Dolly Wood, Ferndown} and has Belt and Genuine Block Meerschaum stamped on the bowl. I have seen 1 rusticated version with the same silverware and 2 of which I own 1, have gold plated ware with no hallmarks and are also stamped Belt and Genuine Block Meerschaum. Both smooth and rusticated have P-Lip type stems though the air hole is not on top but at the end as with most non Peterson P-Lips that I have come across. I do not know when London Meerschaum ceased trading but I can say from the one Belt that I own, it’s a very fine pipe and not cheap, well over the £100 mark when new.”

These pipes were evidently sold at least as early as the 1950’s. These may have been made by, or are affiliated with Pomeroy & Cooke Ltd., (Pipes, Artisans and Trademarks, by José Manuel Lopes).

One of the readers of that blog responded with the following information. It cleared up the information above and called the information that it was a Danish Company called London Meerschaum into question.

Jambo/Belt was based in Nothhamptonshire, a small town north of London.

In my mind it was a Manx Made African Meer and now the information trail was twisted. It is now purported to have been made in Denmark, or in Nothhamptonshire near London or on the Isle of Man. Confusing and strange provenance for this old meer but I personally lean toward the Manx Pipes Connection. Now it was time to work on the pipe itself.

With over 125 pipes to clean from Bob’s estate I took a batch of them to the states with me when I visited and left them with Jeff so he could help me out. Jeff cleaned the pipes with his usual penchant for thoroughness that I really appreciate. Once he finished he shipped them back to me. This one was a real mess and I did not know what to expect when I unwrapped it from his box. He reamed it with a PipNet pipe reamer and cleaned up the reaming with a Savinelli Fitsall Pipe Knife. He scrubbed out the internals with alcohol, pipe cleaners and cotton swabs until the pipe was clean. He scrubbed the exterior of the bowl with Murphy’s Oil Soap and a tooth brush to remove the grime and grit on the meerschaum and the lava on the rim top. The finish looks very good with an interesting rustic finish around the bowl and shank. Jeff scrubbed the stem with Soft Scrub and soaked it in Before & After Deoxidizer to remove the oxidation on the rubber. When the pipe arrived here in Vancouver for the second stop of its restoration tour it looked a lot better. I took photos before I started my part of the work.  I took close up photos of the rim top and the stem surfaces. The rim top looked better but was rough. Some of the surface had been worn smooth. It was clean however and the flumed colour on the rim and shank end had faded with the cleanup work. The stem was another story all together. The metal tenon was good but the threads in the shank were worn so that it would not align. The issue for me was that the metal would continue to wear down the meer and make the fit looser over time. There were deep nicks on all the sharp edges of the diamond stem. The large chip out of the underside of the button and stem was bigger and rougher than I expected. Even though I could rebuild the damaged area I decided that the stem would need to be replaced on this one.    I took photos of the stamping on the shank of the pipe. It is readable and clear. The text reads as noted above.   I took the stem off the shank and took a photo to give a sense of the flow of the pipe. The stem is a bit of a turned freehand stem so I pretty much could use any other turned freehand stem as a replacement.I started my work on the pipe by dealing with the rim top. I used a brass bristle brush to clean up the rim top. I wanted to check out damage to the rim top so the brass bristle brush would remove any remaining grit in the rustication.I used a black stain pen to touch up the flumed top of the bowl, edges and the shank end. The rim top and shank end looked much better.   I set the bowl aside and turned my attention to replacing the stem. I went through my can of stems and found one that would look interesting with the shape of the pipe. It was a new cast stem. I would need to cut off the tenon and drill out the stem for a new tenon.I used the Dremel and sanding drum to cut off the tenon. I had a Delrin tenon that was made to screw into the stem. I found that reversing it and turning it into the shank was a perfect fit. I used a series of drill bits to drill out the end of the stem to receive the smooth end of the tenon. I used the Dremel and sanding drum to remove the excess vulcanite from the stem so that when the tenon was screwed into the shank the stem sat flush in the shank. I glued the tenon in place in the stem with clear super glue and set it aside to let the glue cure.Once the glue cured I turned the stem into the shank and took photos of the pipe as a whole. Still lots of sanding to do but I like the fit of the stem to the shank.   I cleaned up the stepped down stem area on the end of the stem with a needle file to fit in the inset shank end. I also used the file to reduce the thickness of the button. I then heated the stem with a lighter flame to soften the vulcanite. Once it was soft I bent the end of the stem to match the stem that I was replacing. I screwed the stem into the shank and took a photo of the pipe at this point in the process. I am starting to like the looks of this pipe.   I removed the stem from the shank and sanded out the file marks and shaped the button with 220 grit sandpaper and followed that with 400 grit wet dry sandpaper to start the polishing.   I used a potter cutting tool to open up the slot in the end of the button. I wanted to reshape it and open it enough that a pipe cleaner would easily move through the airway.   I polished the vulcanite with micromesh sanding pads – 1500-12000 grit pads. I wiped it down with a damp cloth after each sanding pad. I used Before & After Pipe Polish – both Fine and Extra Fine to further polish the stem.    I rubbed the bowl down with Before & After Restoration Balm. I worked it into the surface of the bowl sides and shank with my fingertips and a horsehair shoe brush to clean, enliven and protect it. I let the balm sit for a little while and then buffed with a cotton cloth and shoe brush to raise the shine. This interestingly finished rusticated Celtic Craft Genuine Block Meerschaum Freehand/Poker from Bob Kerr’s estate looks very good. Even though it is not my personal favourite it must be a great smoking pipe. The finish cleaned up well on the pipe is in great condition and works well with the polished vulcanite taper replacement stem. I carefully buffed the stem with Blue Diamond on the buffing wheel. I gave the bowl multiple coats of Clapham’s Beeswax Polish and the stem multiple coats of carnauba wax on the buffing wheel and followed that by buffing the entire pipe with a clean buffing pad. I hand buffed the pipe with a microfiber cloth to deepen the shine. The finished Meerschaum fits nicely in the hand and I think the rustication will feel great when it heats up during smoking. Give the finished pipe a look in the photos below. The dimensions of the pipe are Length: 6 inches, Height: 2 inches, Outside diameter of the bowl: 1 ½ inches, Chamber diameter: ¾ of an inch. If you are interested in carrying on Bob’s legacy with this pipe send me a message or an email. I have more to work on of various brands. Perhaps one of those will catch your attention. Thanks for reading this blog and my reflections on the pipe while I worked on it. This is an interesting estate to bring back to life.