by Steve Laug
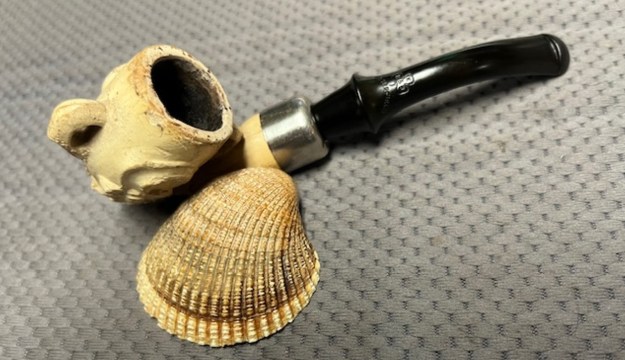
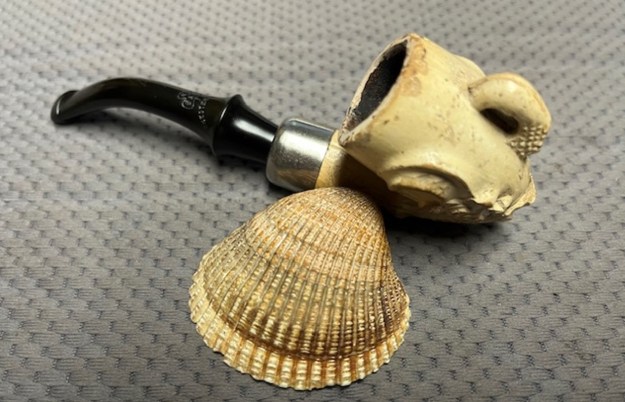
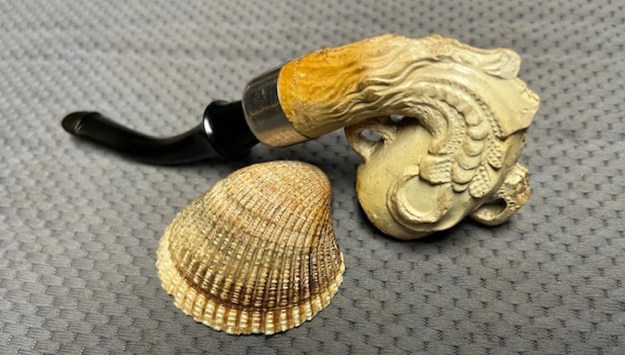
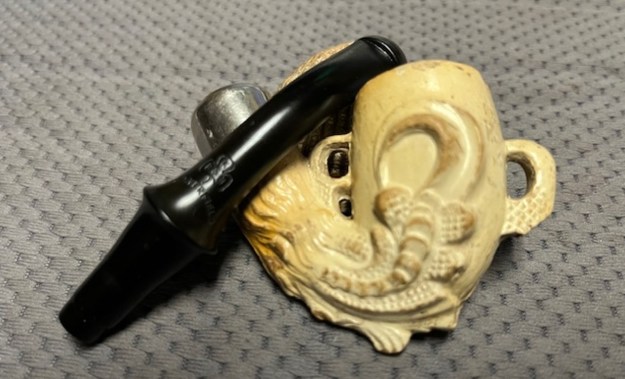
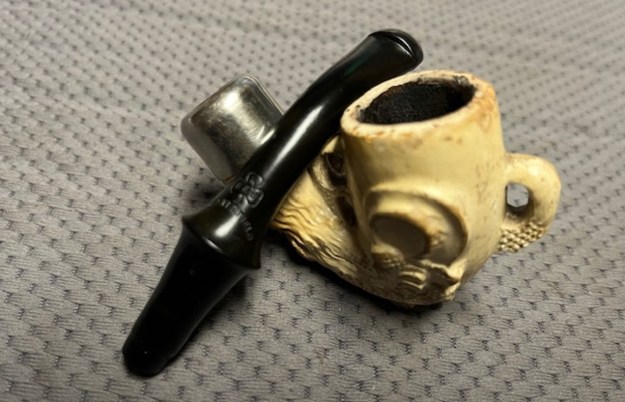
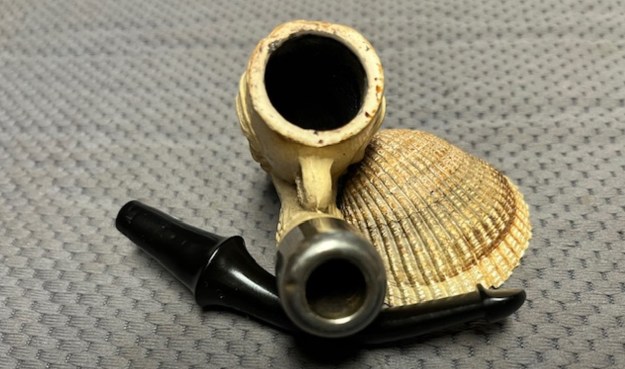
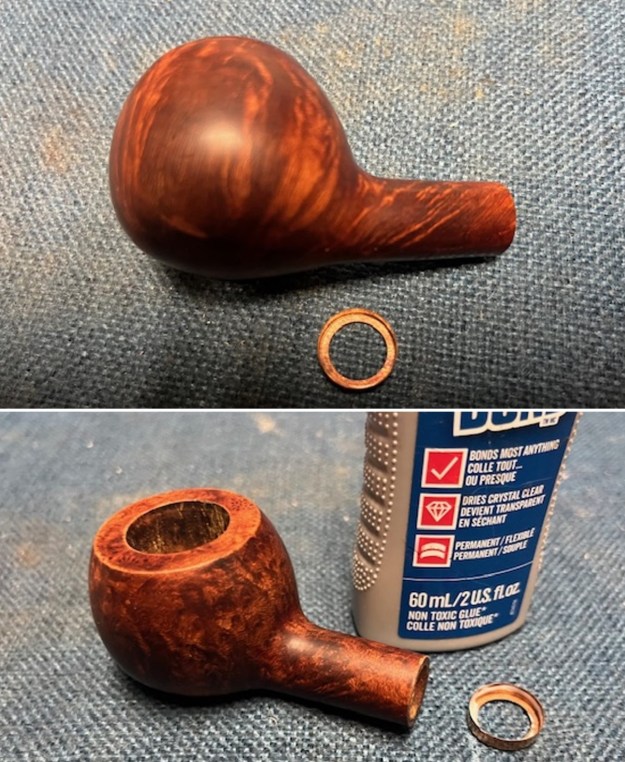
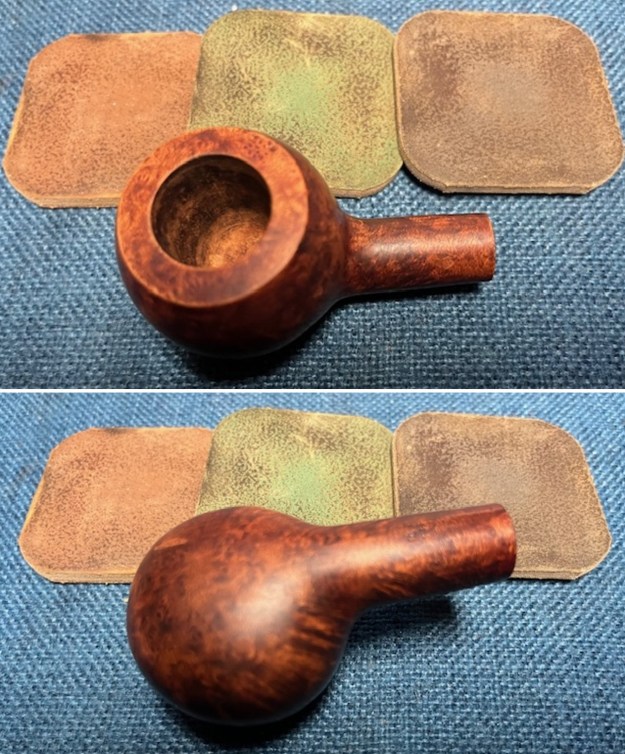
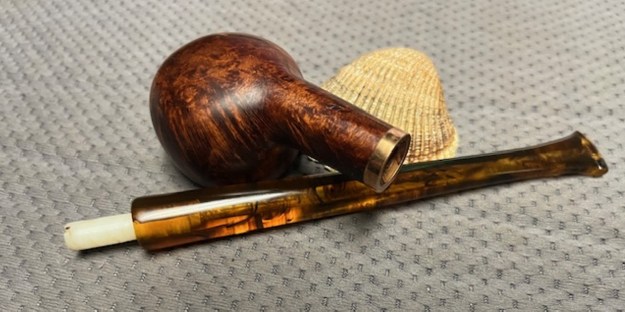
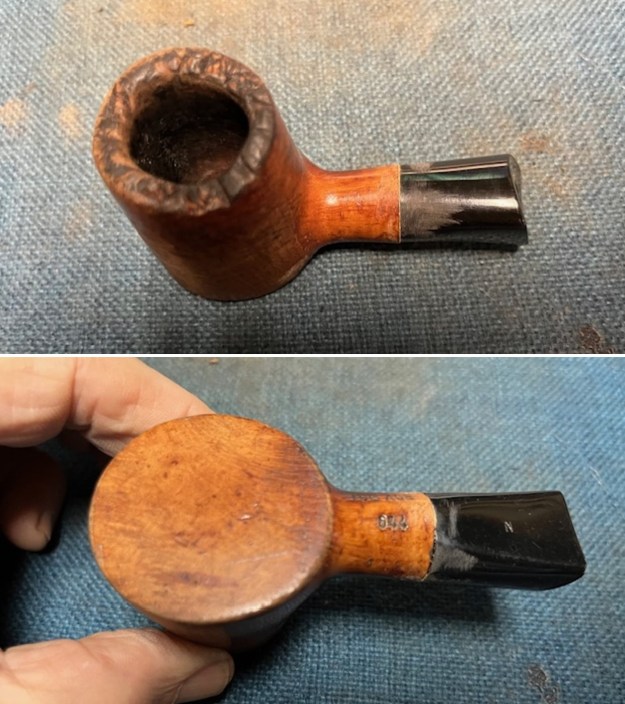
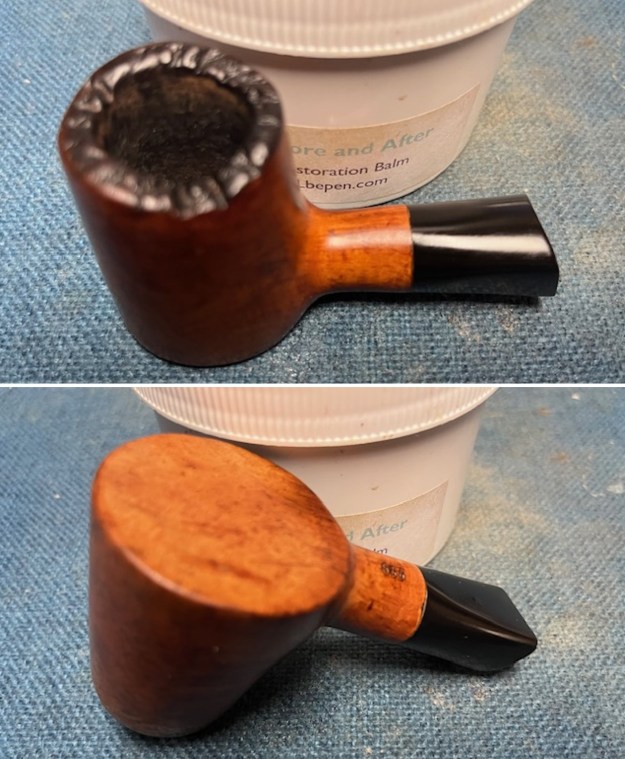
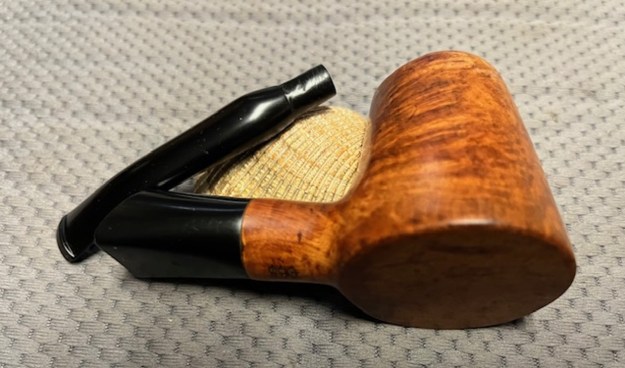
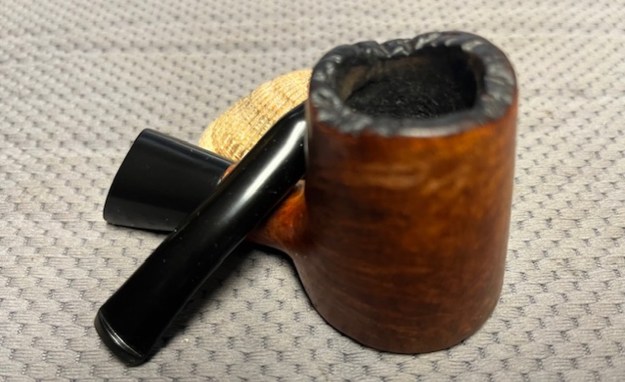
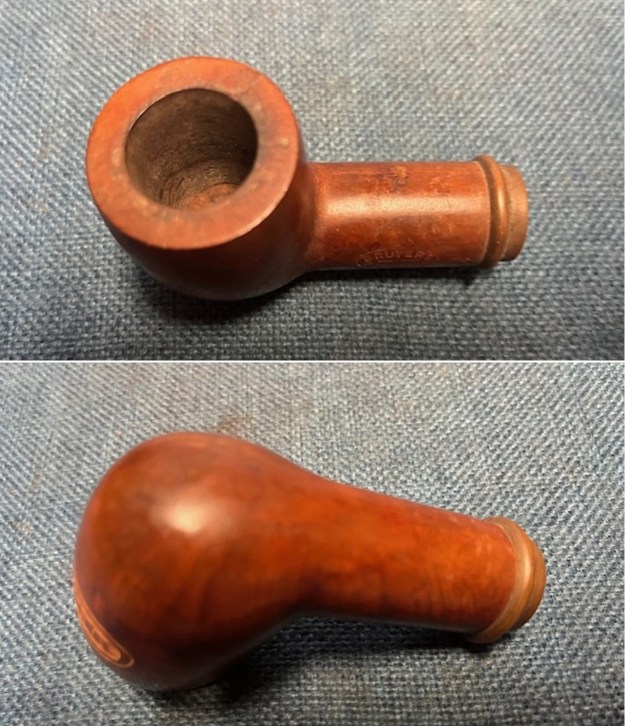
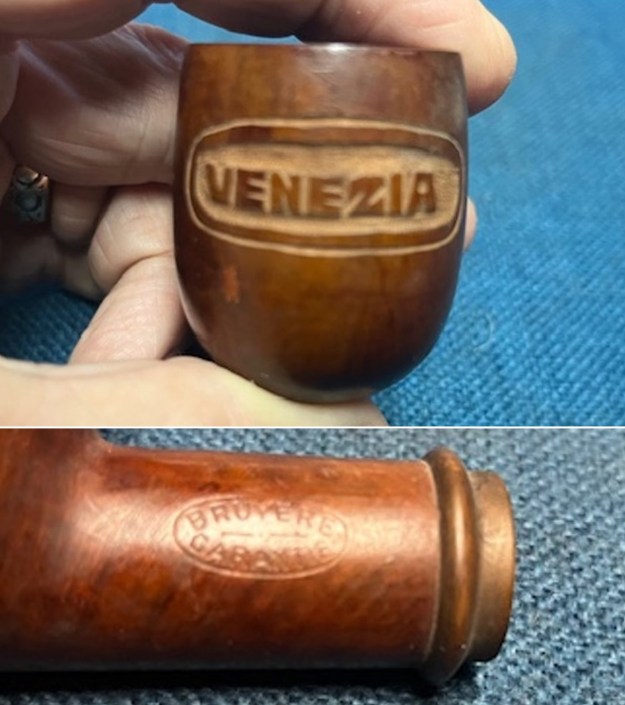
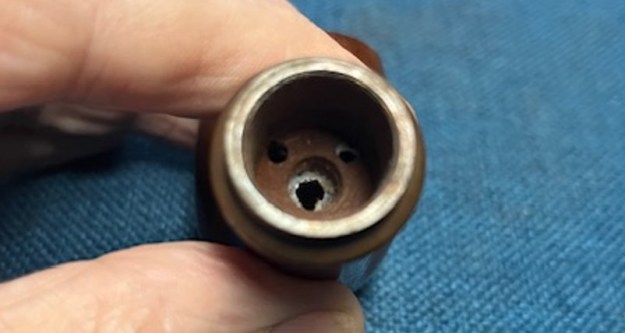
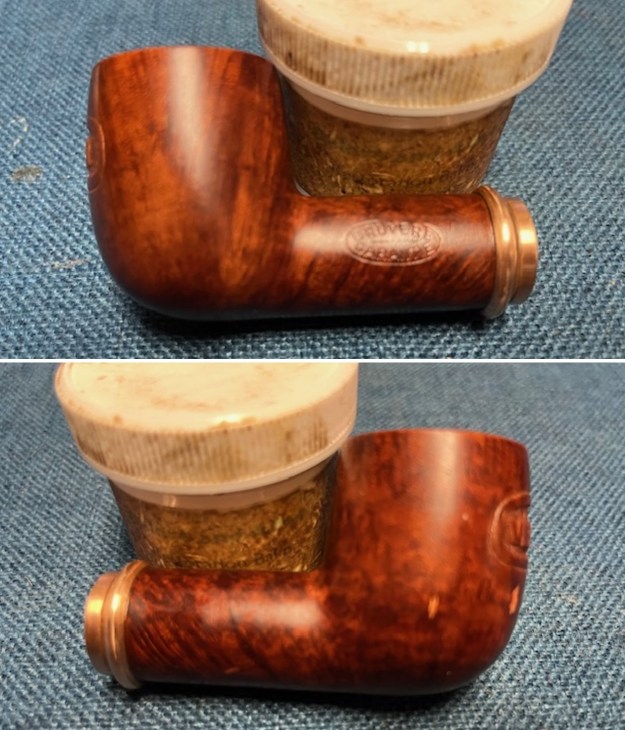
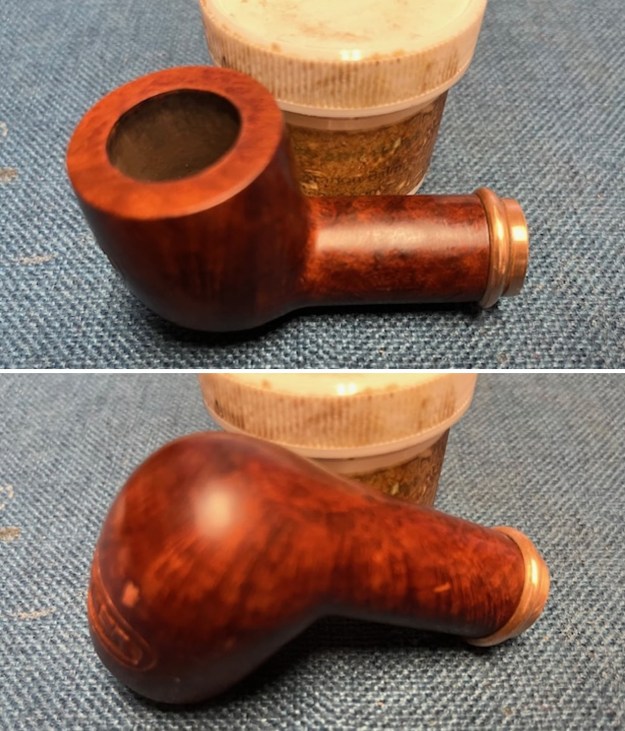
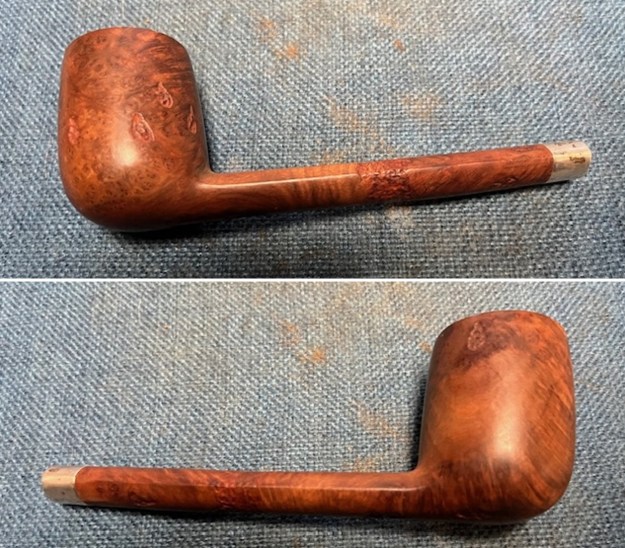
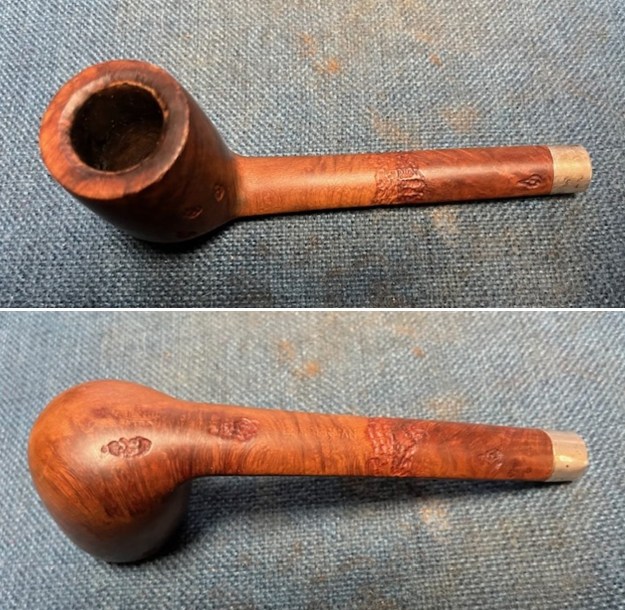
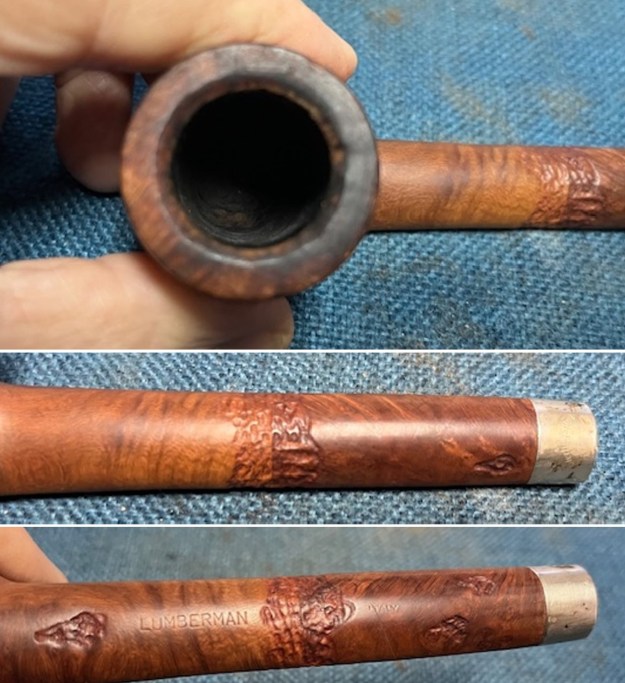
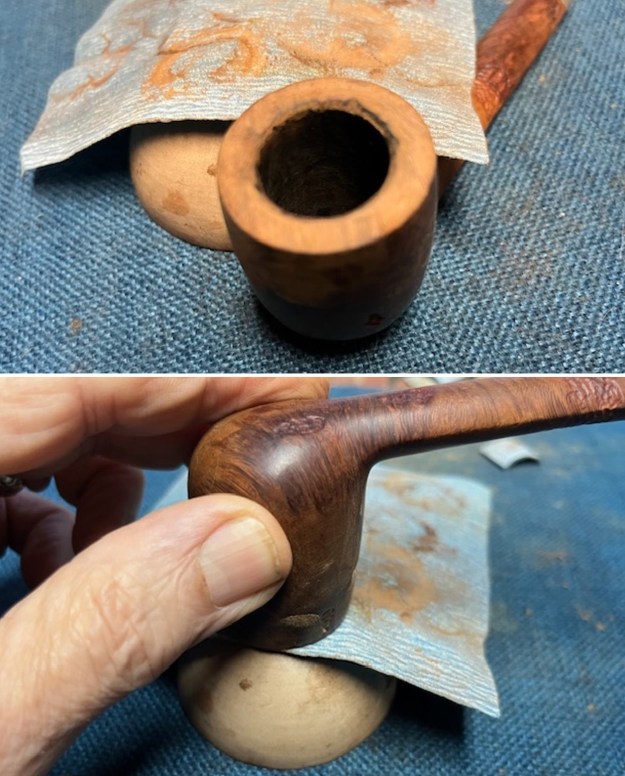
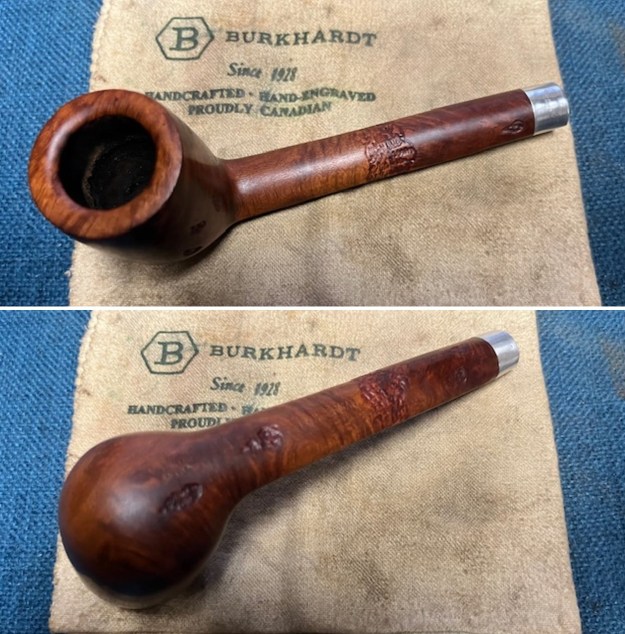
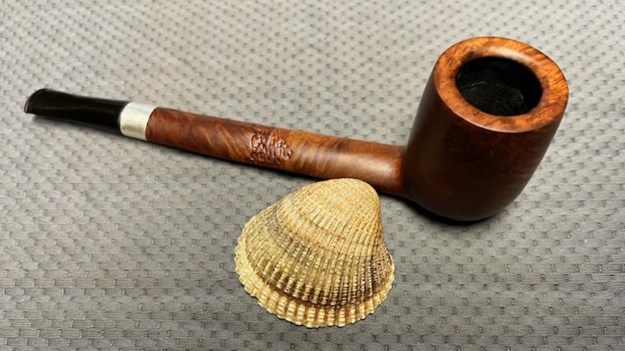
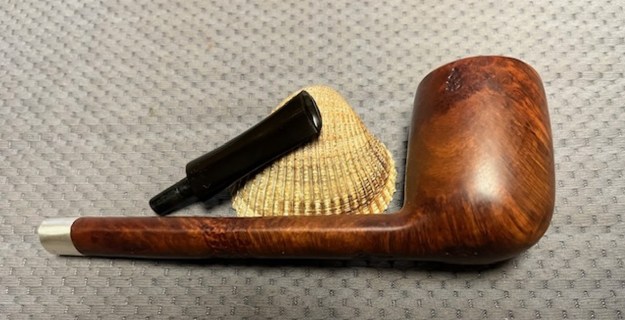
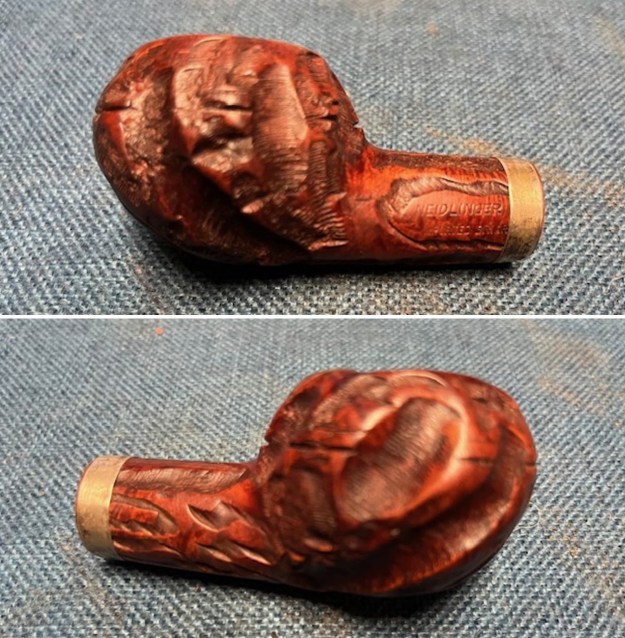
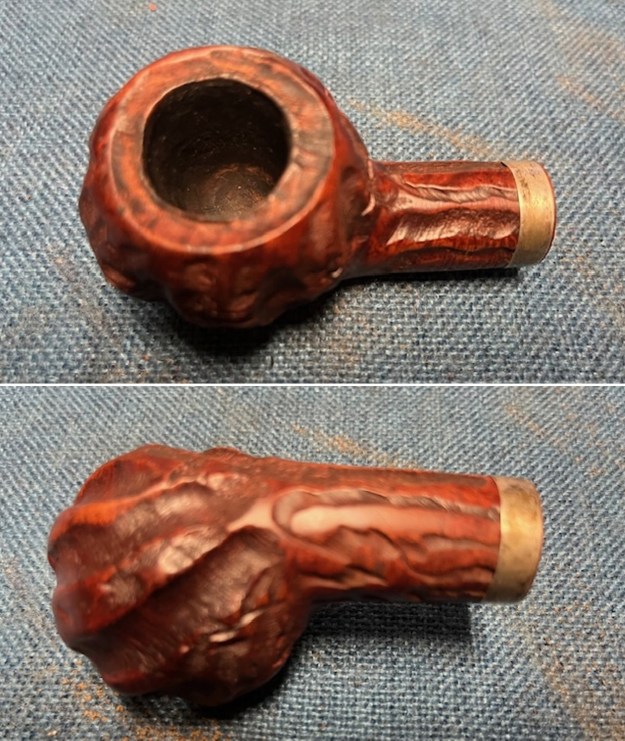
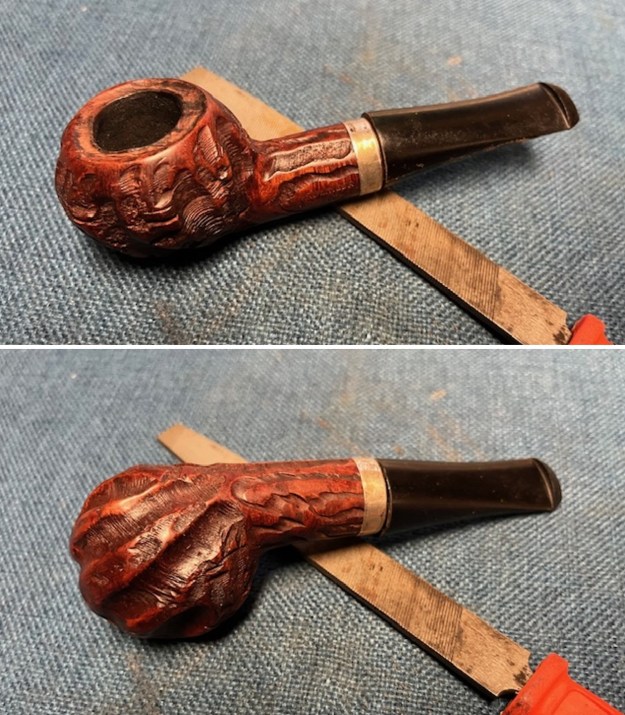
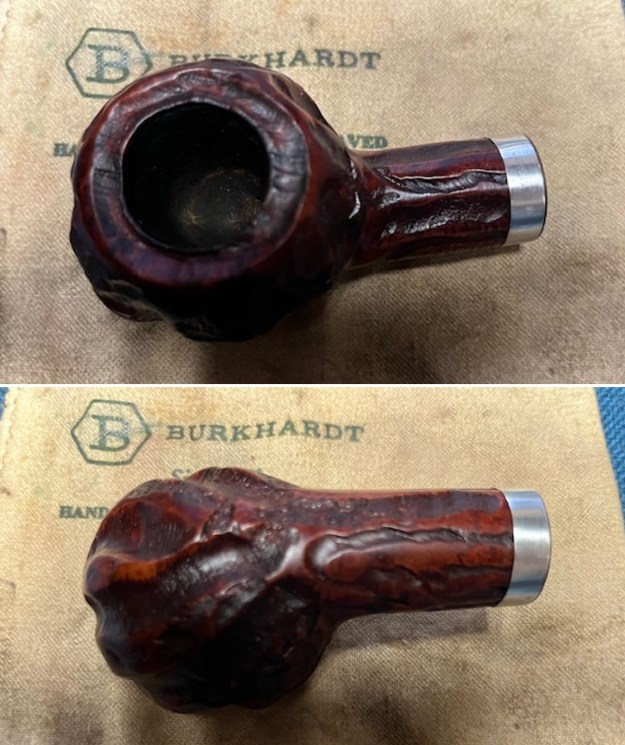
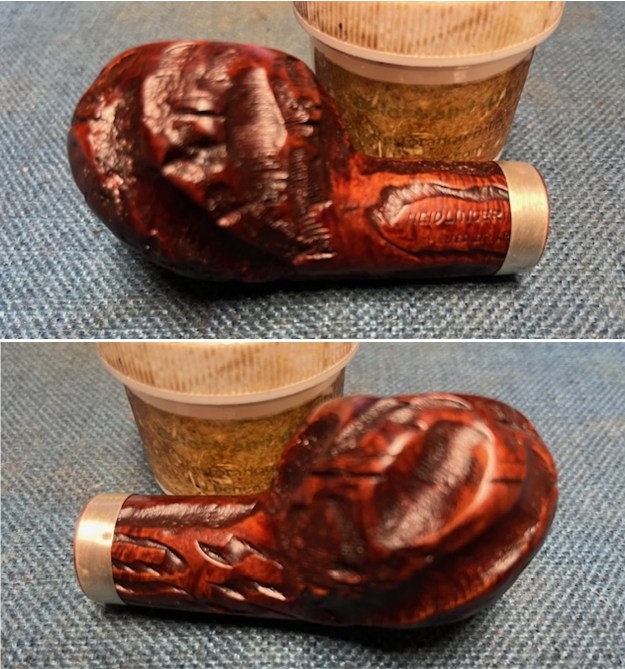
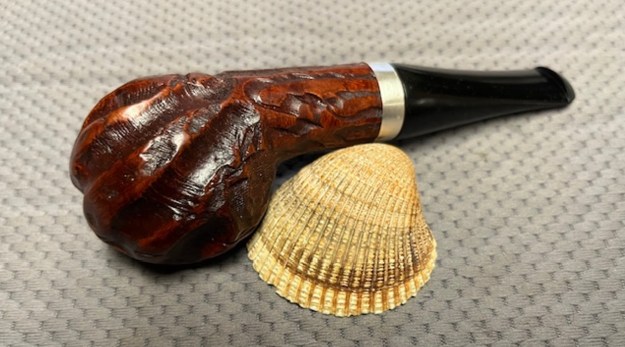
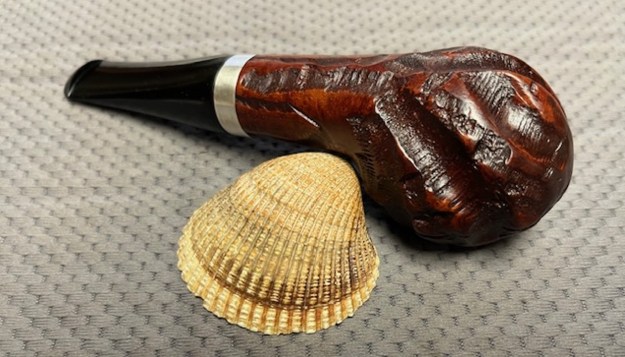
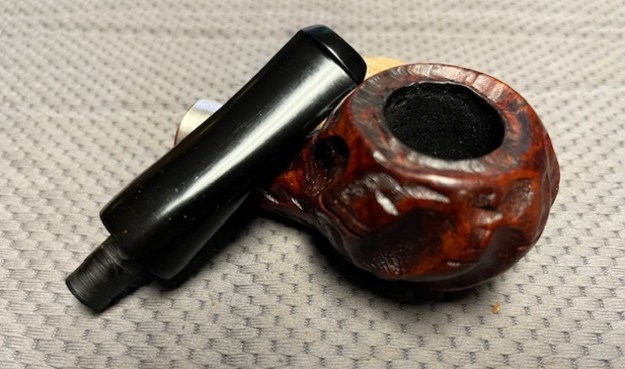
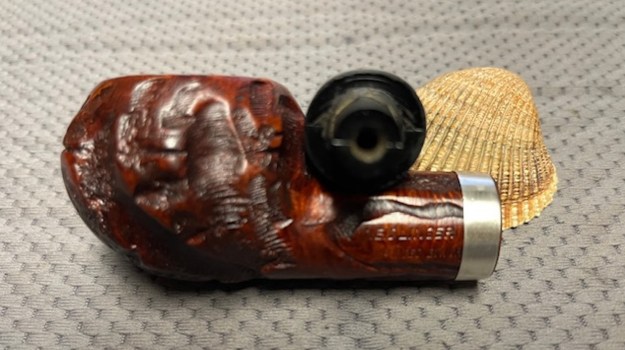
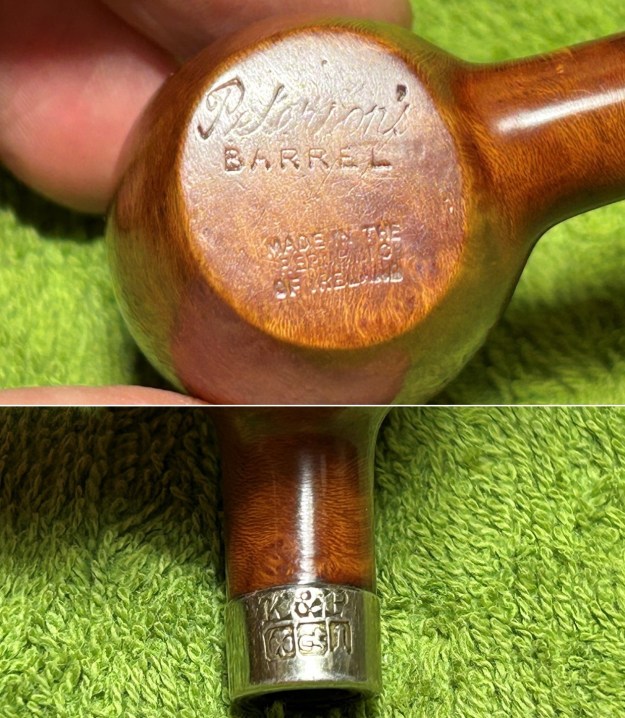
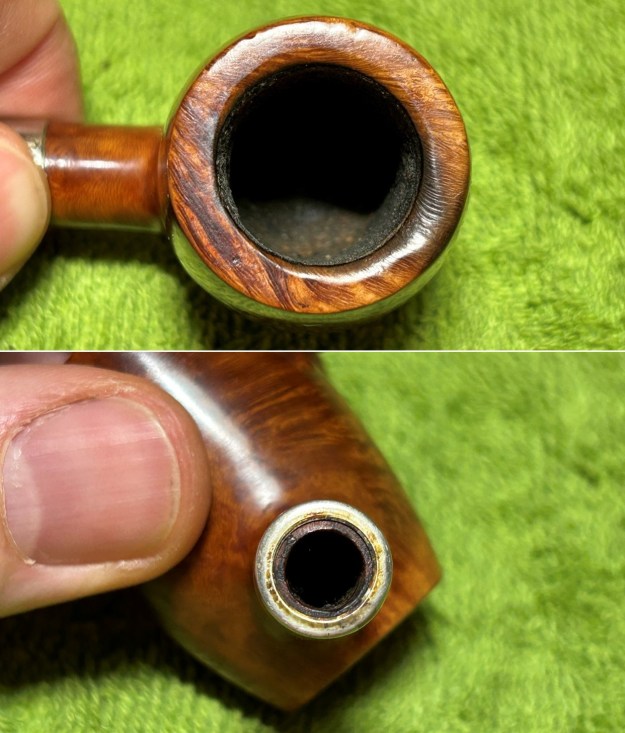
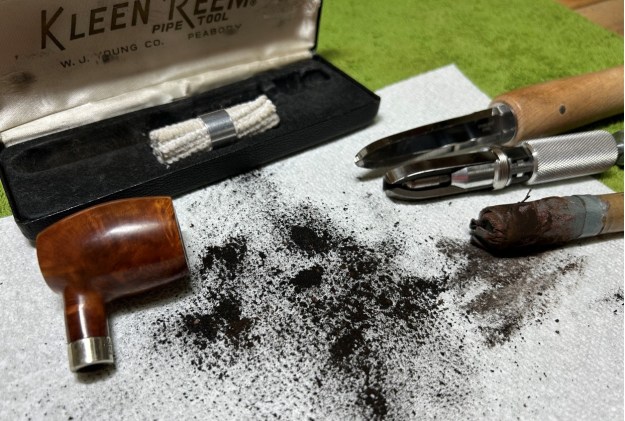
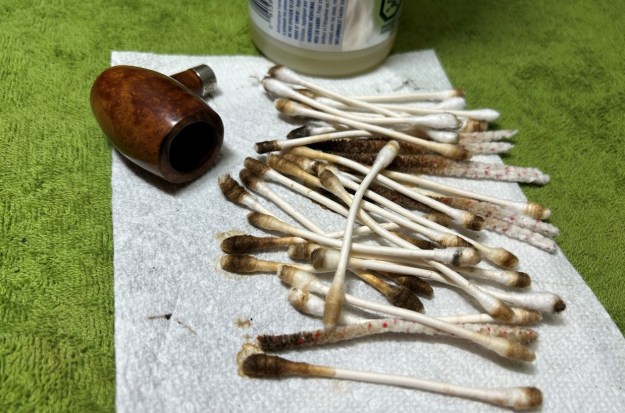
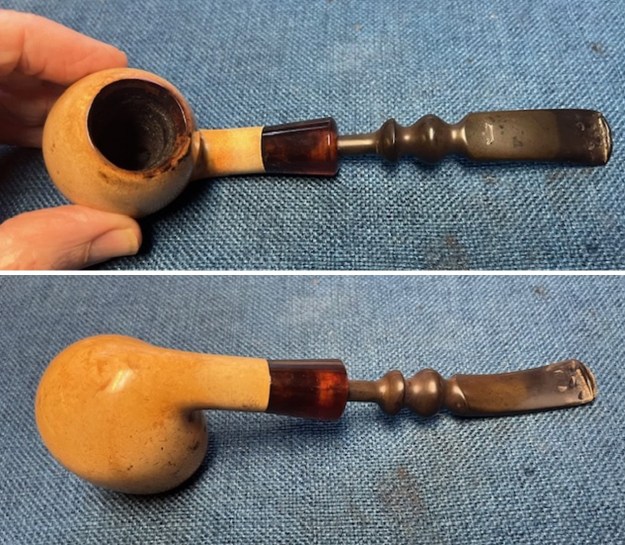
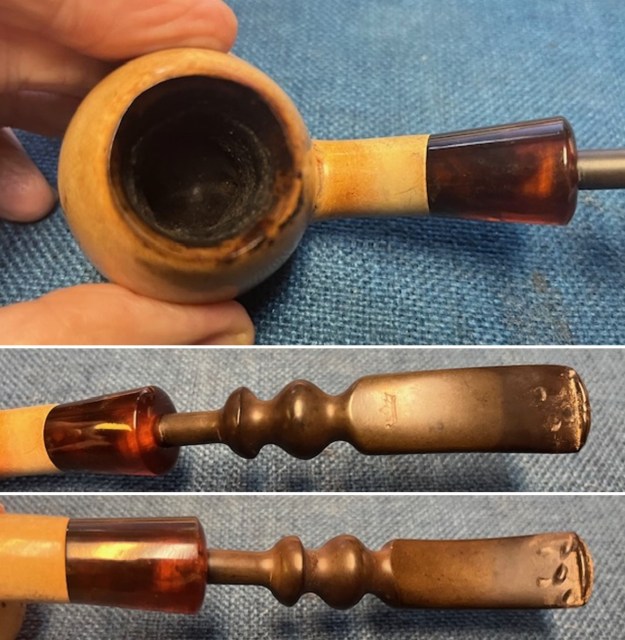
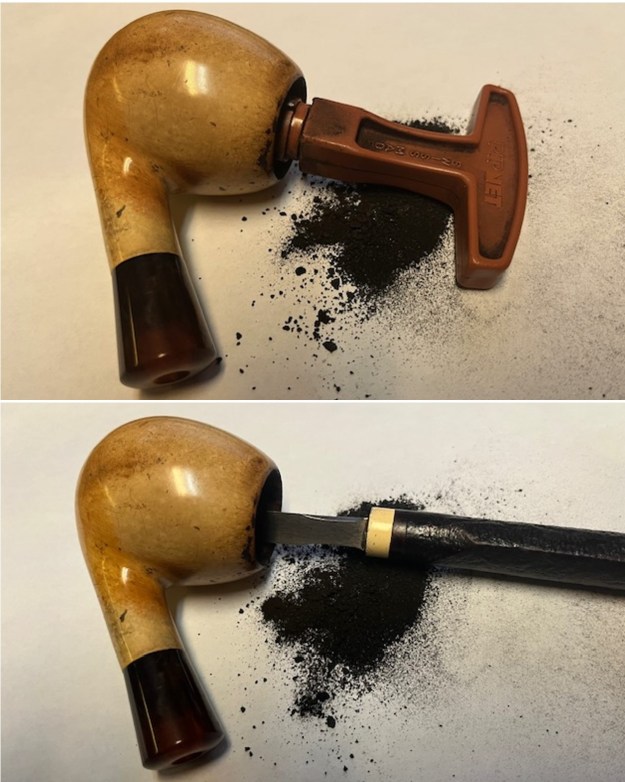
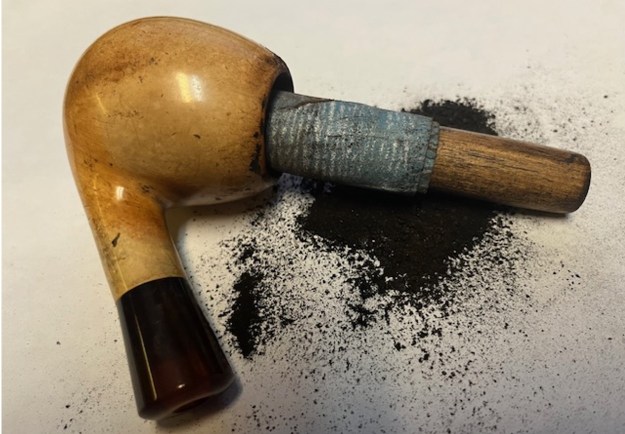
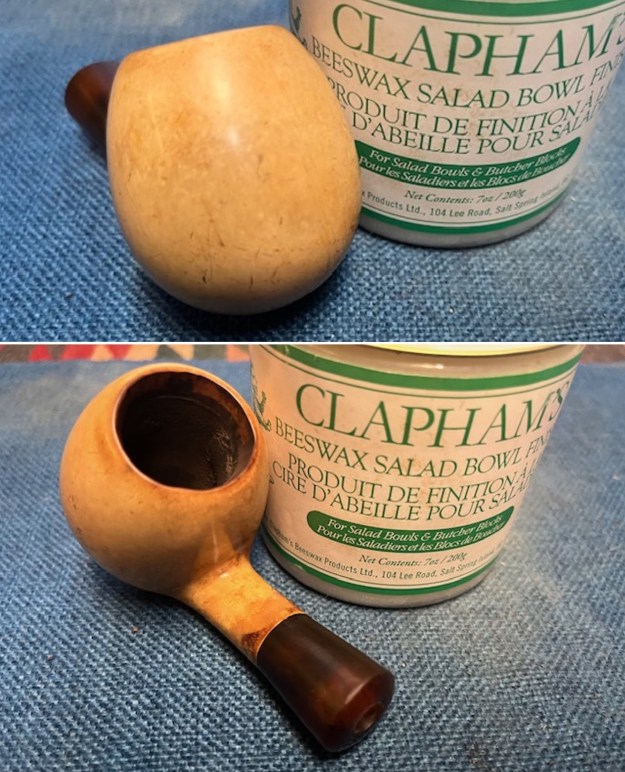
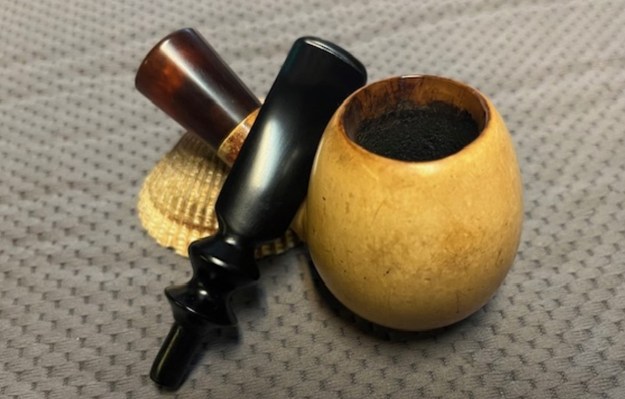
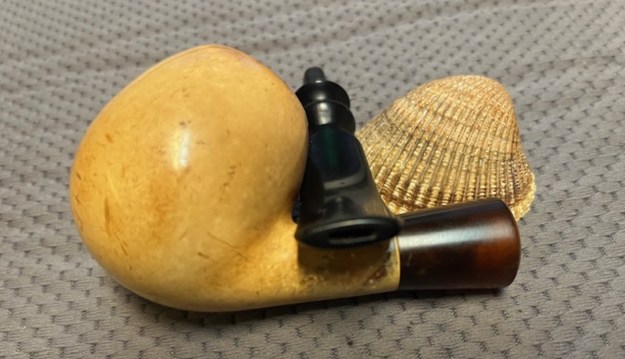
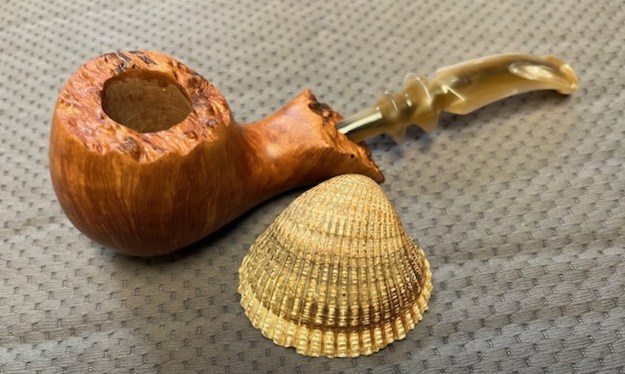
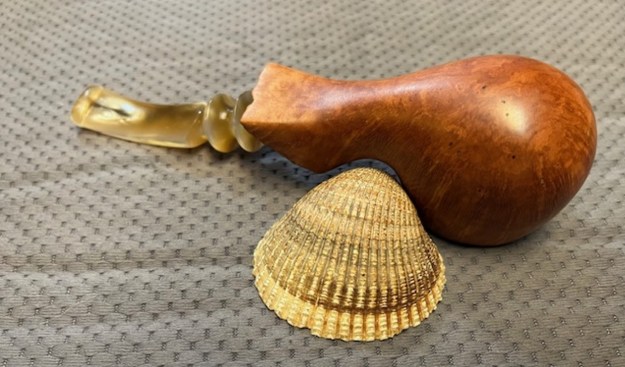
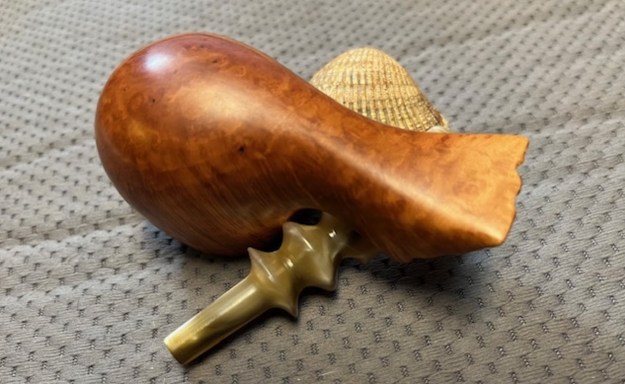
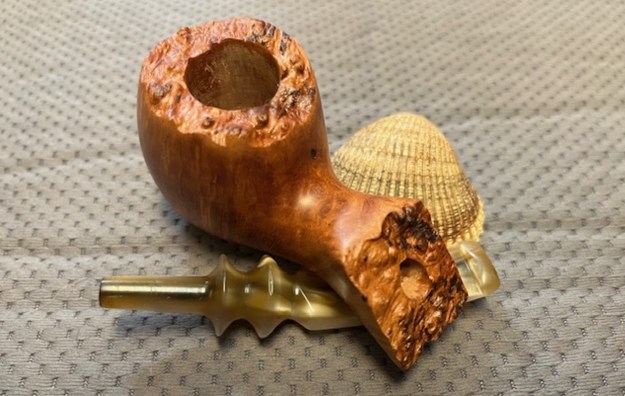
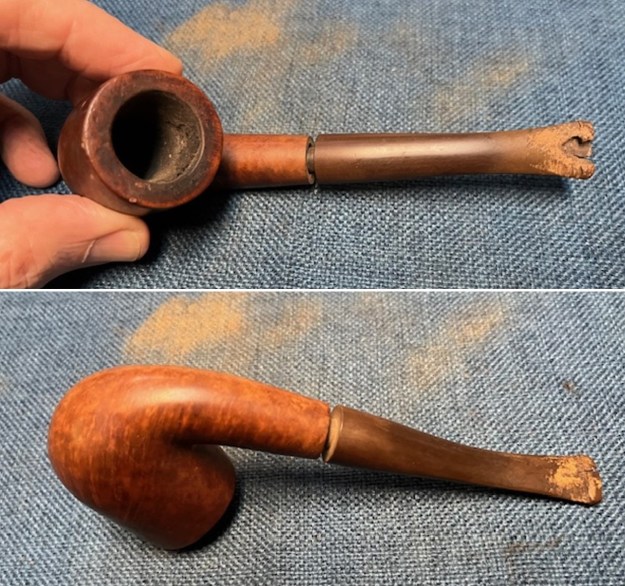
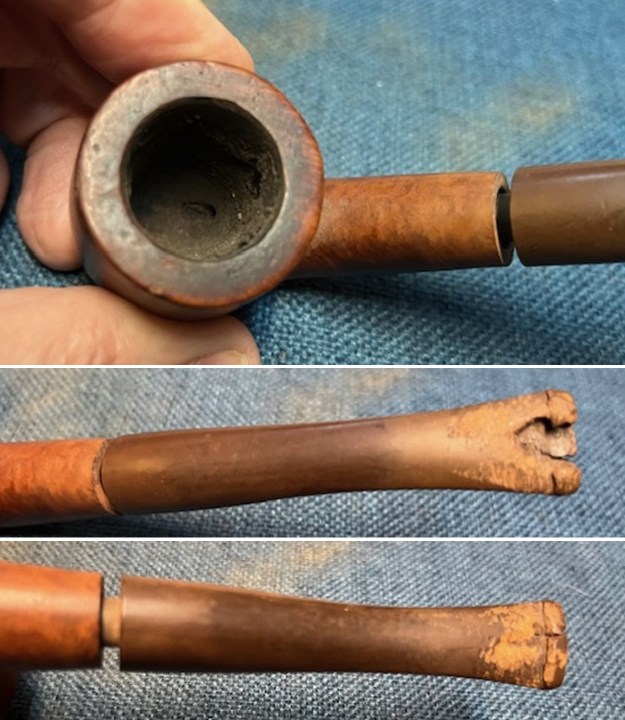
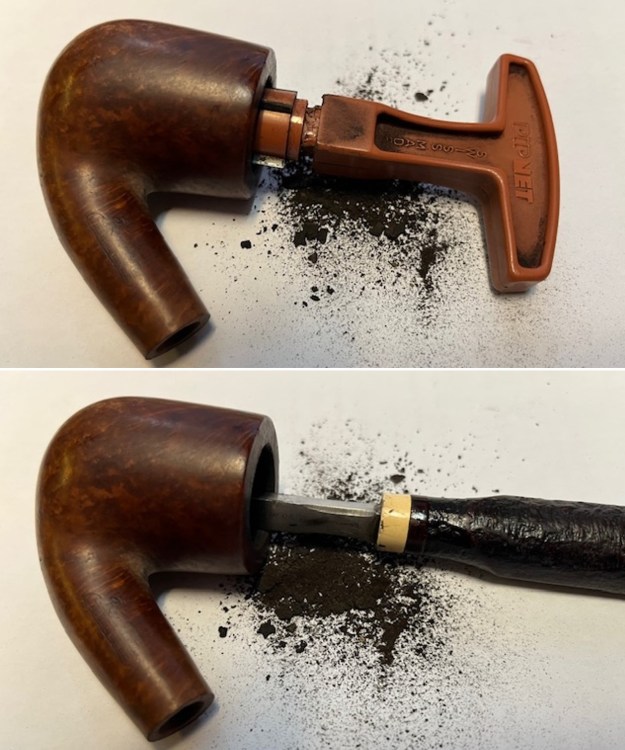
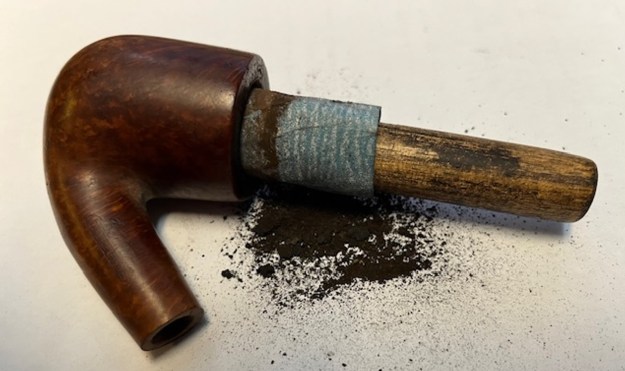
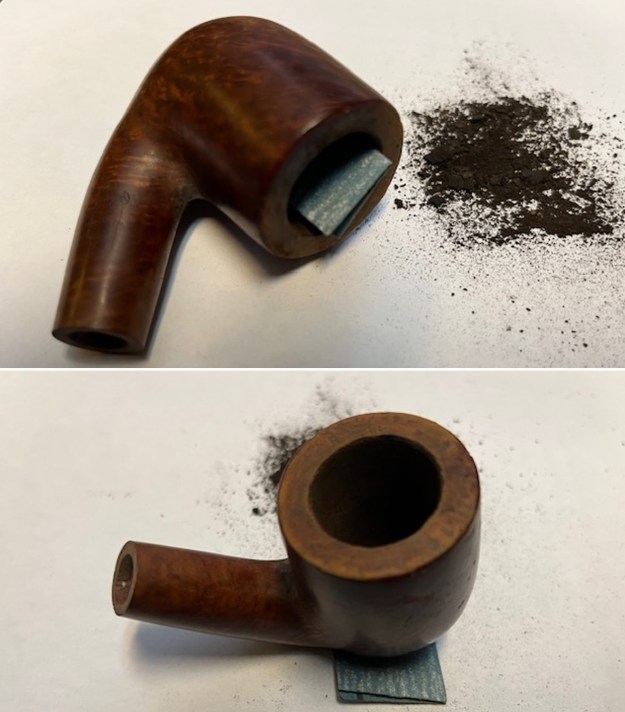
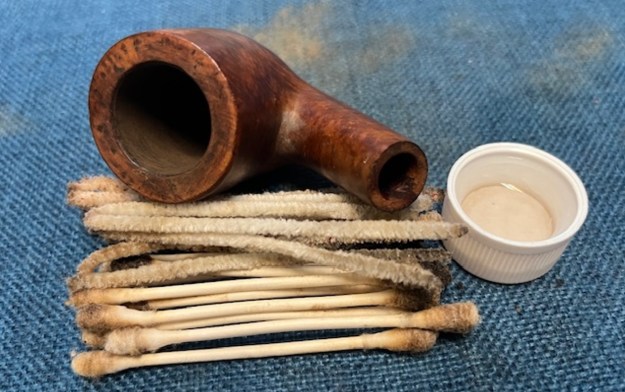
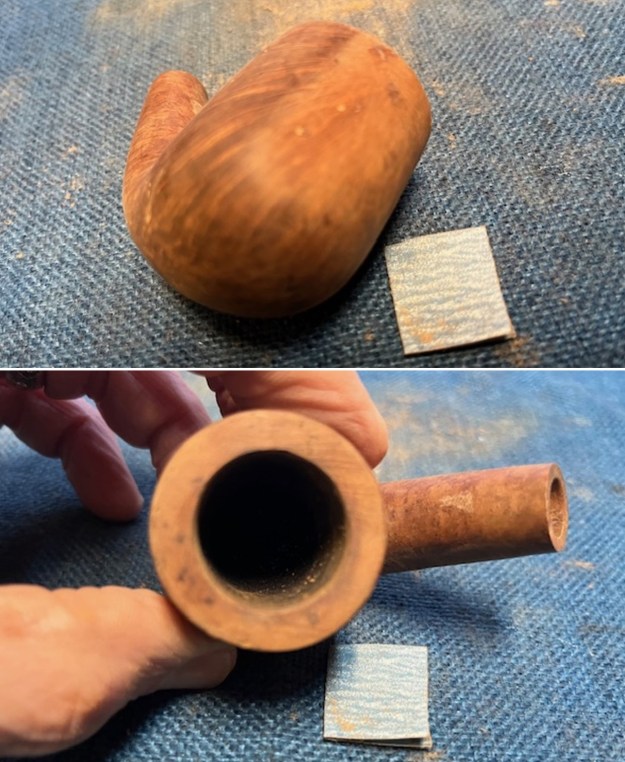
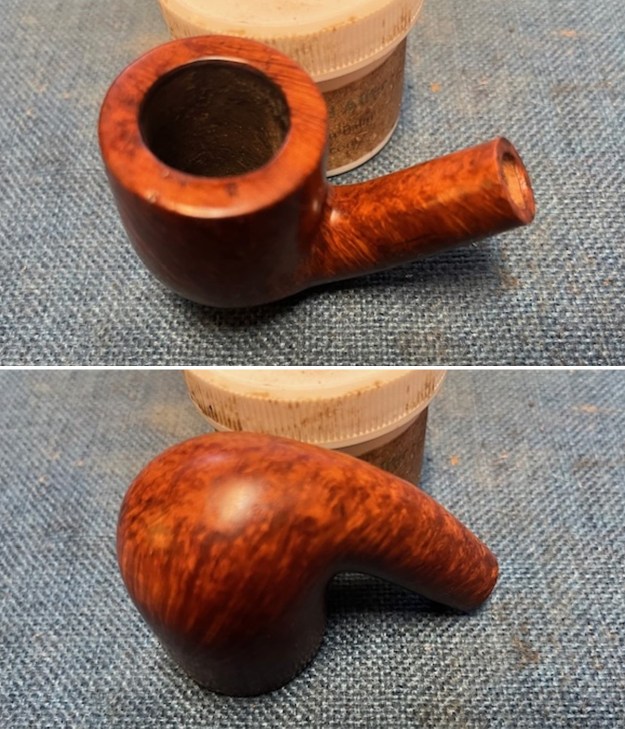
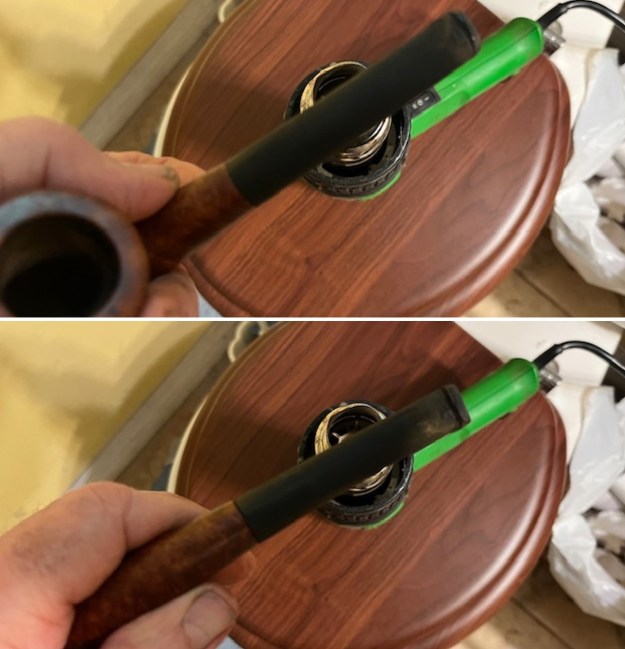
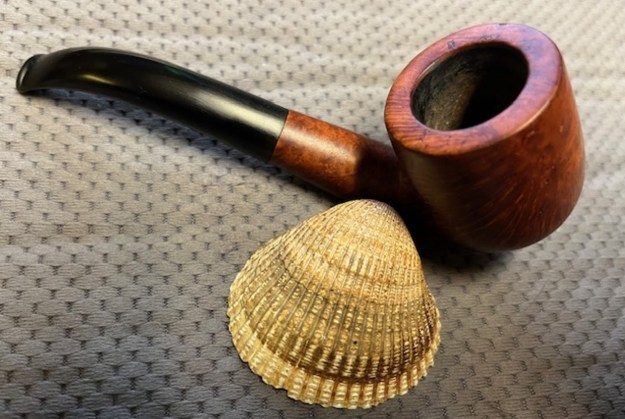
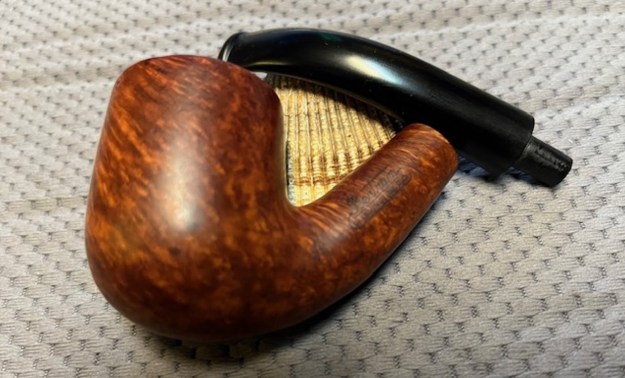
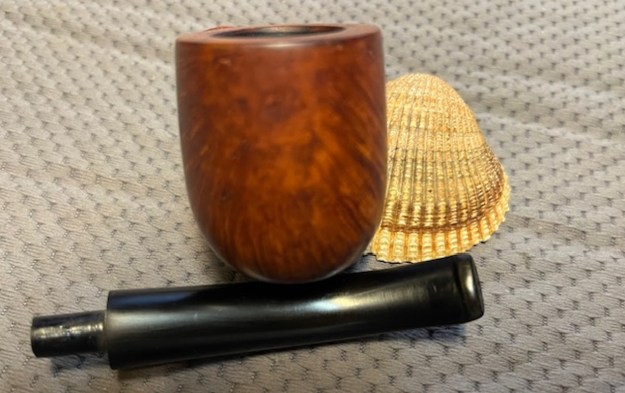
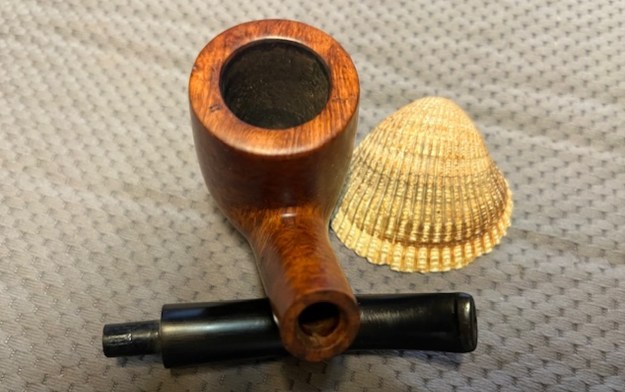
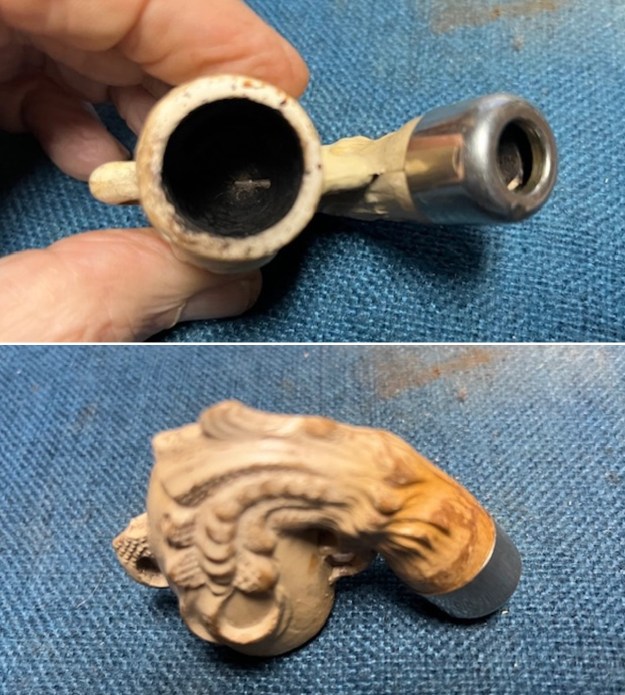
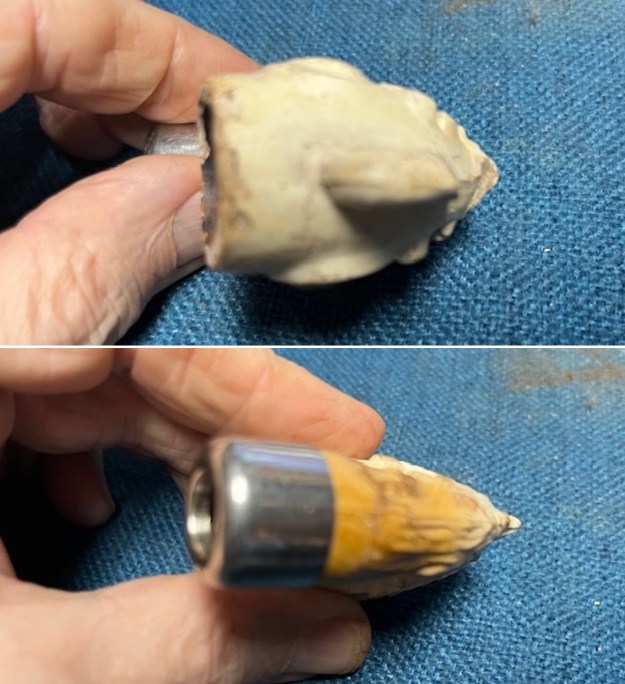
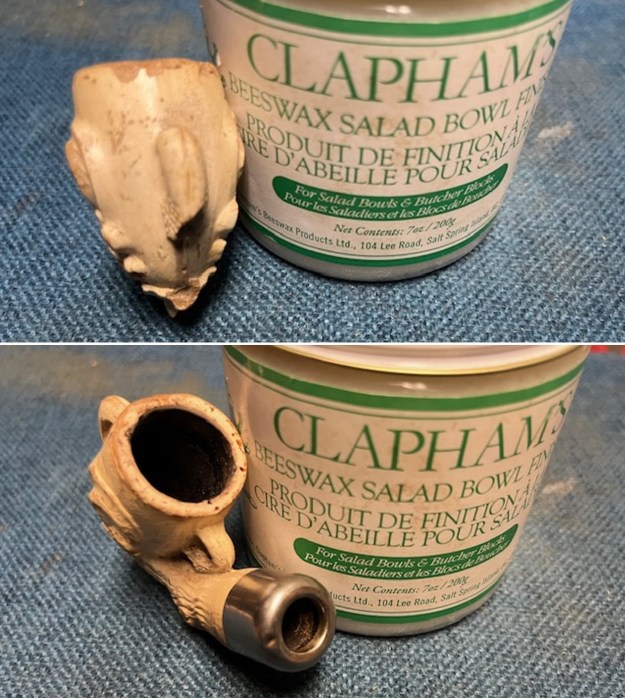
The next pipe on the table was an Egg and Claw Clay Pipe Bowl with a nickel Ferrule. I have had it in my box of bowls to be restemmed for a long time. There is no stamping or markings on the side of the bowl or shank. The maker of the pipe is a of a mystery. The pipe had been reamed and cleaned by my brother Jeff many years ago. It had been moderately smoked so it was very clean. The rim top and the inner edge were very clean and had just a few nicks in the surface of the rim. The finish had been scrubbed and the internals were very clean. I would need to find a suitable stem to fit it and figured I would use an old, small WDC stem or KBB stem that I had in my can of stems. 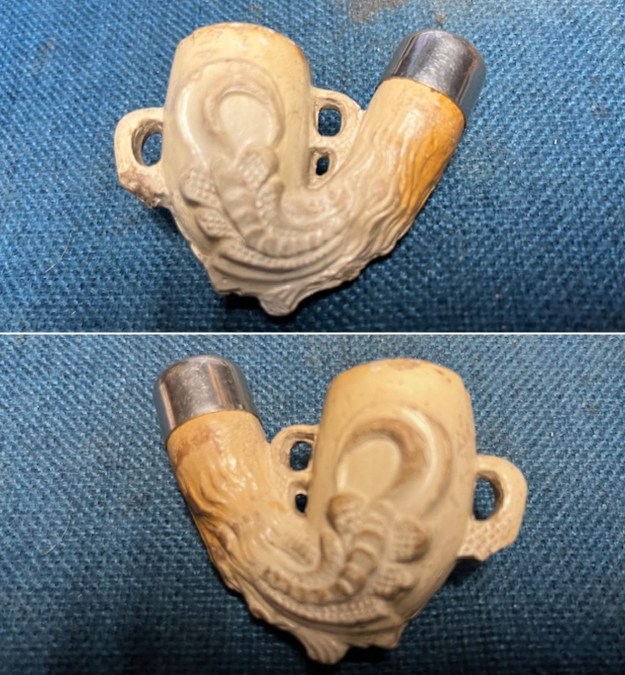
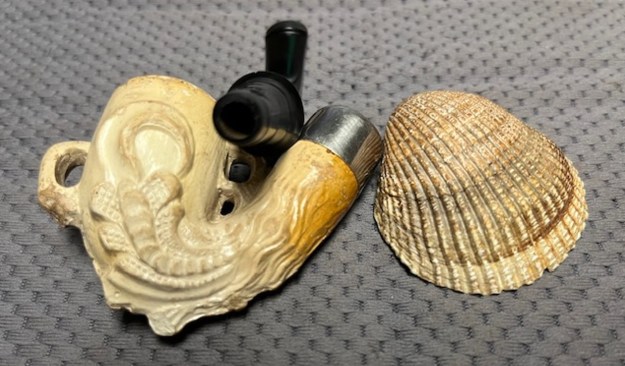
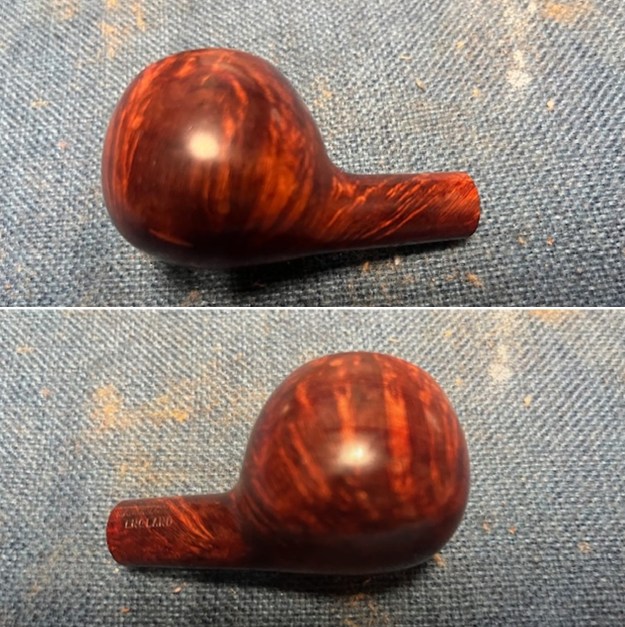
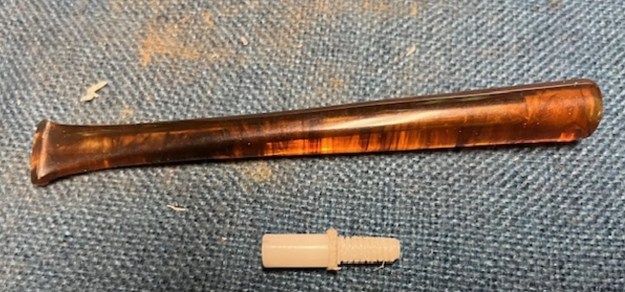
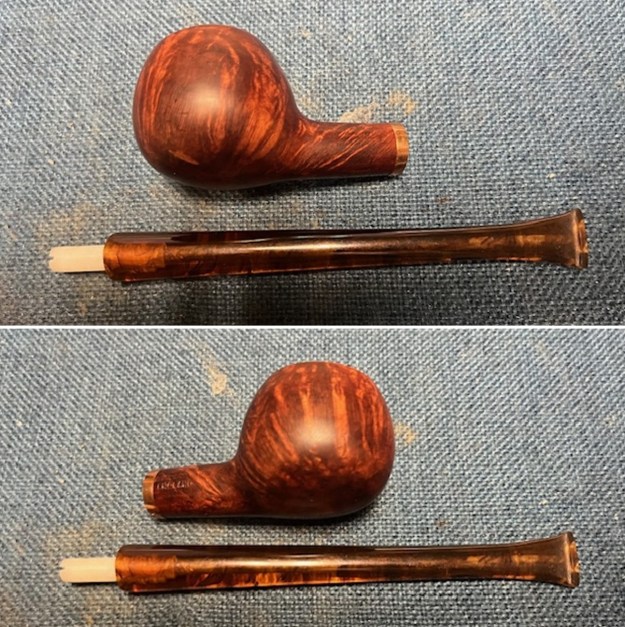
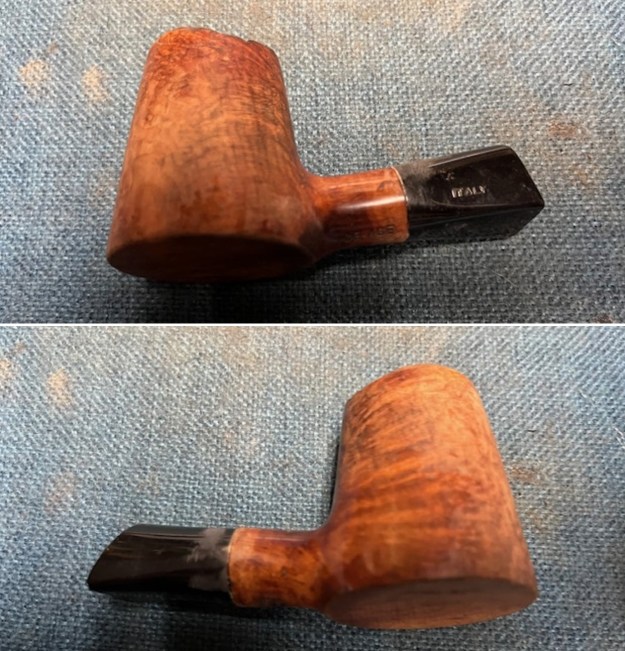
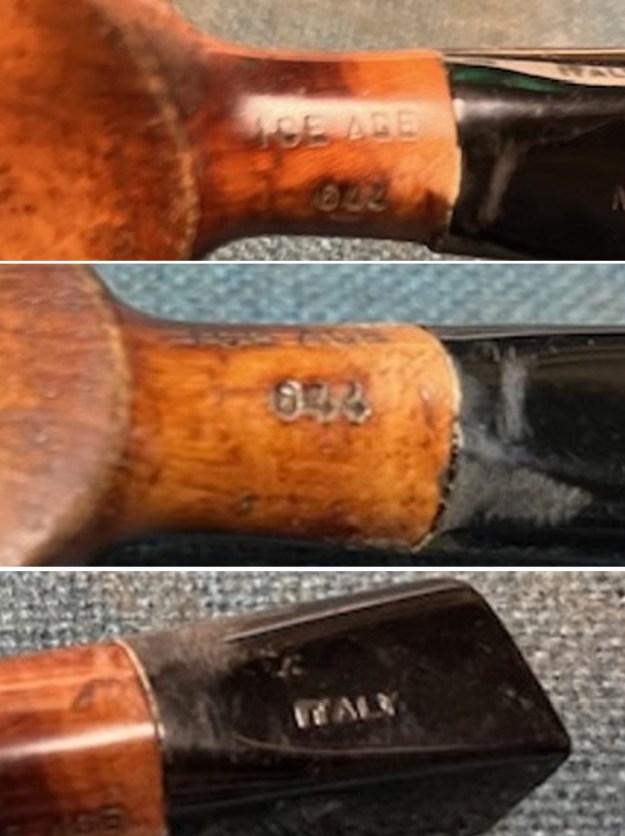
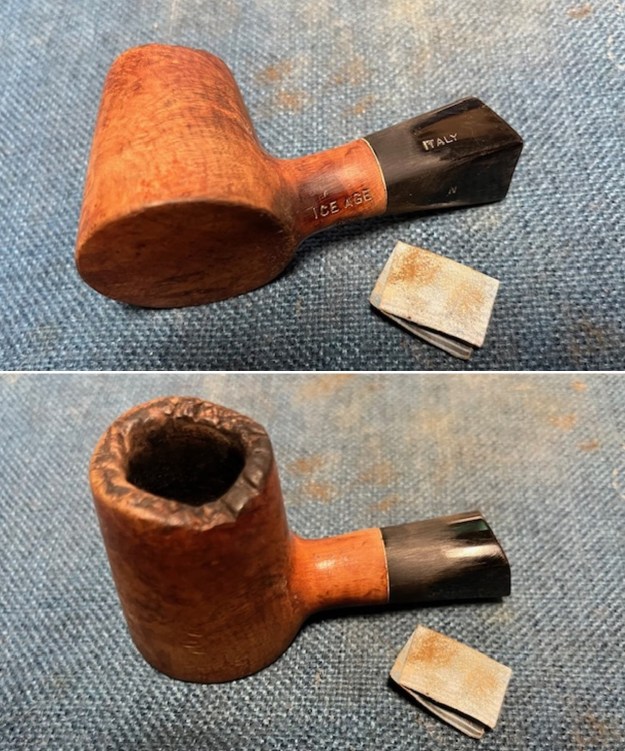
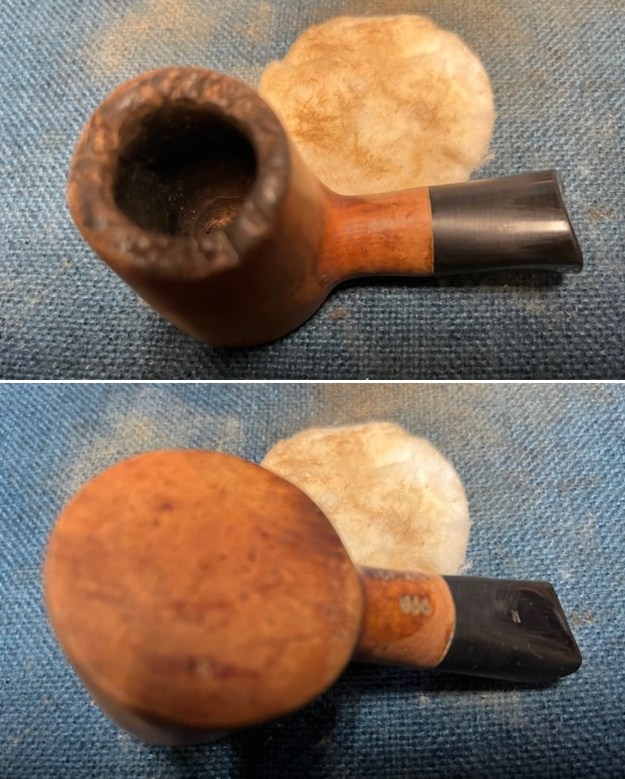
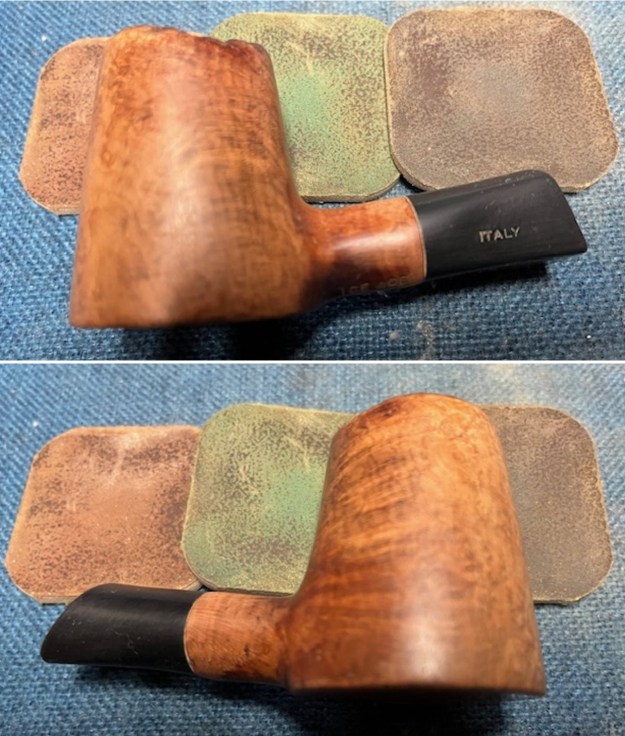
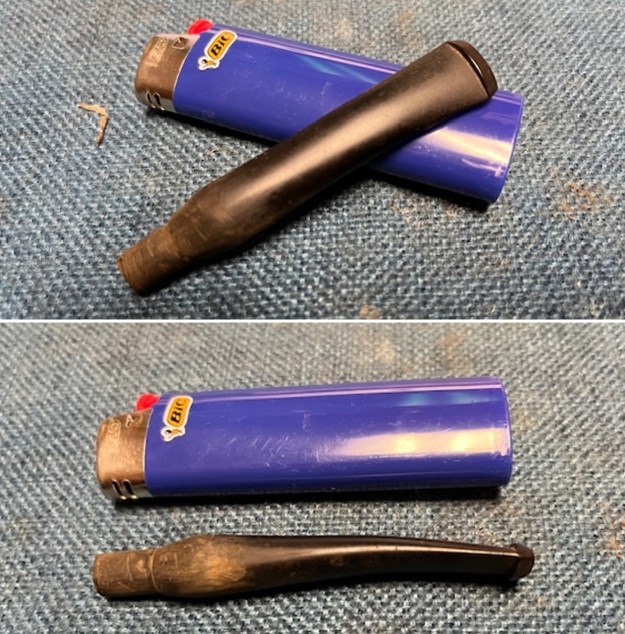
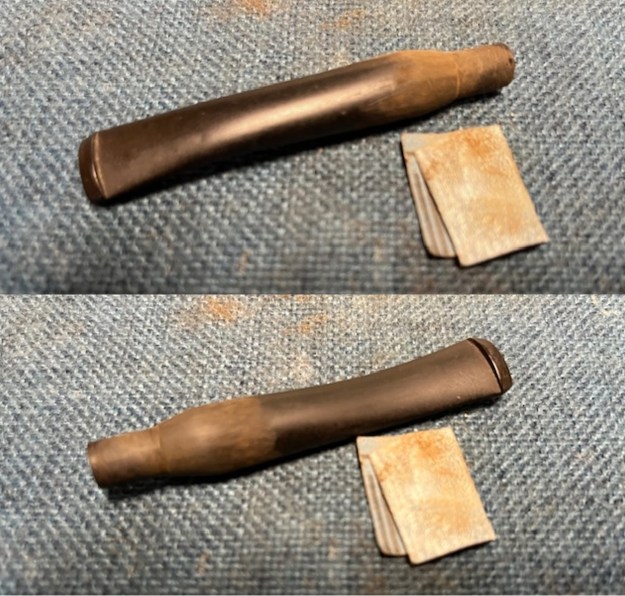
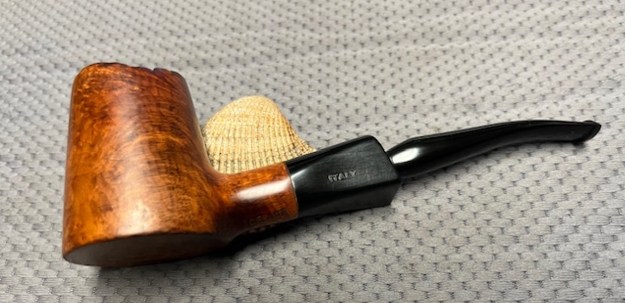
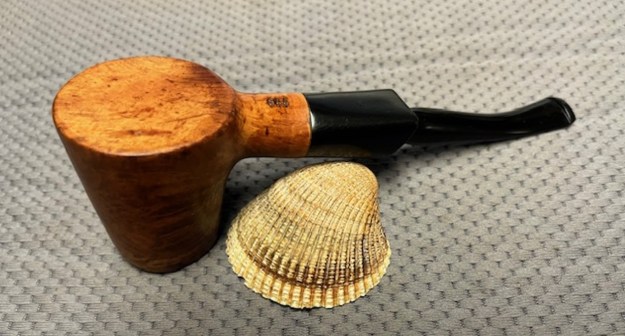
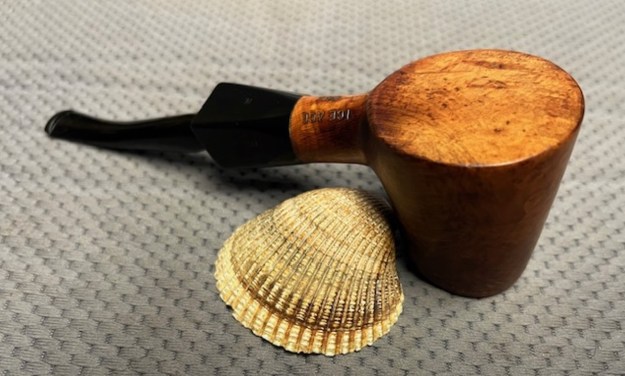
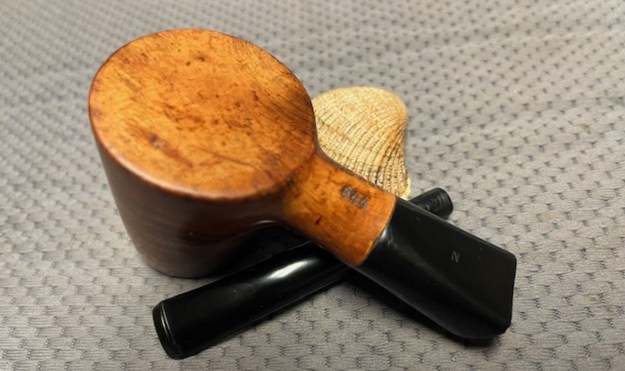
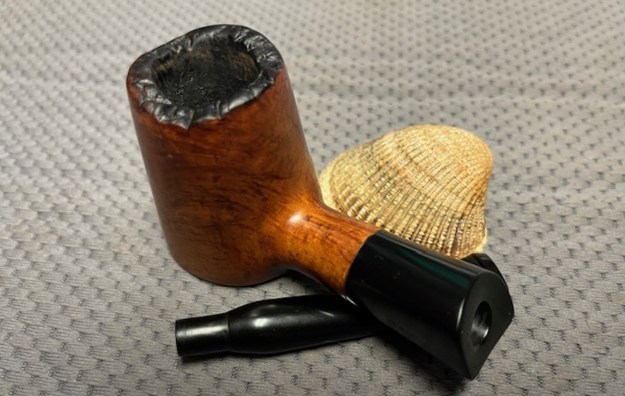
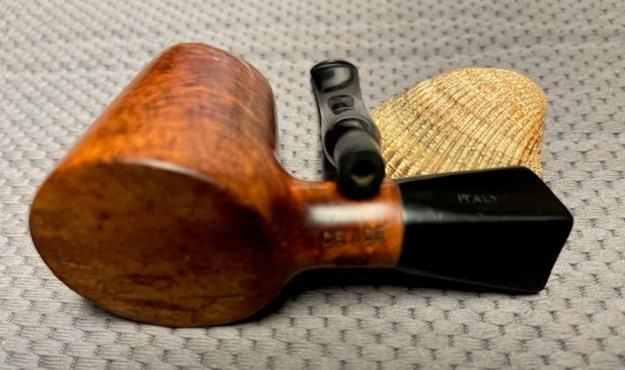
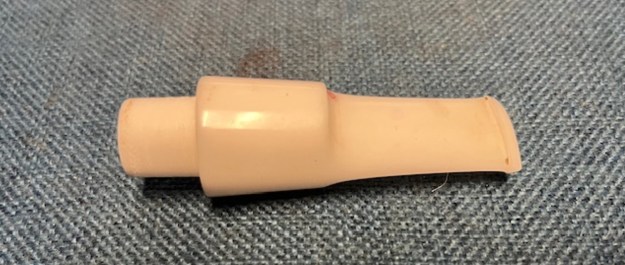
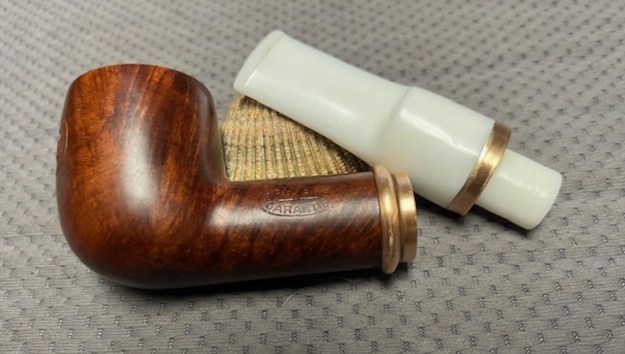
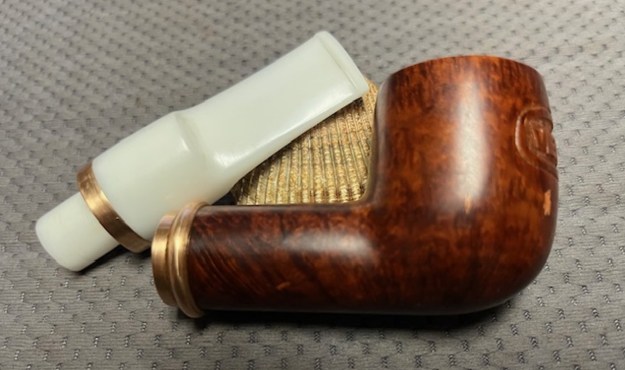
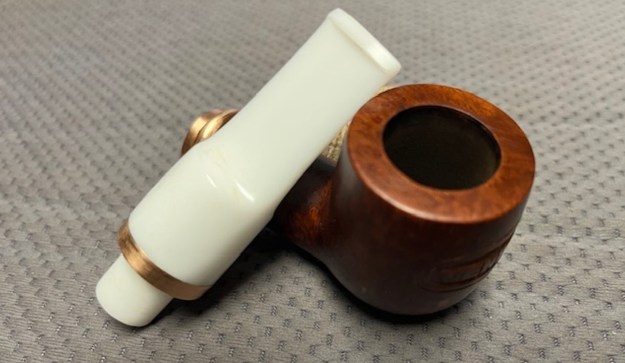
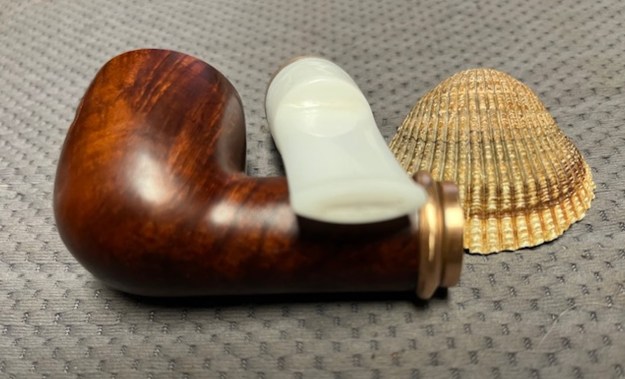
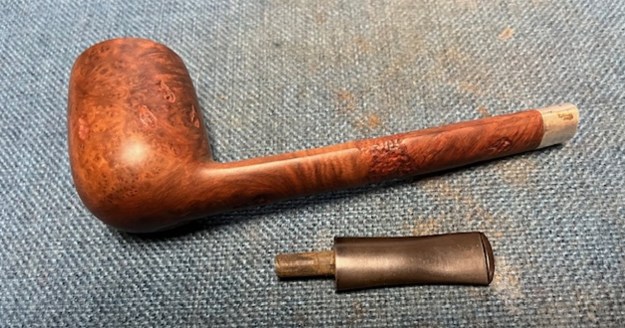
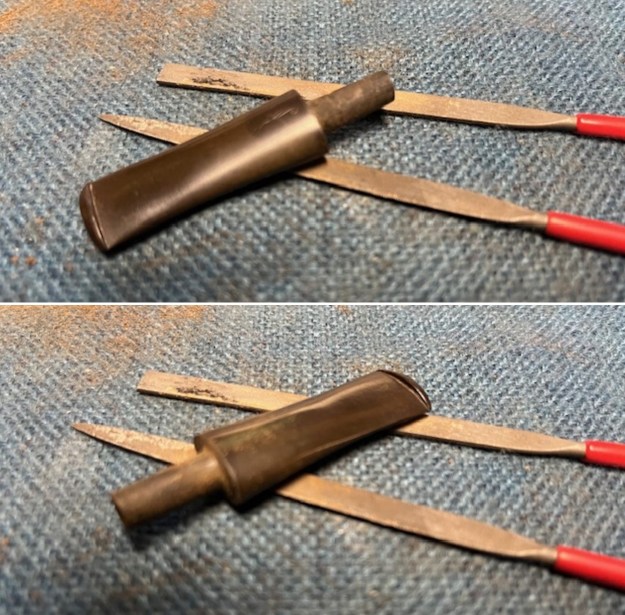
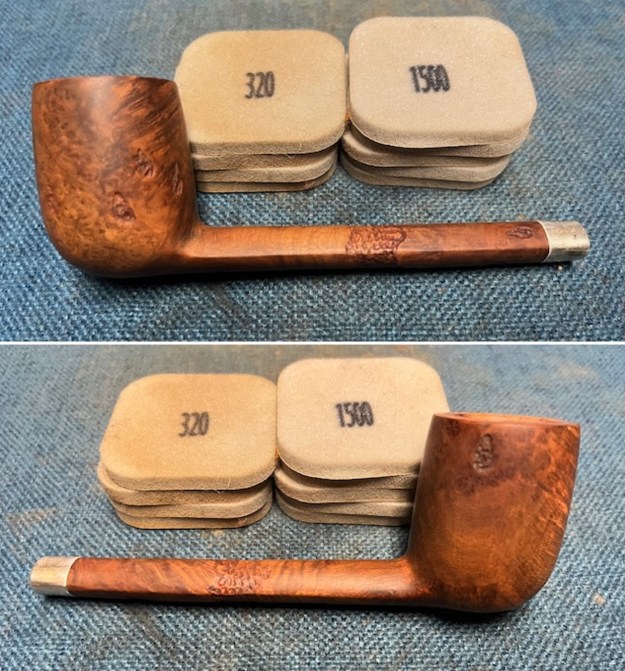
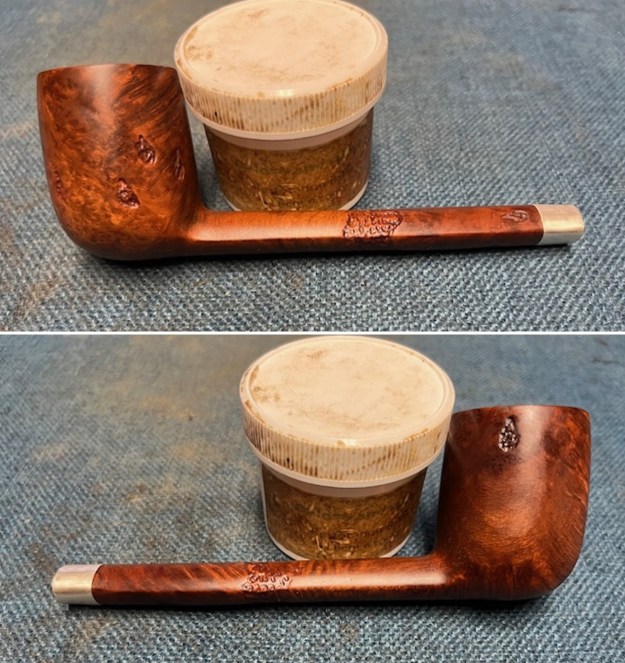
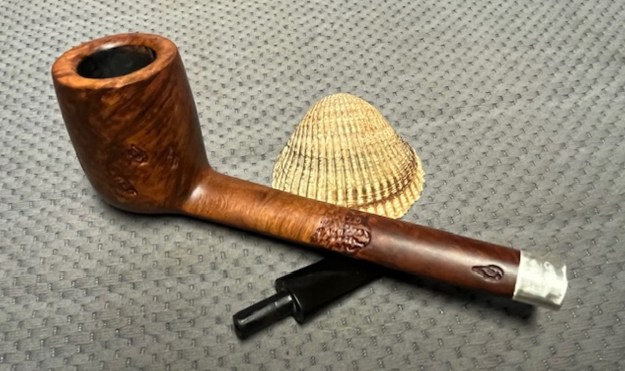
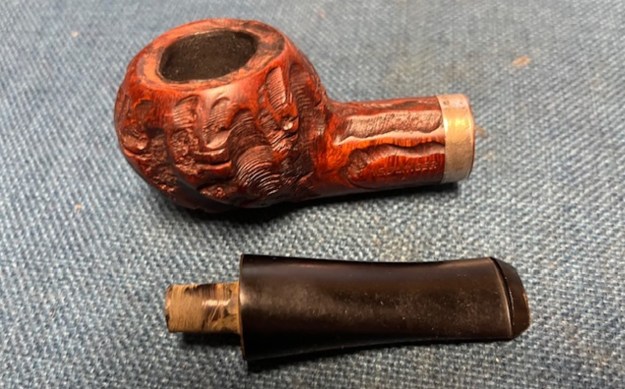
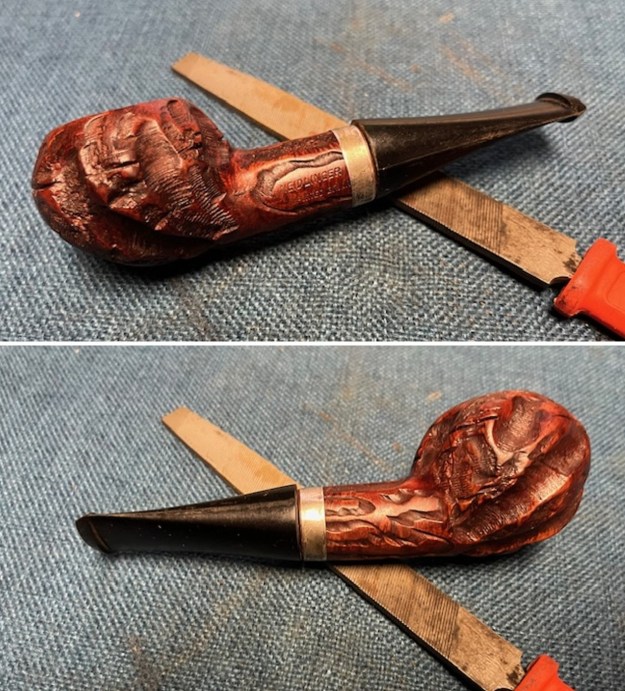
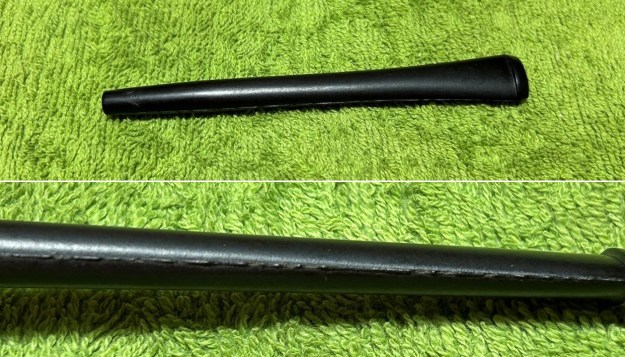
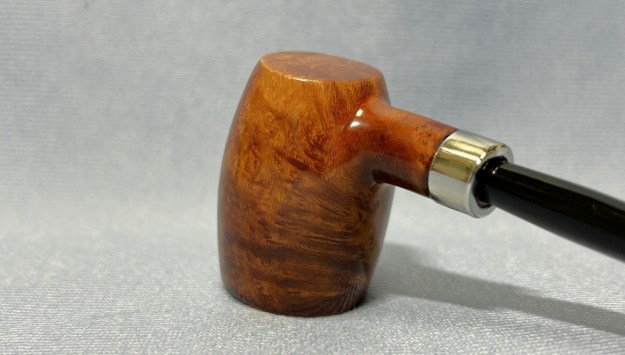
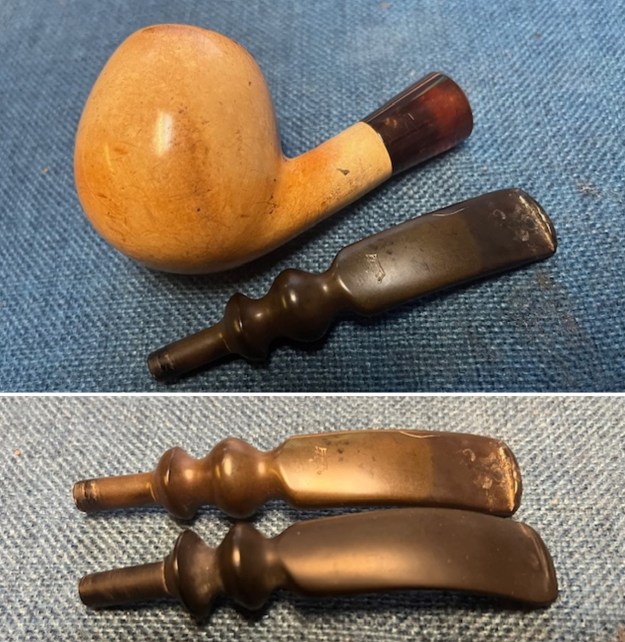
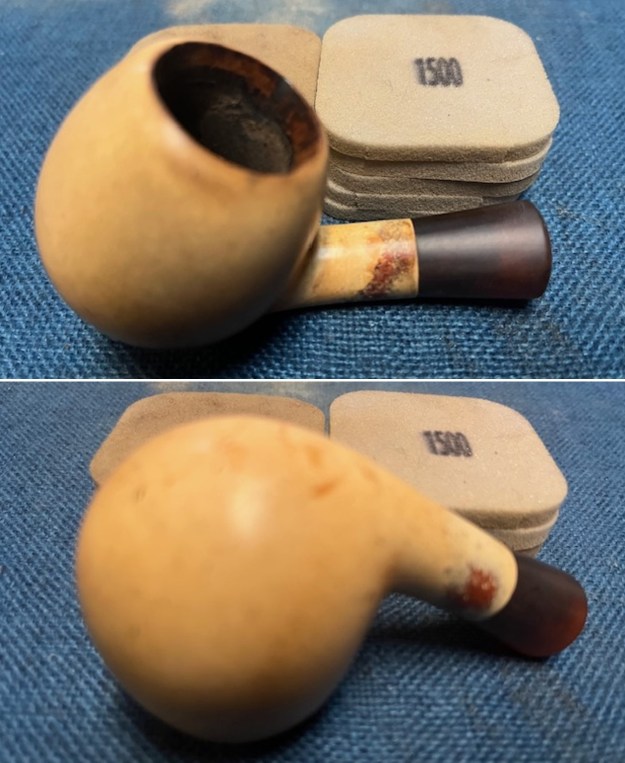
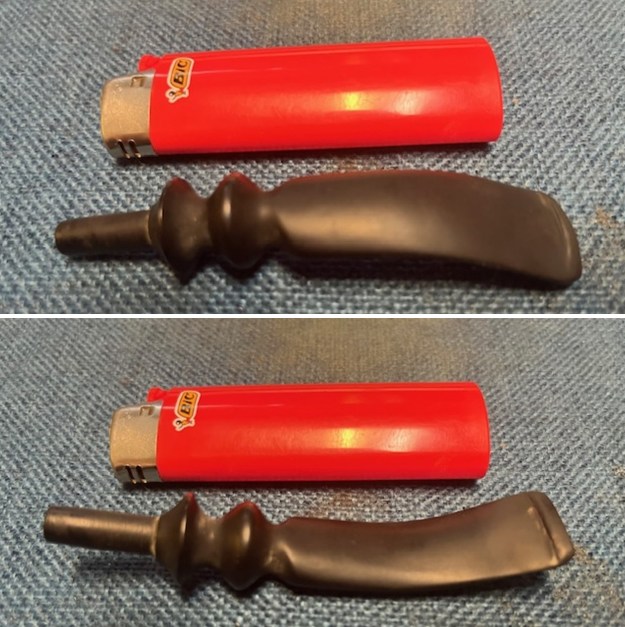
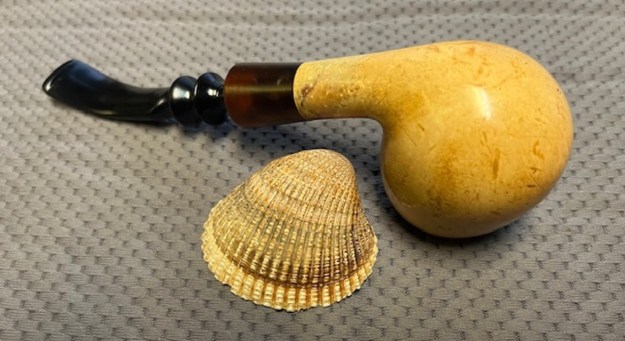
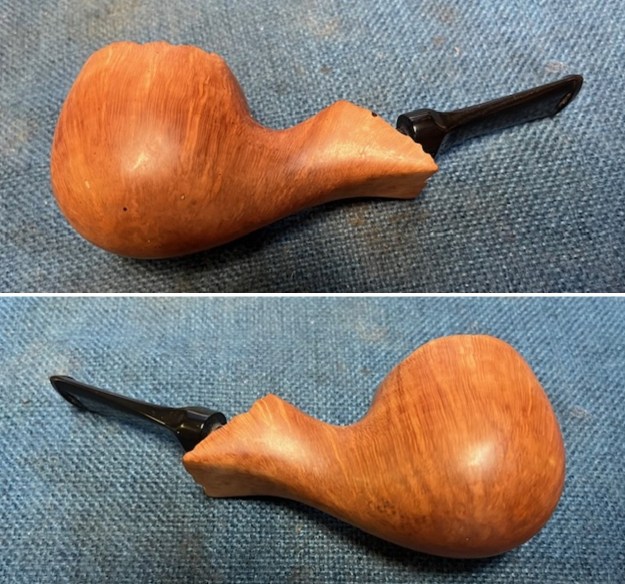
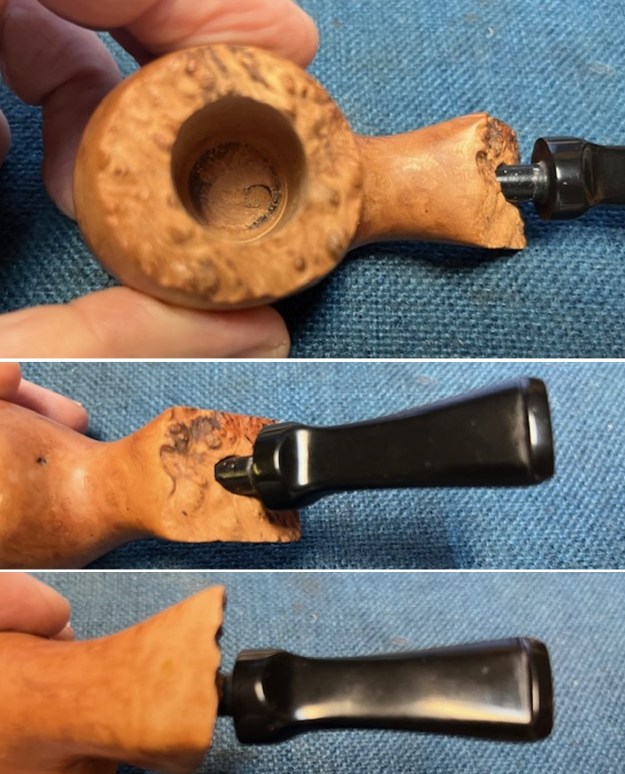
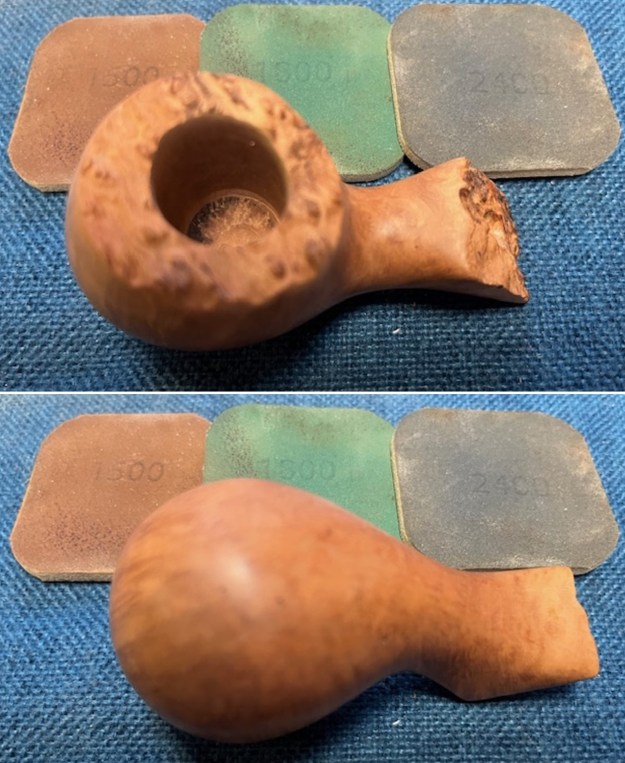
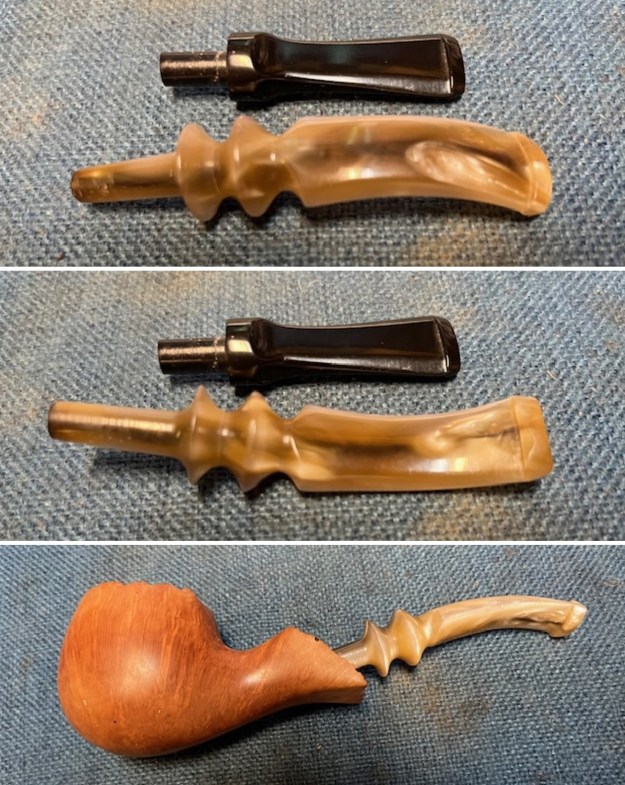
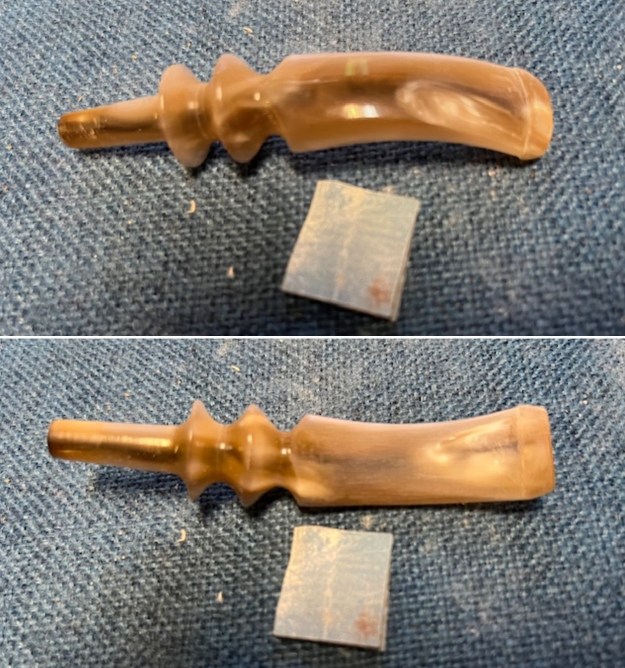
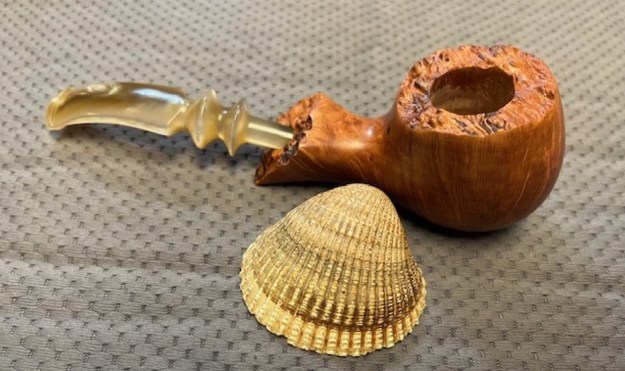
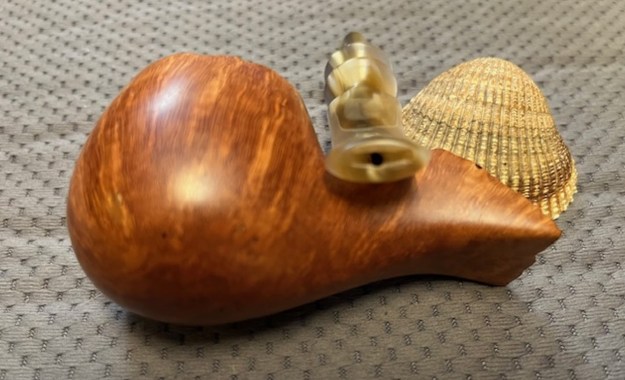
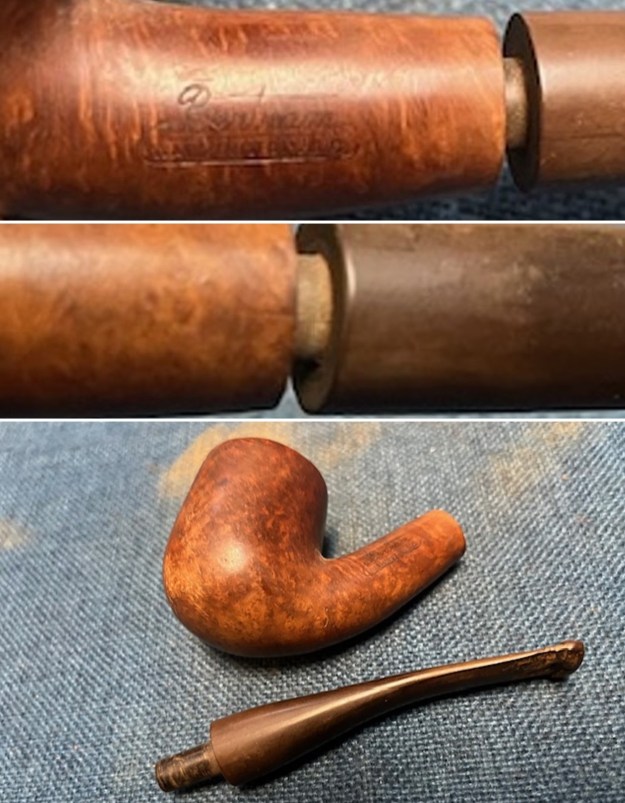
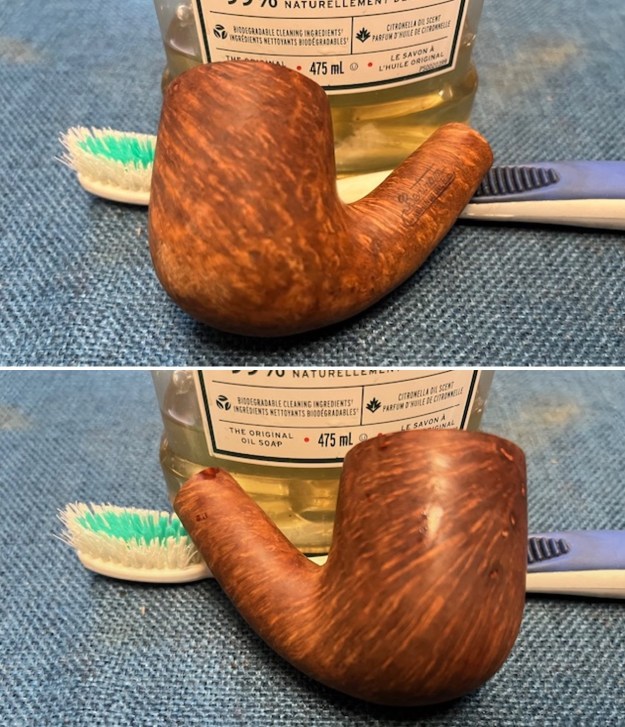
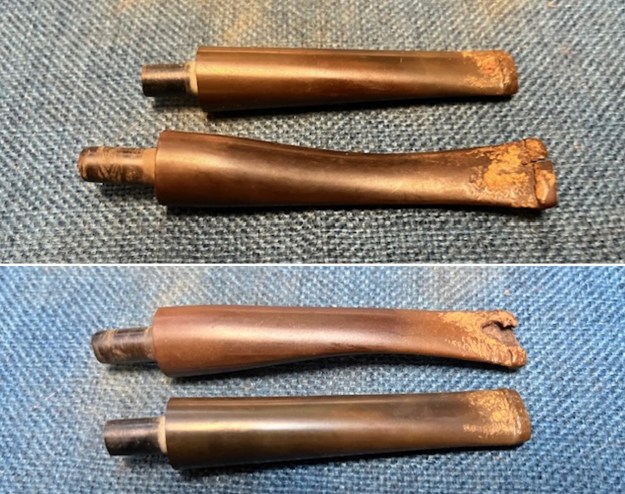
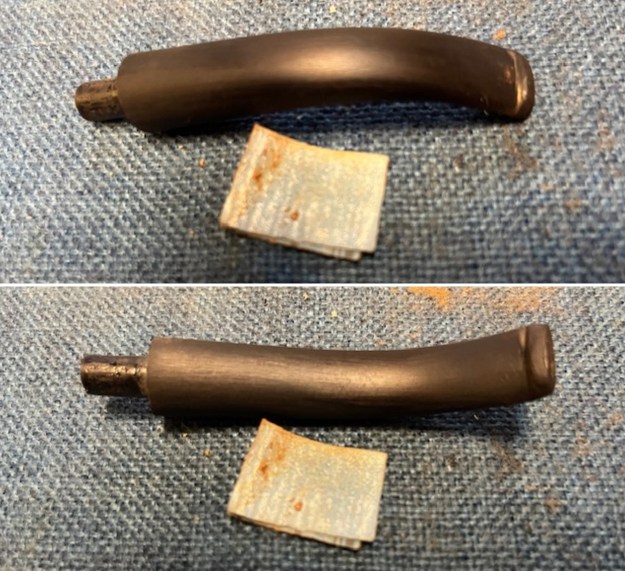
 I found a stem in my can of stems that almost fit. It had already been sanded and would just need some adjustments. I took some photos the new stem before I started working on it. It was stamped on the top and read KBB in a cloverleaf with Chesterfield arched above it. It had the airway exiting on the stem end even though it looked like a P-lip style was uniquely like a WDC style stem. I would work perfect.
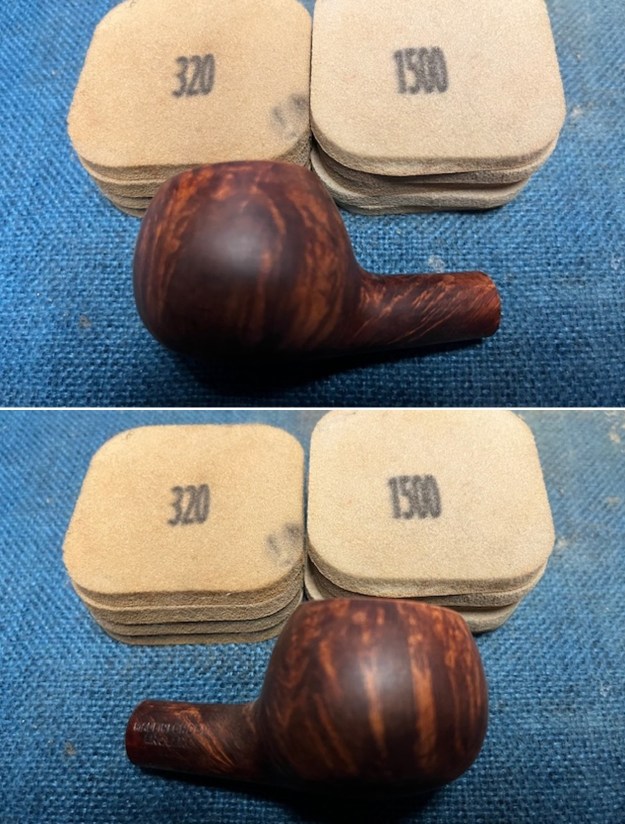
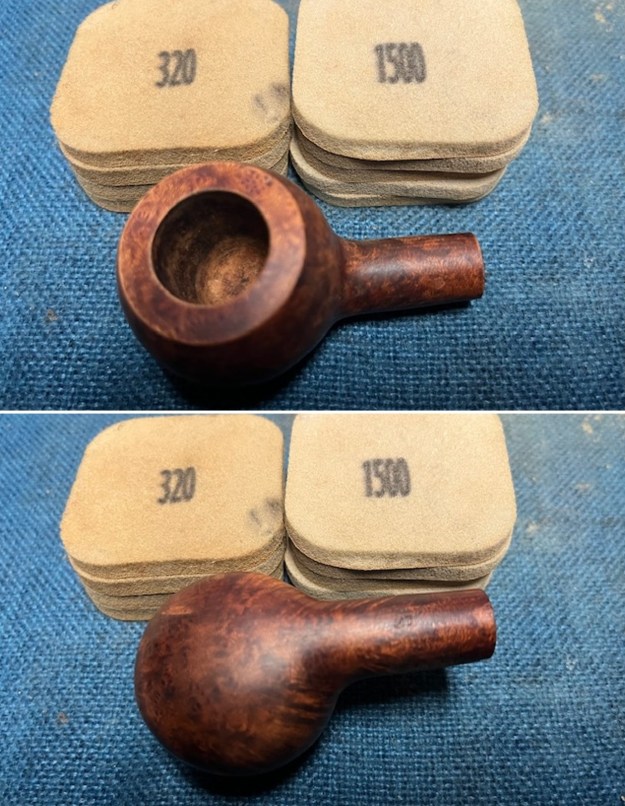
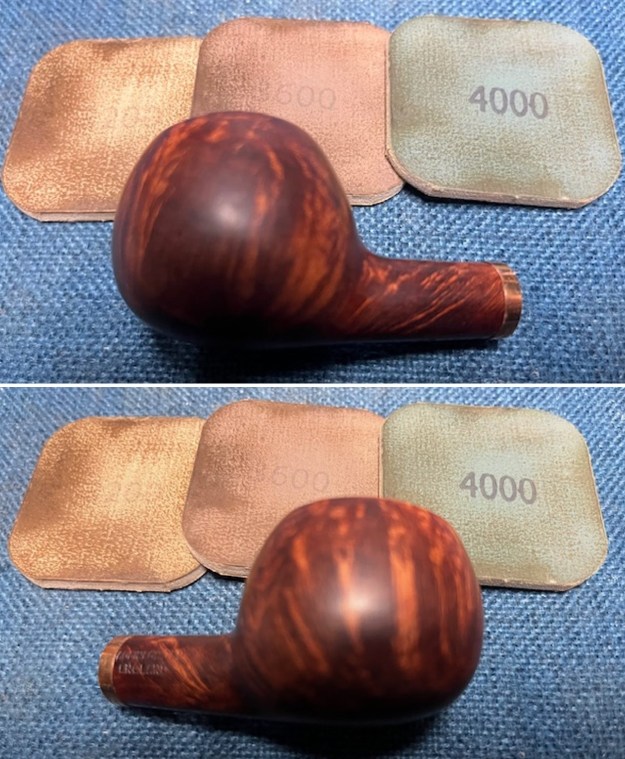
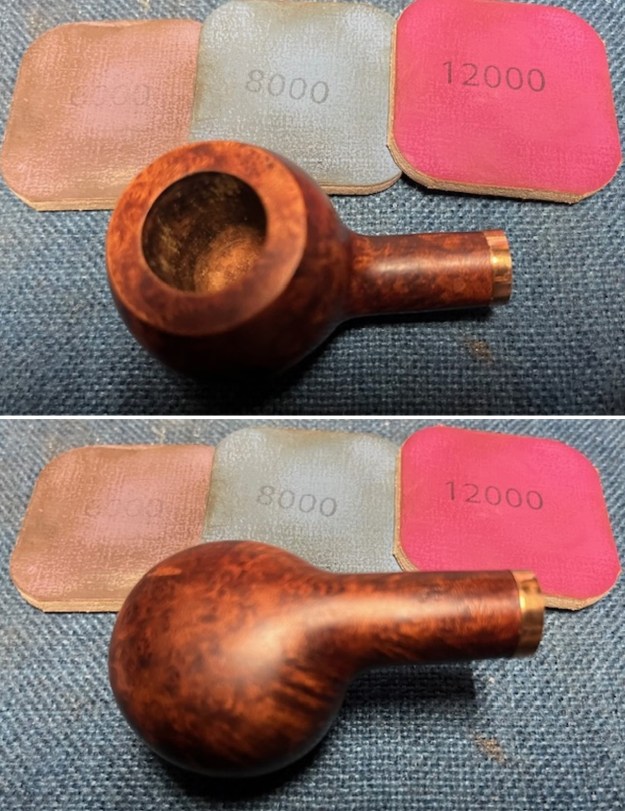
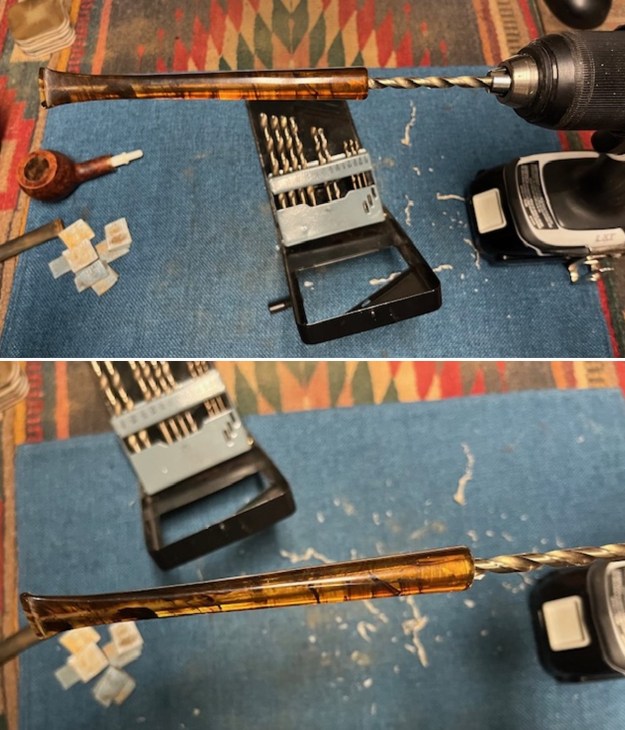
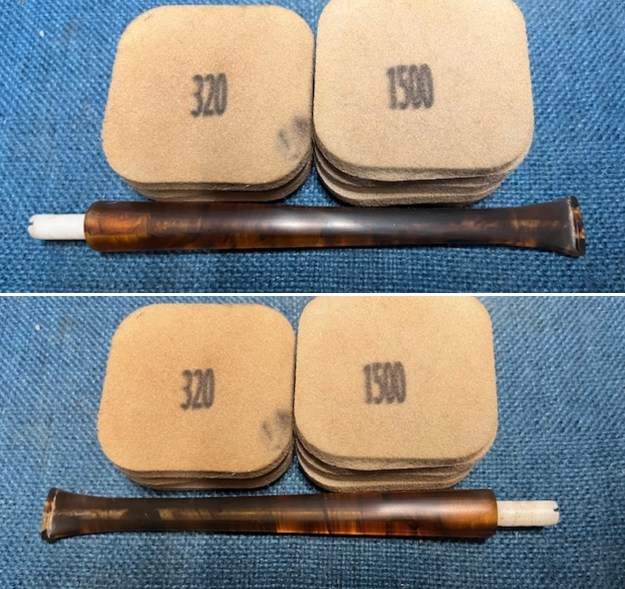
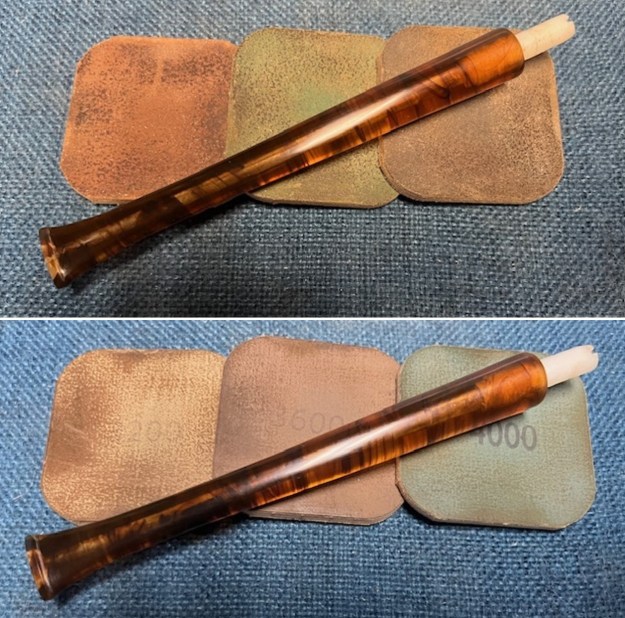
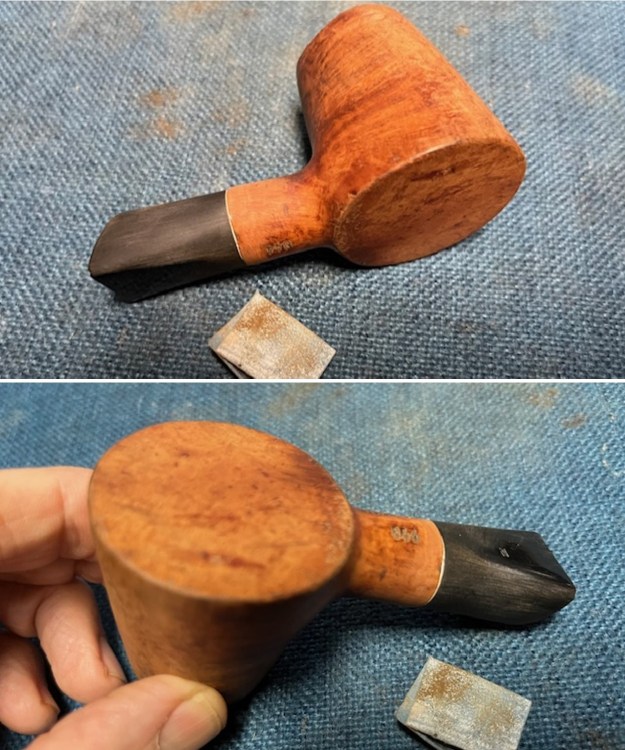
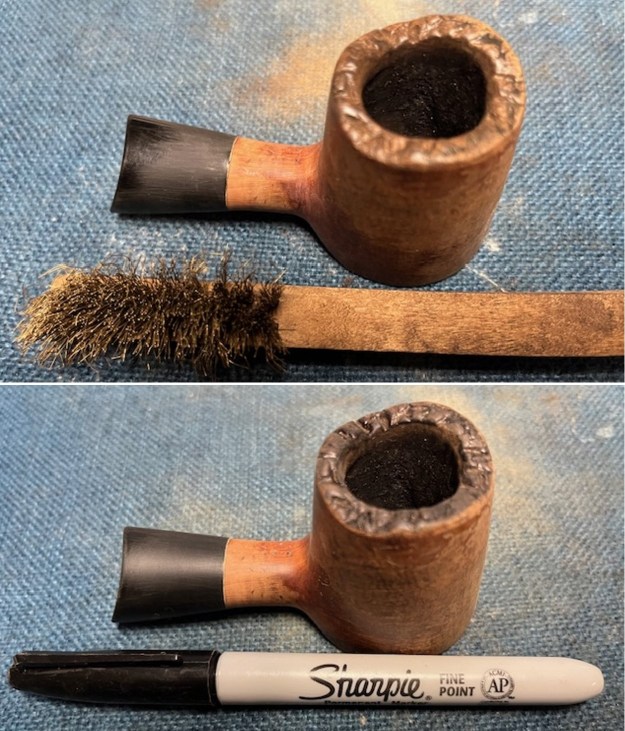
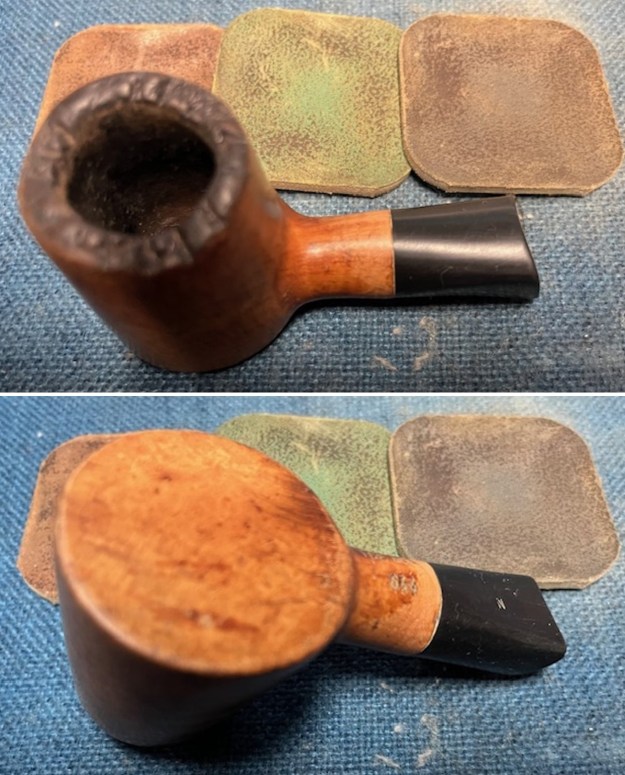
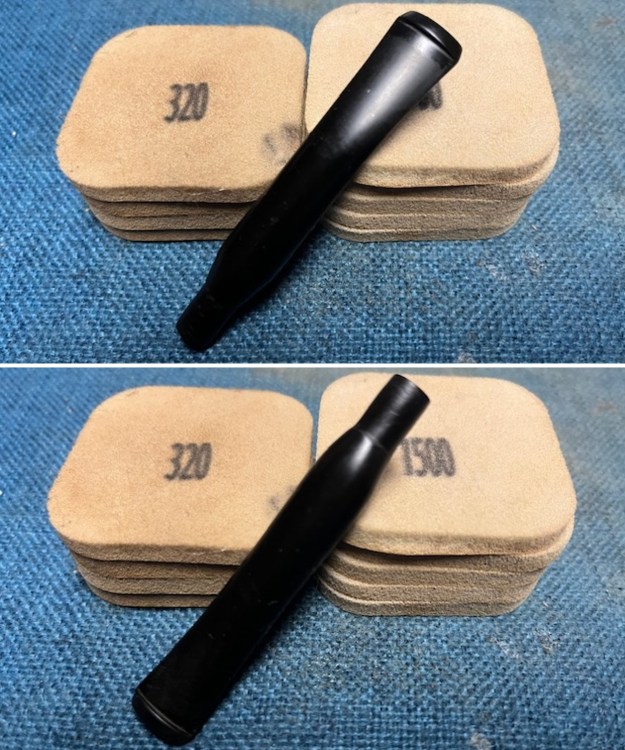
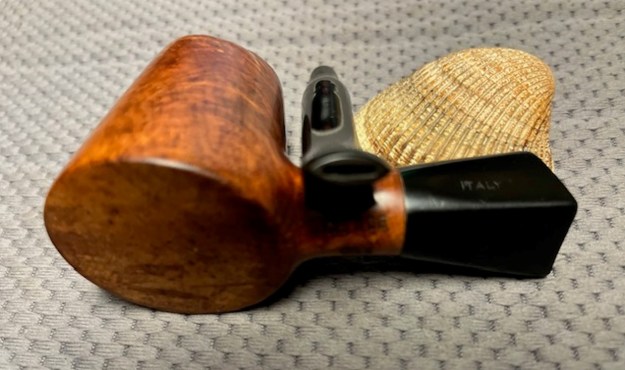
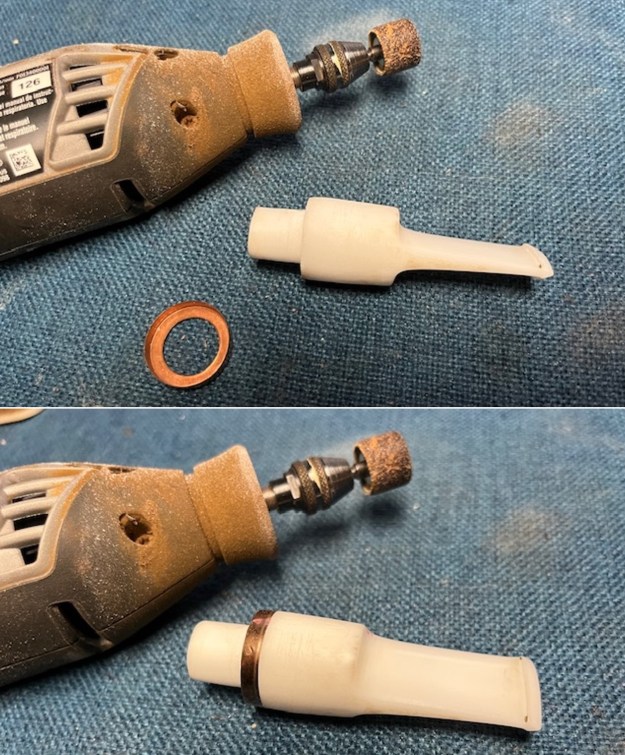
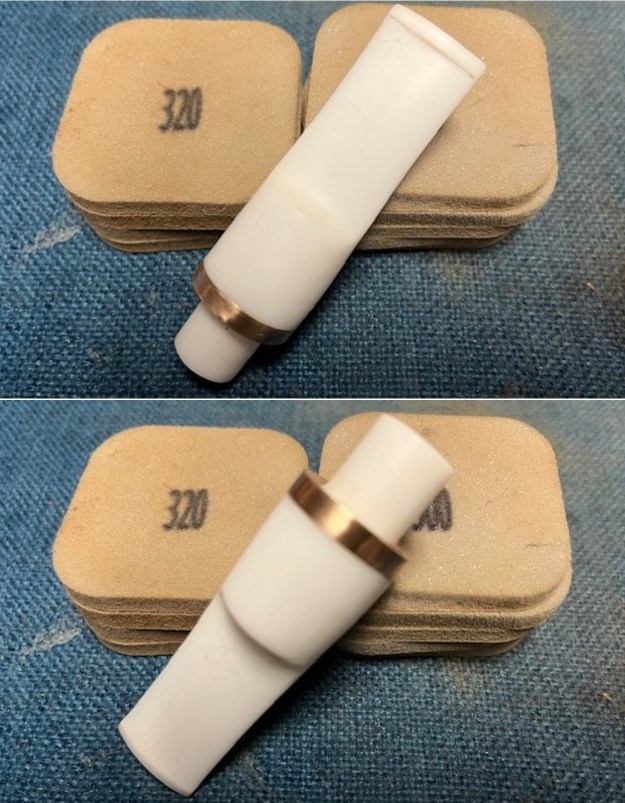
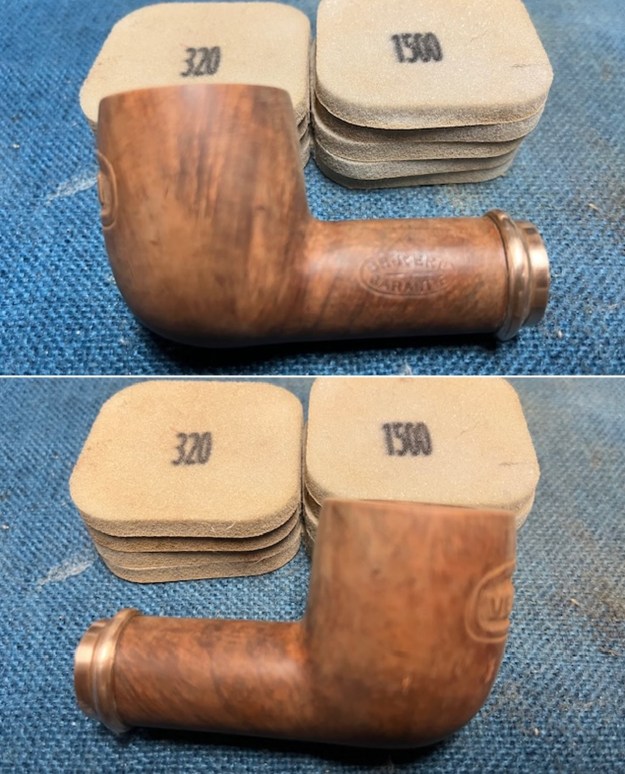
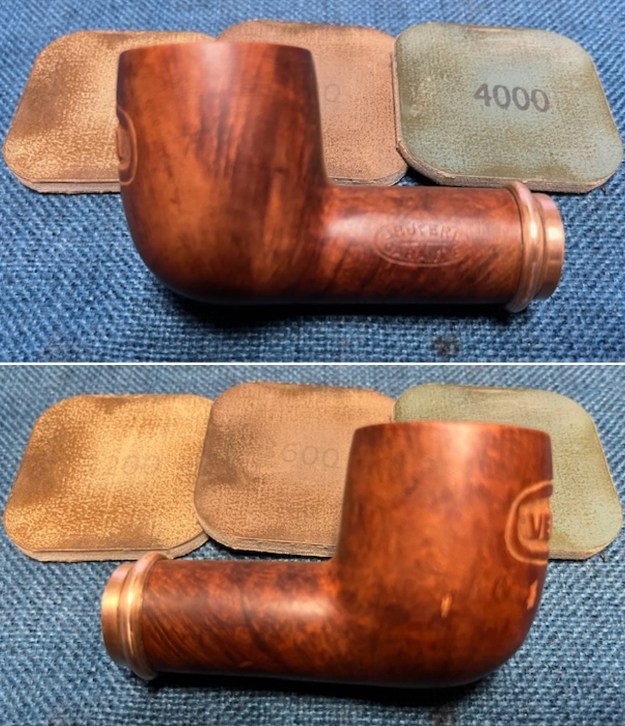
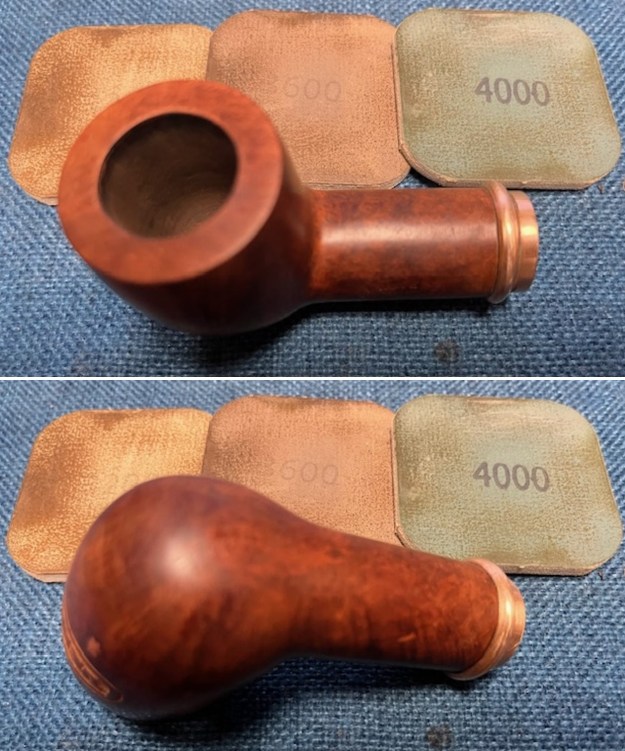
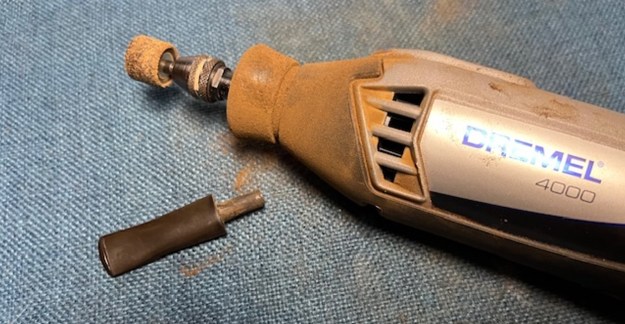
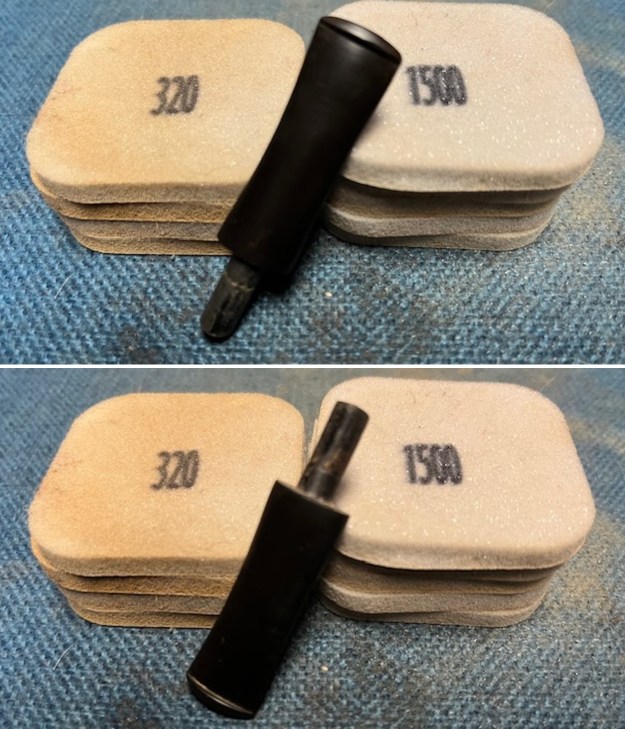
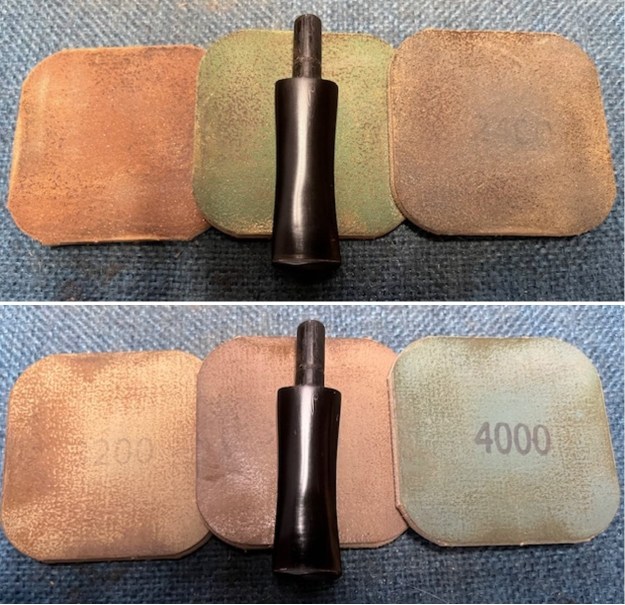
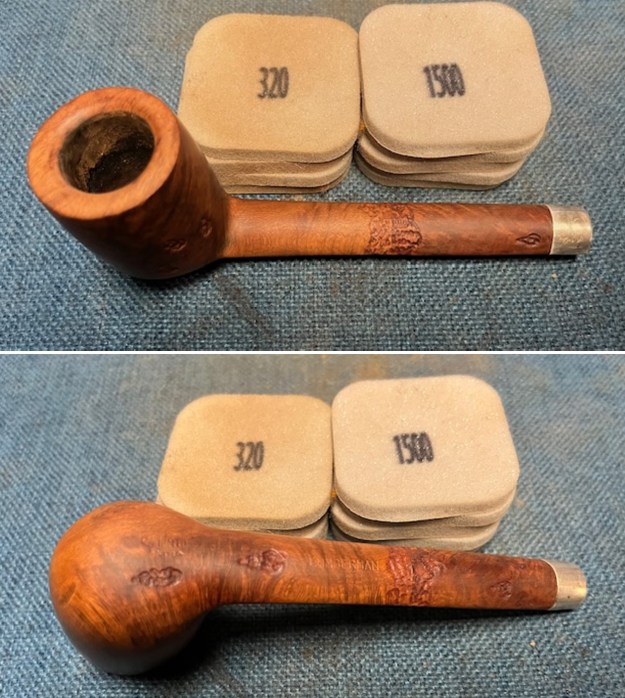
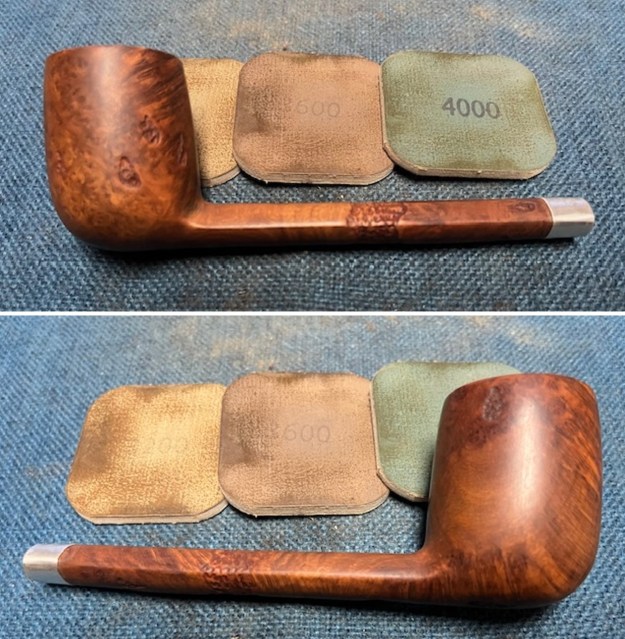
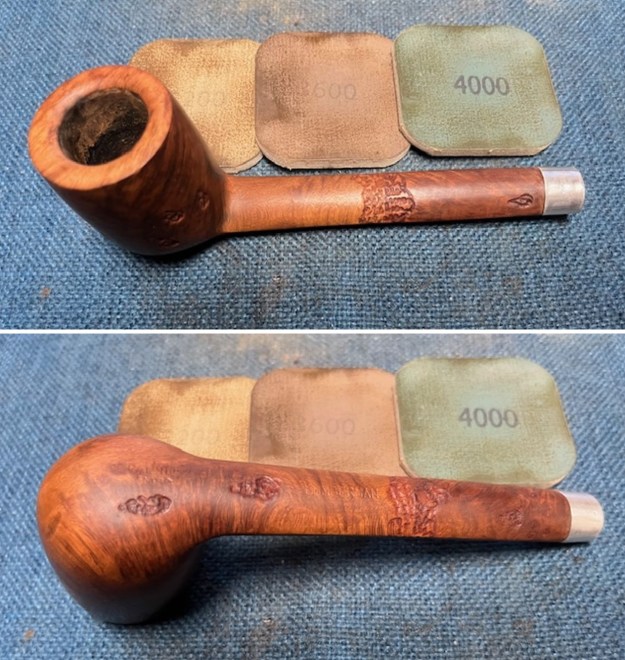
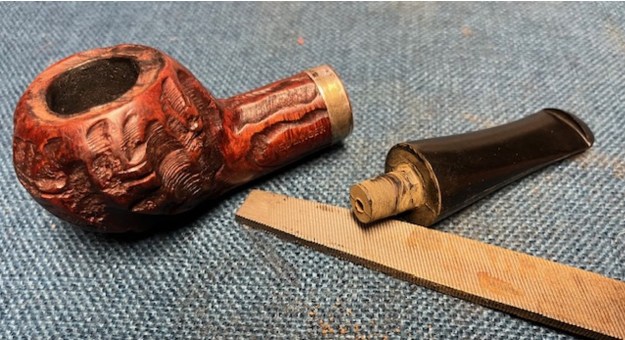
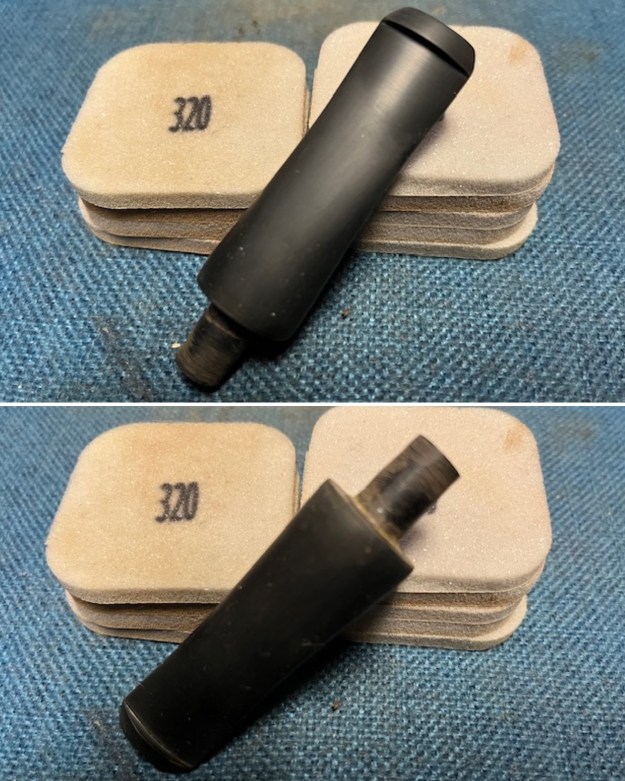
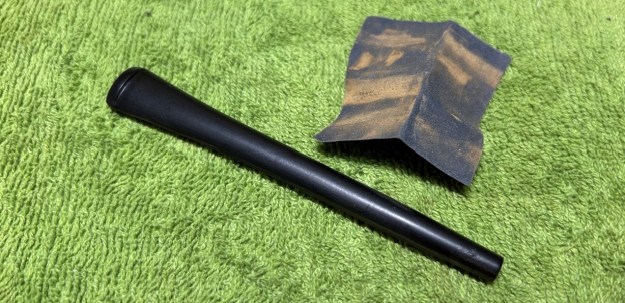
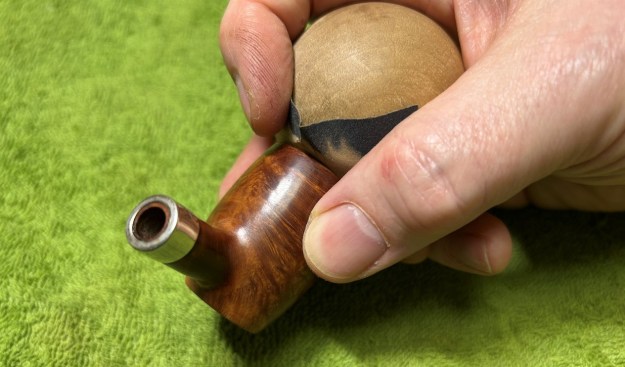
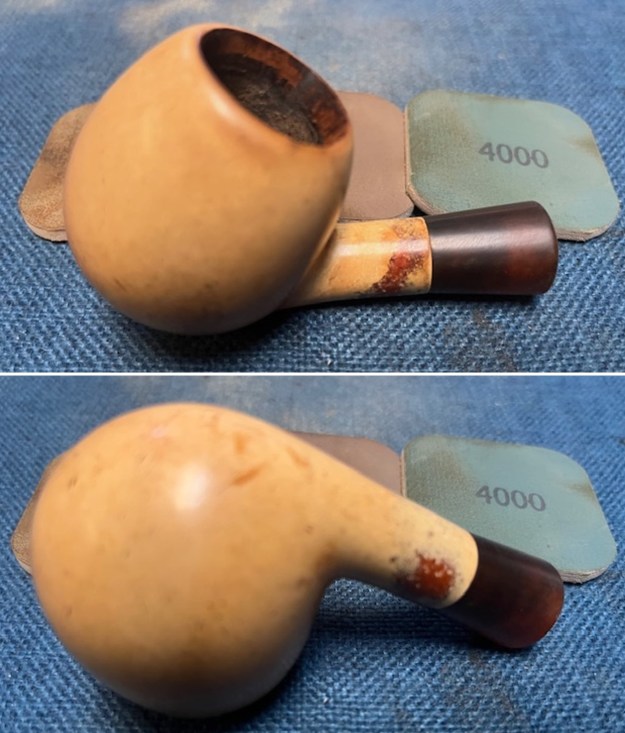
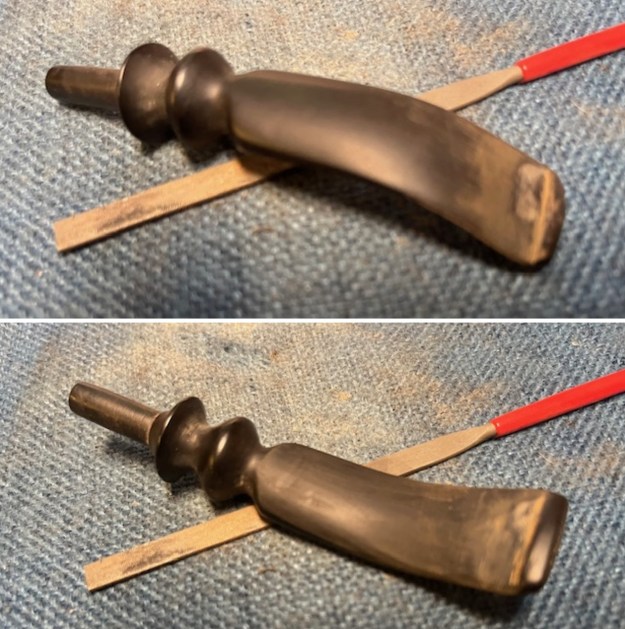
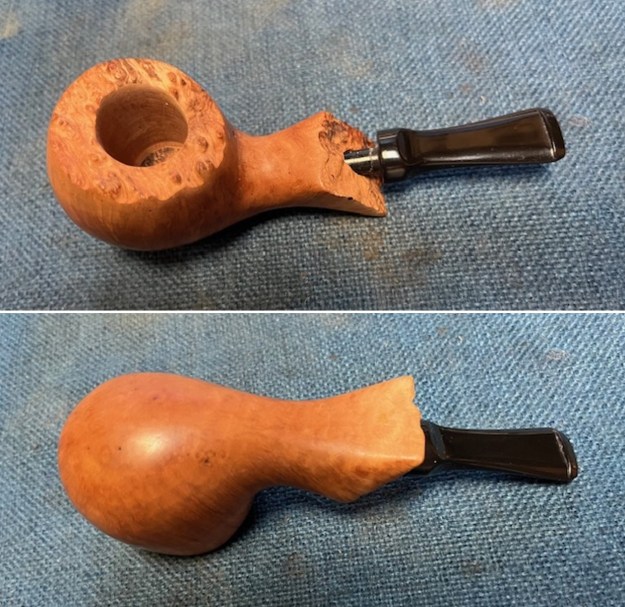
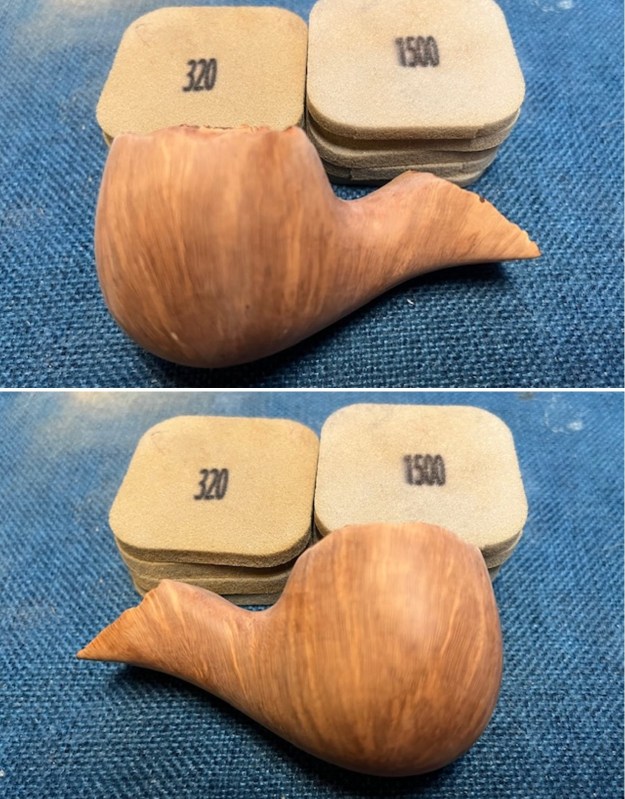
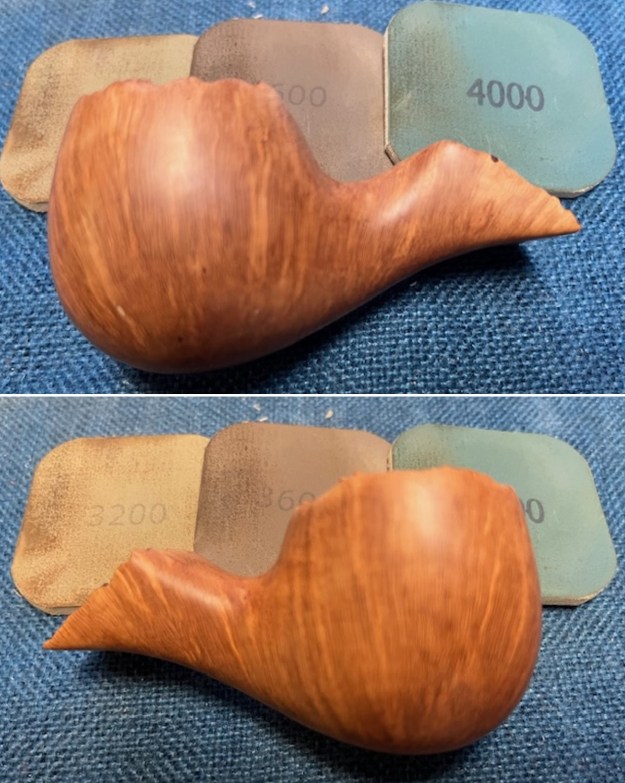
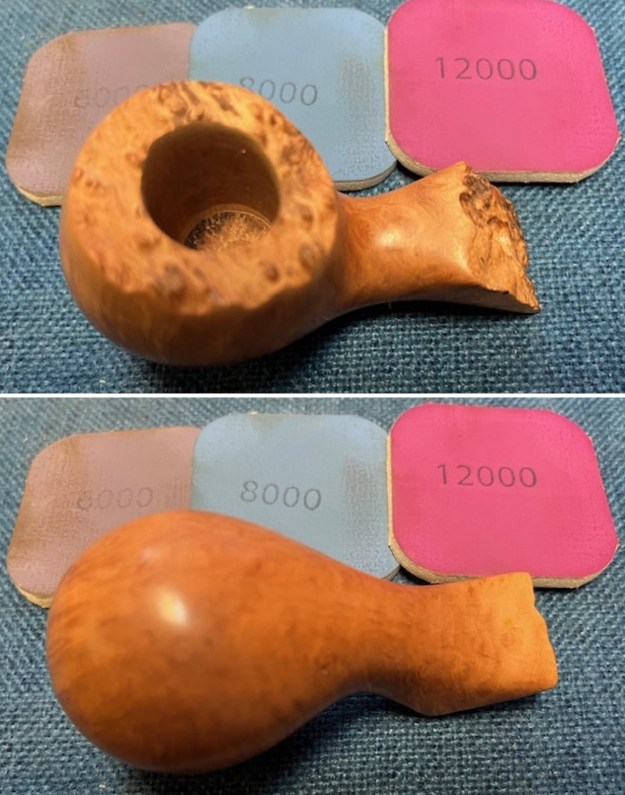
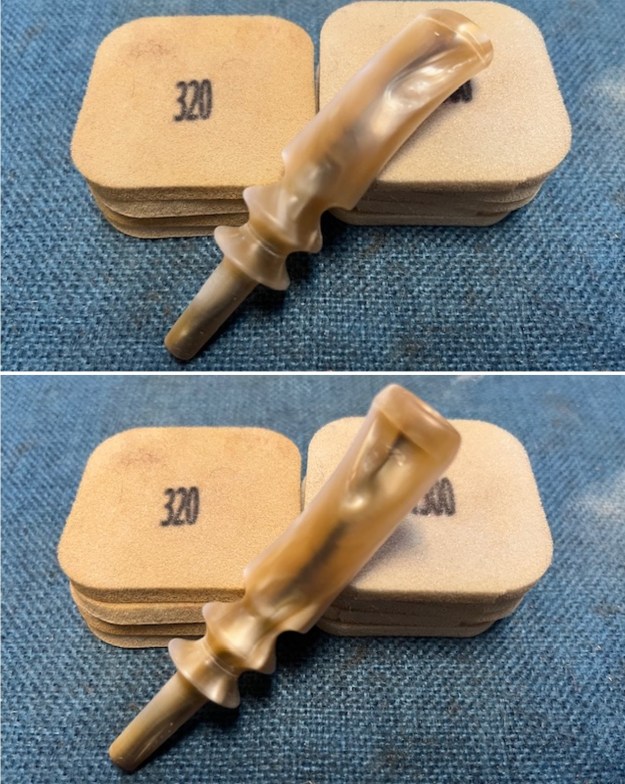
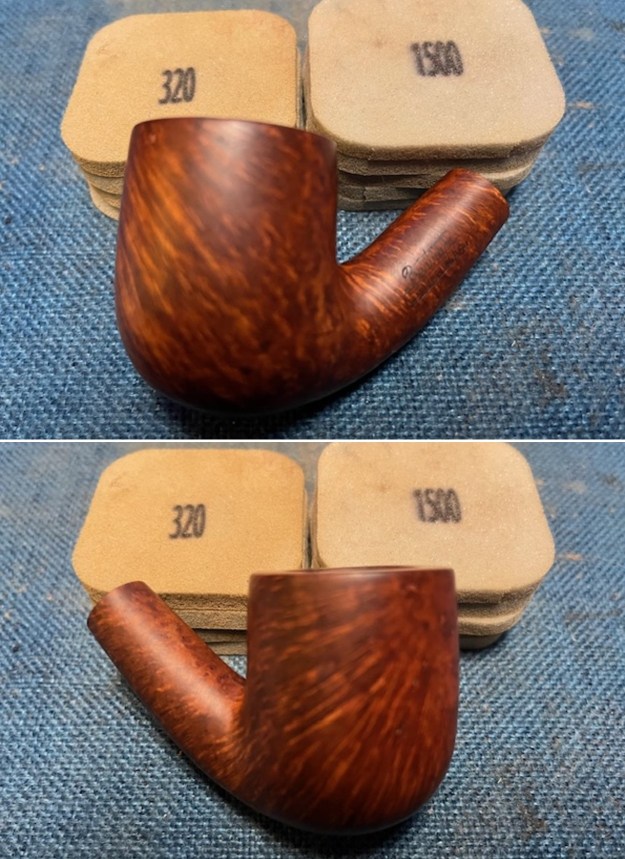
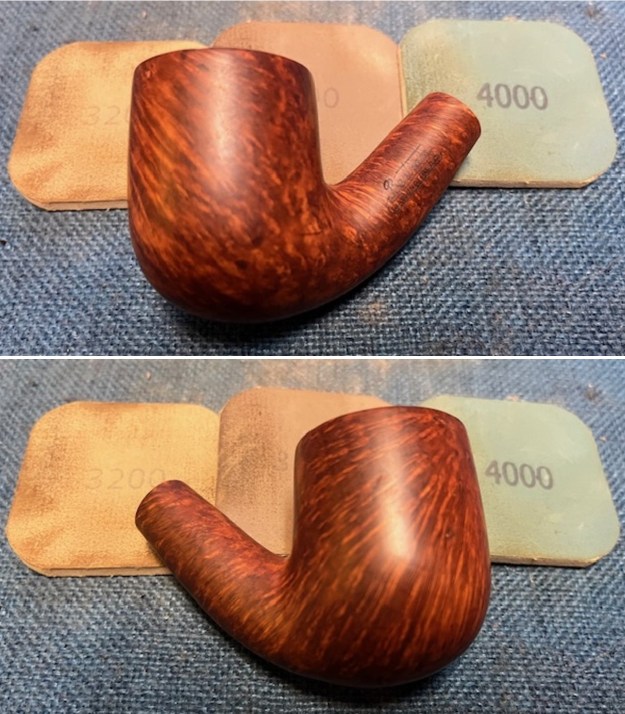
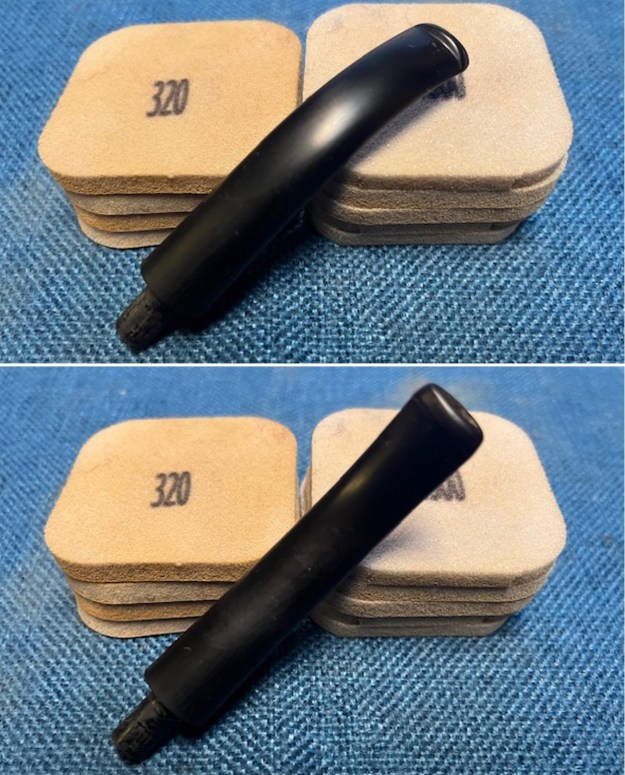
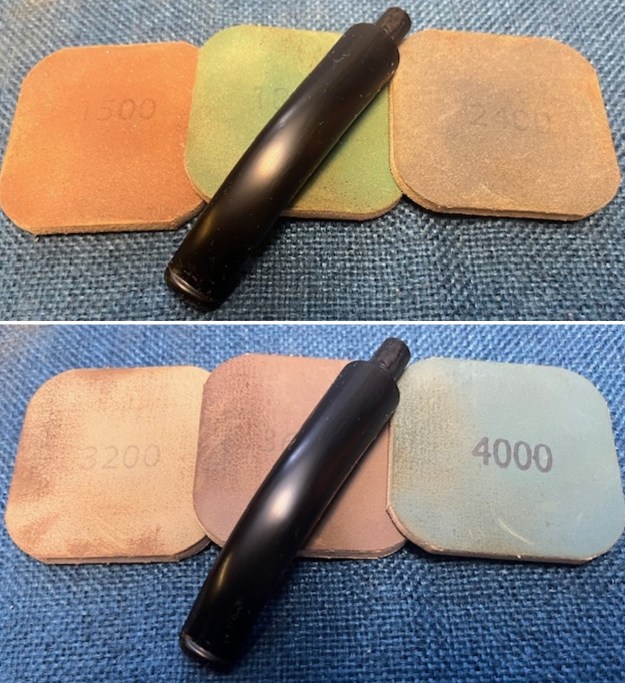
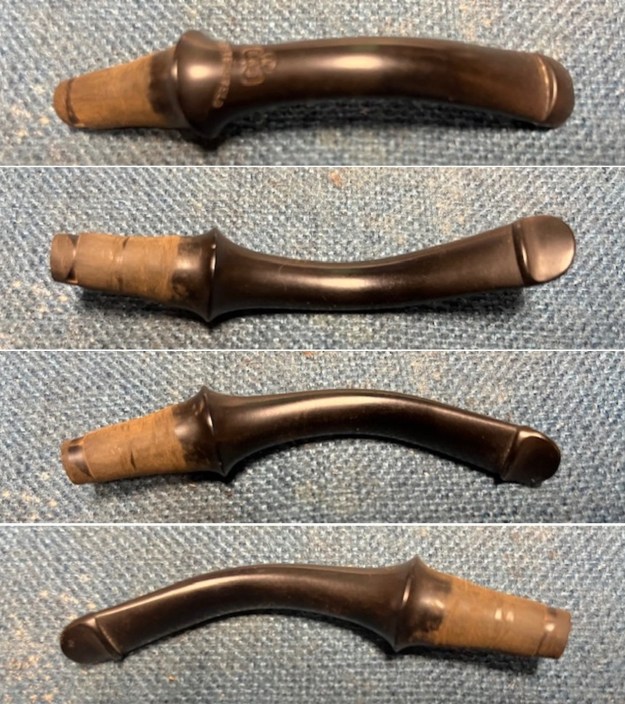 I worked on the shape of the stem to fit in the shank and beginning the polislhing. I used 320-3500 grit 2×2 inch sanding pads to shape and polish the stem shape. Each sanding pad brought it into shape and the fit to the shank worked well. The scratches and marks in the vulcanite began to blend into the surface.
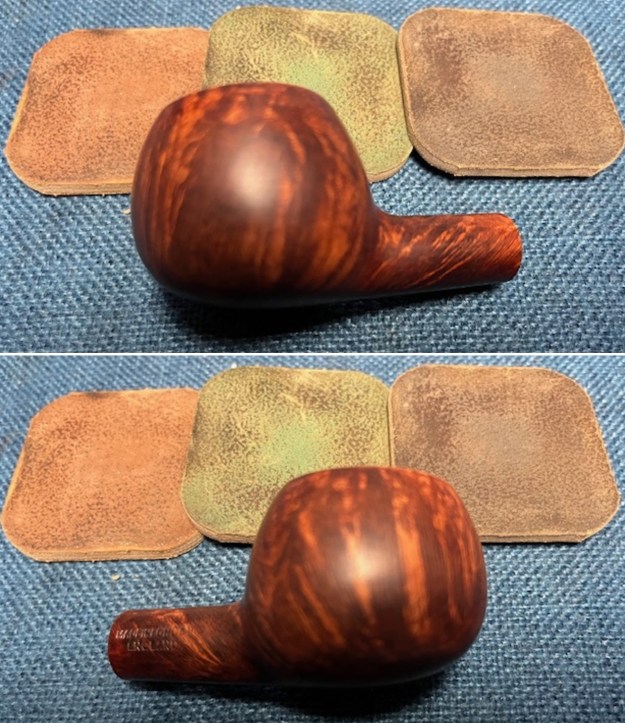
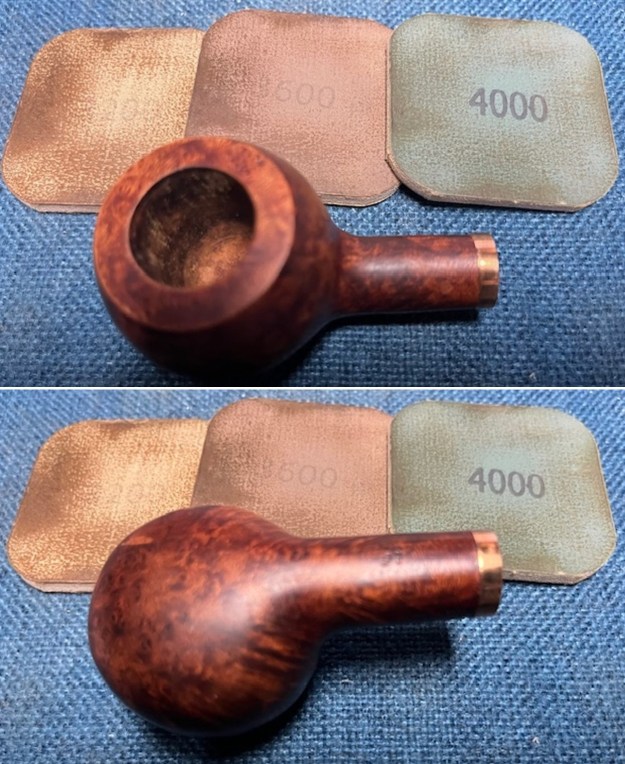
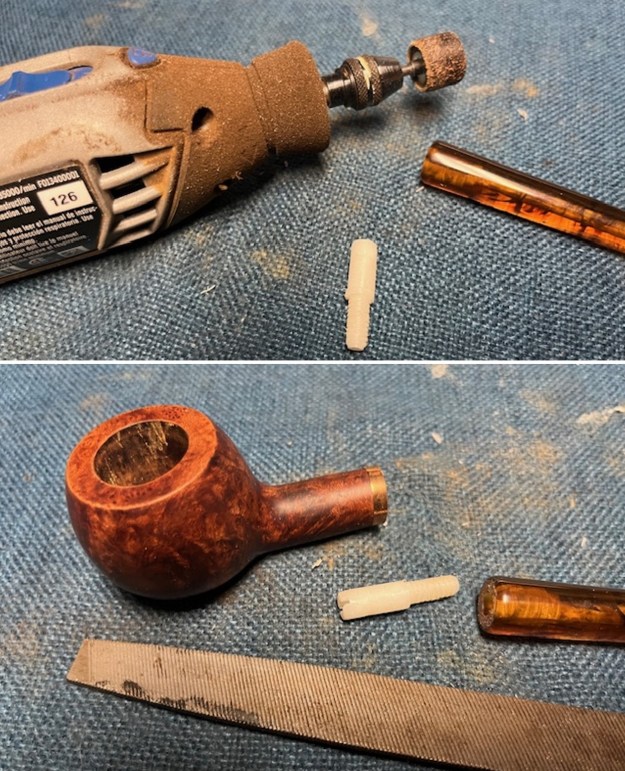
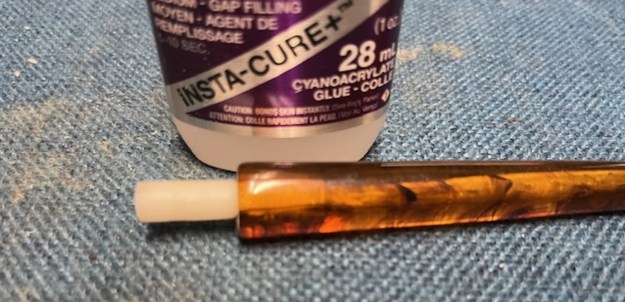
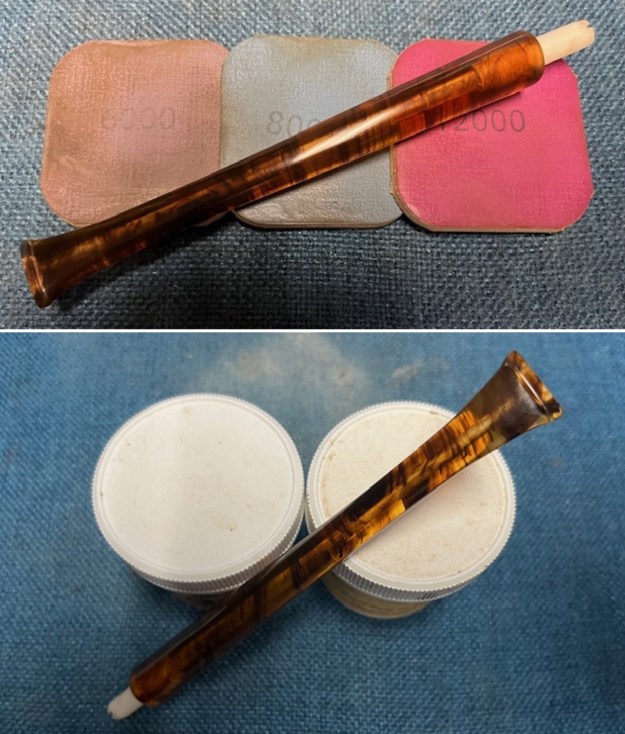
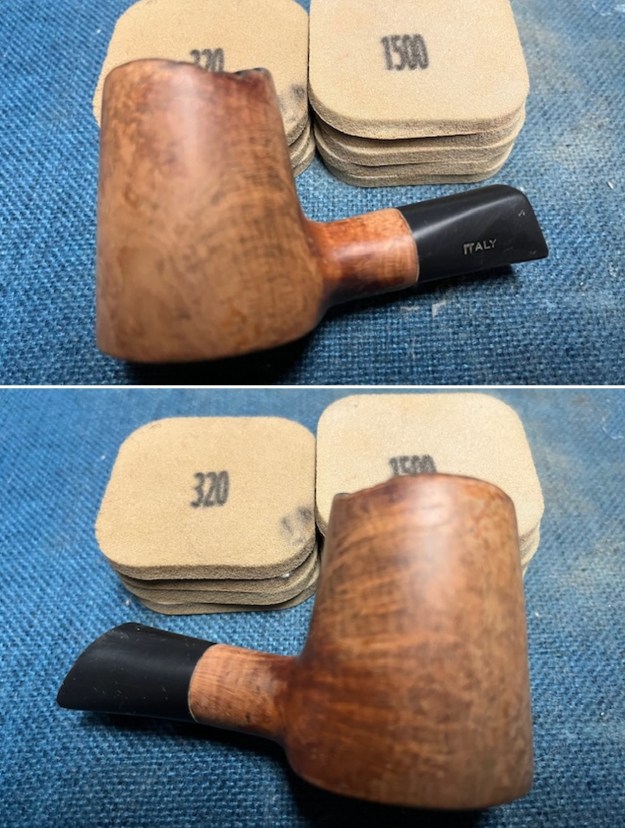
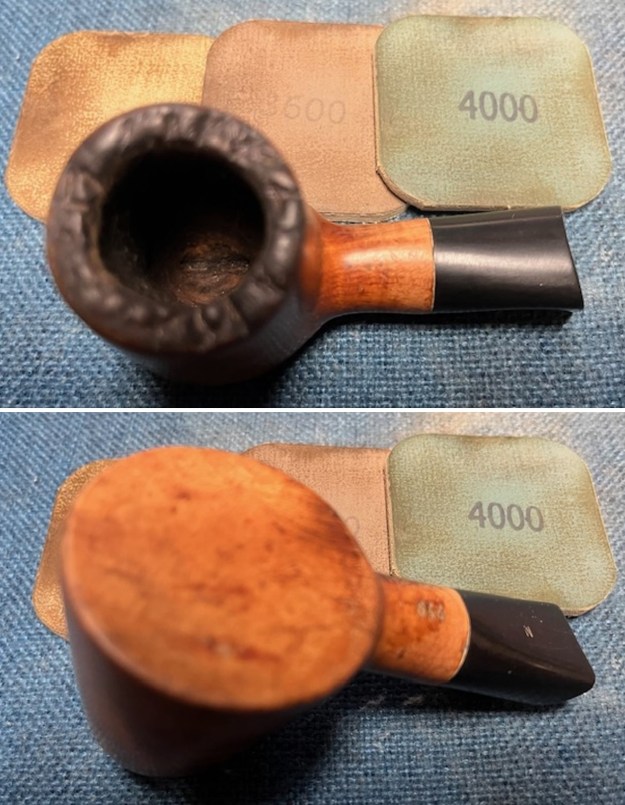
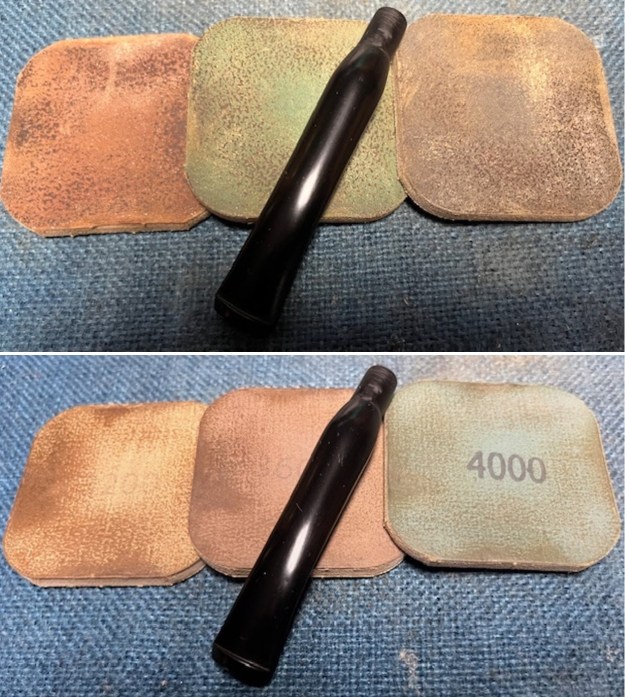
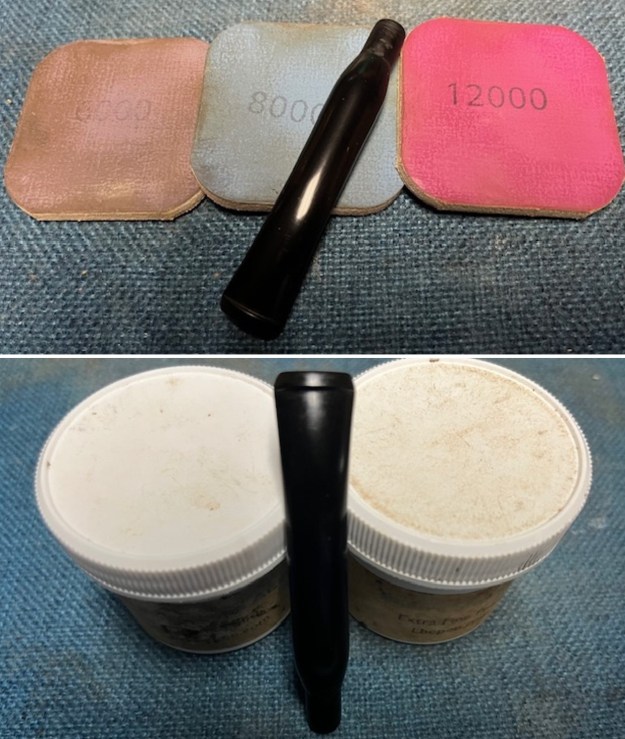
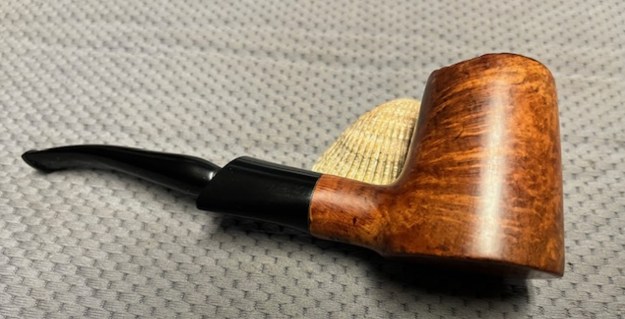
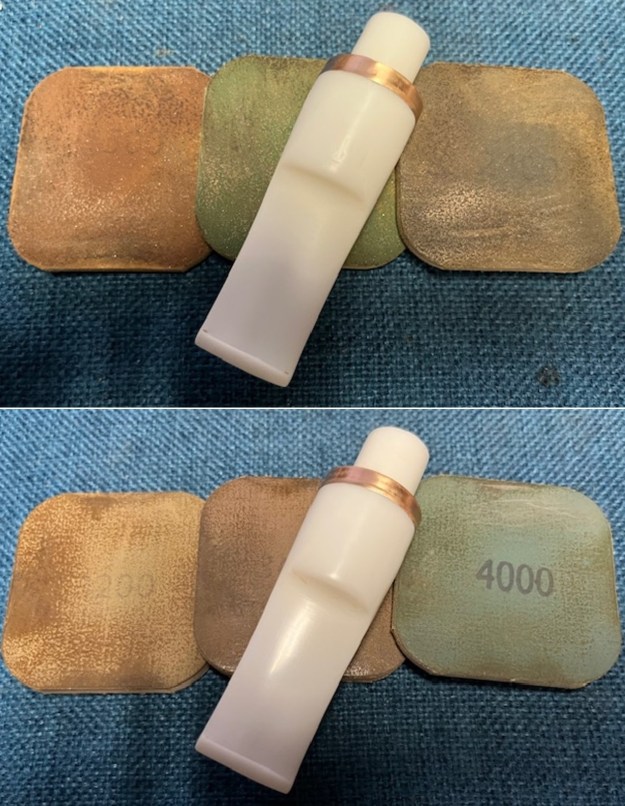
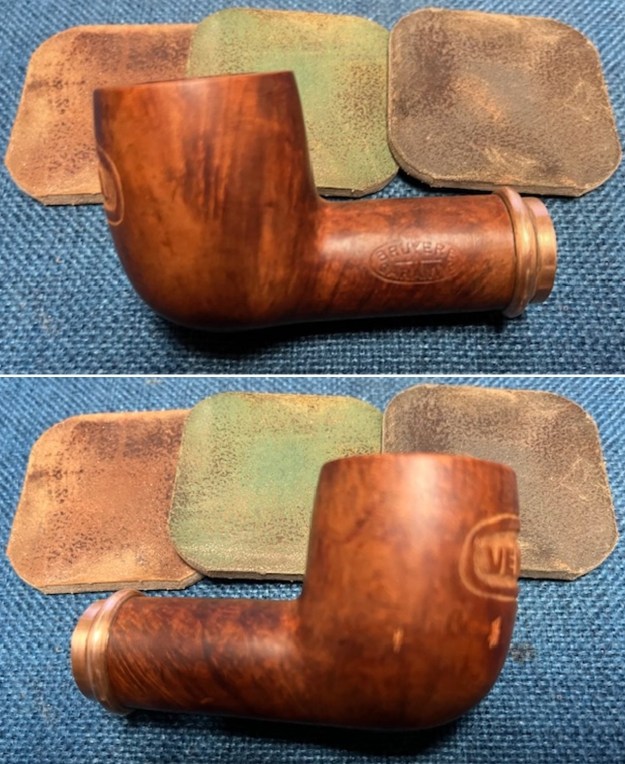
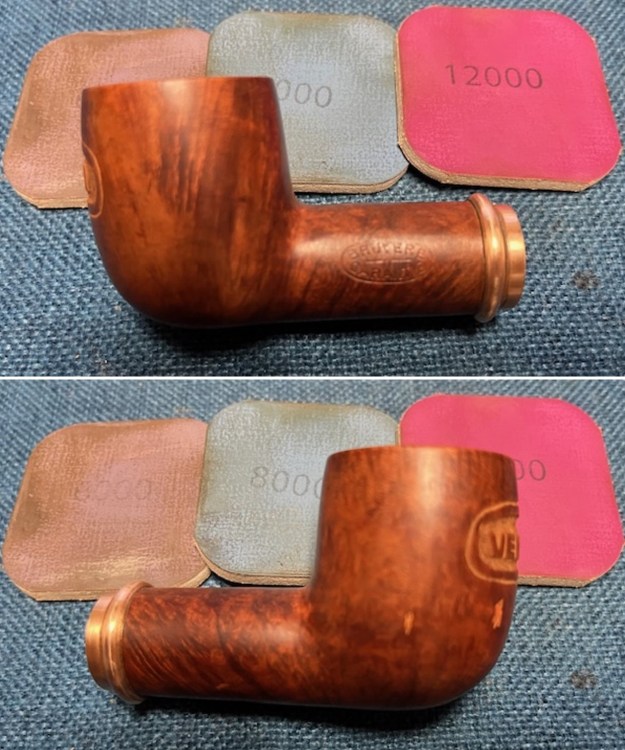
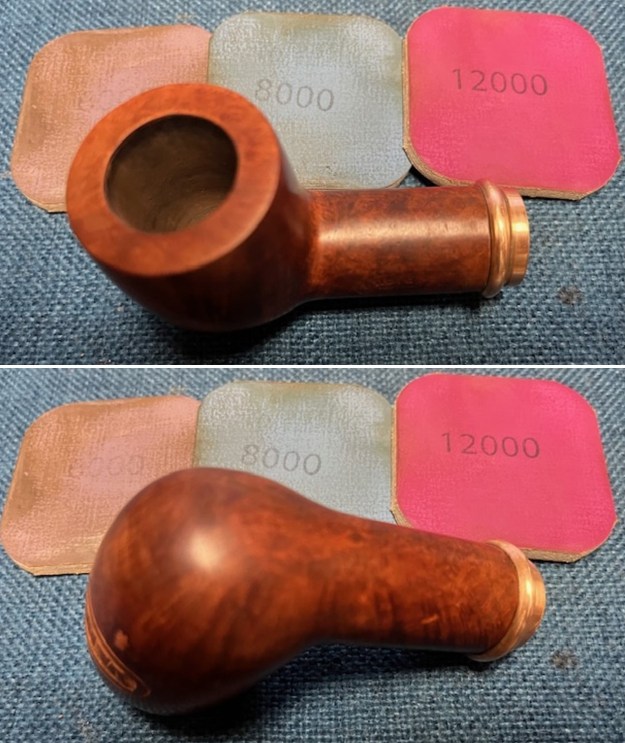
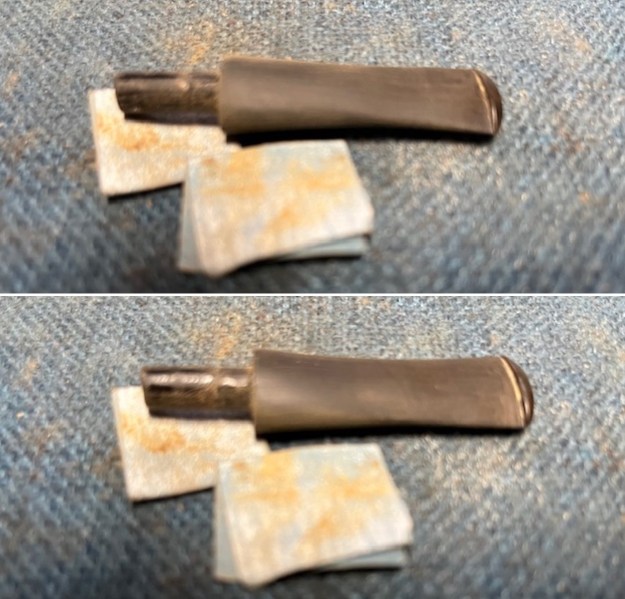
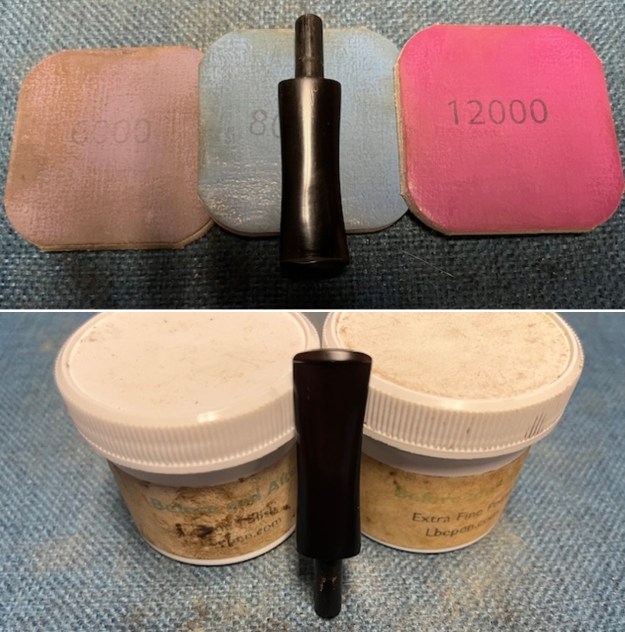
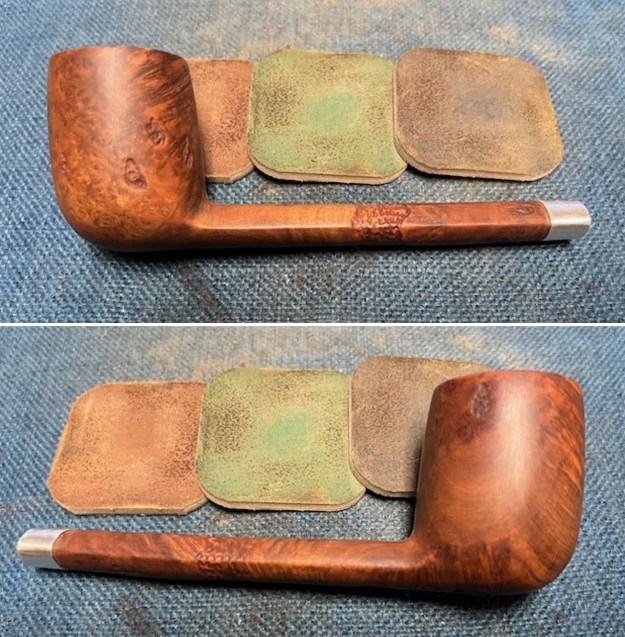
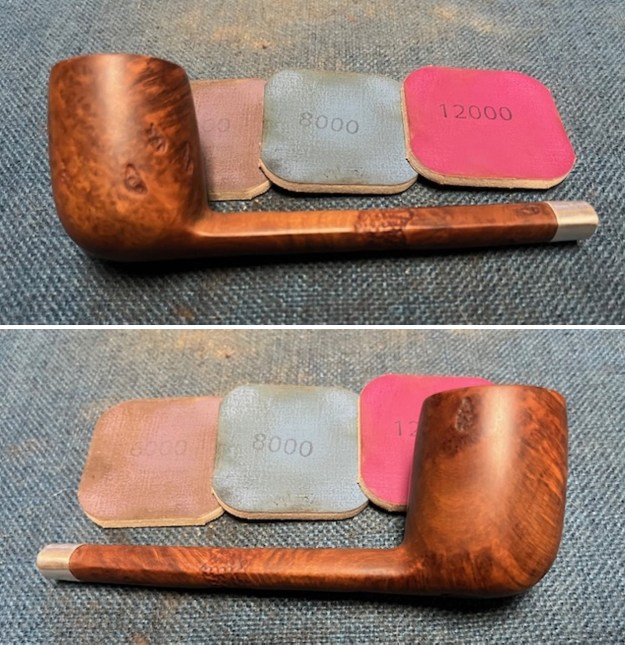
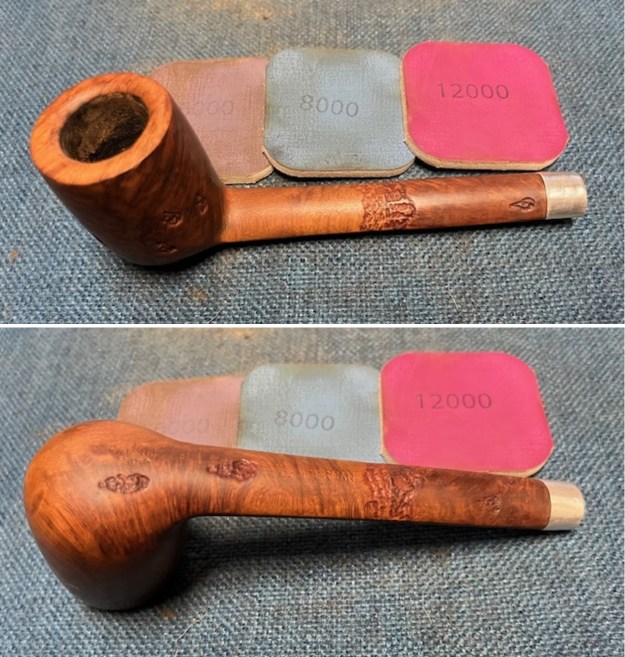
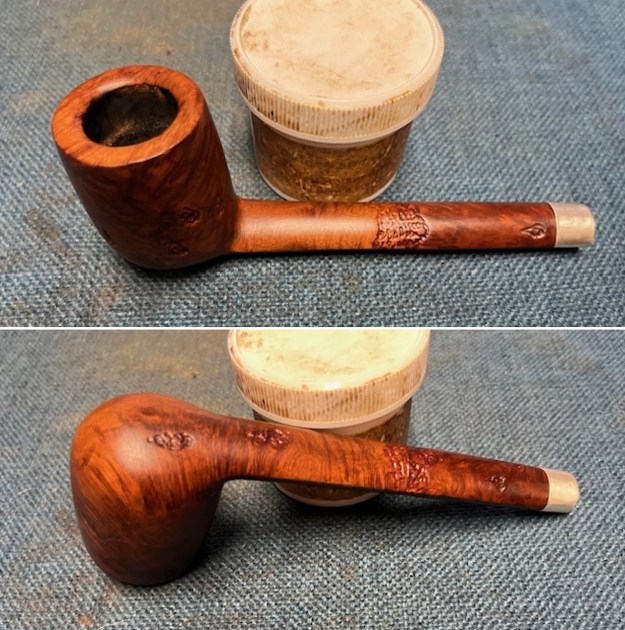
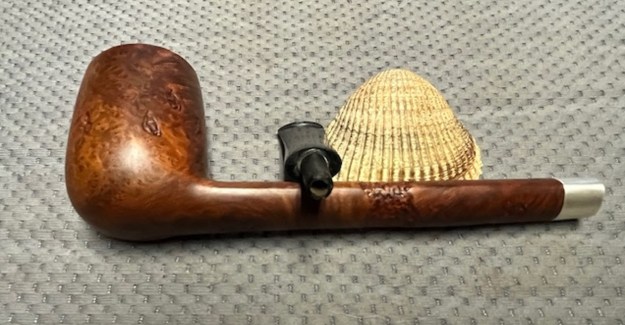
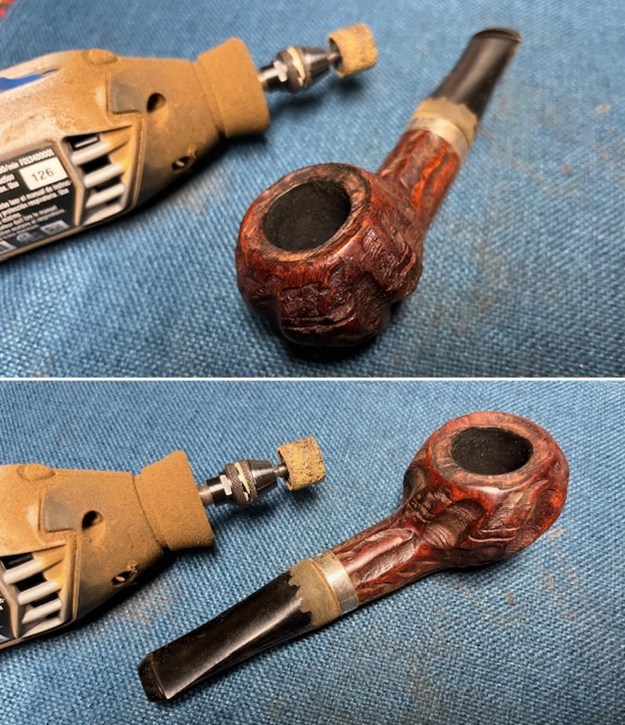
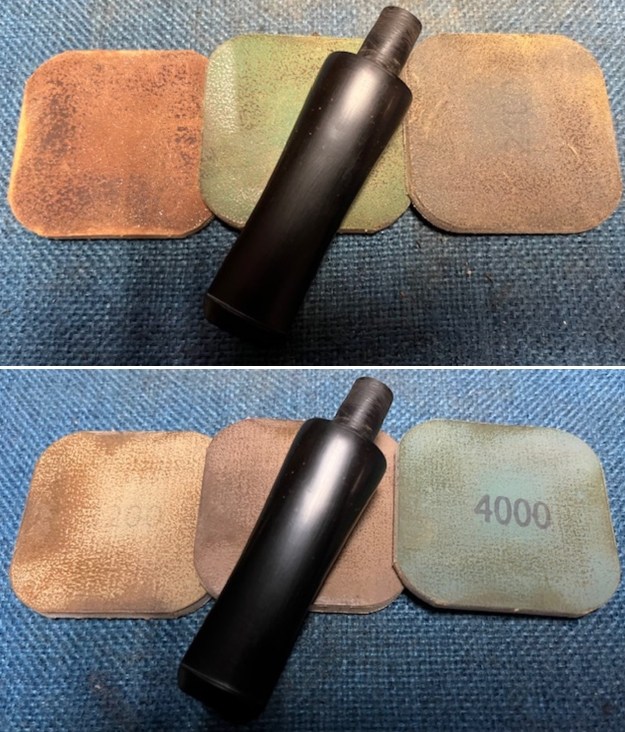
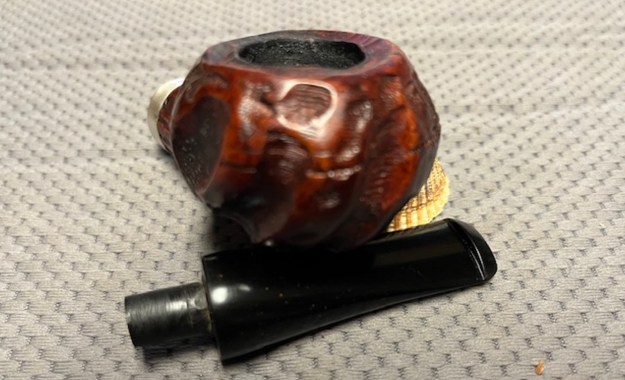
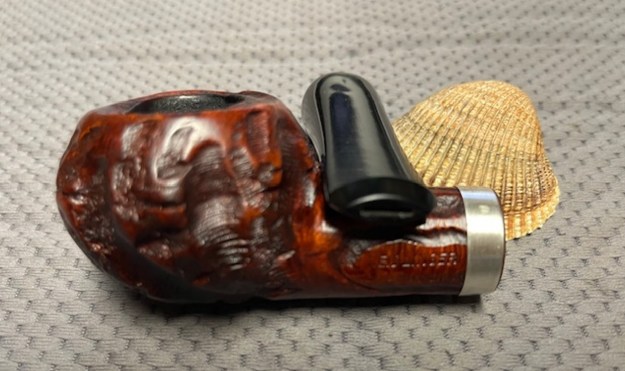
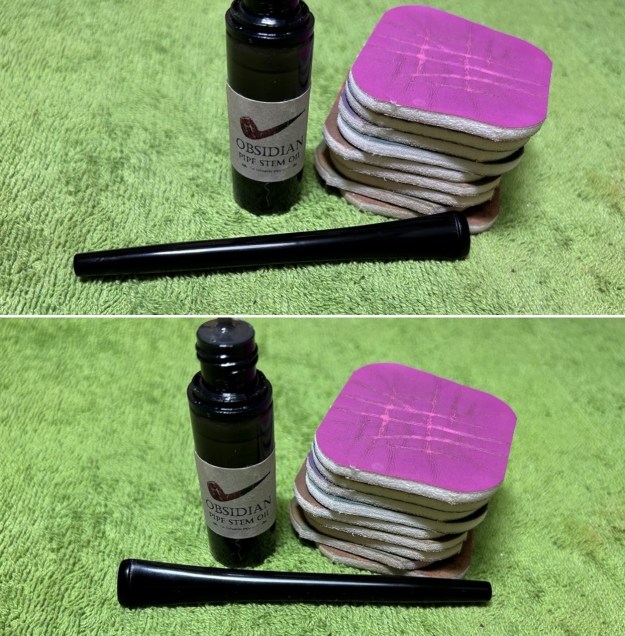
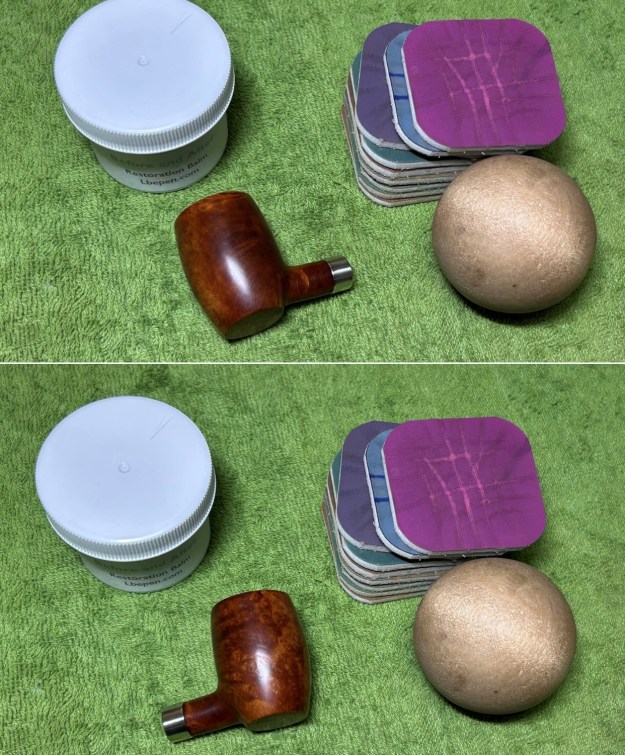
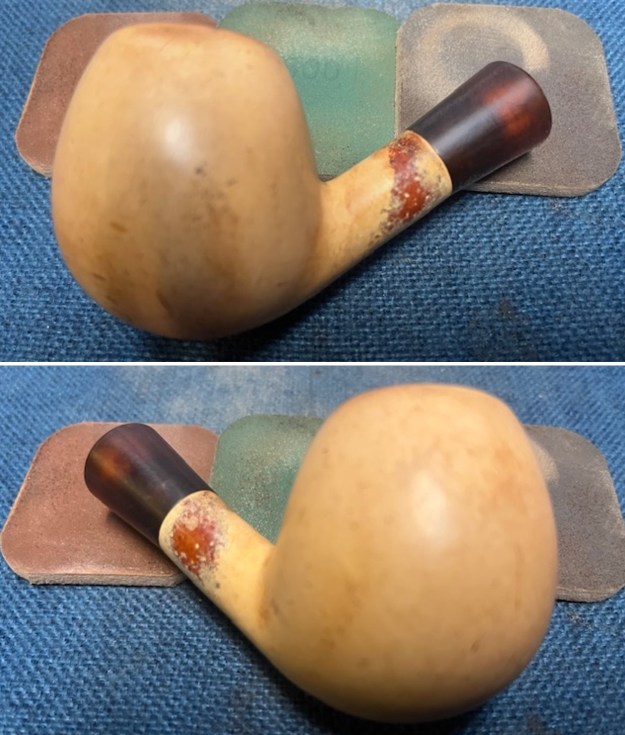
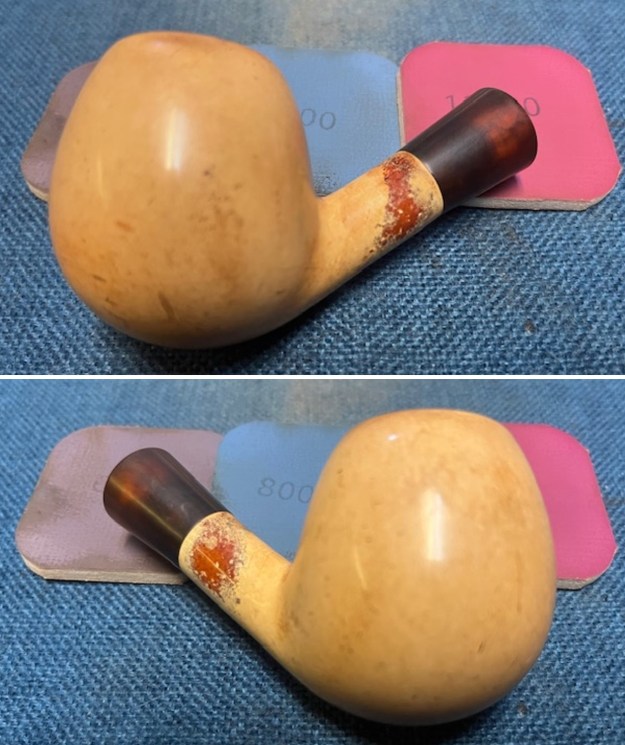
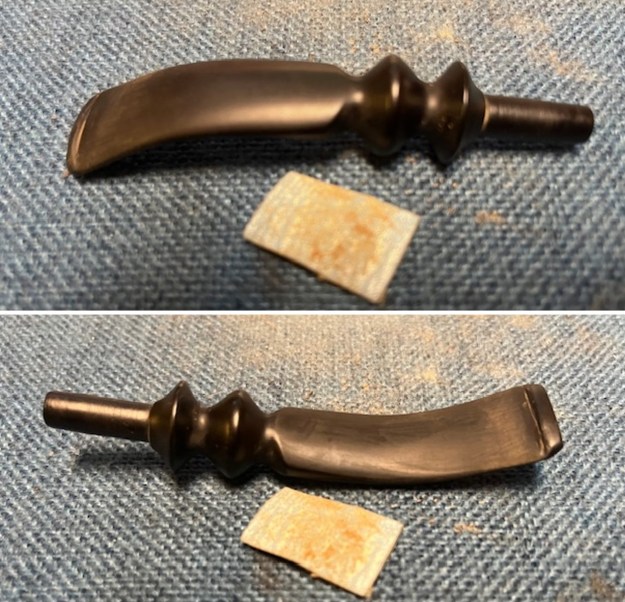
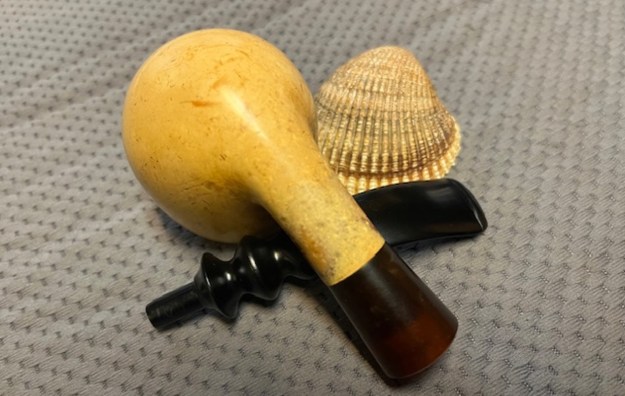
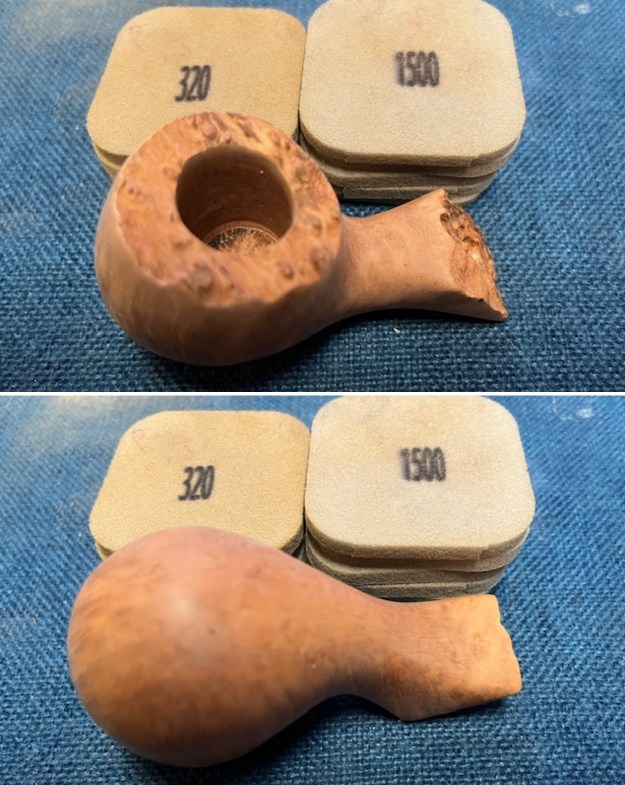
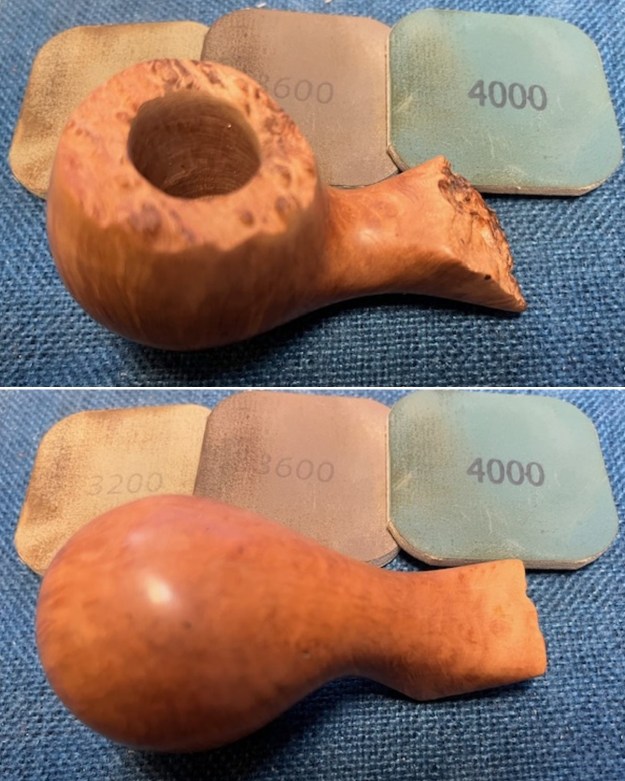
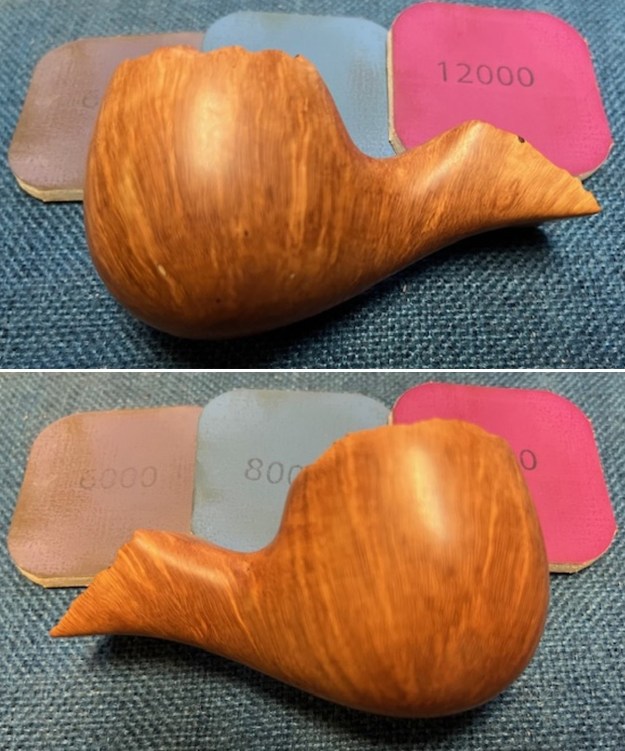
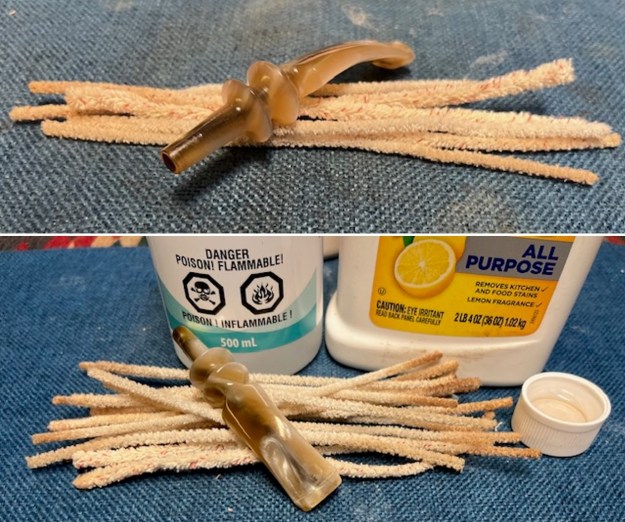
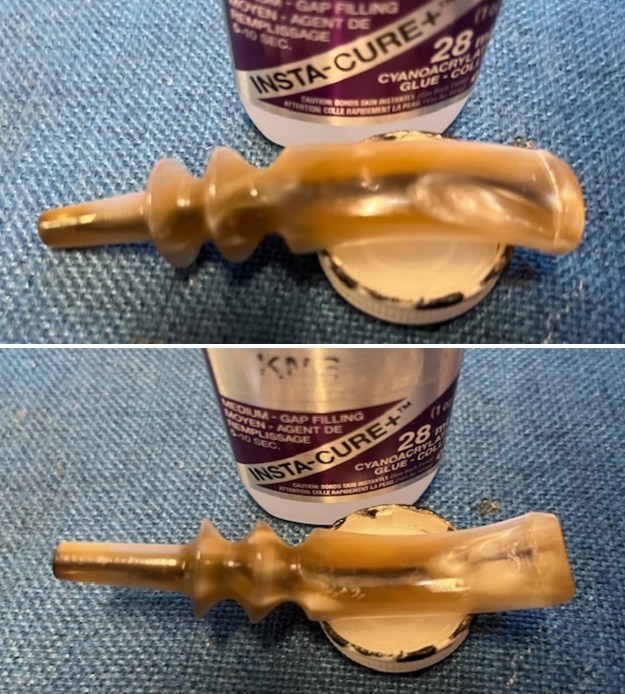
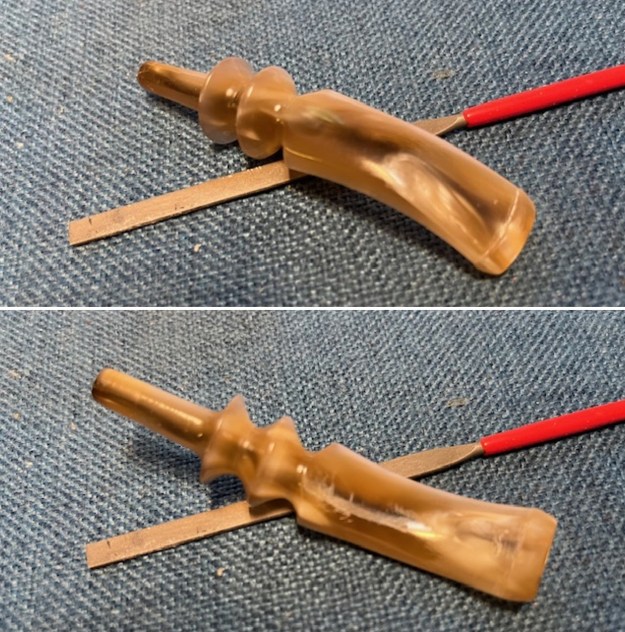
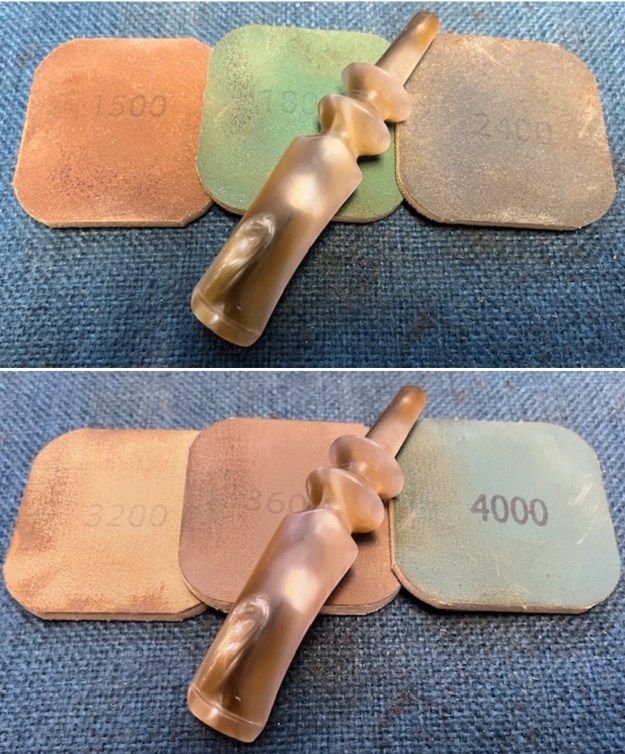
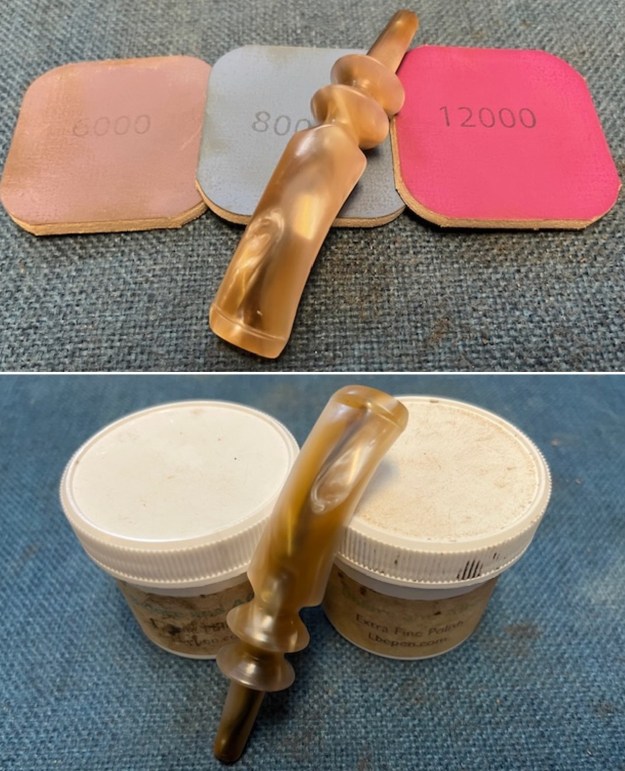
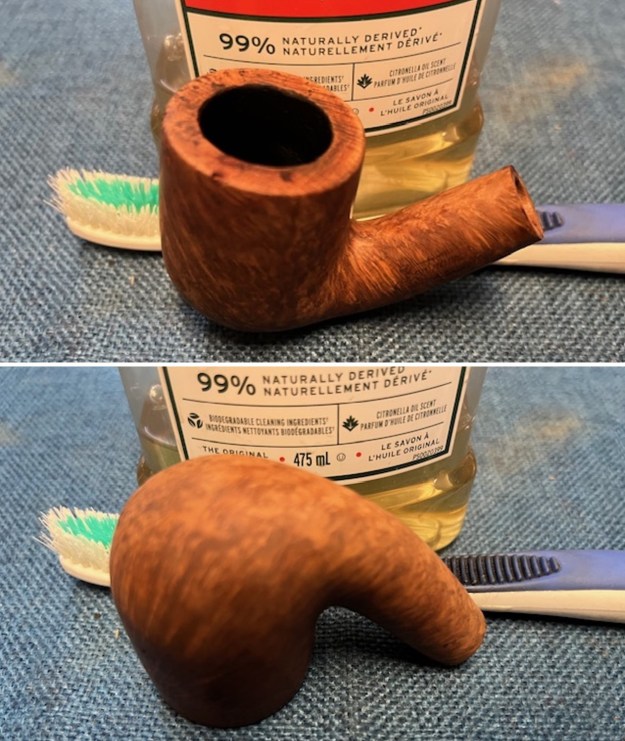
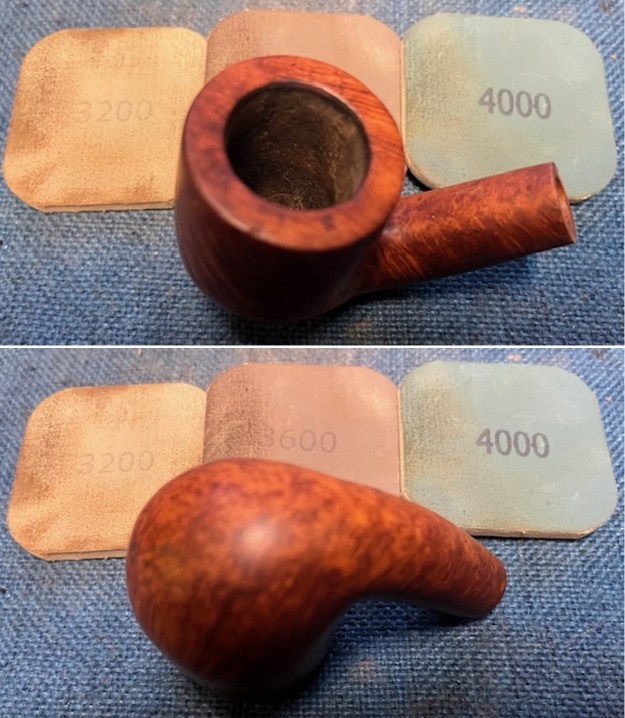
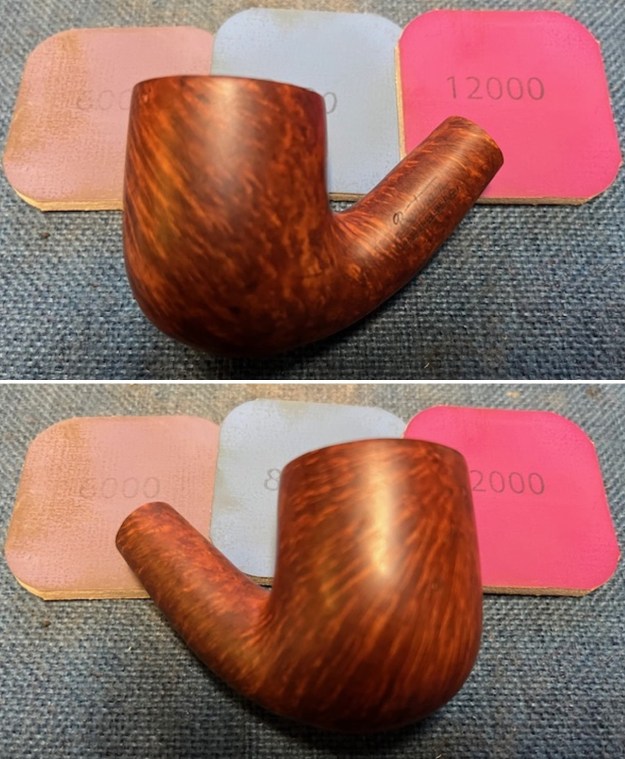
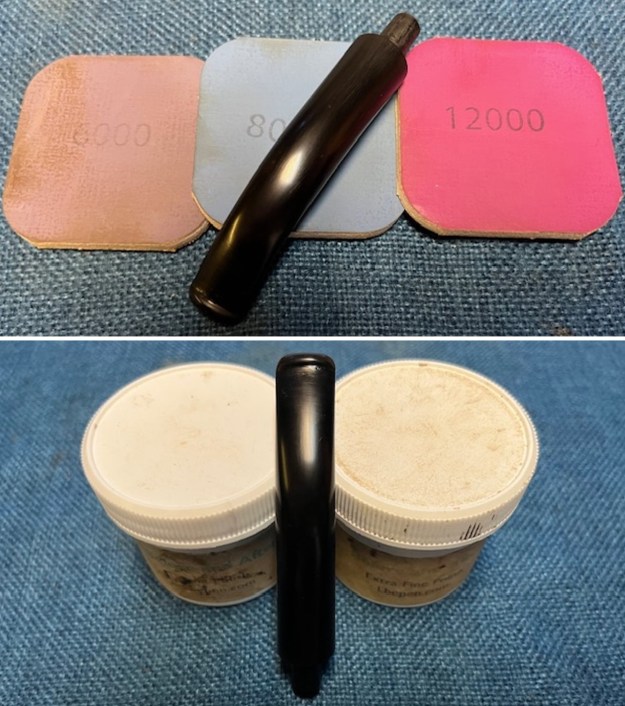
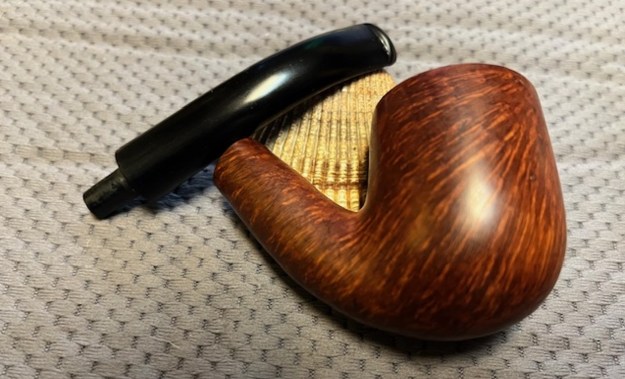
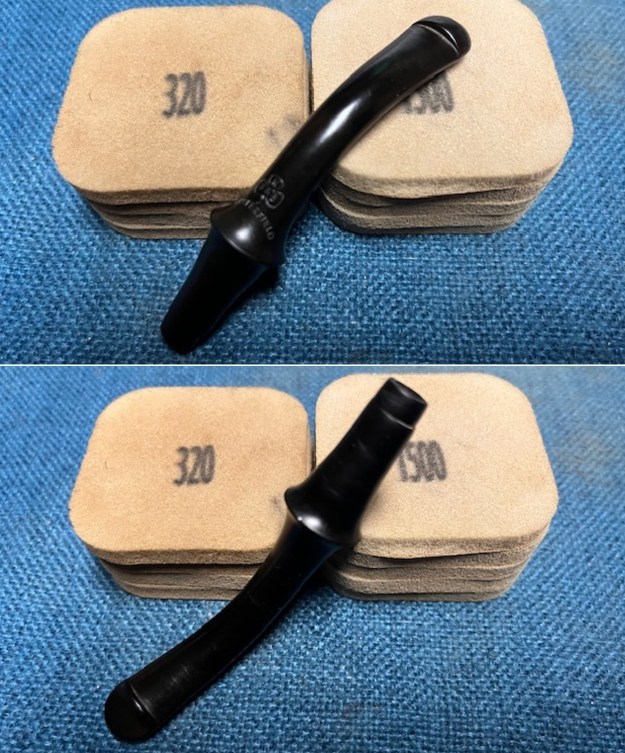 I polished the stem with micromesh sanding pads – wet sanding with 1500-12000 grit sanding pads. I wiped it down after each sanding pad with some Obsidian Oil. I finished polishing it with Before & After Pipe Stem Polish – both Fine and Extra Fine and buffed it off with a cotton cloth. I wiped it down with Obsidian Oil to protect the stem and slow down the oxidation.
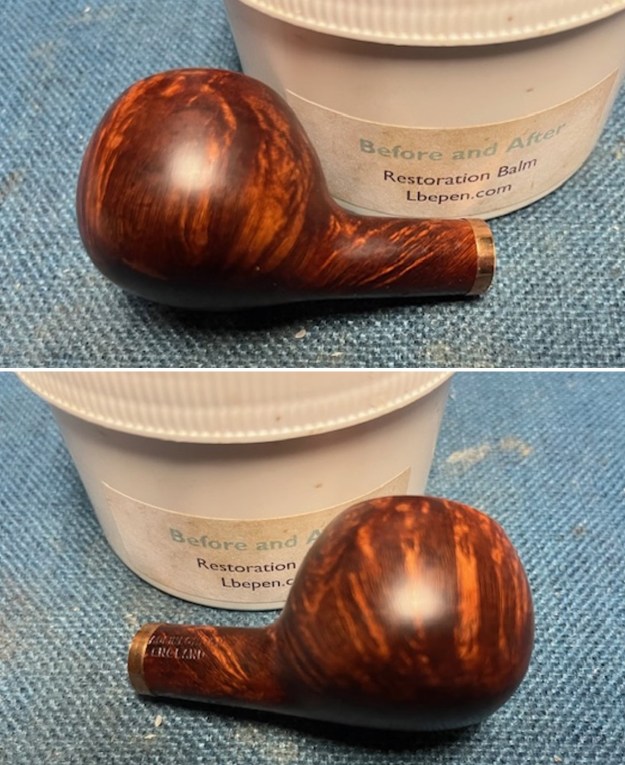
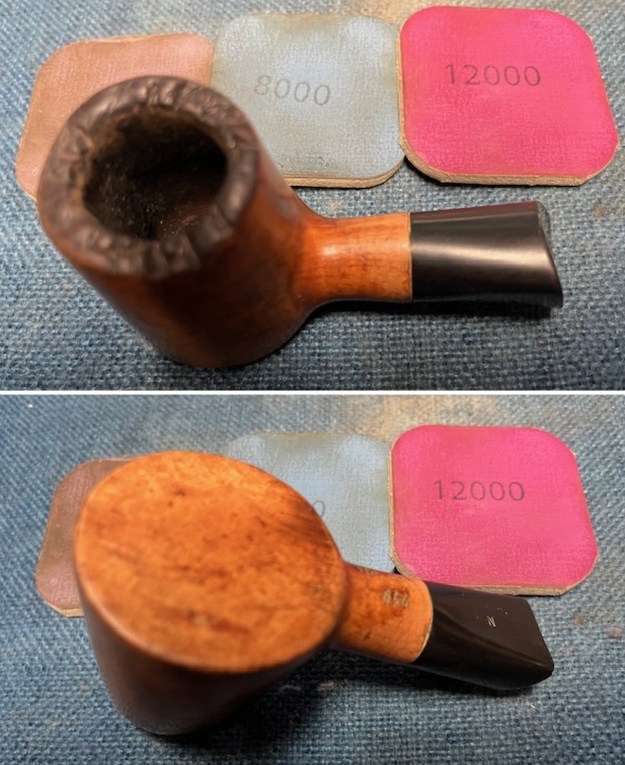
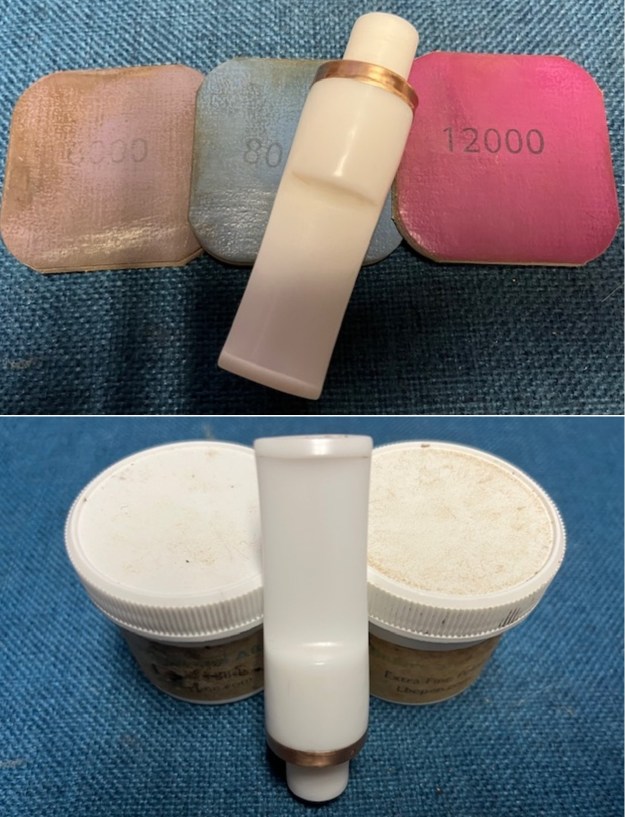
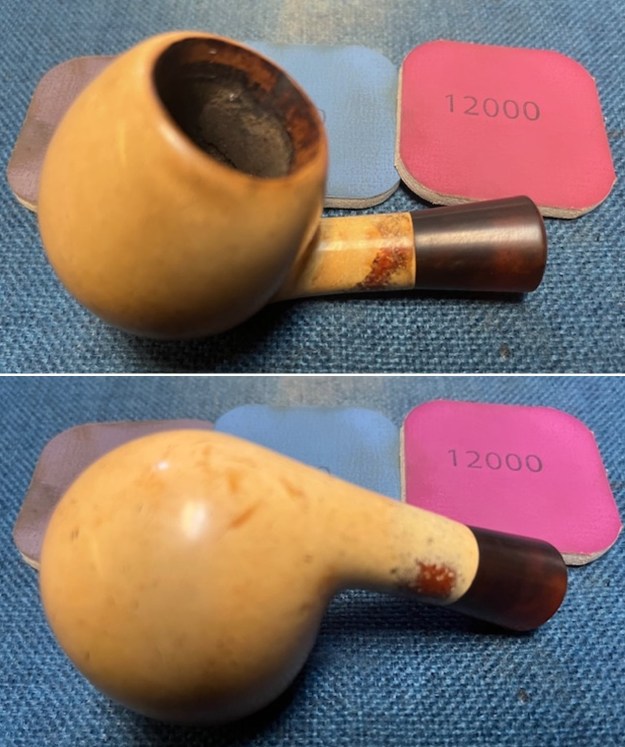
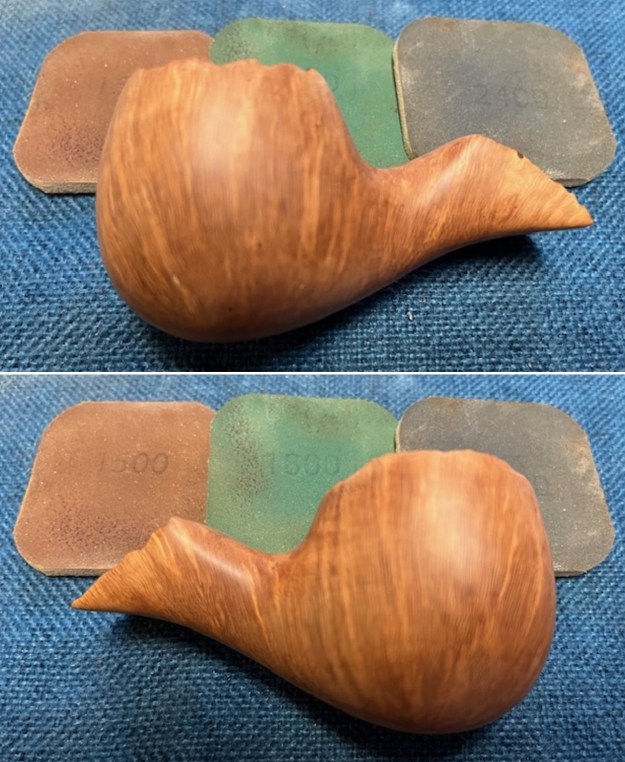
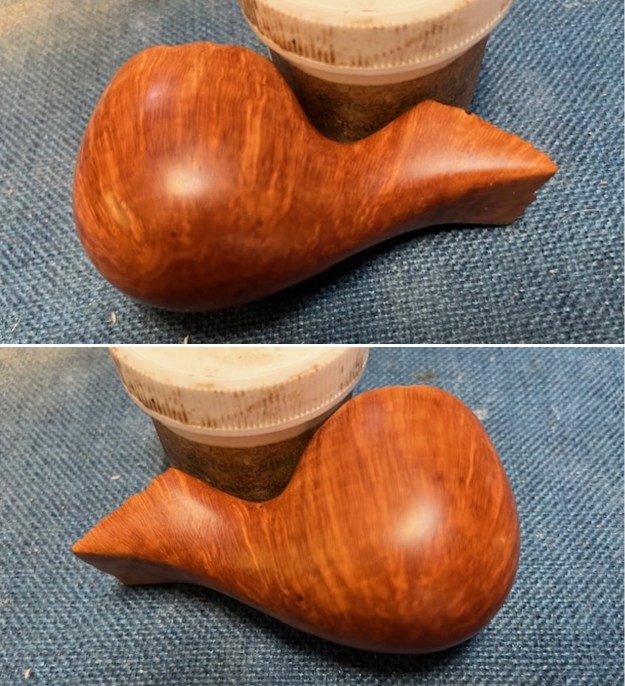
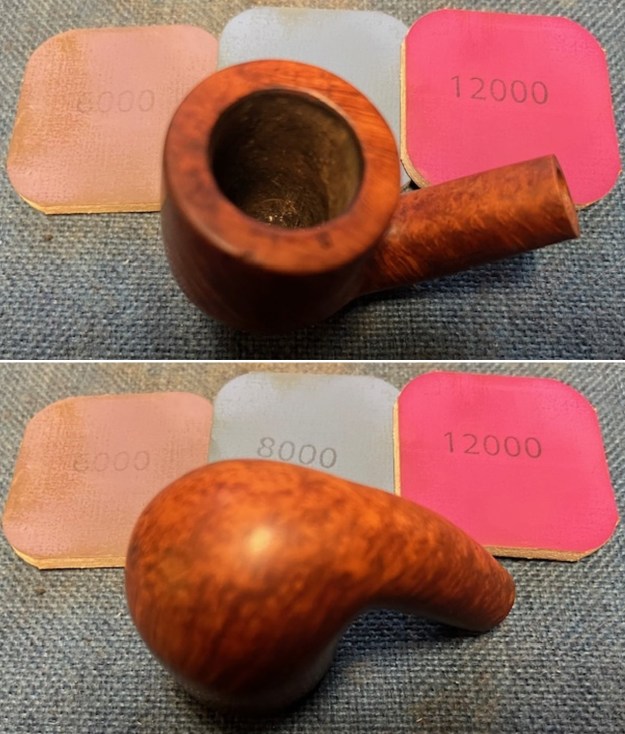
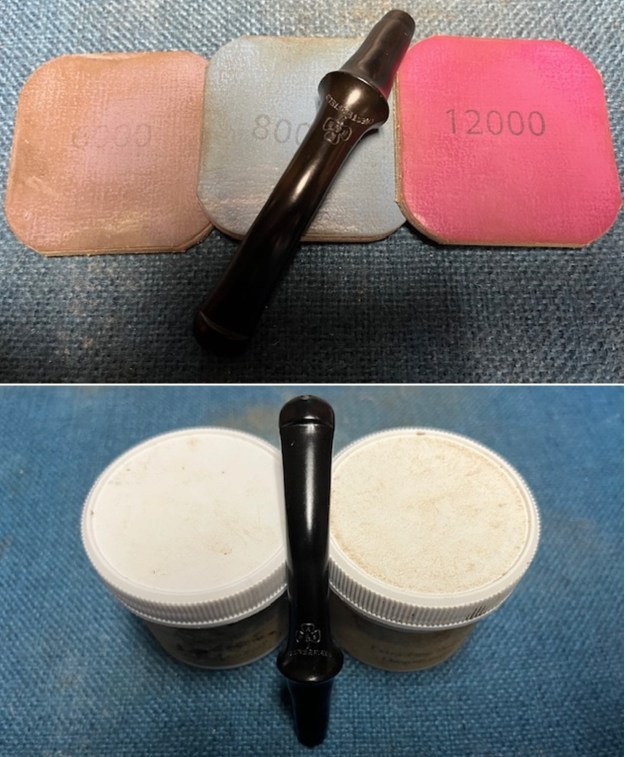
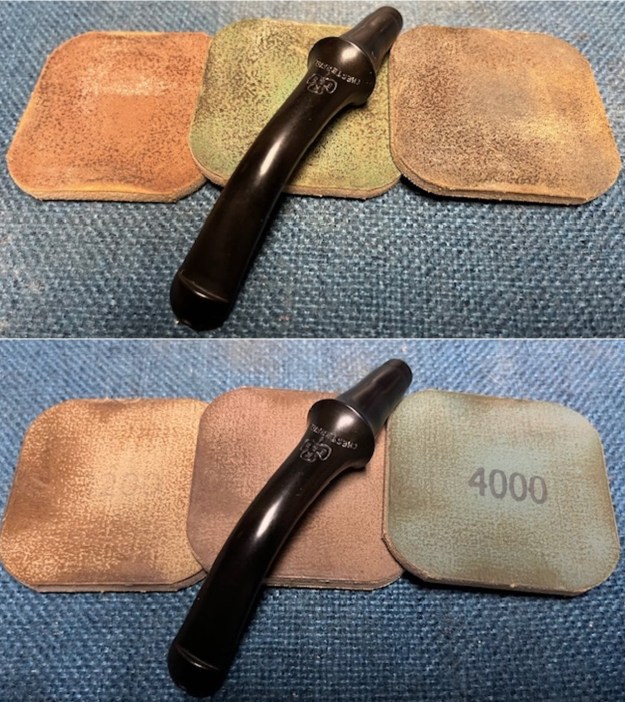
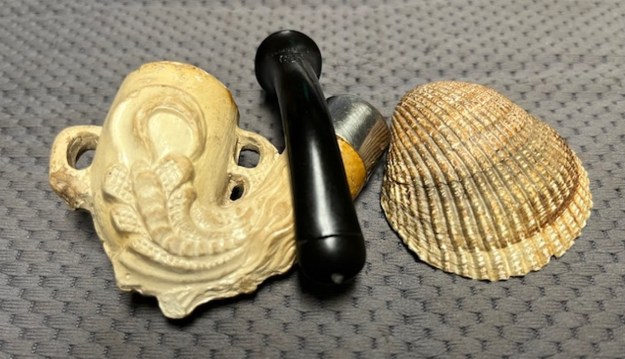
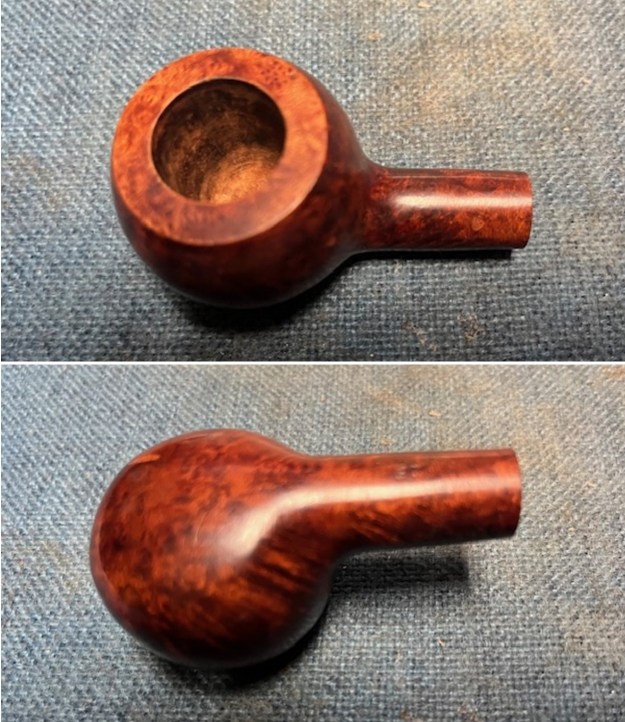
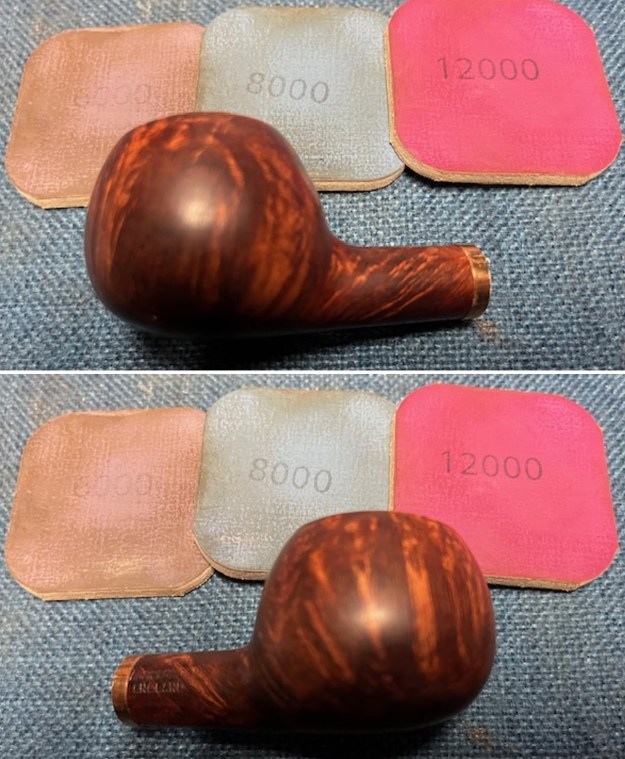
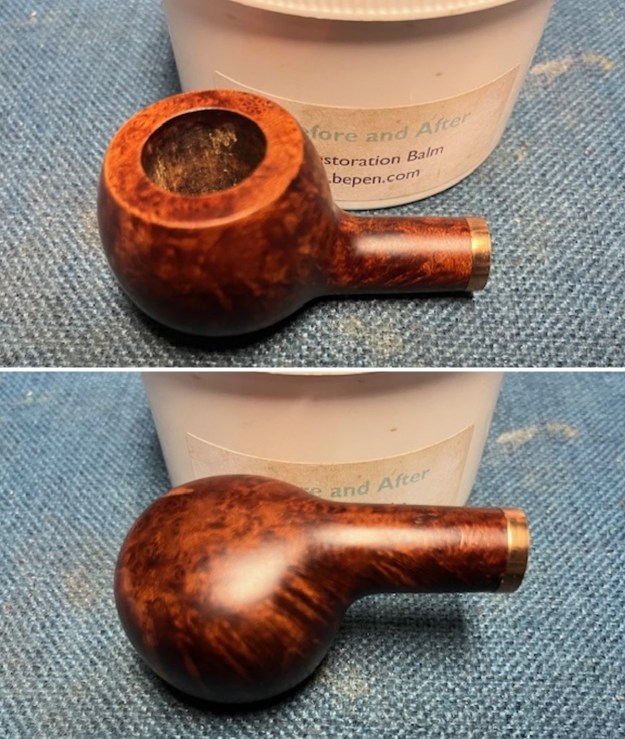
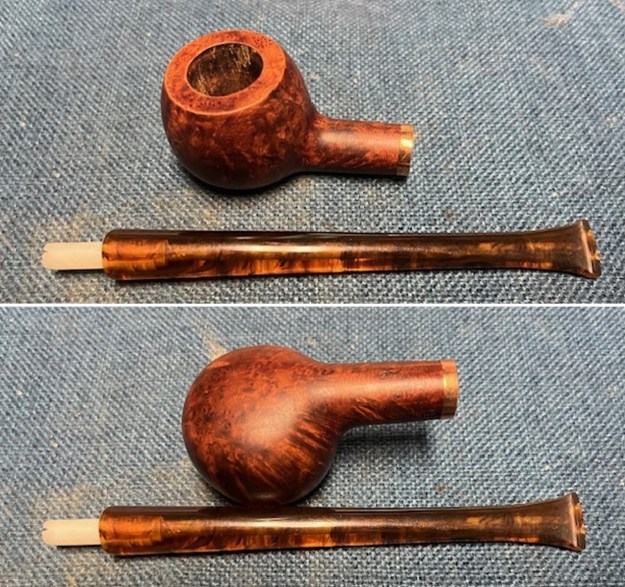
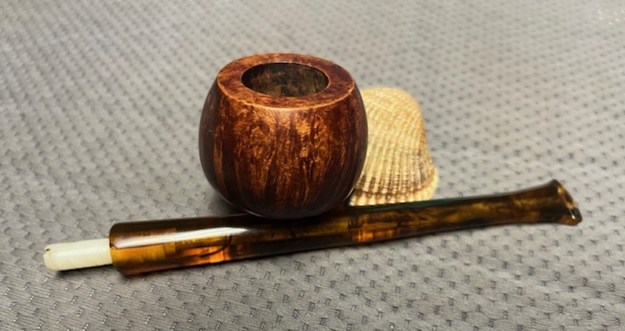
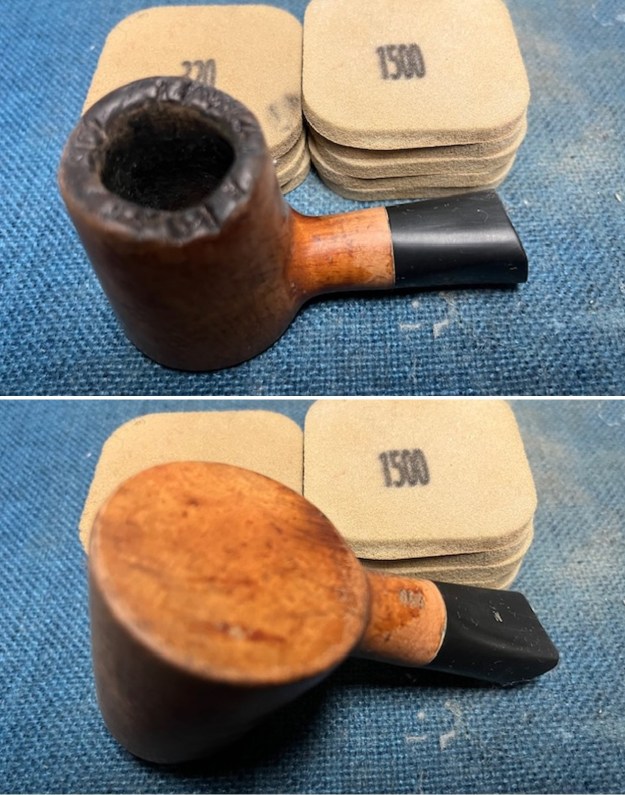
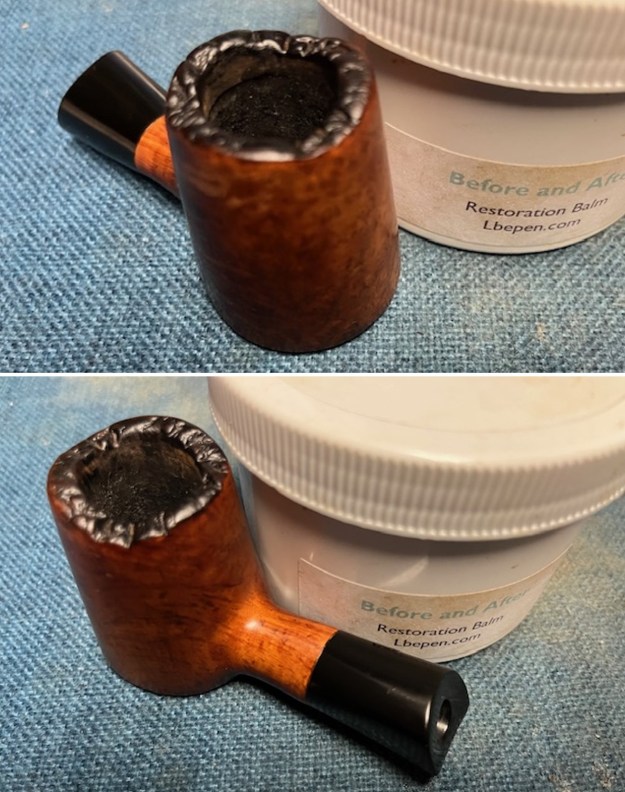
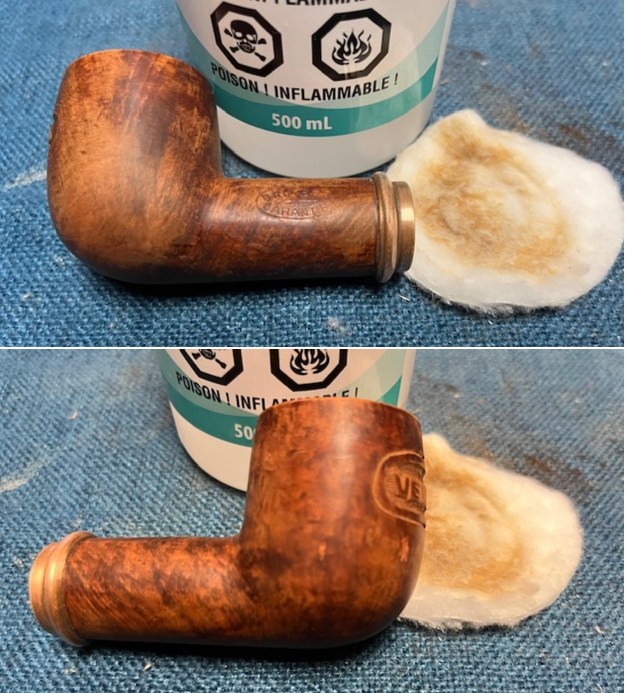
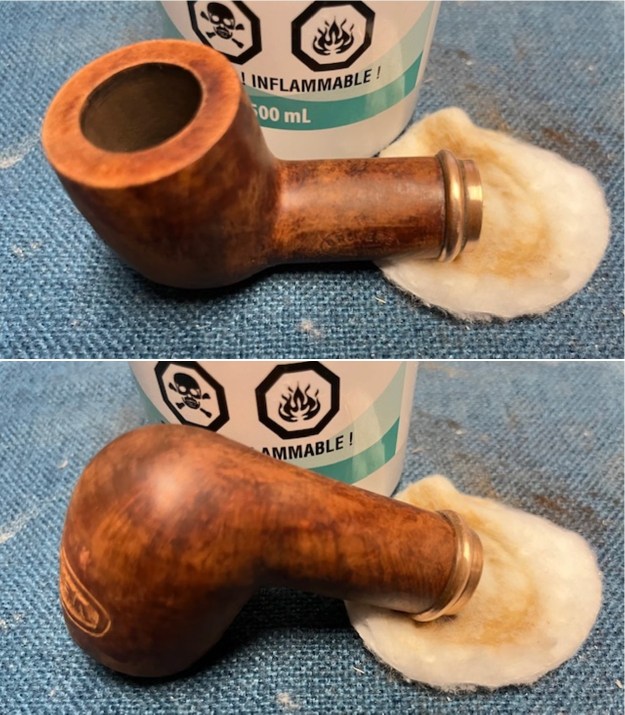
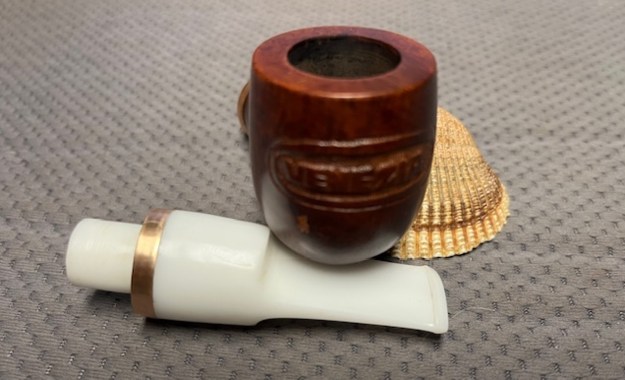
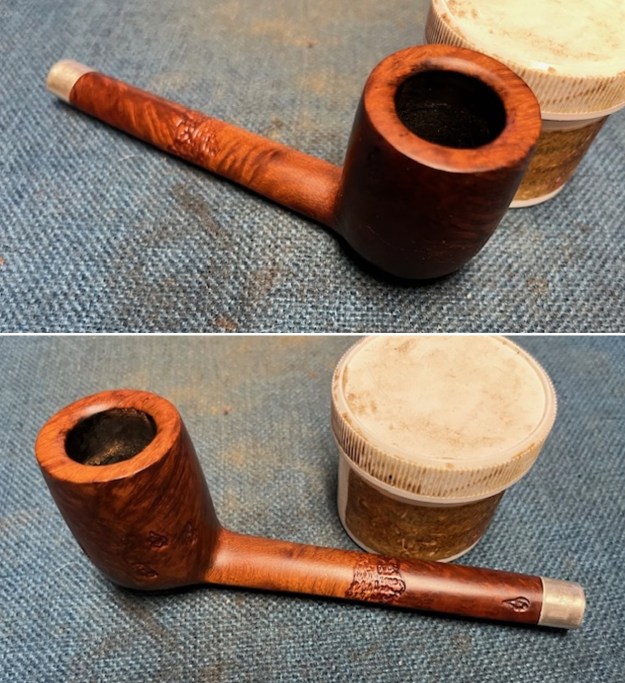
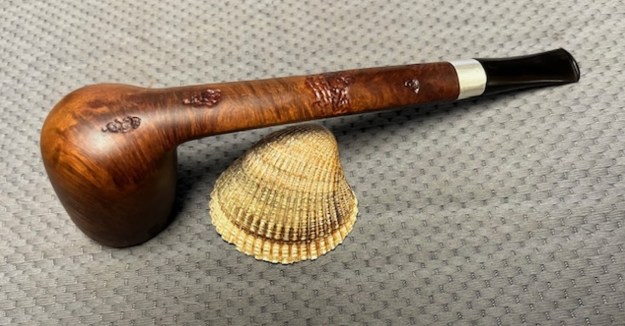
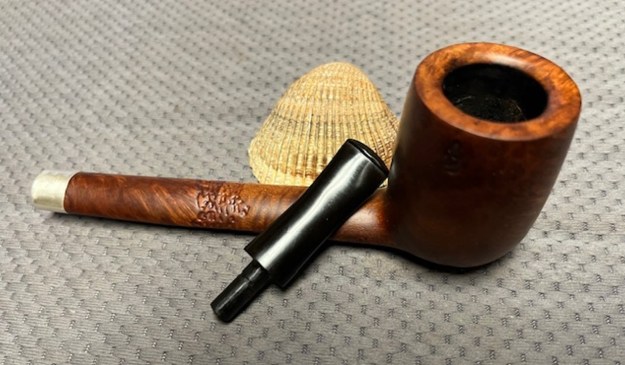
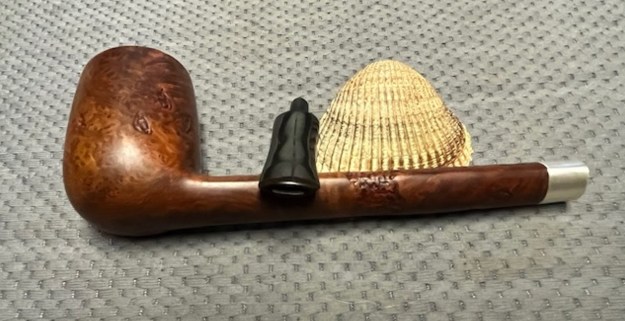
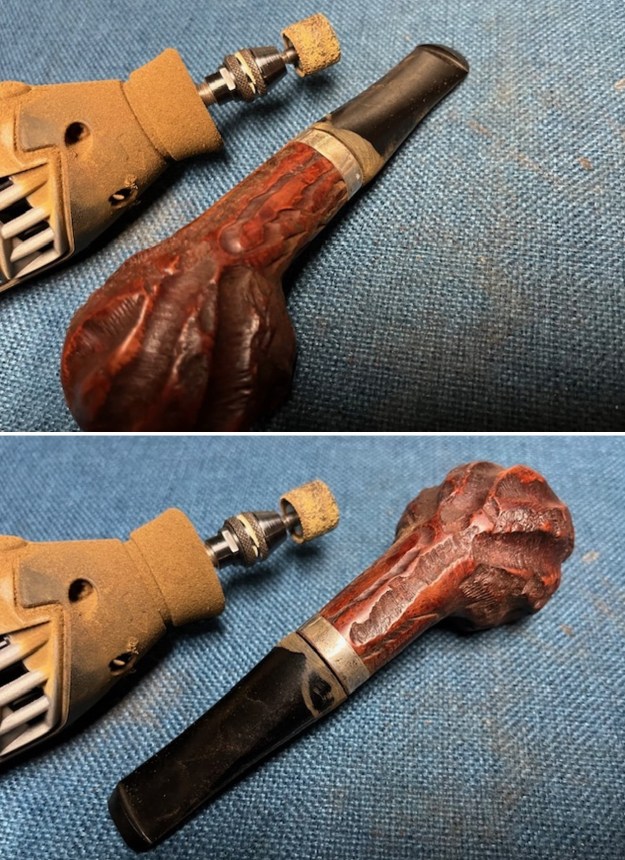
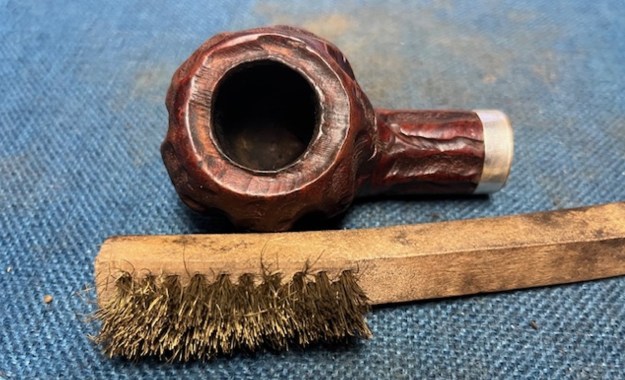
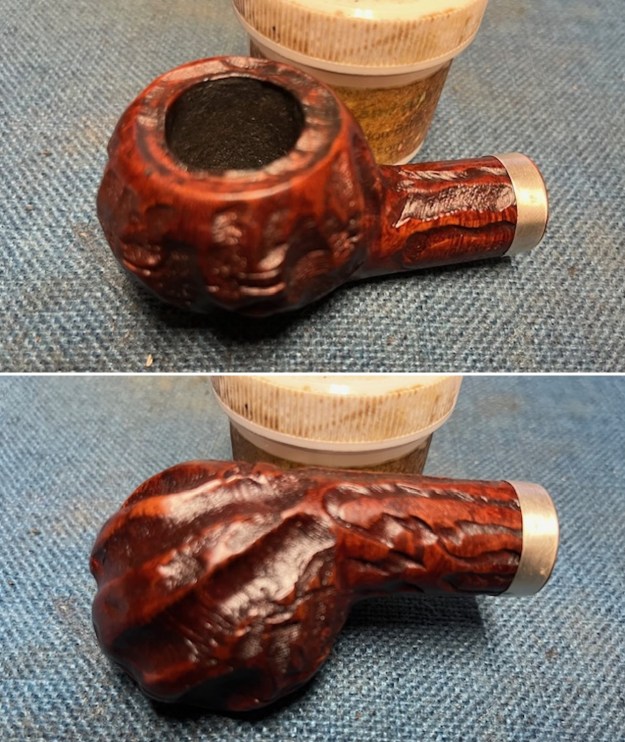
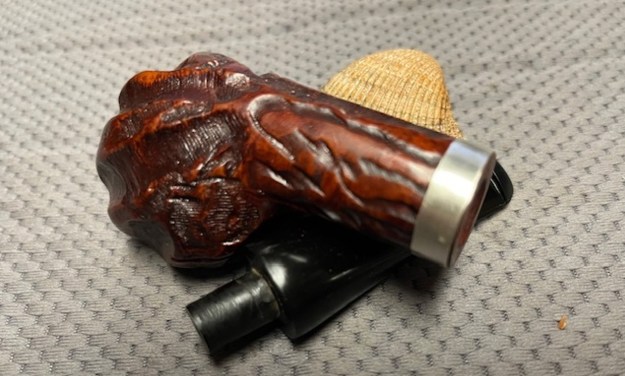
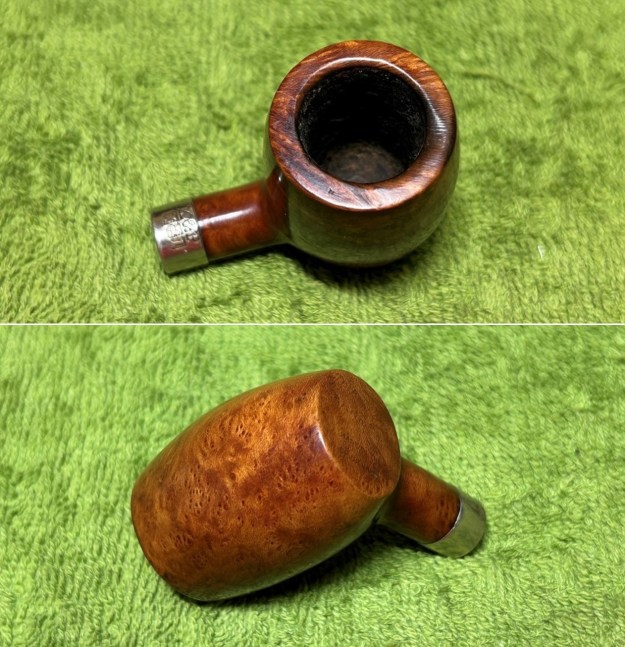
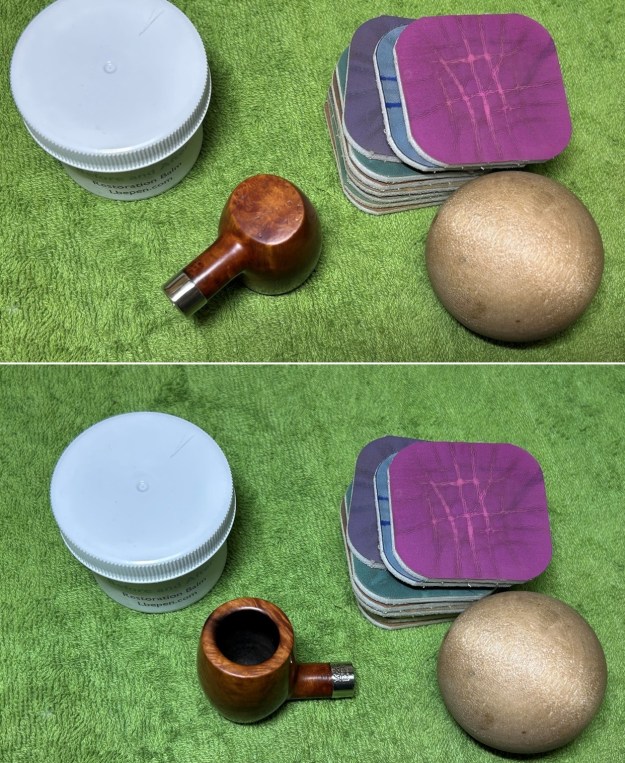
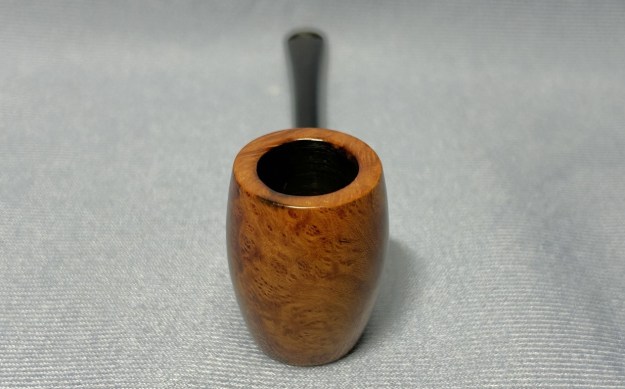
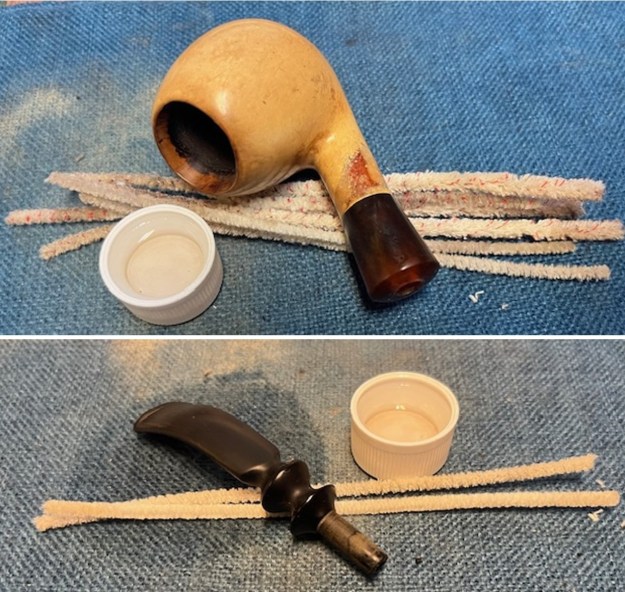
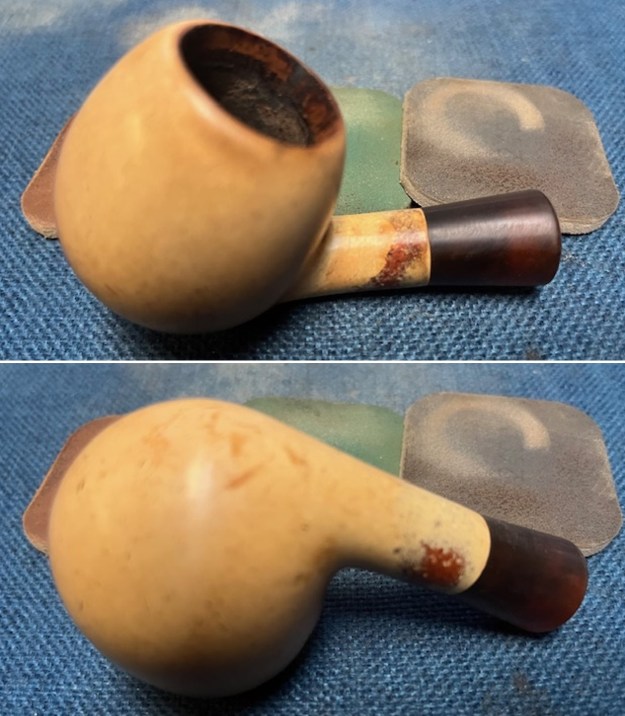
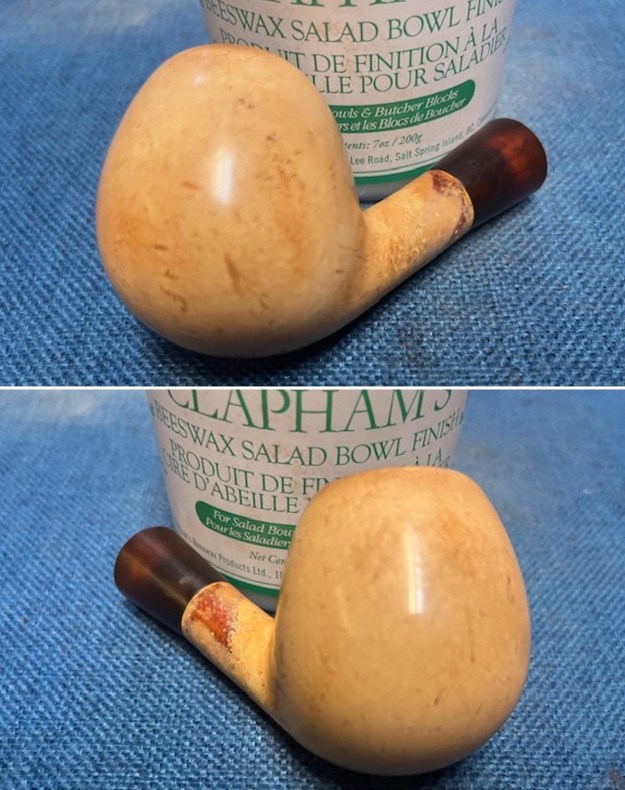
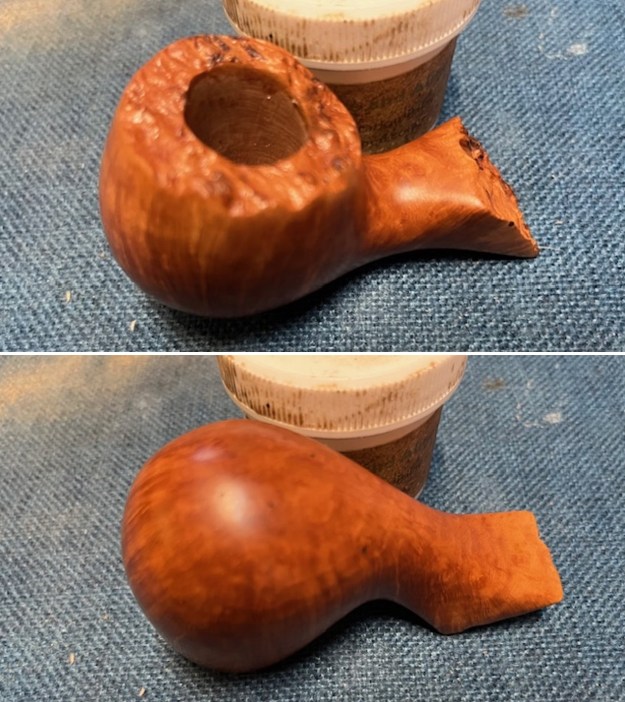
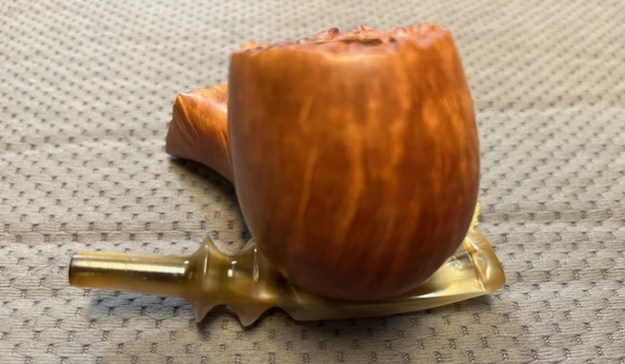
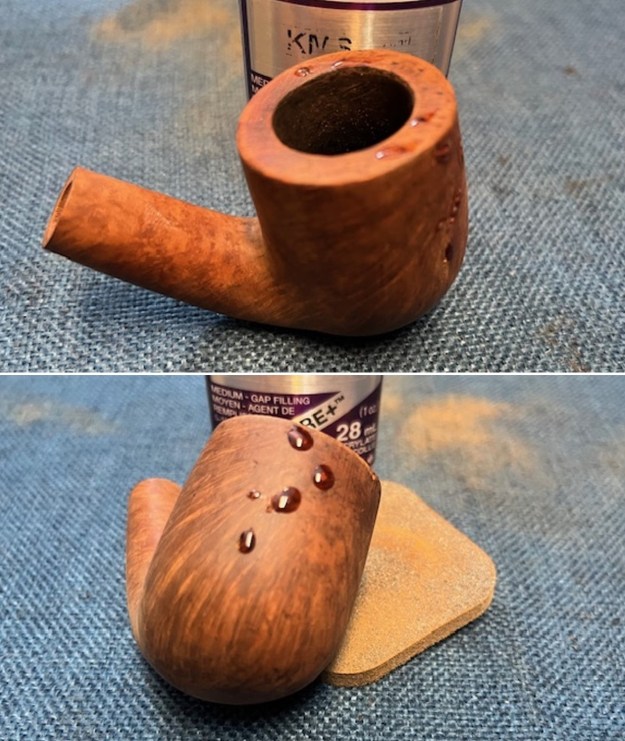
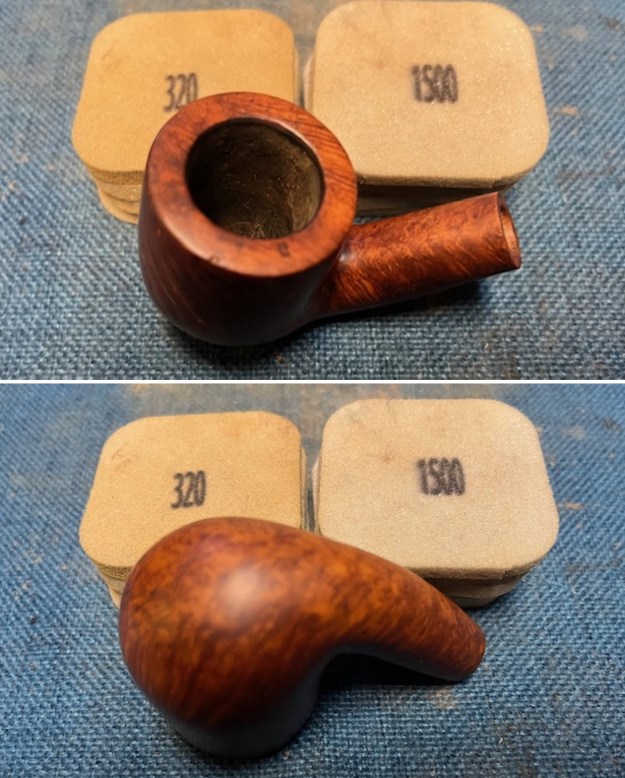
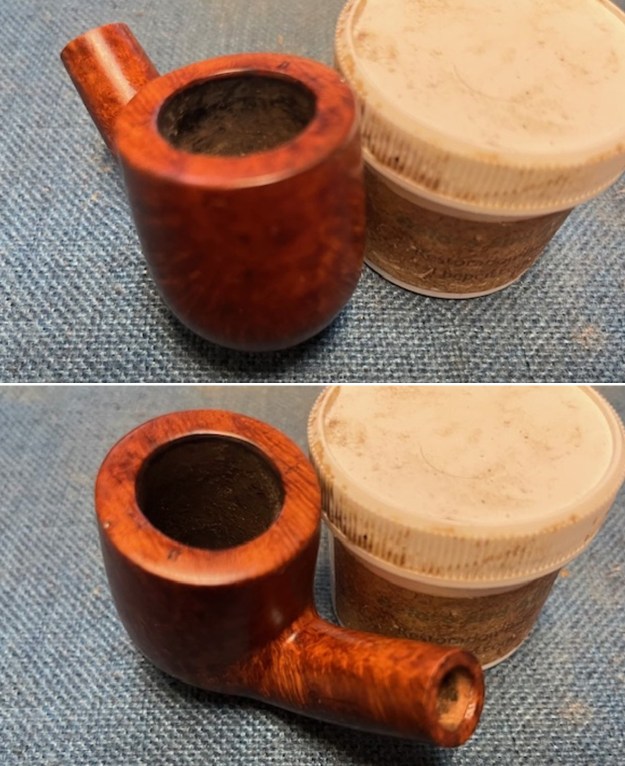
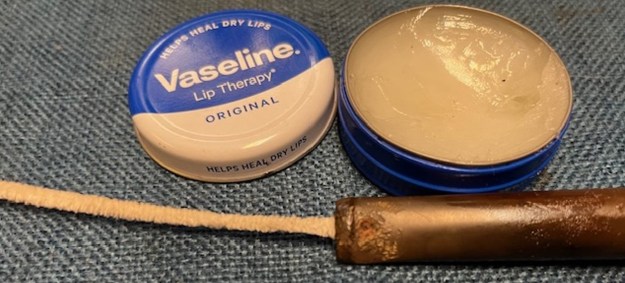
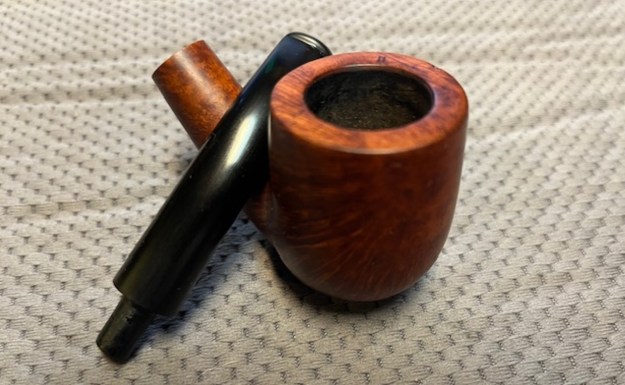
 I waxed the clay bowl and the nickel ferrule with Clapham’s Beeswax/Carnauba mixture. I worked it into the carving/pressing on the clay bowl with a shoebrush. I let it sit for 10 minutes then I buffed it with a soft cloth to polish it. It really began to take on a shine.
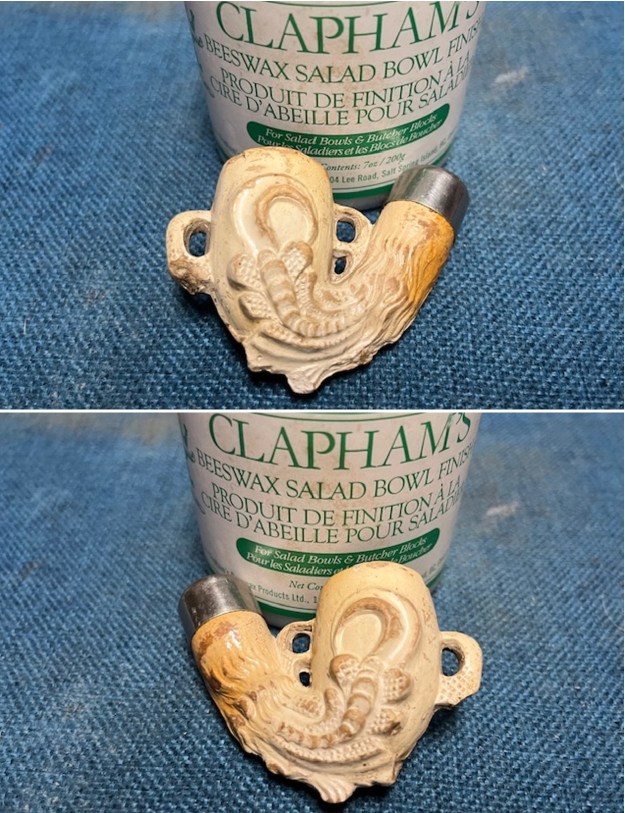
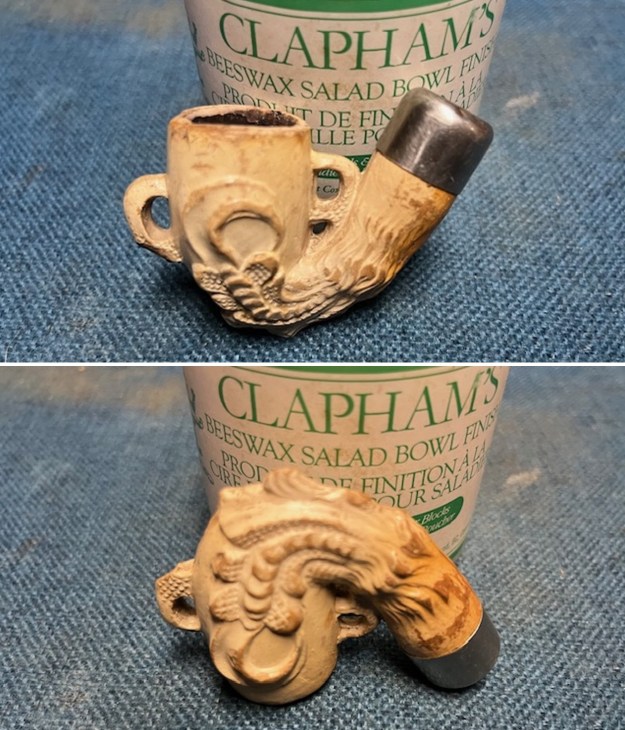
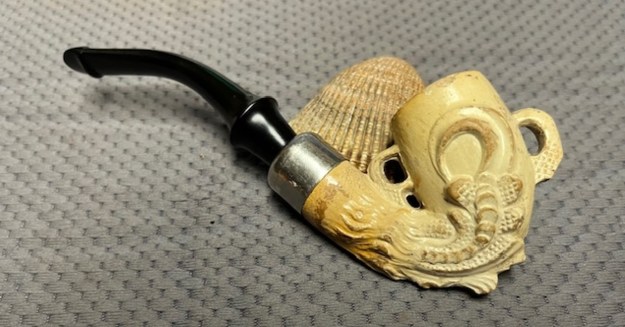
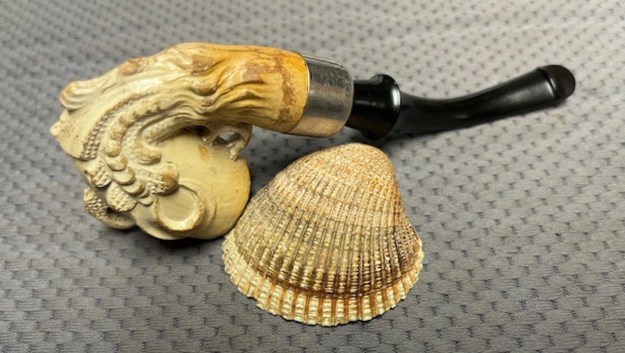
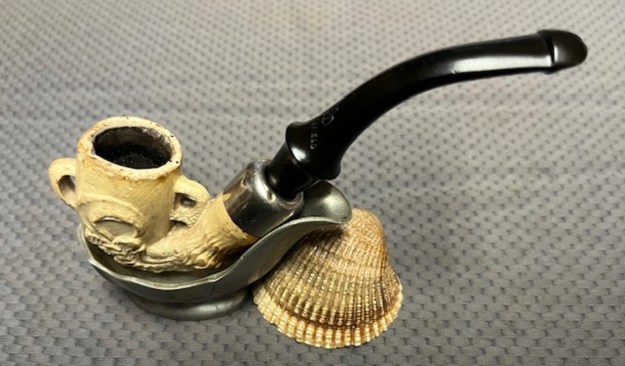
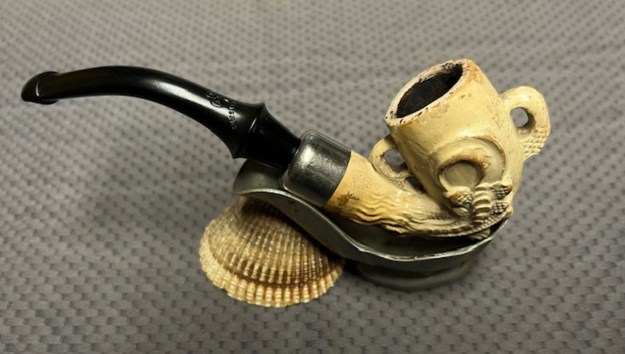
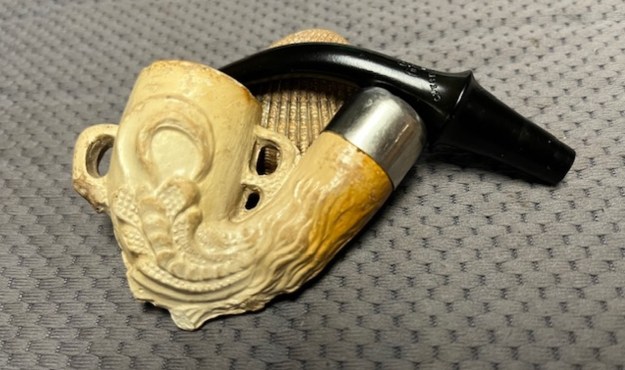
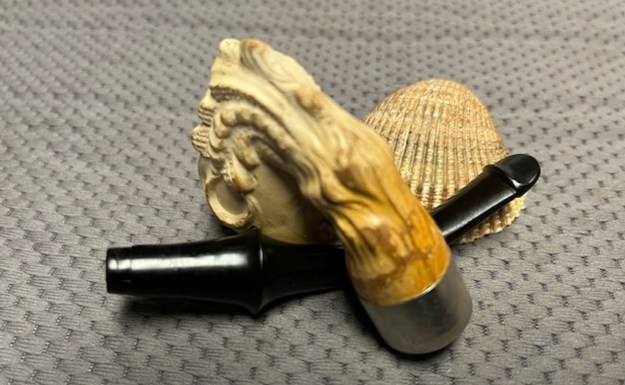
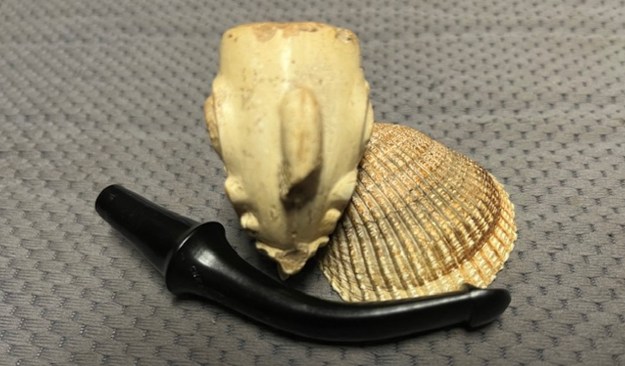
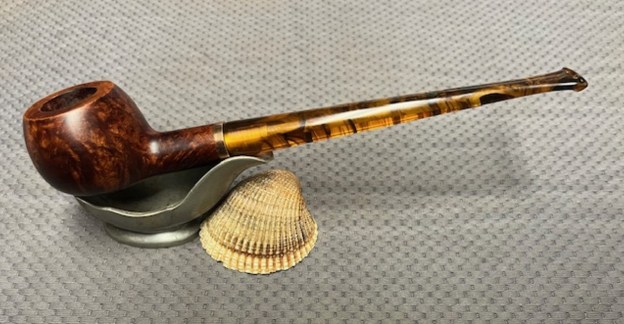
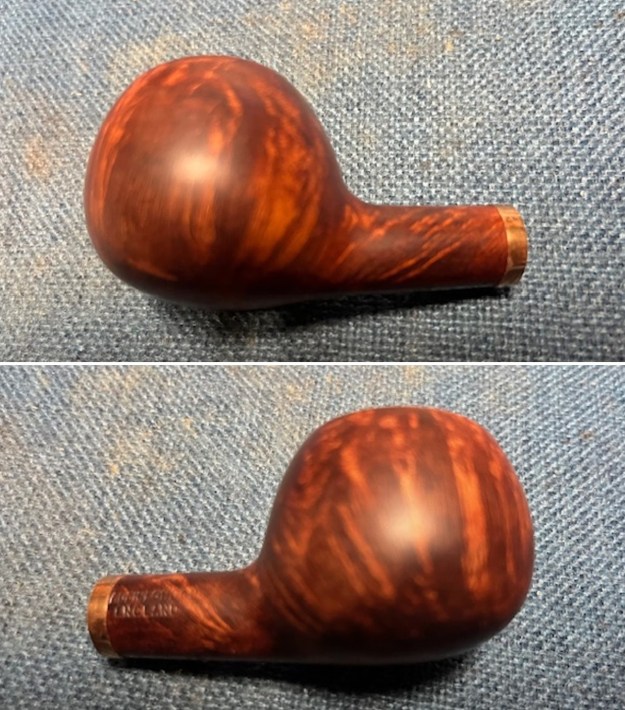
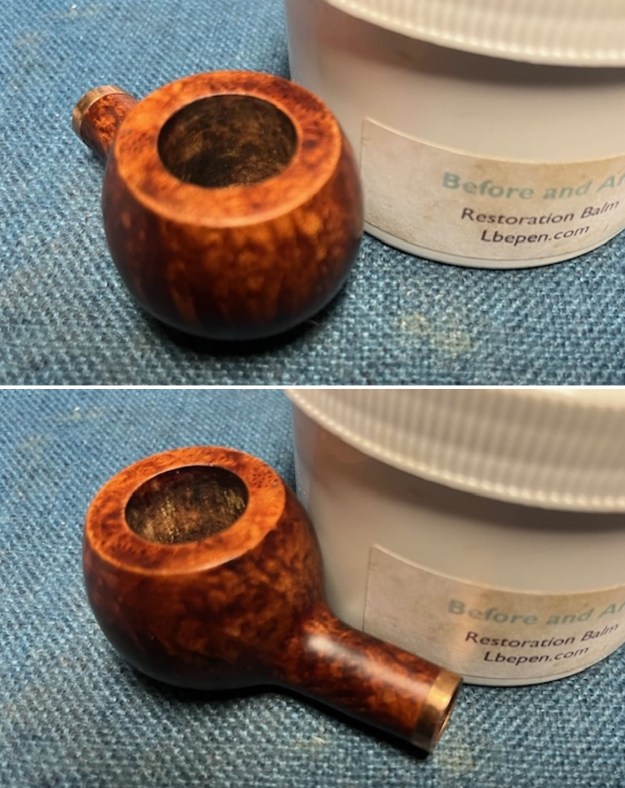
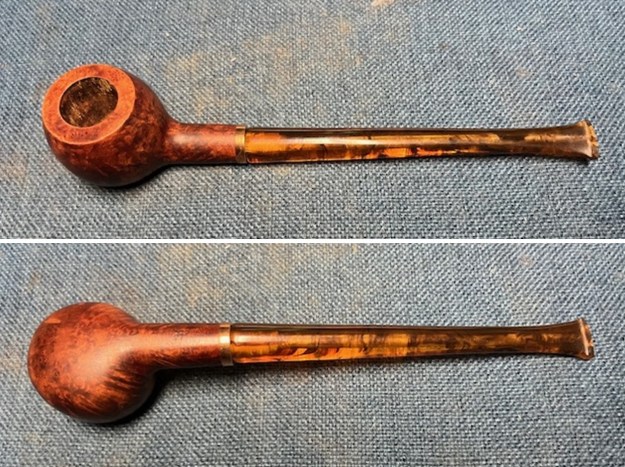
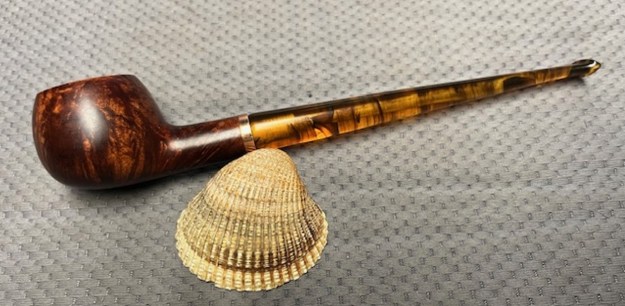
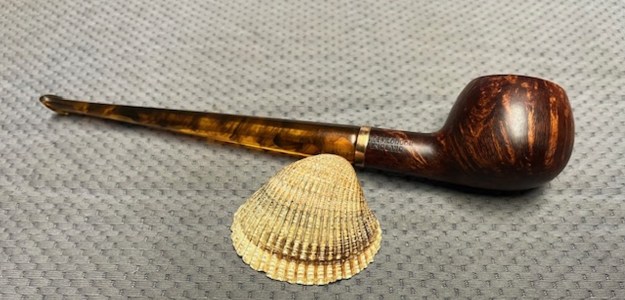
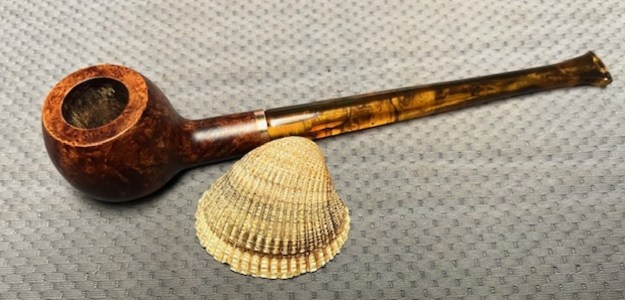
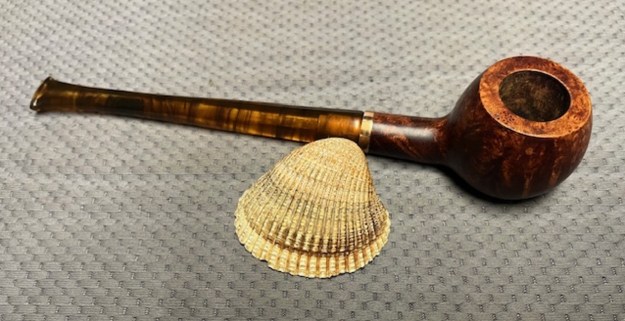
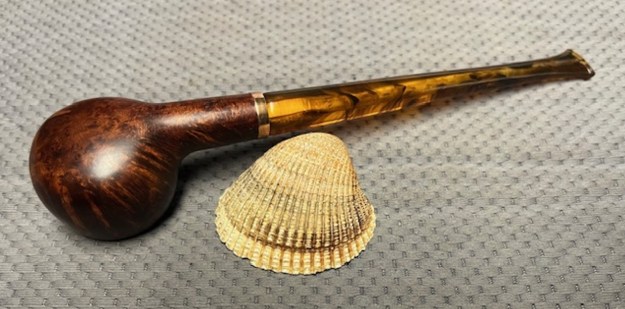
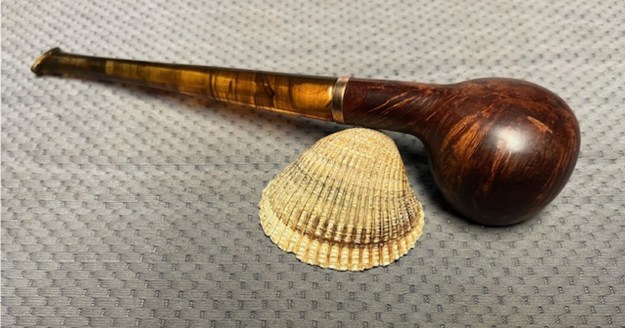
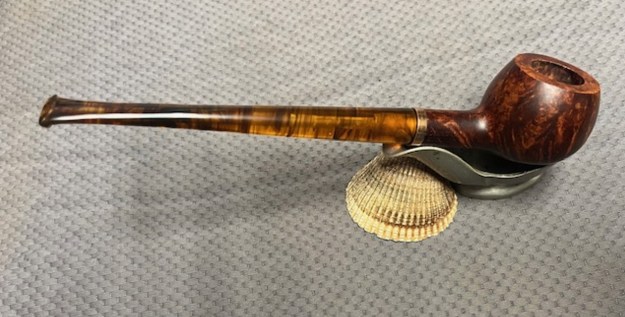
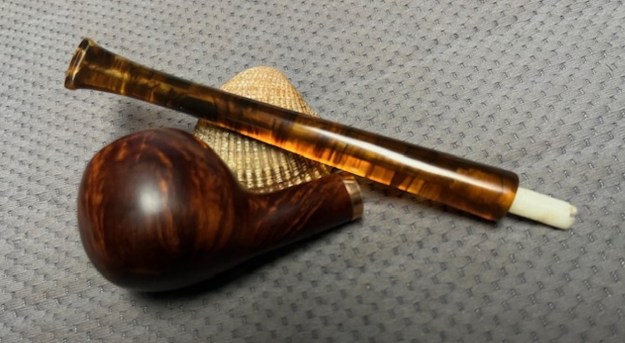
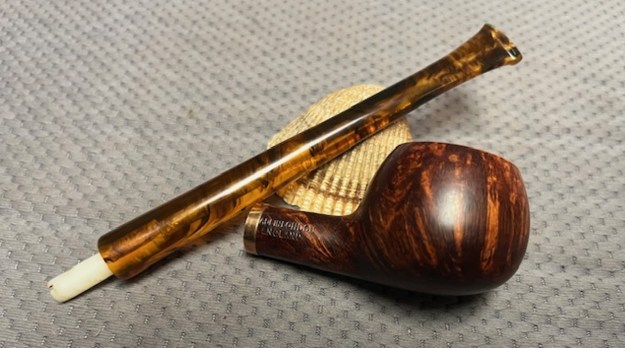
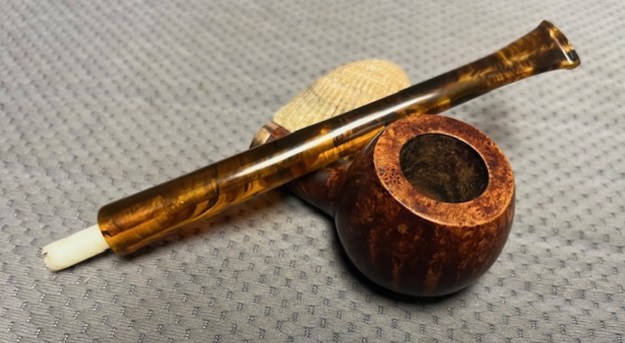
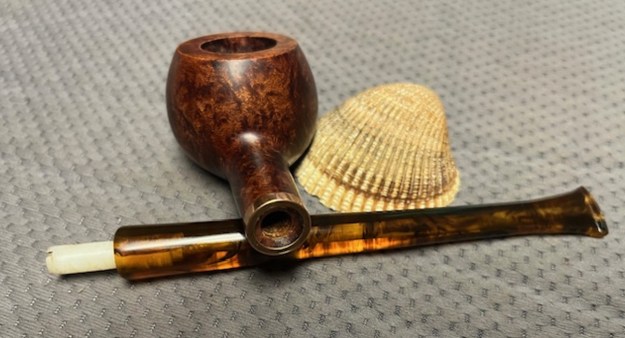
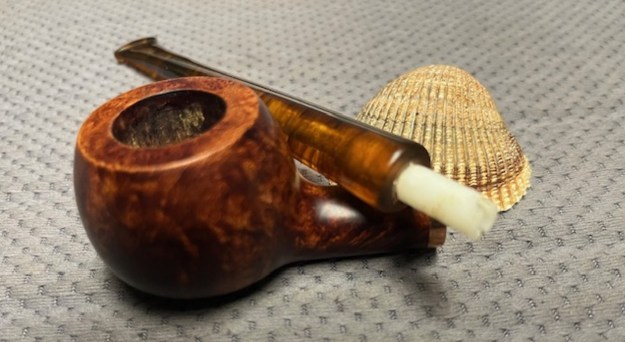
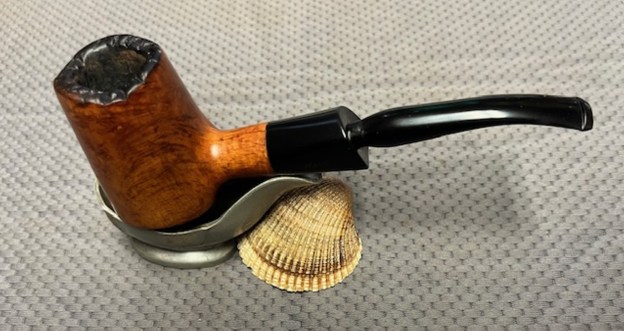
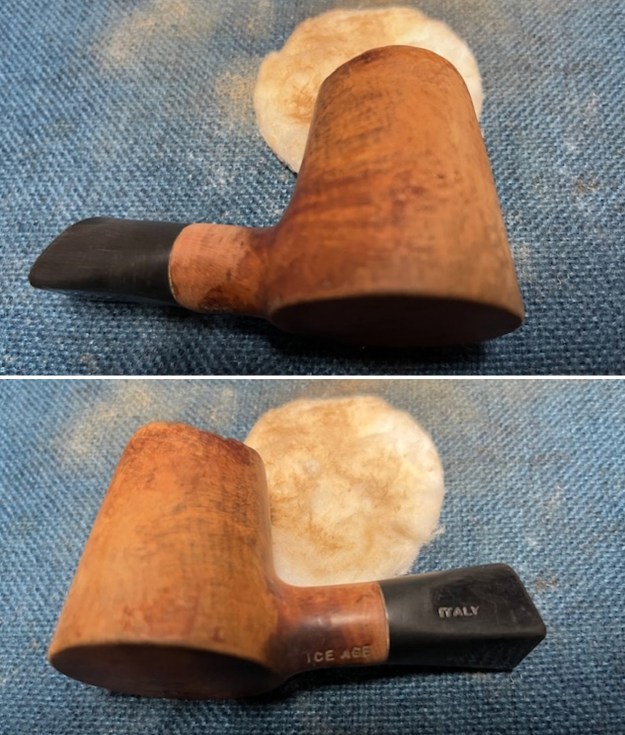
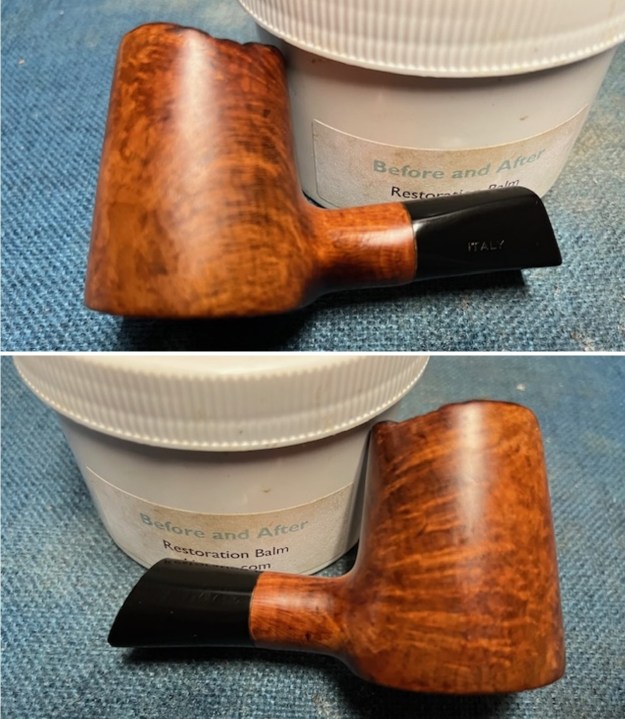
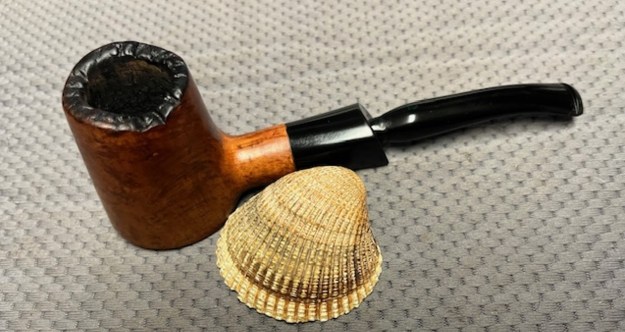
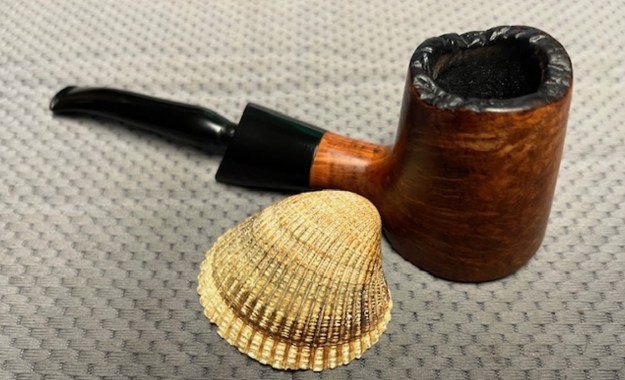
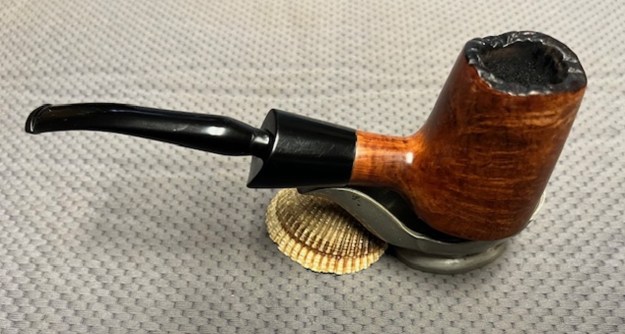
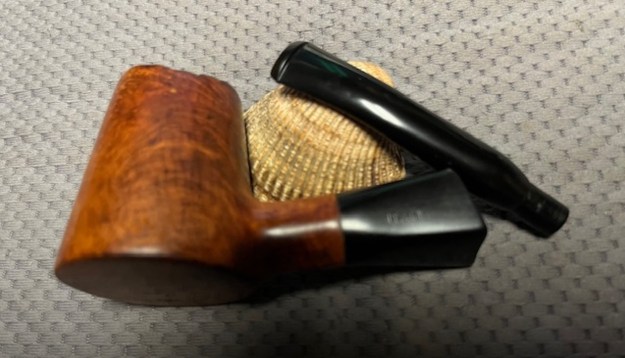
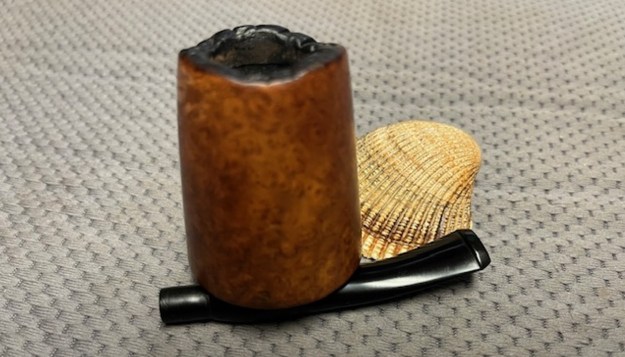
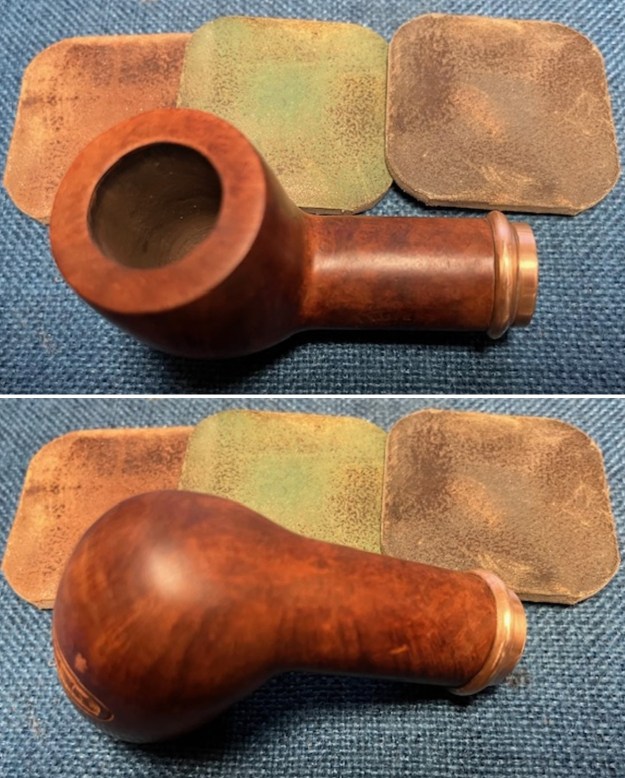
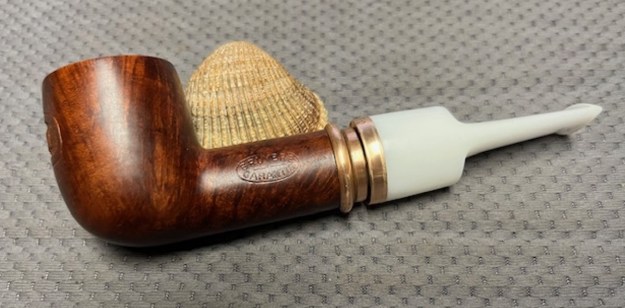
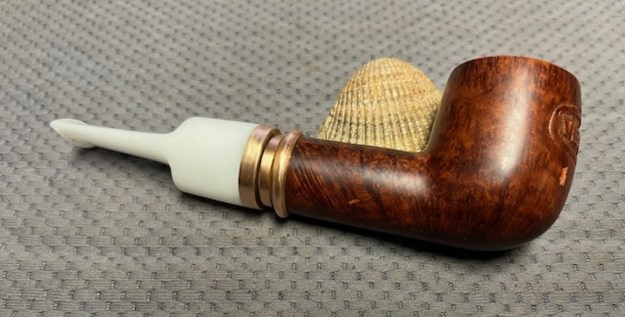
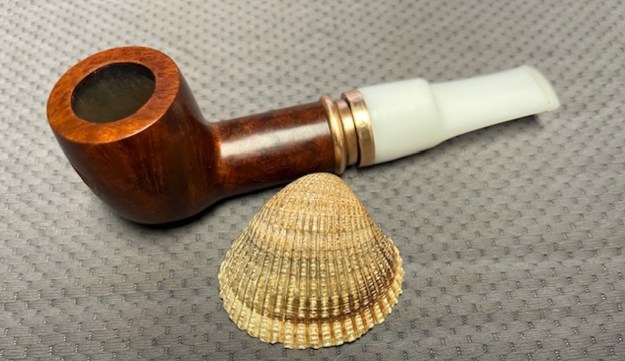
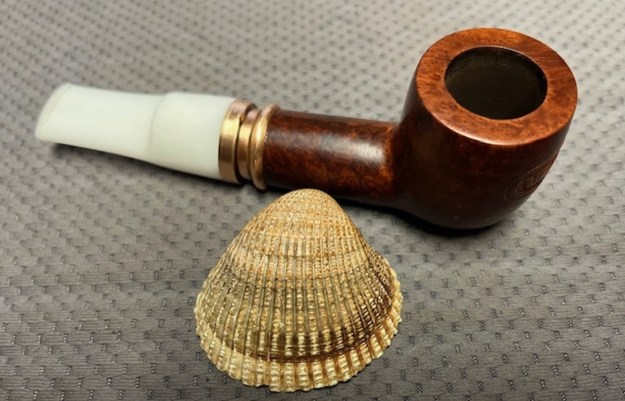
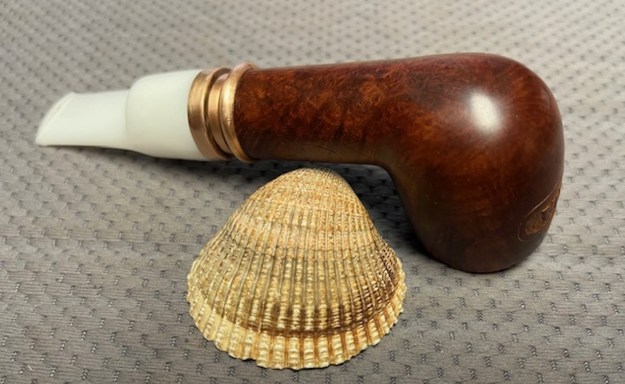
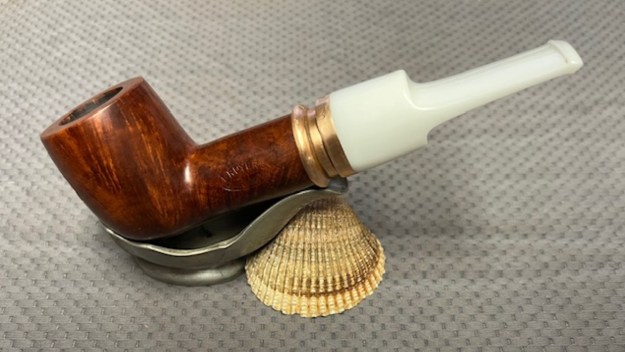
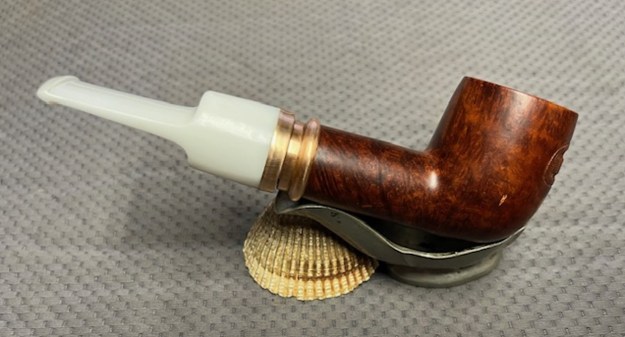
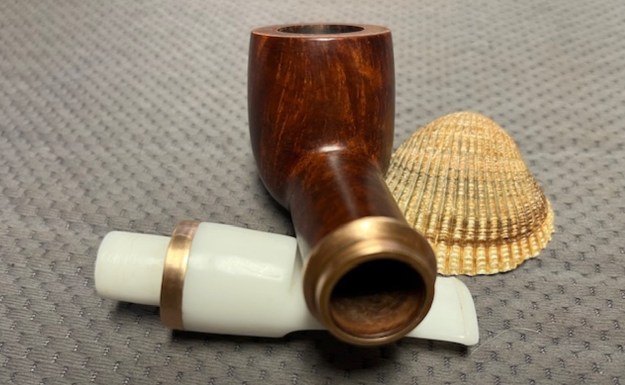
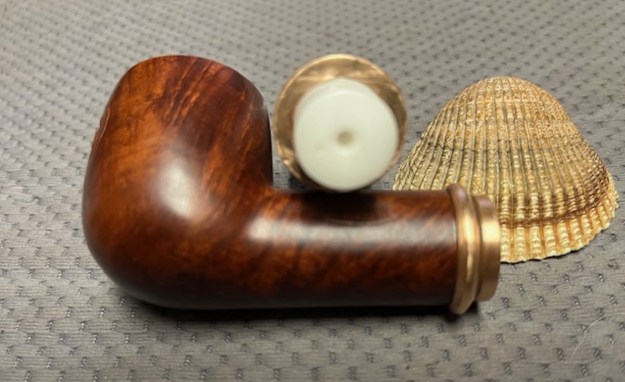
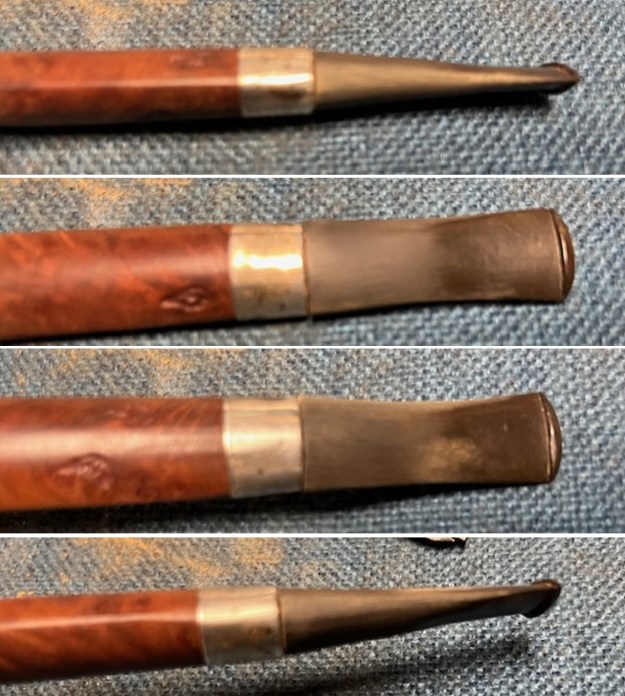
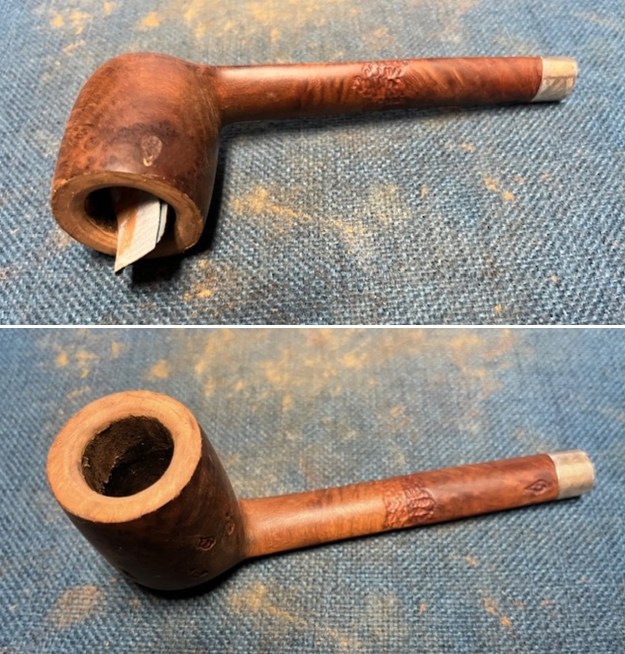
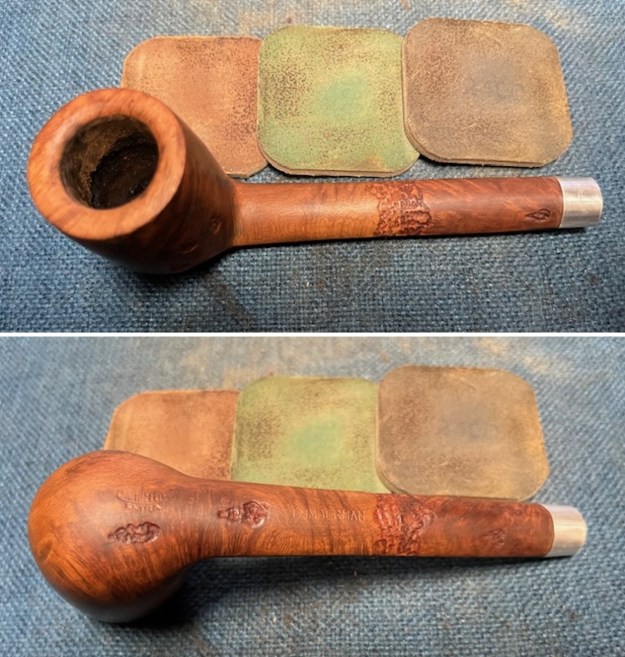
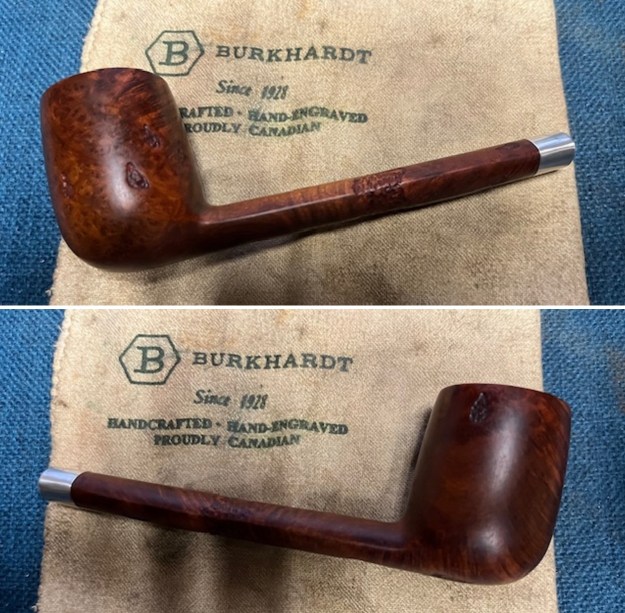
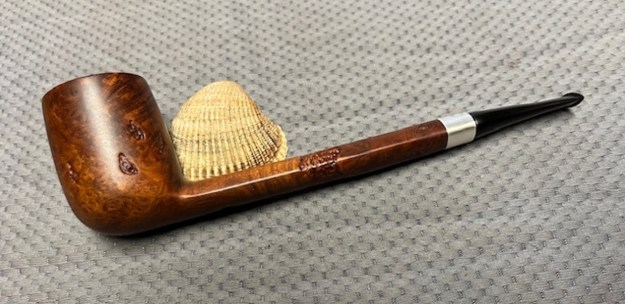
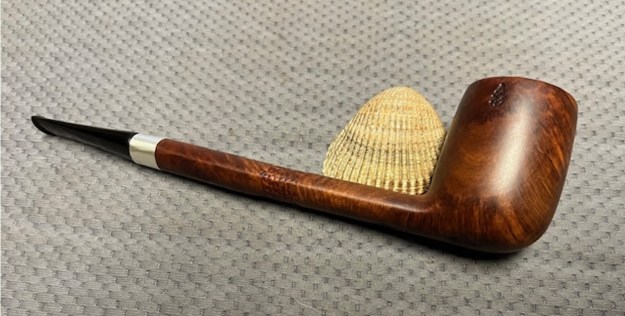
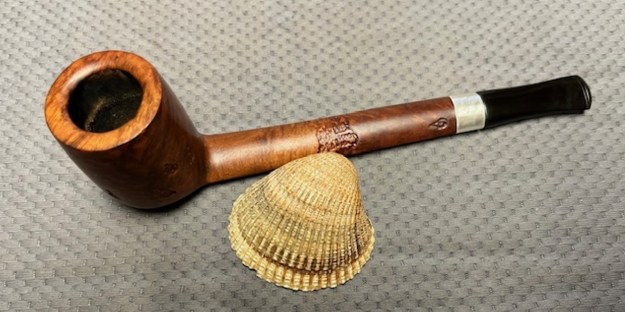
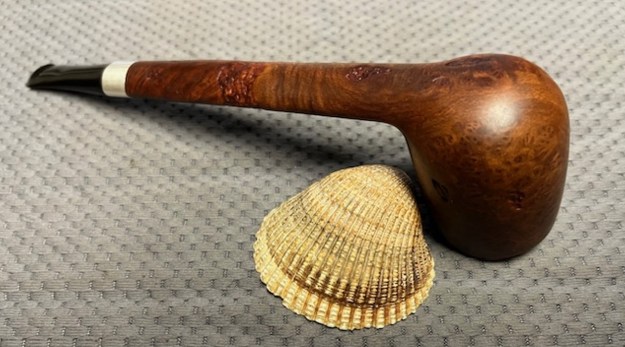
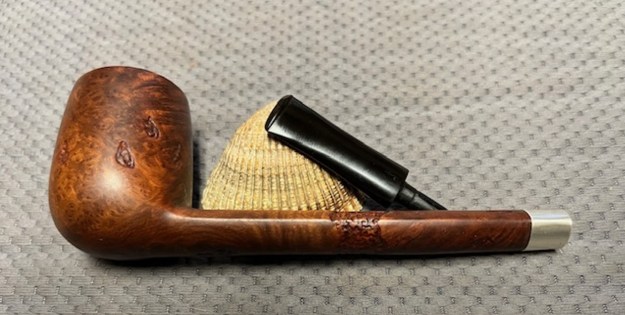
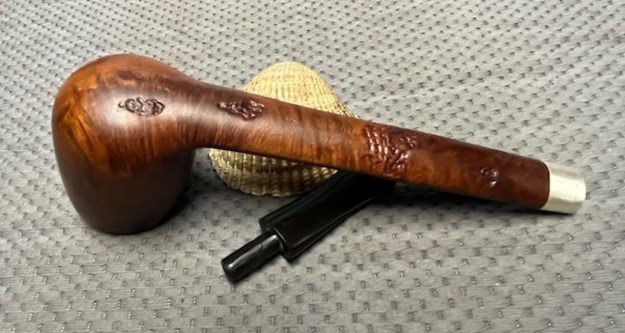
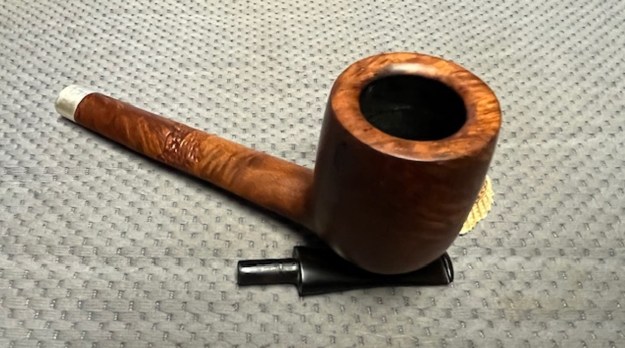
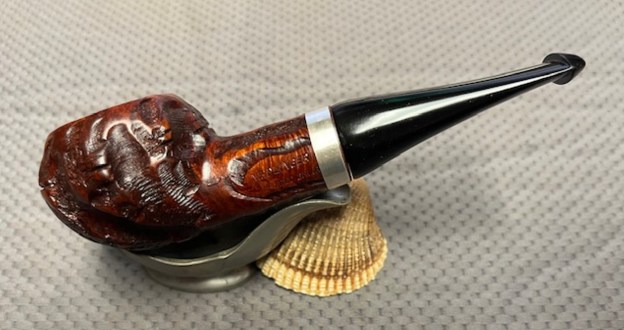
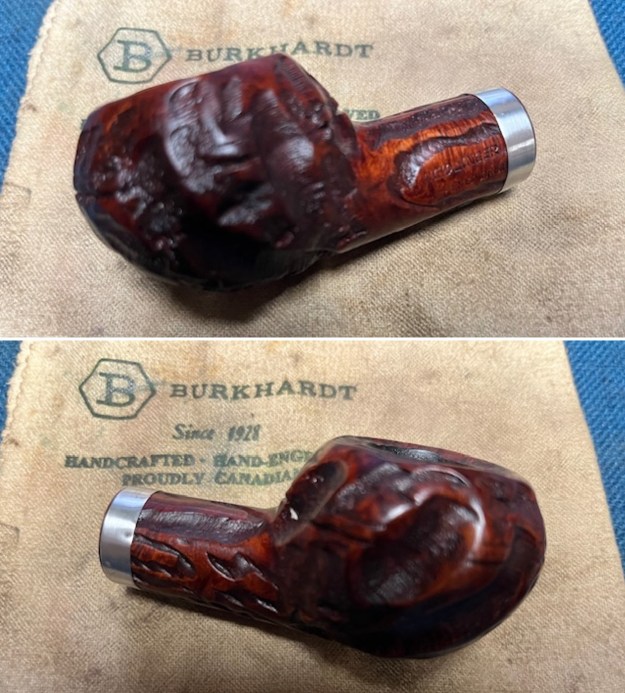
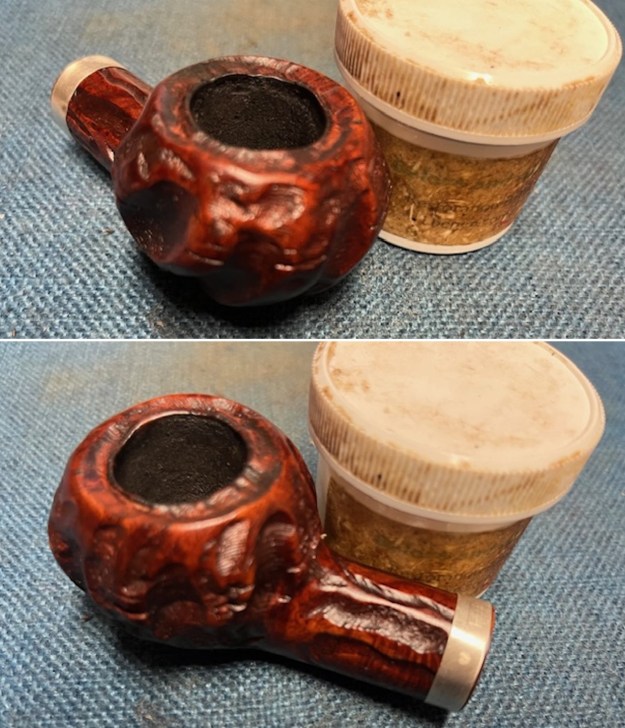
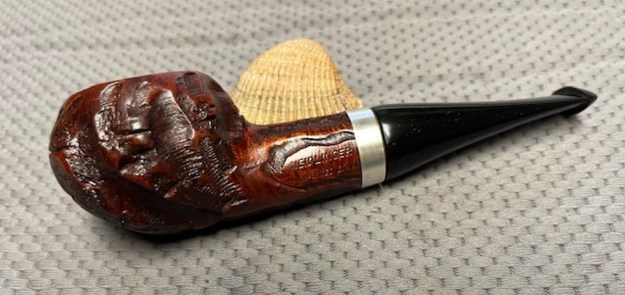
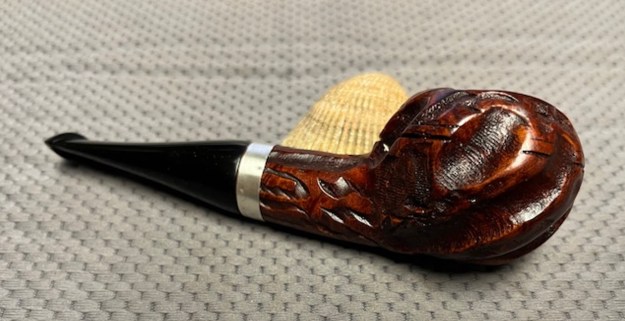
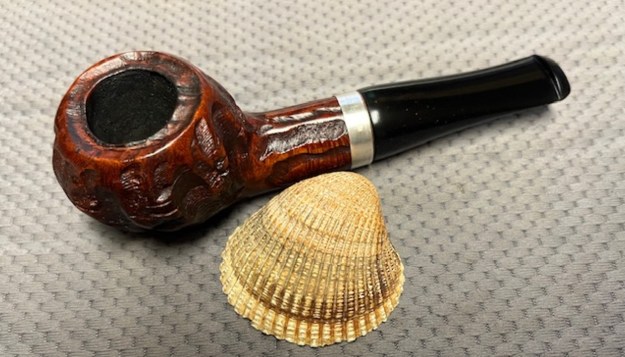
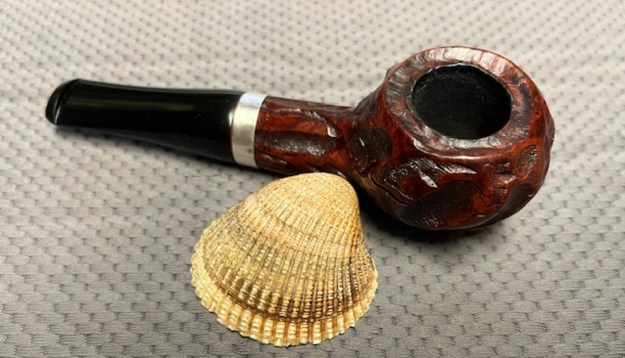
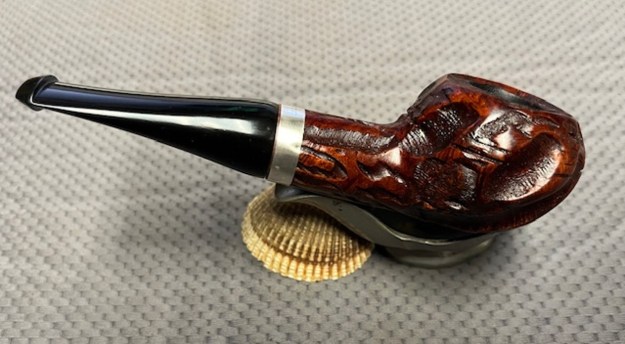
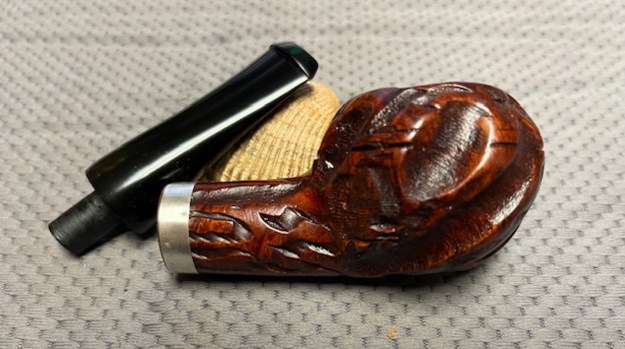
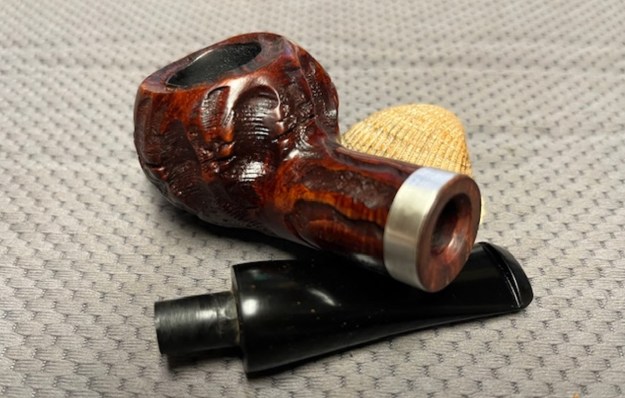
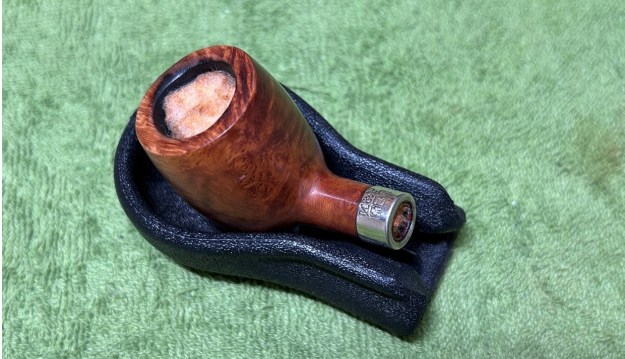
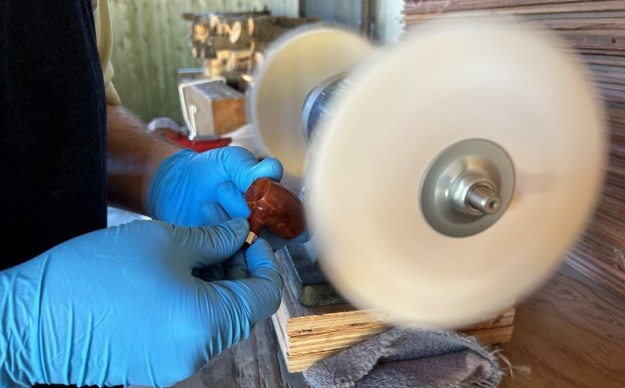
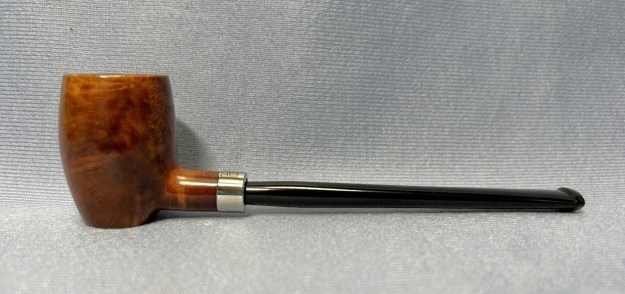
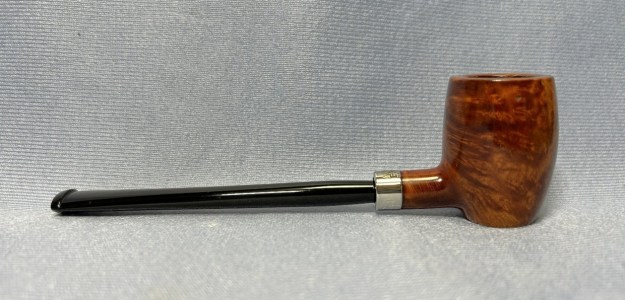
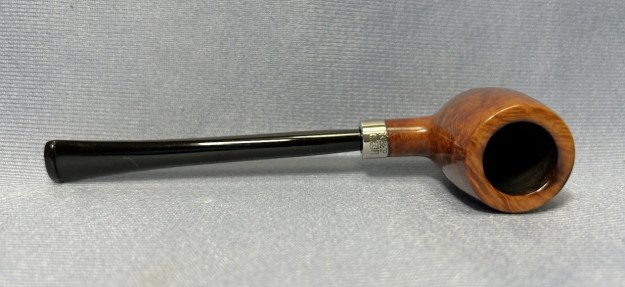
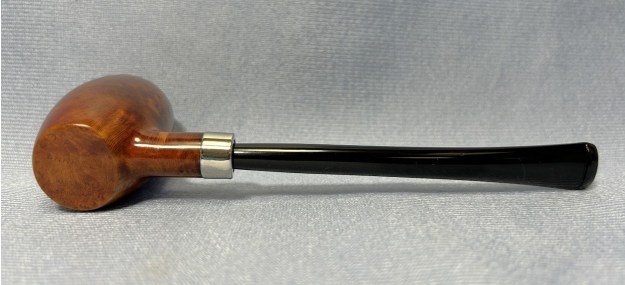
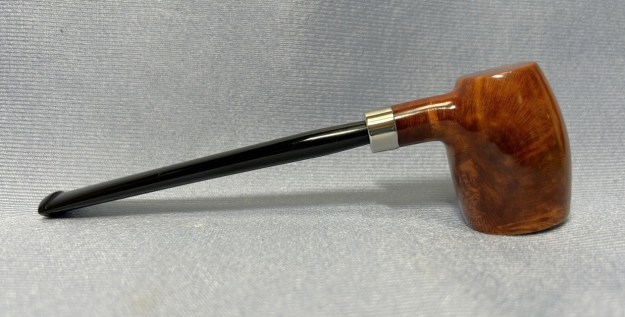
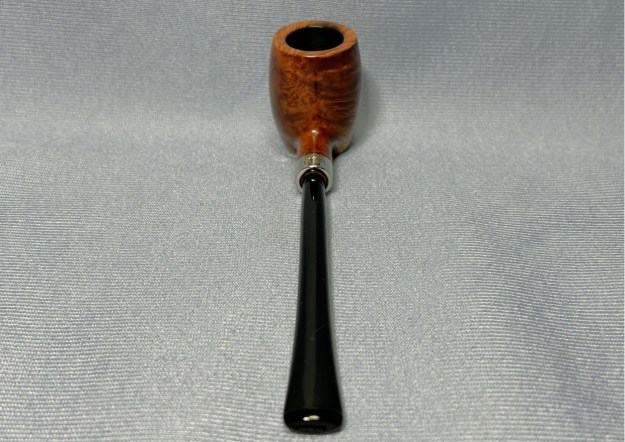
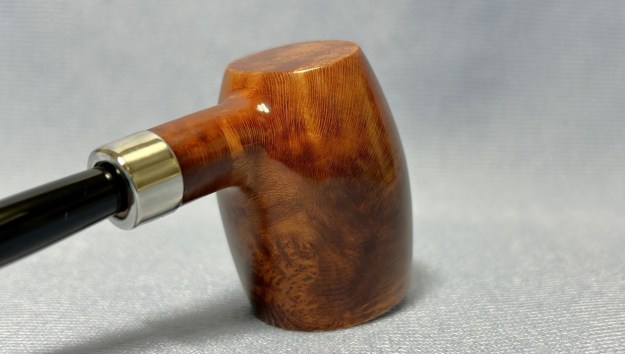
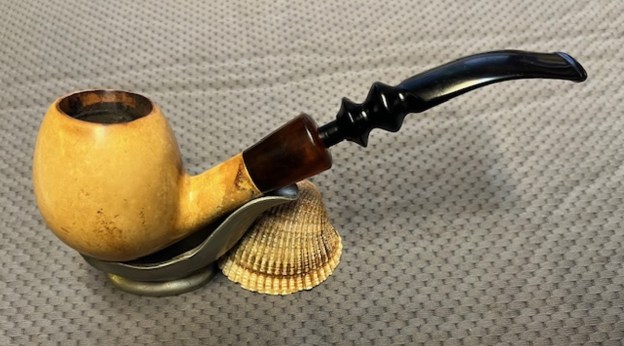
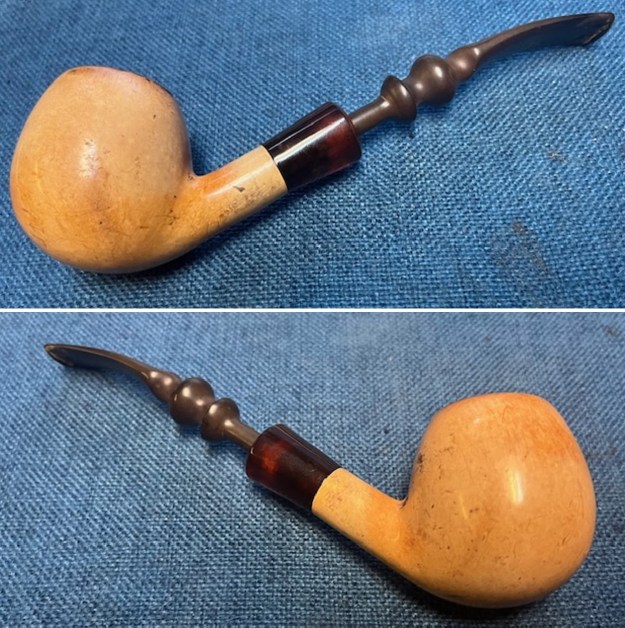
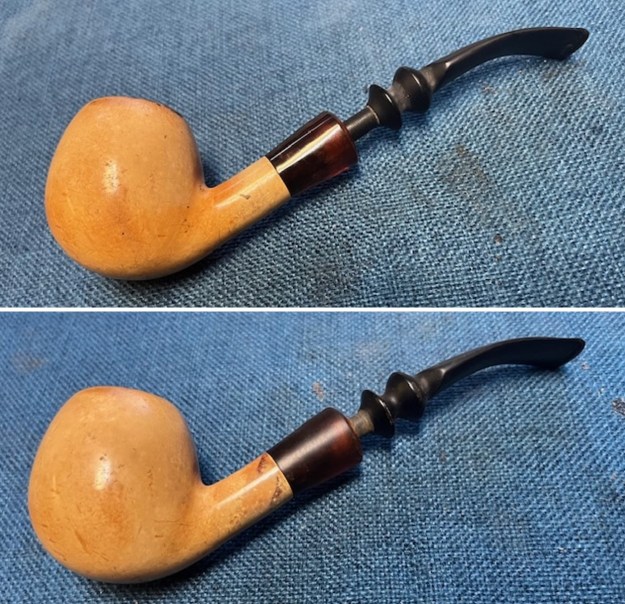
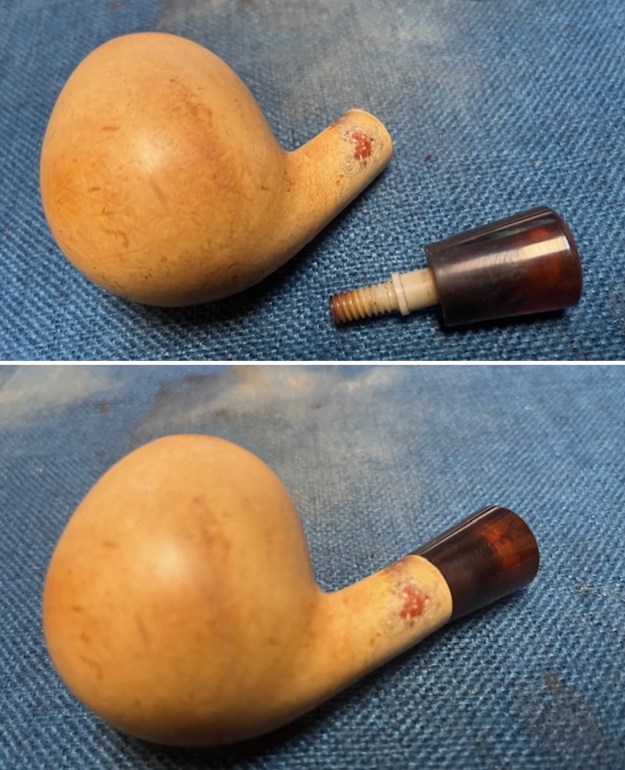
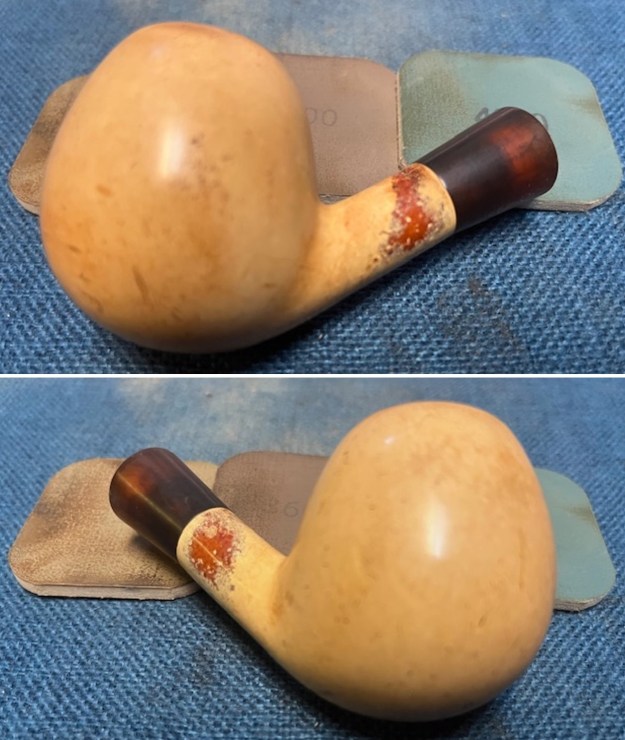
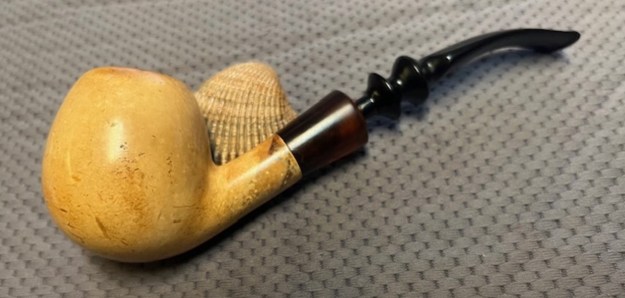
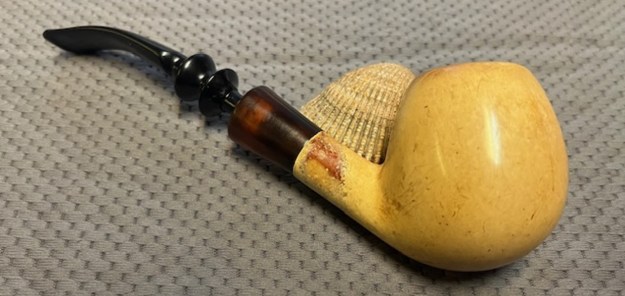
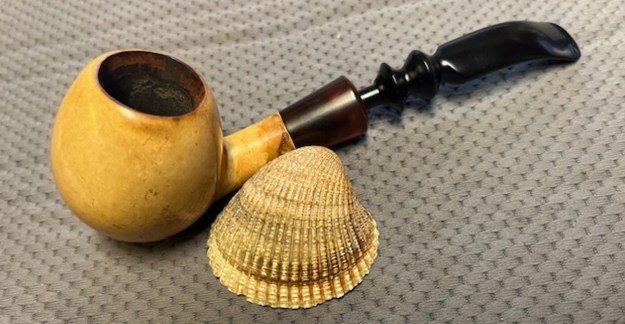
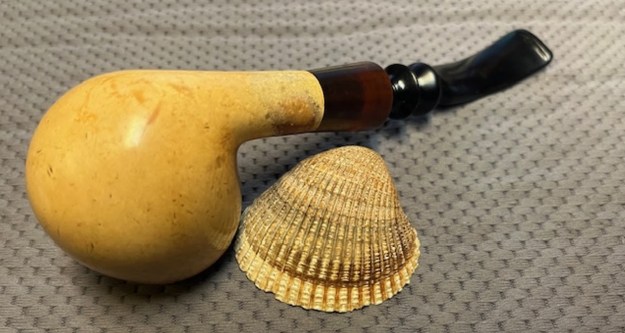
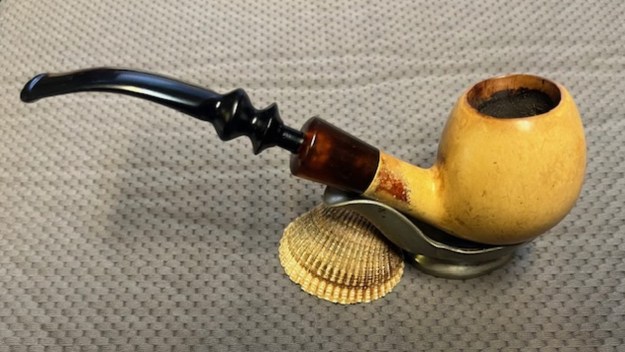
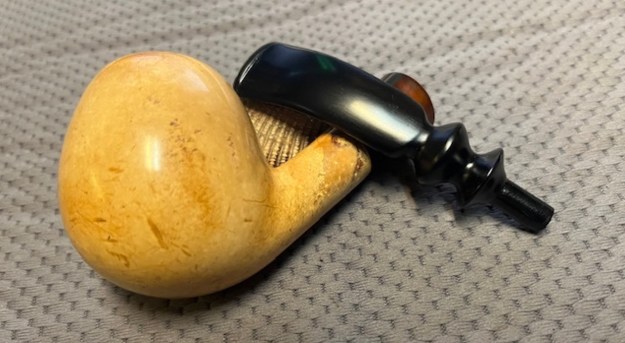
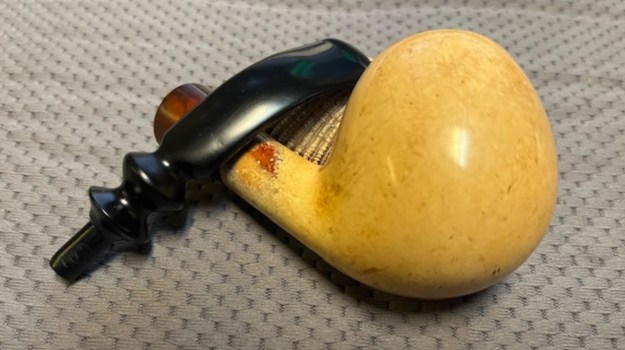
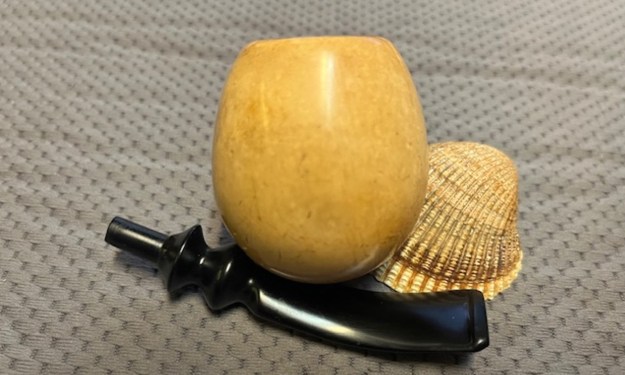
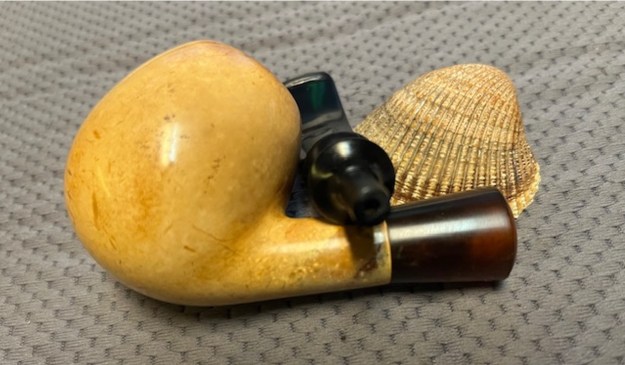
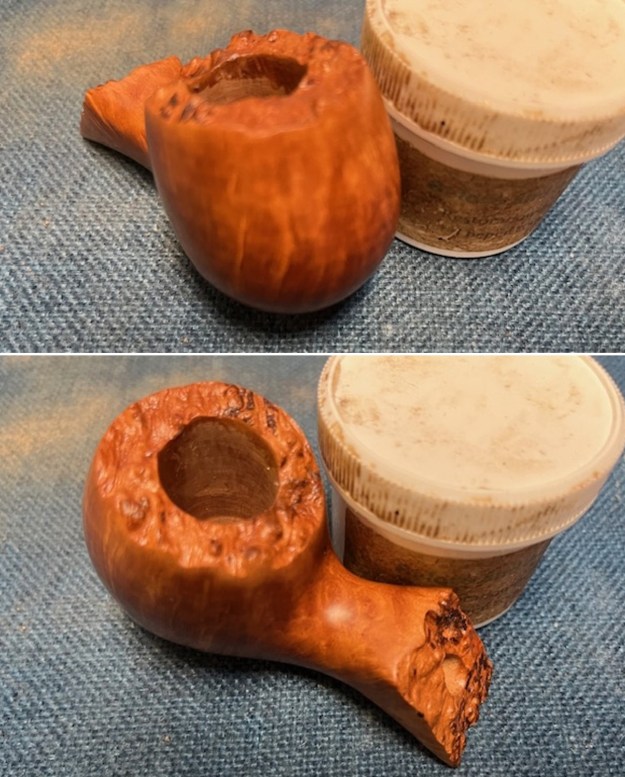
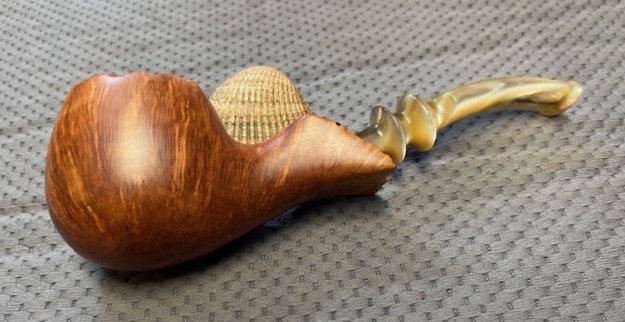
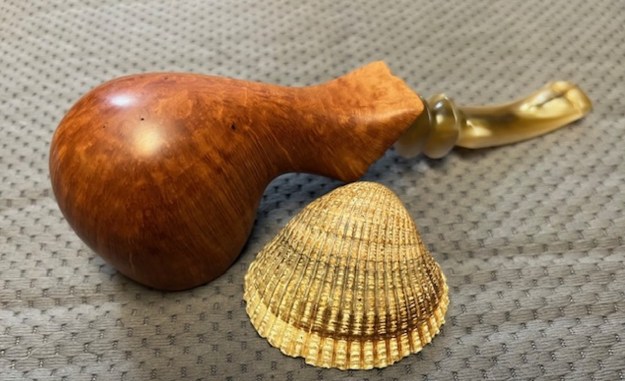
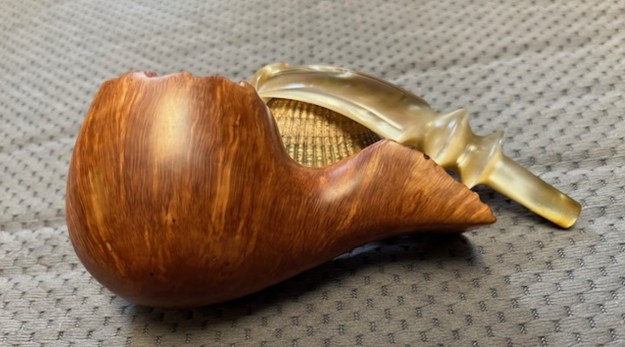
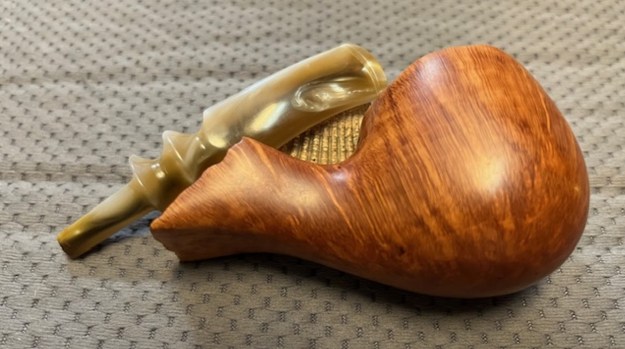
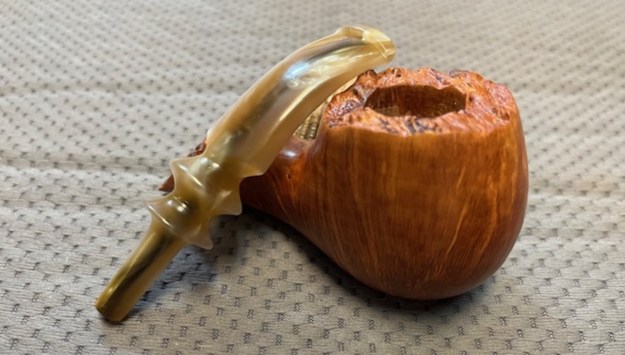
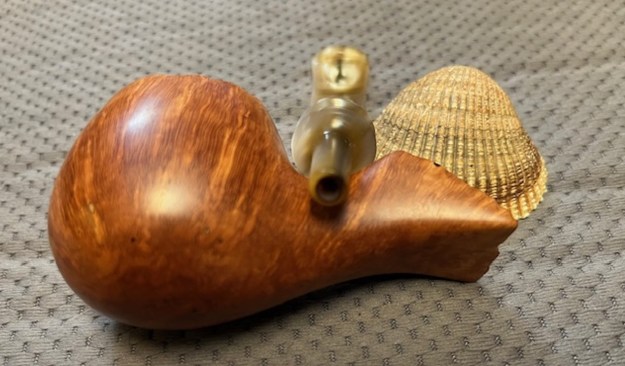
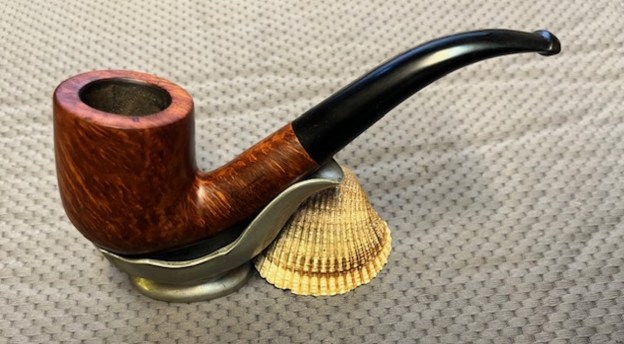
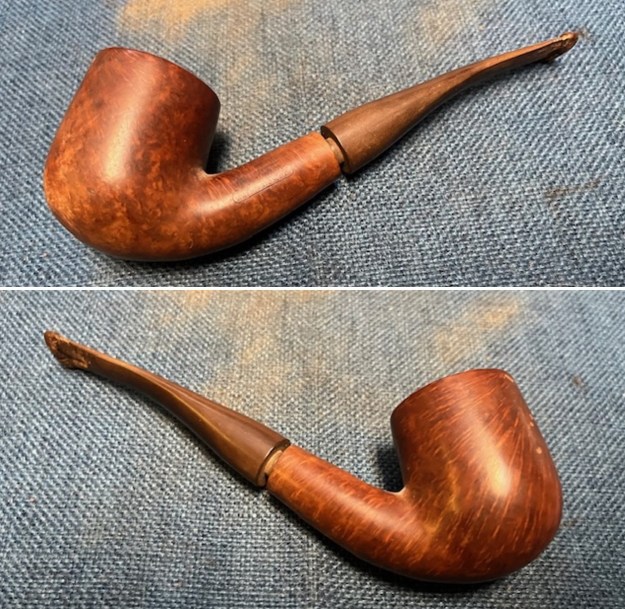
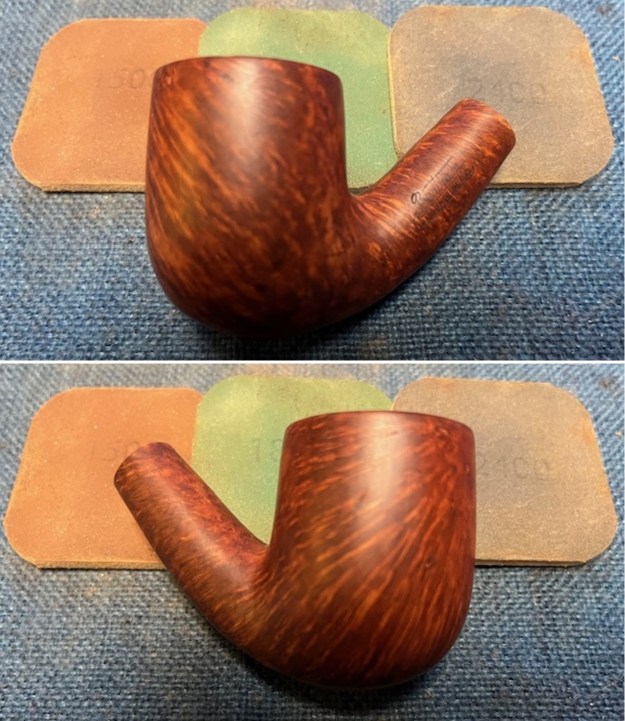
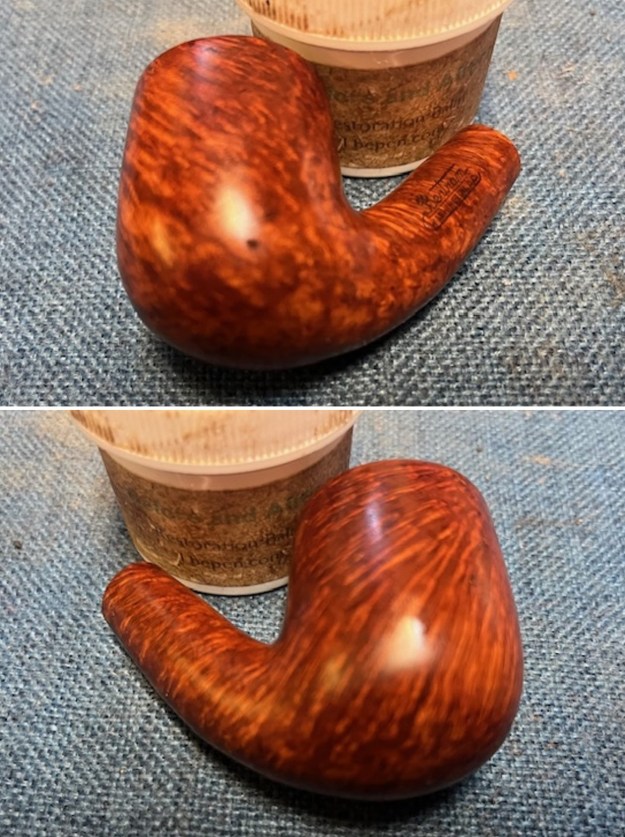
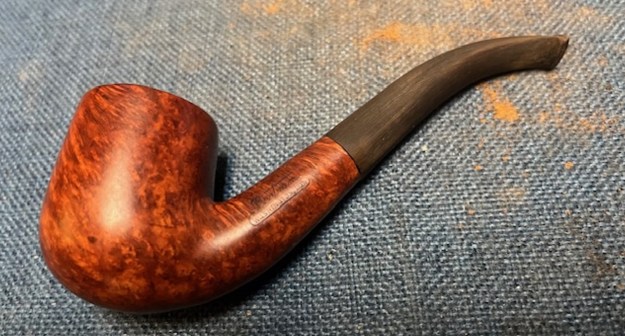
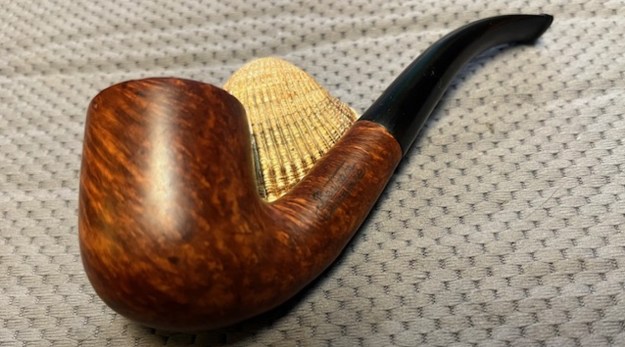
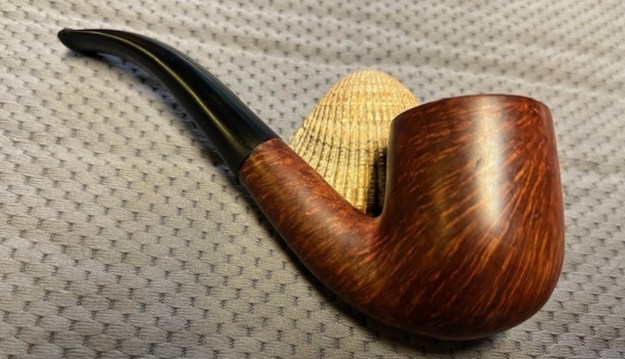
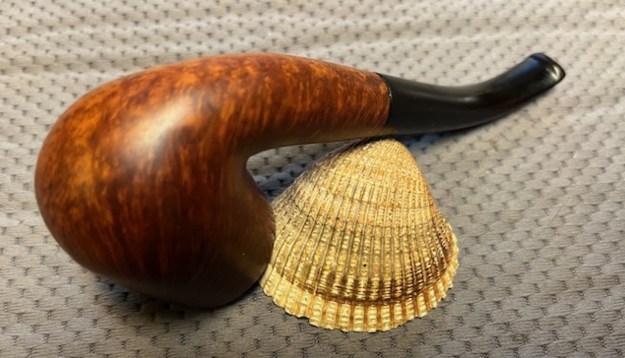
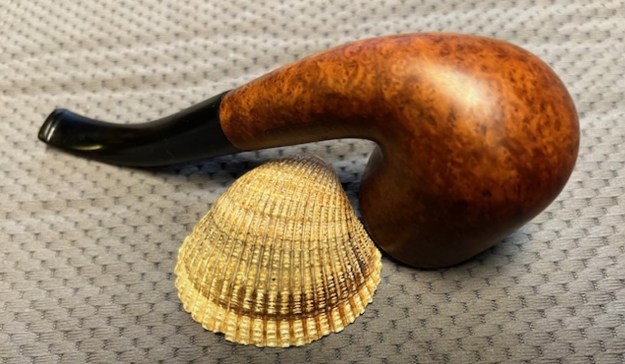
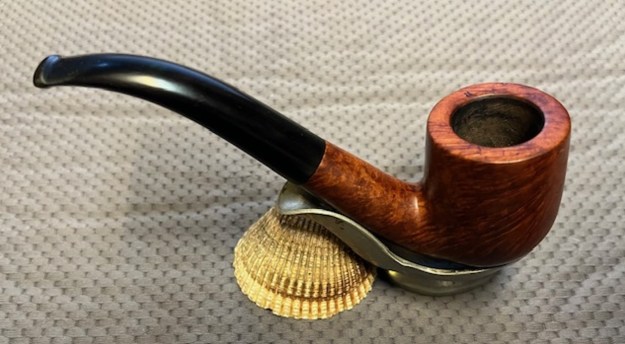
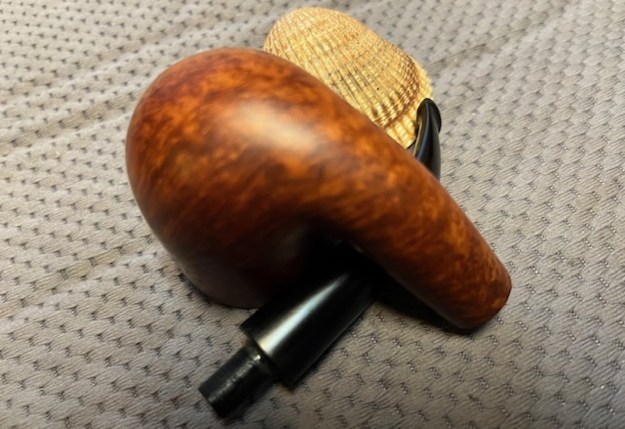
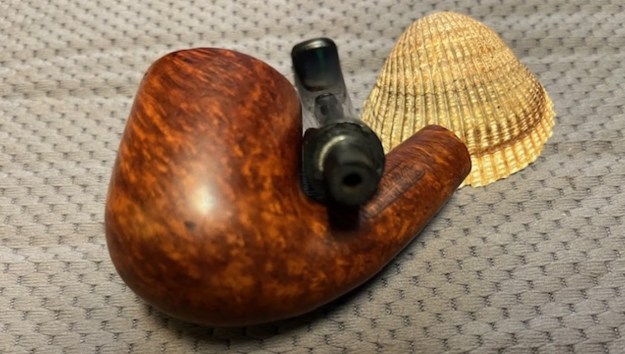
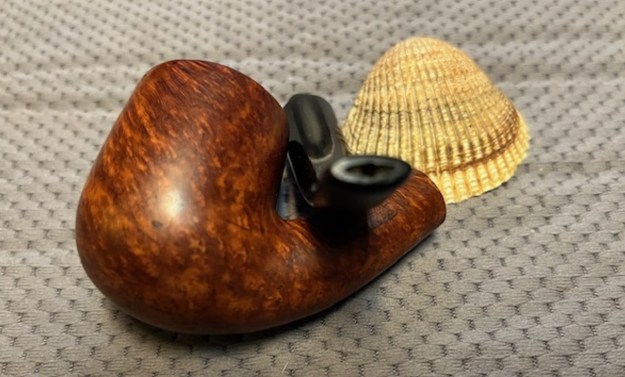
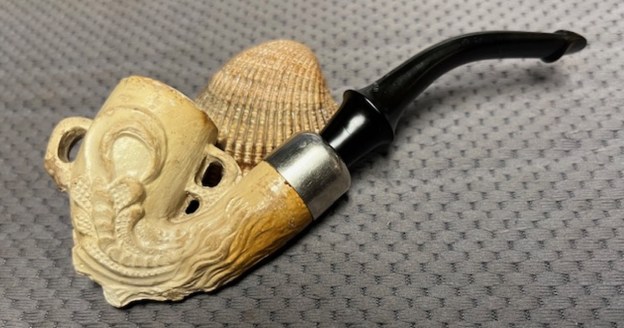
 This restemmed, Egg and Claw Clay Pipe is a beautiful looking pipe that combines carved finish with a nickel ferrule and an old Chesterfield Vulcanite Stem. The clay has a patina on the bowl that works well to highlight the carving. I put the newly finished stem on the bowl and buffed it with Blue Diamond on the buffing wheel being careful to not to damage the clay. I gave the bowl multiple coats of Clapham’s Wax and the stem multiple coats of carnauba wax on the buffing wheel and followed that by buffing it with a clean buffing pad. I hand buffed the pipe with a microfiber cloth to deepen the shine. The finished pipe is quite nice and feels great in the hand. Give the finished pipe a look in the photos below. The dimensions of the pipe are Length: 5 ½ inches, Height: 2 inches, Outside diameter of the bowl: 1 inch, Chamber diameter: ¾ of an inch. The weight of the pipe is 44 grams/1.55 ounces. Thanks for walking through the restoration with me as I worked over another beautiful pipe.
Remember we are not pipe owners; we are pipemen and women who hold our pipes in trust until they pass on into the trust of the next generation.