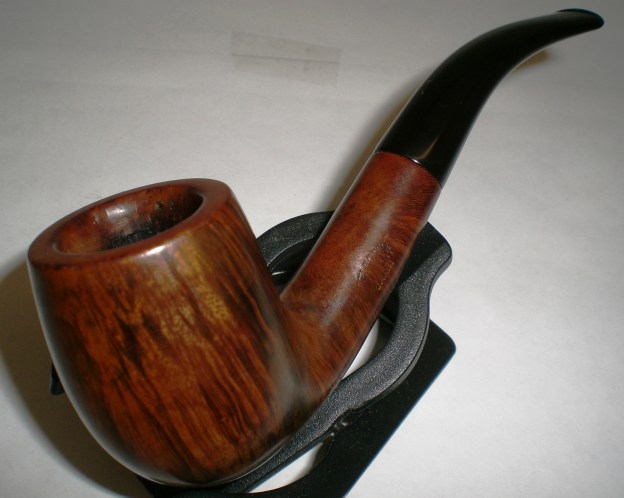
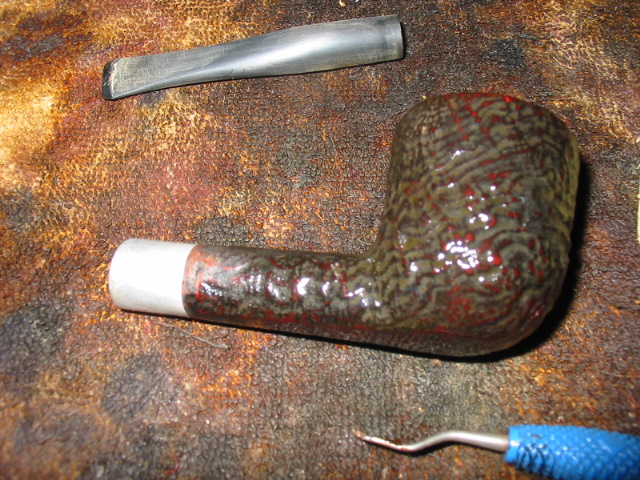
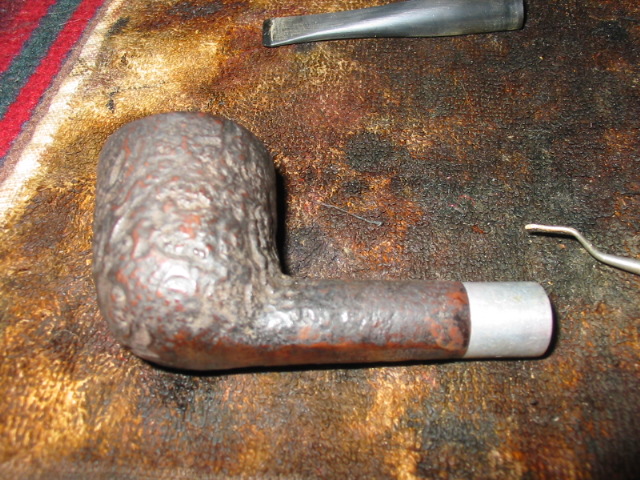
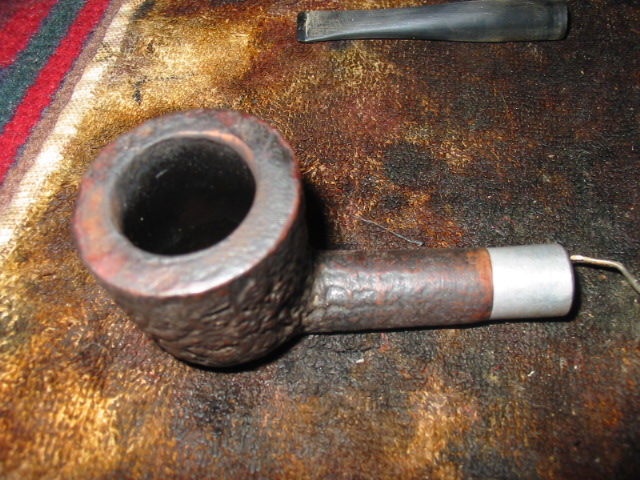
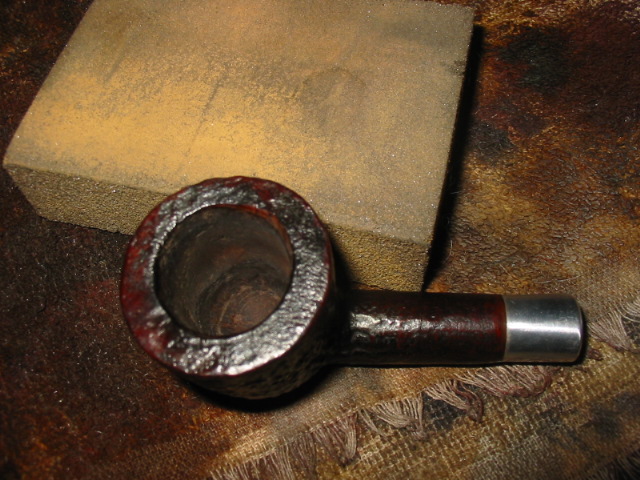
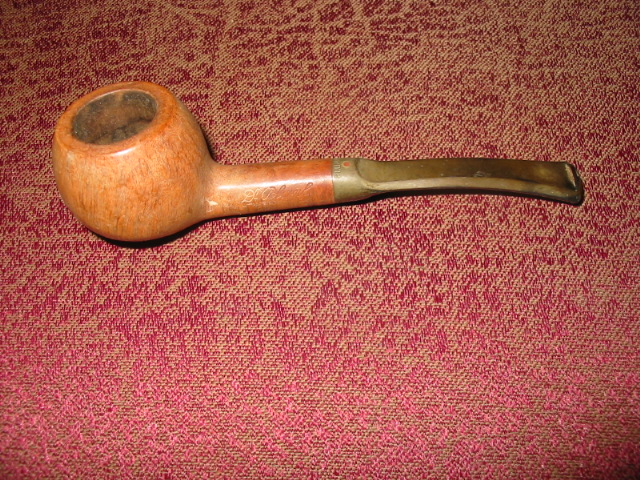
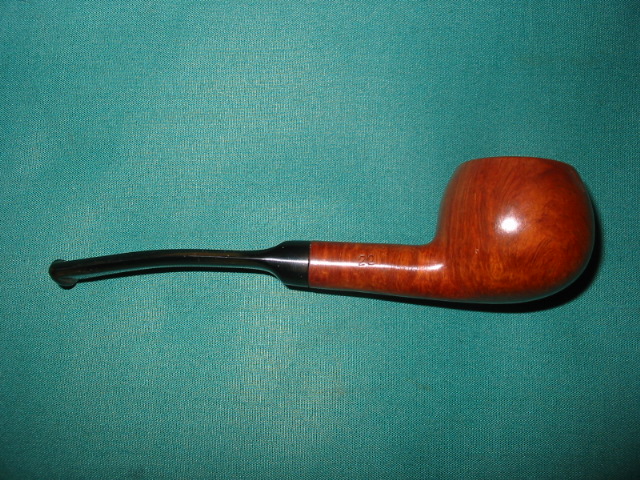
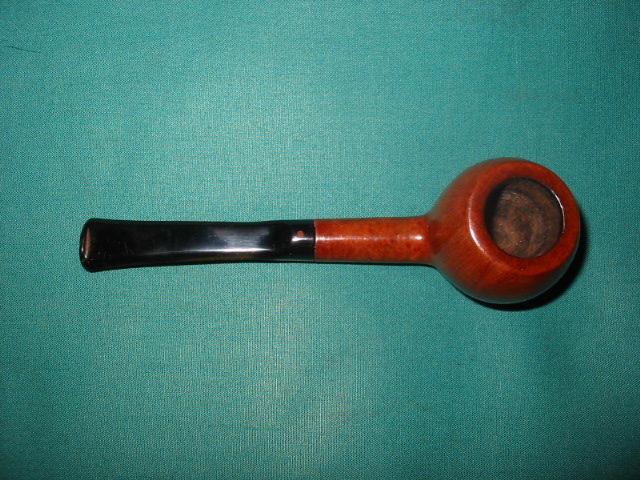
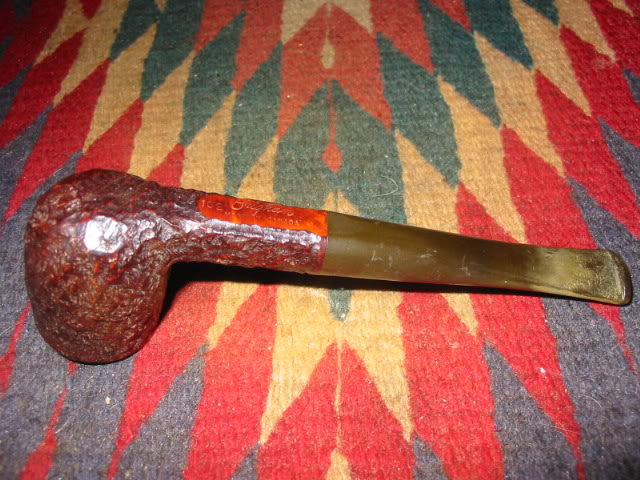
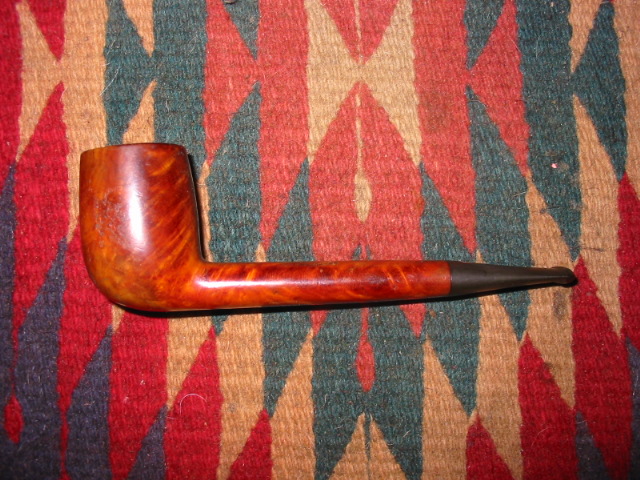
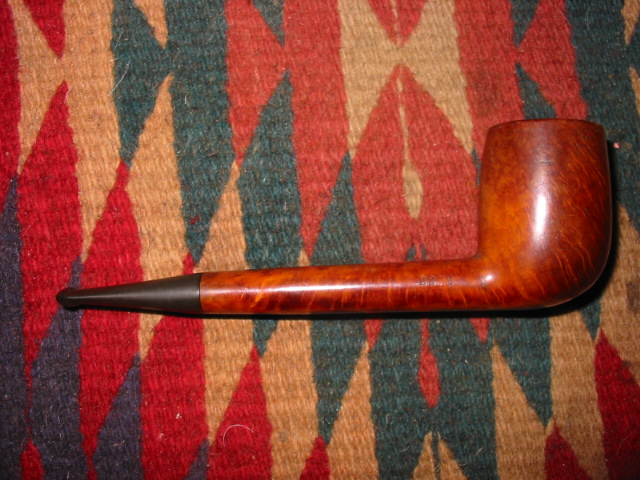
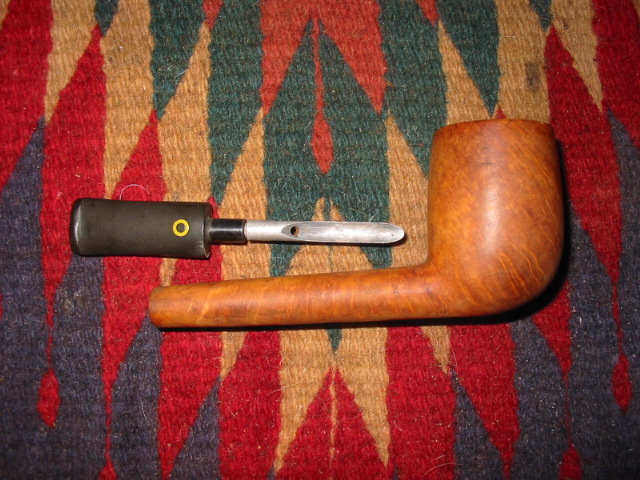
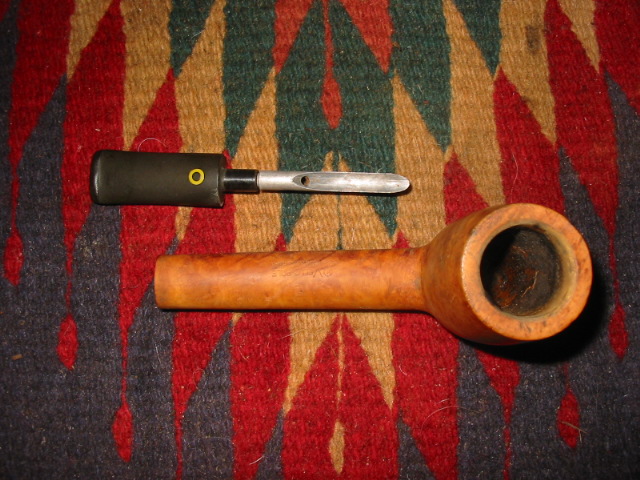
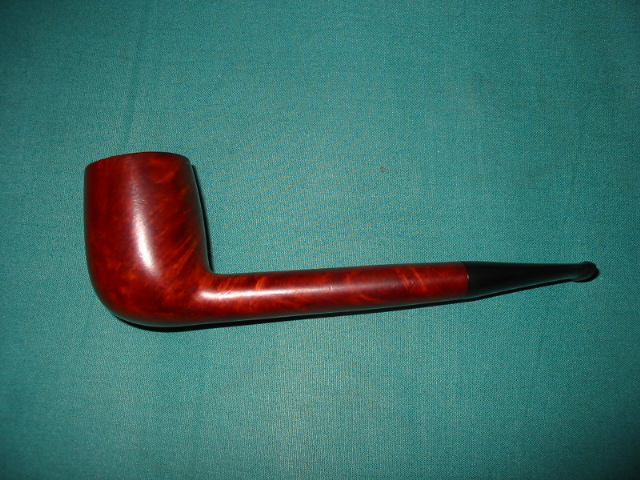
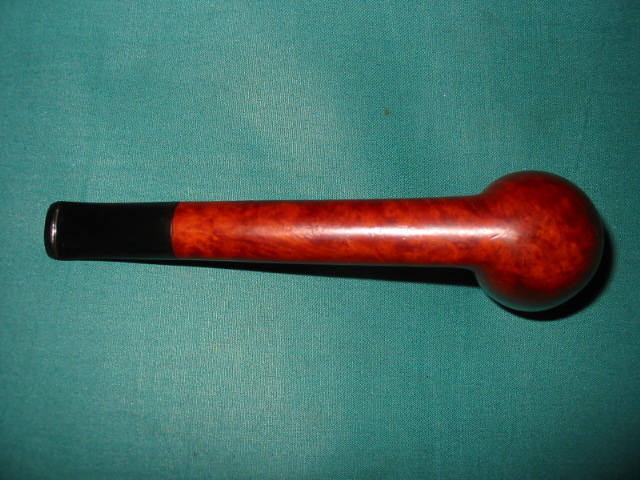
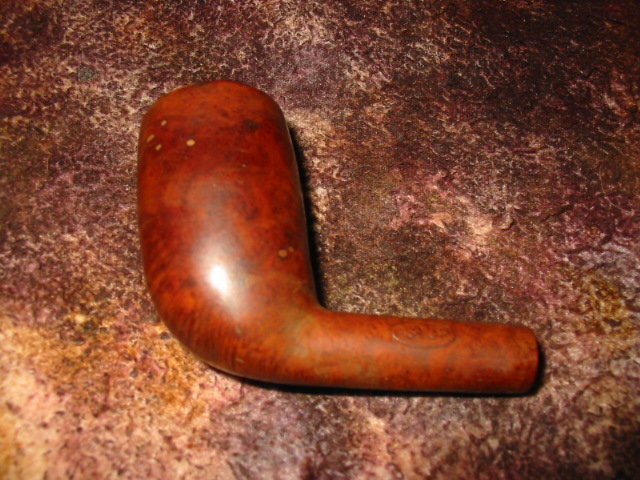
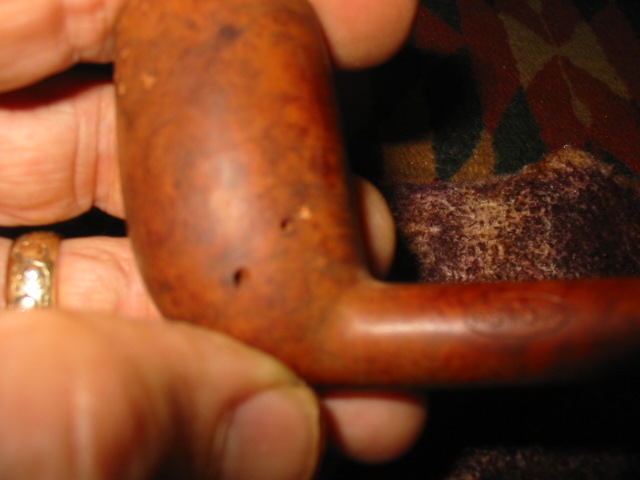
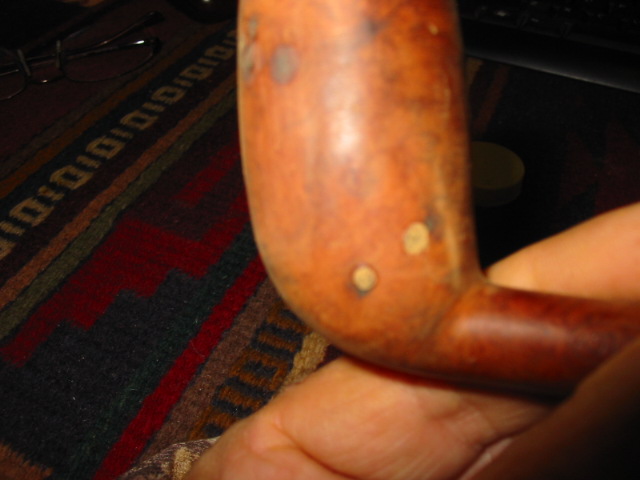
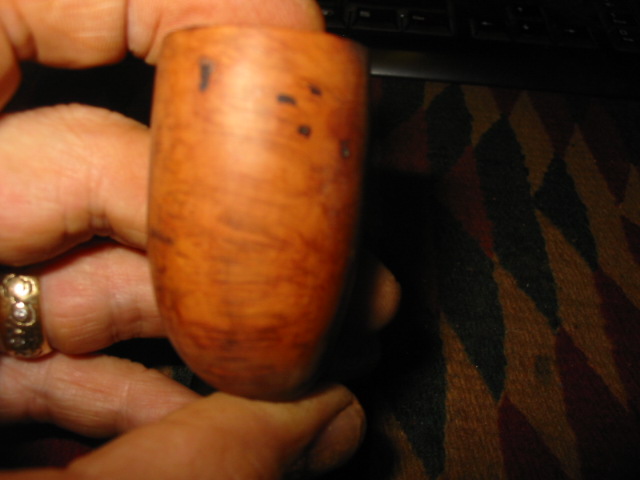
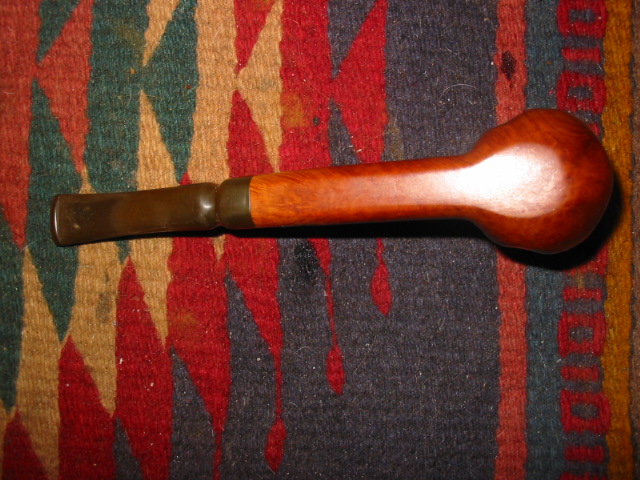
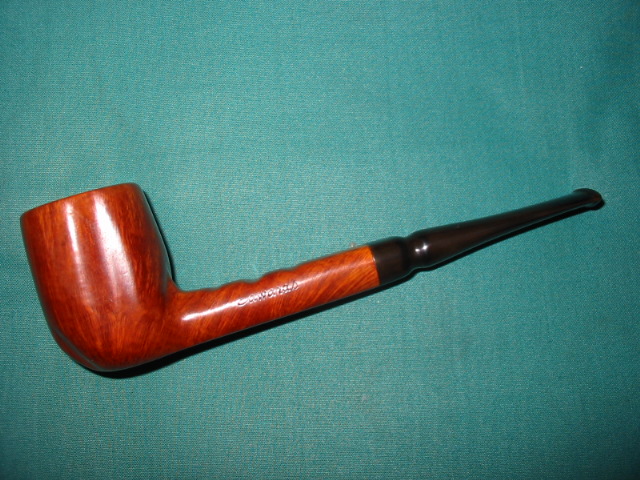
This was one of the pipes I picked up recently on a trip to the US. It is a small Astor Belge shape which is one of my favourite shapes of pipes. Astor pipes were made by Comoy as a second line of pipes. From the number of fills on this one it can easily be seen why it is a second. It is a shame as it also has some amazing cross grain on the front and back and some beautiful birdseye among the fills on both sides. The extent of the birdseye grain can be seen in the second photo below.

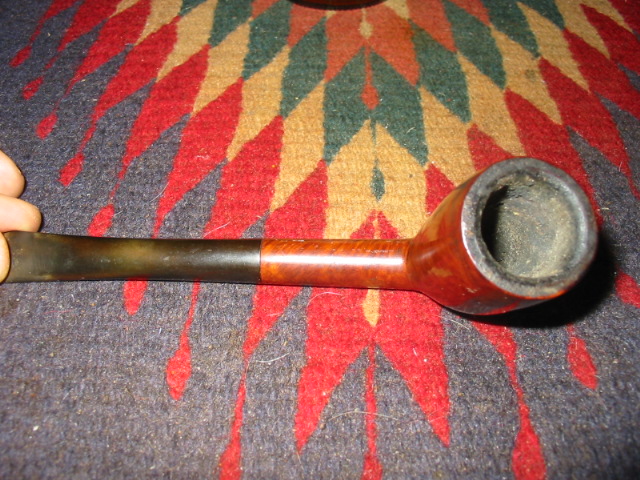
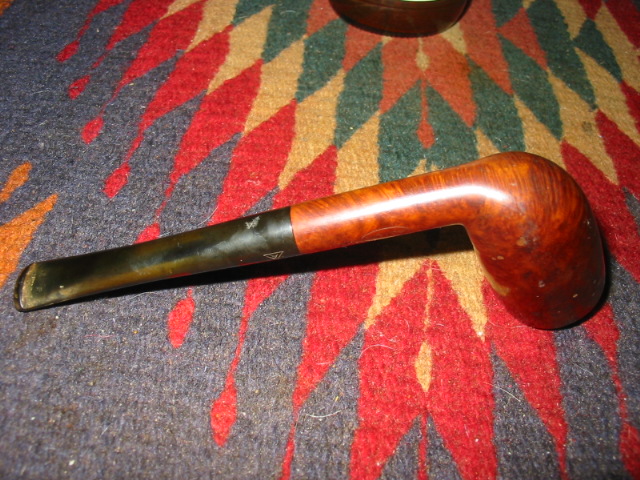
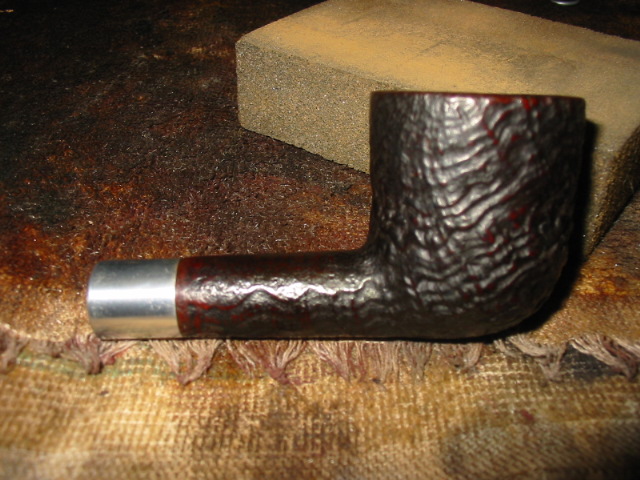
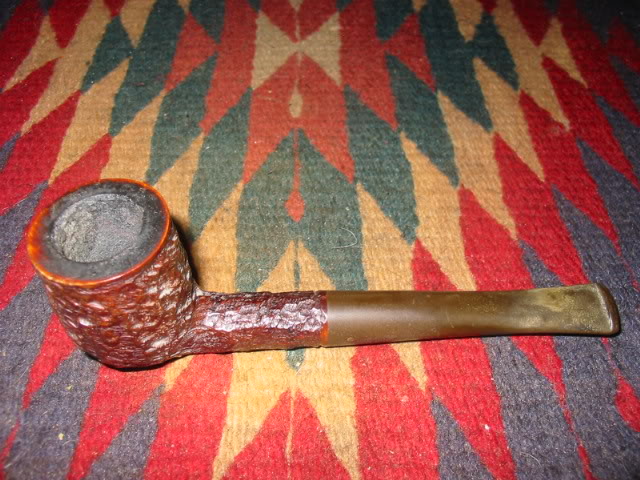
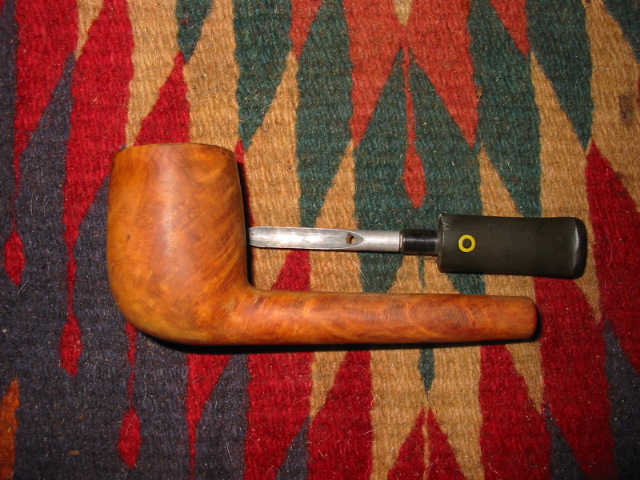
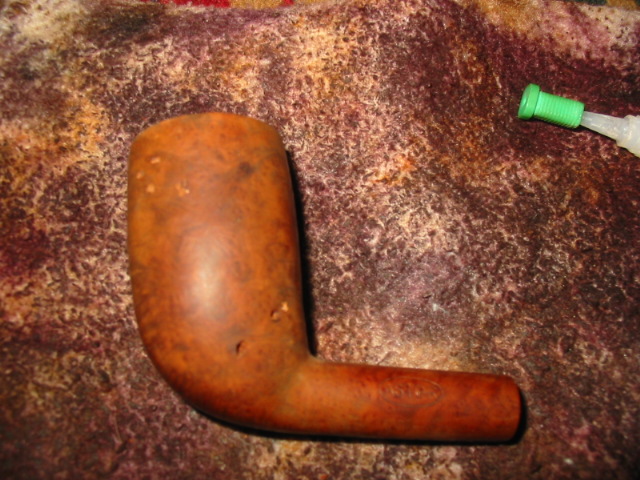
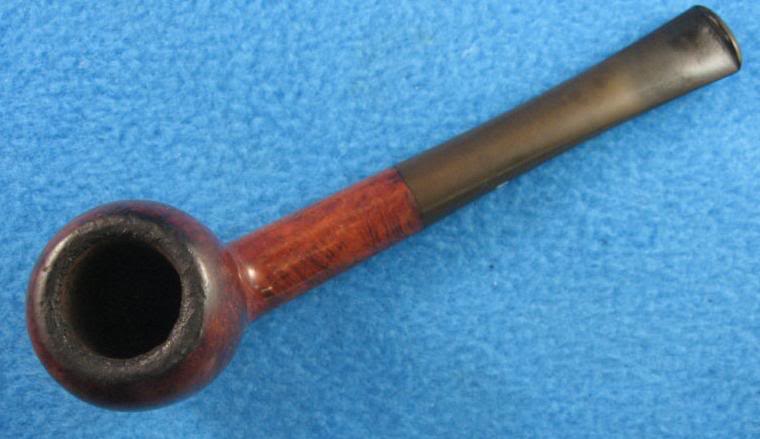
The pipe was dirty but really in pretty good shape for its age. I reamed the bowl and cleaned the bowl and shank with Isopropyl alcohol (99%) to remove the tars and oils from the inside. Then I dropped the stem in some oxyclean to soak and wiped the bowl down with acetone (fingernail polish remover) to remove the finish. I dropped the bowl in the alcohol bath for awhile to give it a good soak and worked on several others for awhile.
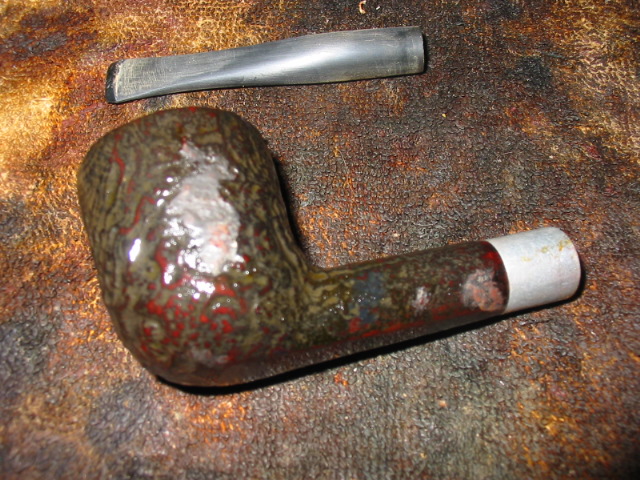
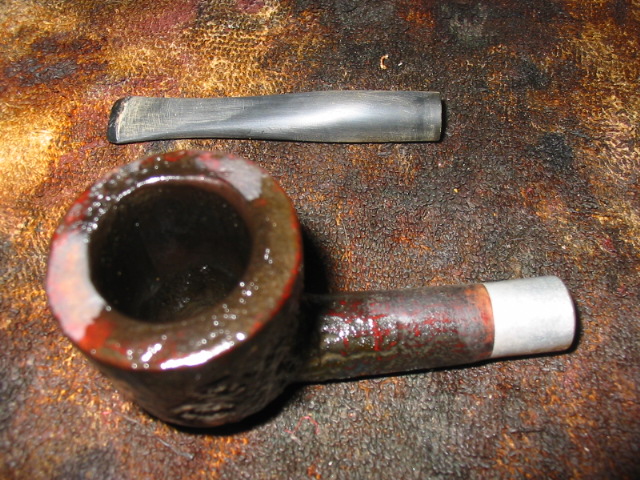
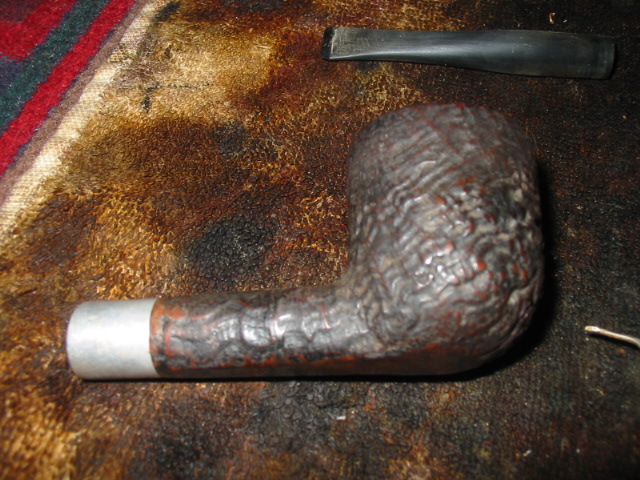
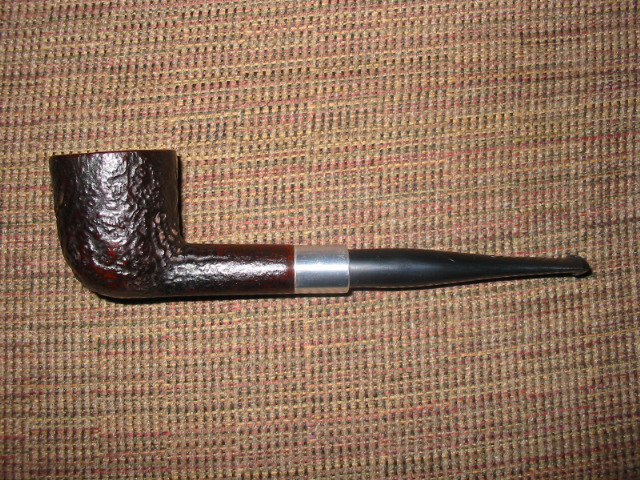
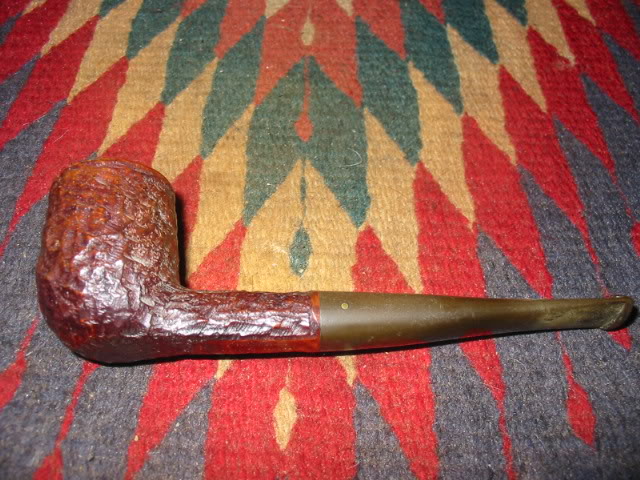
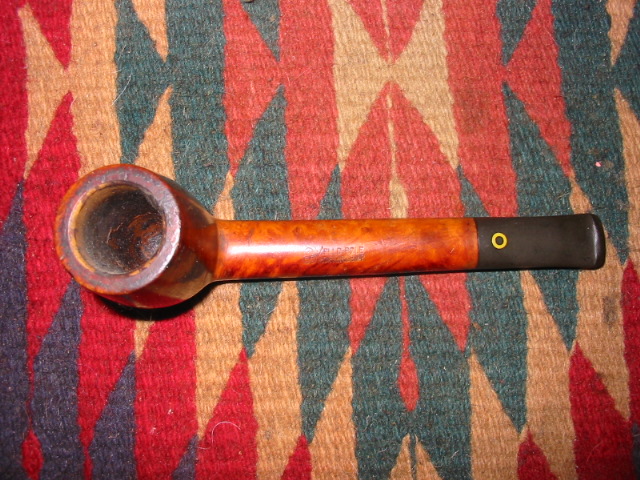
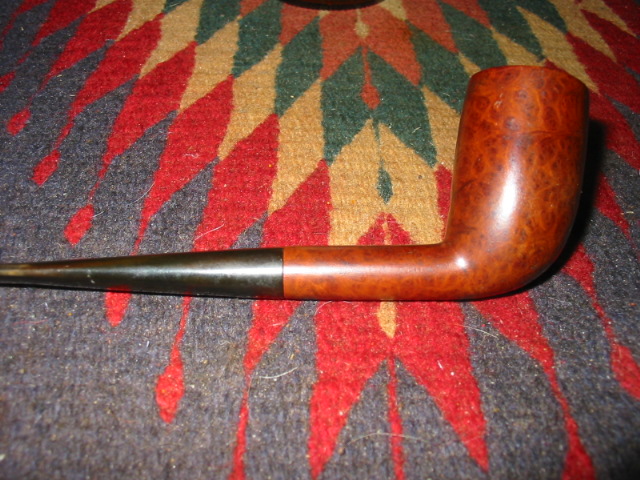
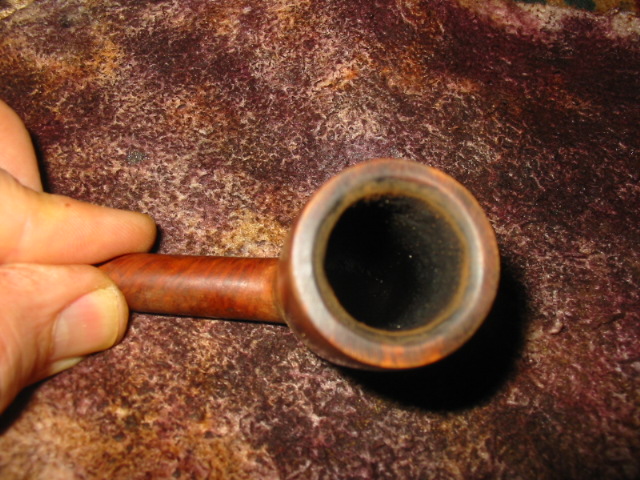
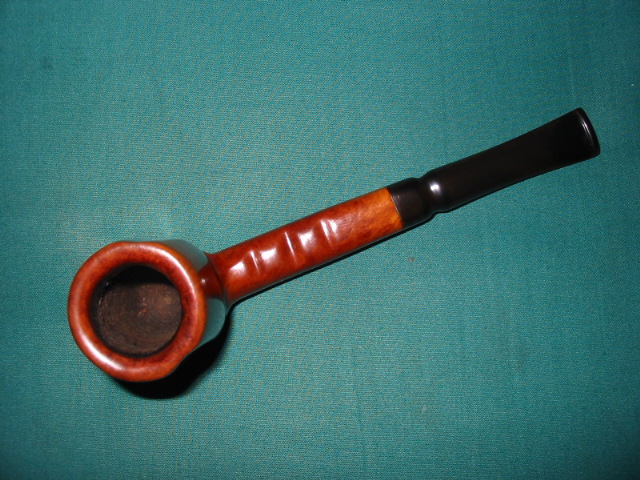
After an hour in the bath, I removed the bowl and dried it off. The next series of three photos show the pipe after removal from the bath. I used micromesh 1500 grit sanding pads to remove the grime and tar from the rim and the inside bevelled edge. It took a bit of work to smooth this out and keep the angles the same all the way around. The third photo below shows the finished bevel and the top after quite a bit of sanding. The top took a bit more sanding with the micromesh to remove the darkening as it was on the surface and not too deep into the briar.

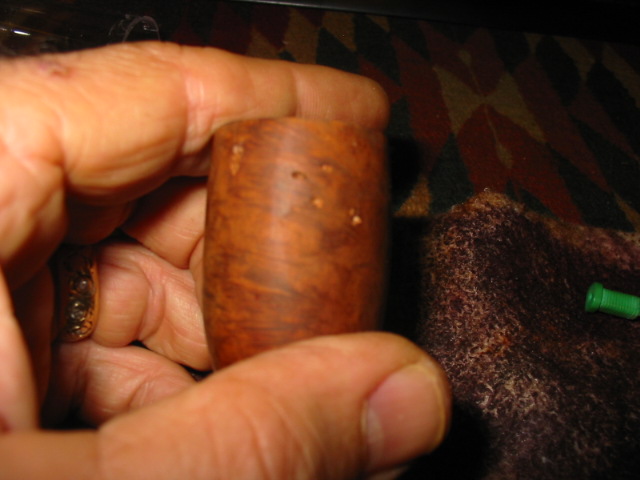
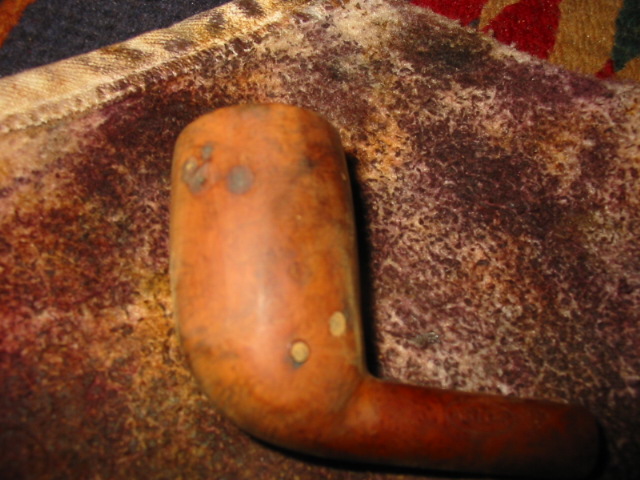
At that point I decided to remove the fills from the bowl as I personally dislike the pink putty fills that are often used on these old timers. I used the dental pick to remove the as can be seen in the next series of three photos. They were all pretty deep and would need to be repaired. After picking out the fill I wipe the bowl down with a soft cloth and Isopropyl alcohol to clean the surface of any remaining bits of putty. When they are clean and dry I fill them with briar dust that I have saved for this purpose.
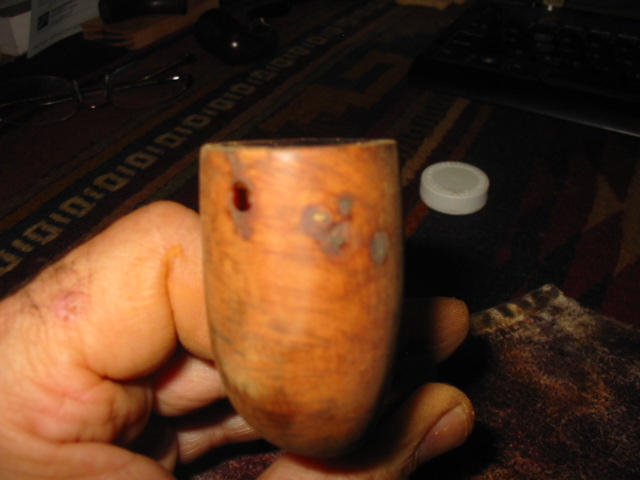
After filling them with briar dust I drip the super glue/krazy glue into the dust and it dries almost instantly. The next three photos show the newly filled holes at various stages of the repair. The first photo shows the dust and super glue in the bottom holes before I sanded them. The top holes in the photo have been sanded a bit to smooth them out but are not finished. The second photo of the front of the bowl shows both the sanded ones and a newly filled hole with the super glue patch before it dried. The final photo in this series of three shows all the holes filled and the initial sanding completed.
The next two photos sow the holes patched and sanded smooth. The super glue and briar dust turned black in this case. This does not always happen but it did this time. I have no explanation for that in this case but they do look better than the previous pink fills. I have also learned that they can be hidden a bit with a dark understain. In this case I decided to stain the entire bowl with black aniline stain for a first coat. I flamed the stain and when it dried I took the pipe to the buffer and buffed the entire bowl with Tripoli to remove the excess stain and leave the black in the grain and around the fills. You can also use black permanent marker to build the grain pattern around the fills to help hide them though I did not use that method on this pipe. I then sanded the bowl with the 1500 and 1800 grit micromesh pads to remove more of the overstain. I washed the bowl down several times with acetone to also lighten the black. Once it was at the saturation I wanted it was ready for the overcoat of stain.

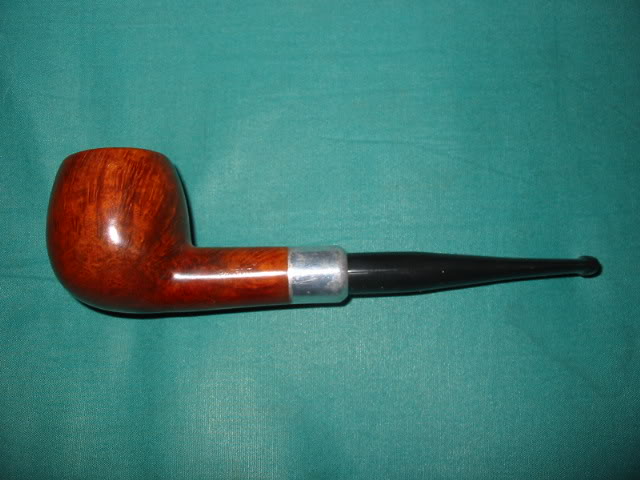
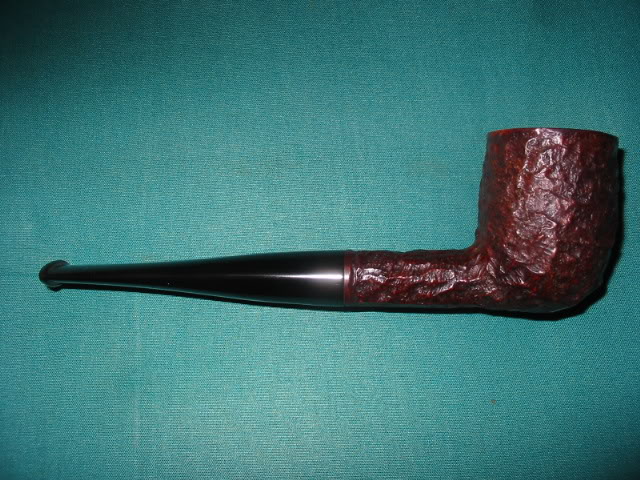
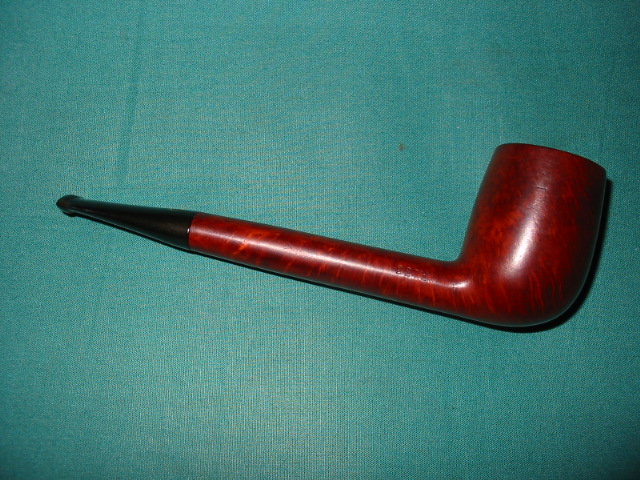
I decided to use oxblood coloured aniline stain for the finish coat on this one. I wiped it on and then wiped it off before it dried to get good coverage I repeated that several times and finally gave it a full coat and flamed the stain to set it. When it was dry I took it to the buffer and buffed it with Tripoli and White Diamond to give the final coat a real shine.
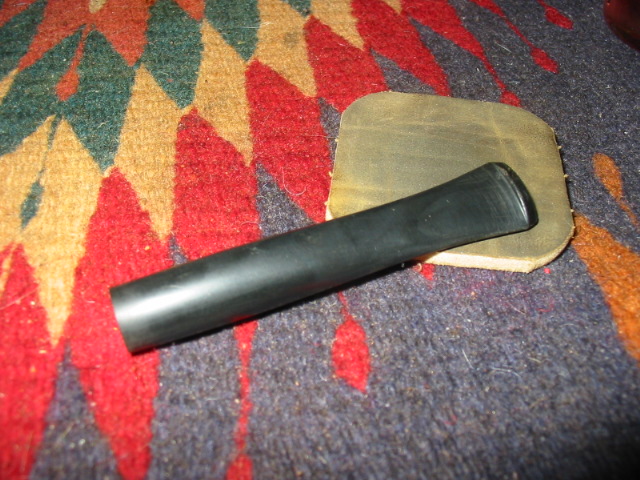
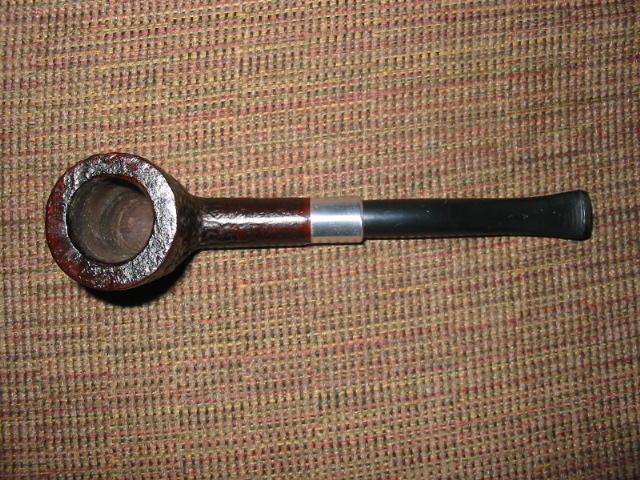
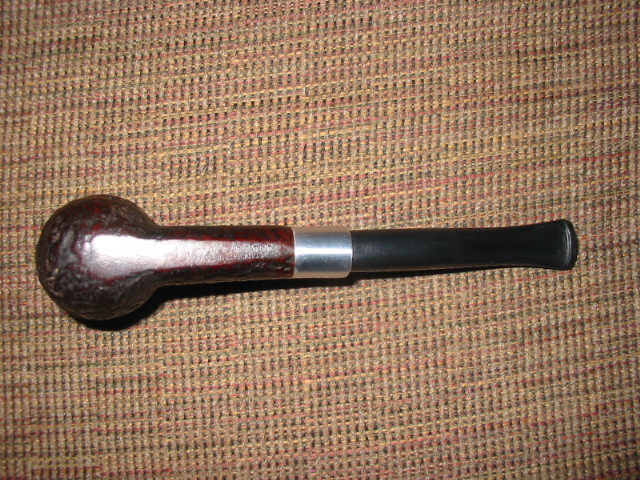
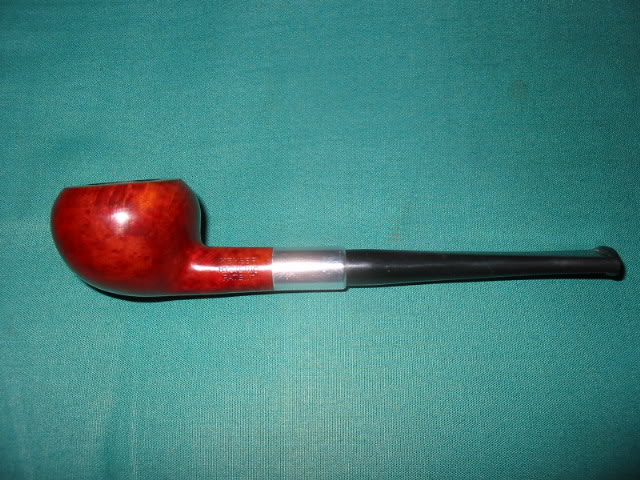
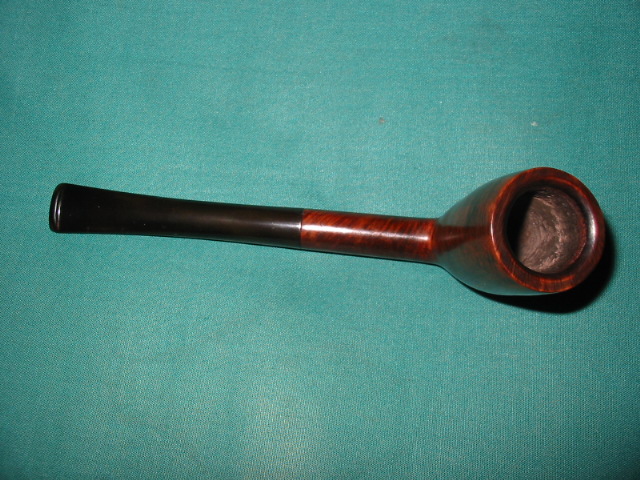
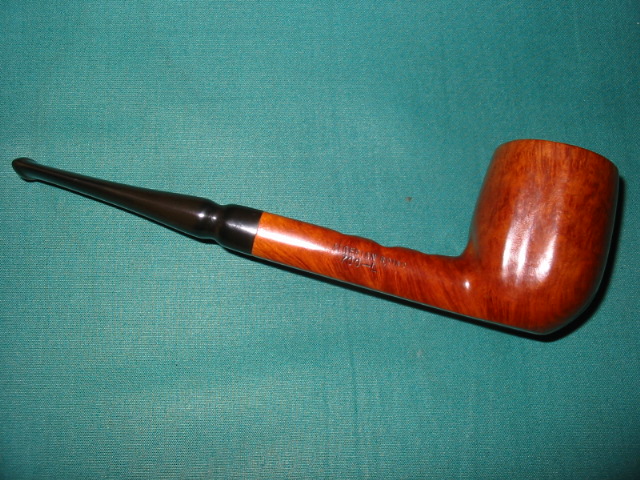
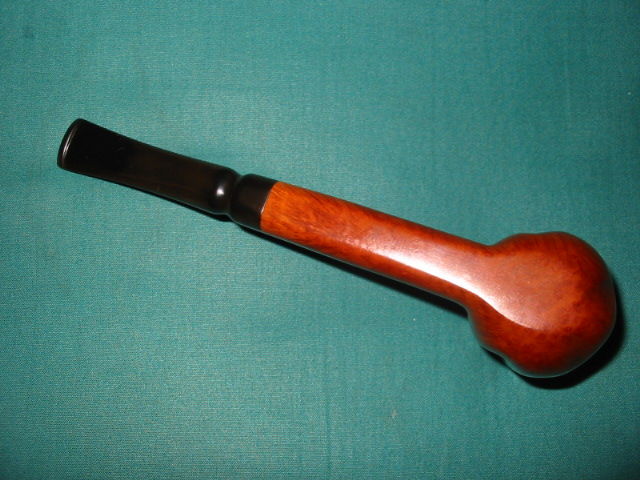
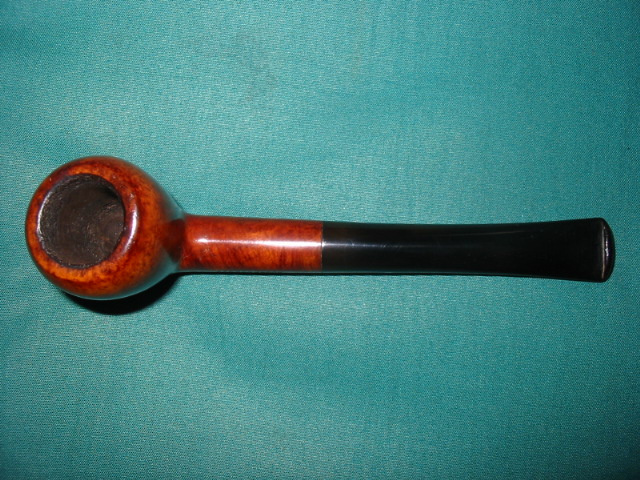
I finished the stem with my usual regimen of micromesh pads from 1500-6000 before putting it back on the bowl and buffing the pipe with White Diamond. I coated the stem with several coatings of Obsidian Oil and then gave the whole pipe multiple coats of carnauba wax to finish. The pictures below show the finished pipe. Though the fills are still visible they are diminished in their overall presence in the pipe. They no longer stand out in the finish. I personally love the depth of colour that this old Belge has with the new stains.


_Crop")