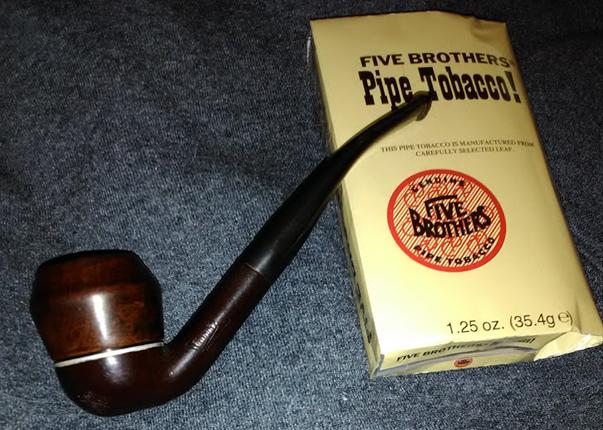
Blog by Steve Laug
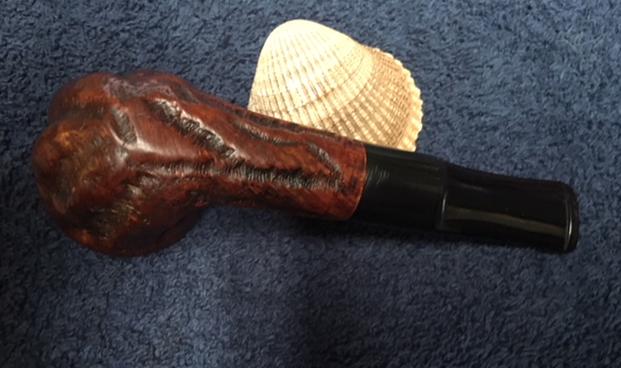
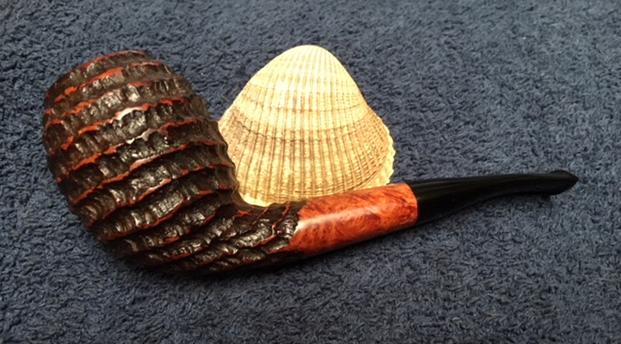
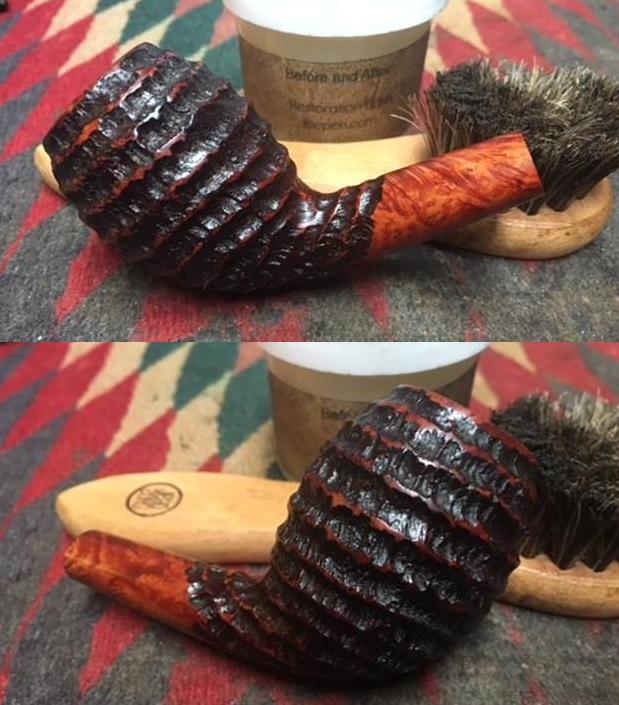
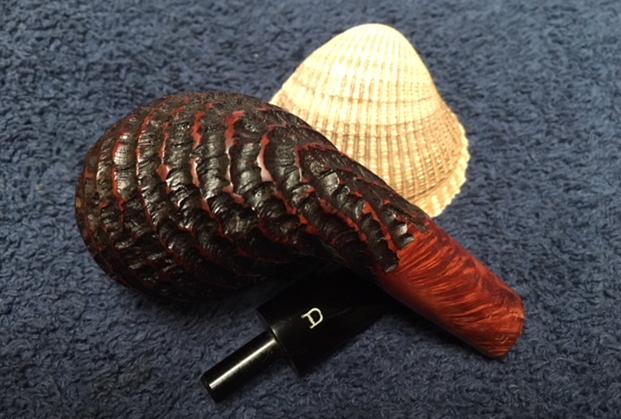
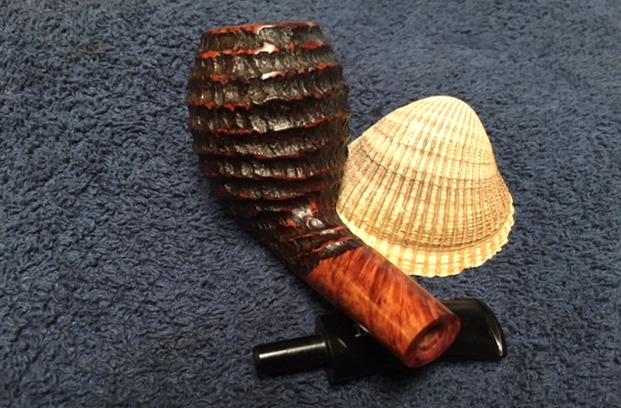
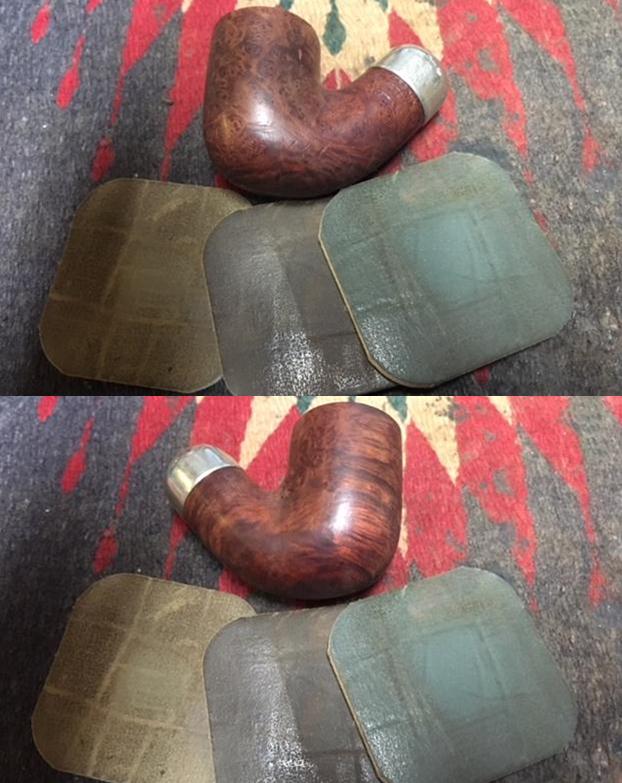
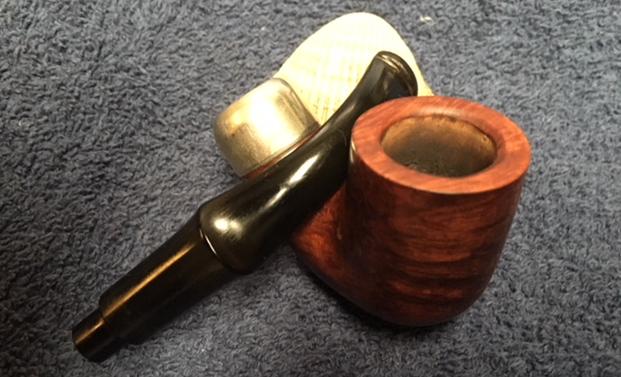
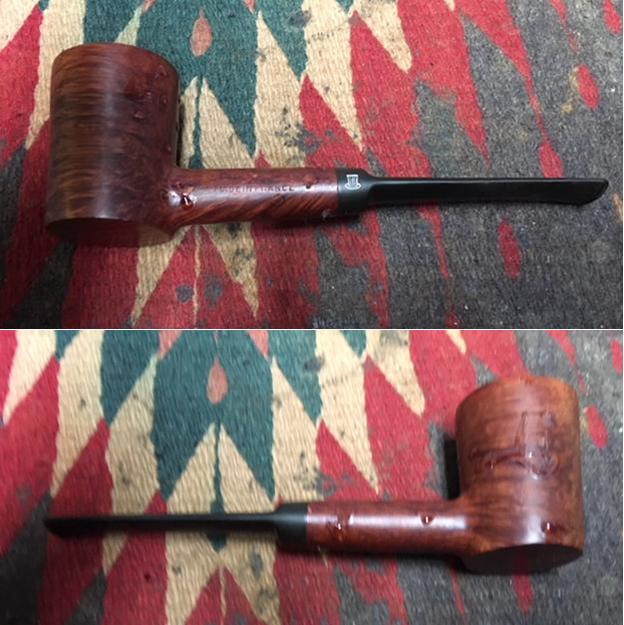
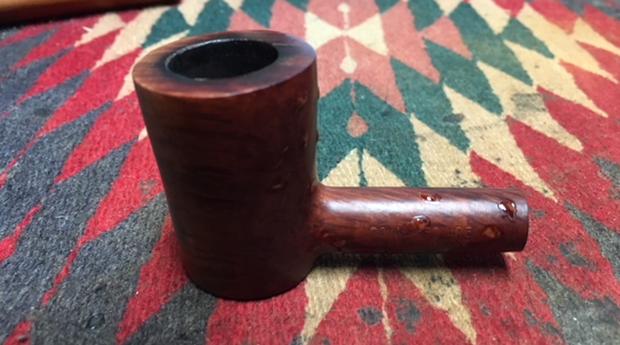
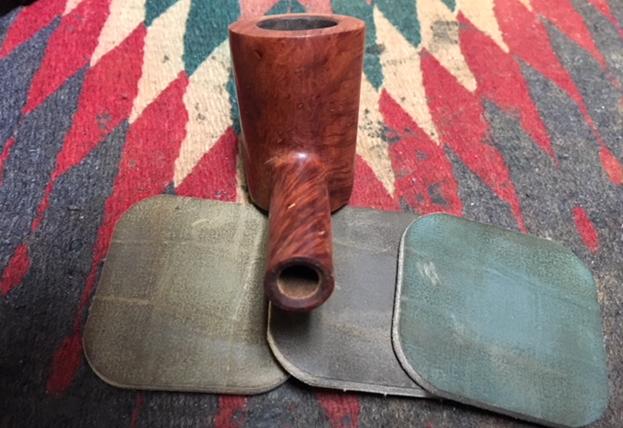
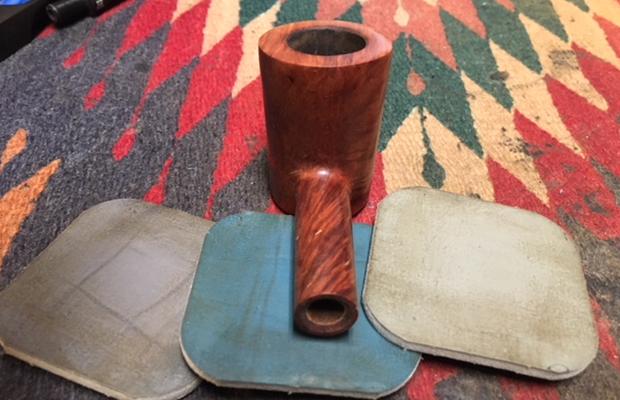
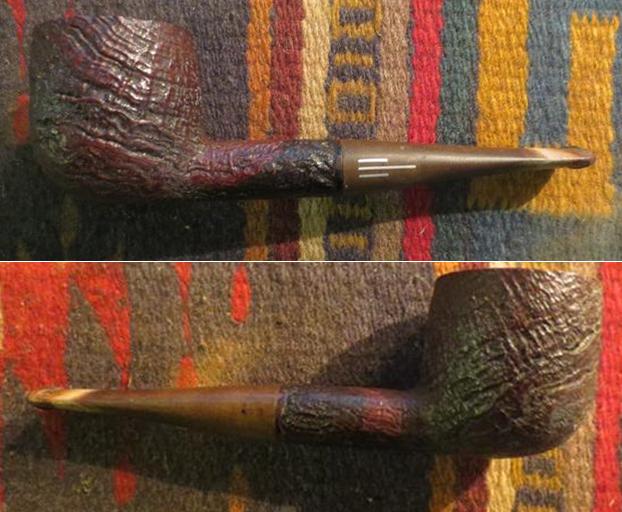
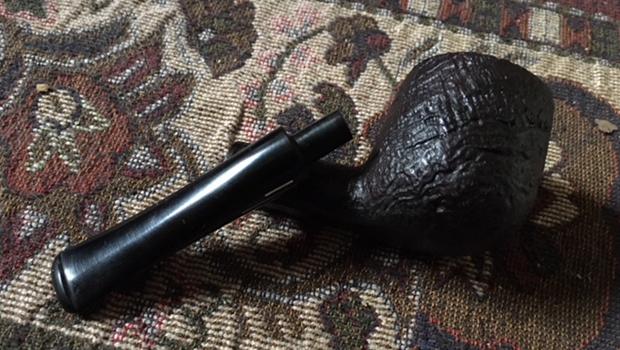
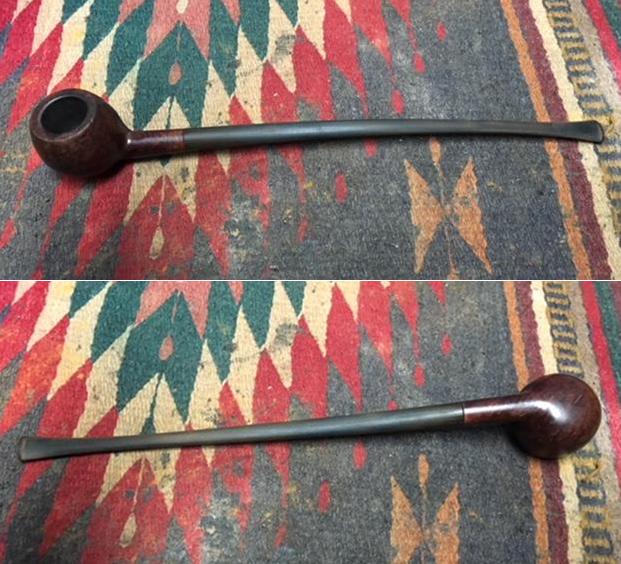
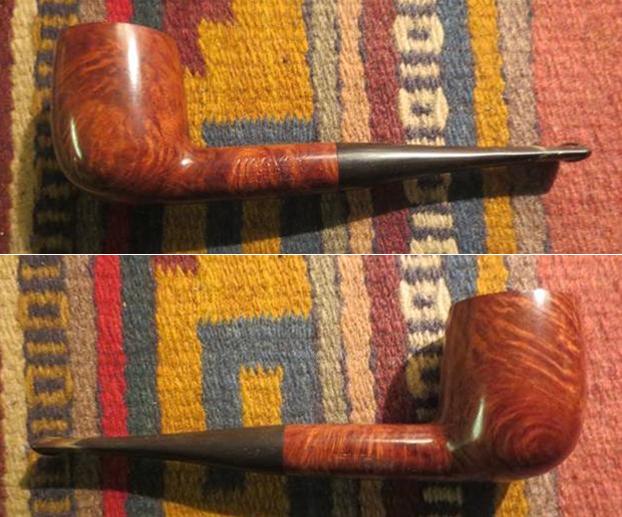
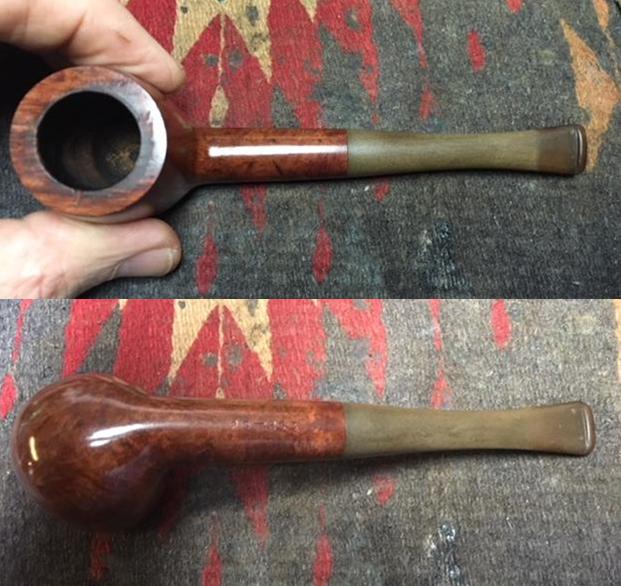
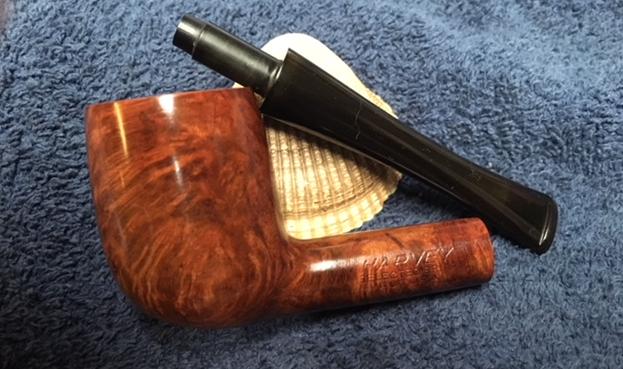
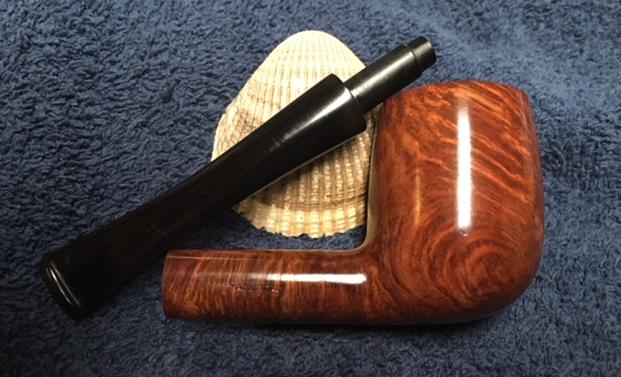
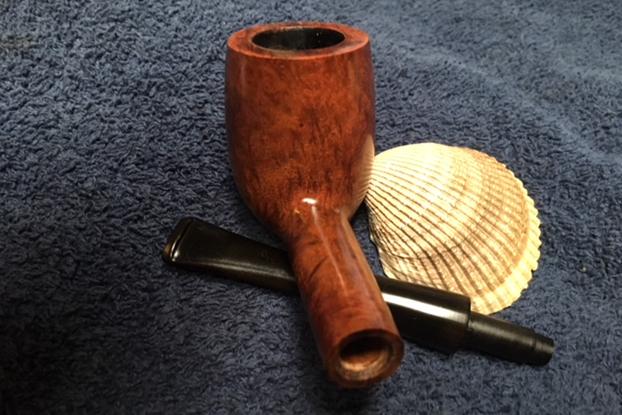
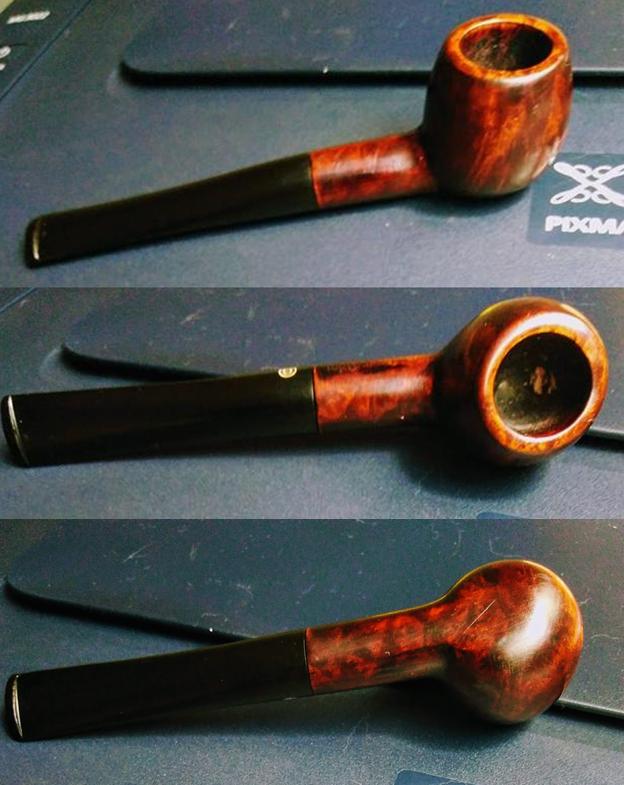
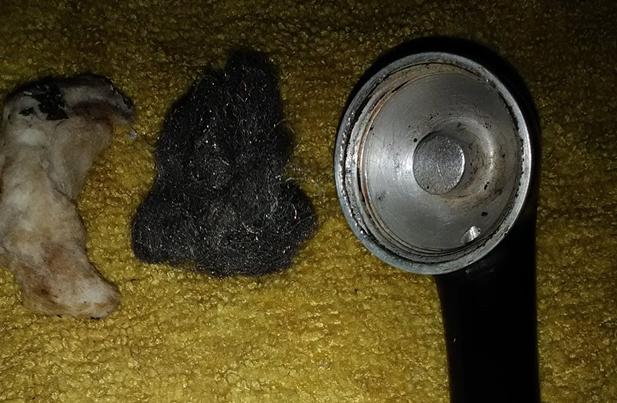
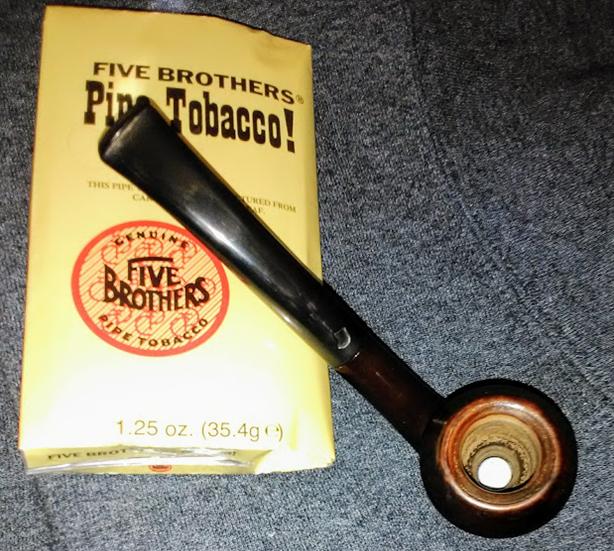
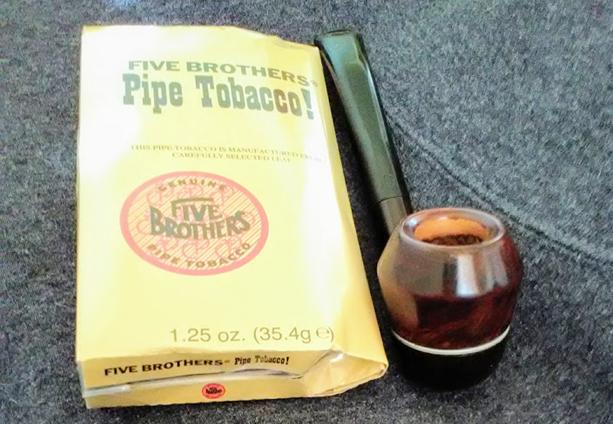
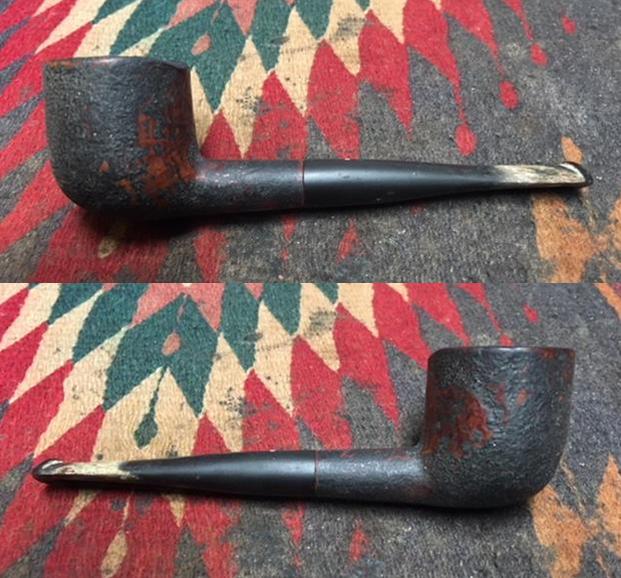
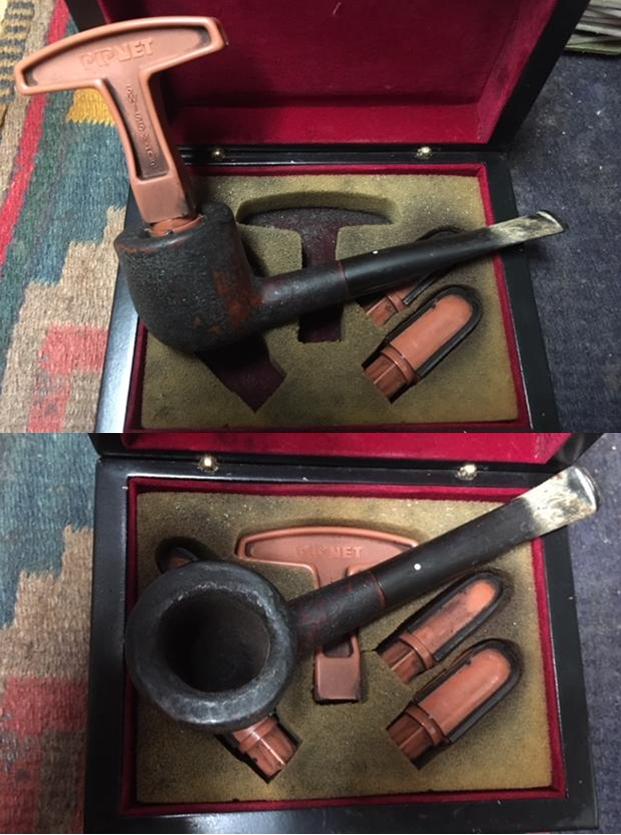
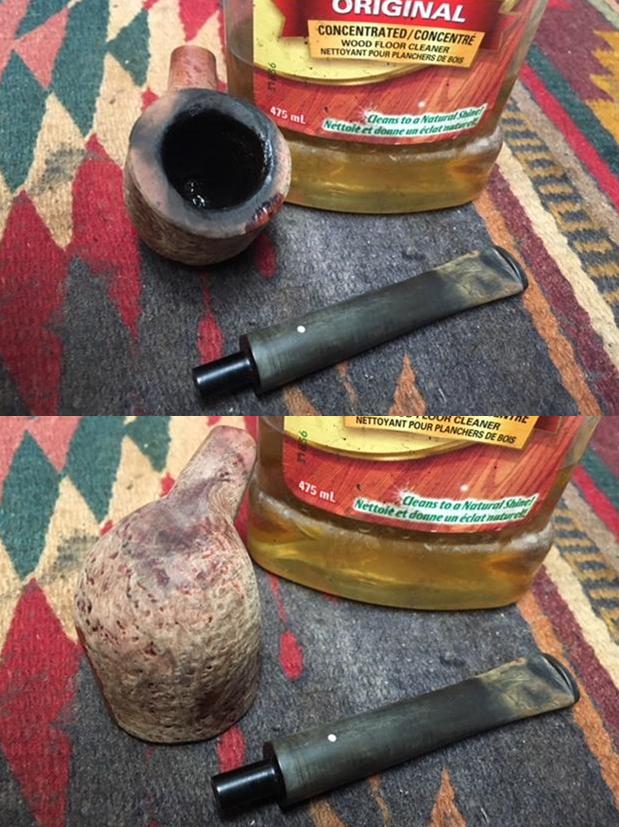
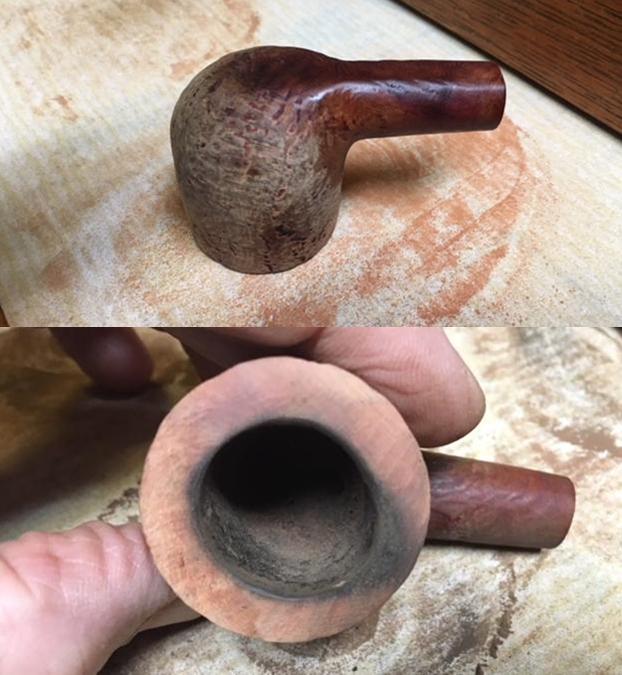
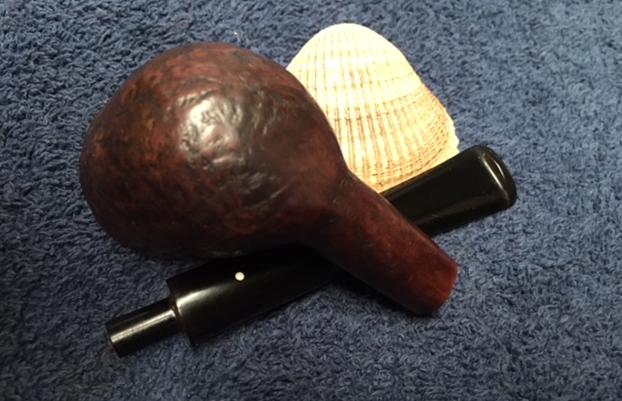
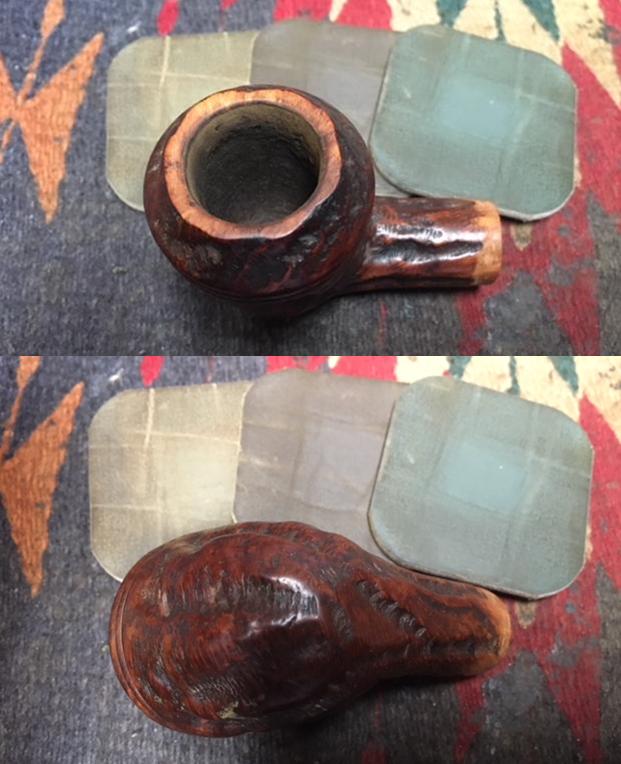
Mike, reader of rebornpipes contacted me about fixing two of his pipes. Probably over a month ago he emailed me. He packed the pipes up and sent them to me. The second one was a Custombilt Rhodesian or probably some would call it a Bulldog I have already repaired and blogged about the pear wood pipe (https://rebornpipes.com/2018/04/06/putting-humpty-dumpty-back-together-again/). The second pipe needed a new stem and a thorough cleaning and restoration. The broken stem looked to be a replacement as the fit to the shank was not perfect and the diameter of the shank and the stem were slightly different. The tenon was also short and did not extend the full length of the mortise like I have come to expect on Custombilt pipes. The inside of the bowl had already been reamed and cleaned when I got it. The top of the rim had a slight lava build up and the inner and edges were out of round. The inside and the outside of the bowl were very dirty. There was a lot of dust and grime in the rustication of the bowl and shank as well as in the twin rings around the cap. I would soon find out why it was not cleaned. 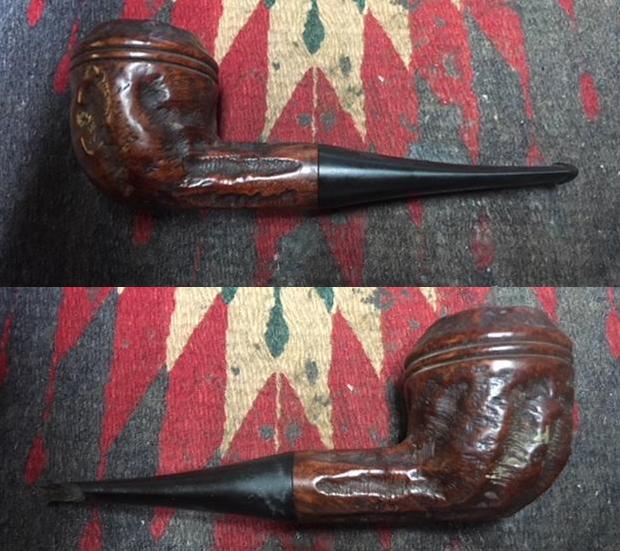
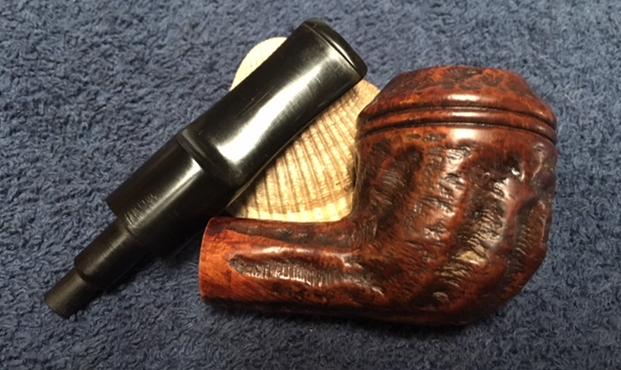
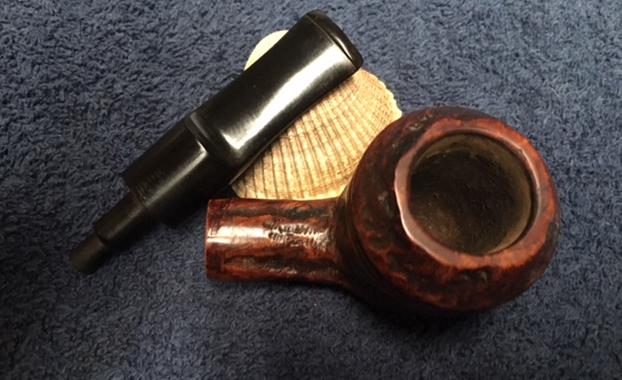
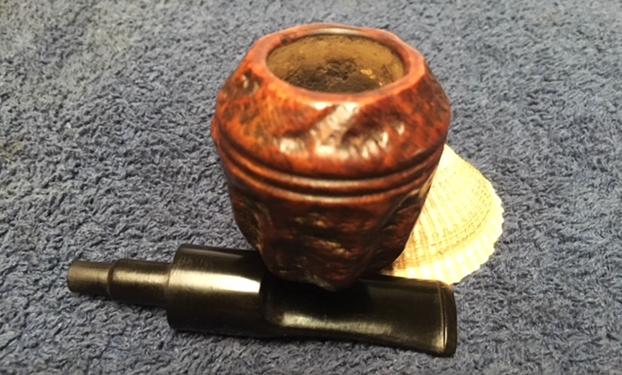
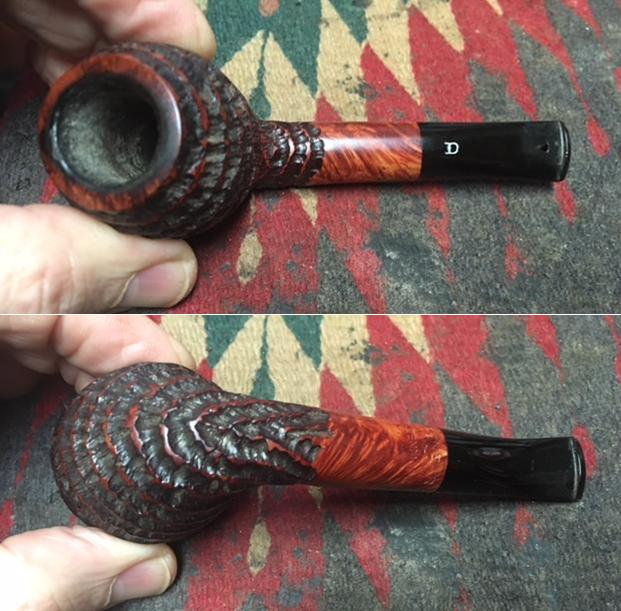
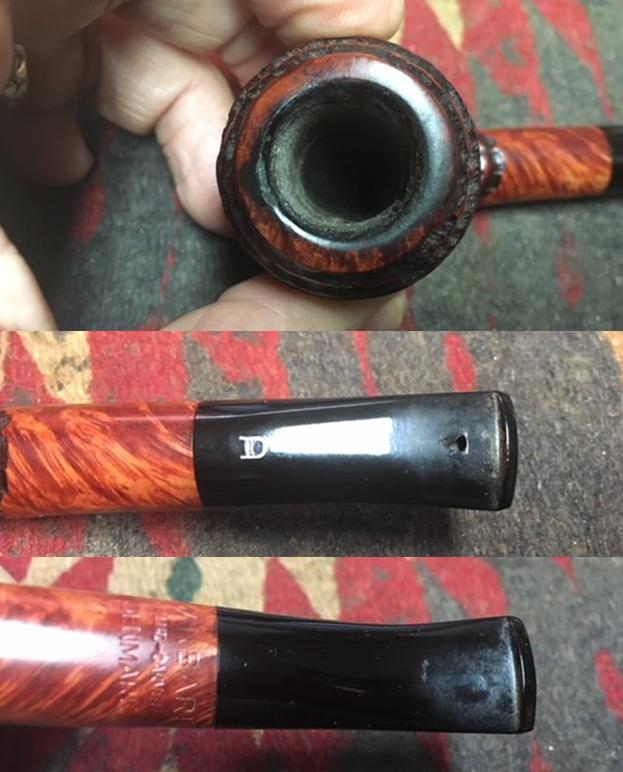
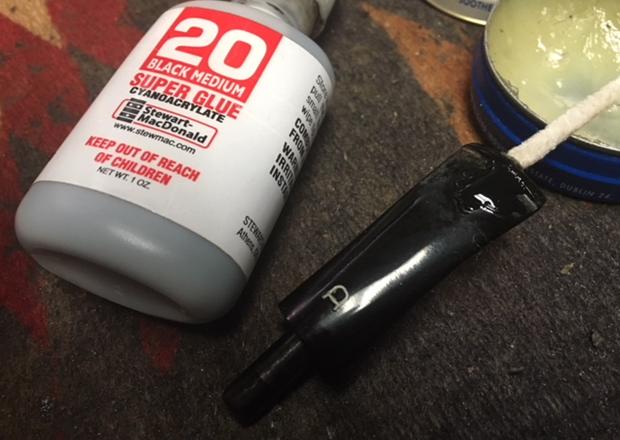
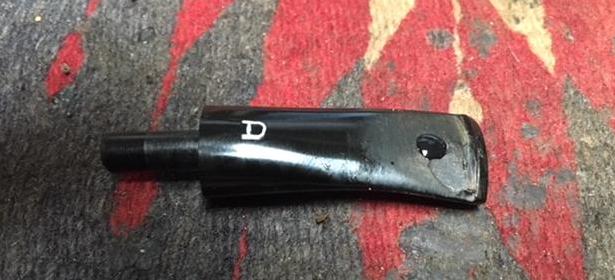
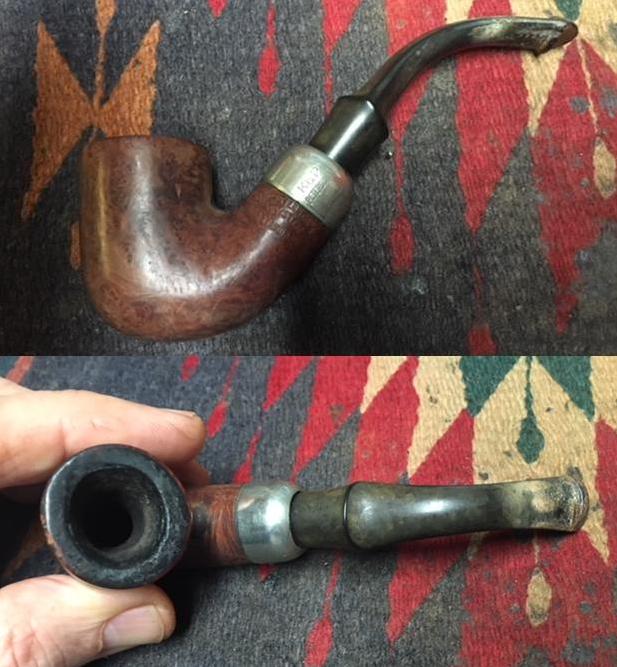
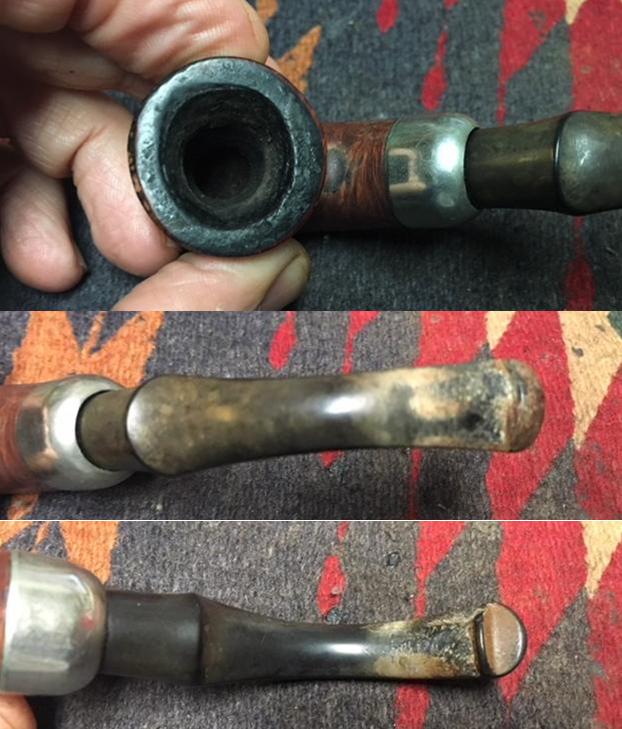
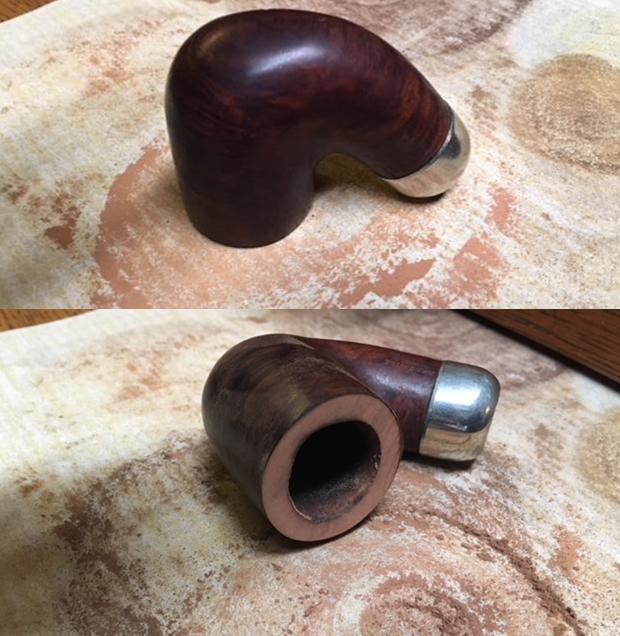
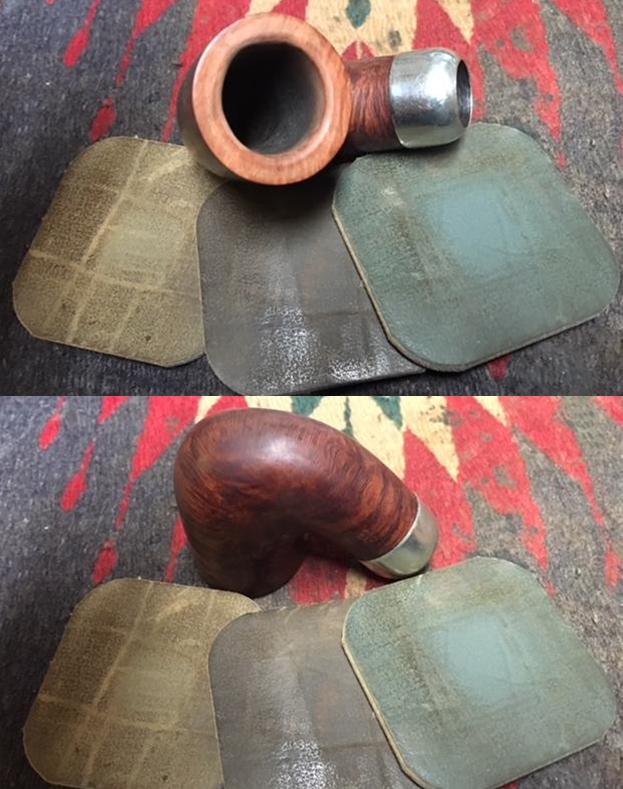
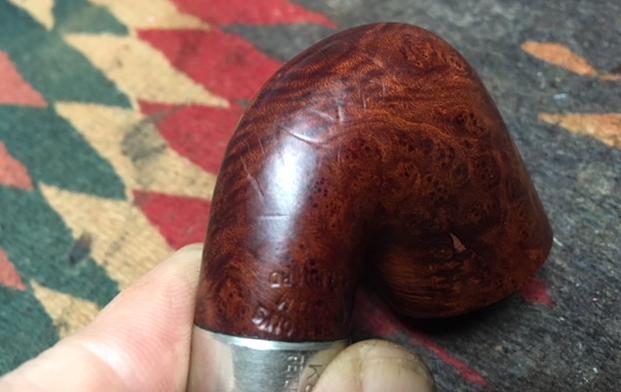
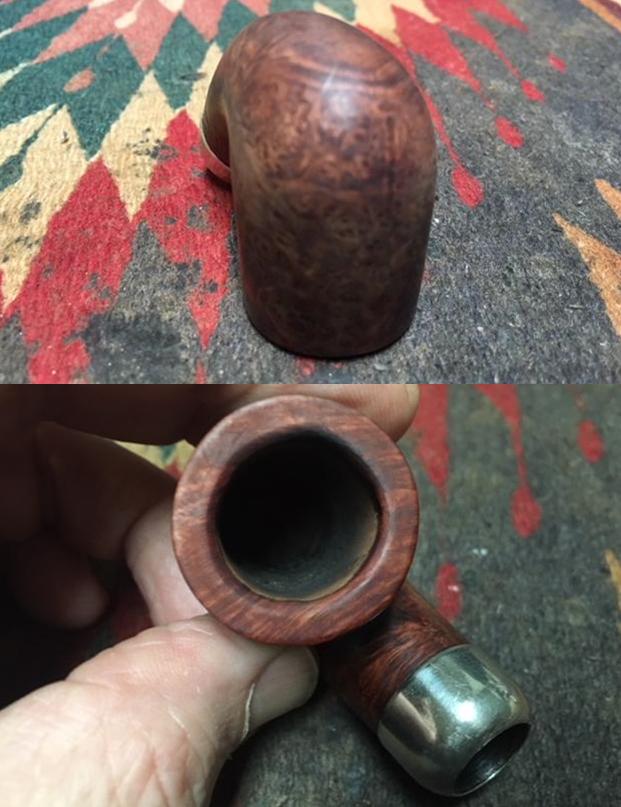
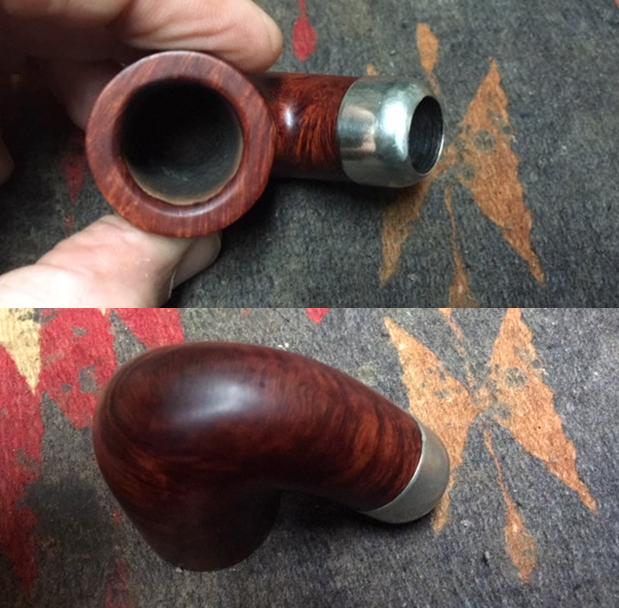
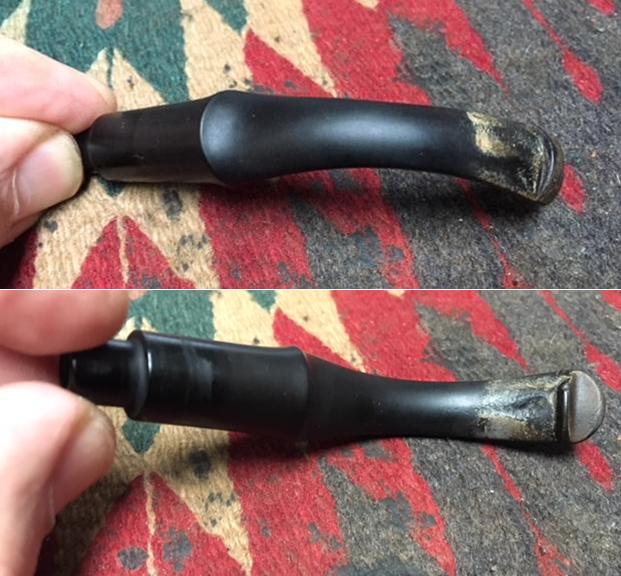
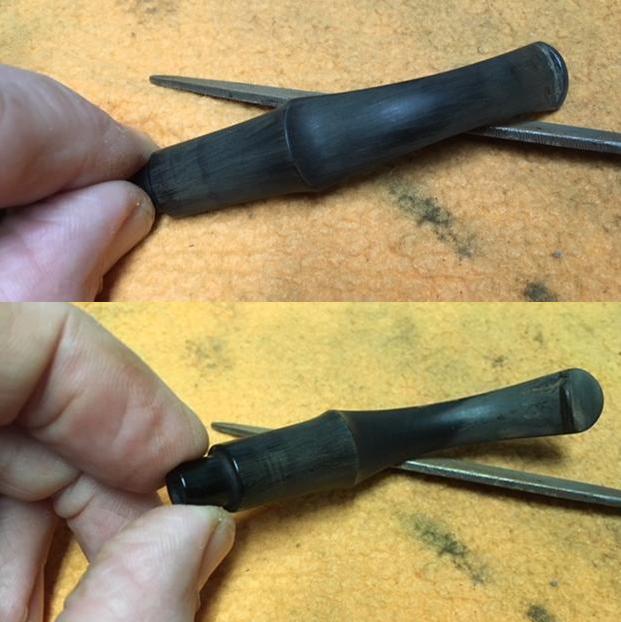
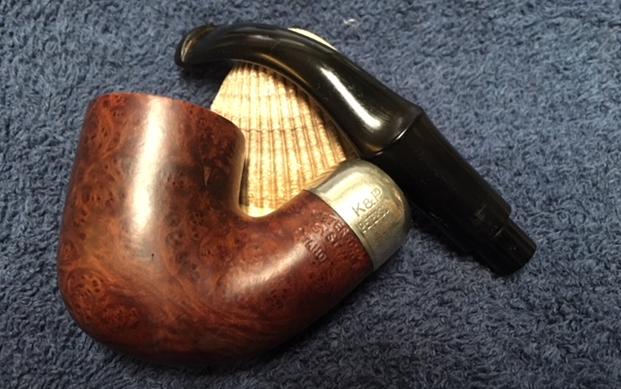
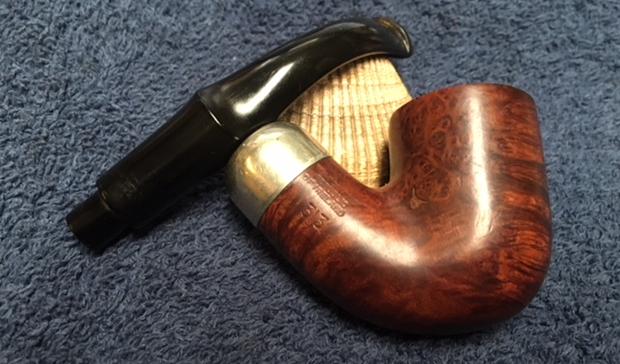
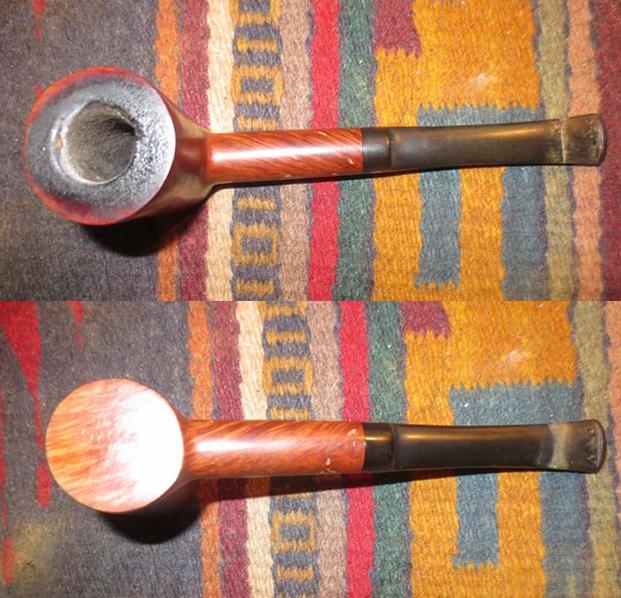
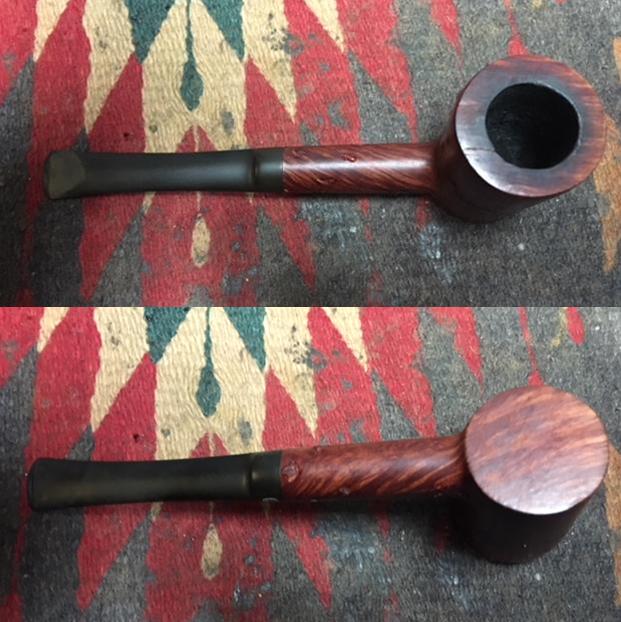
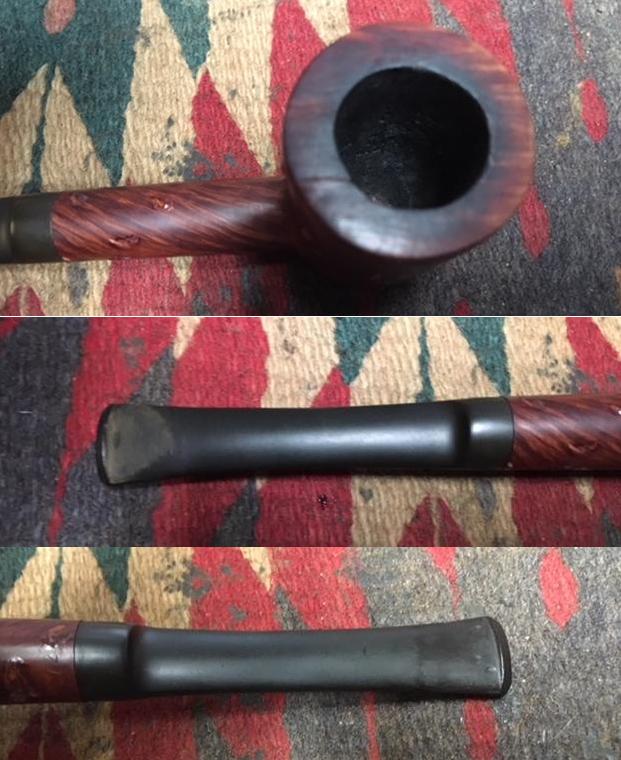
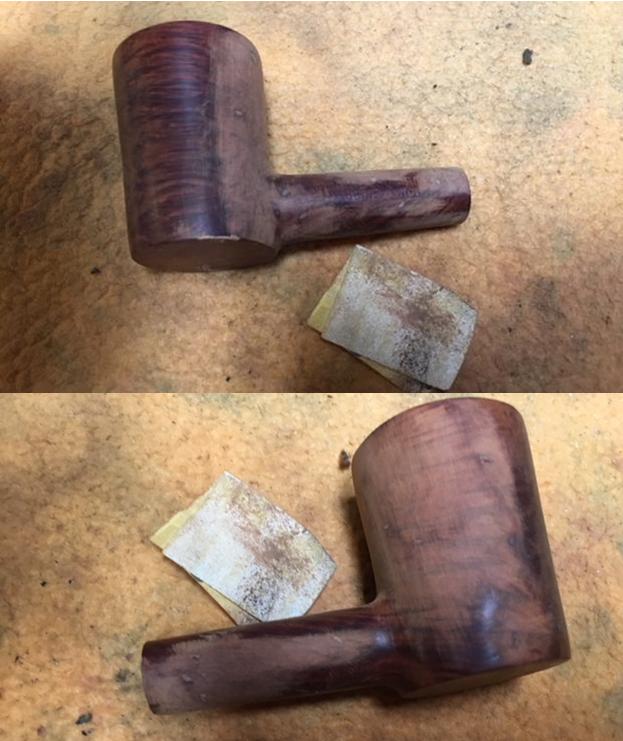
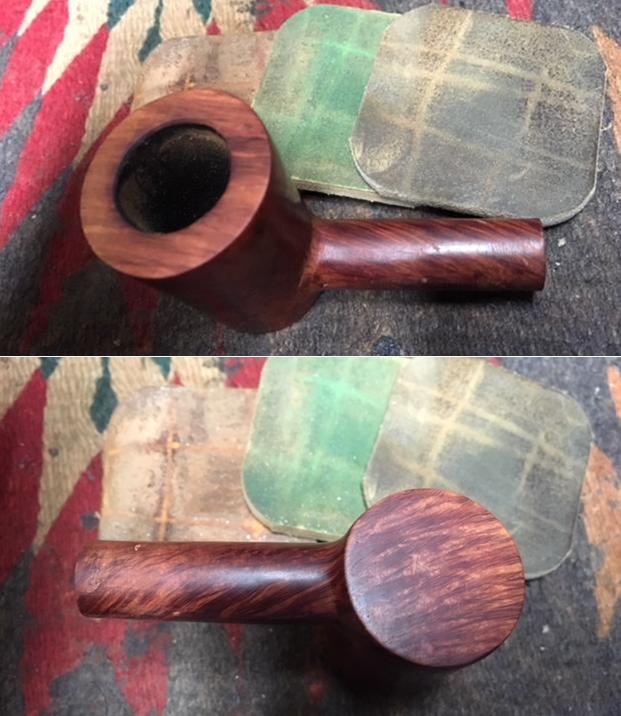
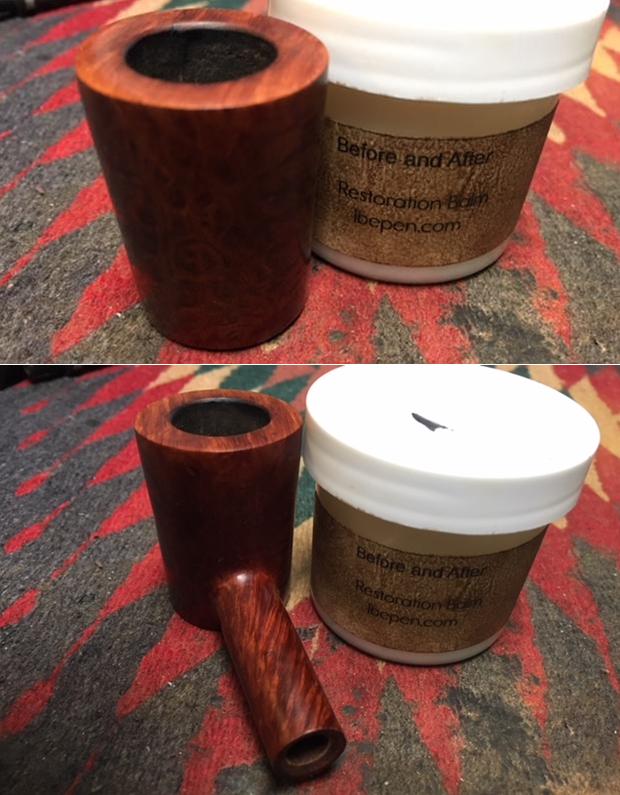
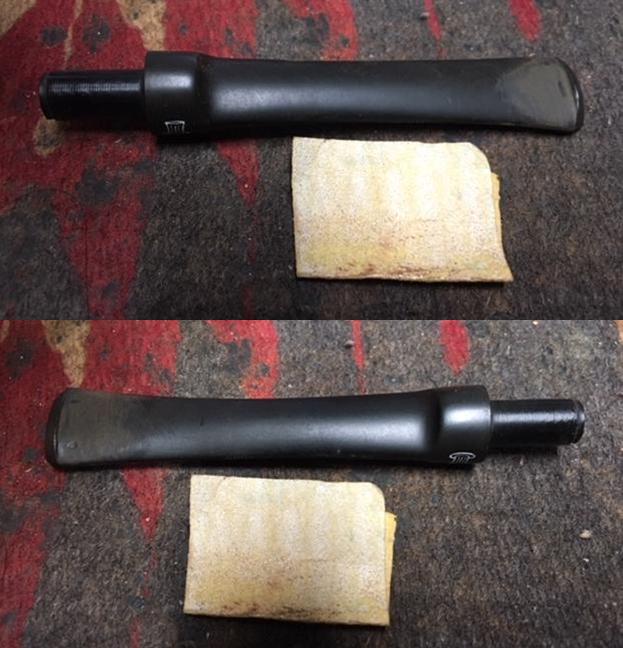
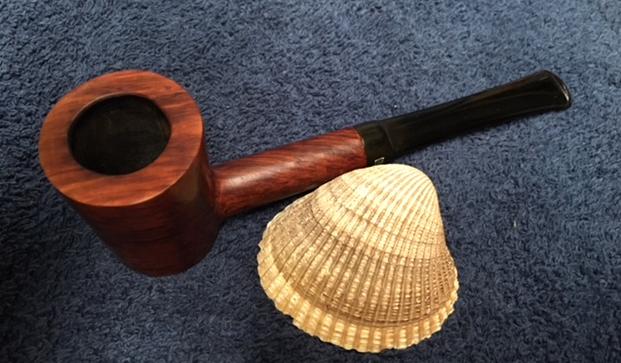
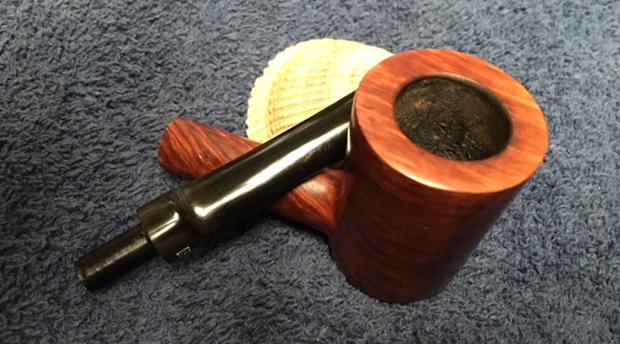
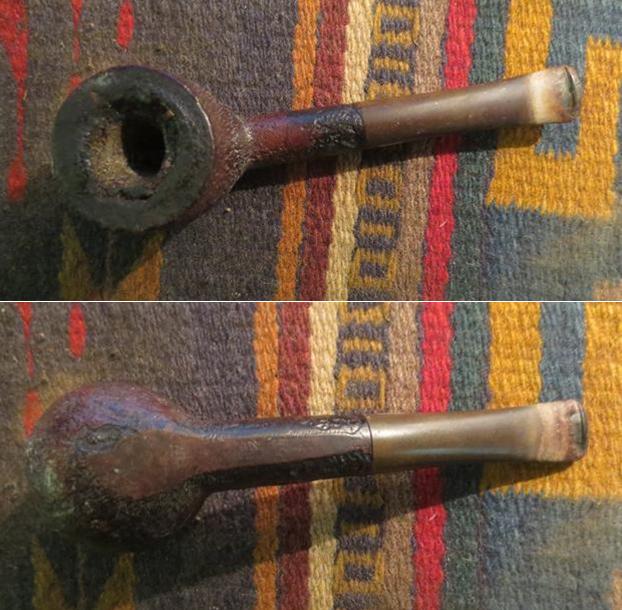
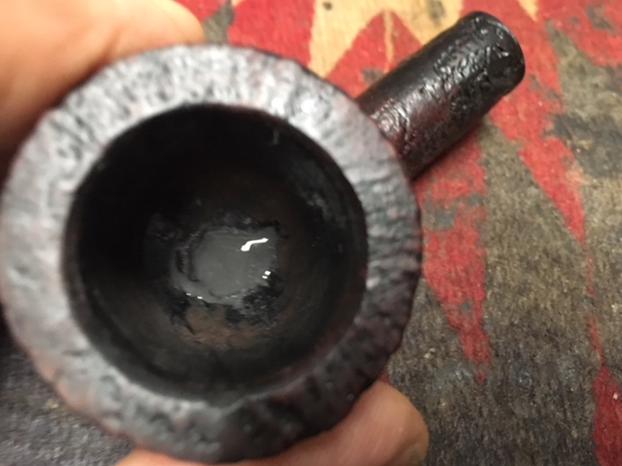
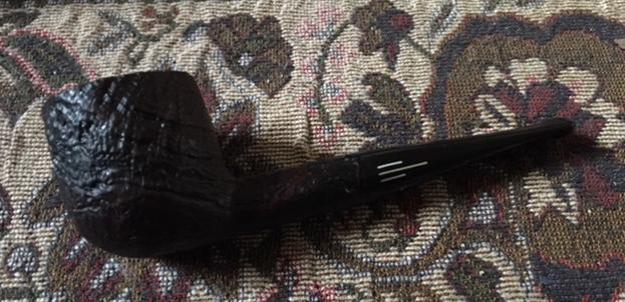
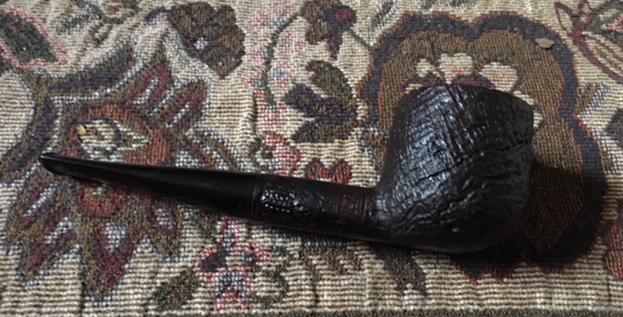
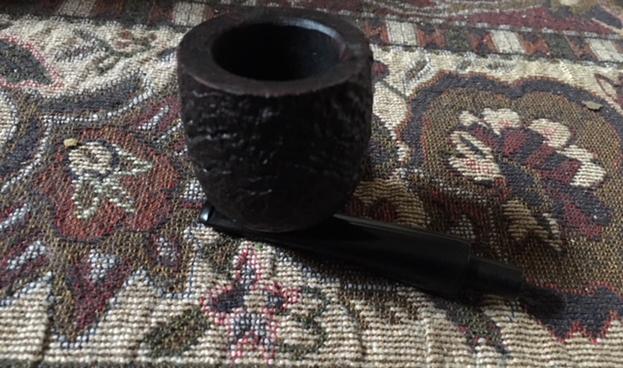
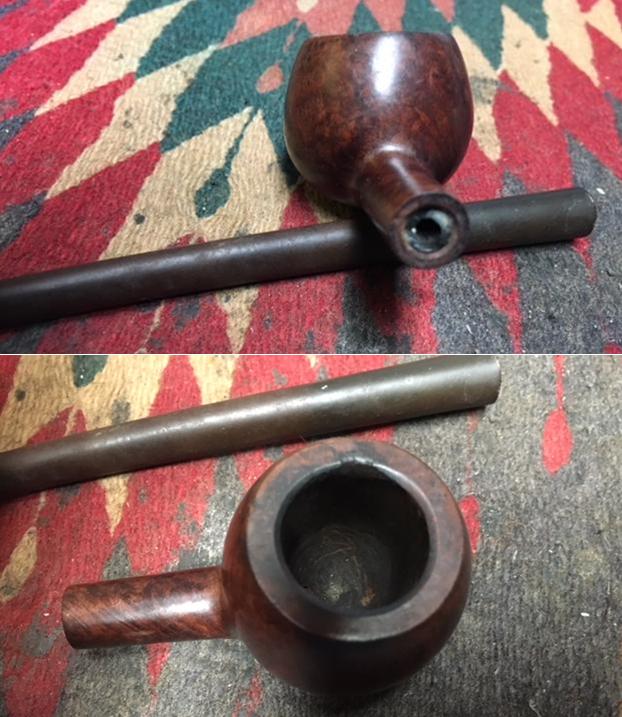
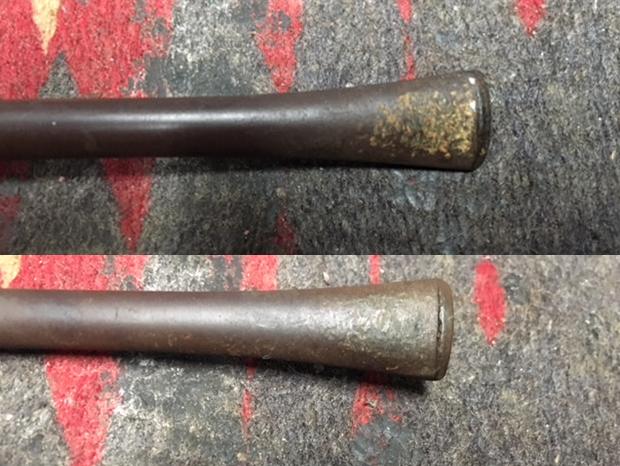
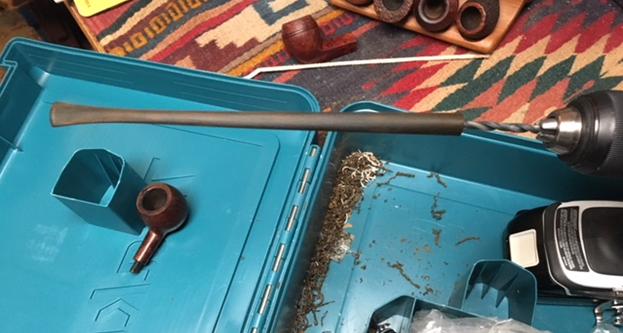
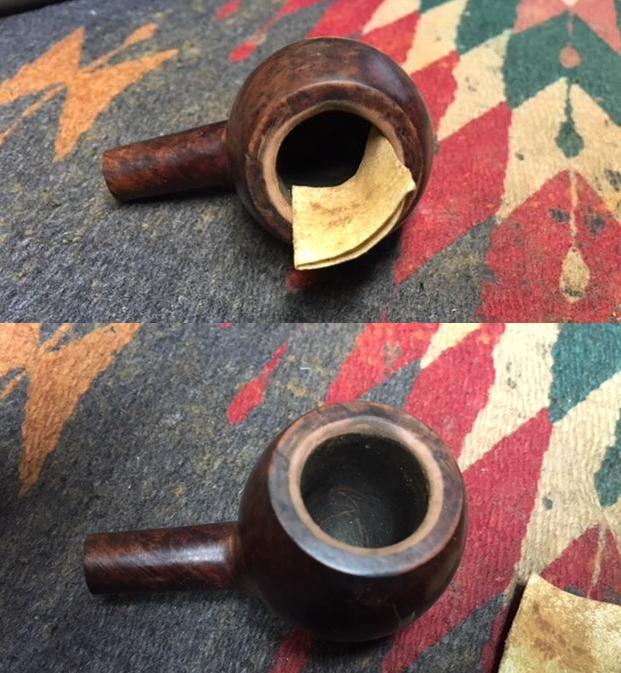
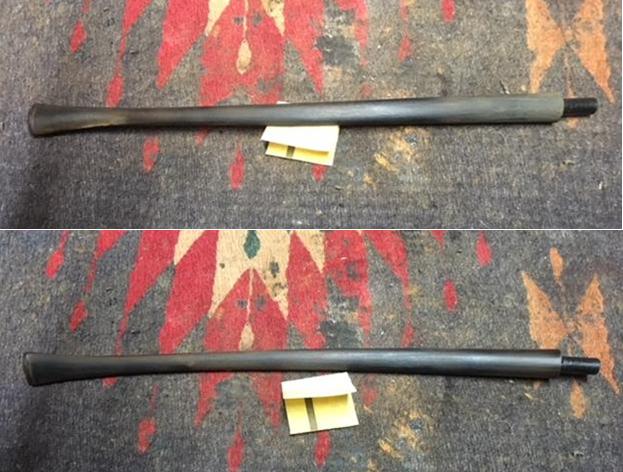
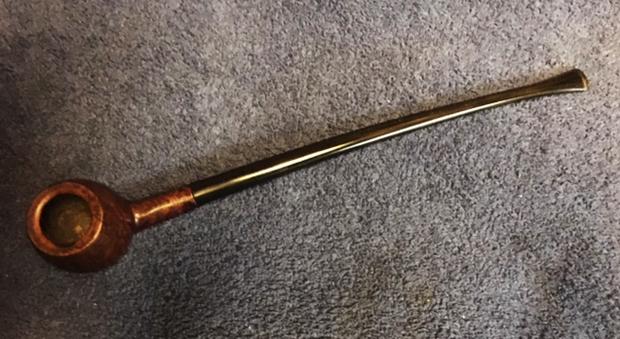
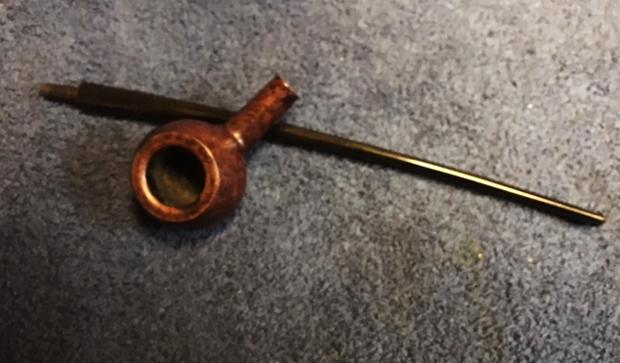
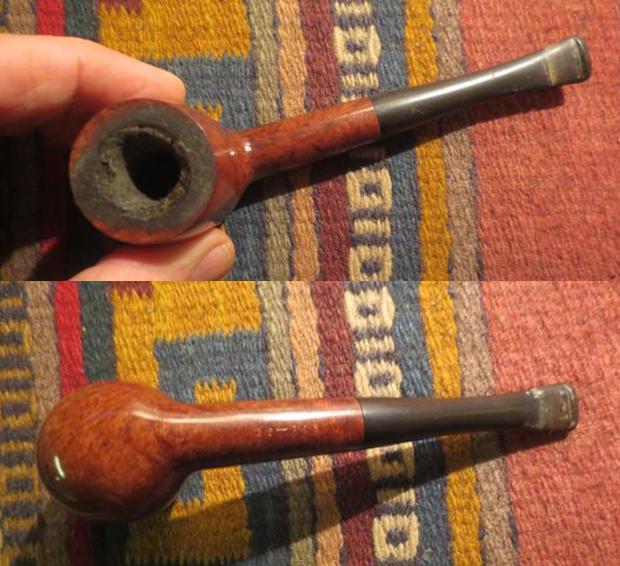
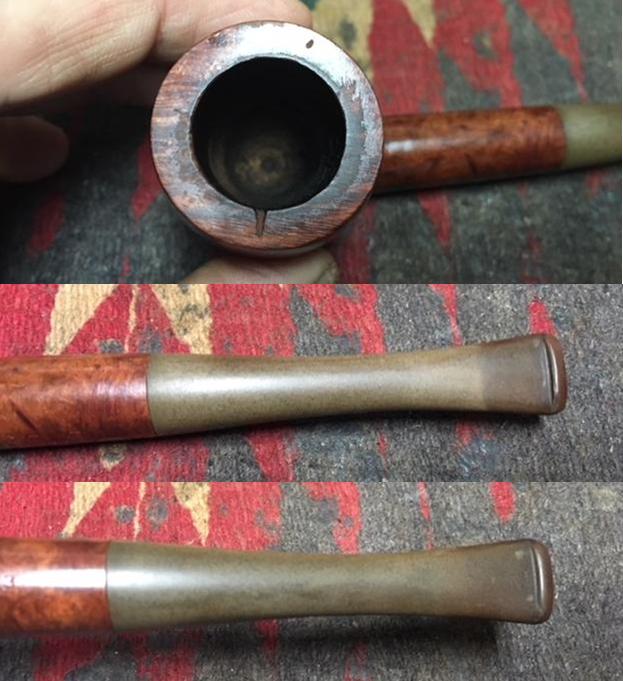
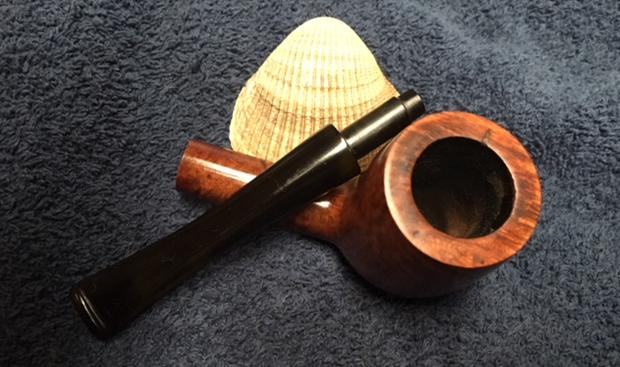
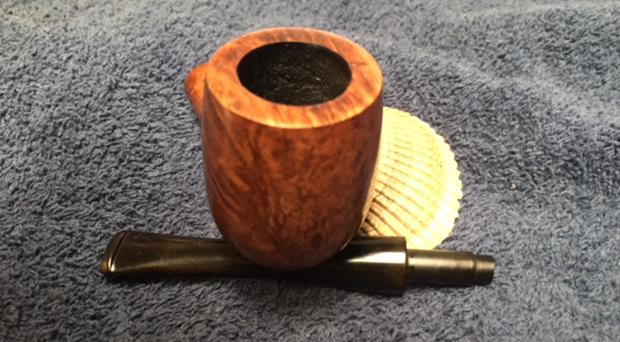
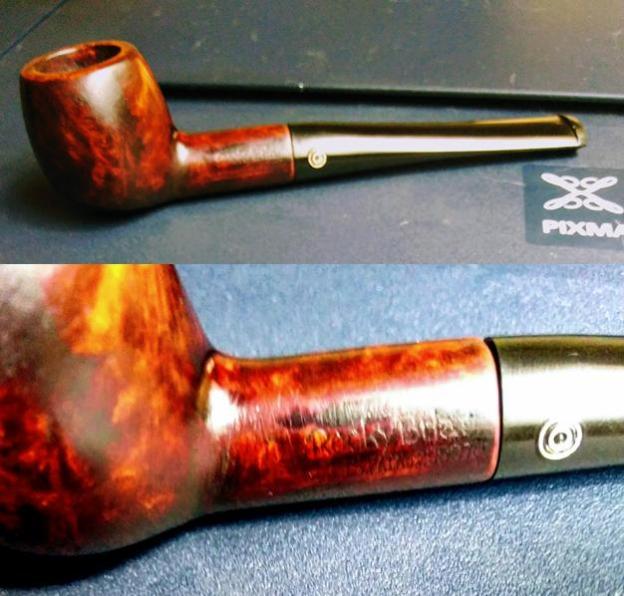
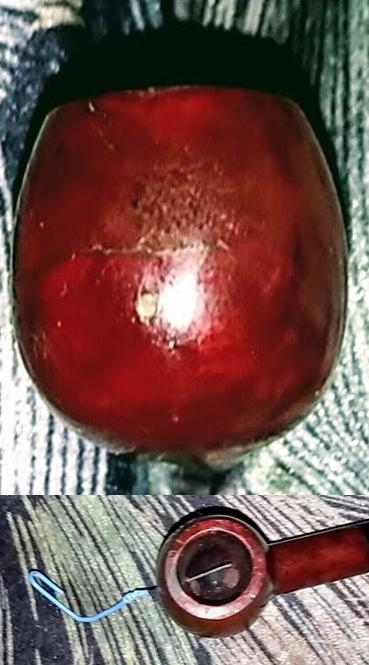
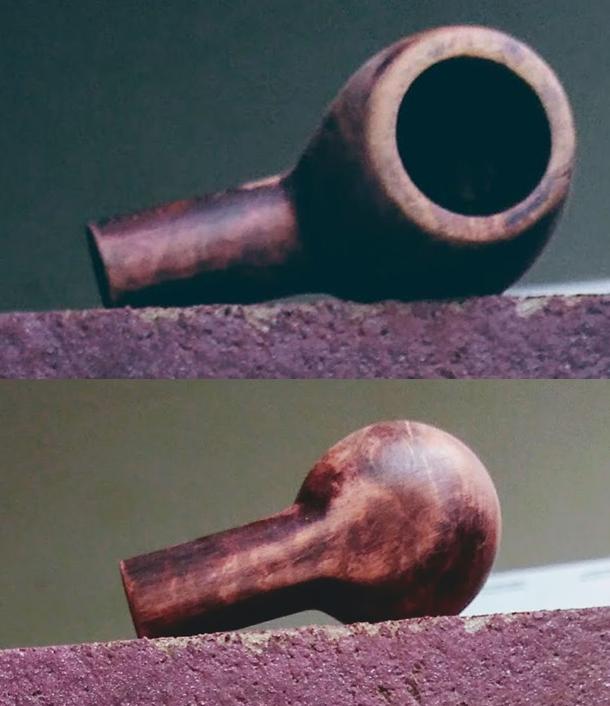
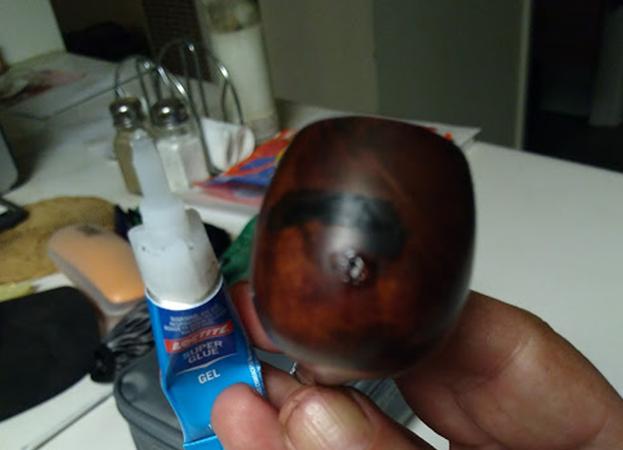
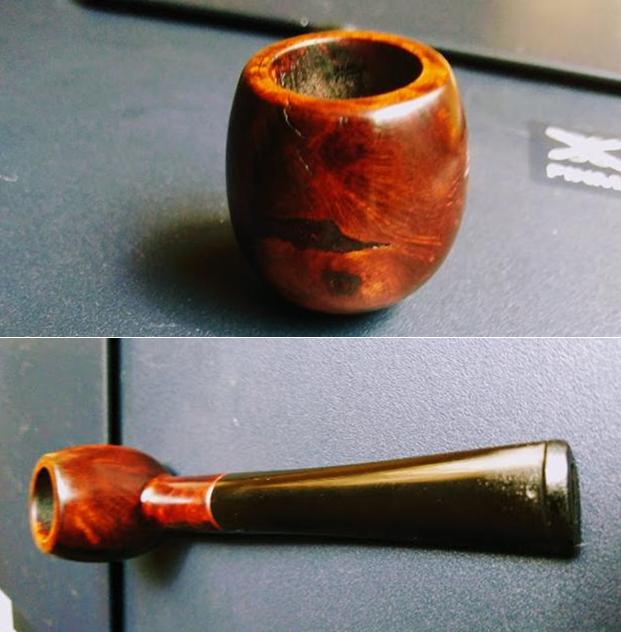
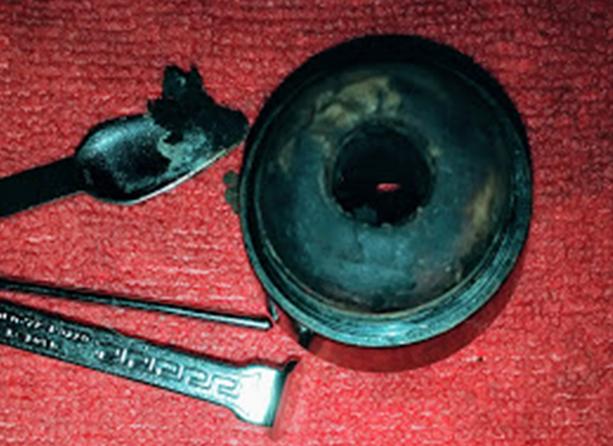
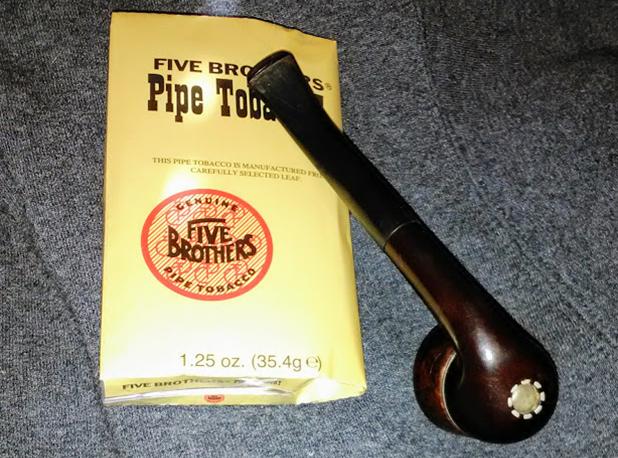
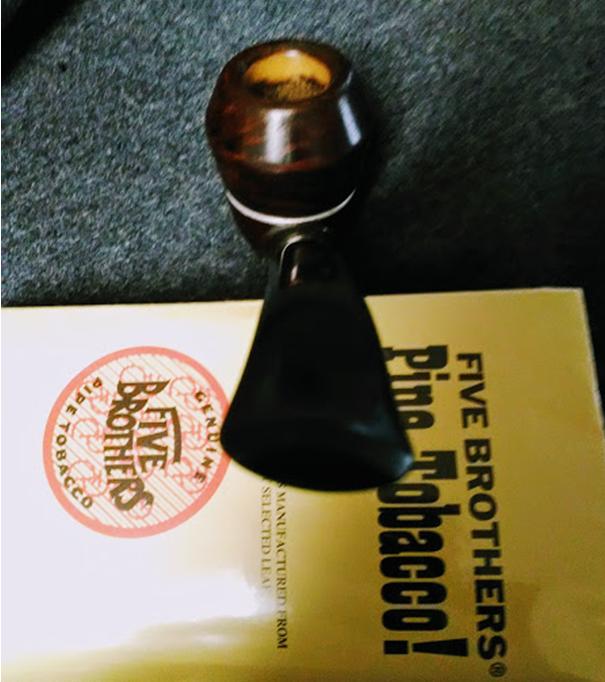
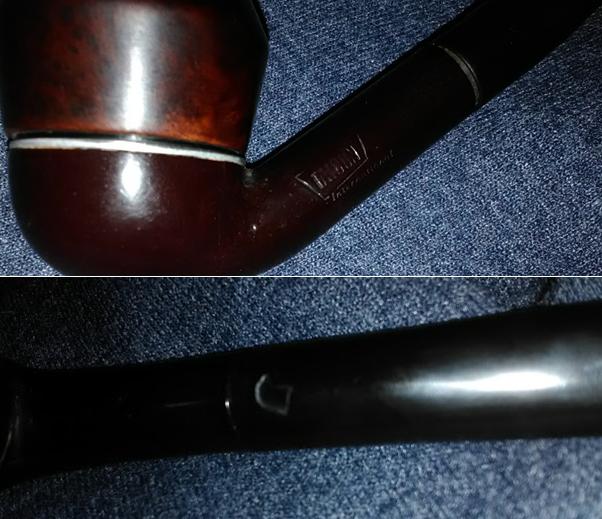
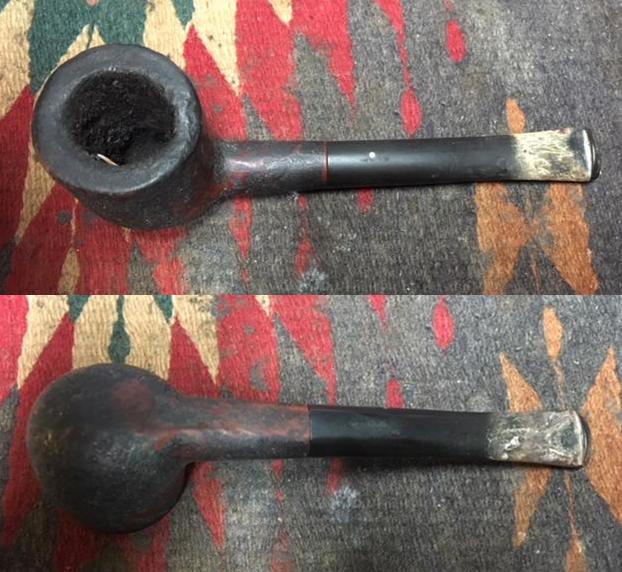
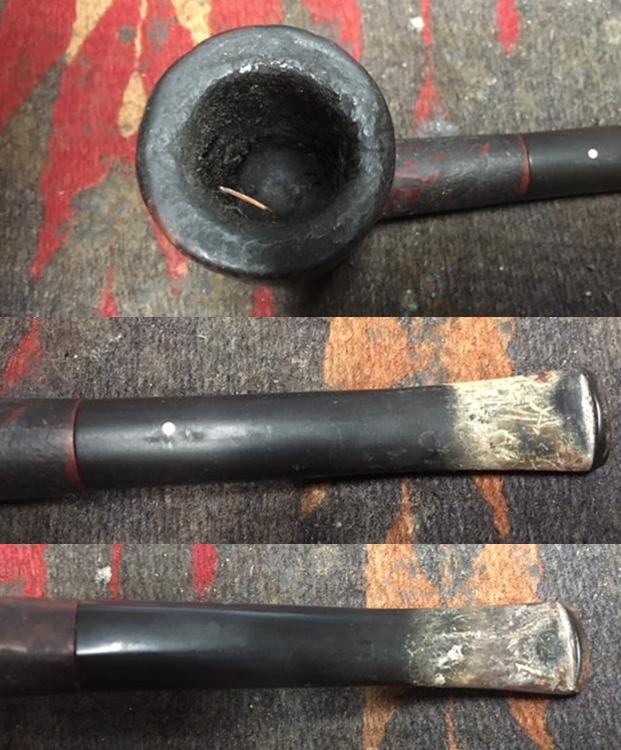
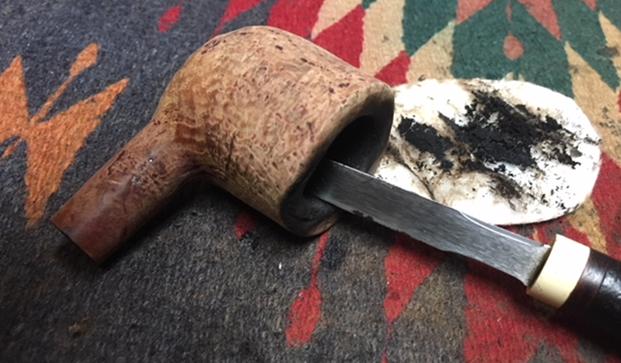
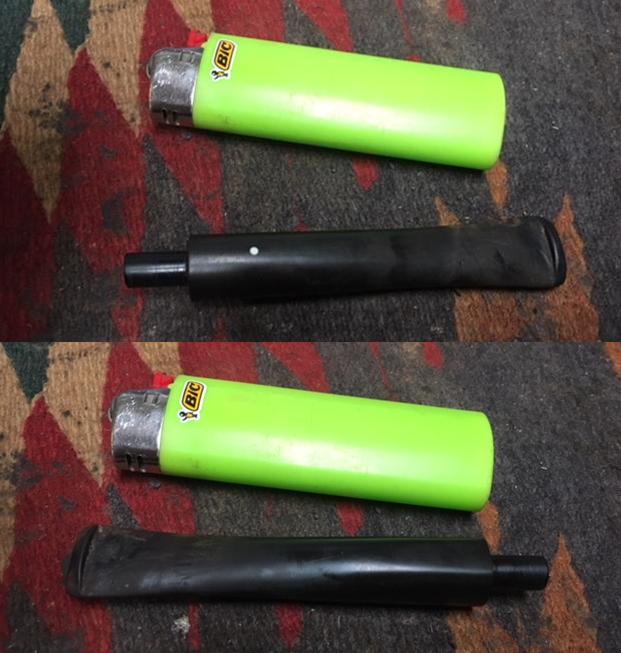
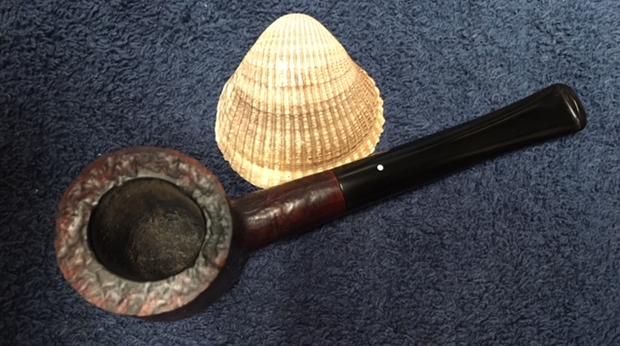
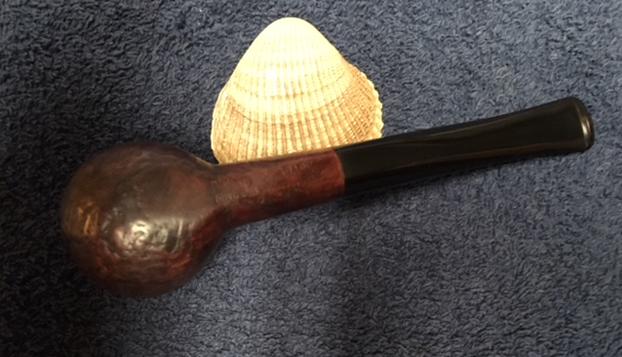
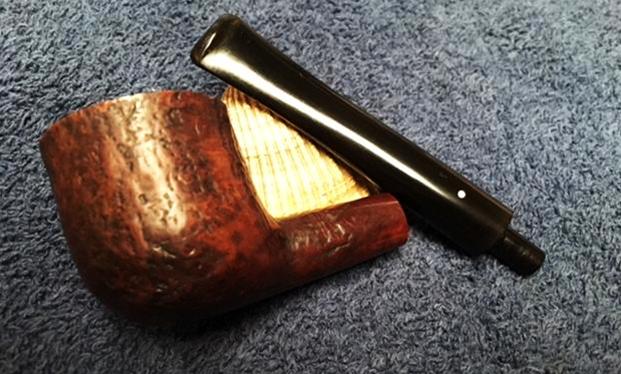
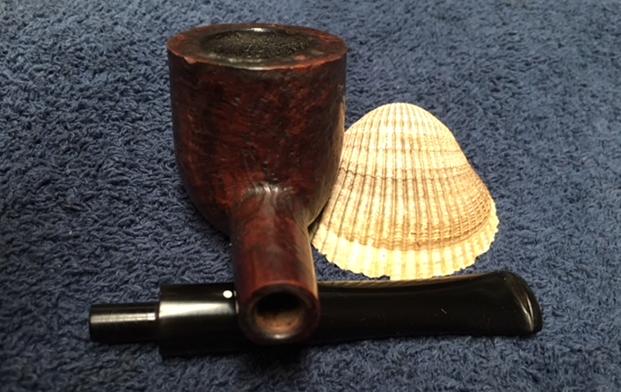
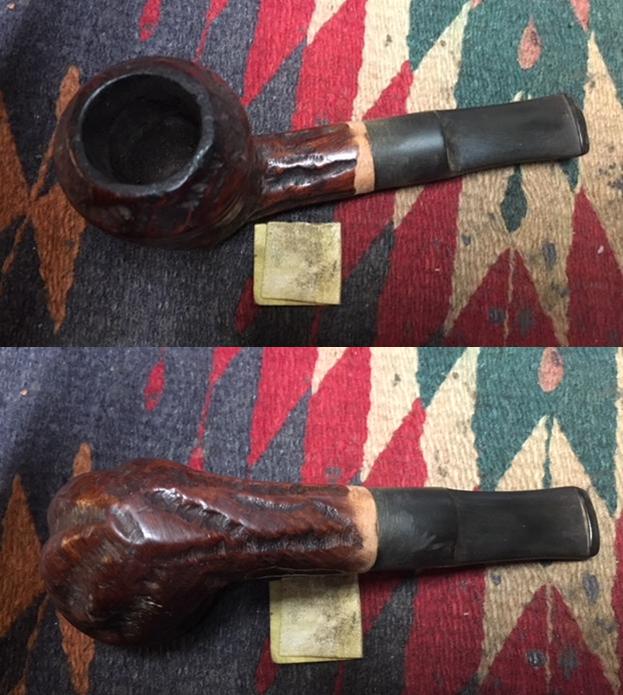
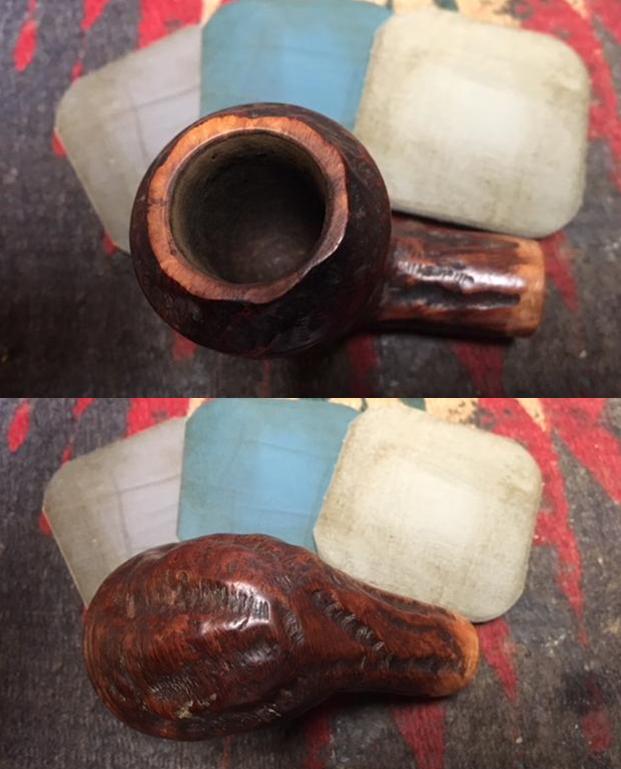
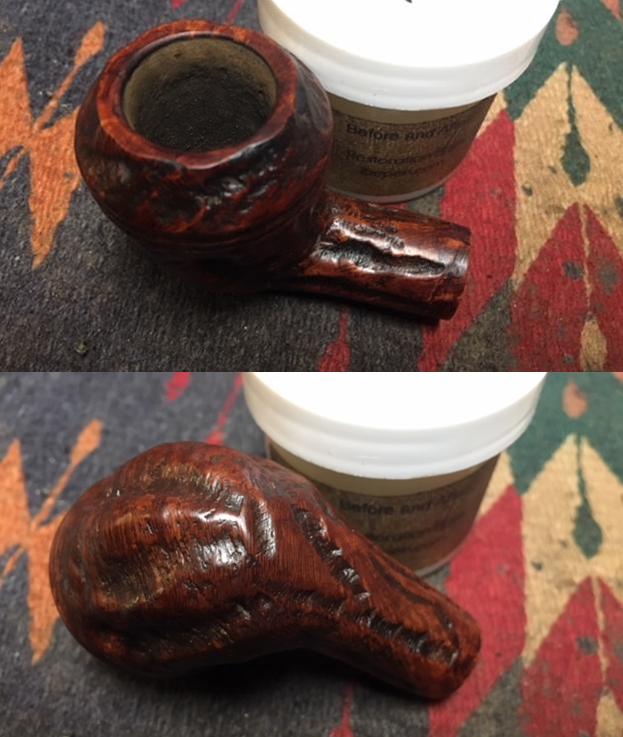
 I took a close up photo of the rim top to show the damage to the top surface and the inner edge of the bowl. You can see that the top is rough from knocking the pipe out against a hard surface and the inner edge looks to have been damaged by reaming with a knife. I also took photos of the stem to show the large chunk that was missing near the button. Notice also the fit of the stem to the shank.
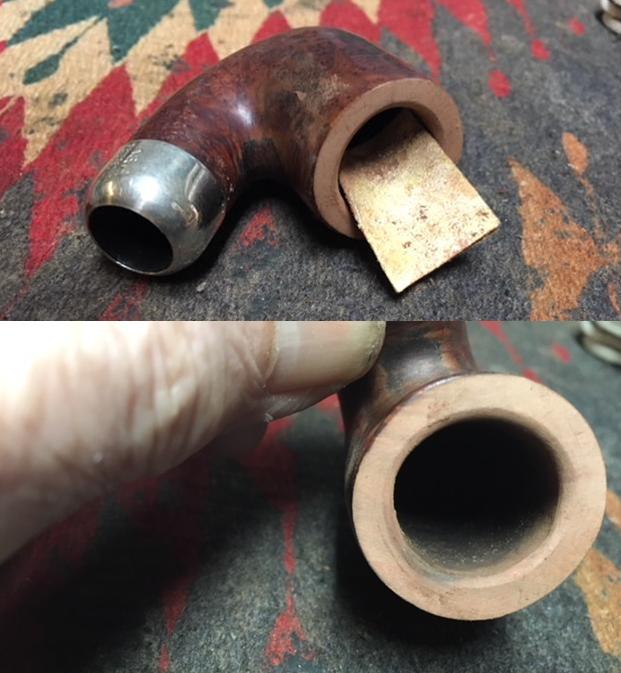
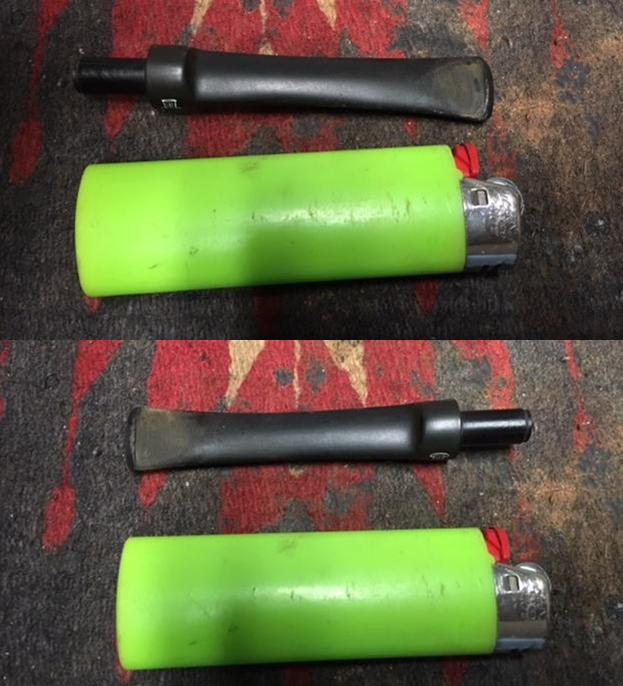
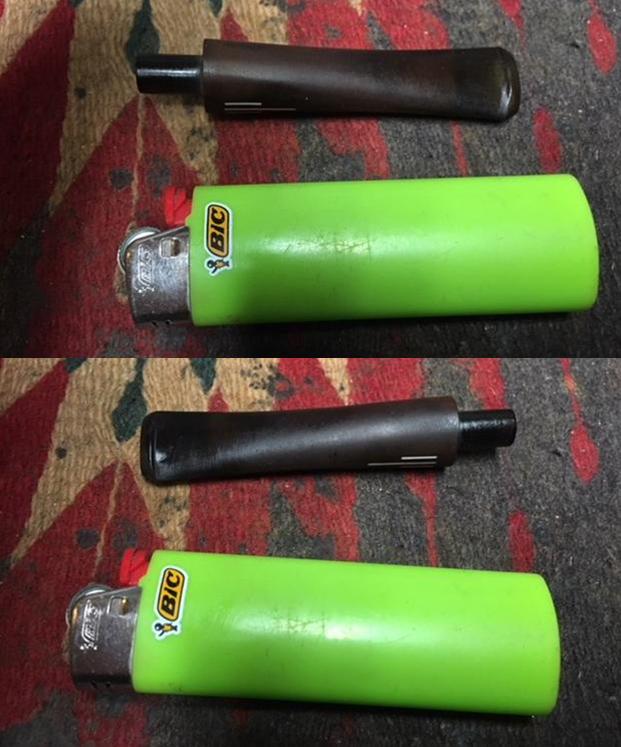
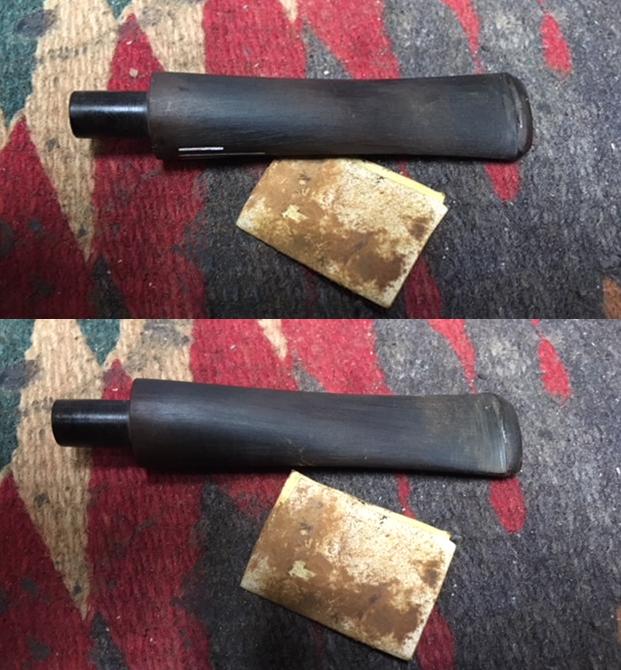
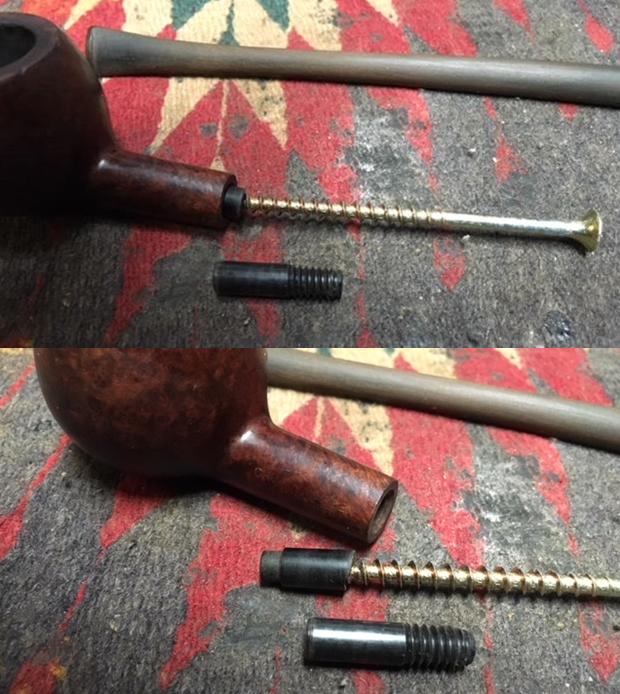
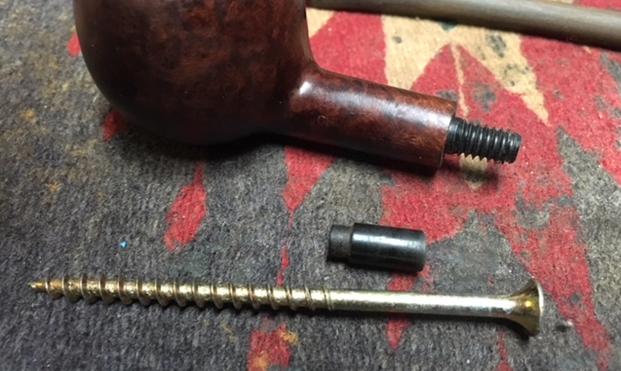
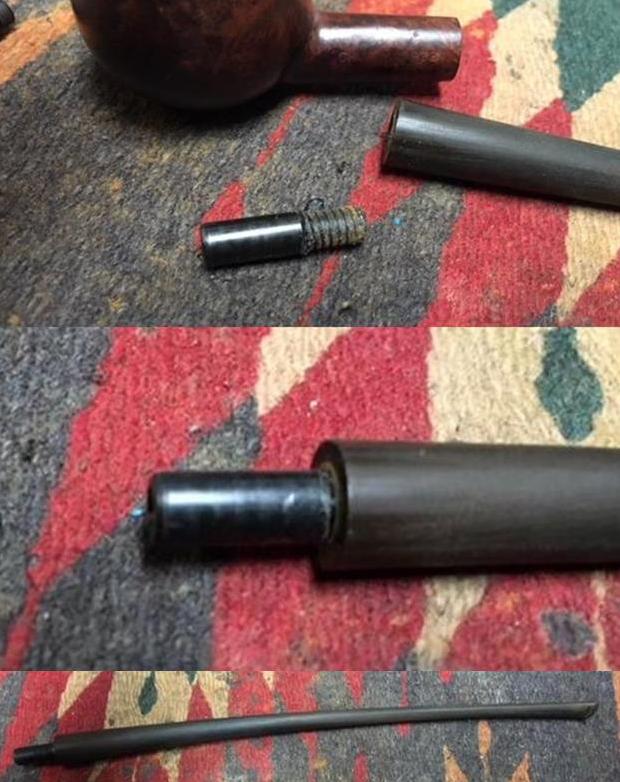
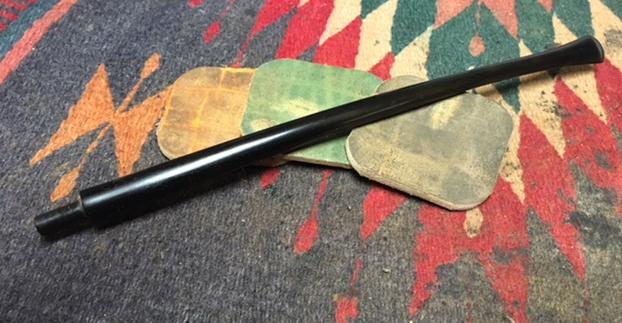
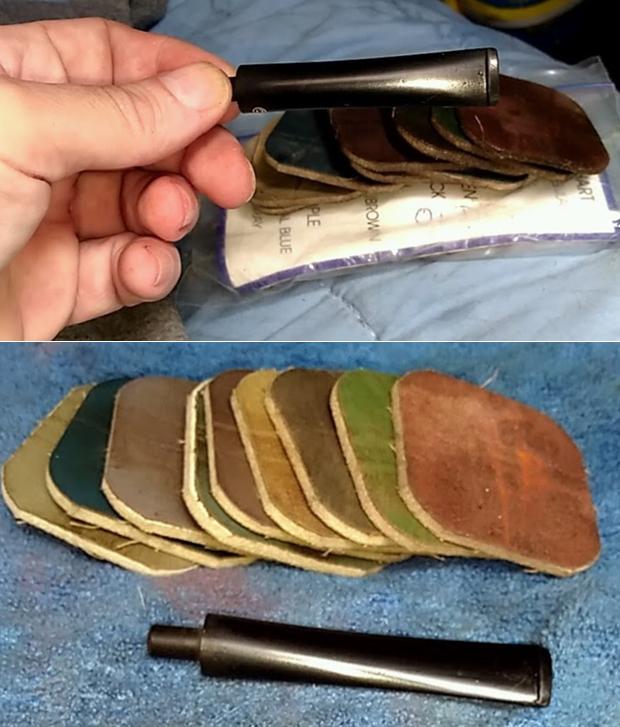
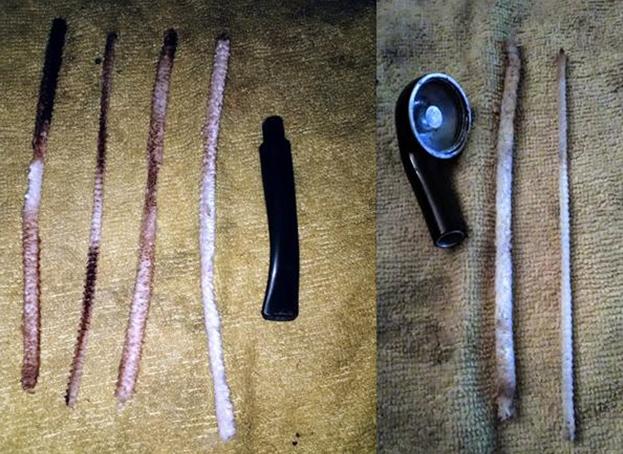
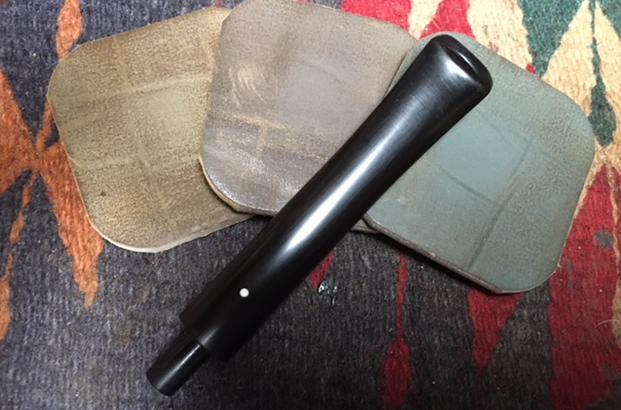
  I went through my can of stems to see if I could find a stem that would fit the shank better. I also did a bit of hunting online and found that often the Custombilt Bulldog had a saddle stem rather than a taper stem. The next stem had a tenon that was the correct length. It was slightly shorter than the broken stem but it would work well on the shank of the pipe.
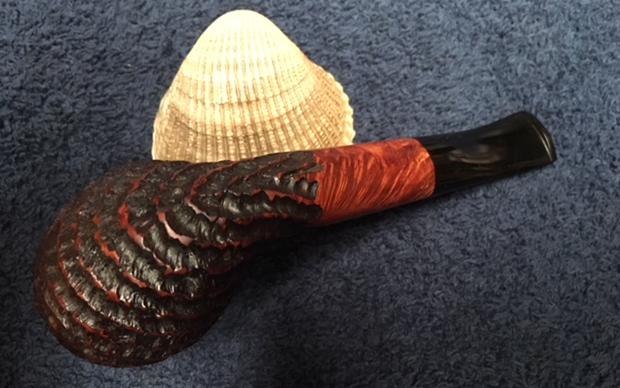
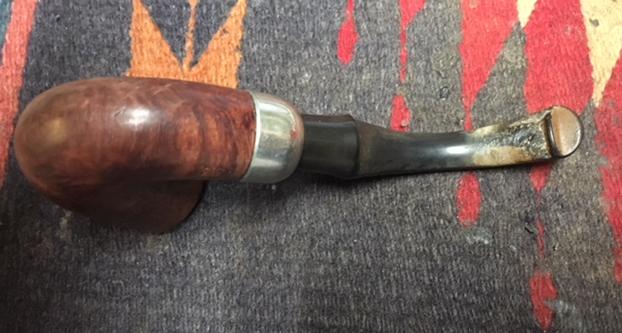
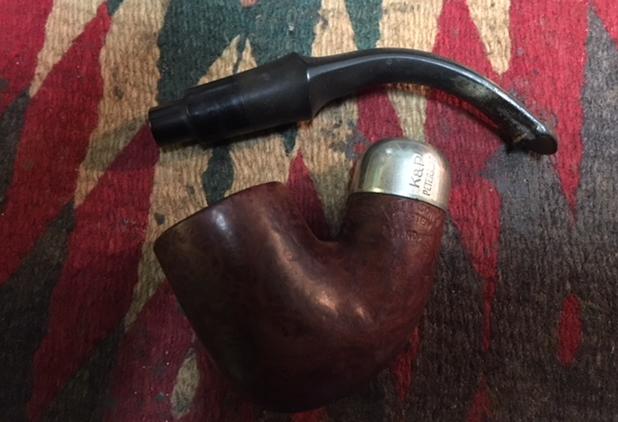
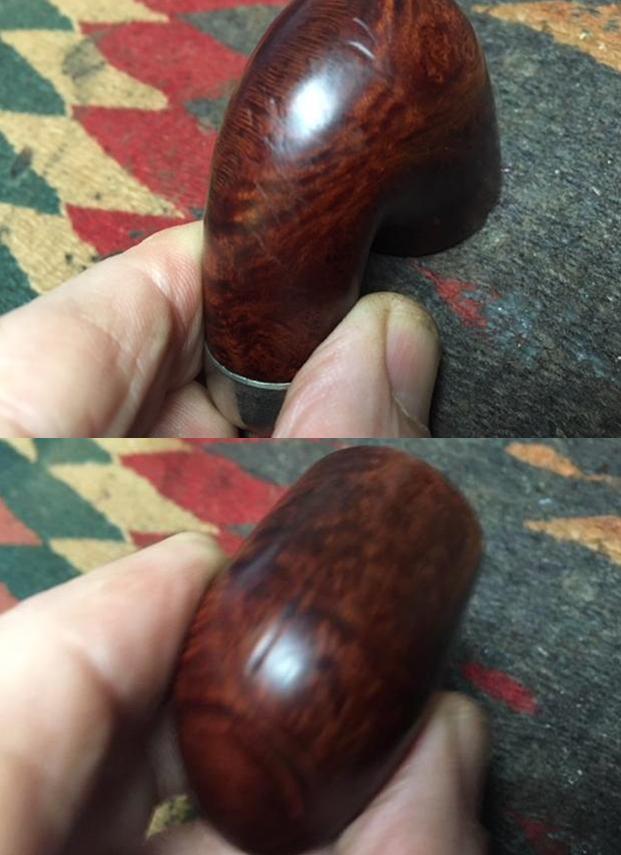
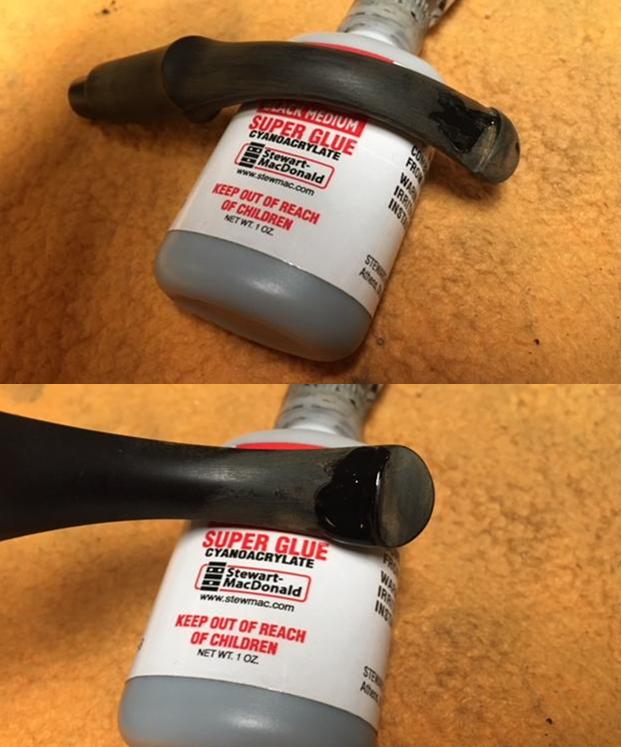
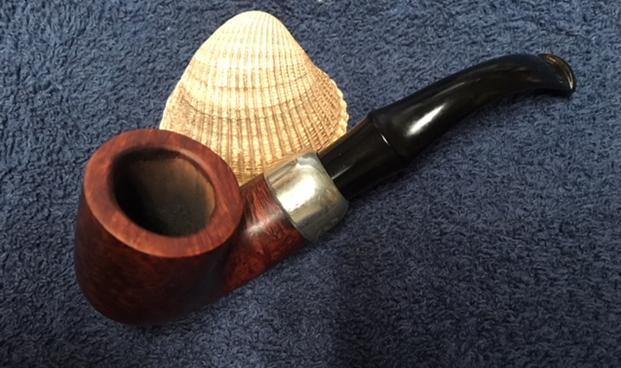
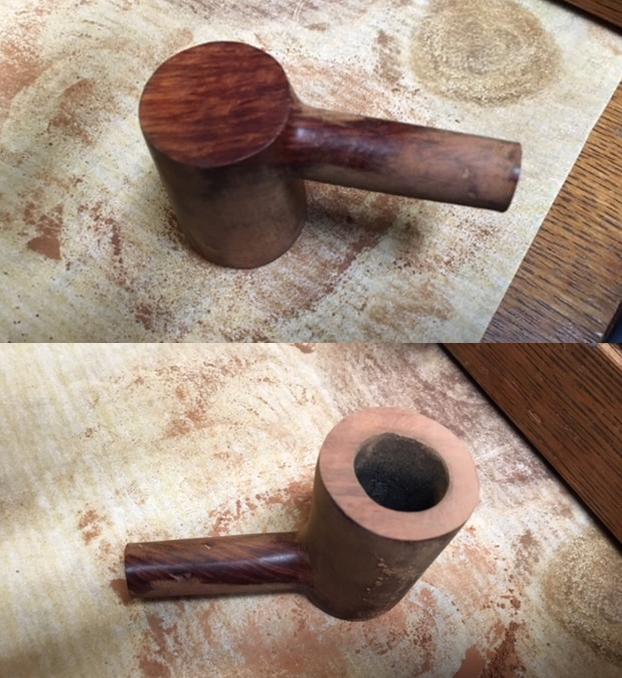
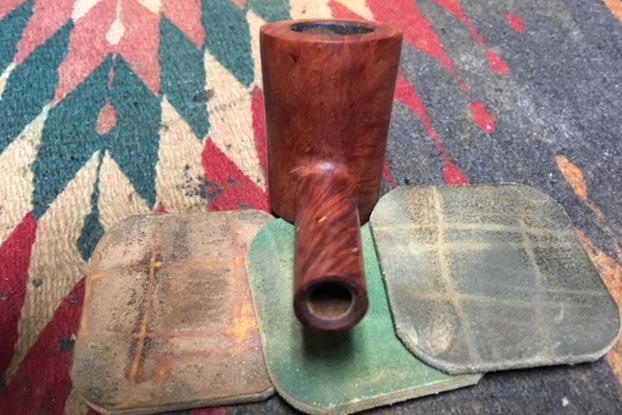
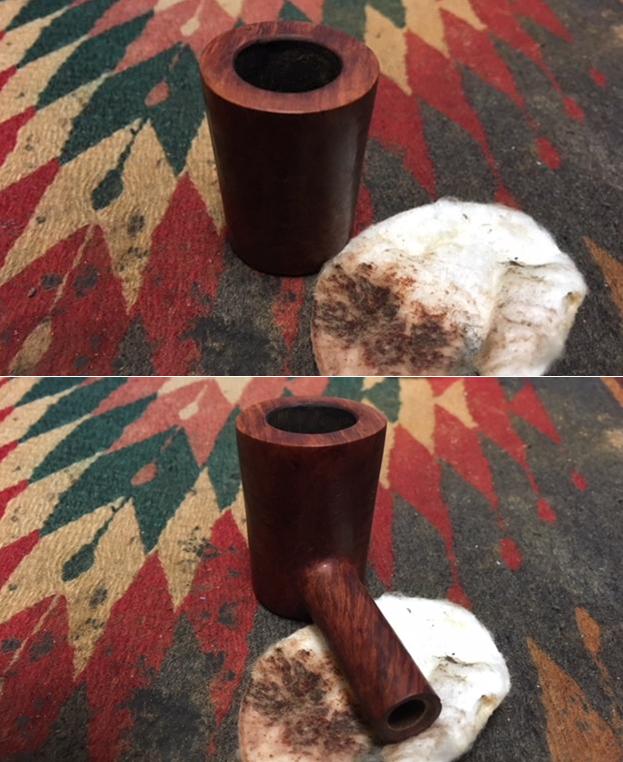
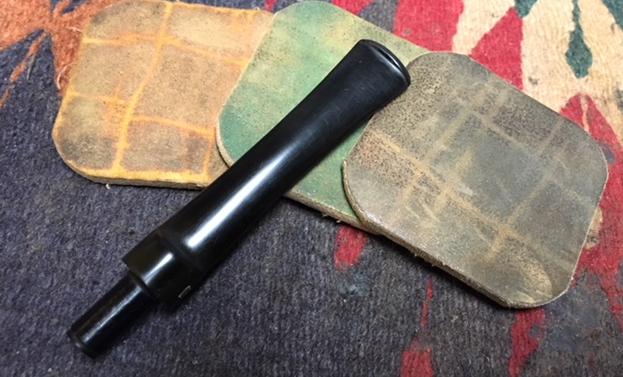
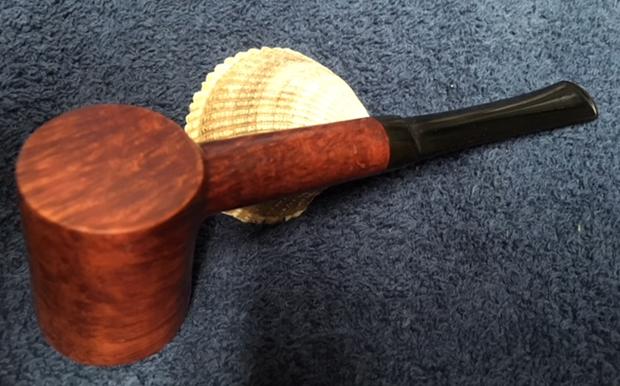
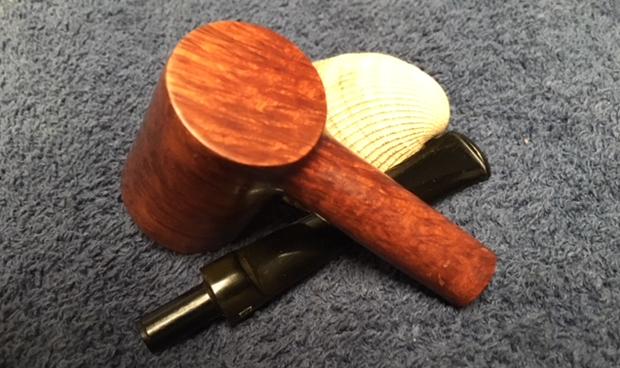
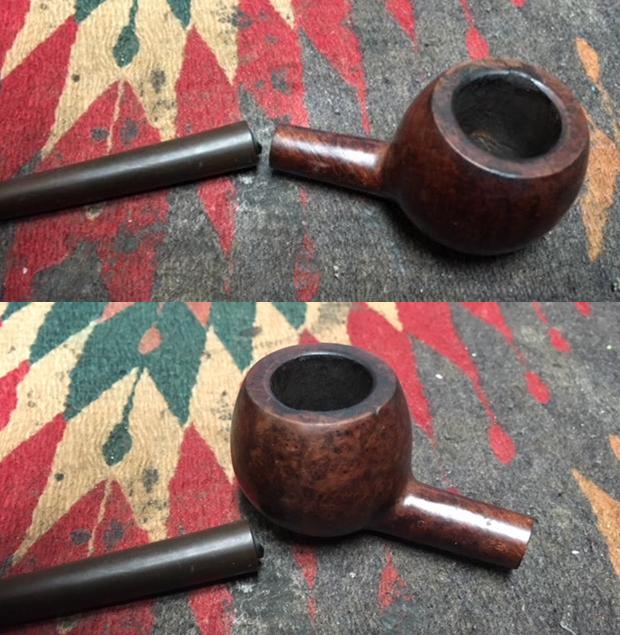
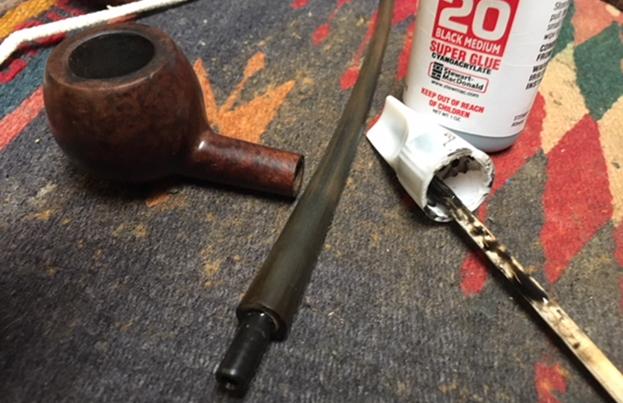
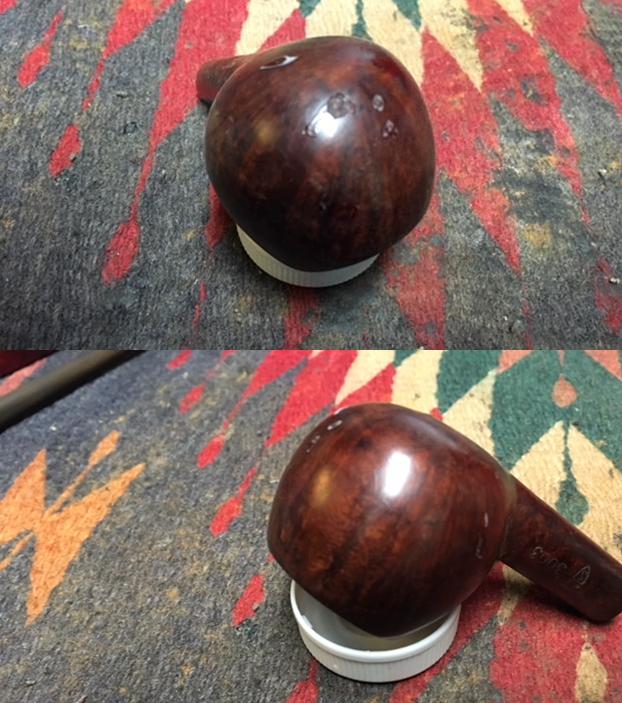
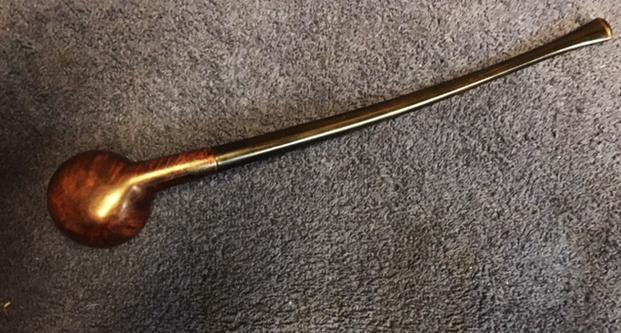
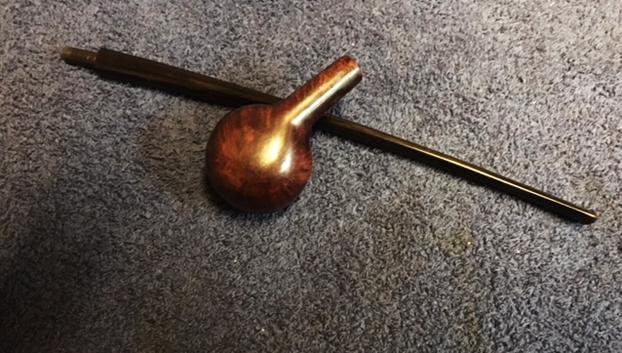
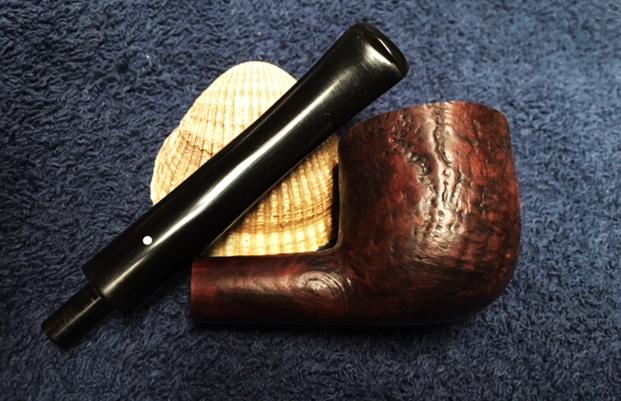
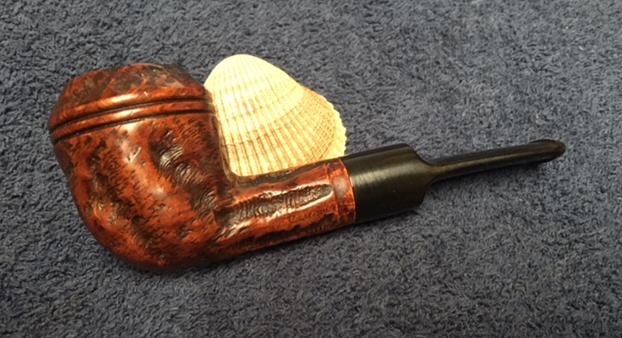
 I put the new stem on the shank and took pictures to evaluate the new look. I also sent copies of the photos to Mike to see what he thought. I received and email reply from him that he liked the new look of the pipe so I continued with the fit of the stem.
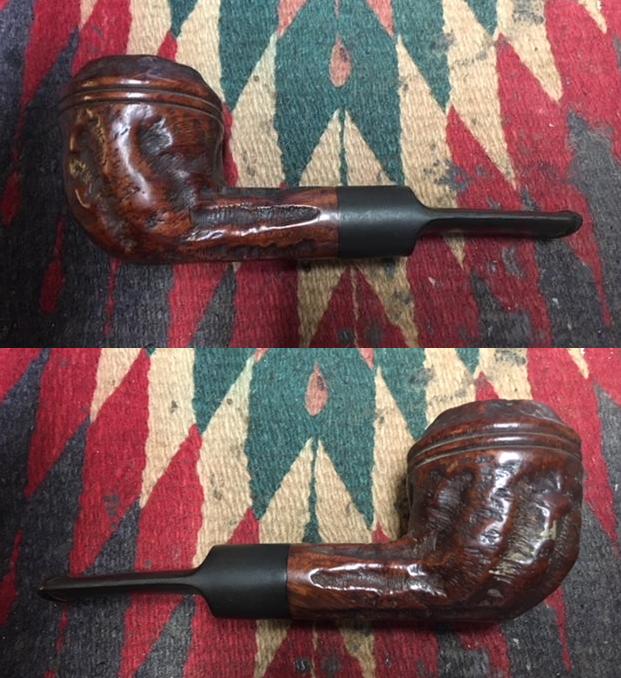
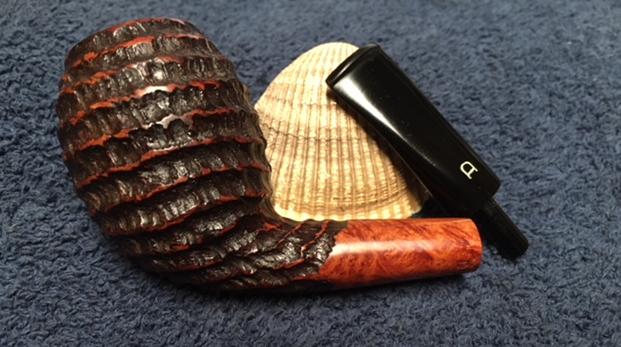
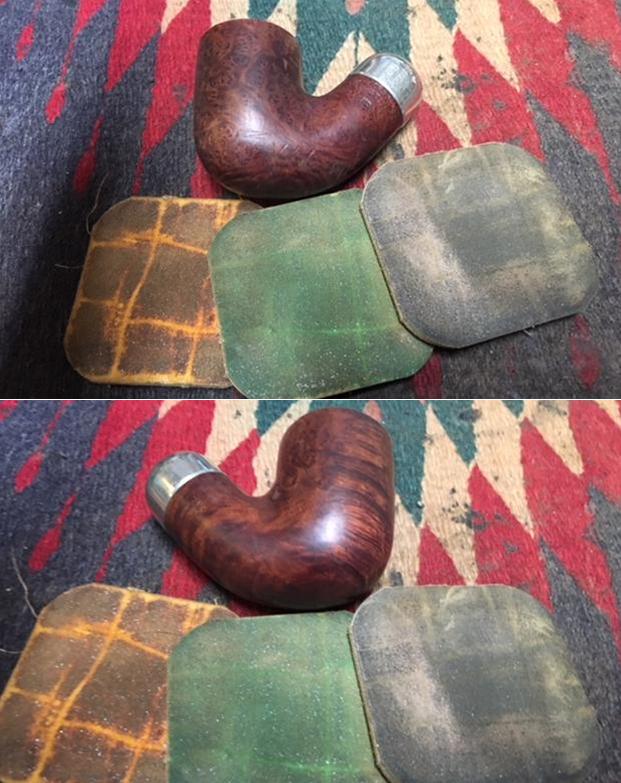
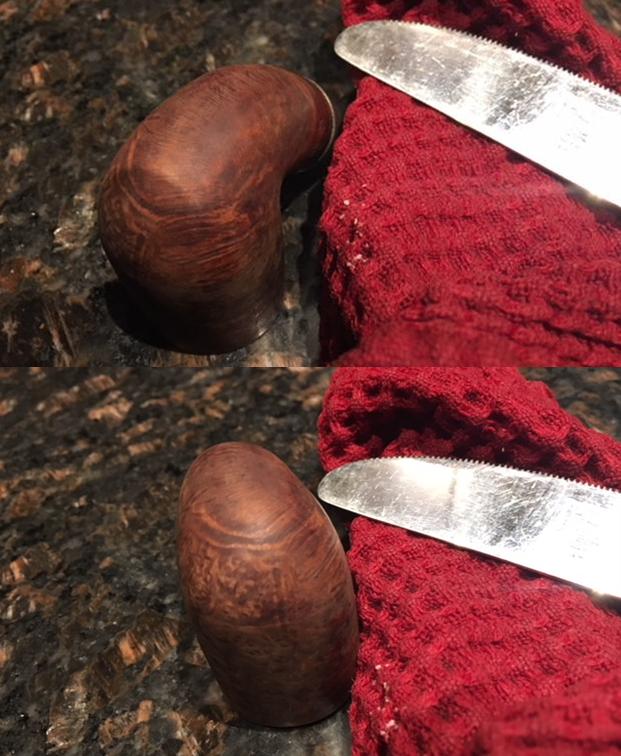
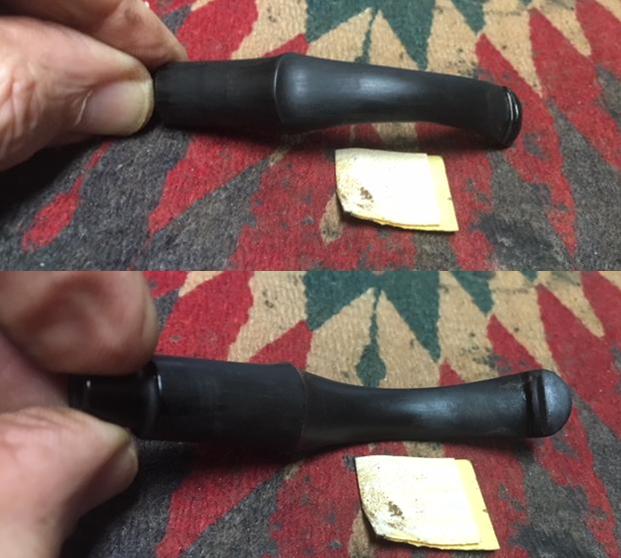
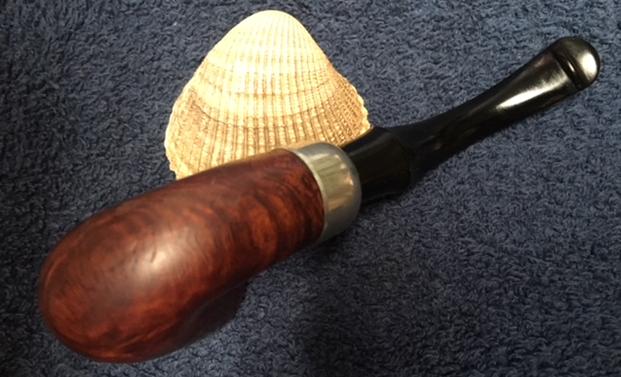
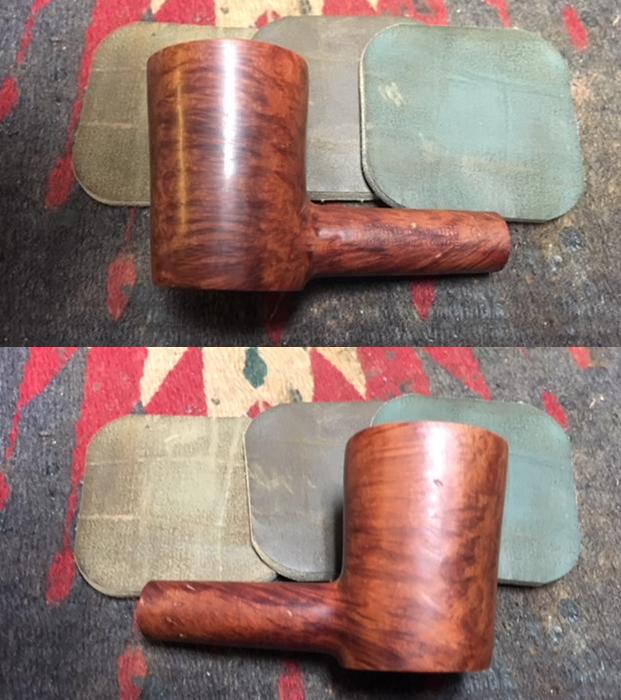
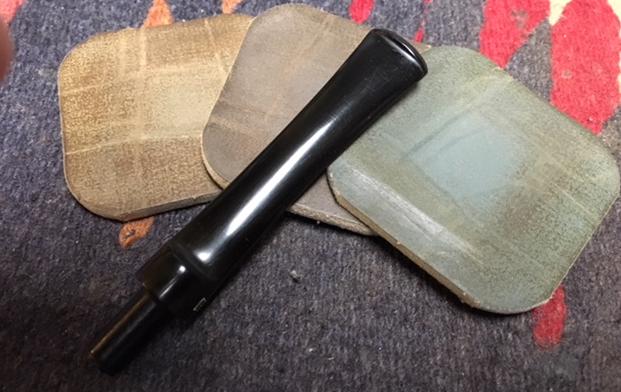
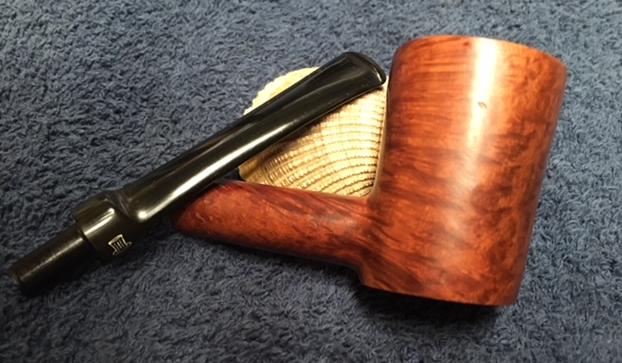
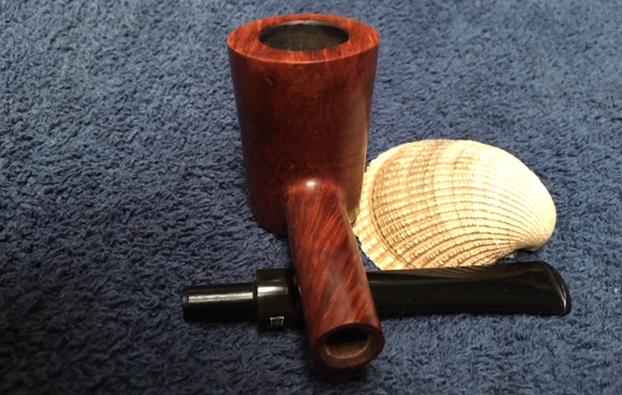
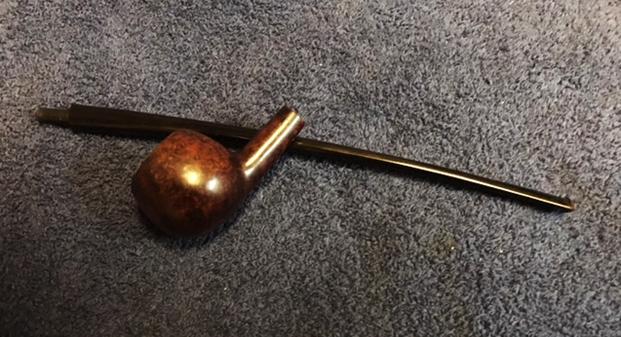
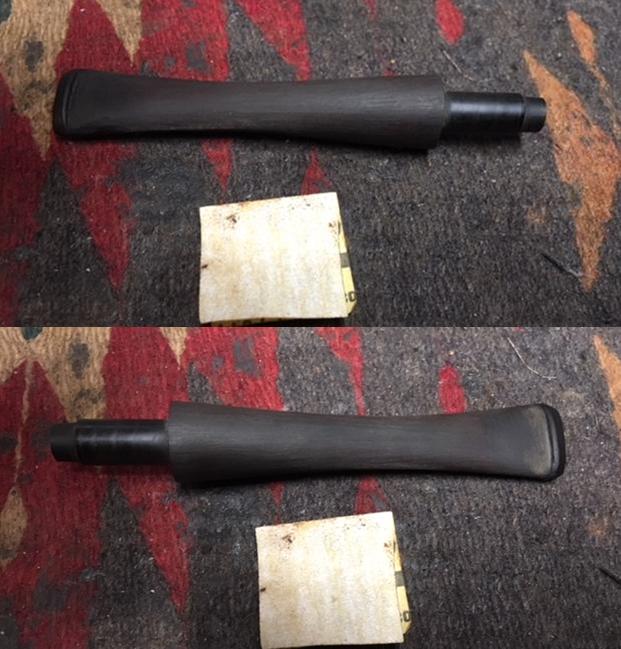
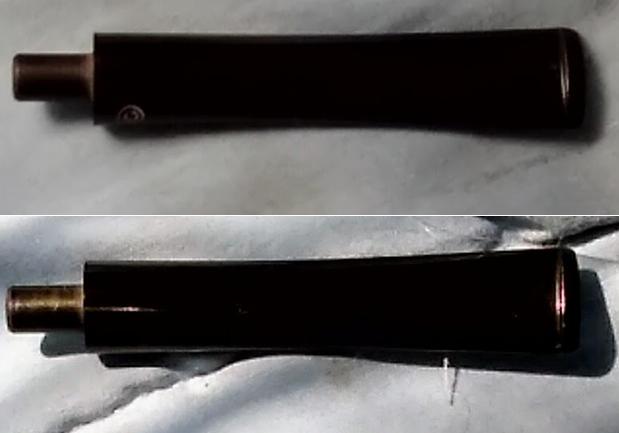
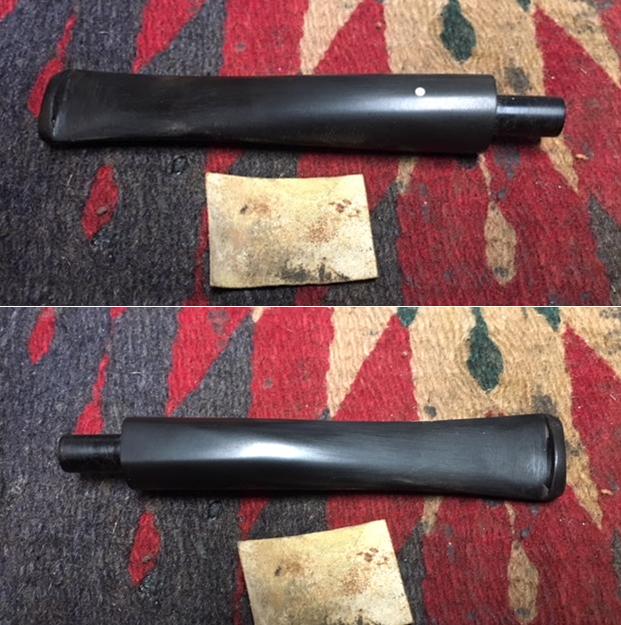
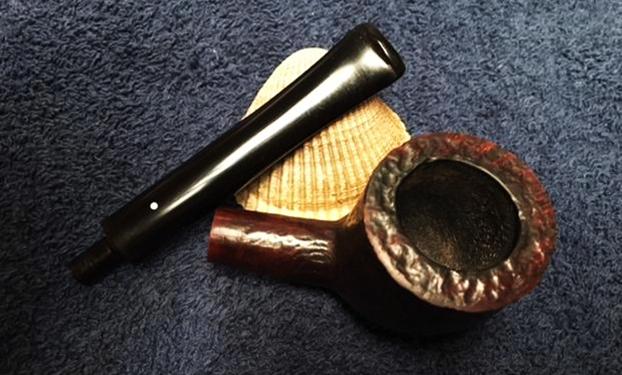
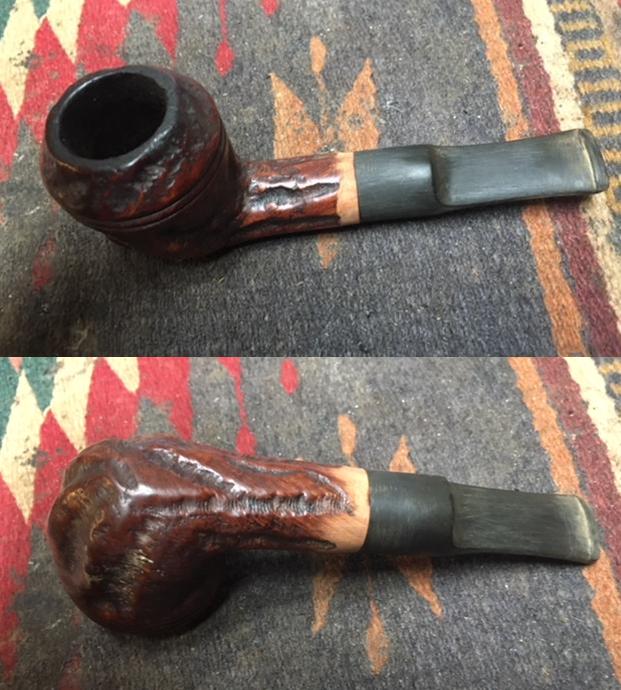
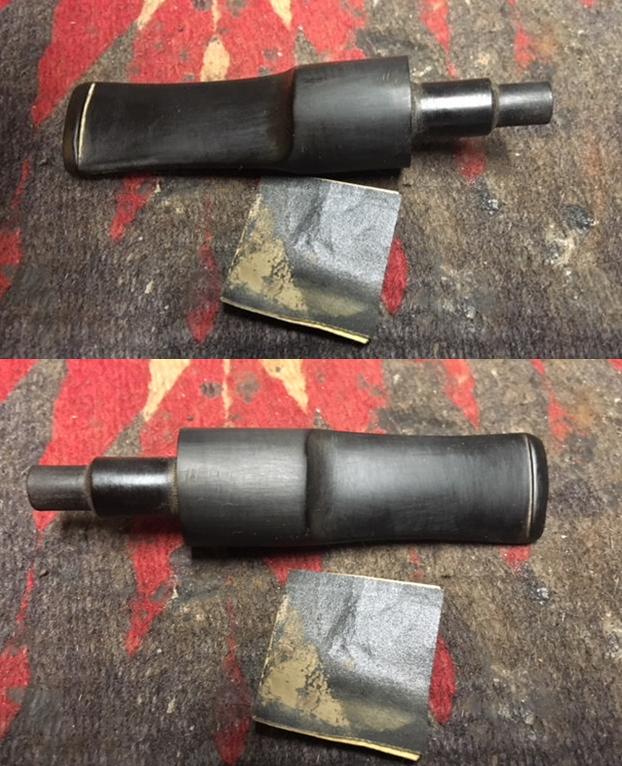
 The fit of the stem to the shank was far better than the previous one. Since the shank was not round I would need to work on the shank to round out the two sides to match the stem. The next two photos show that the stem fits well on the top and the bottom of the shank but that both sides are wider than the diameter of the stem (slightly better than the previous stem).
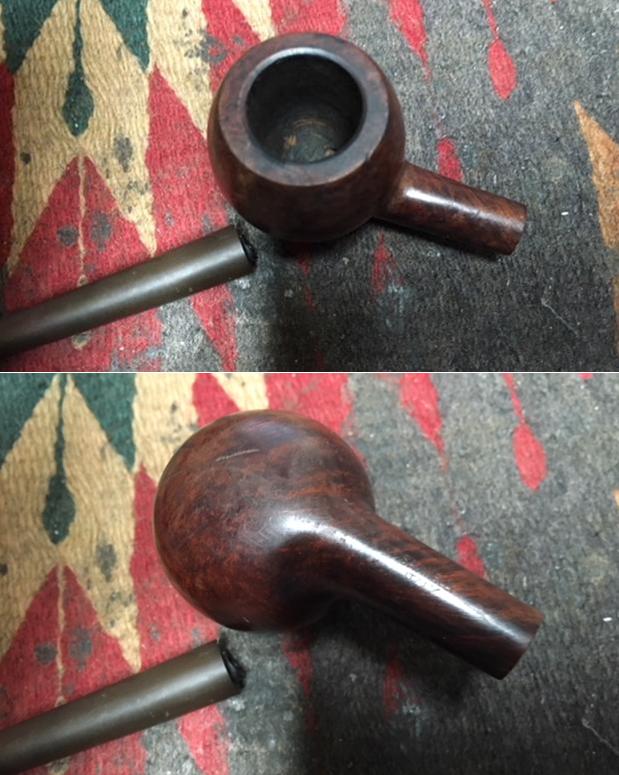
 I used a folded piece of 220 grit sandpaper to sand down the sides of the shank to match the stem. I worked on it to make it round rather than the slightly off centred broad oval that it was when I started.
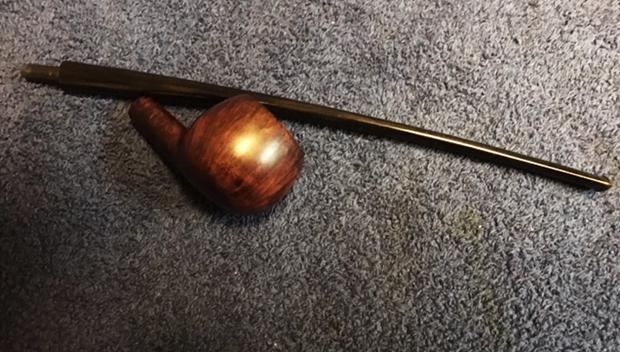
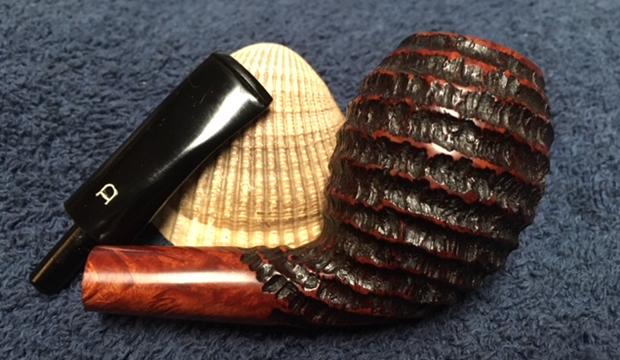
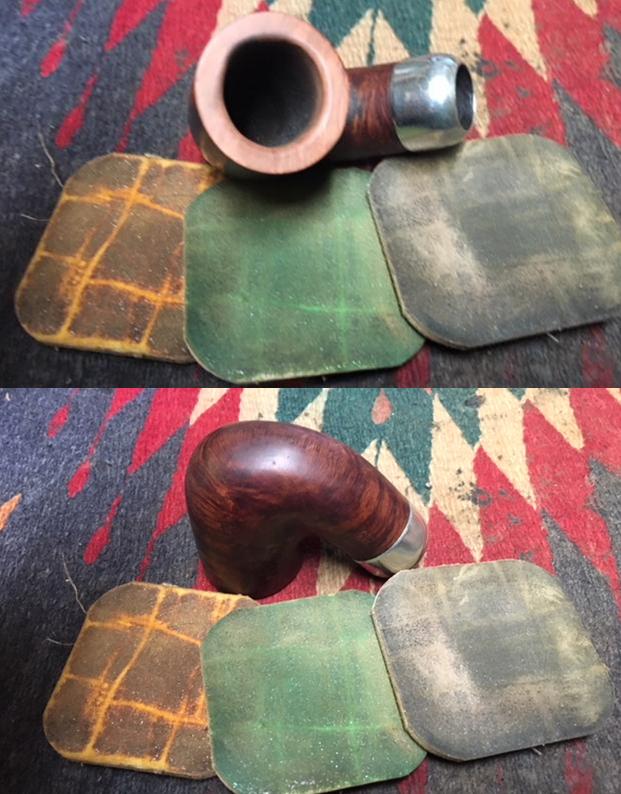
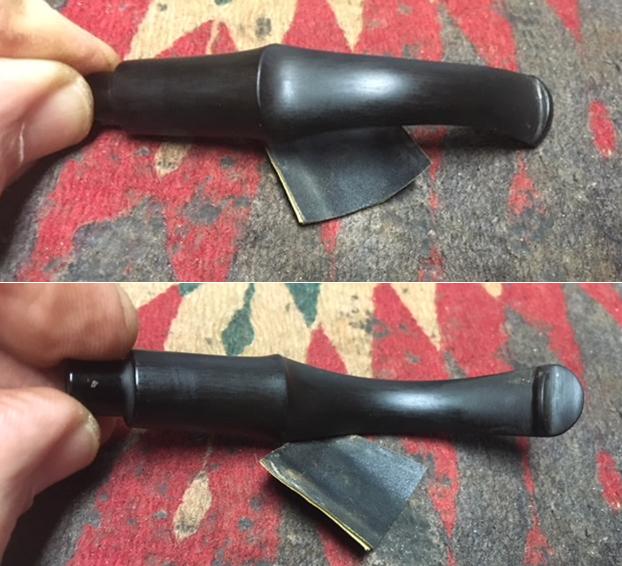
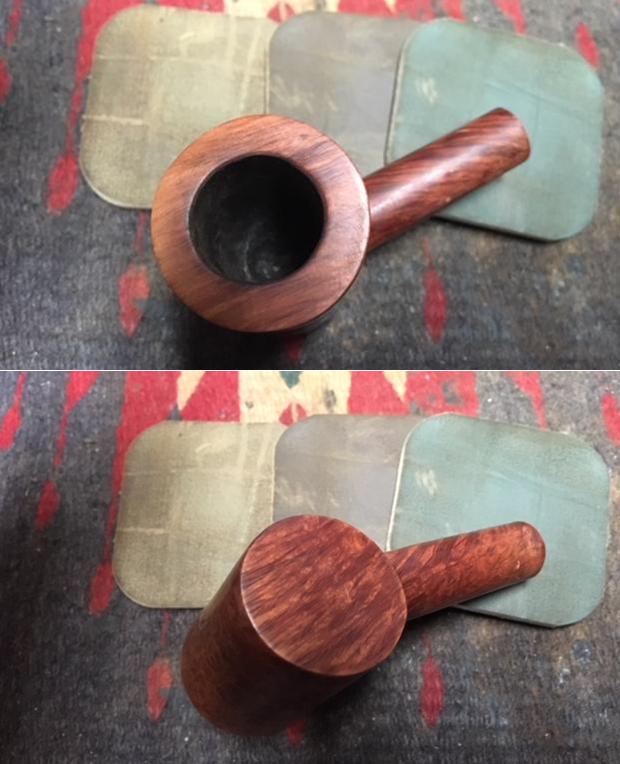
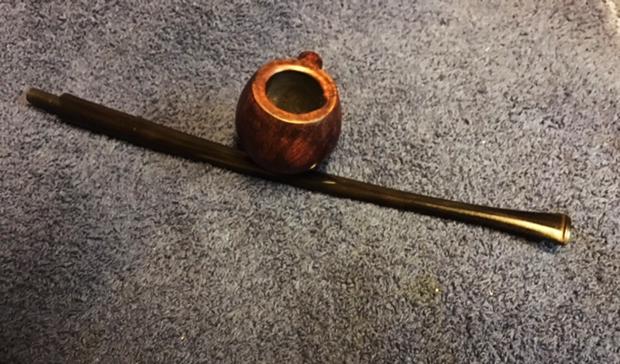
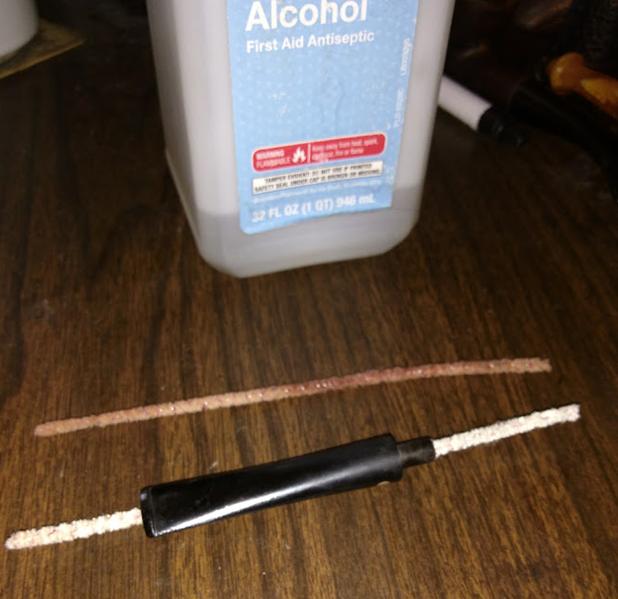
 I sanded the fit against the shank with 400 grit wet/dry sandpaper to smooth out the transition between the stem and shank and remove the scratching in the briar.
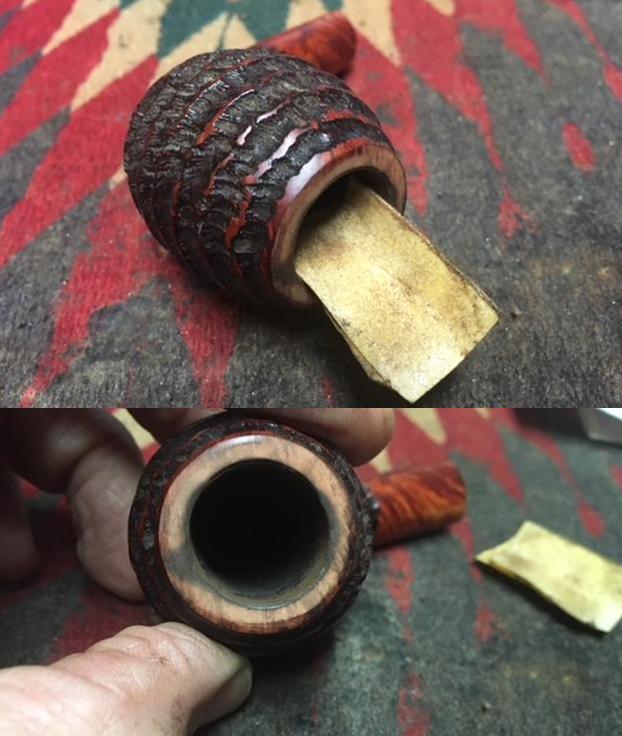
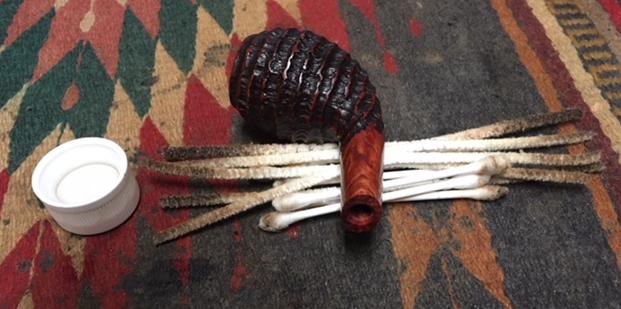
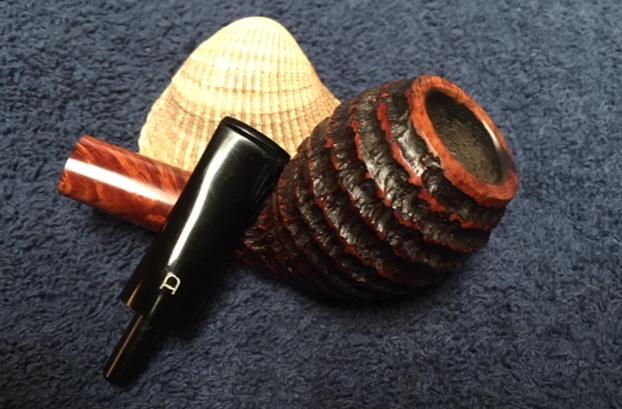
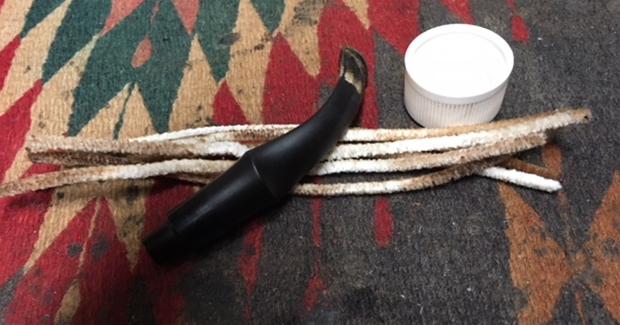
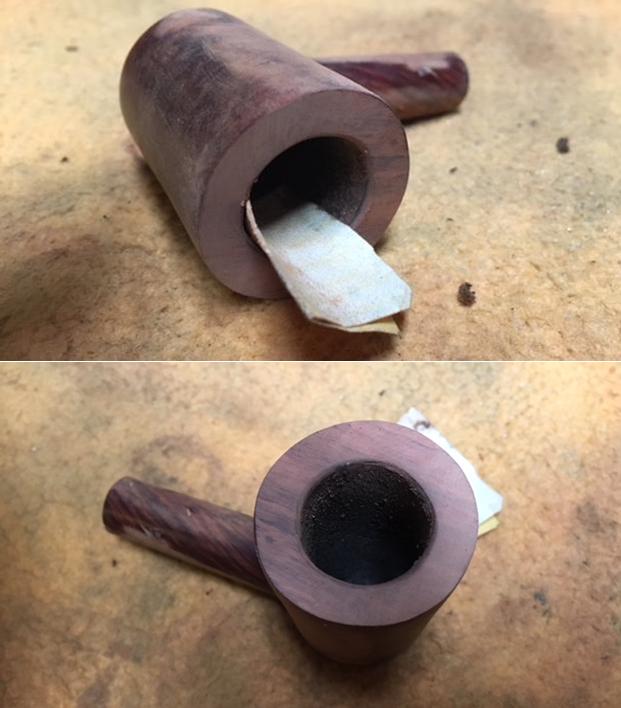
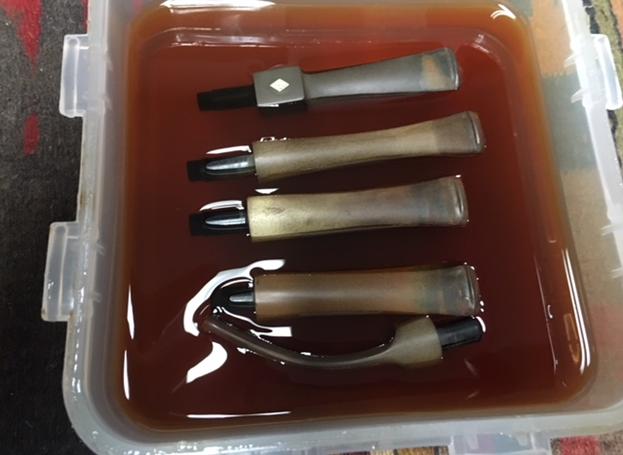
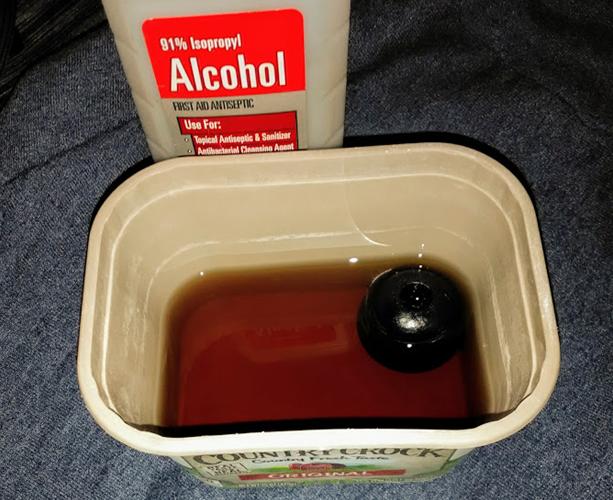
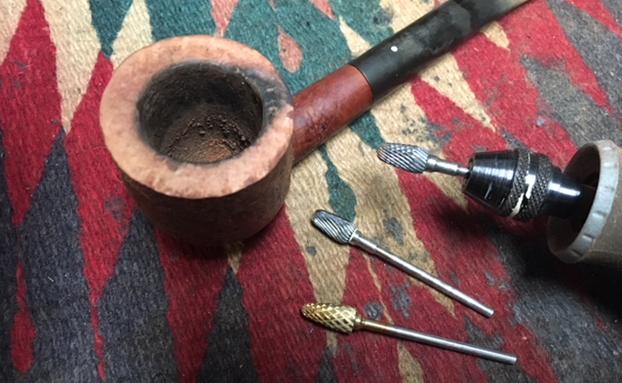
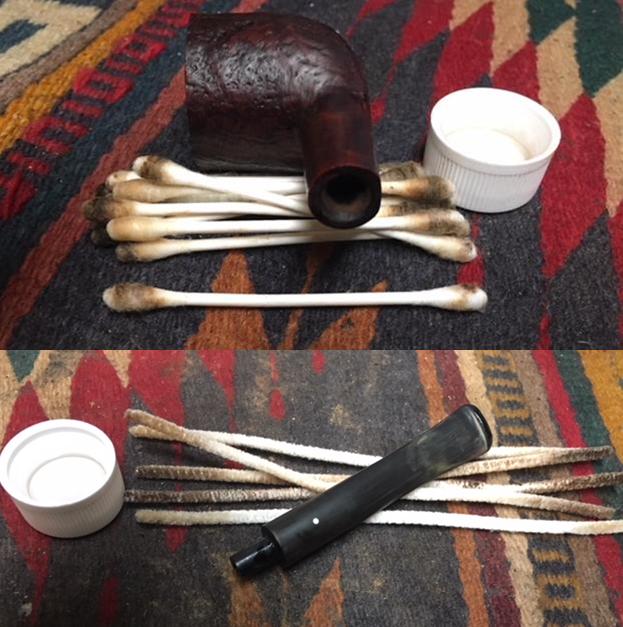
 I cleaned out the interior of the mortise and shank with a dental pick to remove the buildup of tars and oils that were built up in front of where the replacement stem tenon had ended. I cleaned it out with alcohol, cotton swabs and pipe cleaners to remove all of the grime. Once the cleaners and cotton swabs came out clean I was finished with the cleanup. I did the same with the airway in the stem until it too was clean. I used a dental pick to clean around the inside of the slot in the button.
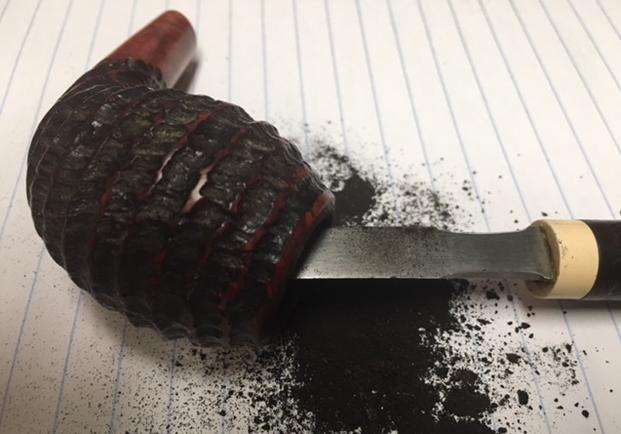
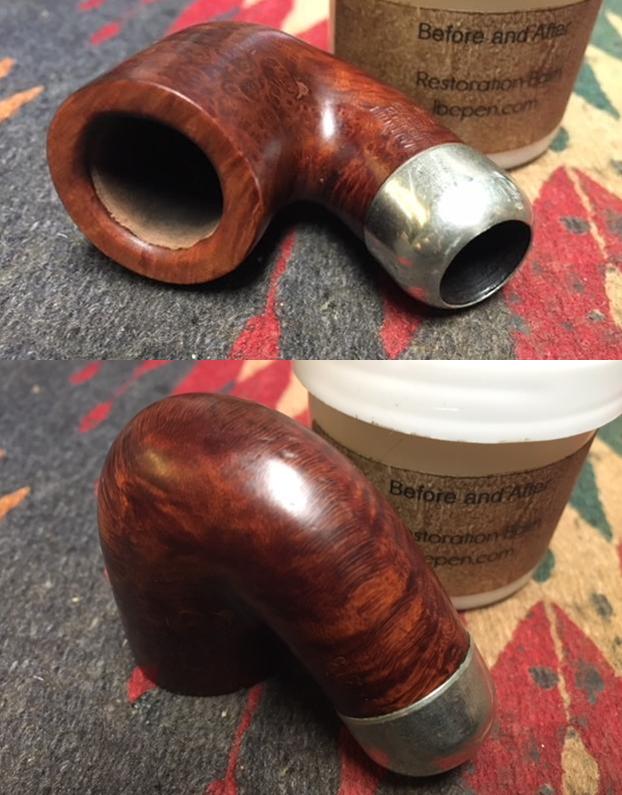
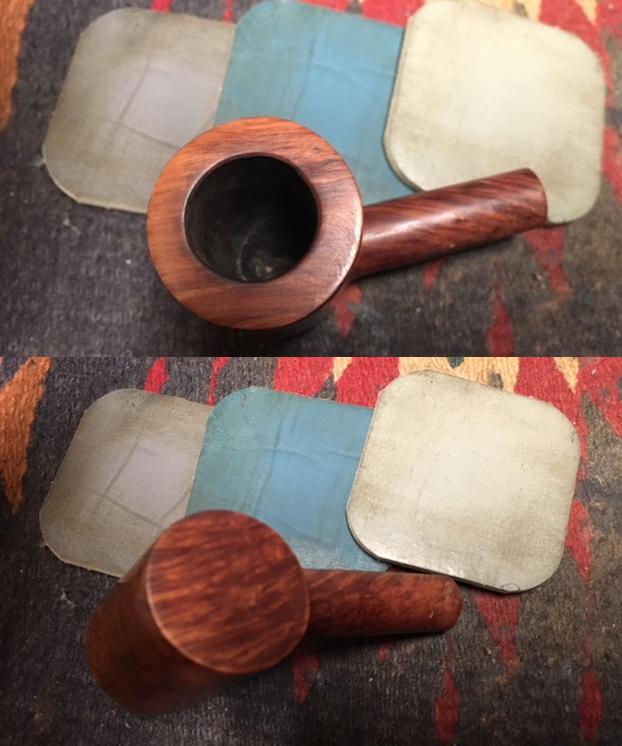
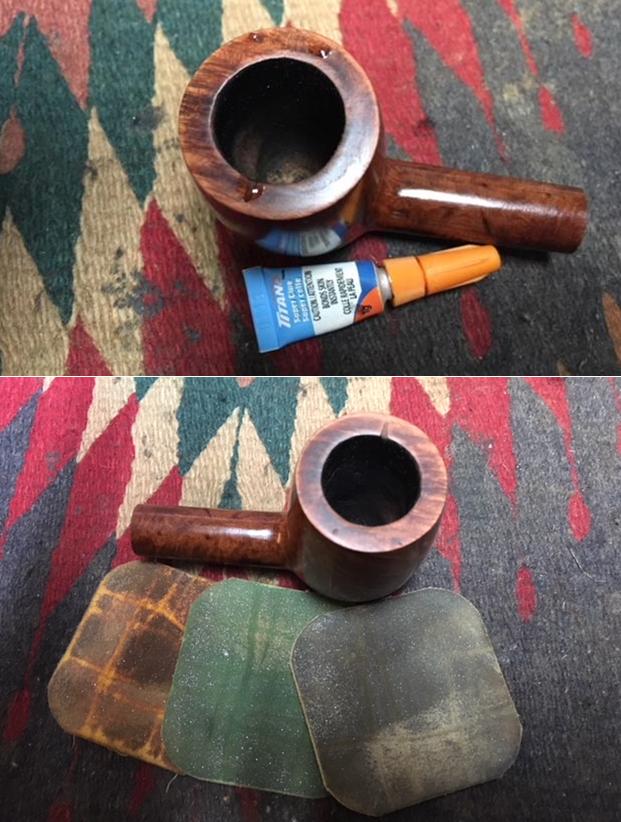
  I topped the bowl with 220 grit sandpaper on a topping board to remove the damage to the rim top and remove the damage to the inner edge of the rim. I removed very little to smooth out the rim. I also used a folded piece of 220 grit sandpaper to smooth out the inside edge of the rim and remove the damage. I gave the edge a slight bevel to smooth out the edge.
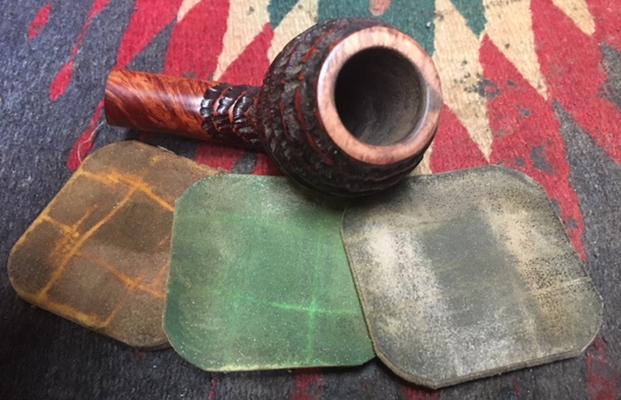
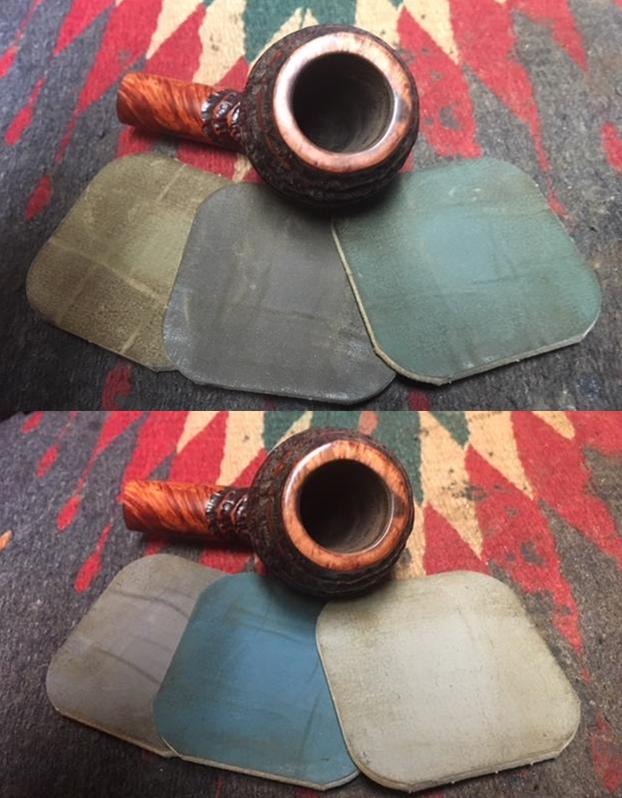
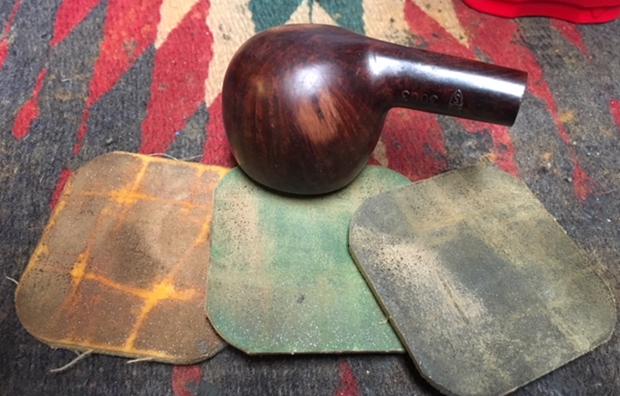
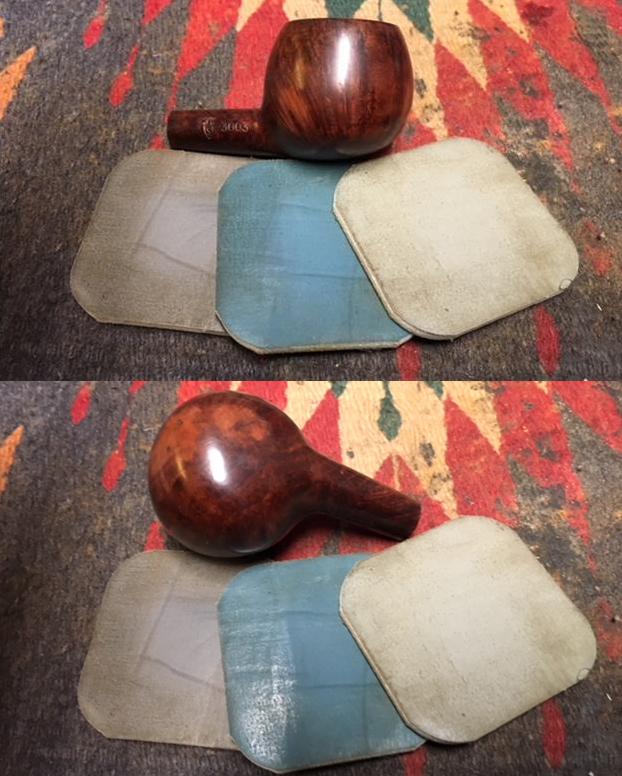
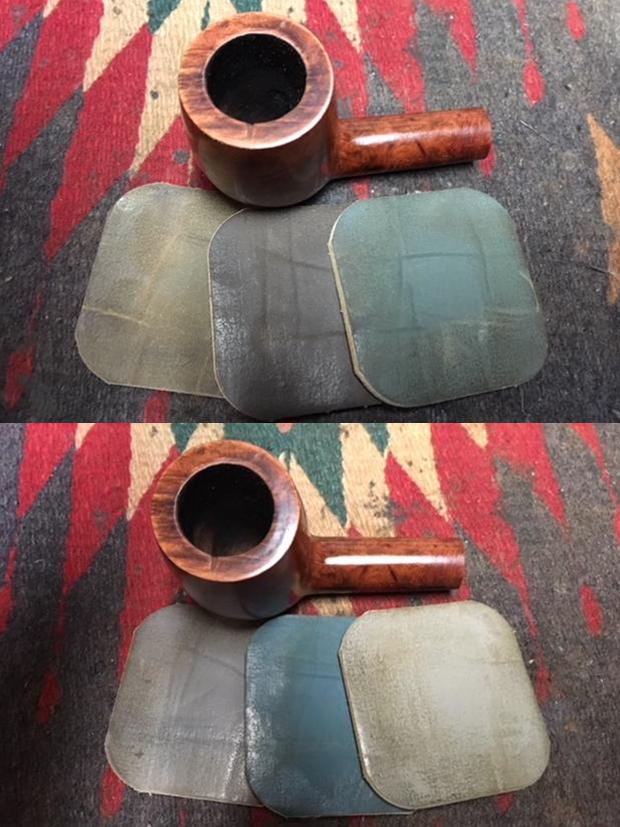
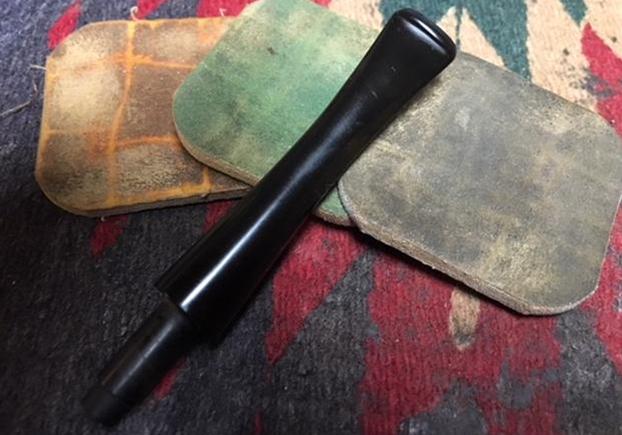
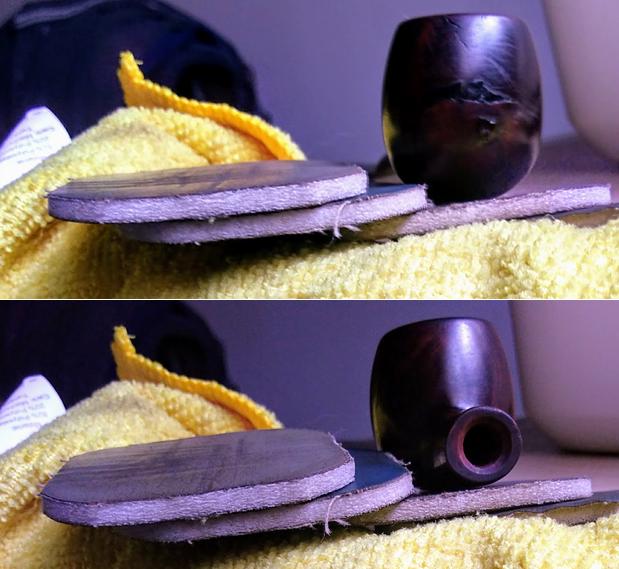
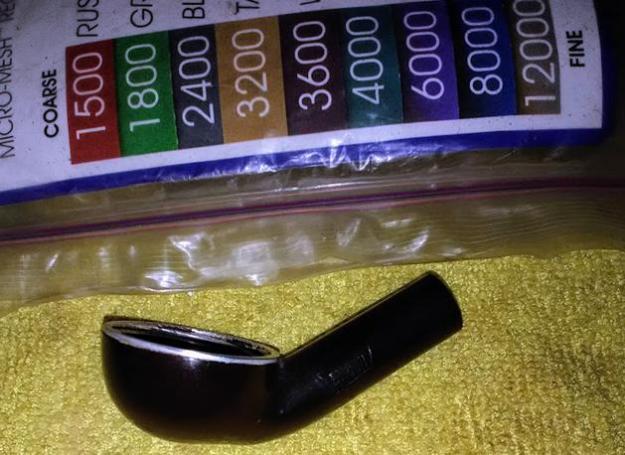
 I polished the rim top and the reshaped shank end with micromesh sanding pads – wet sanding with 1500-2400 grit pads and dry sanding with 3200-12000 grit pads. I wiped down the surfaces after each pad with a damp cloth. After the final 12000 grit pad I gave it a final wipe before I continued with the restoration work.
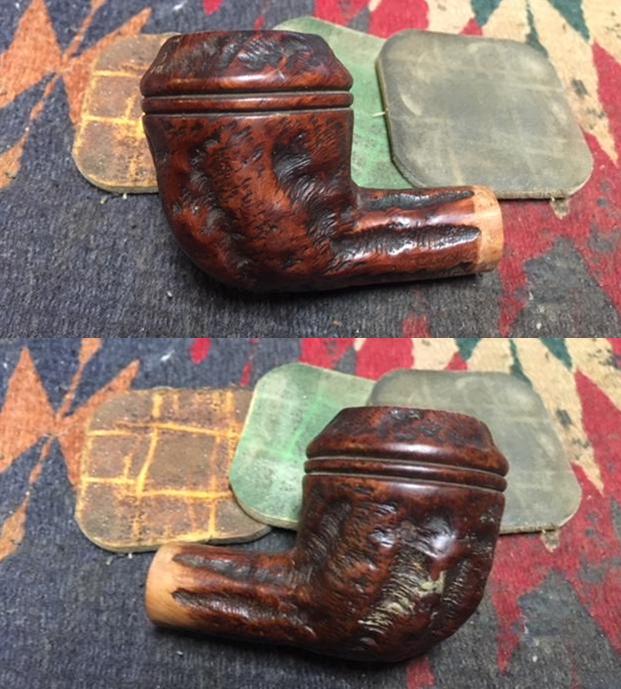


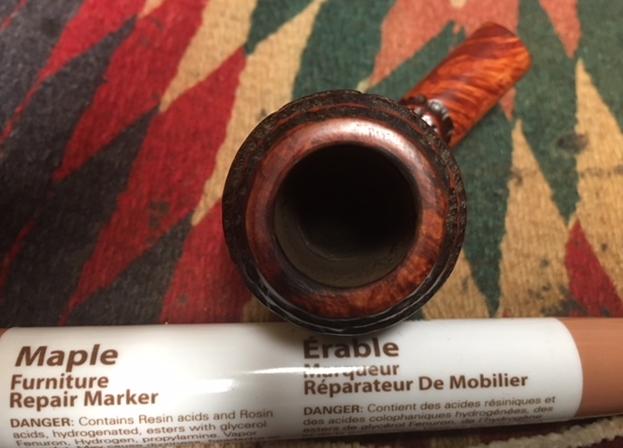
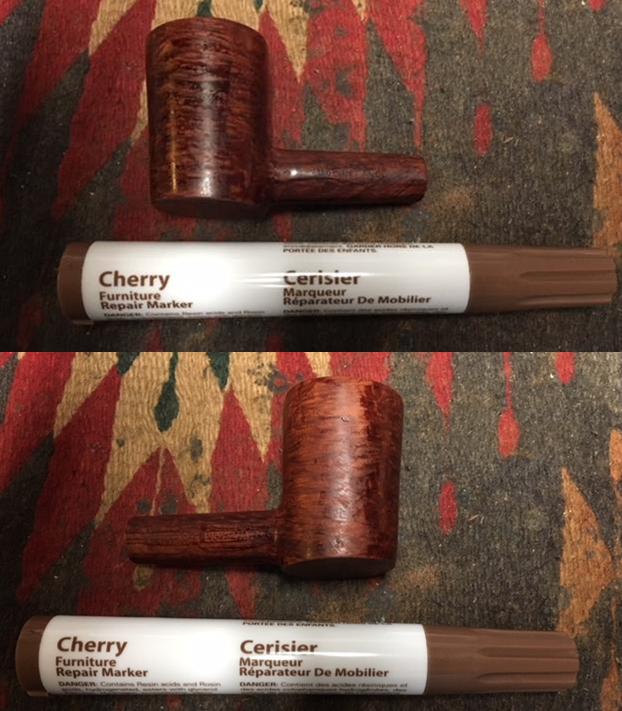
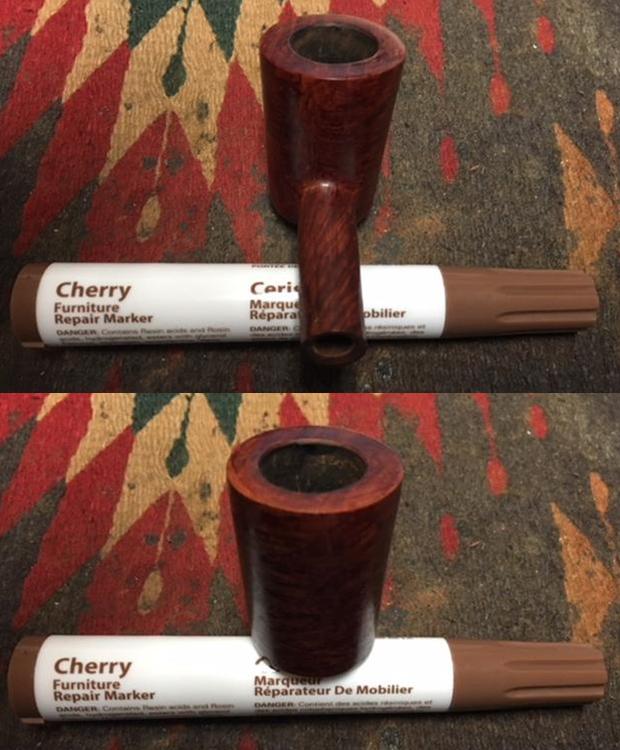
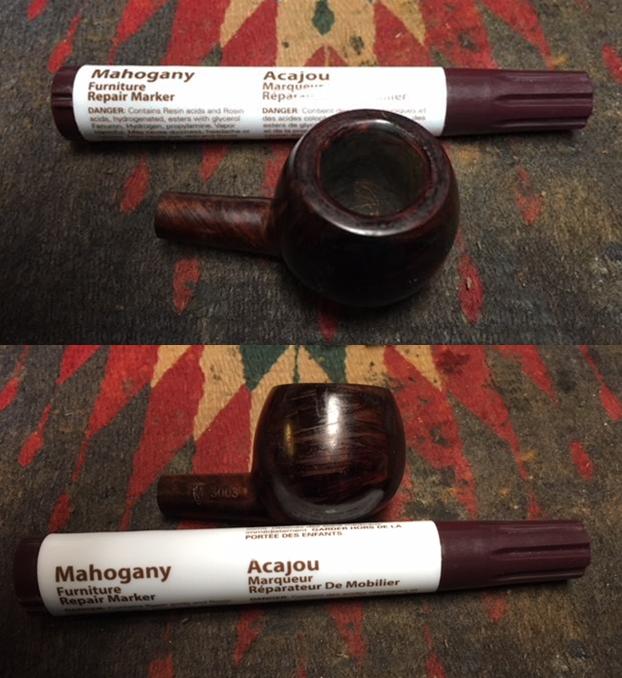
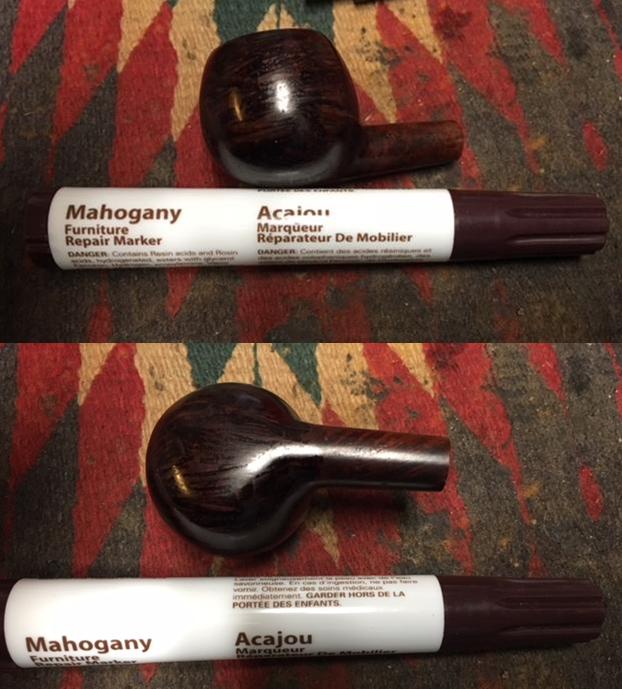
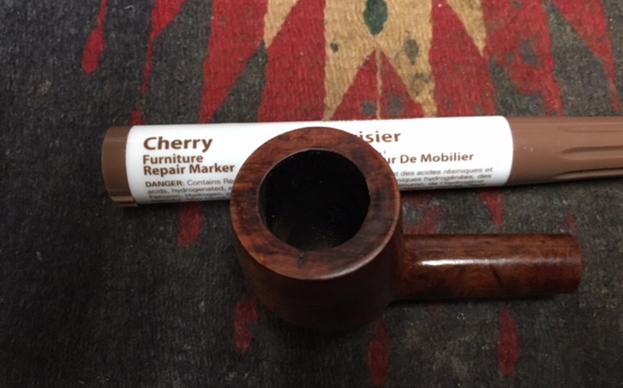
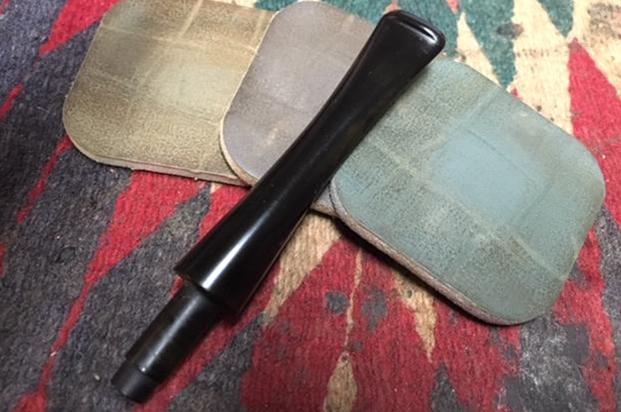
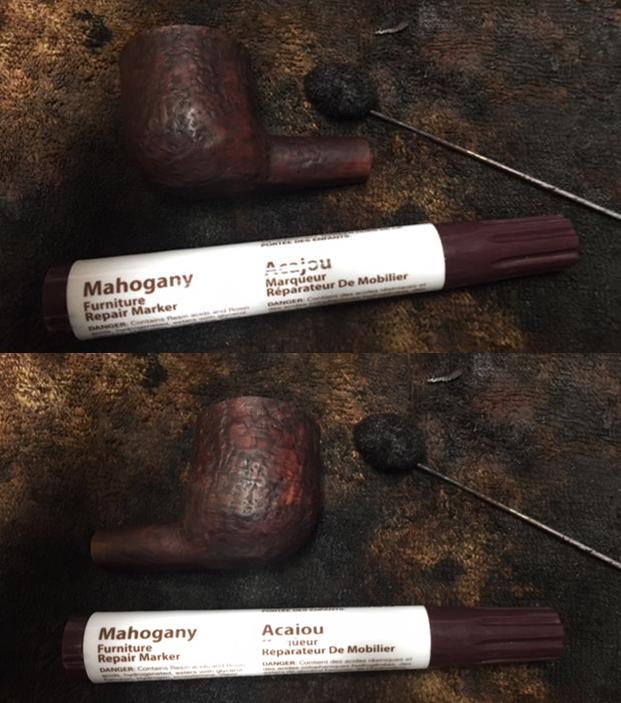
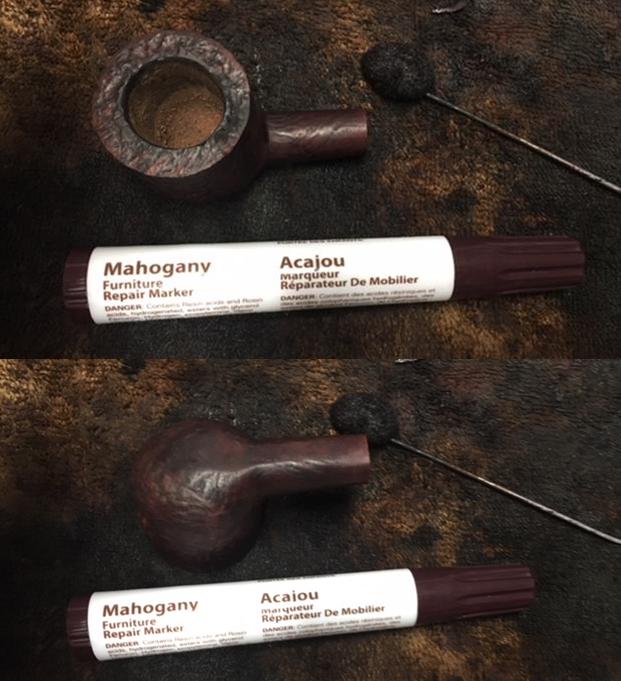
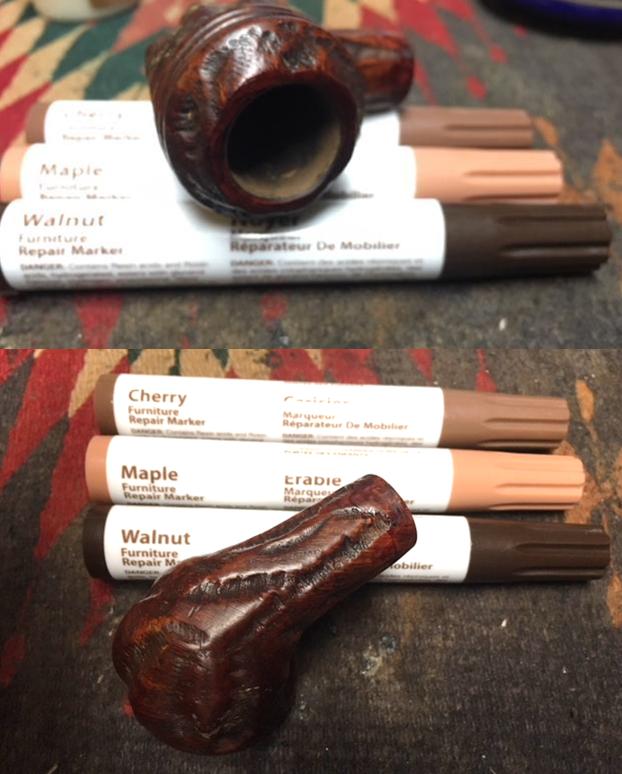
 I used a combination of three stain pens – Cherry, Maple and Walnut to stain the sanded areas of the bowl. I used them on the rim top and around the end of the shank. The three together matched the colour on the rest of the bowl.
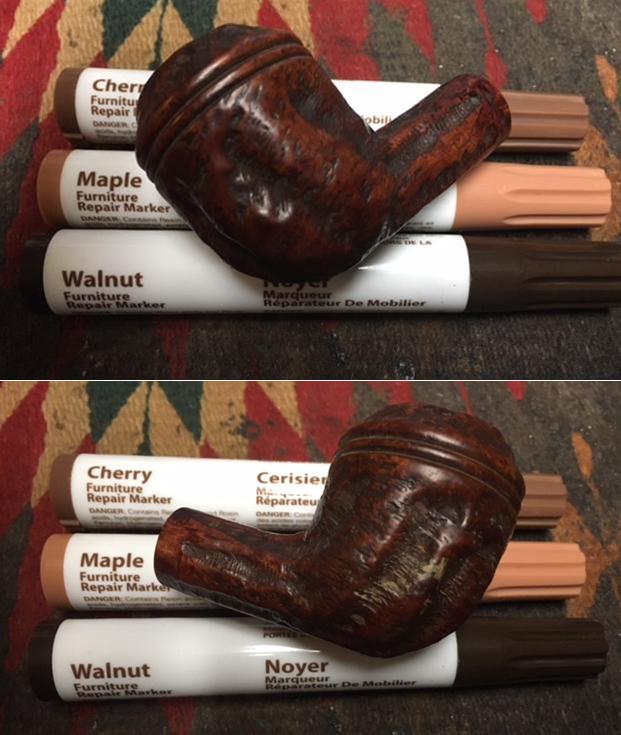
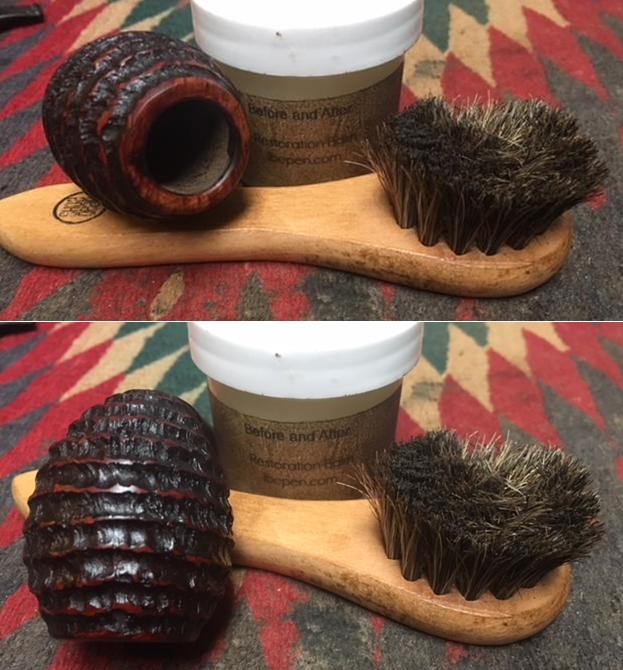
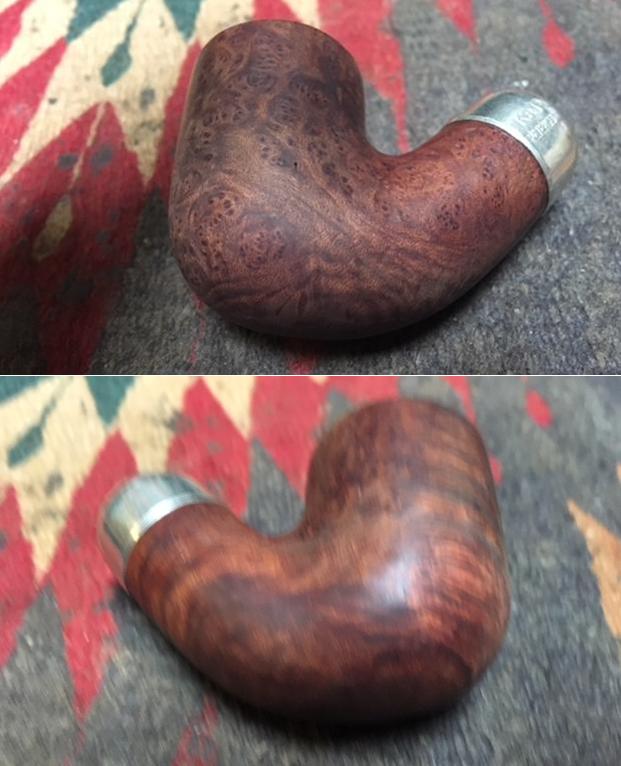
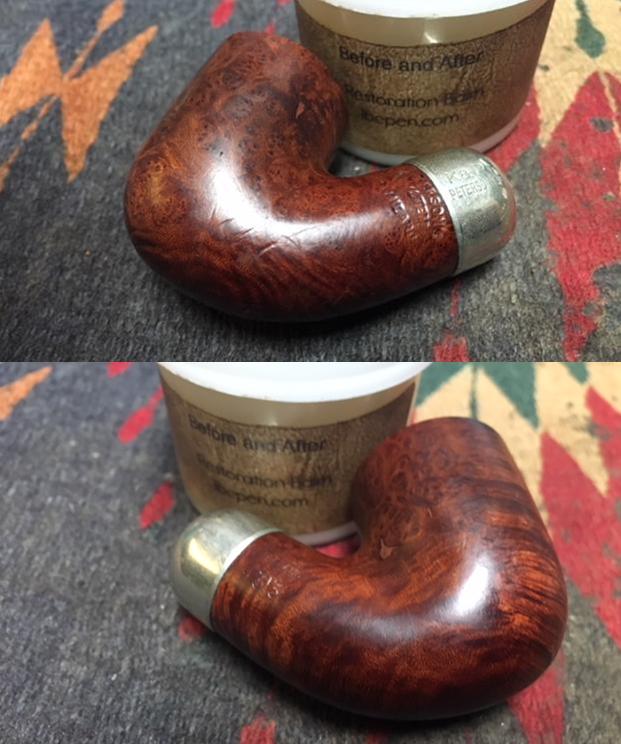
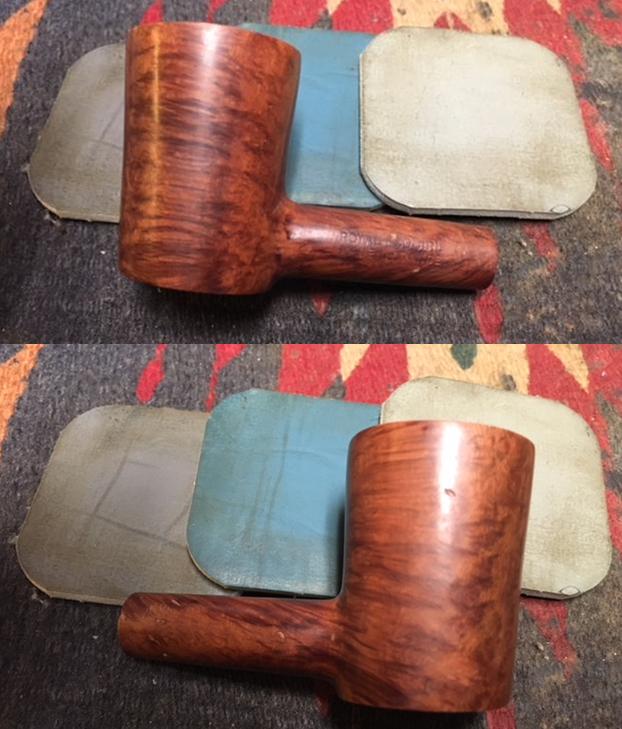
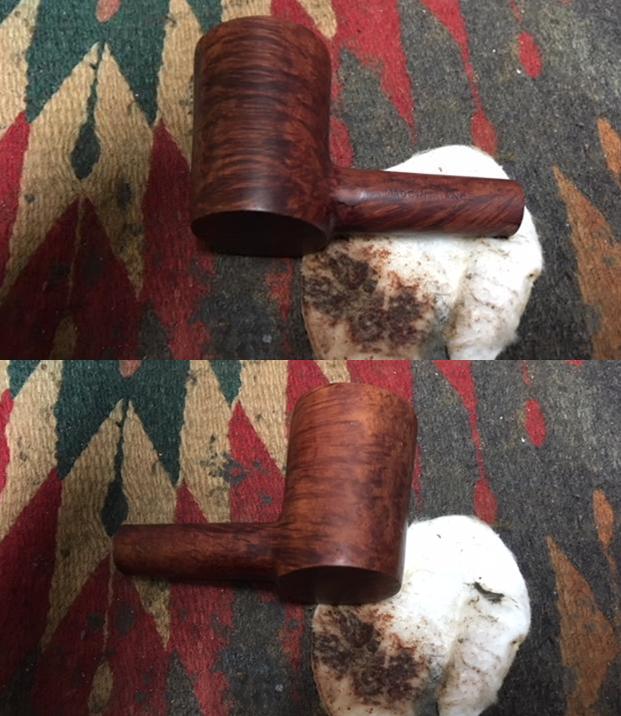
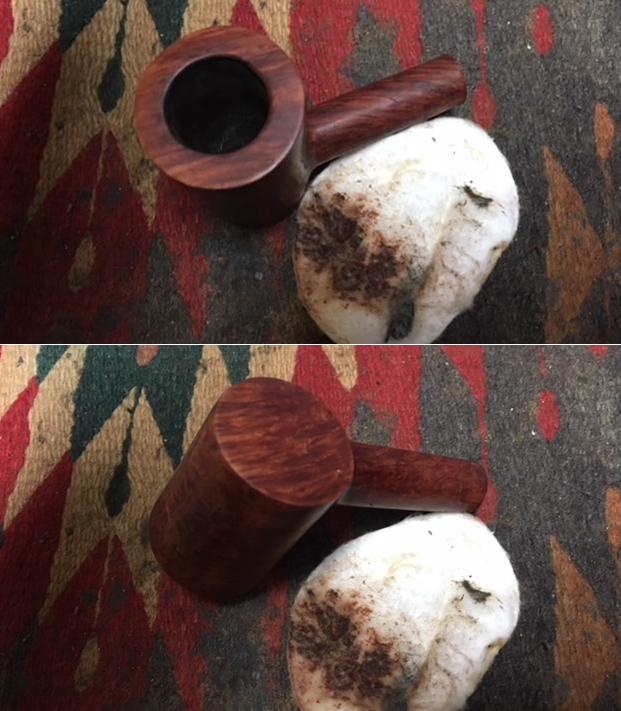
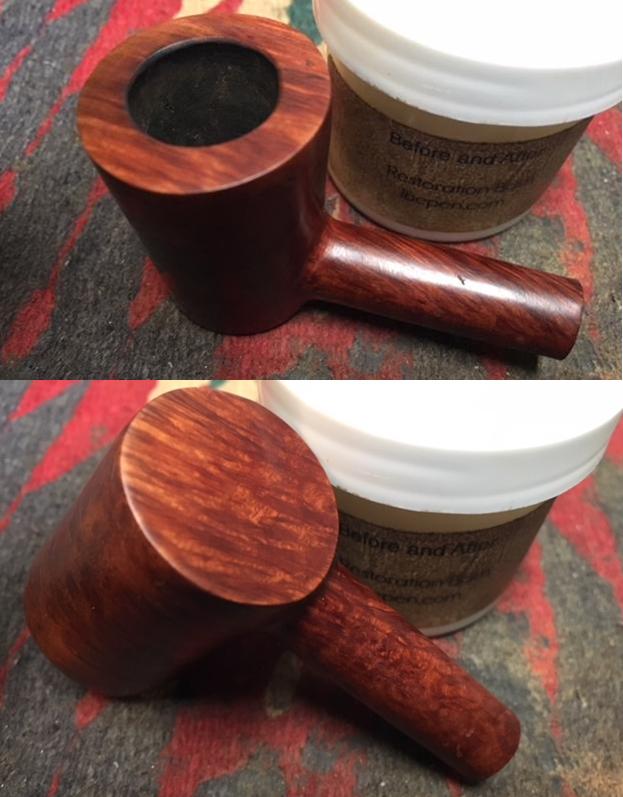
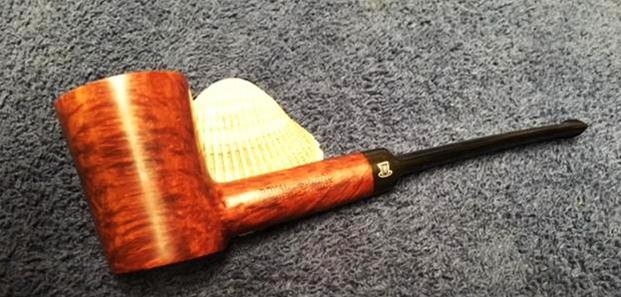
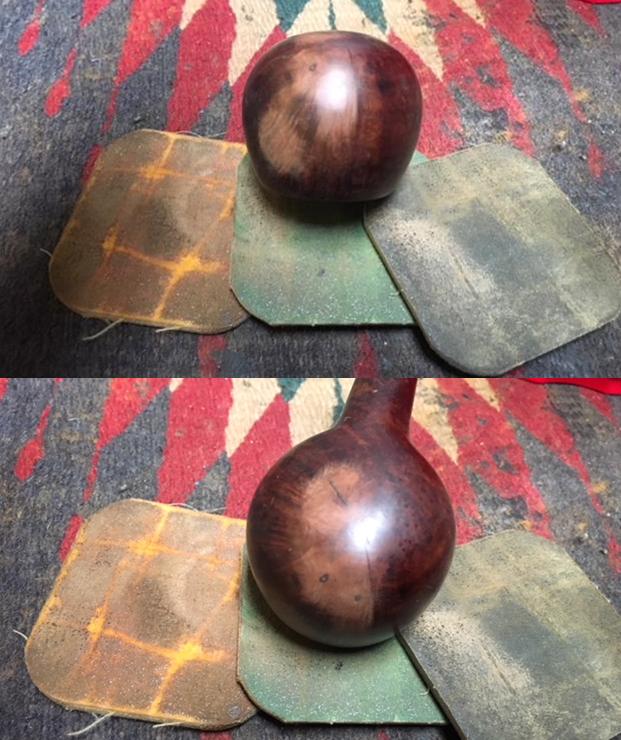
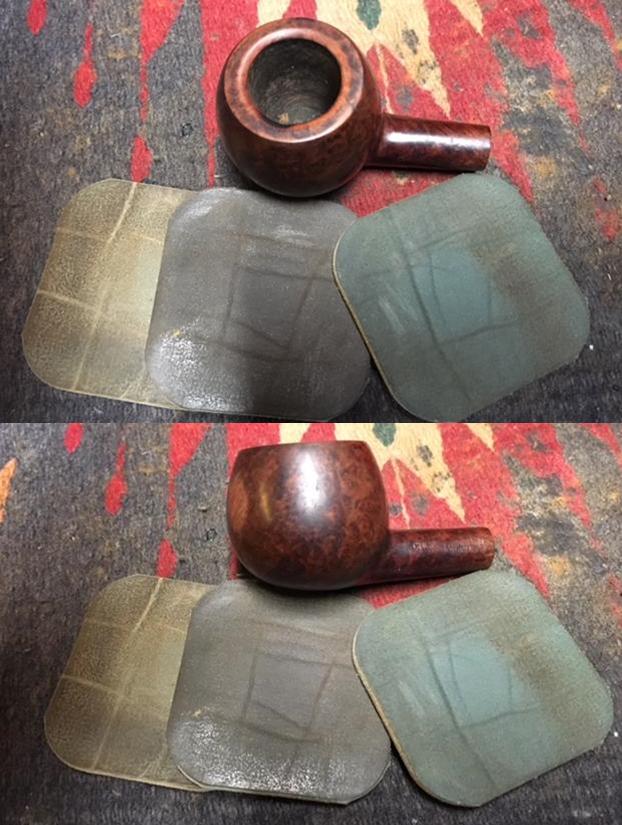
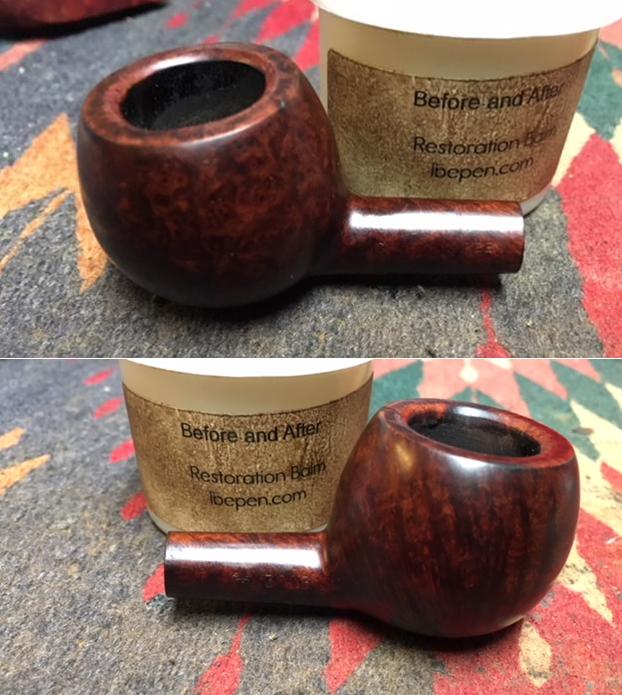
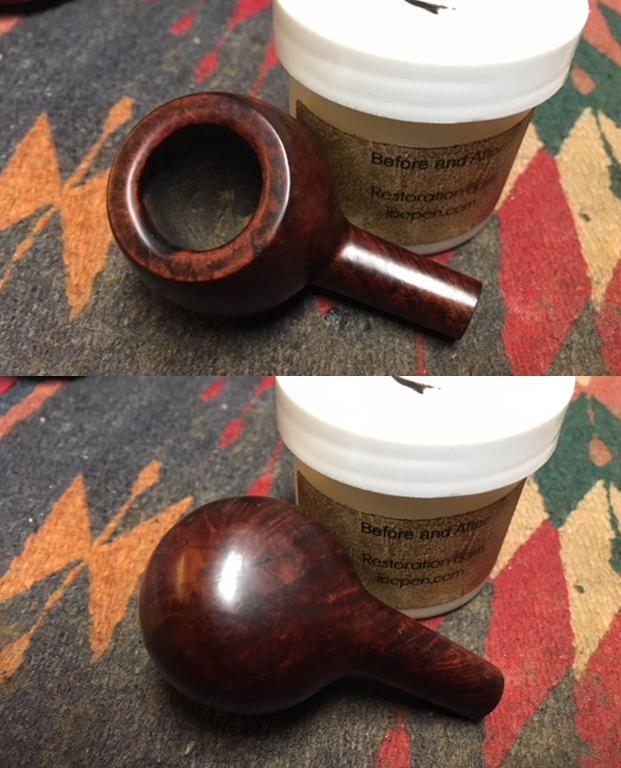
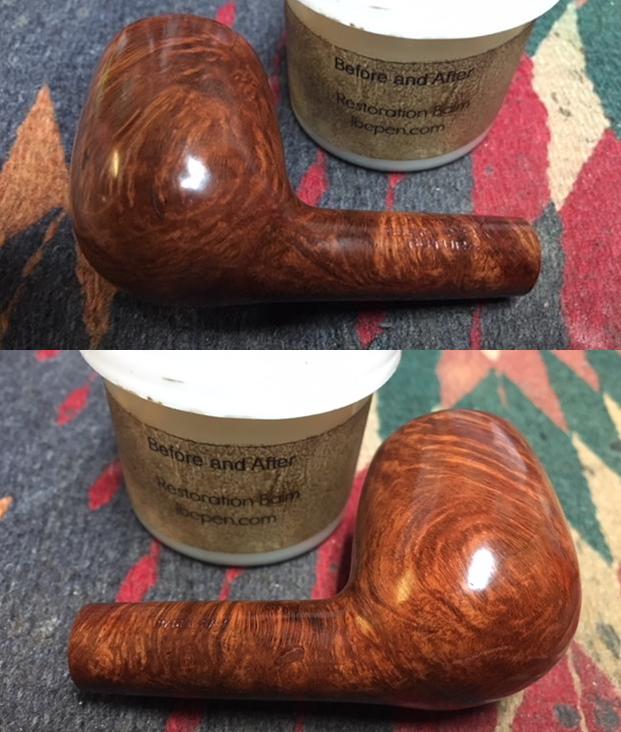
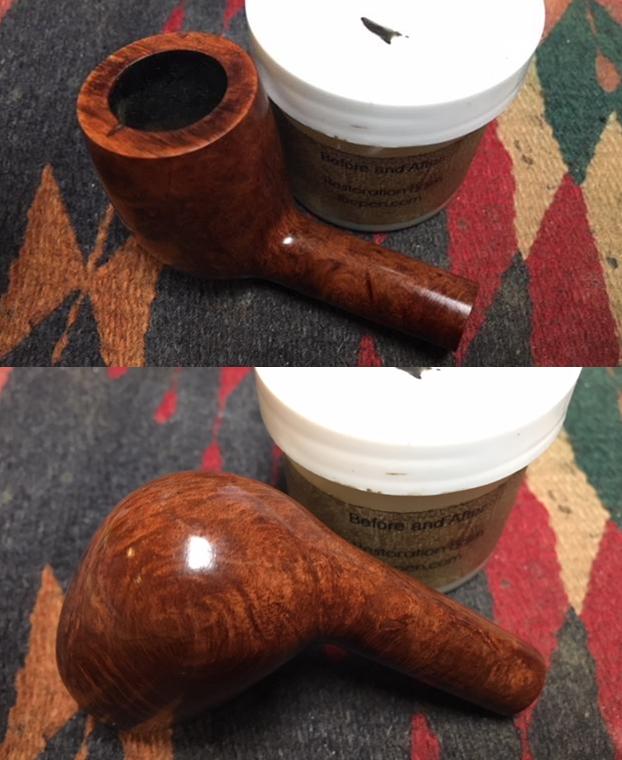
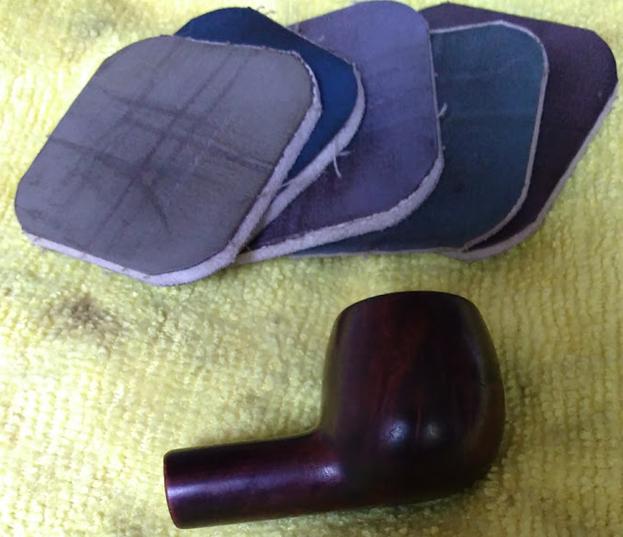
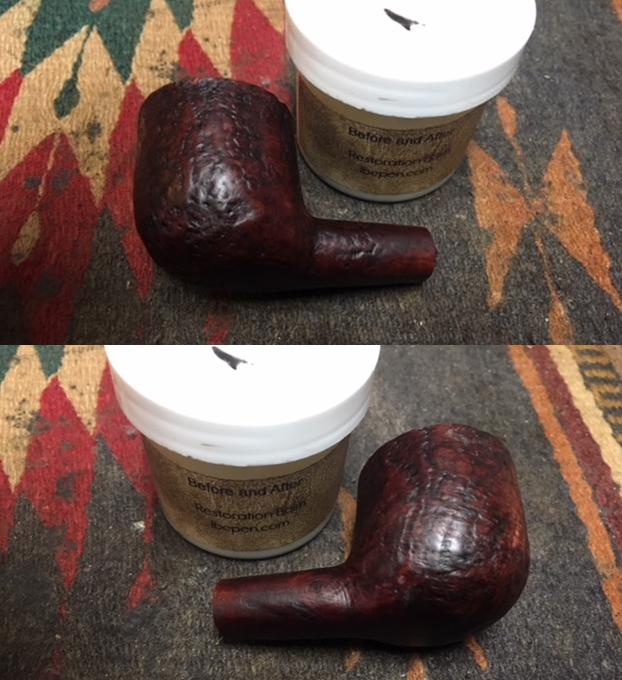
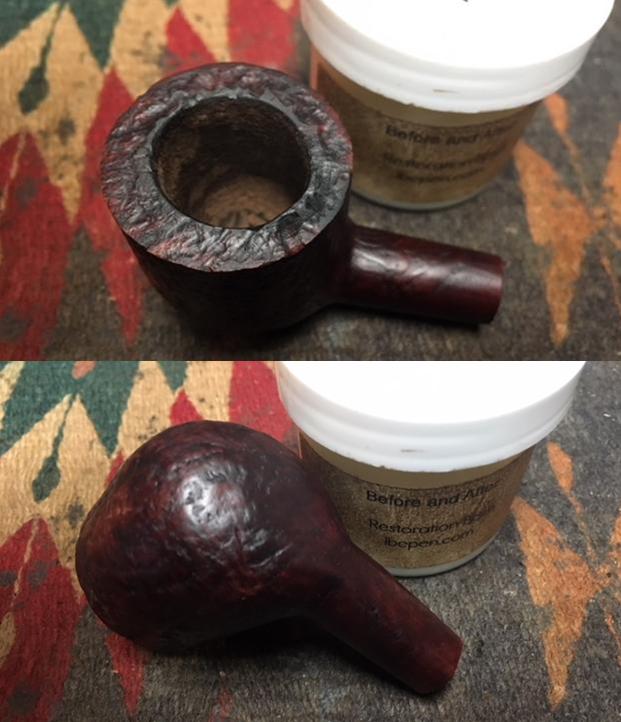
 I worked Before & After Restoration Balm deep into the rusticated patterns of the briar to clean, enliven and protect it. I worked it into the rustications with my fingertips and with cotton swabs. I worked it into the rim and restained shank end. I set it aside for a few minutes to let the balm work. I wiped it off with a soft cloth and buffed it with a horsehair shoe brush to polish it. The briar really began to have a deep shine. I took some photos of the bowl at this point to mark the progress in the restoration. The grain on the bowl is really beginning to stand out and will only do so more as the pipe is waxed.
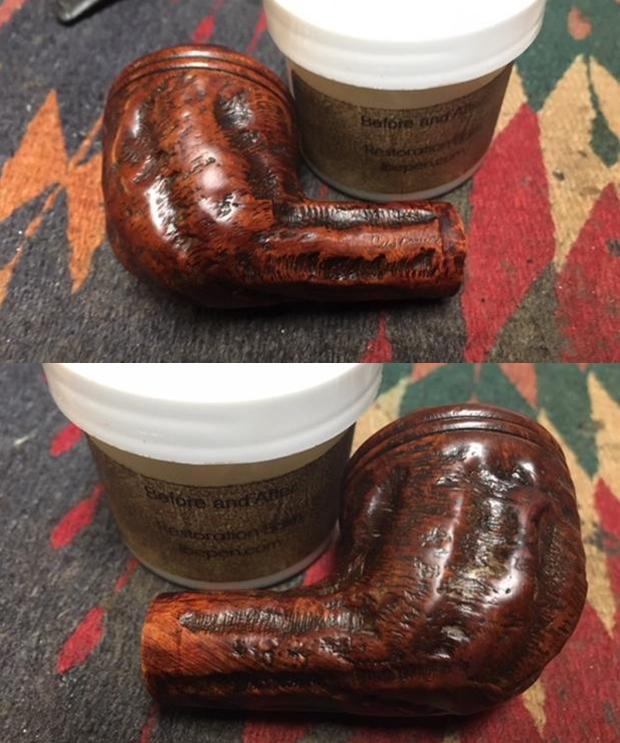
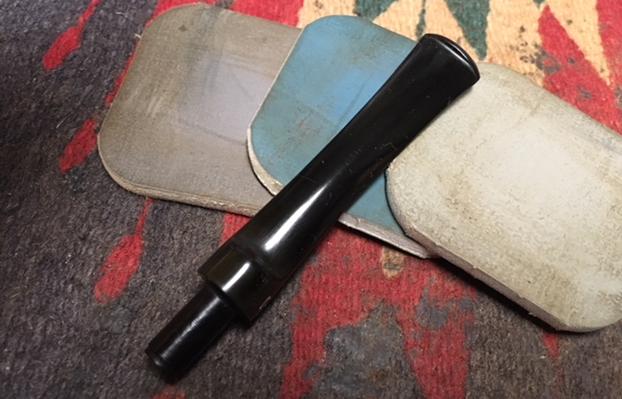
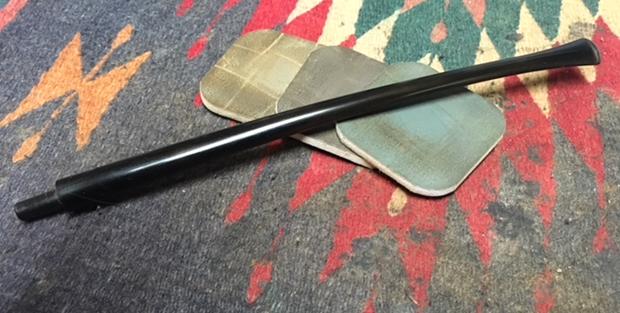
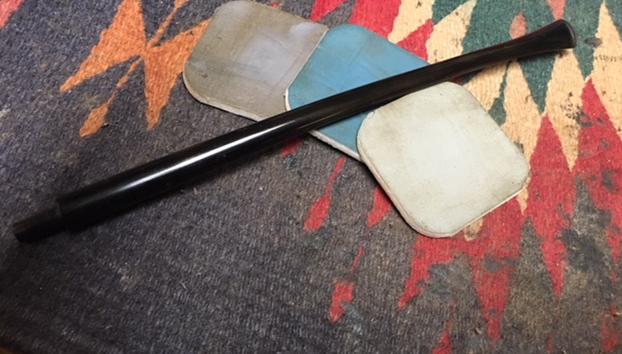
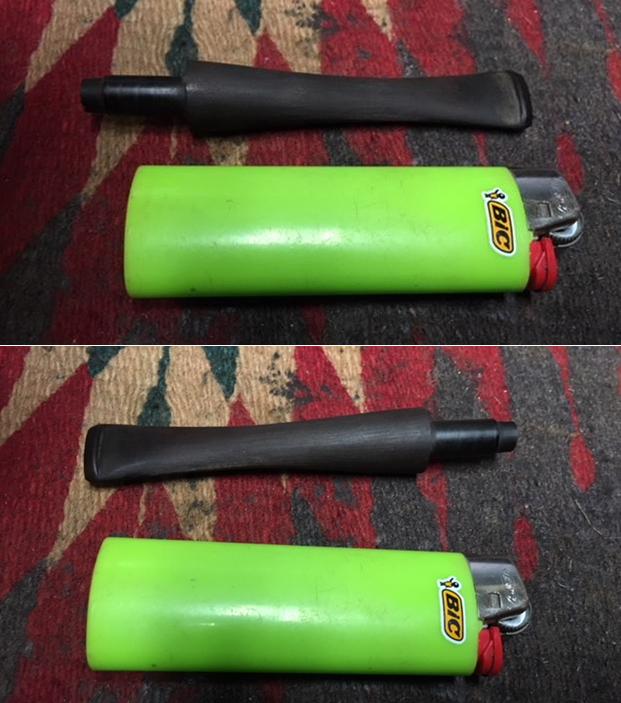
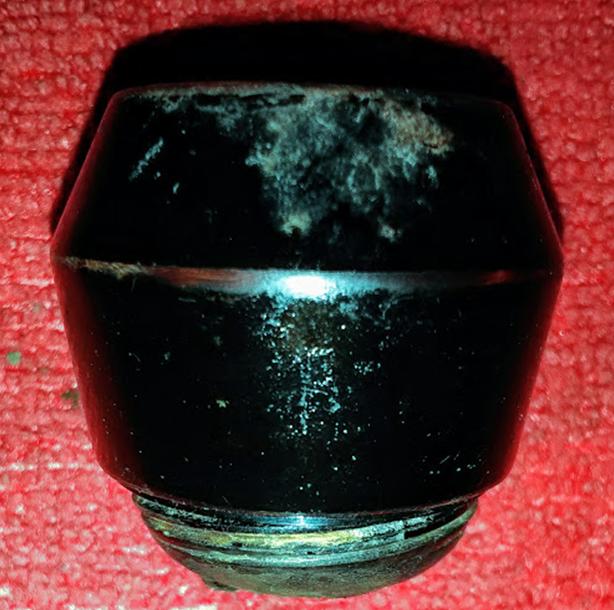
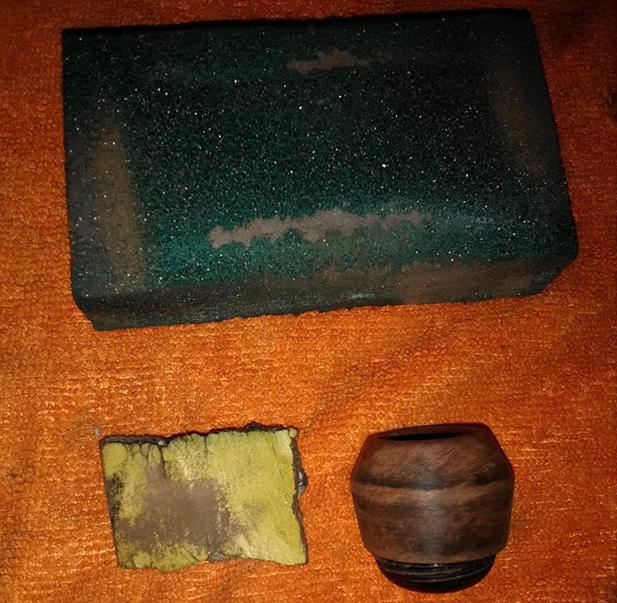
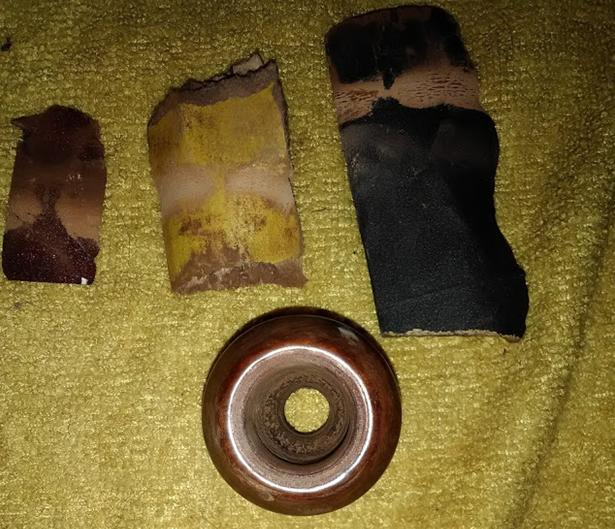
 I sanded the stem surface with 220 grit sandpaper to remove the tooth marks and chatter on both sides of the stem near the button. I also sanded out the deep scratches in the surface of the stem. I followed up by sanding the stem again with 400 grit wet/dry sandpaper to remove the scratches left behind by the 220 grit sandpaper.
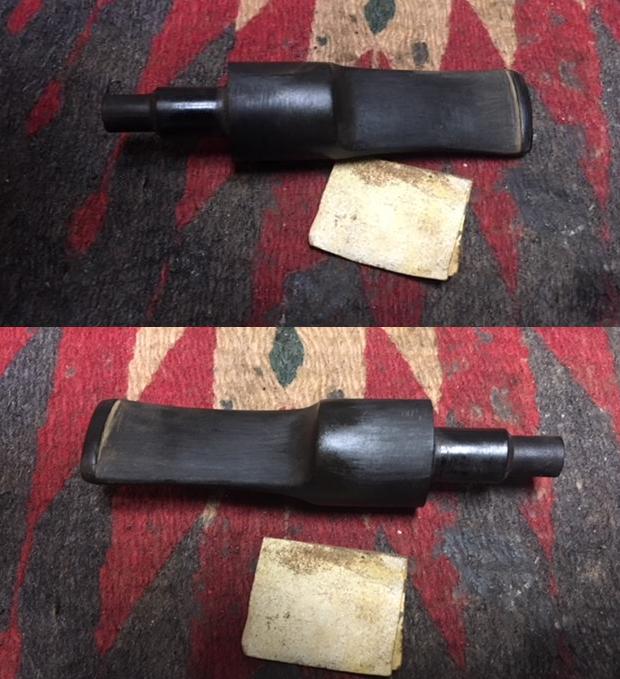
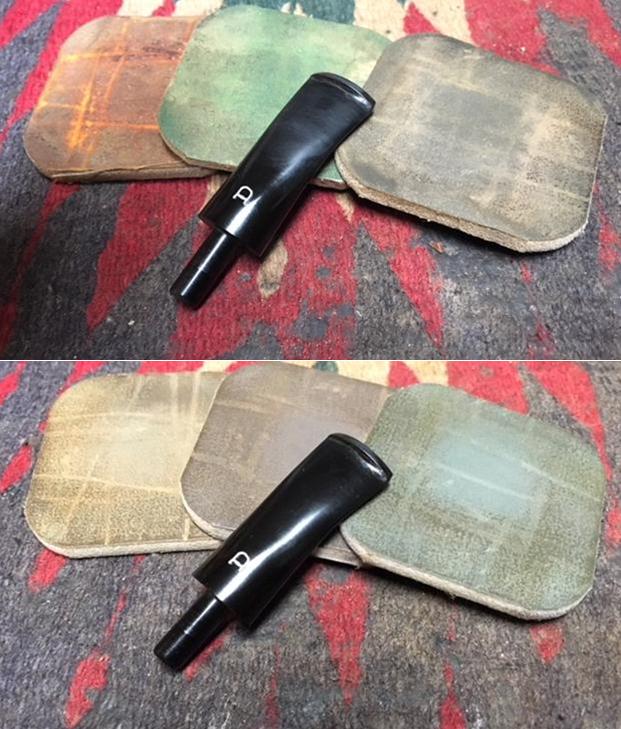
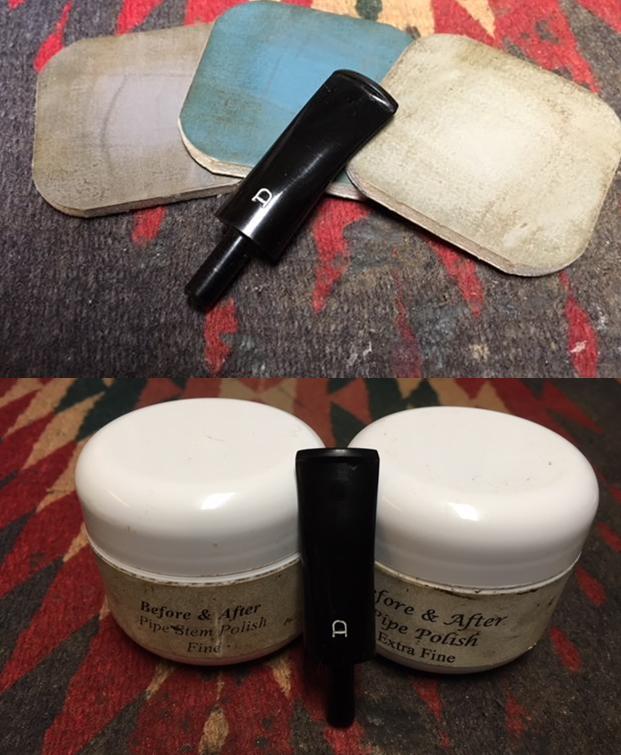
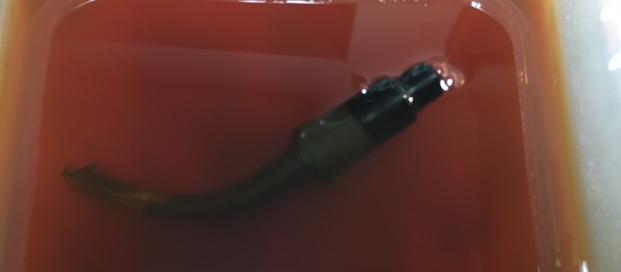
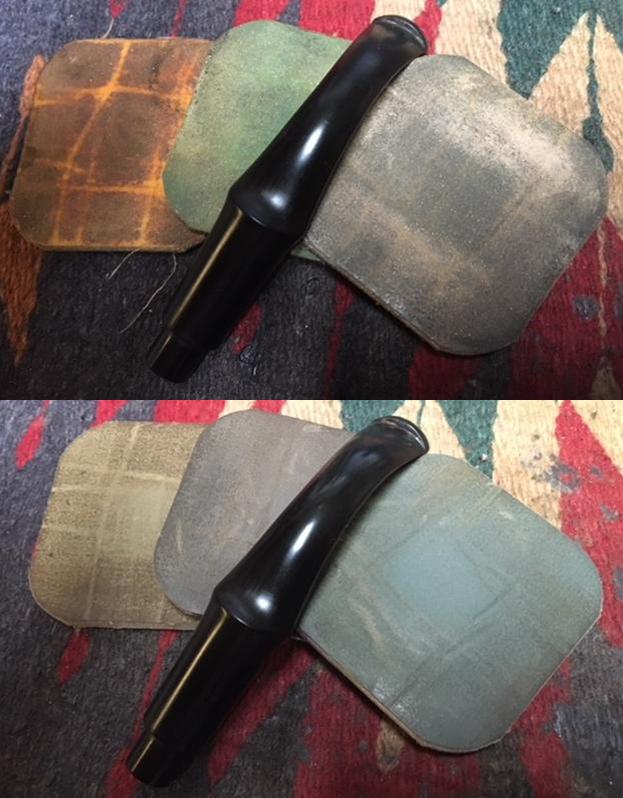
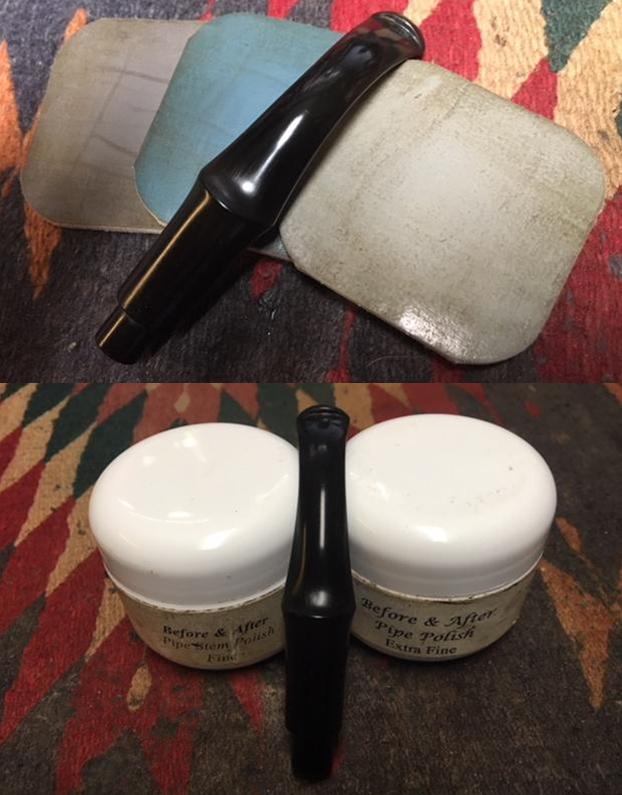
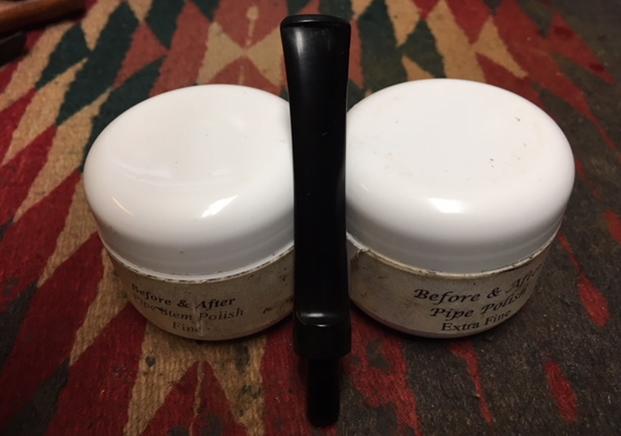
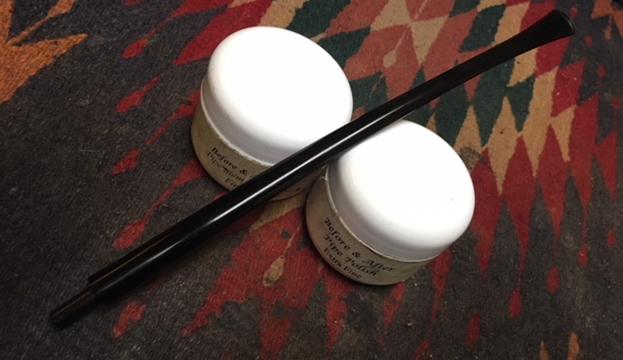
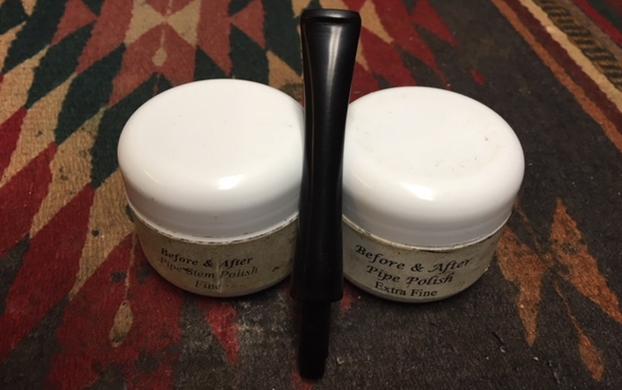
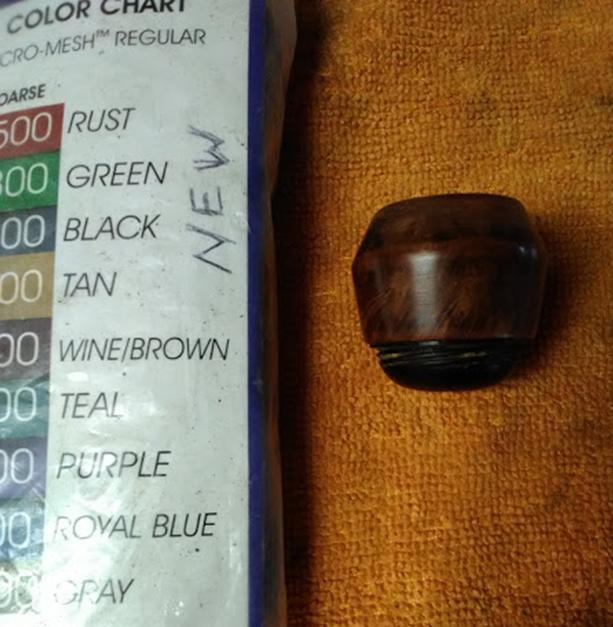
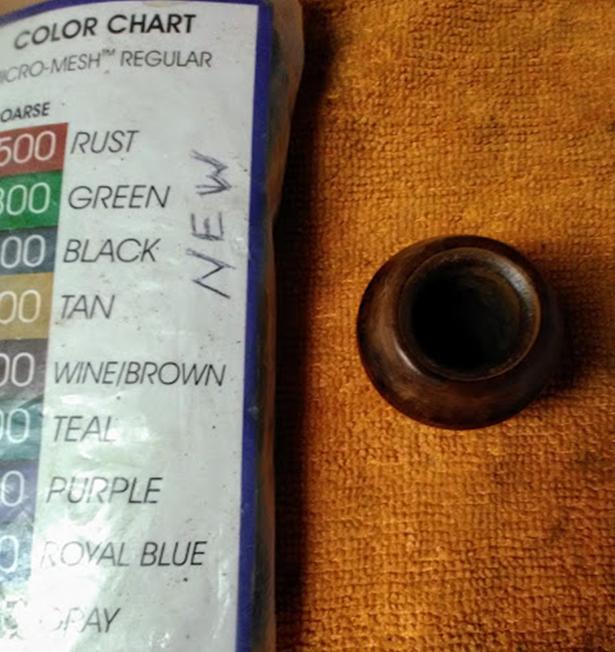
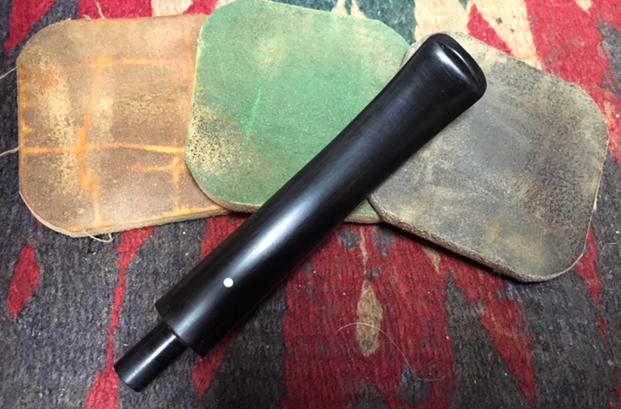
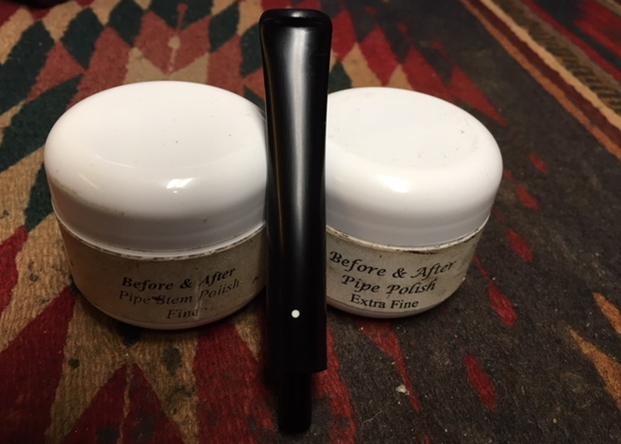
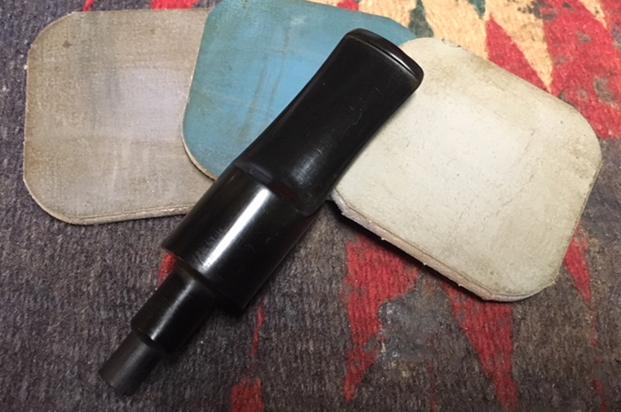
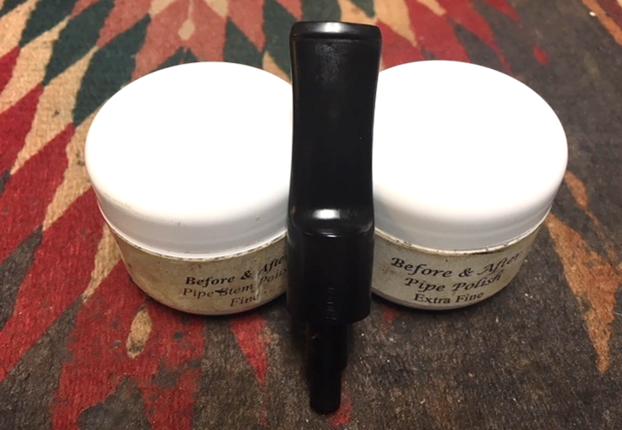
 I polished stem with micromesh sanding pads – wet sanding with 1500-2400 grit pads and dry sanding with 3200-12000 grit pads. I wiped the stem down with Obsidian Oil after each pad. I polished it with Before & After Pipe Stem Polish, both Fine and Extra Fine. I gave it a final coat of Obsidian Oil and set it aside to dry.
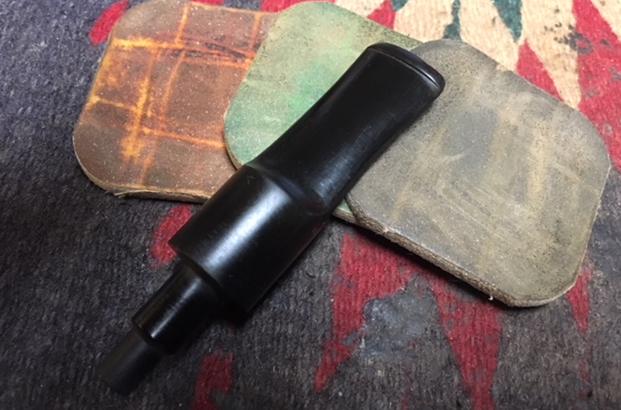

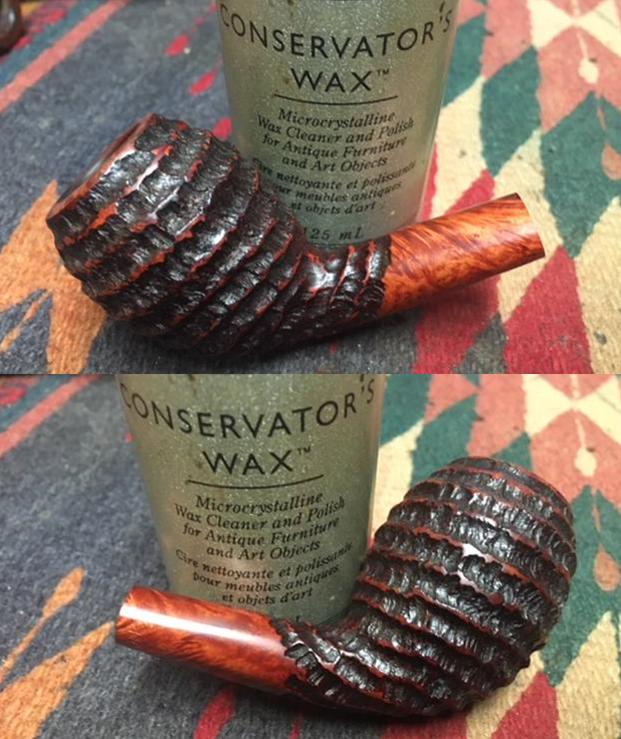
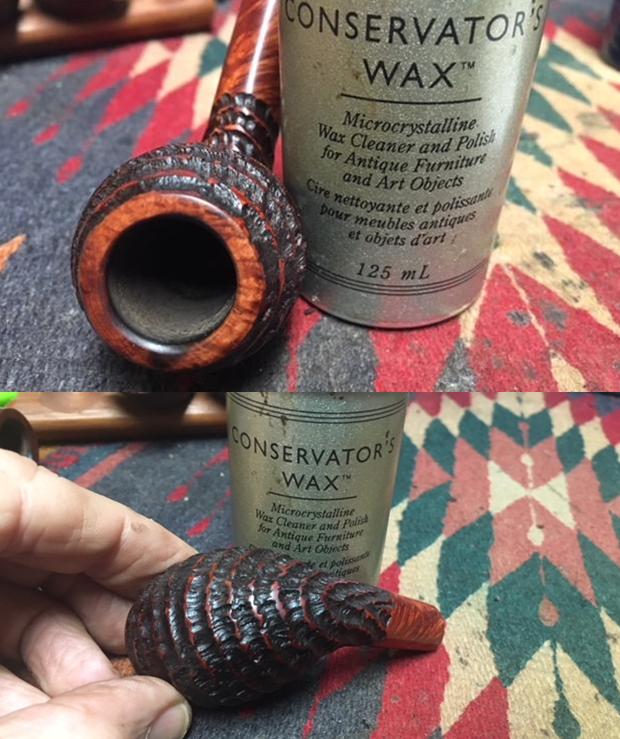
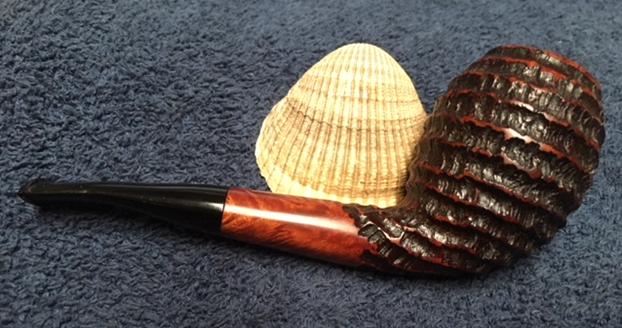
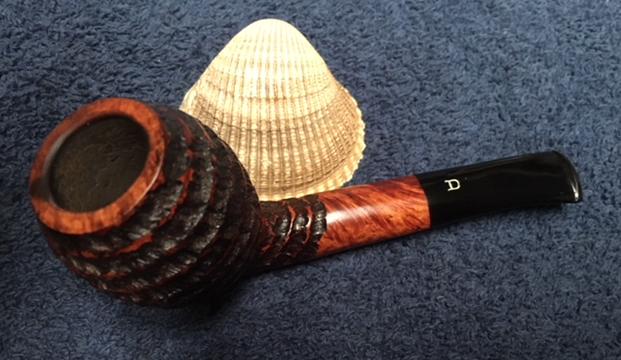
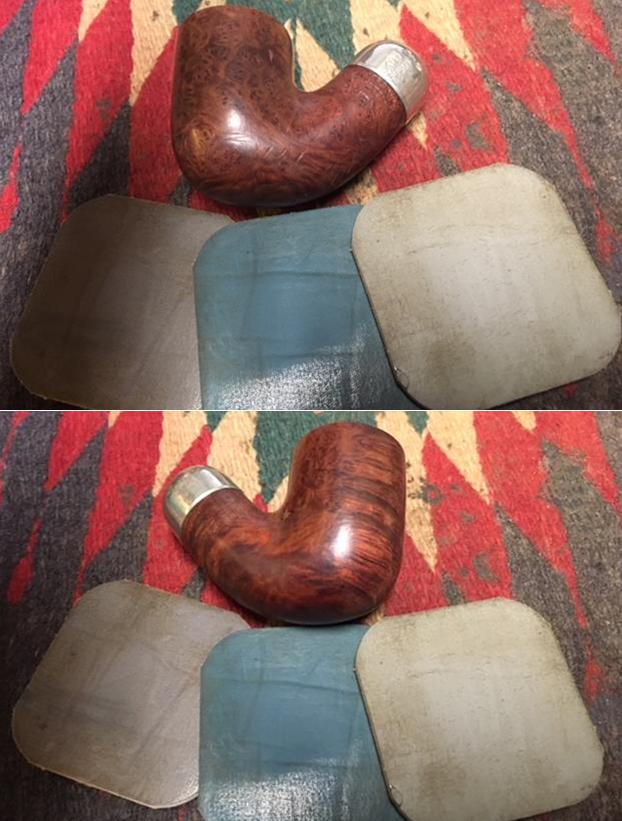
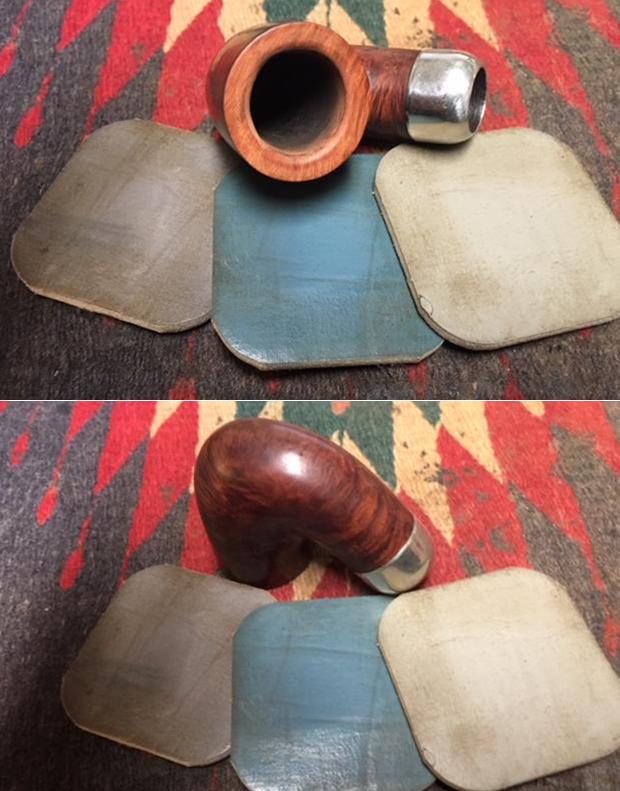
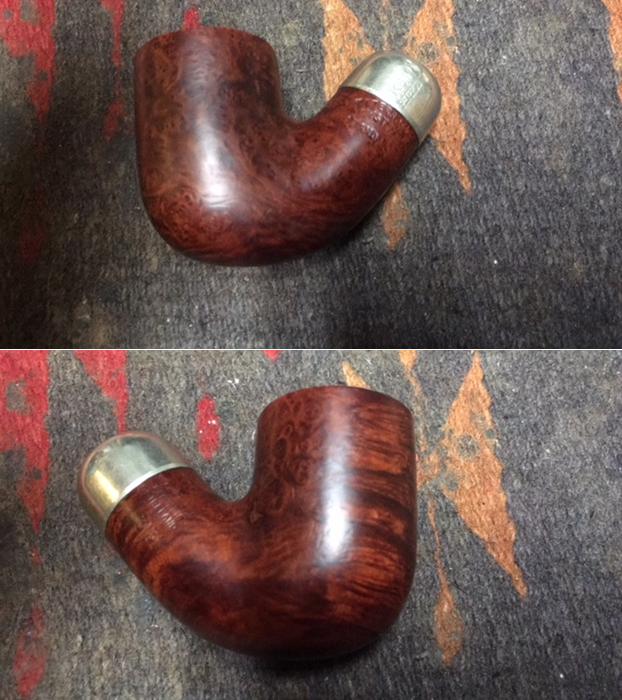
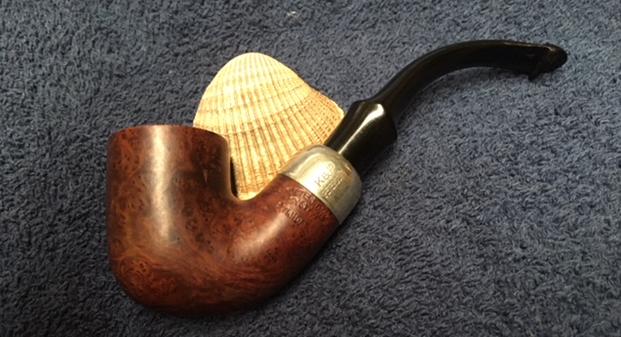
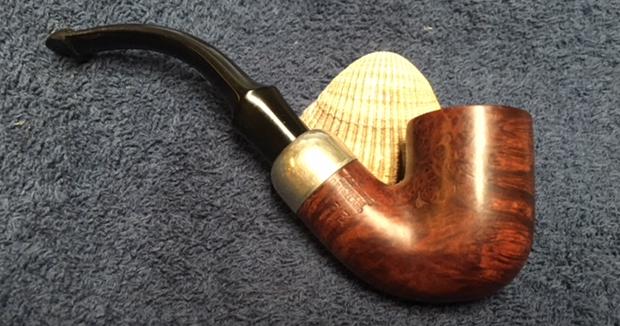
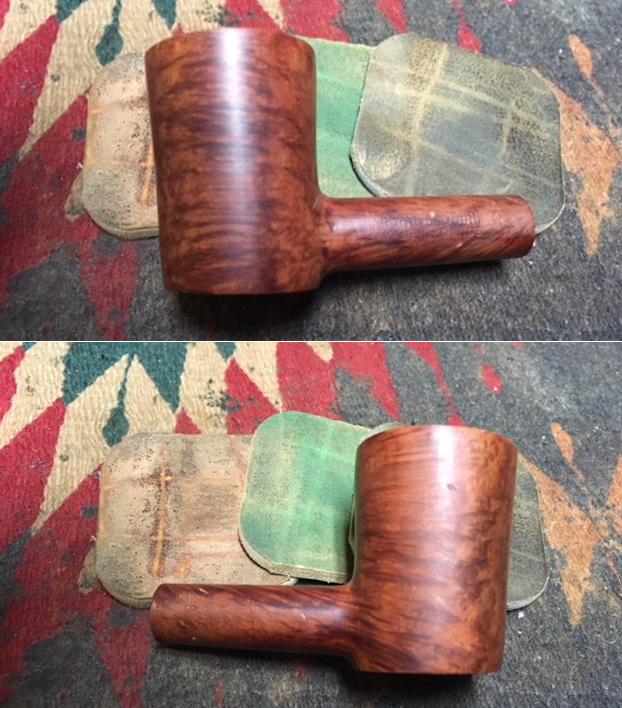
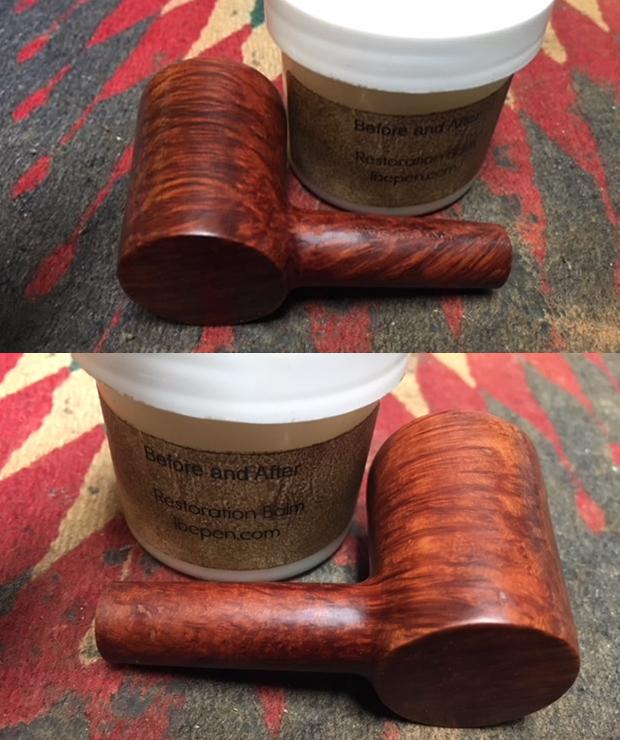
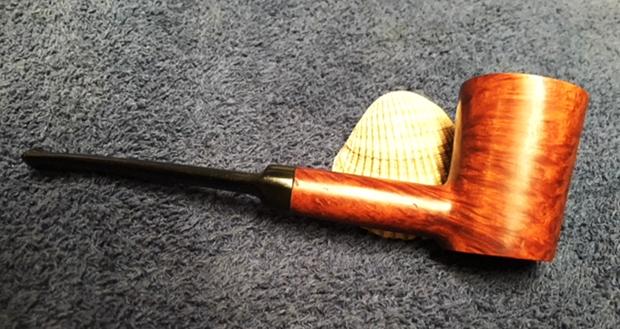
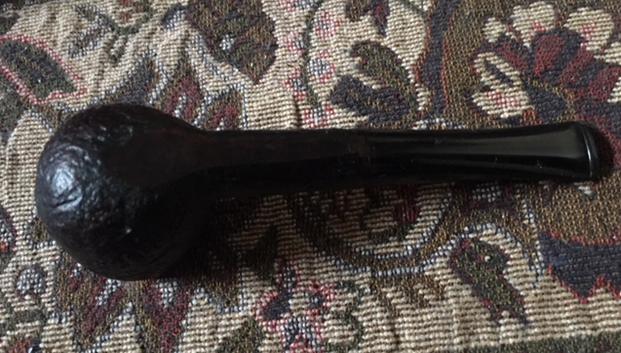
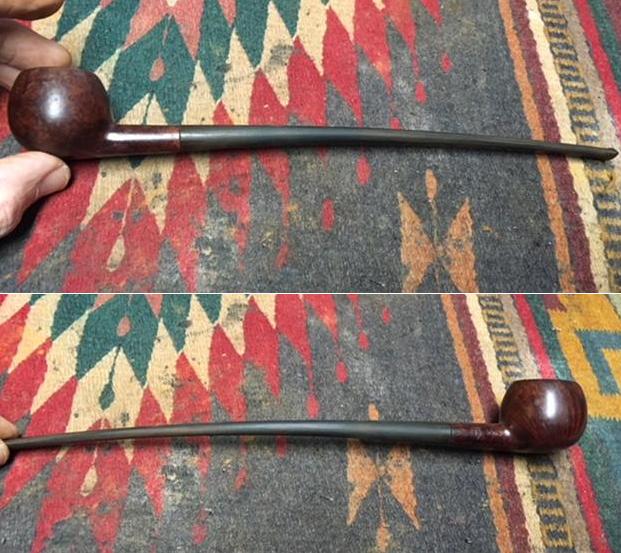
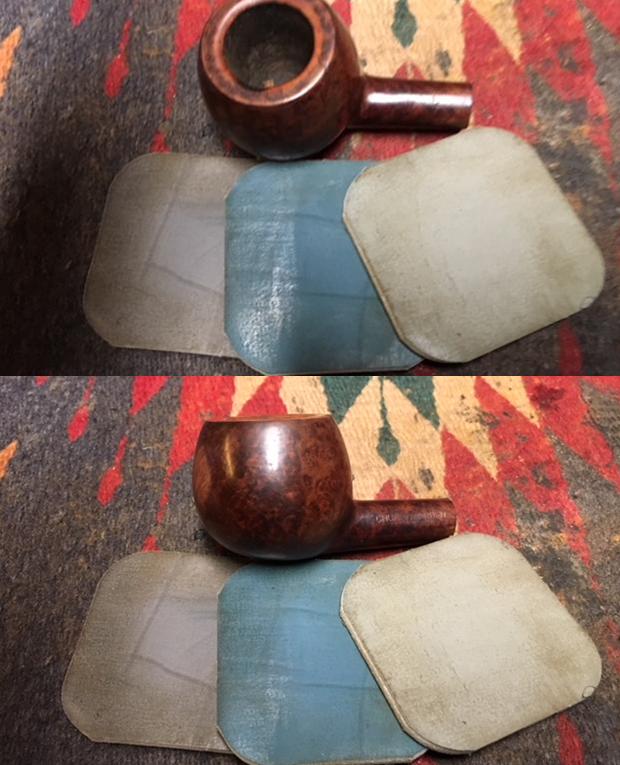
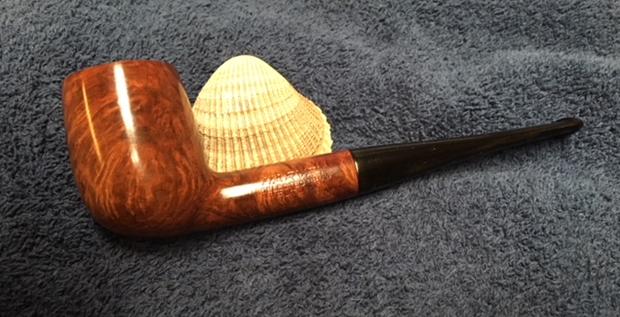
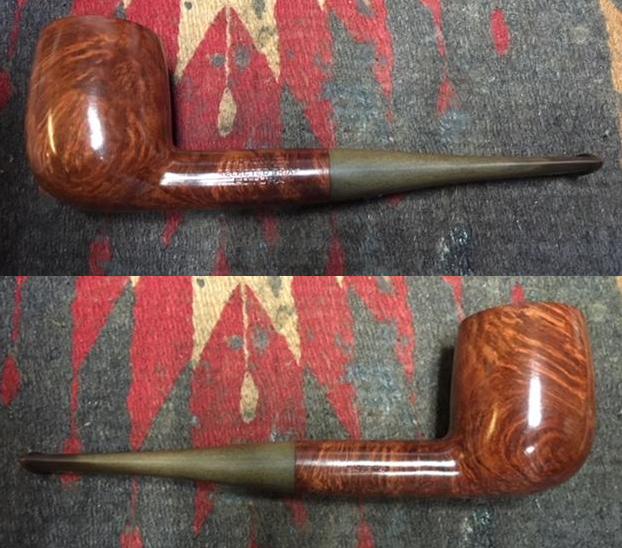
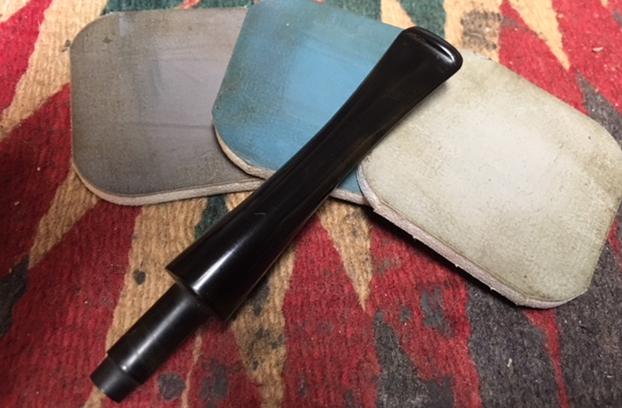
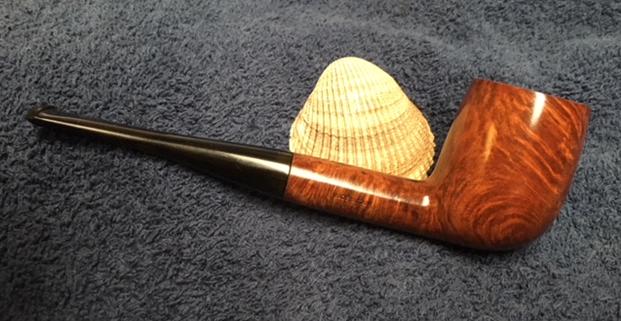
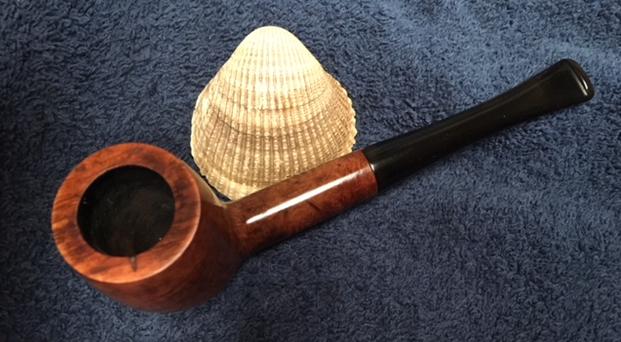
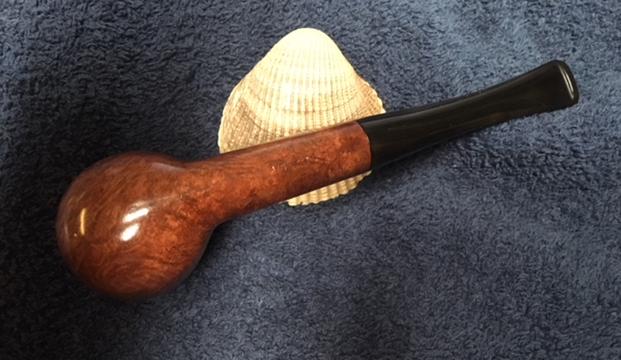
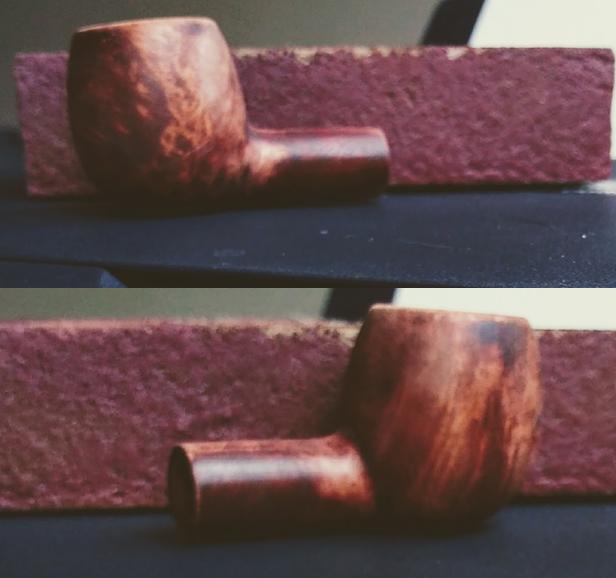
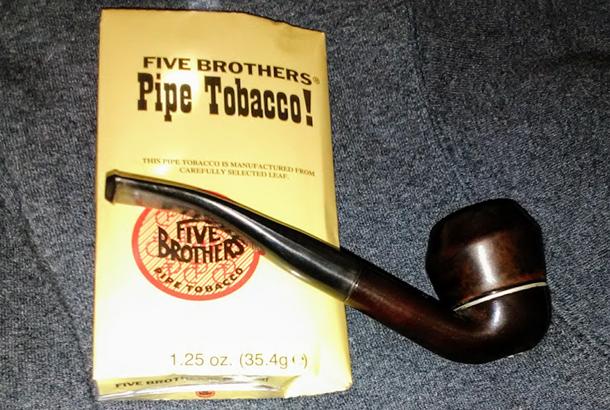
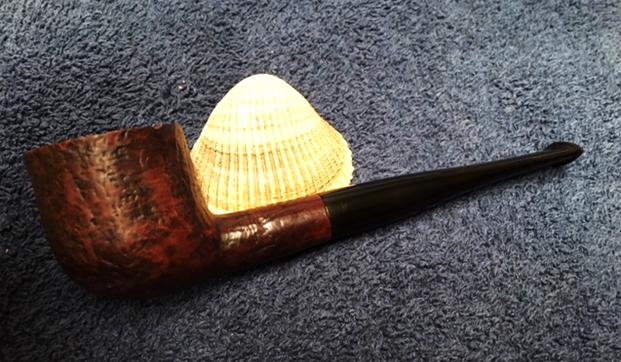
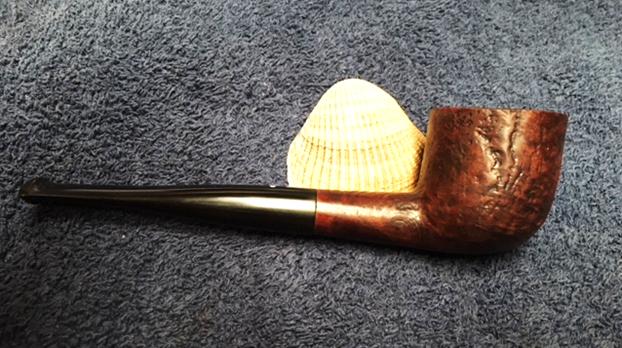
 I waxed the bowl and shank with multiple coats of Conservator’s Wax. I buffed the stem with carnauba wax. I buffed bowl and stem with a clean buffing wheel to raise a shine. The photos below show the finished pipe. It is a great looking pipe. I love the old Custombilt shapes and the look and feel of them in hand. This one is a beauty that looks great with its new stem. Now that I have finished the second of Mike’s pipes I will soon be packing them up and sending them on their way back to New York where I am sure he is waiting to fire them up and enjoy them once again. Thanks for looking.