Blog by Steve Laug
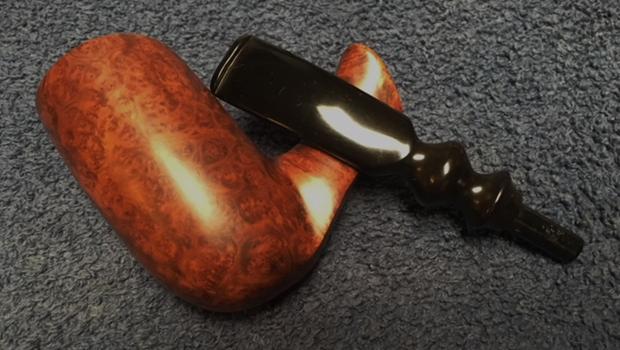
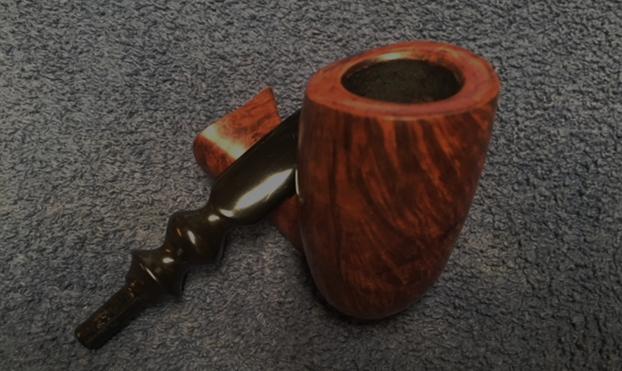
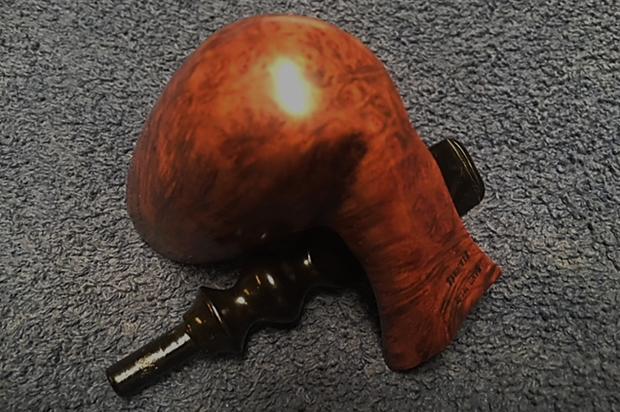
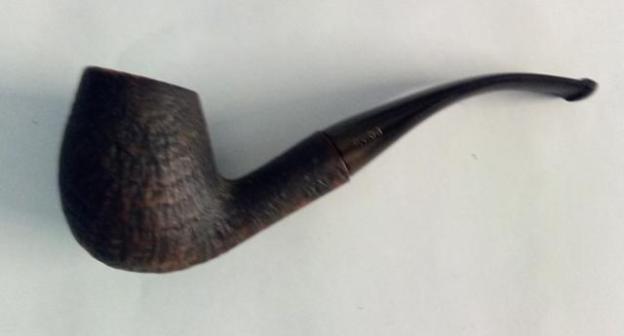
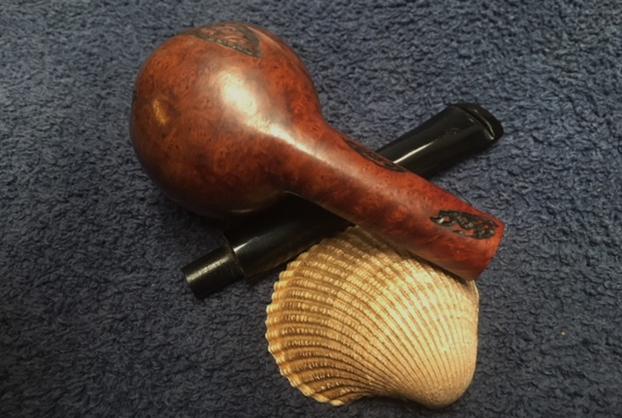
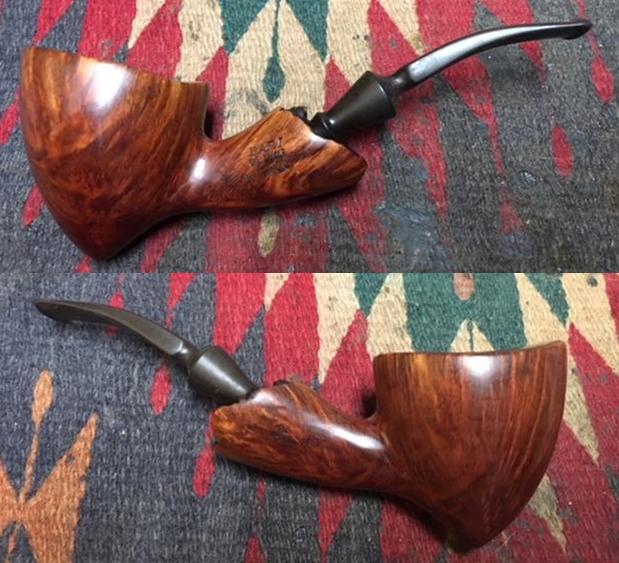
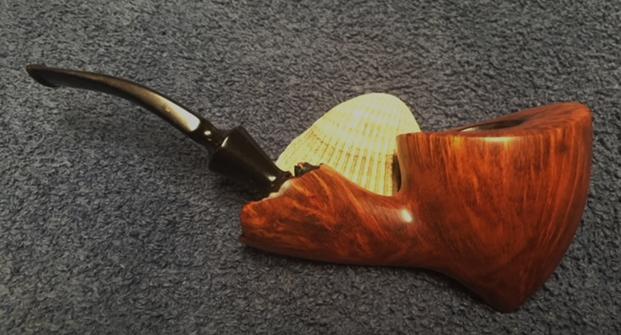
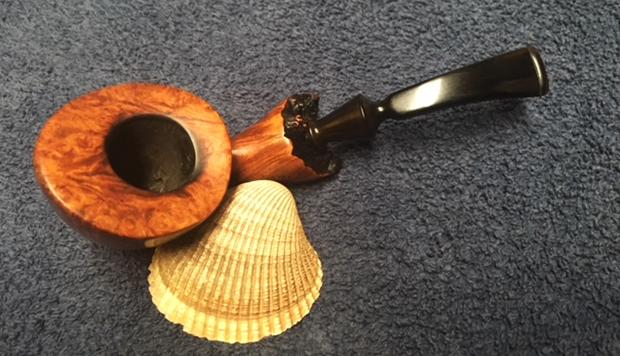
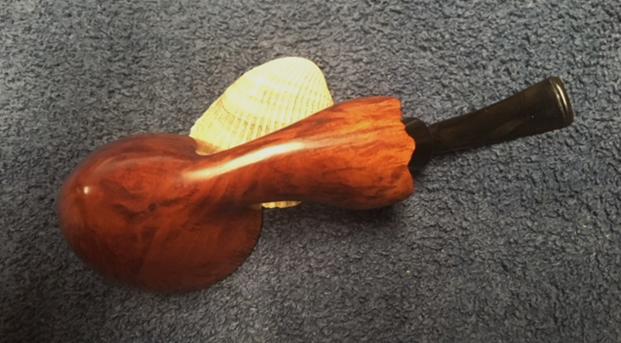
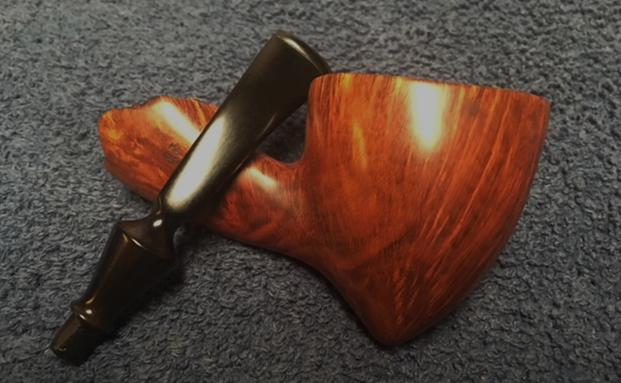
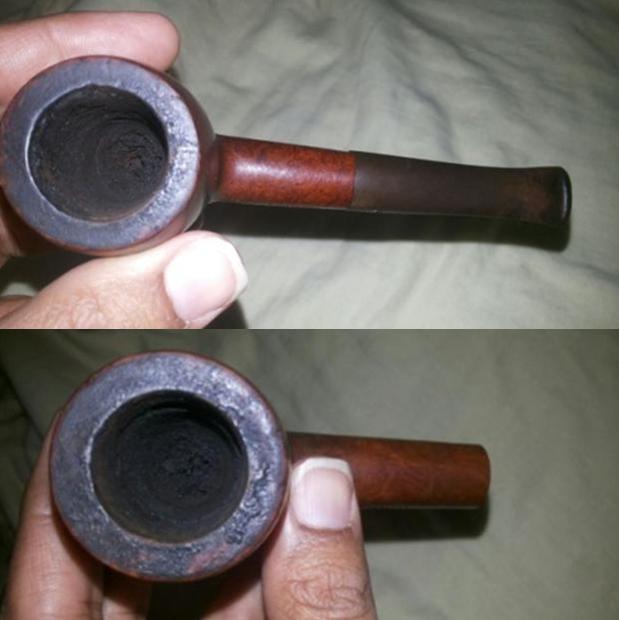
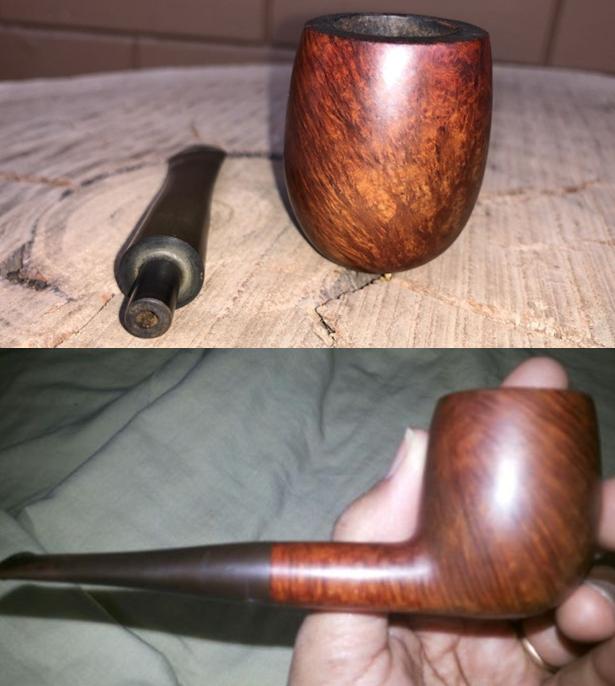
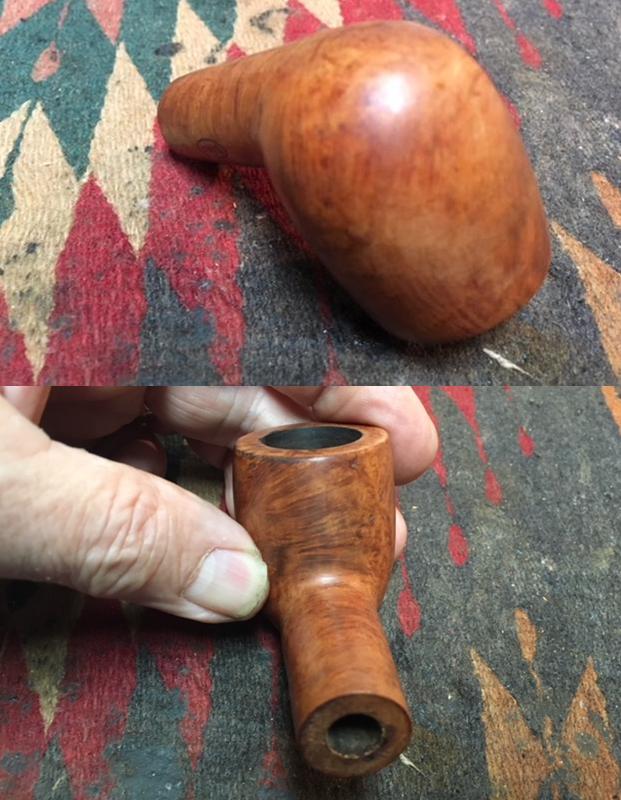
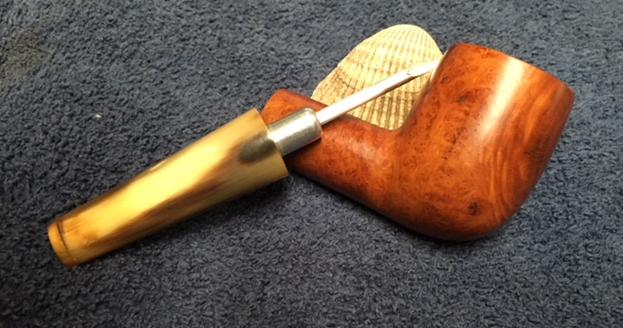
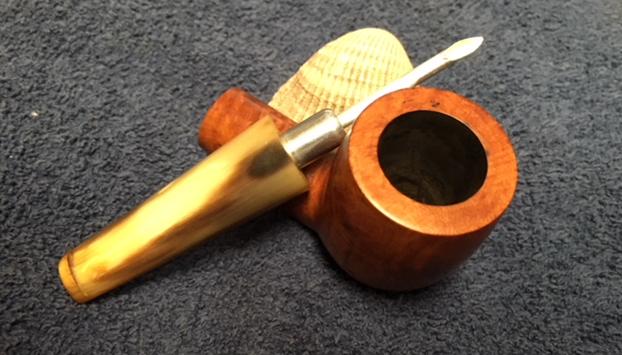
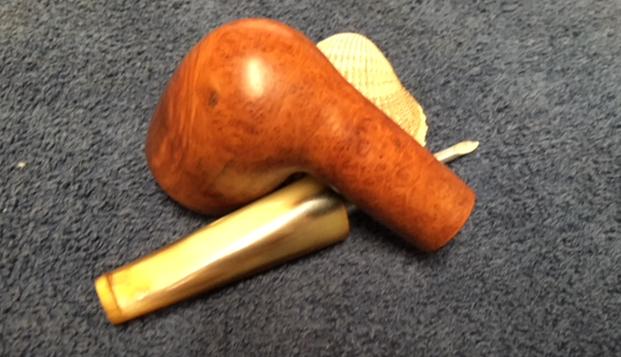
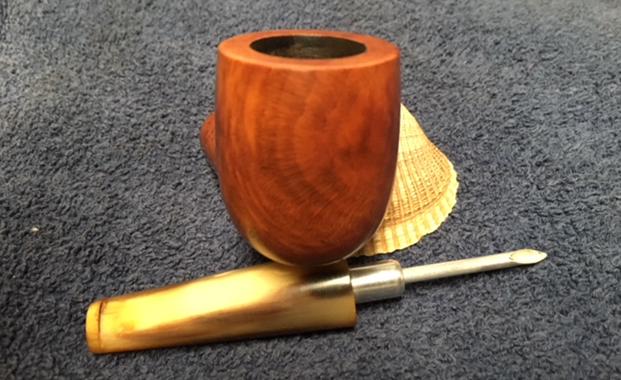
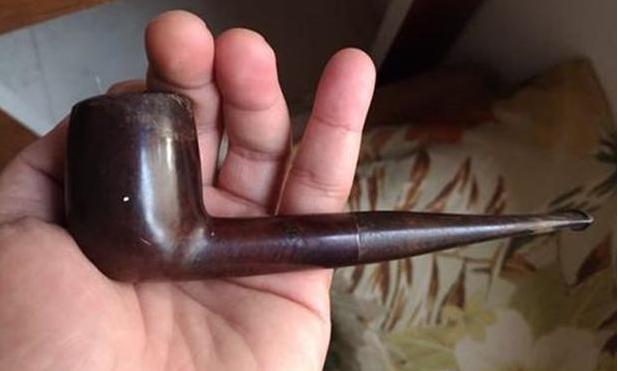
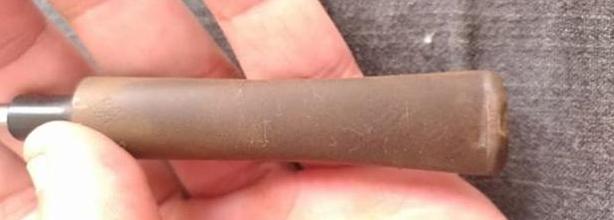
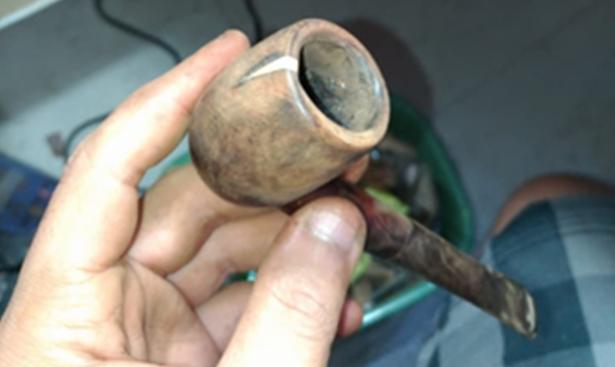
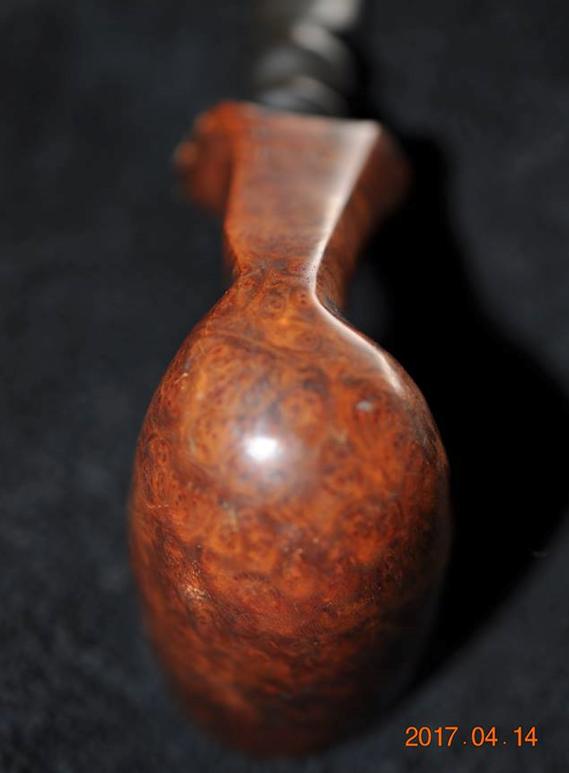
Jeff found this old pipe in an antique shop in Stevensville, Montana. He continues to show that he has an eye for old and unique pipes. This one is a tall, stack Freehand pipe with a large bowl and beautiful grain patterns around the sides of the bowl and shank. There is straight, flame and birdseye grain around the sides, top and bottom of the bowl. The rim cap is smooth and a mix of grain patterns. The finish was dirty but seemed to have a matte finish under the grime and grit. The rim top had an overflow of tars, oils – lava from the thick cake in the bowl. It was truly a mess but the buildup probably protected the inner and outer edges of the rim. It was stamped on the underside of the shank just ahead of where the stem is inserted. It is simply stamped Hand Made over In over Denmark. The stamping is identical to the stamping on Ben Wade Pipes that I have in my collection and something in my memory says I have read that somewhere. The stem has chair leg turnings that are similar to many freehand pipe stems. There is nothing stamped on the side or top of the stem. Jeff took photos of the pipe before he started his cleanup work. 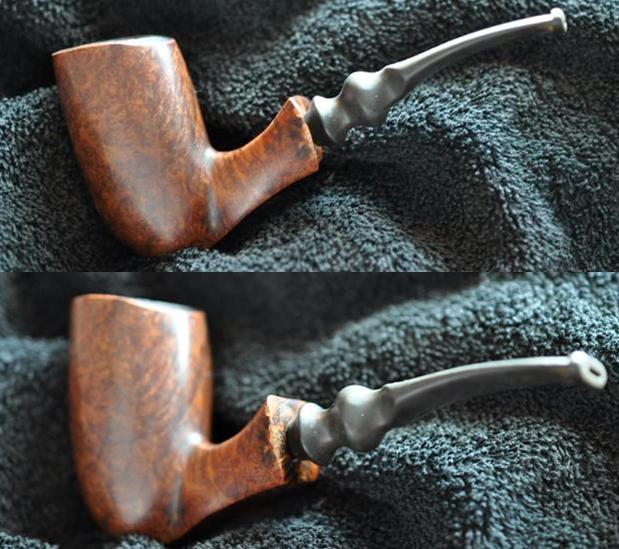
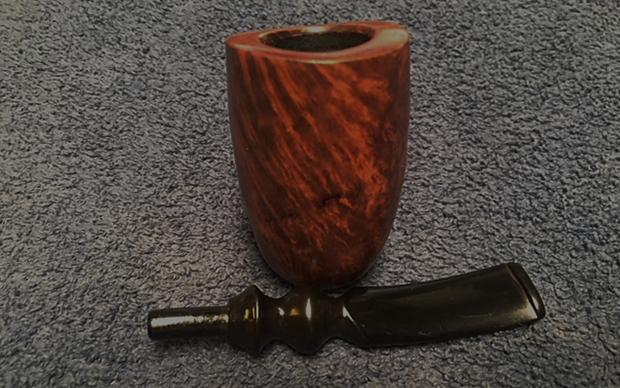
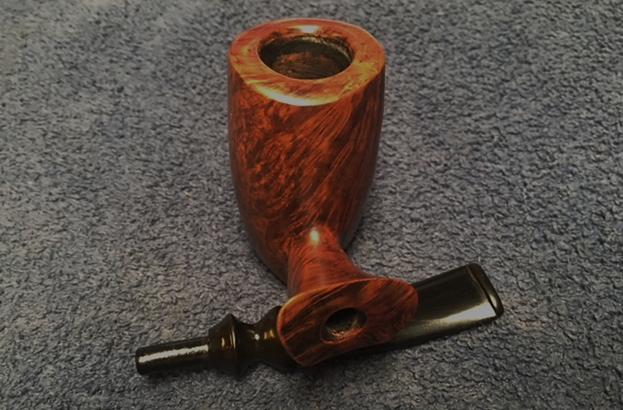
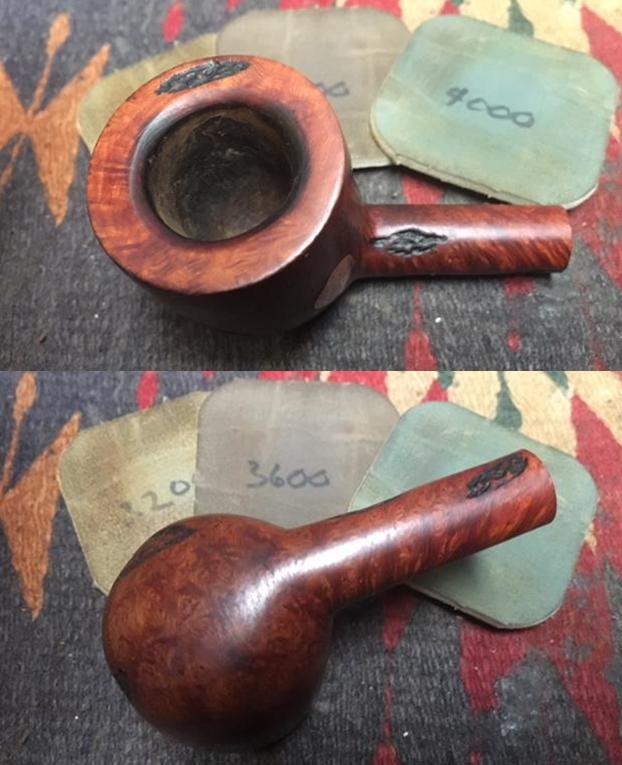
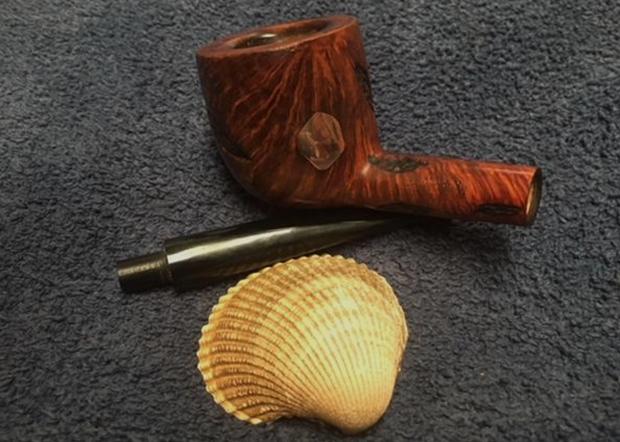
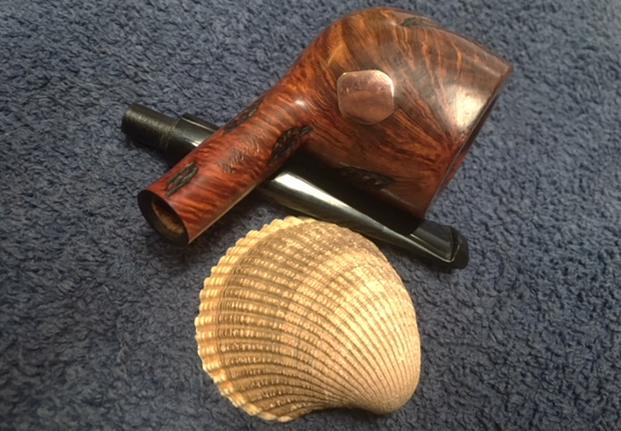
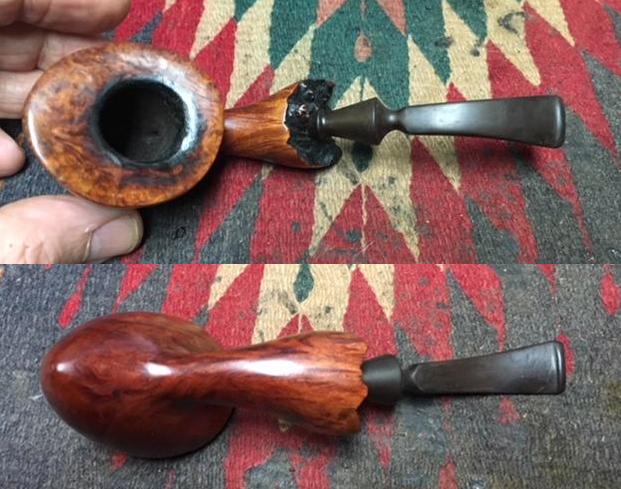
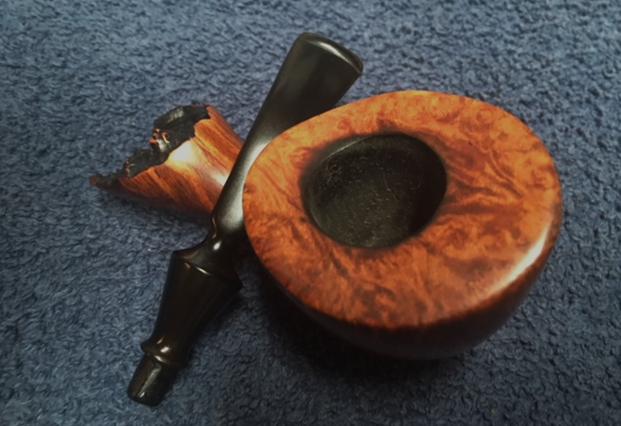
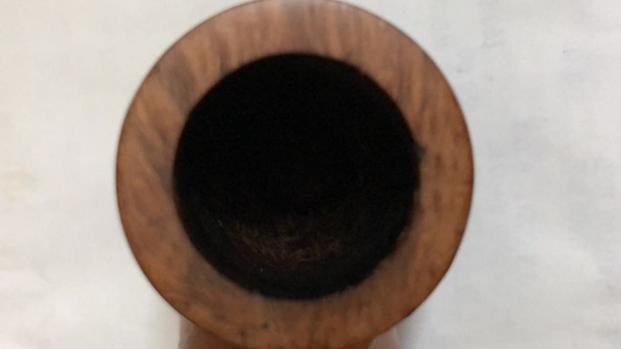
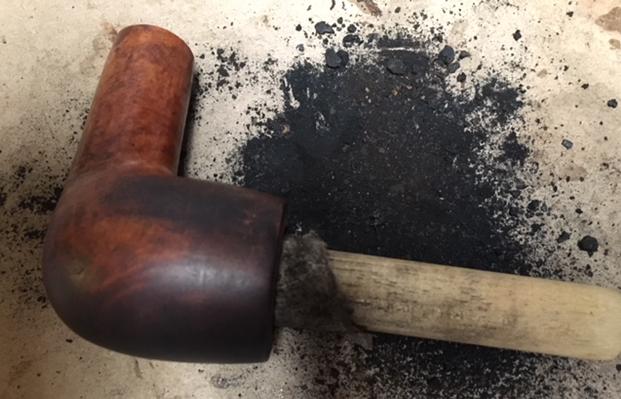
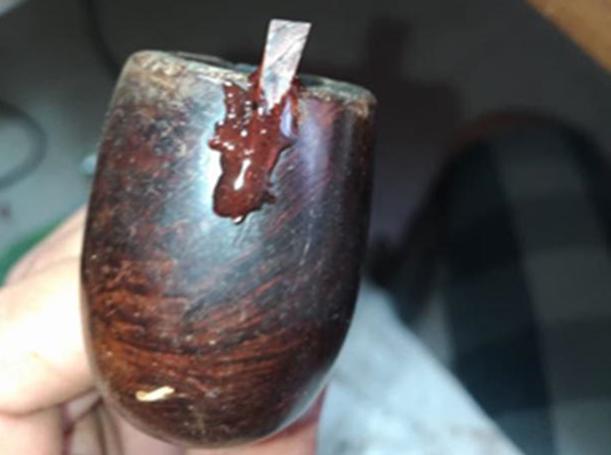
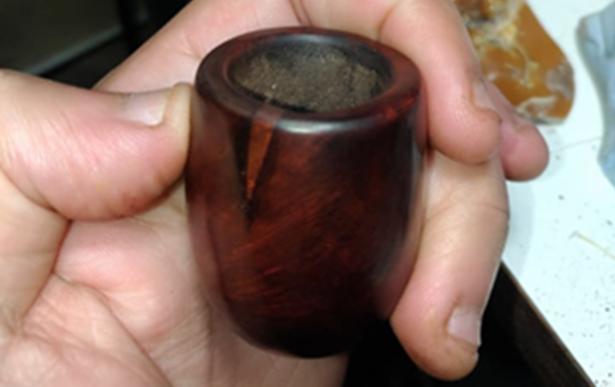
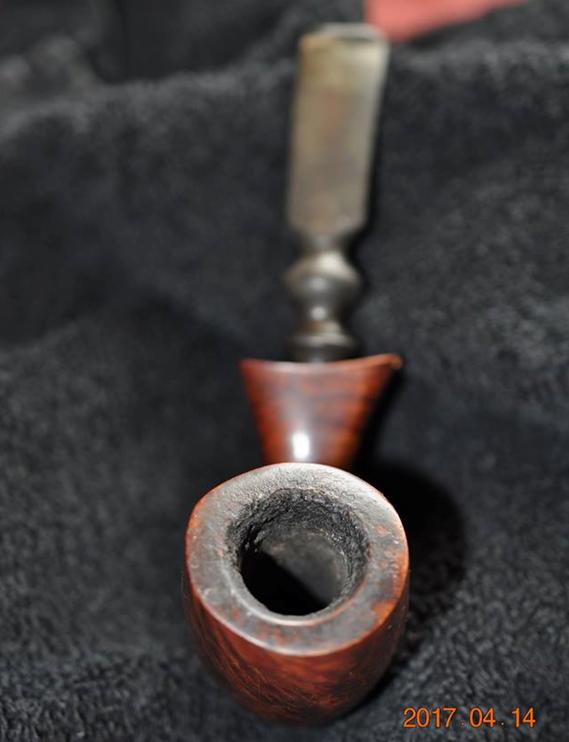 Jeff took some close up photos of the rim top to show the condition of the bowl and rim. There was some overflow of lava and dirt on the rim top and there was a pretty thick cake in the bowl. The pipe is quite tall and the cake went to the bottom of the bowl. The inner and outer edges looked to be in good condition.
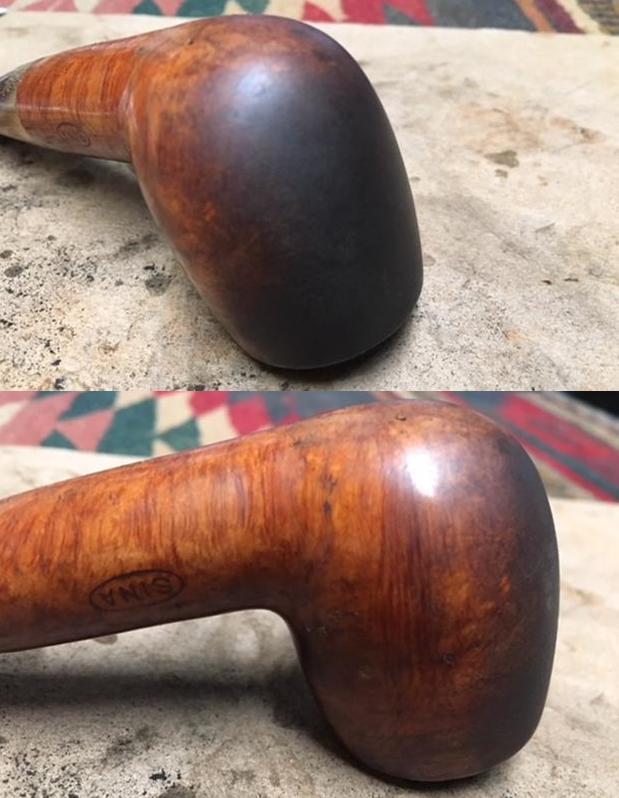
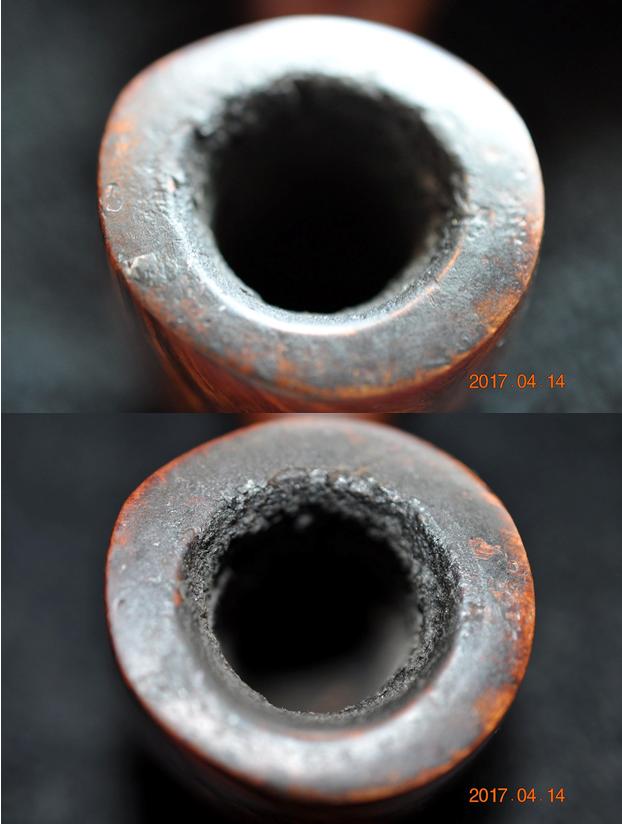 Jeff took photos of the bowl from various angles to show the condition of the finish. The beautiful grain is visible in the photos. The finish is dirty but looks good under the grime.
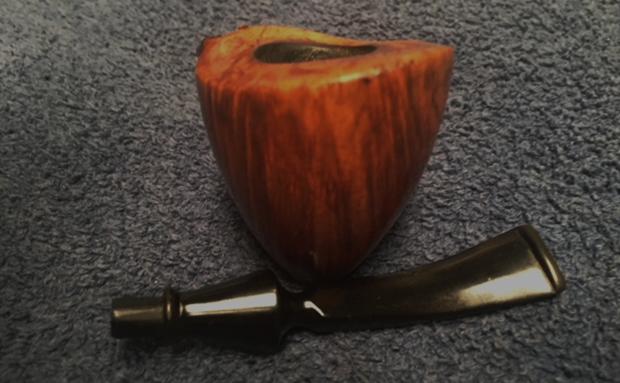

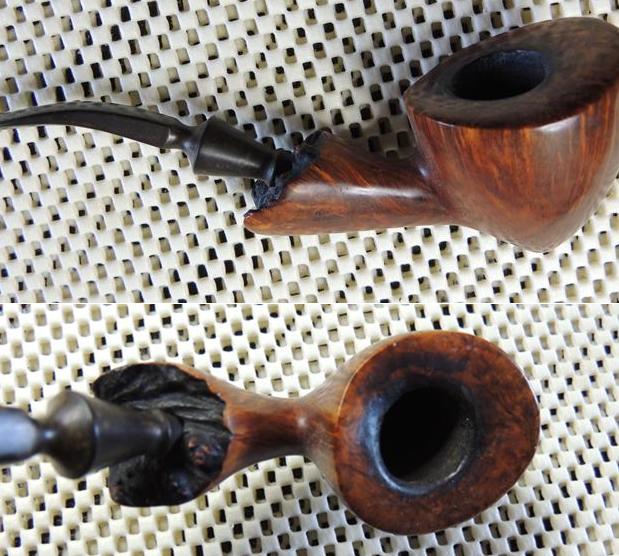
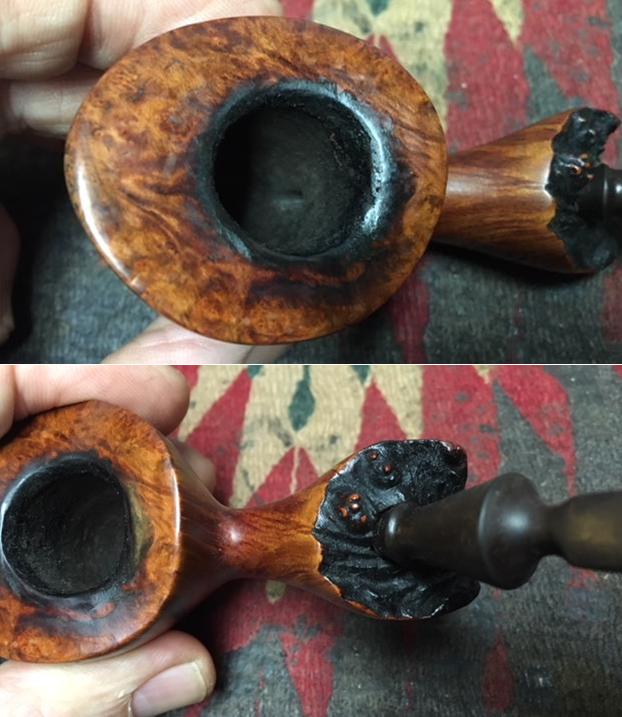
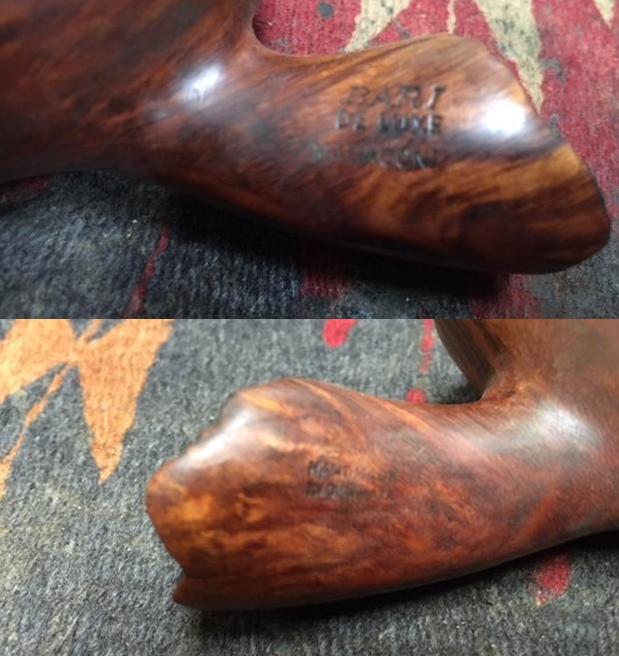
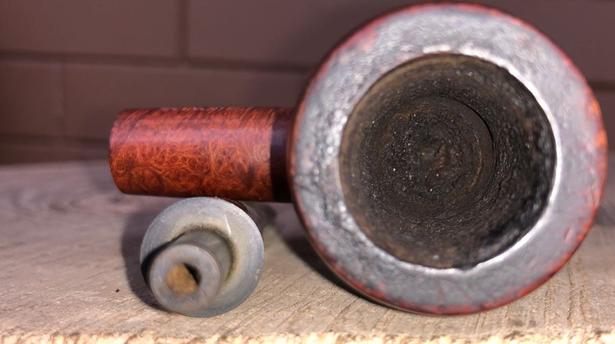
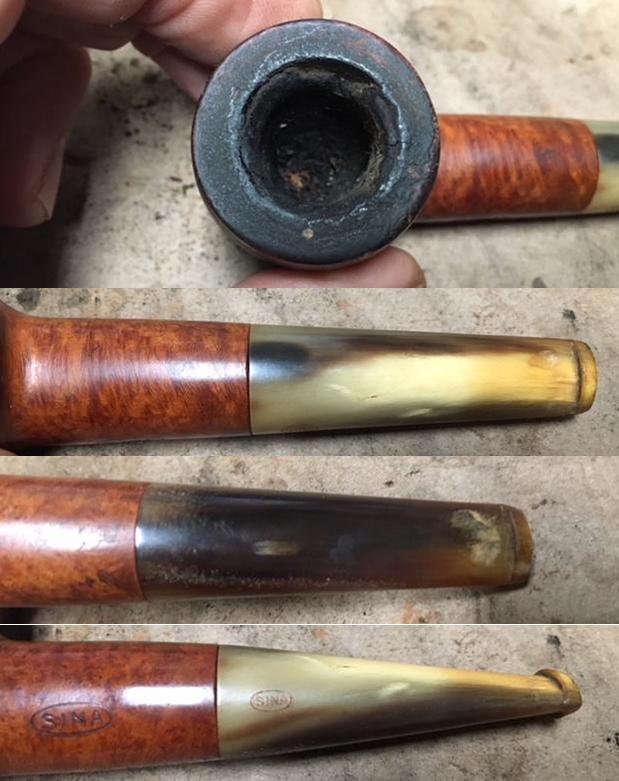
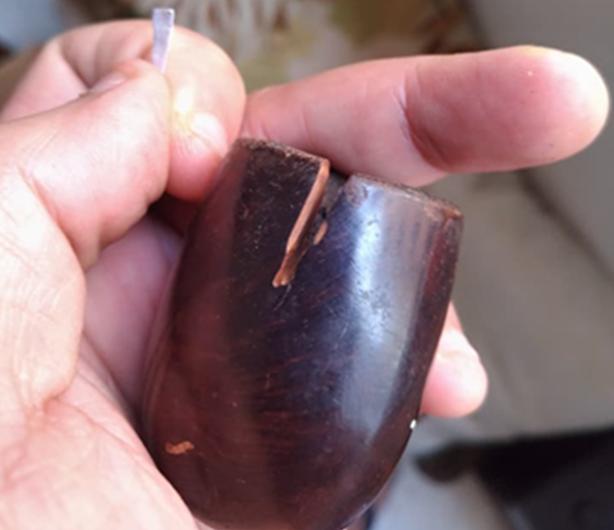
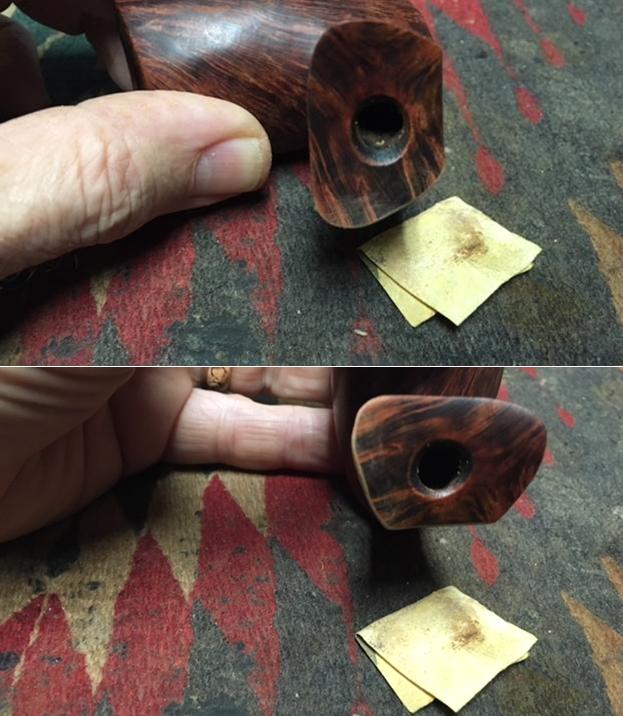
 The stamping on the underside of the shank is clear and readable. It simply reads Hand Made with a faint stamp “In” below that followed by Denmark. The second and third photos below show the damage to the left edge of the shank. There were some chips and nicks in the finish. None were too deep in the briar so would need to rework that area of the shank.
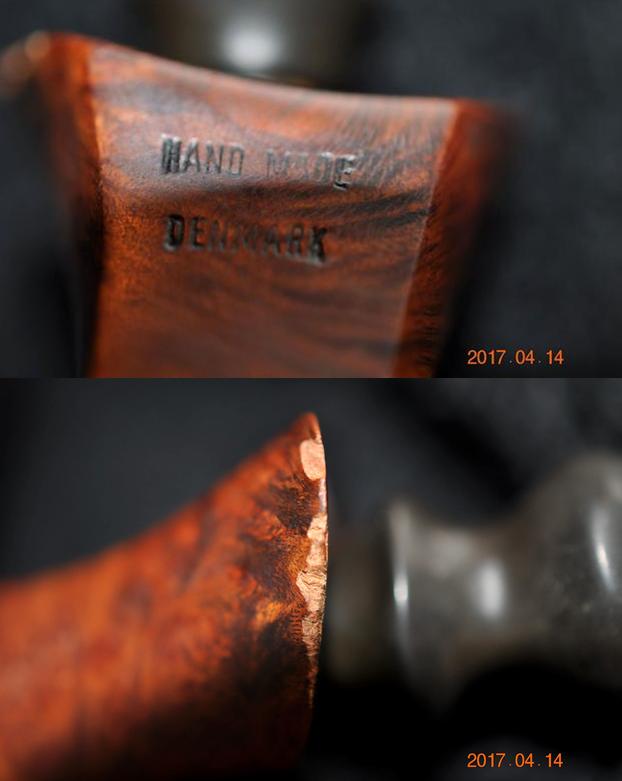
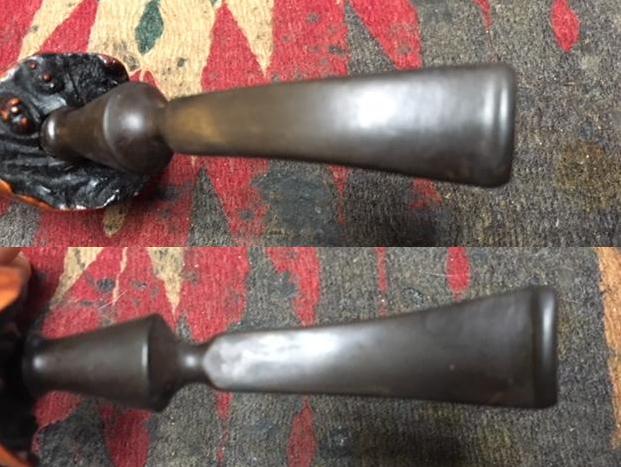
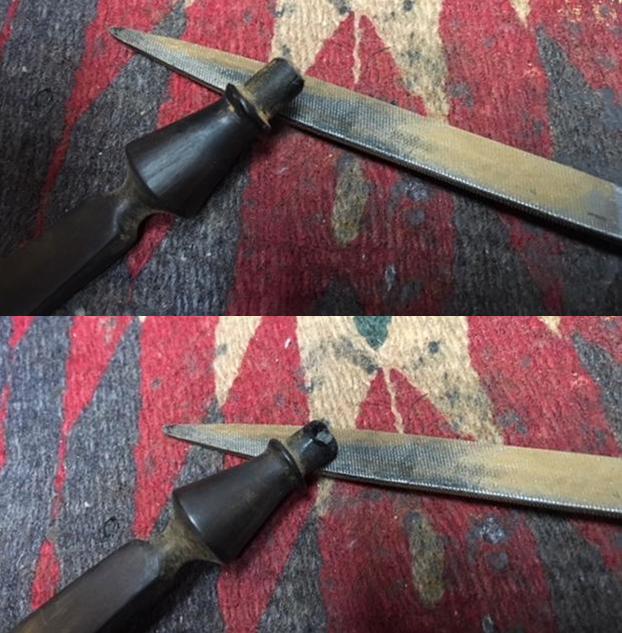
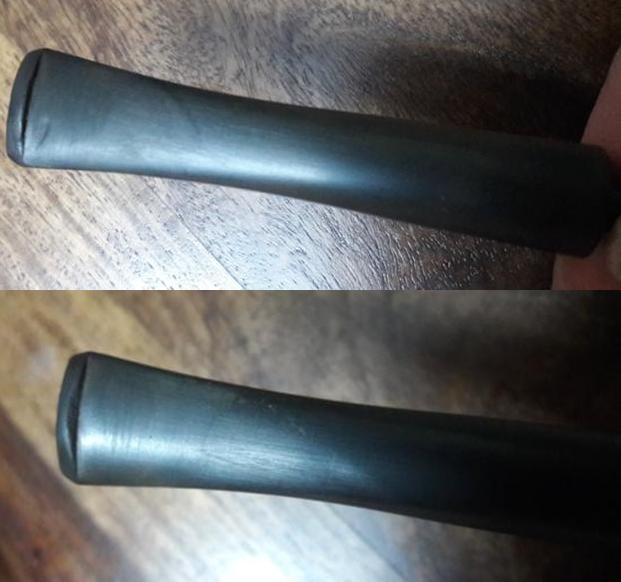
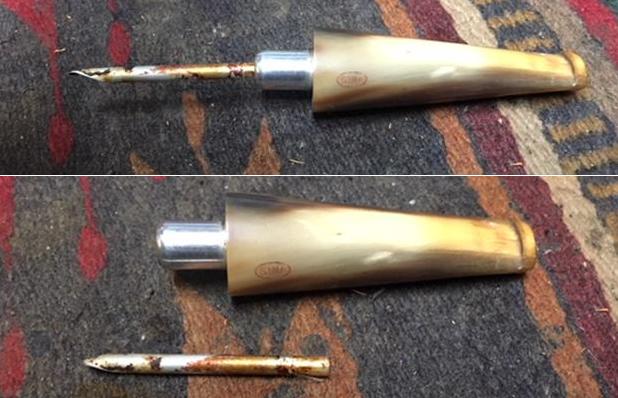
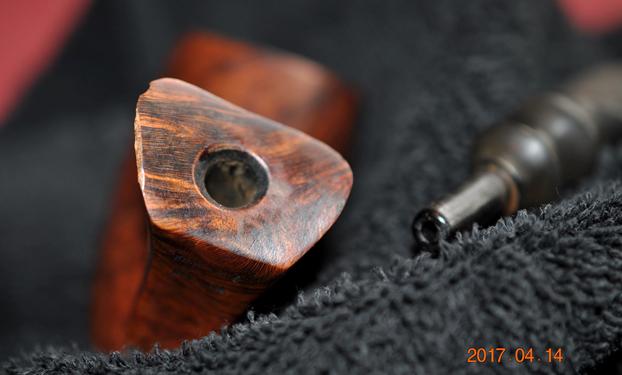 The stem was in decent condition. It was oxidized on both sides and there were some nicks and tooth marks and chatter on both sides near the button. There were no deep tooth marks which is really a relief.
 I reread the articles on Pipedia and Pipephil on both Preben Holm and Ben Wade pipes. I could not find the comment I was looking for on the Hand Made In Denmark stamp. So I would not have the luxury of knowing the history or who the carver was. Many things about the pipe made me still think it was a Ben Wade pipe but I may never know. I am hoping one of you who are reading this might have a clue for me.
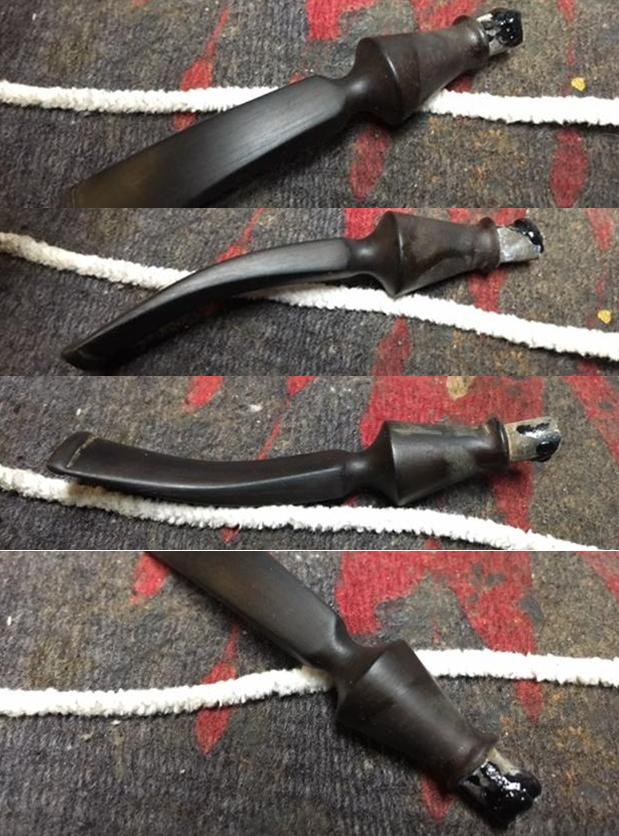
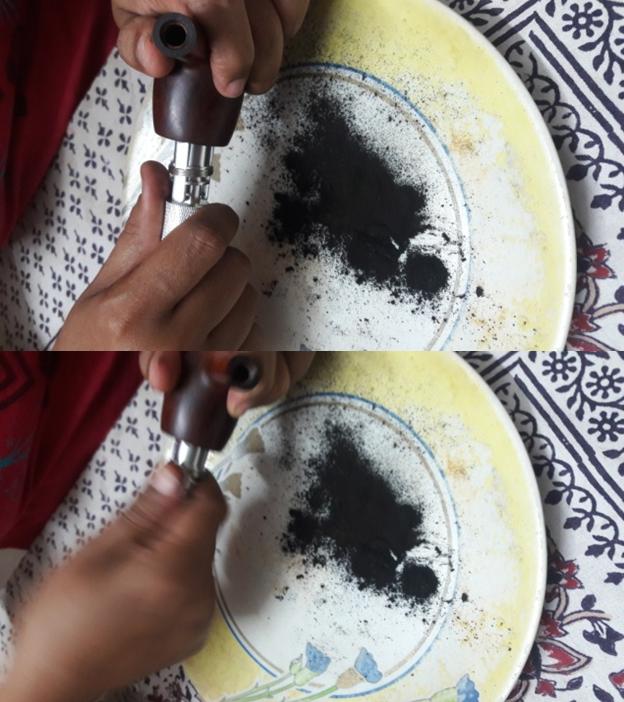
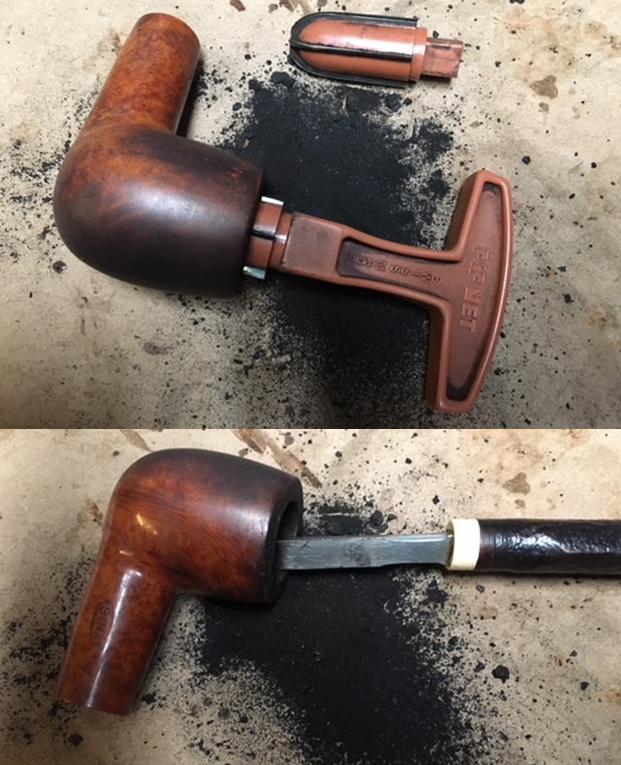
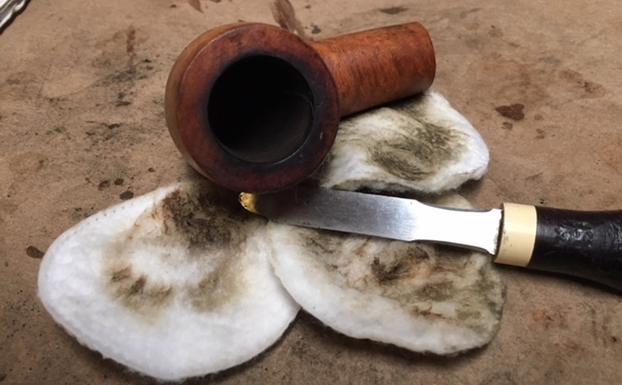
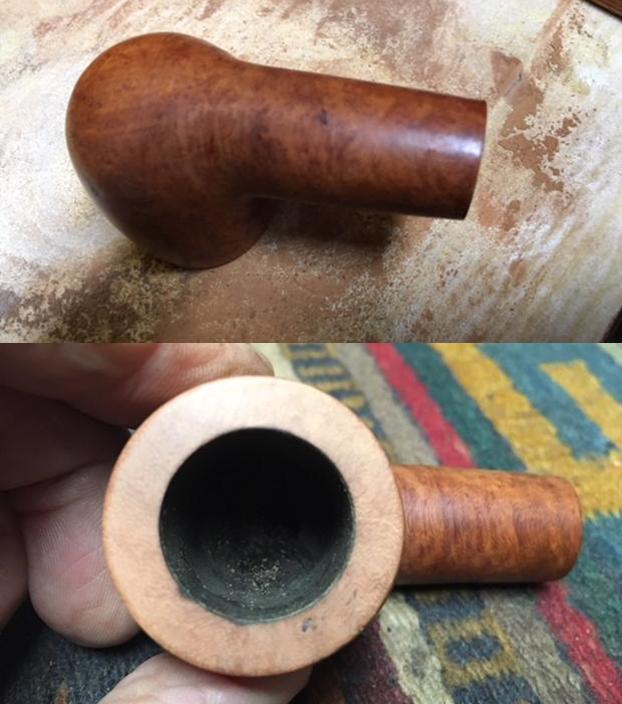
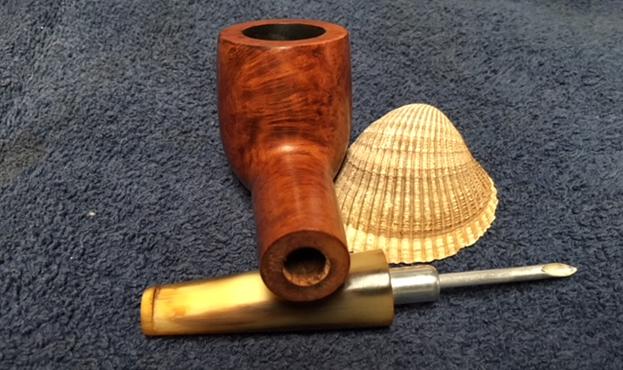
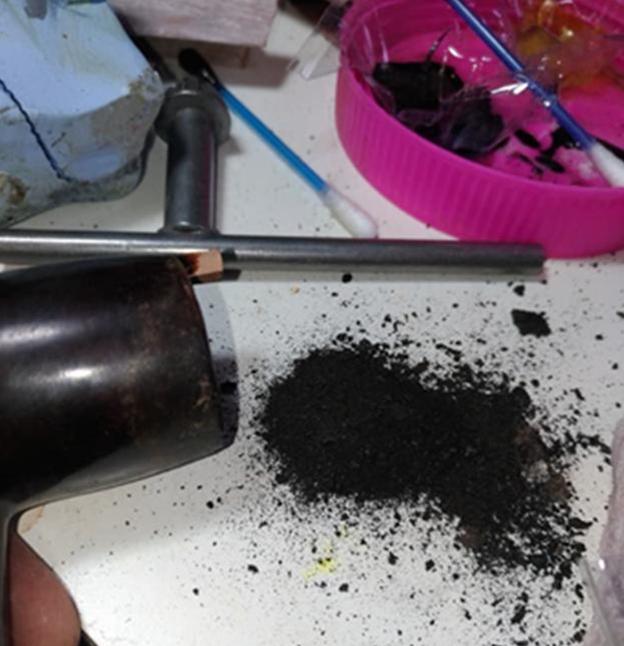
Jeff has become a magician in cleaning up pipes. When I get them they are clean to the point of looking almost new. It is nice to work on pipes that he has cleaned up once again. In this case he reamed it with a PipNet reamer and smoothed the walls of the bowl with a Savinelli Fitsall pipe knife. He scrubbed out the mortise and the airway in the shank and the stem with alcohol, cotton swabs and pipe cleaners. He scrubbed the exterior of the bowl, rim and shank with a tooth brush and Murphy’s Oil Soap to the oils and tars on the bowl, rim and shank. He rinsed it under running water. He dried it off with a soft cloth. He was able to remove all of the buildup on the rim top and the grime from the bowl. He soaked the stem in Before & After Deoxidizer and when it had done its work rinsed and cleaned the airway with pipe cleaners and alcohol. The tooth marks were clean but visible. I took photos of the pipe to show its condition before I started my work on it.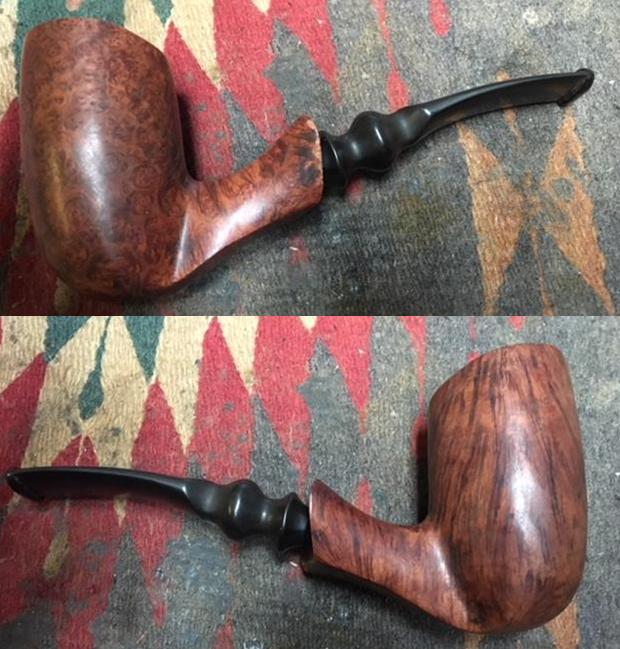
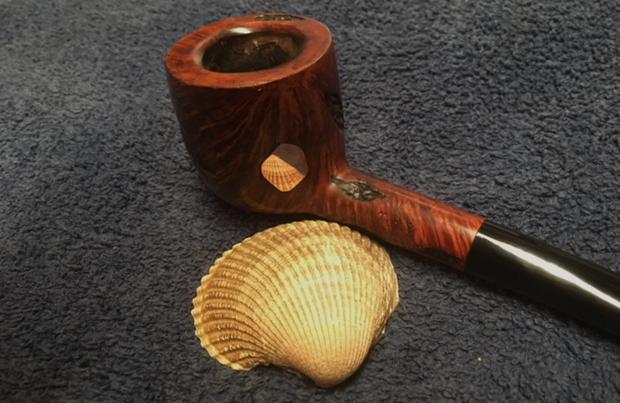
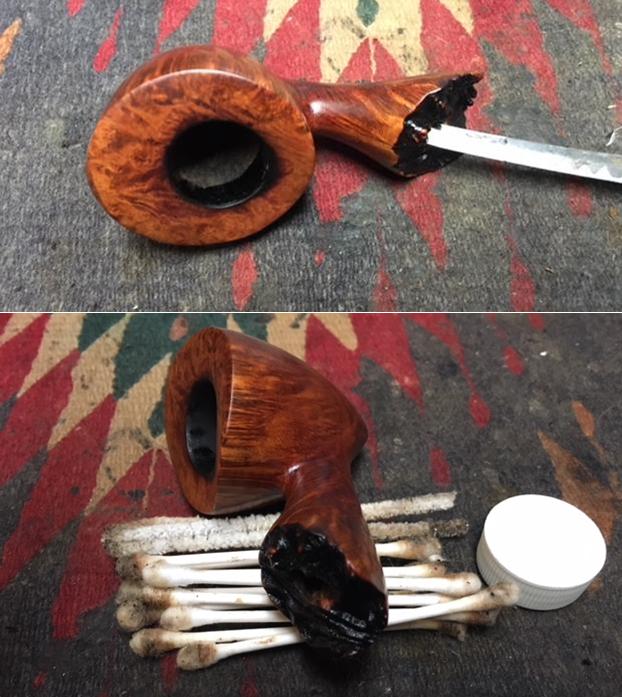
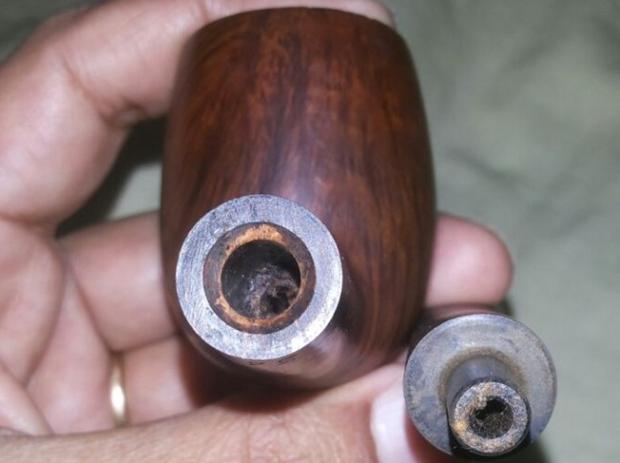
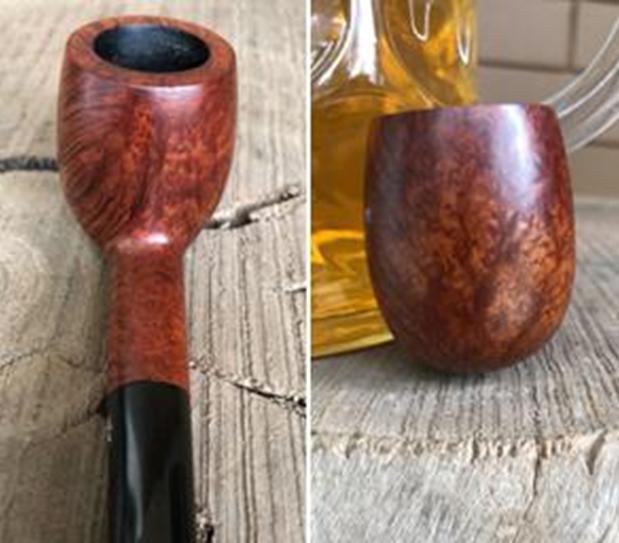
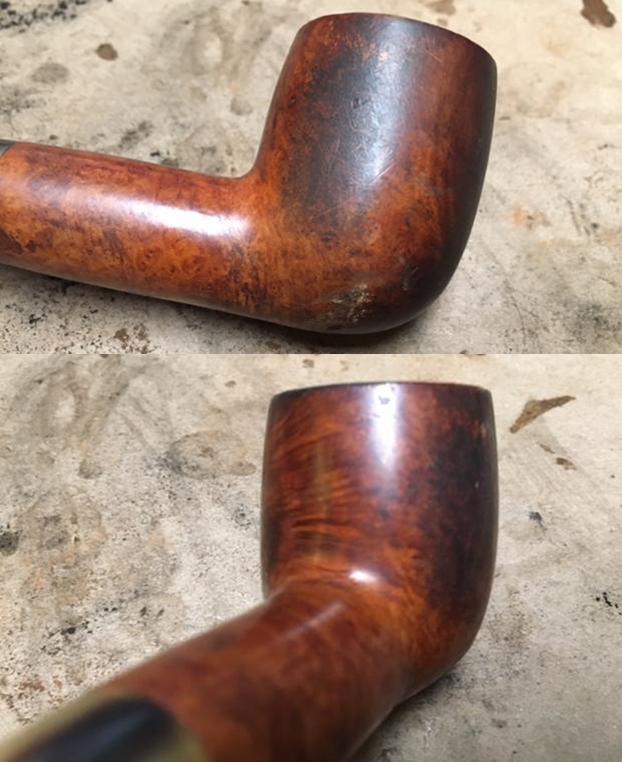
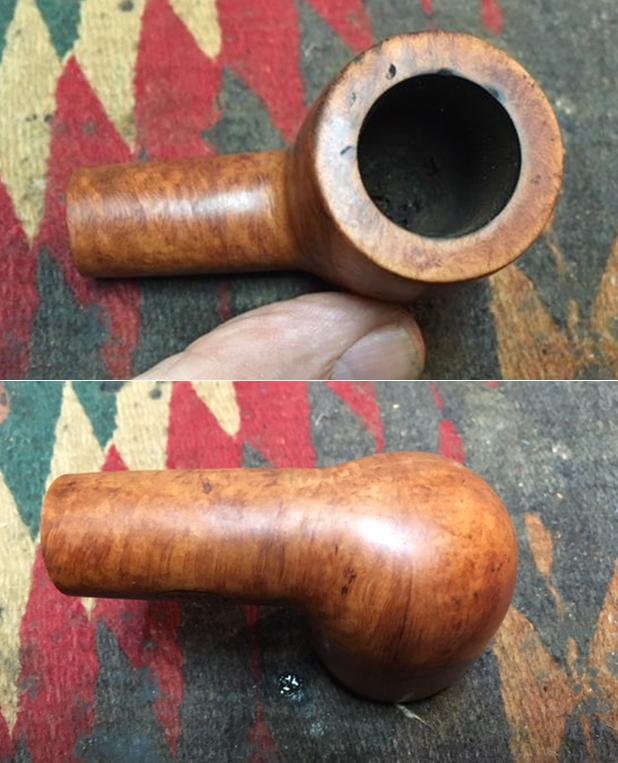
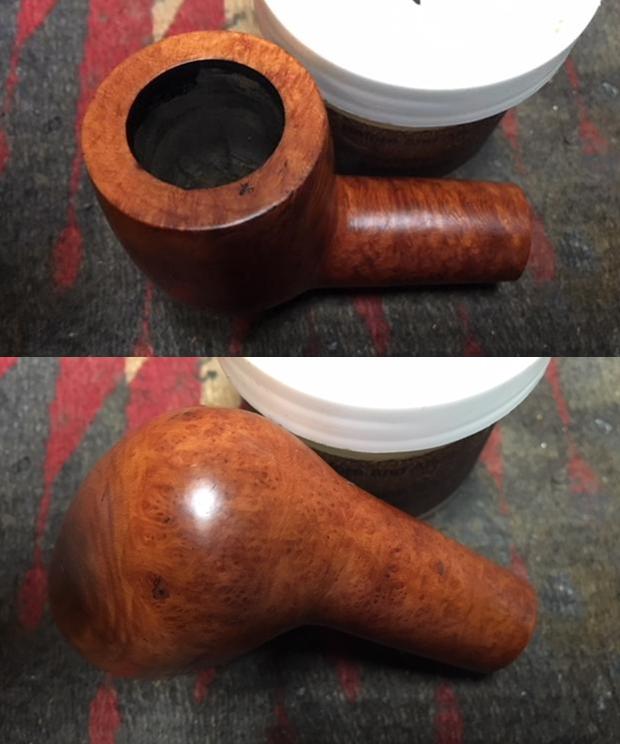
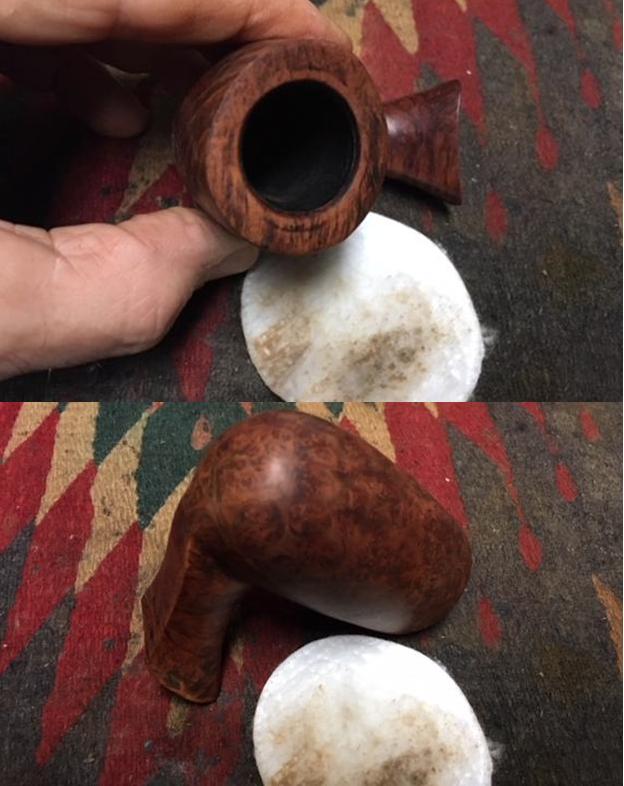
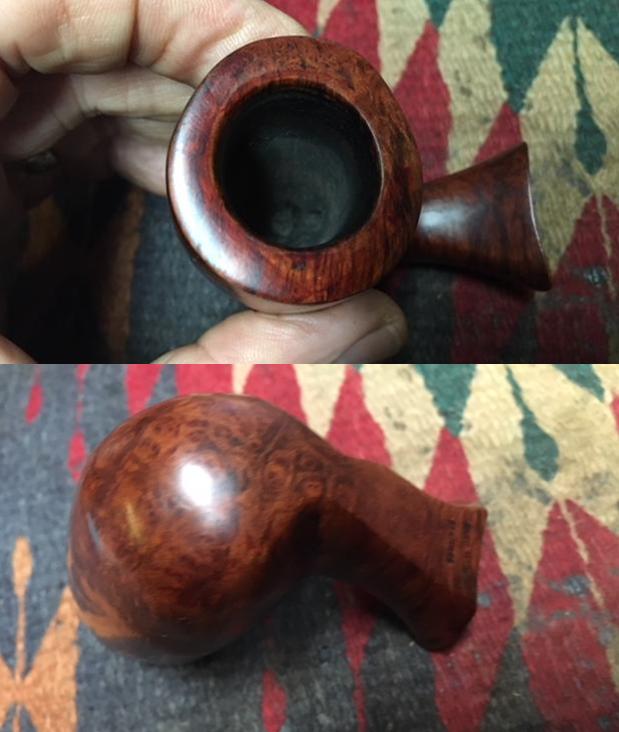
 I took some photos of the rim top to show what it looked like after Jeff had cleaned off the grime and tars. The briar was in good condition but there were some nicks and scratches in the flat top but none appeared too deep. The inner and outer edges of the bowl looked very good. The stem had cleaned up really well with the deoxidizer and need repair and polishing. It showed tooth marks on the underside and some chatter but it was otherwise in good condition.
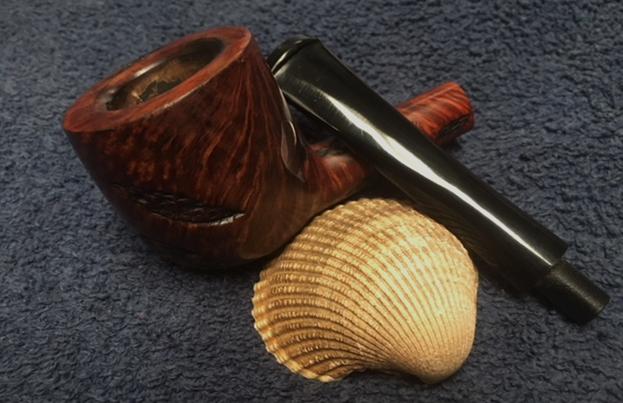
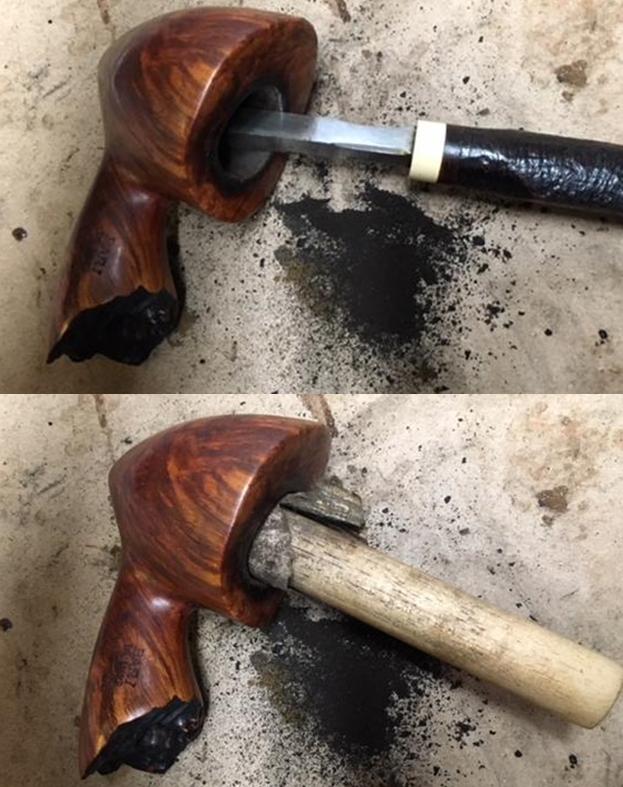
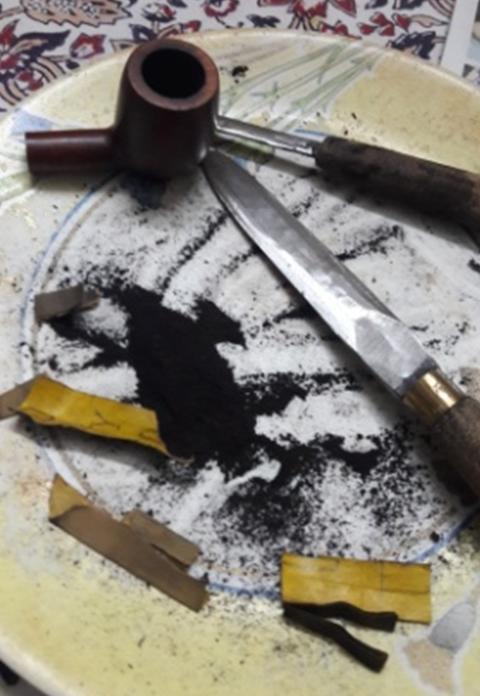
 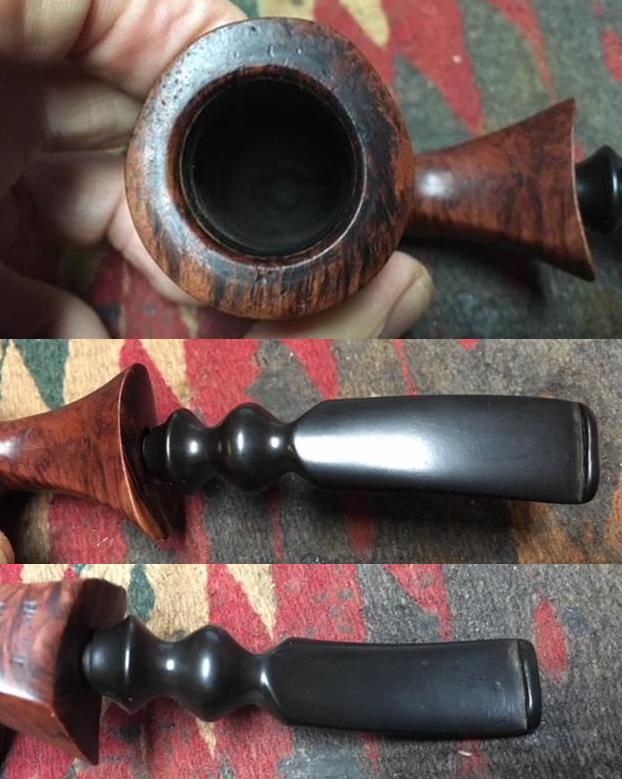 I decided to address the chips on the left side of the shank and reshape the shank end first. I sanded out the chips and reshaped the edge with a folded piece of 220 grit sandpaper. I shaped it to match the shape of the shank edge on the right side of the pipe. I worked on the end view as well.
 I wiped down the bowl with alcohol on cotton pads to remove the debris and dust from the clean up. I worked on the rim top as well to work on the darkening that was on different parts of the rim.
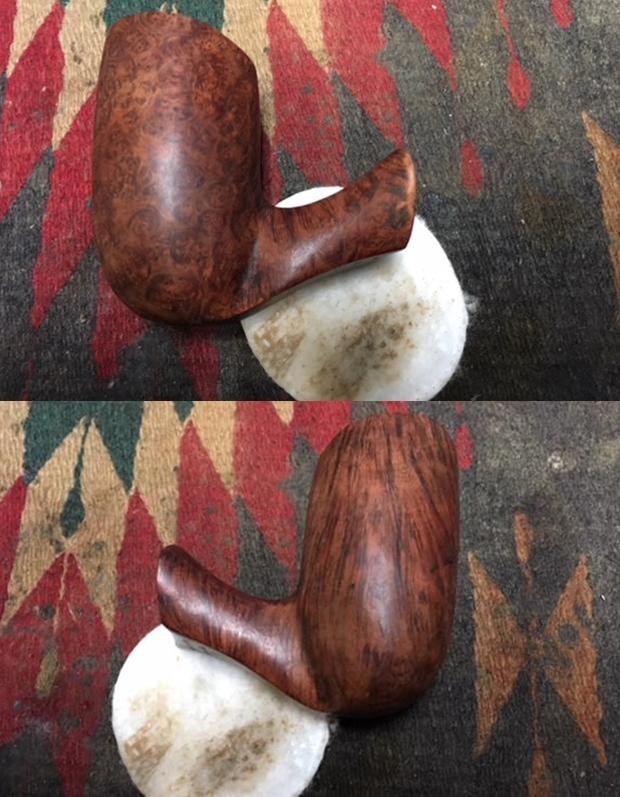
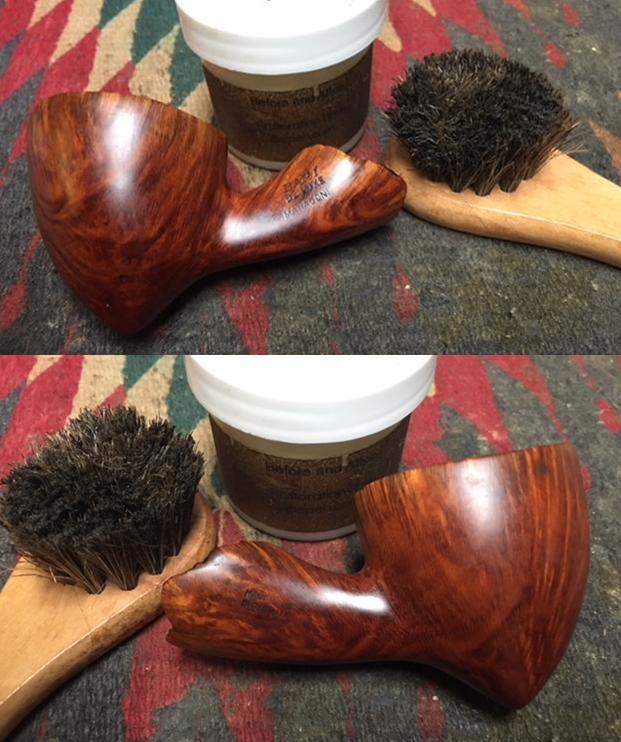
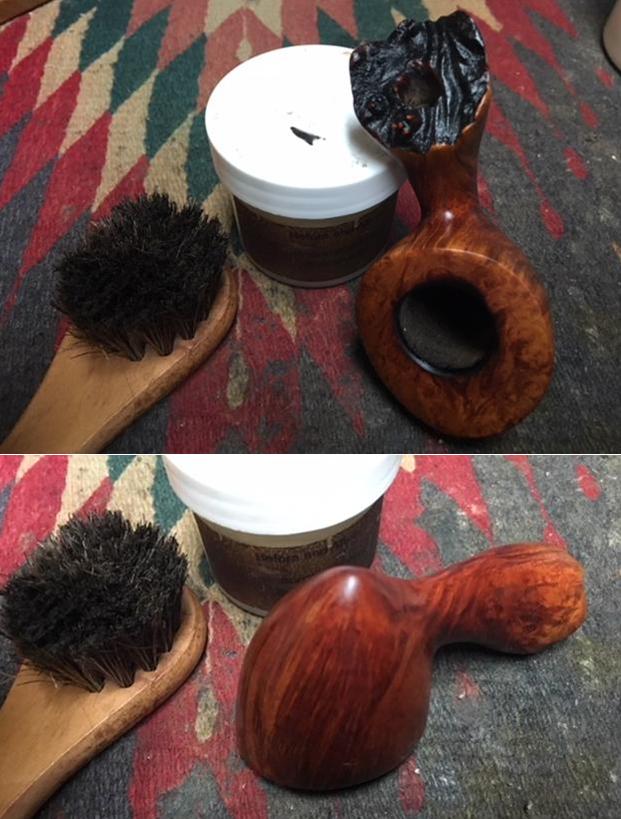
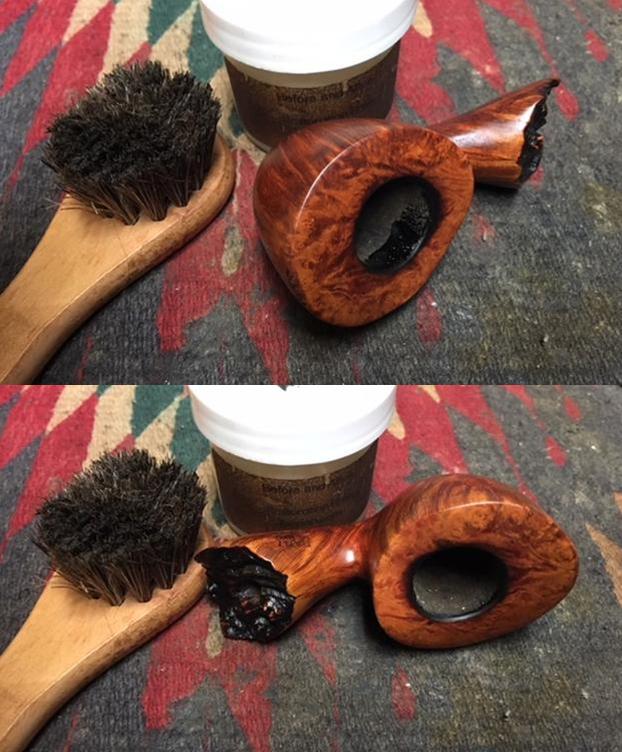
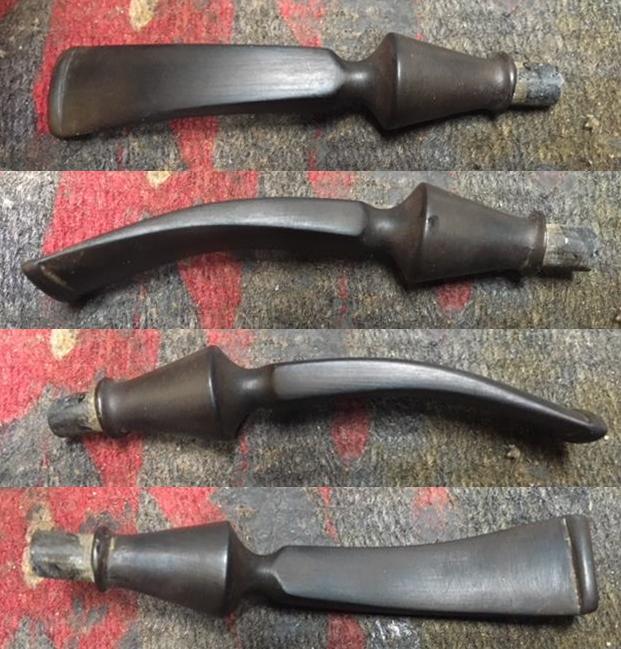
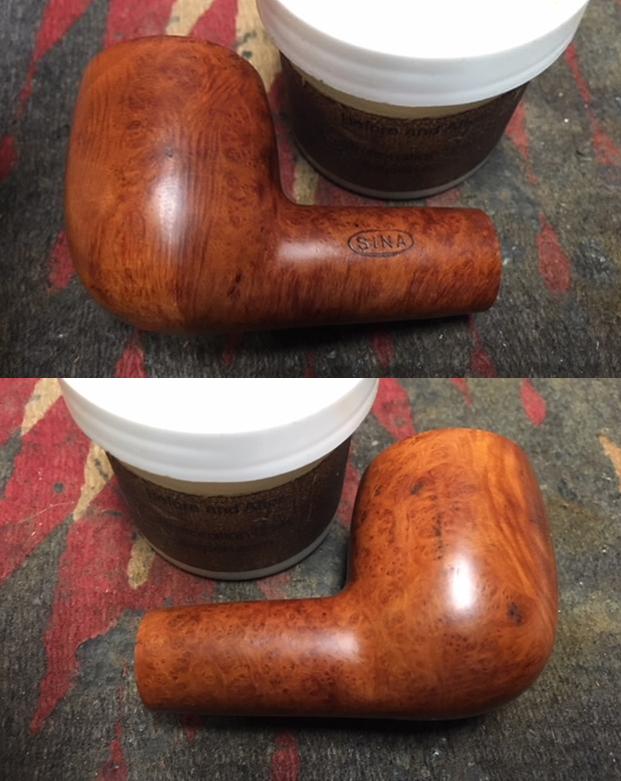
 I rubbed some Before & After Restoration Balm into the surface of the briar to enliven, clean and preserve it. I rubbed it in with my fingertips working it into the briar. I worked it into the edges of the shank and the bowl. I set it aside for a little while to let the balm do its work. I buffed it off with a cotton cloth. The photos below show the pipe at this point in the restoration process.
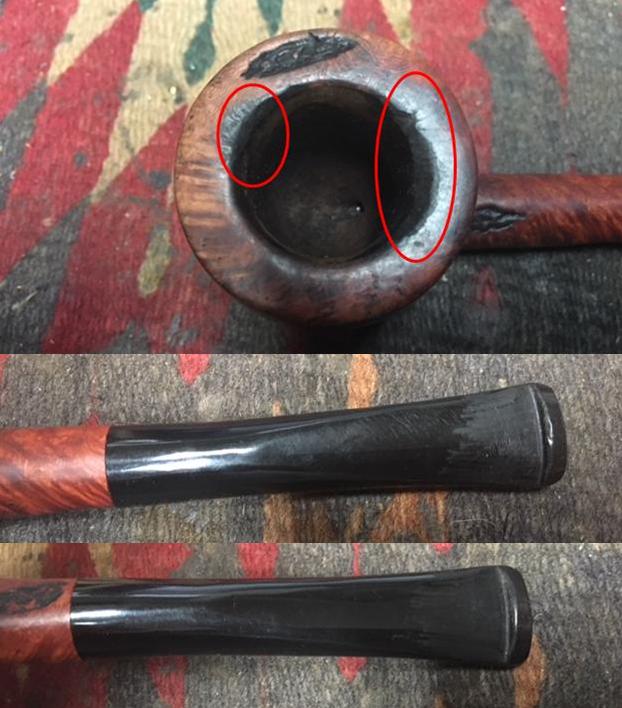
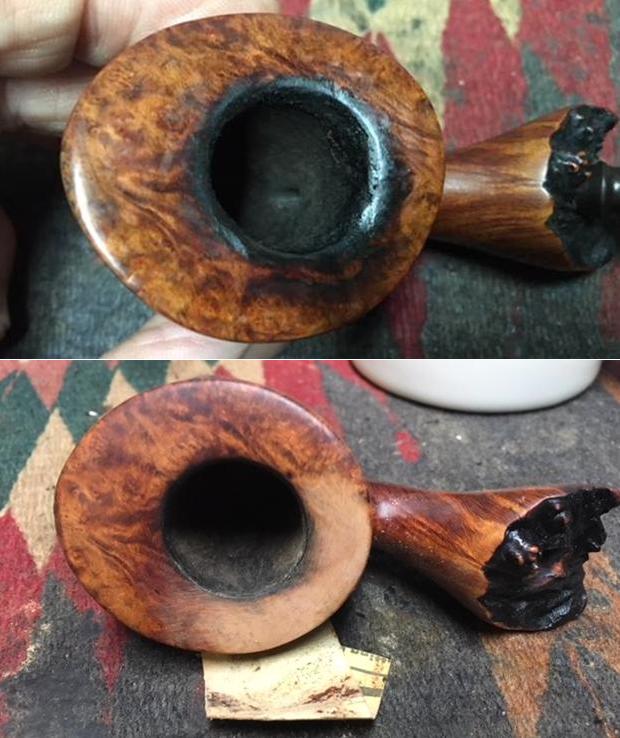
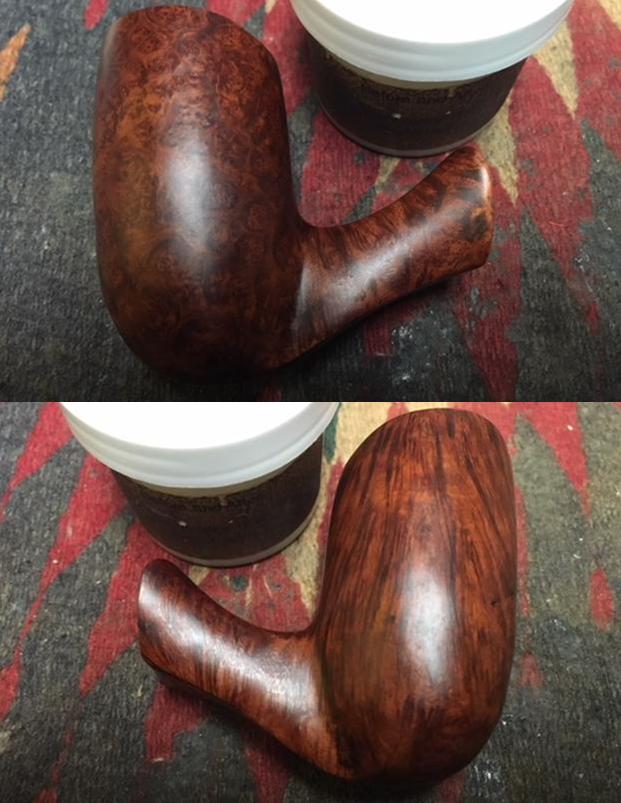 The rim top still had some areas on the left side and back edge that would need to be worked on. You can see it as a line around the bowl. I have circled the area in red so that you can see what I am noting at this point.
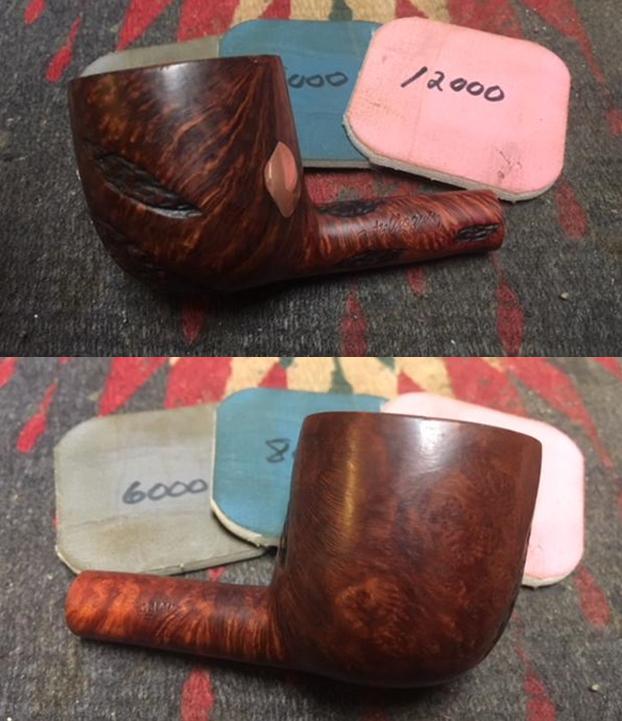
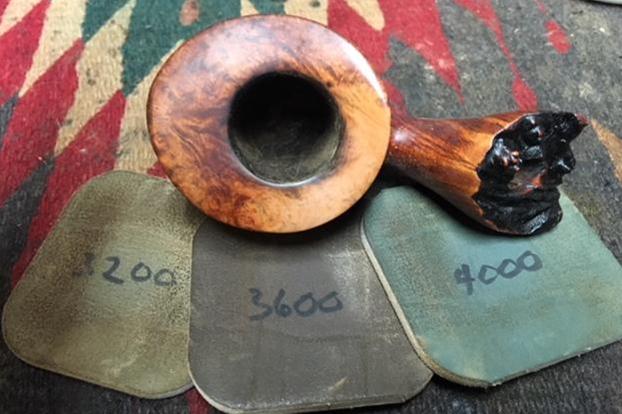
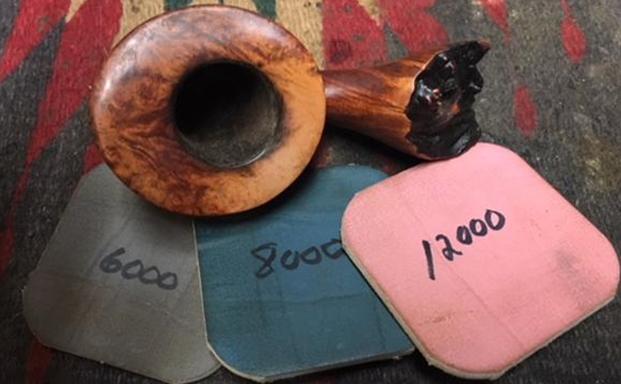
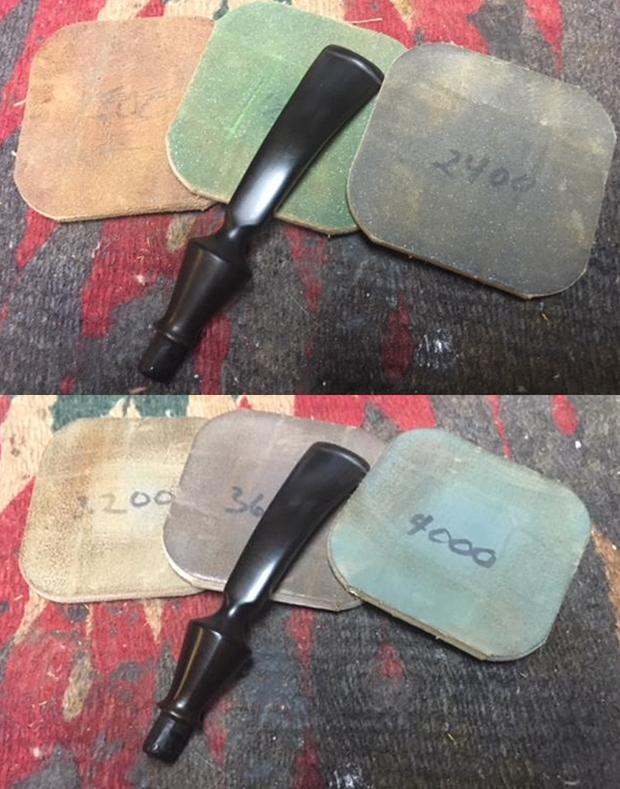
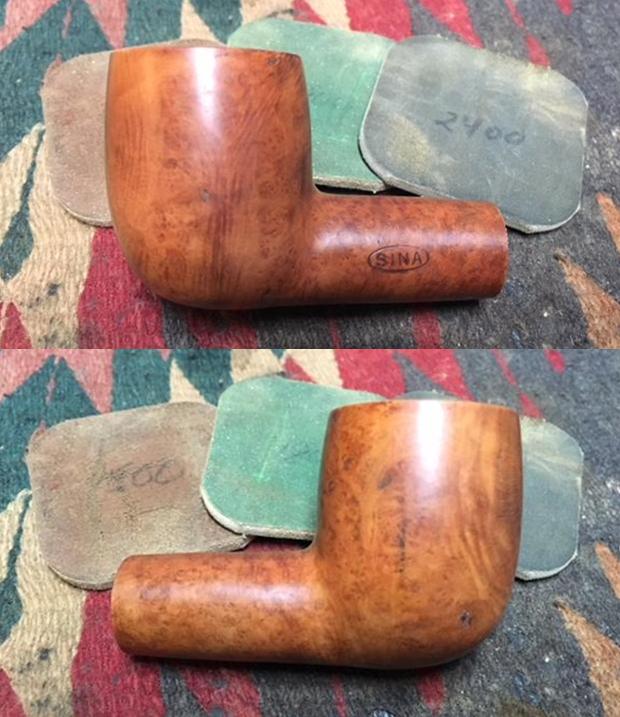
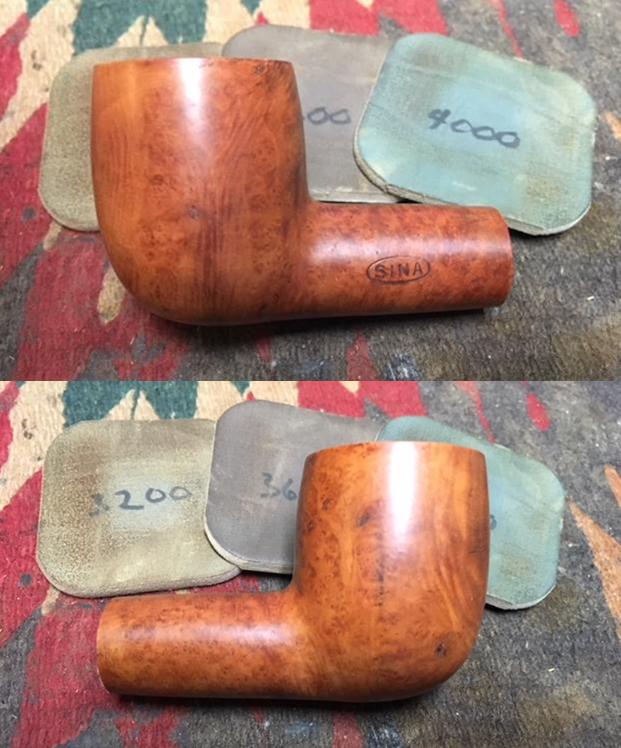
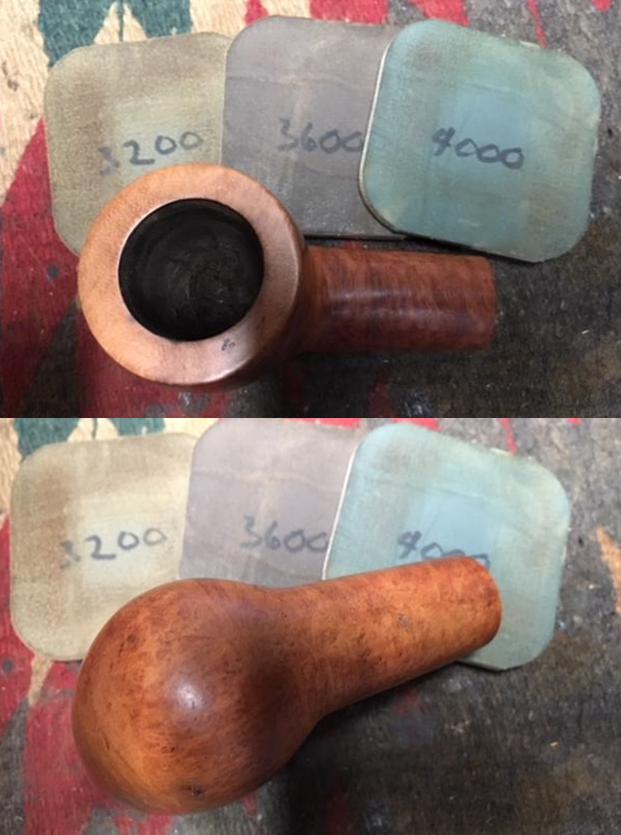
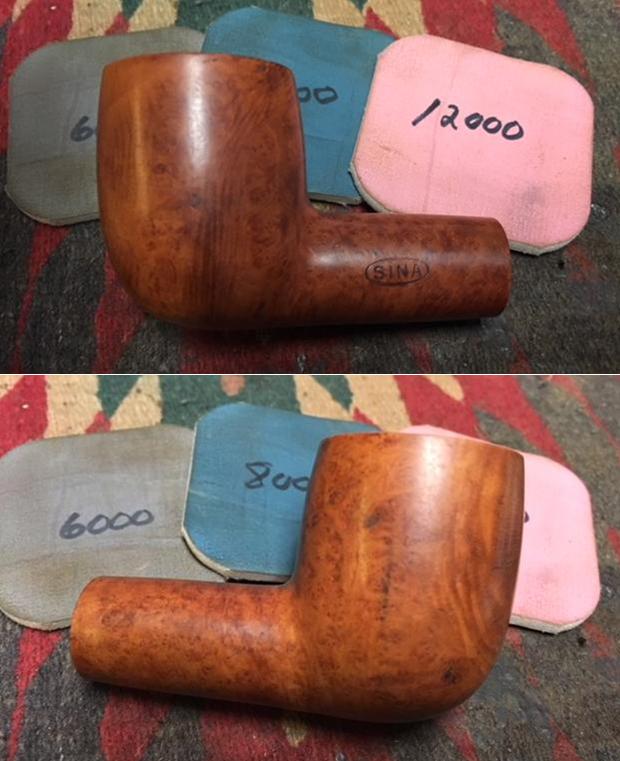
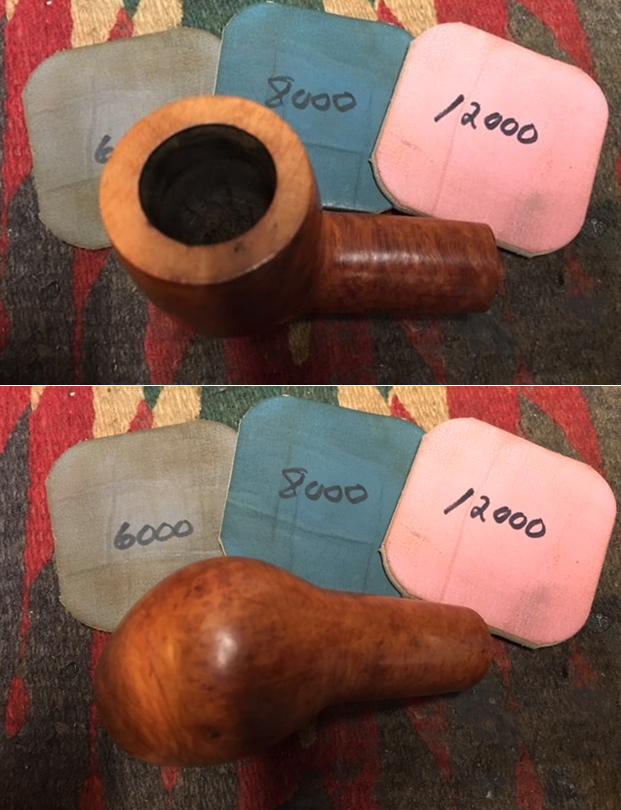
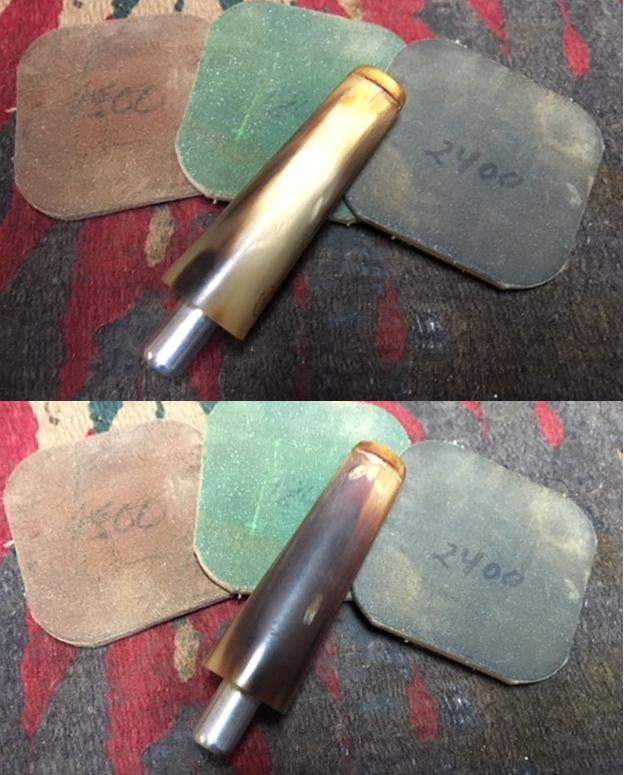
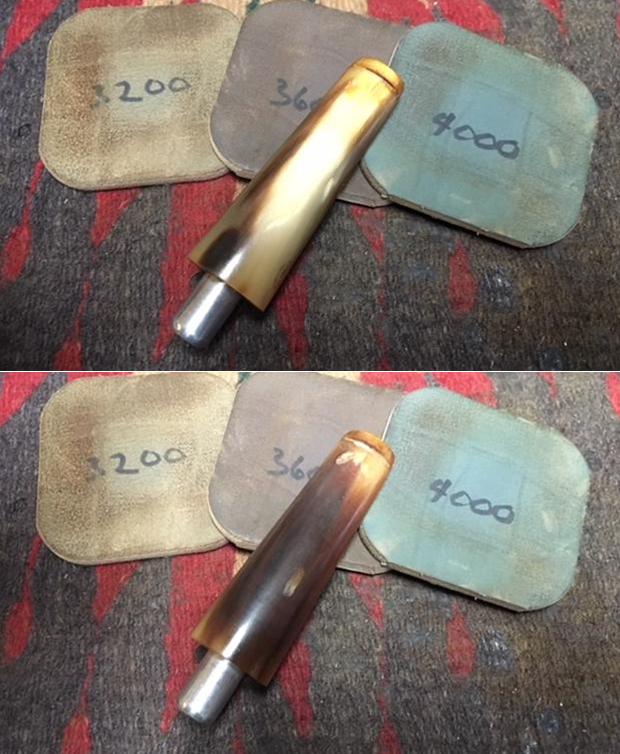
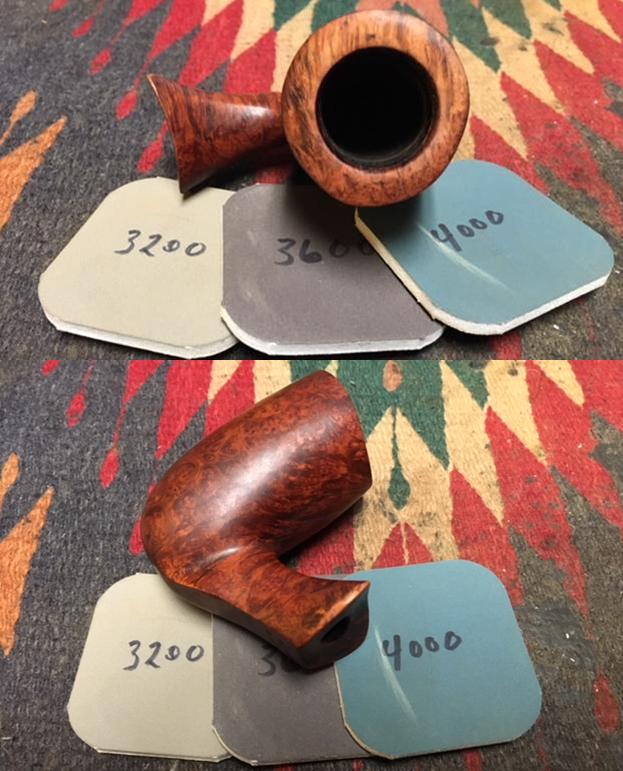
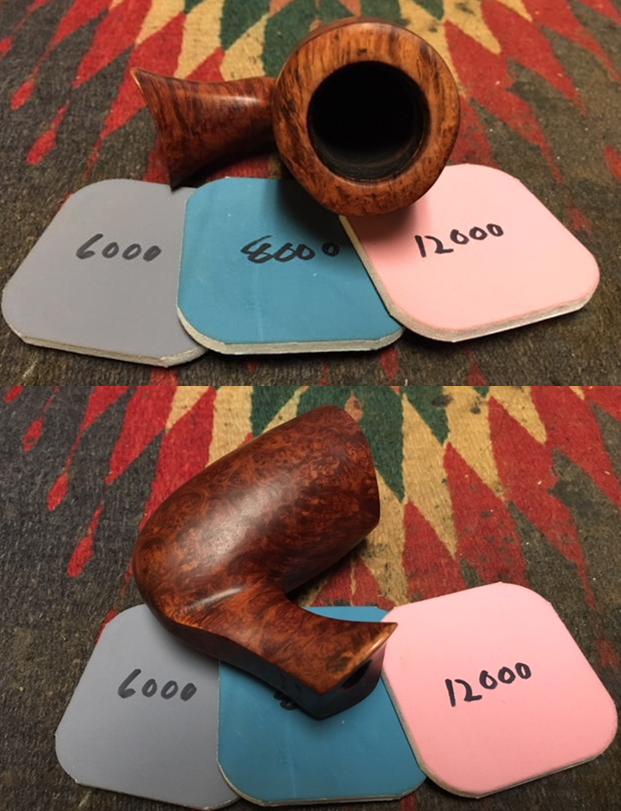
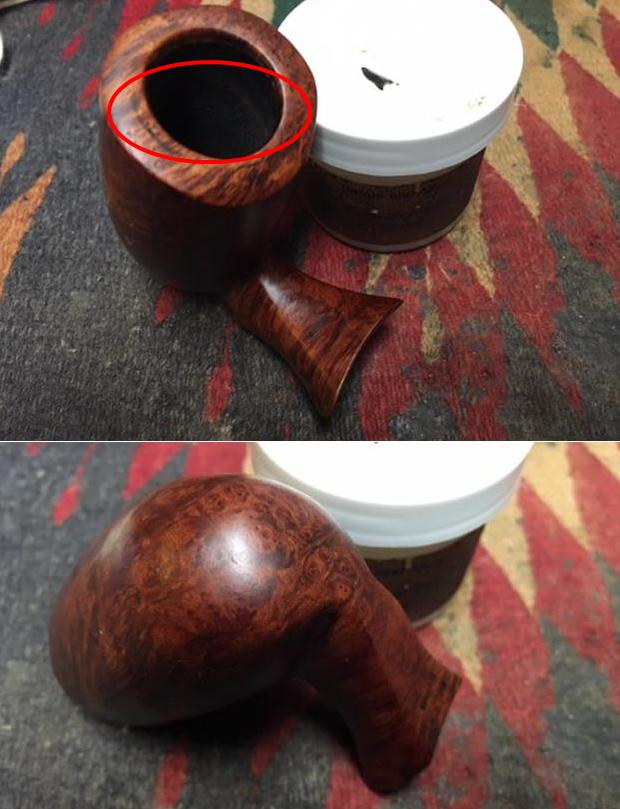 I worked on the rim top and the edge of the shank that I had reshaped with micromesh sanding pads. I wet sanded the rim top and the left side of the shank with 1500-2400 grit pads and was able to remove the circled damage on the rim and blend the edge of the shank. I polished it by dry sanding it with 3200-12000 grit sanding pads. I wiped the areas down after each pad with a damp cloth to remove the dust.
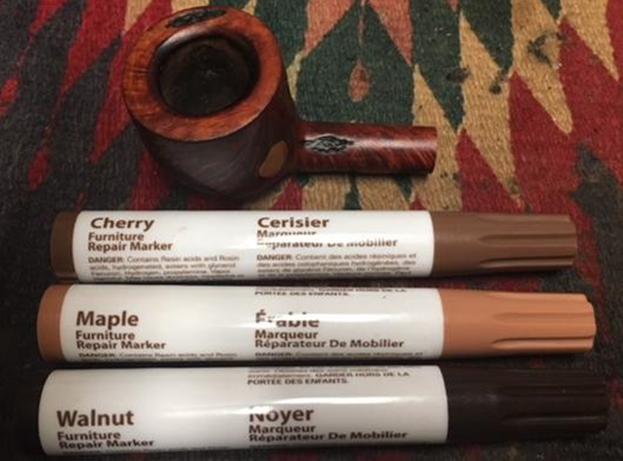
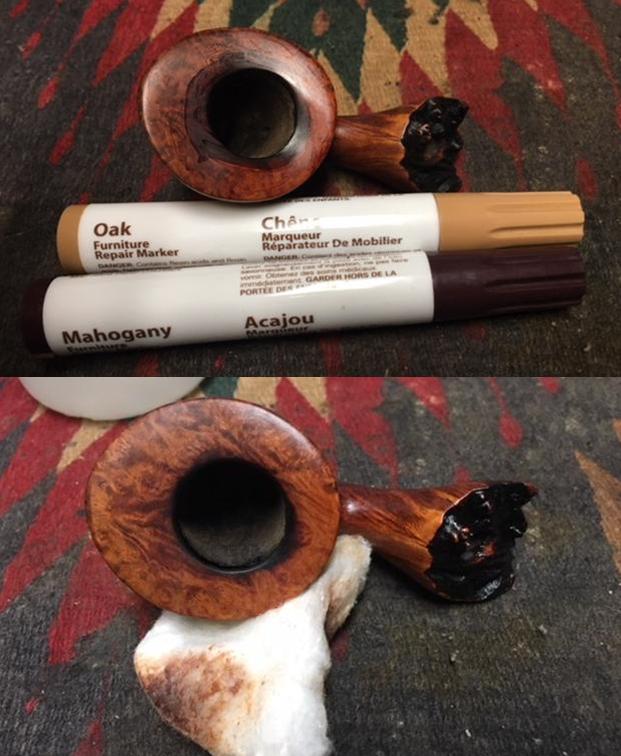
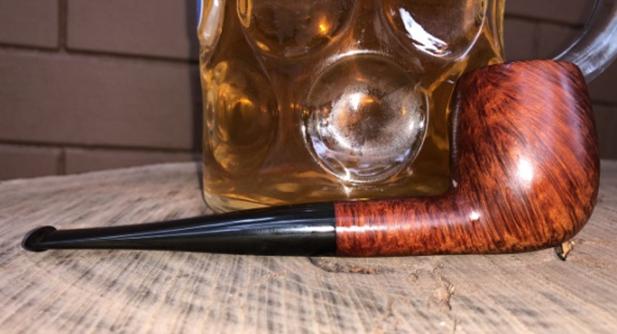
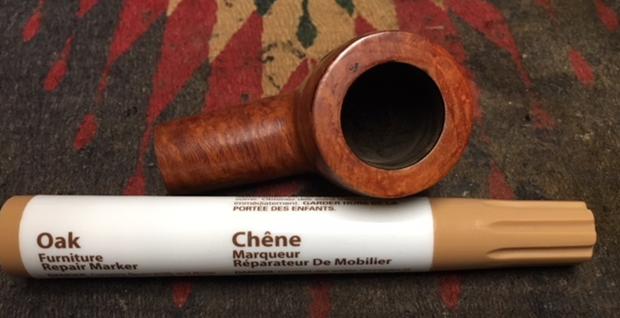
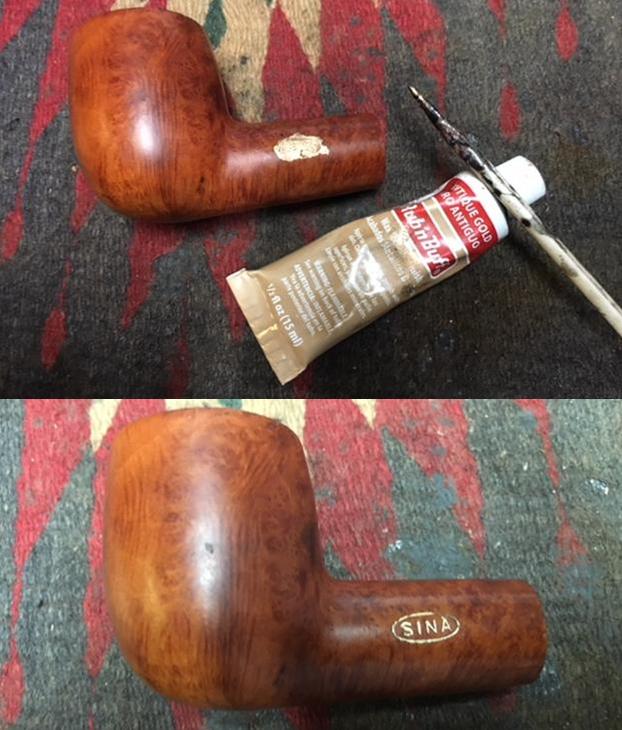
 I touched up the stain on the top of the rim and left edge of the shank to blend those areas into the colour on the rest of the pipe. I used a Maple and Cherry stain pen to approximate the colour of the pipe. I still need to buff the bowl and shank but the colour appears to be a perfect match.
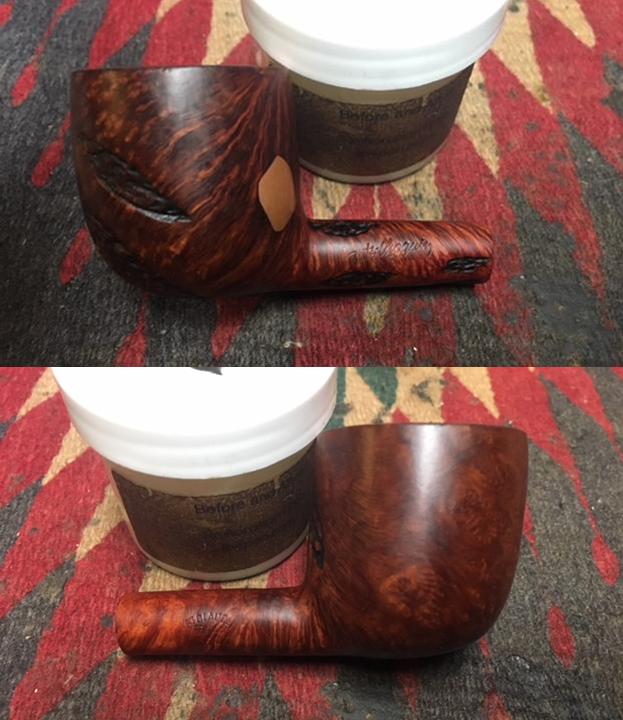
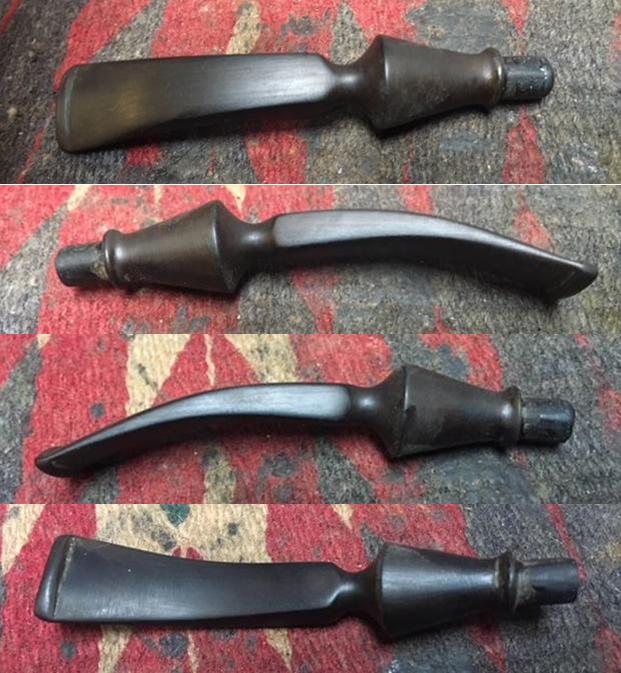
 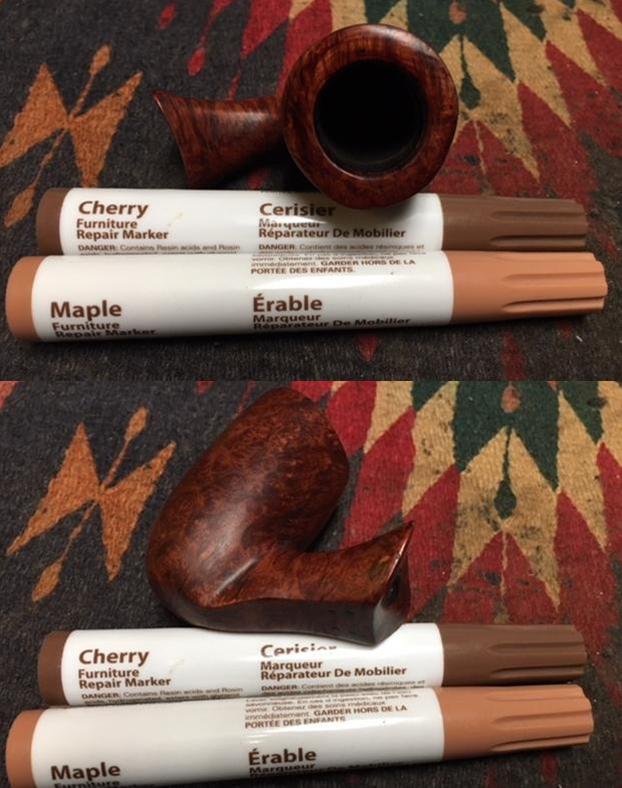 I buffed the bowl and shank with Blue Diamond on the buffing wheel and gave the bowl a coat of carnauba wax. I buffed it with a clean buffing pad to raise a shine and blend the stain into the rest of the finish. I took the following photos to show the bowl at this point in the process.
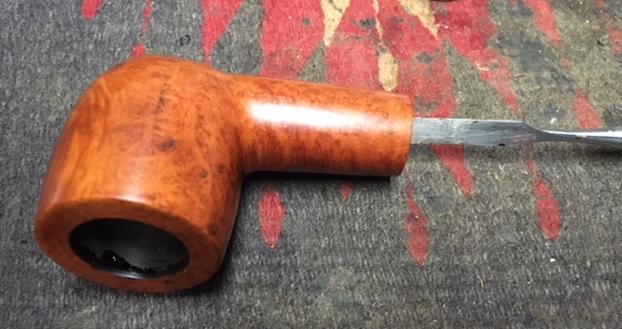
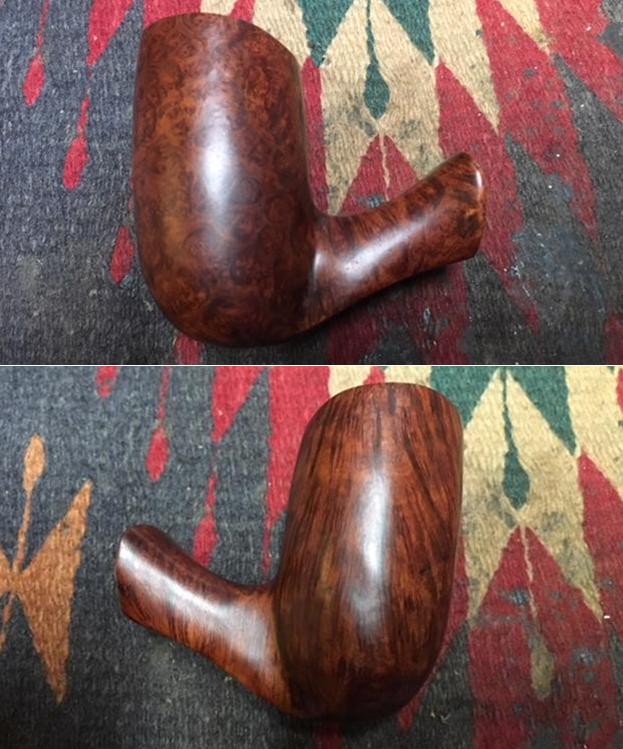
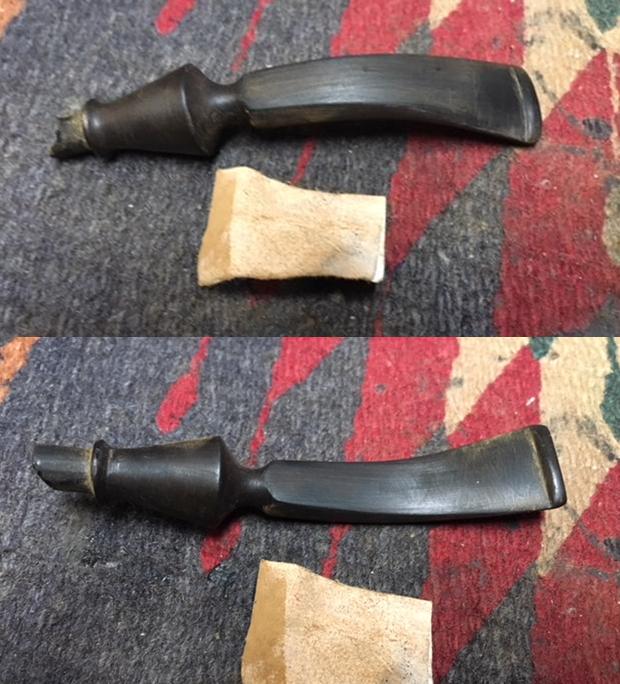
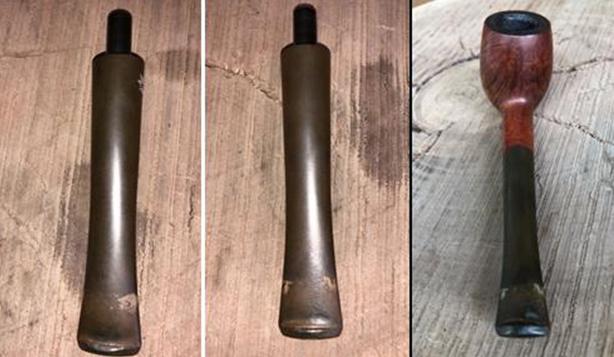
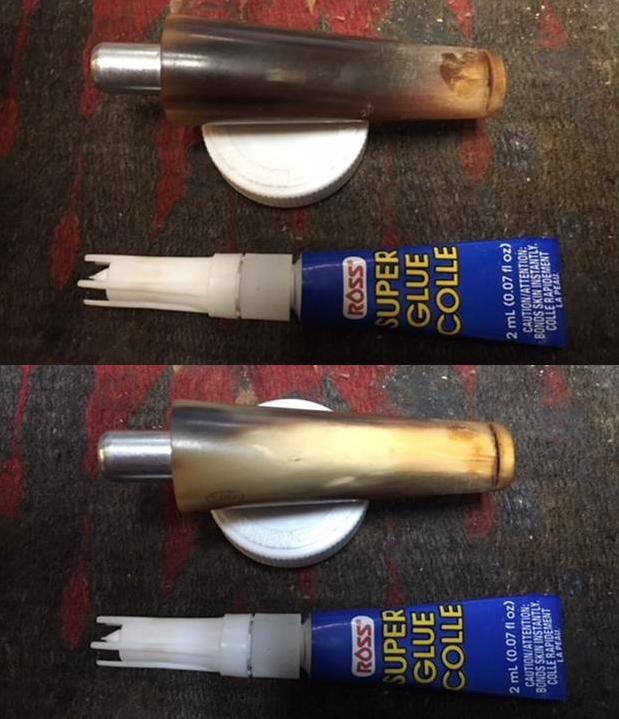
 I set aside the bowl and turned my attention to the stem. I wiped down the stem with alcohol and filled in the tooth marks on the top and underside with clear super glue. I set the stem aside to let the repairs cure.
 When the repairs cured I sanded them with 220 grit sandpaper to blend them into the surface of the vulcanite. I wiped it down with Obsidian Oil and took some photos of the stem at this point.
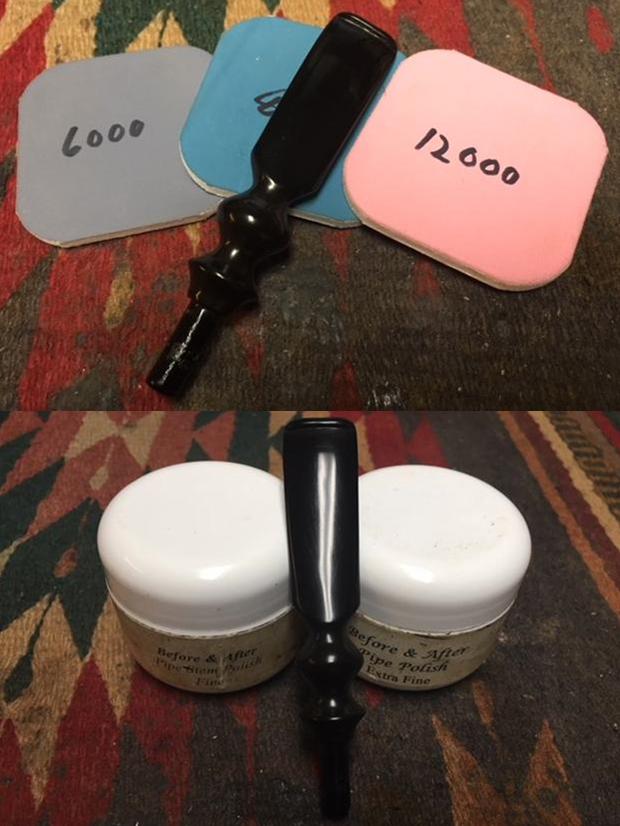
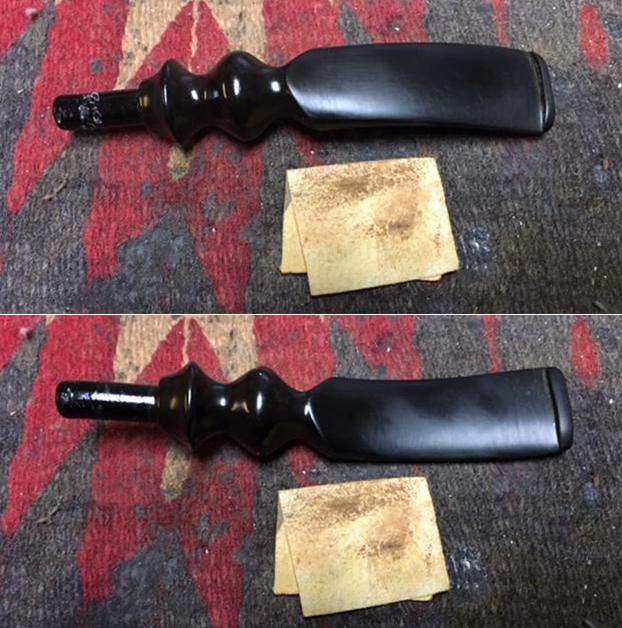 I polished the stem using micromesh sanding pads – wet sanding with 1500-2400 grit pads and then buffing on the wheel with red Tripoli. I dry sanded the stem with 3200-12000 grit pads to further polish it. After each pad I wiped it down with Obsidian Oil to protect and enliven the stem. I polished it further with Before & After Pipe Polish – both Fine and Extra Fine. When I finished with the polish I gave it a final coat of oil and set it aside to dry.
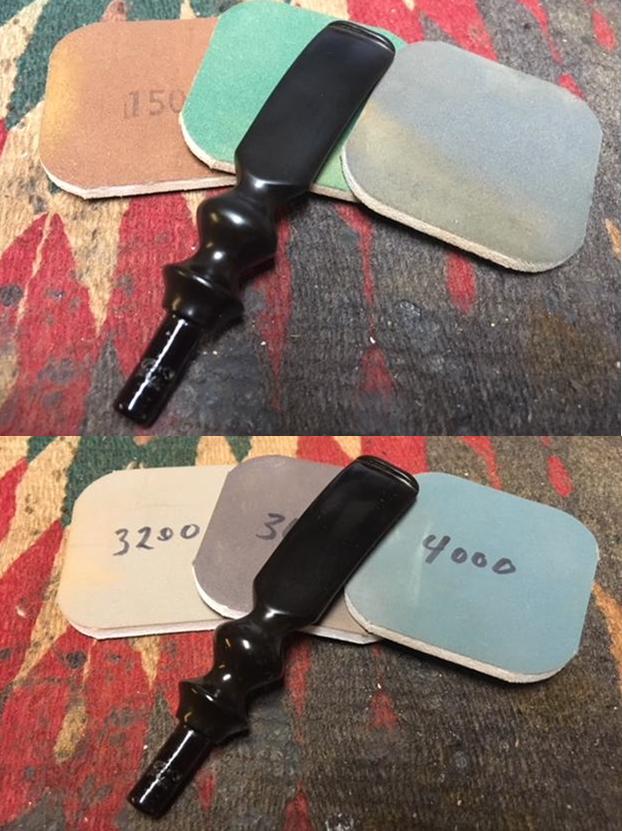
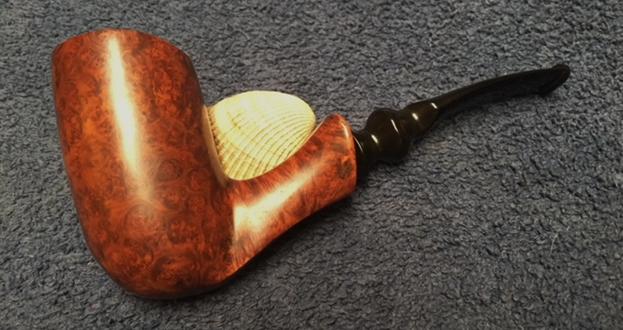
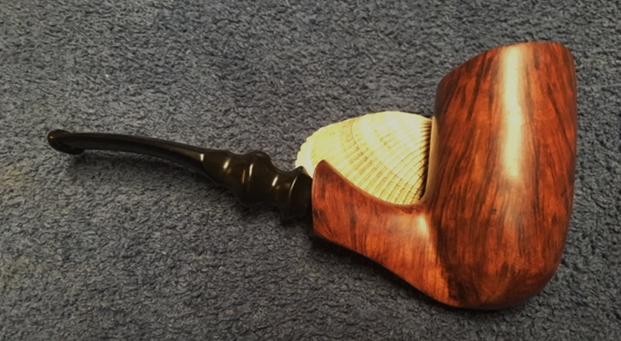
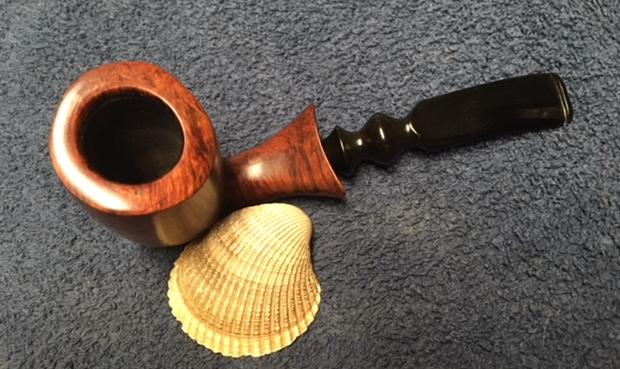
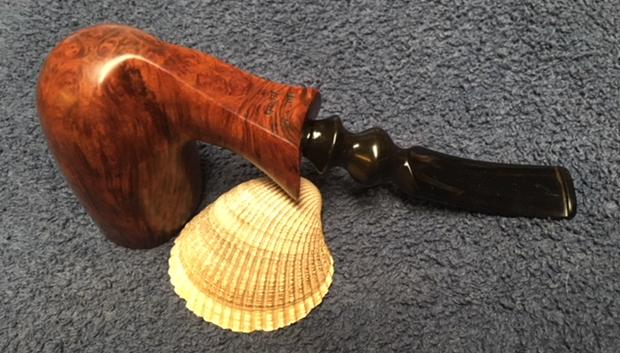
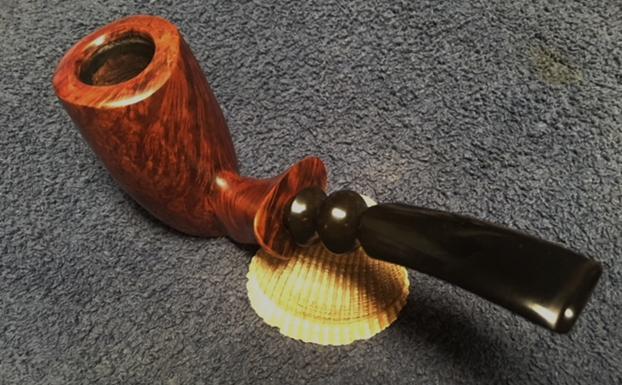
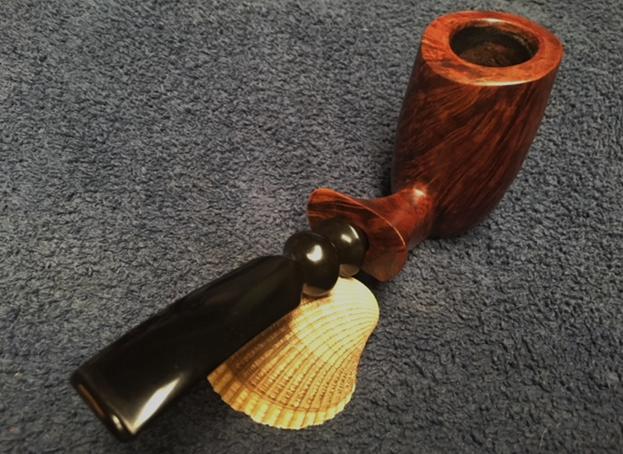
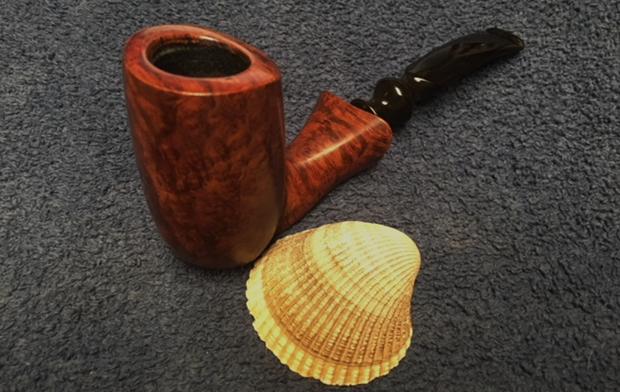
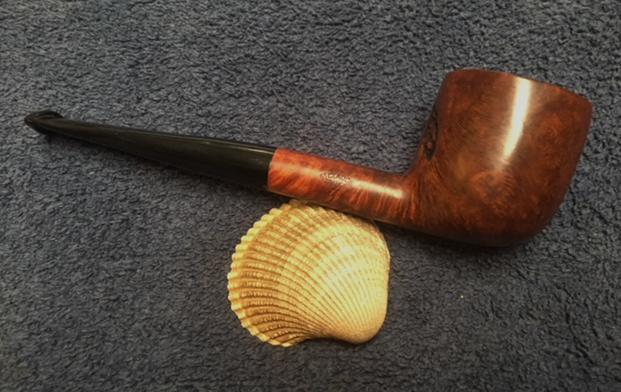
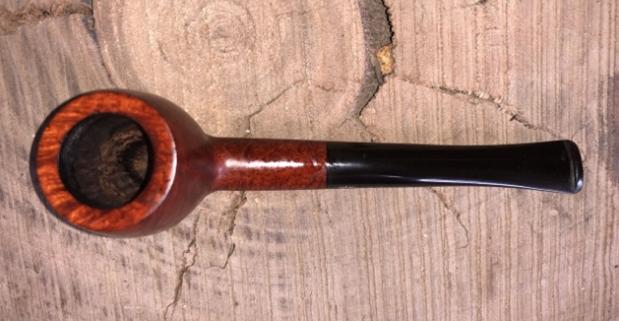
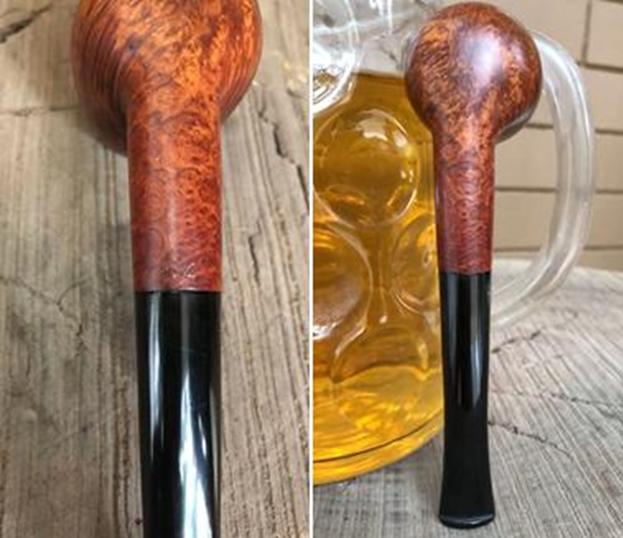
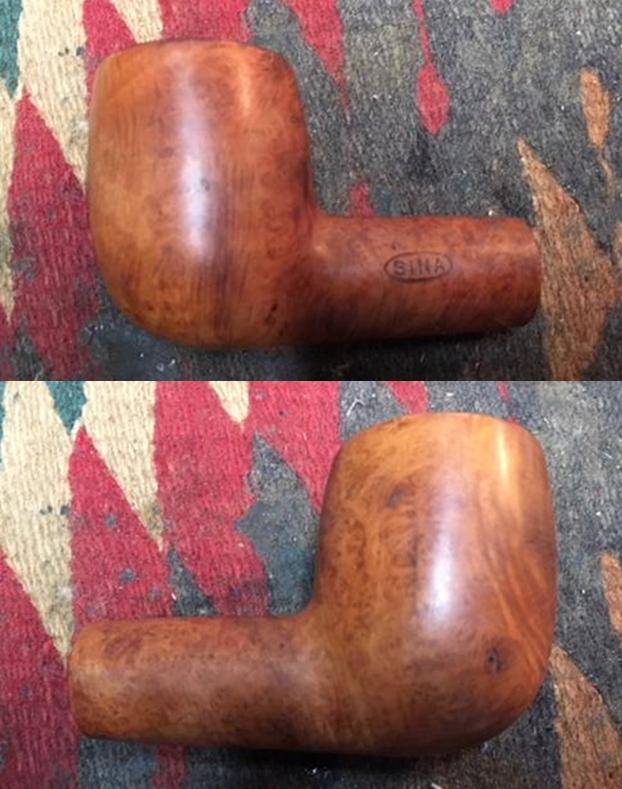
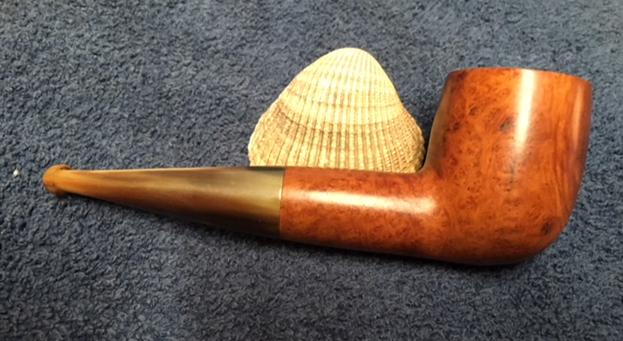
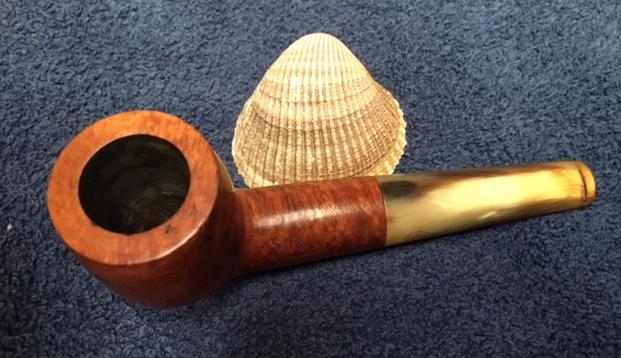
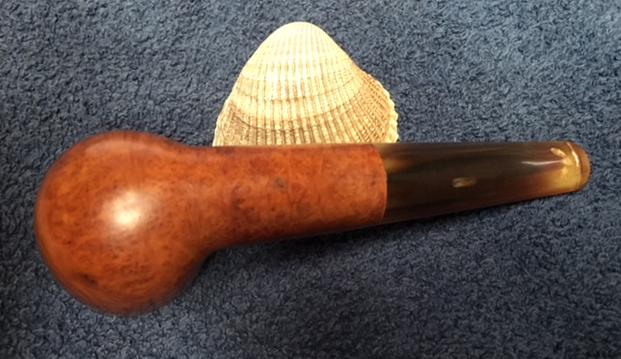
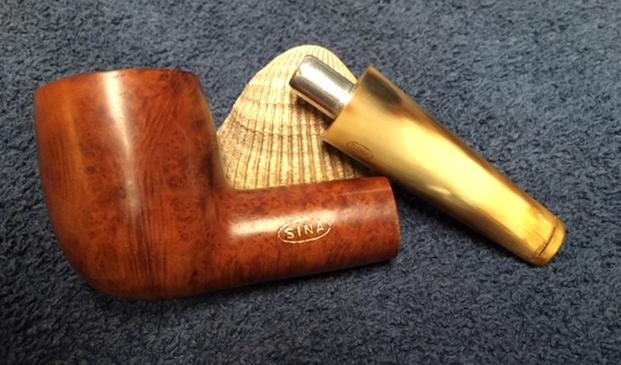
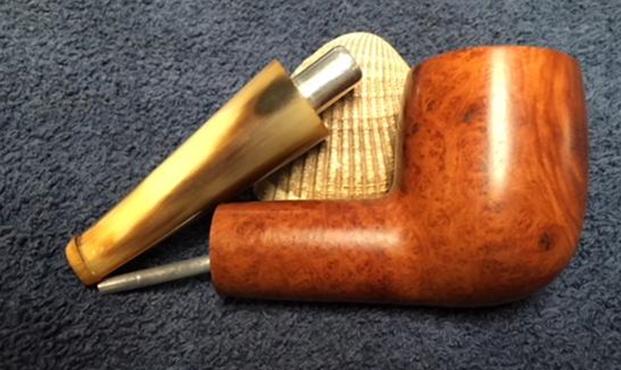
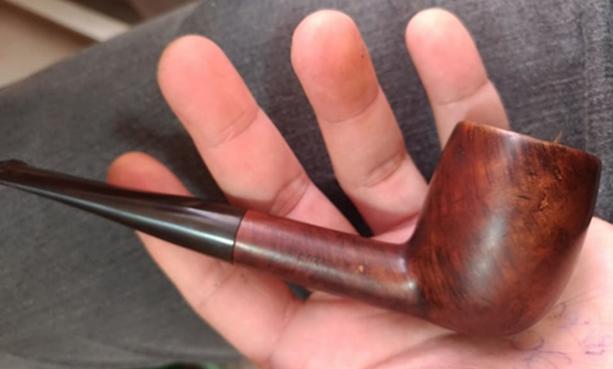
 This smooth finished stack Freehand is an interesting and unusual piece. The Hand Made In Denmark stamp on the shank I think is one of Preben Holm’s marks but I cannot prove it. The shape of the pipe takes full advantage of the grain on the briar. The mix of grains – straight, flame and birdseye all work together to give this pipe a beautiful look from any direction it is viewed. The reddish brown of the bowl and the black of the vulcanite stem contrast well together. I buffed the bowl and the stem with Blue Diamond polish to raise the shine on the briar and the vulcanite. I was careful to not buff the stamping and damage it. I gave the bowl and the stem multiple coats of carnauba wax. I buffed the entire pipe with a clean buffing pad to raise the shine. I hand buffed it with a microfiber cloth to deepen the shine. The finished pipe is shown in the photos below. The dimensions of the pipe are: Length: 6 inches, Height: 2 3/4 inches, Outside Diameter: 1 1/2 inches, Diameter of the chamber: 7/8 of an inch. It is an interesting old pipe and should make a great collectible piece. Thanks for walking through the restoration with me.