Blog by Steve Laug
 Jeff and I often purchase pipe bowl/stummels of brands that we like and want to restore. These have included a lot of different bowls. If you have followed us for long you know that some of these have included Peterson’s, Dunhill’s, and a wide range of Danish and English pipes. Awhile ago Jeff and I were sorting through the bowls in our collection and pulled out eight Peterson’s bowls that were dirty and stemless. A friend referred us to a contact named Silas Walls, of Walls Pipe Repair in Wallace, Idaho, USA as he seems to have a good supply of original Peterson’s stems. Our friend has had him fit stems for some of his Petes and was very happy with the work. We made contact with him and sent him eight bowls for restemming.
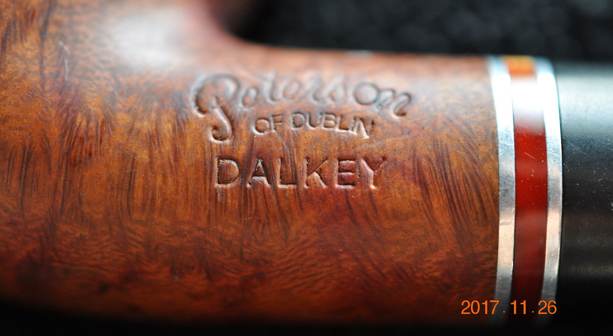
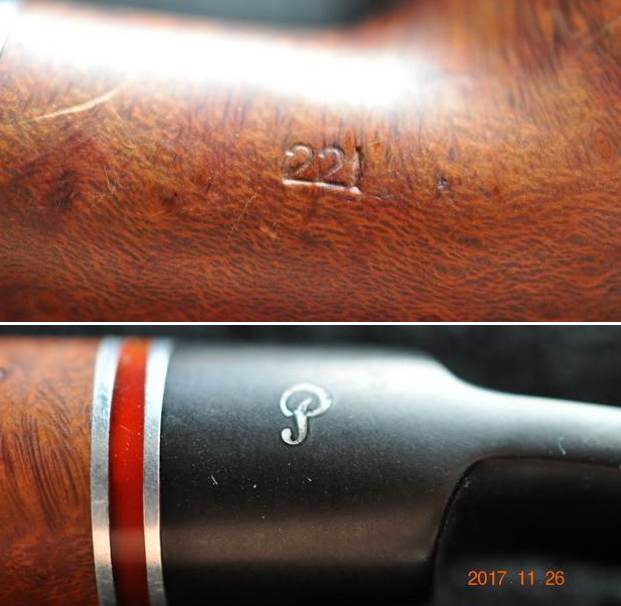
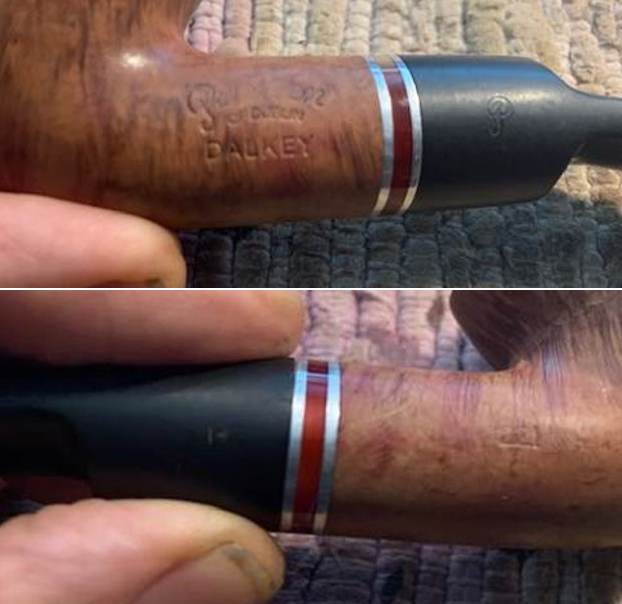
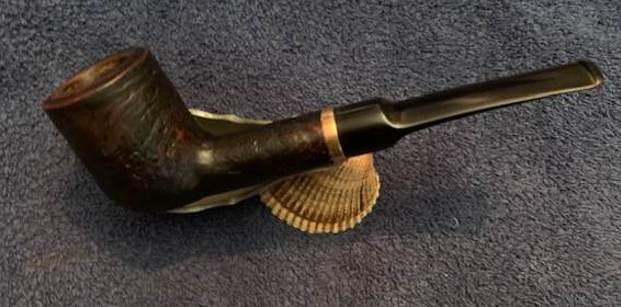
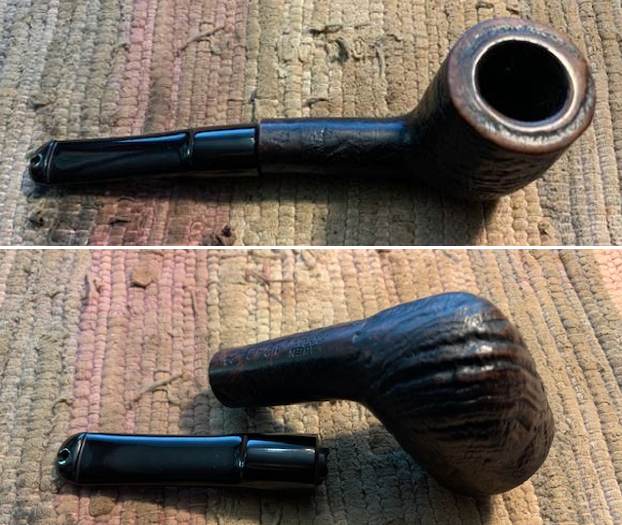
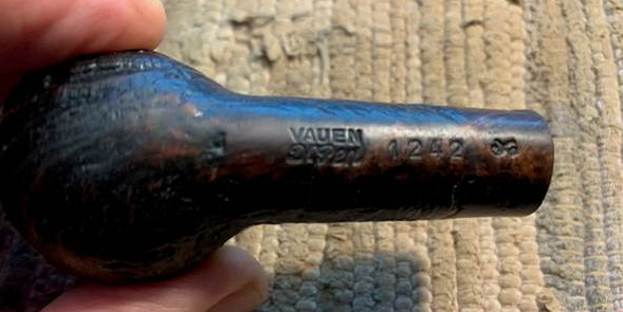
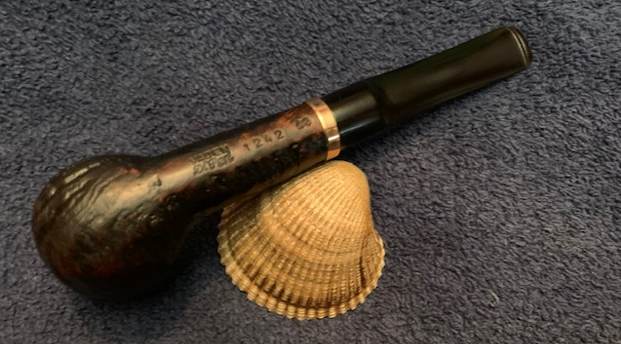
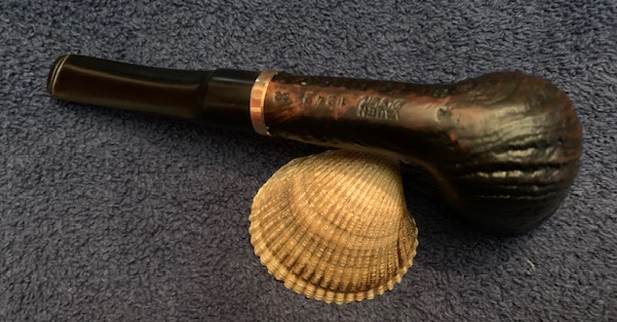
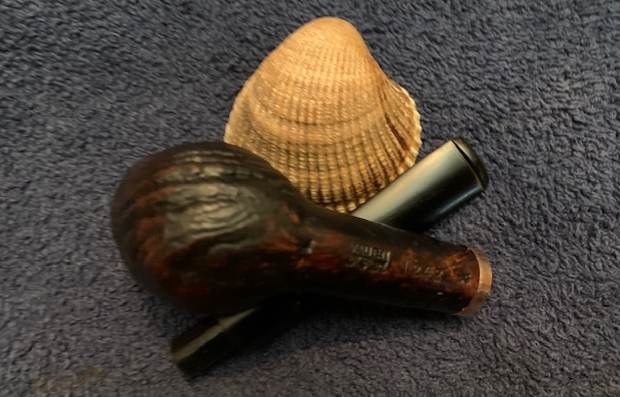
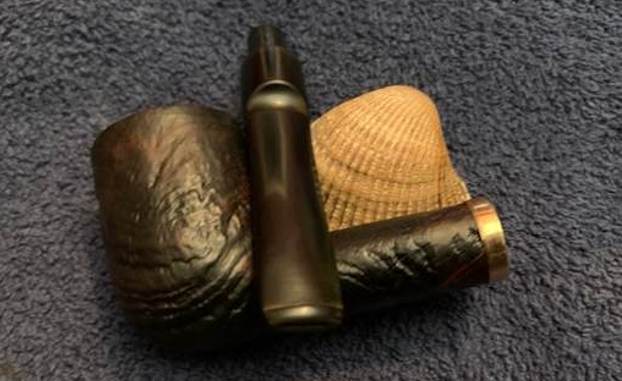
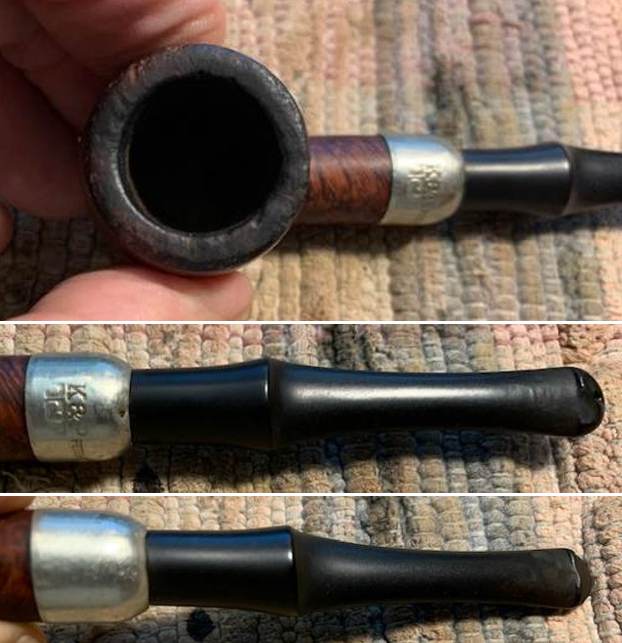
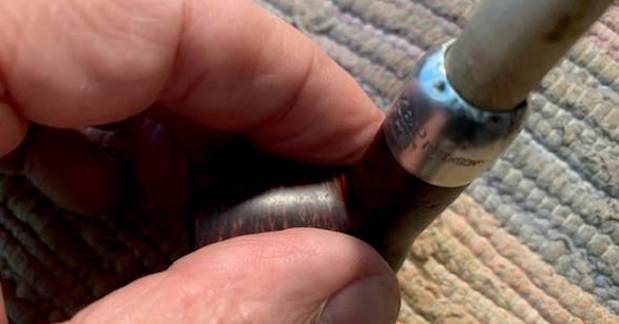
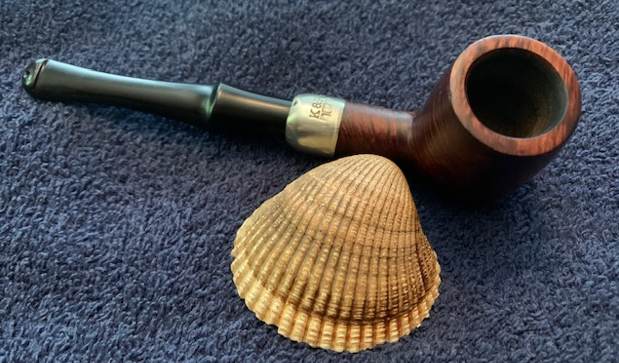
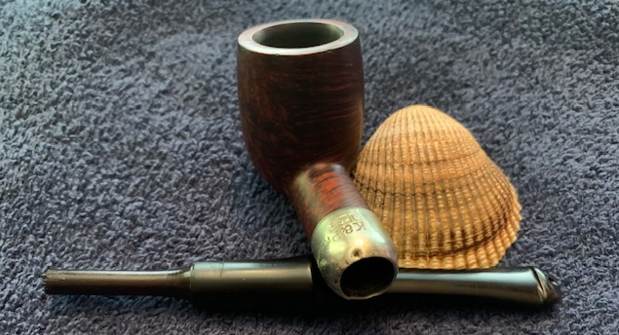
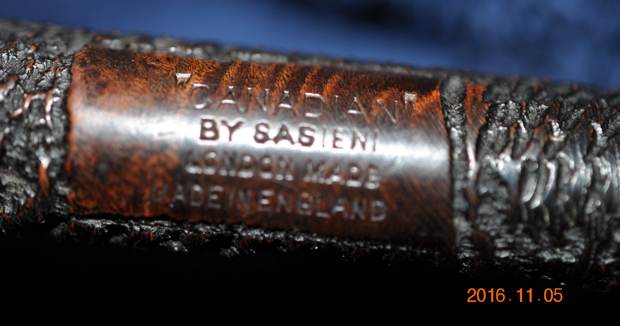
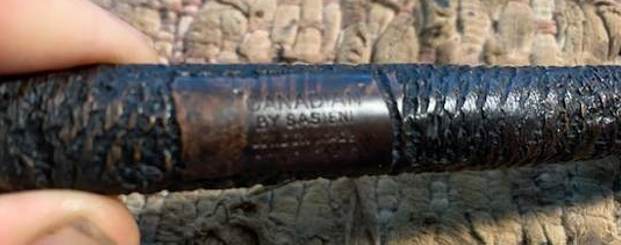
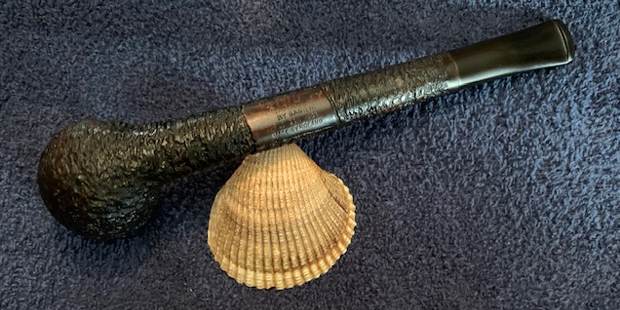
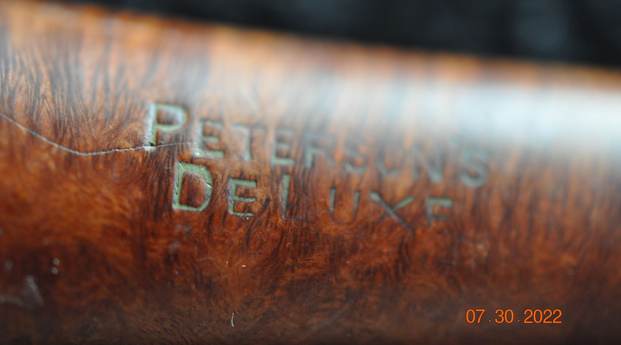
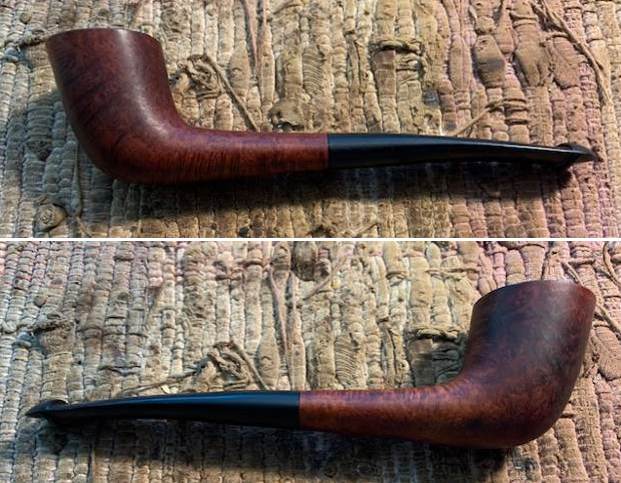
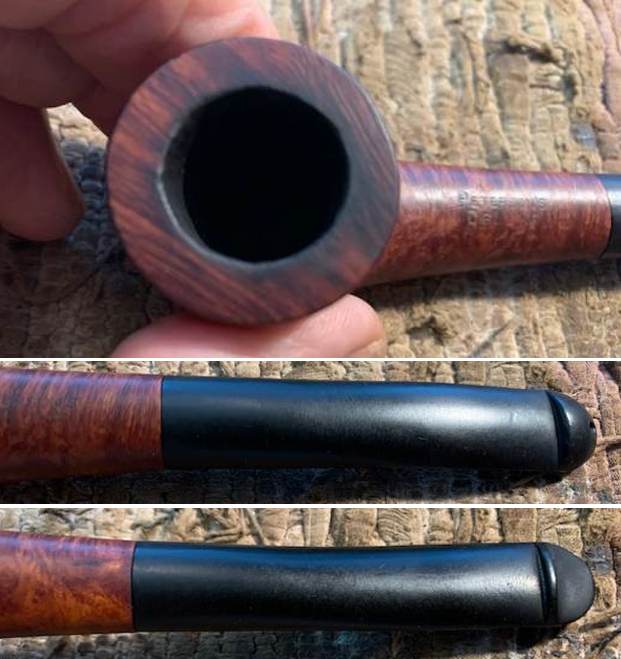
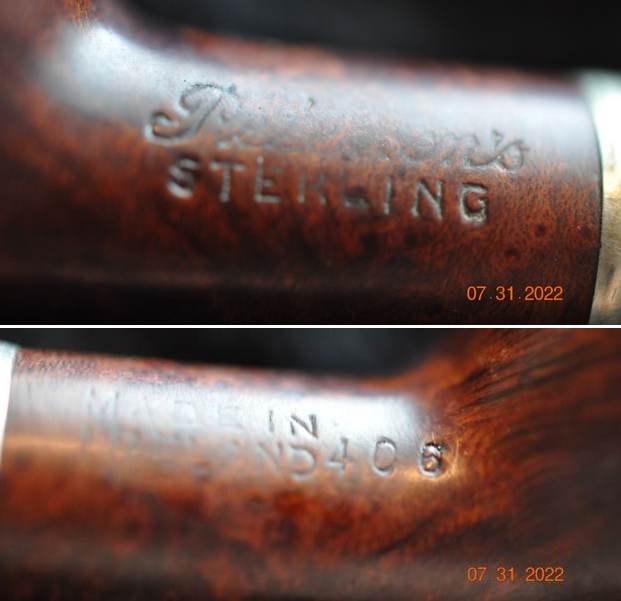
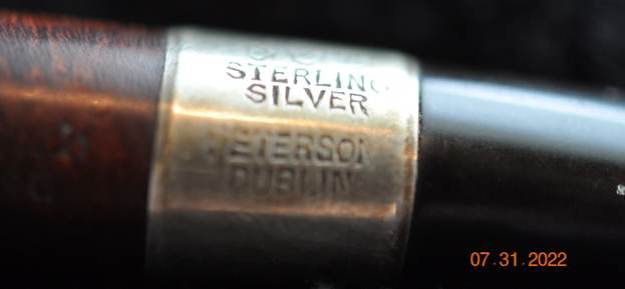
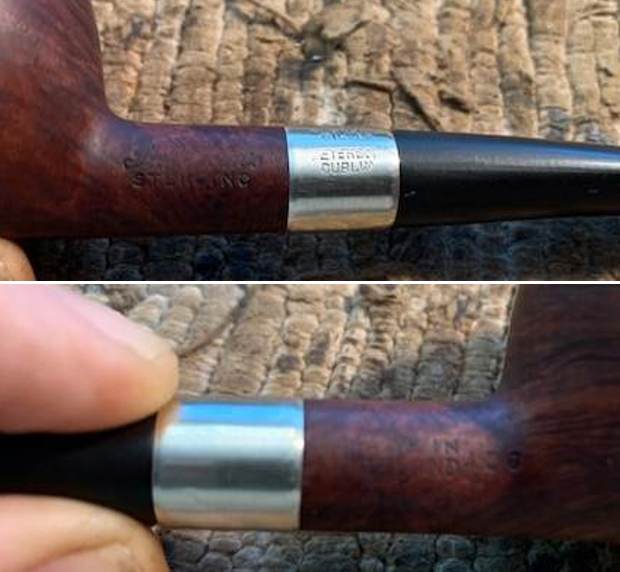
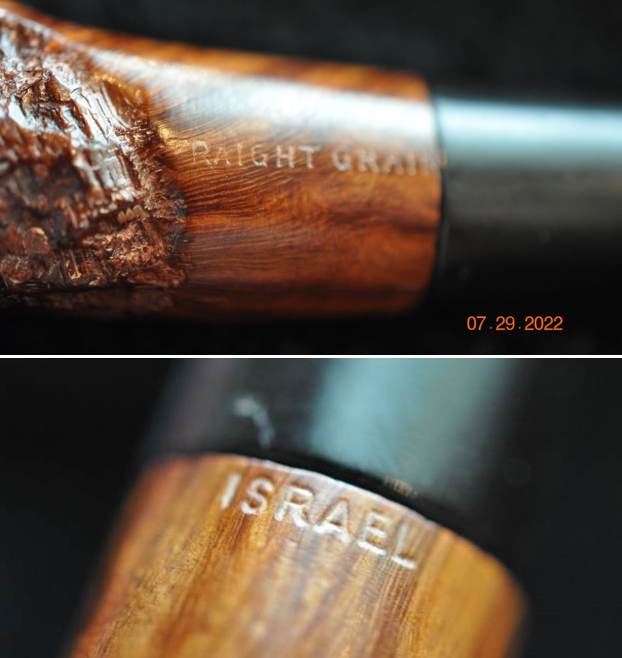
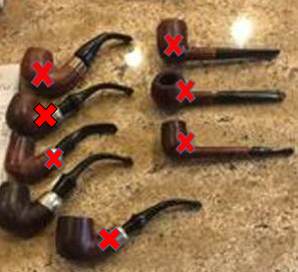
In the photo above I show the 8 restemmed pipes. I have marked the 7 I have worked on already with a red X). This eighth one that we cleaned up before mailing them out was a bowl that we received on 06/05/21 from a friend in Chicago, Illinois, USA. It is stamped on the left side of the shank and reads Peterson’s [arched over] System [over] Standard. On the right side of the shank it is stamped Made in the Republic of Ireland (three lines) over the shape number 314. The ferrule is stamped K&P [over] Peterson’s. The before photos of this bowl were on a corrupted memory card and are gone. But needless to say the pipe was just as bad as the rest of this lot.
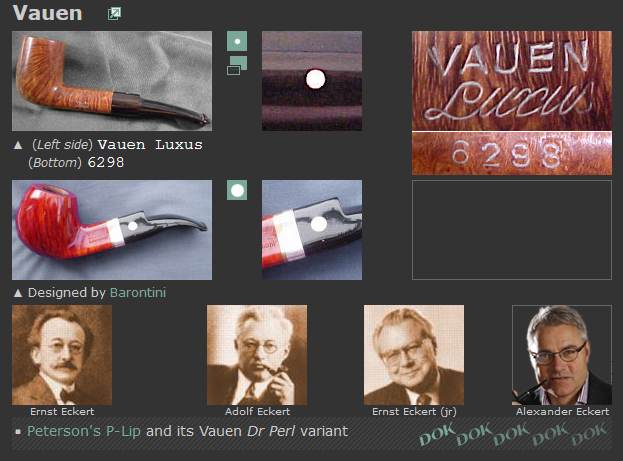
As with the others before this one I turned to Pipedia (https://pipedia.org/wiki/Peterson) and read through the article before starting on my work. I found an interesting note in the middle of the page. I quote the pertinent section below and have highlights some important information in red below.
From 1950 to the present time, the stamp for this era is “Made in the Republic of Ireland” in a block format generally in three lines but two lines have been used with or without Republic being abbreviated.
During the 1950’s and 60’s the Kapp & Peterson company was still in the ownership of the Kapp family. However 1964 saw the retiral of the company Managing Director Frederick Henry(Harry) Kapp.
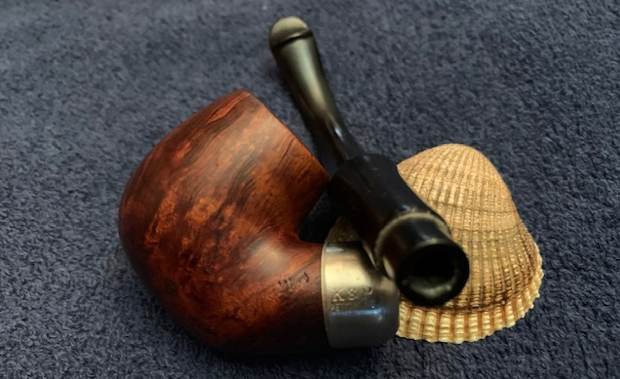
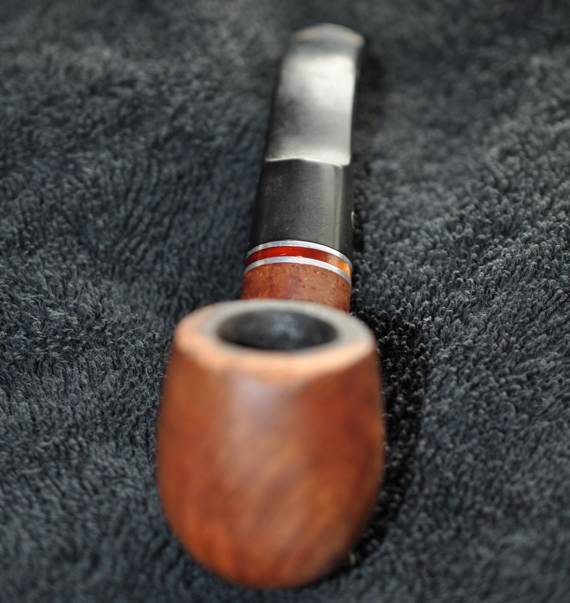
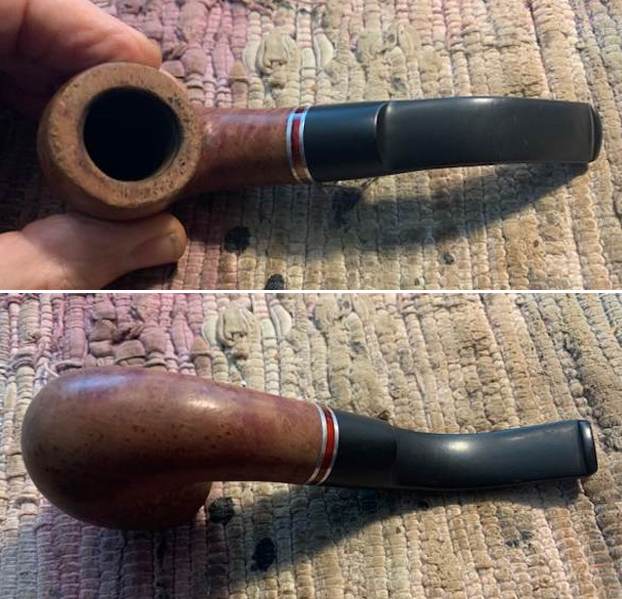
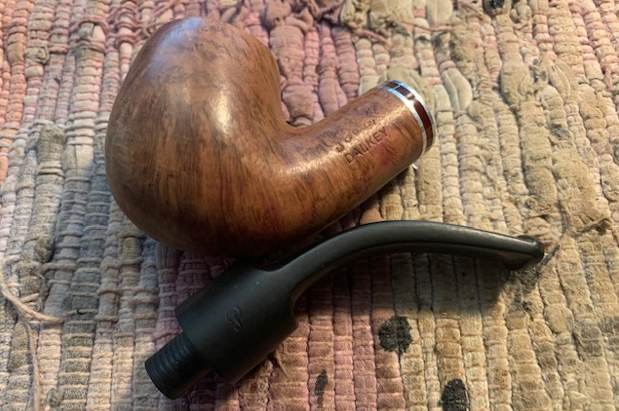
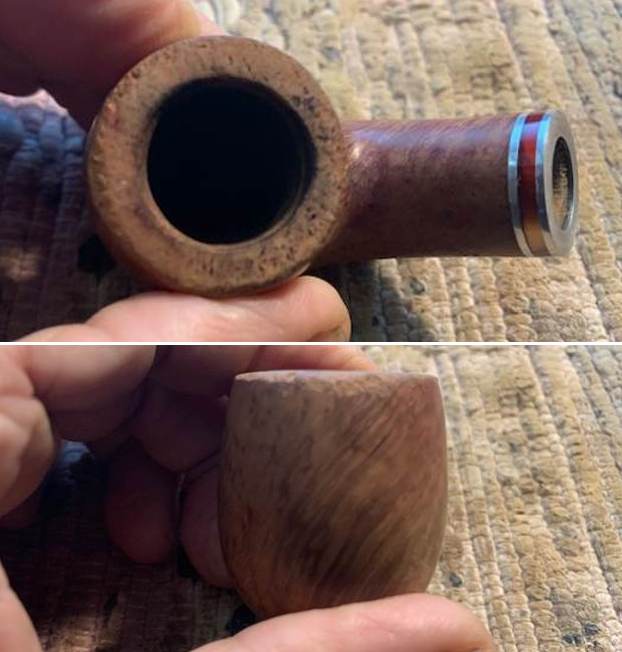
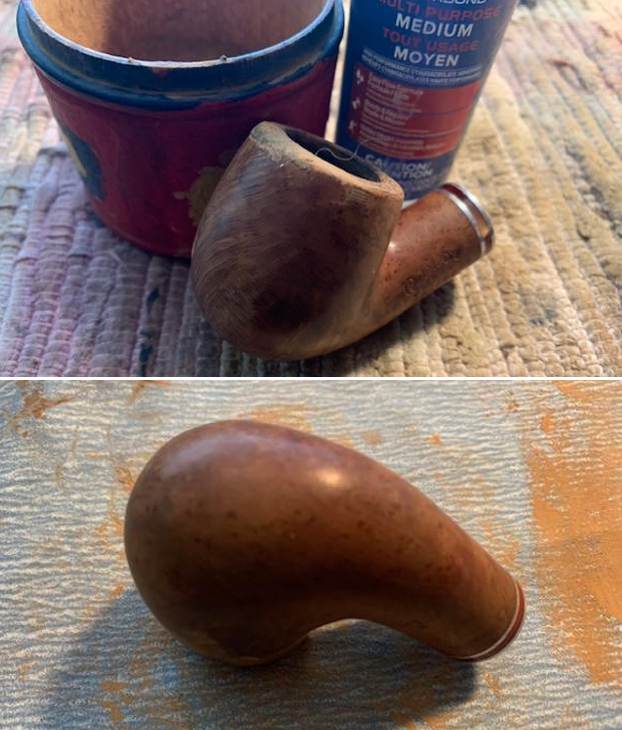
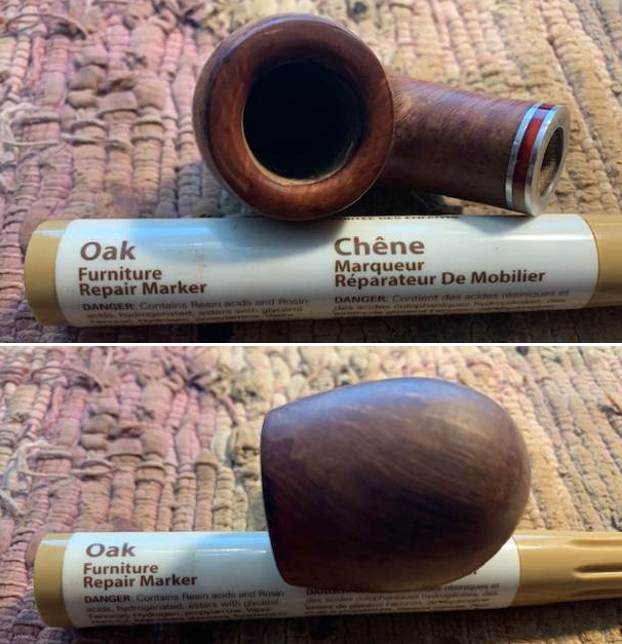
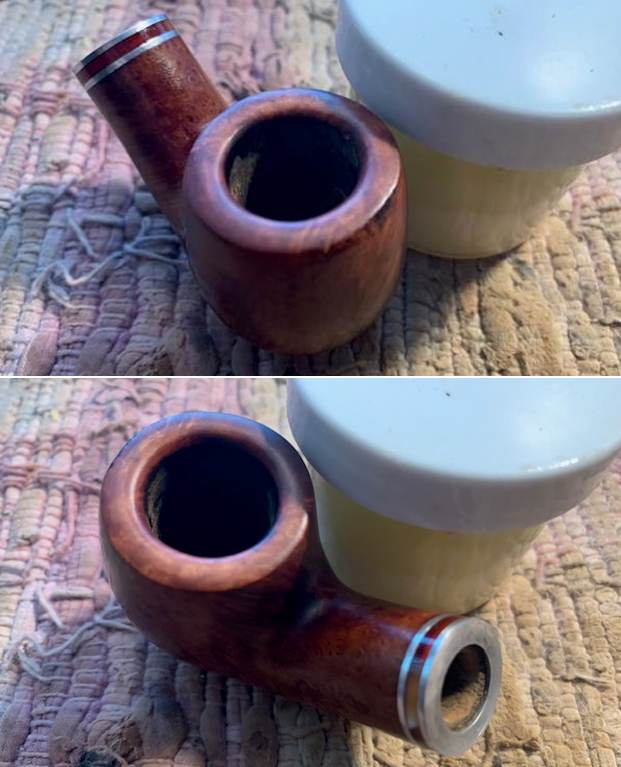
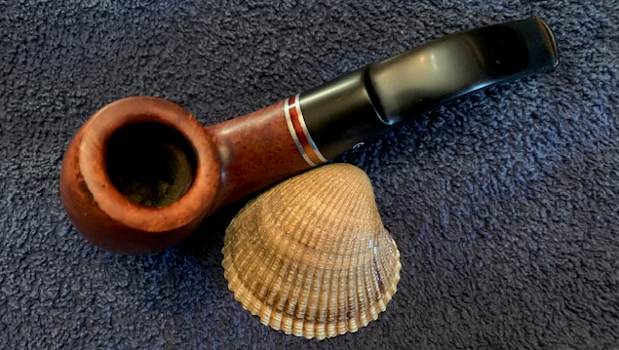
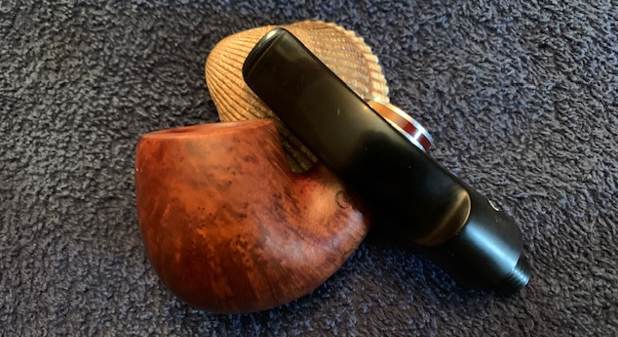
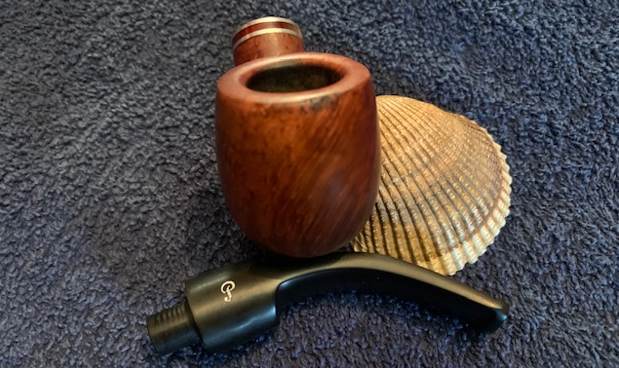
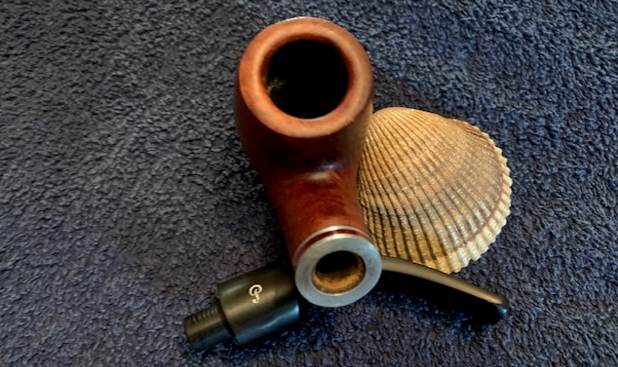
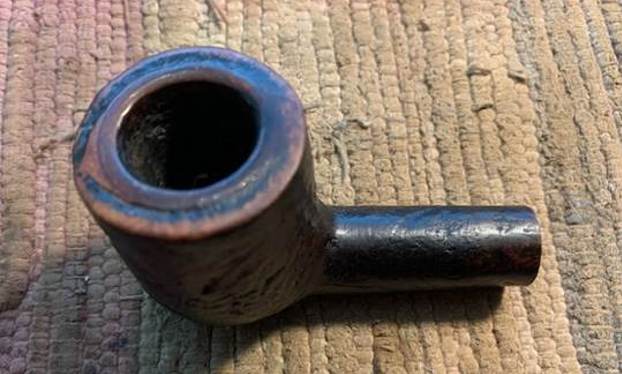
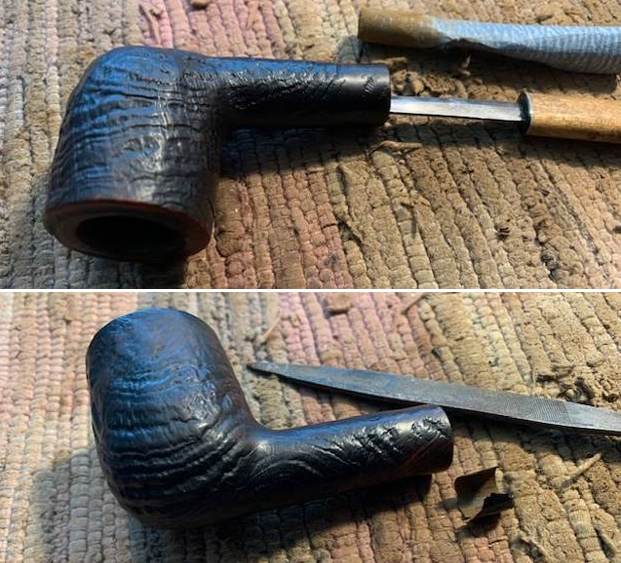
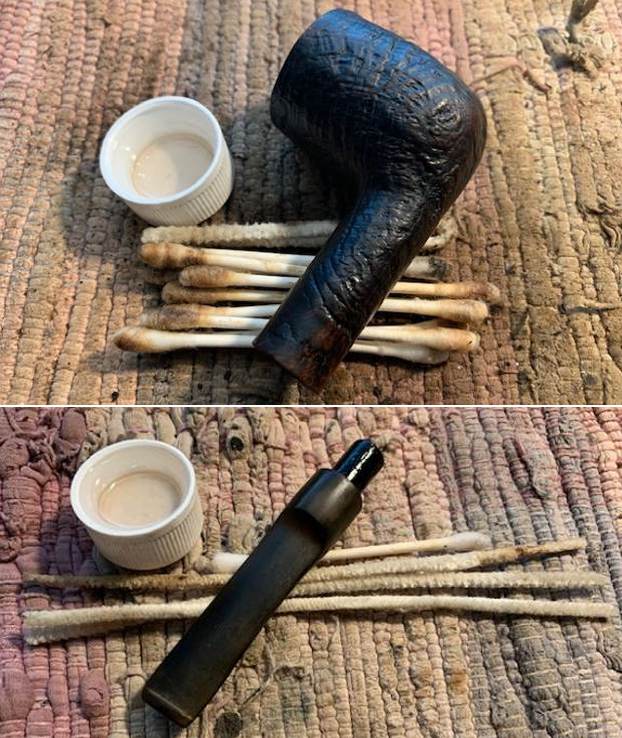
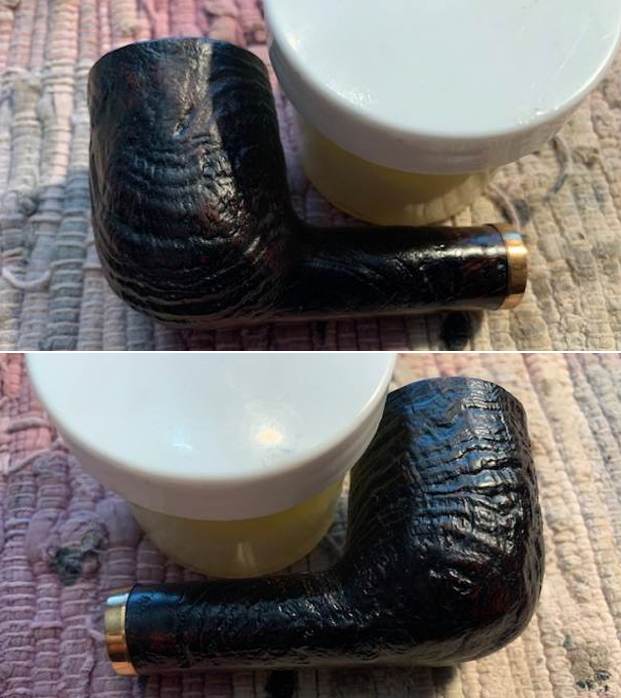
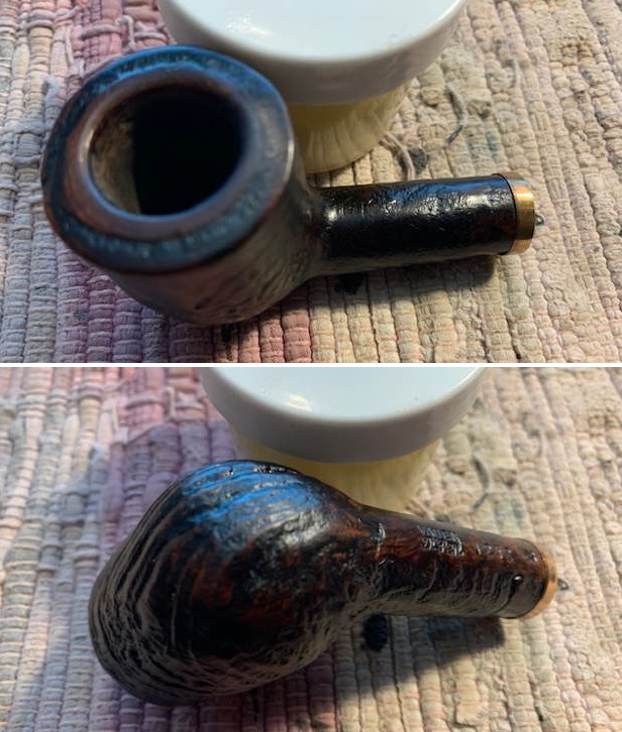
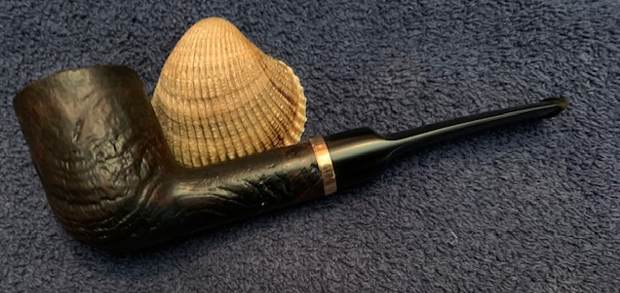
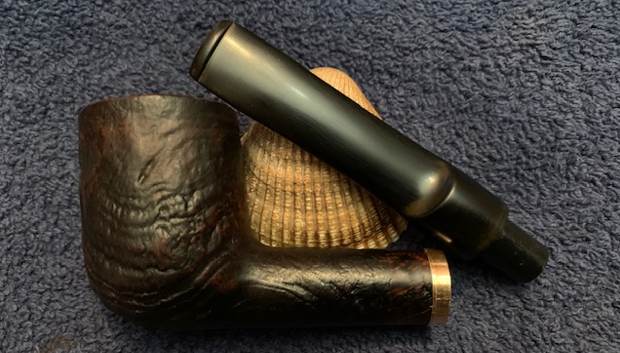
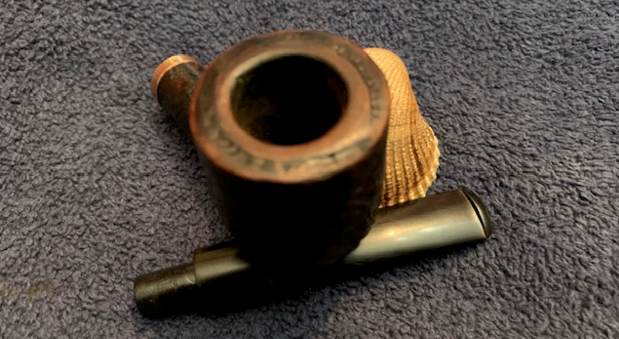
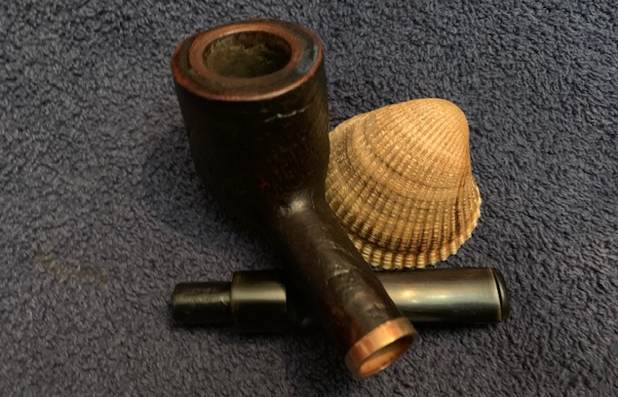
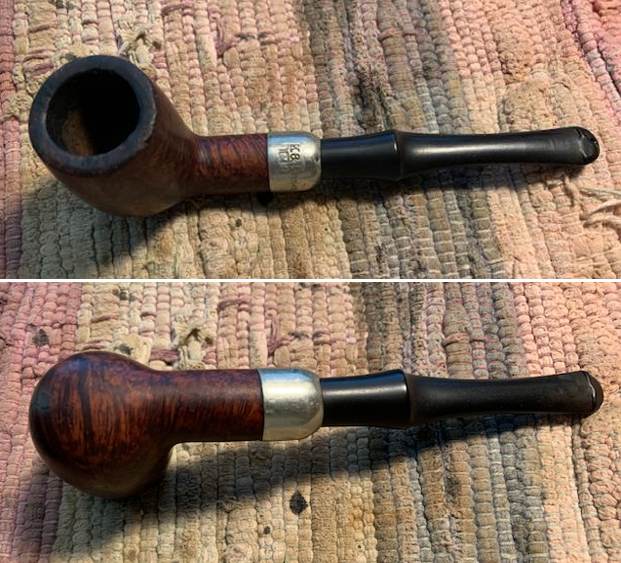
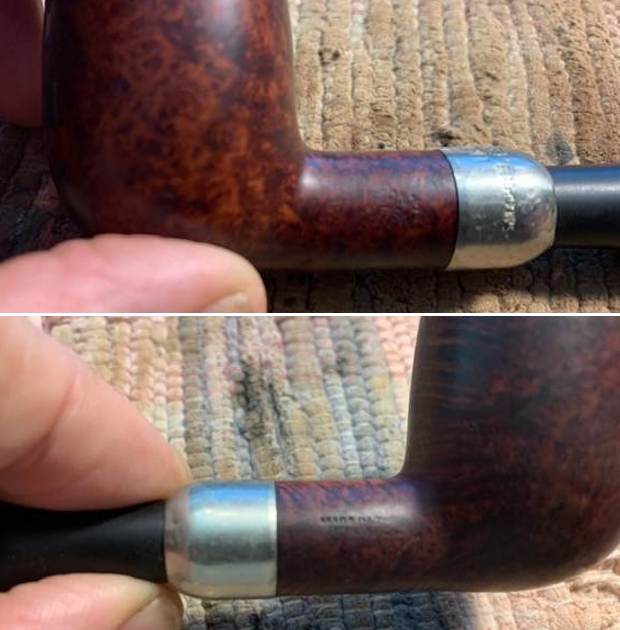
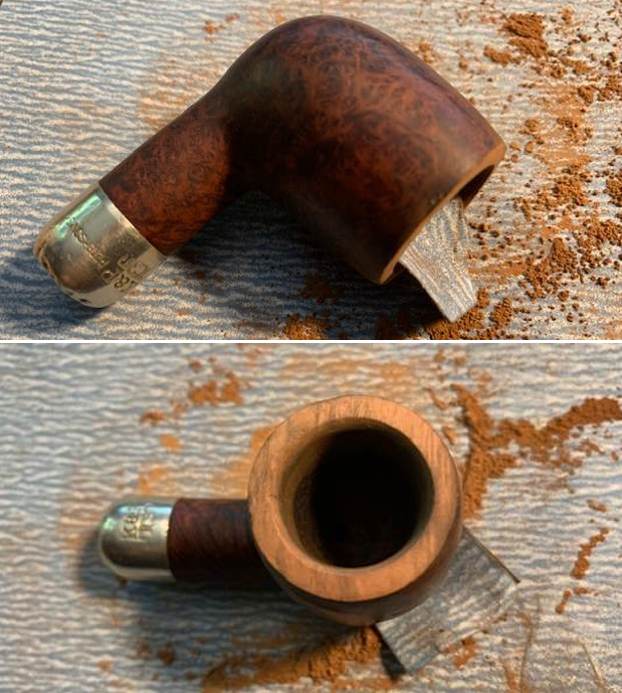
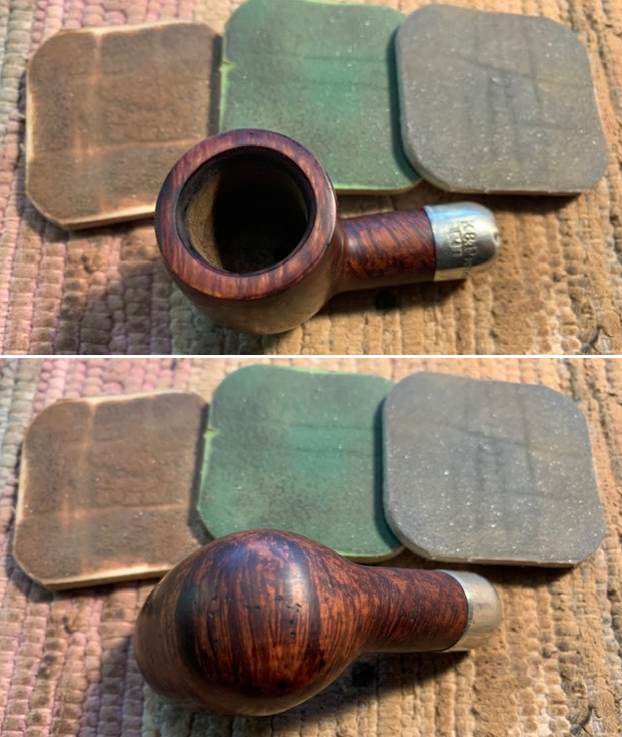
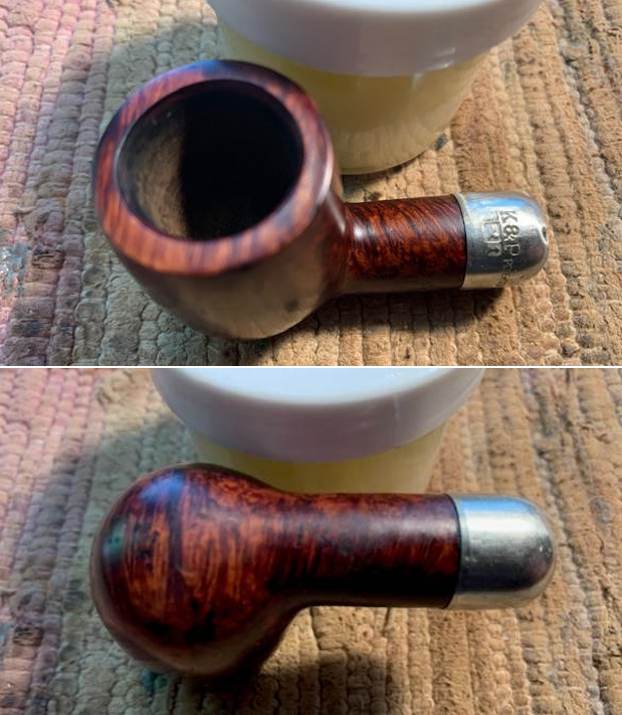
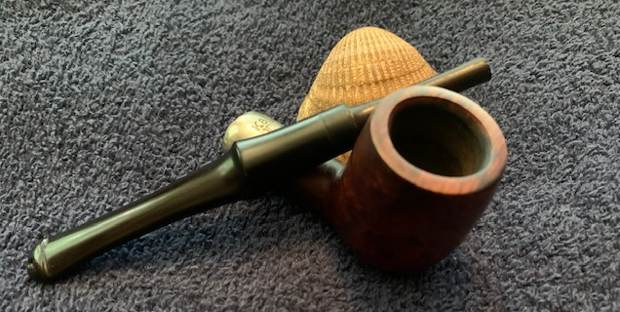
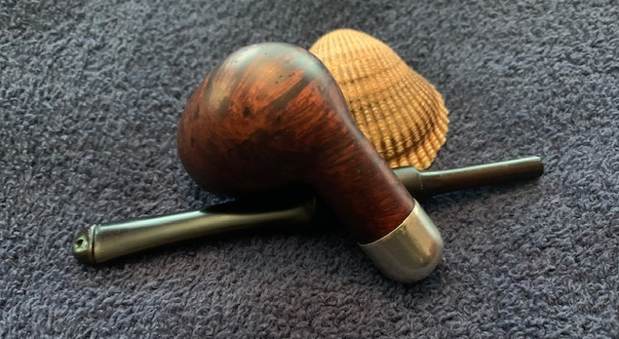
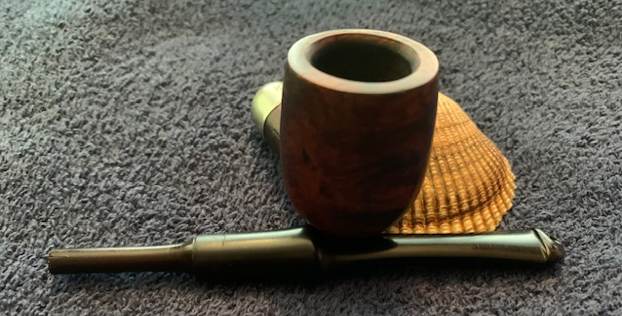
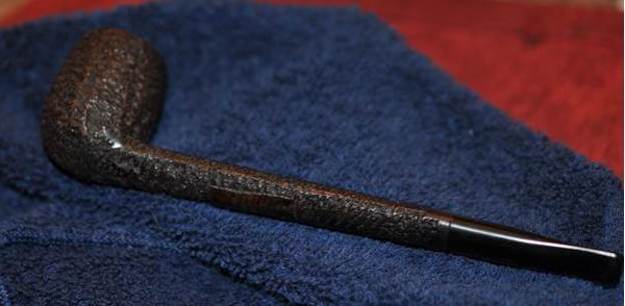
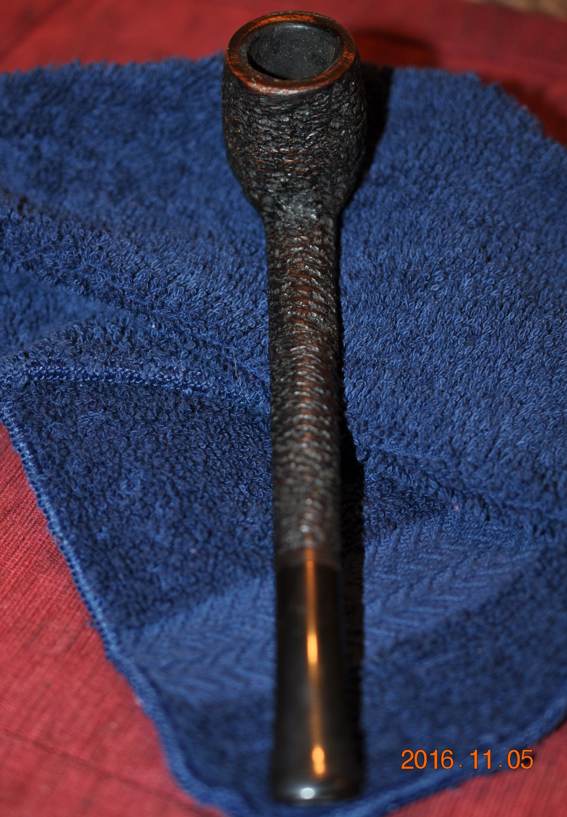
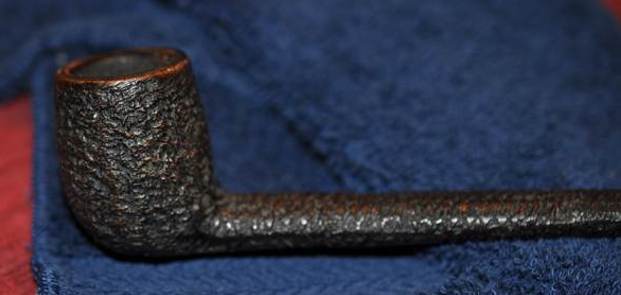
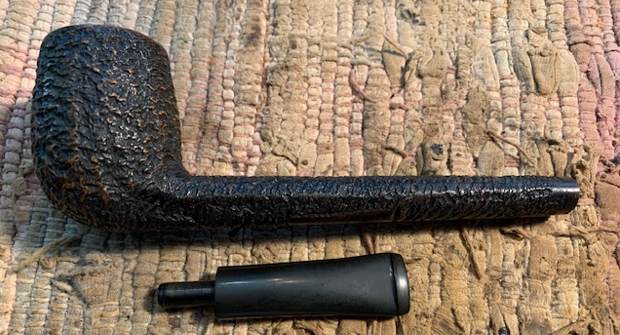
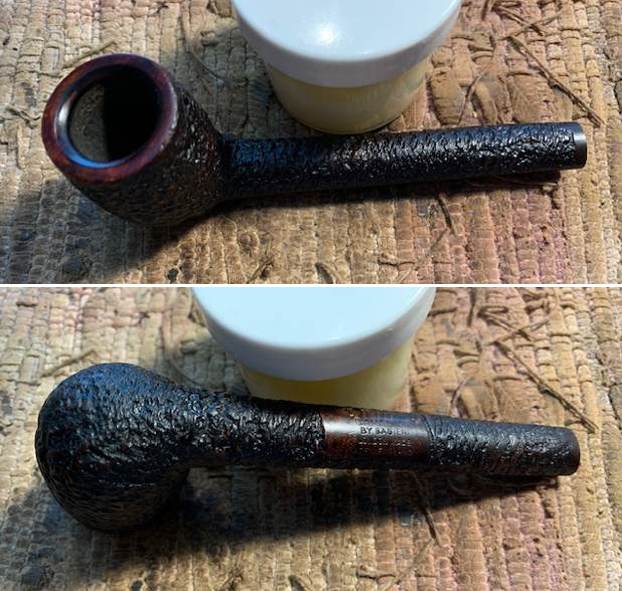
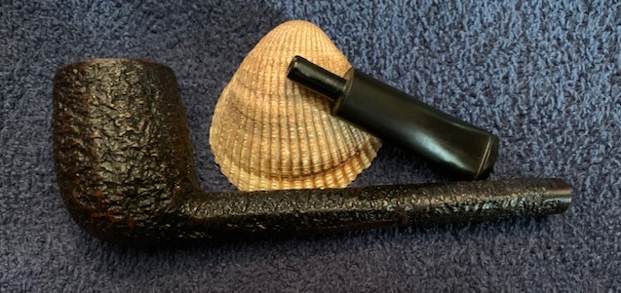
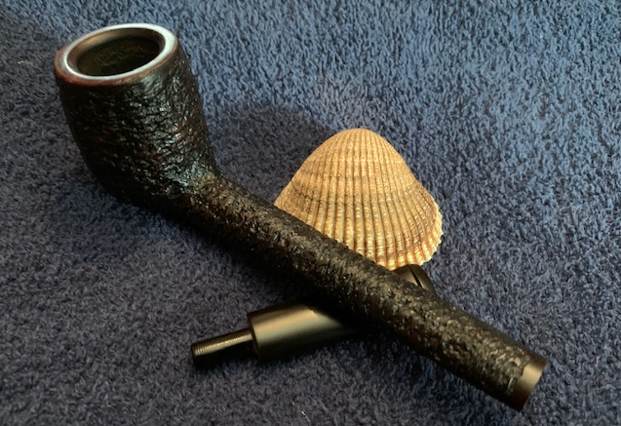
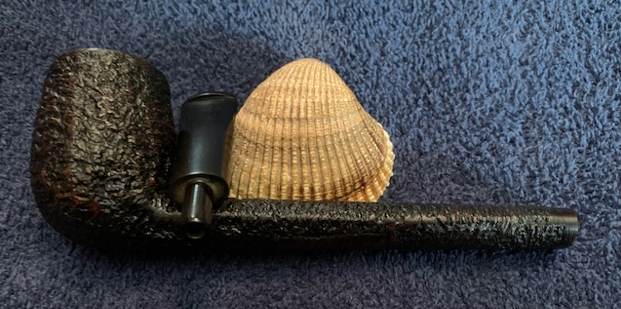
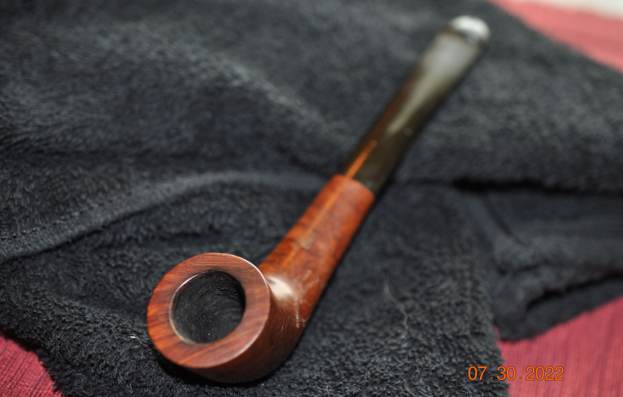
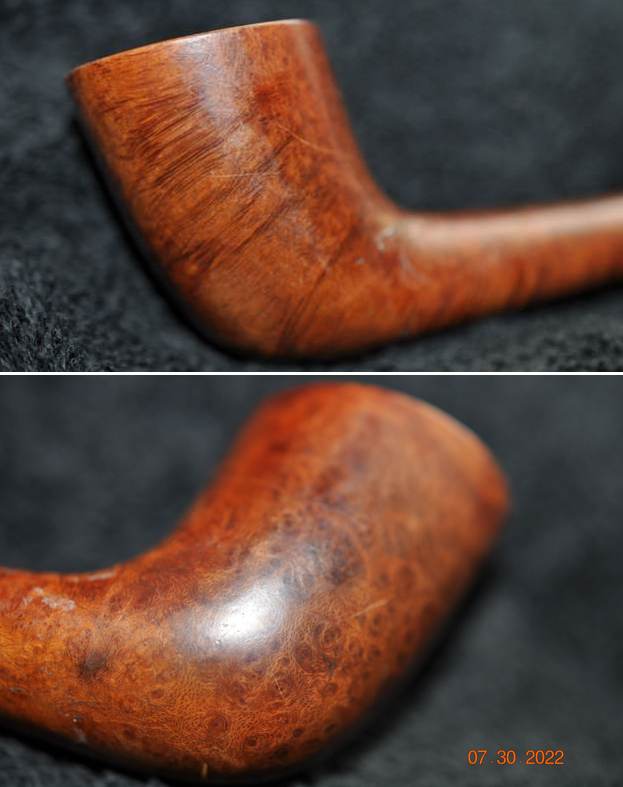
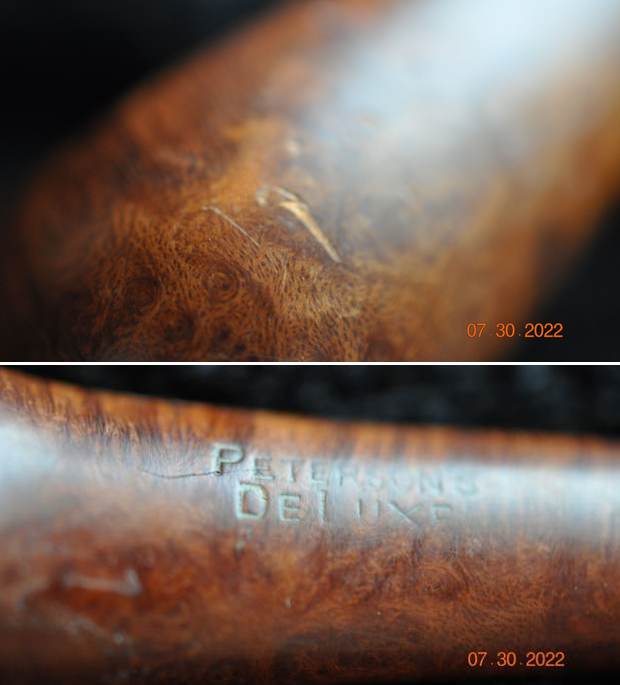
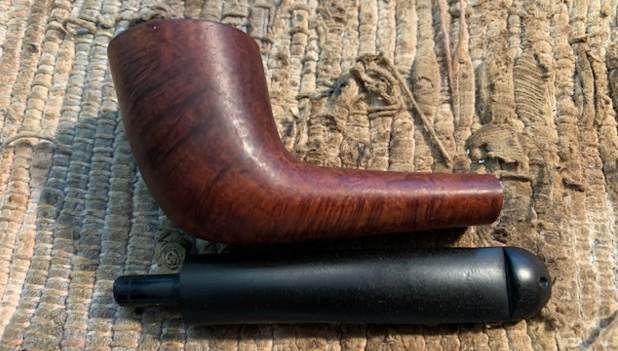
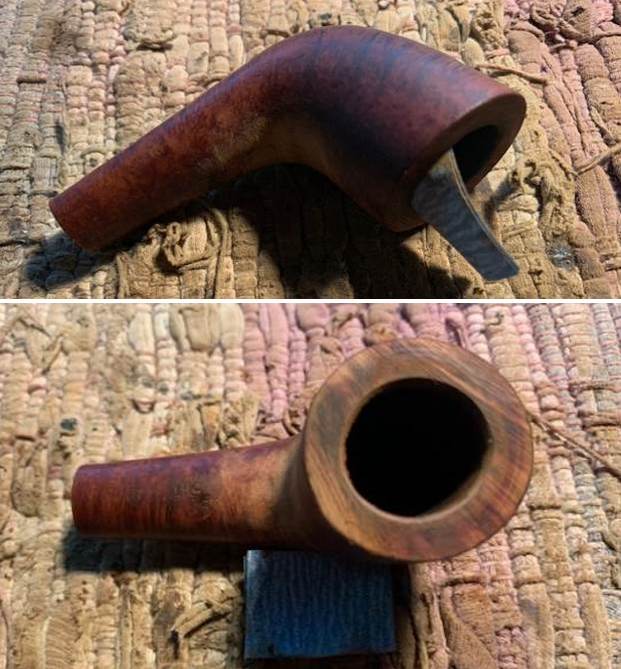
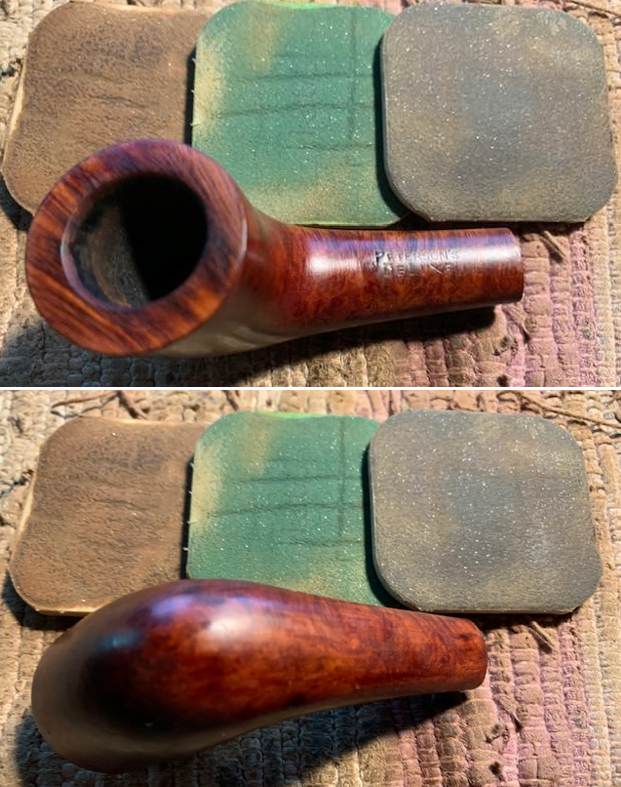
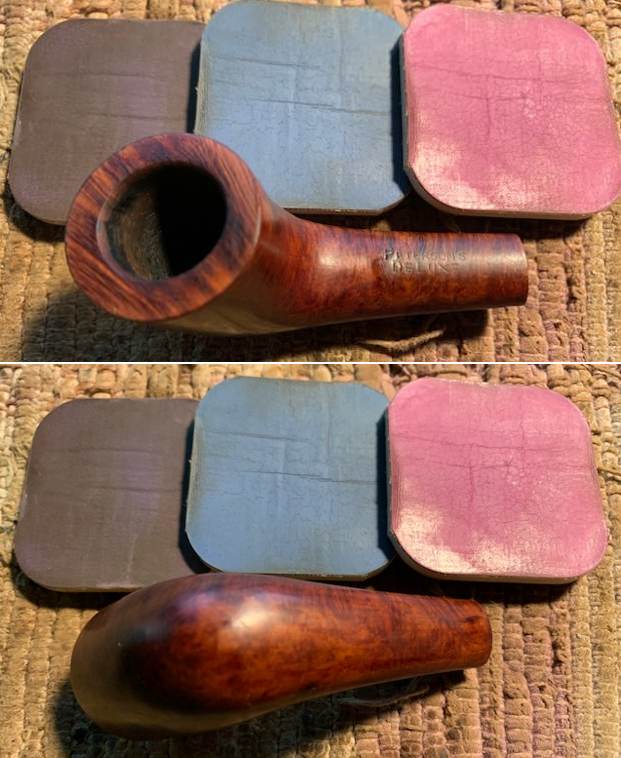
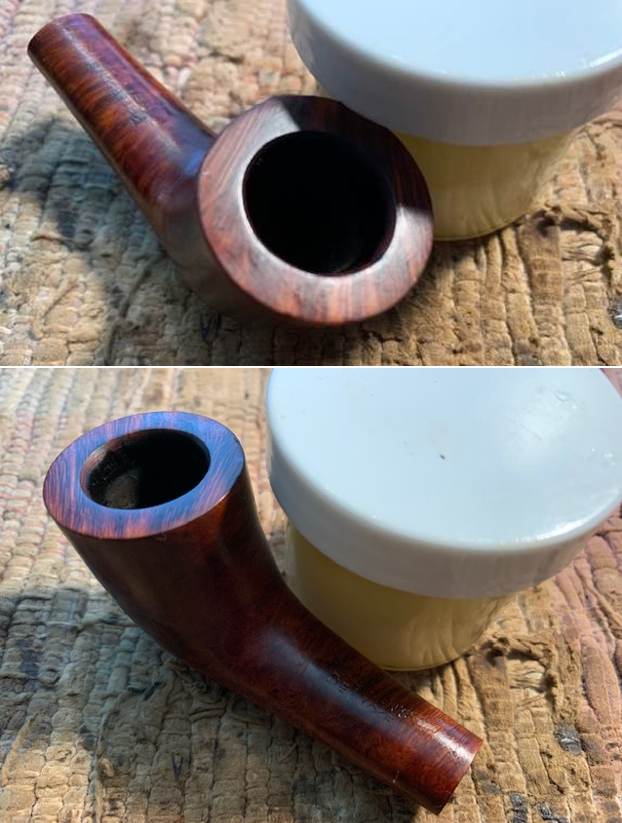
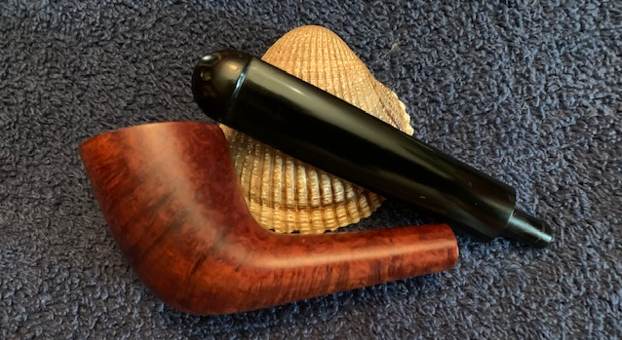
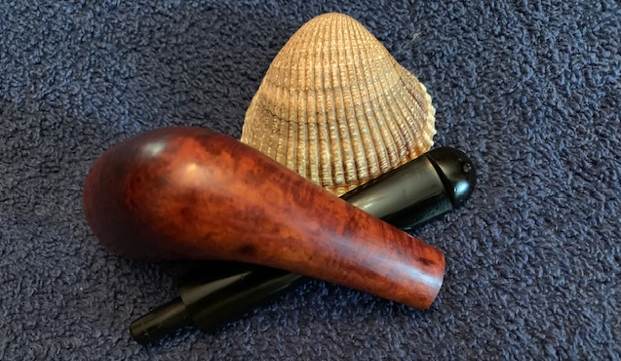
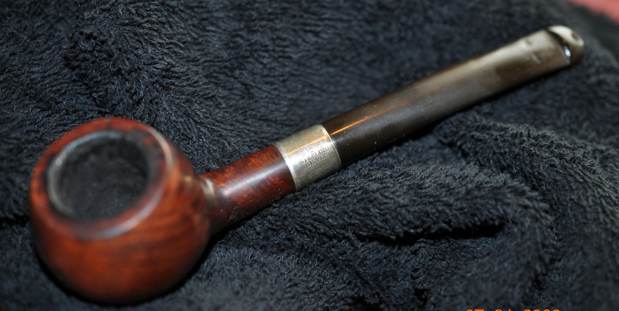
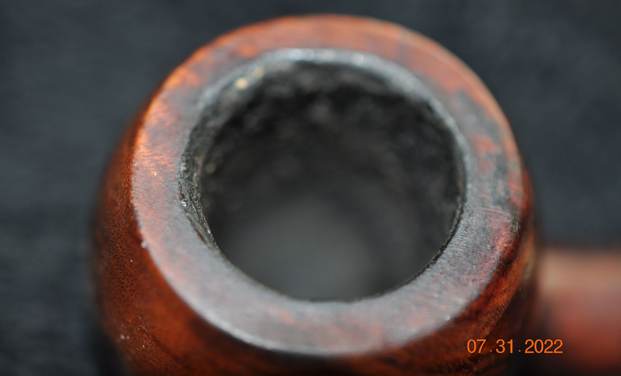
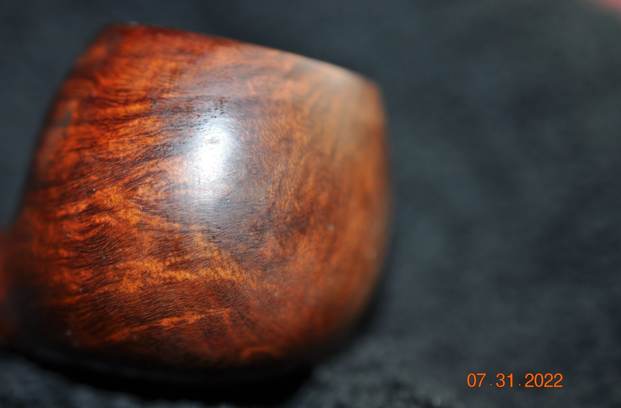
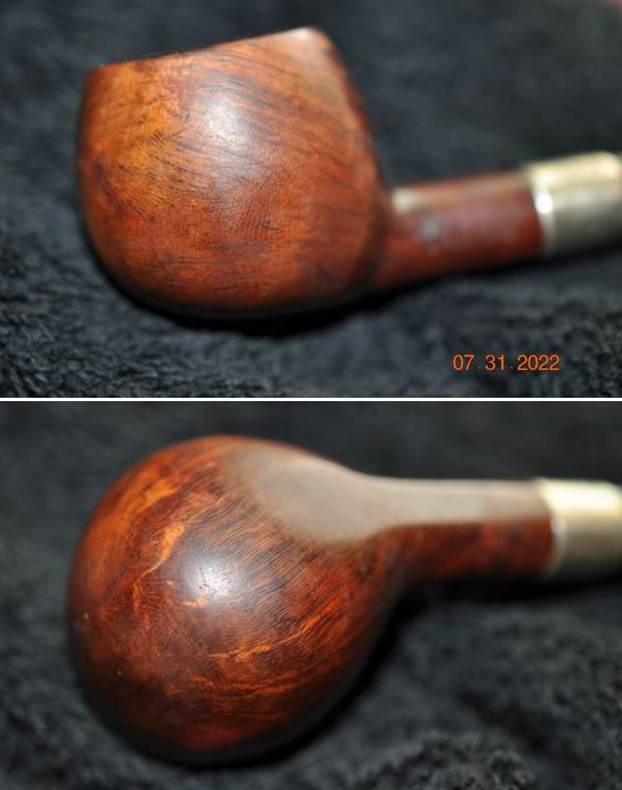
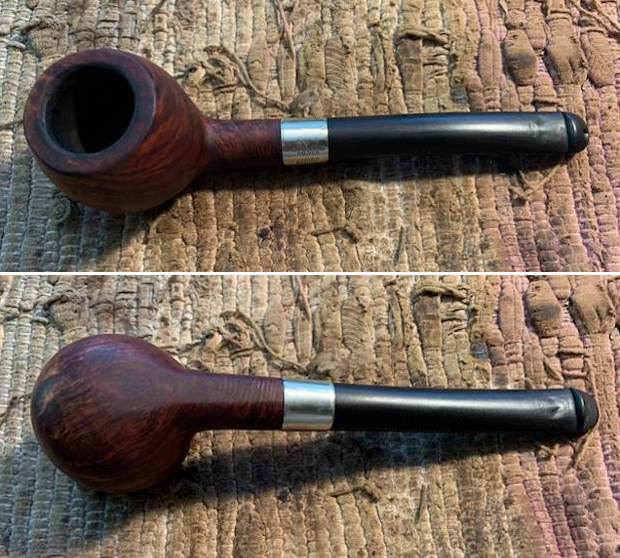
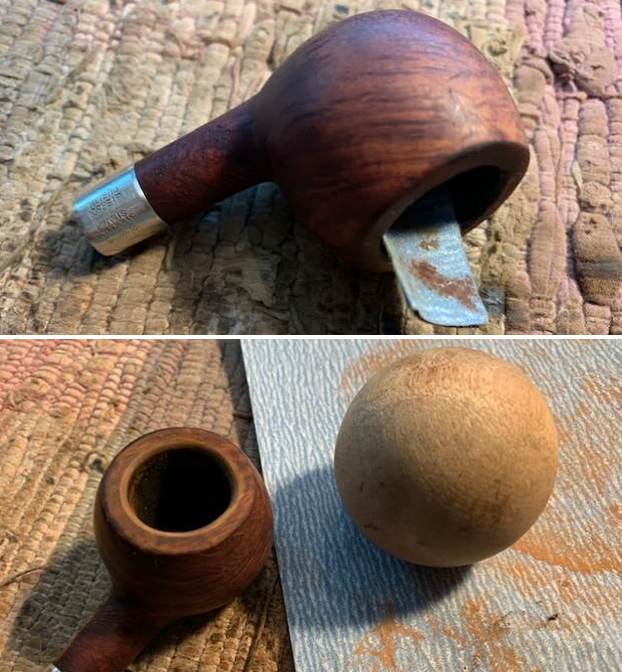
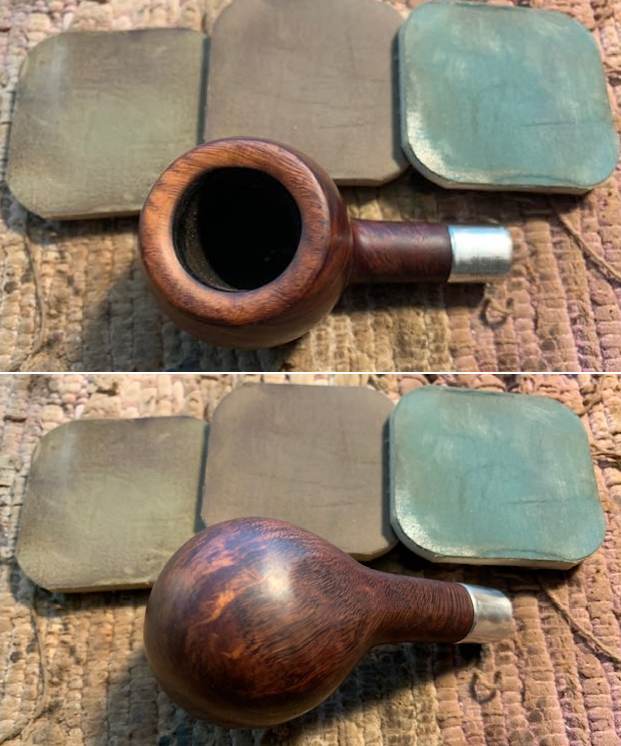
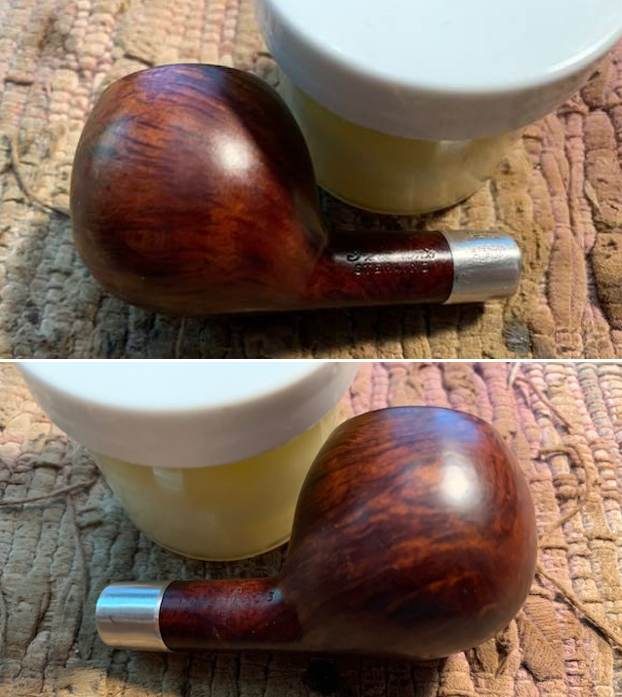
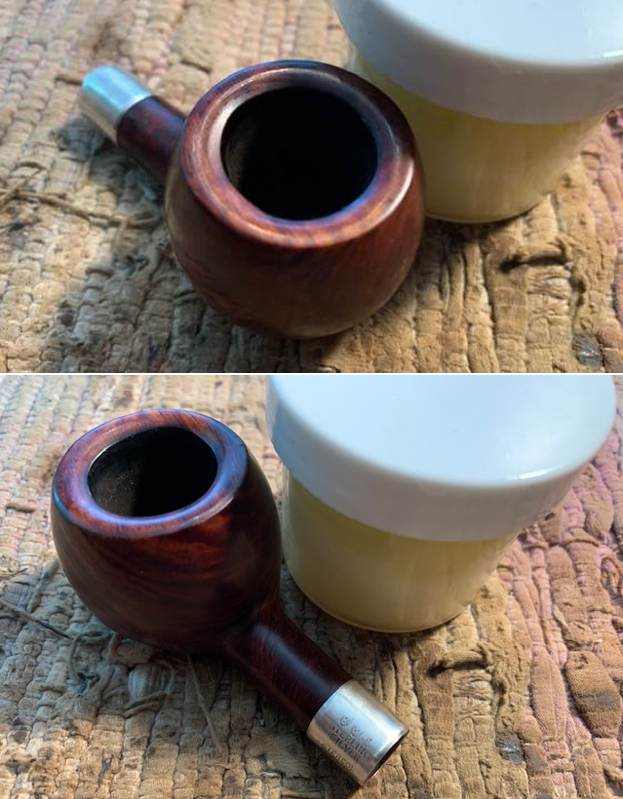
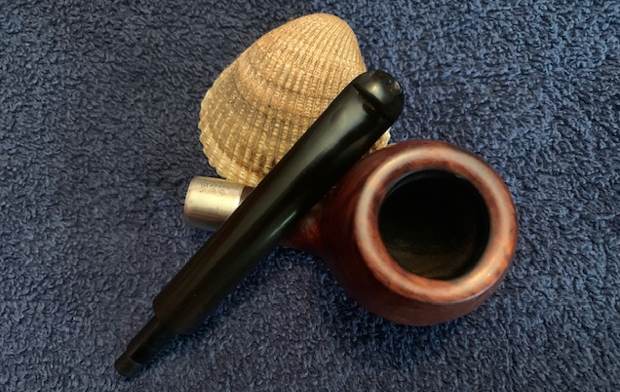
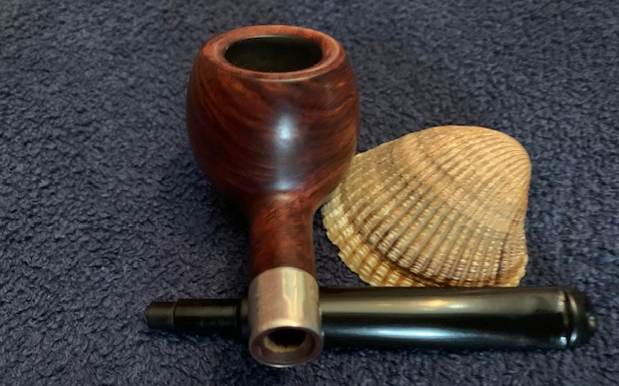
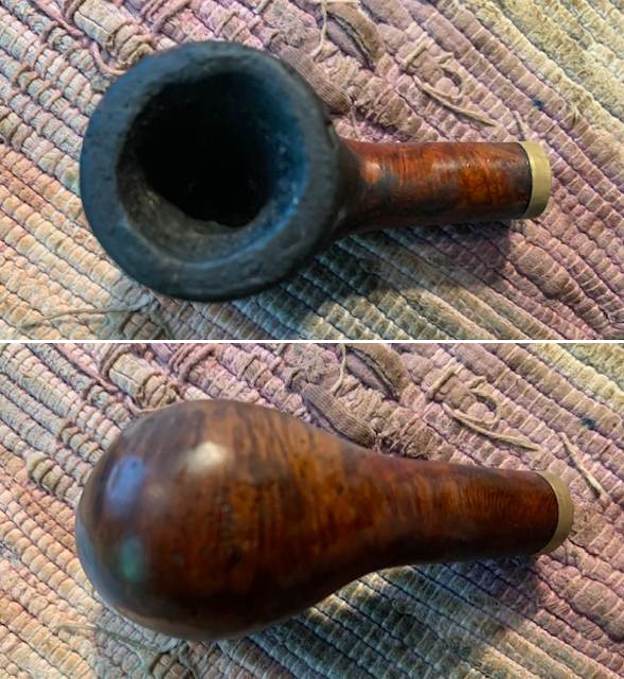
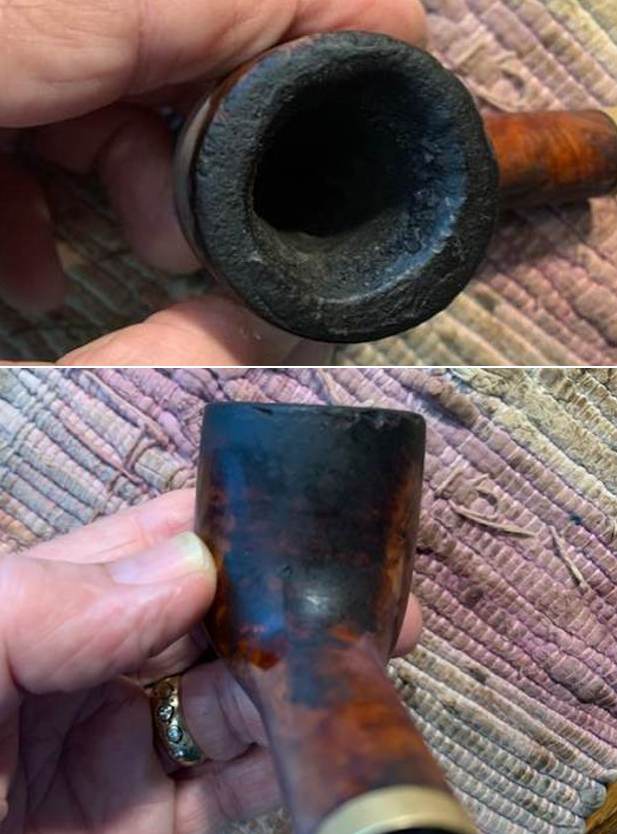
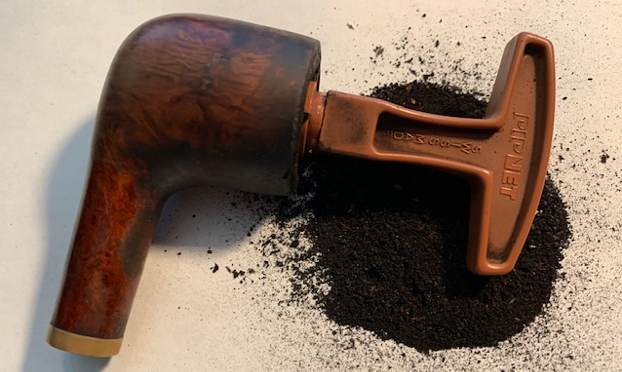
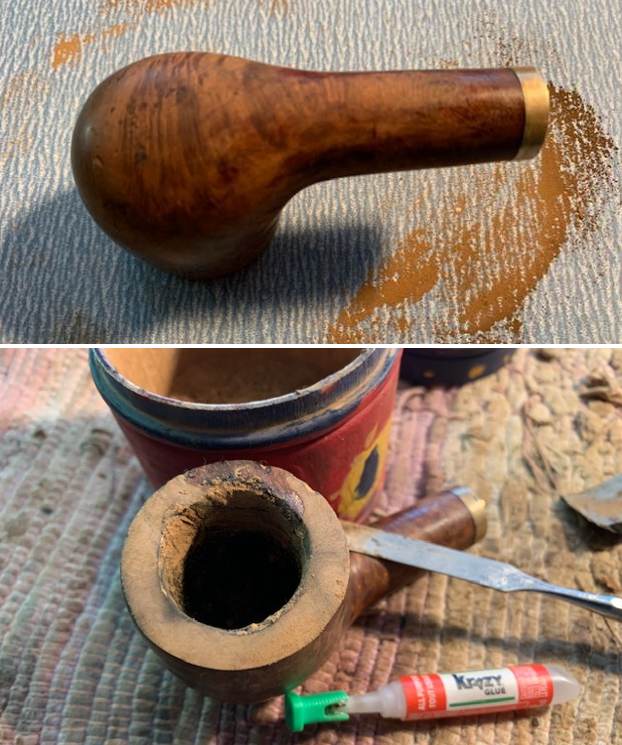
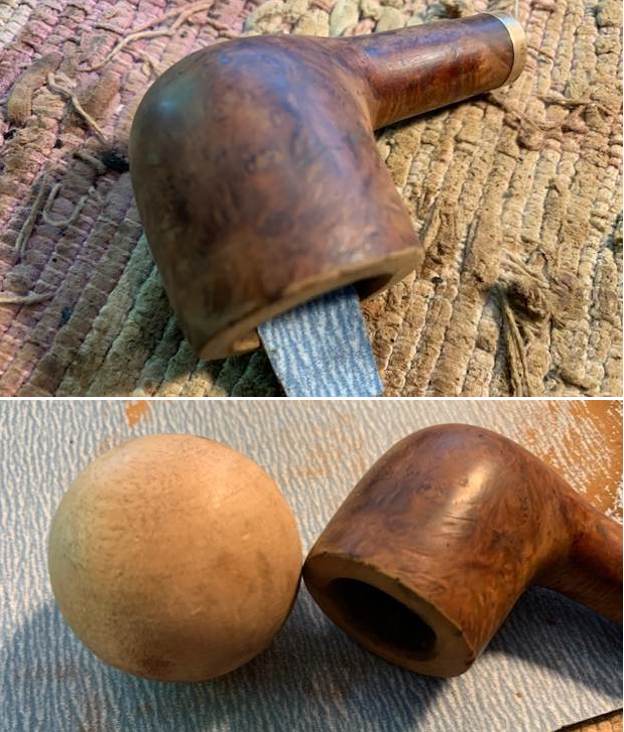
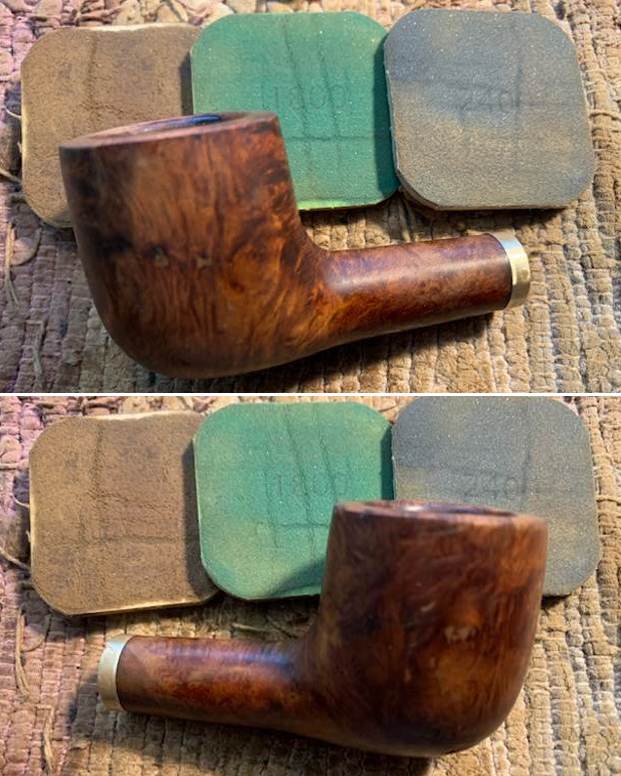
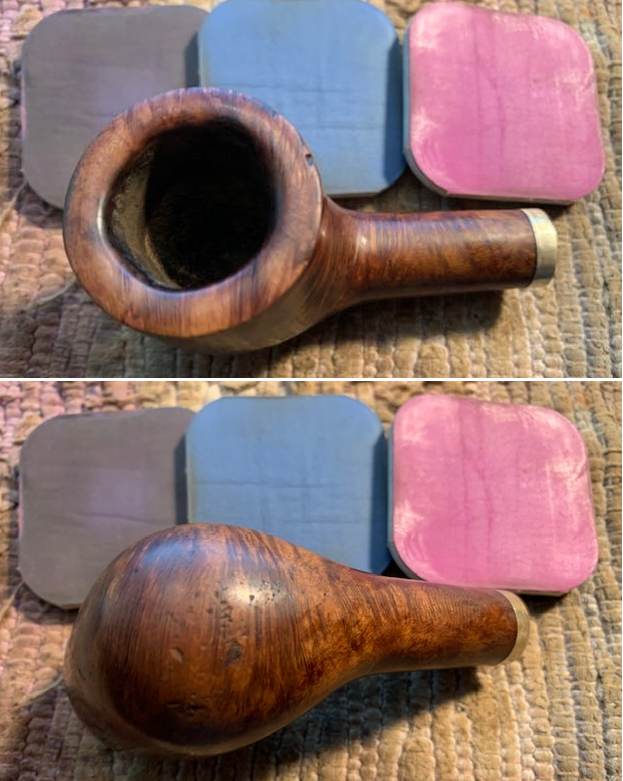
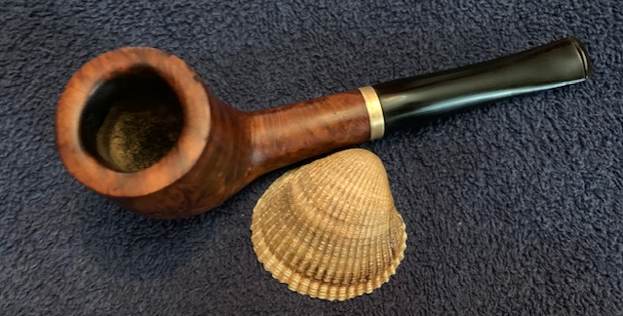
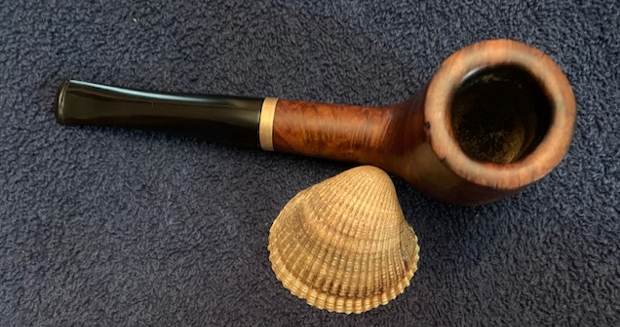
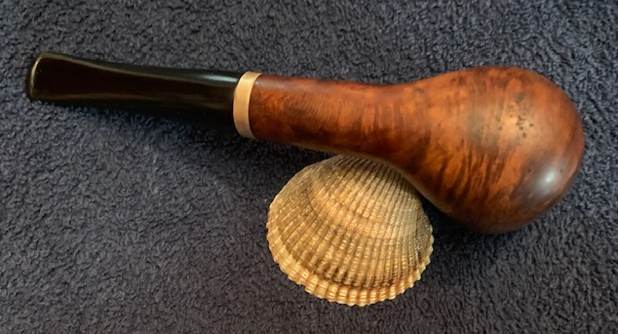
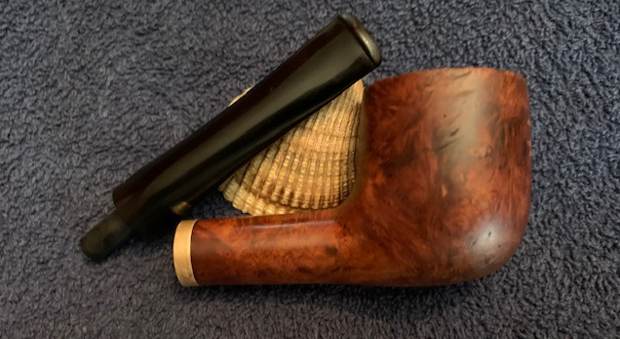
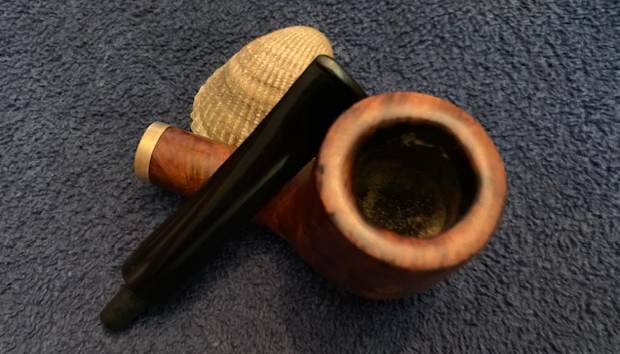
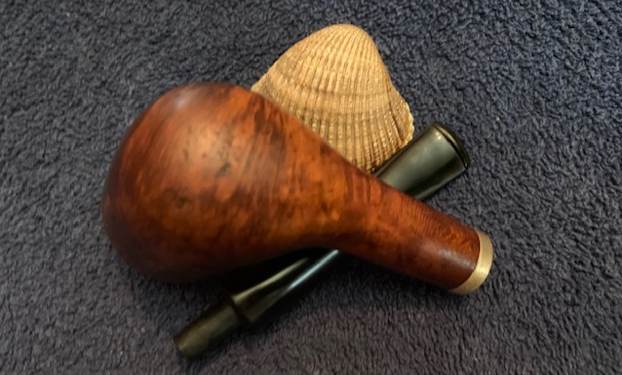
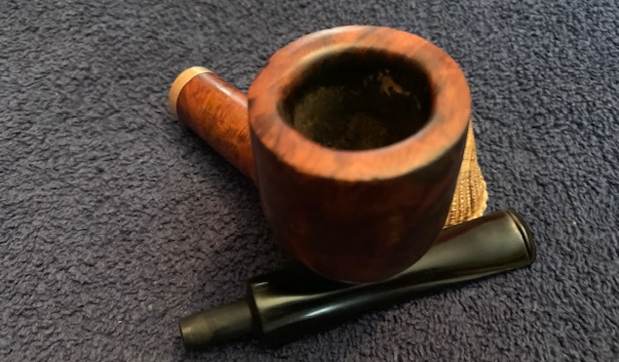
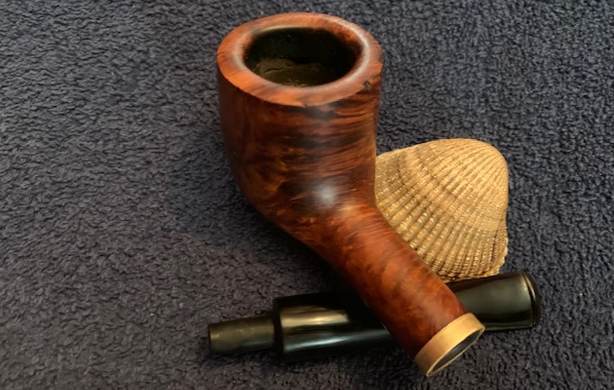
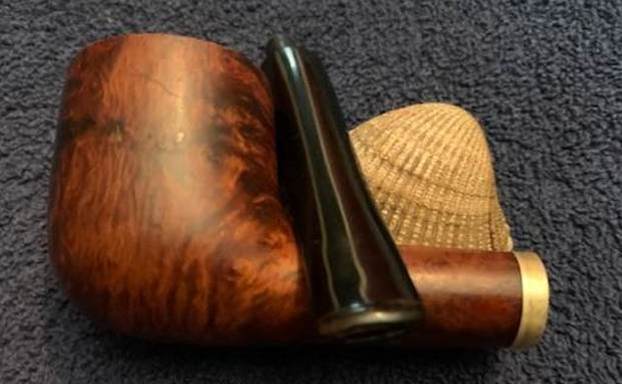
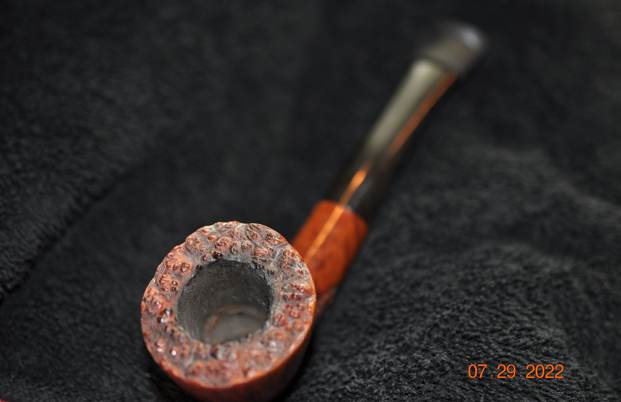
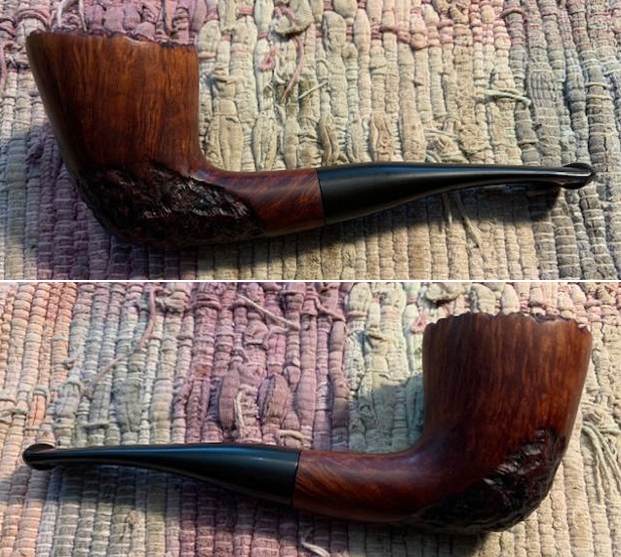
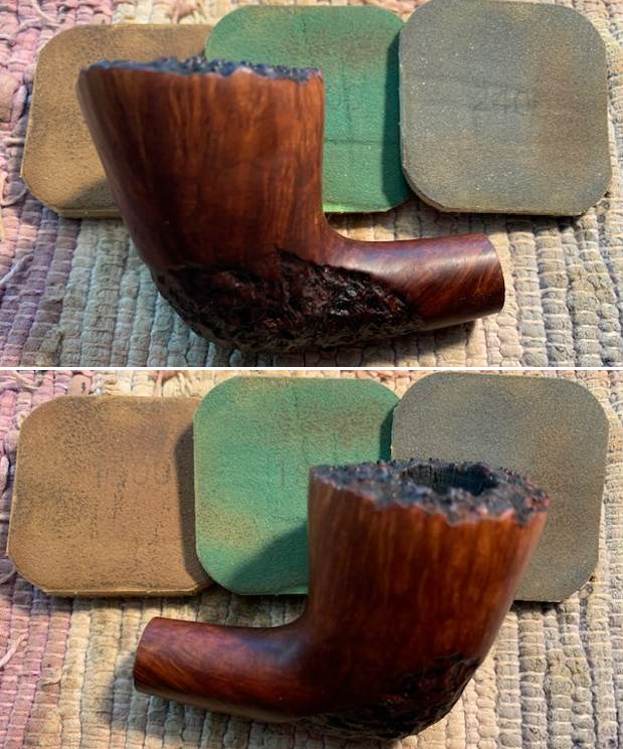
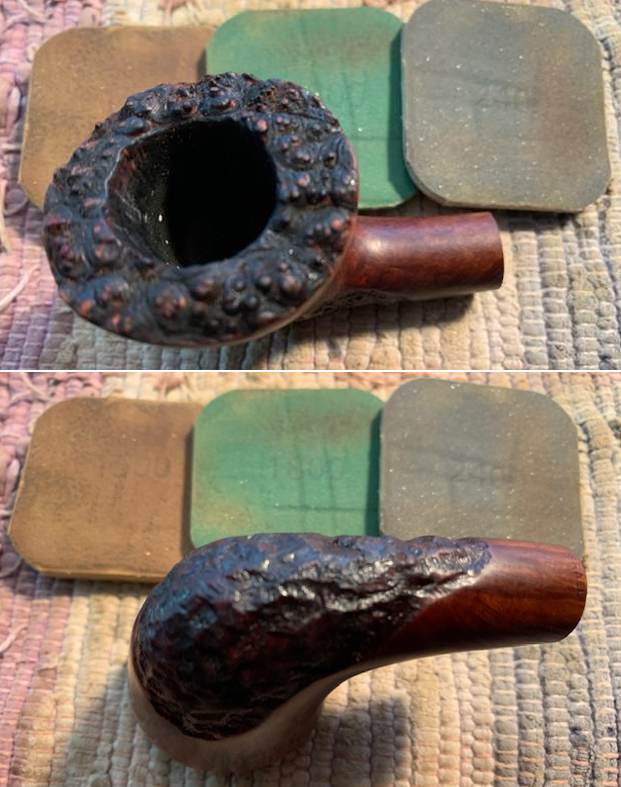
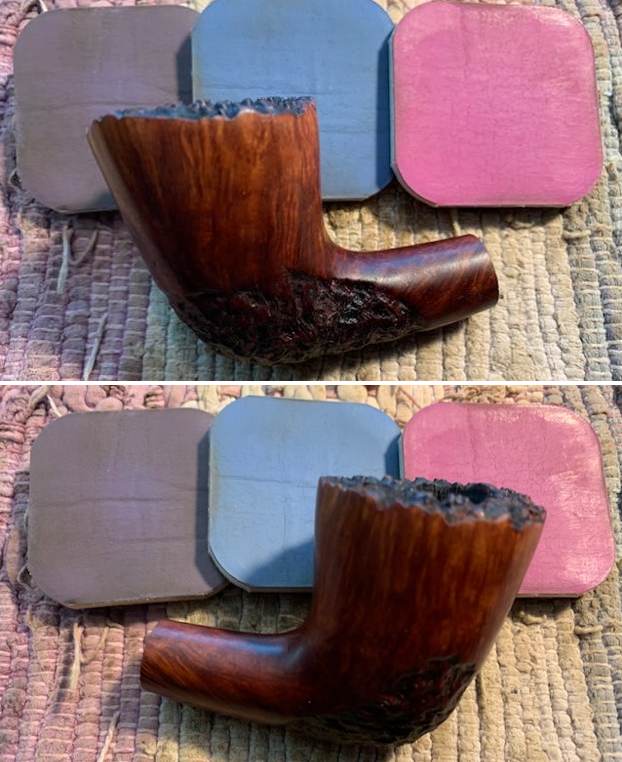
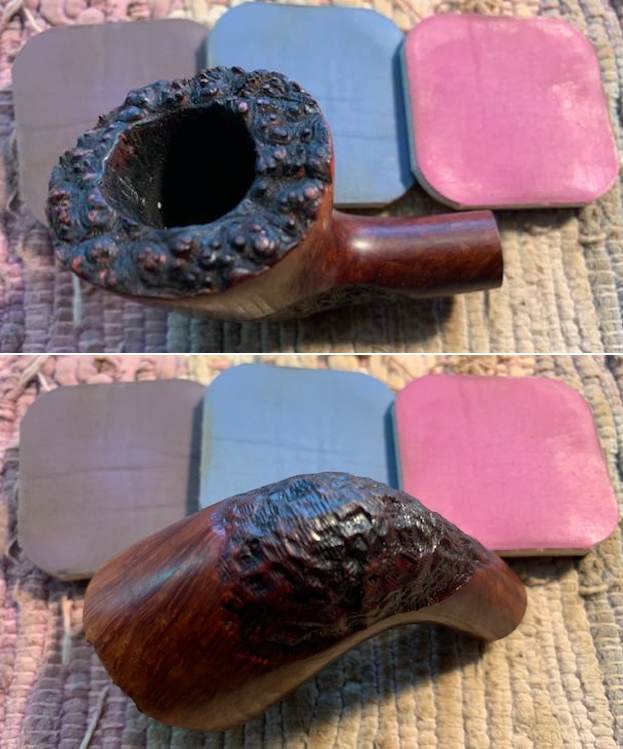
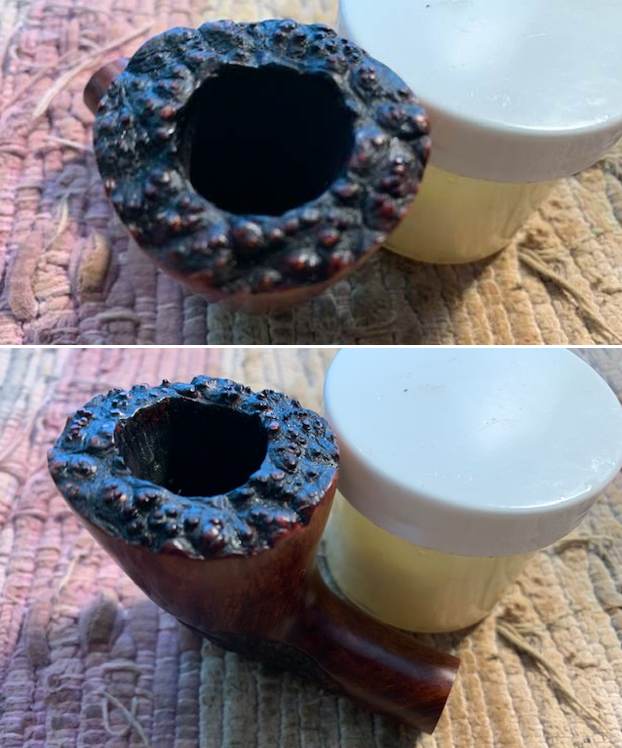
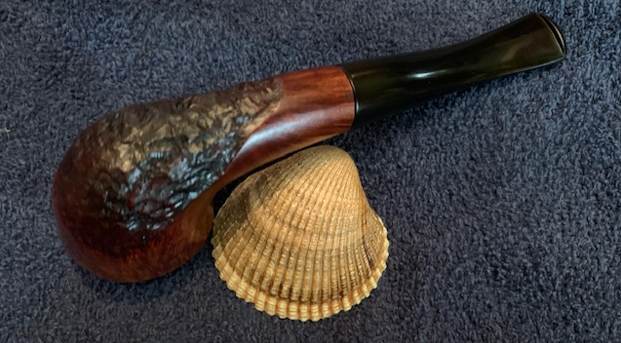
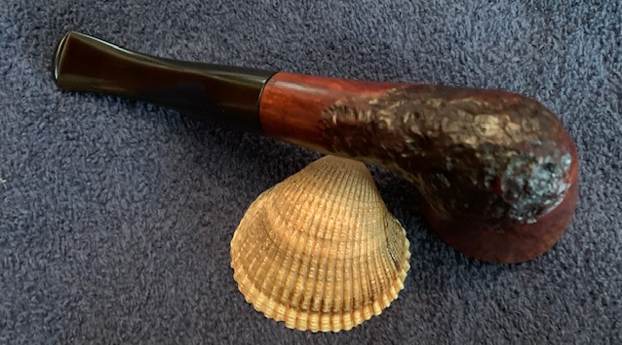
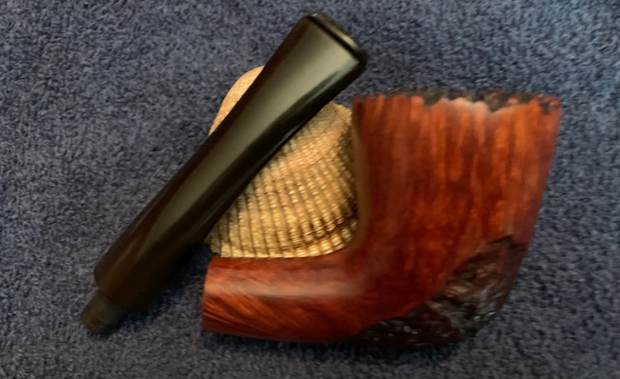
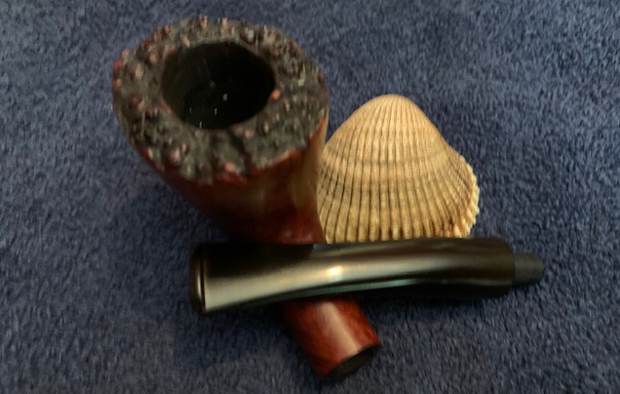
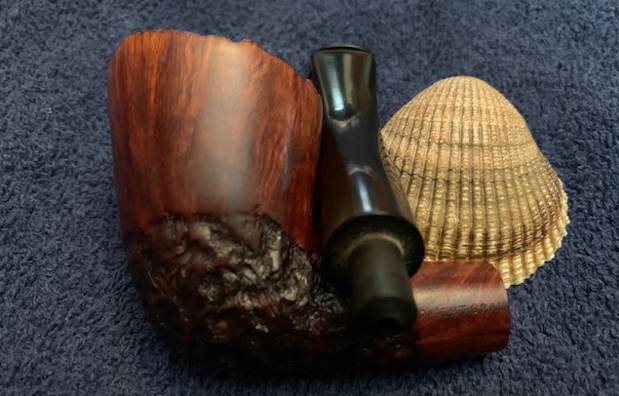
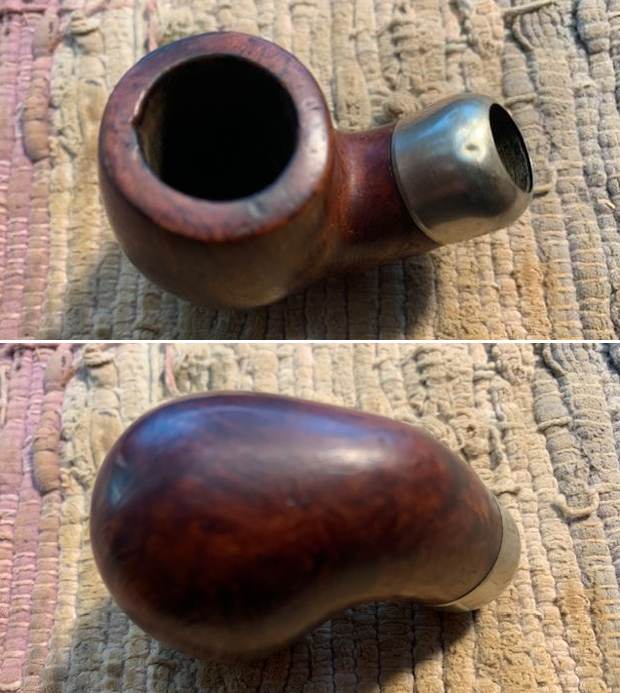
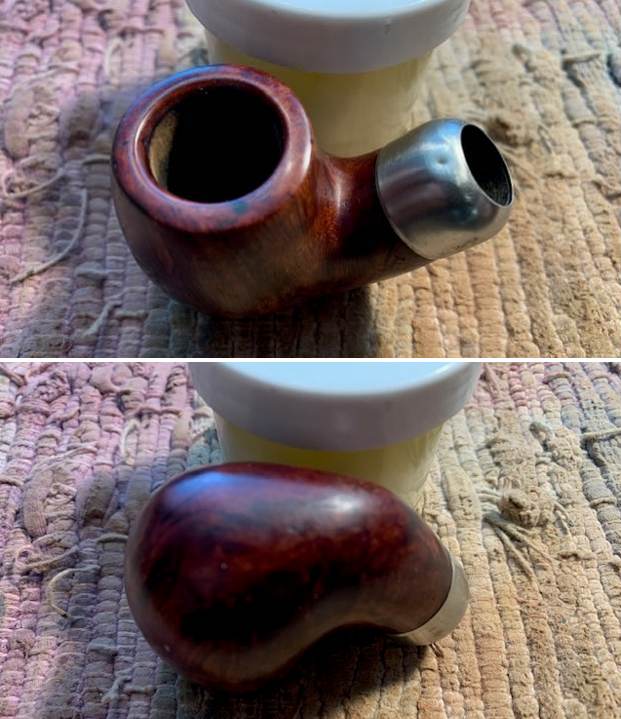
Since I found a new stem it was now it was time to work on this final bowl of the lot. Jeff had done a great job cleaning up the pipe as usual. He reamed the pipe with a PipNet reamer and cut back the cake back to the bare briar. He cleaned up the walls with a Savinelli Fitsall Pipe Knife. He scrubbed the interior of the bowl and shank with pipe cleaners, cotton swabs and alcohol to remove the tars and oils. He scrubbed the exterior of the pipe with Murphy’s Oil Soap and a tooth brush to remove the grime from the finish. He worked on the rim top lava and darkening with the soap and tooth brush. It looked much better. I took pictures of the bowl without the new stem. It is a great looking piece of briar even with the gouges and marks on sides, top and heel of the bowl. The nickel ferrule has a few dents but otherwise looks very good. 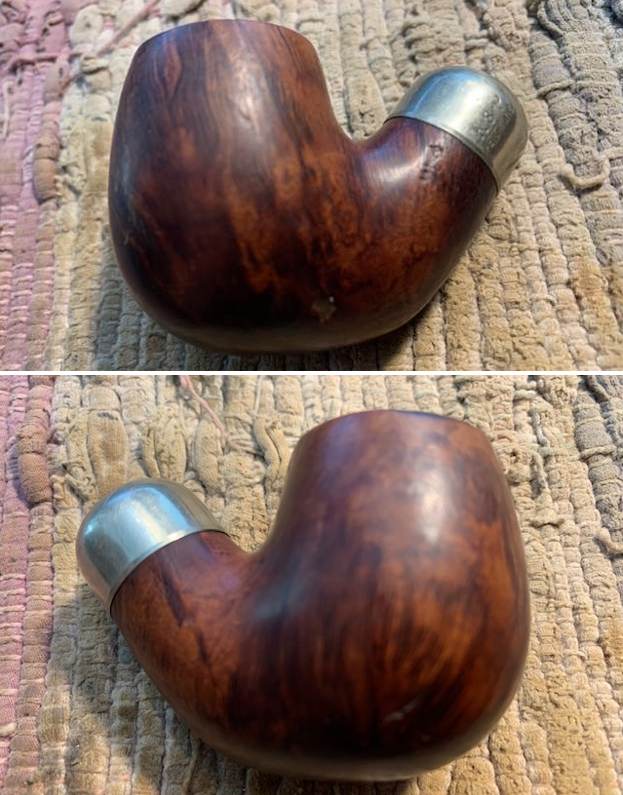
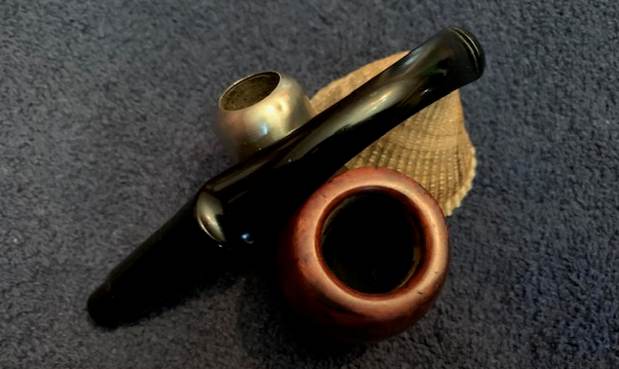
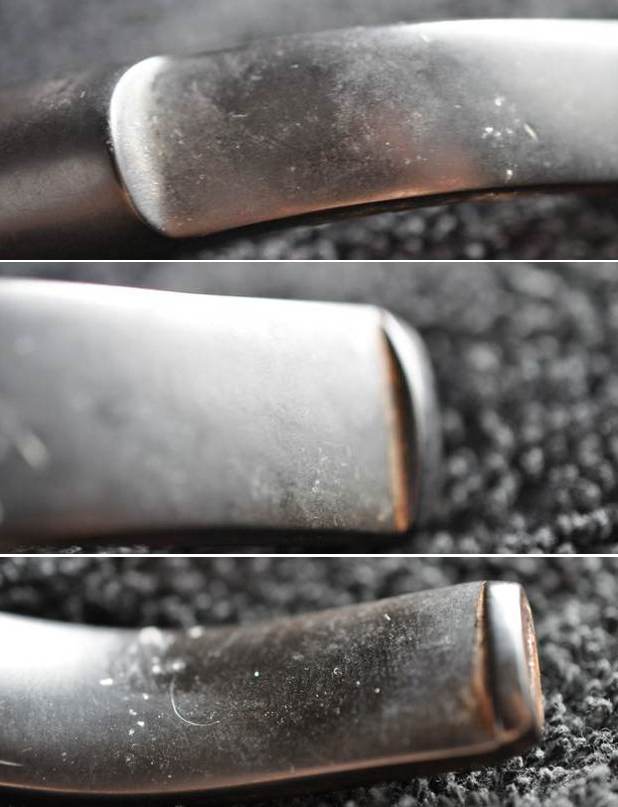
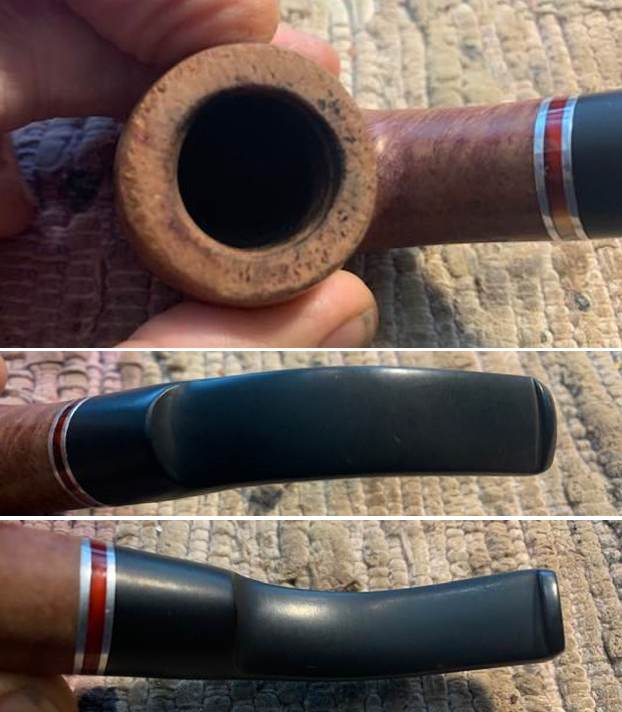
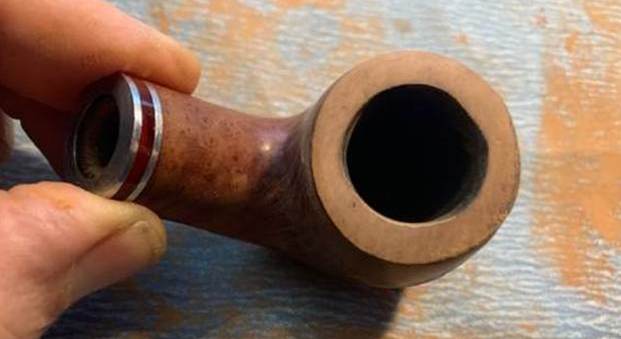
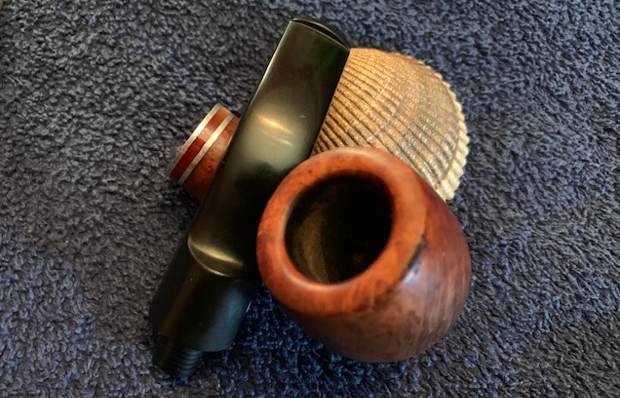
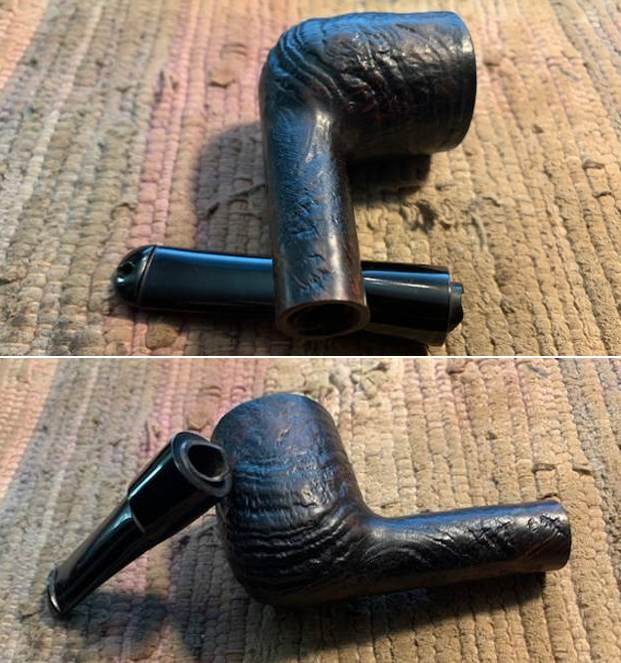
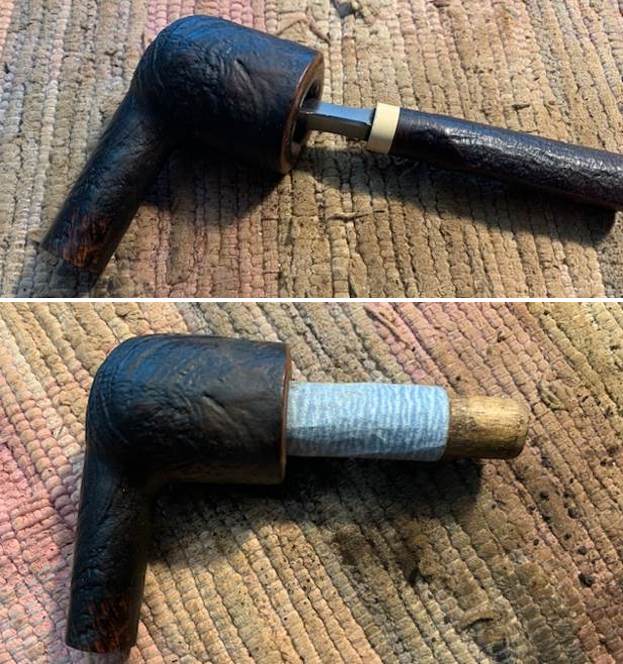
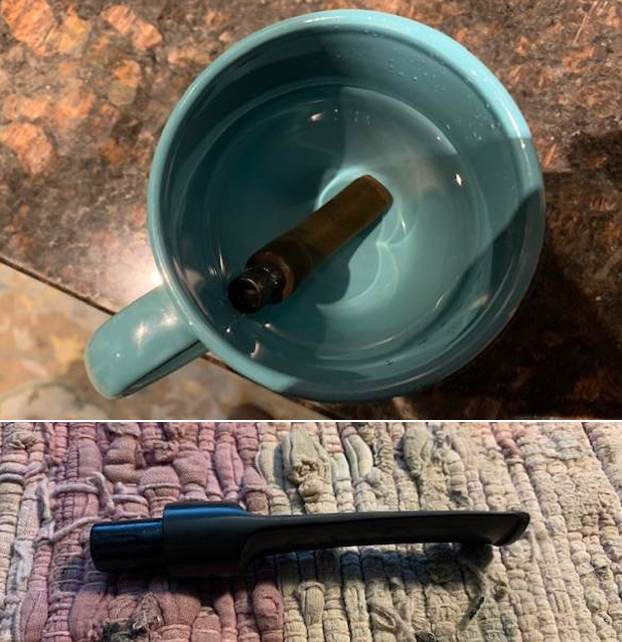
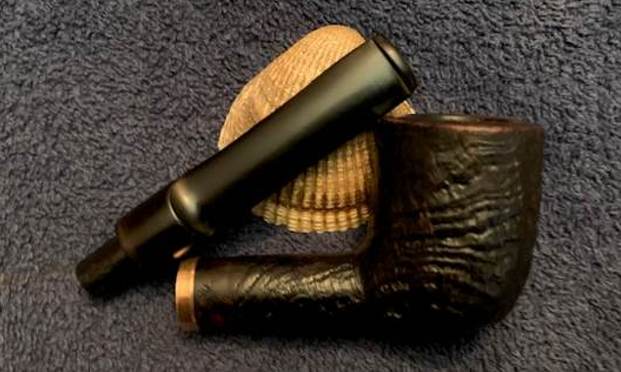
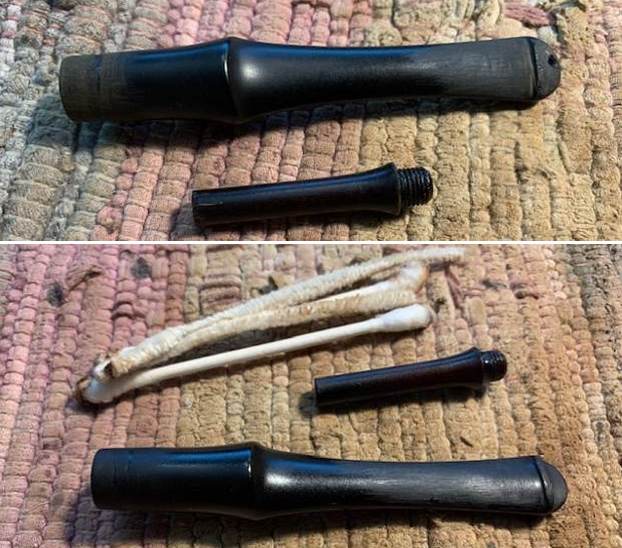
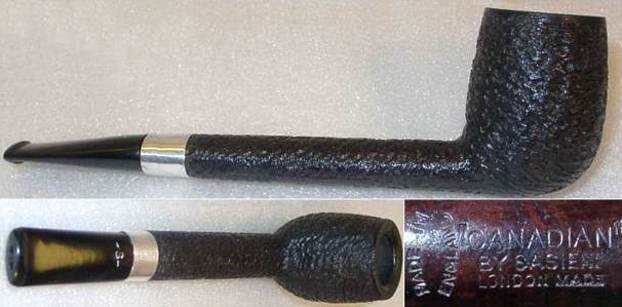
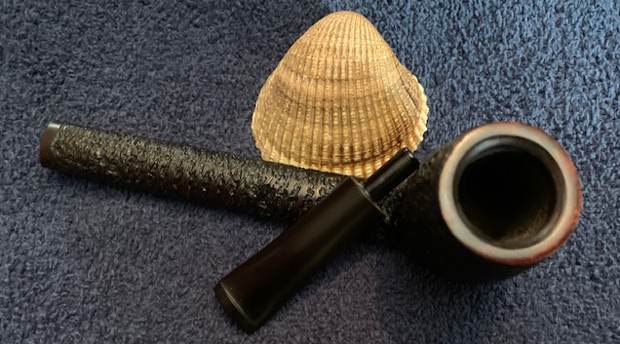
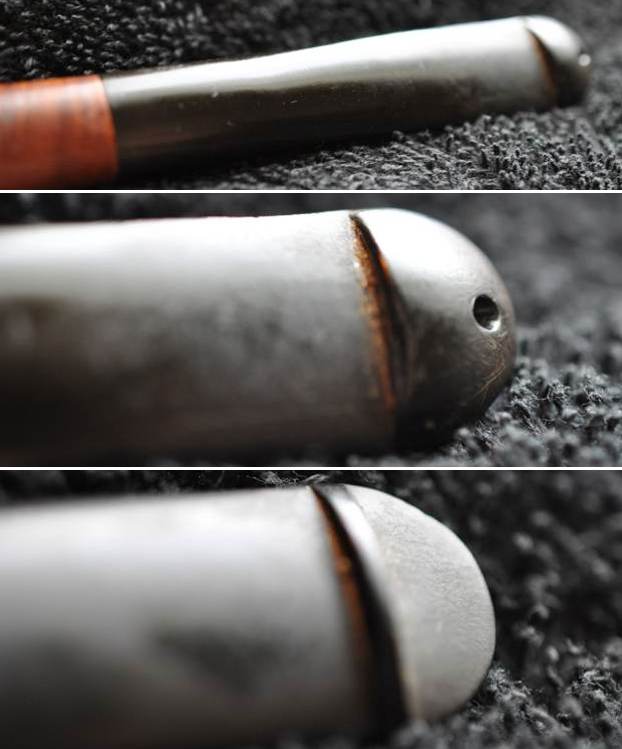
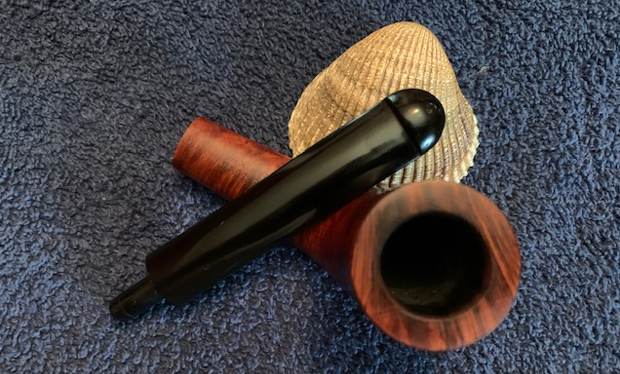
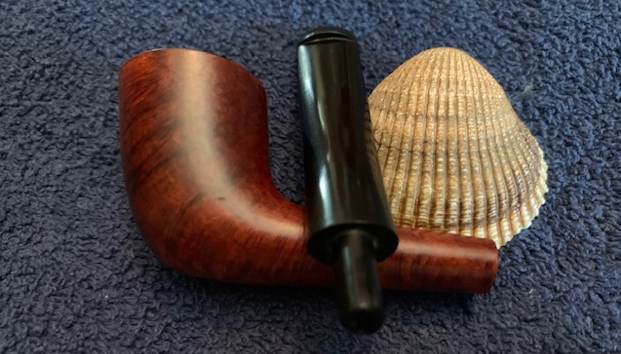
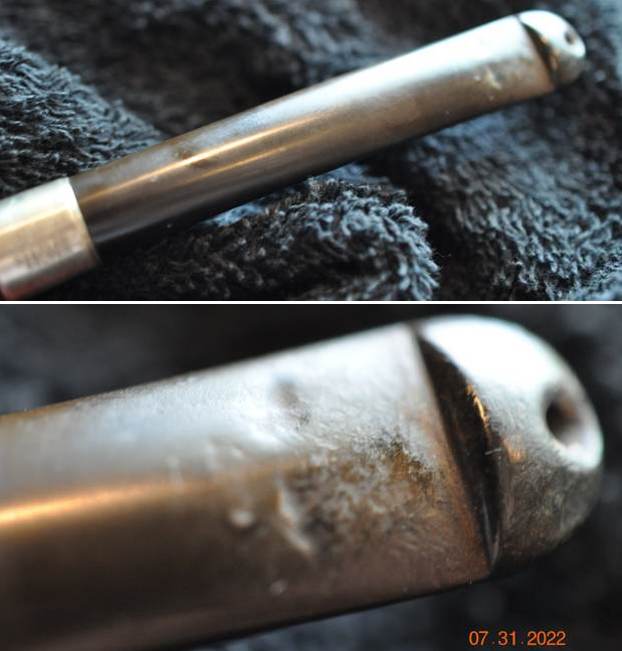
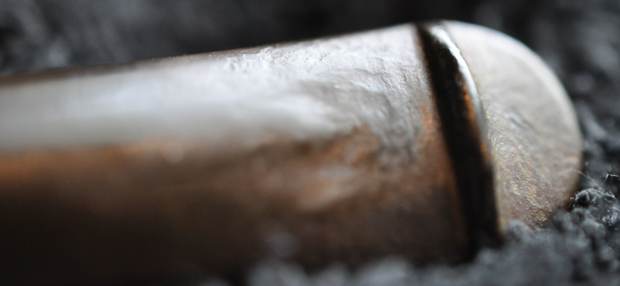
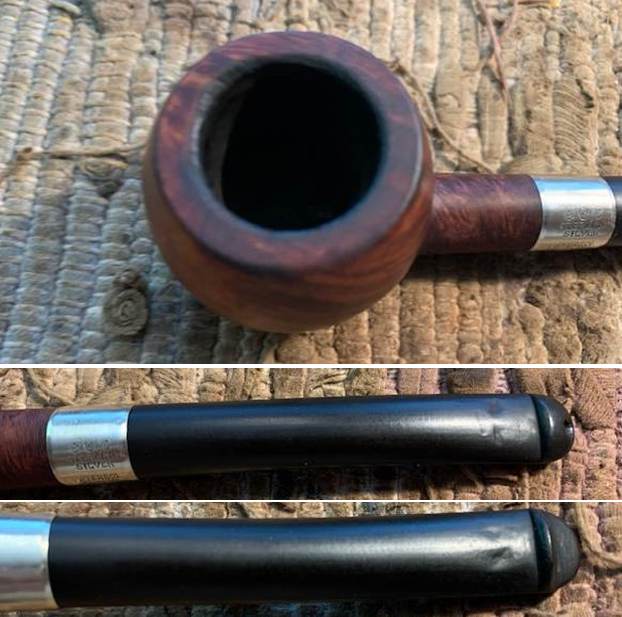
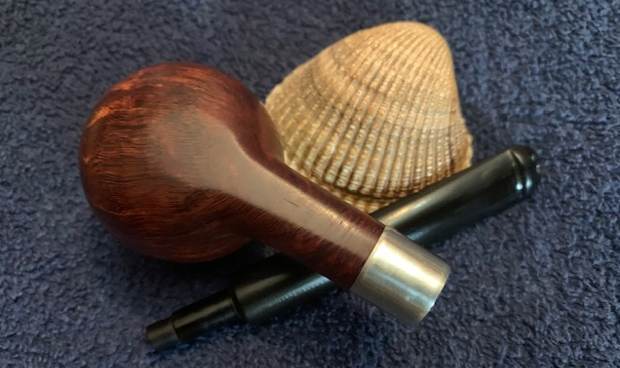
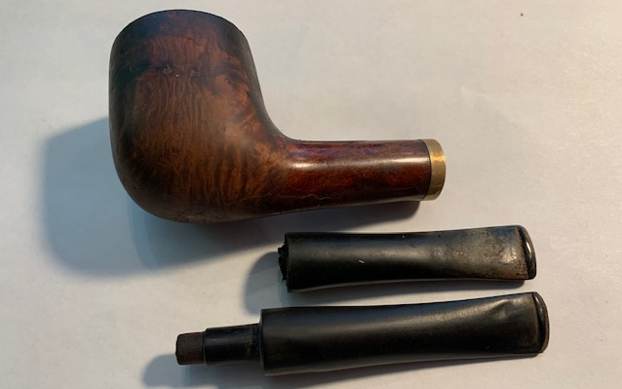
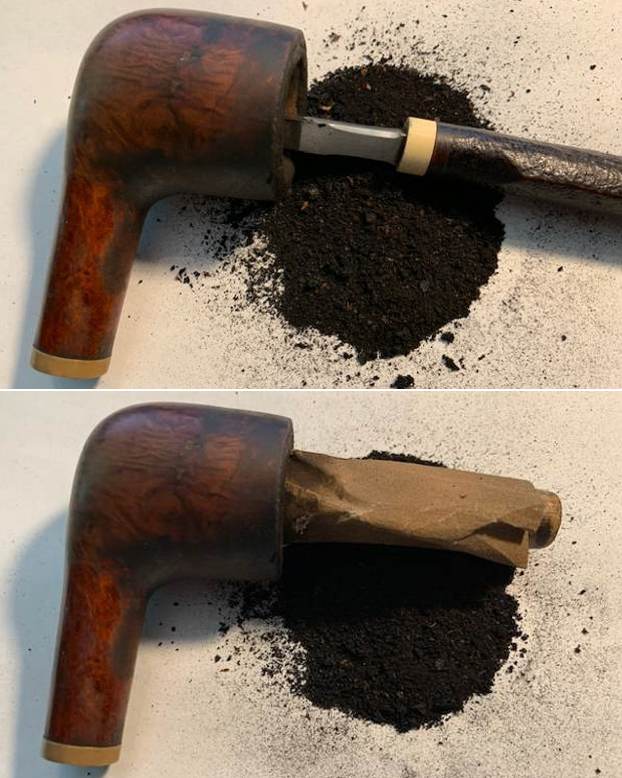
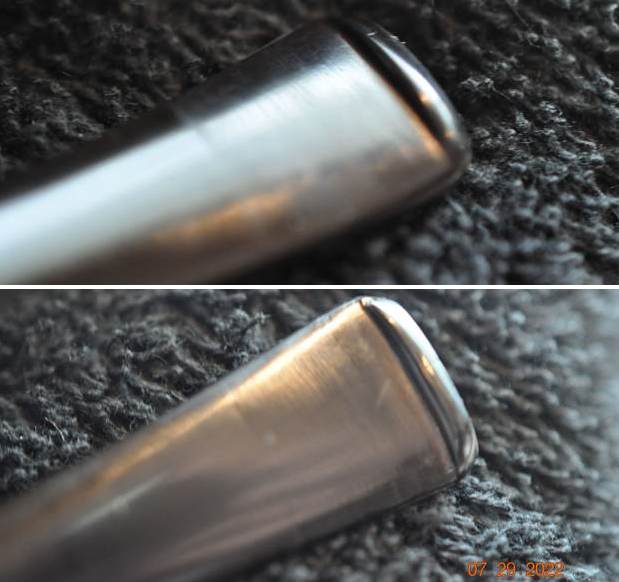
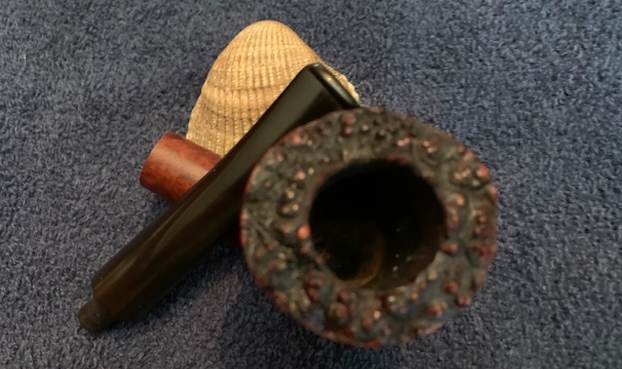
 When the pipes came back to Jeff with their new stems they looked great. When the pipes arrived here I checked them out. Here is what I found. The first six pipes from the lot were flawless and quite beautiful. The last two – this 314 and a 313 I reworked previously, looked great at first glance but upon further examination it was clear that the stems were not Peterson’s style stems. The draught on the P-lip portion of the stem is on the top of the stem, but in the case of these two stems the airway came straight out the end of the stem like a Wellington pipe. I was not happy with them. I have already replaced the stem on the 313 and this 314 was the only one I still needed a stem for. Today I was gifted some Peterson’s P-lip stems and one was what I was looking for. It fit well but I would need to give it a bit more of a bend for a perfect look.
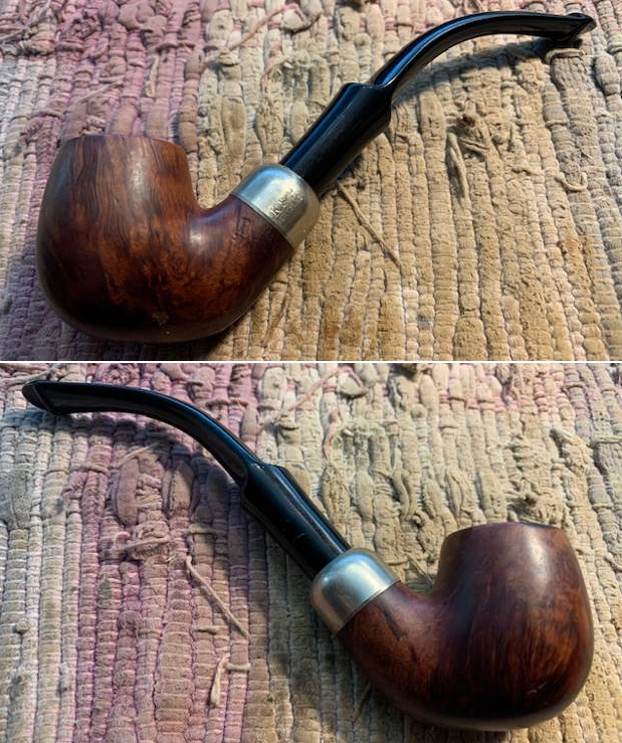
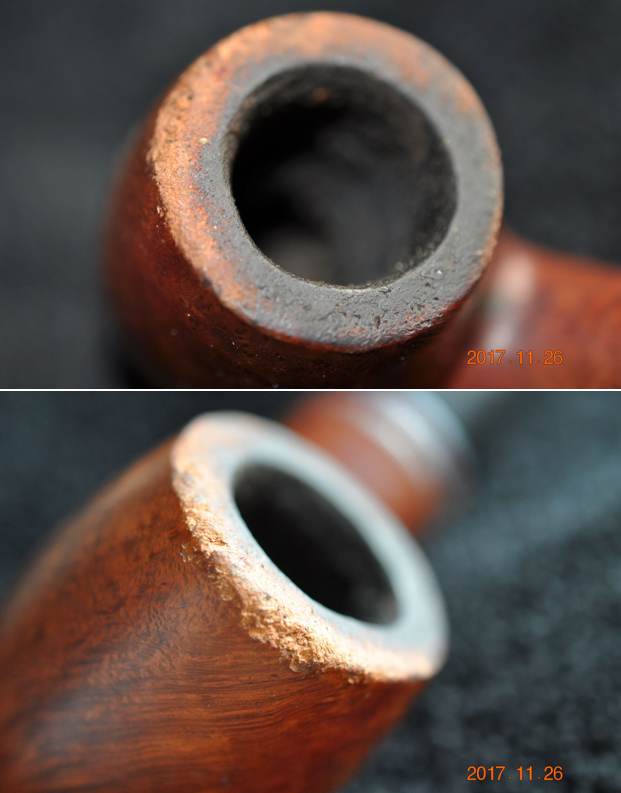
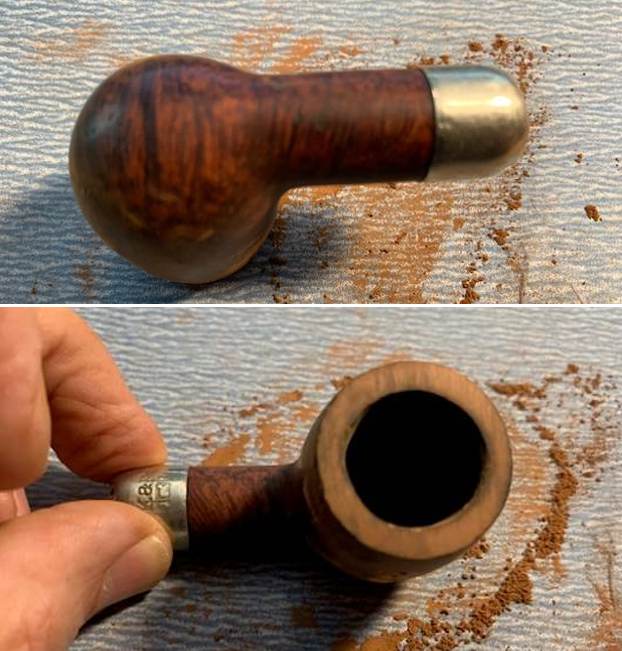
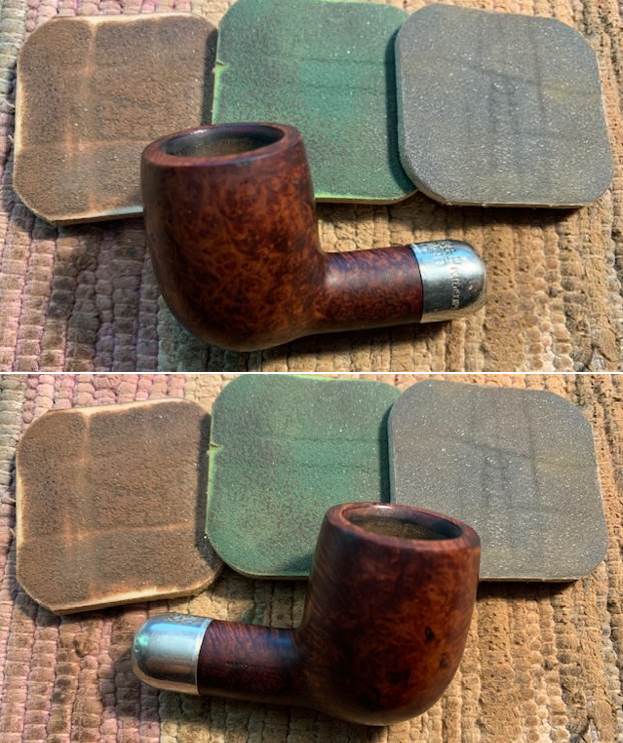
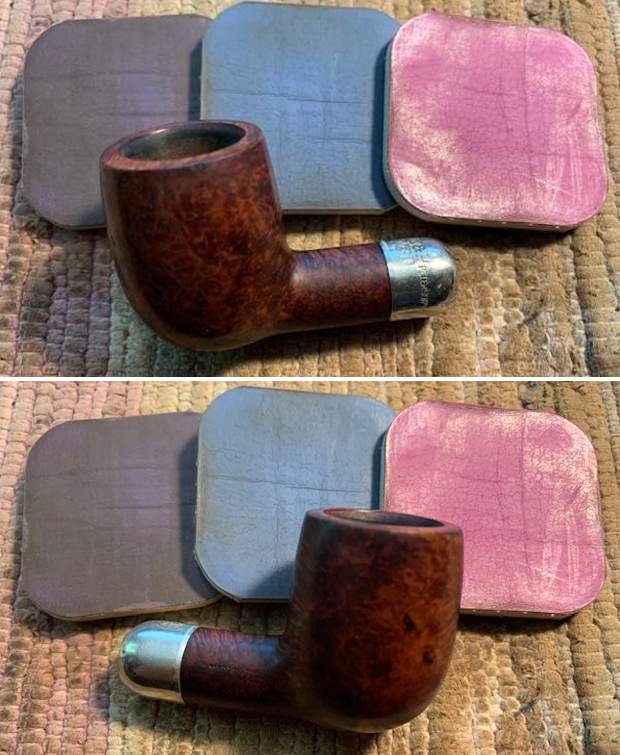
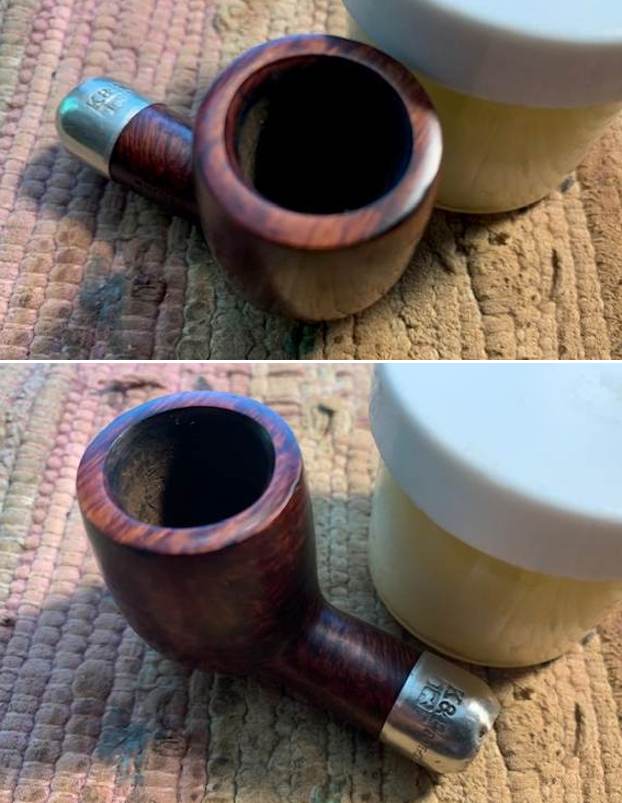
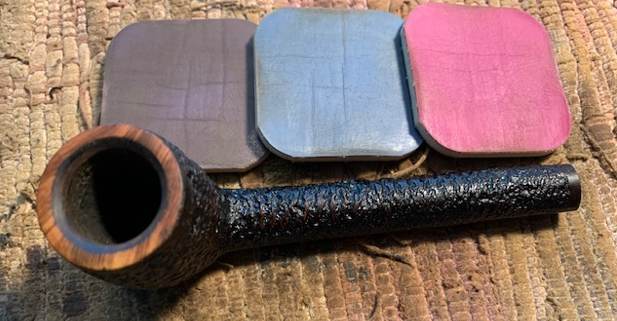
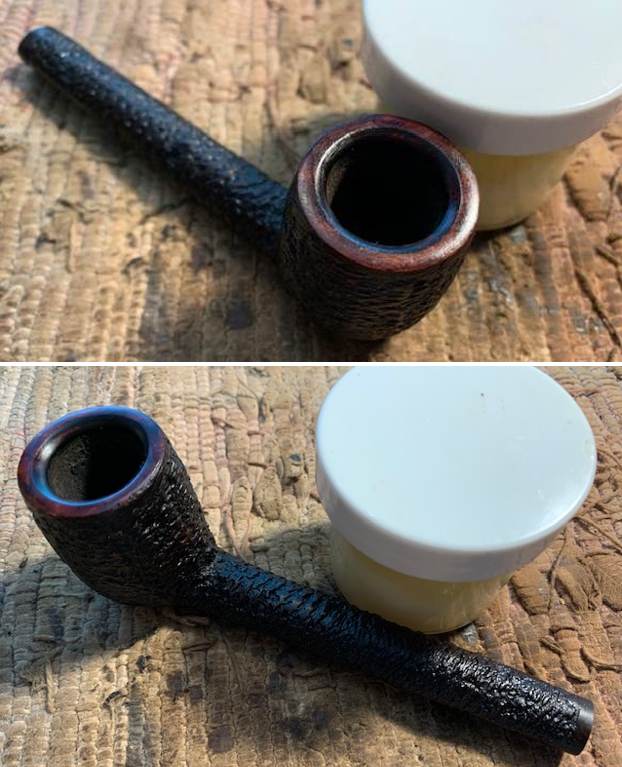
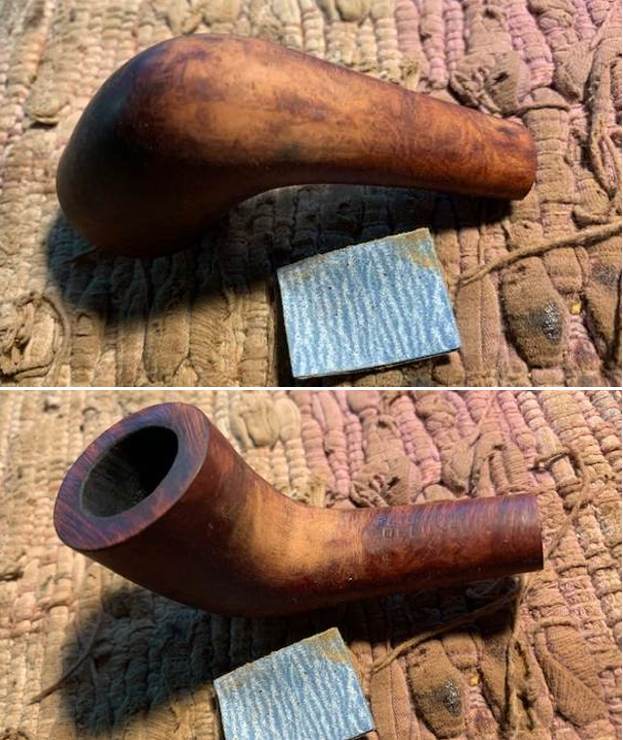
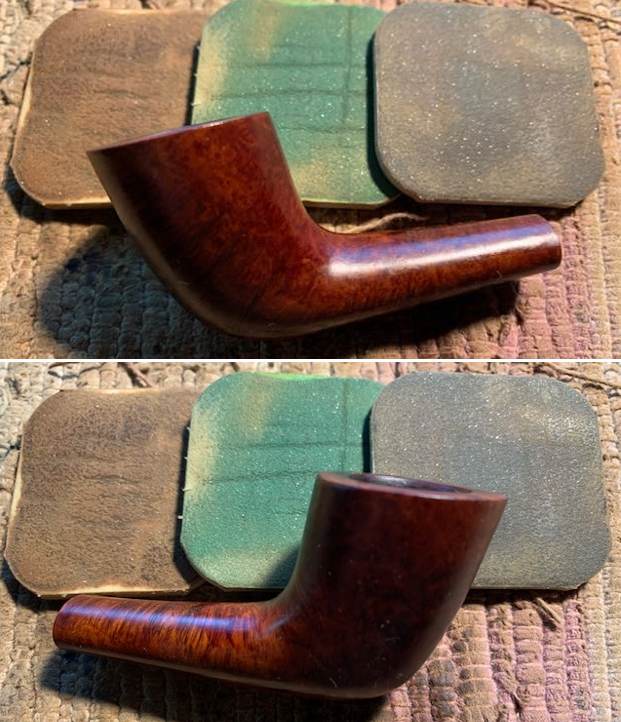
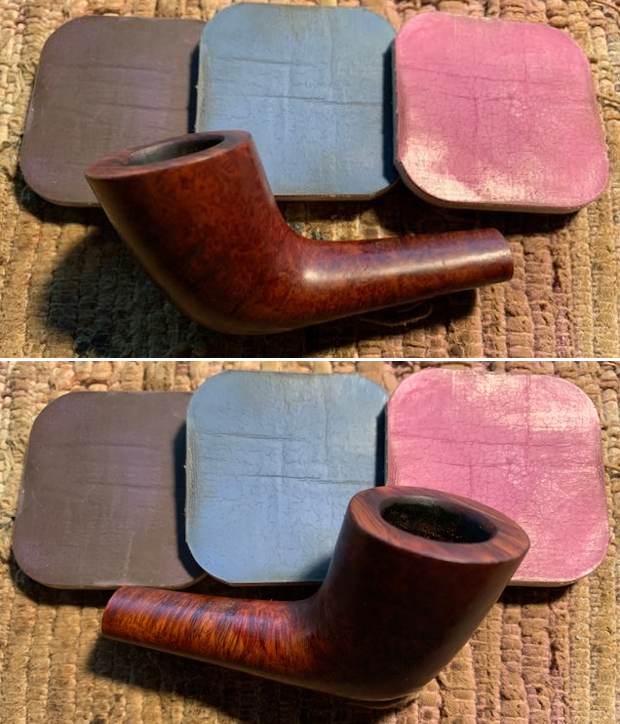
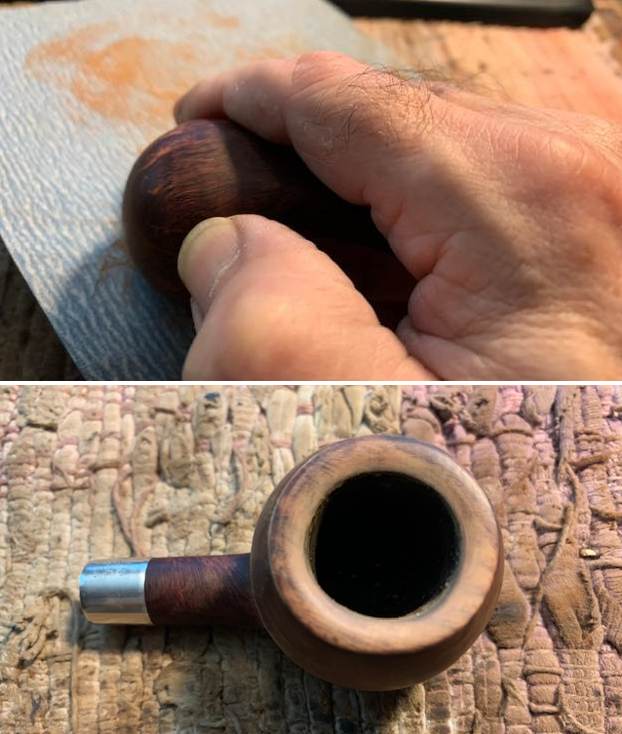
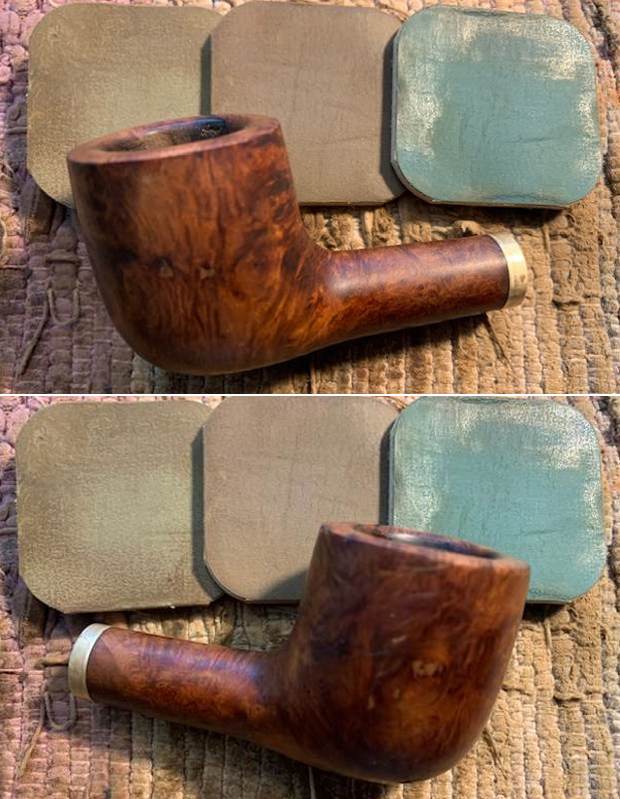
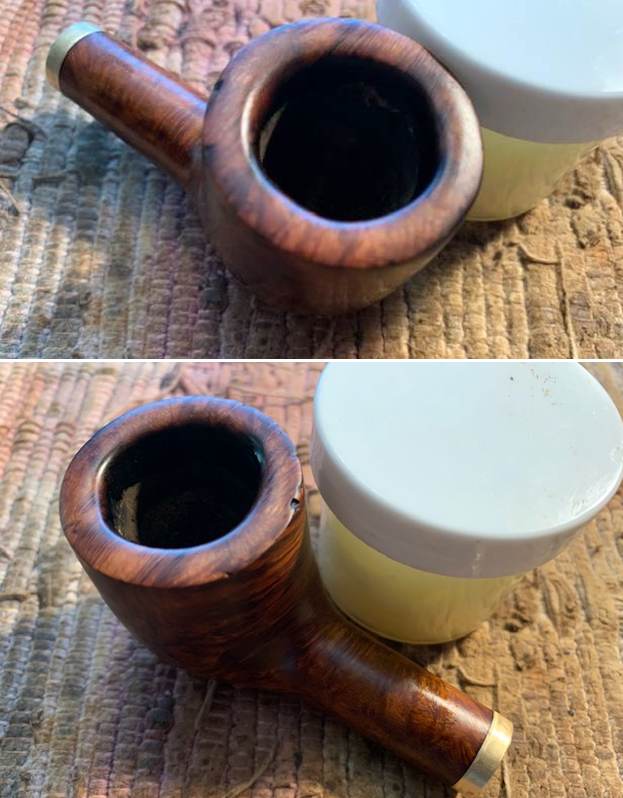
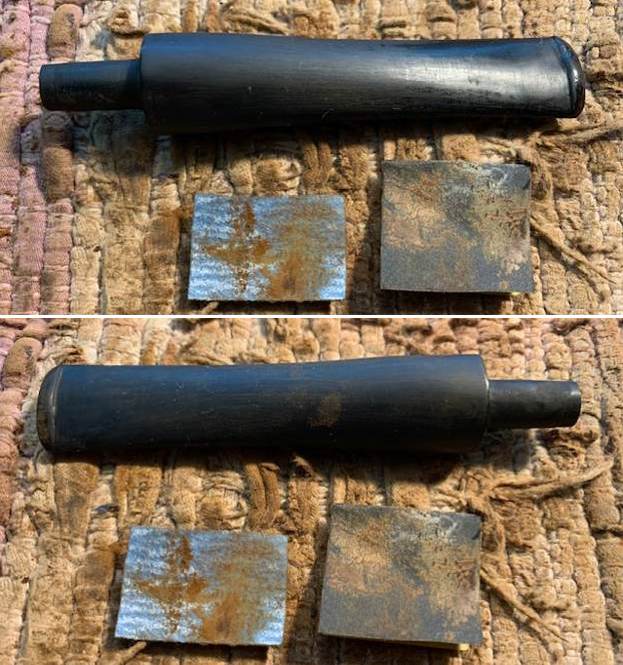
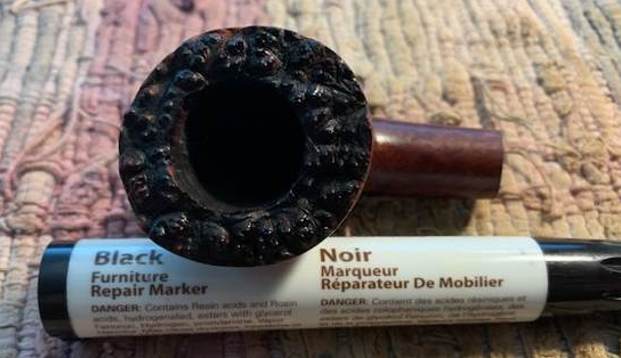
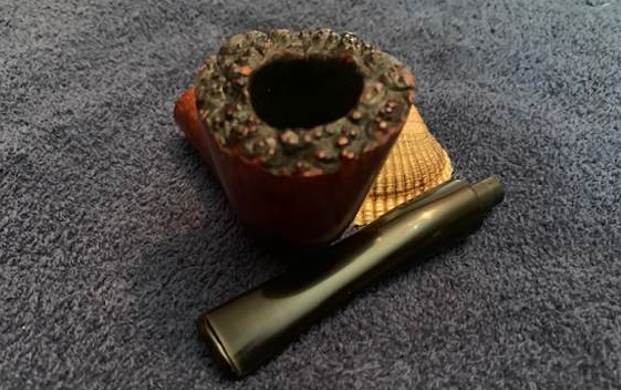
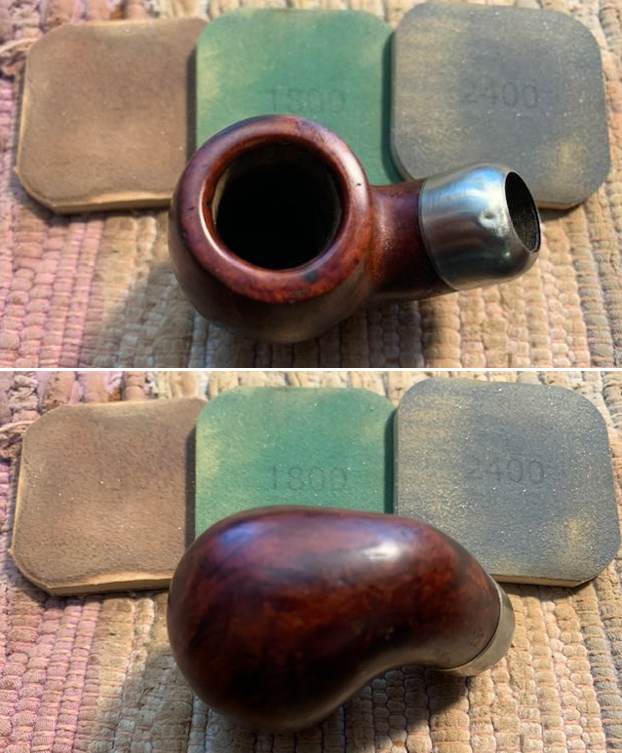
 With the new stem chosen, I turned to work on the damage on the top and the inner edge of the bowl. I used a folded piece of 220 grit sandpaper to clean up the inner bevel of the rim and remove the damage on the rim top. Once I had finished I think that it looked much better.
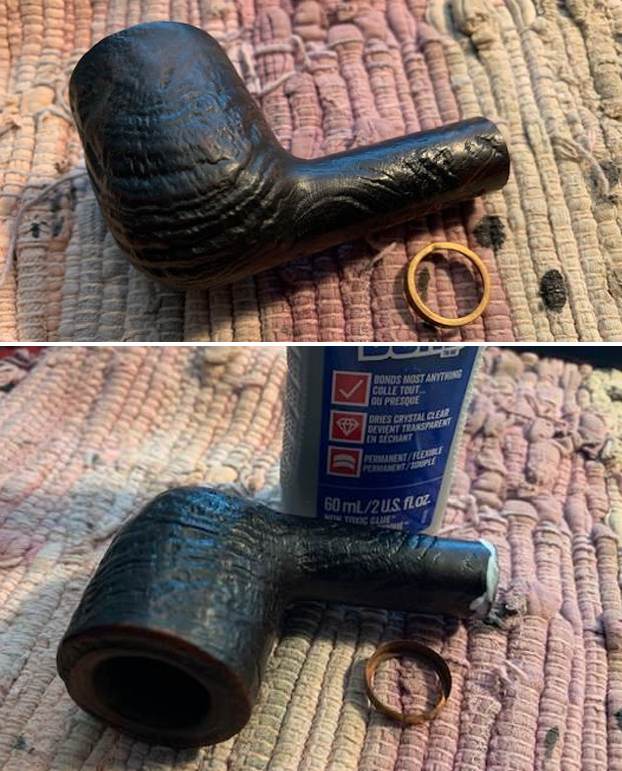
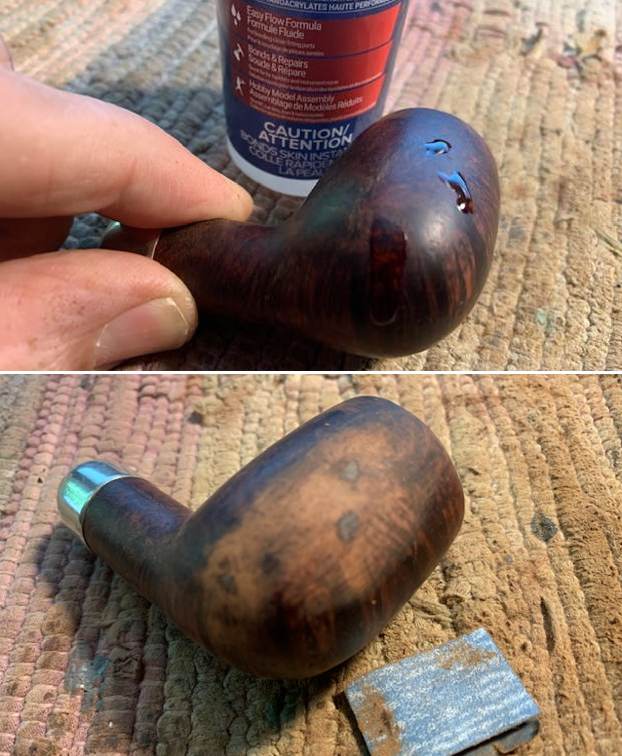
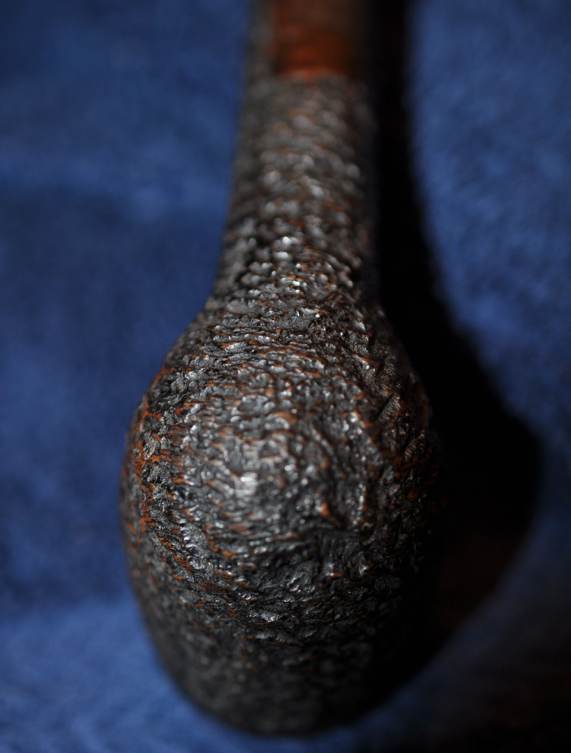
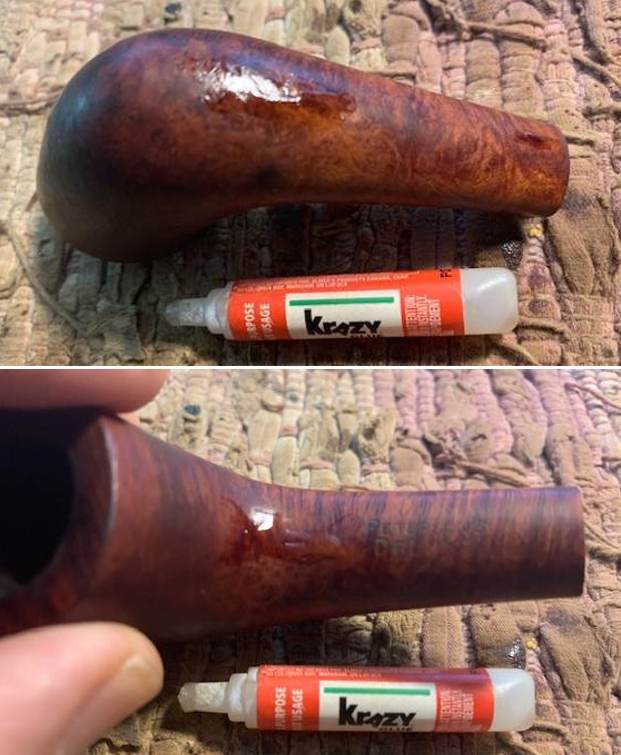
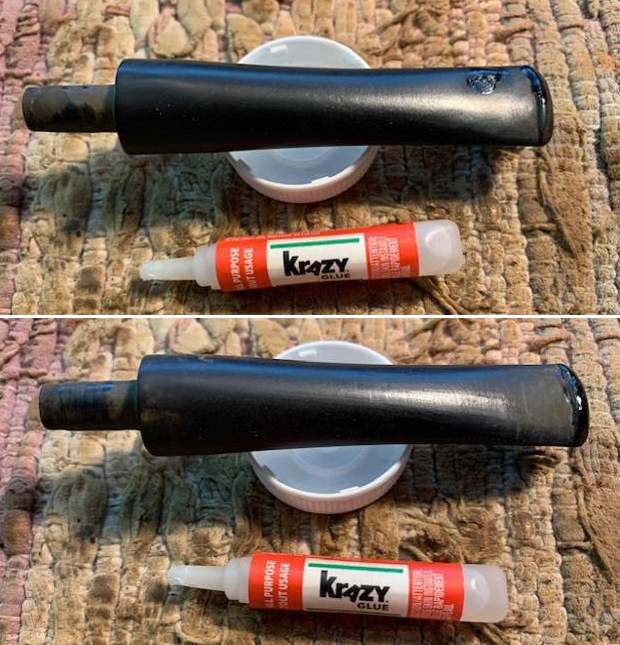
 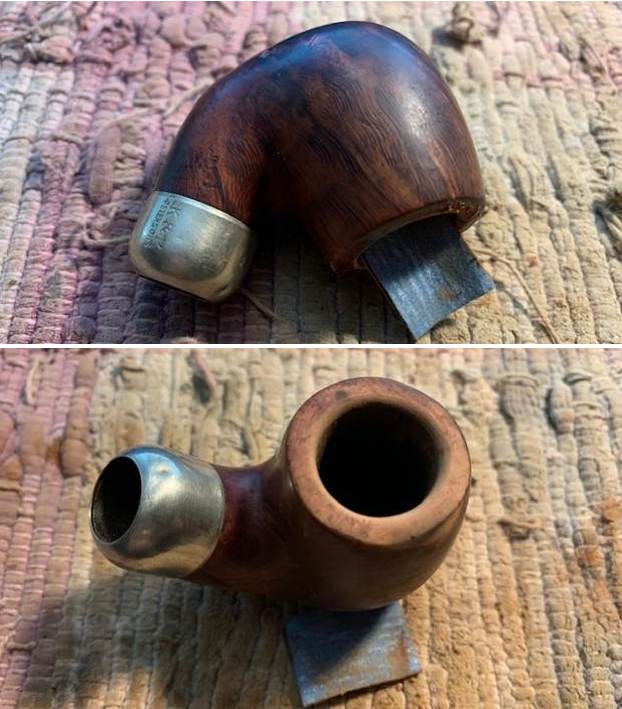 I filled in the deep gouges in the bowl on the right heel and the underside of the heel with CA glue and also briar dust. I sanded them smooth with 220 grit sandpaper to blend them in. They looked significantly better.
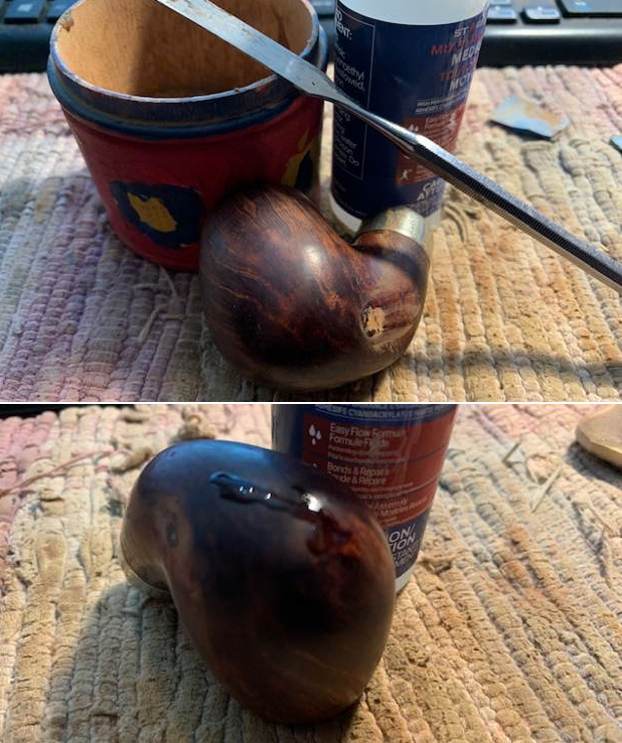
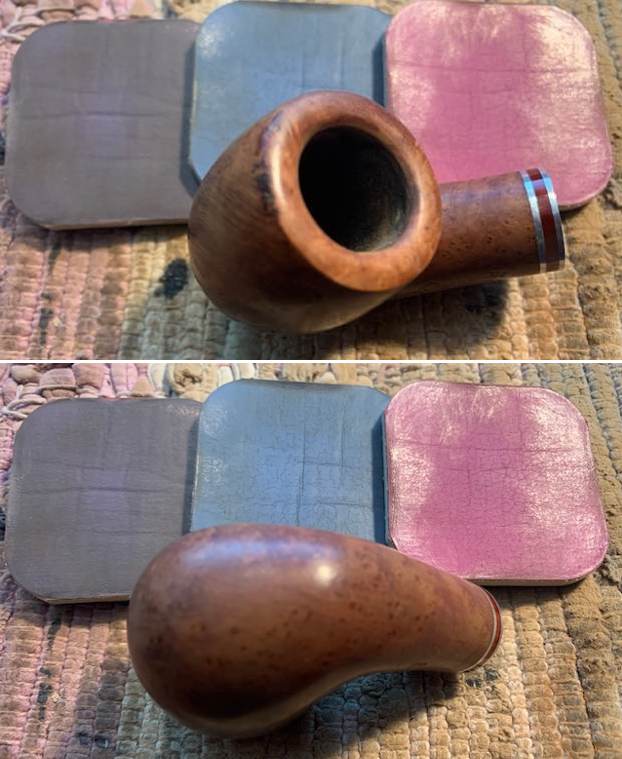
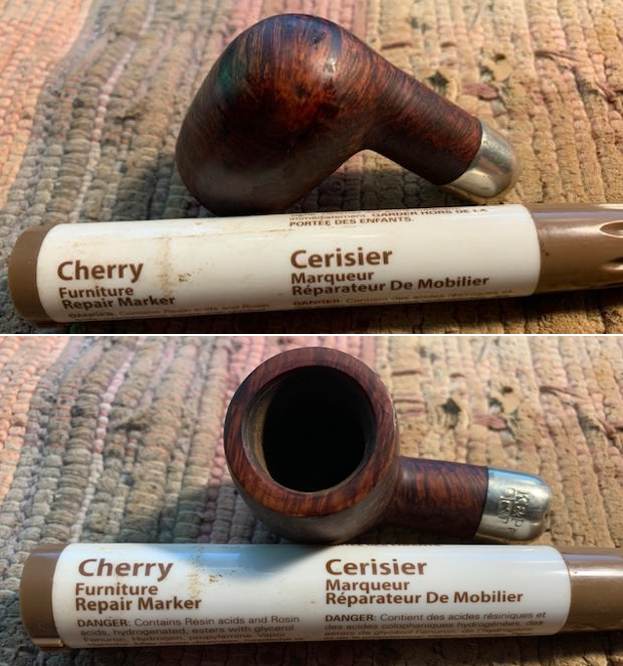
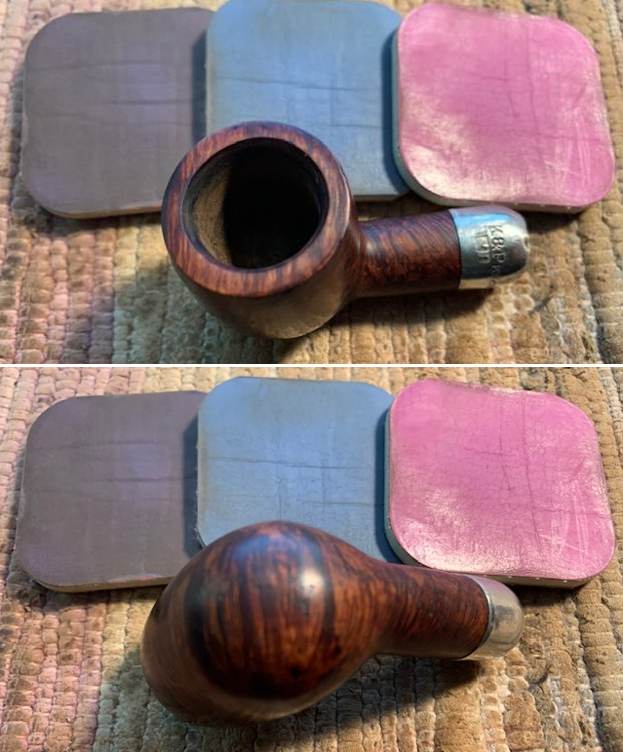
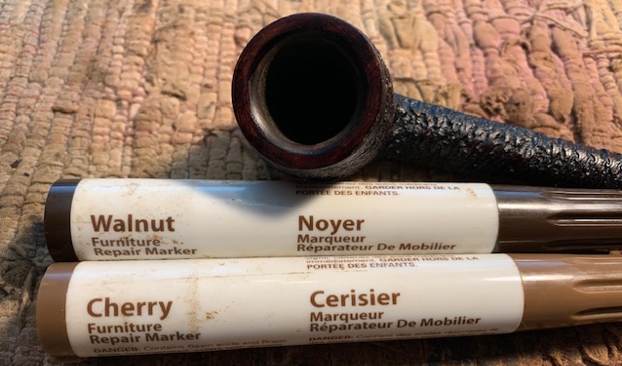
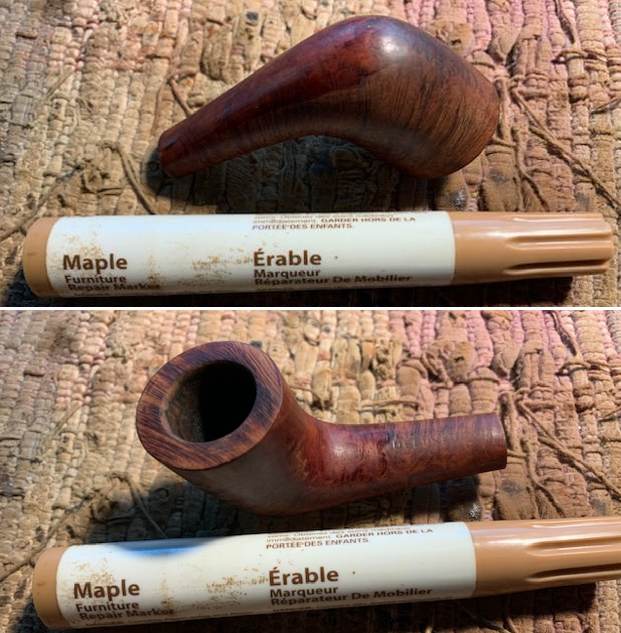
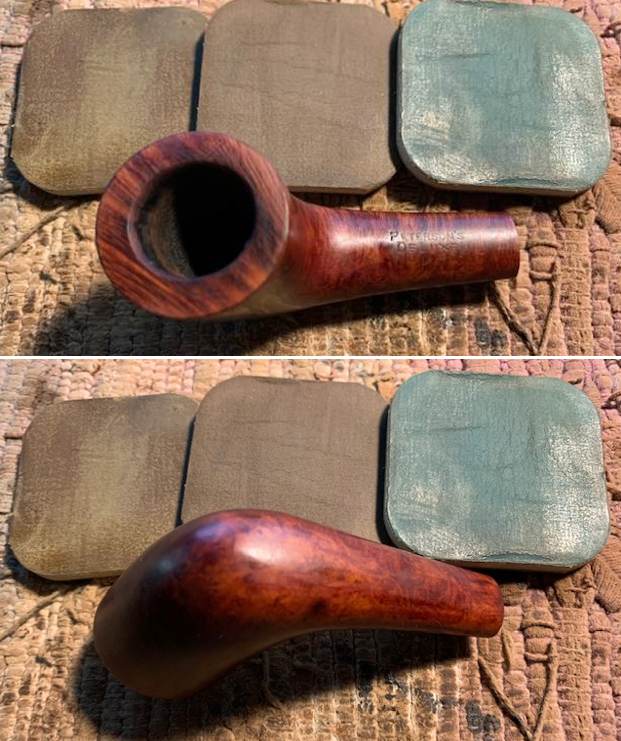
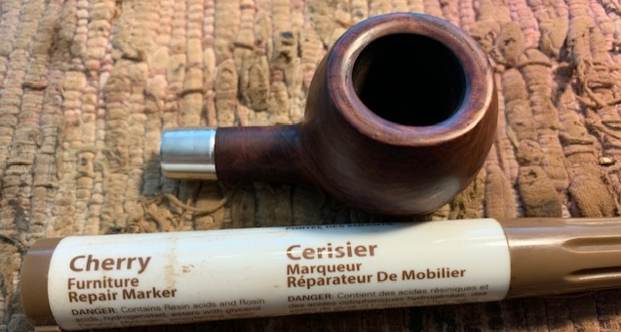
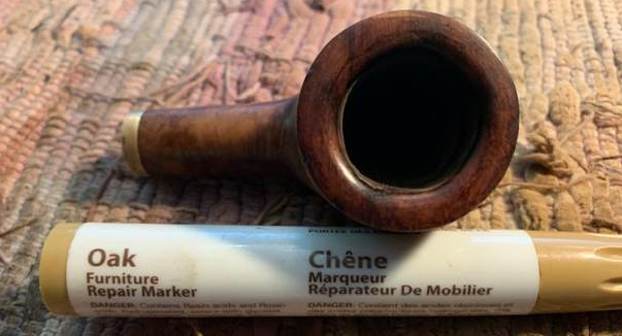
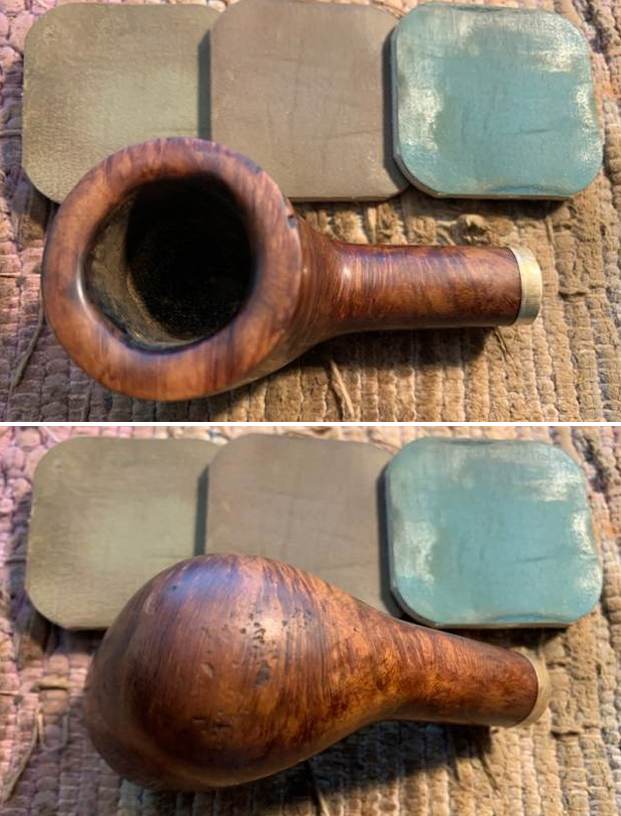
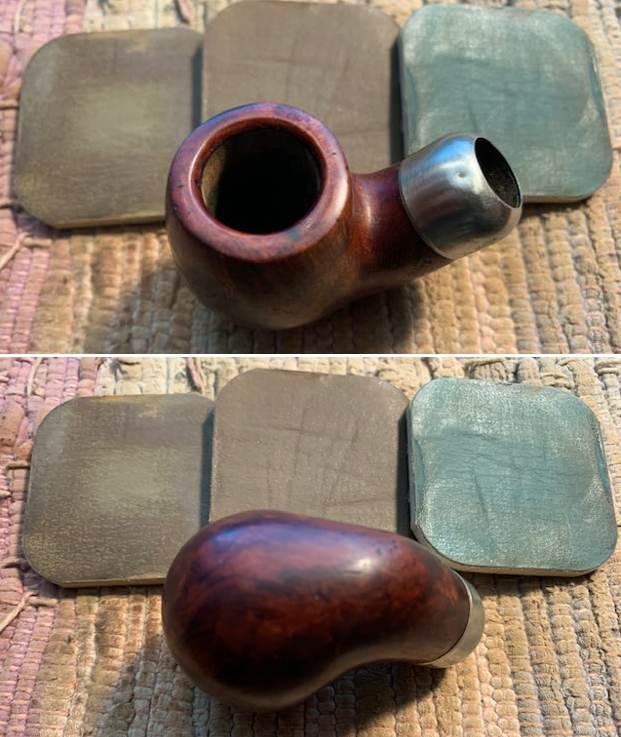
 I stained the sanded areas with a Cherry stain pen to match the surrounding area around the rest of the bowl sides, top and heel.
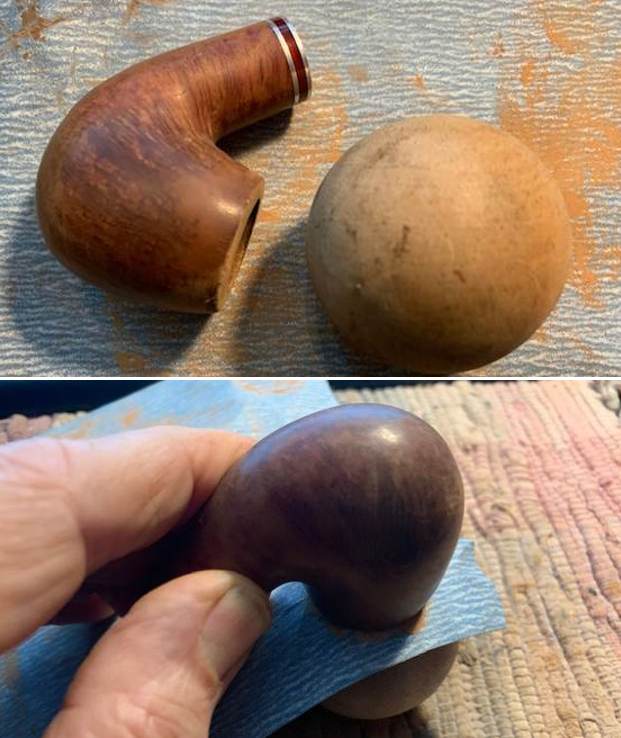
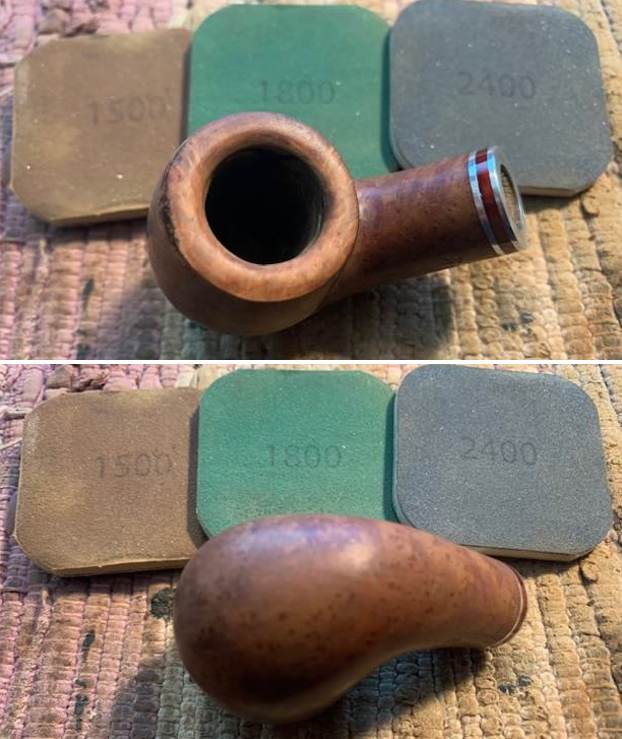
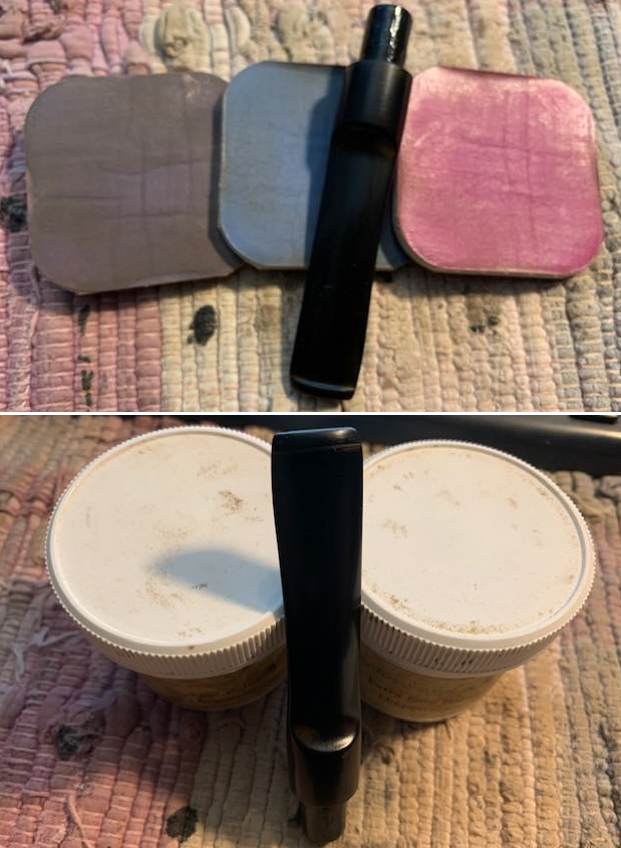
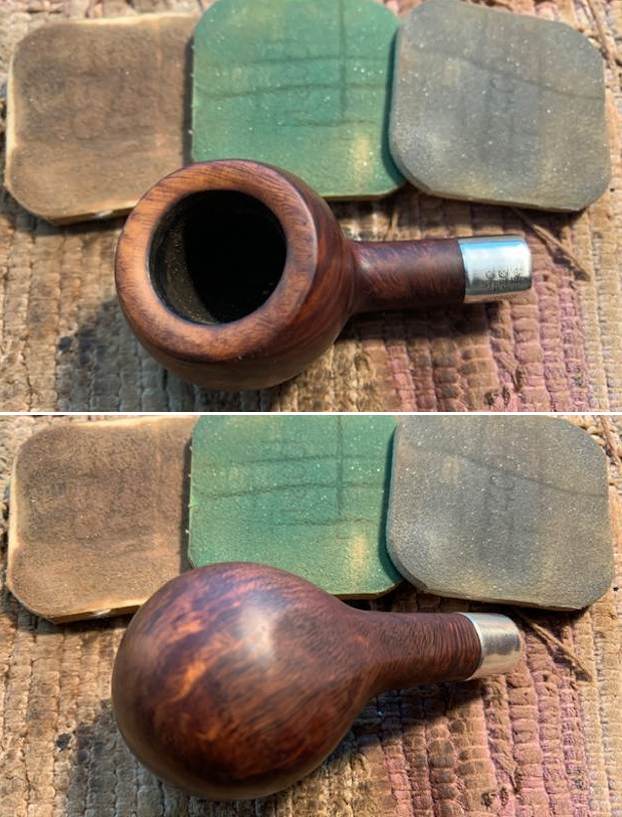
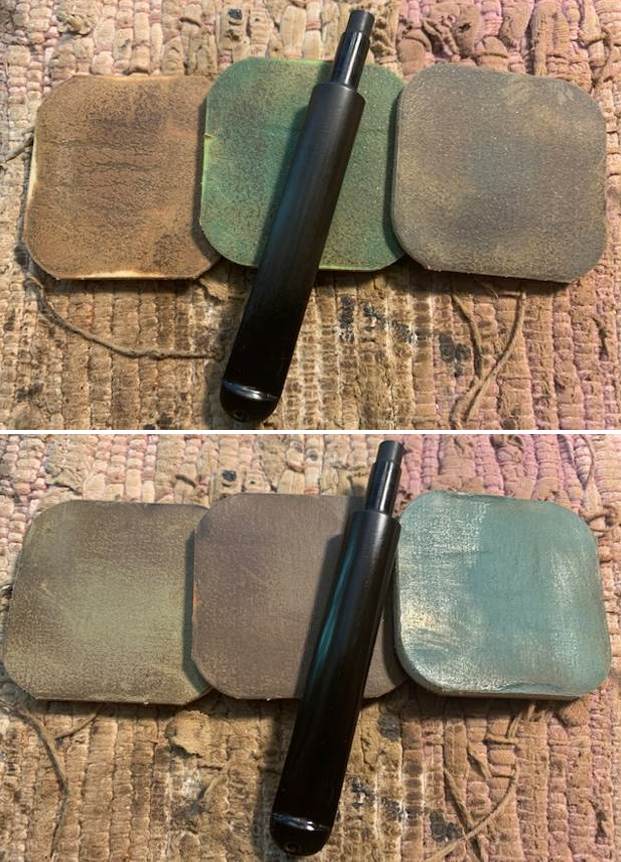
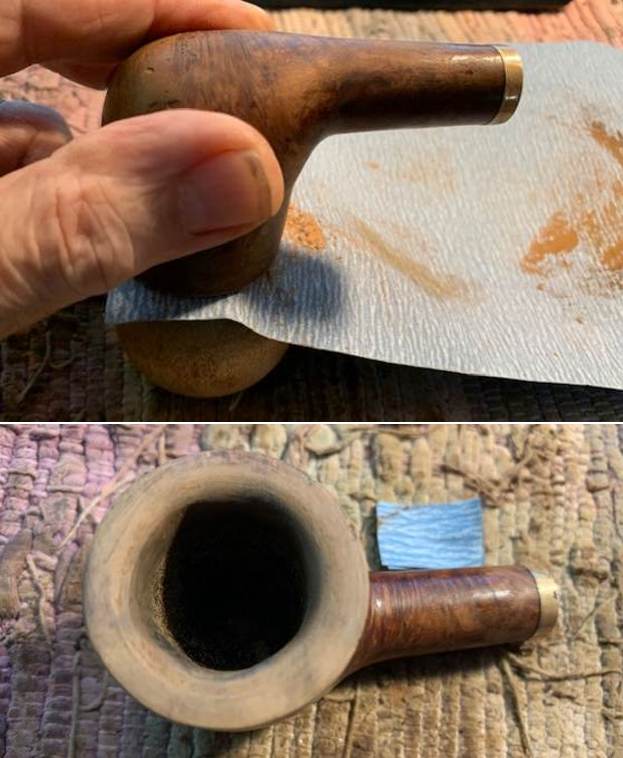
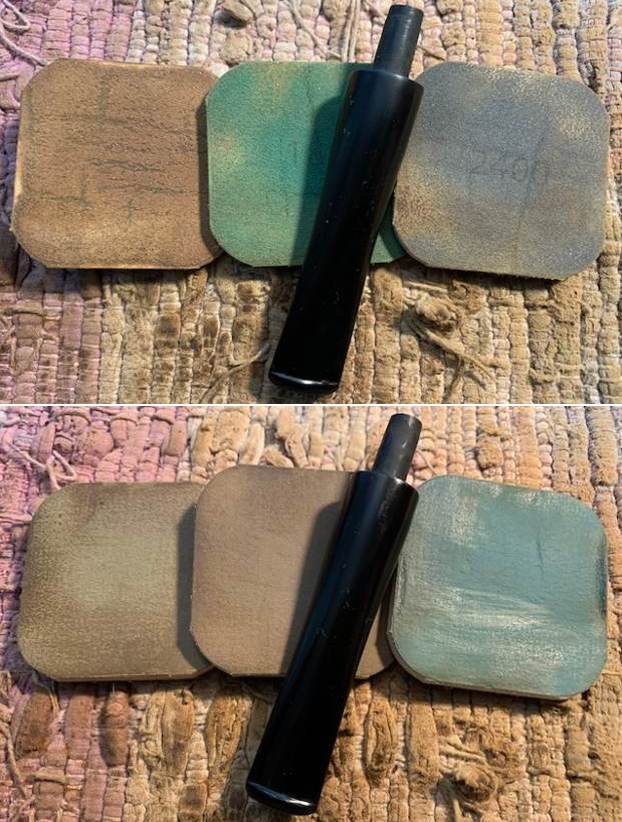
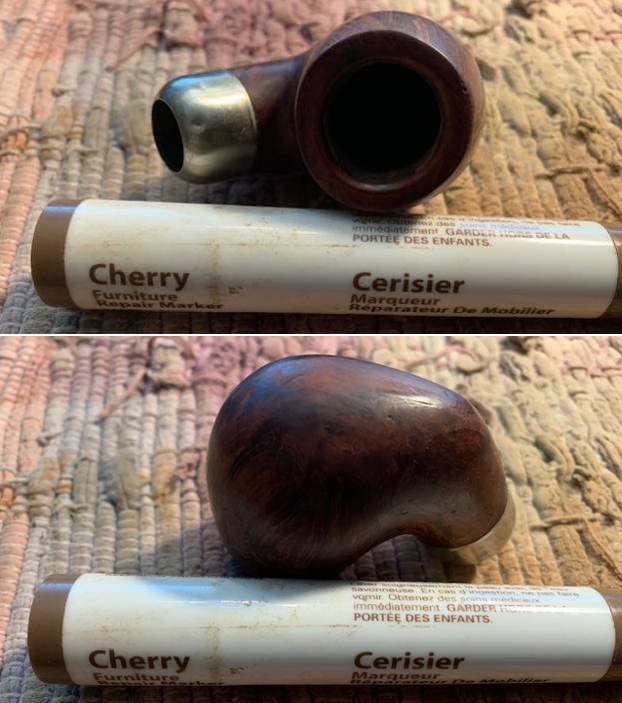 I polished the briar with micromesh sanding pads – dry sanding with 1500-12000 grit pads. I wiped the bowl down after each pad to remove the grit. The bowl began to take on a rich shine. It is going to be a beauty.
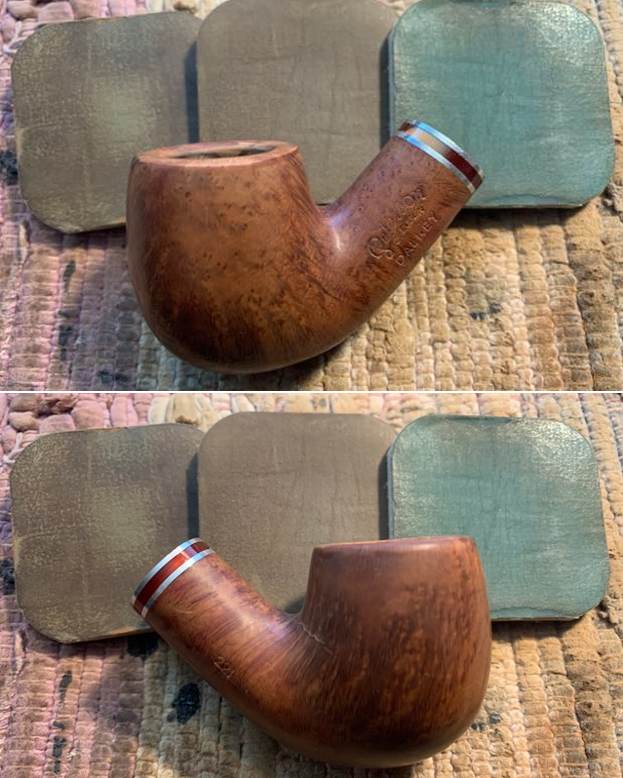
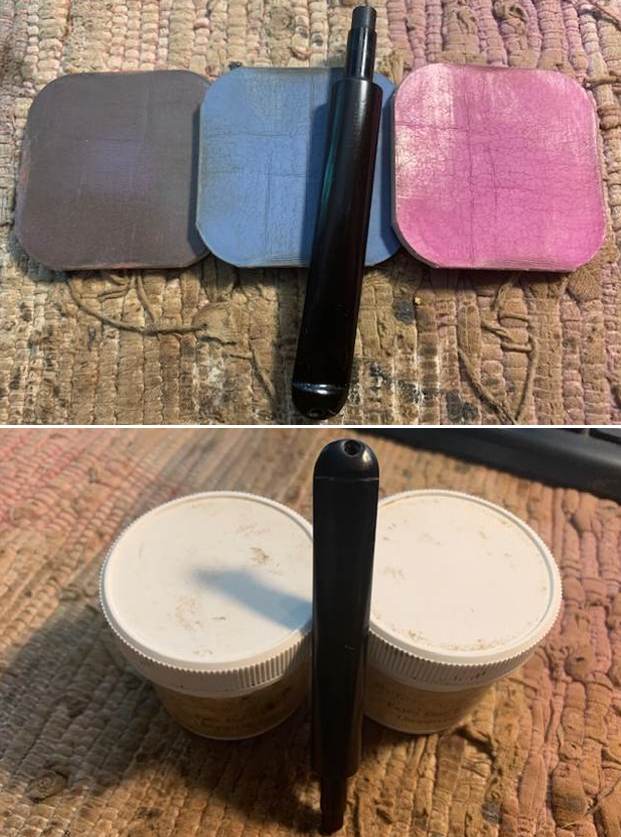
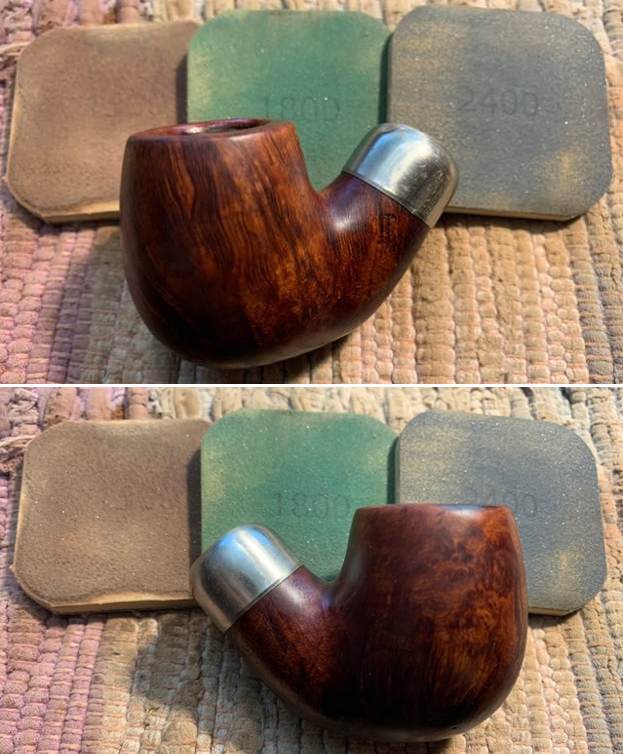

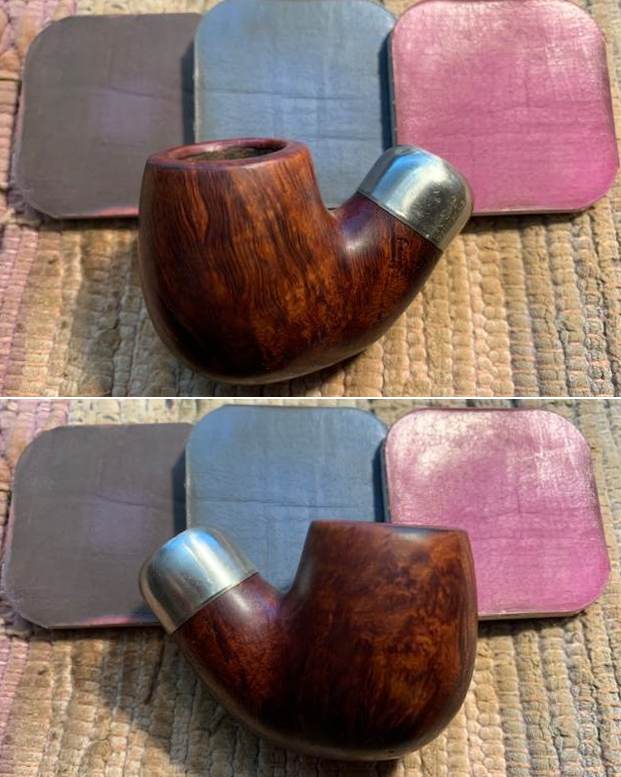
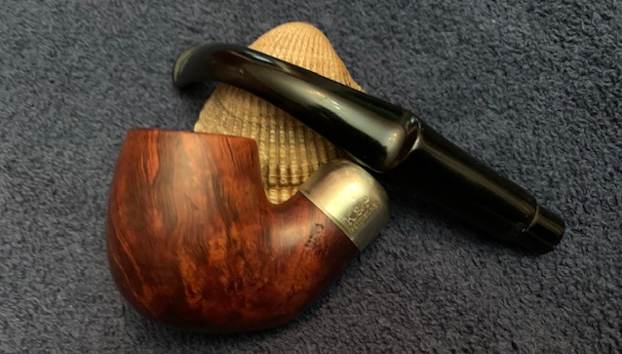
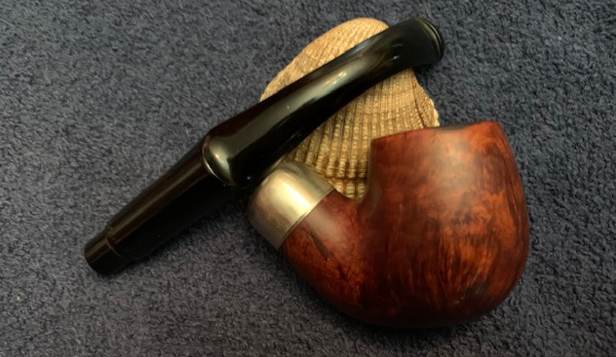
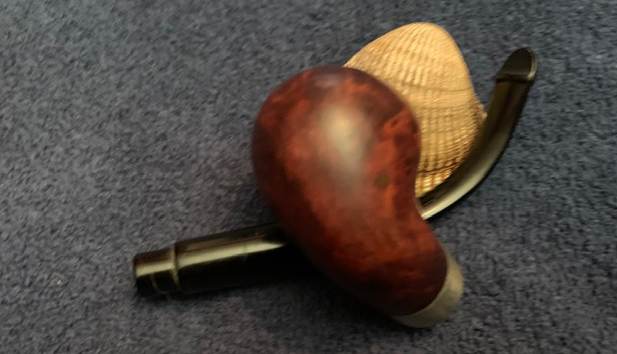
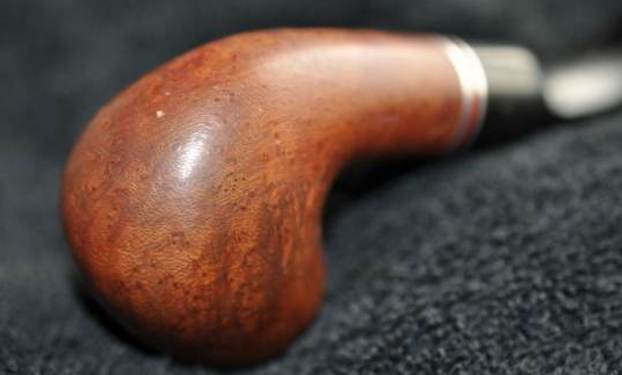
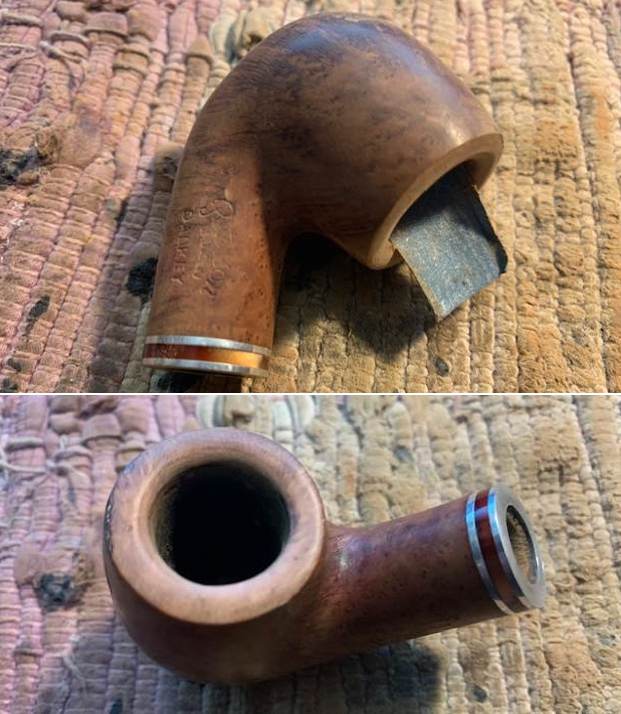
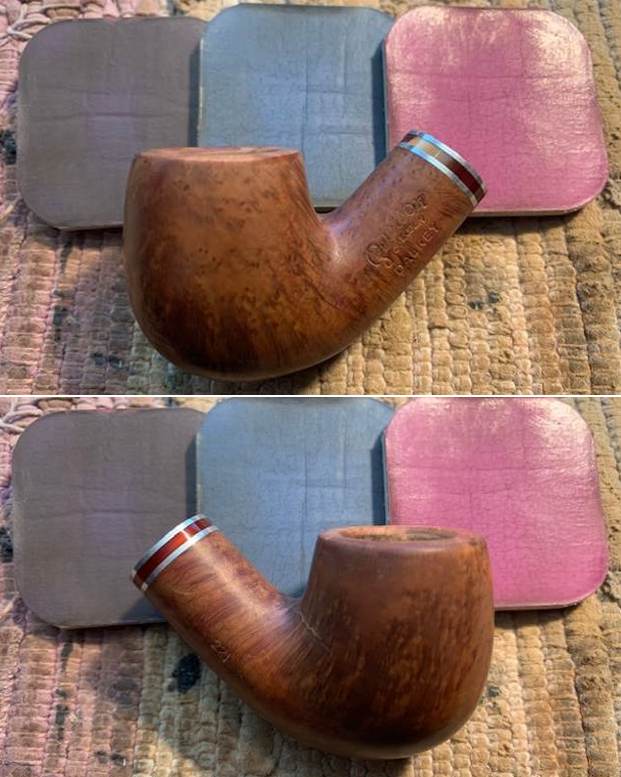
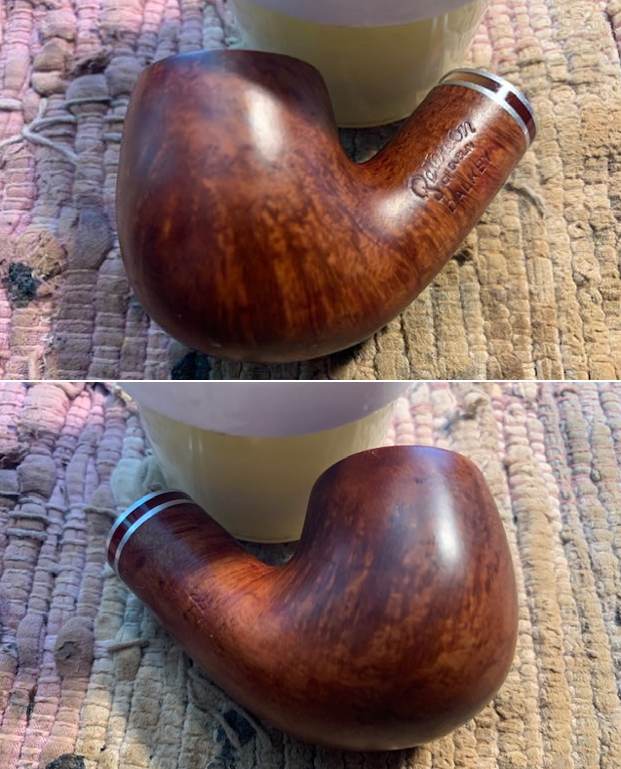
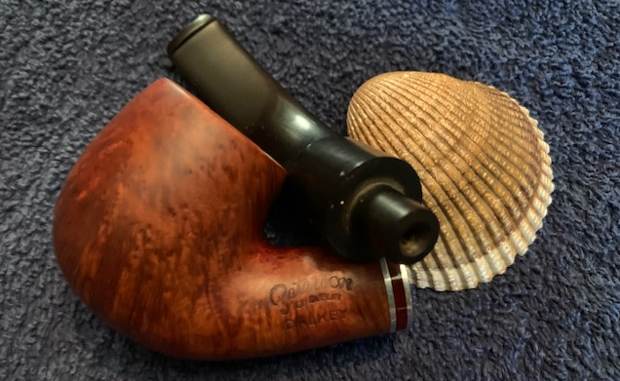
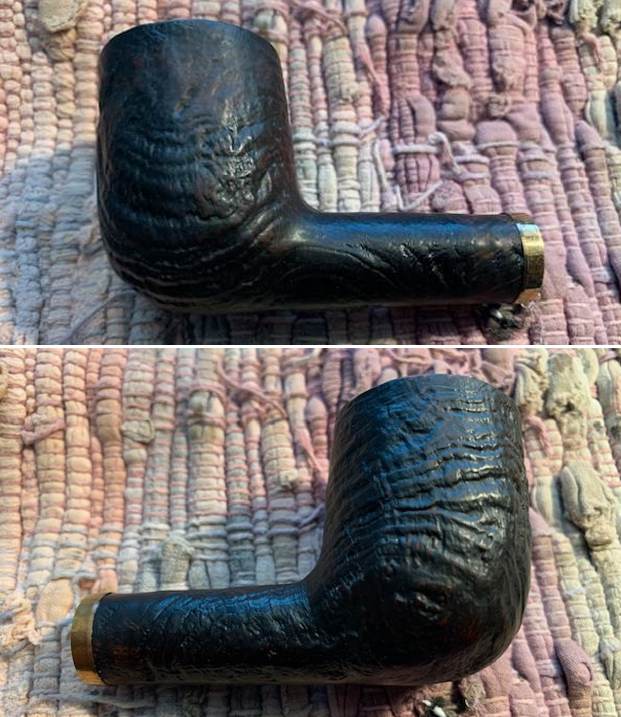
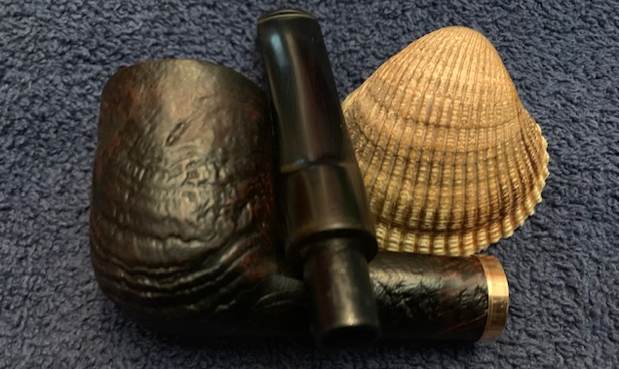
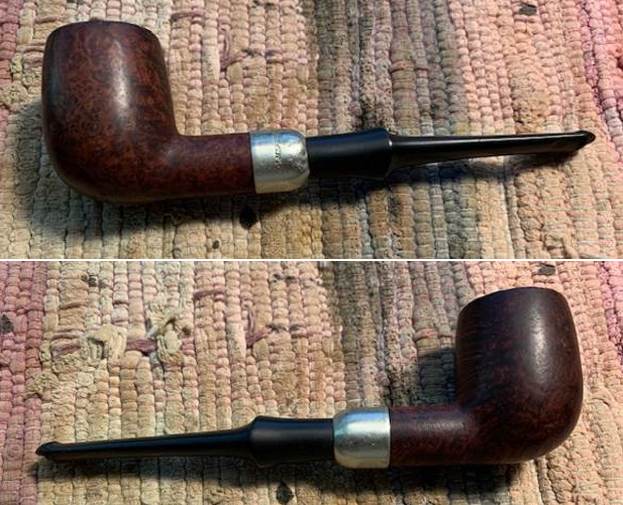
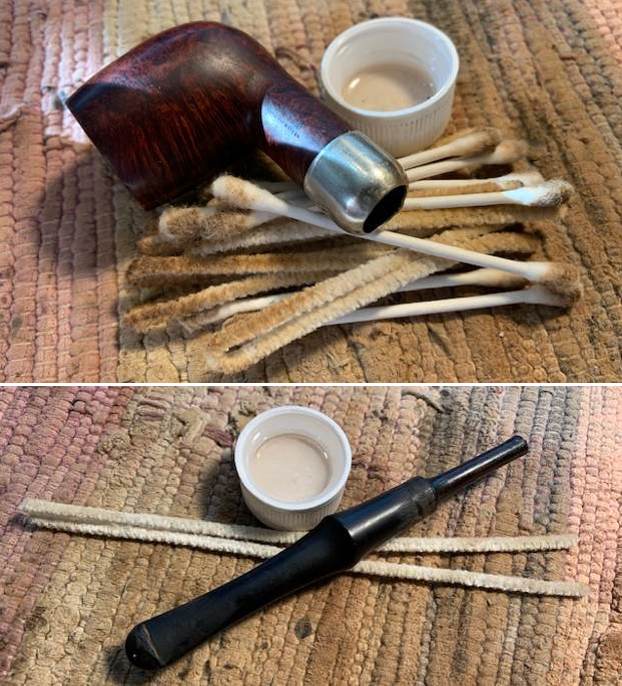
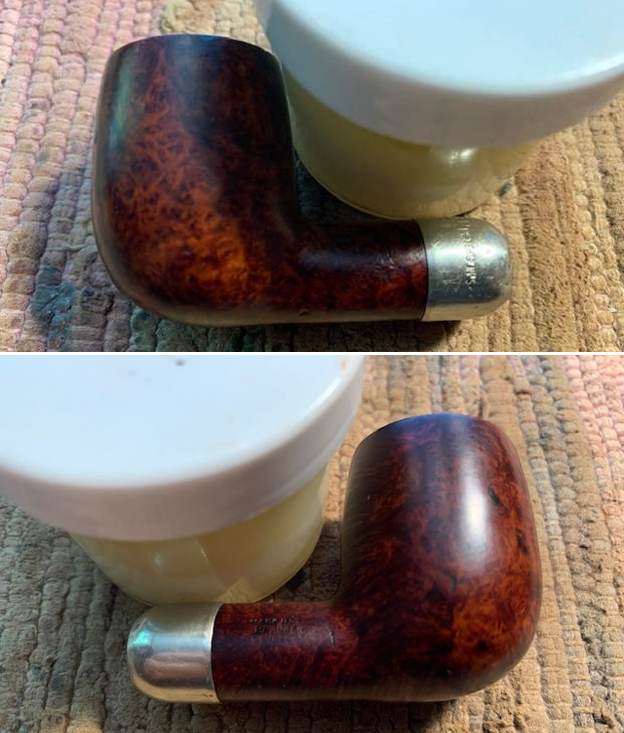
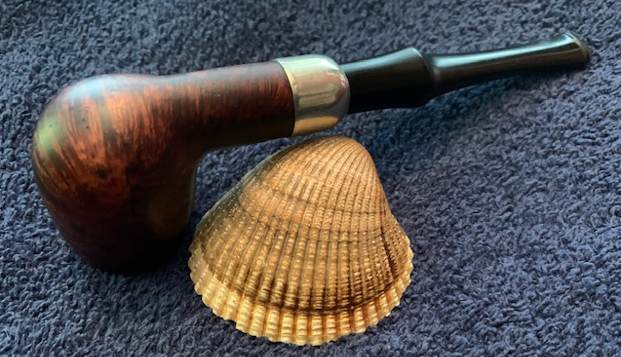
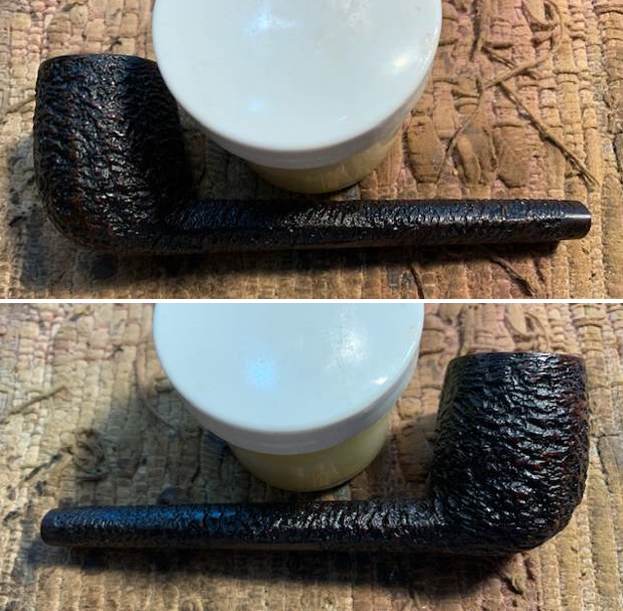
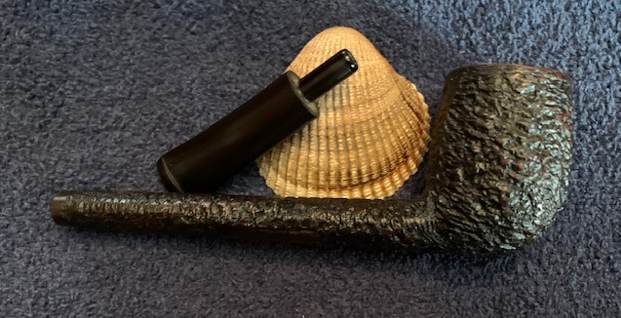
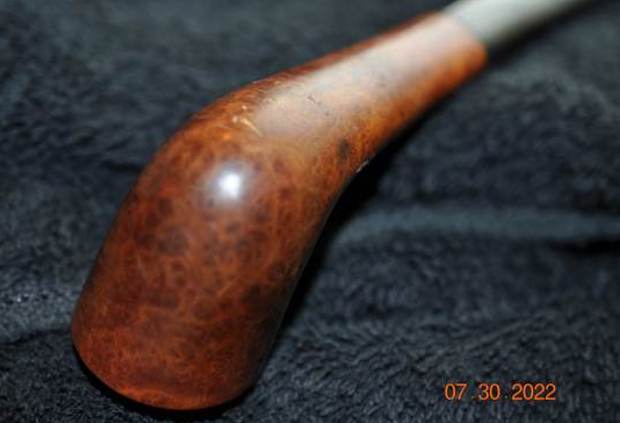
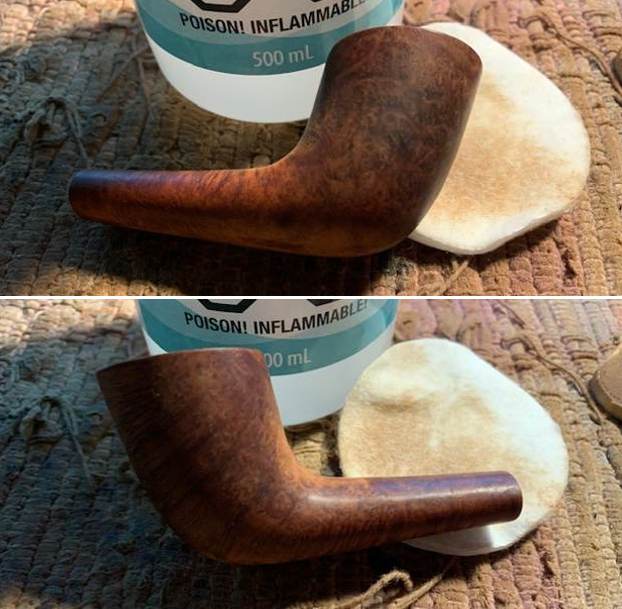
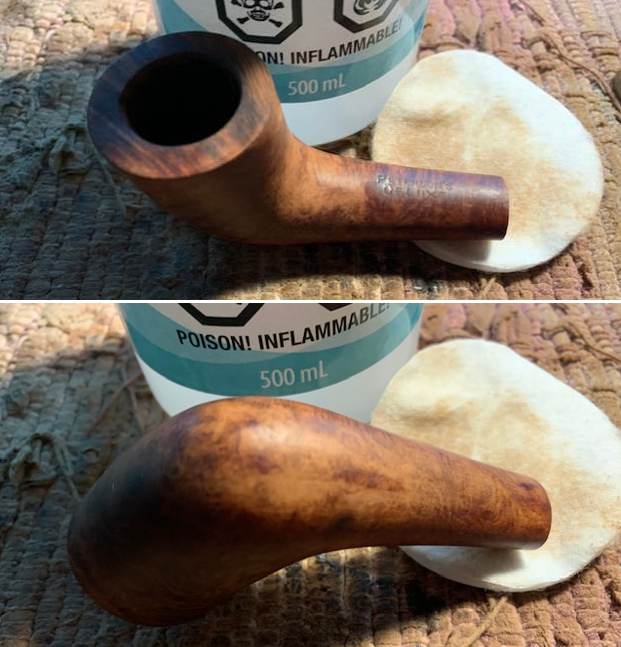
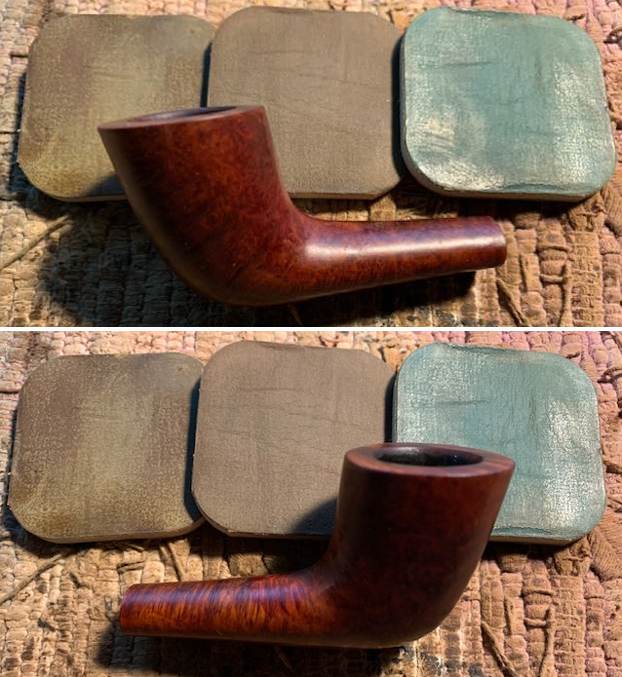
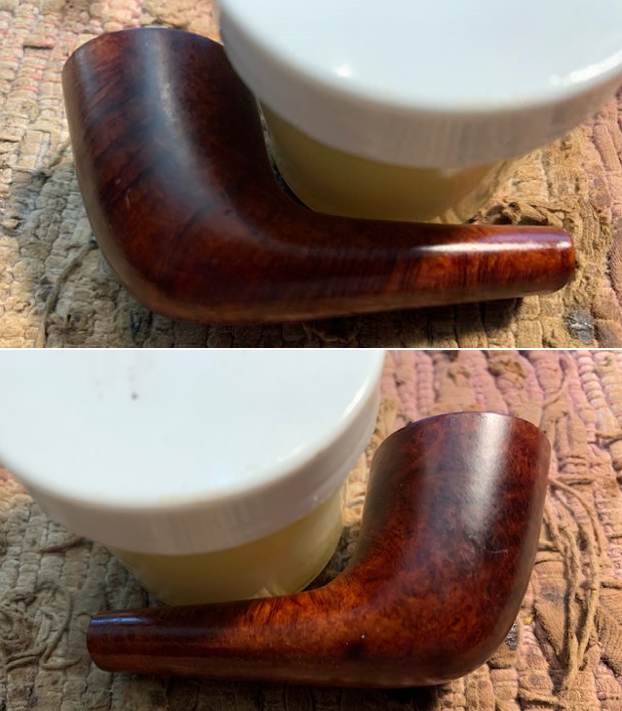
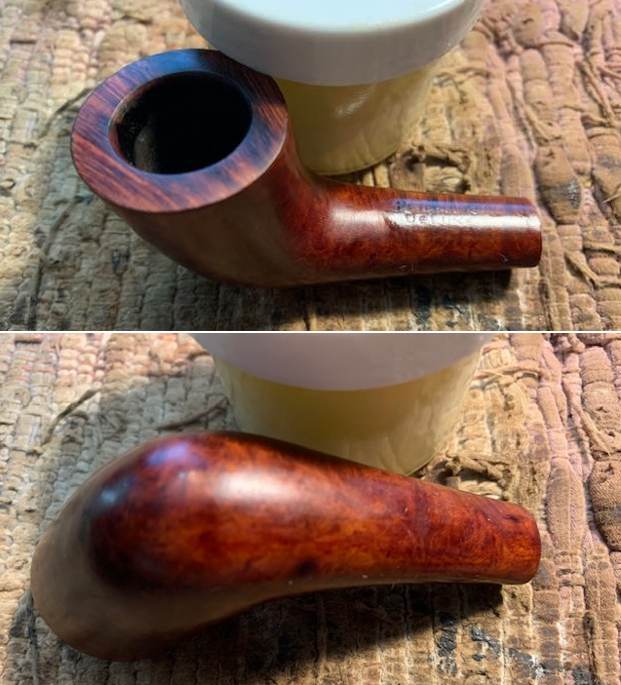
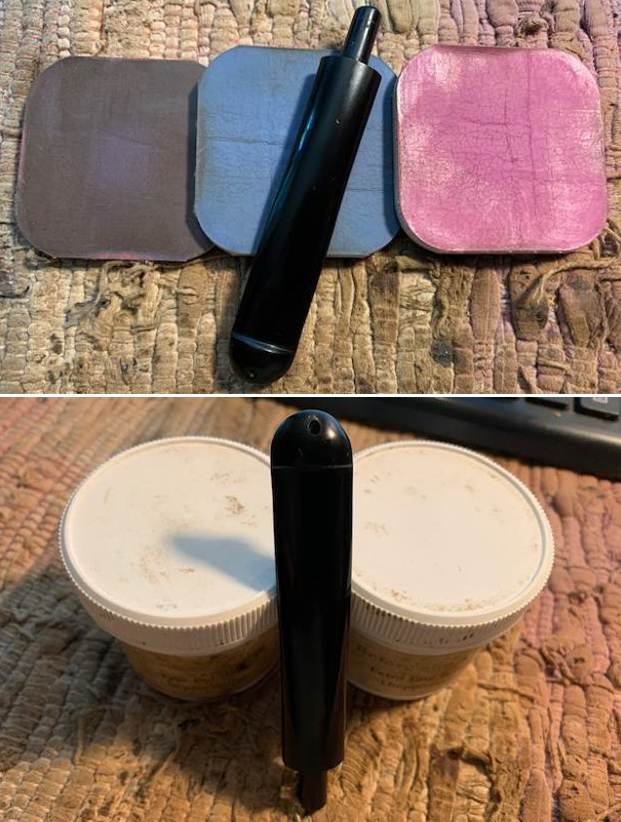
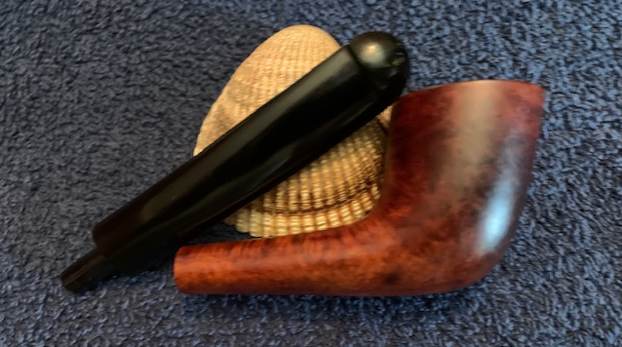
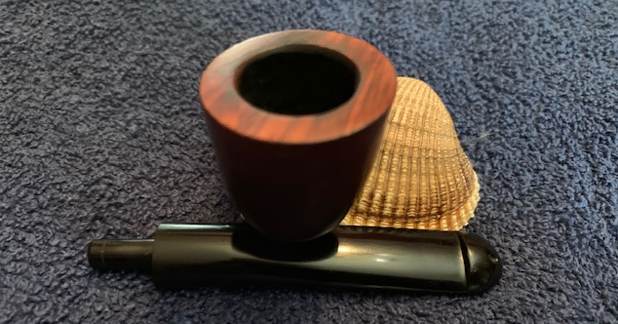
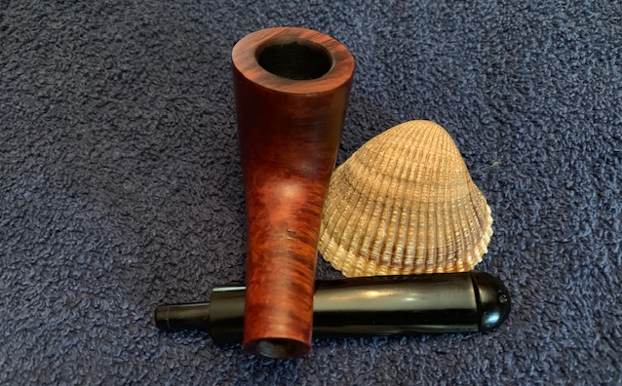
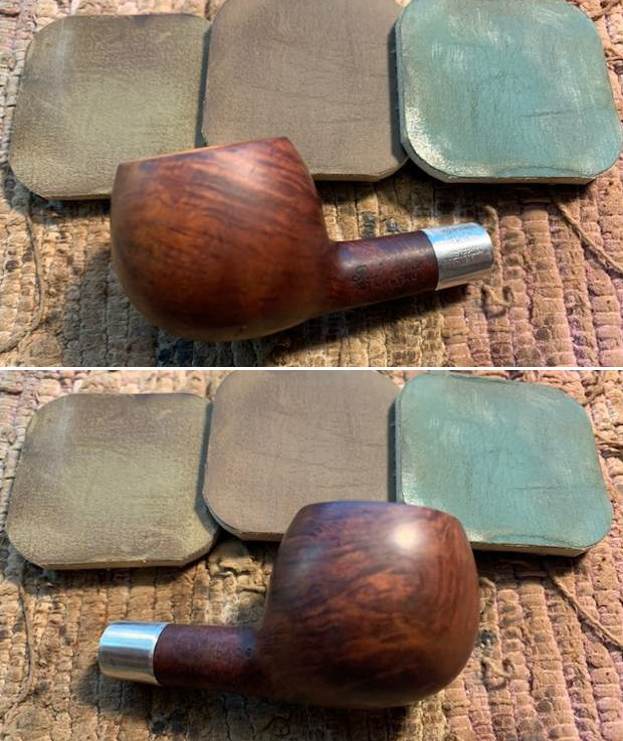
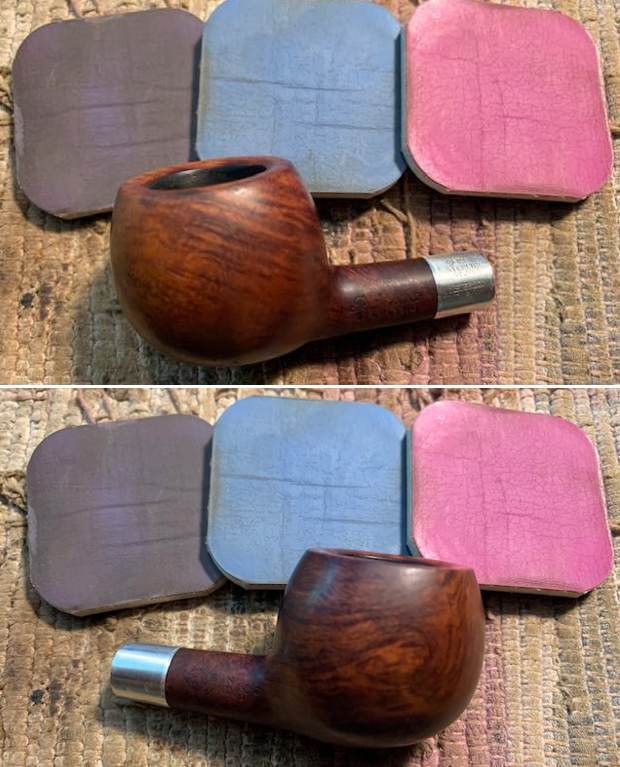
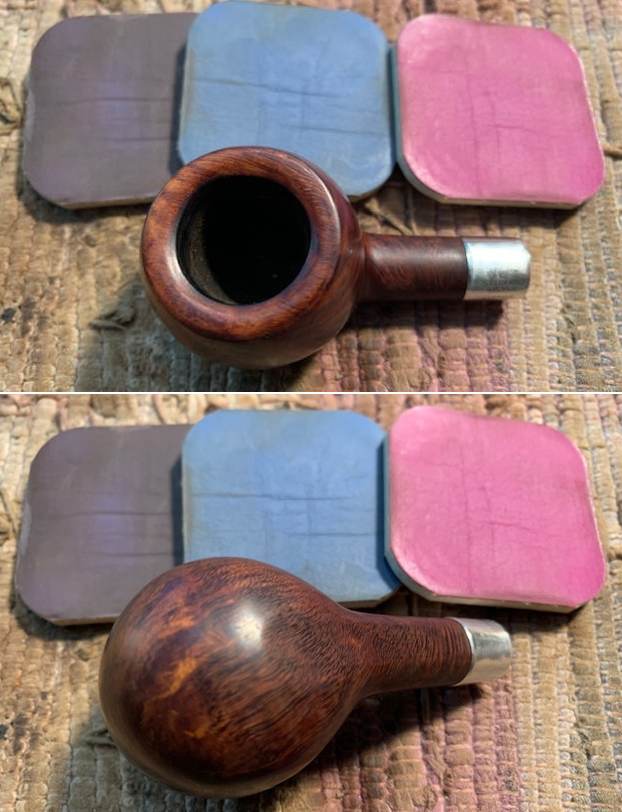
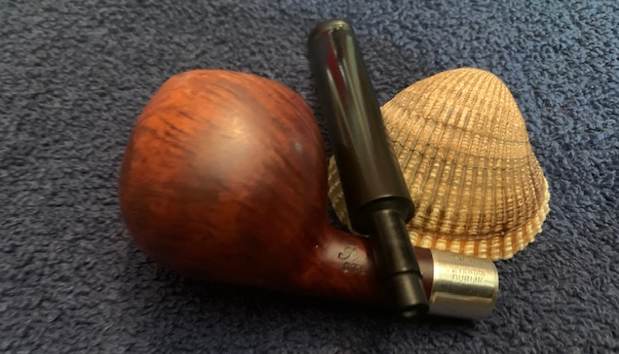
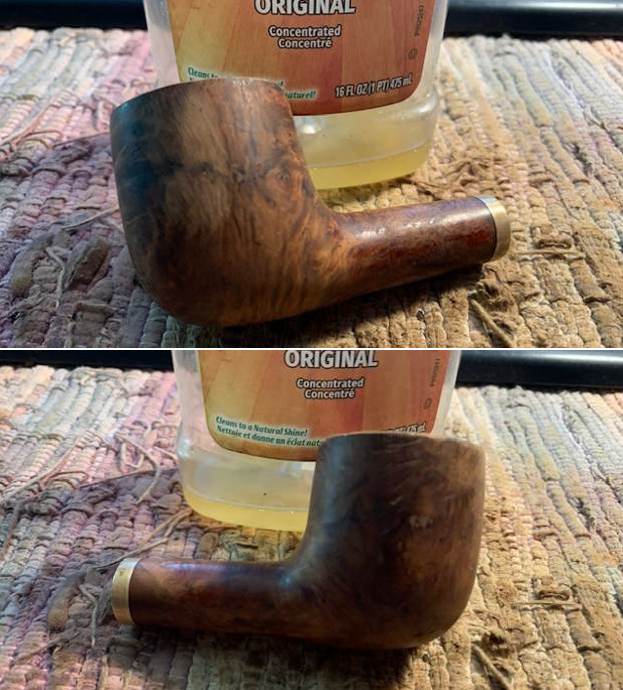
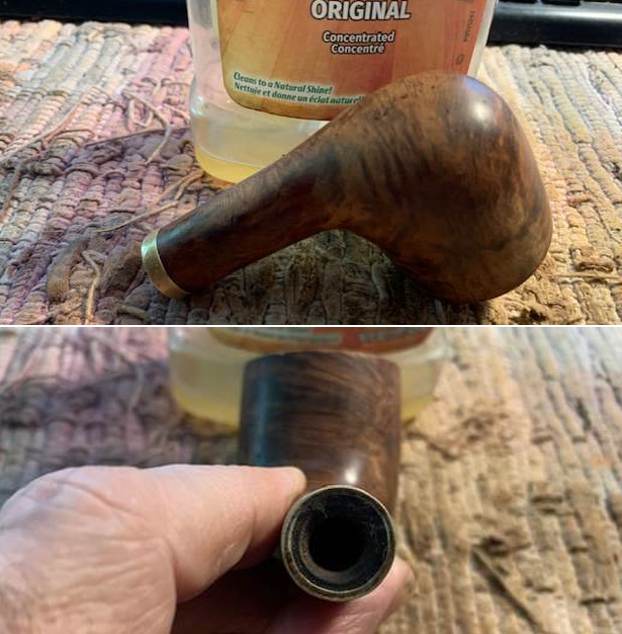
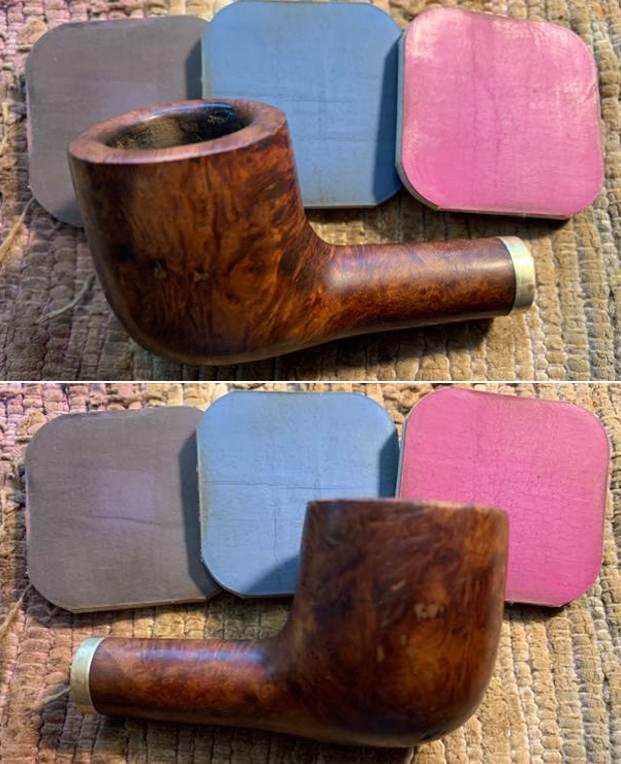
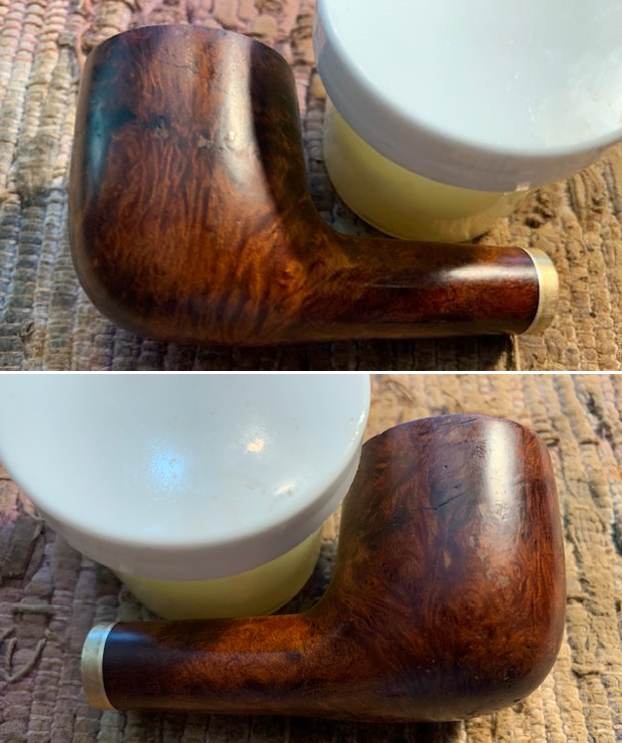
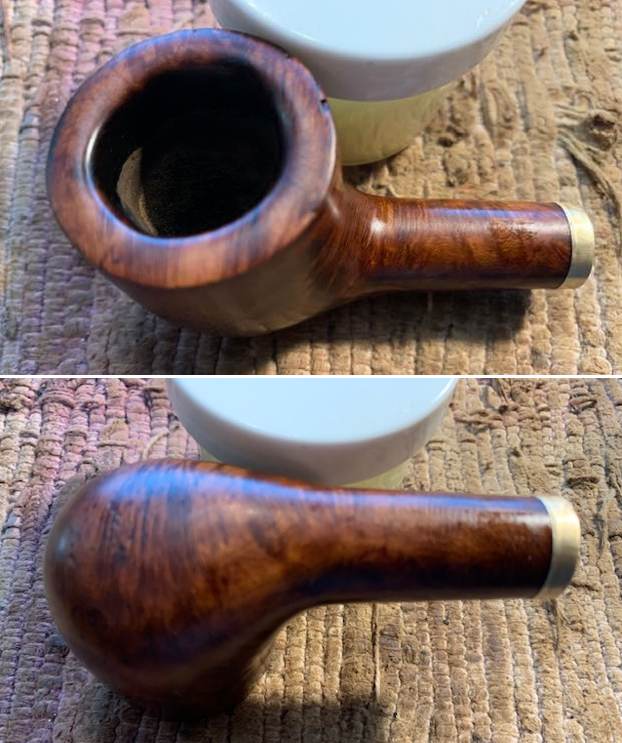
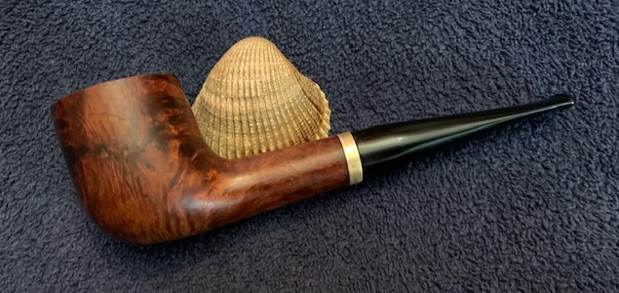
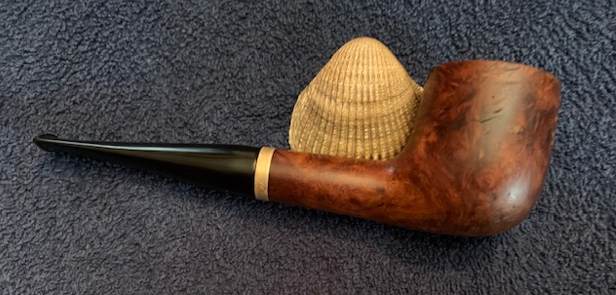
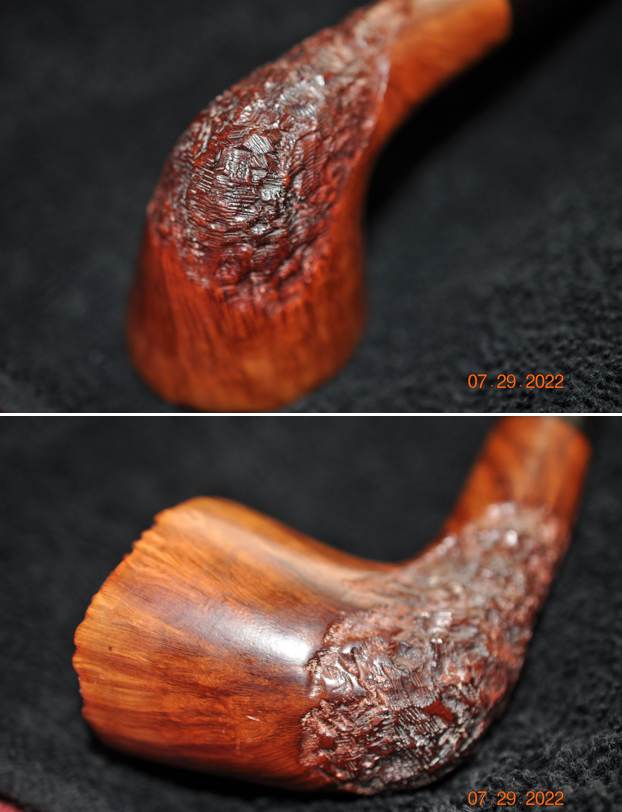
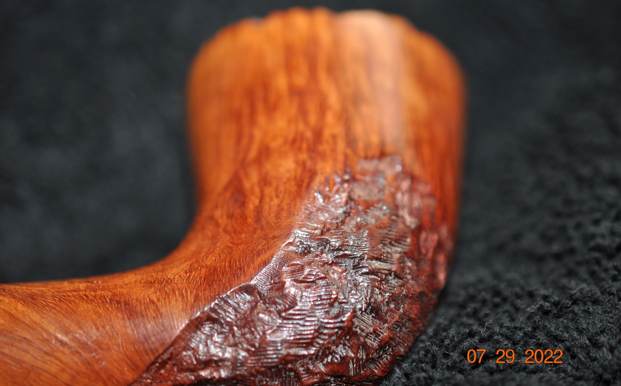
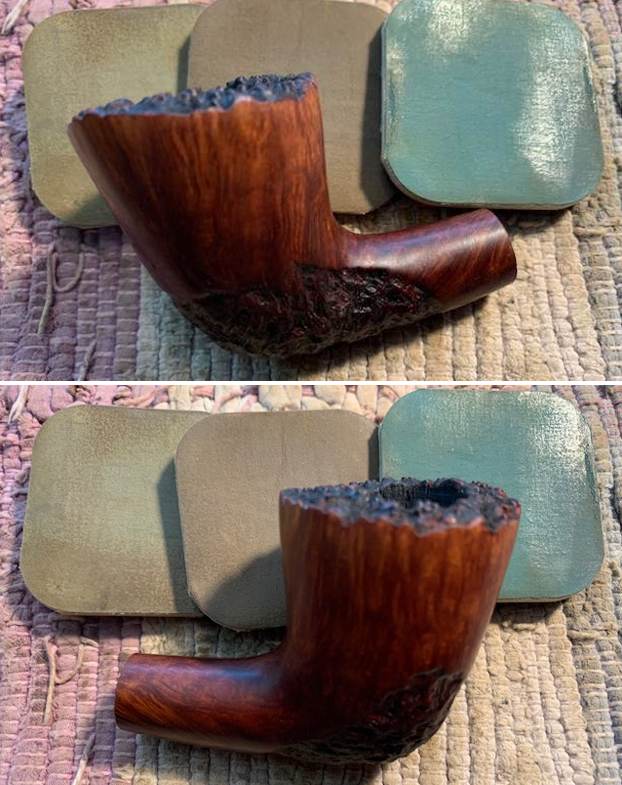
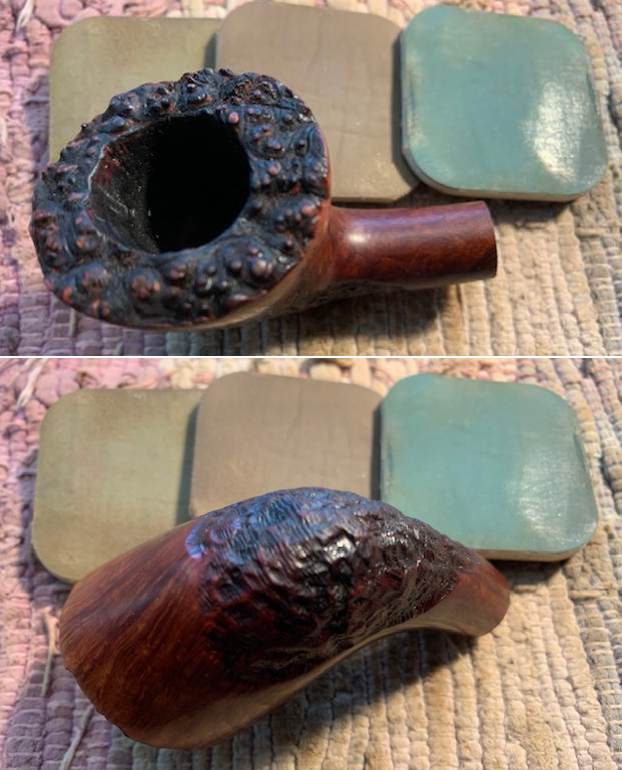
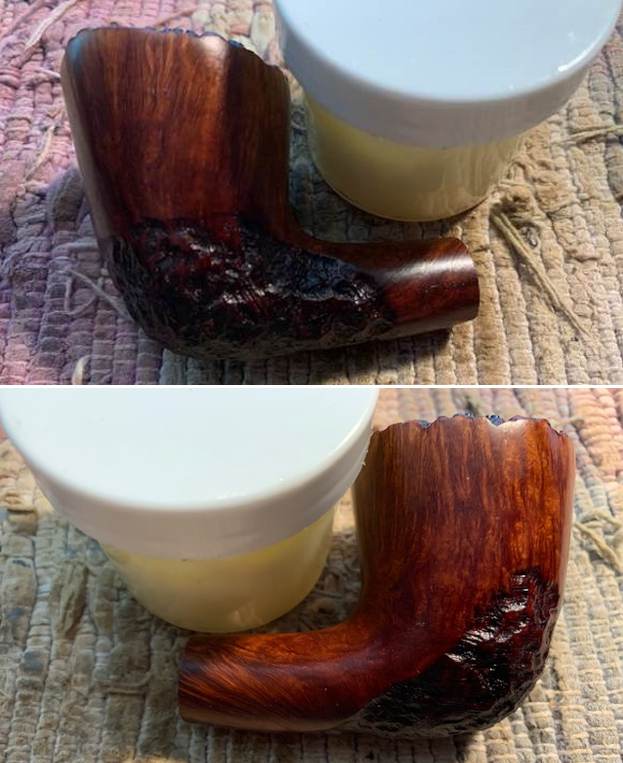
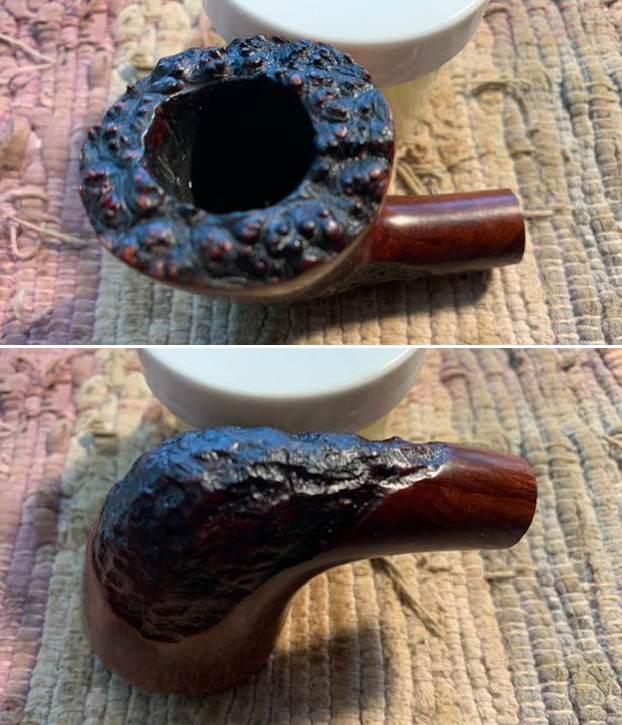
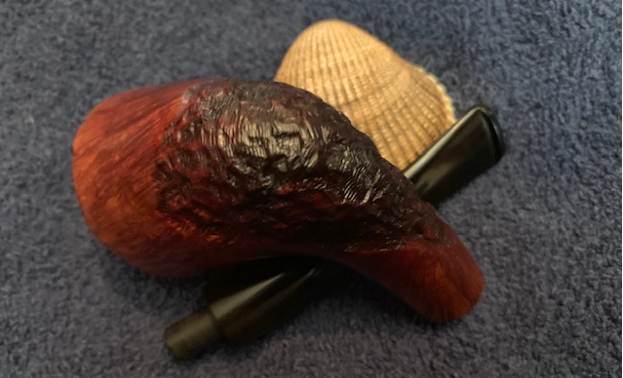
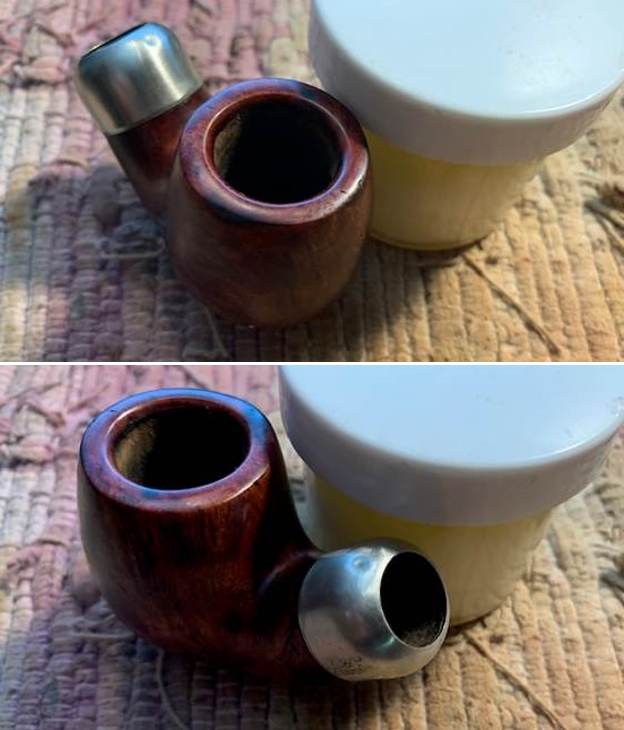
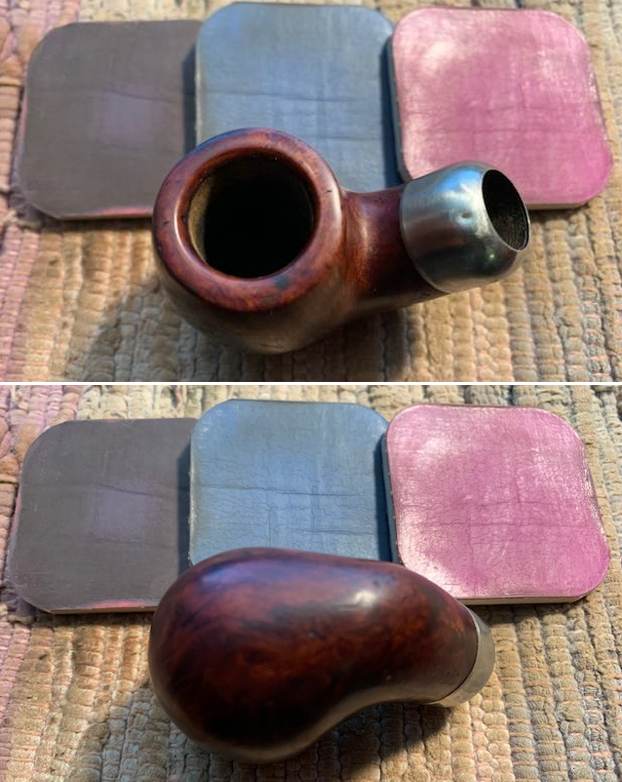 I rubbed the bowl down with Before & After Restoration Balm. I worked it into the briar with my finger tips. I let it sit for 10 minutes and the Balm did its magic. It enlivens, cleans and preserves the briar. It certainly brought this bowl back to life. I buffed it off with a clean cloth and took the following photos.
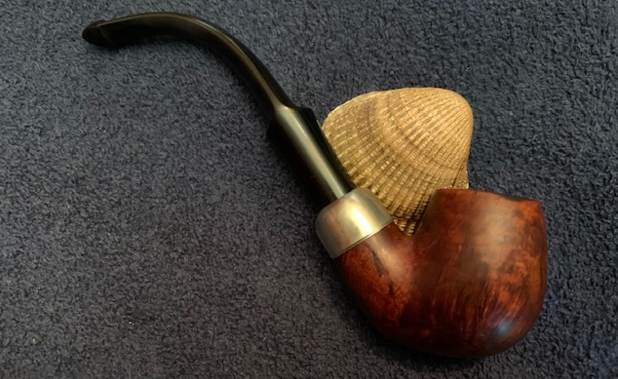
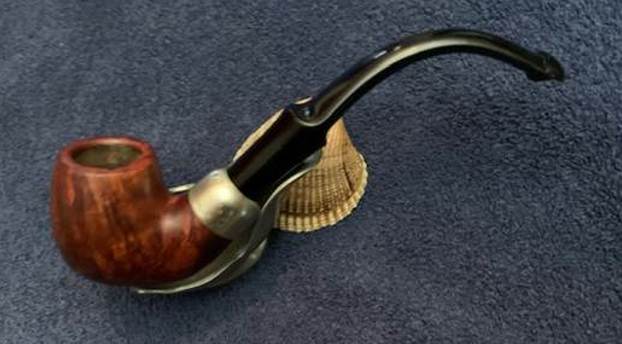
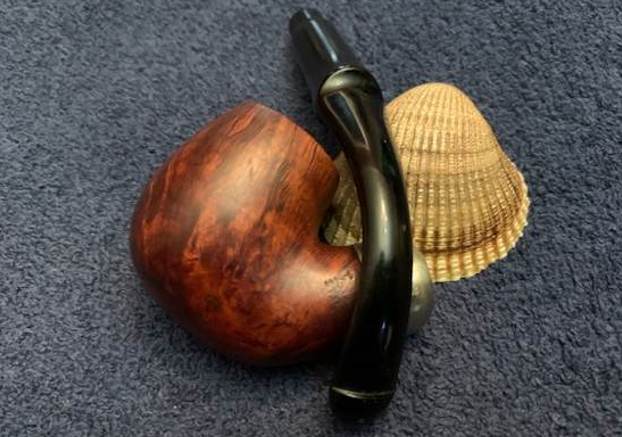
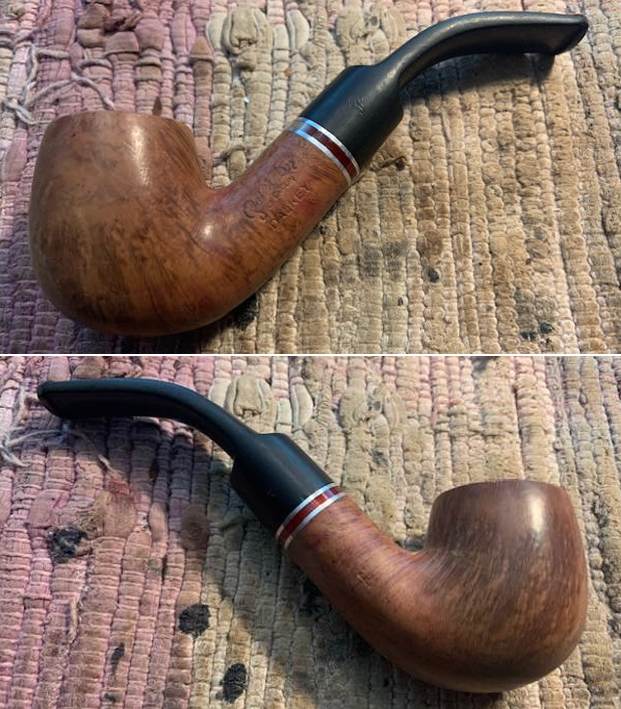
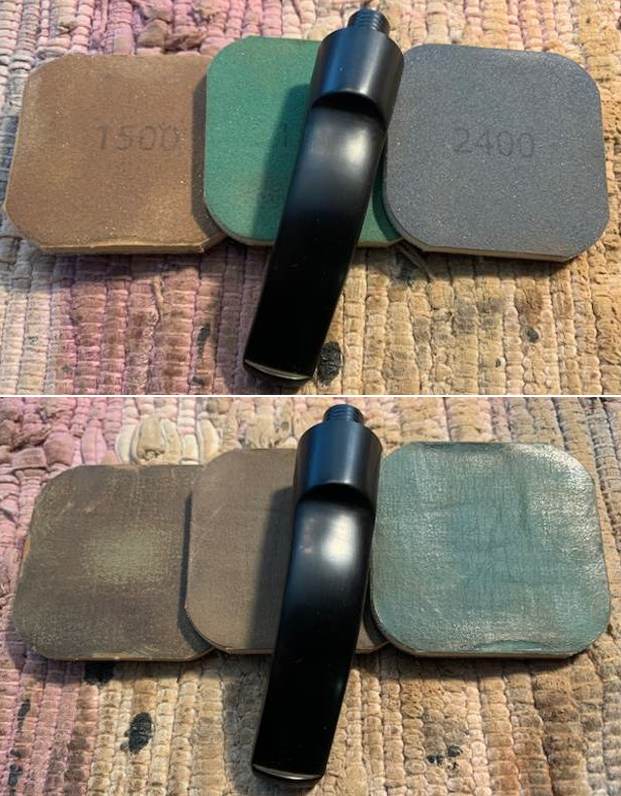
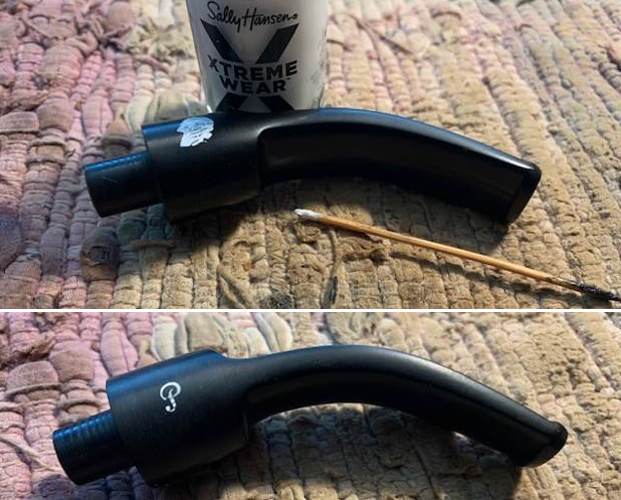
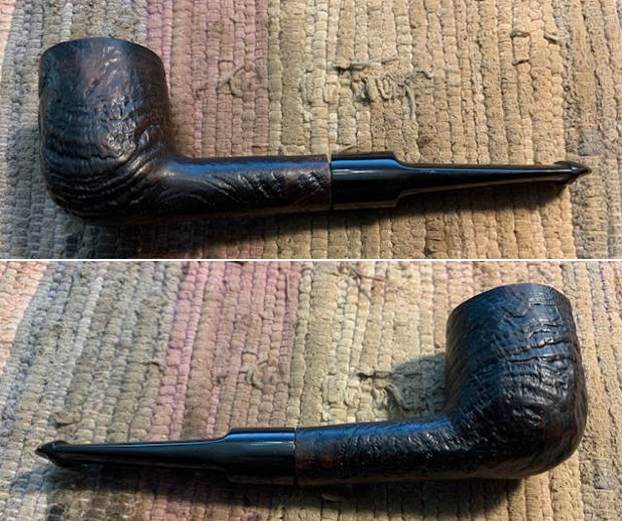
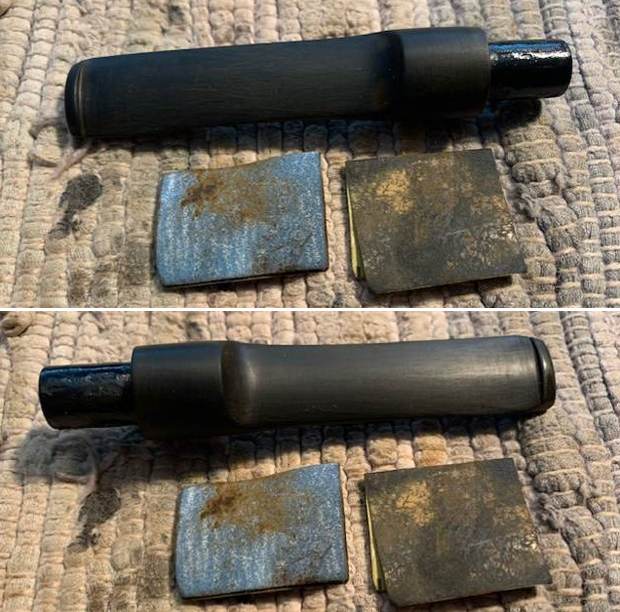
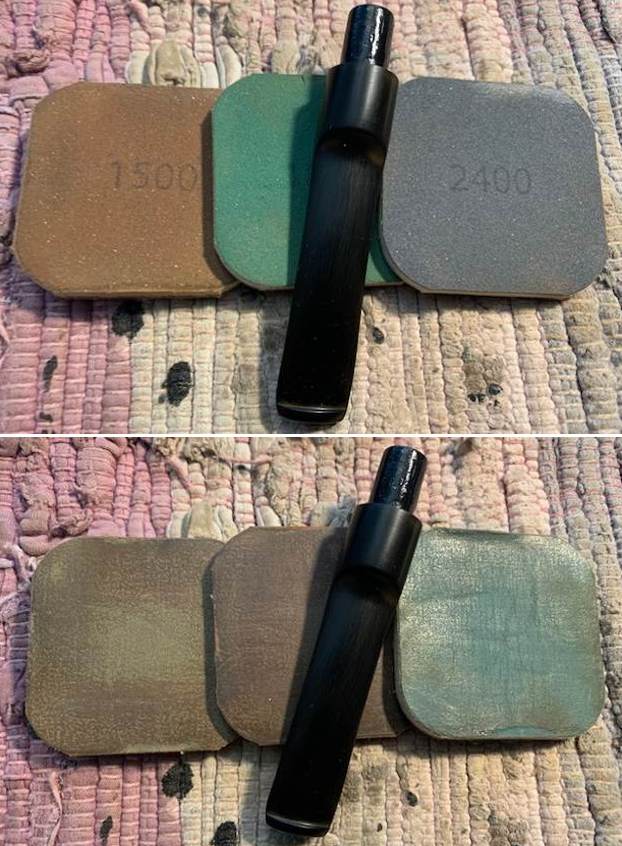
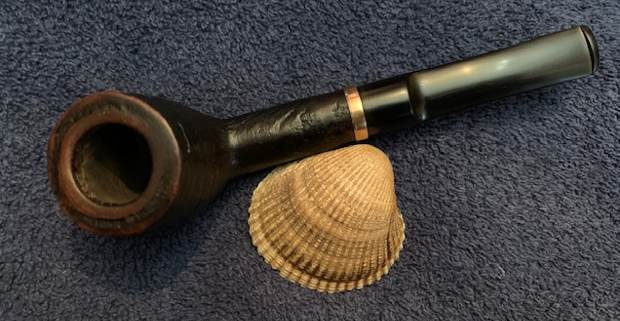
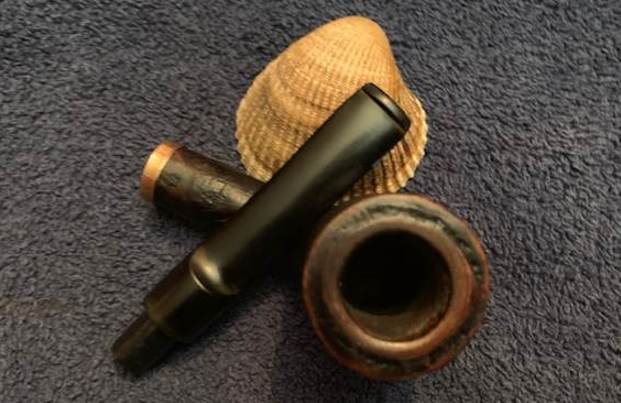
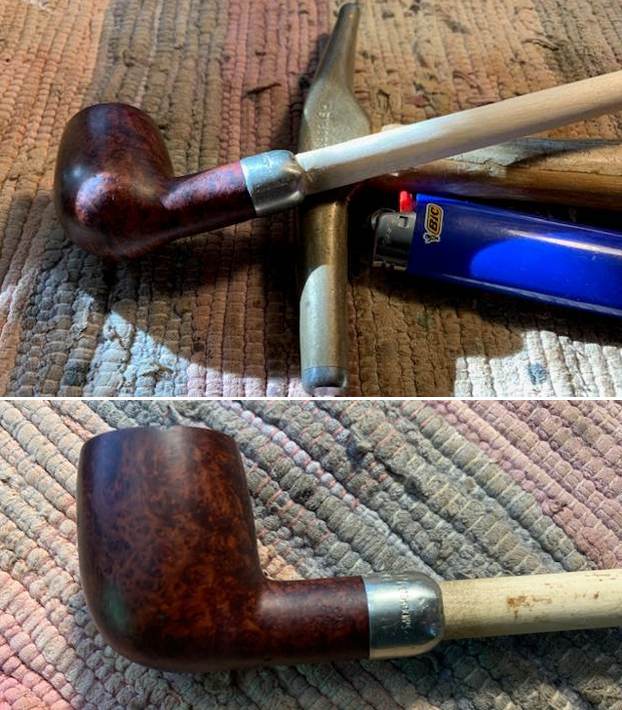
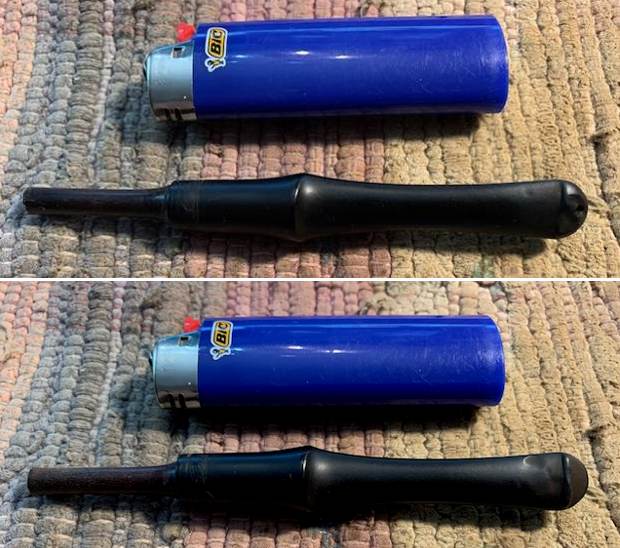
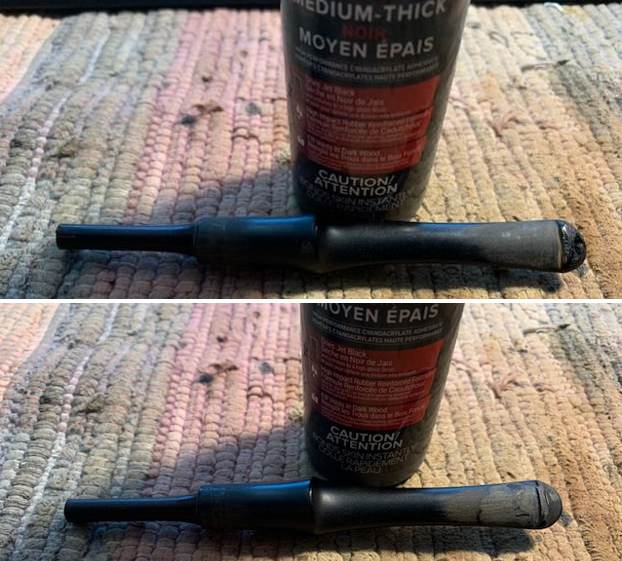
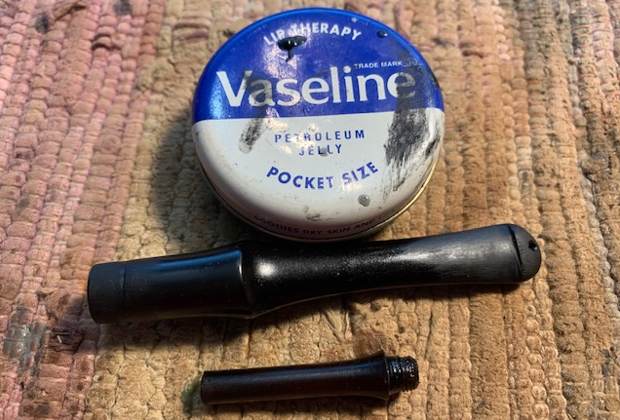
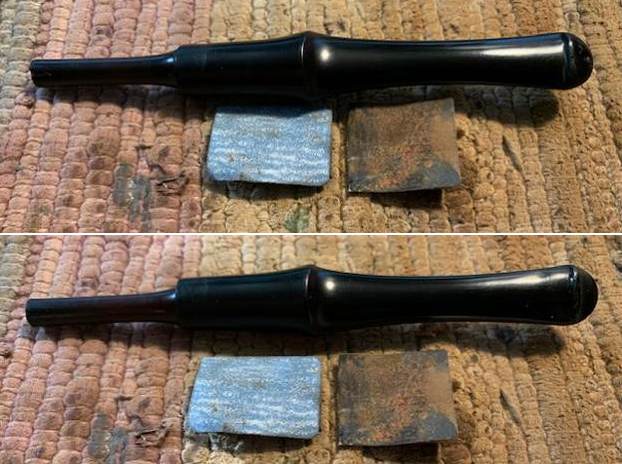
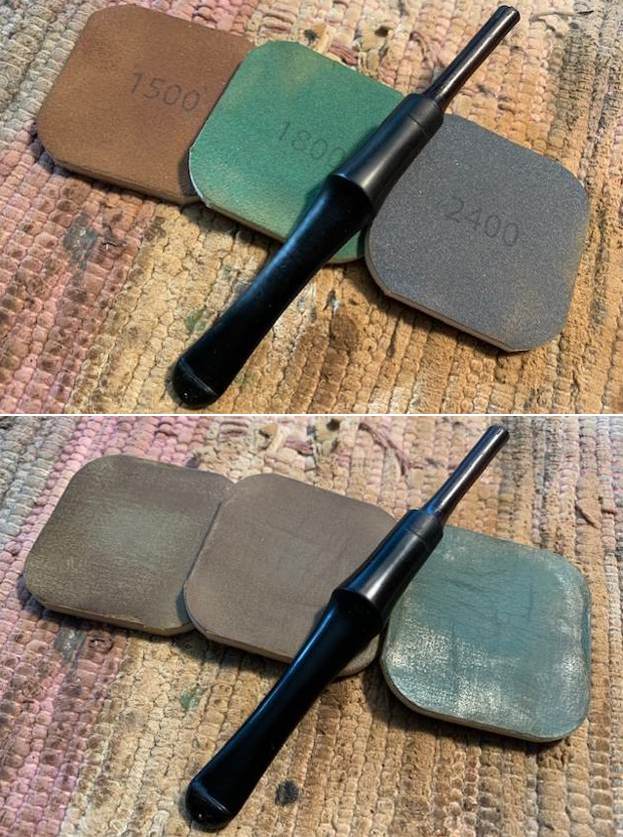
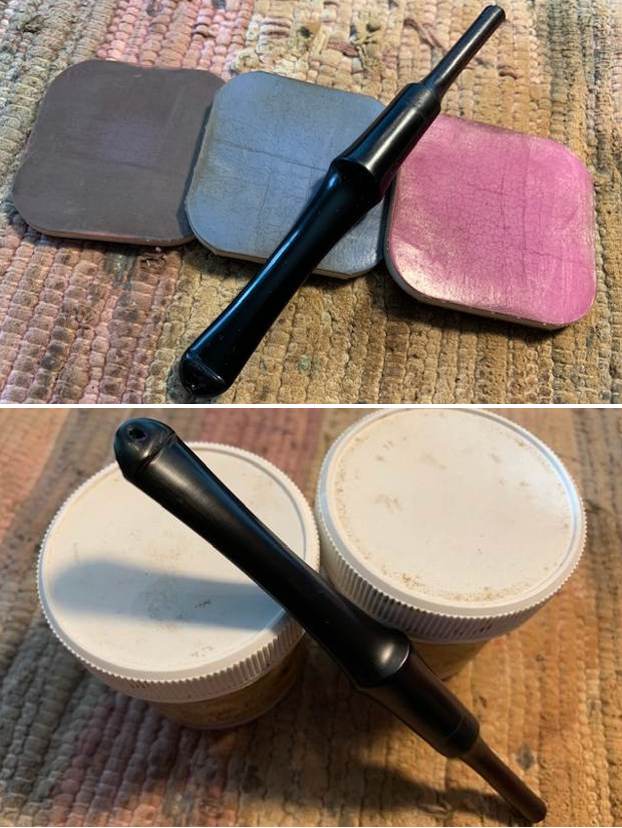
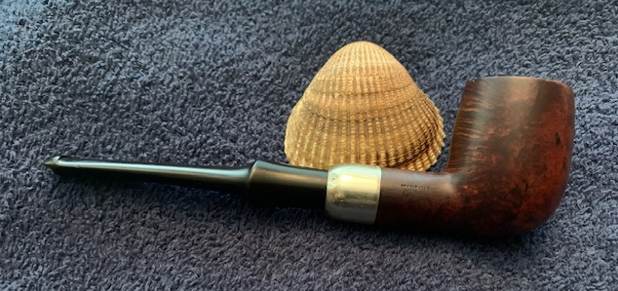
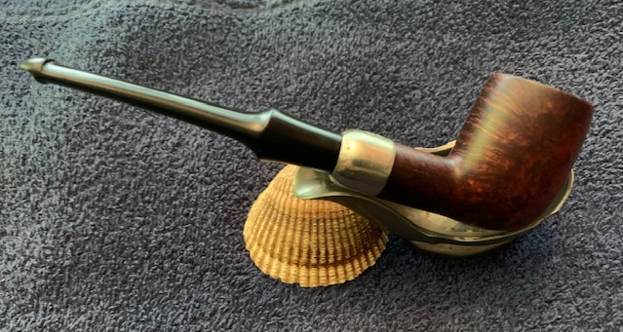
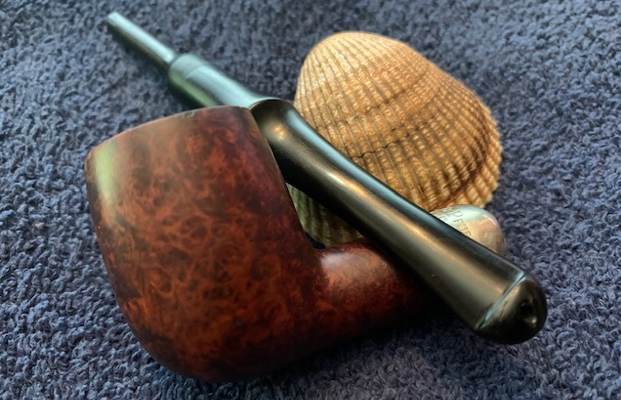
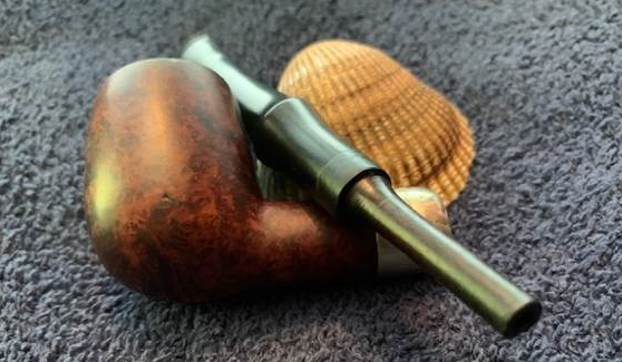
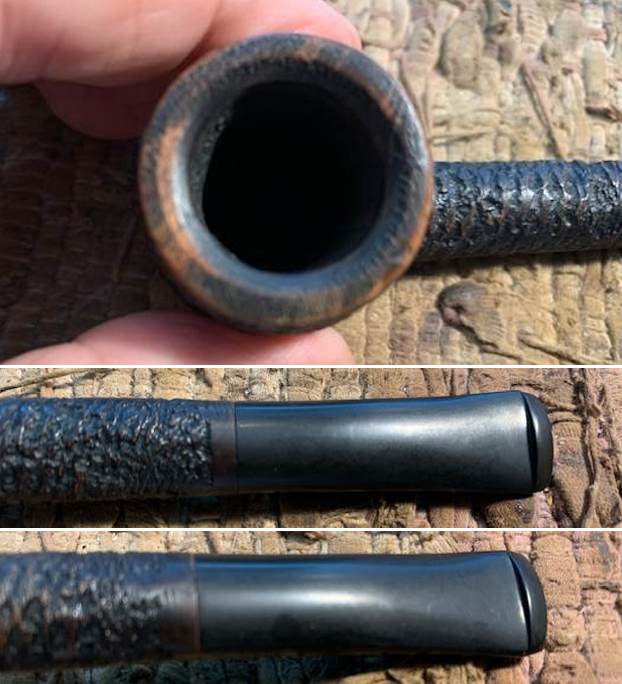
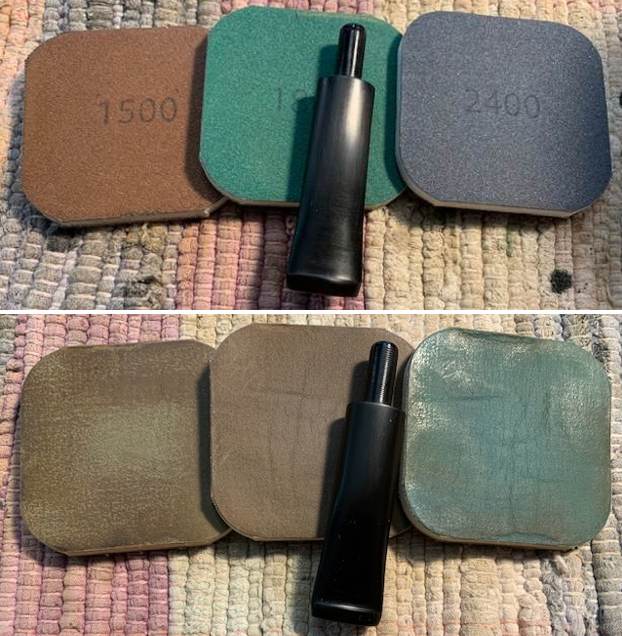
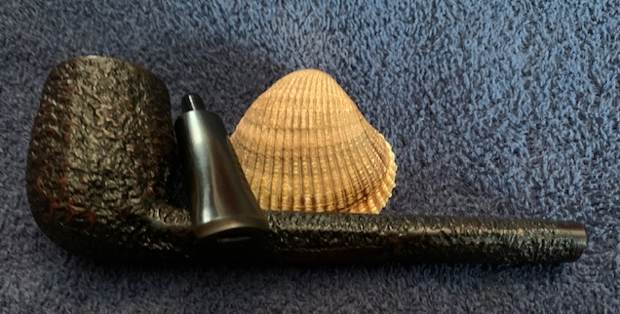
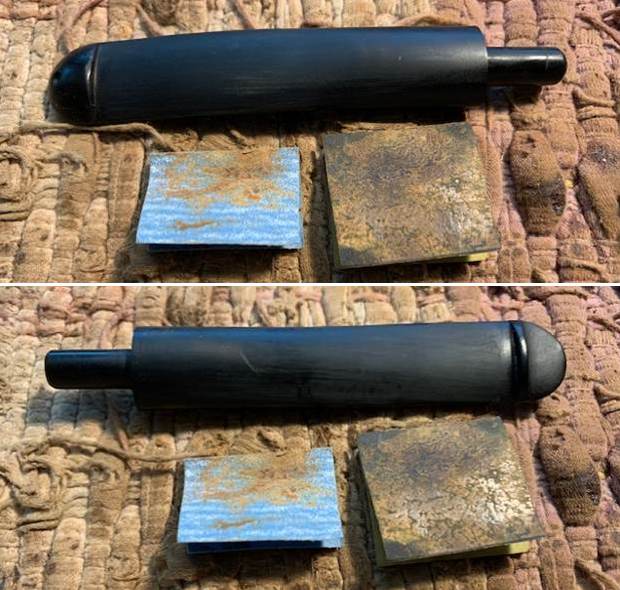
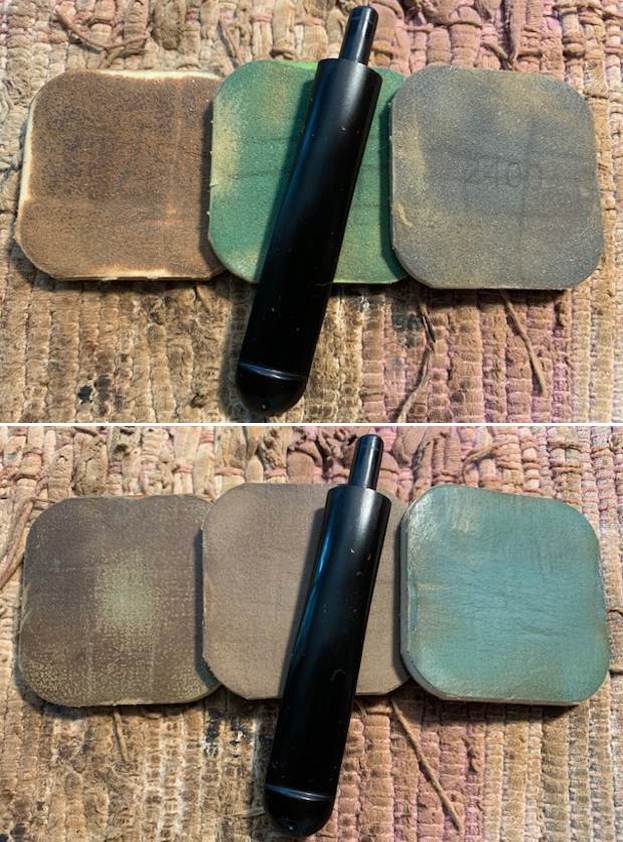
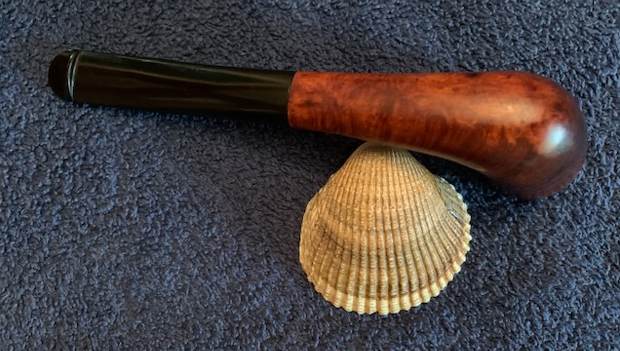
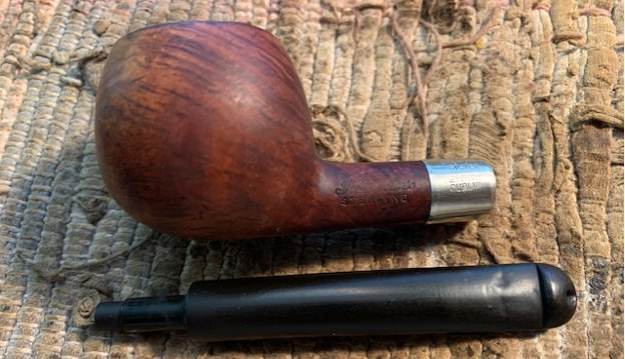
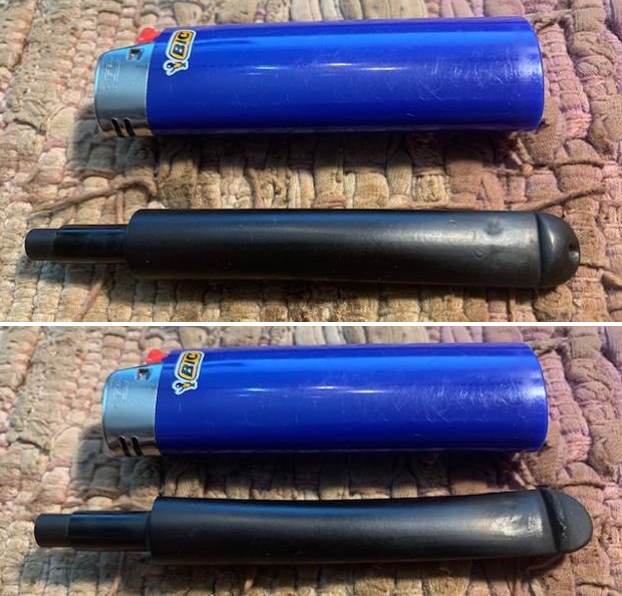
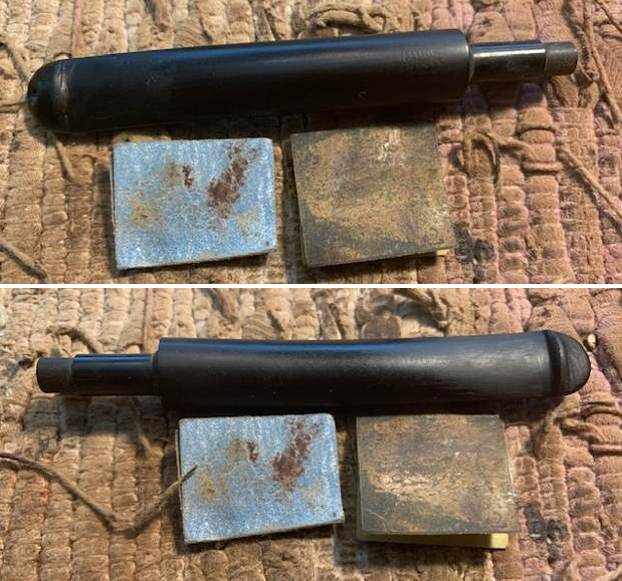
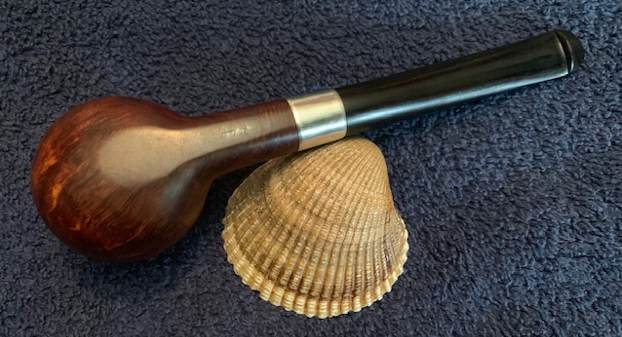
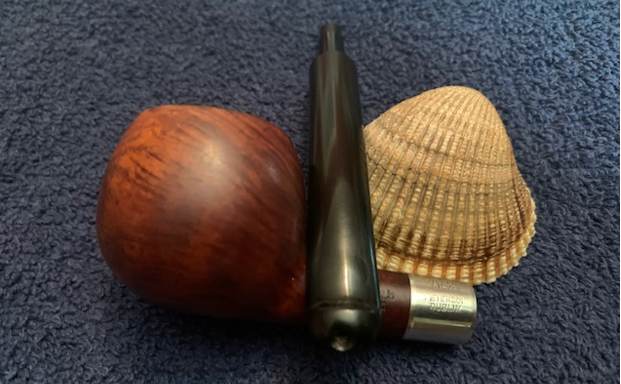
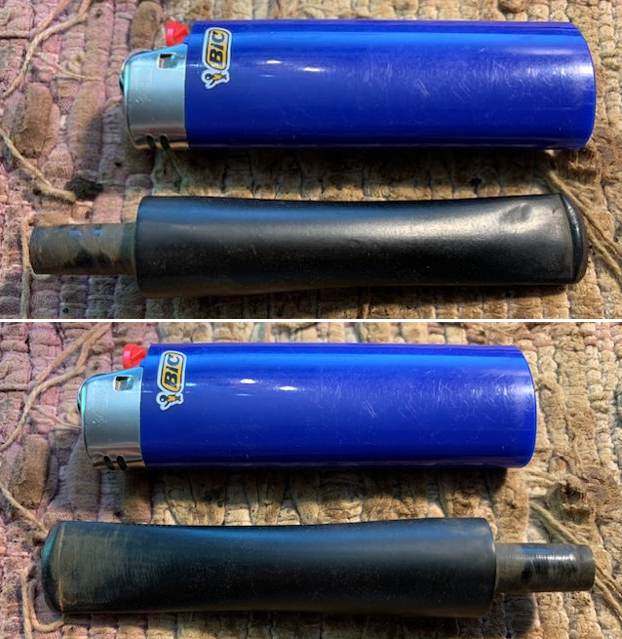
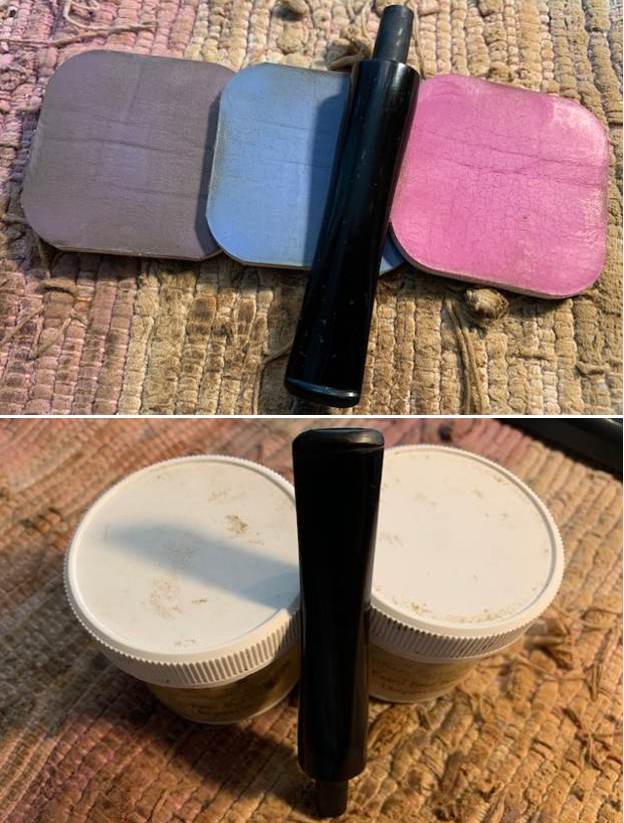
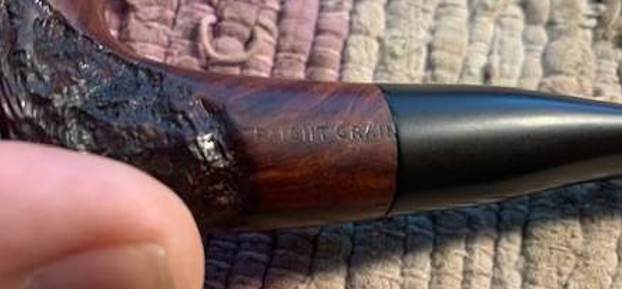
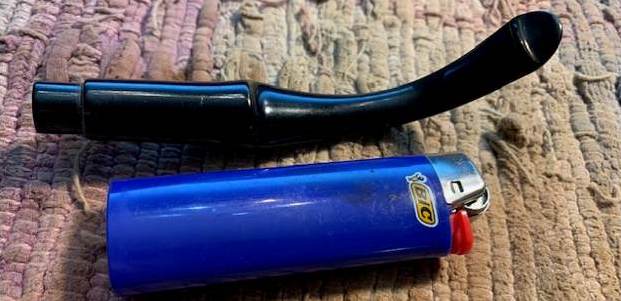
 I set the bowl aside and turned my attention to the stem. Since it was a new stem I did not need to polish it. The stem was looking very good. I heated the stem with a lighter to soften the vulcanite and bent it to the shape that it needed to be for the shape of the bowl. I held it in place to let it cool and set the shape. It looked very good.
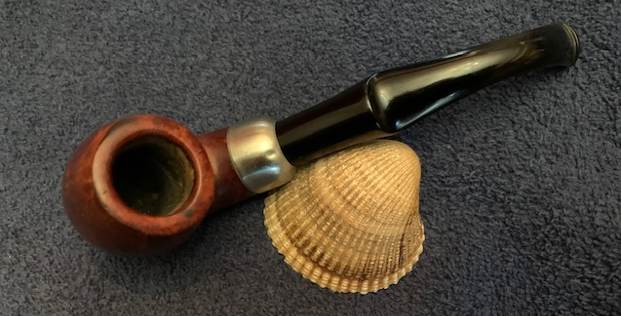
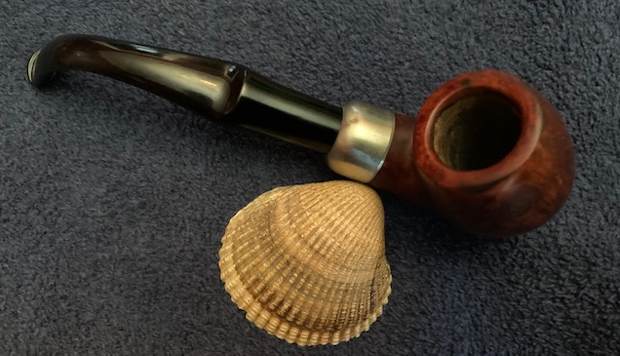
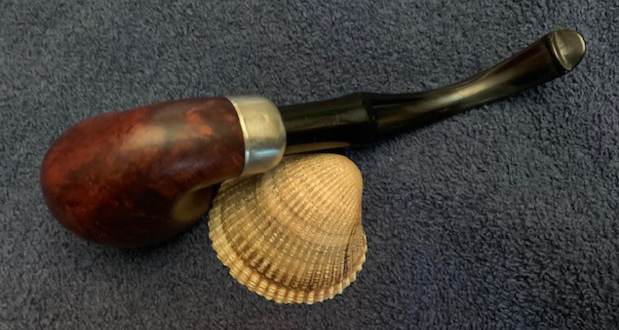
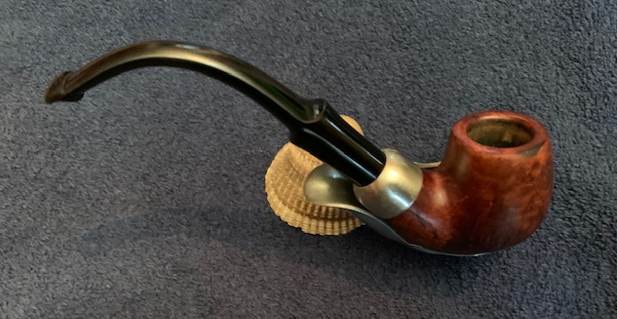
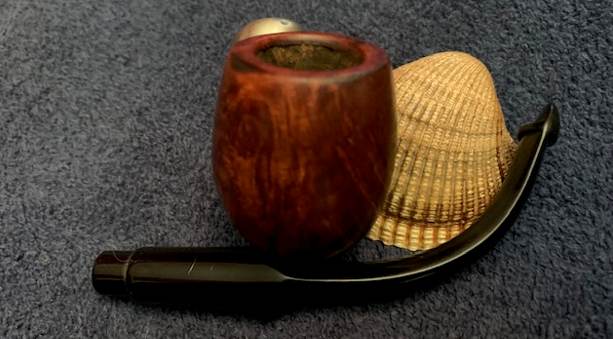
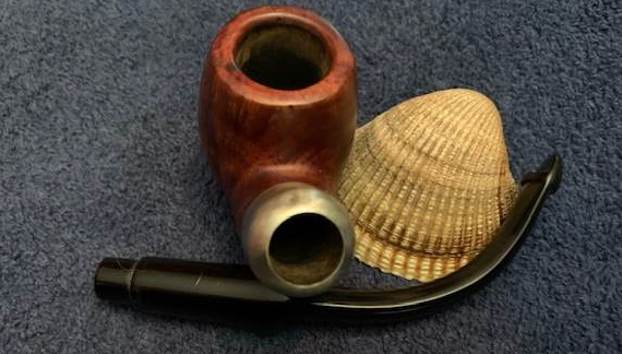
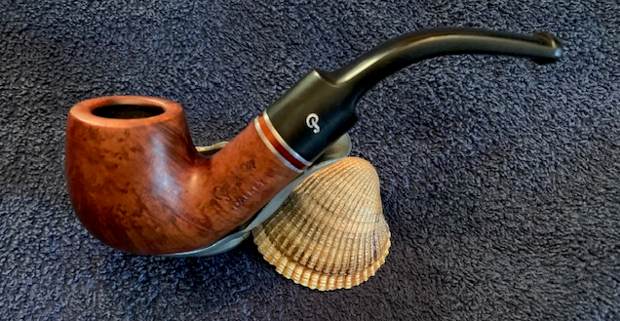
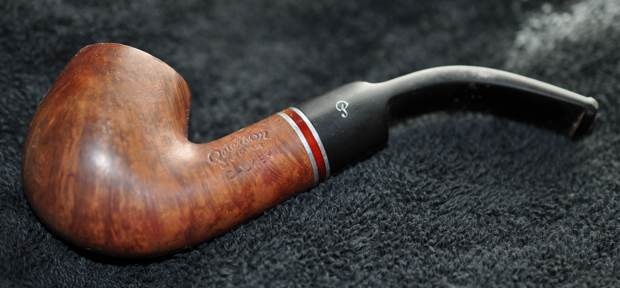
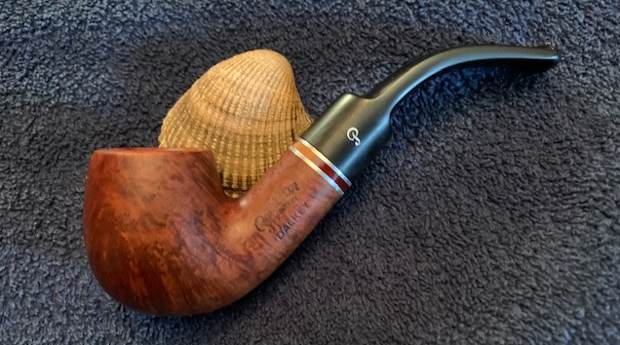
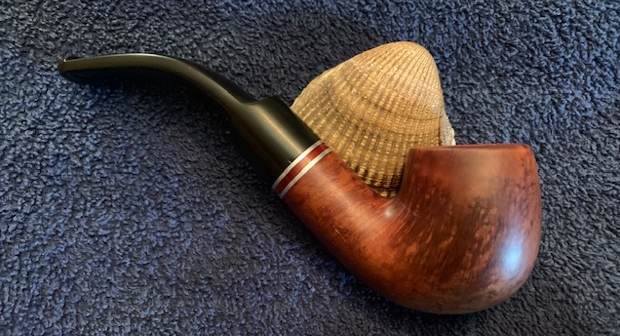
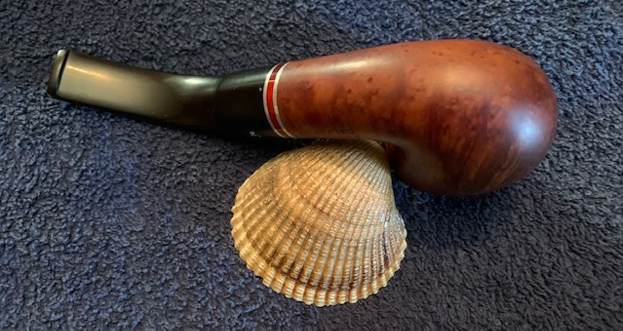
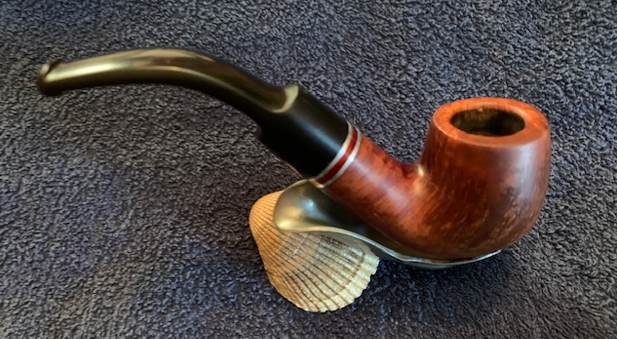
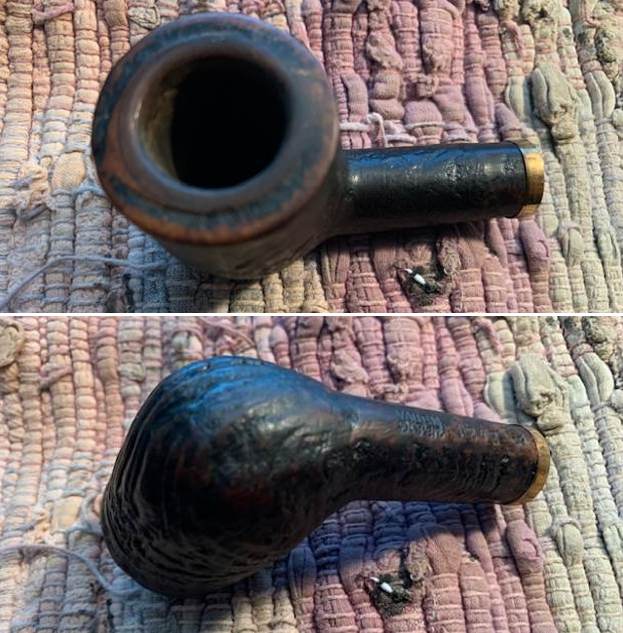
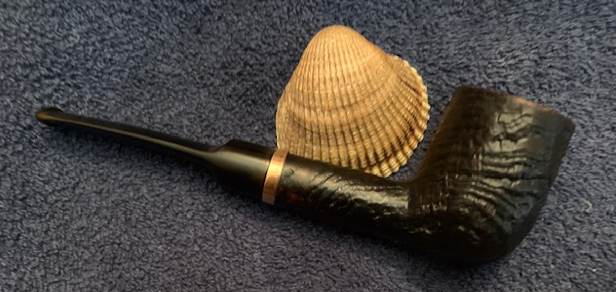
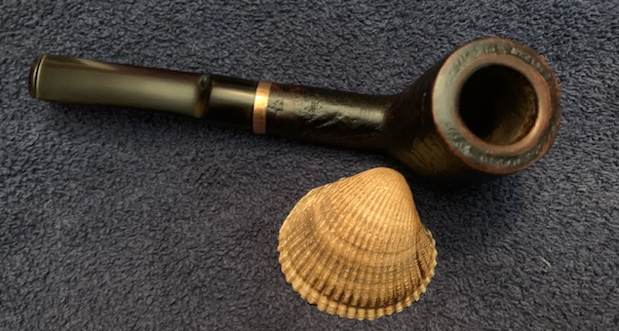
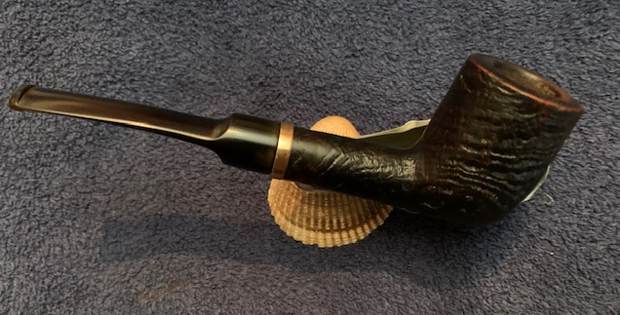
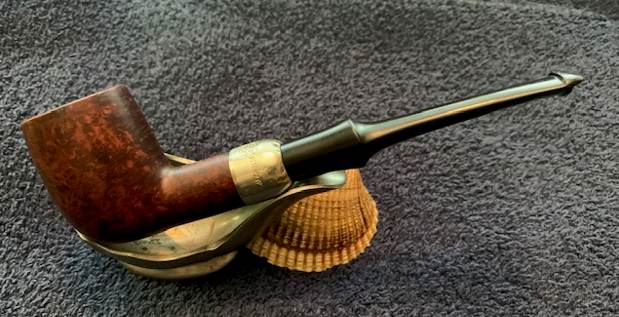
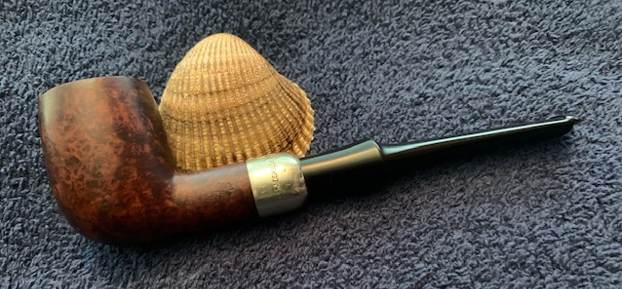
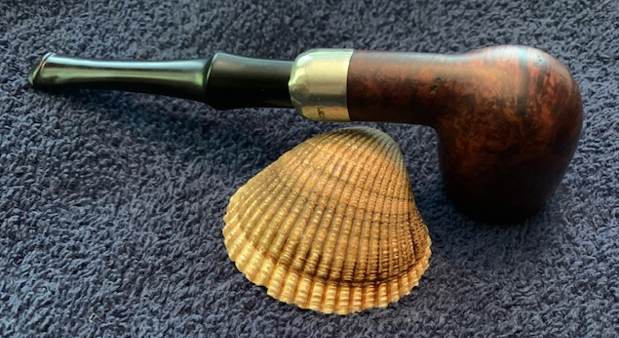
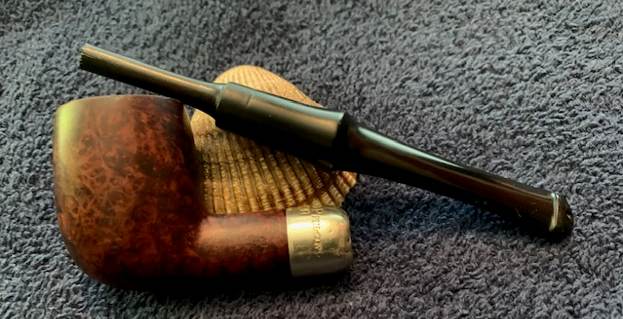
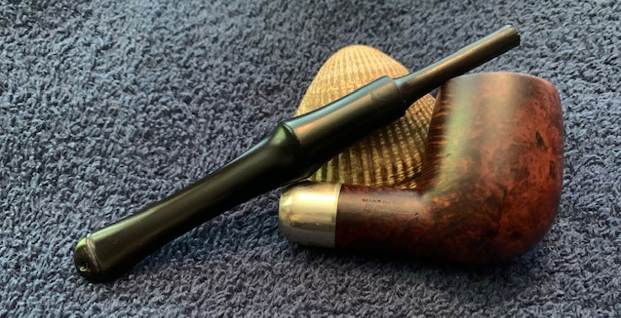
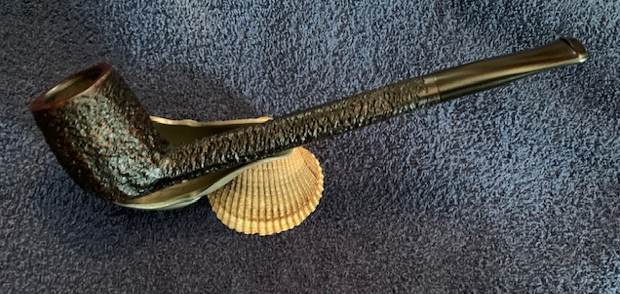
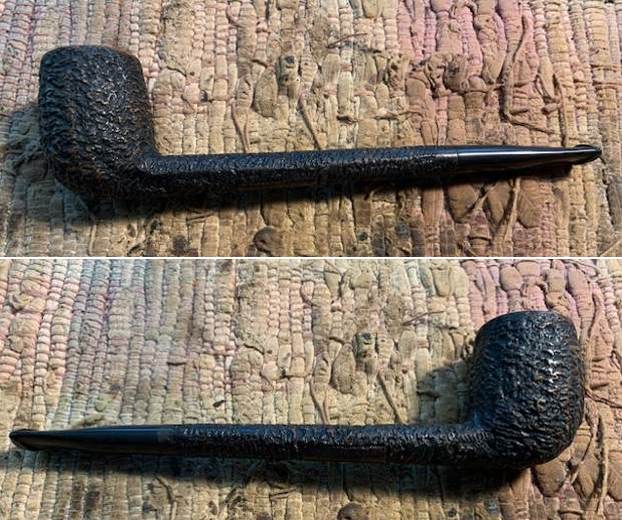
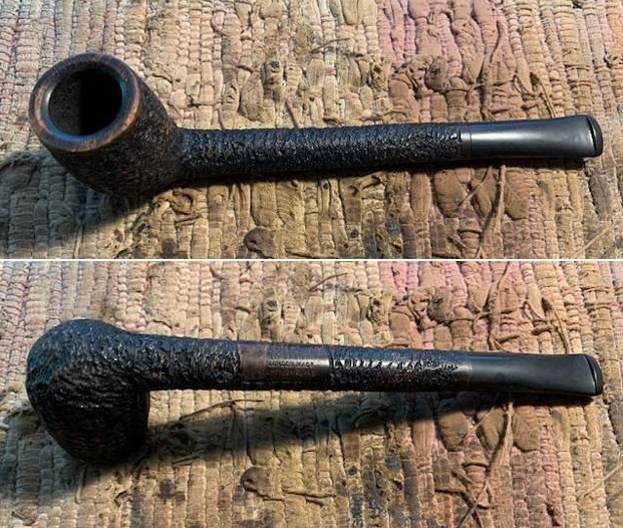
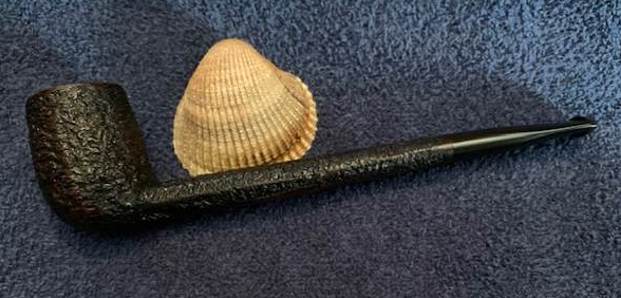
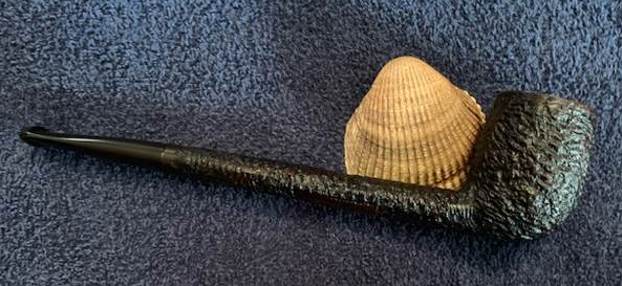
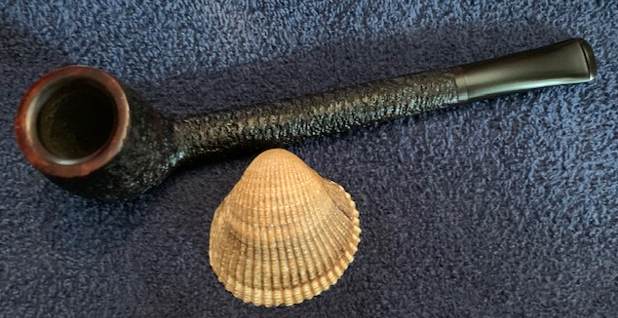
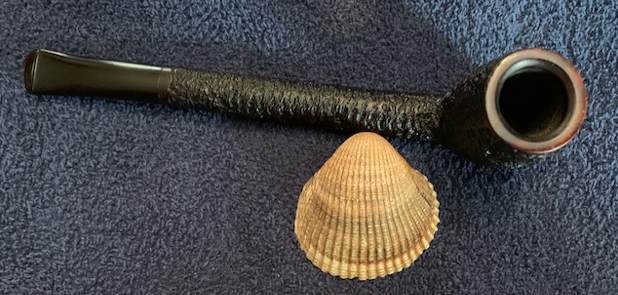
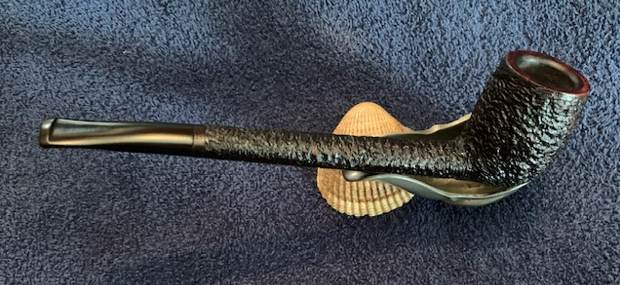
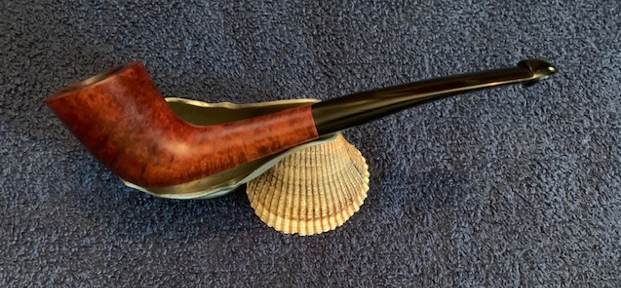
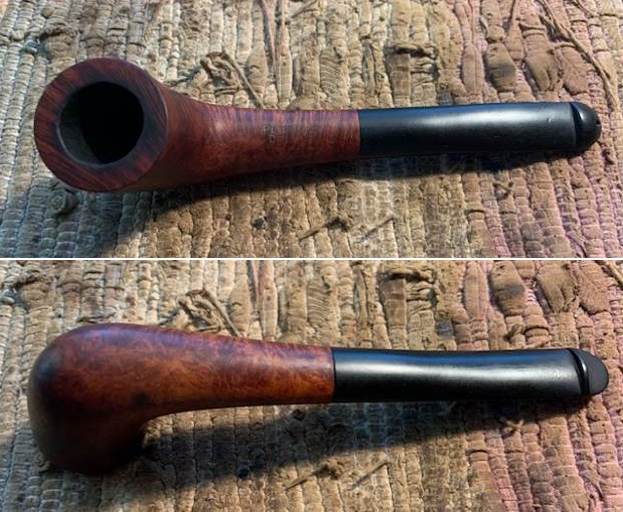
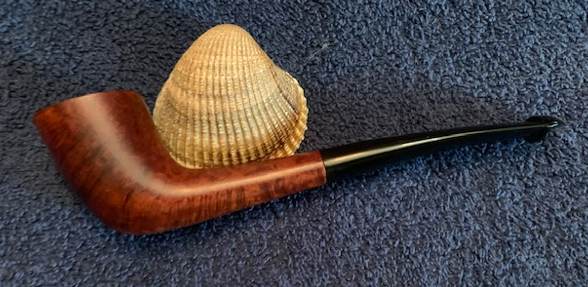
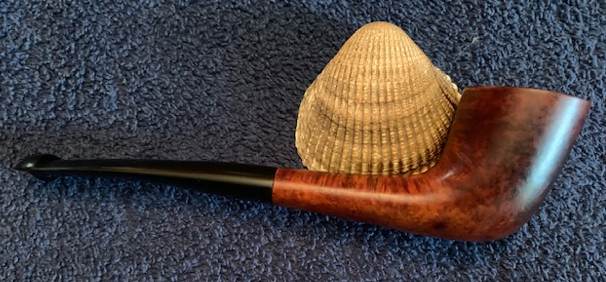
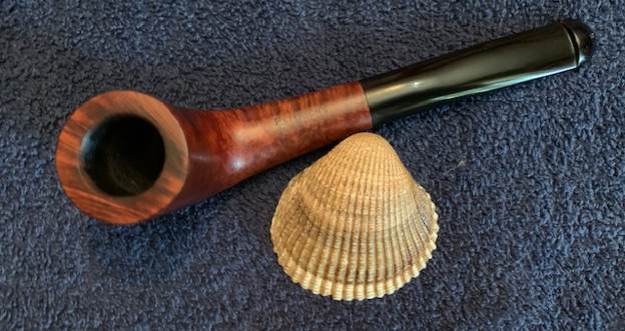
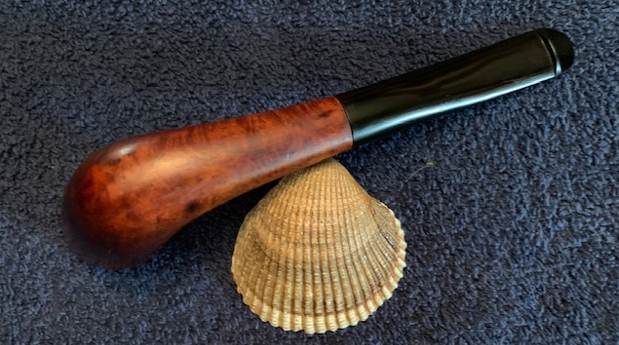
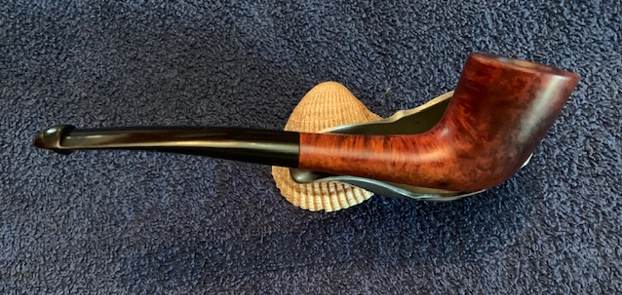
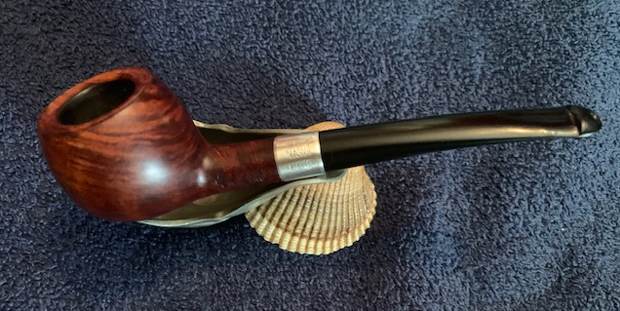
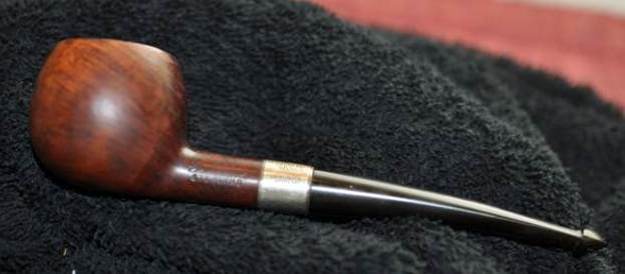
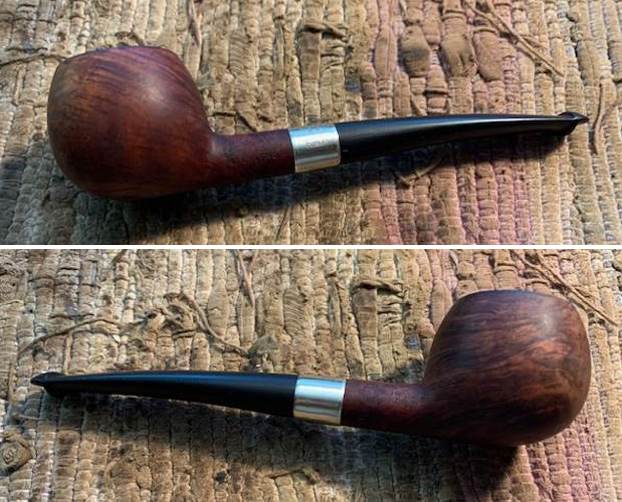
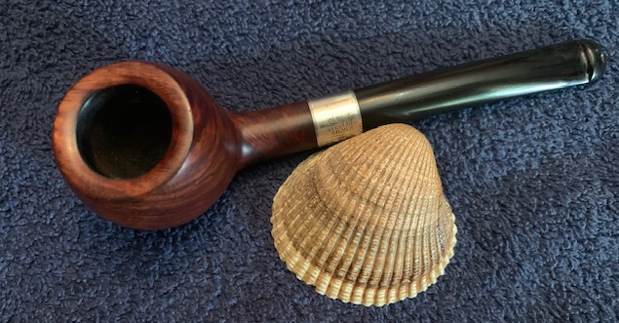
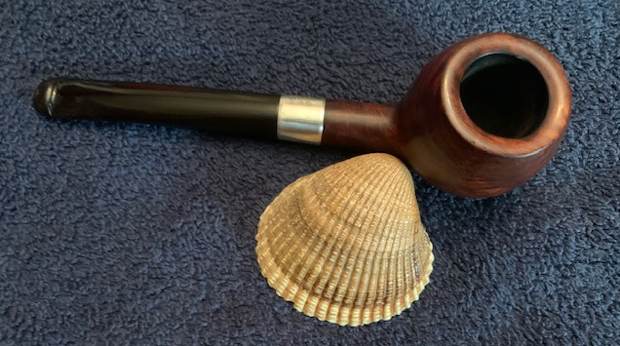
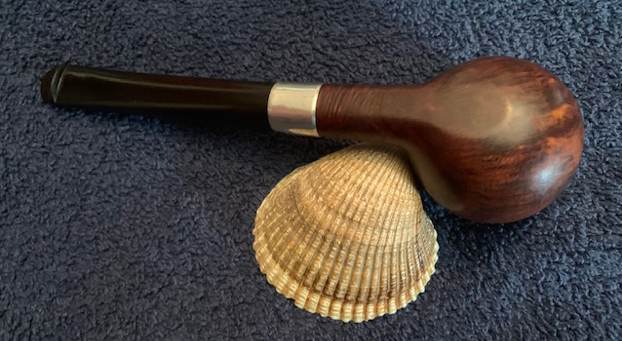
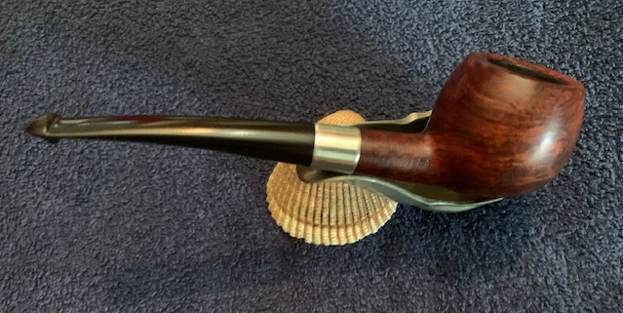
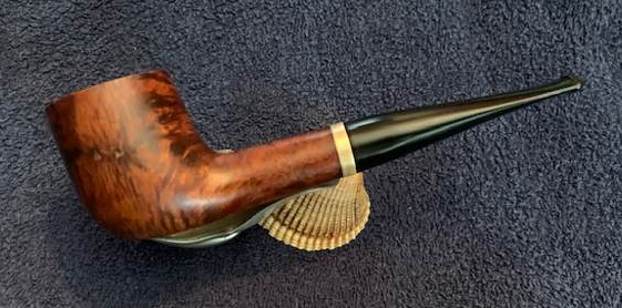
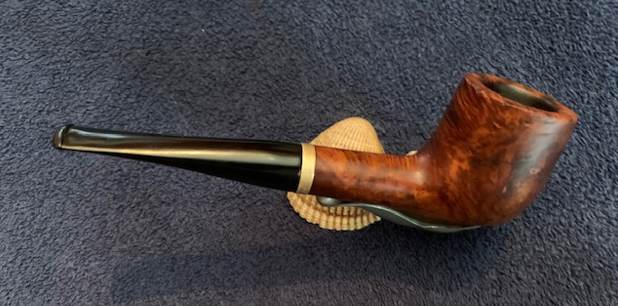
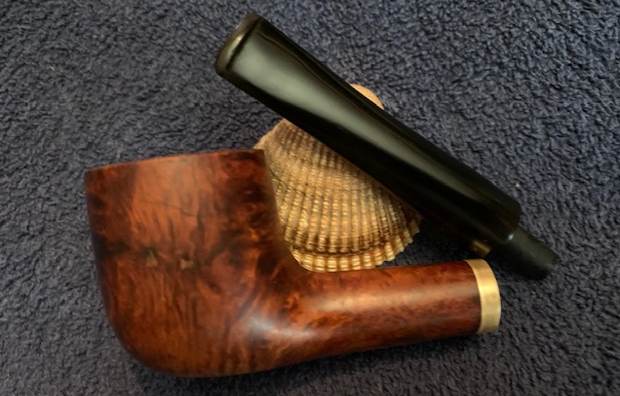
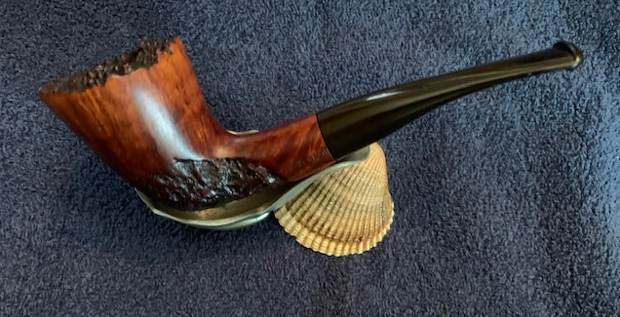
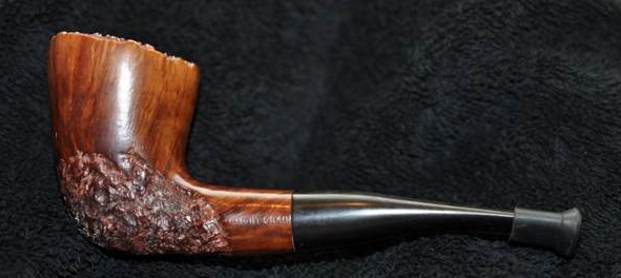
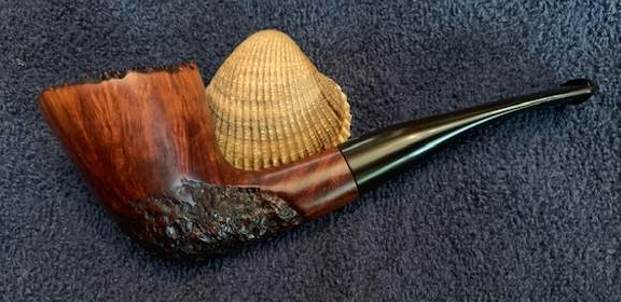
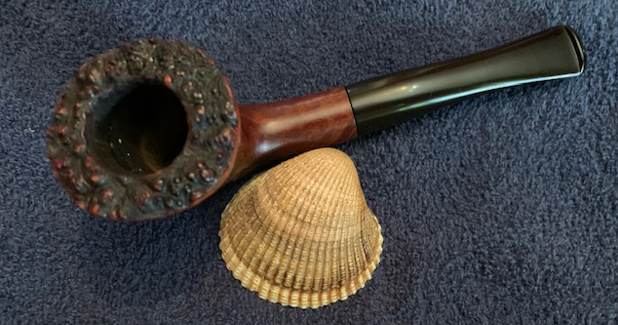
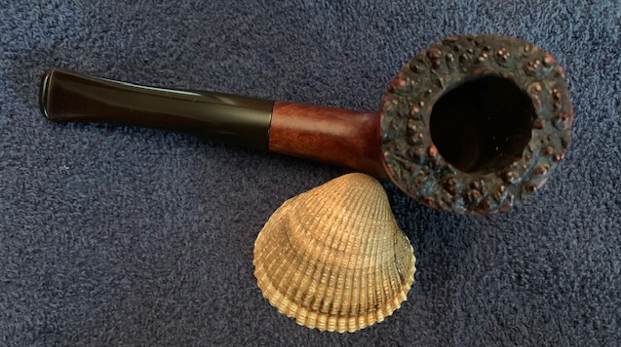
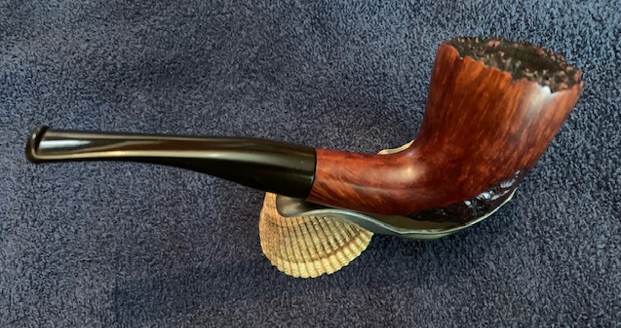
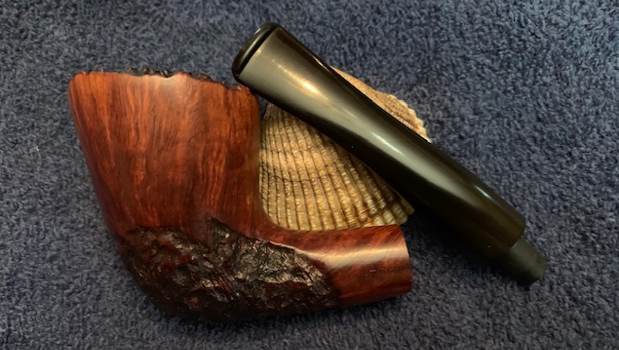
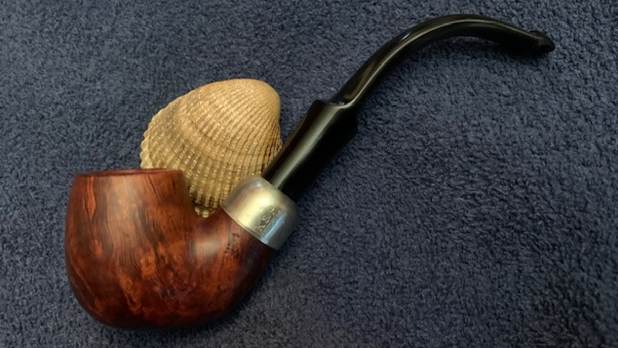
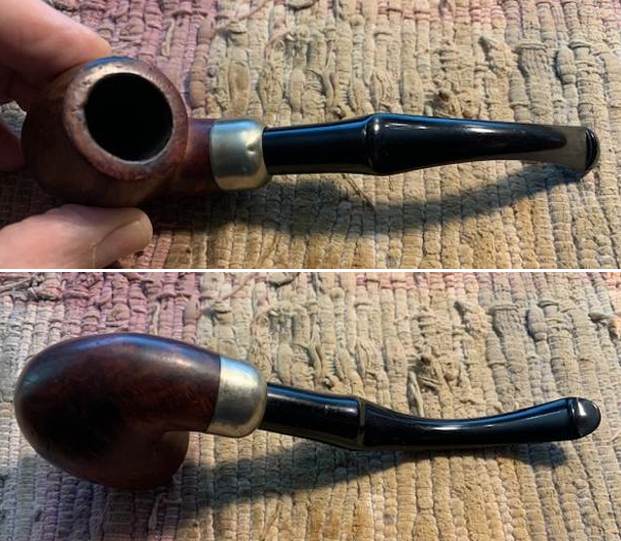
 This Republic Era Ireland Peterson’s System Standard Bent 314 with a Nickel Ferrule and a vulcanite P-lip stem is a great looking pipe now that it has been restored. The beautiful grain that shines through the polished finish is stunning. As the pipe is smoked the patina should develop and look even better. I put the stem back on the bowl and carefully buffed the pipe with Blue Diamond on the buffing wheel. I gave the bowl and the stem multiple coats of carnauba wax on the buffing wheel and followed that by buffing the entire pipe with a clean buffing pad. I hand buffed the pipe with a microfiber cloth to deepen the shine. The finished Peterson’s System Standard 314 Bent Billiard fits nicely in the hand and feels great. Give the finished pipe a look in the photos below. The dimensions of the pipe are Length: 5 ¾ inches, Height: 1 ¾ inches, Outside diameter of the bowl: 1 1/8 inches, Chamber diameter: ¾ of an inch. The weight of the pipe is 44 grams/1.55 ounces. I will be adding the pipe to the Irish Pipe Makers Section of the rebornpipes store. If you are interested in purchasing this pipe send me a message or an email. Thanks for reading this blog and my reflections on the pipe while I worked on it.