Blog by Steve Laug
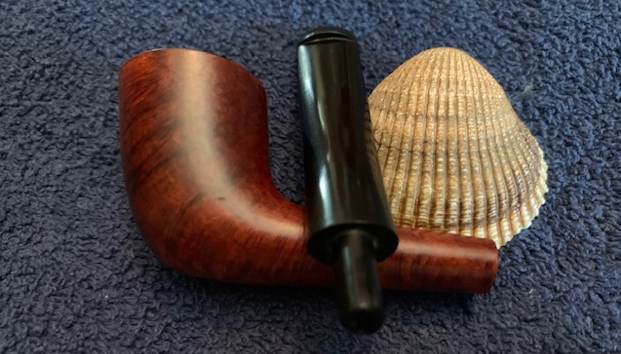
The next pipe I have chosen to work on is a Peterson’s Sterling Prince. This pipe was purchased on 05/25/22 from an antique mall in Portland, Oregon, USA. The grain on the pipe is quite beautiful and follows the flow of the bowl. The bowl heavily caked with a moderate lava overflow on the rim top. The inner edge of the bowl had some damage but also had cake on the edges. The outer edge looked to be in good condition. The finish on the bowl was filthy with grime ground into the surface but the grain shone through. There were some scratches on the top of the shank near the bowl and on the underside of the shank in the middle. The stem was lightly oxidized, calcified and also has tooth marks and chatter on both sides ahead of the button. The pipe was stamped on the topside of the shank and read Peterson’s [over] Deluxe. There does not appear to be any shape number or other stamping on the pipe. It is an interesting pipe that should clean up very well. Jeff took photos of the pipe before he started his clean up work.
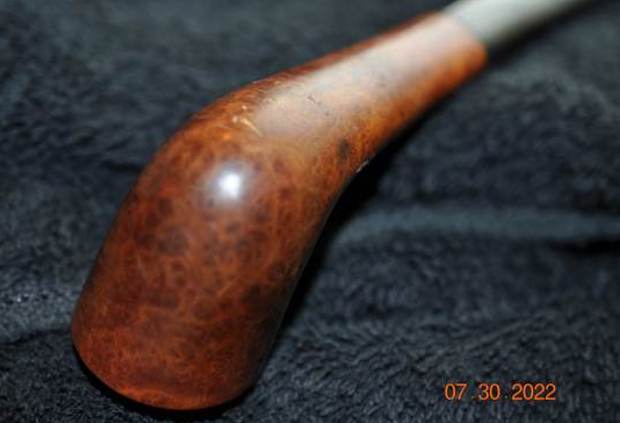
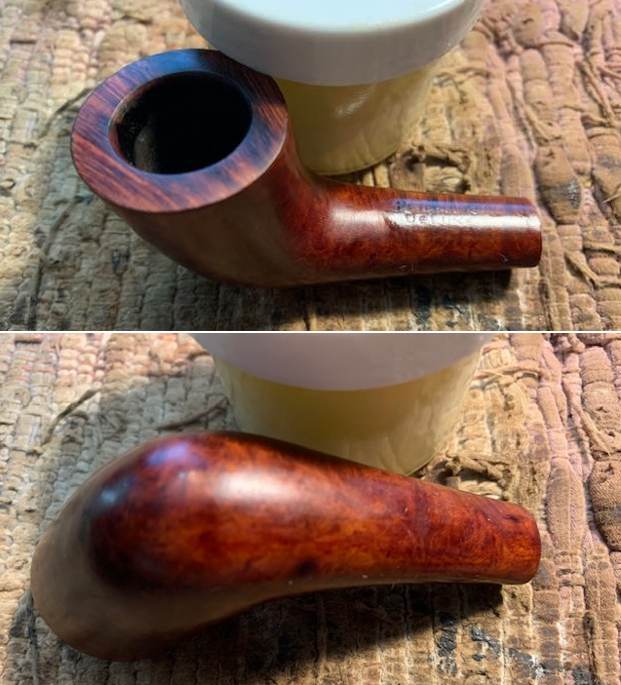
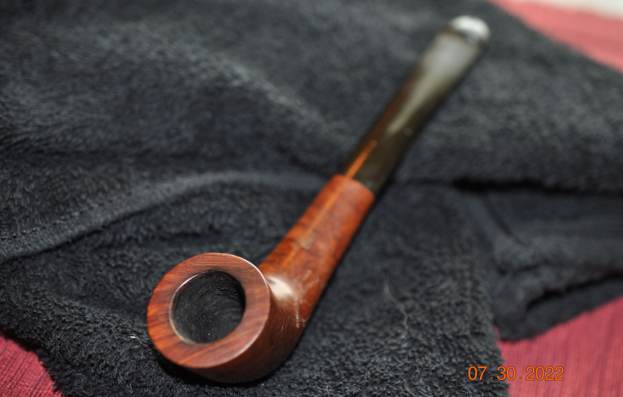 Jeff took photos of the rim top and stem to show the general condition of the pipe. The bowl is caked and the rim top and edges have a light lava overflow on the edges and top of the bowl. The stem is oxidized, calcified and has tooth marks and chatter on the top and underside near the button.
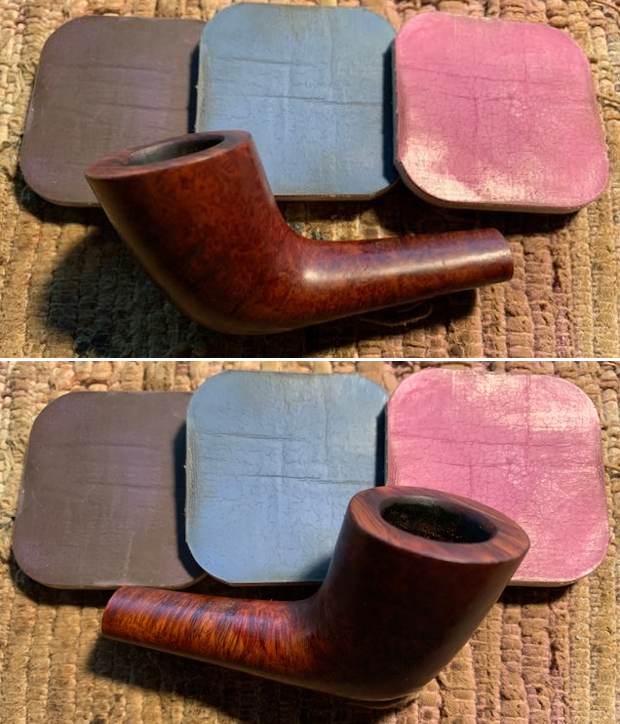
 Jeff took some photos of the bowl sides and heel to show the grain that was around this bowl. It is a nice looking pipe under the grime on the outside of the bowl.
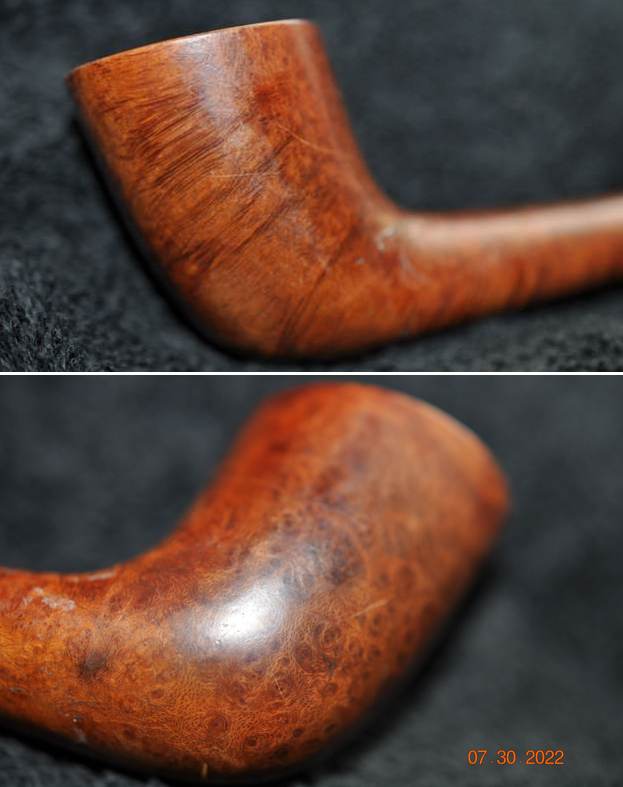
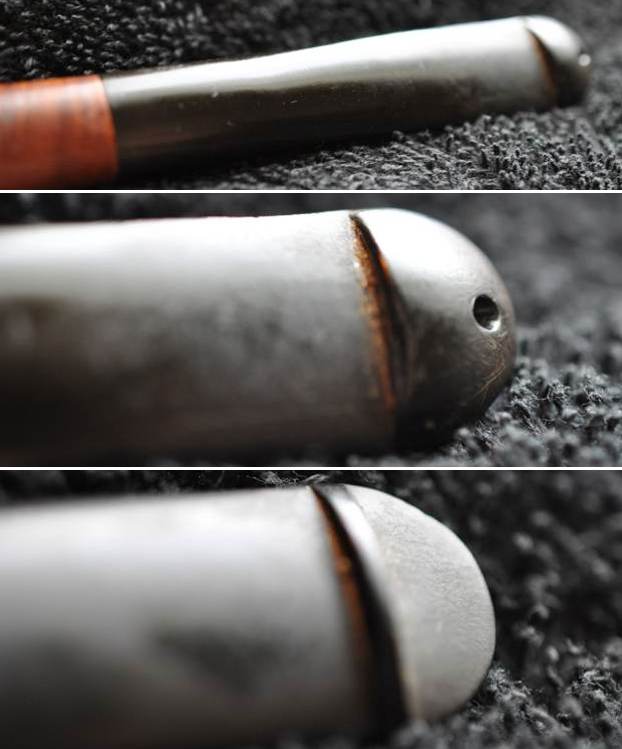
 Jeff took photos of the damage on the top and underside of the bowl and the small scratches/cracks on the top of the shank. The scratches/cracks are not deep but they are visible in close up and with a lens.
 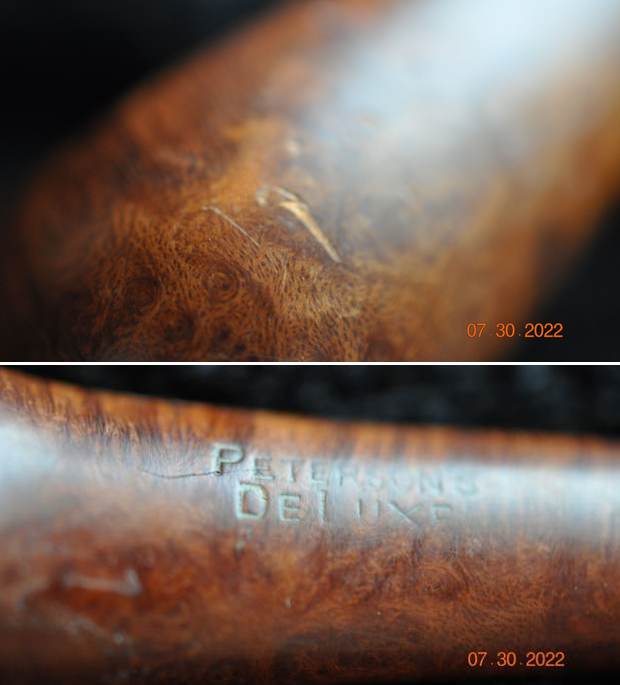 He took a photo of the top side of the shank to show the stamping. It is readable in the photo below and is as noted above. You can also see the line running into the P of the top line. There were also several small lines on the underside of the shank.
 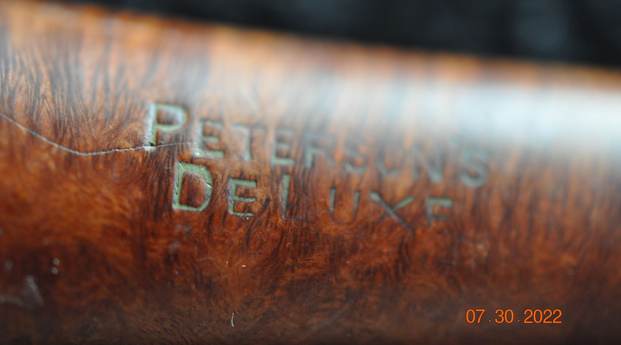 I turned to Pipedia and read an article by Jim Lily called “A Closer Look at the Peterson Deluxe System pipe (https://pipedia.org/wiki/A_Closer_Look_at_The_Peterson_Deluxe_System_Pipe). While the article was focused on the System pipe there was some pertinent information on the Deluxe as a whole. I quote below:
…As far as value and cost is concerned, for the excellent quality finish, these are competitively priced at around $135 to $250 depending on size and briar grade.
For what it is worth, I reckon the Deluxes are probably the best value range of pipes that Peterson produce, both in terms of functionality and value. There is not a thing wrong with these pipes. Those who malign the brand because they’re made by the hundreds using machines, are very wrong, IMHO. I like them a lot and the bang for the buck is the best I’ve ever seen for new pipes of this quality. The Deluxes are all excellent smokers.
I then turned to the general history article on Pipedia (https://pipedia.org/wiki/Peterson). Below, I quote one section that refers to the hierarchy of the brand.
…Peterson initially graded their mass -produced System pipes, i.e., regular catalogue pipes (in descending order) “Deluxe,” “First Quality,” “0” grade, “2nd grade,” and “3rd grade.”
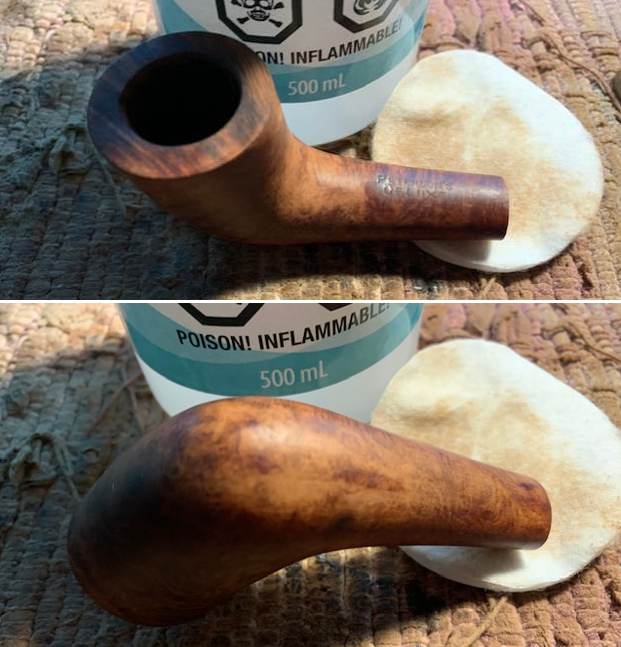
Now, on to the restoration of this beautifully grained Peterson’s Deluxe Zulu. Jeff had done a great job cleaning up the pipe as usual. He reamed the pipe with a PipNet reamer and cut back the cake back to the bare briar. He cleaned up the walls with a Savinelli Fitsall Pipe Knife. He scrubbed the interior of the bowl and shank with pipe cleaners, cotton swabs and alcohol to remove the tars and oils. He scrubbed the exterior of the pipe with Murphy’s Oil Soap and a tooth brush to remove the grime from the finish. He worked on the rim top lava and darkening with the soap and tooth brush. He scrubbed the inside of the stem with alcohol and pipe cleaners. He scrubbed the exterior with Soft Scrub and then soaked it in Before & After Deoxidizer. He washed it off with warm water to remove the Deoxidizer. The pipe looked far better when it arrived. 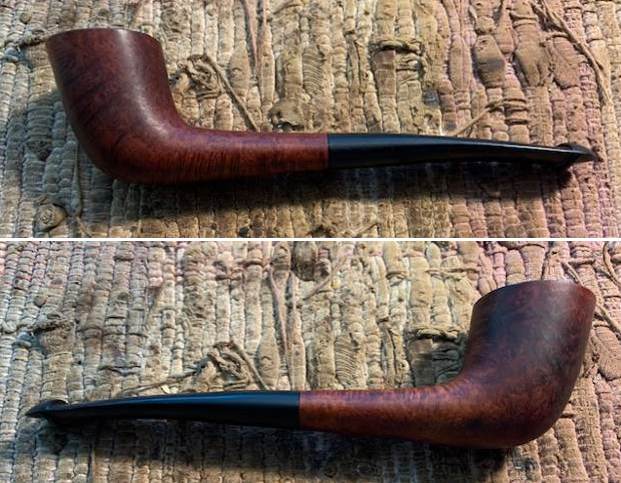
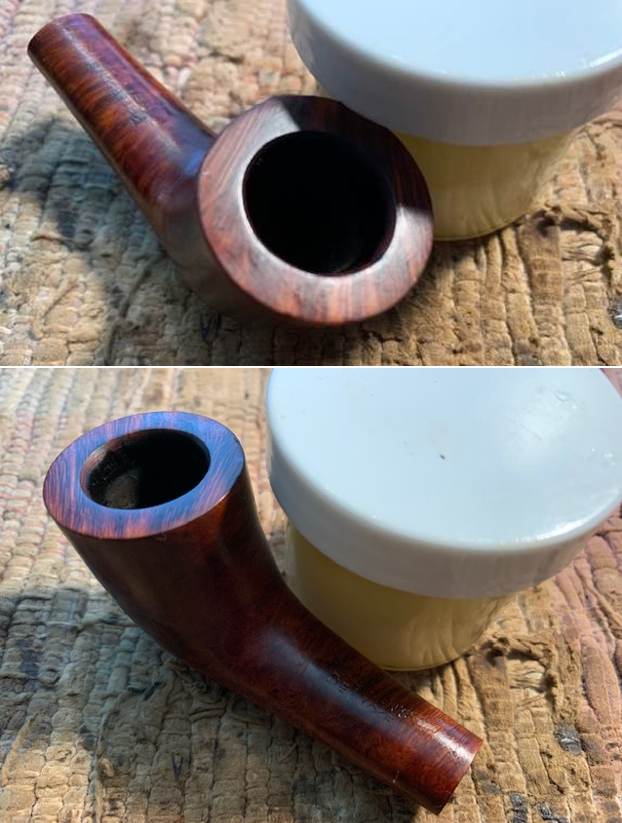
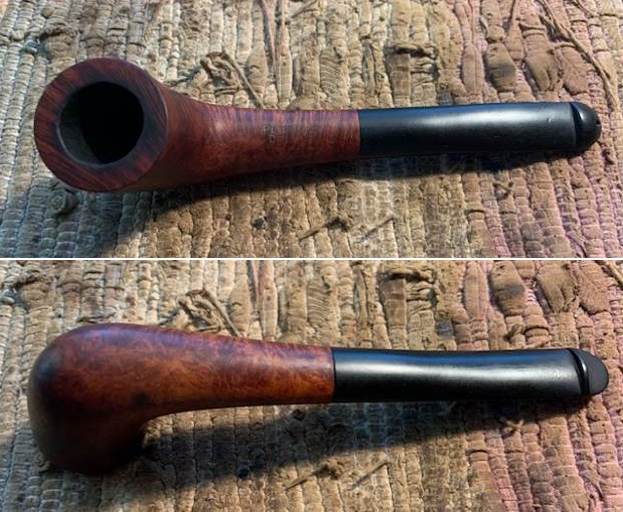 I took some close up photos of the rim top and also of the stem surface. I wanted to show how well it had cleaned up. The rim top had some darkening and there was some damage on the inner edge with burn damage and some darkening that was heavier on the front edge of the bowl. I also took close up photos of the stem to show the tooth marks and chatter on the surface near the button.
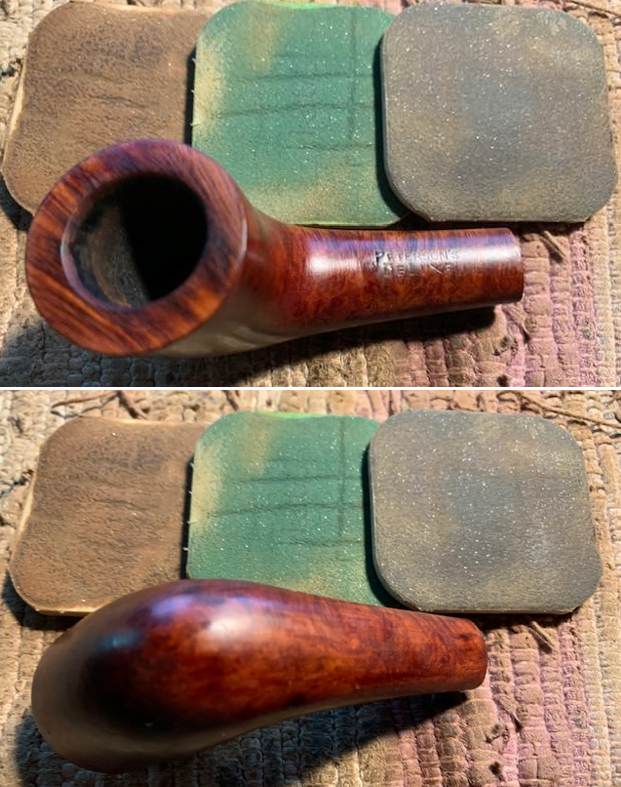
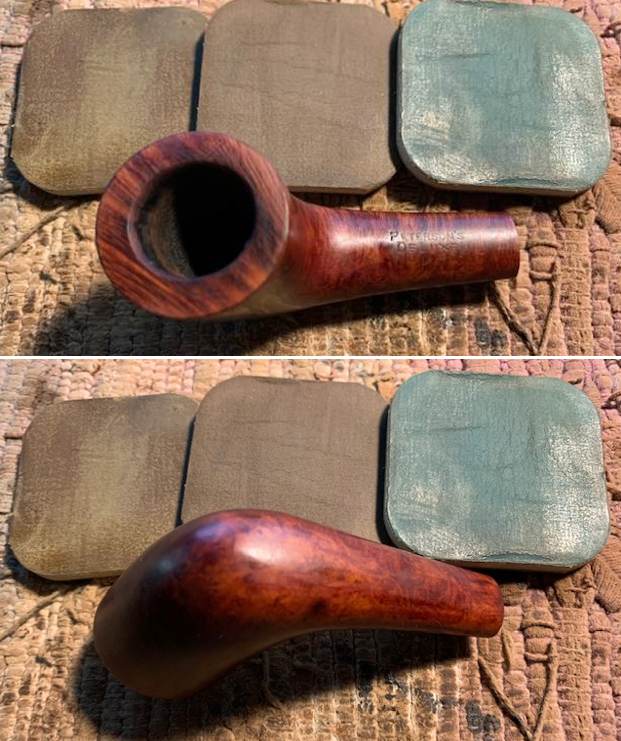
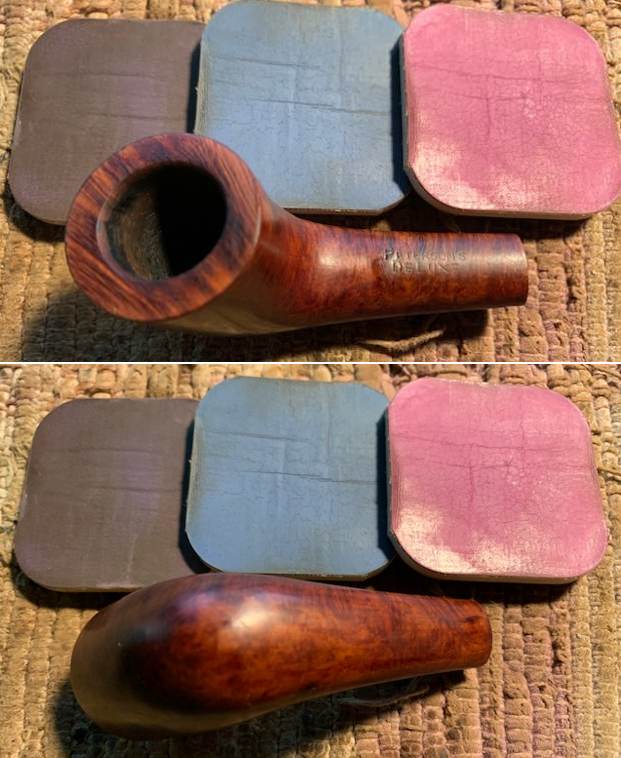
 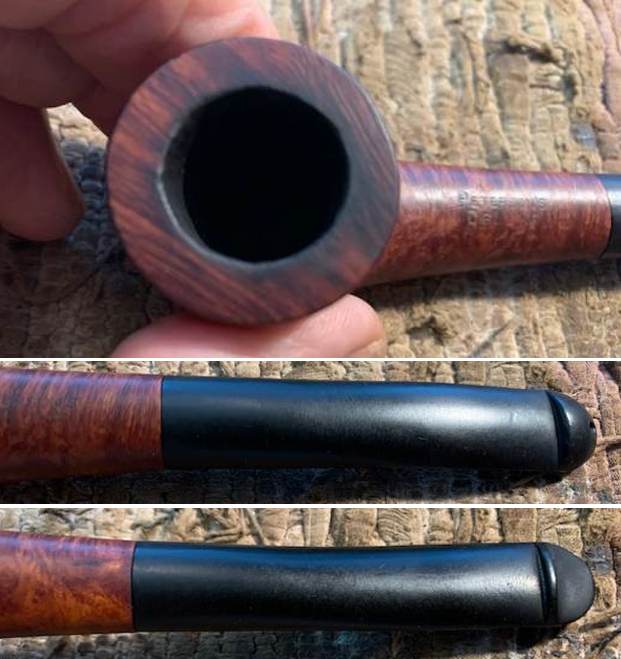 I took photos of the stamping on sides of the shank. You can see that it is stamped as noted above and is clear and readable. The stamping on the band is also visible.
 I took the pipe apart and took a photo of the pipe. It is a good looking pipe and has nice mixed grain around the bowl.
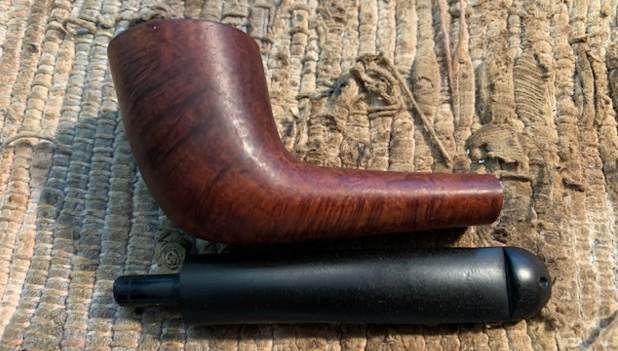 There were a series of small scratches/cracks on the top and underside of the of the shank. The cracks are not deep but they are visible in close up and with a lens. I cleaned off the areas on the underside and the top side at the curve of the bowl and shank with some isopropyl alcohol. I smeared the surface of the cracks with clear CA glue and spread it into the cracks with a dental spatula. I set it aside to dry.
 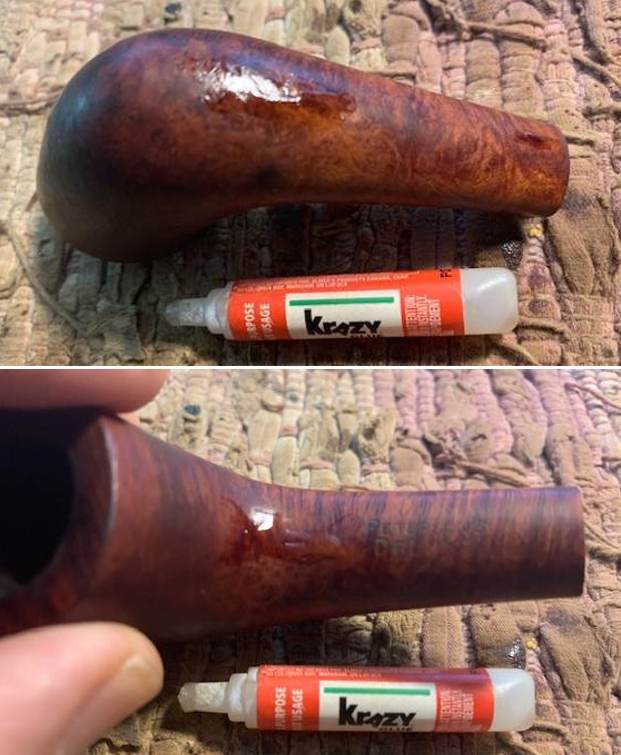 Once the repairs cured I sanded the repaired surface with 220 grit sandpaper until the surface is smooth and the repairs blended in.
 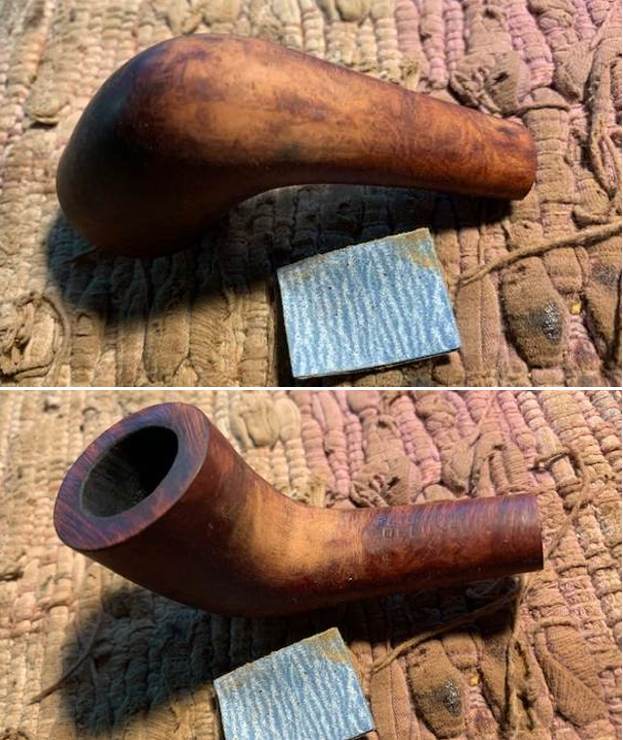 I used the sandpaper to also smooth out the inner edge of the rim top and bowl. I sanded the rim top at the same time. The bowl edge and rim top looked significantly better.
 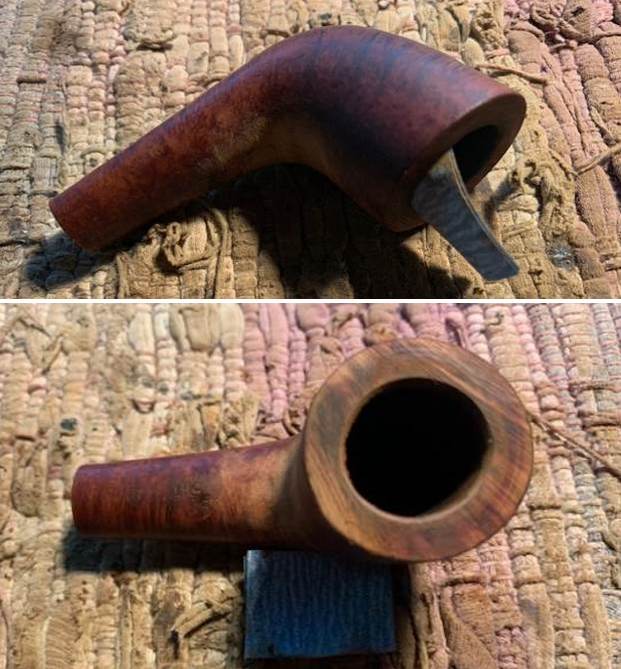 With the sanding finished I wiped the bowl down with isopropyl alcohol on a cotton pad to remove the darkening and mixed stain around the bowl sides and rim top.
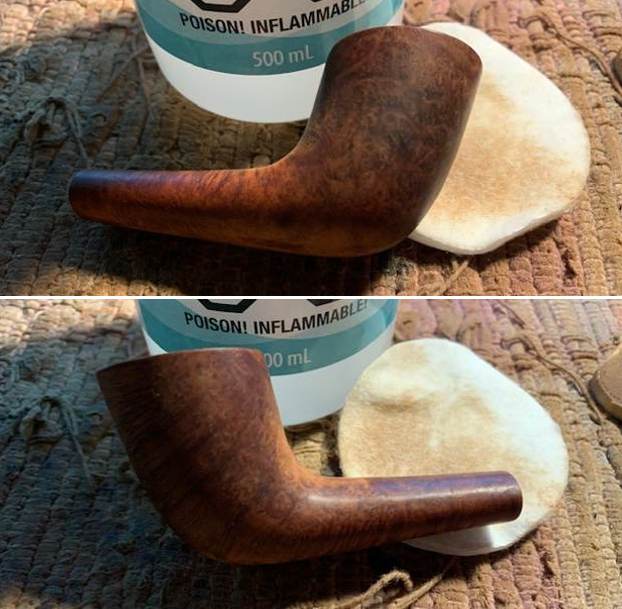
 I used Maple Stain Pen to restain the sanded areas of the shank (top and bottom) and the rim top. It matched the stain on the pipe quite well and would look even better once I buffed it.
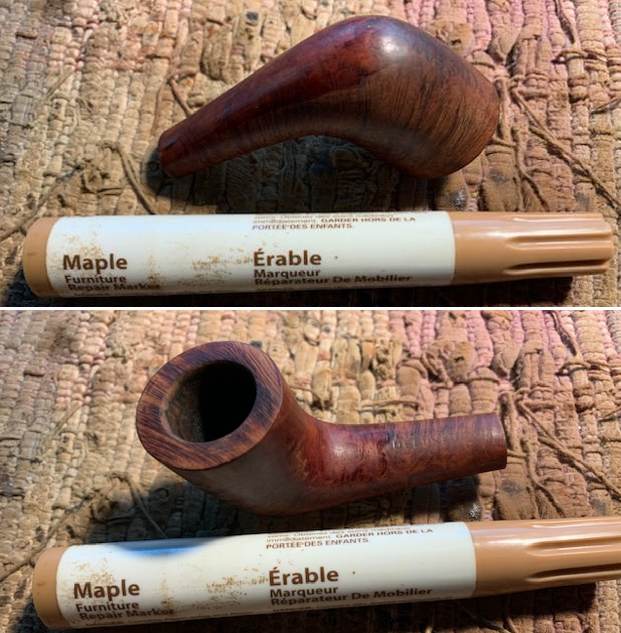 I polished the briar with micromesh sanding pads – dry sanding with 1500-12000 grit pads. I wiped it down after each sanding pad with a damp cloth to remove the sanding dust and debris left behind by the sanding. The briar took on a deep shine and the sanded portions blended in very well with the rest of the bowl.
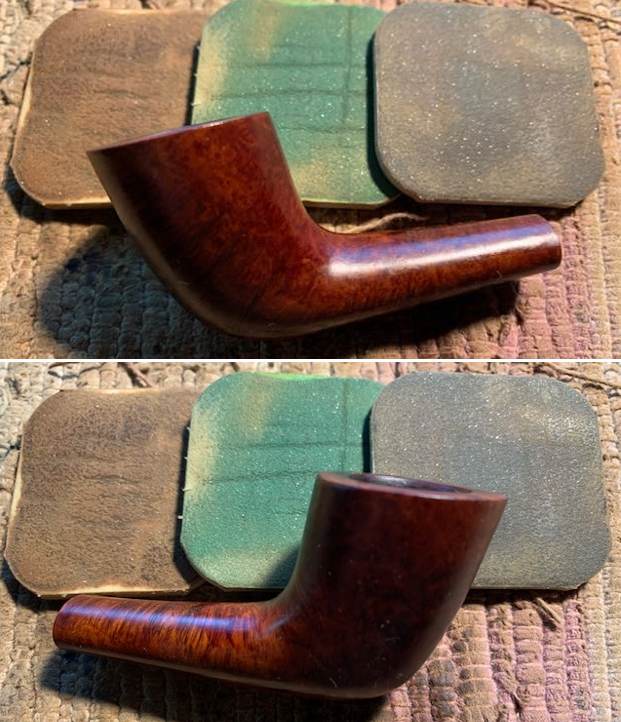
 I rubbed the bowl down with Before & After Restoration Balm. I worked it into the surface of the briar with my fingertips to clean, enliven and protect it. I let the balm sit for 15 minutes and then buffed with a cotton cloth to raise the shine. Mark Hoover’s Balm is a product that I have come to appreciate and one I use on every pipe I have been working on.
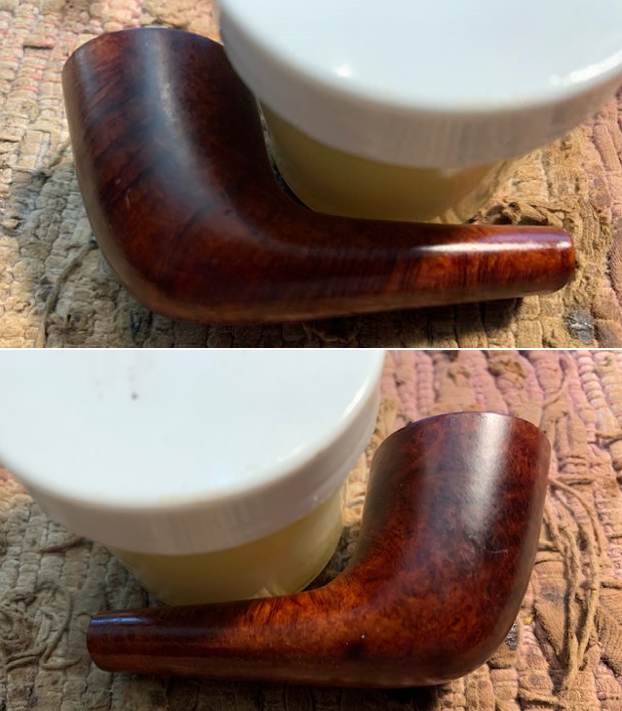
 I set the bowl aside and turned my attention to the stem. I sanded the tooth marks and chatter on both sides of the stem with 220 grit sandpaper. I started polishing the stem with 400 grit wet dry sandpaper.
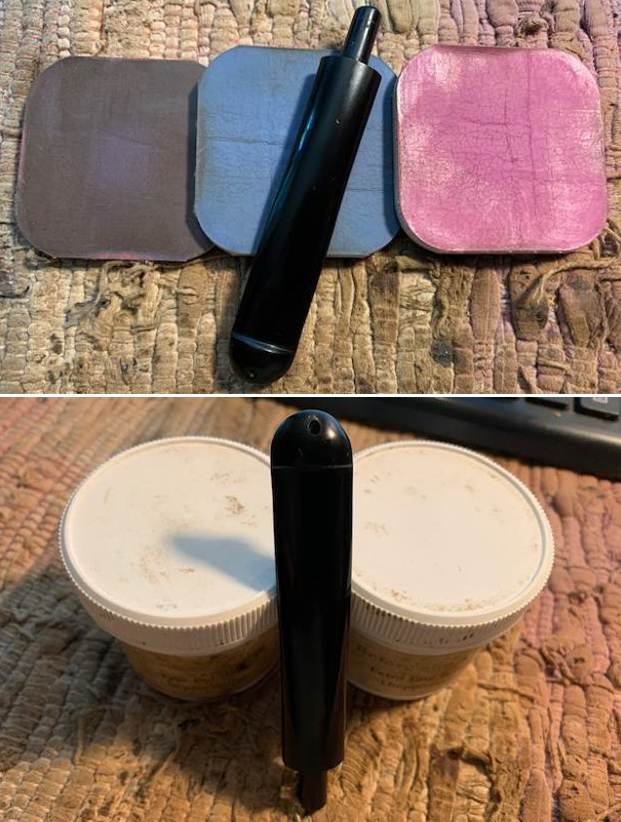
 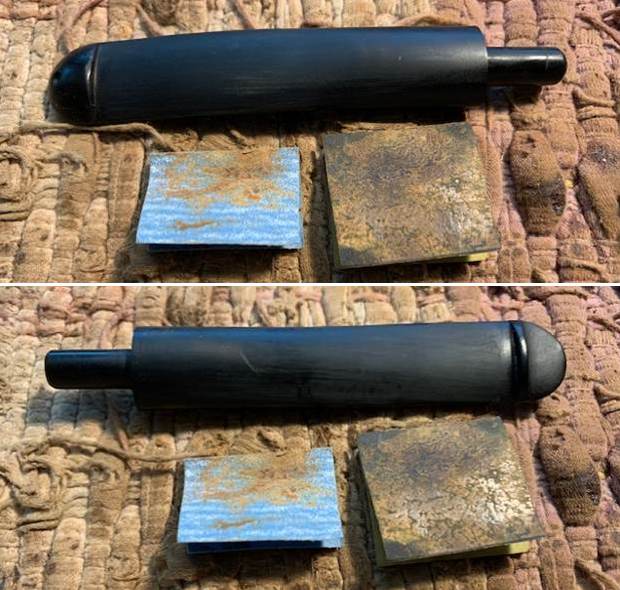 I polished the stem with micromesh sanding pads – sanding it with 1500-12000 grit pads. I wiped the stem down after each sanding pad with Obsidian Oil. I polished it with Before & After Pipe Stem Polish – both Fine and Extra Fine. Once I had finished the polishing I gave it final coat of oil and set it aside to dry.
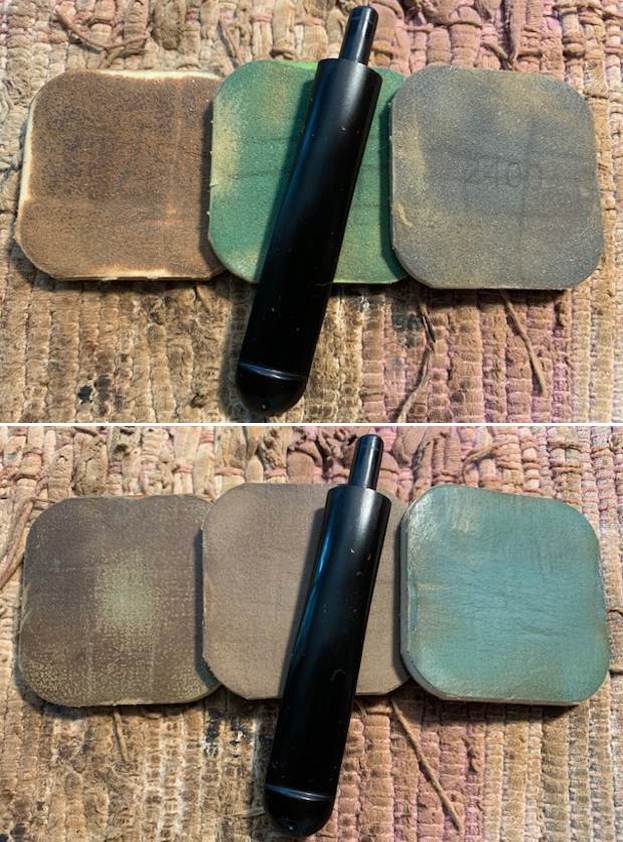
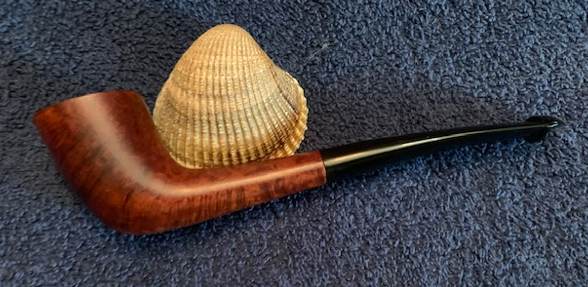
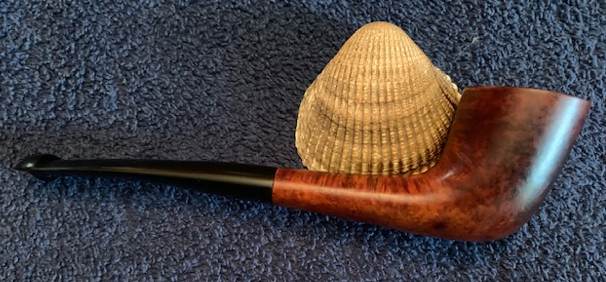
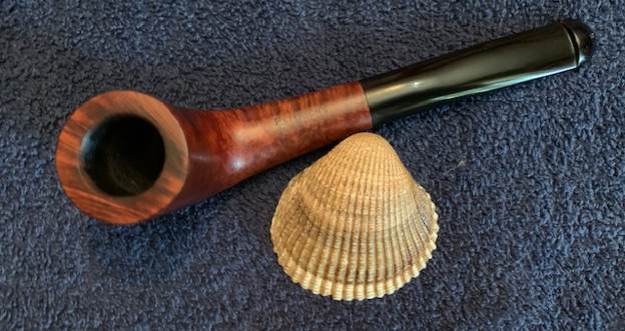
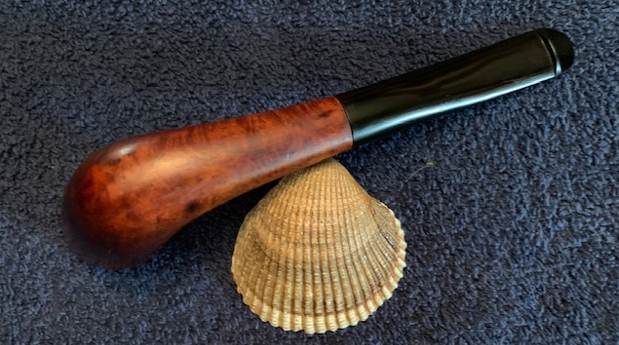
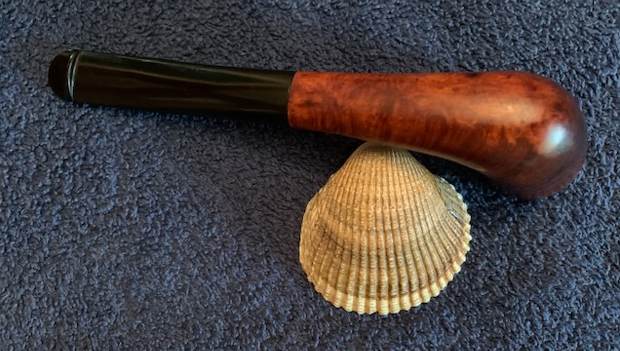
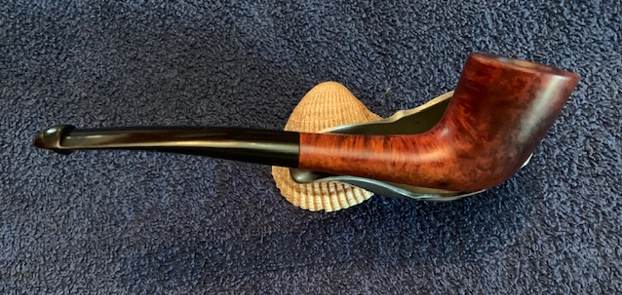
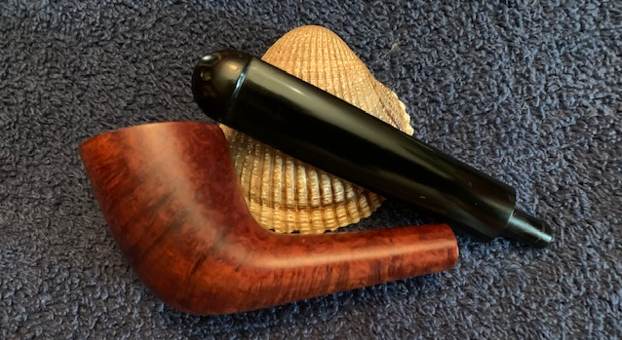
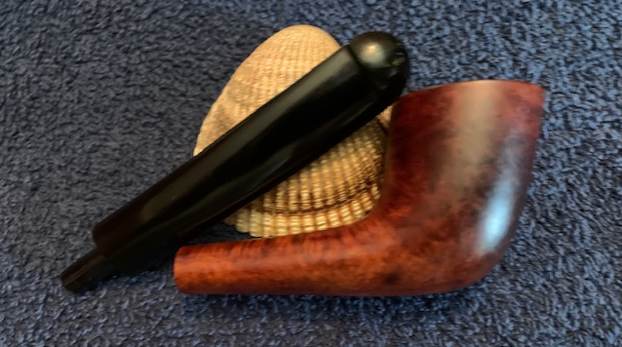
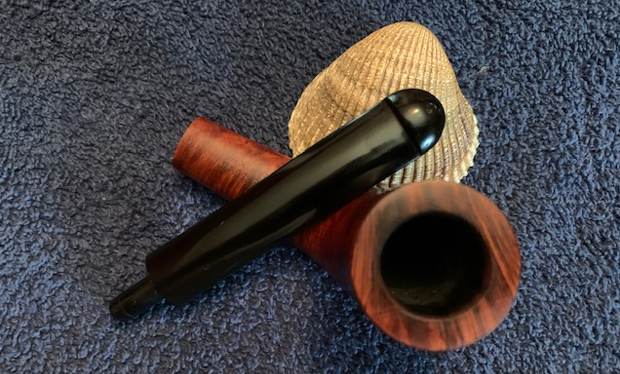
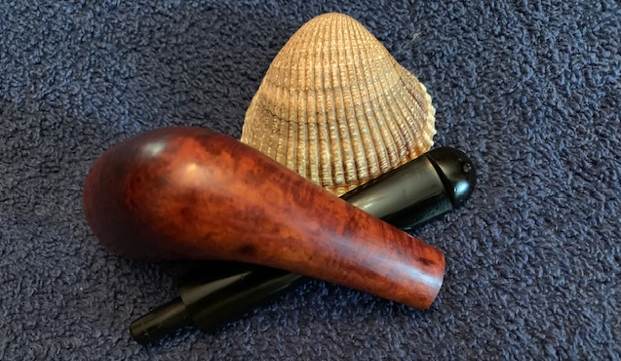
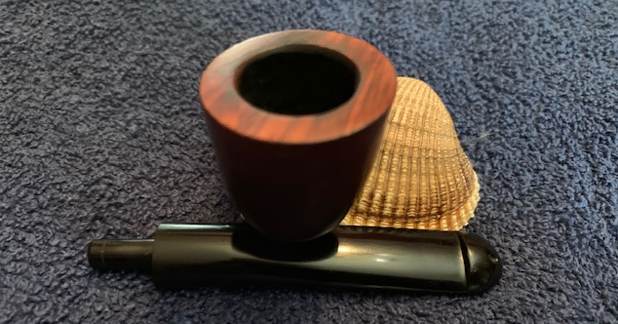
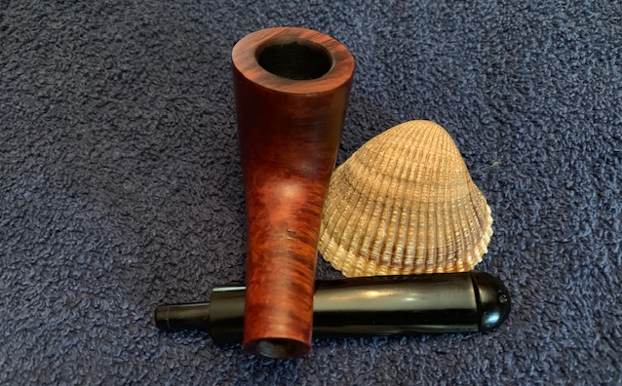
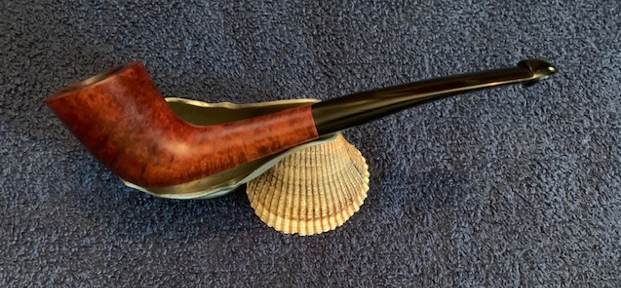
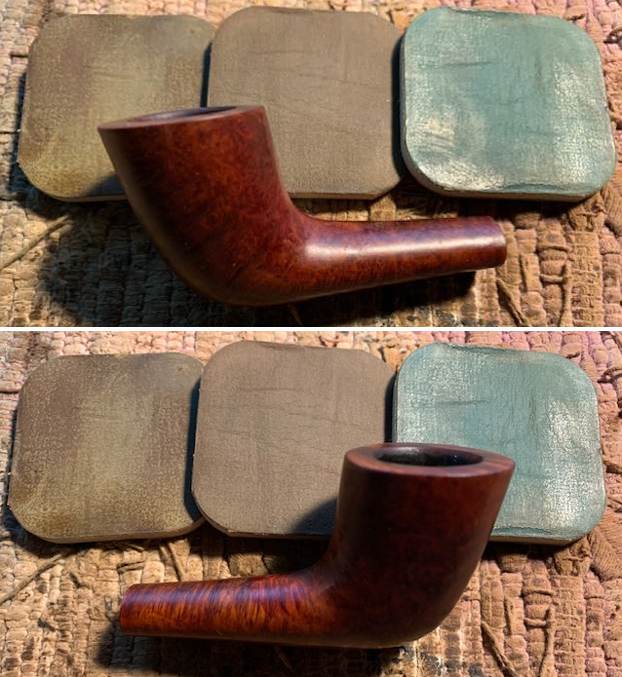
 As usual at this point in the restoration process I am excited to be on the homestretch. I look forward to the final look when it is put back together, polished and waxed. I put the Peterson’s Deluxe Zulu back together. I polished the bowl and stem with Blue Diamond to polish out the scratches in the briar and the vulcanite. I gave the bowl and the stem multiple coats of carnauba wax. I buffed the pipe with a clean buffing pad to raise the shine. I hand buffed it with a microfiber cloth to deepen the shine. The grain really pops with the wax and polish. The shiny black vulcanite stem is a beautiful contrast to the browns of the bowl. This Peterson’s Deluxe was a great pipe to spruce up. It is a very comfortable pipe to hold in the hand. The finished pipe is shown in the photos below. The dimensions of the pipe are Length: 6 inches, Height: 1 ¾ inches, Outside diameter of the bowl: 1 ¼ inches, Chamber diameter: ¾ of an inch. The weight of the pipe is 28 grams/.99 ounces. This pipe will be going on the rebornpipes store in the Irish Pipe Makers Section if you would like to add it to your collection and be the first to smoke it. Thanks for reading this blog and my reflections on the pipe while I worked on it. This is an interesting estate to bring back to life.