by Steve Laug
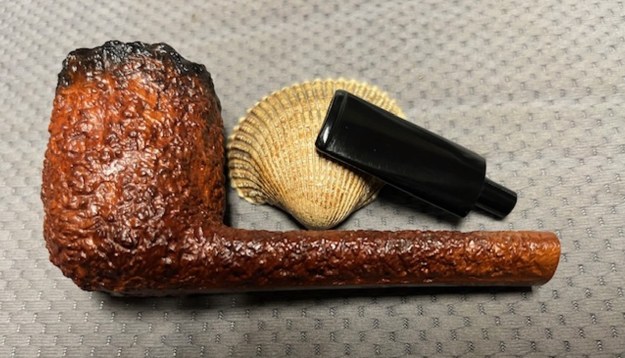
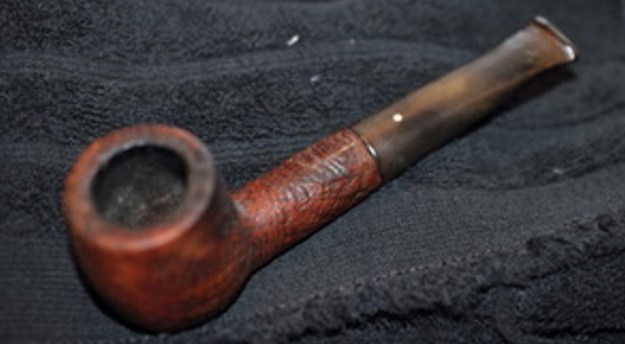
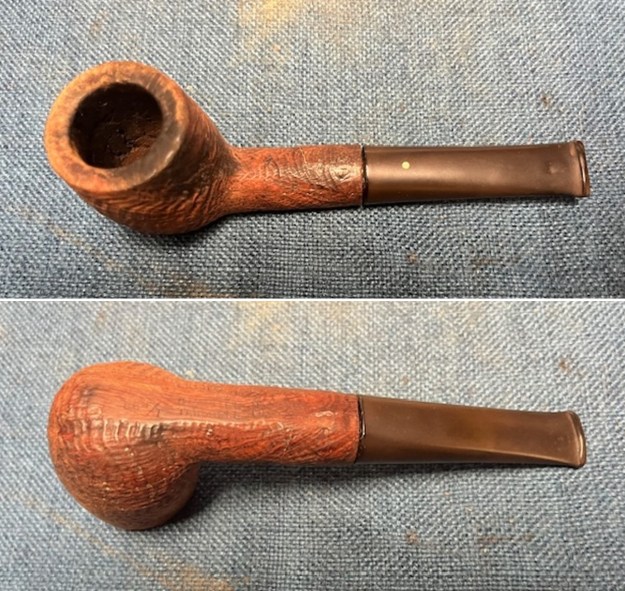
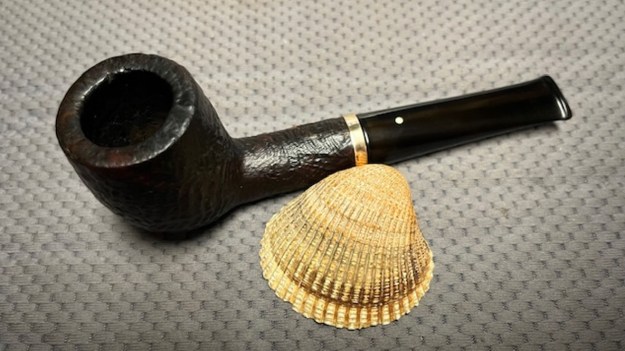
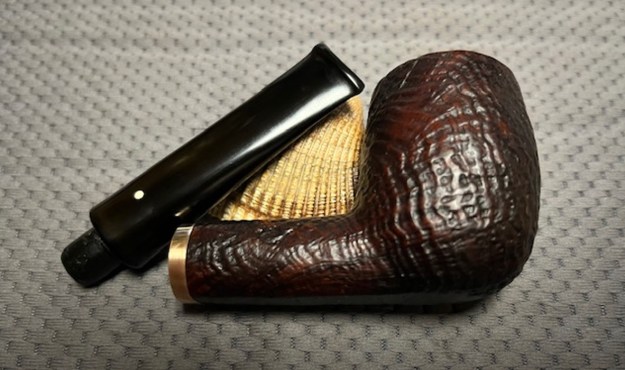
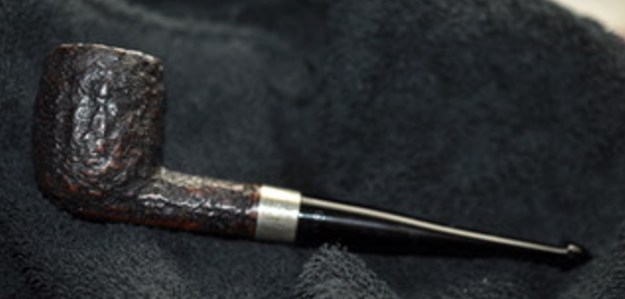
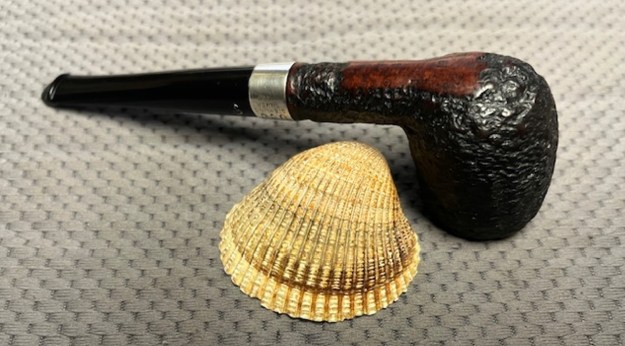
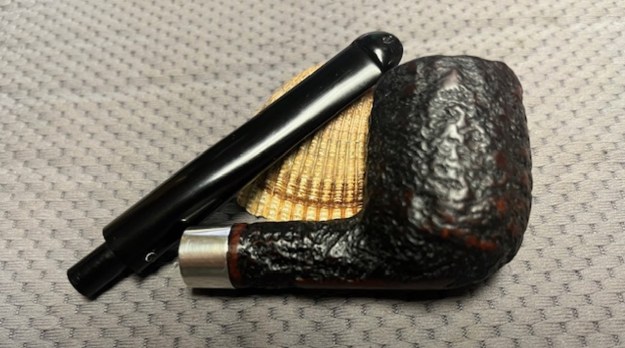
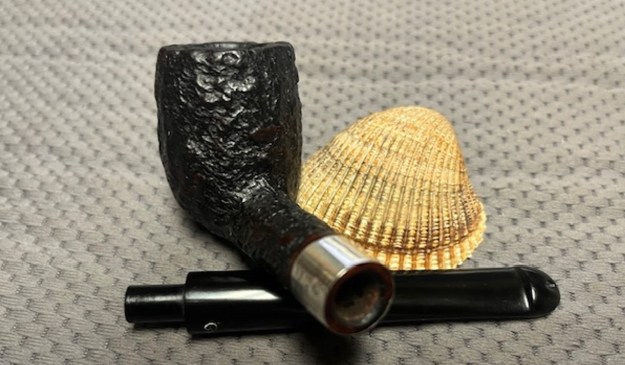
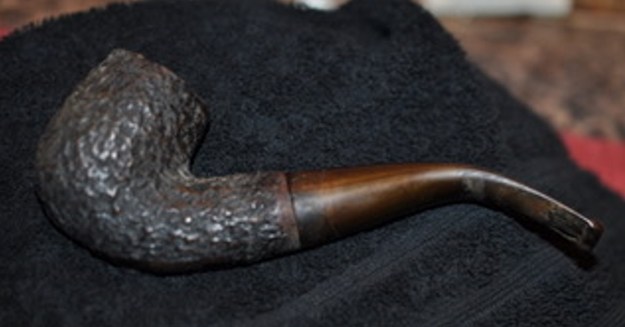
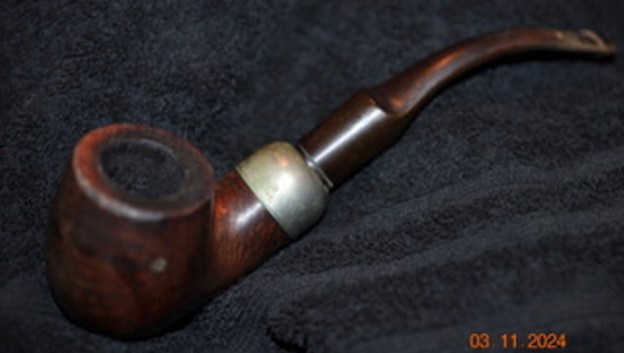
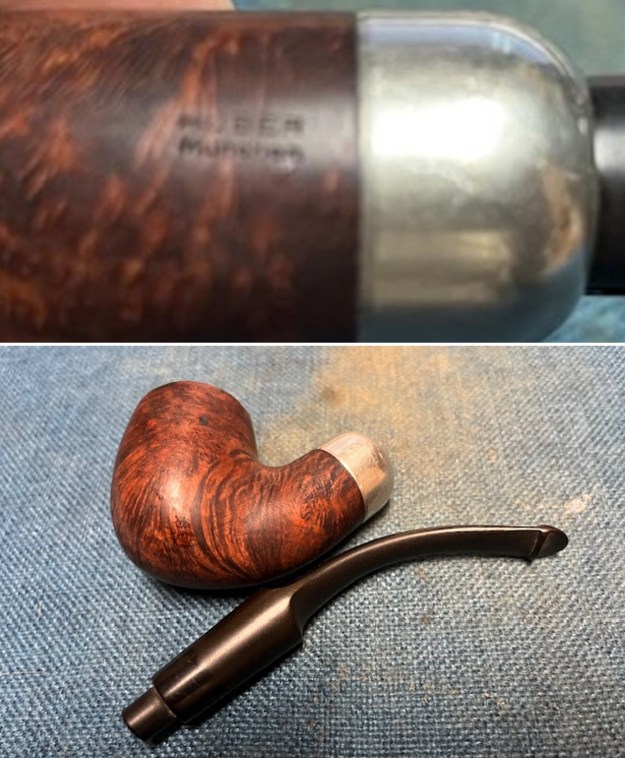
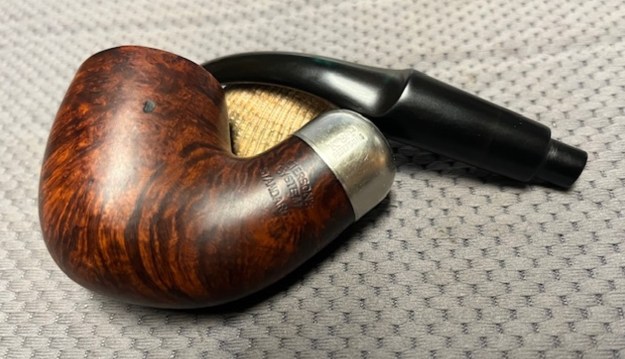
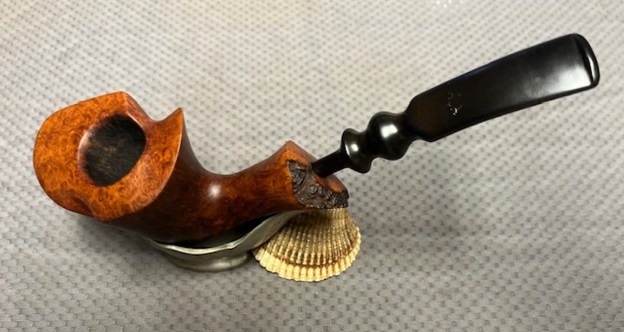
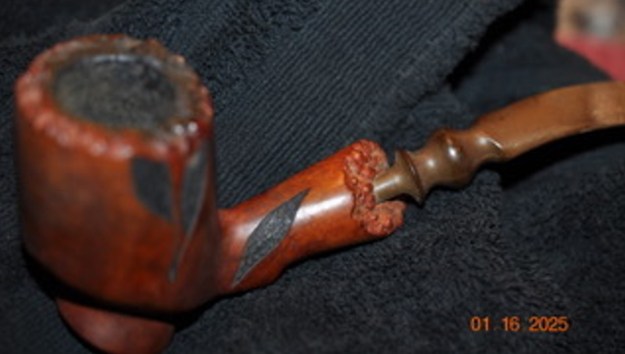
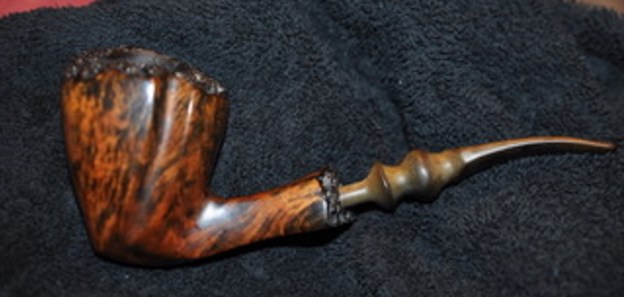
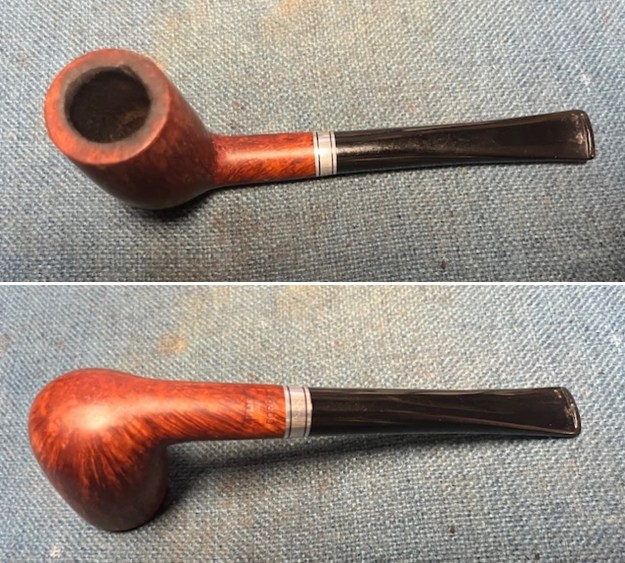
It is a beautiful chilly day in Vancouver without rain so I decided to go to the basement and work on another pipe that was purchased on 02/16/2023 in a lot of pipes that came to us from a seller in Copenhagen, Denmark. It included a group of Danish Made Stanwell pipes that are quite beautiful. The grain around the bowl and shank of this Stack has a mix of birdseye, straight and flame grain. The pipe is stamped on the underside of the shank and reads STANWELL [over] Made in Denmark [over] Dorado. On the right side of the shank it is stamped with the shape number 175. The pipe was dirty when Jeff received it. There was dust and grime ground into the finish. It is finished in the warm stain that highlights some nice grain around the bowl and shank. The bowl was heavily caked and there was some darkening and lava on the rim top. The inner edge shows some damage and darkening around the bowl. There was a ferrule on the end of the shank with two think black lines around the band. The stem is acrylic and is dirty with light tooth marks and chatter on both sides ahead of the button and on the button itself. There is no logo on the sides or top of the taper stem. Jeff took photos of the pipe before he started his clean up work on it.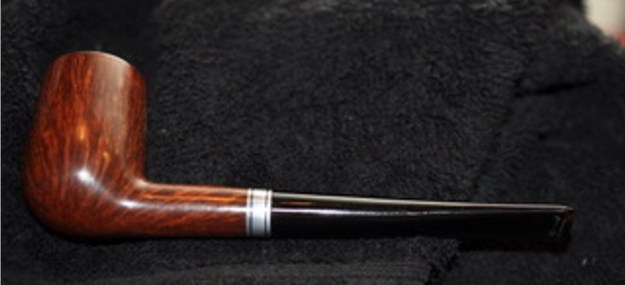
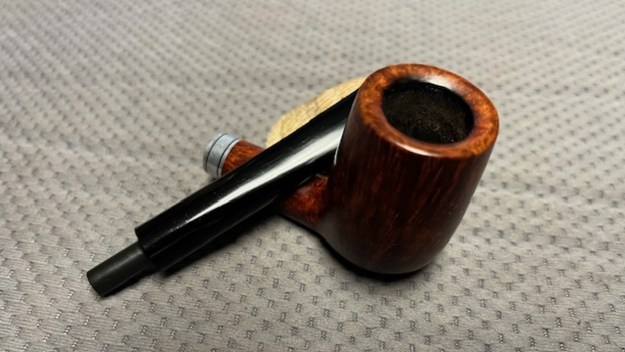
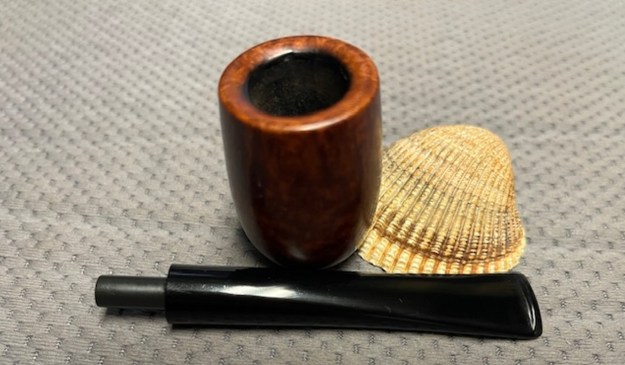
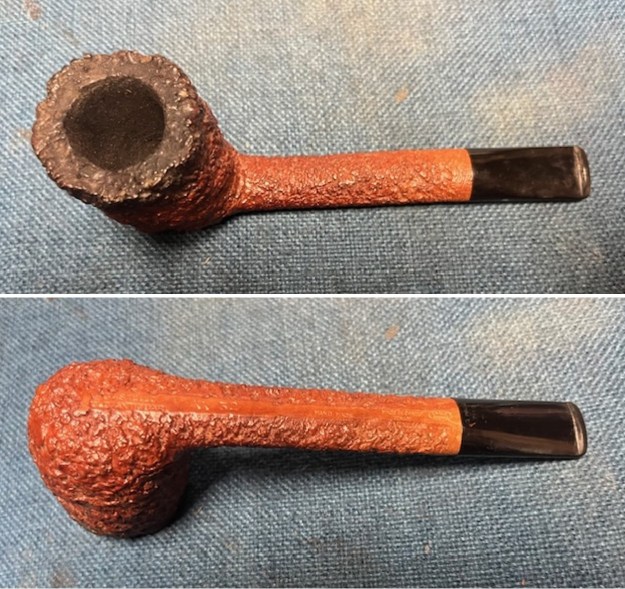
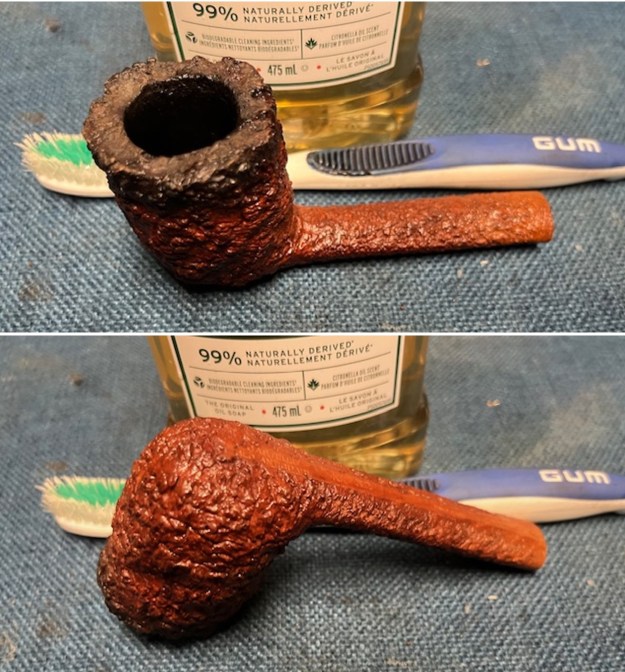
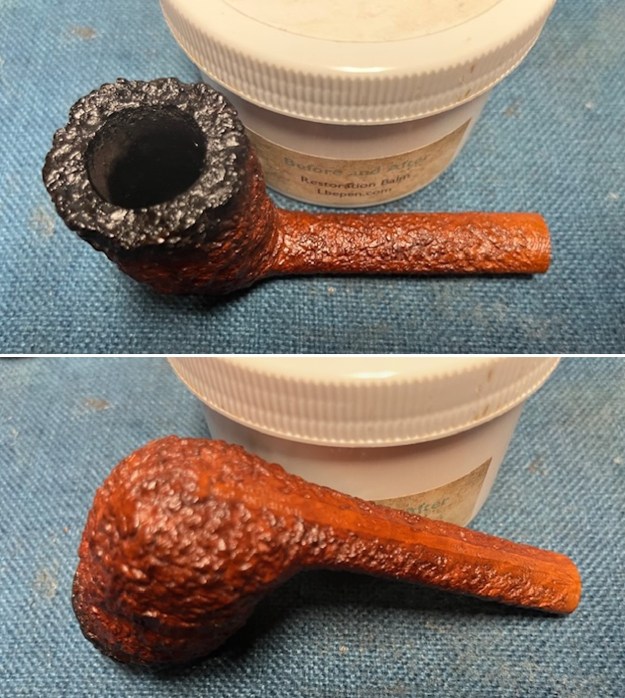
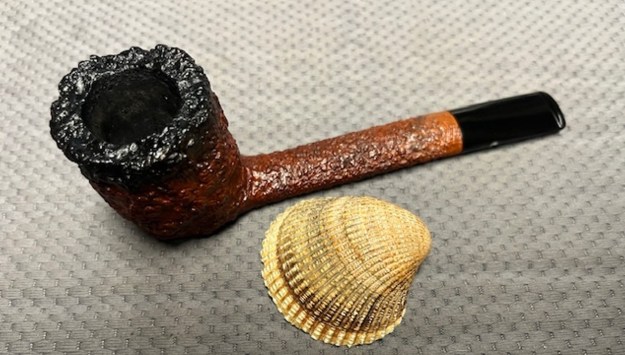
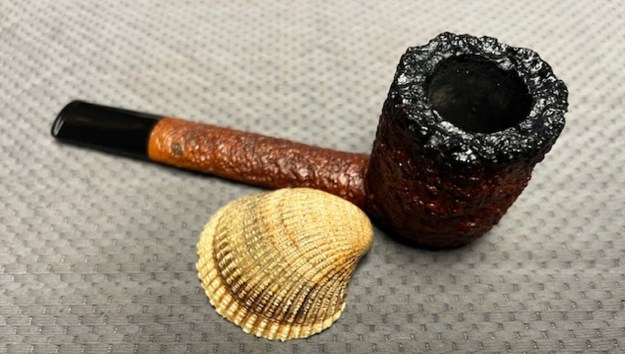
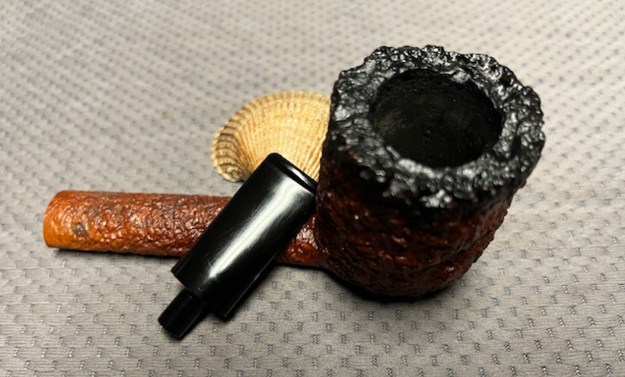
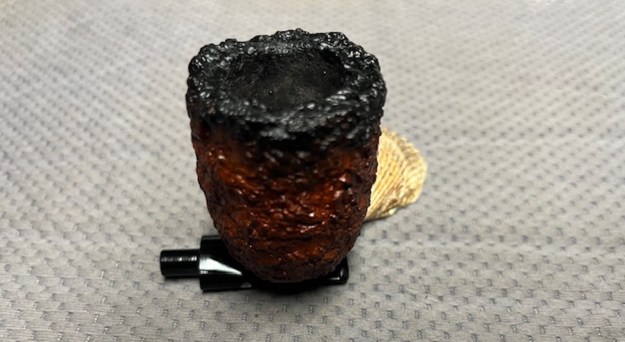
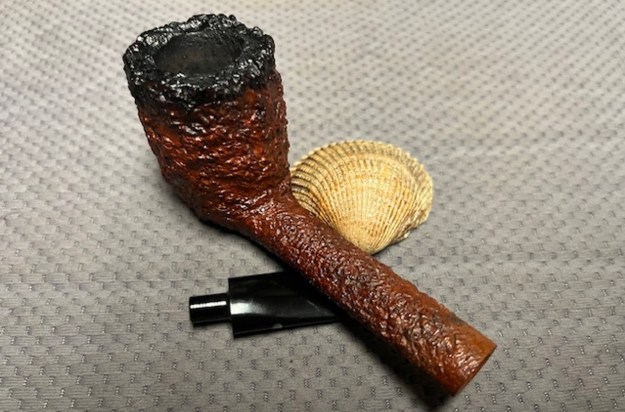
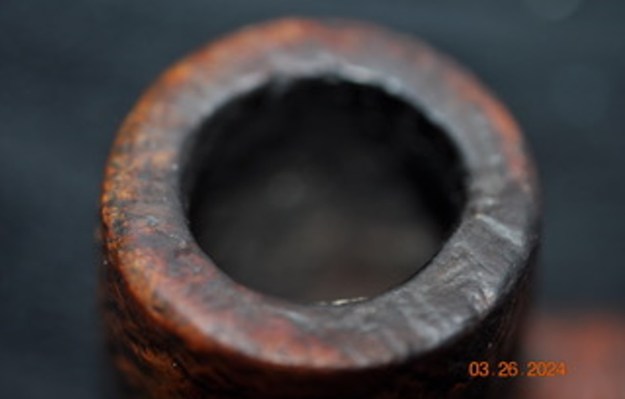
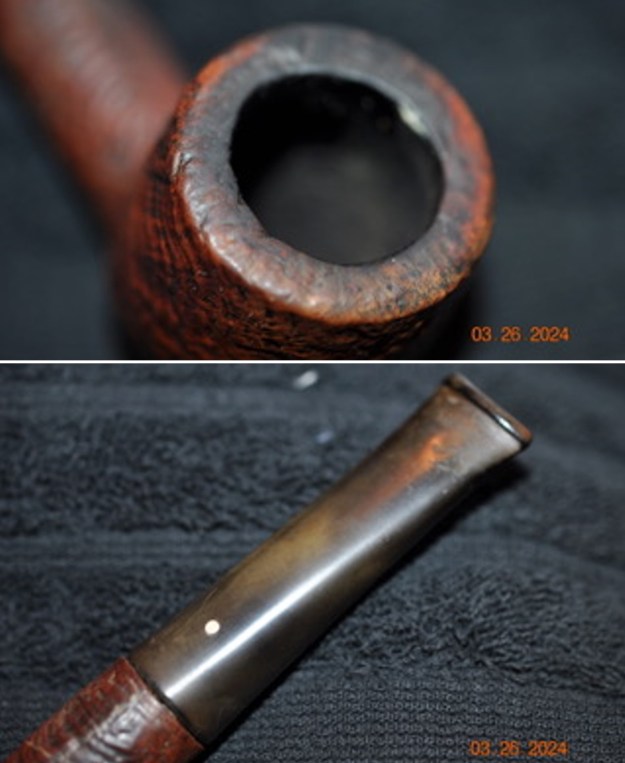
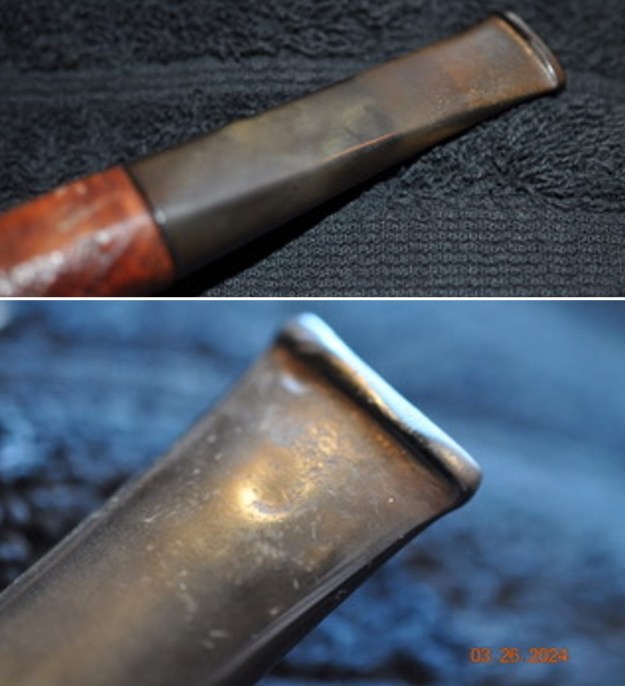
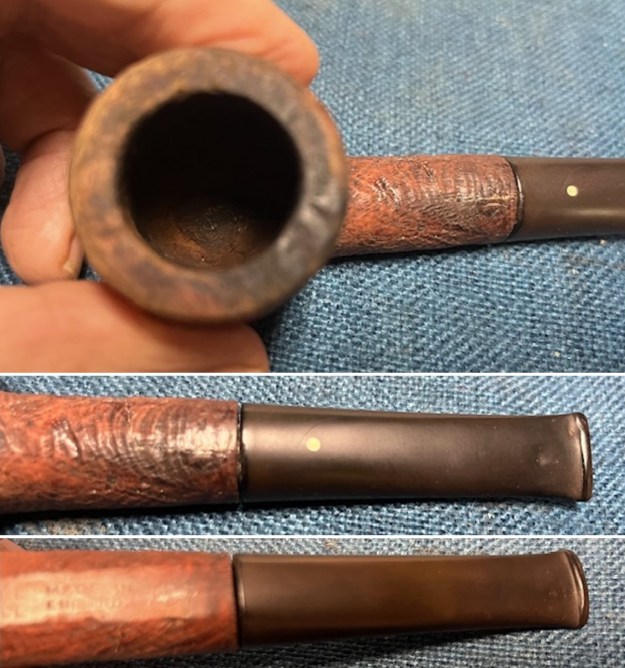
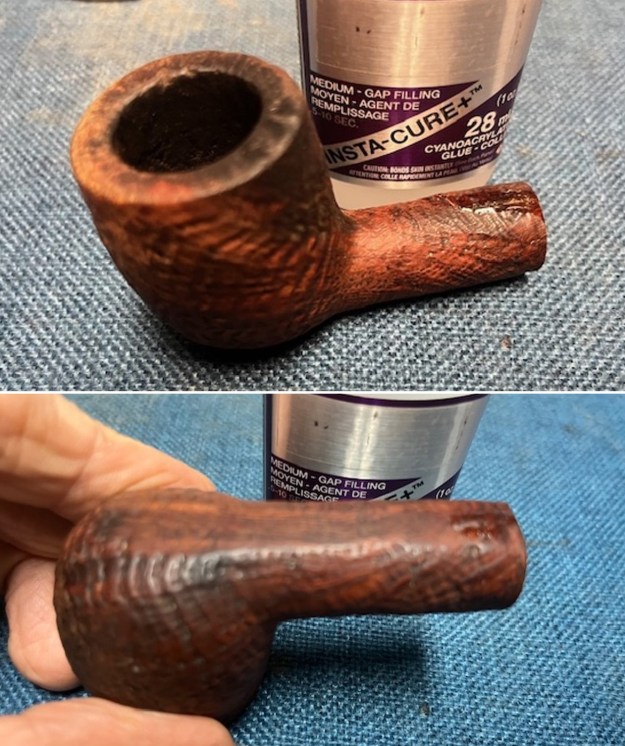
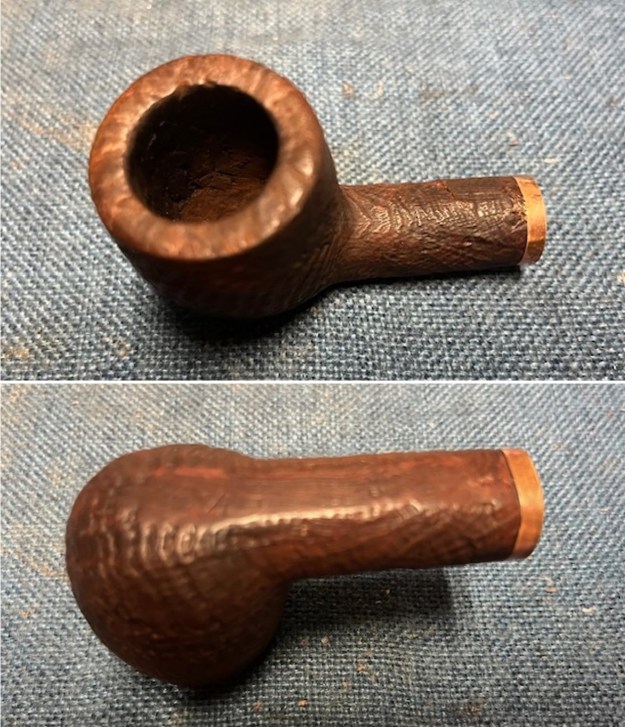
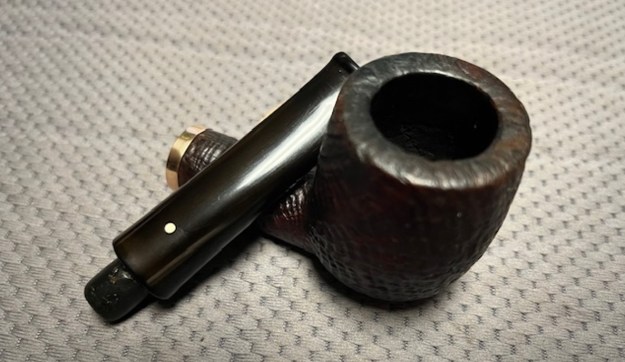
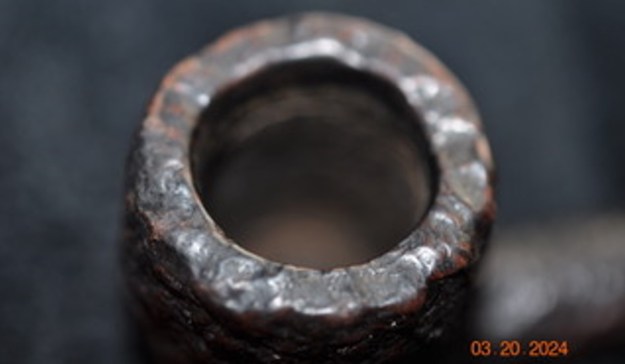
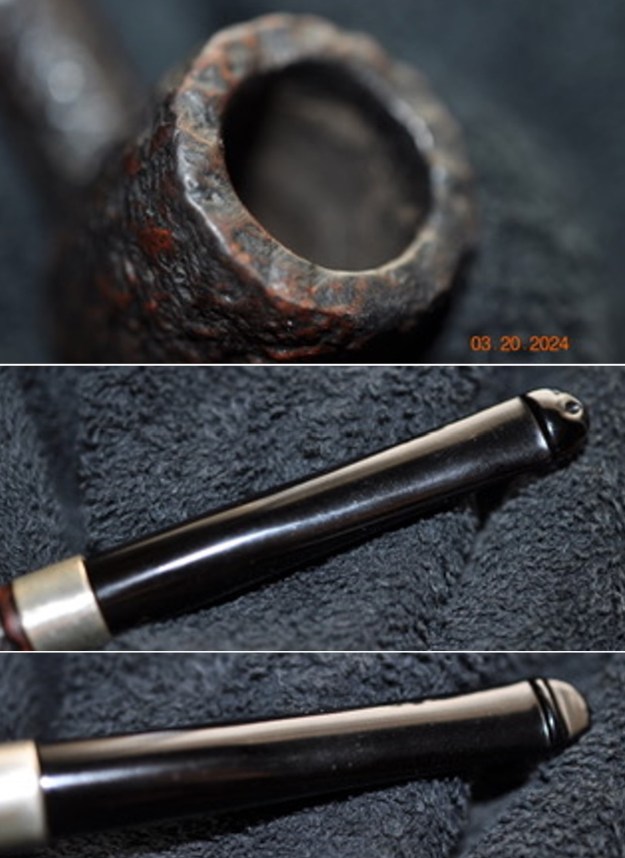
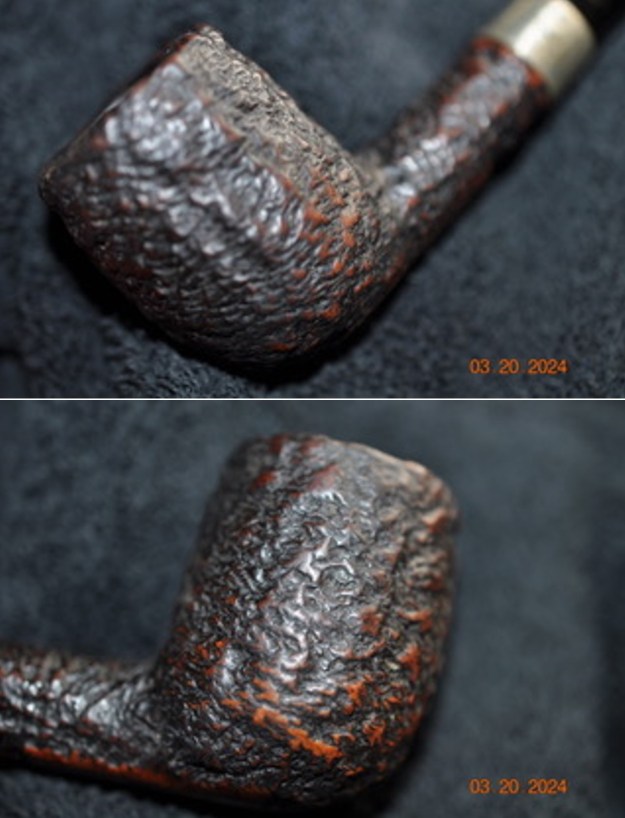
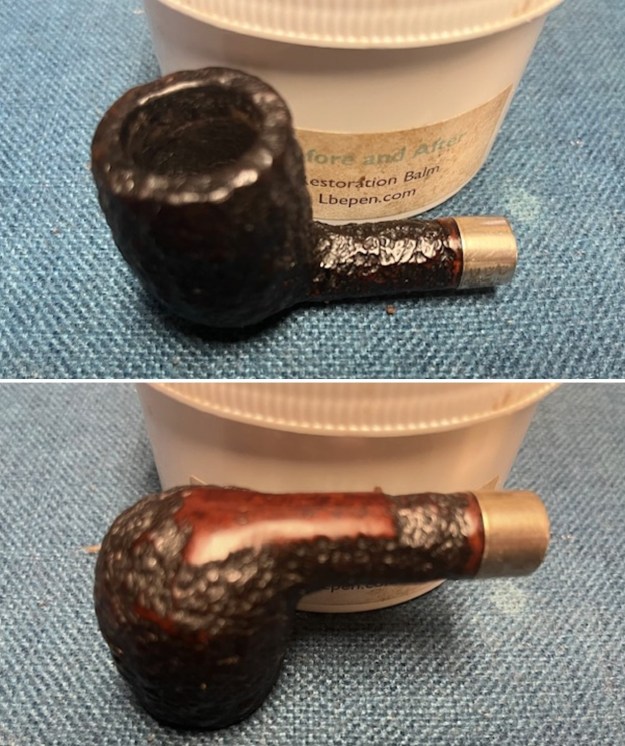
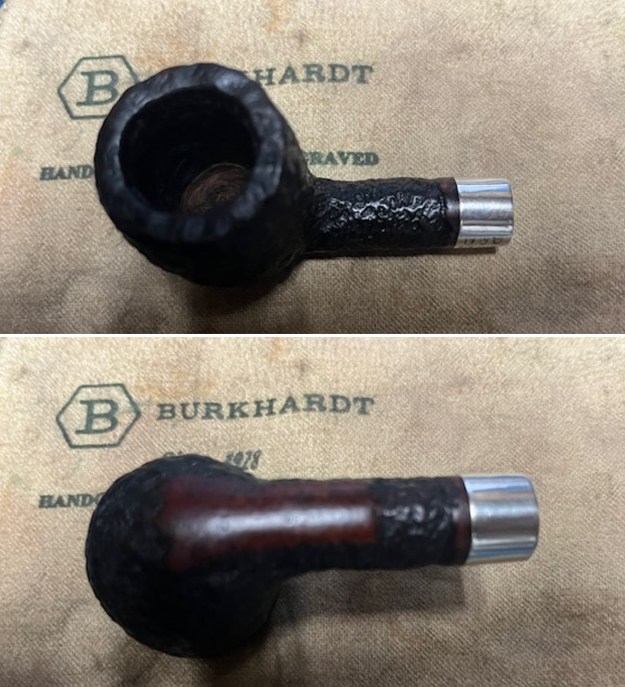
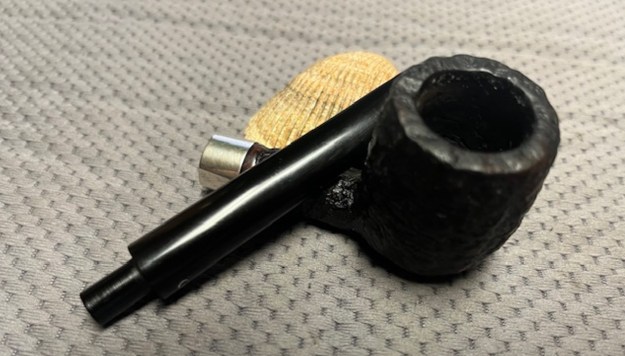
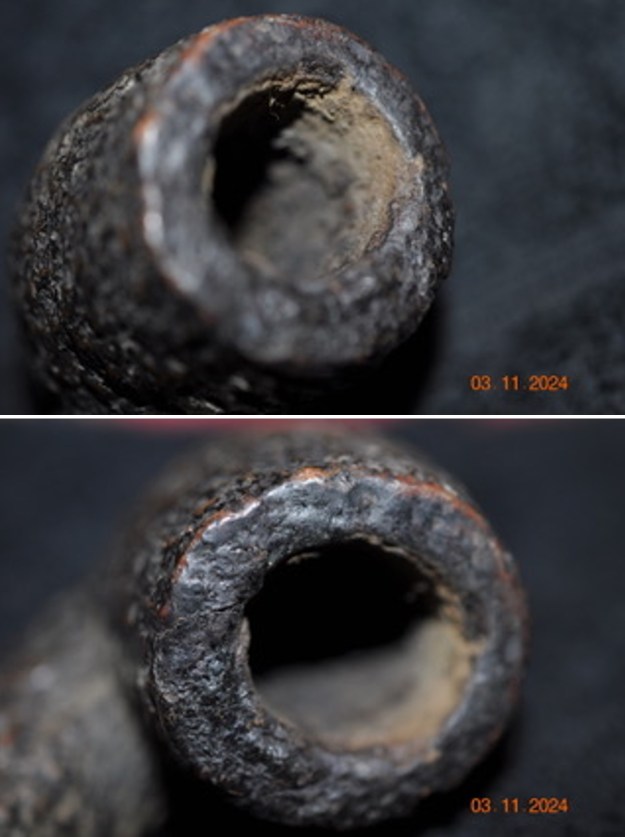
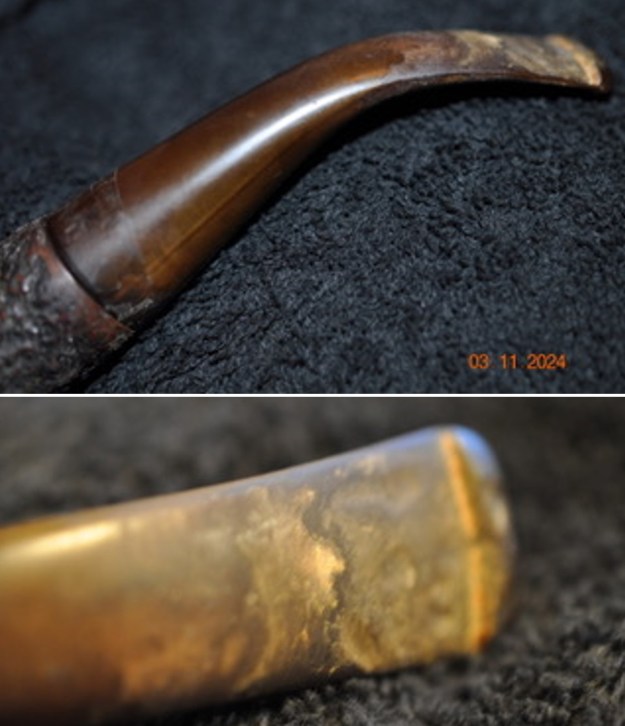
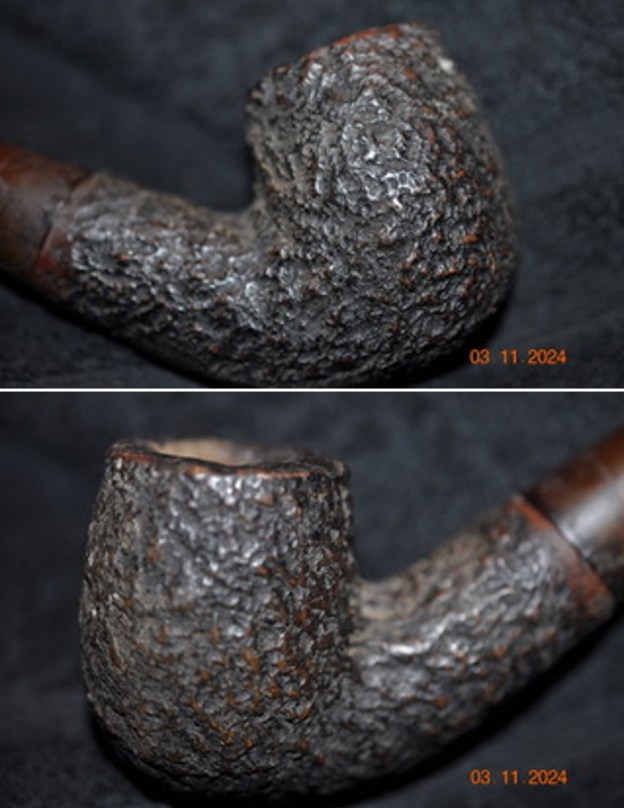
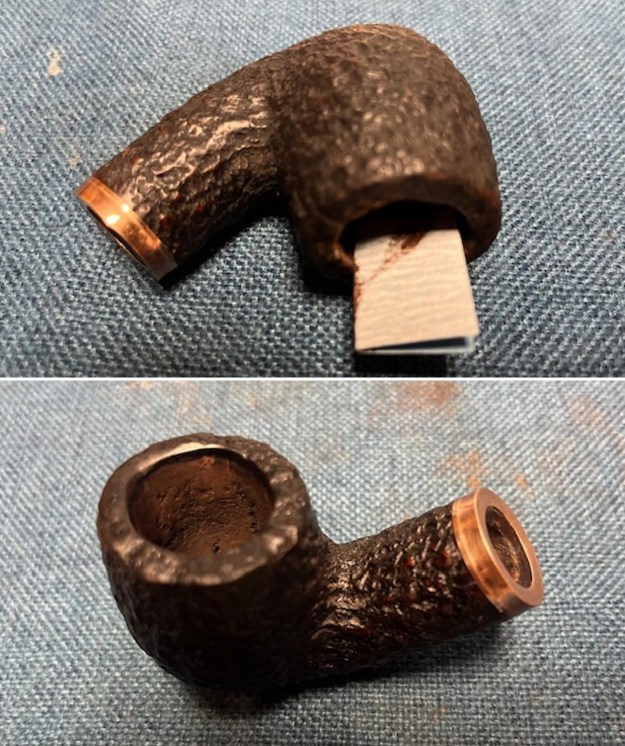
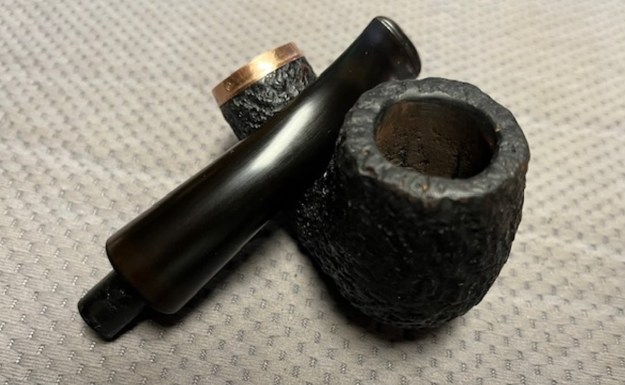
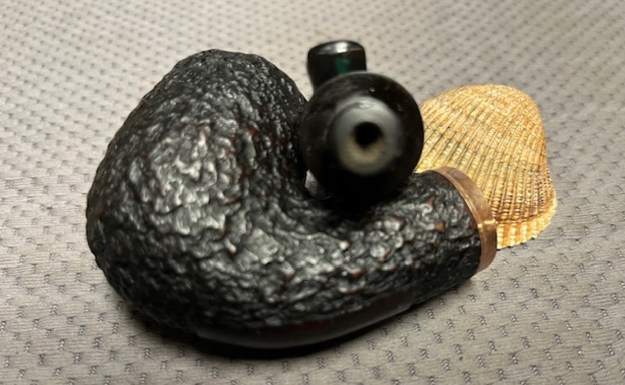
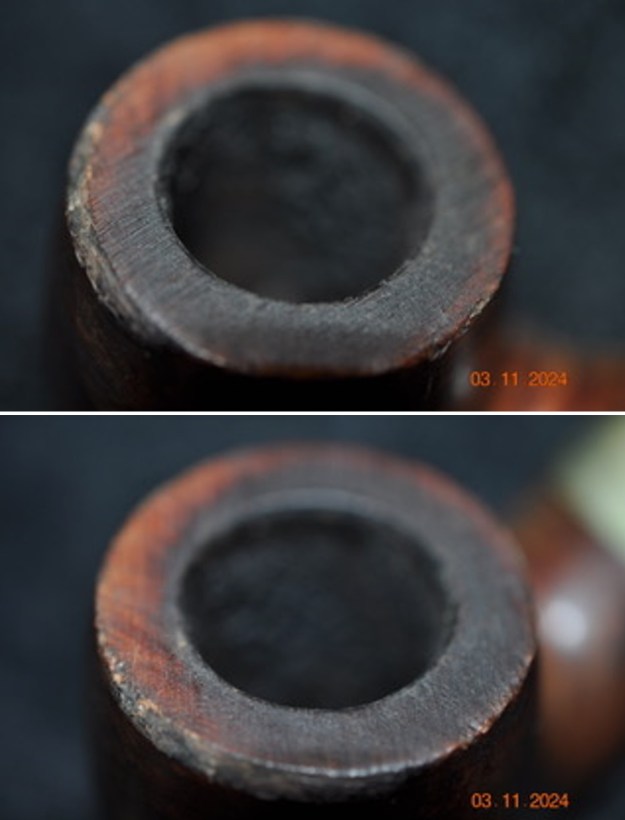
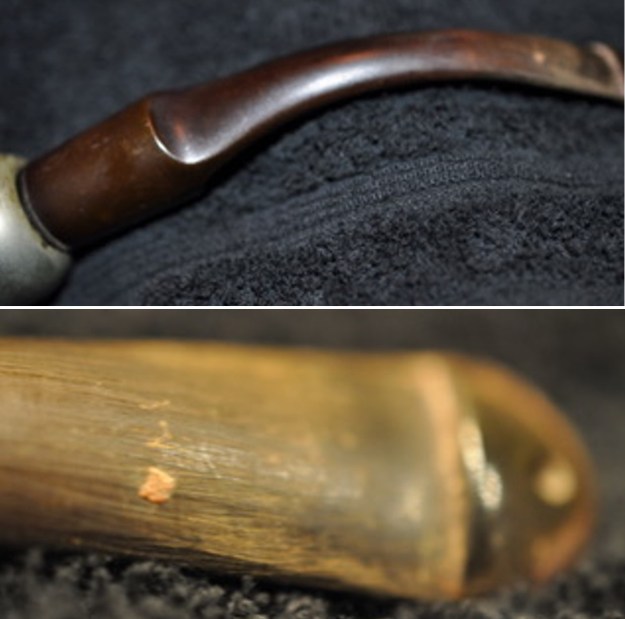
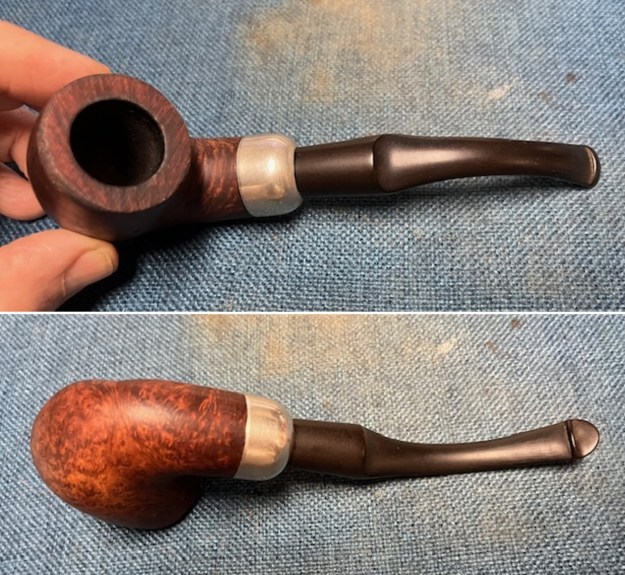
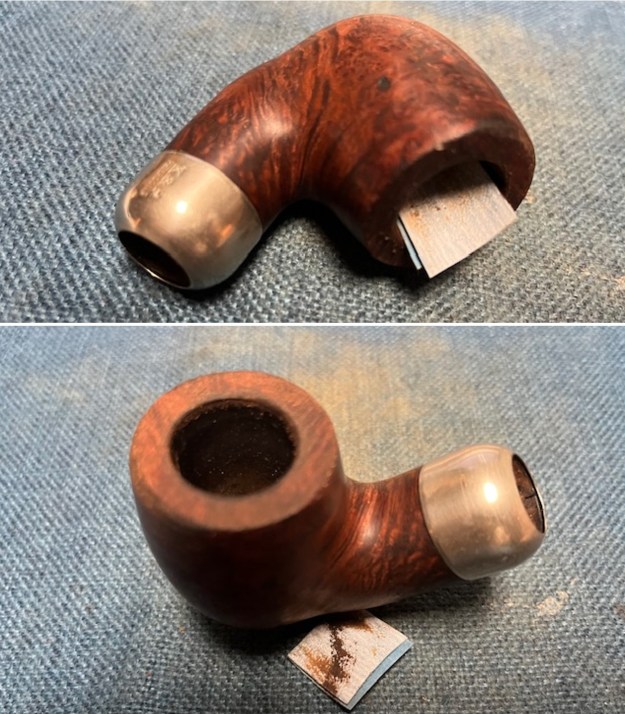
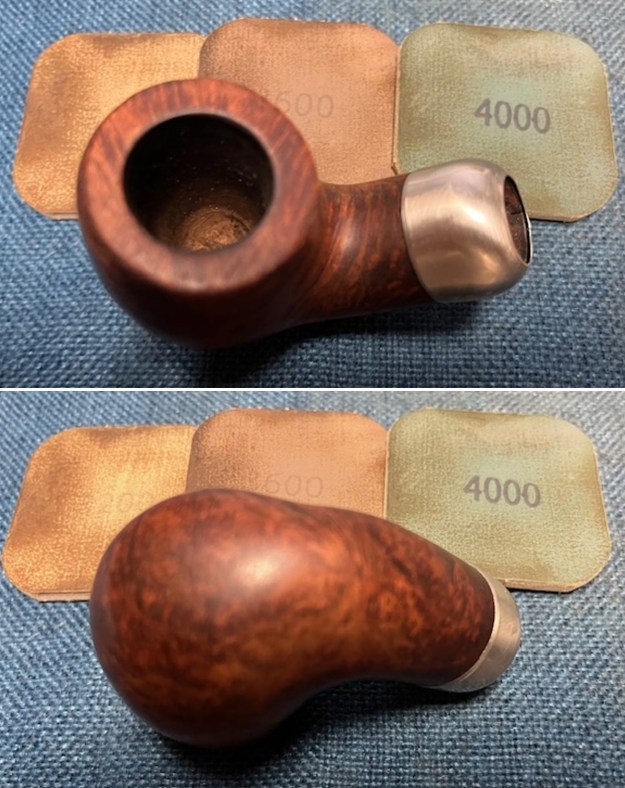
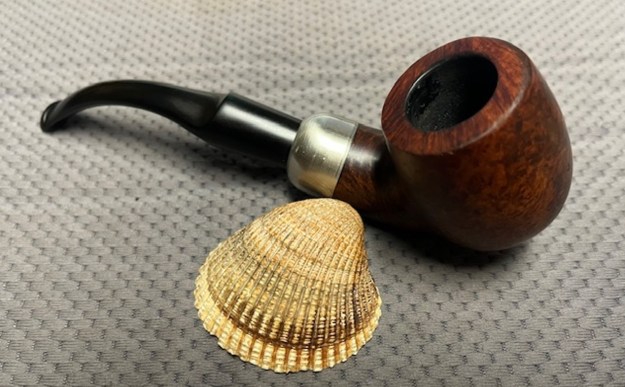
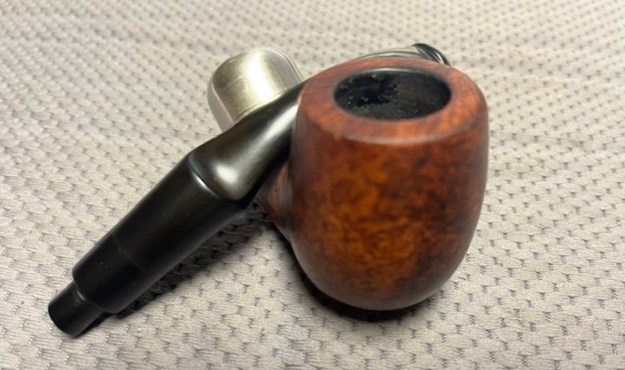
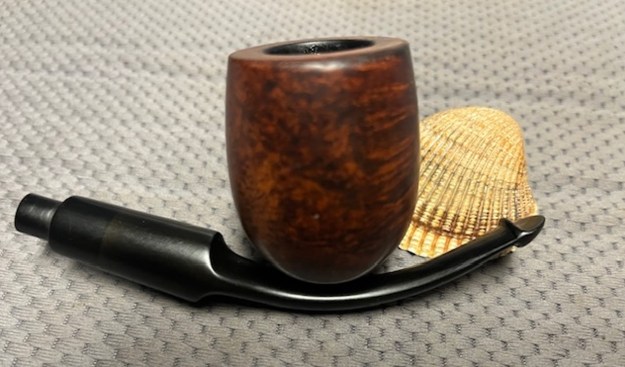
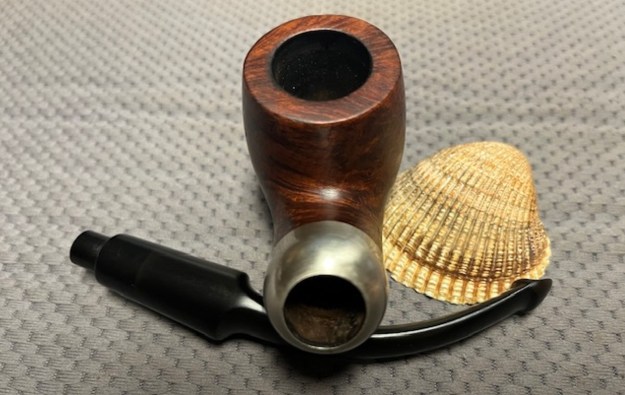
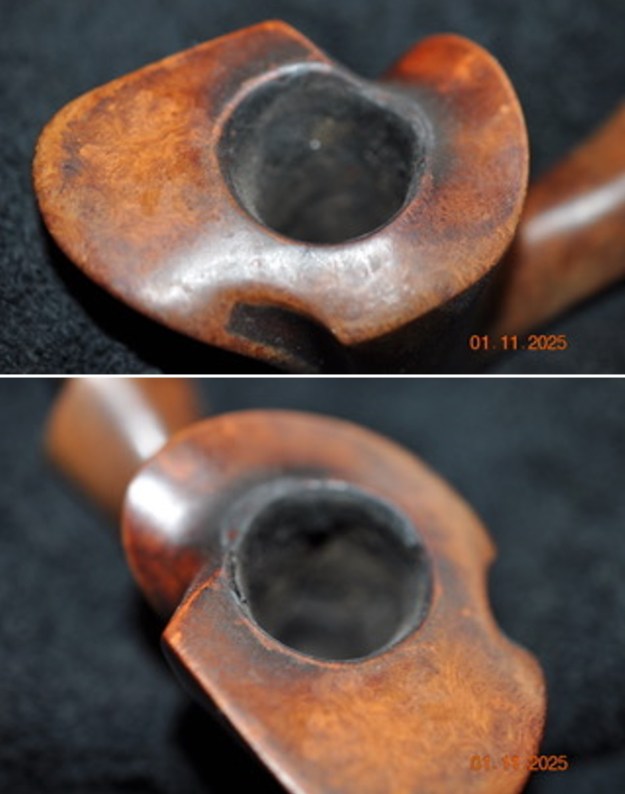
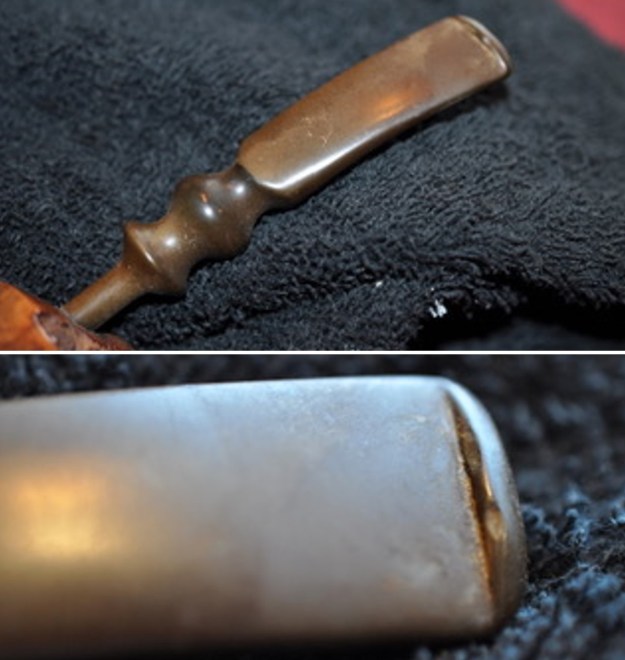
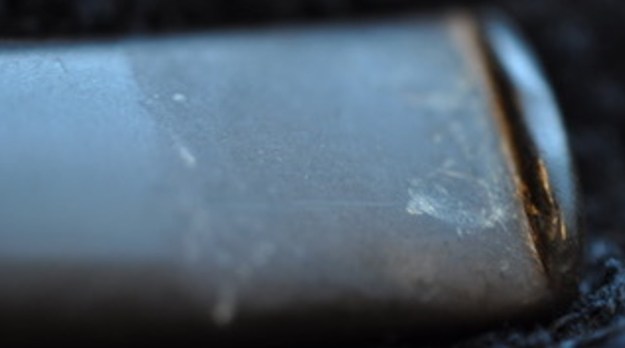
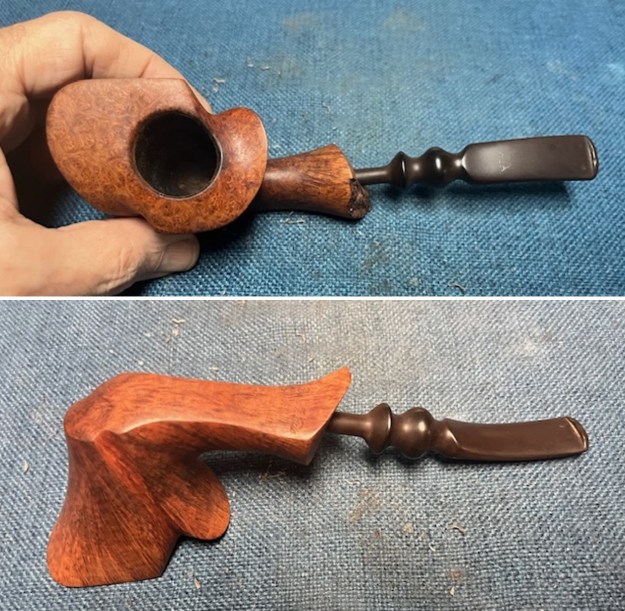
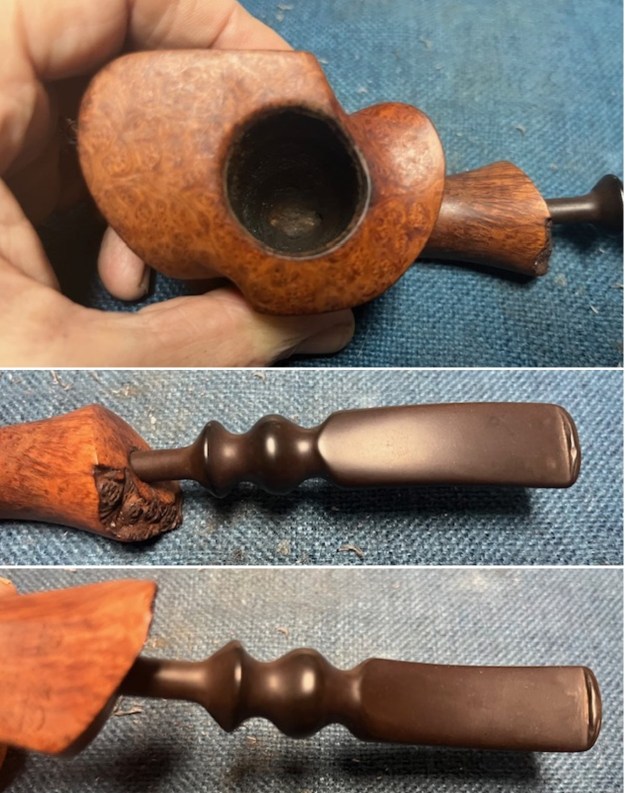
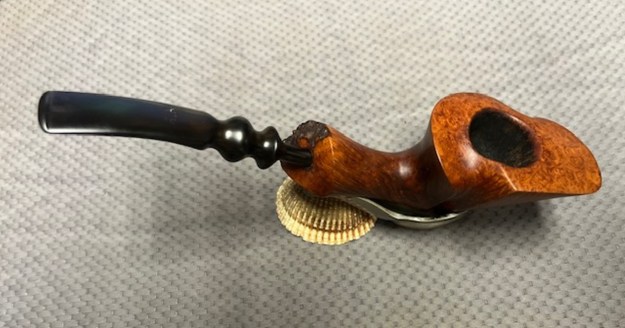
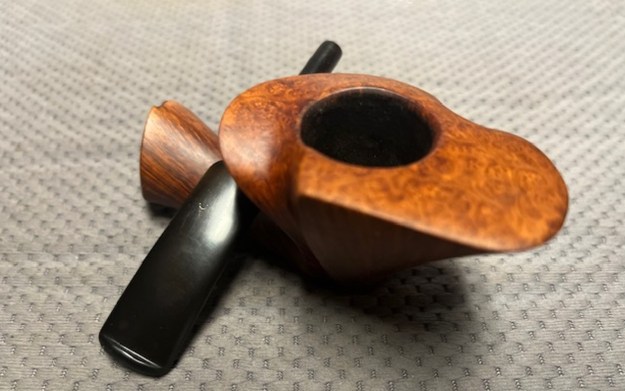
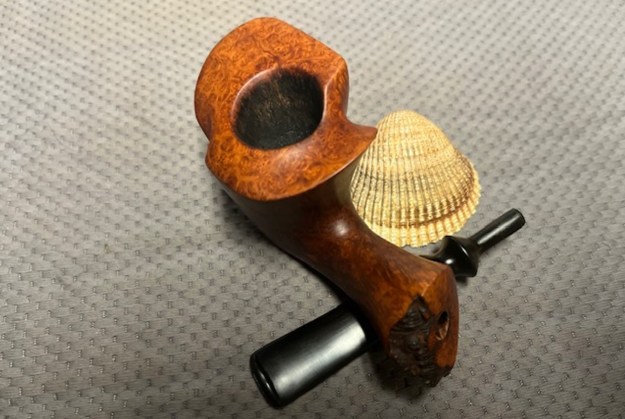
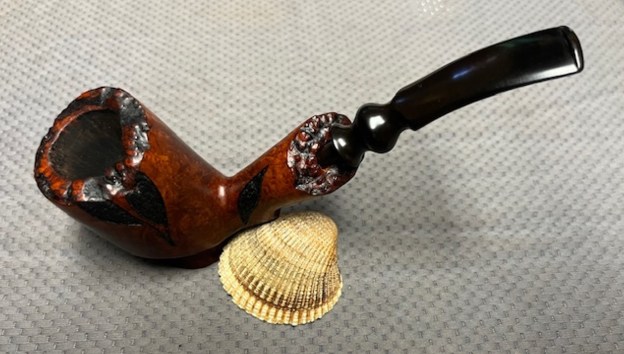
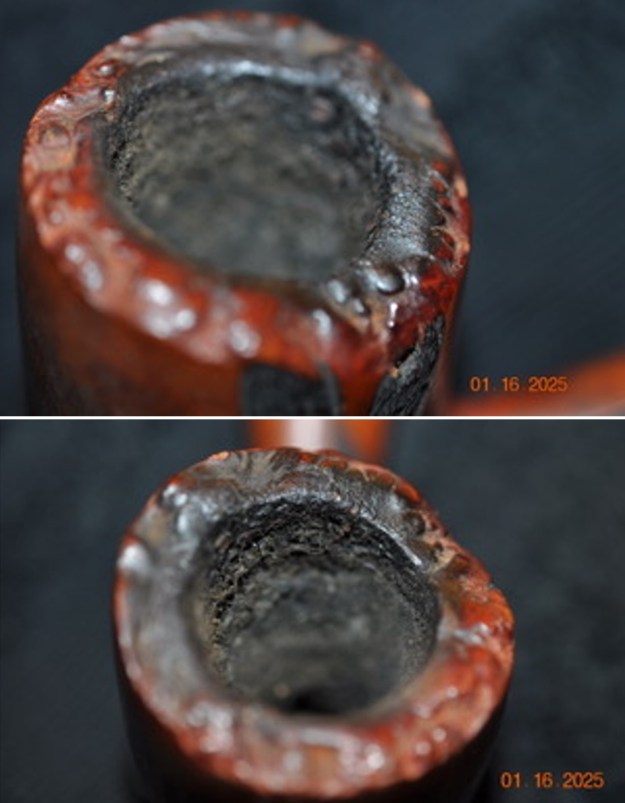
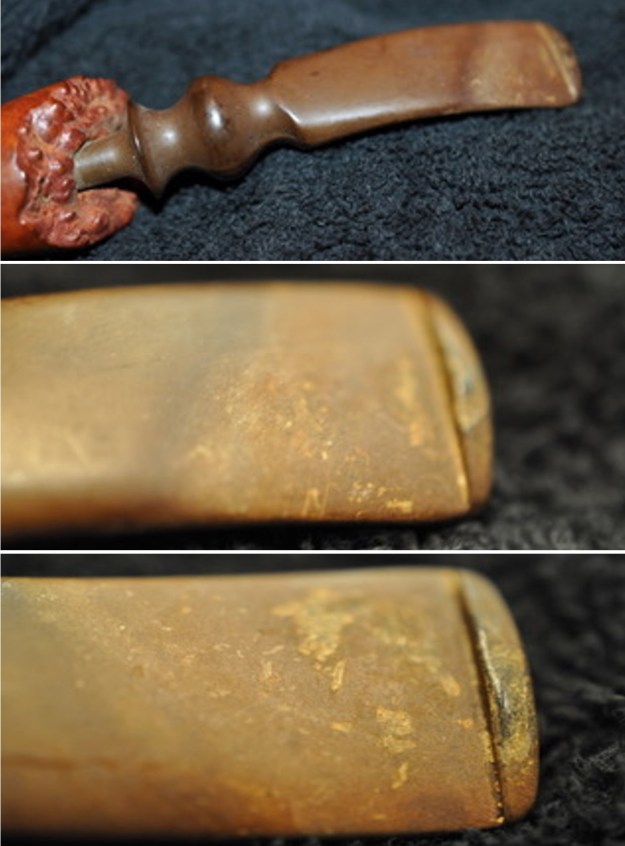
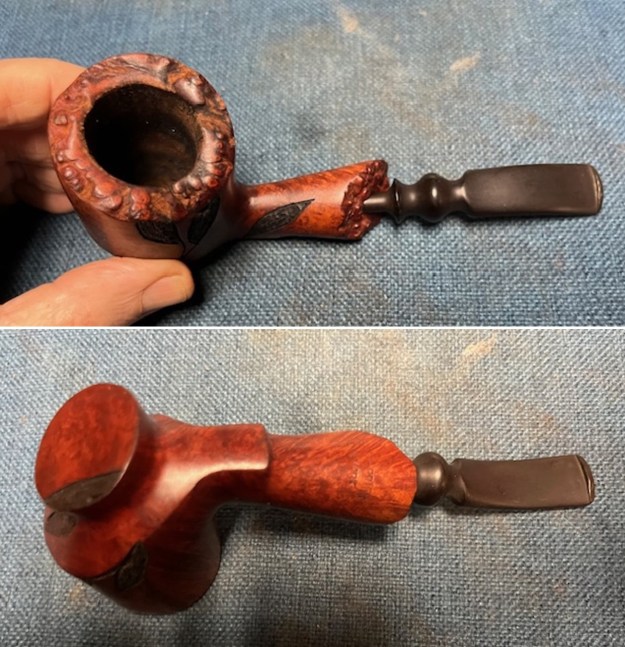
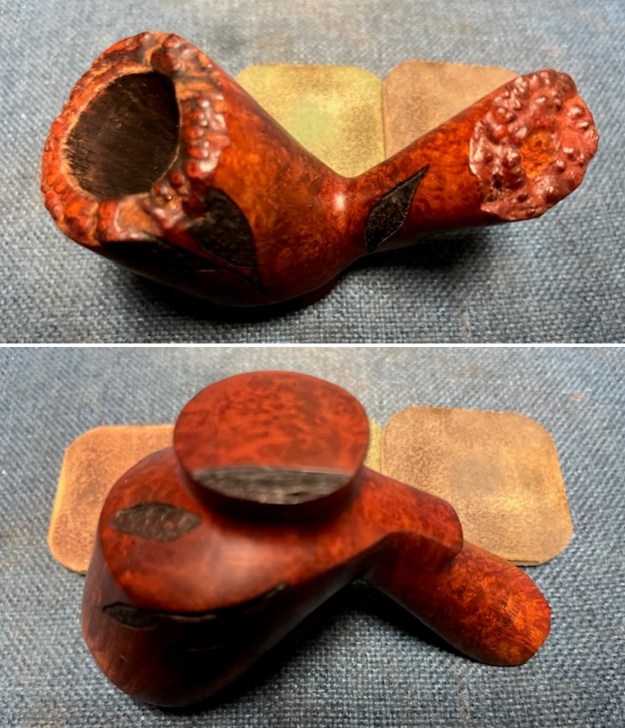
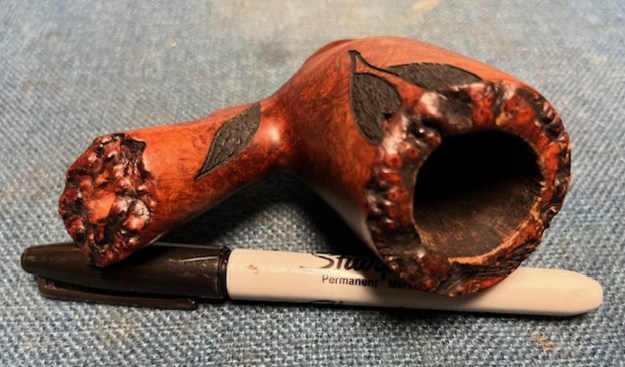
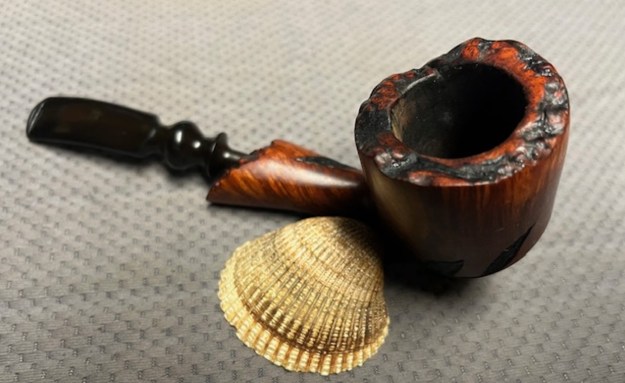
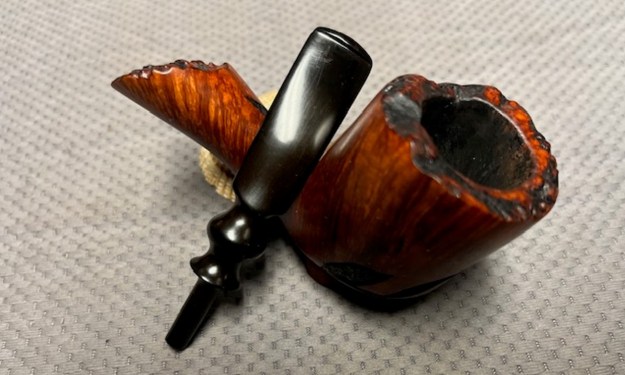
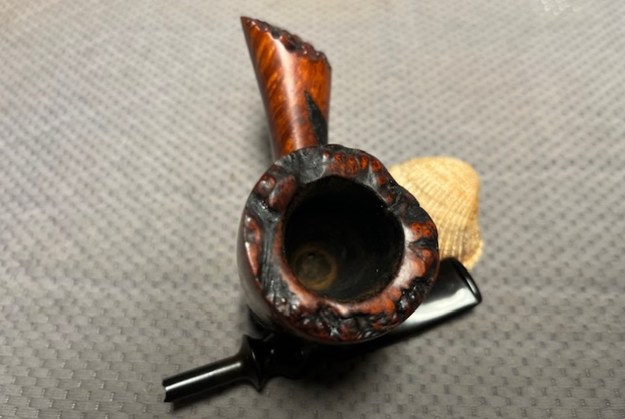
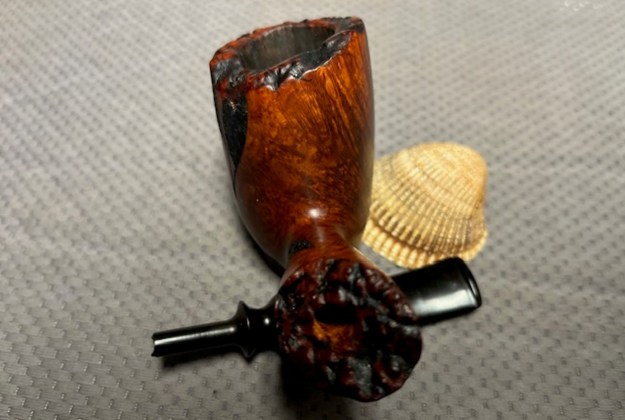
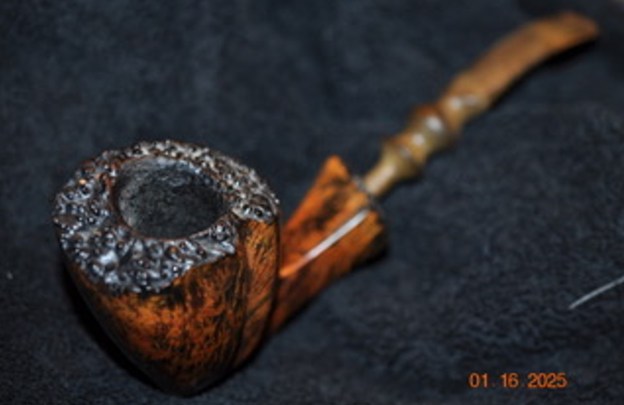
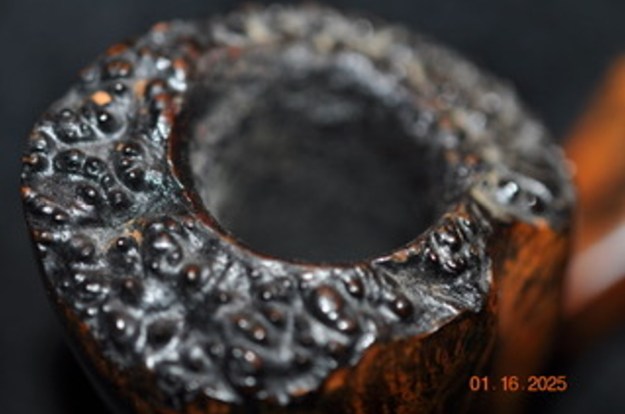
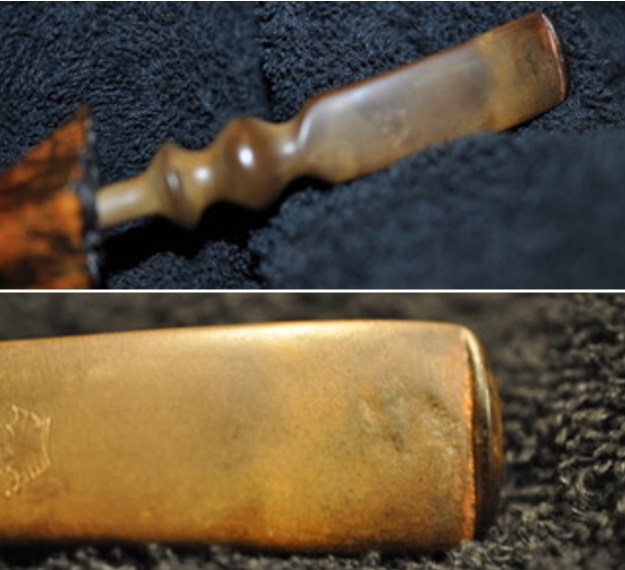
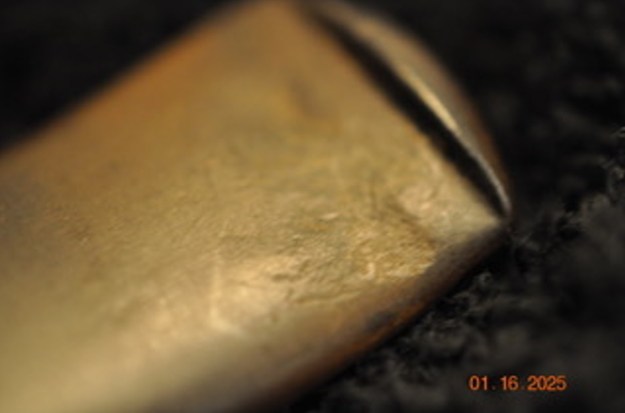
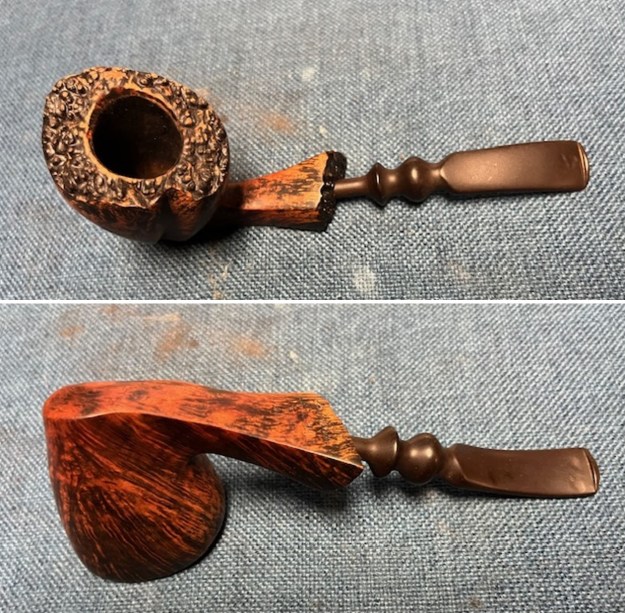
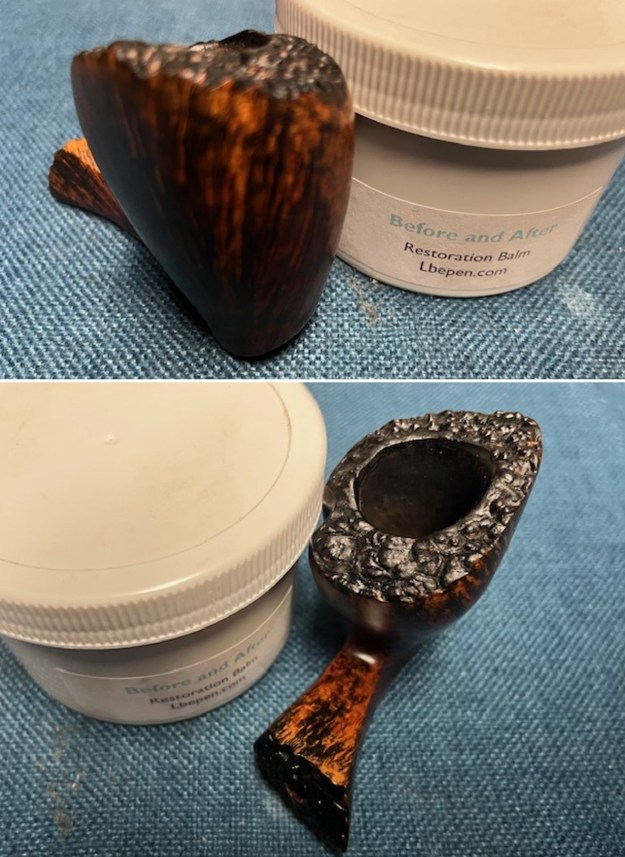
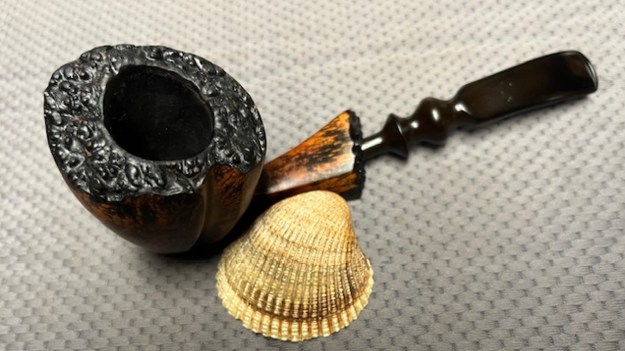
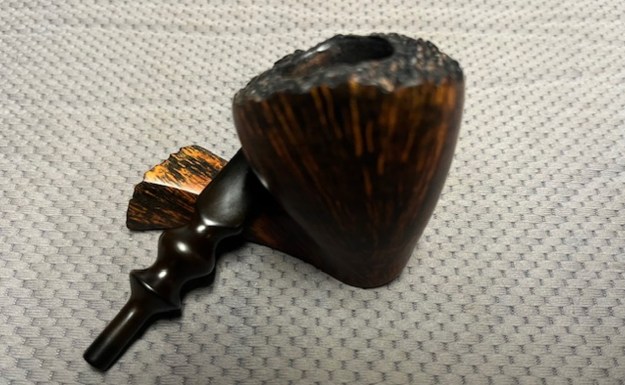
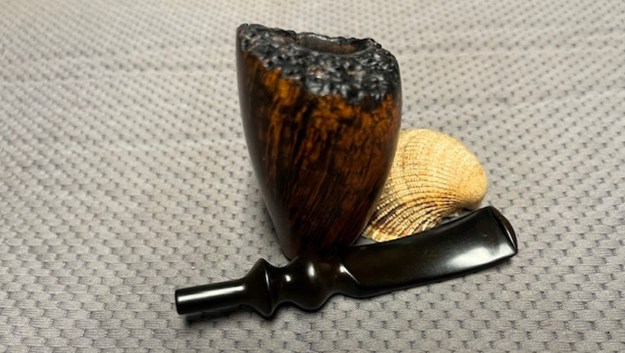
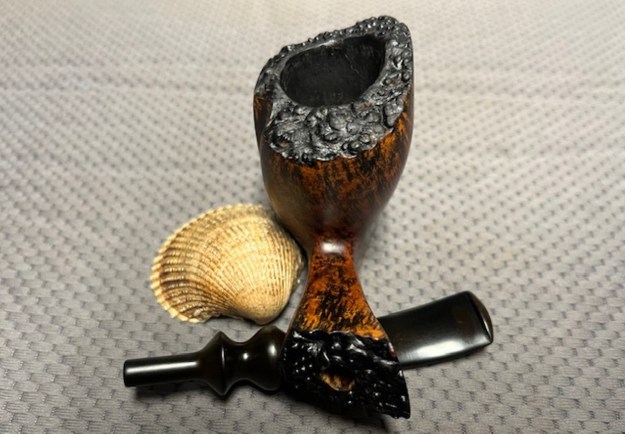
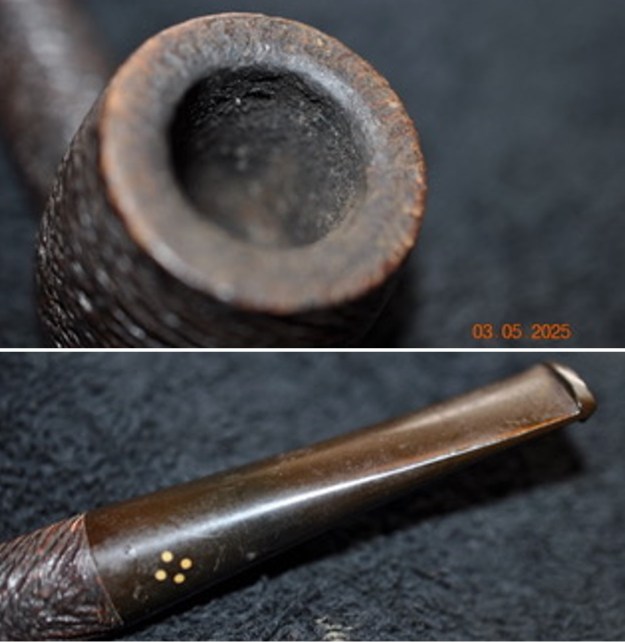
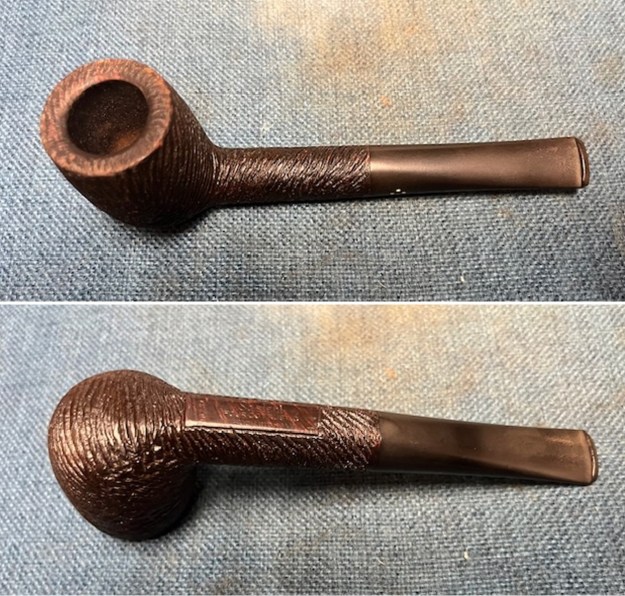
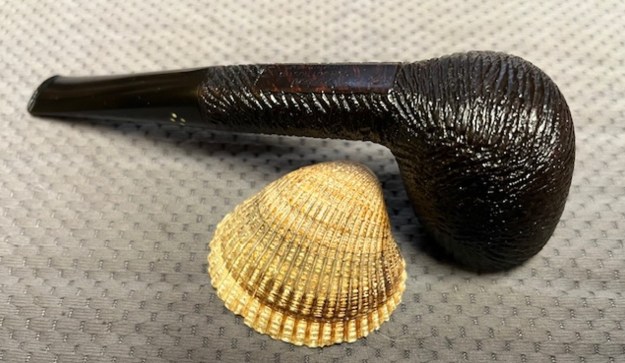
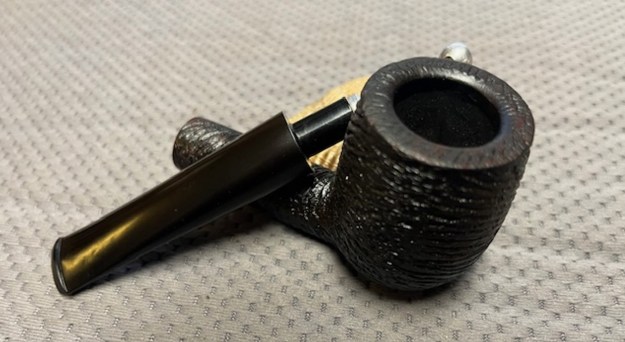
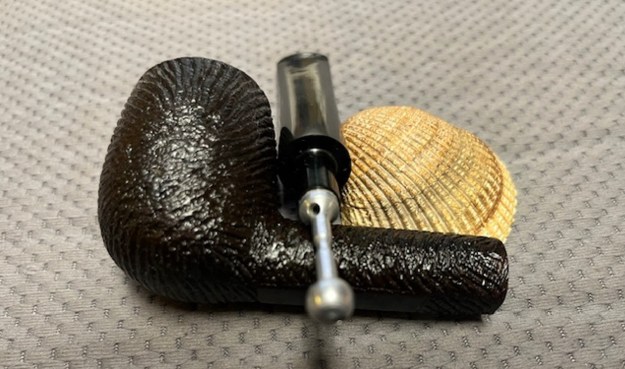
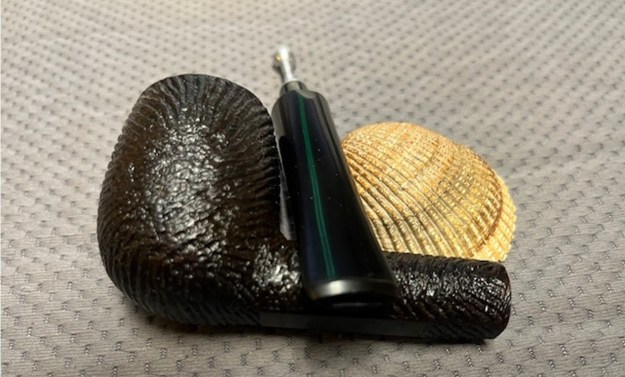
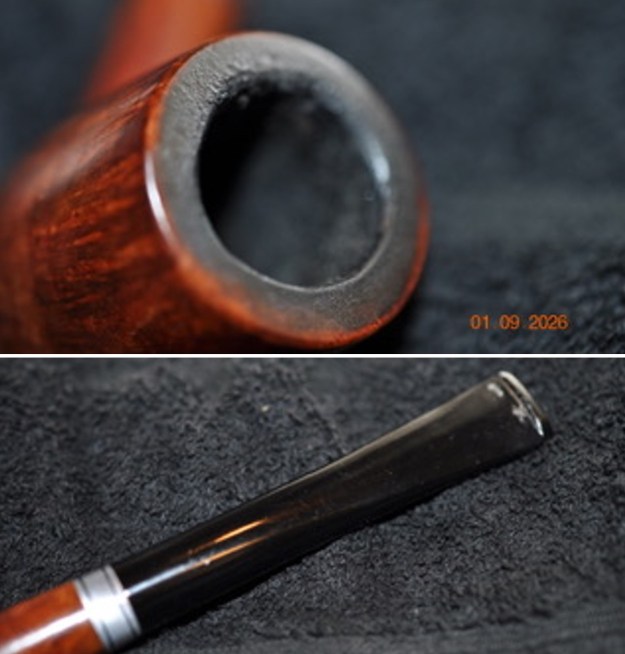
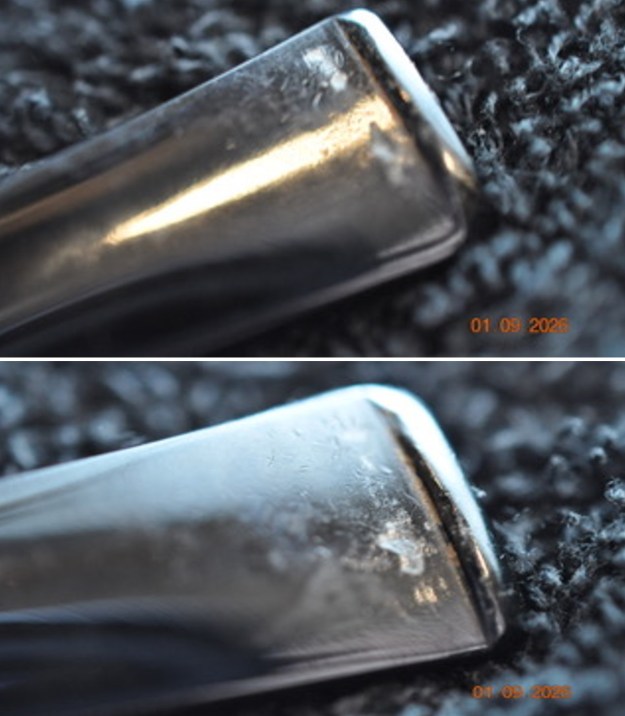
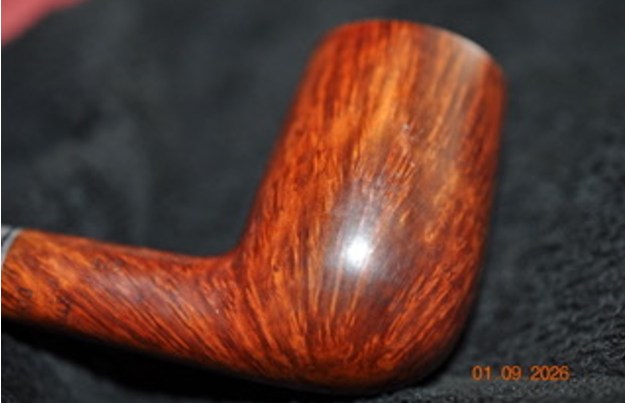
 Jeff took photos of the bowl and rim top to show what they looked like before the clean up. You can see the thick cake in the bowl and the darkening and lava on the inner edge and top of the rim. The acrylic stem was in decent condition with tooth marks that are visible in the photos below.
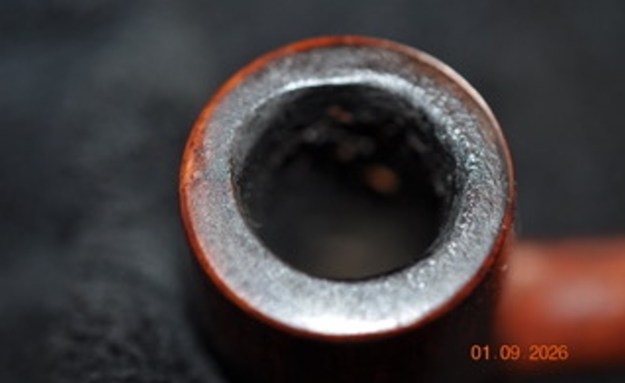
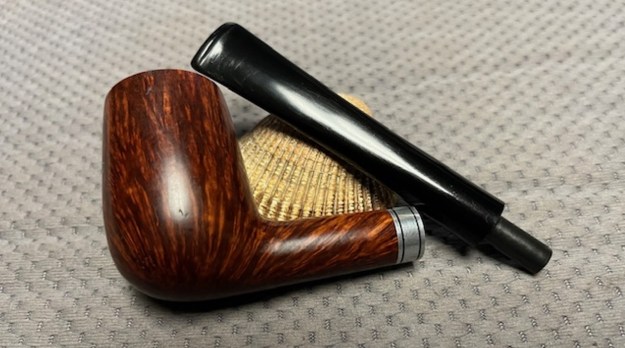
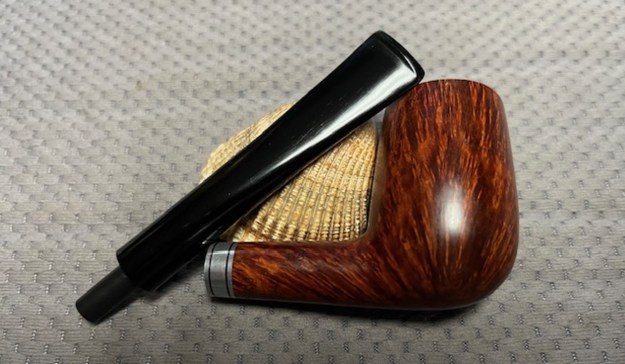
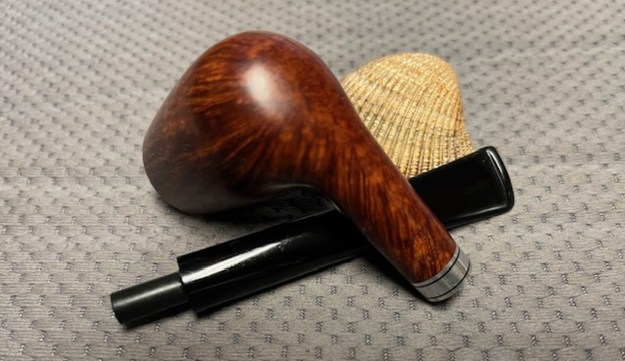
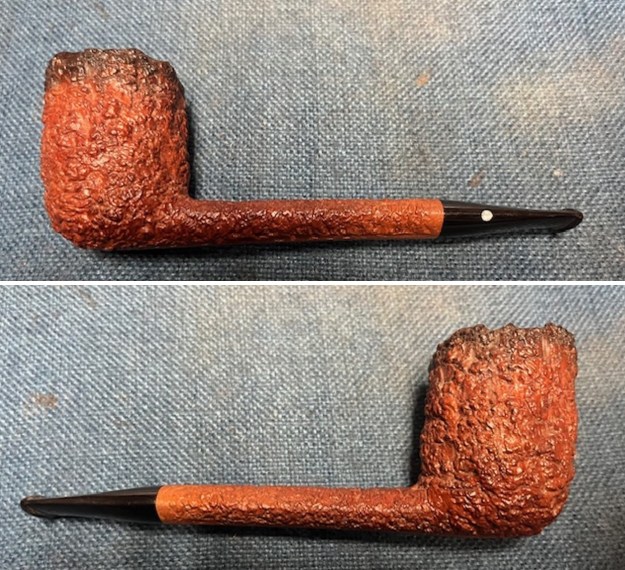
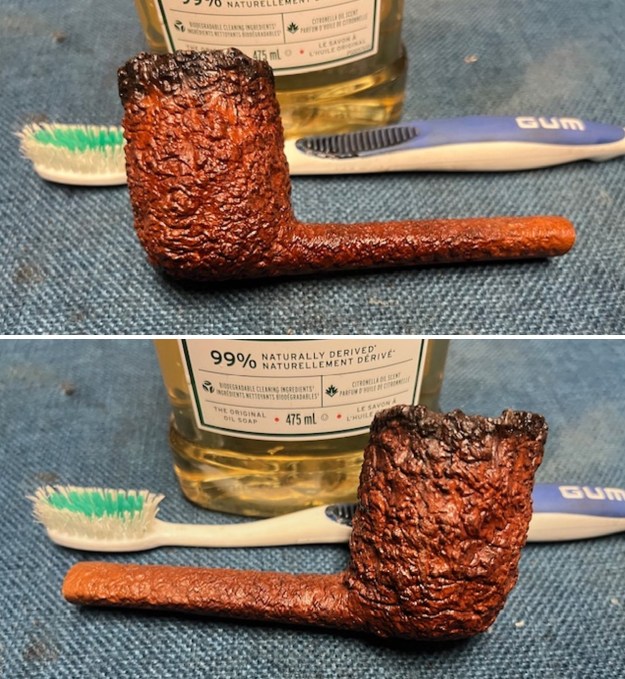
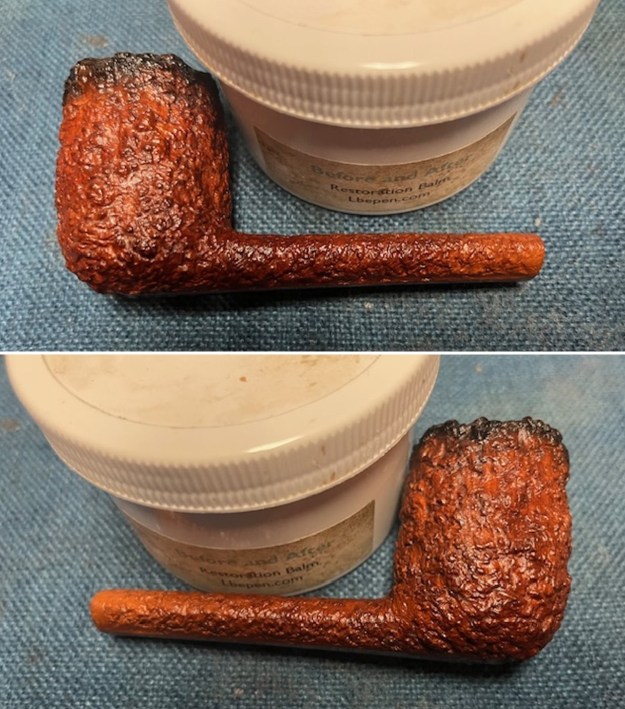
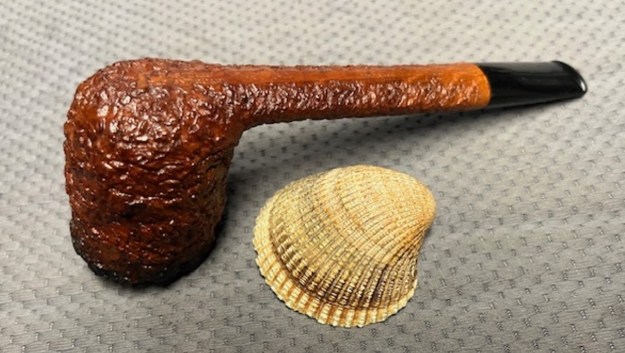
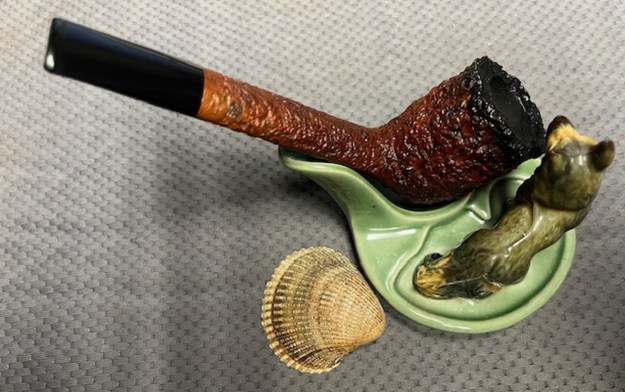
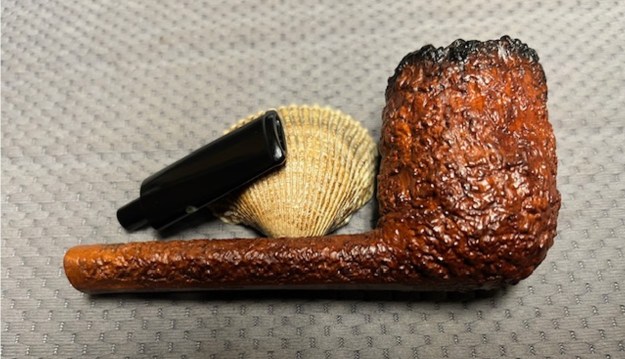
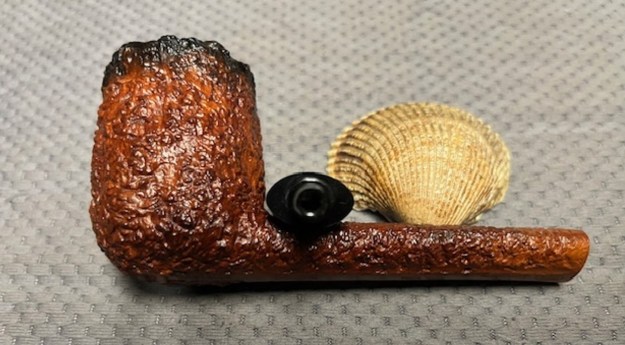
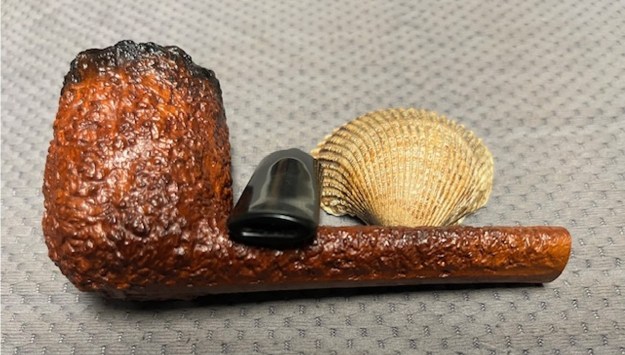
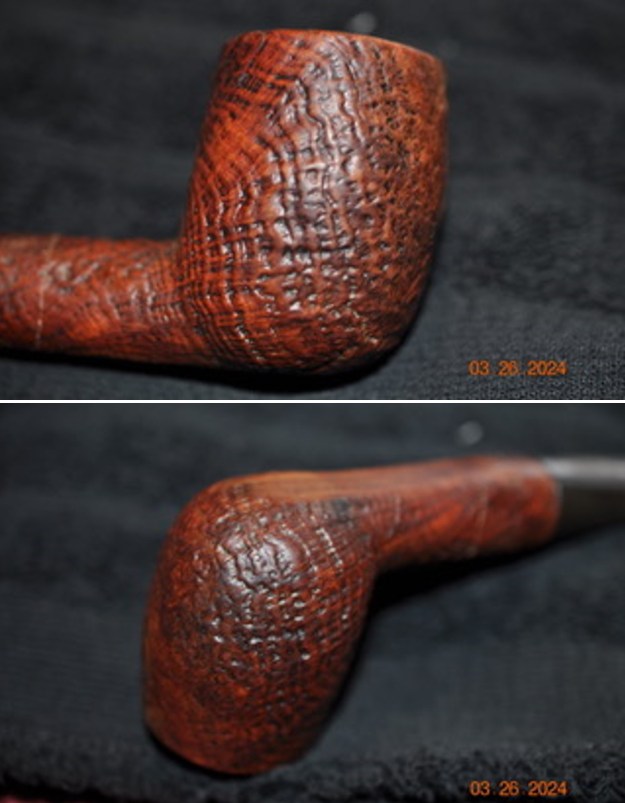
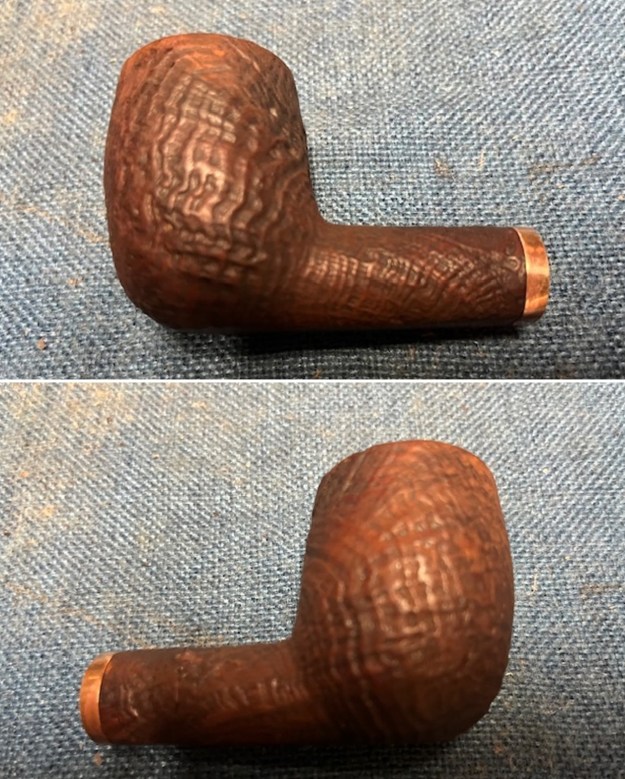
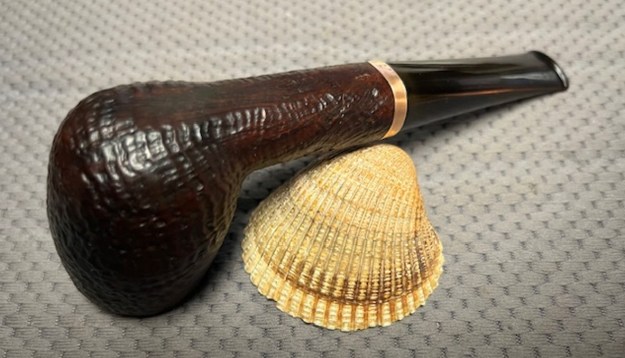
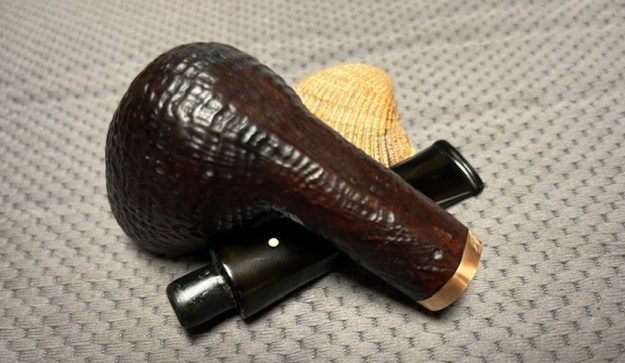
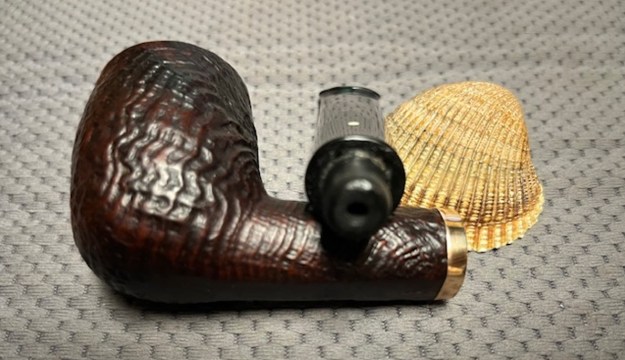
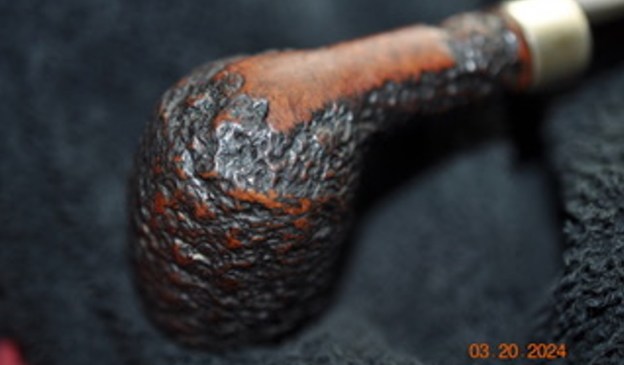
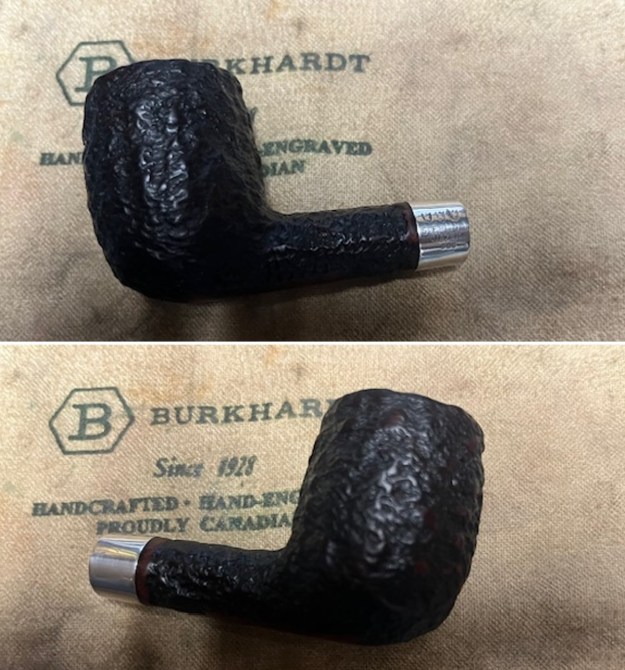
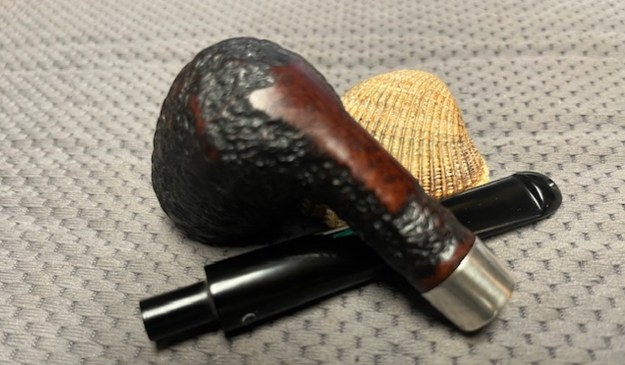
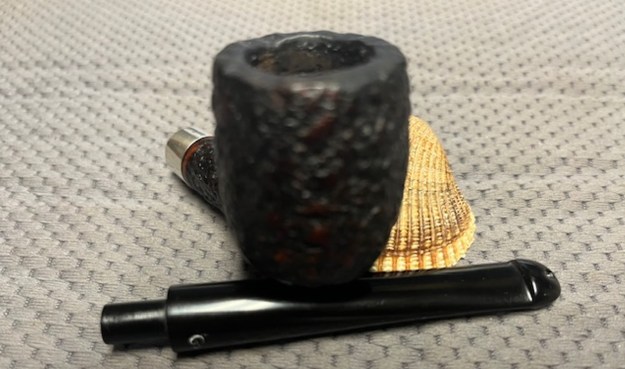
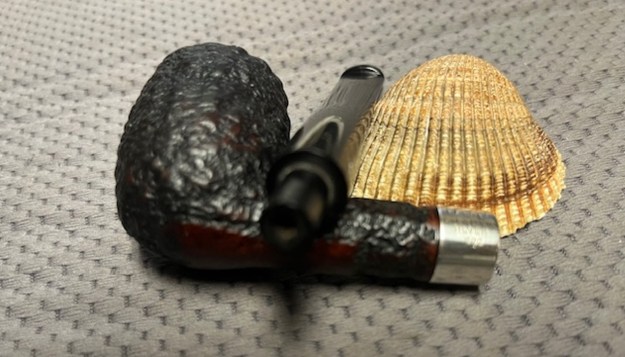
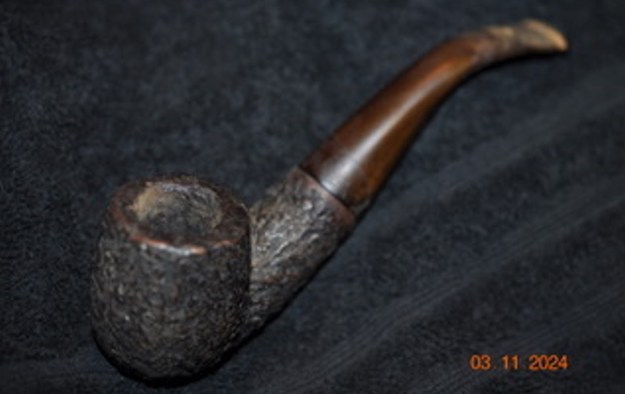
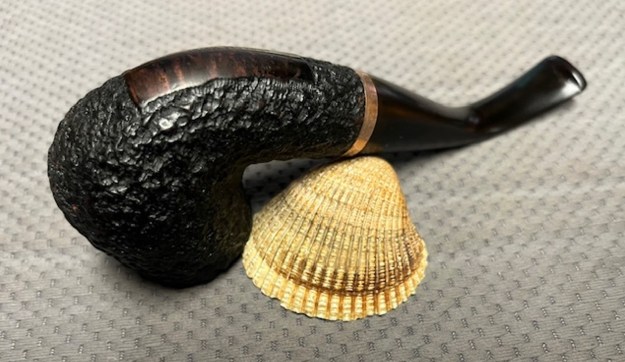
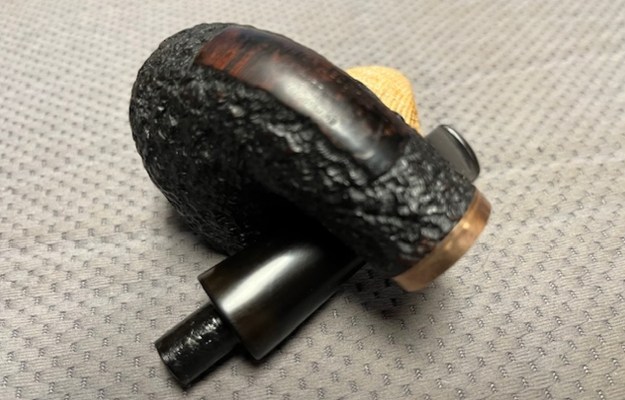
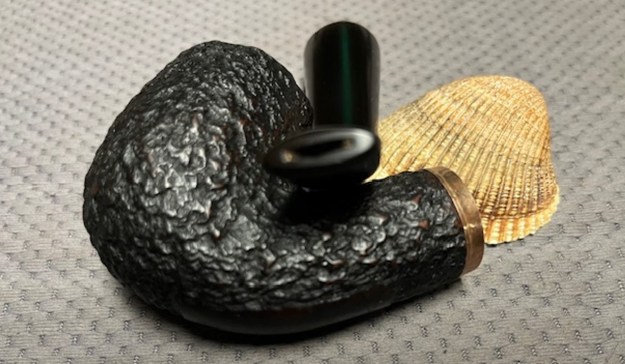
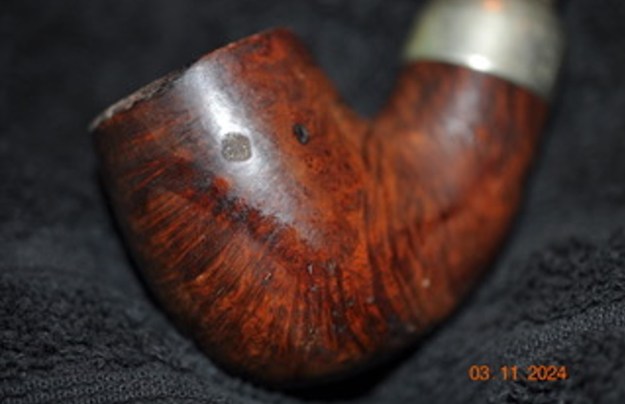
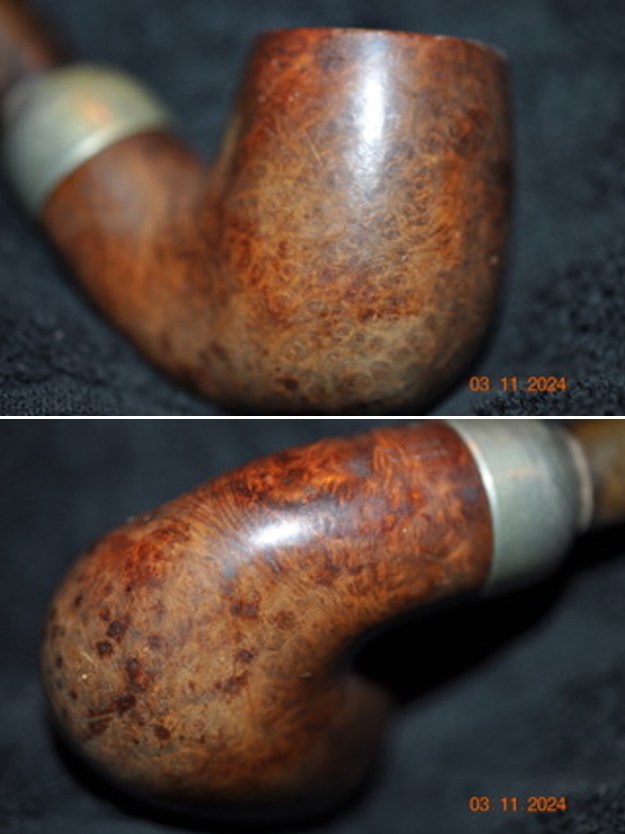
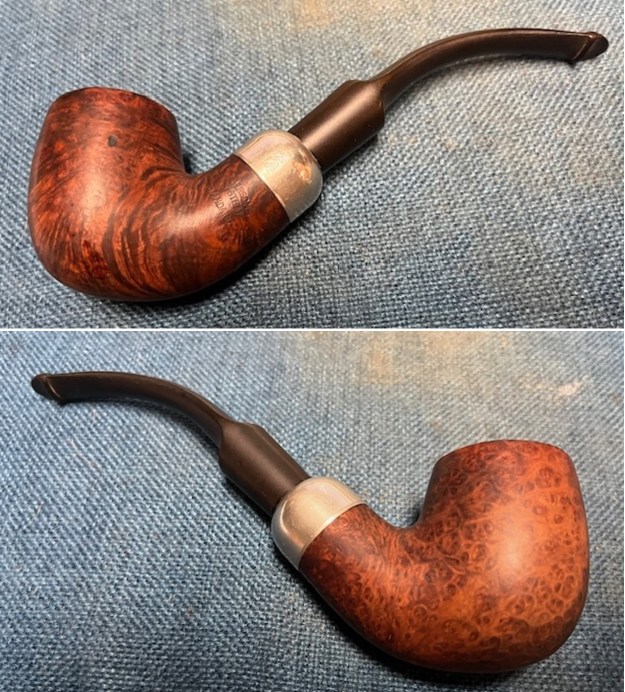
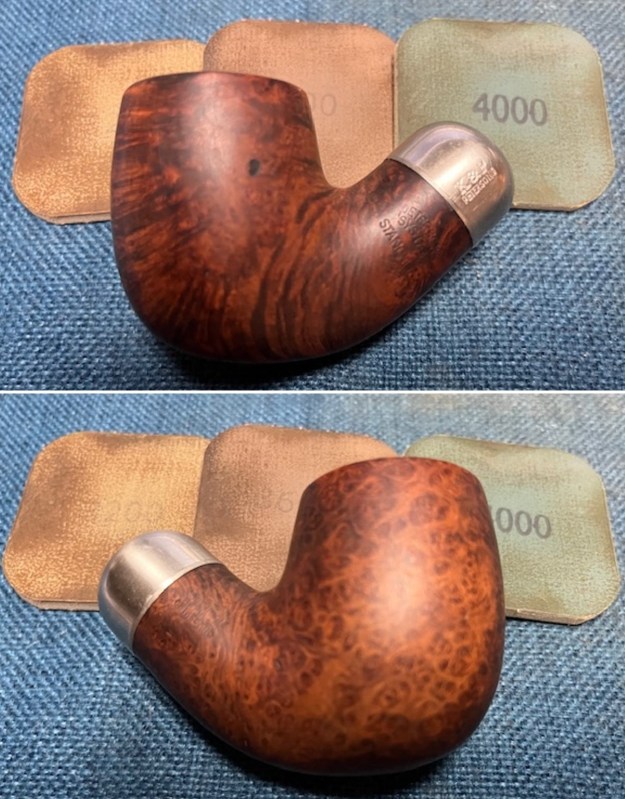
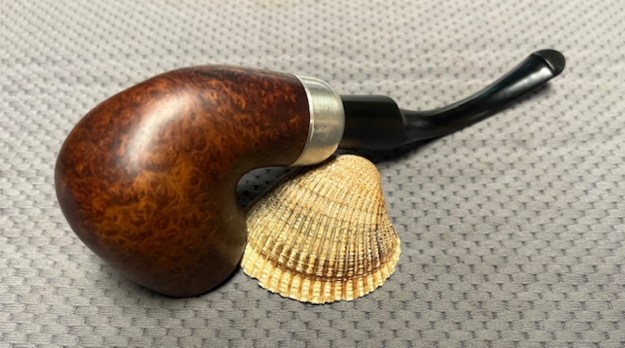
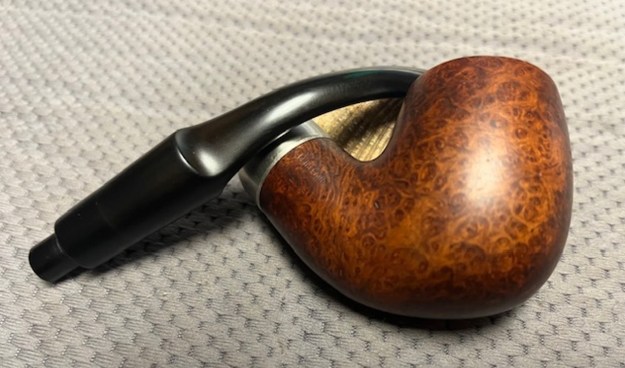
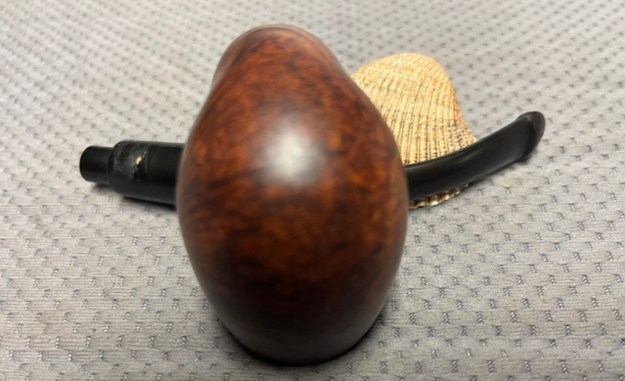
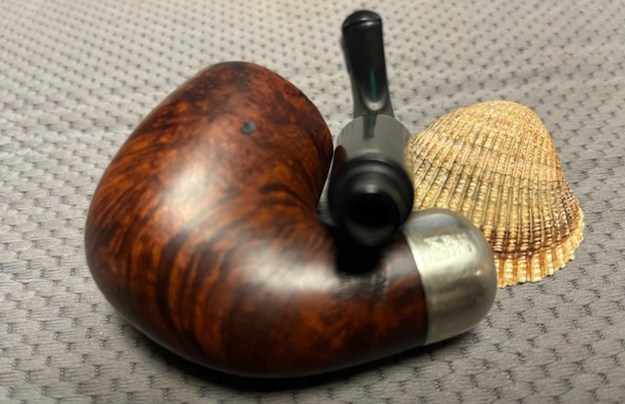
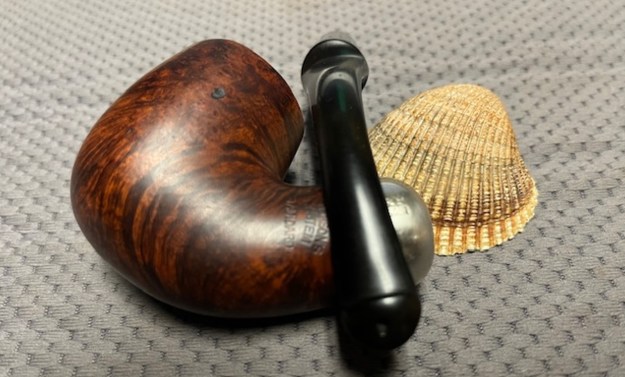
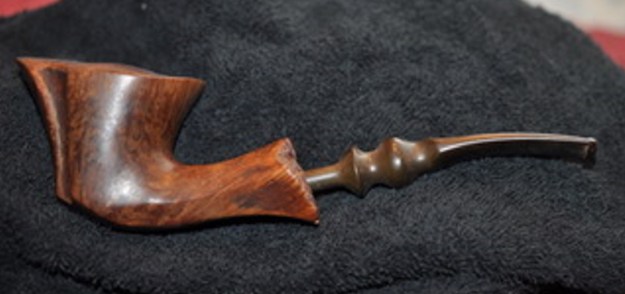
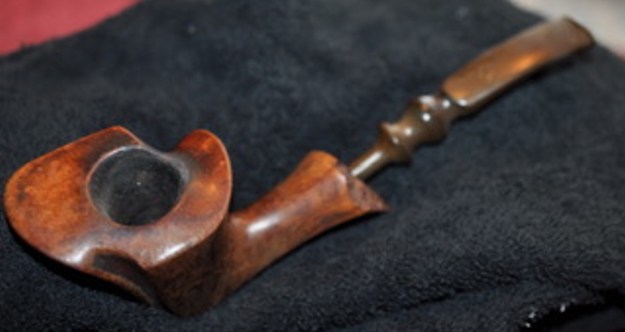
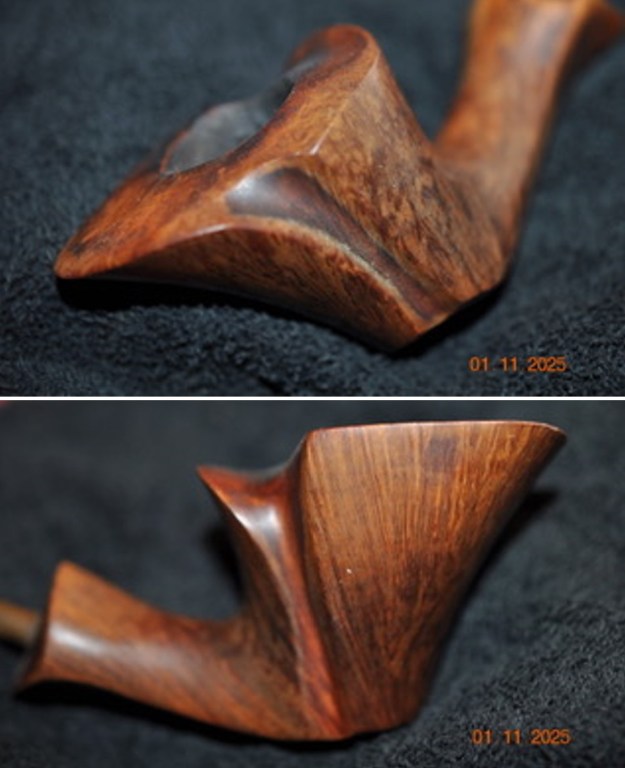
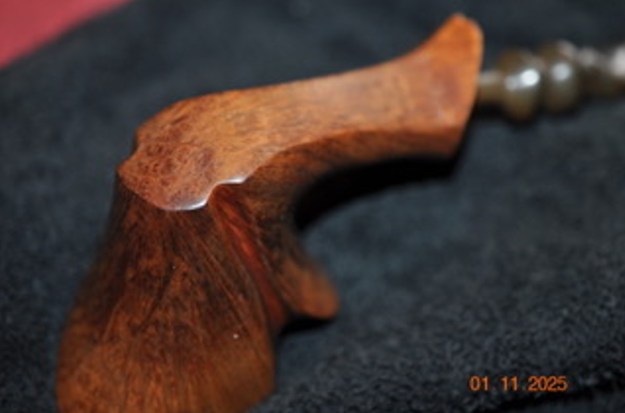
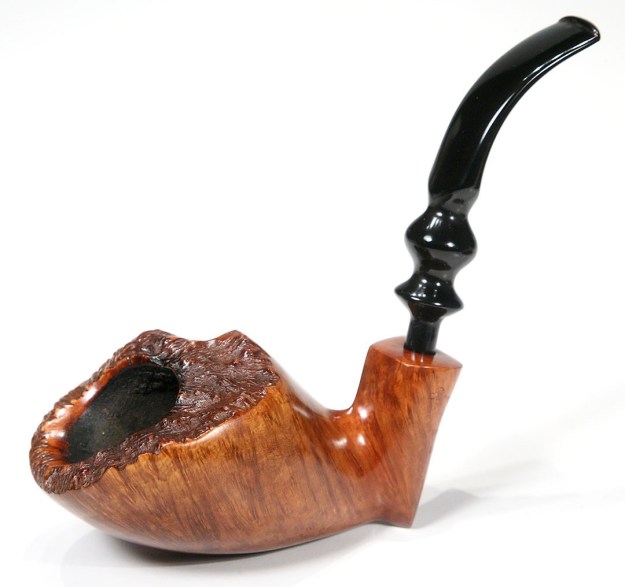
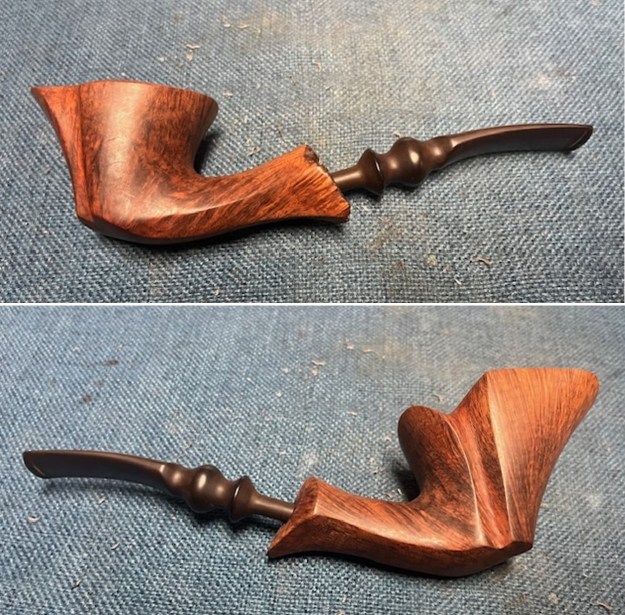
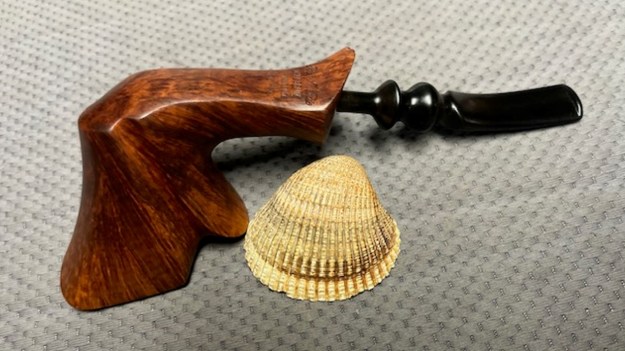
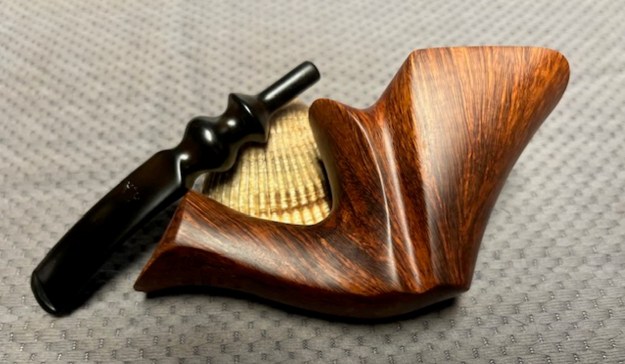
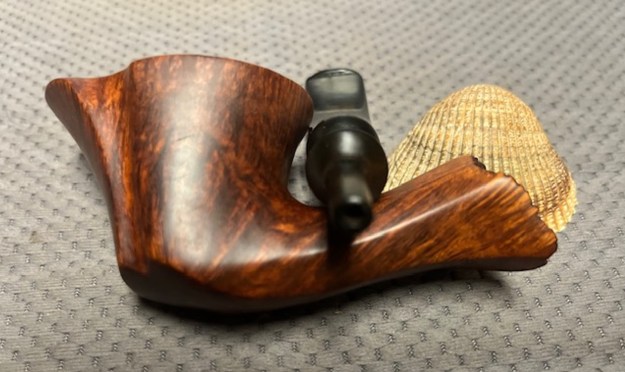
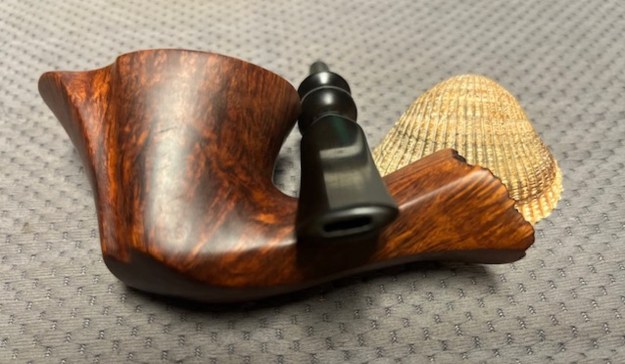
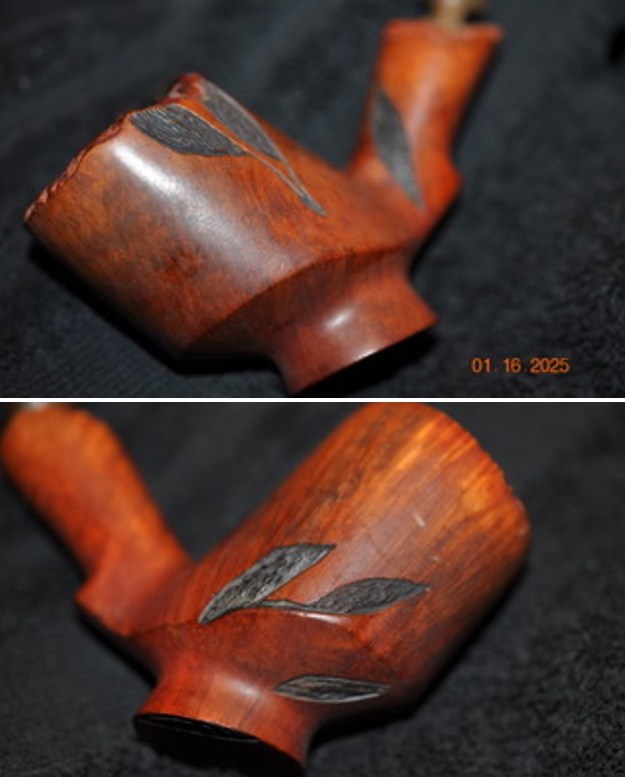
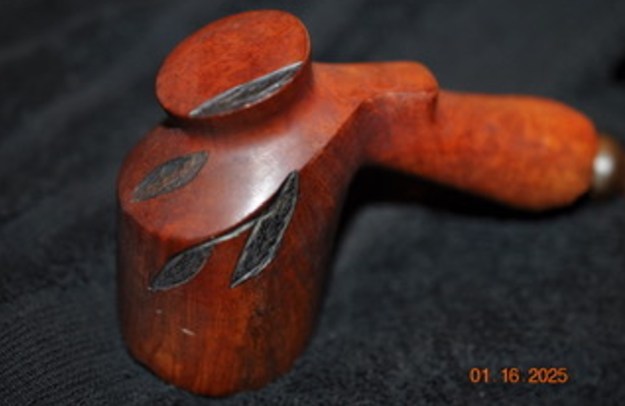
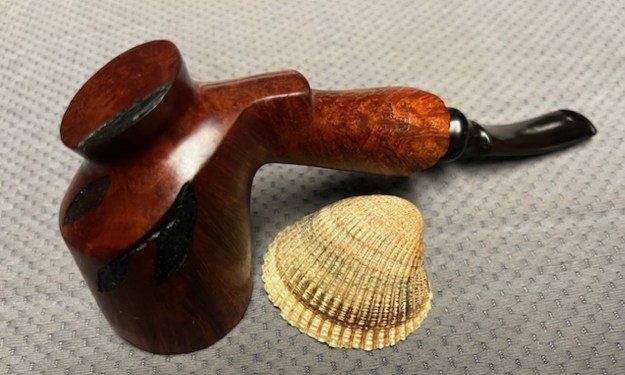
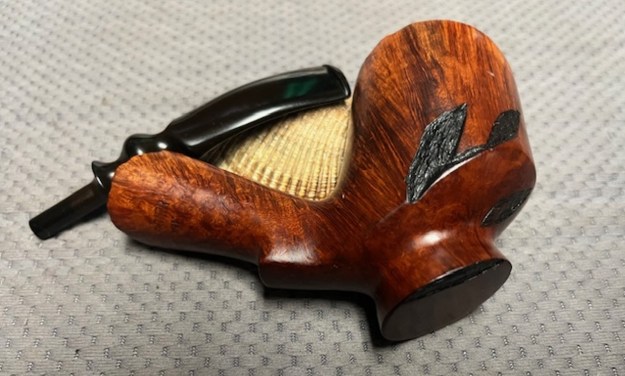
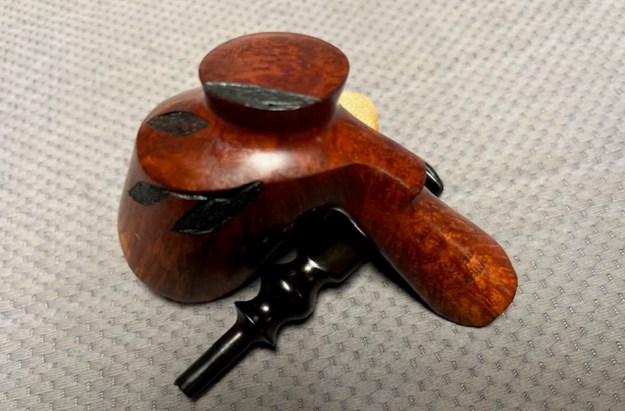
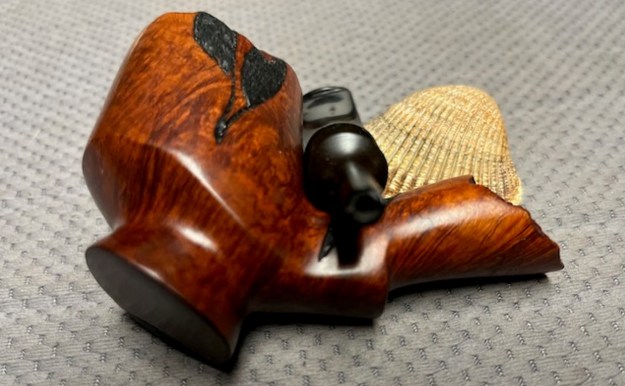
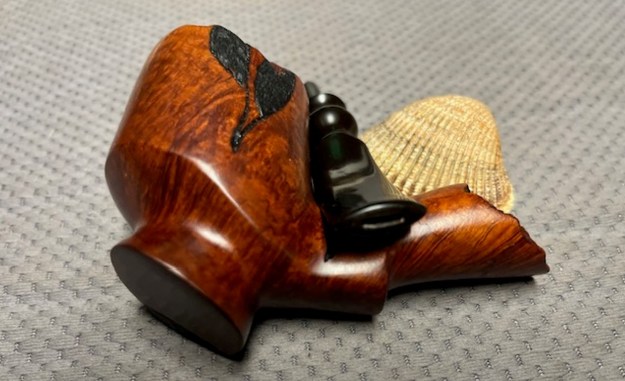
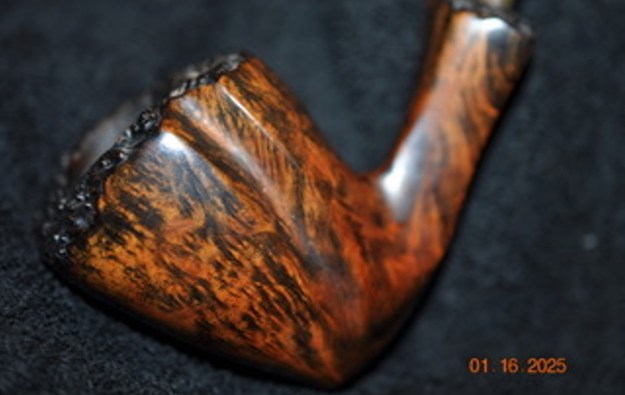
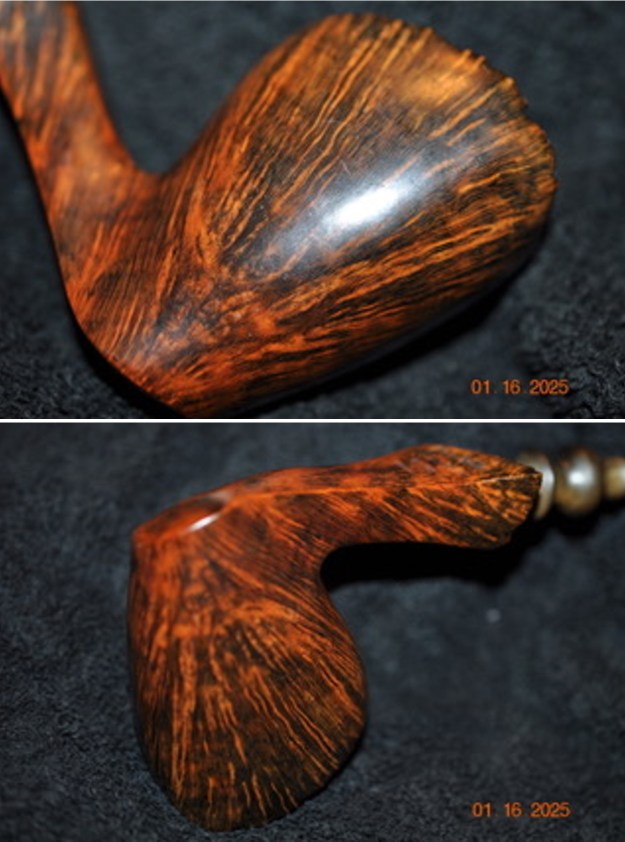
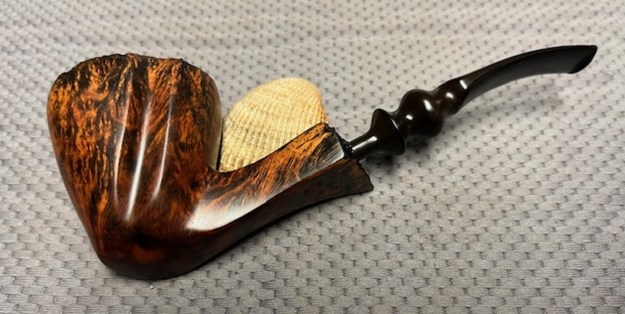
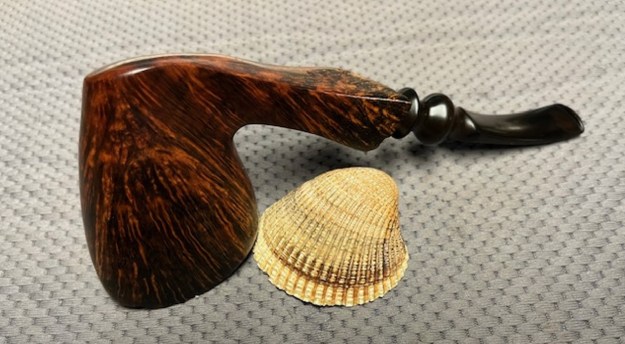
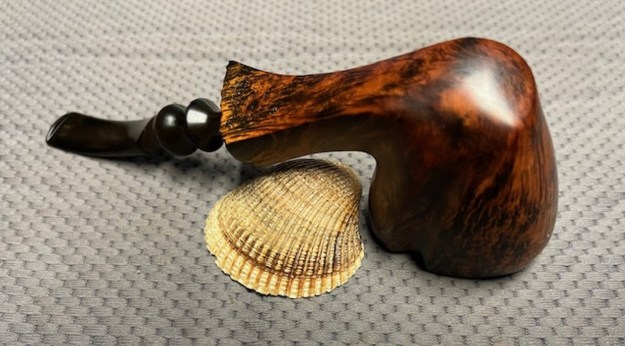
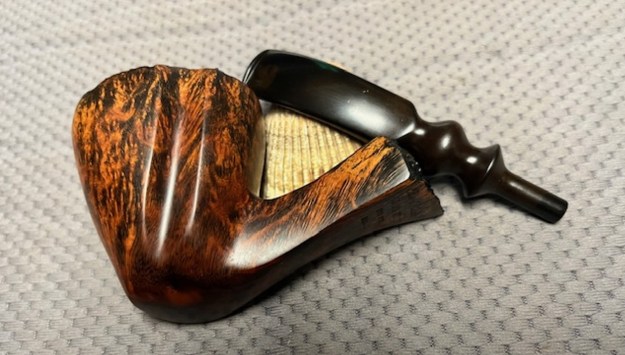
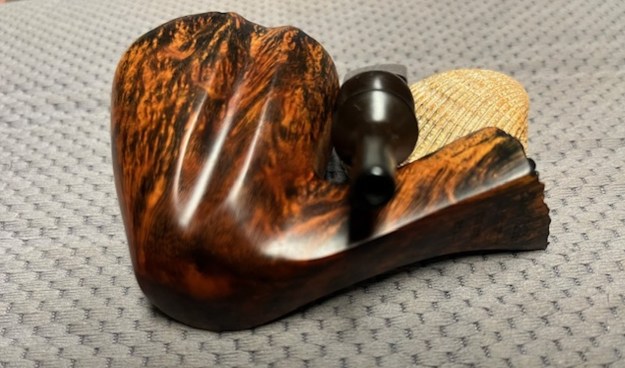
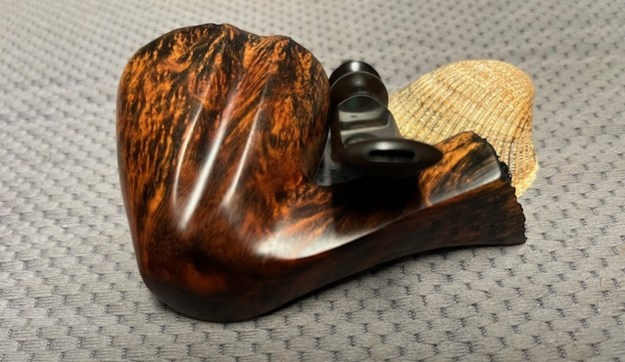
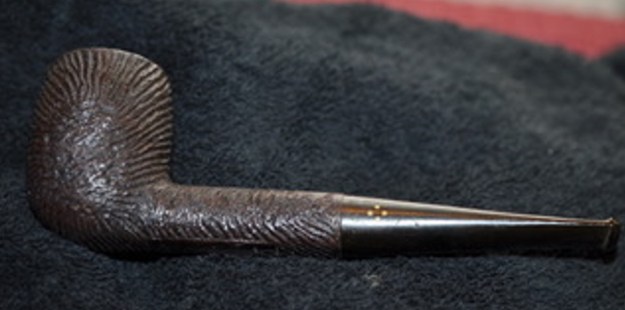
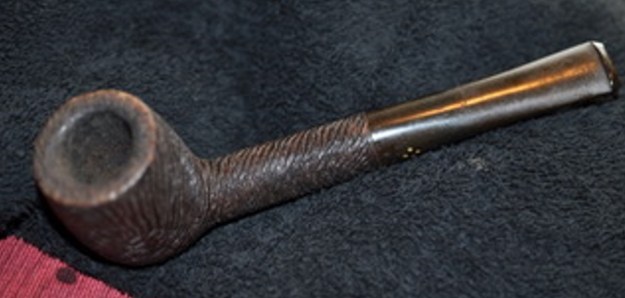
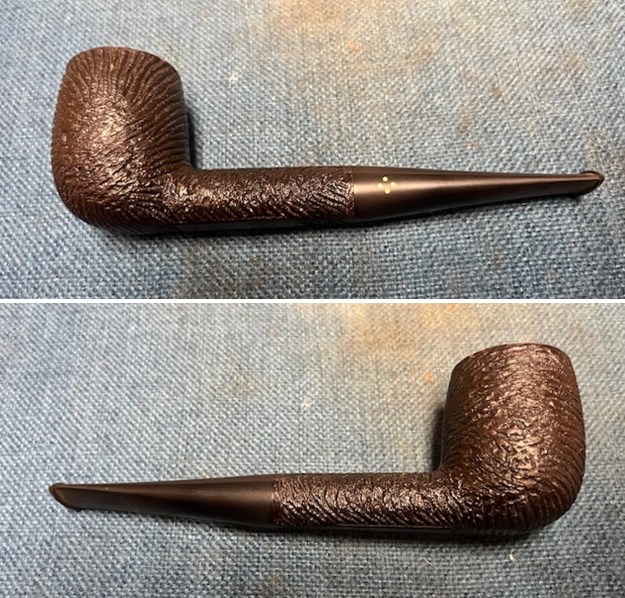
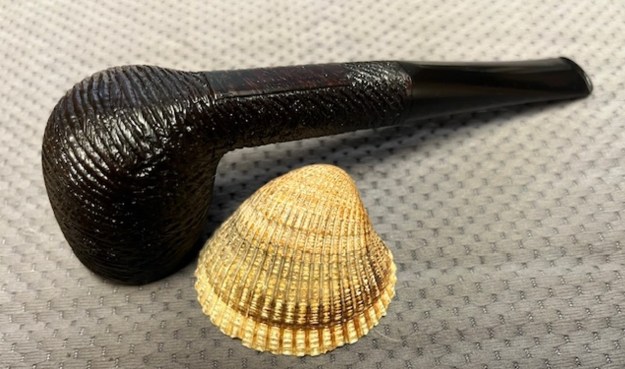
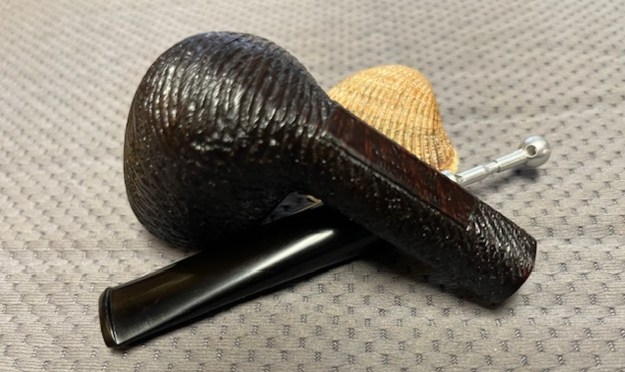
 The photos of the sides and heel of the bowl show the grain around the bowl and shank. The stain adds depth finish on the pipe. Even under the grime it is a real beauty.
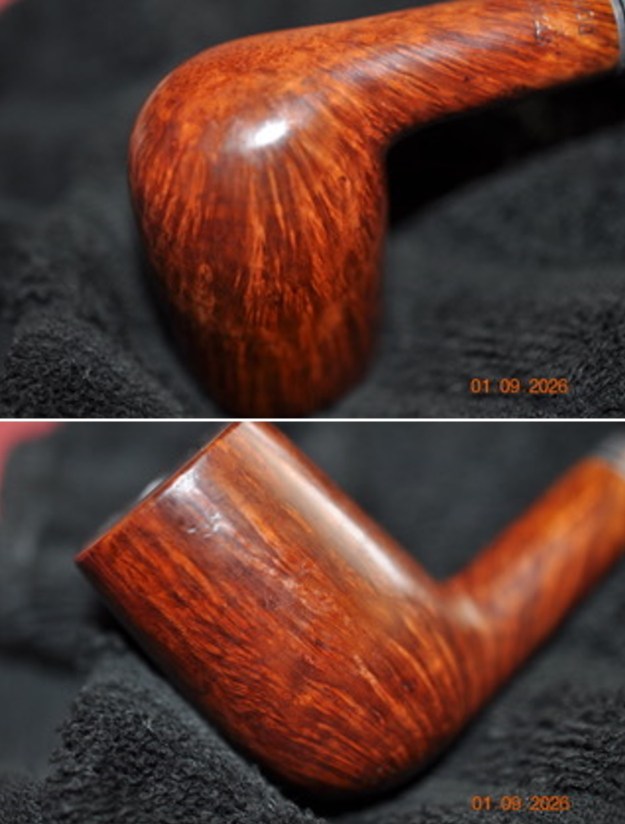
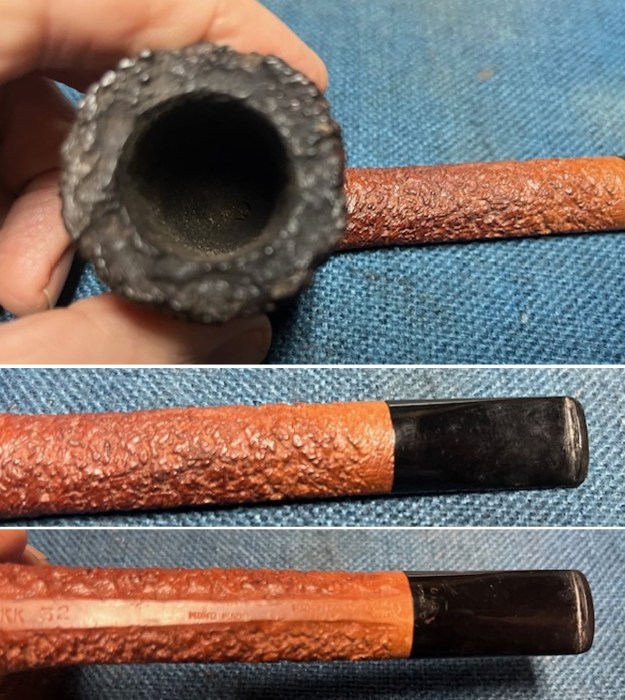
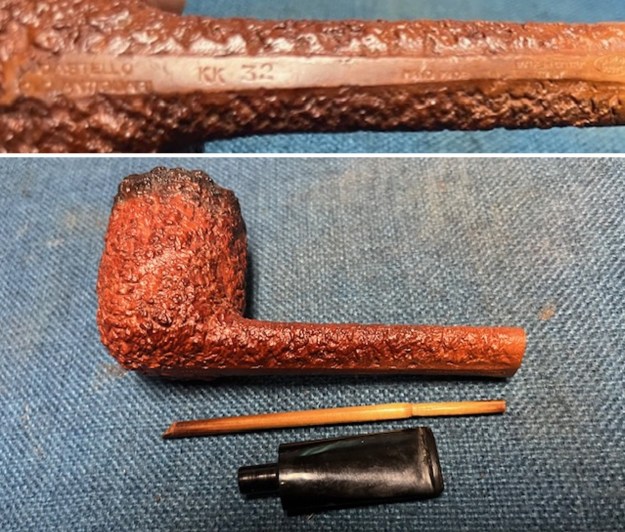
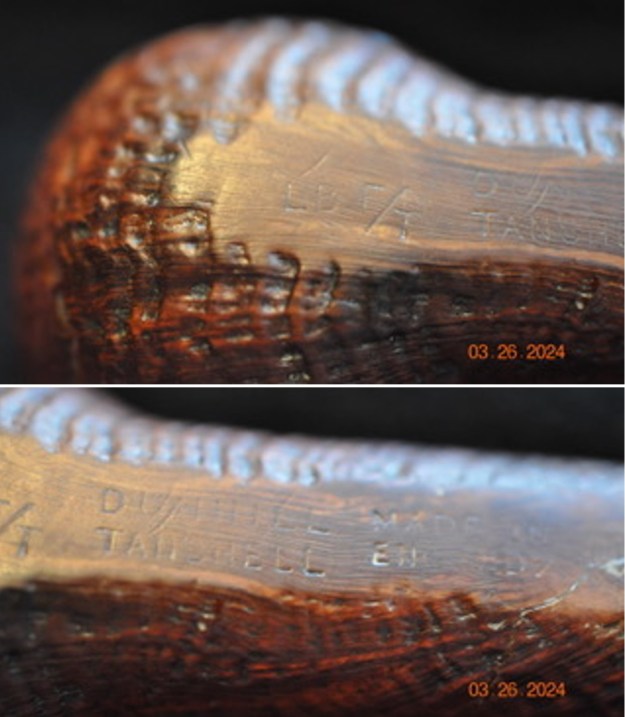
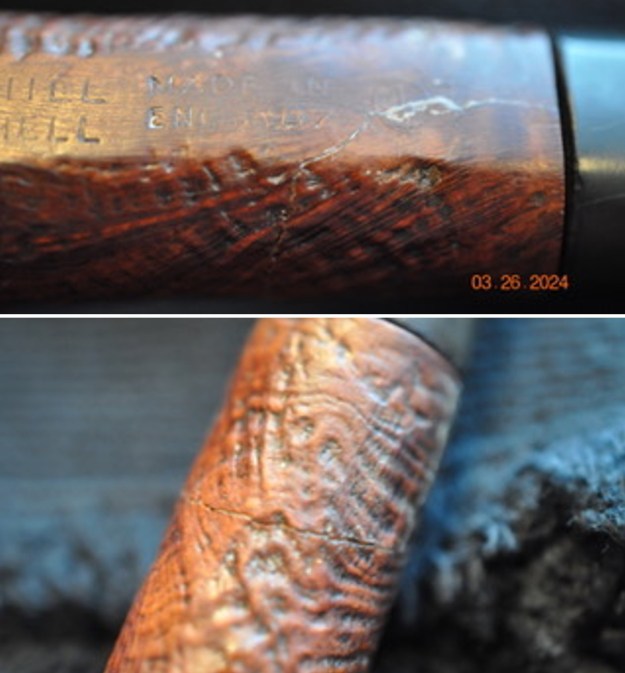
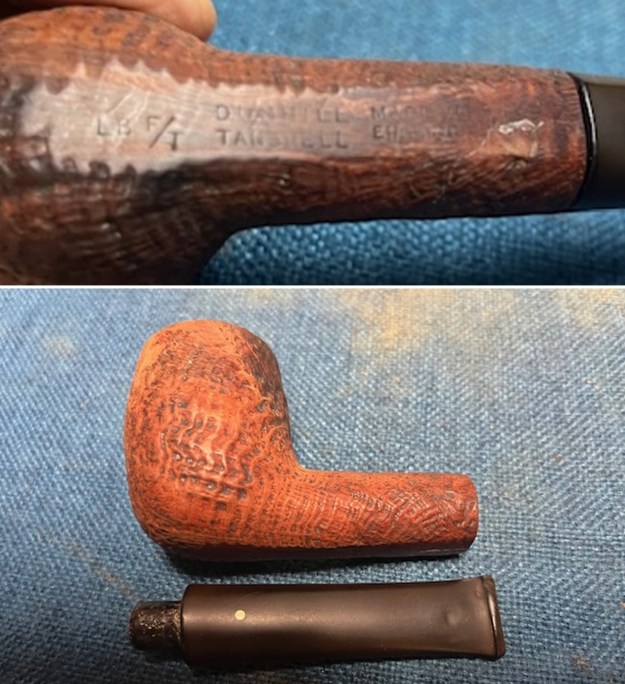
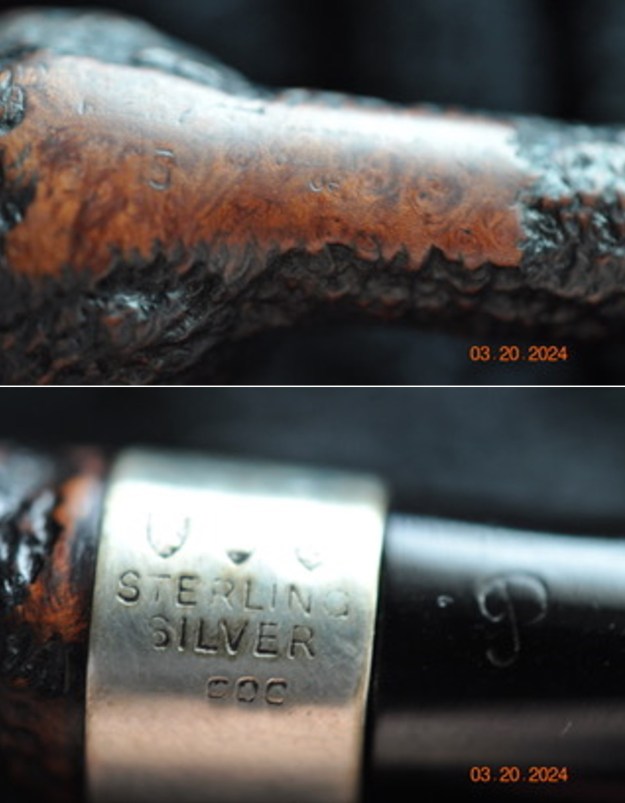
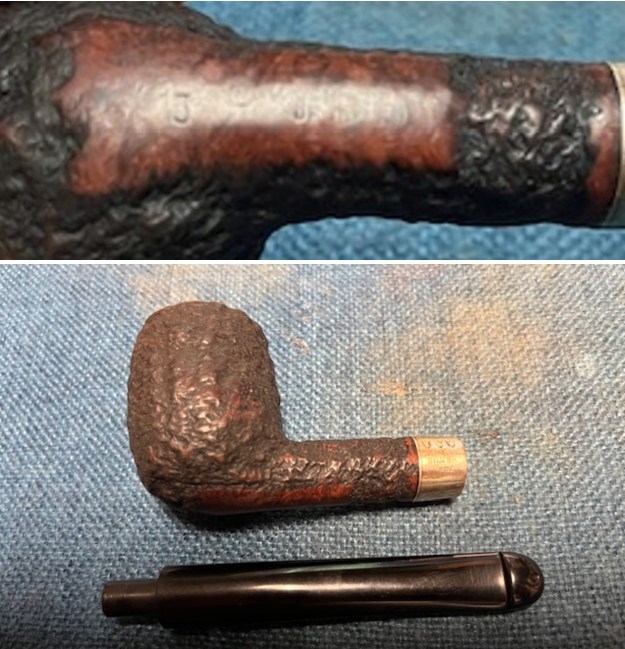
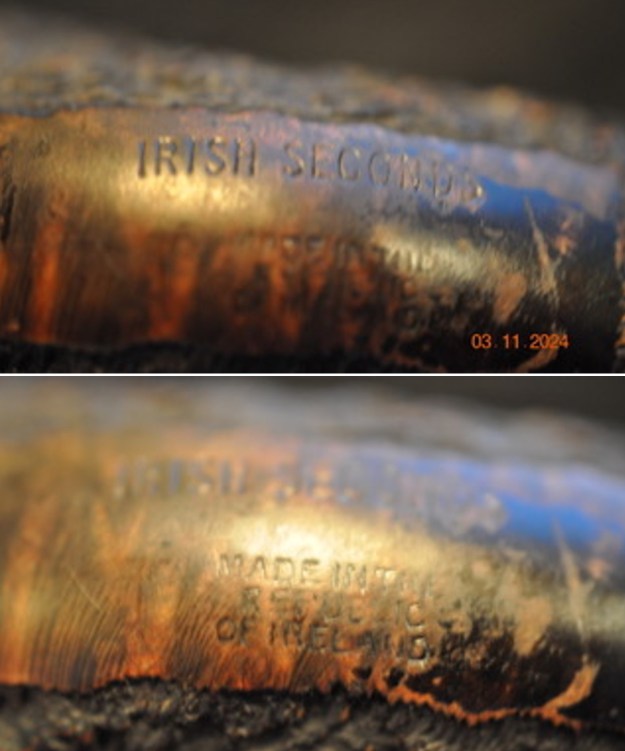
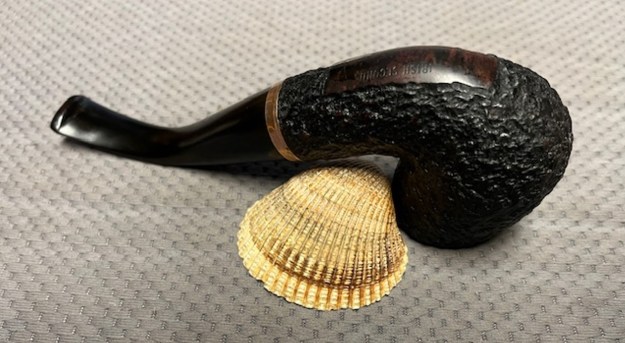
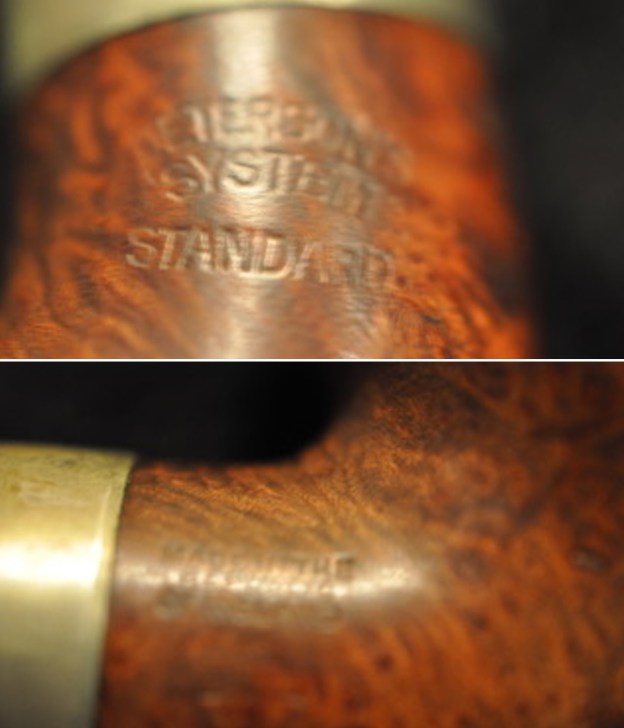
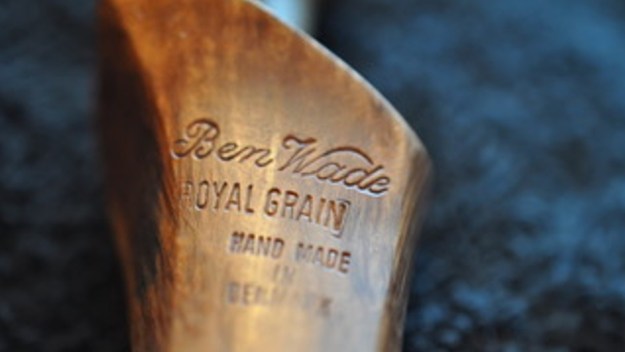
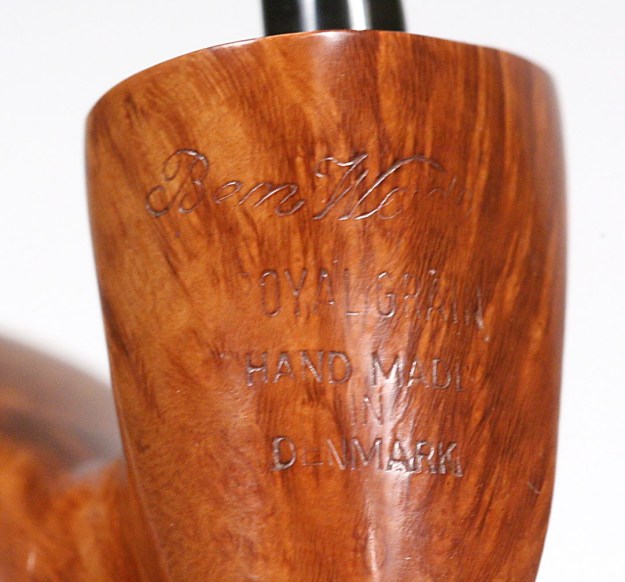
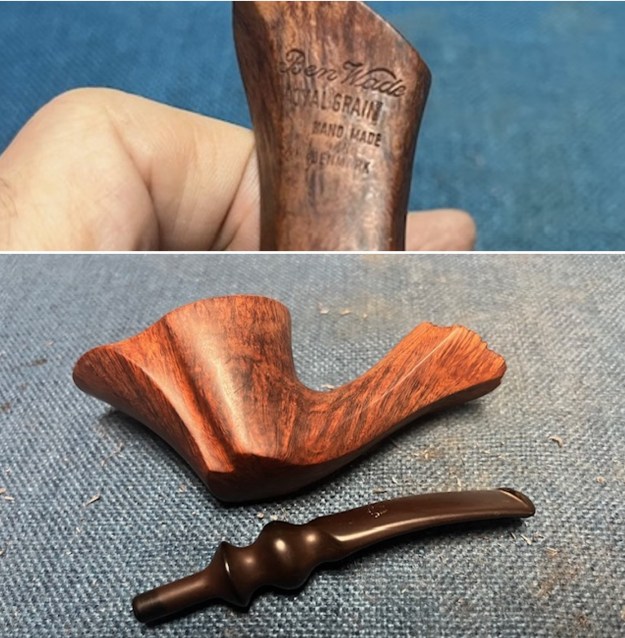
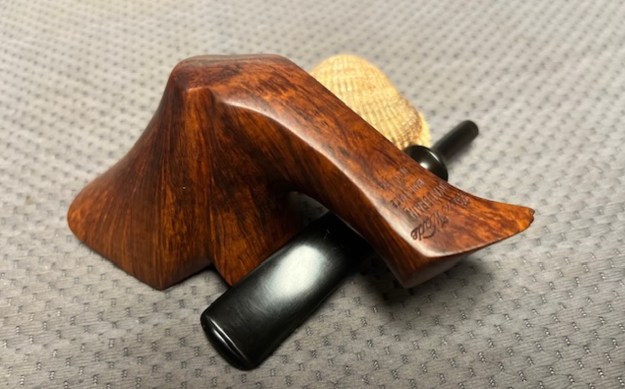
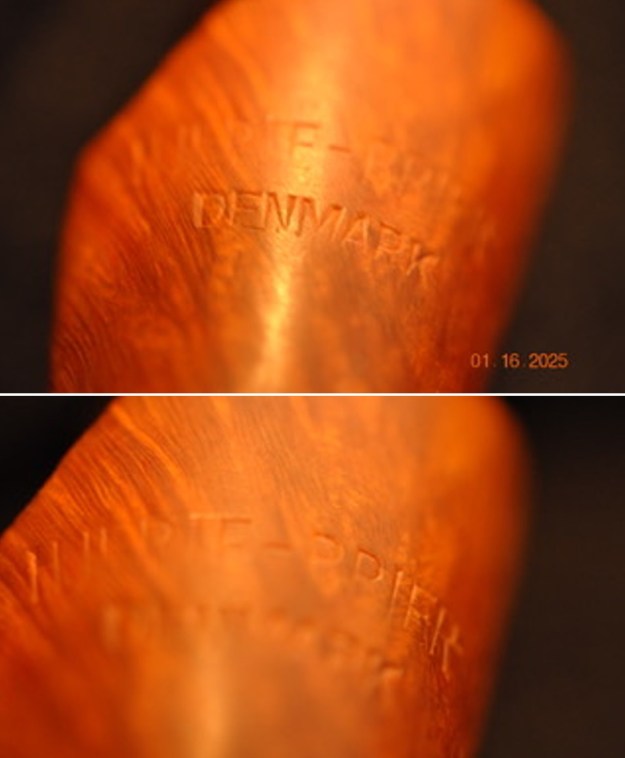
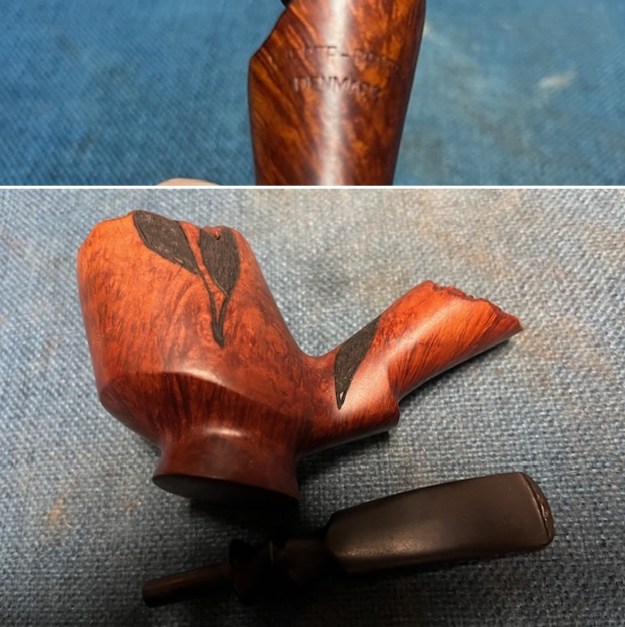
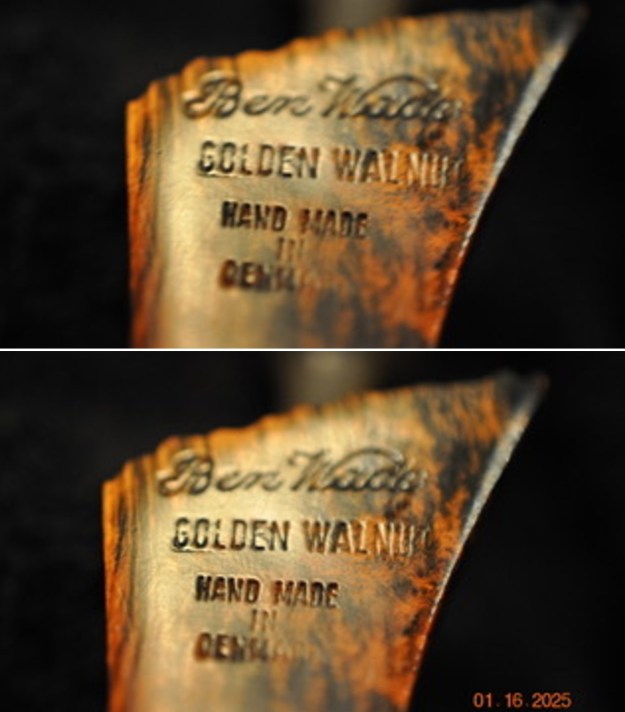
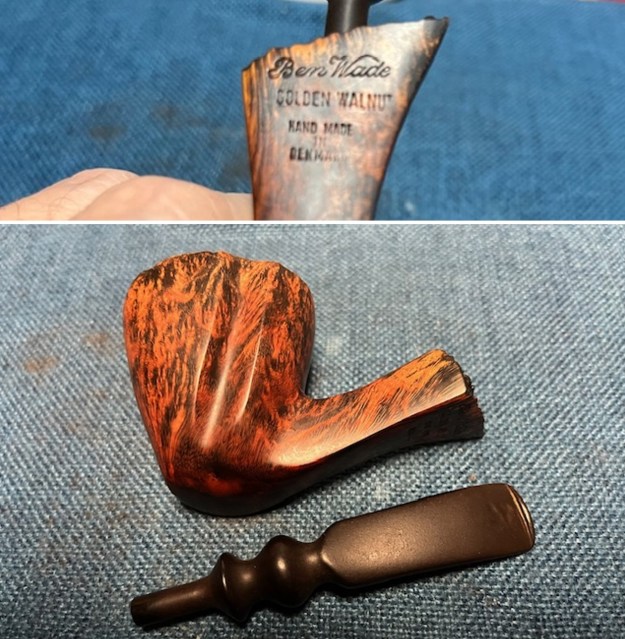
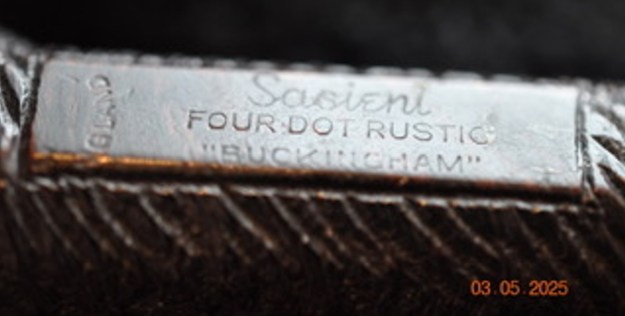
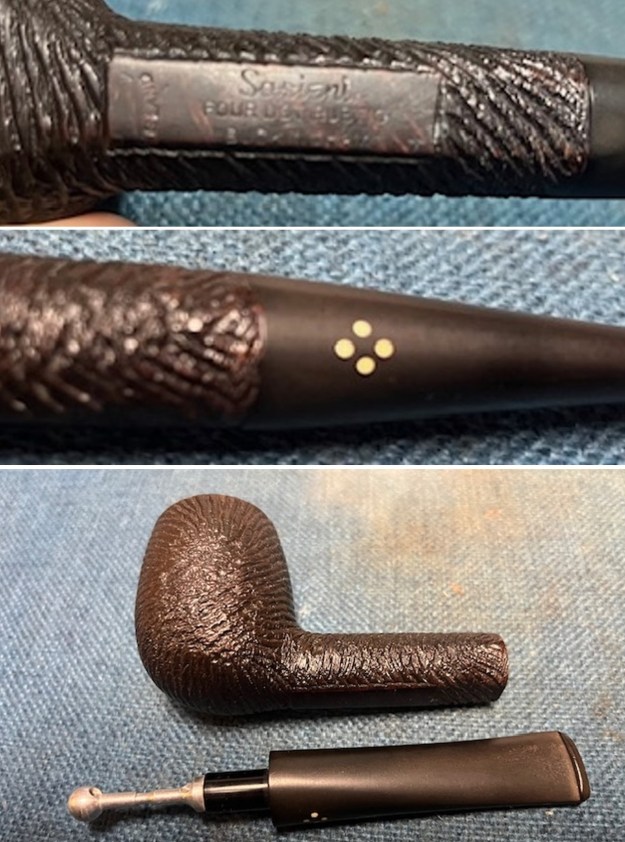
 The stamping on the sides of the shank are shown in the photos below. It is clear and readable as noted above.
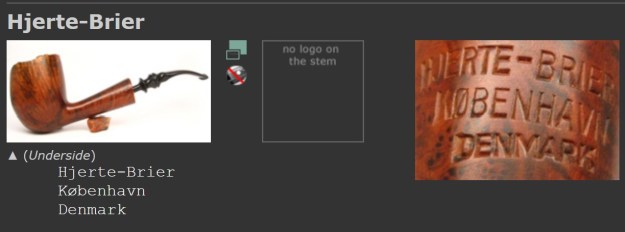
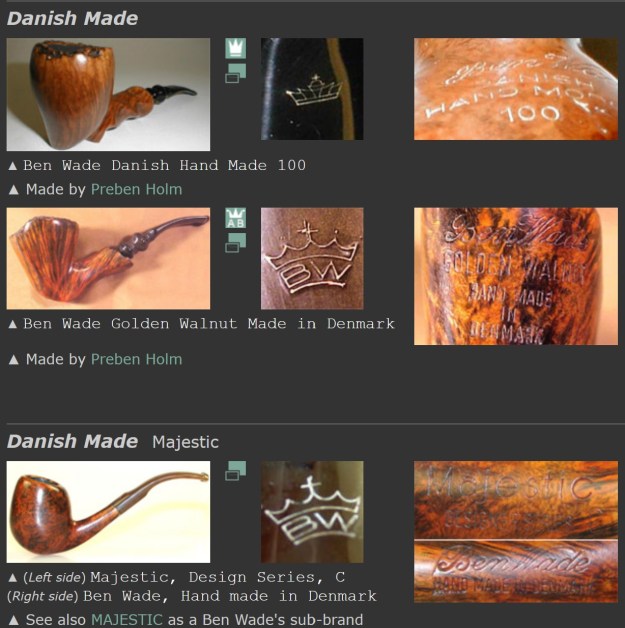
 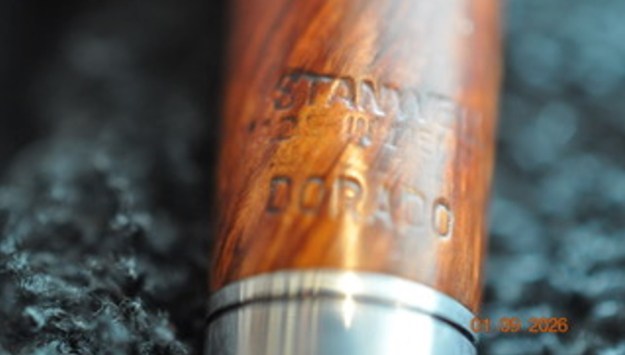 I turned to Pipephil’s site to see if I could find any information on the Diplomat line of Stanwell pipes (http://www.pipephil.eu/logos/en/logo-stanwell.html). There was nothing specific on the line but the summary of Stanwell History is quite helpful. I quote it below.
Brand & factory were established in 1942 by Poul Nielsen. The company has been owned since 2000 by Nordisk Tobaks Kompagni A/S.
The factory in Borup crafted all Stanwell pipes from 1965 until 2009. From 2010 on the pipes are crafted by Barontini (Italy) exept for the limited editions.
Production (2007): 115 000 Pipes/year – Denmark
I turned to Pipedia to an article that originally was posted here on rebornpipes and written by my late friend Bas Stevens (https://pipedia.org/wiki/Stanwell_Shape_Numbers_and_Designers). The list did not clarify who designed the shape so that was still a bit of a mystery. Whoever did so, created a beauty. I now knew that the shape 175 was a Tall Billiard or Chimney with tapered stem. There was no other information. Now it was time to work on the pipe.
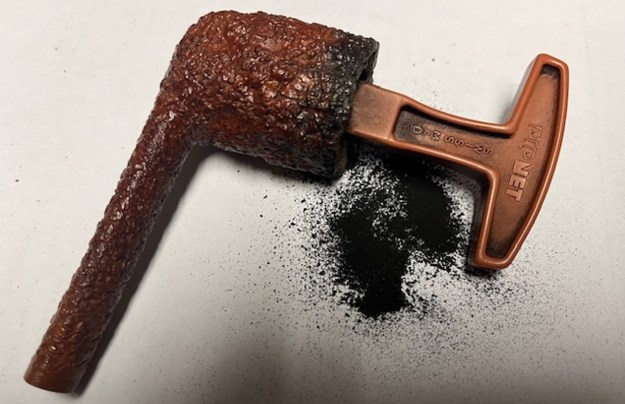
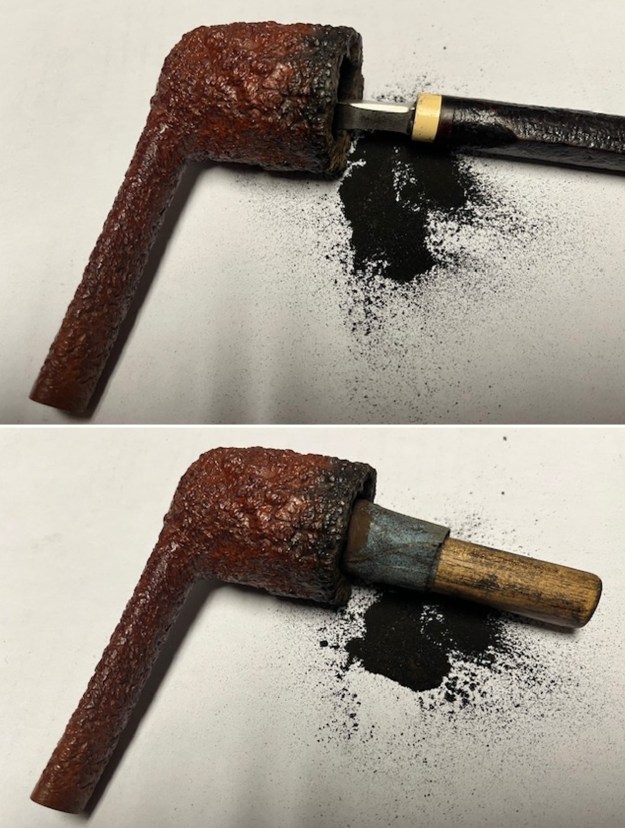
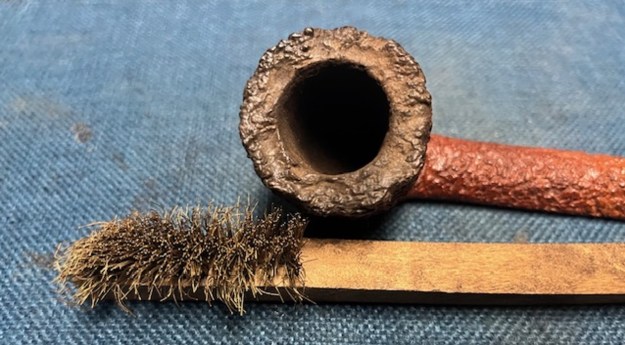
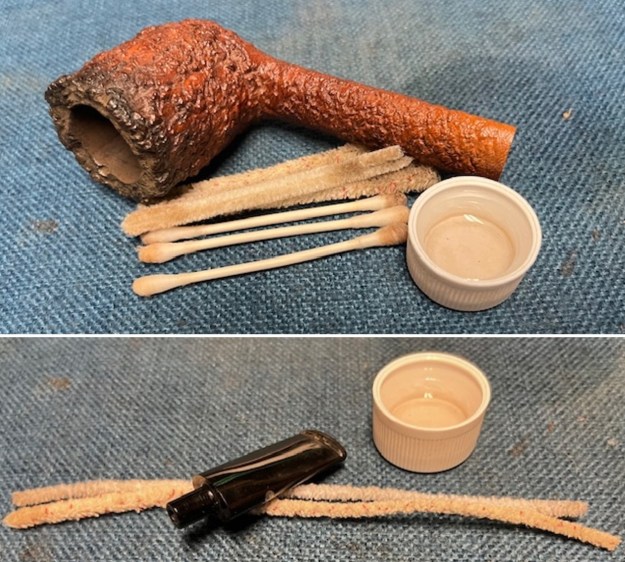
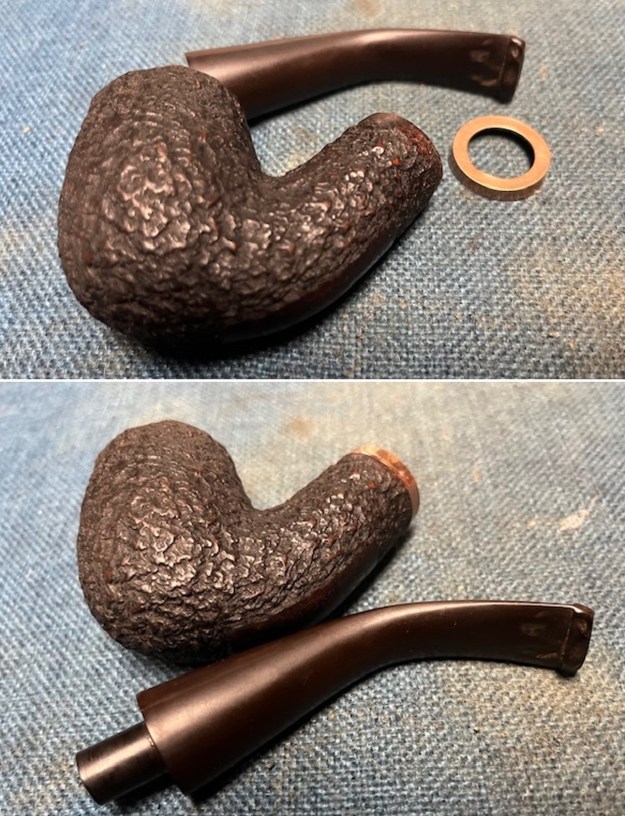
Jeff had cleaned up the pipe with his usual penchant for thoroughness. He reamed the pipe with a PipNet Pipe Reamer and cleaned up the remnants with a Savinelli Fitsall Pipe Knife. He scrubbed the bowl with undiluted Murphy’s Oil Soap with a tooth brush. He rinsed it under running warm water to remove the soap and grime. He cleaned out the inside of the shank and the airway in the stem with alcohol, cotton swabs and pipe cleaners. He soaked the stem in Before & After Deoxidizer and rinsed it off with warm water. It came in Stanwell Box with Pipe Sock. I removed it from the sock and took photos of the pipe once I received it.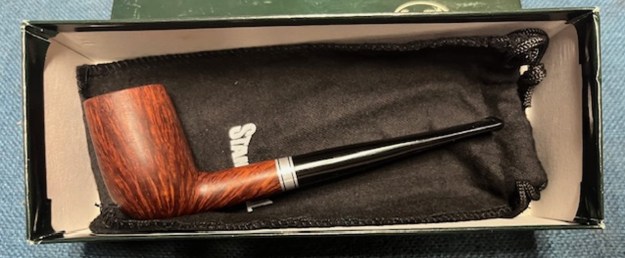
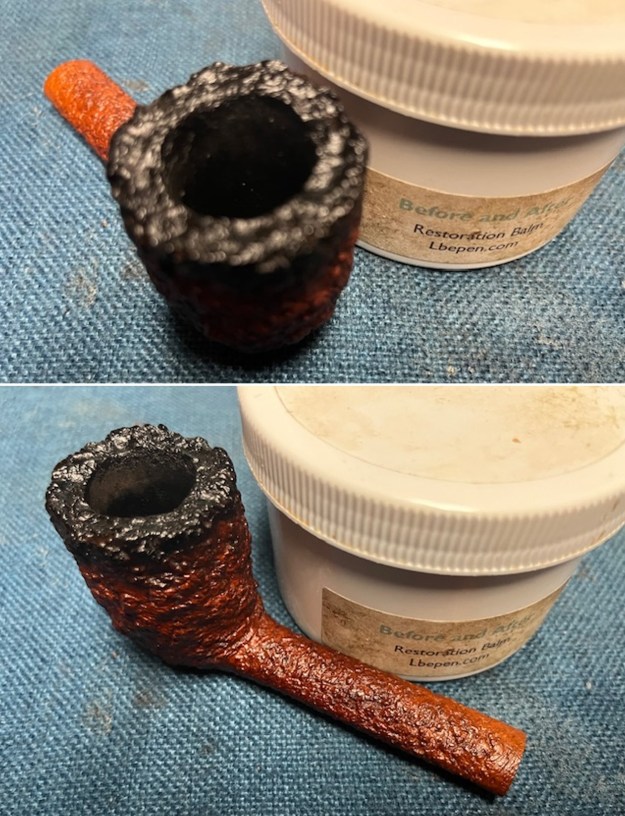
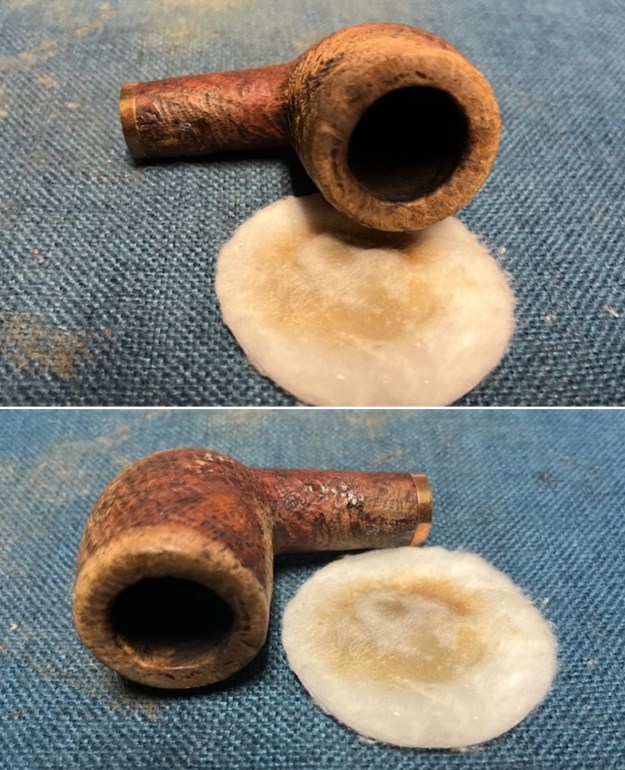
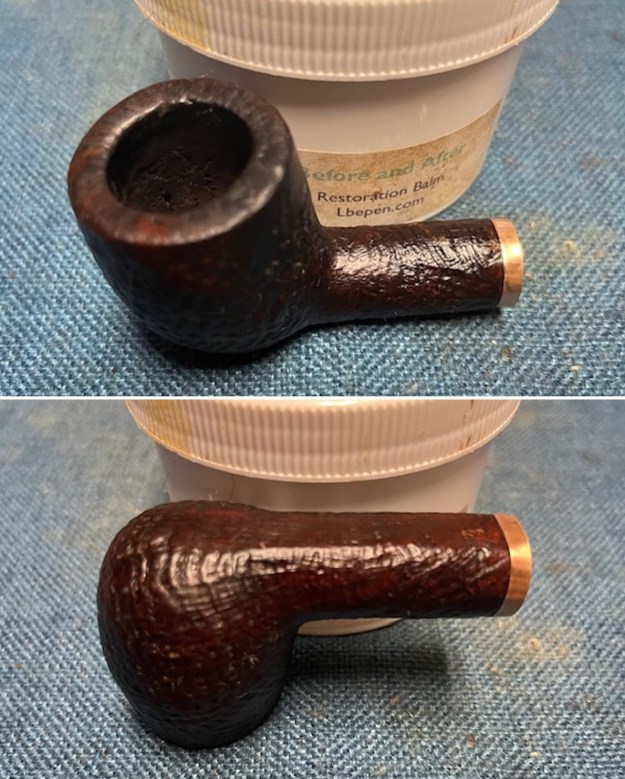
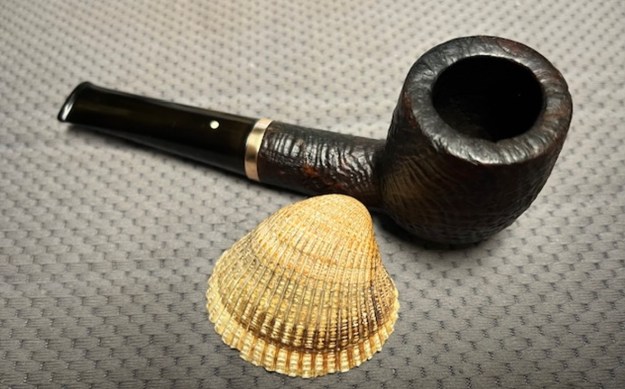
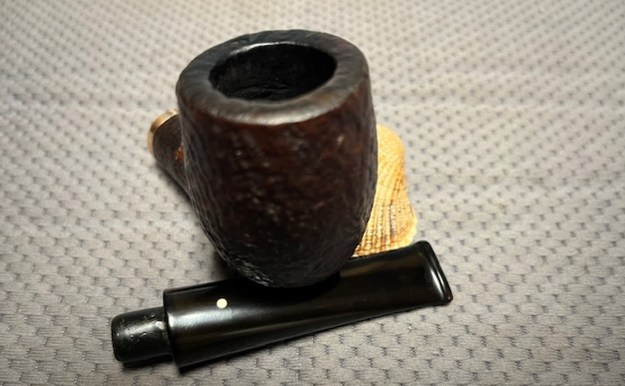
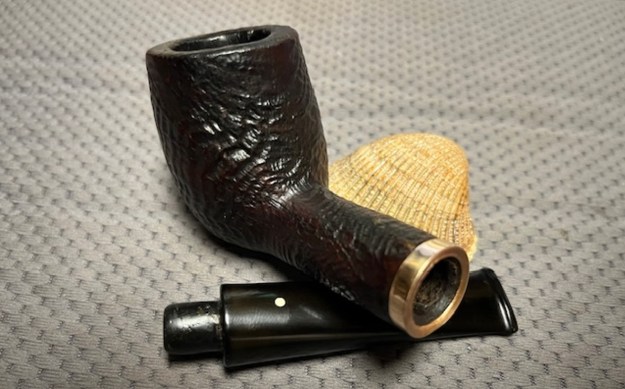
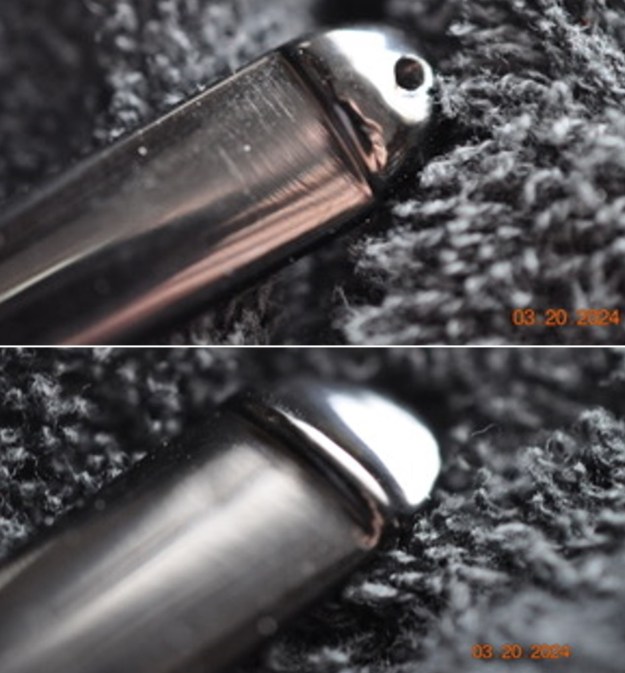
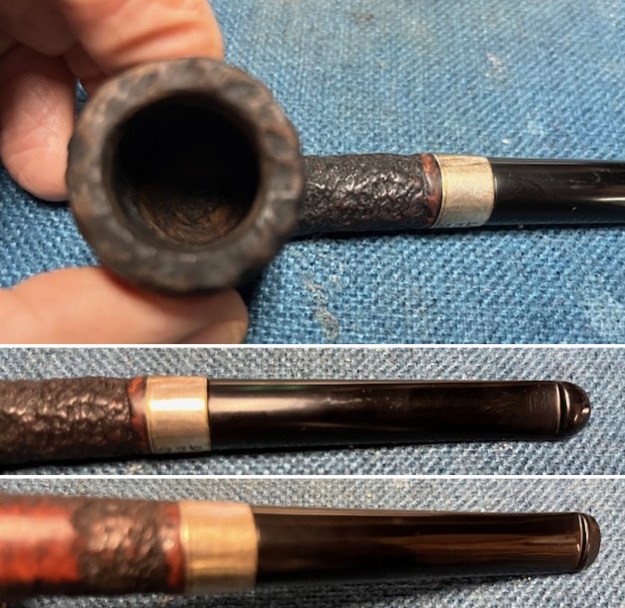
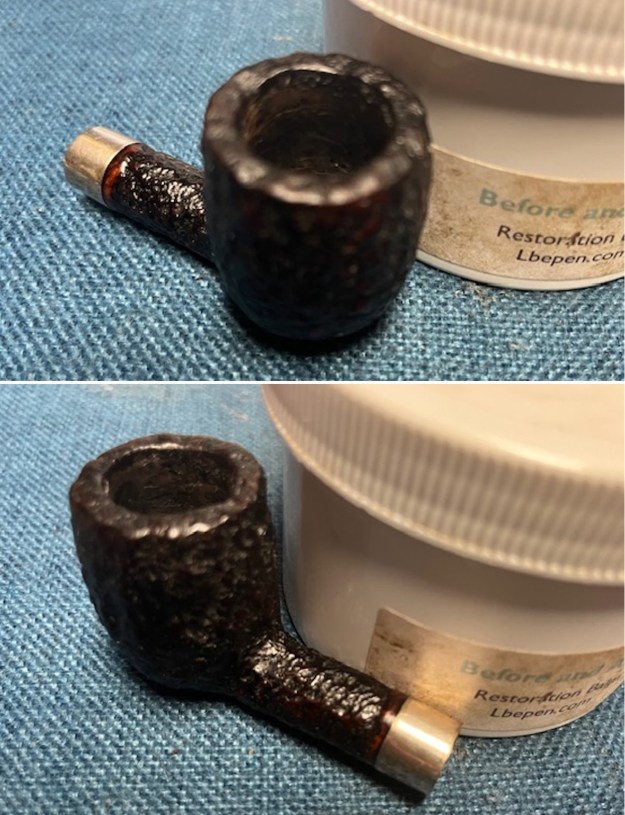
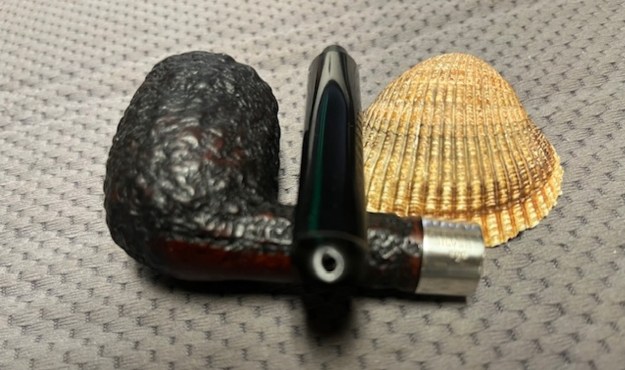
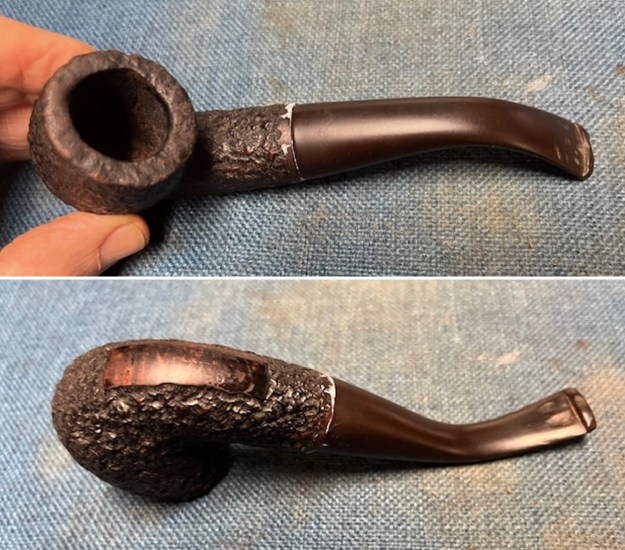
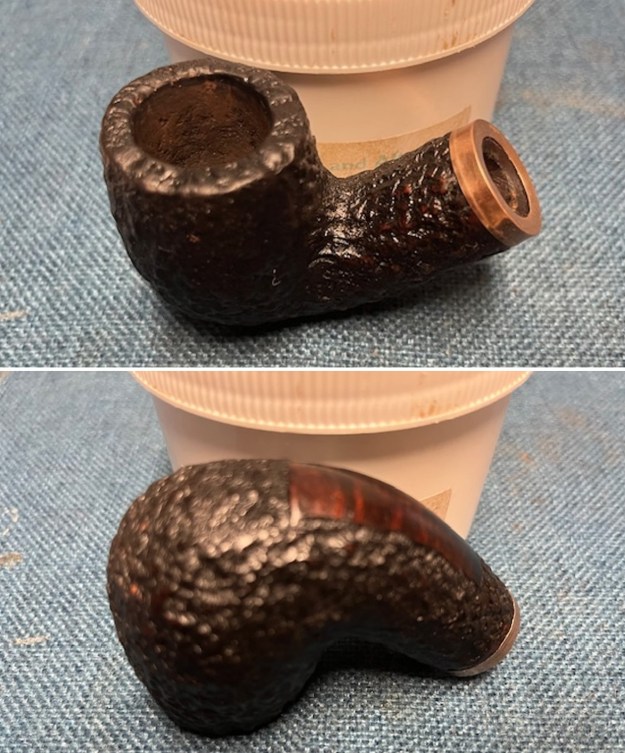
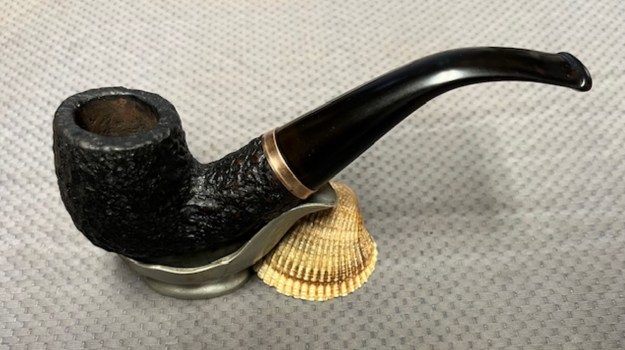
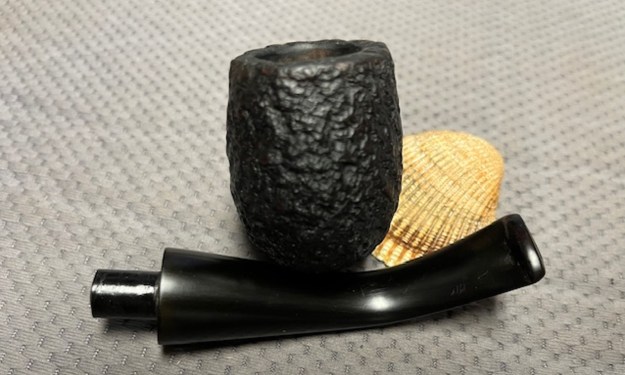
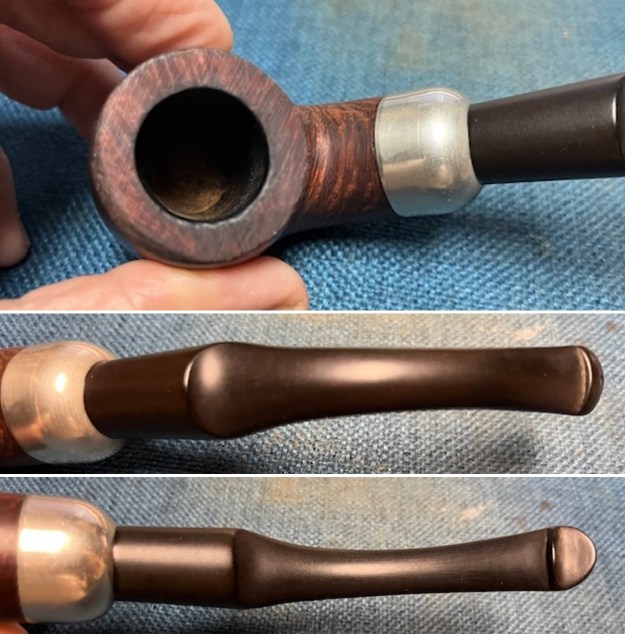
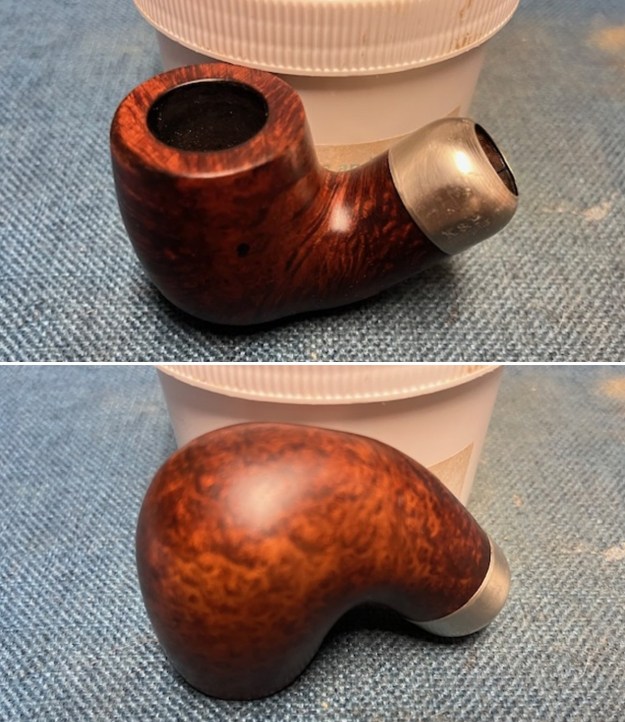
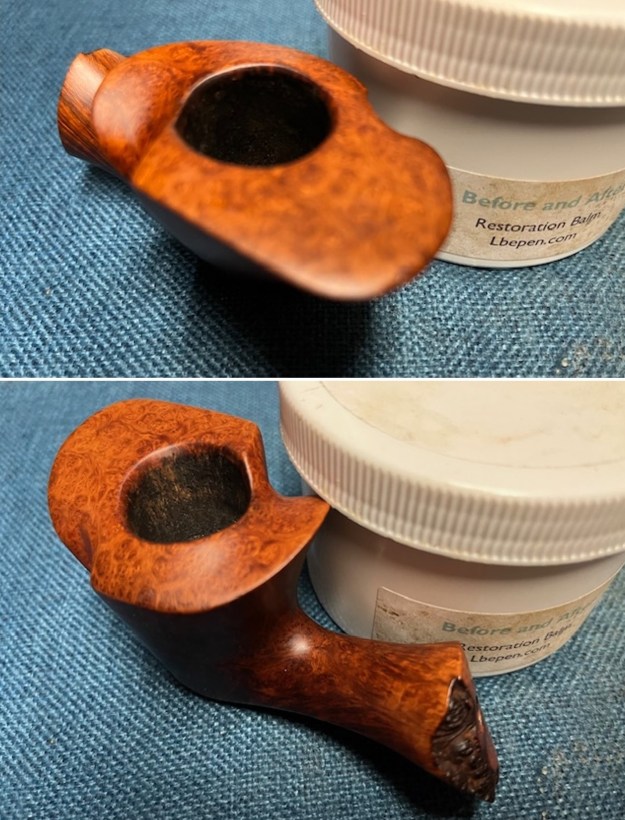
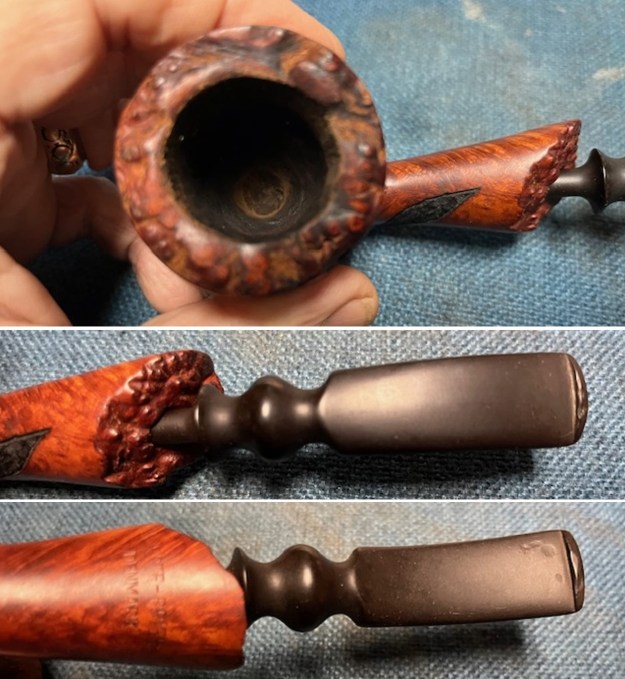
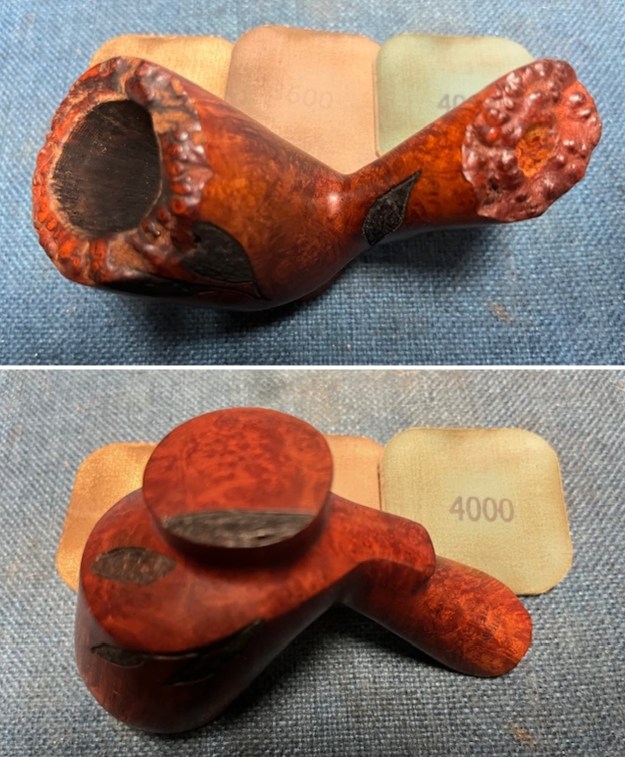
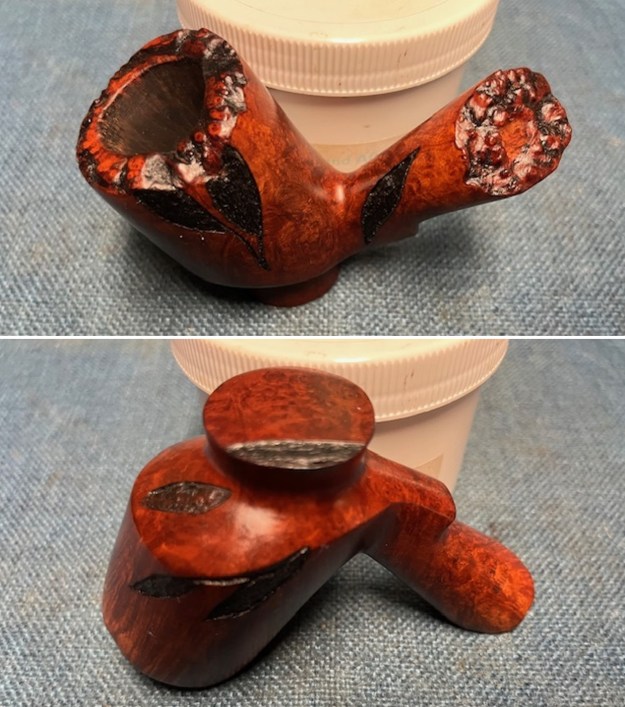
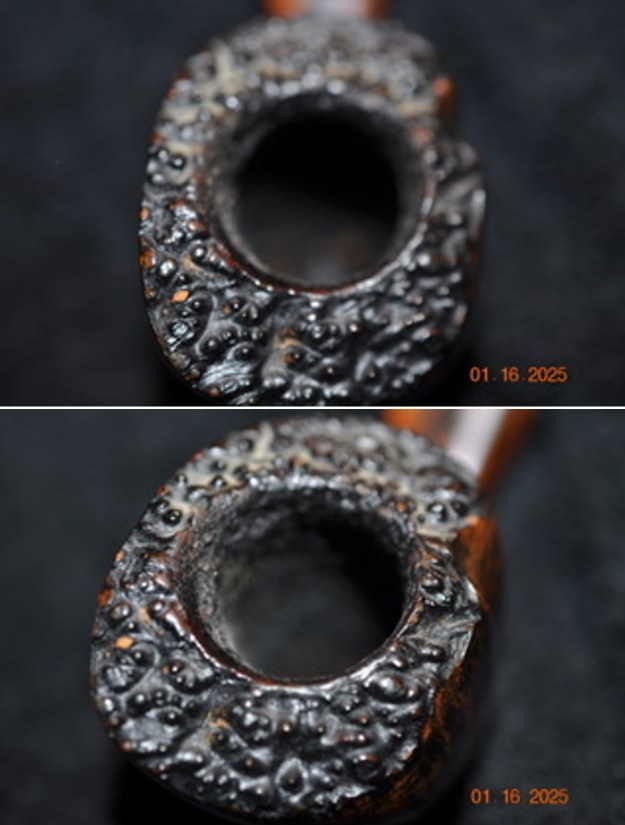
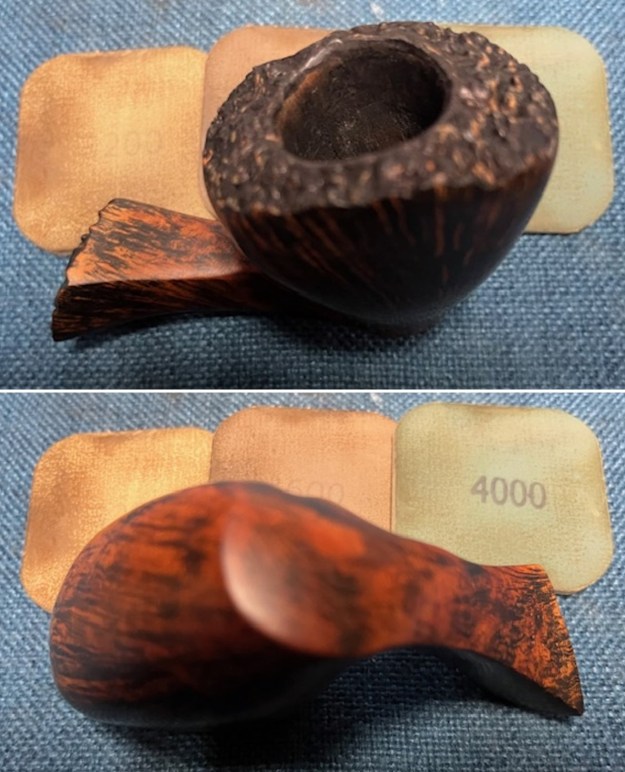
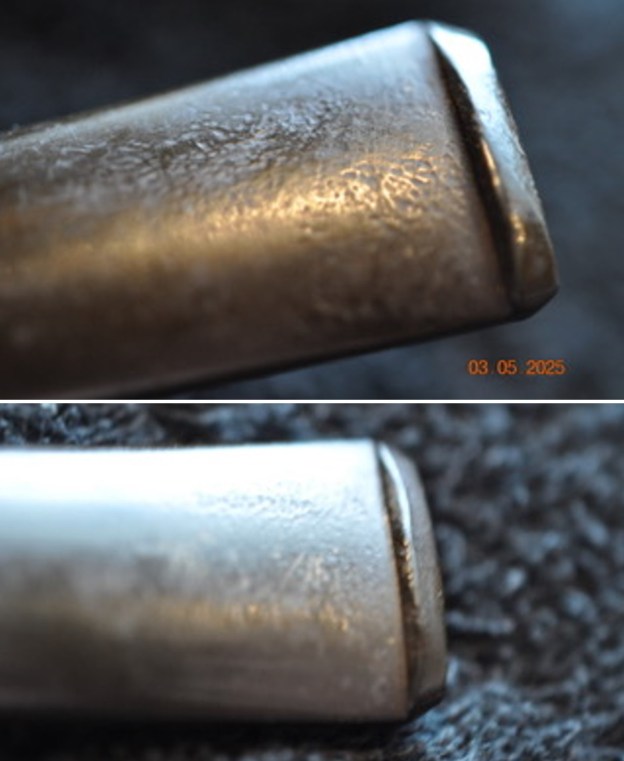
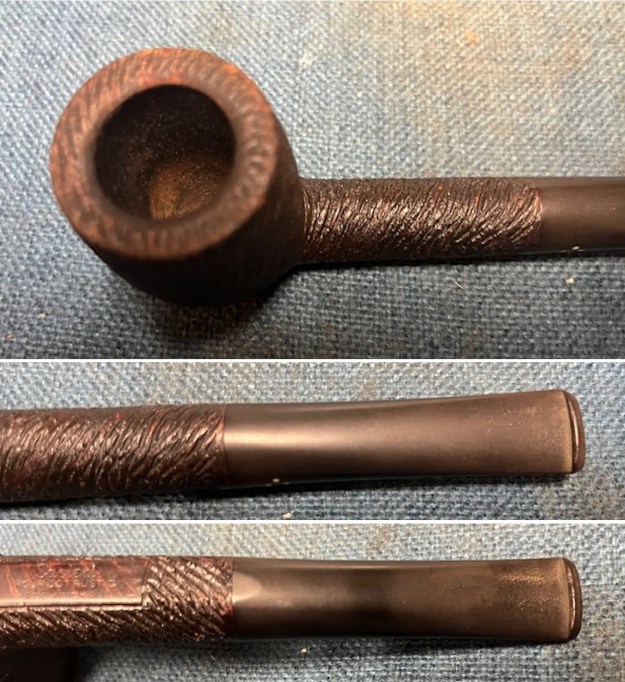
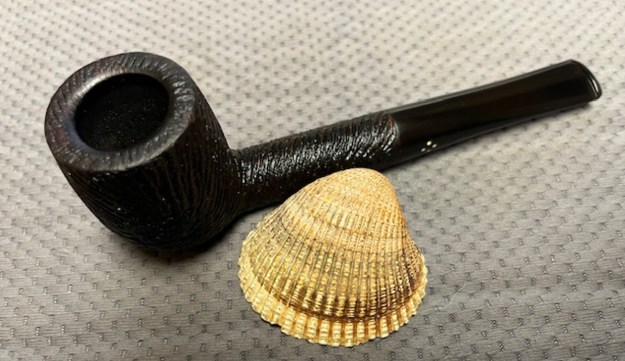
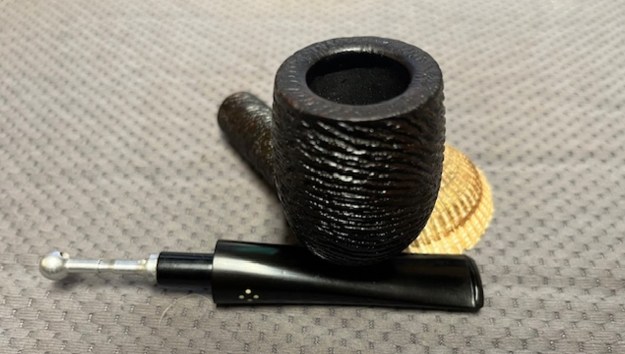
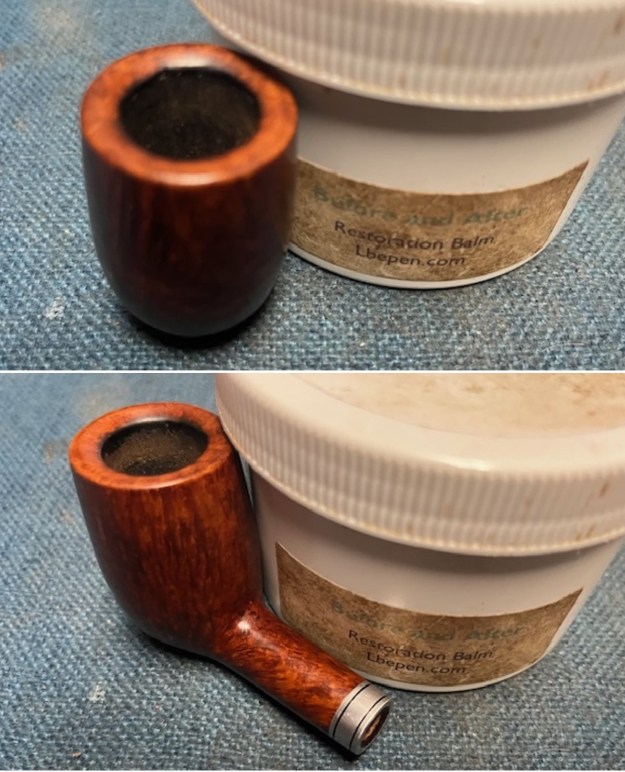
 I took close up photos of both the rim top and the stem. Jeff had been able to get the grime and lava off of the rim top and it looked pretty incredible. Even the darkening and marks on the rim top on the right side and the back of the bowl are very obvious now that it is clean. The stem looked very clean. The tooth marks and chatter were minimal and should be easy to remove.
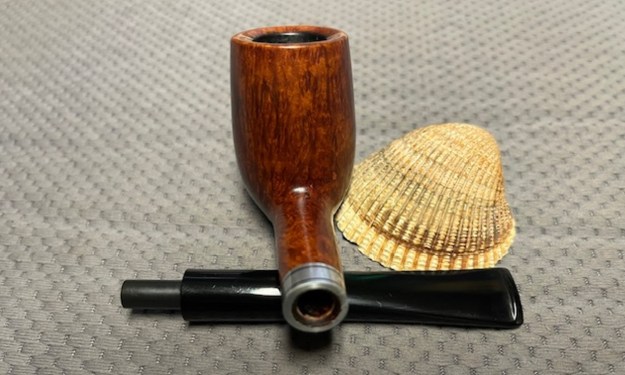
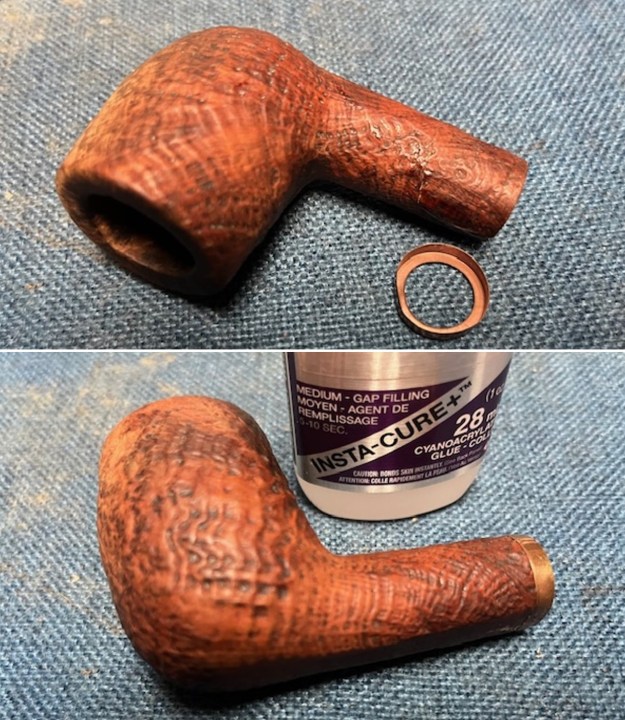
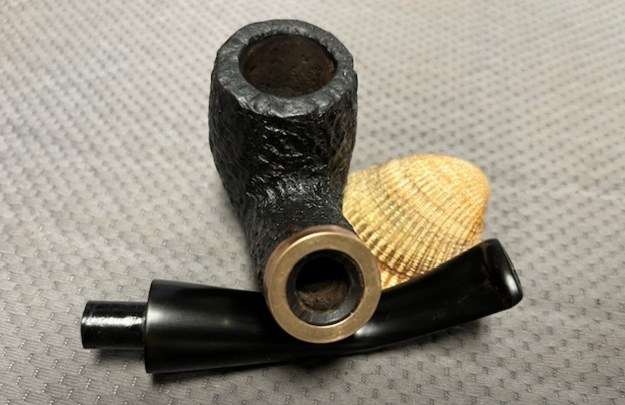
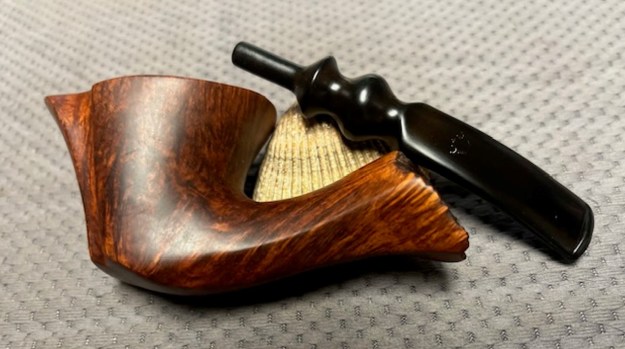
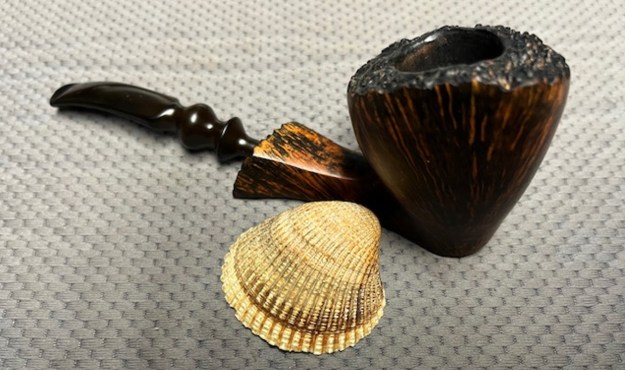
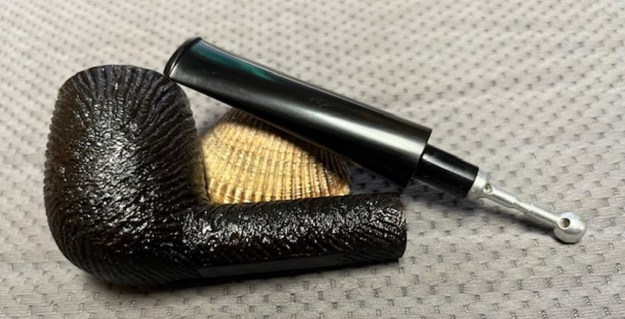
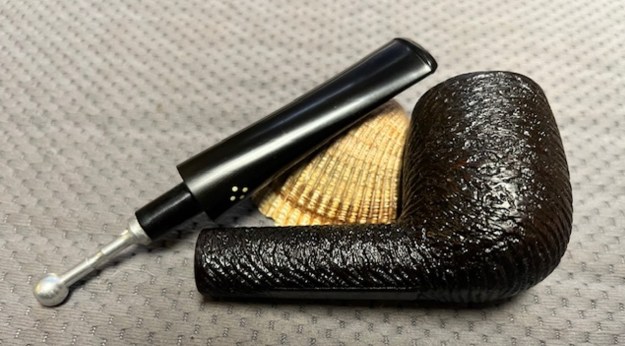
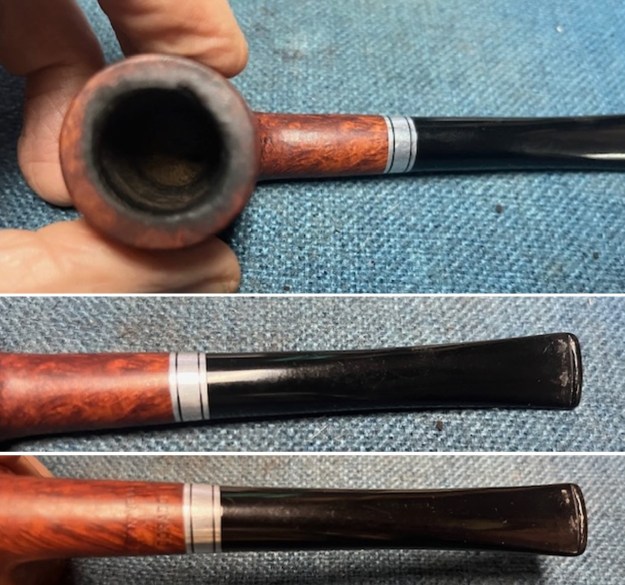 The stamping on the shank side was readable as noted above. I also took a photo with the stem removed to give an idea of the perspective and design of the pipe.
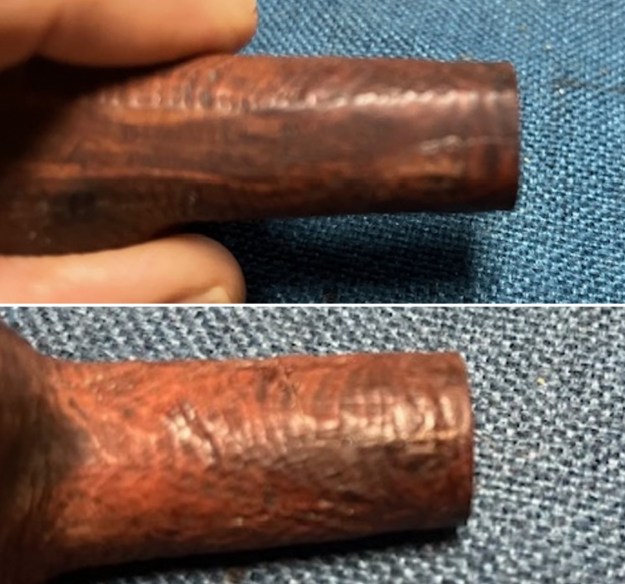
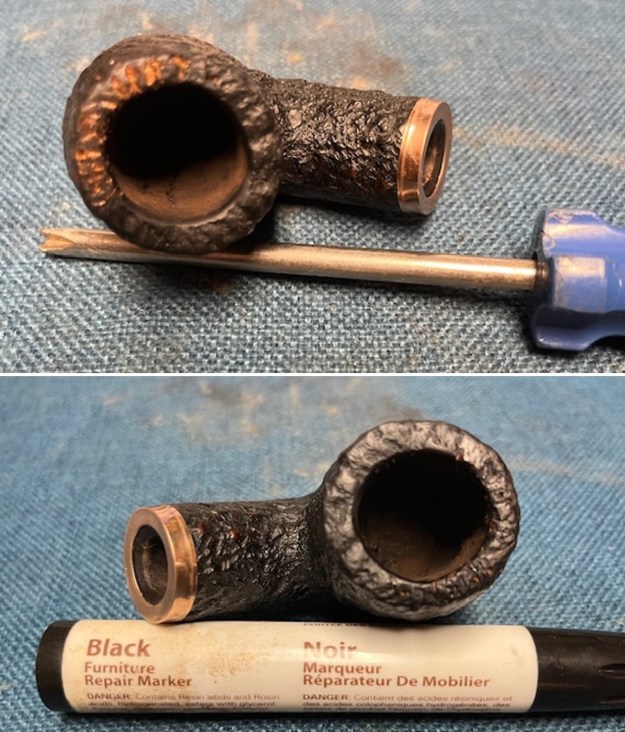
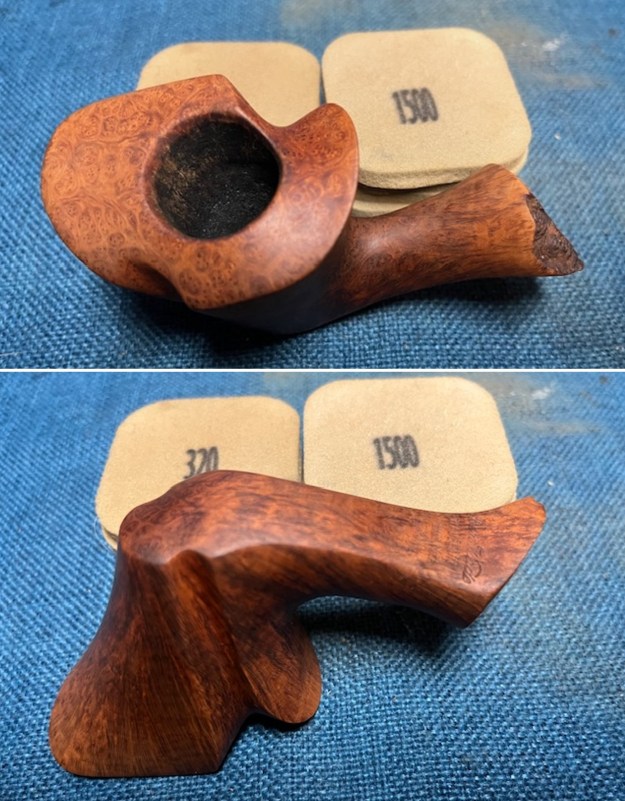
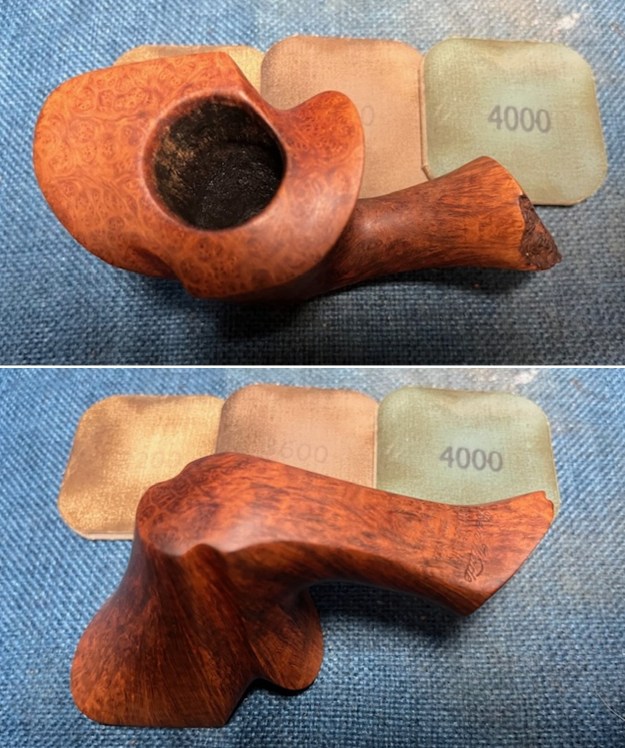
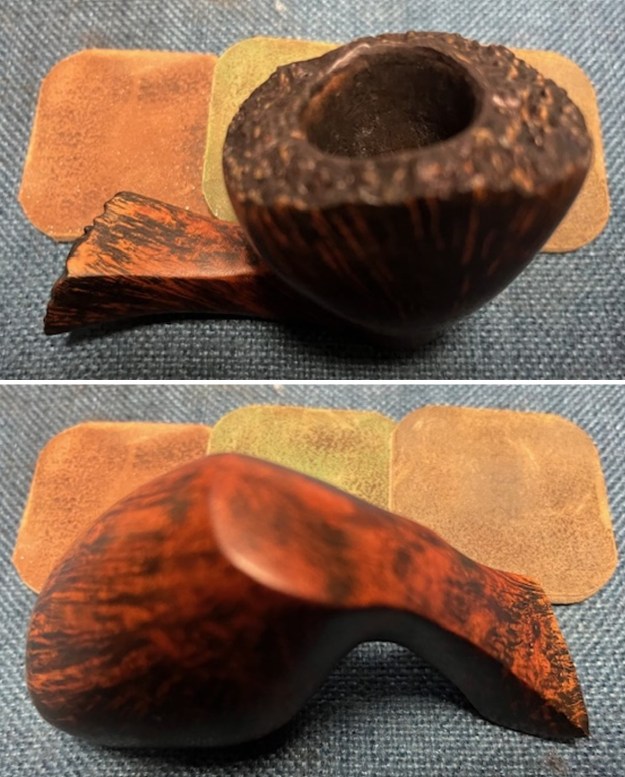
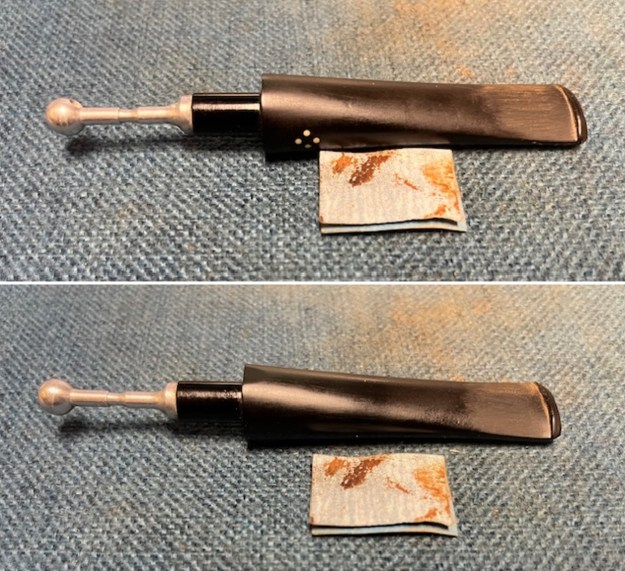
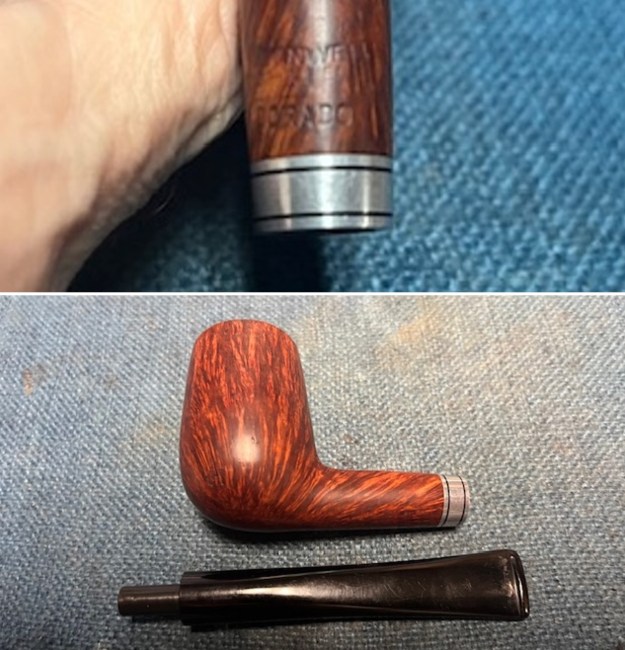 I started my work on the pipe by addressing the damage on the inner edge of the bowl with a piece of 220 grit sandpaper and a sphere to remove the damage. I then used a half sphere to further shape the rim top to bring the edge back into round and it looked much better. Over all the rim top and edges looked much better.
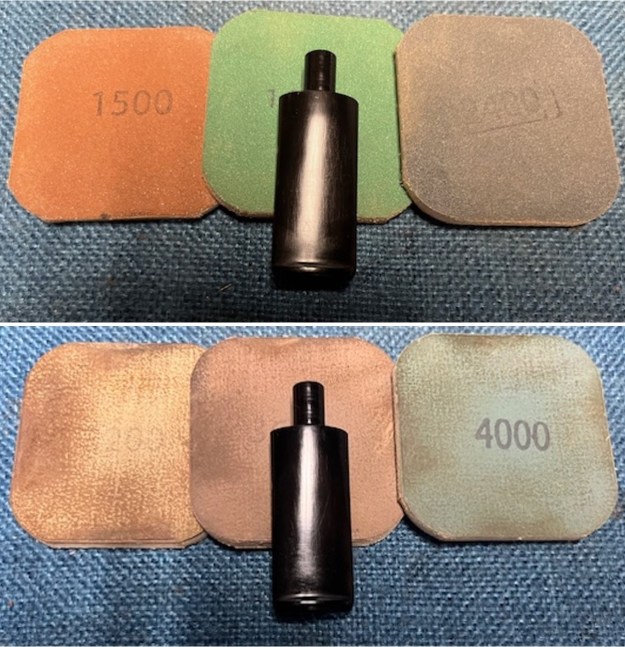
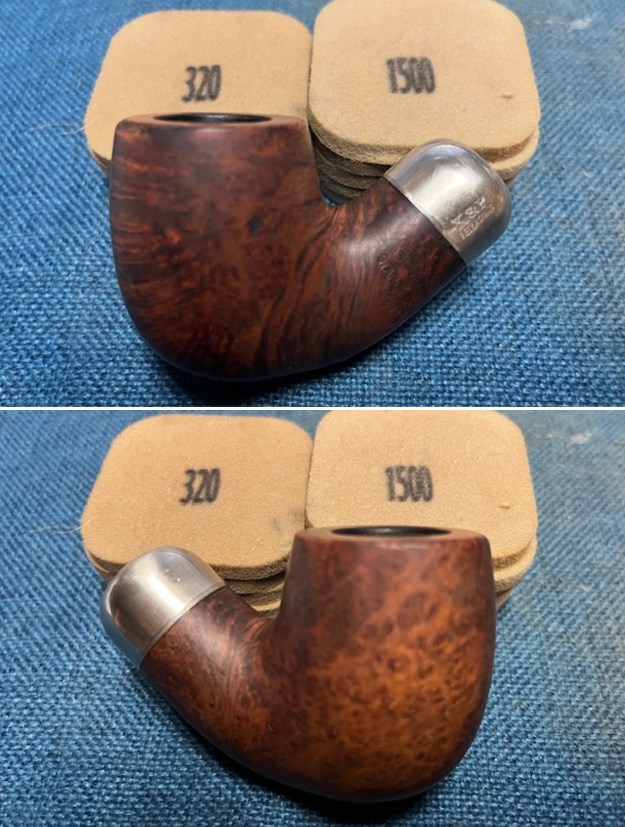
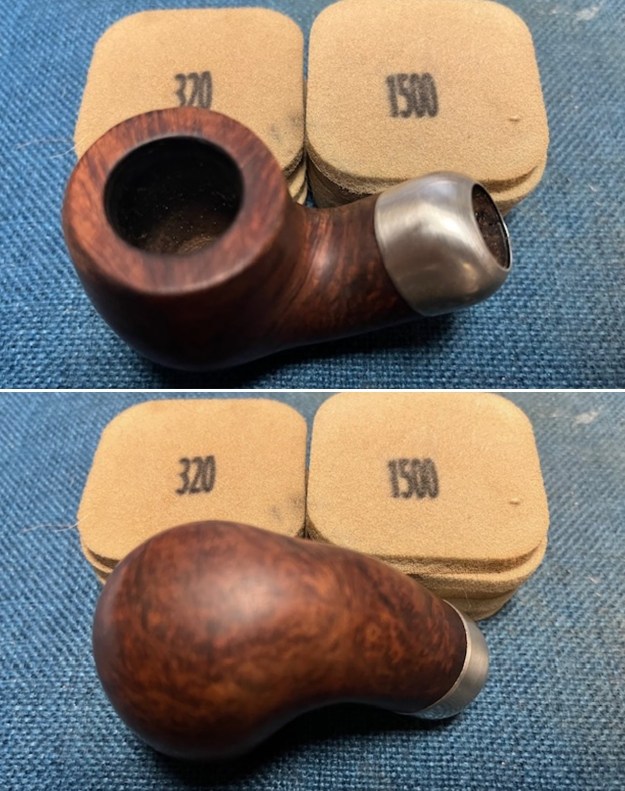
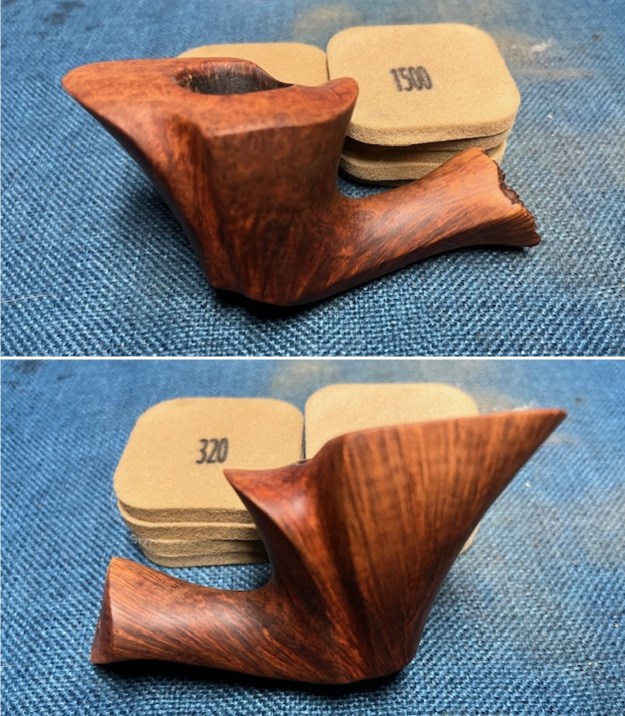
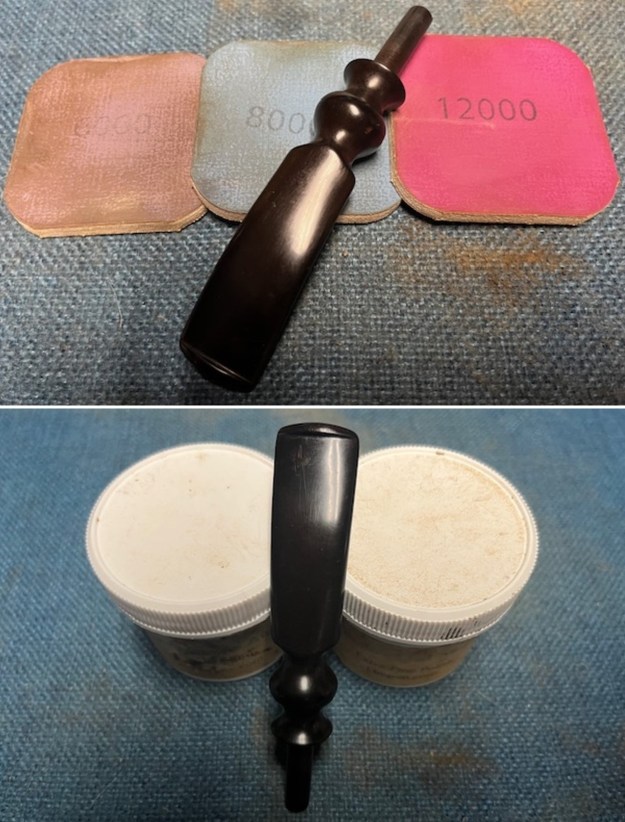
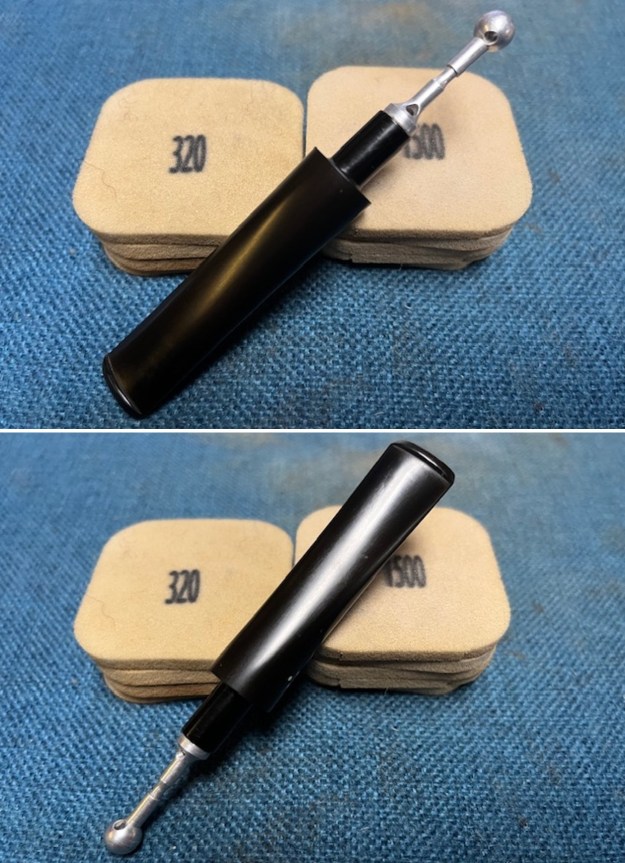
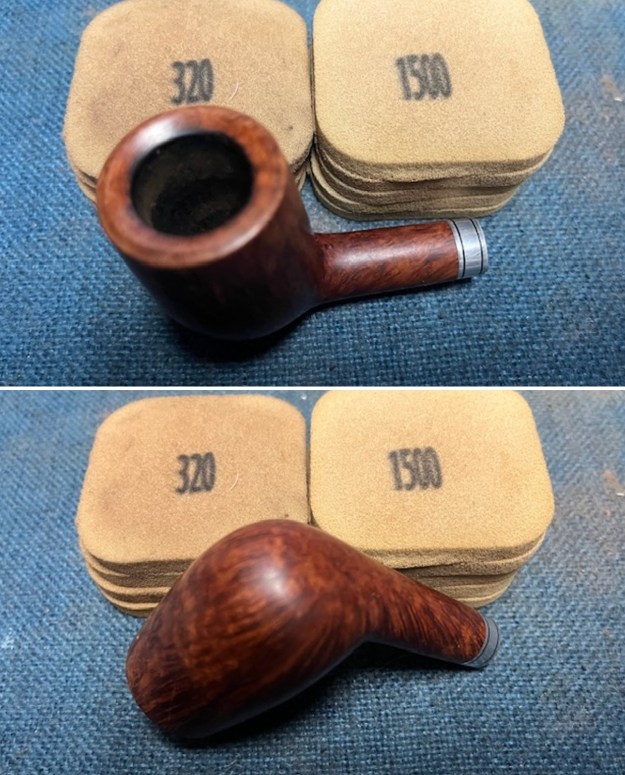
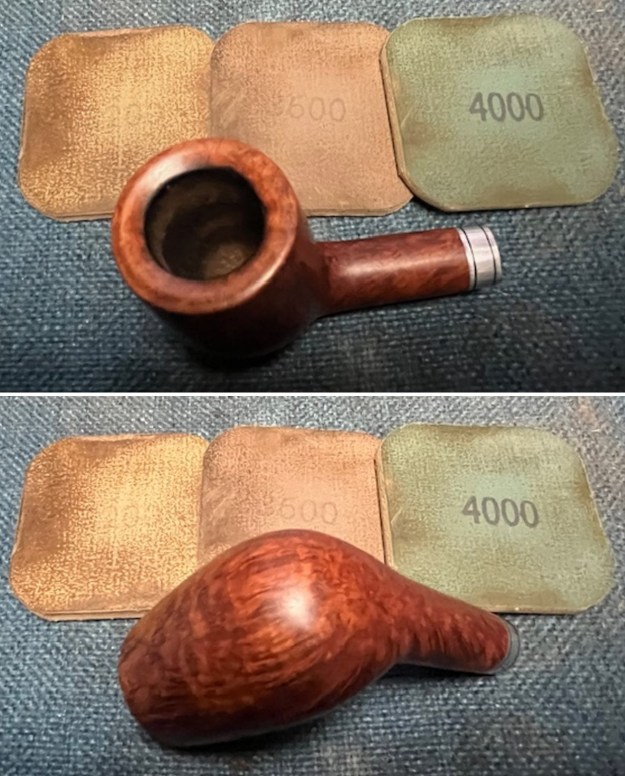
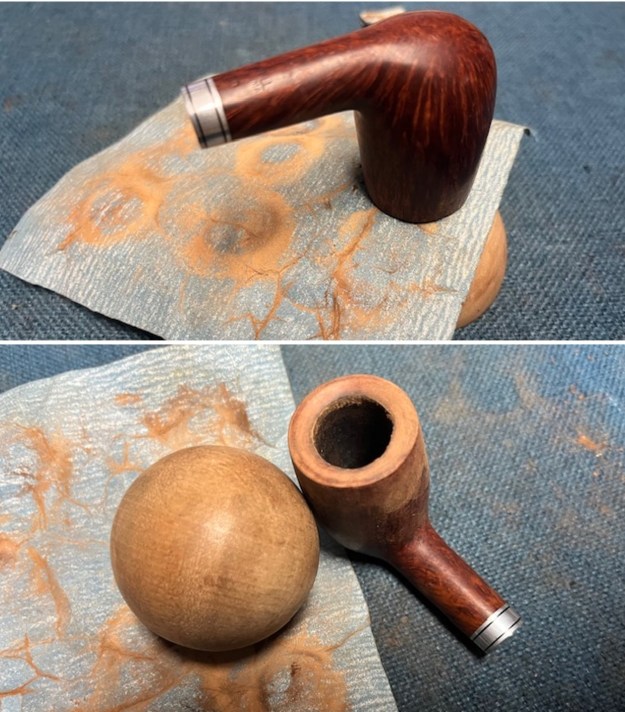 I sanded the outside of the bowl and rim with 320-3500 grit sanding pads to remove the scratching and marks on the briar. I wiped the bowl down between pads with a damp cloth to remove the sanding debris.
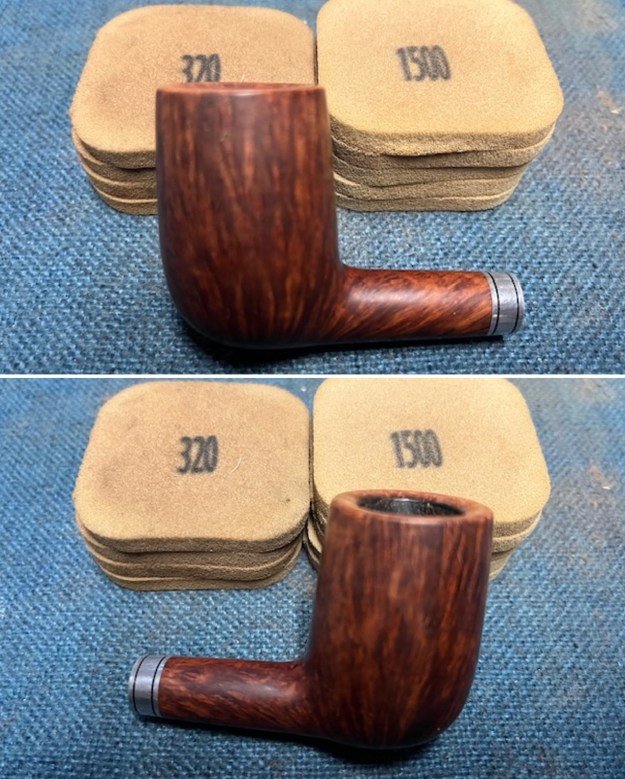
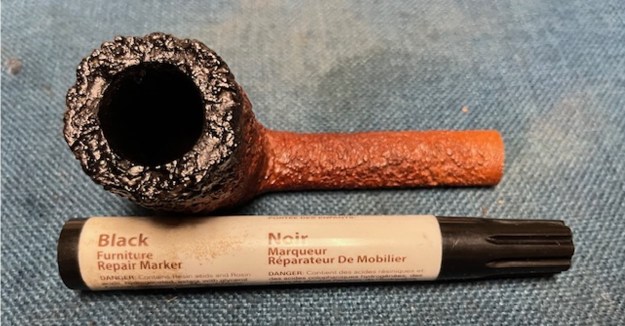
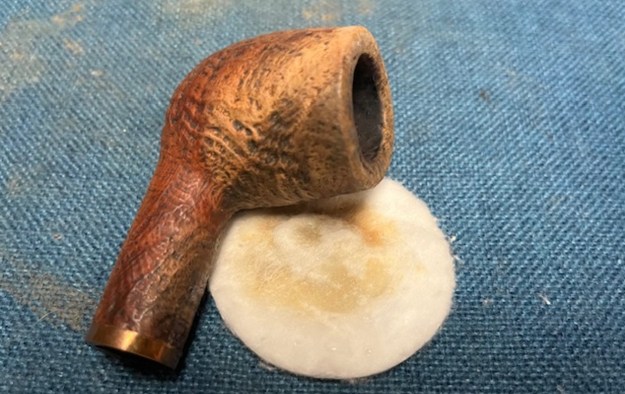
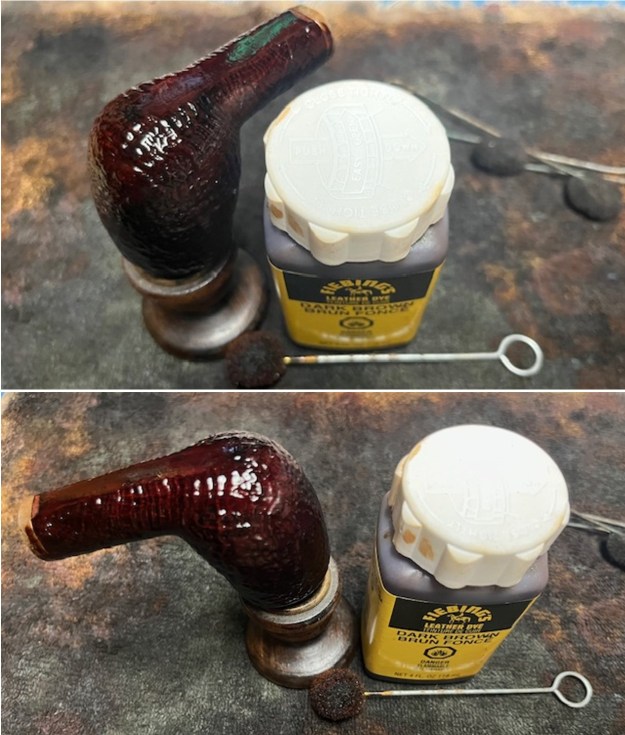
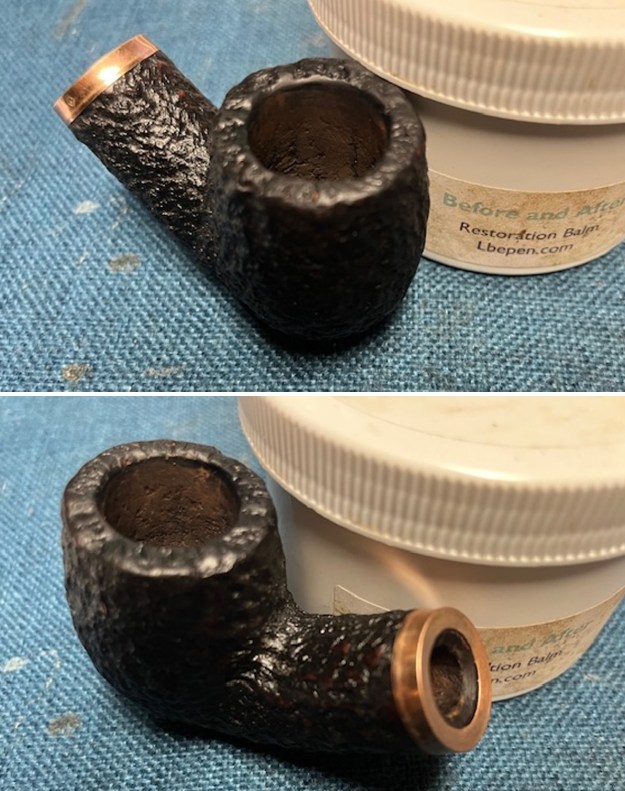
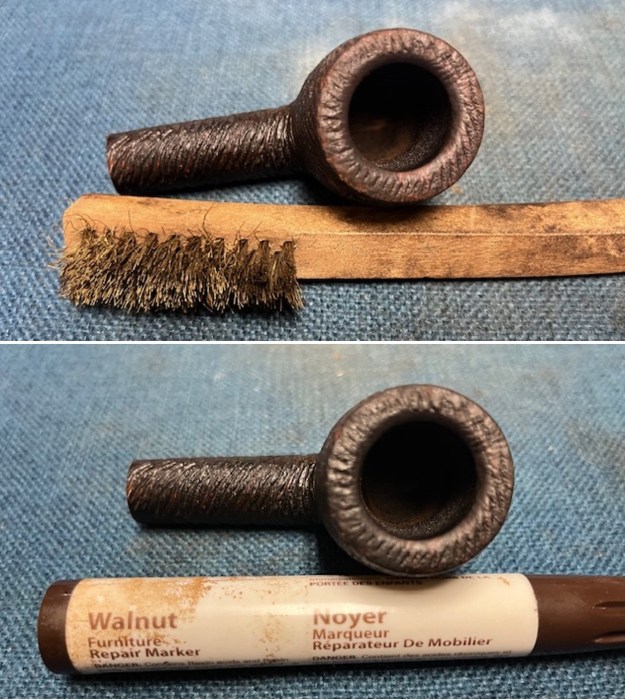
 I stained the sanded and polished rim top with a Maple stain pen and it matched the colour of the rest of the pipe.
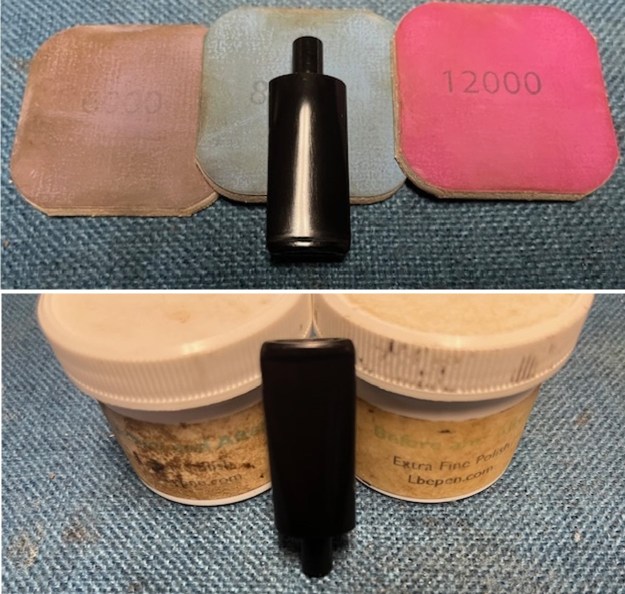
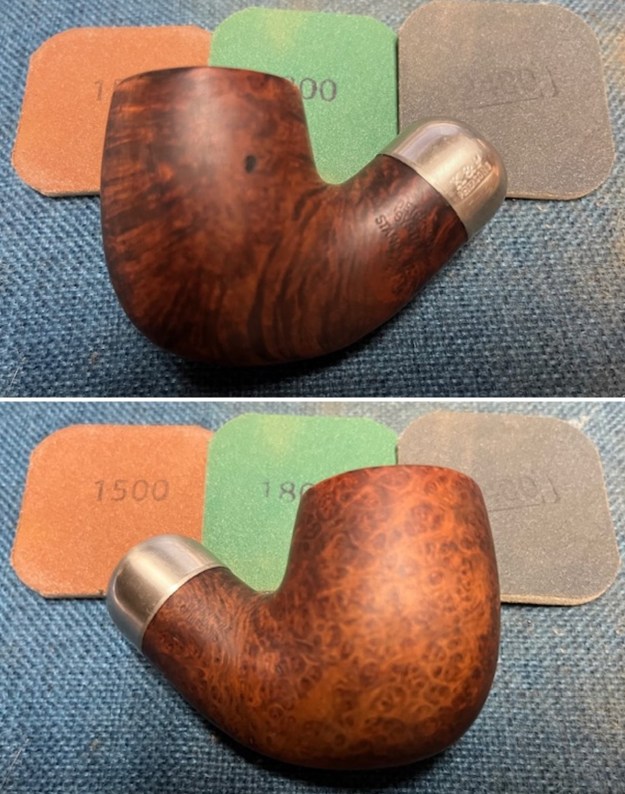
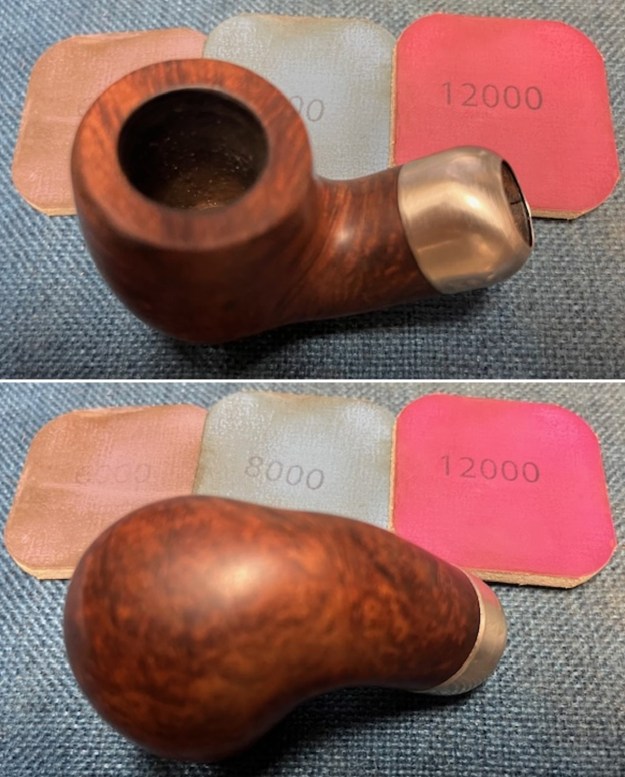
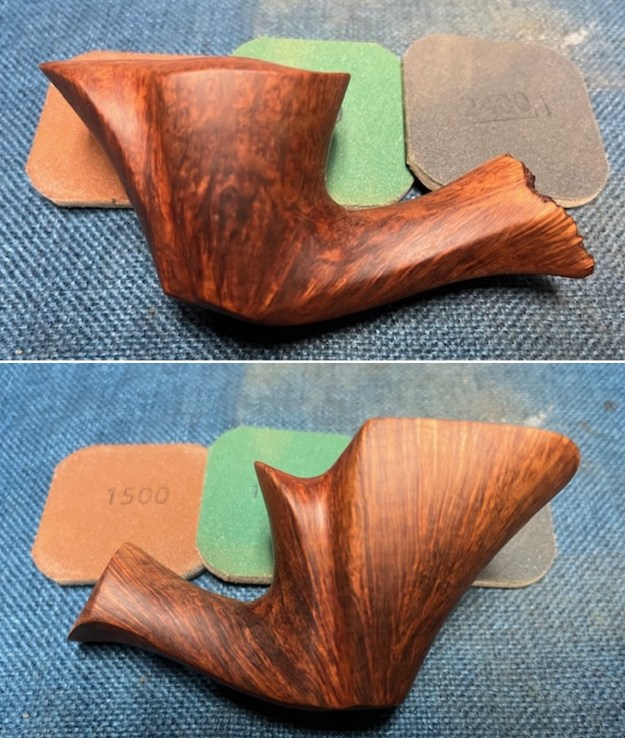
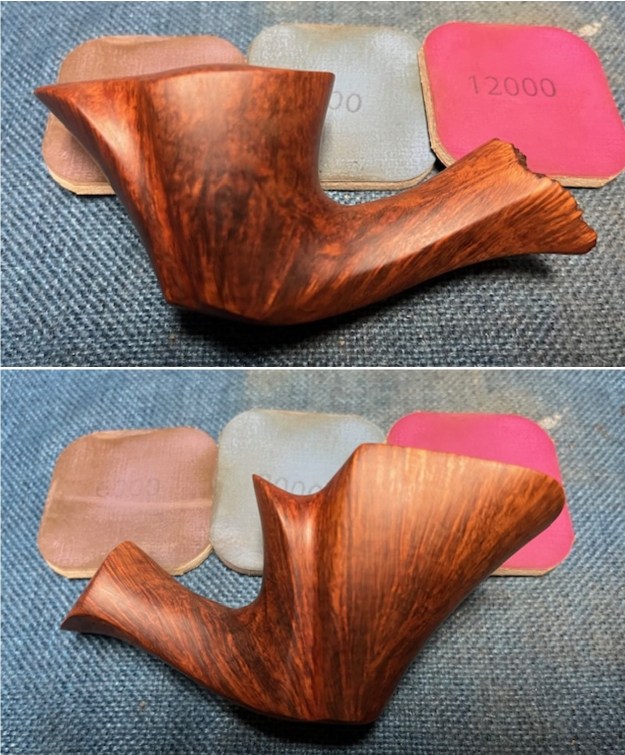
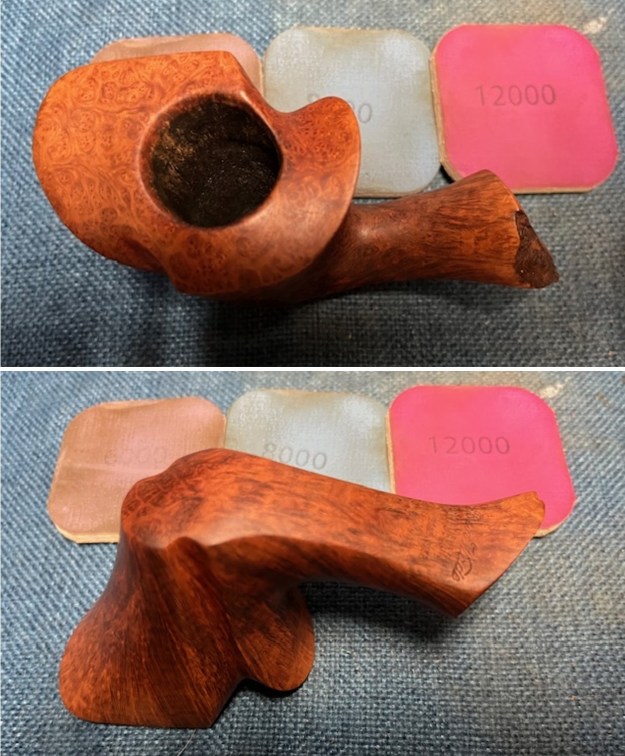
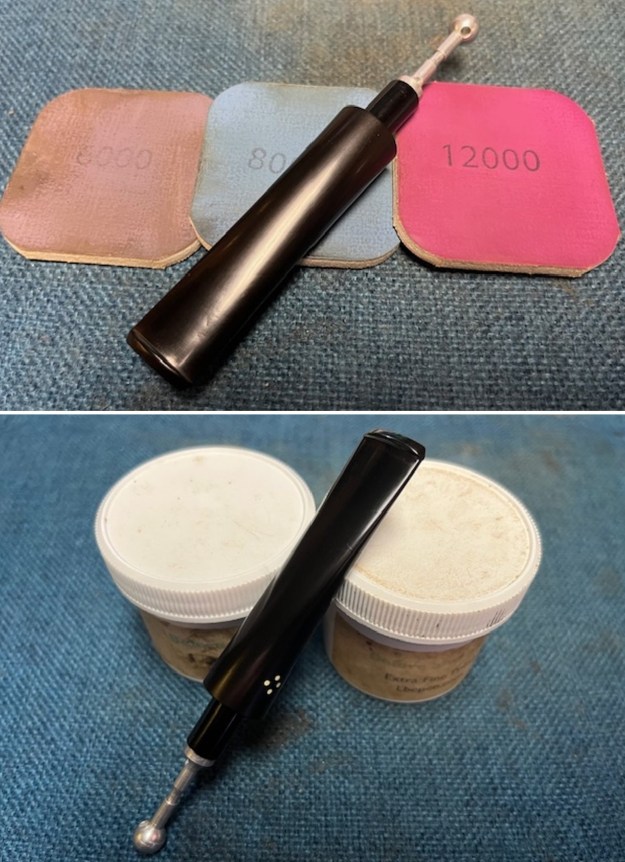
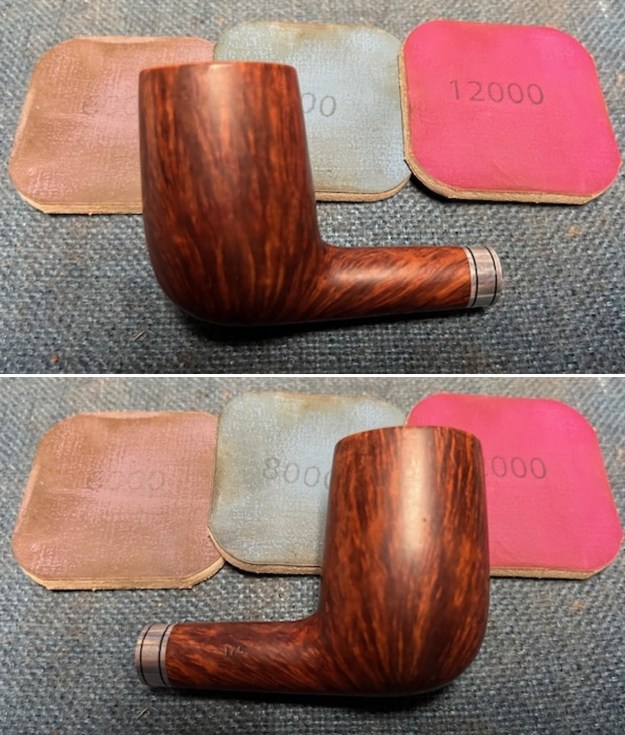
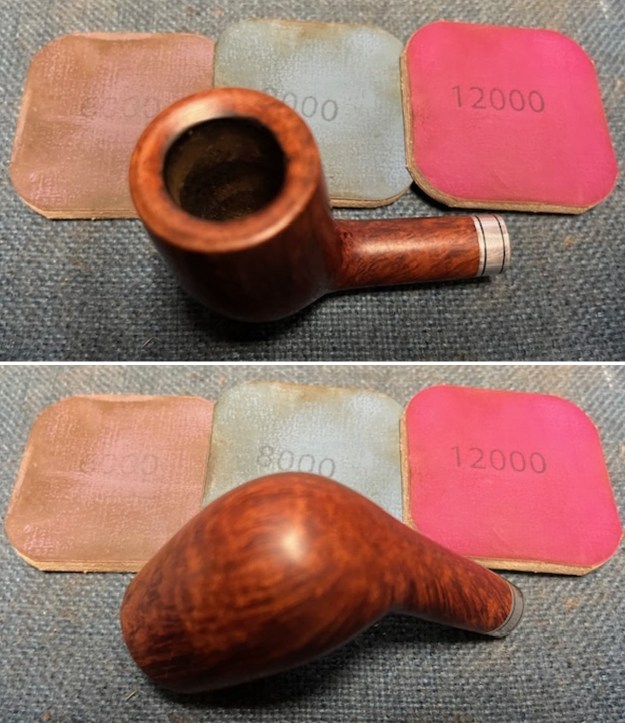
 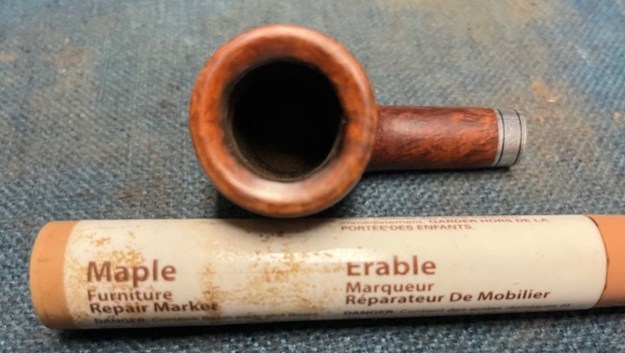 I polished the smooth bowl and rim top with micromesh sanding pads using 1500-12000 grit sanding pads and wiping it down after each sanding pad with a damp cloth to remove the sanding dust and debris.
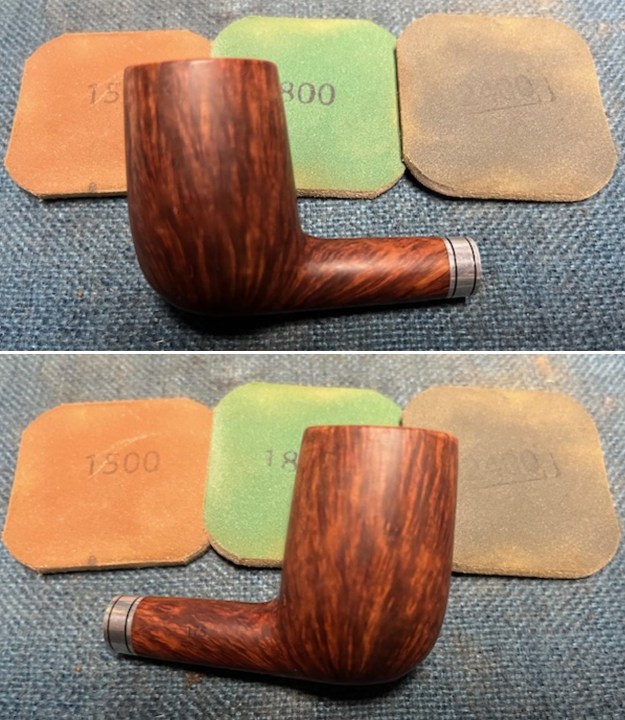


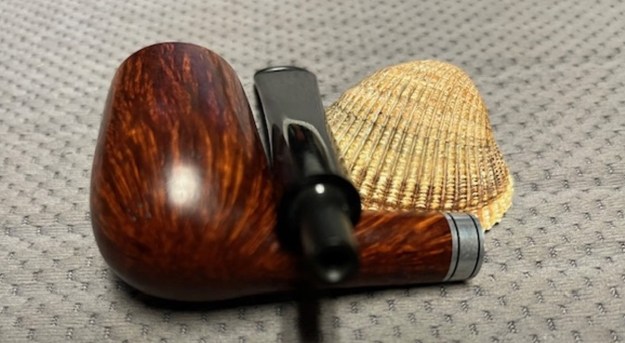
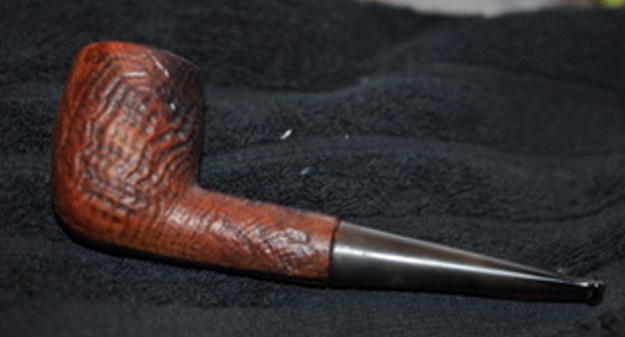
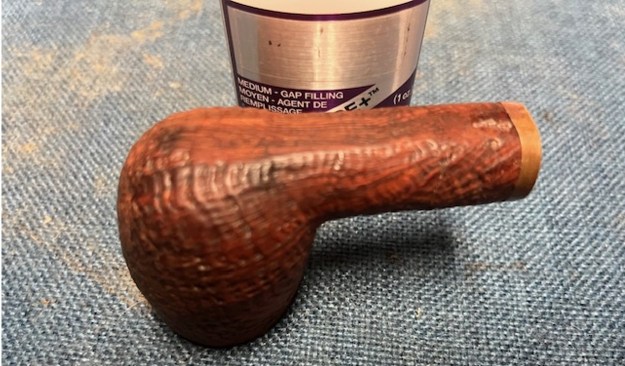
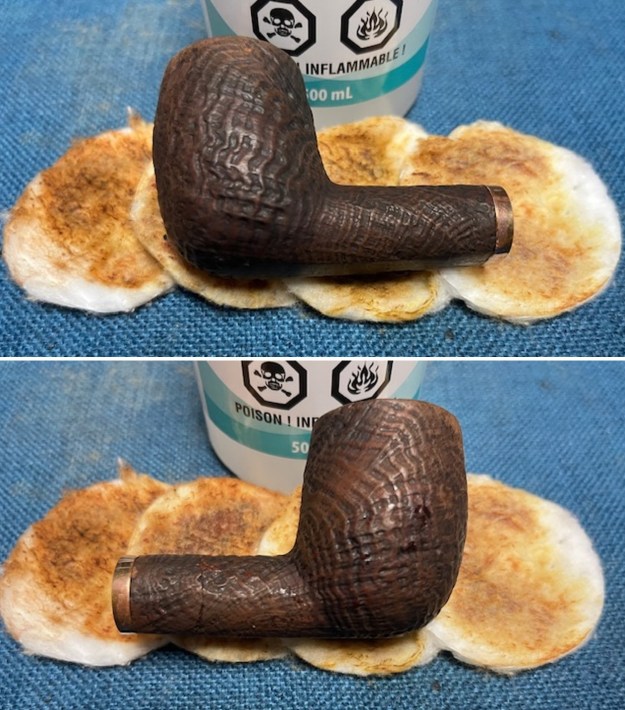
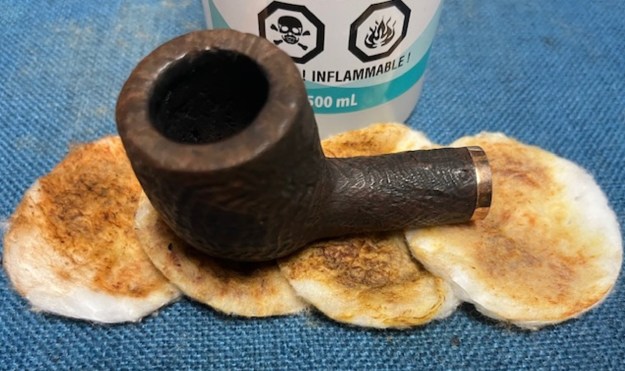
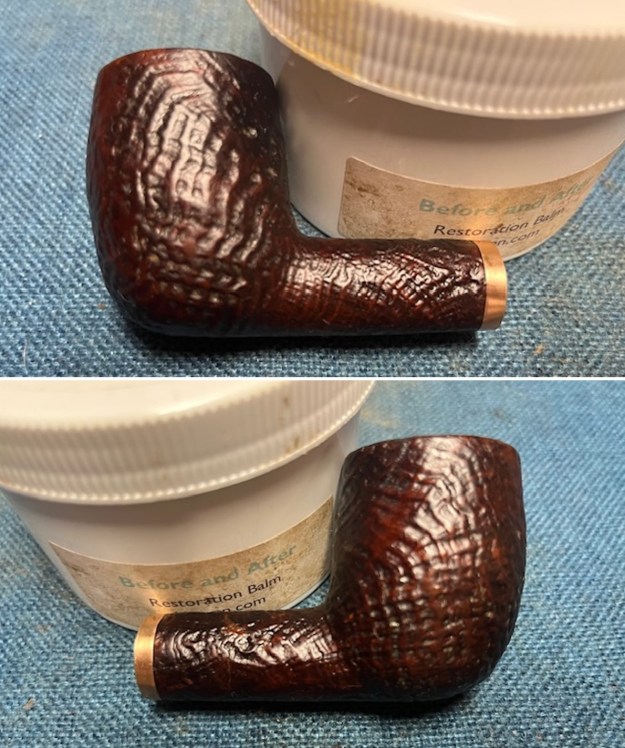
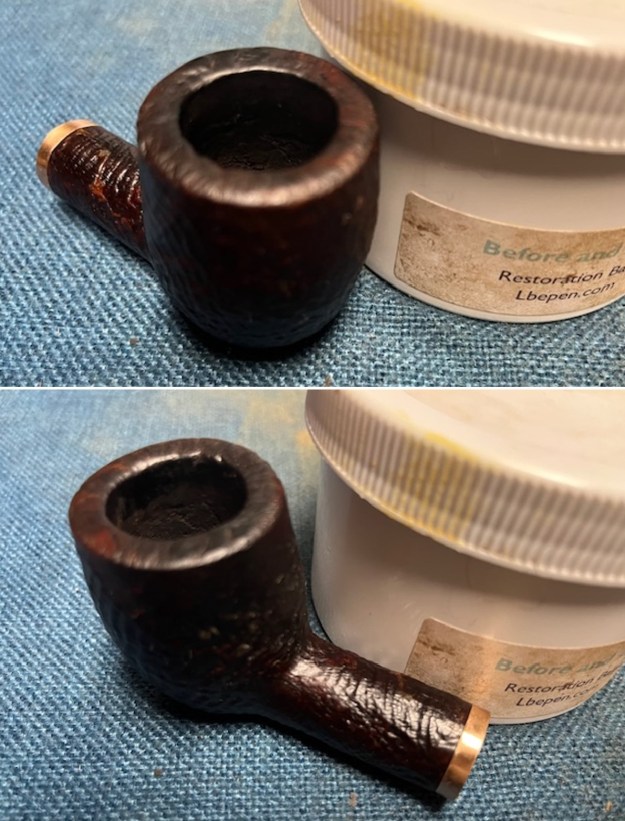
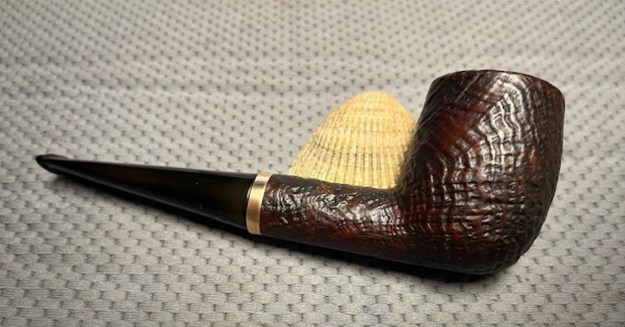
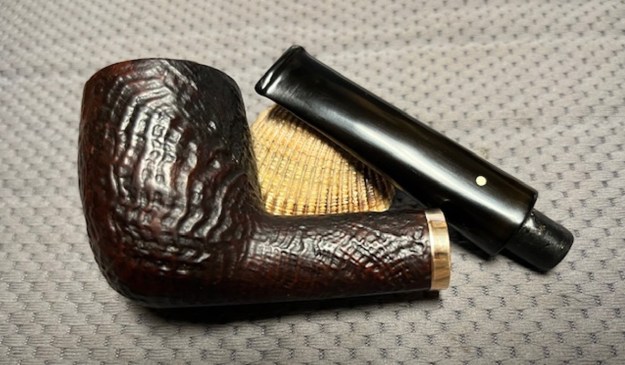
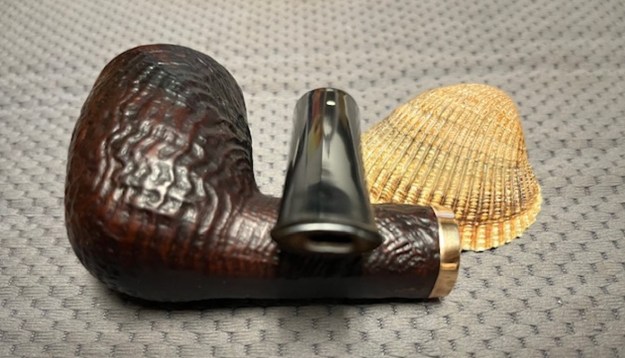
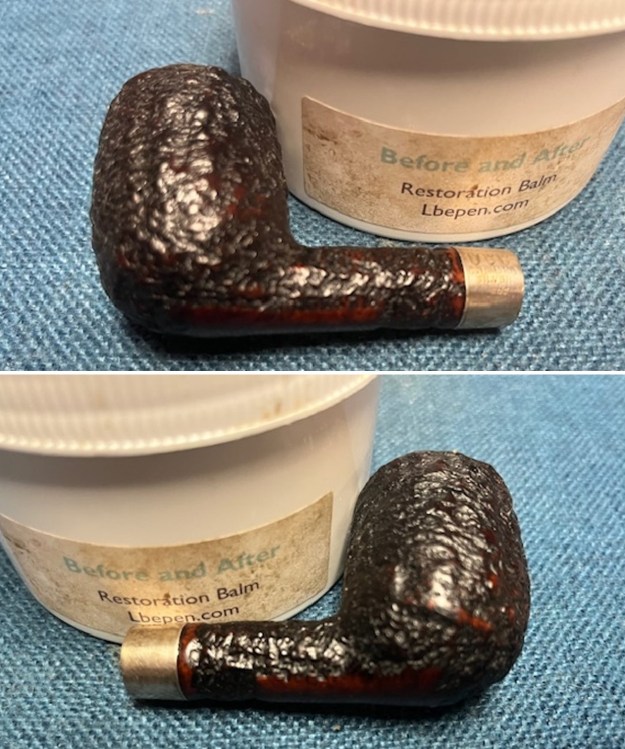
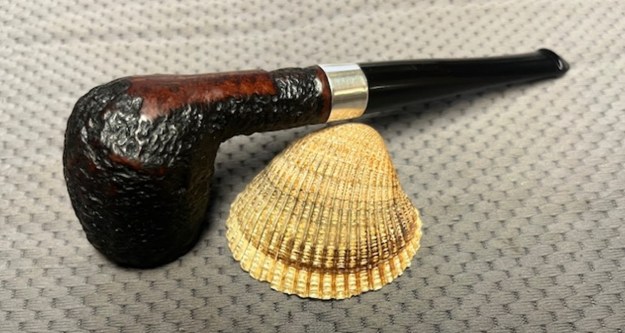
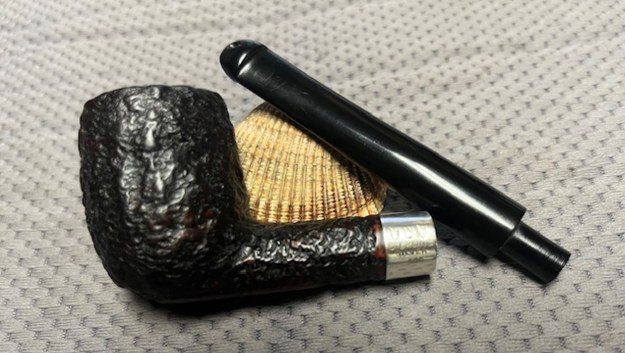
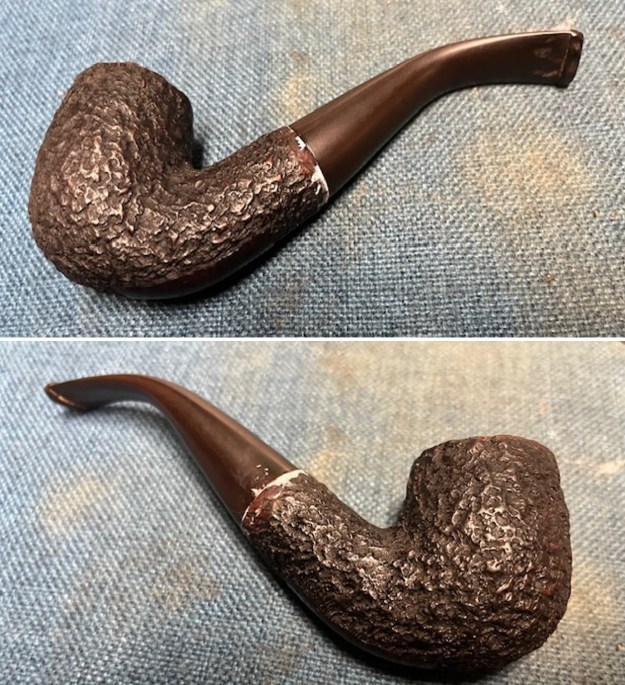
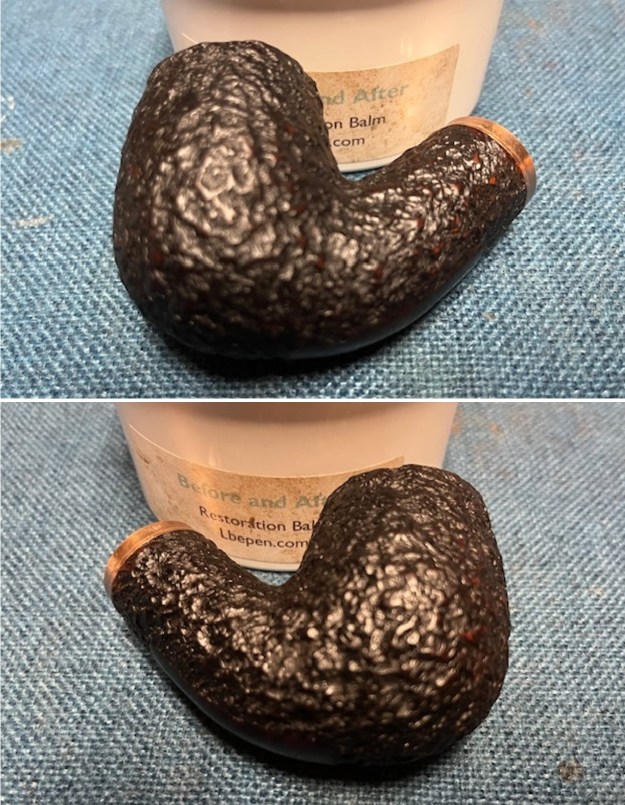
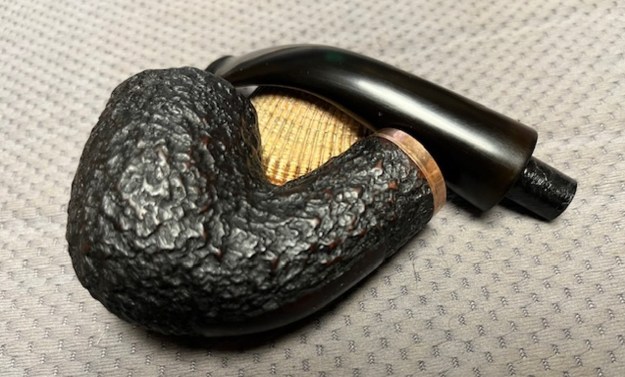
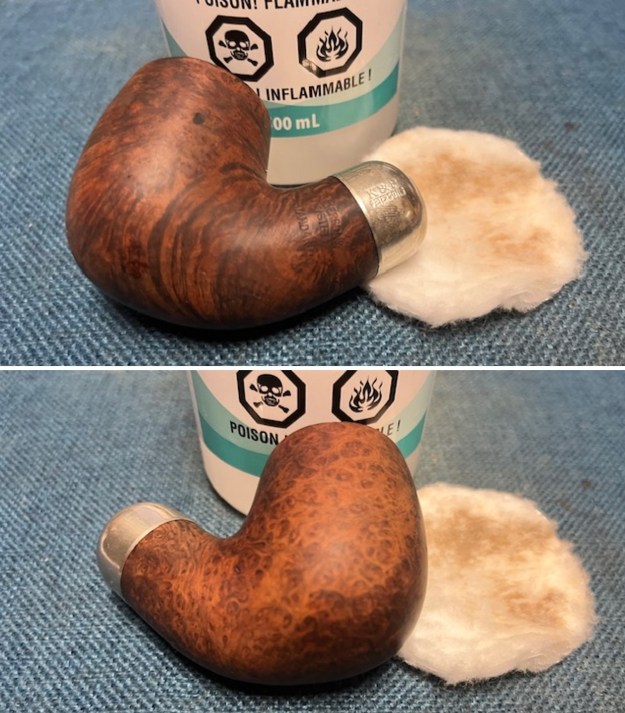
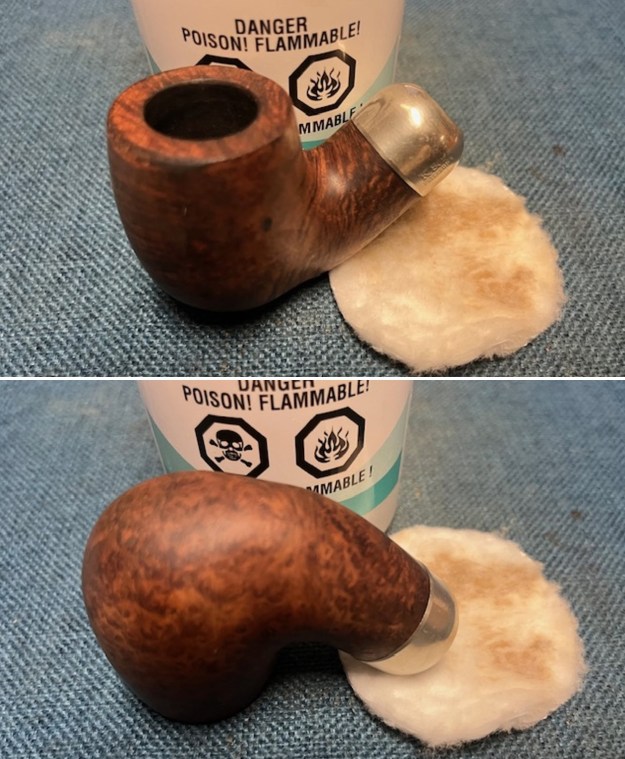
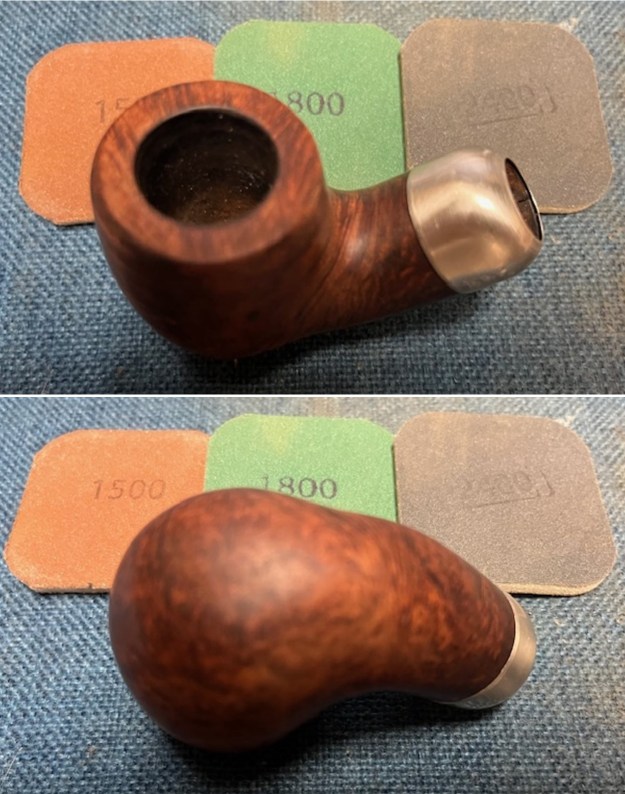
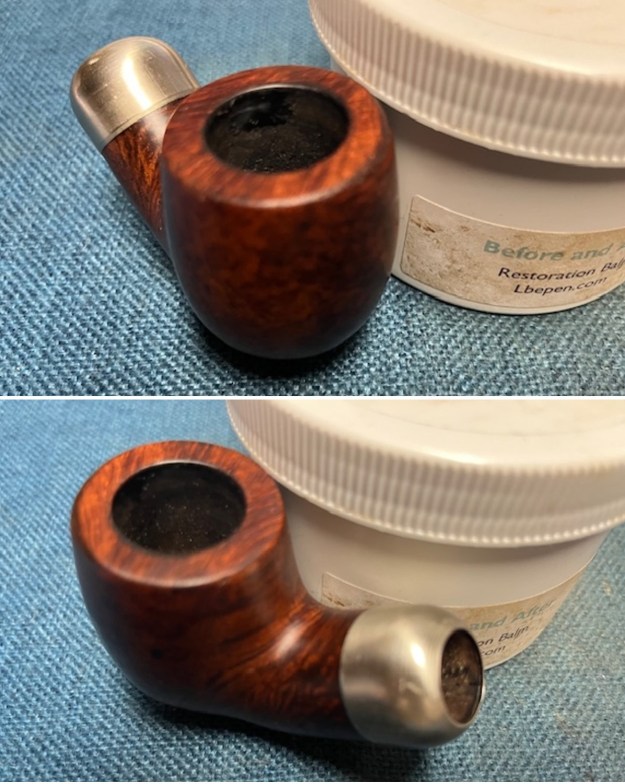
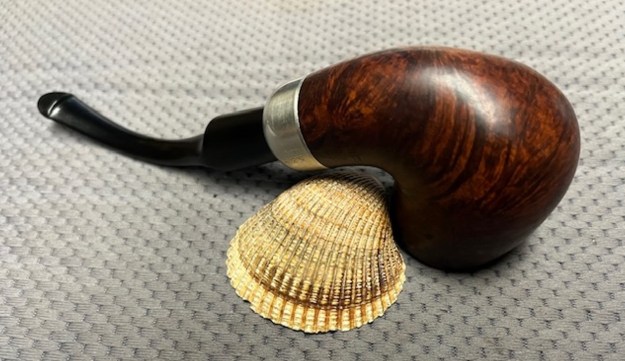
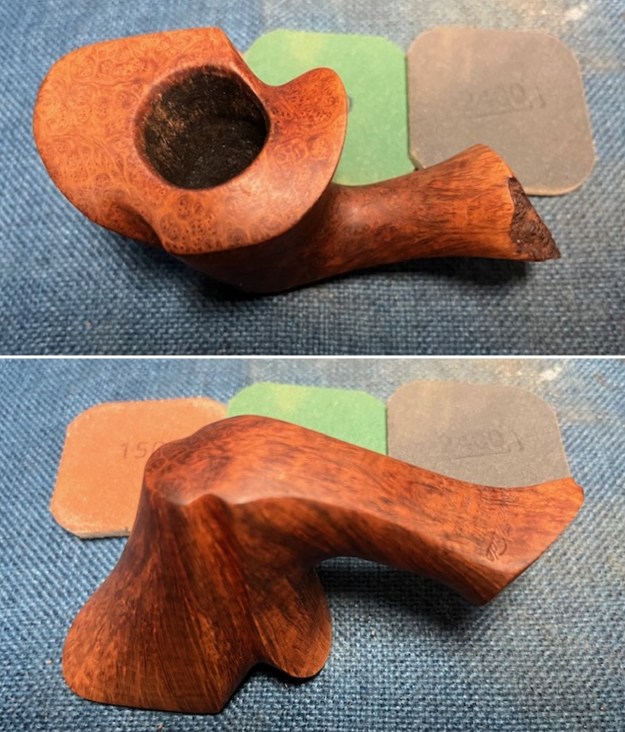
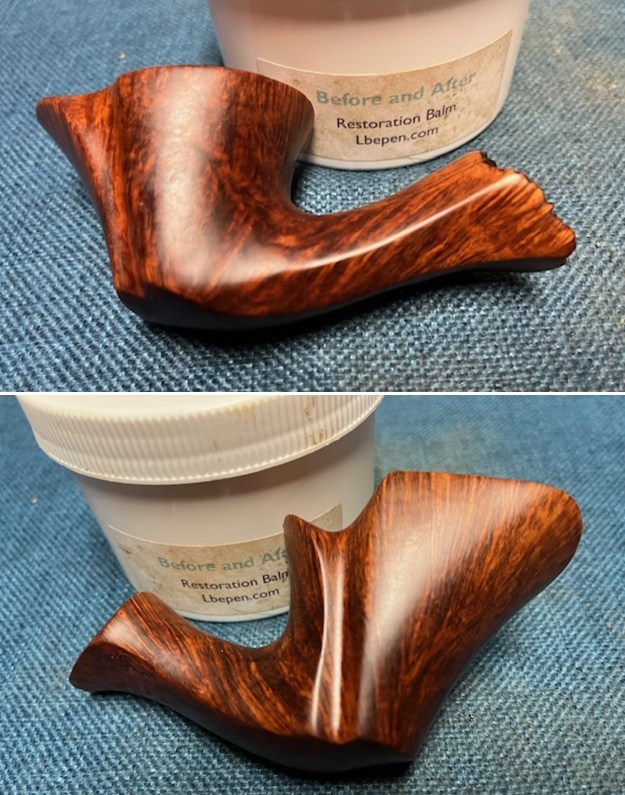
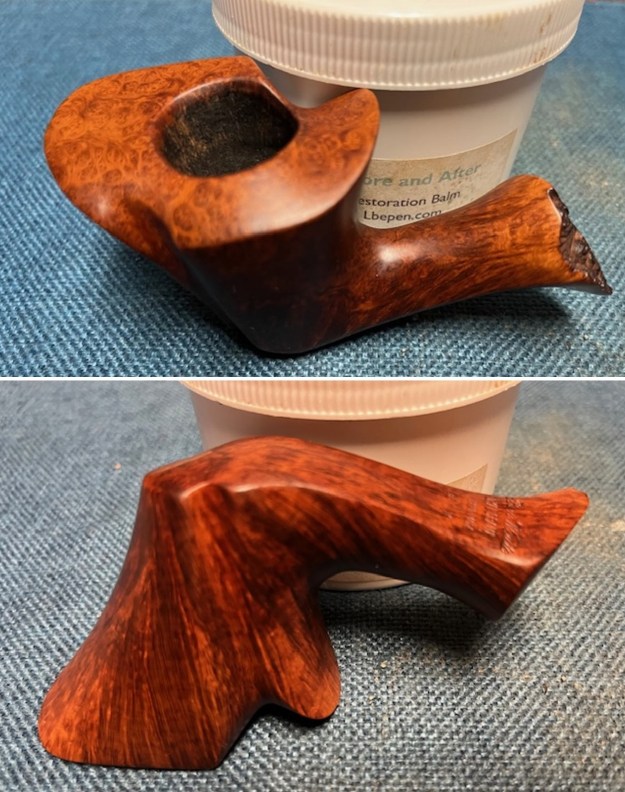
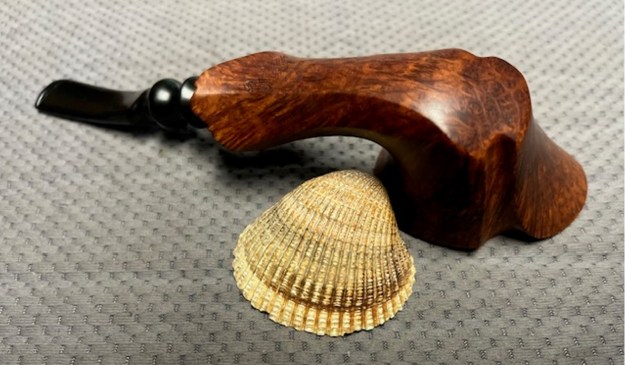
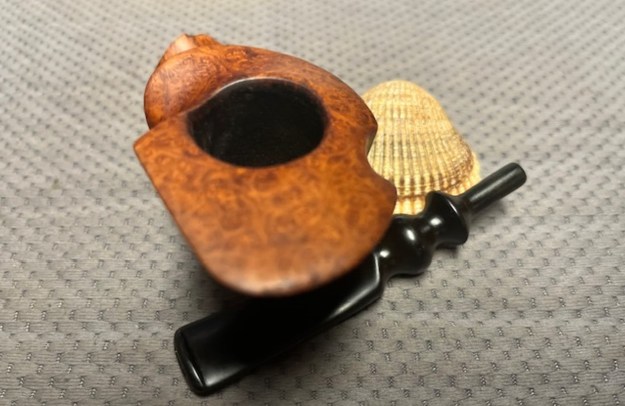
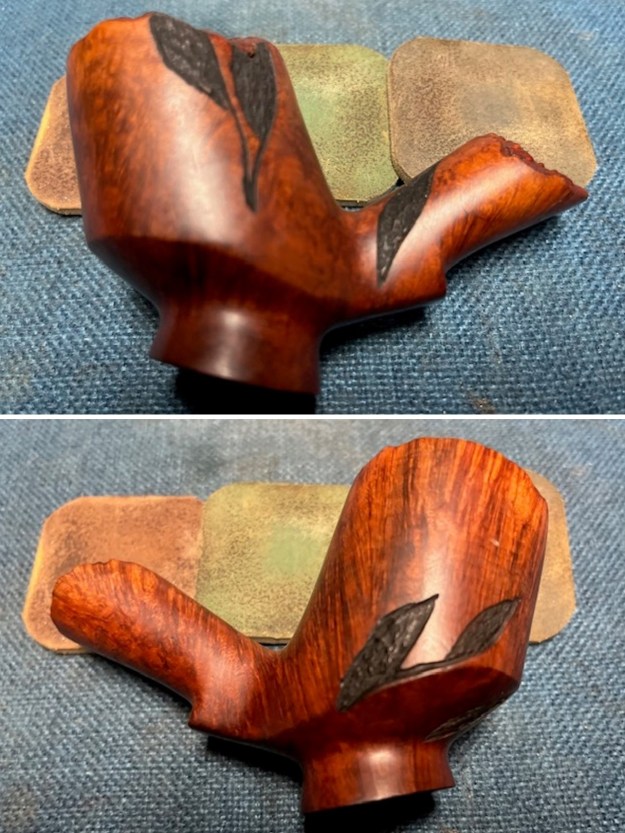
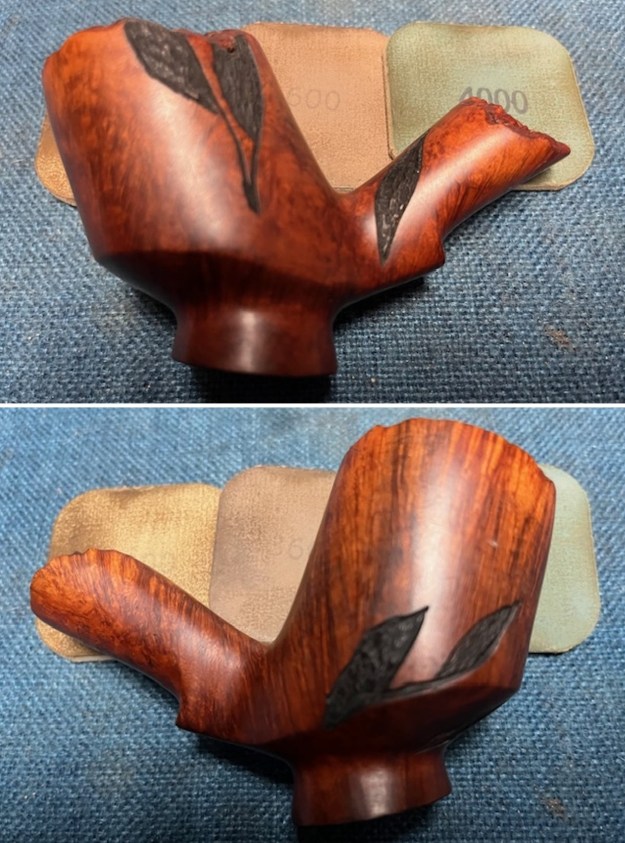
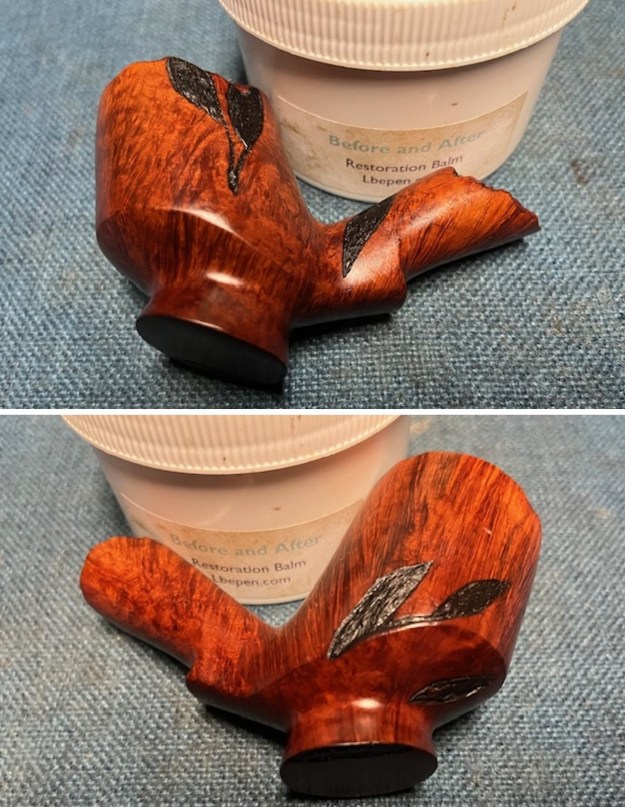
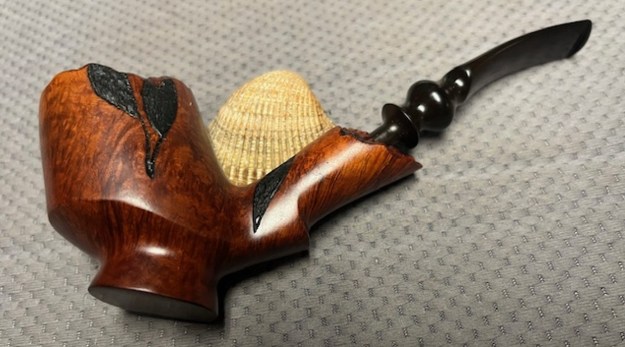
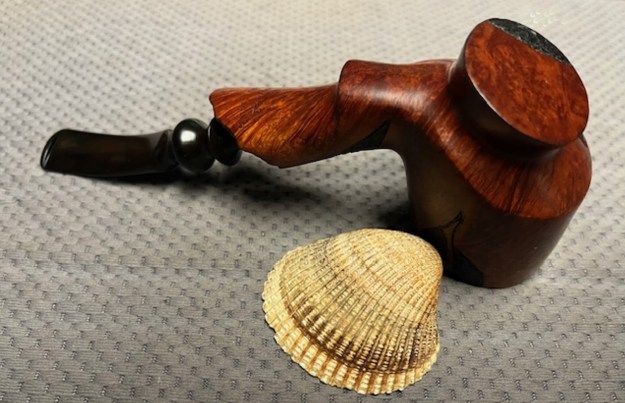
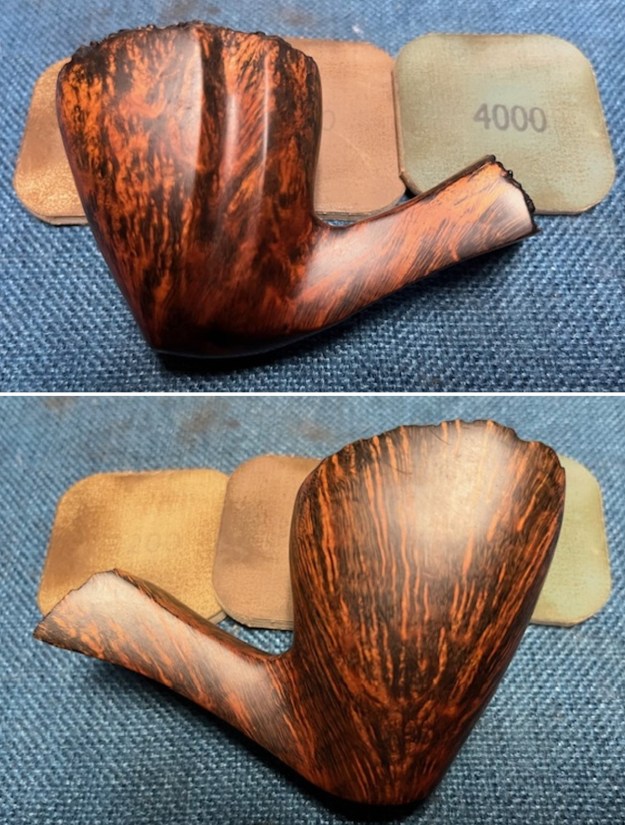
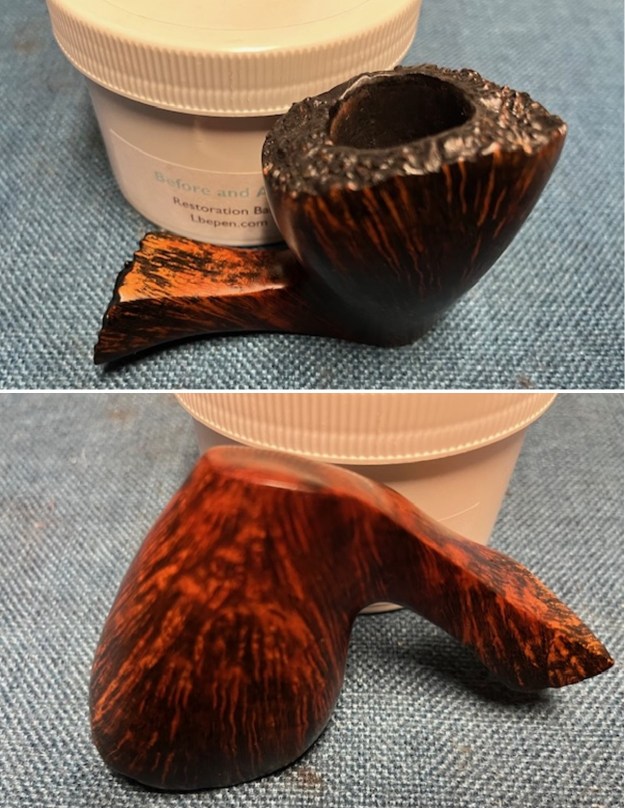
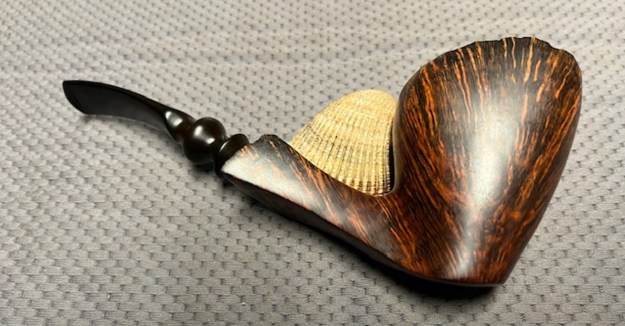
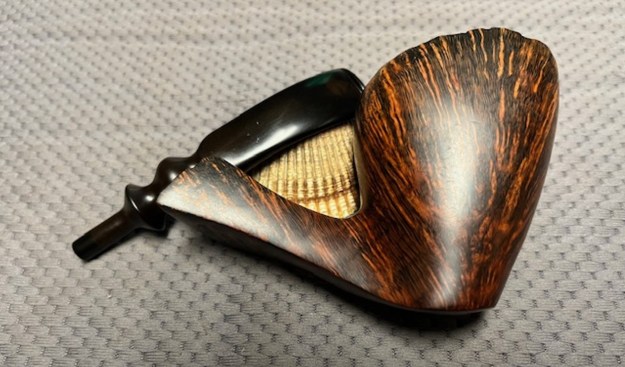
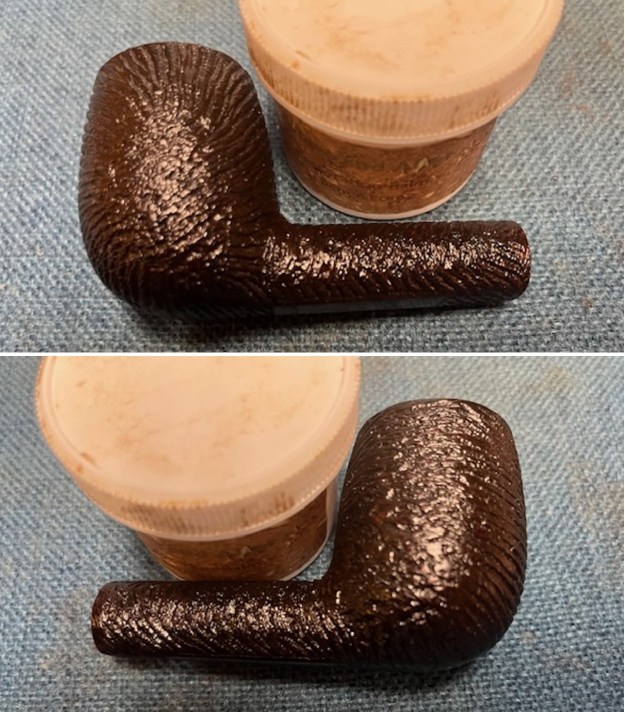
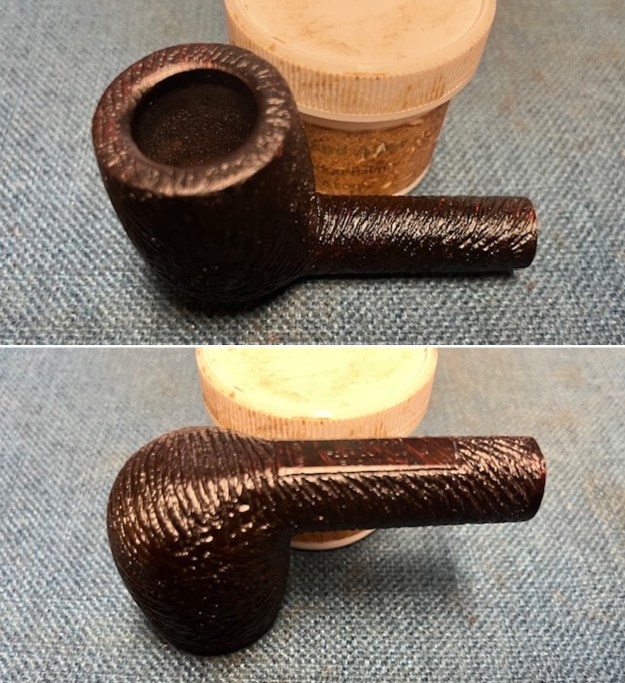
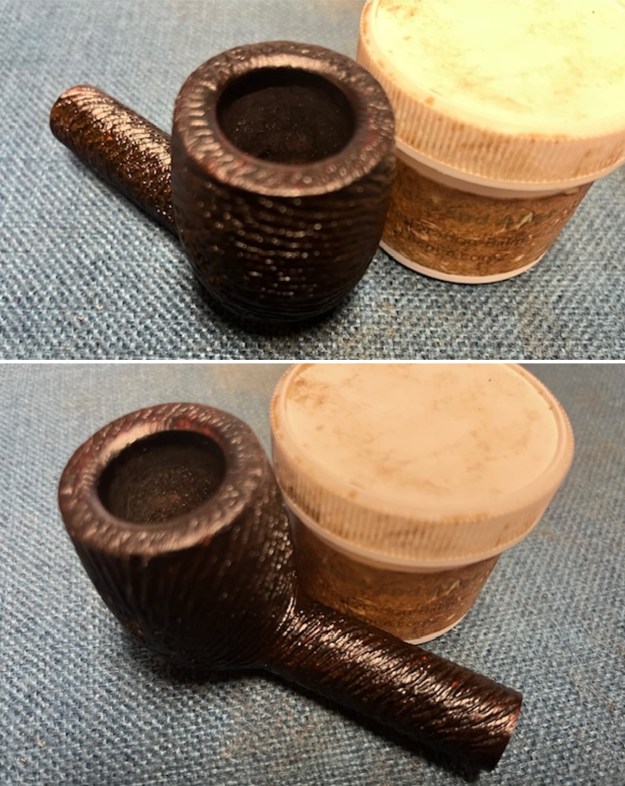
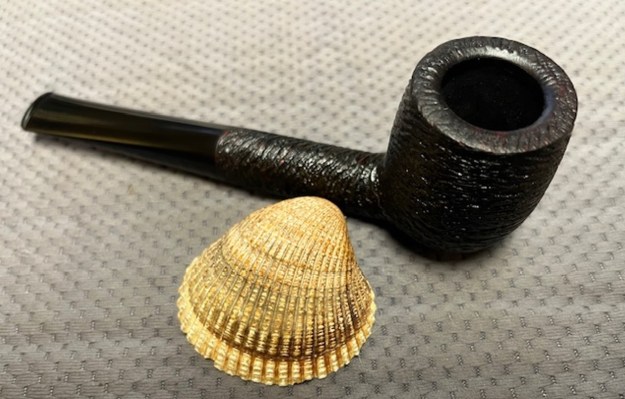
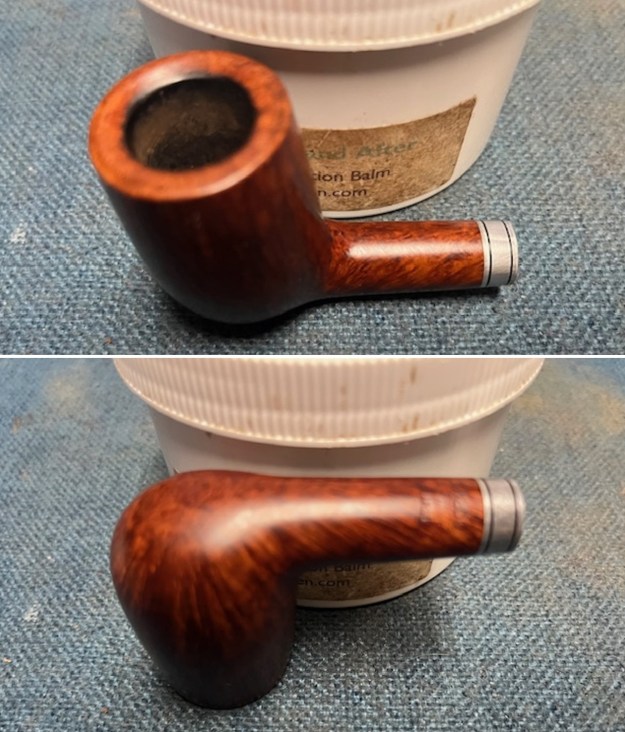
 I worked some Before & After Restoration Balm into the finish of the bowl and shank with my fingers. I want the product to go deep into the finish because it works to clean, enliven and protect the briar. Once I was confident that it was deeply worked into the finish I wiped it off and buffed it with a soft cloth to polish it. The pipe really began to have a rich shine. I took some photos of the bowl at this point to mark the progress in the restoration. The grain really stands out on the pipe in the photos below.
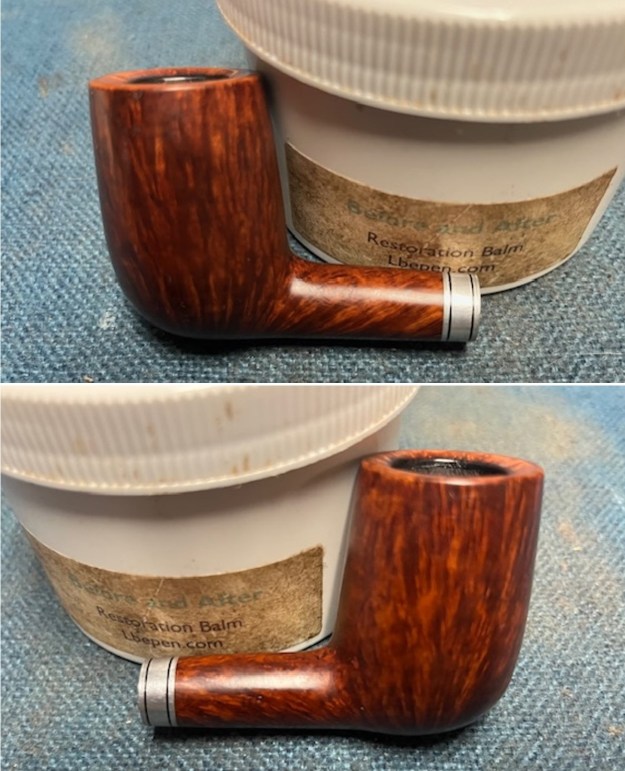
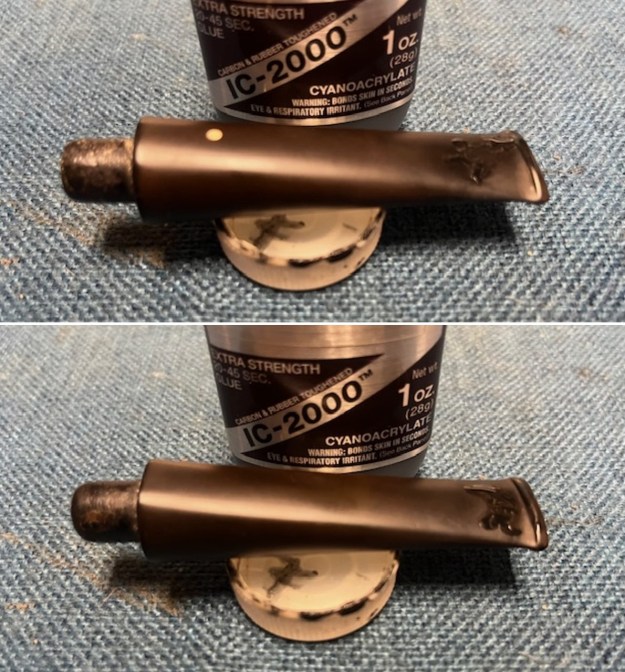
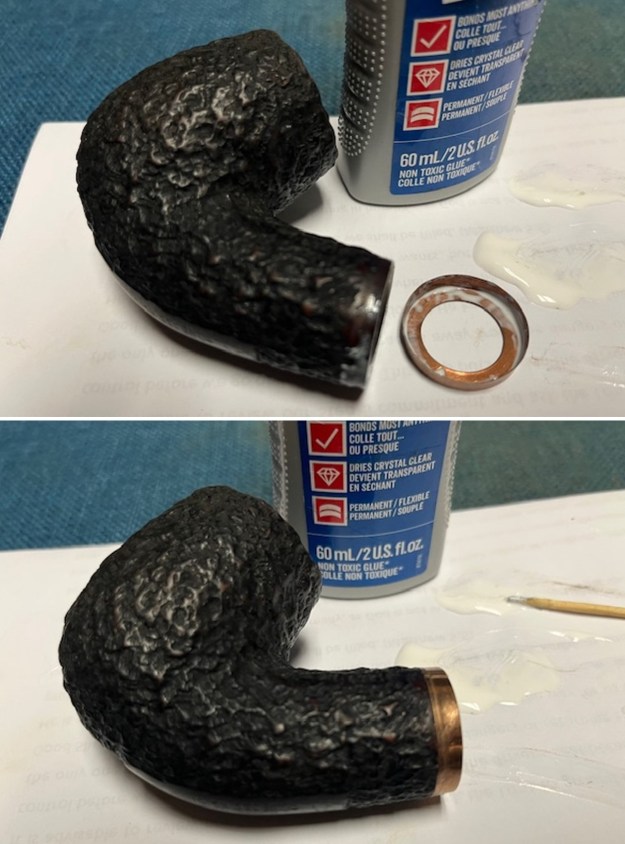
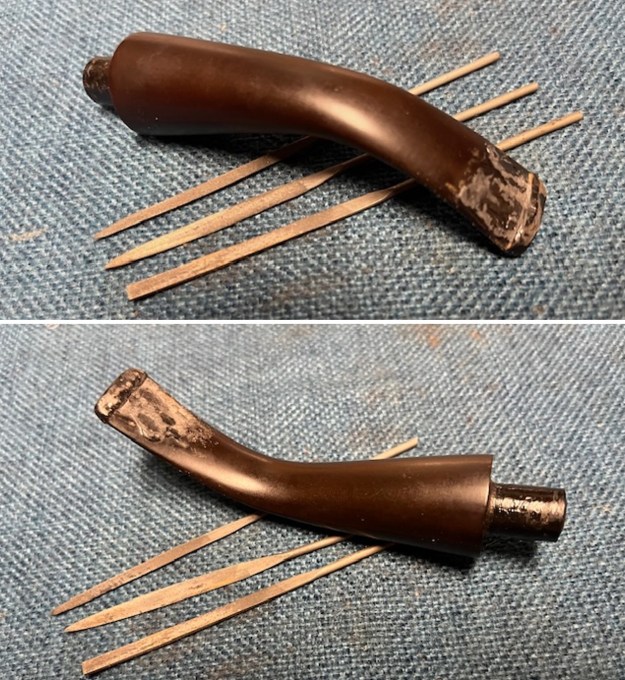
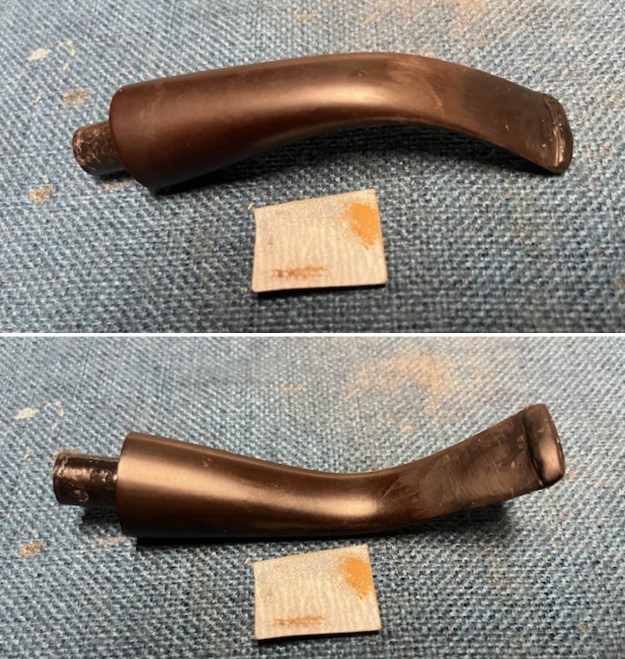
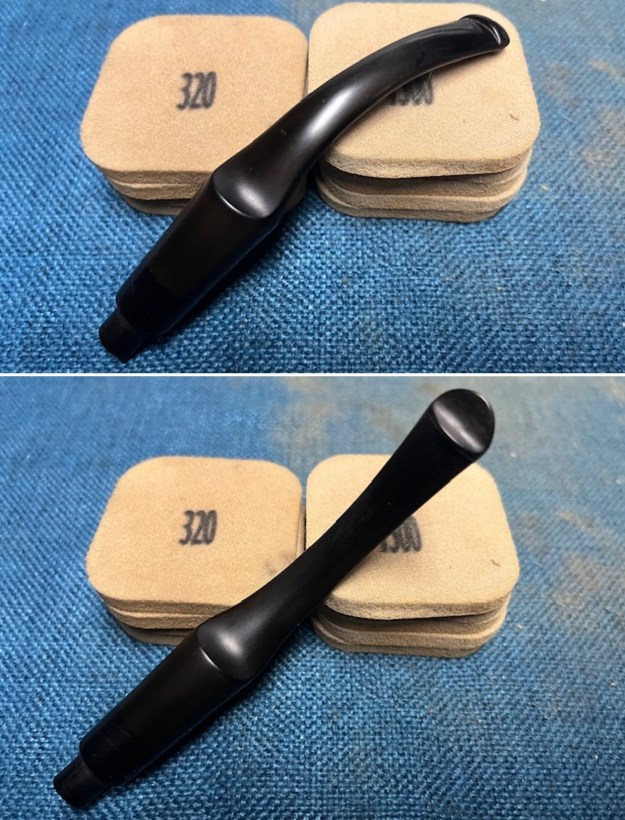
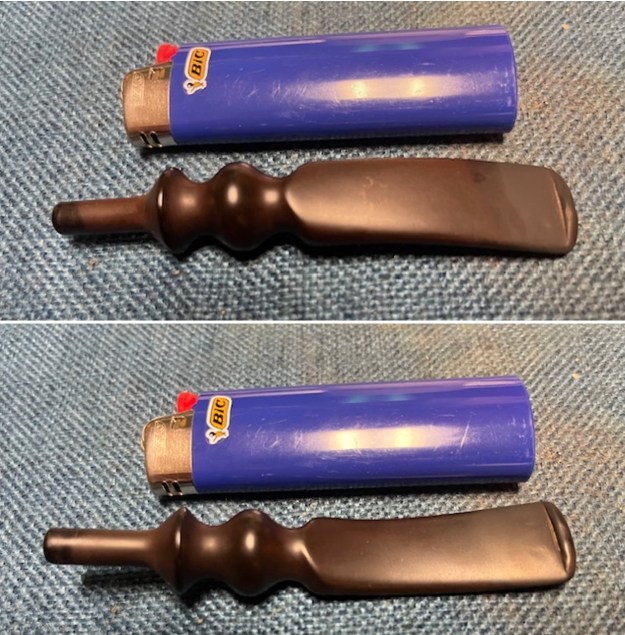
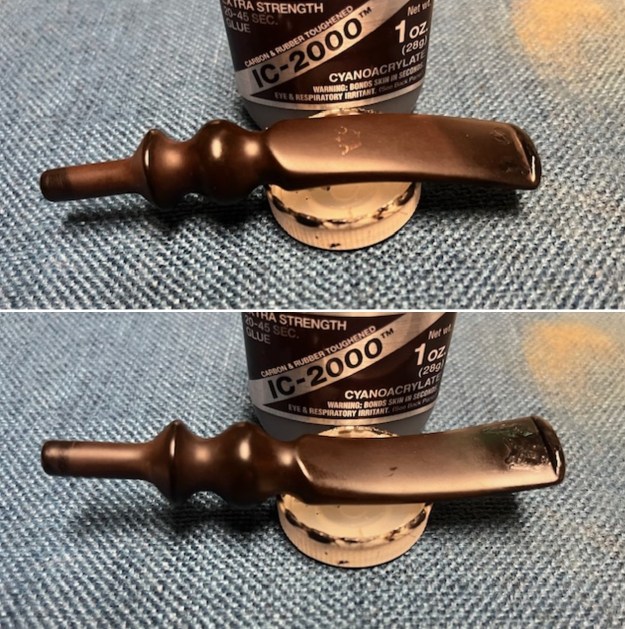
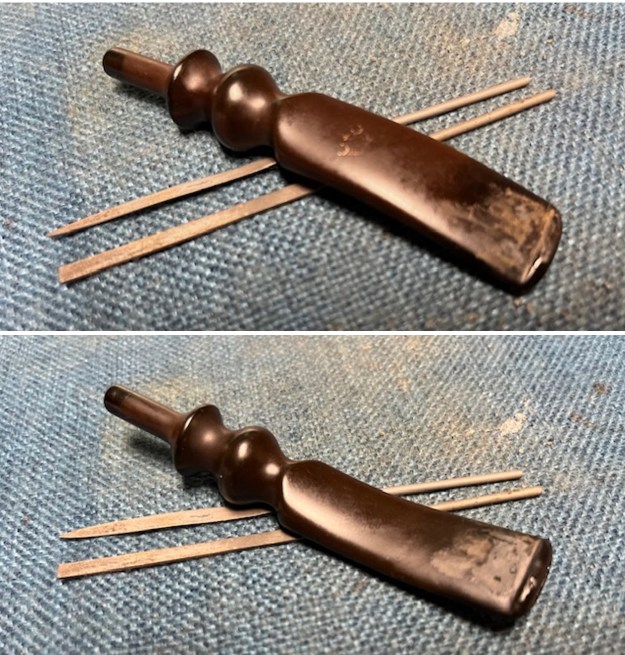
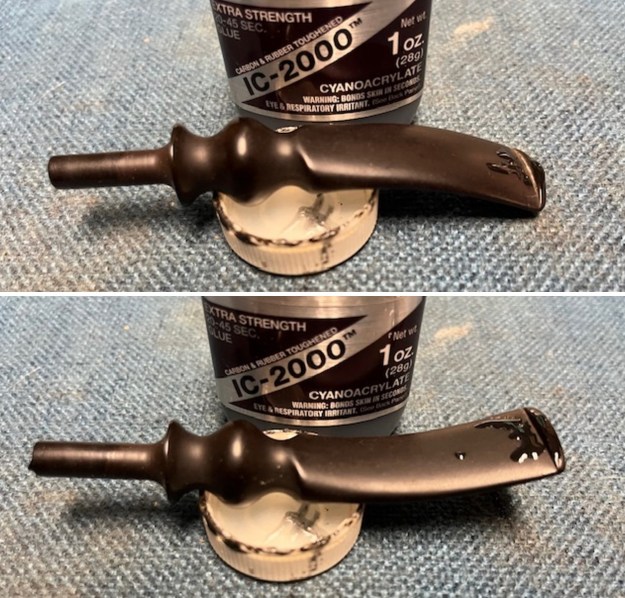
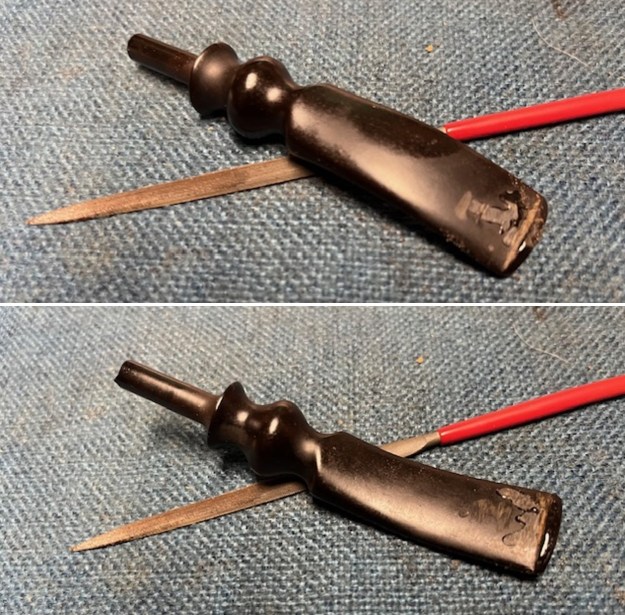
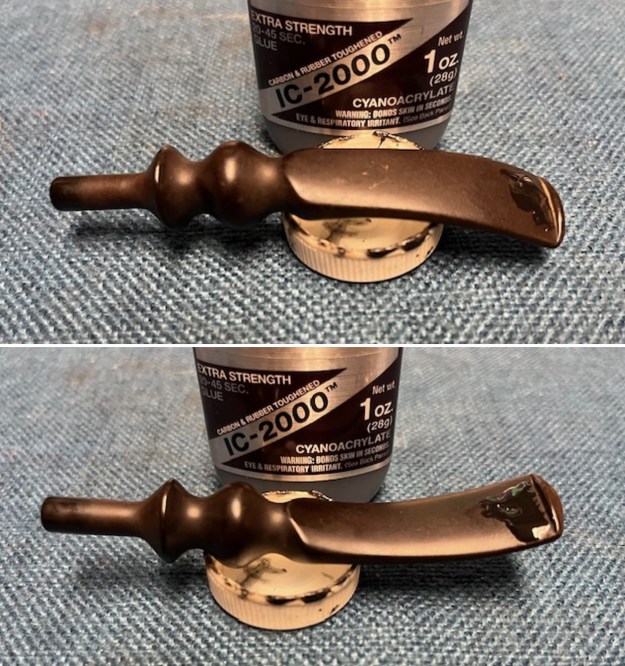
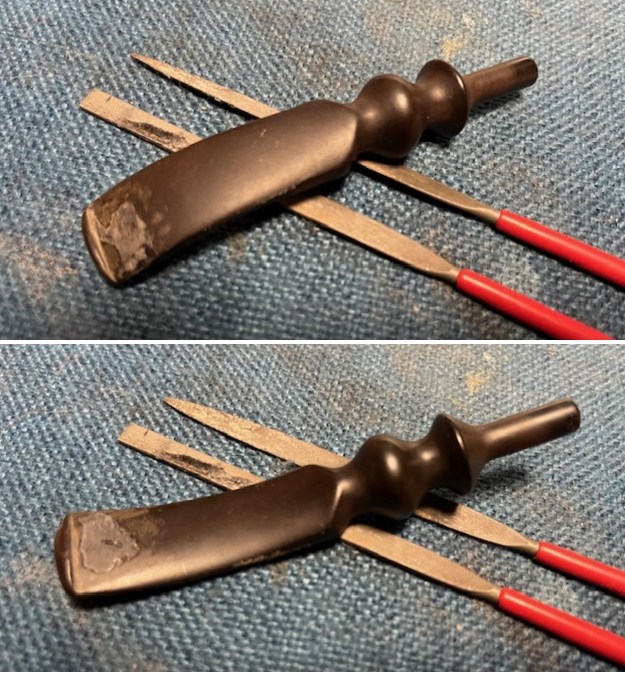
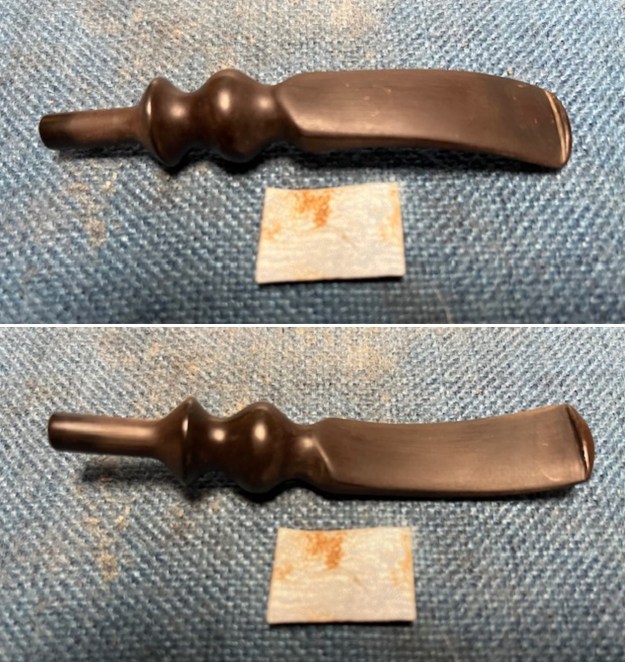
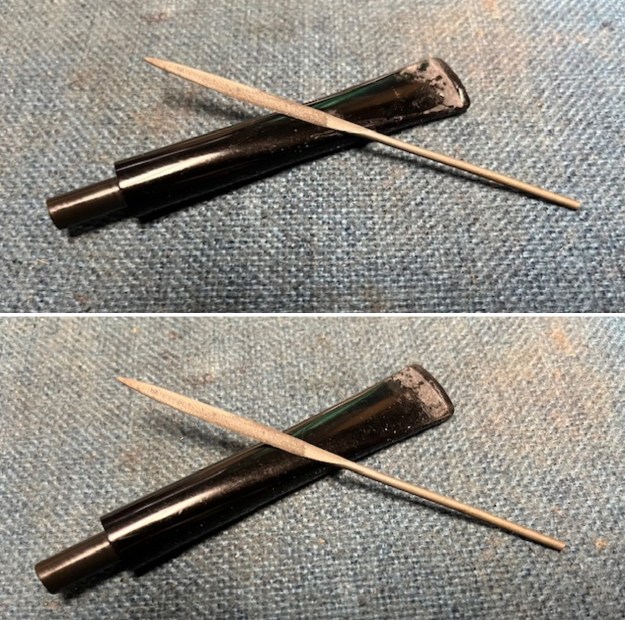
 I set the bowl aside and turned my attention to the acrylic stem. I tried to raise the tooth marks on the acrylic stem. I “painted” the stem surface with the flame of a Bic lighter and was not able to lift any of the marks. I filled in the tooth marks with black CA glue (I forgot to take photos of the repairs once I glued them). Once the repairs cured, I used a small flat file to smooth out the repairs. I then sanded the areas with 220 grit sandpaper to smooth them out and blend them in. I wiped it down with an Obsidian cloth to remove the debris.
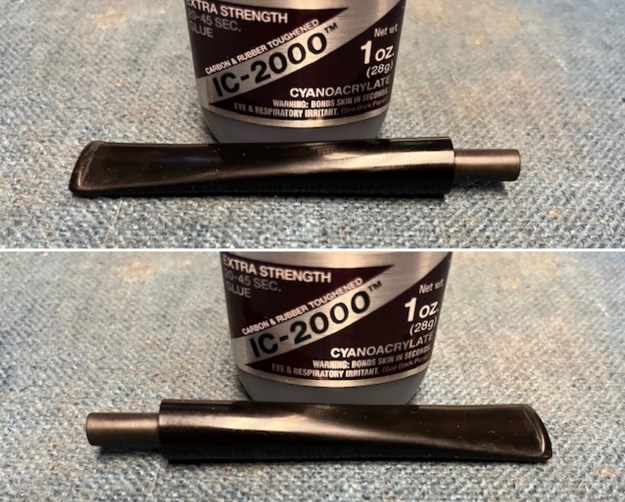
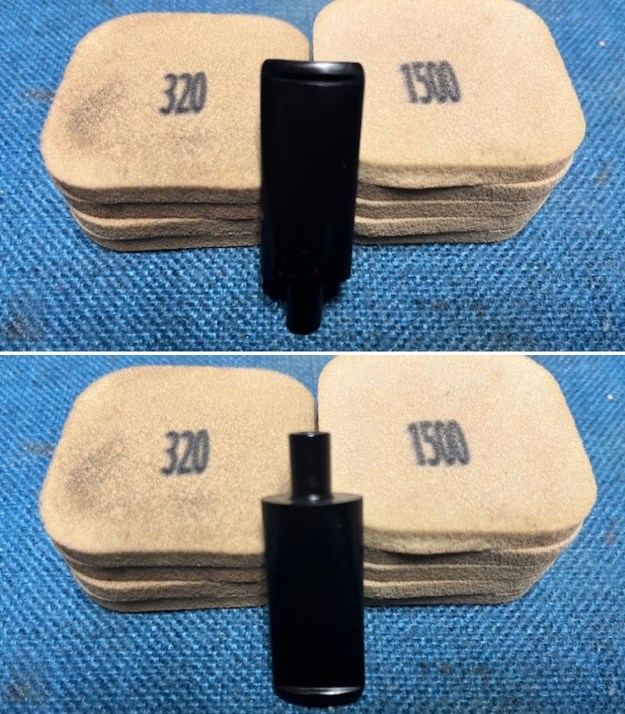
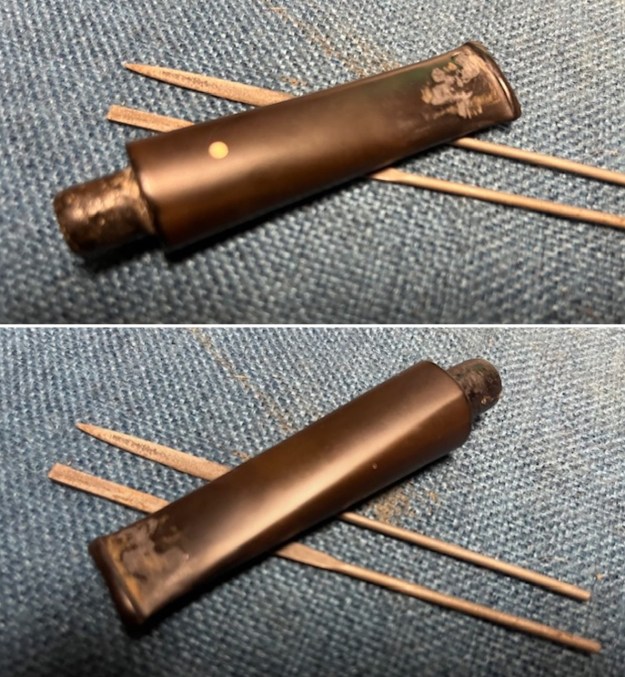
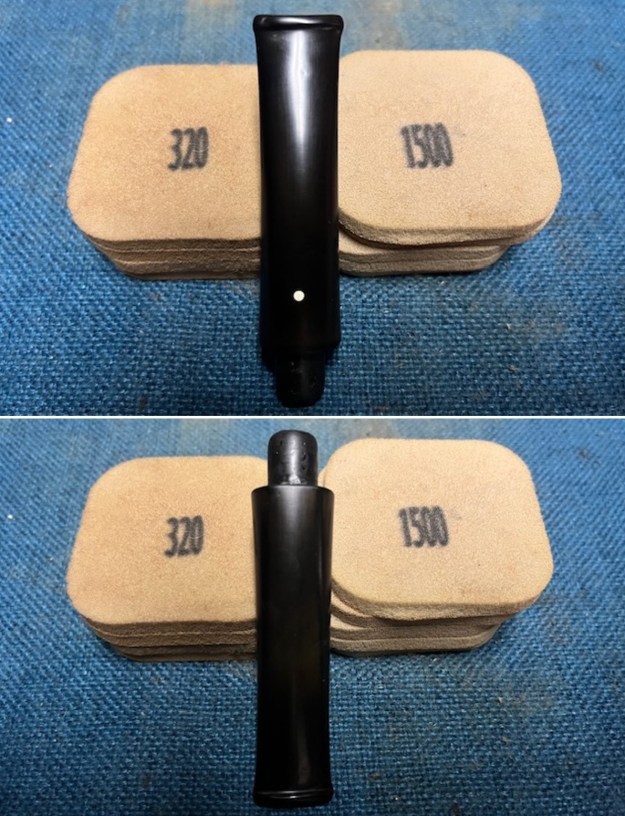
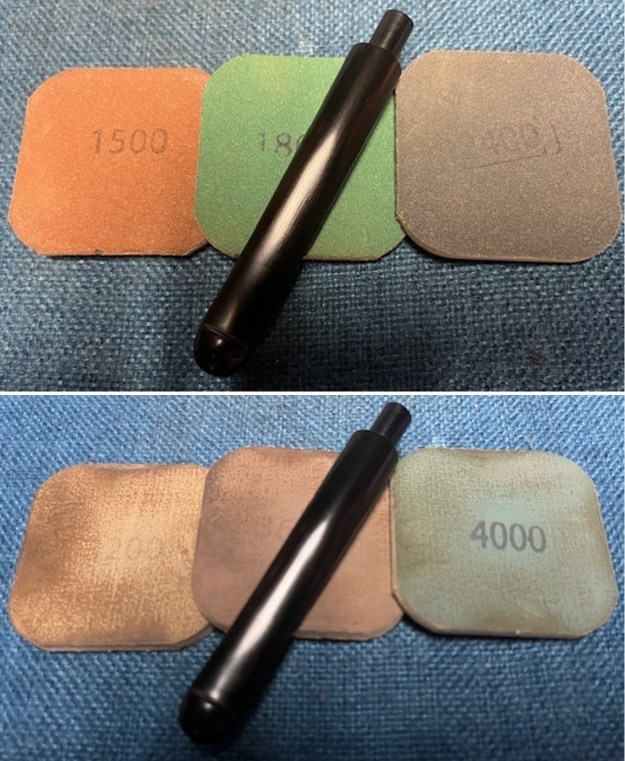
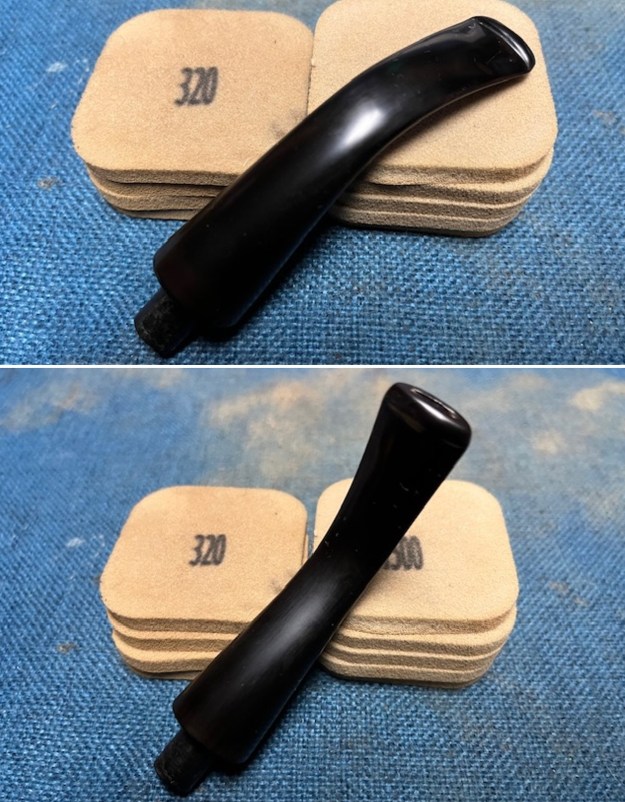
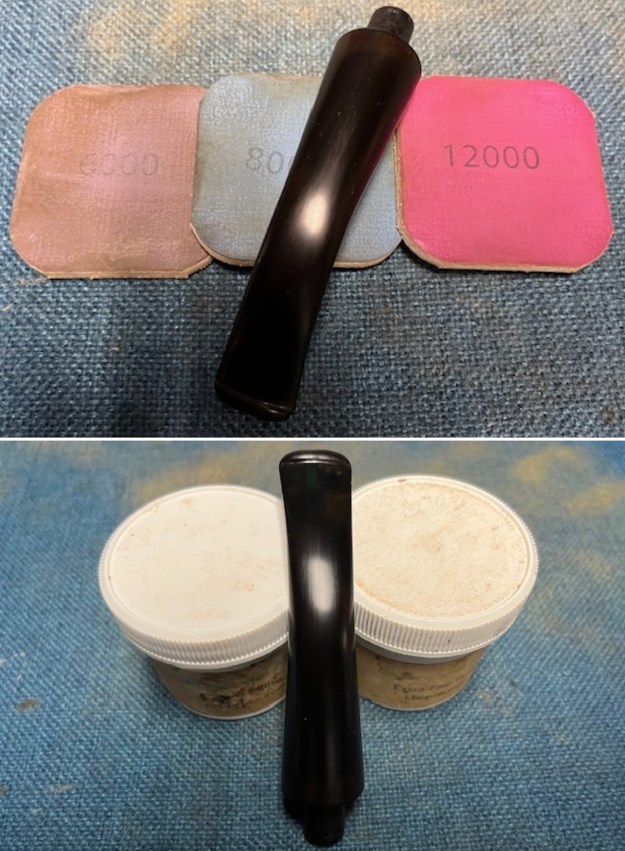
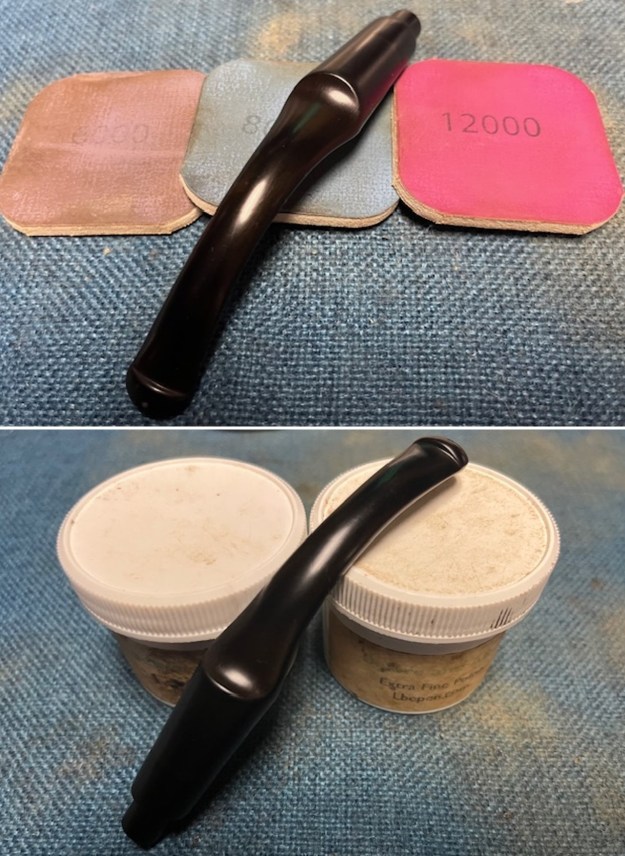
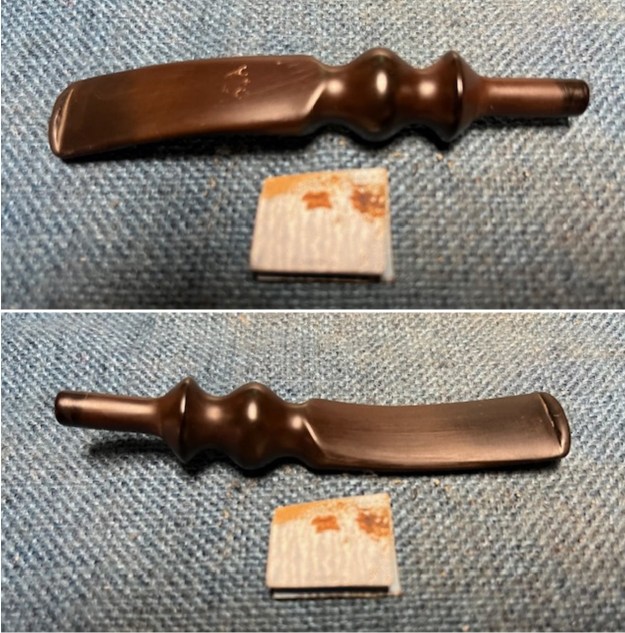
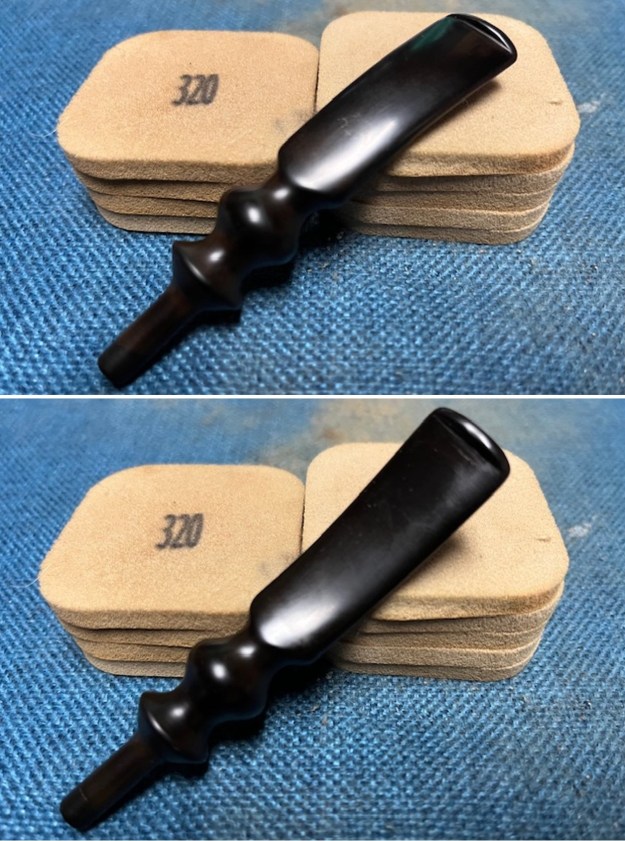
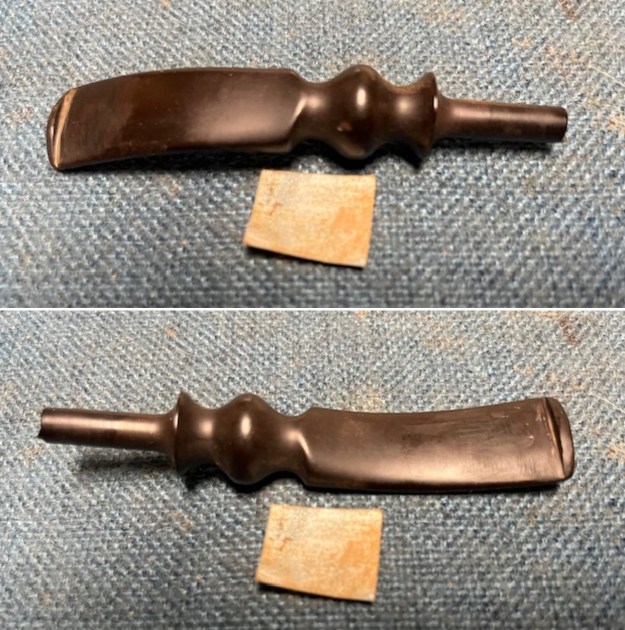
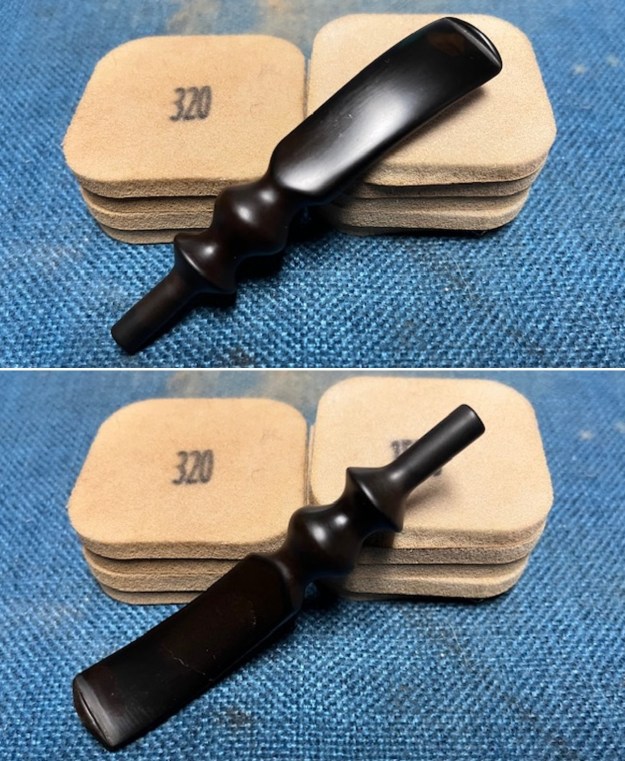
 I sanded the stem with 320-1500 grit sanding pads to further blend the sanding marks into the surface of the acrylic. I wiped the stem down after each sanding pad with an Obsidian cloth to remove the debris from the sanding.
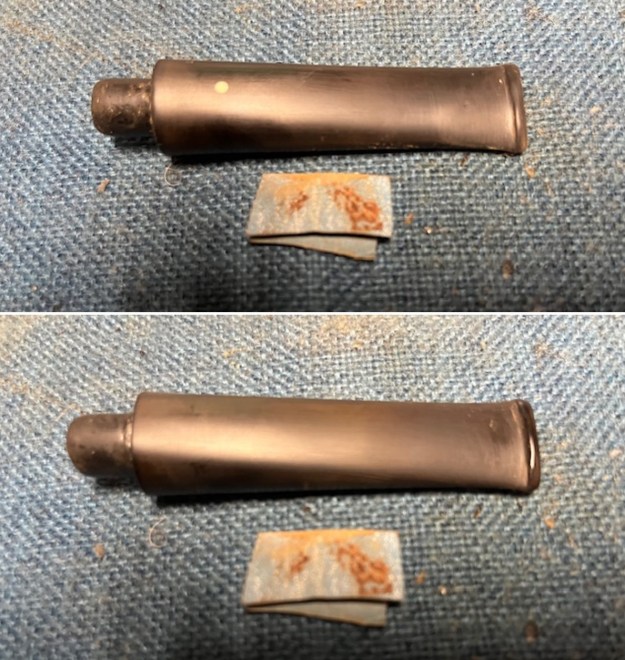
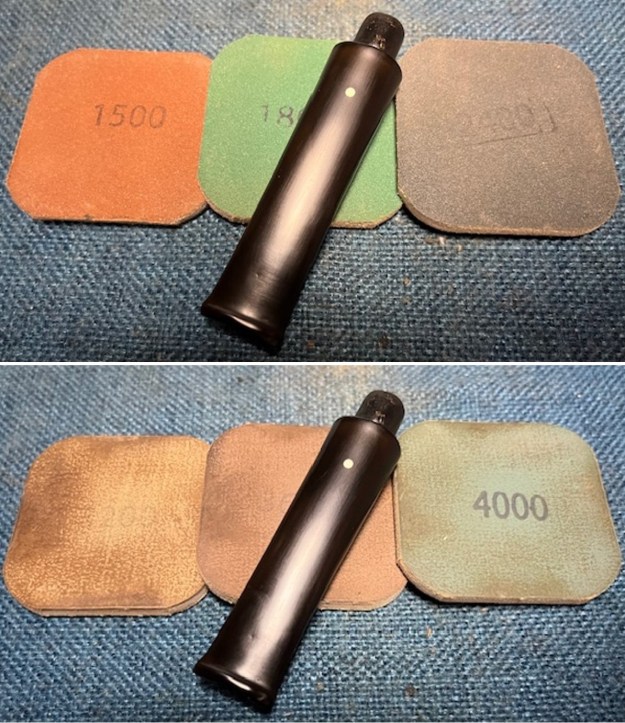
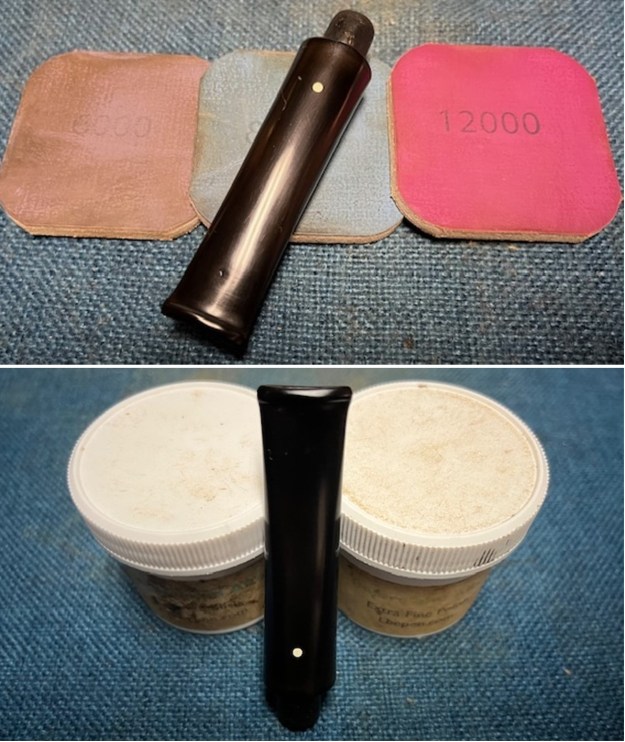
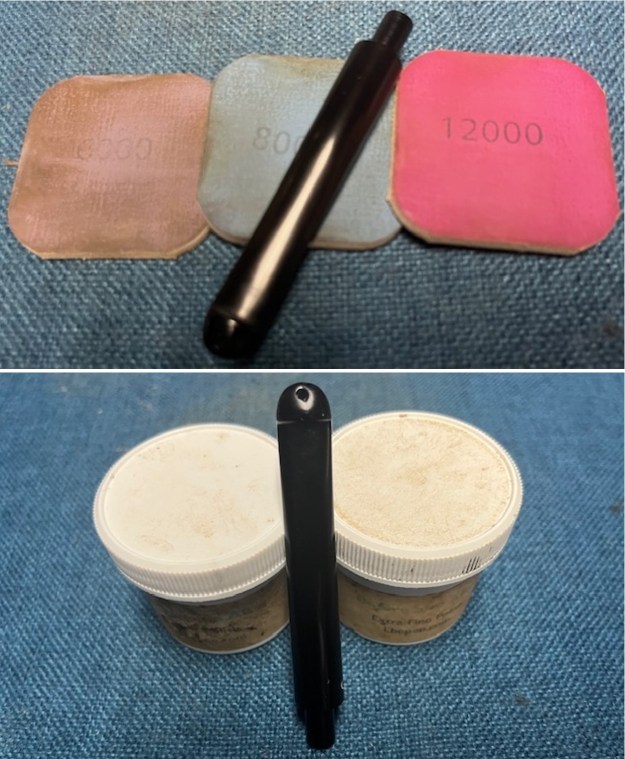
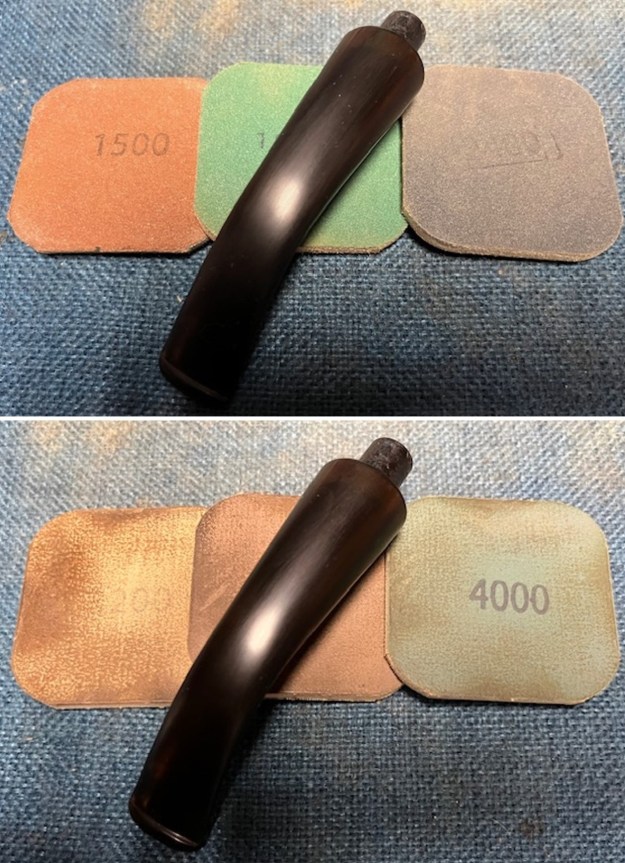
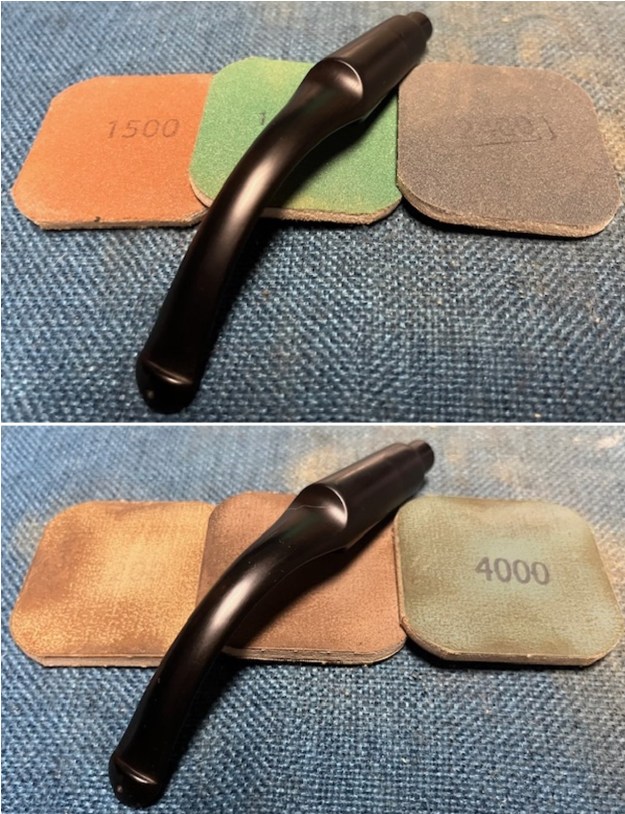
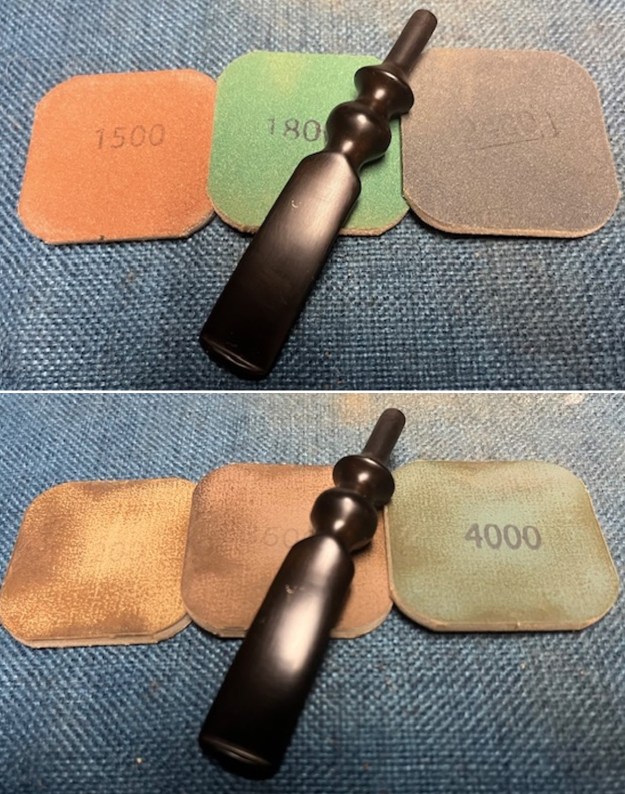
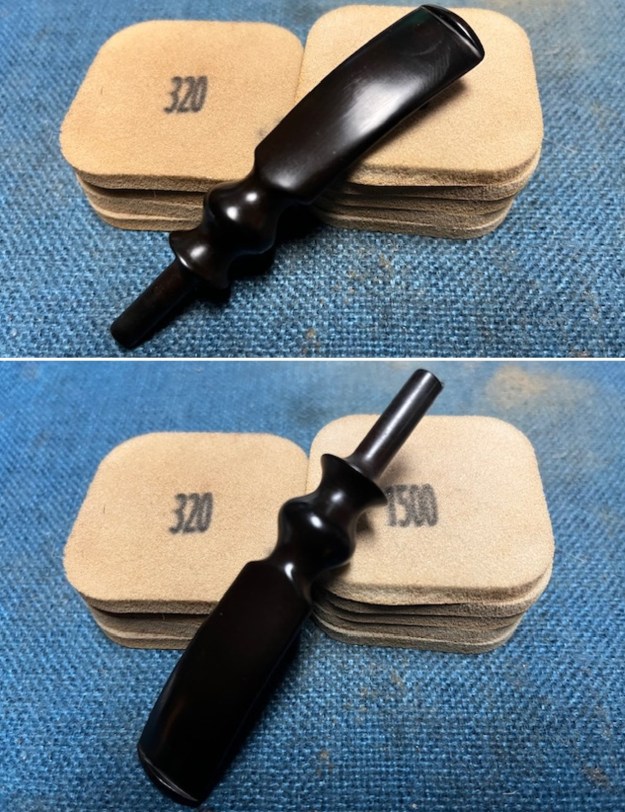
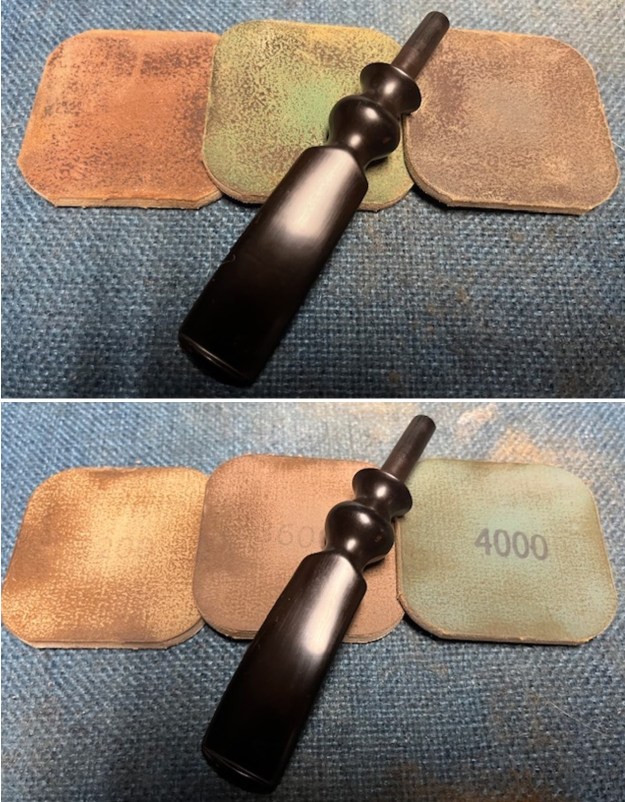
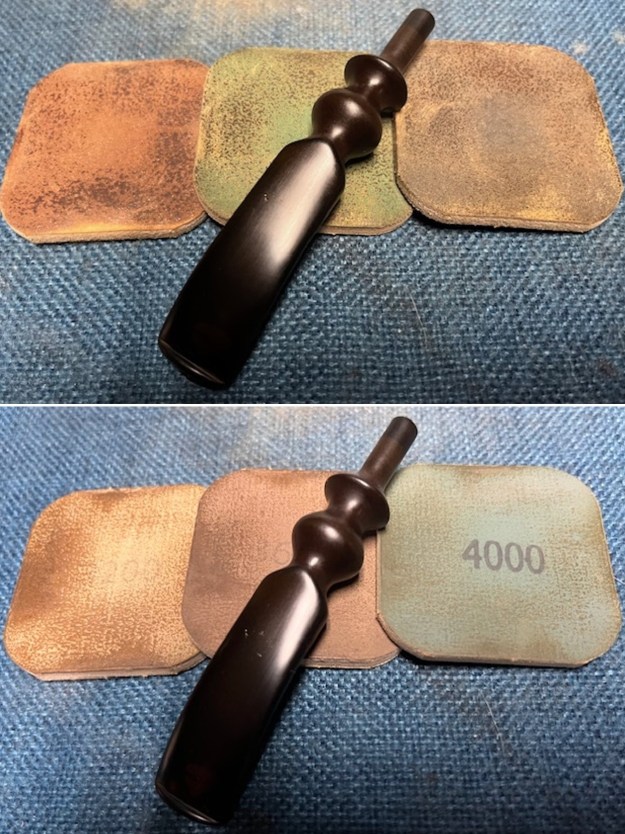
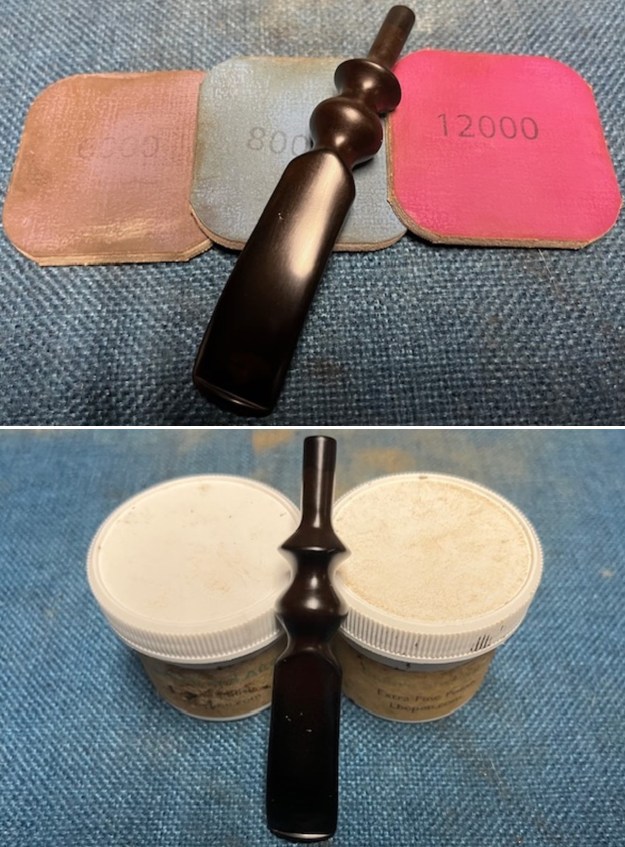
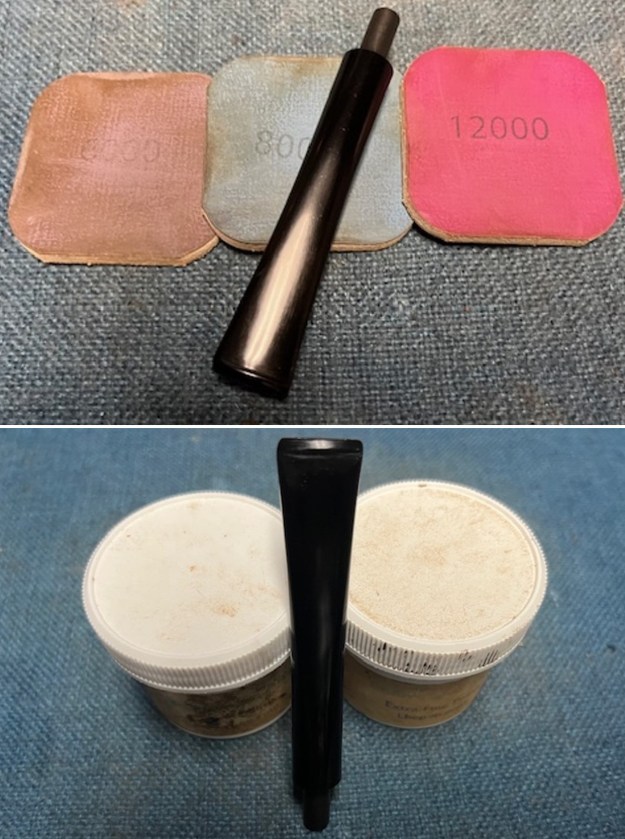
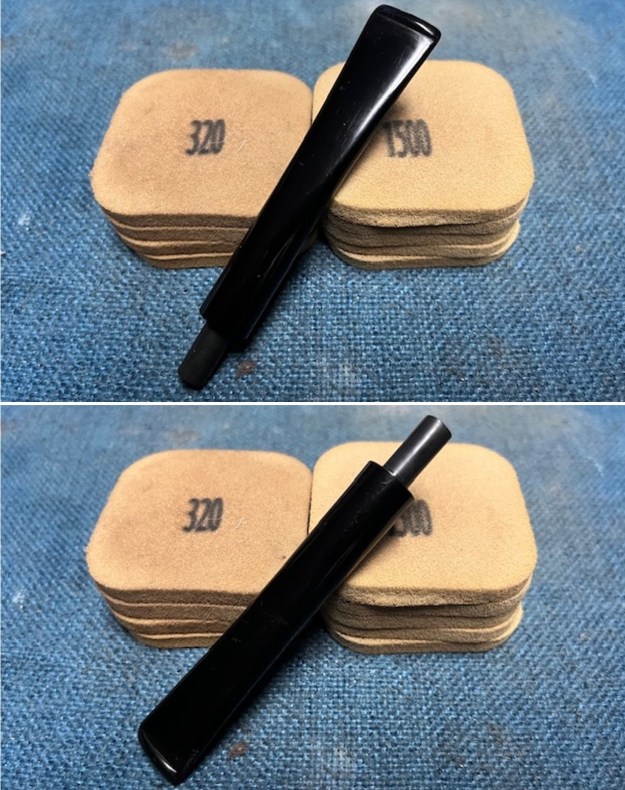 I polished the acrylic stem with micromesh sanding pads – wet sanding it with 1500-12000 grit pads. I wiped it down with Obsidian Oil after each sanding pad. I polished it with Before & After Pipe Polish – both the Fine and Extra Fine polishes. I gave it a final coat of oil and set it aside to dry.
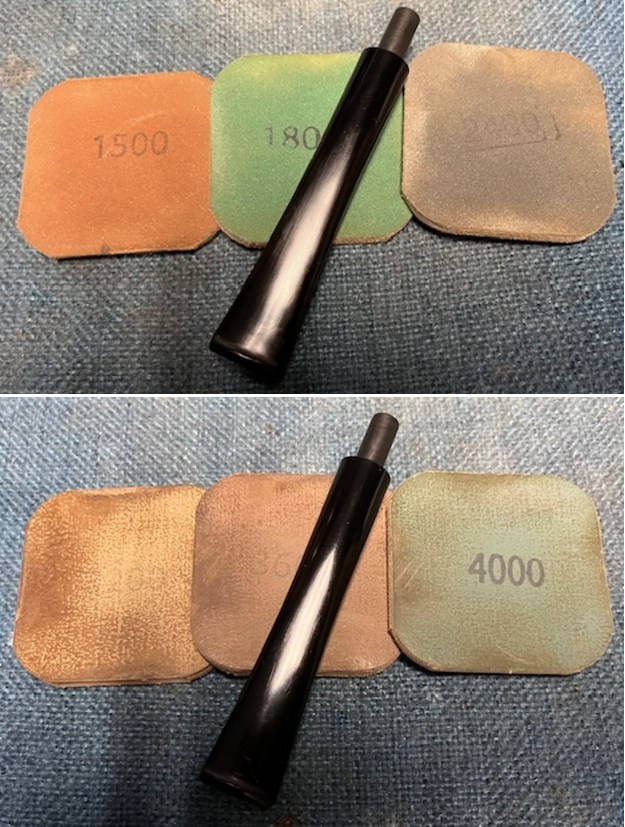
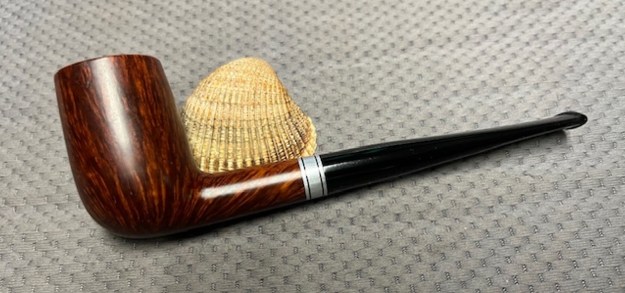
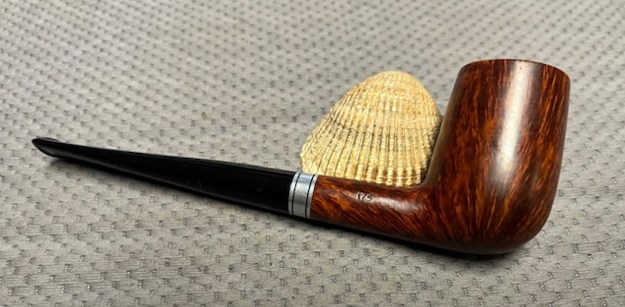
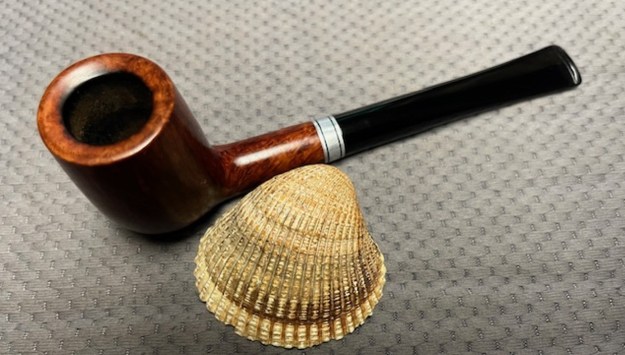
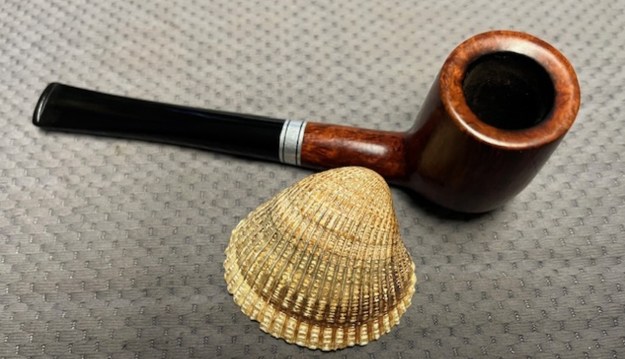
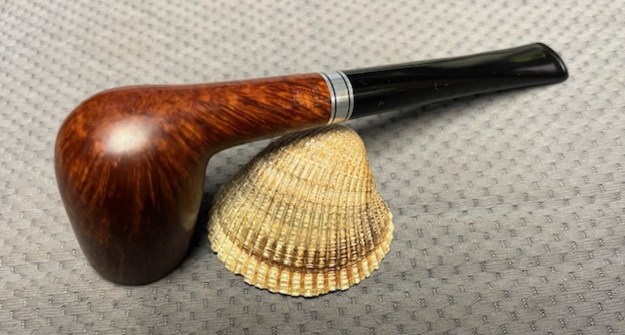
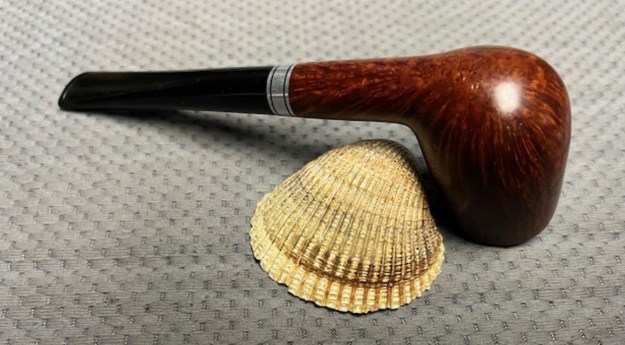
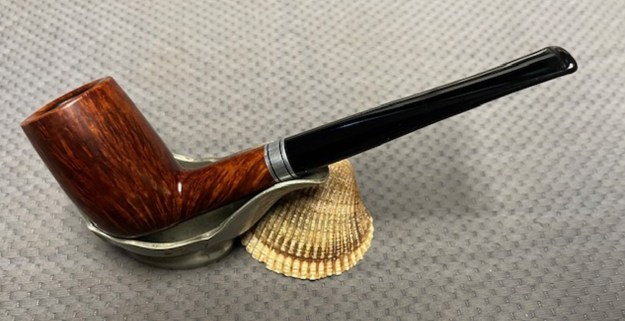
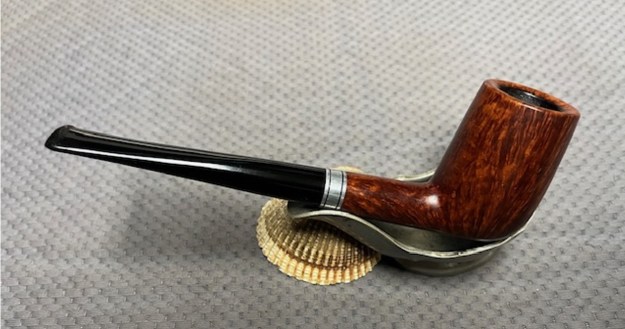
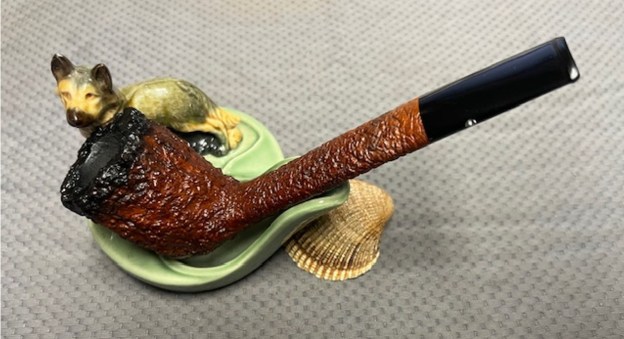
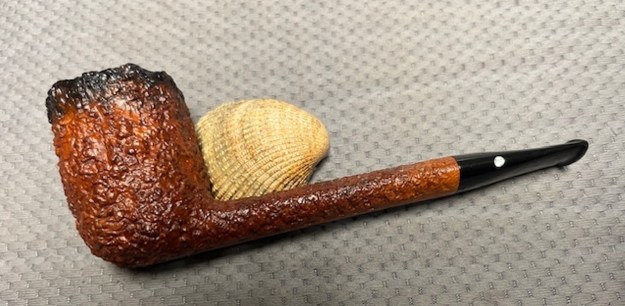
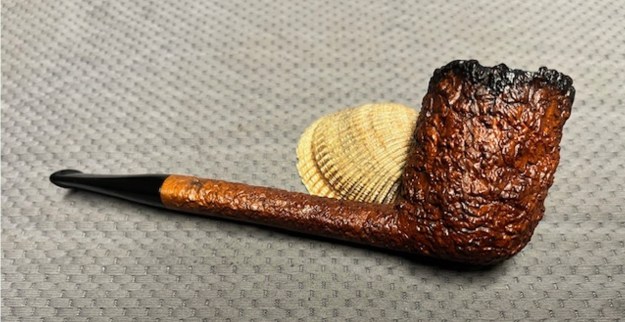
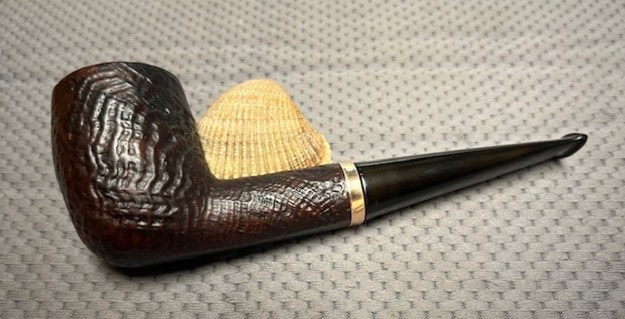
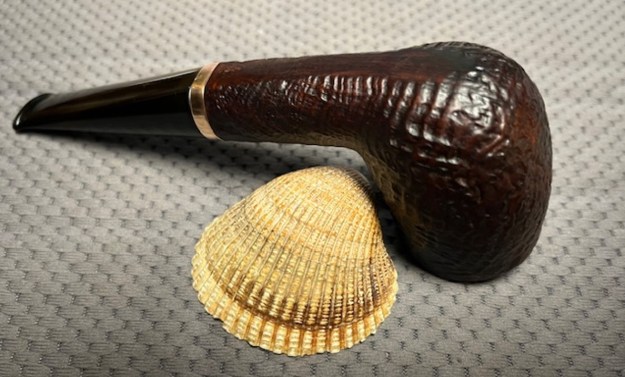
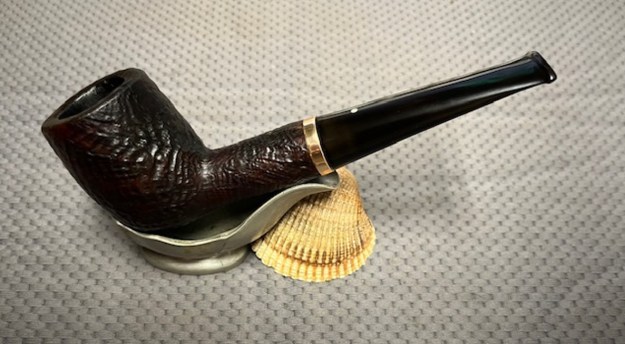
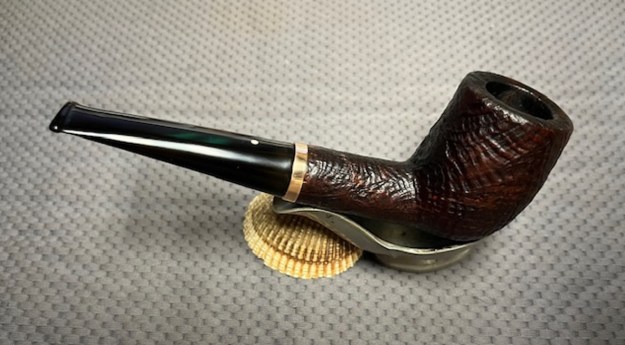
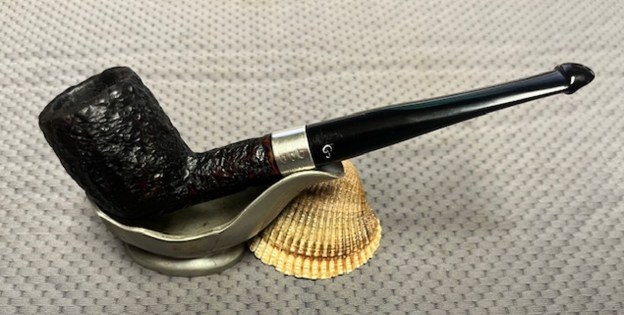
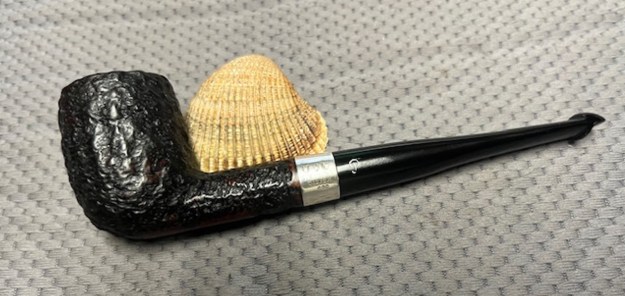
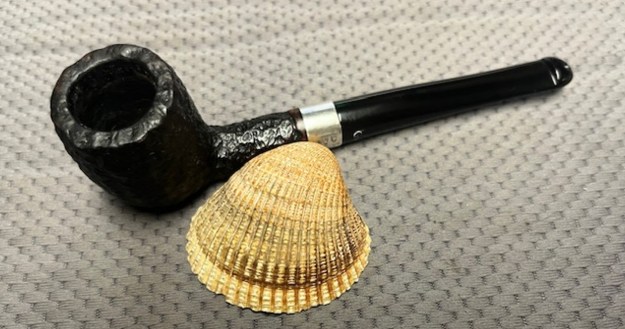
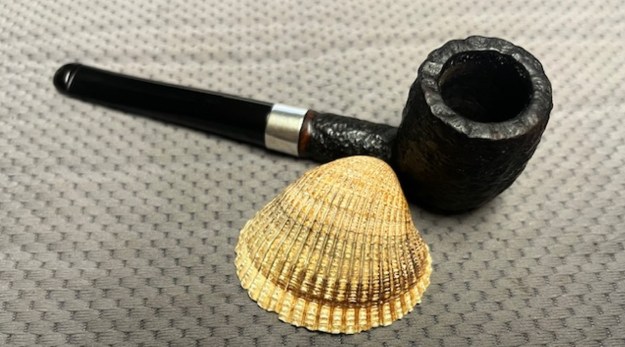
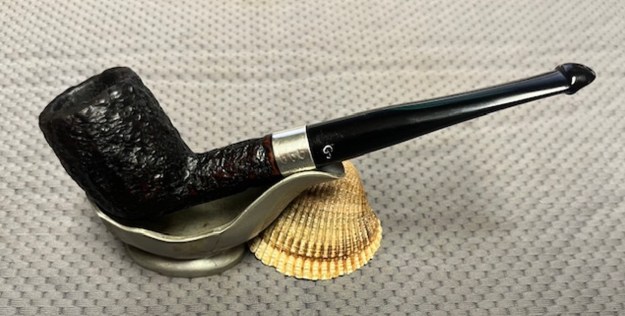
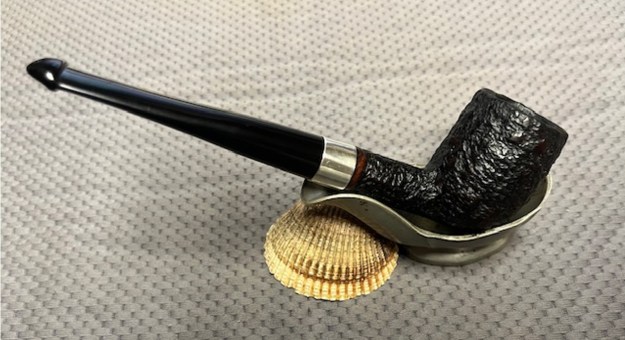
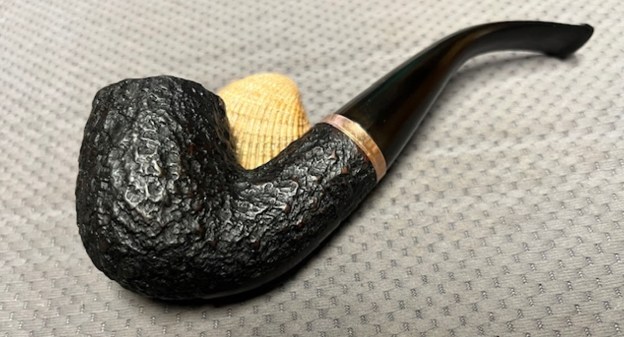
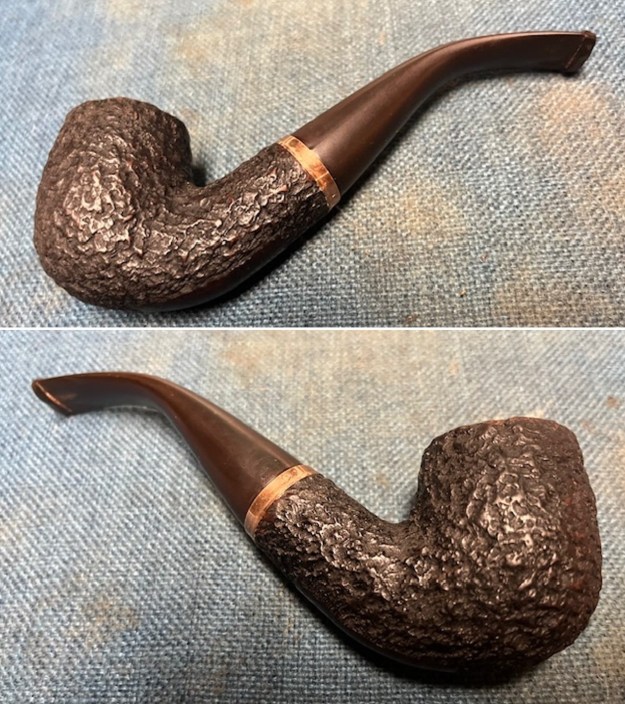
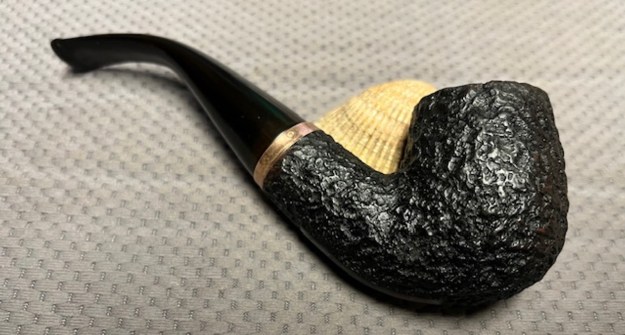
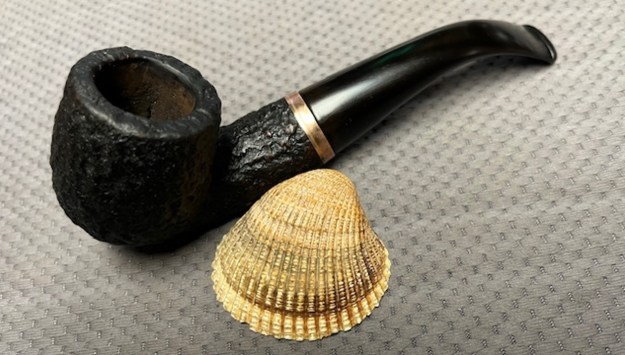
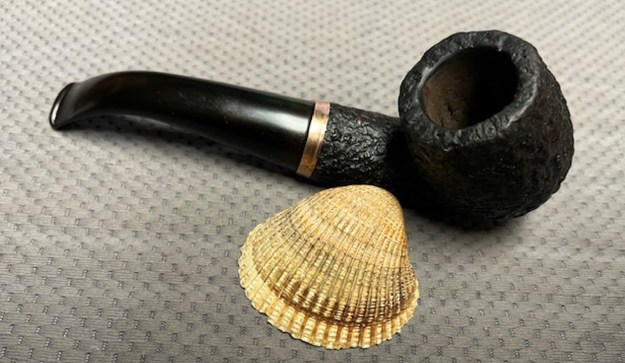
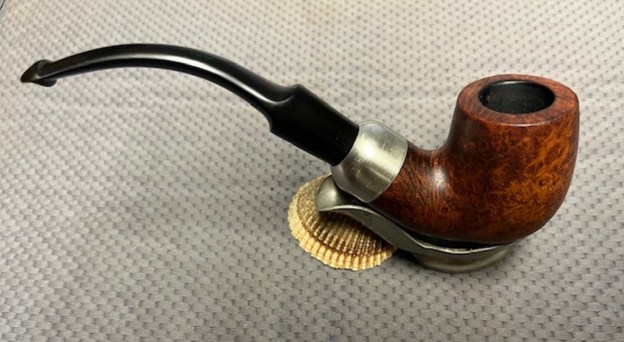
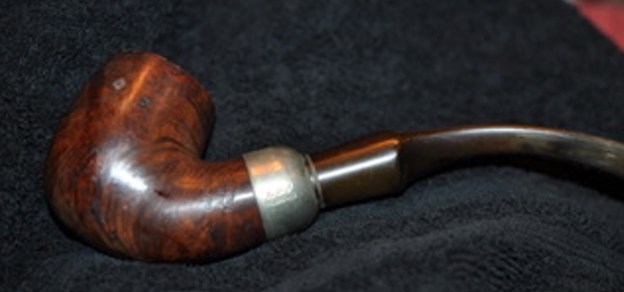
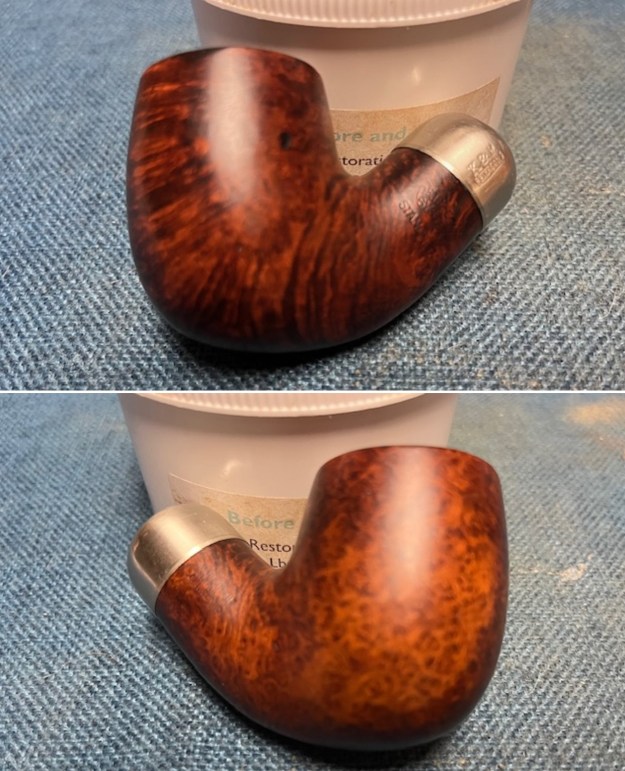
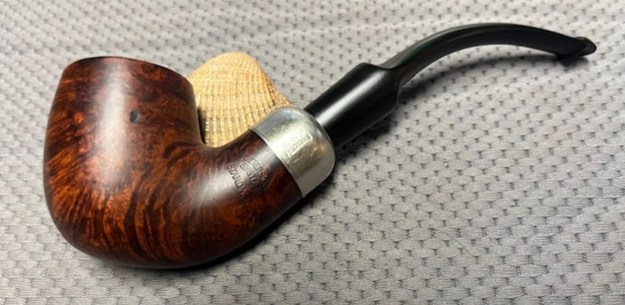
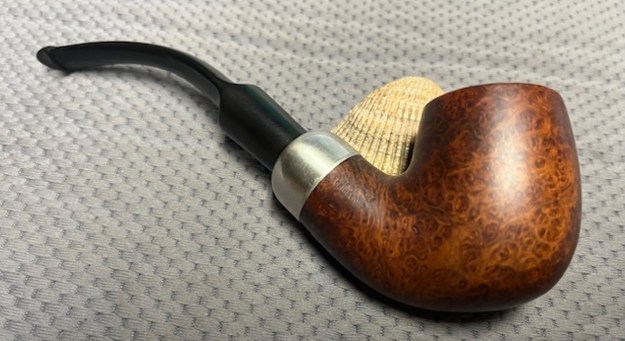
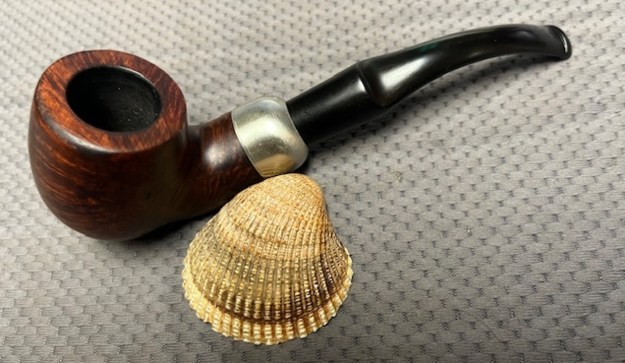
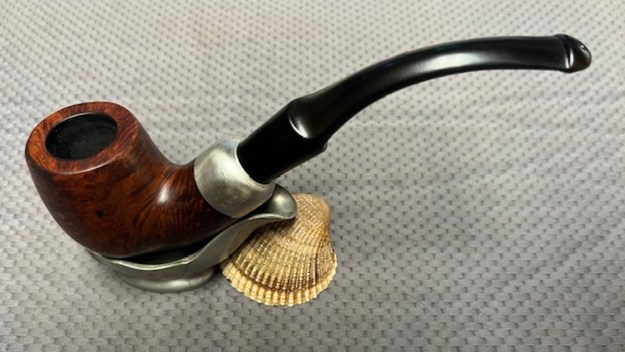
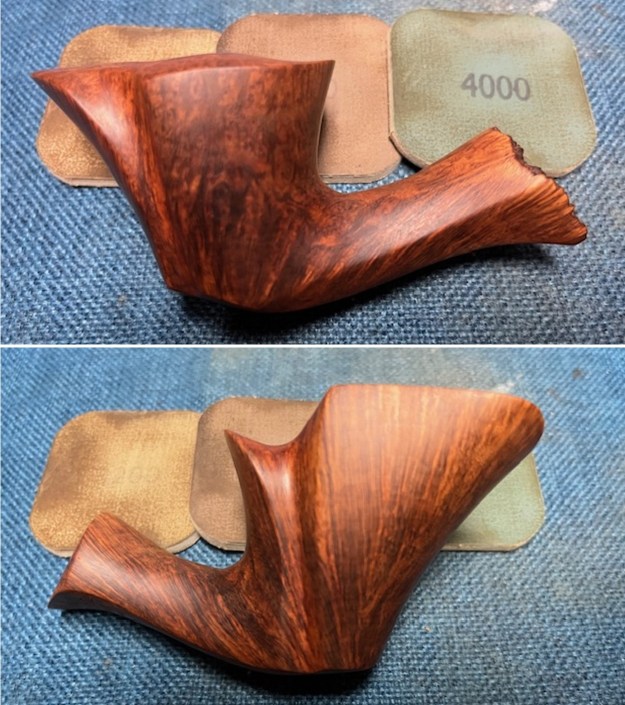
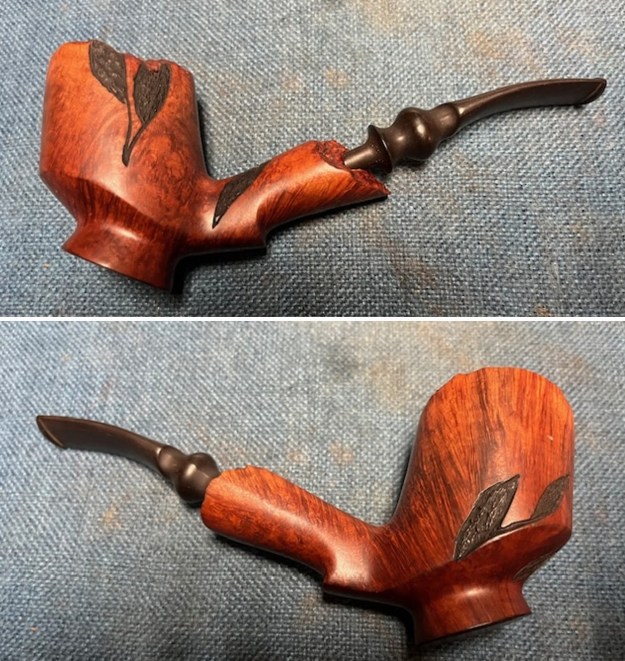
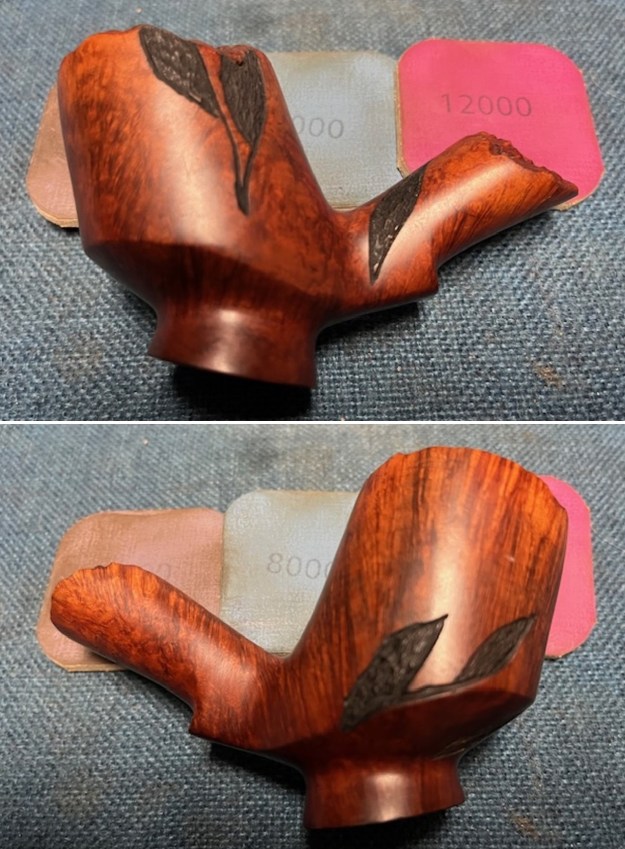
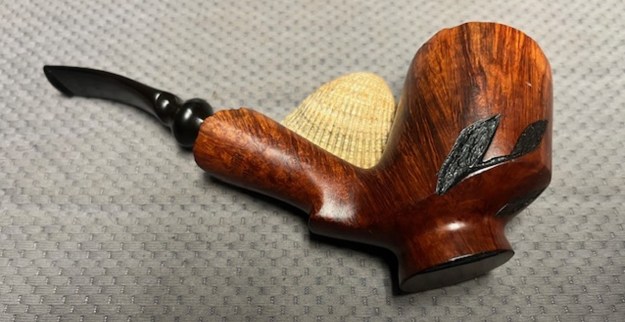
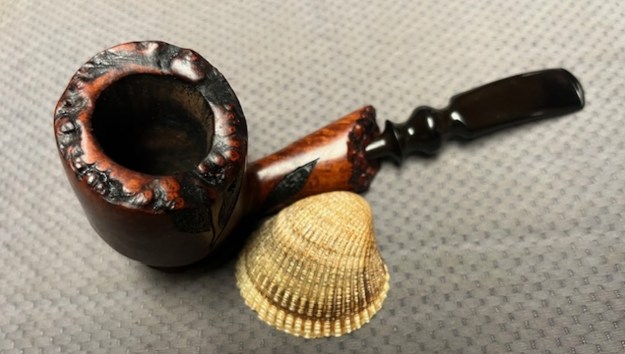
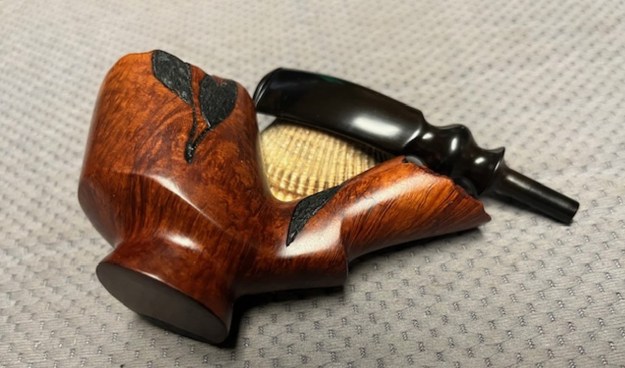
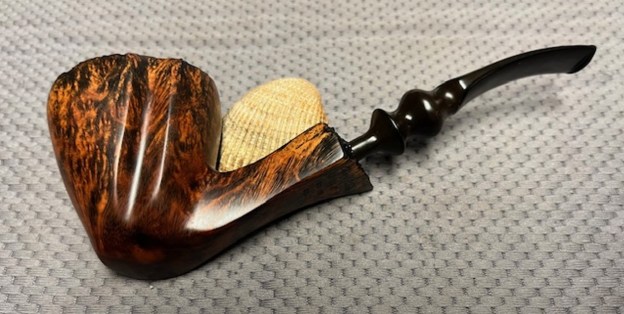
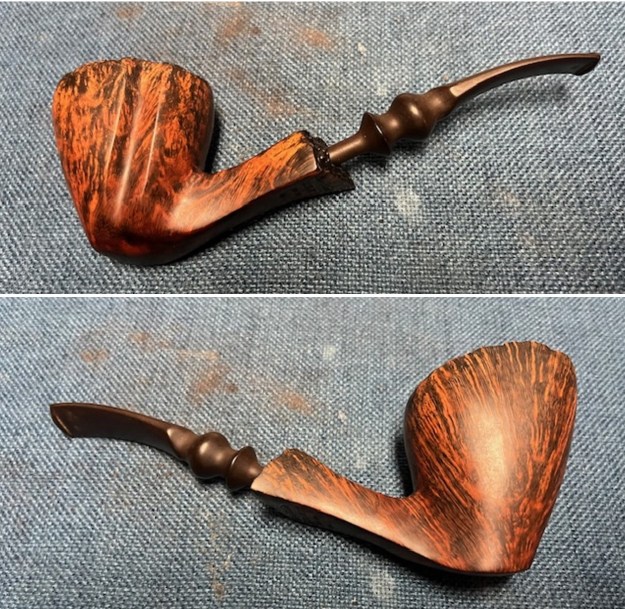
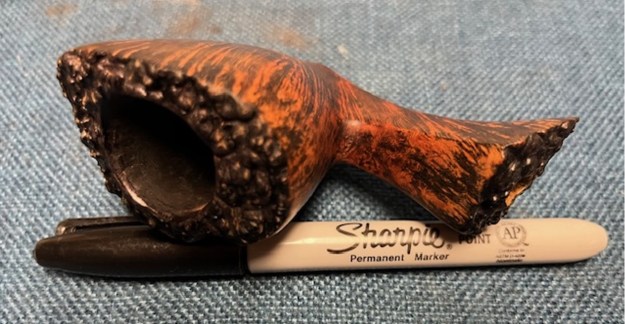
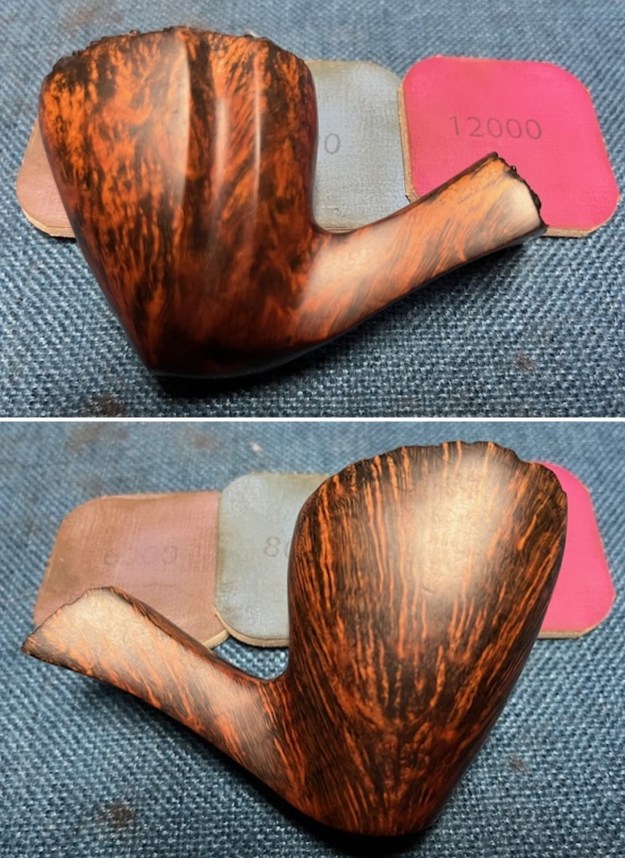
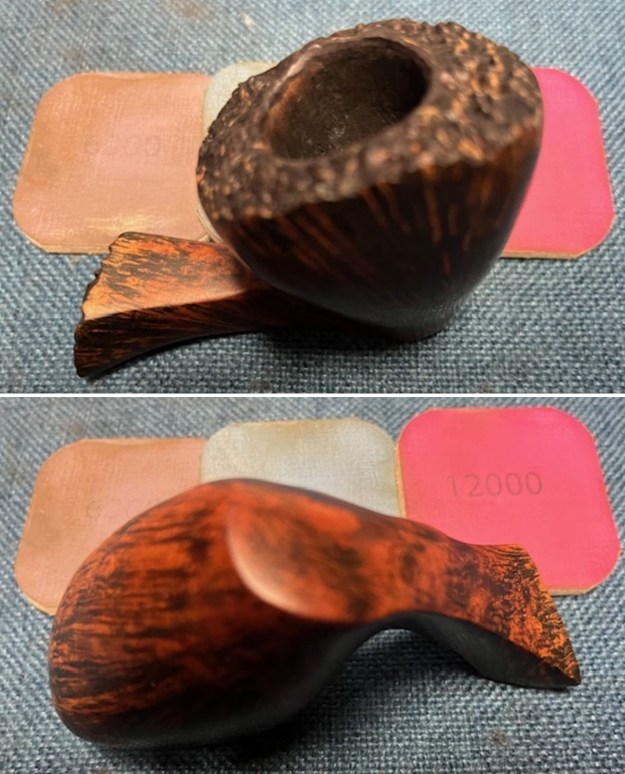
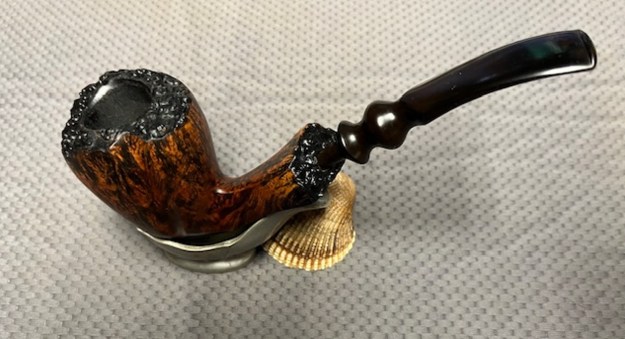
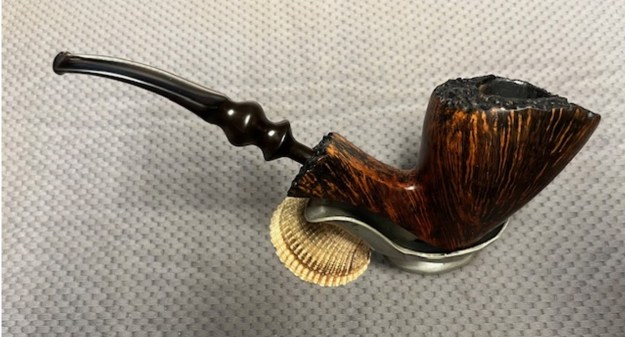
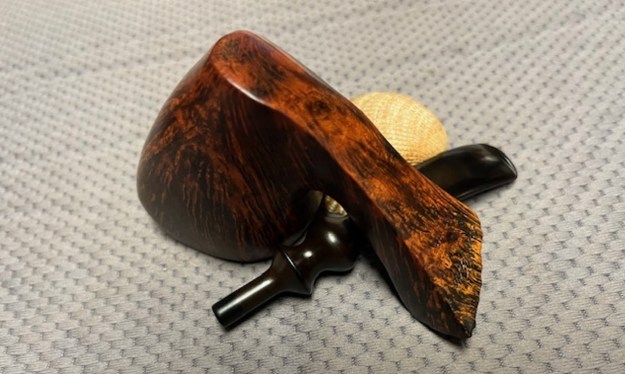
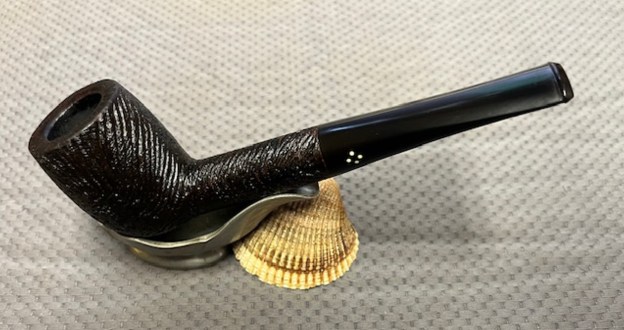
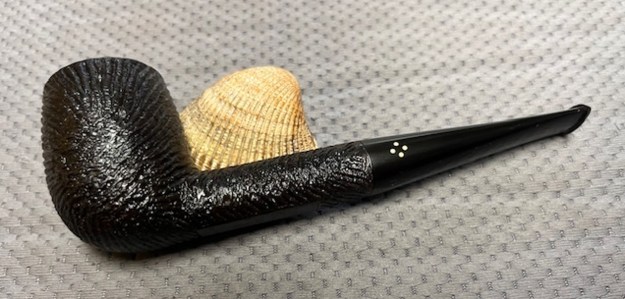
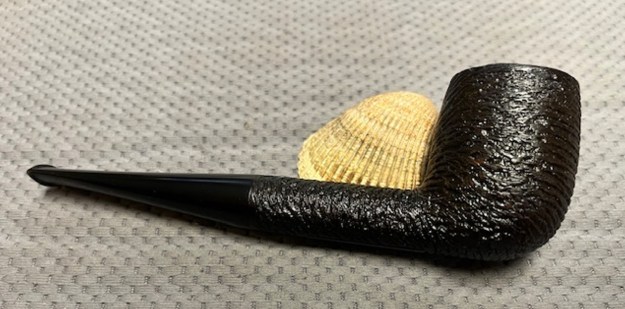
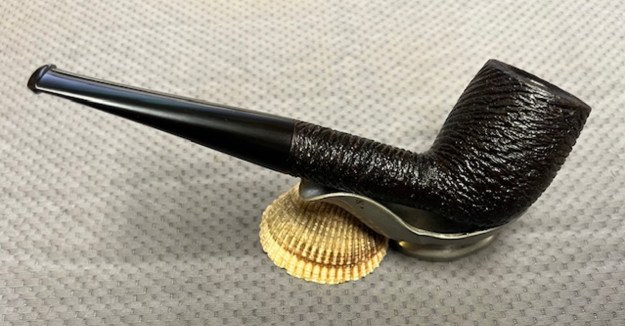
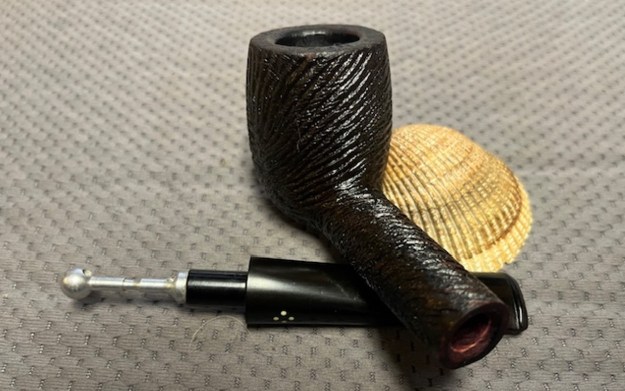
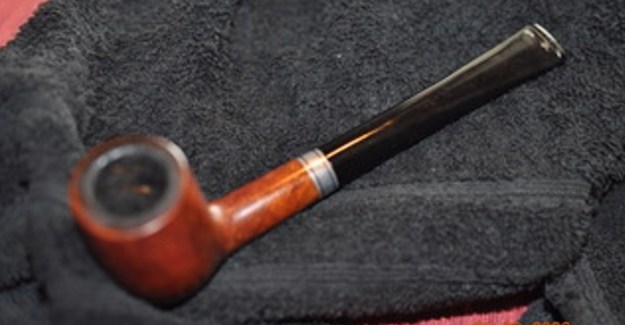
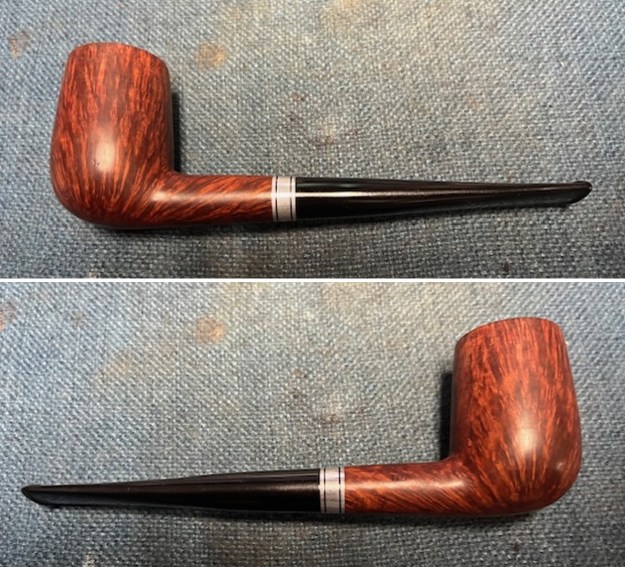
 This Stanwell Made in Denmark Dorado 175 Stack with an acrylic taper stem is a great looking pipe now that it has been restored. The beautiful finish really highlights the straight grain and the polished finish is stunning. I put the stem back on the bowl and carefully buffed the pipe with Blue Diamond on the buffing wheel. I gave the bowl and the stem multiple coats of carnauba wax on the buffing wheel and followed that by buffing the entire pipe with a clean buffing pad. I hand buffed the pipe with a microfiber cloth to deepen the shine. The finished Stanwell Dorado 175 Stack fits nicely in the hand and feels great. Give the finished pipe a look in the photos below. The dimensions of the pipe are Length: 6 inches, Height: 1 ¾ inches, Outside diameter of the bowl: 1 inch, Chamber diameter: ¾ of an inch. The weight of the pipe is 38 grams /1.34 ounces. I will be adding the pipe to the Danish Pipe Makers Section of the rebornpipes store. If you are interested in purchasing this pipe send me a message or an email.
As always, I encourage your questions and comments as you read the blog. Thanks to each of you who are reading this blog. Remember we are not pipe owners; we are pipe men and women who hold our pipes in trust until they pass on into the trust of those who follow us.