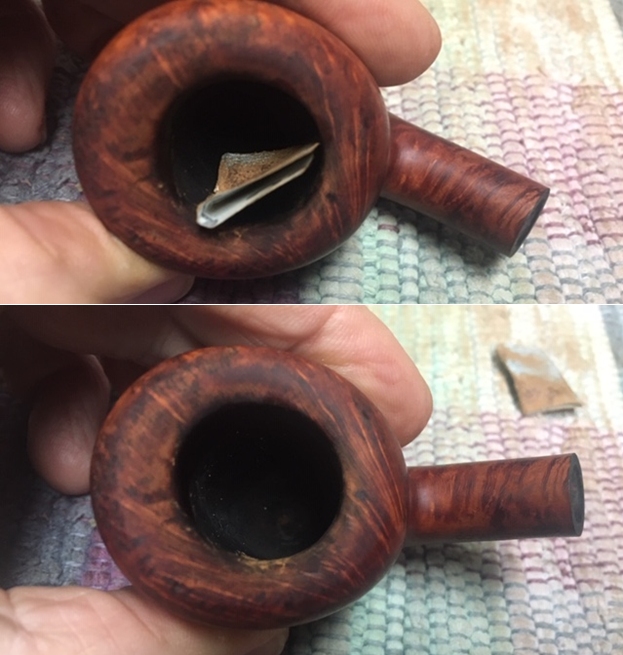
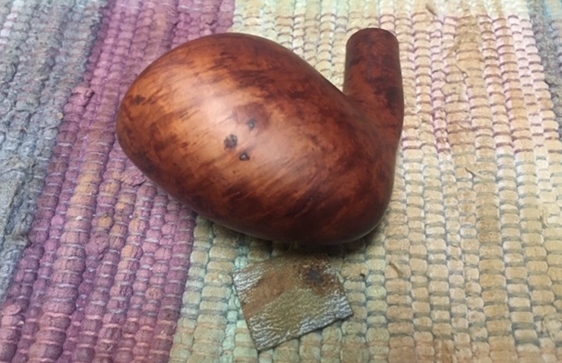
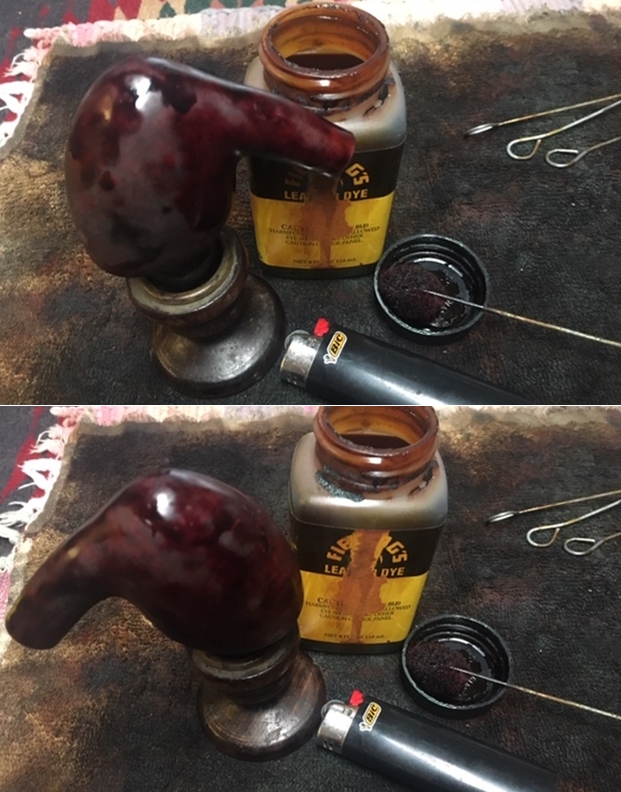
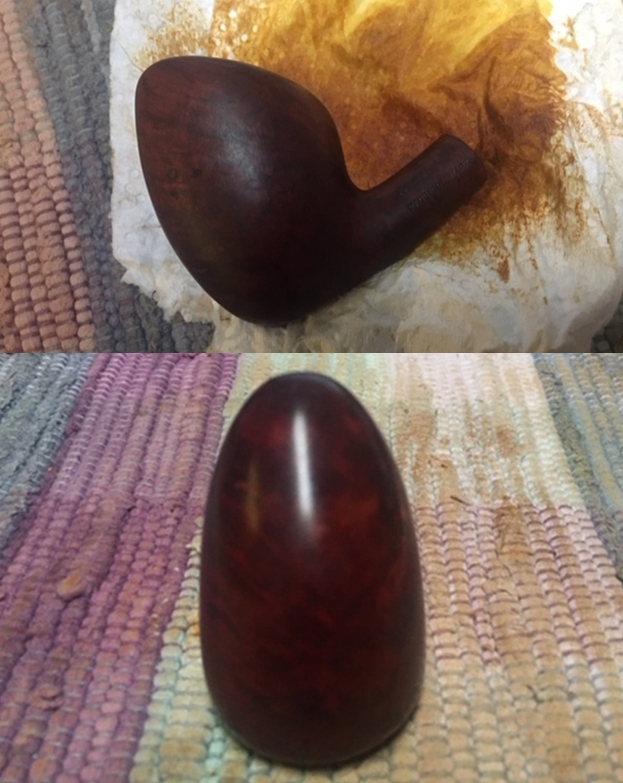
Tag Archives: repairing tooth marks

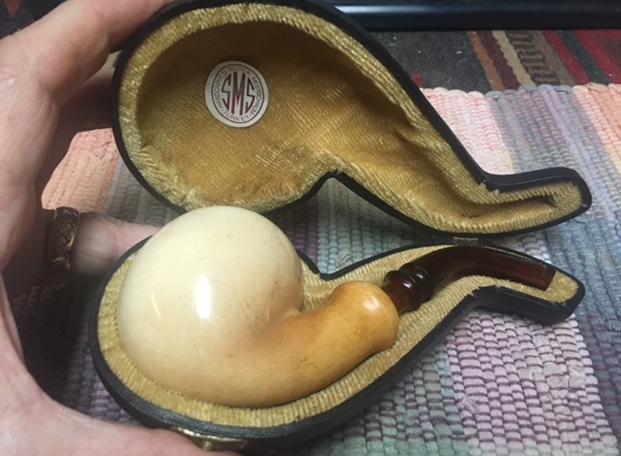
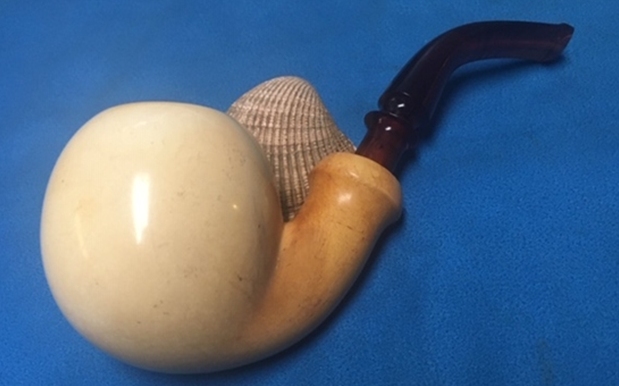
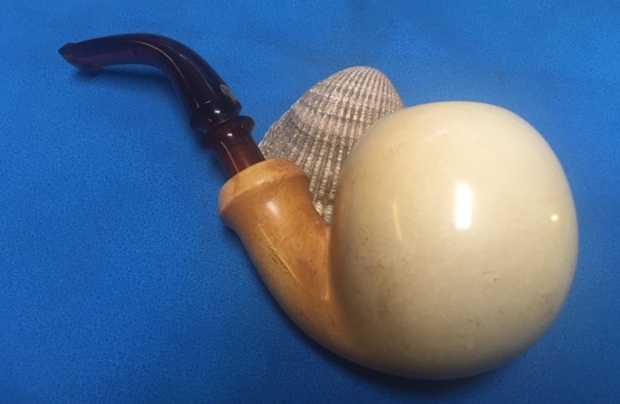
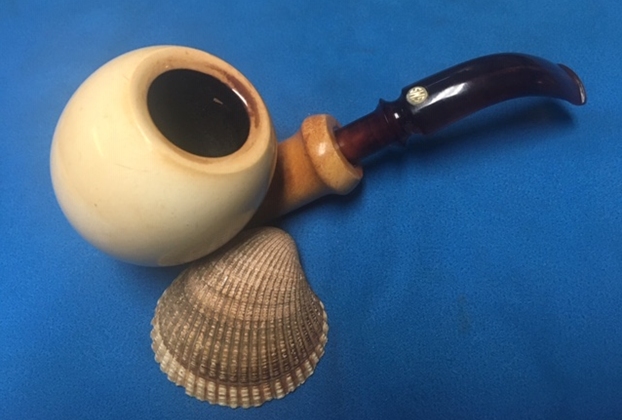
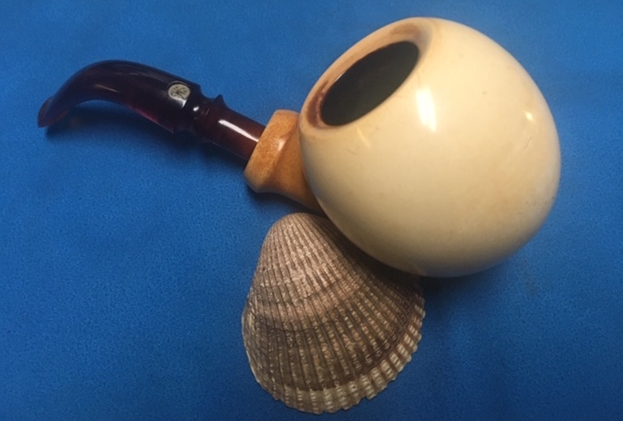
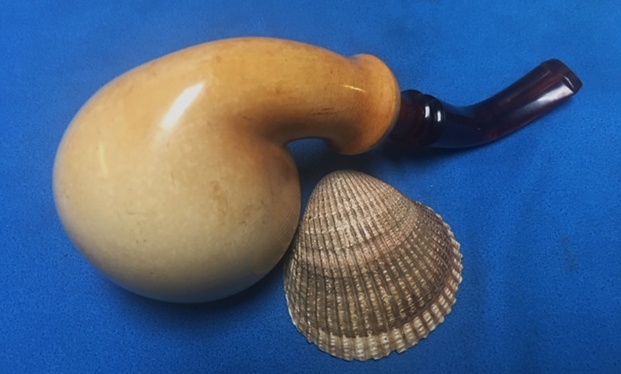
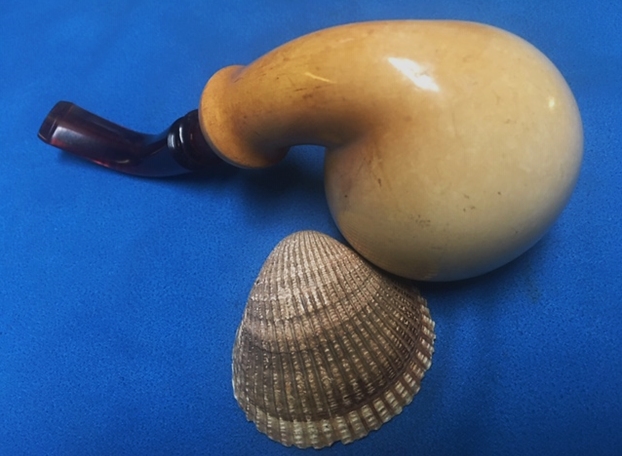
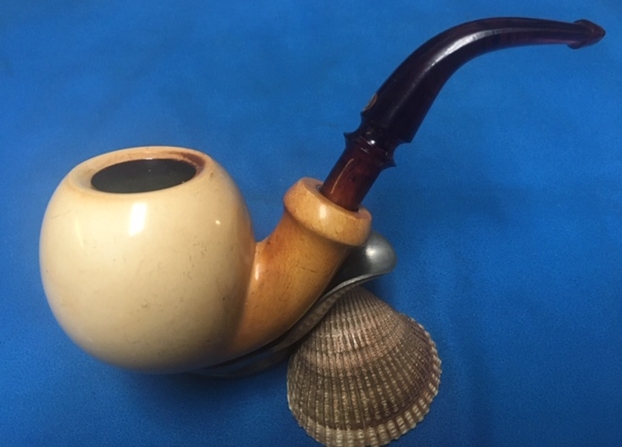
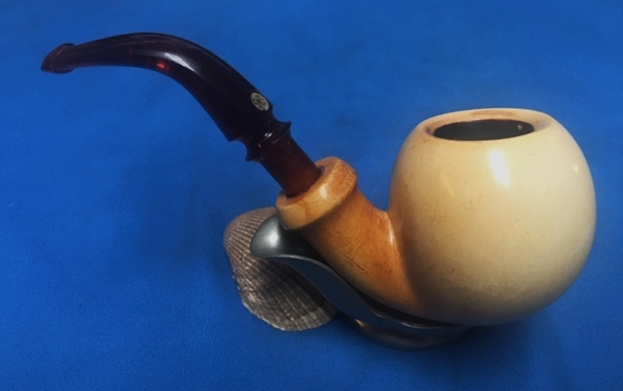
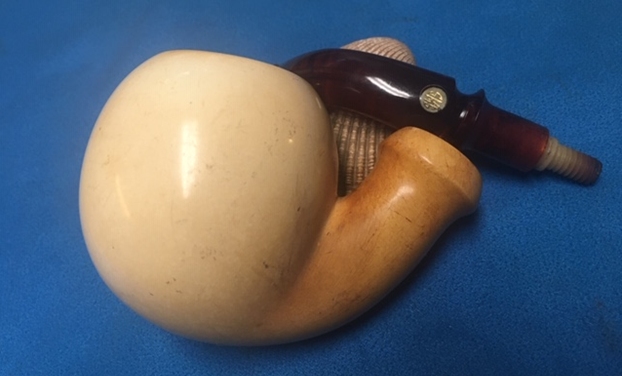
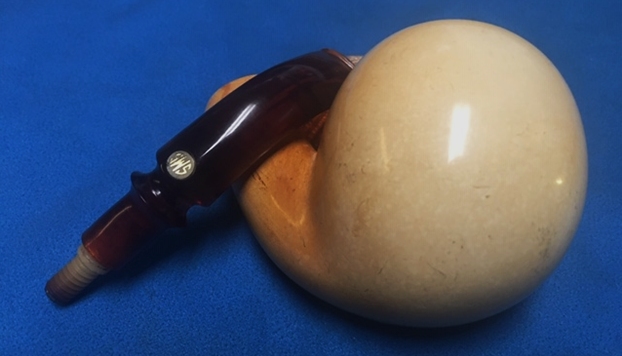
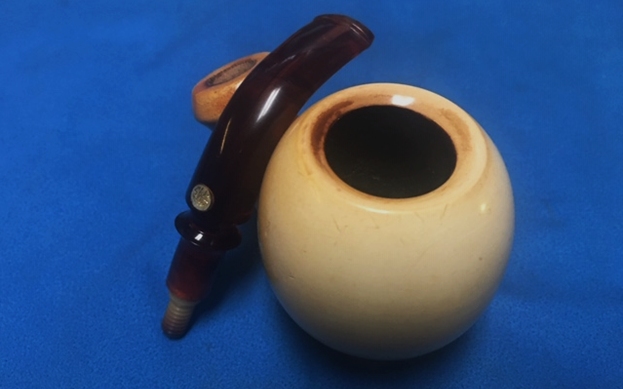
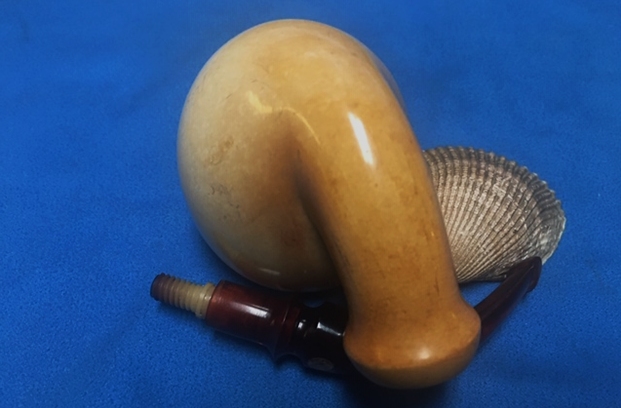
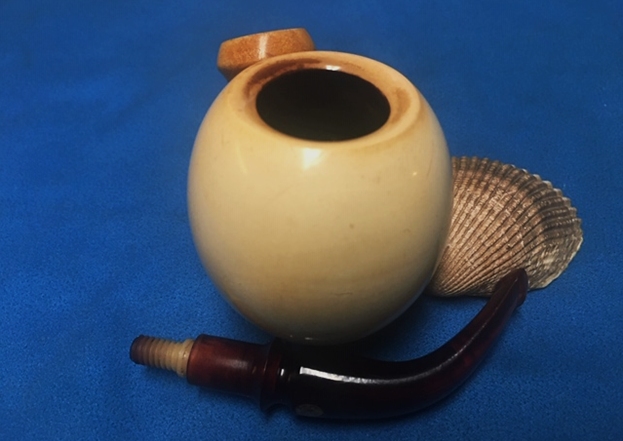
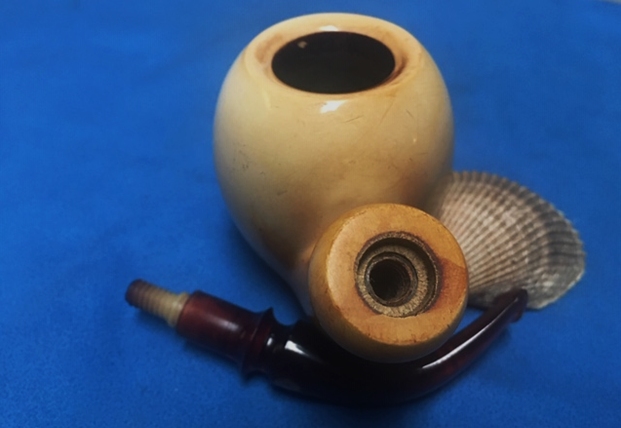
A Change of Pace Restoration – an SMS Meerschaum Bent Ball


Blog by Steve Laug

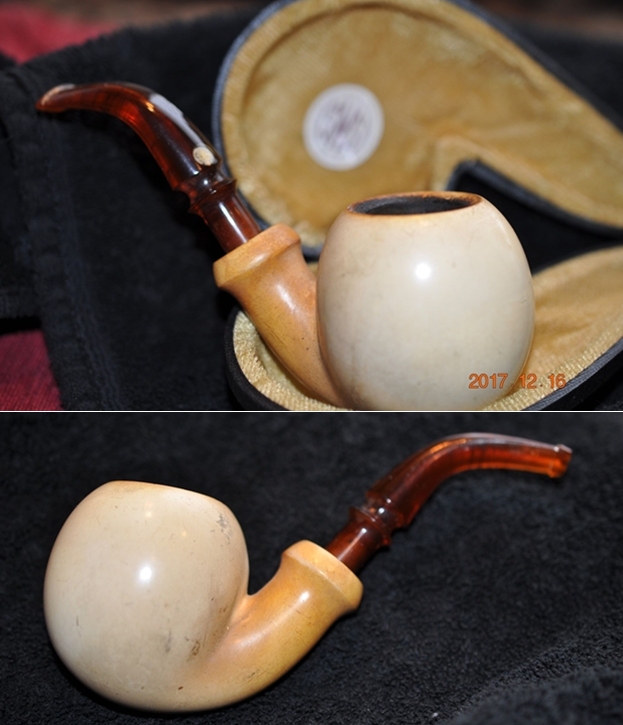
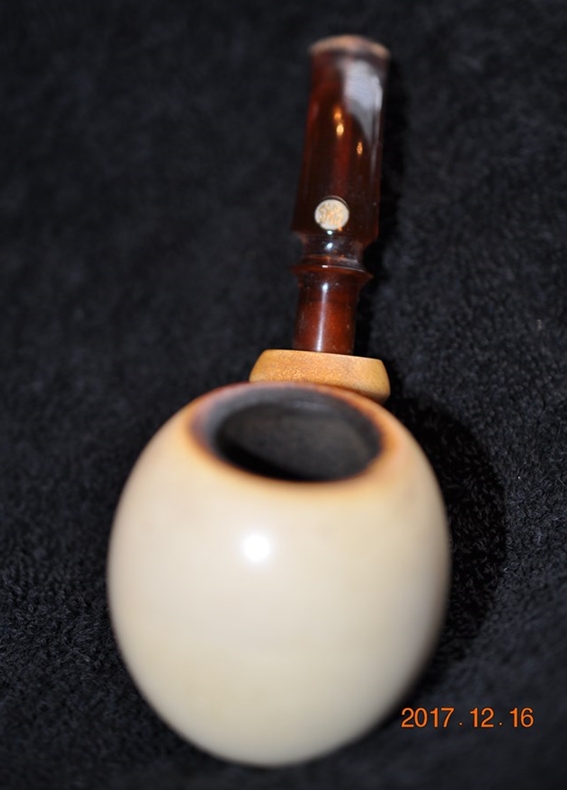
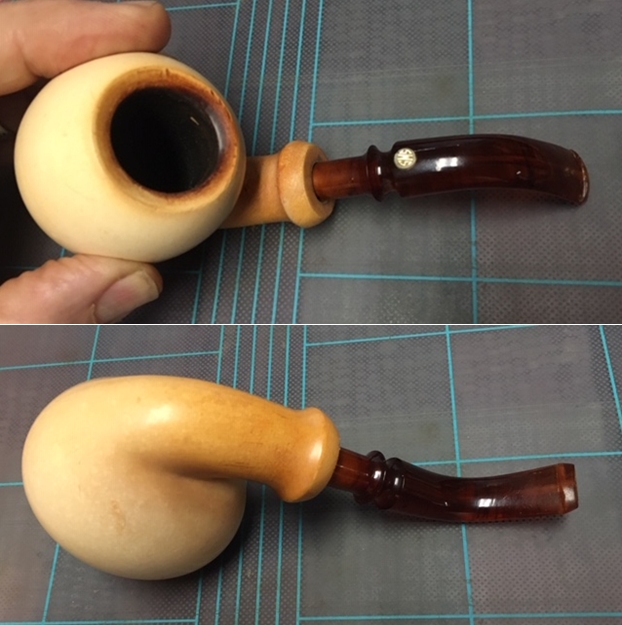
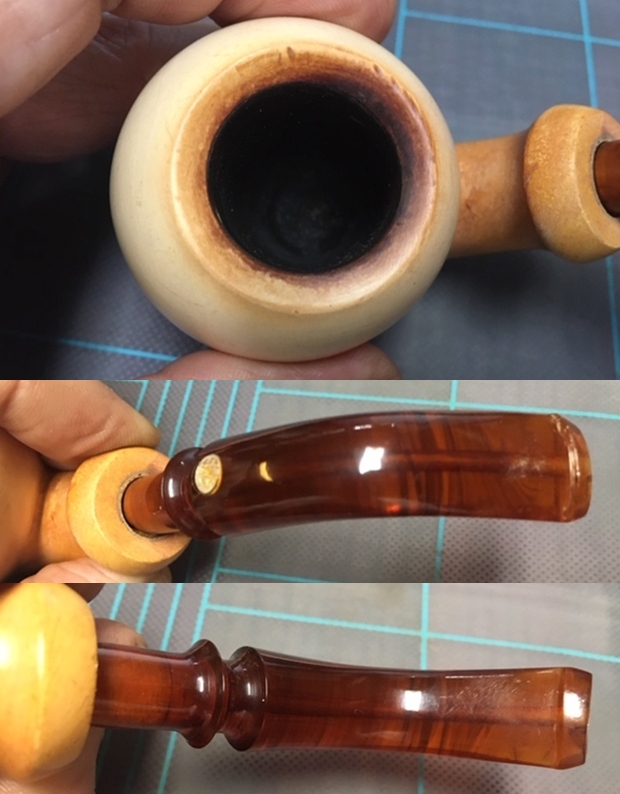
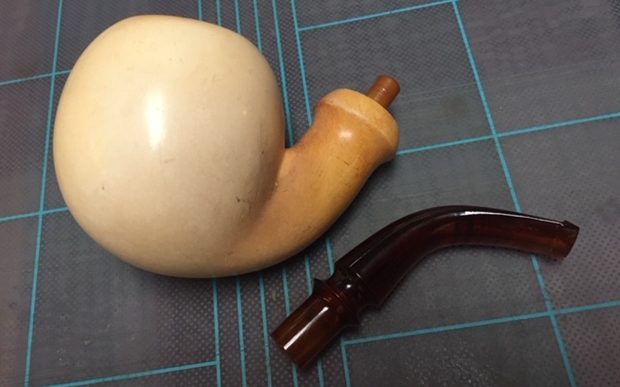
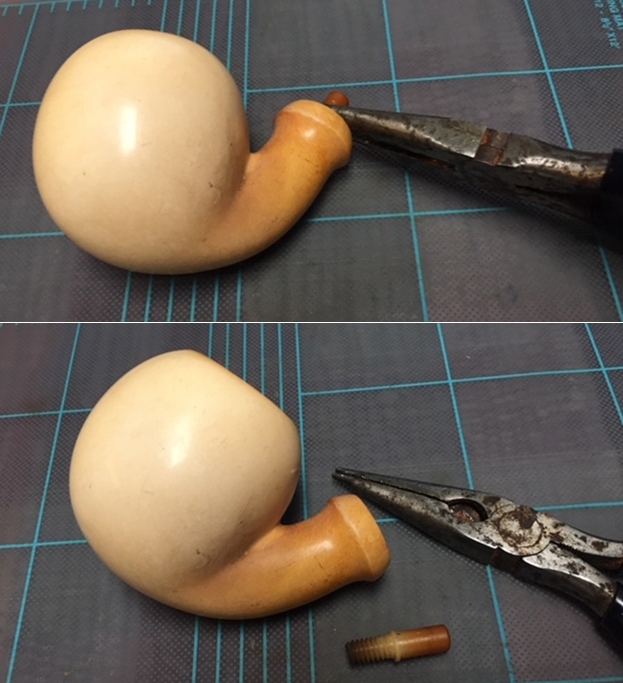
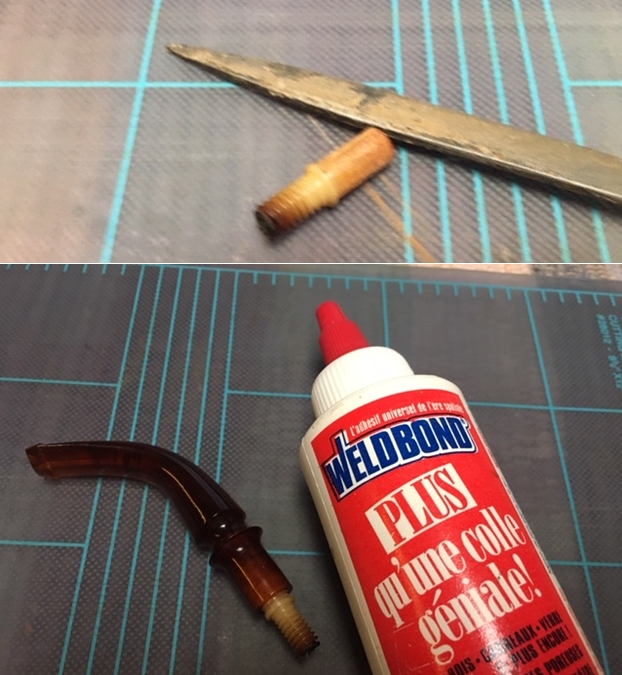
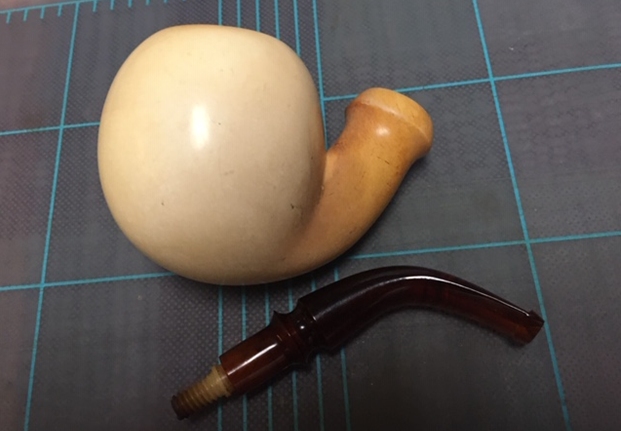
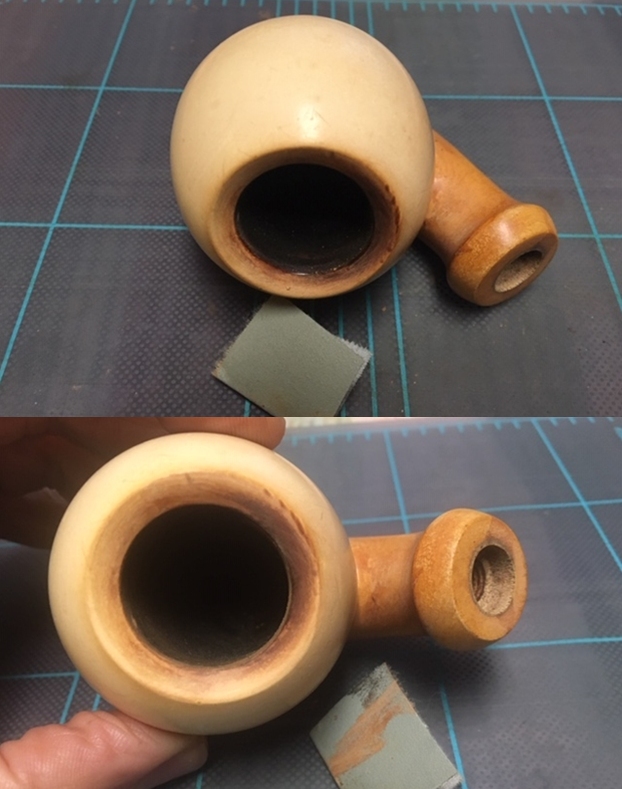
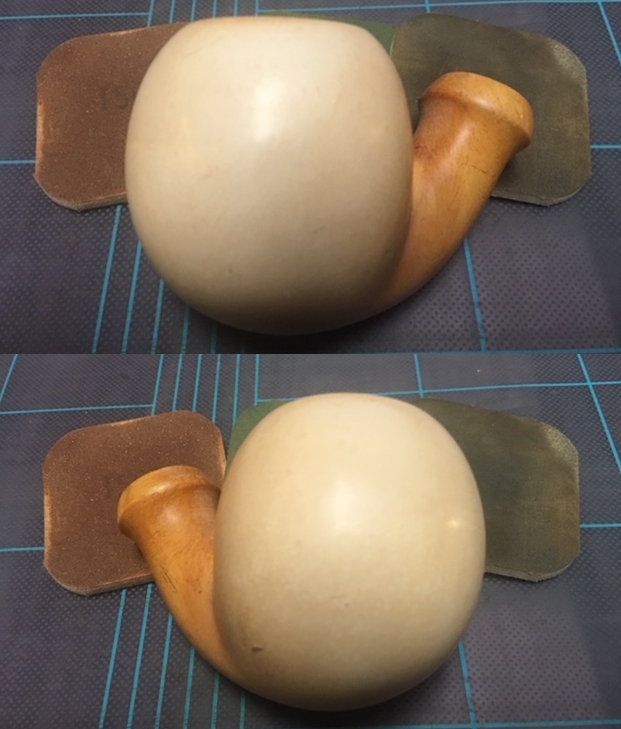
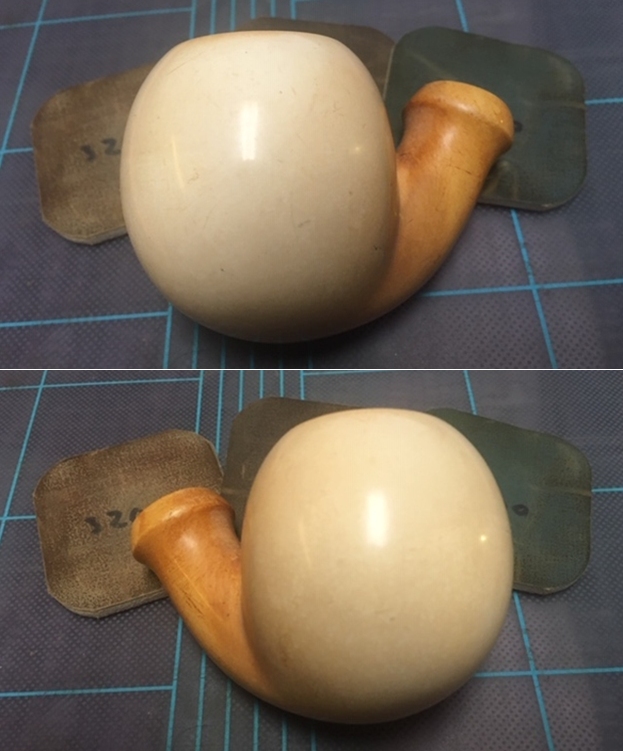
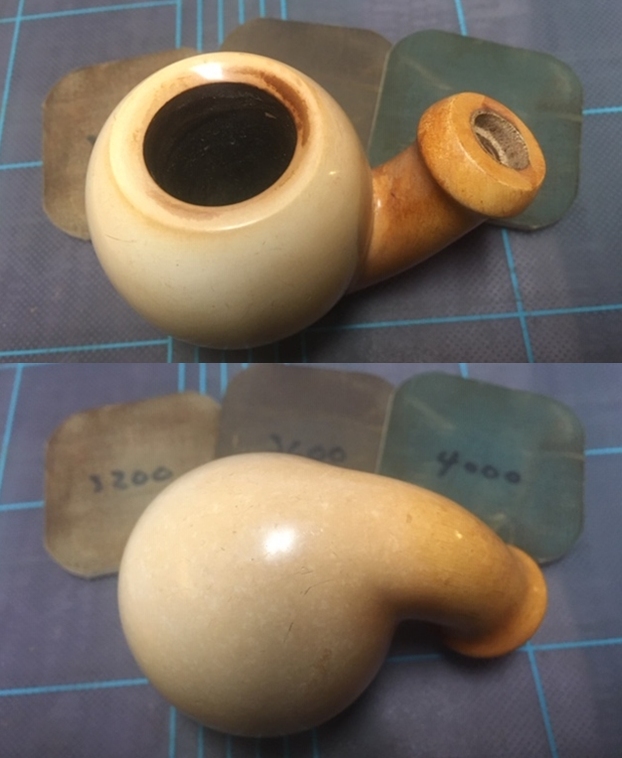
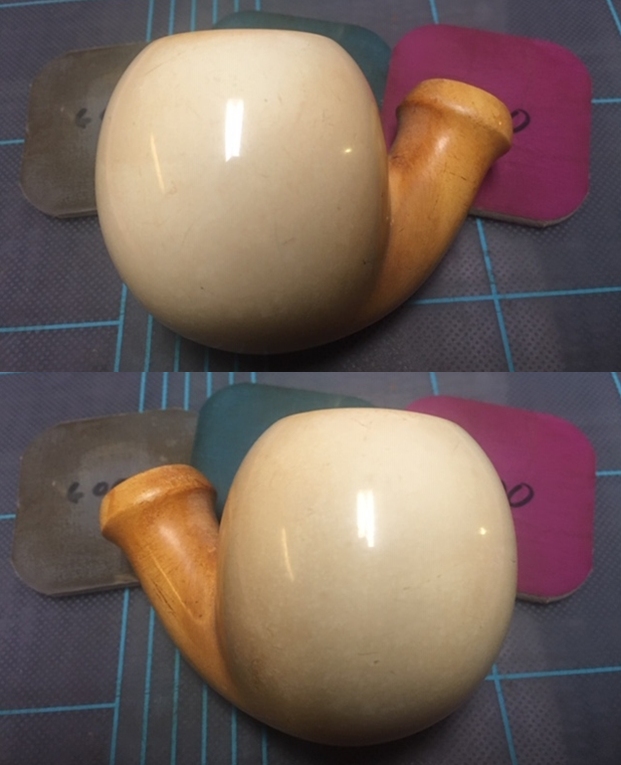
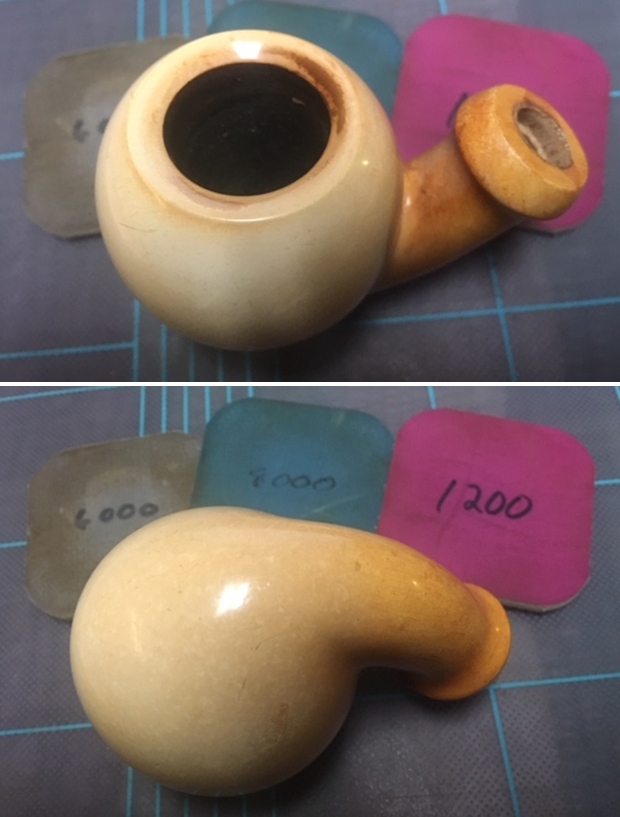
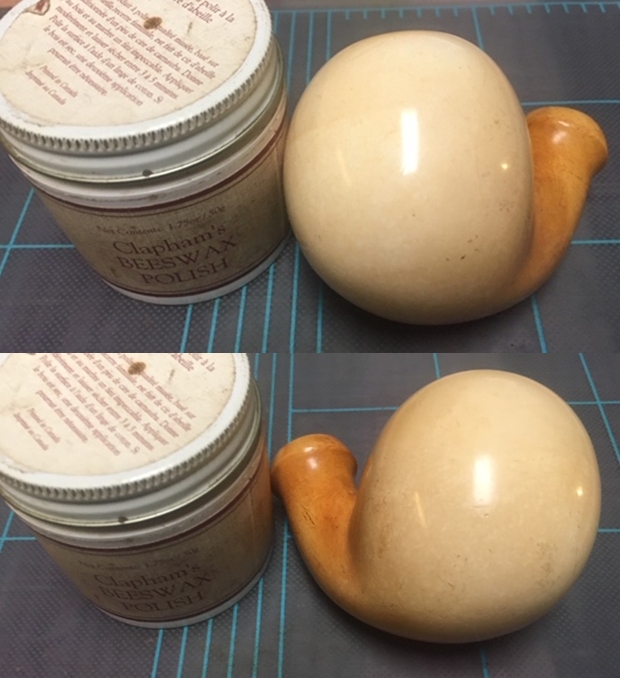
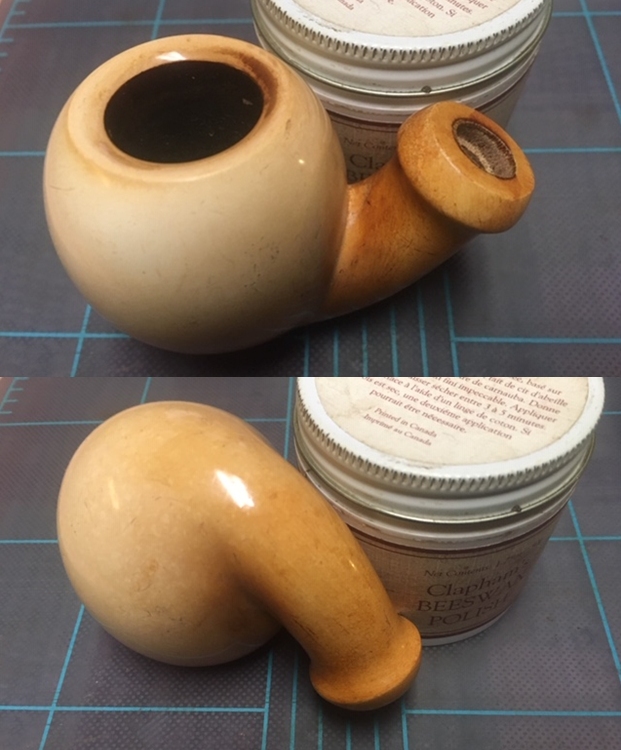
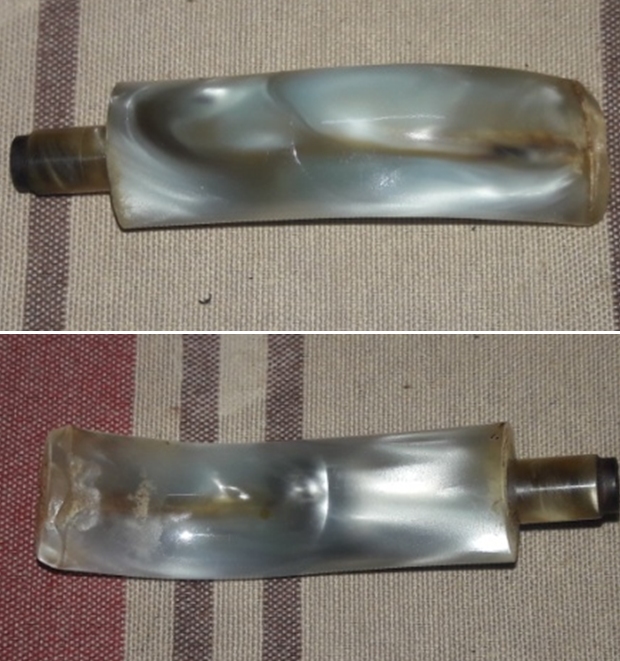
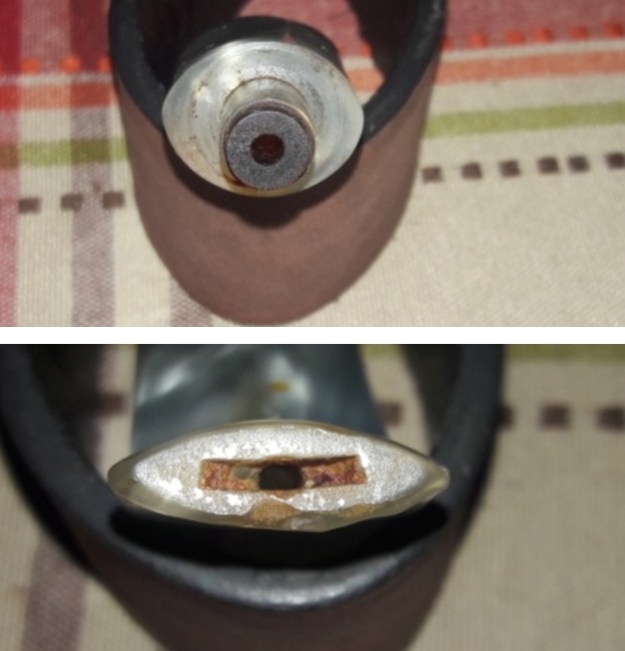
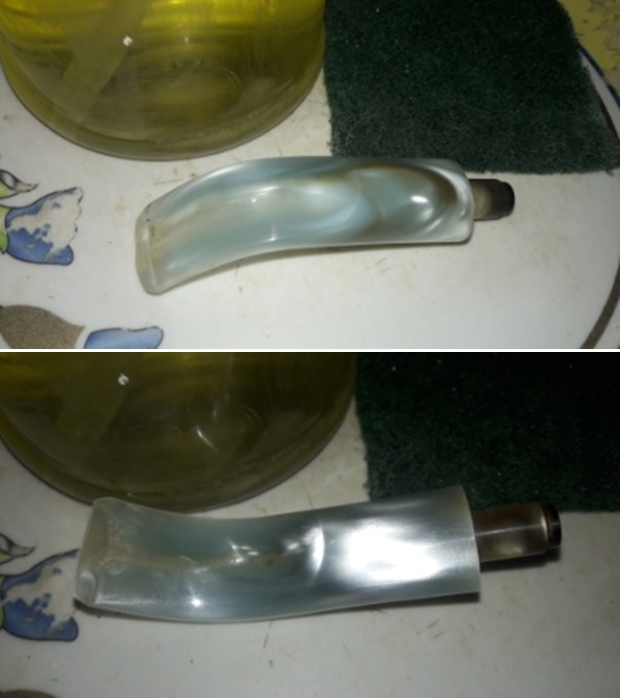
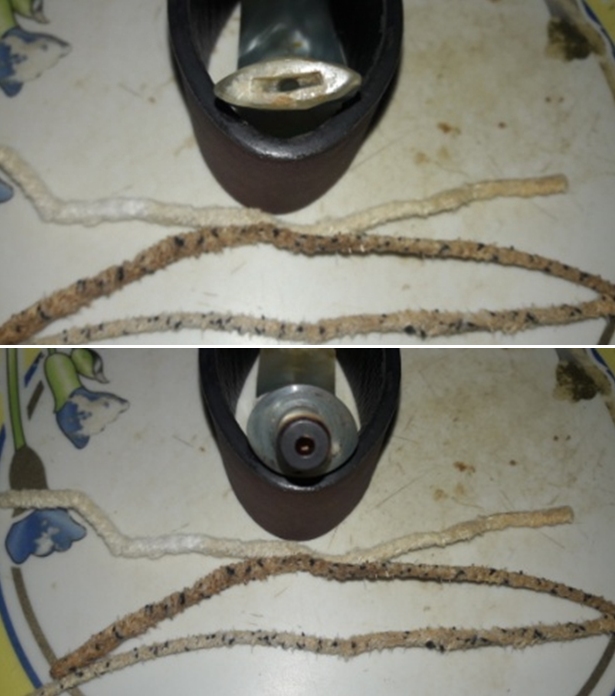
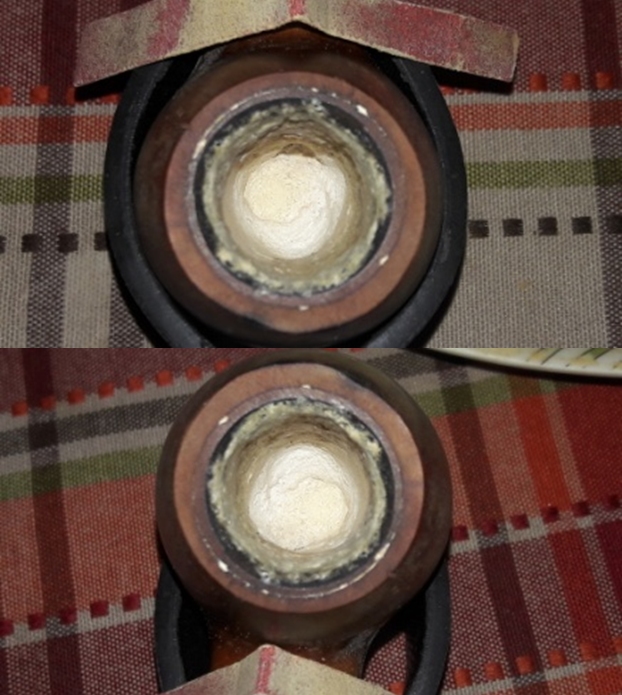
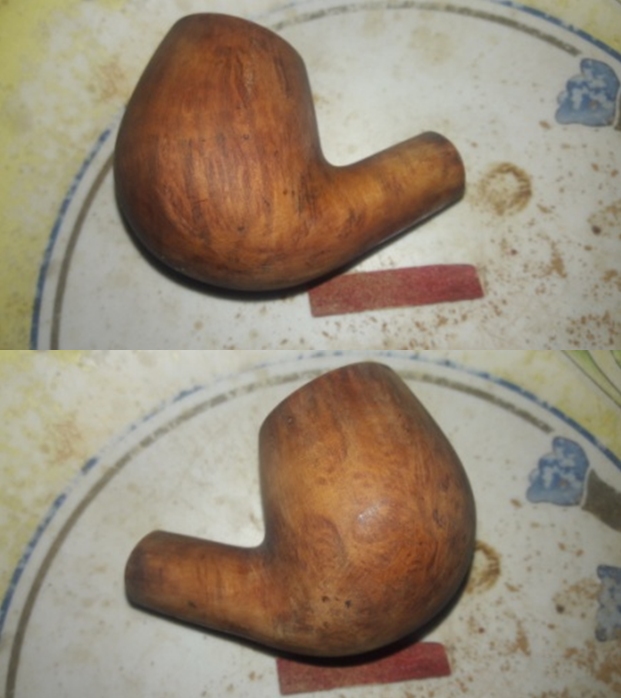
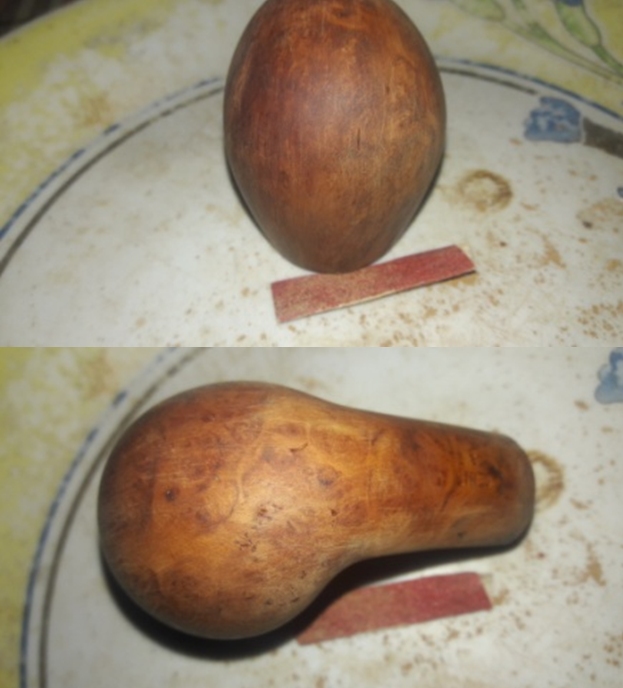
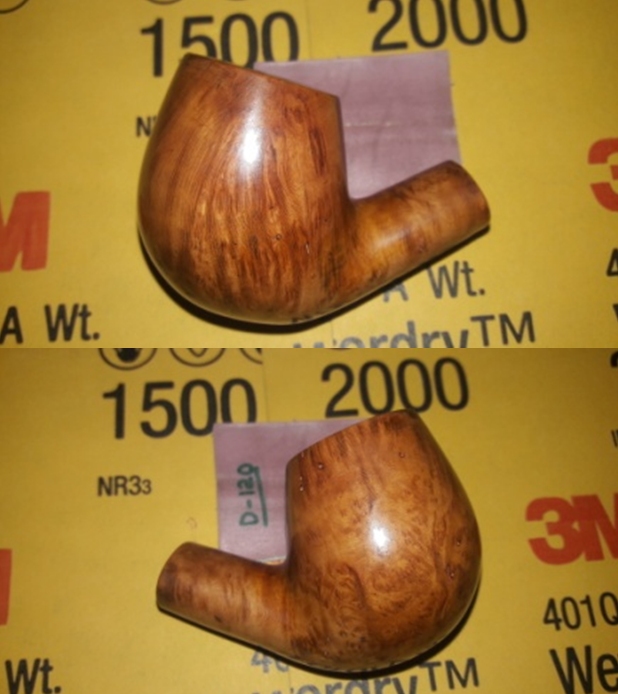
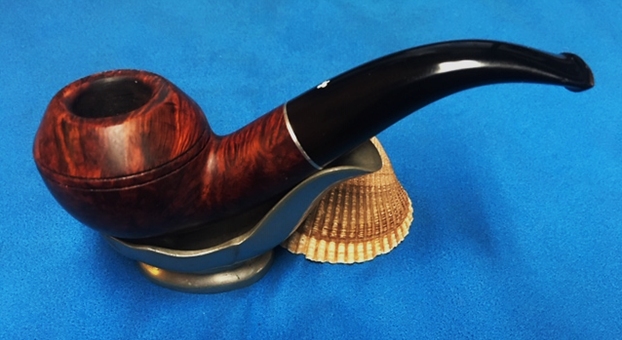
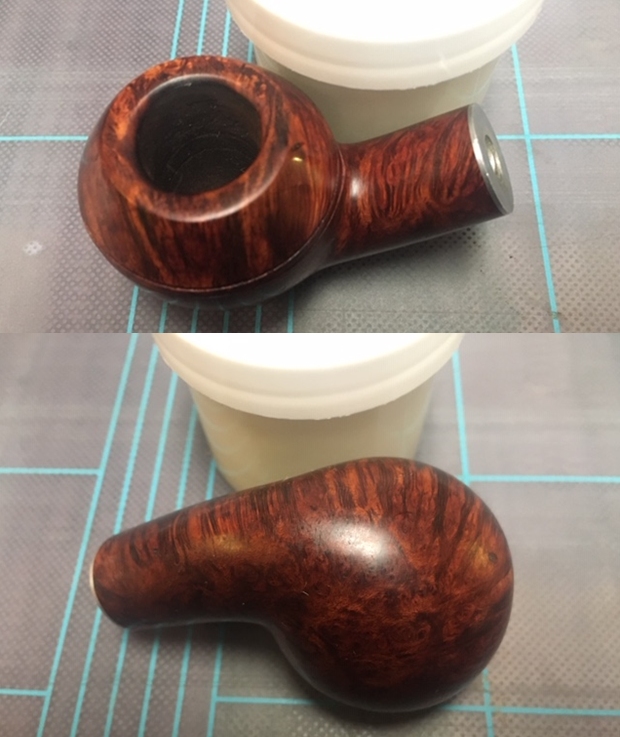
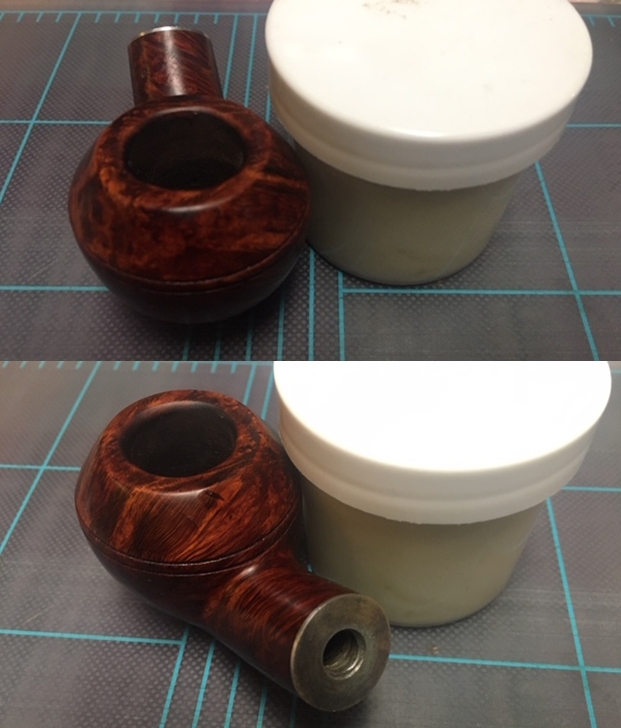
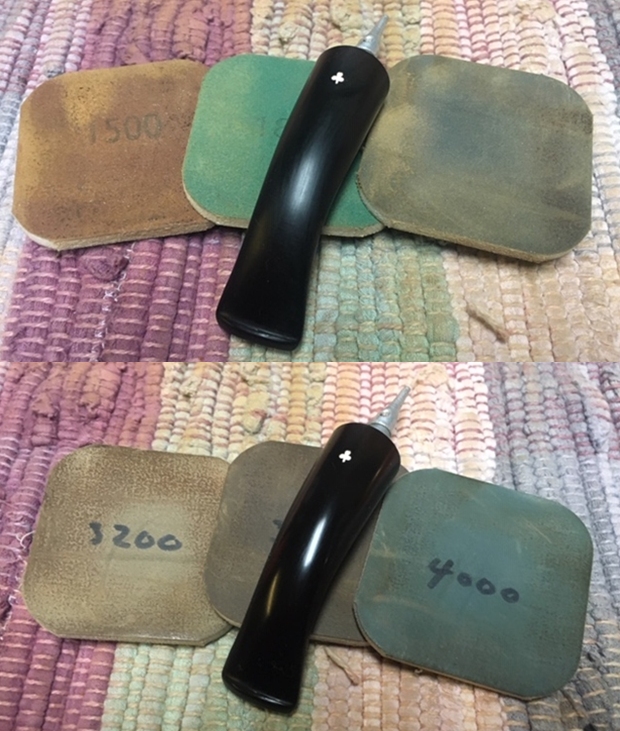
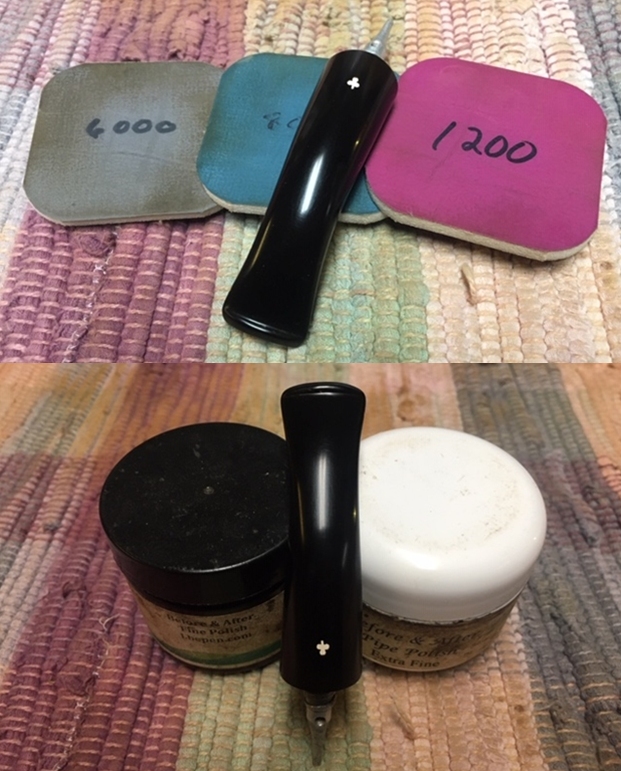
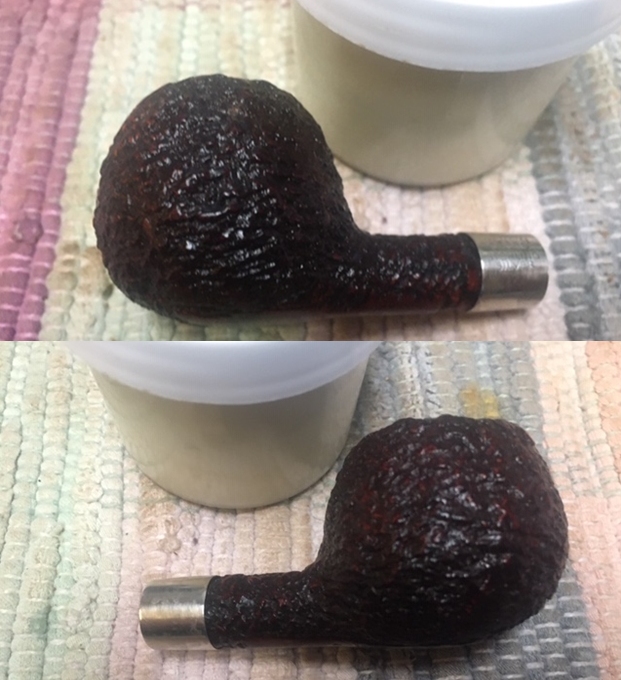
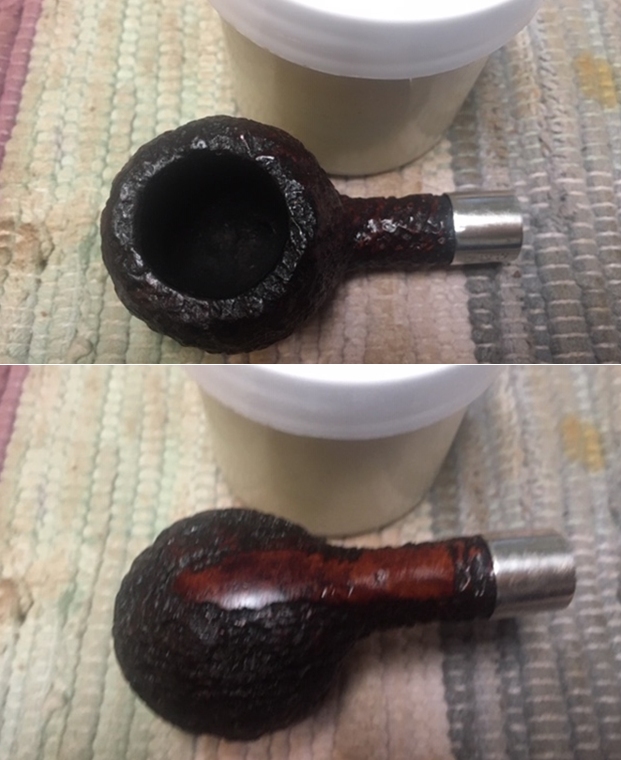
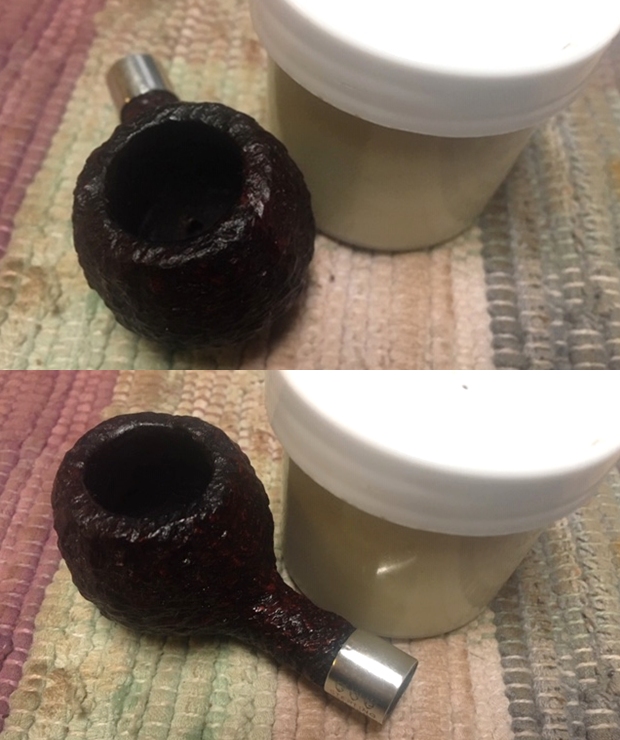
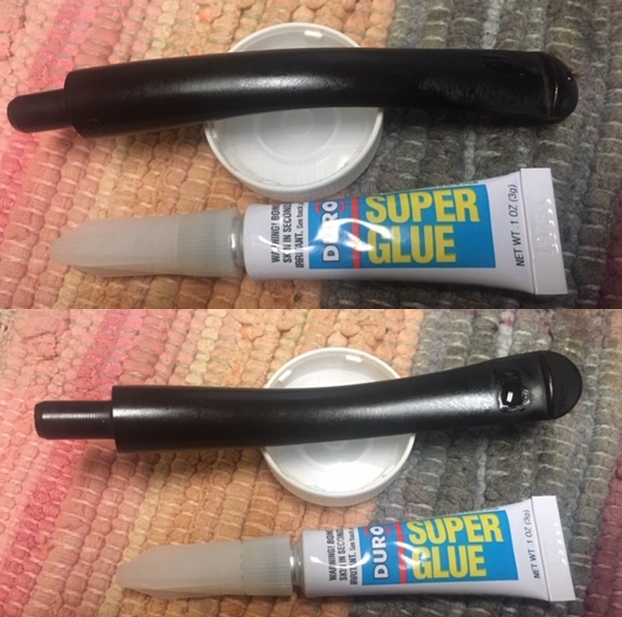
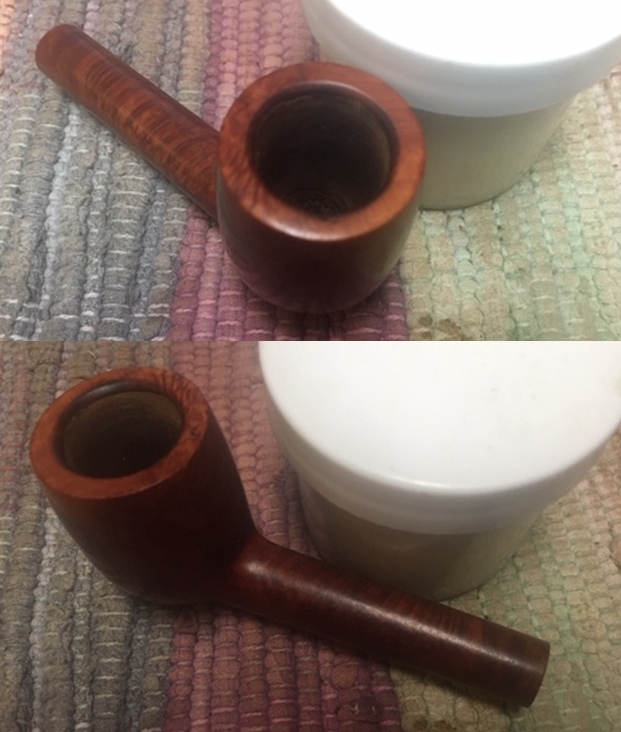
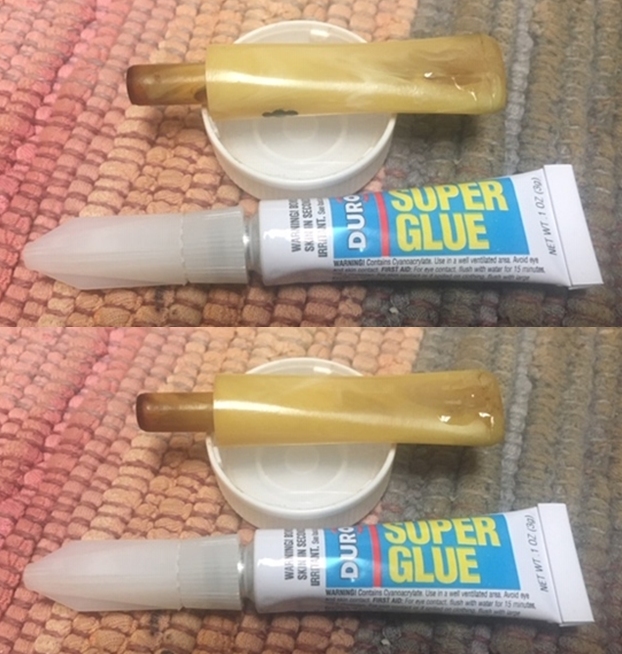
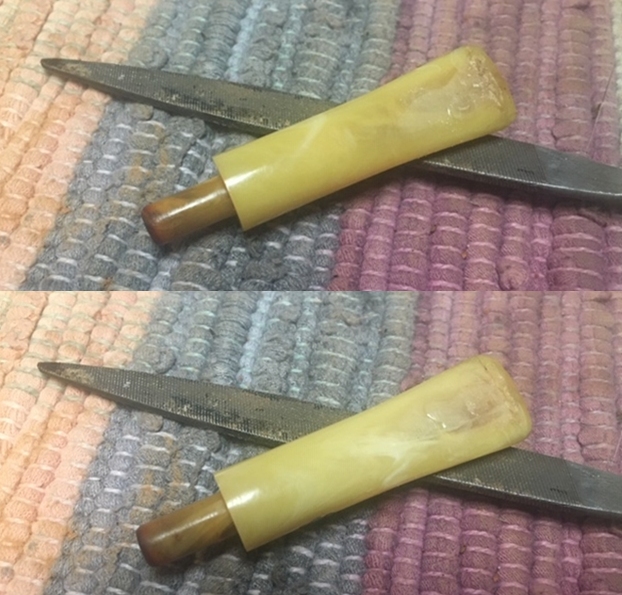
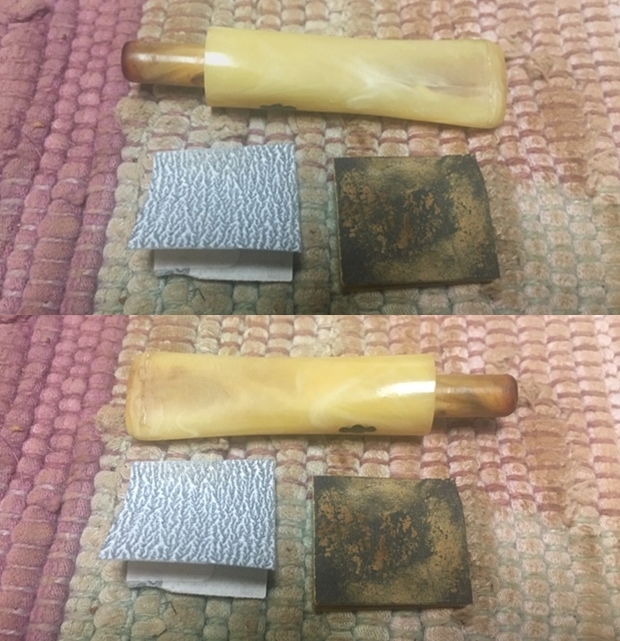
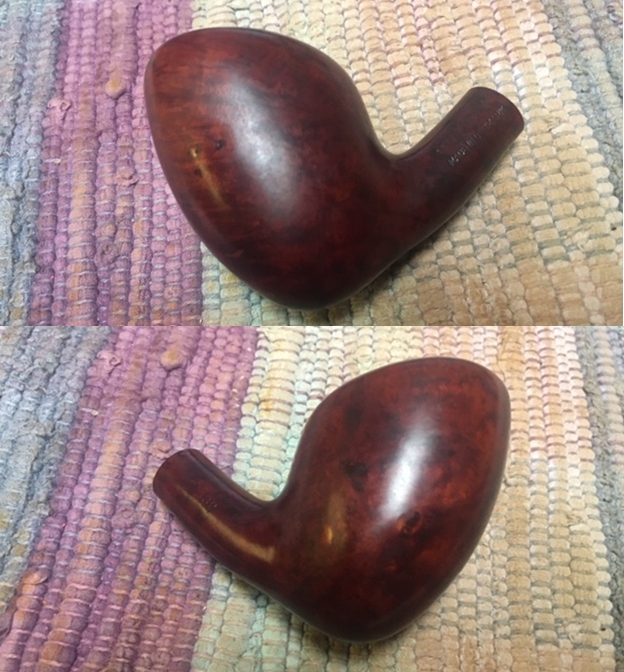
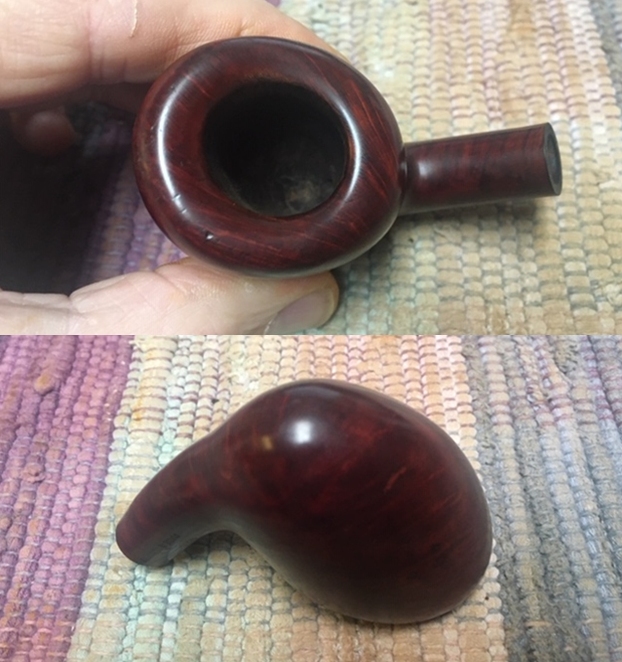
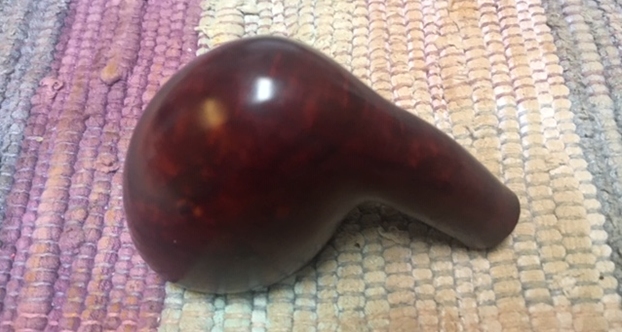
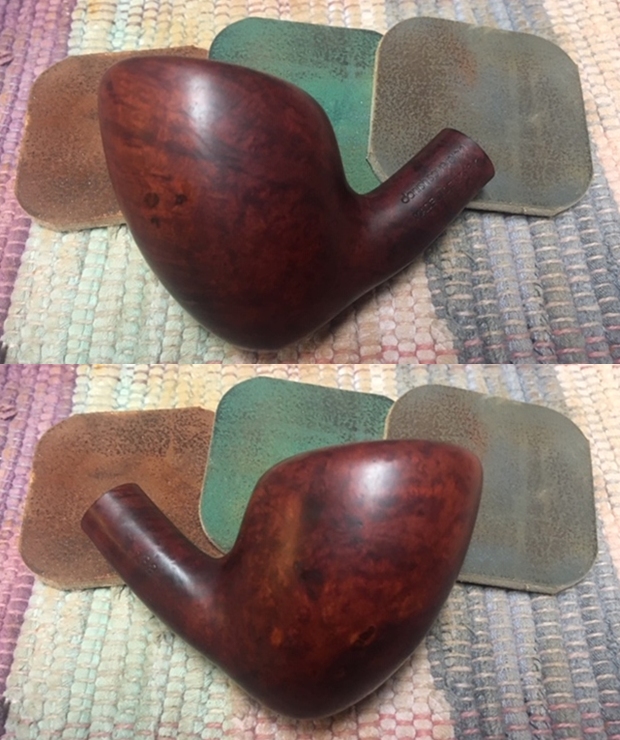
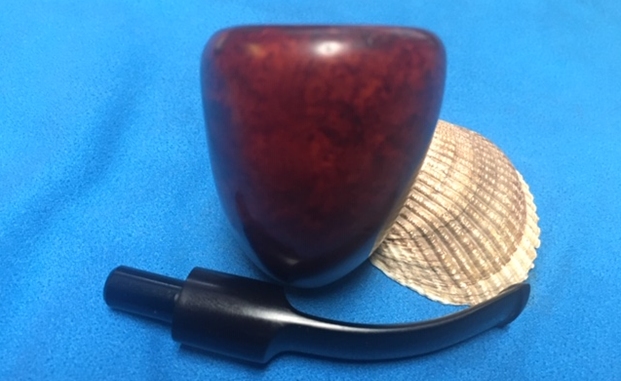
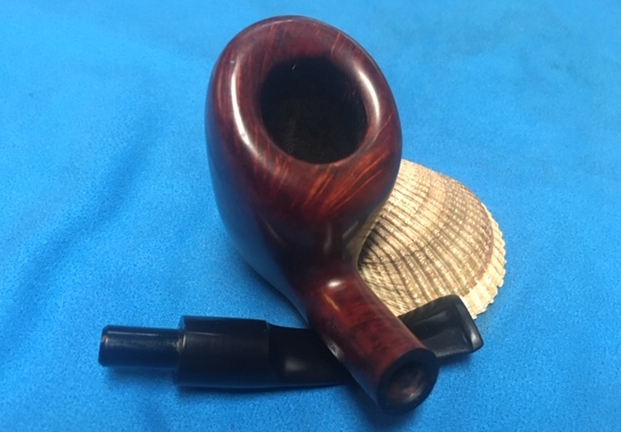
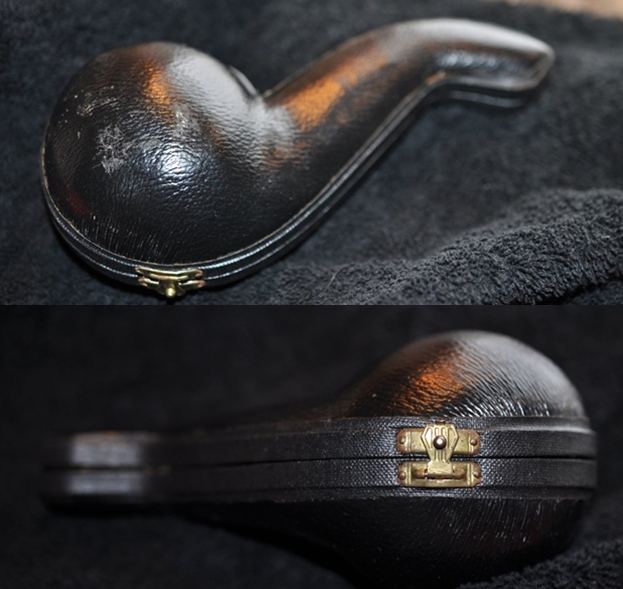
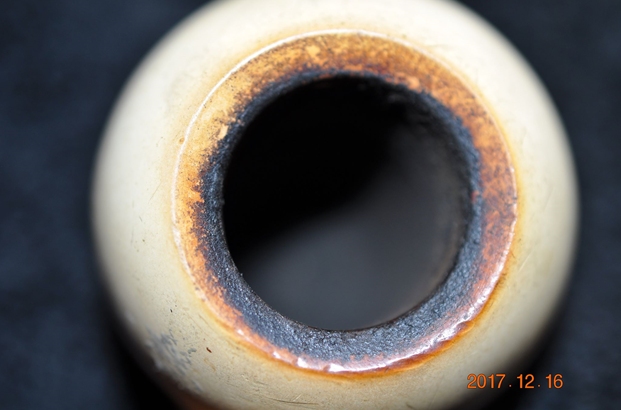
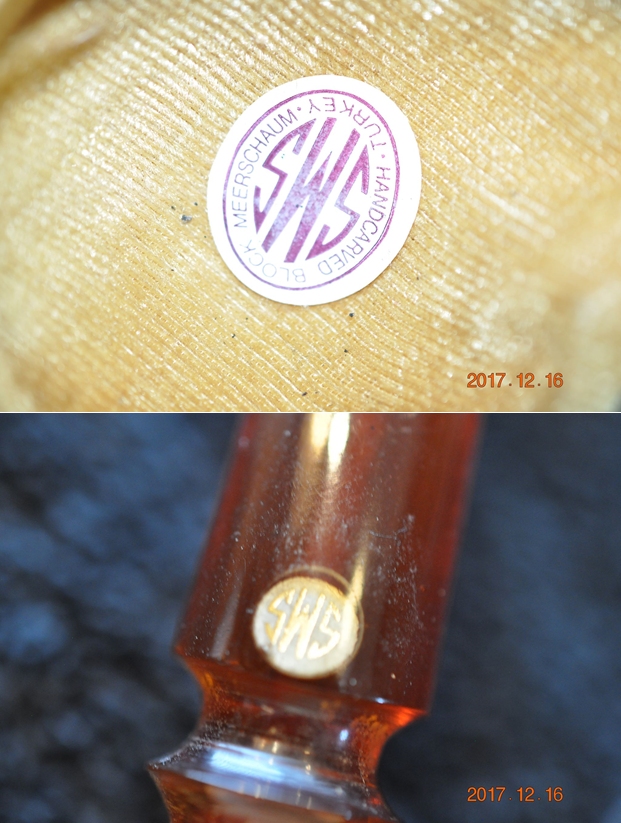
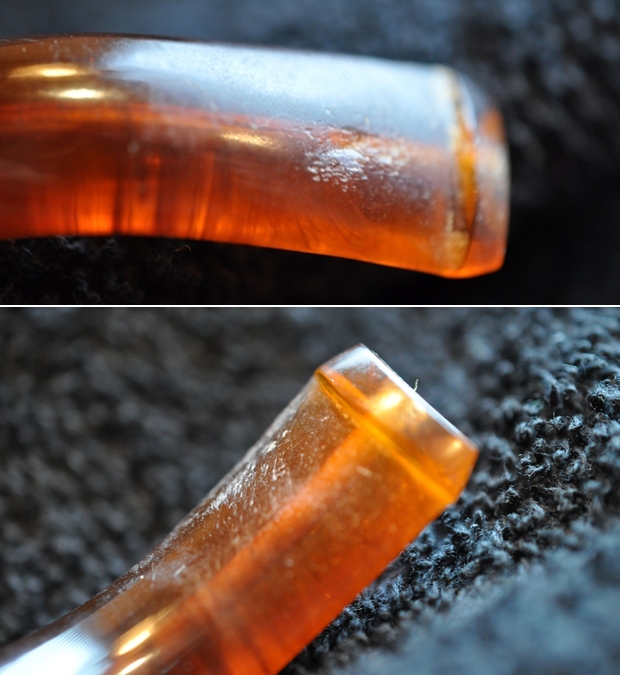
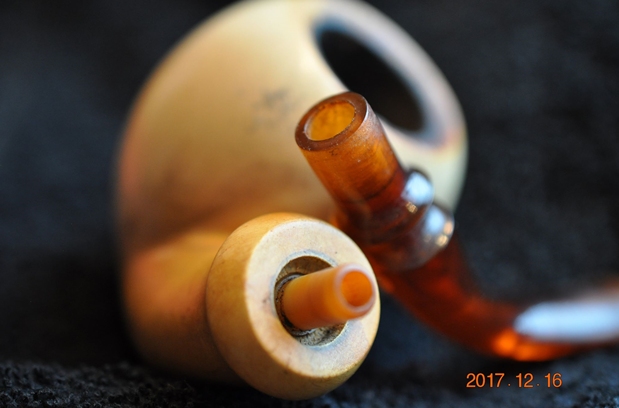
I have been working through Bob Kerr’s estate for several weeks trying to finish up the remaining 12 pipes. I decided this morning that I needed a bit of a change of pace. I have been working on a lot of fine old briar pipes and thought a good meerschaum would be a change. I looked through the various cased figurals that I have to work and on and rejected each on as just not what I was looking for at this moment. I went back to some older pipes I have boxed here in the queue and found a black cased meer. From the case it looked like at least a ball/apple shaped pipe. I opened the case and immediately the pipe had my attention. It was exactly what I was looking for to work on next. It is an SMS Meerschaum ball with an amber coloured acrylic stem. Overall the pipe looked to be in decent condition. I wrote Jeff for the pre-cleanup photos and some history where it came from. Seems that pipe came to us from an auction in Albuquerque, New Mexico. It was a dirty pipe but not too badly scratched. There was a thick cake in the bowl for a meerschaum with some lava overflow on the inwardly beveled rim top. There was some good patina developing around the shank and bowl. The stem was pretty but had some tooth marks and chatter all around the button. The stem came off the tenon end leaving the tenon in the shank of the pipe. Not sure what was happening there. Jeff sent me the photos of the pipe in the case and out of the case before he started his cleanup work. Jeff took a photo of the bowl and rim top to show the condition. It is hard to see the depth of the bowl but there as a cake lining the walls. The inwardly beveled rim top shows a thick lava coat and also some nicks and damage to the outer edge of the rim.He took some photos of the heel and sides of the bowl to show the developing patina as well as the dirty and grime on the bowl sides.   The next two photos show the brand stamping on the inside cover of the case and in the round inlaid stem logo. It is made by SMS and is a Handcarved Meerschaum from Turkey.The next photos show the condition of the stem. You can see the tooth marks and chatter on both sides ahead of the button. It was rough to the touch. Jeff took a great photo of the tenon and stem connection. It appears that the tenon has come unglued from the stem end. I am not sure whether the tenon is a classic threaded tenon screwing into the shank or whether it is a push tenon. Once I work on it I will know.I had some faint recall of the make but could not remember his name so I turned to pipephil’s site (http://www.pipephil.eu/logos/en/logo-s9.html) for some help. I found a quick note on the founding of the SMS brand which was the USA import brand for pipes made by Samil Sermet and his wife Beth. There was also a link there to the company website.I clicked on the site link (http://www.smspipes.com/) to get a bigger picture of the brand and the makers. I quote the section of the site marked “About Us” and quote the following:

Welcome to SMS Pipes!!

We are proud to present a wide selection of premium smoking pipes. SMS Pipes features Turkish Block Meerschaum, supplied exclusively by SMS Meerschaums, and Italian Briar, supplied by Lorenzo of Italy. All the pipes offered by SMS Pipes meet or surpass our exacting “Standard of Excellence.”

Samil & Beth Sermet – SMS Pipes is family owned and operated extension of SMS Meerschaums, founded in 1980 by Samil Sermet and his wife, Beth. SMS Meerschaums is recognized nationwide as a trusted supplier by nearly 500 retail tobacconists. SMS Pipes promises to continue the philosophy embraced by SMS Meerschaums and provide premium smoking pipes that are:

    Distinctive… each pipe is carefully selected for its uniqueness, quality and reliability.

    Affordable… a wide range of prices makes owning a fine pipe possible for everyone.

    Collectable… the timeless beauty of each pipe will be treasured for generations.

Key to the success of SMS Pipes is our dedicated staff. Based in the USA and Turkey, they maintain contact with our exceptionally talented pipe carvers and case makers and perform all the daily business activities described below:

 Samil Sermet, a native of Turkey, is the buyer for SMS Meerschaums. His hometown is Eskisehir, Turkey, where a majority of the meerschaum pipe carvers live and have their shops. Samil makes a buying trip to Turkey each year and has a close working relationship with all the carvers. He is responsible for sales analysis and placing the orders necessary to maintain adequate stock in the warehouse. (samil@smspipes.com)

Beth Sermet, office manager of SMS Meerschaums, processes all orders. Even though Beth was born in Iowa, she is fluent in Turkish after living in Turkey for several years and knows all the carvers. The owners of Lorenzo Briars work closely with Beth to assure ample supply of their premium pipes. Beth also personally selects and photographs all the pipes shown on SMS Pipes. (beth@smspipes.com)

Mert Sermet, son of Samil and Beth, manages the daily operations of SMS Pipes. He is in charge of processing and shipping all orders. Mert has in-depth knowledge of every aspect of pipe manufacturing both in Turkey and Italy. He will personally respond to any comments, questions or concerns you may have about SMS Pipes by e-mail. (mert@smspipes.com)

Emel Sagtekin, Samil’s sister, is responsible for quality control and shipments of pipes to SMS Meerschaums from Turkey. Since 1988, Emel has personally checked thousands of pipes. She evaluates each pipe based on strict criteria set by SMS Meerschaums and selects only the pipes that meet or surpass our high standards.

SMS Pipes provides a wide variety of services for our customers. Although the inventory on SMS Pipes is reserved for Internet sale only, it is possible to have a selection of similar pipes sent “On Approval” to any tobacconist listed on the site. Membership in the SMS Collectors Society provides additional amenities for those interested in collecting our pipes. Our Master Carvers can be commissioned to carve custom pipe designs by special arrangement. We also offer repair and re-waxing services for all SMS Pipes.”

We are happy to have the opportunity to serve you. We hope your time spent with SMS Pipes is enjoyable and worthwhile.

Now I had a clearer picture of the brand and the makers. I knew that pipe was made after 1980 when the company began. Now it was time to work on the pipe itself.

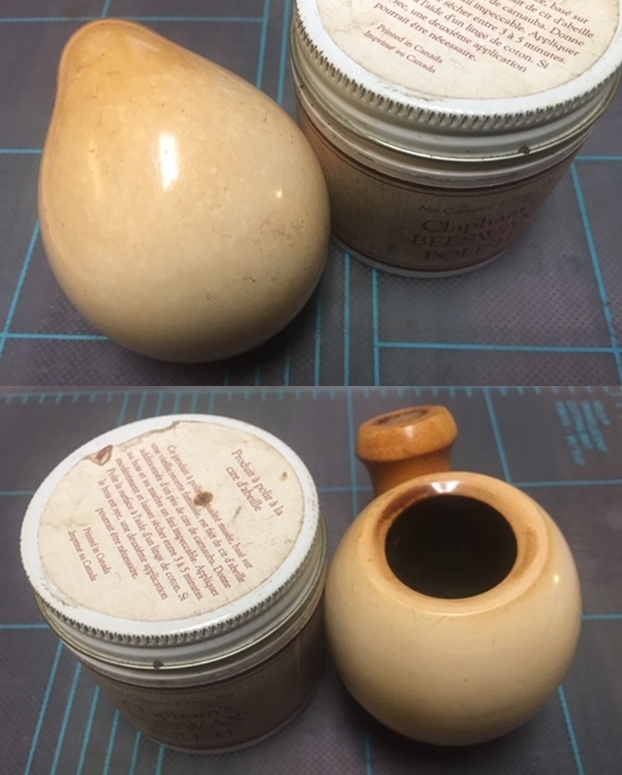
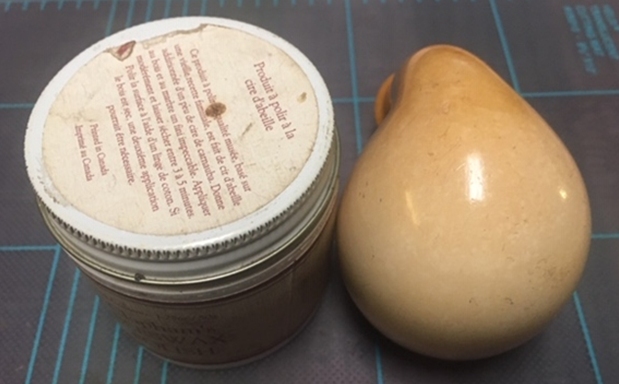
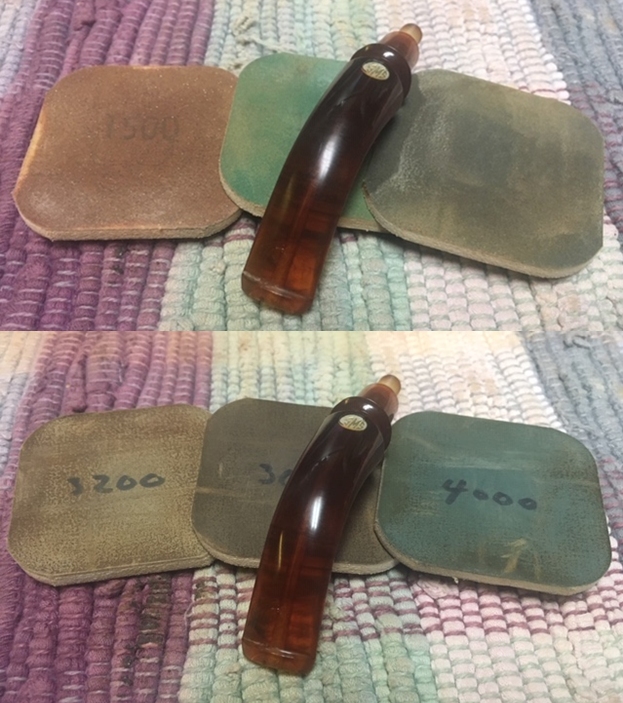
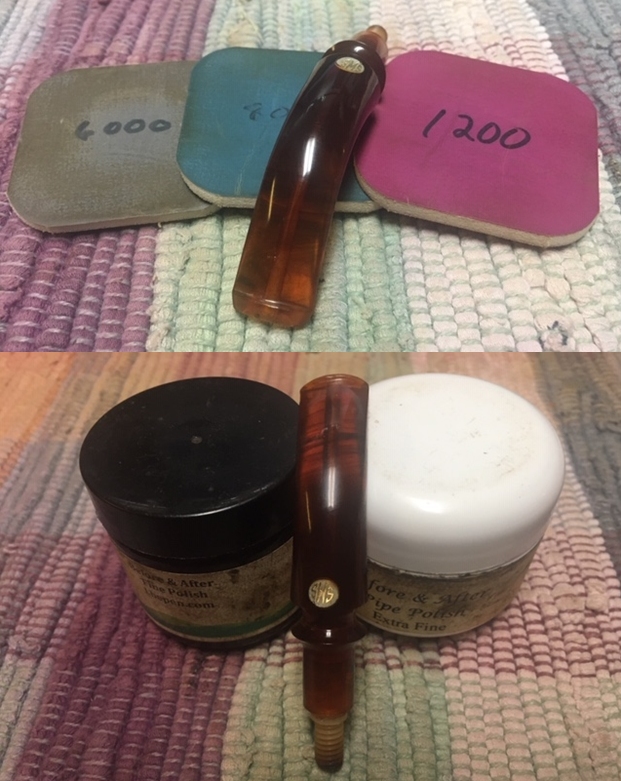
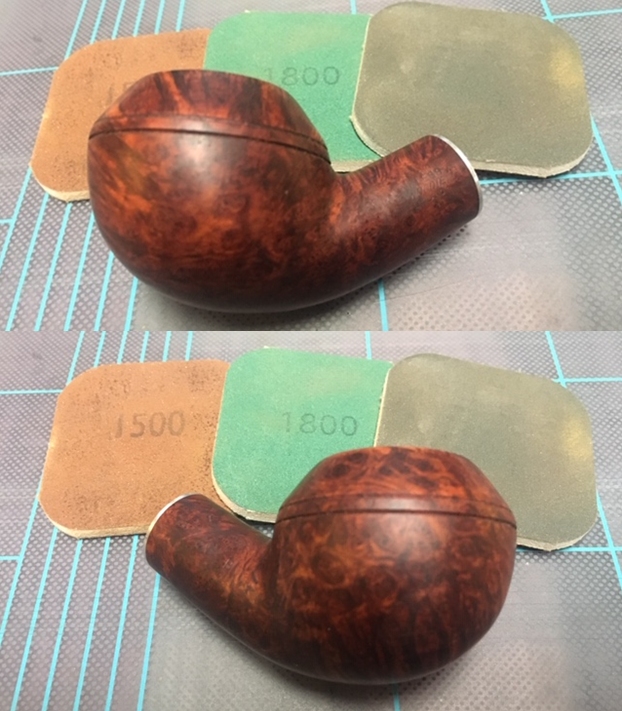
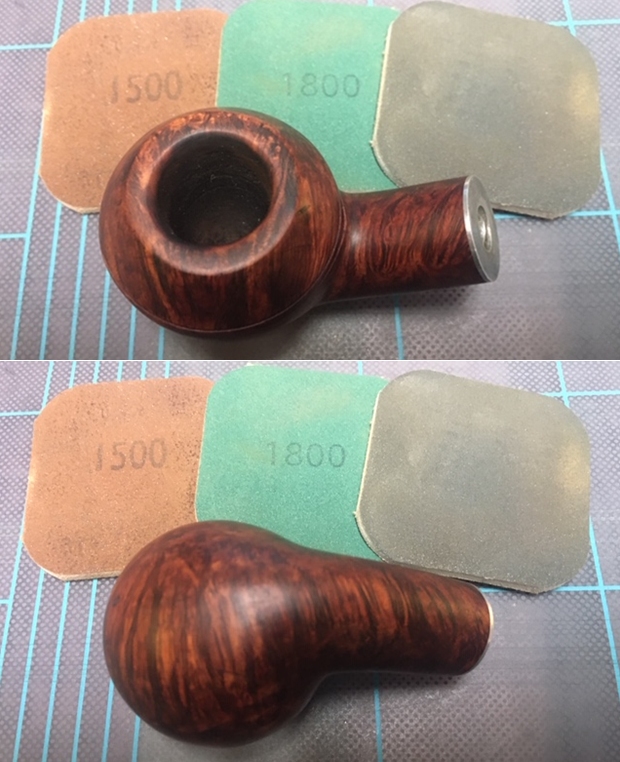
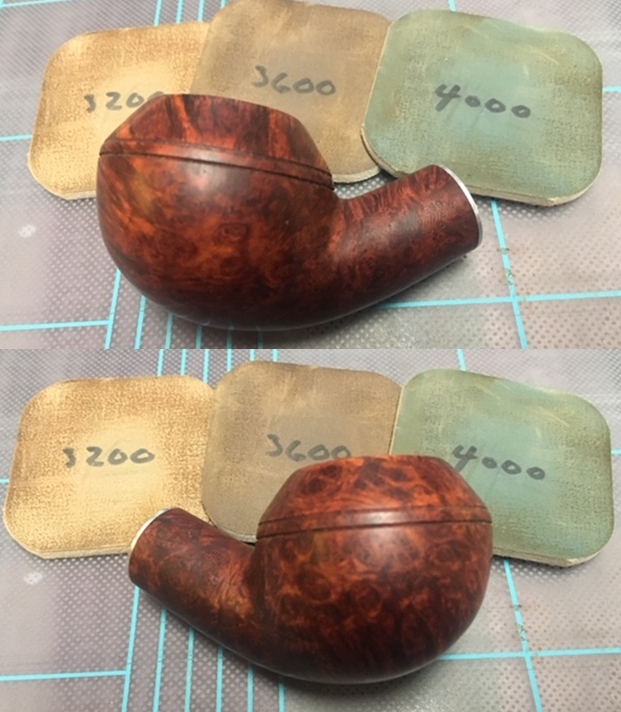
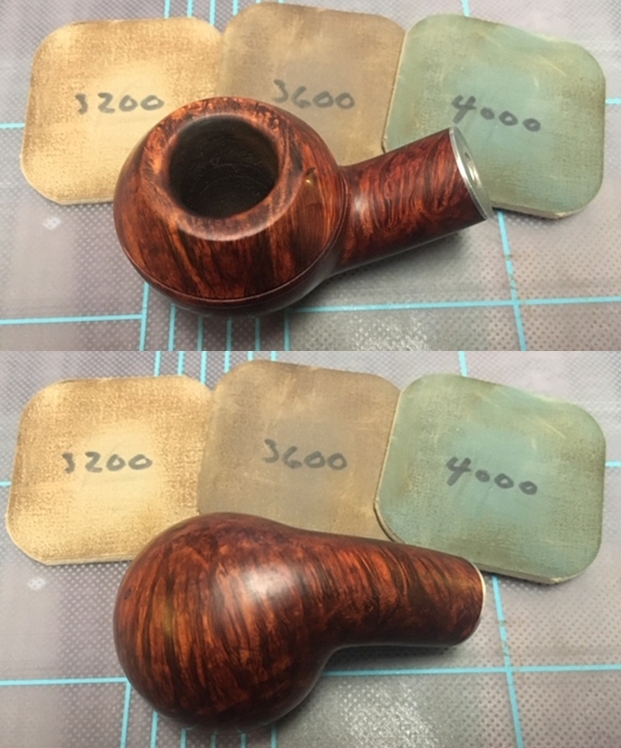
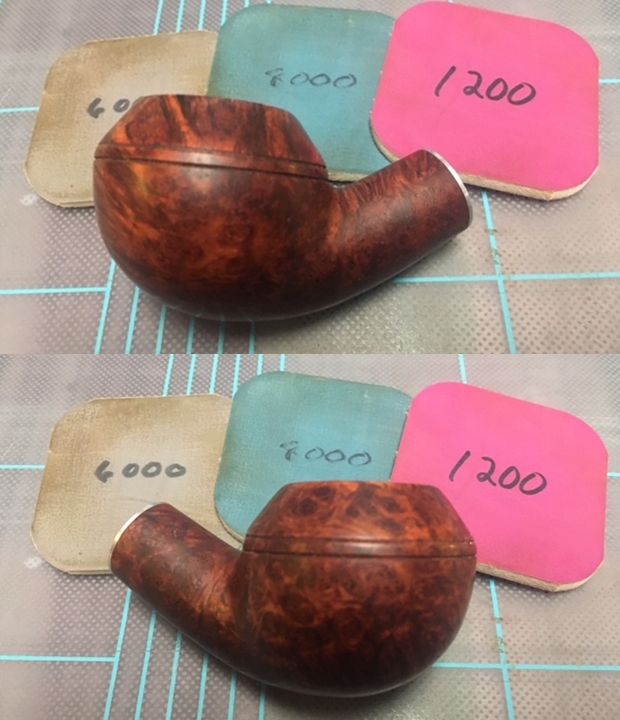
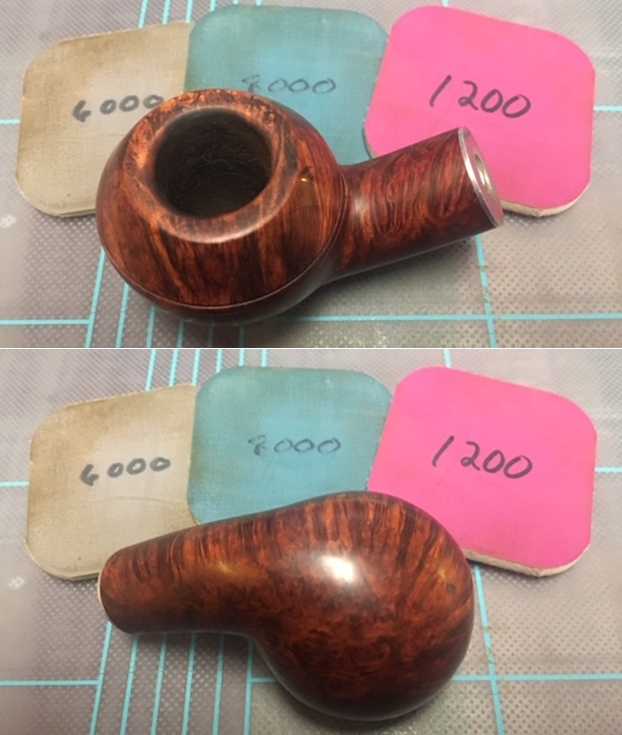
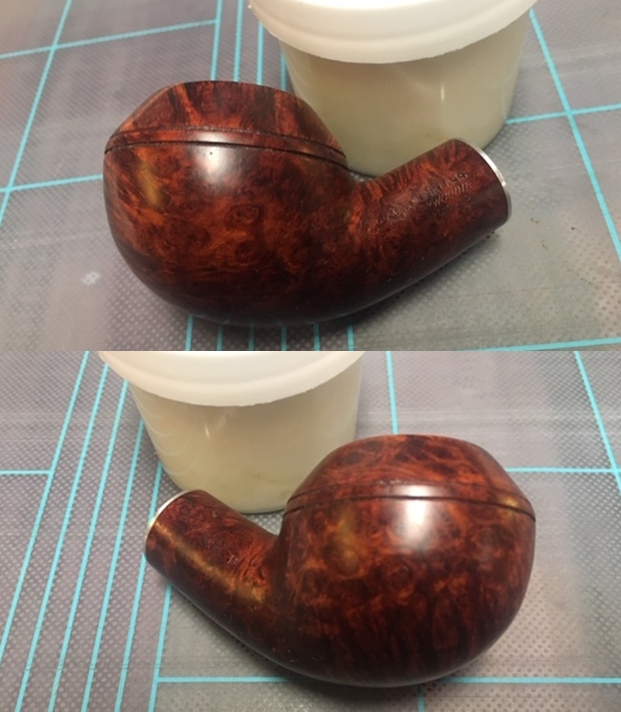
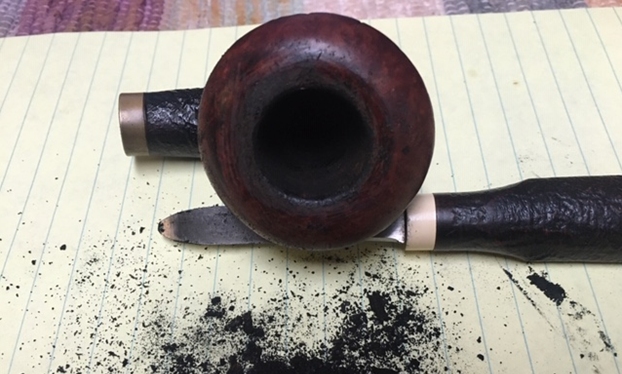
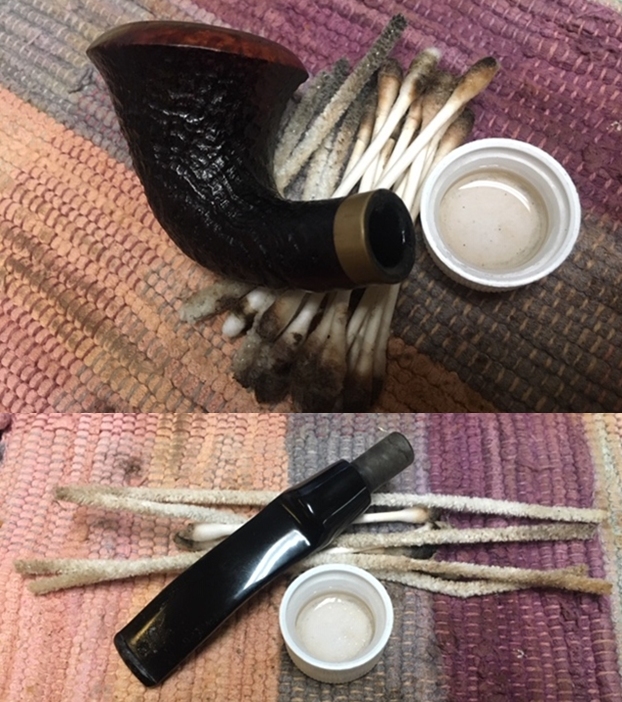
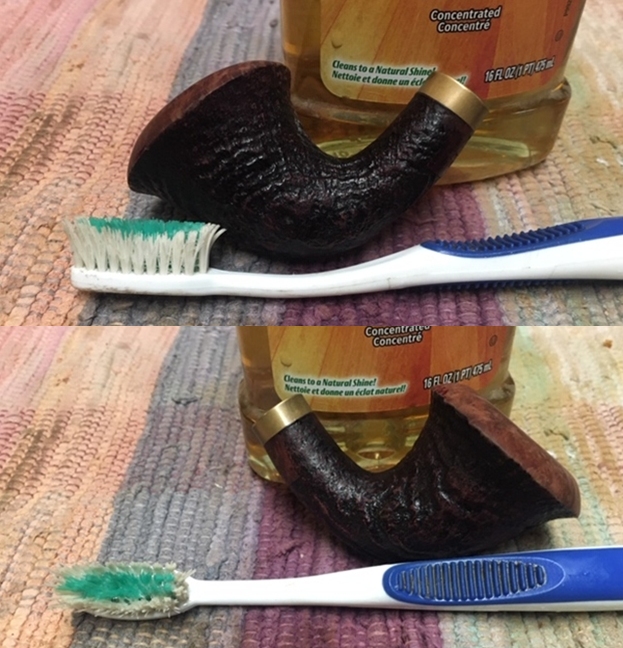
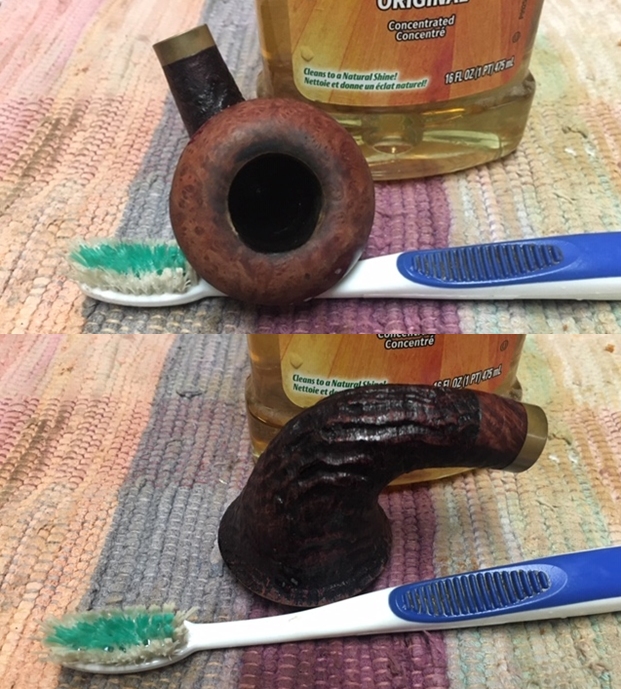
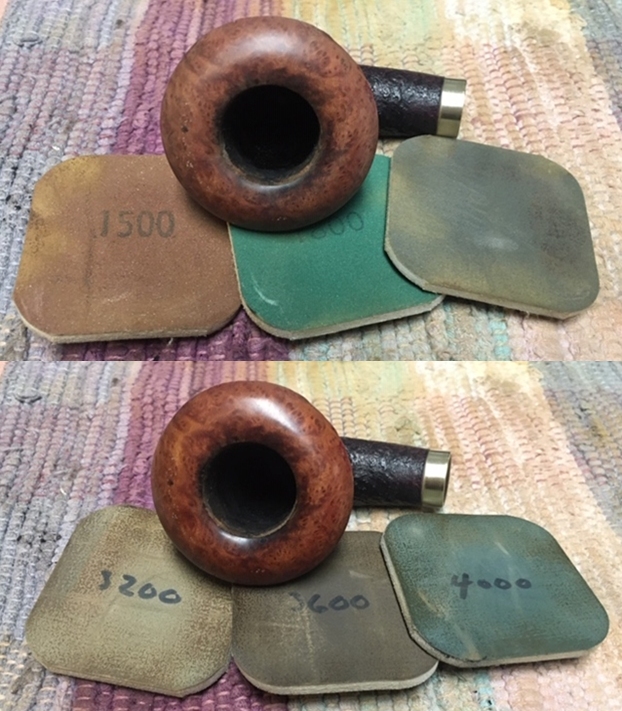
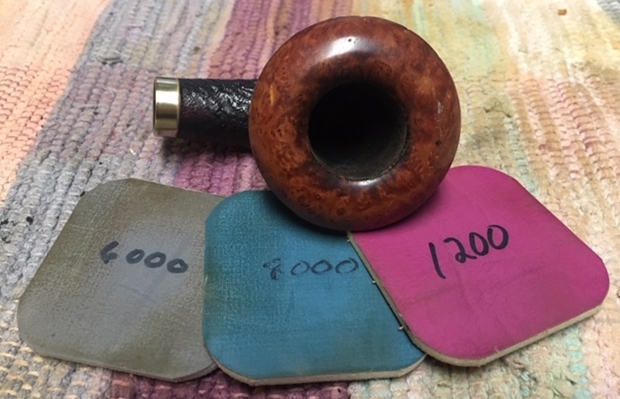
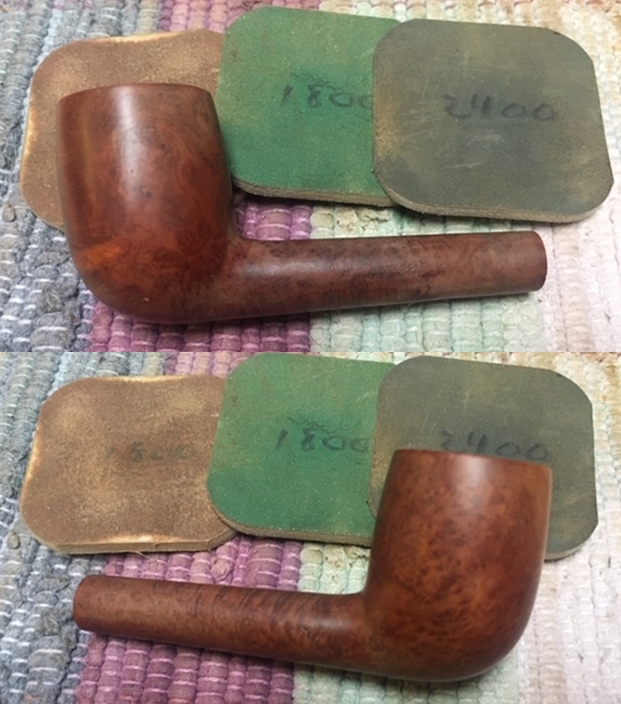
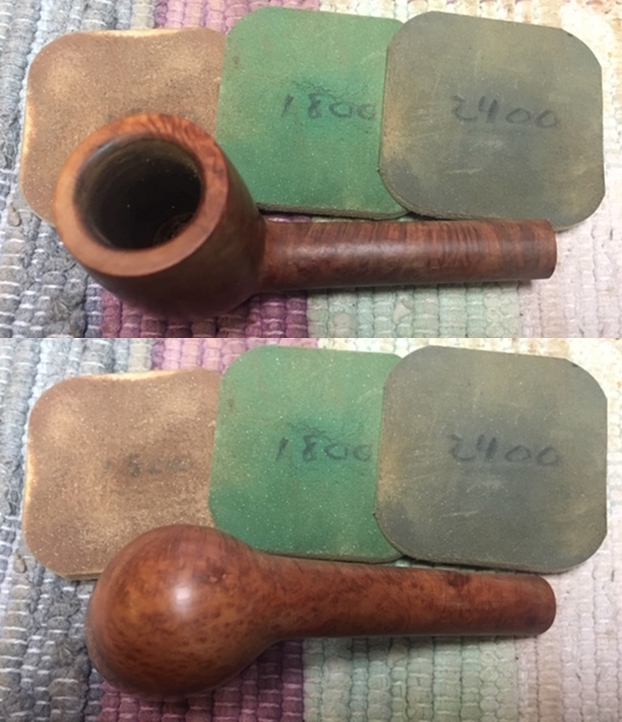
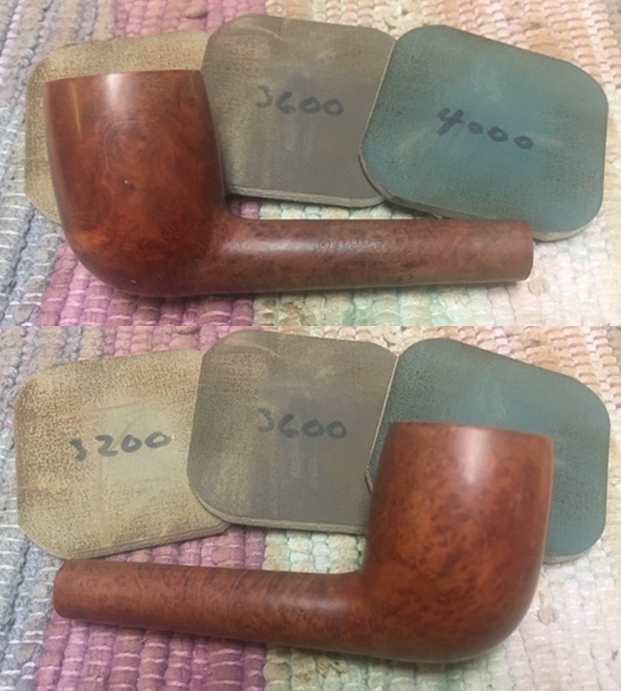
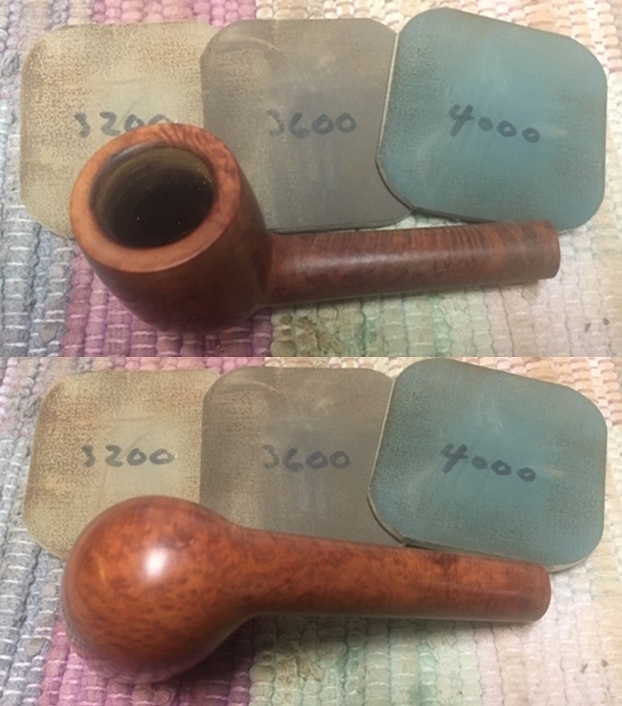
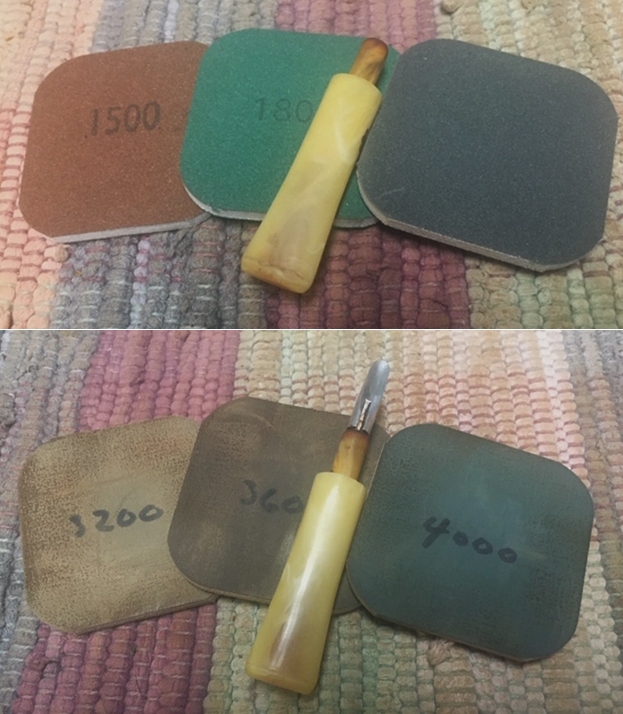
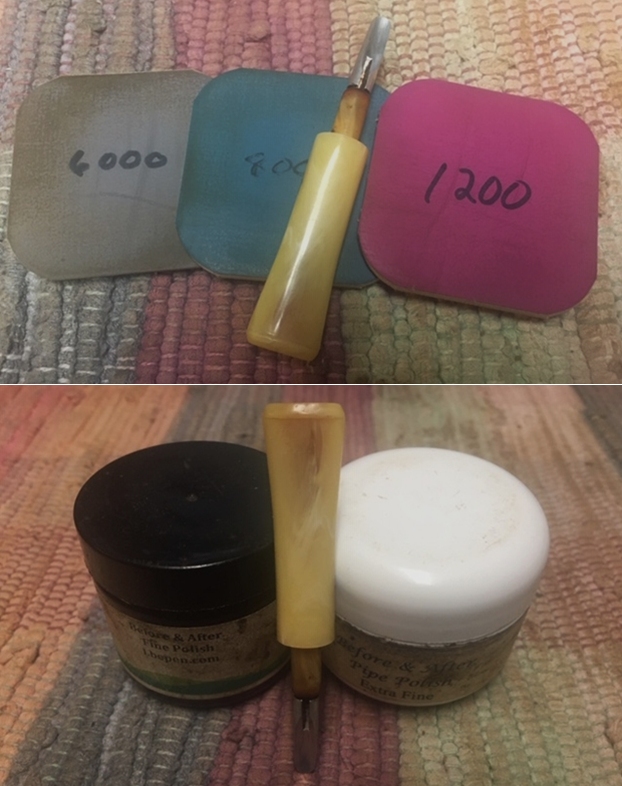
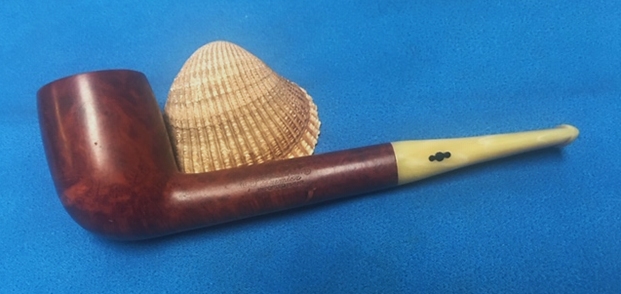
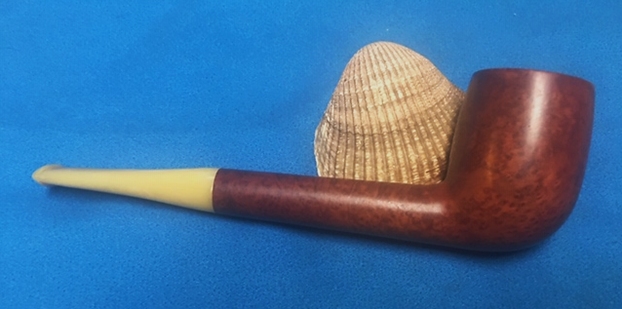
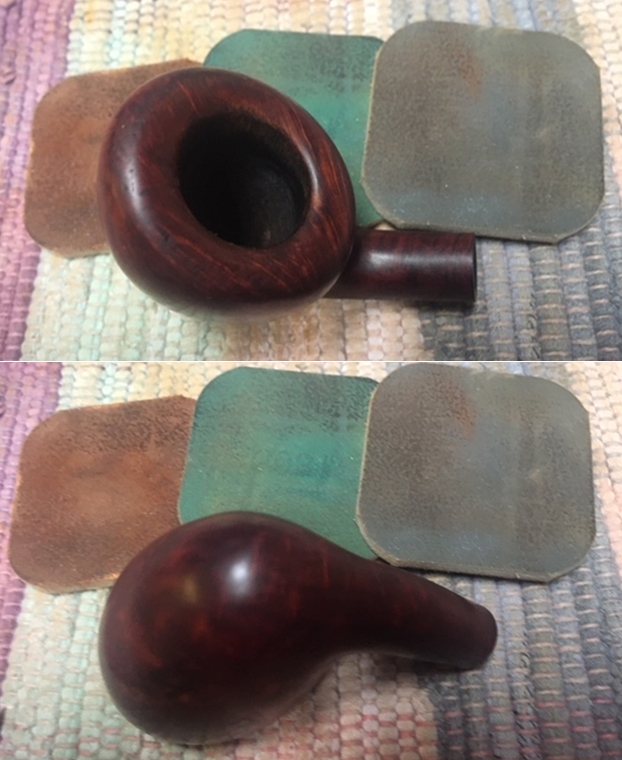
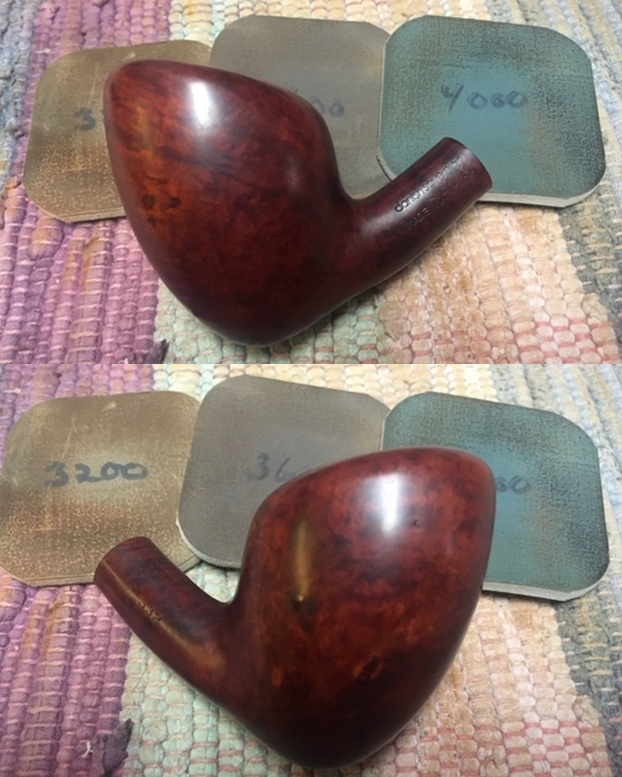
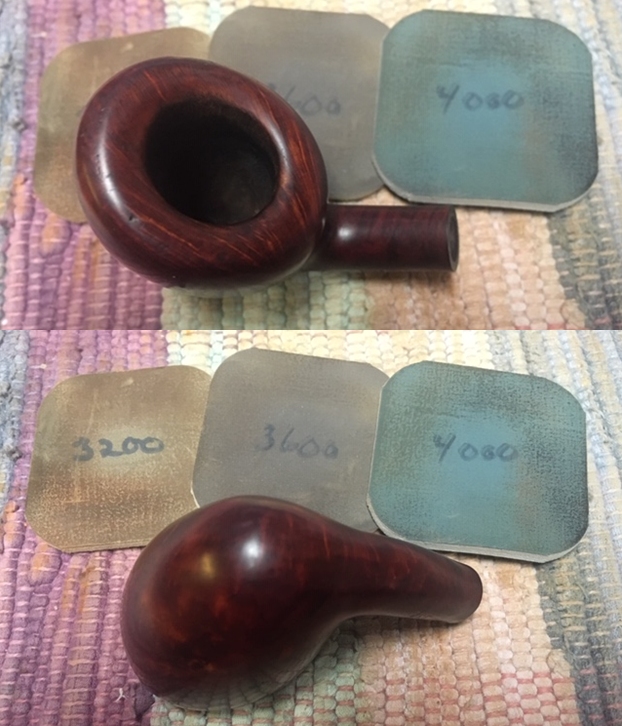
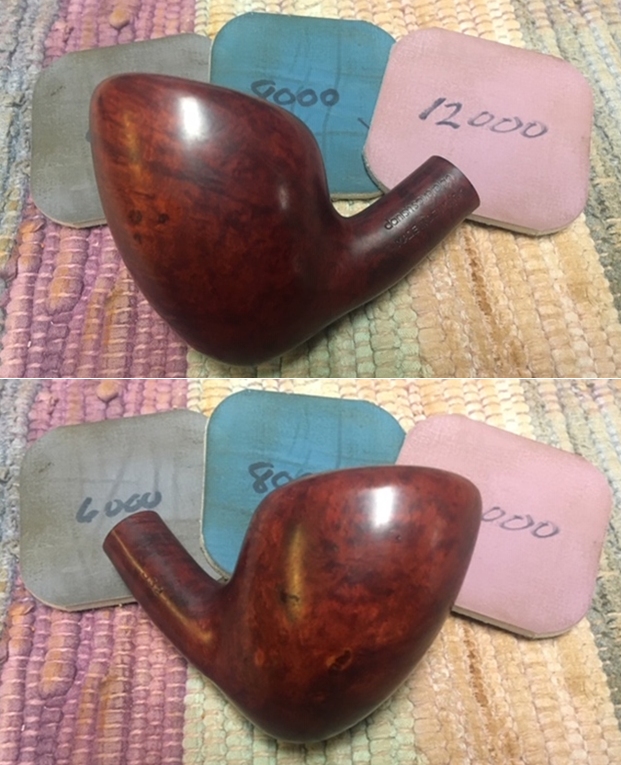
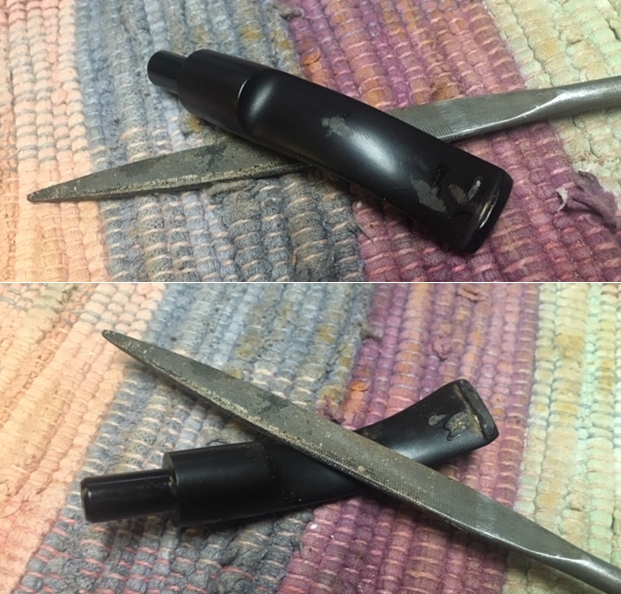
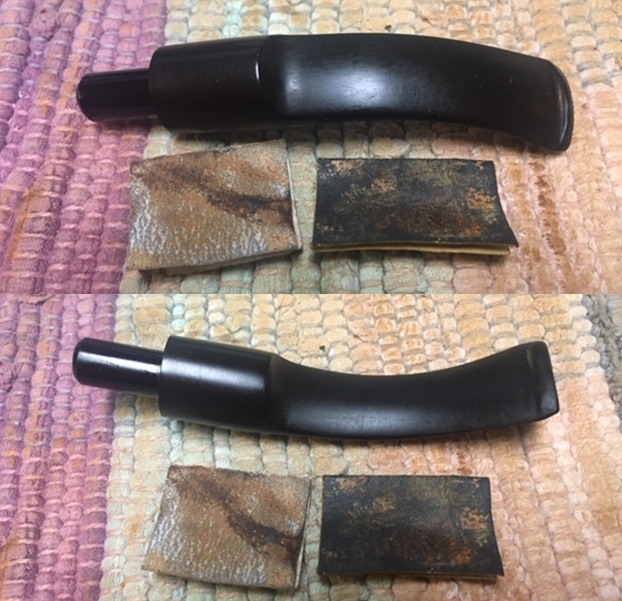
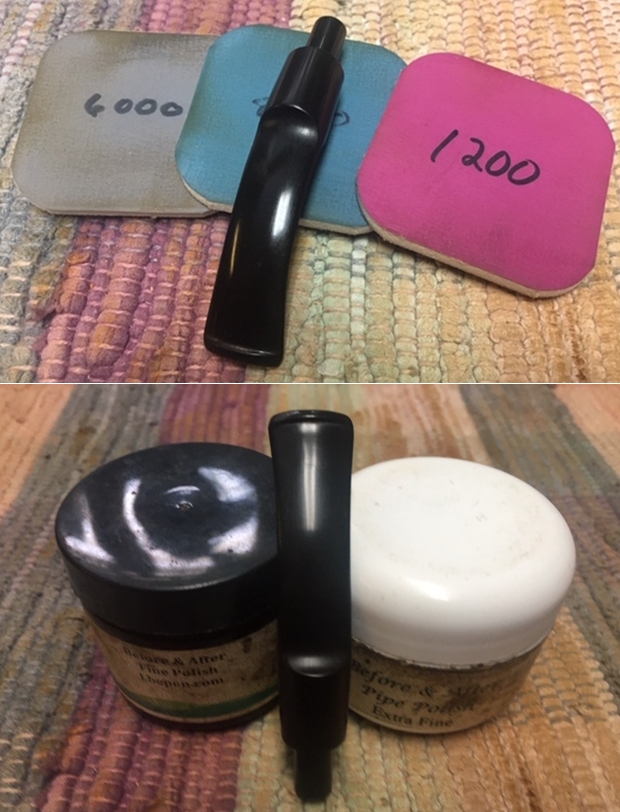
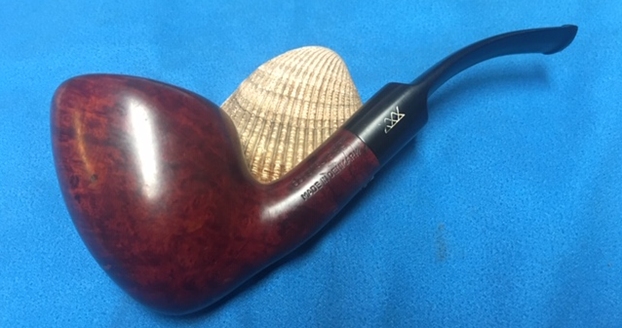
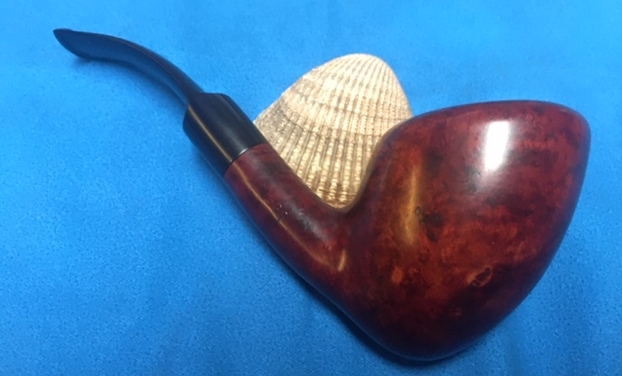
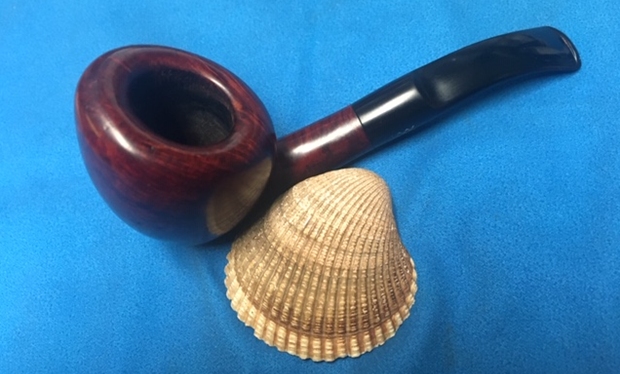
Jeff cleaned the meerschaum with his usual penchant for thoroughness that I really appreciate. Once he finished he shipped it back to me with many of the other pipes that we have purchased or are working on for various estates. He reamed it with a PipNet pipe reamer and cleaned up the reaming with a Savinelli Fitsall Pipe Knife. He scrubbed out the internals with alcohol, pipe cleaners and cotton swabs until the pipe was clean. He scrubbed the exterior of the bowl with Murphy’s Oil Soap and a tooth brush to remove the grime and grit on the briar and the lava on the rim top. The finish looks very good with good looking grain around the bowl and shank. Jeff scrubbed the stem with Murphy’s Oil Soap to remove the grime on the exterior. When the pipe arrived here in Vancouver for the second stop of its restoration tour it looked a lot better. I took photos before I started my part of the work.  I took some close up photos of the rim top and stem to show the condition they were in when they arrived here. There was some slight darkening on the back edge as well as some scratching and nicks around the outer edges.     I took a photo of the pipe with the stem removed to show the overall look of the pipe. It is really a nice looking pipe. I will need to work on the tenon and see what is going on with it as a part of the restoration.I decided to work on the tenon first. I examined it with a bright light and a lens and could see that it had originally been glued in place in the stem. What I was not sure of at this point was whether it was a push tenon or a threaded one. I used a pair of needle nose pliers to check the connection. It did not wiggle like a push tenon and it turned so I had my answer – a threaded tenon. I unscrewed it from the shank and took a photo.I roughened the smooth surface of the part of the tenon that would be glued in the stem with a needle file. Once it was sufficiently rough enough to provide some bite when glued into the stem I painted the end of the tenon with all-purpose white glue and inserted it in the stem. I ran a pipe cleaner through the airway to make sure it was clear and wiped off the excess glue around the threaded end of the tenon. I took a photo of the pipe with the proper tenon connection! Now it only needed to cure before I put it back together again. I set the stem aside and worked on the bowl and rim top while the glue cured in the tenon repair. I used a folded piece of 220 grit sandpaper to smooth out the damage to the outer edge of the rear part of the rim top and to minimize the darkening. I polished the rim top and bowl with micromesh sanding pads – dry sanding it with 1500-12000 grit pads. I wiped the bowl down with a damp cloth after each grit of sanding pad. It is starting to really have a shine by the last sanding pads.   With the bowl polished it was time to wax the meerschaum. I heated it over a candle flame and rubbed it down with Clapham’s Beeswax Polish and let the wax sit and absorb into the meerschaum. Once it had cured I buffed it with a cotton towel and raised a rich shine in the surface of the meerschaum. The wax brought more of the patina to surface and the buffing highlighted. I filled in the deeper dents in the acrylic with clear super glue and set the stem aside to let it dry after a few moments I sprayed it with an accelerator to harden it. I sanded the repairs with 220 grit sandpaper to blend them into the surface and then started polishing the surface with 400 grit wet dry sandpaper. I polished the stem with micromesh sanding pads to remove the scratching in the acrylic stem. I wet sanded it with 1500-12000 grit pads and then gave it a buff with Before & After Pipe Stem polish – both Fine and Extra Fine. I buffed that off with a cotton pad. After each sanding pad and each polish I wiped the stem down with Obsidian Oil to preserve and protect the stem.    I put the pipe back together and gave it a buff on the wheel with Blue Diamond polish. I use a light touch on the acrylic as too heavy a touch can cause the heat to damage to acrylic. I gave the stem multiple coats of carnauba wax and buffed the pipe with a clean buffing pad to raise the shine. I hand buffed it with a soft cloth to deepen the shine. I put it back in the case and took a photo of the pipe in case.I took photos of the finished pipe to show the shine and the patina around the bowl. The reddish amber acrylic stem looks very good with the deepening colour on the shank and the bottom of the bowl. With time the contrast will grow richer and deeper to a thing of beauty. The finished SMS Bent Ball fits nicely in the hand and I think it will feel great as it heats up with a good tobacco. Give the finished pipe a look in the photos below. The dimensions of the pipe are Length: 6 inches, Height: 2 ¼ inches, Outside diameter of the bowl: 1 ¾ inches, Chamber diameter: 7/8 of an inch. If you are interested in carrying on the legacy of this pipe it will be going on the rebornpipes store shortly. You can send me a message or an email to let know you are interested. Thanks for reading this blog and my reflections on the pipe while I worked on it. This is an interesting estate to bring back to life.

A Rebirth for a Savinelli Capri Root Briar 4011 Zulu from Bob Kerr’s Estate


Blog by Steve Laug

I have just over 20 more of Bob’s pipes to finish before I have completed the restoration of his estate so I am continuing to work on them. The next one from Bob Kerr’s Estate is a Savinelli Capri Root Briar Zulu. (Bob’s photo is to the left). If you have not “met” the man and would like to read a bit of the history of the pipeman, his daughter has written a great tribute that is worth a read. Because I have included it in most of the restorations of the estate to date I thought that I would leave it out this time. Check out some of the recent Dunhill restoration blogs that include the biographical notes about Bob (https://rebornpipes.com/2020/01/01/restoring-the-last-of-bob-kerrs-dunhills-a-1962-dunhill-bruyere-656-f-t-bent-billiard/).

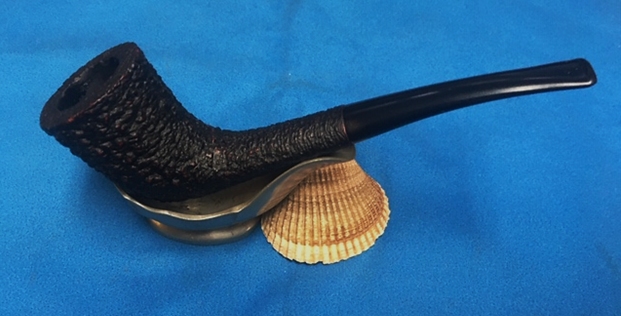
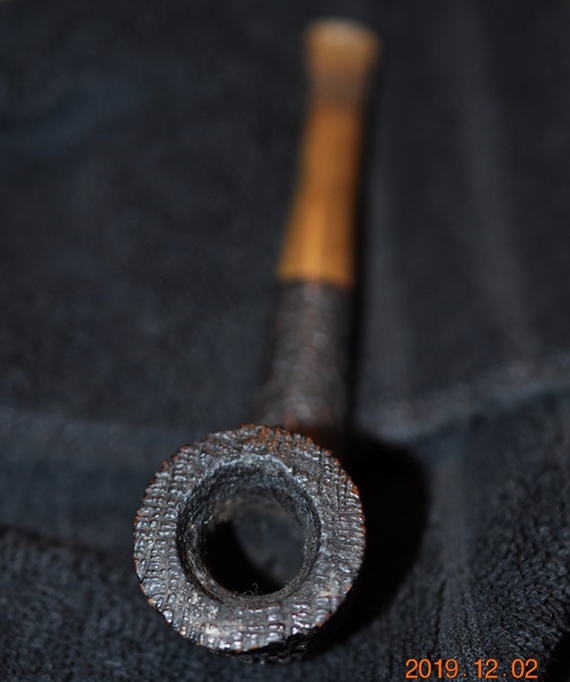
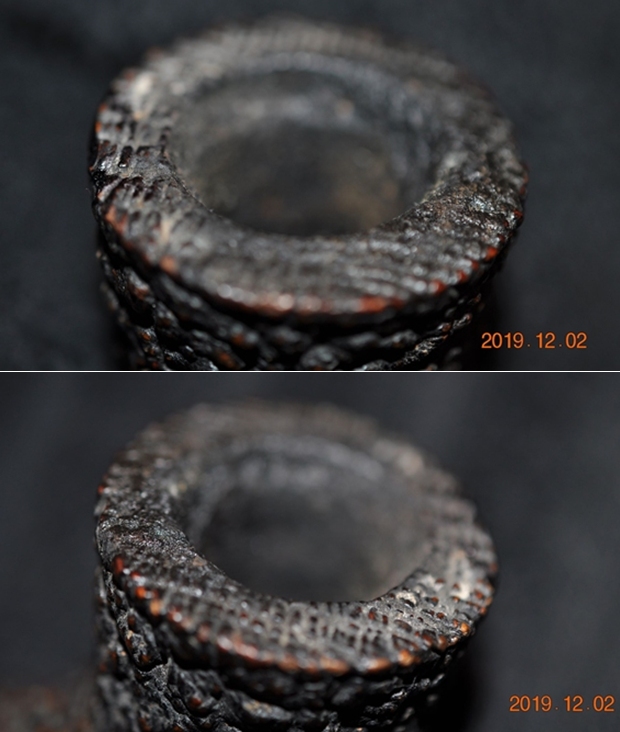
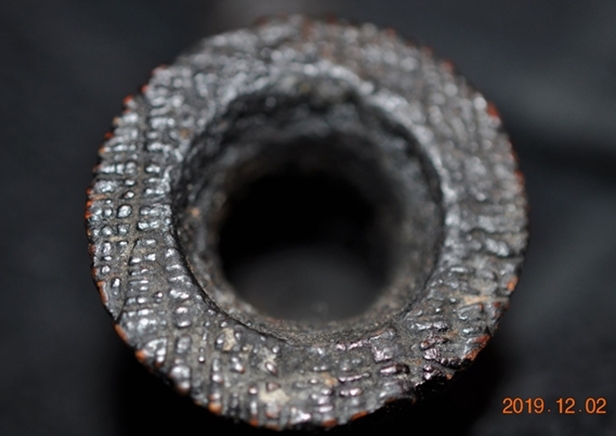
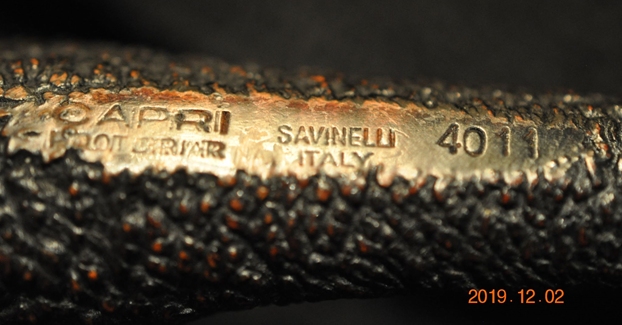
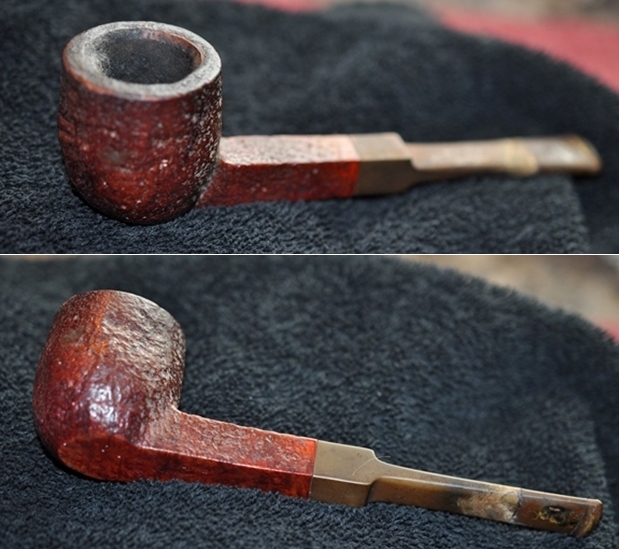
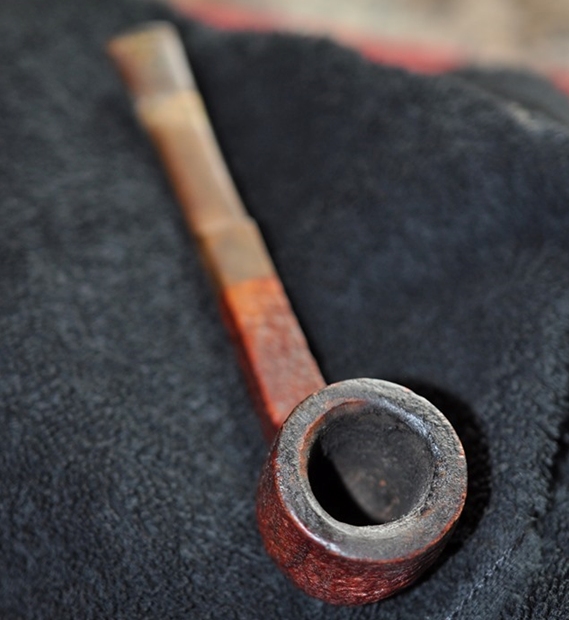
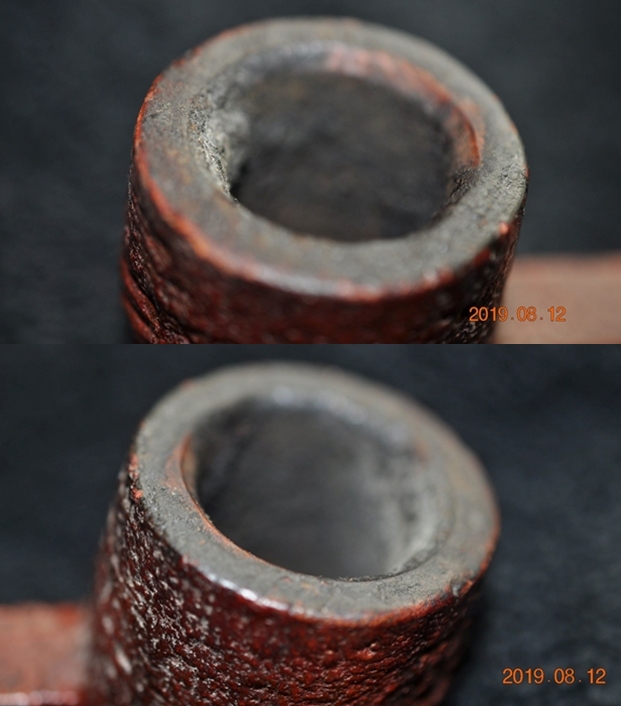
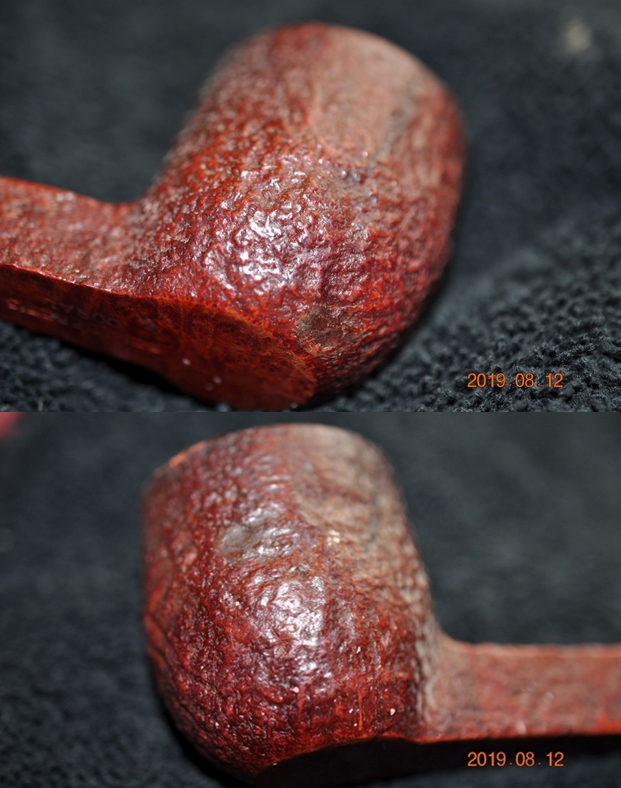
The Savinelli Capri Root Briar Zulu has a rusticated finish (looks a lot like the Castello Sea Rock finish). It is a coral like rustication around the bowl that was filled in with dust and debris. It was stamped on underside of the shank. It is stamped Capri [over] Root Briar followed by Savinelli Italy and the shape number 4011. The finish was dirty with dust and grime ground into the bowl sides. There was a thick cake in the bowl and lava overflow on the rim top. The vulcanite stem was oxidized and had tooth marks and chatter ahead of the button on both sides. Jeff took photos of the pipe to show its general condition before he did his cleanup. As I mentioned above the exterior of the pipe was very dirty – grime and grit ground in from years of use and sitting. The rim top was covered with a coat of thick lava that overflowed from the thick cake in the bowl. It was hard to know what the rim edges looked like because of the lava. Jeff took photos of the sides and the heel of the bowl to give a better feel for the condition of the briar around the bowl. You can also see some of the few fills in the briar in the photos.

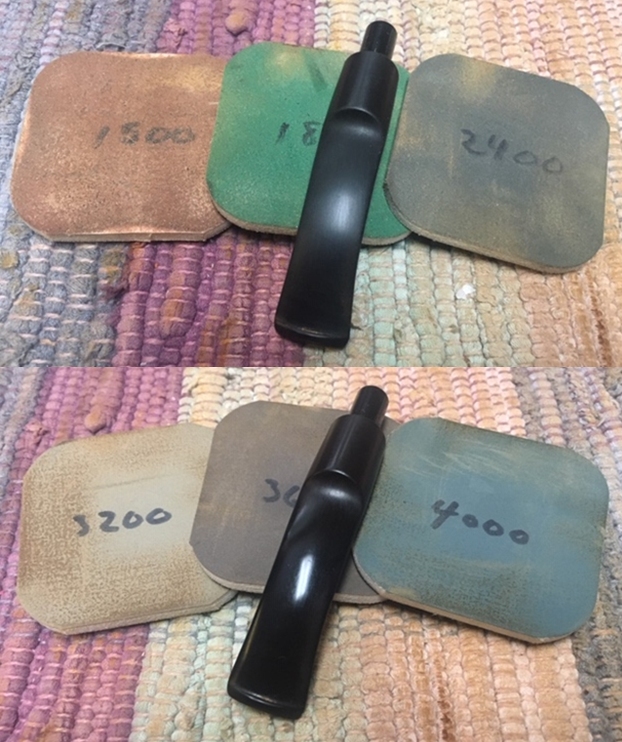
The next photo show the stamping on the underside of the shank and it is very readable. It reads as noted above. The stem was dirty, calcified and oxidized with tooth chatter and marks on the top and underside of the stem at the button.    I have always like the Savinelli Capri Root Briar finish so I was glad to be working on this one. With over 125 pipes to clean from Bob’s estate I took a batch of them to the states with me when I visited and left them with Jeff so he could help me out. Jeff cleaned the pipes with his usual penchant for thoroughness that I really appreciate. Once he finished he shipped them back to me. Bob’s pipes were generally real mess and I did not know what to expect when I unwrapped it from his box. I was surprised to see how well it turned out. He reamed it with a PipNet pipe reamer and cleaned up the reaming with a Savinelli Fitsall Pipe Knife. He scrubbed out the internals with alcohol, pipe cleaners and cotton swabs until the pipe was clean. He scrubbed the exterior of the bowl with Murphy’s Oil Soap and a tooth brush to remove the grime and grit on the briar and the lava on the rim top. The finish looks very good with good looking grain around the bowl and shank. Jeff scrubbed it with Soft Scrub and soaked it in Before & After Deoxidizer to remove the oxidation on the rubber. When the pipe arrived here in Vancouver for the second stop of its restoration tour it looked a lot better. I took photos before I started my part of the work.  I took some close up photos of the rim top and the stem surface. I wanted to show what cleaned bowl and rim top looked like. The rim top and the inner and outer edges of the bowl were in excellent condition. I also took close up photos of the stem to show the tooth marks and the remaining oxidation on the stem surface.    I took photos of the stamping on the underside of the shank and it is clear and readable. It is stamped as noted above.    I removed the stem for the shank and took a photo of the bowl and stem to give a picture of what it looked like. The heavy oxidation is very visible.I rubbed the bowl down with Before & After Restoration Balm. I worked it into the surface of the briar with my fingertips to clean, enliven and protect it. I let the balm sit for a little while and then buffed with a cotton cloth and shoe brush to raise the shine.     I set the bowl aside and turned my attention to the stem. I used a Bic lighter to “paint” the surface of the stem with the flame to lift the tooth marks on both sides of the stem. The heat lifted the tooth marks to the degree that was able to sand out the remaining marks on the stem surface.       I filled in the remaining divots with black super glue. I set the stem aside to let the glue cure. Once they cured I used a needle file to flatten repaired areas. I sanded out the remaining tooth dents in the top and underside of the stem with 220 sandpaper. I started polishing the stem with 400 grit wet dry sandpaper.     I polished the vulcanite with micromesh sanding pads – 1500-12000 grit pads. I wiped it down with a damp cloth after each sanding pad. I used Before & After Pipe Polish – both Fine and Extra Fine to further polish the stem.  I left a little oxidation around the stamp so as not to damage it more.    This Savinelli Made Capri Root Briar 4011 Zulu from Bob Kerr’s estate cleaned up really well and looks very good. The mixed stain brown finish on the pipe is in great condition and works well with the polished vulcanite taper stem. I put the stem back on the bowl and carefully buffed the pipe with Blue Diamond on the buffing wheel using a light touch on the briar. I gave the bowl and stem multiple coats of carnauba wax on the buffing wheel and followed that by buffing the entire pipe with a clean buffing pad. I hand buffed the pipe with a microfiber cloth to deepen the shine. The finished Capri Root Briar 4011 Zulu fits nicely in the hand and I think it will feel great as it heats up with a good tobacco. The tactile finish will add to the experience. Give the finished pipe a look in the photos below. The dimensions of the pipe are Length: 6 inches, Height: 2 inches, Outside diameter of the bowl: 1 ½ inches, Chamber diameter: 7/8 of an inch. If you are interested in carrying on Bob’s legacy with this pipe send me a message or an email. I have more to work on of various brands. Perhaps one of those will catch your attention. Thanks for reading this blog and my reflections on the pipe while I worked on it. This is an interesting estate to bring back to life.

A Second Inning For A Meerschaum Lined Orlik Bent Brandy


Blog by Paresh Deshpande

I had recently worked on a long Albatross wing bone stemmed Corn Cob which was both rustic and delicate from an estate lot of 40 pipes that I had acquired about six months ago. This was the second pipe from the lot that I had refurbished, the first being a huge Real Cherry wood pipe. Here is the link to both the write ups which will provide background information as to how I came to acquire this lot and the condition of the pipes that I had received;

https://rebornpipes.com/2020/03/08/refurbishing-a-real-cherry-foreign-pipe-from-estate-lot-of-40/

https://rebornpipes.com/2020/05/10/refurbishing-a-vintage-corn-cob-pipe-with-an-albatross-wing-bone/

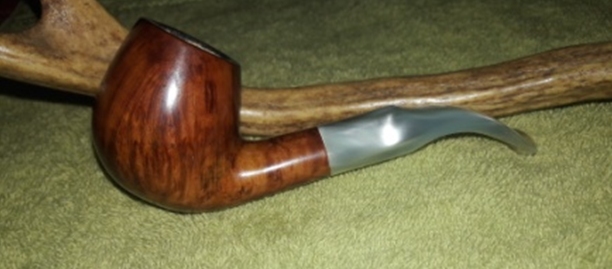
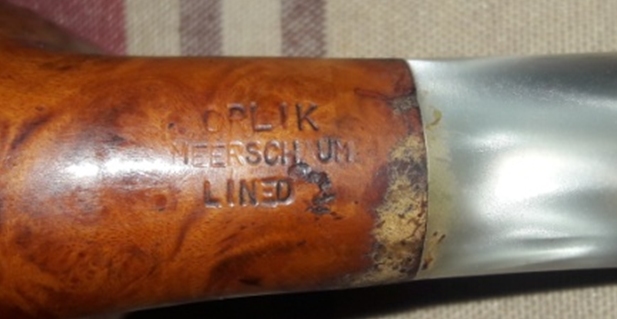
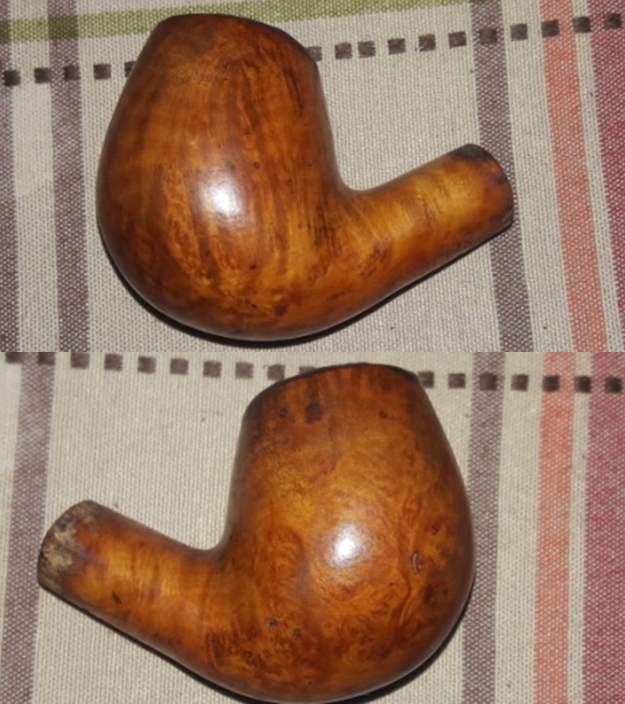
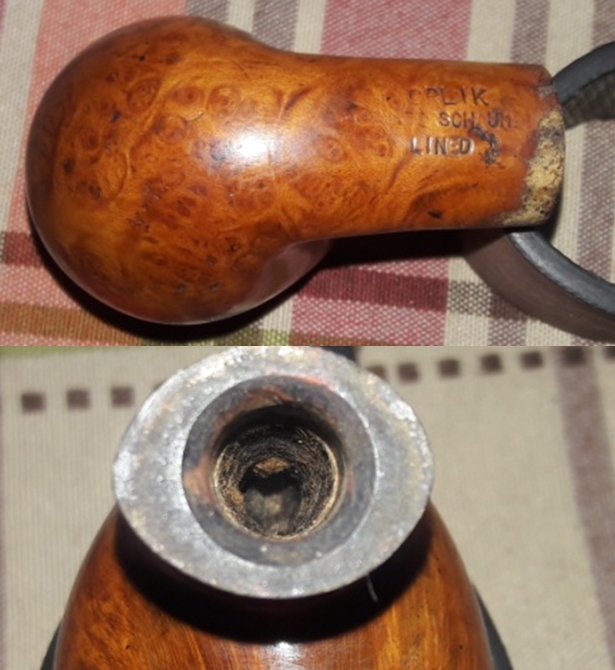
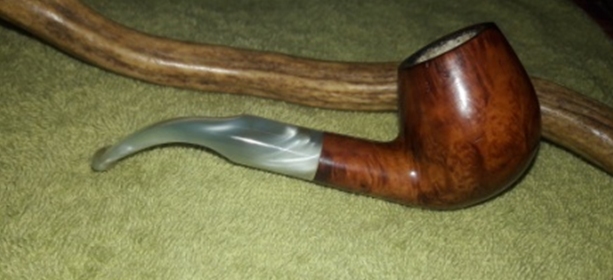
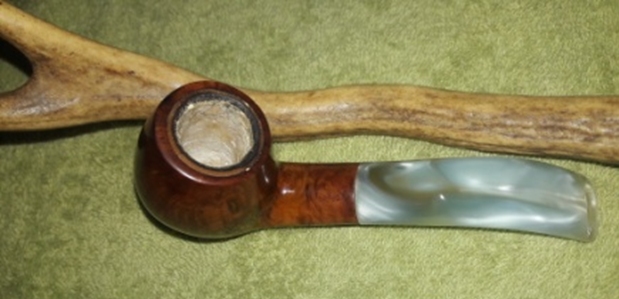
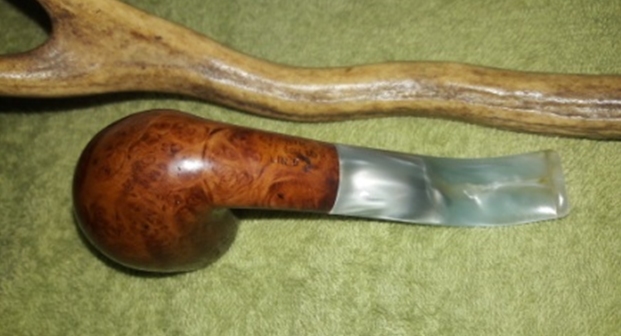
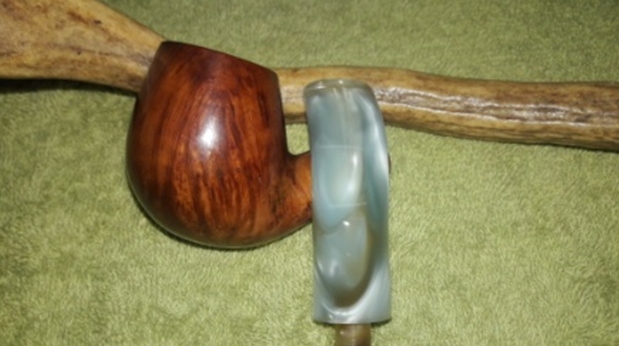
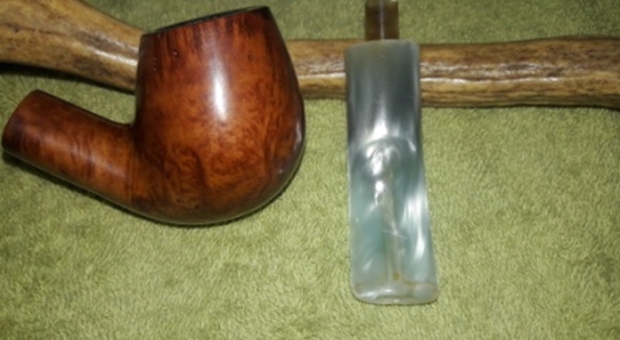
The third pipe from this lot and currently on my work table is beautiful Bent Brandy with a pearly variegated stem with swirls of light browns and grays. The first two pipes that I had worked on are marked with yellow and green arrows while the third pipe that is currently on my work table is shown in the second picture marked in indigo colored arrow. The pipe feels heavy and solid in hand. It is stamped on the bottom surface towards the shank end as “ORLIK” over “MEERSCHAUM” over “LINED”. There is no shape code or COM stamp on the stummel. The acrylic stem too is devoid of any stamping.I referred to pipedia.org for information on the firm ORLIK, my interest being piqued since I remember having seen a few Orlik pipes in my inherited pipe collection (unfortunately, I have never gotten around to work on any of them as yet!!). From what I have learned, the company was started in 1899 by Louis Orlik in London, Bond Street to produce HIGH QUALITY pipes for a RELATIVELY LOW PRICE. In 1980 the company was acquired by Cadogan. Like many of London’s other pipe manufacturers they moved to a new built factory in Southend-on-Sea. As all current brands in the Cadogan group, Orlik was being produced in those factories. In the same article, at the end is an onsite link to Dating Orlik Pipes by Michael Lankton, which makes for an interesting read. I reproduce the relevant portion which points to the pipe currently on my table;

  • Virgin(Series Letter:Without letters)
  • Old Bond Street(Series Letter:A)
  • Old Bond Street Sandblast(Series Letter:AX)
  • Supreme(Series Letter:T)
  • Supreme Sandblast(Series Letter:TX)
  • Meerschaum Lined(Series Letter:M)
  • Corona(Series Letter:C)
  • Old Root(Series Letter:R)

Here is the pipedia link to the article on Orlik pipes;

https://pipedia.org/wiki/Orlik

Since the pipe currently on my table is sans the series letter M and also the stem is neither Hand cut nor molded vulcanite but variegated acrylic stem, I assume that it is a Post Cadogan era pipe that is Post 1980s.

Initial Visual Inspection
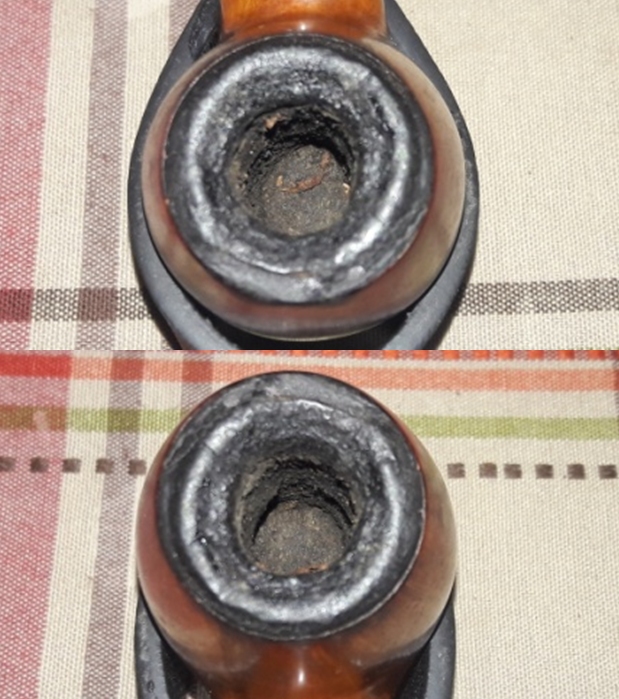
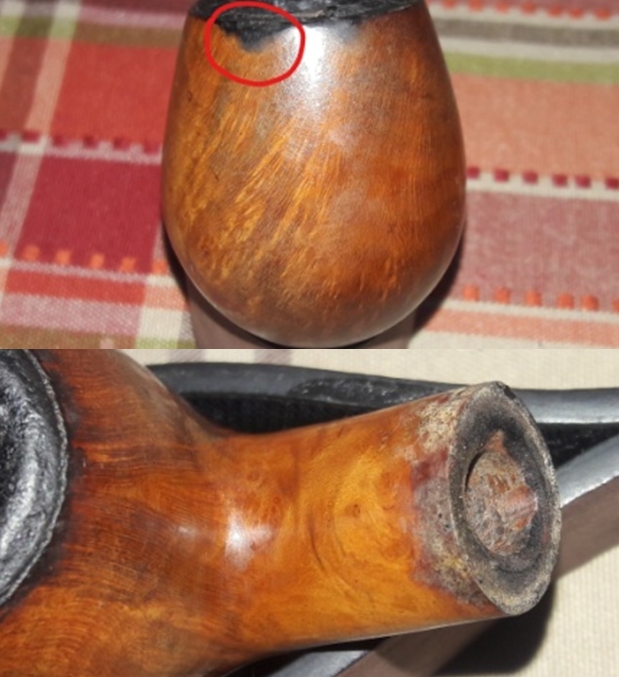
The pipe, as it appears, is shown in the pictures below. There is thick layer of cake in the chamber with equally heavy overflow of lava over the rim top surface. The stummel is dirty with a number of dents/ dings and minute fills that are visible. The stem is filthy with heavy tooth chatter and deep bite marks in the bite zone and button edges on either surface. All in all, this was a very well loved pipe that has the classic signs of poor care and rough use. The chamber has a thick even layer of hard cake. There are copious amounts of old oils, tars and grime that have overflown the rim top surface and further down the stummel surface. The thick cake and heavy lava overflow over the rim top masks the condition of the chamber walls and the rim surface. The condition of these surfaces will be determined only once the cake and lava overflow has been cleaned up. The rim top surface is highly uneven as evinced by the uneven accumulation of lava overflow, again, this is just speculation as what surprises are hidden beneath will be revealed only once the overflow has been removed.  There are signs of charring along the outer rim edge and one prominent charred portion is at 1 o’clock direction to the front of the bowl. The smells from the chamber are very strong (very strong is actually an understatement) and all pervading. This issue of old smells will have to be addressed. I shall top the rim to make it perfectly even and also address the charred outer rim edges. It has been my experience that such thick layer of cake invariably hides some kind of wall damage, either heat fissures or beginnings of a burnout. Being meerschaum lined, I just don’t want a broken/ cracked meerschaum surface. The golden walnut stained stummel with dark brown stained grains makes for an alluring visual display. The surface is fraught with numerous minor dents, dings and is covered in dust, dirt and grime of the overflowed lava. A charred spot is seen to the front of the bowl in 1 o’clock direction (encircled in red). The shank end has patches all around, akin to water marks and my guess, looking at the condition of the chamber and stummel, is that the oils and tars from the mortise had leaked from the tenon- mortise junction and dried over the surface. The heavily clogged mortise is an indication of the oils and tars having nowhere to go but escape from the stem shank junction. I intend to sand the stummel surface to remove as much of the dents and dings as is possible while making the stummel surface smooth. I need to be careful while sanding the shank end to remove the patches so as not to shoulder the shank end. Major dents and fills that are revealed, if any, will be filled with clear superglue as briar dust and glue would leave ugly dark spots. The pearly variegated stem with swirls of light browns and grays is filthy to say the least. The stem surface is covered in grime and dirt with heavy tooth indentations over the button edges on either surface. The bite zone is peppered with deep tooth chatter. The tenon end, horizontal slot and the air way is covered and clogged with gunk. Air way over the surface appears darkened and flow through the stem is laborious and heavy. The stem surface and internal first needs to be cleaned. The tooth chatter will be sanded out with 220 grit sandpaper and if need be, will be filled with glue. The button edges on either surface needs re-building using clear CA superglue. The Process
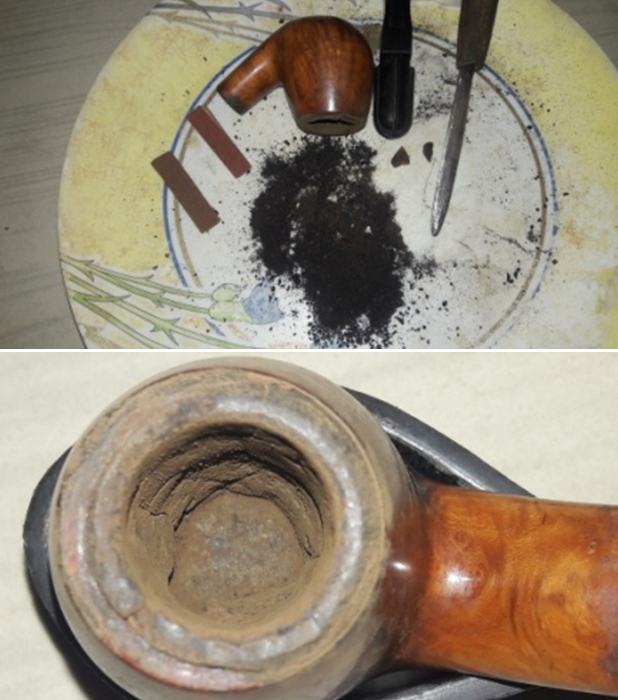
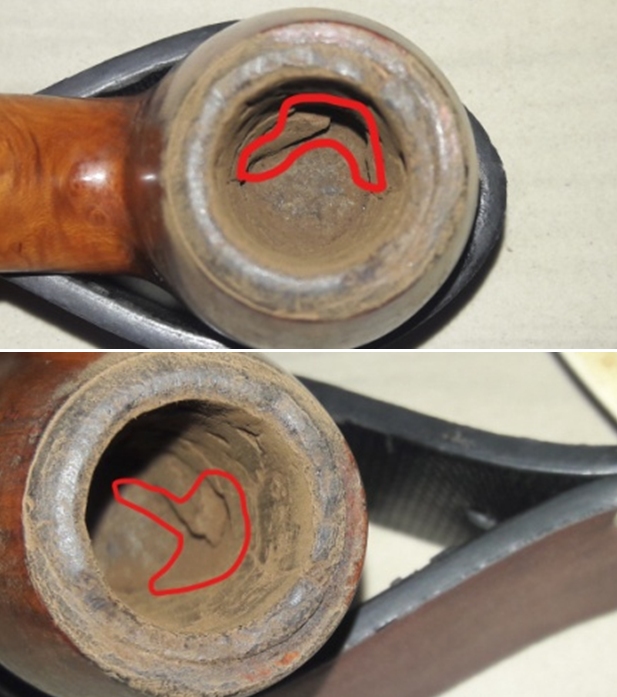
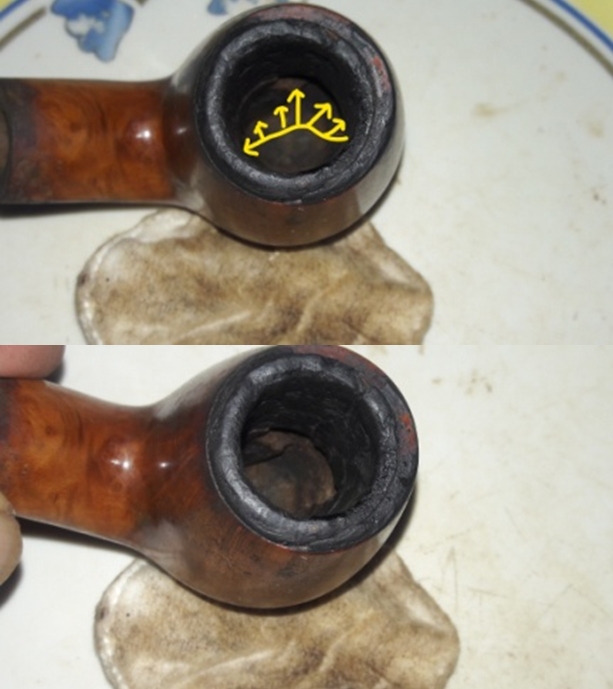
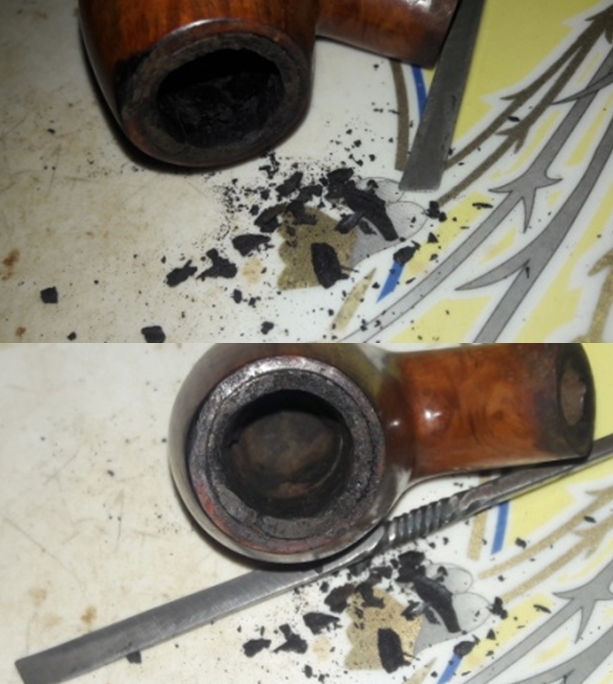
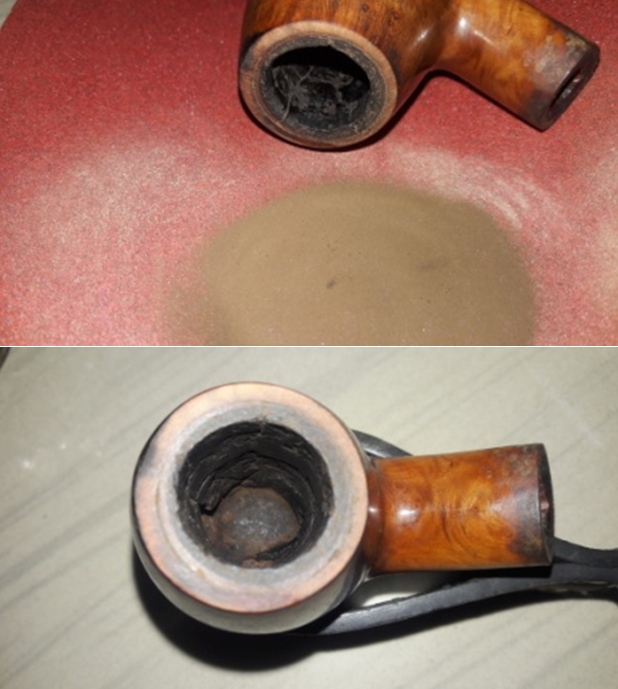
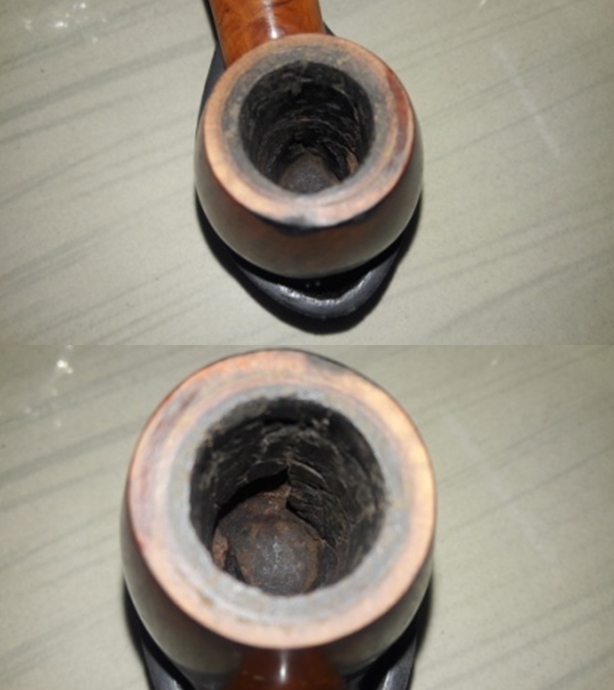
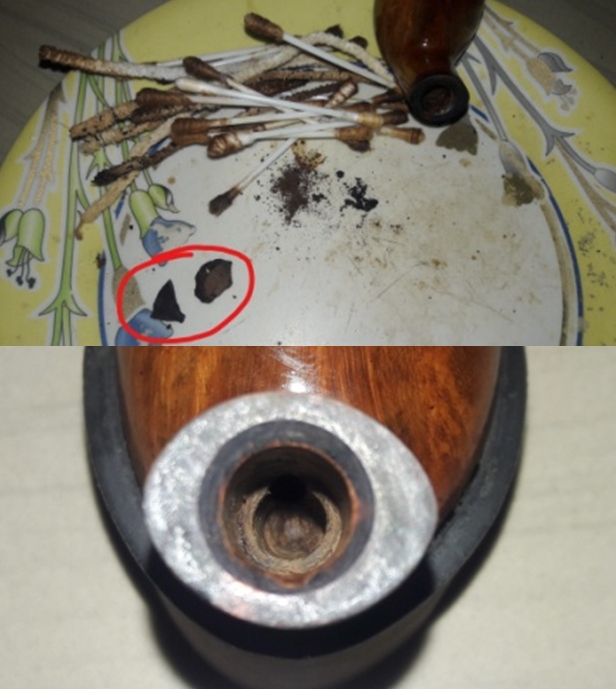
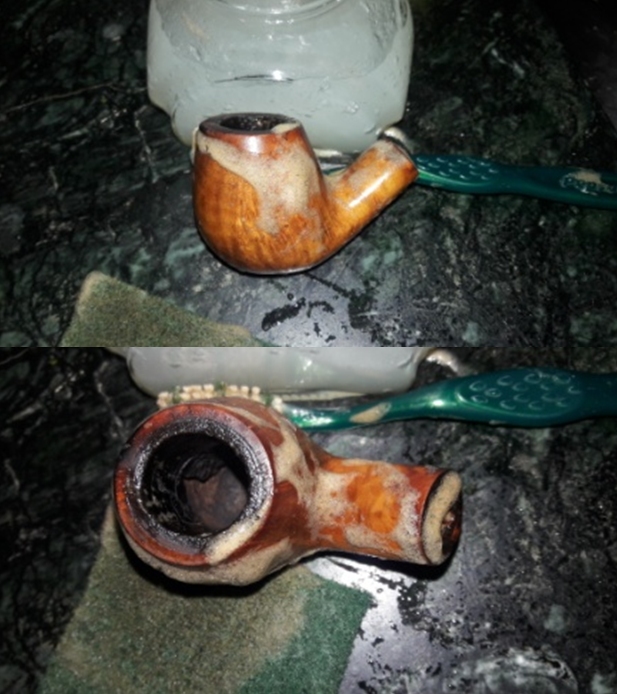
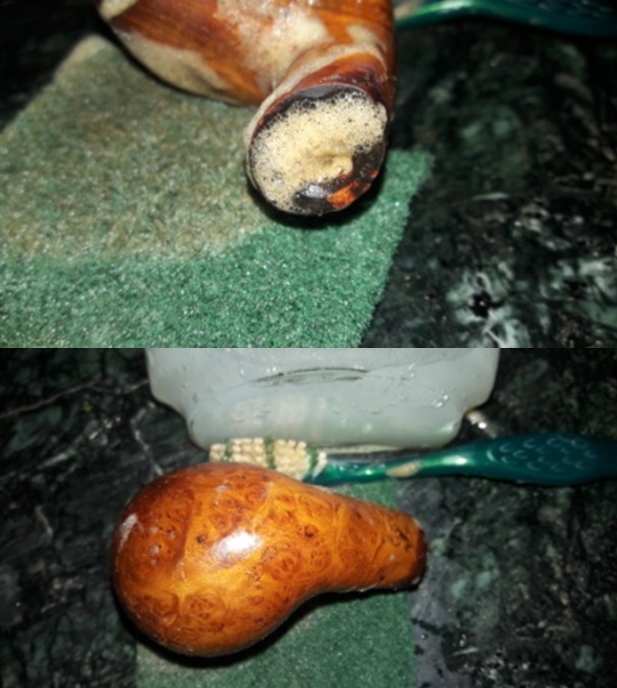
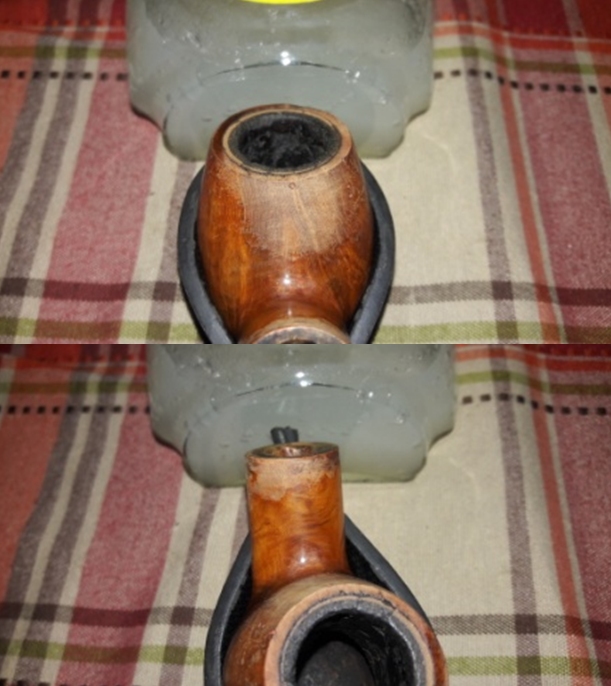
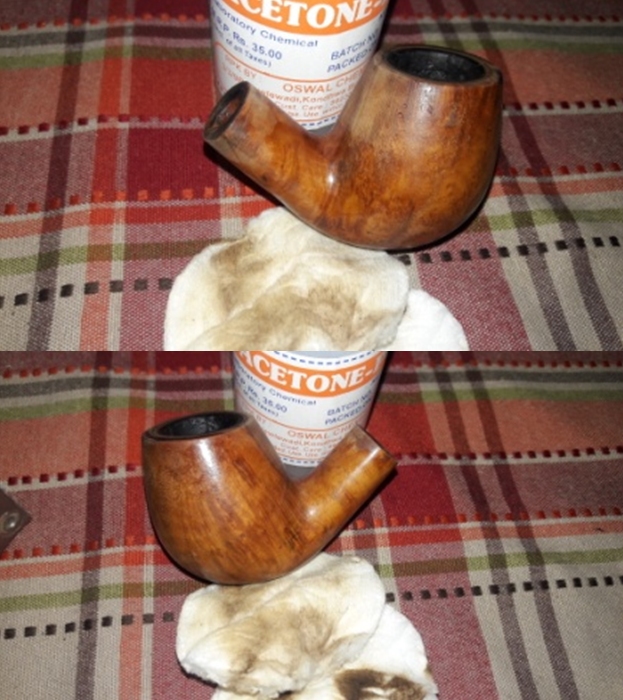
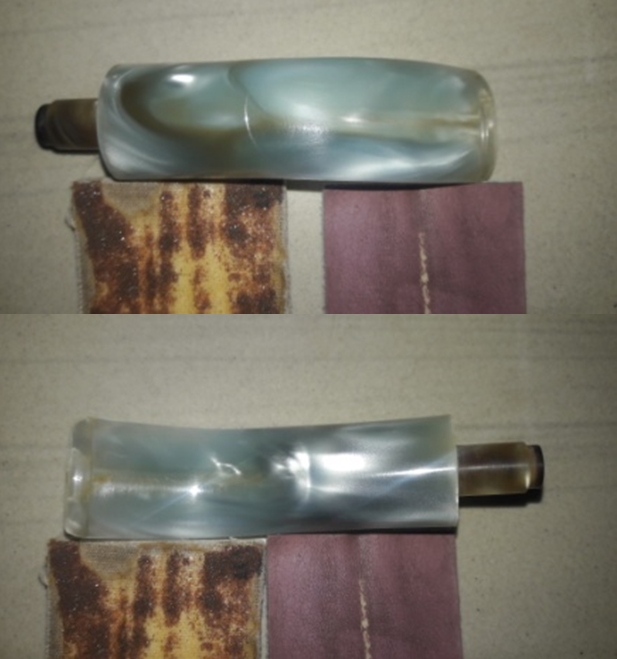
I began the process of refurbishing this pipe first by working on the stem. I cleaned the external surface of the stem with a Scotch Brite gauze and liquid dish washing soap. Once the external surfaces were clean, I cleaned the stem internals with a small shank brush and liquid dish soap. I have realized that using small shank brush and liquid soap reduces consumption of pipe cleaners by about 75%. This is considerable savings considering that I pay thrice the cost of pipe cleaners on cost of shipping!! Next, I ran a couple of dry pipe cleaners through the stem to clean and dry it out. I avoid using isopropyl alcohol in cleaning stem air way just to guard it against crazing (call it my paranoia to use alcohol on an acrylic or Perspex stem!!). The tenon end, slot and the air way is now clean. I sand the bite zone with a folded piece of 220 grit sand paper to address the tooth chatter. Though the tooth chatter has been addressed to a great extent, the button edges are yet to be addressed. I wiped the stem with a moist cloth to remove the sanding dust. Thereafter, I applied clear CA superglue over the button edges and filled the deep tooth indentations and the minor tooth chatter in the bite zone. I set the stem aside for the fill to cure.I reamed the chamber with a Castleford reamer tool, using the smallest (size one) head of the tool. Reaming a meerschaum lined bowl is fraught with challenges, most notably being exerting of excess pressure with the reamer heads on the thin meerschaum wall lining causing the lining to break in chunks. I was very gentle and careful while using the reamer head. Thereafter I moved on to using my fabricated knife to further take the cake down to the meerschaum lining. Truth be told, the use of the knife was restricted only to scraping the surface in an attempt to dislodge the cake. With a 150 grit sand paper, the walls of the chamber were rid of all the remnants of the cake and it was at this stage that the first large chunk of meerschaum lining came loose. Subsequently a few smaller bits loosened out and came apart from the meerschaum lining. The area of damaged meerschaum lining can be seen in the enclosed red area. It seemed that the thick layer of cake was holding the meerschaum lining together. The rim top is not even and the lava overflow has hardened considerably over the surface to form a mound all along the rim top surface. To get a better understanding of the condition of the meerschaum lining, I wiped the walls of the chamber with isopropyl alcohol on a cotton swab. Now the extent of repairs required is amply evident. The entire lower meerschaum lining on the left half of the chamber has broken down in a jagged manner and the same is marked with yellow arrows. The fourth picture gives out a very clear idea of the break in the lining and the thickness of the lining that needs to be repaired. Also the hardened lava overflow over the rim top is clearly discernible. This issue needs to be addressed first. With my fabricated sharp edged knife, I gently scrapped and dislodged the complete mound of overflowed lava from all around the rim top surface. After the lava overflow has been removed, the damage to the rim top is now clearly visible. The meerschaum lining is uneven and has been completely blackened due to absorbing all the oils and tars from such heavy usage.I topped the rim on a piece of 220 grit sand paper, frequently (every couple of turns) checking for the progress being made and was careful with topping as I had no desire to break the meerschaum lining from the rim top area. Though the rim top, after topping was smooth and even, the distinct white meerschaum lining edge is still a dirty dark color and is, in fact, darker than the rest of the briar surface. A closer look inside the chamber revealed a highly uneven and heavily gouged looking chamber walls. The ghost smells are still very strong and not even reduced with all the cleaning and removal of the cake. Since the meerschaum lining along the chamber walls are broken and gouged out, salt and alcohol treatment to get rid of the smell is NOT RECOMMENDED. I need to figure a way out. This is how the rim top and the chamber walls appear at this stage. I was so caught up with the condition of the chamber, I completely forgot to clean the mortise and shank air way. Maybe with this cleaning the ghost smells may greatly reduce and or miraculously disappear altogether. I cleaned the mortise and the airway using regular/ bristled pipe cleaners and q-tips dipped in 99.9% pure isopropyl alcohol. I also scraped out the entire gunk from the shank with my fabricated knife. While I was cleaning the air way, two more chunks of the meerschaum linings came loose from around the draught hole. As expected, the mortise was filthy and clogged with oils, tars and gunk and the number of pipe cleaners and q-tips that were used to get the mortise and shank cleaned up is an indication enough. I applied “Briar Cleaner”, a product that has been developed by my friend Mark Hoover, to the external surface of the bowl. It works similar to Murphy’s oil soap and needs to be applied to the stummel surface and set aside for 5- 10 minutes. The product pulls out all the dirt and grime to the surface making further cleaning easy. I am quite happy with this product. I used a hard bristled tooth brush to scrub the stummel with the gel like product, wiped it clean with a moist cloth and dried it using paper towels and soft cotton cloth. I deliberately cleaned the rim and the shank end by inverting the stummel and rotating it on a piece of Scotch Brite. I set the stummel aside to dry out naturally.    With the external cleaning, the stummel looks clean with the beautiful Bird’s eye grains at the foot now clearly visible. This scrubbing and cleaning also removed the thin layer of lacquer in patches on the stummel (layer of lacquer had missed my notice before). A few minor dot-like fills were also now visible. I first need to remove the entire lacquer coat from the stummel to further revel any other imperfections in the briar surface of the stummel.To remove the coat of lacquer from the stummel, I wiped the entire surface with pure Acetone on a cotton swab. I was relieved that the lacquer coat did not hide any more flaws in the briar than what was noted after the external cleaning. I must admit that the tiny spots of fills are something which needs no refilling and should be further reduced once the stummel has been sanded and polished. With the external cleaning of the stummel surface complete, I turned my attention to the most challenging part of this restoration, the repairs to the meerschaum lining along the walls of the chamber! I have never attempted this repair though I had earlier read about the process of repairing meerschaum lining on rebornpipes.com using egg whites and finely powdered chalk. However, attempting it for the first time is always a challenging prospect.

I had been gifted a Meerschaum lined gargantuan Kilimanjaro Made in Tanganyika bent billiard by my good friend Dal Stanton, aka The Pipe Steward that had several complications, the most significant being repairing meerschaum lining. Dal has the gift of penning down thoughts and actions in to words on paper and his essays are very detailed and descriptive. I went through his write up, understood the process, followed the useful links in his blog and formulated my own strategy to execute the repairs on the meerschaum lining on the pipe in front of me. Here is the link to the write up that Dal has posted on rebornpipes.com.

https://rebornpipes.com/2019/07/12/a-meer-lining-and-crack-repair-to-rescue-a-doomed-gargantuan-kilimanjaro-made-in-tanganyika-bent-billiard/

In his write up, Dal had referenced another article on rebornpipes.com which he had followed in his restoration of the Kilimanjaro pipe. I read through the article which was indeed a very useful step by step guide to build up the repairs to the meer lining using the mixture. Here is the link to the write up.

https://baccypipes.wordpress.com/2017/06/10/old-time-meer-lining-repair-method-on-a-1930s-kaywoodie-shellcraft-5651/

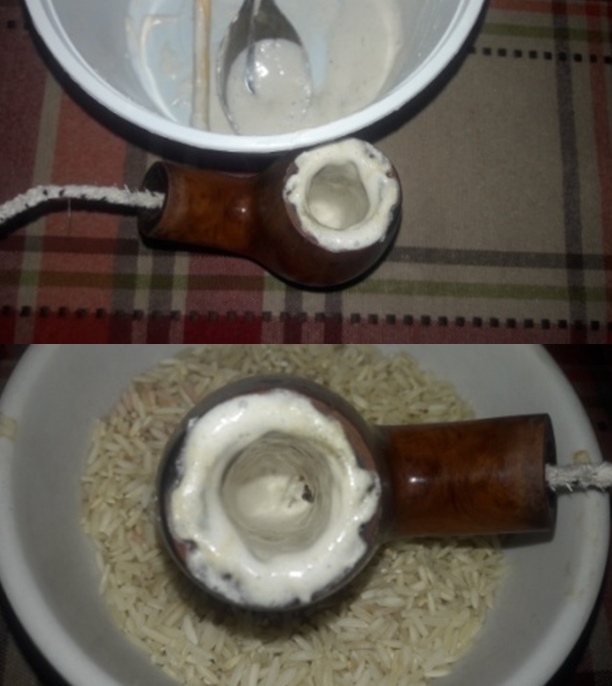
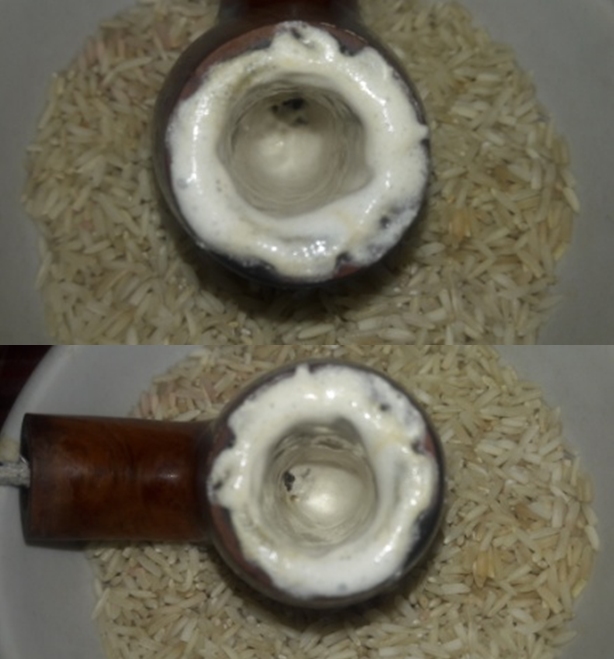
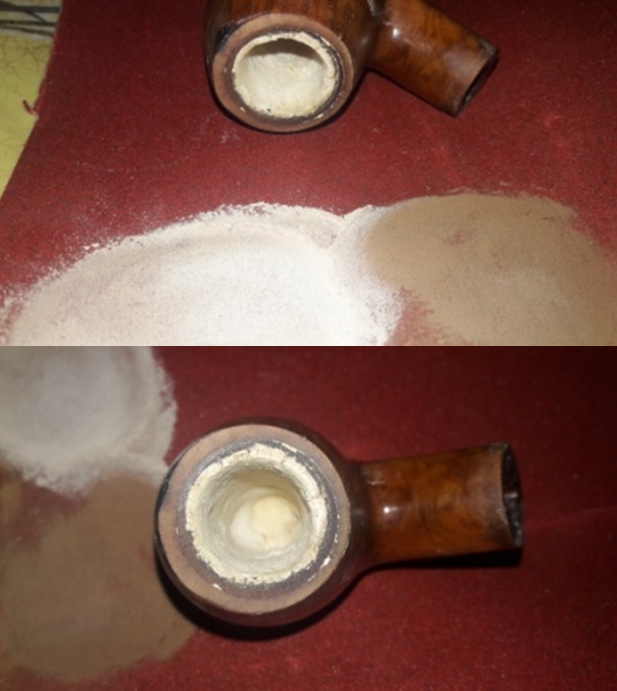
With my ideas crystallized as regards tackling this repairs, I first made a chalk powder using a mortar and pestle. I strained this powder through a very fine mesh sieve and obtained sufficient quantities of very fine chalk powder. I separated egg white from one egg. Next, I made a thin mix of egg white and chalk powder and with a flat bamboo frond; inserted a folded pipe cleaner to keep the draught hole open and applied a layer all along the walls of the chamber and over the meerschaum lining. No sooner had I applied the mixture, it ran down the sides and accumulated at the heel of the stummel forming a dark dirty yellow puddle. Apparently the mix was too thin. I cleaned this puddle using absorbent kitchen napkins. The unexpected benefit of this failed first layer was that the old oils and tars were pulled out from the walls of the chamber by this mixture. I wiped the chamber with a cotton swab and isopropyl alcohol. Once the chamber walls had dried out, I made a slightly more thick mix of the old timers mix and applied a layer. I kept the stummel left side down as I wanted the mix to fill and harden over the damaged meer lining over the left side. I kept the stummel aside to dry out naturally. While the meerschaum repairs were set aside to cure, I worked the stem. The stem fills had cured nicely. Using a flat head needle file, I sand the fills to achieve a rough match with the rest of the stem surface and also reshaped the buttons on both the surfaces. I further fine tuned the match with a folded piece of 220 grit sand paper.Staying with the stem restoration, I polished the stem surface with micromesh pads, wet sanding with 1500 to 12000 pads. I wiped the surface with a soft cloth at the end of the micromesh cycle. The rim top surface looks nice with a deep shine. I applied a little Extra Virgin Olive oil to the stem, though it does not help much, and set it aside. Though I am not a big fan of acrylic stems, I am happy with the way the stem appears at this stage.  The layer of egg white and chalk powder mix had hardened considerably after an overnight curing time. I made a slightly thicker mix and applied another layer and set it aside to cure. I continued to apply a gradually thicker layer of the mix till I was satisfied that the broken meer lining was completely covered. I set the stummel aside for the mix to harden. The mix appears to be too thick, but the same can be sanded down subsequently to the desired thickness.  Once the mix had completely cured, I topped the rim top to even out the excess of the mix from the rim. I expected to find a perfect white ring of the mixture within the briar rim surface. However, that was not to be!! Though not perfect ring, it’s a lot better than before. One maxim that I follow during restoration is “LESS IS MORE” and thus, I did not further repeat the process of adding a layer of the mix and topping it again once the mix had cured. It’s not perfect but it is definitely functional. I followed the topping by sanding the walls with a folded piece of 180 grit sand paper. If observed closely, the left side lining is thicker than the rest of the chamber giving the chamber an out of round appearance. I need to sand the left side layer more to achieve the desired symmetry.   I further sand the chamber walls with a 220 grit sand paper to even out the thickness of the left side wall and also reduce the thickness from the bottom half of the chamber. Again the uneven appearance of the white mixture was an eye sore but I resisted the temptation of rebuilding it all over again. But that’s for now…..never know maybe a couple of months down the line, as I look at it again, maybe I would attempt the rebuild! However, for now the chamber is nice round and the repairs appear solid and the pipe is definitely ready for a smoke. The ghost smells are also completely eliminated and the chamber is now odorless. I am quite happy with the progress till now. With the meerschaum lining repairs sorted out for now, I turned my attention to the external surface of the stummel. I sand the entire stummel with a piece of 220 grit sand paper. This served four purposes; firstly the coating of lacquer was completely rid off, secondly, the minor dents and dings and fills were evened out to a great extent and thirdly the water marks at the shank end were completely eliminated. The fourth issue that was addressed was the charred spot on the rim outer edge in 1 o’clock direction. The stummel is now ready for a nice polish.   Now it was time to polish and impart a nice shine to the stummel. I wet sand the stummel with a 1500 and 2000 grit sand paper followed by wet sanding with 2400 to 12000 grit micromesh pads. Even though the tiny fills are clearly seen in the following pictures, in person, they merely appear as tiny dots and not easily discernible. I really liked that the mixed grains on the sides and Bird’s eye grain on the foot are now visibly resplendent in all their glory. I rubbed a small quantity of “Before and After Restoration Balm” in to the stummel to enliven and protect it. I rubbed this balm deep in to the briar of the stummel and smooth rim top with my fingers and let it rest for a few minutes. The balm almost immediately works its magic and the stummel now has a nice vibrant appearance. I further buff it with a horse hair shoe brush.  To apply the finishing touches, I mount a cotton cloth buffing wheel on to my hand held rotary tool and apply a coat of Blue Diamond to the stummel and the stem to polish out the minor scratches. With a cotton buffing wheel that I use for carnauba wax, I apply a coat of carnauba wax to the stummel and stem and continued to work on it till the complete coat of wax had been polished out. I mount a clean cotton cloth buffing wheel and gave the entire pipe a once over buff. I finished the restoration by giving the entire pipe a rigorous hand buffing using a microfiber cloth to deepen the shine further. The finished pipe is shown below. The pearly variegated stem with swirls of light browns and grays contrasts beautifully with the dark brown hues of the stummel and is very appealing to the eye. The repairs and transformation of this pipe to its present functionality and beauty was indeed worth the efforts that were put in. P.S. This pipe, when it came to my work table, presented a daunting task to restore. It was surely greatly loved by someone in the past as was evident from the thick cake, overflowing lava over the rim top and the stem damage, but I say in the same breath that it was also the most abused pipe. The broken meerschaum lining added to my agony while presenting me with an opportunity to put in to practice what I had read and learned about meerschaum repairs on Reborn Pipes.

A big THANK YOU to my good friend, Dal Stanton aka The Pipe Steward for the detailed and graphic description of the technique to repair Meerschaum and also to my Guru, Steve, for creating and regularly updating rebornpipes.com, a one stop site for everything that one wants to know and learn about pipe restoration!!

Appreciate all the efforts of readers who have had the patience to read this write up thus far!

Praying for the safety and well being of all the readers and their loved ones in these troubled times…


Restoring a KB&B Kaywoodie Drinkless Rhodesian from Bob Kerr’s Estate


Blog by Steve Laug

The next pipe I have chosen from Bob Kerr’s Estate is a KB&B Drinkless Kaywoodie Rhodesian with a chunky shank and stem. (Bob’s photo is to the left). If you have not “met” the man and would like to read a bit of the history of the pipeman, his daughter has written a great tribute that is worth a read. Because I have included it in most of the restorations of the estate to date I thought that I would leave it out this time. Check out some of the recent Dunhill restoration blogs (https://rebornpipes.com/2020/01/01/restoring-the-last-of-bob-kerrs-dunhills-a-1962-dunhill-bruyere-656-f-t-bent-billiard/).

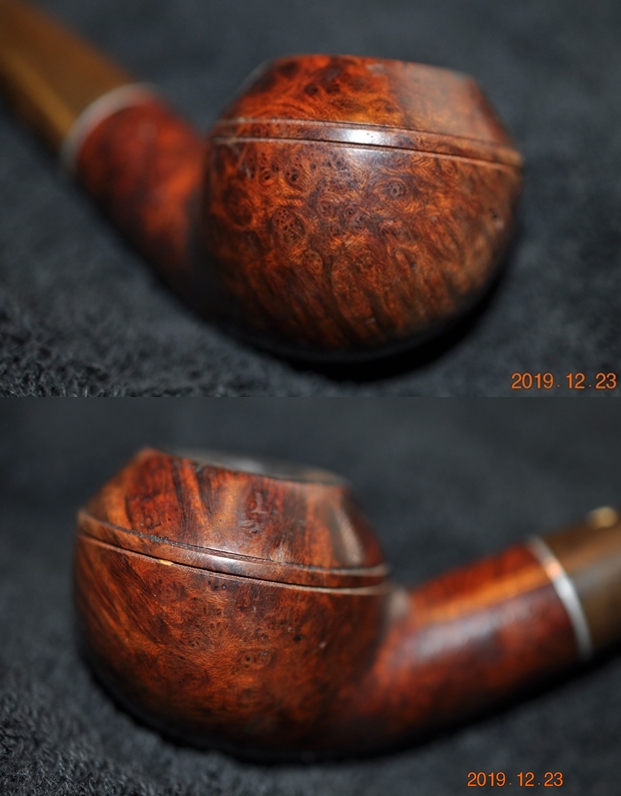
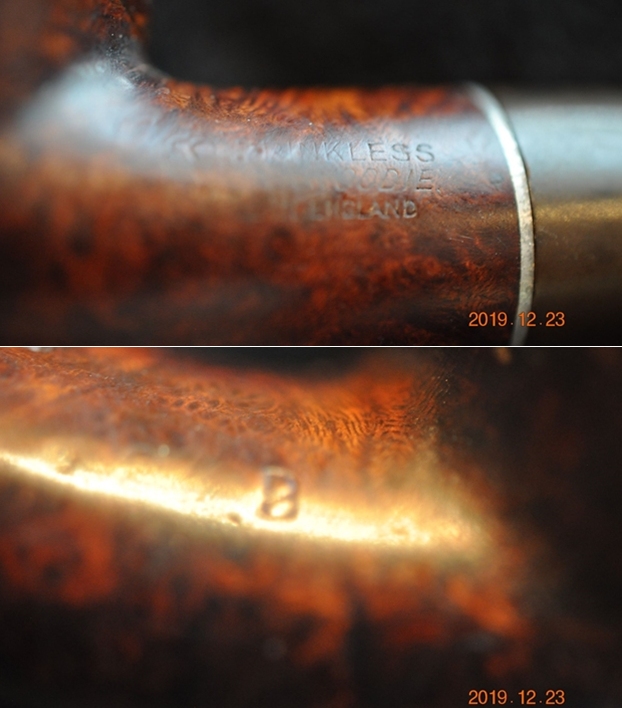
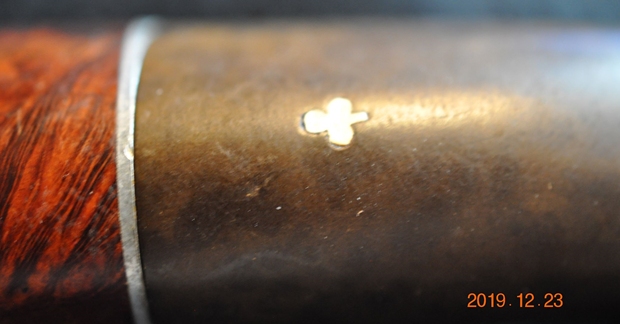
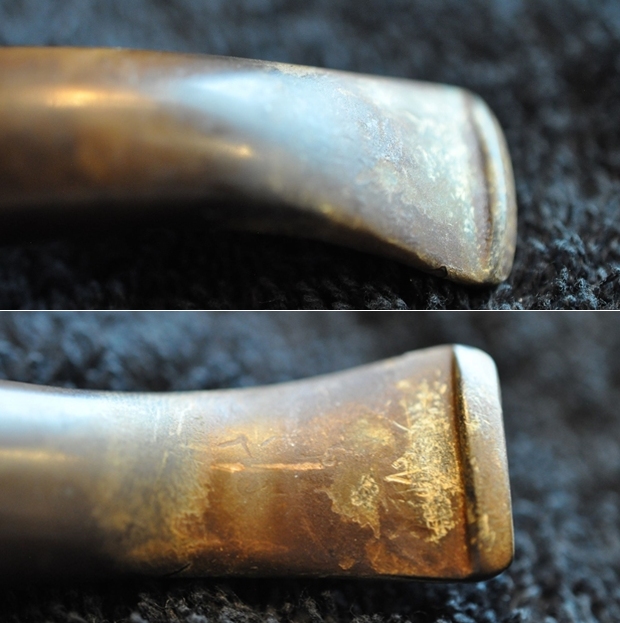
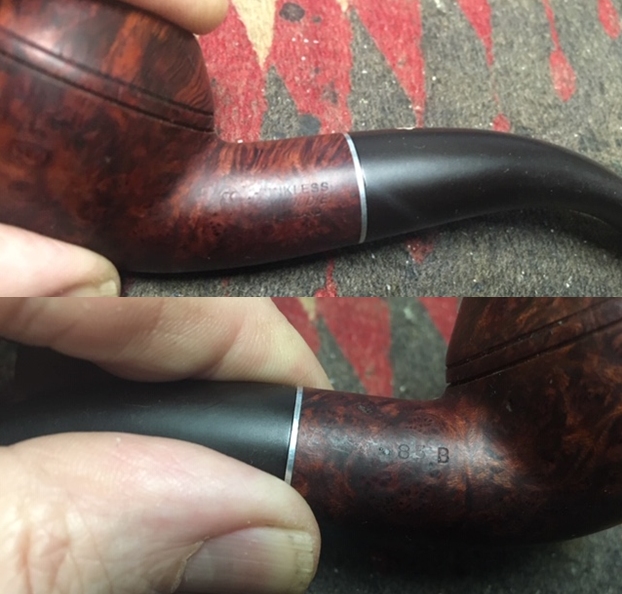
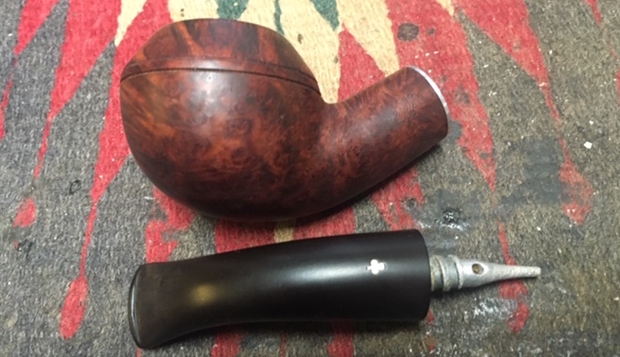
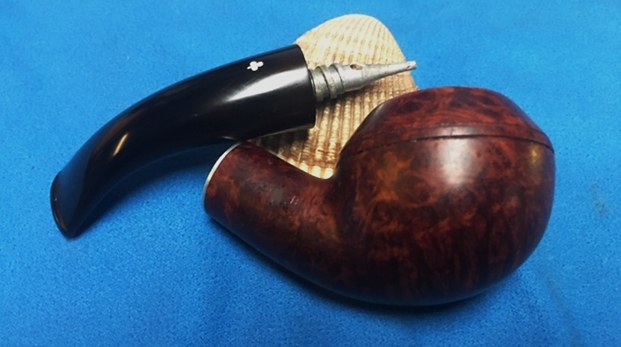
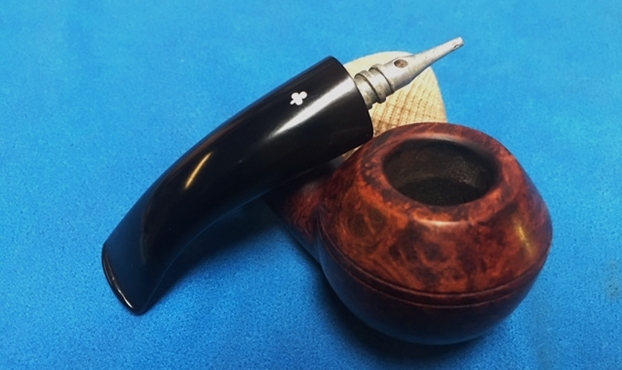
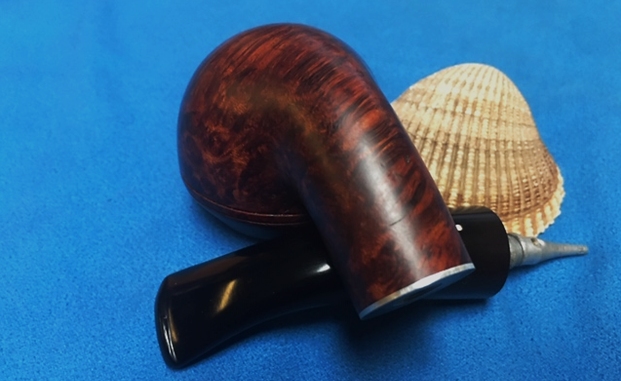
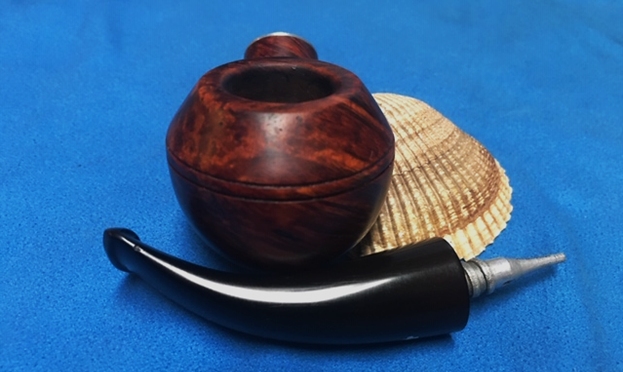
This chunky Rhodesian is stamped KB&B in a cloverleaf followed by Drinkless [over] Kaywoodie [over] Made in England on the left side of the bowl. On the right side it is stamped with the number 83B. The thick tapered stem has the typical white inlaid Kaywoodie Cloverleaf logo. The tenon is threaded and has a stinger that is stamped Drinkless [over] Reg No 213598. The ball on the end of the stinger has been clipped off. The stem is oxidized, calcified and has light tooth marks and chatter on both sides near the button. The exterior of the bowl is grimy and dirty. There is a thick cake and lava overflow on the rim top. It is thick enough that it is hard to know if there is any damage on top and edges. Jeff took photos of the pipe to show its general condition before he did his cleanup. The exterior of the pipe was very dirty – grime and grit ground in from years of use and sitting. The rim top was covered with a coat of thick lava that overflowed the bowl. There was also some darkening on the rim top and inner edge of the bowl. The bowl itself had a thick cake with flecks of tobacco stuck in the cake on the sides. Jeff took photos of the sides and the heel of the bowl to give a better feel for the condition of the bark around the bowl. The next photos show the stamping on the sides of the shank and it is very readable. It reads as noted above. The stem was dirty and extremely oxidized. Once again the stem appeared to be a replacement as I have learned Bob was a chewer and his stems seemed to have been replaced often. This one at least fit well to the shank and did not yet have the chew marks that were a norm on Bob’s pipes.Before doing cleanup work on the pipe I decided to do some research on the pipe. I looked first on the Pipephil website and found some information on the white club inlay on the left side of the tapered stem. I did a screen capture of the pertinent information on the logo itself (http://www.pipephil.eu/logos/en/logo-kaywoodie.html). From there I learned that the logo was used until the 1980s. After the early 50s the logo was on the side of the stem.I turned to Pipedia (https://pipedia.org/wiki/Kaywoodie) and read the section on the rough outline on the history of the brand that links the brand with the English section of the company. I quote:

Again, demand for KBB pipes and especially Kaywoodie prompted another move for both the manufacturing facilities and the corporate offices. In 1930 the corporate office moved into the Empire State Building on Fifth Avenue in New York. By 1935, the manufacturing operations moved from Union City to 6400 Broadway in West New York, New Jersey which, at the time, was touted as the largest pipe making facility in the world. At the height of production, there were 500 employees producing up to 10,000 pipes per day.

The corporate offices were relocated in 1936 to the International Building, Rockefeller Center, 630 Fifth Avenue, New York. The invitation to visit the new office reads, “Kaywoodie is now on display at the world’s most famous address – Rockefeller Center. Here Kaywoodie takes its place among the leaders of industry and commerce.” The move to Rockefeller Center coincided with The Kaywoodie Company’s emergence as a subsidiary of KBB. All of the pipes manufactured by KBB including the Yello-Bole line were also on display here. By 1938 Kaywoodie had opened an office in London to meet worldwide demand. Kaywoodie of London was jointly owned with another famous pipemaker, Comoy’s of London.

From there I turned to a link on the article to a section called Guide to Kaywoodie Pipes (https://pipedia.org/wiki/Collector%27s_Guide_to_Kaywoodie_Pipes#NOTES_ON_.22OTHER.E2.80.9D_KAYWOODIE_PIPES).

English Kaywoodies. All of the catalogs reviewed in this research contained the following copyright notification: Printed in U.S.A., Kaufmann Bros. and Bondy, Inc., New York and London. Kaywoodie Pipe cases and smoker’s accessories were also marked with “New York and London”. The catalogs, however, do not present any information concerning Kaywoodie’s London operations, or how the English Kaywoodies might have differed from those manufactured and marketed in the U.S. Lowndes notes that he has several English Kaywoodies acquired in Vaduz and Zurich. English Kaywoodies are now made by Oppenheimer pipes. Lowndes notes that English Kaywoodies with the “screw-in bit” come in Ruby Grain, Custom Grain, Standard, and Relief Grain grades. The traditional push-bit models come in Continental Plain and Relief, London Made, Minaret, Air-way Polished No. 707, and Lightweight grades. Prices in 1985 ranged from 9.50 (pounds) to 26.00 (pounds). Lowndes notes that the Super Star was a special edition English Kaywoodie made of finest briar with a handmade silver band. Lowndes has two: one from Zurich with a large white-outlined logo, and beautifully cased; and one in walnut finish with the black-­in-white logo. A recent catalog shows the Super Star without a band and the ordinary small white logo. A 1985 letter from Oppenheimer states that the black-in-white logo has been discontinued and only the regular white logo is now used.

I turned to Pipedia’s Kaywoodie Shape Number chart to check out the number 83B that is stamped on the shank side (https://pipedia.org/wiki/Kaywoodie_Shape_Numbers). The chart gives the shape information and the time frame in which the shape was made. I did a screen capture of the shape number information and have included it below.From the above information I now knew that the pipe in hand was a Half Bent Heavy Round Shank Bulldog made between 1938-1955 in London by Oppenheimer. It had screw-in bit.

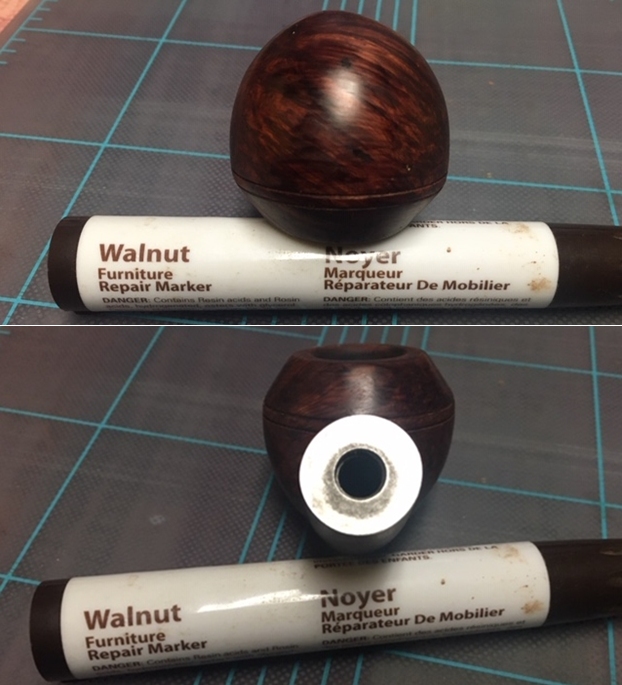
With over 125 pipes to clean from Bob’s estate I took a batch of them to the states with me when I visited and left them with Jeff so he could help me out. Jeff cleaned the pipes with his usual penchant for thoroughness that I really appreciate. Once he finished he shipped them back to me. This one was a real mess and I did not know what to expect when I unwrapped it from his box. He reamed it with a PipNet pipe reamer and cleaned up the reaming with a Savinelli Fitsall Pipe Knife. He scrubbed out the internals with alcohol, pipe cleaners and cotton swabs until the pipe was clean. He scrubbed the exterior of the bowl with Murphy’s Oil Soap and a tooth brush to remove the grime and grit on the briar and the lava on the rim top. The finish looks very good with good looking grain around the bowl and shank. Jeff scrubbed it with Soft Scrub and soaked it in Before & After Deoxidizer to remove the oxidation on the rubber. When the pipe arrived here in Vancouver for the second stop of its restoration tour it looked a lot better. I took photos before I started my part of the work. I took some close up photos of the rim top and also of the stem surface. I wanted to show what cleaned bowl and rim top looked like. The rim top shows damage and charring on the inner edge of the bowl. I also took close up photos of the stem to show the light tooth marks and the remaining oxidation on the stem surface.I took photos of the stamping on both sides of the shank and it is clear and readable. It is stamped as noted above. I unscrewed the stem for the shank and took a photo of the bowl and stem to give a picture of what it looked like. You can see the ball clipped off the end of the stinger.Now, on to my part of the restoration of this KBB English Made Rhodesian. I decided to start by dealing with the gouges in the bowl front and heel and on the back of the rim cap. I fill them in with clear super glue. When the repairs had cured I sanded them smooth with 220 grit sandpaper and 400 grit wet dry sandpaper. I used a folded piece of 220 grit sandpaper to smooth out the damage to the inner edge of the rim. I worked on the inner bevel to clean up the damage and the darkening. I sanded to the top of the rim at the same time to minimize the darkening.I stained the repaired and sanded areas with a Walnut stain pen to blend it into the surrounding briar. Once the stain cured I polished the briar to further blend it into the bowl.I polished the top of the bowl with micromesh sanding pads – wet sanding with 1500-12000 grit pads and wiping the briar down with a damp cloth after each sanding pad. I rubbed the bowl down with Before & After Restoration Balm. I worked it into the surface of the briar bowl sides and shank with my fingertips to clean, enliven and protect it. I let the balm sit for a little while and then buffed with a cotton cloth and shoe brush to raise the shine. I set the bowl aside and turned my attention to the stem. I sanded out the tooth dents in the top and underside of the stem at the button. There were a few deep tooth marks on the underside next to the button. I filled them in with clear super glue. Once the repairs cured I sanded them out with 220 grit sandpaper and started polishing them with 400 grit wet dry sandpaper.I polished the vulcanite with micromesh sanding pads – 1500-12000 grit pads. I wiped it down with a damp cloth after each sanding pad. I used Before & After Pipe Polish – both Fine and Extra Fine to further polish the stem. This KB&B Kaywoodie Drinkless 83B Rhodesian, English made pipe from Bob Kerr’s estate turned out to be a great looking pipe. The Walnut finish on the pipe is in excellent condition and works well with the polished vulcanite taper stem. I put the stem back on the bowl and carefully buffed the pipe with Blue Diamond on the buffing wheel using a light touch on the briar. I gave the bowl and stem multiple coats of carnauba wax on the buffing wheel and followed that by buffing the entire pipe with a clean buffing pad. I hand buffed the pipe with a microfiber cloth to deepen the shine. The finished KB&B Kaywoodie Rhodesian fits nicely in the hand and feels great. Give the finished pipe a look in the photos below. The dimensions of the pipe are Length: 5 inches, Height: 1 ½ inches, Outside diameter of the bowl: 1 ½ inches, Chamber diameter: ¾ of an inch. This particular pipe is staying with me for a while as it is a lot like the GBD 9242 Bent Rhodesian that is on my bucket list of pipe. The fact that it is English Made and made by Oppenheimer makes me wonder about a GBD connection. Who knows for sure though! I have more to work on of various brands. Perhaps one of those will catch your attention. Thanks for reading this blog and my reflections on the pipe while I worked on it. This is an interesting estate to bring back to life.

A Pause from Bob Kerr’s Estate – Repairing a Bite Through on a Stanwell Calabash for my Local Pipe Shop.


Blog by Steve Laug

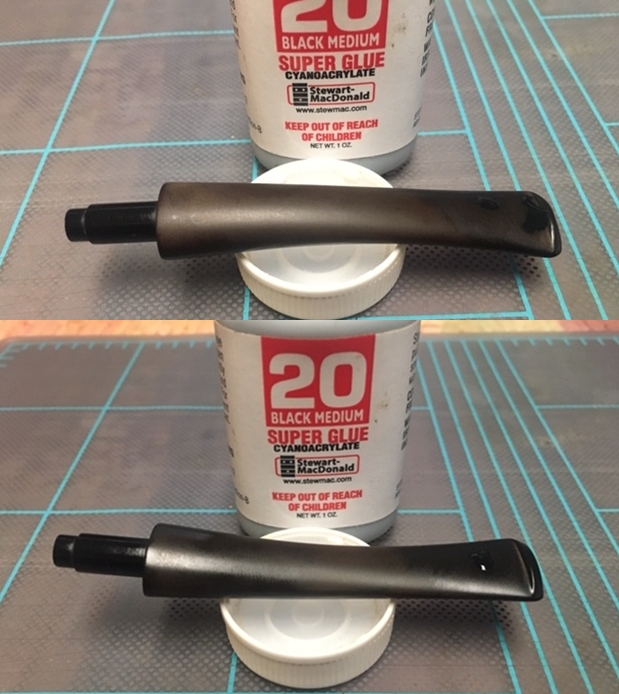
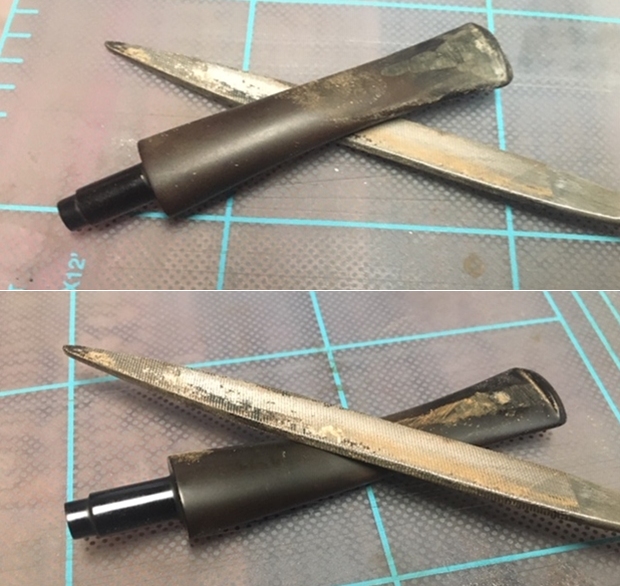
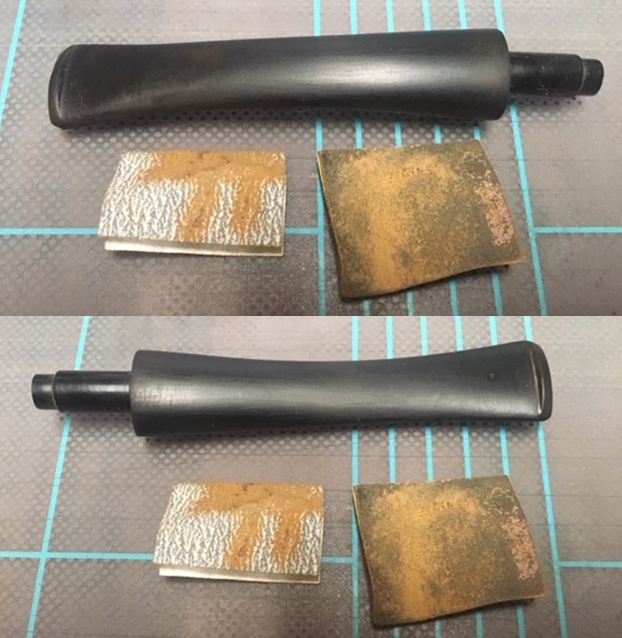
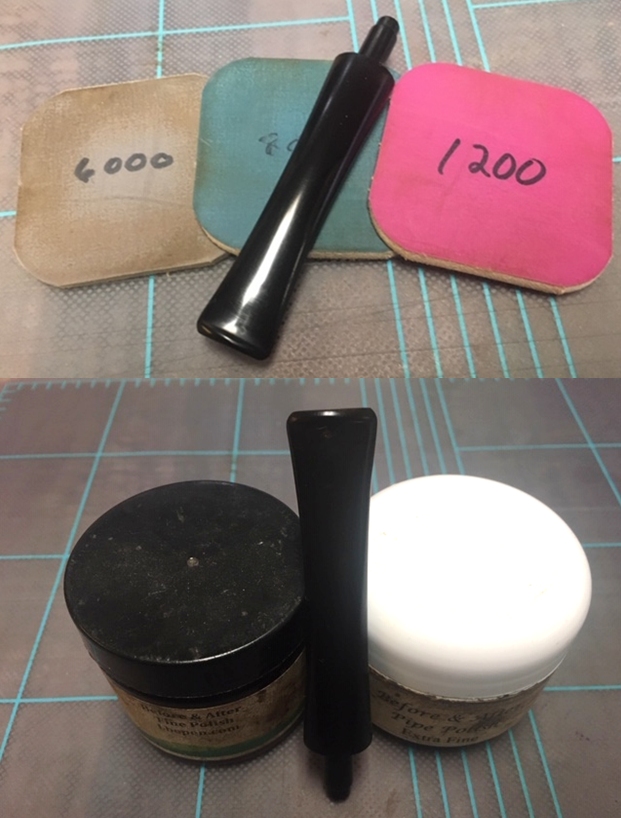
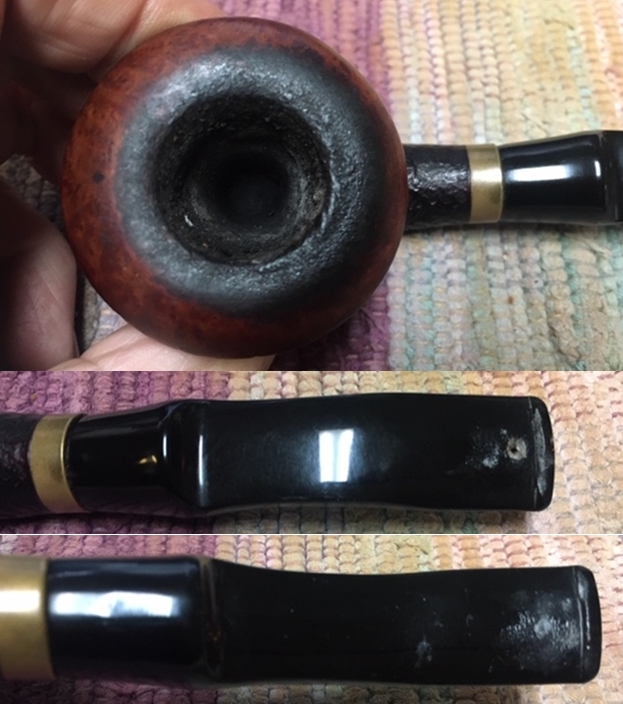
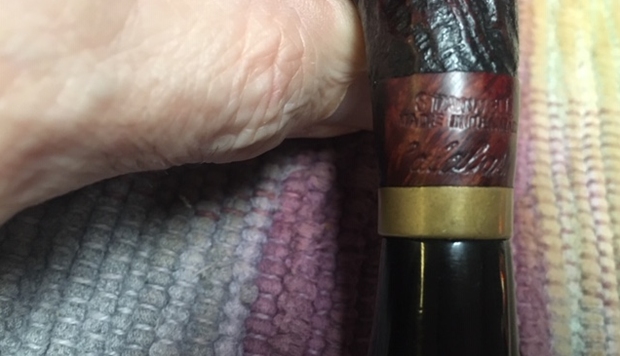
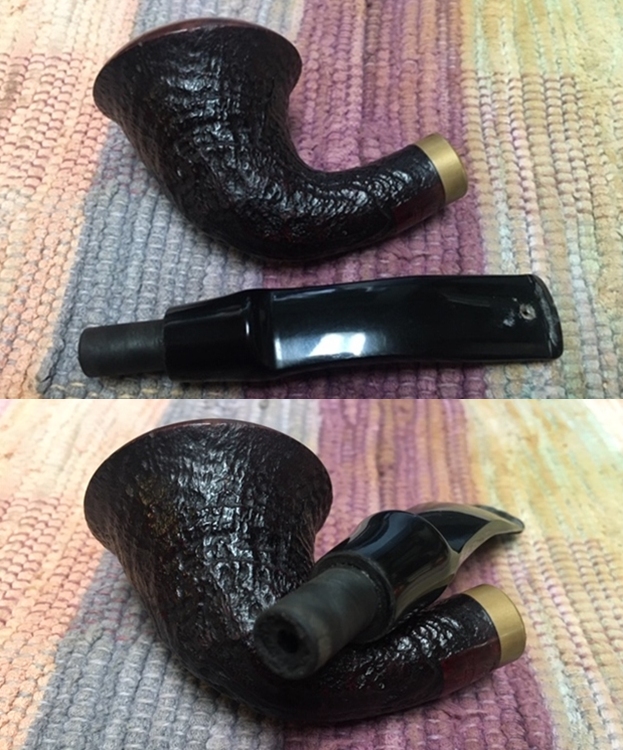
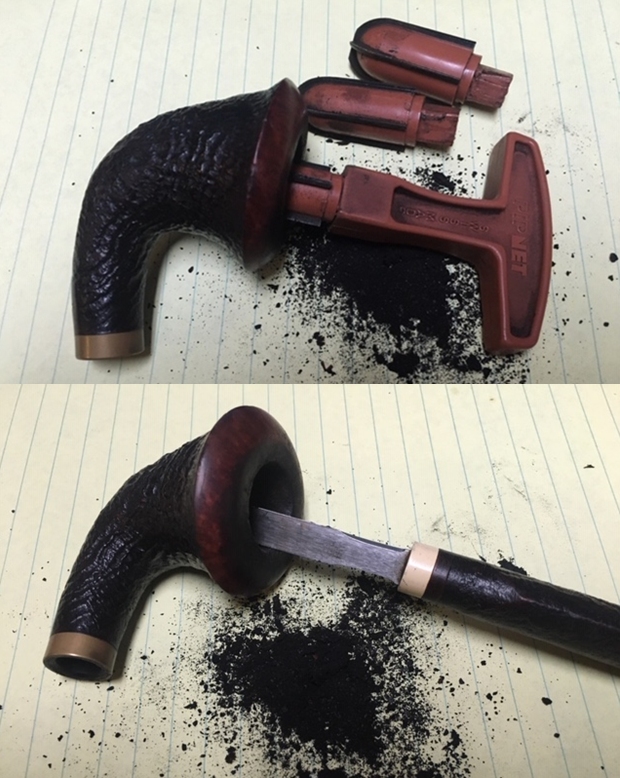
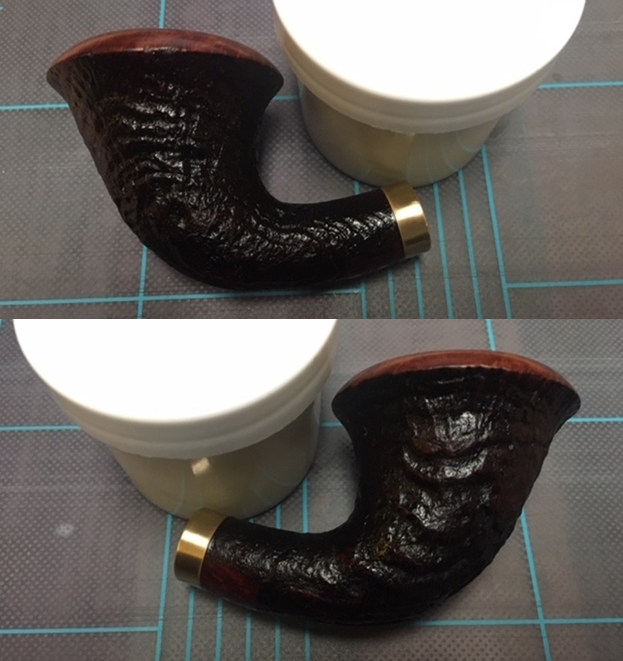
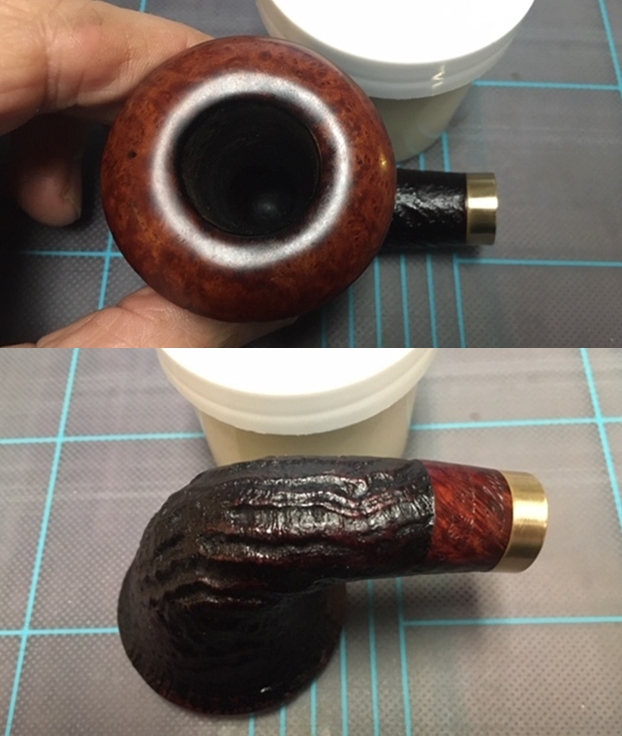
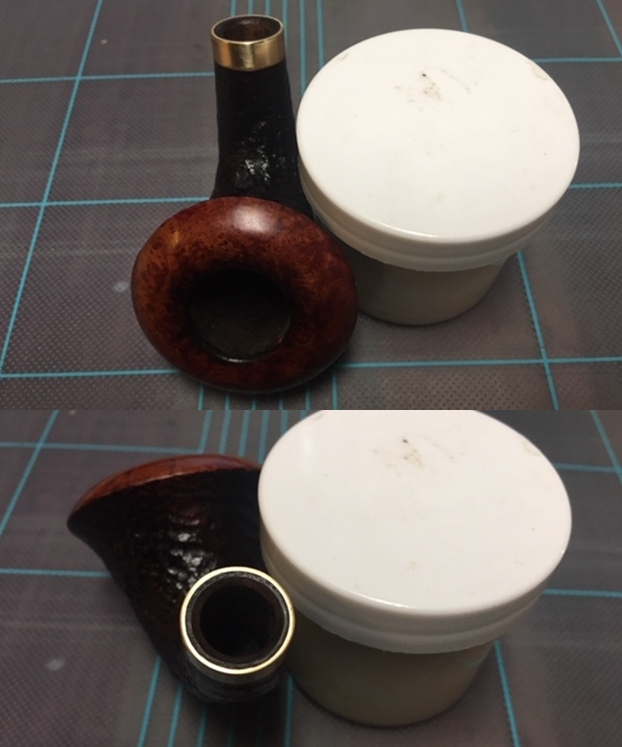
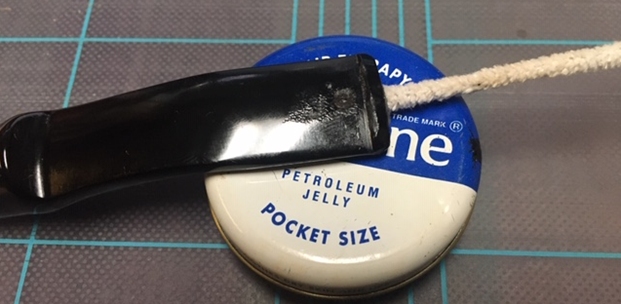
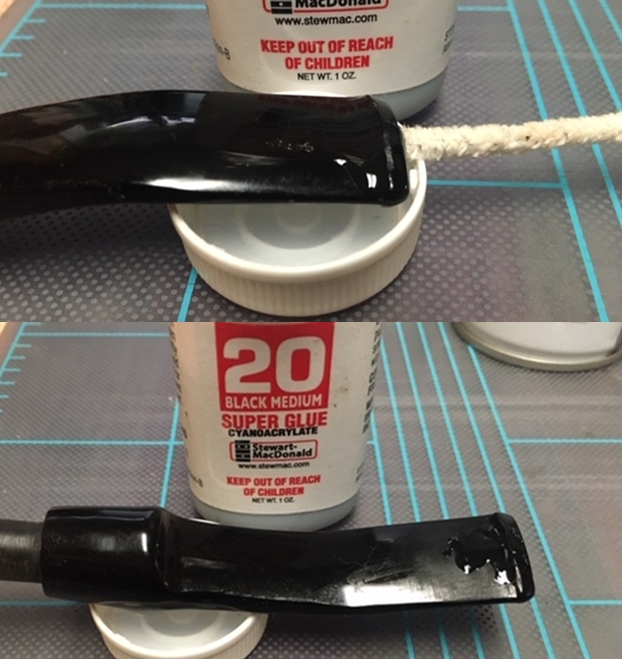
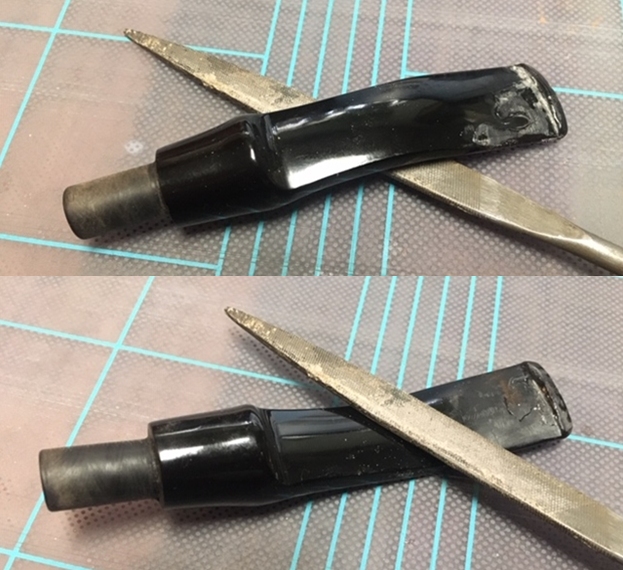
On Friday a fellow from my local pipe shop called and said that he was bringing a pipe by for repair. He had a pipe that he had bitten through on the top side of the stem. He said he would leave it for me to work on. I have been having the shop drop their repairs off in my mail box. When my daughter picked this one up she was blown away by the heavy vanilla aromatic smell that filled the mail box and wafted from the pipe wherever it was. She brought it to my basement work table for me to see. This is what I saw. It was obviously a well smoked pipe that the pipeman must have really loved. It had a thick cake in the bowl and heavy overflow of lava on the rim top that was also very thick. The inner edge of the bowl was also thickly caked. The photos I took of the stem are also very clear. There were tooth marks and chatter on both sides of the acrylic stem and a small bit through on the topside of the stem. Fortunately it was not too big a bit through so it was repairable.I took a photo of the stamping on the shank and it read Stanwell [over] Made in Denmark [over] Calabash in script. The brass decorative band was dull and oxidized.I took the stem off the shank and took photos of the pipe. The first photo below shows the pipe in profile and shows the bite through very clearly. The second photo shows the end of the tenon and how clogged it was with the tars and oils. My first thoughts were that it had an adapter in the tenon to fill it and convert it to a non-filter pipe. Once I cleaned it up it was clear that it was a regular tenon with a slight inset.I like working on clean pipes so I reamed the bowl with three of the four cutting heads on the PipNet Pipe Reaming set. The bowl is conical so it took all three heads to remove the cake from the bowl. I cleaned up the remnants of cake with a Savinelli Fitsall Pipe Knife. I also scraped the calabash rim top with the knife to remove the lava. I cleaned out the internals of the shank and stem with pipe cleaners, cotton swabs and alcohol. I worked them over until the inside of the pipe was clean.I scrubbed the exterior of the bowl and rim with a tooth brush and Murphy’s Oil Soap. I scrubbed the buildup on the rim top with the soap and tooth brush and was able to remove it all from the calabash top. I rinsed it off with running water and dried the pipe with a cotton cloth. I polished the smooth calabash rim top with micromesh sanding pads – 1500-12000 grit pads. I wiped the rim top down with a damp cloth after each sanding pad. The rim top began to look very good as it took on its shine. I rubbed the bowl and rim top down with Before & After Restoration Balm. I worked it into the surface of the briar with my fingertips and a horse hair shoe brush to clean, enliven and protect it. I let the balm sit for a little while and then buffed with a cotton cloth and shoe brush to raise the shine. The Balm does a great job in bringing life to aged briar that has been cleaned. I set the bowl aside and went to work on the stem. I cleaned off the surface of the stem with alcohol to remove greases and oils from the acrylic. I wanted it clean and dry so I could do the repair. Once it was clean I greased a pipe cleaner with Vaseline and inserted it into the airway of the stem. The greased pipe cleaner keeps the glue from filling in the airway.Since the hole in the top of the stem was quite small I decided to use just black super glue to fill in the damaged spot. I also used it to fill in the tooth marks and the dents in the surface. I set the stem aside to let the repairs cure.Once the repair cured I used a needle file to smooth out the repaired areas. I also cut the edges of the button on both sides and smooth it out. I would need to do a lot of sanding to blend it in but it would certainly look better. I sanded it with a folded piece of 220 grit sandpaper to smooth it out. I started the polishing with a folded piece of 400 grit wet dry sandpaper. I polished the acrylic stem with micromesh sanding pads – 1500-12000 grit pads. I wiped it down with a damp cloth after each sanding pad. I used Before & After Pipe Polish – both Fine and Extra Fine to further polish the stem. The repairs and restoration of the Stanwell Calabash turned out really well. The mix of brown stains highlights the sandblasted grain around the bowl sides as well as the smooth calabash rim top. The finish on the pipe is in excellent condition and the contrasting stains work well with the polished acrylic saddle stem. I put the stem back on the bowl and carefully buffed the pipe with Blue Diamond on the buffing wheel using a light touch on the briar. I gave the bowl and stem multiple coats of carnauba wax on the buffing wheel and followed that by buffing the entire pipe with a clean buffing pad. I hand buffed the pipe with a microfiber cloth to deepen the shine. The finished Stanwell Calabash fits nicely in the hand and feels great. Give the finished pipe a look in the photos below. The dimensions of the pipe are Length: 5 ¾ inches, Height: 2 inches, Outside diameter of the bowl: 1 ¼ inches, Chamber diameter: ¾ of an inch. I am looking forward to hearing what the pipeman who dropped it off thinks of it when he picks it up. It should continue to serve him well. Thanks for reading this blog and my reflections on the pipe while I worked on it. This is an interesting pipe to bring back to life.


Bringing a Square Shank  Benaderet’s Coral Pot Back to Life


Blog by Steve Laug

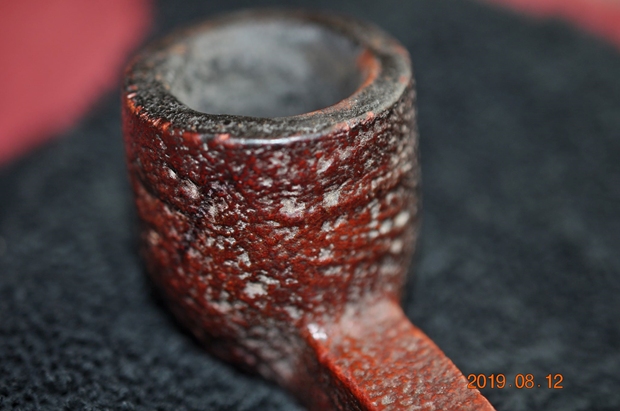
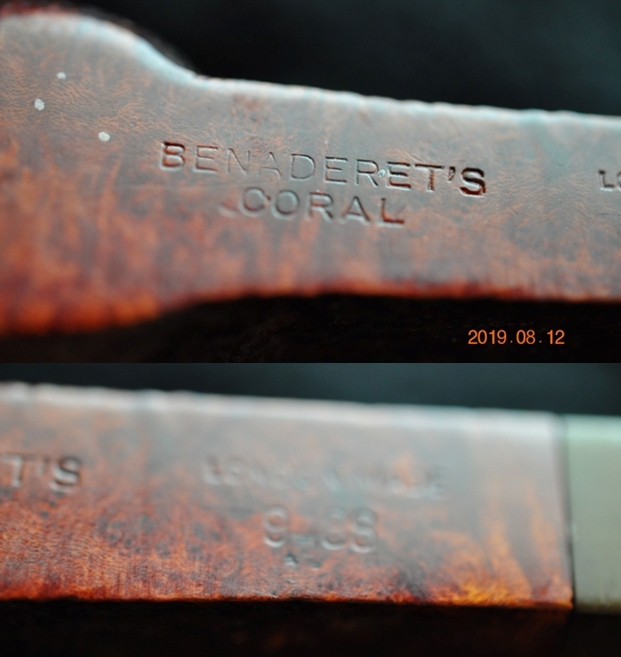
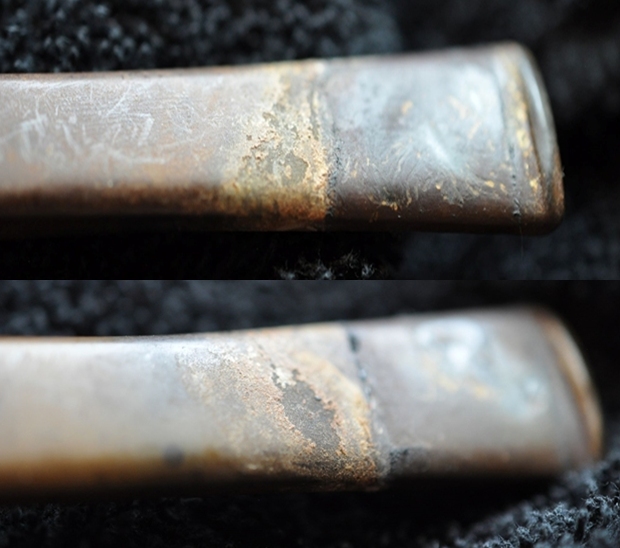
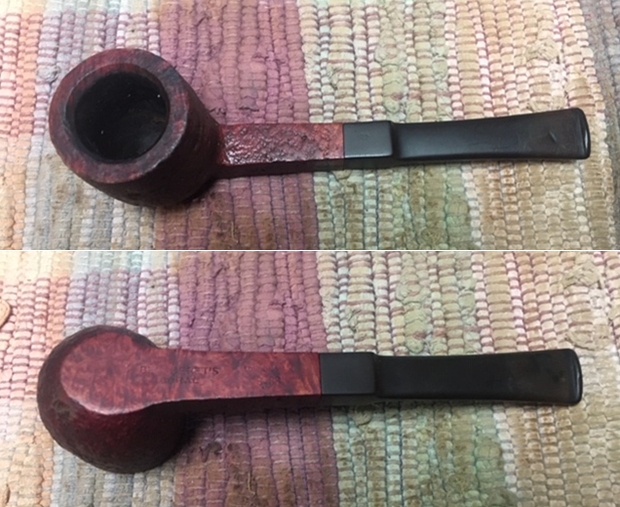
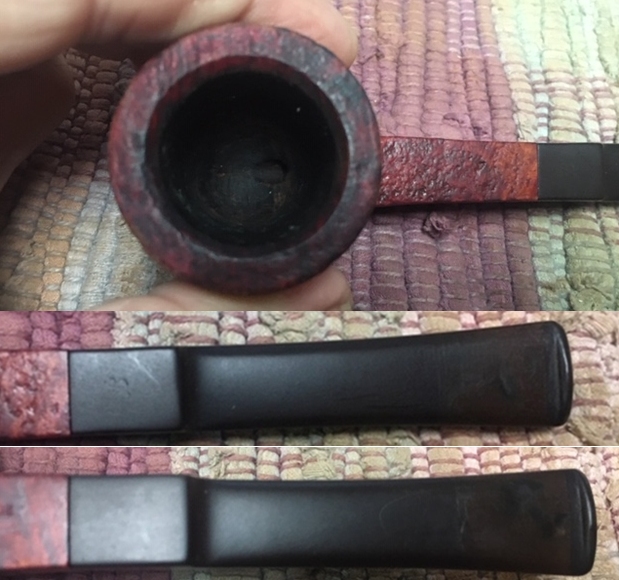
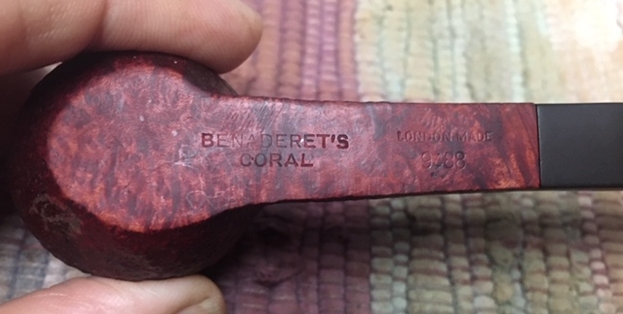
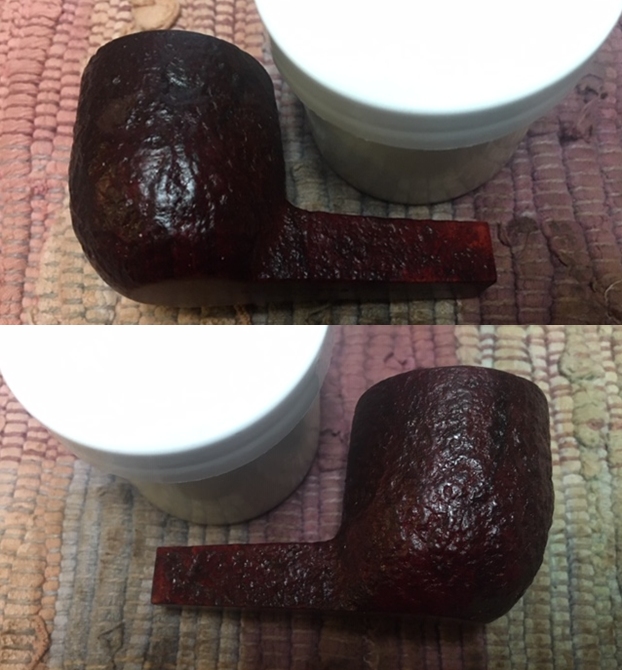
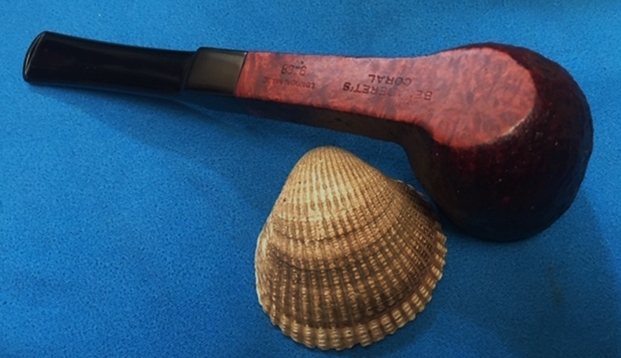
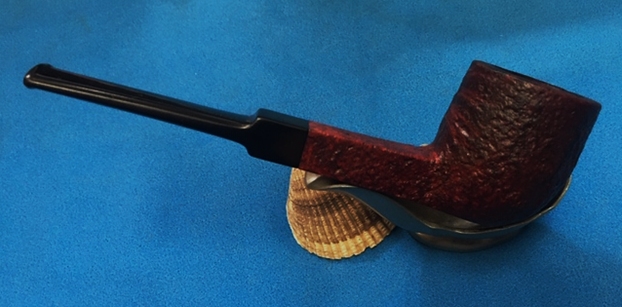
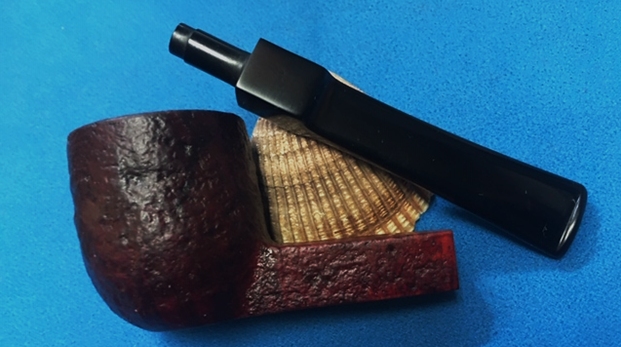
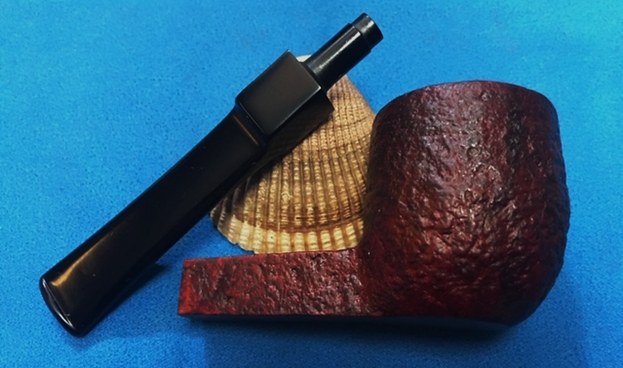
The next pipe on the table is a sandblasted square shank pot. The pipe is a real mess with dust and grime in all of the valleys of the sandblast and the rim top is covered in lava. The inner edge of the bowl is very dirty and darkened and there is a thick cake in the bowl. The cake was so thick in parts of the bowl that it was hard to guess the condition of the rim edge. The finish appears to be a reddish brown or oxblood colour with dark highlights underneath. On the heel of the bowl and shank it is stamped Benaderet’s Coral followed by London Made and the shape number 9488. The stem was oxidized, calcified and there were tooth marks and chatter on both sides just ahead of the button. There was not any stamping on the stem so it did not have any identifying marks. Jeff took photos of the pipe before he started working on it. I include those below. Jeff took photos of the bowl and rim top to show the cake in the bowl and the lava build up on the rim top and dust and grime in the rustication. It was thick and hard and heavier toward the front of the bowl. Hopefully it had protected the rim and edges from damage. The lava is deep in the rustication and there is a buildup on the inner edge of the bowl. Jeff took a photo of the sides and heel of the bowl to show the condition of the finish – the grime and grit all over the sides and bottom of the bowl. The grooves in the sandblast are full of grime but it is interesting. This is a very tactile finish and one that I enjoy.      Jeff took two photos of the stamping on the underside of the shank to capture all of it. It is very clear and readable other than the edge of the shank where the London Made and 9488 number are stamped.   Jeff took photos of the top and underside of the stem showing the scratching, oxidation, calcification and tooth marks on the stem surface and button. Some of the tooth marks are quite deep on both sides of the stem. From the shape number on the shank I was pretty certain I was dealing with a GBD pipe. The stamping Benaderet’s Coral was a dead end but the shape number hit the mark. I turned to Pipedia’s shape number listing and found it (https://pipedia.org/wiki/GBD_Shapes/Numbers). I have included a screen capture of the listing below.I did a quick google search for a Benaderet’s Pipe Shop and came on two good links. The first is from a post on reddit that included a quick bit of information on the shop being located in San Franscisco, California that closed in the 1970s. (https://www.reddit.com/r/PipeTobacco/comments/dzg3y8/any_info_on_a_benaderet_pipe_year_etc/ ). I quote:

Benaderet’s was a pipe shop in San Francisco that closed in the 70’s. Their house pipes were made by comoys or sasieni although smokingpipes had one made by gbd once. Good find.

The other link was to a blog (http://theothersideofthelizard.blogspot.com/2018/11/benaderets-pipe-shop.html). That blog gave the original address of the shop in San Francisco and the names of the owners of the shop.

Benaderet’s Cigarette, Pipe and Tobacco Shop

215 Sutter Street [Formerly at 566 California Street],San Francisco.

Owners: Robert and Edith Rashaw (Robert Rashaw: born 1916. Edith Edna Rashaw: born 1916.)

Store still extant in the late seventies. No longer there by the eighties.

At one point, they had Egyptian cigarettes made for them.

Their house pipes were usually by Comoys. There are also Benaderet Sasienis. More research required.

Quote: “Benaderet’s Inc., was California’s oldest pipe and tobacco store when it went out of business in 1980. Sam Benaderet was a tobacconist from New York City who came to San Francisco in 1915 to work at the Panama Pacific International Exposition. An immigrant to the United States from Turkey, Mr. Benaderet decided that he liked the West Coast’s Mediterranean like climate. After the Exposition closed, he stayed to open his own tobacco business. This new firm produced custom private-label cigarettes for men’s clubs. A lavish retail store was opened in the late 1920’s that quickly became a mecca for tobacco connoisseurs.”

So what I could find out about the pipe is that it is a pipe made by GBD (Shape number confirms this). It turns out that the pipe was a GBD pipe made for Benadert’s Cigarette, Pipe and Tobacco Shop in San Francisco, California. Since the shop went out of business in 1980 I now knew that the pipe was made before that time. Now it was time to work on the pipe.

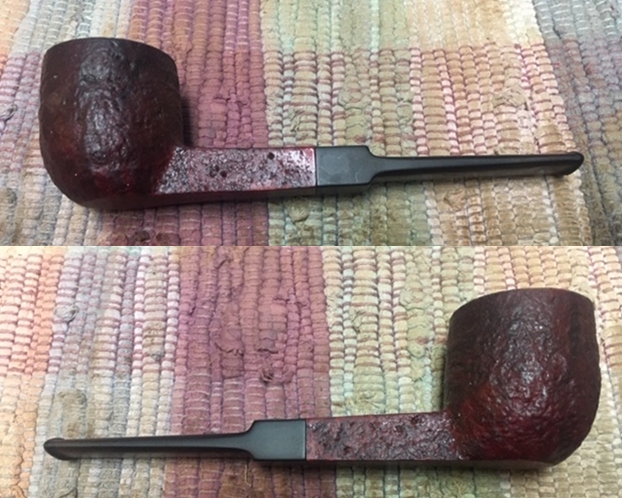
This pipe was a real mess like many of the pipes we work on. I was curious to see what it would look like when I unpacked it. I was surprised at how good it looked. Jeff reamed it with a PipNet pipe reamer and cleaned up the reaming with a Savinelli Fitsall Pipe Knife. He scrubbed out the internals with alcohol, pipe cleaners and cotton swabs until the pipe was clean. He scrubbed the exterior of the bowl with Murphy’s Oil Soap and a tooth brush to remove the grime and grit on the briar and the lava on the rim top. The finish on the bowl looked really good when I got it. The rim top looked much better and the inner and outer edges were looking good. He had cleaned the internals and scrubbed the exterior of the stem and soaked them in Before & After Deoxidizer bath to remove the oxidation. The stem looked very good other than the tooth marks and chatter in the surface. When the pipe arrived here in Vancouver for the second stop of its restoration tour it looked very good. I took photos of the pipe before I started my work on it.   I took photos of the condition of the rim top and stem before I started working. The rim top looks very good. The crevices and valleys of the sandblast and the beveled inner edge of the rim are clean and look great. The bowl is spotless. The stem is lightly oxidized and has some tooth marks and tooth chatter.   I took a photo of the stamping on the underside of the heel and the shank. It is clear and readable as noted above.I worked some Before & After Restoration Balm into the finish of the bowl and the rim top and shank with my fingertips and a horsehair shoe brush to clean, enliven and protect it. I find that the balm really makes the briar come alive again. The contrasts in the layers of stain and the separate finishes really made the grain stand out. I let the balm sit for a little while and then buffed with a cotton cloth to raise the shine. The bowl really looks good at this point. I tried to lift the tooth marks with a flame but they did not come up. I filled in the deeper ones on each side with clear super glue. Once the repairs cured I used a needle file to flatten the filed in areas in preparation for sanding.    I sanded the stem to remove the oxidation that was on the surface and to smooth out the repaired areas. I used a folded piece of 220 grit sandpaper and a piece of 400 grit wet dry sandpaper. At this point the stem is looking better and the tooth marks are gone.  I polished the stem with micromesh sanding pads – wet sanding it with 1500-12000 grit pads. I polished it further with Before & After Pipe Stem Polish – both fine and extra fine.    Once again I am the part of the restoration that I always look forward to – the moment when all the pieces are put back together. I put the Benaderet’s Coral 9488 pipe back together and lightly buffed the bowl with Blue Diamond. I buffed the stem with a heavier touch with Blue Diamond on the buffing wheel. I gave the bowl multiple coats of Conservator’s Wax and the stem multiple coats of carnauba wax. I buffed the pipe with a clean buffing pad to raise the shine. I hand buffed it with a microfiber cloth to deepen the shine. It is fun to see what the polished bowl looks like with the combination of rustication and smooth finishes. The black vulcanite stem stands out as a shiny black contrast to the colours of the bowl. The reddish brown stain on the Benaderet’s Coral Pot looks absolutely great. It is nice to know that it has a west coast tie to the San Francisco area and a long gone pipe shop. It must have been a fine smoking pipe judging from the condition it was when we received it. Have a look at it in the photos below. The dimensions are Length: 6 inches, Height: 1 ¾ inches, Outside diameter of the bowl: 1 ½ inches, Chamber diameter: 7/8 of an inch. This is one that will go on the British Pipemakers section of the rebornpipes online store shortly. Thanks to each of you who are reading this blog. Remember we are not pipe owners; we are pipemen and women who hold our pipes in trust until they pass on into the trust of the next generation.

New Life for a Peterson’s Republic Era “Donegal” Rocky 407 Prince


Blog by Steve Laug

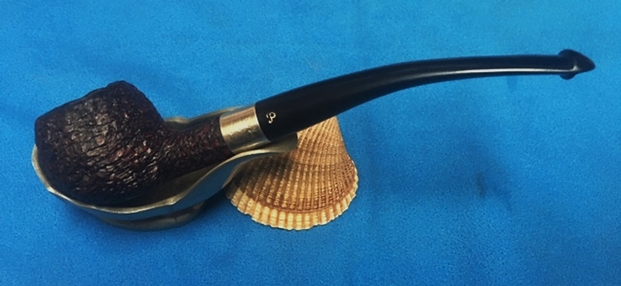
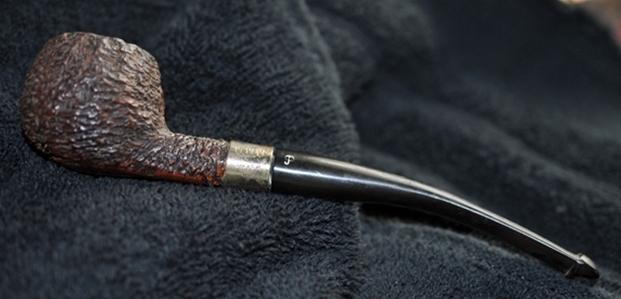
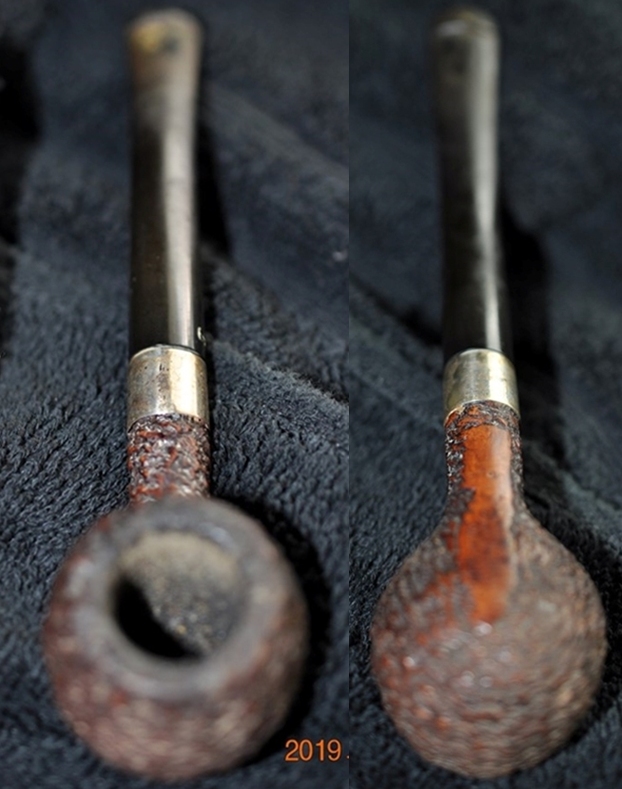
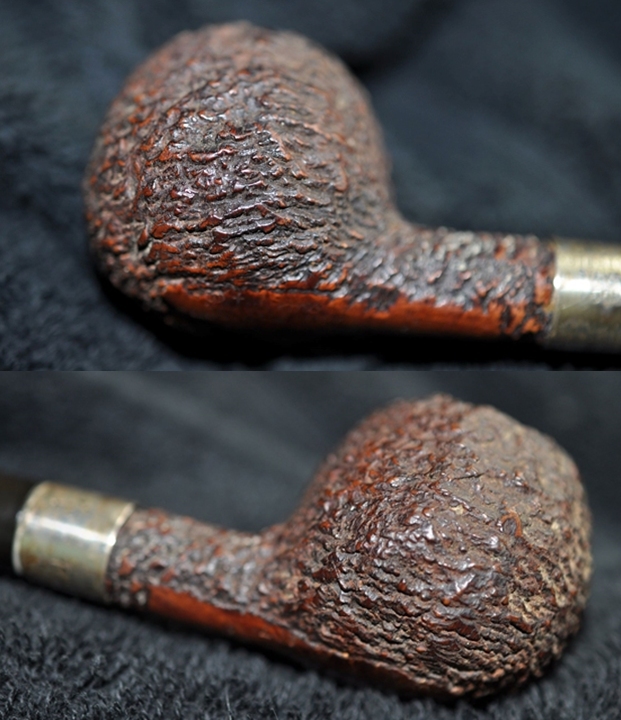
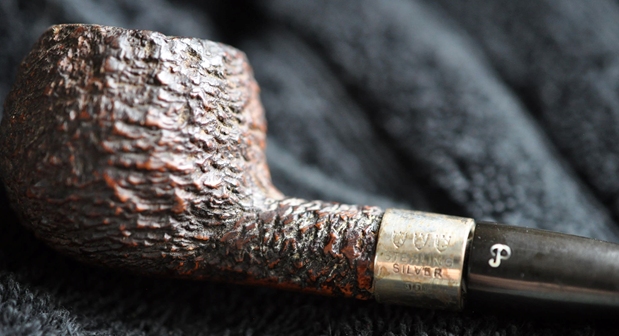
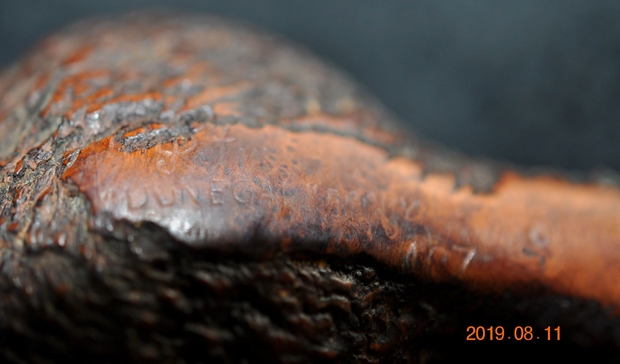
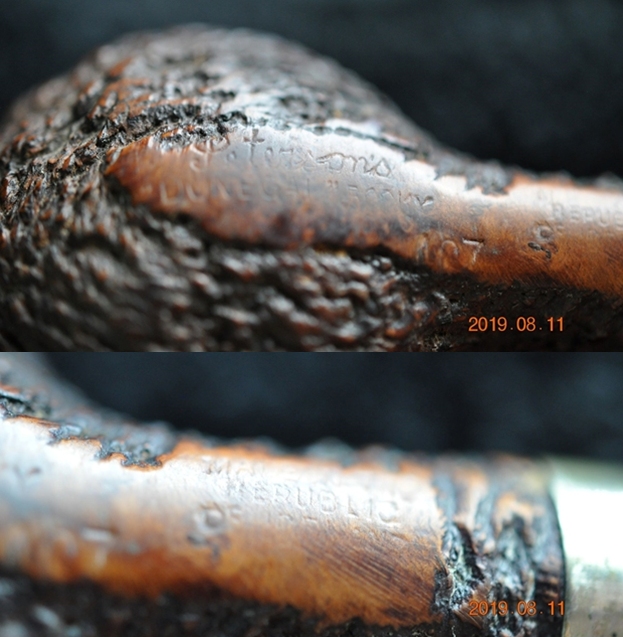
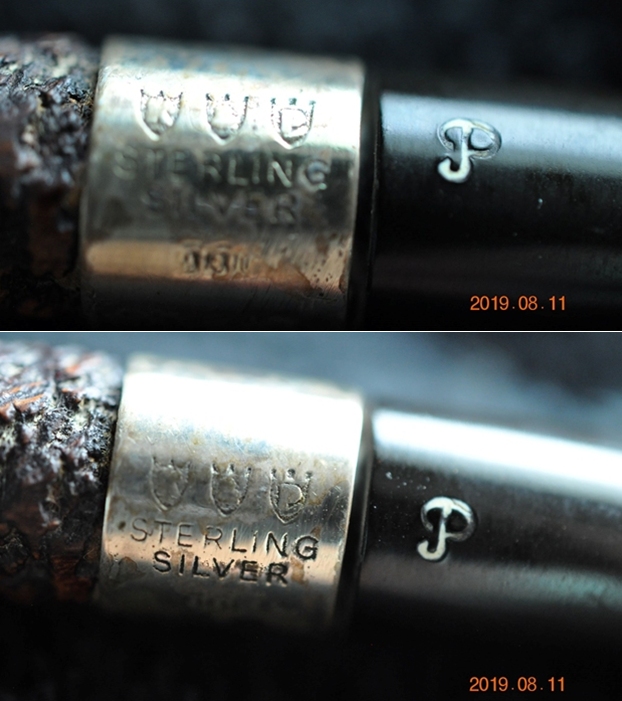
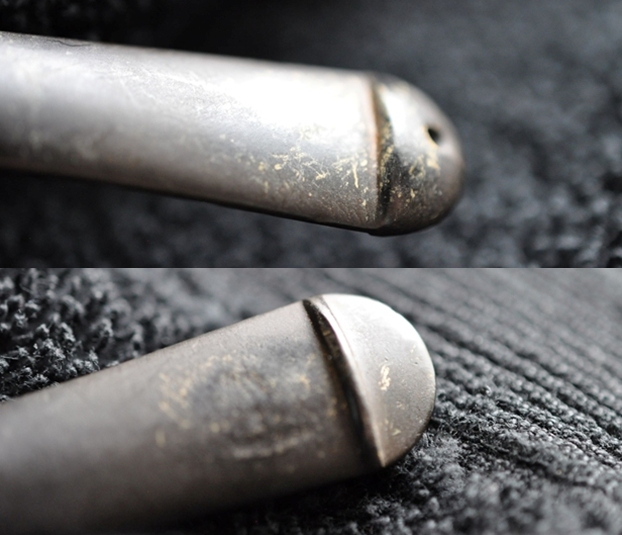
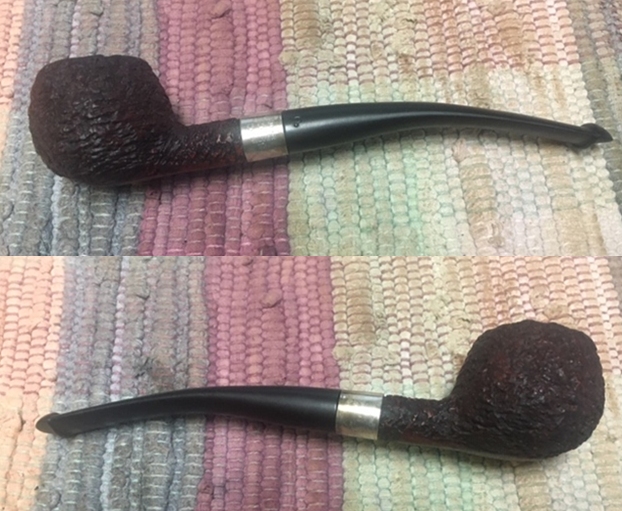
The next pipe on the table came to us from one of Jeff’s pipe hunts or auctions. It is a smaller nicely grained and I would say classic Peterson’s “Donegal” Rocky 407 Prince with a bent P-lip stem. The rusticated finish is quite rugged and has an instantly recognizable Peterson’s look. The pipe was dirty, with grime and dust ground into the finish. The bowl had a thick cake in the bowl and a lava overflow on the inner edge of the rim and spilling onto the rim top and filling in the rustication there. The pipe is stamped on underside of the shank and reads Peterson’s “Donegal” Rocky. It is stamped Made in the Republic of Ireland followed by the shape number 407. The silver band is stamped K&P over Sterling Silver. There are also silver hallmarks. The first is the mark for the city of Dublin (woman on a throne). The second mark is the mark for the quality of silver (Irish harp). The third mark looks like an “I” (the date stamp). The stamping is clear and readable on the pipe and ferrule. The stem was dirty, oxidized and calcified. There were light tooth marks and chatter on the stem near the button on both sides and some on the surface of the button as well. There was a Peterson’s “P” on the left side of the taper stem. Jeff took photos of the pipe before he cleaned it up. Jeff took photos of the rim top to show the cake in the bowl and the overflow of lava onto the rim top and filling in the rustication. The photos show the rim top and bowl from various angles.He took some photos of the bowl sides and heel to show the tight rustication pattern that was on this bowl. It is a dirty but quite beautifully crafted pipe. The stamping on the underside of the shank read as noted above. It took a few photos to show the entirety of the stamping. The stamping is faint but readable. He also took photos of the Sterling Silver band on the shank. The P on the left side of the stem is clear and the stamping on the stem side is in good condition. The stem was a poor fit to the shank. It was oxidized, calcified and had debris stuck to the surface of the vulcanite. There were tooth marks and chatter on both sides of the stem. I am including the information from Pipedia’s article on Peterson pipes. It is a great read in terms of the history of the brand (https://pipedia.org/wiki/Peterson). I have included a bit of the pertinent history here.

1950 – 1989 The Republic Era  – From 1950 to the present time, the stamp for this era is “Made in the Republic of Ireland” in a block format generally in three lines but two lines have been used with or without Republic being abbreviated.

During the 1950’s and 60’s the Kapp & Peterson company was still in the ownership of the Kapp family. However 1964 saw the retiral of the company Managing Director Frederick Henry(Harry) Kapp.

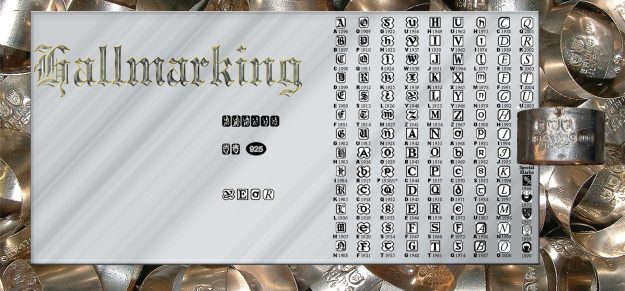
I turned to the Peterson’s pipe notes site to have a look at the hallmark chart and see if I can identify the stamping (https://petersonpipenotes.org/tag/peterson-pipe-hallmarks/). I have included the chart below. It looks to me like it is stamped with the letter I that looks like the letter stamp for 1976.With that information in hand I knew what I was dealing with in terms of the stamping and the age of this pipe. I knew from the information that the pipe was made during the Republic Era between 1950 and 1989. Pipedia then qualifies the dating as follows: From 1950 to the present time, the stamp for this era is “Made in the Republic of Ireland”. The date stamp on the Sterling Silver cued it to 1976. Now it was time to work on the pipe.

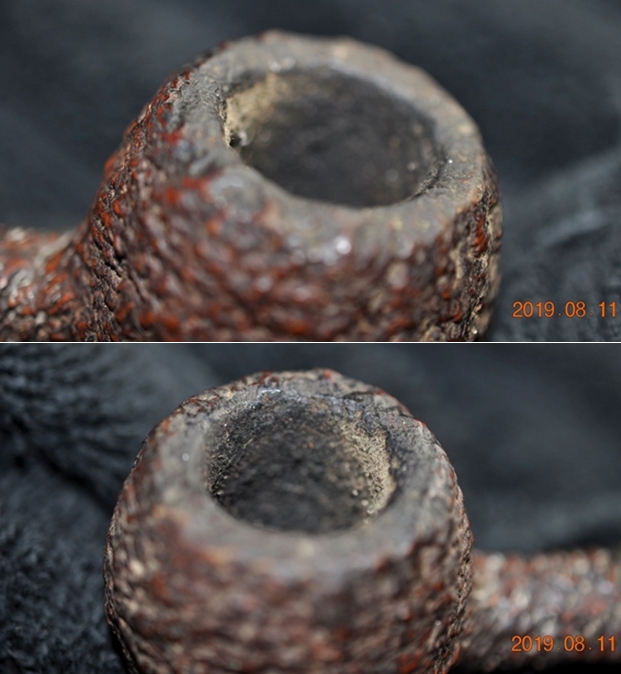
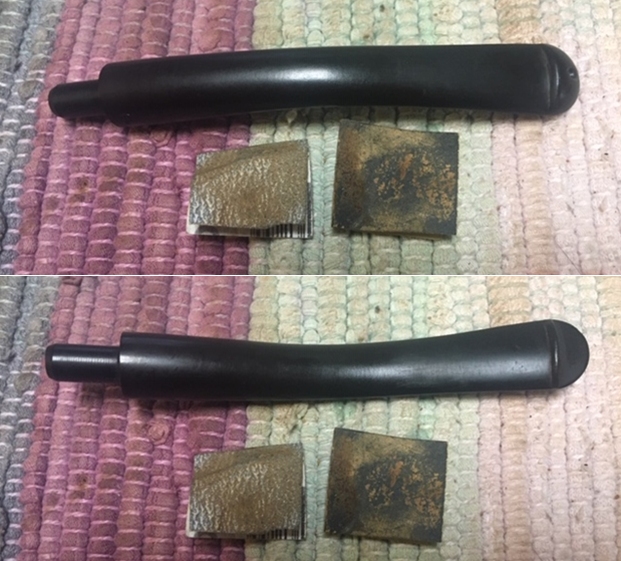
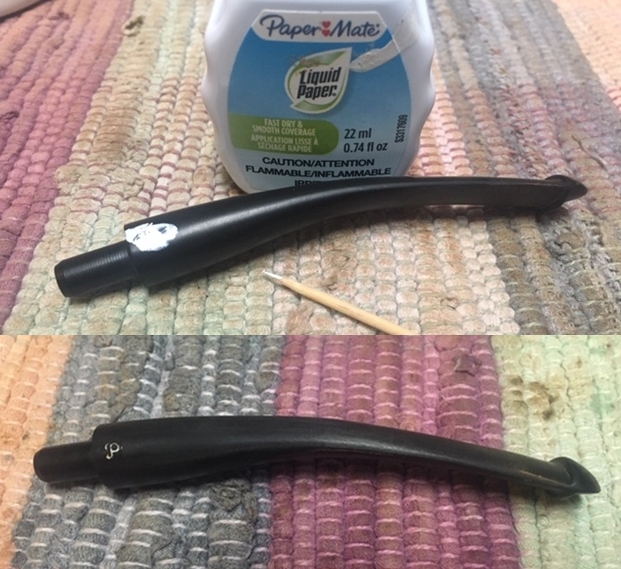
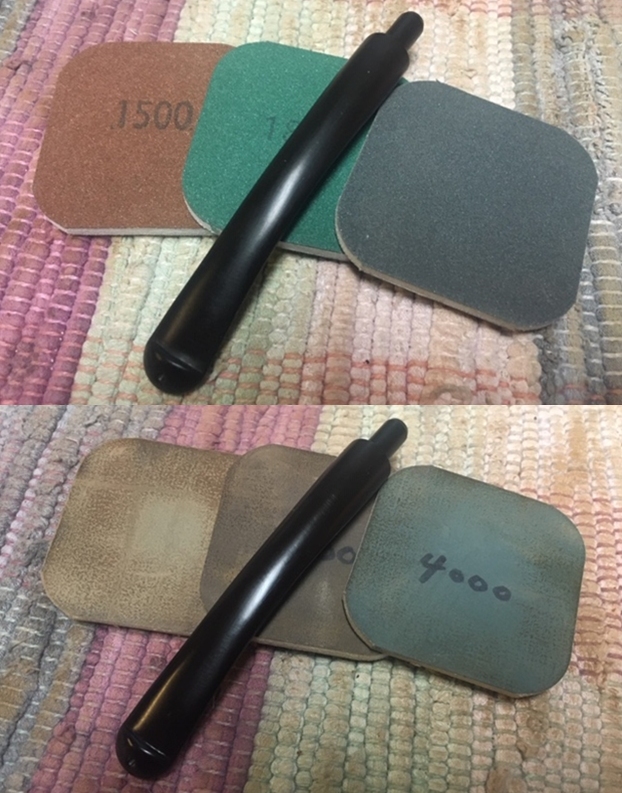
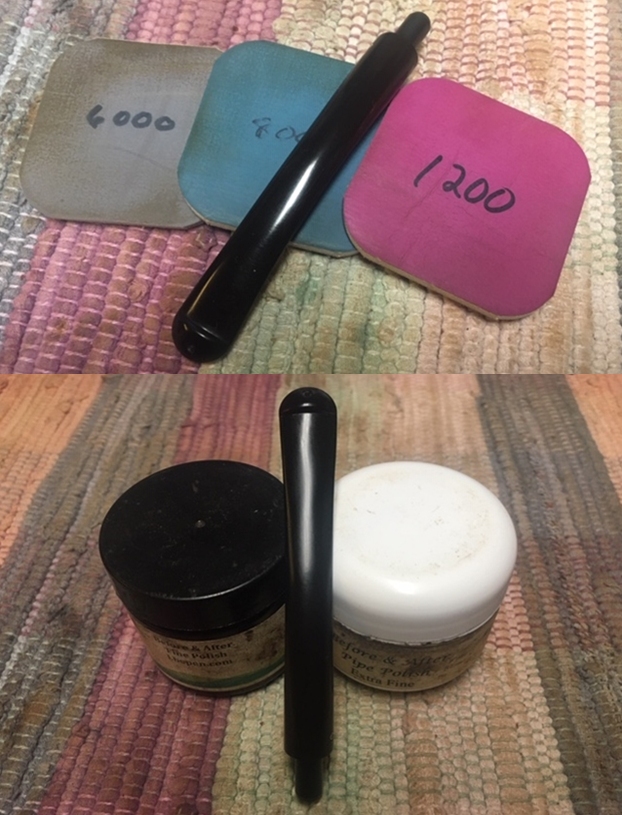
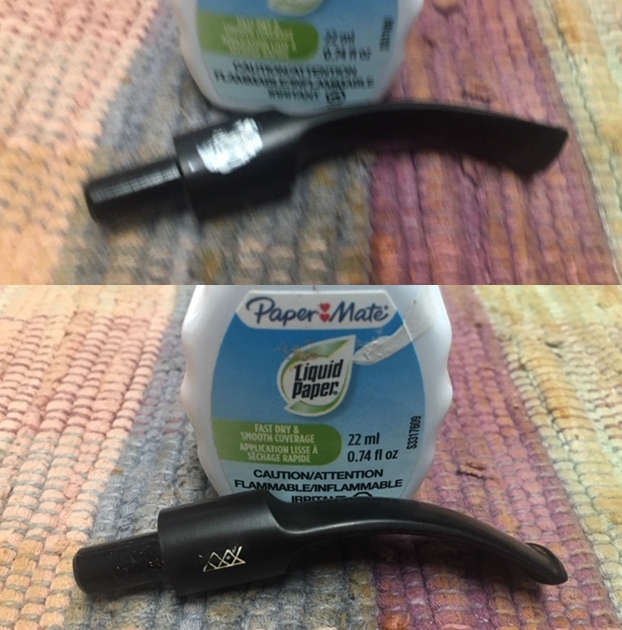
Armed with that information I turned to work on the pipe itself. Jeff had done an amazing job cleaning up the pipe. He reamed the pipe with a PipNet reamer and cut back the cake back to the bare briar. He cleaned up the walls with a Savinelli Fitsall Pipe Knife. He scrubbed the interior of the bowl and shank with pipe cleaners, cotton swabs and alcohol to remove the tars and oils. He scrubbed the exterior of the pipe with Murphy’s Oil Soap and a tooth brush to remove the grime from the finish. He scrubbed the inside of the stem with alcohol and pipe cleaners. He cleaned the oxidized silver with Soft Scrub and buffed it off with a soft pad. He scrubbed the exterior with Soft Scrub and then soaked it in Before & After Deoxidizer. He washed it off with warm water to remove the Deoxidizer. The pipe looked far better. I took photos of the pipe when I received it before I started working on it. I took photos of the bowl and rim top to show how clean it was. The rustication on the rim top is very clean and there is darkening that will be hidden by the contrast stains. The stem looks clean of oxidation and there are some deep tooth marks and chatter on both sides of the stem.The stamping on the underside of the shank was faint but readable as noted above. The second photo shows the P stamp on the left side of stem.I took a photo of the pipe with the stem removed to show the overall look of stem, tenon and profile of the pipe. It is a great looking pipe.I rubbed the briar down with Before & After Restoration Balm. I worked it into the rustication with my fingertips and a shoe brush to get it into the deep briar. The product works to clean, enliven and preserve the briar. I let it sit for 10 minutes while I worked on the stem. After the time passed I buffed it with a cotton cloth to deepen the shine. The rustication came alive with the balm. I set the bowl aside and turned my attention to the stem. I heated the vulcanite to lift the dents but they had sharp edges so they did not lift at all. I filled in the deeper tooth marks with clear super glue and set it aside to cure.Once the repairs cured I sanded them smooth with 220 grit sandpaper. I usually file them first with a needle file but last night my daughters were using my desk top and that is where the files were so I just sanded them smooth. I started the polishing with 400 grit wet dry sandpaper.I touched up the P stamp on the left side of the stem with Paper Mate Liquid Paper and once it dried I scraped off the excess. The P stamp is far from perfect but it definitely looks better.This stem was in great condition so I polished it with micromesh sanding pads – 1500-12000 grit pads. I wiped it down with Obsidian Oil after each sanding pad. I used Before & After Pipe Polish – both Fine and Extra Fine to further polish the stem. This Republic Era Peterson’s “Donegal” Rocky 407 Prince is a nice looking rusticated pipe. The combination of brown stains really makes the rustication almost sparkle around the bowl sides and shank. They begin to really stand out with the polishing. The finish on the pipe is in excellent condition and the contrasting stains work well to give some contrast to the pipe. The polished black vulcanite P-lip taper stem and the Sterling Silver band just add to the mix. With the grime and debris gone from the finish and the bowl it is really is eye-catching. I put the stem back on the bowl and lightly buffed the pipe with Blue Diamond on the buffing wheel, carefully avoiding the stamping on the shank. I gave the bowl multiple coats of Conservator’s Wax and the stem multiple coats of carnauba wax on the buffing wheel and followed that by buffing it with a clean buffing pad. I hand buffed the pipe with a microfiber cloth to deepen the shine. The finished Peterson’s “Donegal” Rocky Prince is quite nice and feels great in the hand. Give the finished pipe a look in the photos below. The dimensions of the pipe are Length: 6 inches, Height: 1 ¼ inches, Outside diameter of the bowl: 1 ¼ inch, Chamber diameter: ¾ of an inch. Thanks for walking through the restoration with me as I worked over another interesting pipe. This Peterson’s “Donegal” Rocky will be added to the Irish Pipe Makers section of the rebornpipes store soon. If you want to add it to your collection send me an email or a message! Thanks for your time.

Restoring a KBB Yello-Bole Premier Liverpool


Blog by Steve Laug

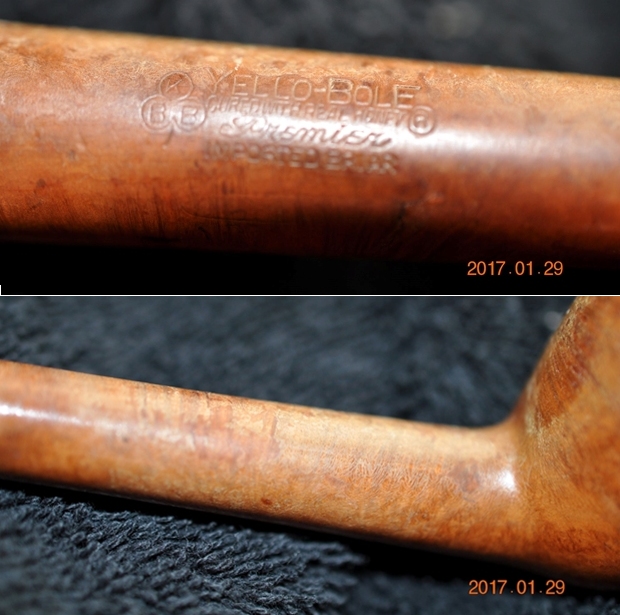
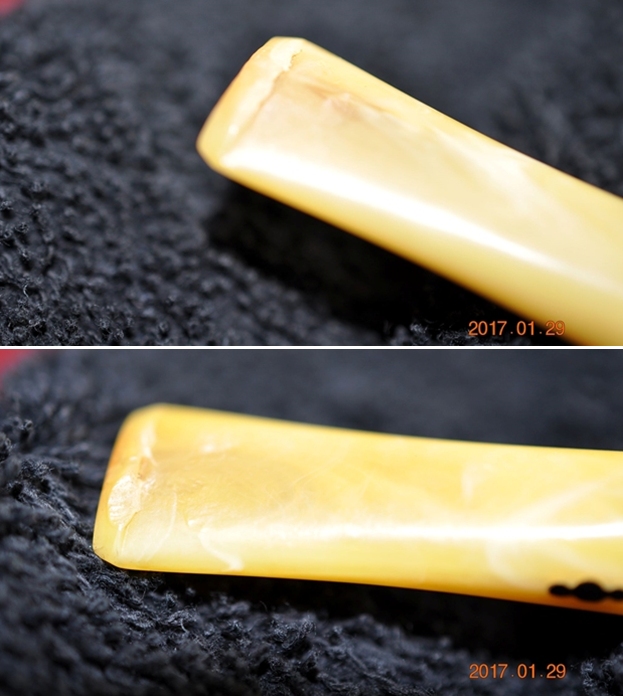
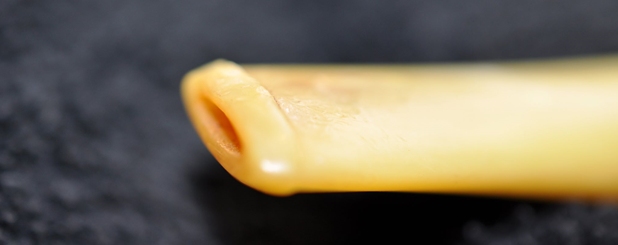
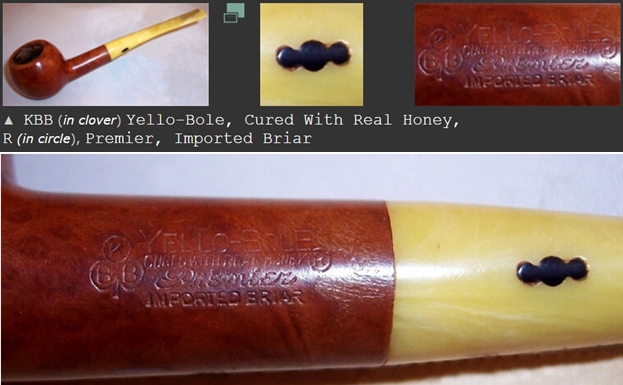
With this post I am celebrating notification from WordPress that rebornpipes is 8 years old. It does not seem possible that 8 years ago in May I posted the first blog on rebornpipes and wrote about my dream of the blog being a gathering spot for information and individuals who enjoy working on rehabilitation and restoration of pipes. I continue to do the work or restoration and rehabilitation of pipes because it is something I enjoy. It is a pleasure to take pipes that are a bit of a wreck and with some effort and careful work bring them back to life. The next pipe on the table is a great one to work on as a part of that celebration. It is a well smoked KBB Yello-Bole Premier Liverpool. The pipe was very dirty with a thick cake in the bowl and some tobacco remnants from the last bowl smoked. There was some darkening and lava around the rim top and inner edge of the bowl. There are a few visible fills around the bowl and the varnish coat is crackling. The taper yellow stem has tooth marks and chatter on both sides. Jeff took some great photos of the pipe to show its general condition before he started his cleanup. Jeff took a photo of the rim top to show the thick cake in the bowl and the lava overflow all over the rim top. It is hard to know what the inner edge of the rim looks like until we remove the cake and the lava.He took photos around the sides and heel of the bowl to show the condition. You can see the grime in the finish and the crackling of the varnish coat. He took a photo of the stamping on the left topside of the shank. You can see that it is clear and readable. It reads KBB in a Cloverleaf followed by Yello-Bole over Cured with Real Honey followed by R in a circle. Underneath that it reads Premier over Imported Briar. Normally there would be stamping on the right side but in this case there does not appear to be any stamping visible.The next two photos show the condition of the stem. You can see that it is lightly oxidized and has some tooth chatter and marks on both sides near the button. There is also some wear on the button surfaces on both sides. I turned to the listing on Pipephil on the KBB Yello-Bole pipes and actually found a very similar pipe to the one I am working on (http://www.pipephil.eu/logos/en/logo-y.html). It is a KBB in a cloverleaf Yello-Bole that also bears the Cured with Real Honey, circle R stamp over Premier over Imported Briar. I did a screen capture of the section and the stamping on the shank side. I have included it below.I turned next to Pipedia to gather a more detailed history of the brand and see if I could find any information on this particular pipe (https://pipedia.org/wiki/Yello-Bole). I quote a portion of that article on tips for dating Yello-Bole pipes below.

Tips for Dating Yello-Bole Pipes

  • KBB stamped in the clover leaf indicates it was made in 1955 or earlier as they stopped this stamping after being acquired by S.M. Frank.
  • Pipes from 1933-1936 they were stamped “Honey Cured Briar”
  • Post 1936 pipes were stamped “Cured with Real Honey”
  • Pipe stems stamped with the propeller logo were made in the 1930’s or 1940’s – no propellers were used after the 1940’s.
  • Yello Bole used a 4 digit code stamped on the pipe in the 1930’s.
  • Pipes with the Yello-Bole circle stamped on the shank it were made in the 1930’s, this stopped after 1939.
  • Pipes stamped BRUYERE rather than BRIAR it was made in the 1930’s.

Following the tips above I learned that the KBB Stamped in a Cloverleaf indicates that the pipe I have was 1955 or earlier. The fact that it is stamped Cured with Real Honey puts it post 1936. The field is narrowing down for a date. The fact that the stem has the propeller logo puts it between the 30s and 40s. So now I have it narrowed down to between 1936 and 1949. That is as close as I am going to get with this one as the numbers are worn off the shank.

It is definitely an interesting piece of pipe history. Armed with the brand information and some parameters for the age of the pipe I turned to work on it. Jeff had done a great job cleaning up the pipe as usual. He reamed the pipe with a PipNet reamer and cake from the walls of the bowl. He cleaned up any remnants of cake with a Savinelli Fitsall Pipe Knife. He scrubbed the interior of the bowl and shank with pipe cleaners, cotton swabs and alcohol to remove the tars and oils. He scrubbed the exterior of the pipe with Murphy’s Oil Soap and a tooth brush to remove the grime from the finish. He was not able to remove the bowl from the base so a thorough cleaning of the base was not possible. He worked on the rim edge lava and darkening with the soap and tooth brush. He scrubbed the inside of the stem with alcohol and pipe cleaners. He scrubbed the exterior with Soft Scrub and washed it off with warm water to remove the cleanser. The pipe looked far better. I took photos of the pipe when I received it before I started working on it. I took photos of the bowl and rim top as well as the stem to show how clean they were. You can the roughness on the top and the inner edge of the rim on the front right side of the bowl. The bowl and rim looks much better without the thick lava and cake. The stem looked better. There was tooth chatter and marks were very visible on both sides of the stem near the button. I have included a photo of the propeller logo on the left side of the stem.I took a photo of the stamping on the left side of the shank. The stamping is faint but very readable and it reads as noted above. The right side of the shank is smooth- if there was any stamping it is long gone.I took a photo of the large fill on the underside and up the left side of the shank. It was hard but it had shrunk and left a divot.I took a photo of the pipe with the stem removed to show the overall look of stem, tenon and profile of the pipe. I noted that there was a small stinger apparatus that is removable in the tenon. I heated the stinger with a Bic lighter flame and was able to very easily remove it for more thorough cleaning of the tenon and airway in the stem.I decided to start my work on the pipe by dealing with the damaged rim top and inner edge of the bowl. I lightly topped the bowl with 220 grit sandpaper to minimize the damage on the top. I used a folded piece of 220 grit sandpaper to smooth out the damaged bevel on the rim edge. It is far from perfect but it is better. I polished the bowl with micromesh sanding pads – wet sanding with 1500-12000 grit pads. I worked over the rim top and edge of the bowl with the pads. I wiped the bowl down with a damp cloth after each pad to remove the sanding debris.  I rubbed the briar down with Before & After Restoration Balm. I worked it into the surface of the briar with my fingertips and a horse hair shoe brush. The product works to clean, enliven and preserve the even that material. The balm is absorbed by the briar and gives it real life. I buffed it with a cotton cloth to deepen the shine. I set the bowl aside and turned my attention to the stem. The stem material is an early acrylic product (perhaps Bakelite) and does not respond like vulcanite when heated. I filled in the deep tooth marks with clear super glue. Once the repairs cured I used a needle file to smooth them out and to reshape the button edge. I sanded it with 220 grit sandpaper to remove the oxidation and tooth chatter on both sides of the stem. I started the polishing of the surface with 400 grit wet dry sandpaper. I polished the stem with micromesh sanding pads – 1500-12000 grit pads. I wiped it down with Obsidian Oil after each sanding pad. I used Before & After Pipe Polish – both Fine and Extra Fine to further polish the stem.  With both parts of the pipe finished, I polished the bowl and the stem with Blue Diamond polish on the buffing wheel. I gave the bowl and the stem multiple coats of carnauba wax. I buffed the pipe with a clean buffing pad to raise the shine. I hand buffed it with a microfiber cloth to deepen the shine. The old KBB Yello-Bole Premier Liverpool polished up pretty nicely. The rich browns of the finish and the grain came alive with the buffing. The finish on the briar works well with the polished yellow Bakelite stem. The finished pipe is a well-proportioned, well-made KBB Yello-Bole Liverpool. Have a look at it with the photos below. The dimensions are Length: 5 ¼ inches, Height: 1 ¾ inches, Outside diameter of the bowl: 1 1/8 inches, Chamber diameter: ¾ of an inch. This KBB Yello-Bole Premier Liverpool will be going on the rebornpipes store in the American Pipe Makers shortly. Thanks for walking through the restoration with me on this older American Made pipe.
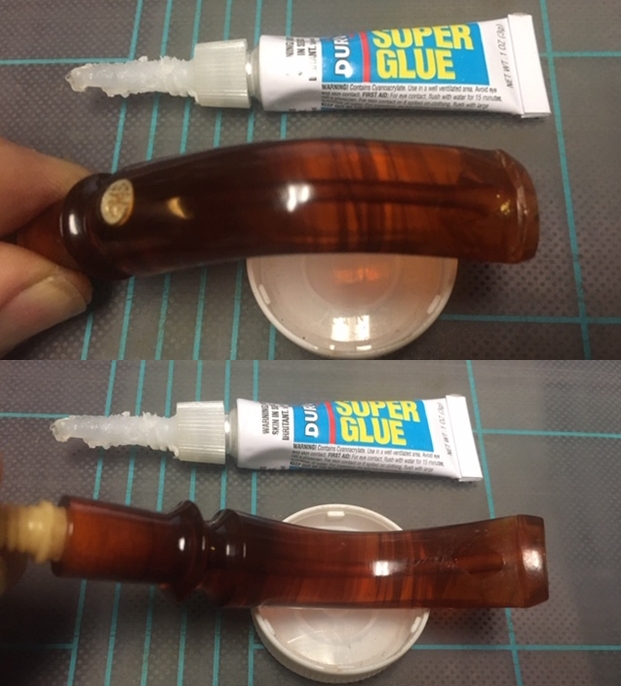
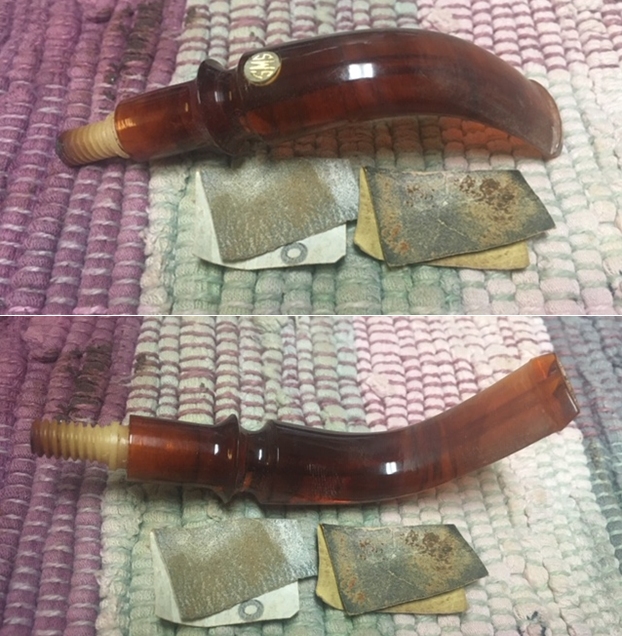
Restoring another Jobey Dansk 3 Freehand


Blog by Steve Laug

My brother Jeff picked up another Jobey Dansk 3 freehand pipe on one of his adventures pipe hunting. It had really nice grain and plateau on the top of the rim and on the end of the shank. It came with a Jobey Dansk Pipe Sock. There were rusticated spots on the right side and back of the bowl and top of the shank as well as the heel of the bowl. There was something familiar about the style of carving that reminded me of other Danish Freehand pipes I have worked on. I seemed to remember that Jobey Dansk pipes were carved by Karl Erik. The finish on this pipe was dirty with dust and lava on the plateau top. The bowl was lined with a thick cake. There was thick dust in the rustication around the bowl and shank as well as the plateau on the shank end. The smooth finish was also dirty and dull looking. The stem is a turned fancy turned vulcanite stem. The fit of the stem to the shank was snug. There were tooth marks on both sides of the stem at the button and on the smooth parts of the button on both sides. Otherwise it was a very clean stem. Jeff took of the pipe to show the overall condition of the bowl and stem. He took close up photos of the bowl and rim top from different angles to show the condition of the plateau finish. You can see the lava and build up on the rim top and the lava flowing over the inner edge of the bowl onto the plateau. It is hard to know if there is damage or if the lava protected it. The bowl has a thick cake that lining the walls and overflowing into lava.He took photos of the sides and heel of the bowl to show the lay of the grain and the rustication around the pipe. It is a nice piece of briar. The top of the bowl is craggy and rugged looking. Unique!Jeff took a photo of the stamping on the underside of the shank to capture it. It was clear and read Jobey Dansk at the top. Under that it read Handmade in Denmark followed by a large number 3.The next photos show the condition of the vulcanite stem. The first photo shows flow of the stem as a whole. You can see the tooth marks and damage both on the surface of both sides. I wanted to look at who had carved the Jobey Dansk line to confirm some suspicions I had about it. I had a feeling that the pipes were carved by a Danish carver known as Karl Erik. I looked up the Jobey listing on Pipedia (https://pipedia.org/wiki/Jobey) and found the following information. I quote a portion of the article that is pertinent as follows.

English – American – Danish – French… Information about the brand Jobey are only to be found in form of smithereens…

Probably established in England around 1920(?) the brand hiked into the USA later. In the course of time owner, distributor and manufacturer changed repeatedly. As far as known:

George Yale Pipes & Tobacco, New York (1942)

Norwalk Pipe Co., New York (1949)

Arlington Briar Pipes Corp., Brooklyn (when?)

Hollco International, New York (1969).

Weber Pipe Co., Jersey City, NJ (1970’s)

The Tinder Box, (1970’s – 80’s).

Throughout decades Jobey pipes were mainly sold in the USA, Canada and England but remained almost unknown in continental Europe. The bulk of Jobeys was predominantly made according to classical patterns and mainly in the lower to middle price range. The predominant judgment of the pipe smokers reads: “A well-made pipe for the price.” So there is hardly anything very special or exciting about Jobey pipes although a flyer from ca. 1970 assures: “The briar root Jobey insists upon for its peer of pipes is left untouched to grow, harden and sweeten for 100 years. […]Jobey uses only the heart of this century old briar and only one out of 500 bowls turned measures up to the rigid Jobey specifications.” 99.80% of cull… that makes the layman marveling!

From that information, my suspicions were confirmed. The pipe that I was working on was carved by Karl Erik Ottendahl. There were some similarities to the Karl Erik pipes that I have worked on in the past. The dating of the pipe line in the 70s fits well with the pipe I have in hand. I took some photos of the pipe before I started my part of the restoration.

Now that I was reminded about the Karl Erik Ottendahl connection it was time to work on the pipe on my end. When I received it Jeff had once again done an amazing job cleaning the pipe. He reamed it with a PipNet pipe reamer and got rid of the cake. He cleaned up the reaming with a Savinelli Fitsall Pipe Knife so that we could see the walls of the bowl and assess for damage. He cleaned the internals of the shank and stem with alcohol, pipe cleaners and alcohol. He scrubbed the exterior with undiluted Murphy’s Oil Soap and a tooth brush. He rinsed the pipe under warm water. He dried it off with a cloth and then let it air dry. The stem was scrubbed with Soft Scrub and soaked in Before & After Deoxidizer. It came out looking very good. The finish on the bowl and the rim top cleaned up nicely. I took pictures of the pipe to show how it looked when I unpacked it. I took some photos of the rim top and stem to show the condition of them both when the pipe arrived. Overall it looked good. There is some darkening and damage to the inner edge of the bowl. The stem had some deep tooth marks ahead of the button and on the button surface on both sides.I took a photo of the stamping on the underside of the shank. It is readable and in great condition.I removed the stem from the shank and took a photo of the pipe to show the look of the pipe.I polished the bowl with micromesh sanding pads – wet sanding with 1500-12000 grit pads. I wiped the briar down after each pad with a damp cloth. The bowl is starting to look very good. With the polishing finished I used a Black stain pen to fill in the crevices of the plateau top and give some contrast to the smooth high spots. I like this look as it give the pipe a sense of dimensionality. I worked some Before & After Restoration Balm into the surface of the briar with my fingertips and into the plateau rim top and shank end with a horsehair shoe brush to clean, enliven and protect it. I let the balm sit for a little while and then buffed with a cotton cloth to raise the shine. The photos show the bowl at this point in the restoration process. I set the bowl aside and turned my attention to the stem. The stem was very clean so I filled in the tooth marks and built up the button with clear super glue and set it aside to cure. The second photo is blurry but still is clear enough to see the filled in area. Once it had cured I flattened out the repairs and sharpened the edge of the button with a needle file. I sanded out the tooth chatter and blended in the repairs with 220 grit sandpaper and started to polish it with a folded piece of 400 wet dry sandpaper. Once it was finished it began to shine.I polished the stem with micromesh sanding pads – wet sanding with 1500-12000 grit sanding pads. I wiped it down after each sanding pad with some Obsidian Oil. I finished polishing it with Before & After Pipe Stem Polish – both Fine and Extra Fine and buffed it off with a cotton cloth. This is a beautiful Jobey Dansk Hand Made by Karl Erik with a fancy, turned, black vulcanite stem. It has a great look and feel. The shape fits well in the hand with the curve of the bowl and shank junction a perfect fit for the thumb around the bowl when held. I polished stem and the bowl with Blue Diamond polish on the buffing wheel. I gave the plateau on the rim top and shank end multiple coats of Conservator’s Wax. I gave the bowl and the stem multiple coats of carnauba wax. I buffed the pipe with a clean buffing pad to raise the shine. I hand buffed it with a microfiber cloth to deepen the shine. The pipe polished up pretty nicely. The rich combination of browns and black in the smooth finishes and the plateau areas took on life with the buffing. The rich colour of the briar works well with the polished vulcanite stem. I like the grain and finished look of this Jobey Dansk pipe. Have a look at it with the photos below. The shape, finish and flow of the pipe and stem are very well done. The dimensions are Length: 5 ½ inches, Height: 2 inches, Outside diameter of the bowl: 1 ¼ wide, Chamber diameter: ¾ of an inch. This Danish Freehand is a real beauty. Thanks for walking through the restoration with me as I worked over another beautiful pipe. This one will be going on the rebornpipes store in the Danish Pipe Making Section shortly if you would like to add it to your collection. Thanks for your time.

What a Mess – Restoring a Stanwell Made Danish Sovereign 332


Blog by Steve Laug

The next pipe on the table is from the next box of pipes I am working through. It is a Stanwell Made Danish Sovereign 332. The acorn/pear shaped bowl, round shank and saddle stem made up a nicely made pipe in a classic Danish shape. The smooth finish showed great grain through the ground in dirt and grime. There are also quite a few fills and deep gouges in the surface of the briar. It was stamped on the left side of the shank and read Danish Sovereign over Made in Denmark. On the right side it had the shape number 332 stamp. The finish was very dirty with a heavy coat of grime ground into the bowl and rim top as can be seen in the photos. The bowl had a thick cake with a lava overflow onto the rim top and the inner edge of the bowl. There were hash marks on the top front of the rim top and nicks around the edges. The stem was oxidized, calcified and there were tooth marks and chatter on both sides and on the top and bottom edges of the button. It was also stamped with three XXX marking it as a second. Jeff took photos of the pipe before he cleaned it up so you could see what we saw. Jeff took photos of the rim top to show lava build up around the rim, the edges and cake in the bowl.  This one was obviously someone’s favourite pipe and it was a mess. You can also see the hash marks on the front edge and top of the bowl. Jeff took some photos of the bowl sides and heel to show the absolutely dirty finish ground into the briar. It was a dirty pipe but I think it will be a beautiful one once we are finished. You can see all the damaged areas and fills on the bowl in these photos. The bowl is really quite dirty. The stamping on the sides of the shank is shown in the photos below. It is clear and read as noted above.  There was a triple XXX stamped on the left side of the stem. The stem was a good fit to the shank. It was oxidized, calcified and had debris stuck to the surface of the vulcanite. It also shows the tooth marks on the stem and on the button surface.  I turned first to Pipephil’s site (http://www.pipephil.eu/logos/en/logo-d2.html) to see what information I could find there. On the site was a pipe similarly stamped to the one that I am working on. It is clearly identified as a Stanwell second that was marketed only in the USA and Canada.I turned to Pipedia to read more about the brand (https://pipedia.org/wiki/Danish_Sovereign). There was nothing definitive there only a statement that it may be a Stanwell second line.

It looks I am dealing with a pipe made especially for the American and Canadian market by Stanwell. Now it was my turn to work on the pipe now. I was really looking forward to what the pipe would look like once Jeff had worked his magic. What would the rim top look like? What would the dirty bowl look like? I had no idea. When I took it out of the box I was struck great job cleaning up the pipe Jeff had done. It was impressive! He had reamed the pipe with a Pipnet piper reamer and taken the cake back to bare briar. He cleaned up the remaining cake with a Savinelli Fitsall Pipe Knife. He scrubbed the interior of the bowl and shank with pipe cleaners, cotton swabs and alcohol to remove the tars and oils. He scrubbed the exterior of the pipe with Murphy’s Oil Soap and a tooth brush to remove the grime from the finish. He worked on the rim top lava and darkening with the soap and tooth brush. He scrubbed the inside of the stem with alcohol and pipe cleaners. He scrubbed the exterior with Soft Scrub and then soaked it in Before & After Deoxidizer. He washed the stem off with warm water to remove the Deoxidizer. The pipe looked far better. I took photos of the pipe when I received it before I started working on it. I took photos of the bowl and rim top as well as the stem to show how clean they were. You can see the hash marks on the front of the rim top and the darkening and damage to the inner edge of the rim. There are nicks on the top all the way around. The stem is clean and the tooth damage on the button top and bottom edges.   I took a photo of the stamping on the underside of the shank. The stamping is readable as noted above.    I decided to start my work on the pipe by addressing the damage to the rim top and edges. I used a folded piece of 220 grit sandpaper to smooth out the inner edge and sand the darkening on the top and smoothing out the nicks and scratches and minimizing the hash marks on the front top and outer edges.    I filled in the deep gouges and nicks in the briar on both sides of the bowl with clear super glue and when the glue cured I sanded them smooth to blend them into the surrounding briar.    I stained the briar with a tan stain. I applied it to the stummel with a dauber and then flamed it with a Bic lighter. I repeated the process as often as needed until I was happy with the coverage on the briar. I set it aside to cure for several hours.    I wiped the bowl down with alcohol on a paper towel to make the stain a bit more transparent. I buffed the bowl on the buffer with Red Tripoli to polish it and get a sense of what the bowl looked like at this point in the process.    I polished the briar with micromesh – wet sanding with 1500-12000 grit micromesh sanding pads. I wiped the bowl down after each sanding pad with a damp cloth.  I rubbed the briar down with Before & After Restoration Balm. I worked it into the briar with my fingertips. The product works to clean, enliven and preserve the briar. I let it sit for 10 minutes while I worked on the stem. After the time passed I buffed it with a cotton cloth to deepen the shine. The briar really comes alive with the balm.      I set the bowl aside and turned my attention to the stem. I filled in the indentations on the button edge and built it up with clear super glue. Once the repair cured I used a needle file to reshape the button edges and also flatten the repaired areas.    I sanded the stem with 220 grit sandpaper to finish the shaping and to remove the remaining oxidation. I started polishing the stem with 400 grit wet dry sandpaper. I wiped the stem down with Obsidian Oil before further polishing it.   I used some Paper Mate Liquid Paper to touch up the white that remained in the XXX stamp on the left side of the stem.   I polished the vulcanite with micromesh sanding pads – 1500-12000 grit pads. I wiped it down with Obsidian Oil after each sanding pad. I used Before & After Pipe Polish – both Fine and Extra Fine to further polish the stem.    This Danish Sovereign 332, made by Stanwell with a saddle vulcanite stem turned out very nice. The mix of brown stains highlights the grain around the bowl sides and bottom. The rim top and edges look very good. The finish on the pipe is in excellent condition. I put the stem back on the bowl and carefully buffed the pipe with Blue Diamond on the buffing wheel. I gave the bowl and stem multiple coats of carnauba wax on the buffing wheel and followed that by buffing the entire pipe with a clean buffing pad. I hand buffed the pipe with a microfiber cloth to deepen the shine. The finished Bent Acorn is very nice and feels great in the hand. Give the finished pipe a look in the photos below. It is a nice pipe whose dimensions are Length: 5 inches, Height: 2 ¼ inches, Outside diameter of the bowl: 1 ½ inches, Chamber diameter: ¾ of an inch. Thanks for walking through the restoration with me as I worked over another beautiful pipe. This Stanwell made Danish Sovereign 332 will be going on the rebornpipes store shortly. If you are interesting in adding it to your collection let me know! Thanks for your time.