
by Steve Laug
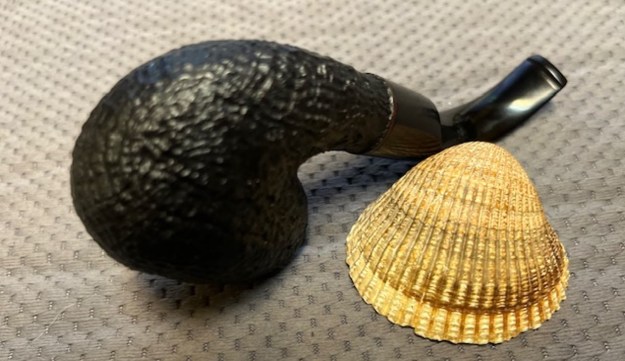
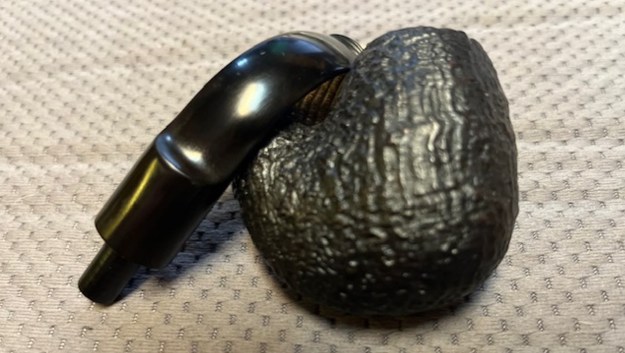
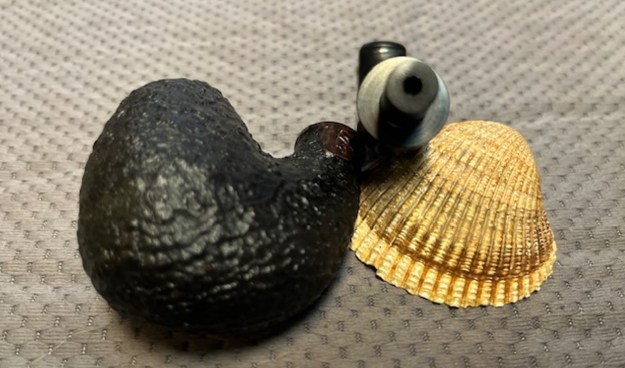
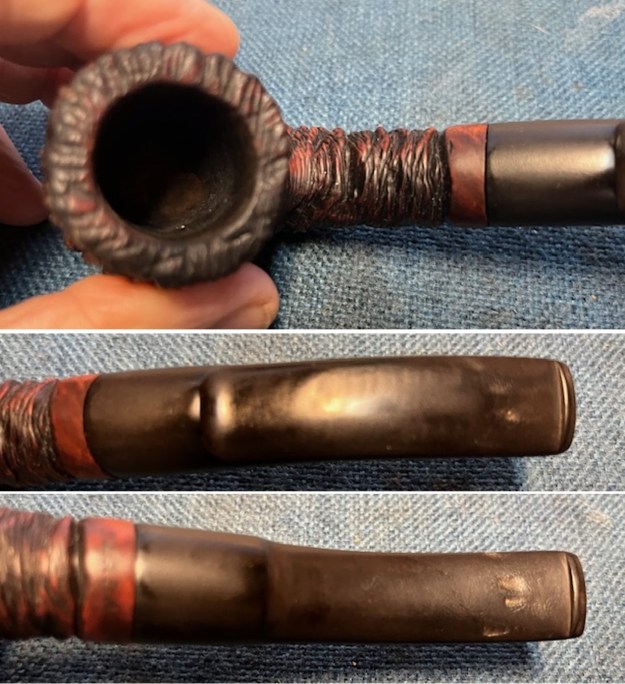
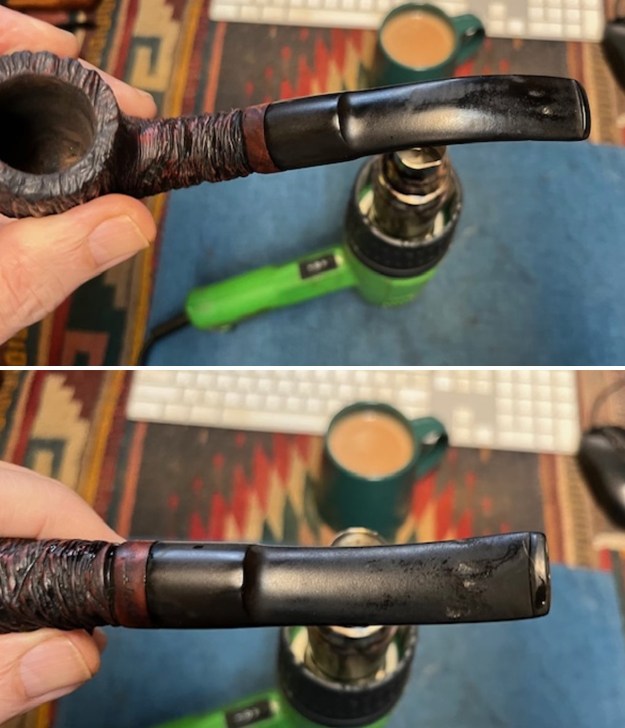
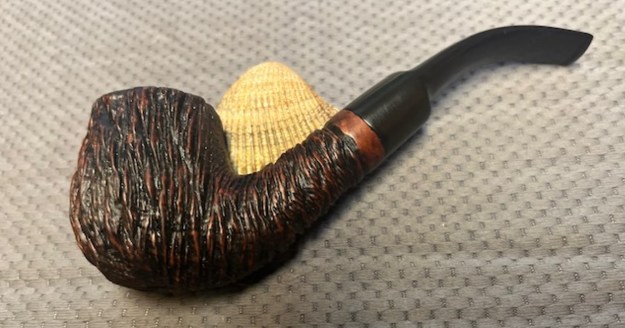
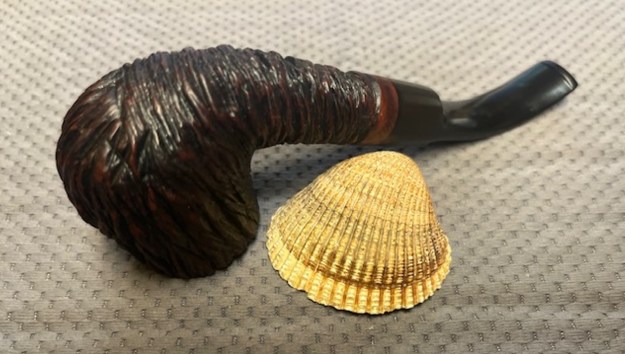
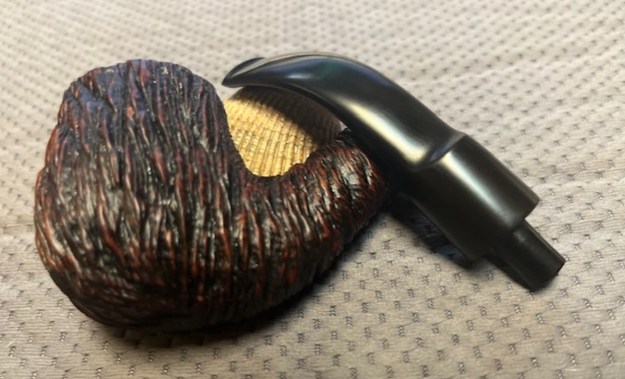
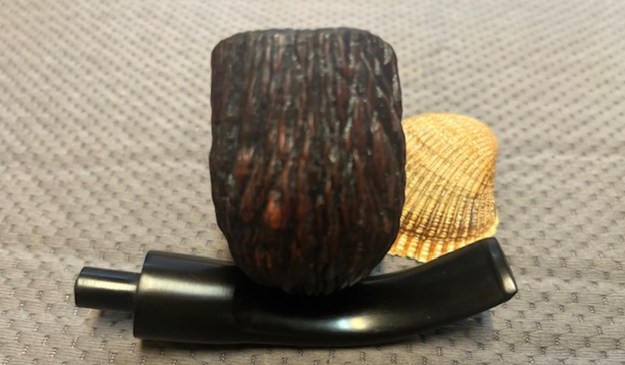
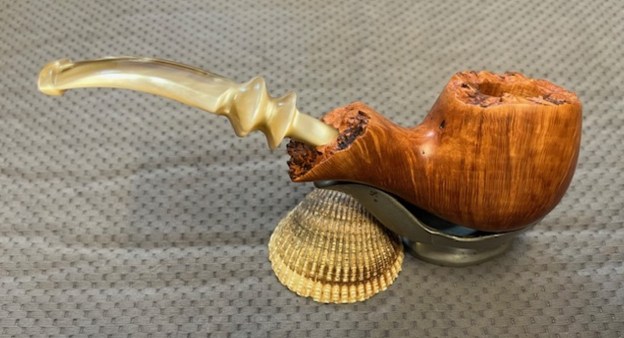
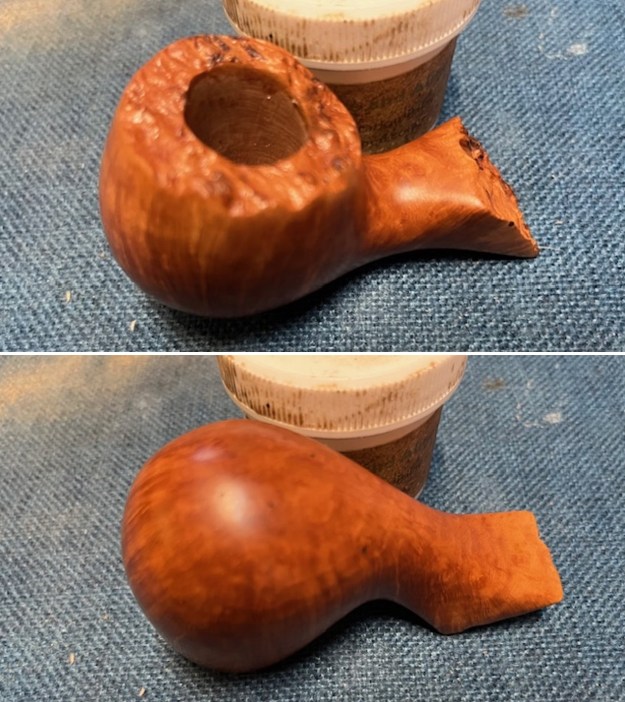
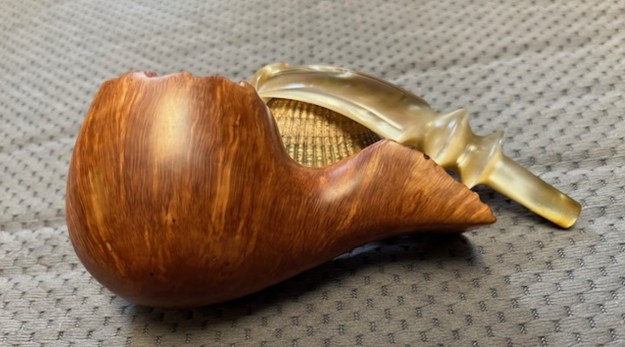
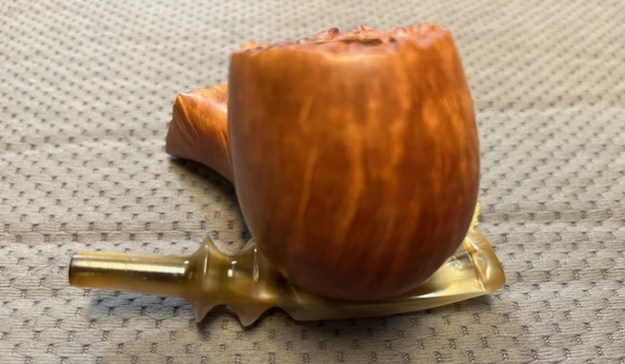
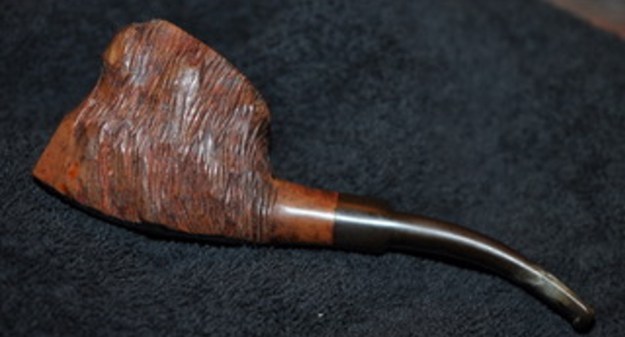
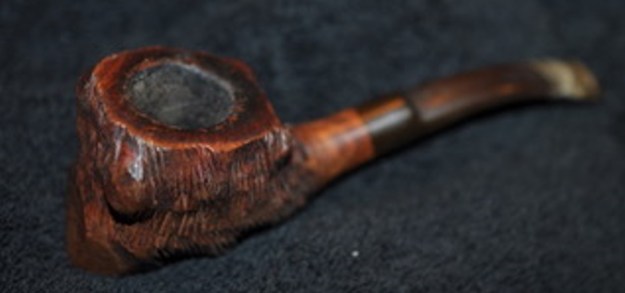
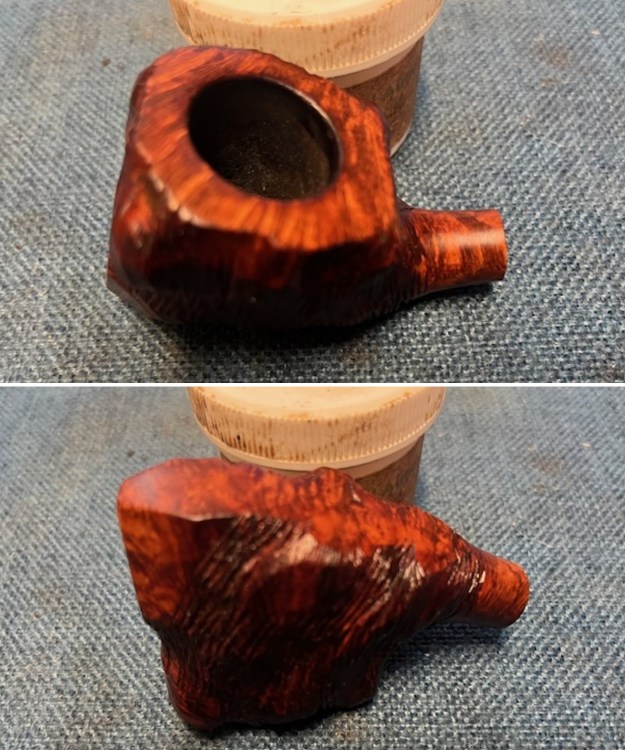
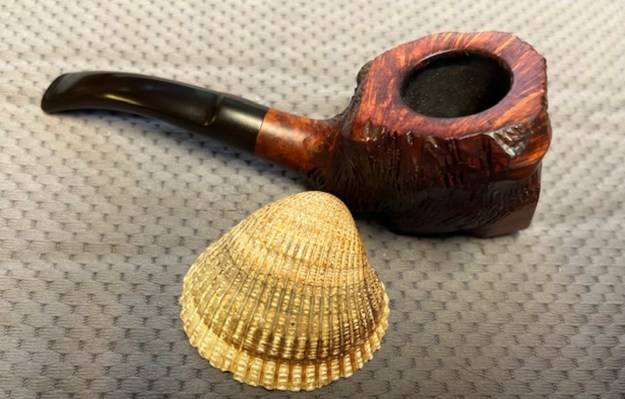
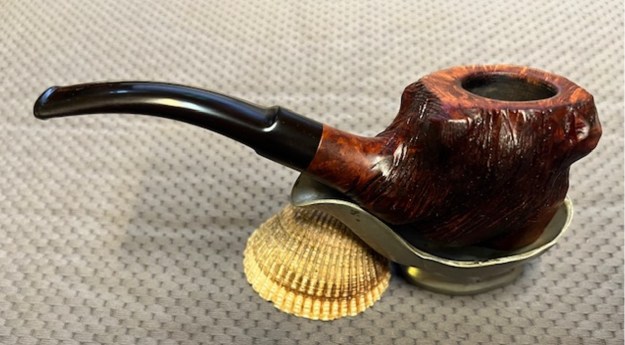
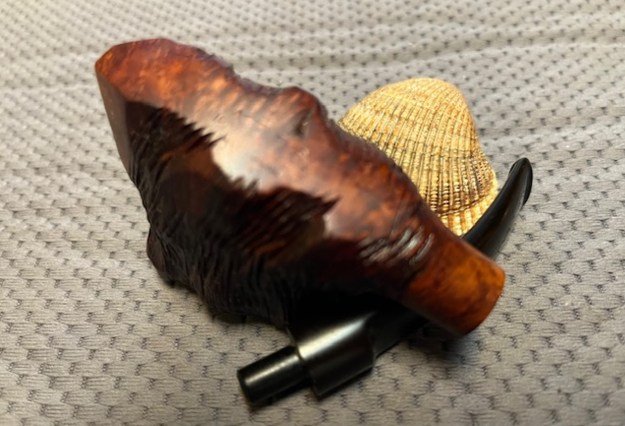
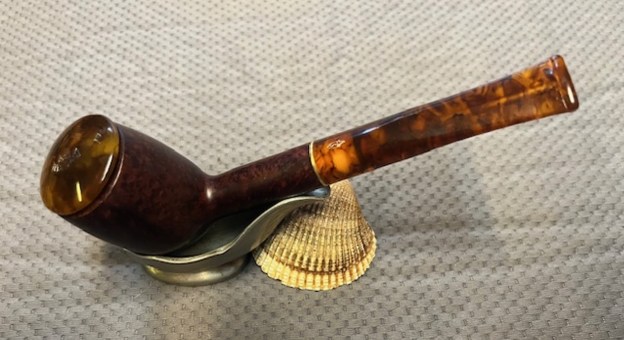
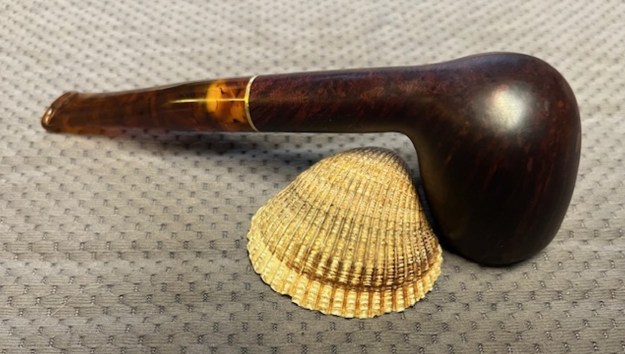
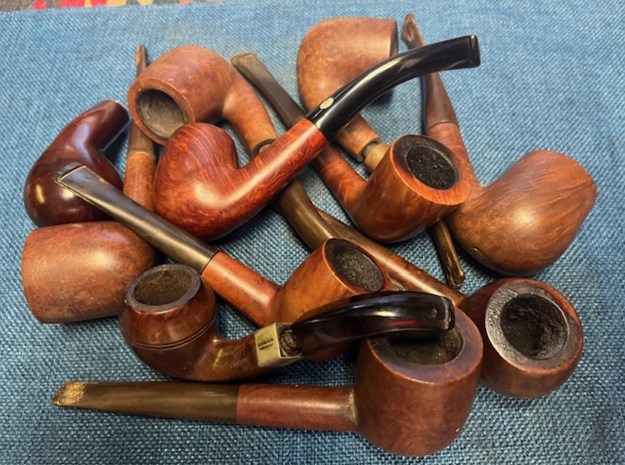
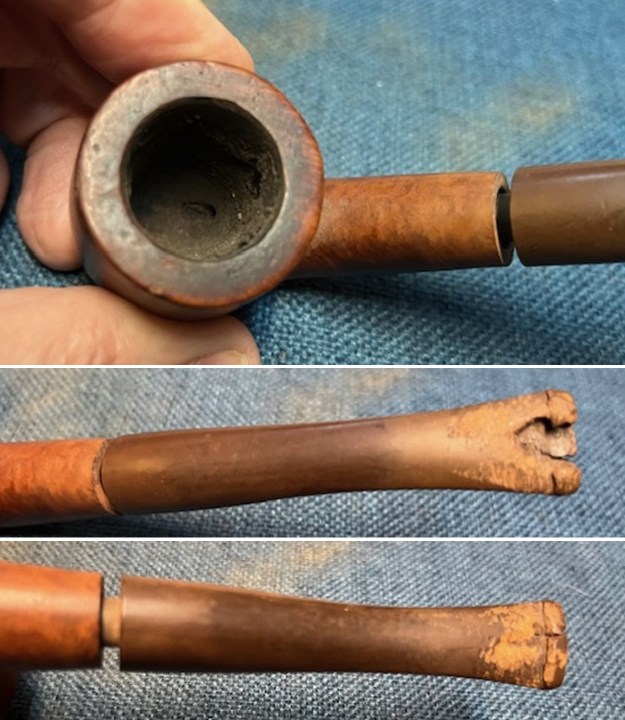
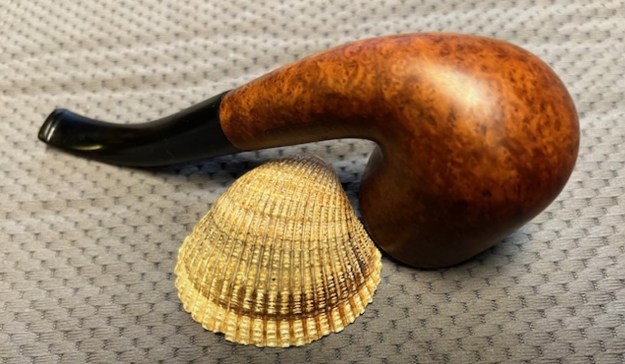
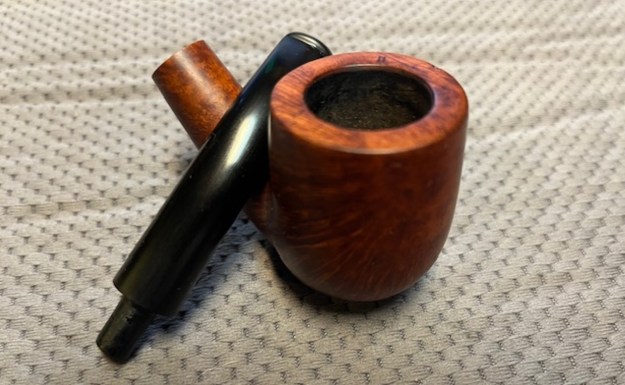
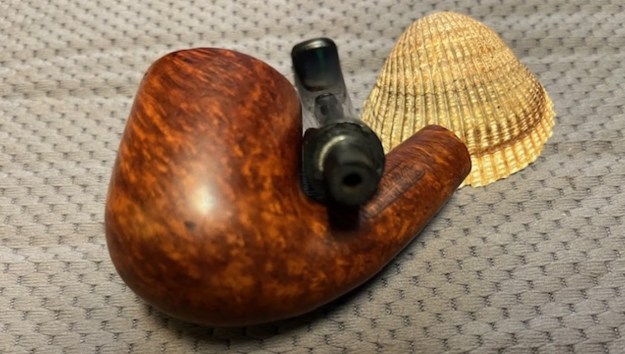
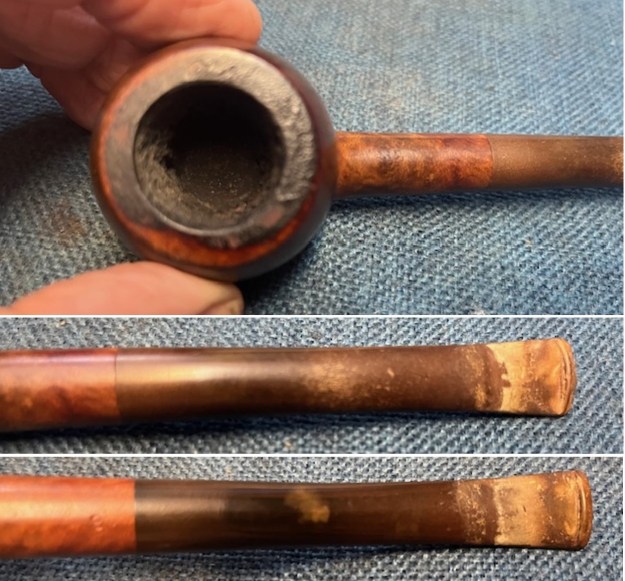
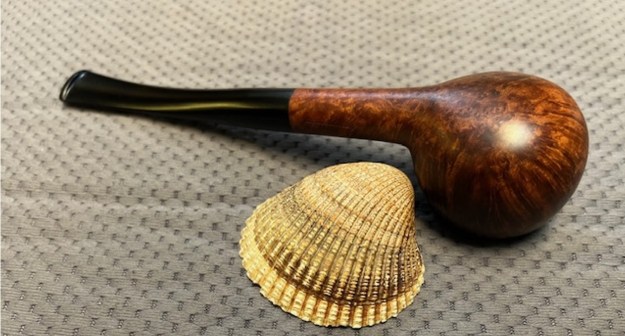
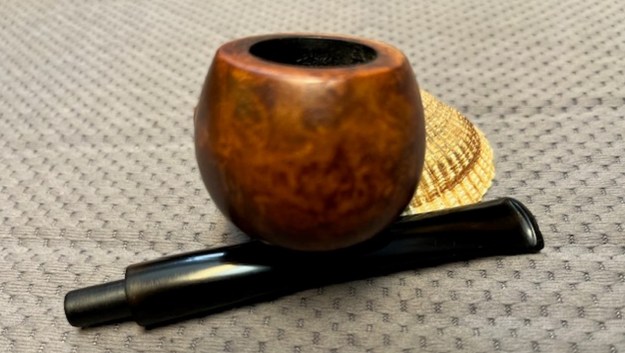
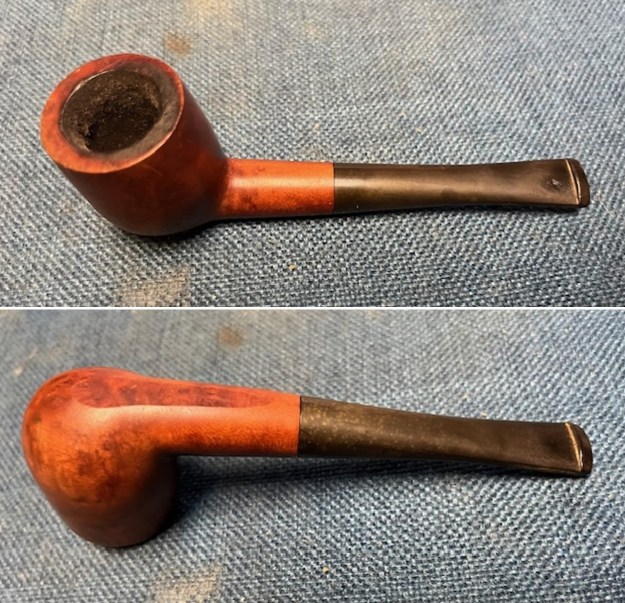
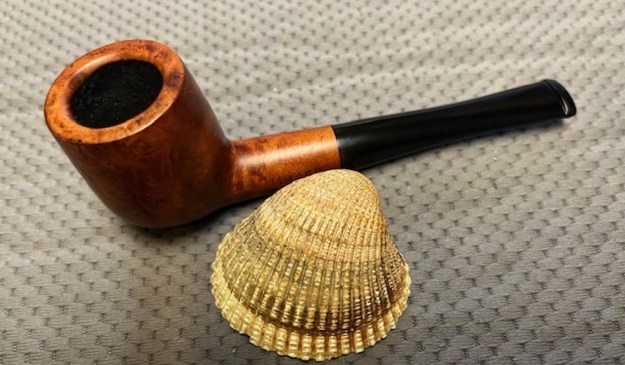
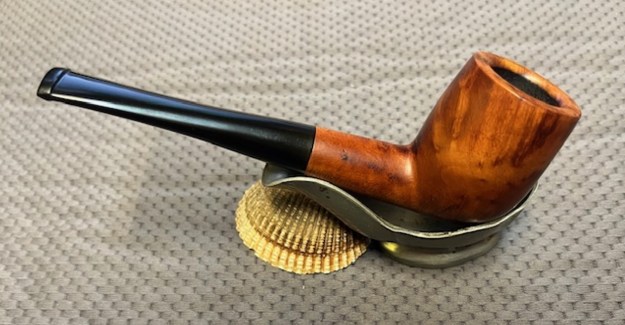
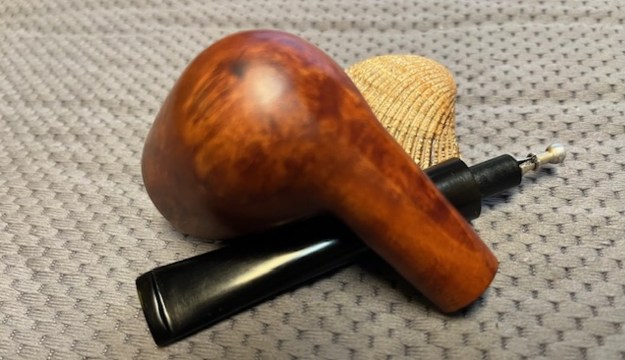
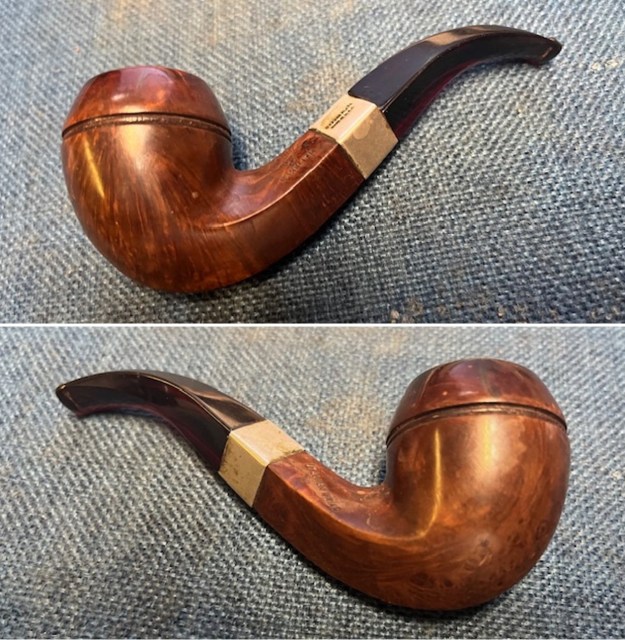
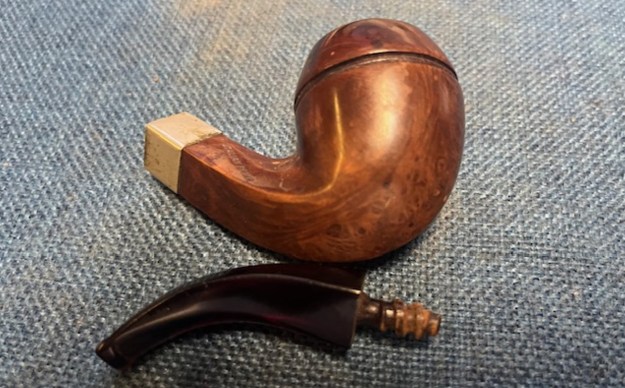
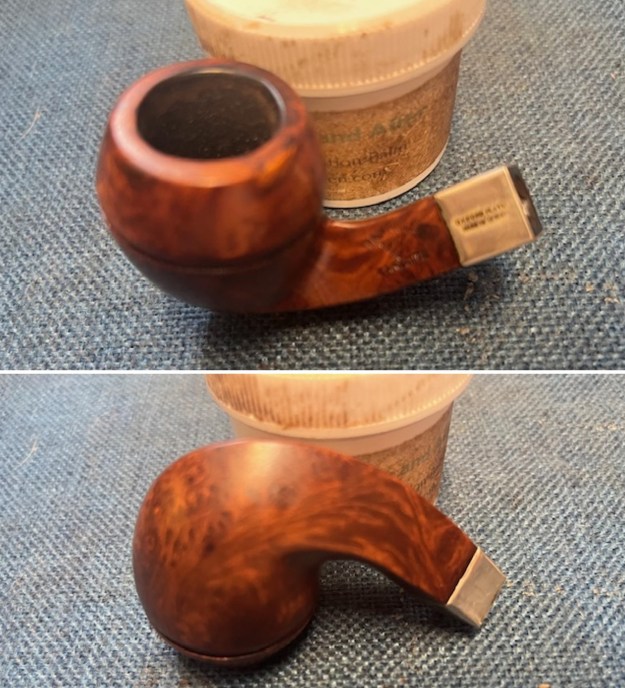
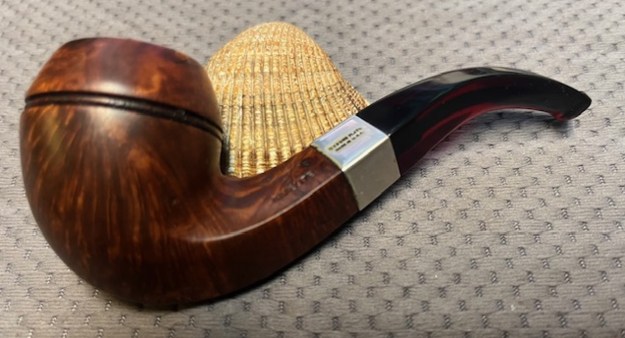
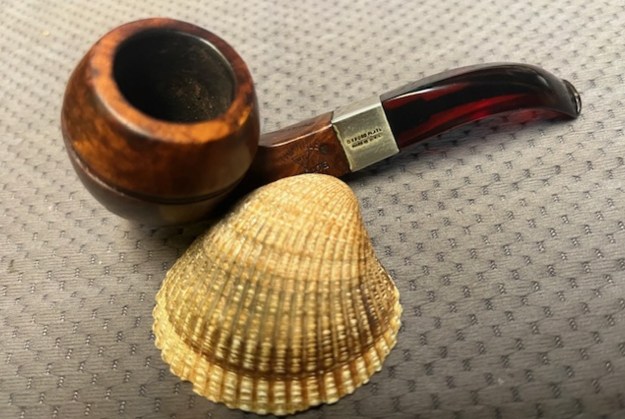
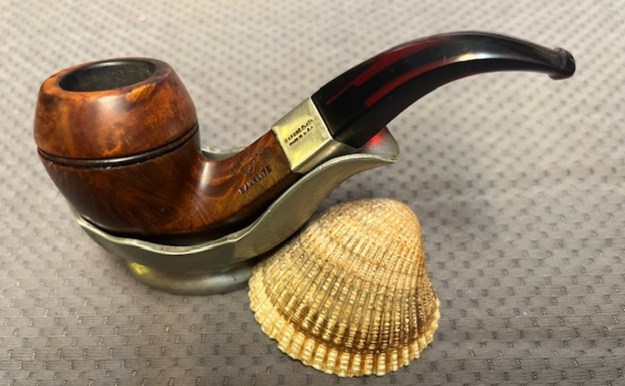
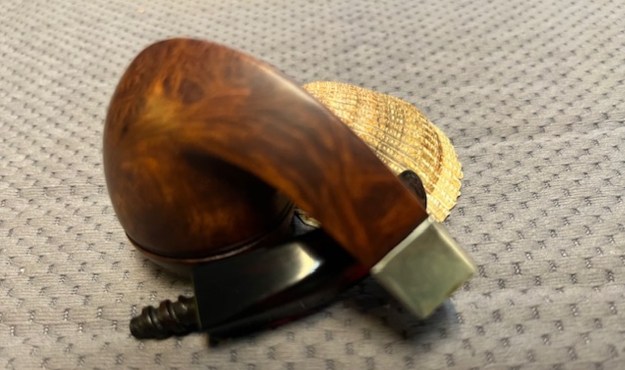
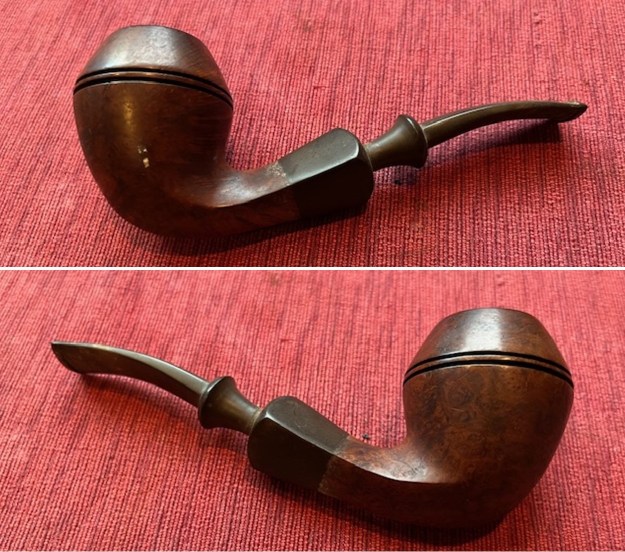
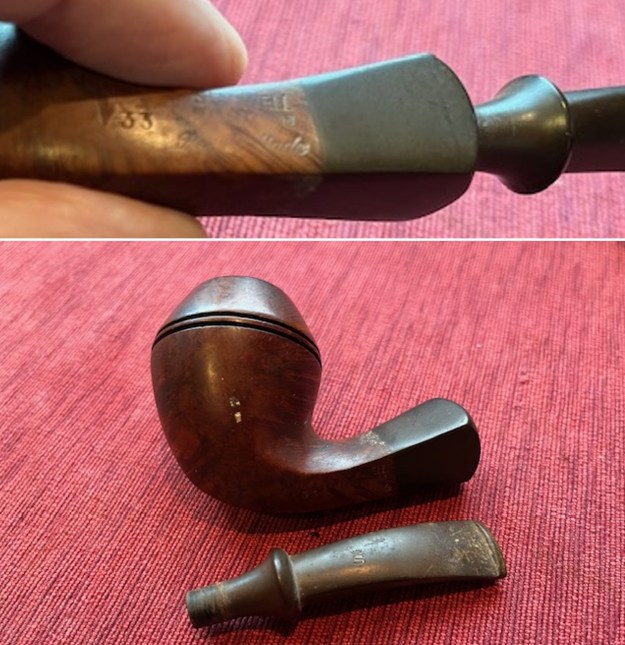
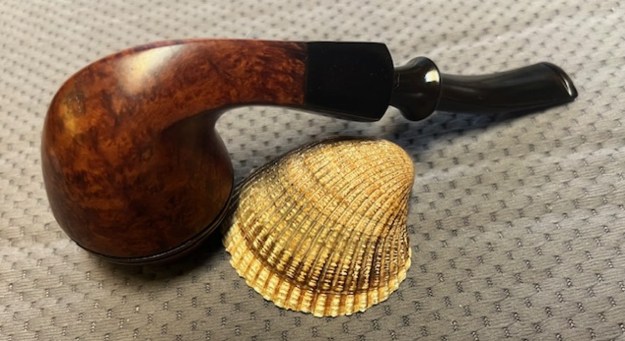
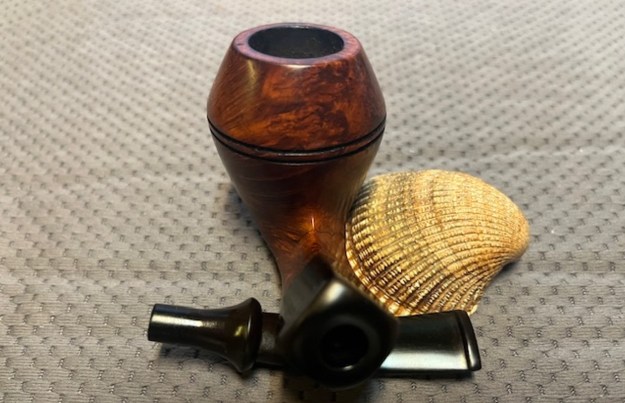
Years ago, I met Steve and Roswitha of S&R pipes at the Chicago Pipe Show. I cannot even remember the year but I remember having a good conversation with them. I was not able to pick up one of their pipes at that time but I was amazed at the beauty and style of pipes that the two of them were creating in their shop, Pipes & Pleasures in Columbus, Ohio. This pipe came to us from a seller in Memphis, Tennessee, USA on 08/27/2024. Jeff took some photos of the pipe when he received it to show the general condition. I have included the photos of the S&R pipe. The sandblast finish was dirty and dusty looking. There was a moderate cake in the bowl and surprisingly no lava overflow on the rim top. The sandblast follows the grain of the bowl and shank. The stamping is very clear and shows the interlocked SR with a pipe on the left side of the shank. The sandblast is quite deep and really shows the grain and is nicely done. The saddle stem is vulcanite and oxidized. There are tooth marks and chatter on both sides of the stem ahead of the button and some scratching on the stem surface. The photos below tell the story and give a glimpse of the Oom Paul shape.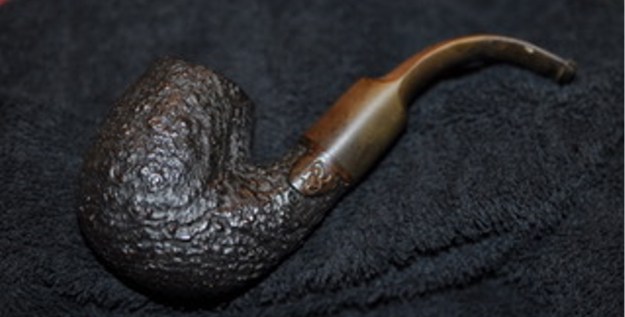 Here is a close up of the bowl and rim top. You can see the light lava coat. The inner edge of the rim looks good. There is a moderate cake in the bowl that is hard and rough. The photos of the stem show the scratching, oxidation and tooth marks in the stem at the button.
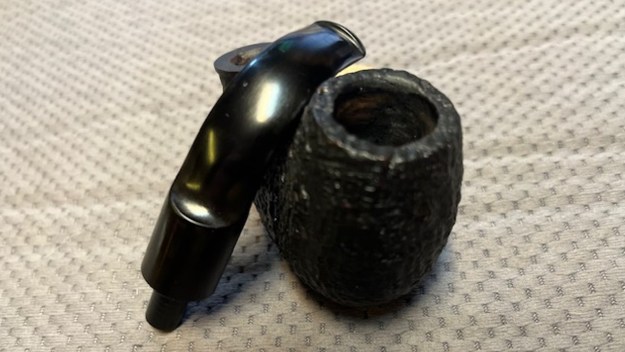
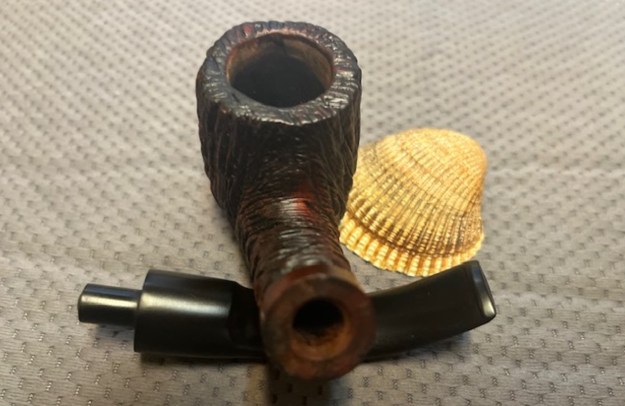
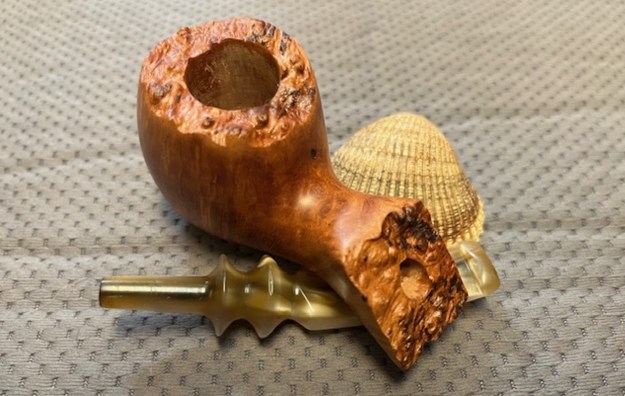
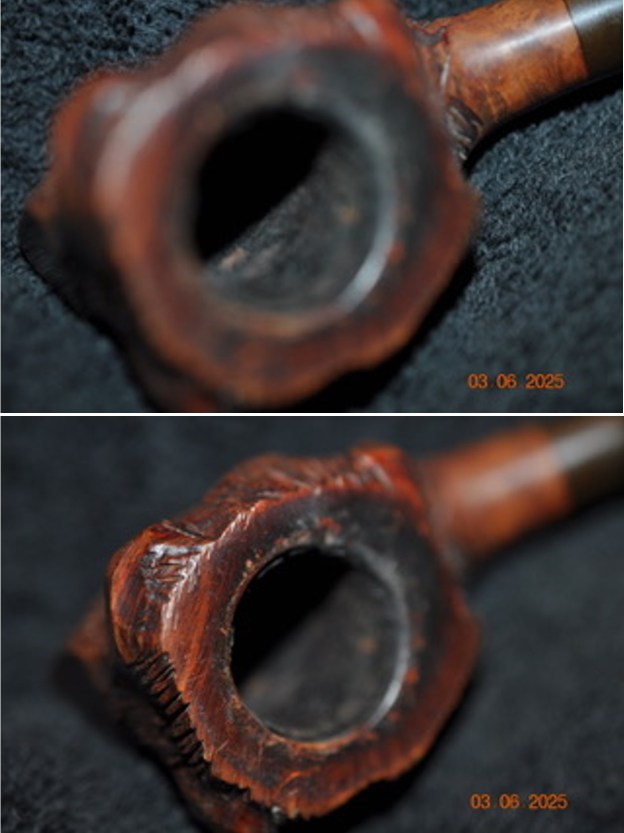
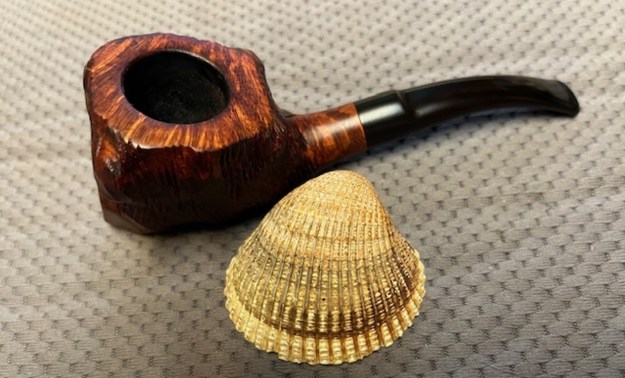
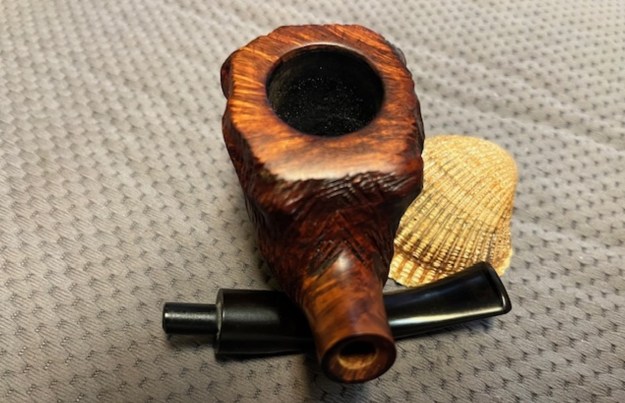
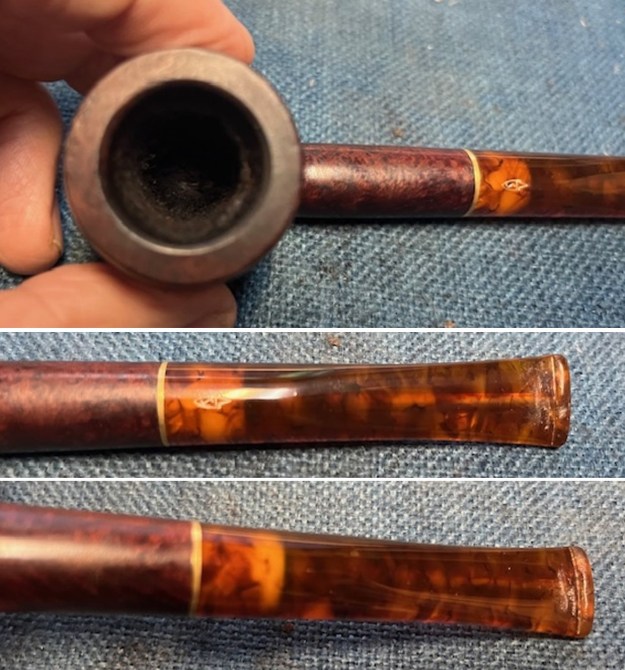
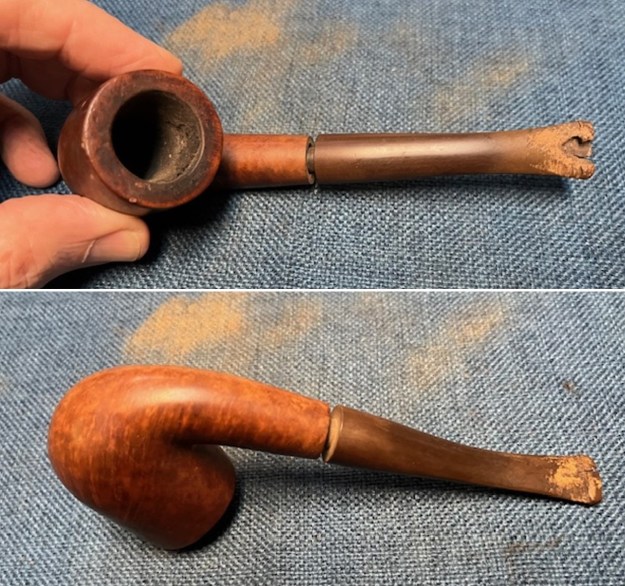
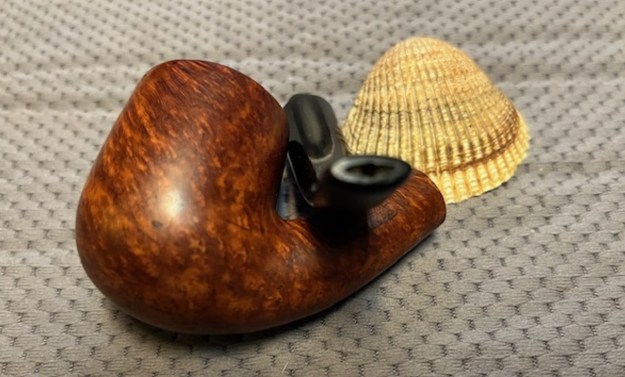
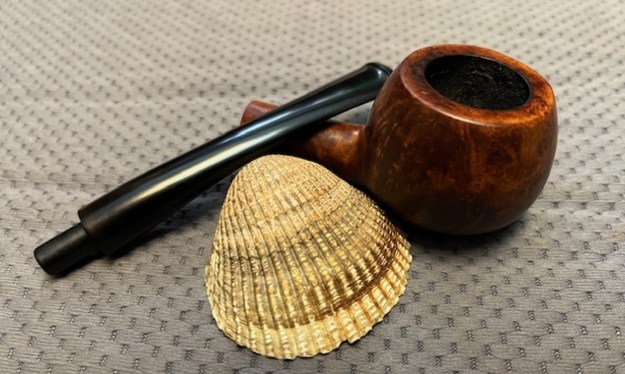
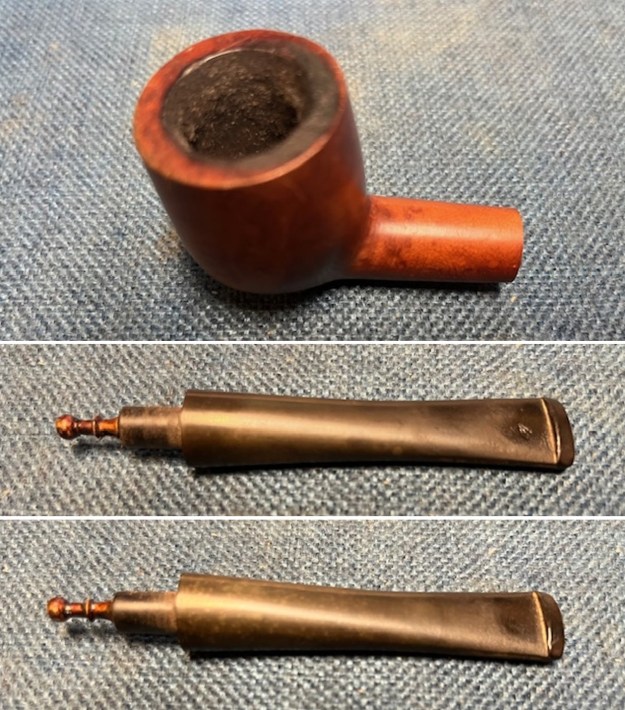
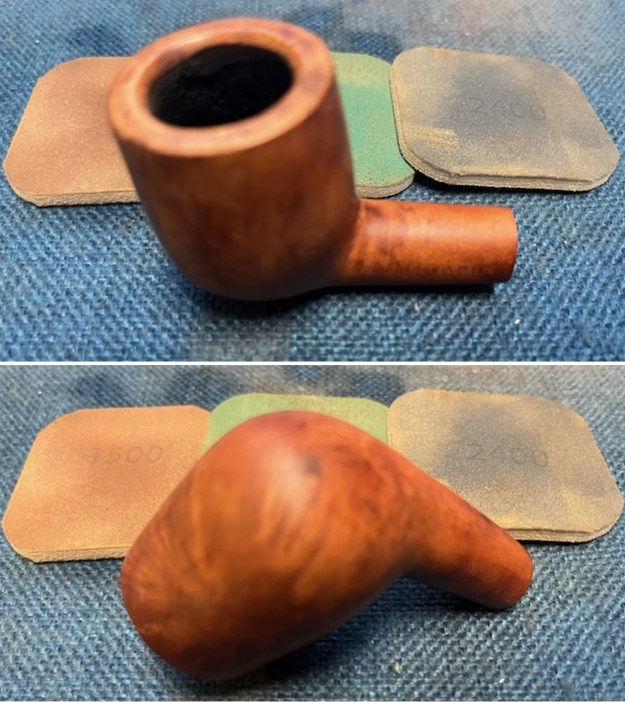
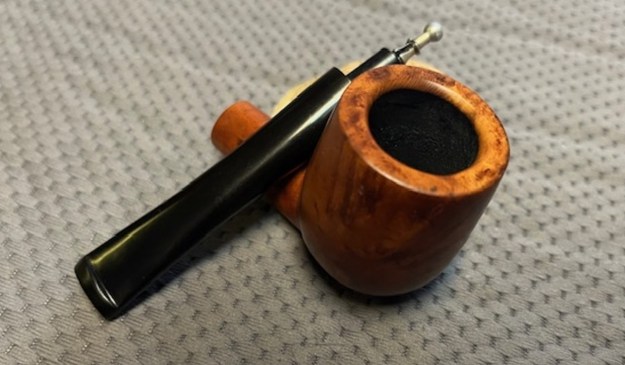
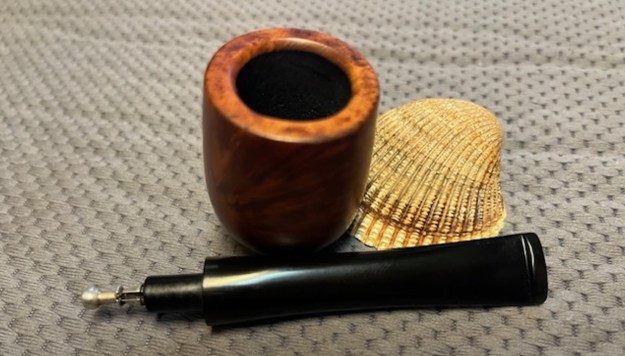
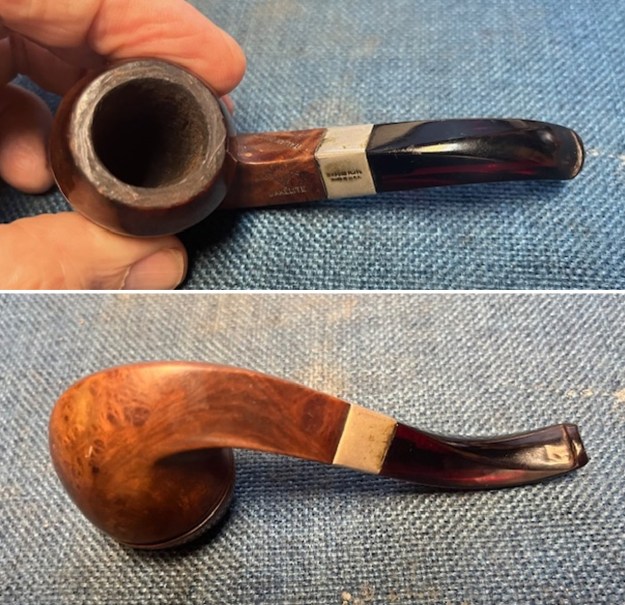
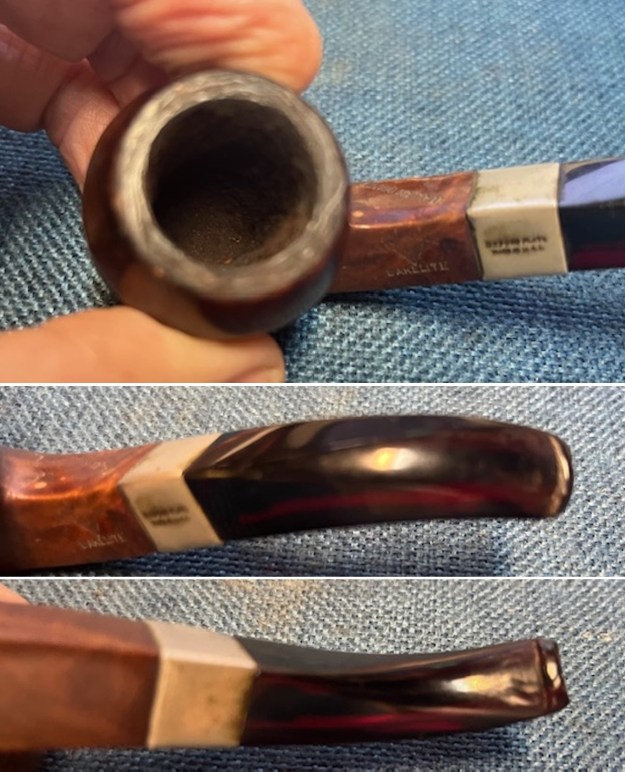
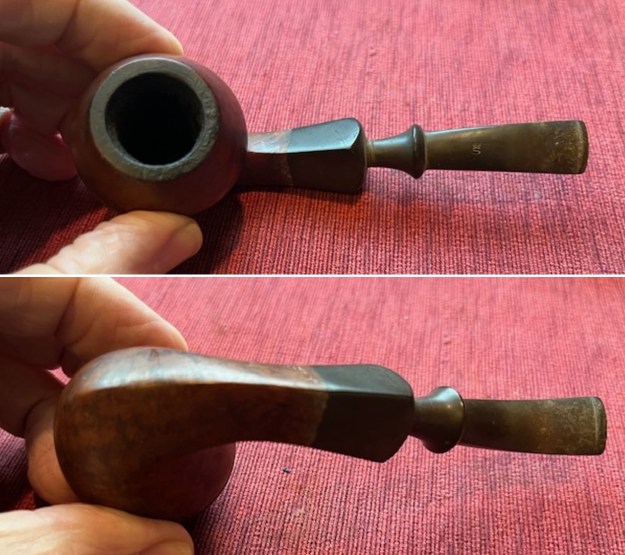
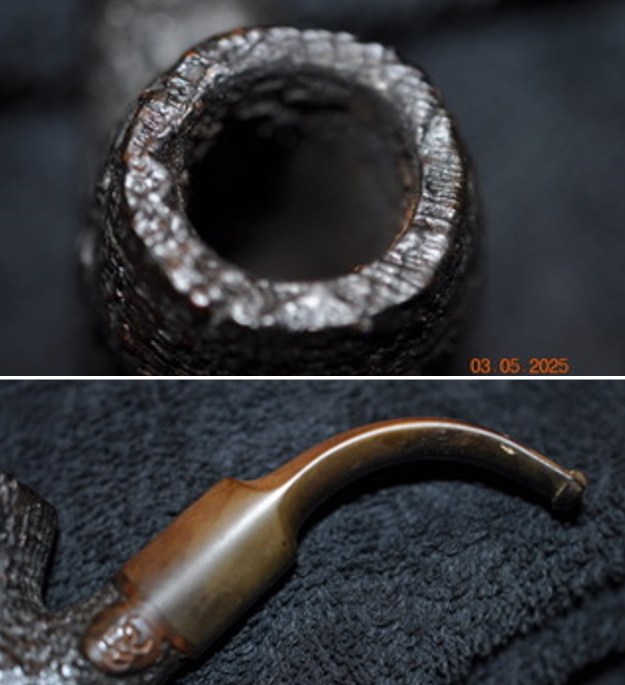
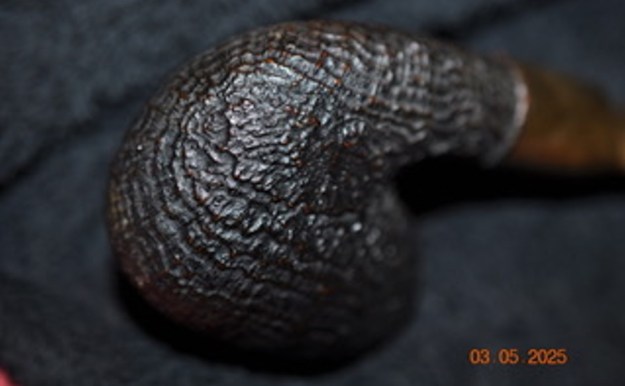
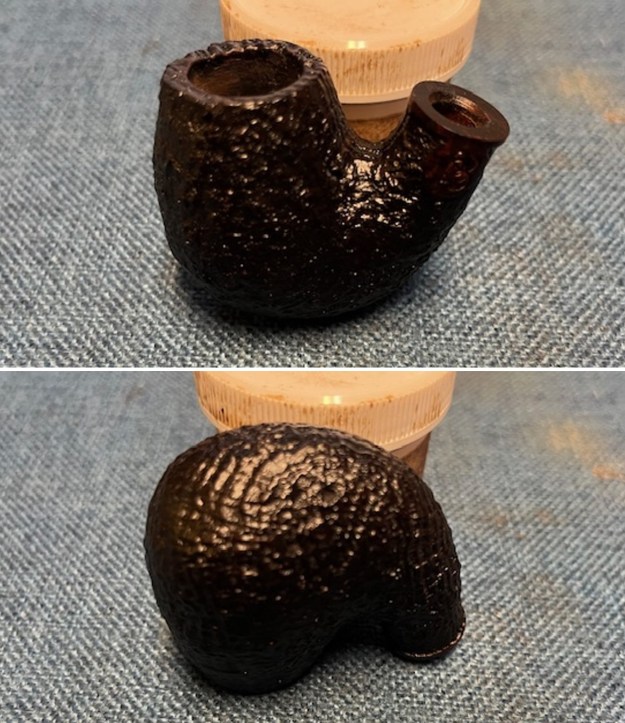
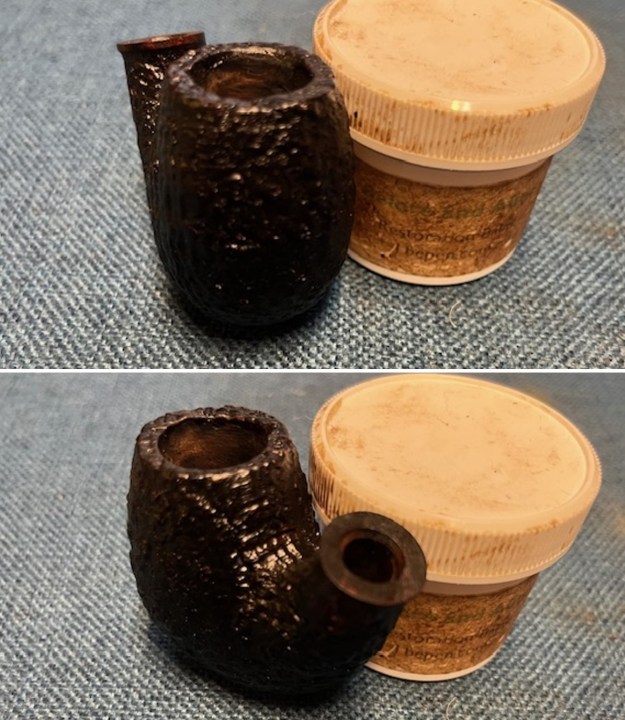
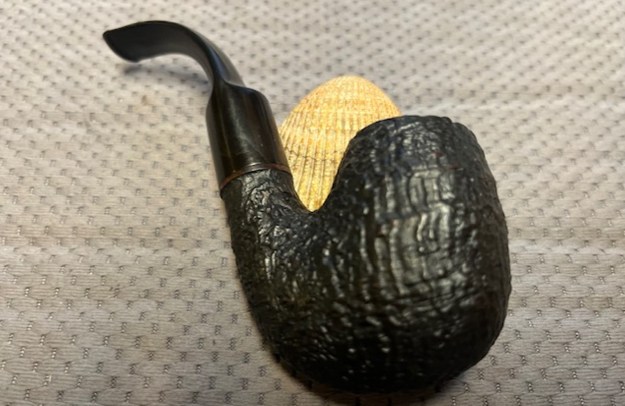
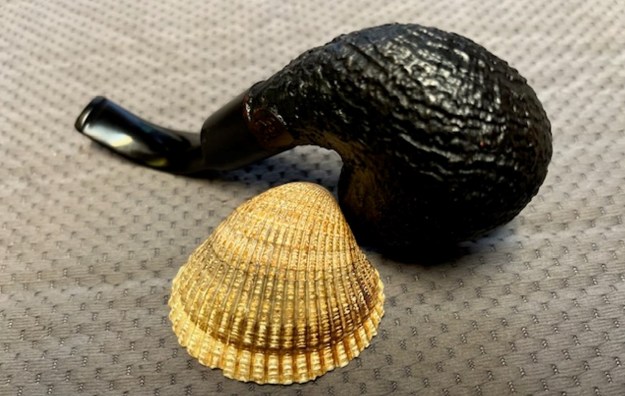
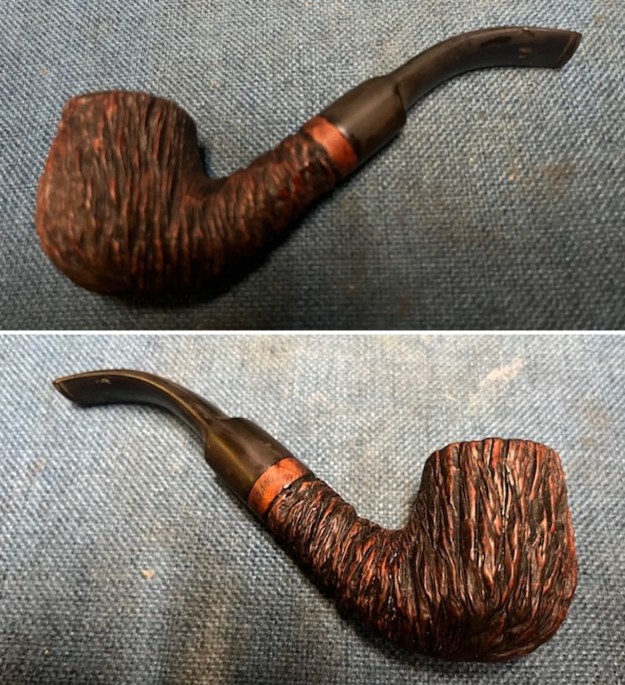
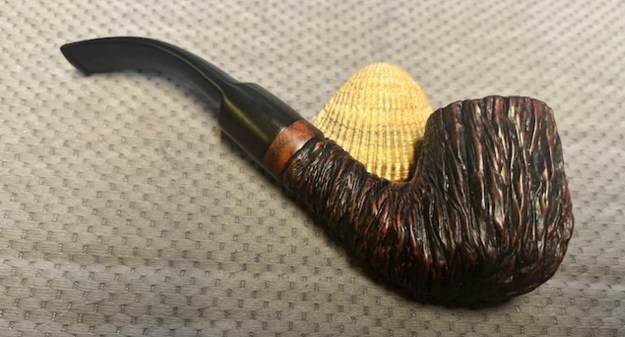
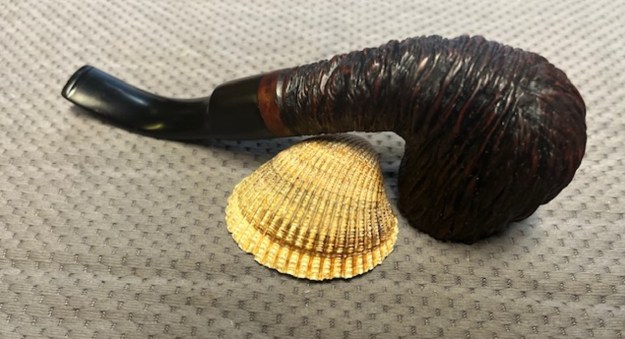
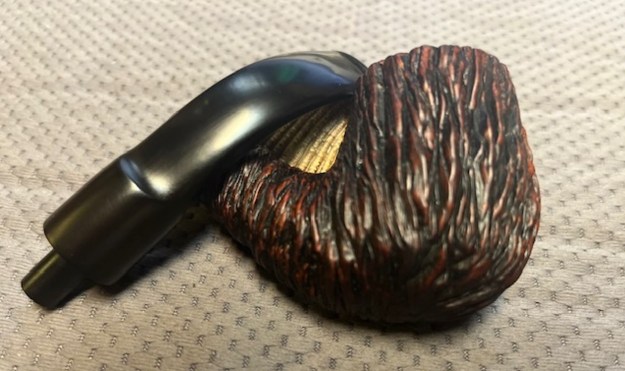
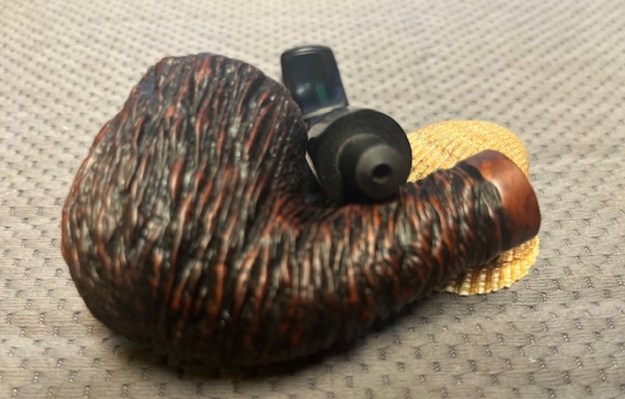
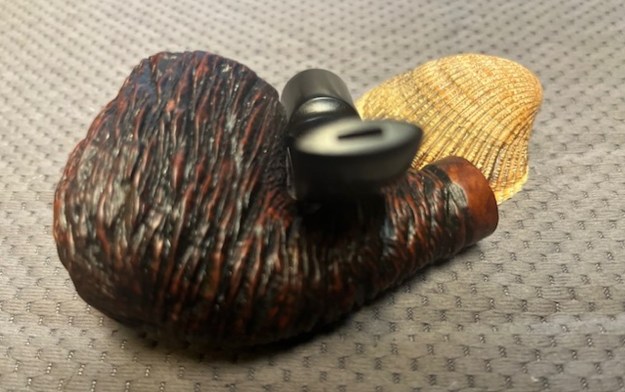
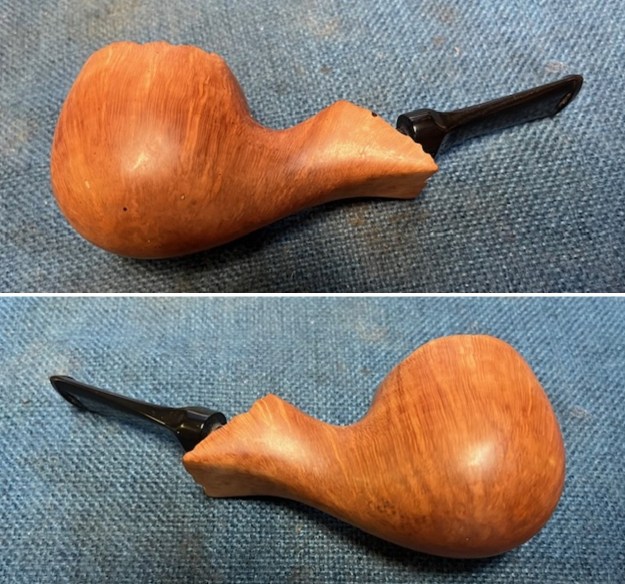
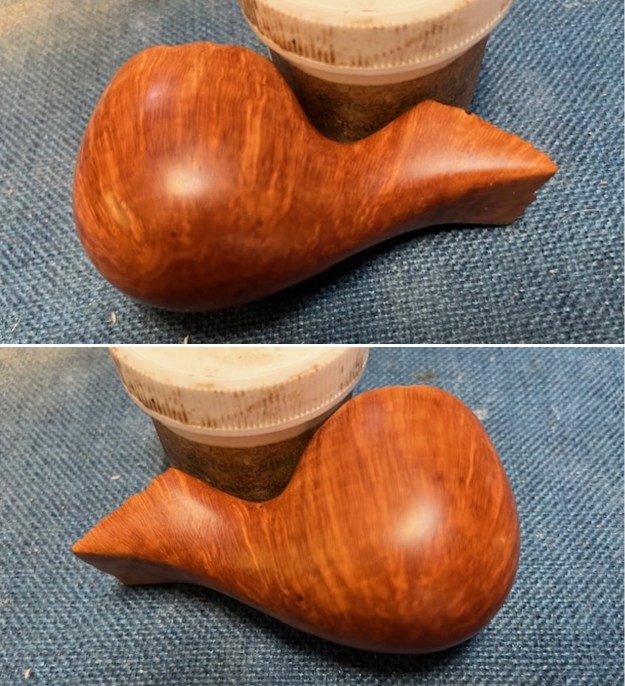
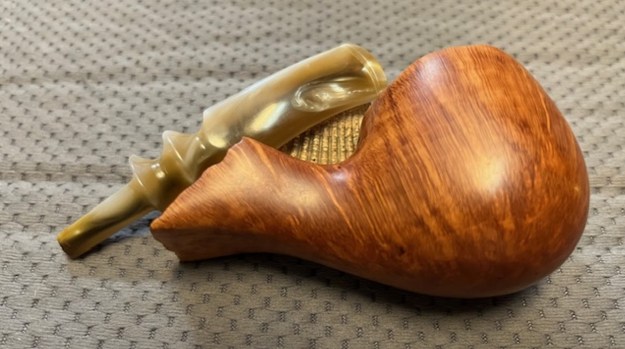
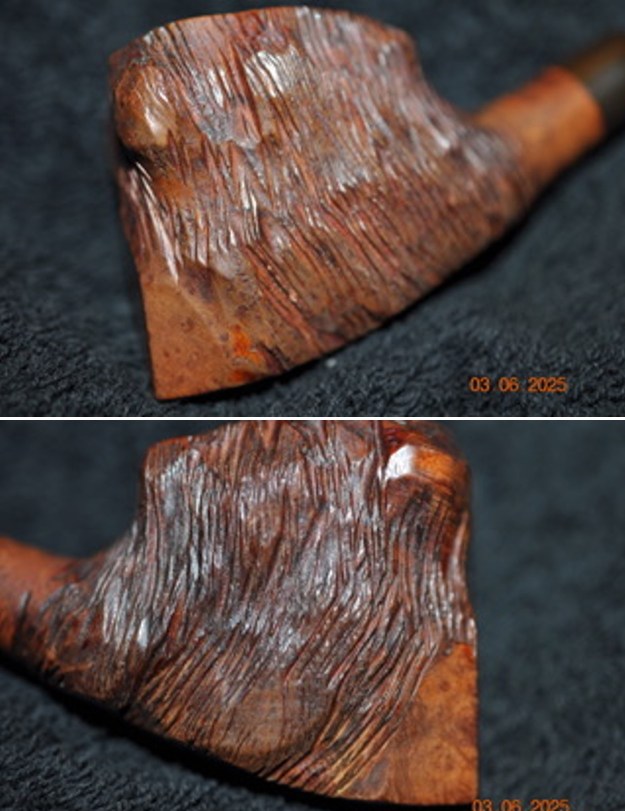
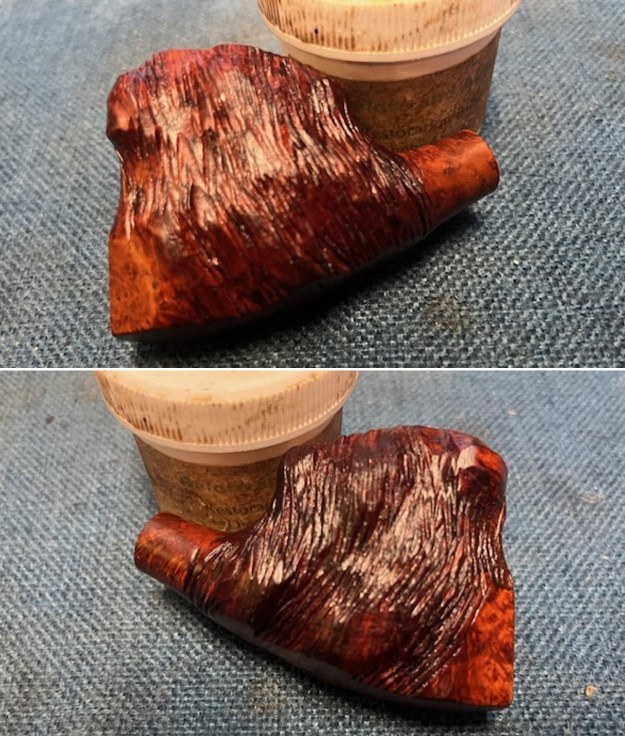
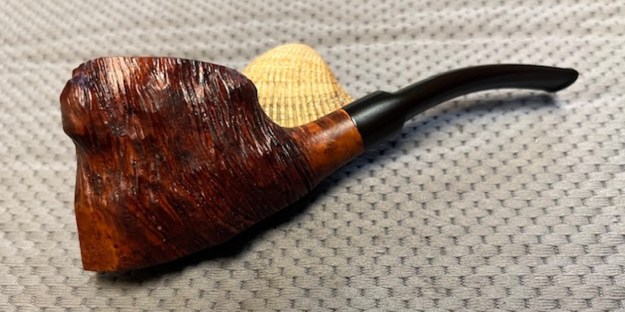
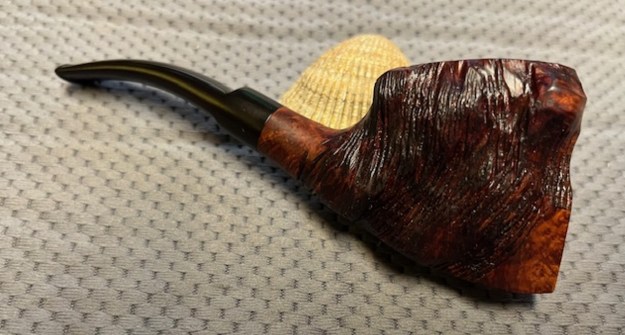
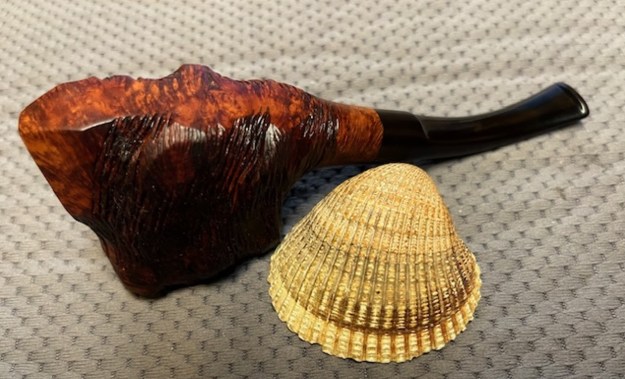
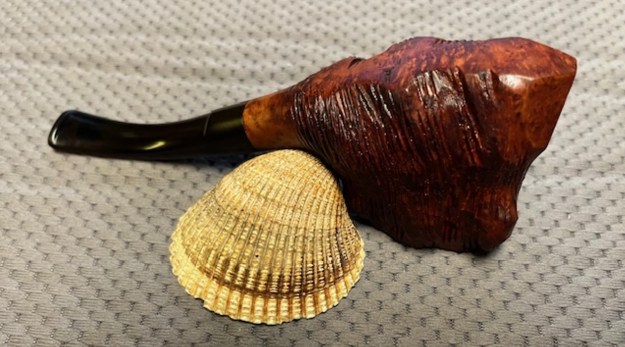
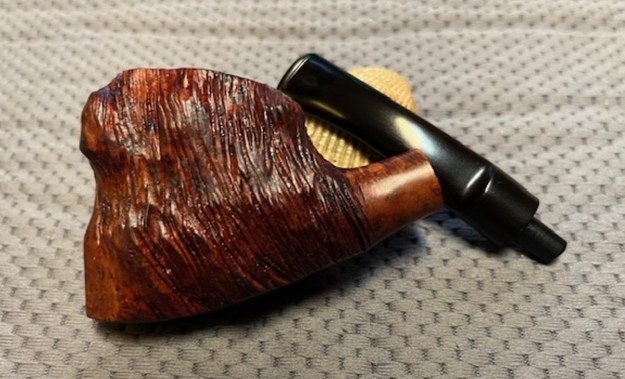
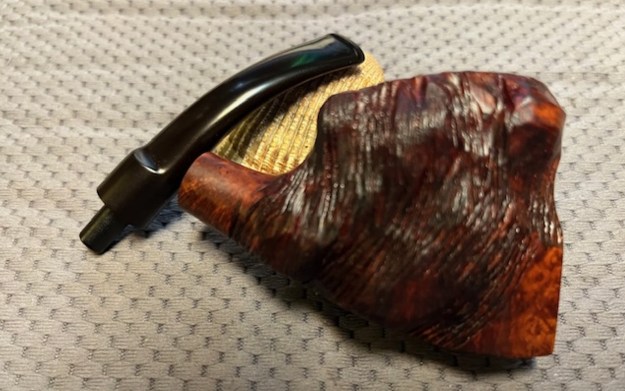
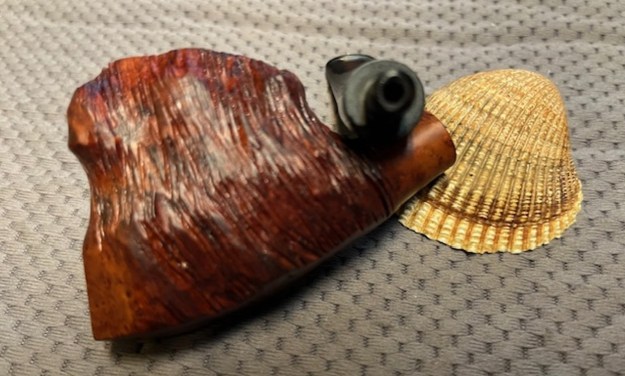
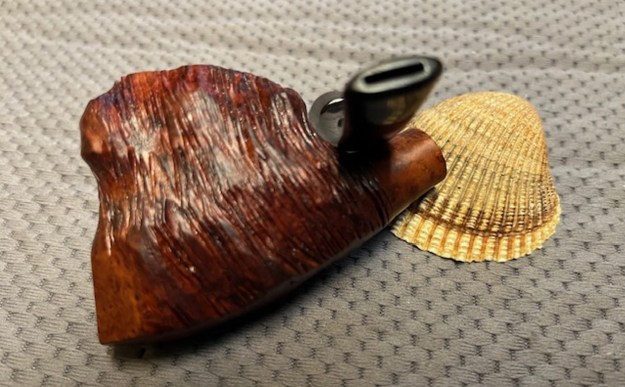
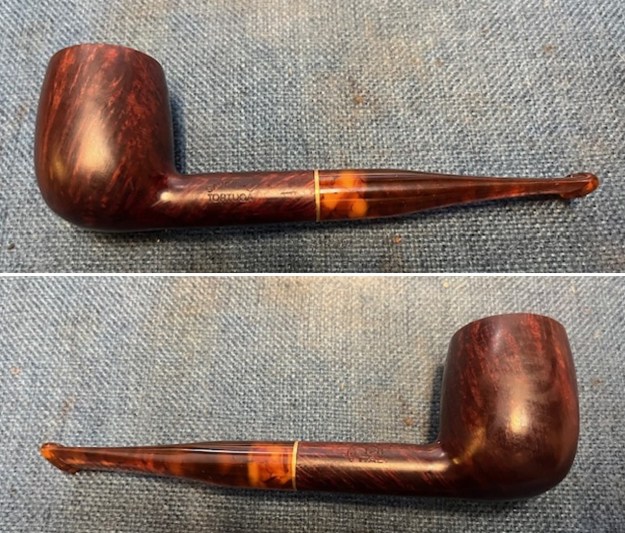
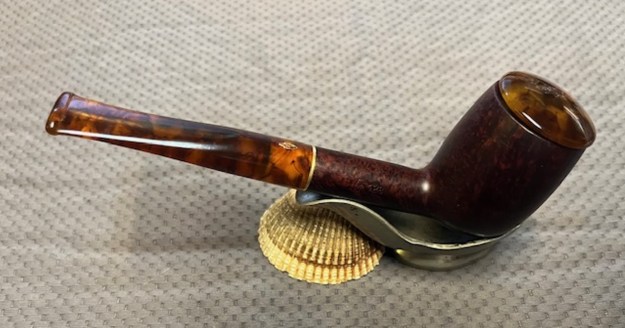
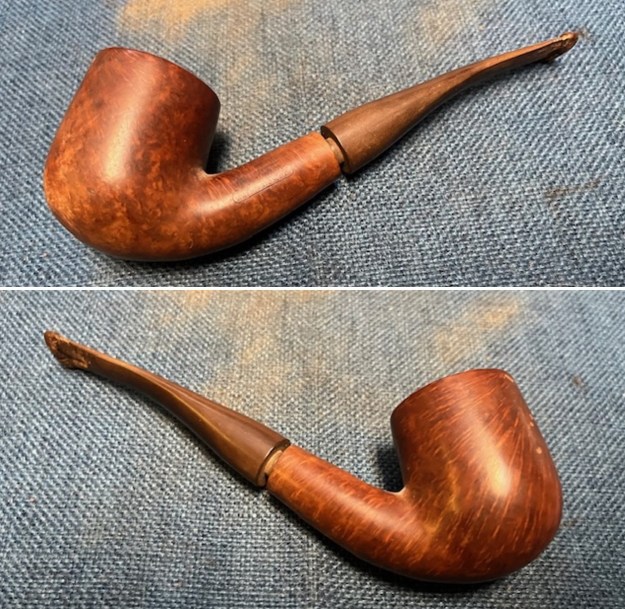
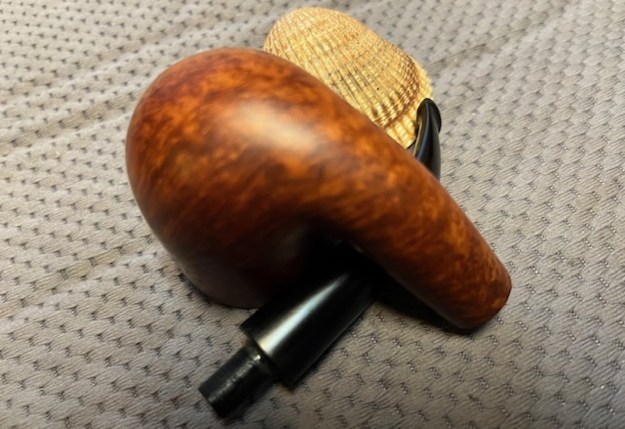
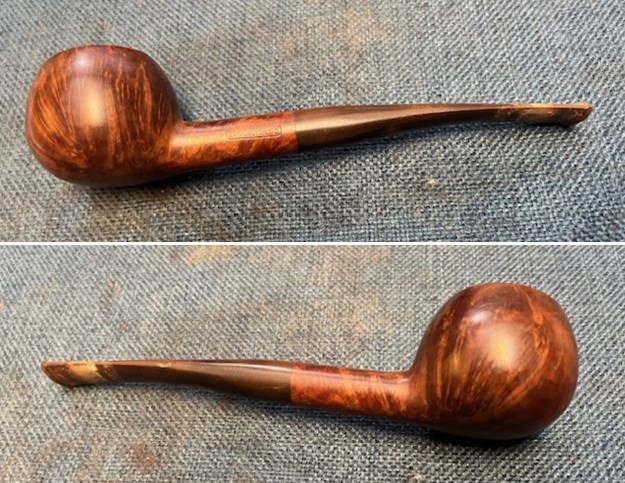
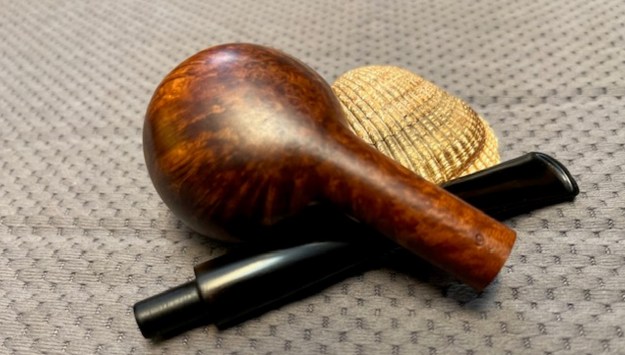
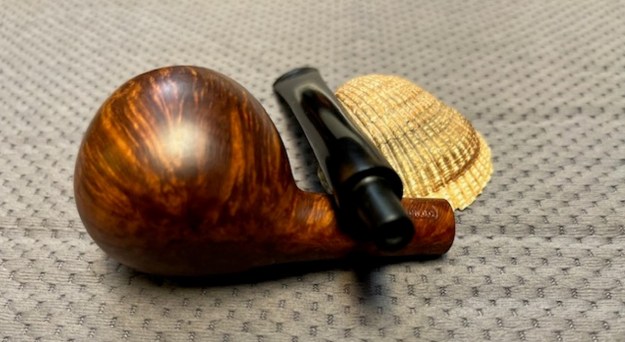
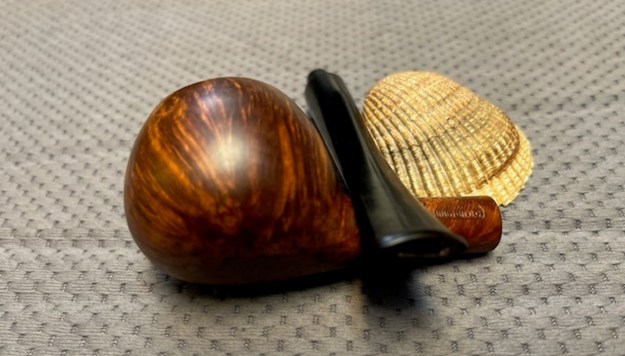
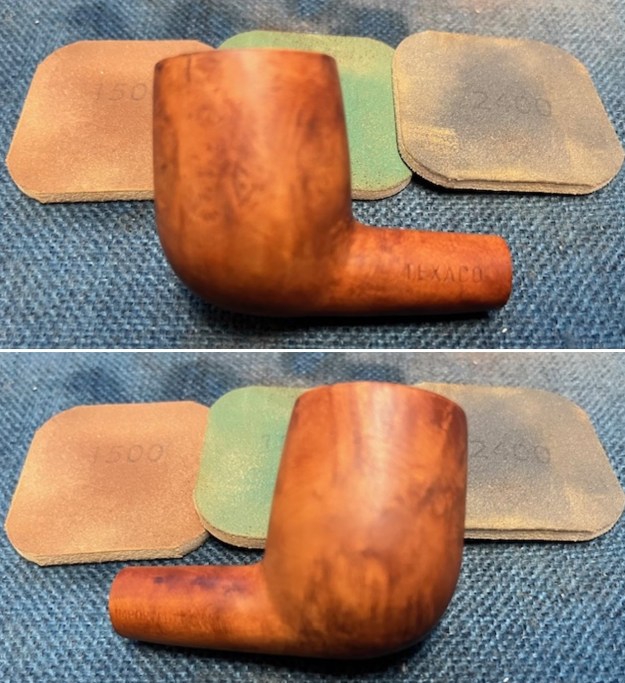
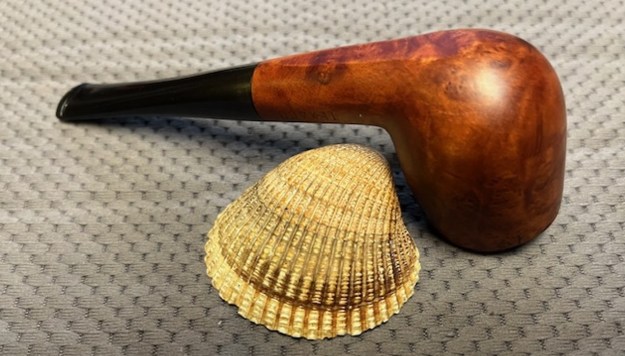
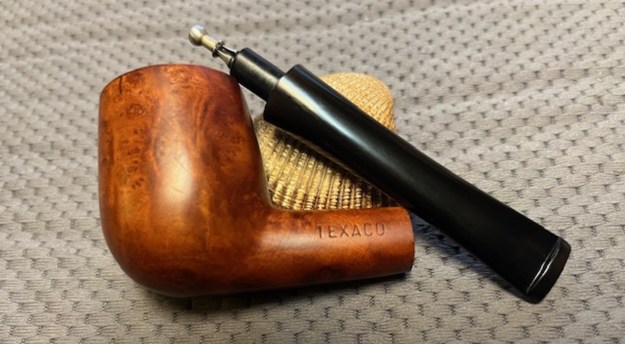
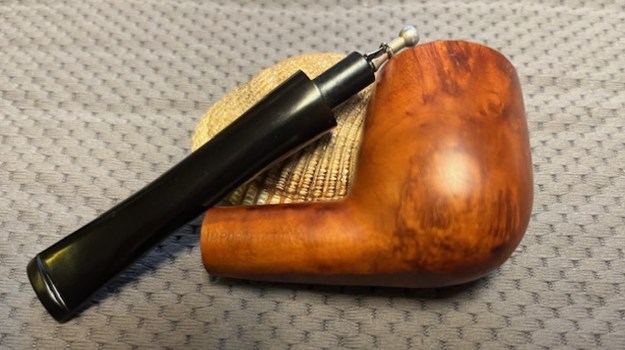
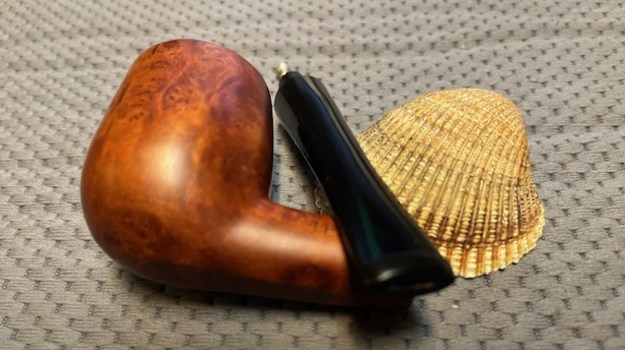
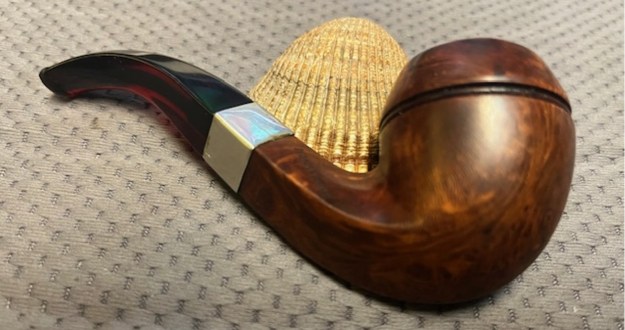
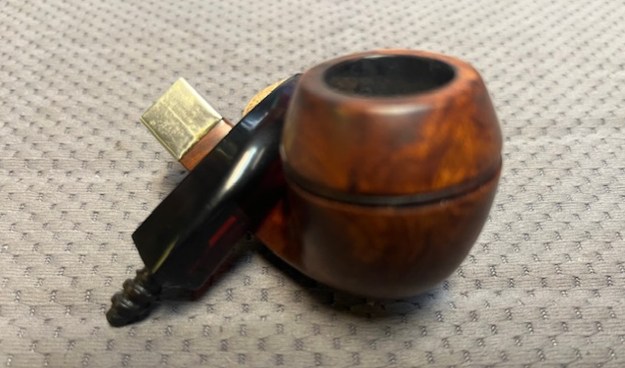
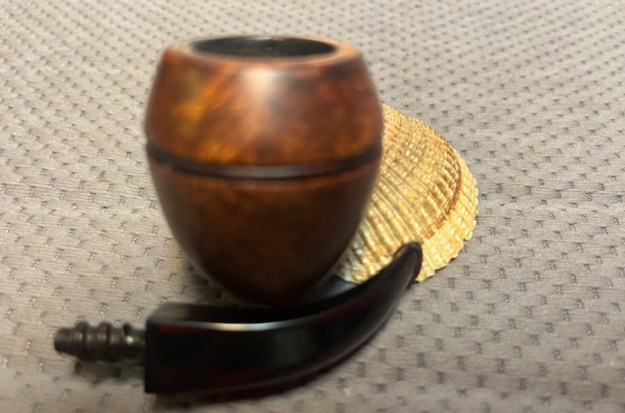
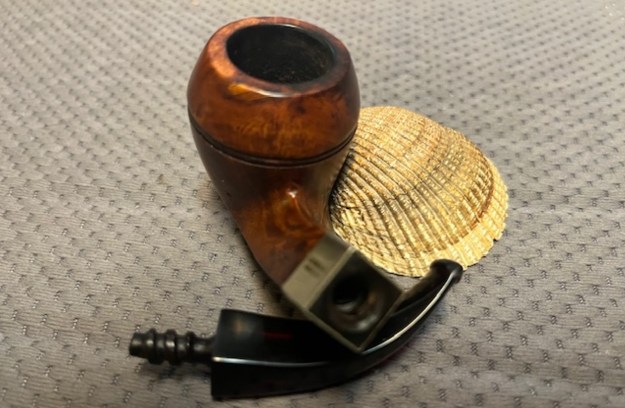
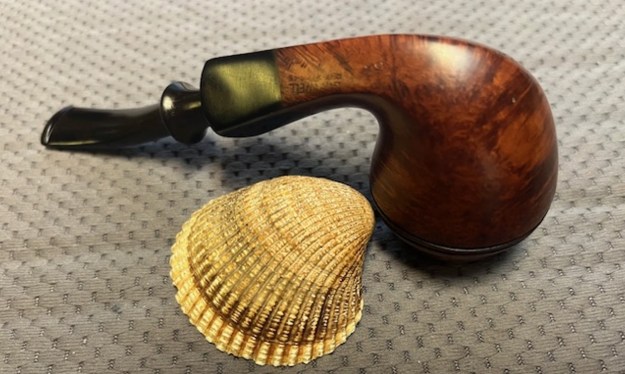
 Jeff took photos of the sides of the bowl to show the interesting grain in the sandblast. The swirls and depths of the sandblast are intricate and quite beautiful.
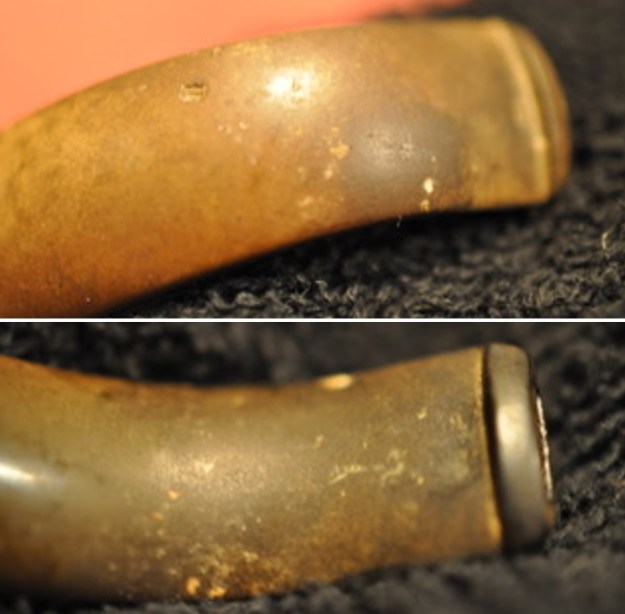
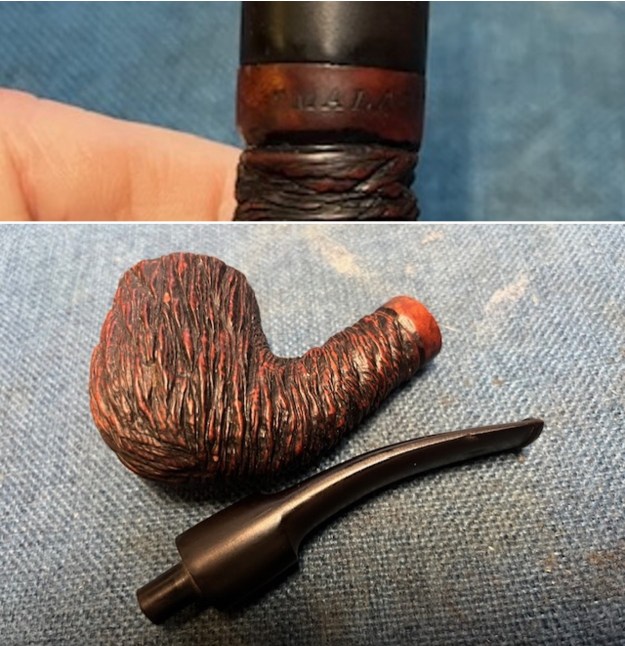
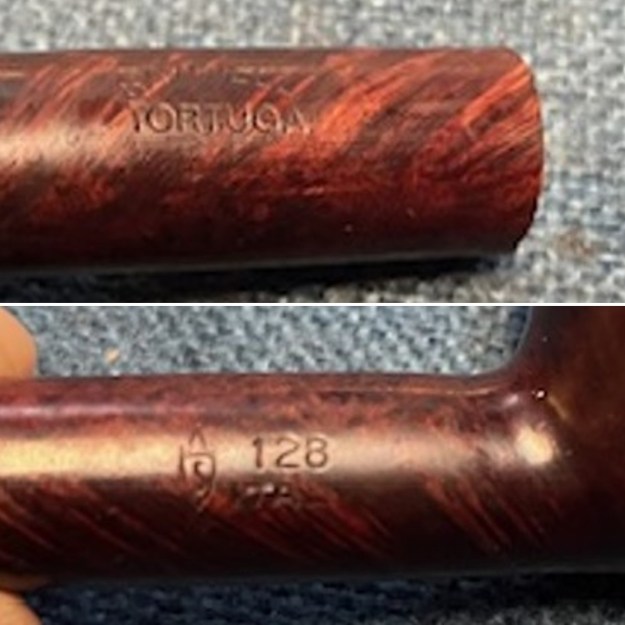
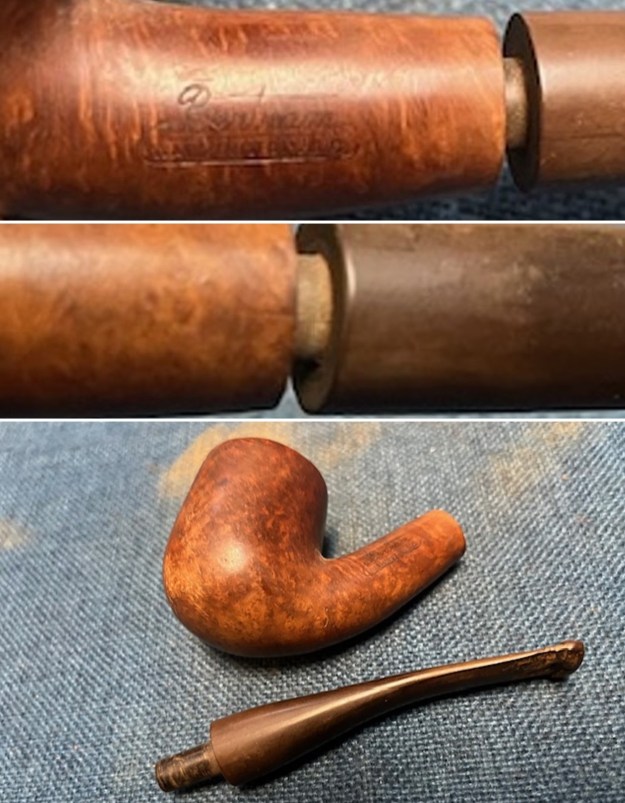
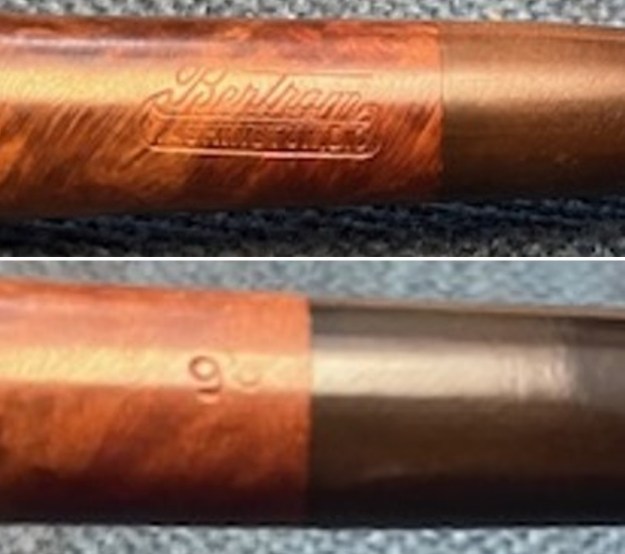
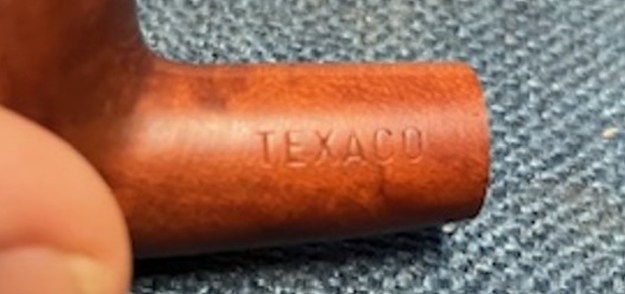
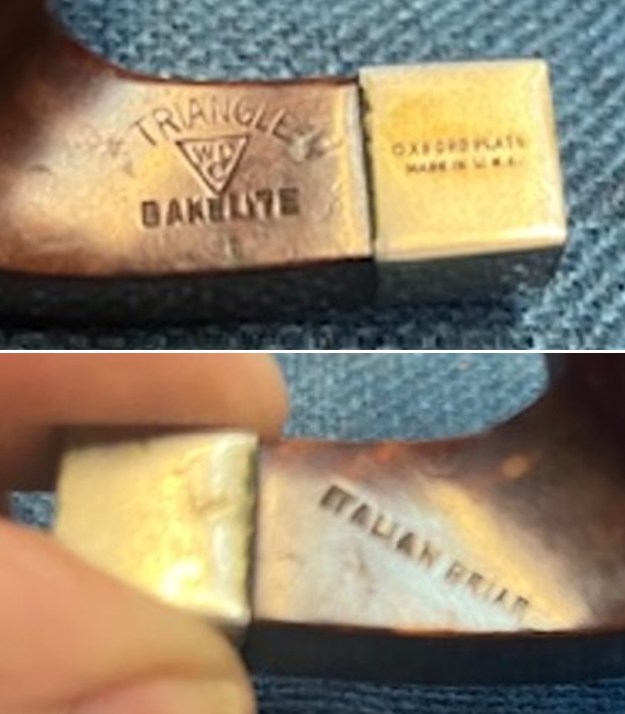
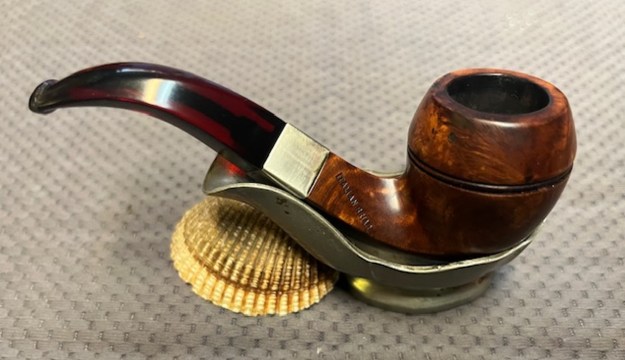
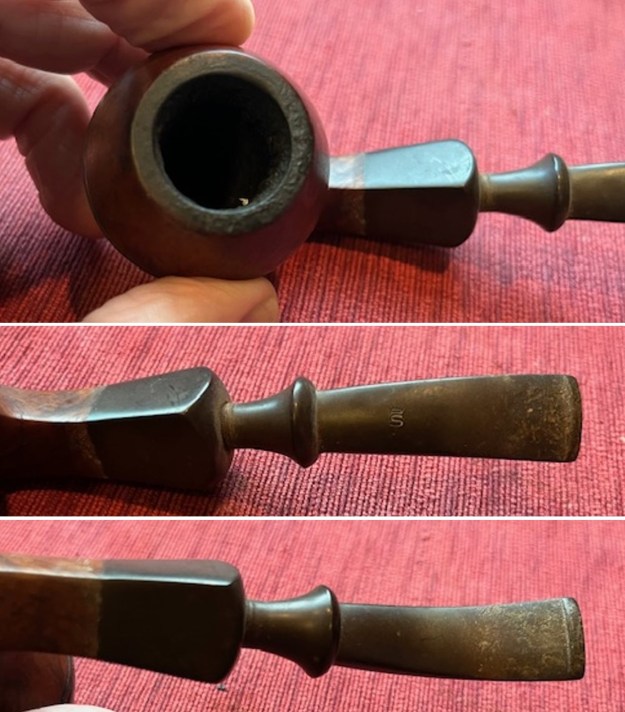
 Jeff took a photo of the S&R logo on the left side of the shank. It is a unique interlocked S&R stamp with the pipe. It is clear and legible.
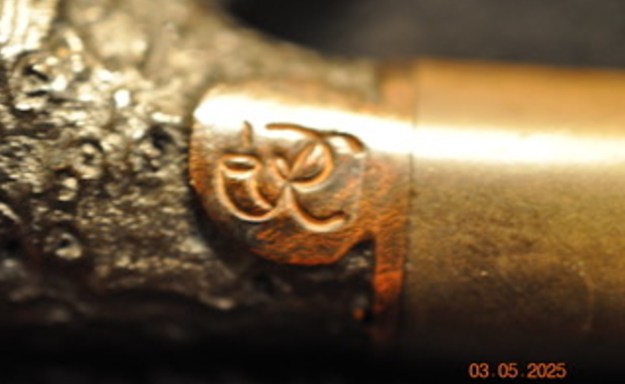 I decided to take some time to review my knowledge of the brand. I turned to Pipedia and read the article that was included there (https://pipedia.org/wiki/S%26R_Pipes). I quote in full below:
Stephen and Roswitha Anderson of S&R Pipes, also known as S&R Woodcrafters, have become pipe makers renowned throughout the world as talented carvers of high-grade briar pipes. They have been featured in several trade publications and magazines such as Pipes and Tobaccos and PipeSmoker, and have several pieces on display in museums in Europe and the United States.
They are the first American pipe carvers honored with induction into the Conferee of Pipe Makers of St. Claude, France; the very place where the carving of briar pipes became a world-wide industry. Sadly, Steve passed away in March of 2009. Roswitha is still carving S&R pipes and carrying on with the shop with help from her “guys” David, Marty, and Tony.
Steve and Roswitha began carving pipes in the 1960’s. They travelled to pipe shows and arts and crafts shows throughout the country and Europe selling their pipes and built up quite an extensive loyal customer base. Eventually, it became time to offer their pipes to the retail fraternity of pipe smokers.
Pipes & Pleasures had its grand opening in a distinct red brick house on Main Street in Columbus, Ohio in 1977. The front section of the house was converted into a traditional tobacco shop selling pipe tobacco, cigars, and pipes manufactured by well known companies such as Dunhill, Charatan, and Savinelli as well as the high-grade S&R pipes that Steve and Roswitha carved. A workshop was set up in the back section of the house.
When the cigar boom hit in the ’90’s, the shop was expanded by building a large computer controlled walk-in humidor. It’s no secret throughout the country that Pipes & Pleasures has the best maintained cigars in the Columbus area as well as the best selection of premium cigars available in the area including the much sought-after Davidoff line.
Soon after the boom began, Steve and Roswitha moved their pipe making workshop to their farm and converted that space into a large smoking lounge for their many customers. The lounge features comfortable easy chairs, a television set, a stereo, a library of books and magazines about every aspect of tobacciana, a chess table, and a couple of card tables. The lounge is populated daily with long-time loyal customers and newcomers to the enjoyment and relaxation of cigar and pipe smoking. It’s also the room where several cigar tastings and samplings are held every year by representatives from cigar companies such as Davidoff and La Flor Dominicana.
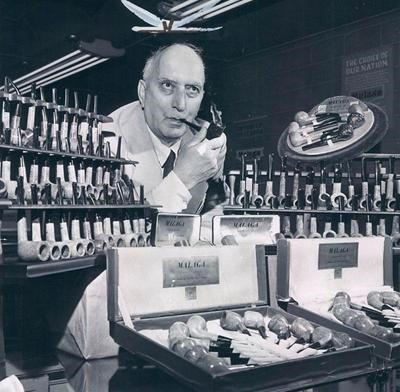
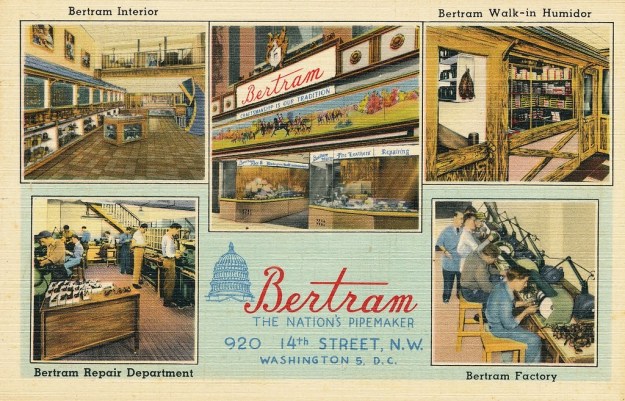
I captured a photo of the shop from the Pipedia article to include below. It is a great looking shop.
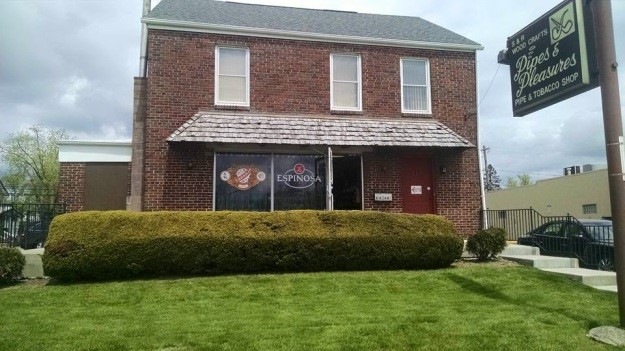
The Pipes & Pleasures shop, home of S&R Woodcrafters
I also turned to the Pipes & Pleasures website and copied the “About Us” section. Here is the link to the site (https://www.pipesandpleasures.biz/maintenance). I quote in part.
Pipes & Pleasures proprietors Stephen and Roswitha Anderson have become pipe makers renowned throughout the world as talented carvers of high-grade briar pipes. They have been featured in several trade publications and magazines such as Pipes and Tobaccos and PipeSmoker, and have several pieces on display in museums in Europe and the United States. They are the first American pipe carvers honored with induction into the Conferee of Pipe Makers of St. Claude, France; the very place where the carving of briar pipes became a world-wide industry.
Steve and Roswitha began carving pipes in the 1960’s. They travelled to pipe shows and arts and crafts shows throughout the country and Europe selling their pipes and built up quite an extensive loyal customer base. Eventually, it became time to offer their pipes to the retail fraternity of pipe smokers…
…Sadly, Steve passed away in March of 2009. Roswitha is still carving S&R pipes and carrying on with the shop with help from her “guys” David, Marty, and Tony, who welcome you to this website.
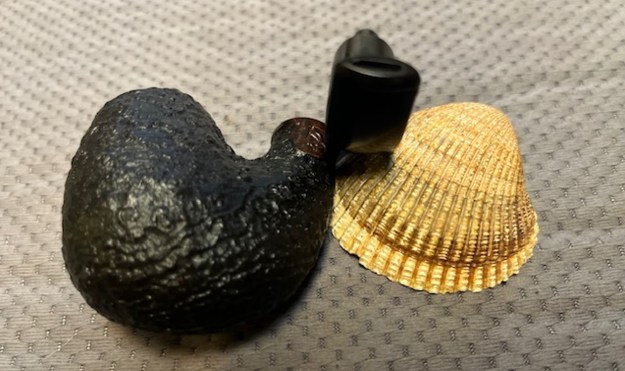
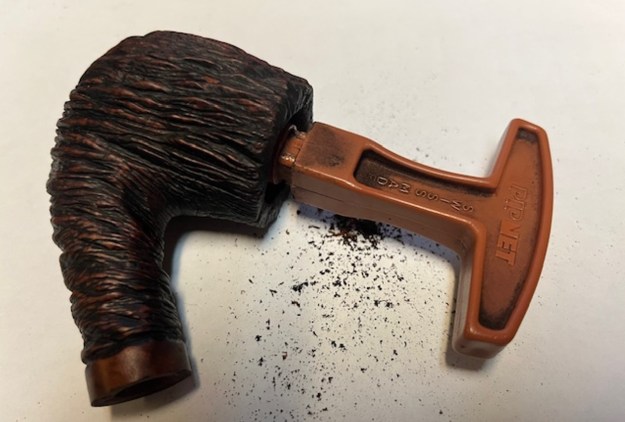
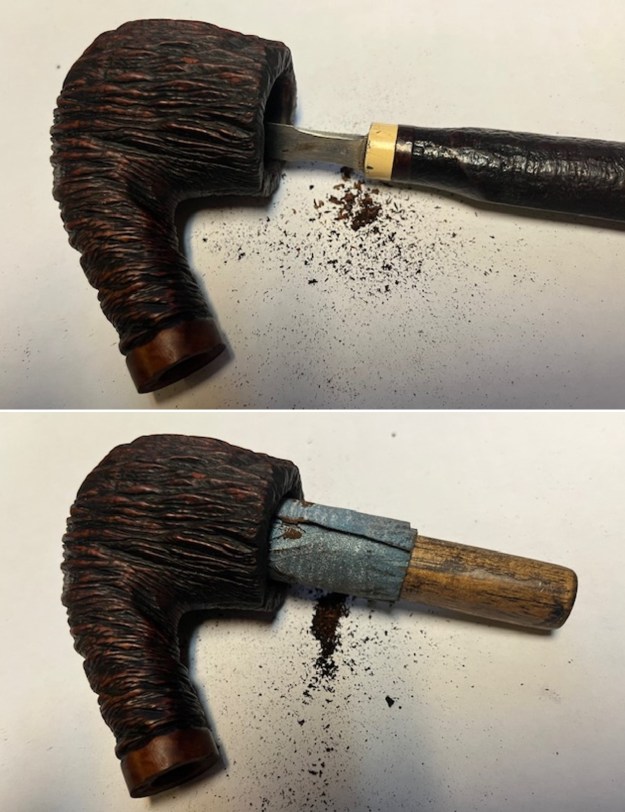
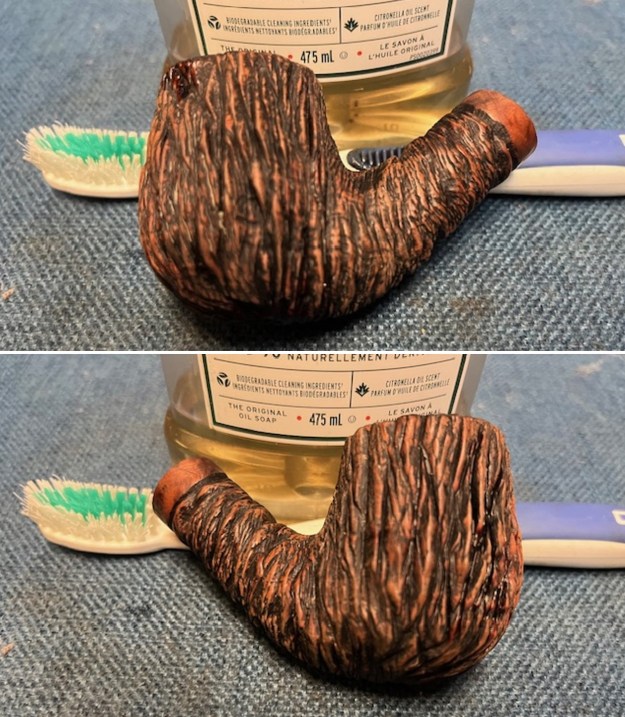
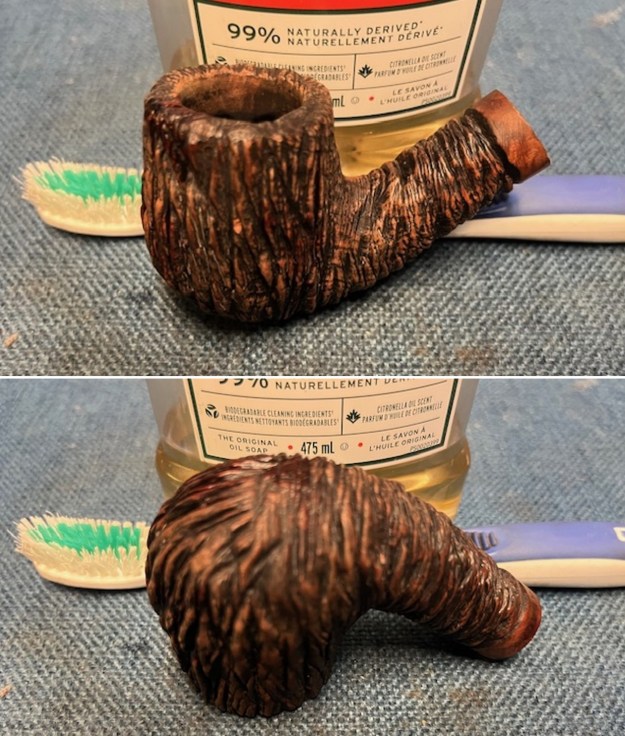
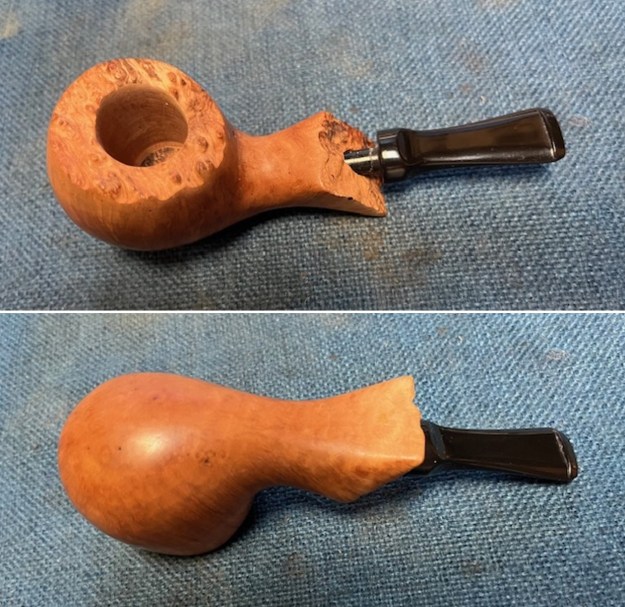
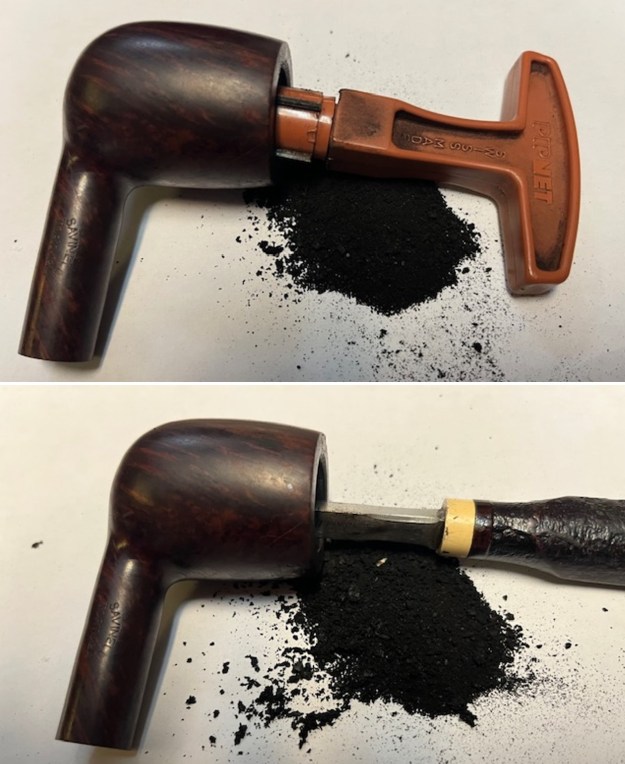
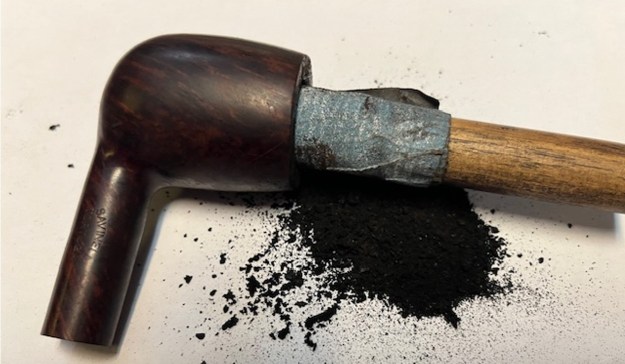
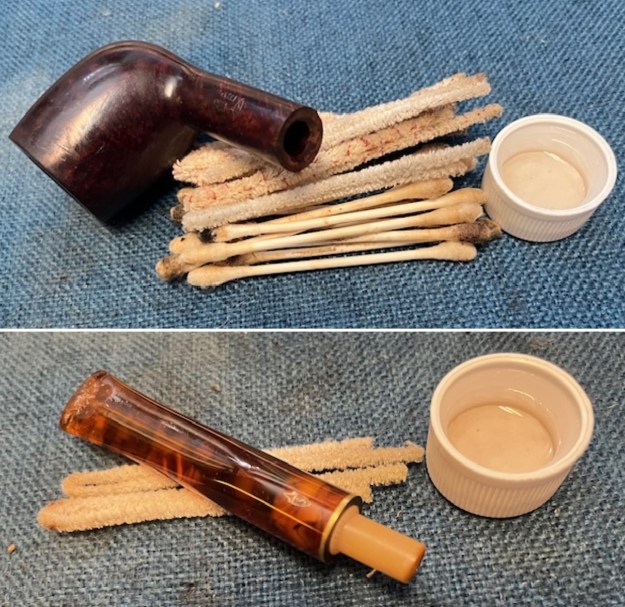
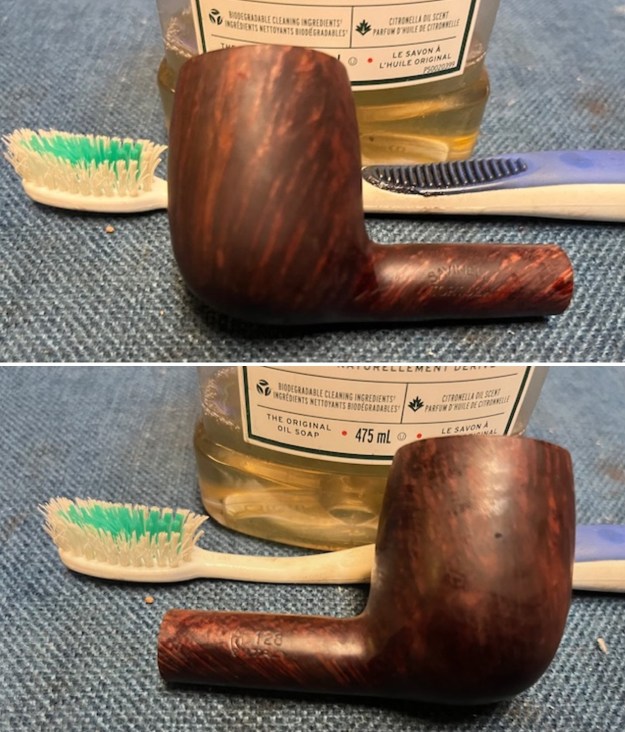
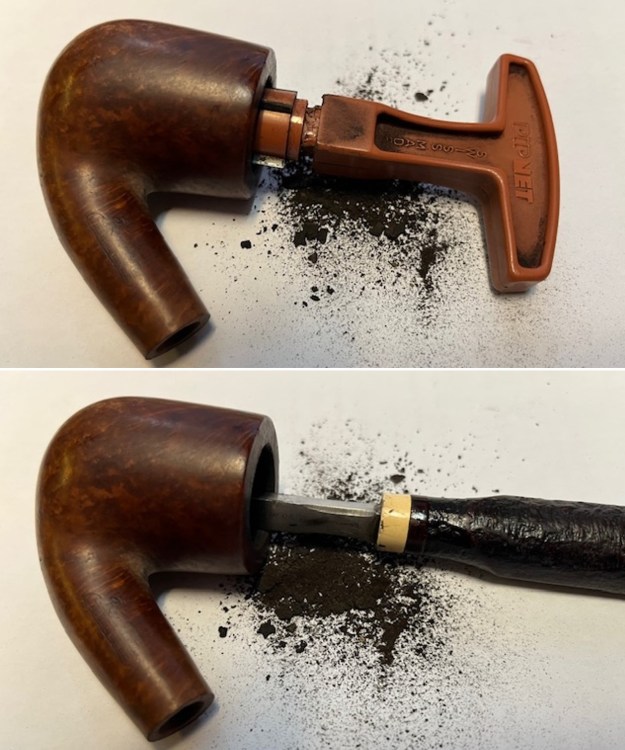
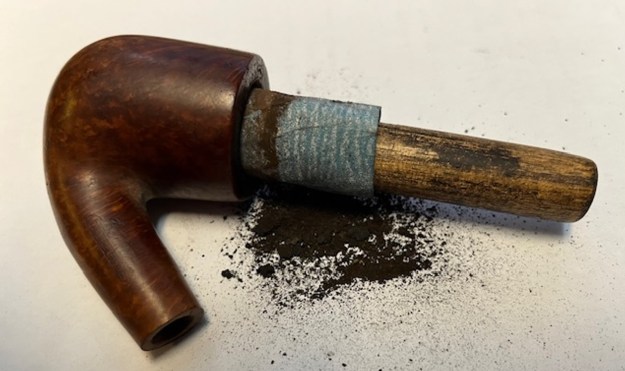
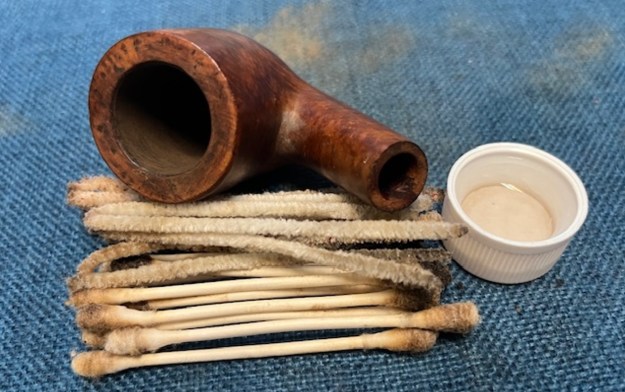
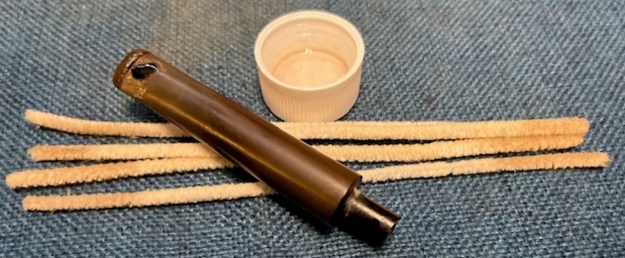
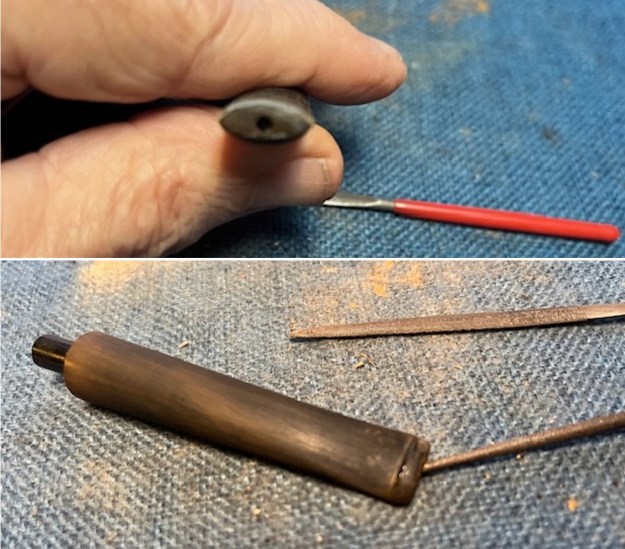
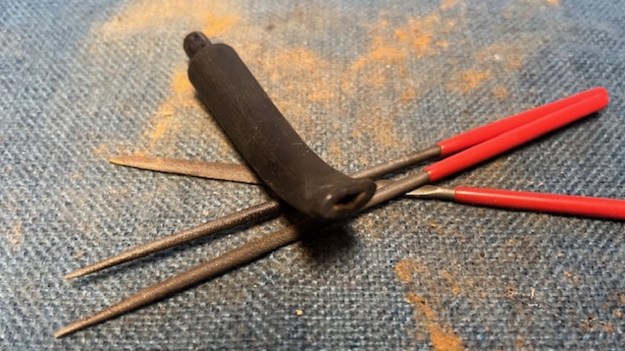
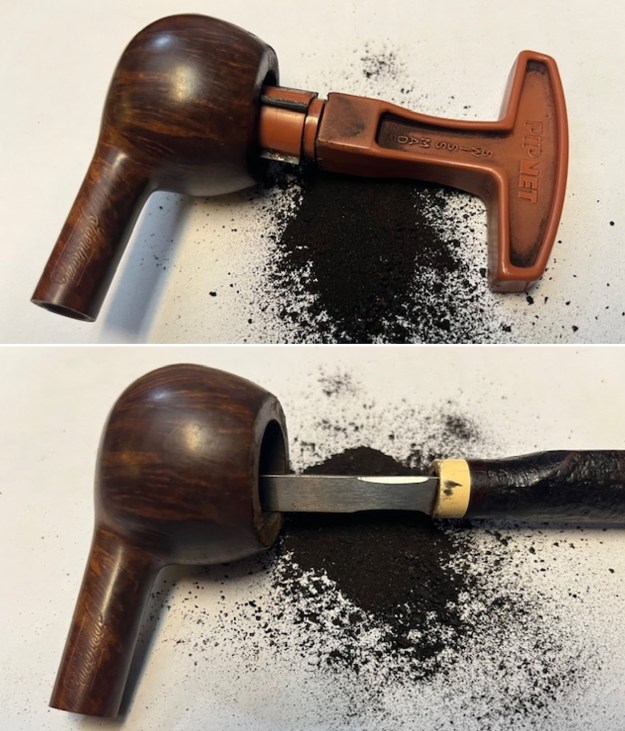
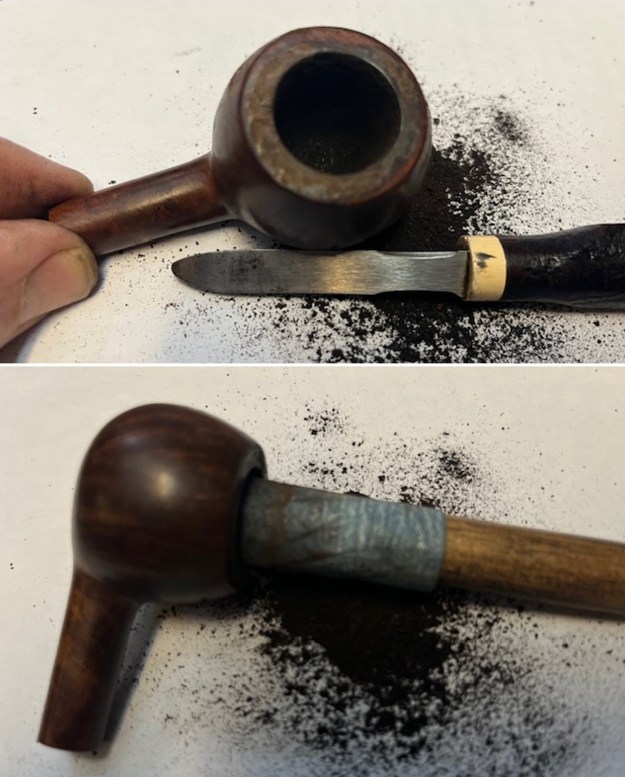
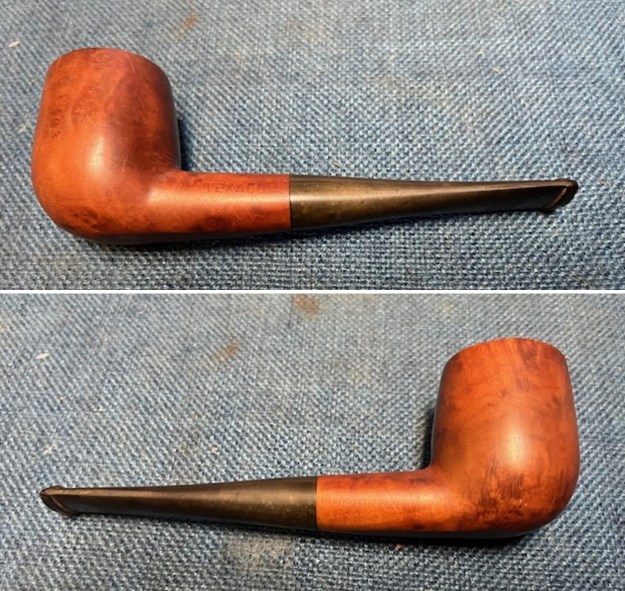
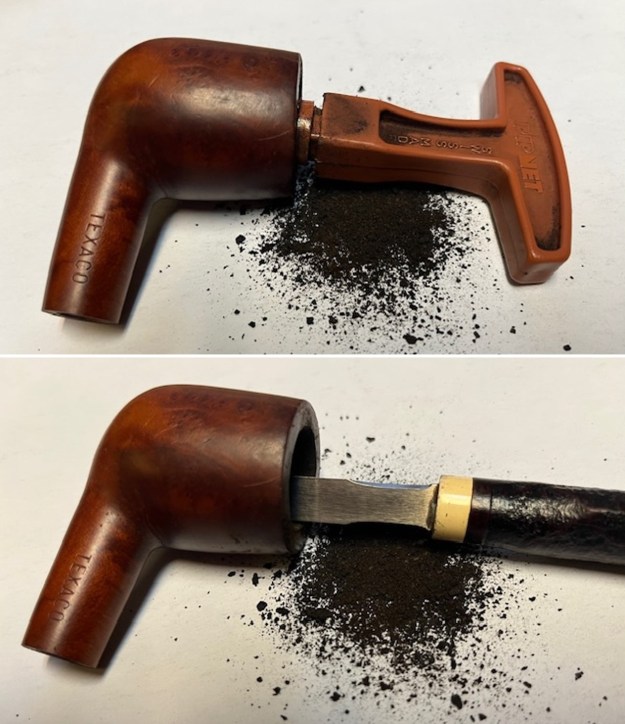
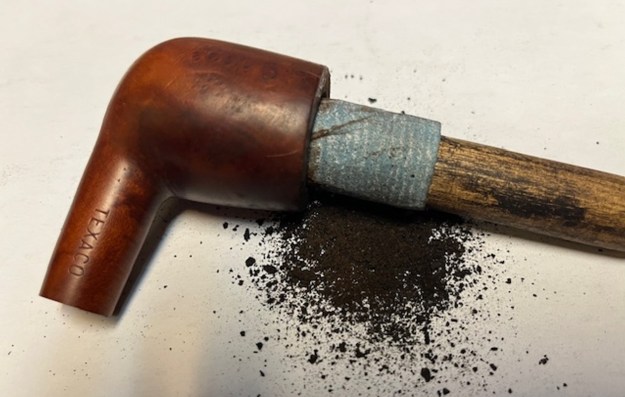
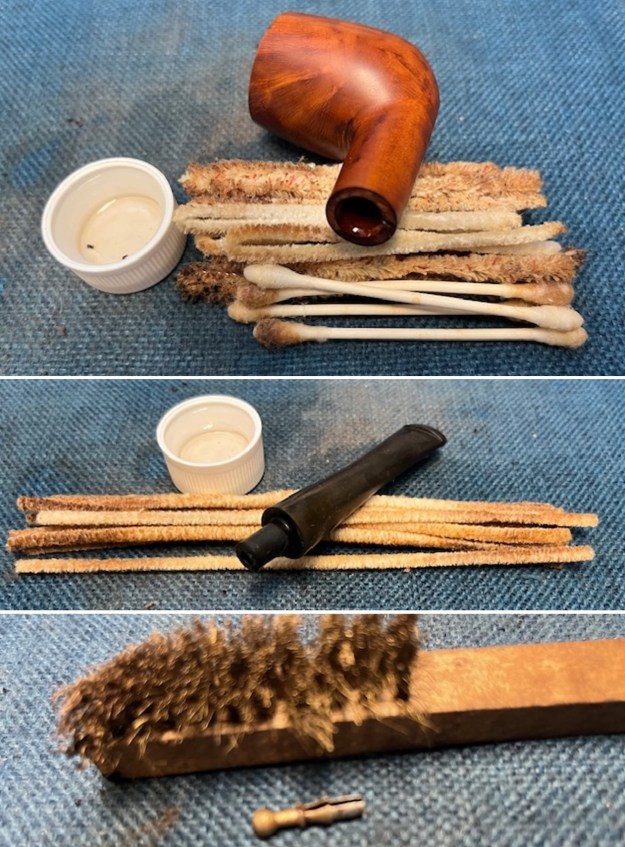
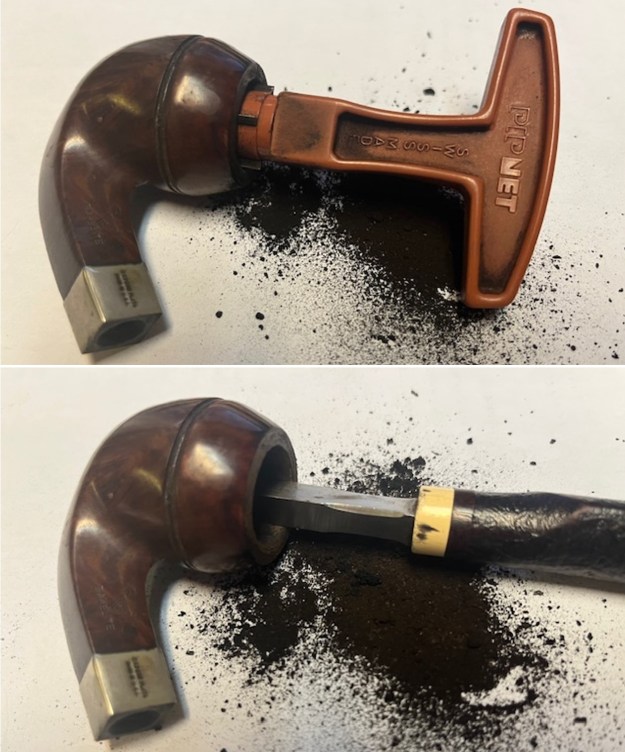
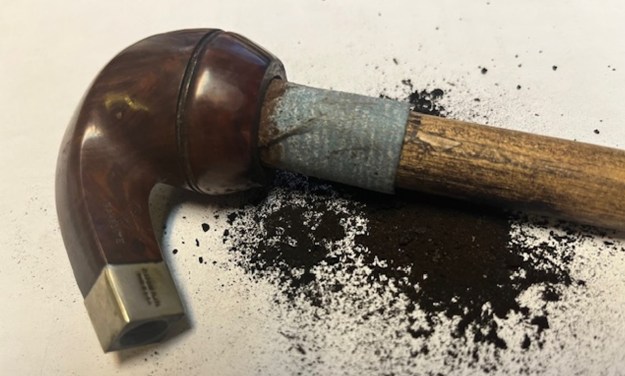
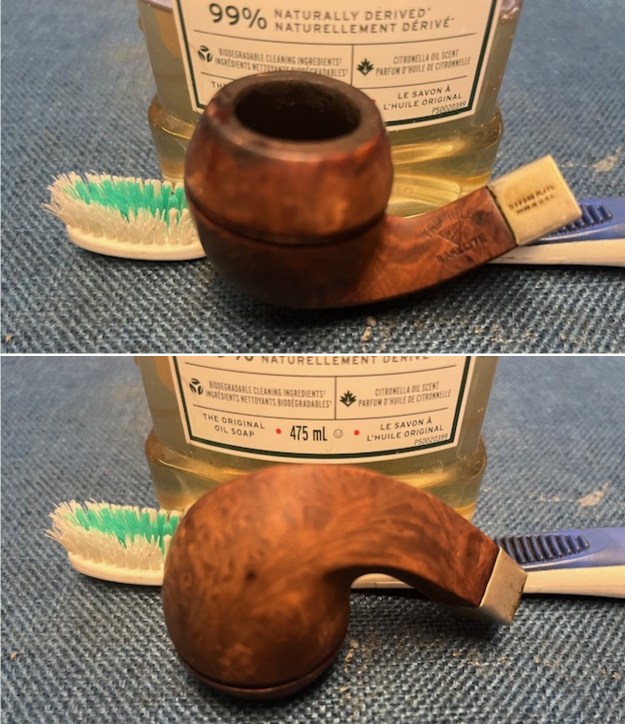
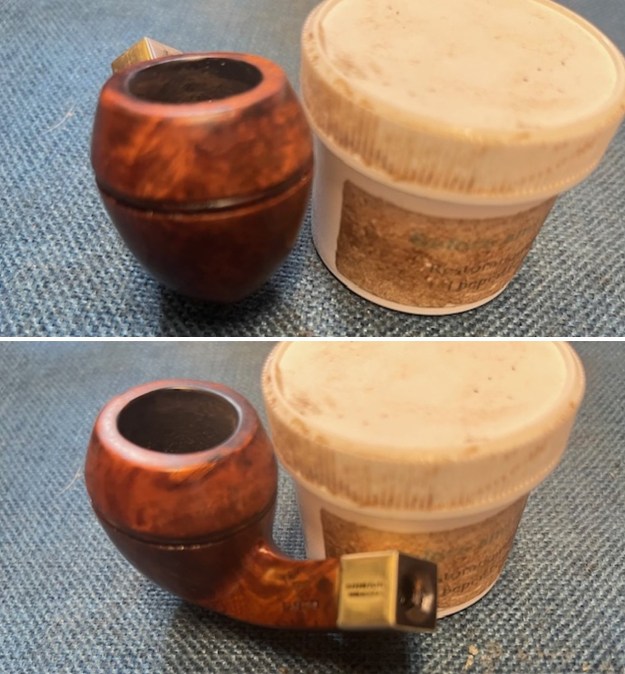
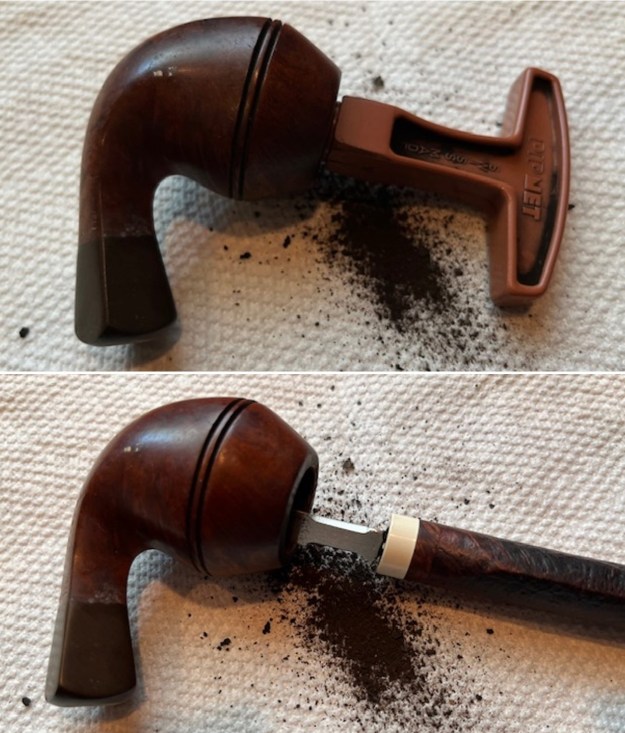
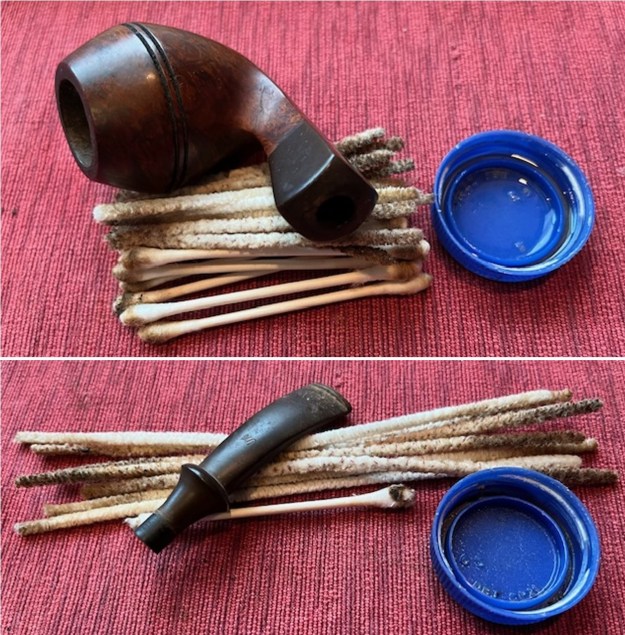
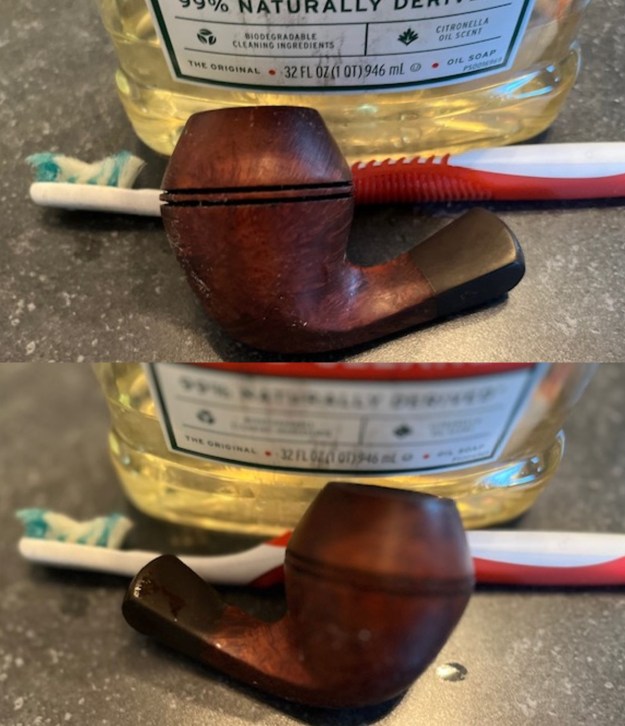
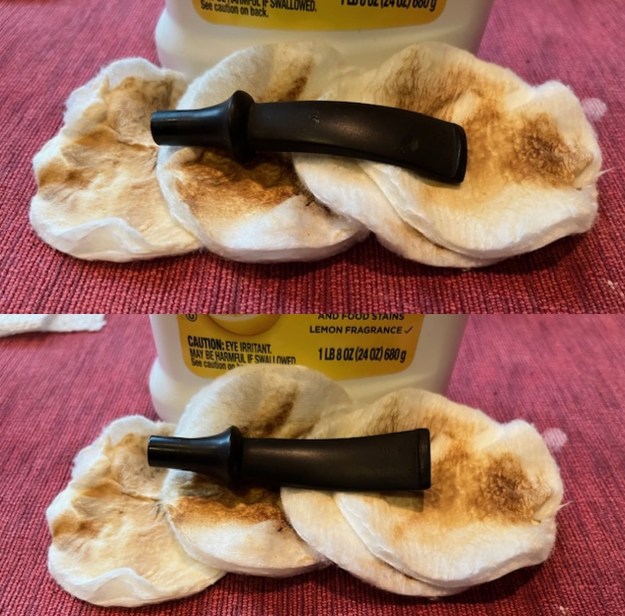
Jeff reamed the bowl with a PipNet pipe reamer and followed up with a Savinelli Fitsall pipe knife to remove the cake. He scrubbed out the mortise and the airway in the shank and the stem with alcohol, cotton swabs and pipe cleaners. He scrubbed the exterior of the bowl, rim, shank and stem with a tooth brush and Murphy’s Oil Soap to remove the oils and tars on the rim and the grime on the finish of the bowl of the pipe. He rinsed it off under running water. He dried it off with a soft cloth. He was able to remove most of the lava build up on the rim top of the pipe leaving a clean rim with some debris in the sandblast. I took photos of the pipe to show its condition before I started my work. 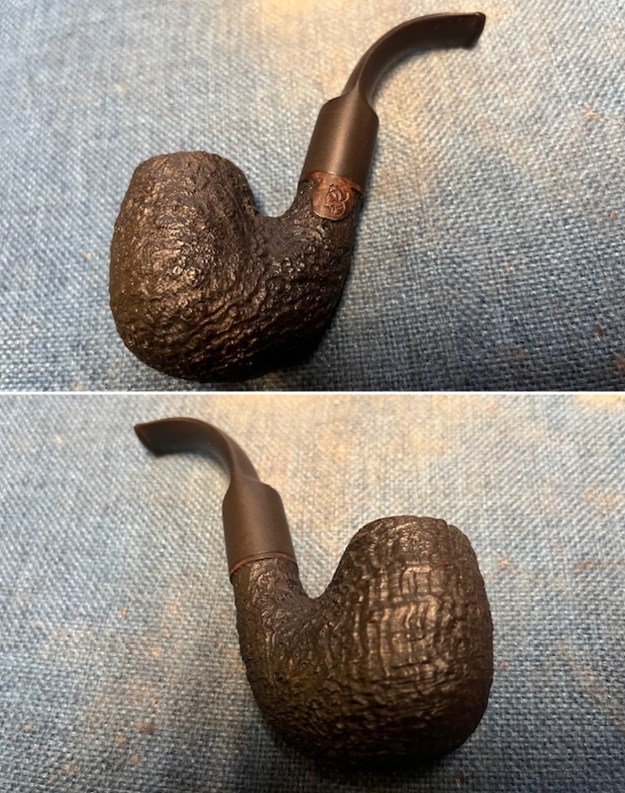
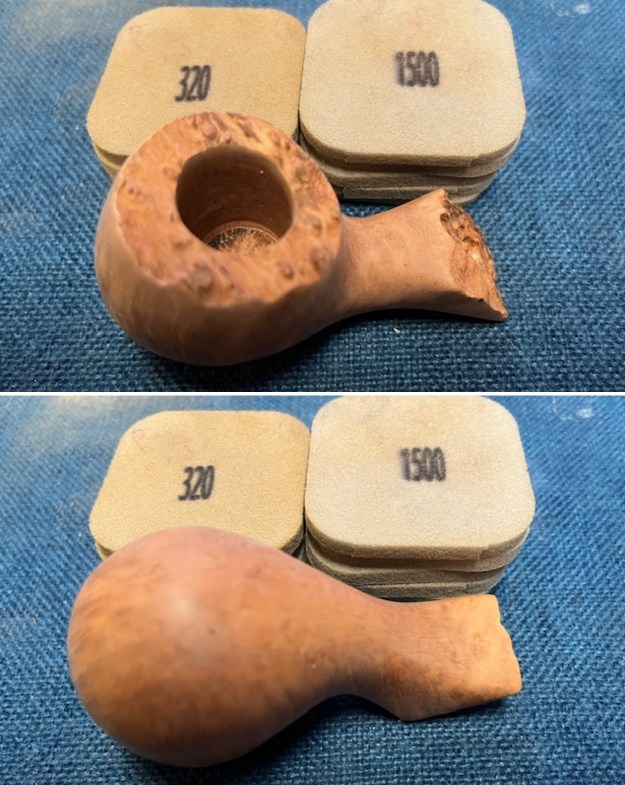
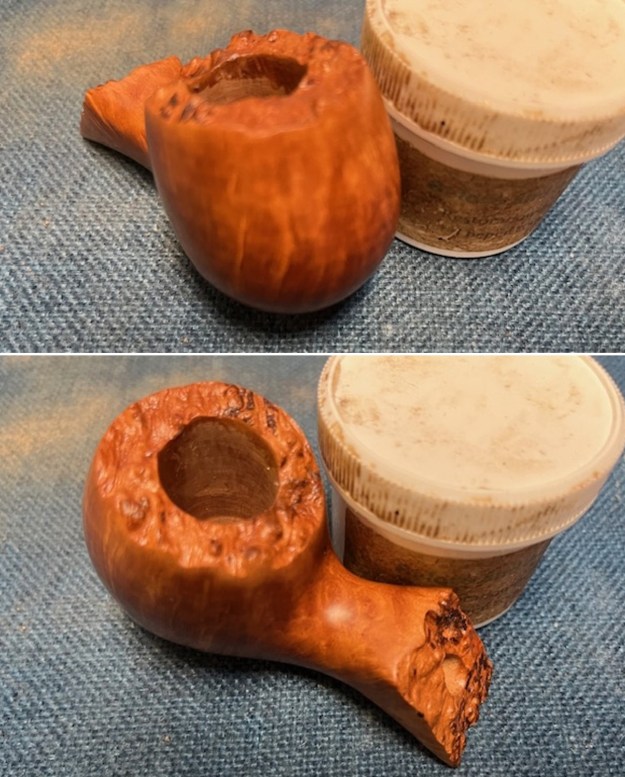
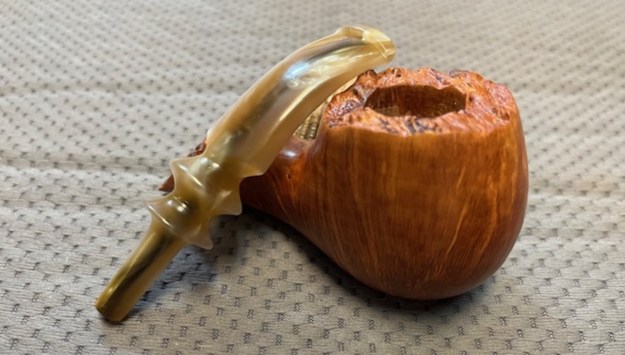
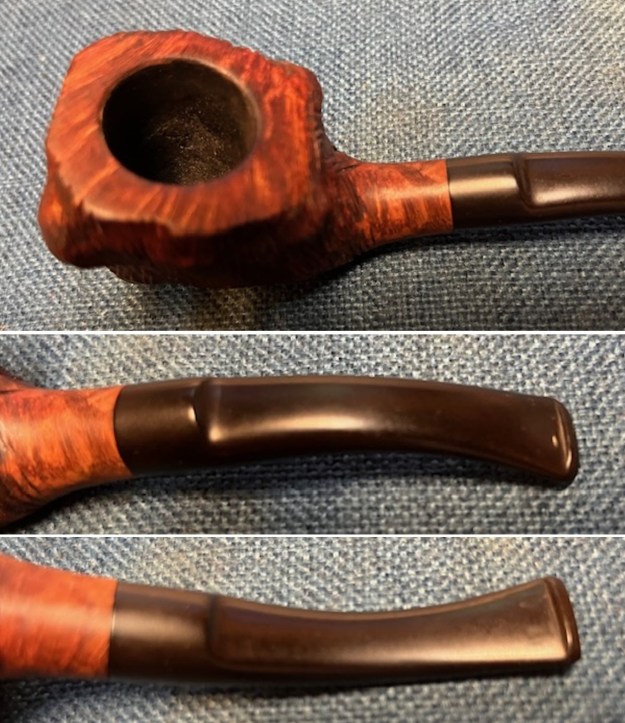
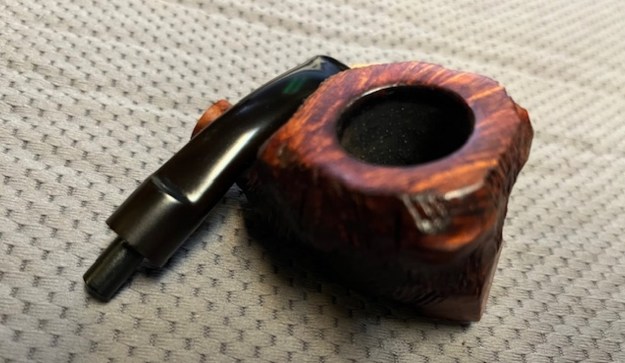
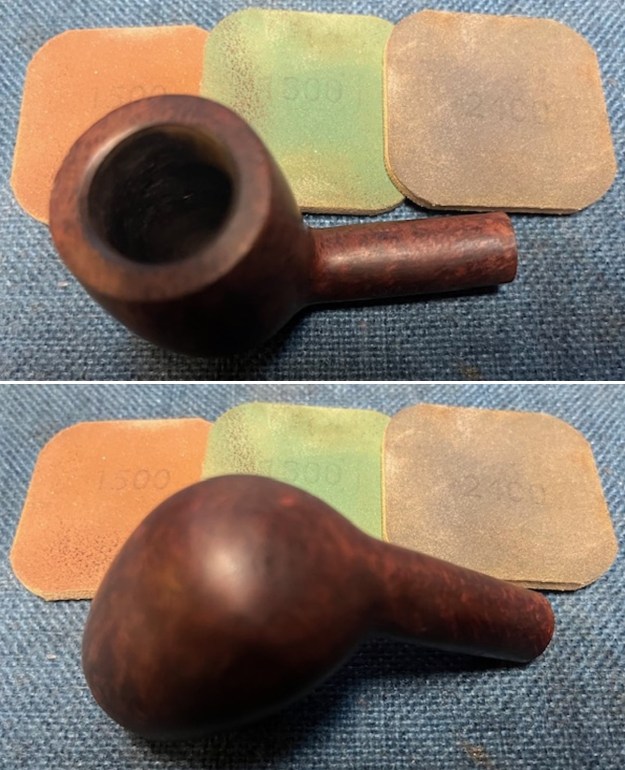
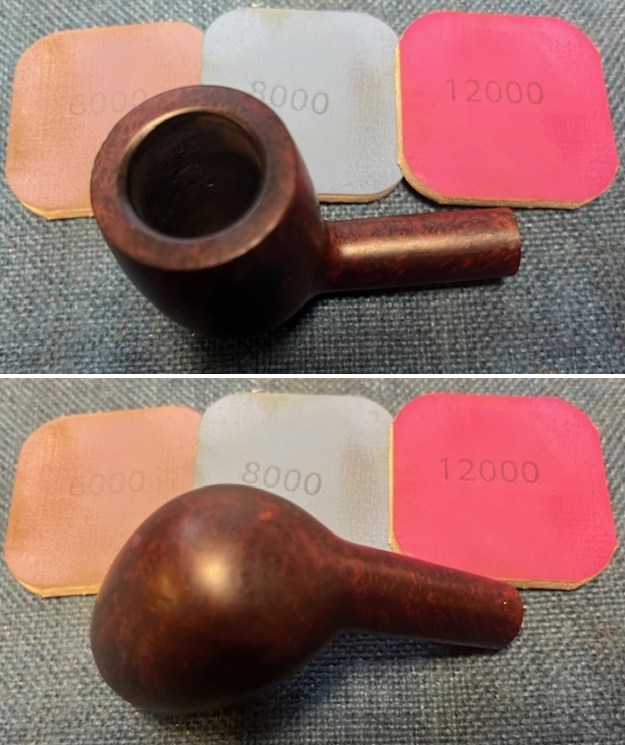
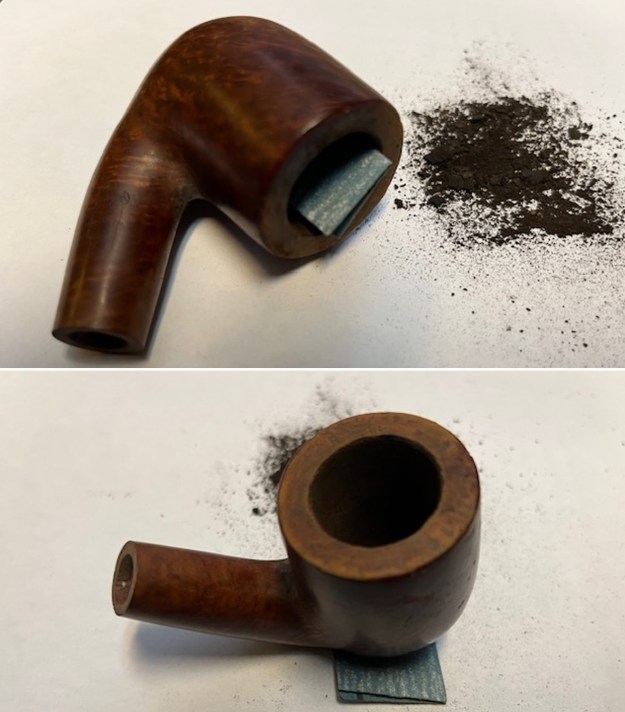
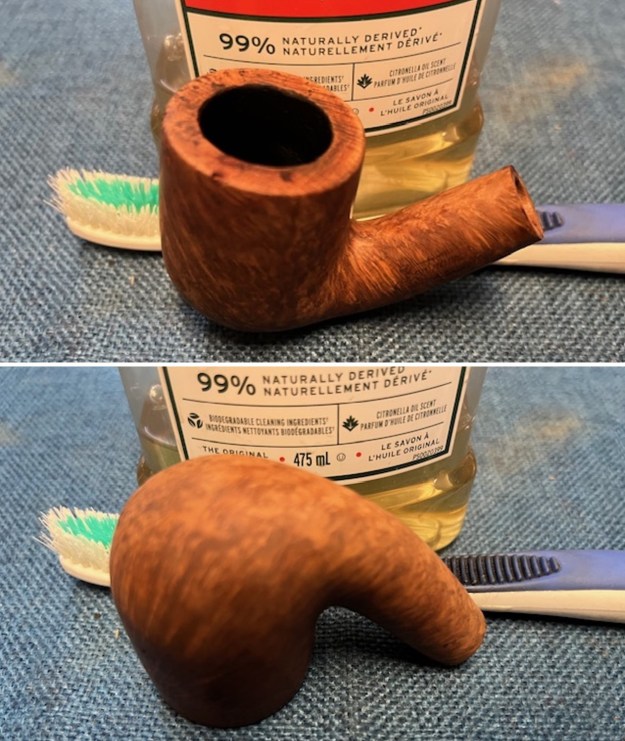
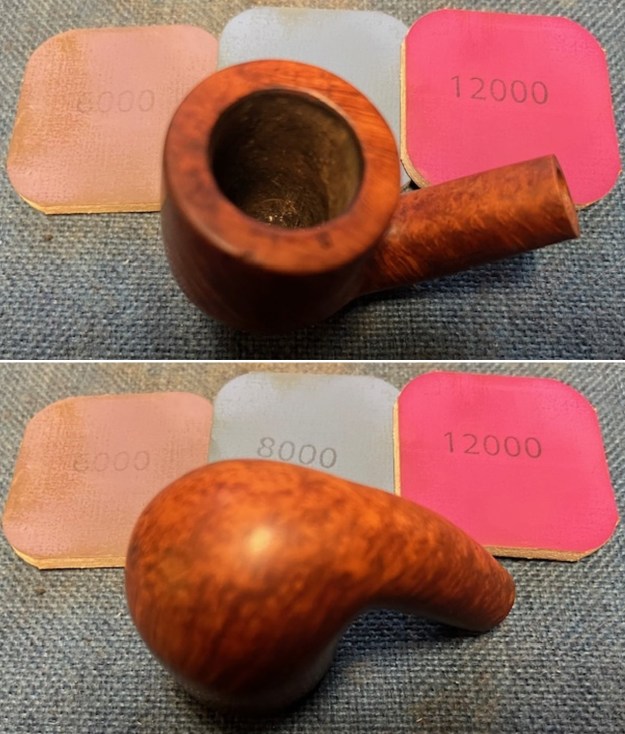
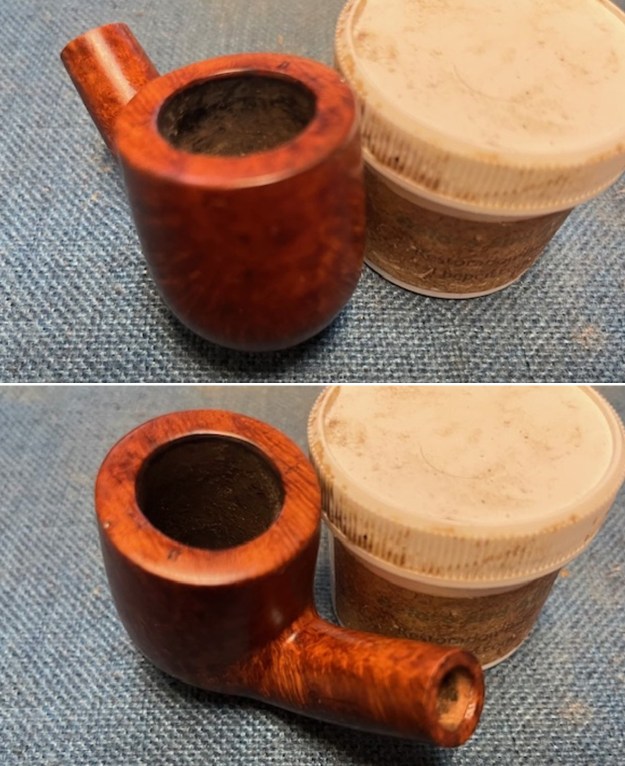
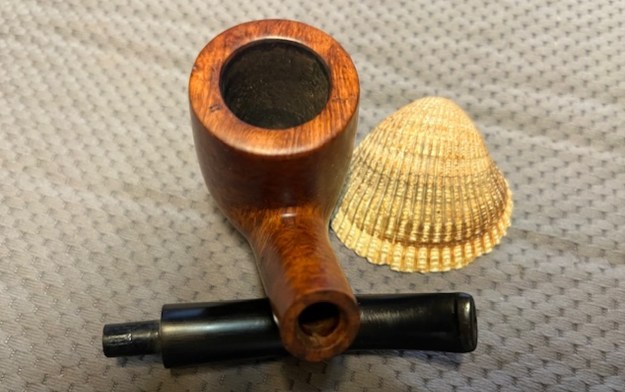
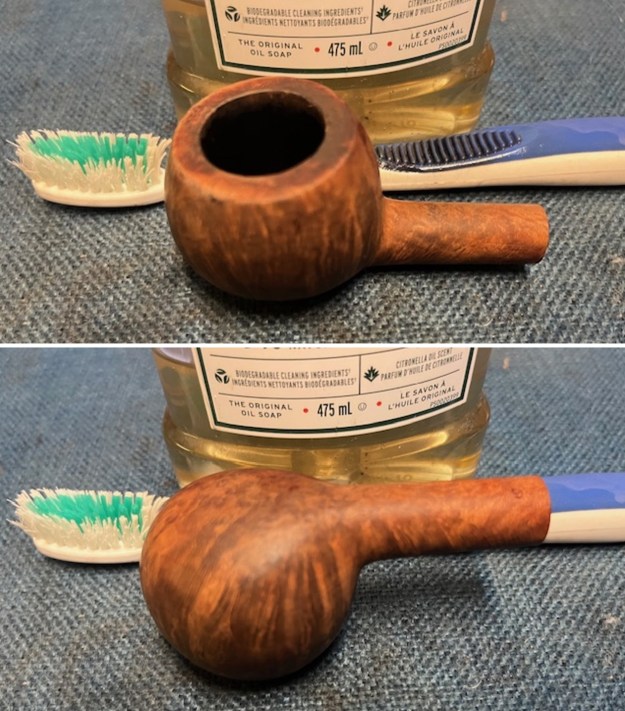
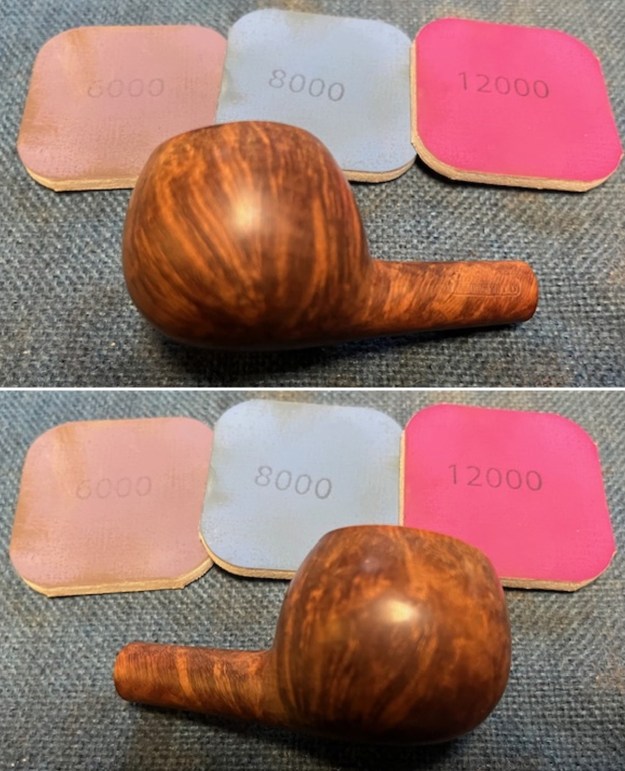
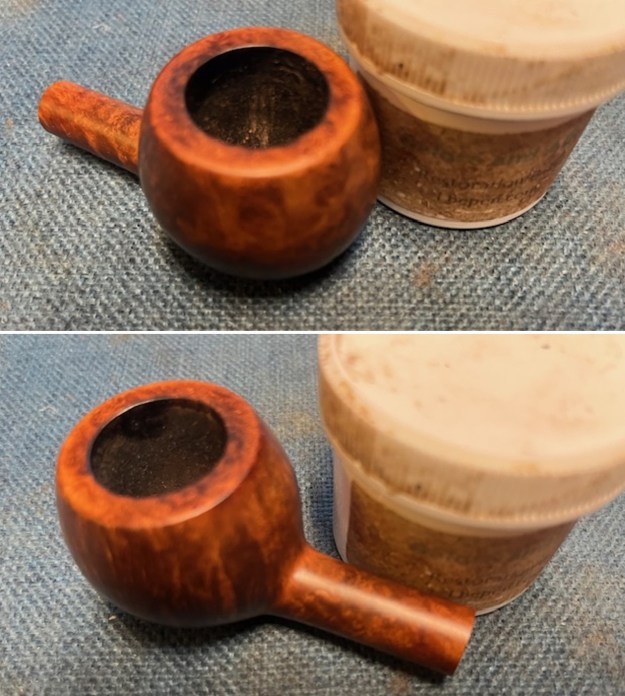
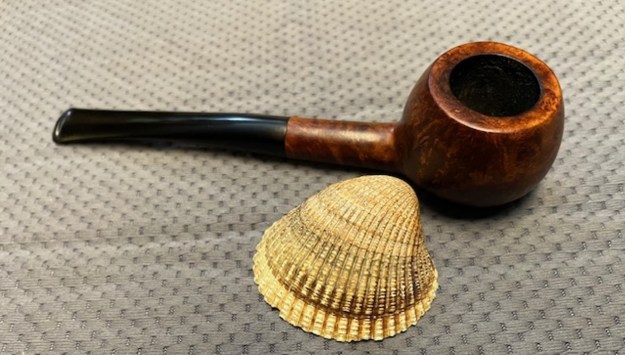
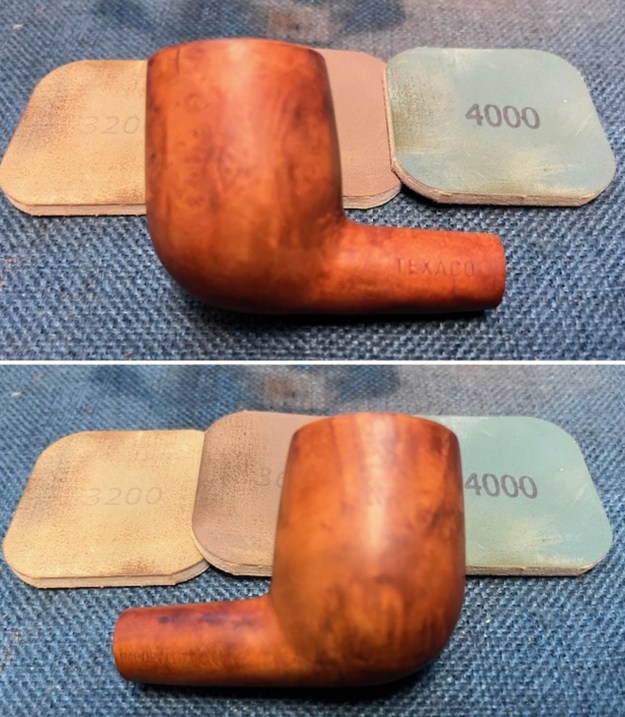
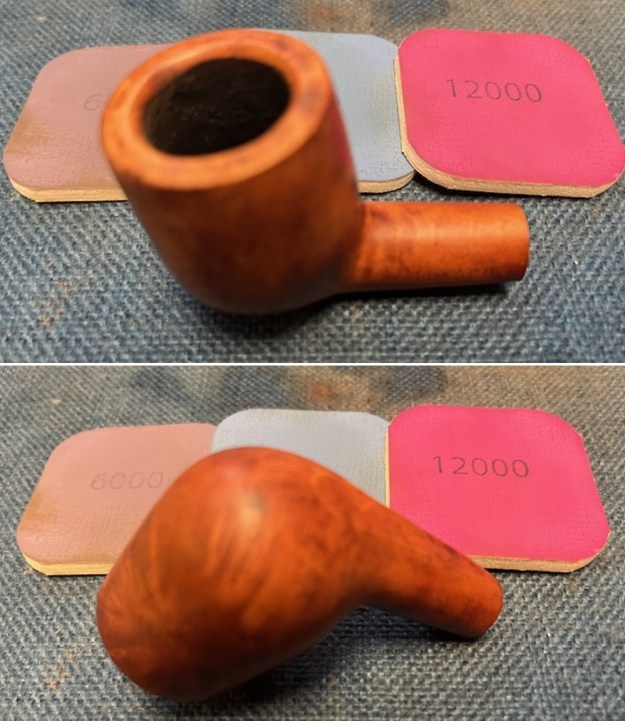
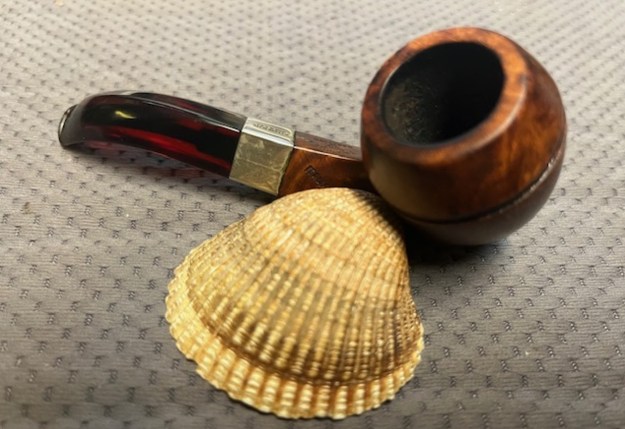
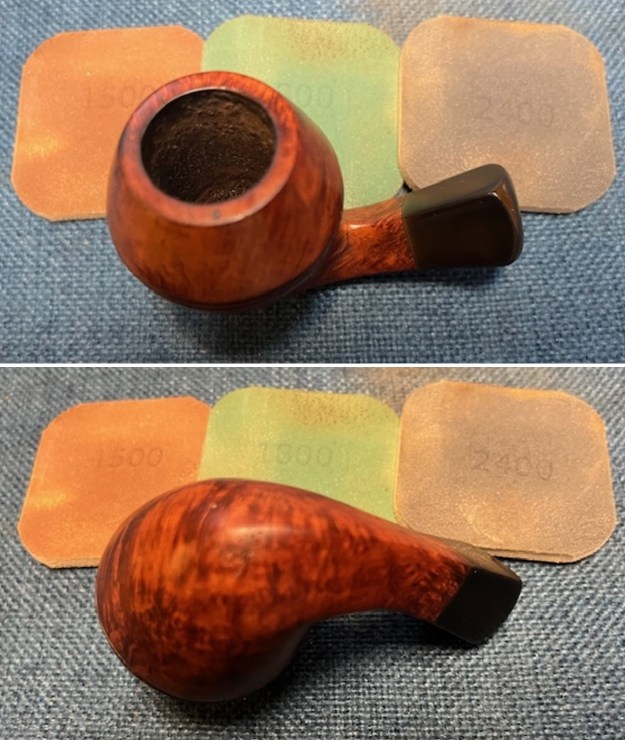
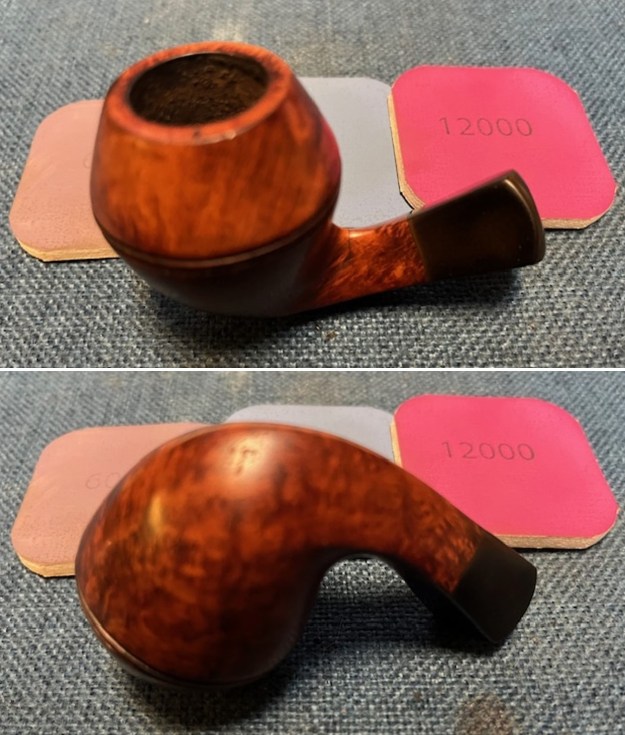
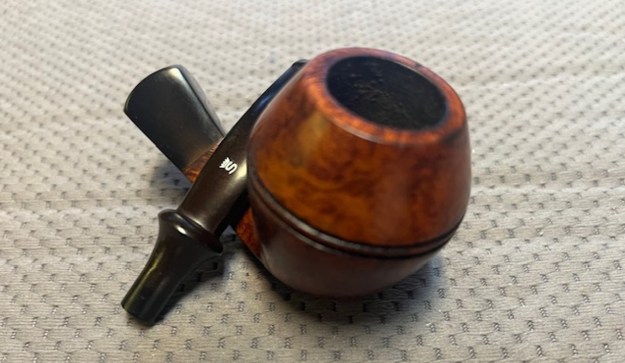
 I took a close up photo of the rim top to show the condition of the sandblast finish of the rim. The inner and outer edge of the bowl looks really good. The stem photos show the light tooth marks and pit on the top surface.
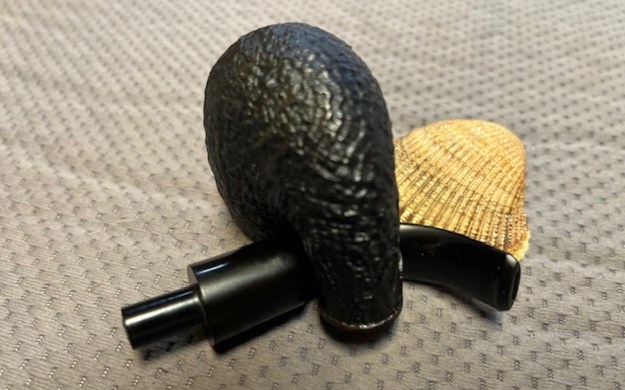
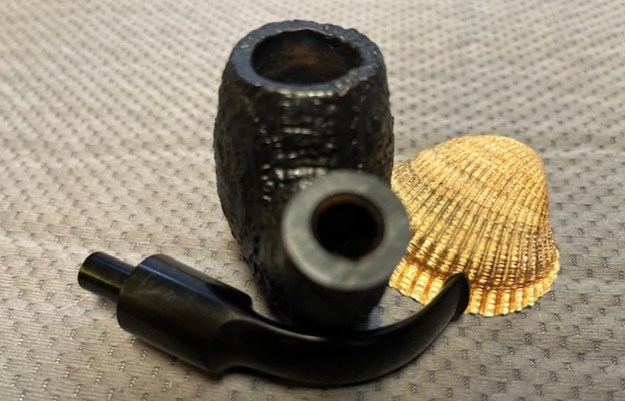
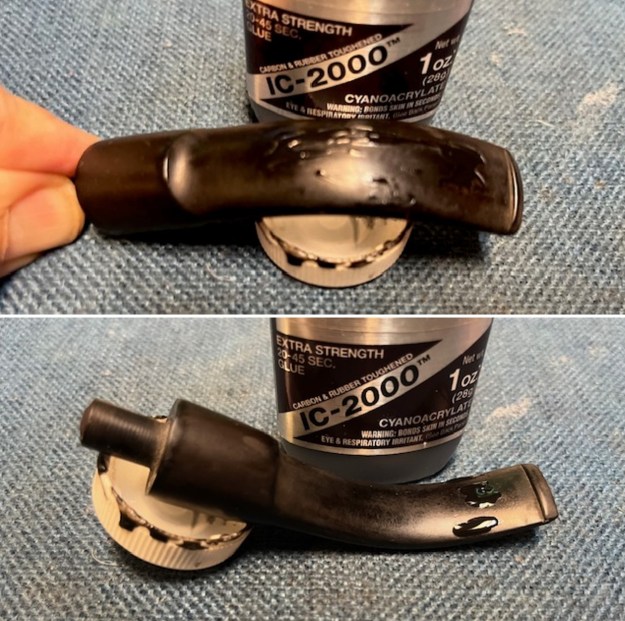
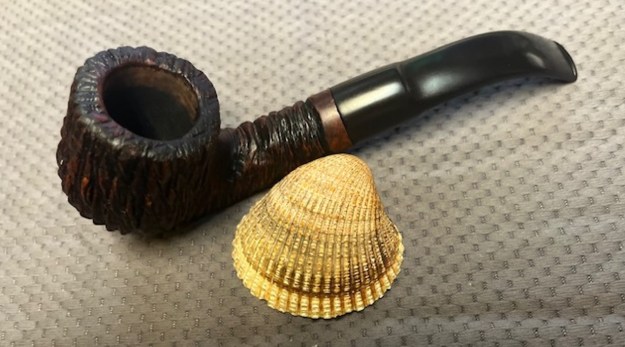
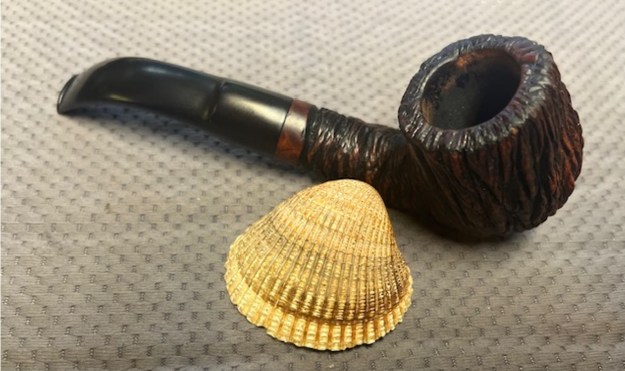
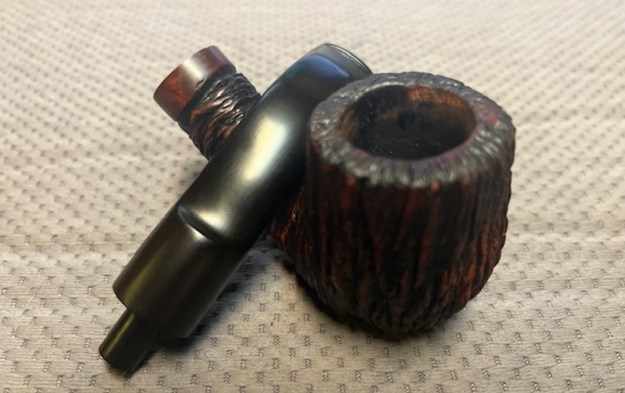
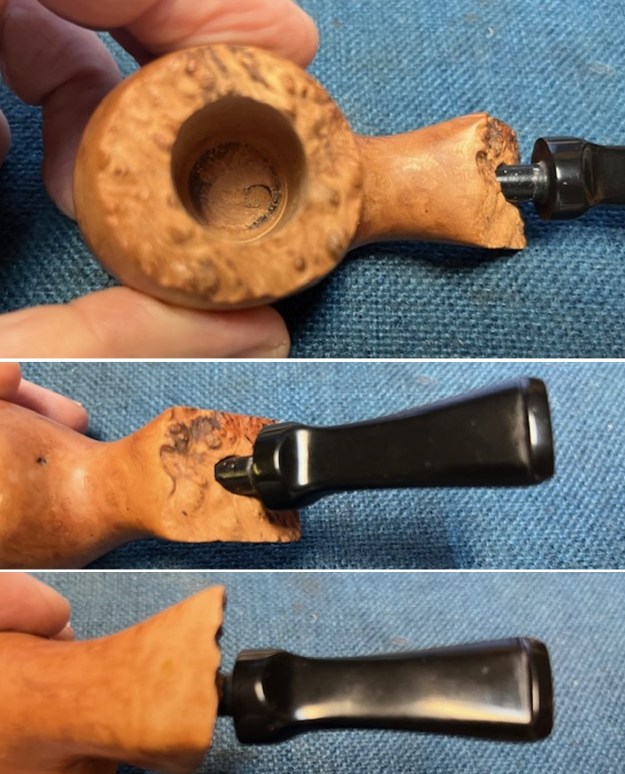
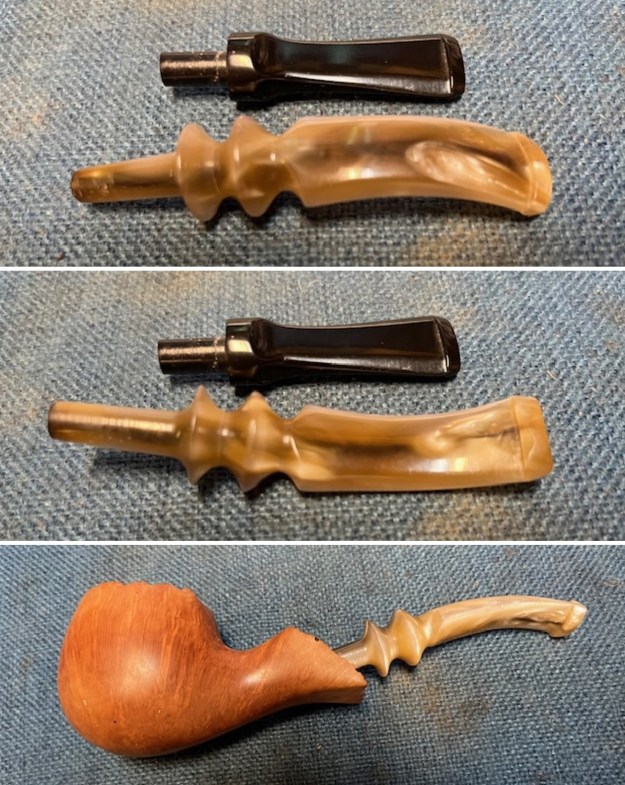
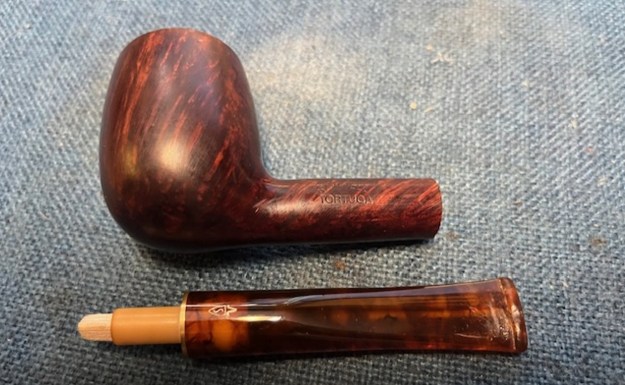
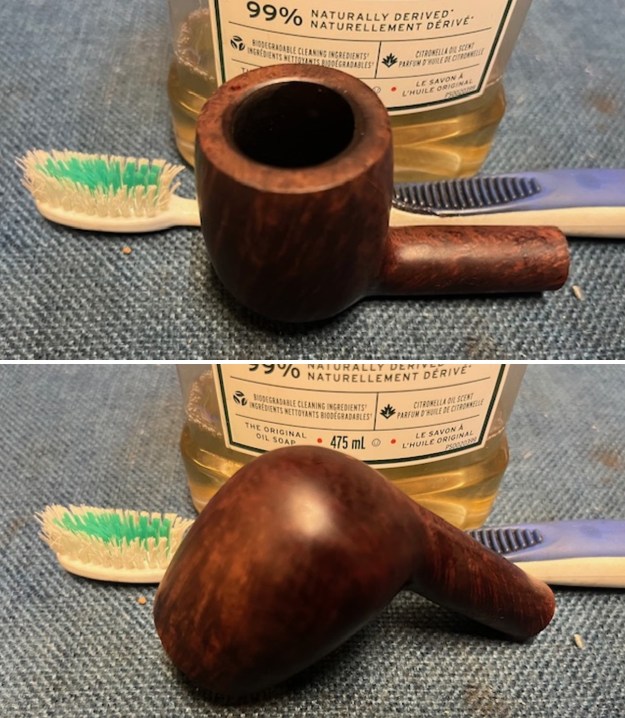
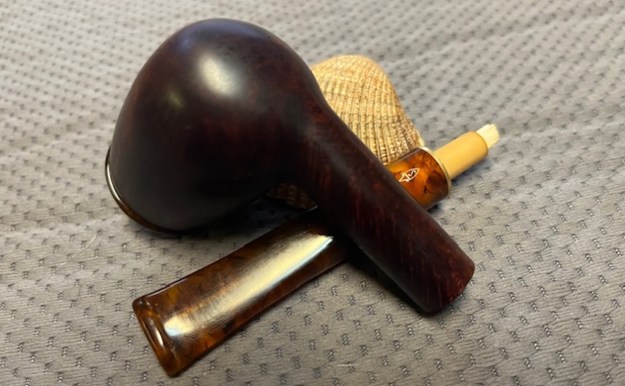
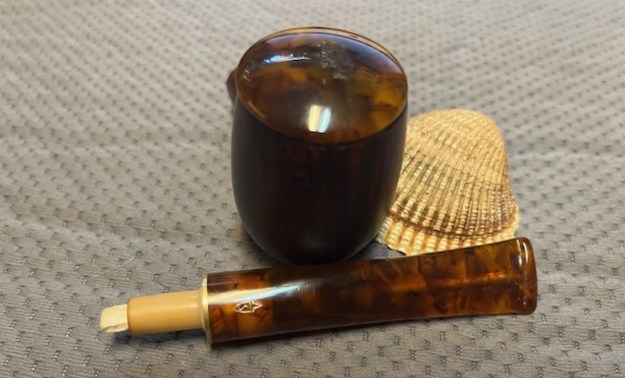
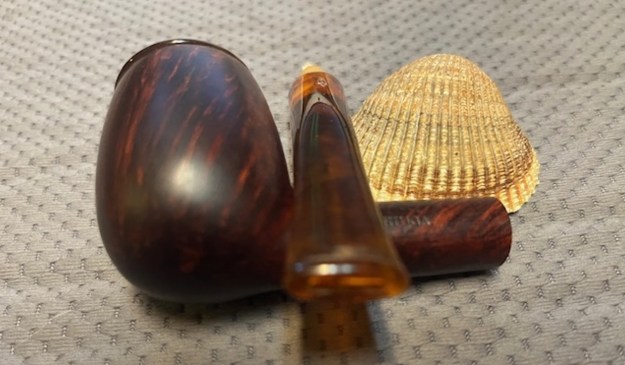
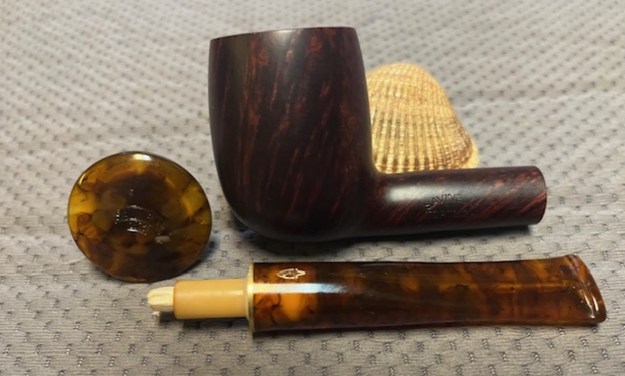
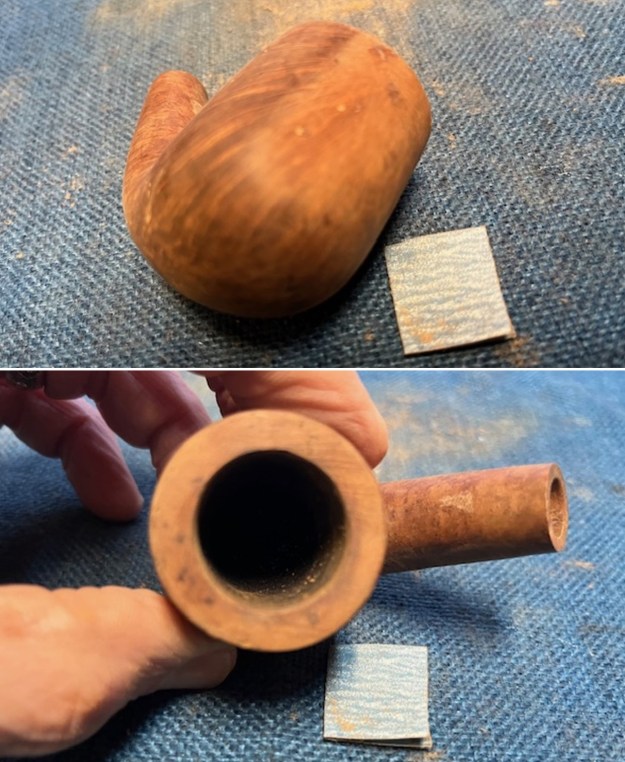
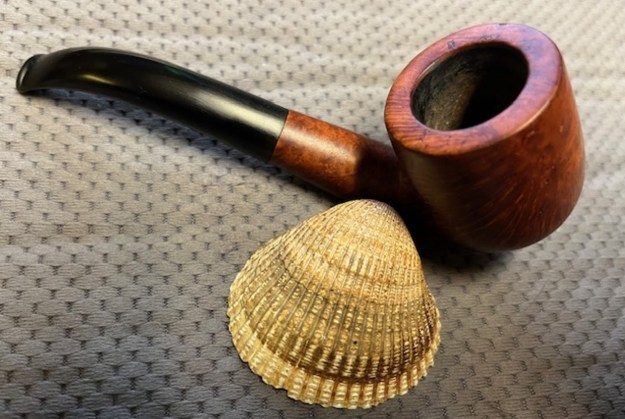
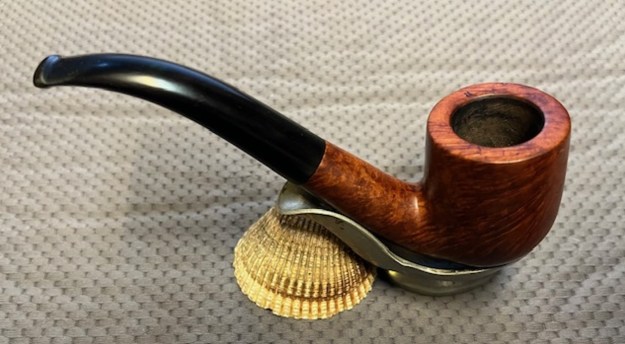
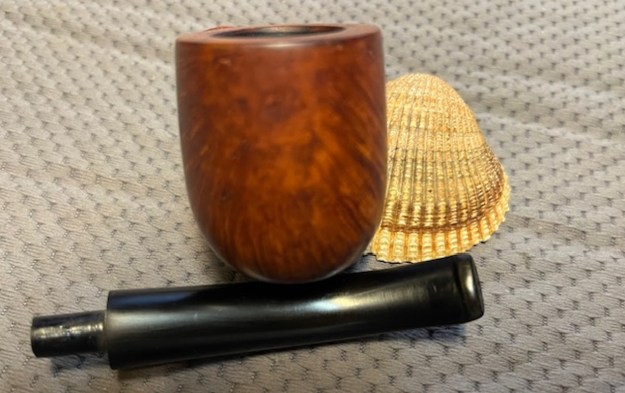
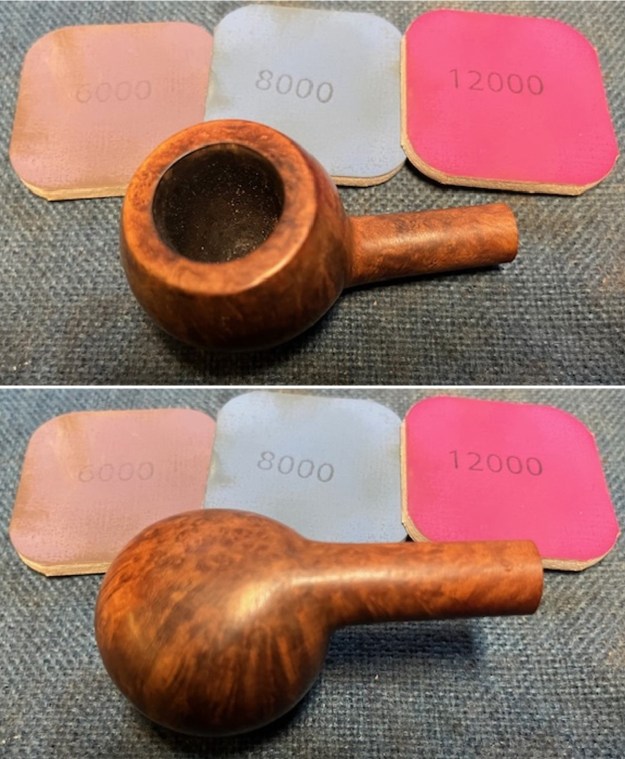
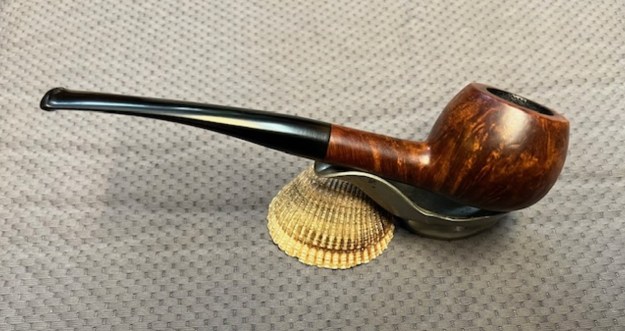
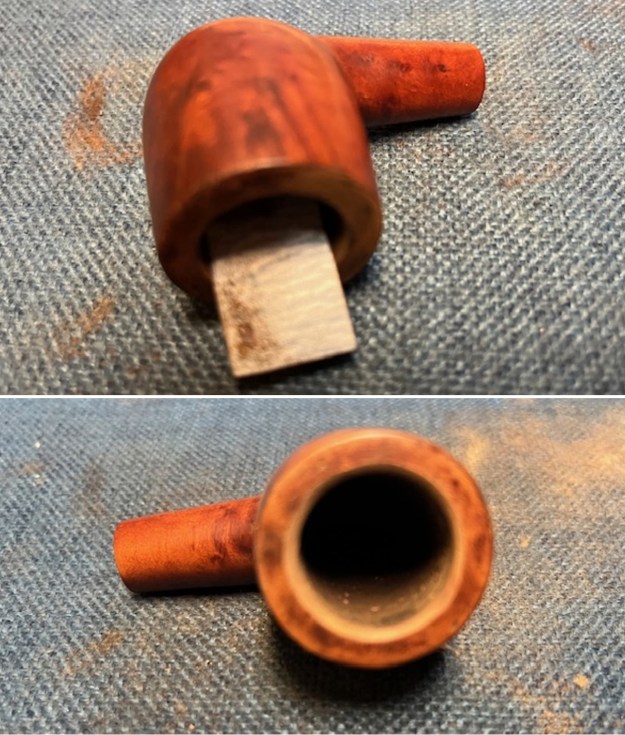
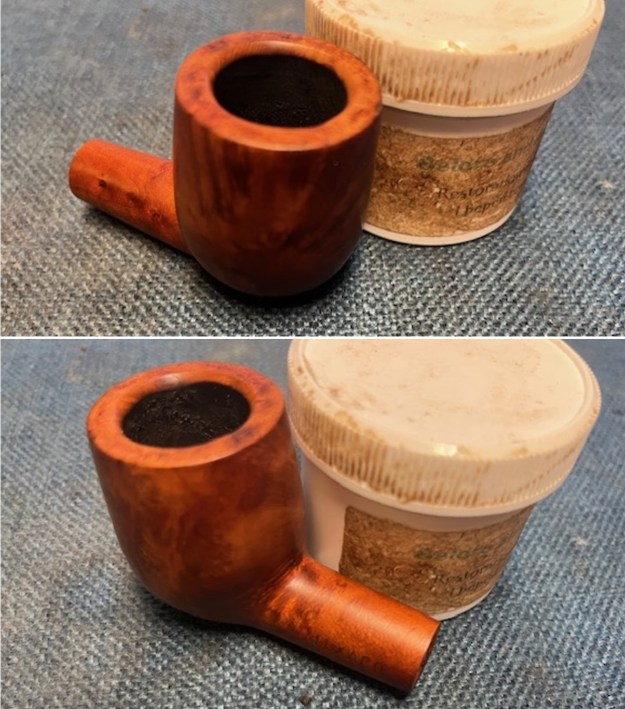
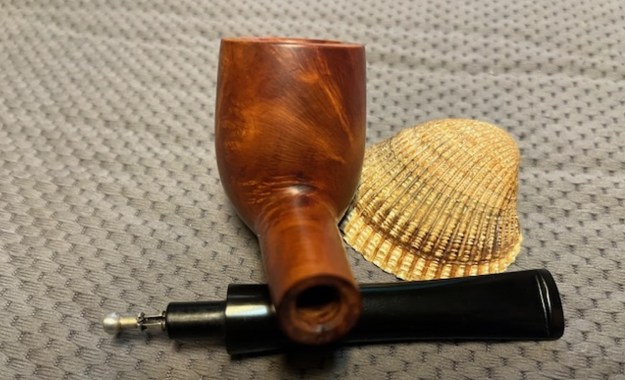
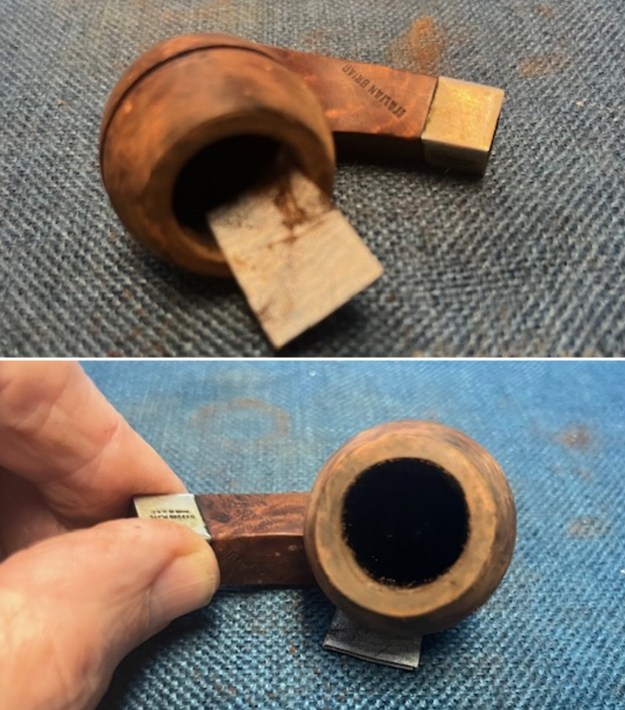
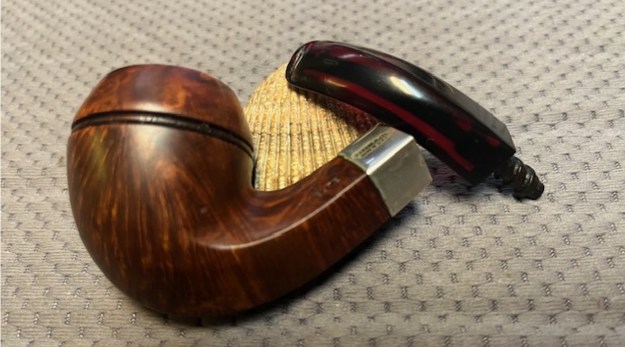
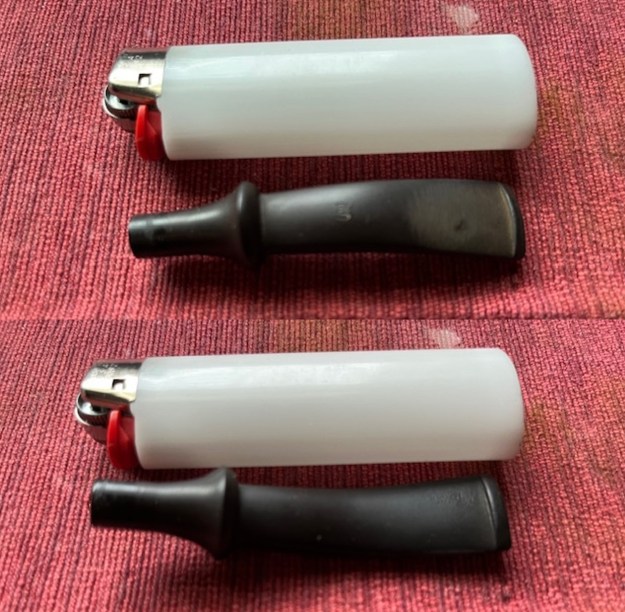
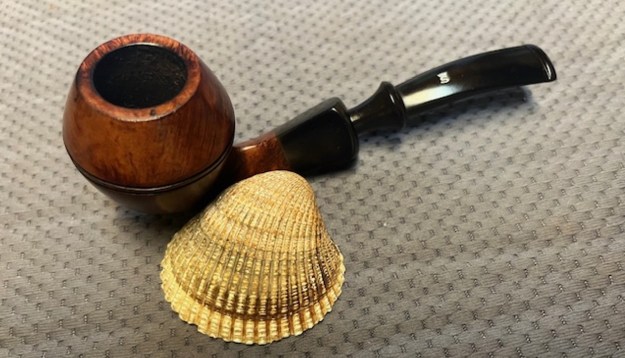
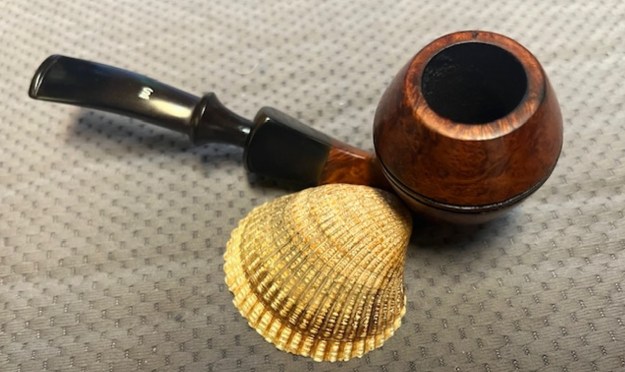
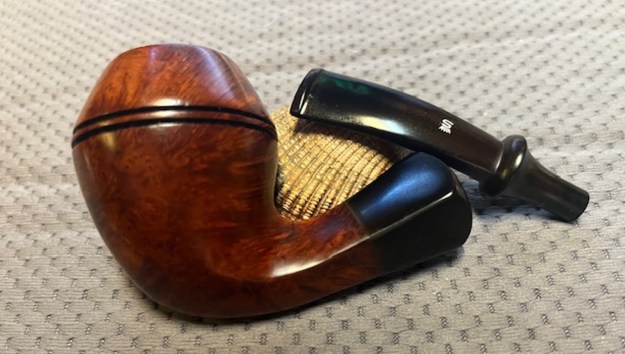
 I removed the stem and took a photo of the parts of the pipe to give a sense of the proportion of the parts to the whole. It is a well designed and crafted pipe.
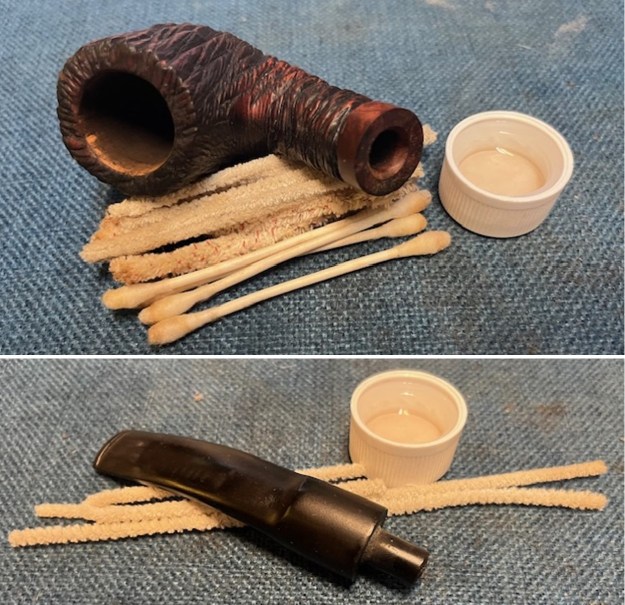
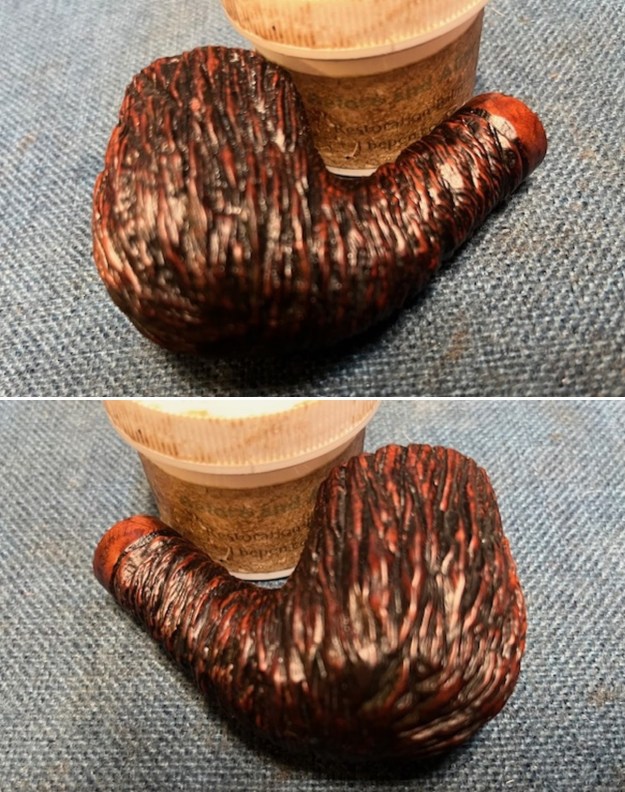
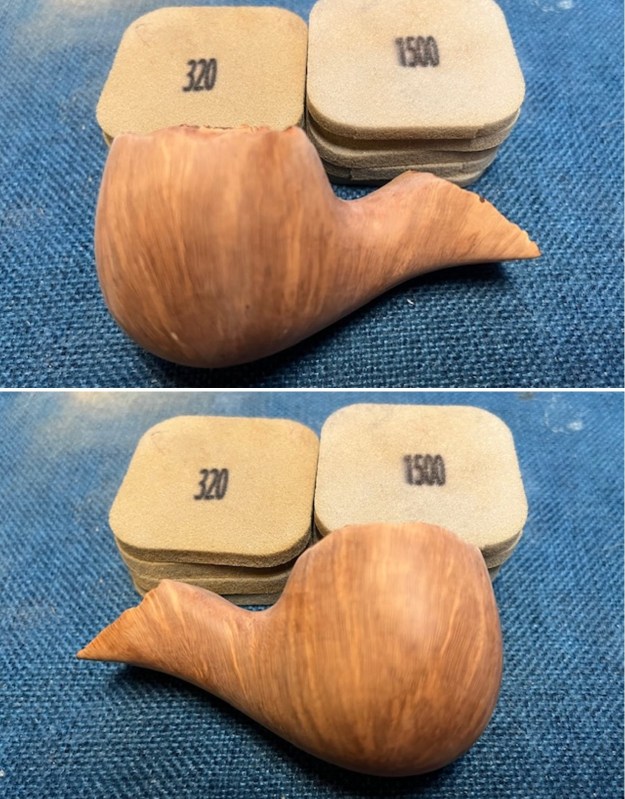
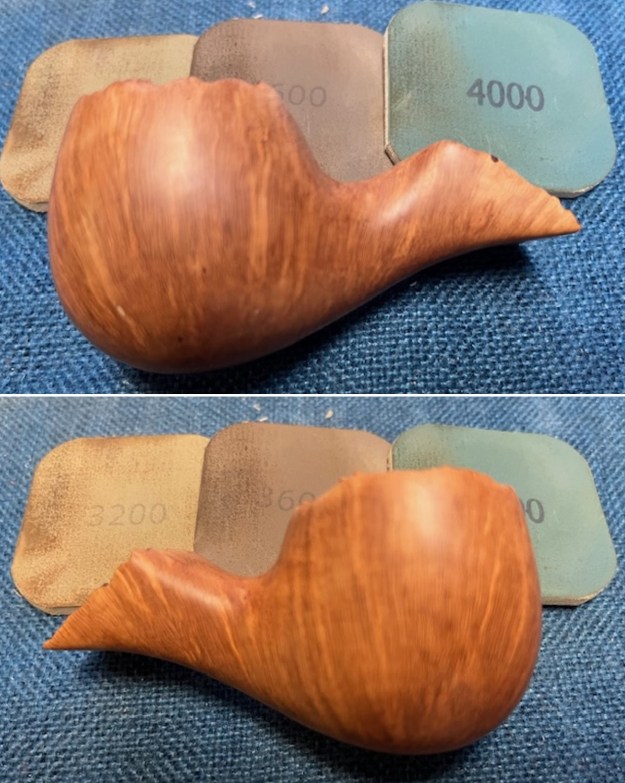
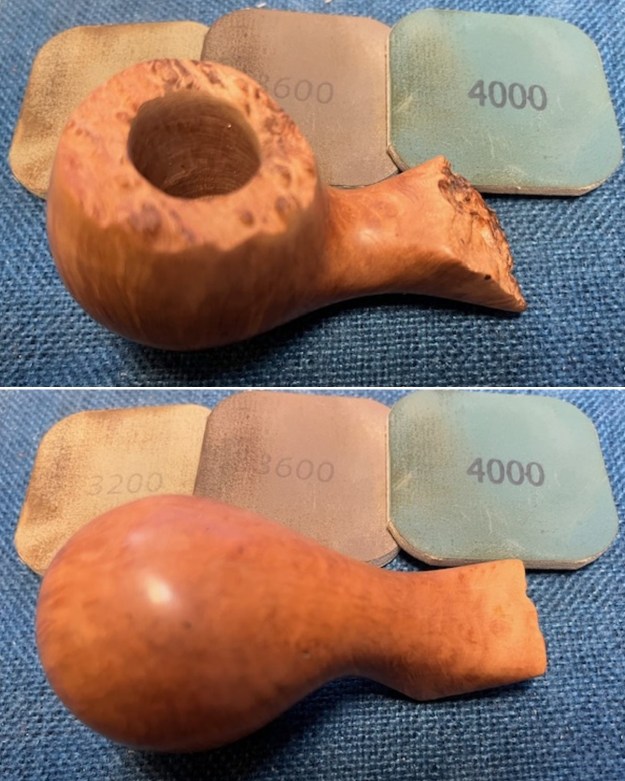
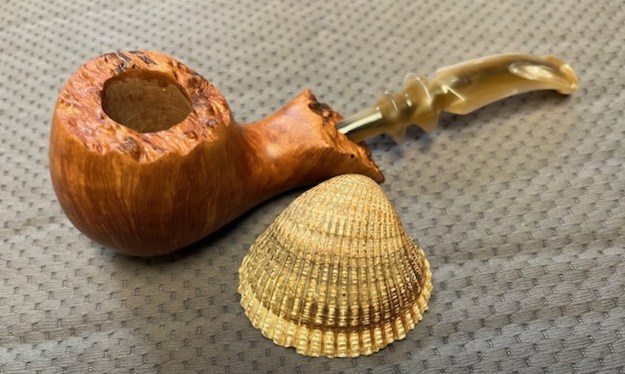
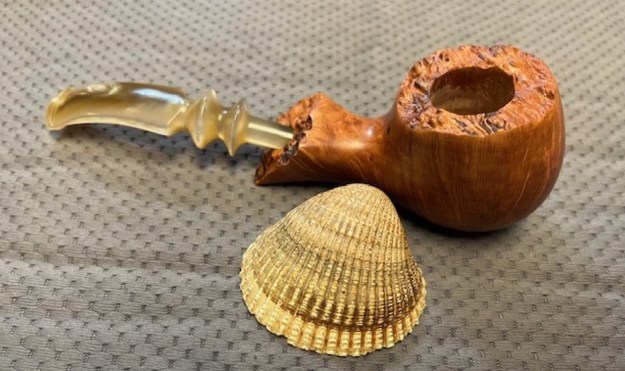
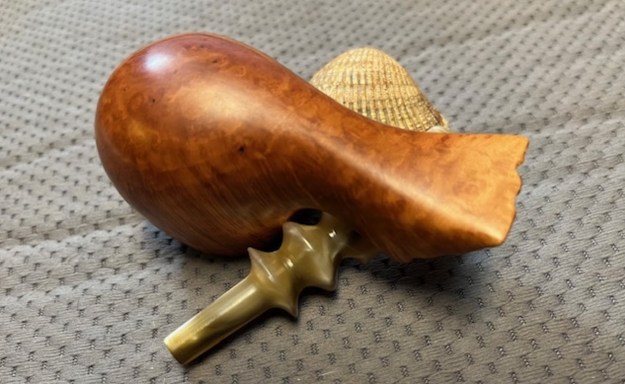
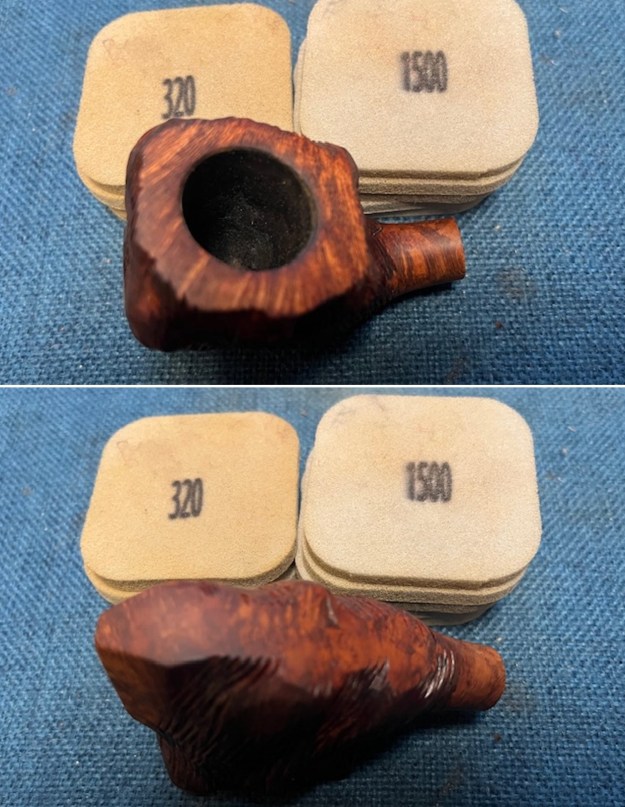
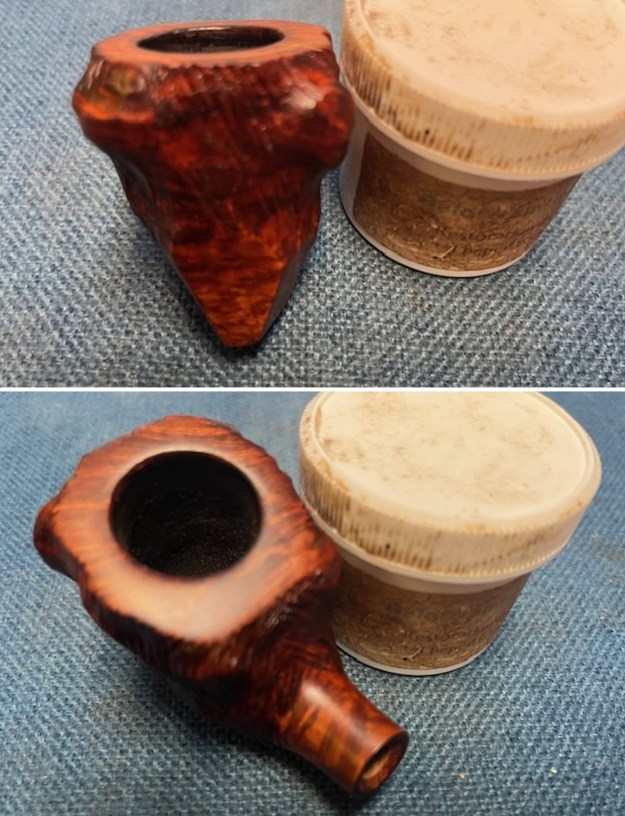
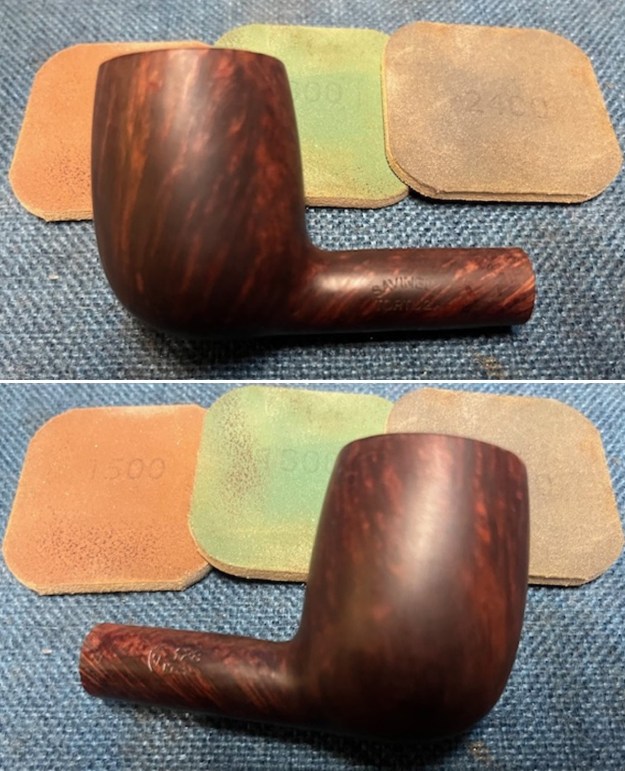
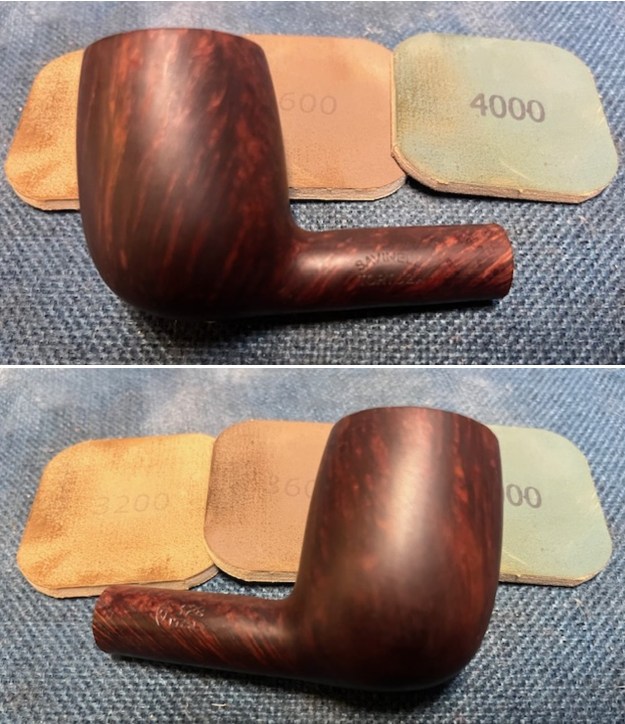
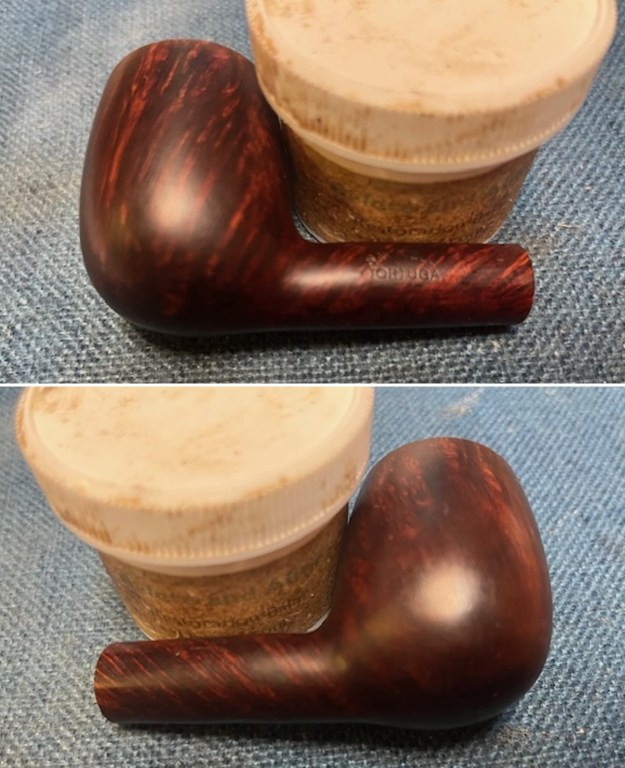
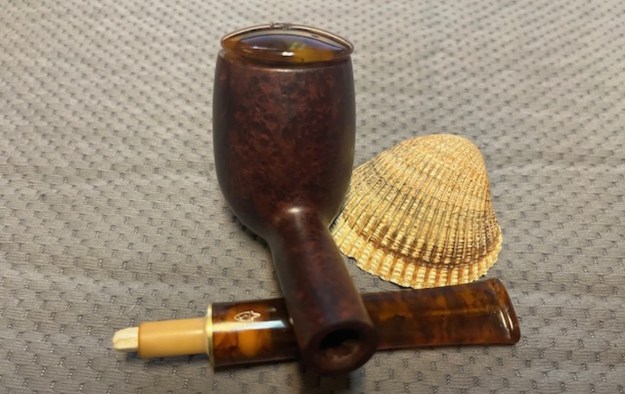
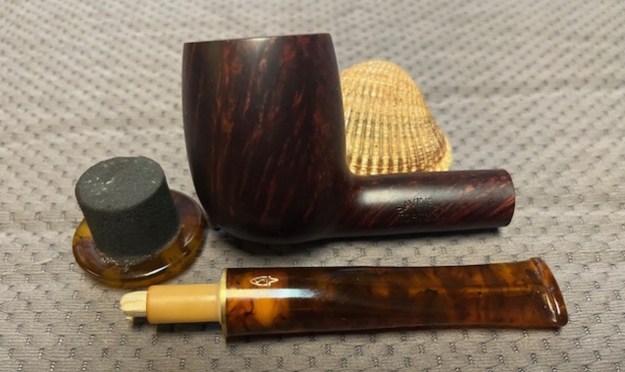
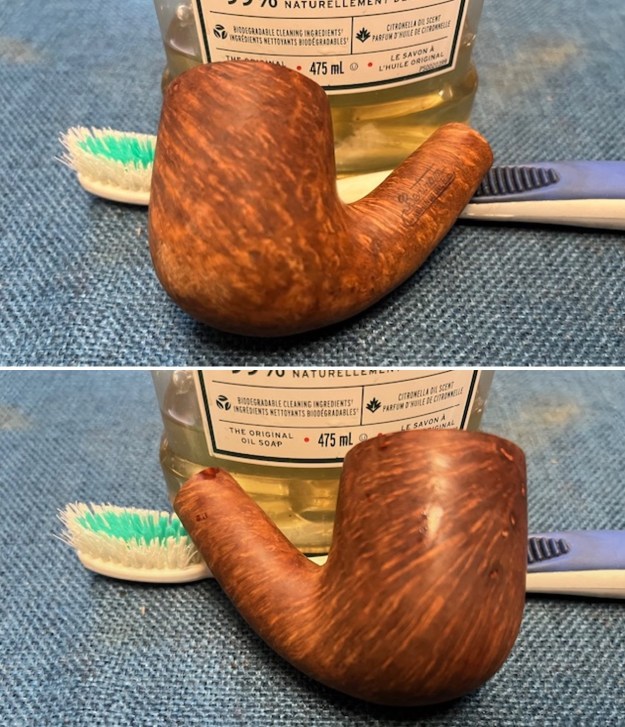
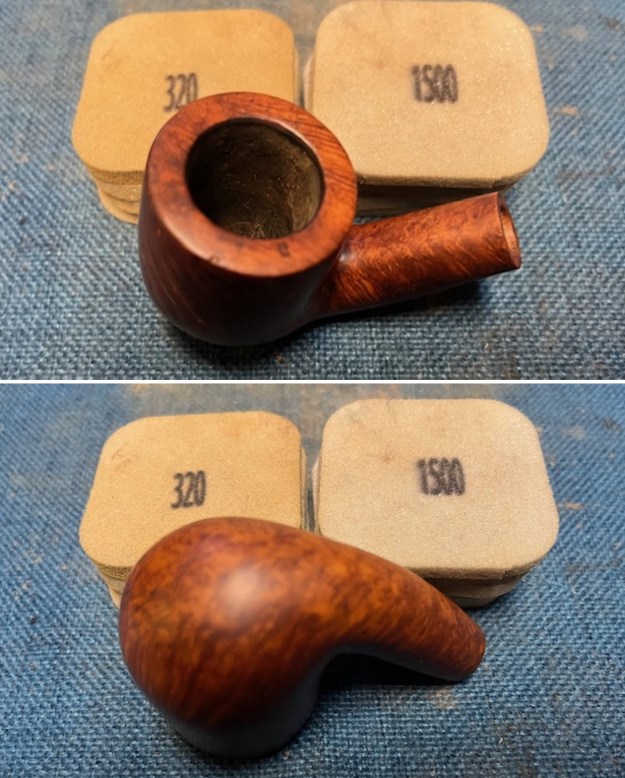
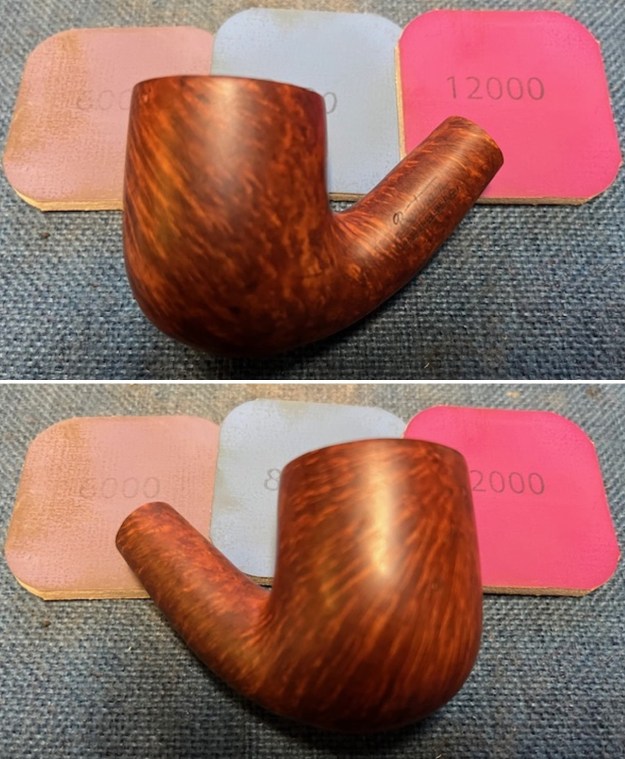
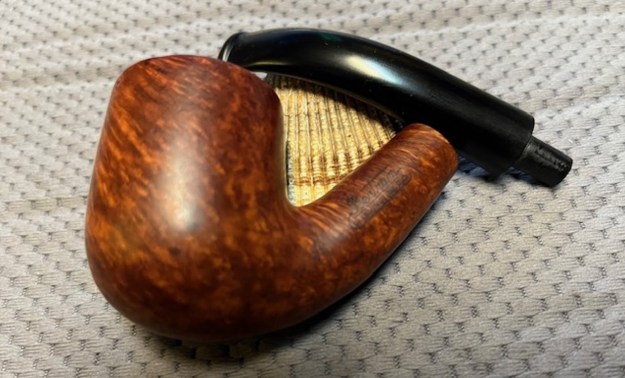
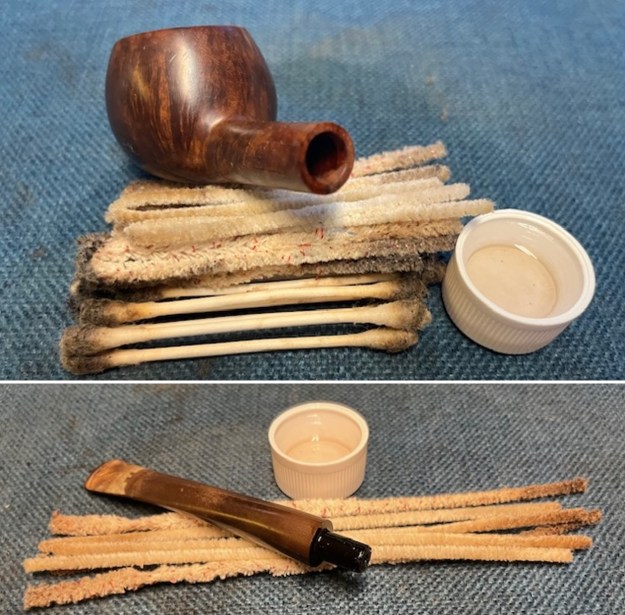
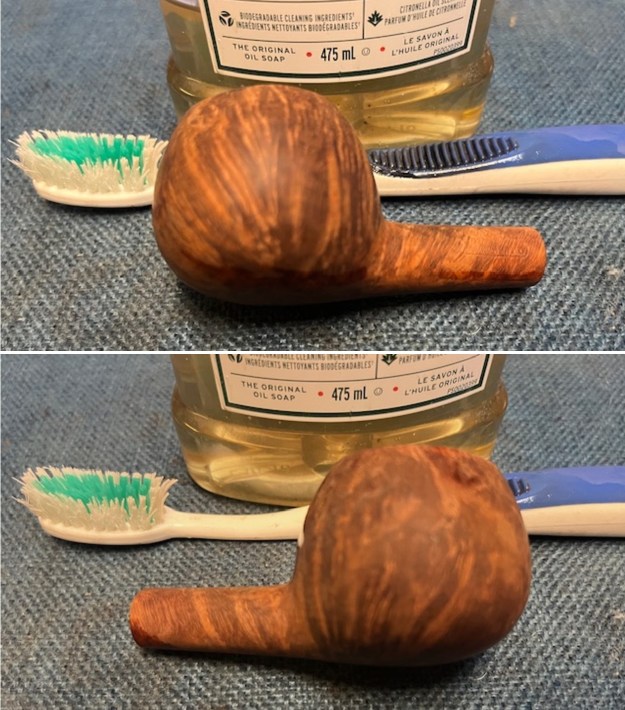
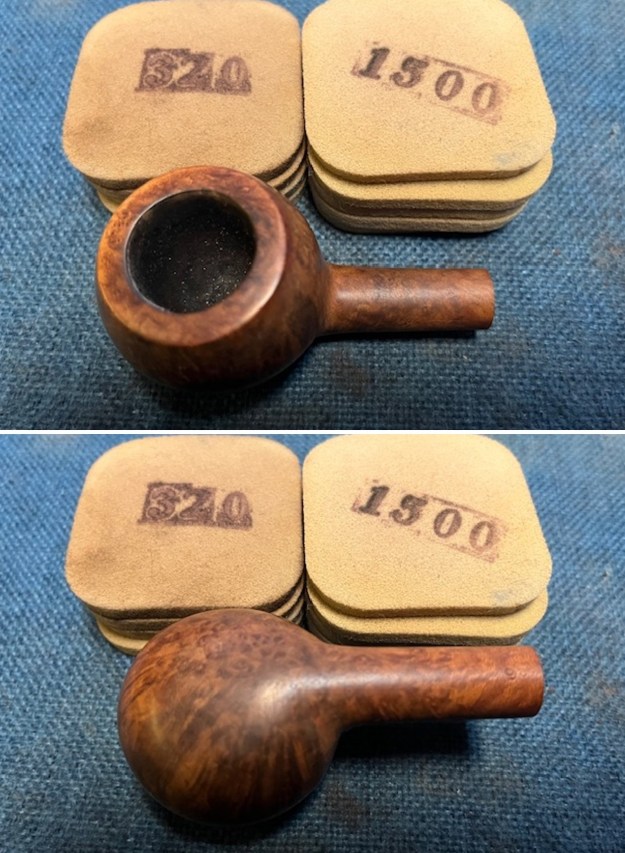
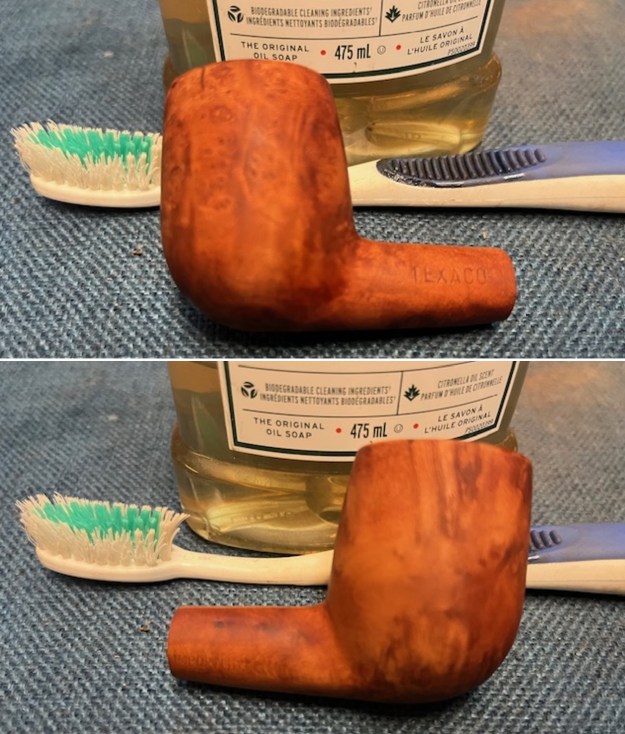
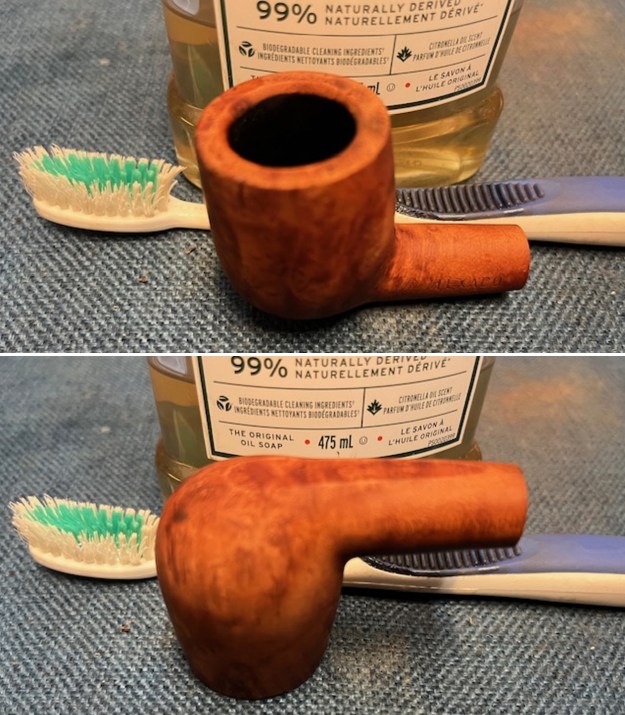
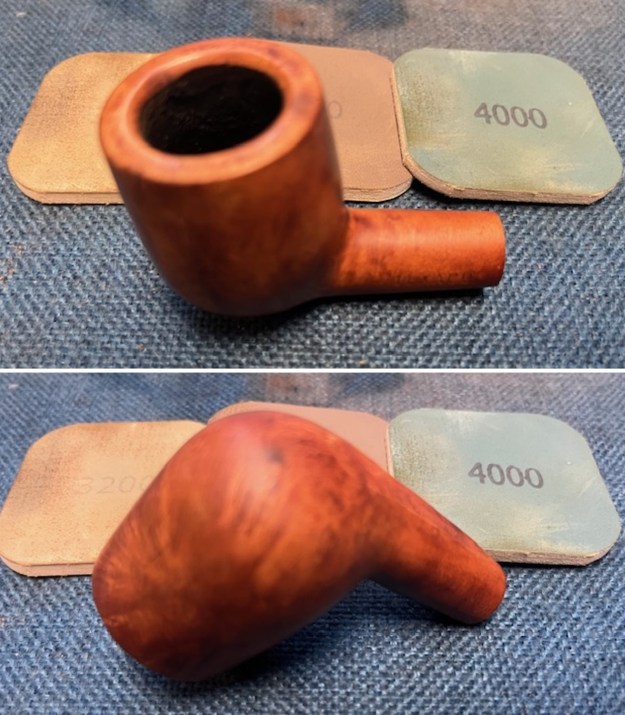
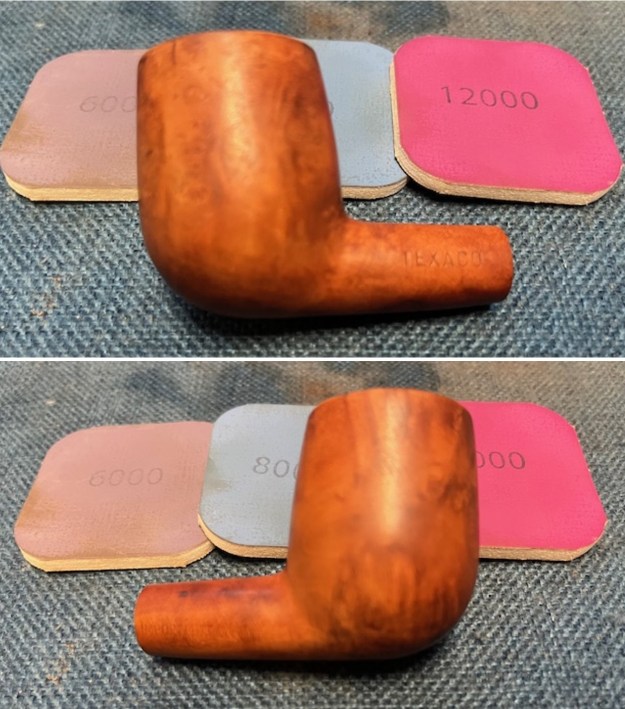
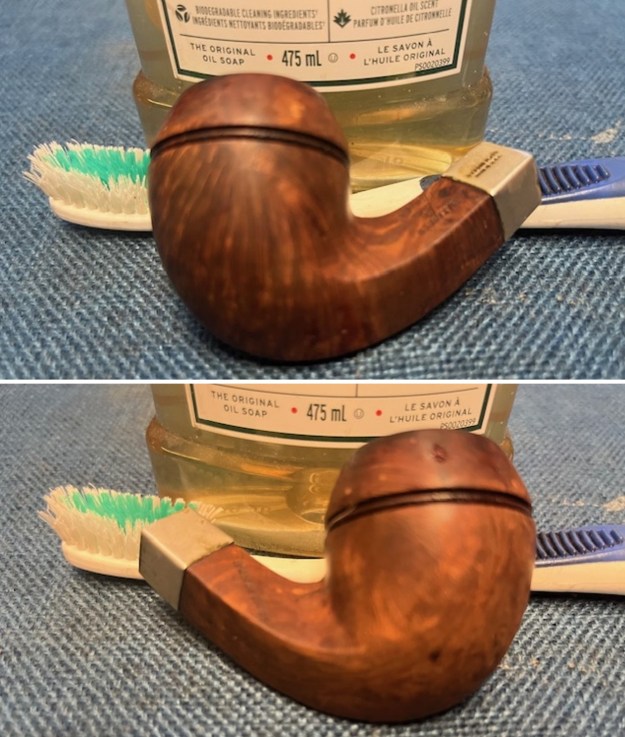
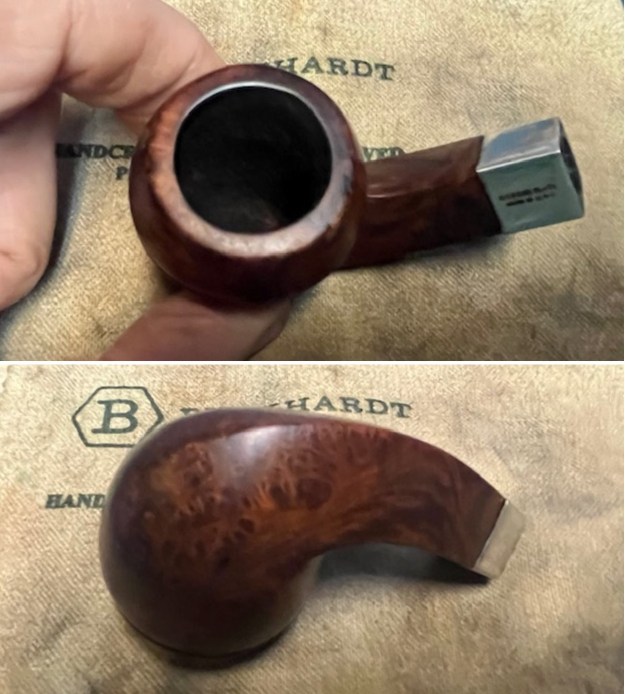
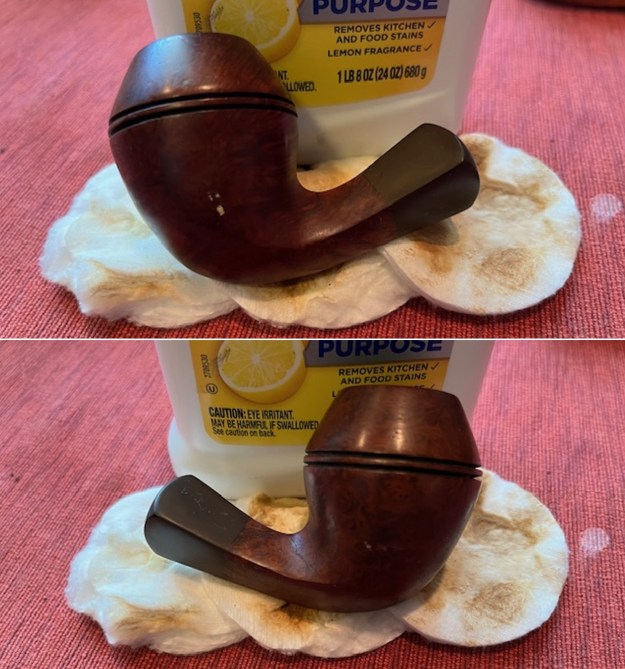
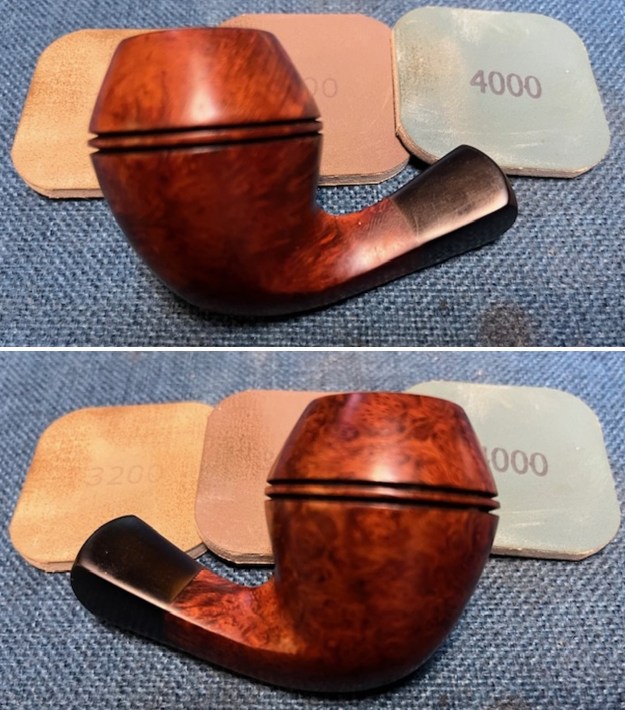
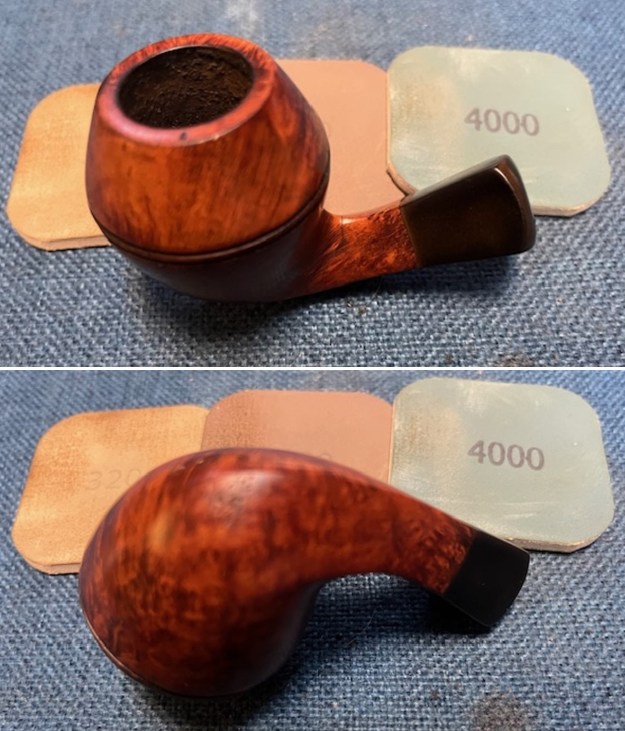
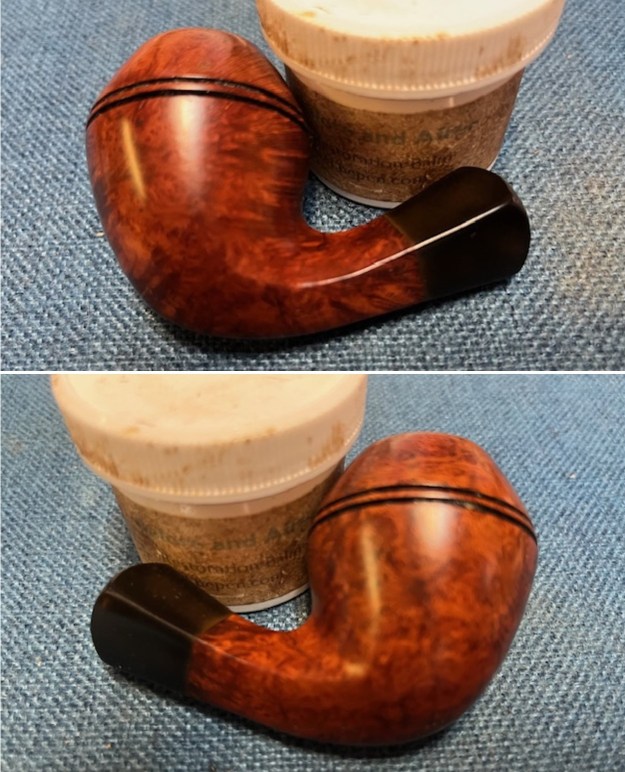
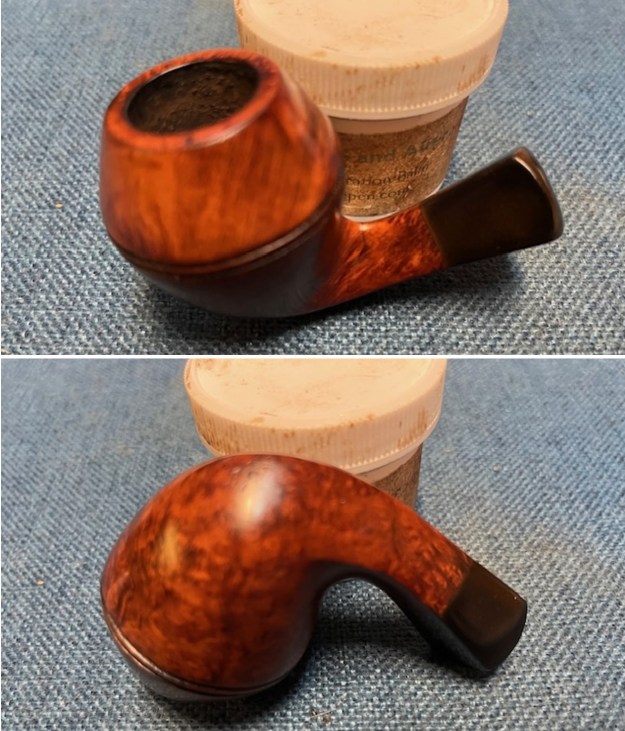
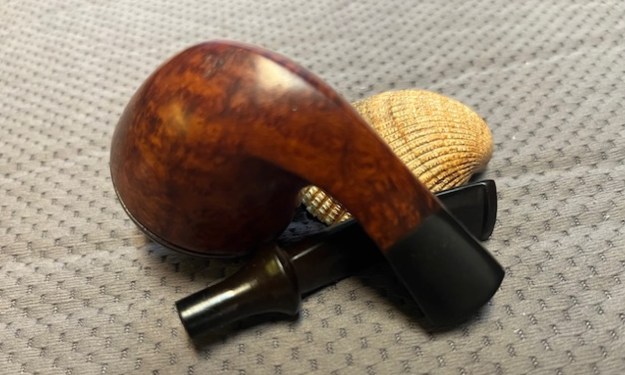
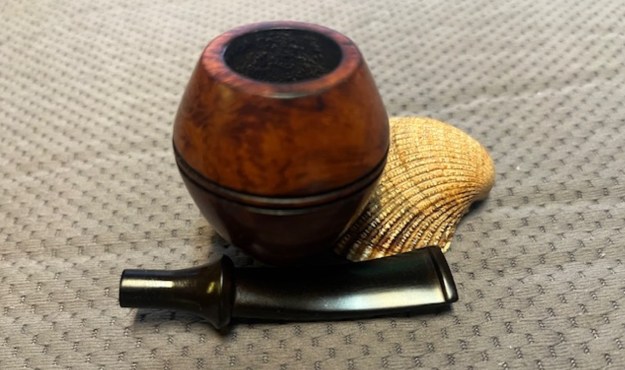
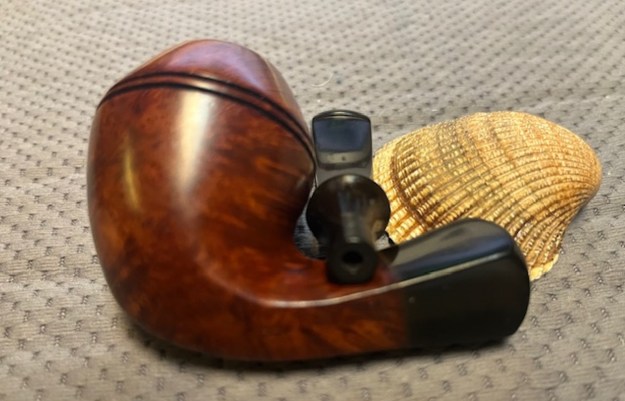
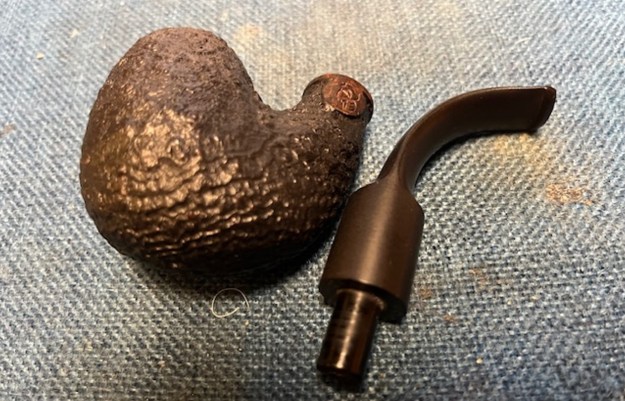 I worked some Before & After Restoration Balm into the surface of the briar with my fingertips to clean, enliven and protect it. I let the balm sit for a little while and then buffed with a cotton cloth to raise the shine. The photos show the bowl at this point in the restoration process.
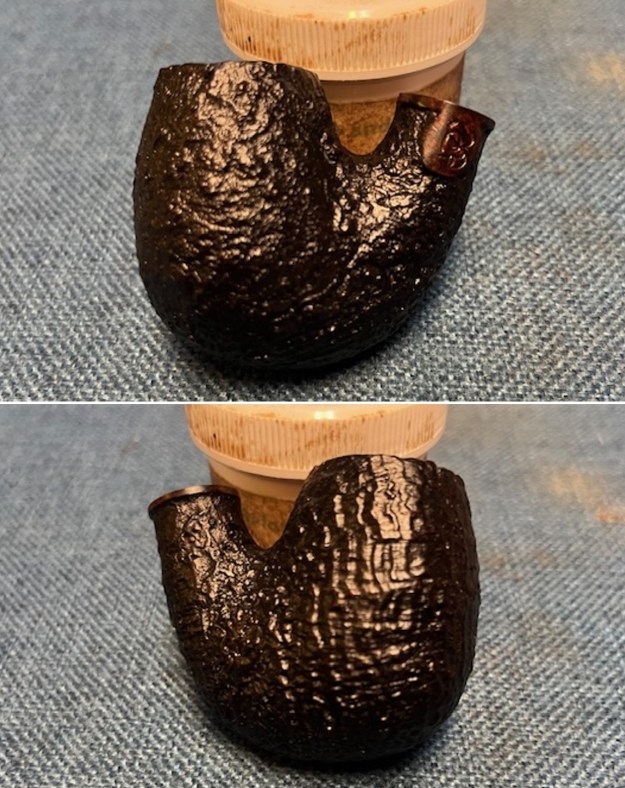
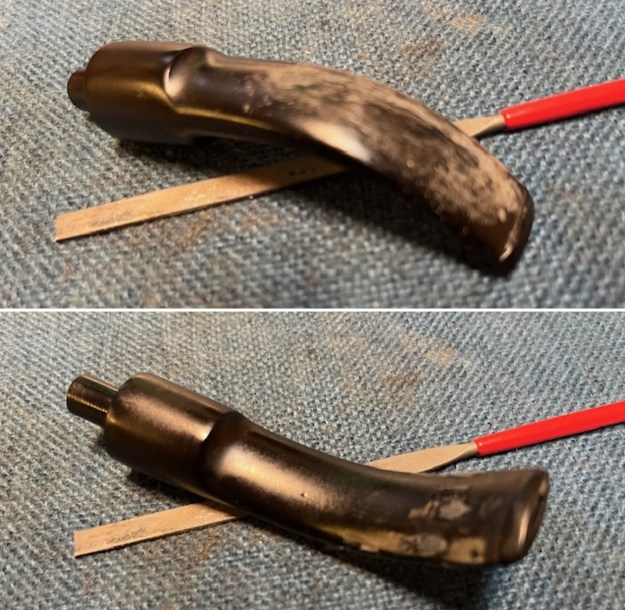
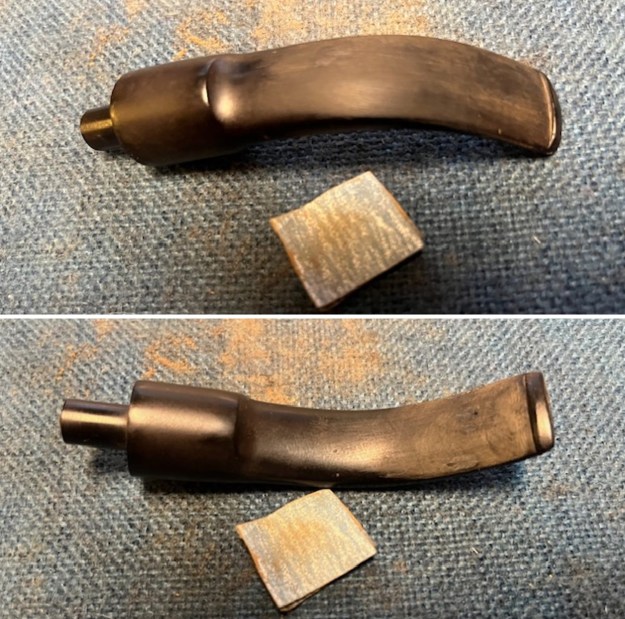
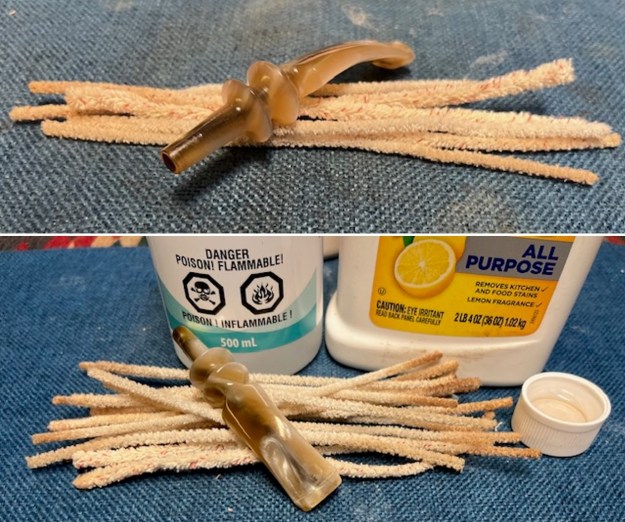
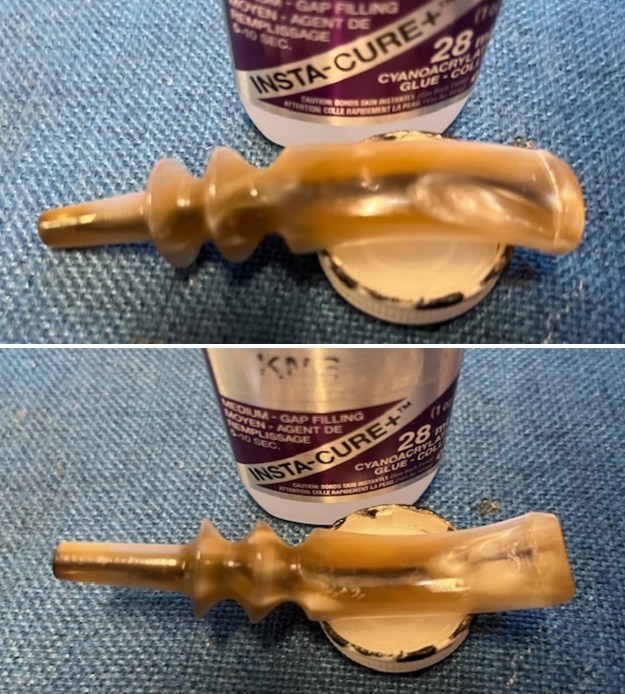
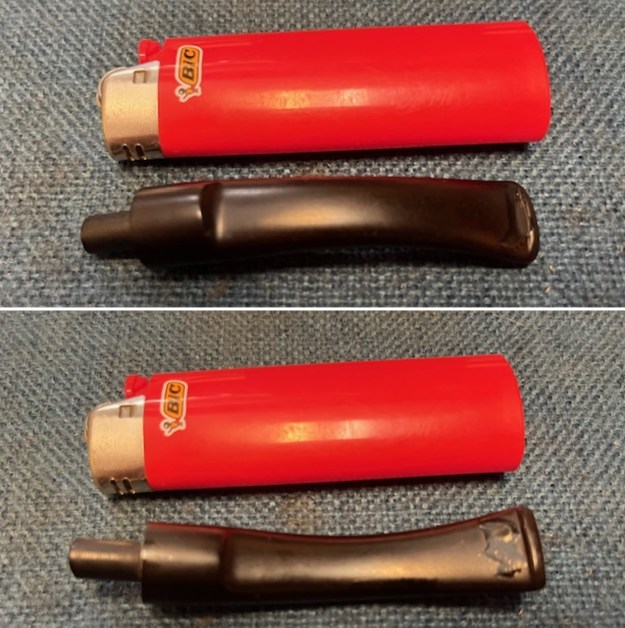
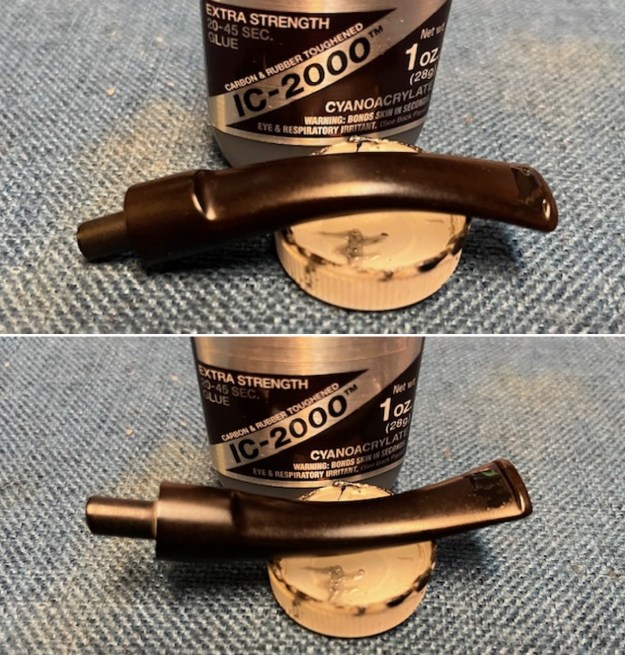
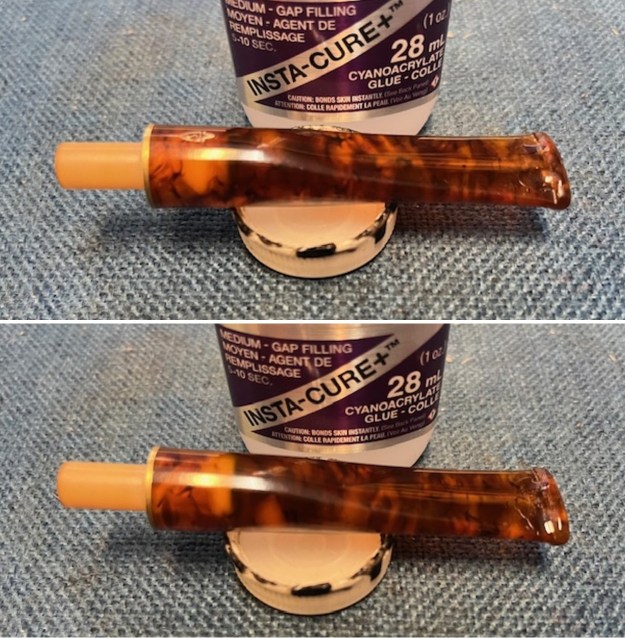
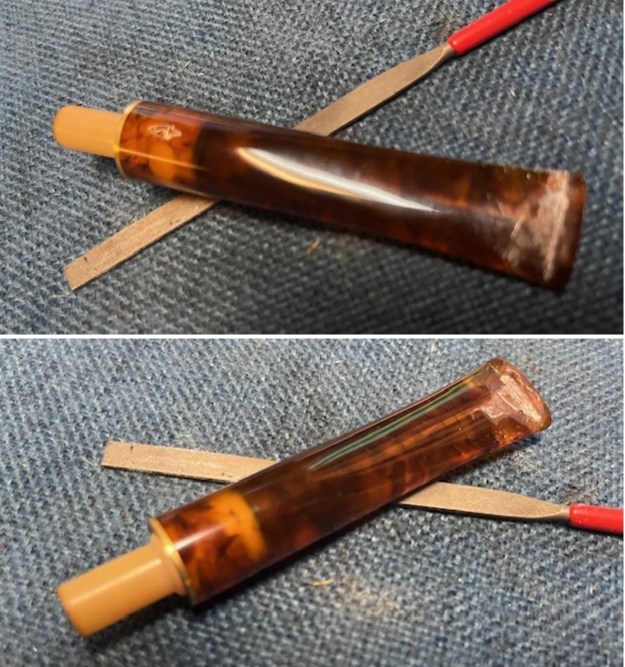
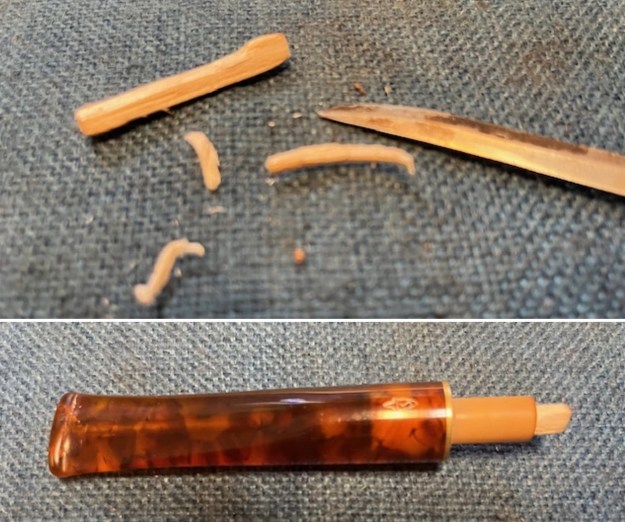
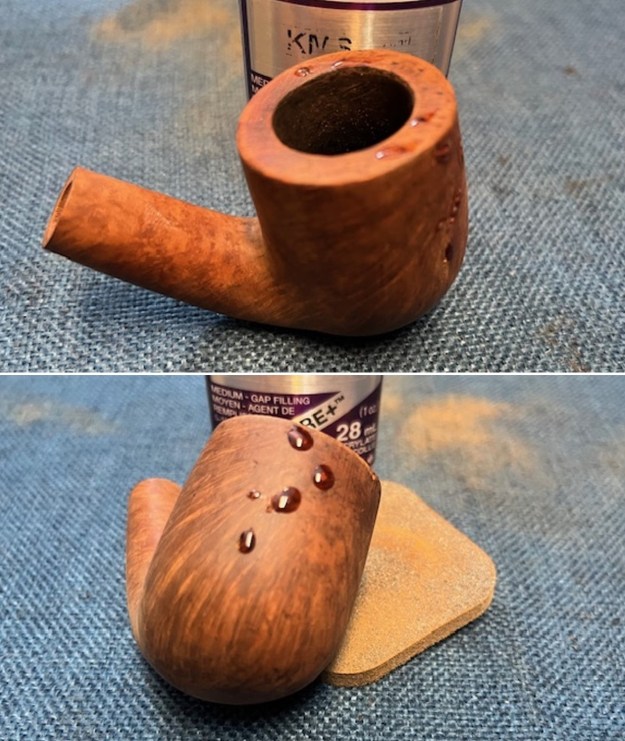
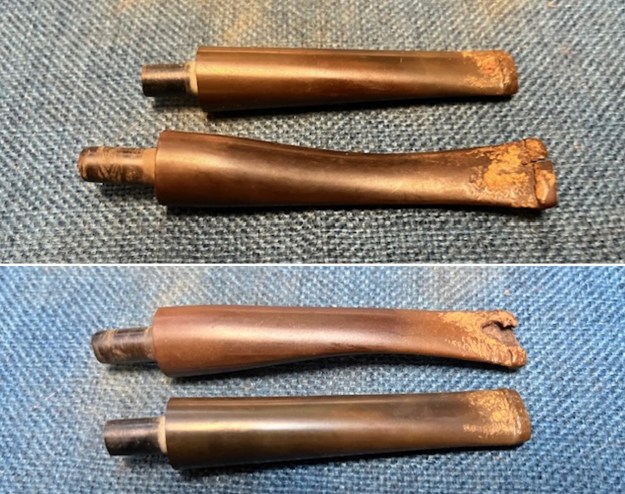
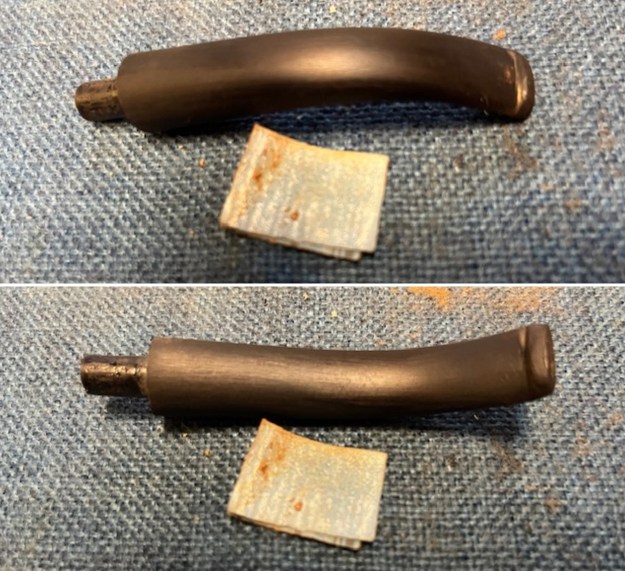
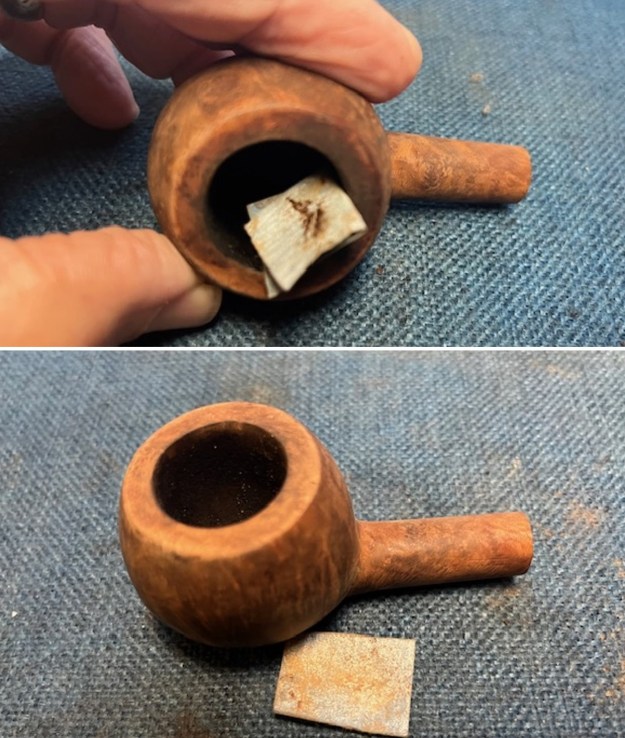
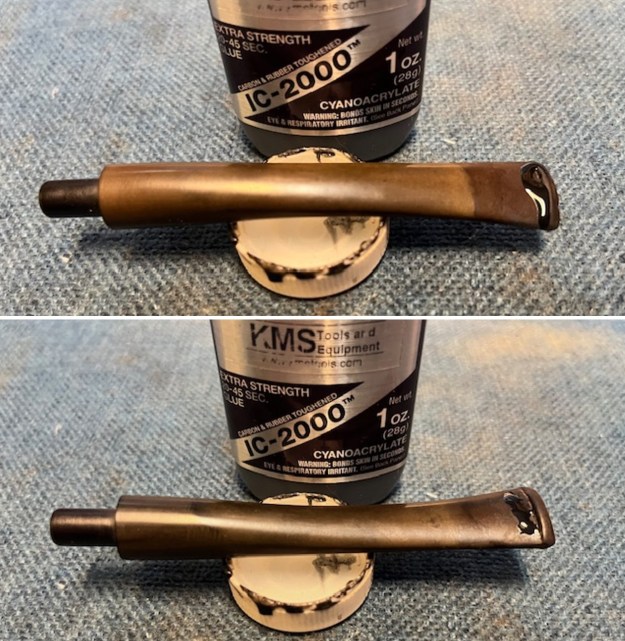
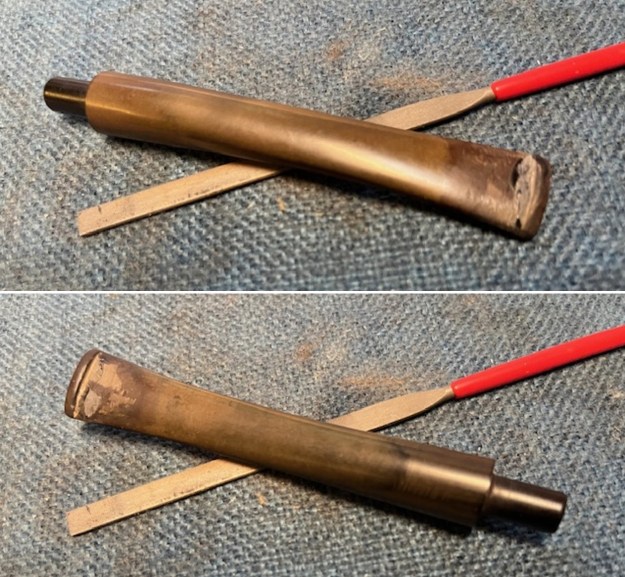
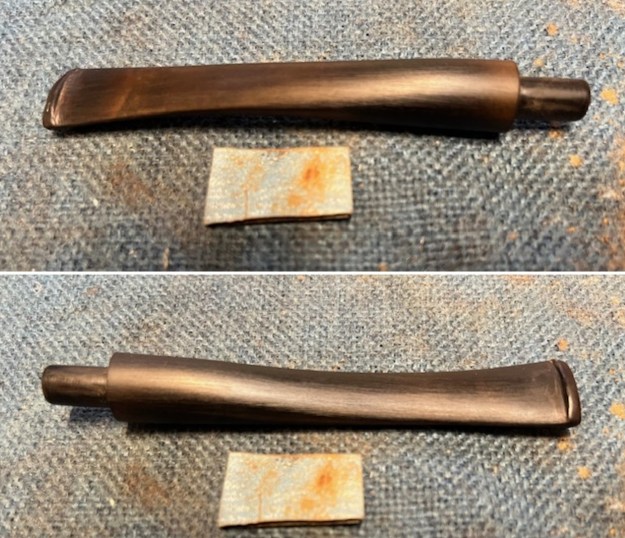
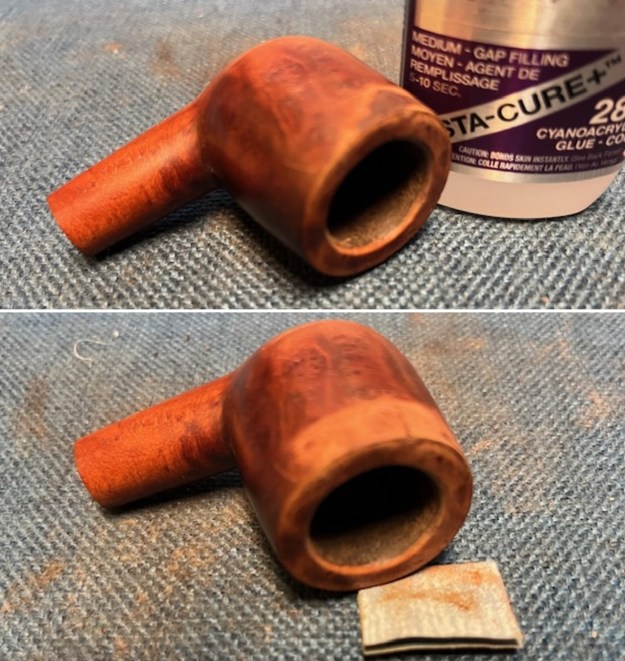
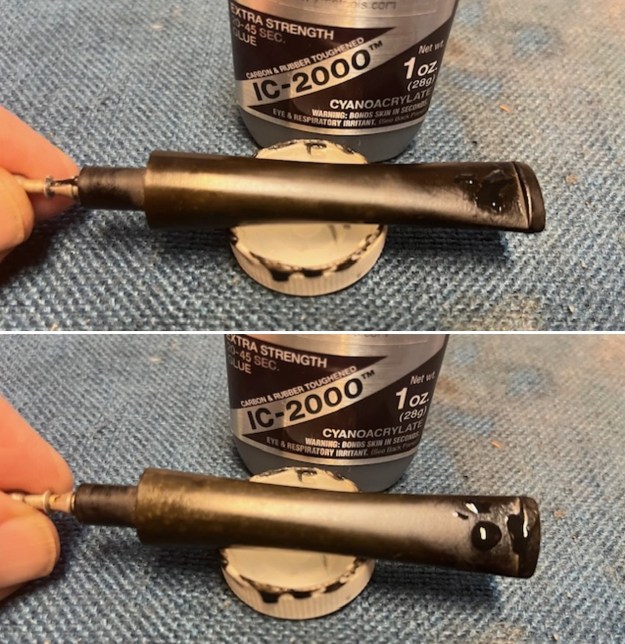
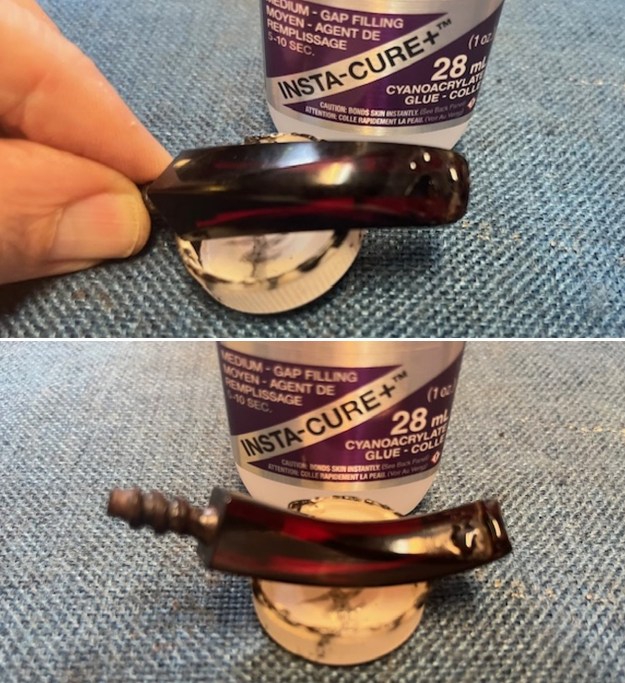
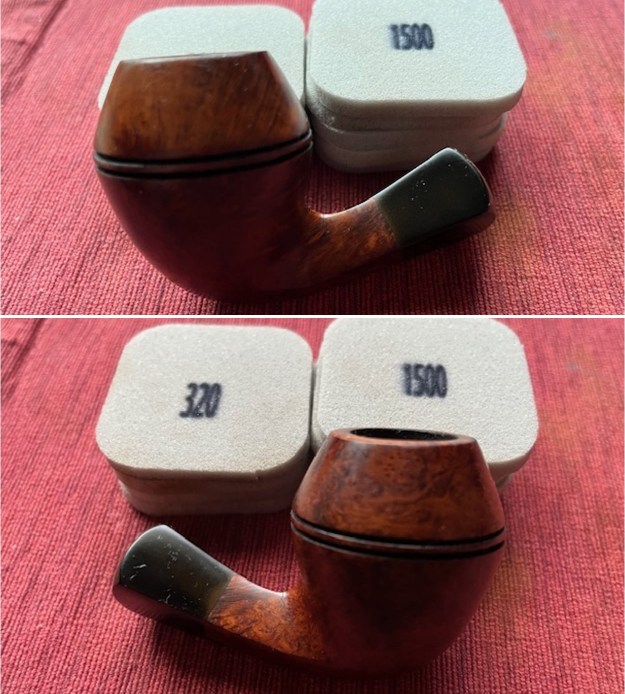
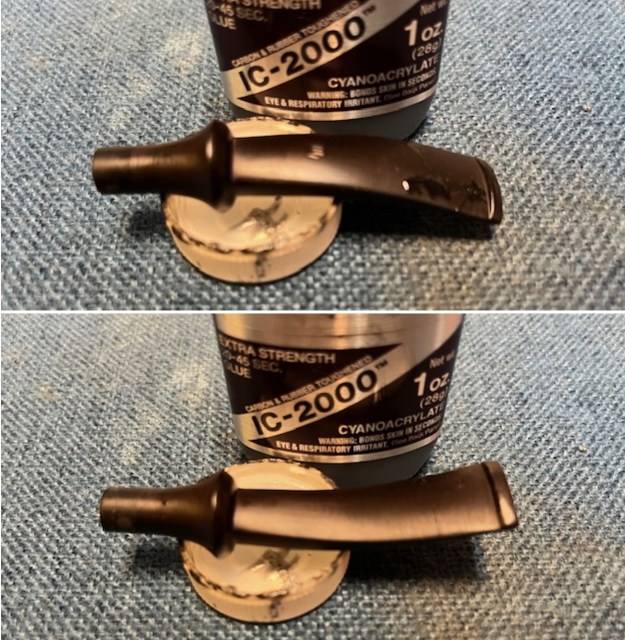
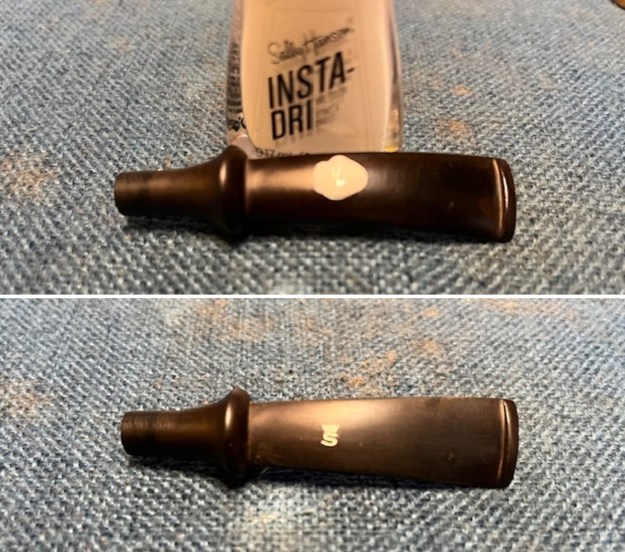
 With the bowl finished I set it aside and turned my attention to the stem. I filled in the pit on the top of the stem mid stem right side and the tooth damage at the button edge on the underside of the stem with Extra Strength Rubberized Black CA glue. I set it aside to let the repairs cure for morning. After work today I smoothed out the fills with a folded piece of 220 grit sandpaper to blend them into the surface.
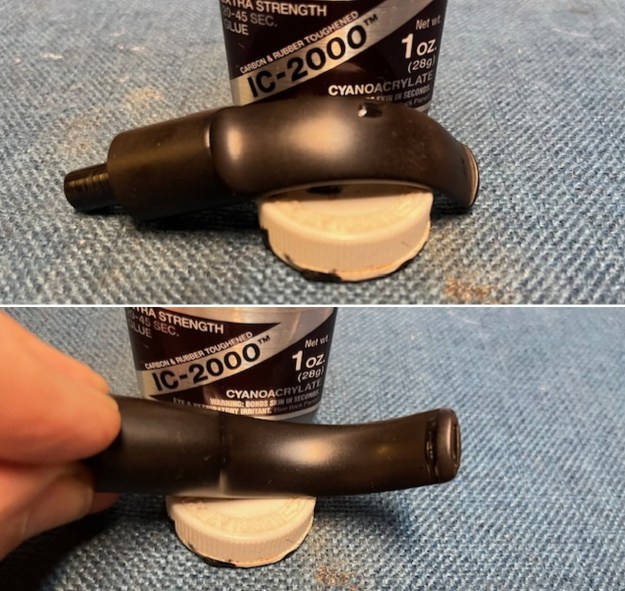
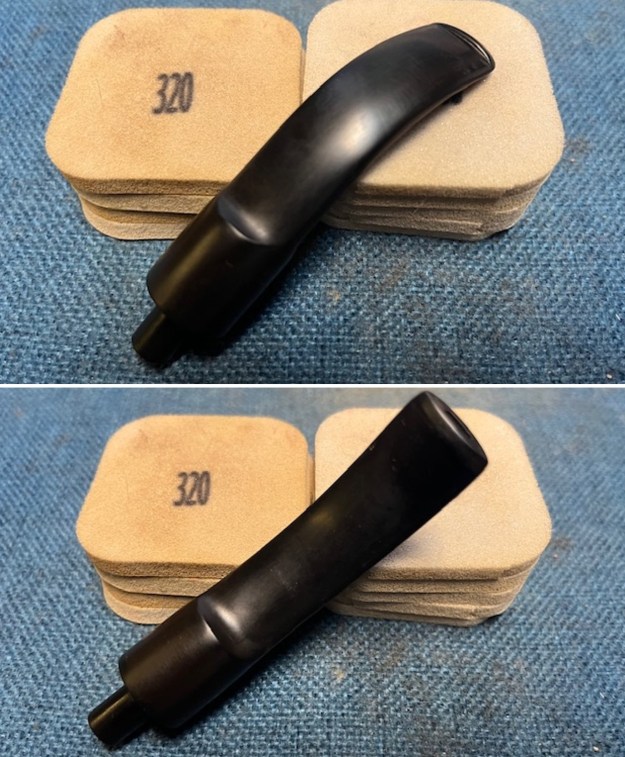
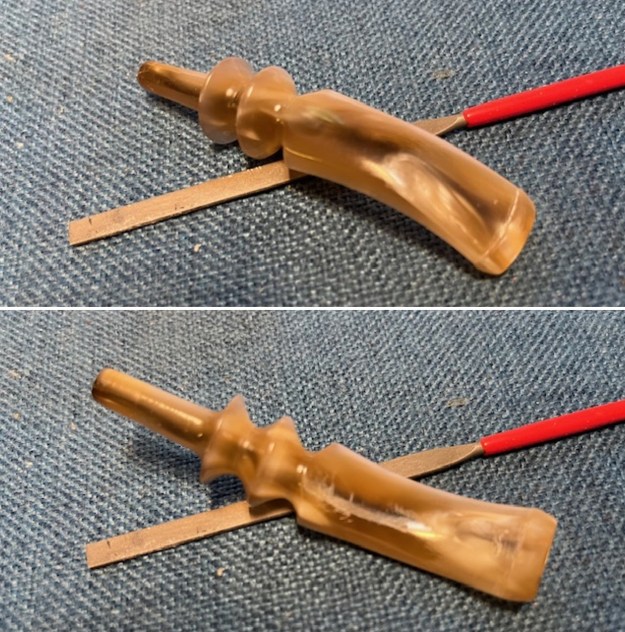
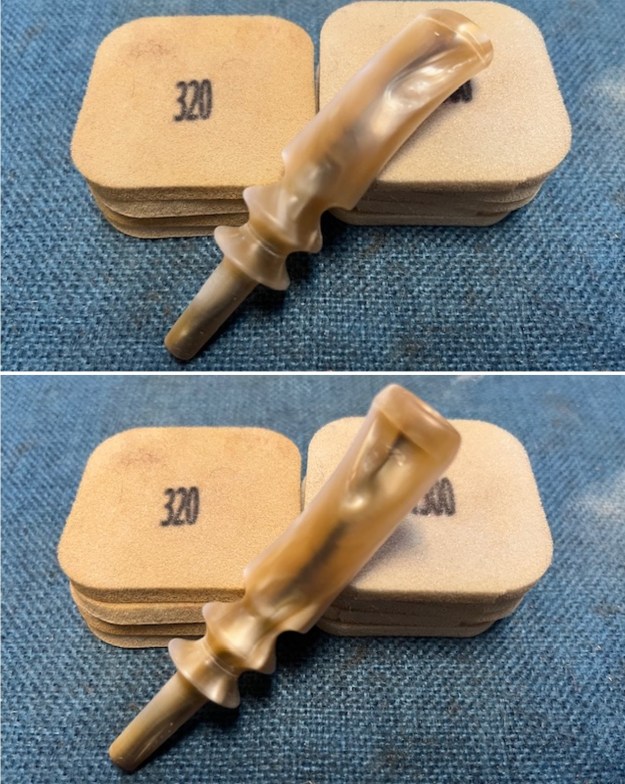
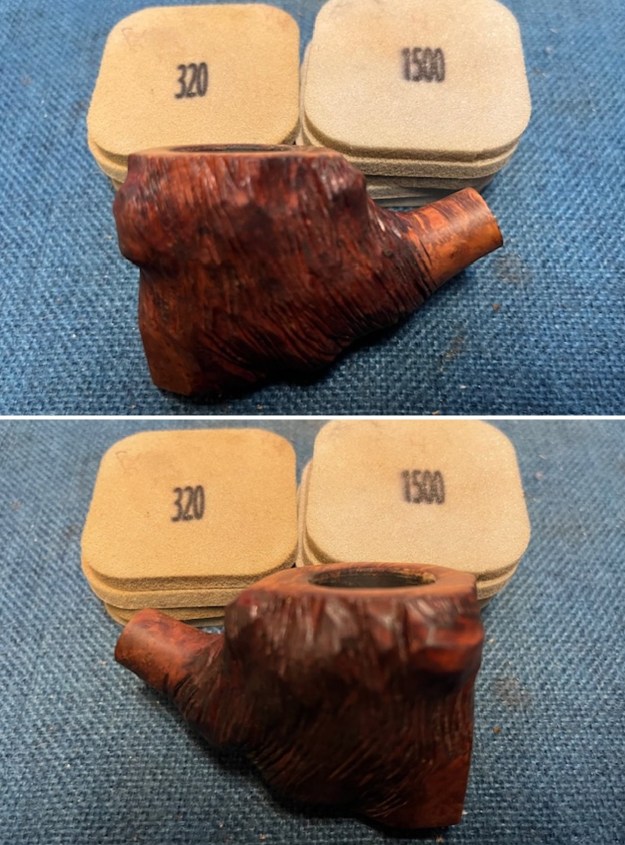
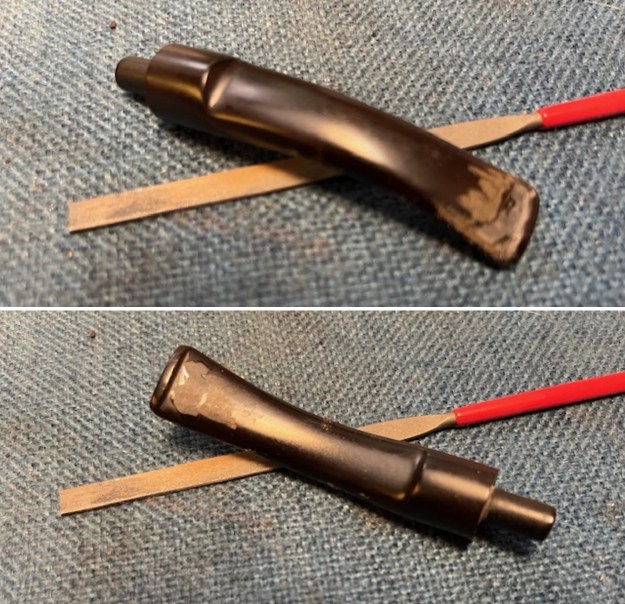
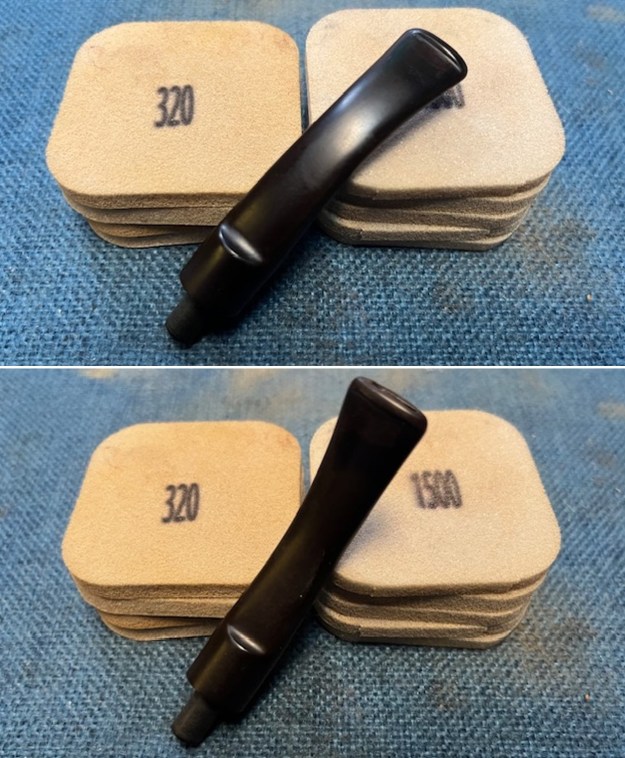
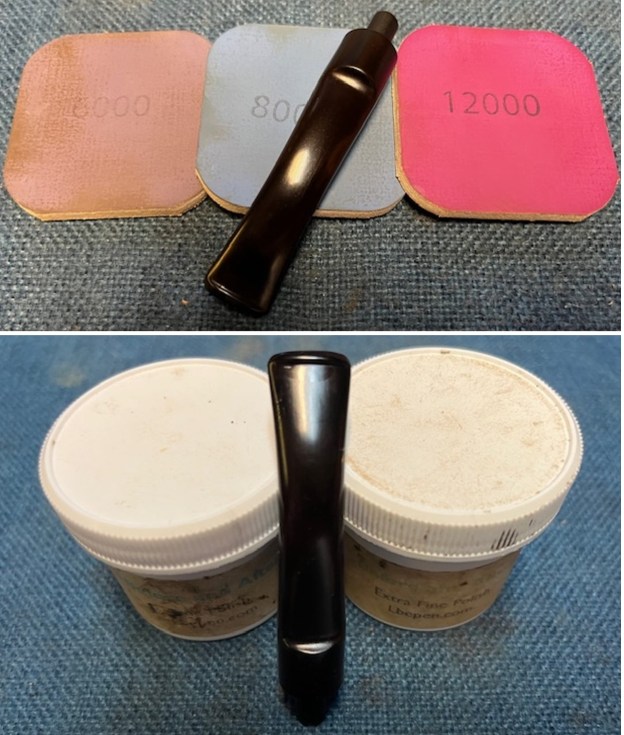
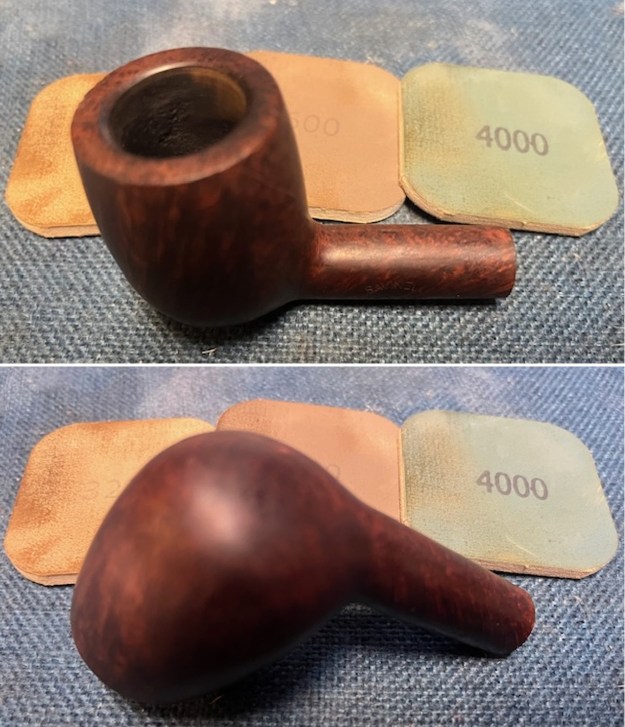
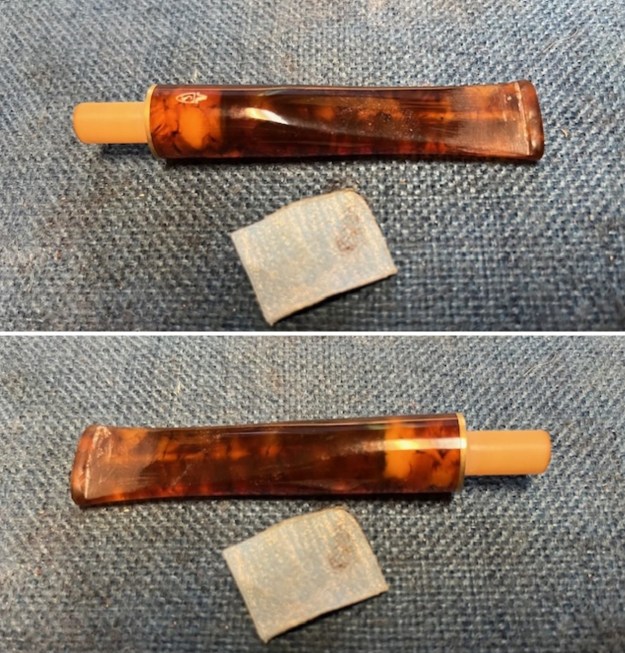
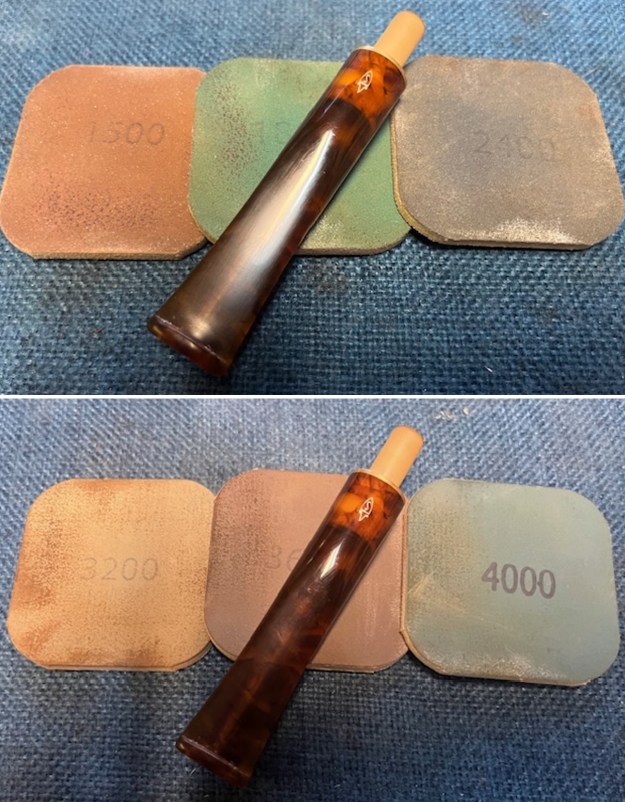
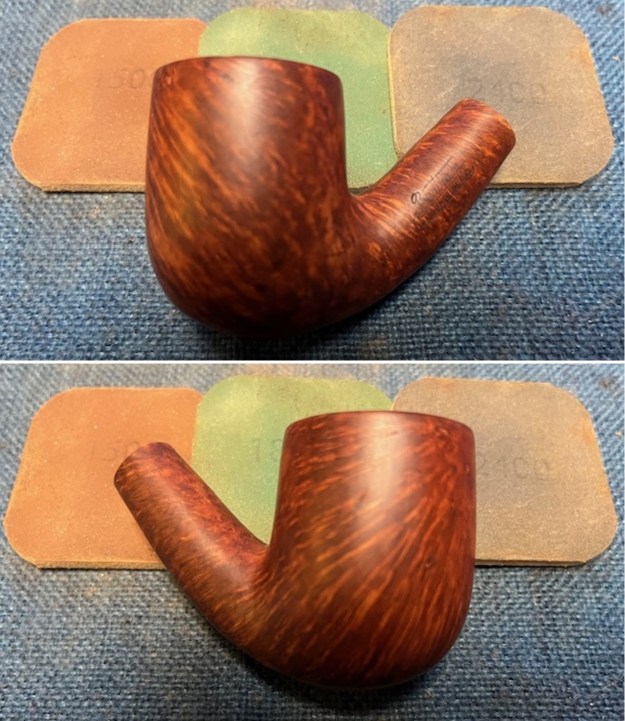
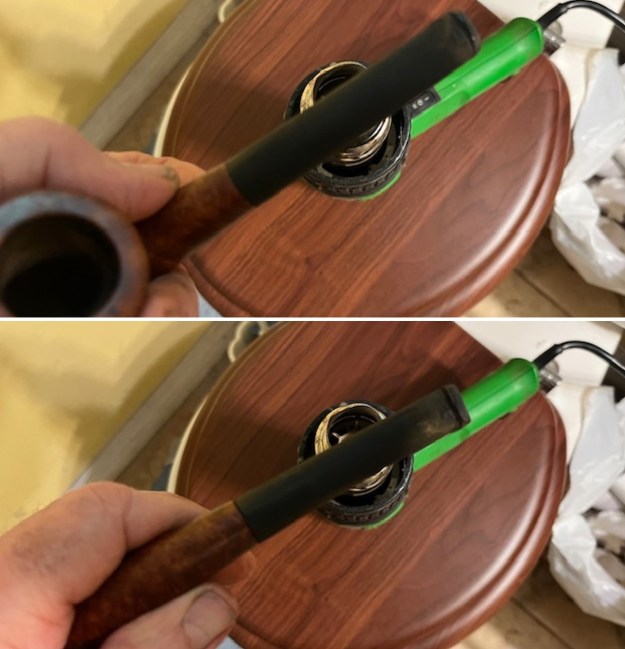
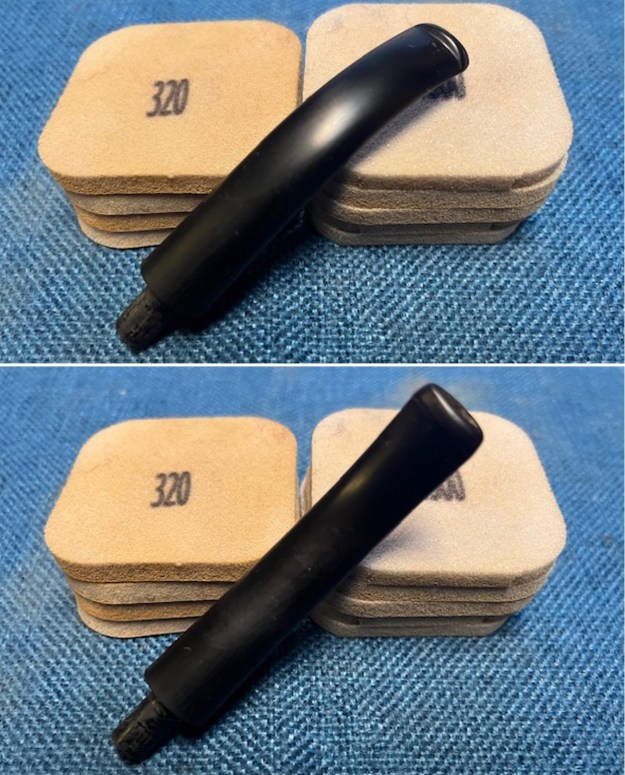
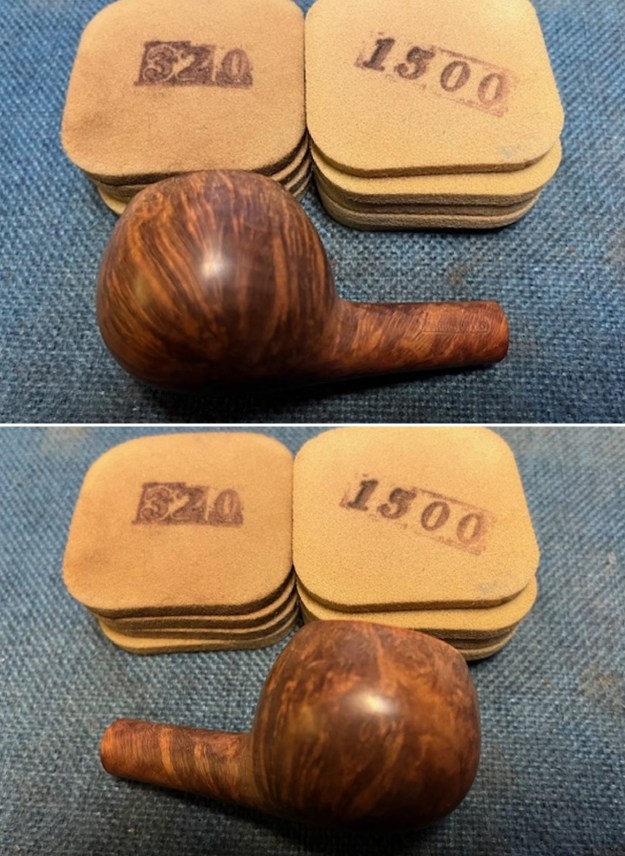
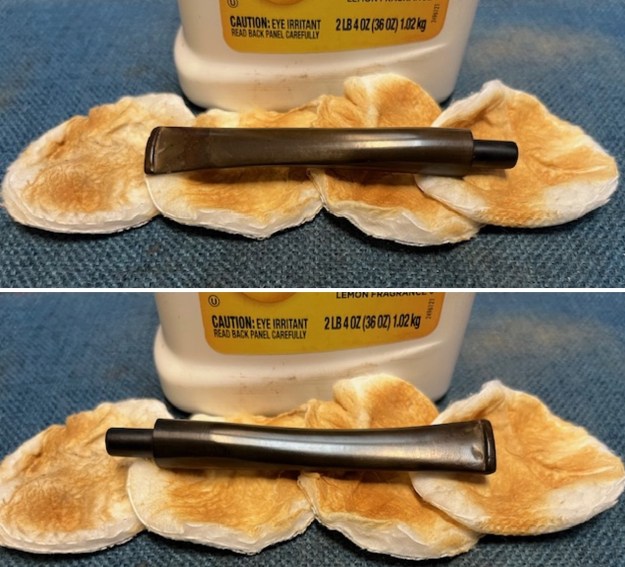
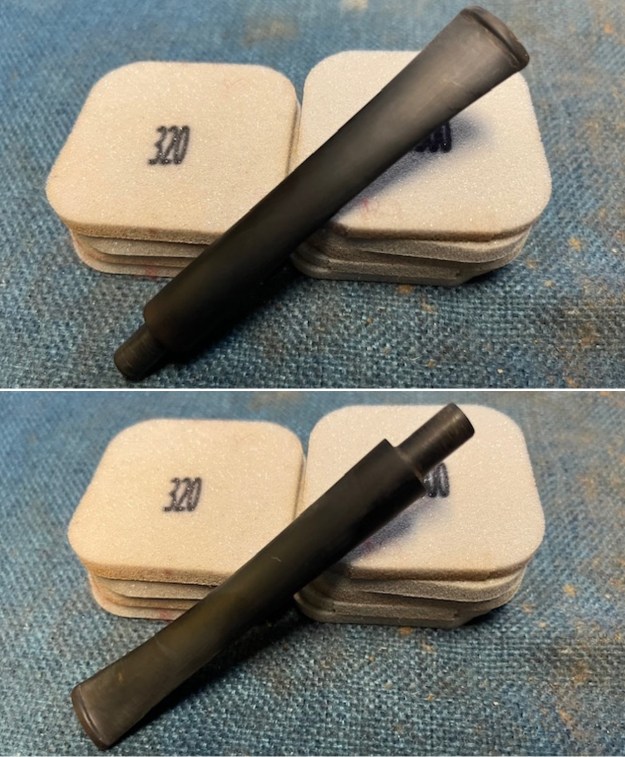
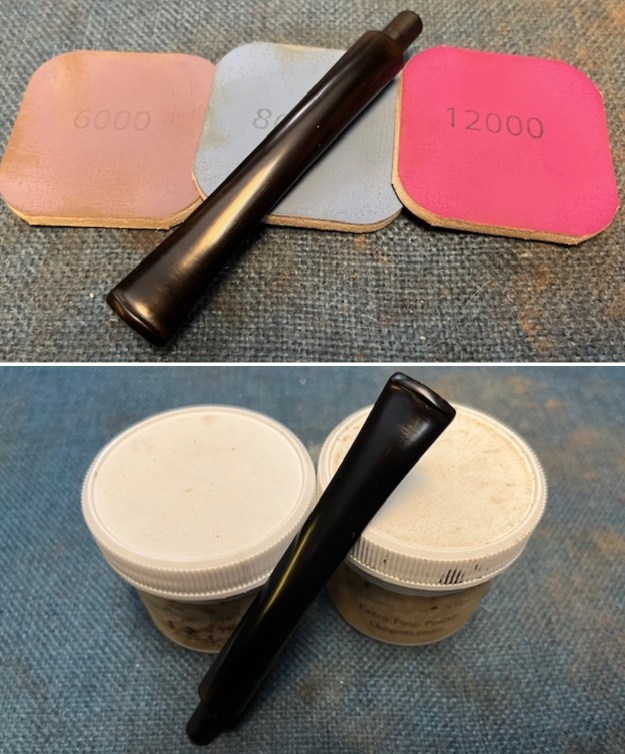
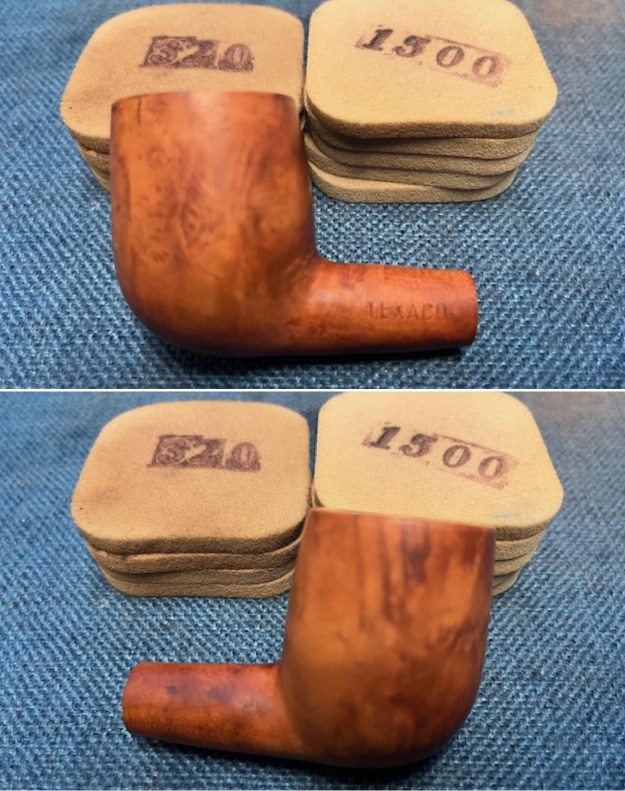
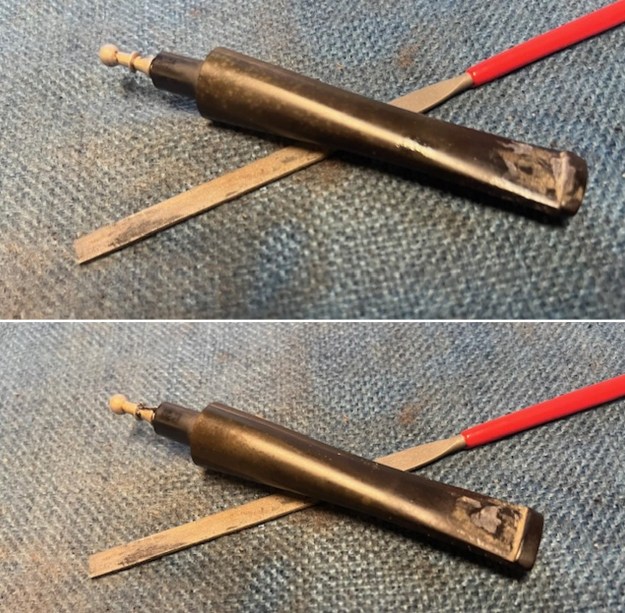
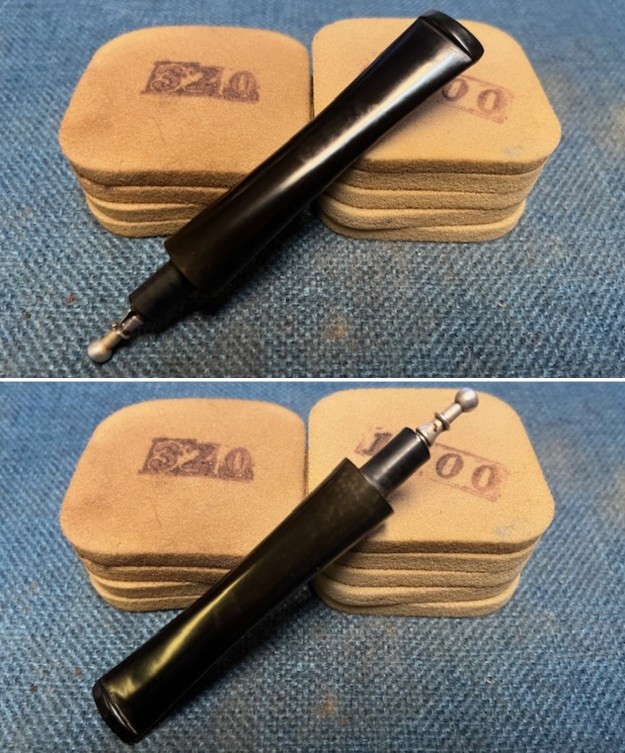
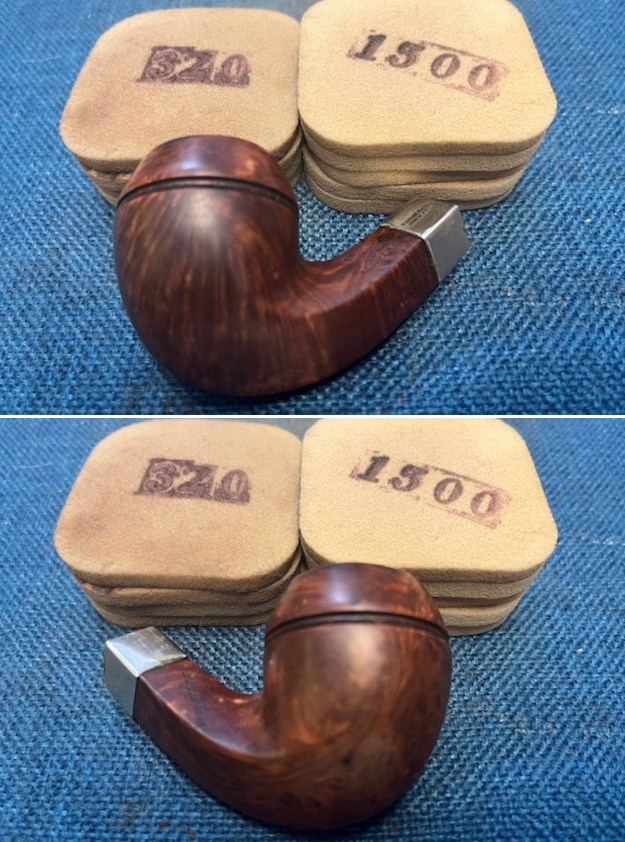
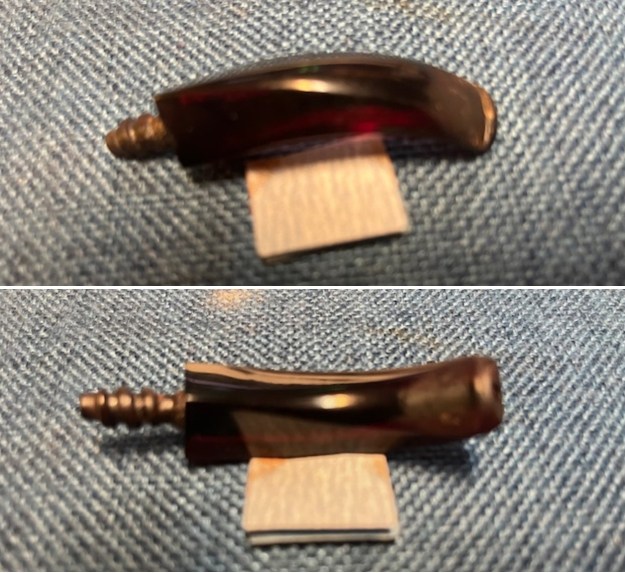
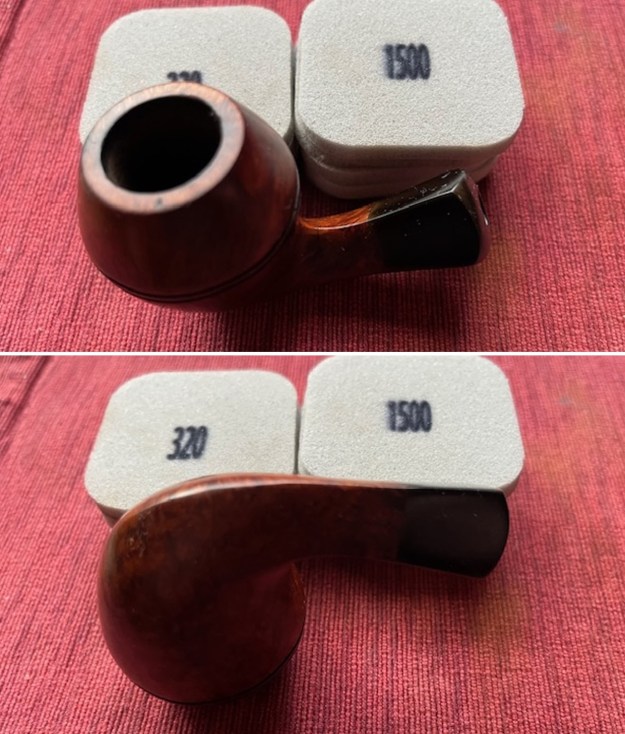
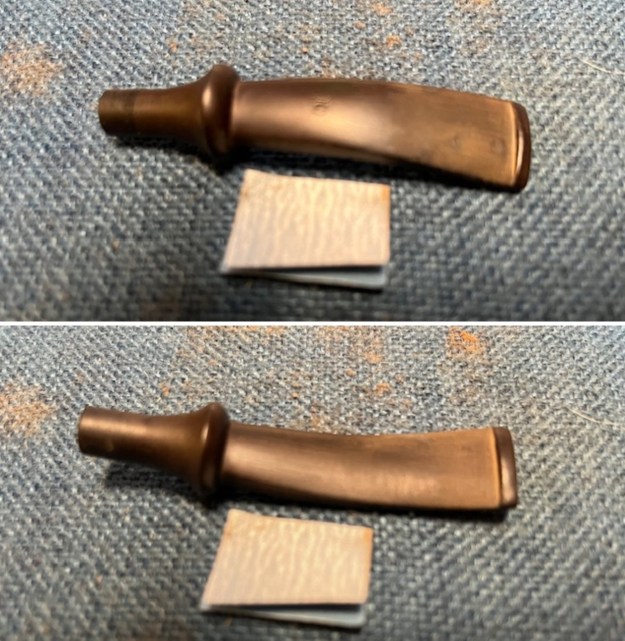
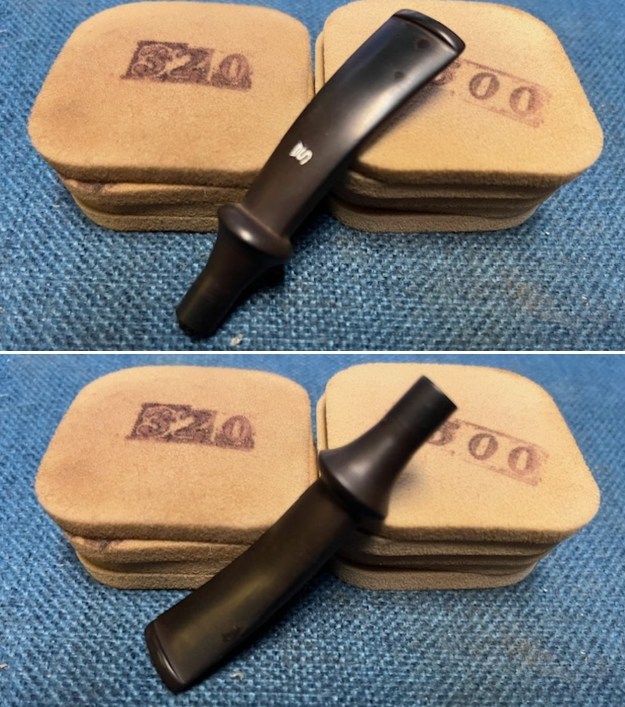
 I sanded the stem surface further with 320-3500 grit sanding pads to finish smoothing out the repairs and removing residual oxidation. I wiped the stem down after each pad with a cloth impregnated with Obsidian Oil. It began to look very good.
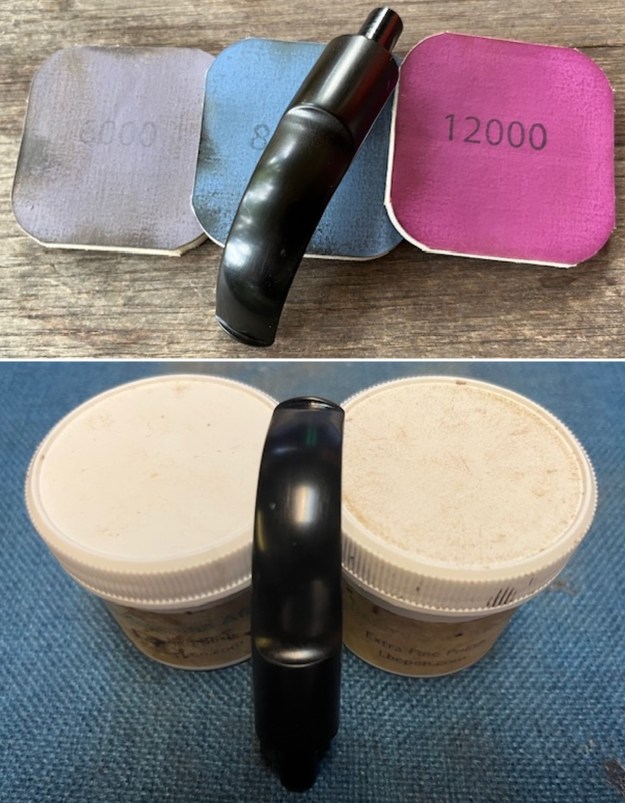
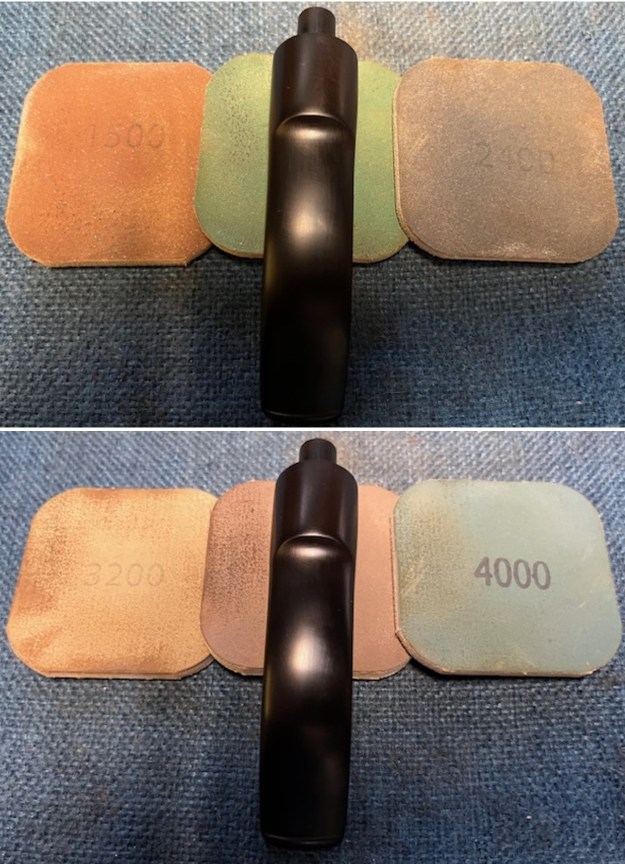
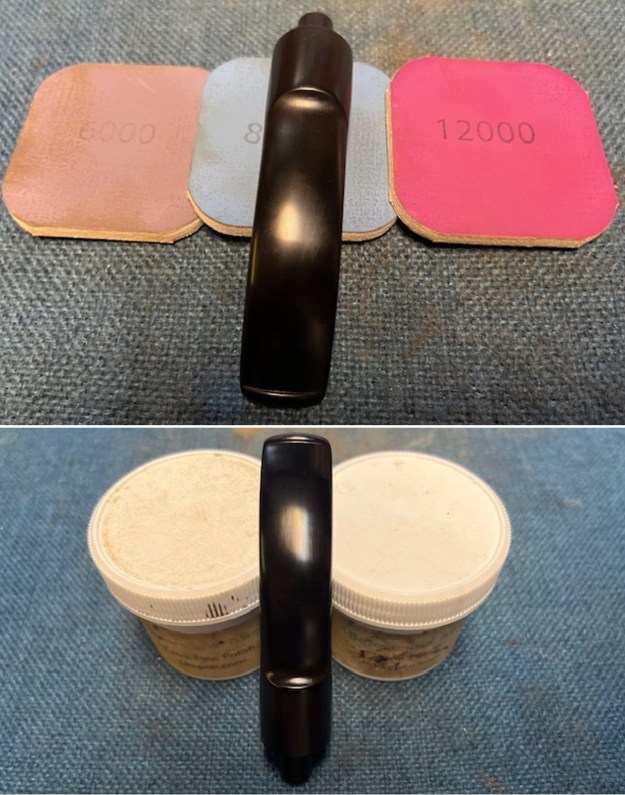
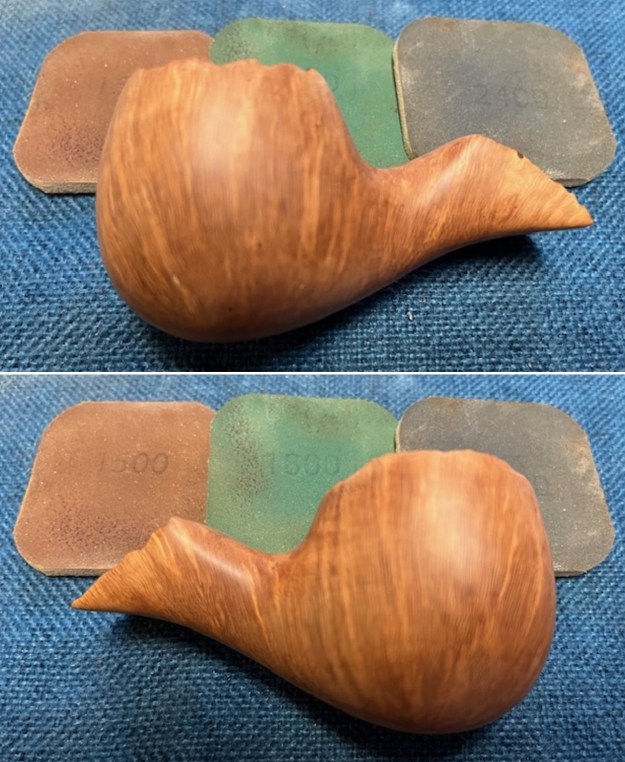
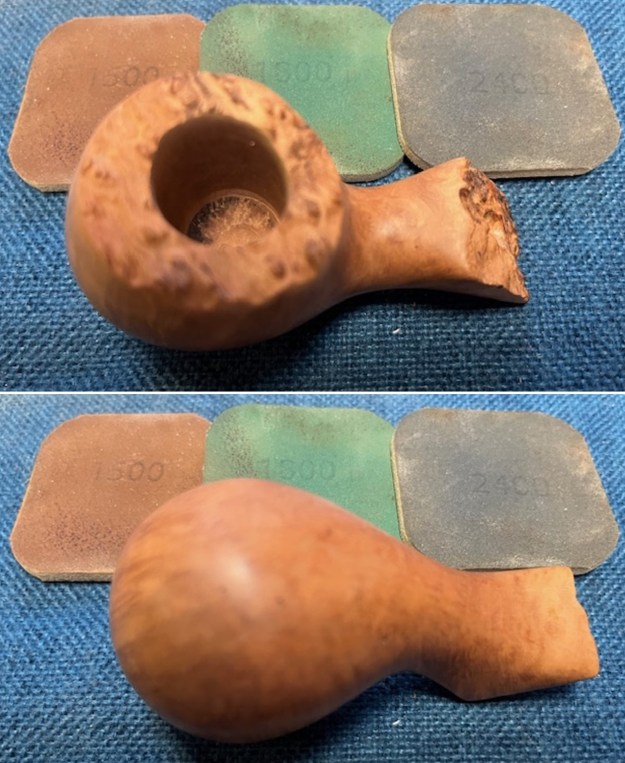
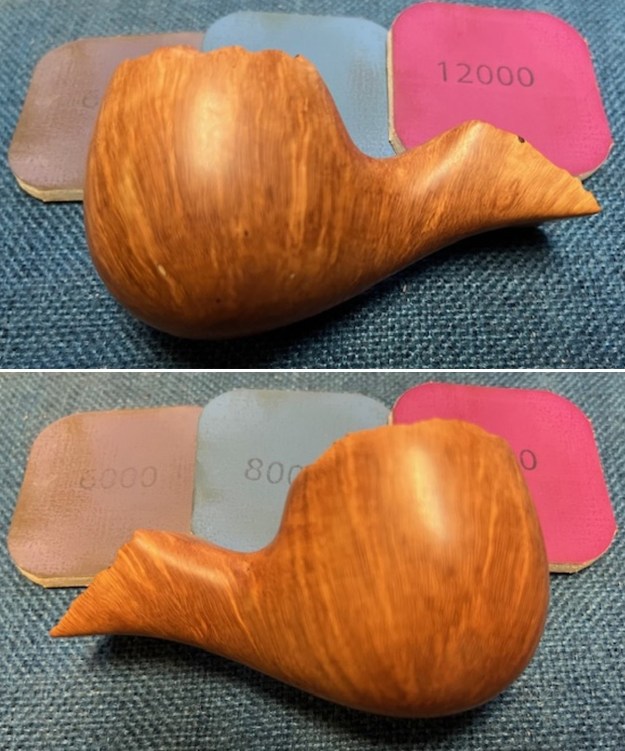
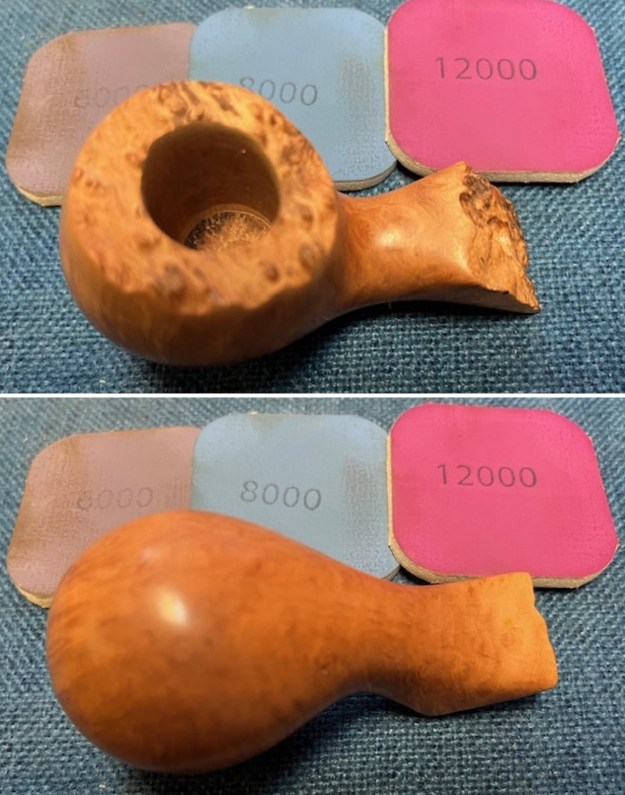
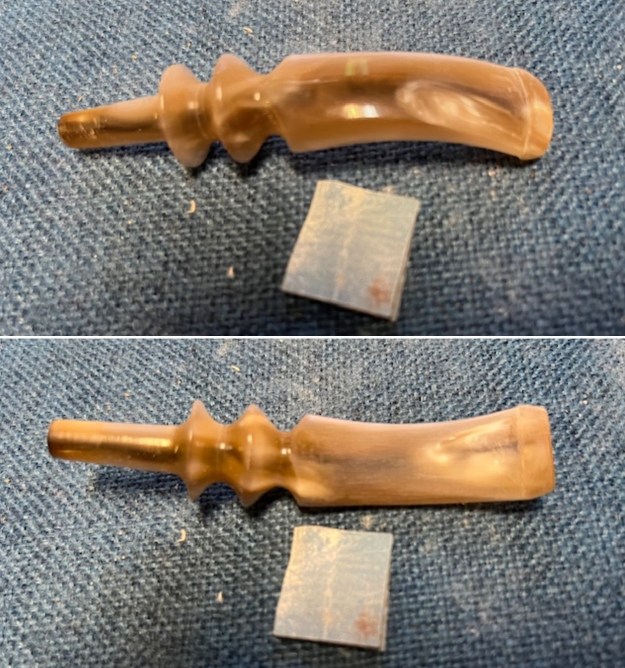
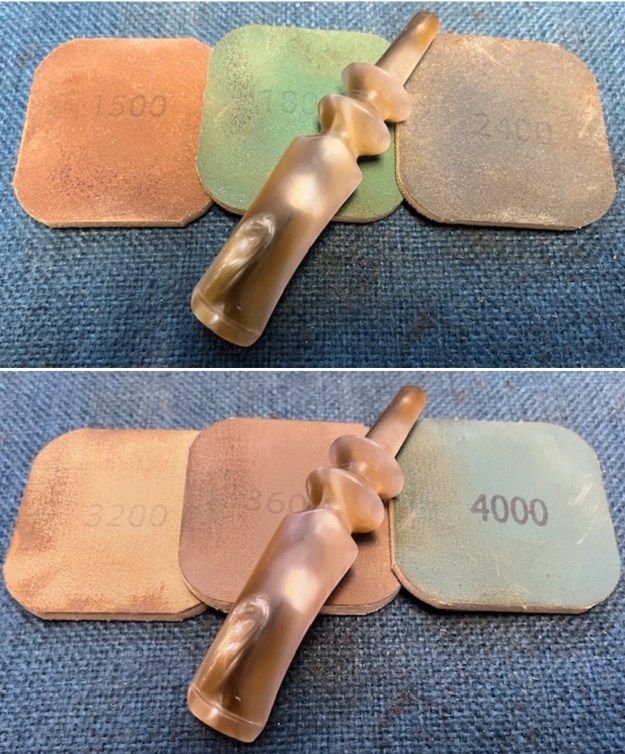
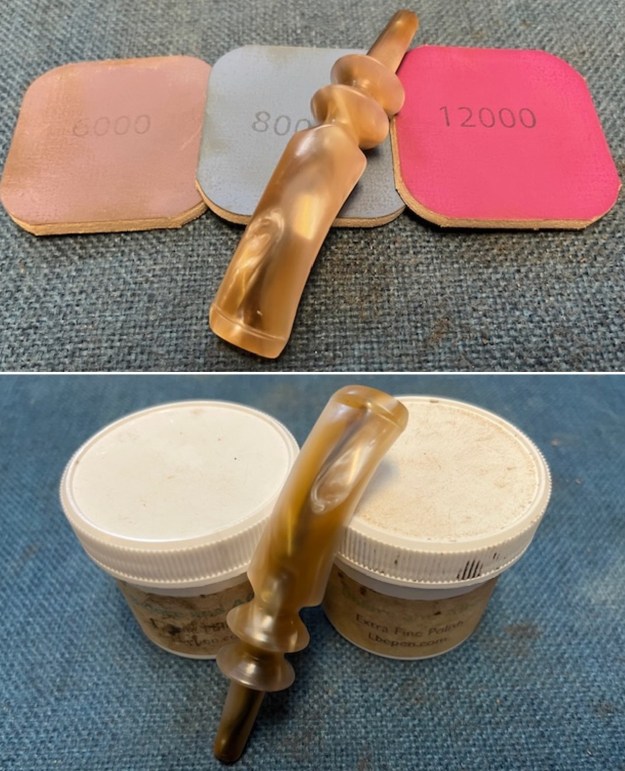
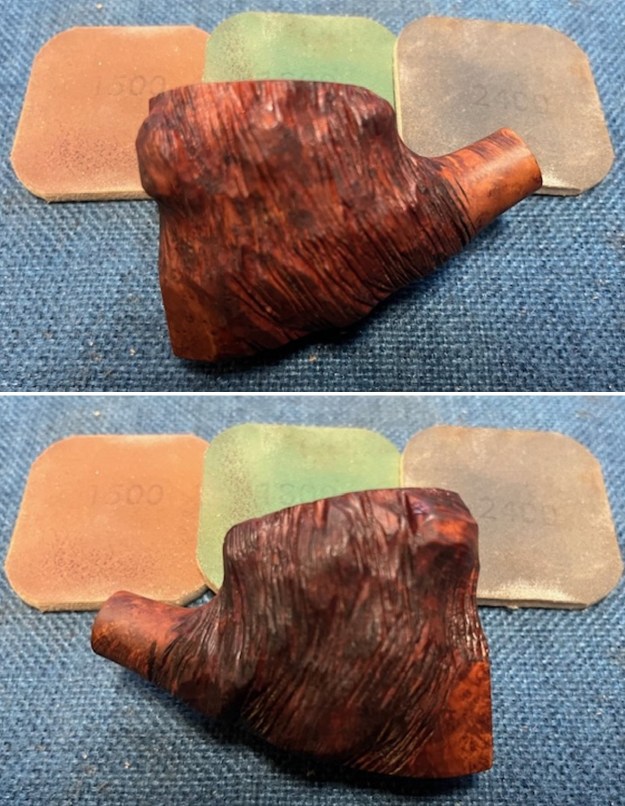
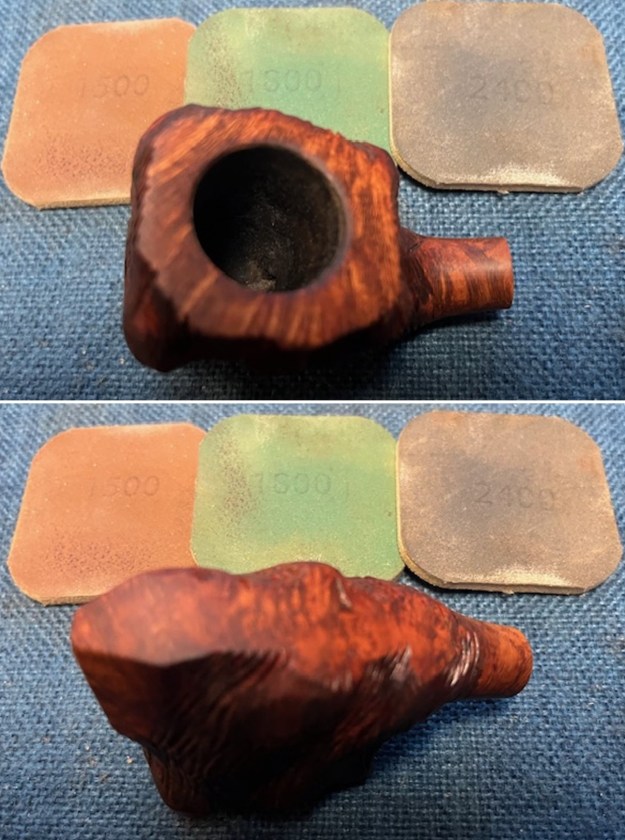
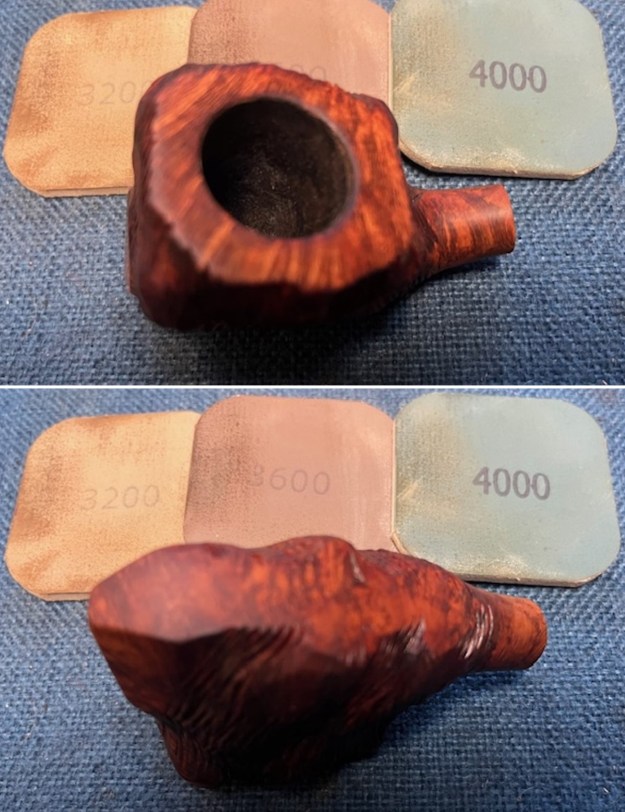
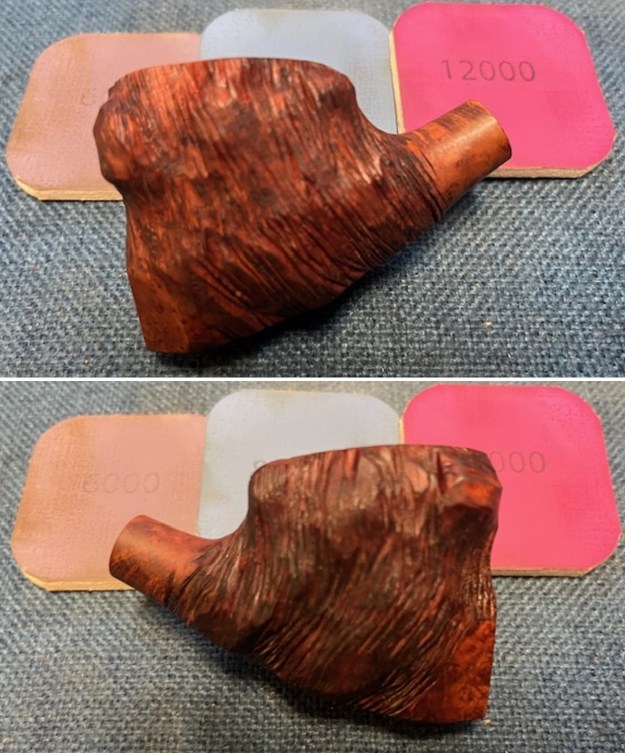
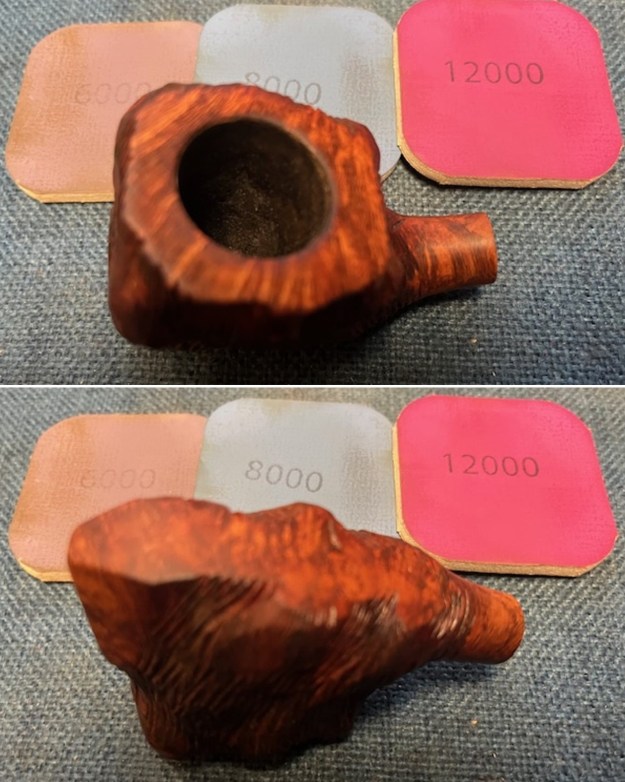
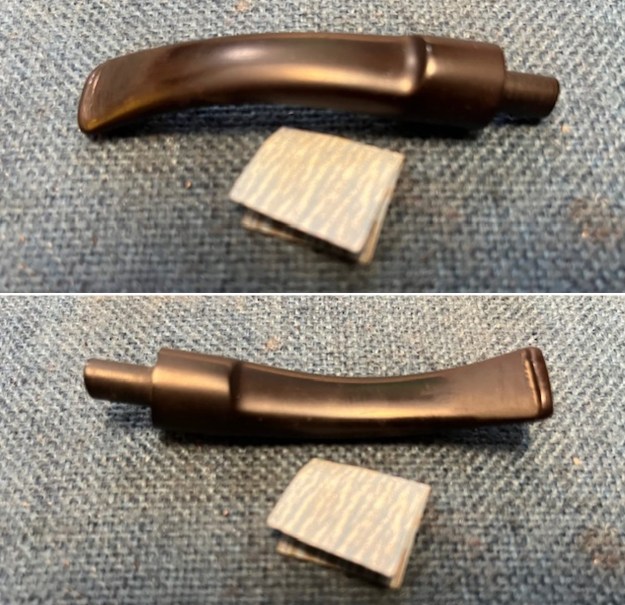
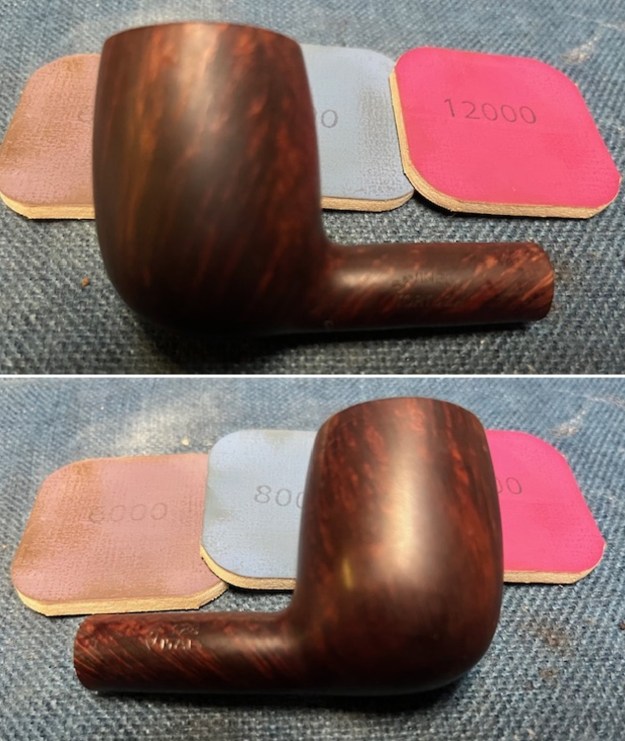
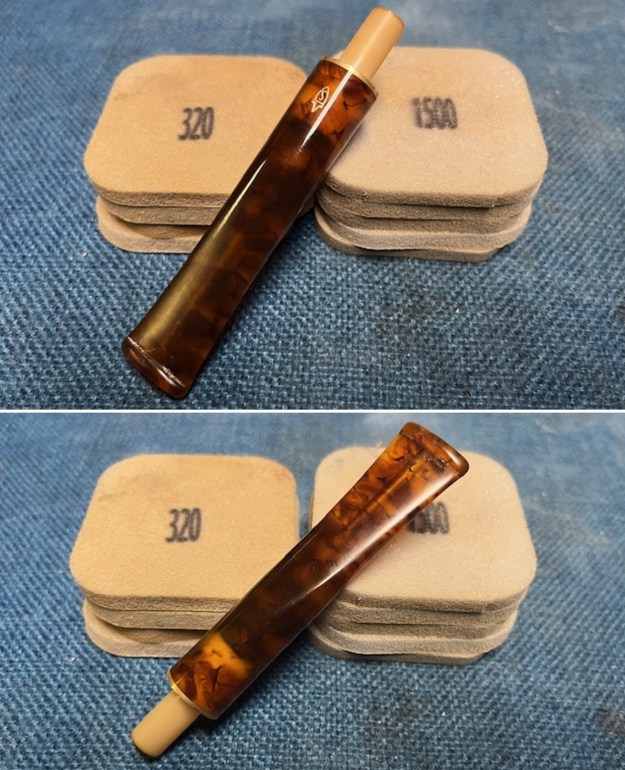
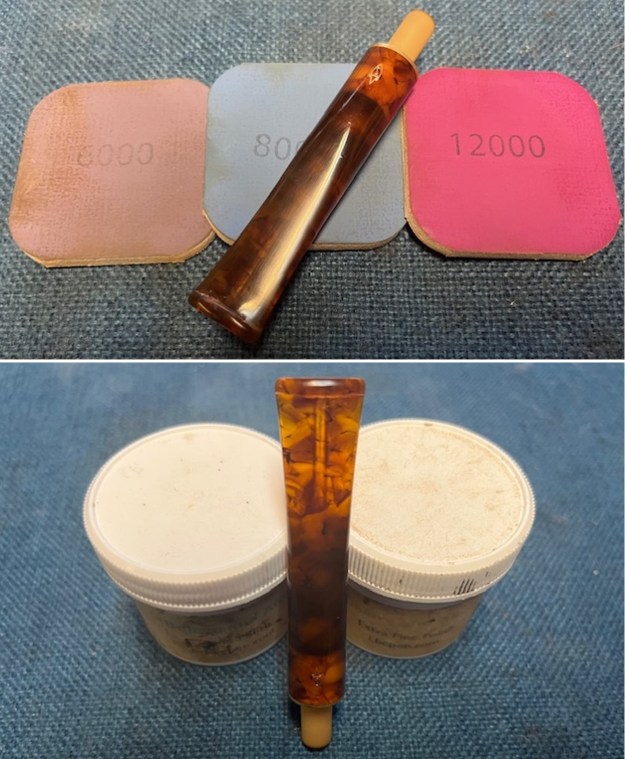
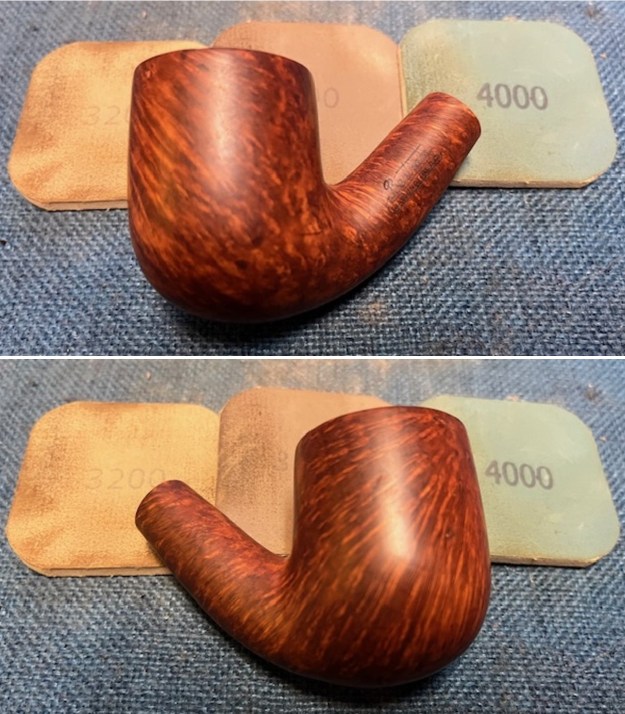
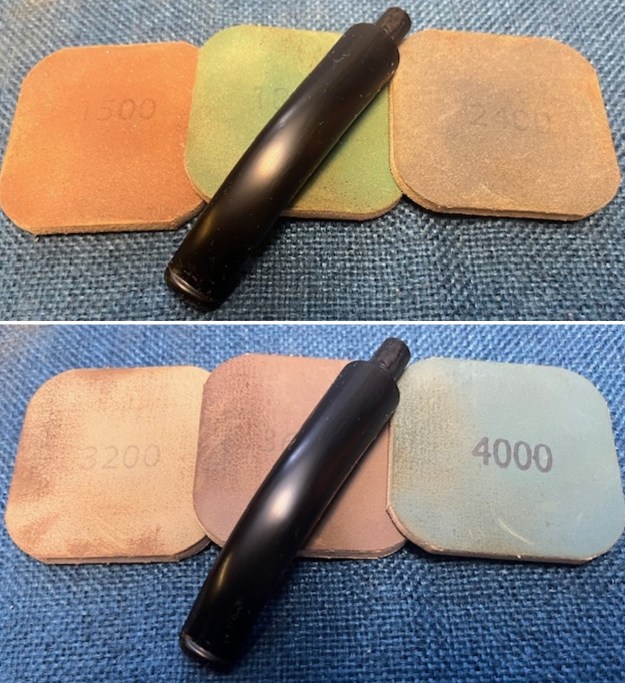
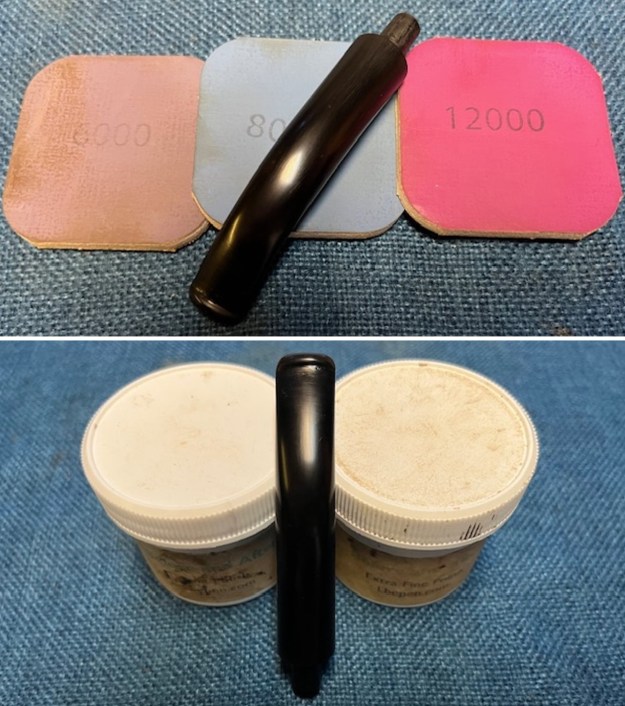
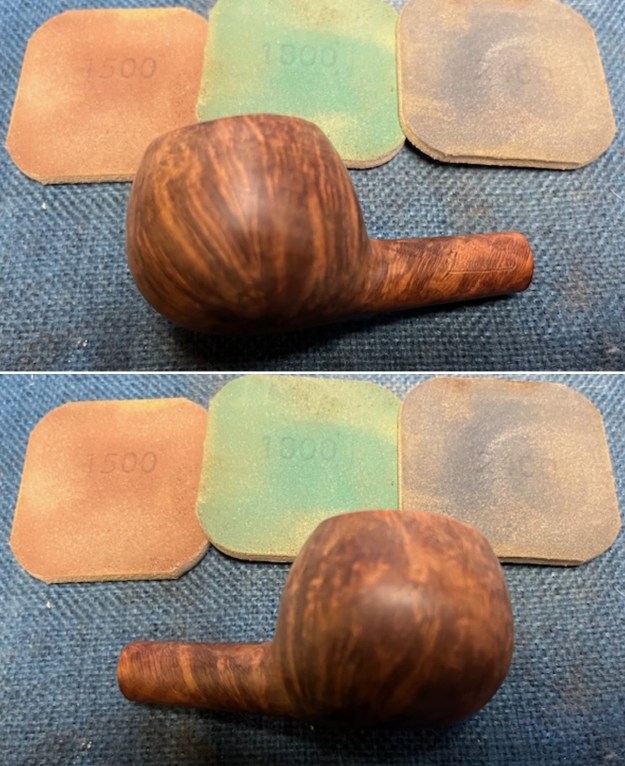
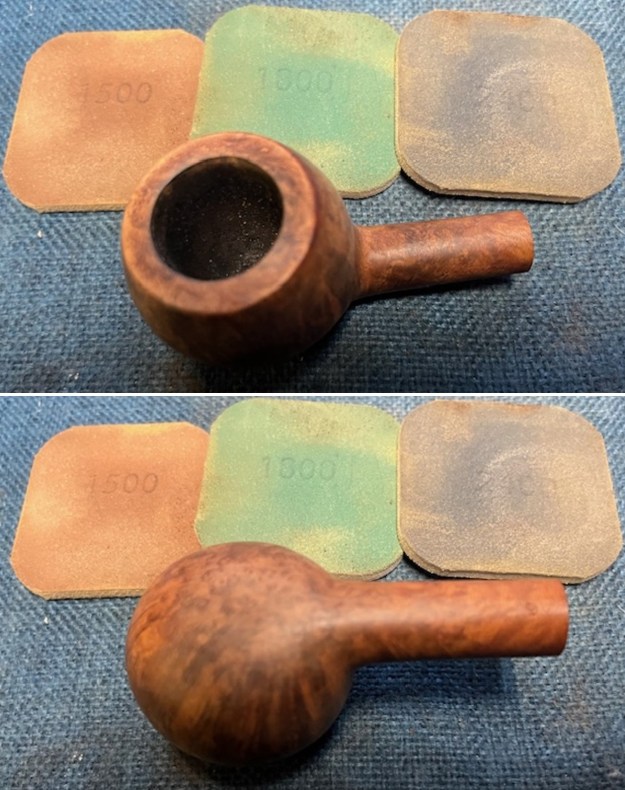
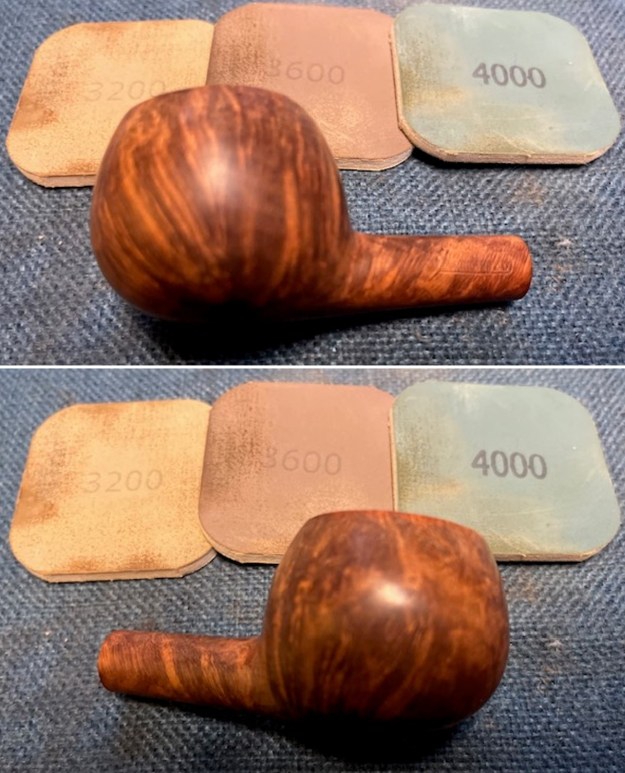
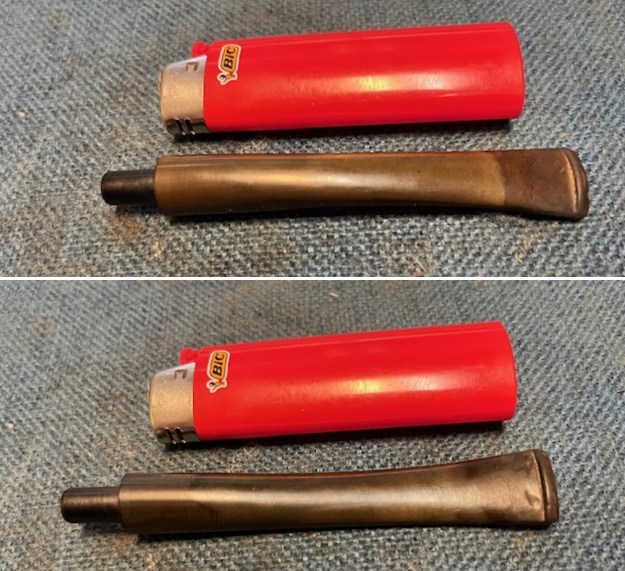
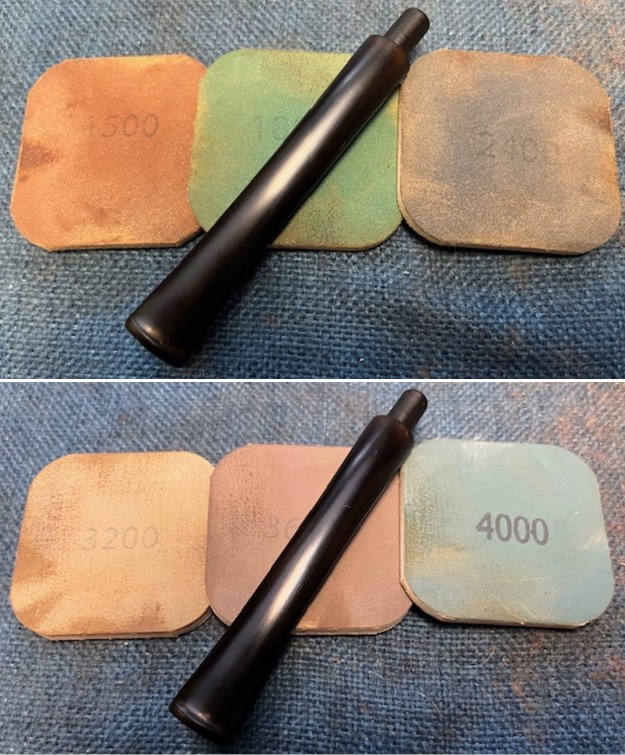
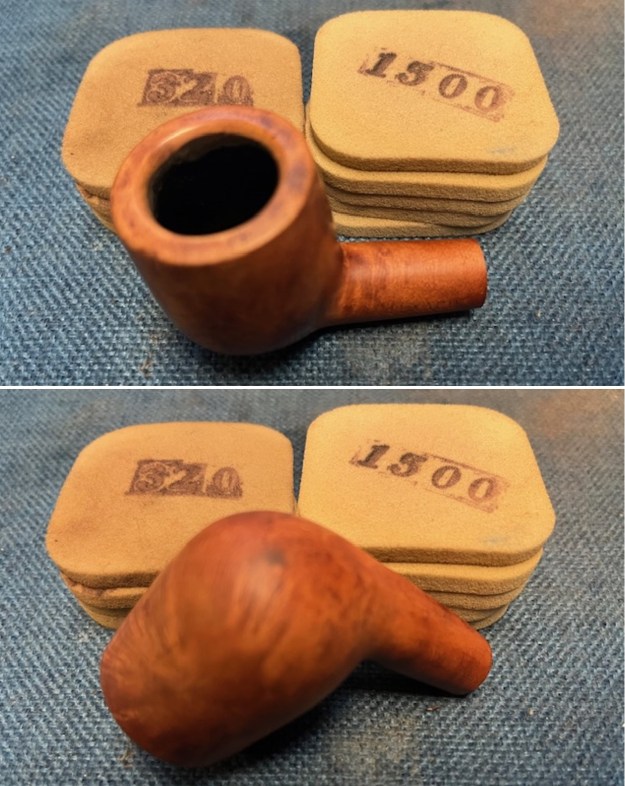
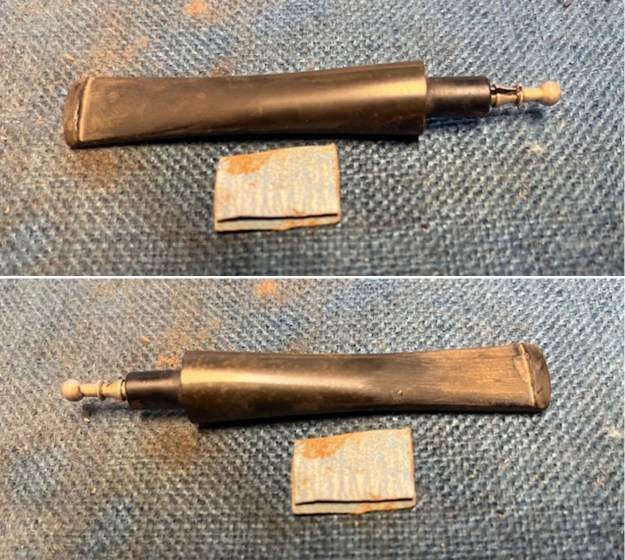
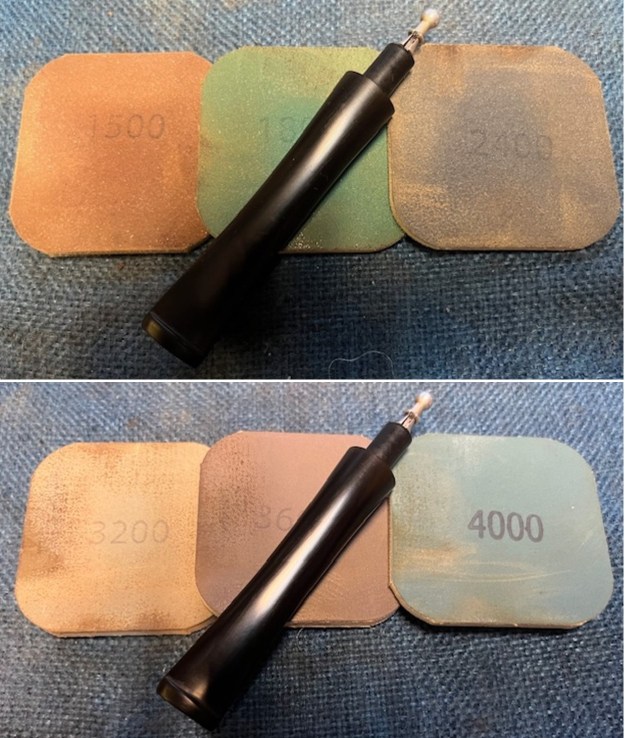
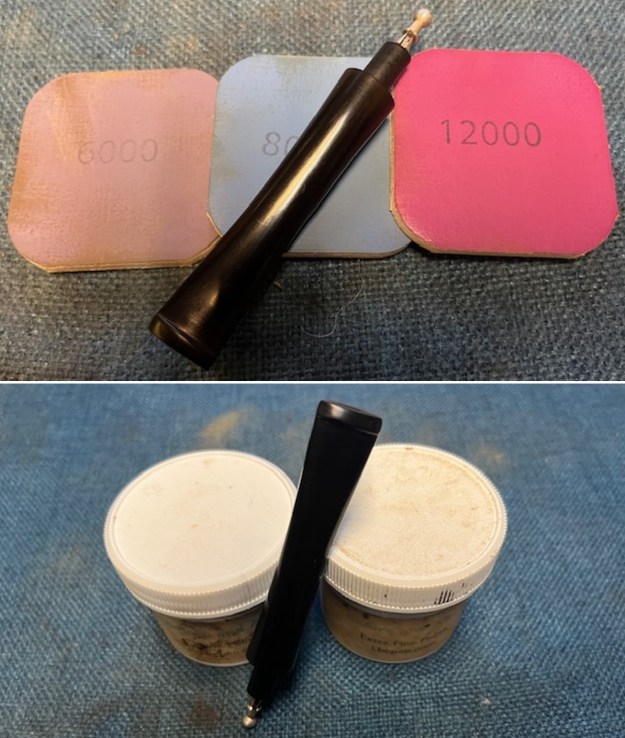
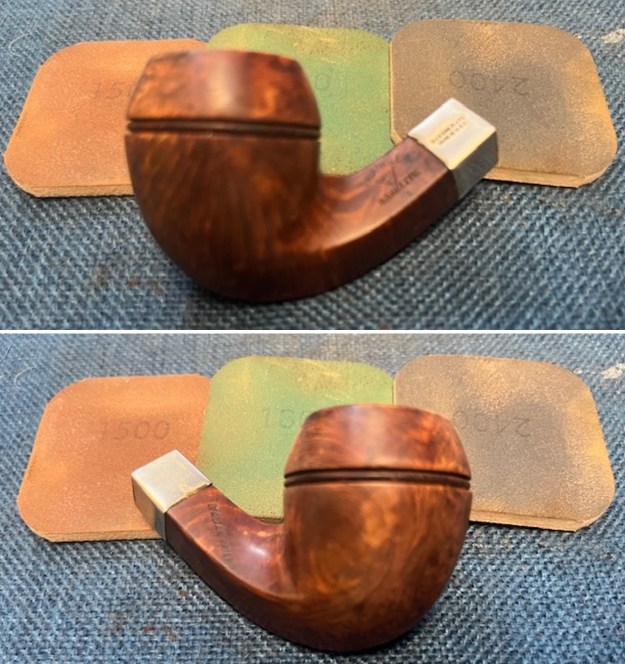
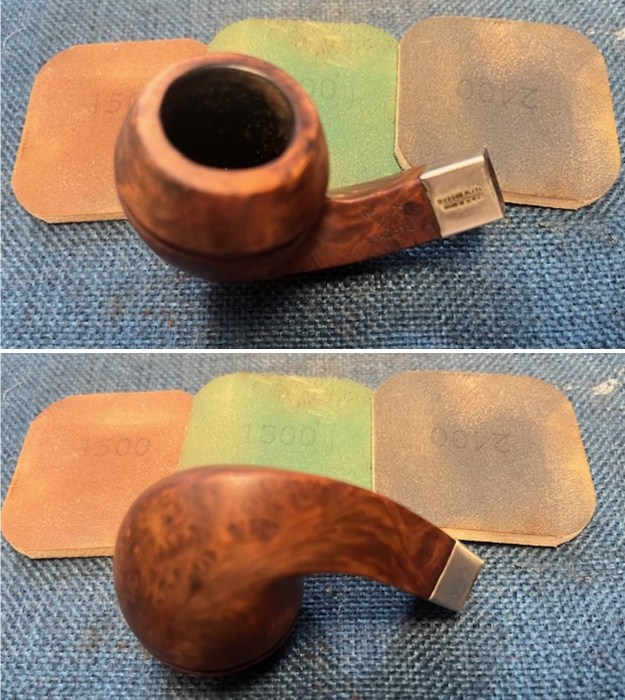
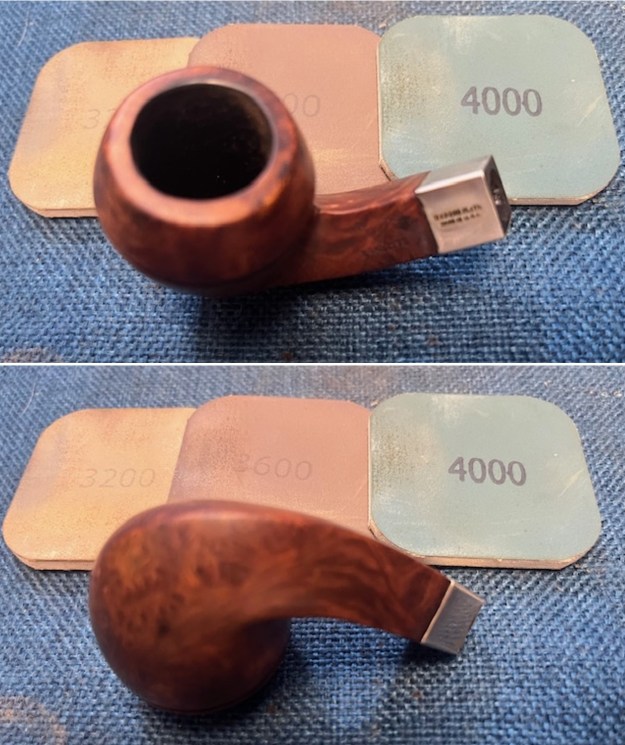
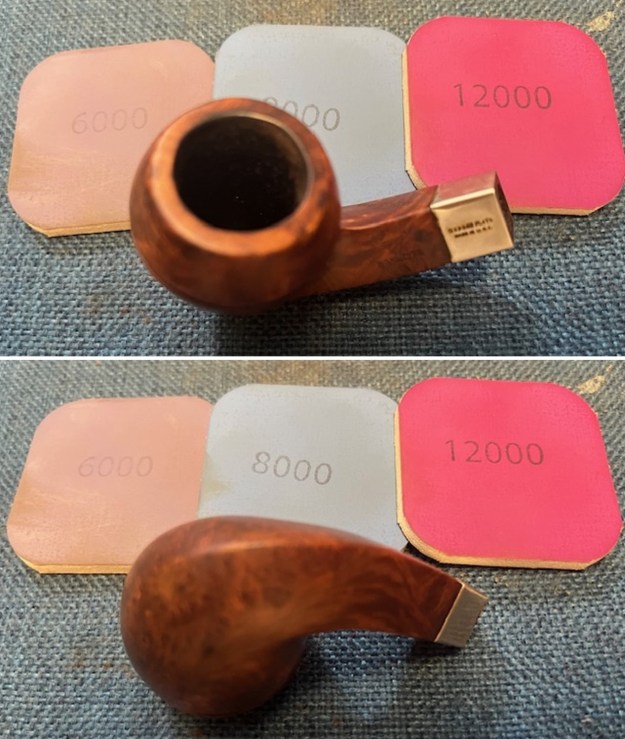
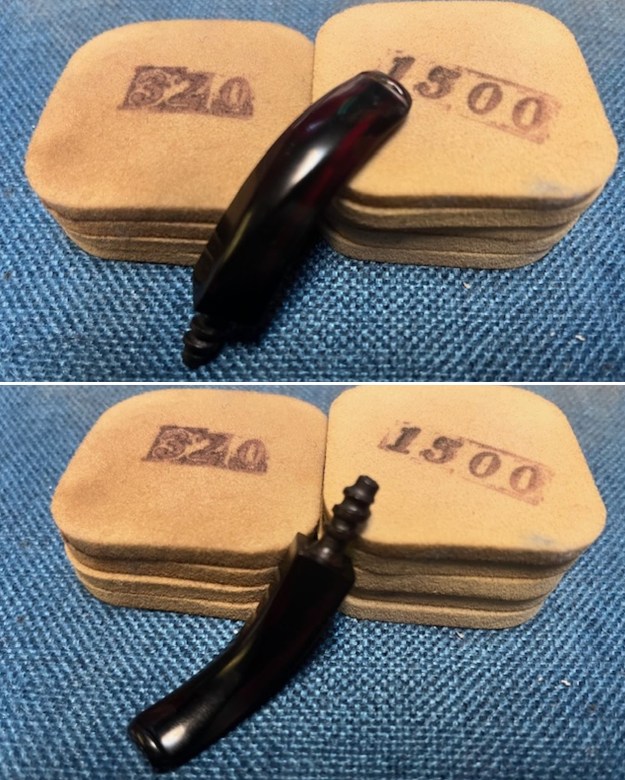
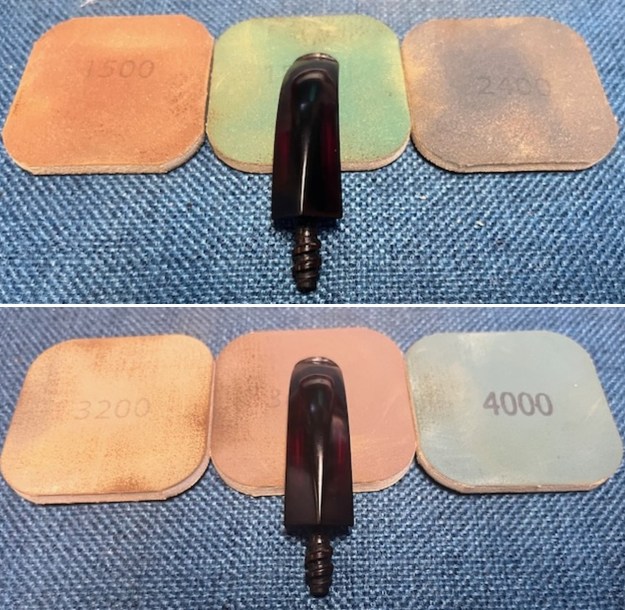
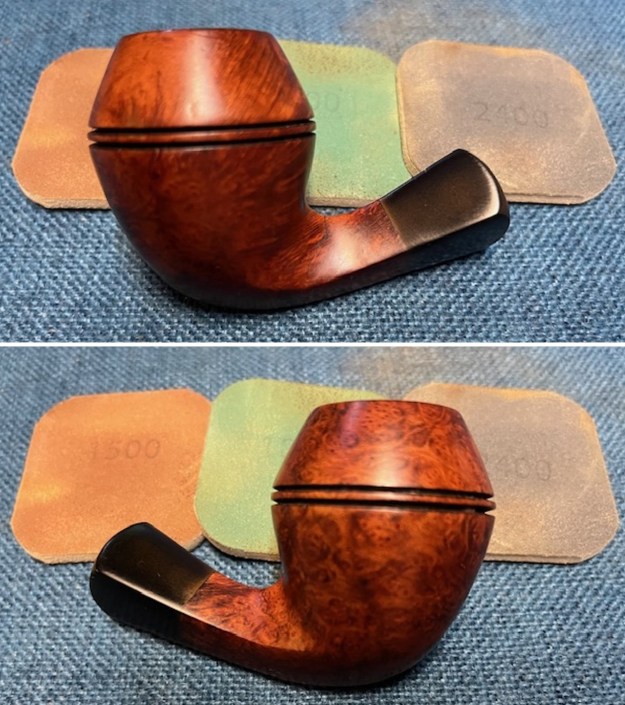
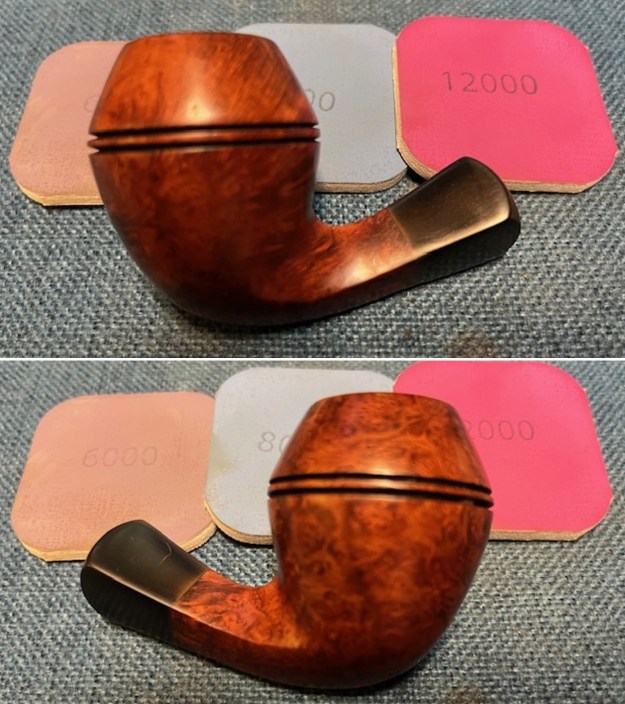
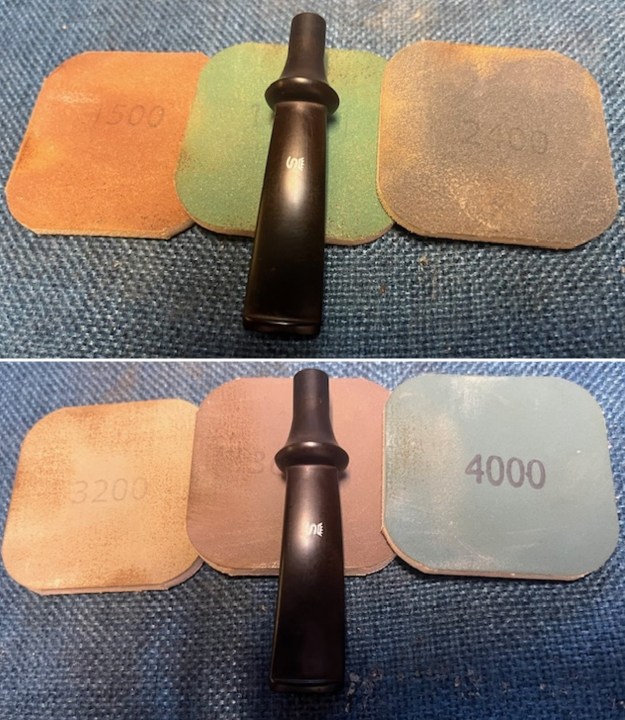
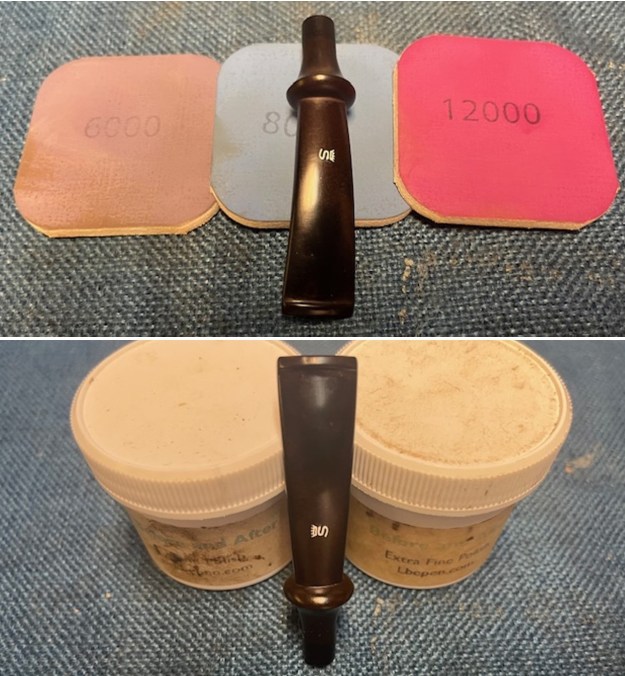
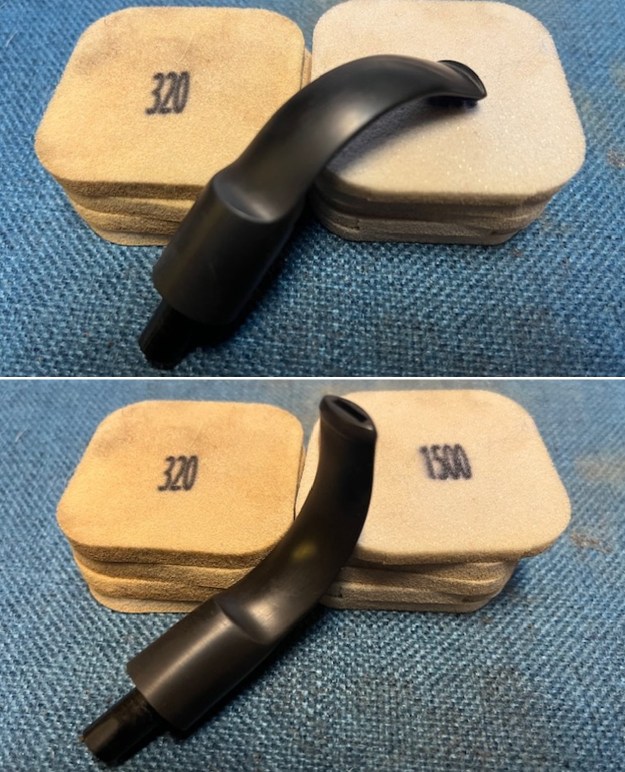 I polished the stem with micromesh sanding pads – wet sanding it with 1500-2400 grit pads and dry sanding it with 3200-12000 grit pads. I wiped the stem down with Obsidian Oil after each pad. I polished it with some Before & After Pipe Polish – both Fine and Extra to deepen the shine. I wiped it down with a final coat of Obsidian Oil and set it aside to dry.
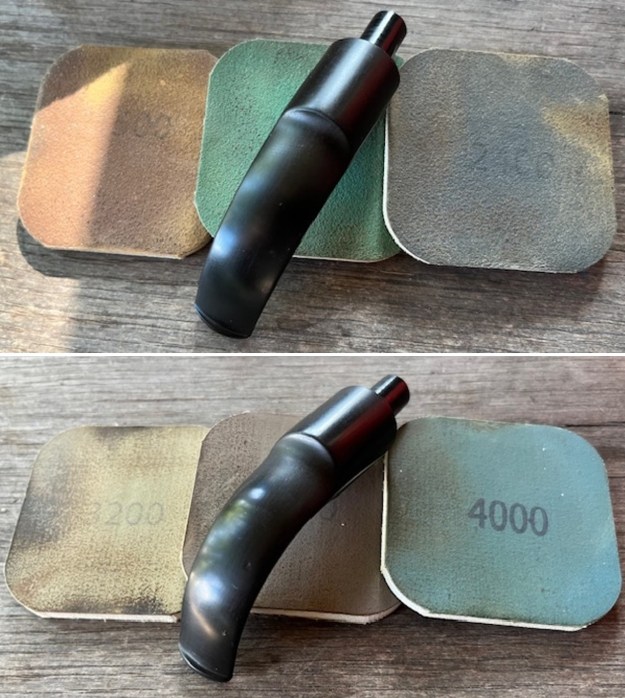
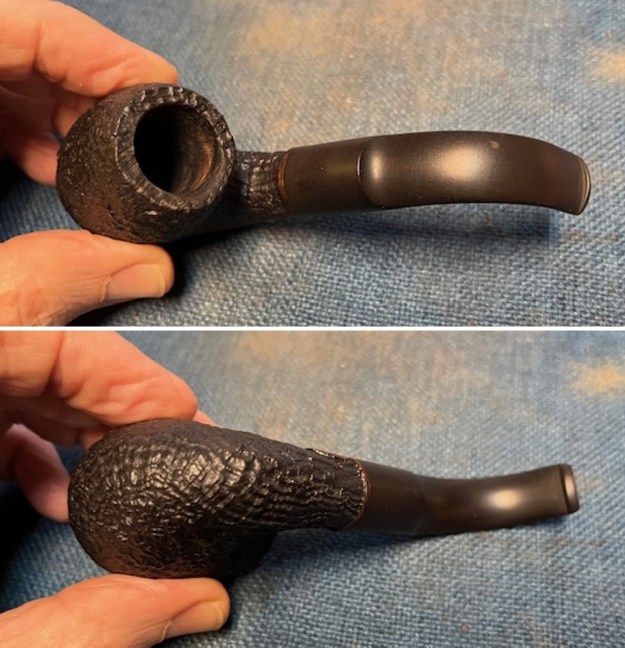
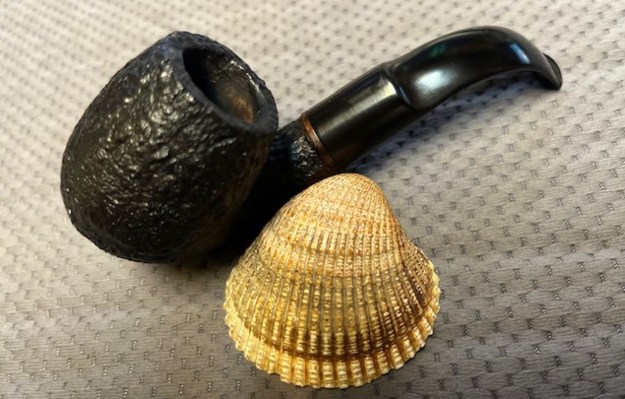
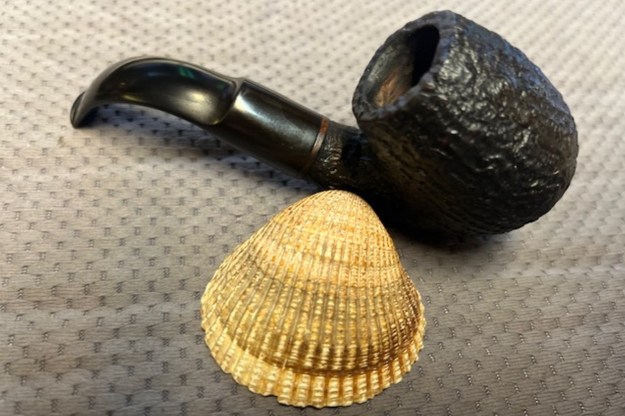
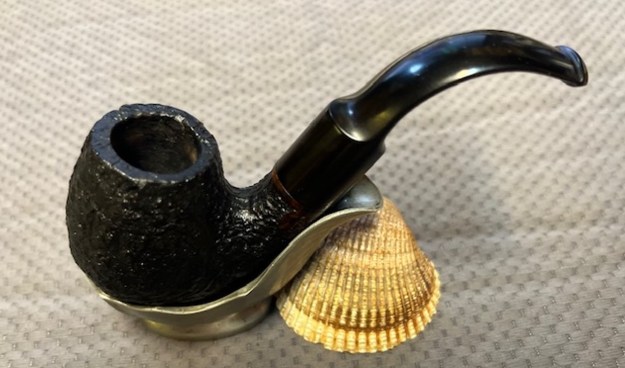
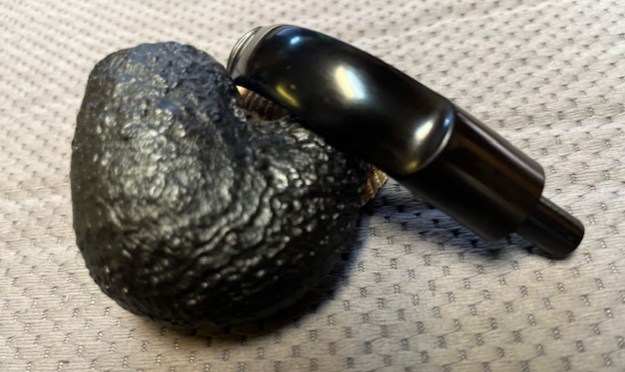
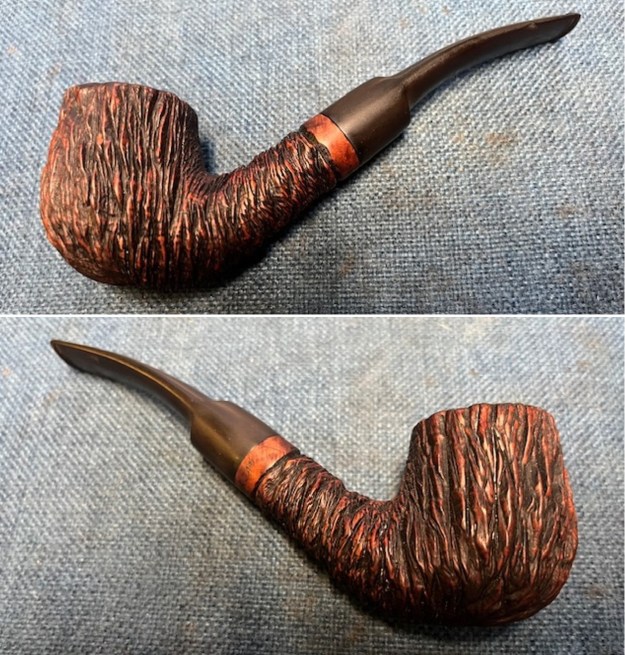
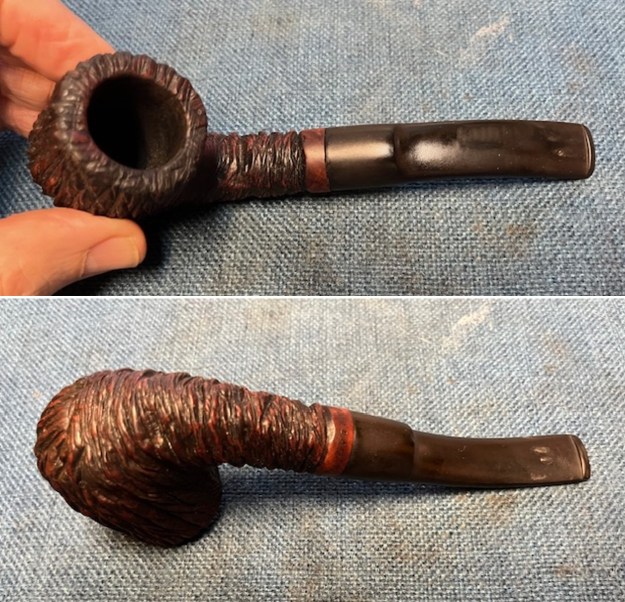
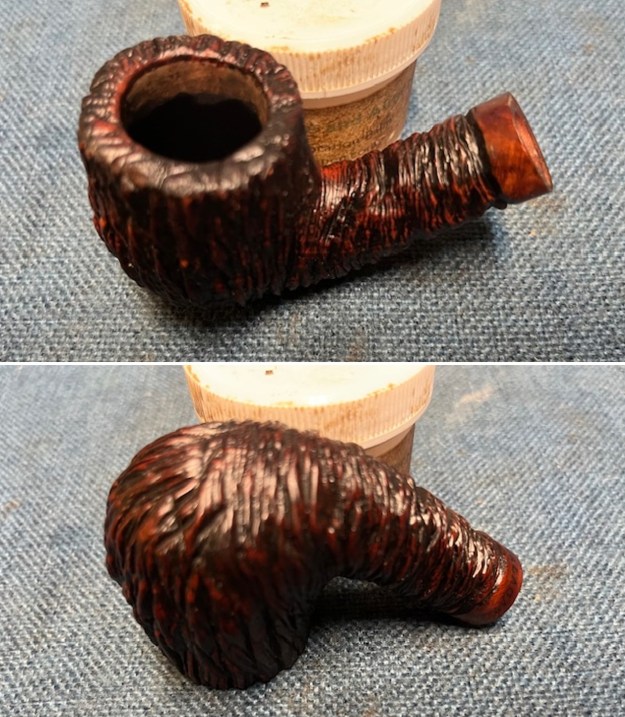
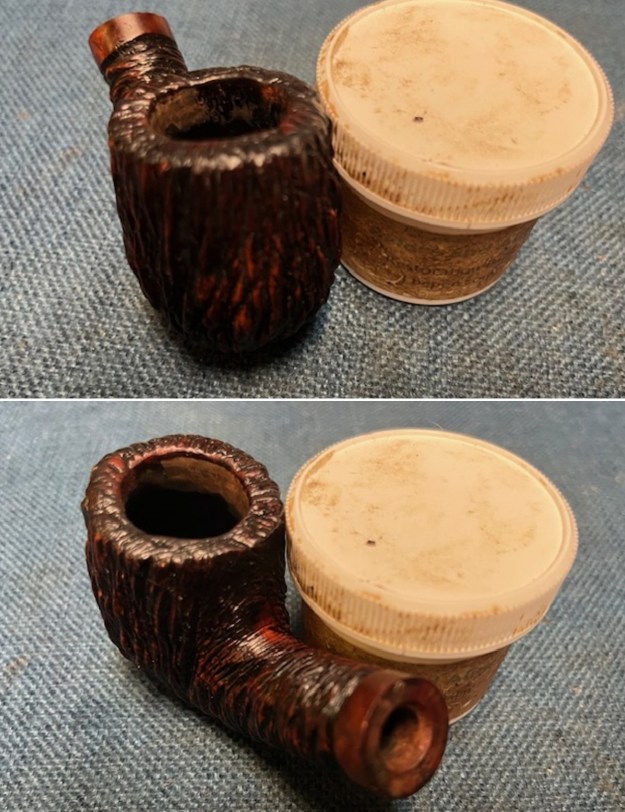
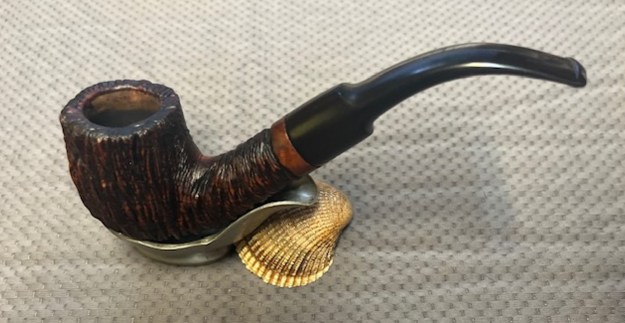
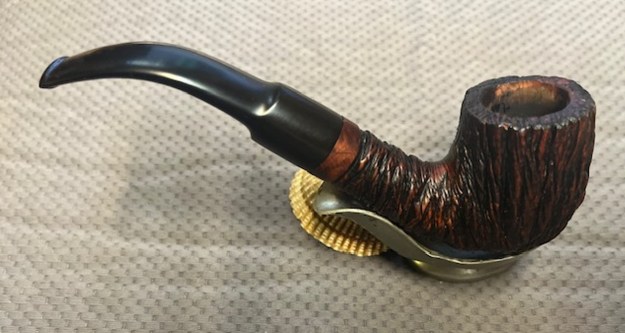
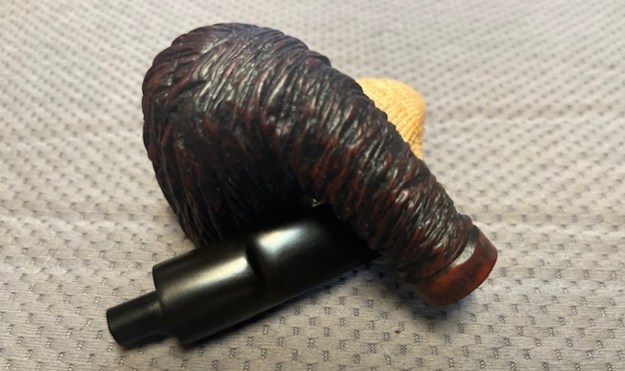
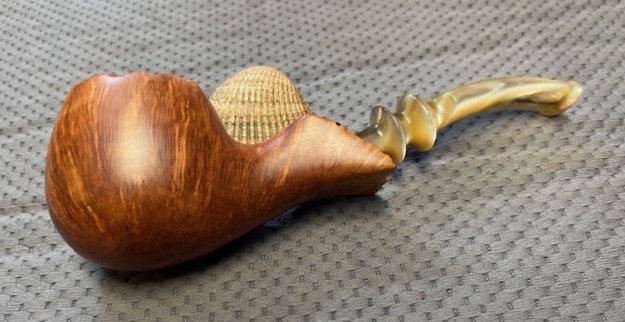
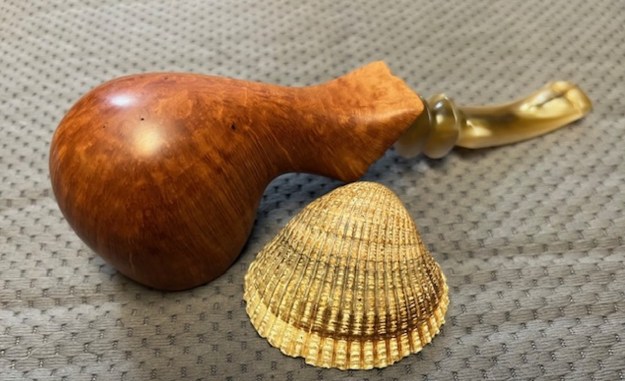
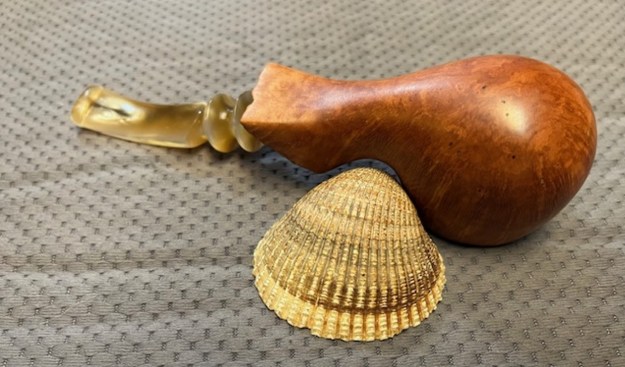
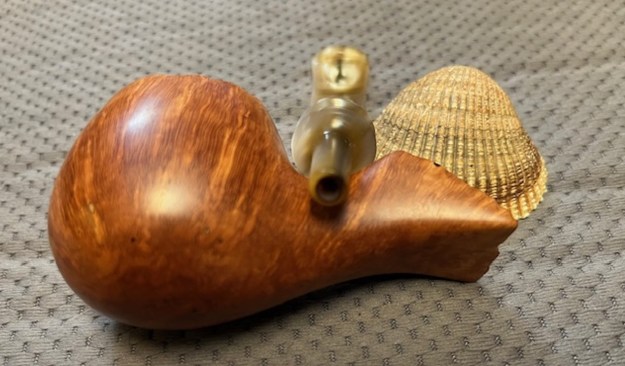
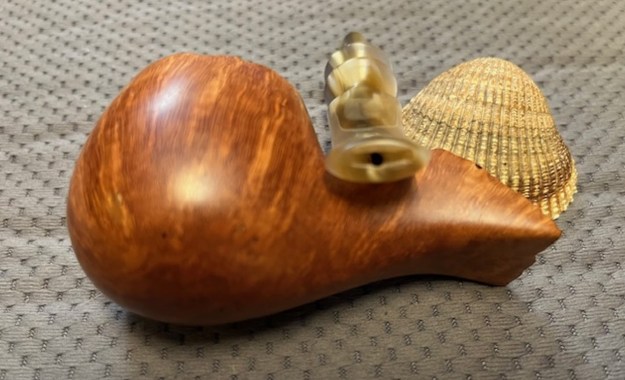
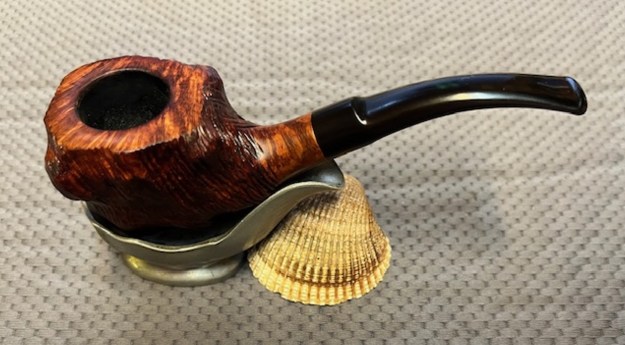
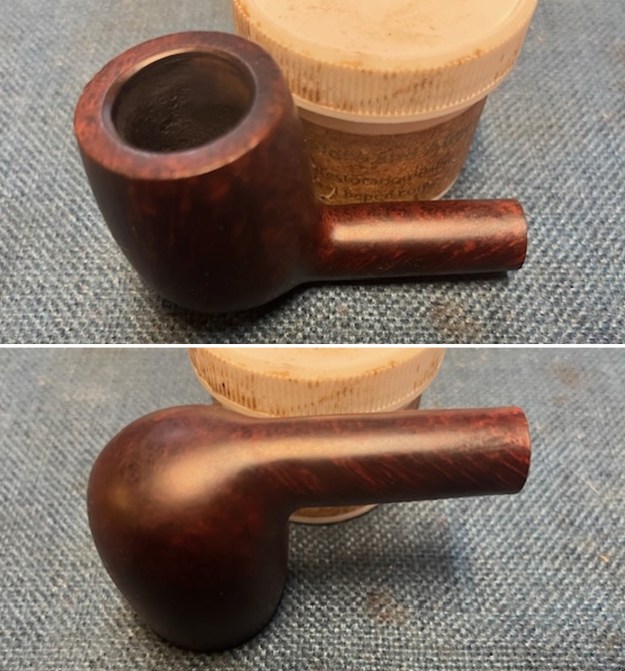
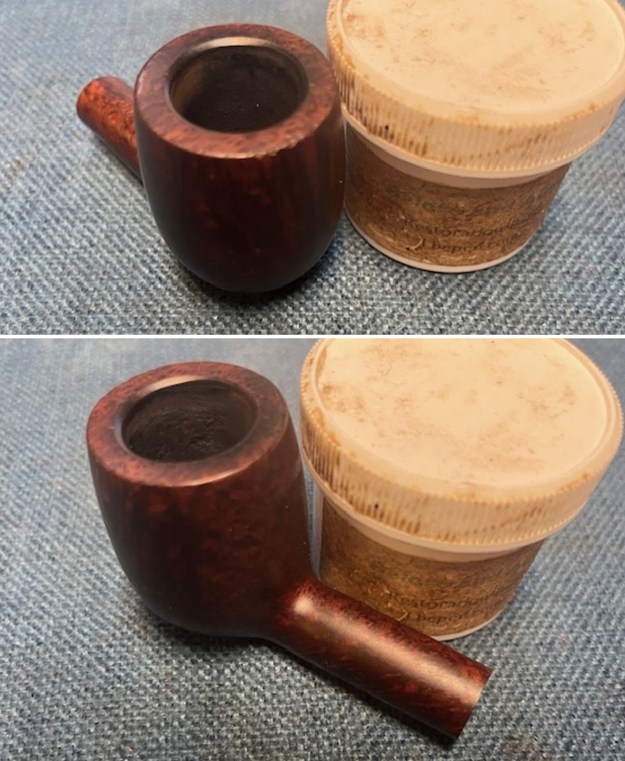
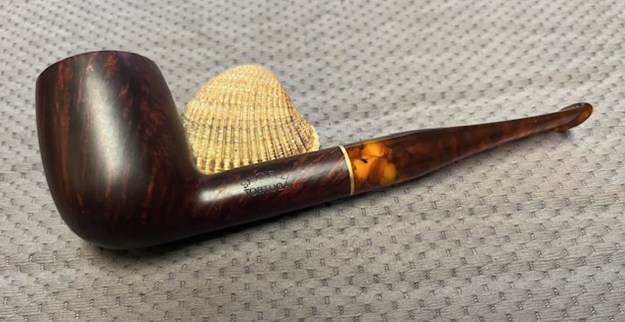
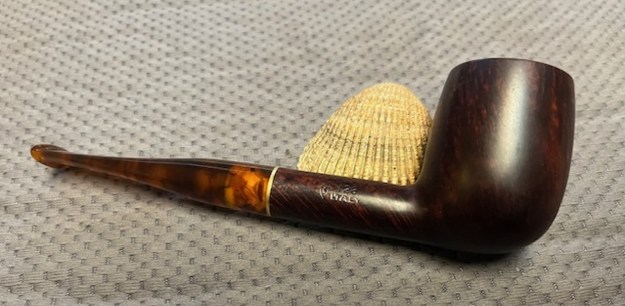
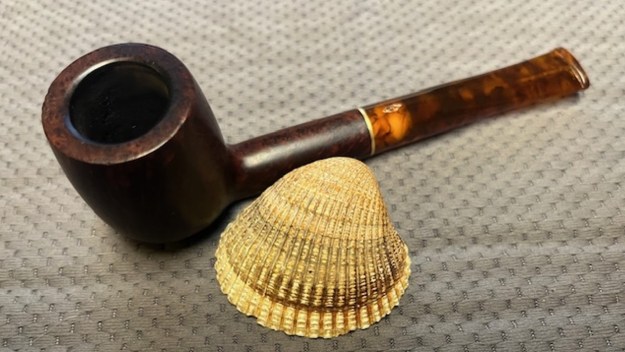
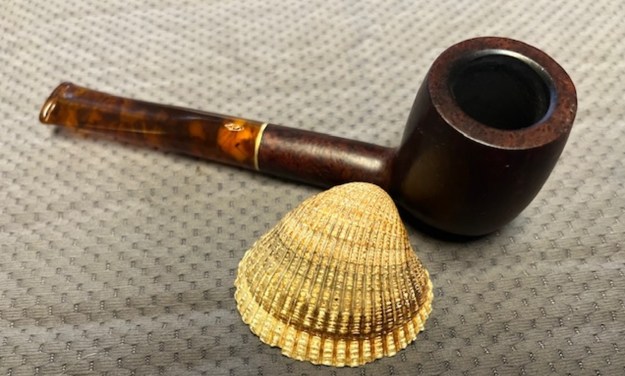
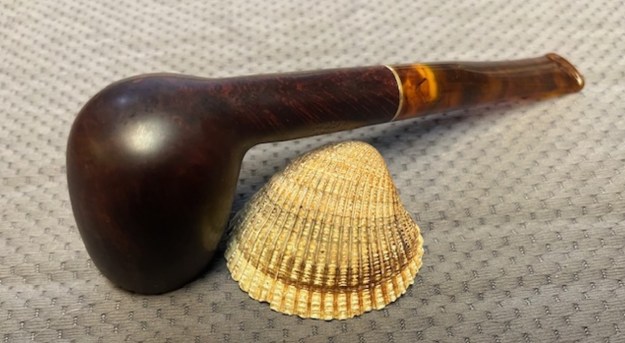
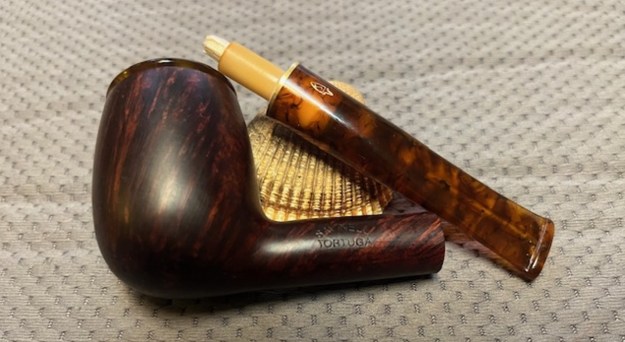
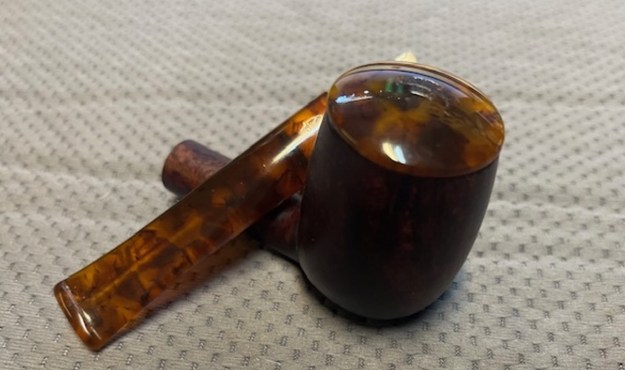
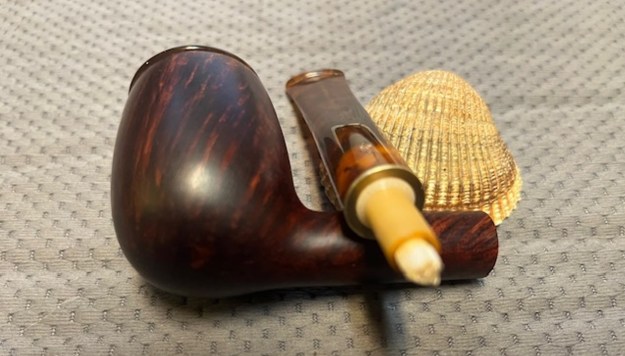
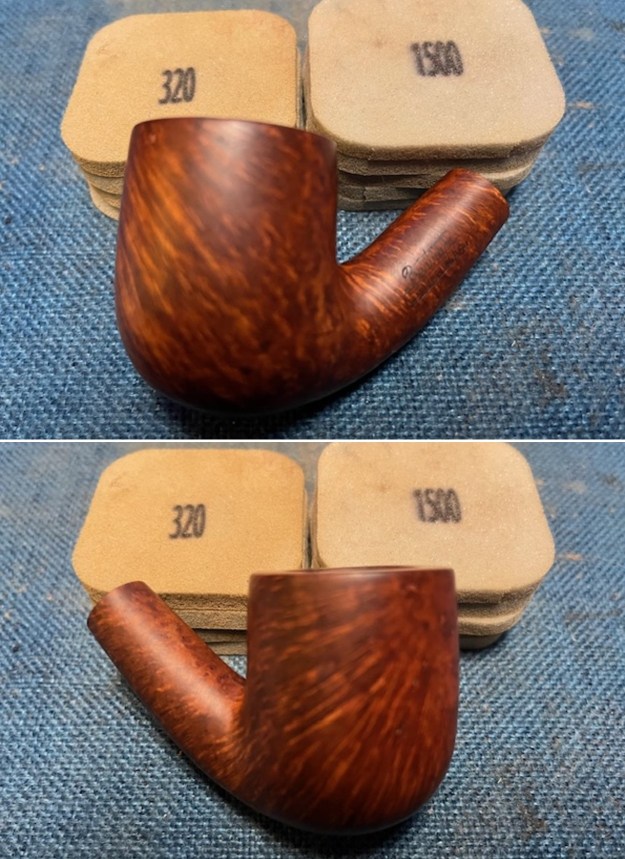
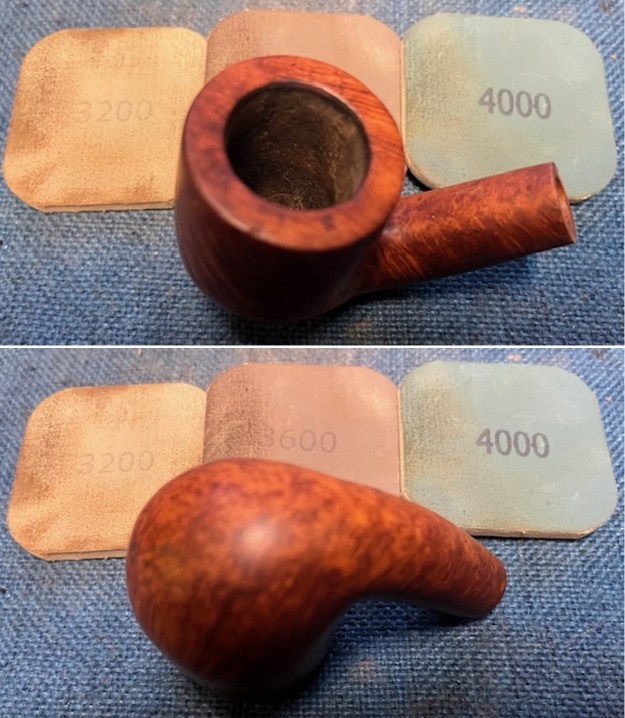
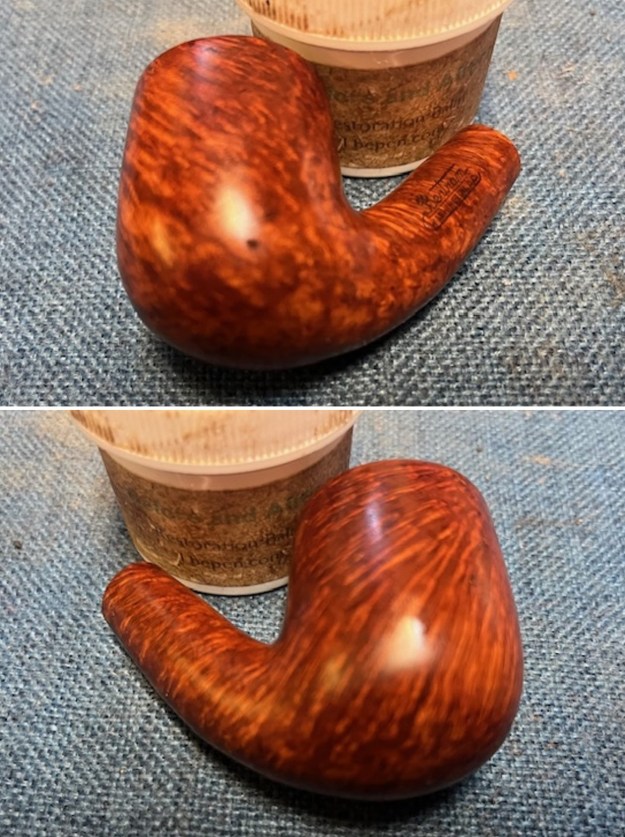
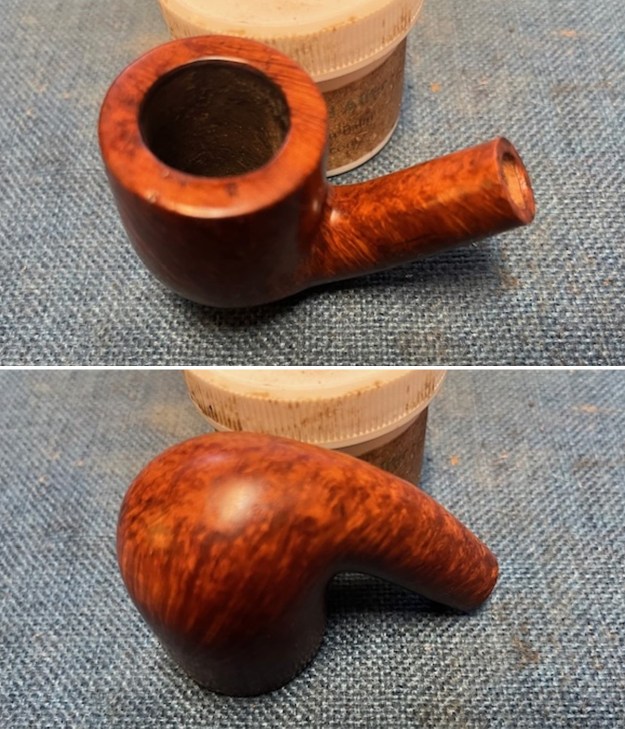
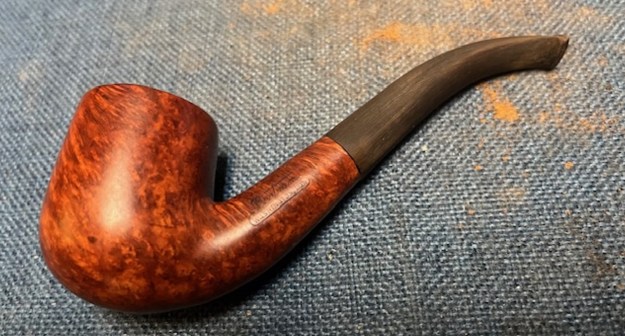
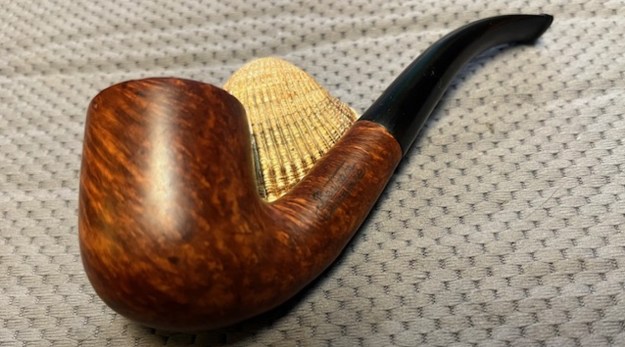
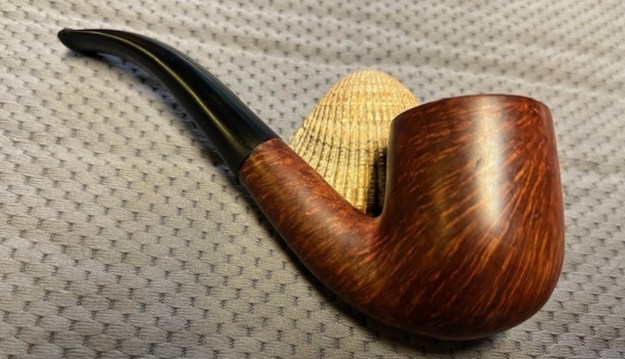
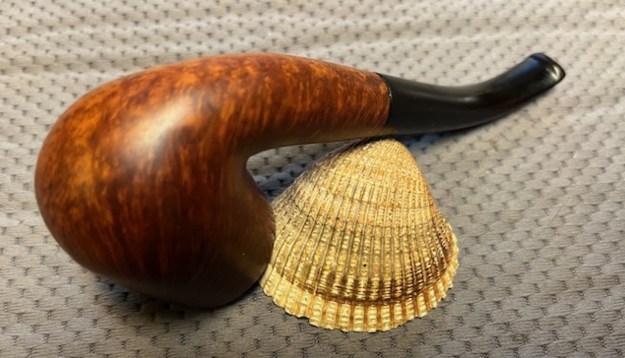
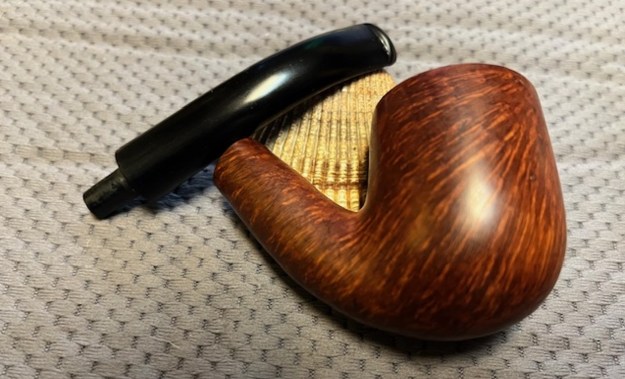
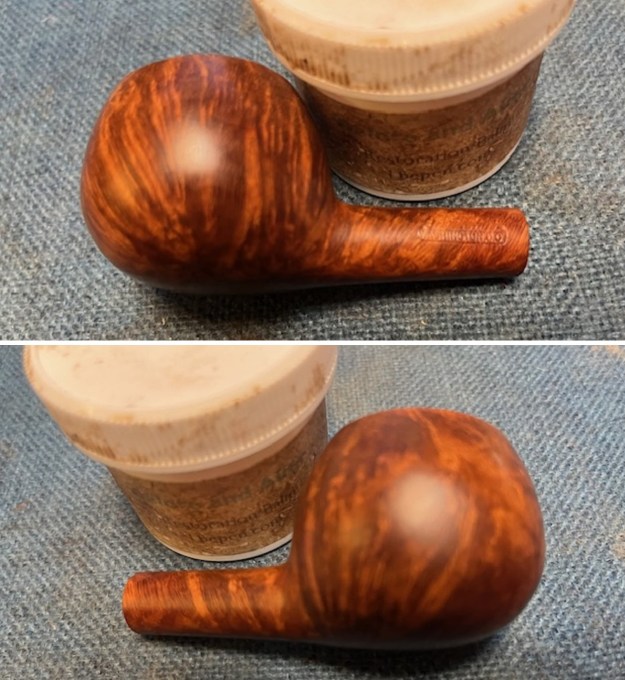
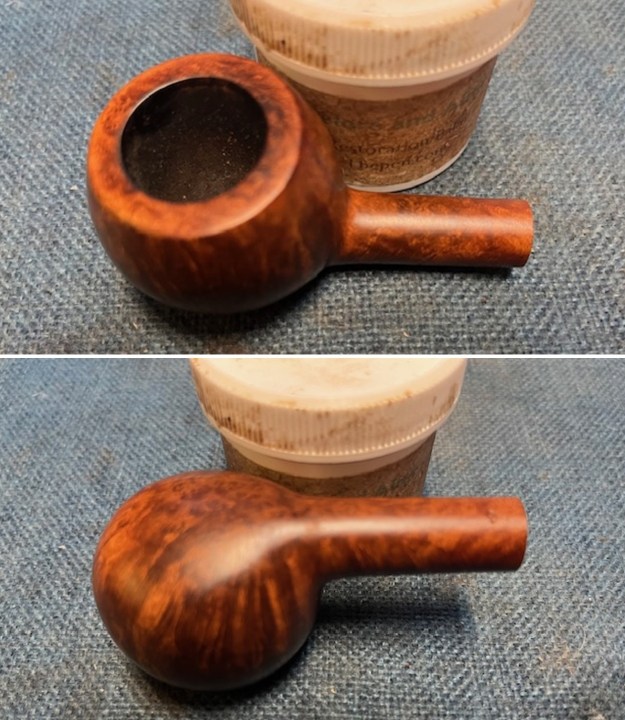
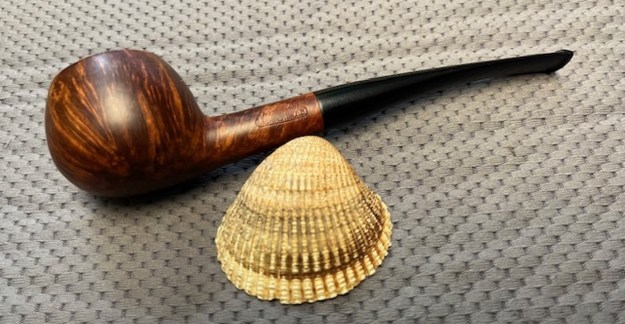
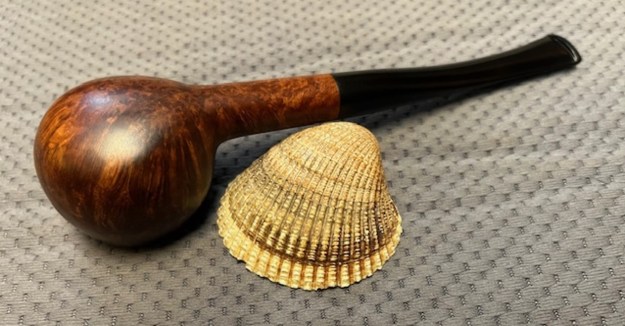
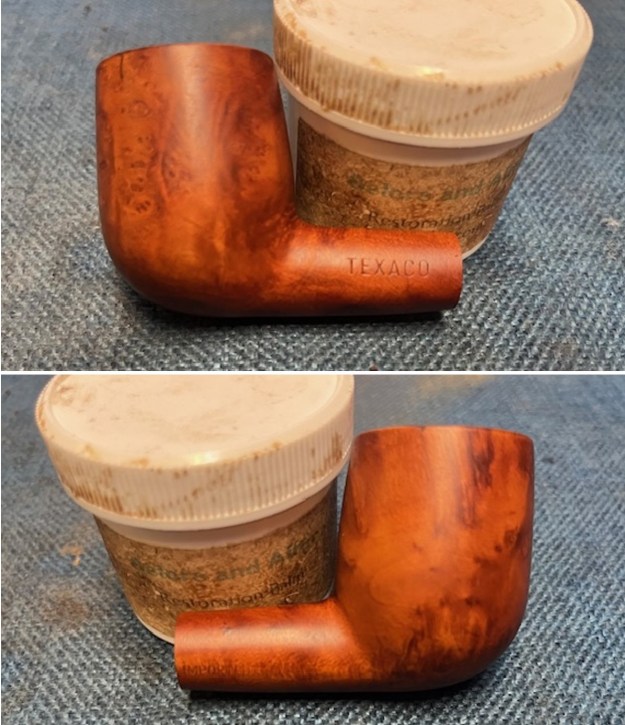
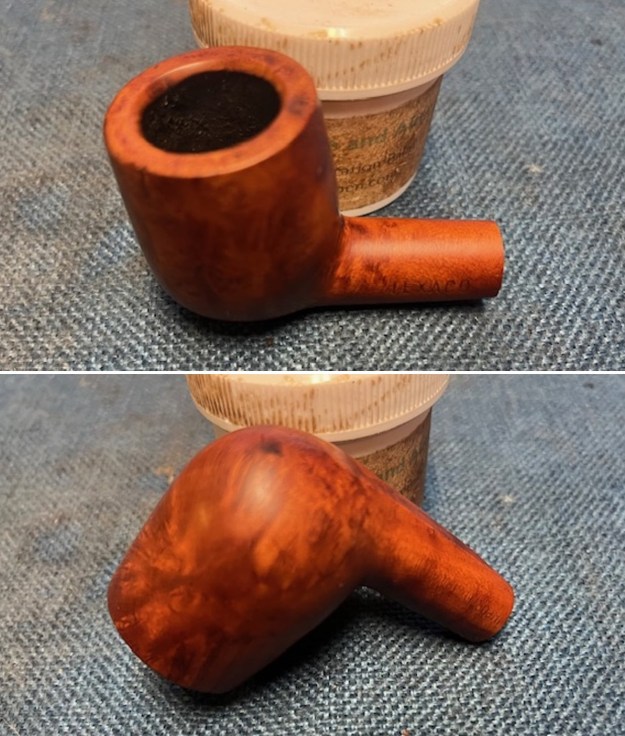
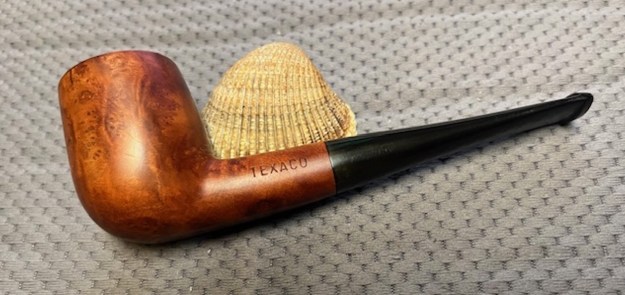
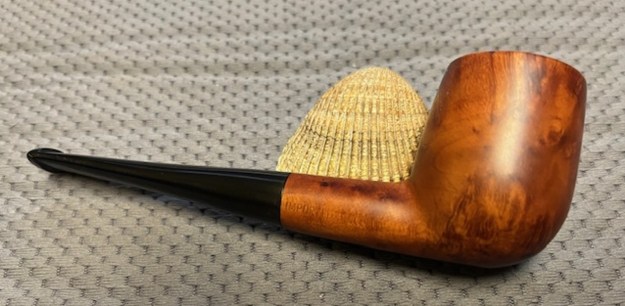
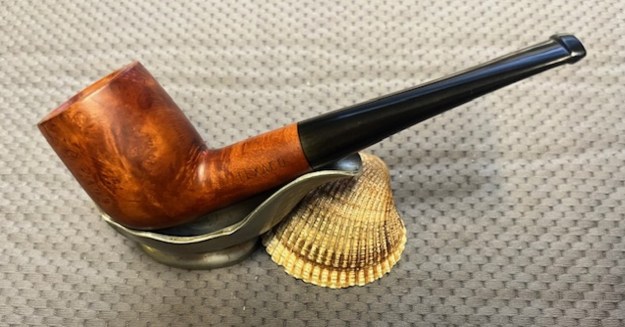
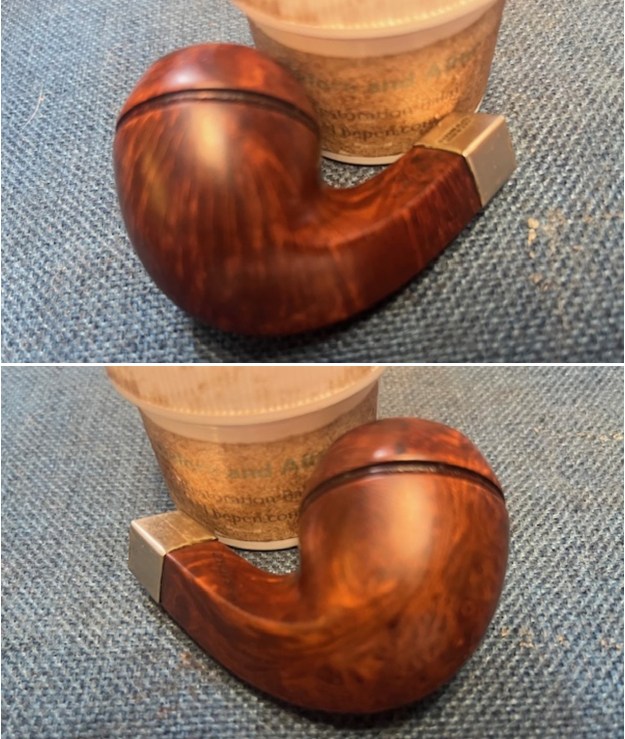
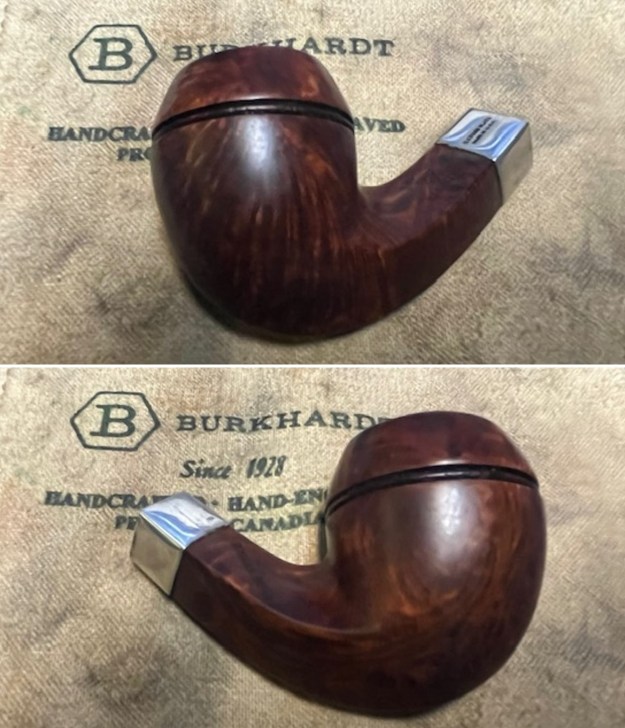
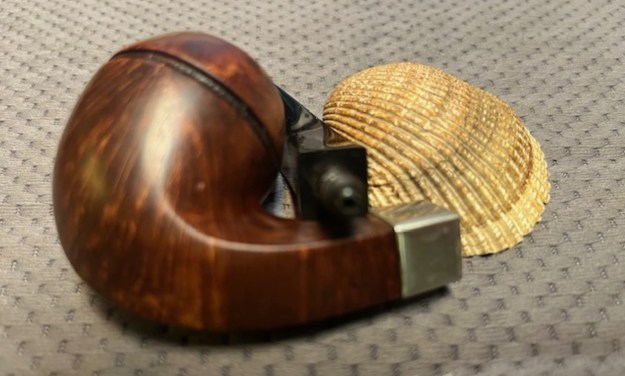
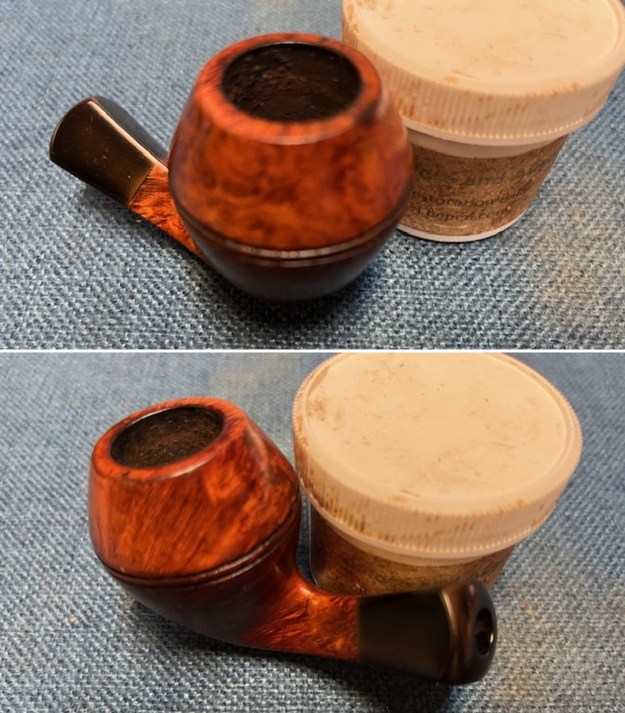
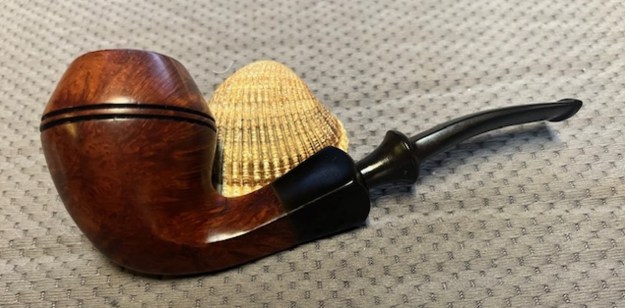
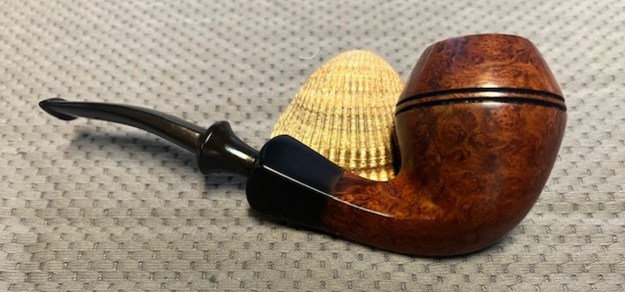
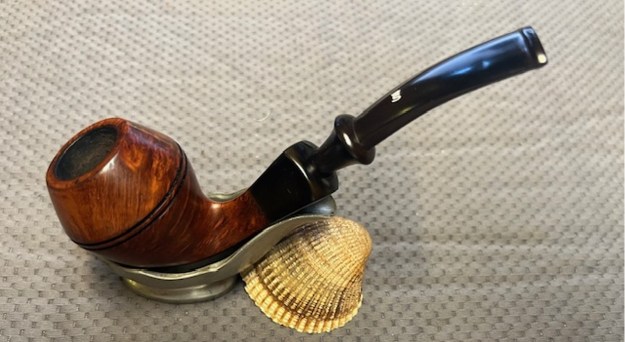
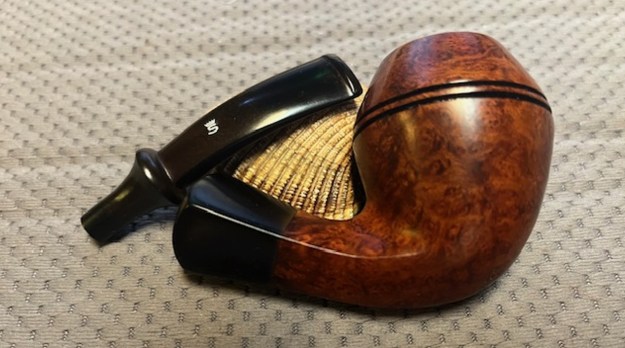
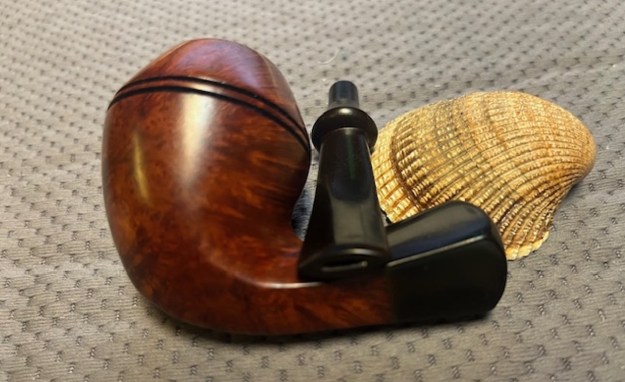
 This S&R Sandblast Oom Paul is a beauty. It is a stunning example of Steve & Roswitha’s craft – the sandblast finish and the dark stain is very well done. I polished the stem with Blue Diamond polish on the buffing wheel. I gave the bowl multiple coats of Conservator’s Wax and the stem multiple coats of carnauba wax. I buffed the pipe with a clean buffing pad to raise the shine. I hand buffed it with a microfiber cloth to deepen the shine. The pipe polished up pretty nicely. The contrasting finishes came alive with the buffing. The rich, contrasting dark stain work well with the polished black vulcanite stem. The finished pipe is a beauty and feels great in the hand. Have a look at it with the photos below. The dimensions are Length: 5 inches, Height: 2 inches, Outside diameter of the bowl: 1 inch, Chamber diameter: ¾ of an inch. The weight of the pipe is 47 grams/1.66 ounces. I will be putting this beautiful S&R Oom Paul on the rebornpipes online store soon. It may well the kind of unique pipe you have been looking for so have a look. Thanks for walking through the restoration of this pipe with me. It was a fun one to work on.
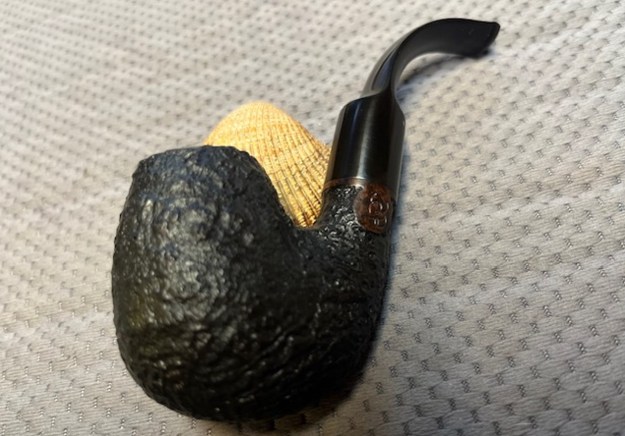


