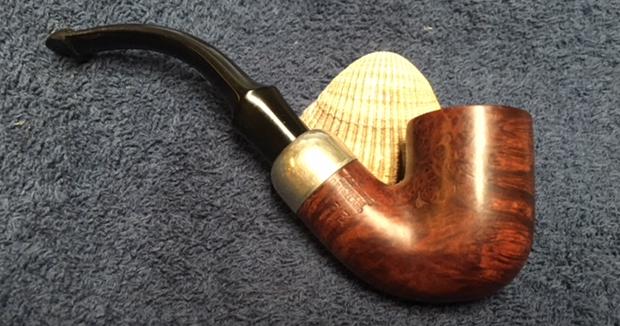
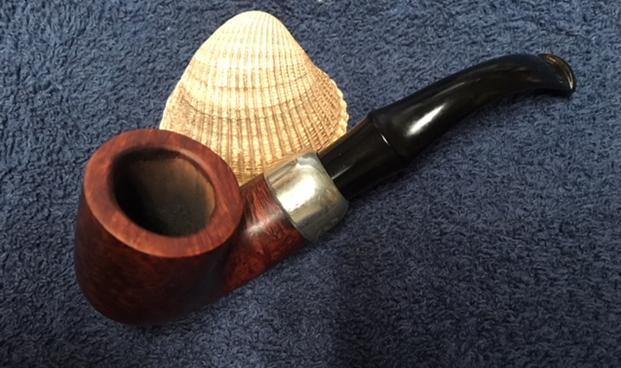
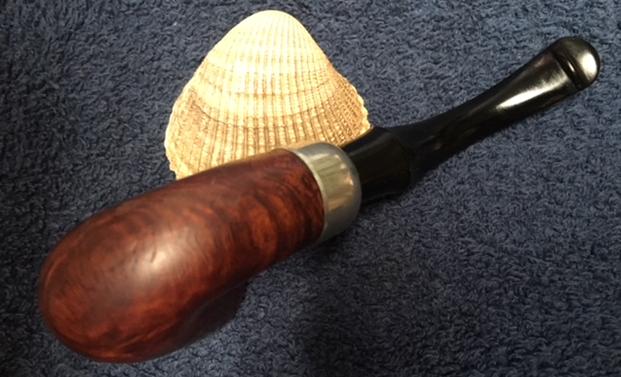
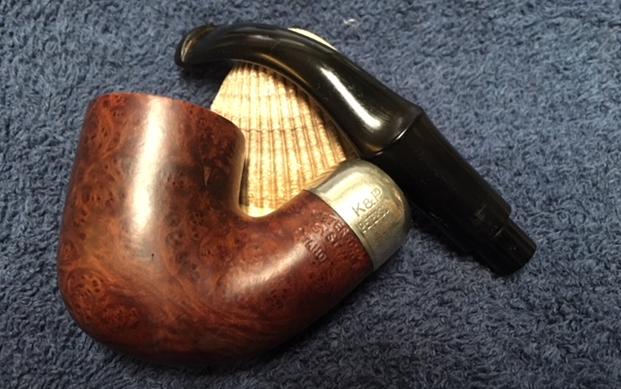
Tag Archives: repairing tooth marks

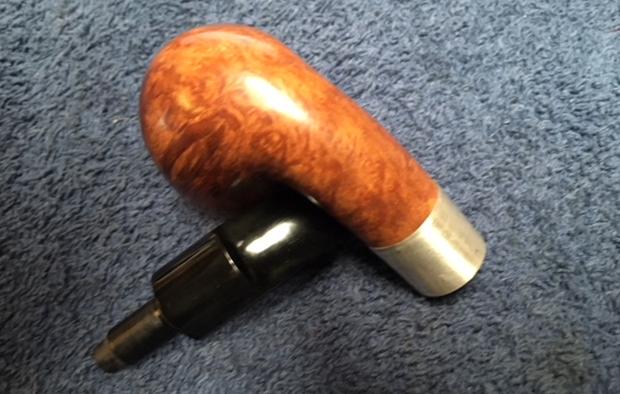
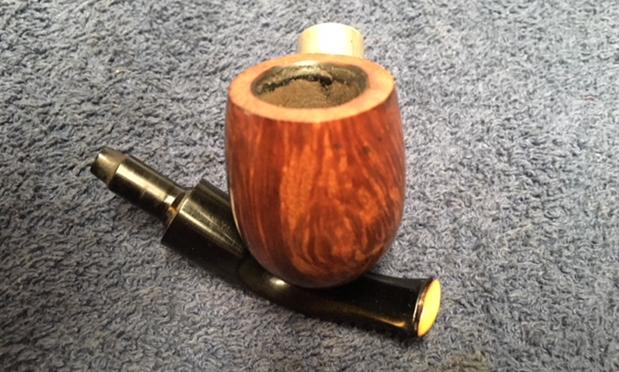
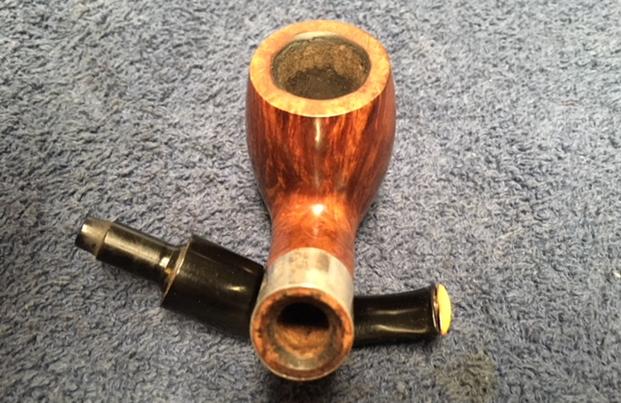
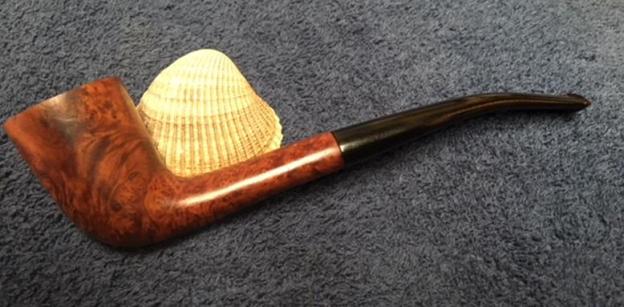
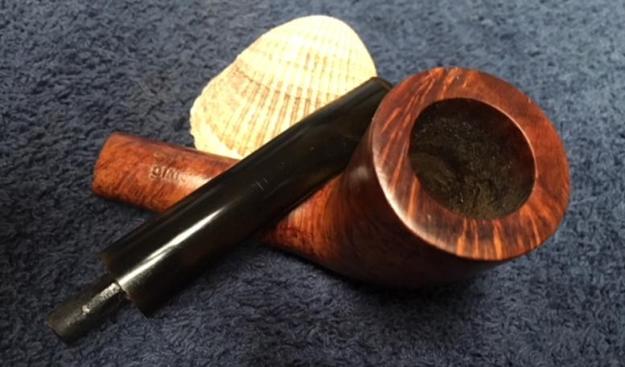
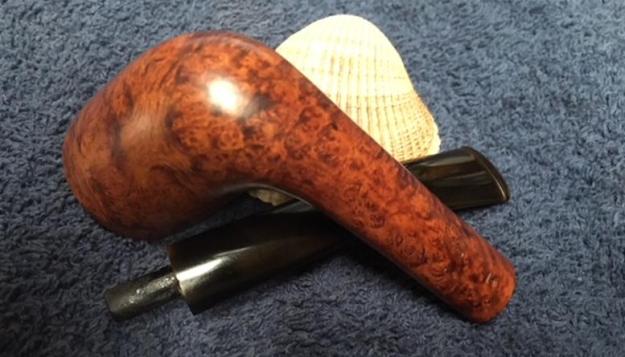
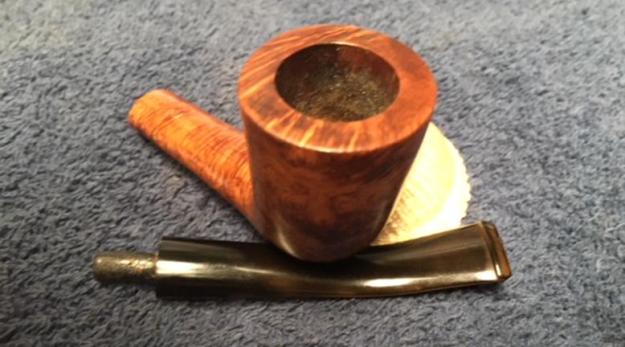
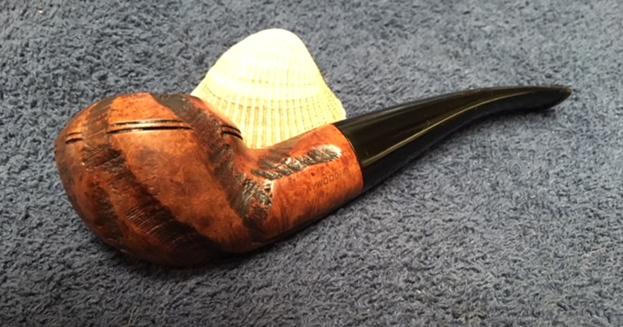
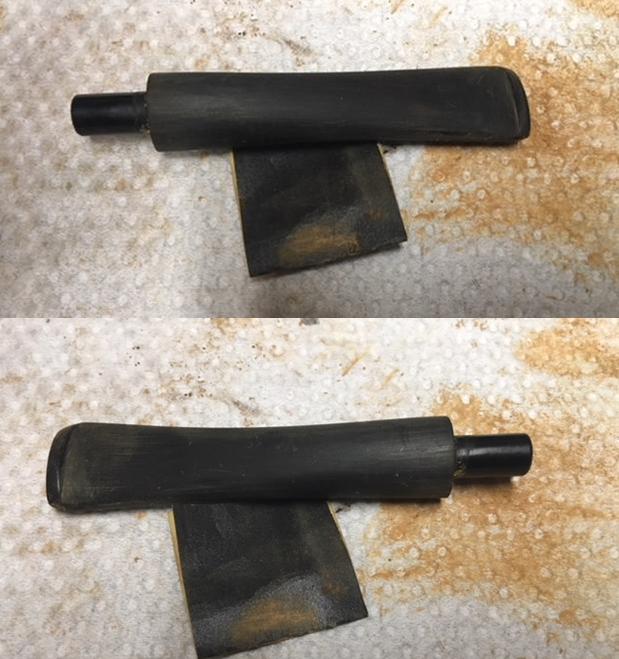
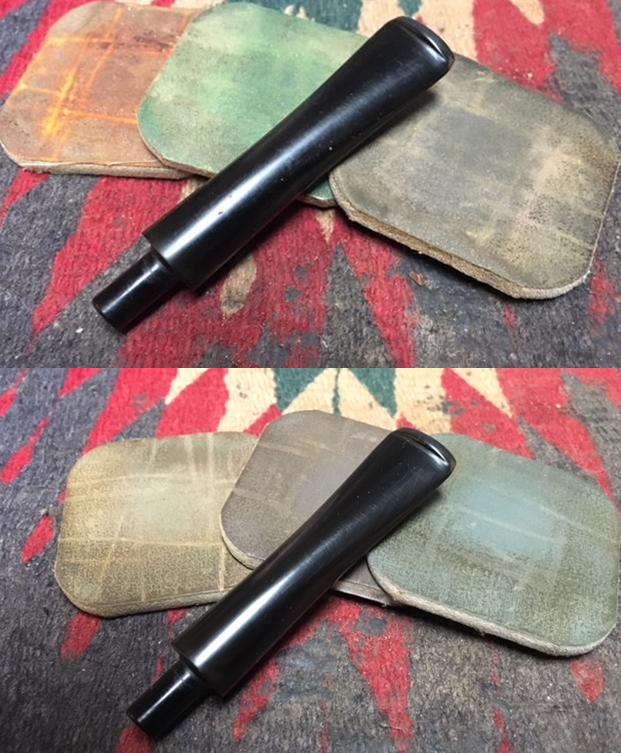
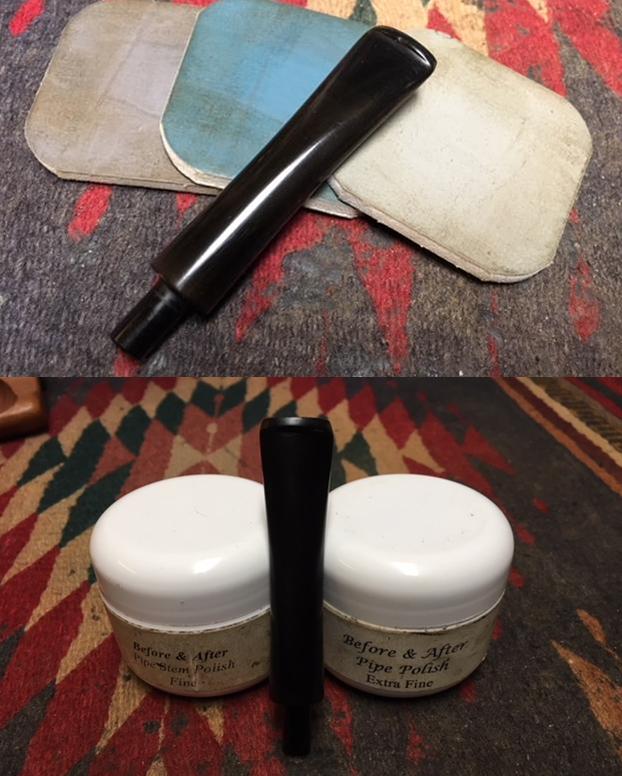
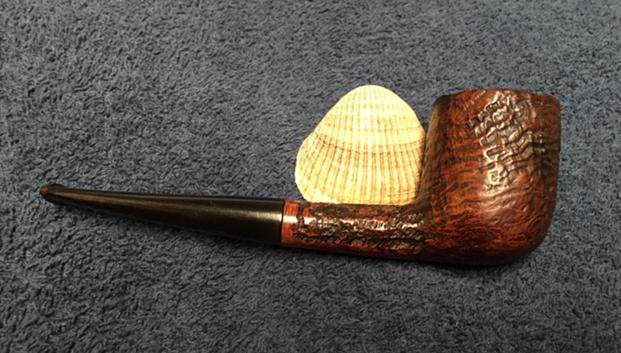
Restoring a Bewlay Sandblast 156 Billiard


Blog by Steve Laug

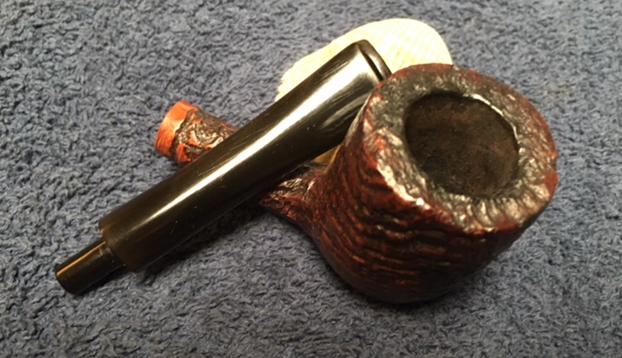
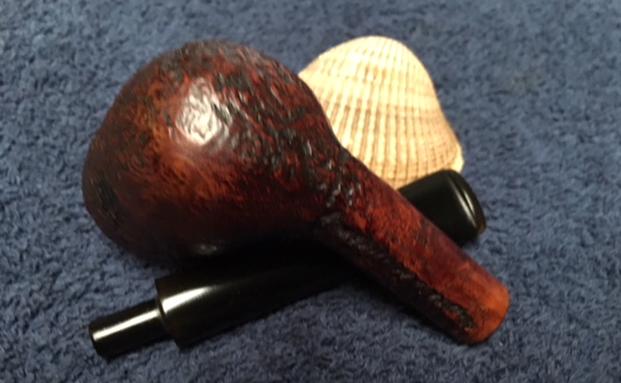
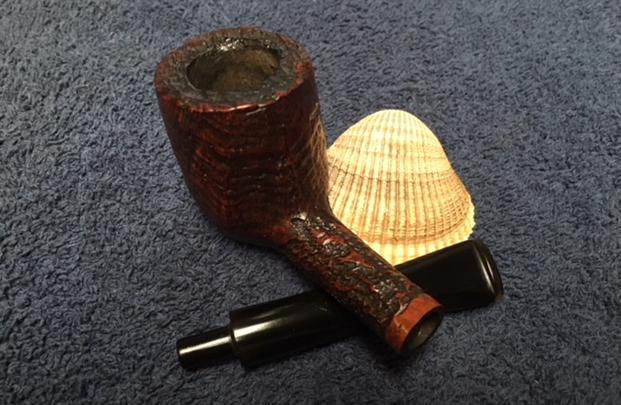
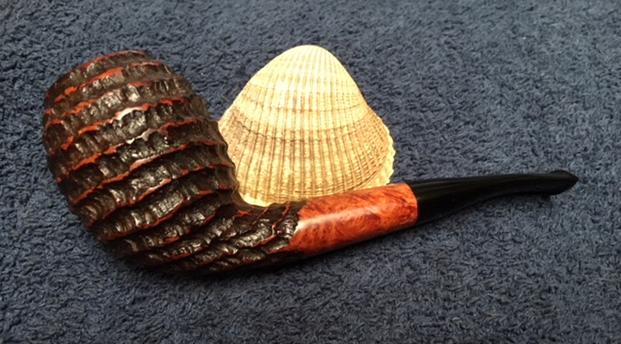
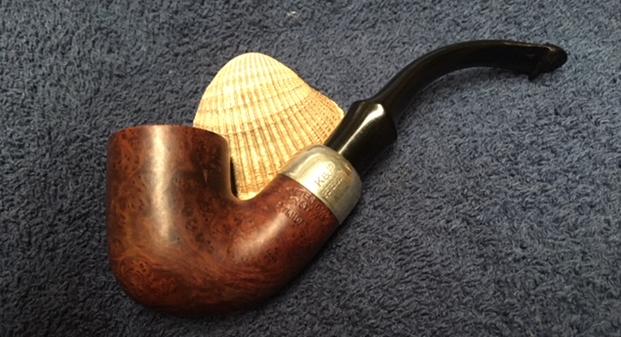
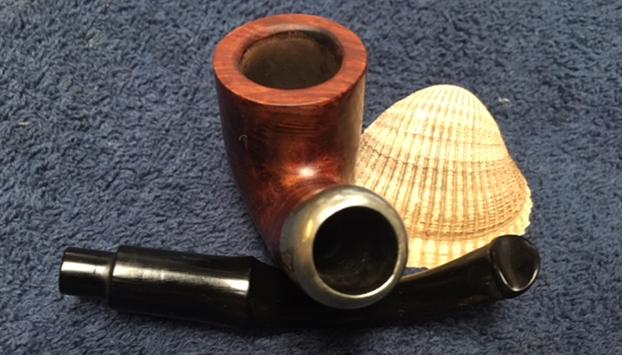
Sometimes a voice from the past is a good thing for both parties. Many years ago now, here in Vancouver I met Eric at the Vancouver Pipe Club. We talked at pipe club meetings and had a common calling as ministers in within different Christian Churches. Over time Eric moved to Eastern Canada and I moved on to work for an NGO here in Vancouver. Not too long ago I received an email from Eric about some pipes that he had that he wanted me to work on for him. We made arrangements and soon a box with three of his pipes was traveling to me from Ontario. It arrived quite quickly and I opened it when it arrived. Eric had thoughtfully included a tin of Samuel Gawith’s Commonwealth Mixture Full Strength for me to smoke and I was looking forward to cracking it open. Included in the box were three pipes – a Danbark Hand Carved from Denmark that was quite stunning, a Bewlay Sandblast Billiard and a Le Nuvole Long Shank Dublin. Each had different challenges to address but each was a beautiful example of the pipe maker’s craft. The final pipe was the Bewlay Sandblast London Made Billiard.

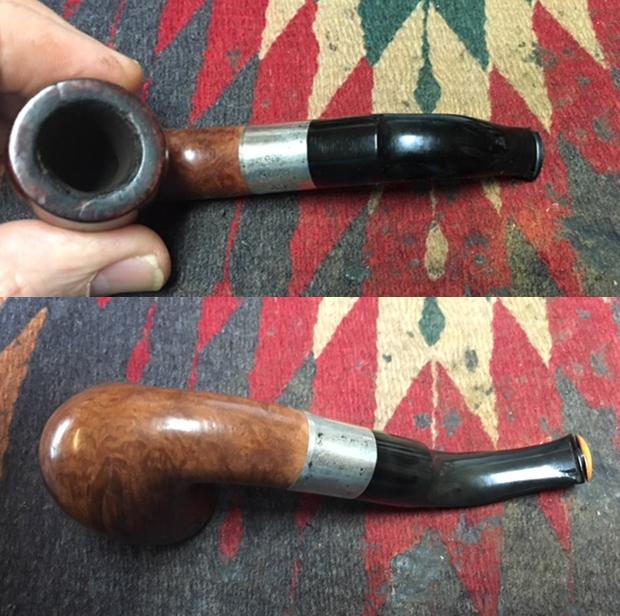
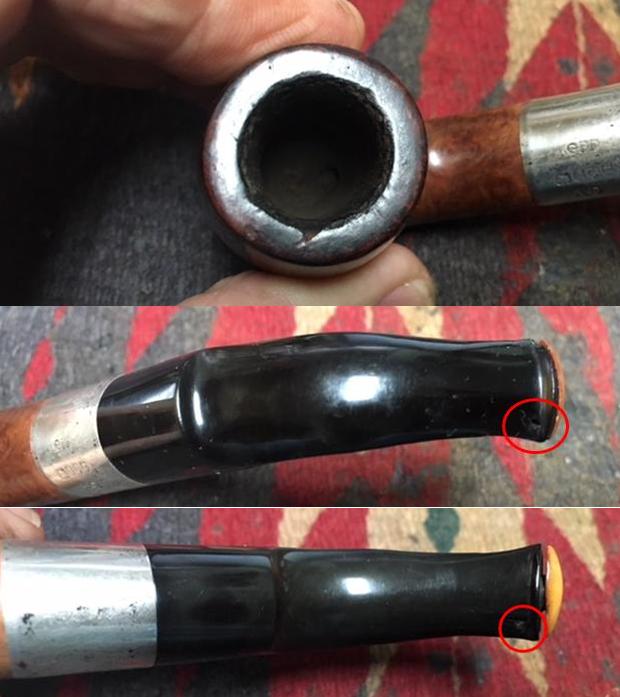
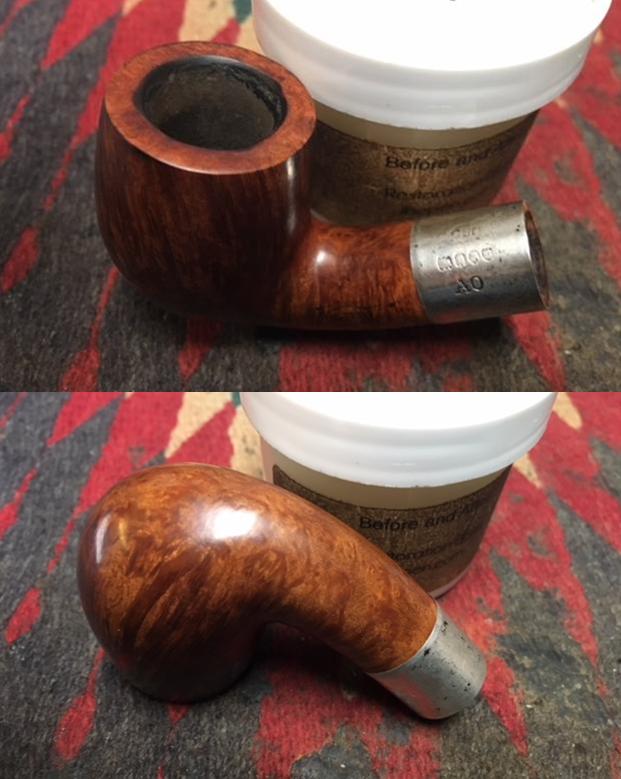
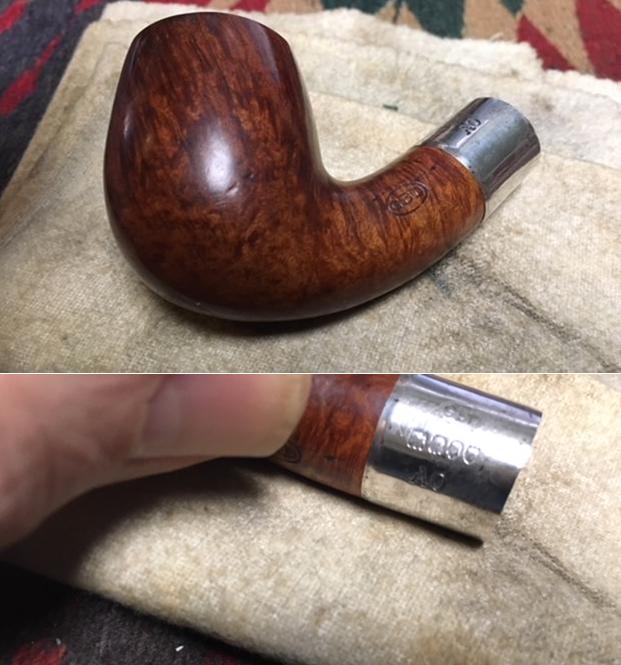
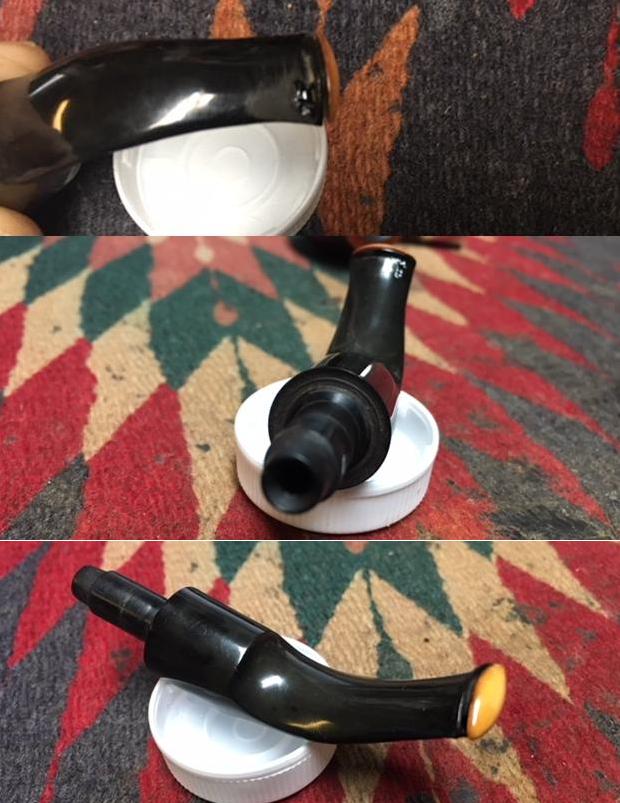
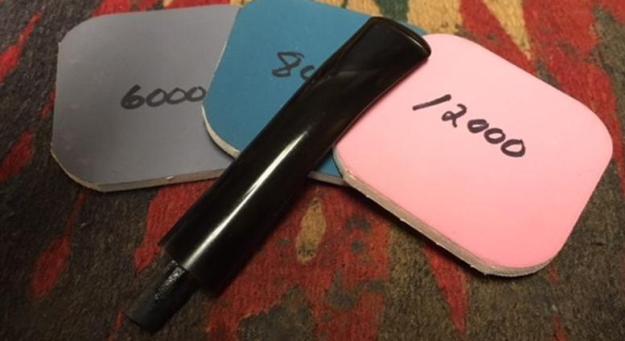
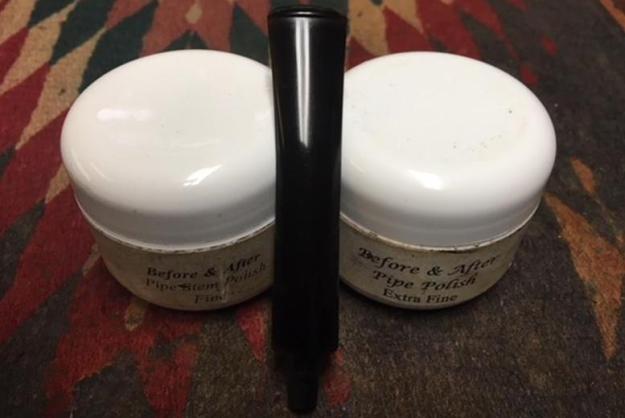
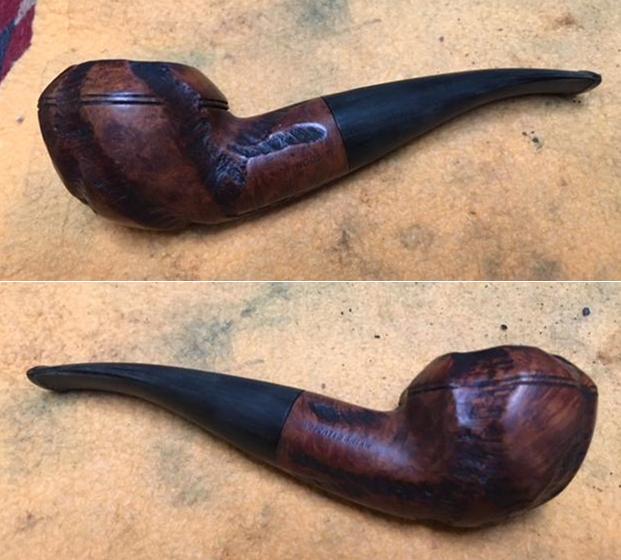
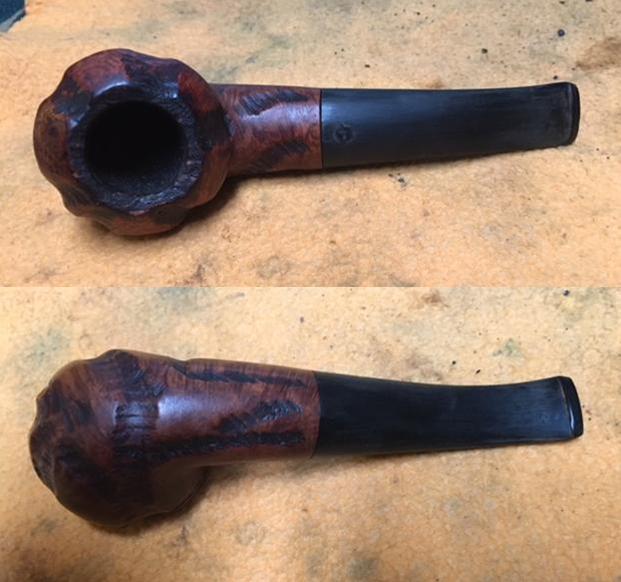
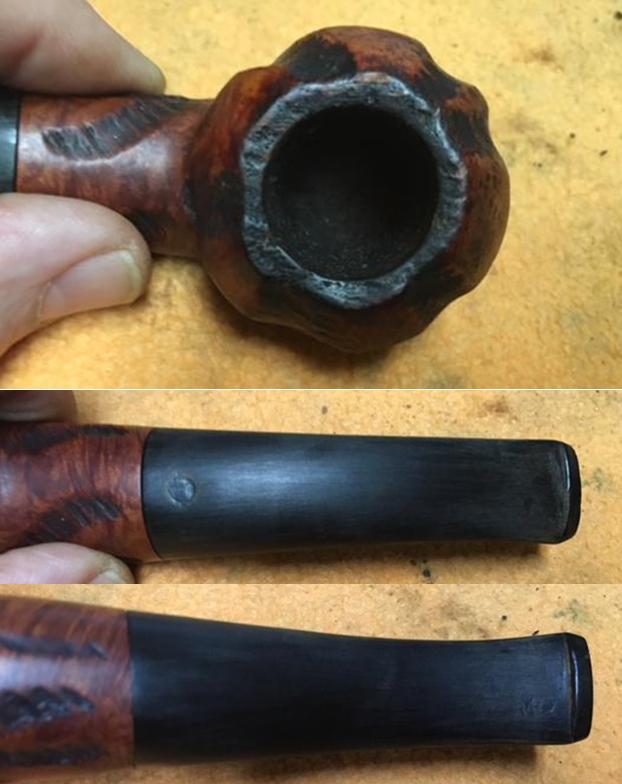
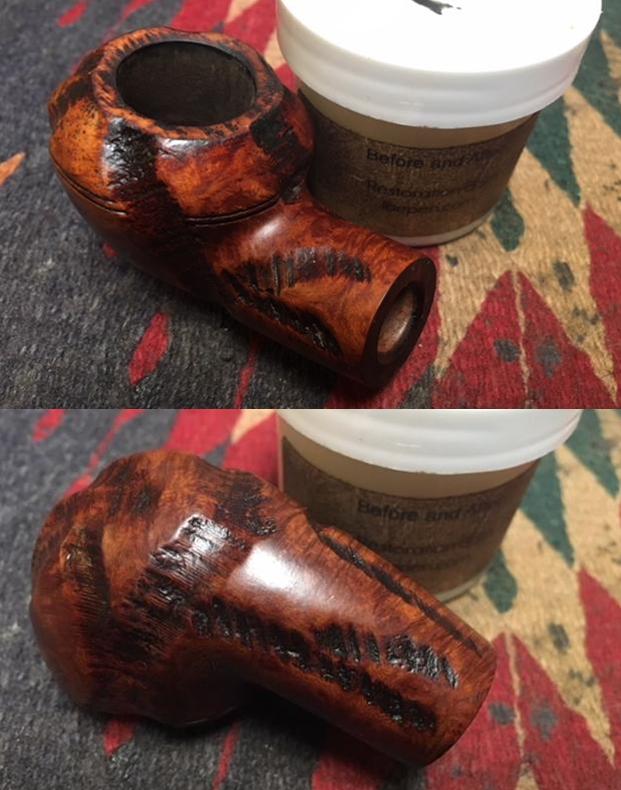
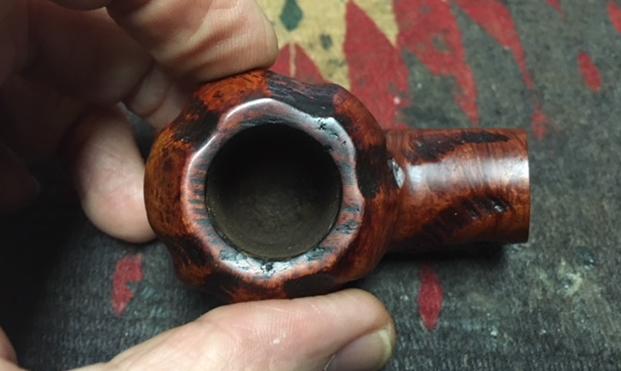
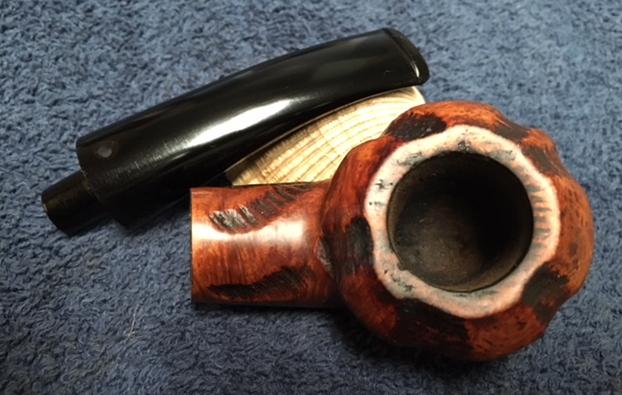
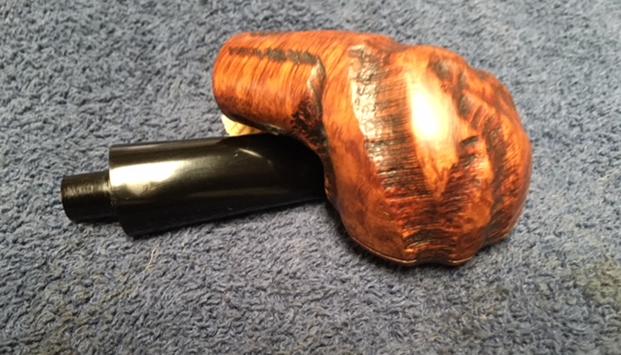
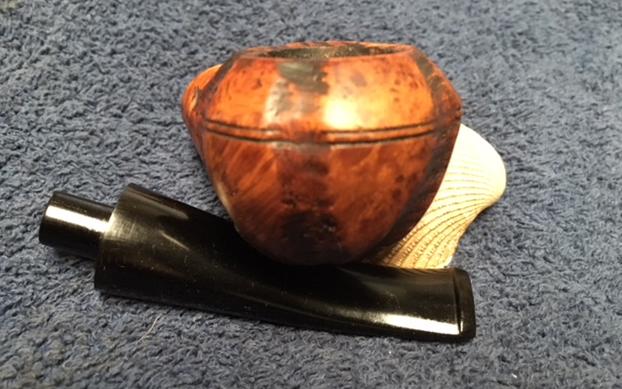
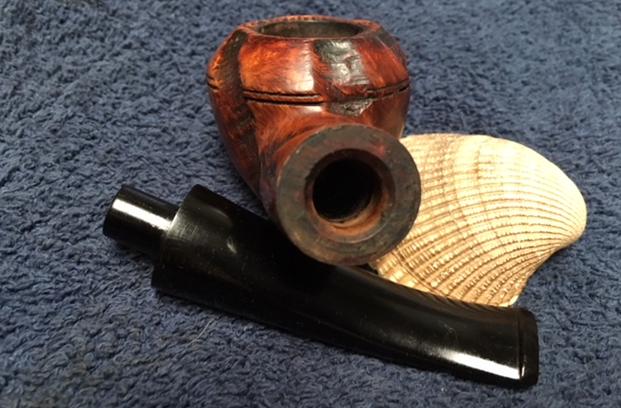
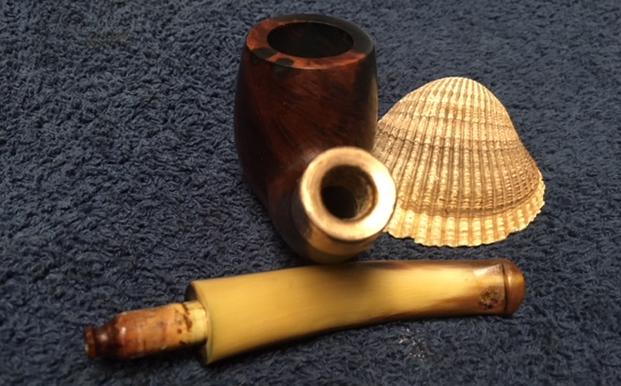
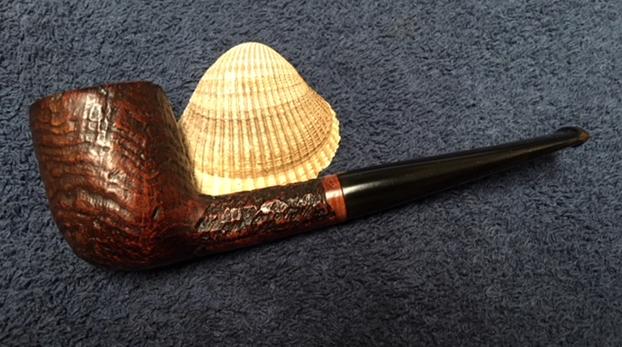
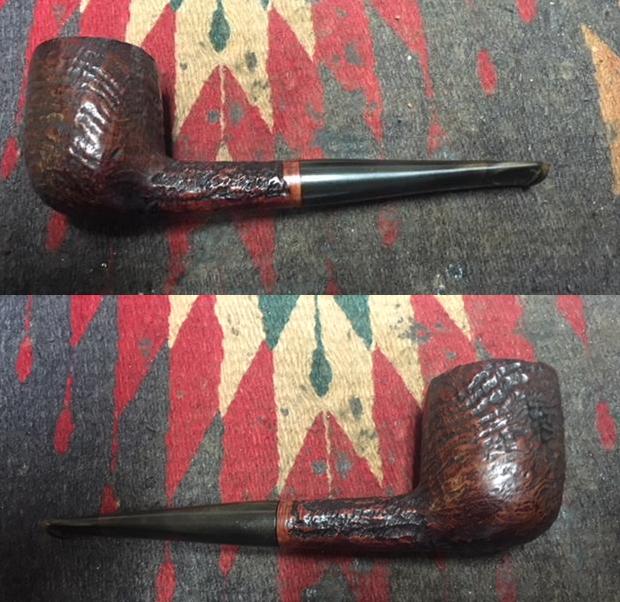
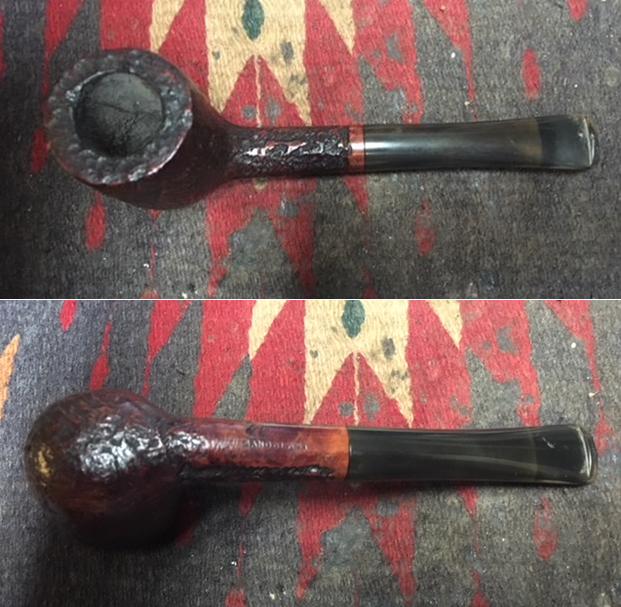
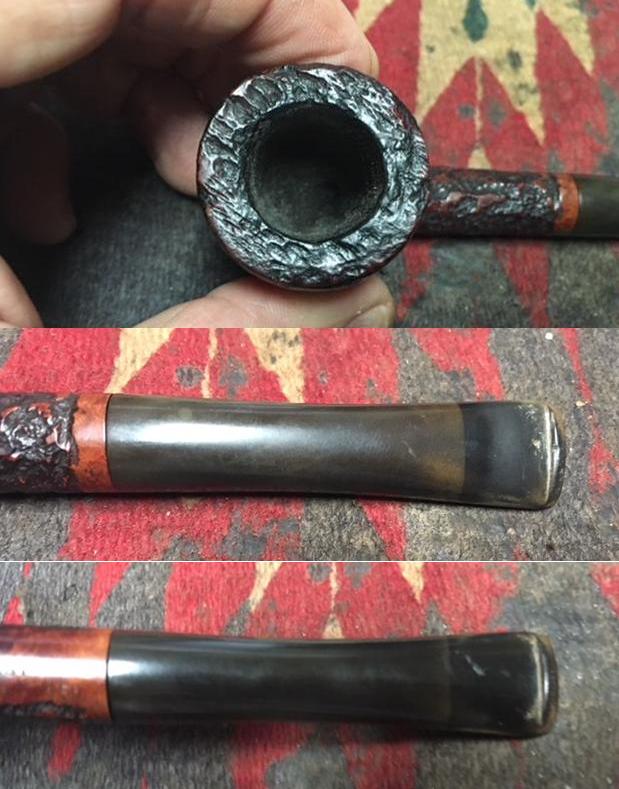
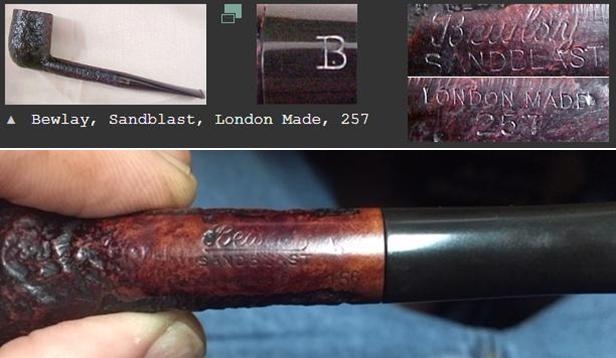
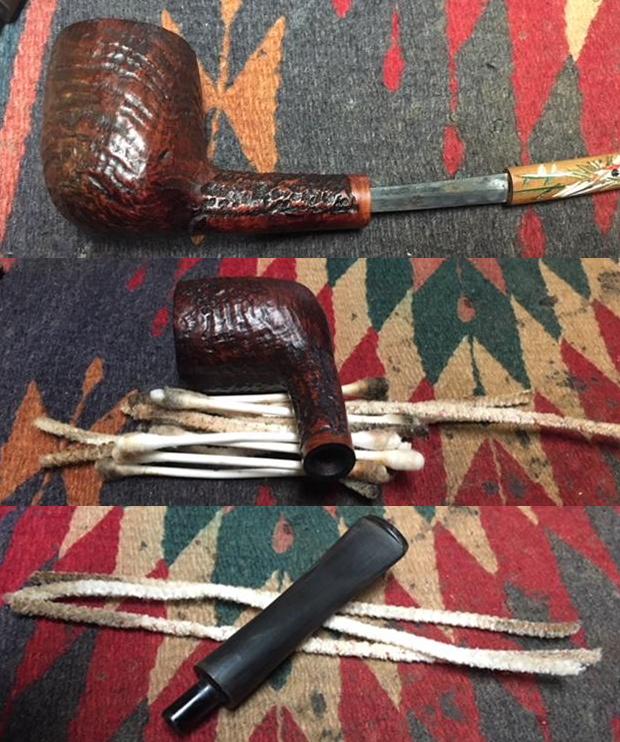
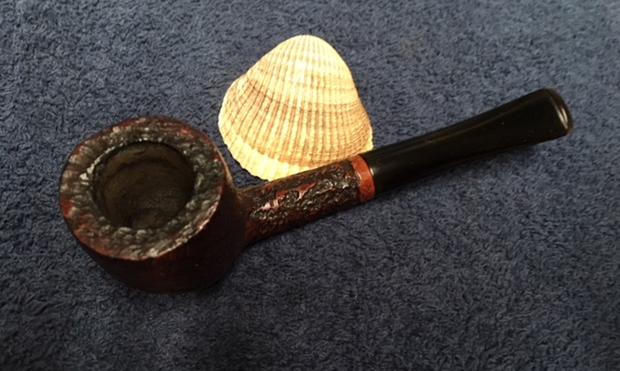
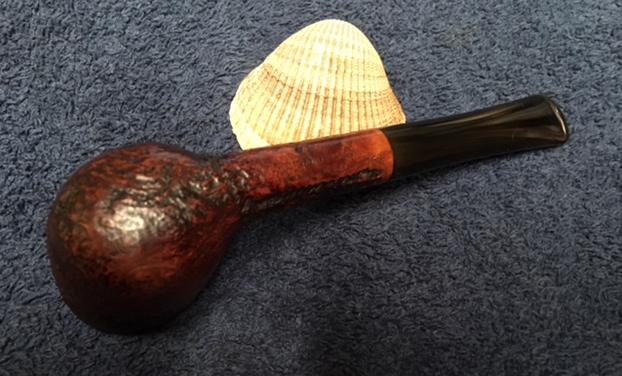
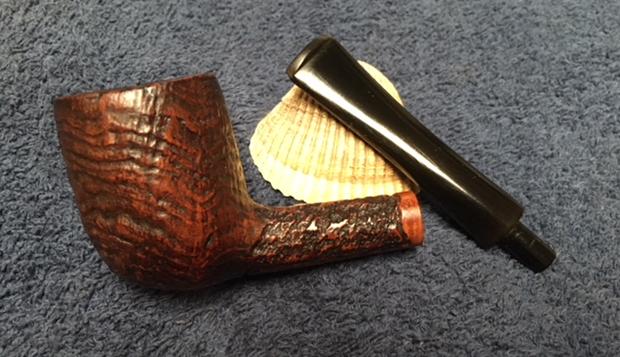
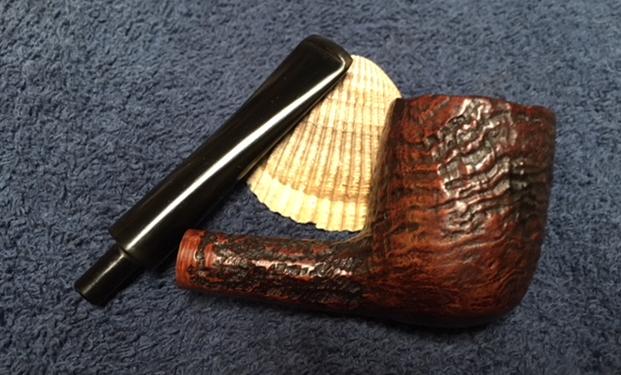
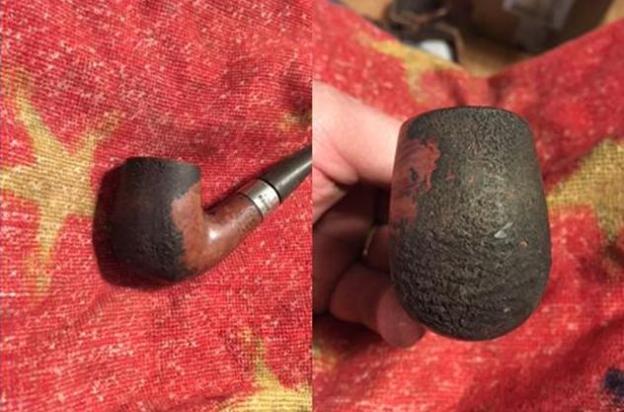
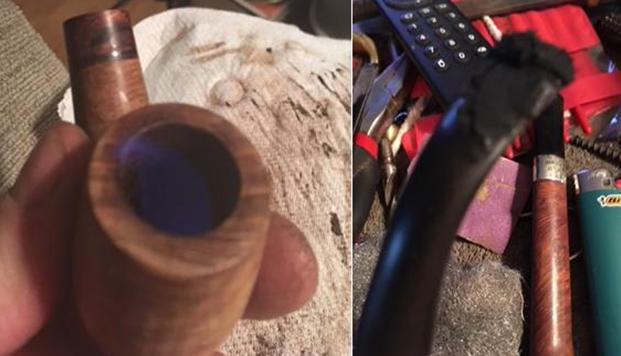
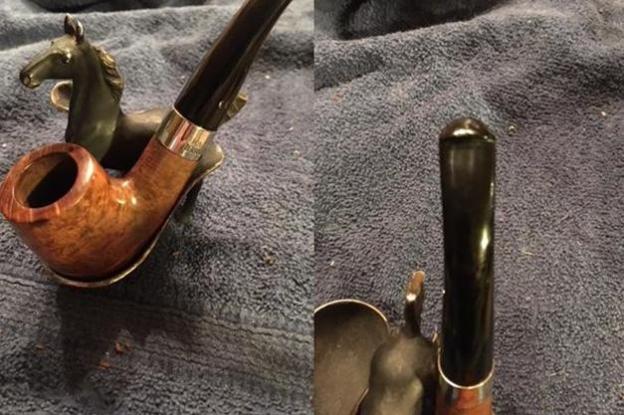
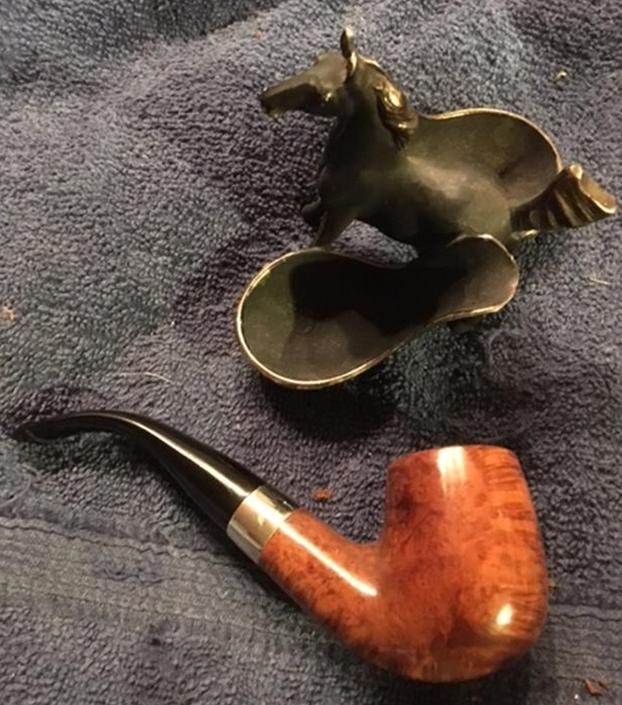
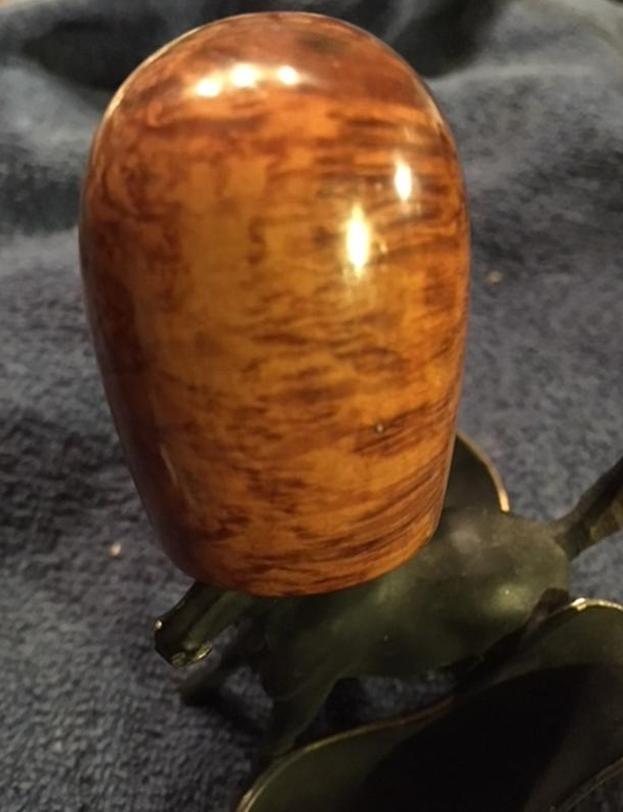
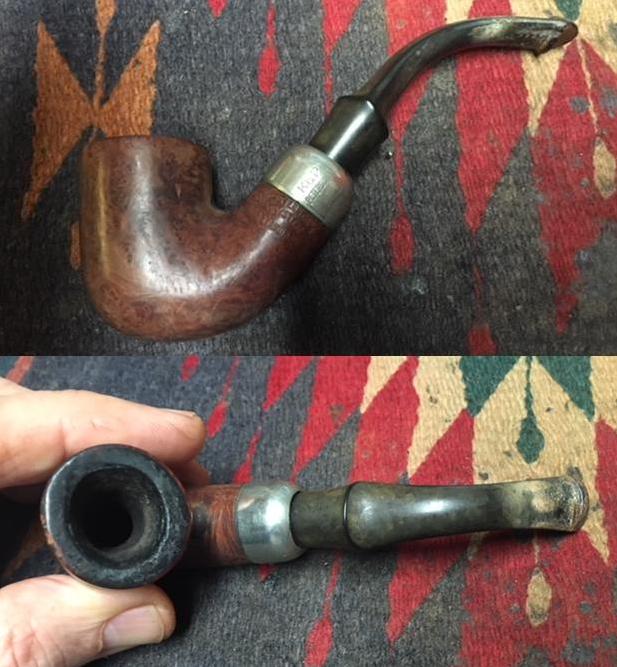
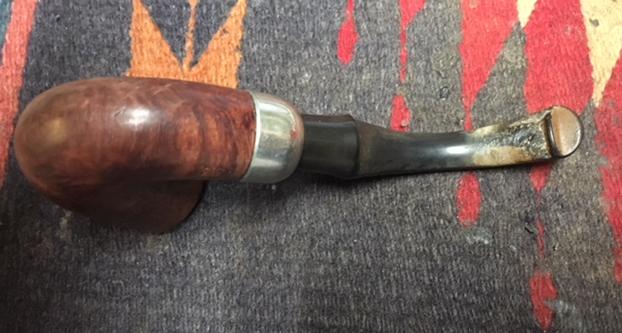
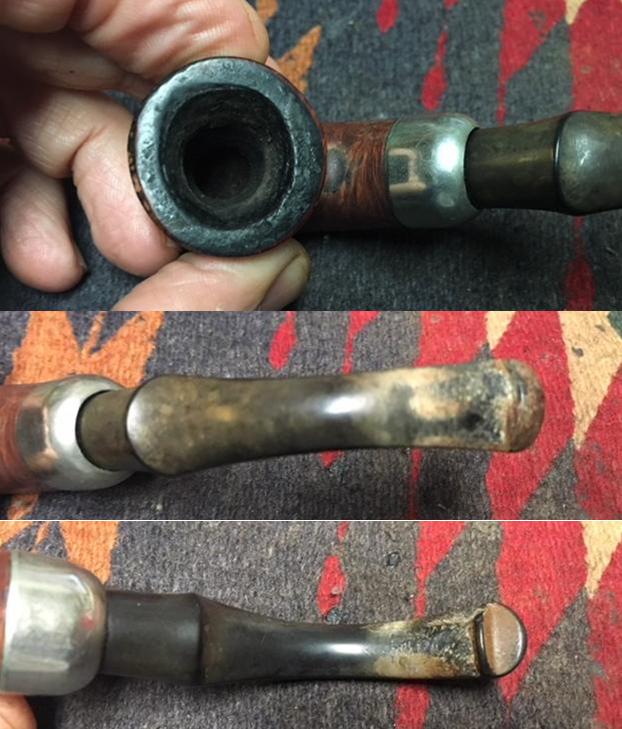
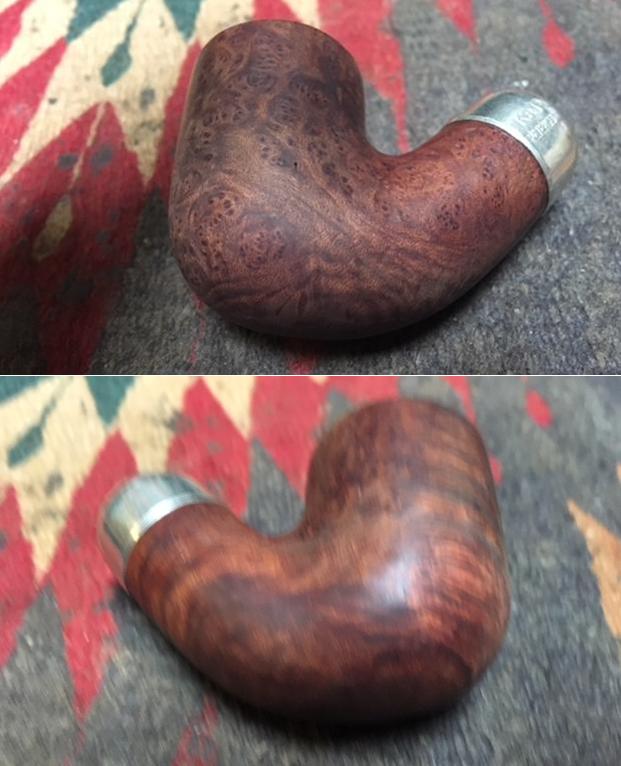
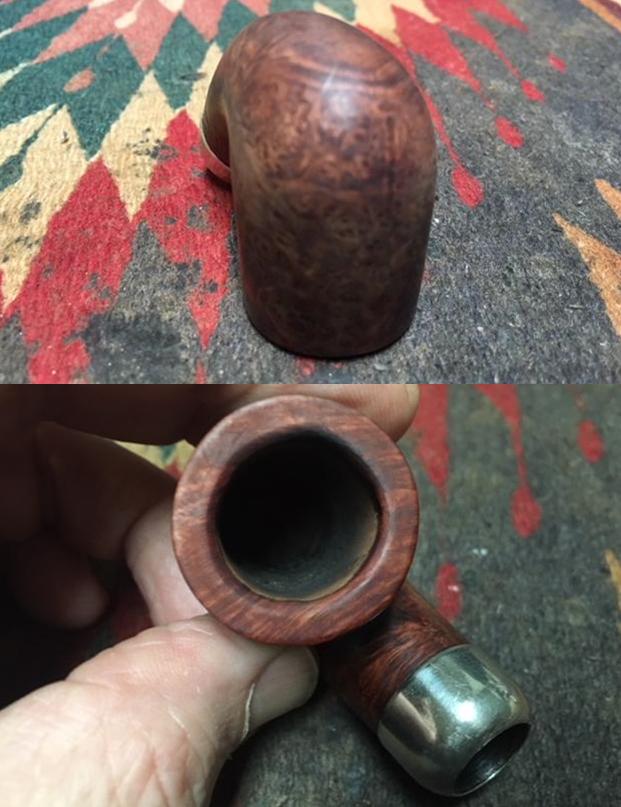
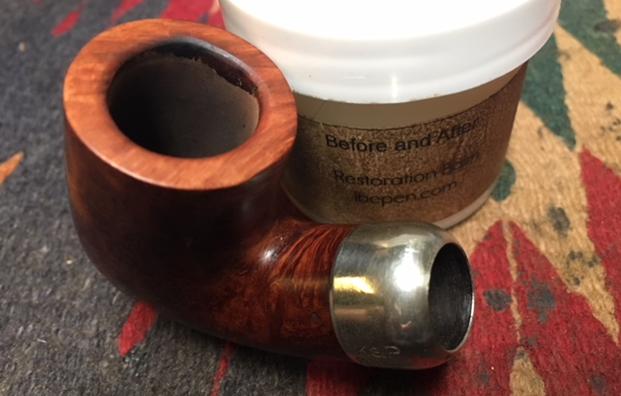
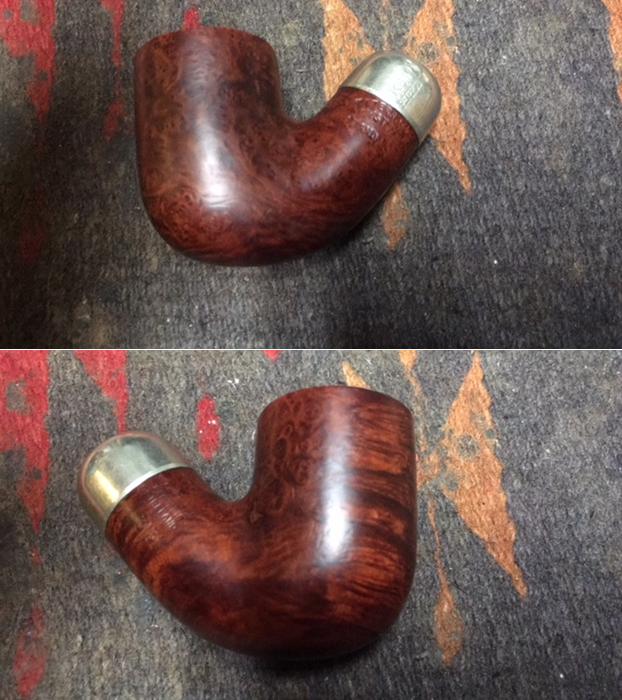
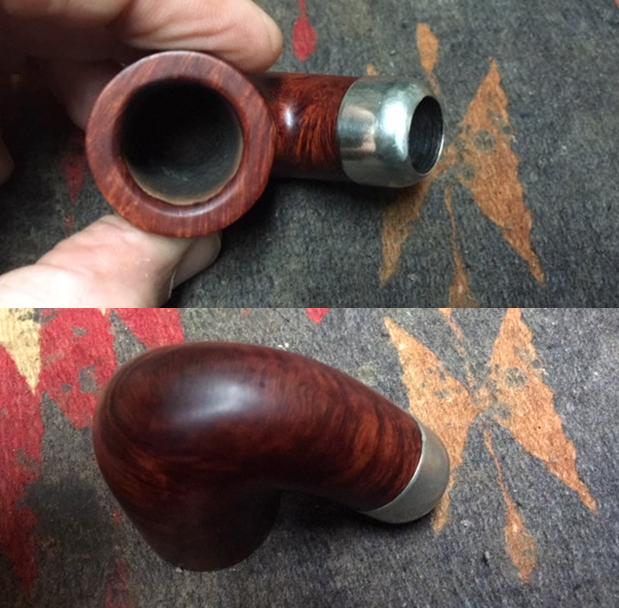
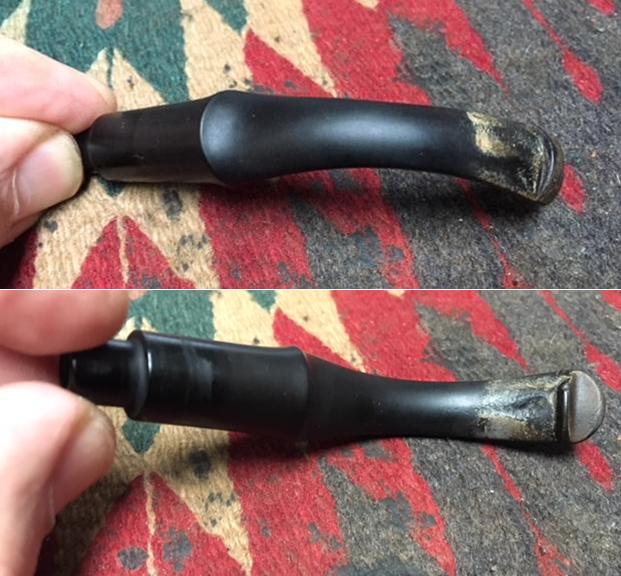
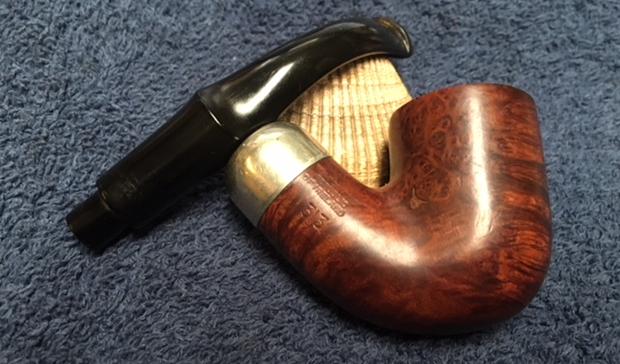
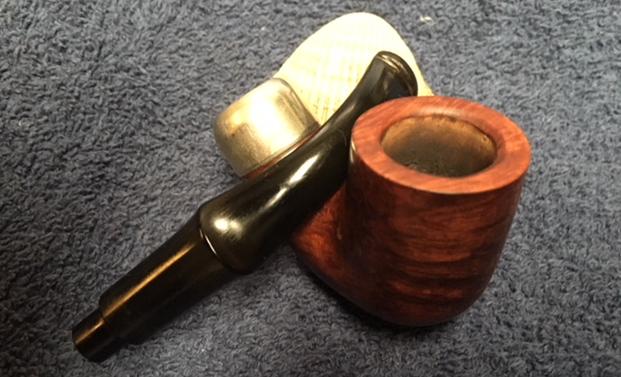
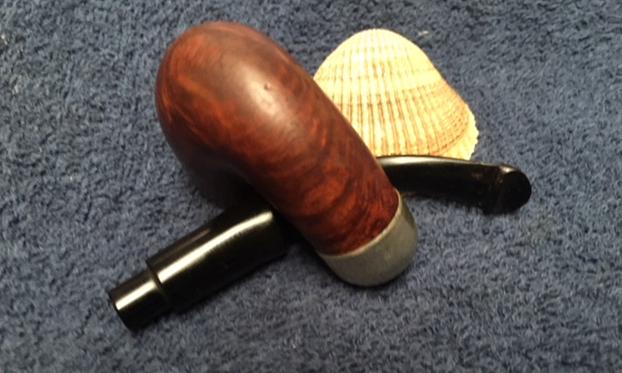
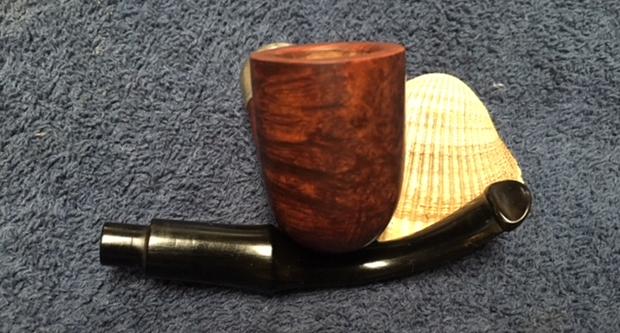
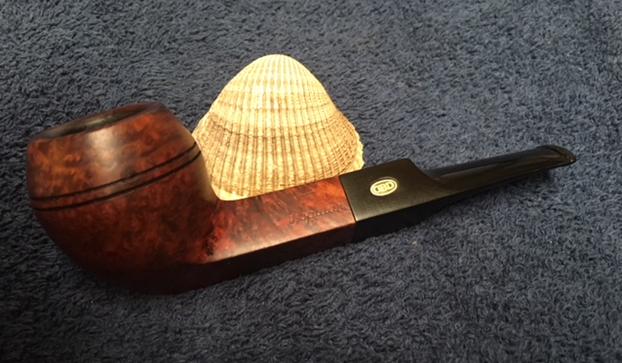
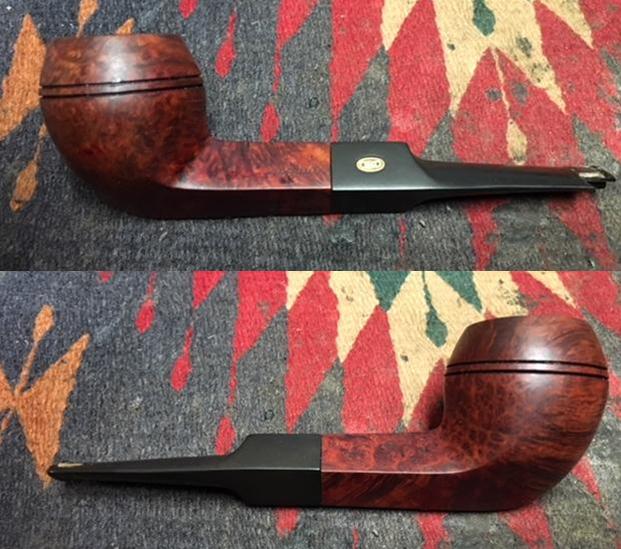
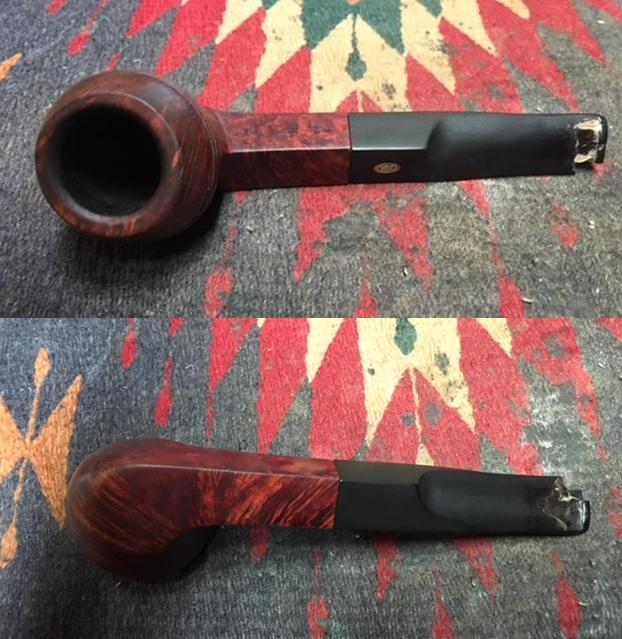
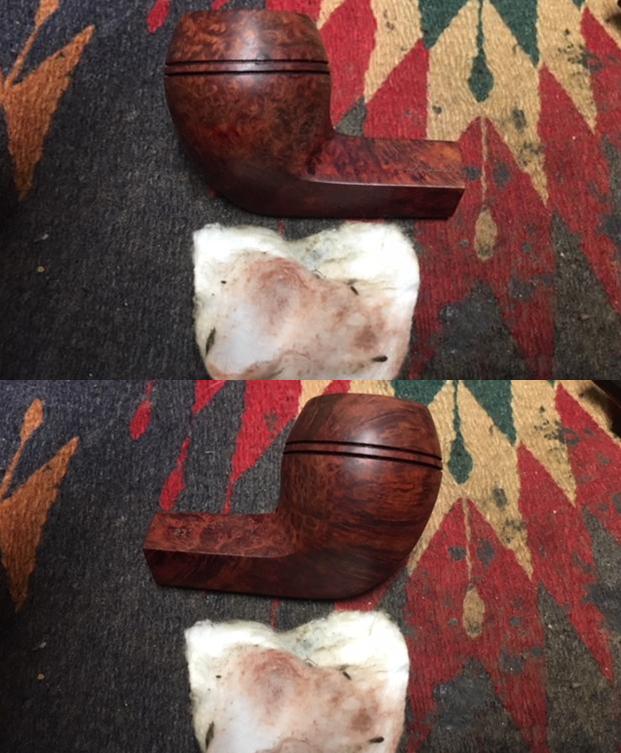
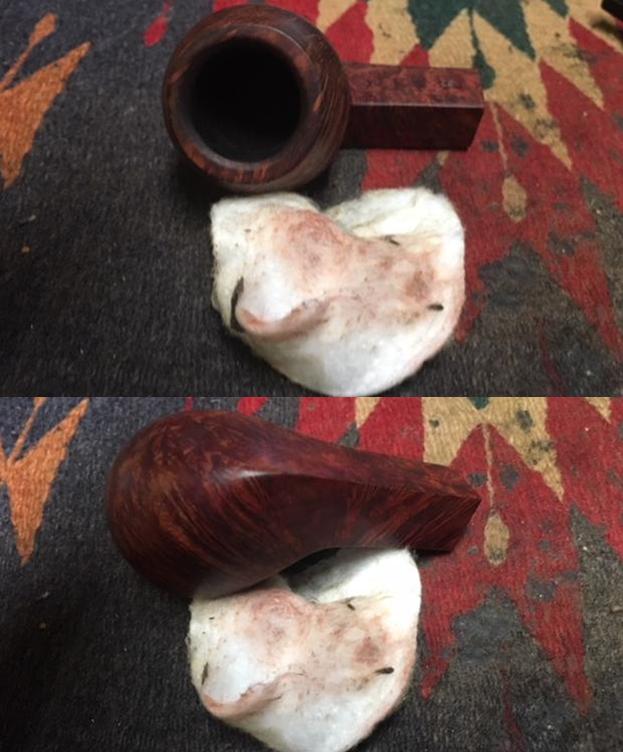
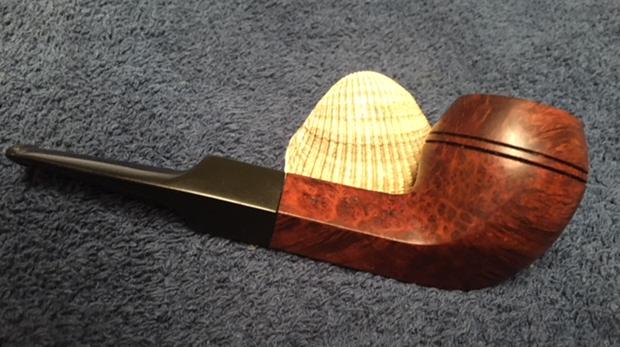
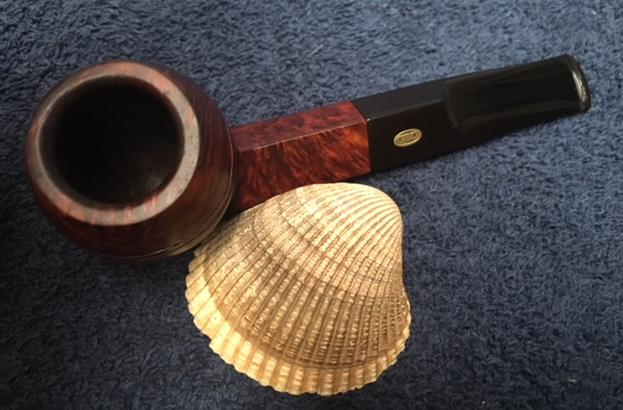
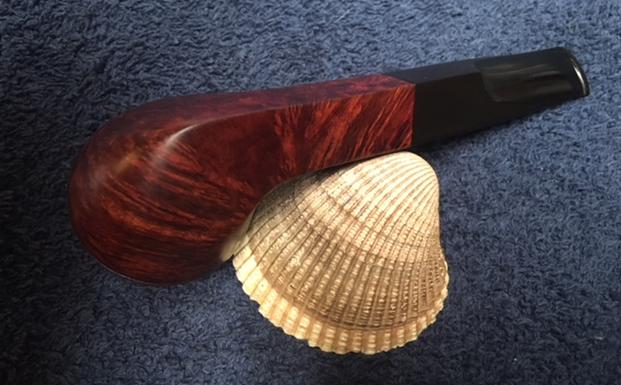
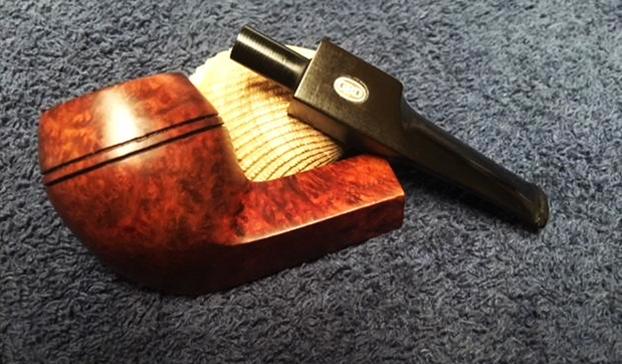
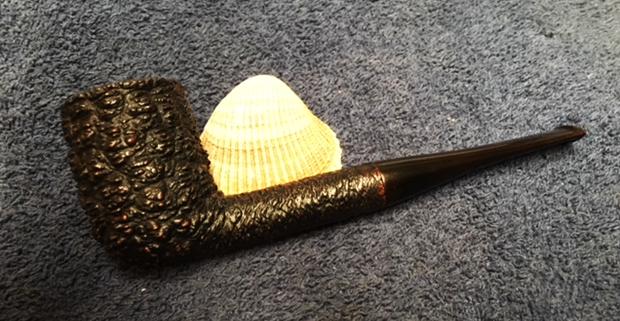
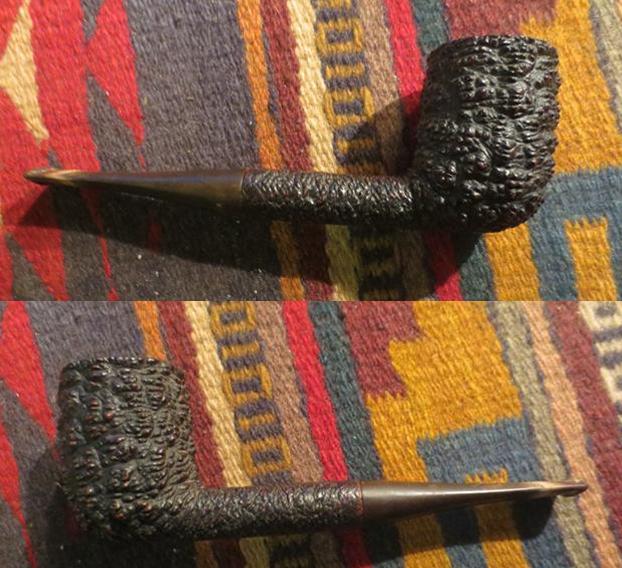
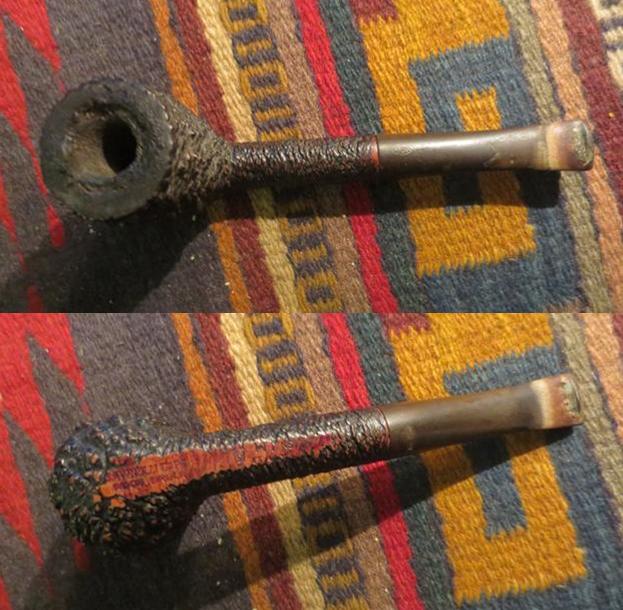
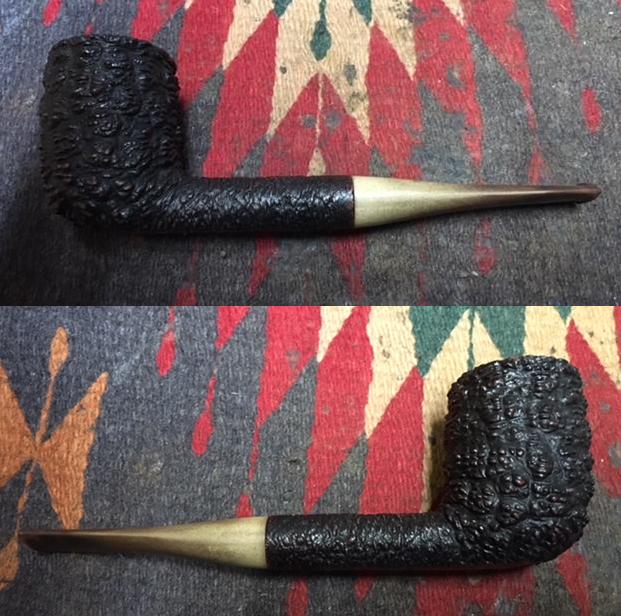
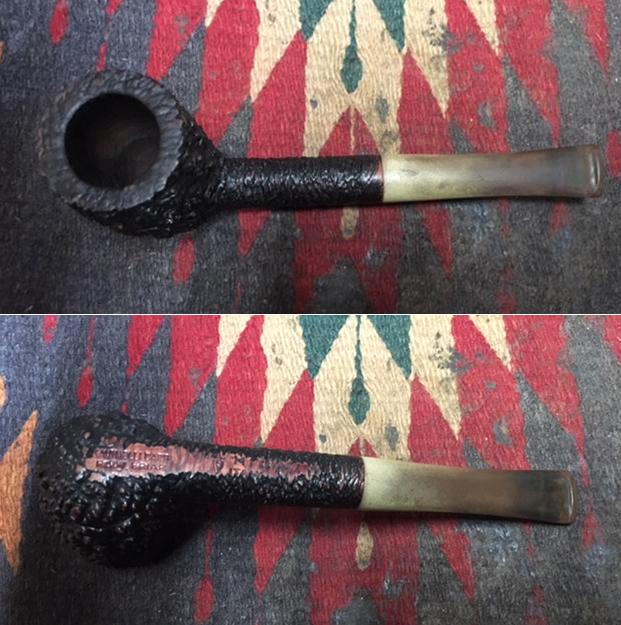
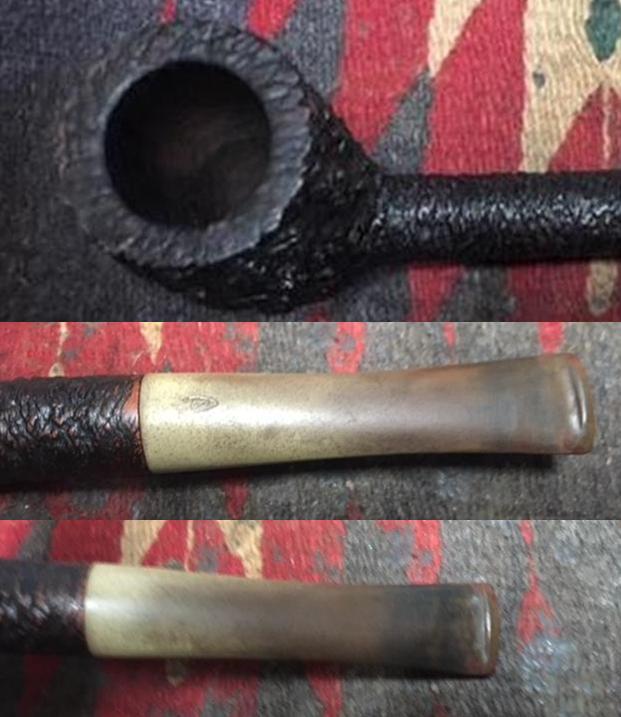
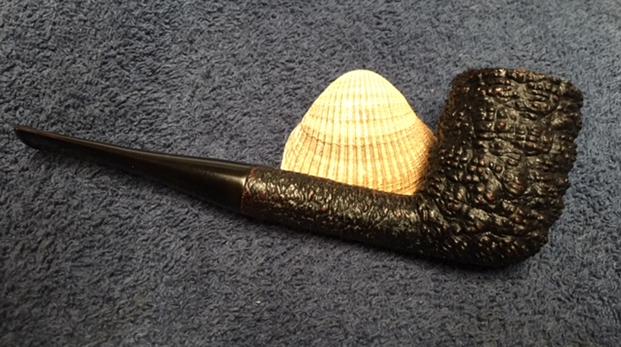
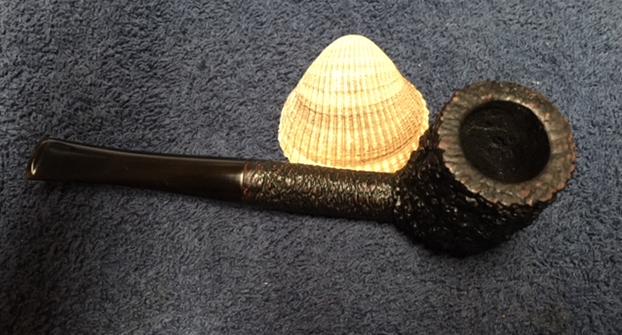
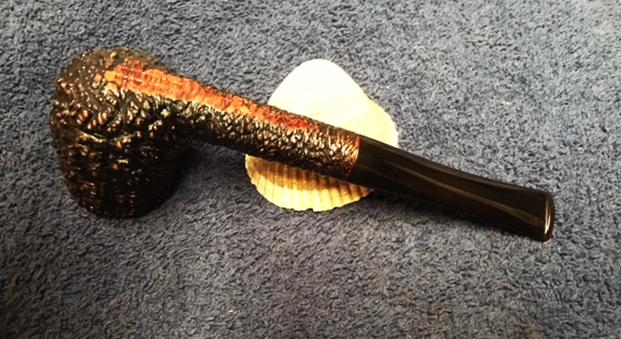
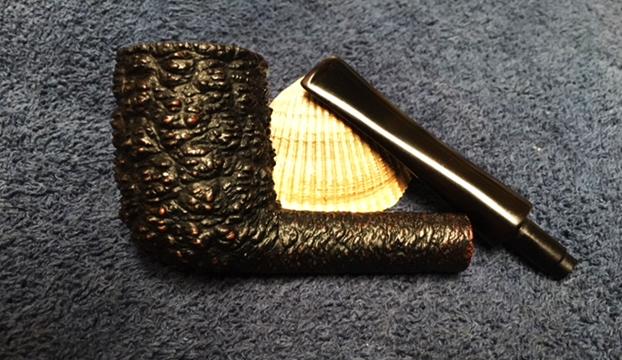
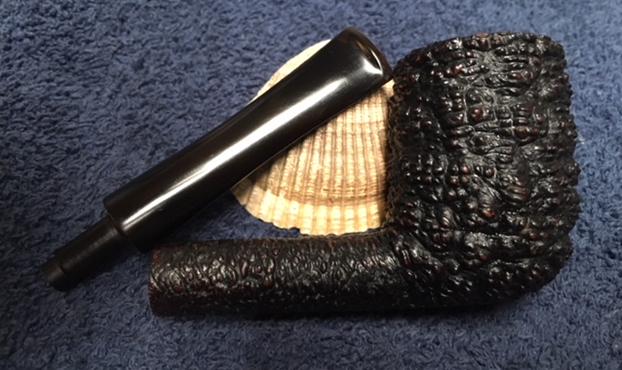
The finish on the pipe was very dirty with a lot of grit and grim in the grooves and crevices of the sandblast. The shank appeared to be rusticated to look like the sandblast around the bowl sides. The rim top was also rusticated to look like a sandblast finish but it is similar to the one that I carved with a dental burr. The rim top was dirty but it did not have a lot of lava overflow. There was a fairly thick cake in the bowl that was soft and brittle. The edges – both inner and outer were in excellent condition other than just dirty. The grain on the sandblast portions was really quite nice and there were places that the finish was worn almost smooth. The underside of the shank was stamped Bewlays in script over Sandblast over London Made followed by what looks like an O. Just below that and toward the stem is the shape number 156. The vulcanite stem had light tooth marks and chatter on both sides at the button. It also had some discolouration on the first inch of the stem that I have come to associate with pipe Softee bits. The pipe was not as dirty and this one smelled of aromatics rather than English blends as the first pipe of Eric’s I worked on. I took photos of the pipe to show the condition it was in when it arrived.    I took close up photos of the bowl and rim top to show its condition. You can see the cake in the bowl and the darkening and dust in the rim top grooves, nooks and crannies. The rim does not look damaged on the inner or outer edge in this photo. I also took photos of the stem to show the general condition it was in as well. It looked pretty good other than chatter on both sides ahead of the button and the puncture on the topside of the stem. I decided to read a little about the Bewlay brand to refresh my memory. On the PipePhil site I found out information on the brand. The brand was distributed by Bewlay & Co. (a chain of pipe stores in England) until the 50’s when it was taken over by Imperial Tobacco & Co. I took a screen capture of the Bewlay brand. The stamping on the one I am working on is shown in the second photo below and you can see that it is the same as this other than the shape number.  http://www.pipephil.eu/logos/en/logo-d2.html

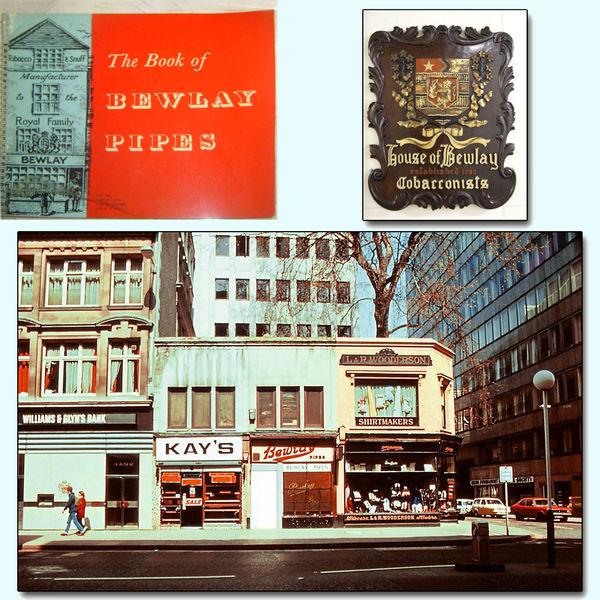
I did some searching on Pipedia and found a short write up on the brand and found a photo and some helpful information that I have included below.The English brand of Bewlay & Co. Ltd. (formerly Salmon & Gluckstein Ltd.), was in business from the early 20th century until the 1950’s. The brand ended up being sold and taken over by Imperial Tobacco Co. The shop chain closed in the 1980’s but there seems to be one shop still in business on Carr Lane in the city of Hull.

Bewlay pipes were made by numerous prestigious firms. Notably Barling, Charatan, Loewe & Co., Sasieni, Huybrecht, and Orlik. So understandably, the English considered a Bewlay pipe a quality pipe.  https://pipedia.org/wiki/Bewlay

The article also cross referenced a thread on the Pipesmagazine.com forum that gave further information on the various makers and shapes. (http://pipesmagazine.com/forums/topic/a-bewlay-pipe-thread-with-pictures). There was one responder there that referred to a pipe that had the same shape number as the one I am working on. He wrote the following: One of my nicest Bewlay’s is a 156 billiard which, it turns out, correlates with nr. 156 on the Orlik shape chart.

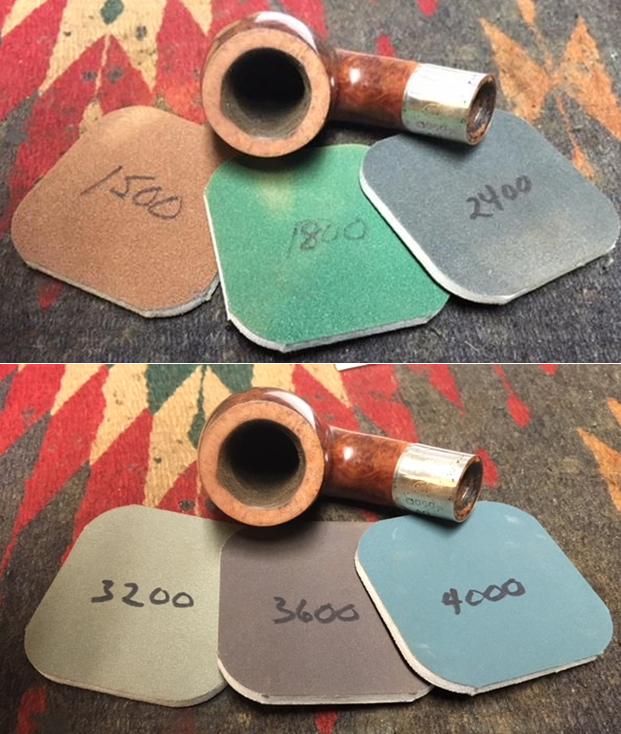
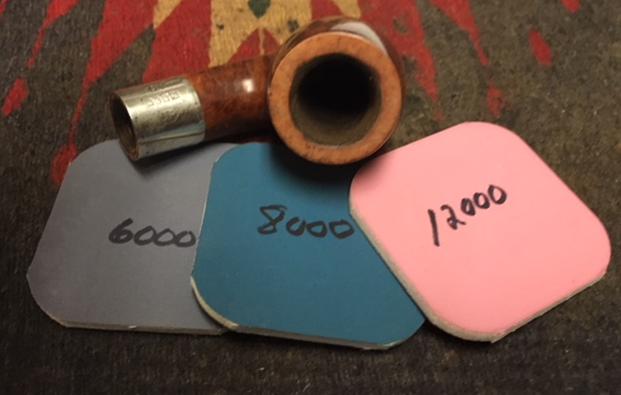
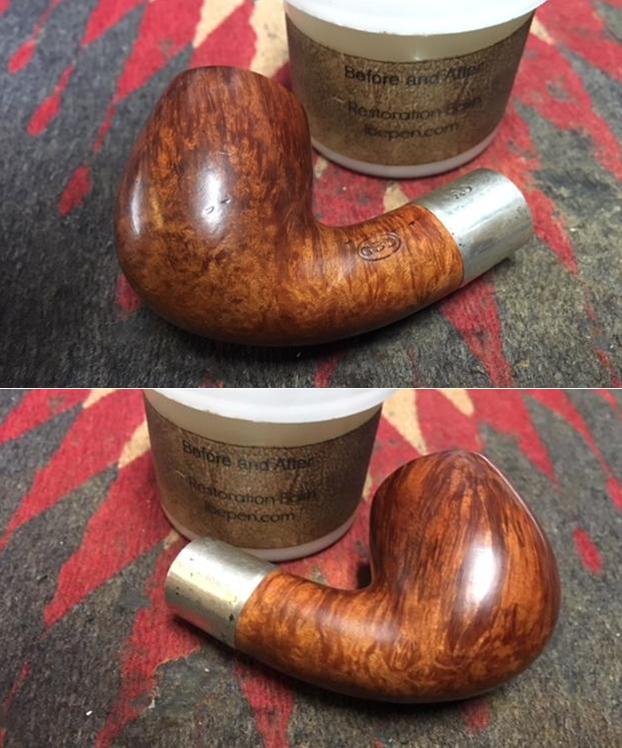
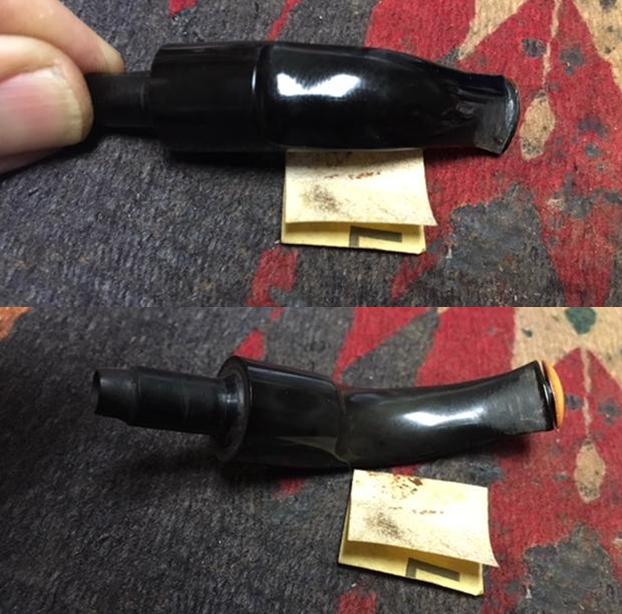
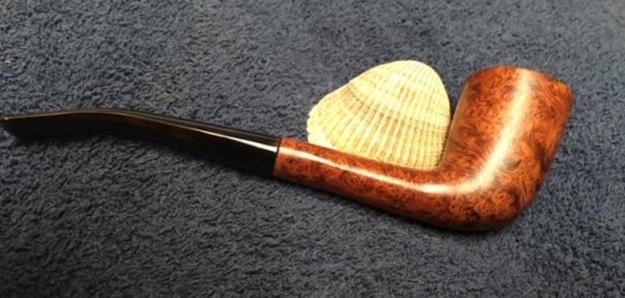
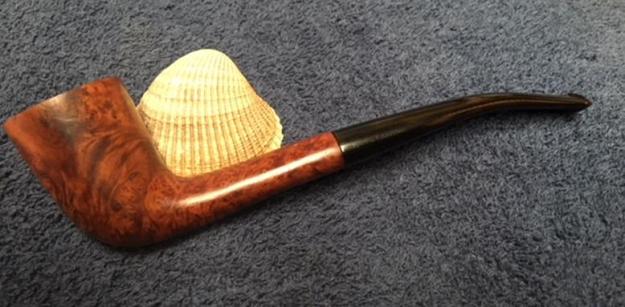
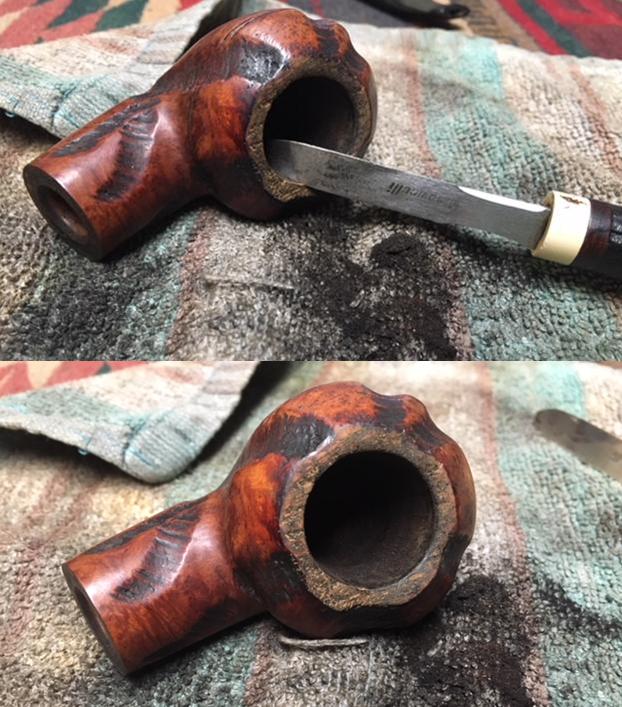
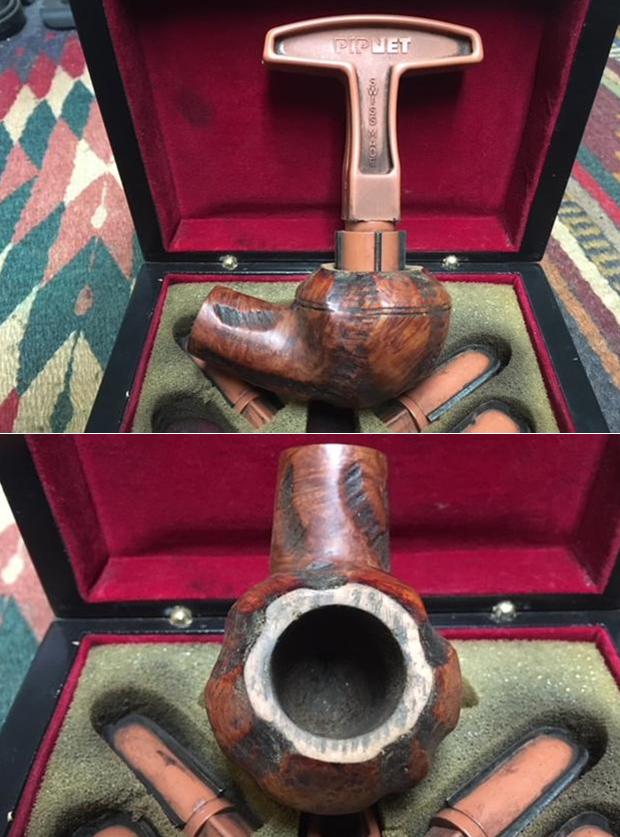
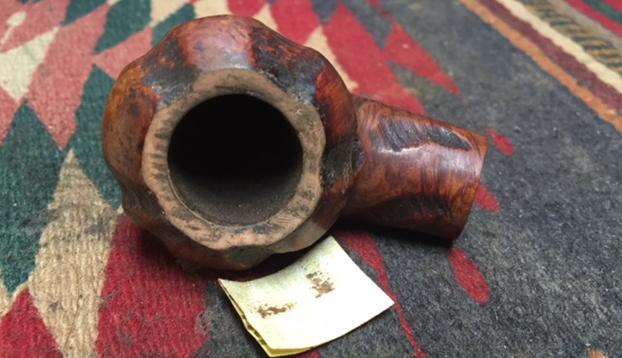
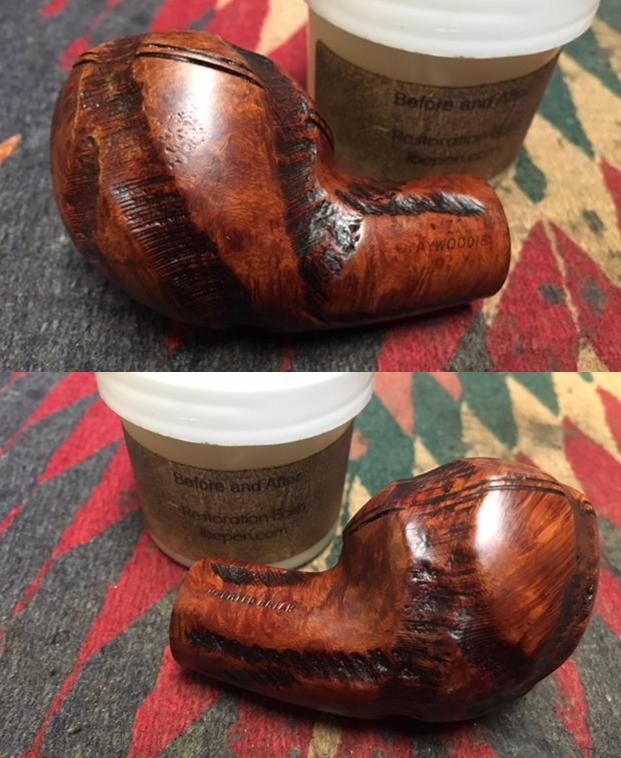
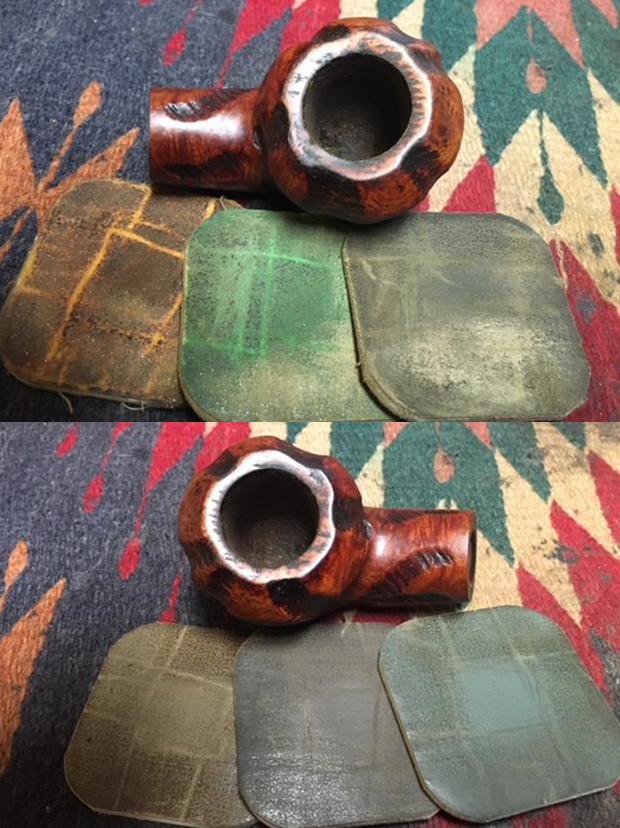
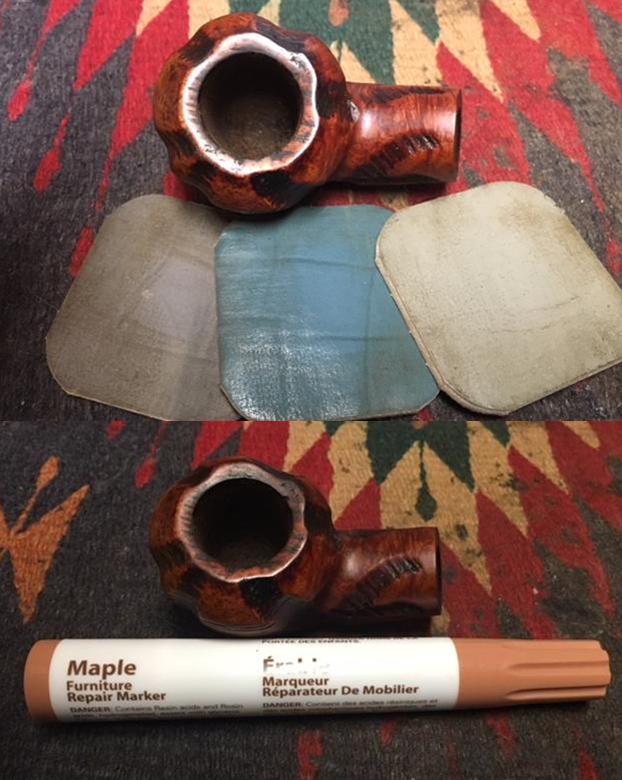
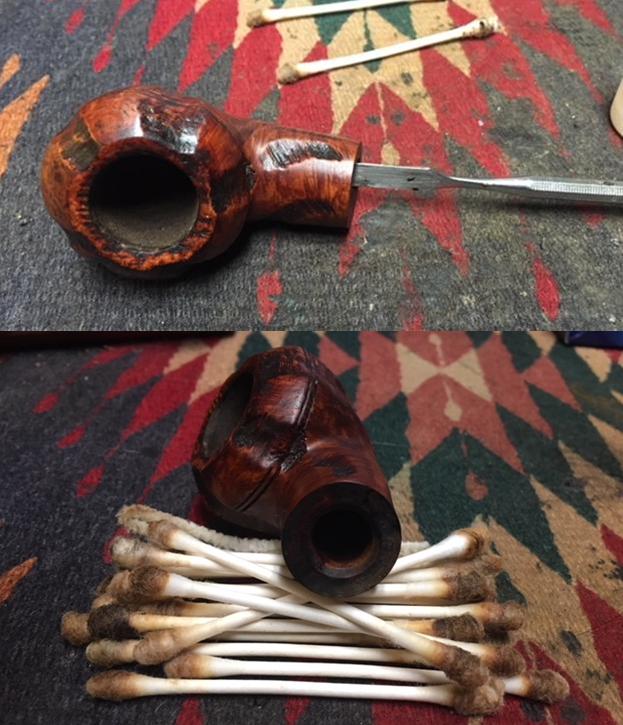
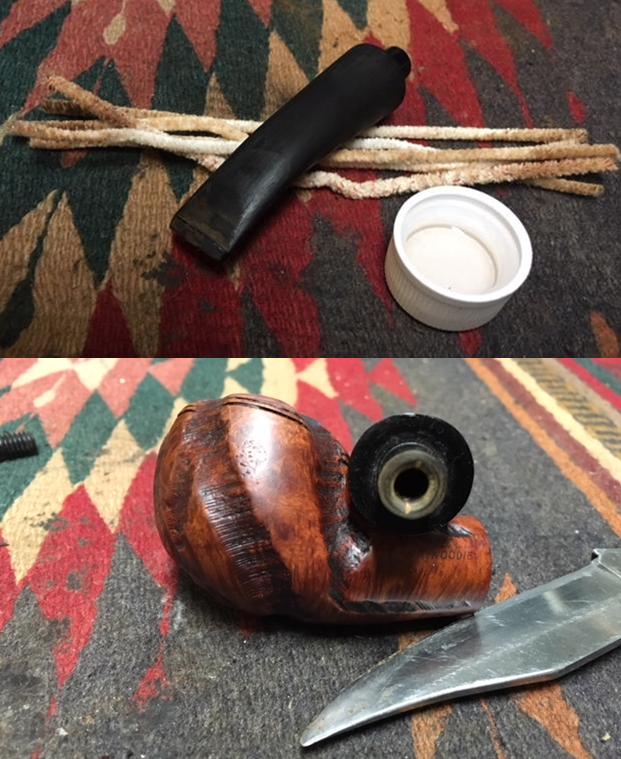
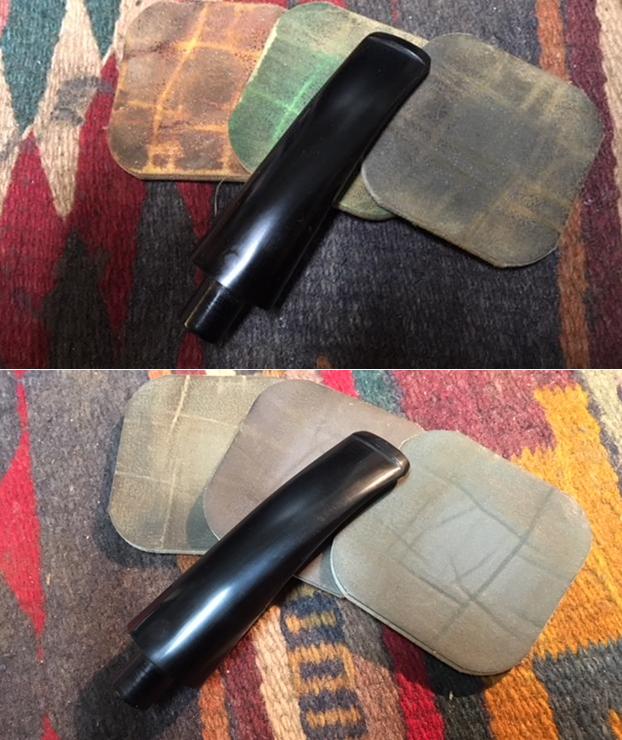
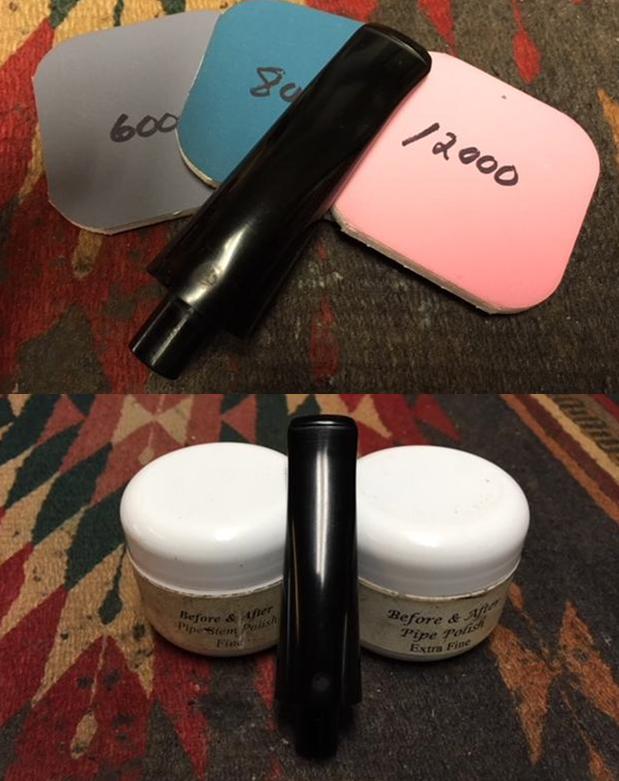
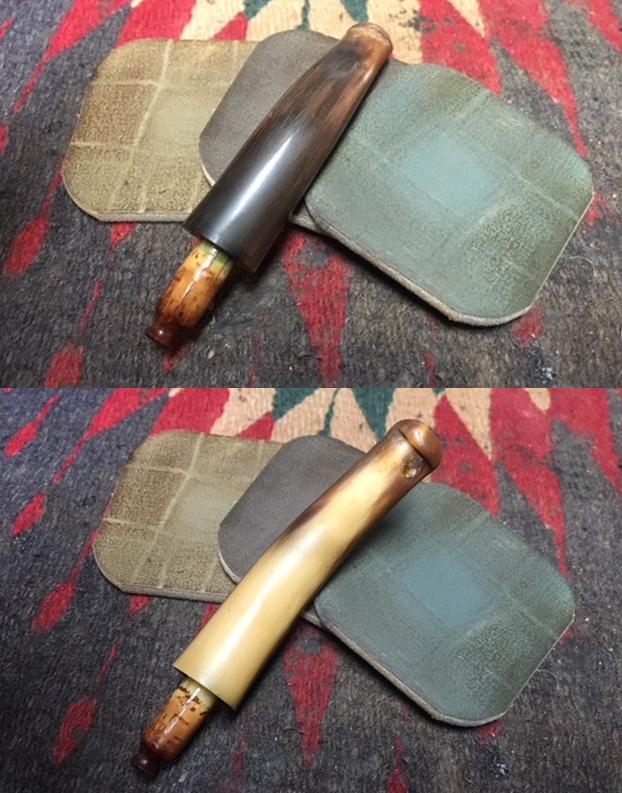
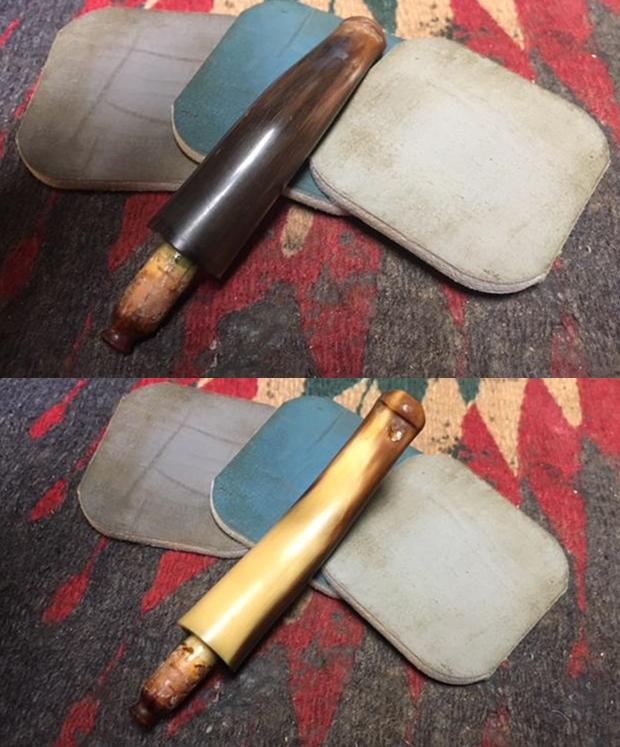
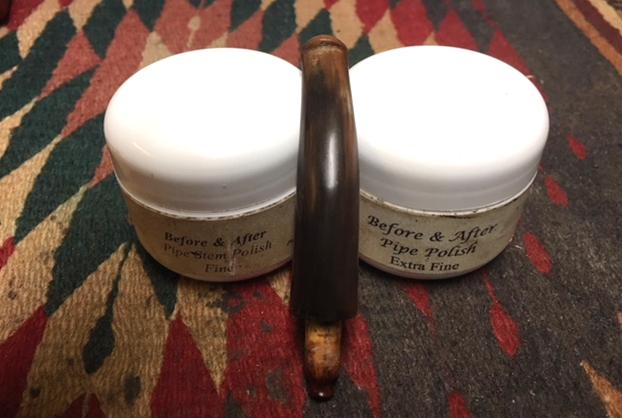
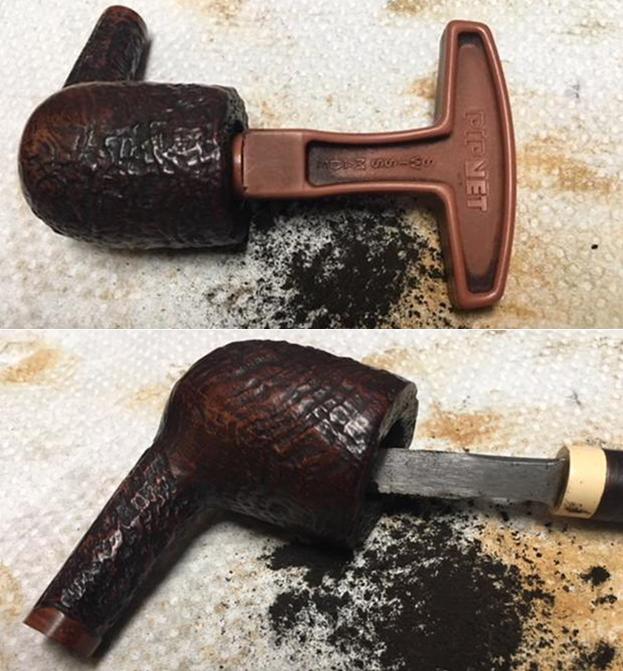
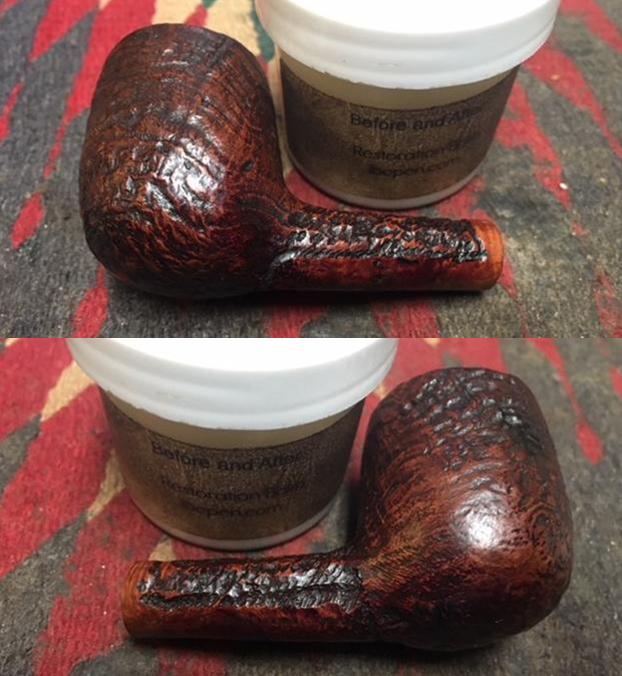
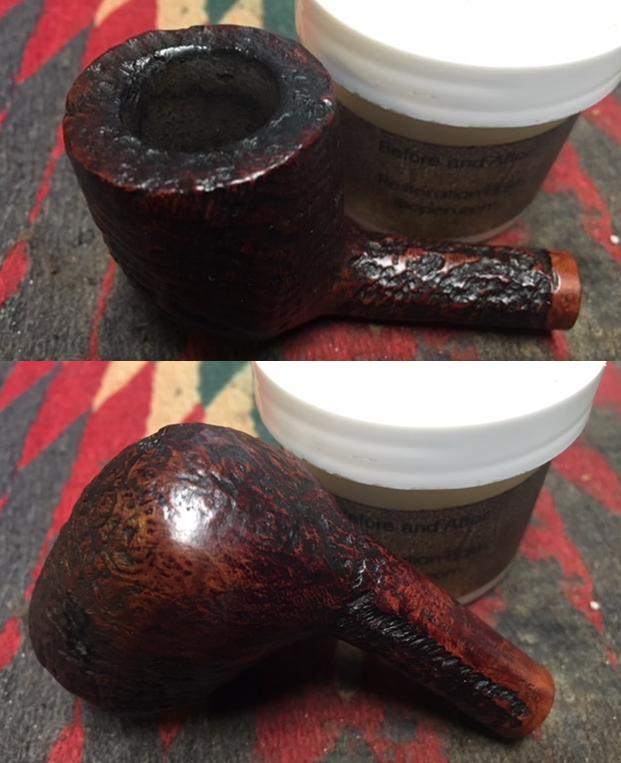
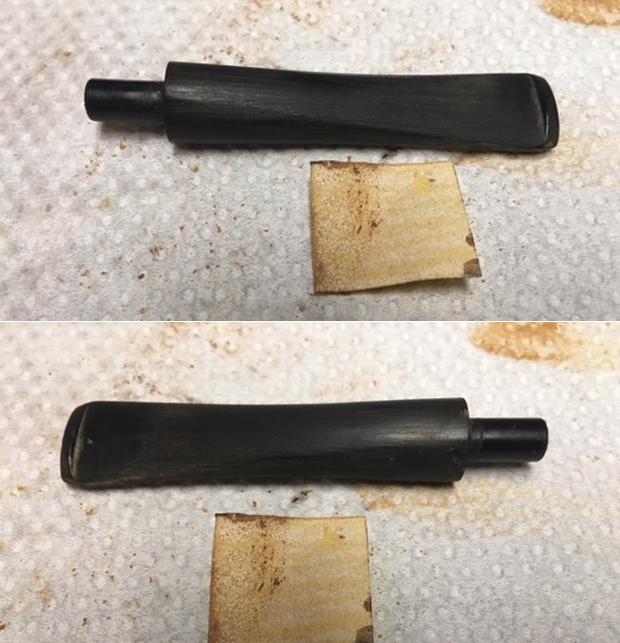
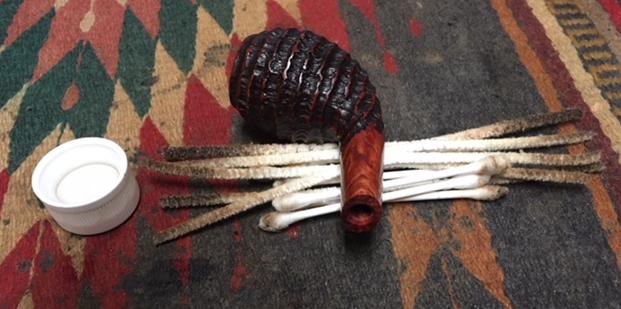
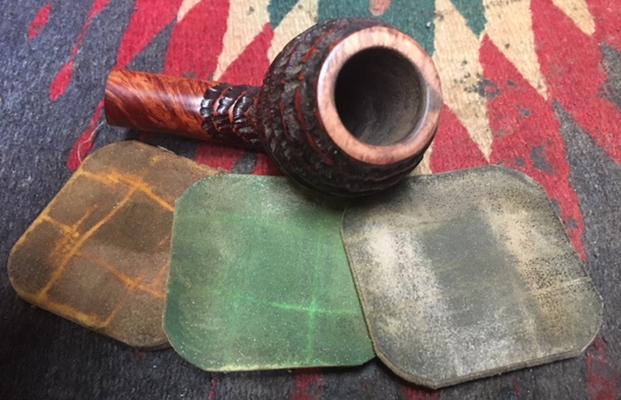
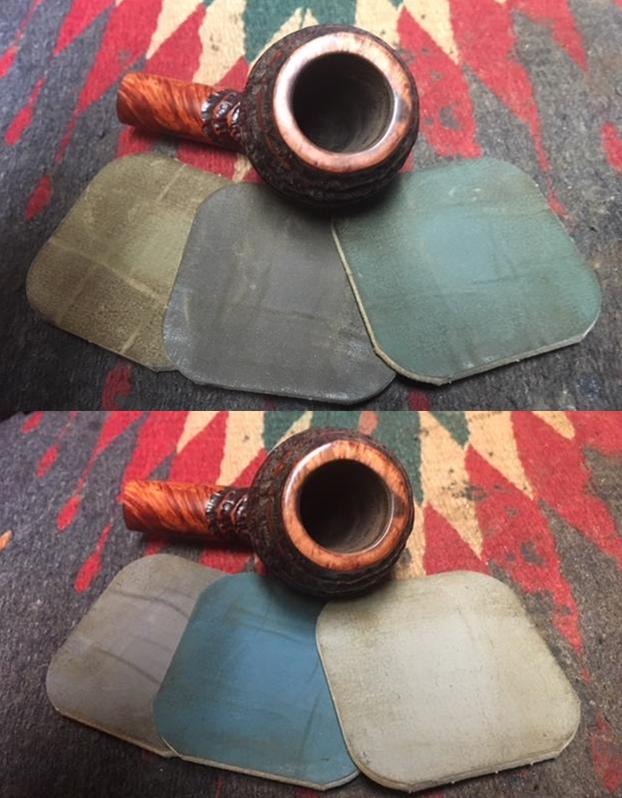
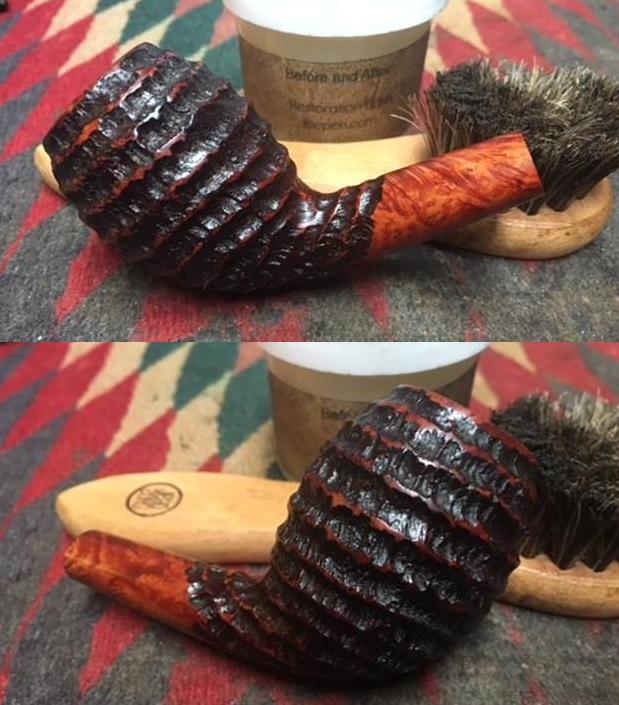
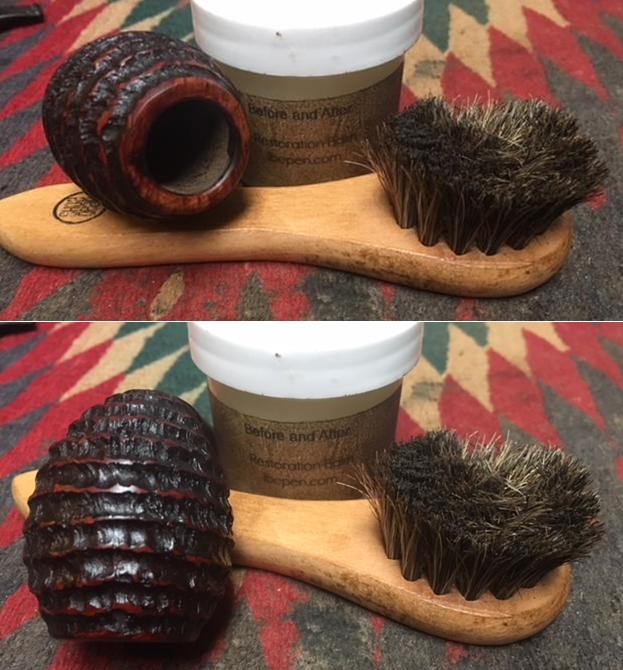
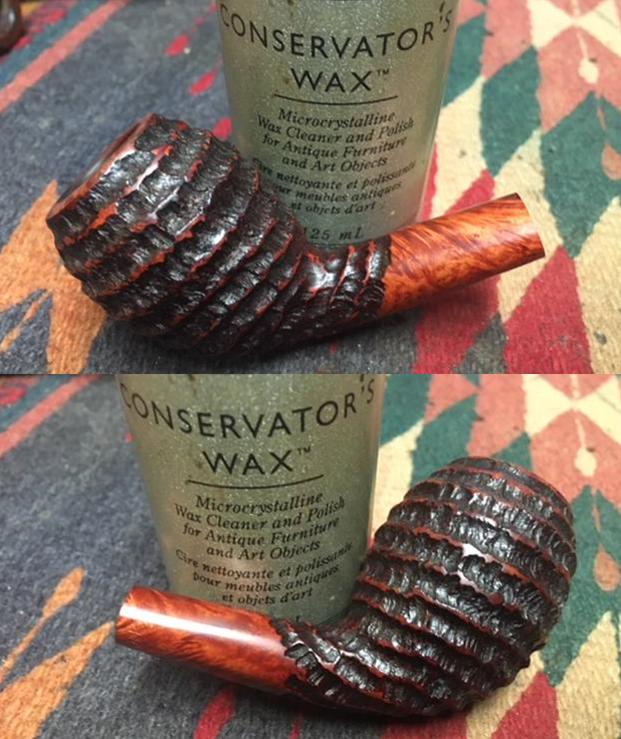
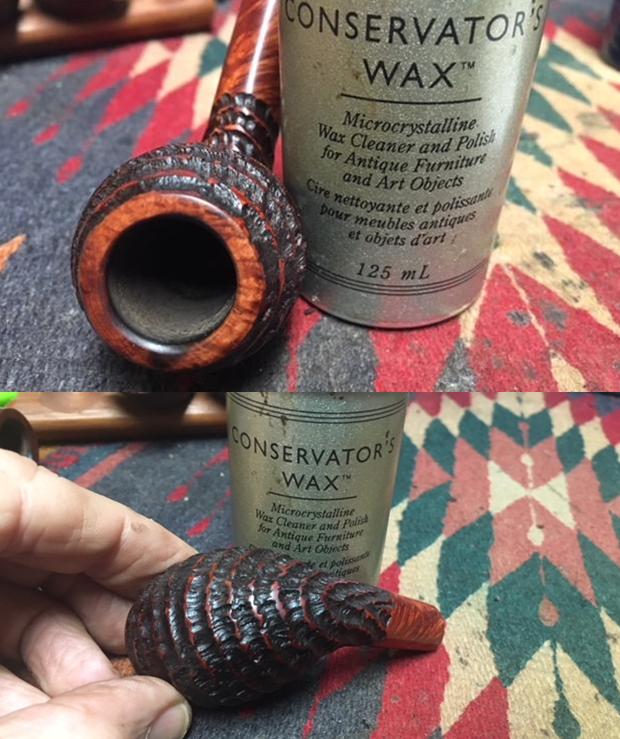
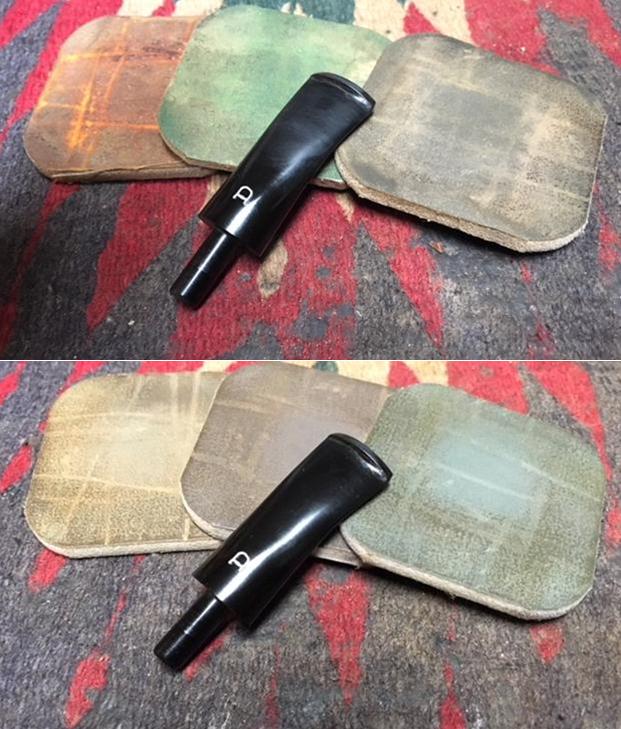
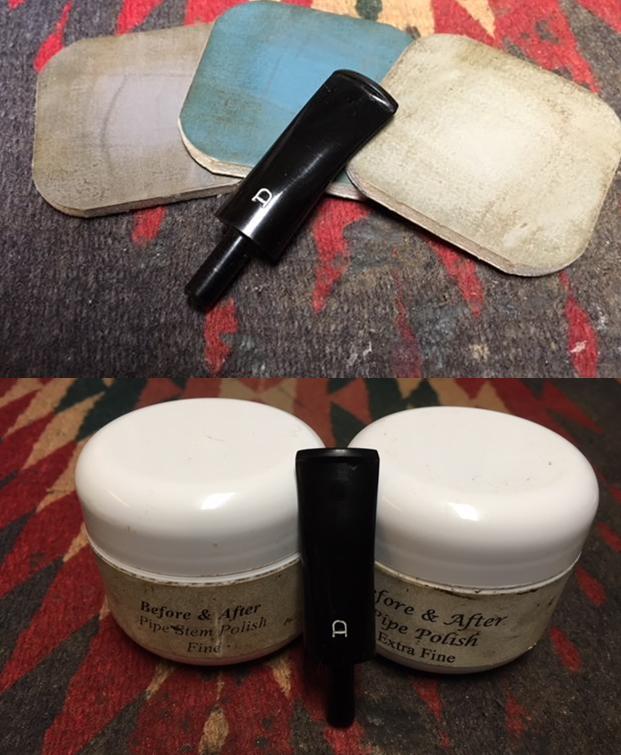
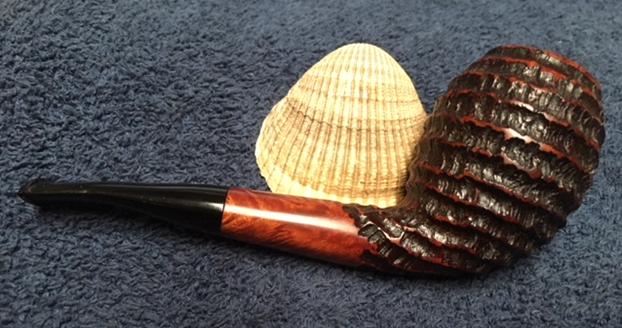
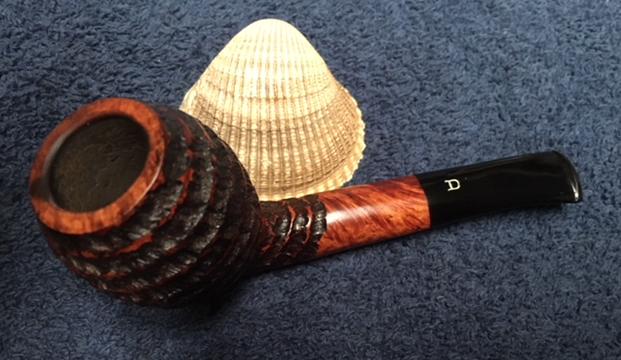
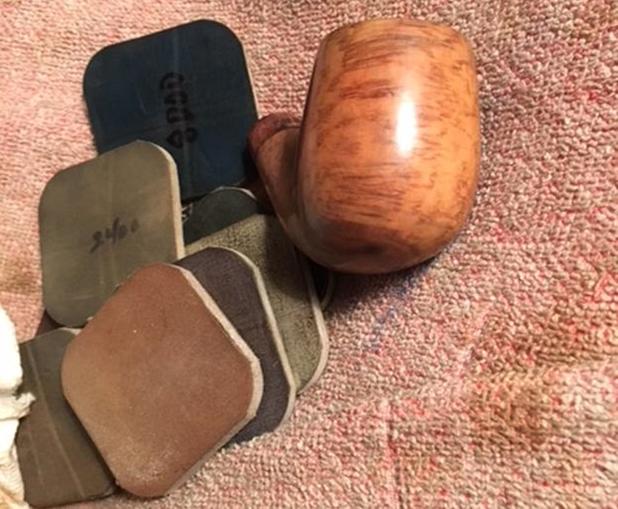
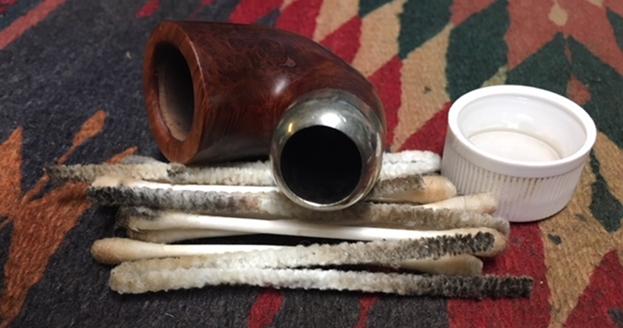
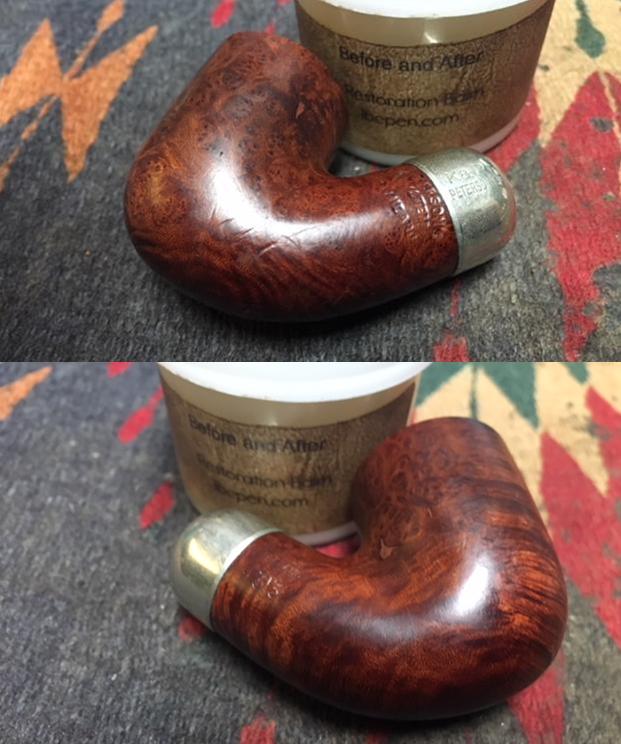
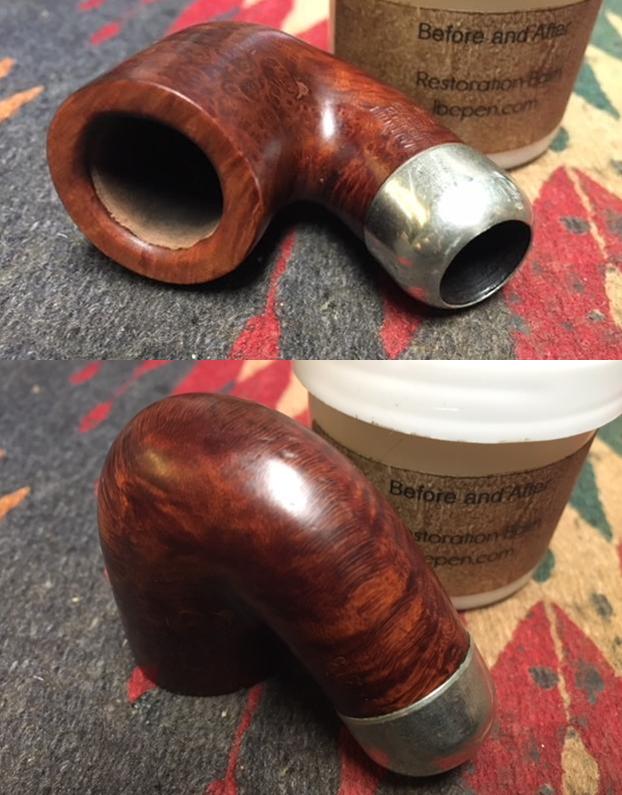
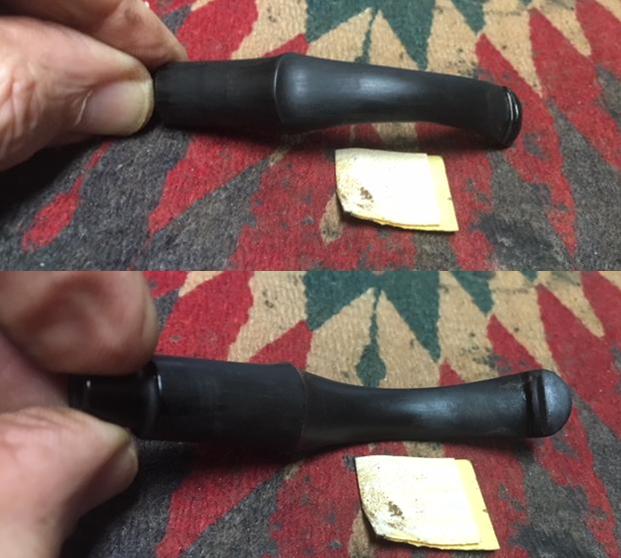
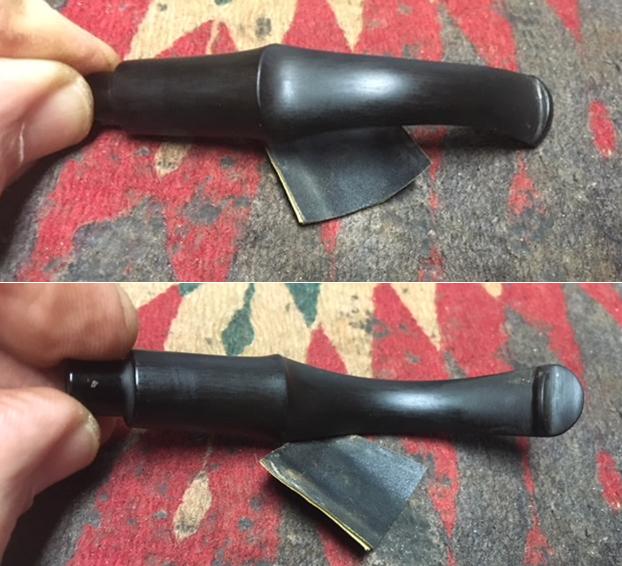
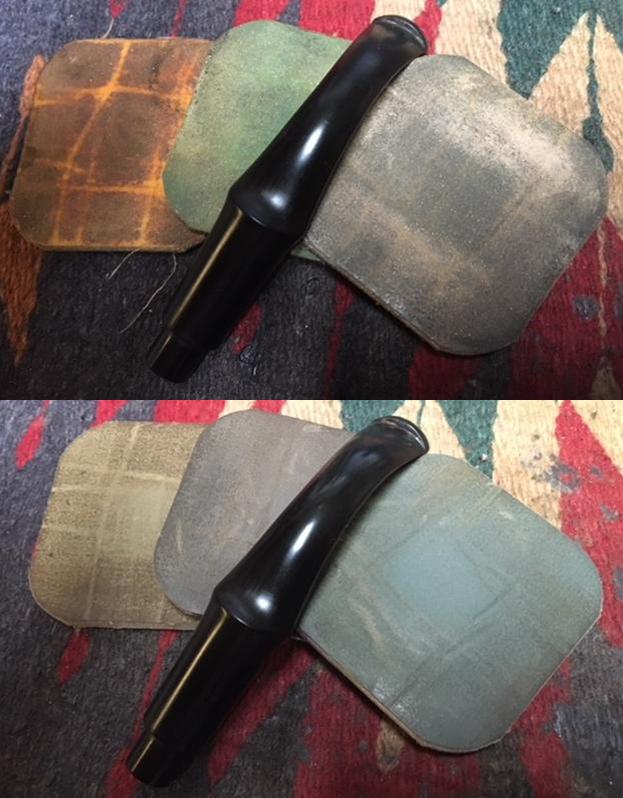
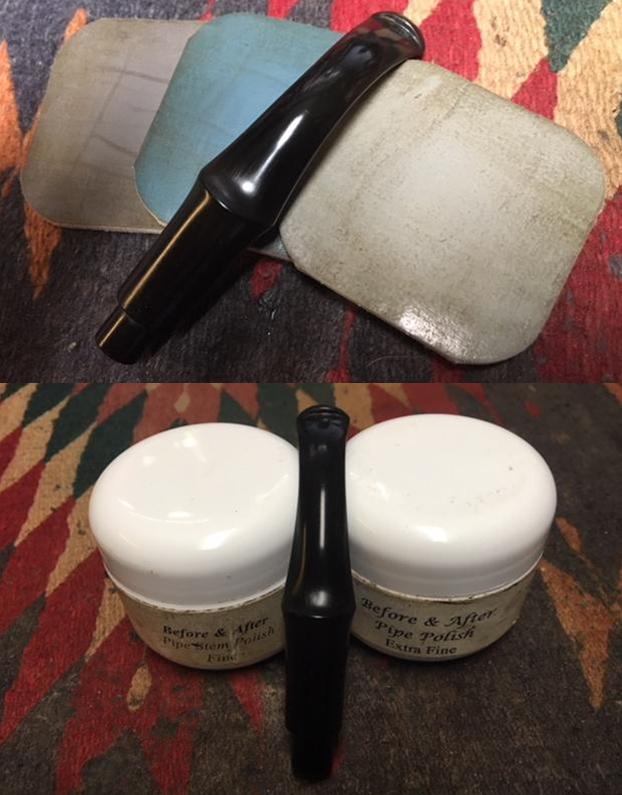
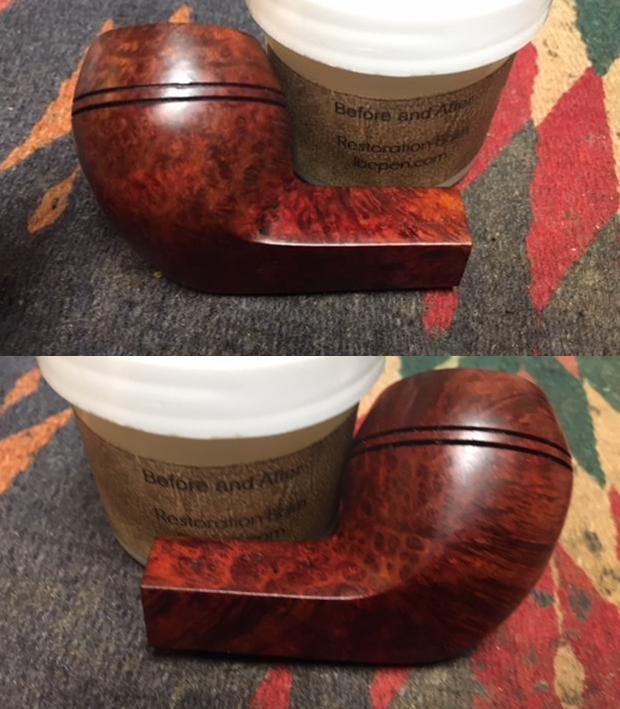
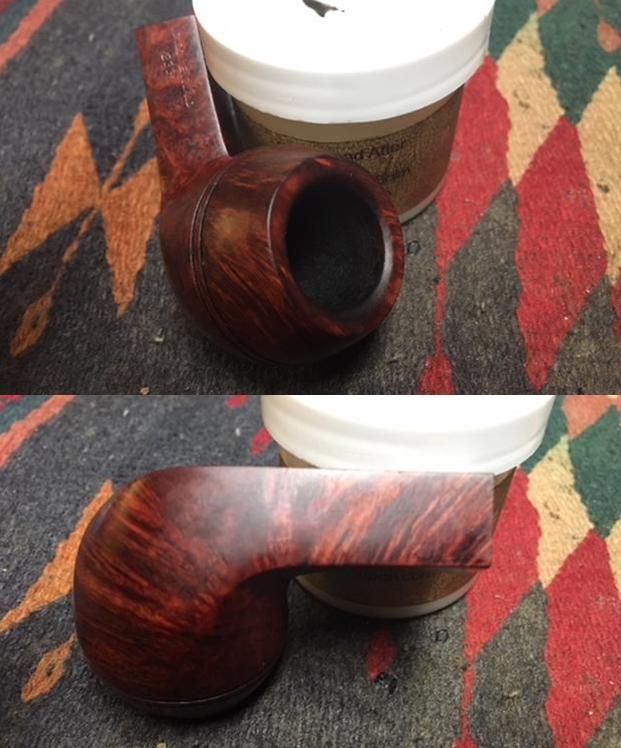
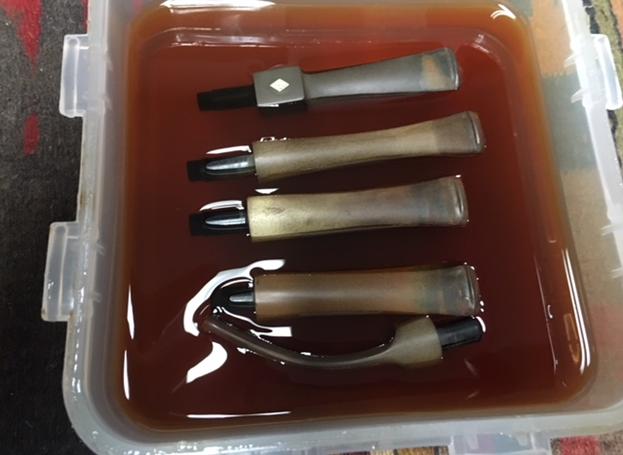
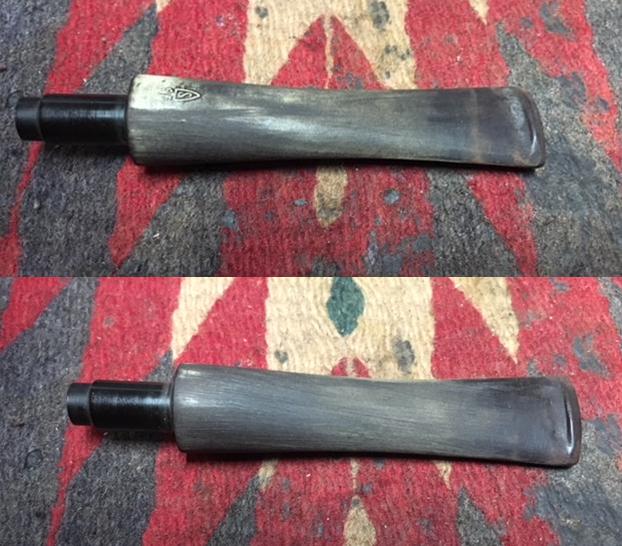
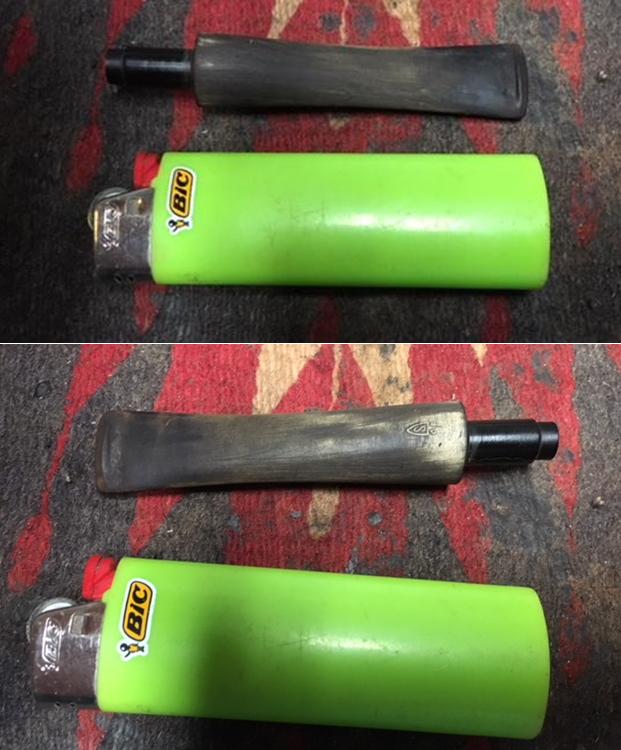
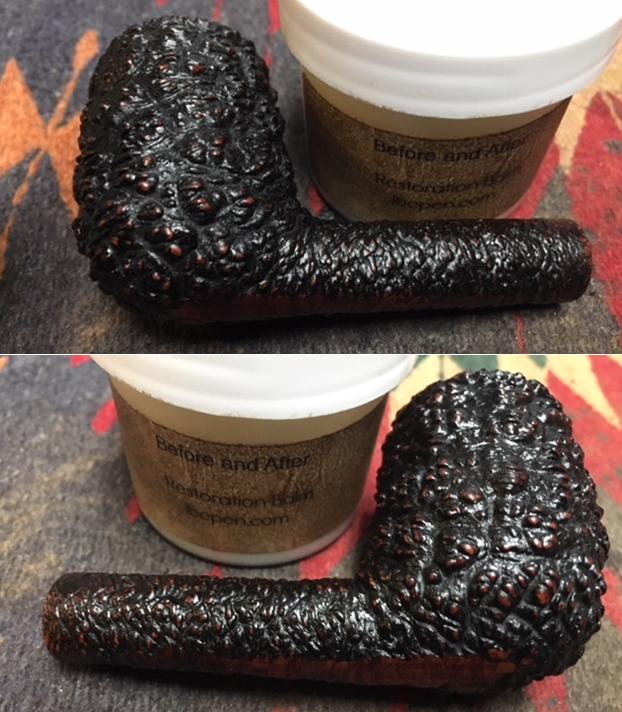
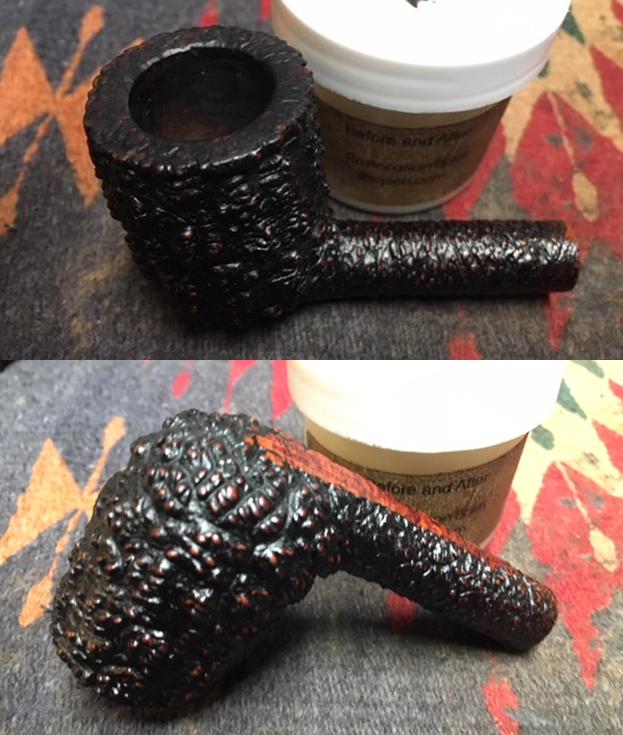
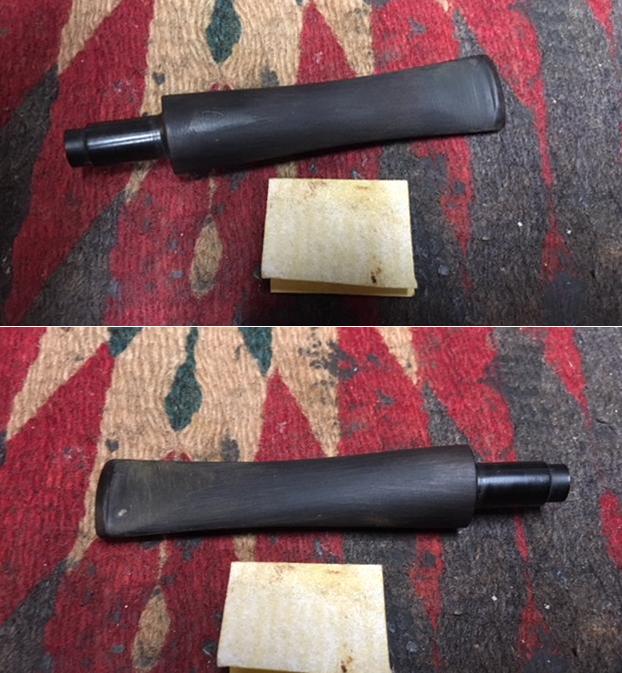
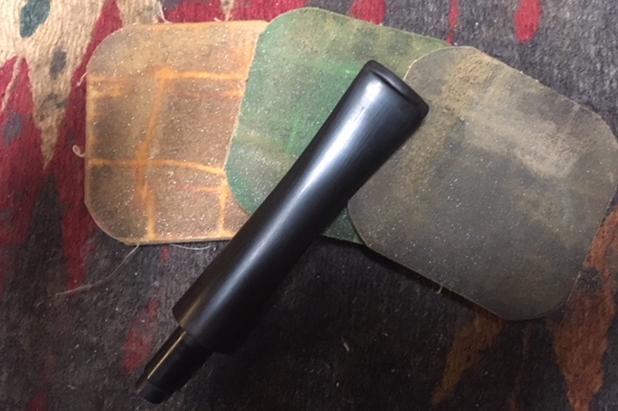
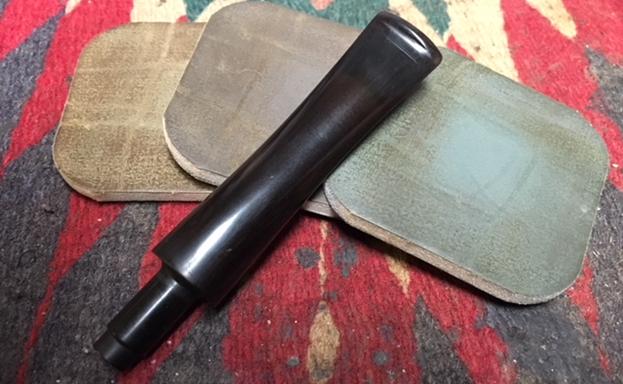
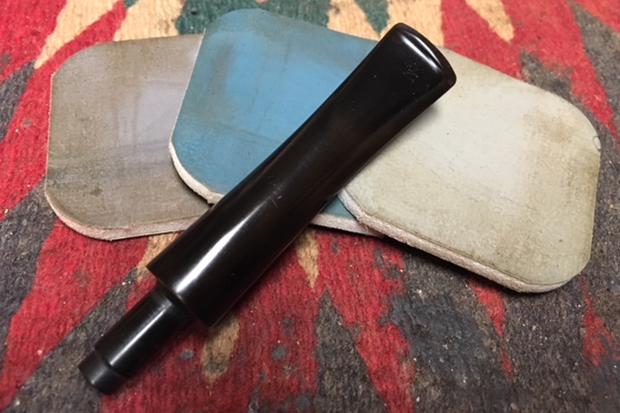
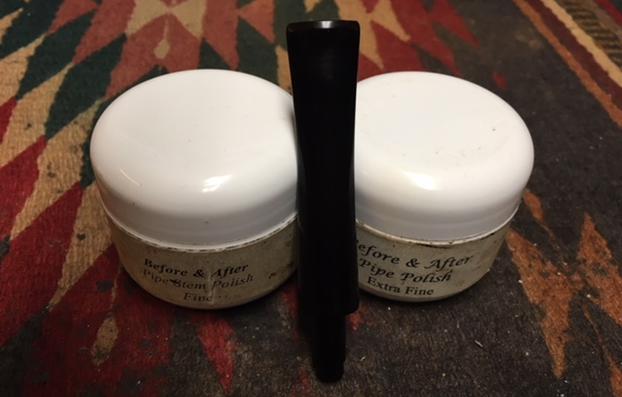
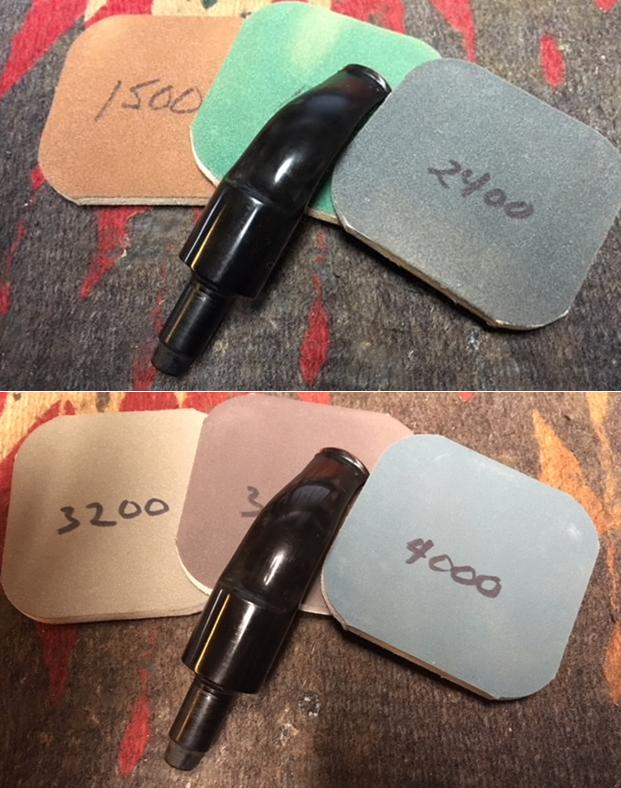
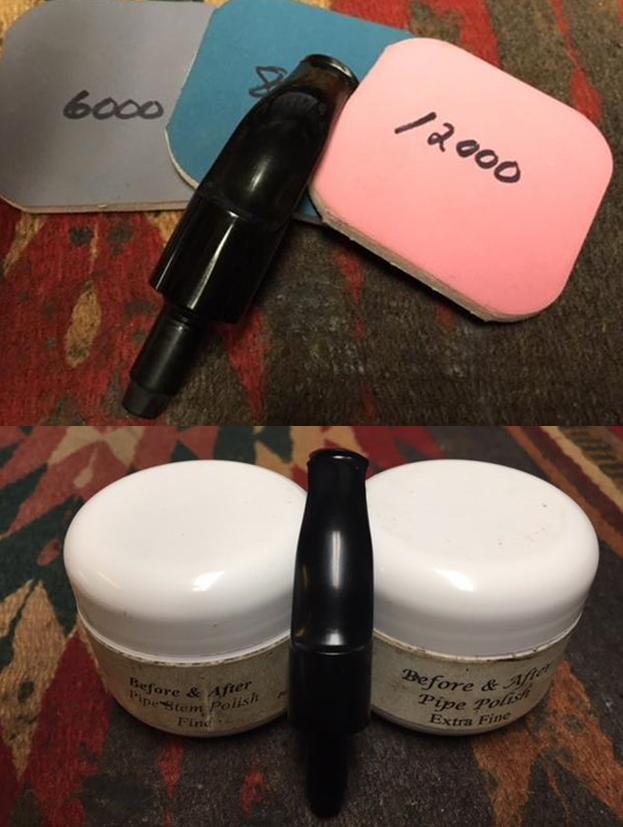
I started my restoration of this pipe by reaming it with a PipNet pipe reamer starting with the smallest cutting head to remove the initial cake and then moving up to the second cutting head to take the cake back to bare briar. I cleaned up what remained with a Savinelli Fitsall Pipe Knife to take back what remained of the cake to bare briar. I scraped the inside of the shank with a pen knife to remove the tars and oils on the inside of the mortise. I followed that up by cleaning out the interior of the mortise and the airway in the shank and the stem with alcohol, cotton swabs and pipe cleaners. Cleaning the stem took the same amount of pipe cleaners as the shank but I forgot to include a photo of that. I cleaned it until the cleaners came out white. I scrubbed the briar with Before & After Restoration Balm working it into the nooks and crannies of the sandblast and rusticated finish. The balm cleans, enlivens and protects the briar and removes the dust and debris in the rustication. It also brought new life to the bowl and the rim top. I rubbed it in and let it sit for a little while then buffed it with a horse hair shoe brush to work it into the finish. I buffed it with a cotton cloth to remove the excess and the debris. The photos below show the progress of the polishing.  I set the bowl aside and sanded the repair with 220 grit sandpaper to remove the tooth marks and chatter on the surface of the vulcanite stem. I followed that with 400 grit wet/dry sanded paper – wet sanding until the scratches and repair had begun to blend into the surface of the vulcanite. I polished the acrylic with micromesh sanding pads – wet sanding with 1500-2400 grit pads and dry sanding with 3200-12000 grit pads. I wiped it down after each pad with a damp cloth. I polished it further with Before & After Pipe Stem Polish – both the Fine and Extra Fine. I wiped it down and gave it a shine with some Obsidian Oil. With the stem polished I put it back on the shank and polished the bowl and stem with Blue Diamond on the buffing wheel. I used a light touch on the briar so as not to fill in the sandblast buffing compound and a slightly heavier touch on the vulcanite stem. I gave the bowl multiple coats of Conservator’s Wax by hand rubbing it into the finish and the stem multiple coats of carnauba on the buffing wheel. I buffed the entire pipe with a clean buffing pad to raise the shine on the briar and the vulcanite. I hand buffed it with a microfiber cloth to deepen the shine. The finished pipe is shown in the photos that follow. It is another beautiful piece of pipe crafting. I am sure Eric will enjoy this beauty once it heads back to Ontario. This is the last of his pipes that I had to work on so now I can pack them up and send them on their journey east. Thanks for walking with me through the restoration. Cheers.

Repairing and Restoring a Hand Carved Danbark “Honey Stick”


Blog by Steve Laug

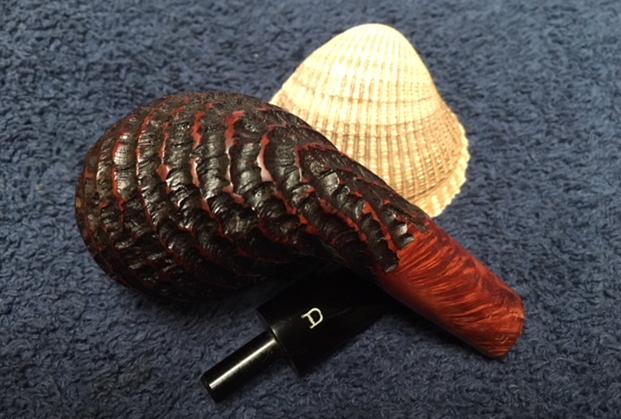
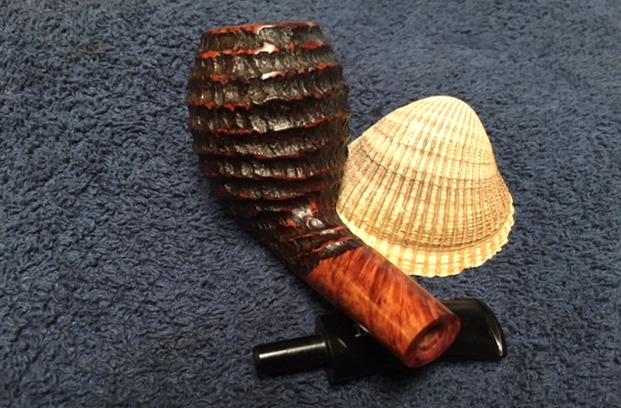
Sometimes a voice from the past is a good thing for both parties. Many years ago now, here in Vancouver I met Eric at the Vancouver Pipe Club. We talked at pipe club meetings and had a common calling as ministers in within different Christian Churches. Over time Eric moved to Eastern Canada and I moved on to work for an NGO here in Vancouver. Not too long ago I received an email from Eric about some pipes that he had that he wanted me to work on for him. We made arrangements and soon a box with three of his pipes was traveling to me from Ontario. It arrived quite quickly and I opened it when it arrived. Eric had thoughtfully included a tin of Samuel Gawith’s Commonwealth Mixture Full Strength for me to smoke and I was looking forward to cracking it open. Included in the box were three pipes – a Danbark Hand Carved from Denmark that was quite stunning, a Bewlay Sandblast Billiard and a Le Nuvole Long Shank Dublin. Each had different challenges to address but each was a beautiful example of the pipe maker’s craft. I decided to work on the Danbark Hand Carved pipe next.

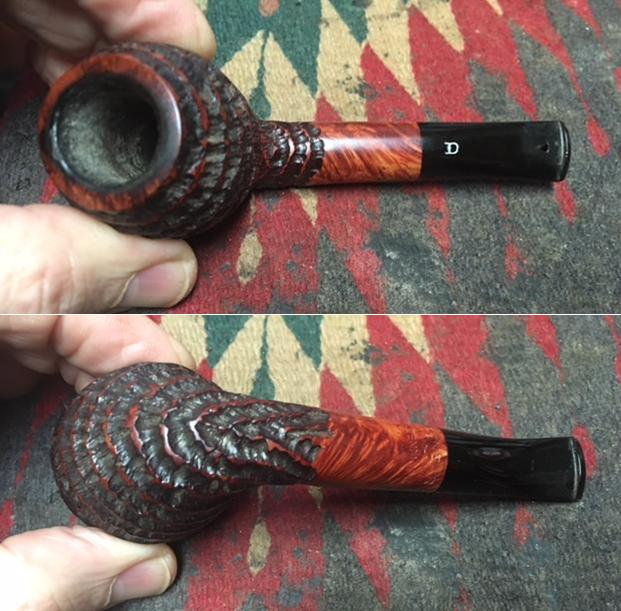
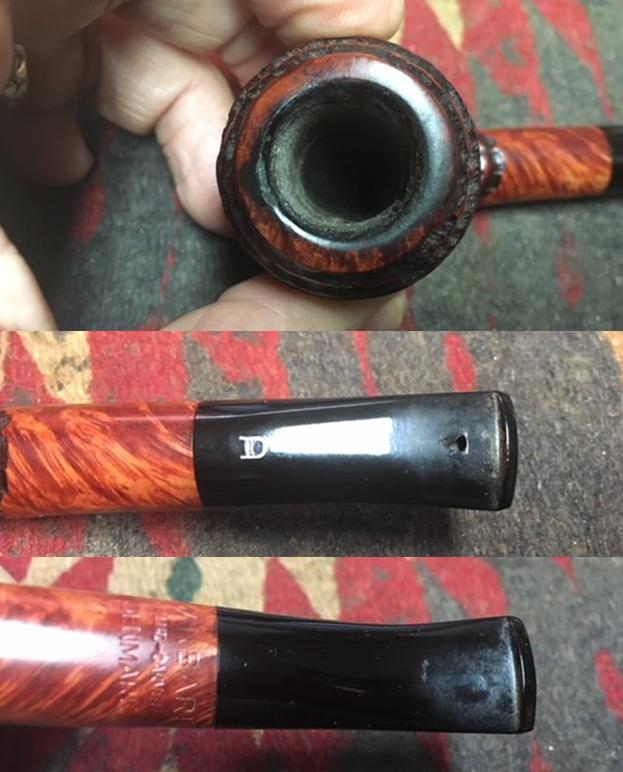
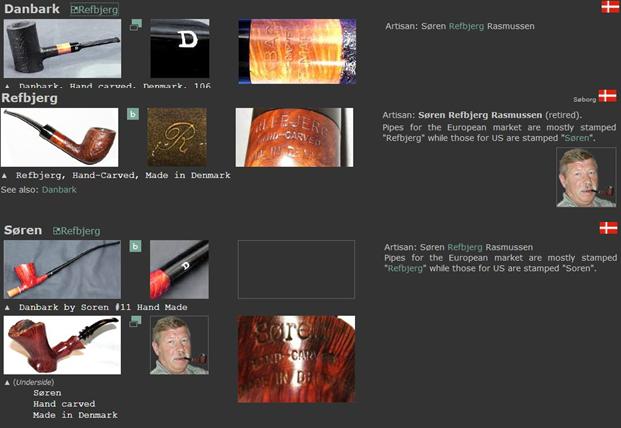
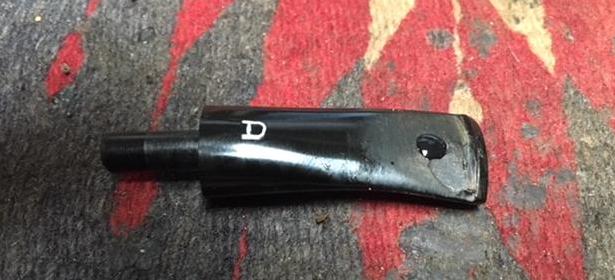
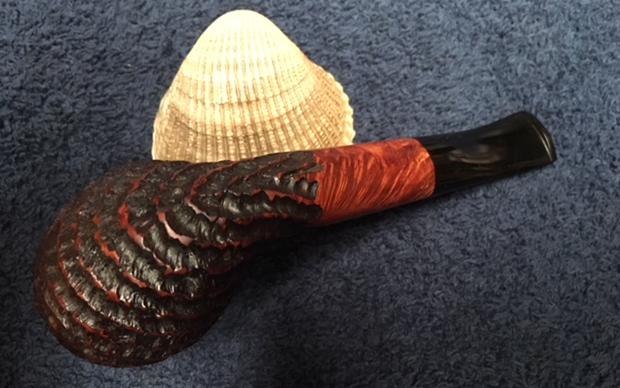
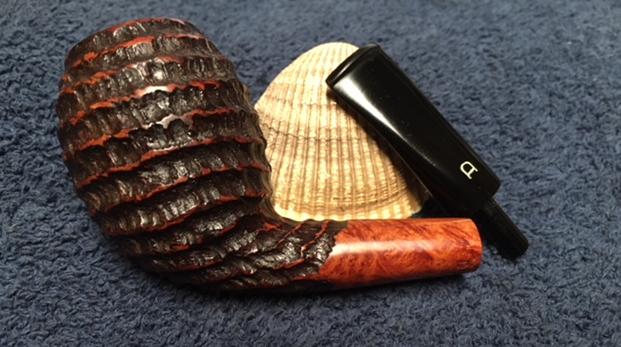
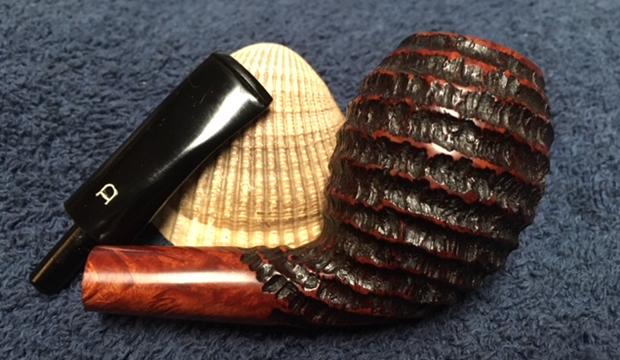
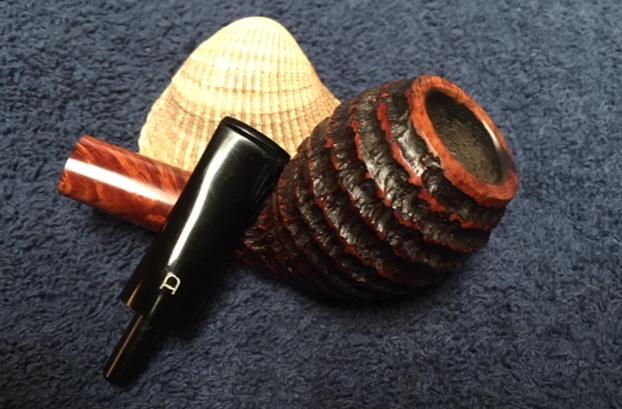
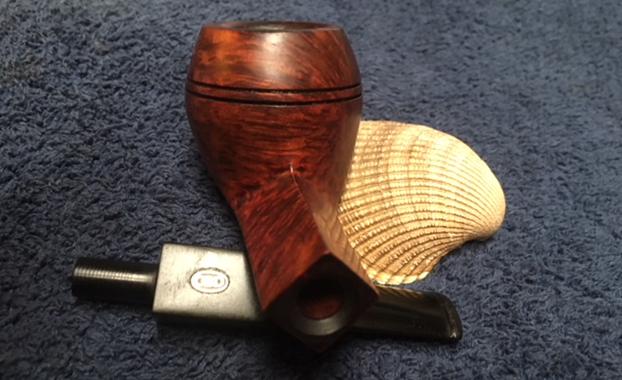
The finish on the pipe was very dirty with a lot of grit and grim in the grooves and crevices of the spiral style of rustication. The rim top was heavily tarred with lava that flowed from a caked bowl. The edges and top of the rim looked like it had burn marks on the front just left of centre and on the rear left side. Other than the burn marks it appeared to be in okay condition though I would not know for sure until I had reamed the bowl and cleaned off the rim top. The bowl was rusticated all around other than the rim top and about half of the shank. The grain on the smooth parts was very nice. The underside of the shank is stamped Danbark over Hand Carved over Denmark.The acrylic stem had the white Danbark “D” logo on the top side. There was tooth chatter on both sides at the button and a triangular shaped puncture on the top side about ¼ inch from the button. The pipe was not as dirty or smelly as the first pipe of Eric’s I worked on. I took photos of the pipe to show the condition it was in when it arrived.  I took close up photos of the bowl and rim top to show its condition. You can see the thick cake in the bowl and the overflow of lava onto the inner edge bevel and on the rim. You can also see the burn marks on the rim top just left of centre and on the back side mid rim. The rim does not look damaged on the outer edge in this photo. I also took photos of the stem to show the general condition it was in as well. It looked pretty good other than chatter on both sides ahead of the button and the puncture on the topside of the stem.I decided to read a little about the brand and the pipemaker. It turns out that the pipe was made by Soren Refbjerg Rasmussen who also made Refbjerg and Soren pipes. That was a surprise to me as I had no recollection of the connection. This “honey stick” style pipe is a Danbark with the same stamping on the shank as the pipe in the photo from Pipephil’s site. I have cleaned and restored several or Soren’s pipes in the past, both Refbjerg and Soren stamped ones but I have never worked on a Danbark. I did a screen capture of all three of the brands carved by Soren and the information included in them. It turns out that the Refbjerg pipes were made for the European market and the Soren ones for the US market. The Danbark pipes seem to overlap on both sides of the Atlantic. The D on the stem is also the same in the photo as the pipe I am working on for Eric.The Danbark that I am working on is stamped on the underside of the bowl and shank at the stem/shank junction. It is stamped with the following information: DANBARK over Hand Carved over Denmark. Soren’s handmade stems have a funneled airway leading through the tenon to a normal rectangular slot in the end of the stem. There is no flaring or shaping done to the slot. It almost looks like a factory blank that has been reworked slightly.

I did a bit more searching and on Pipedia I found out that Danbark was a second line that came from Soren (https://pipedia.org/wiki/Refbjerg). There was also a direct quote from Soren speaking of the Danbark line on Frenchy’s Pipes online. Frenchy’s was an online seller that retailed both new and estate pipes quite a few years back. I did business with him in those years and enjoyed him – great sense of humour. Here is what he quotes from Soren and is requoted on Pipedia.

“A note from the carver: I am very proud to introduce my new (!) series of hand-carved Danbark Pipes by Søren. These pipes are crafted from the finest Corsican and Grecian briars. I take a great deal of pride in crafting the Danbark Pipes to be highly functional and so they will provide the smoker with many years of dedicated service. The Danbark Pipes by Søren are available in several different styles and finishes with my personal touch and inspirations. At this time I favor making classic shaped pipes with a slight touch of my own hands and feelings. I do not produce many pipes today but the pipes that I do make available are individually crafted from the finest Corsican and Grecian Briars available to me. I still make free-hand pipes but not as many as I once made. For the past 35 years I have always tried to make good smoking pipes in my workshop located near Copenhagen, Denmark. I have always tried to craft my pipes in such a way as they will be long lasting and best friends with the owners. I take great pride in the shape of my pipes, the drilling of the pipes, and the overall dimensions of the pipes. I enjoy spending my spare time on the very long, rugged coasts of Denmark. I derive much relaxation from being on the coast while angling for Sea Trout with my own hand-tied flies. I find this environment is a great inspiration to me for making pipes. Many times I think to myself, ‘Inspired by nature, made by me’. — Happy puffing, Søren”

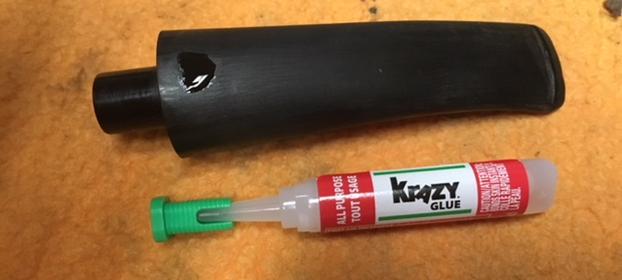
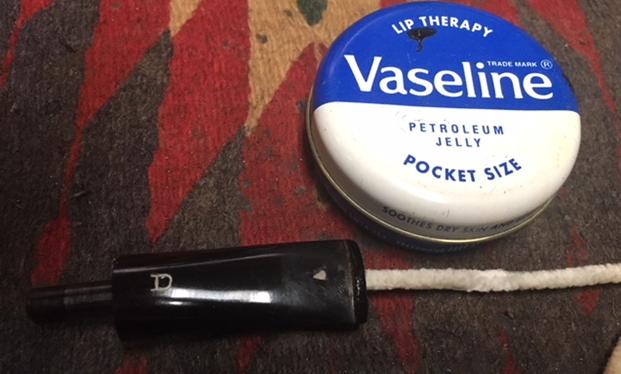
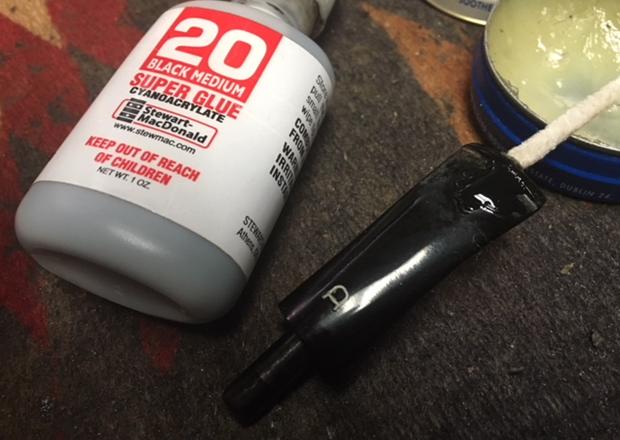
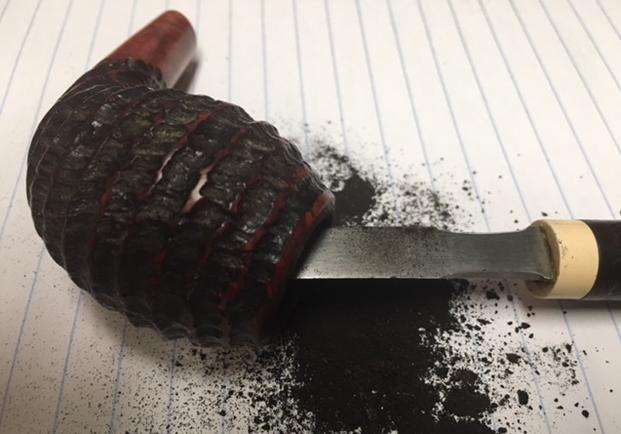
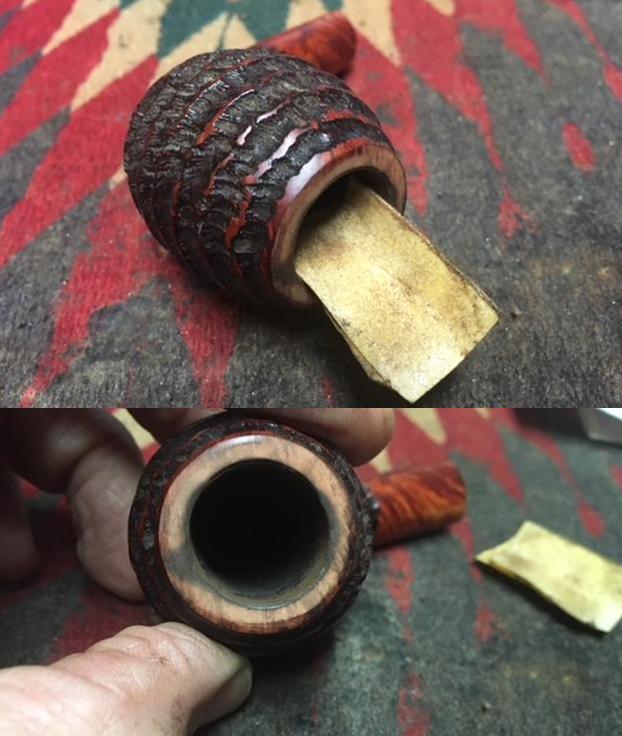
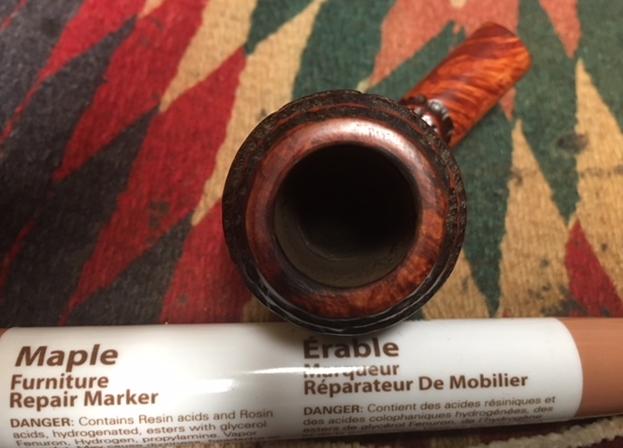
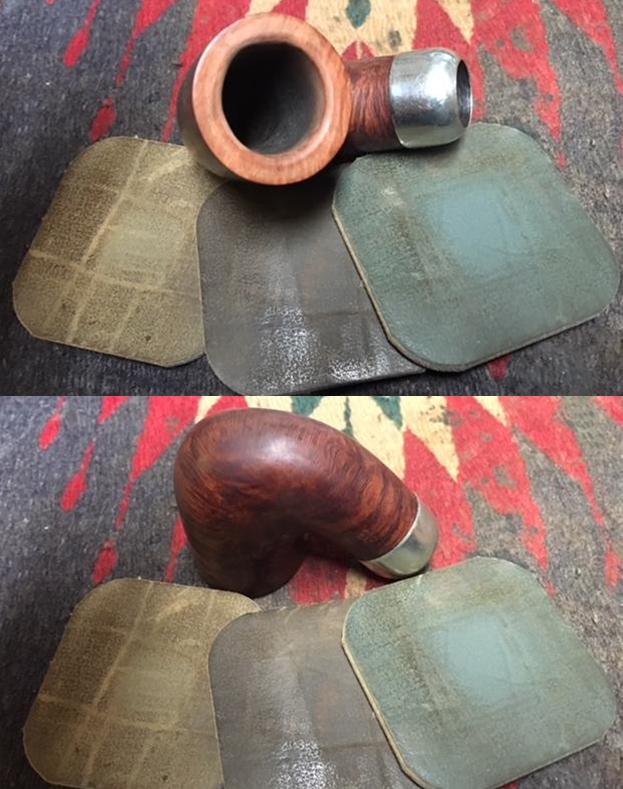
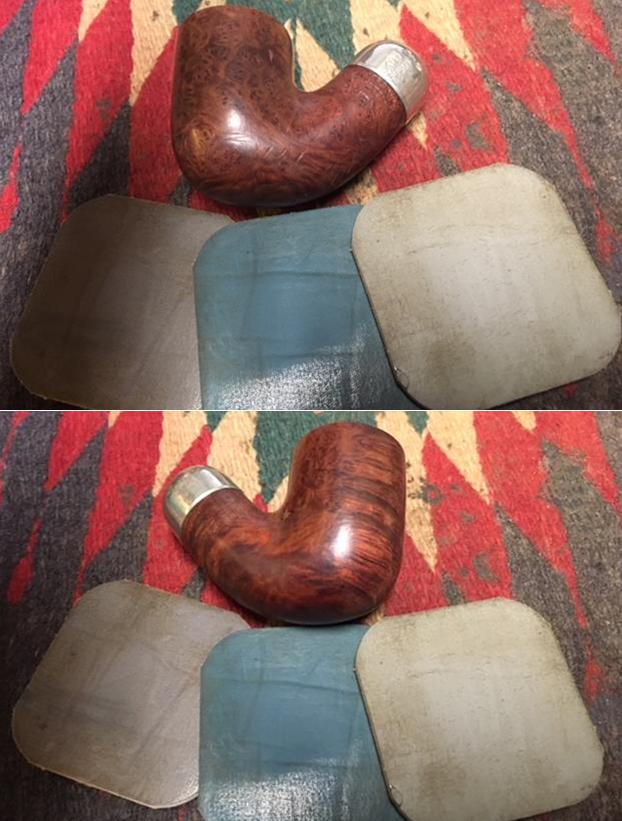
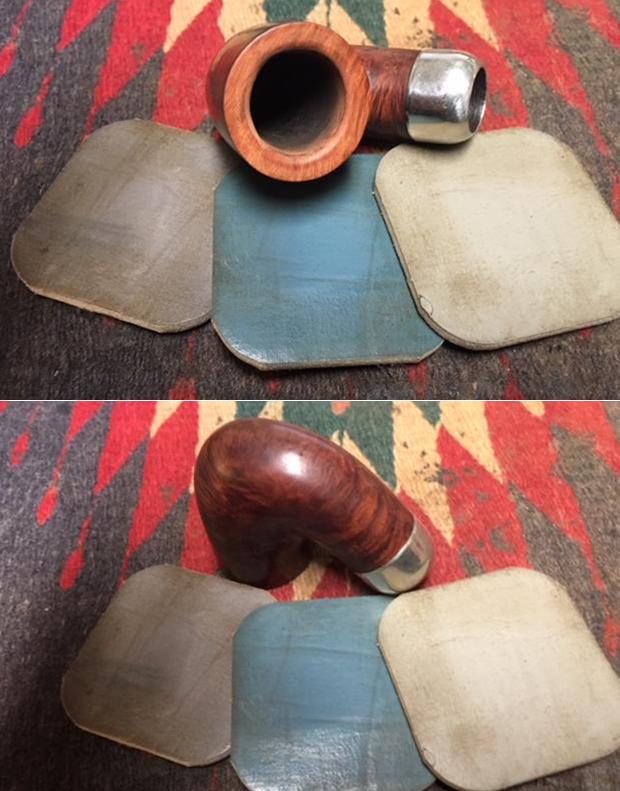
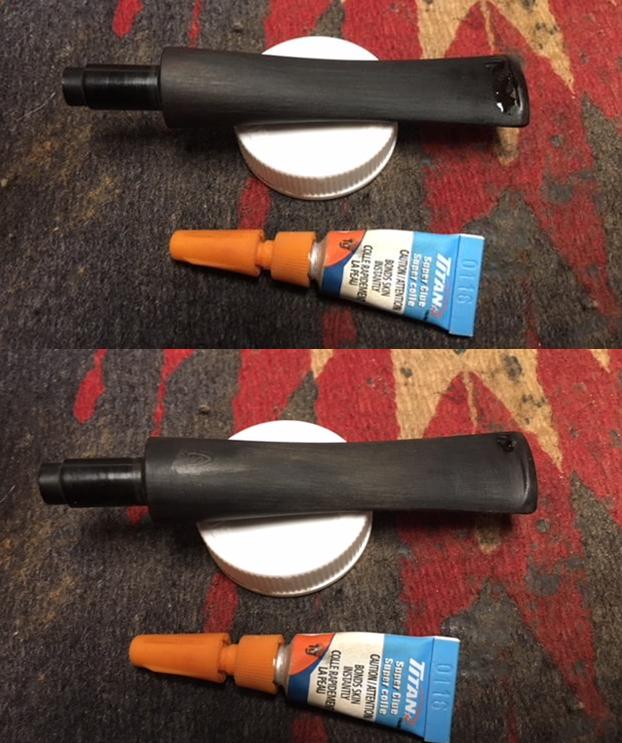
I decided to start the work on this pipe by repairing the puncture in the stem. I cleaned the inside of the stem with pipe cleaners to remove the grime. I wiped the stem down with alcohol on cotton pads to remove any debris or grime on the puncture wound. I cleaned the edges of the puncture with a cotton swab and alcohol. Once it was clean, I greased a pipe cleaner with Vaseline and inserted it through the slot making sure that the space below the puncture was filled with greased fuzz. I filled in the puncture with black super glue. I sprayed it with an accelerator to set the repair quickly so that I could remove the pipe cleaner. I sanded the repair lightly to smooth it out. I refilled the repaired area with a bubble of black super glue to fill in the air bubbles in the repair. I set the stem aside until the repair had hardened. While the repair was curing I turned my attention to the bowl. I reamed the bowl with a Savinelli Fitsall Pipe Knife to scrape away the cake and take it back to bare briar. I worked it over from top to bottom removing the thick cake coat.I rolled a piece of sandpaper around my finger and sanded the walls of the bowl smooth. I worked over the inner edge of the rim and the rim top to remove as much of the burn damage and damage to the edge of the bowl. I worked on it with a folded piece of 220 grit sandpaper to smooth it out. I lightly topped the bowl on the topping board with 220 grit sandpaper to remove more of the damaged wood. The top of the bowl was charred at the front edge a little left of center. I topped it to remove the char and smooth it out. The wood that is left is solid. I did not take too much of the top because of the smooth outer edge above the last spiral of rustication.I cleaned out the interior of the mortise and the airway in the shank and the stem with alcohol, cotton swabs and pipe cleaners. I cleaned it until the cleaners came out white.I sanded newly topped rim gently with a worn piece of 220 sandpaper and wet sanded it with some 400 grit wet dry sandpaper. I polished the rim top with micromesh sanding pads – wet sanding with 1500-2400 grit pads and dry sanding it with 3200-12000 grit pads. I wiped it down after each pad with a damp cloth. The photos below tell the story of the polishing of the rim top. Once the rim was polished and scratch free I used a Maple stain pen to match the colour of the rest of the smooth areas around the shank and bowl. I wanted the stain to hide the burn marks on the rim. I figured that it would at least mask them a bit.I let the stain dry and then rubbed the briar down with Before & After Restoration Balm working it into the nooks and crannies of the rusticated finish with my fingertips. I am really enjoying working with the balm and it cleans, enlivens and protects the briar and removes the dust and debris in the rustication. It also helped to blend in the stain on the rim and brought new life to it as well. I rubbed it in, used a horsehair shoe brush to work the balm into the finish, let it sit for a little while then buffed it off with a cotton cloth. The photos below show the progress of the polishing.  I gave the bowl and shank multiple coats of Conservator’s wax – once again rubbing it into the finish with my fingertips and then letting harden slightly. I buffed it with a shoe brush and a cotton cloth. I repeated the process until I had given the bowl several coats of the wax. The finish really had taken on a shine that was beautiful. I set the bowl aside and called it a night. When I returned the next evening after work I turned my attention to the stem. The repair had hardened and looked good. I sanded it smooth with a 1500 grit micromesh sanding pad. I did not want to sand too deeply into the repair rather I wanted to have it form a protective layer over the puncture mark. I used 400 grit wet/dry sandpaper to feather in the edges of the repair. I polished the entire stem with micromesh sanding pads – wet sanding with 1500-2400 grit pads and dry sanding with 3200-12000 grit pads. I wiped it down after each pad with a damp cloth. I polished it further with Before & After Pipe Stem Polish – both the Fine and Extra Fine. I wiped it down and gave it a shine with some Obsidian Oil. With the stem polished I put it back on the shank and polished the bowl and stem with Blue Diamond on the buffing wheel. I used a light touch on the briar so as not to fill in the rustication or the rings with buffing compound and a slightly heavier touch on the acrylic stem. I gave the bowl multiple coats of Conservator’s Wax by hand rubbing it into the finish and the stem multiple coats of carnauba on the buffing wheel. I buffed the entire pipe with a clean buffing pad to raise the shine on the briar and the acrylic. I hand buffed it with a microfiber cloth to deepen the shine. The finished pipe is shown in the photos that follow. It is a beautiful piece of pipe crafting. I am sure Eric will enjoy this beauty once it heads back to Ontario. Just one more of his pipes to work on before they all travel east. Thanks for walking with me through the restoration. Cheers.

Cleaning a Peterson Aran – aka The Curse of the Tar Monster


Blog by Dave Weagle

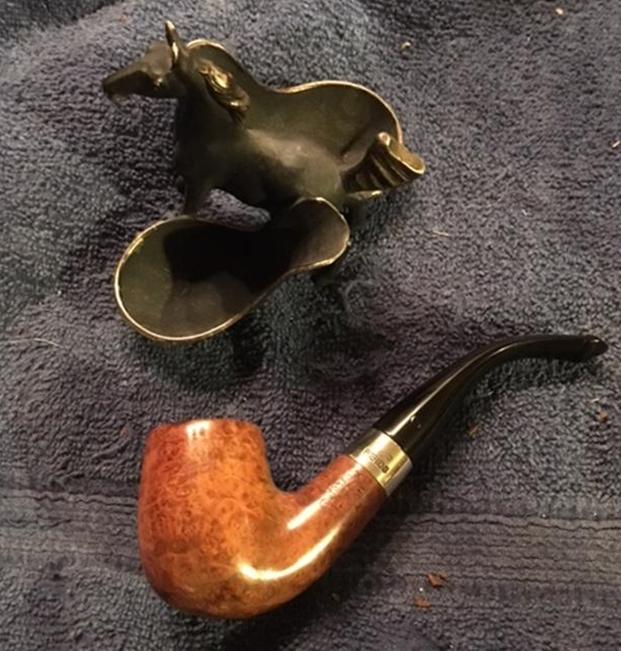
I know my sub-title sounds like a Scooby Doo episode from the 70’s but when you see the condition of the pipe when it arrived in the mail, my first thought was “The Tar Monster”.  Here’s the story of the restoration.

One Saturday afternoon while waiting to go out for supper I had a few minutes to kill so I grabbed my phone and went surfing Ebay for any new pipe listings.  My common searches are Peterson, Kaywoodie & Yello Bole.  When I typed in Peterson a listing appeared for a pipe lot that included two Peterson Aran pipes and a group of pipes.  The only other pipes in the lot other that I could identify from the photos were five Carey Magic Inch (the vents in the stems gave them away).  The sellers description was “Large Lot of Vintage Pipes in Used Condition.  I’ve learned that could be anything from cracked bowls to chewed stems.

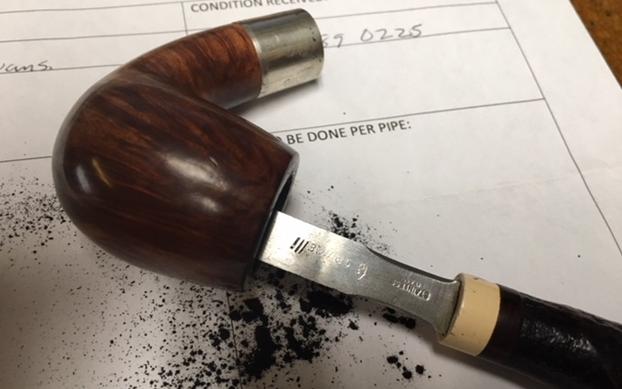
Of the eight pictures that appeared in the Ebay listing, one showed both Peterson pipes.  A Canadian (needing a quick cleaning and a stem) and a Bent Billiard that appeared to be partially rusticated.  It looked like the rustication had been nicely done and both pipes appeared to be in good shape.   When the box arrived, I found each pipe was individually wrapped with bubble wrap and taped.  It was like Christmas.  Twenty- seven little presents to unwrap.  I quickly found the five Carey Magic Inch pipes but to my delight there was a GBD, a Wally Frank, a Weber, two Edwards, a few basket pipes and ten Kaywoodie’s (most older four-hole stingers).  The Petersons were at the bottom of the box and to my shock this was not a rusticated billiard.  This was an eruption of lava.  My stomach sank.  My first thought, with this much lava covering the bowl, the pipe must have been smoked hard and the inner bowl would be destroyed.  Between the condition of the bowl and stem I figured the first step was to soak both the stem and the bowl.  I removed the nickel band and placed the bowl to soak in isopropyl alcohol.  The stem actually had so much calcium buildup on it I figured it would take an evening of sanding and rebuilding just to save the stem. While the bowl soaked I mixed up an Oxy clean bath and soaked the stem.   When I pulled the bowl out of the isopropyl alcohol I took it to the sink and using 0000 steel wool I scrubbed the bowl attempting to remove the softened lava.  Some came off. I then removed the stem from its bath and took it to the sink as well.  I used a pot scrubber to remover the buildup on the stem and then using hot water and a sank brush I managed to clean the stem to the point that a pipe cleaner could pass through it.   Not to speak ill of a fellow pipe smoker but I couldn’t smoke a pipe in this condition.Next, I decide to gently scrape the bowl using the back side of my pipe knife.  I didn’t want to gouge the bowl, so I went at it slowly and took a few breaks during the process.  Once I had removed all traces of the lava it was on to sanding.  Using micro mesh pads, I started with 1500 and progressed to 12000.

It cleaned up beautifully. The grain was gorgeous.  I was beginning to feel a bit better about my newest Peterson.  Maybe it would be salvageable.  Maybe it would actually become a nice addition to my Peterson collection and not just another old beater pipe to hangout in the garage with me when I work on my trucks.Now that there was some light at the end of the tunnel, there was still the inner bowl and the stem to deal with. As I said before. I’m not sure how someone smoked this pipe.  The stem was plugged.  The draft hole was plugged.  There was still tobacco flakes still in the bowl.

Starting with my Hedge Hog I opened the bowl enough to move on to my Castleford reamer.  After reaming the bowl, I used a piece of 220 grit sand paper to level out the bowl (I lost the pics of this process).  To my surprise the inner bowl had no scars, no burns or cracks.  It was in excellent shape.  It smelled like an outhouse but was in excellent shape.  Using a 4mm drill bit, I opened up the draft hole. Next using cotton swabs, a shank brush, pipe cleaners and isopropyl alcohol I scrub the bowl and the shank.  After cleaning the bowl, it still stank.  My wife, actually came downstairs to ask me what I was working on.  She could smell the pipe all the way upstairs.  In the 300+ estate pipes I have worked on this is the first that could be smelled on another floor.  I guess reaming the bowl unleashed the funk.  It was off to the retort to remove the smell.  It took four test tubes of alcohol before it came out clear.After finishing with the retort, I flamed the bowl to remove any excess alcohol.The next step was to fix the damage to the stem.  The top of the P-lip was dented and the underside ridge was chewed.  Mixture of rubberized CA glue and charcoal powder was applied to stem and left to dry overnight.   The next evening after a long day it was nice to sit down by the woodstove with a coarse file and set about getting the rough shape of the stem back.  To remove the file marks I sanded the stem starting with 220 grit paper finishing with 800 grit.  I then switched to wet sanding finishing at 3000 grit.  Micro mesh pads were used prior to buffing the stem. Blue diamond was used on the buffing wheel.  Before waxing the stem the P stamped on the side was highlighted with Rub n Buff silver paste.  The bowl was also polished with blue diamond compound on the buffer.  Before waxing the bowl the band was fastened with white glue.  The band was polished with Autosol and the bowl was sweetened.And this is the finished pipe after a few coats of Carnauba Wax. Still blows me away how nice this pipe cleaned up.  Keep on pipe’n.

Breathing Life into a Republic Era Peterson’s System 313 Pipe


Blog by Steve Laug

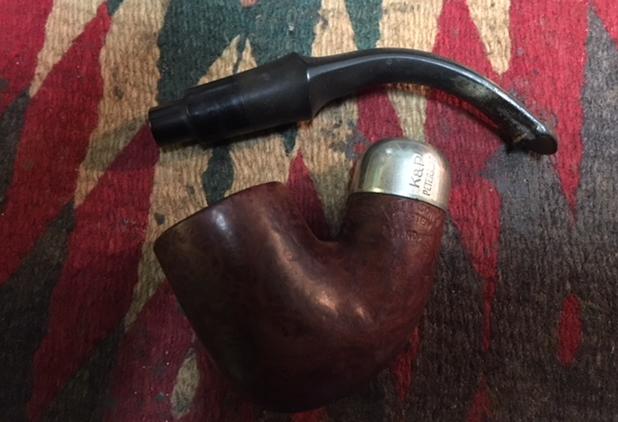
I have been corresponding with Paresh for some time now and have repaired and restored two of his pipes and sent him others as well. We carry on conversation via WhatsApp on the internet and discuss the various pipes he is purchasing as well as ones that he has inherited from his grandfather. This Peterson 313 System pipe came to me direct from the eBay seller in England. It took so long to get here (almost 2 months) that we both had pretty well given up on it. It arrived in a crushed package that I had to pick up at the post office. I was worried that the pipe inside had been damaged as well. This was one of those times that the seller had done a very thorough wrapping of the pipe in bubble wrap so it was unscathed by the crushing of the box. The pipe was stamped Peterson’s arched over System over Standard on the left side of the shank and Made in the Republic of Ireland on the right of the shank with the shape number 313 under that. The nickel ferrule was stamped K&P over Peterson.

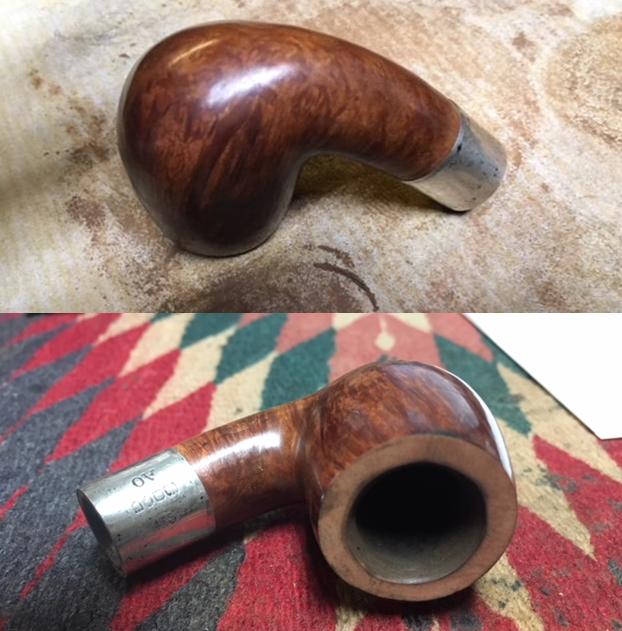
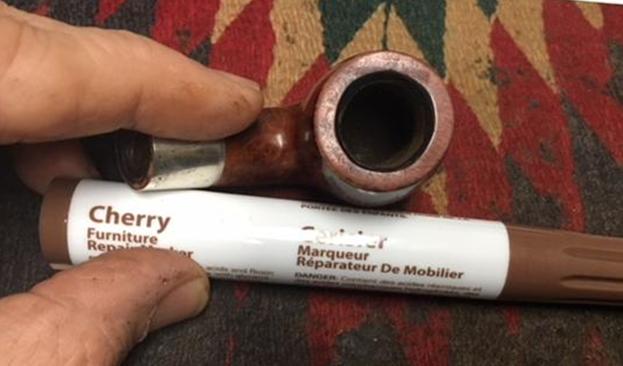
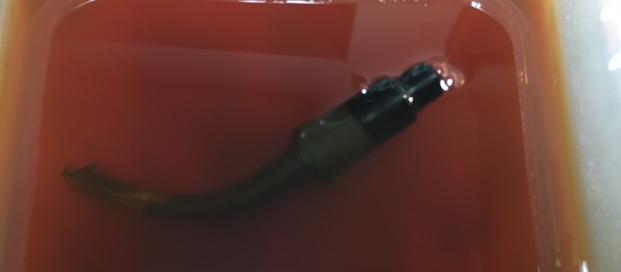
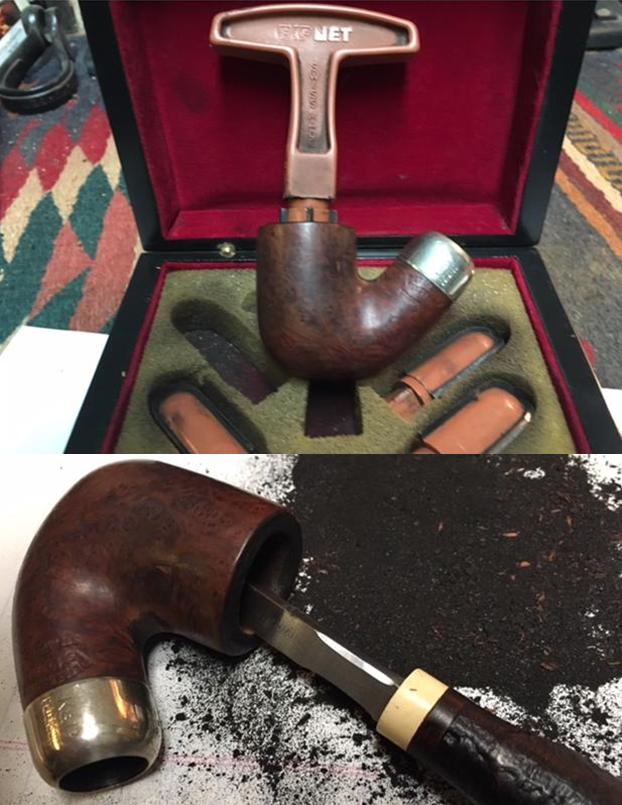
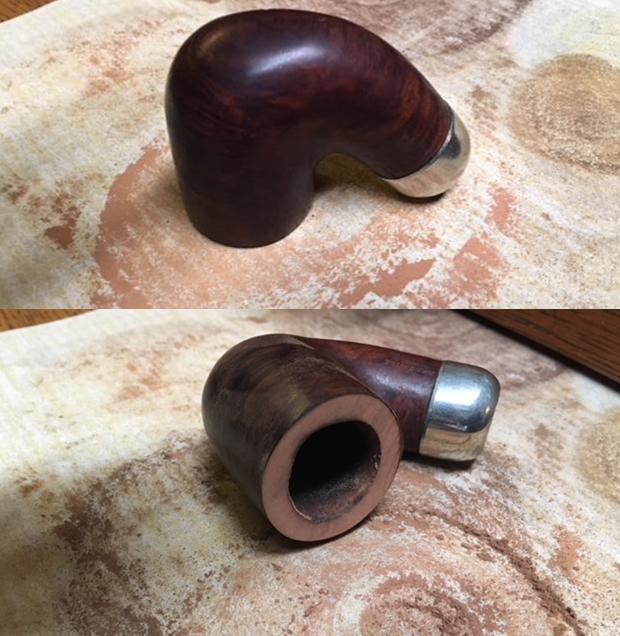
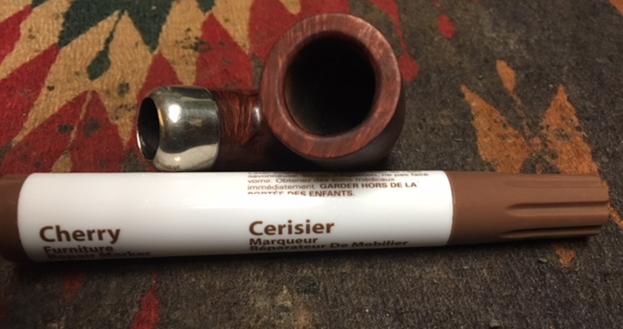
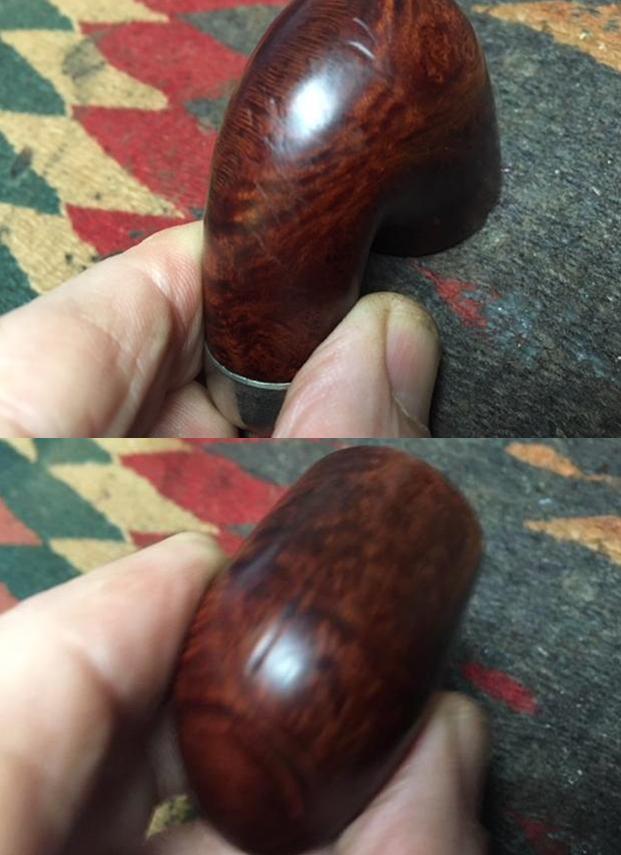
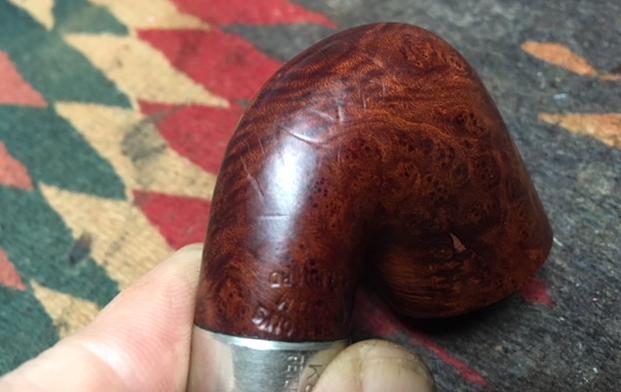
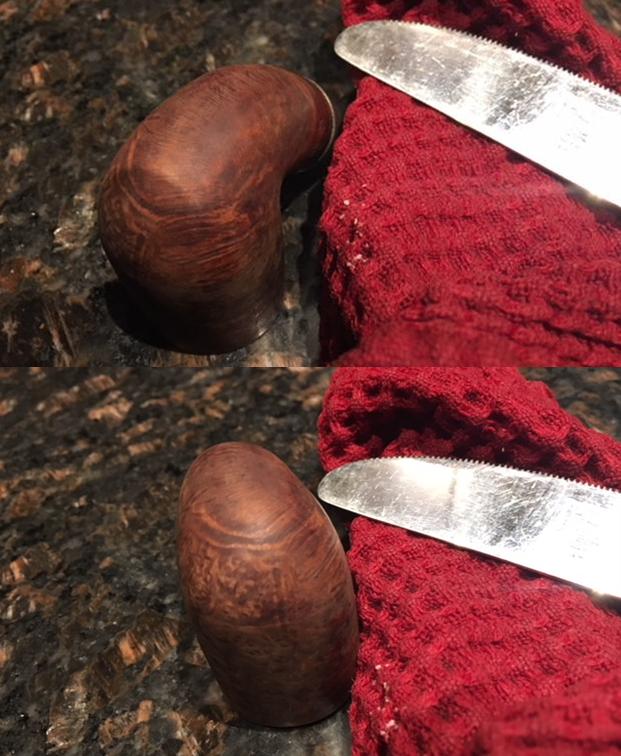
The finish on the pipe was very dirty with a lot of dents on the bottom side of the bowl and shank. There was a long deep dent on the front of the bowl. The bowl had a very thick, hard cake that had overflowed onto the rim top. The bowl was out of round and the inner bevel was burned and damaged. It looked as if some had tried to ream the bowl with a knife sometime in its life. There were two fills – one on the back left and one on the back right. In the angle of where the shank and bowl connected there was a heavy oily grime build up. The inside of the shank and sump were filled with tars and oils. The nickel ferrule was in great condition with light scratching but no real oxidation. The stem was a mess. The top side of the stem had deep tooth grooves extending forward from the p-lip button about 1 inch. On the underside there were also tooth marks. Both sides had a lot of serious chatter and some calcification build up. The stem was oxidized and very dirty. I took some photos of the pipe before I started working on it. I took close up photos of the rim top and the stem to show the condition it was in when it arrived in Vancouver. You can see the heavy lava buildup on the rim top. You can also see the damage on the inner edge, particularly heavy on the right front side. The cake was quite thick and very hard leaving barely enough room for my little finger to fit in the bowl. You can see the condition of the stem and the tooth marks in the oxidation on both sides. The tooth marks and chatter on both sides are deep and worn looking.The stem was stuck in the shank and would not move. I tried to twist it and turn it but nothing moved. I put the pipe in the freezer for half an hour let it do its magic. At the end of the half hour I was able to easily remove the stem from the shank.I decided to soak the stem in a bath of Before & After Pipe Stem Deoxidizer so I dropped it in the airtight container and set it aside overnight to let it do its work.I turned my attention to the bowl. I started by reaming the hard cake back with a PipNet pipe reamer. I started with the smallest cutting head and worked my way up to the second head. I took the cake all the way back to bare briar. I cleaned up the remnants in the bowl with a Savinelli Fitsall Pipe Knife. The knife allowed me to get all the way to the bottom of the bowl and remove the cake that still remained around the airway.I topped the bowl on a topping board with 220 grit sandpaper. I worked on it until I had removed the damage on the top of the rim and was able to minimize the damage to the inner and outer edges of the bowl. I used a folded piece of sandpaper to rework the inner edge of the bowl and give it a slight bevel to hide the burn marks and the damage from the knife reaming. With a little work I was able to remove the damage on the inner edge of the bowl. I also ran the folded sandpaper around the outer edge to smooth out the nicks and marks.The briar on the bowl had some dents around the sides, front and back of the bowl. The underside of the shank was also dented. Before I dealt with the dents in the surface I decided to polish the briar and raise a shine. I wet sanded it with 1500-2400 grit micromesh sanding pads and dry sanded it with 3200-12000 grit pads. I wiped it down after each pad with a damp cloth to remove any sanding dust. The grain in the briar really began to stand out. There was some really nice birdseye on the sides of the bowl and cross grain on the front and back sides. I used a cherry stain pen to restain the rim top to match the colour of the rest of the bowl. I have found that this particular cherry stain perfectly matches the colour of the Peterson’s System Standard pipe.I cleaned out the inside of the shank, the sump and the airway into the bowl with pipe cleaners, cotton swabs and alcohol. It took a few of each but after while the cleaners and cotton swabs came out clean and the pipe smelled fresh.With the internals clean and the externals clean I decided to address all of the dents in the briar on the bottom and front of the bowl. I took photos of the dents to give an idea of the sheer number of them all around the shank, bowl bottom and up the front. They were all quite rounded dents rather than cuts so I figured that I could steam most of them out. I use a wet cloth (not dripping but enough to make steam when heated) and a hot butter knife to steam the dents. I heated the knife over a flame on my gas stove, put the wet cloth over the dents and touched the surface of the briar with the hot knife. The heated blade on the wet cloth created steam and began to lift the dents. I repeated the process until the majority of the dents had been lifted. I took photos of the pipe, knife and wet cloth.I dried off the bowl and took photos of the briar to show how well the steam had lifted the dents in the wood. I rubbed some Before & After Restoration Balm into the briar to lift out the dust in the grain, enliven and protect the clean and steamed bowl. I let it sit for a little while then buffed it off with a soft cloth. I like the way the grain stands out now. Some of the dents are still visible on the bottom left side of the shank but they are far better than they were. I took the bowl to my buffer and buffed it with Blue Diamond to polish it and raise a shine. I was careful around the stamping so as not to damage it or reduce its readability. The bowl looks really good at this point. All that remains for the bowl is to wax it and buff it. I set it aside and began my work on the stem. I took the stem out of the Before & After Stem Deoxidizer bath and rinsed it under warm water. I blew air through the stem to remove the deoxidizer from the inside of the airway. I dried it off with a paper towel to remove the residual oxidation that was on the surface. I took photos of the stem at this point in the process. You can see some of the calcification on the stem around the button and the tooth marks on both sides. The tooth marks on the underside are by far the deepest.I cleaned the inside of the stem with pipe cleaners, cotton swabs and alcohol to remove the residual deoxidizer in the airway.I painted the surface of the stem with the flame of a Bic lighter to left as much of the tooth denting as possible. Once I had repeated that and the stem would no longer rise I sanded it with 220 grit sandpaper to smooth out the damage. I finished by sanding it with 400 grit wet/dry sandpaper to remove more of the scratches in the vulcanite. I sanded the entire stem with 220 grit sandpaper to remove the calcification and remaining oxidation. I used a needle files to sharpen and reshape the sharp edge of the p-lip button on the top side and the shelf on the underside. I need to clean up those areas before I could repair the deep tooth marks. I cleaned out the deeper tooth marks with alcohol and cotton swabs to remove the debris and dust from the divots. I dried them off with a cotton pads. I filled in the tooth dents with black super glue. I spread the glue and smoothed it out with a dental spatula. I set it aside to let the glue cure.I sanded the repairs smooth with 220 grit sandpaper and with 400 grit wet/dry sandpaper. I blended them into the surface or the stem and reshaped the button and shelf. I polished the stem with micromesh sanding pads. I wet sanded it with 1500-2400 grit pads and dry sanded with 3200-12000 grit pads. I wiped the stem down after each pad with a damp cloth. I finished polishing the stem with Before & After Pipe Polish – both Fine and Extra Fine. I rubbed it into the stem and polished it with a cotton pad. I gave it a final coat of Obsidian Oil and set it aside to dry. With the stem reshaped and polished I put it back on the pipe and buffed the bowl and stem with Blue Diamond. I used a light touch on the stem to polish out any remaining scratches. I gave the bowl and the stem several coats of carnauba wax and buffed the pipe with a clean buffing pad to raise the shine. I hand buffed it with a microfiber cloth to deepen the shine. The pipe polished up pretty nicely. The finished pipe is shown in the photos below. This is the fifth pipe I have worked over for Paresh. Once I finish the other two pipes that he has in the queue I will pack them up and send them to India. I look forward to hearing what he thinks one he has them in hand. Thanks for walking through the restoration with me as this one provided a few different challenges to the restoration craft. Cheers.
Finishing the last of Mark’s Challenges – this one a GBD Bulldog 2331


Blog by Steve Laug

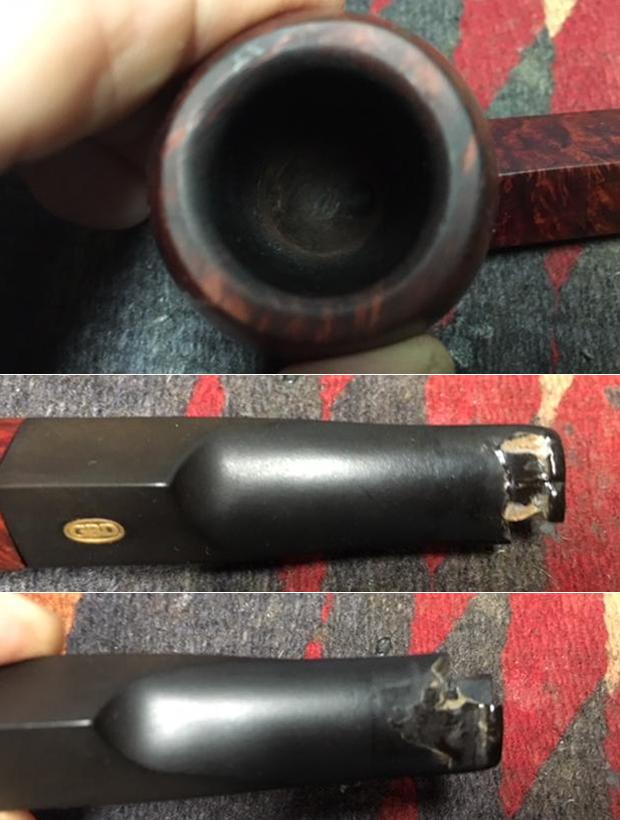
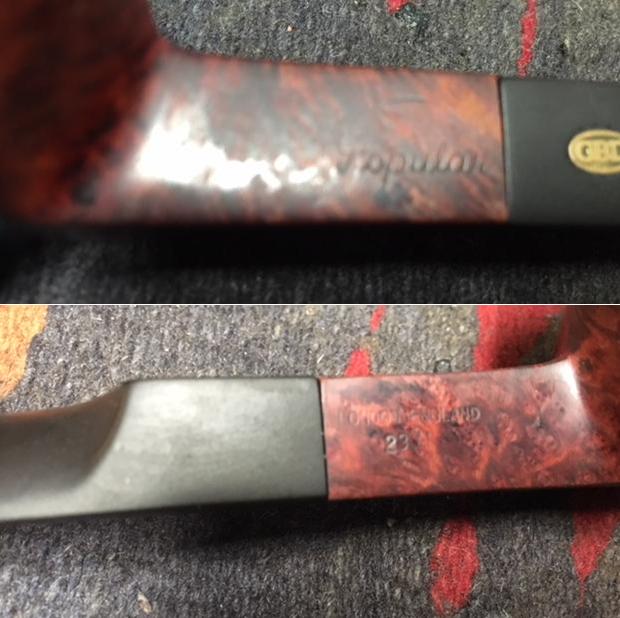
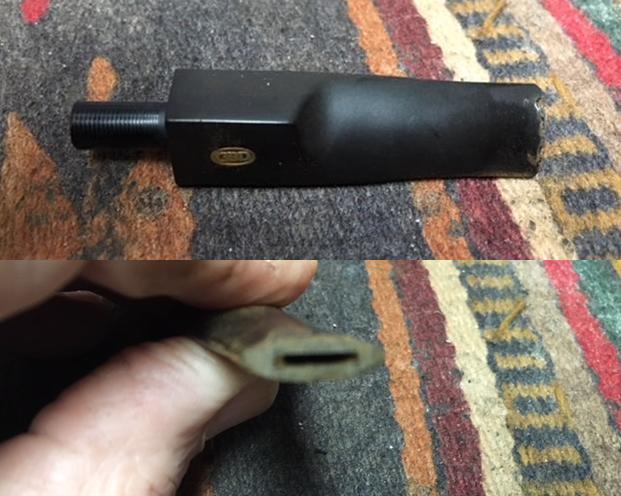
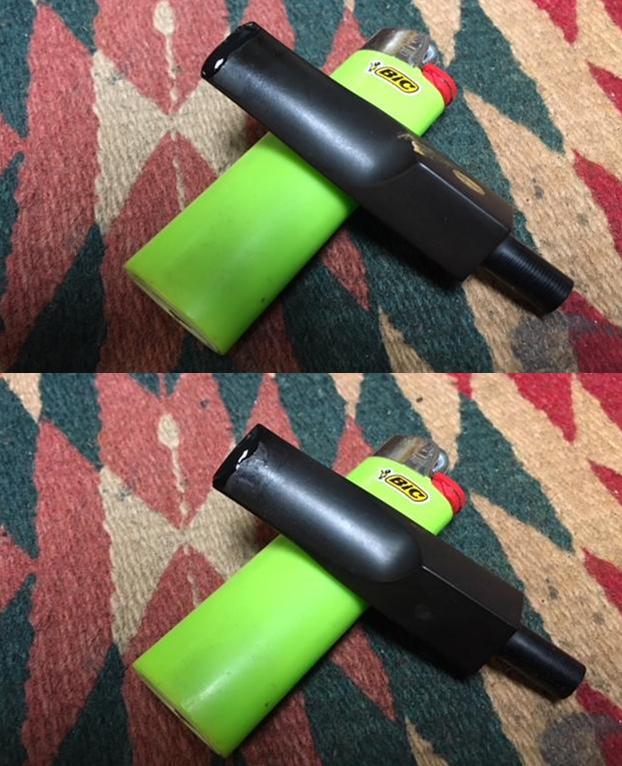
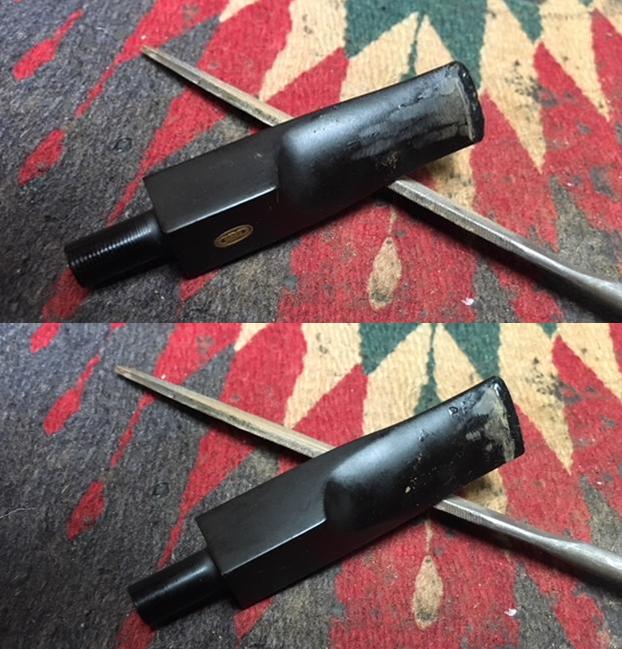
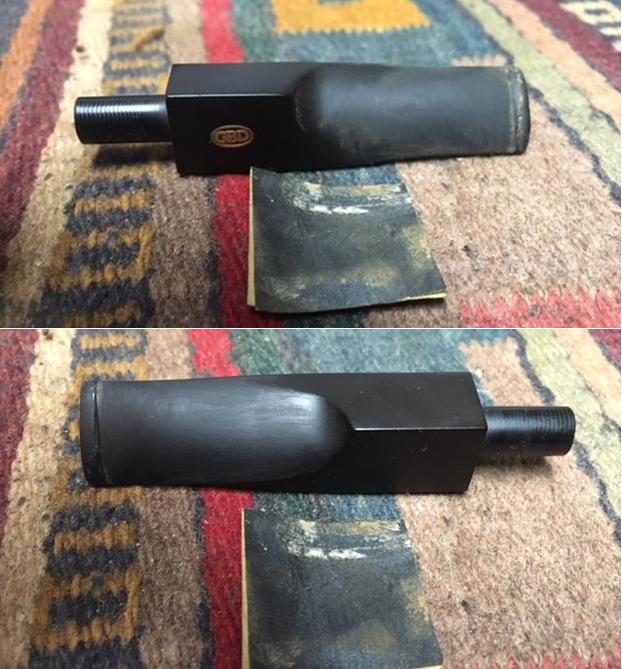
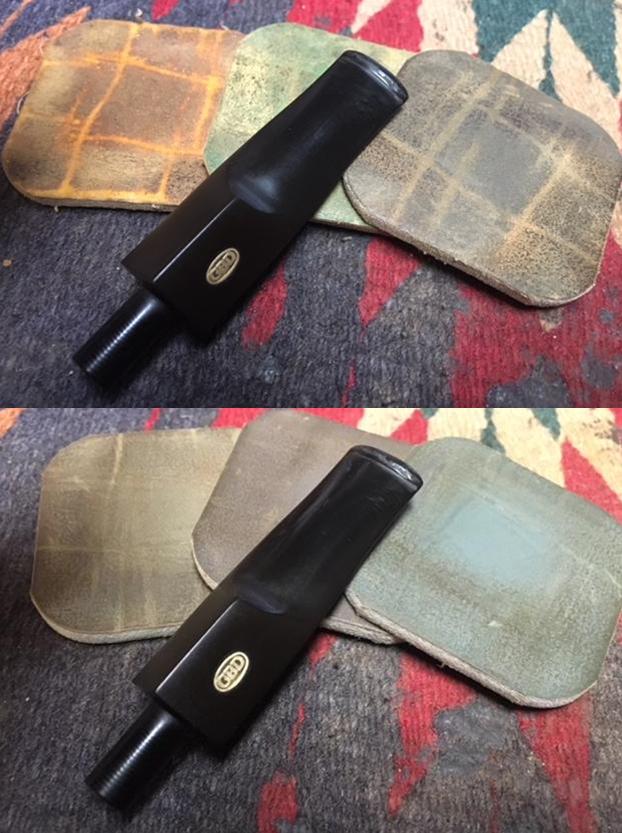
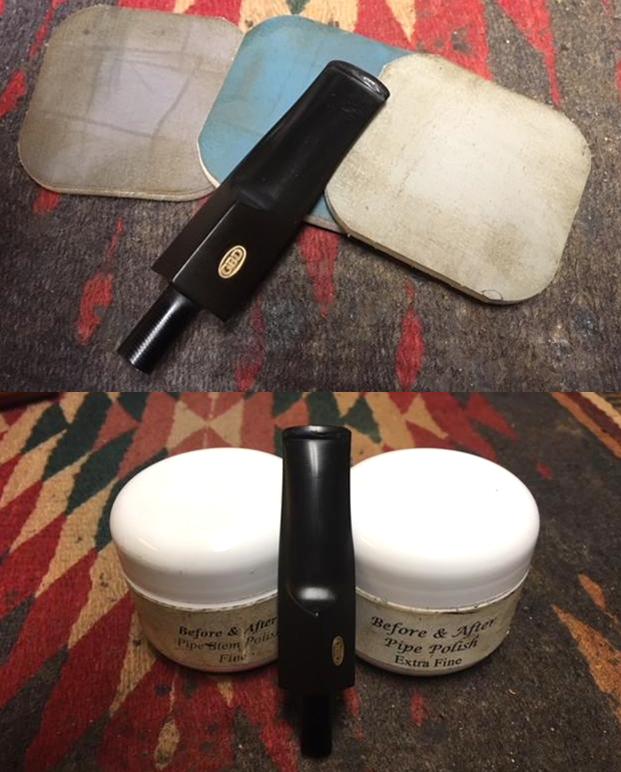
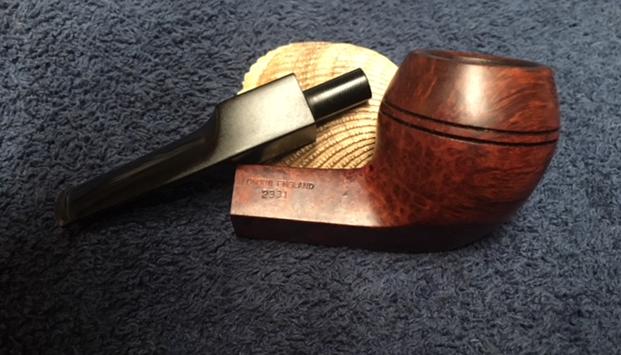
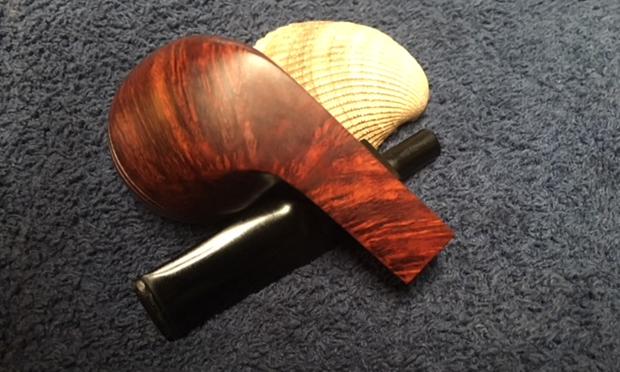
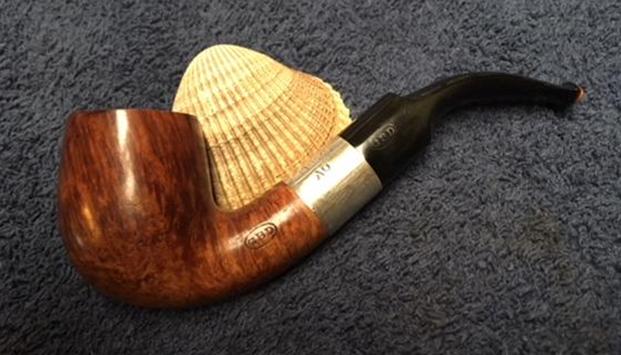
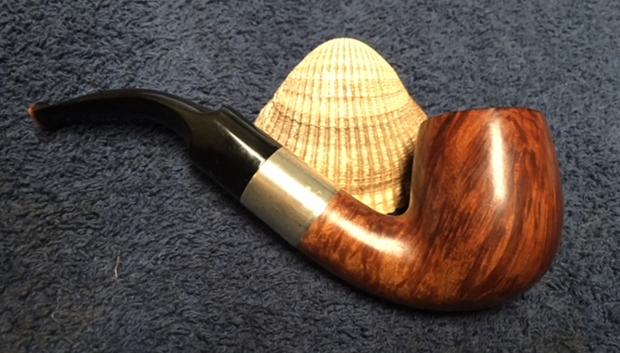
I finished the restoration work on Mark’s uncle’s pipes and a few of his own and sent them back to him in late January of this year. I wrote a blog on each of the restorations. They were a fun batch of pipes to restore for him. He sent me another package a few weeks ago that had just three pipes in it – A GBD 2331 Popular Straight Bulldog, a GBD 9242 Rhodesian (one of my holy grail pipes) and a long Churchwarden pipe. Each pipe had a different set of issues that would provide a variety of challenges. The GBD 9242 had suffered much at the hands of a hack repair person. The Churchwarden had a broken tenon stuck in the shank. I am finally working on the last of the pipes – the little classic shaped GBD Bulldog. The Bulldog was in excellent condition other than the first ½ inch of the stem missing in chunks. This pipe was by far in the best condition of the lot. The finish has spots of varnish on the sides of the bowl and shank. Most of it was gone but there were still flecks of it present. The finish underneath was in decent shape and the oxblood stain looked very good with the mixed grain patterns around the bowl. The bowl was clean and looked like it had been recently reamed. The rim top was free of lava and though it had some light rim darkening on the top. The edges of the bowl – both inner and outer were in good shape. The stem looked really good other than the missing chunks. There was little oxidation and after the damaged part was removed it was pretty clean. The stem had enough length on it that I thought I might be able to cut it off and reshape it. Time would tell. I took a close up photo of the rim top to show the general condition of the pipe. You can see how clean the bowl, rim top and edges are. You can see the broken end of the stem with the missing chunks. It appeared as if someone had tried to glue the pieces on the stem and affect a repair. The repair had not worked but the glue was left behind.I took some close up photos of the shank to show the stamping on both sides. The left side shows the GBD oval over the Brand Popular. The right side is stamped London England in a straight line over 2331 which is the shape number. The stamping is faint in some places but it is still readable. The GBD brass oval rondel is in good condition on the left side of the saddle stem.I decided to start working on this pipe by addressing the issue with the damaged stem. I removed the stem and set the bowl aside. I used a Dremel and sanding drum to remove the damaged portions of the stem on both sides. I cut off as much as the damage as necessary to remove the broken and chipped edges and still leave behind enough stem to work with in shaping the new button.I used a  mixture of black super glue and charcoal powder to build up a button edge on both sides of the stem. I set it over a lighter so that it could dry on both sides.Once the repair had dried/cured I reshaped the stem and button. I cut a sharp edge on both sides of the stem with a needle file. I shaped the taper of the stem surface on both sides with the blade of the file.I sanded out the file marks on the stem with 220 grit sandpaper and reshaped the button and slot with the sandpaper. I cleaned up the sanding marks with 400 wet dry sandpaper. I sanded the entire stem to clean up all of the scratches and marks in the vulcanite.I followed the sanding by polishing the stem with micromesh sanding pads – wet sanding with 1500-2400 grit pads and dry sanding with 3200-12000 grit pads. I wiped it down with Obsidian Oil after each pad. I finished polishing it with Before & After Pipe Polish – using both the Fine and the Extra Fine polish. I gave it a final coat of Obsidian Oil and set it aside to dry. I was happy with the new look of the button and stem. I rubbed down the surface of the briar with a cotton pad and acetone. I was able to remove the entire patchy varnish coat. The briar looked far better with that removed. The photos below show the bowl after the acetone wash. I rubbed the bowl down with Before & After Restoration Balm to deep clean the briar and the smooth rim. The product works to clean, enliven and protect the briar. I hand rubbed it with my fingers and wiped it off with a soft cloth and buffed it with a shoe brush to polish it. The briar really began to have a rich shine. I took some photos of the bowl at this point to mark the progress in the restoration. I put the stem back on the bowl and buffed the pipe with Blue Diamond on the buffing wheel. I gave it several coats of carnauba wax and buffed it with a clean buffing pad to raise a shine. I hand buffed it with a microfiber cloth to deepen the shine. The finished pipe is shown in the photos below. The new button and reshaping of the stem looks really good. Now that I have finished the last of Mark’s pipes I will be packing them up soon to send back to him. It won’t be long before Mark gets to enjoy them with their inaugural smokes. With the damage removed I think the pipe looks a lot better. Thanks for walking with me through the process of the reshaping.

Breathing Life into a Savinelli Capri Root Briar 141KS Billiard


Blog by Steve Laug

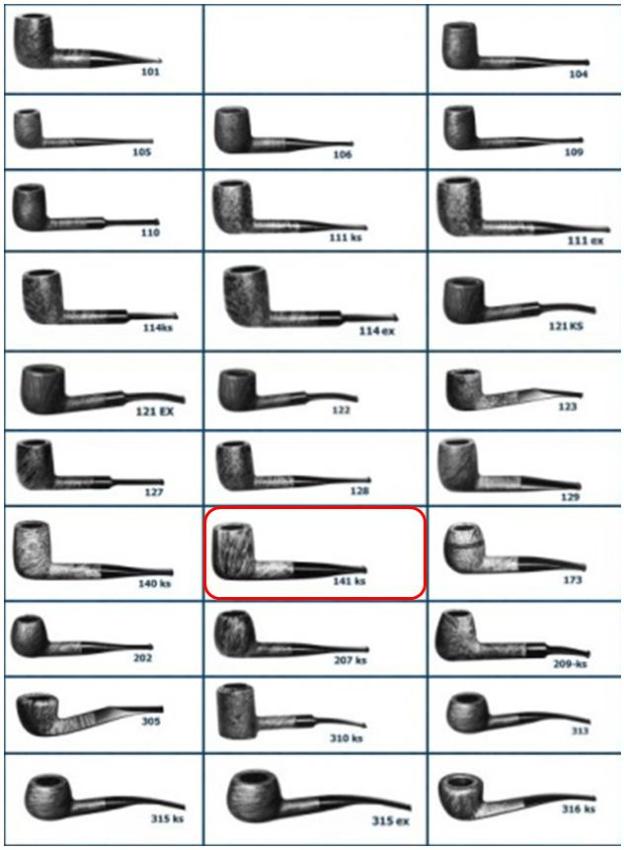
The next pipe on the work table is another pipe from the estate of a Vancouver pipe smoker whose widow left them with a local Pipe Shop. I was asked to clean them and sell them for the shop. The photos show the pipe when I brought it to my work table. It is a nice Savinelli Capri Root Briar with an almost Sea Rock type finish. The bowl was heavily caked with a lava coat on the top of the rim. It was hard to tell how the inner and outer edge of the rim actually looked until the bowl was reamed. The exterior of the bowl was dirty and covered with grime dust in the deep grooves of the finish. The stem had the same tooth marks and chatter on the top and underside near the button as the rest of the pipes in this estate. There was calcification on the first inch from what looked like a Softee bit. The stem has the Savinelli Shield S logo on the top. The pipe is stamped on the underside of the shank with the words Savinelli Capri over Root Briar. There is a Shield S logo next to that and the shape number 141KS at the shank/stem junction. I have included a Savinelli Shape Chart and circled the 141KS in red. It is a billiard with a tapered stem.I took photos of the pipe when it arrived so I would have a base point before I did any clean up or restoration. When I went back to the States after Christmas to visit my parents and brothers I took a box of these pipes with me so that I could have Jeff clean them for me. When they came back to Canada they looked like different pipes. He had reamed the bowl with a PipNet pipe reamer and cleaned it up with a Savinelli Fitsall Pipe Knife. He scrubbed the exterior with Murphy’s Oil Soap and a tooth brush to clean off the grime on the finish and the heavy overflow of lava on the rim top. He cleaned up the internals of the shank, mortise and stem with pipe cleaners, cotton swabs and alcohol to remove all of the oils and tars in the pipe. When it came back to Vancouver it was a quite different pipe. I took pictures of it to show the condition at this point – the bowl looked great and the stem was very oxidized. I took photos of the rim top and the stem to show their condition. Jeff was able to clean out the bowl completely and the rim top. He removed the tars and lava and left behind a clean top that showed all of the original rustication and looked very good. The stem was oxidized and there was tooth chatter and marks on both sides near the button and on the surface edges of the button itself.I am working on five of the pipes from that estate at the same time. I put all of the stems in a bath of Before & After Pipe Stem Deoxidizer to soak. I submerged them all of the stems in the bath and let them soak overnight to break down the oxidation.I took the stem out of the deoxidizer and rinsed it under warm water to rinse off the mixture. I blew air through the stem and ran water through it as well to rinse out the mixture there as well. The stem still had some oxidation spots but it was all on the surface as seen in the first two photos below. I painted the surface of the stem with the flame of a Bic lighter to lift the tooth marks. One of the benefits of the lighter is that it burned off the sulfur on the surface of the stem. It did not take too much work for the vulcanite to return to its smooth condition. I sanded out the lighter tooth marks and chatter with 220 grit sandpaper until there were two deep tooth marks on the underside of the stem that remained. I filled those in with clear super glue and laid the stem aside to let the repairs cure. While the repairs on the stem were  curing I rubbed down the briar with Before & After Restoration Balm. I worked it into the nooks and crannies of the rusticated briar to clean, enliven and protect the finish. I let the balm sit for a little while and then buffed it with a cotton cloth to raise the shine. The following photos show the bowl now. Once the repairs had dried/cured I sanded them smooth with 220 grit sandpaper to blend them into the surface of the bowl. It took a lot of sanding to smooth them all out.I polished out the scratches in the vulcanite with 400 grit wet dry sandpaper and with micromesh sanding pads. I wet sanded with 1500-2400 grit pads and dry sanded with 3200-12000 grit pads. I wiped the stem down after each pad with Obsidian Oil. After sanding with the 12000 grit pad I polished the stem with Before & After Pipe Stem Polish – both Fine and Extra Fine. With the stem polished I put it back on the pipe and lightly buffed the bowl with Blue Diamond. I buffed the stem with a more aggressive buff of Blue Diamond. I gave the bowl multiple coats of Conservator’s Wax and the stem several coats of carnauba wax and buffed the pipe with a clean buffing pad to raise the shine. I hand buffed it with a microfiber cloth to deepen the shine. The pipe polished up pretty nicely. The finished pipe is shown in the photos below. I will be posting it on the rebornpipes store very soon. It should make a nice addition to your pipe rack if you have been looking for a reasonably priced pipe with a Sea Rock style finish. It should be a great smoking pipe with a good hand feel. The dimensions are Length: 6 inches, Height: 2 inches, Outside diameter of the bowl: 1 3/8 inches, Chamber diameter: 3/4 inches. Thanks for walking through the restoration with me as I worked this pipe over.
Breathing New Life into a Royal Esquire French Made Poker


Blog by Steve Laug

The next pipe on the work table is another pipe from the estate of a Vancouver pipe smoker whose widow left them with a local Pipe Shop. I was asked to clean them up and sell them for the shop after it closed. The photos show the pipe as it was when I brought it to my work table. It is a light weight Poker shape – with some interesting grain but the number of small putty fills in the bowl on the sides, back and shank detract from the cross grain on the bowl sides and birdseye on the front and back sides. The bowl was heavily caked with a lava coat on the top of the rim. It was hard to tell how the inner and outer edge of the rim actually looked until the bowl was reamed. The exterior of the bowl was dirty and covered with grime. The stem had the same tooth marks and chatter on the top and underside near the button as the rest of the pipes in this estate. There was calcification on the first inch from what looked like a Softee bit. The stem has a Top Hat logo on the left side of the saddle. The pipe is stamped on the left side of the shank with the words Royal Esquire over Made in France. There is no other stamping on the pipe. When I went back to the States after Christmas to visit my parents and brothers I took a box of these pipes with me so that I could have Jeff clean them for me. When they came back to Canada they looked like different pipes. He reamed the bowl with a PipNet pipe reamer and cleaned it up with a Savinelli Fitsall Pipe Knife. He scrubbed the exterior with Murphy’s Oil Soap and a tooth brush to clean off the grime on the finish and the heavy overflow of lava on the rim top. He cleaned up the internals of the shank, mortise and stem with pipe cleaners, cotton swabs and alcohol to remove all of the oils and tars in the pipe. When it came back to Vancouver it was a quite different pipe. I was in a hurry this afternoon when I worked on this one and forgot to take photos of the bowl and stem before I started working on the pipe. There were so many fills and places where the putty had shrunk that I had a hard time even looking at it the way it was. I had already refilled the fills in the sides and shank with clear super glue and then remembered to take photos. You will have to imagine it without all the super glue freckles around the bowl. I took photos of the rim top and the stem to show their condition. Jeff was able to clean out the bowl completely and the rim top. He removed the tars and lava and left behind a clean top that would need to be topped to remove some of the deep scratches and burn marks around the edges of the rim. The stem was lightly oxidized and there was tooth chatter and marks on both sides near the button and on the surface edges of the button itself.I took the stem off the bowl and took photos of the repaired fills all around the bowl and shank. Somehow the pink putty that was in them really stood out and made them highly visible. They look like pox marks. Once the repairs had dried/cured I sanded them smooth with 220 grit sandpaper to blend them into the surface of the bowl. It took a lot of sanding to smooth them all out. I was careful around the stamping on the left side of the shank so I would not damage it. To clean up the damaged rim top I used 220 grit sandpaper on a topping board. I topped the bowl until the surface was smooth and the damage was removed. It did not take too much work to remove the damaged areas.I cleaned up the inner edge and the slight bevel with a folded piece of sandpaper. I worked it around the bowl to smooth out the damage and minimize the darkening on the inner edge.I polished the bowl top and sides with micromesh sanding pads – wet sanding with 1500-2400 grit pads and dry sanding with 3200-12000 grit pads. I wiped the briar down after each sanding pad with a damp cloth. I was amazed at how many of the fills blended into the finish of the bowl and virtually disappeared. There were still some showing on the shank but the overall effect of the polishing was really apparent. I decided to stain the pipe with a Cherry stain pen to blend the repaired fills into the rest of the briar. The stain looks streaked and uneven but it will blend in nicely to the grain once I am finished with it. Once the stain dried I wiped the bowl and shank down with alcohol on a cotton pad to remove the streaking and blend the colours on the briar. The pictures below show the pipe at this point in the process. The fills have all but disappeared into the stain. The pipe looks considerably better at this point. I rubbed down the briar with Before & After Restoration Balm. I worked it into the surface of the briar to clean, enliven and protect the new finish. It also evened out the stain coat and gave the stain a multidimensional feel. I let the balm sit for a little while and then buffed it with a cotton cloth to raise the shine. The following photos show the bowl now. The fills are invisible. The bowl is pretty well finished. I still need to wax and buff it but that will wait for the stem. I turned my attention to the stem and worked on the tooth marks and chatter near the button. I sanded it with 220 grit sandpaper until I removed the lighter marks on the surface of the stem.I painted the surface of the stem with the flame of a Bic lighter to lift the tooth marks. One of the benefits of the lighter is that it burned off the sulfur on the surface of the stem. The tooth chatter and marks lifted on both sides of the stem. A little sanding would smooth it out well. I polished out the scratches in the vulcanite with 400 grit wet dry sandpaper and with micromesh sanding pads. I wet sanded with 1500-2400 grit pads and dry sanded with 3200-12000 grit pads. I wiped the stem down after each pad with Obsidian Oil. After sanding with the 12000 grit pad I polished the stem with Before & After Pipe Stem Polish – both Fine and Extra Fine. With the stem polished I put it back on the pipe and lightly buffed the bowl with Blue Diamond. I buffed the stem with a more aggressive buff of Blue Diamond. I gave the bowl and the stem several coats of carnauba wax and buffed the pipe with a clean buffing pad to raise the shine. I hand buffed it with a microfiber cloth to deepen the shine. The pipe polished up pretty nicely and the many fills virtually disappeared with the new stain. The finished pipe is shown in the photos below. I will be posting it on the rebornpipes store very soon. It should make a nice addition to your pipe rack if you have been looking for a reasonably priced pipe that can be used as a yard or shop pipe. It should be a great smoking pipe with a good hand feel. The dimensions are Length: 5 1/2 inches, Height: 1 3/4 inches, Outside diameter of the bowl: 1 1/4 inches, Chamber diameter: 3/4 inches. Thanks for walking through the restoration with me as I worked this pipe over.
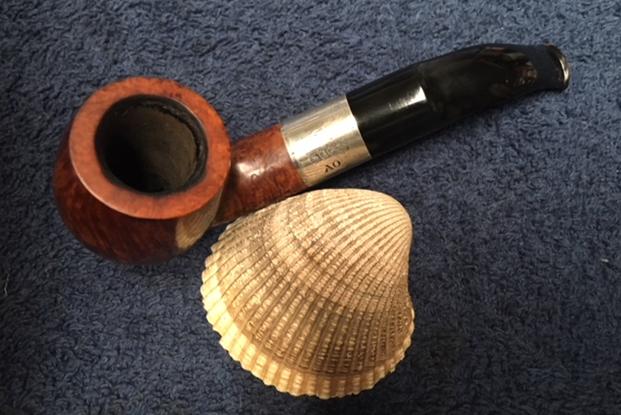
Fresh Life for a Comoy’s The Everyman 126 Sandblast Pot


Blog by Steve Laug

The next pipe on the work table is another pipe that came to me from the estate of a Vancouver pipe smoker whose widow left them with a local Pipe Shop after he died. I was asked to clean them up and sell them for the shop as it has since closed. The photos below show the pipe as it was when I brought it to my work table. It is a nicely shaped sandblast pot shaped pipe – with a a really nice looking grain pattern in the blast under all the grime. The bowl was heavily caked with a lava coat on the top of the rim. It was hard to tell how the inner and outer edge of the rim actually looked until the bowl was reamed. The bowl was dirty and the finish was almost filled in with the grime. The stem had the same deep tooth marks and chatter on the top and underside near the button as the rest of the pipes in this estate. There was calcification on the first inch from what looked like a Softee bit. From the three bars on the left side of the stem and the stamping it was clearly a Comoy’s product. In this case it was stamped on a smooth band on the bottom of the bowl and shank with the words The Everyman London Pipe. Next to that it is stamped Made in London England followed by the 126 shape number next to the shank/stem junction. I took photos of it before cleaning to show that even though it was dirty the pipe showed promise.   When I went back to the States after Christmas to visit my parents and brothers I took a box of these pipes with me so that I could have Jeff clean them for me. When they came back to Canada they looked like different pipes. He reamed the bowl with a PipNet pipe reamer and cleaned it up with a Savinelli Fitsall Pipe Knife. He scrubbed the exterior with Murphy’s Oil Soap and a tooth brush to clean off the grime on the finish and the heavy overflow of lava on the rim top. He cleaned up the internals of the shank, mortise and stem with pipe cleaners, cotton swabs and alcohol to remove all of the oils and tars in the pipe. When it came back to Vancouver it was a quite different pipe. I took photos of it before I started the restoration. I took photos of the rim top and the stem to show their condition. Jeff was able to clean out the bowl completely and the rim top. He removed the tars and lava and left behind a clean top that would need some stain touch ups. The stem was oxidized, though less so where the Softee bit had been. There were scratches, tooth chatter and marks on both sides near the button and on the surface edges of the button itself.I decided to work on five of the pipes from this estate at the same time so I put all of the stems in a bath of Before & After Pipe Stem Deoxidizer to soak. I submerged all of the stems in the bath and let them soak overnight to break down the oxidation.I took all of the stems out of the bath at the same time and rinsed them under warm water to rinse off the mixture. I blew air through the stems and ran water through them as well to rinse out the mixture there as well. Each of the stems still had varying degrees of oxidation but it was all on the surface of the stems. The photos below show the Everyman stem after rinsing and drying.I painted the surface of the stem with the flame of a Bic lighter to lift the tooth marks. One of the benefits of the lighter is that it burned off the sulfur on the surface of the stem. The top side of the stem came out very well as the tooth chatter and marks lifted. A little sanding would smooth it out well. On the underside it was a bit less successful. There were still two deep tooth marks present that would need to be repaired.I filled in the tooth marks and the dents on the top and bottom sharp edges of the button to smooth things out using clear super glue. Once the repair cures, I will sand it smooth and blend it into the surface on each side.While the repair was curing I turned my attention to the bowl. I touched up the faded areas on the rim top and around the sides of the bowl and shank with a Walnut stain touch up pen. It blended in very well with the colour of the rest of the bowl. The bowl had a hollow spot below the entrance of the airway. It was as if the bowl had been reamed with a knife and damage had been done to the bottom of the bowl. It was quite deep and rough. Since it was below the entrance of the airway I mixed a batch of JB Weld to apply to the deep gouge and build up the bottom of the bowl to the same height as the airhole. I applied it with a dental spatula and pressed it into the bottom of the bowl with a piece of wooden dowel. I rubbed down the briar with Before & After Restoration Balm. I worked it into the nooks and crannies of the sandblast finish to clean, enliven and protect the new finish. It also evened out the stain coat and gave the stain a multidimensional feel. I let the balm sit for a little while and then buffed it with a horsehair shoe brush. I buffed the bowl with a cotton cloth to raise the shine. At this point the bowl is pretty well finished. I still need to wax and buff it but that will wait for the stem. The repair on the stem had cured so I turned back to work on the stem. I used a file to recut the sharp edge of the button and then sanded it with 220 grit sandpaper until I had blended the repairs into the surface of the stem. I also worked on the remaining oxidation with the sandpaper until I removed that as well.I polished out the scratches in the vulcanite with 400 grit wet dry sandpaper and with micromesh sanding pads. I wet sanded with 1500-2400 grit pads and dry sanded with 3200-12000 grit pads. I wiped the stem down after each pad with Obsidian Oil. After sanding with the 12000 grit pad I polished the stem with Before & After Pipe Stem Polish – both Fine and Extra Fine. With the stem polished I put it back on the pipe and lightly buffed the bowl with Blue Diamond. I buffed the stem with a more aggressive buff of Blue Diamond. I gave the bowl several coats of Conservator’s Wax and the stem several coats of carnauba wax and buffed the pipe with a clean buffing pad to raise the shine. I hand buffed it with a microfiber cloth to deepen the shine. The pipe polished up pretty nicely. The finished pipe is shown in the photos below. I will be posting it on the rebornpipes store very soon. It should make a nice addition to your pipe rack if you have been looking for a reasonably priced Comoy’s The Everyman Pipe. The sandblast finish looks really good in person with depth and texture. It should be a great smoking pipe with a good hand feel. The dimensions are Length: 5 1/2 inches, Height: 1 1/2 inches, Outside diameter of the bowl: 1 1/2 inches, Chamber diameter: 7/8 inches. Thanks for walking through the restoration with me as I worked over this estate Comoy’s.


Restoring a Savinelli Churchwarden 3003


Blog by Steve Laug

I finished the restoration work on Mark’s uncle’s pipes and a few of his own and sent them back to him in late January of this year. I wrote a blog on each of the restorations. They were a fun batch of pipes to restore for him. He sent me another package a few weeks ago that had just three pipes in it – A GBD Classic Straight Bulldog, a GBD 9242 Rhodesian (one of my holy grail pipes) and a long Churchwarden pipe that had originally belonged to his uncle. Each pipe had a different set of issues that would provide a variety of challenges. The Bulldog was in excellent condition other than the first ½ inch of the stem missing in chunks. The Churchwarden had a broken tenon that was still stuck in the shank. By far the worst of the lot was the 9242 pipe. When I saw it in the bag I was excited. When I took it out of the bag I was saddened at the condition of the pipe. The bowl was dirty and there was some lava and rim darkening on the top. There were a few nicks in the edges of the bowl. The finish was dirty but the grain on the pipe was really nice. If I had stopped my observation at this point I would have been quite happy.

The second pipe I chose to work on from the batch of pipes was the Churchwarden that had belonged to his uncle. The Prince shaped bowl was in decent condition. The bowl was actually quite clean on the inside but the drilling where the airway entered the bowl was slightly off to the right side of the bowl. Other than having the tenon stuck in it; the shank looked pretty good as well. The rim top was dirty and there was a burn mark on the inner bevel of the left side. The finish was dirty and there were quite a few nicks and dents on the surface of the briar. The shank was stamped on the left side with the words Churchwarden over Aged Briar. On the right side of the shank it is stamped with the shape number 3003 and next to that was the Savinelli S shield. The underside of the shank is stamped Savinelli over Italy. The stem was quite oxidized and pitted. There were tooth marks and chatter on both sides of the stem at the button. The broken tenon remnants were on the end of the stem. It was broken pretty close to the stem/shank junction.

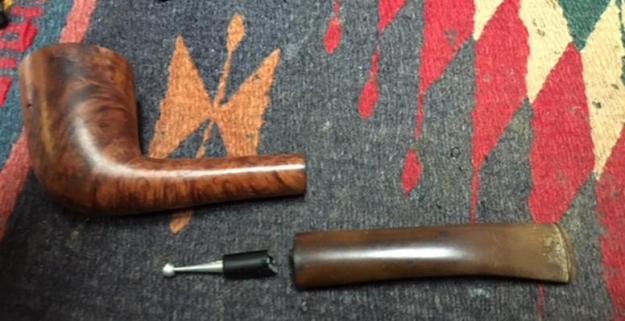
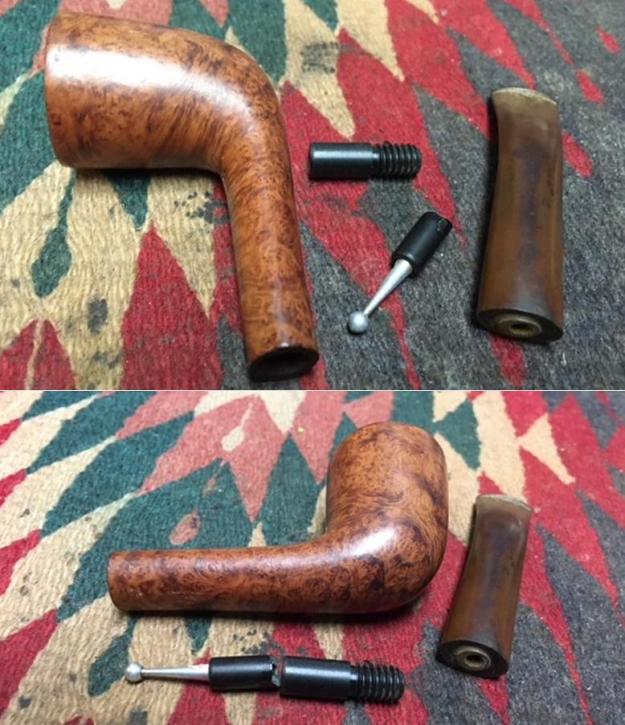
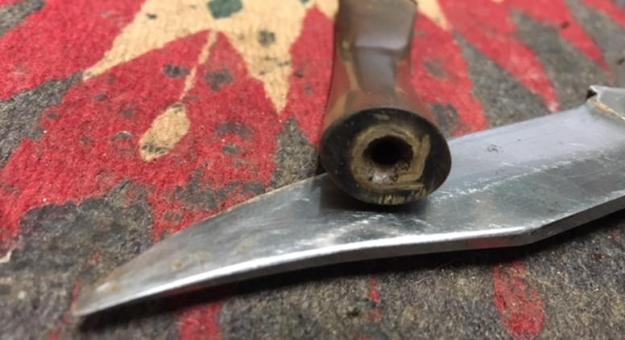
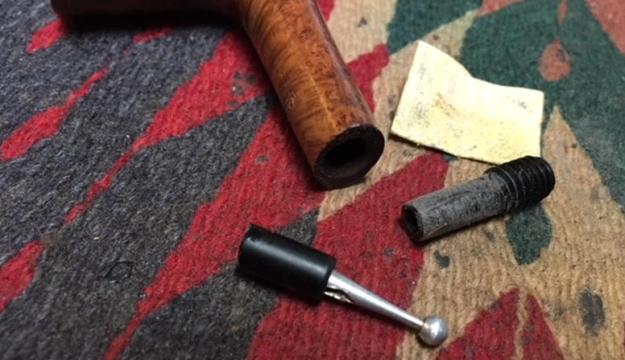
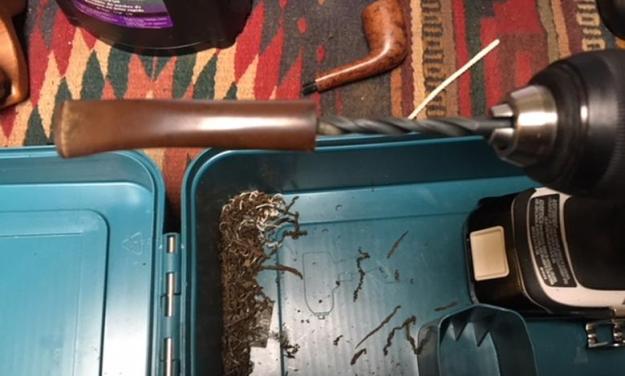
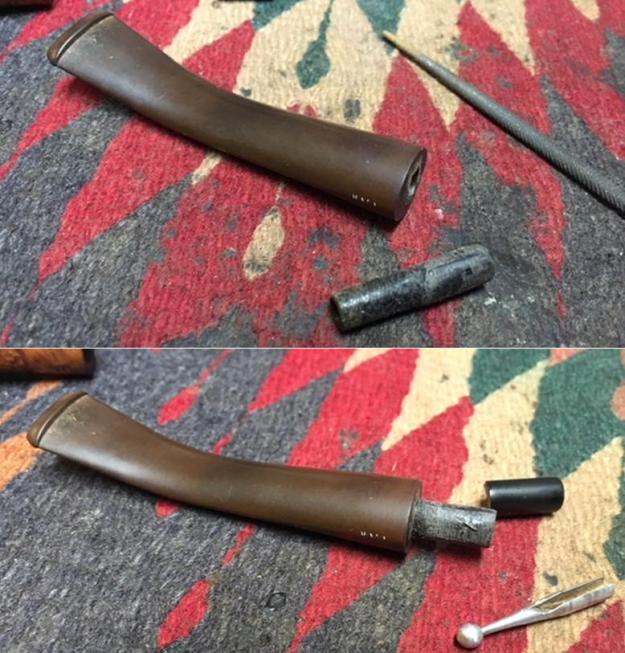
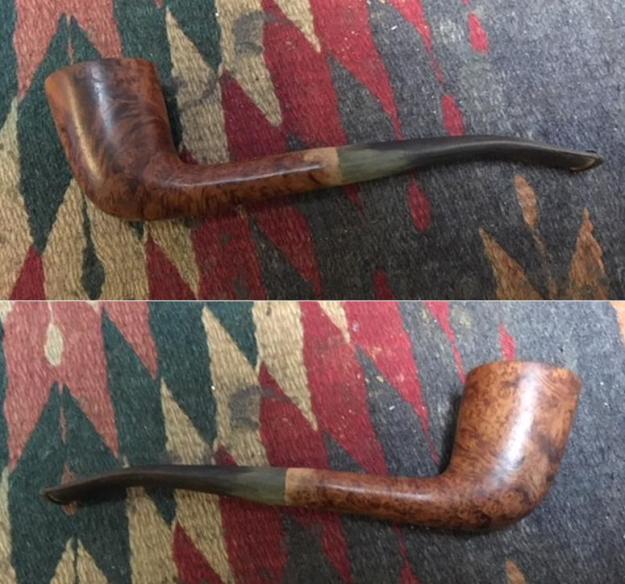
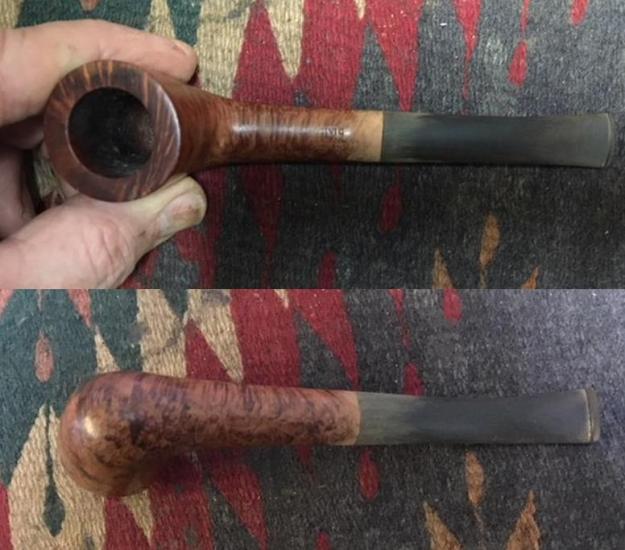
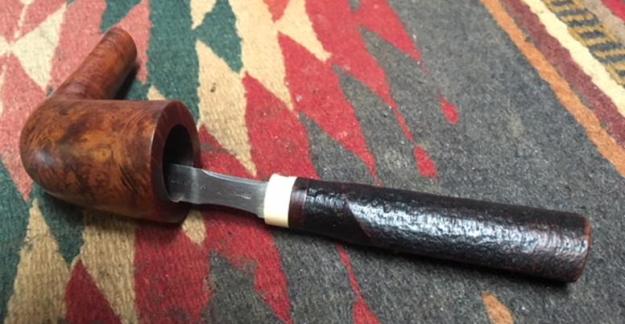
Sooo… here we go on the second of Mark’s restoration projects. I took photos of the pipe to show what it looked like when it arrived in all of its tattered splendour. The bowl had some beautiful grain underneath the grime. The photos show the stem the broken tenon and how close to the shank it was snapped off. The above photo shows the damage on the rim top to the inner edge. It is a burn mark from repeated lighting of the pipe in that spot. The photos below show the chatter and tooth marks on both sides of the stem at the button.The broken tenon was stuck in the shank when I first tried to pull it so I put it in the freezer for 30 minutes. I tried again using a long drywall screw and was able to get it free with the first try. I went through my jar of replacement tenons and found one that I thought would work. It is a threaded Delrin replacement tenon. Once I had the broken tenon out of the shank I compared them and found that the diameter was the same on both.  I tried it in the mortise and found that it was a perfect fit. Even the length was correct. I flattened the broken pieces on the end of the stem with a Dremel and sanding drum and then on the topping board. I wanted a flush surface to mount the new tenon on and also to have a snug fit against the shank. The airway was not centered in the stem so I had to do a bit of fussing with it to get it ready for the new tenon. I used a sharp pen knife to flare the side of the airway that was off to get it more centered before I drilled. Once I had done that I drilled the airway with a bit slightly larger in diameter than the airway and worked to keep it both straight and centered. This is yet another time I wished I had a drill press.I followed that drill bit with one that was the same diameter as the threaded portion of the new tenon. I sanded the threads to slightly reduce the diameter and pressed it into the stem. The fit was very good. I took a photo of the stem  at this point to show the look of the new tenon.I used black super glue that had a medium viscosity so that I had time to align the stem and the shank before the glue set. Once it was aligned I took a few photos of the fit of the stem to the shank. I would need to make a few minor adjustments but considering how off the airway was the fit was quite good. I carefully removed the stem and set it aside to let the glue on the tenon set firmly. I turned my attention to the bowl. The first item of business for me was to work on the rim top. I cleaned up the flat surface of the rim with 1500-2400 micromesh sanding pads and then shaped the inner bevel of the rim with a folded piece of 220 grit sandpaper to minimize the damage on the right inner edge. When I finished it definitely looked better. I would do a bit of finessing it once I worked on it with the micromesh pads.I decided to address the many nicks, scratches and cuts in the surface of the finish by filling them in with clear super glue. The next series of photos show the many spots on the front and bottom of the bowl.Once the repairs had dried I sanded them smooth with 220 grit sandpaper to blend them in with the surface of the bowl. I then wet sanded the entire bowl and rim with 1500-2400 grit micromesh pads and dry sanded it with 3200-12000 grit pads until the rim and the surface of the bowl was smooth and polished. I wiped down the surface of the bowl with a damp cloth to remove the sanding dust between each pad. I decided to highlight the reds in the briar and finish so I stained it with a mahogany stain pen. It looks streaked and poorly applied in the photos but the story is not over yet. I am more interested in getting the bowl covered with a stain that is transparent so when I take the next step the grain will come through the finish. Of course I was in a hurry at this point to call it a night so I forgot to take pictures of the next step. I wiped the bowl down with a cotton pad and isopropyl alcohol to spread the stain and wipe away the excess. When the grain stood out and the repairs remained hidden I rubbed the bowl down with Before & After Restoration Balm. I rubbed it into the finish to clean, enliven and protect the finish. I let it sit for a few moments and buffed it off with a cotton cloth. The photos below show the bowl at this point. Once the bowl was finished I set it aside to work on the stem. I sanded out the tooth marks and chatter on the top and underside of the stem at the button. I sanded the entire stem with 220 grit sandpaper to remove the damage and oxidation.I polished the vulcanite with micromesh sanding pads to remove the scratching and remaining oxidation. I wet sanded it with 1500-2400 grit pads and dry sanded it with 3200-12000 grit pads. I wiped the stem down with Obsidian Oil after each pad to remove the dust. I finished polishing the stem with Before & After Pipe Stem Polish – both Fine and Extra Fine to remove the rest of the scratches in the hard rubber surface. I put the stem back on the bowl and buffed the pipe with Blue Diamond on the buffing wheel. I gave it several coats of carnauba wax and buffed it with a clean buffing pad to raise a shine. I hand buffed it with a microfiber cloth to deepen the shine. The finished pipe is shown in the photos below. The repairs on the finish blend in really well with the overall finish of the pipe. The new tenon on the stem works very well and is a snug fit in the mortise. It really is a nice looking Savinelli Churchwarden. There is some nice grain on the bowl. This is the last of Mark’s uncle’s pipes and it is ready to head back to Mark for his smoking pleasure. I have one more pipe to fix for him then this one and the others will be in the post back to Mark. I think it is better than it was… thanks for looking.


New Life for an Italian Made Harvey Futura Billiard


Blog by Steve Laug

The next pipe on the work table is another pipe that came to me from the estate of a Vancouver pipe smoker whose widow left them with a local Pipe Shop after he died. I was asked to clean them up and sell them for the shop as it has since closed. The photos below show the pipe as it was when I brought it to my work table. It is a nicely shaped billiard – with a swirling grain all around the bowl and shank. The unusual patterns of the grain on the briar is unique and a bit captivating. The bowl was heavily caked with a lava coat on the top of the rim. It was hard to tell how the inner and outer edge of the rim actually looked until the bowl was reamed. The bowl was dirty but the finish was still shiny as if it had a top coat of varnish or shellac over the stain coat. The stem had some tooth chatter and marks on the top and underside near the button. The push tenon was quite long and stepped down. The pipe had promise it was very dirty. Since it was an Italian Made Pipe I did a bit of research to see if I could find it on the web. I checked on the PipePhil website and it was not listed there. I also check on Pipedia and found a listing under Italian made pipes that read Harvey pipes but gave absolutely no information on the brand. I have a theory that the brand was made by Rossi because I knew that the factory made many pipes for various sellers around the world. I have no proof of it of course but it is a good possibility. I have no idea of the connection between Rossi and Harvey pipes but I sense that there is one.

I took photos of the stamping on the shank to show the stamping around the sides and bottom of the shank. The top two photos show the left side of the shank which is stamped HARVEY over Selected Grain over FUTURA. Both photos show the same stamping with the angle slightly different to give a clear idea. The third photo shows the Made in Italy stamp on the right side of the shank. The fourth photo shows a number stamped on the underside of the shank. It reads 25-853.When I went back to the States after Christmas to visit my parents and brothers I took a box of these pipes to Jeff to clean up for me. He reamed this Harvey Italian Made Billiard with a PipNet pipe reamer and cleaned it up with a Savinelli Fitsall Pipe Knife. He scrubbed the exterior with Murphy’s Oil Soap and a tooth brush to clean off the grime on the finish and the heavy overflow of lava on the rim top. He cleaned up the internals of the shank, mortise and stem with pipe cleaners, cotton swabs and alcohol to remove all of the oils and tars in the pipe. When it came back to Vancouver it was a quite different pipe. I took photos of it before I started the restoration. I took photos of the rim top and the stem to show their condition. Jeff was able to clean out the bowl completely and the rim top. He removed the tars and lava to reveal some peeling of the varnish coat on the rim and some very obvious fills that can be seen in the first photo. The stem was oxidized and pitted. There were scratches, tooth chatter and marks on both sides near the button.I am working on five of the pipes from that estate at the same time. I put all of the stems in a bath of Before & After Pipe Stem Deoxidizer to soak. I submerged them all of the stems in the bath and let them soak overnight to break down the oxidation.While the stem soaked I worked on the rim top with 400 grit wet dry sandpaper to remove the peeling varnish and clean up the filled areas. I wiped it down with a damp cloth and dried it off. I repaired the damaged fills with clear super glue being careful to keep the glue in the filled areas alone. Once the glue cured I sanded down the repaired fills with the corner of a filled piece of 220 grit sandpaper to blend them into the surface of the rim. Once it was smooth I polished the rim with micromesh sanding pads – wet sanding with 1500-2400 grit pads and dry sanding with 3200-12000 grit pads. I used a cherry stain touch up pen to blend the sanded and polished rim top with the colour of the rest of the bowl. Once the stain dried I wax it with carnauba wax and buffed it with a buffing wheel to polish and make it shine.I rubbed the bowl down with Before & After Restoration Balm to deep clean the briar. The product works to clean, enliven and protect the briar. I hand rubbed it with my fingers and worked it into the finish. I wiped it off with a soft cloth. I buffed the bowl with a micromesh cloth to polish it. The briar really began to have a rich shine. I took some photos of the bowl at this point to mark the progress in the restoration. I set the bowl aside and worked on the stem. I took it out of the deoxidizer and rinsed it under warm water to rinse off the mixture. I blew air through the stem and ran water through it as well to rinse out the mixture there as well. The stem still had some oxidation spots but it was all on the surface as seen in the first two photos below. I painted the surface of the stem with the flame of a Bic lighter to lift the tooth marks. One of the benefits of the lighter is that it burned off the sulfur on the surface of the stem. It did not take too much work for the vulcanite to return to its smooth condition. I sanded out the remaining tooth marks and chatter with 220 grit sandpaper until both sides were smooth at the button. I polished the stem with micromesh sanding pads – wet sanding with 1500-2400 grit pads and dry sanding with 3200-12000 grit pads. I wiped the stem down after each pad with a damp cloth to remove the sanding dust. I used the Before & After Pipe Polish to remove the small minute scratches left in the vulcanite. I finished by wiping the stem down with a final coat of Obsidian Oil and set it aside to dry. I put the stem back on the pipe and carefully worked the stem over with Blue Diamond to polish out the remaining small scratches. I gave the bowl several coats of Conservator’s Wax and the stem several coats of carnauba wax and buffed the pipe with a clean buffing pad to raise the shine. I hand buffed it with a microfiber cloth to deepen the shine. The pipe polished up pretty nicely. The finished pipe is shown in the photos below. This interesting Italian made Harvey Futura pipe came back to life nicely with the restoration. This one will be going on the rebornpipes store shortly. It will be a great yard pipe or working pipe. The dimensions of the pipe are Length: 5 3/4 inches, Height: 1 3/4 inches, Outside diameter of the bowl: 1 1/4 inches, Chamber diameter: 3/4 inch. Thanks for walking through the restoration with me.