by Steve Laug
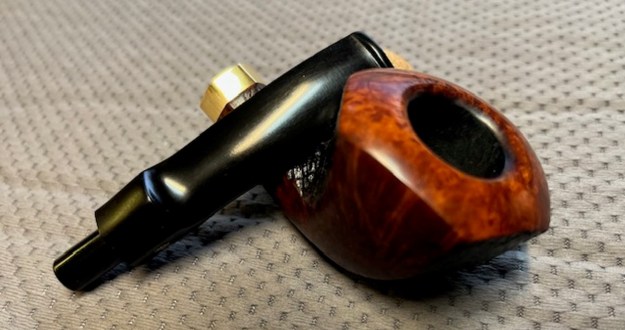
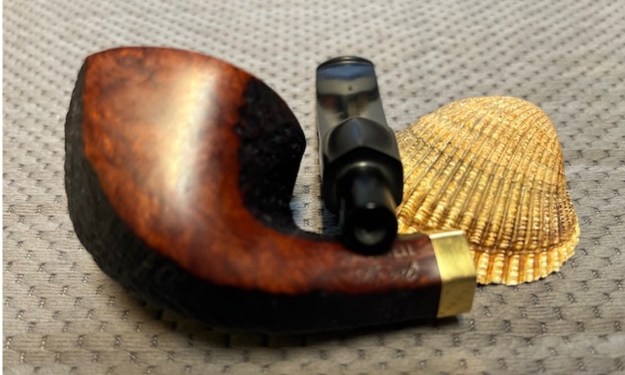
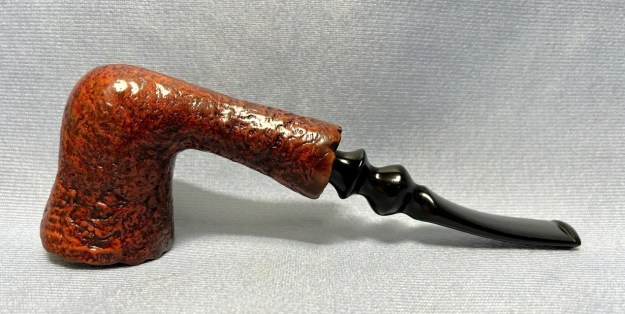
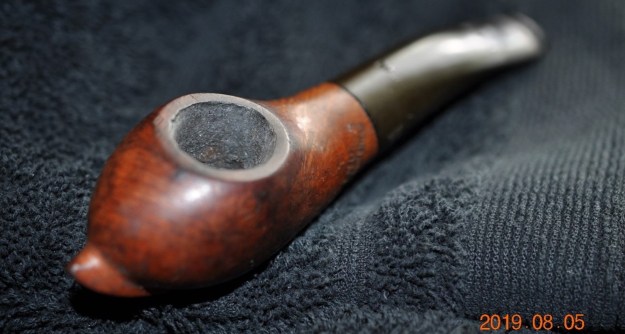
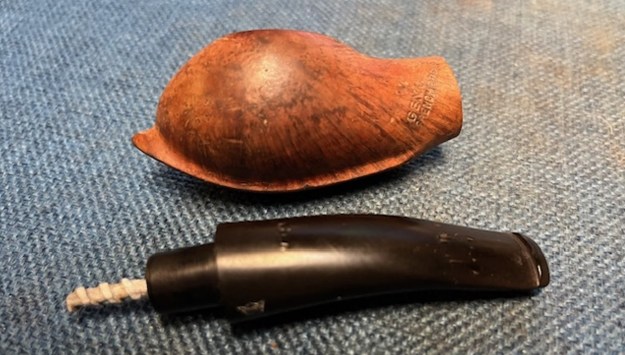
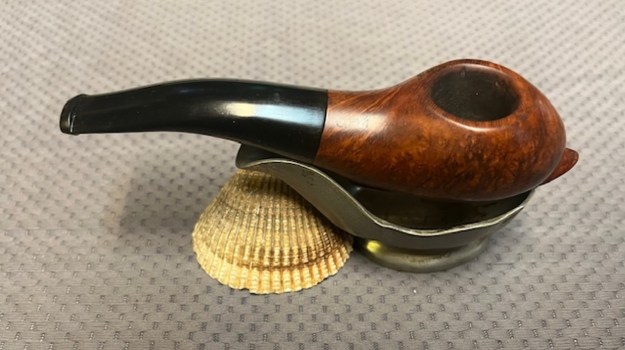
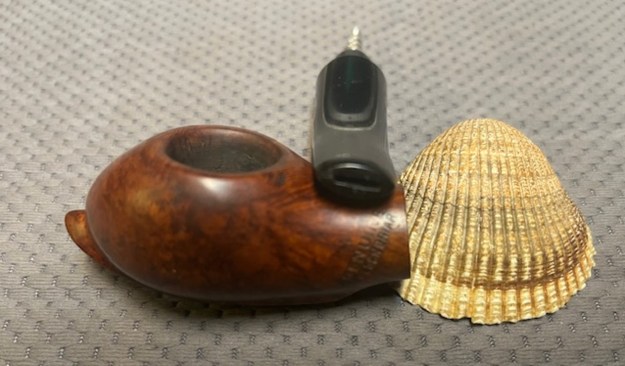
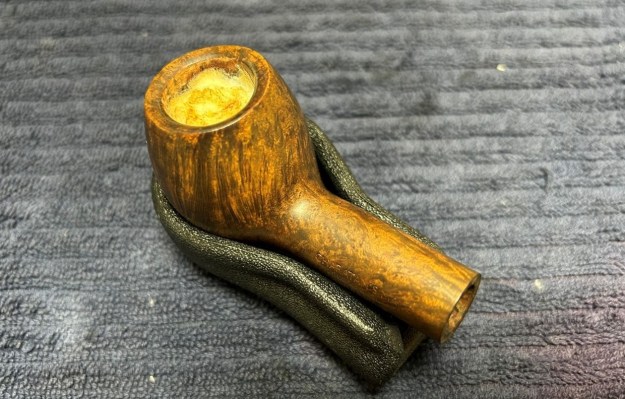
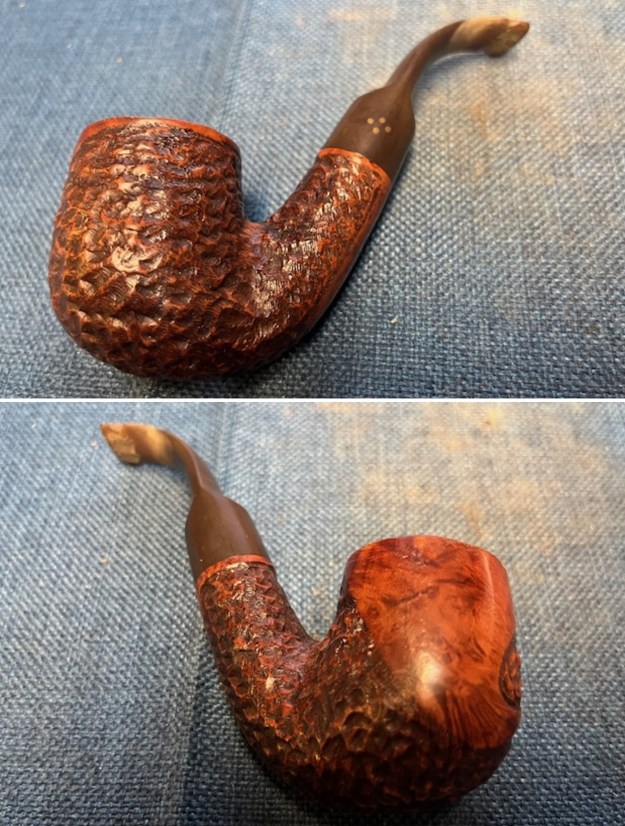
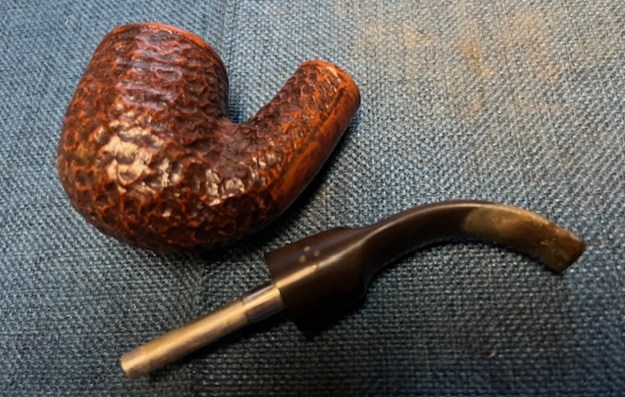
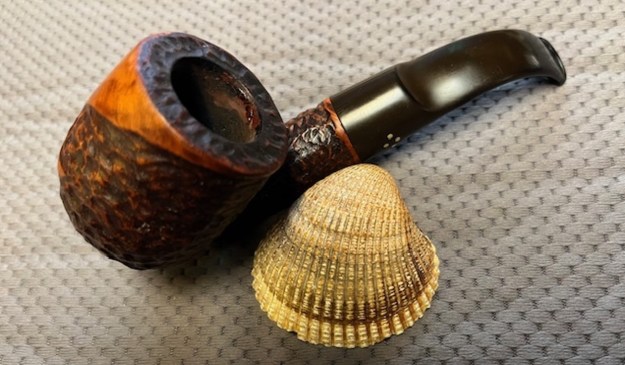
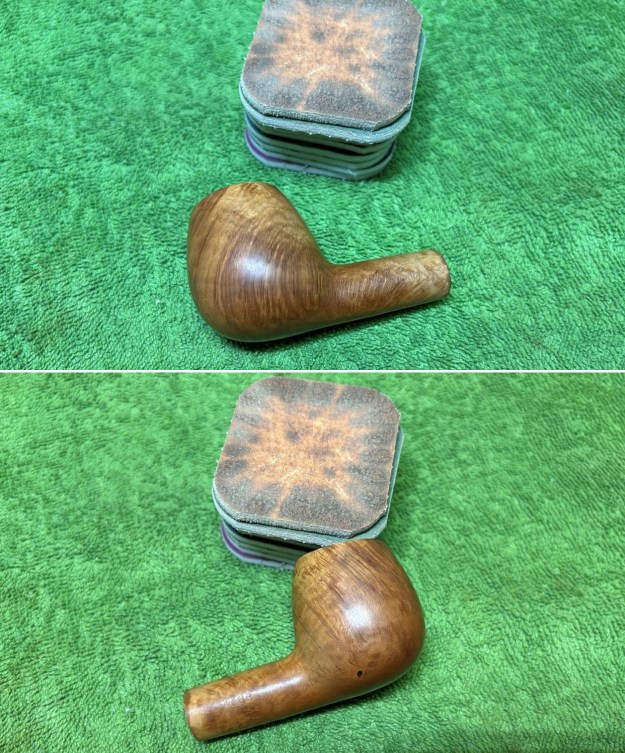
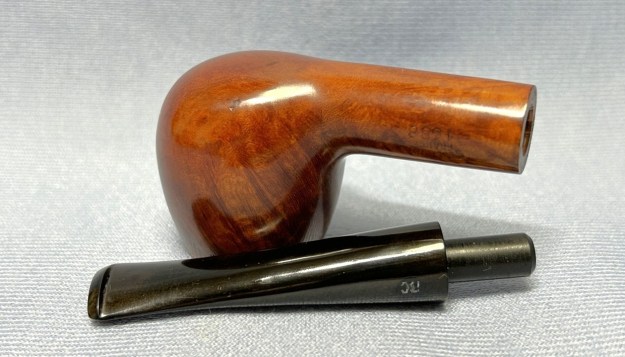
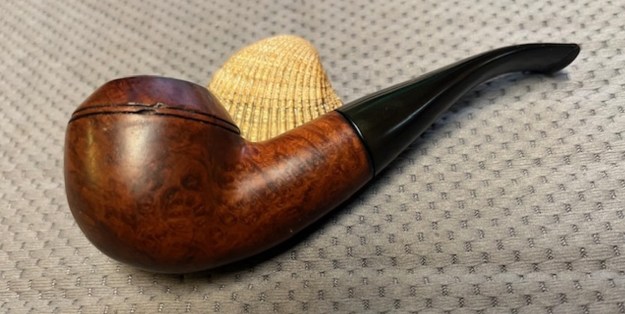
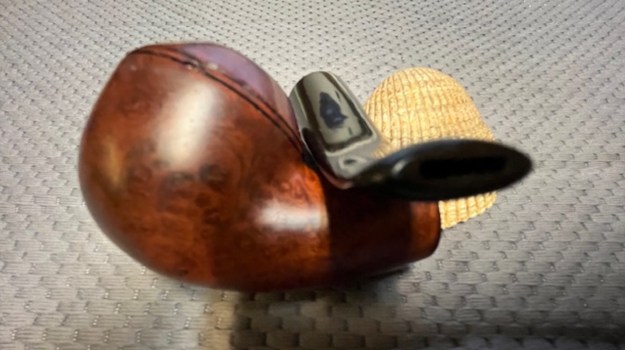
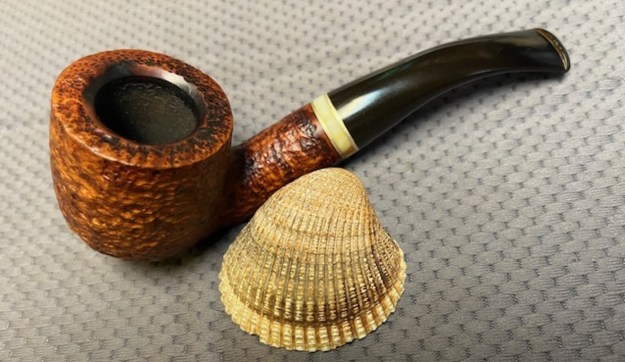
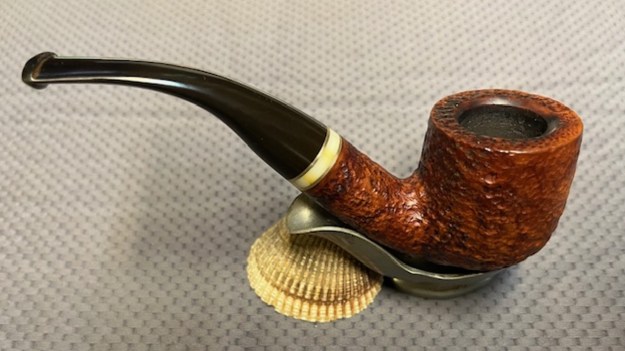
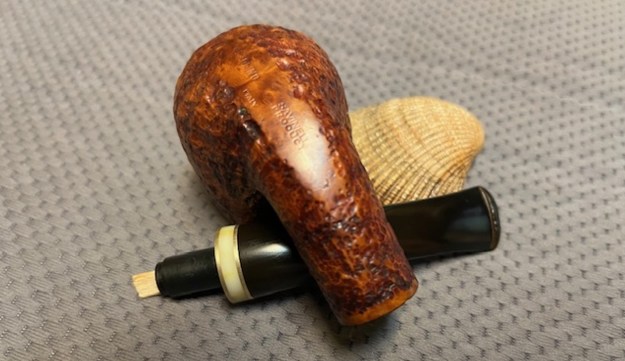
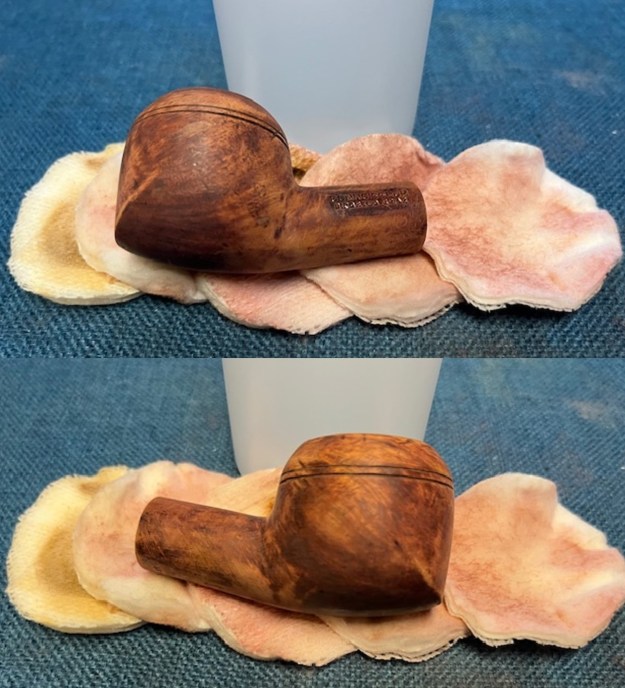
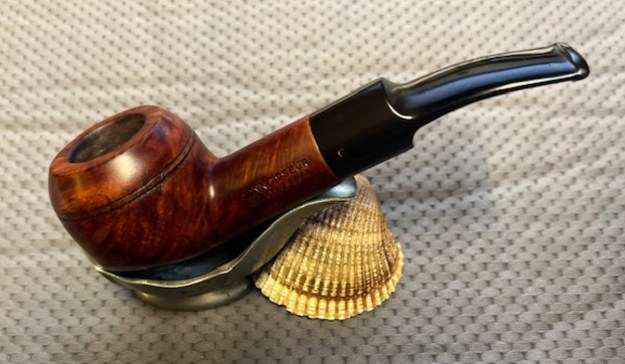
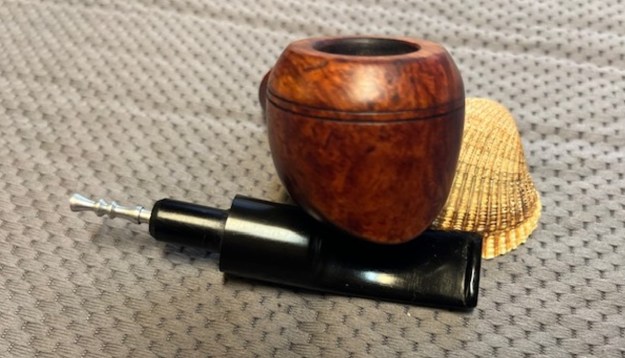
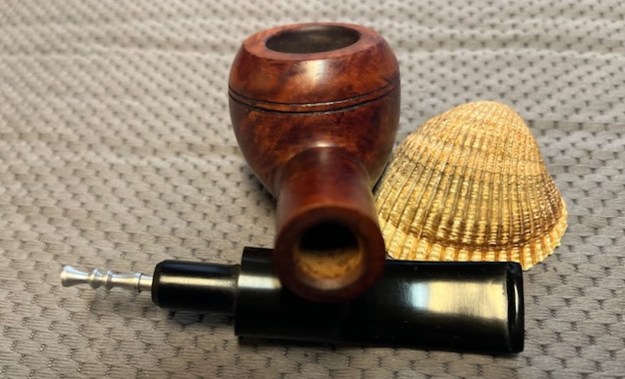
It may seem I have endless choices of pipes to work on. While we do have a lot of pipes that are in the queue to be restored it is far from endless. This next pipe I chose to work on was one that we purchased a few years ago on 10/17/2022 from our connection in Copenhagen, Denmark. The pipe is stamped on the left side of the shank and reads Stanwell [over] Facet. There is no country of origin stamp on the pipe. This one is a unique beauty with a Hexagonal shape combining a smooth rim top and smooth facets on the right and left side of the bowl. The front and back of the bowl and the top and underside of the shank were sandblasted on the two facets on the front and the back of the bowl. The exterior of the pipe was dirty and worn with dust in the sandblast. There was a thick cake in the bowl and some lava and darkening on the rim top flowing around the top of the rim. The shank had a gold band/ferrule on the shank end. The stem is a fancy hexagonal saddle stem with a gold “Crown S” logo on the left side of the saddle stem. It was lightly oxidized and had light tooth marks and chatter on both sides ahead of the button. Jeff took photos of the pipe before he started his clean up work.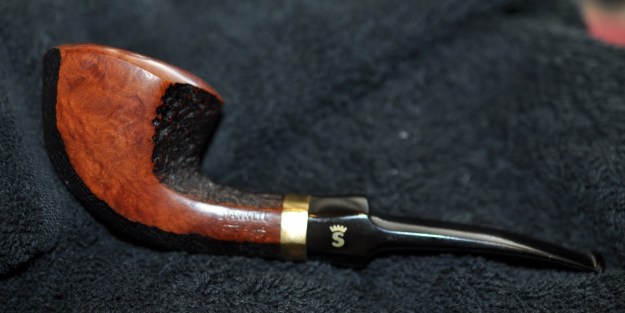
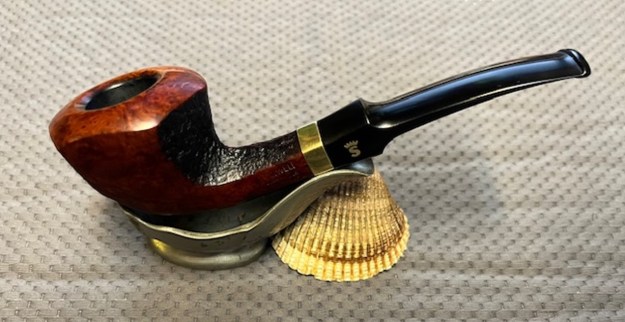
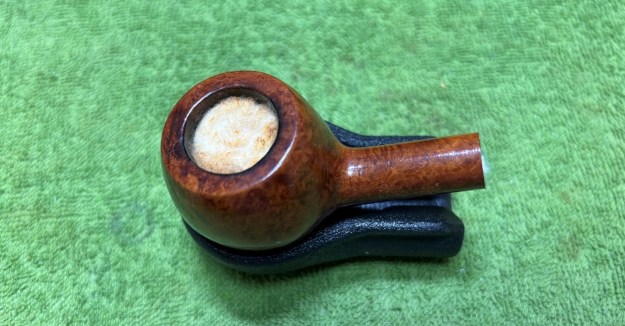
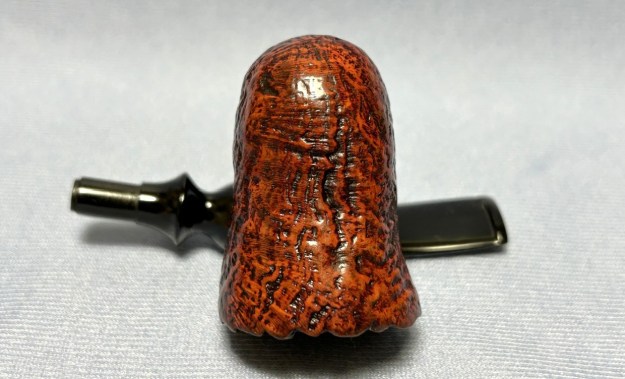
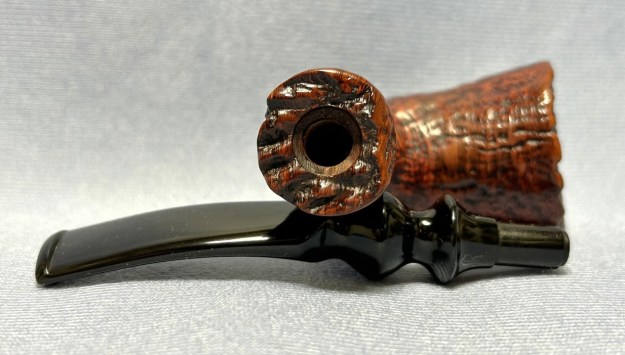
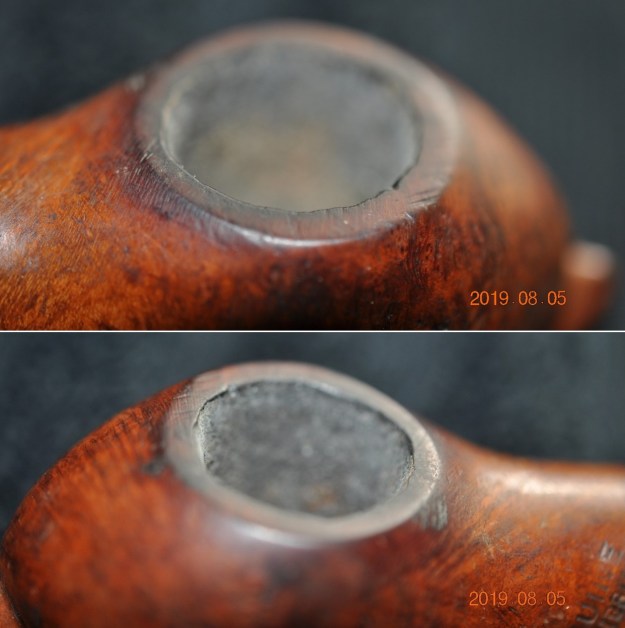
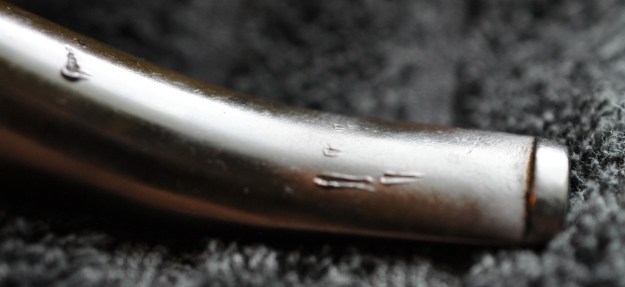
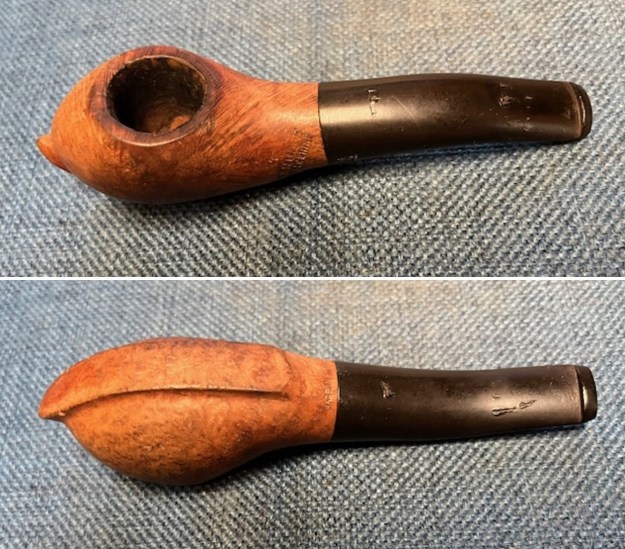
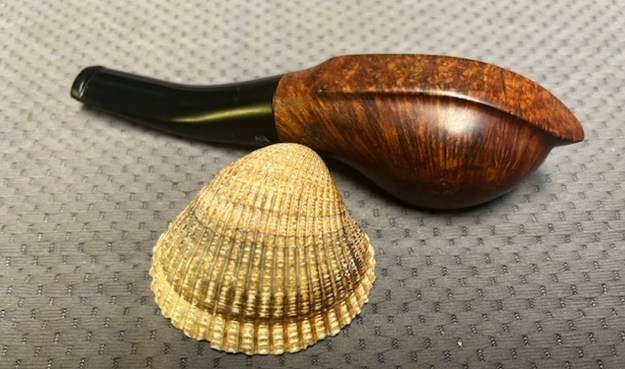
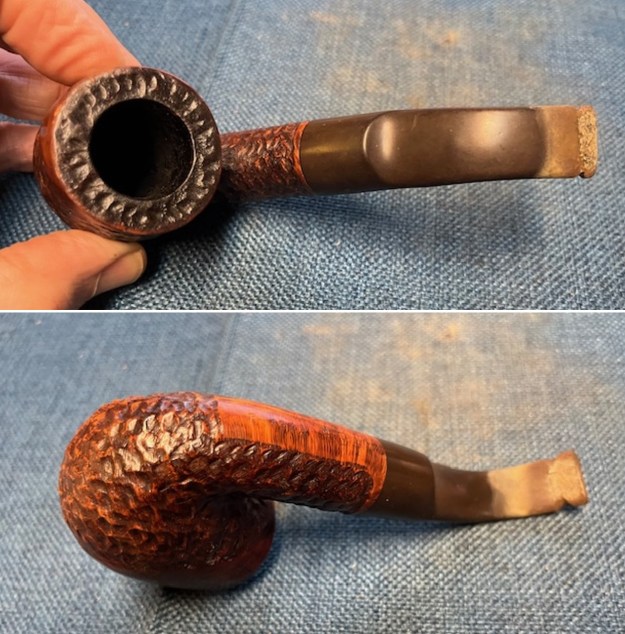
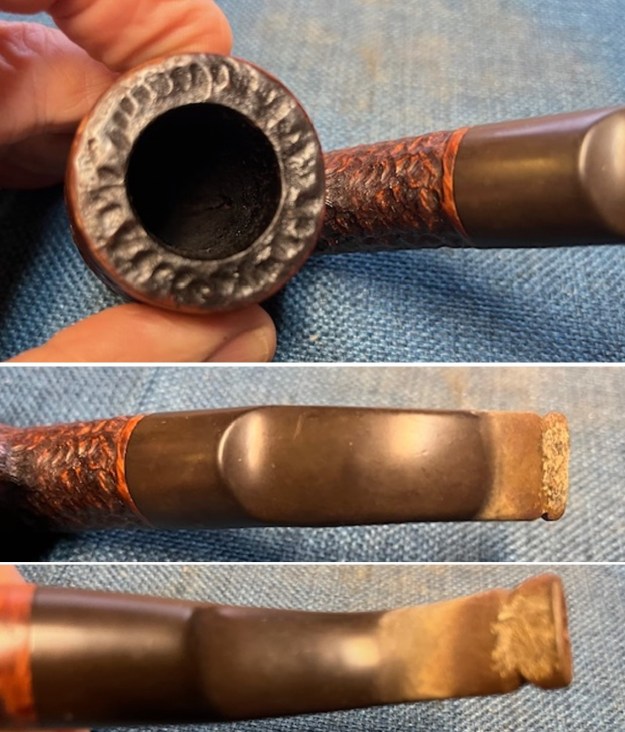
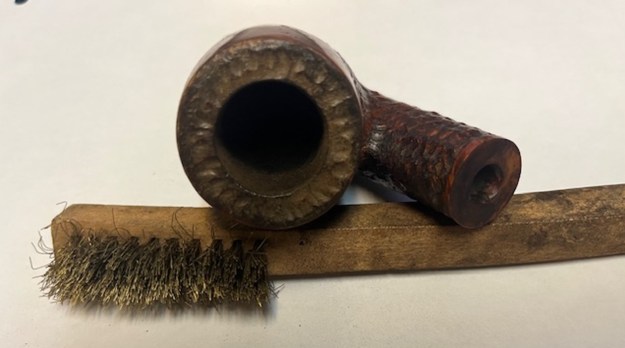
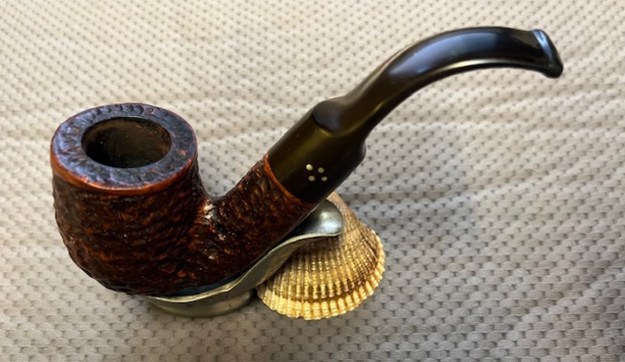
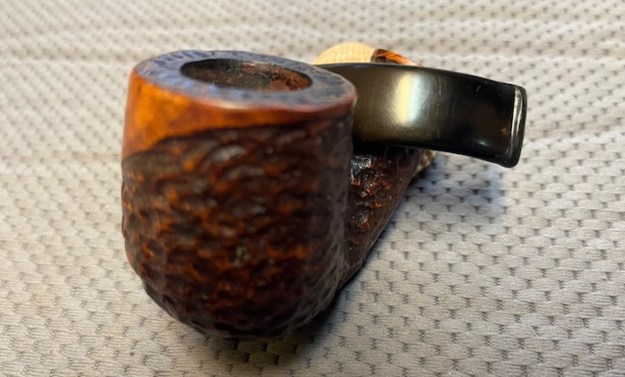
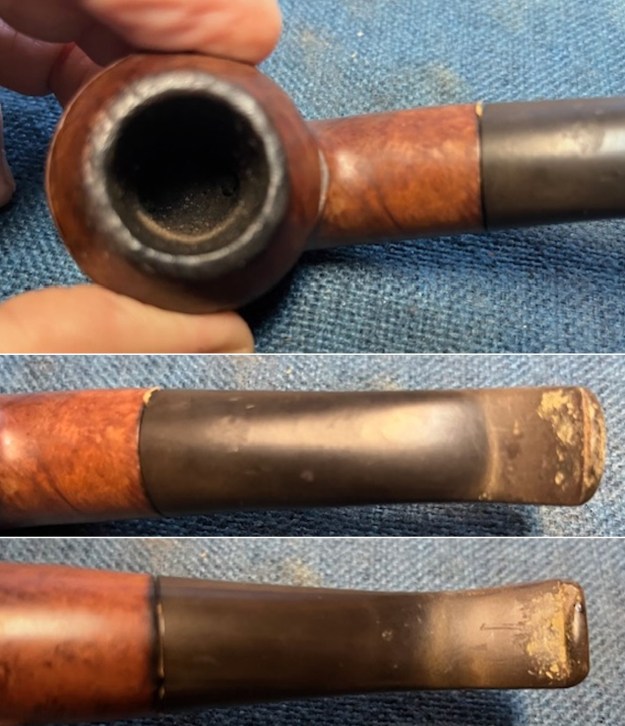
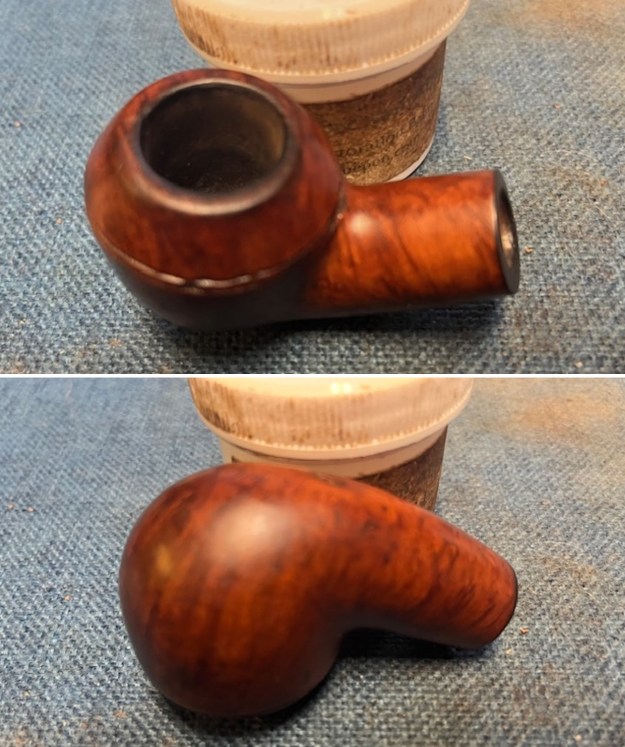
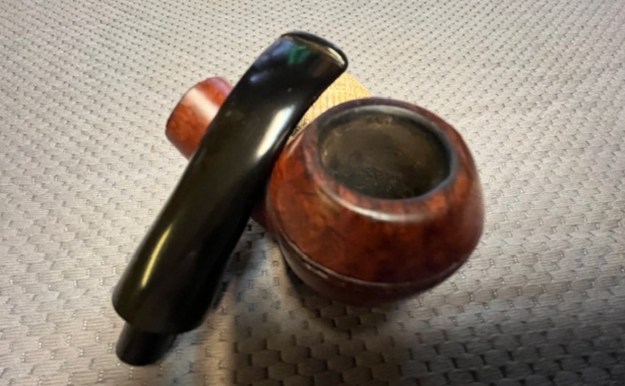
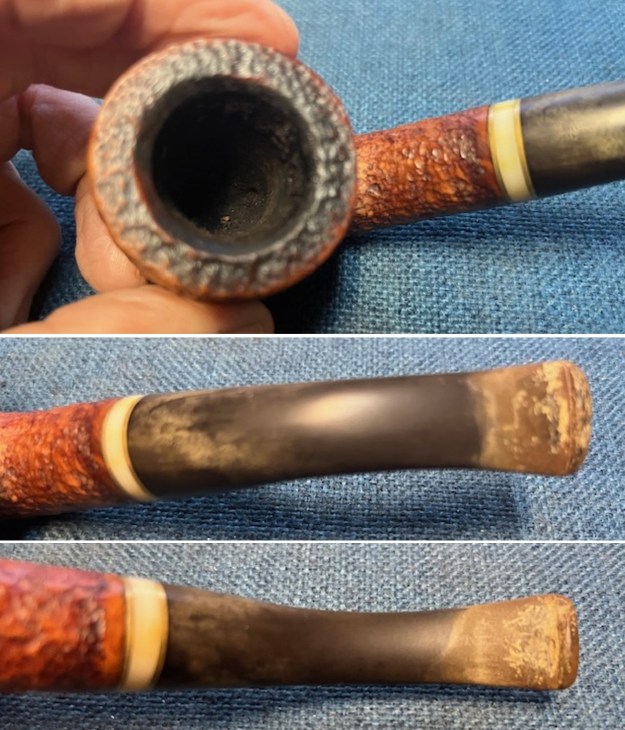
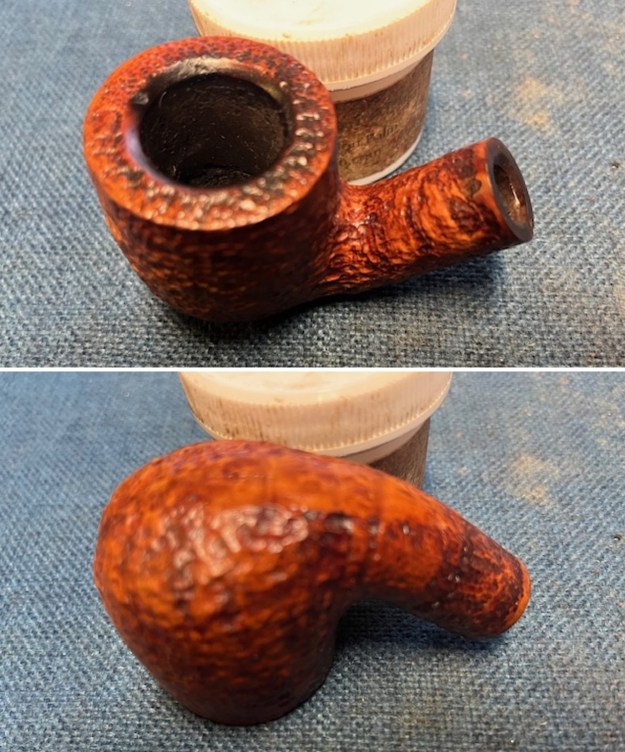
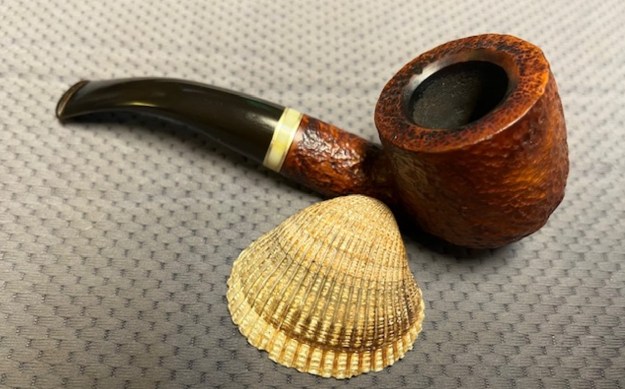
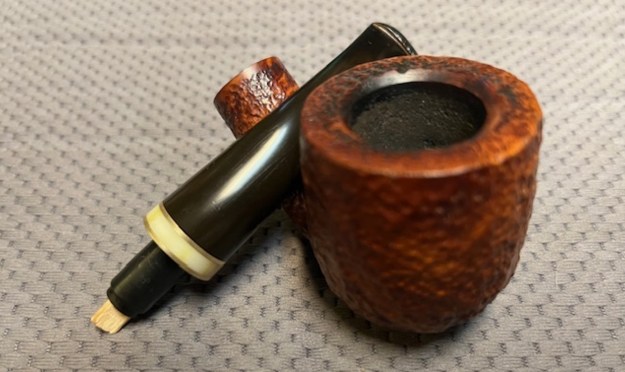
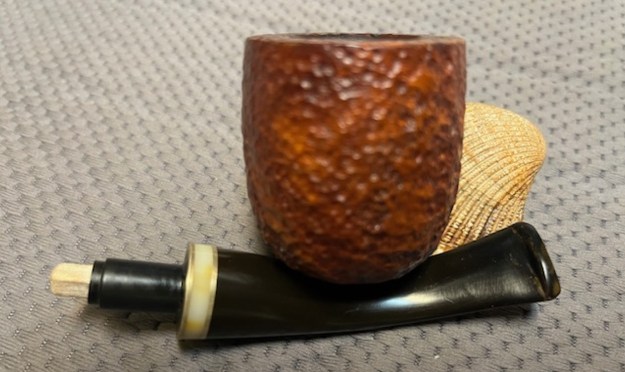
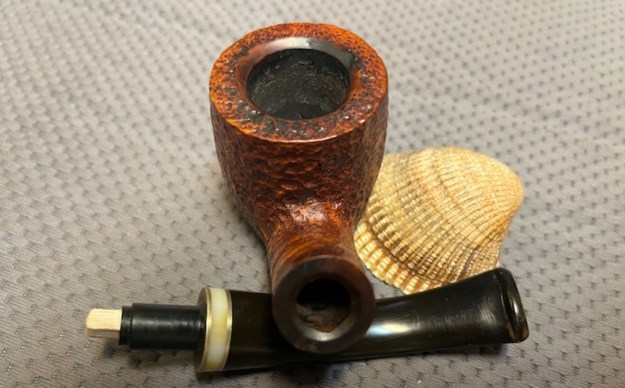
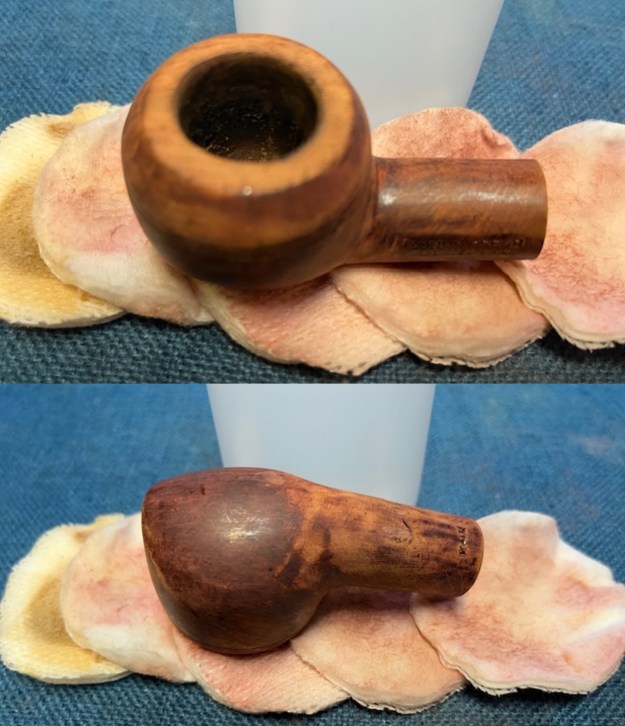
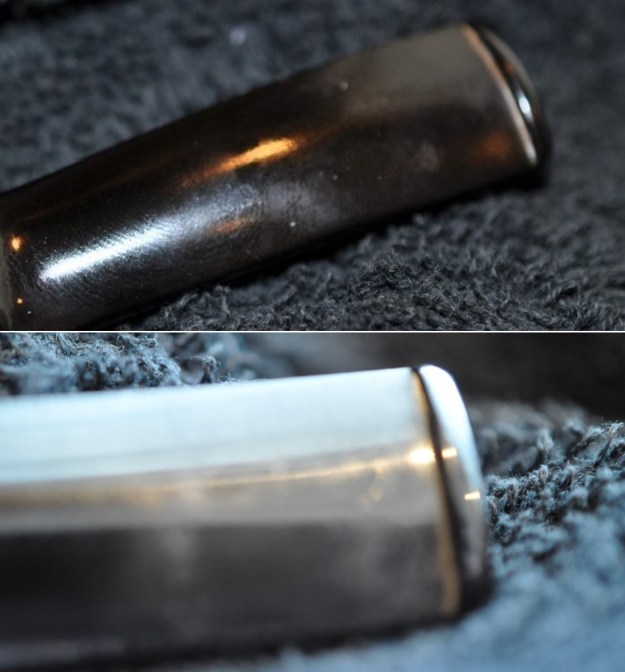
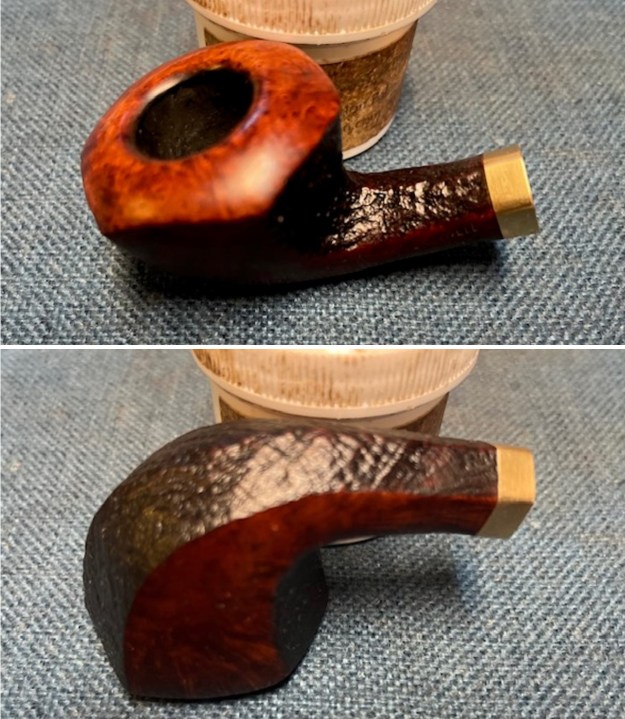
 Jeff took photos of the rim top and stem to show the general condition of the pipe. The bowl is heavily caked and there was lava on the rim top and the inner edge. The stem was lightly oxidized and had some tooth marks and chatter. It should cleanup very well.
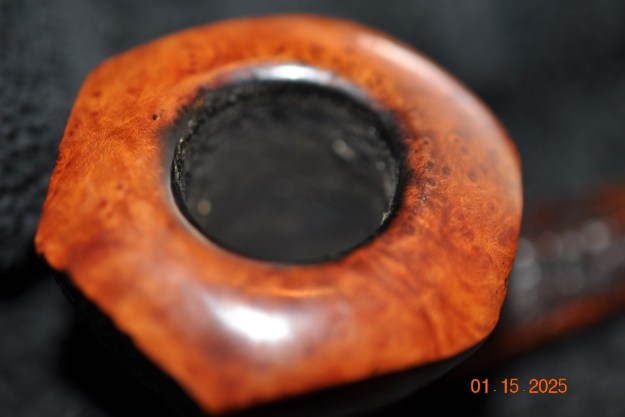
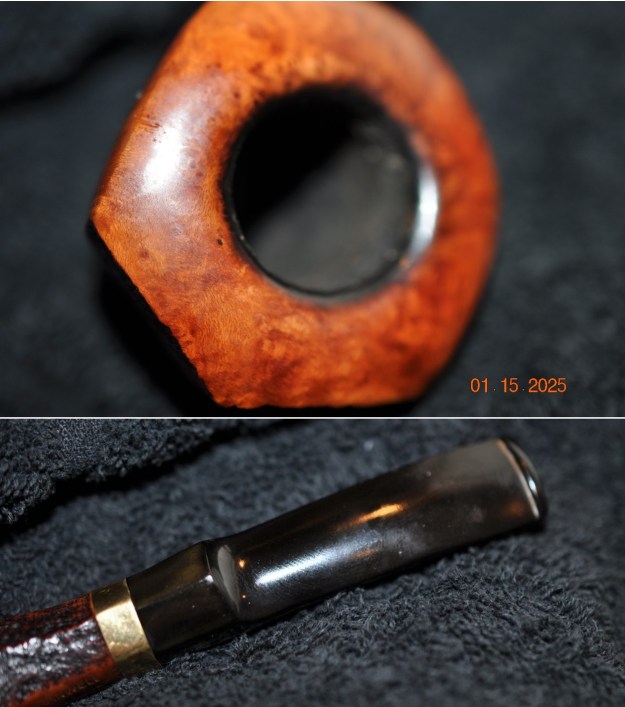
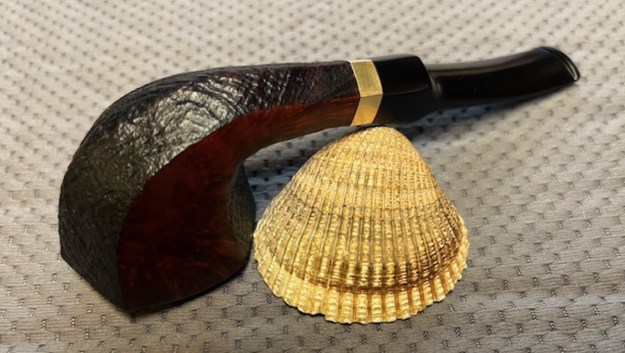
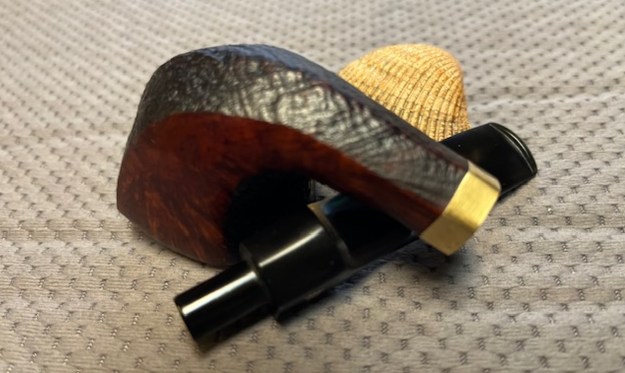
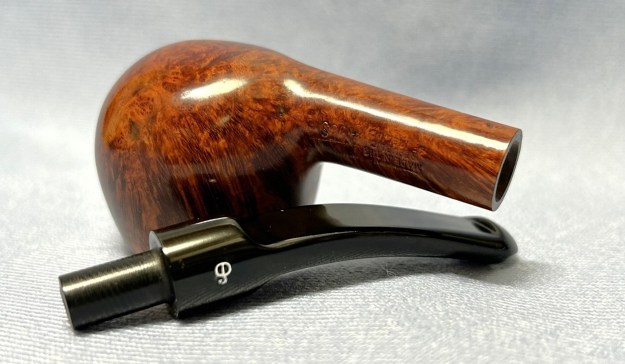
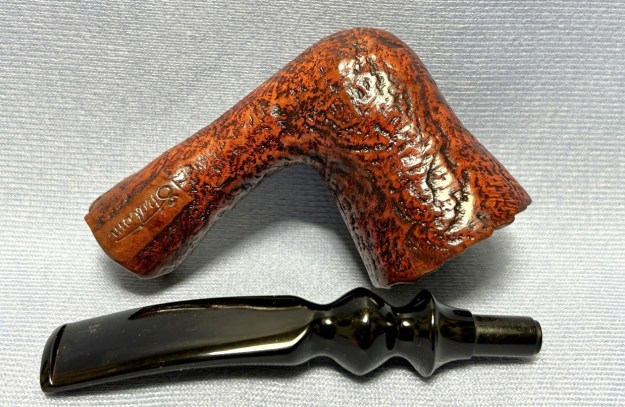
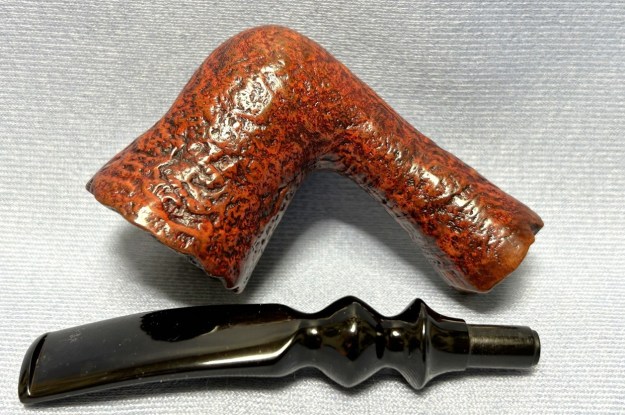
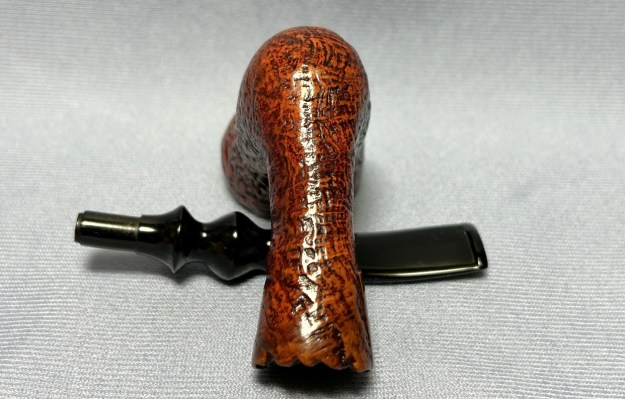
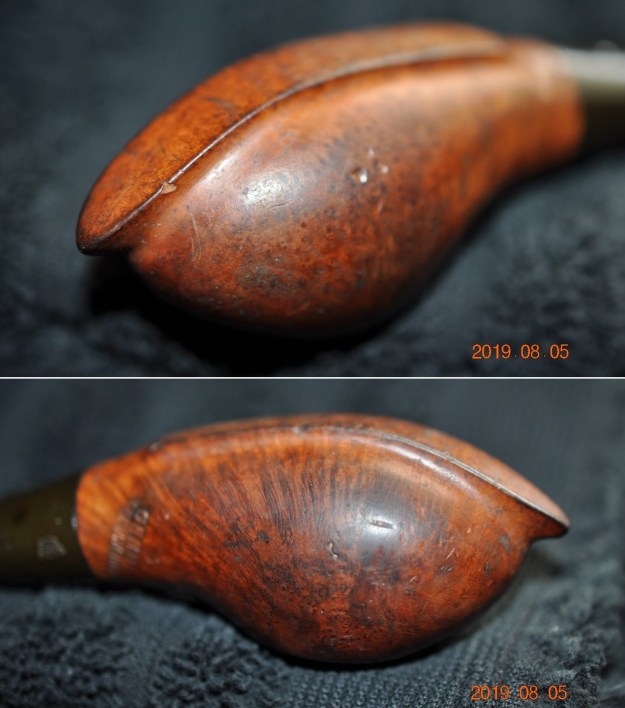
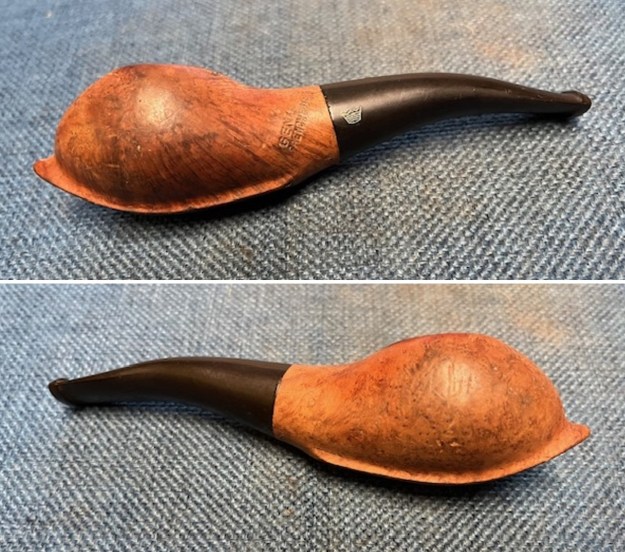
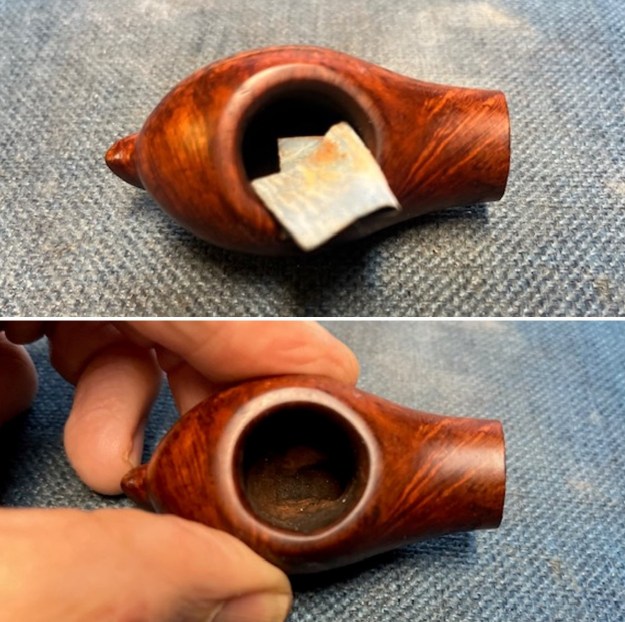
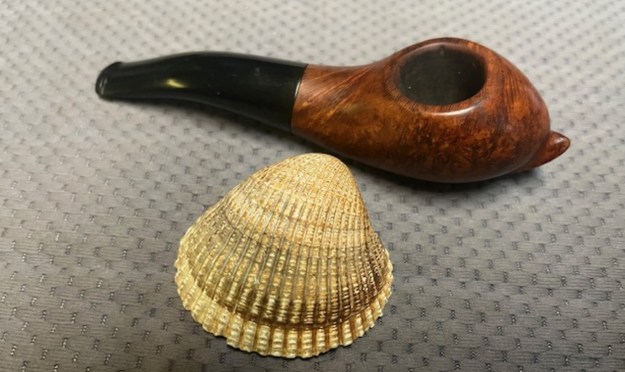
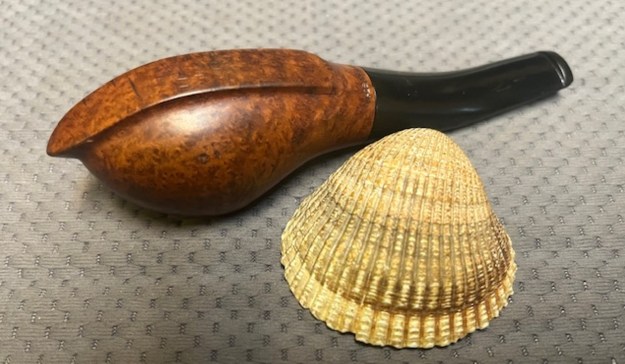
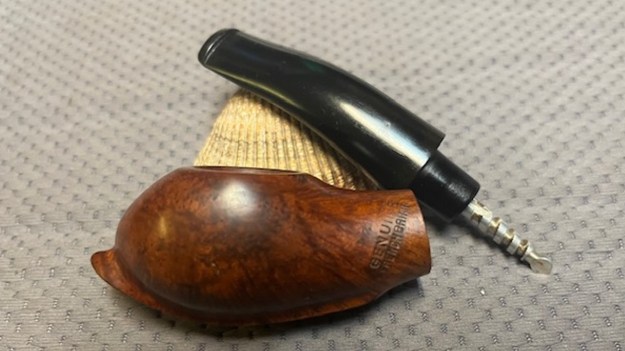
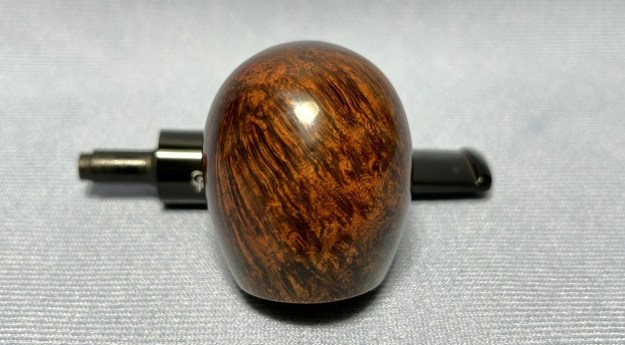
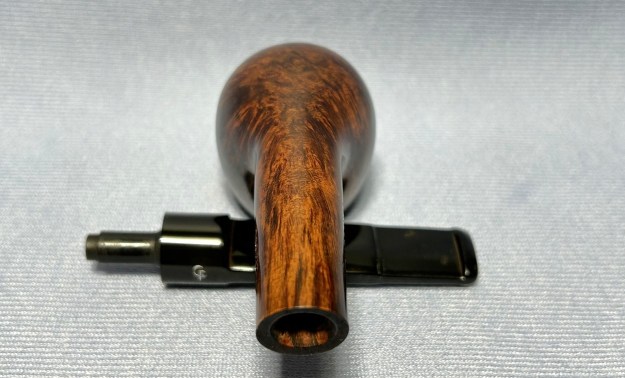
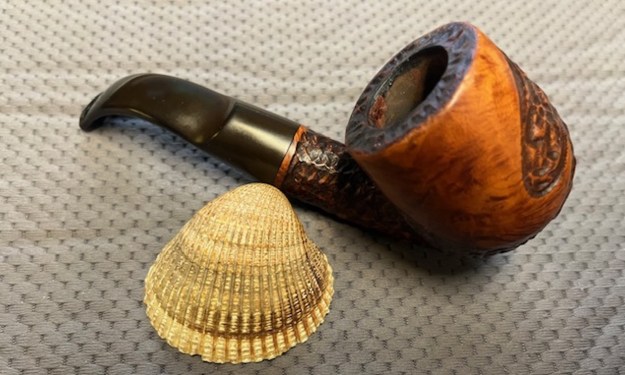
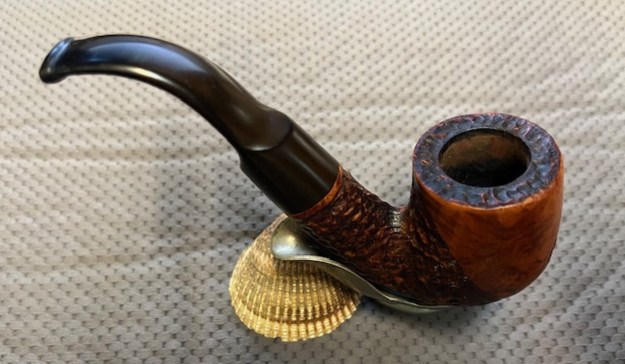
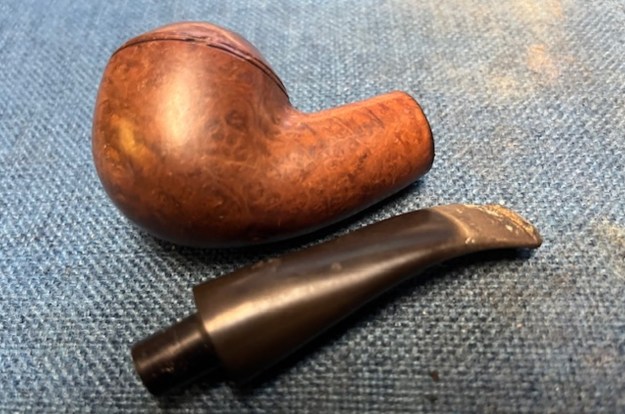
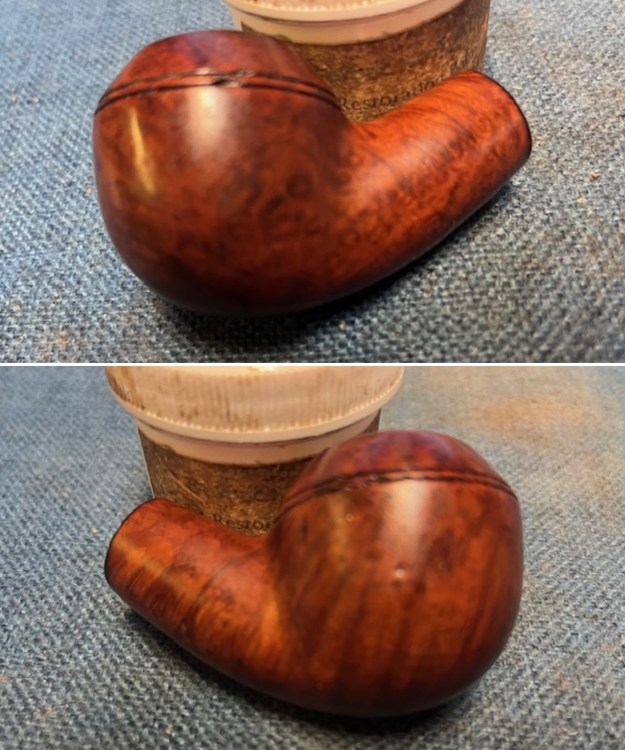
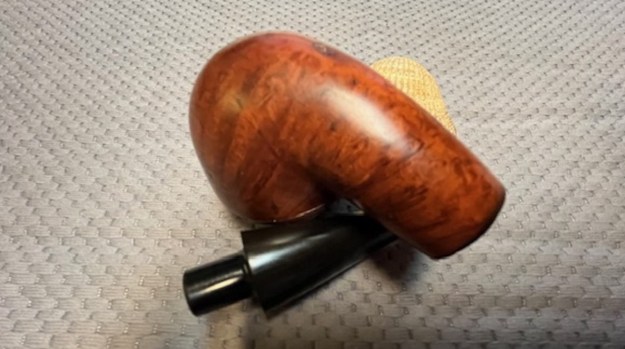
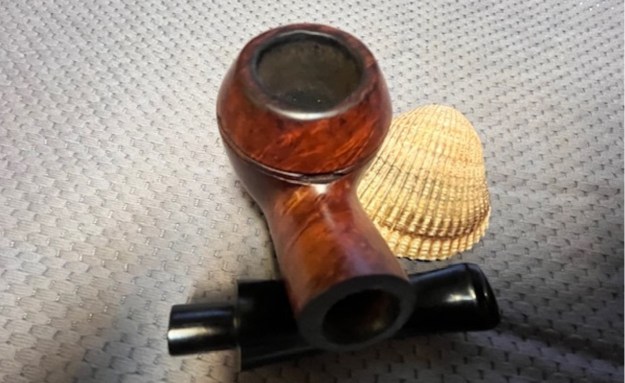
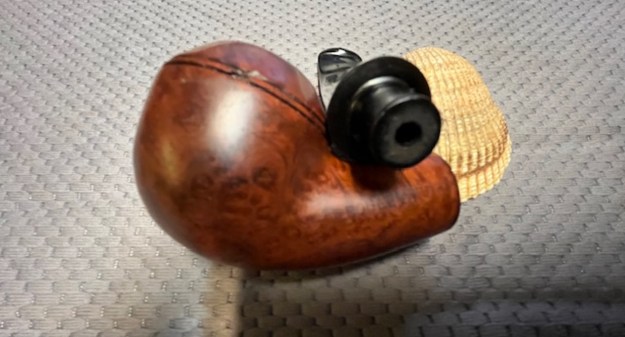
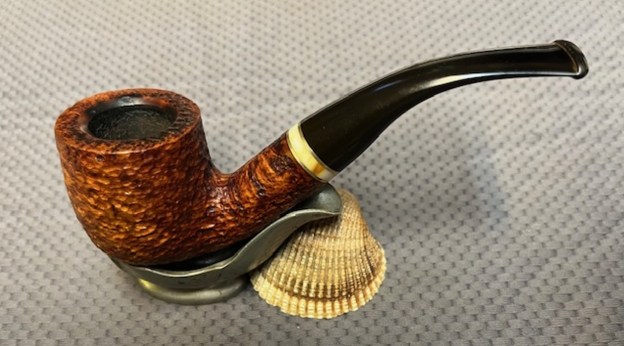
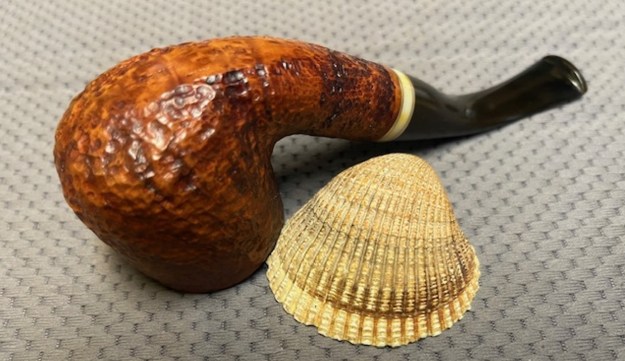
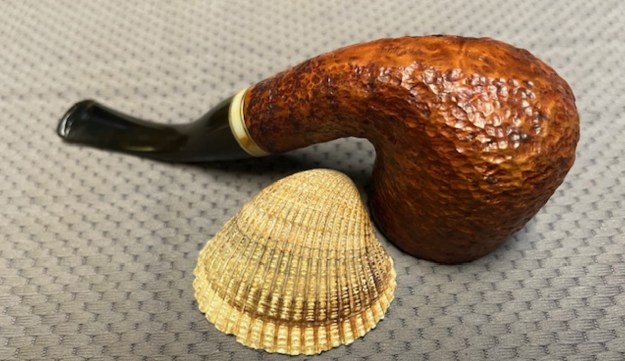
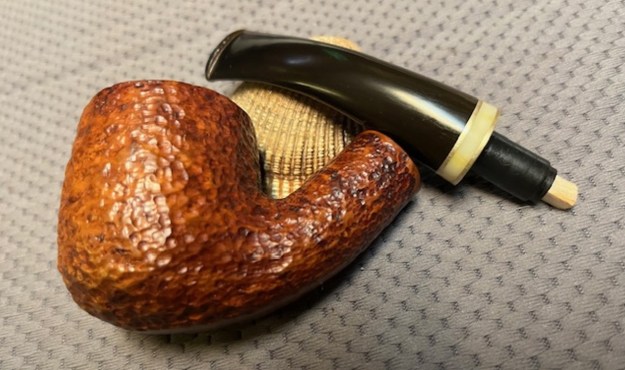
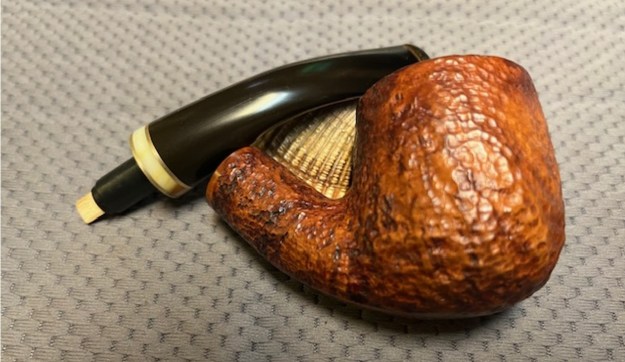
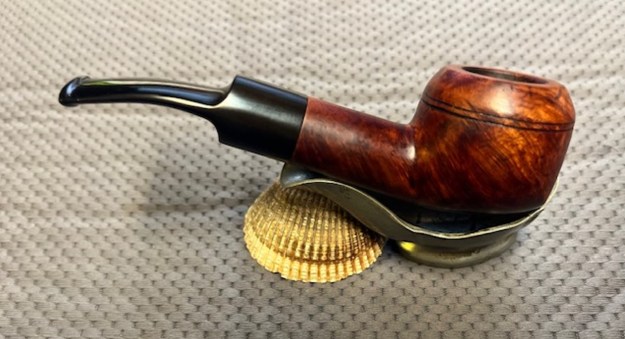
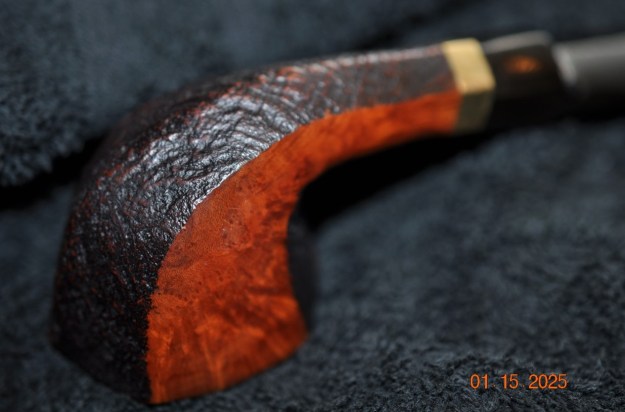
 Jeff took photos of the bowl sides and heel to show the smooth rim top, left and right bowl sides along with the beautiful blast that was around this bowl even though the grime on the finish hides it some. The pipe had obviously been well loved by the previous pipeman.
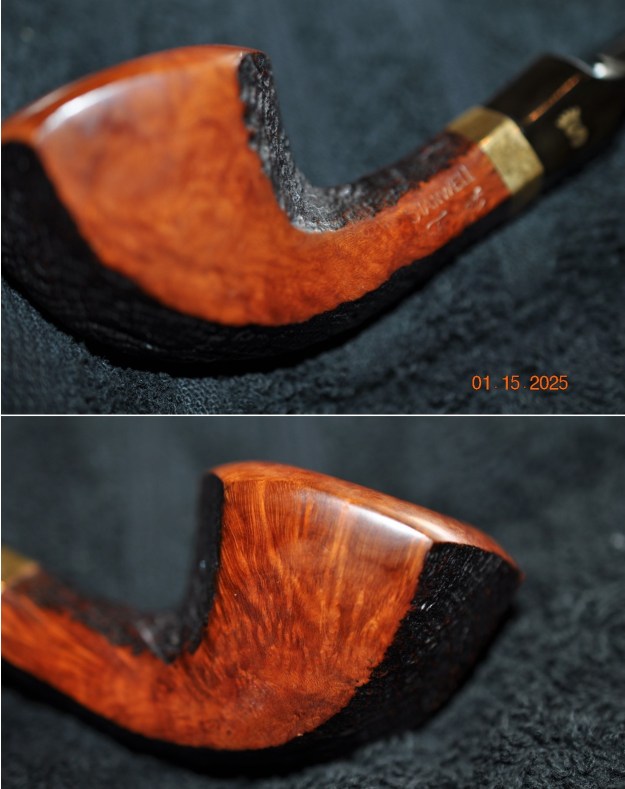
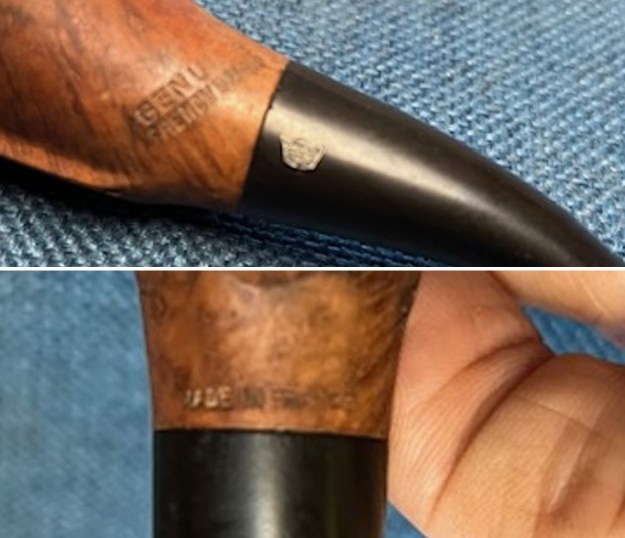
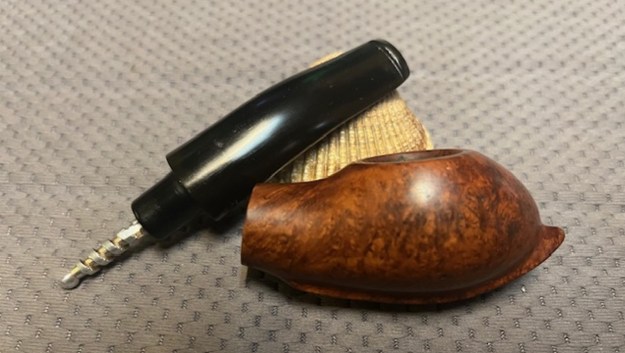
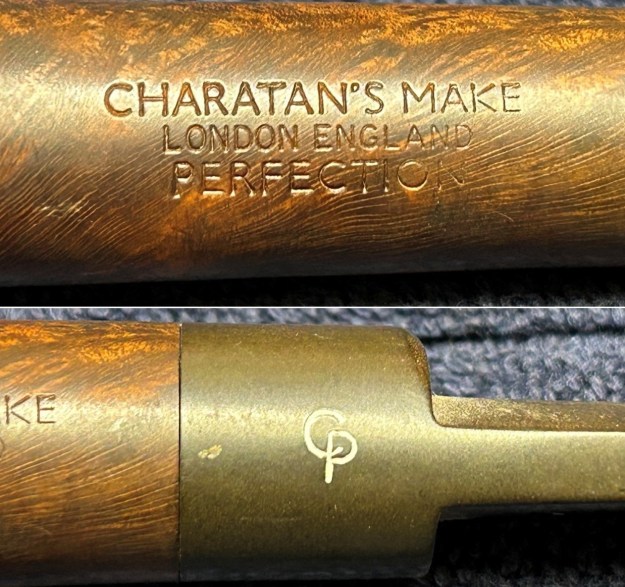
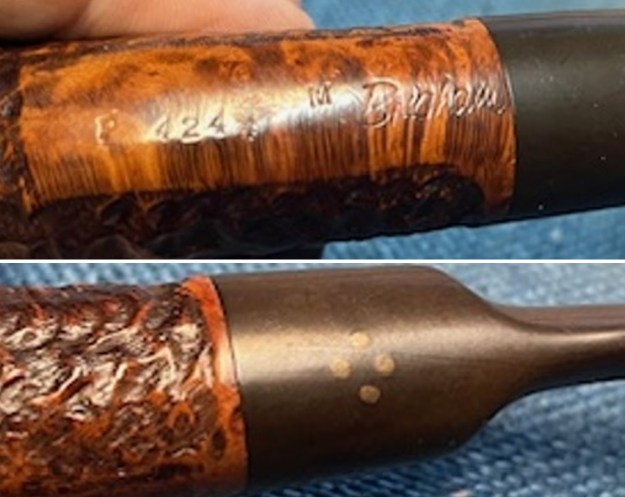
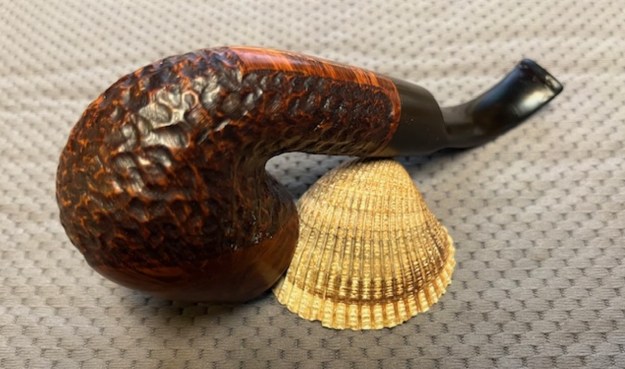
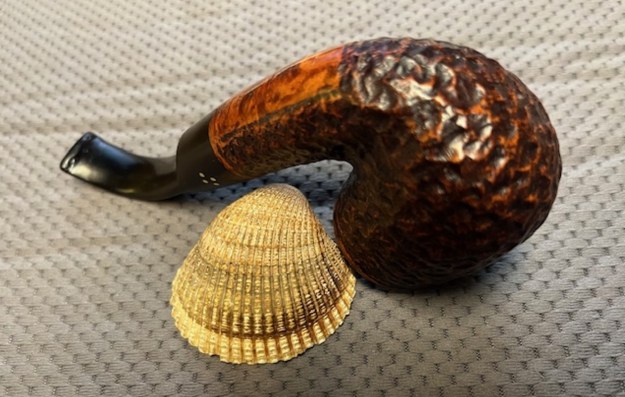
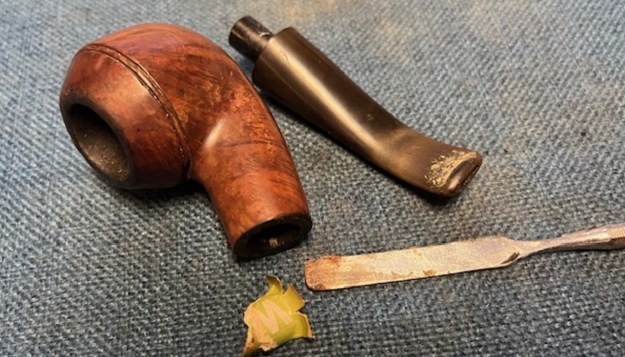
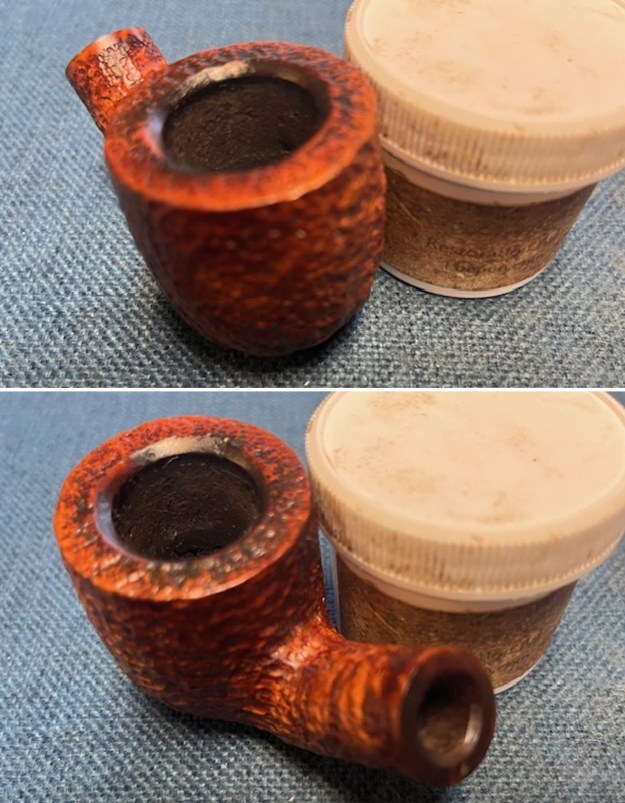
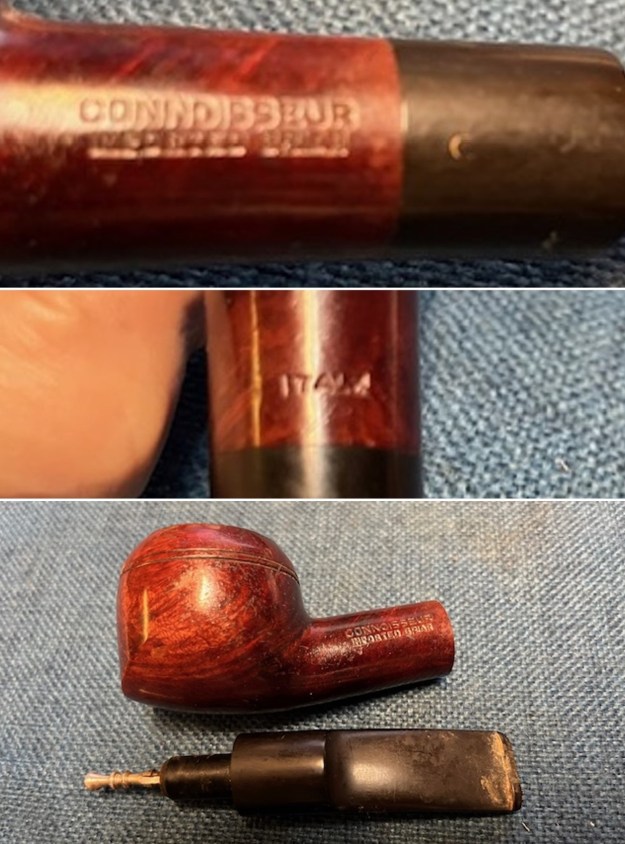
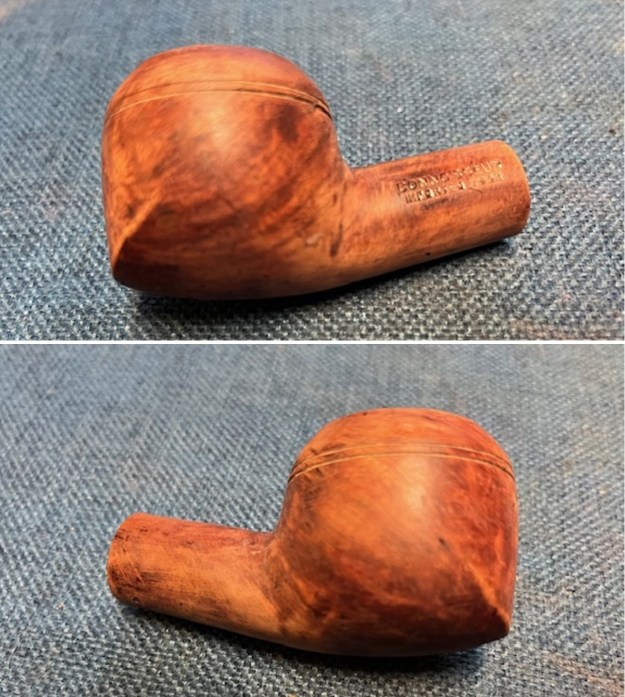
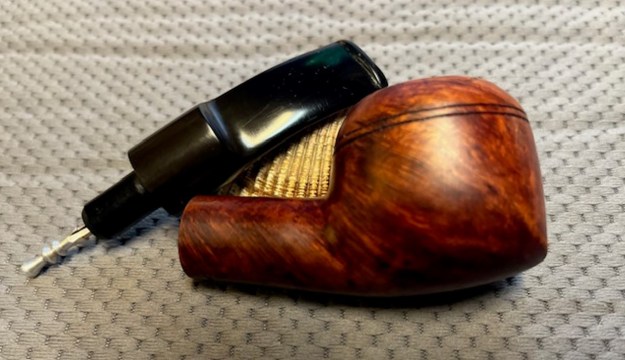
 He took photos of the sides of the shank to show the stamping. The stamping is clear and readable in the photos below as noted above.
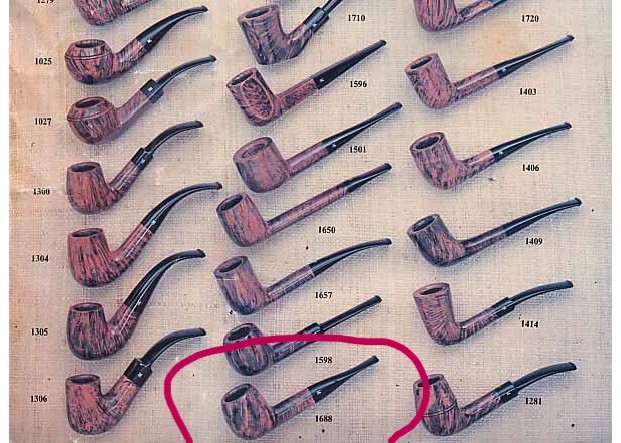
 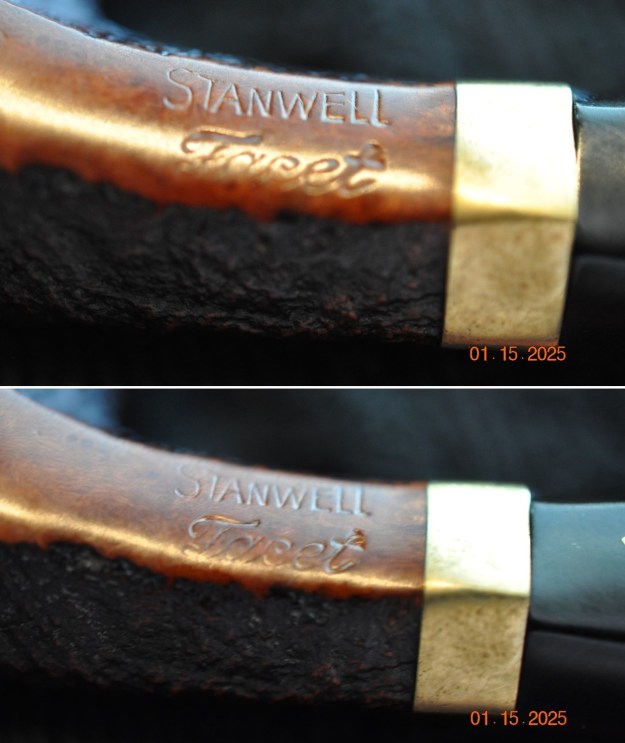 Before I started working on the pipe I decided to do a bit of digging on the shape and the design. I turned first to a blog on rebornpipes by Bas Stevens the was a compilation of Stanwell shapes (https://rebornpipes.com/2013/09/03/stanwell-shapes-compiled-by-bas-stevens/). There I found the shape number for this faceted pipe was 163. The information given there said that the shape was a Freehand, “Facet”, hexagonal, with brass ring by Jess Chonowitsch. It was a shape designed by Jess Chonowitsch and that was interesting to me.
So now I knew that the pipe was a Stanwell Facet and the shape was the classic Chonowitsch design hexagonal pipe with a brass ring on the shank end. Now it was time to work on the pipe.
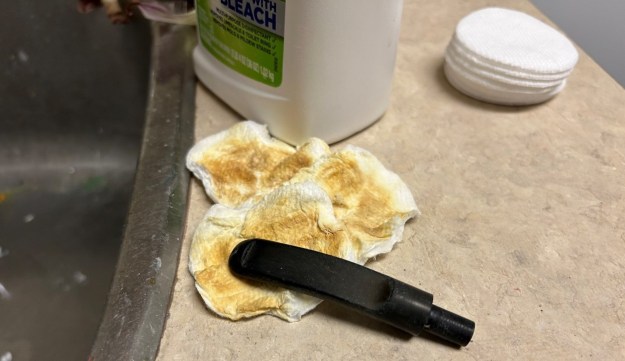
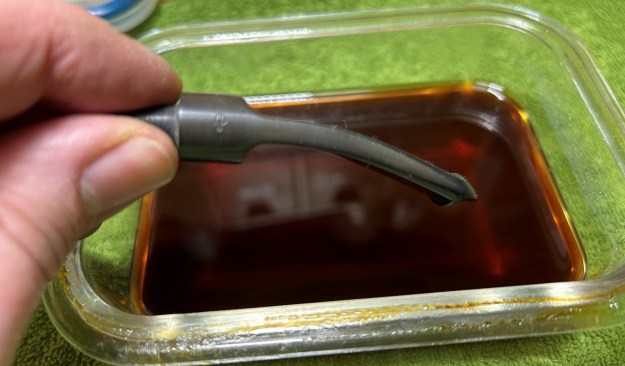
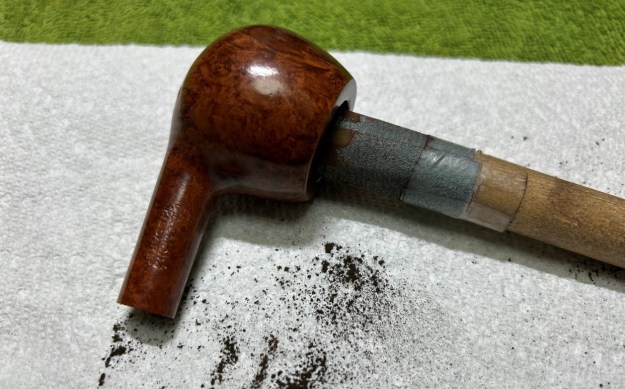
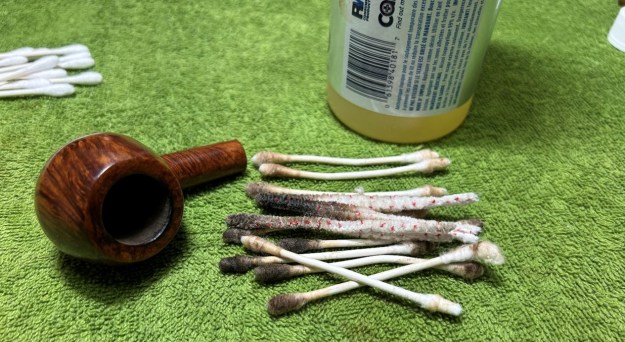
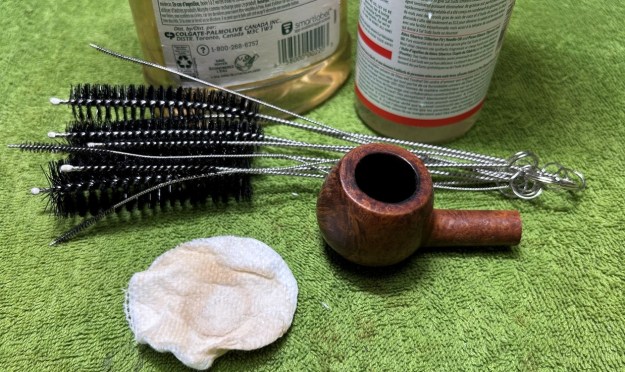
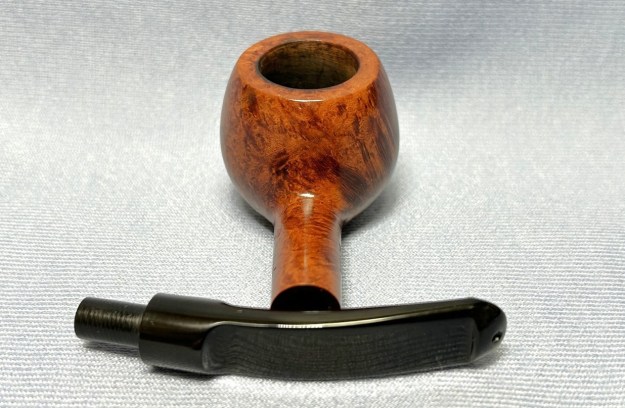
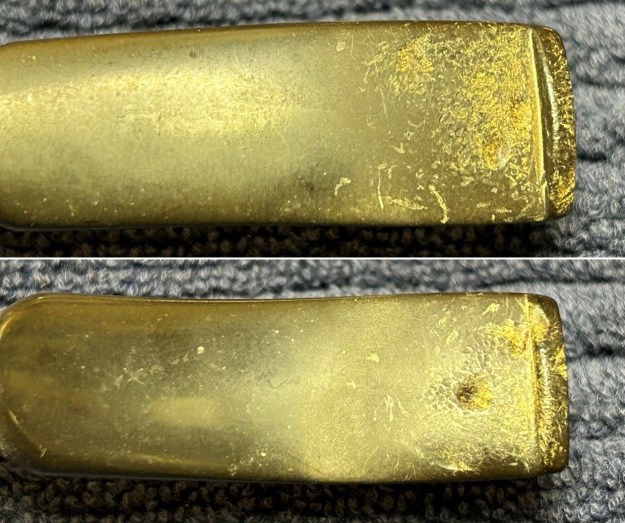
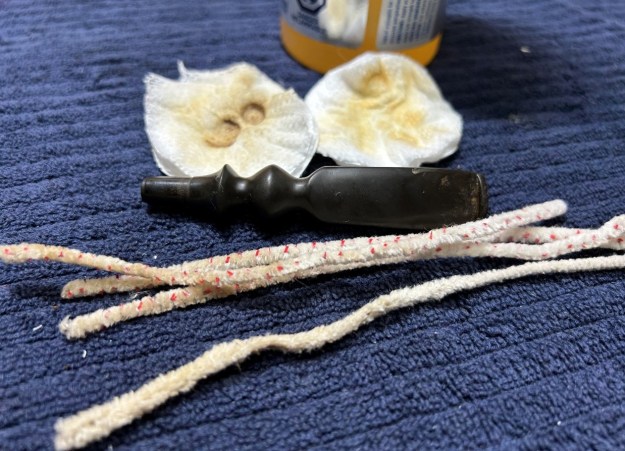
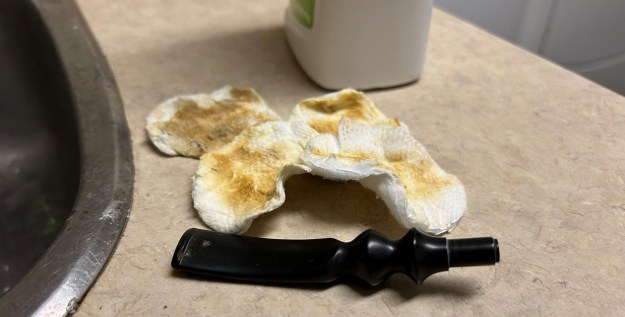
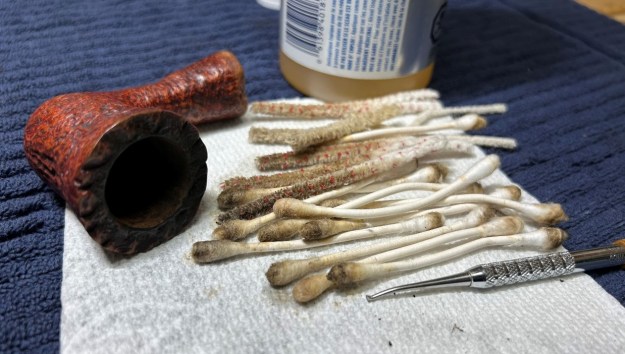
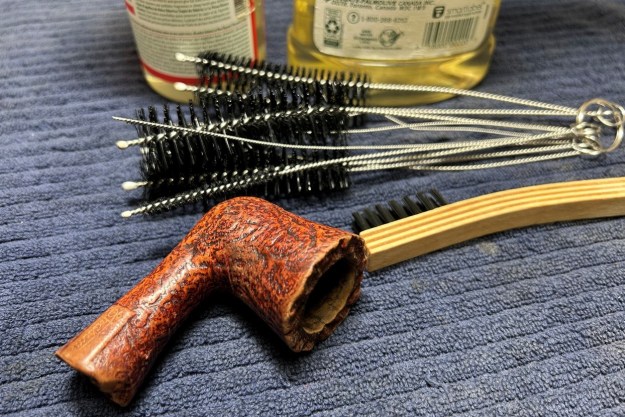
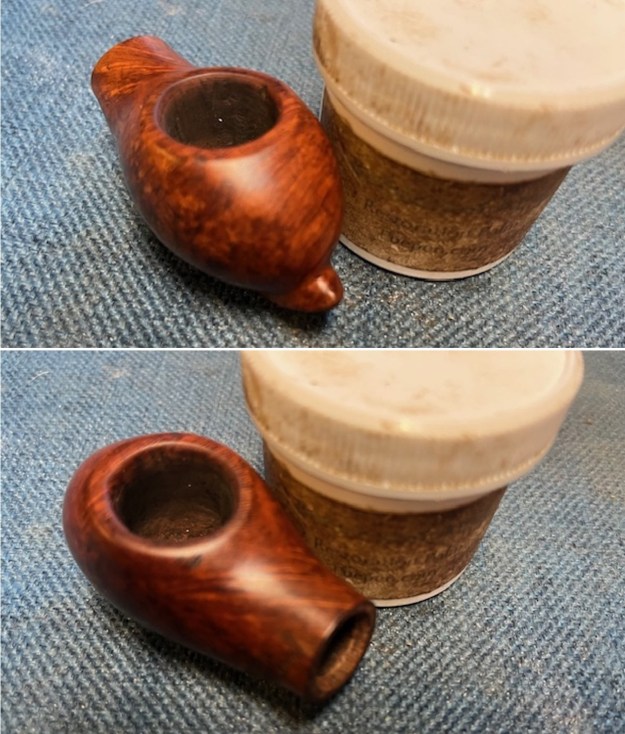
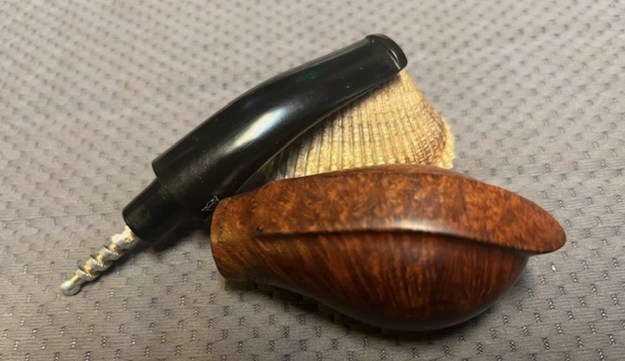
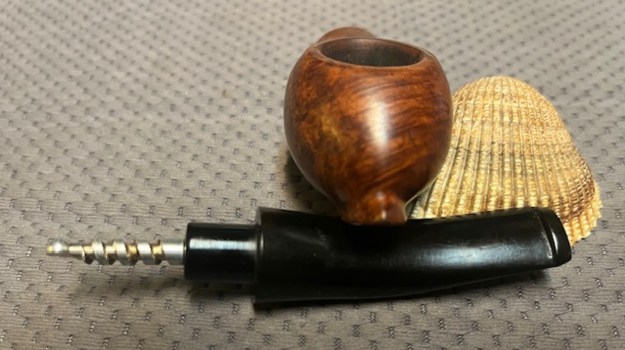
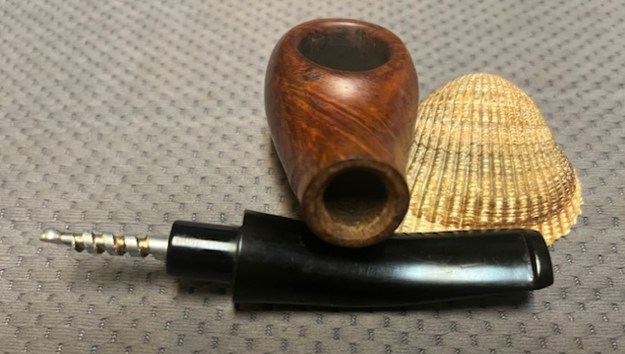
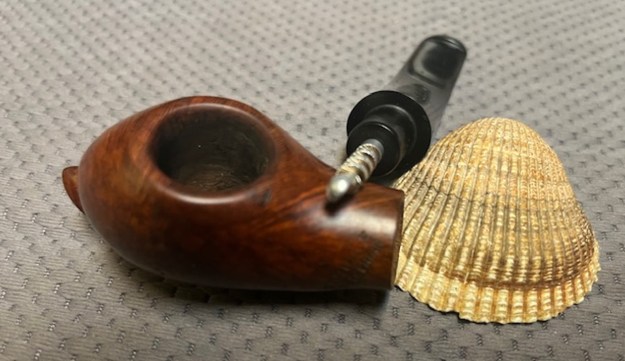
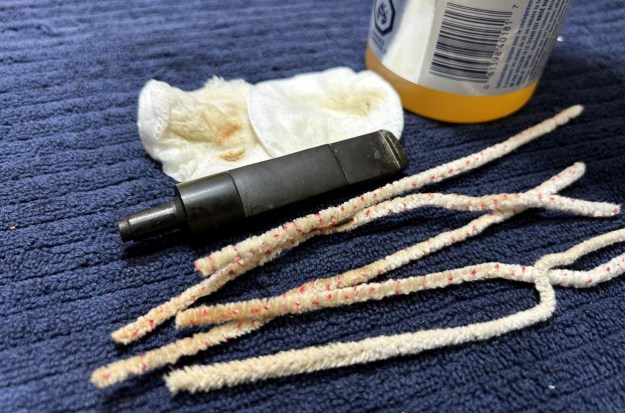
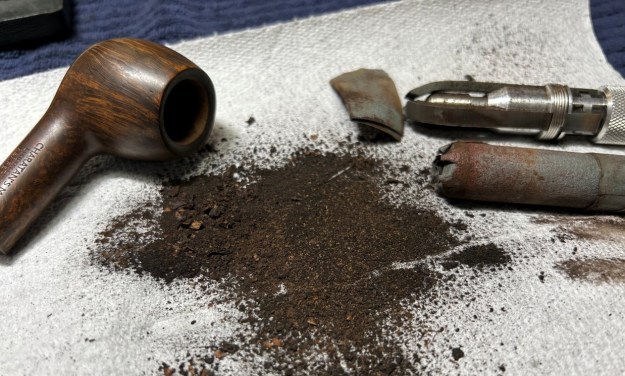
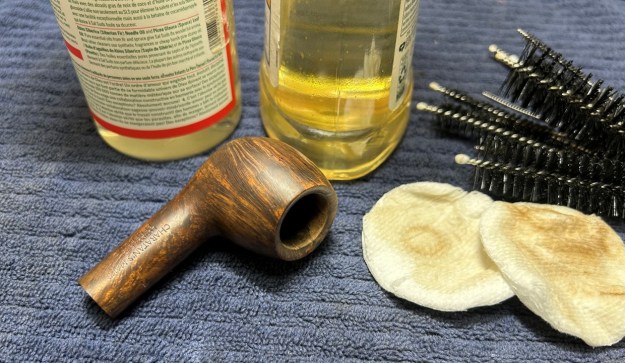
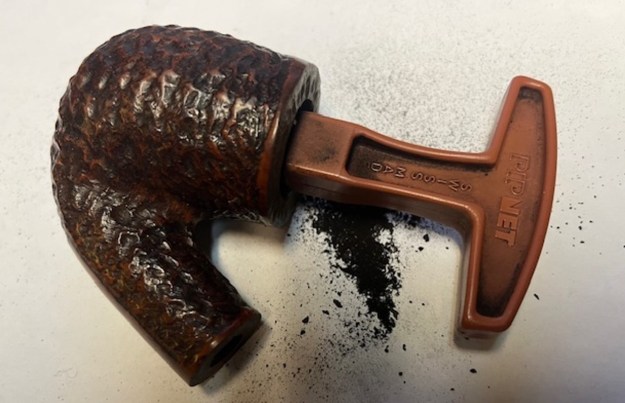
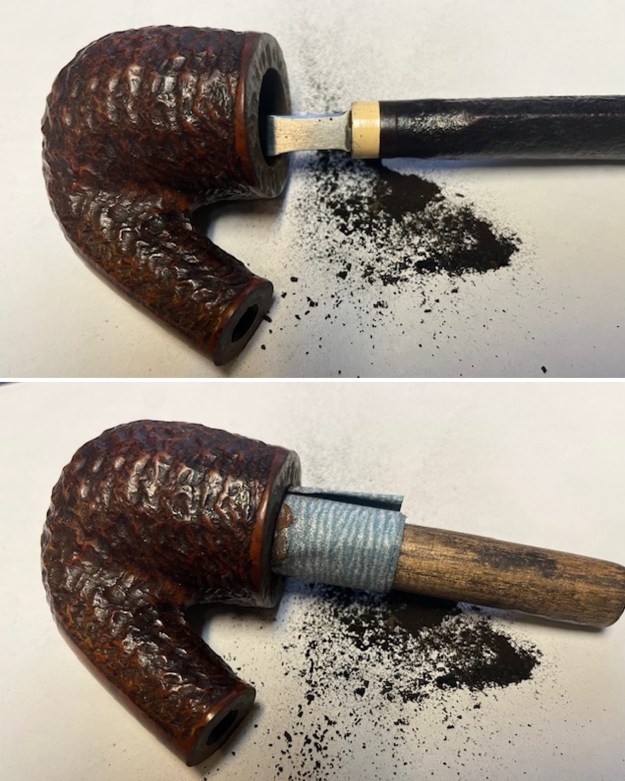
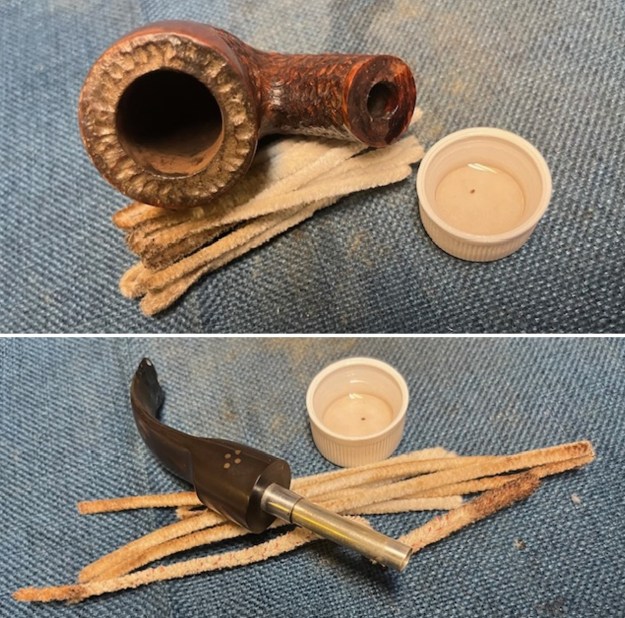
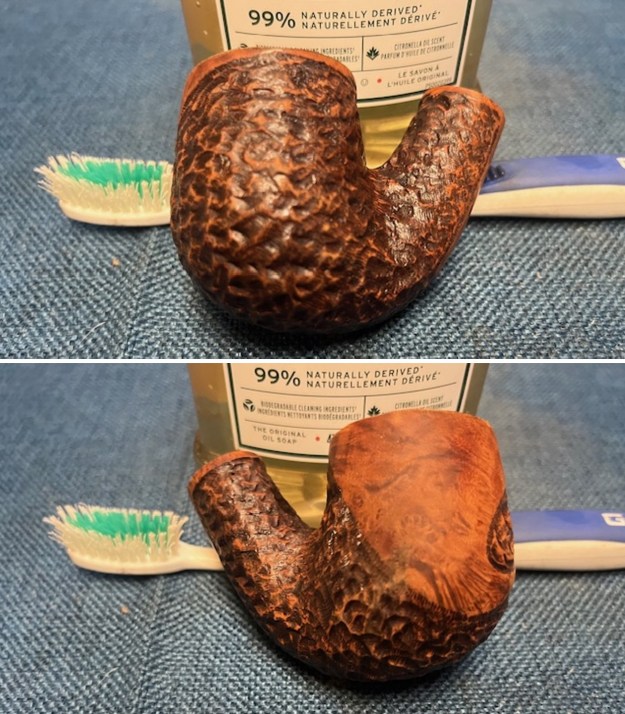
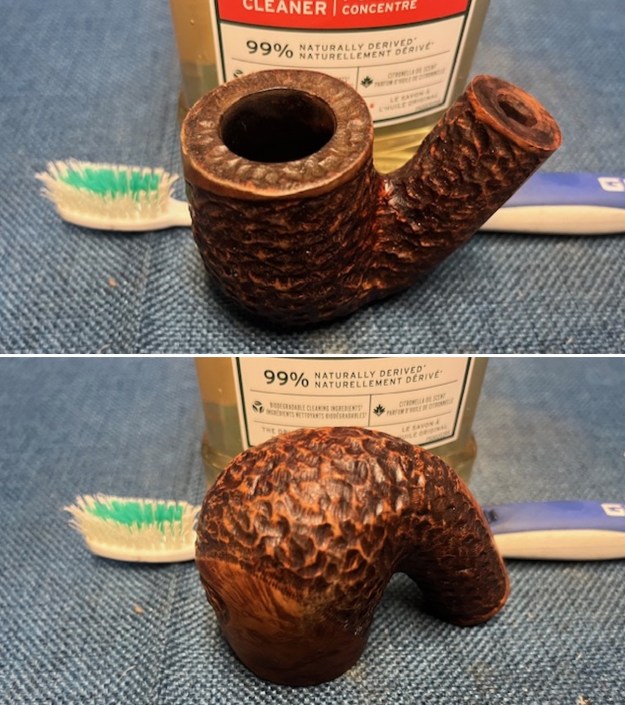
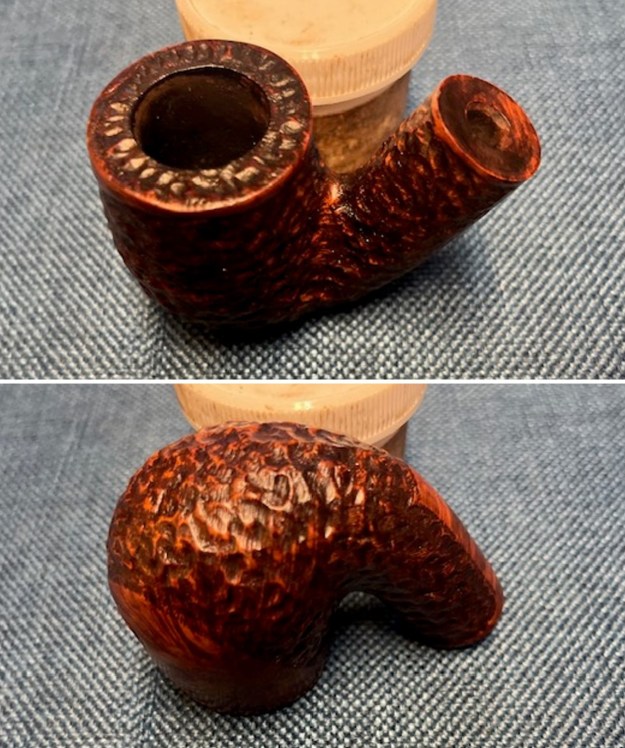
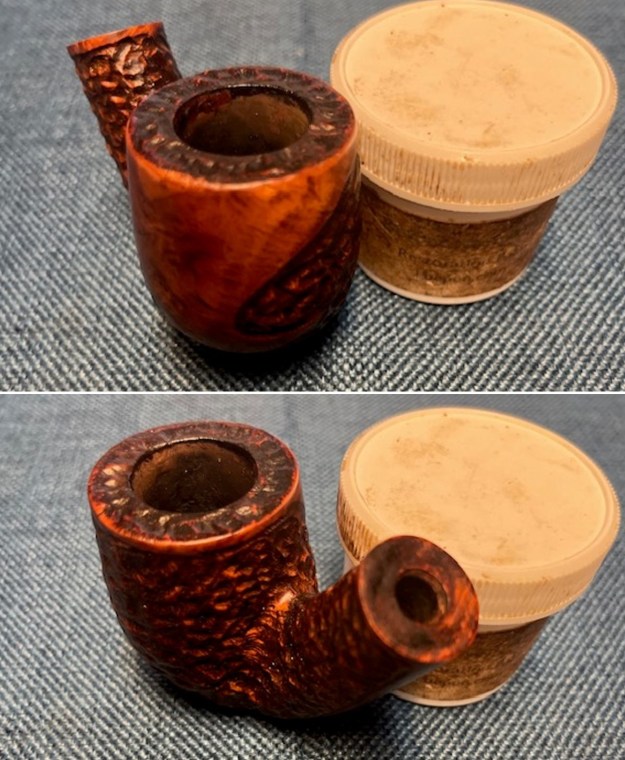
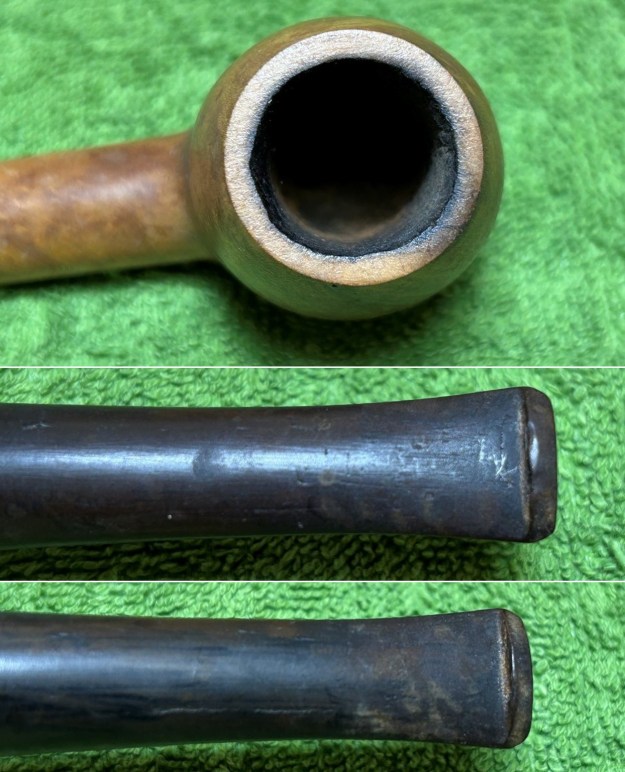
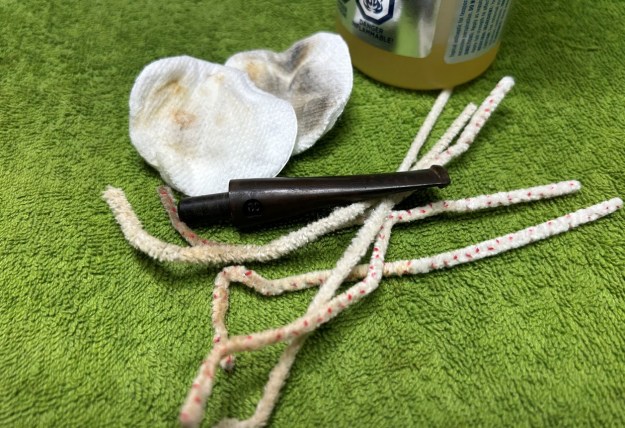
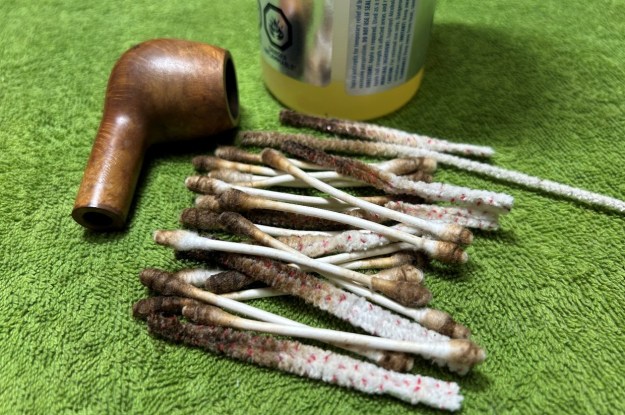
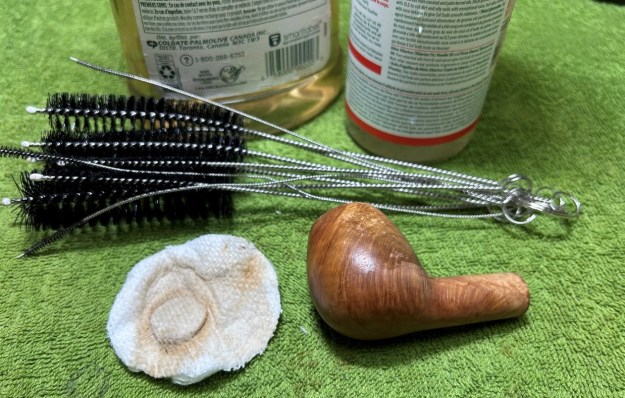
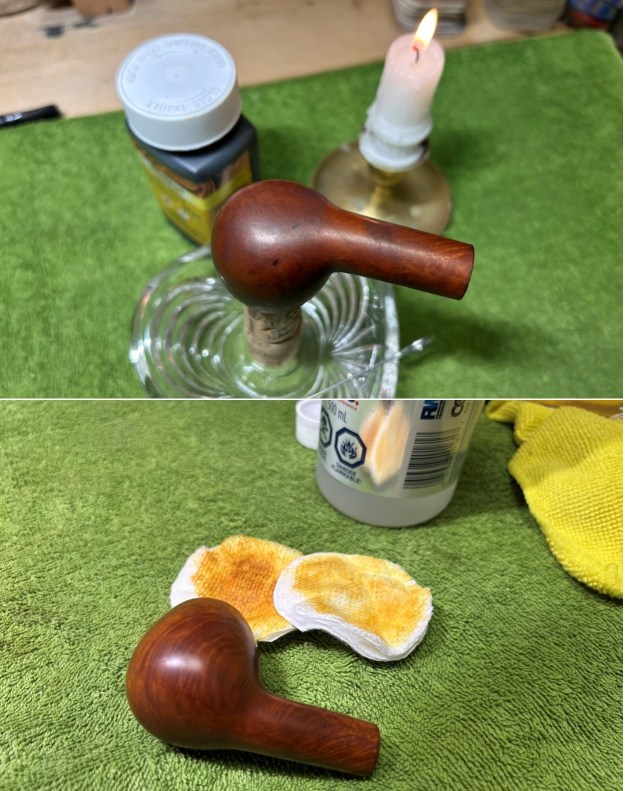
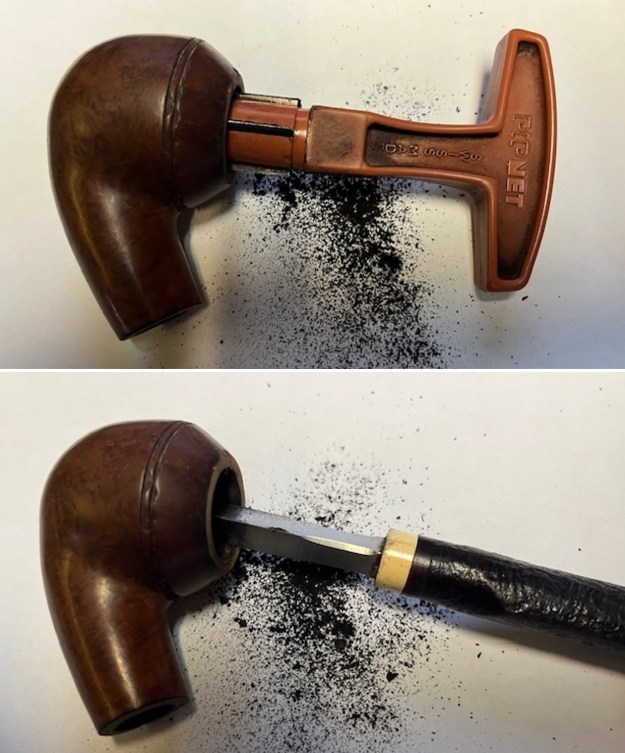
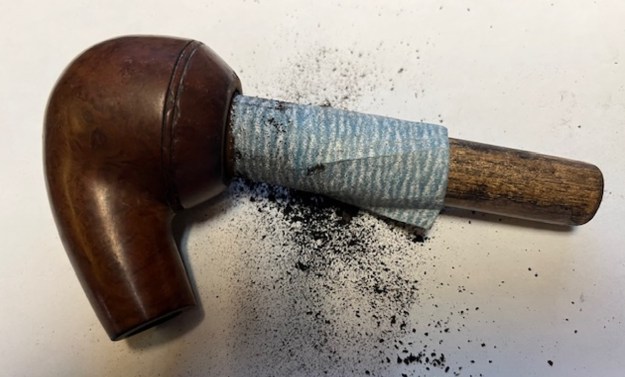
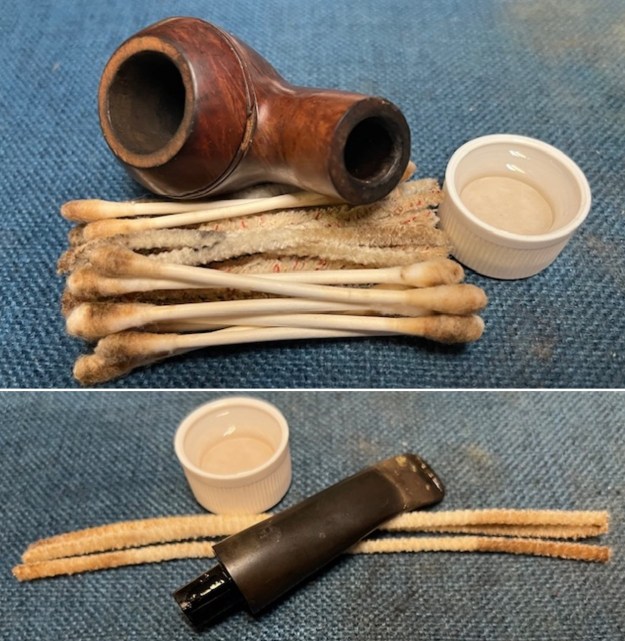
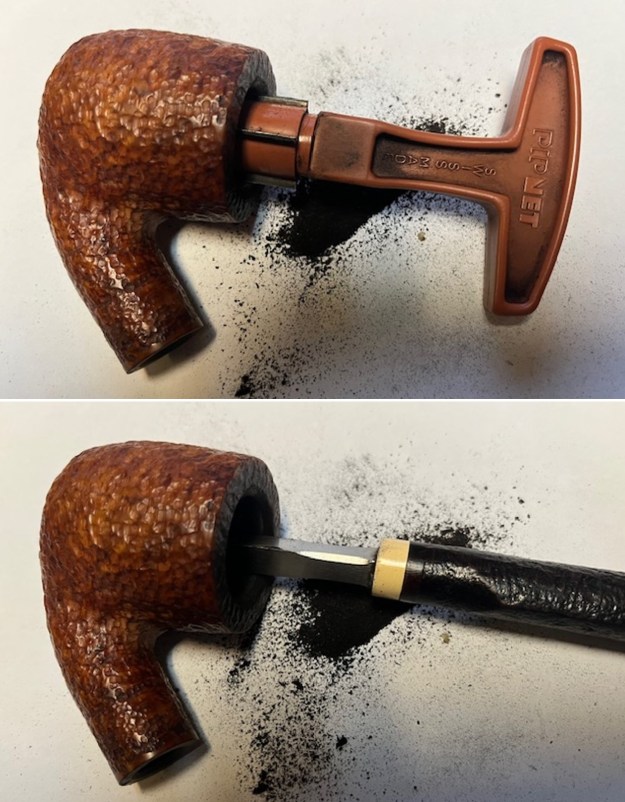
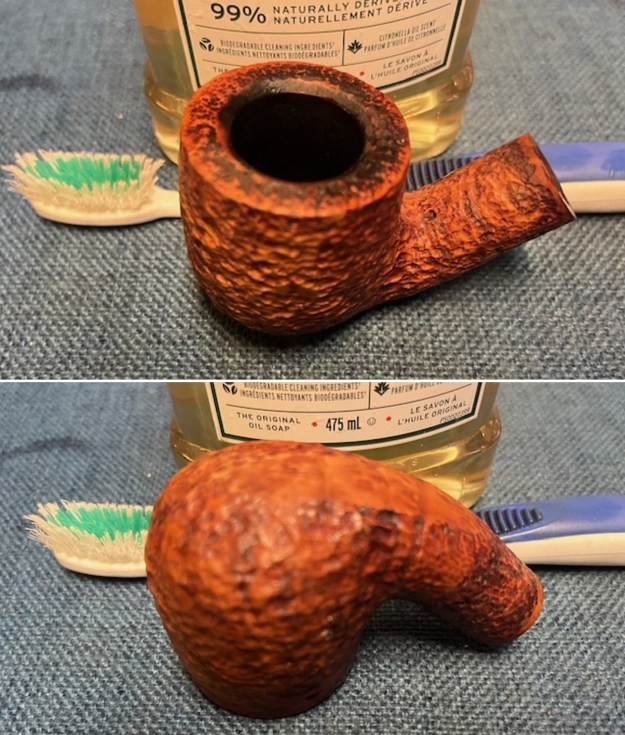
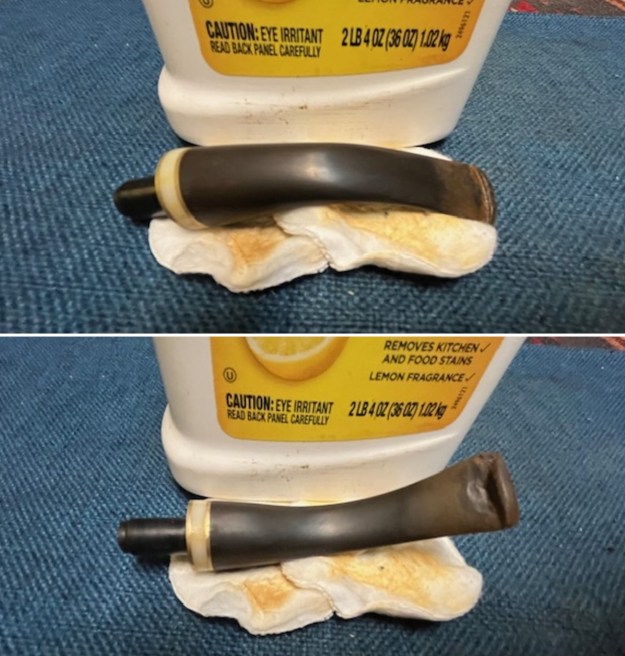
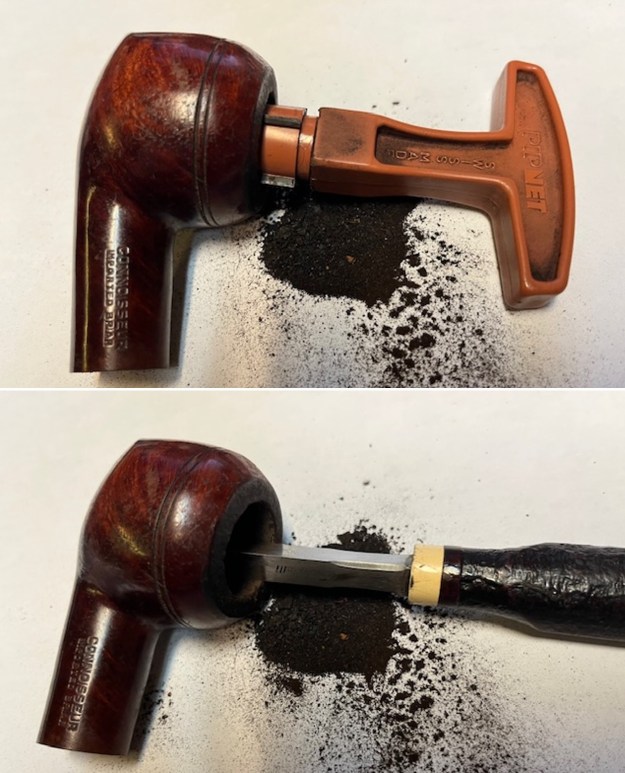
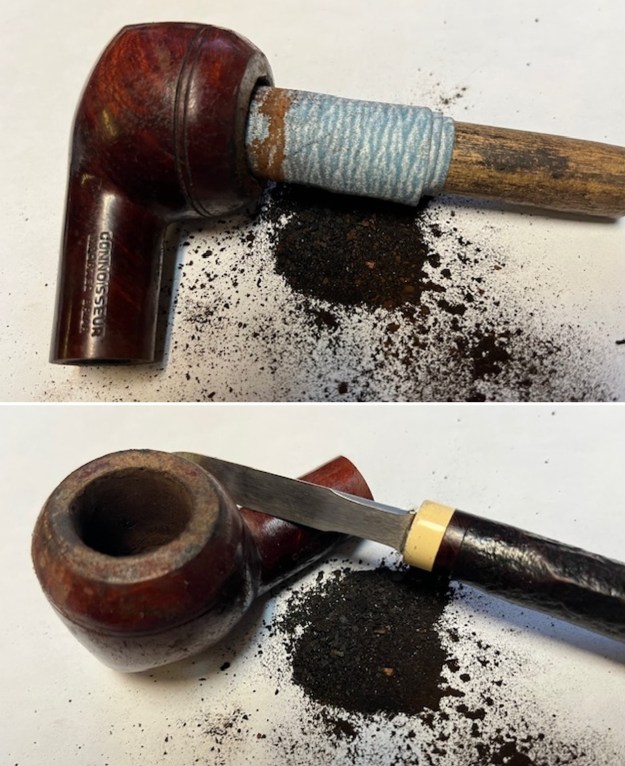
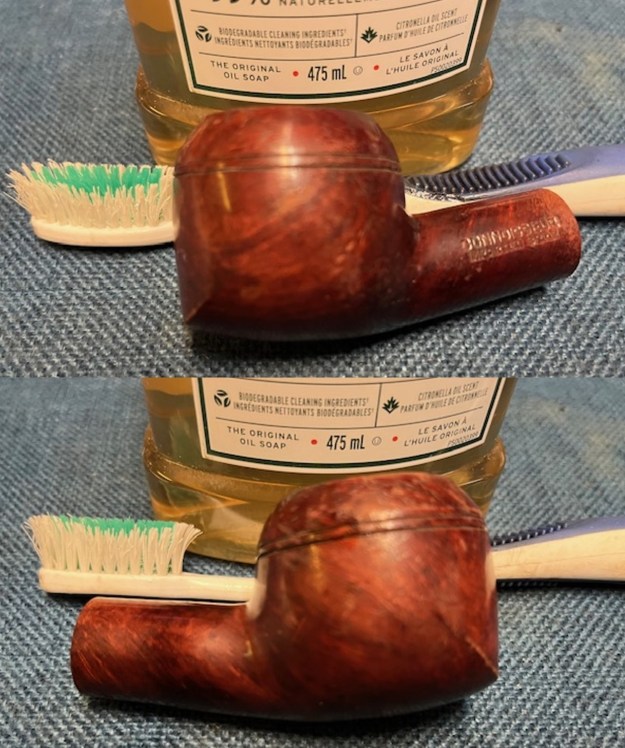
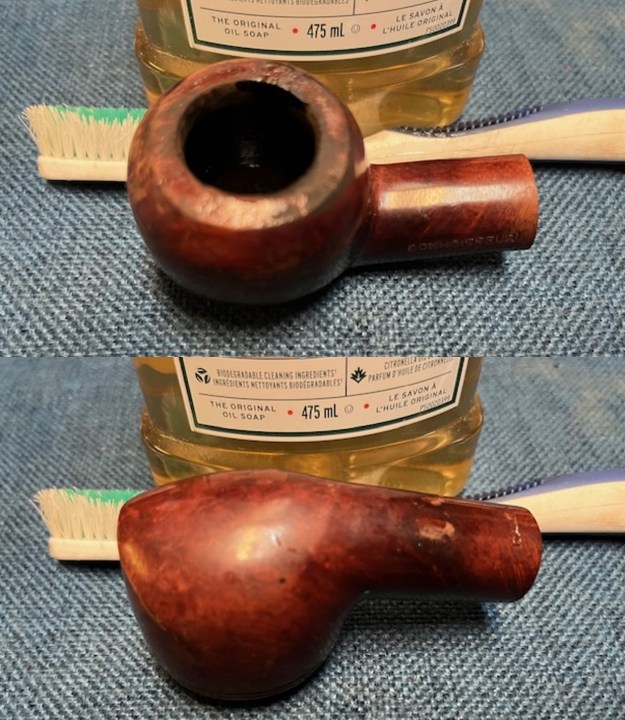
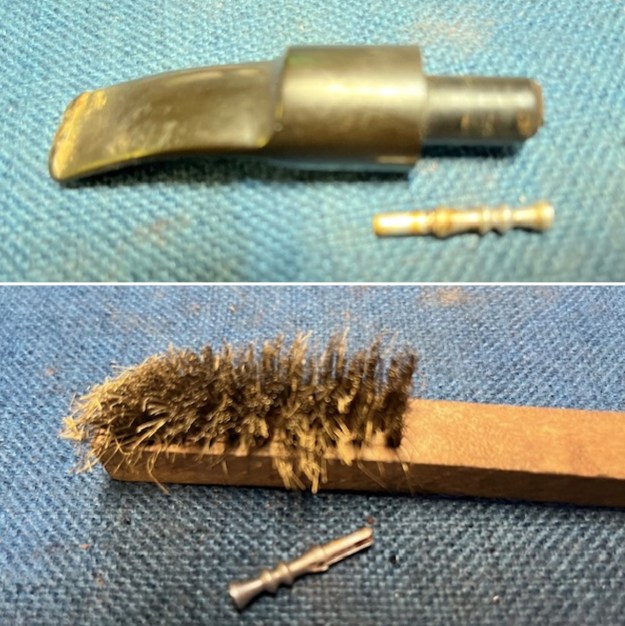
Jeff had thoroughly cleaned up the pipe. He reamed the pipe with a PipNet Pipe Reamer and cleaned up the remnants with a Savinelli Fitsall Pipe Knife. He scrubbed the bowl with undiluted Murphy’s Oil Soap with a tooth brush. He rinsed it under running warm water to remove the soap and grime. There was some darkening on the inner edge of the rim and top that would need to be dealt with. He cleaned out the inside of the shank and the airway in the mortise and the stem with alcohol, cotton swabs, shank brushes and pipe cleaners. He scrubbed the exterior of the stem with Soft Scrub to remove as much of the oxidation as possible. The vulcanite stem was clean but had light tooth marks and chatter on both sides ahead of the button. There was an inlaid brass “Crown S” on the left side of the saddle stem. I took photos of the pipe before I started my work on it. 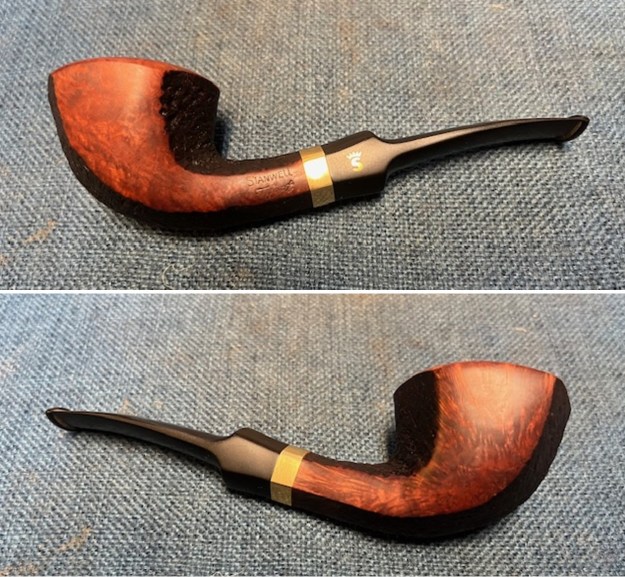
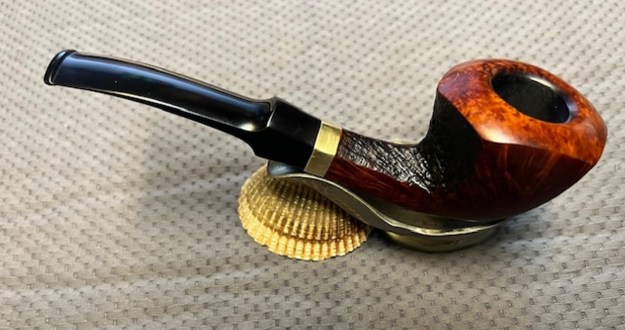
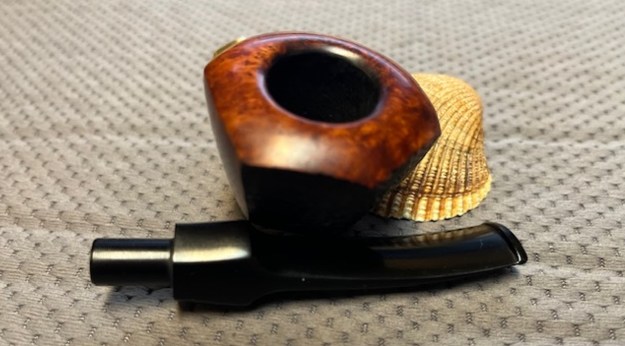
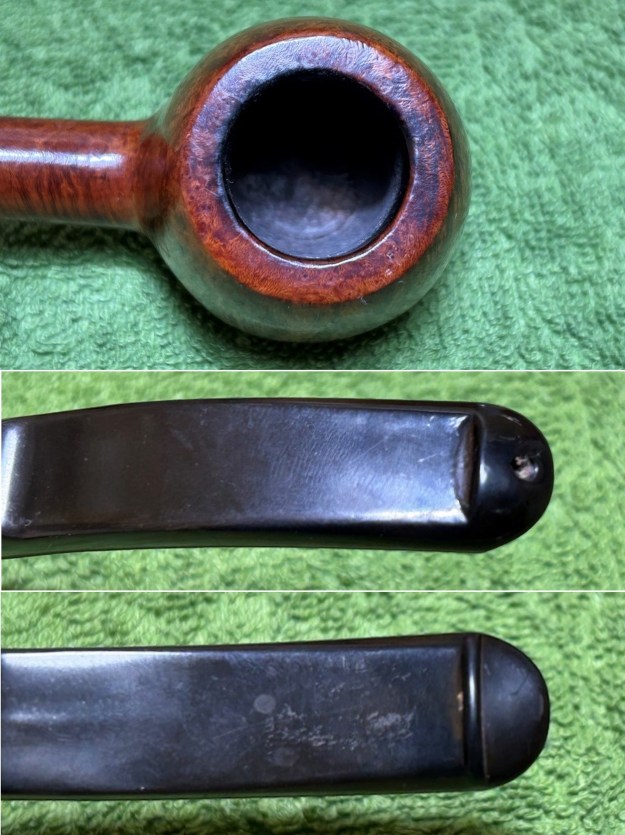
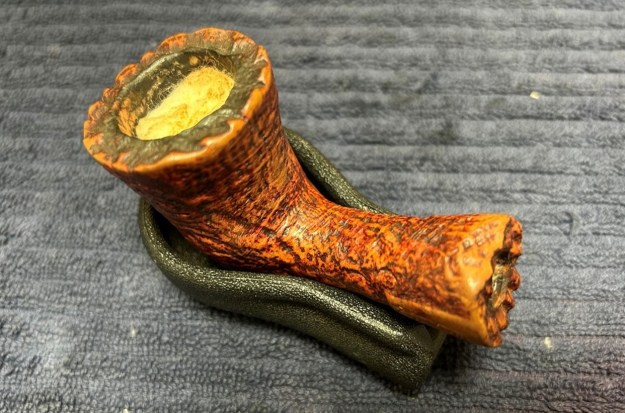
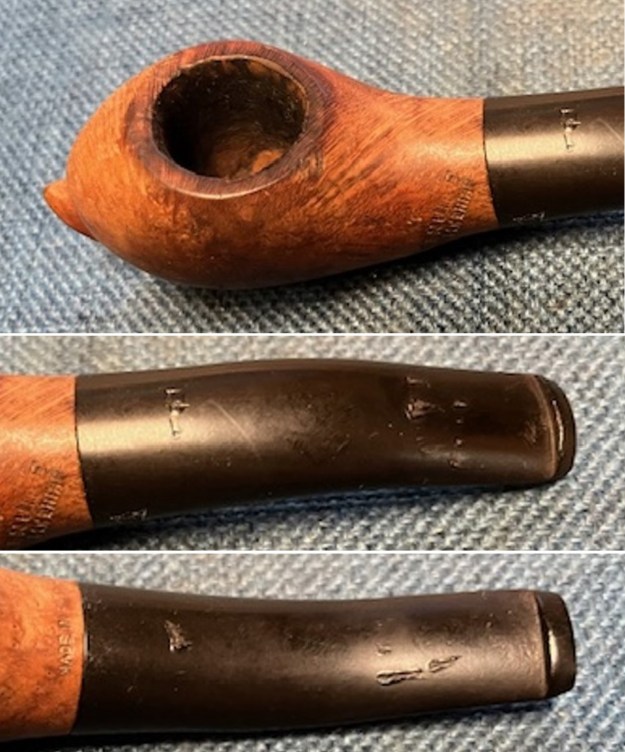
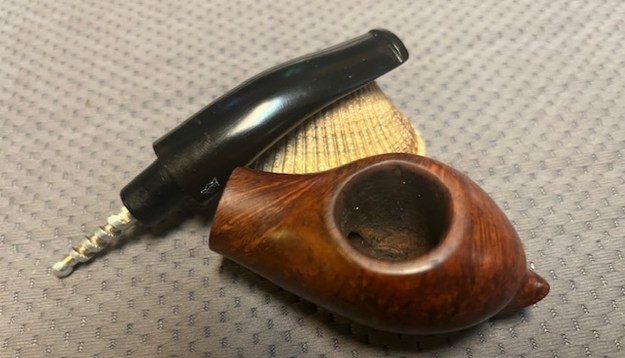
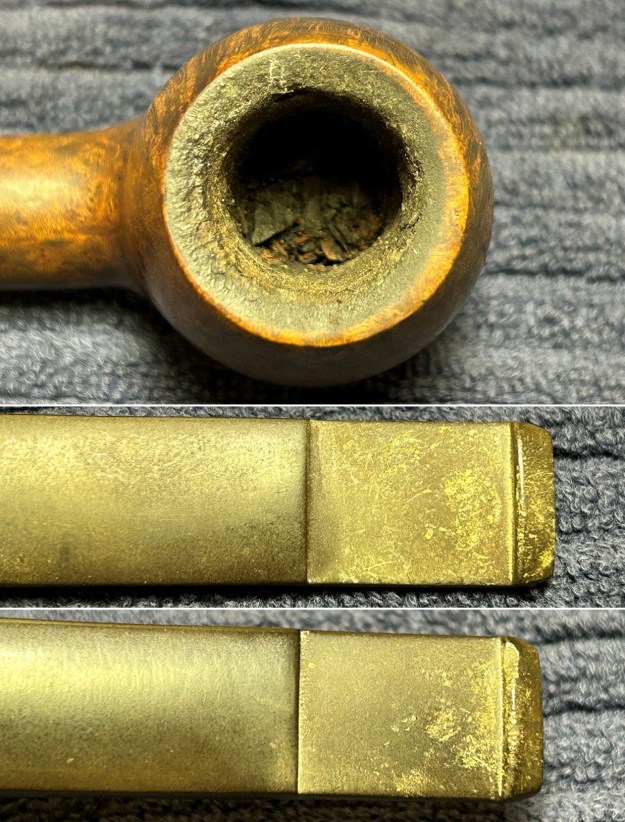
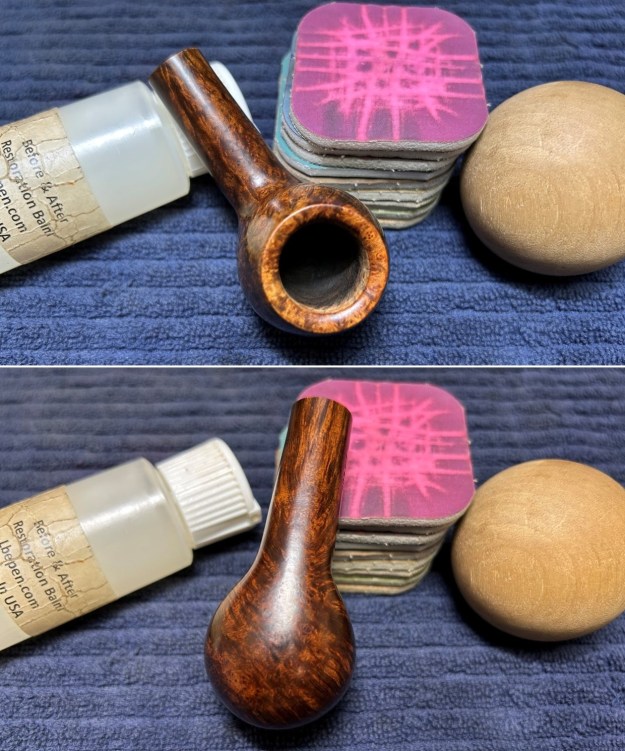
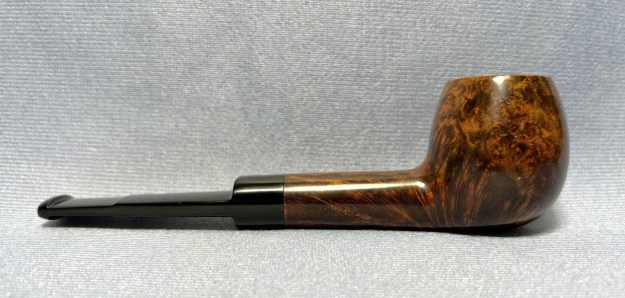
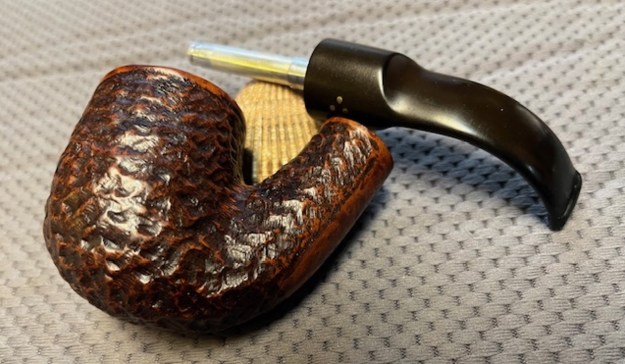
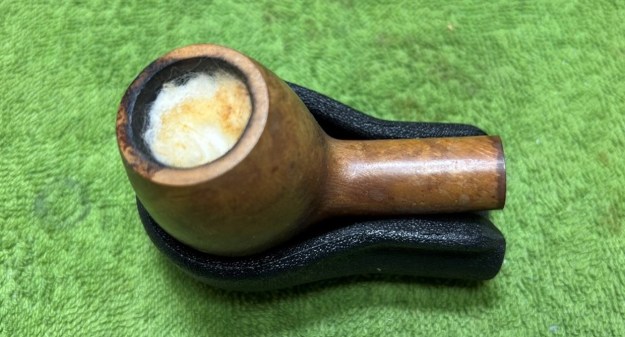
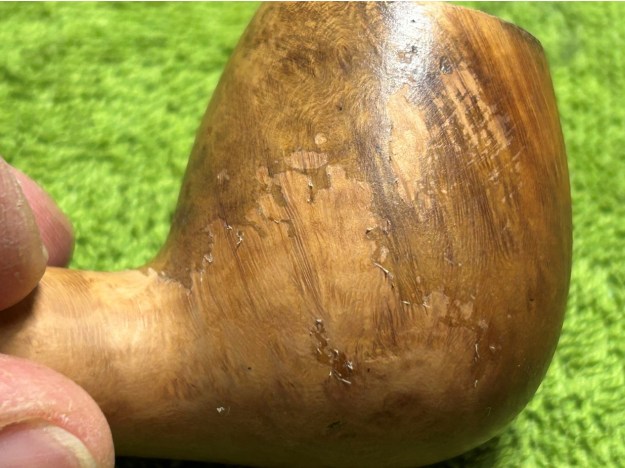
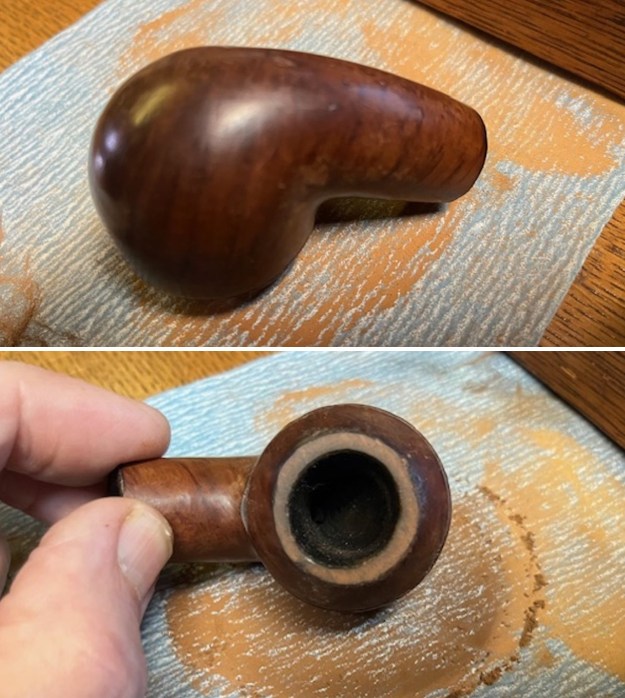
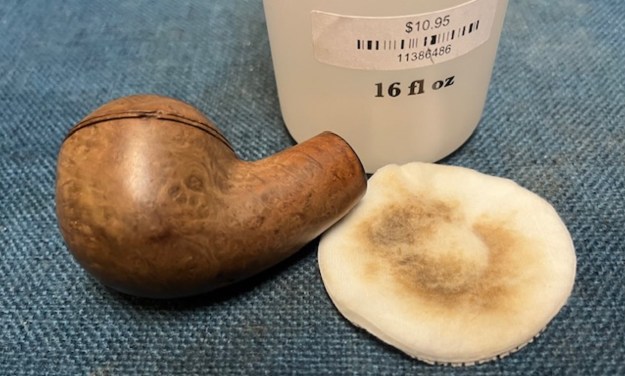
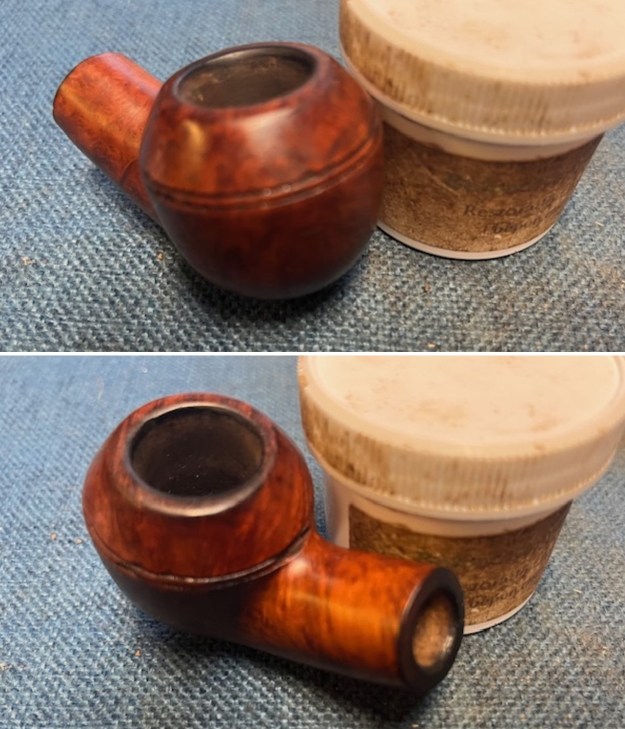
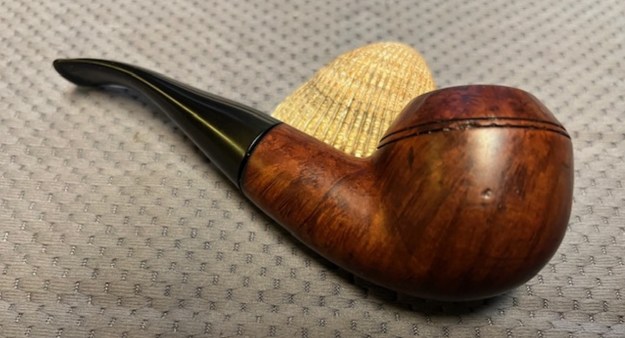
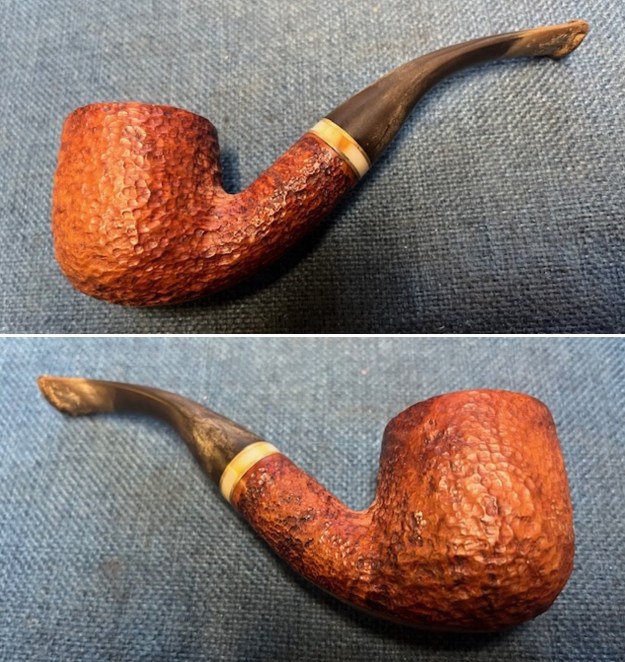
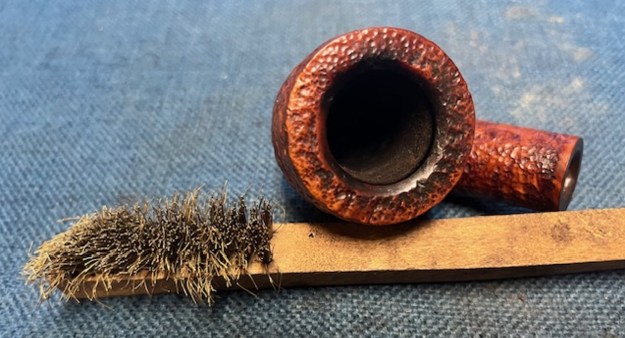
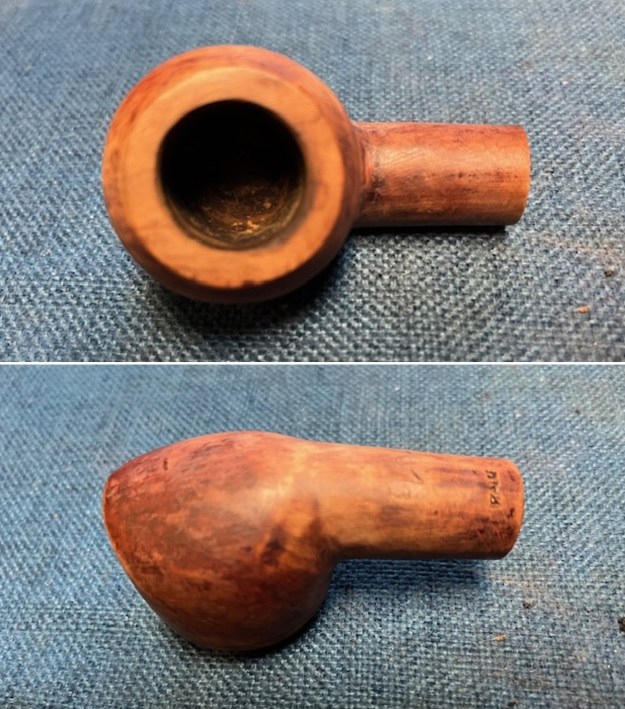
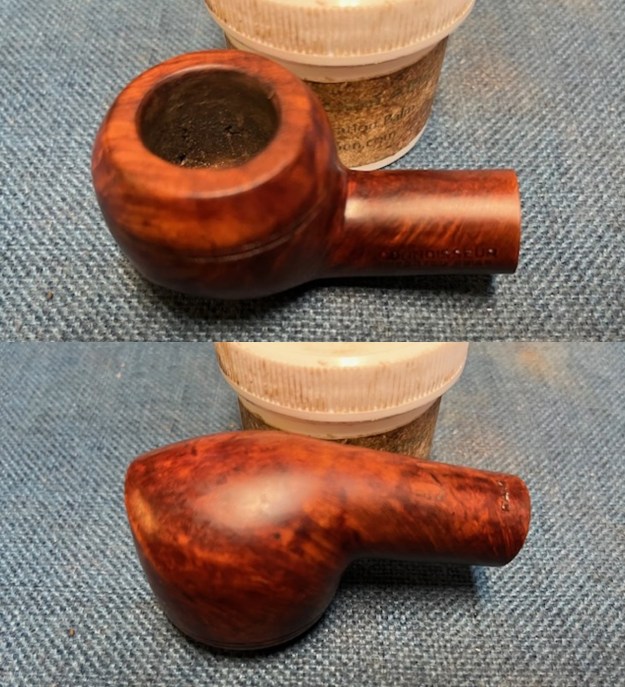
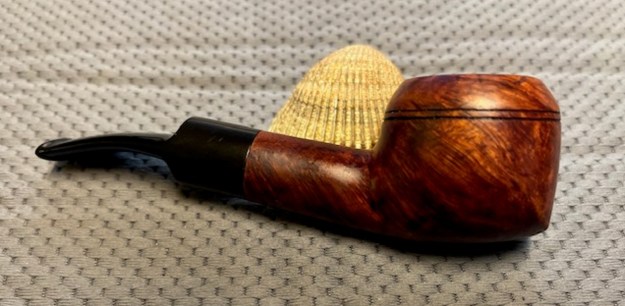
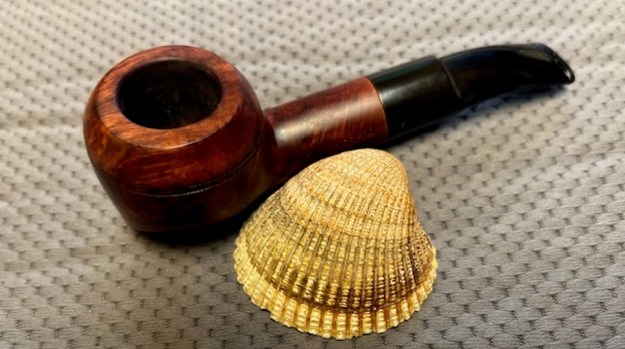
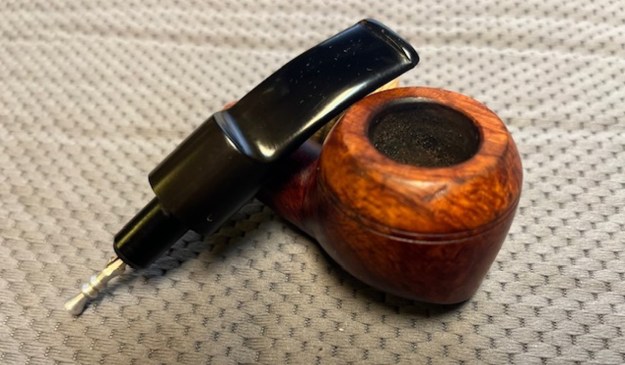
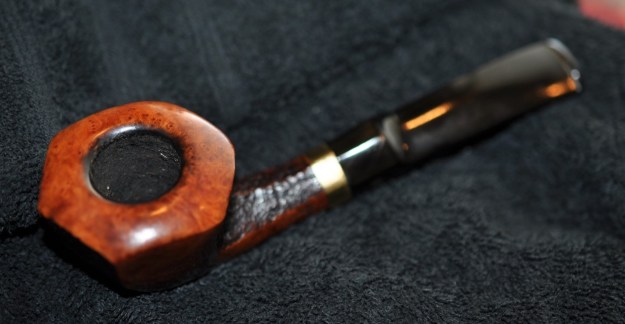
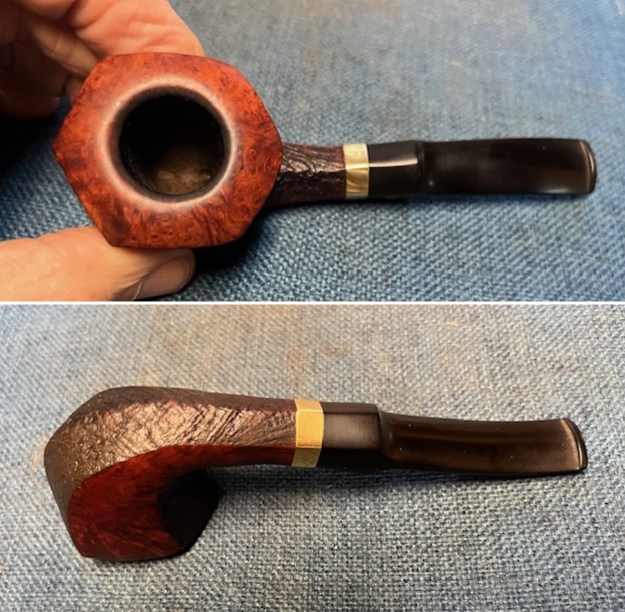 I took photos of the rim top and bowl as well as the stem to give a sense of the condition of both. The rim top had some darkening to the inner edge and rim top on the back side. The stem cleaned up well and there were some small tooth marks on the top and underside ahead of the button.
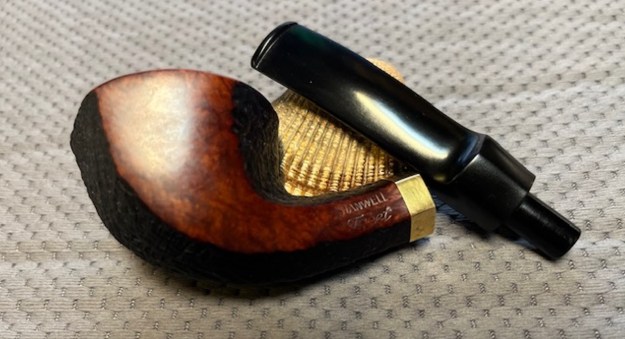
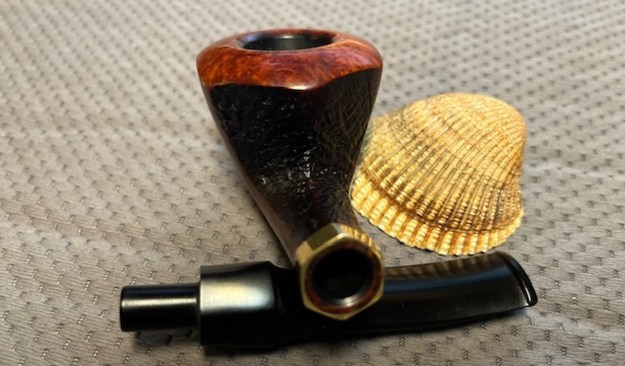
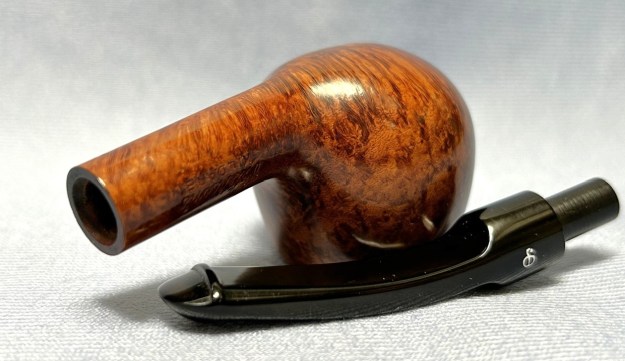
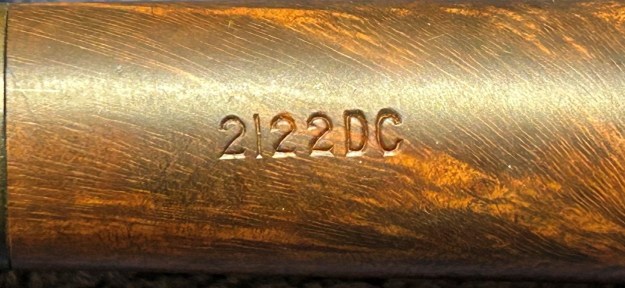
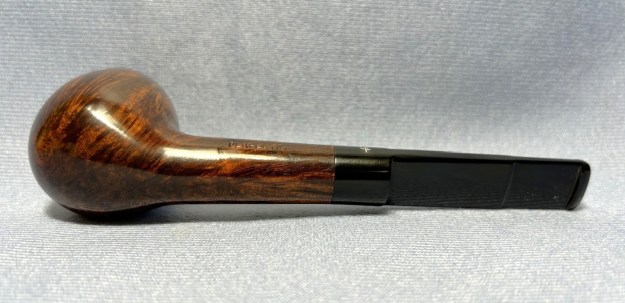
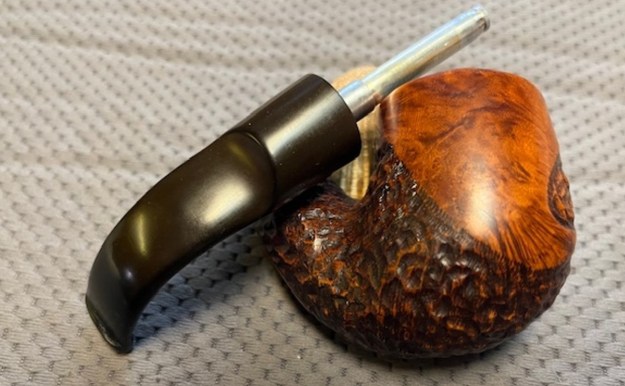
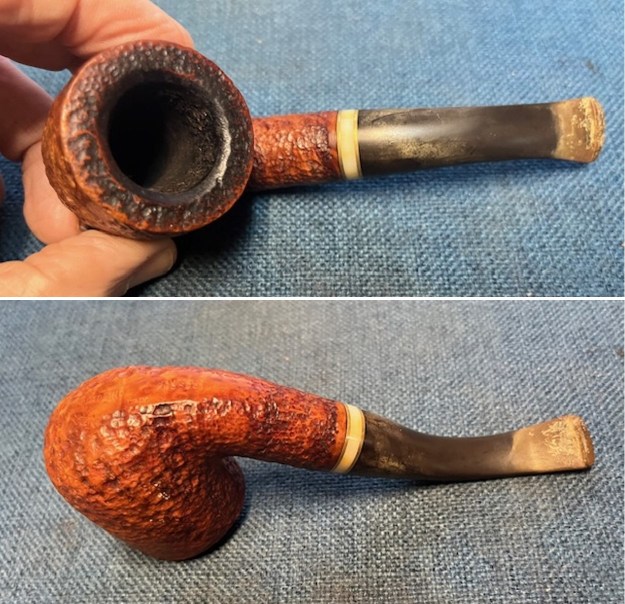
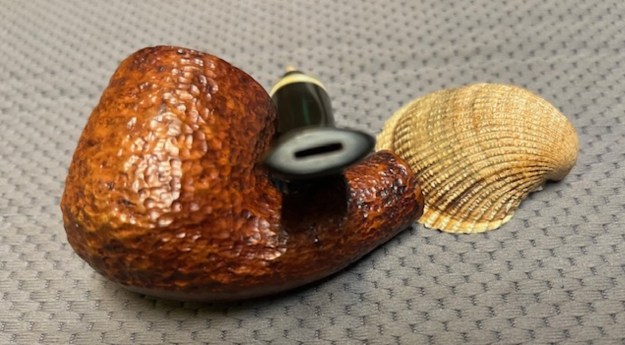
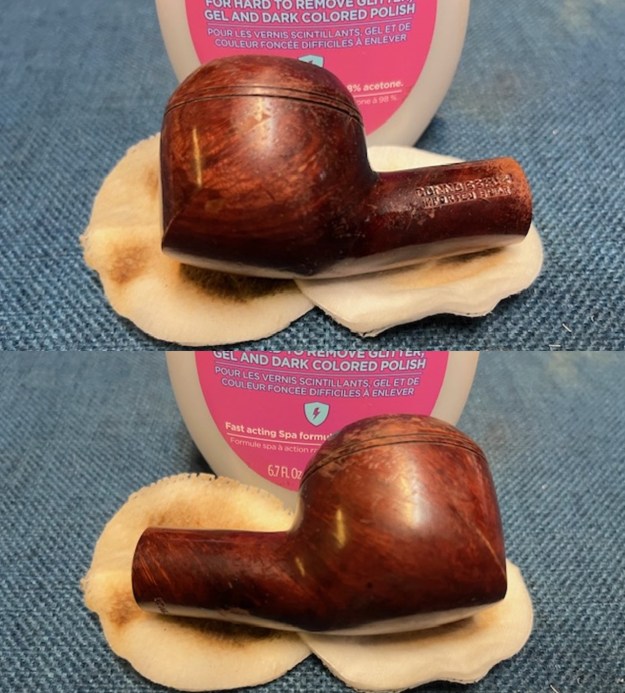
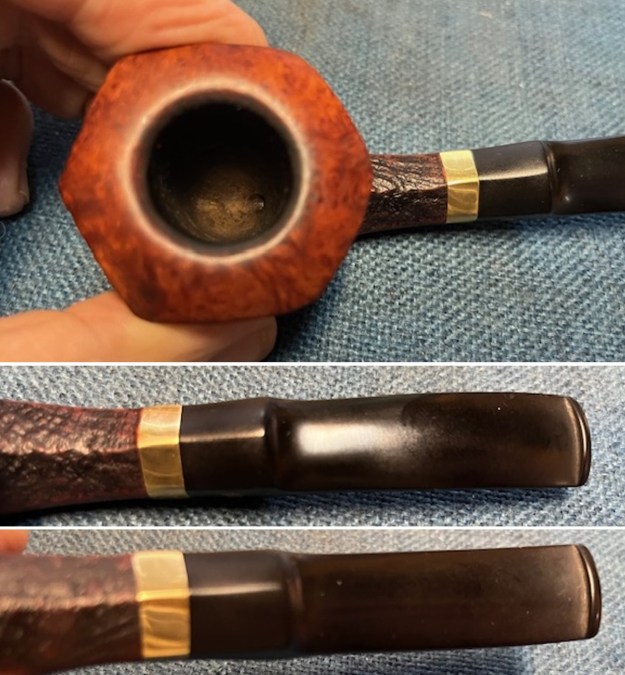 I took photos of the stamping on the left side of the hex shank. The are readable as noted above. I took the stem out of the shank and took a photo of the overall look of the pipe.
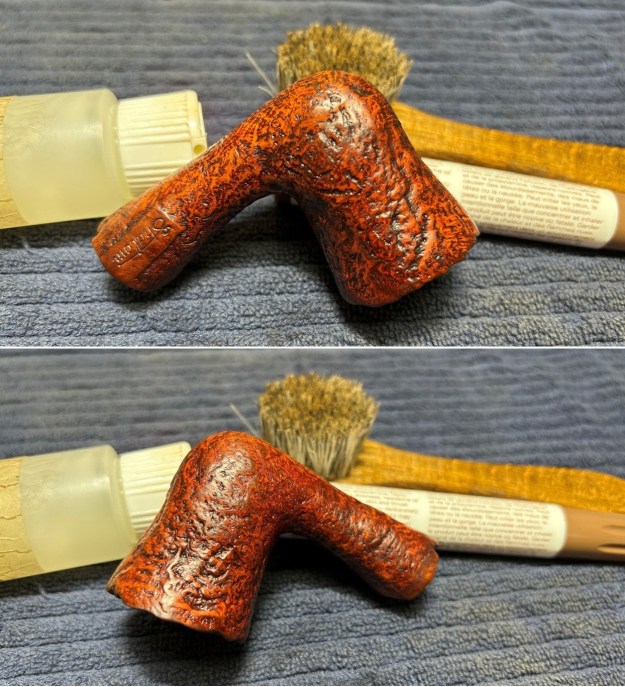
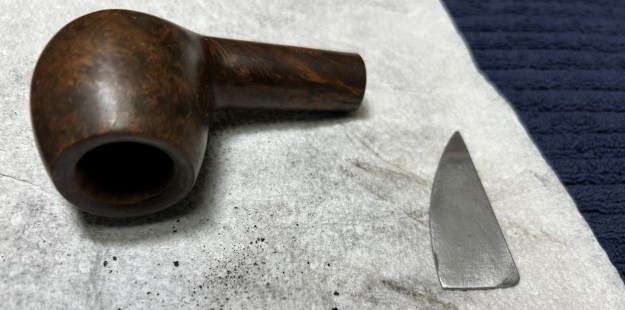
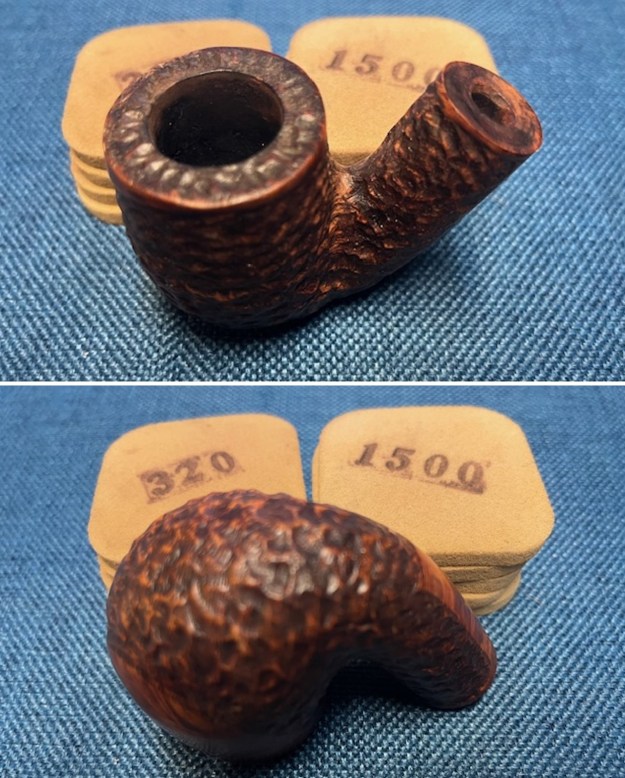
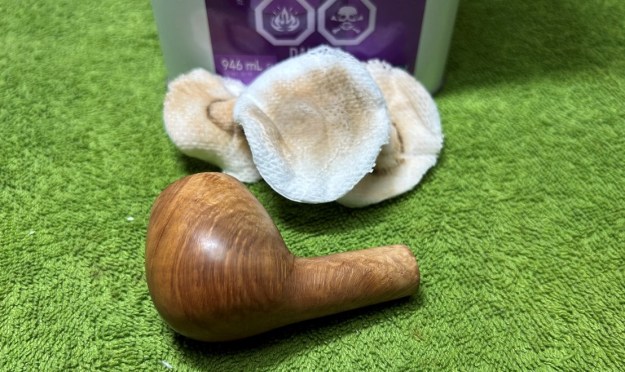
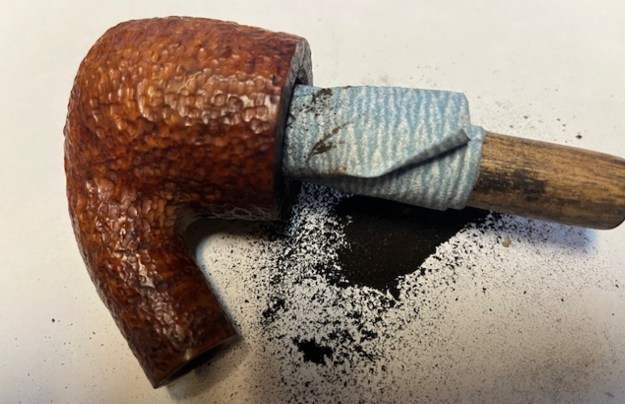
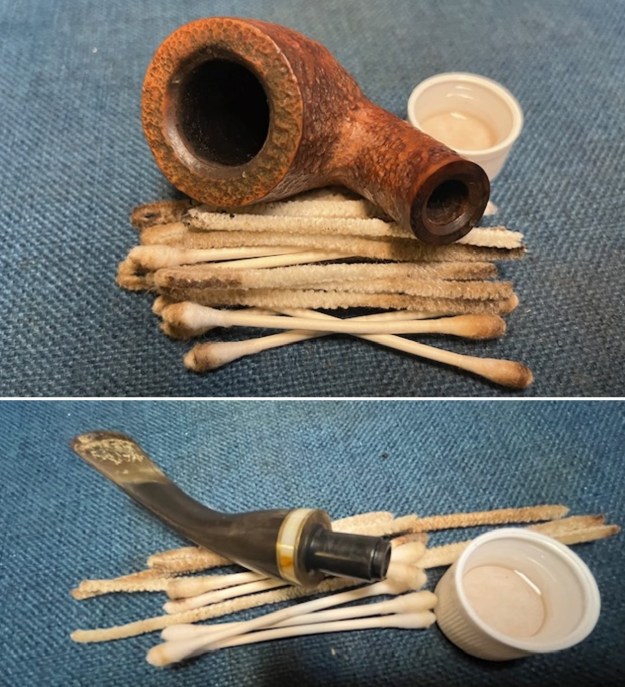
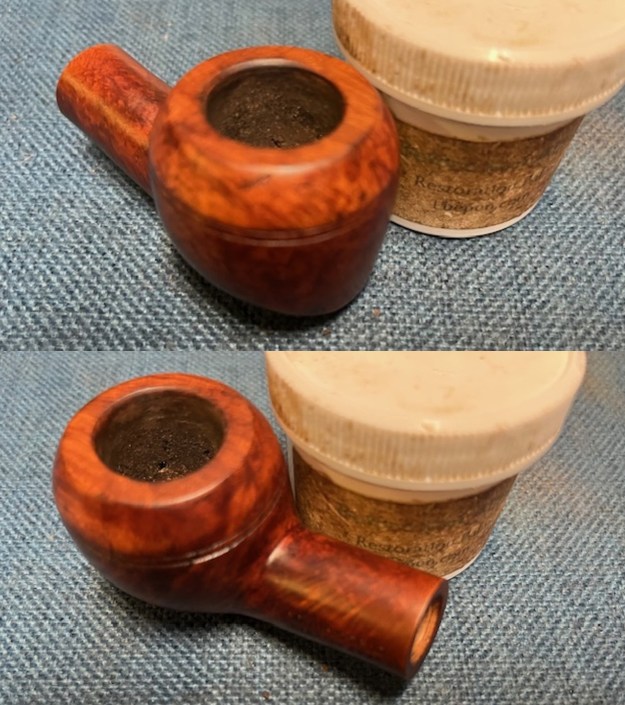
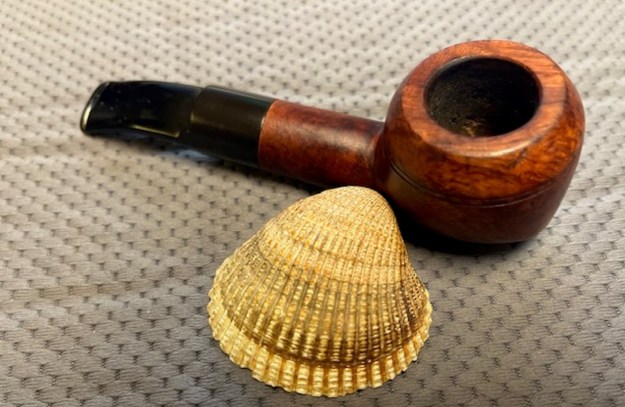
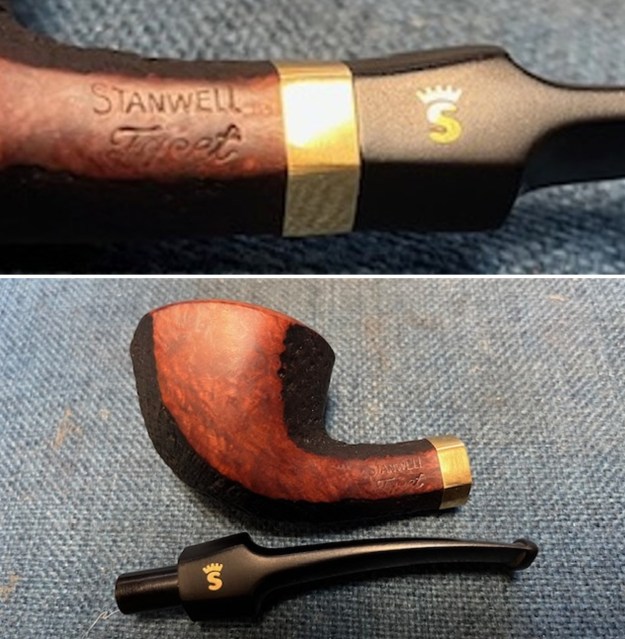 I decided to start my work on the pipe by addressing the darkening and damage on the inside edge of the bowl and the rim top. I used a folded piece of 220 grit sandpaper to clean up the bevel on the inner edge of the bowl. I wiped the top and edges down with a damp cloth and the rim top and edges looked much better.
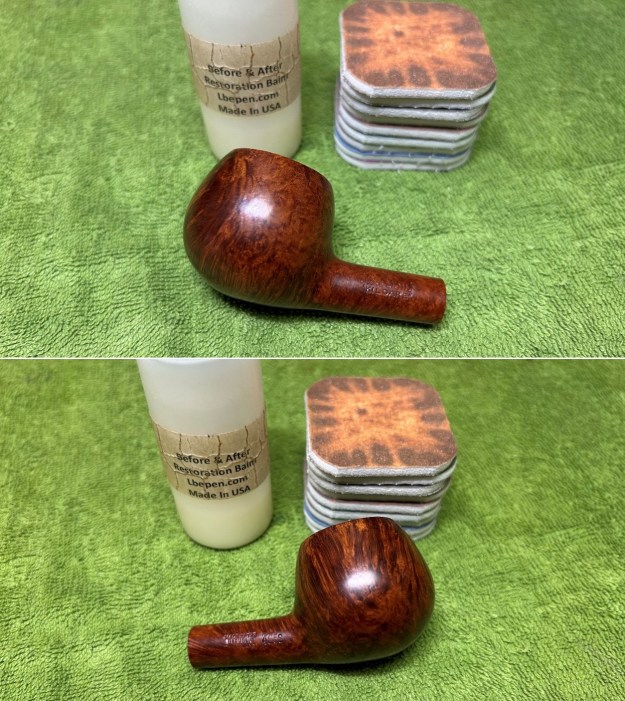
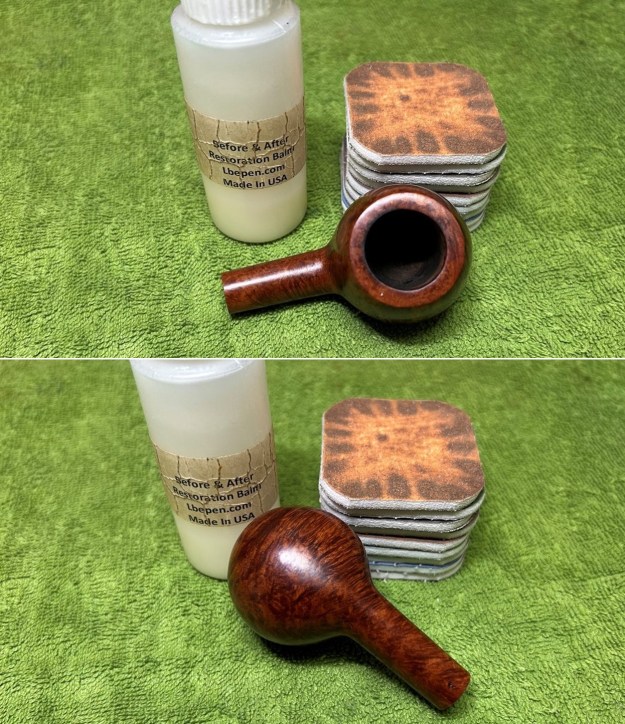
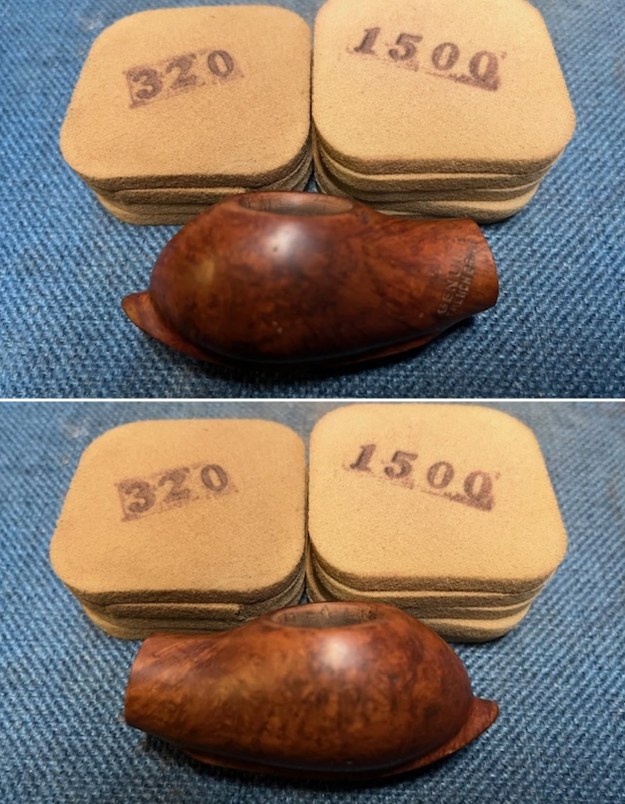
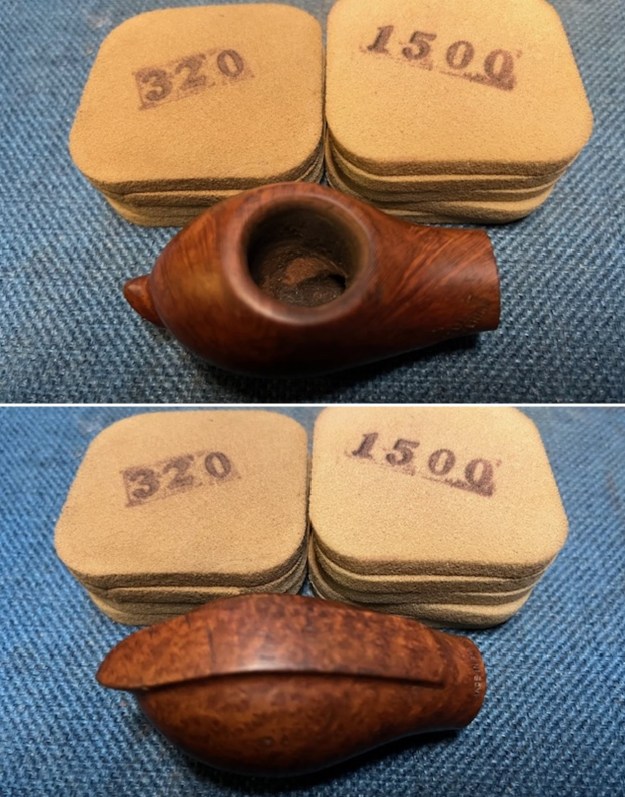
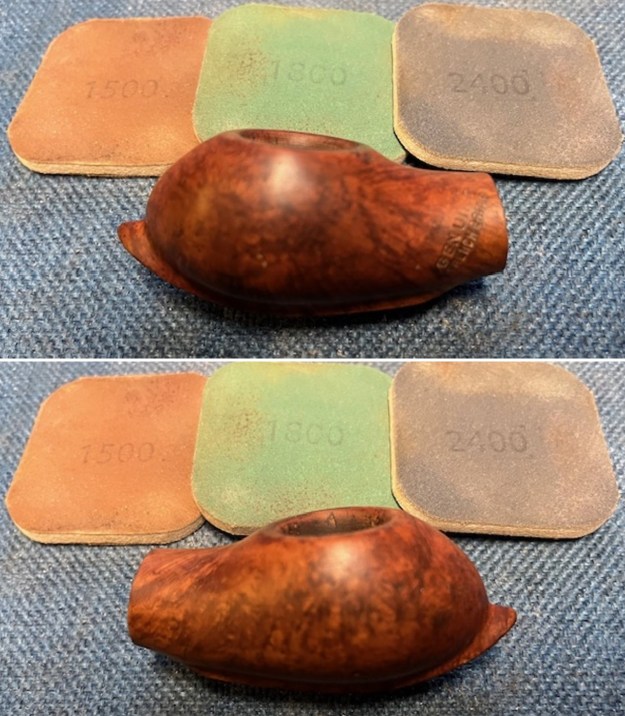
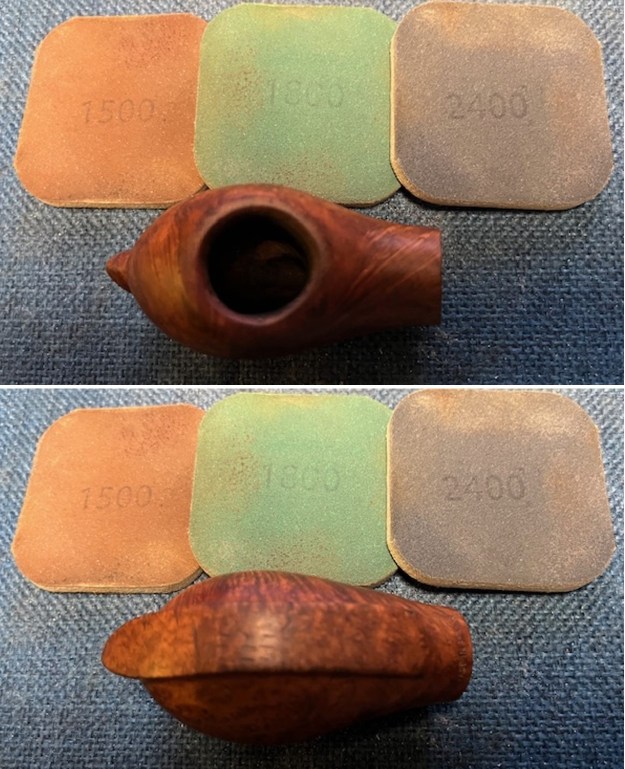
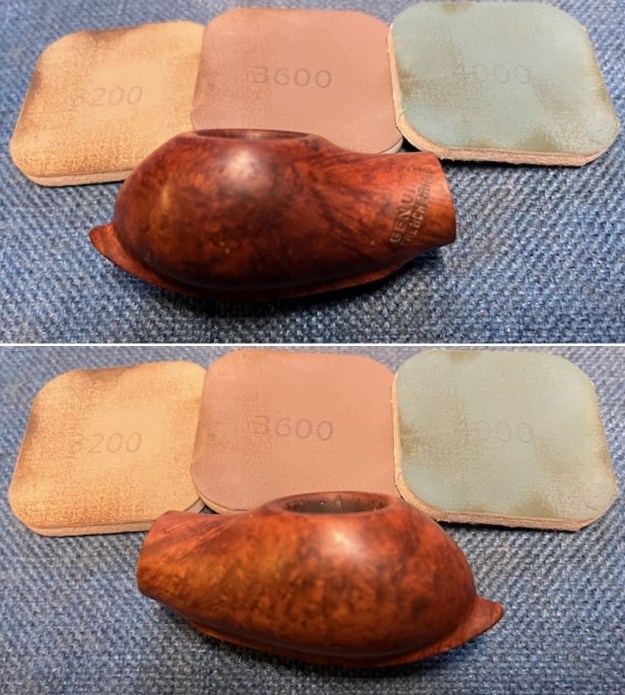
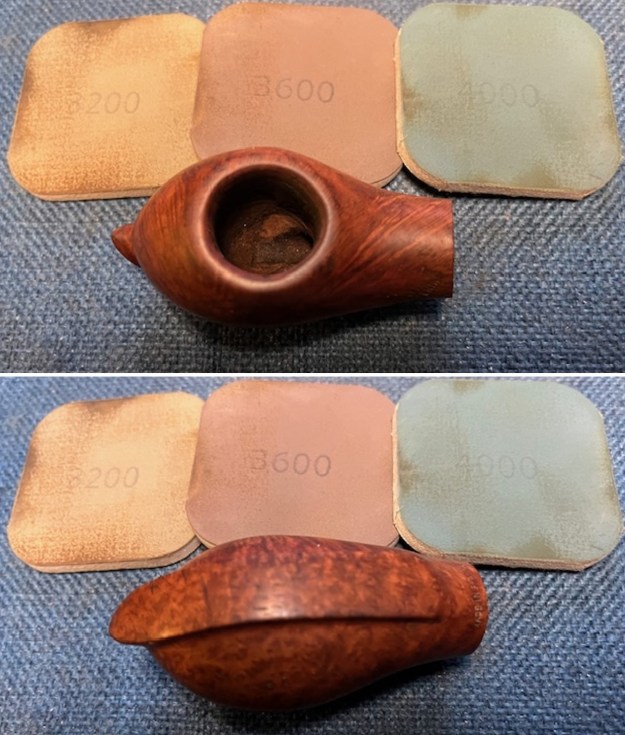
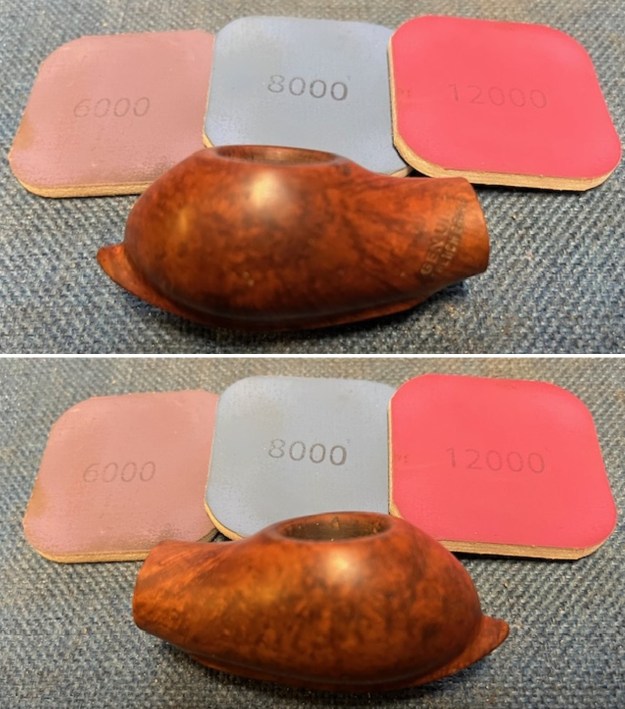
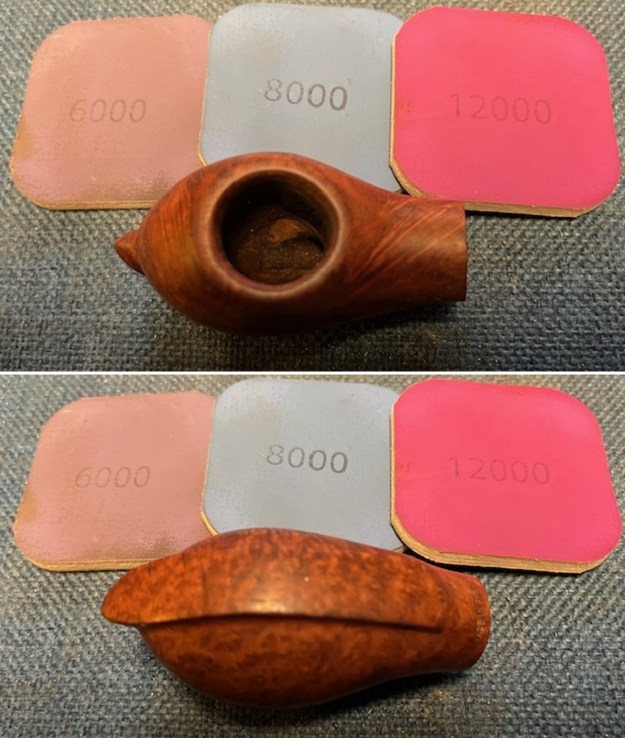
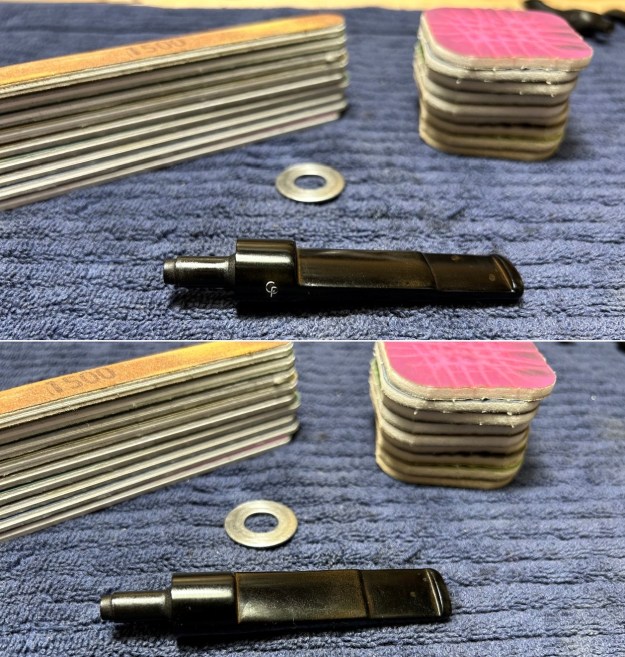
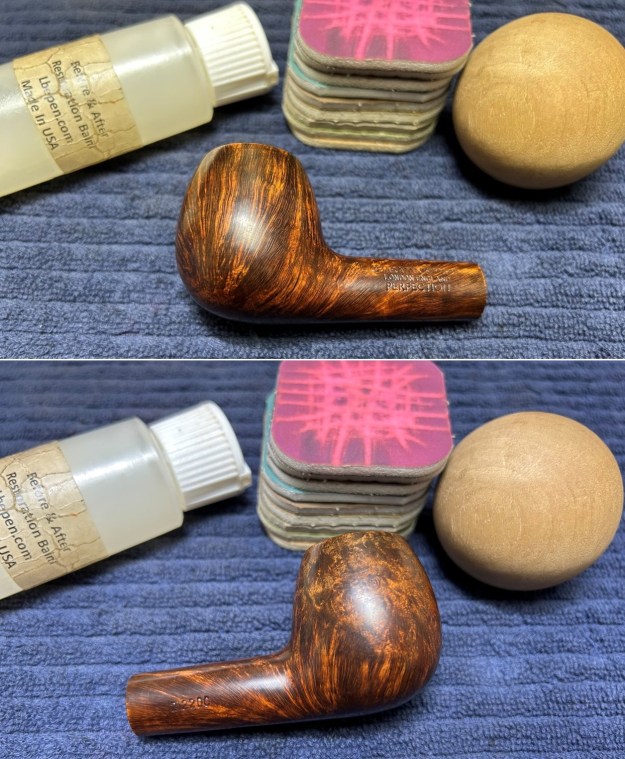
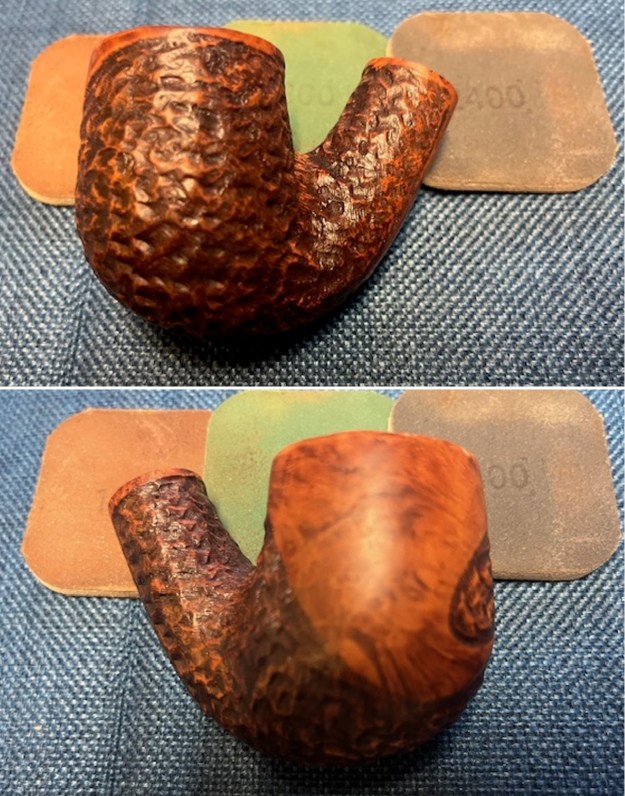
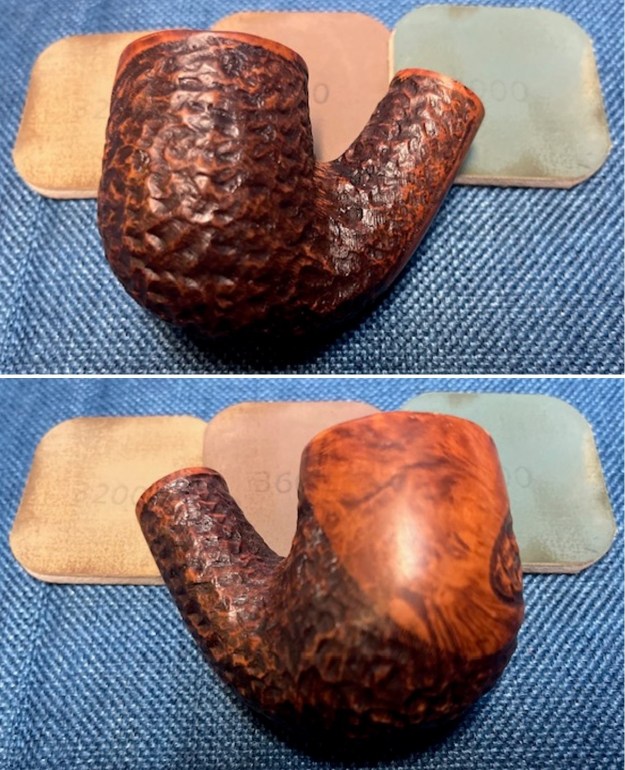
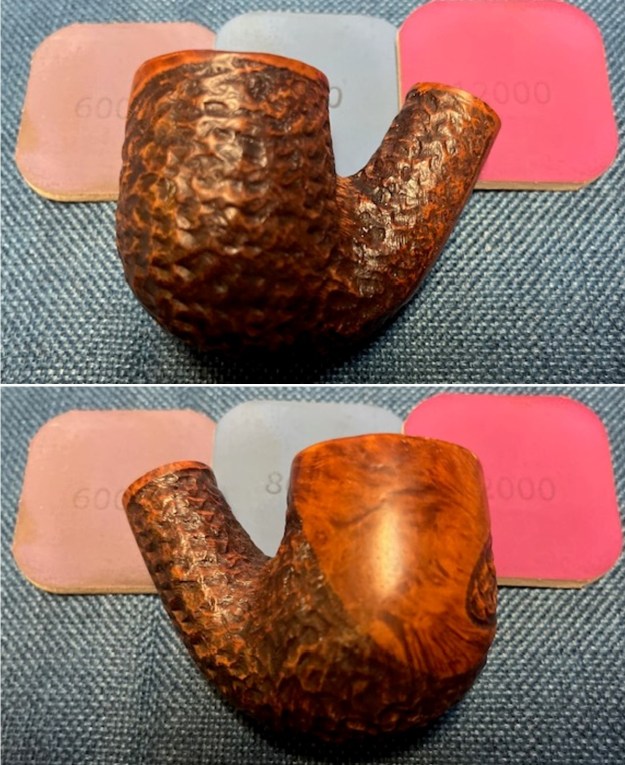
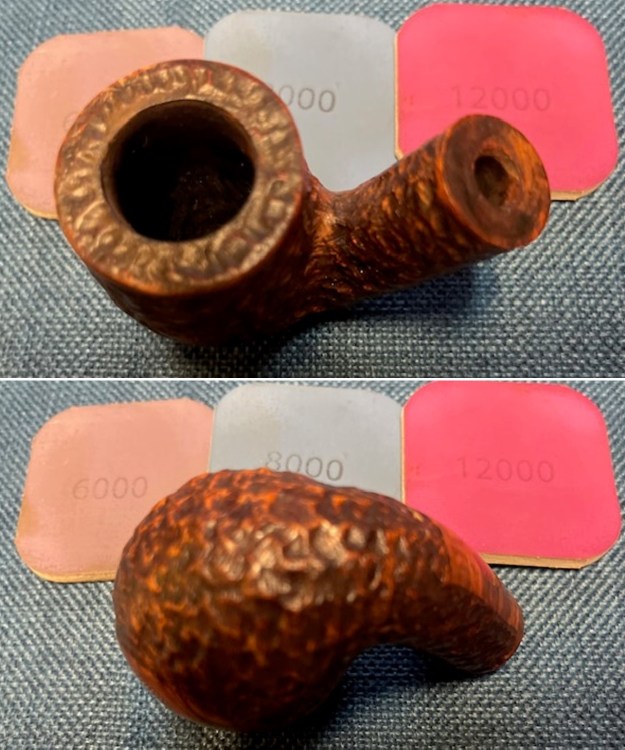
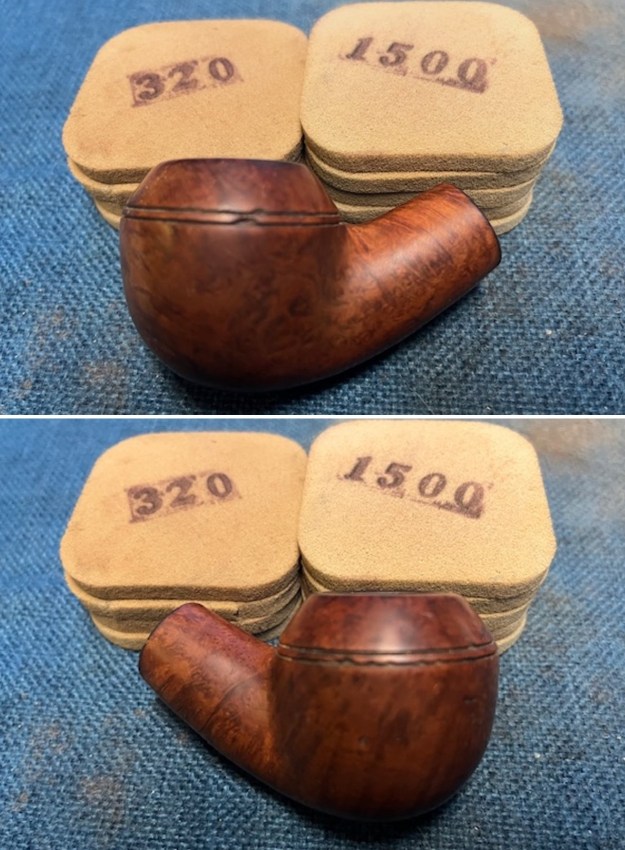
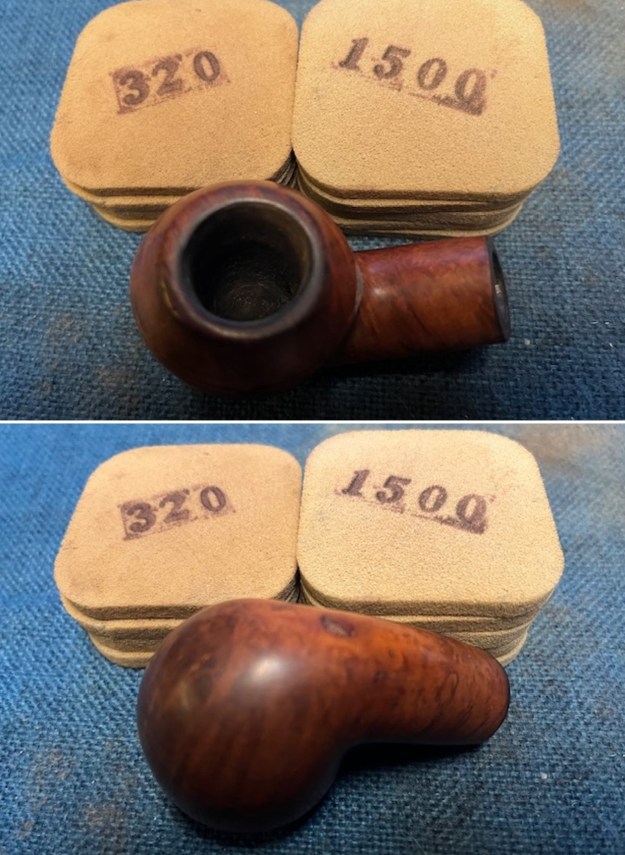
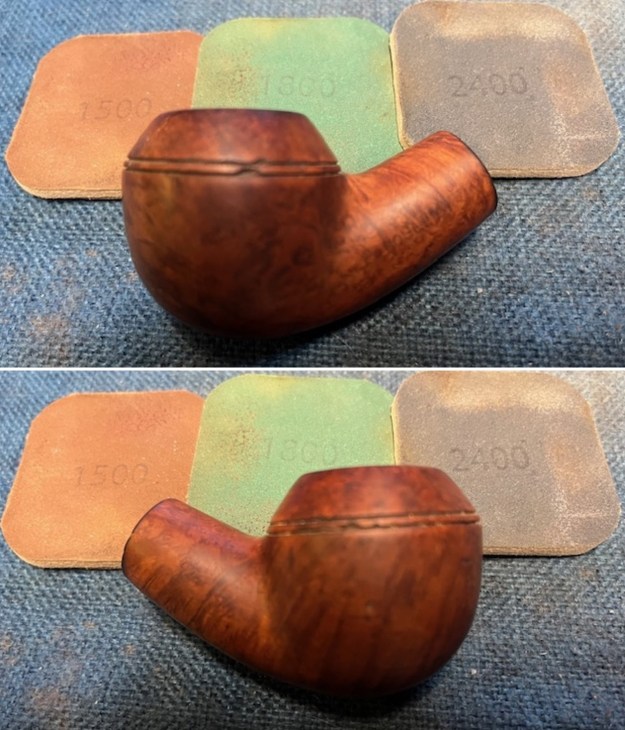
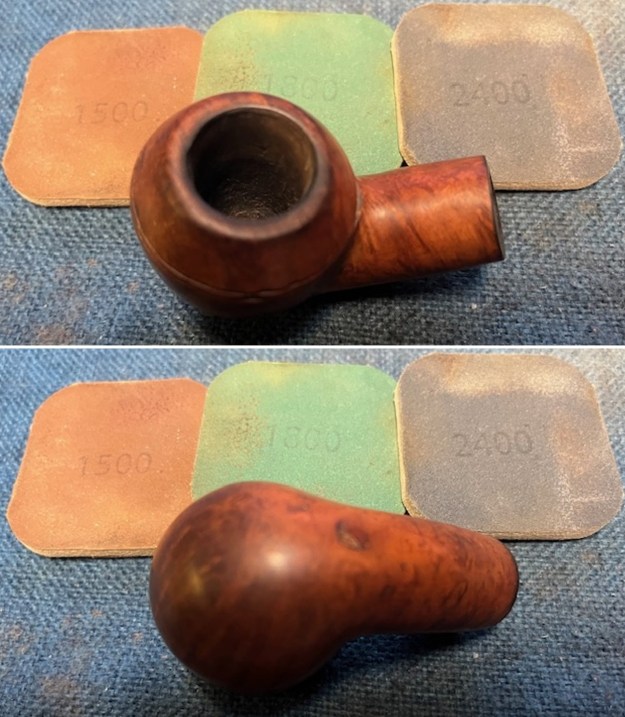
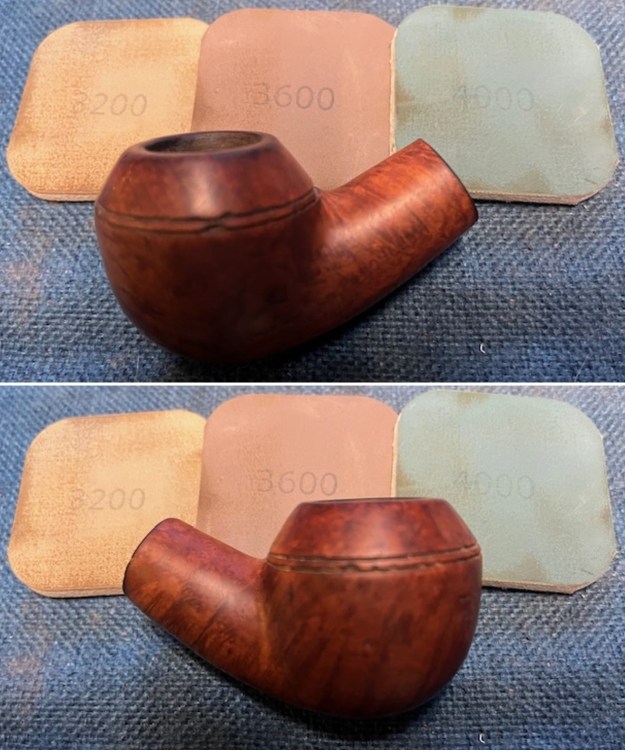
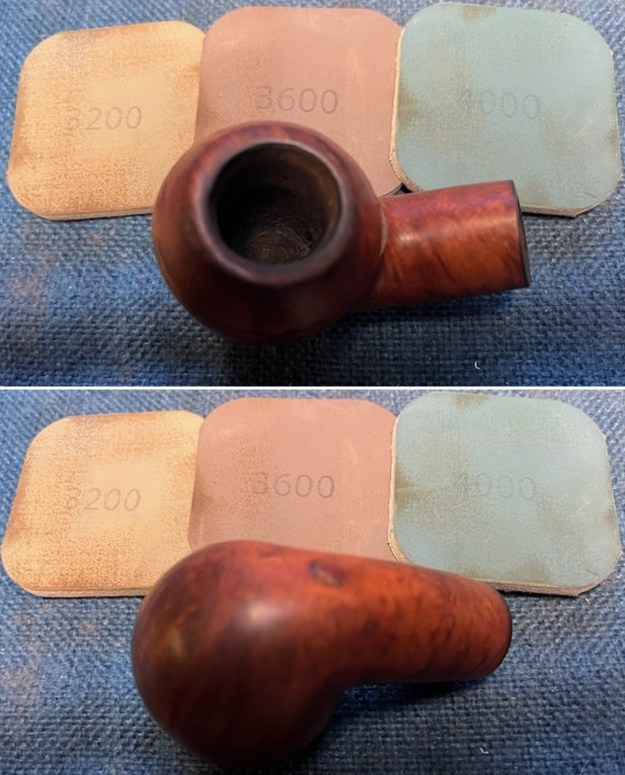
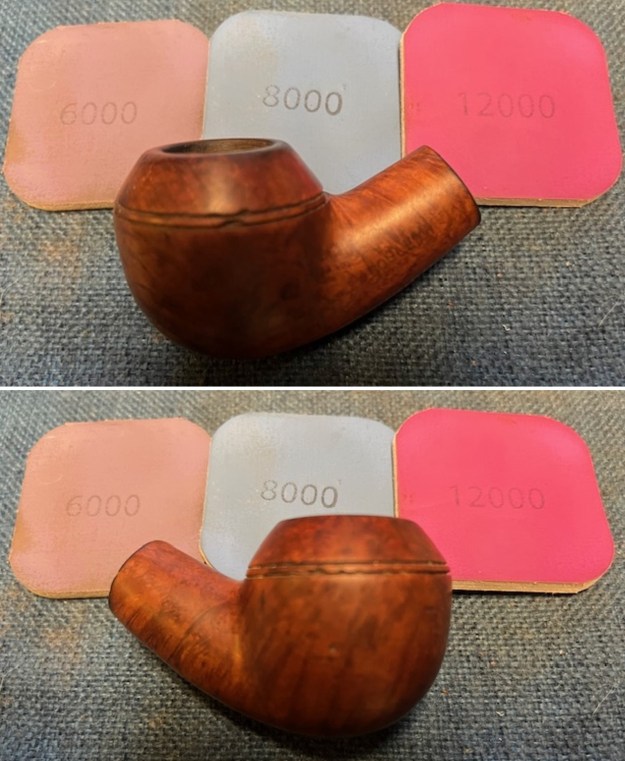
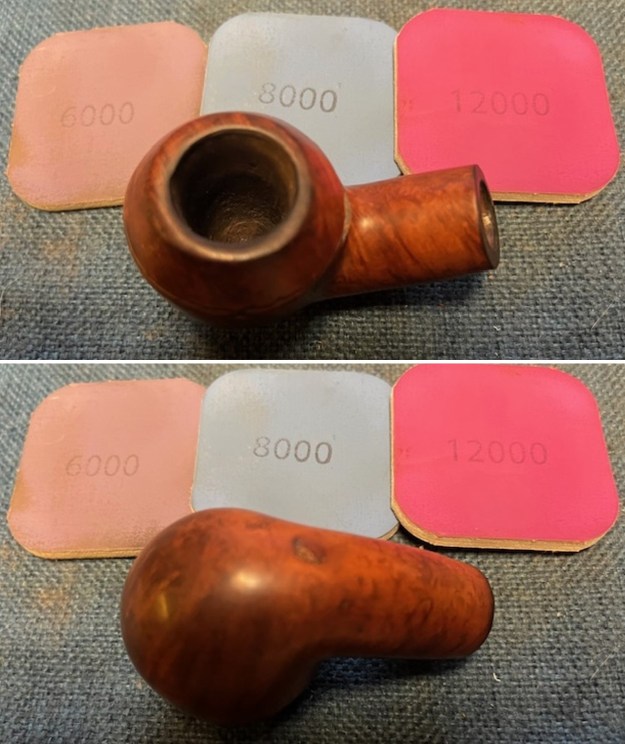
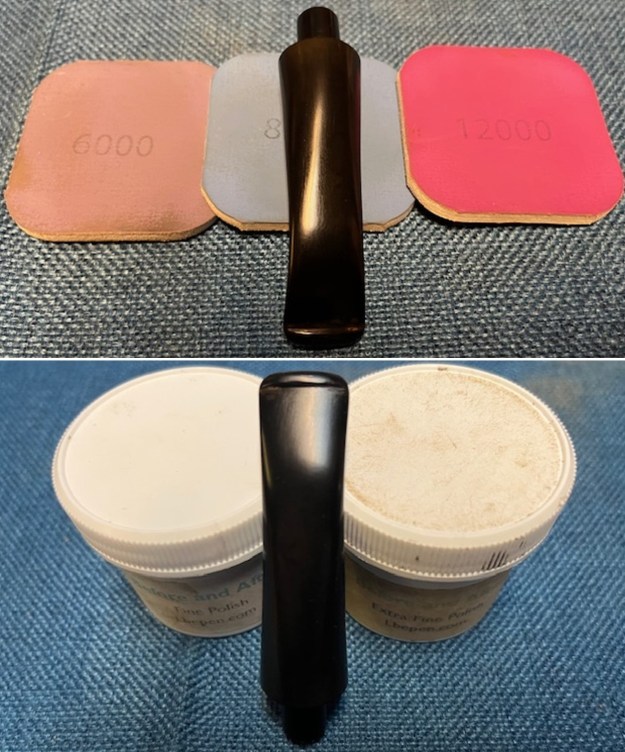
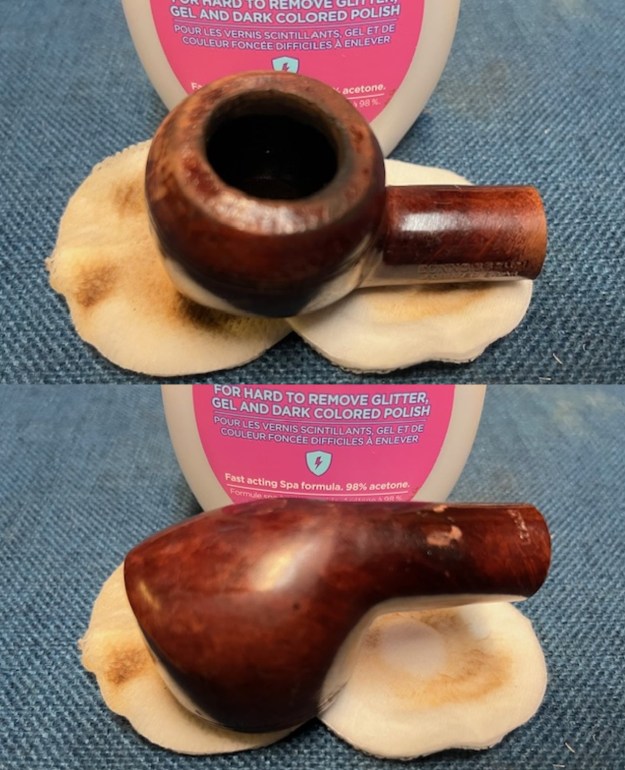
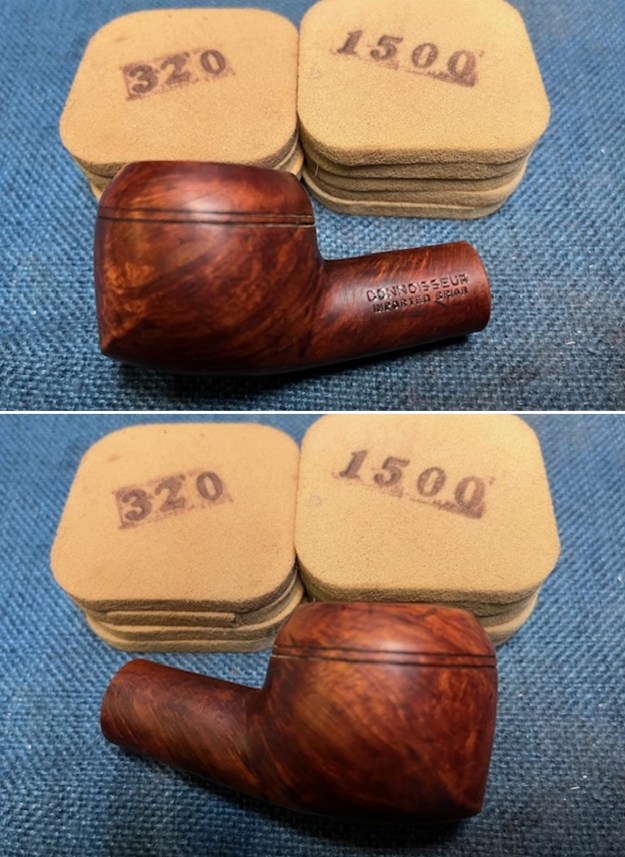
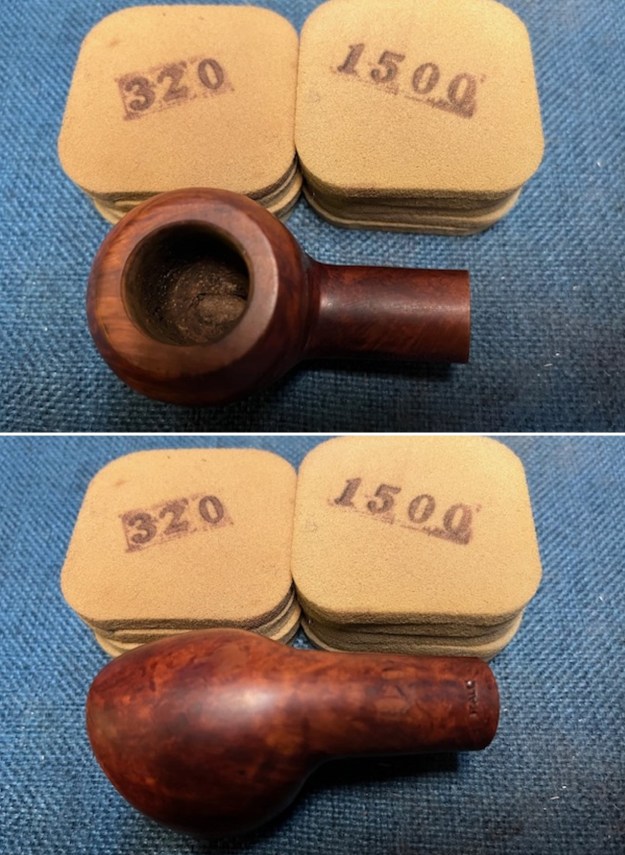
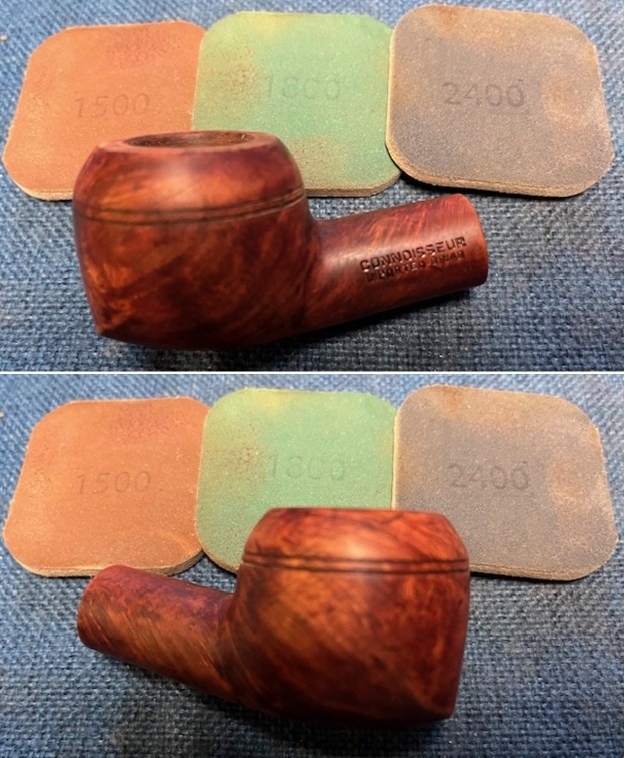
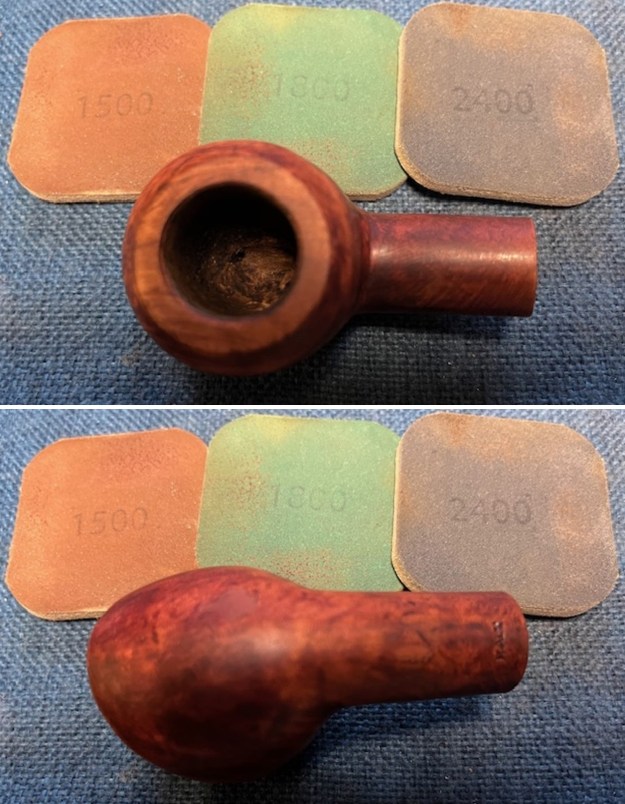
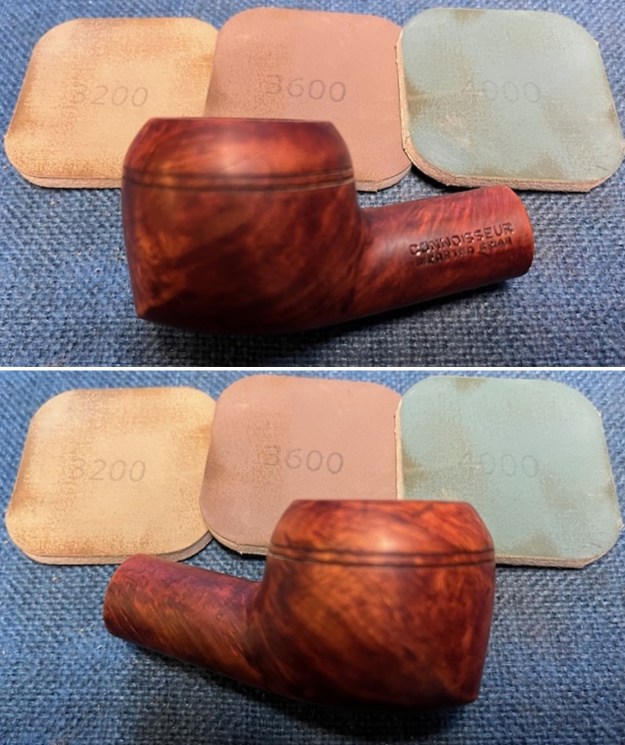
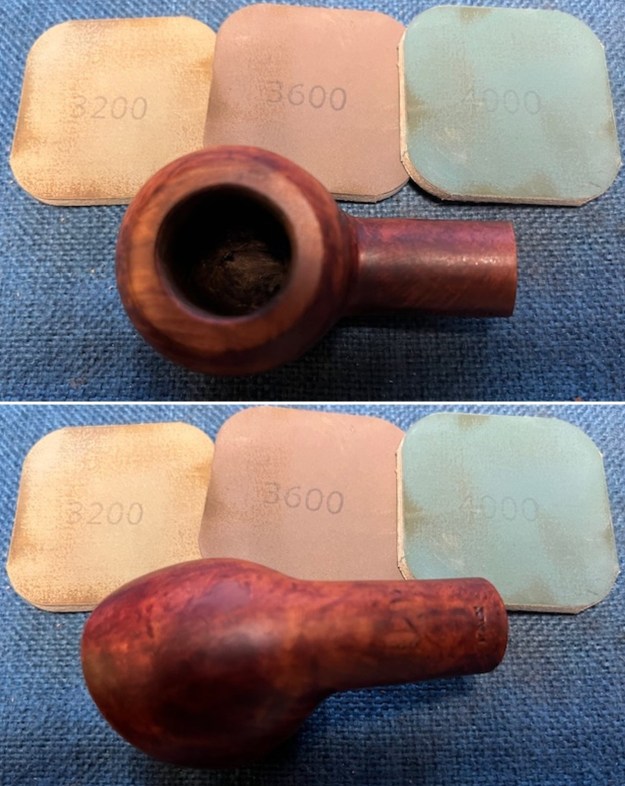
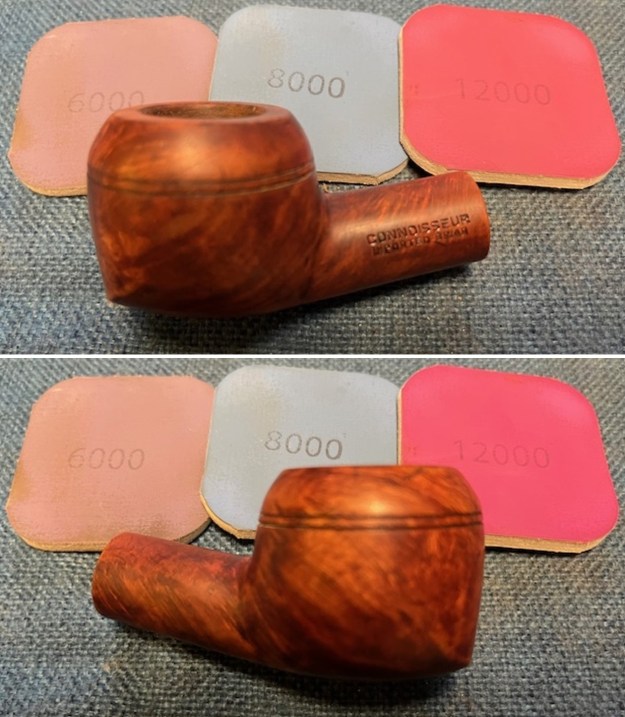
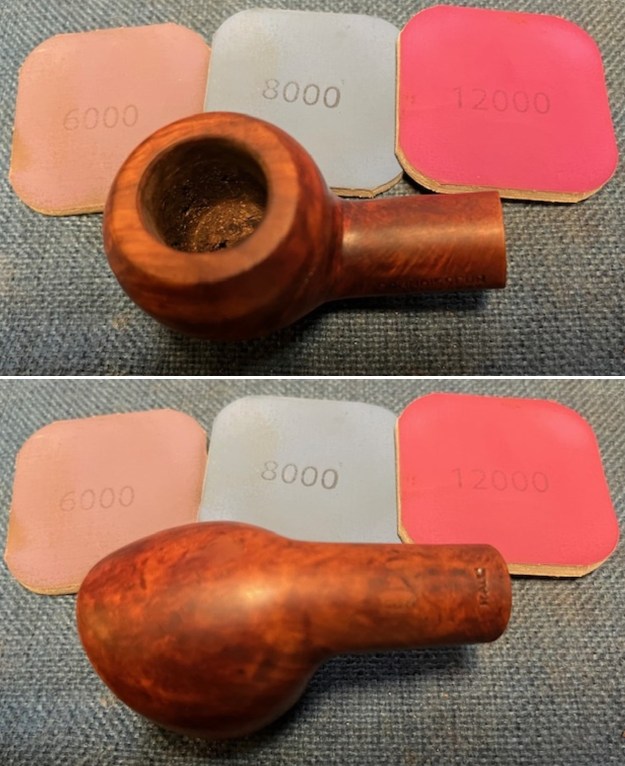
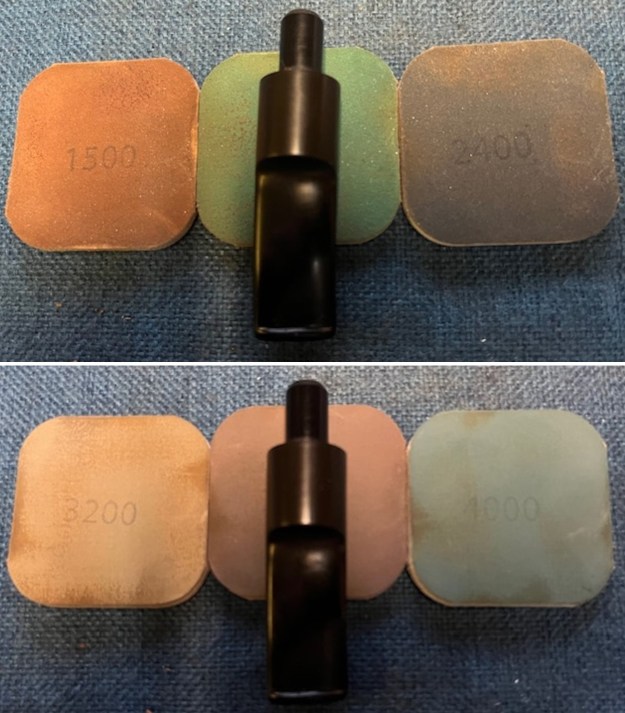
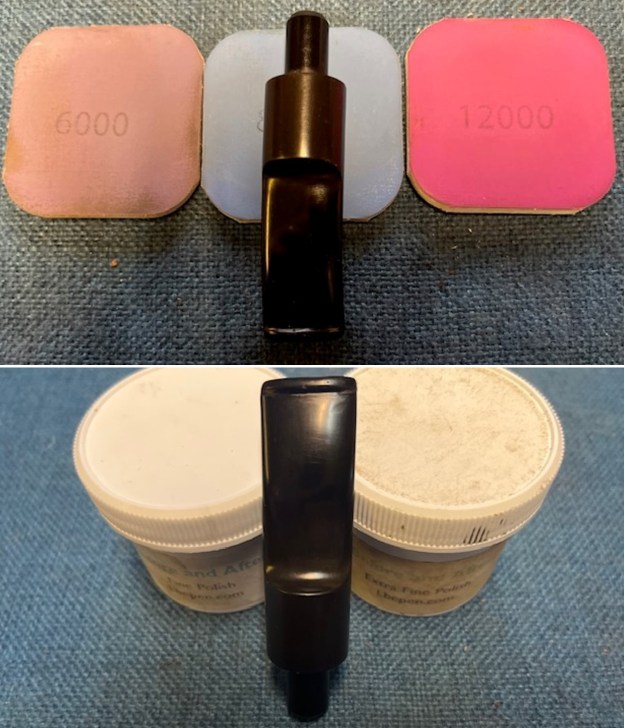
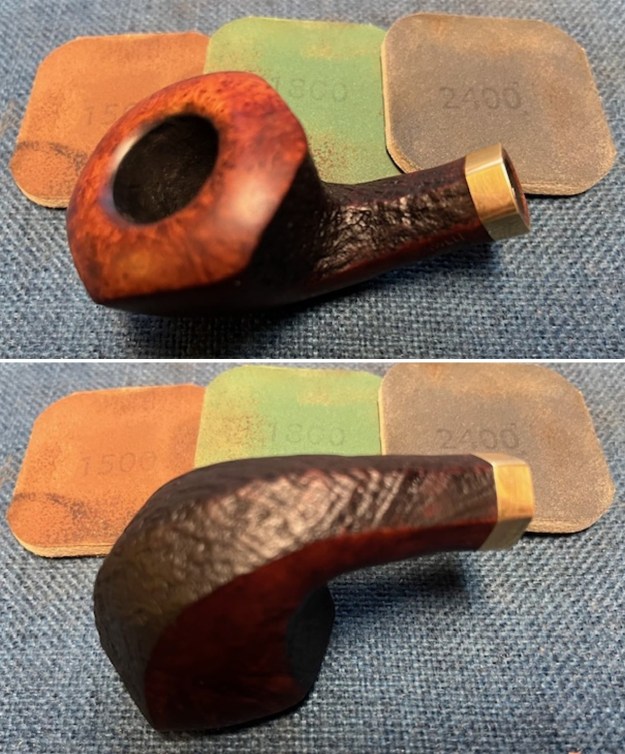
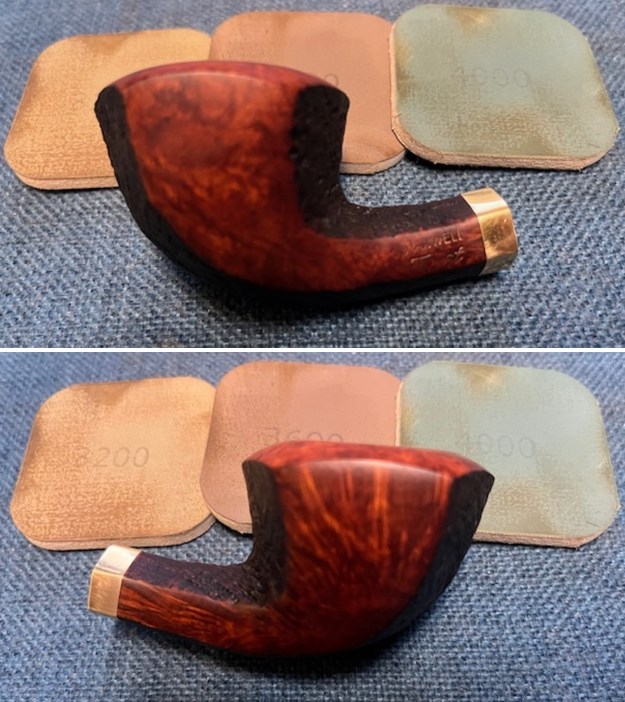
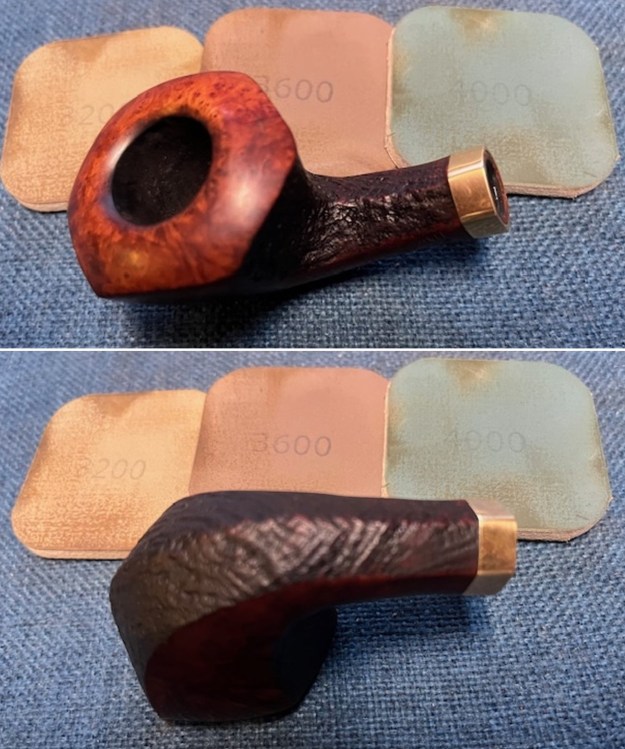
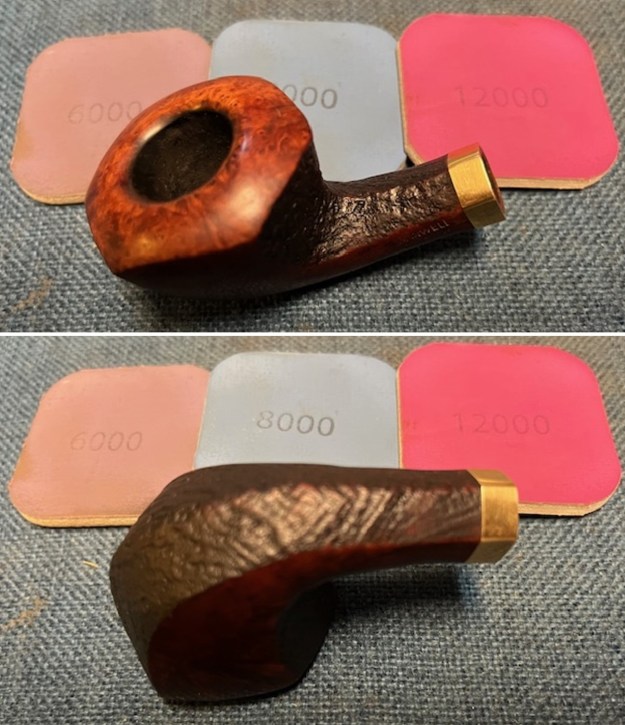
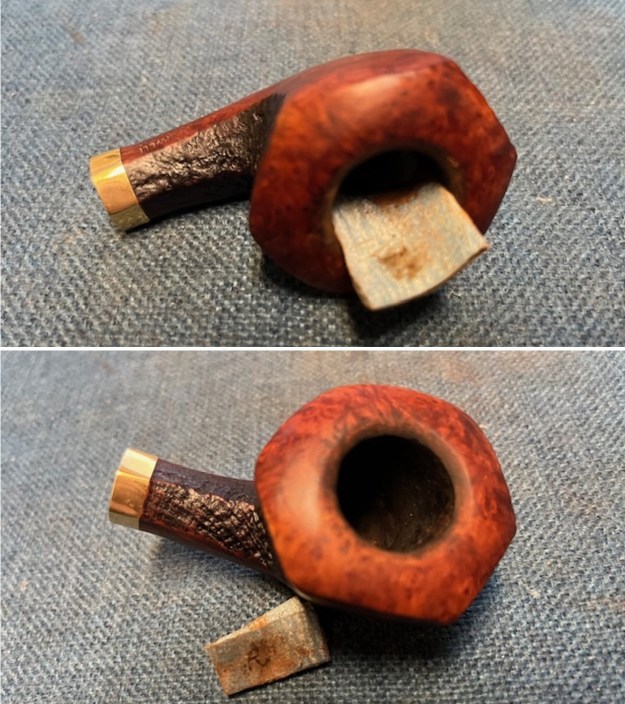 I polished the briar with micromesh sanding pads – dry sanding with 1500-12000 grit pads. I wiped the bowl down after each pad with a damp cloth.
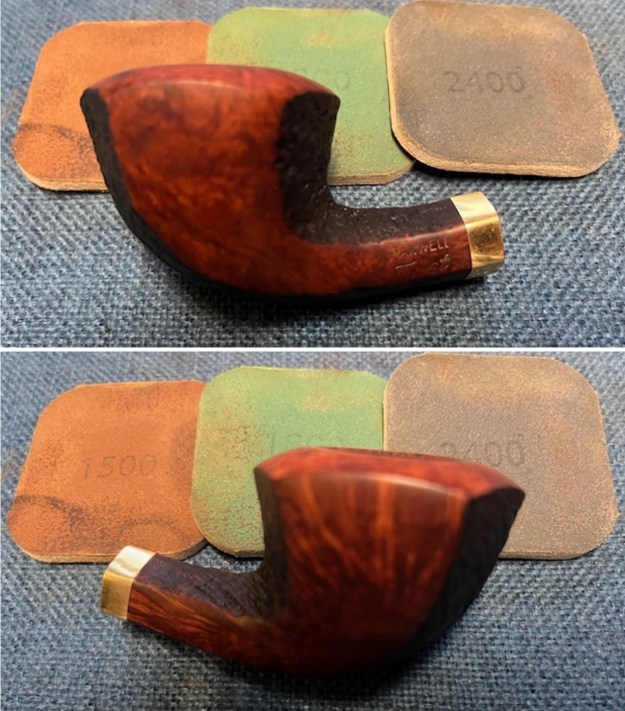

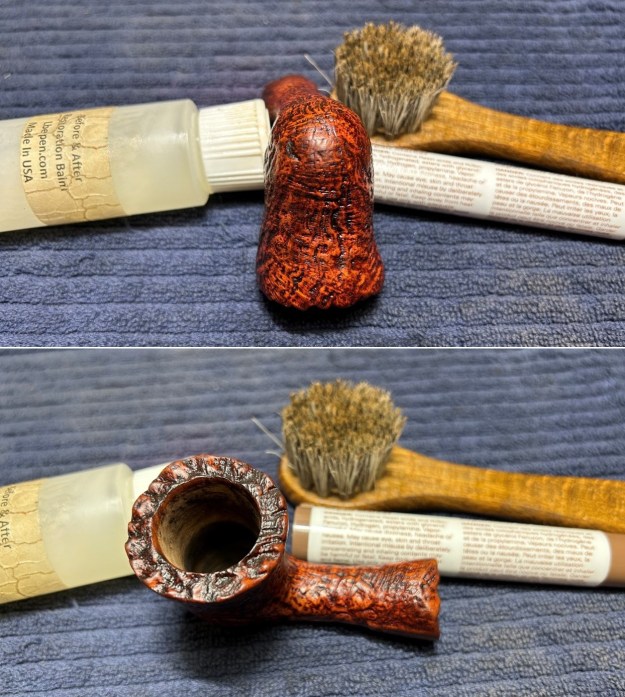
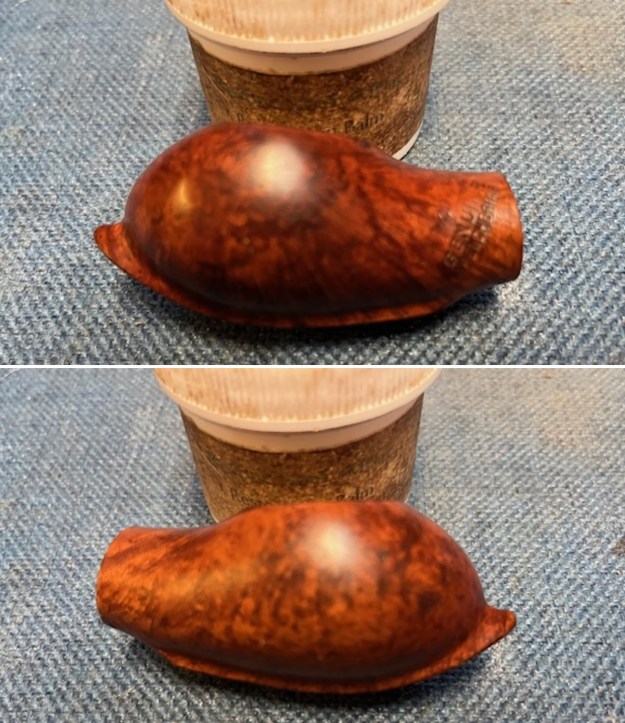
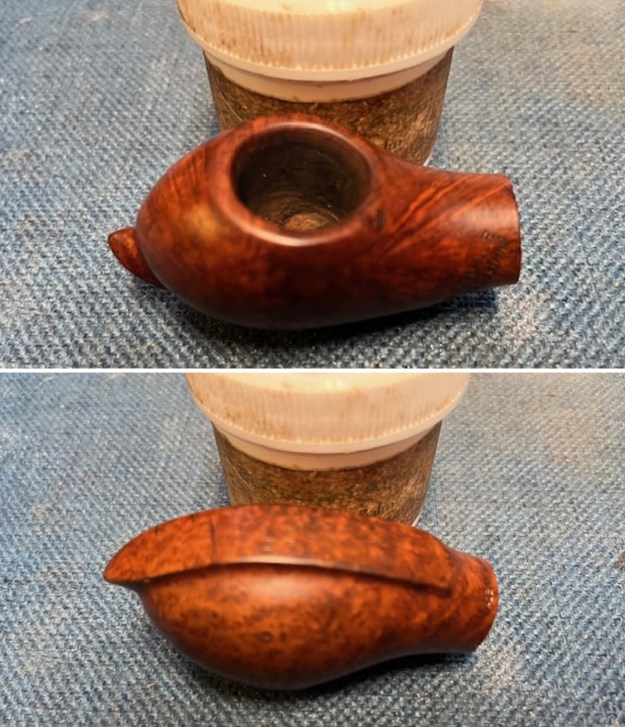
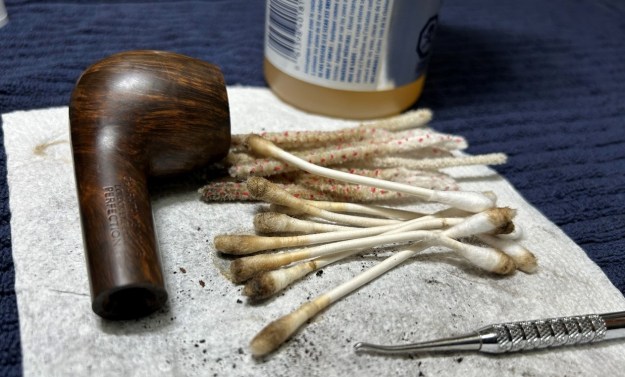
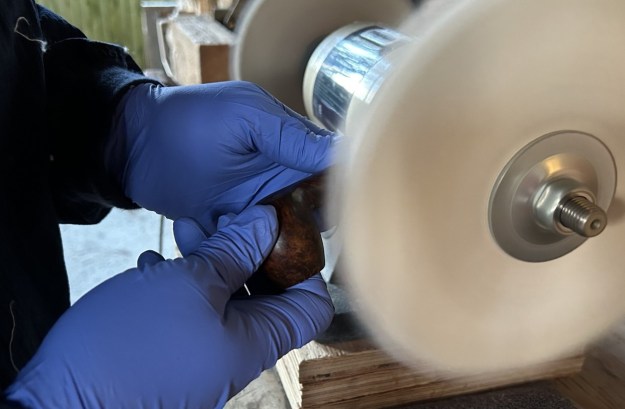
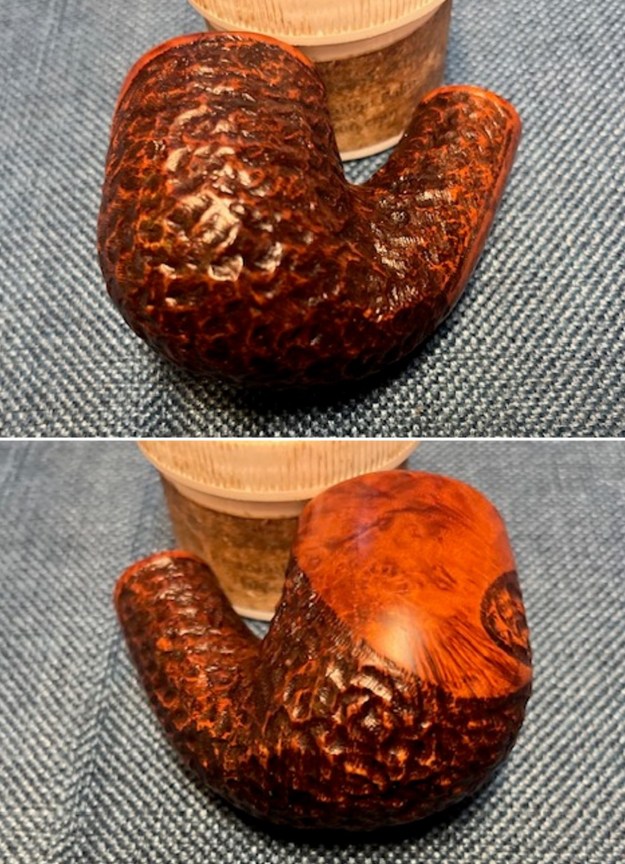
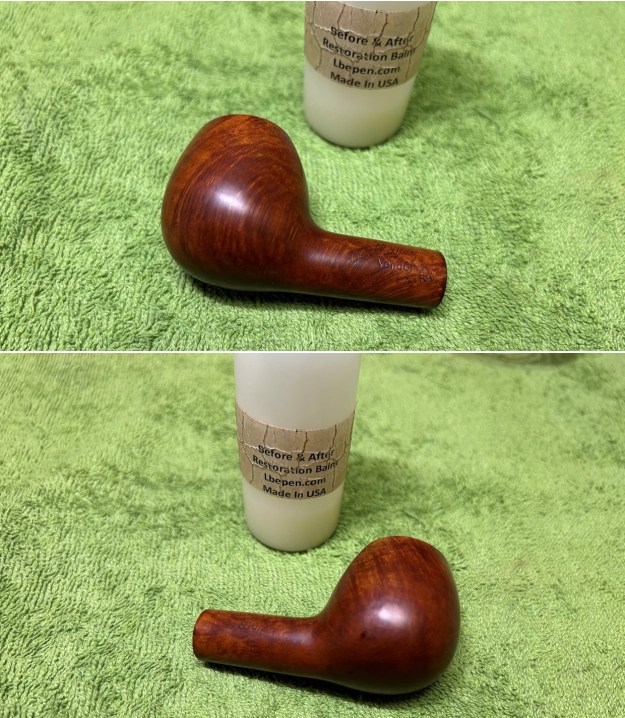
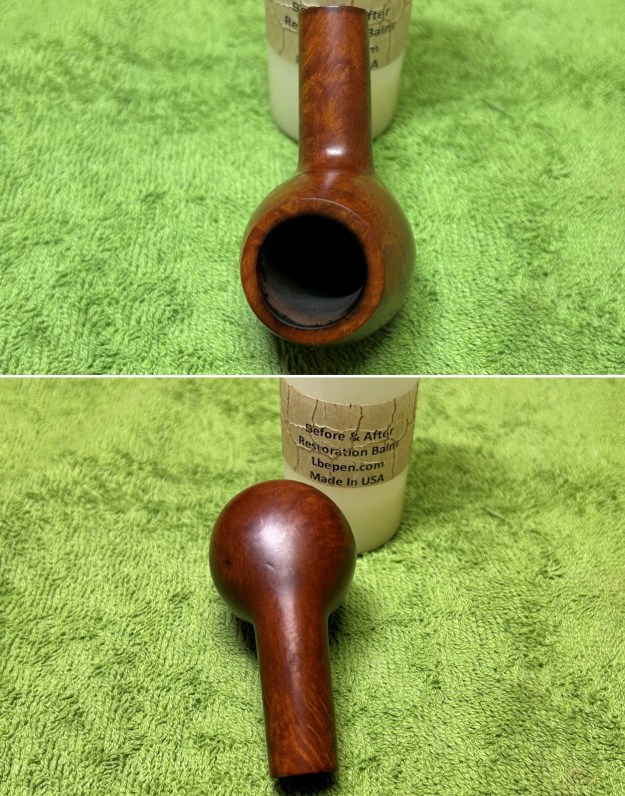
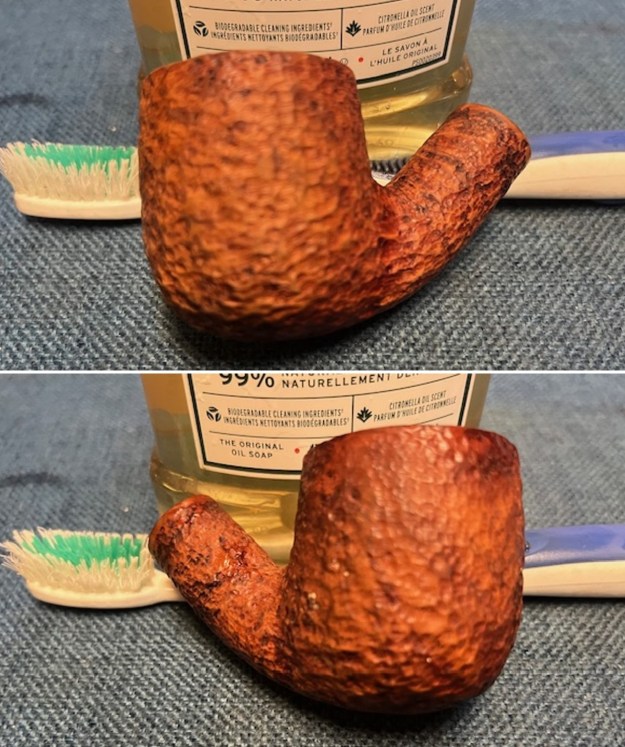
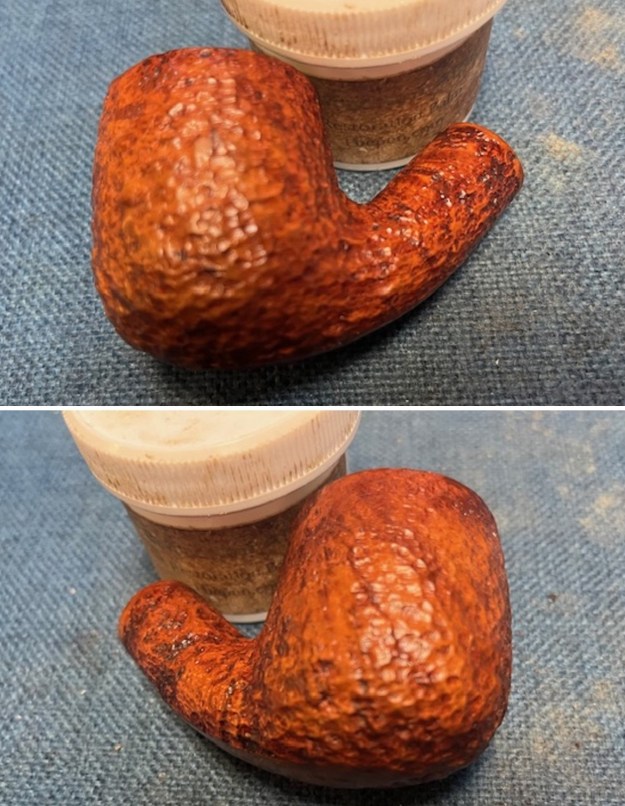
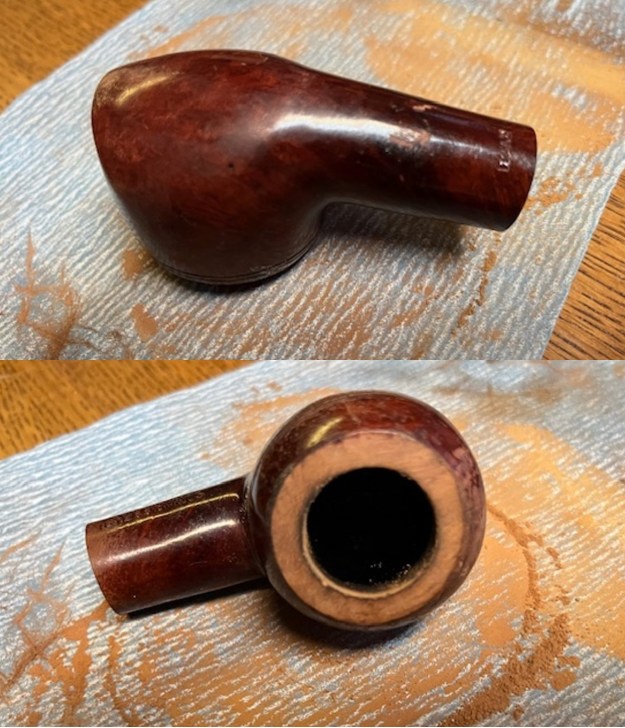
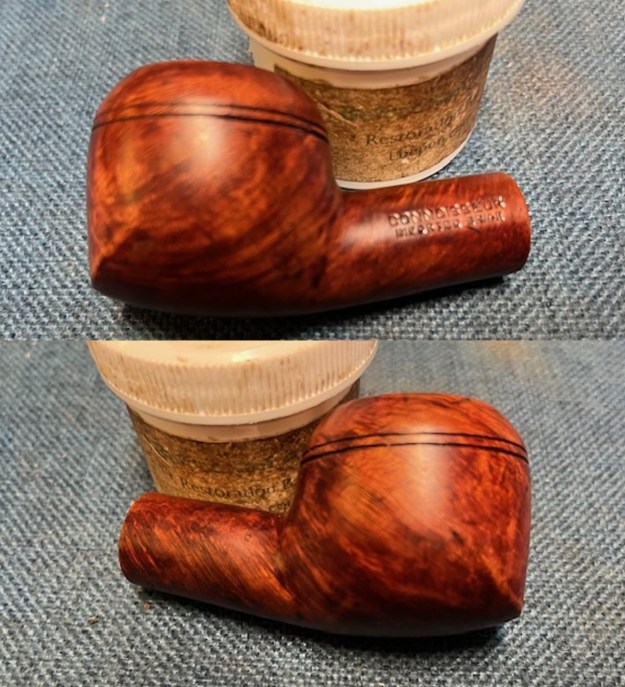
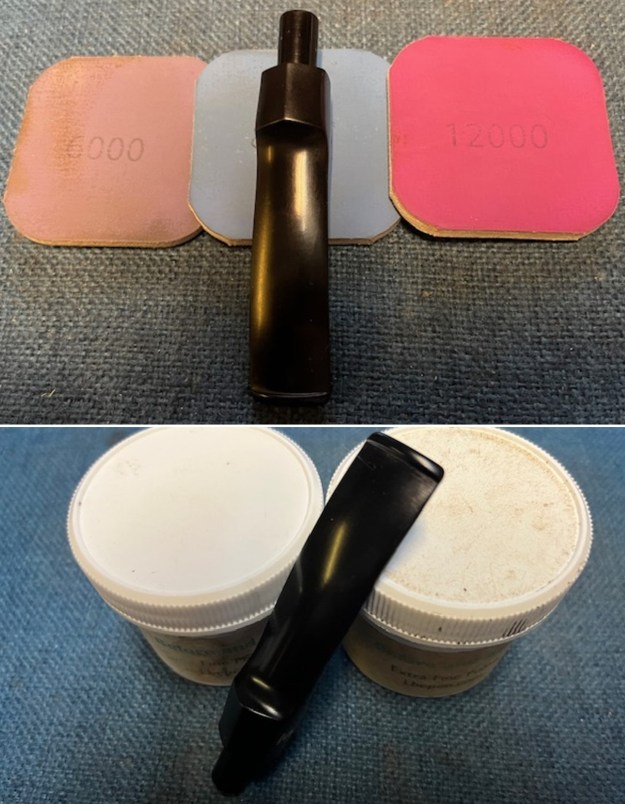
 I rubbed the bowl down with Before & After Restoration Balm. I worked it into the surface of the bowl sides and shank with my fingertips. The product works to clean, enliven and protect the briar. I let the balm sit for a little while and then buffed with a cotton cloth to raise the shine.
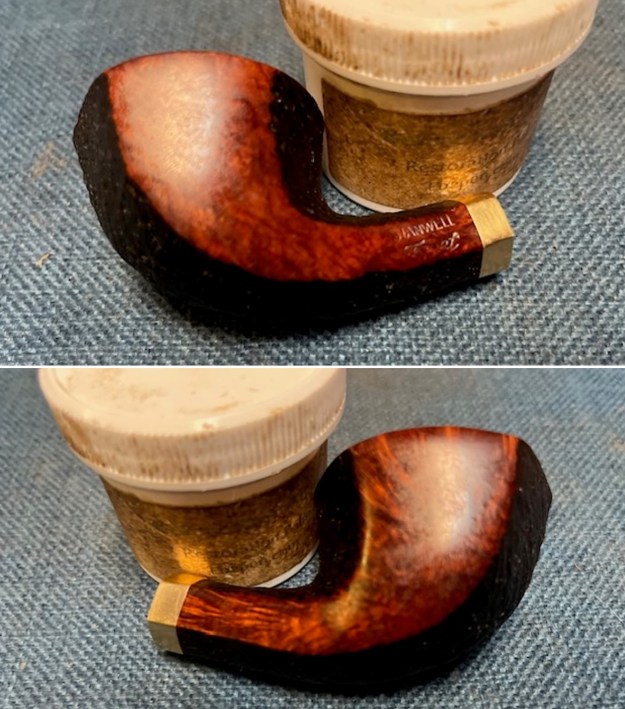
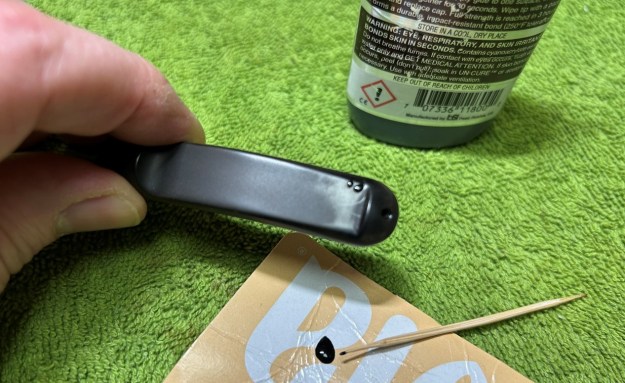
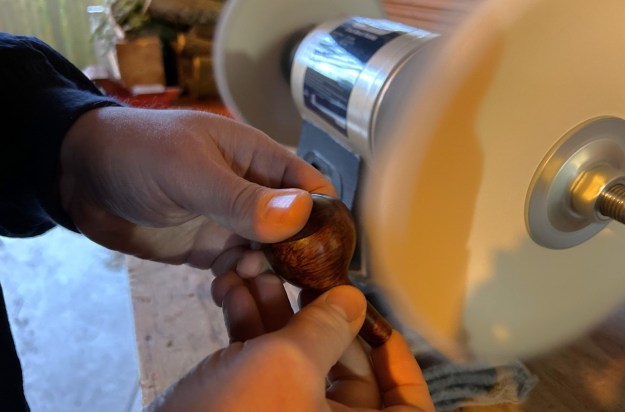
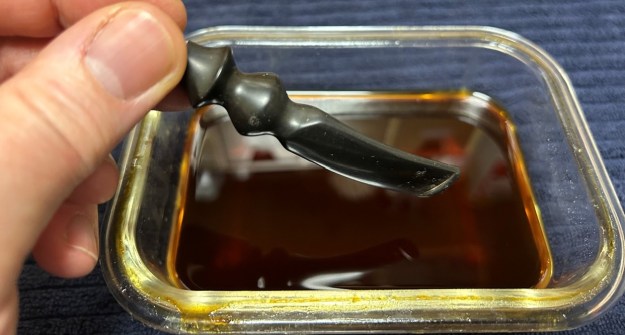
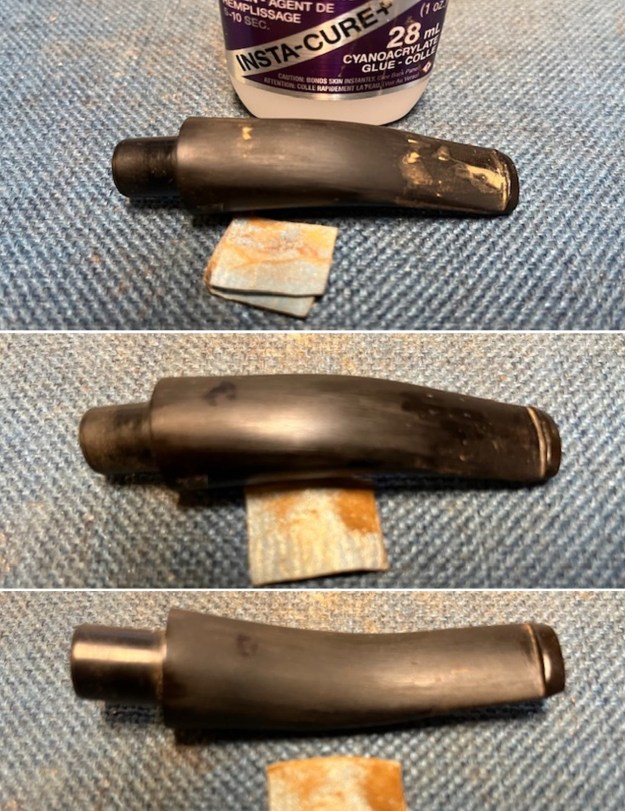
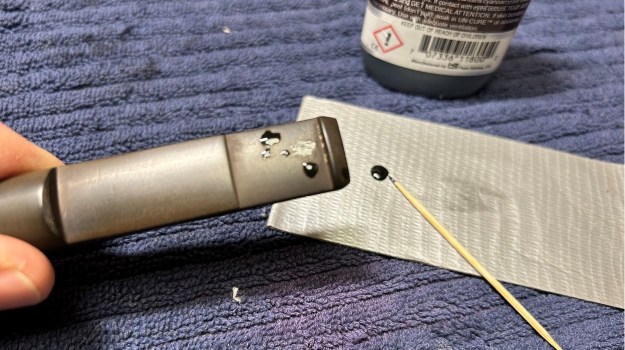
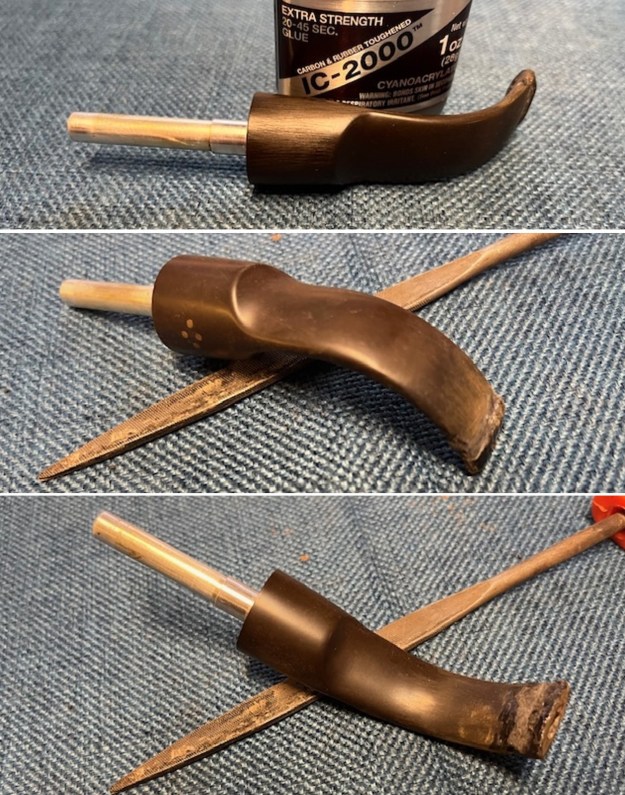
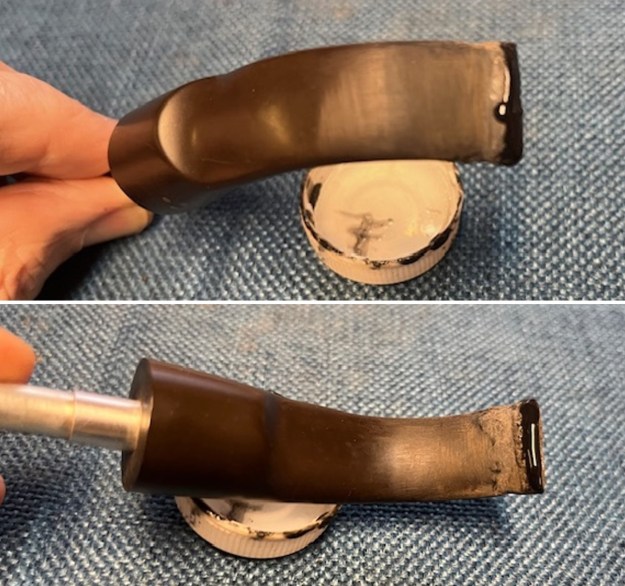
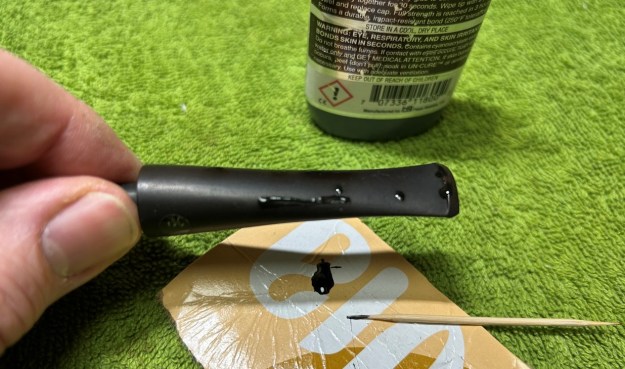
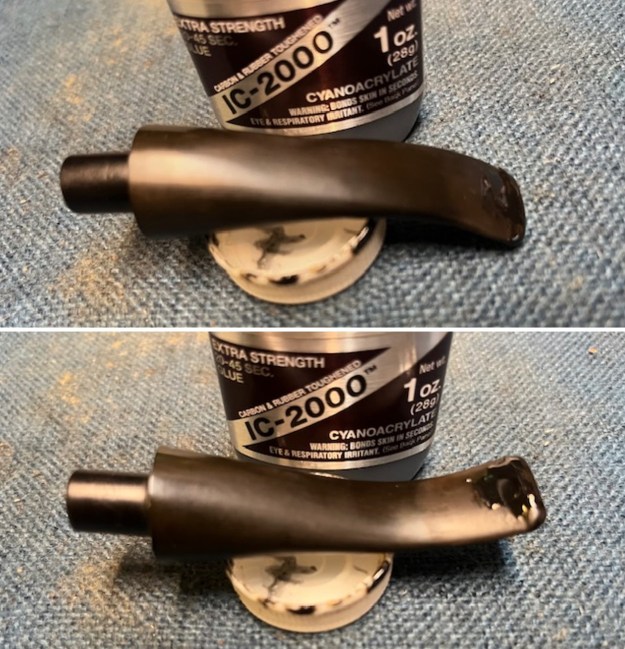
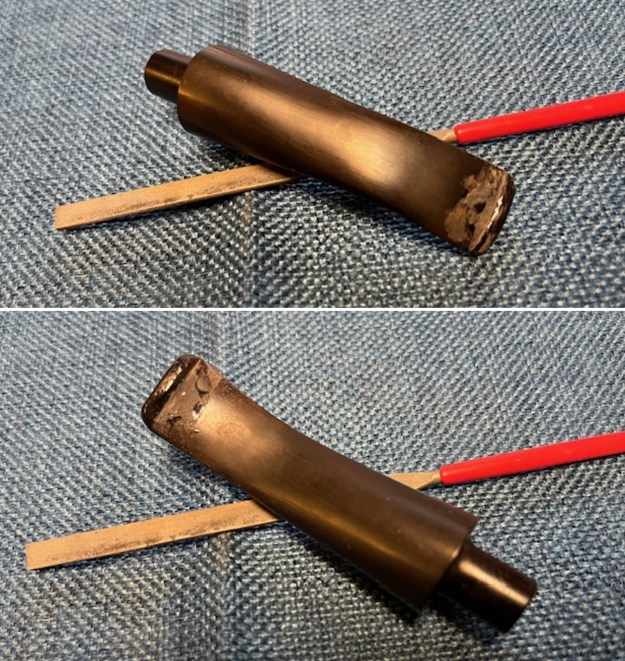
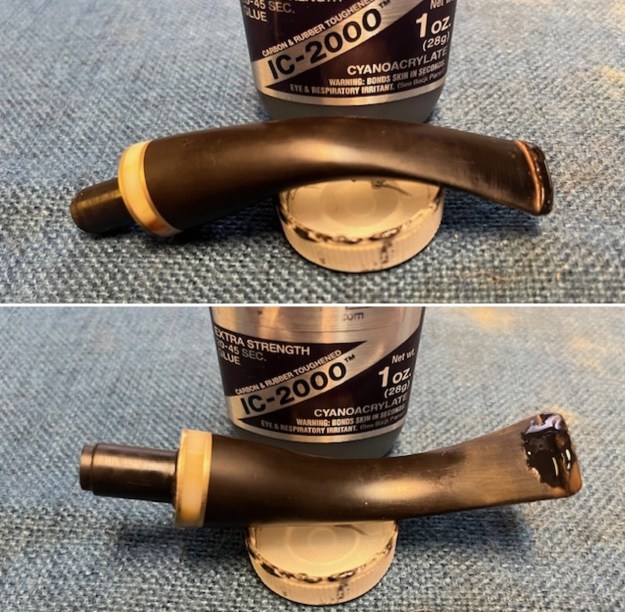
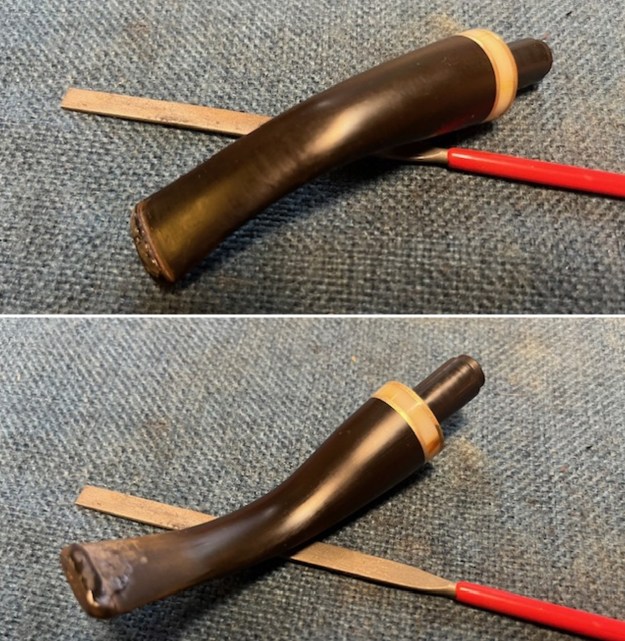
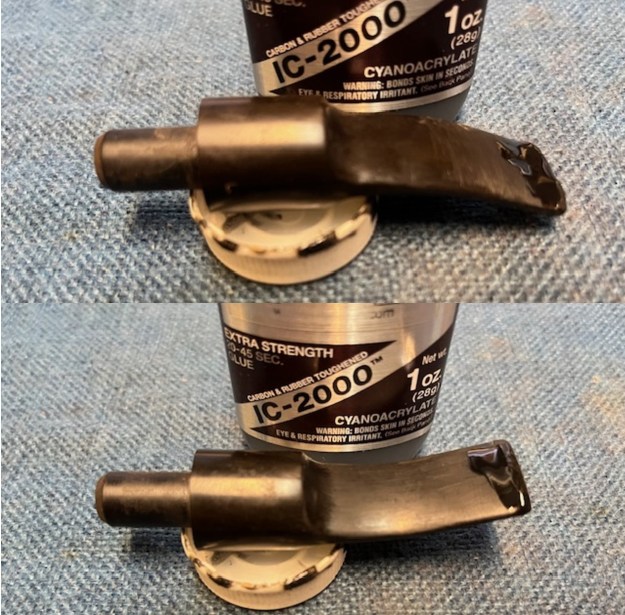
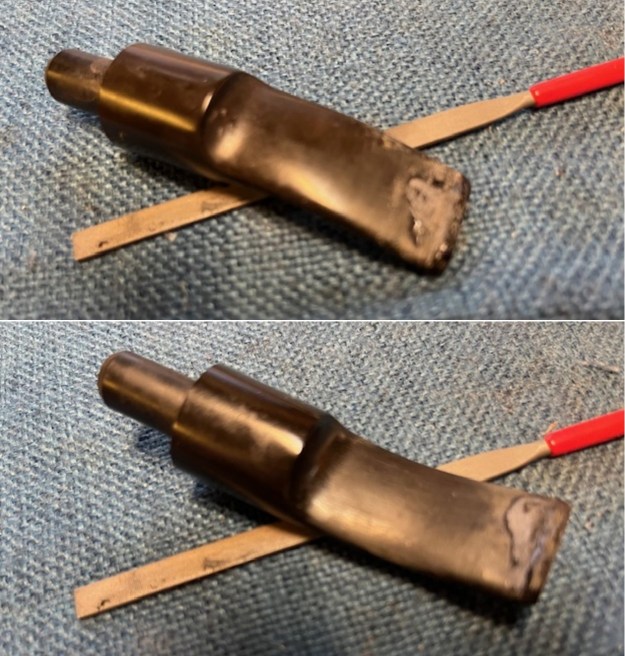
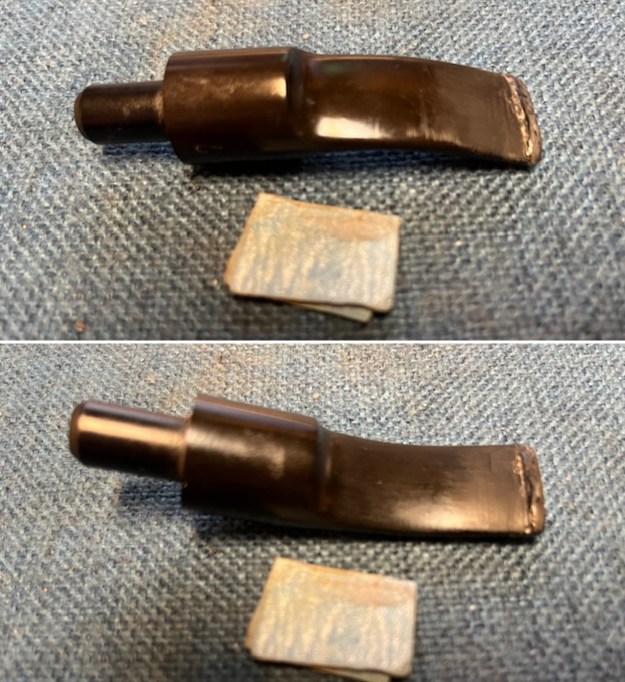
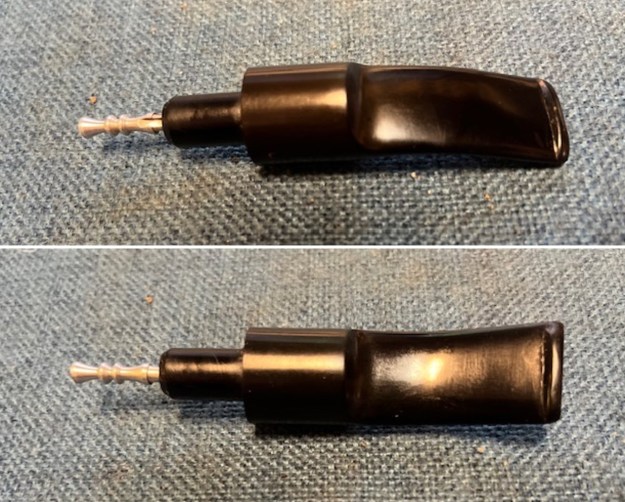
 I set the bowl aside and turned my attention to the stem. I filled in some small tooth marks with clear CA glue. Once cured I sanded them smooth to blend into the surface of the vulcanite with the 220 grit sandpaper.
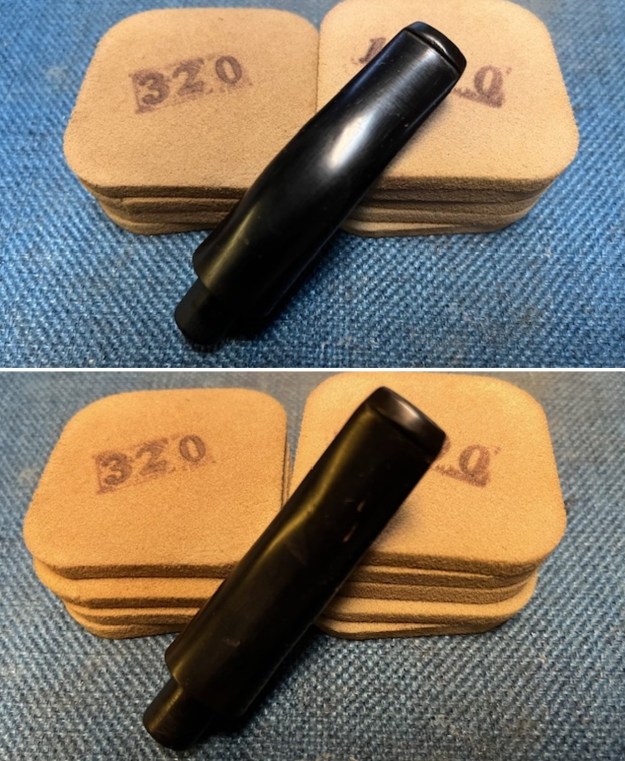
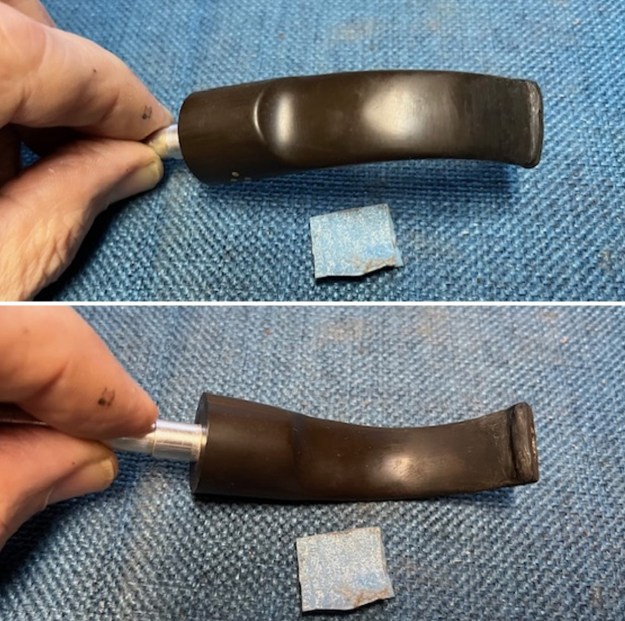
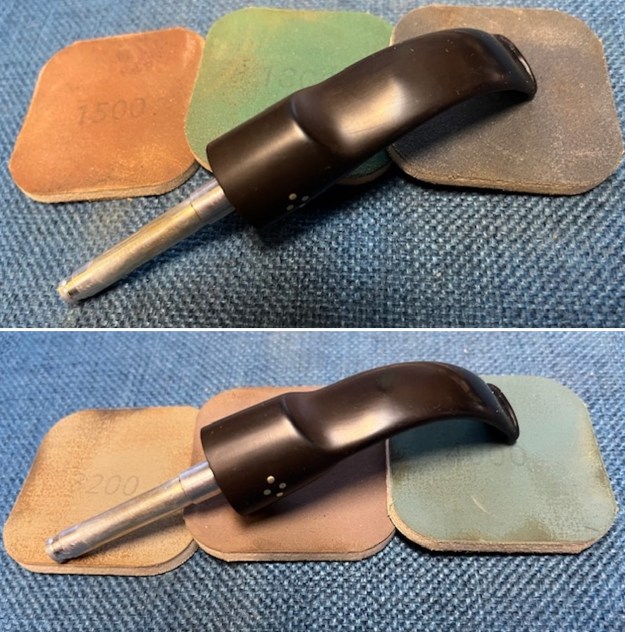
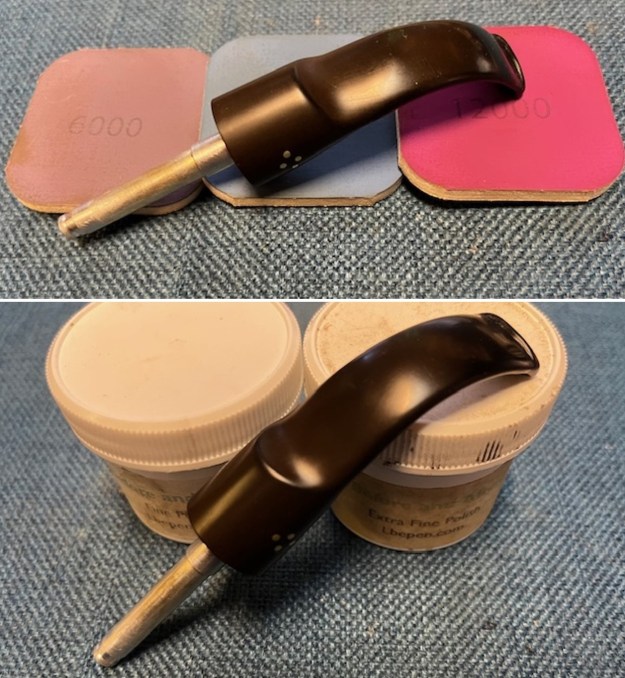
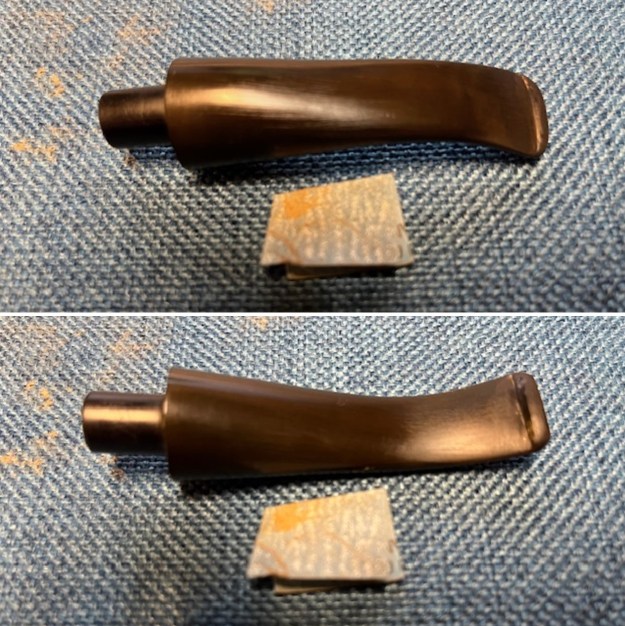
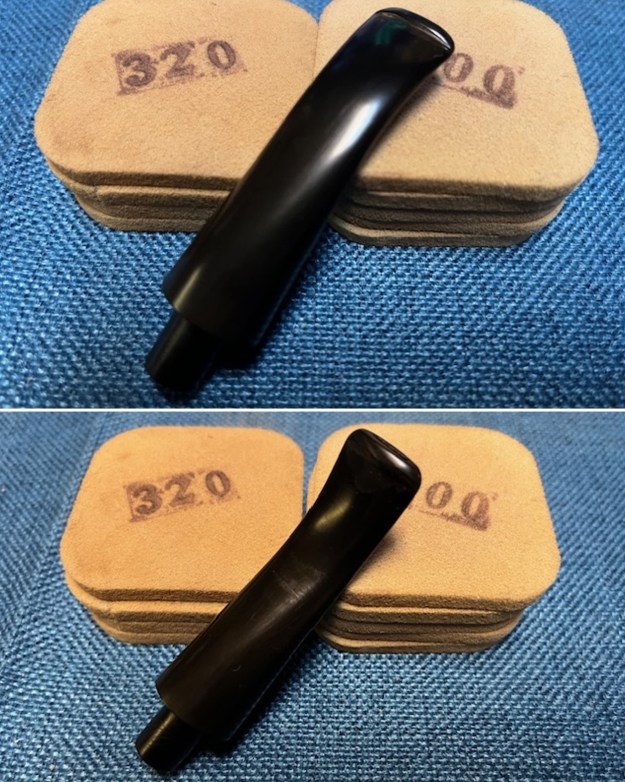
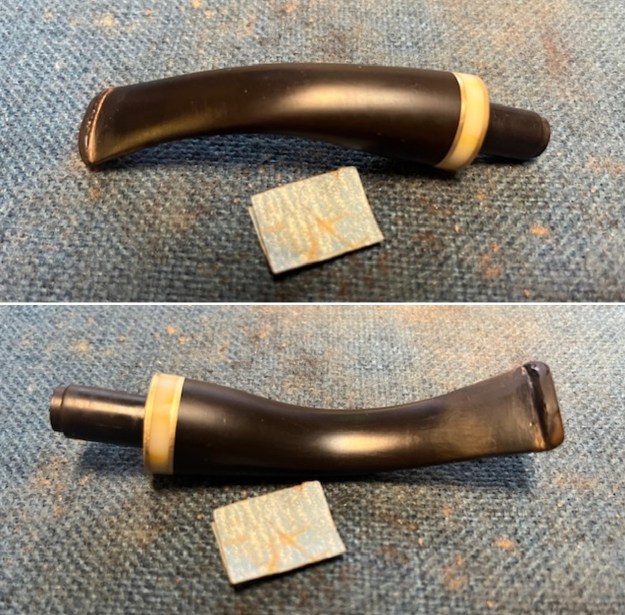
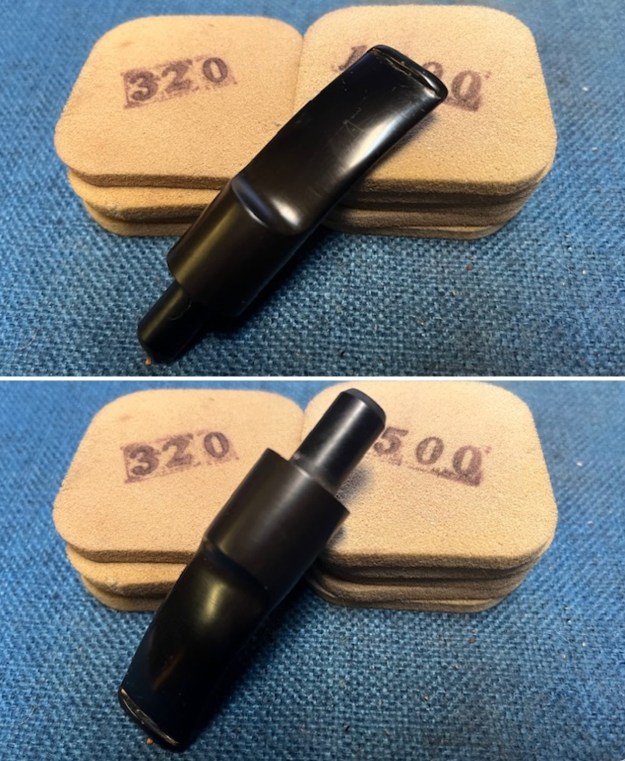
 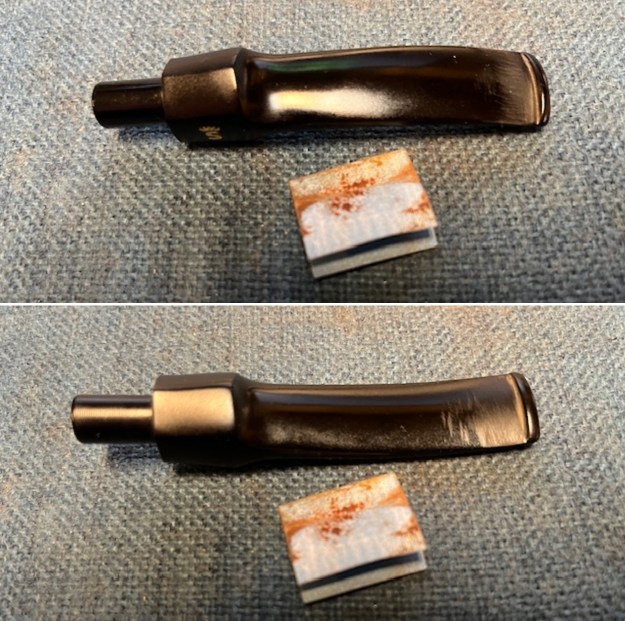 I started the polishing of the stem with 320-3500 grit sanding pads to polish the stem surface and smooth out the marks. The stem was looking better with the polishing.
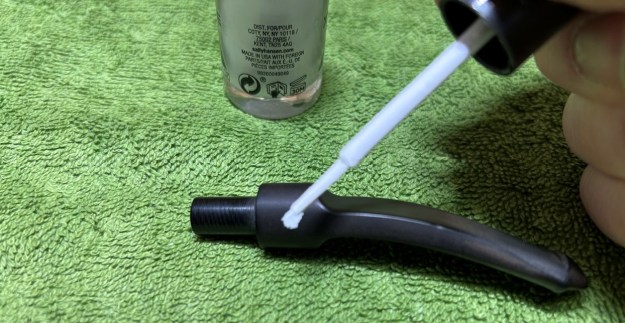
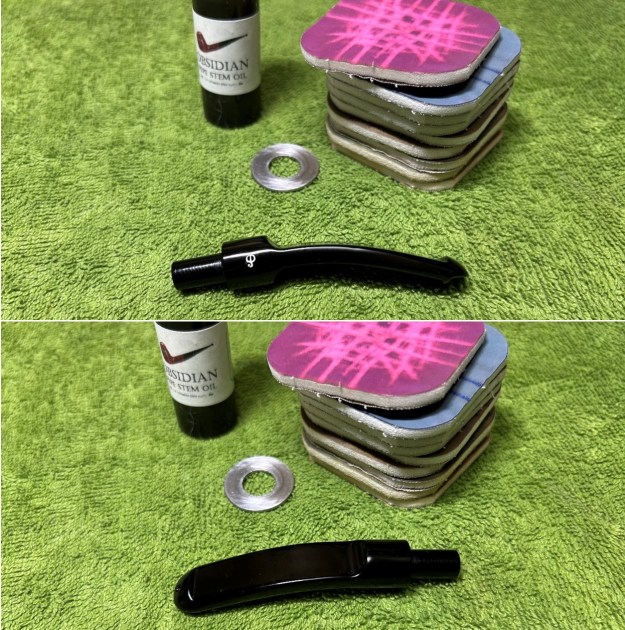
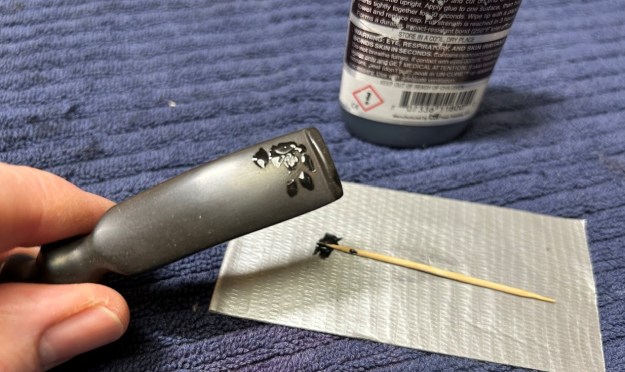
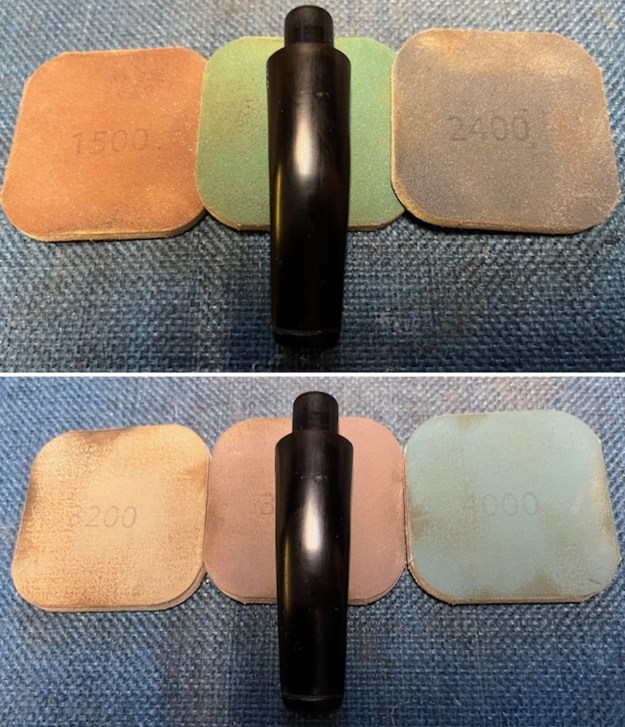
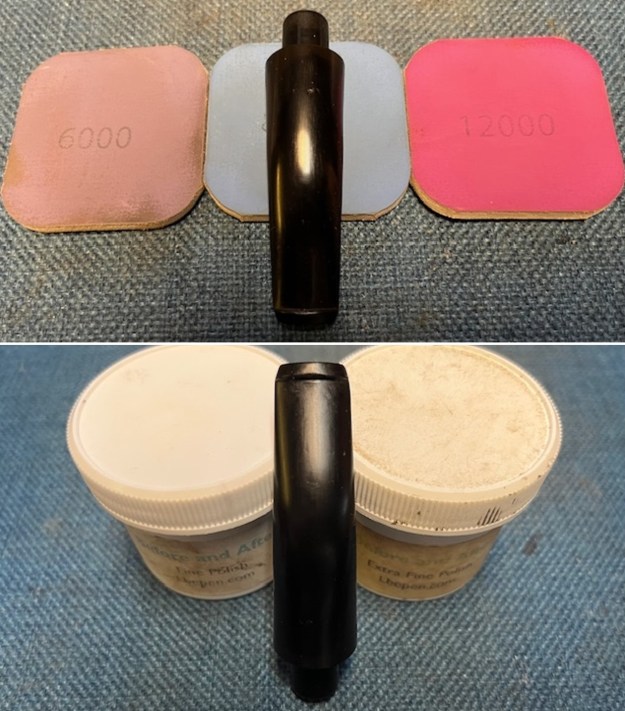
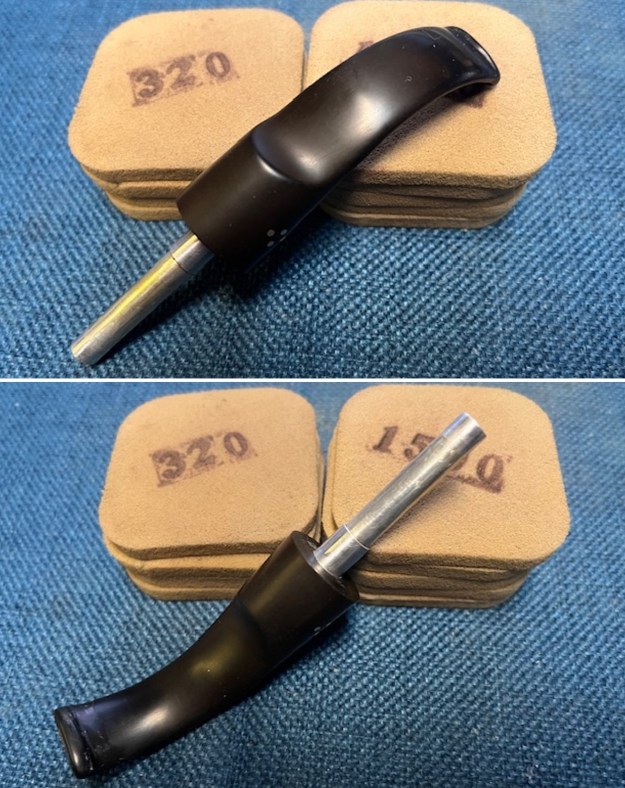
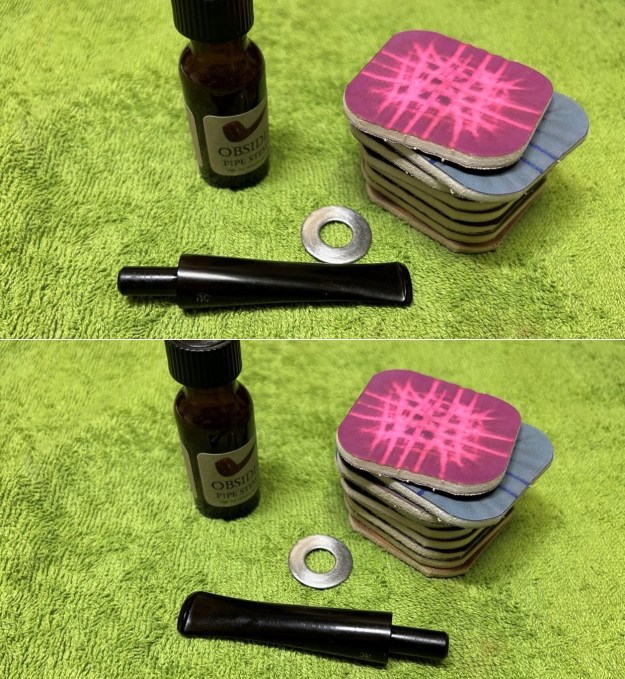
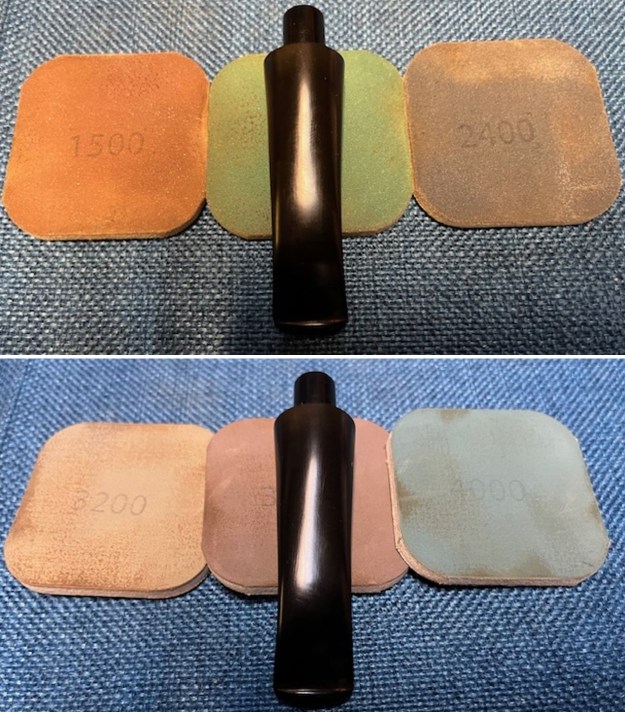
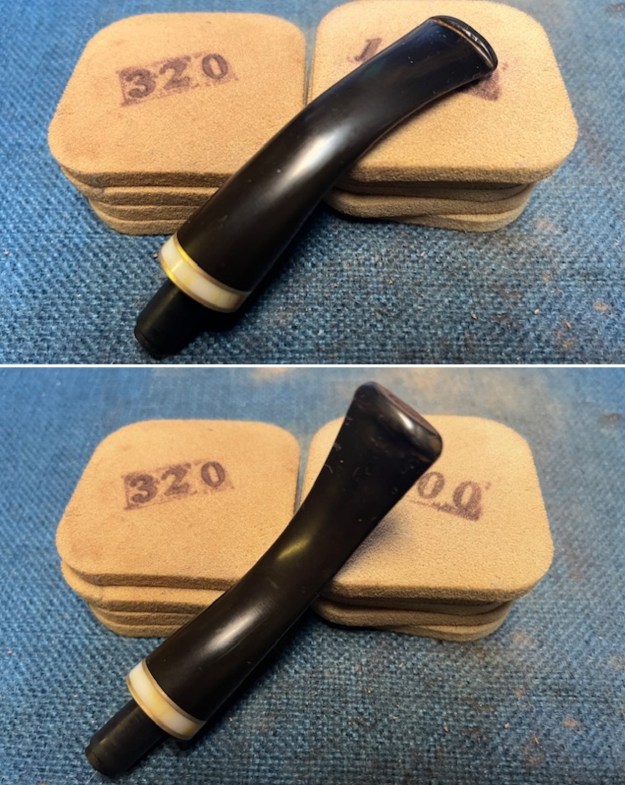
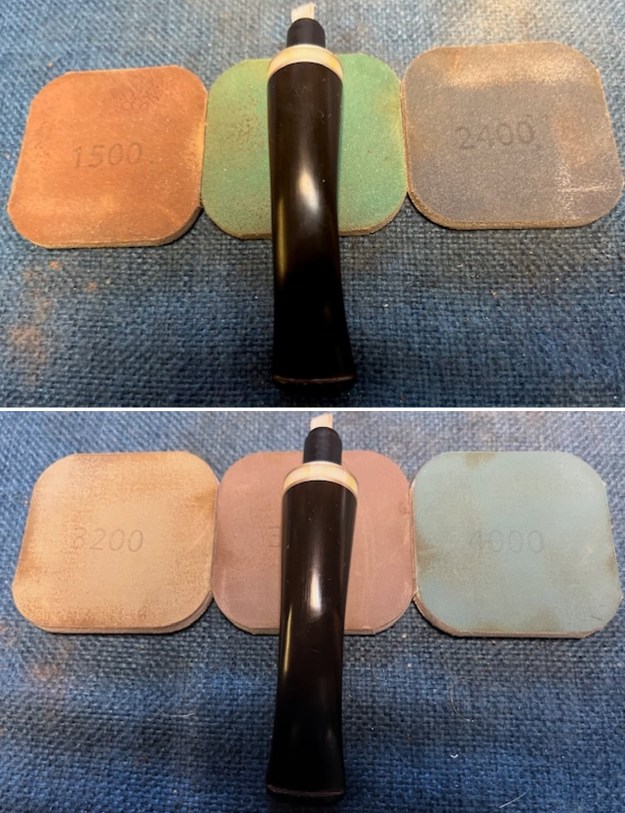
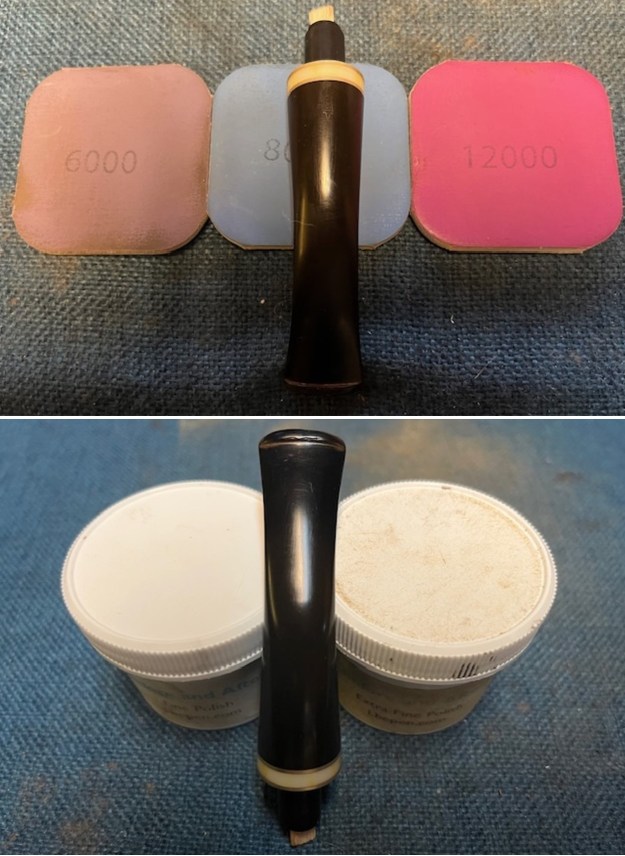
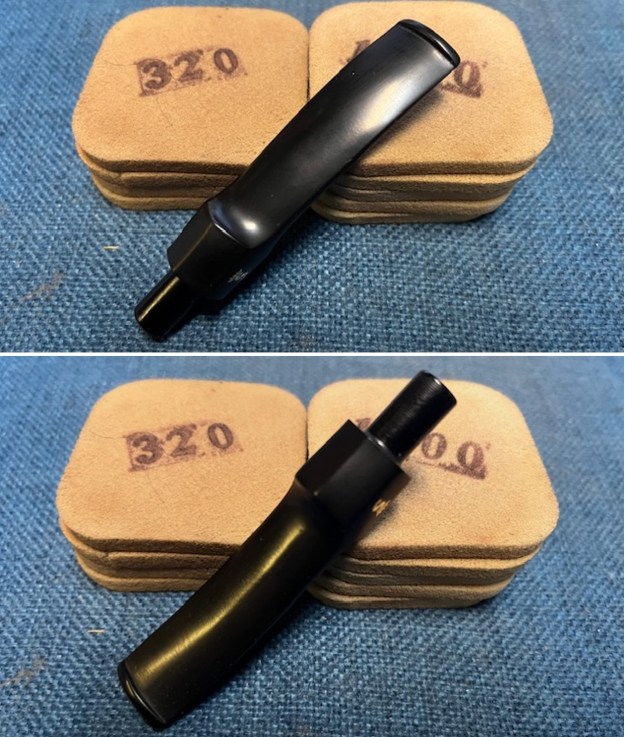 I polished the stem with micromesh sanding pads – 1500-12000 grit pads. I wiped it down with Obsidian Oil after each sanding pad. I used Before & After Pipe Polish – both Fine and Extra Fine to further polish the stem.
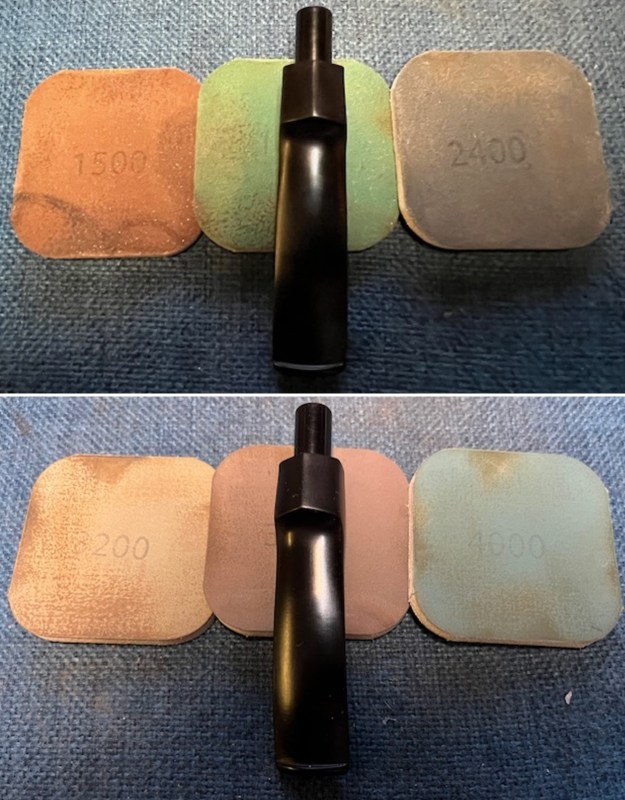
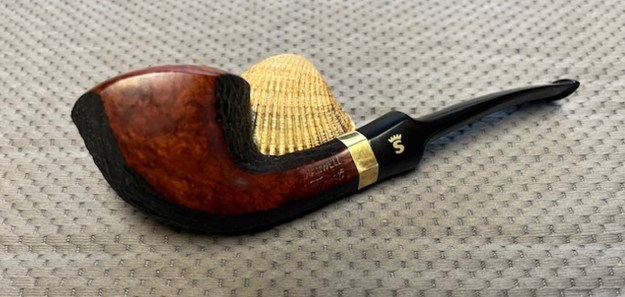
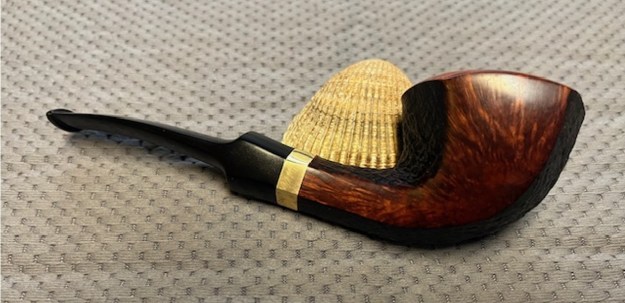
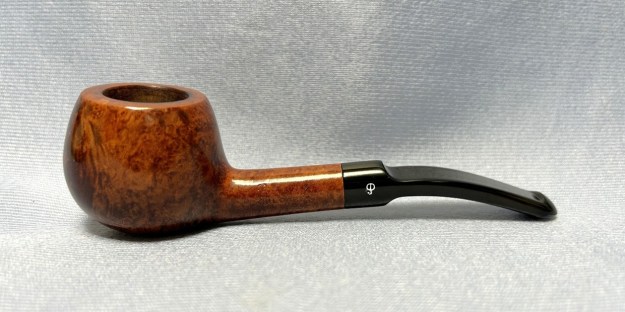
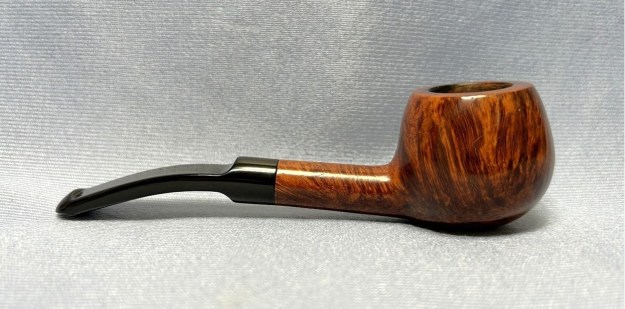
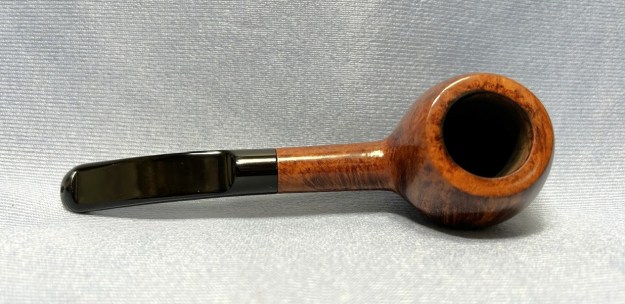
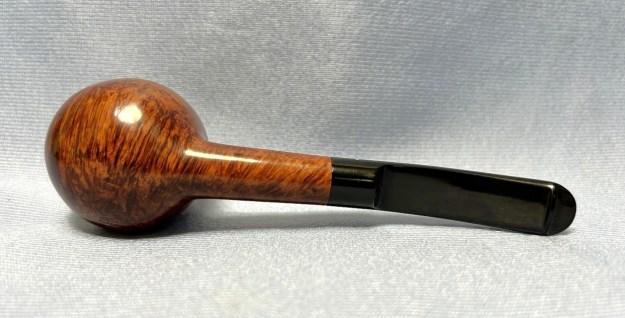
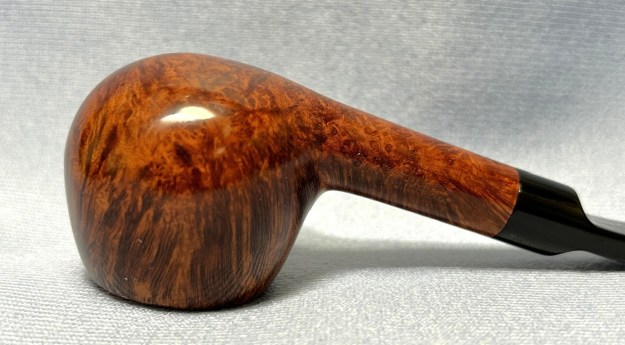
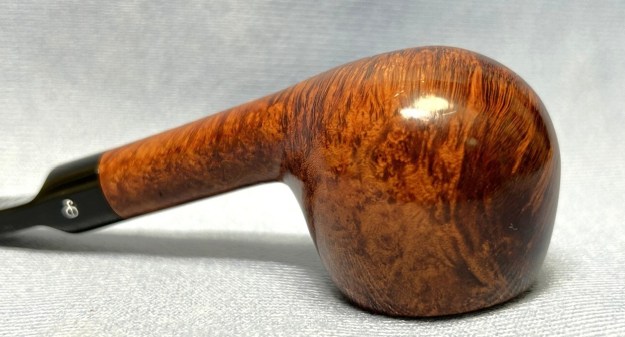
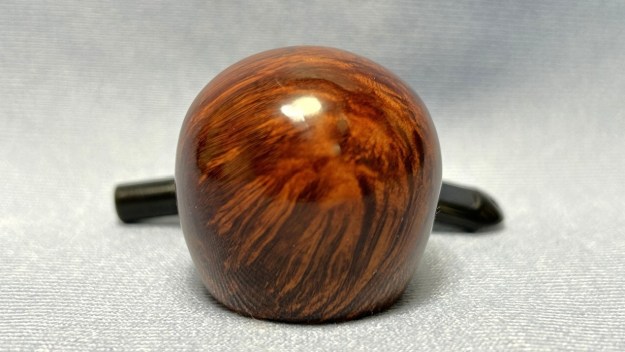
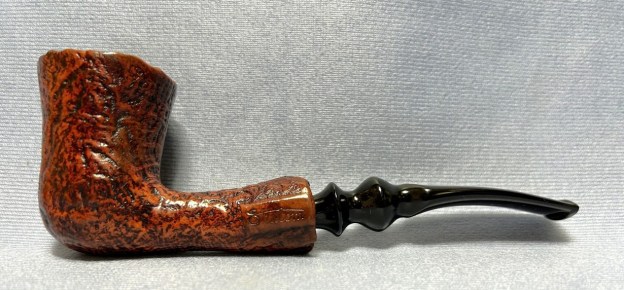
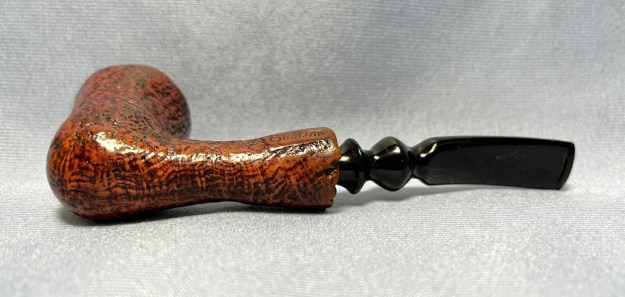
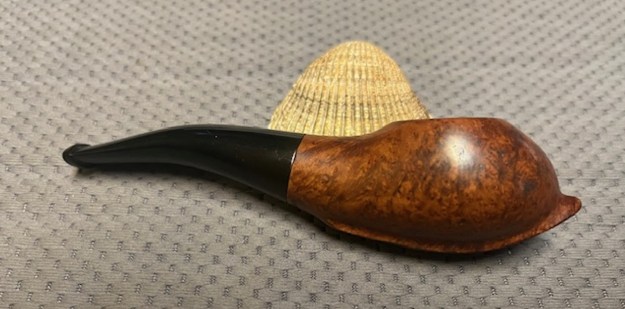
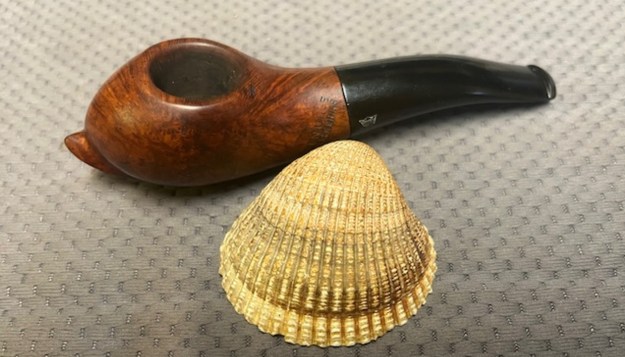
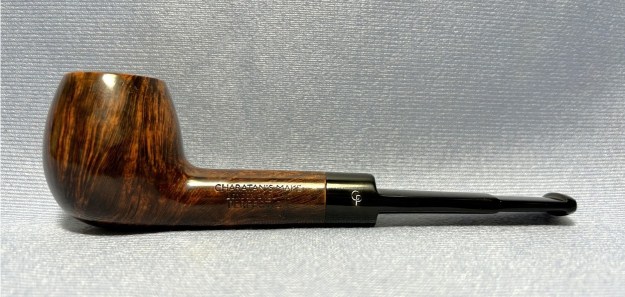
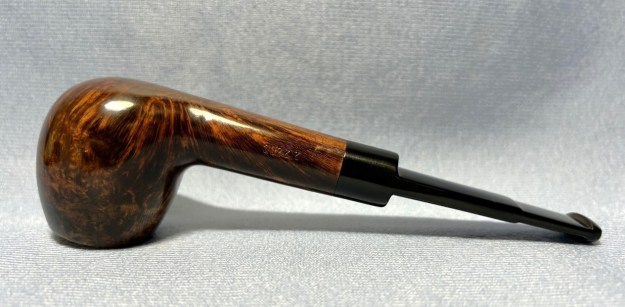
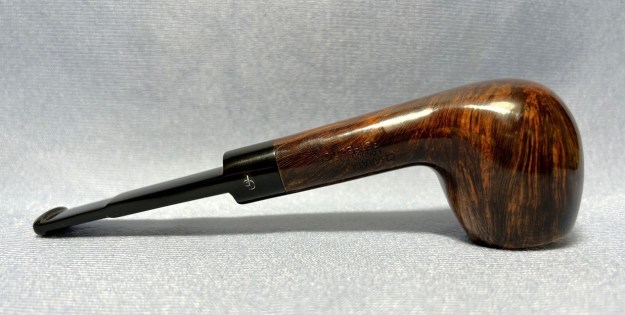
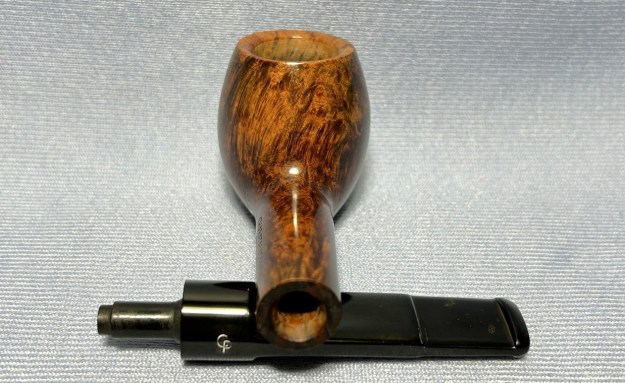
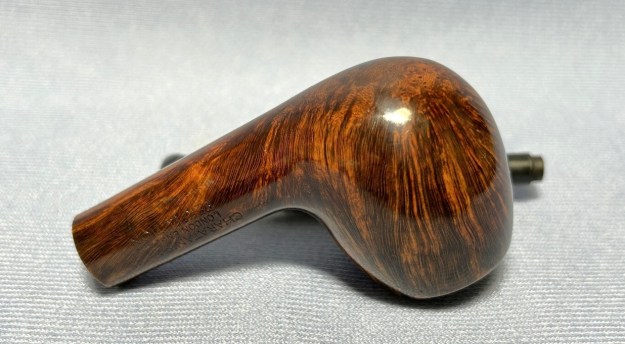
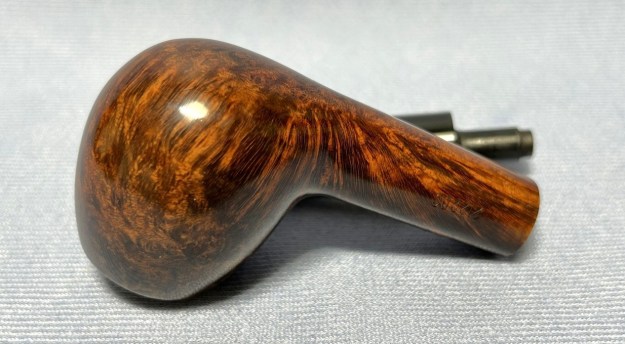
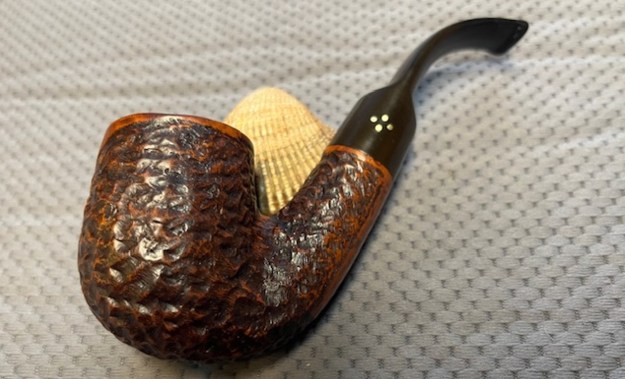
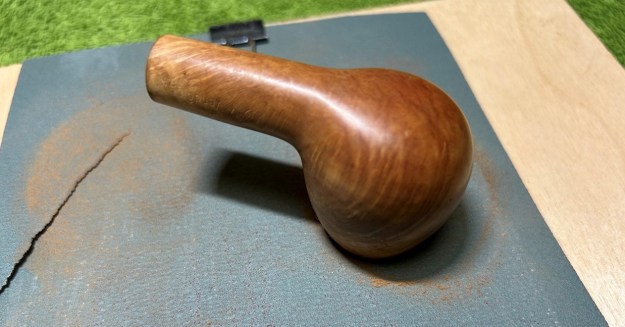
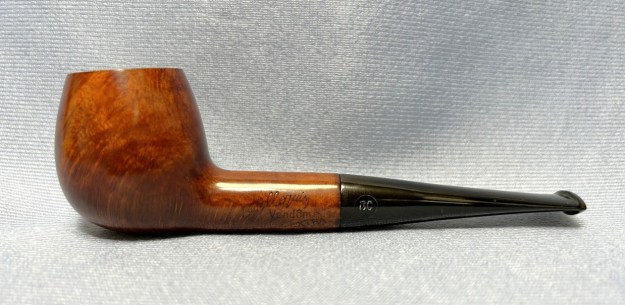
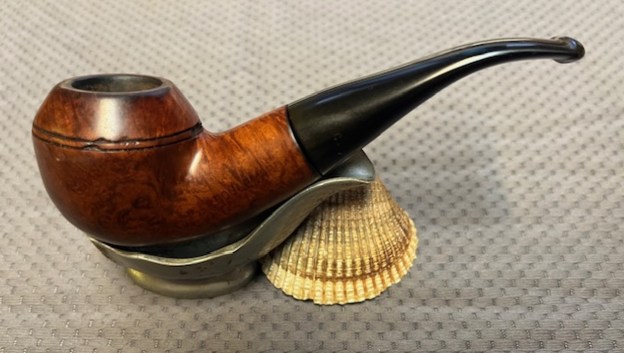
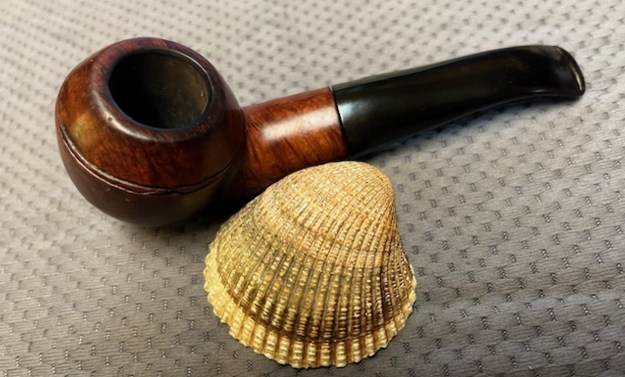
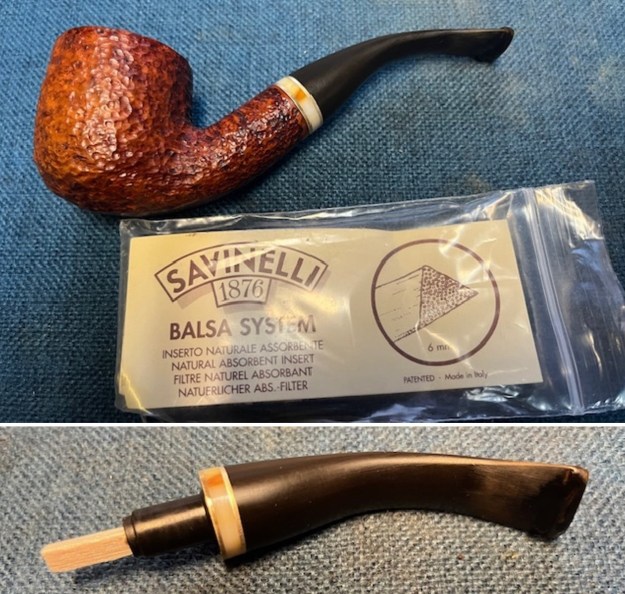
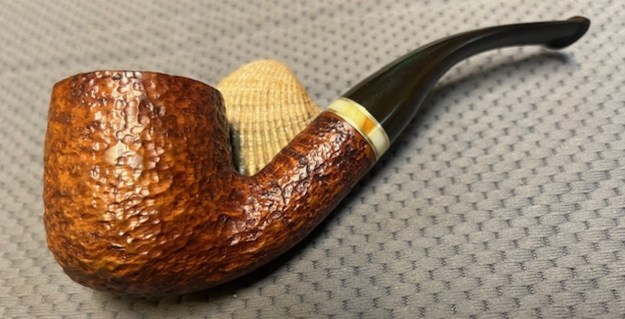
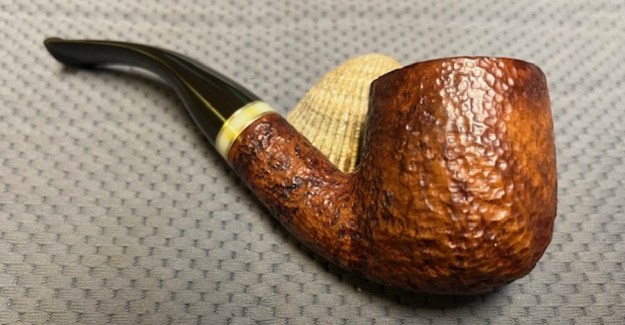
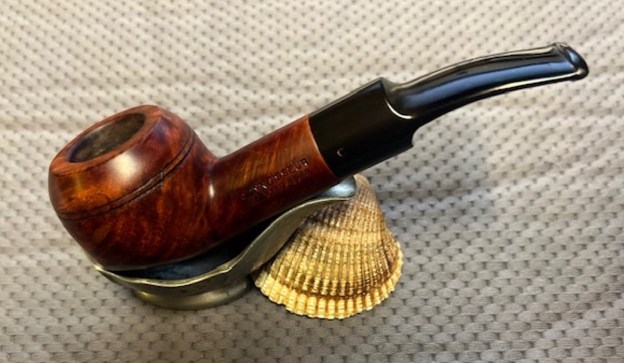
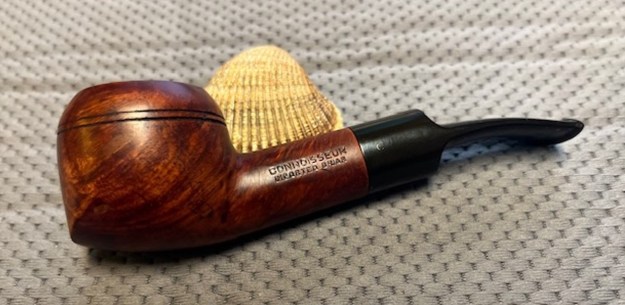
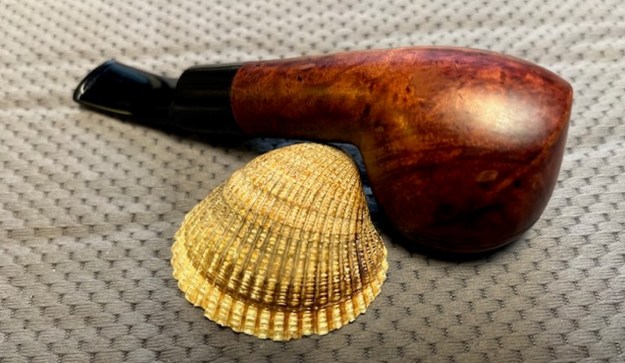
 This Jess Chonowitsch Designed Stanwell Faceted Hexagon Freehand 163 with a hexagon vulcanite saddle stem is a great looking pipe now that it has been restored. The beautiful grain on the polished smooth portions of the briar and the sandblast front and back of the bowl are stunning. I put the stem back on the bowl and carefully buffed the pipe with Blue Diamond on the buffing wheel. I gave the bowl and the stem multiple coats of carnauba wax on the buffing wheel and followed that by buffing the entire pipe with a clean buffing pad. I hand buffed the pipe with a microfiber cloth to deepen the shine. The finished Stanwell Facet 163 Dublin fits nicely in the hand and feels great. Give the finished pipe a look in the photos below. The dimensions of the pipe are Length: 5 ½ inches, Height: 1 ¾ inches, Outside diameter of the bowl: 1 ¾ inches, Chamber diameter: ¾ of an inch. The weight of the pipe is 48 grams/1.69 ounces. I will soon be adding it to the rebornpipes store in the Danish Pipe Making Companies Section. If you are interested in this pipe send me a message or an email. Thanks for reading this blog and my reflections on the pipe while I worked on it. There are many more to come!