Blog by Steve Laug
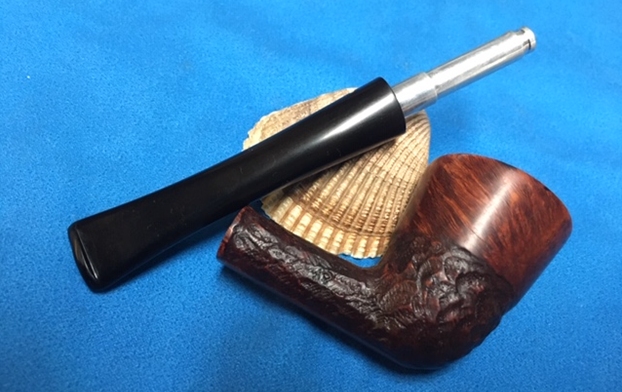
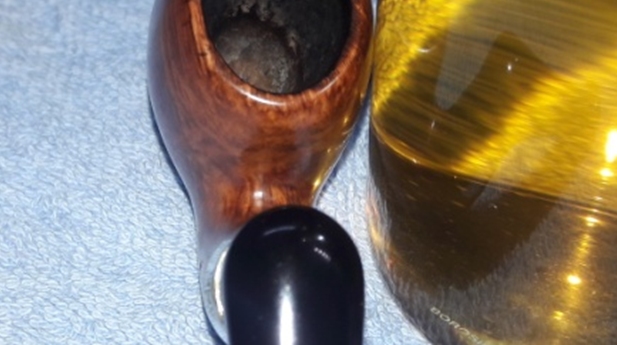
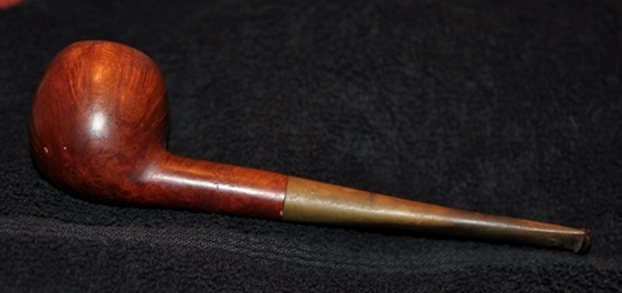
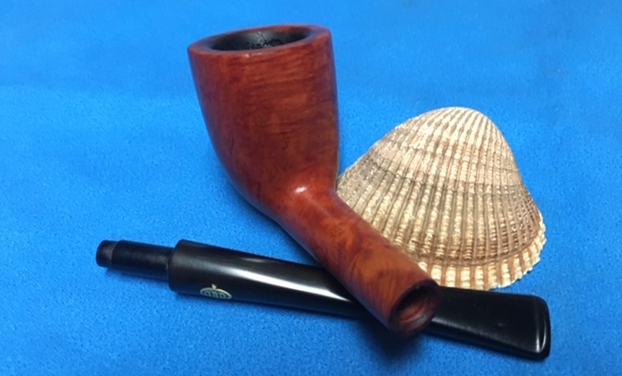
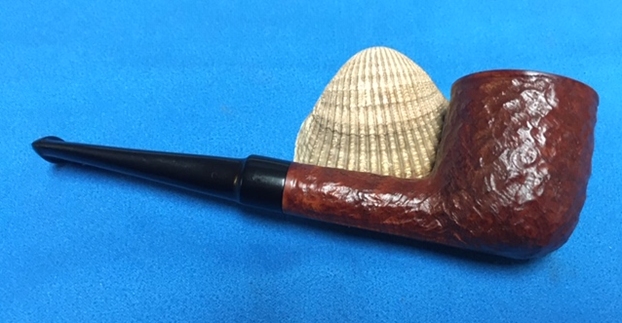
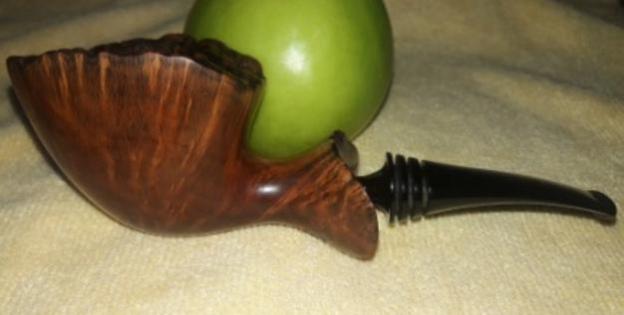
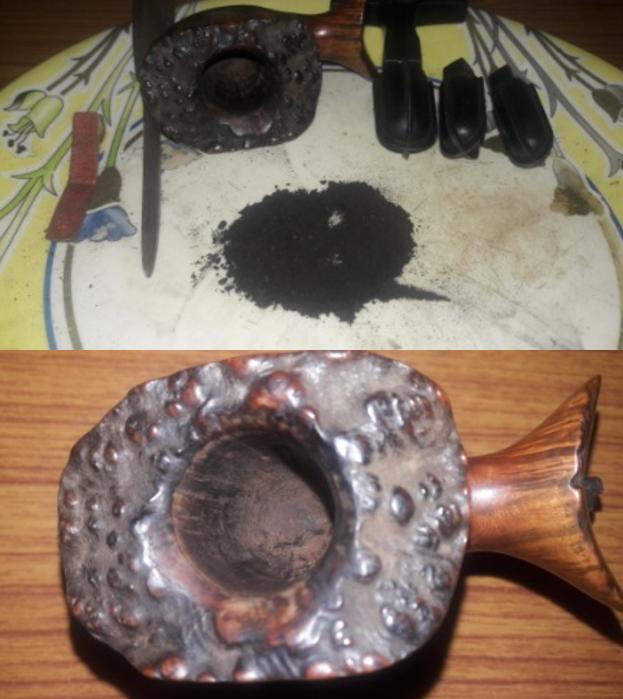
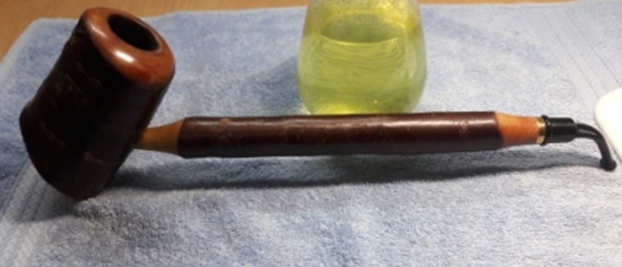
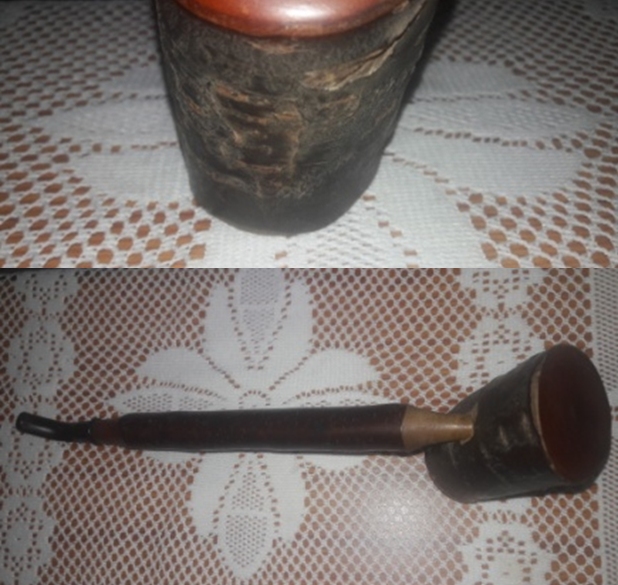
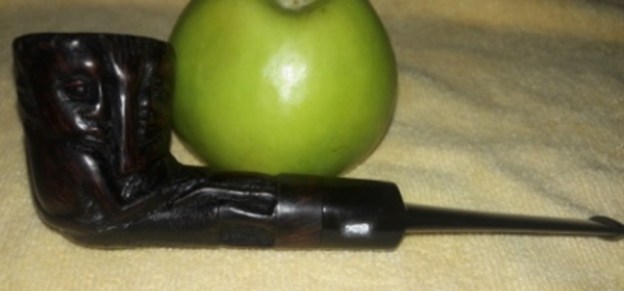
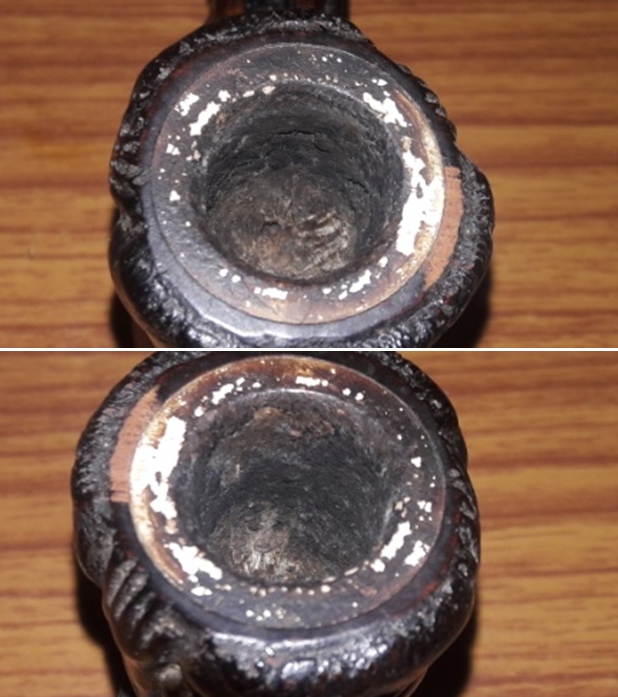
This St. Claude, France Ben Wade Calabash is quite stunning. The shape and flow of the briar, the rich red stains and the curve of the Lucite stem all combine to create a shape that is elegant and beautiful. Jeff picked this pipe up from a favourite shop in Utah. I have never seen one of these before even though I have worked on a lot of both English and Danish Ben Wade pipes. This one is a French Made Ben Wade. It is stamped on the left side of the curved shank with the words Ben Wade in script over Calabash. The name is also stamped on the left side of the half saddle stem. On the right side it is stamped St. Claude arched over Bruyere Garantie. To the left is a very tight stamp France. On the underside of the shank it is stamped with the letter F. There appears to be remnants of gold leaf in the stamping on both sides of the shank. It can be seen in the photos below. Jeff took some photos of the pipe before he began his cleanup work on it. The pipe was dirty and there were some worn spots on the plateau rim top. The original colour had been black but the dust had turned it almost grey. There was a cake in the bowl and some lava overflow on the plateau. The finish on the bowl was cordovan or oxblood. It was dirty as well with some nicks in the finish. You can see the chipped areas around the rim top and the lava in the plateau in the photos below.
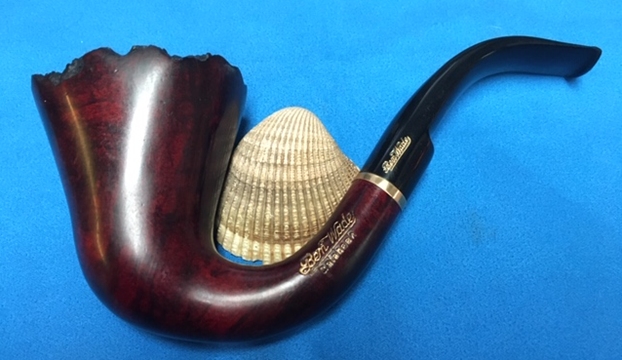
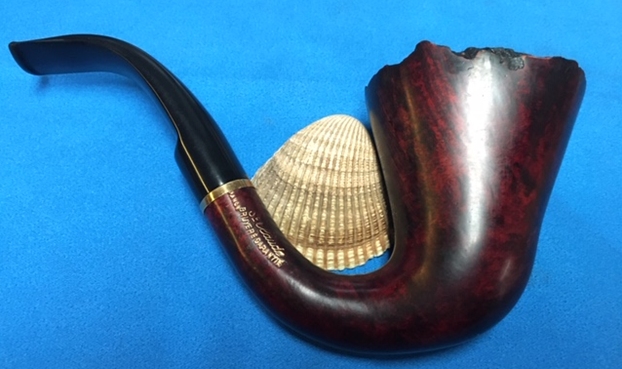
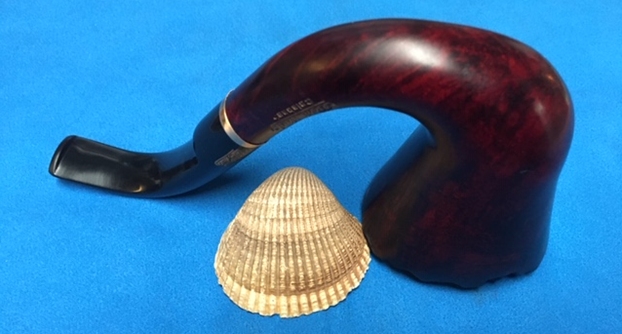
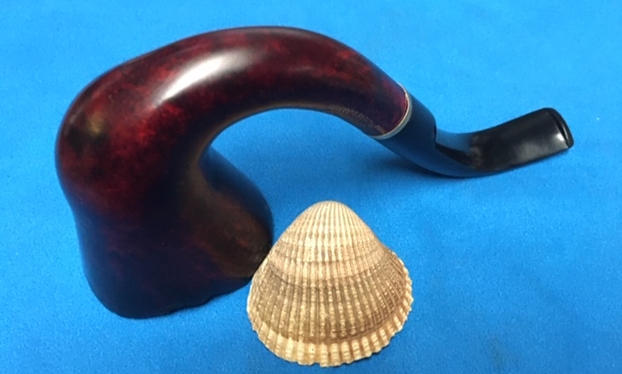
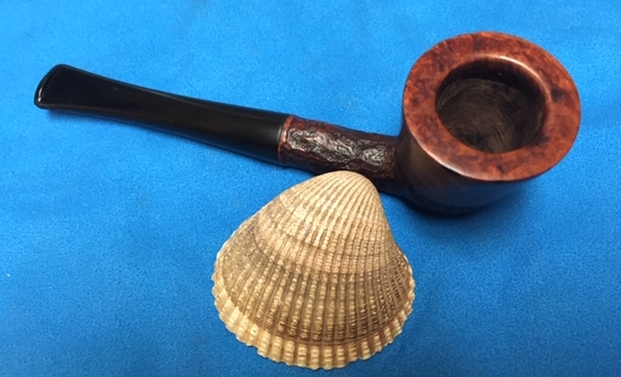
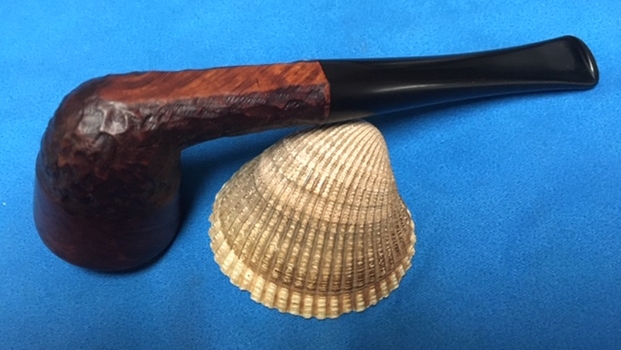
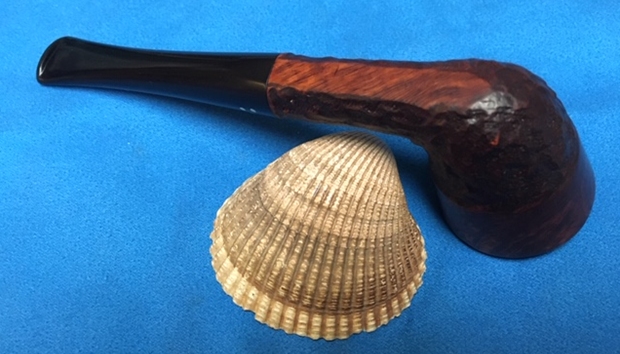
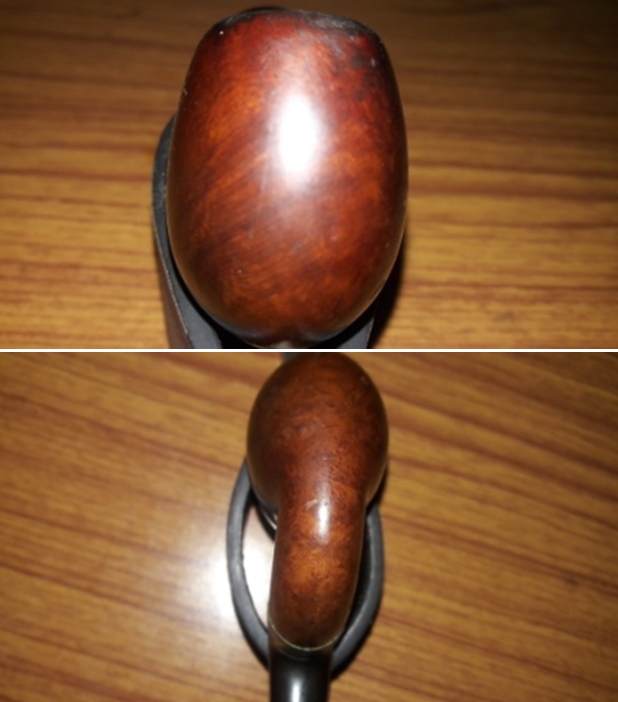
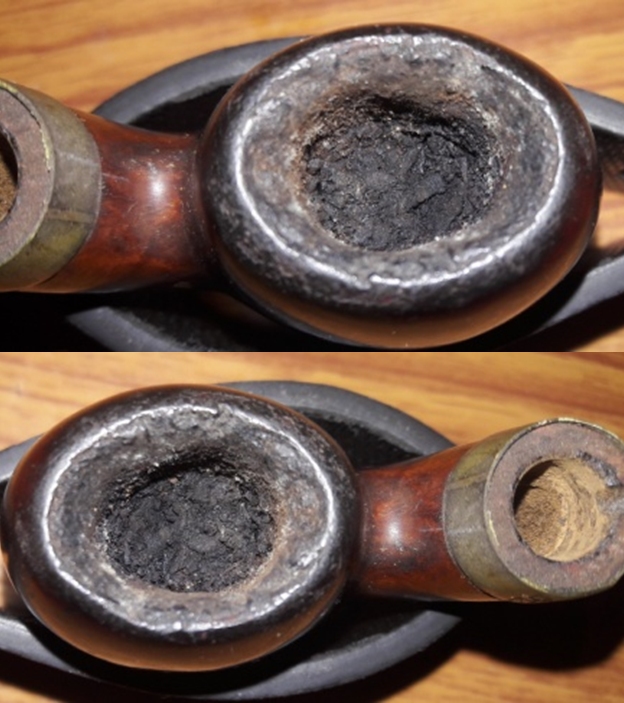
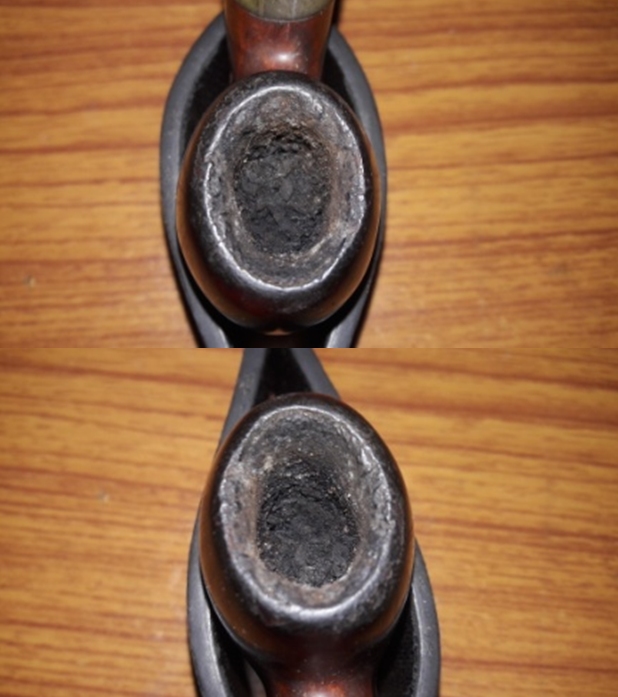
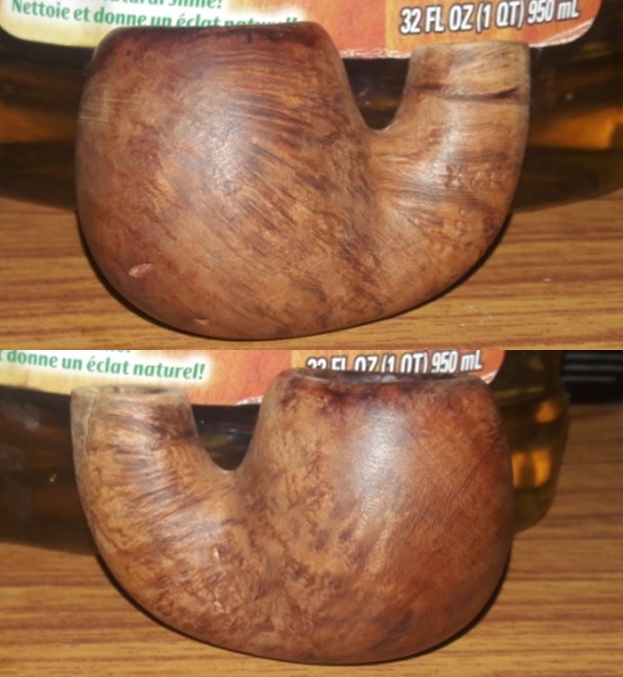
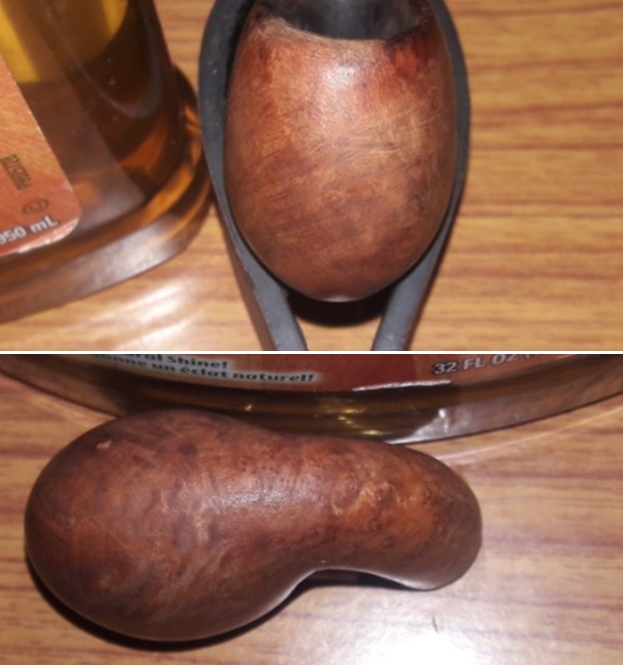
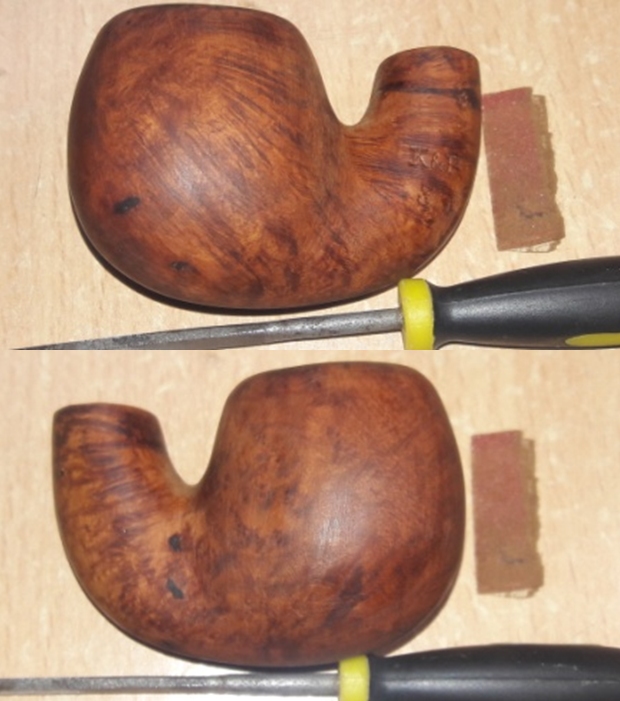
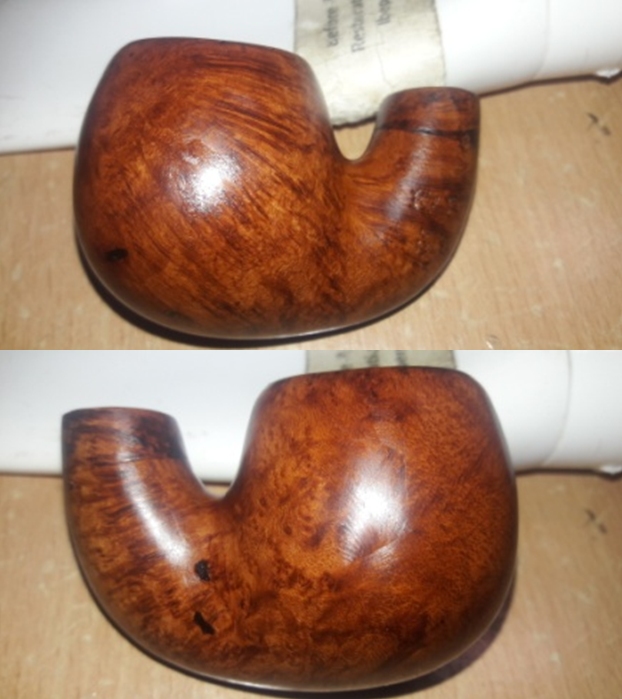
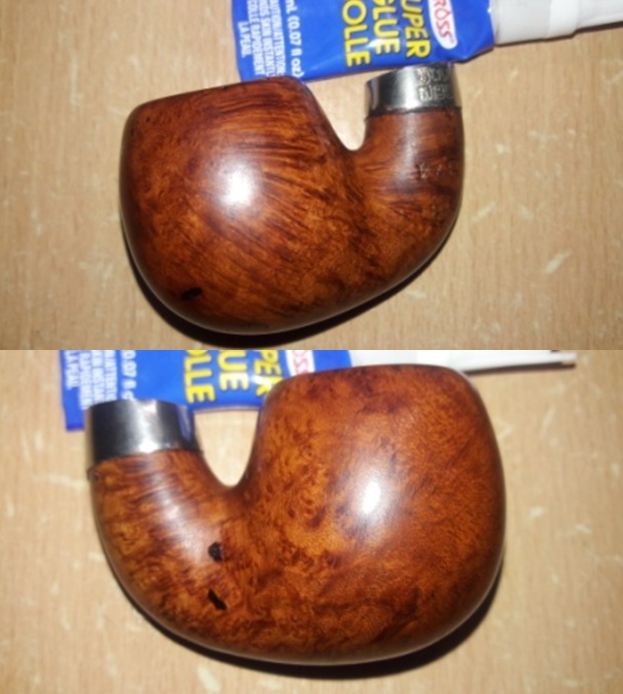
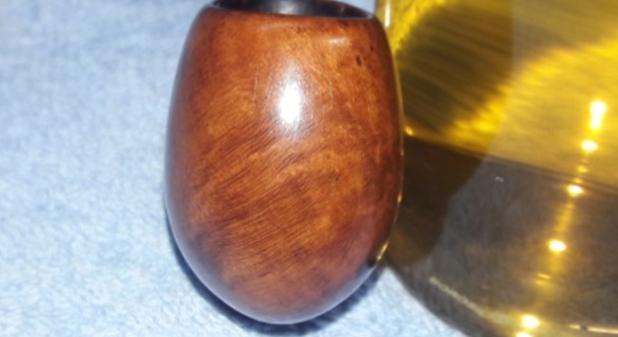
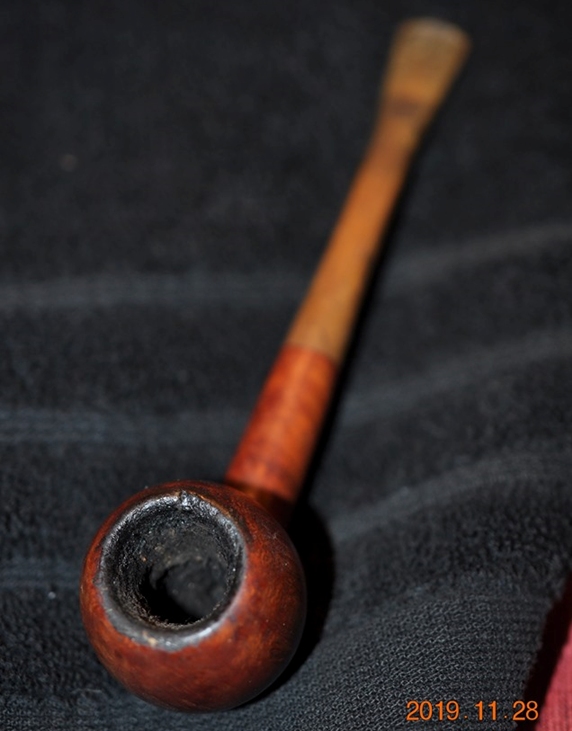
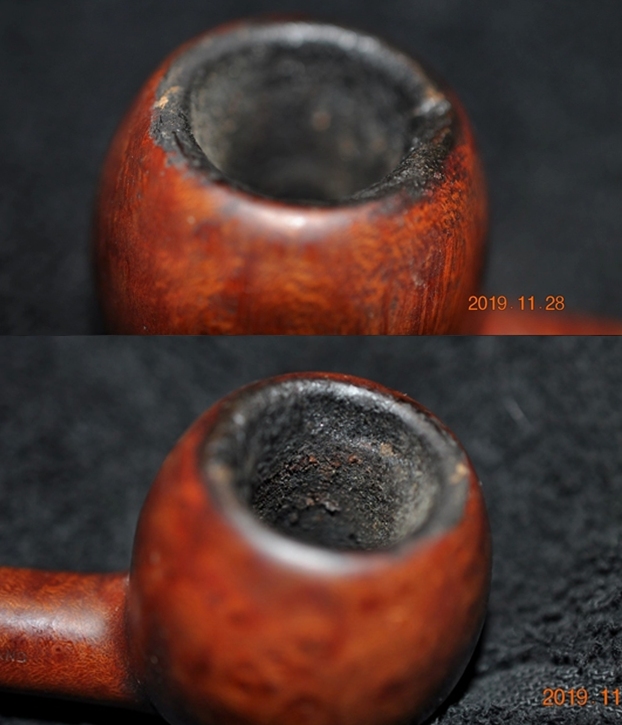
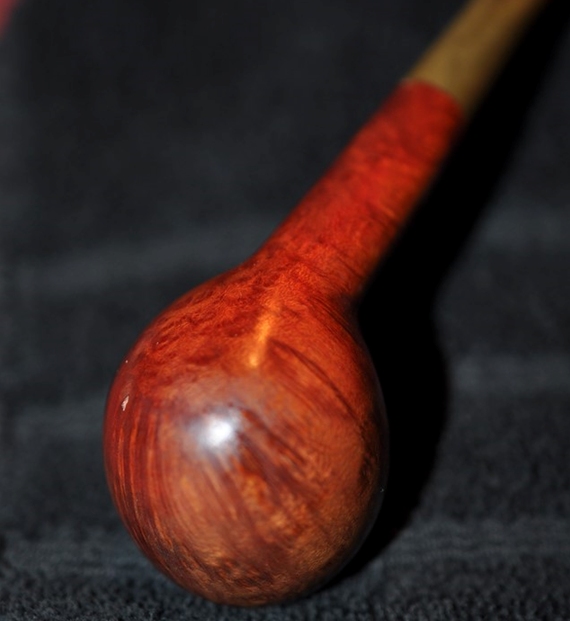
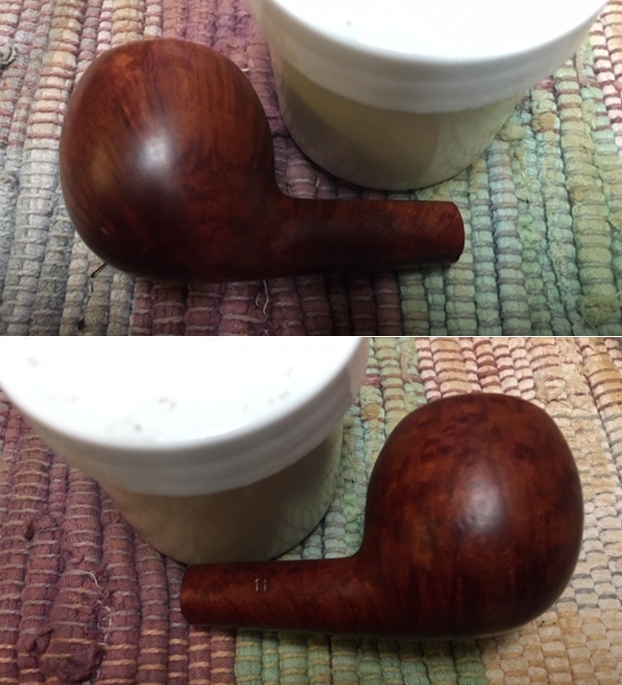
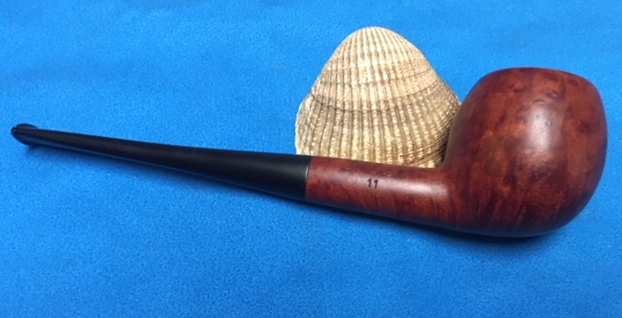
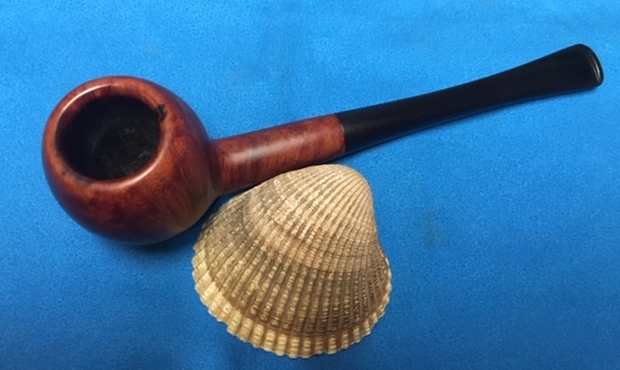
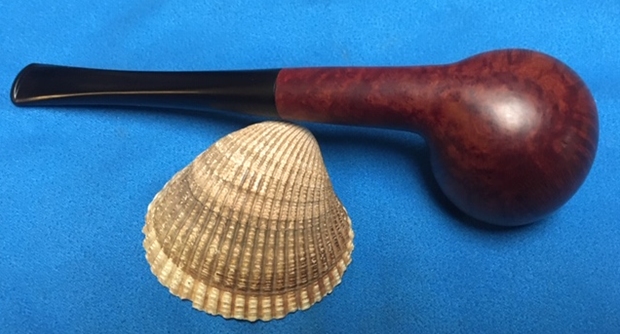
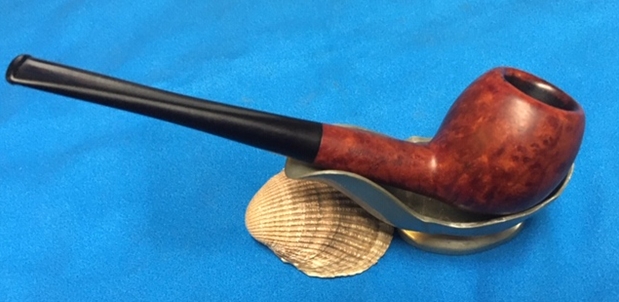
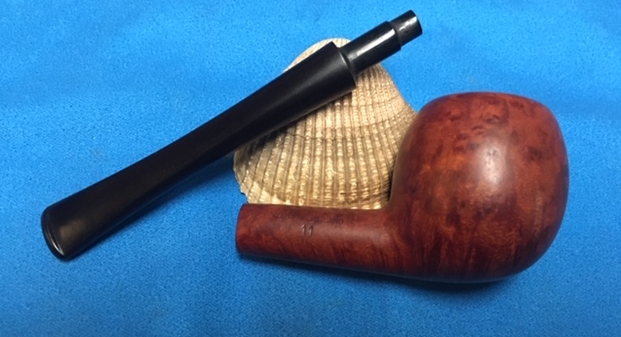
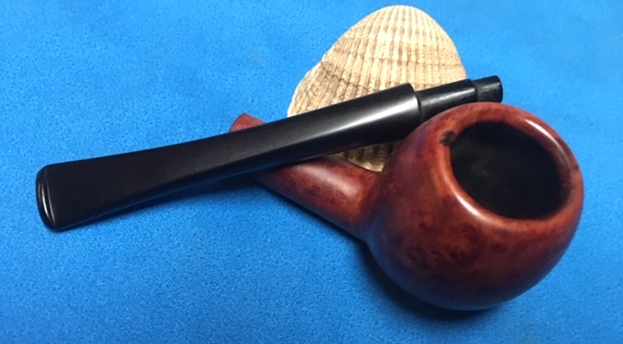
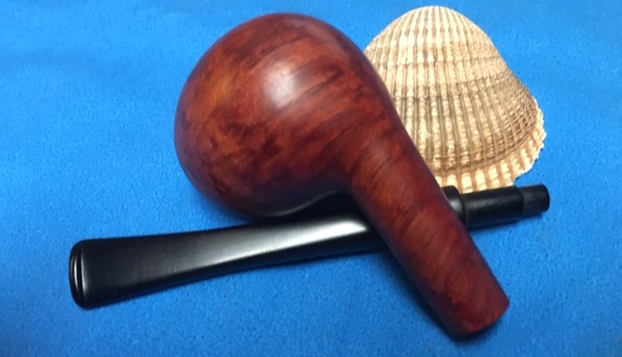
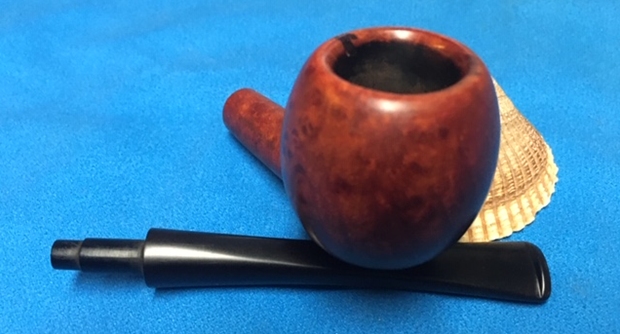
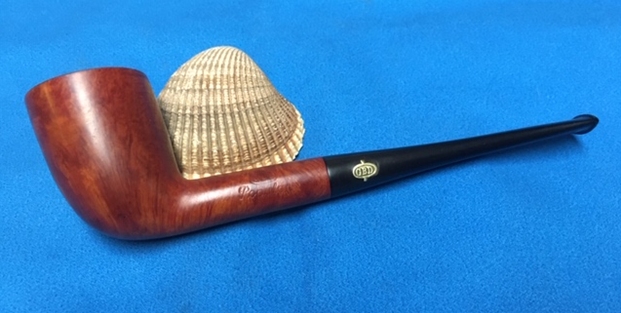
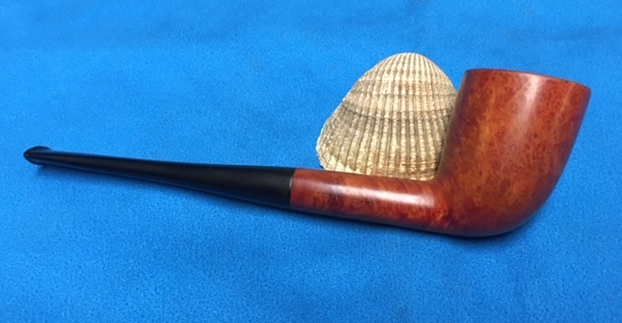
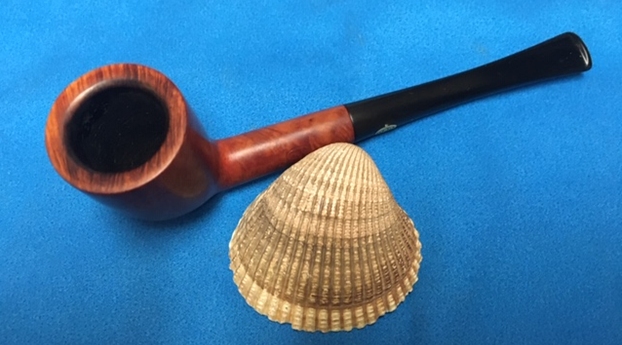
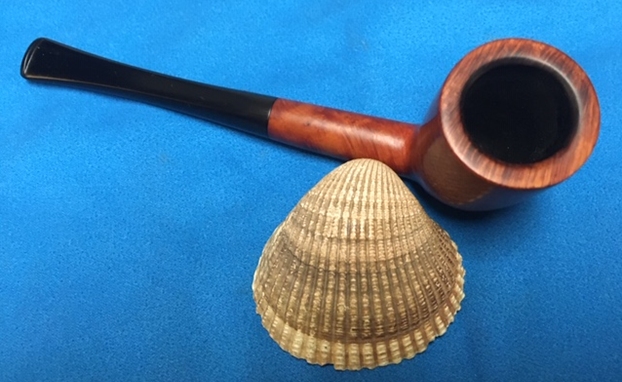
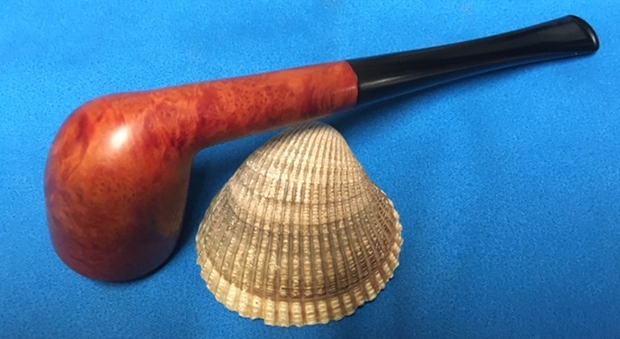
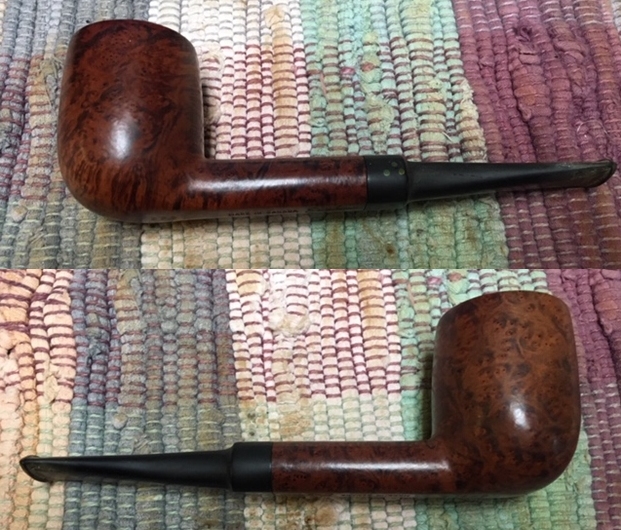
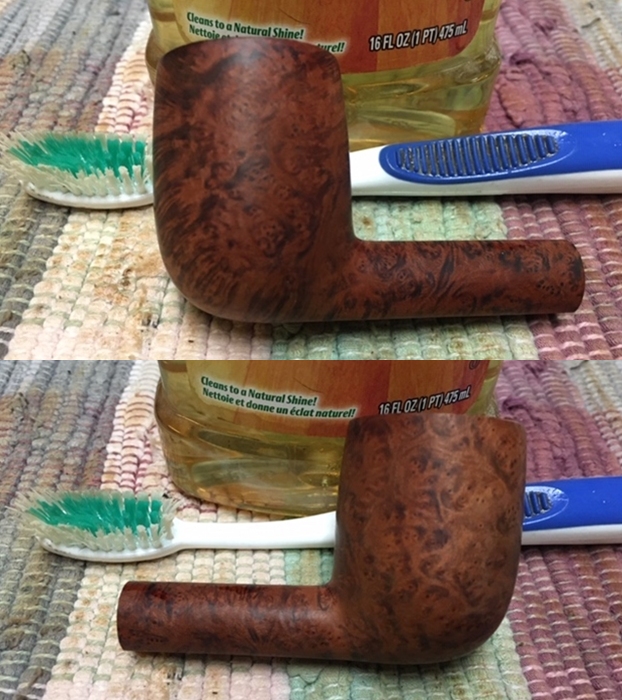
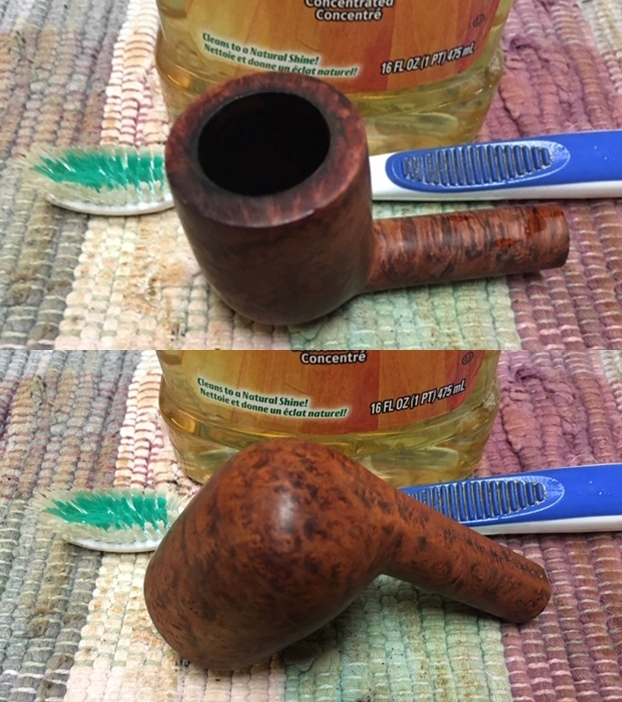
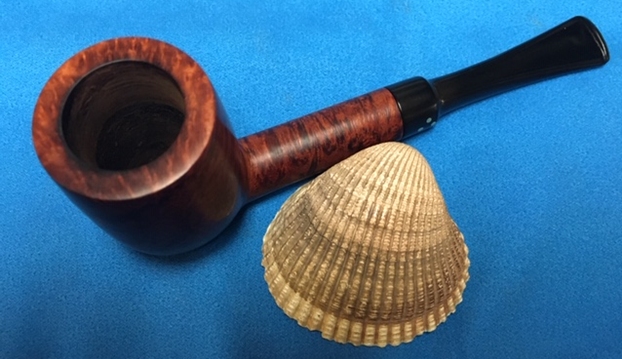
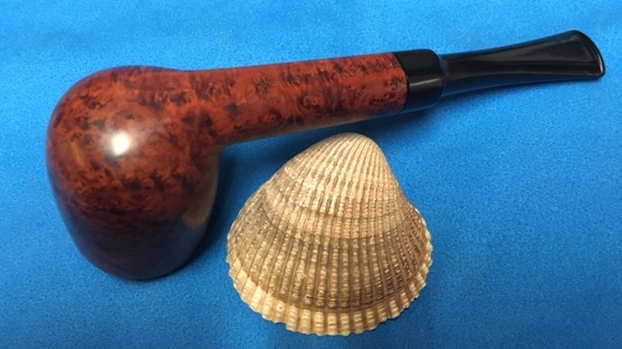
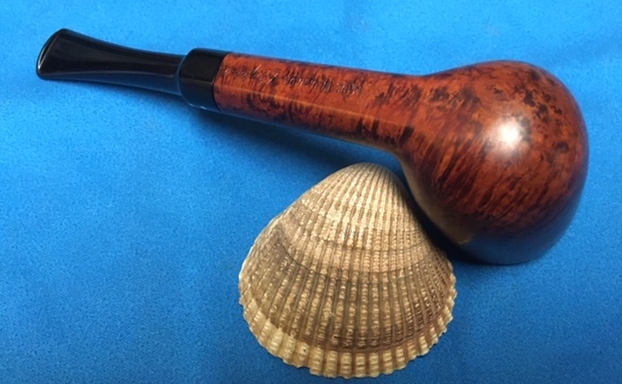
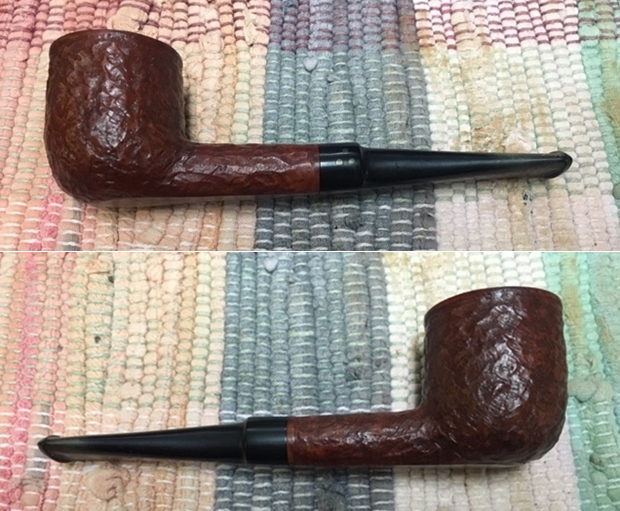
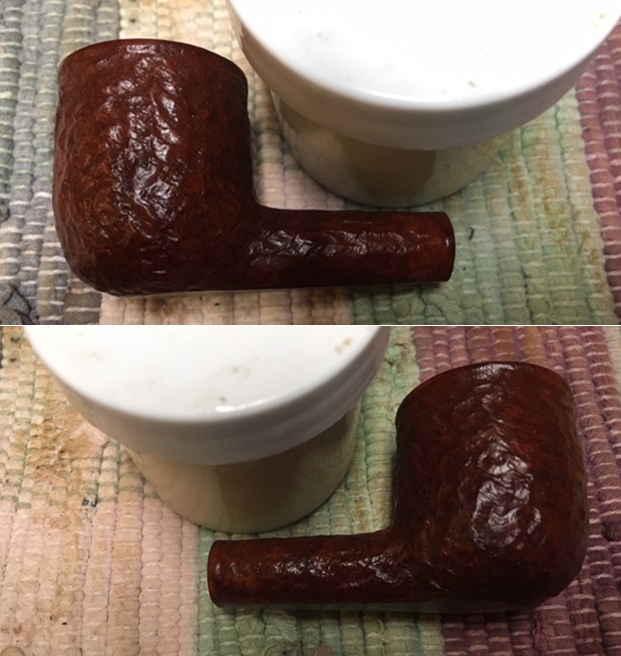
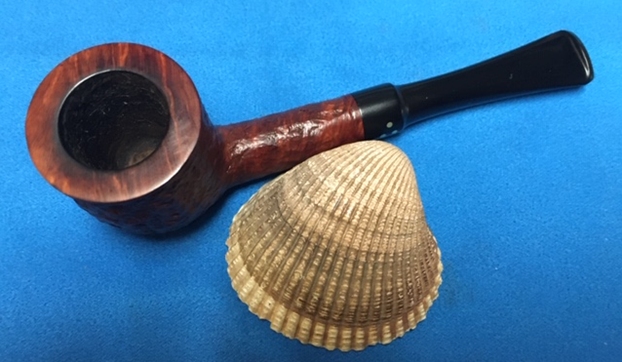
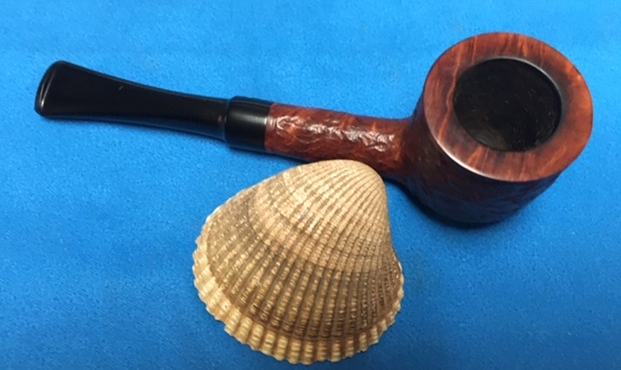
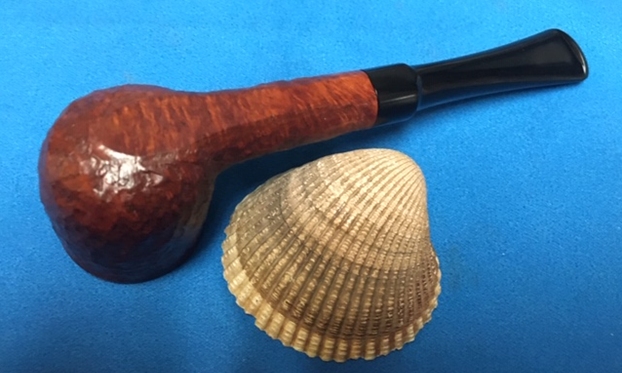
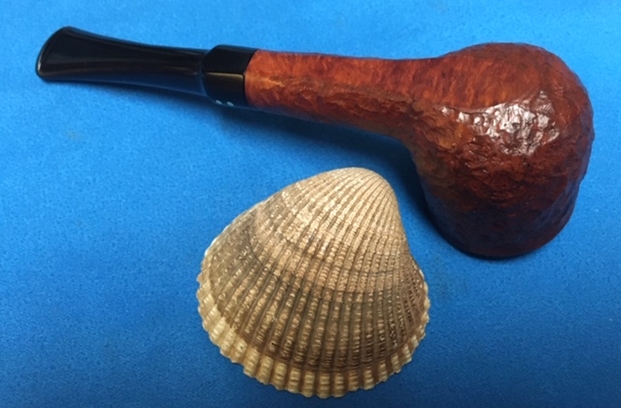
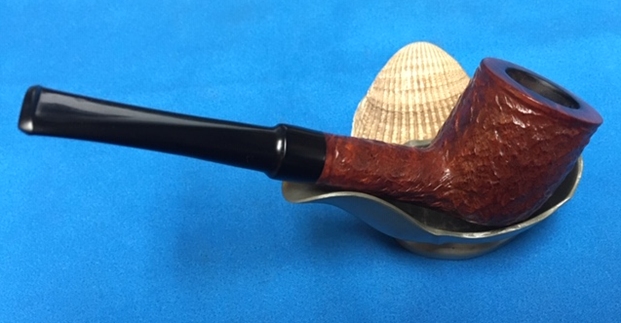
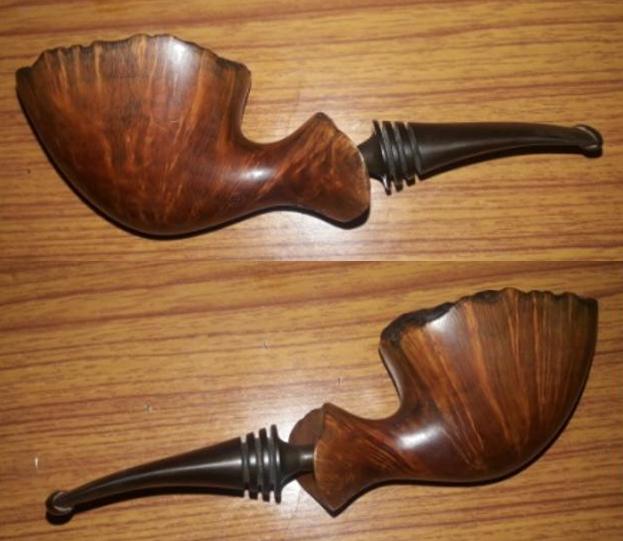
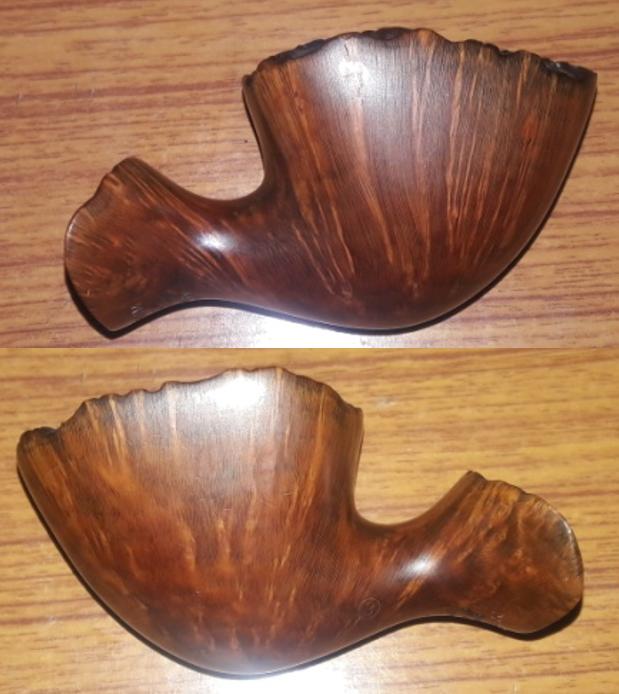
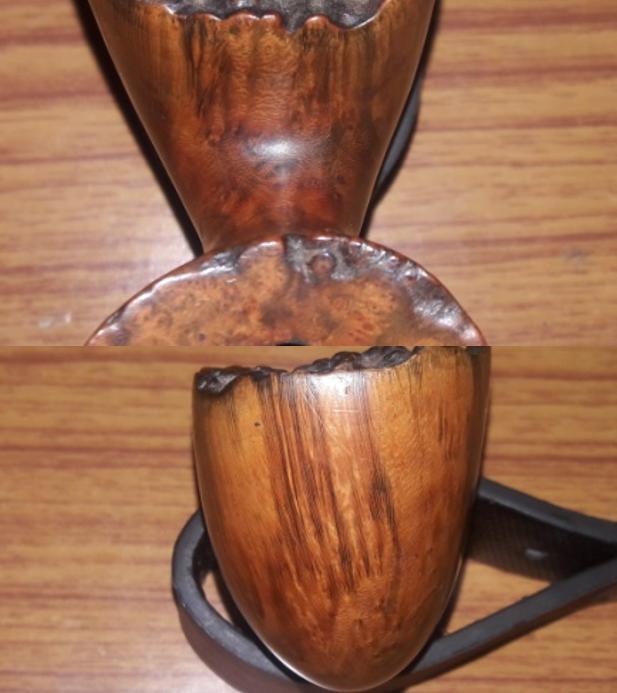
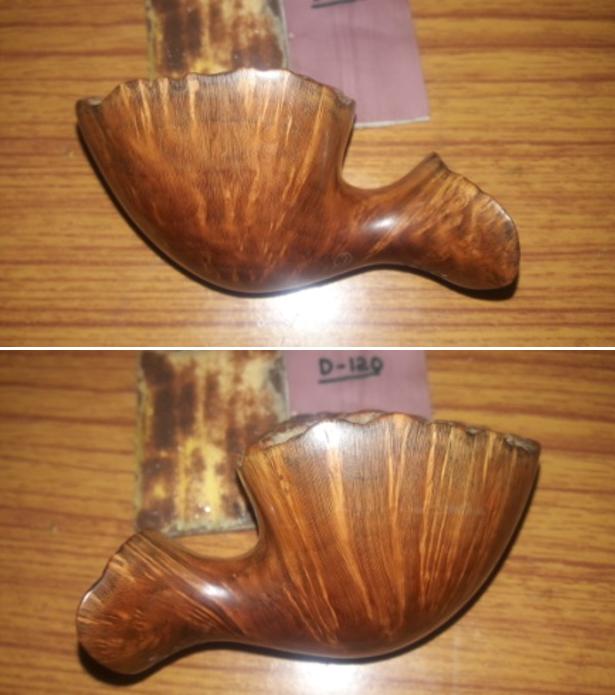
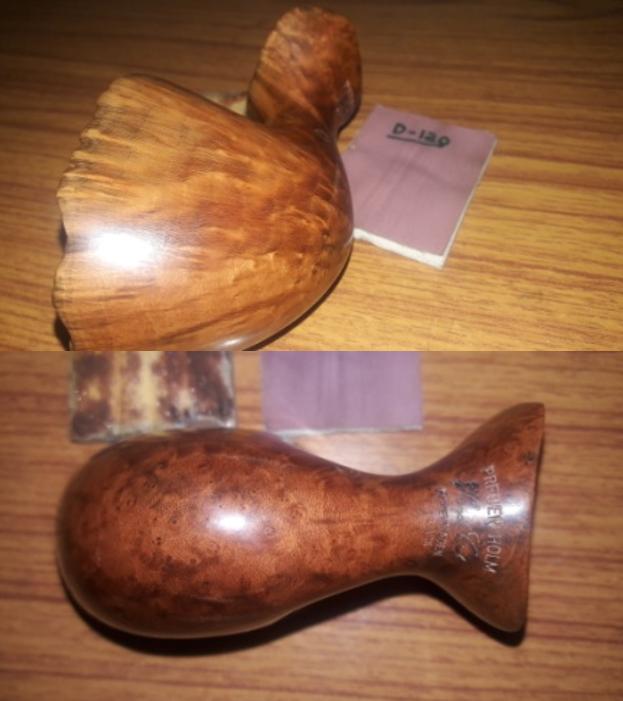
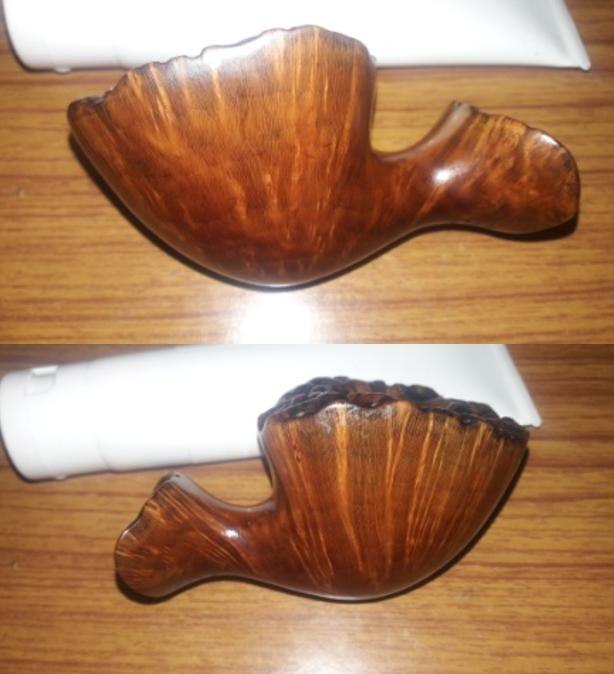
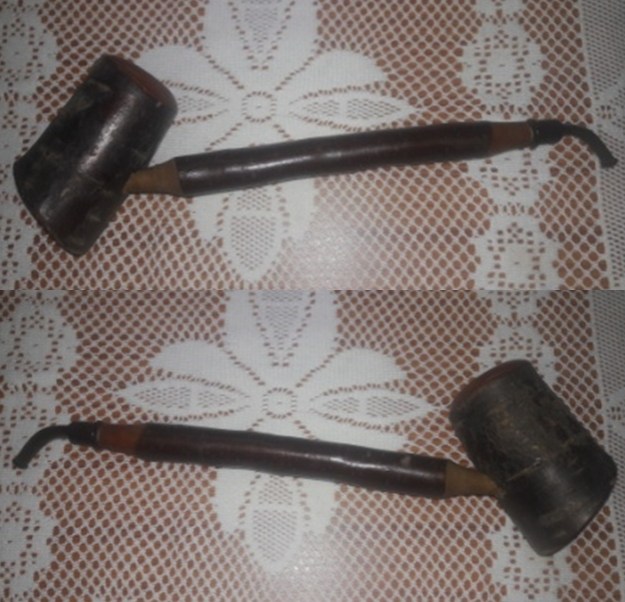
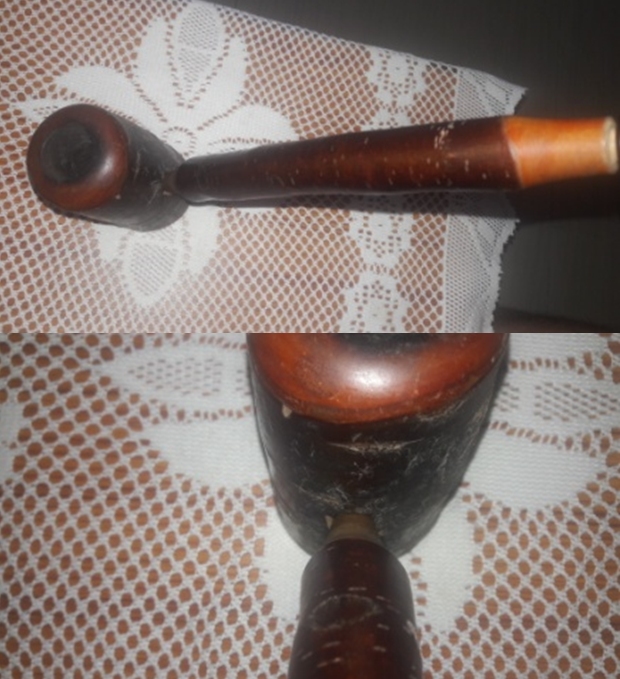
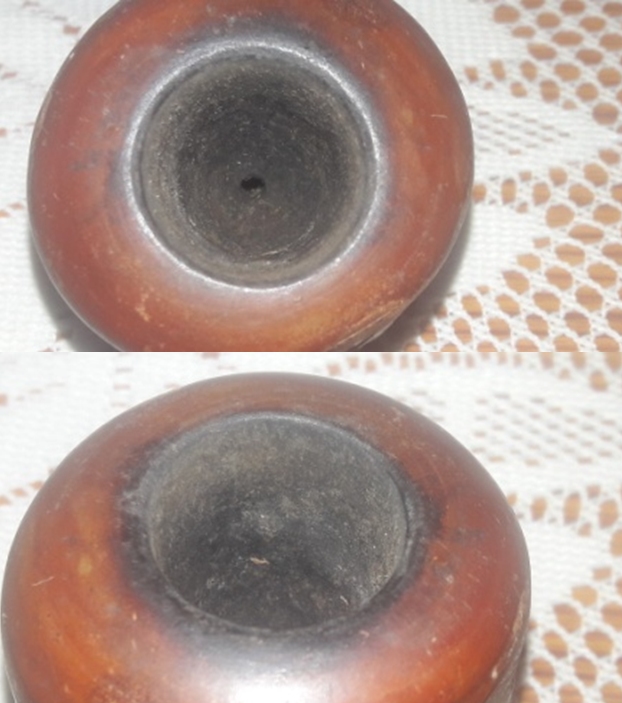
 Jeff took photos of the bowl from various angles to give a picture of the grain and the condition on the finish of the pipe. It is a beautifully grained and finished pipe. The oxblood stain really works well to highlight and showcase the grain.
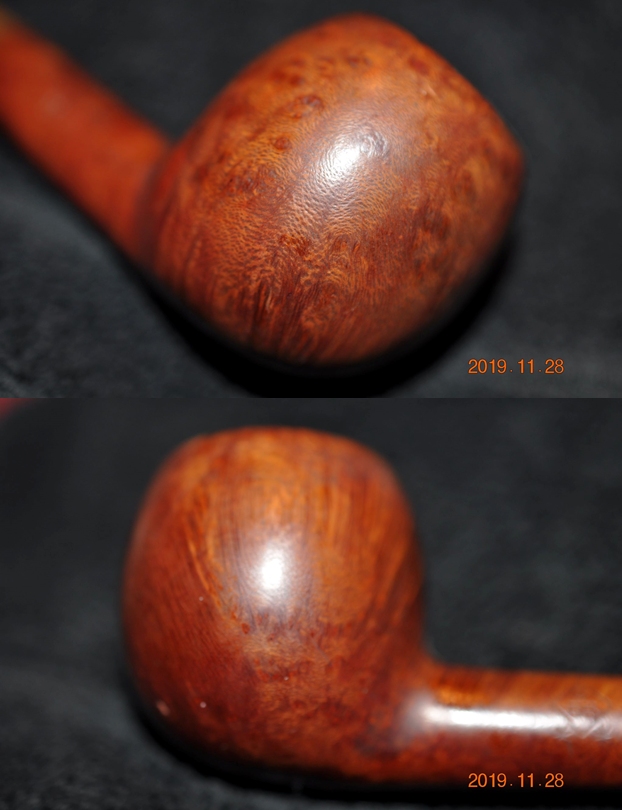
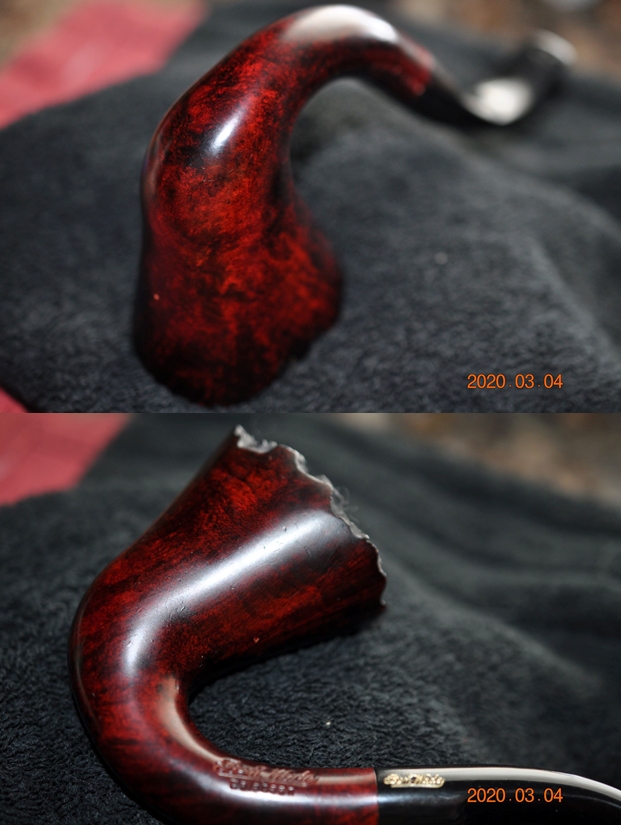
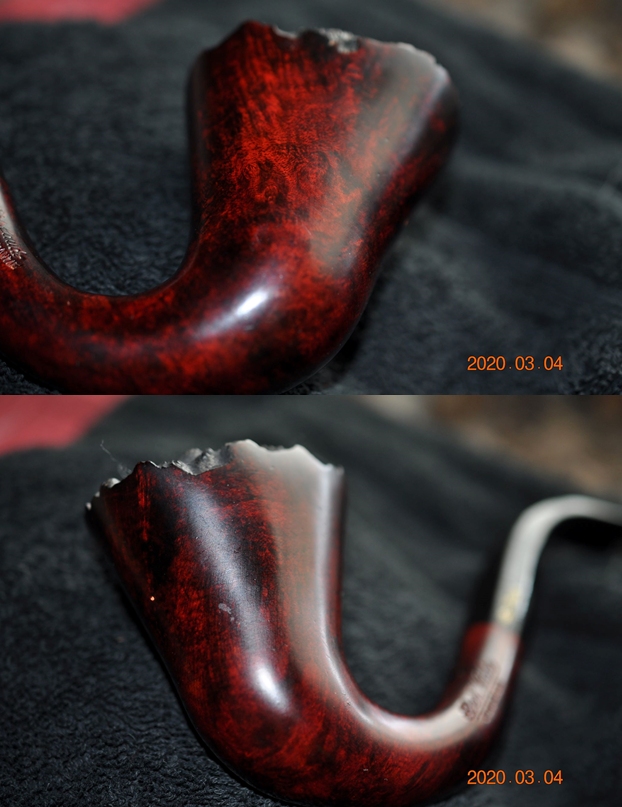
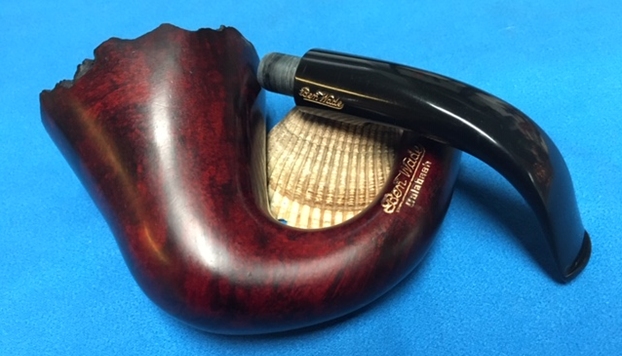
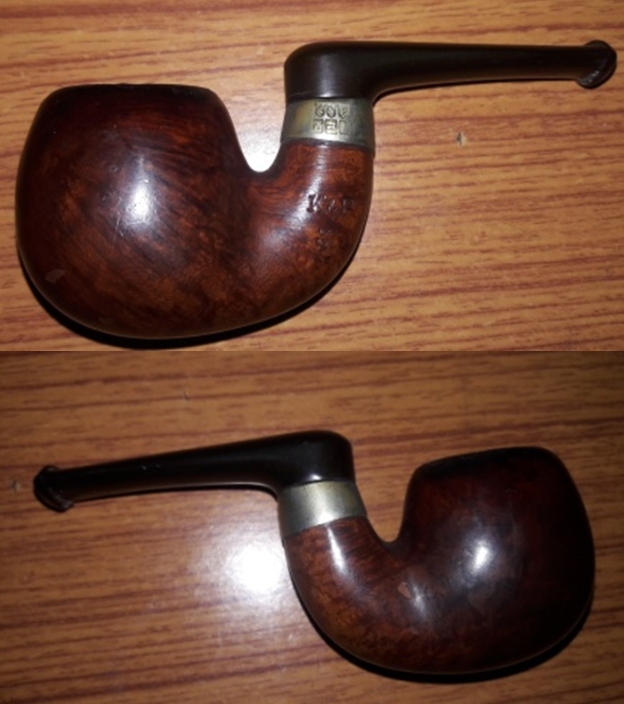
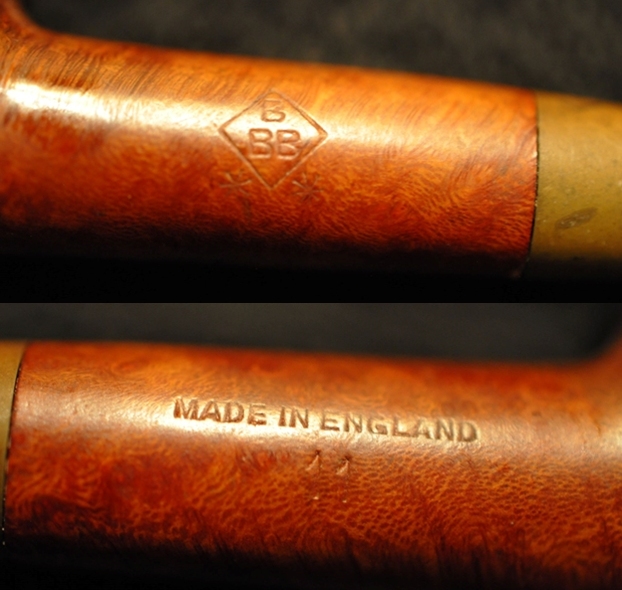
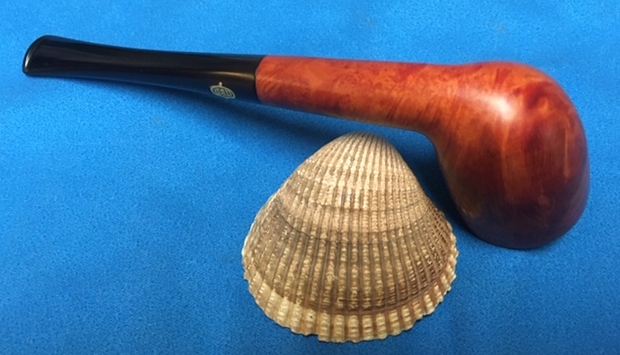
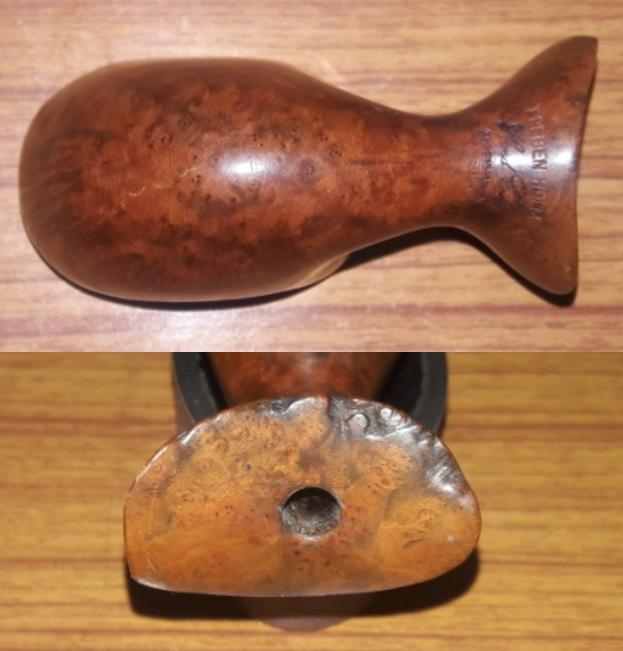
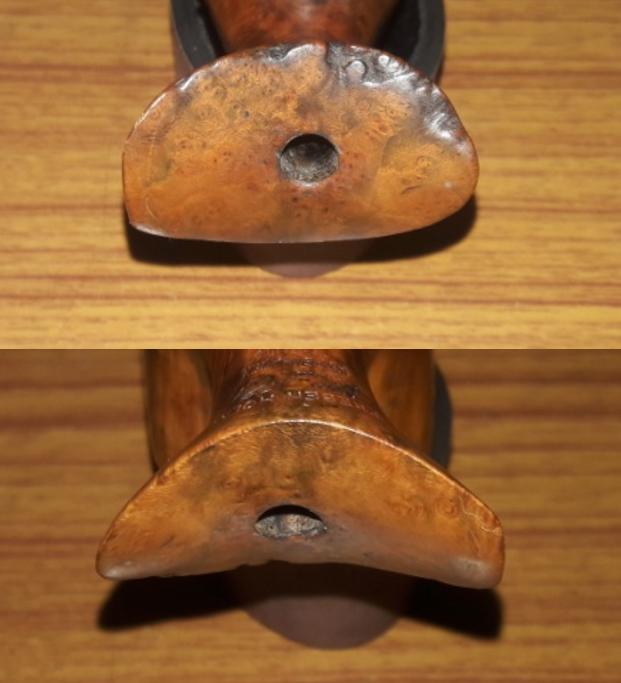
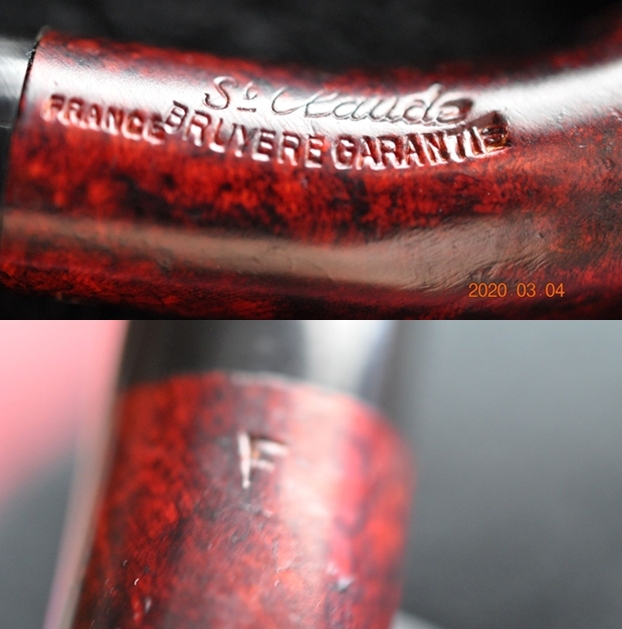
 Jeff also took photos of the stamping on the shank and the stem. The first two photos show the left side of the shank and stem. The third photo shows the stamping on the right side and the fourth shows the stamping on the underside.
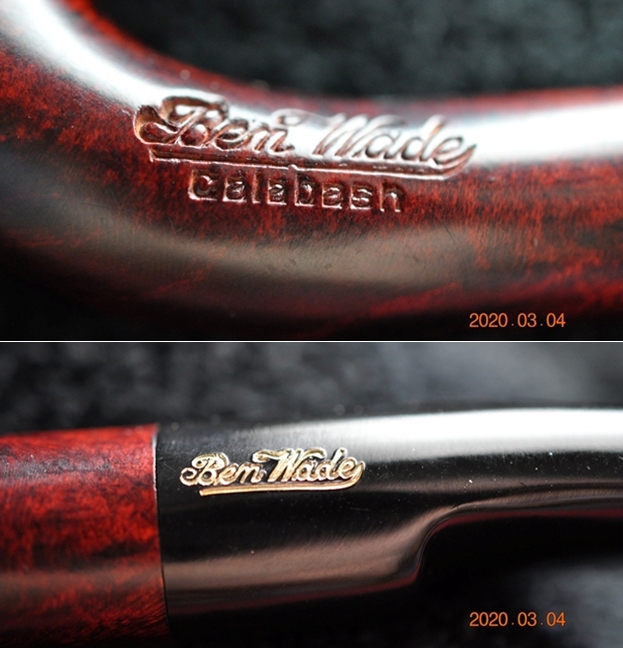
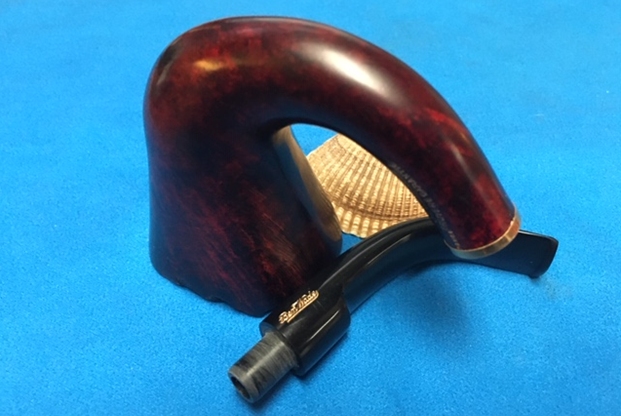
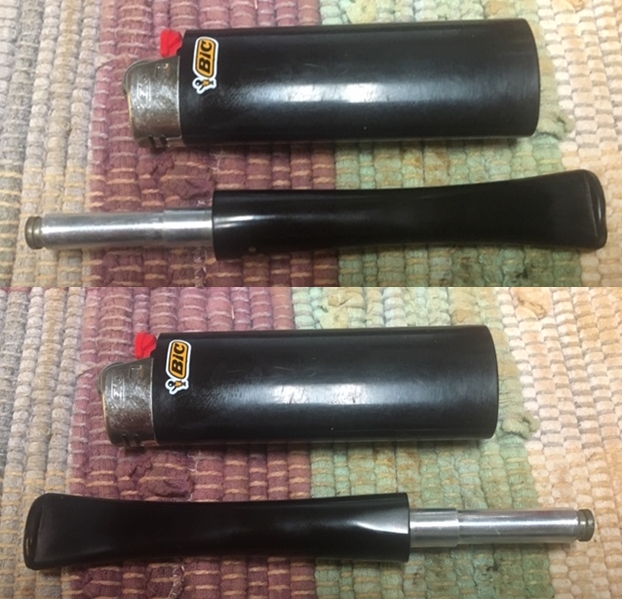
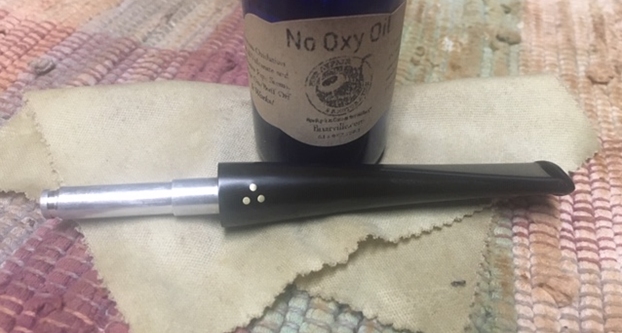
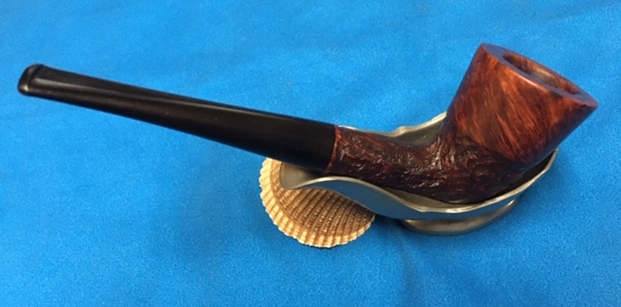
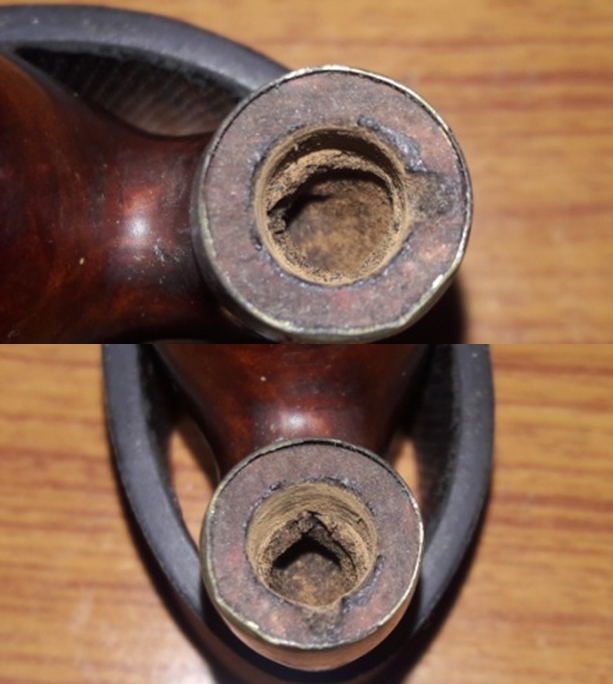
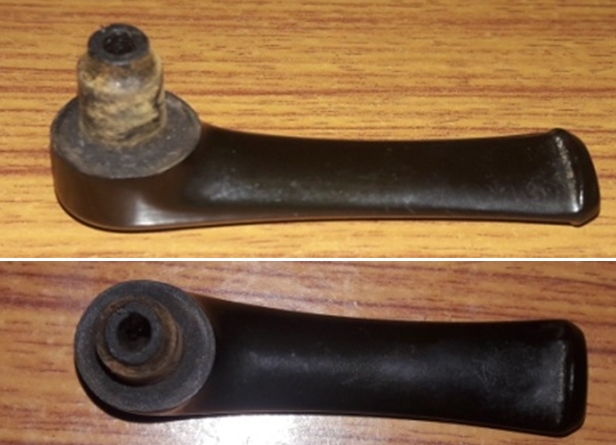
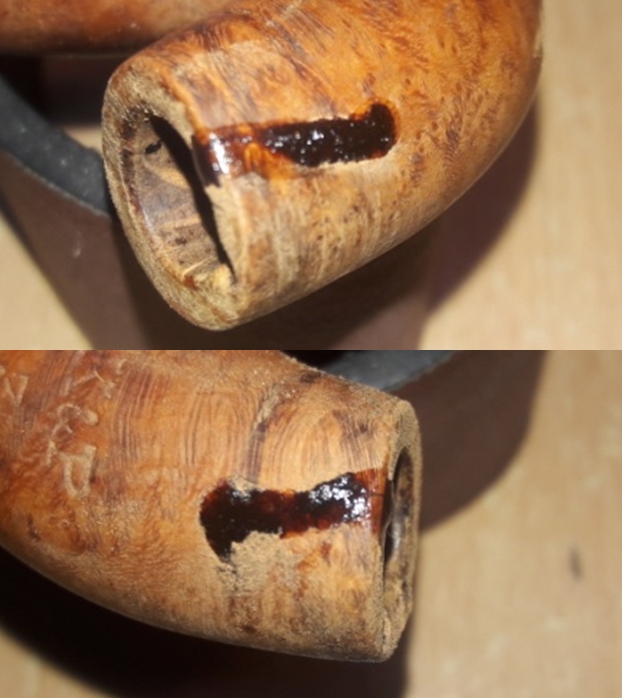
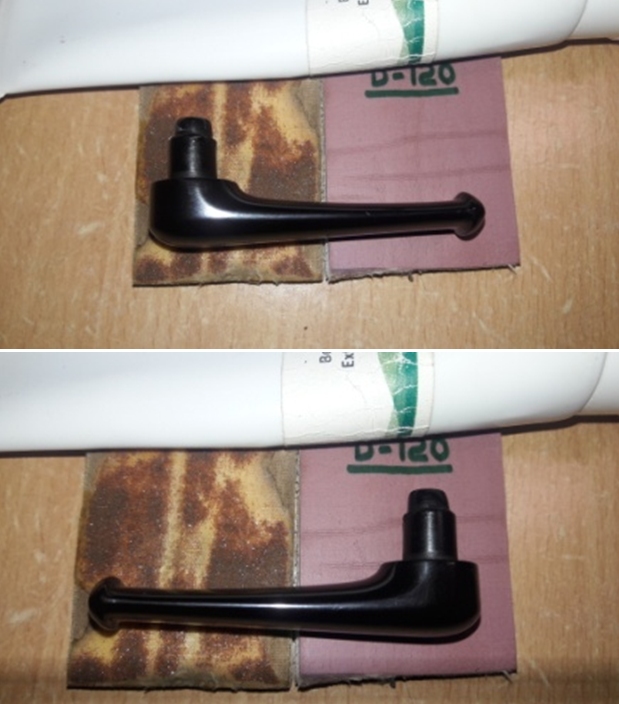
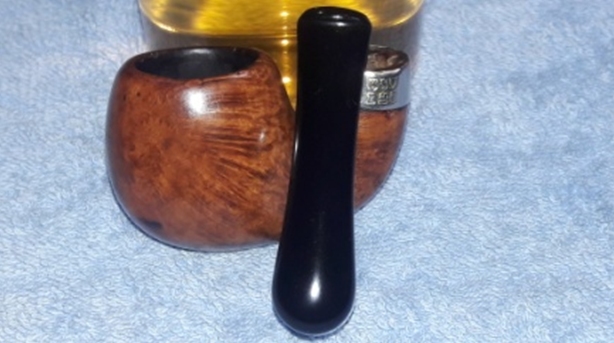
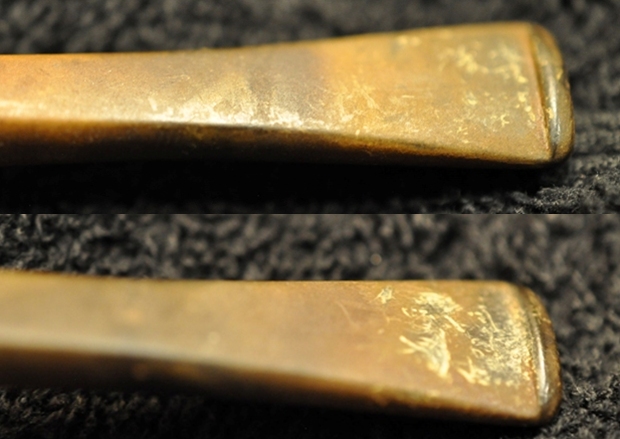
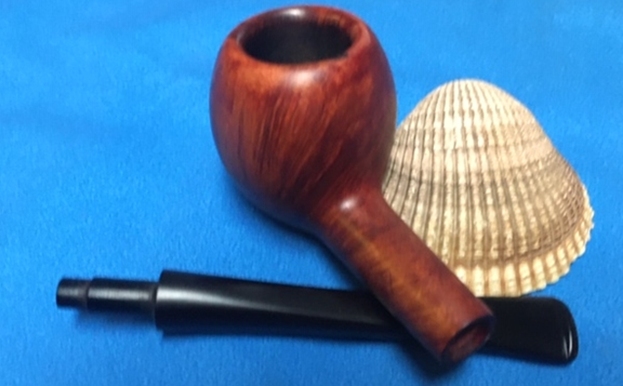
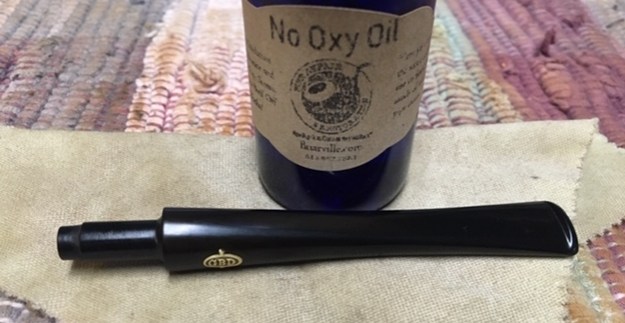
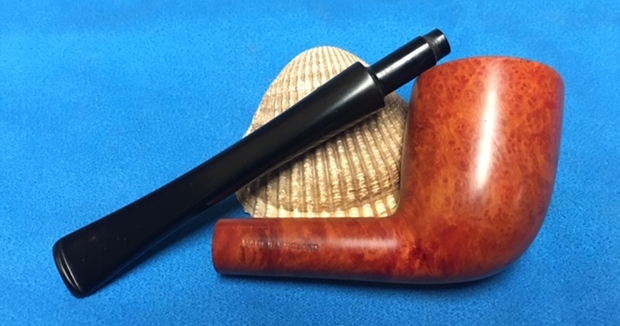
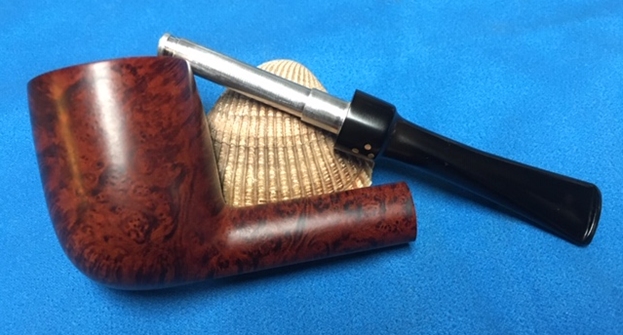
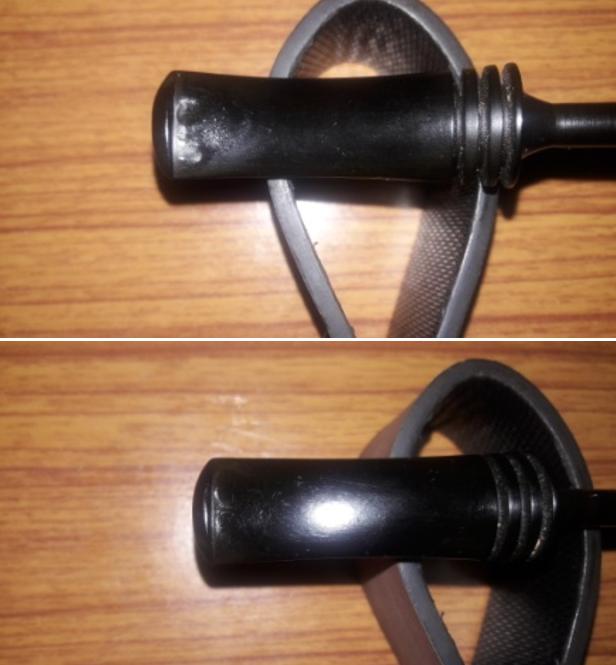
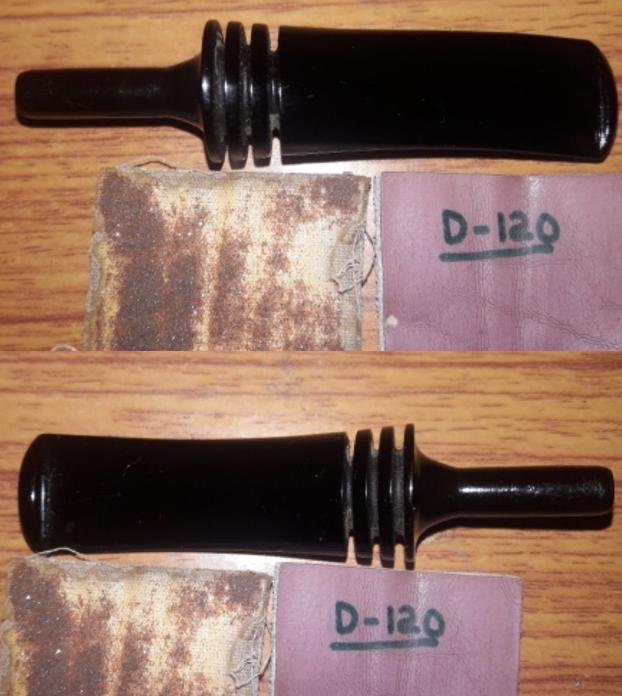
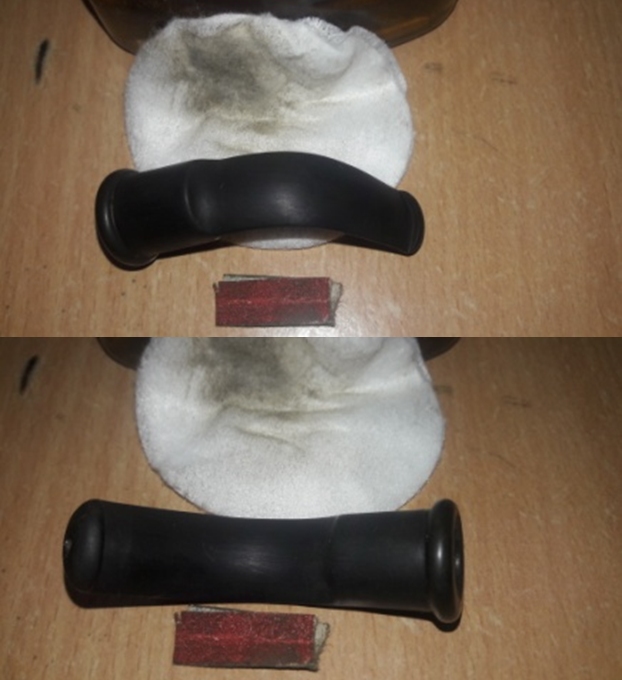
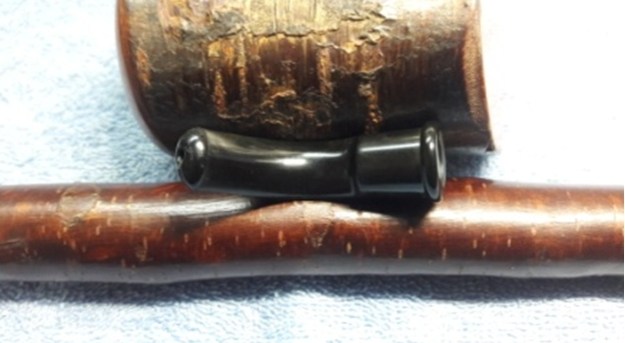
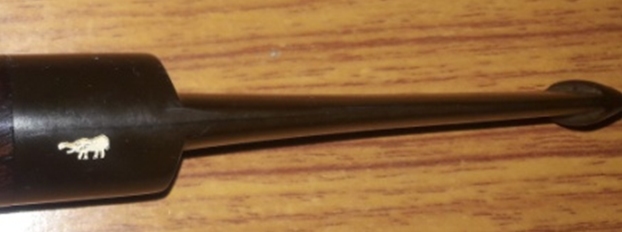
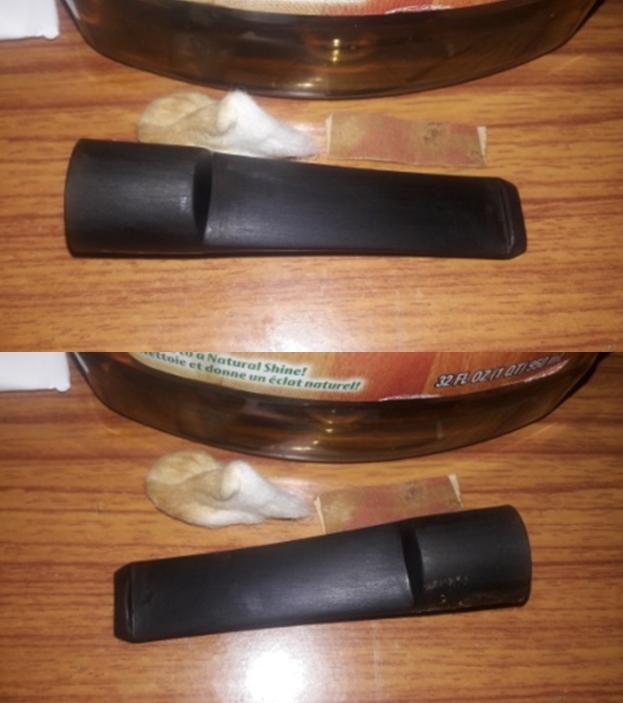
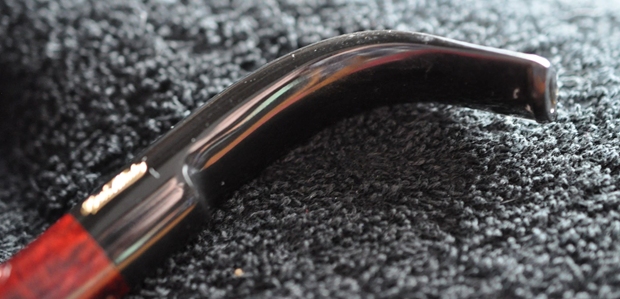
 The acrylic/Lucite stem was dirty and there were tooth marks and chatter on the top and underside. There was one deep tooth mark on the underside up against the button edge. The flat surface of the button had tooth chatter and wear on both sides. Jeff also took a photo of the gentle curve of the half saddle stem and I have included that below.
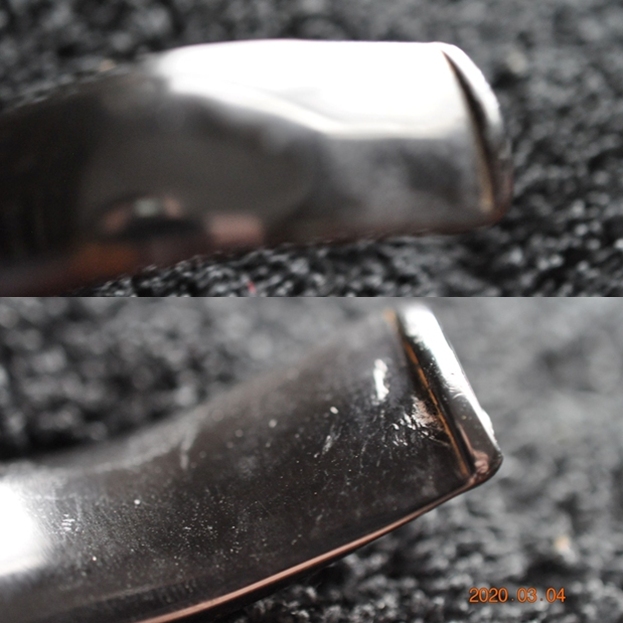
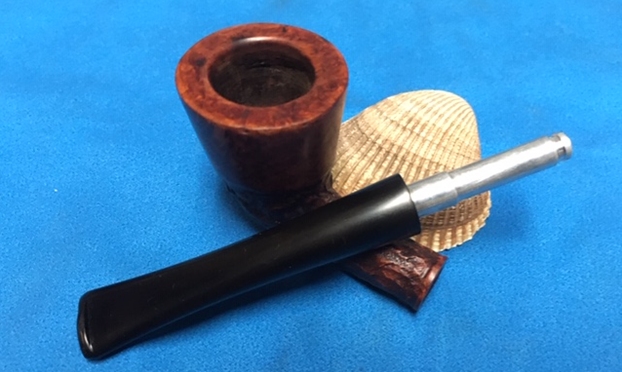
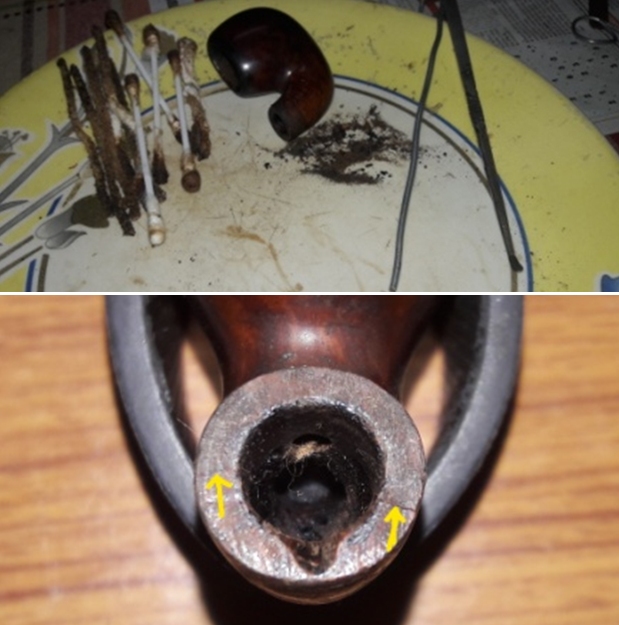
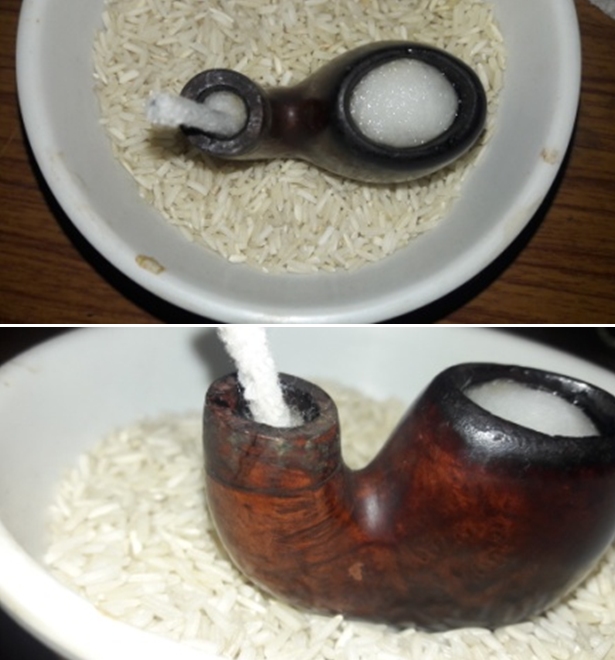
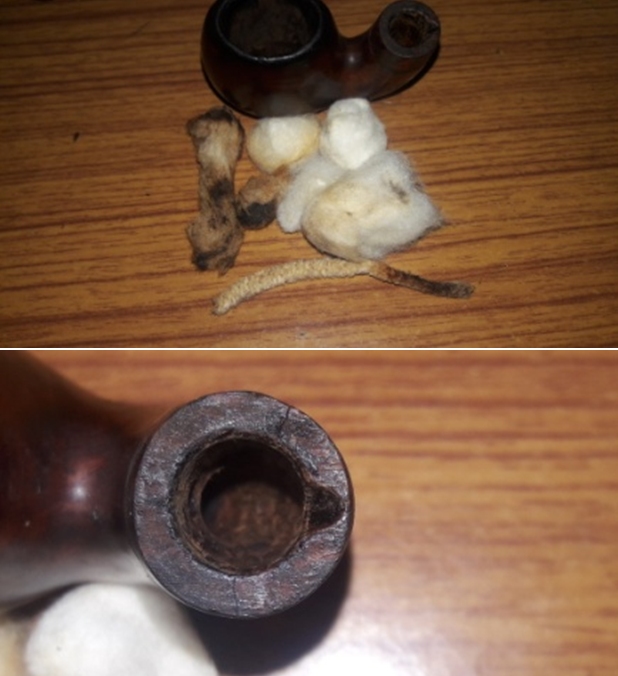
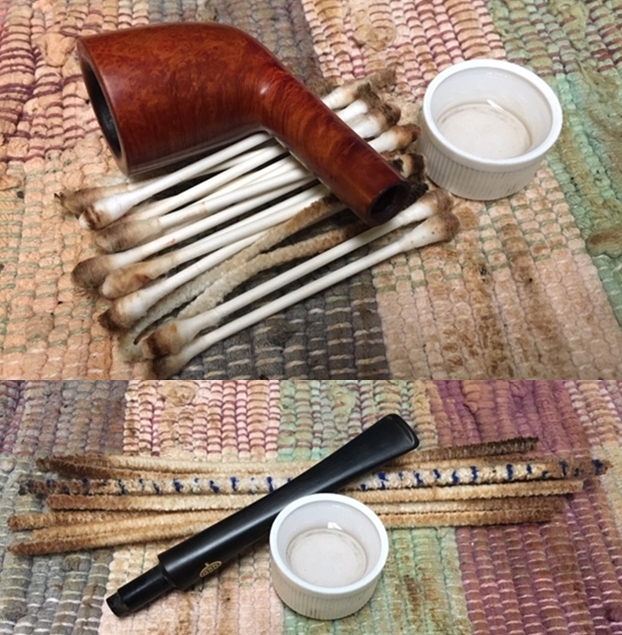
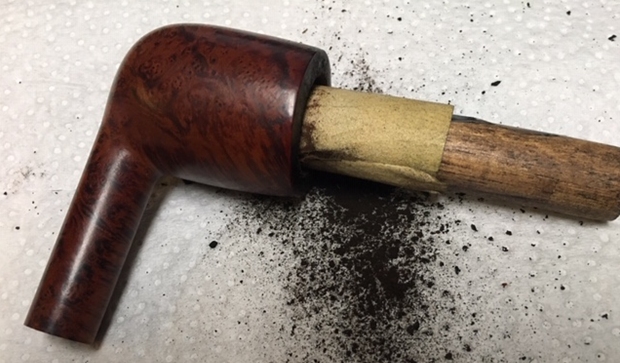
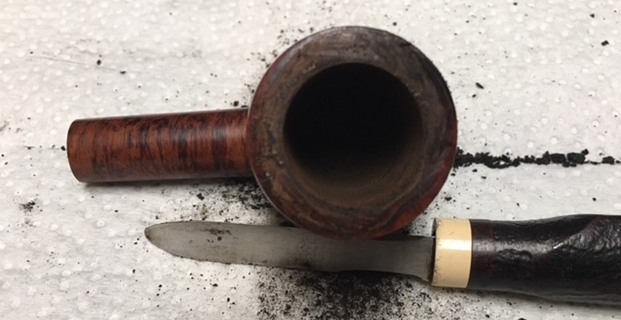
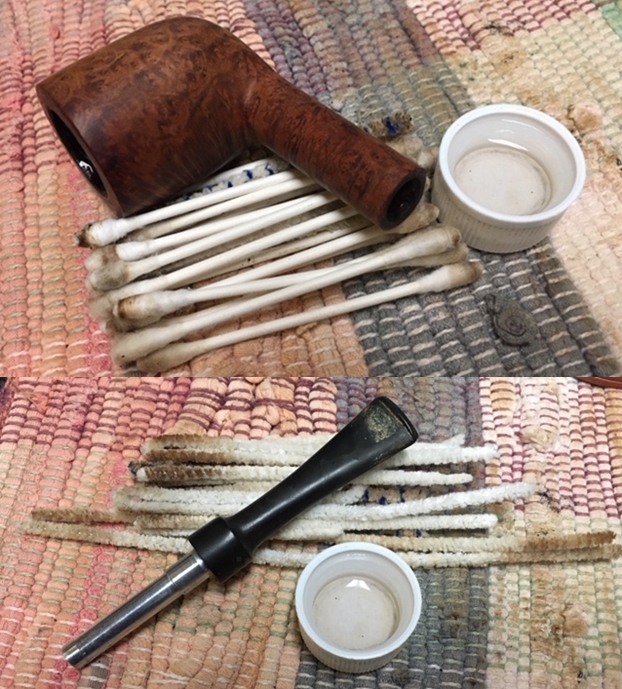
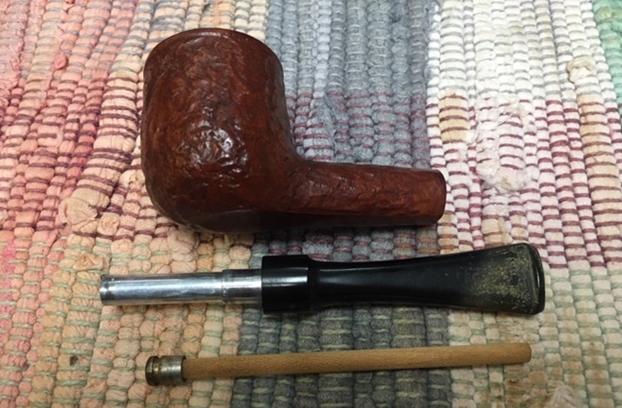
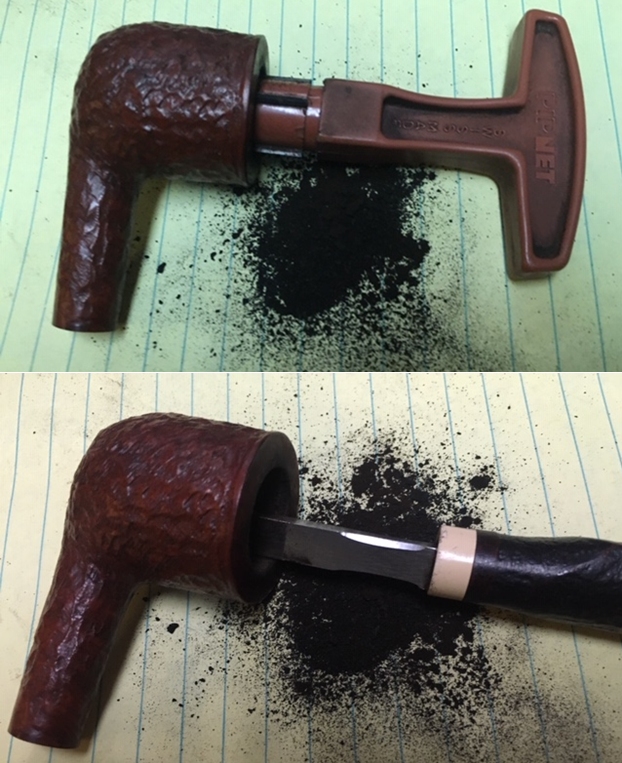
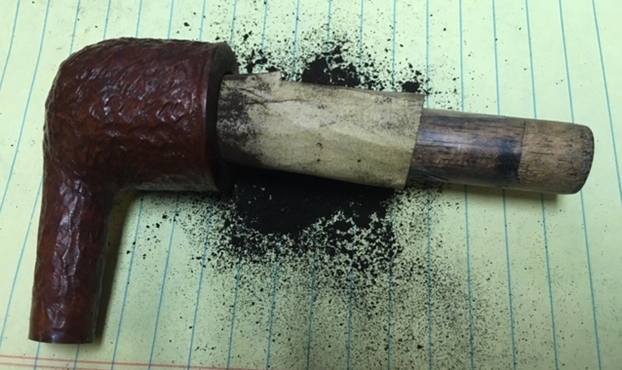
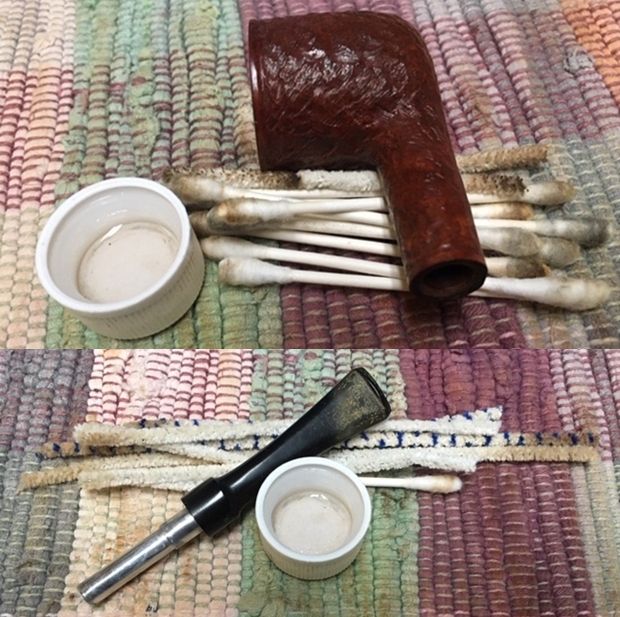
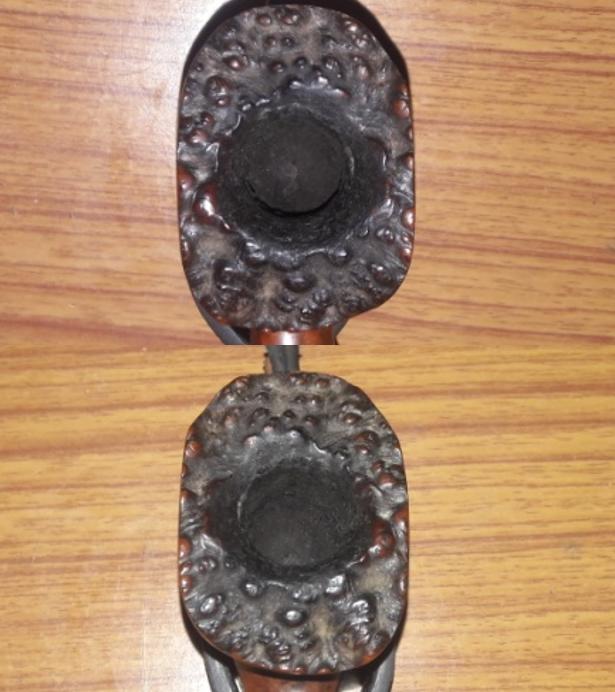
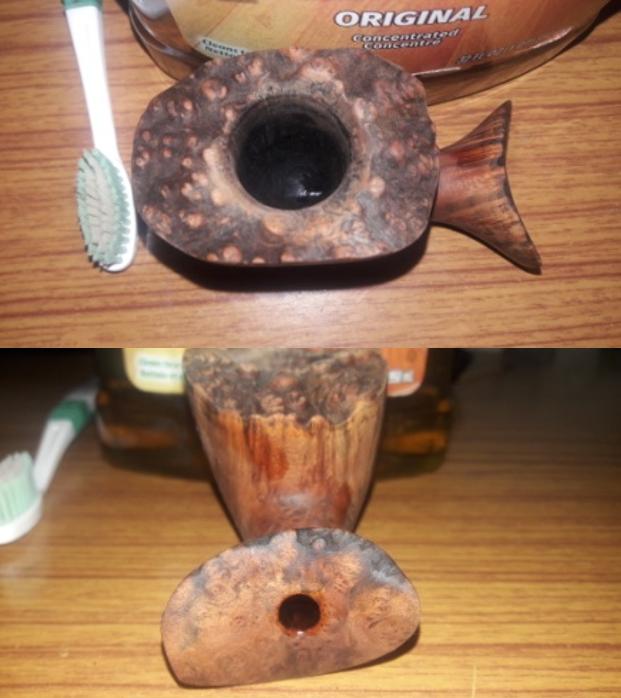
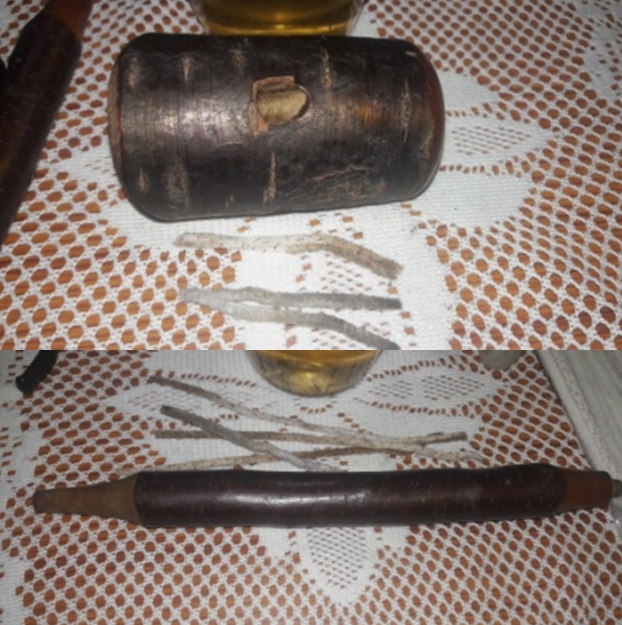
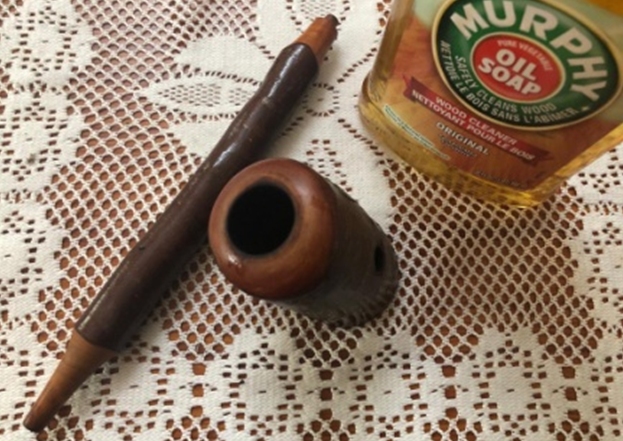
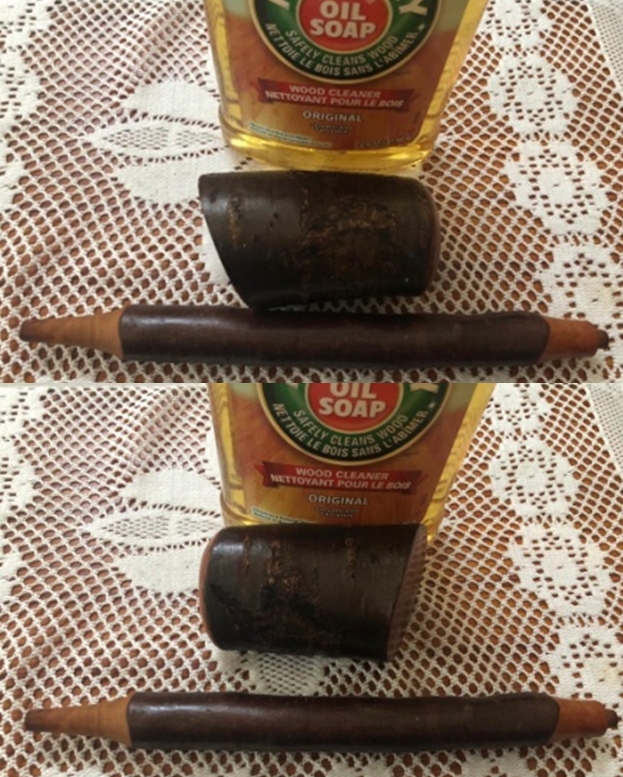
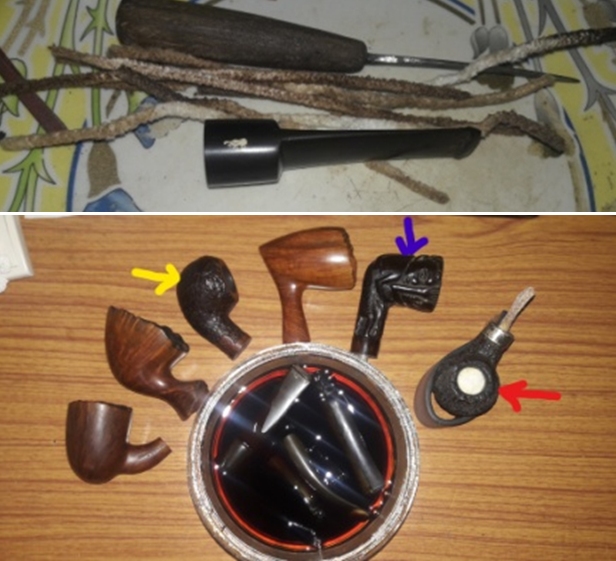
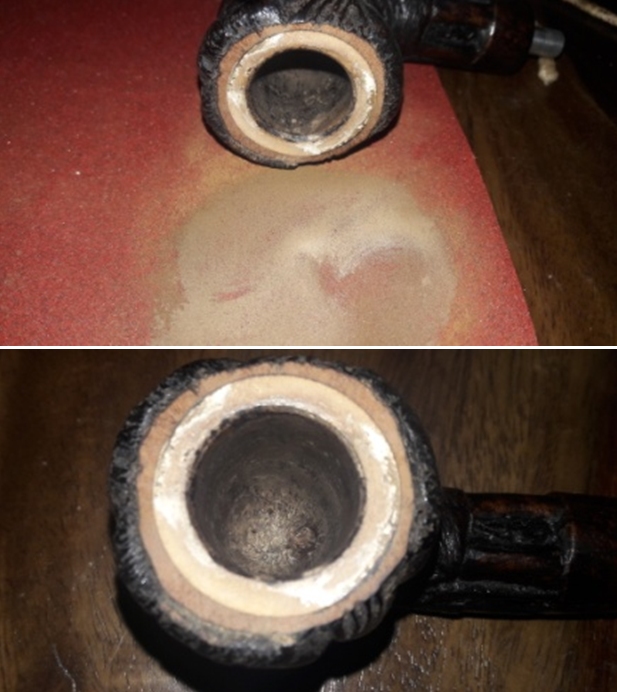
 Jeff did his usual extensive cleanup of the pipe. He reamed it with a PipNet pipe reamer removing the cake from the bowl so that we could see what was going on underneath the surface. The interior of the bowl looked very good. He cleaned the internals of the pipe and stem with alcohol, cotton swabs and pipe cleaners until it was very clean. He scrubbed the externals with undiluted Murphy’s Oil Soap and a tooth brush. He worked over the plateau rim and edges with the brush and the soap and rinsed the pipe down with warm water. He cleaned the stem as well so that the externals and internals were clean. He did scrub the stem with Soft Scrub on cotton pads to remove the grime on the surface. It was acrylic so it was not oxidized so it was not necessary to soak it in a deoxidizer. I took photos of the pipe when I unpacked it and brought it to my work table.
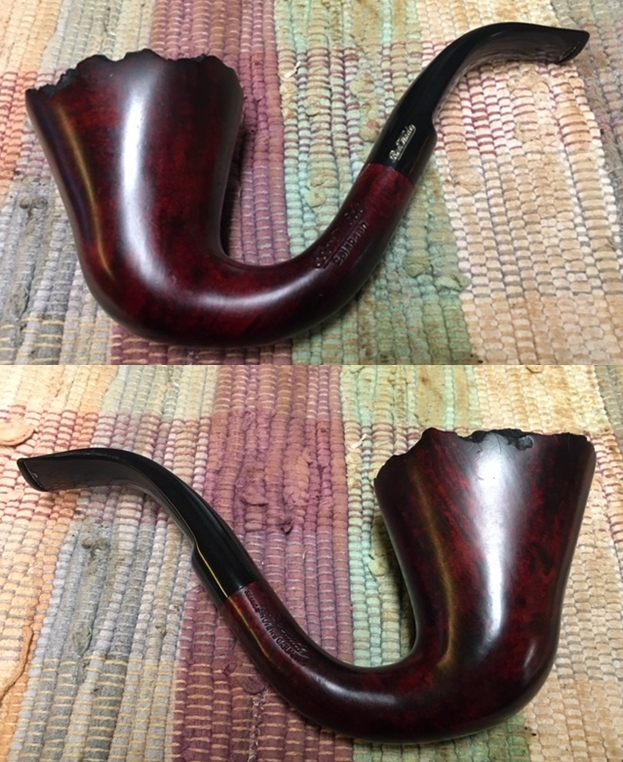
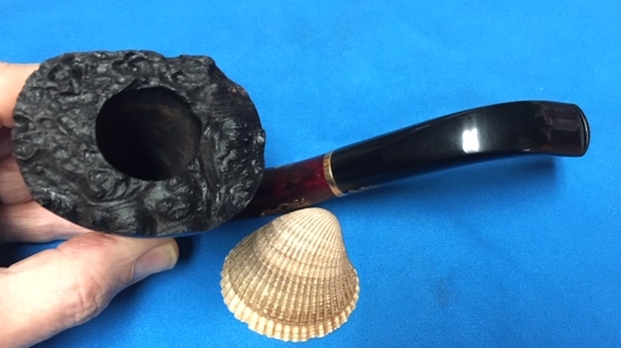
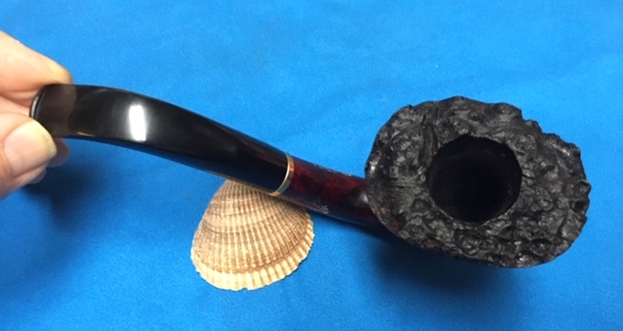
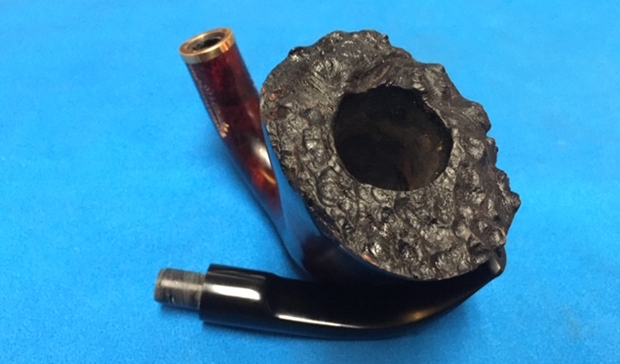
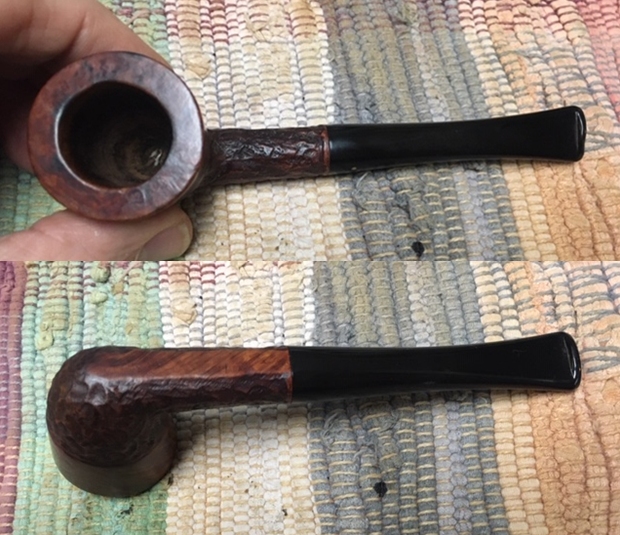
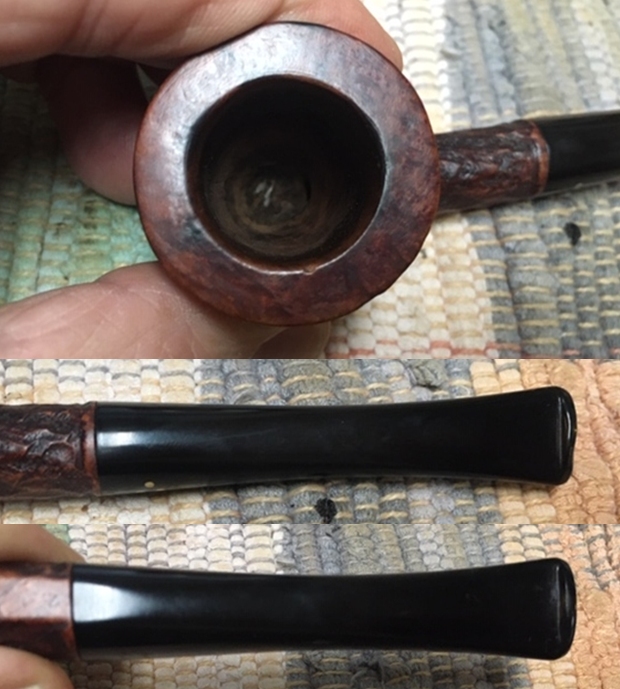
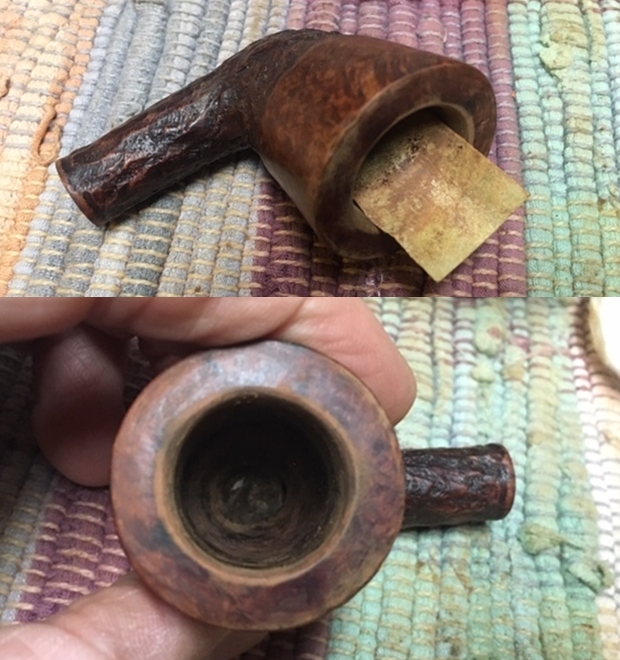
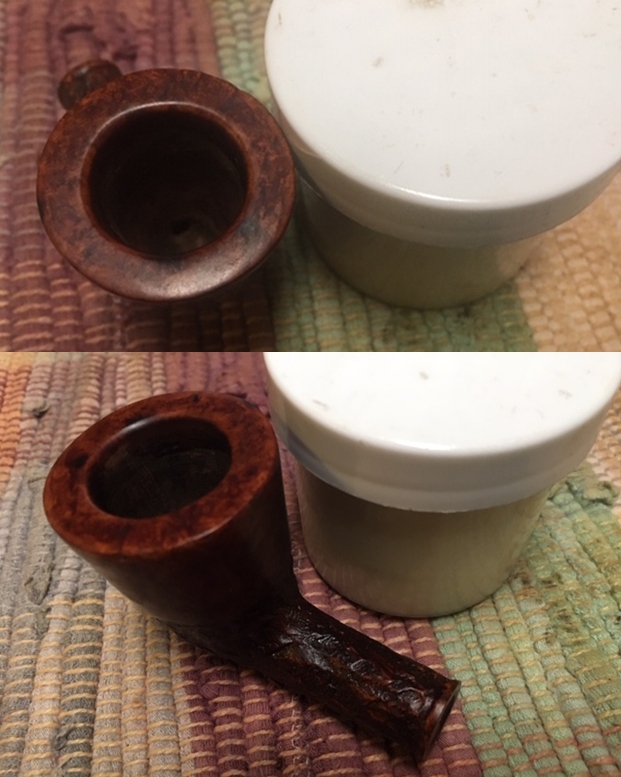
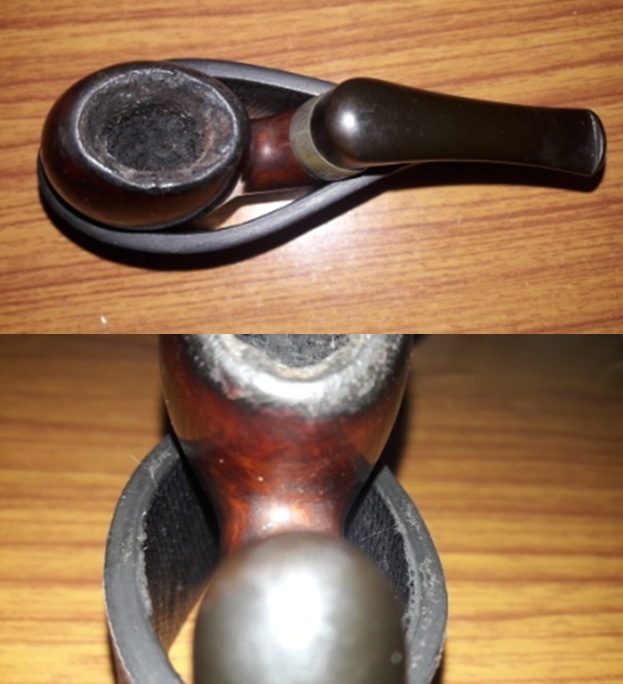
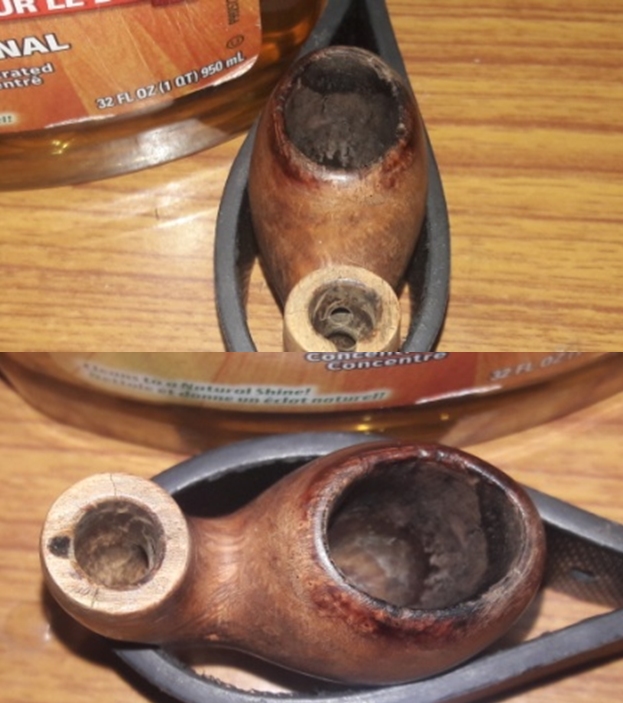
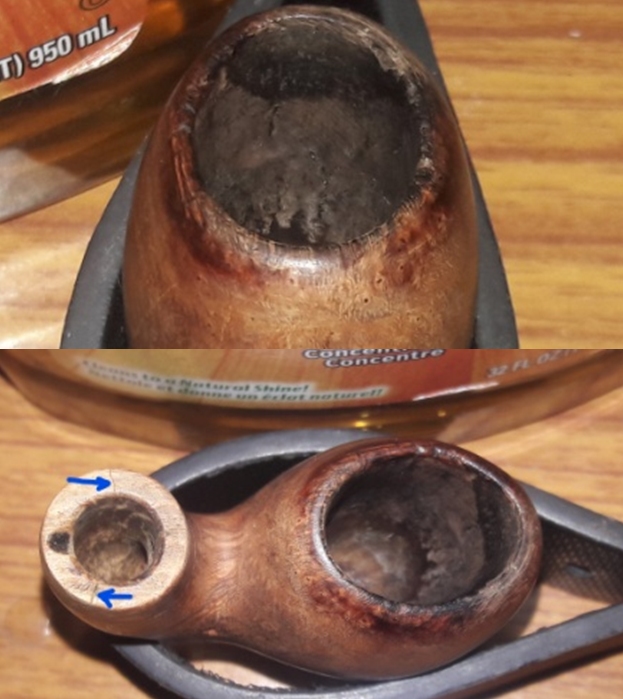
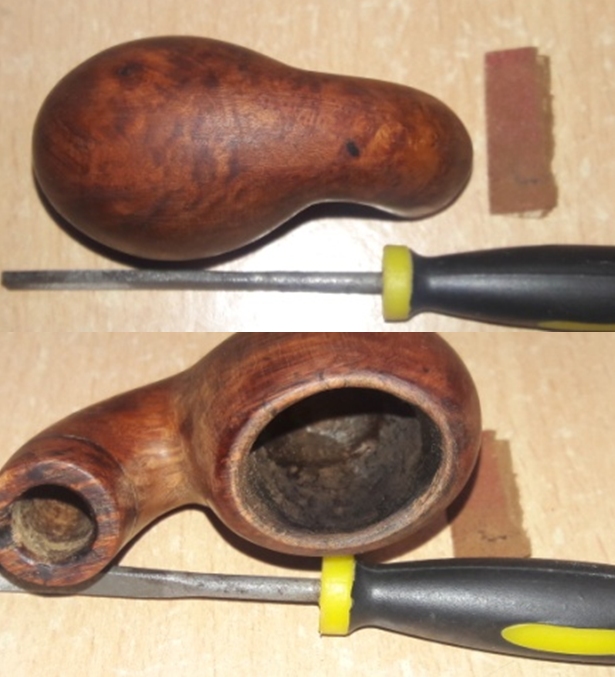
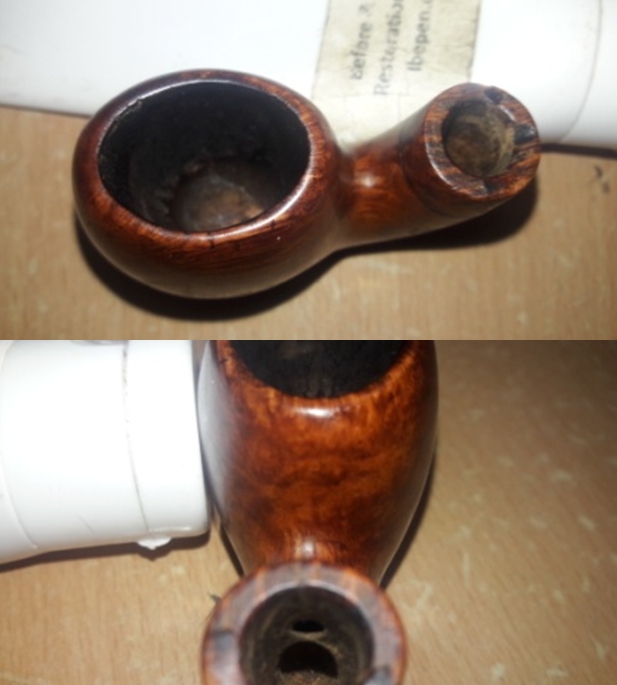
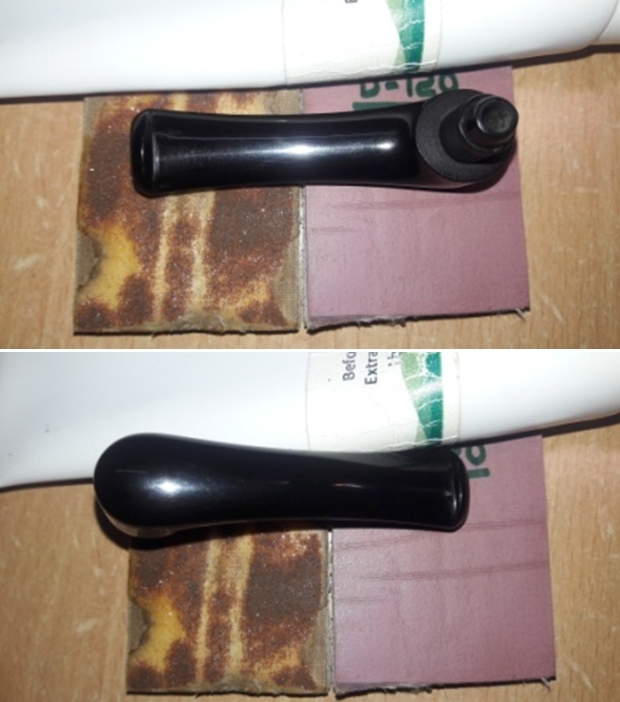
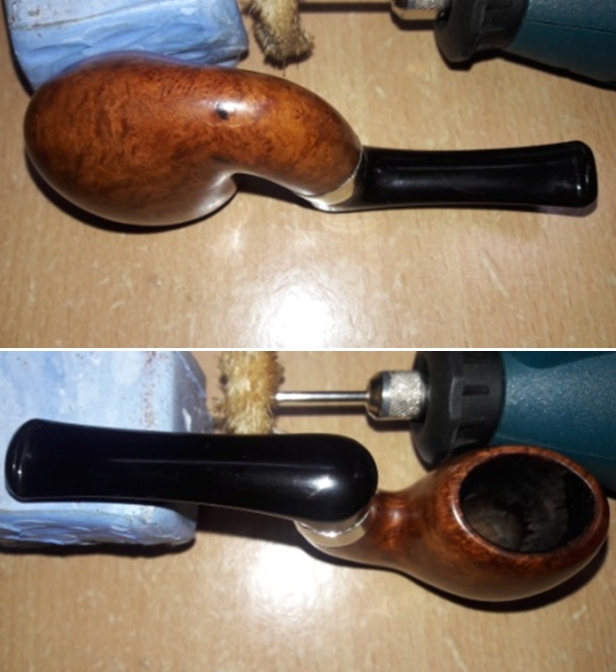
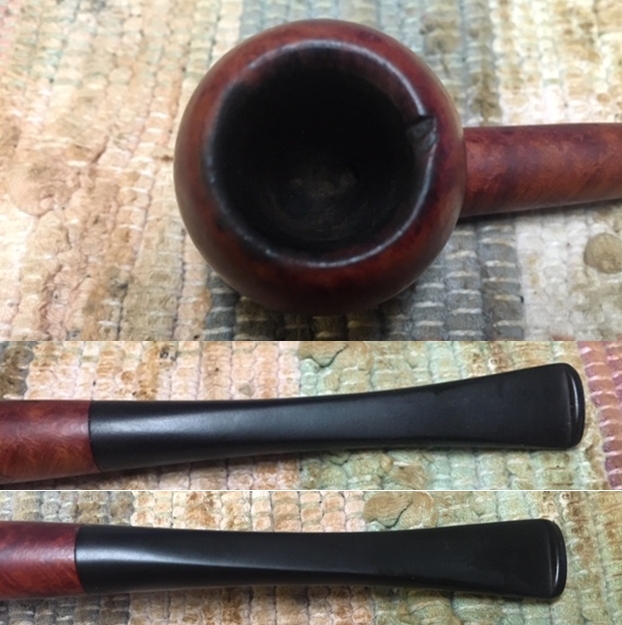
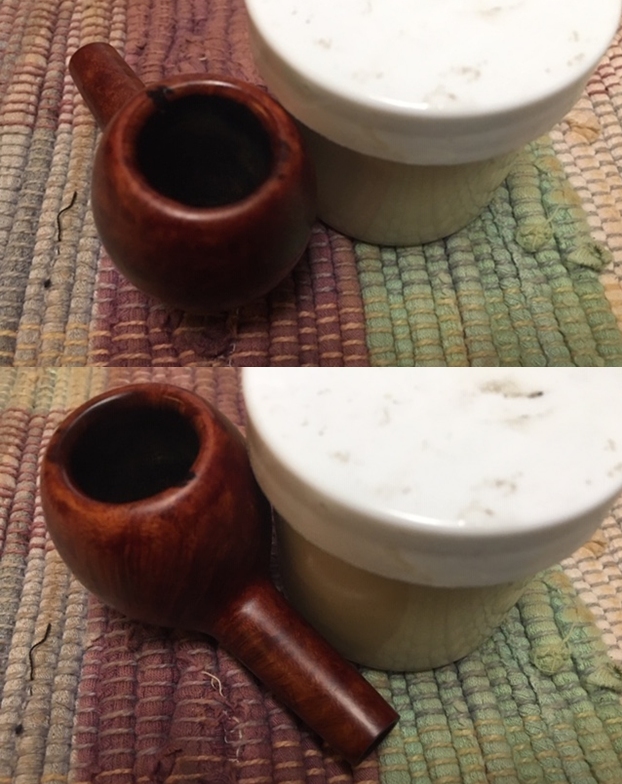
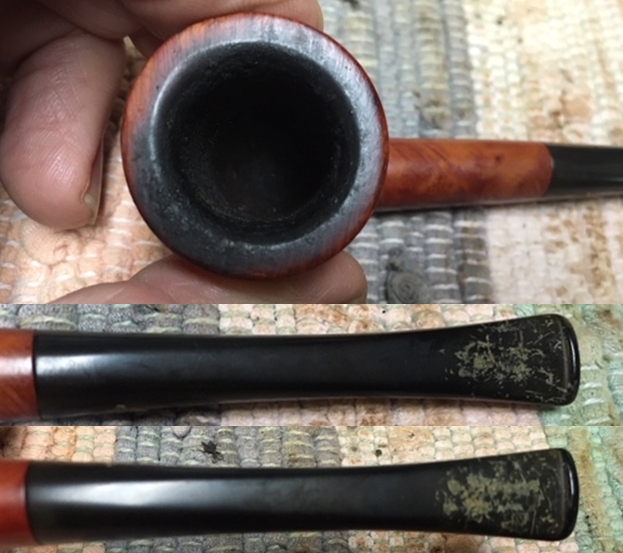
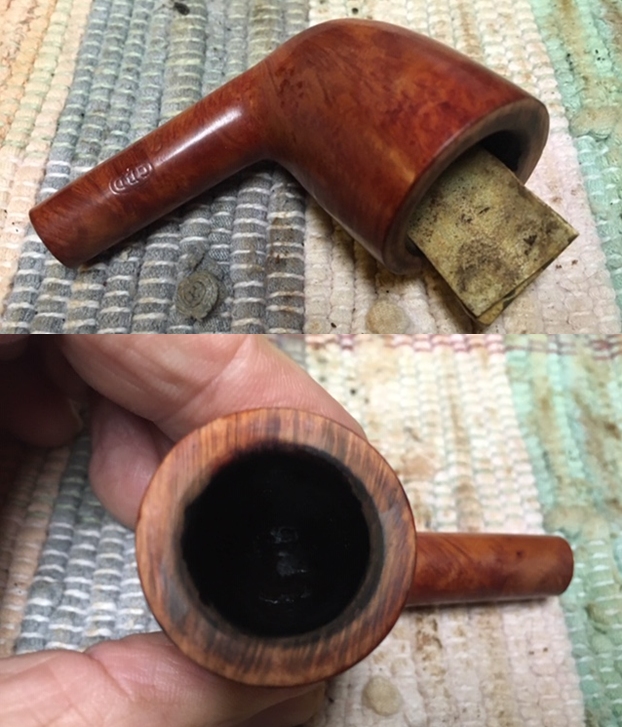
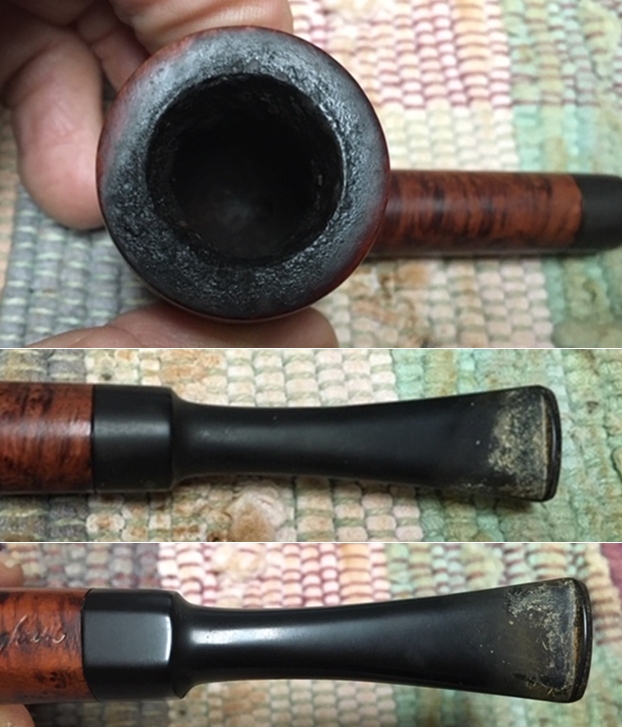
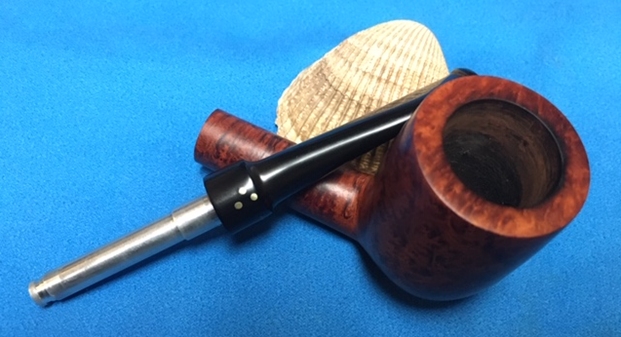
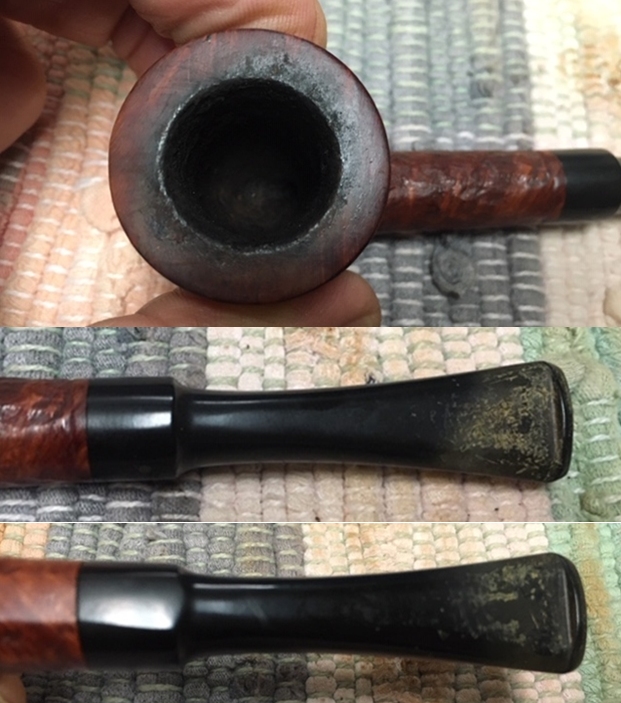
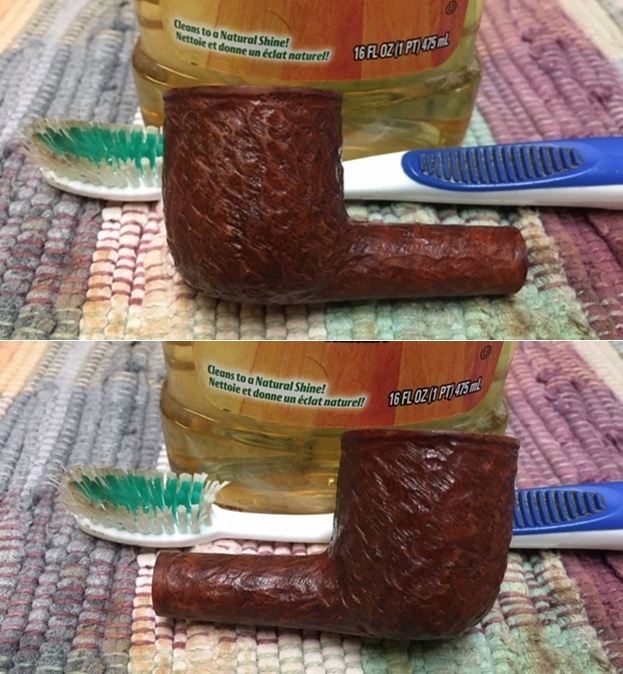
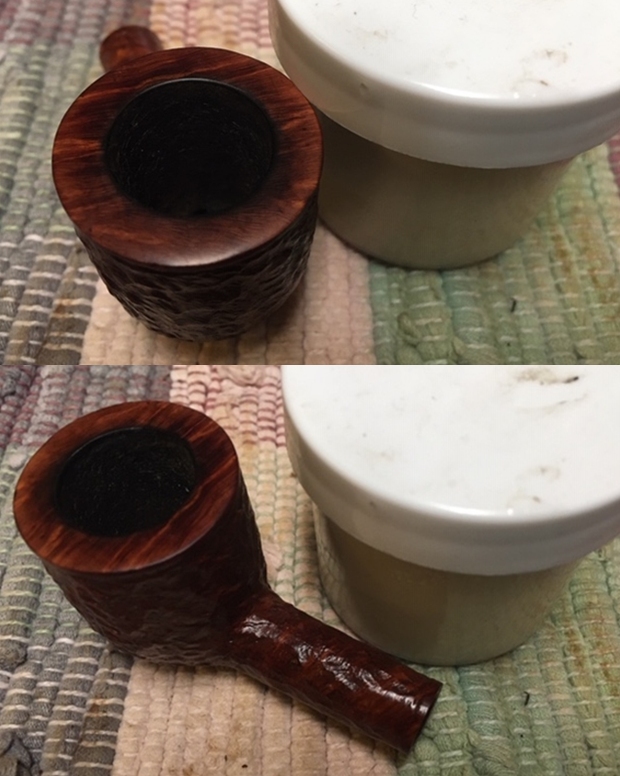
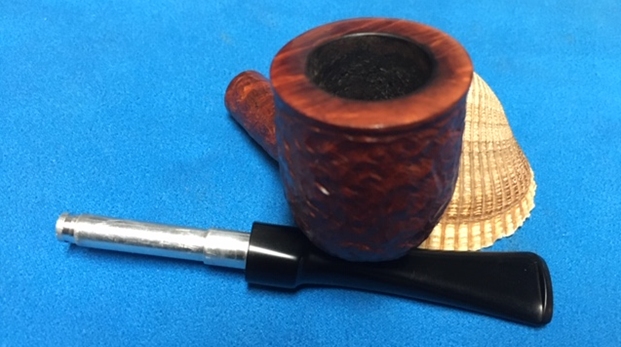
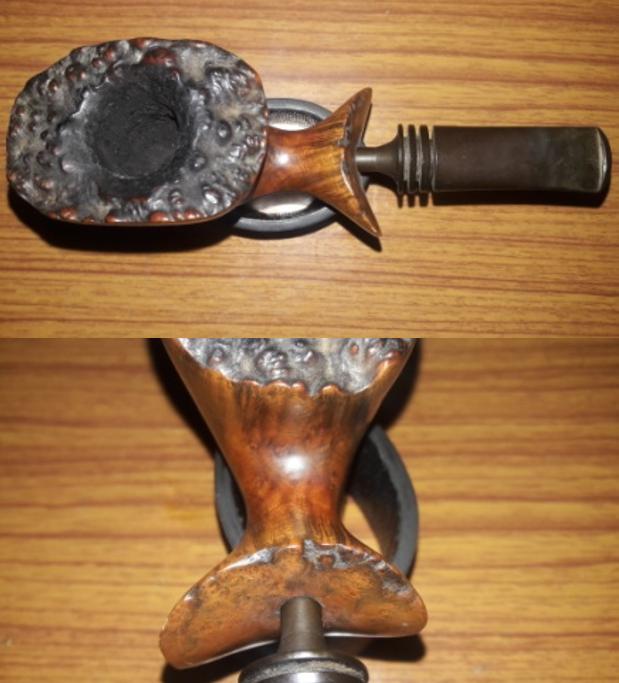
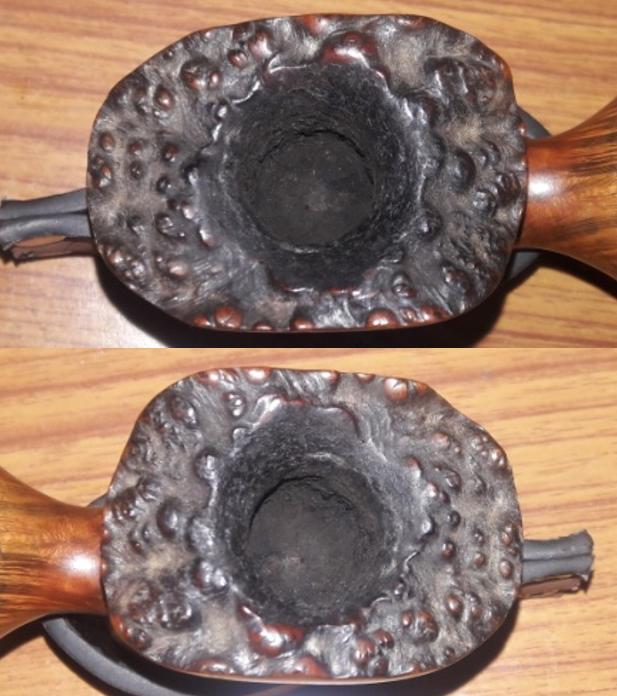
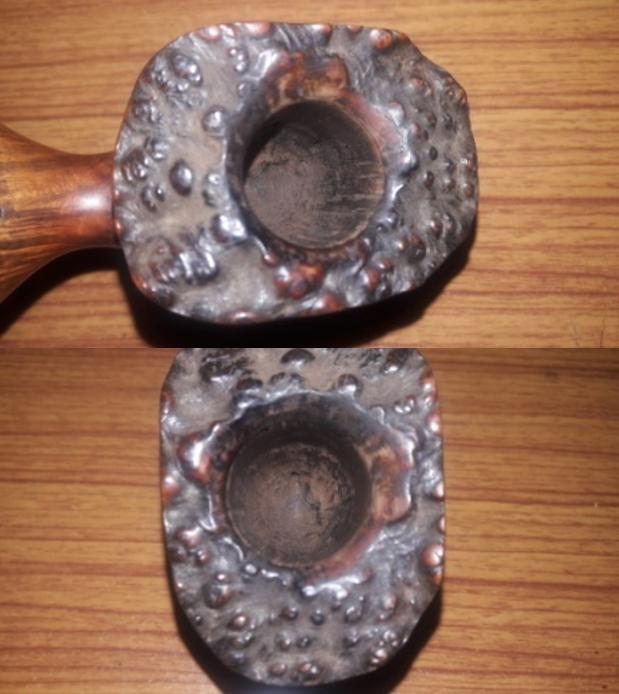
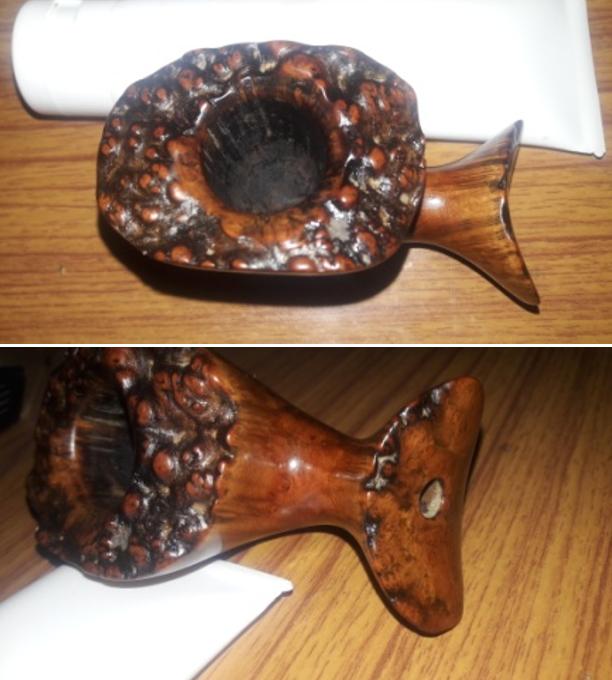
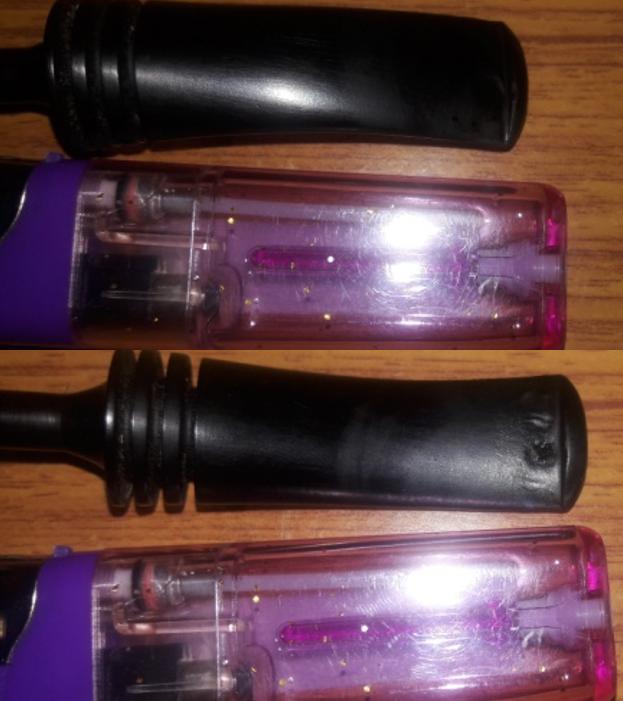
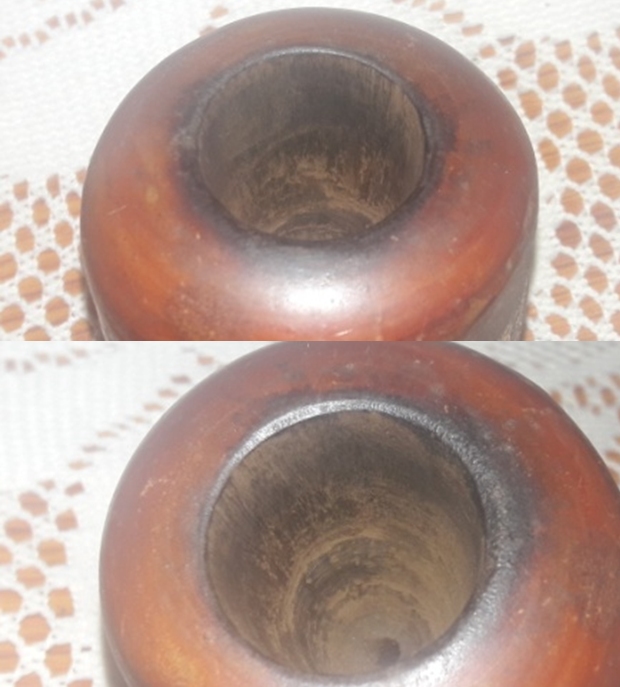
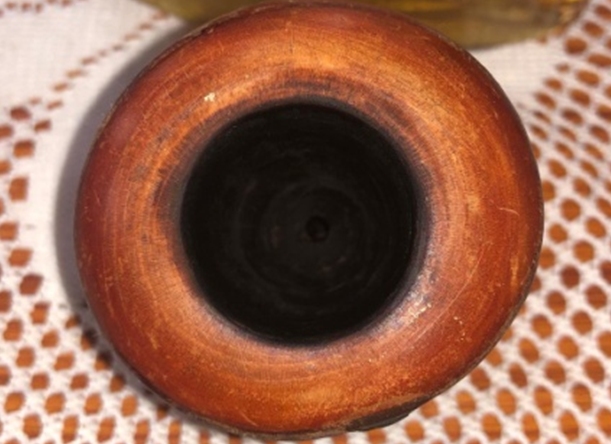
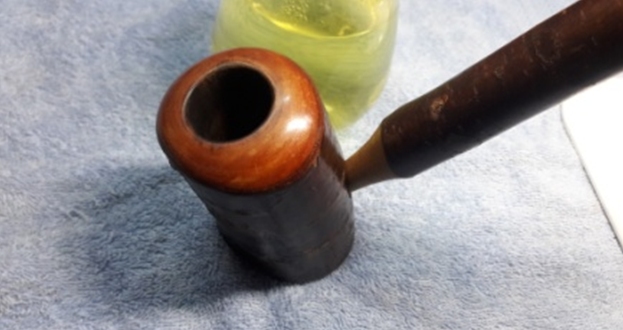
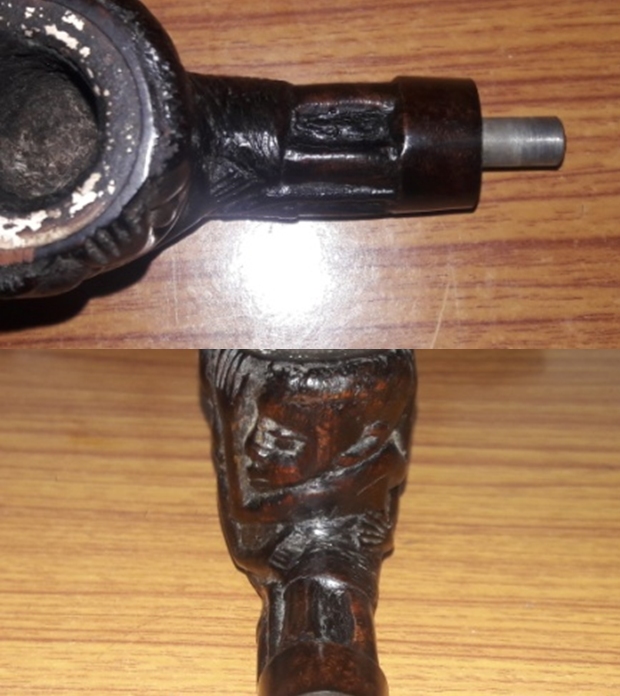
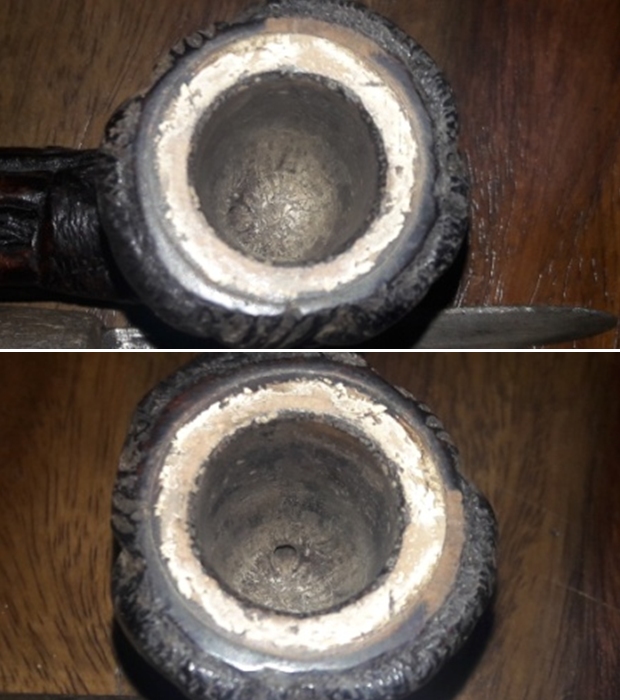
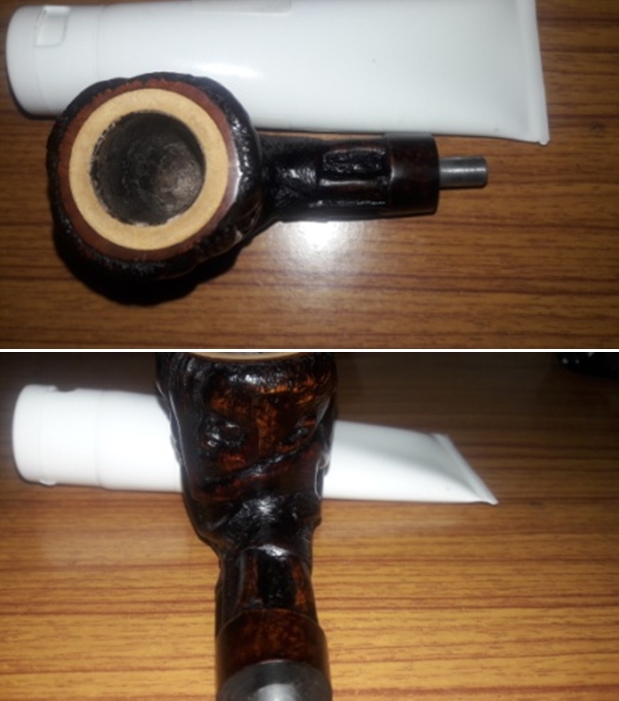
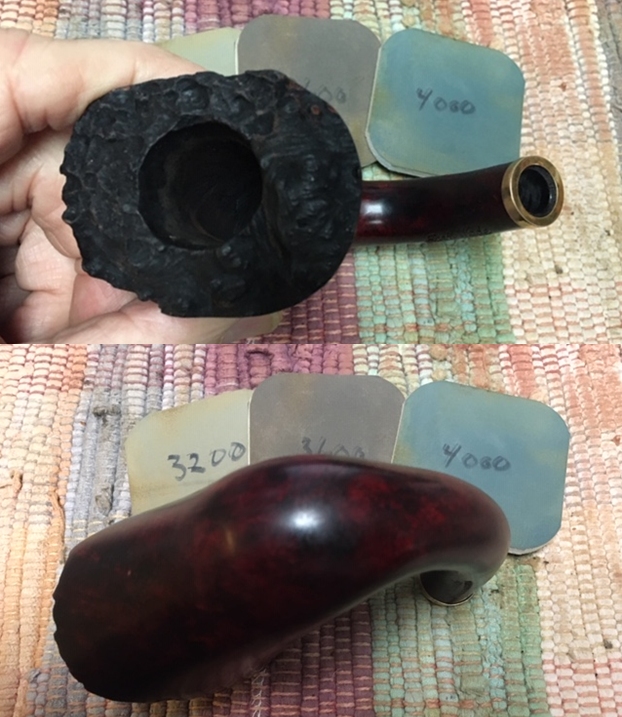
 I took close up photos of the stem and the rim top to show the condition. The cragginess of the plateau is clean and shows the peaks and valleys in their fullness. You can also see some of the worn spots on the rim top where the finish has been removed. The stem looks good. The photo of the underside shows the deep tooth marks next to the button (third photo).
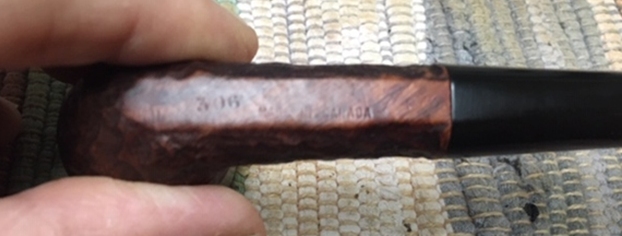
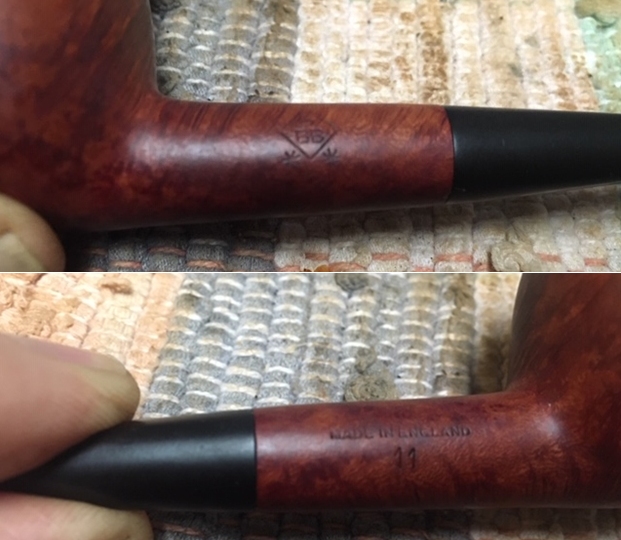
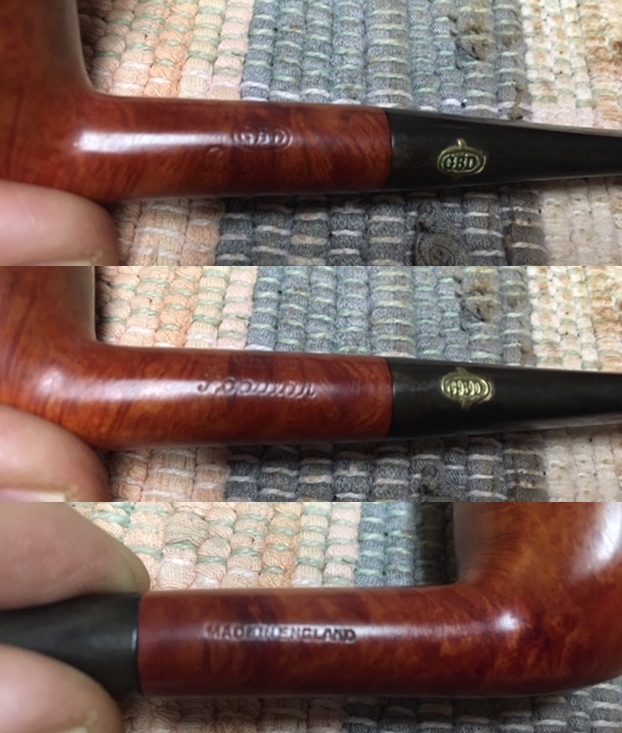
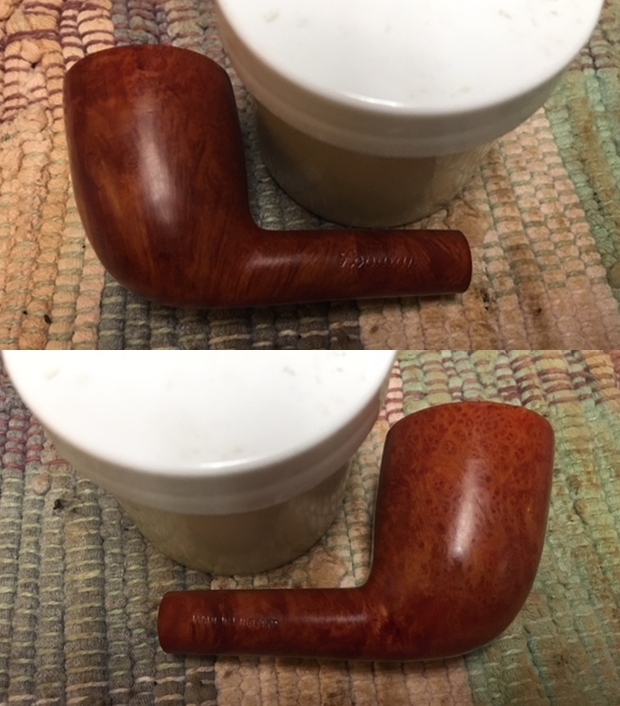
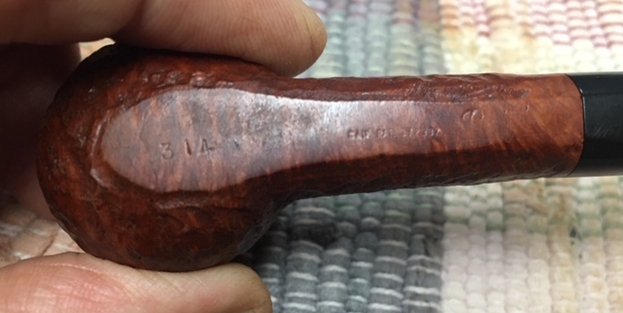
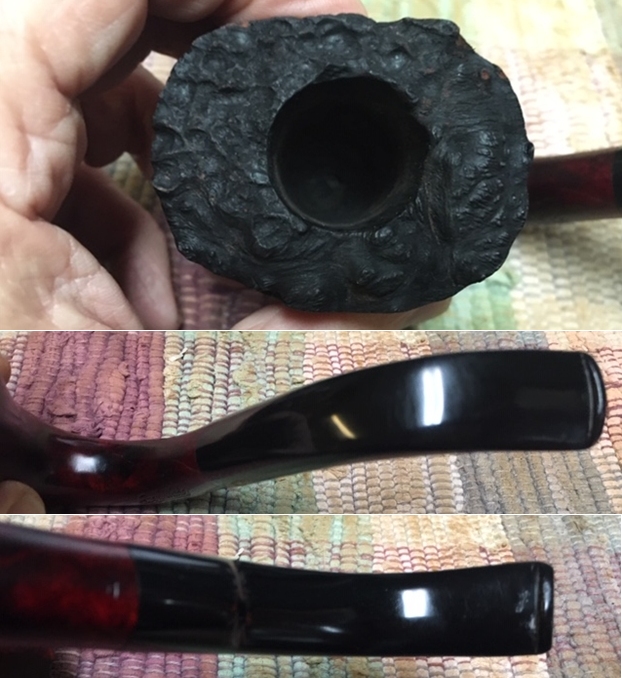 I took some photos of the stamping on the sides of the shank to confirm what I mentioned above. The stamping is crisp and readable.
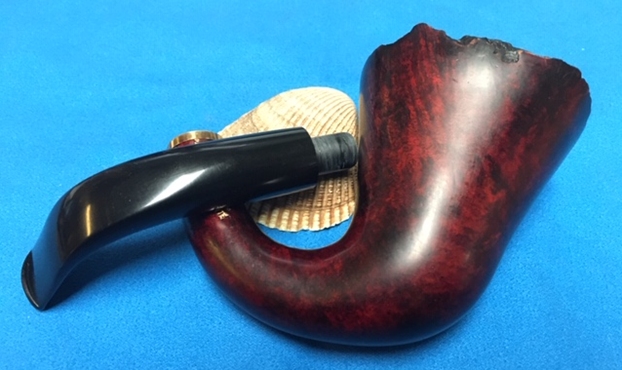
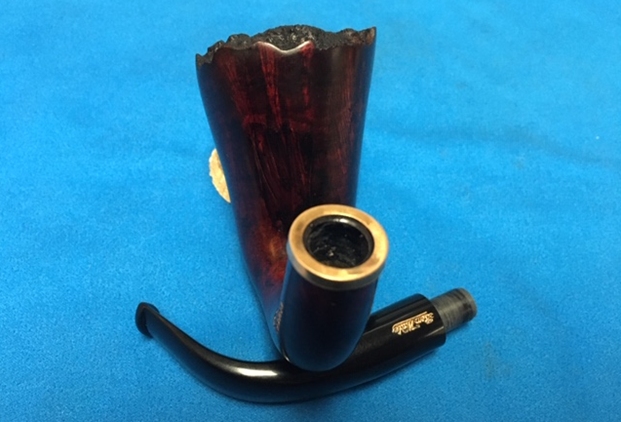
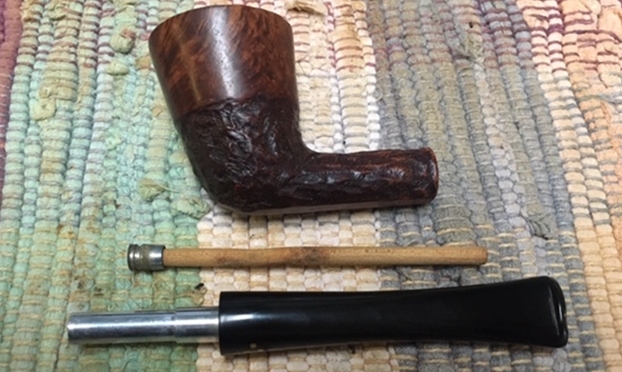
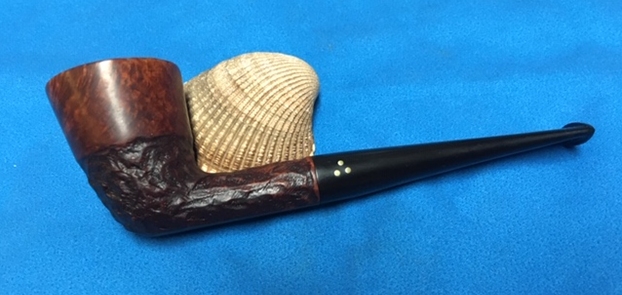
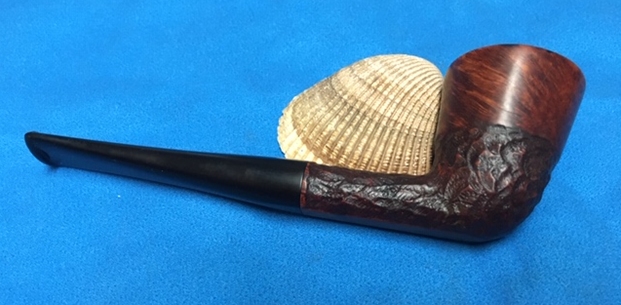
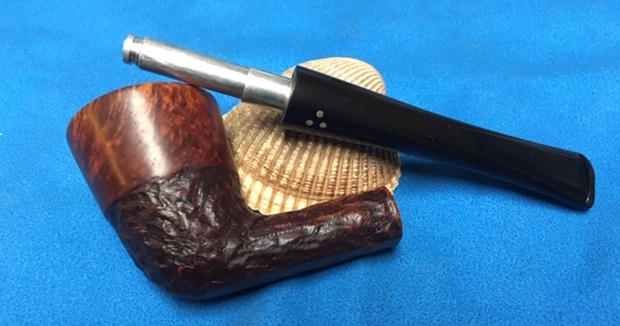
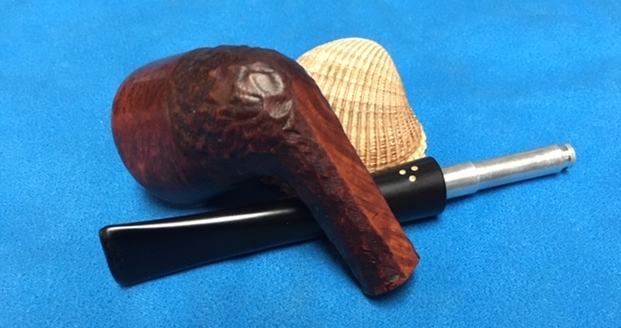
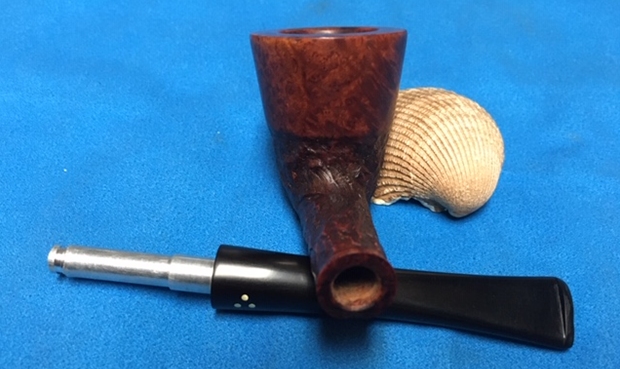
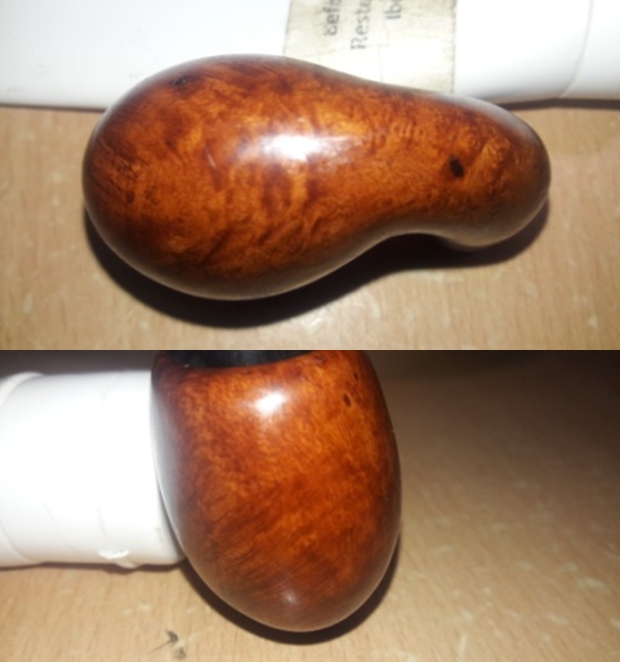
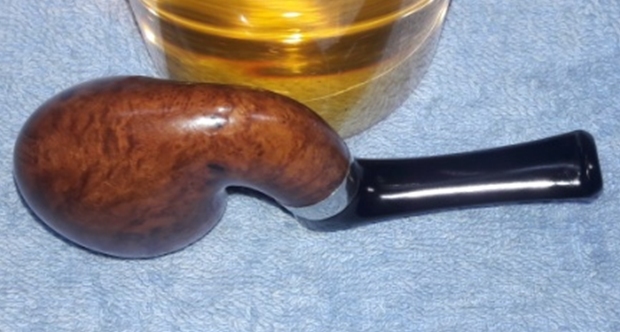
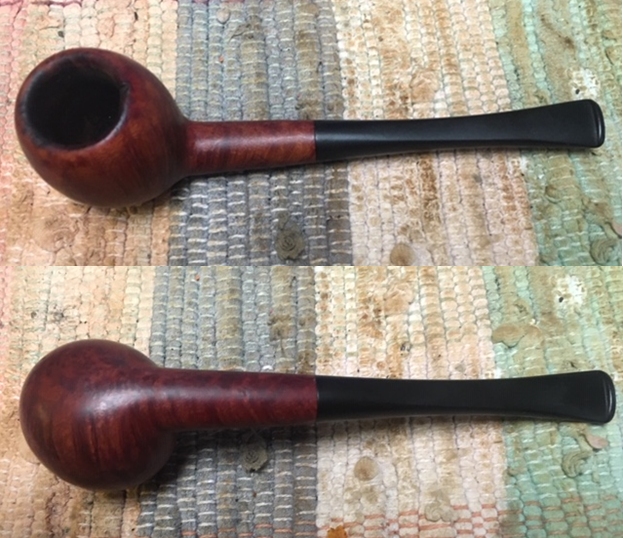
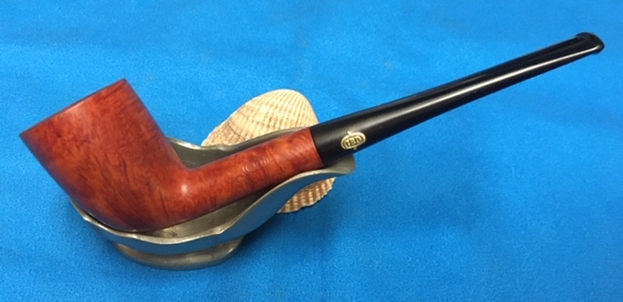
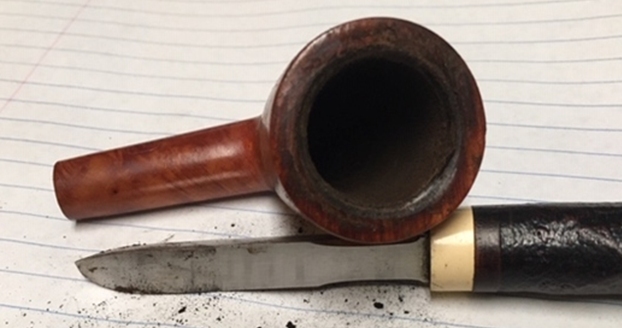
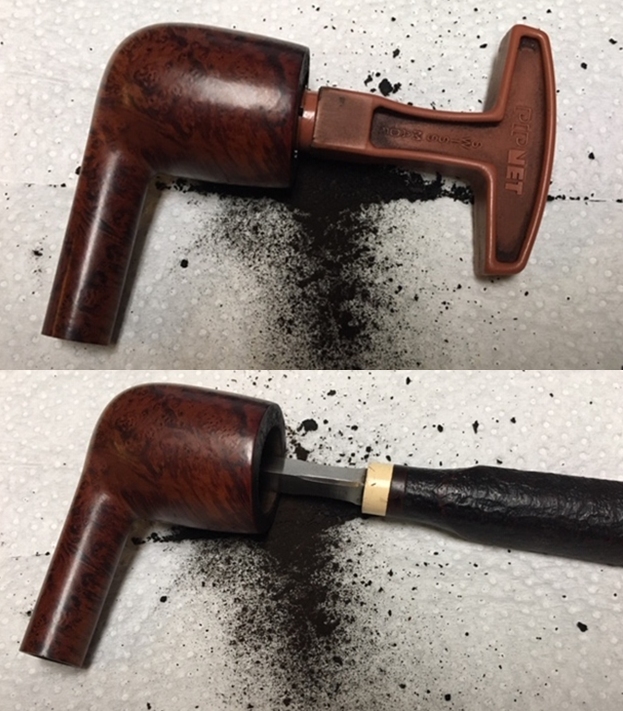
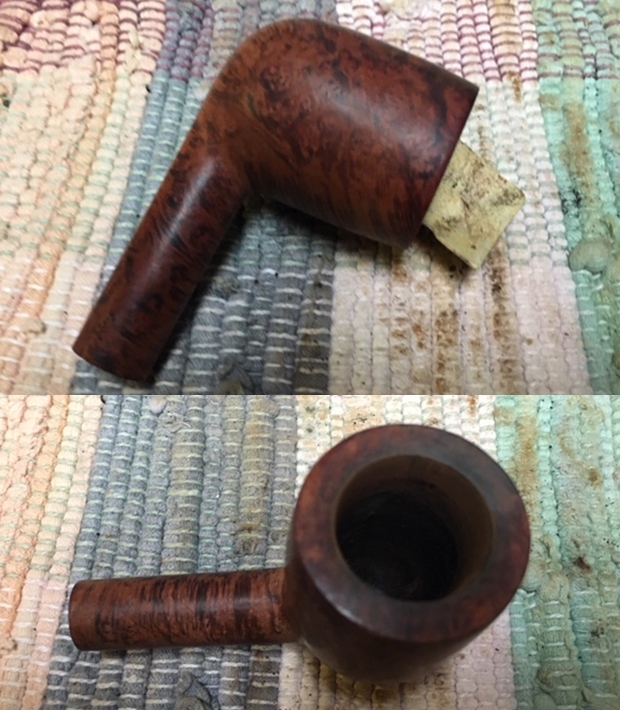
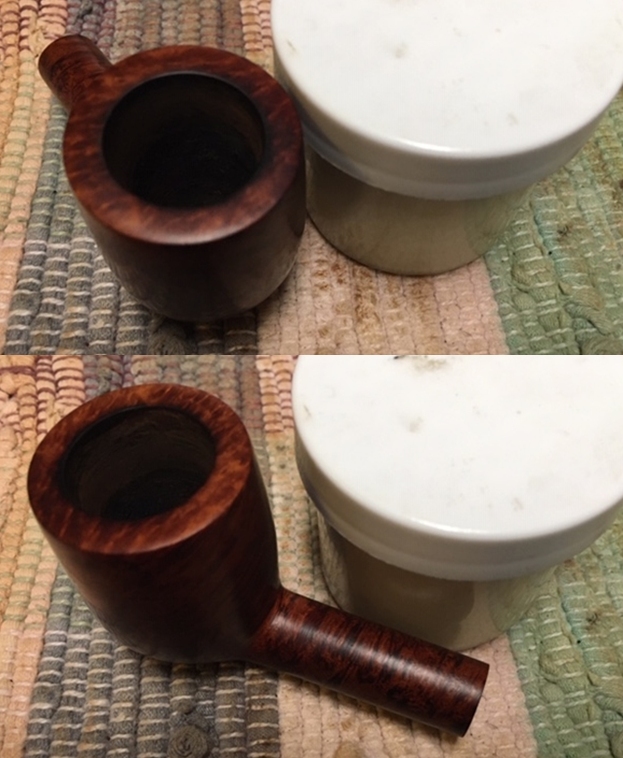
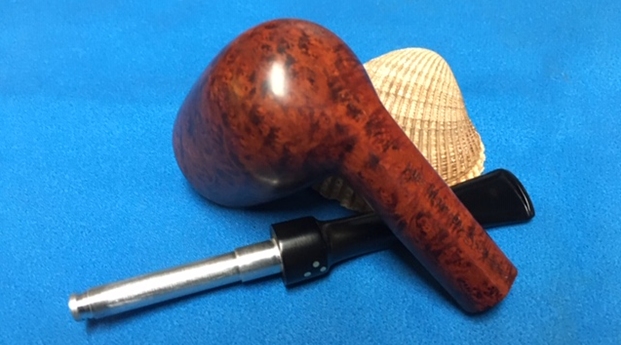
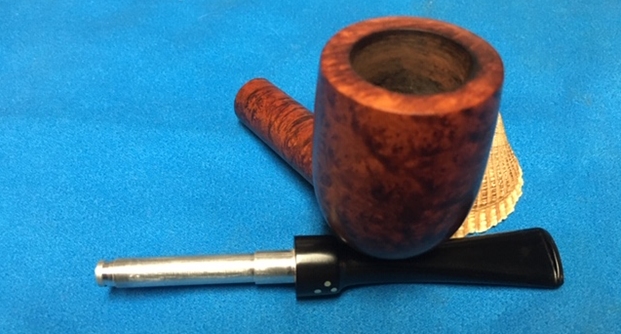
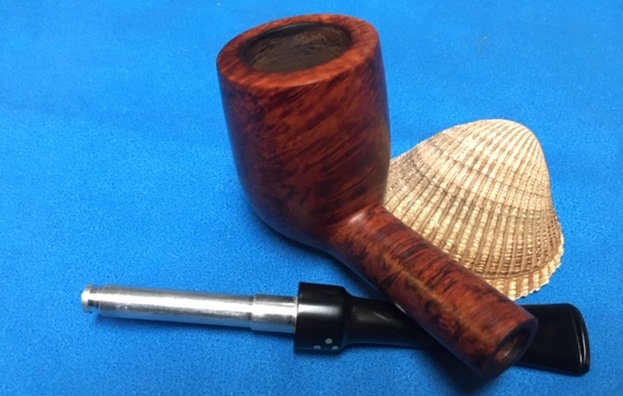
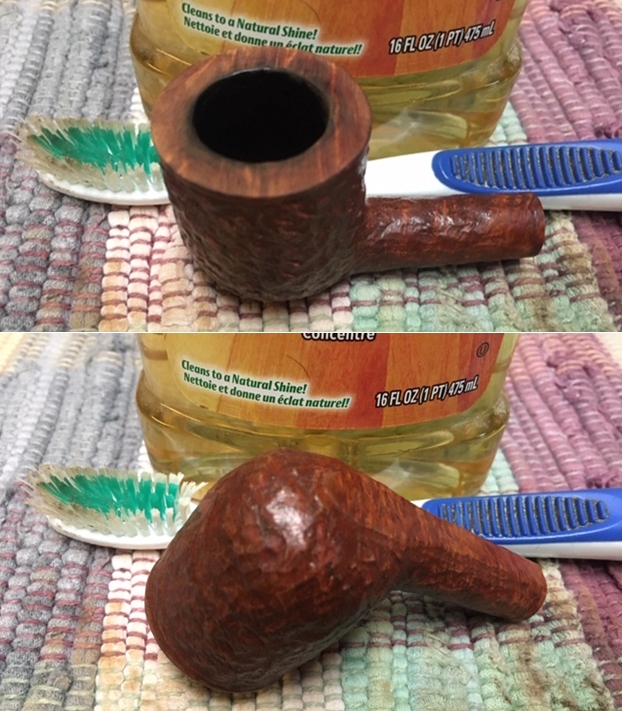
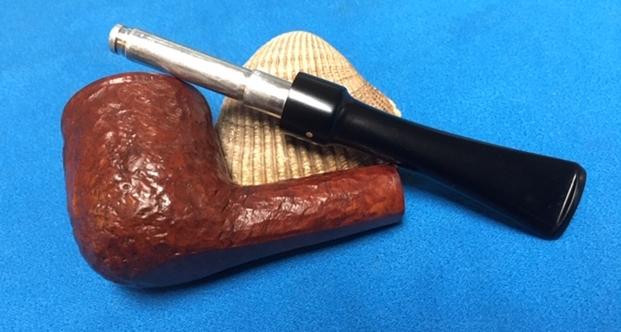
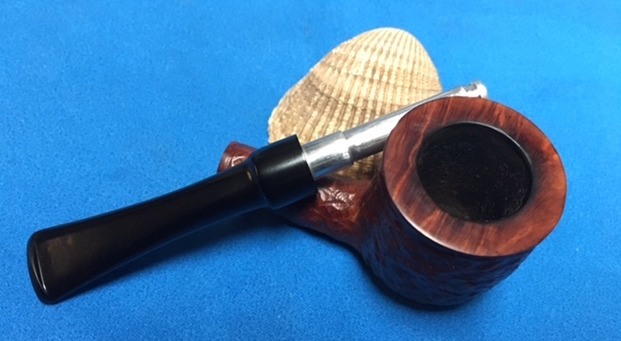
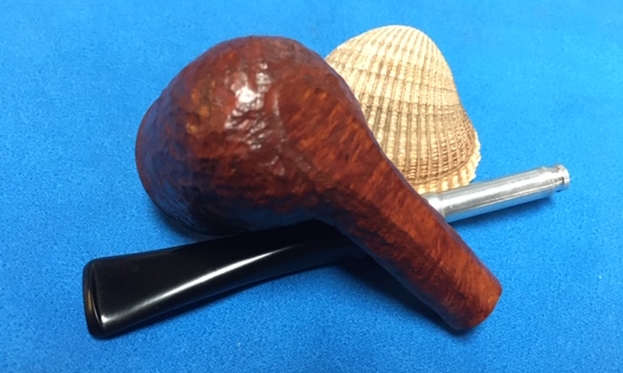
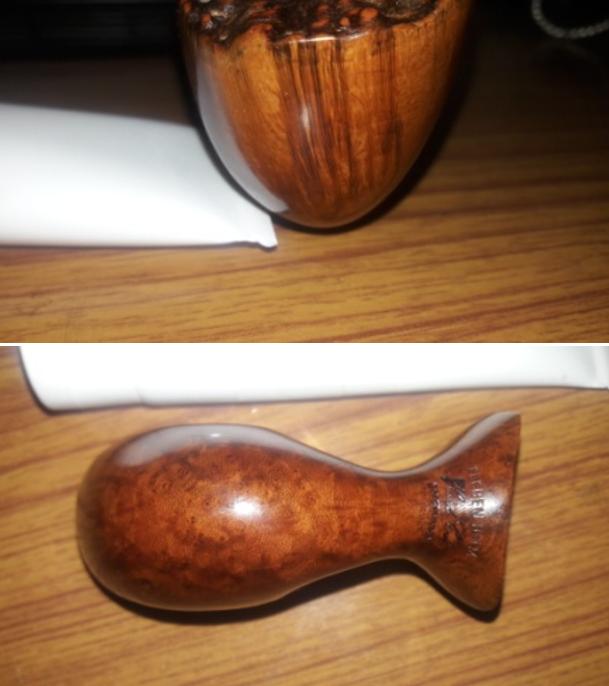
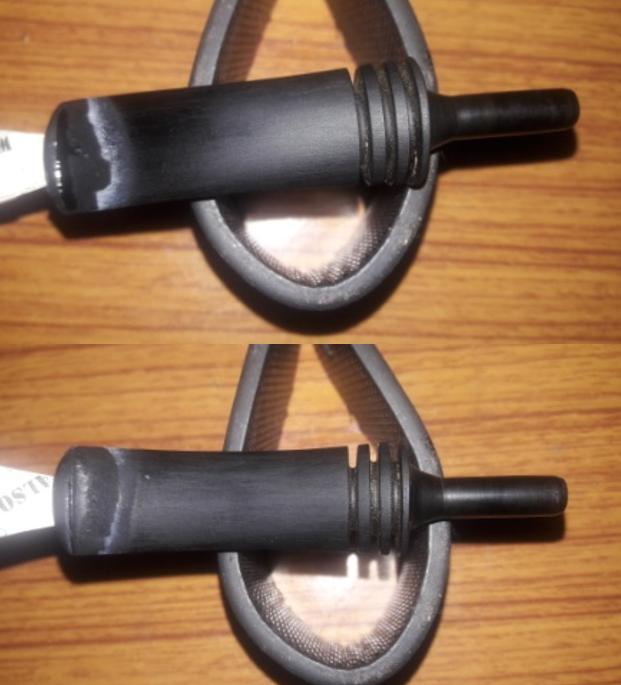
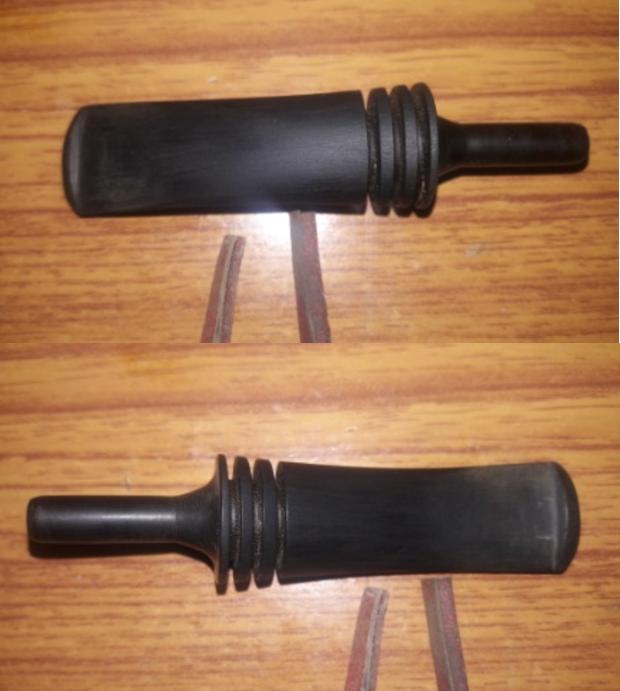
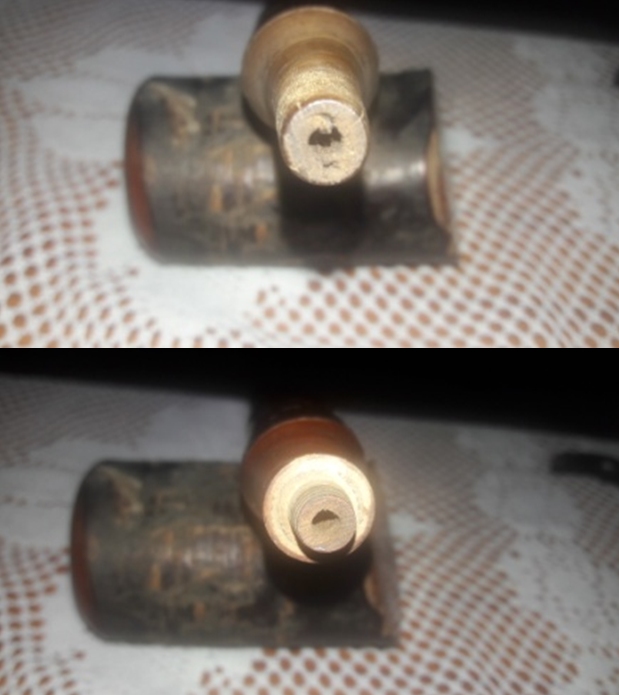
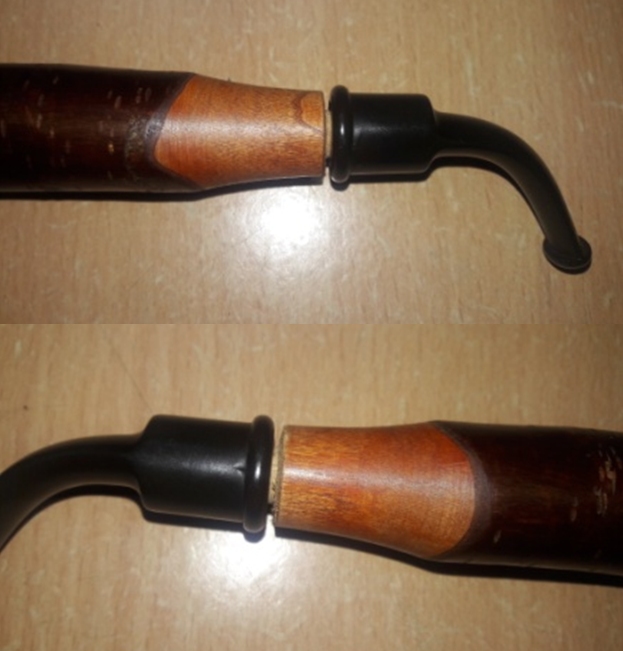
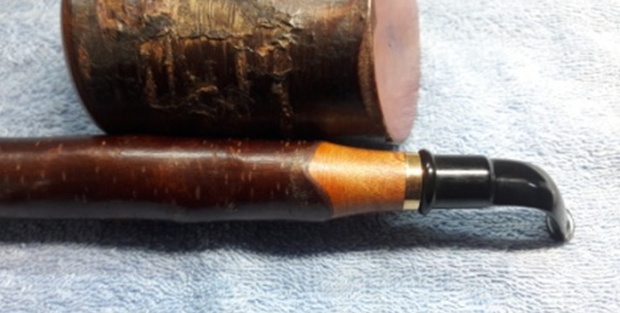
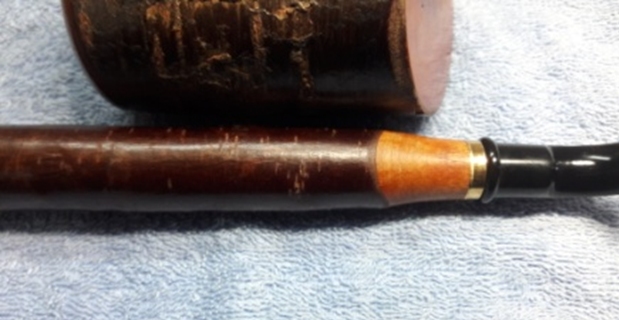
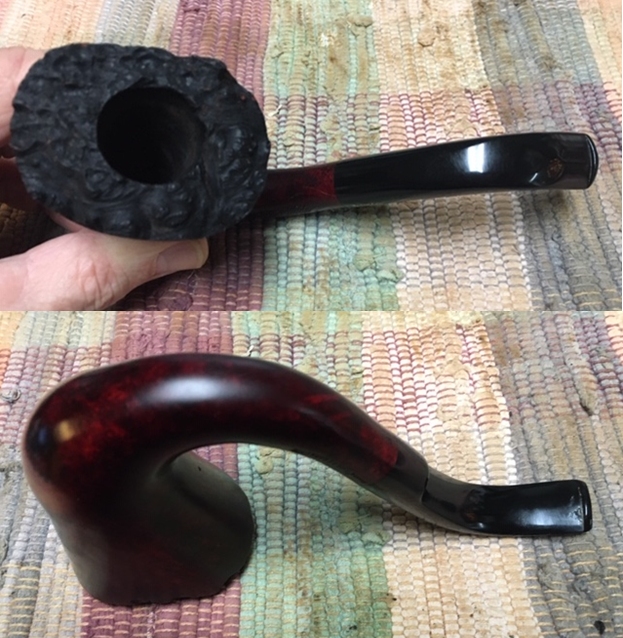
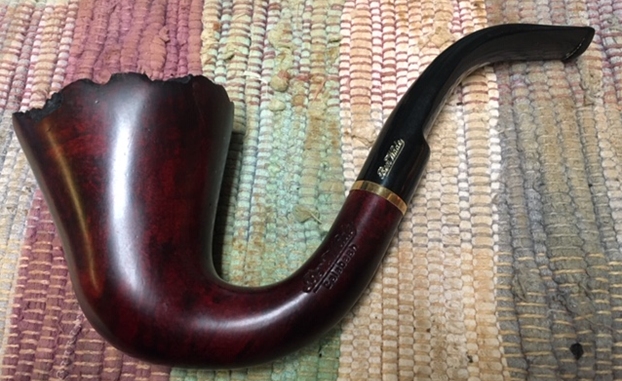
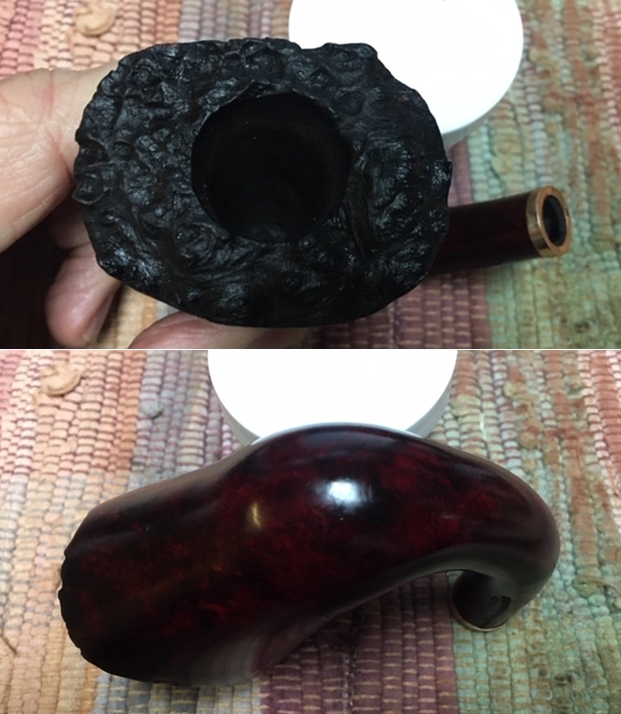
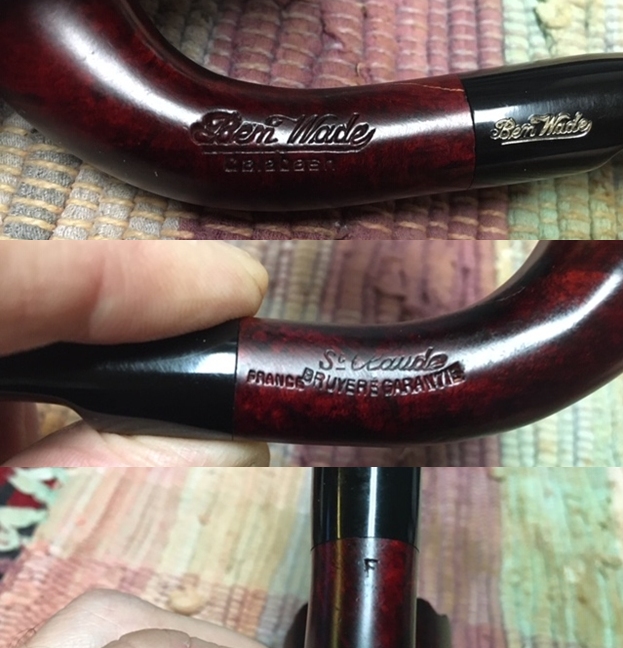 I took the stem off the shank and took two photos to give a clear idea of the gentle curves of the pipe and the look of the rugged plateau rim on the delicate bowl. It really is a beauty! The tenon is drilled for a 6mm filter but could easily be smoked without one or with an adapter.
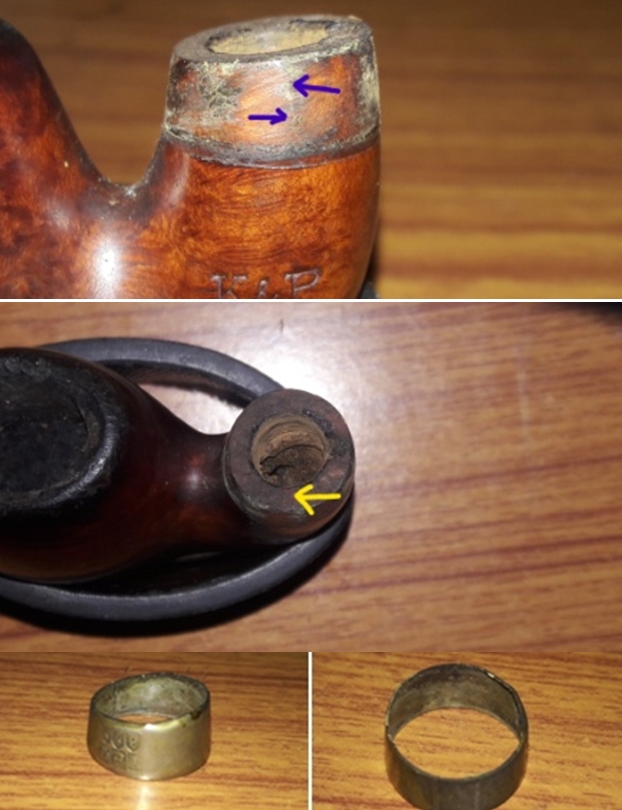
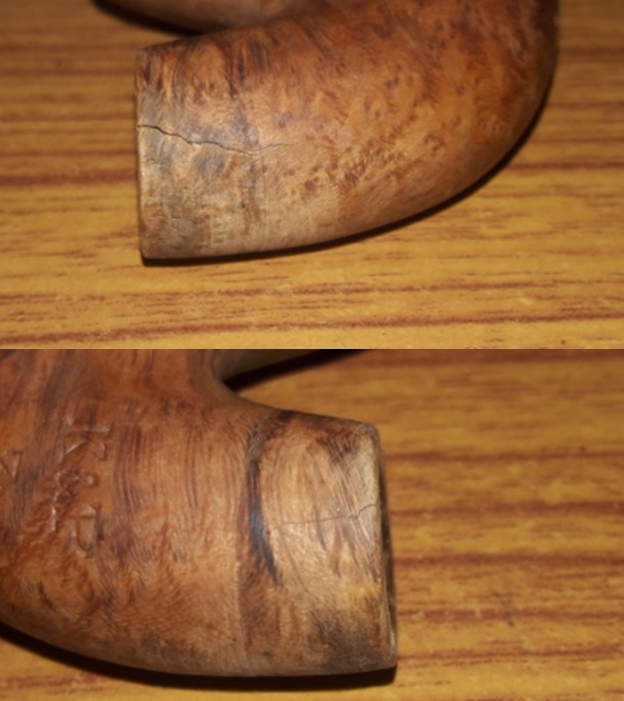
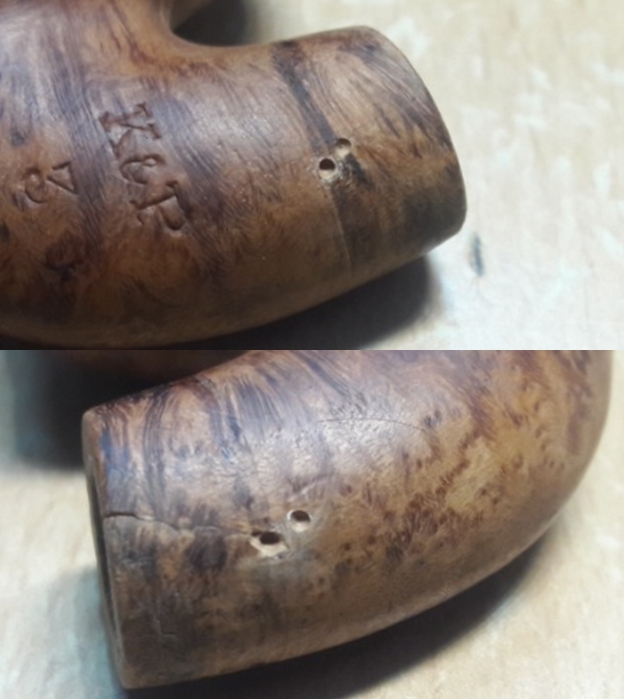
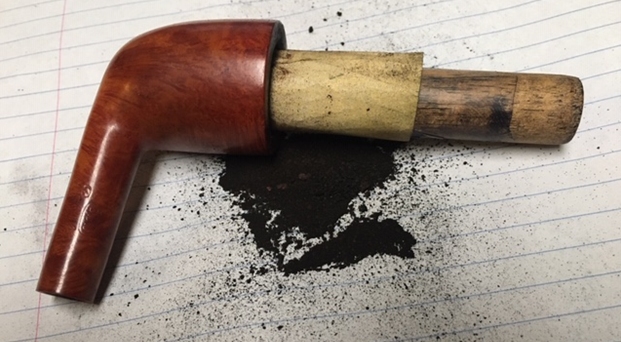
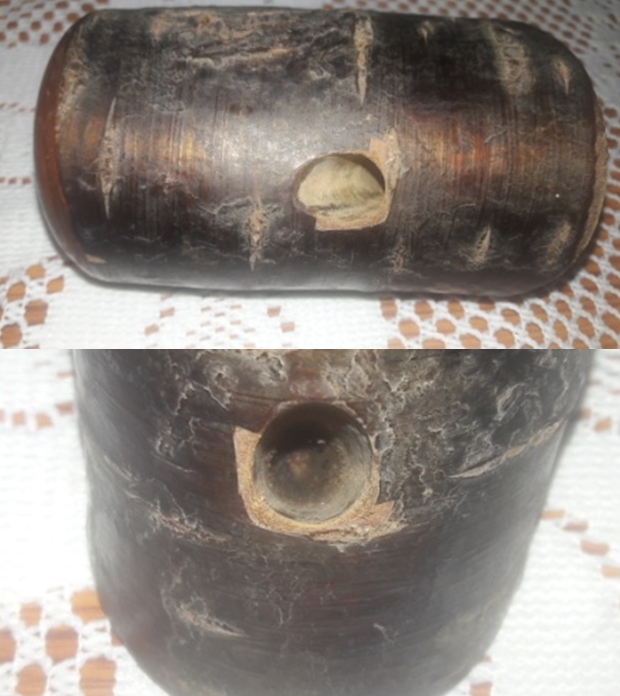
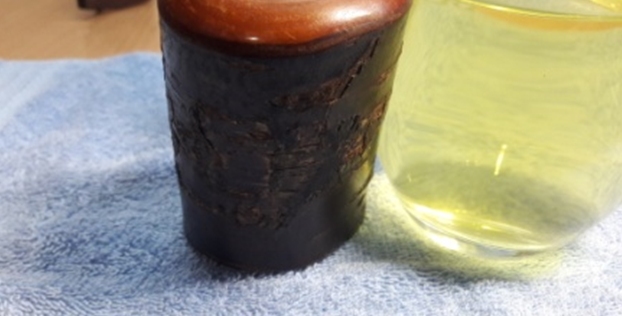
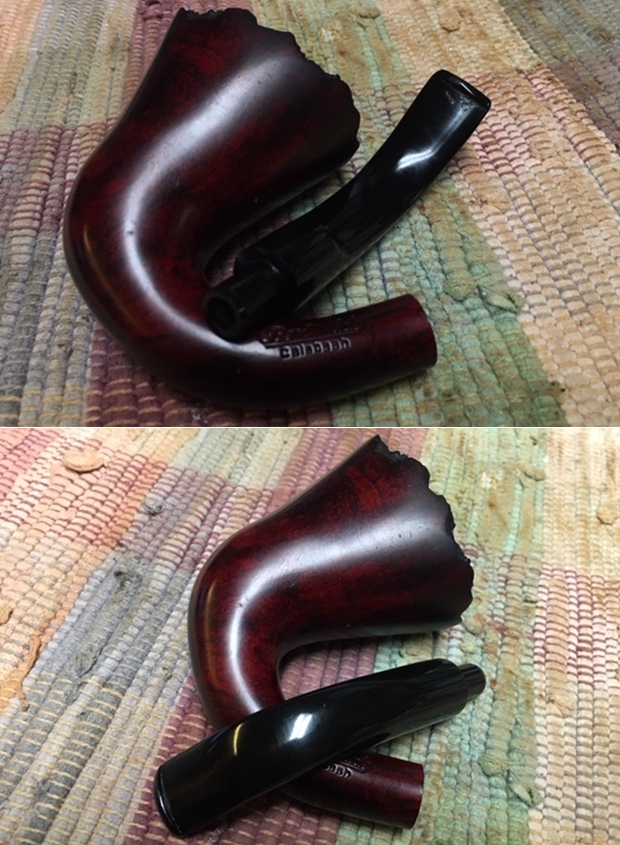 Jeff and I were talking on Facetime and he was showing me how well the pipe had cleaned up. We do that often as he is in Idaho and I am in BC Canada. While he was carefully turning the stem into the shank we both heard and audible “POP”. That sound is a pipe restorer’s nightmare. If you have not heard that sound I can guarantee you will one day. Jeff groaned and showed me the crack in the shank. So when it arrived here in Vancouver I had a look. I took a photo of the crack and have included it below. It is on the top left side of the shank and is a good ½ inch long. That would need to be repaired. I also found some small hairline cracks on the top right side near the plateau top. They were not deep or serious but nonetheless they were present.
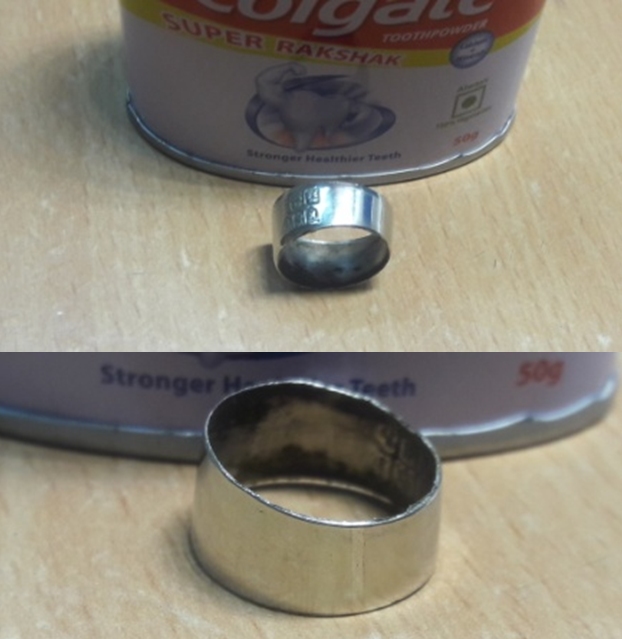
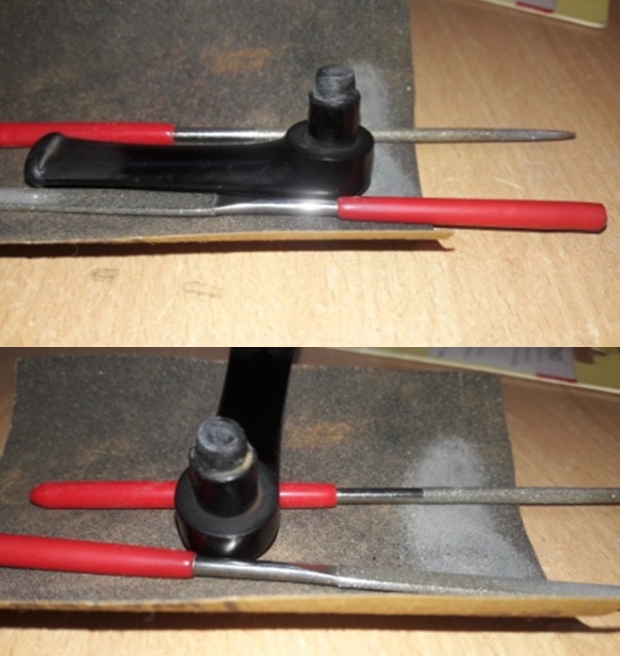
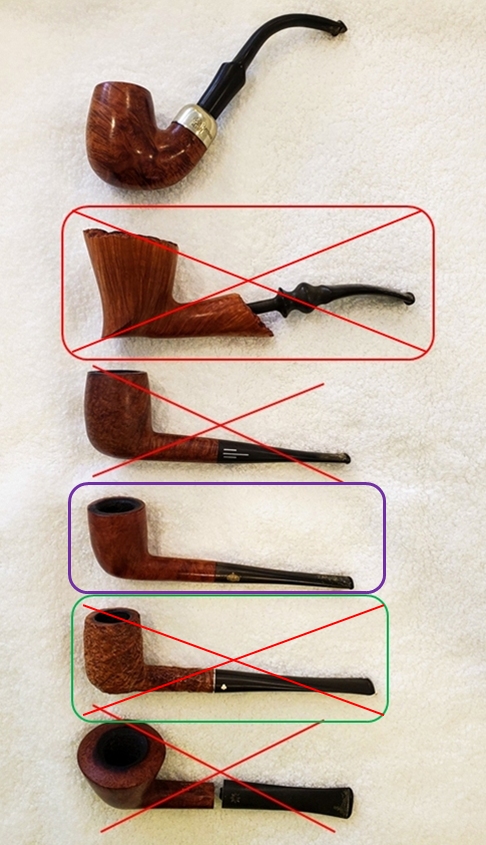
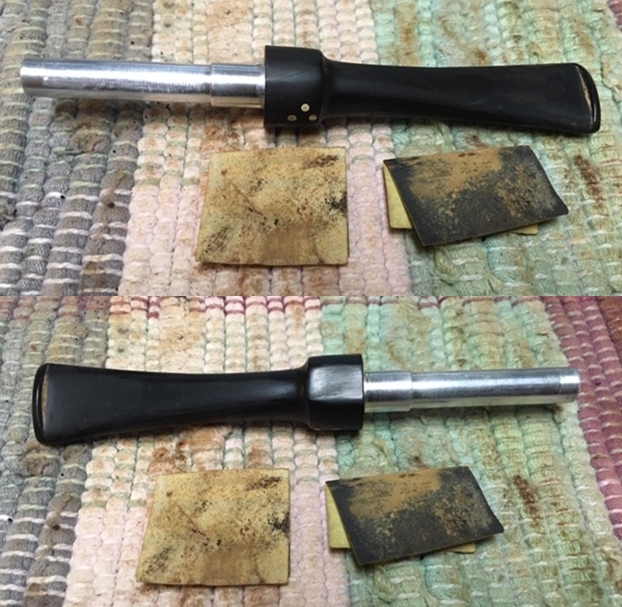
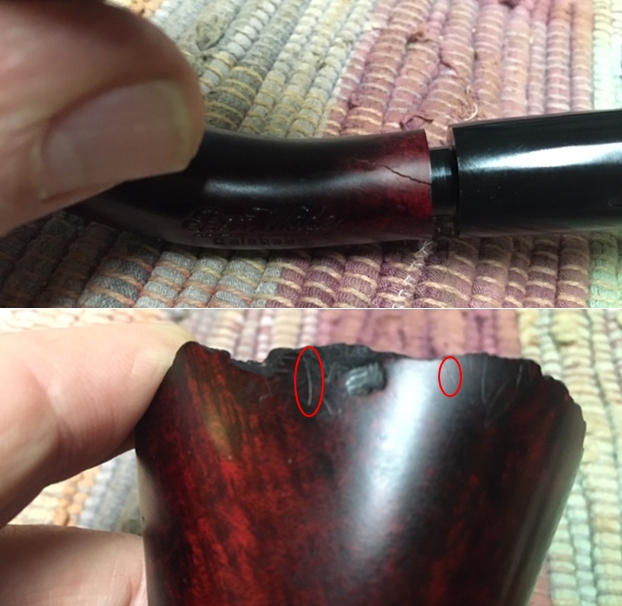 I decided to deal with the cracked shank first. I went through some brass bands that I have that are polished gold in colour and would go well with the gold stamping on the stem and shank. They were quite thin and some have an inward bevel on the shank cover. I chose the band on the right and used my topping board to reduce the depth of the band by half. I wanted to retain as much of the stamping as possible and still bind the cracked shank together.
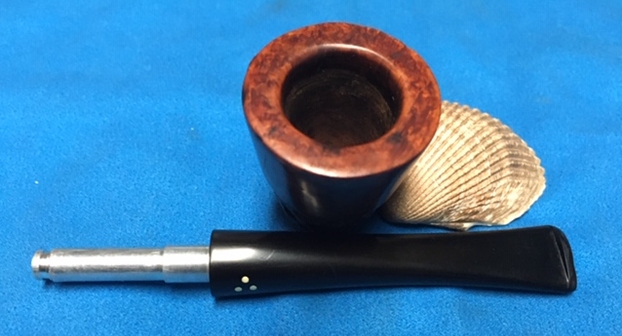
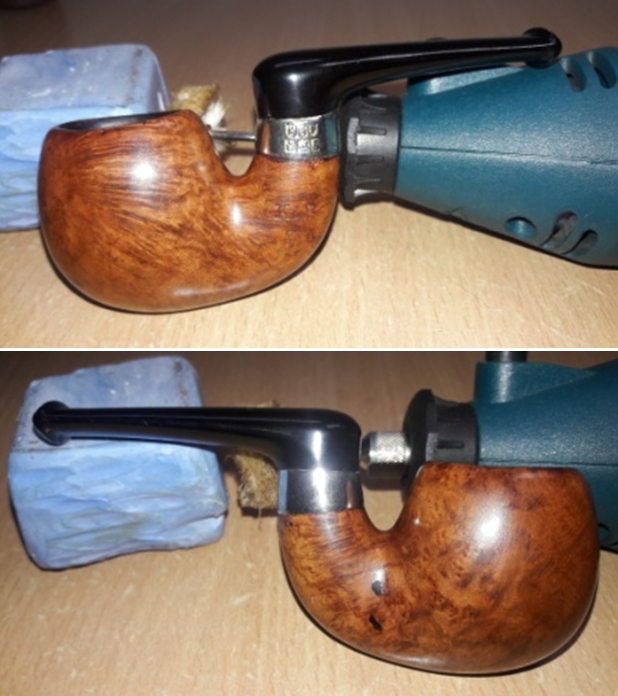
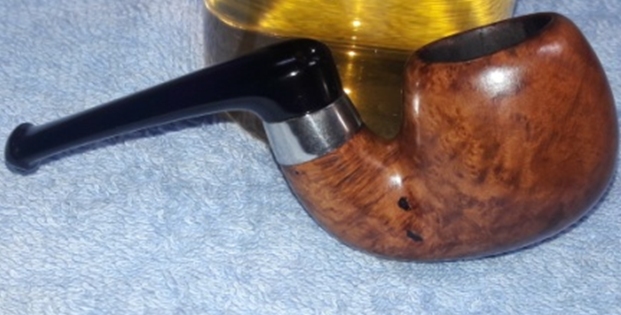
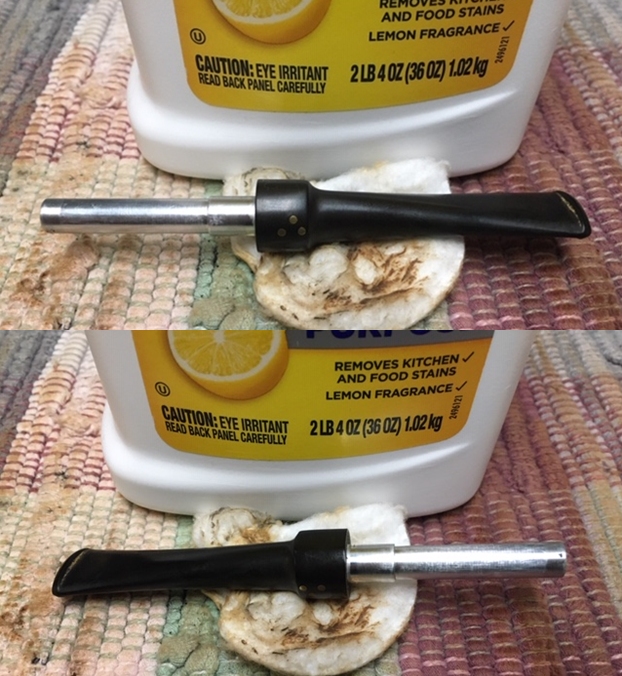
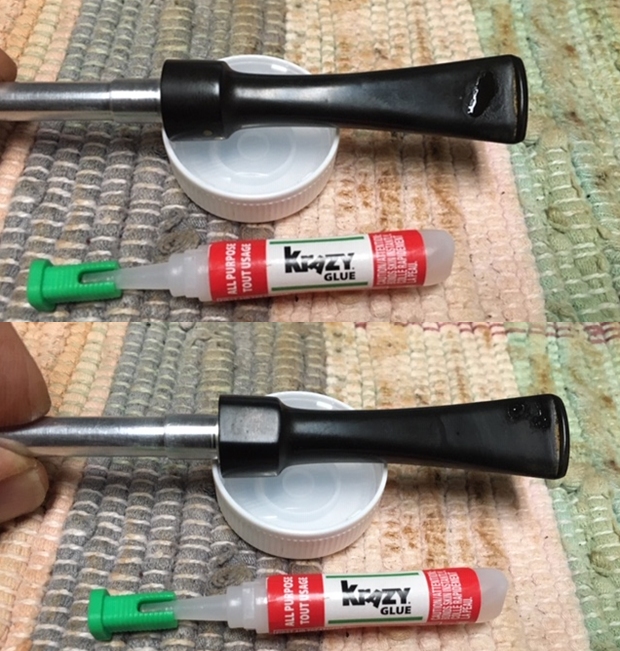
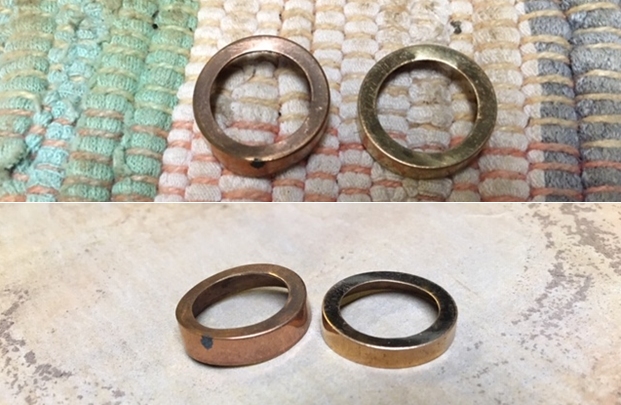 I spread the crack in the shank and pushed some CA Glue into the space. Because of the way the curve in the shank I could not drill and hole at the end of the crack. I clamped it together until the glue cured. I did not glue the band on at this point because I wanted to touch up the gold stamping before I put it in place. Once the repair cured I put the stem on the shank and took a photo to give an idea of what the band looked like with the stem in place.
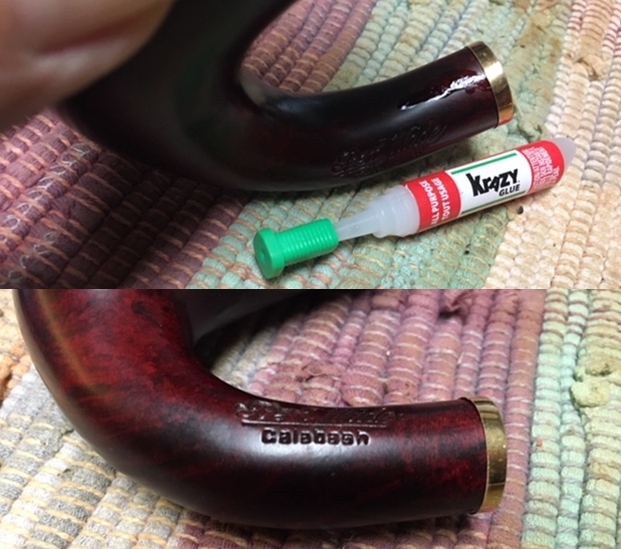
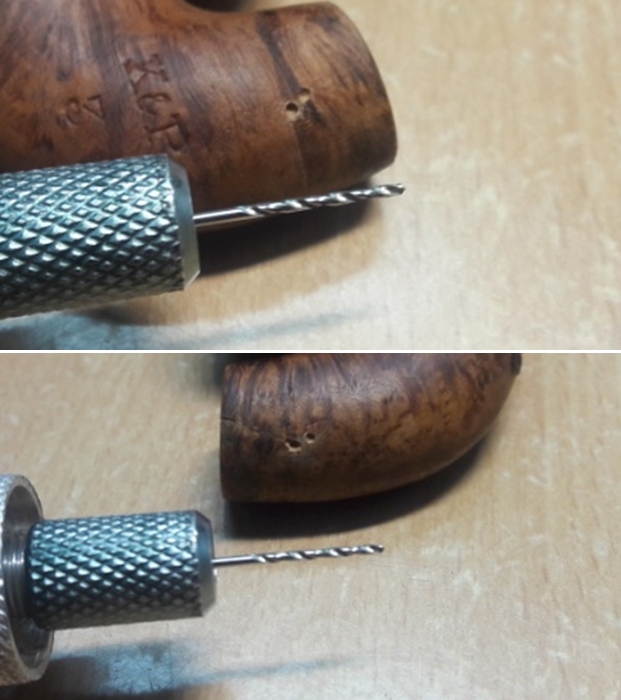
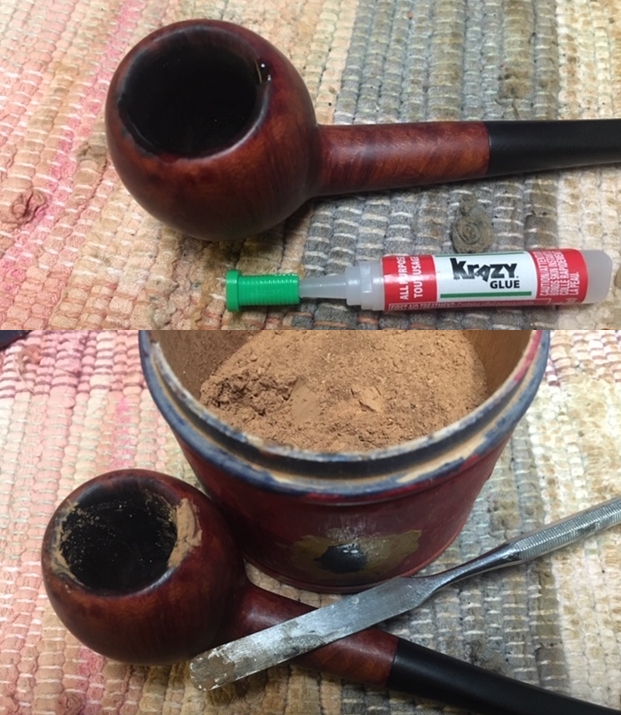
 With that repair complete it was time to deal with the hairline cracks on rim edge. I used a tiny bit to put a hole at the end of each crack and filled them in with a bead of CA glue. The photo below is very blurry but shows the glued are well enough(I apologize for the lousy picture). I also filled in some of the pits in the back side of the bowl.
 Once the repairs had cured I sanded them smooth with a 1500 grit micromesh pad to blend them into the surface of the surrounding briar.
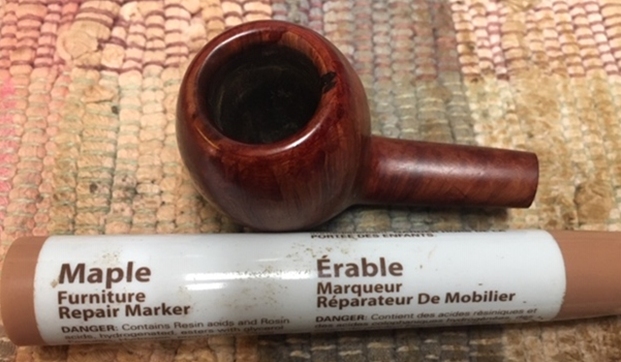
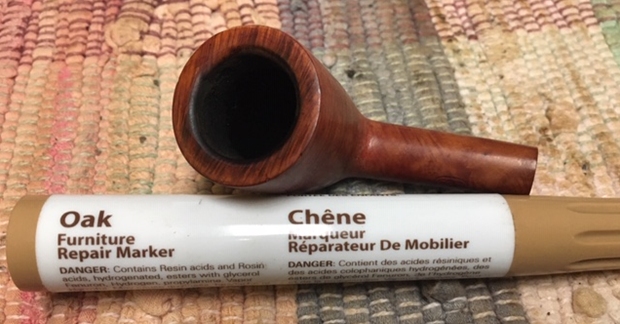
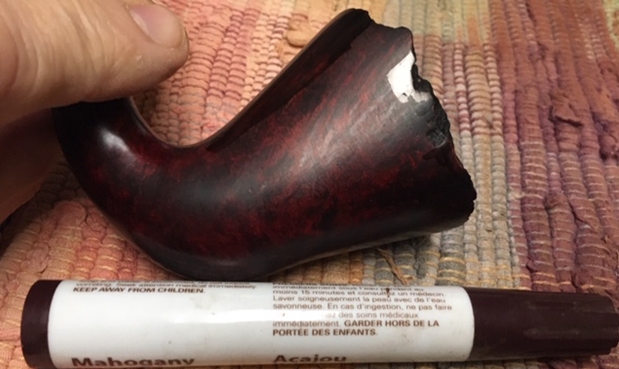
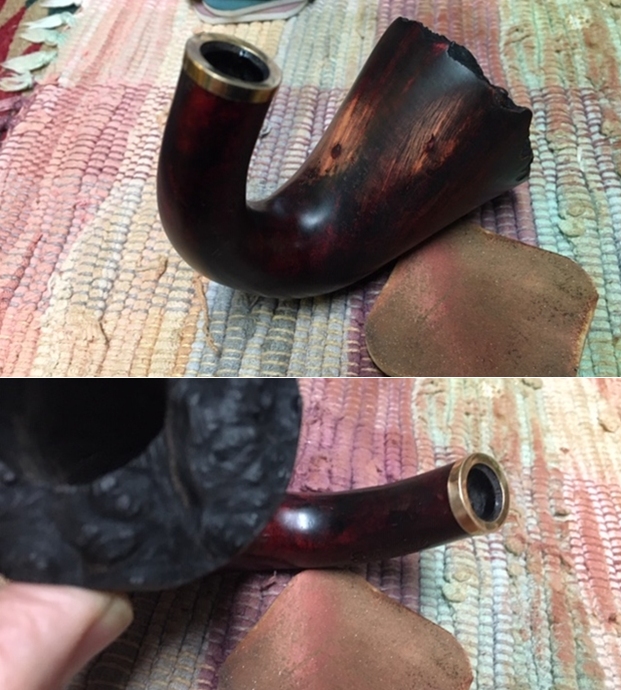 I have found that the Mahogany stain pen I have blends really well with oxblood or cordovan stain. I touched up the sanded areas on the shank top, right side of the bowl at the topo and the back of the bowl with the pen and let it cure.
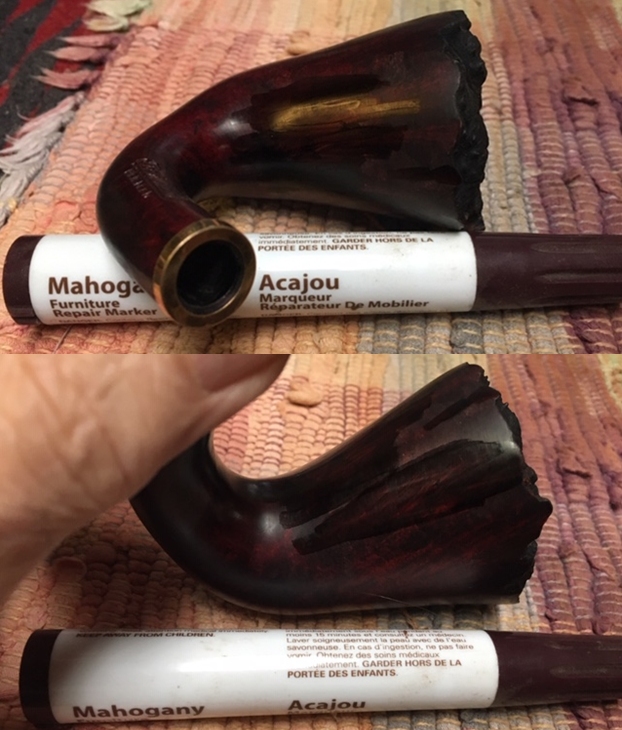
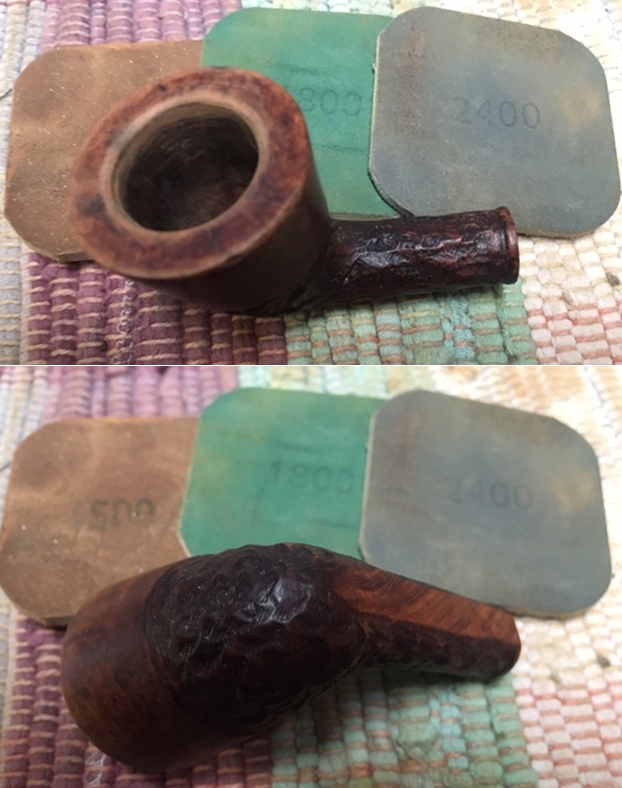
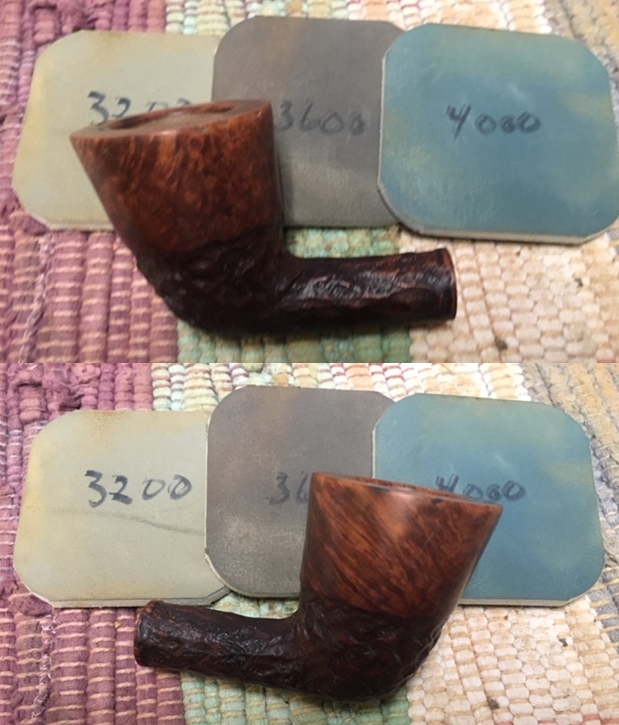
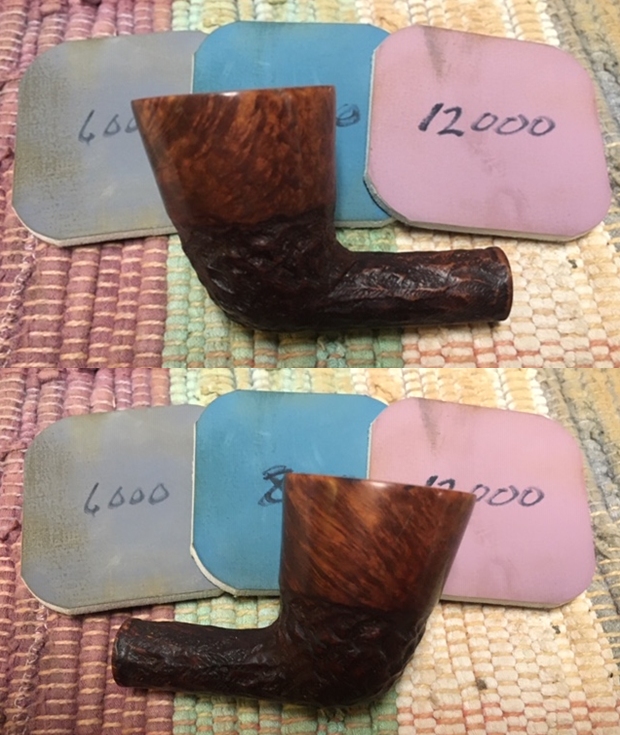
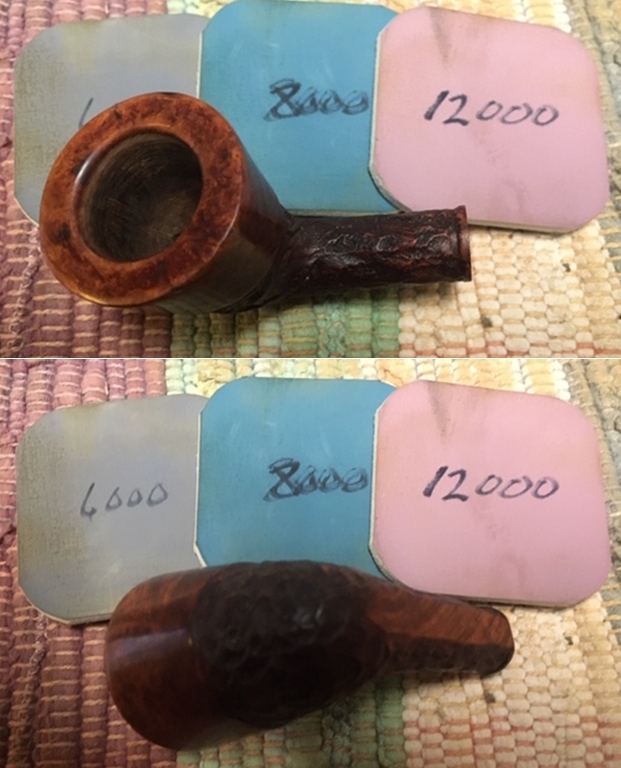
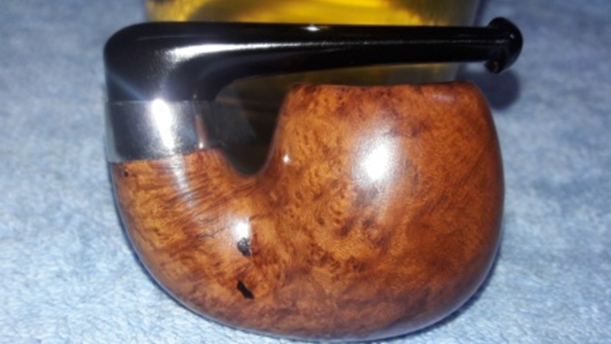
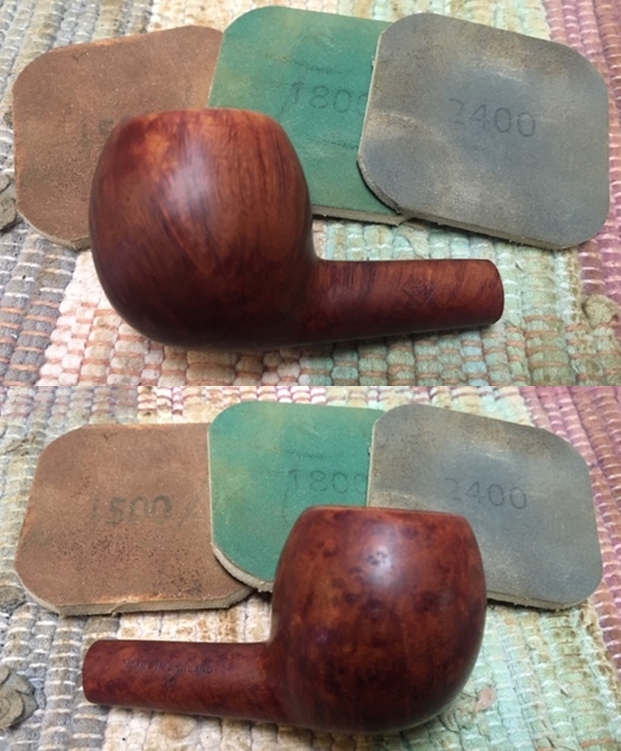
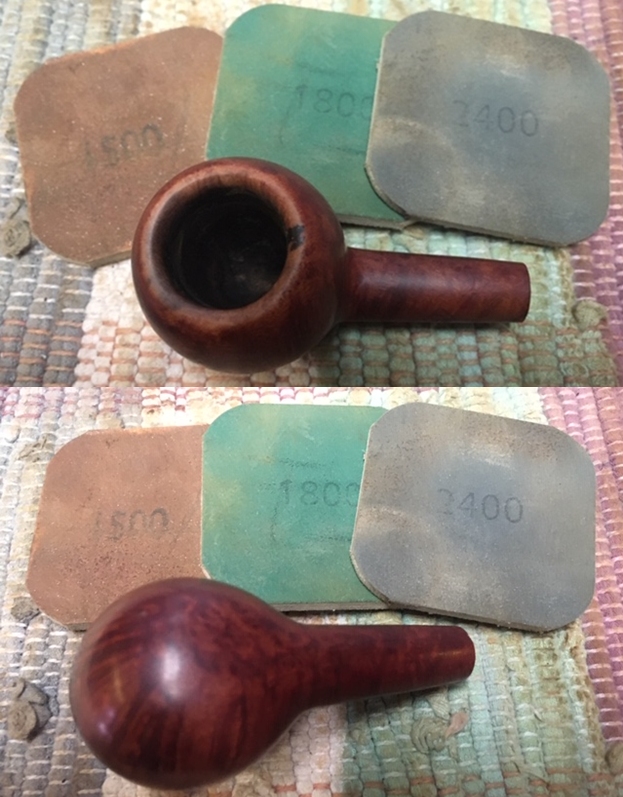
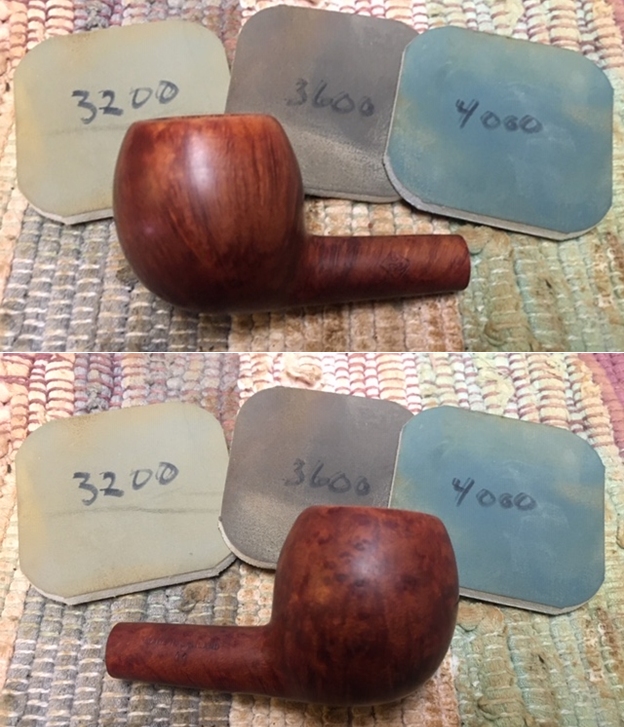
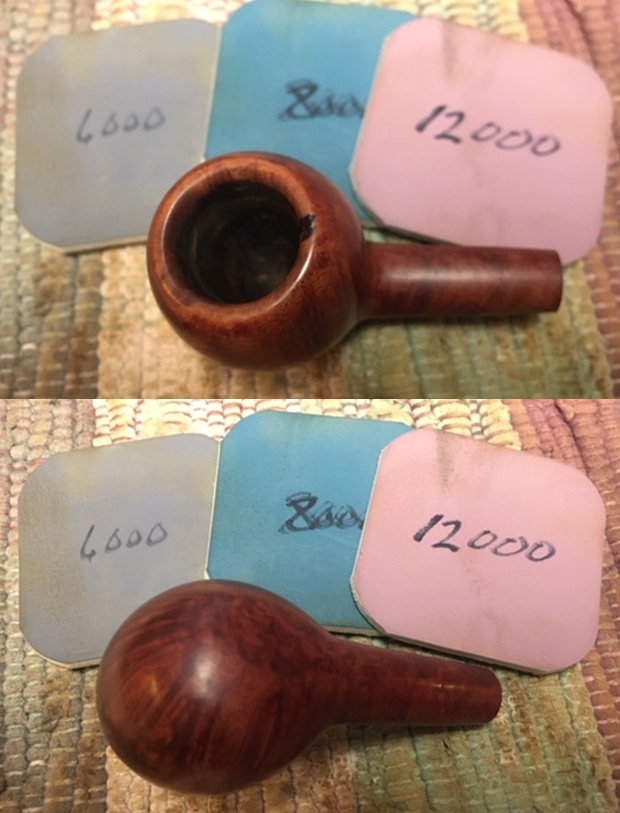
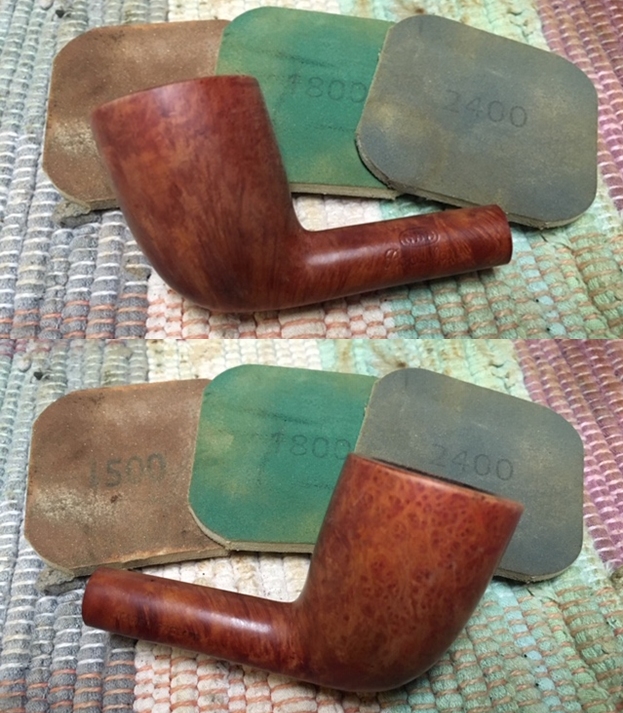
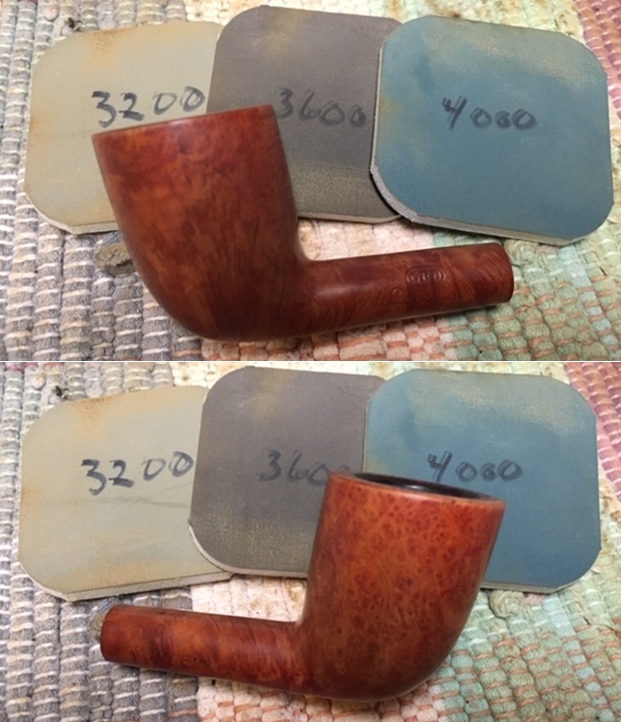
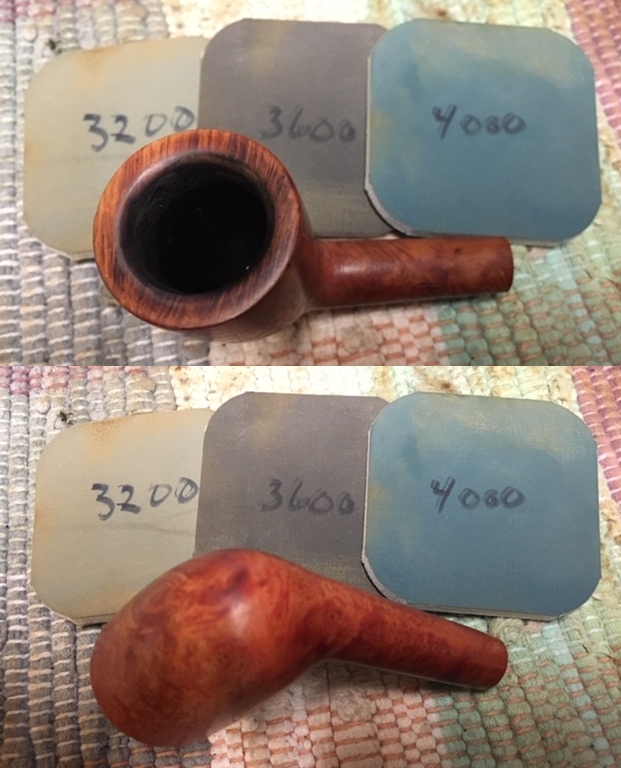
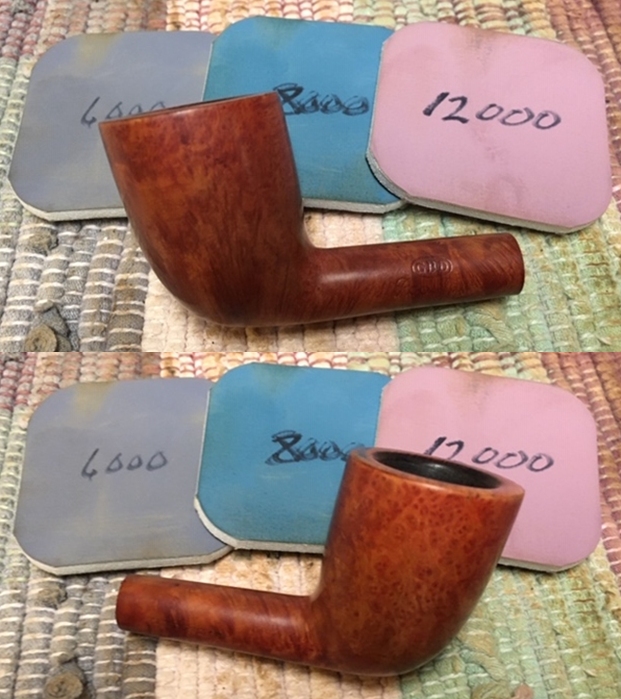
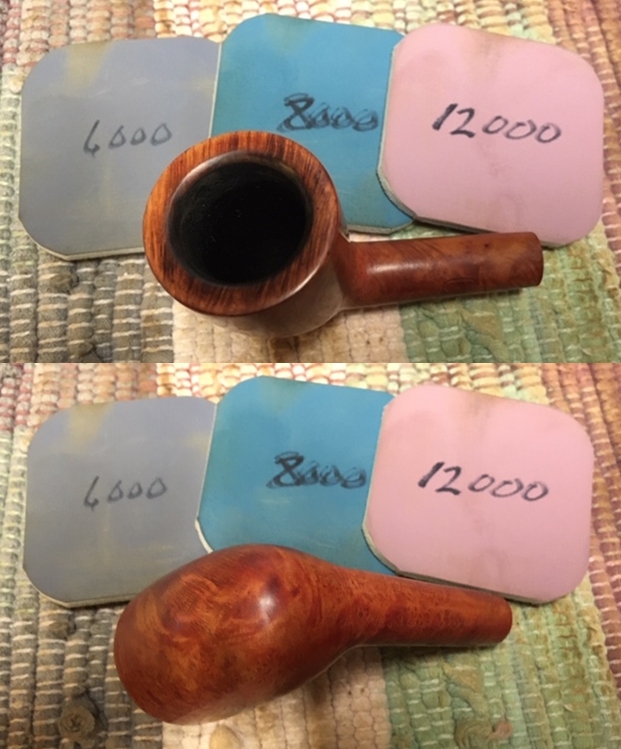
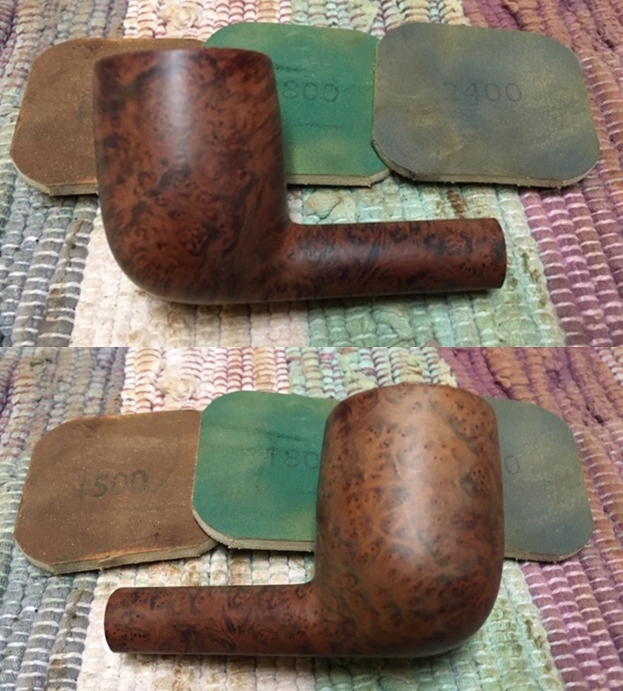
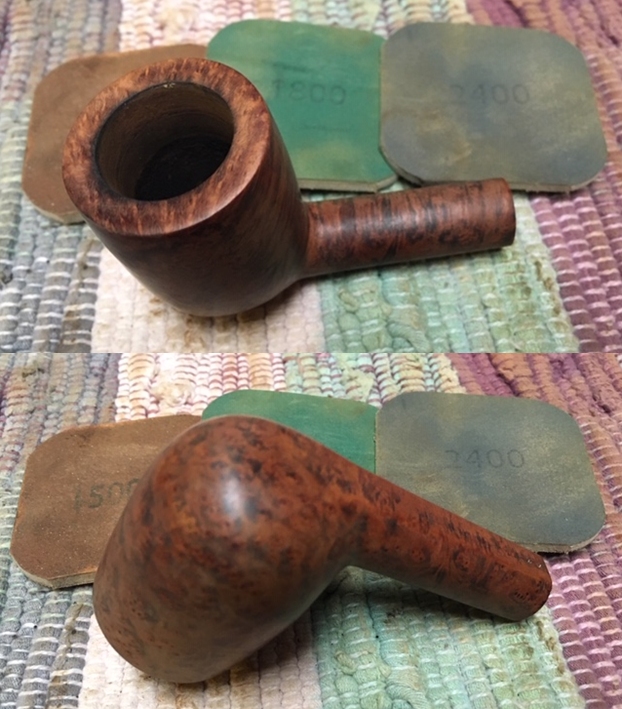
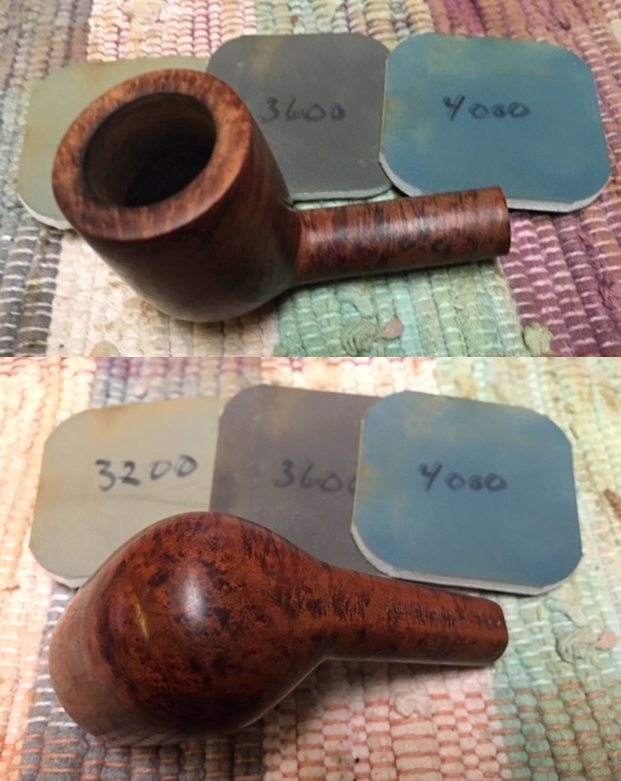
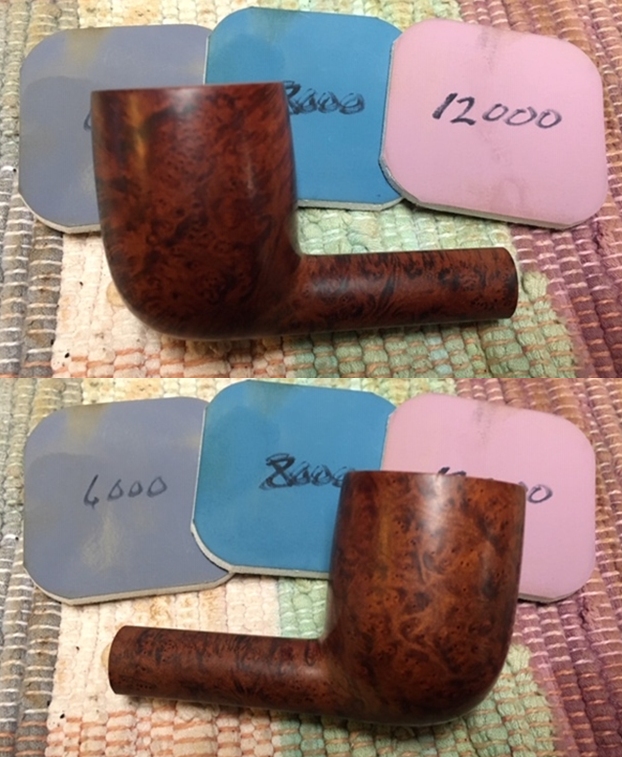
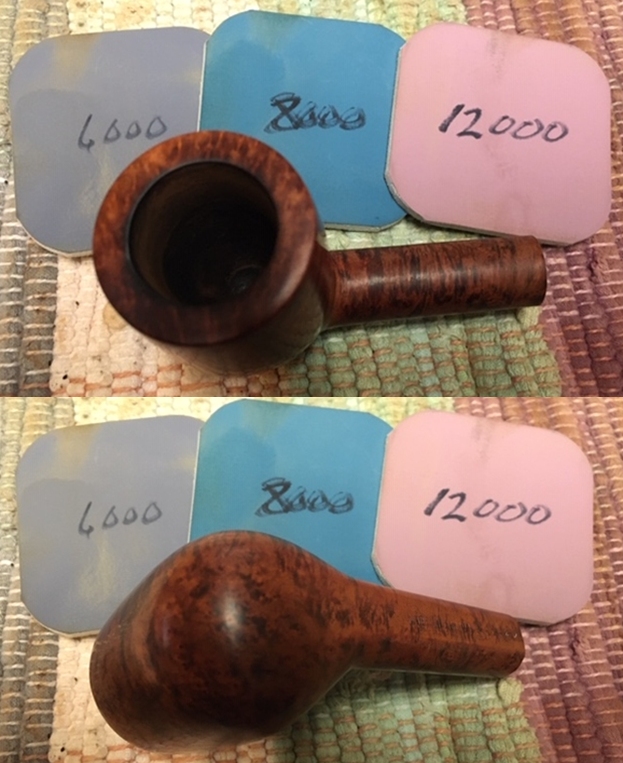
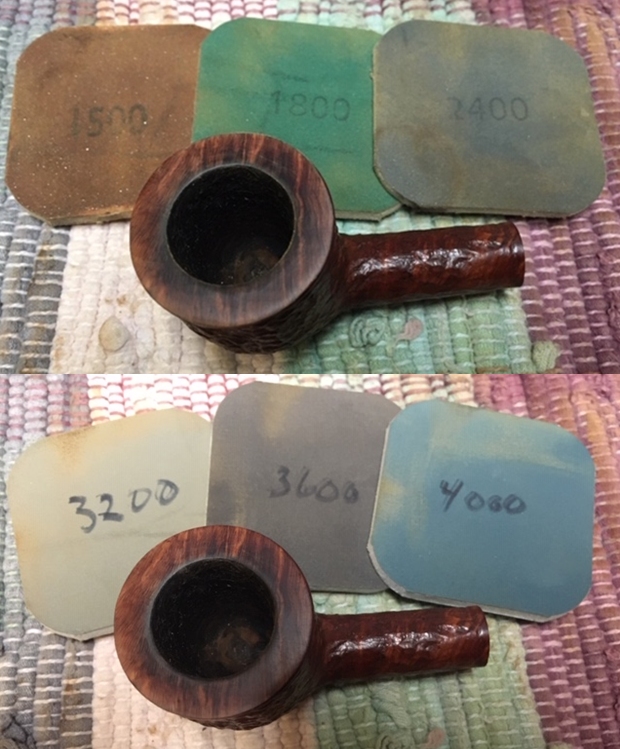
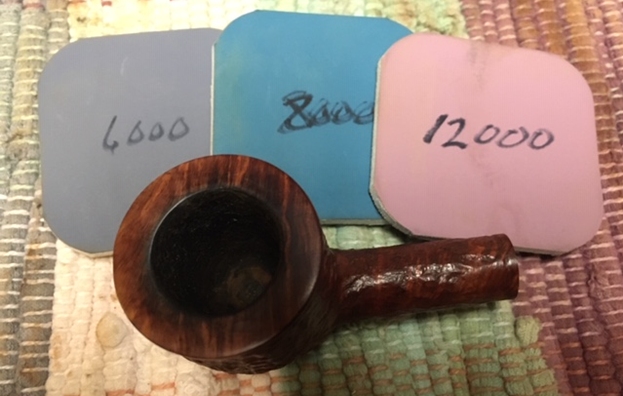
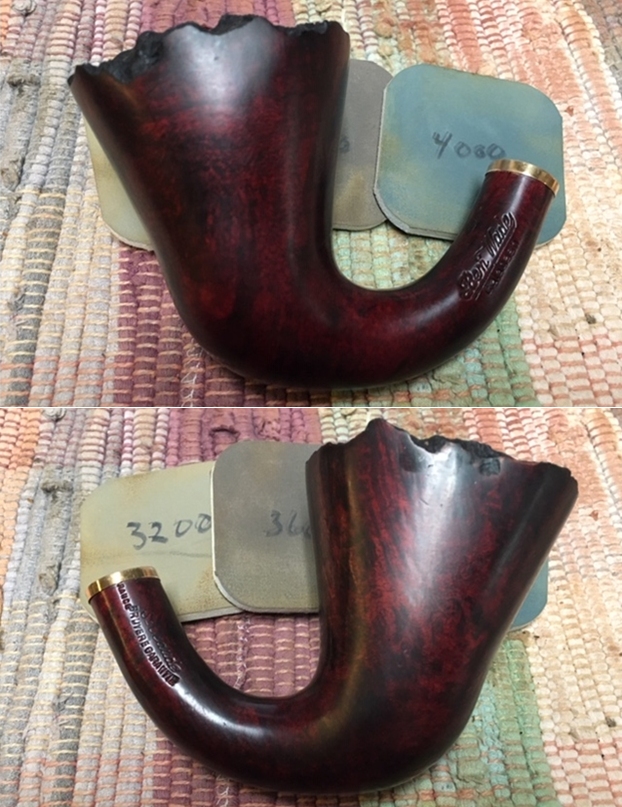
 I polished the briar with micromesh sanding pads – 1500-12000 grit pads. I wiped the bowl down with a damp cloth after each sanding pad to remove the debris. The bowl began to look very good. I also really like the look of the polished brass band on the shank end.


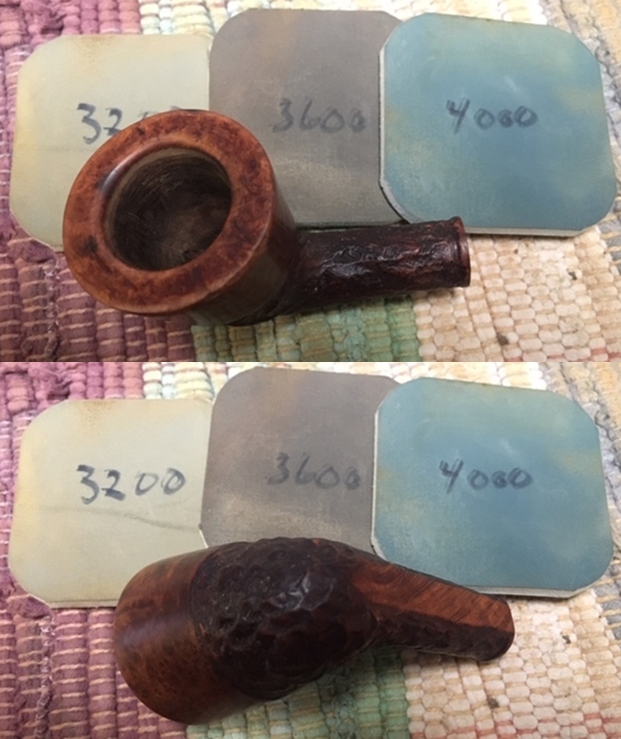
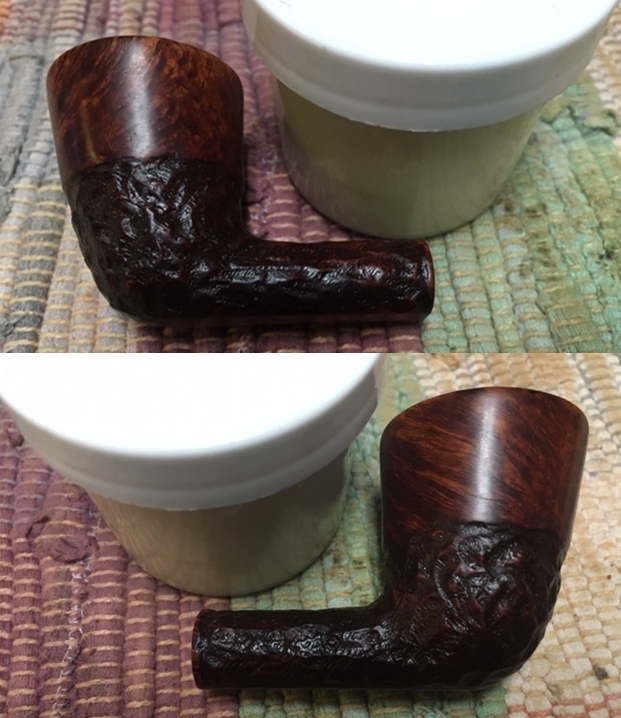
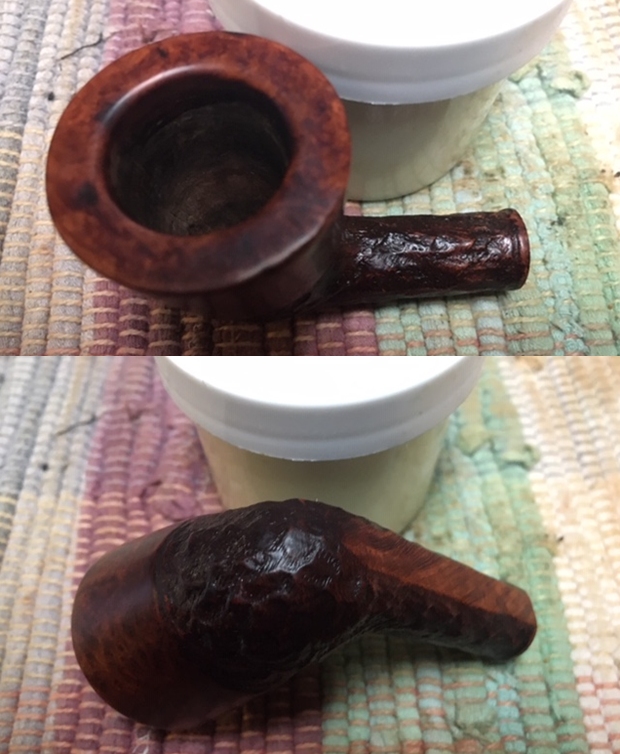
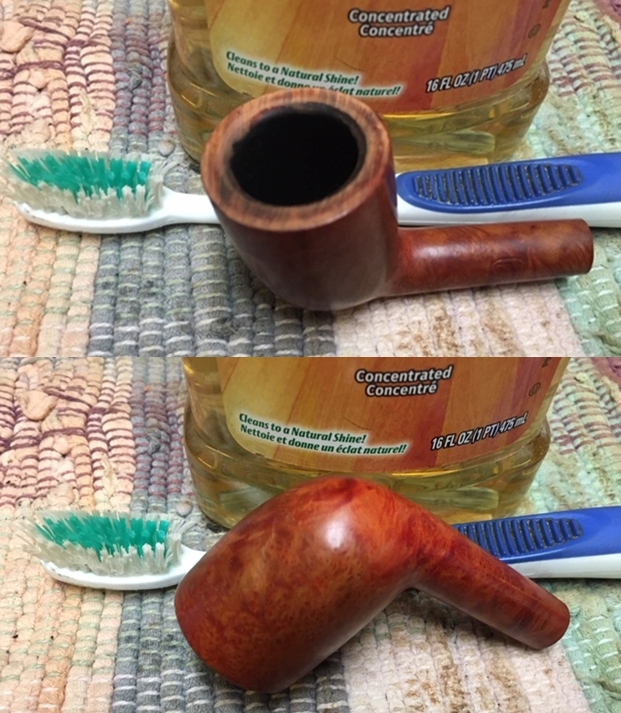
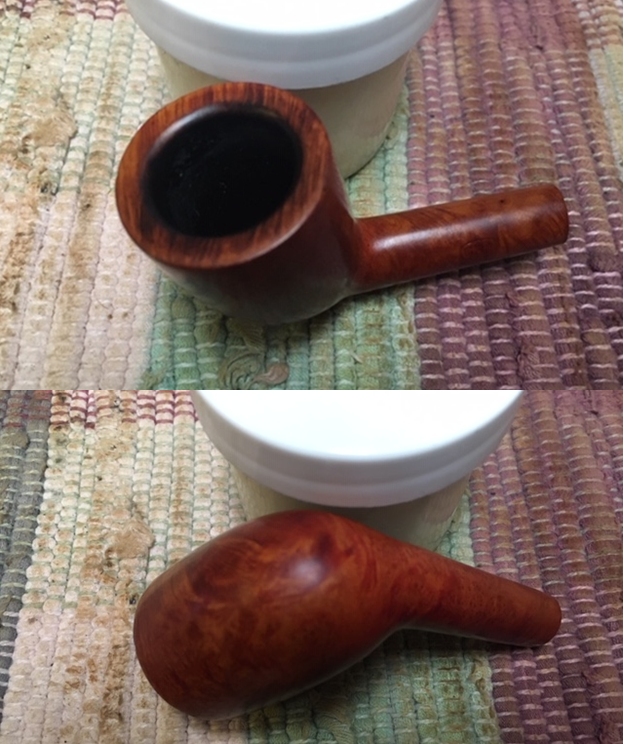
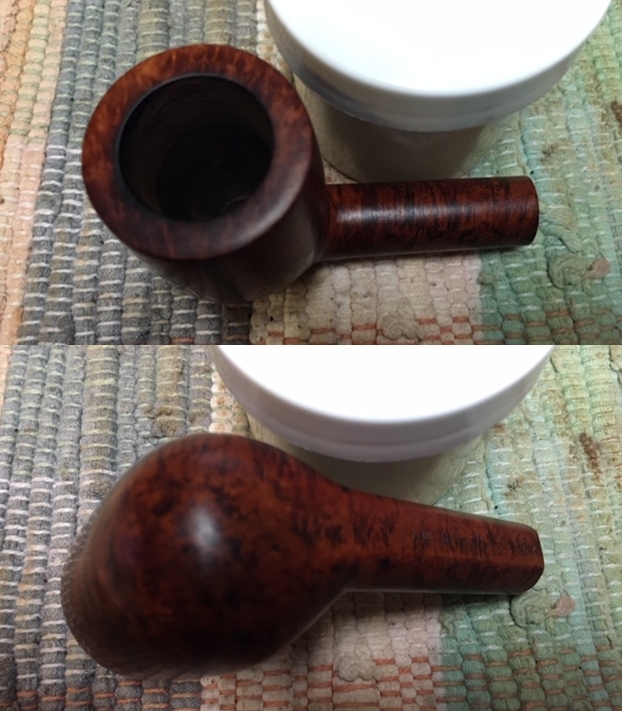
 I rubbed the bowl down with Before & After Restoration Balm. I worked it into the briar with my fingertips and into the plateau with a horsehair shoe brush. I let it sit for about 10 minutes and buffed it off with a soft cotton cloth. The product cleans, protects and preserves the briar and leaves it enriched and beautiful.
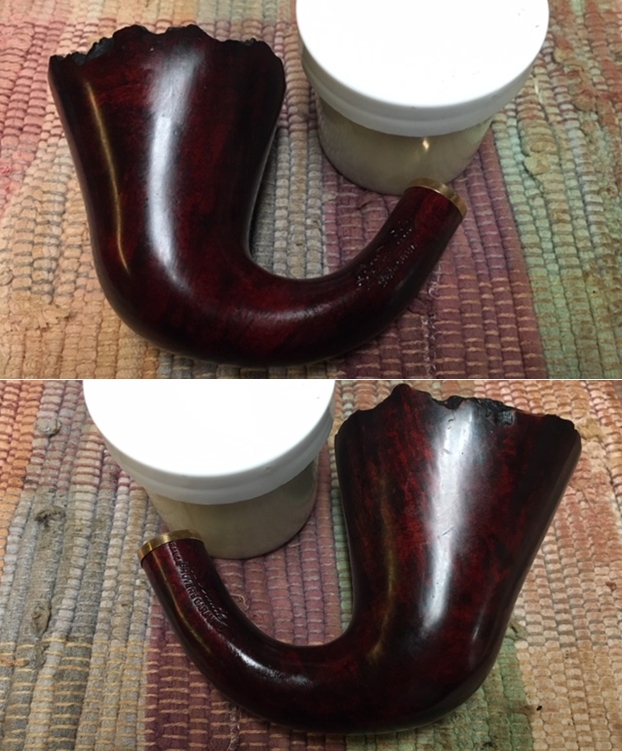
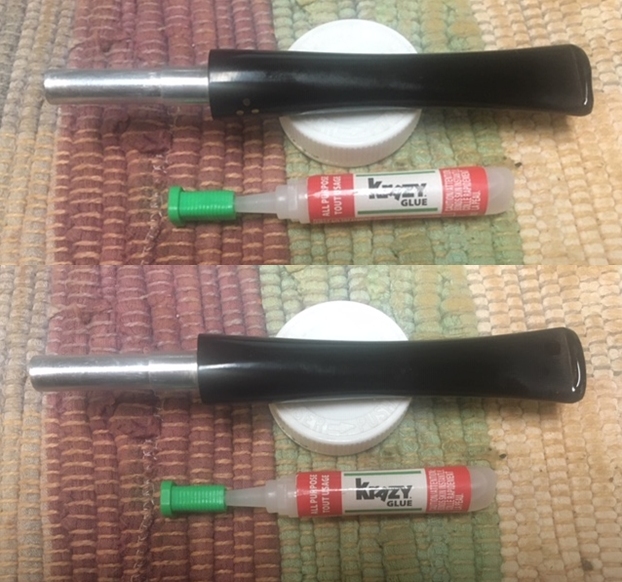
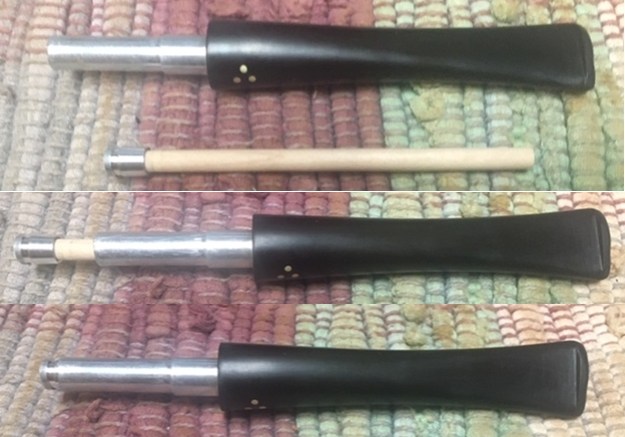
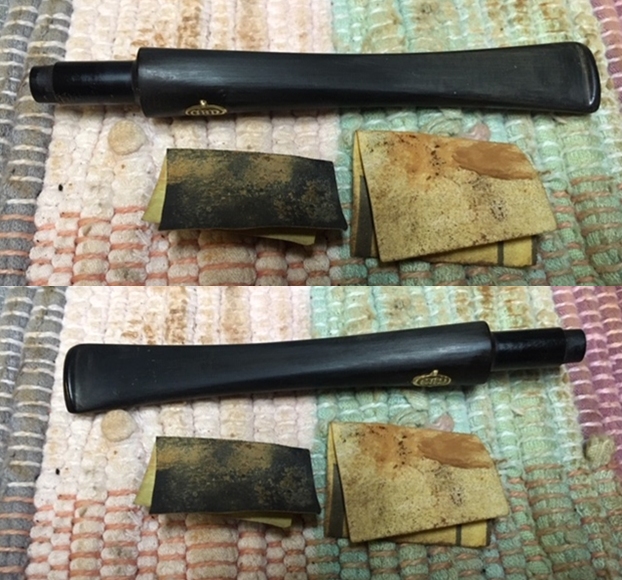
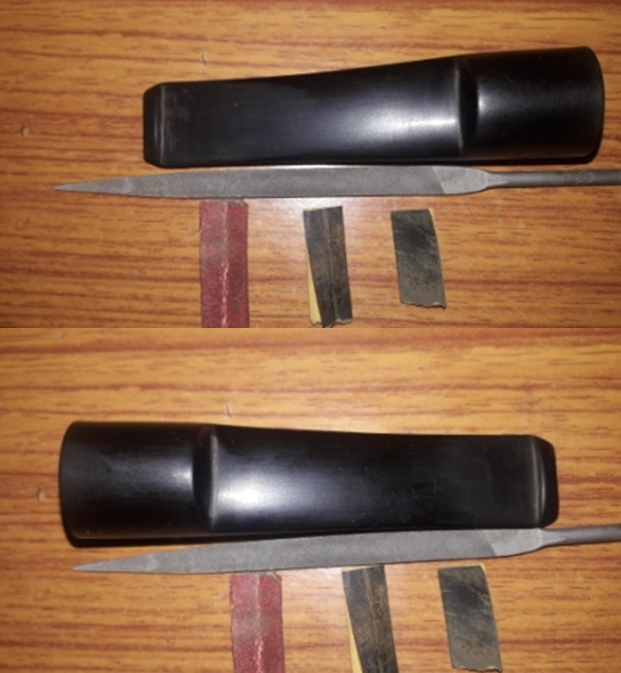
 I set the bowl aside and turned to the stem. I sanded the tooth chatter on both sides of the stem with particular attention to the large tooth mark on the underside of the stem just ahead of the button. I cleaned the tooth mark with alcohol on a cotton swab. I filled it in with a bead of clear CA glue and set it aside to cure. When the repair cured I used a needle file to sharpen the edge and flatten the repair.
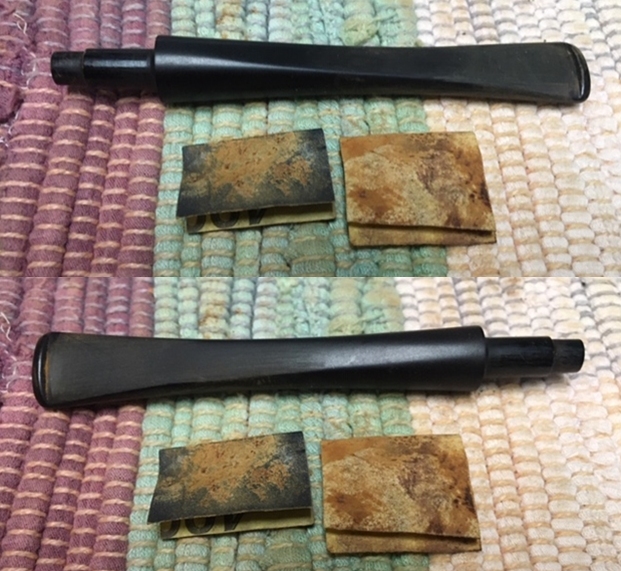
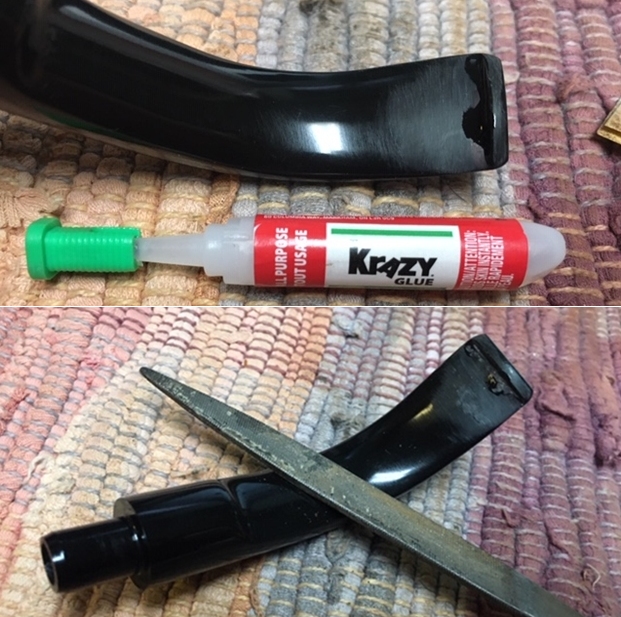 I sanded the repaired area and the rest of the tooth chatter areas on both sides of the stem with 220 grit sandpaper and followed up with a piece of 400 grit wet dry sandpaper.
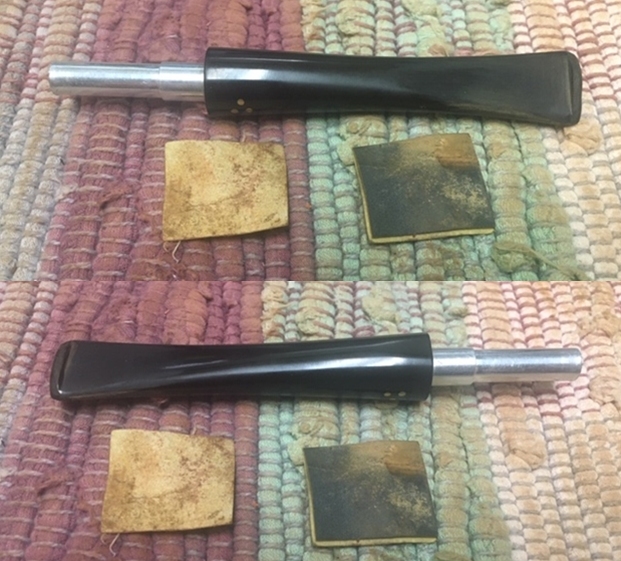
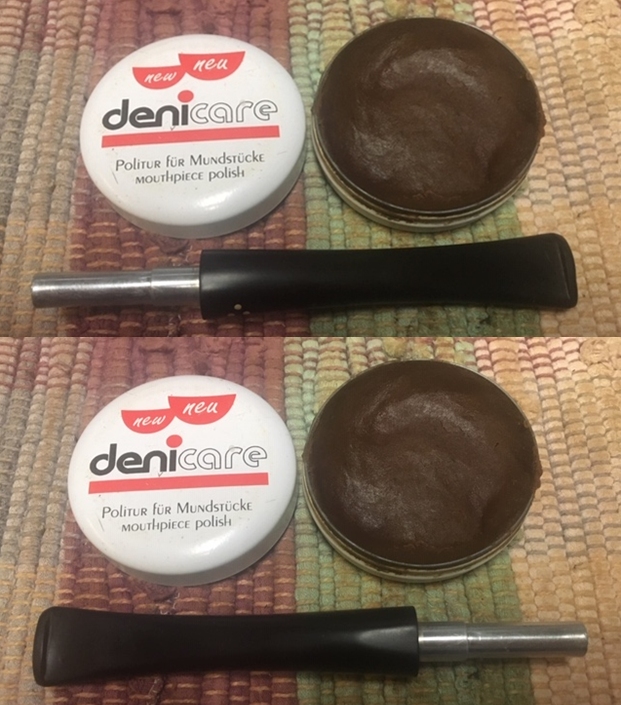
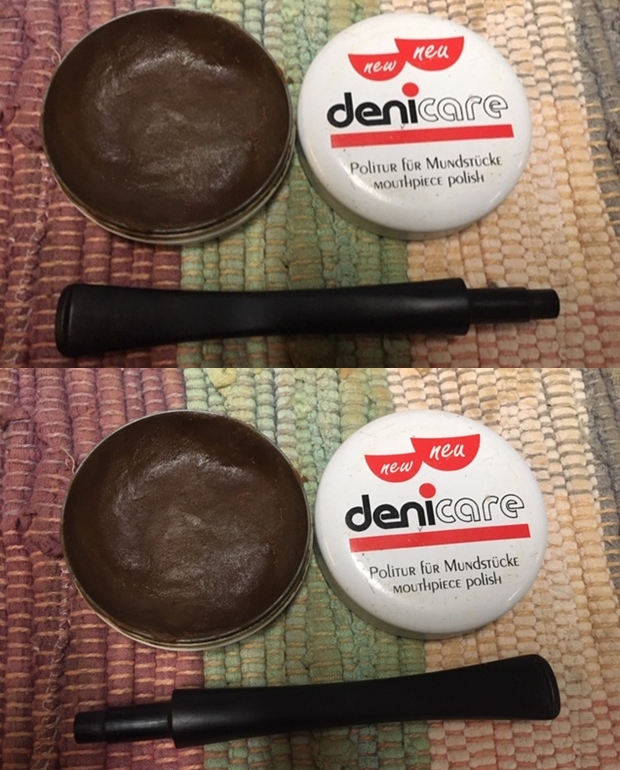
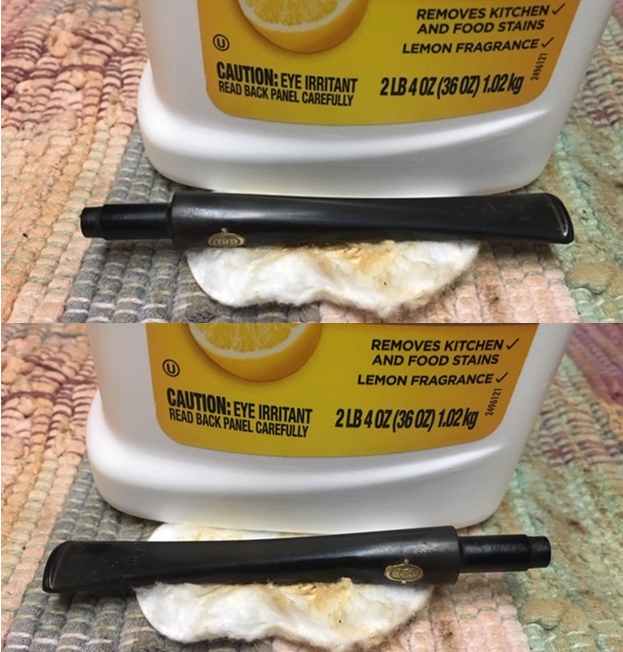
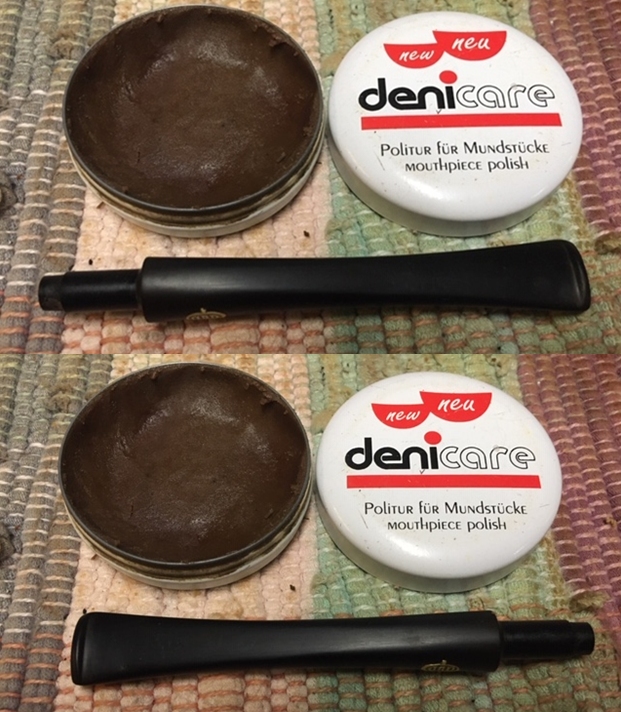
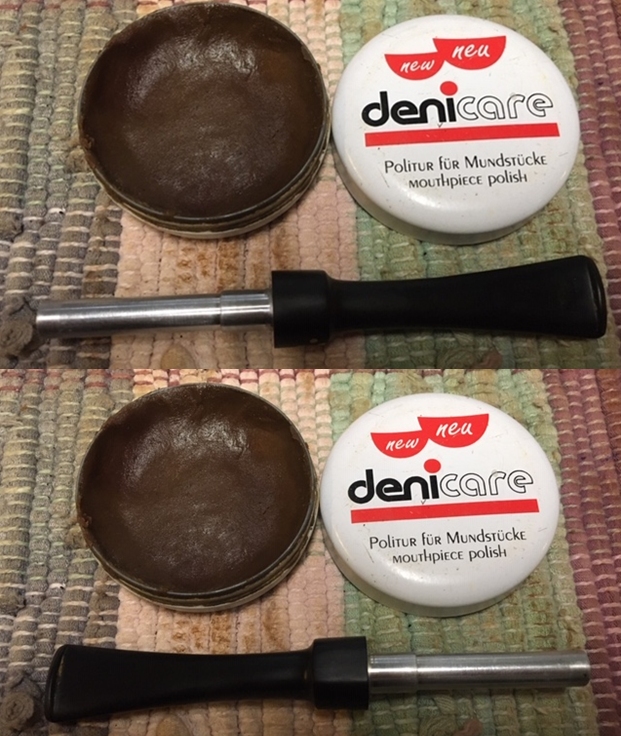
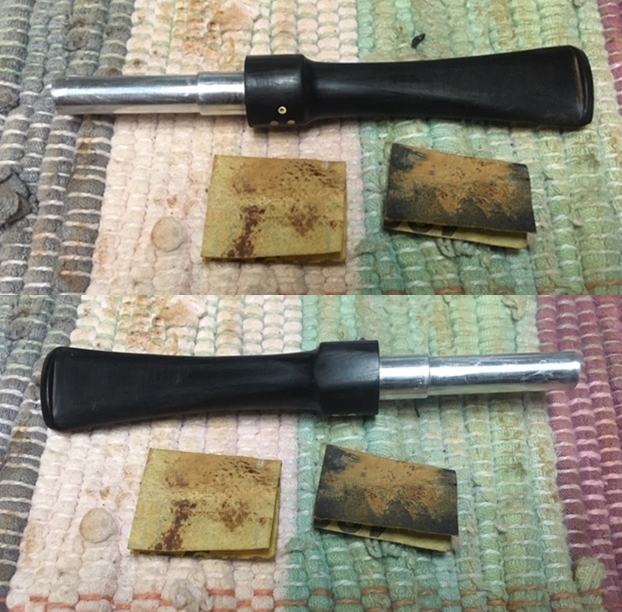
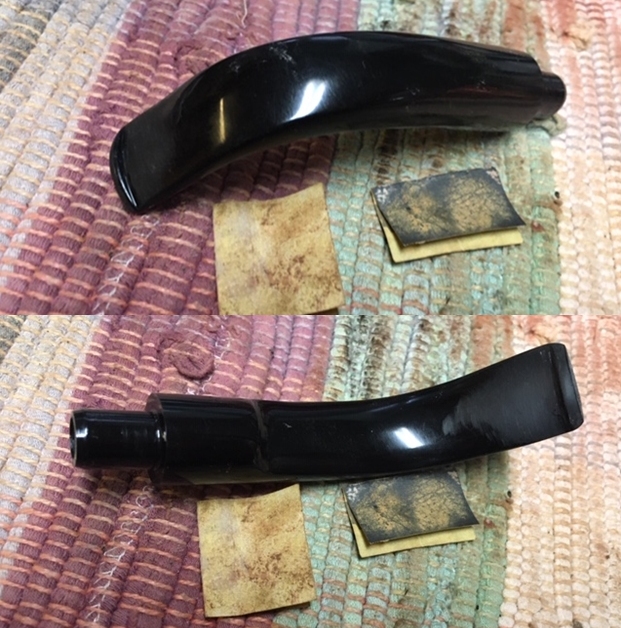 I polished the stem with Denicare Mouthpiece Polish from a tin of it I have in the drawer here. It is a gritty red paste that I rub on with my finger tips and work into the surface of the stem and button and buff off with a cotton pad. It gives me a bit of a head start on the polishing work.
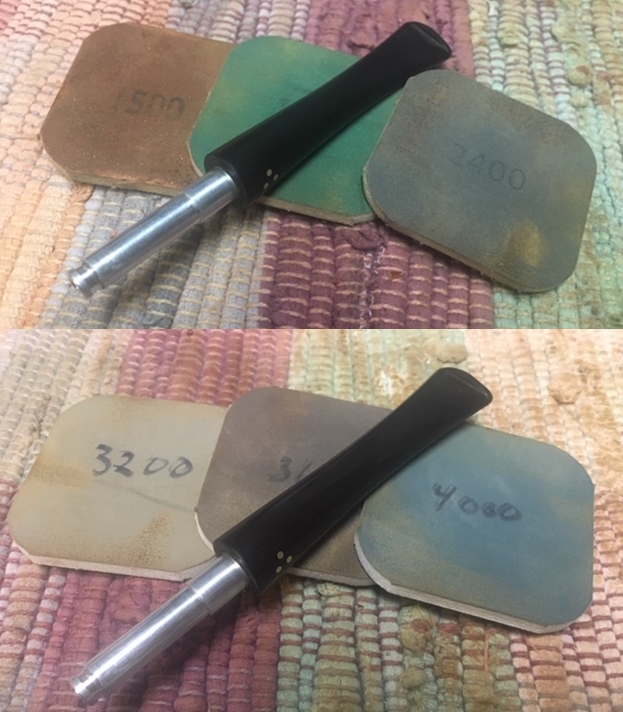
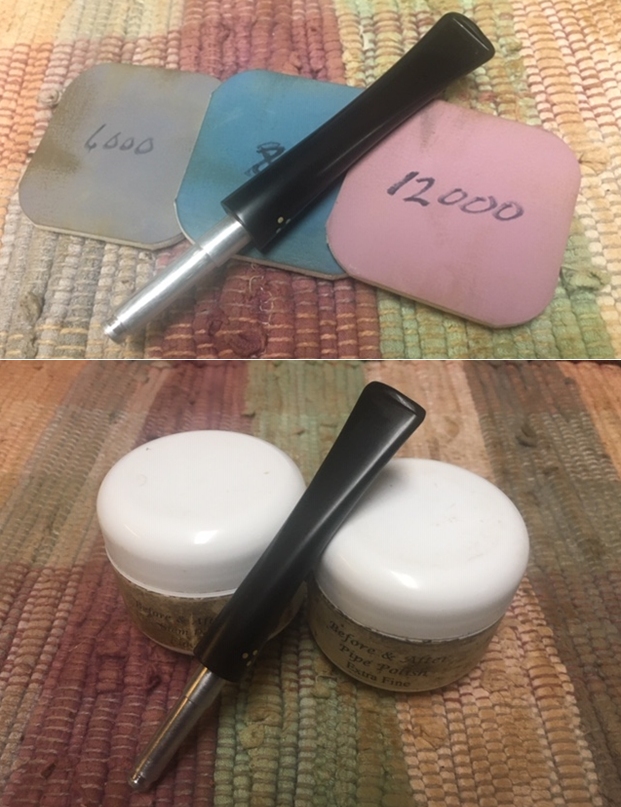
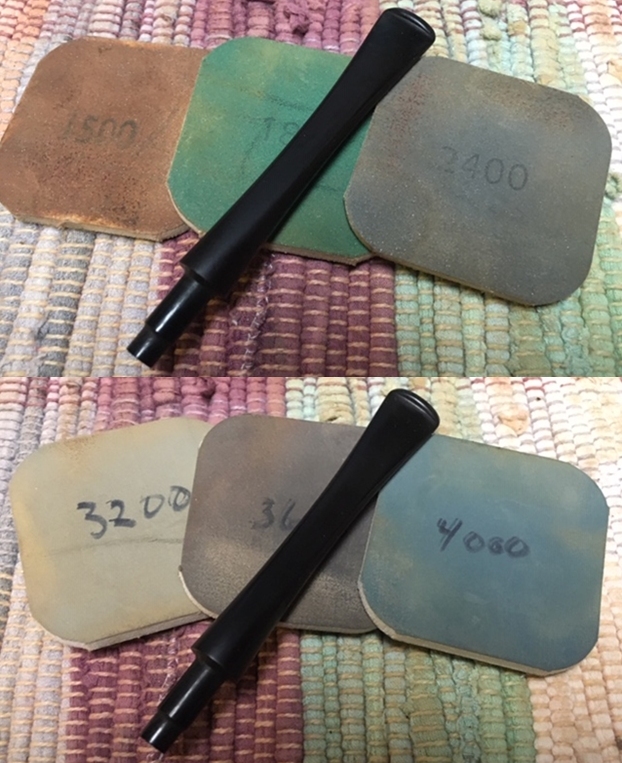
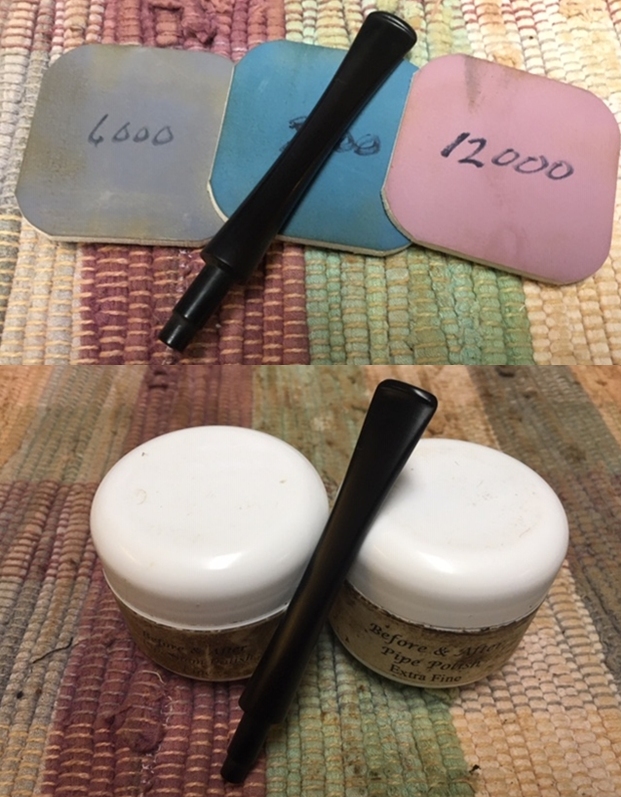
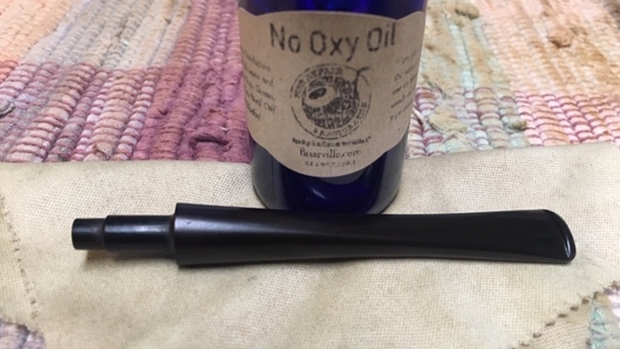
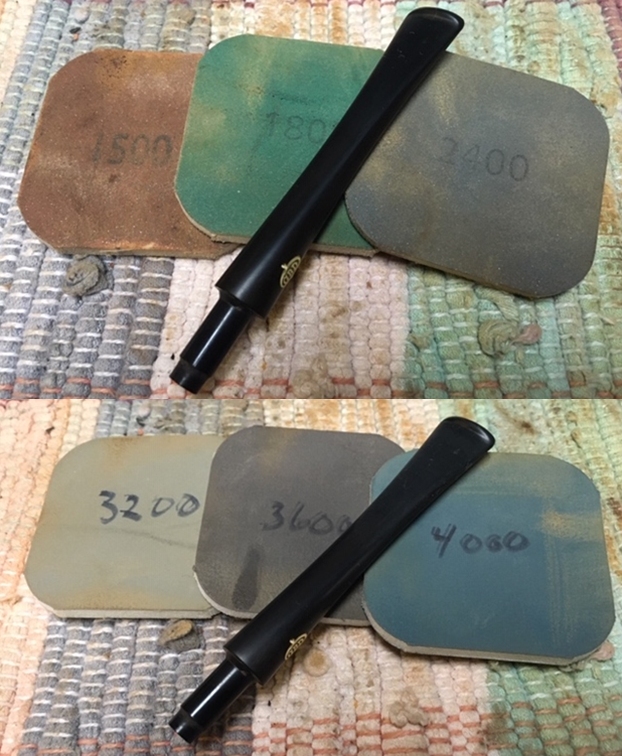
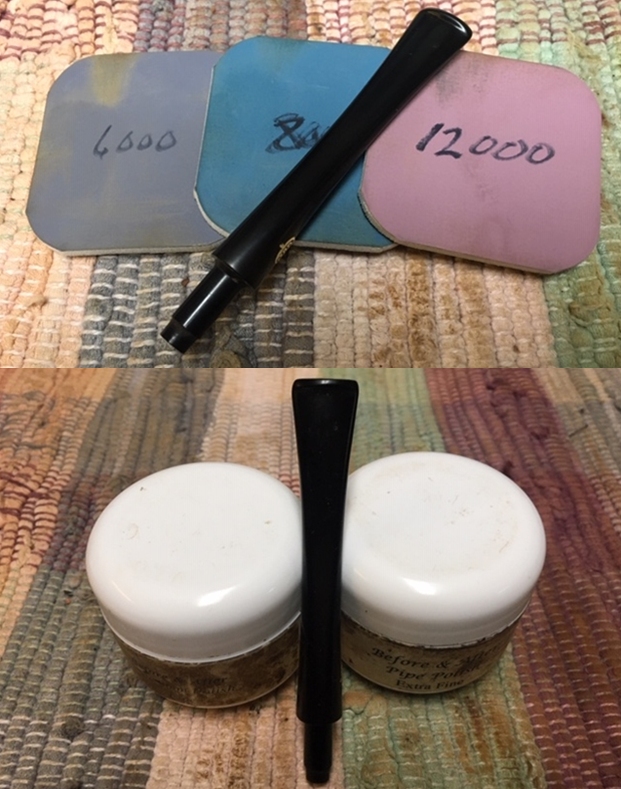
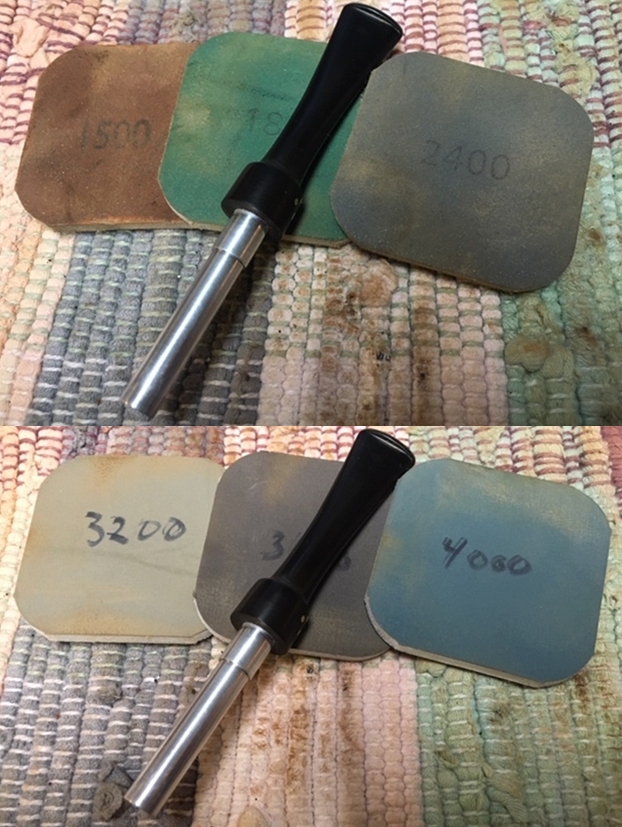
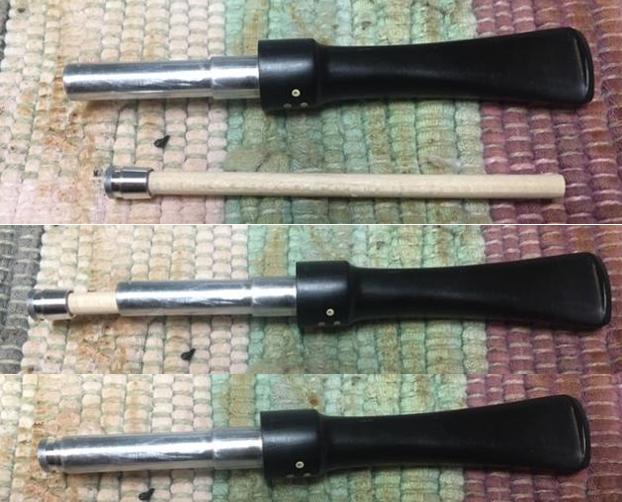
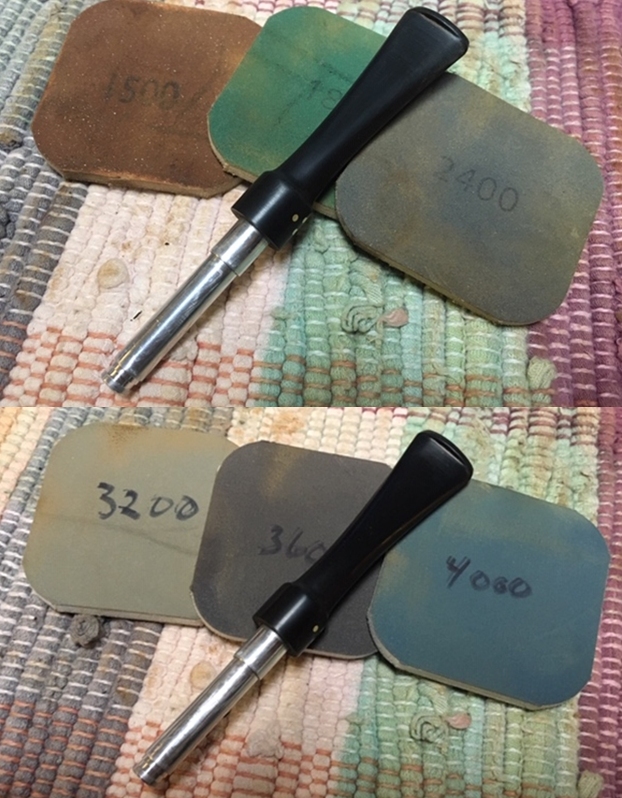
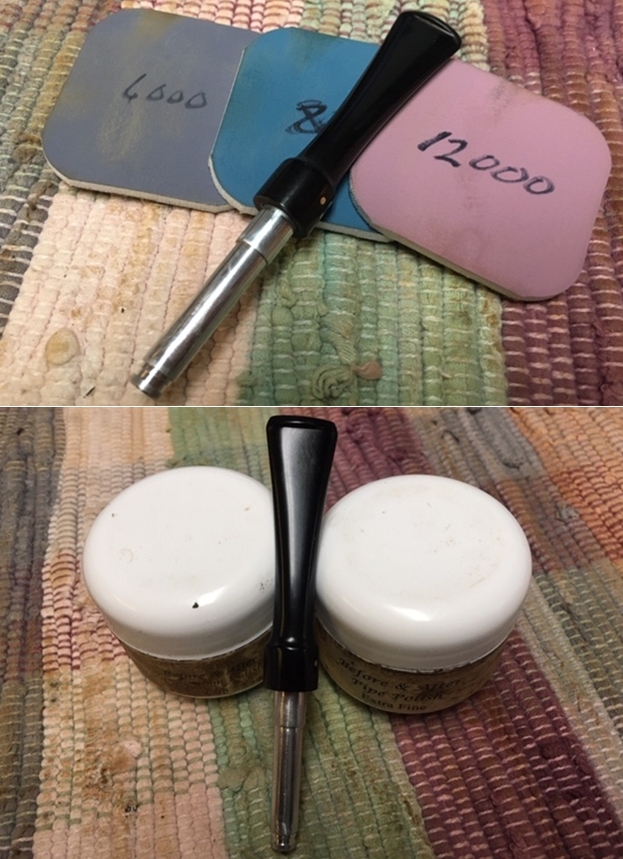
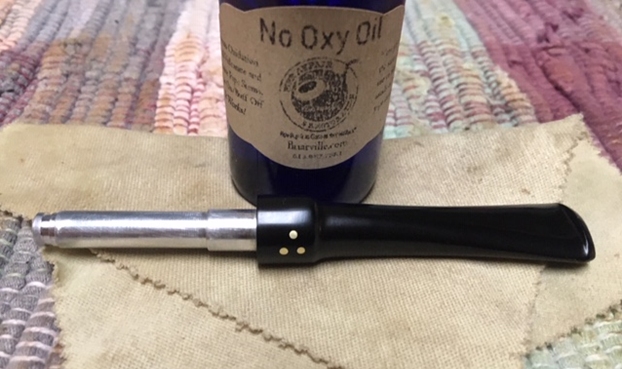
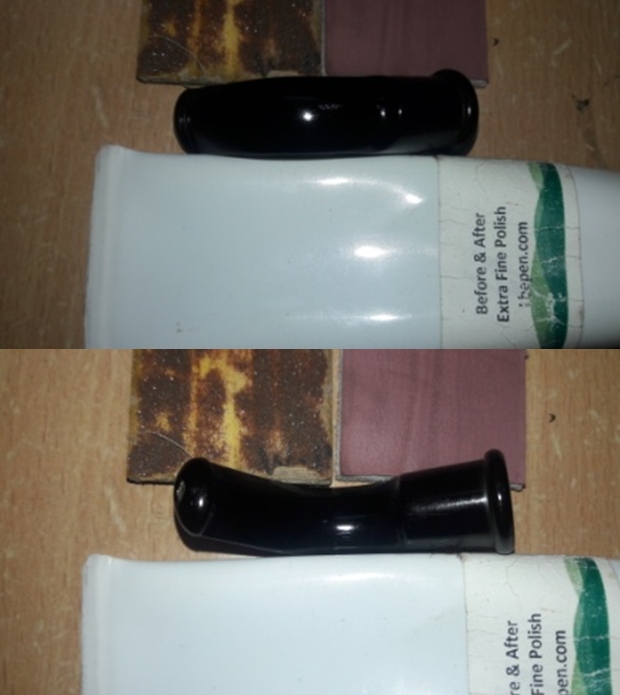
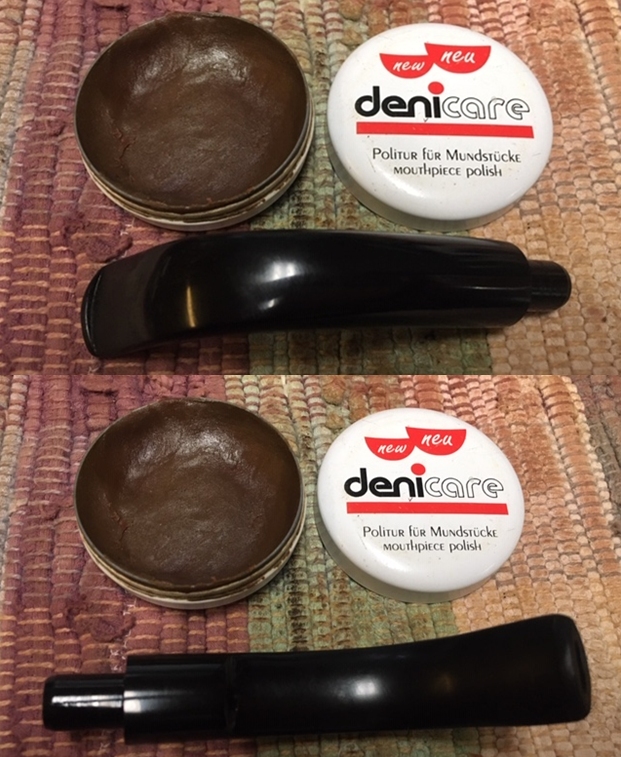 I polished the stem with micromesh sanding pads – wet sanding with 1500-12000 grit sanding pads. I wiped it down after each sanding pad with Obsidian Oil. I polished it with Before & After Pipe Stem Polish – both Fine and Extra Fine. I buffed the stem with a soft cloth to raise the shine.
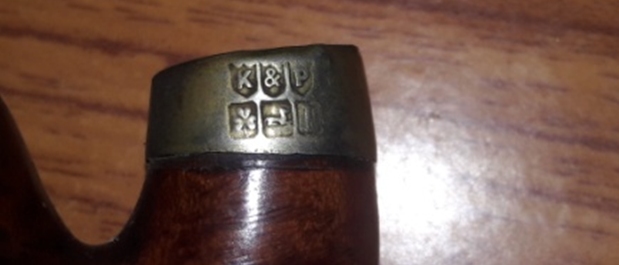
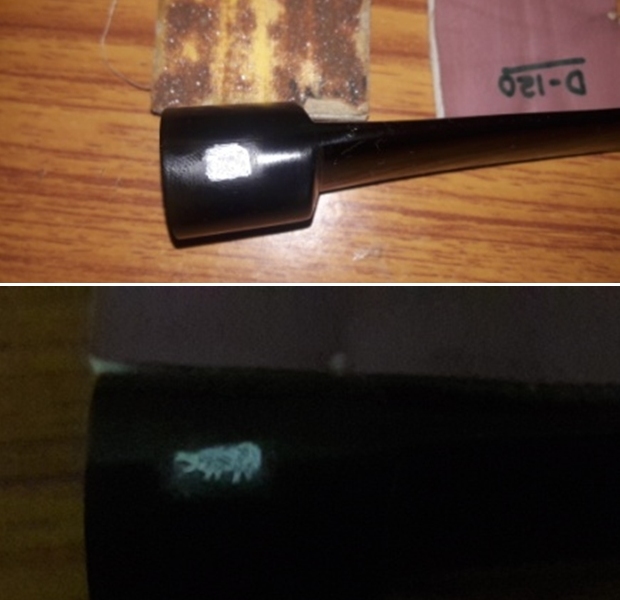
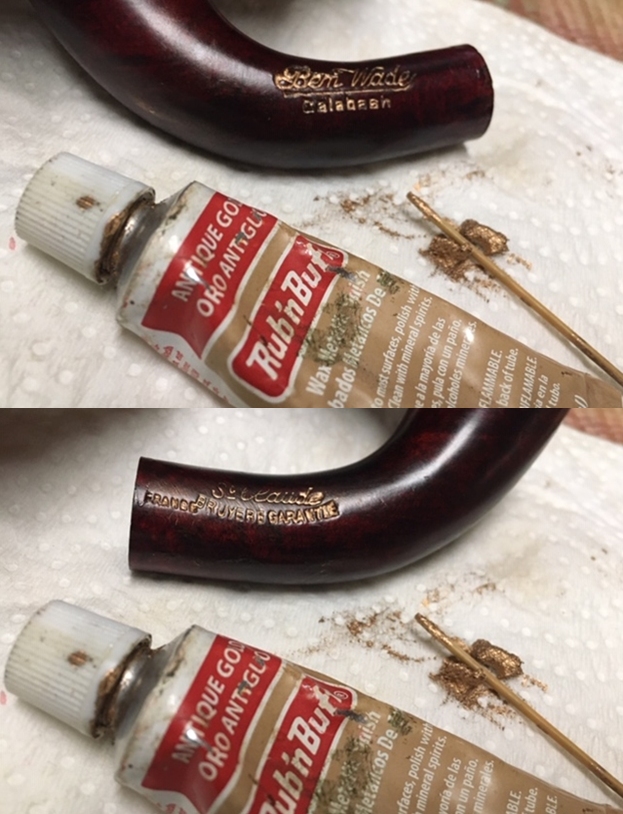
 I paused in my polishing of the stem to touch up the gold leaf on the stem side and the sides of the shank. I used Rub’n Buff Antique Gold and pressed it in the stamping with the end of a tooth pick. I let it sit for a few minutes then buffed it off with a soft damp cloth to remove the excess.
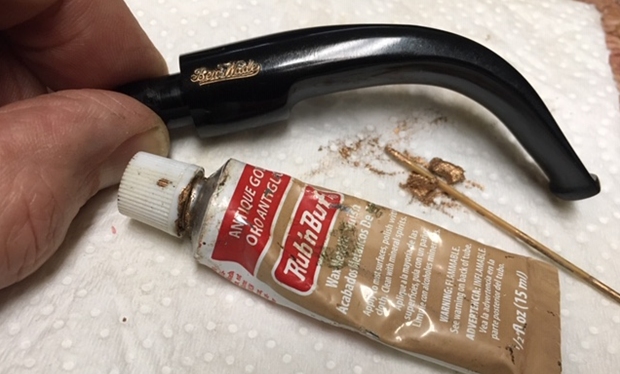
 I went back to polishing the stem with Before & After Pipe Polish – both Fine and Extra Fine and buffed the stem with a clean cotton rag. The stem looks really good at this point.
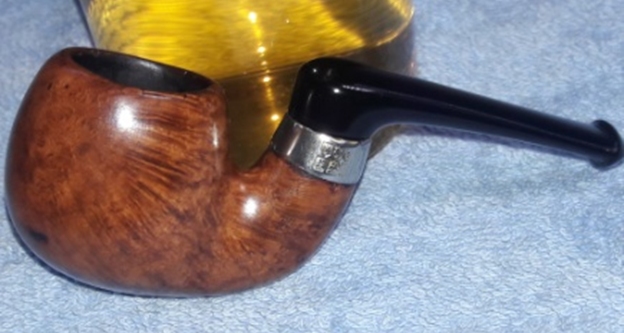
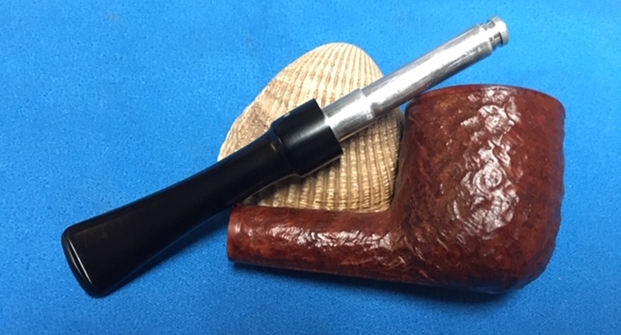
 I used a dental spatula to spread some white glue around the shank end. Once the glue was evenly spread I pressed the band in place. I adjusted it so that it fit well. I set it aside to cure for a while as I wanted the band to be permanent. It looks very good now.
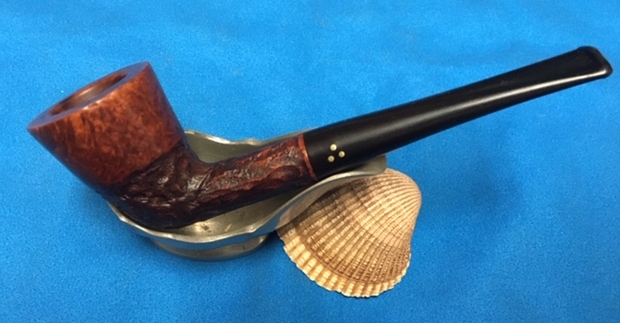
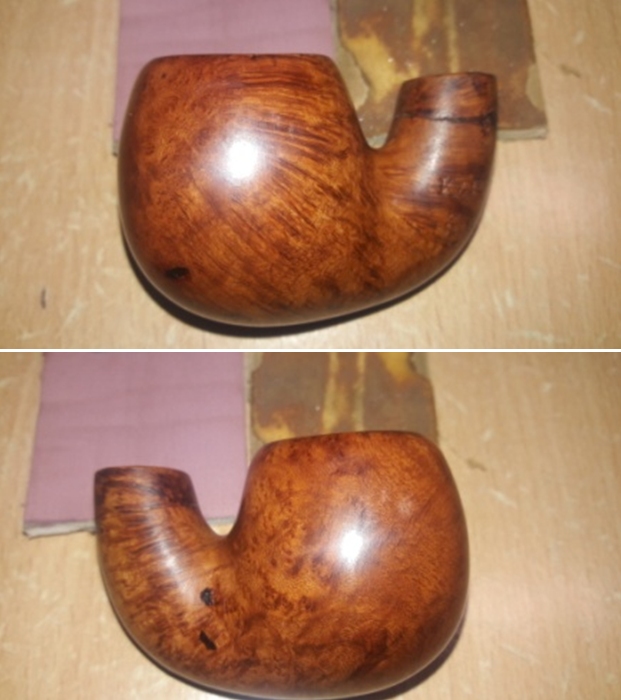
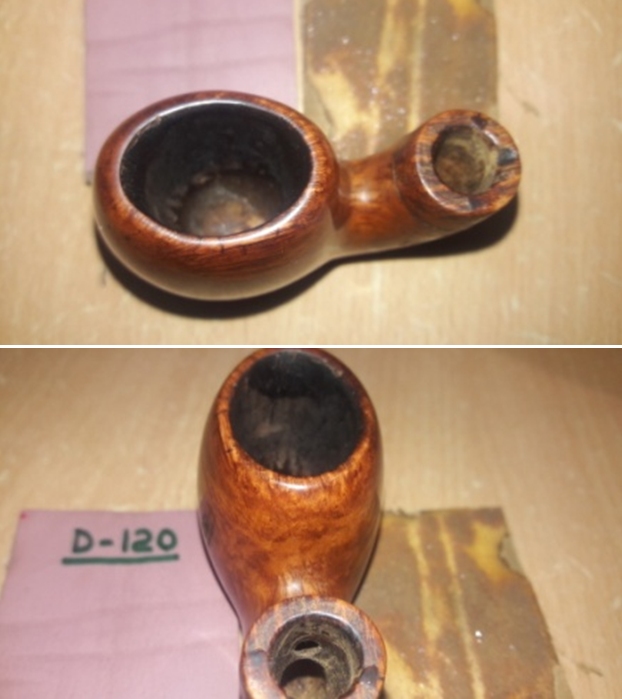
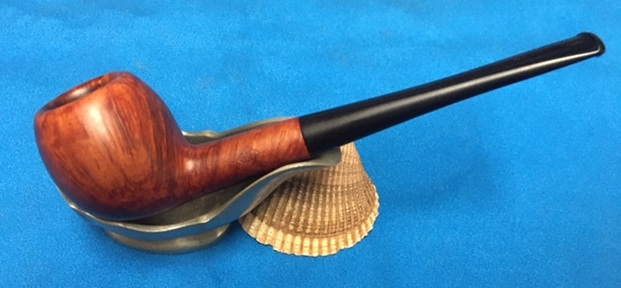
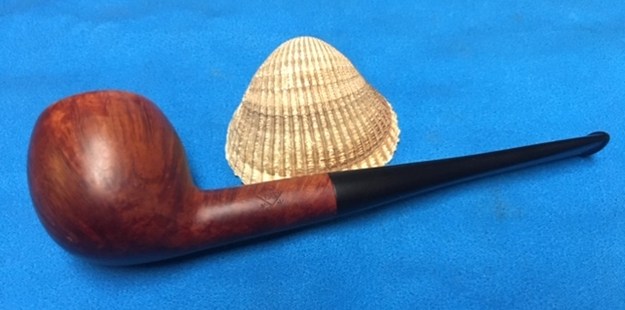
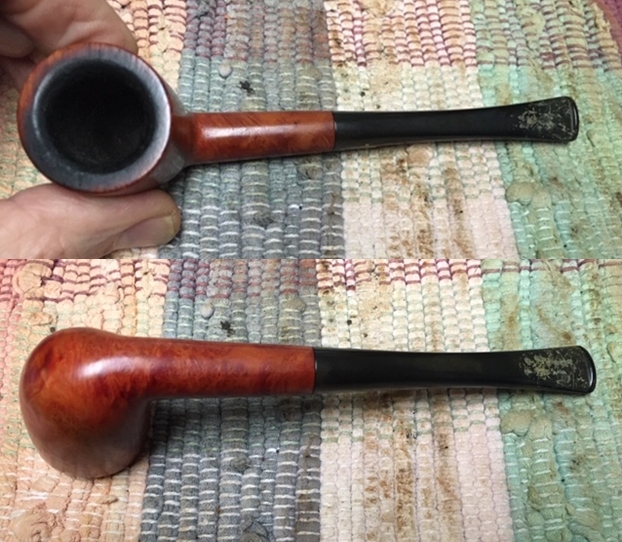
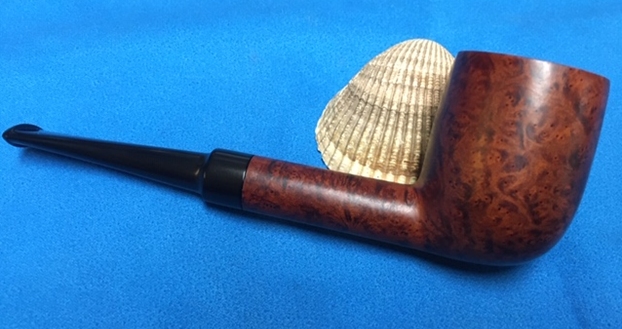
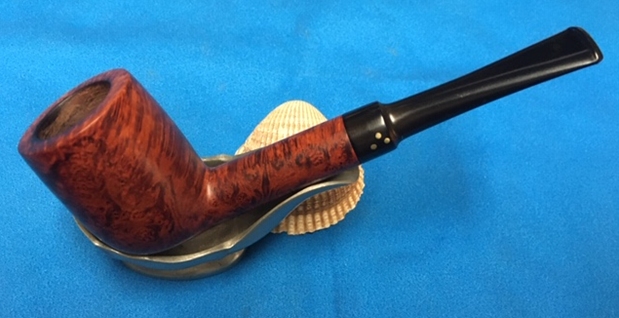
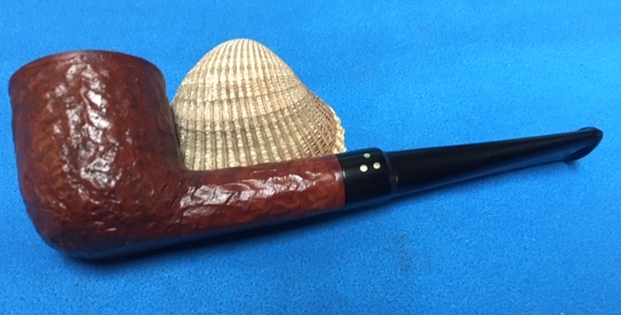
 I am excited to finish this beautiful Ben Wade Calabash from St. Claude France. It is both a rare one in terms of availability but also for me as I have never seen one before. I put the pipe back together and buffed it with Blue Diamond on the buffing wheel. I gave the bowl and the stem multiple coats of carnauba wax. I hand buffed the pipe with a clean buffing pad to raise the shine. It is fun to see what the polished bowl looks like with the grain popping through on the bowls sides and the contrast of the black plateau rim top. The brass band on the shank adds a touch class to the overall look in my opinion. When you add to that the polished black acrylic stem with the shining gold stamping you have a winning combination. The gold stamping also looks great on the shank and stem. This grain on the smooth finish Ben Wade Calabash is nice looking and the pipe feels great in my hand. It is light and well balanced for a large pipe. Have a look at it with the photos below. The dimensions are Length: 6 ¾ inches, Height: 3 inches, Outside diameter of the bowl: 2 inches, Chamber diameter: 7/8 of an inch. It is a beautiful pipe and one that will be on the rebornpipes store soon. If you are interested in adding it to your collection let me know. Thanks for walking through the restoration with me as I worked over this pipe. Thanks to each of you who are reading this blog. Remember we are not pipe owners; we are pipemen and women who hold our pipes in trust until they pass on into the trust of the next pipeman or woman.