Blog by Kenneth Lieblich
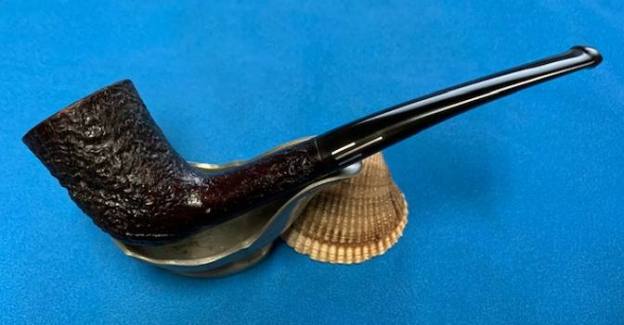
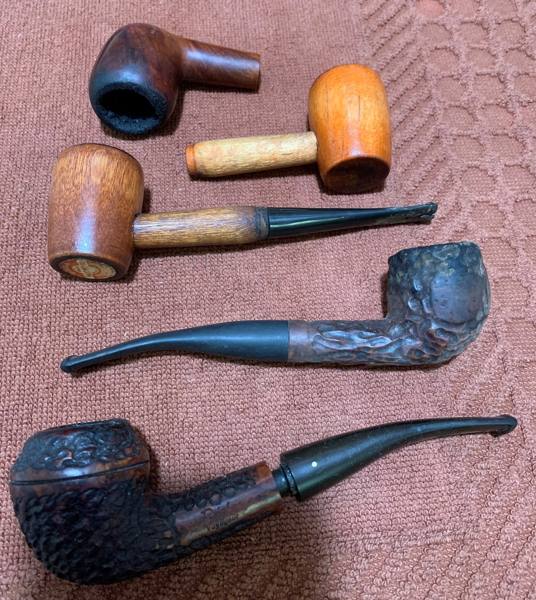
Next on the chopping block is the very first GBD I have had the pleasure of restoring. I titled this story A Labour of Love because the work involved was far more than I could have imagined for such a beautiful pipe. The pipe is a GBD Colossus and I acquired it in a group of pipes I purchased from a fellow in the Eastern US. It was definitely a mixed bag of very good and very bad. Some pipes were destroyed beyond repair, some pipes were filthy but repairable, some stems were missing their stummels, and some stummels were missing their stems. This was one of those – a stummel without a stem. Makes it a bit tricky to smoke, methinks.

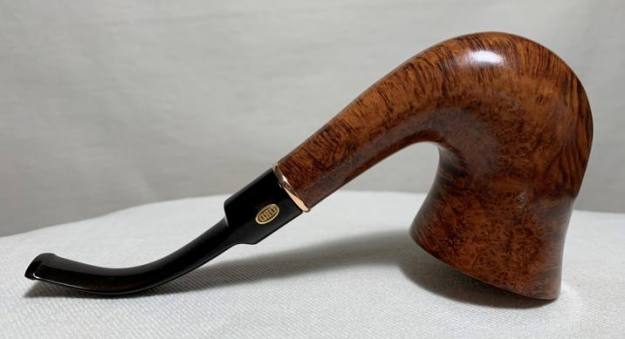
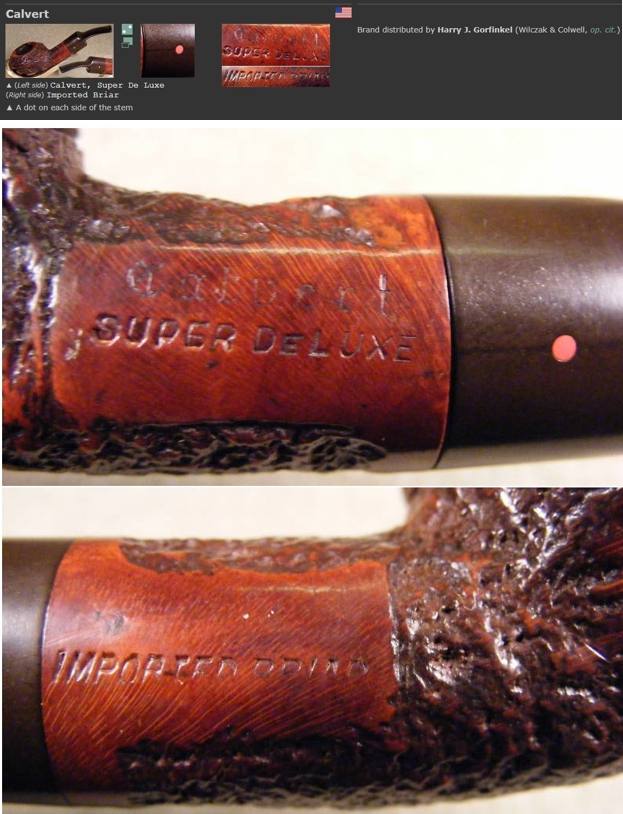
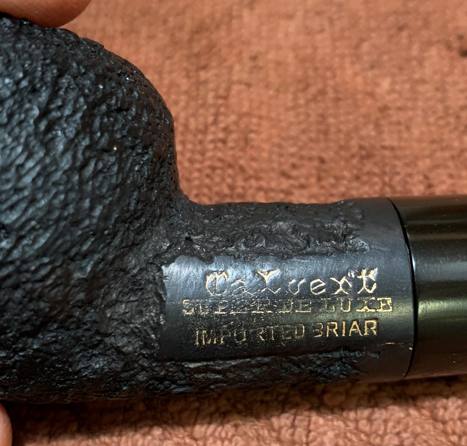
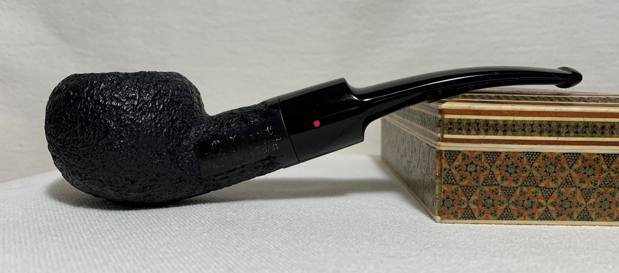
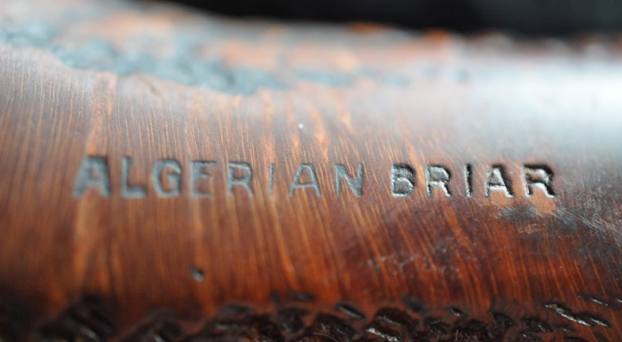
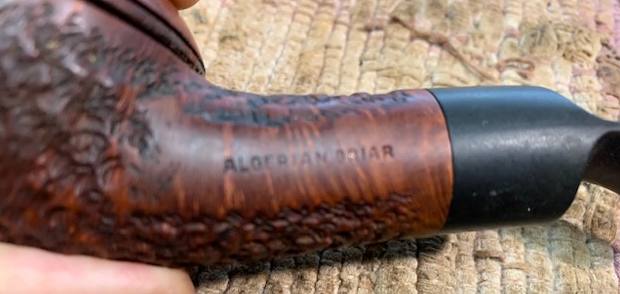
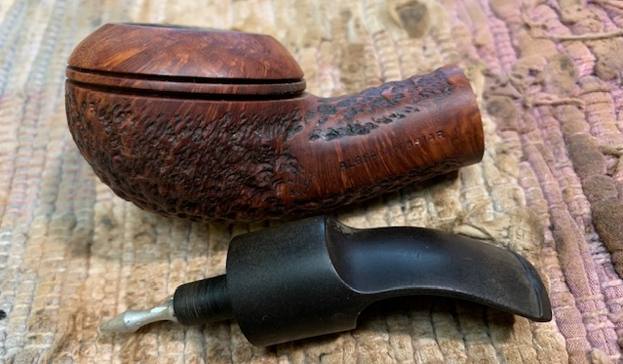
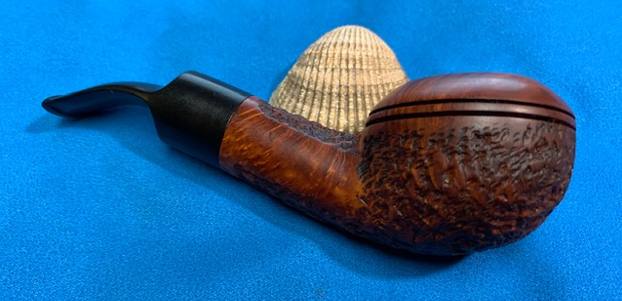
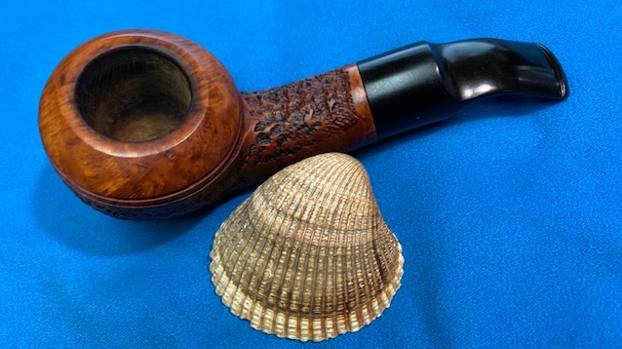
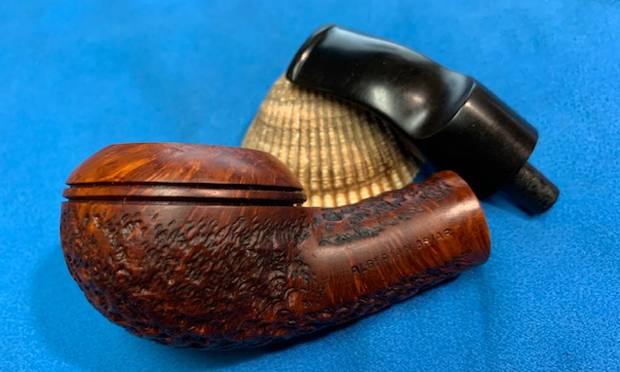
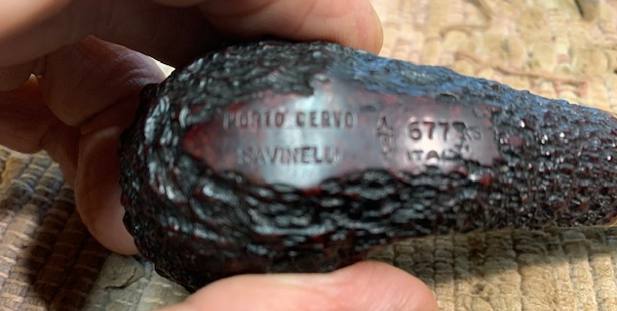
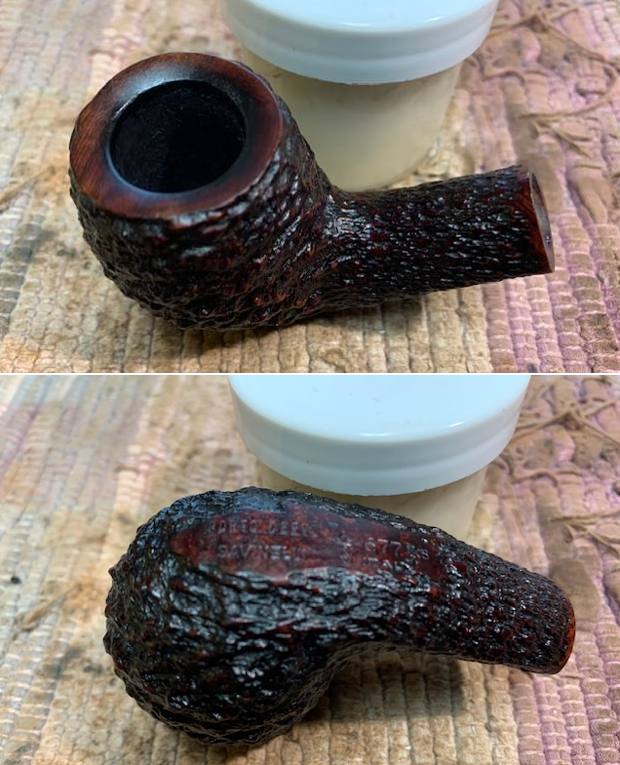
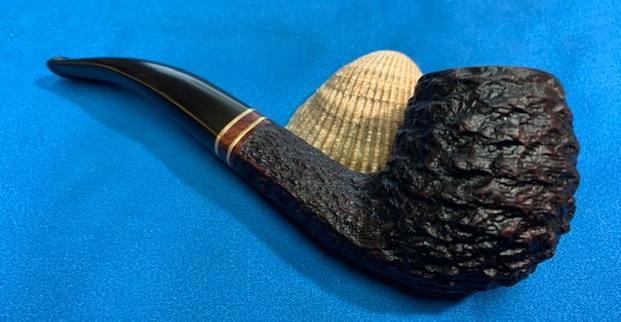
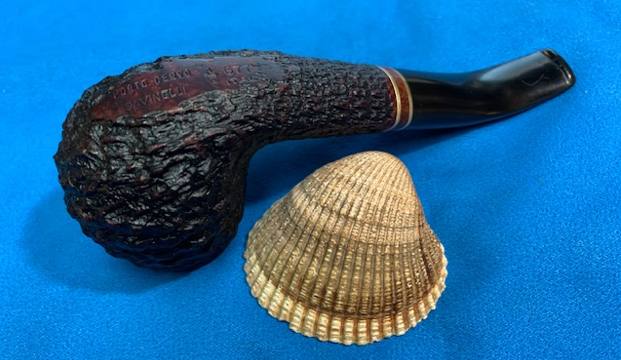
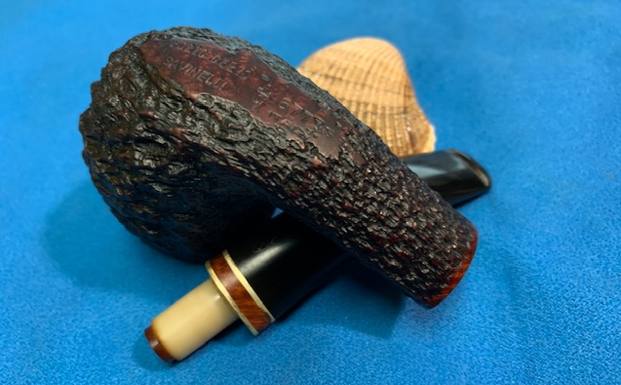
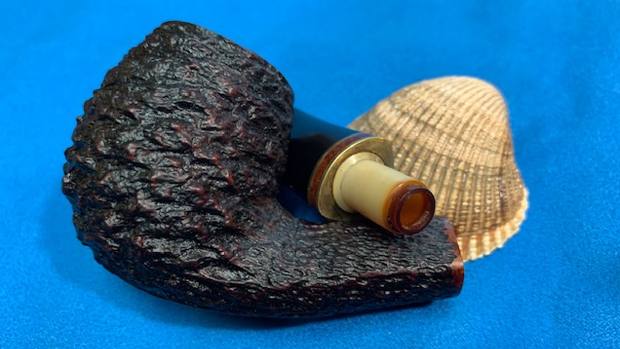
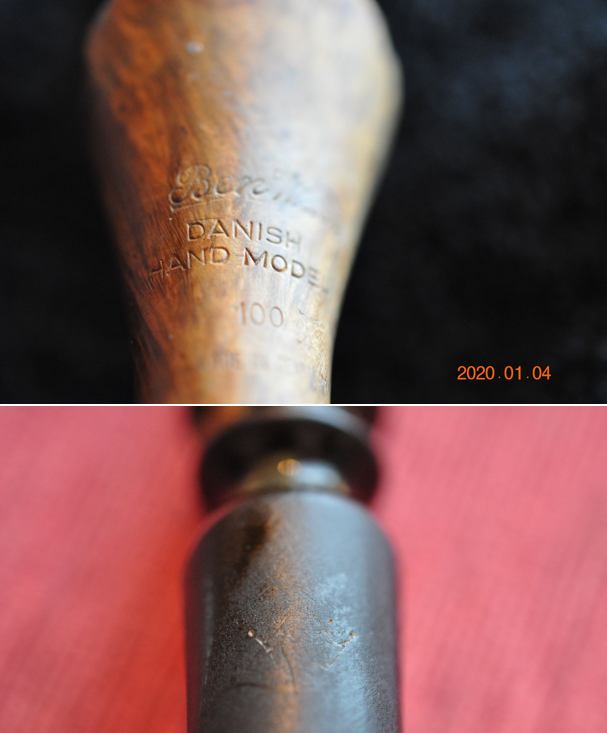
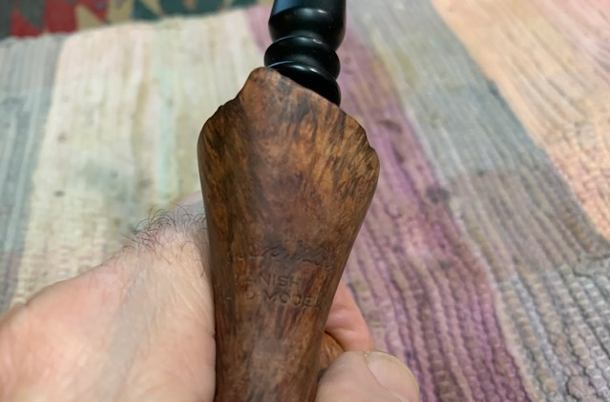
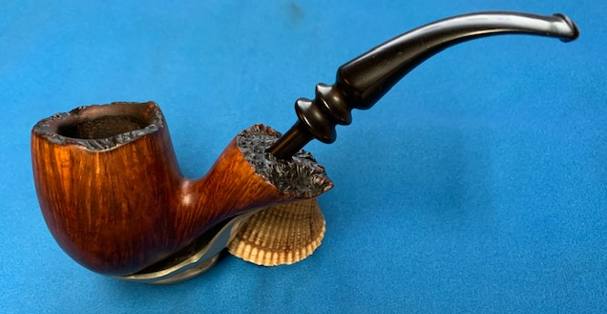
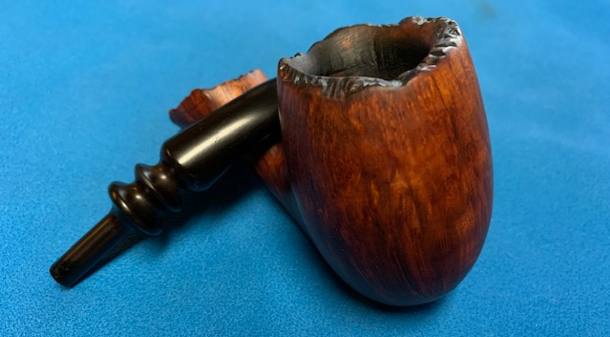
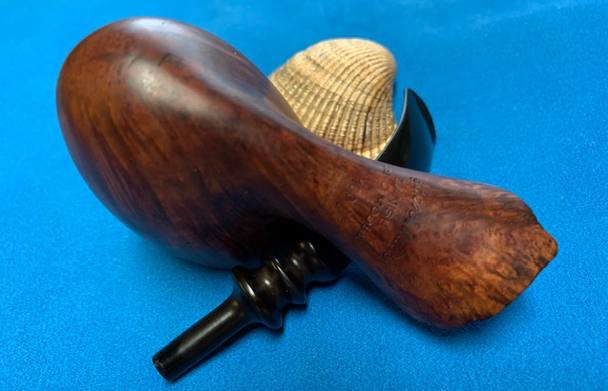
 This pipe is a calabash-shaped GBD Colossus. As the photos show, it is stamped on the left side of the shank with GBD [over] International [over] London Made [over] Colossus. On the right side it is stamped Made in London [over] England [next to] 9552 – this, of course, is the shape number. There is quite a bit of information on GBD on the Internet – they have a long and storied history in pipemaking. In this case, I was curious about International and Colossus. The main Pipepedia article on GBD tells us about their origins:
In 1850 three gentlemen got together in Paris to establish a firm dedicated to the fabrication of Meerschaum pipes – a courageous step in politically restless times. Ganneval probably came from the area of Saint-Claude where he had learned making wooden pipes. Bondier’s family obviously came from Paris and had emigrated in 1789 to Geneva. He himself had worked as a wood turner in the clay and china pipe industry in and around Saint-Claude making stem extensions etc. Donninger was an Austrian or Swiss and had worked in Vienna, the world’s center of the Meerschaum pipe. They agreed on the acronym GBD selecting the initials of their surnames.
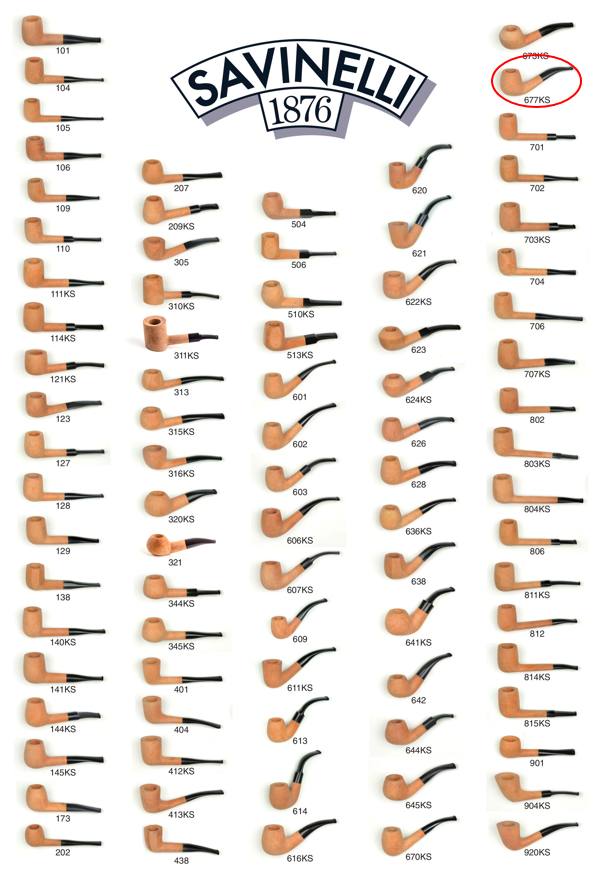
The Pipedia article provides a lot more information on their interesting history. I would encourage you to read on here. The shape number 9552 corresponds correctly with GBD’s identification of this pipe as a calabash. The page on GBD models states the following concerning the International line and the Colossus size:
International – France and England made: medium brown smooth, carved top rim, rim stained black. In addition to the pipe line and shape information stamped on the pipe, GBD also had codes for plus sized pipes. These codes in ascending order of size were Conquest, Collector, Colossus.
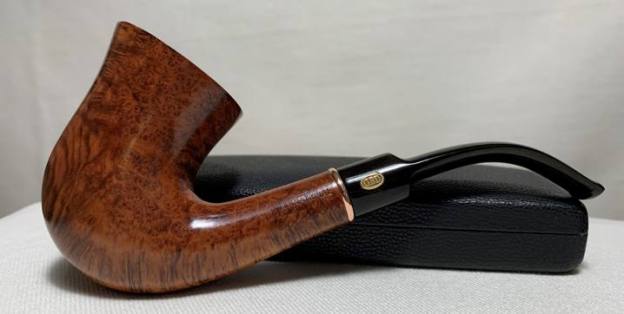
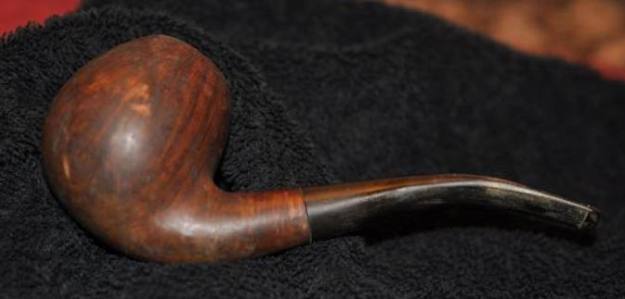
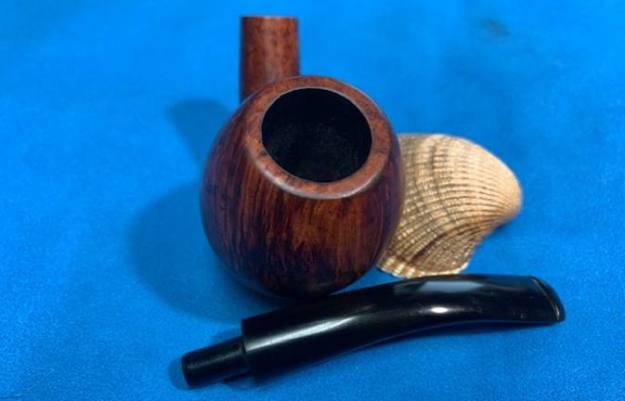
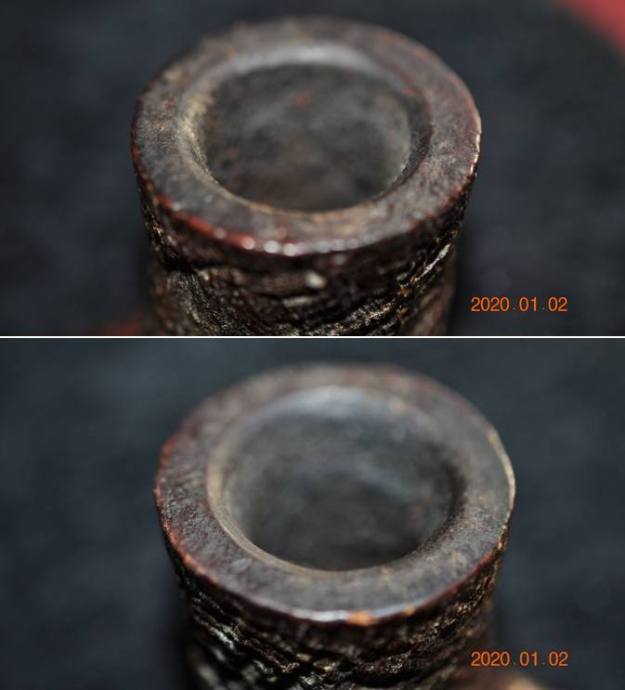
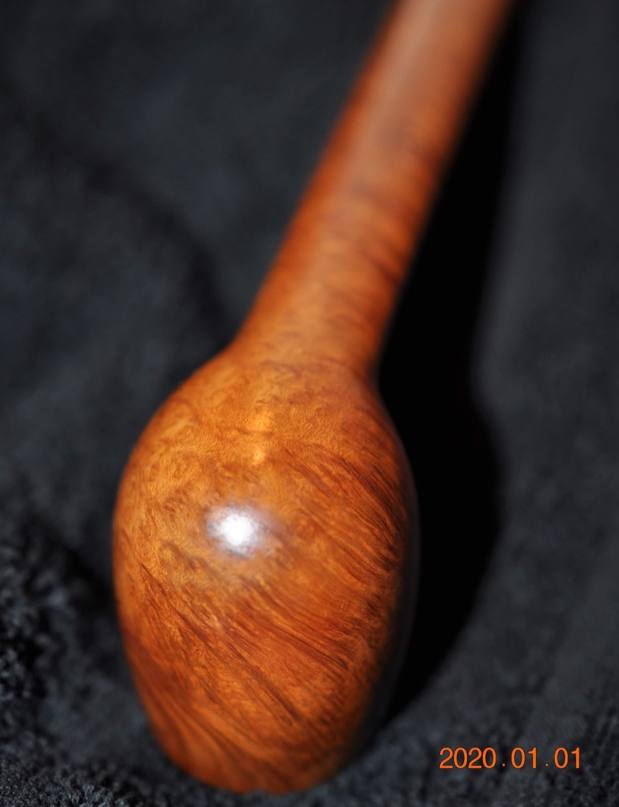
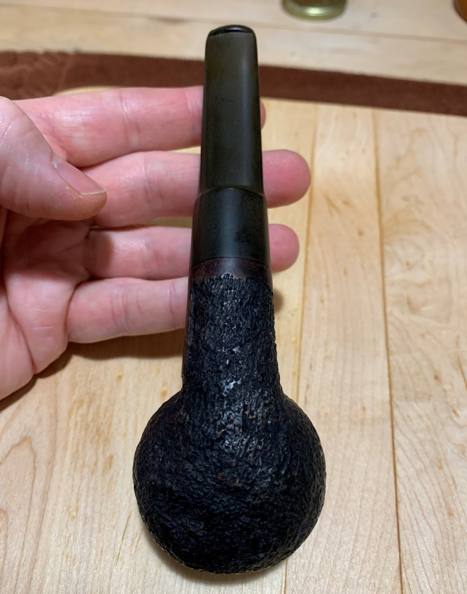
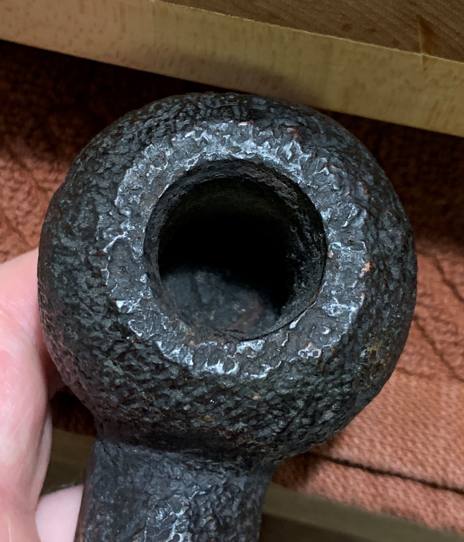
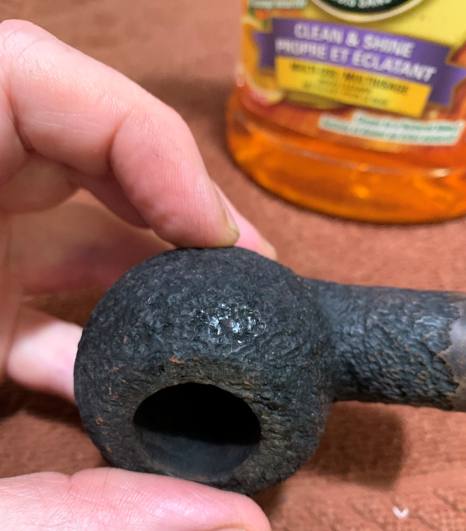
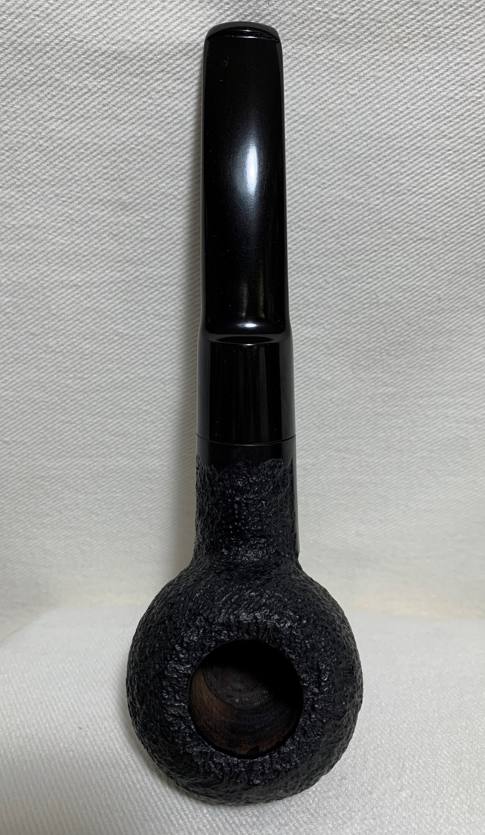
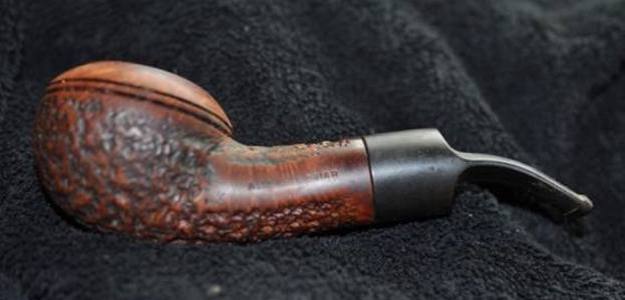
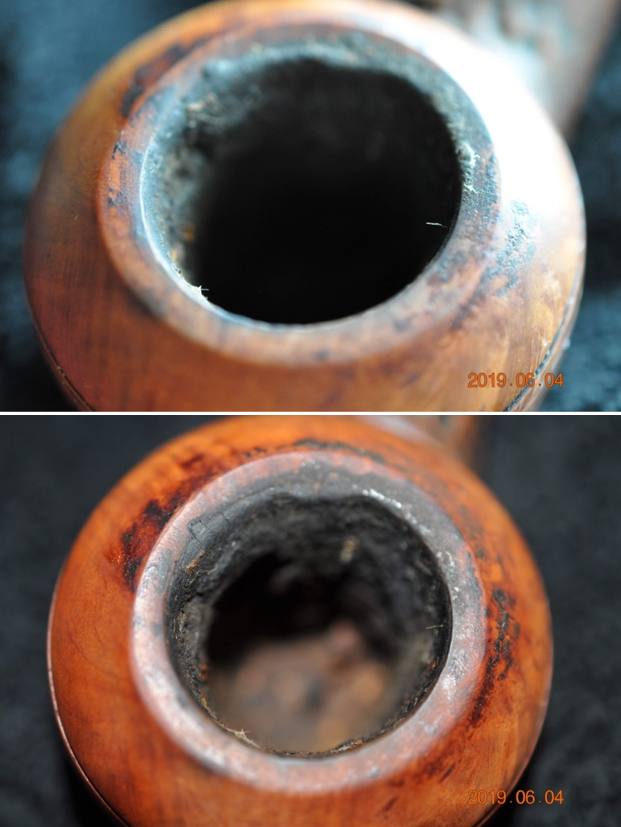
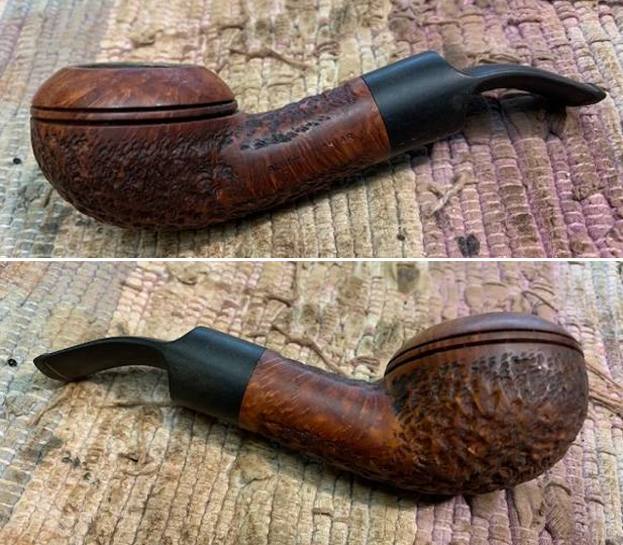
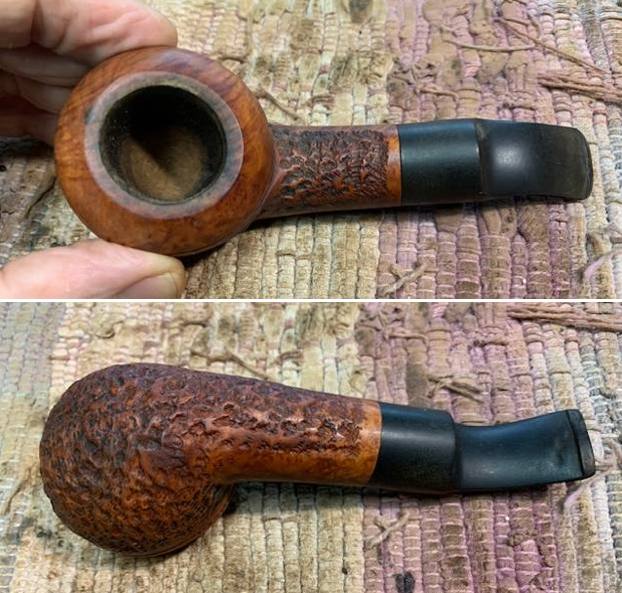
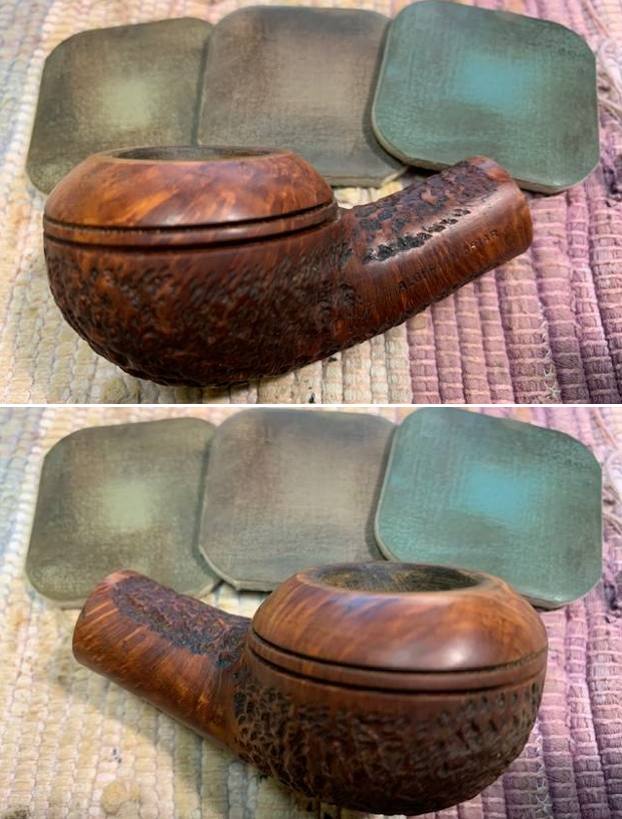
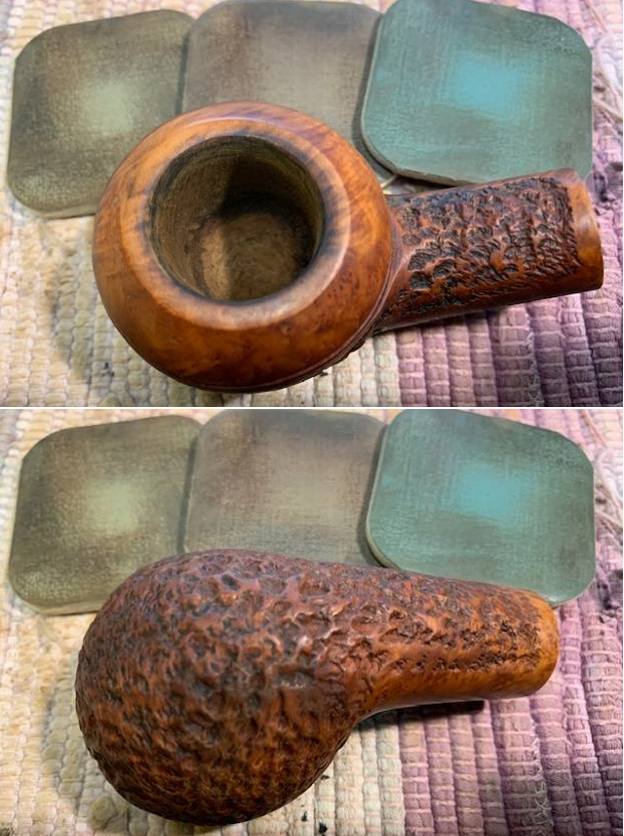
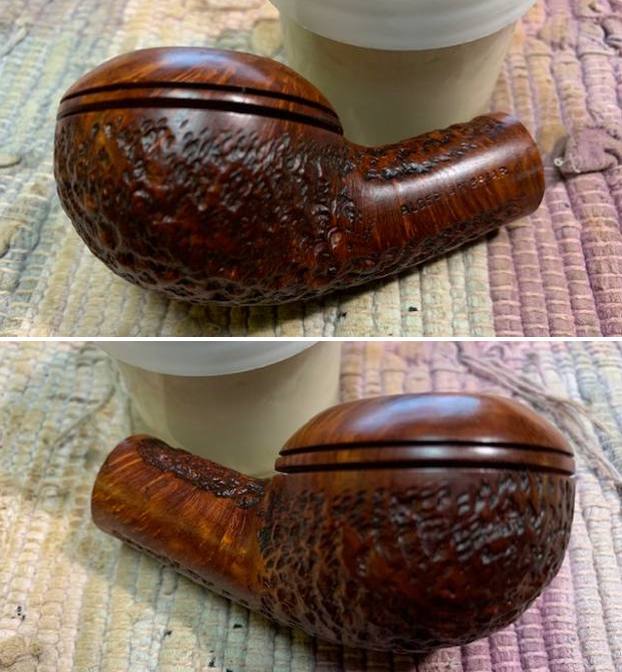
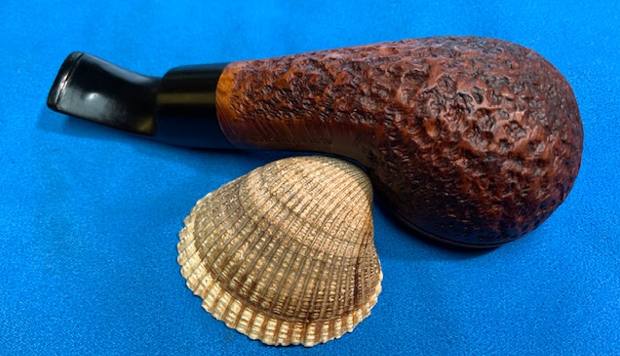
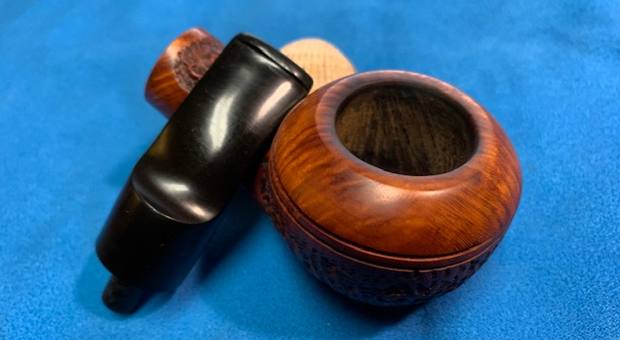
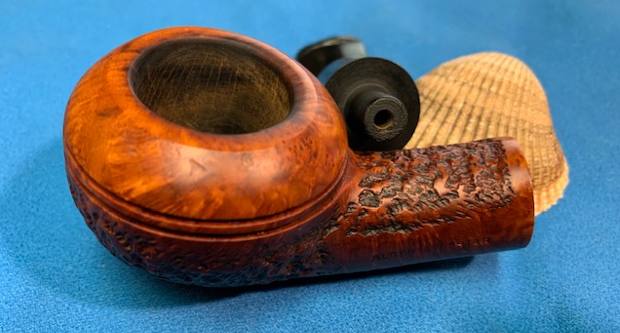
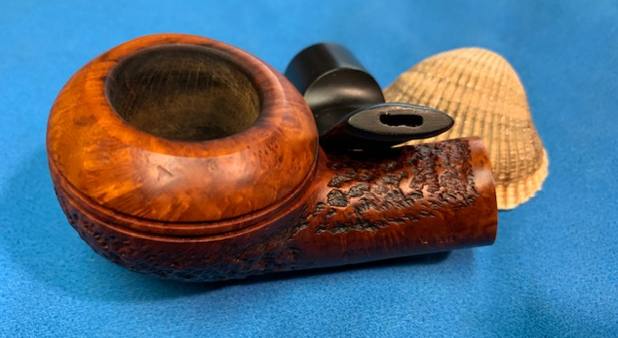
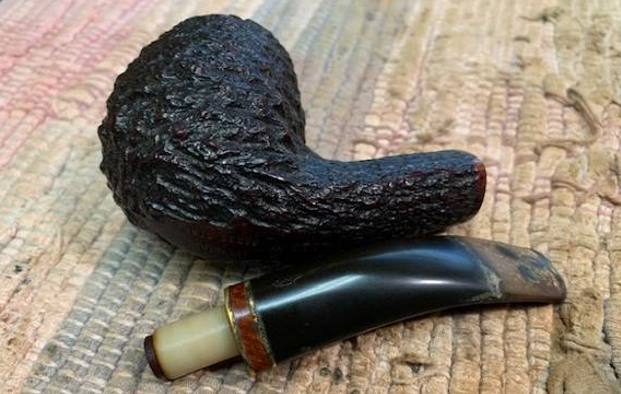
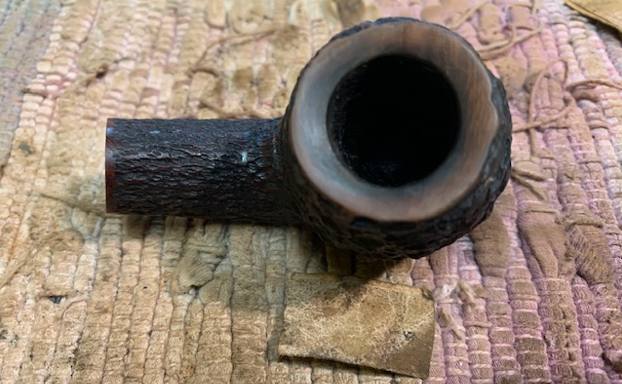
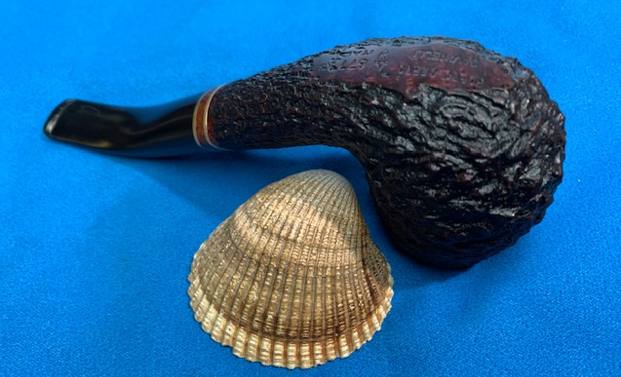
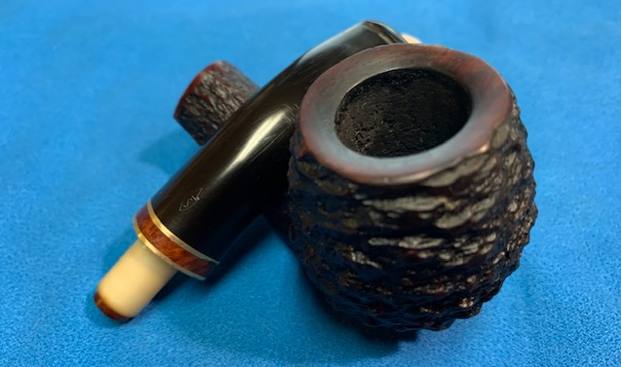
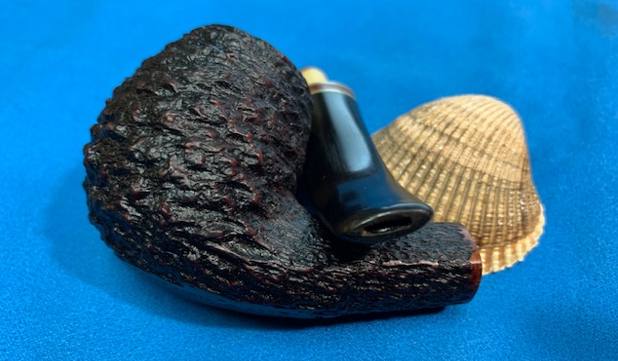
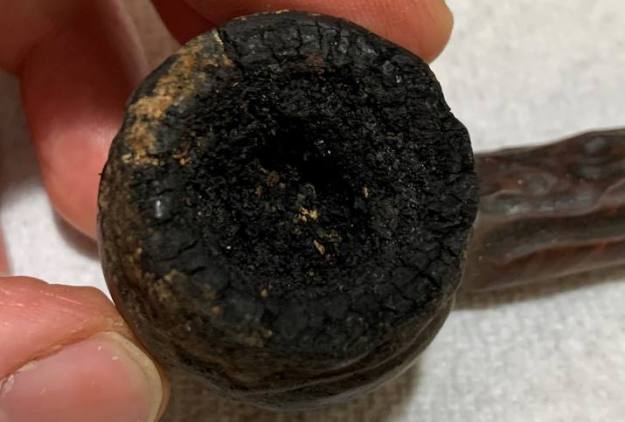
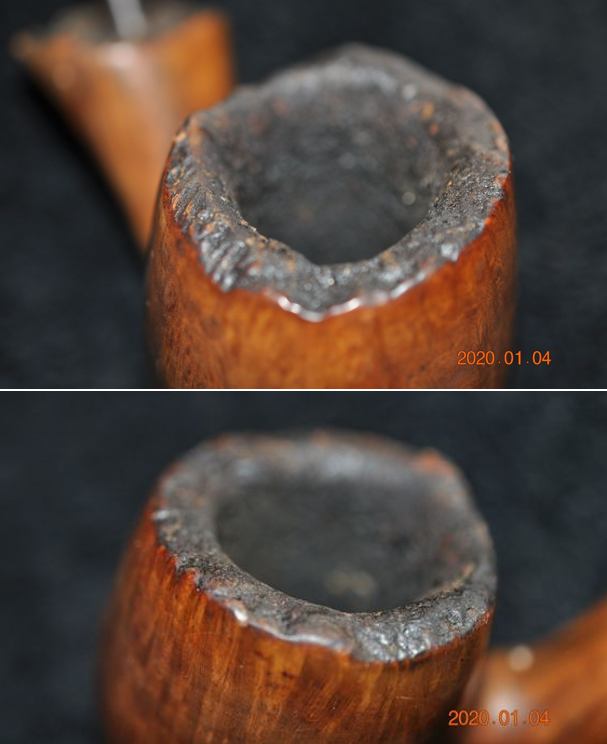
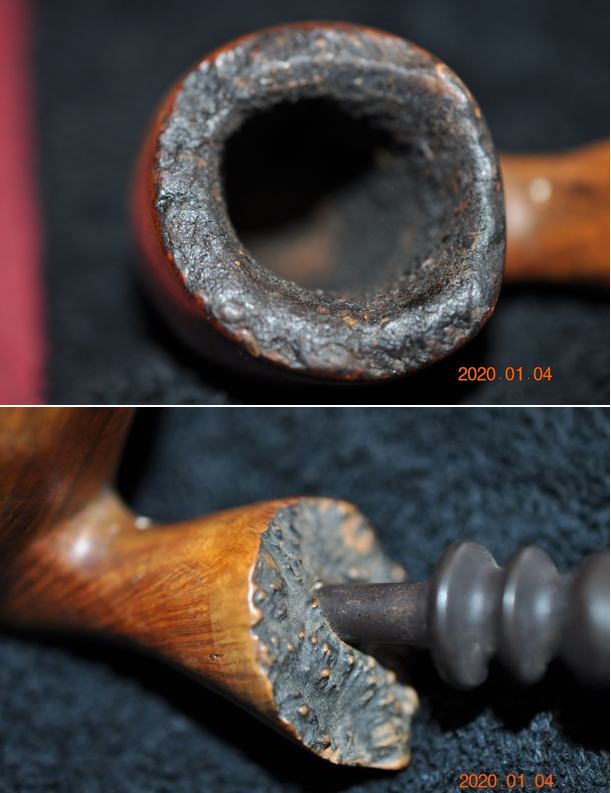
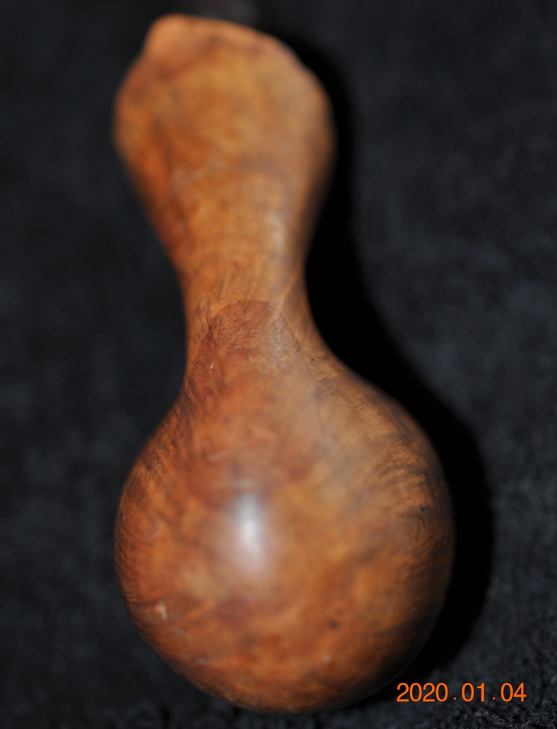
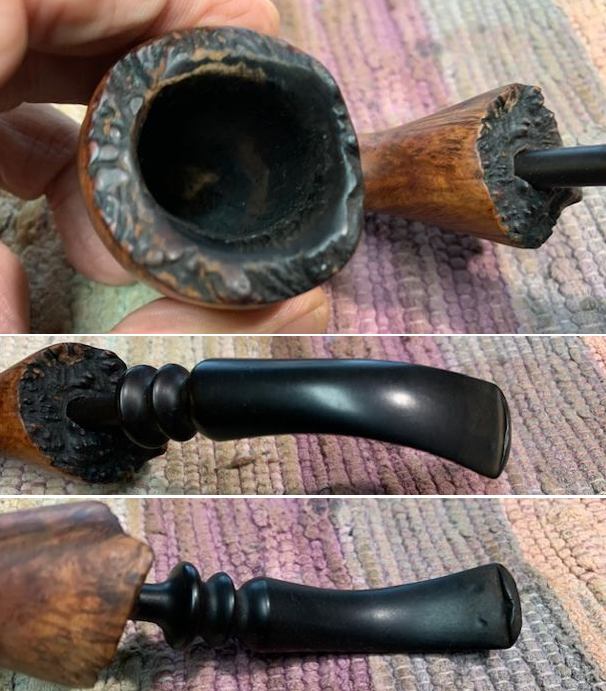
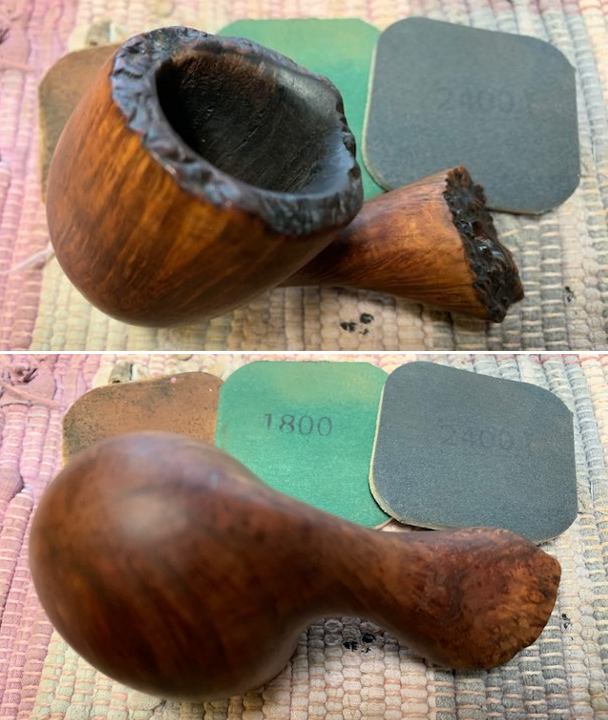
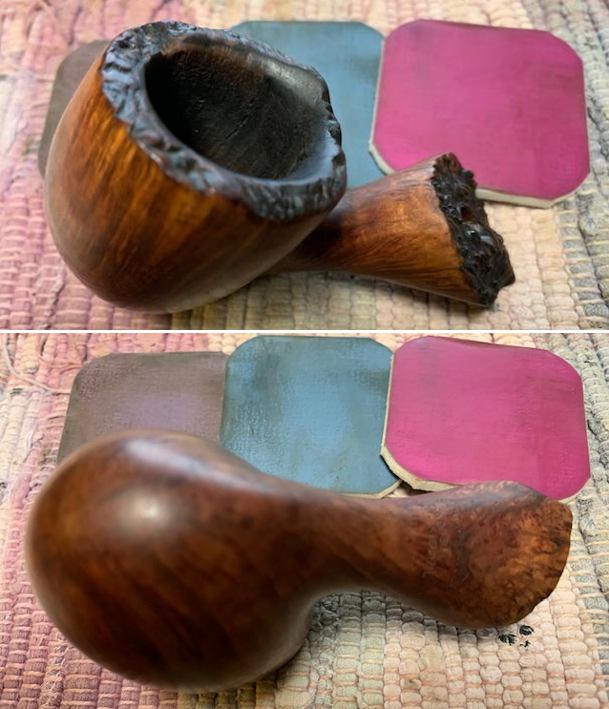
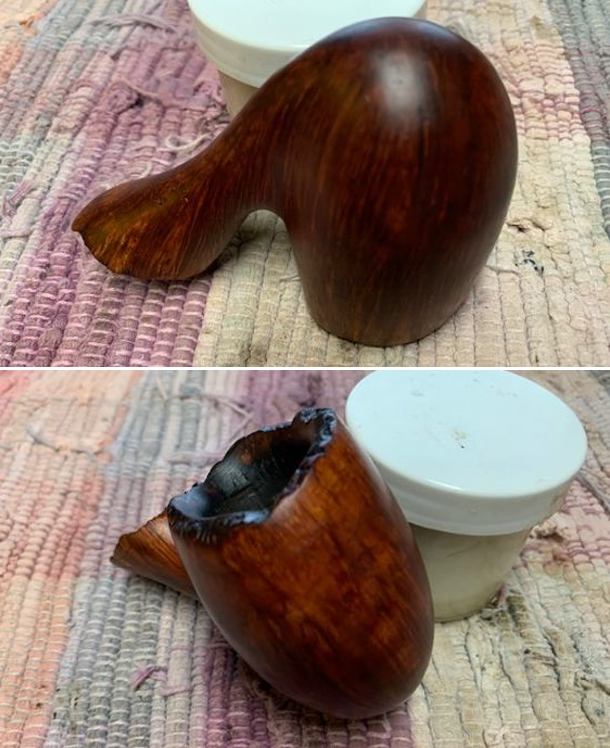
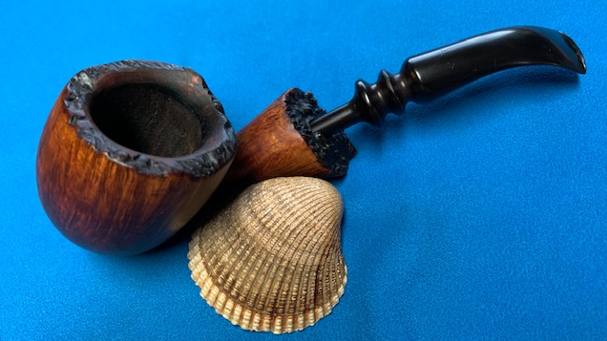
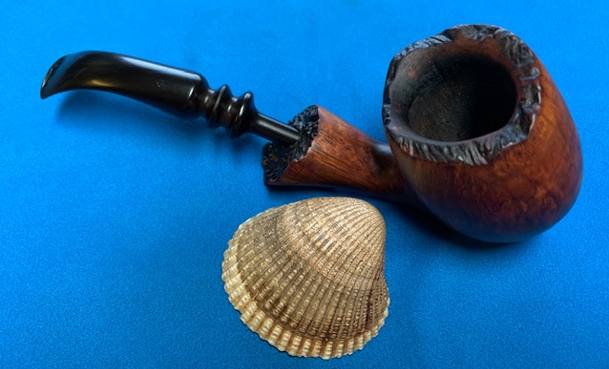
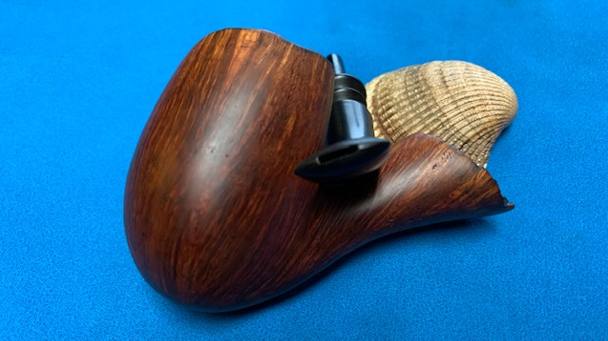
I also took this screenshot from Pipephil: Anyway, on to the pipe – and what a gorgeous pipe it was (and such a big bowl)! However, it was absolutely filthy and had a few issues. The stummel had the following problems: tons of lava on the rim, notable greasy/sticky stains to the bowl and shank, plenty of cake in the bowl, a few scratches here-and-there, and a few small burns on the rim. Meanwhile, the stem had a few problems of its own. Oh wait. No stem. Umm, yeah, that is going to be an issue. This pipe was going to require some considerable work, but I was really looking forward to restoring this one.

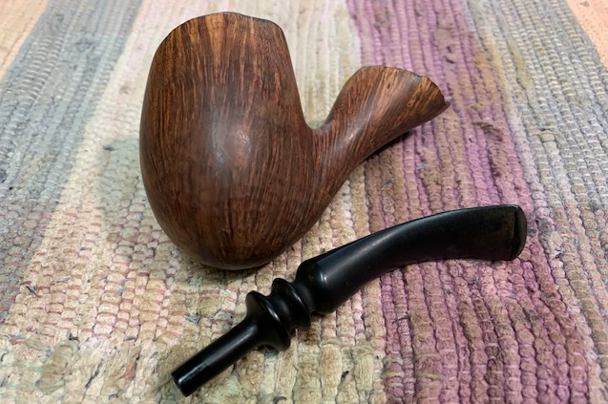
 Well, suffice it to say that first on my list of tasks was to find a stem for this beauty. However, GBD stems are not just lying around, sad to say. In this case, Superman Steve came to my rescue. He had a spare GBD stem that suited my pipe very well. I was (and still am) deeply grateful to him for getting that stem for me. I will come back to the story of how I fit the stem a bit later. By the way, here is a photo of Superman Steve:
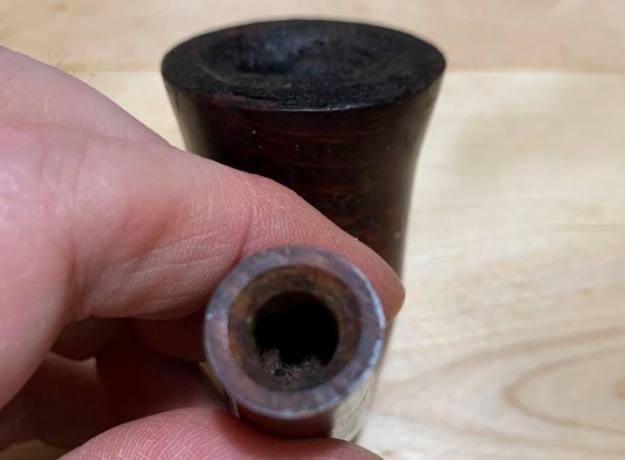
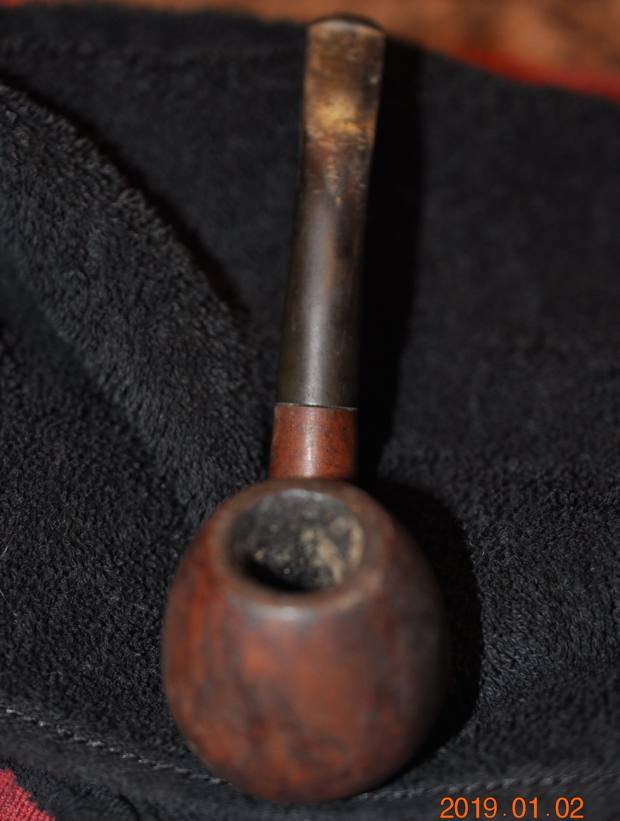
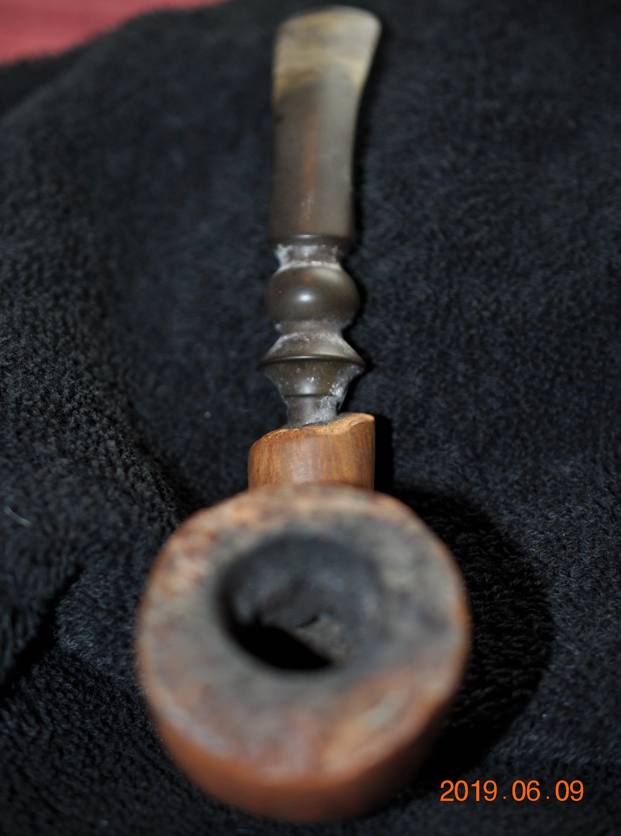
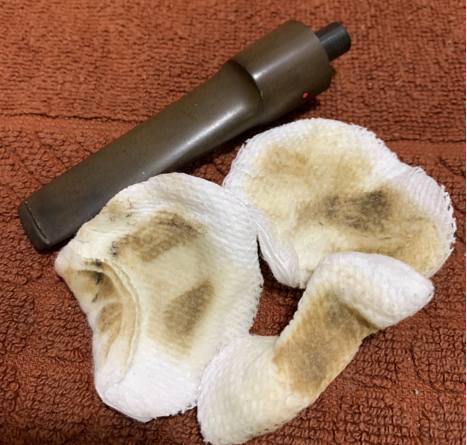
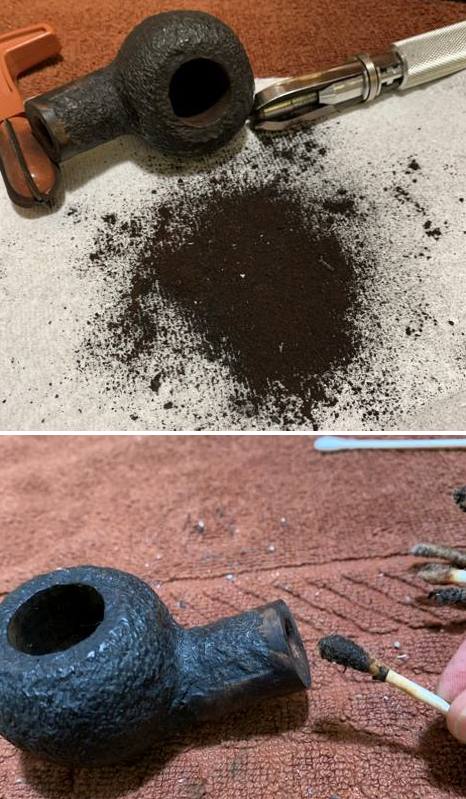
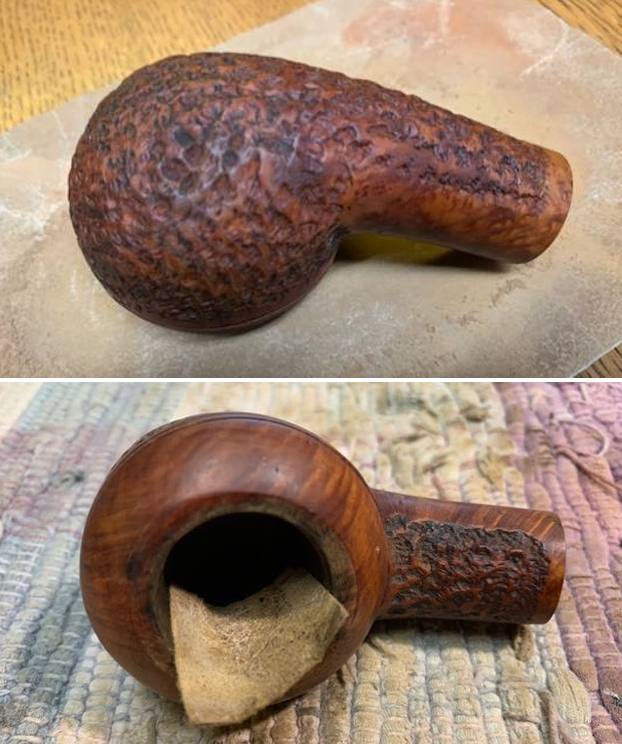
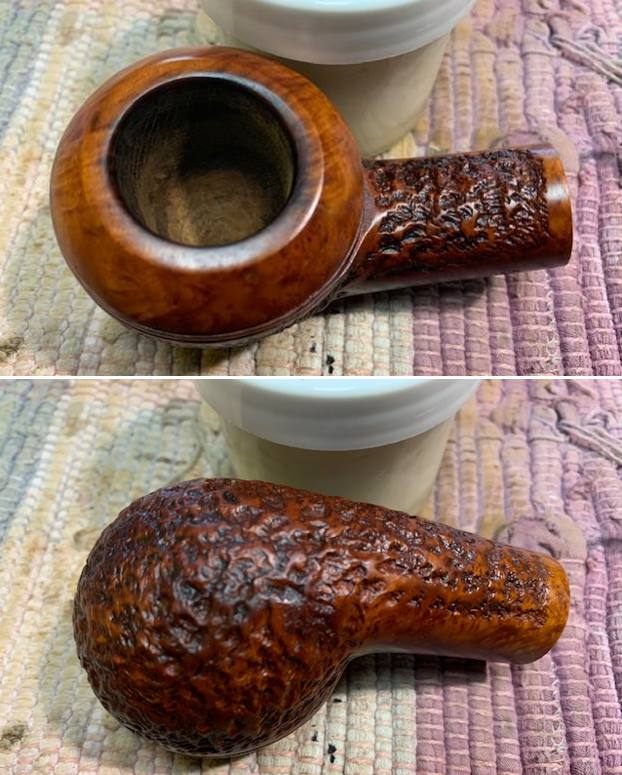
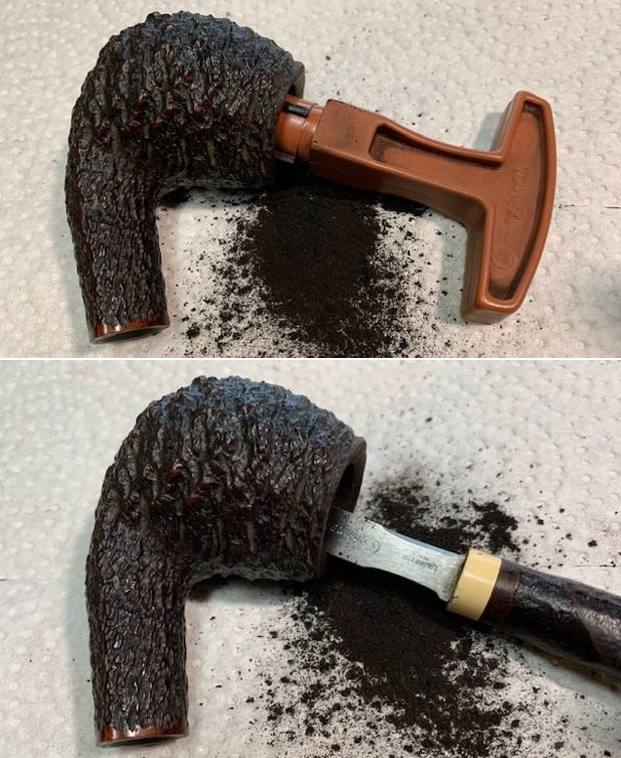
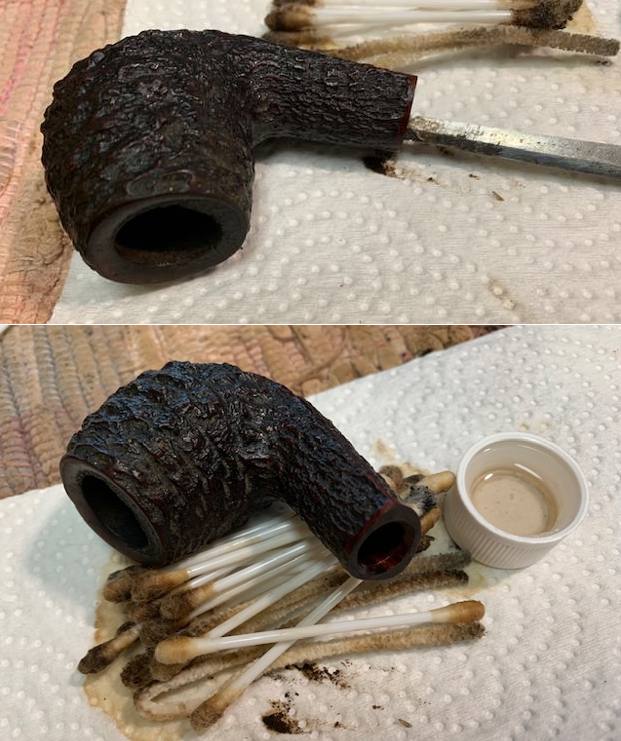
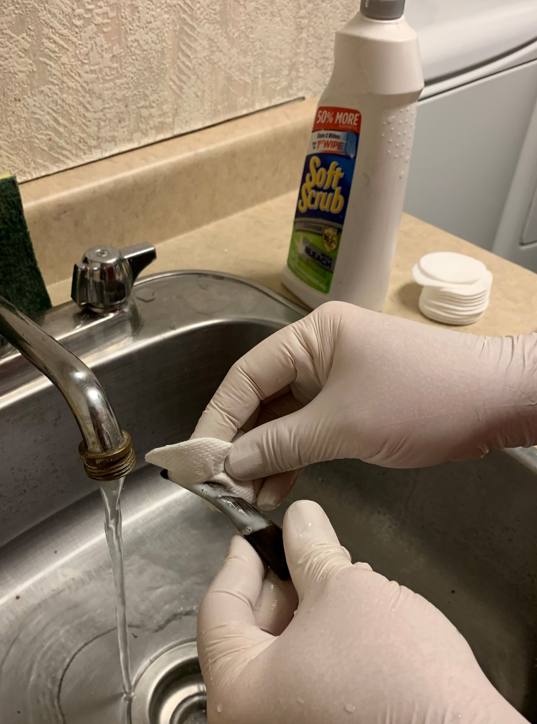
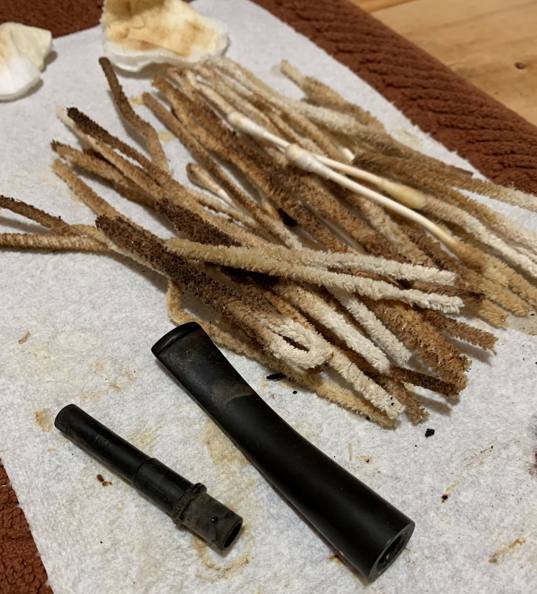
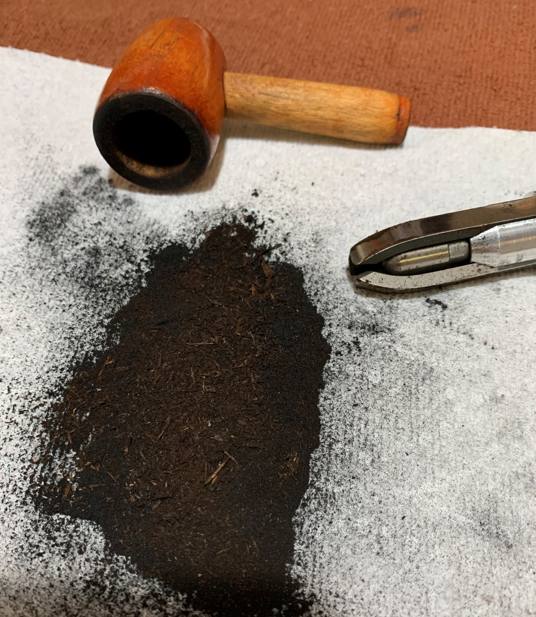
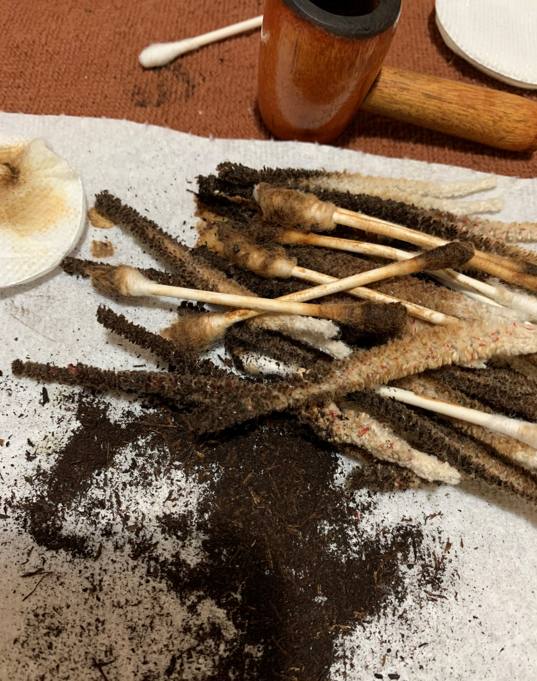
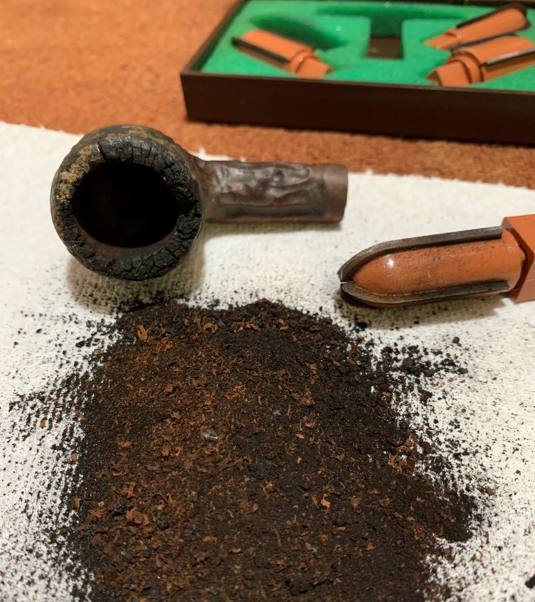
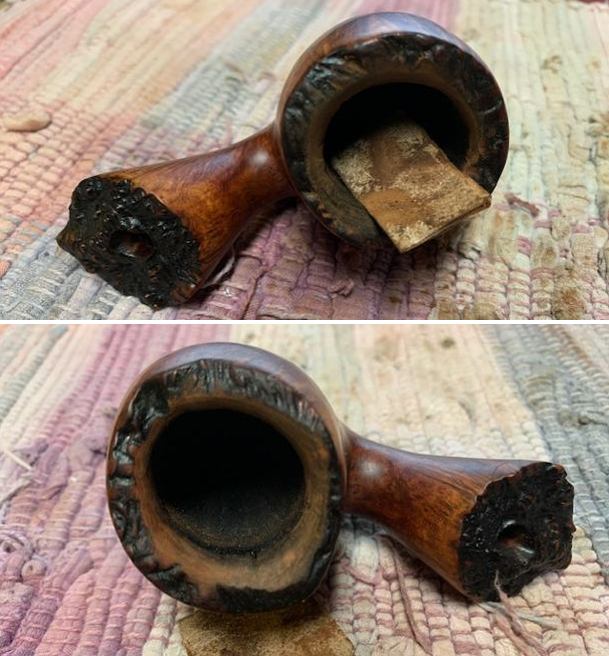
 This stummel was quite a mess. I first decided to ream out the bowl. I used both the PipNet Reamer (which I broke in the process) and the KleenReem to remove the built-up cake and followed that with 220-grit sandpaper to eliminate as much as I could. I took it down to bare briar, as I wanted to ensure there were no hidden flaws in the walls of the bowl. Fortunately, there were none. I then proceeded to clean out the insides of the shank with cotton swabs, pipe cleaners, and lemon isopropyl alcohol. There was a lot of nastiness inside this stummel and – boy-oh-boy – it took a lot of cotton to get this thing clean!


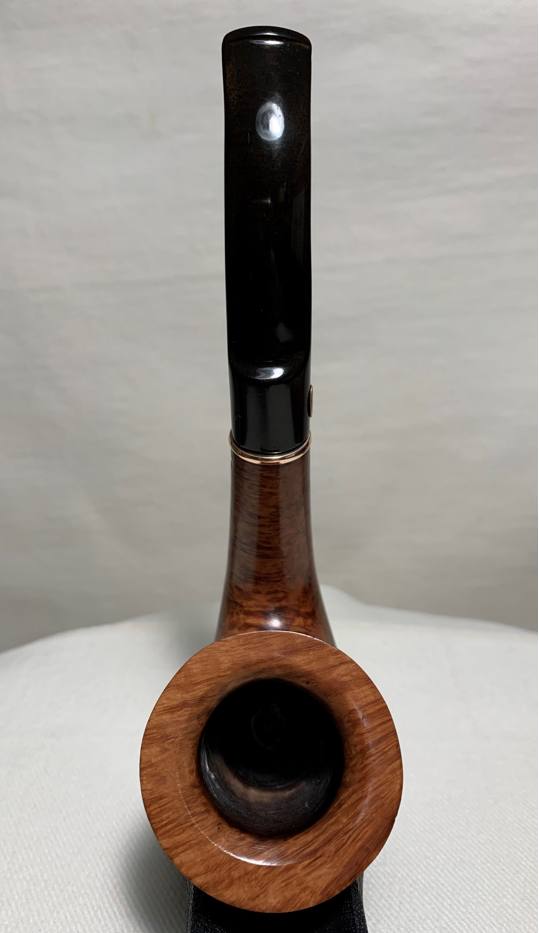
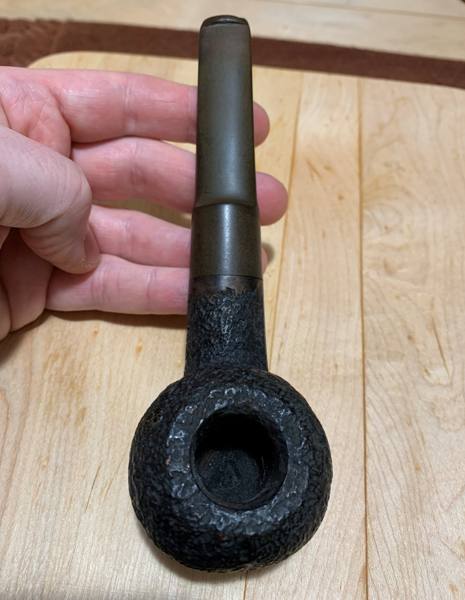
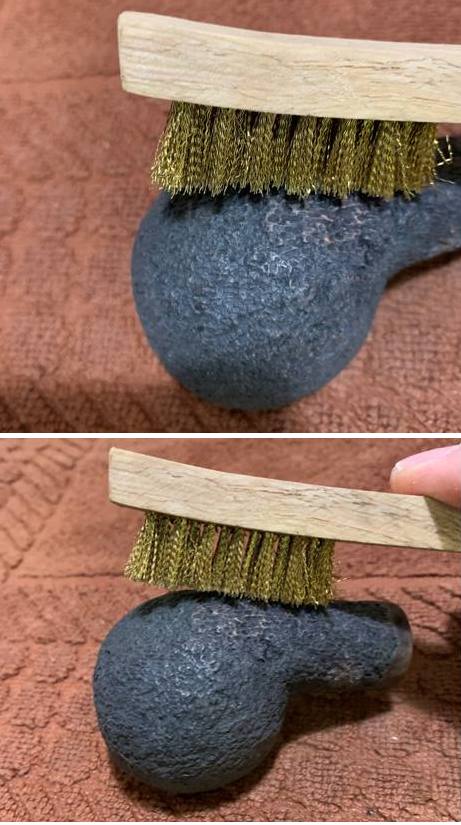
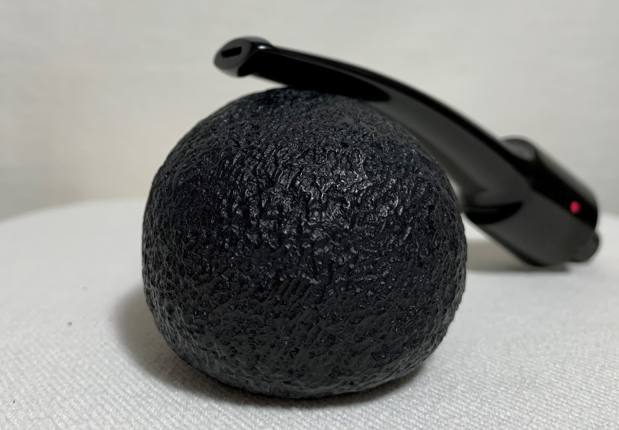
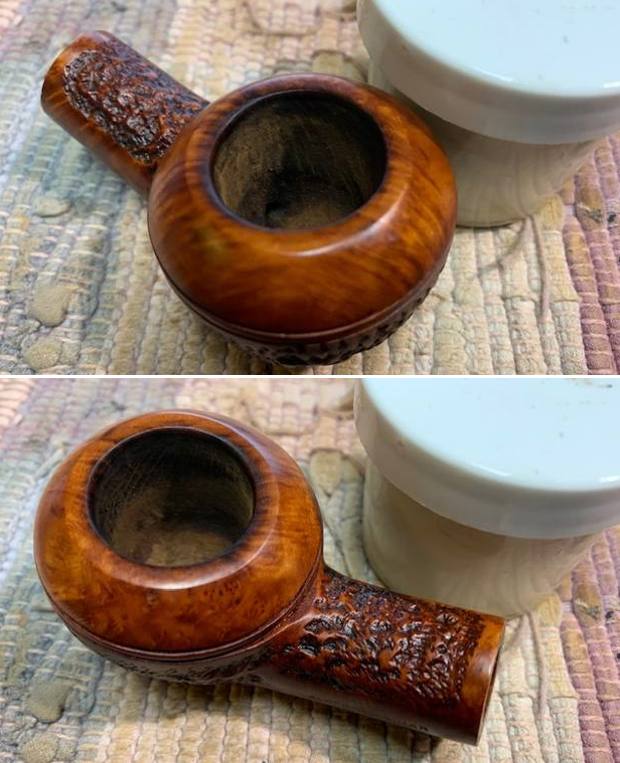
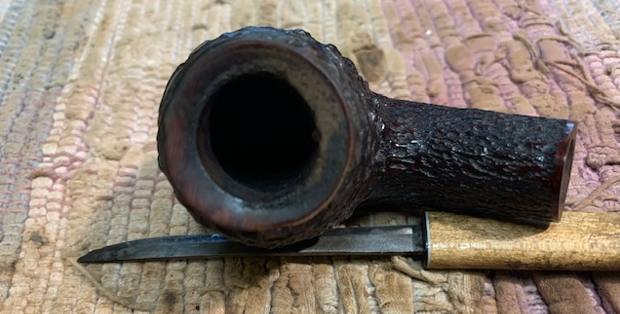
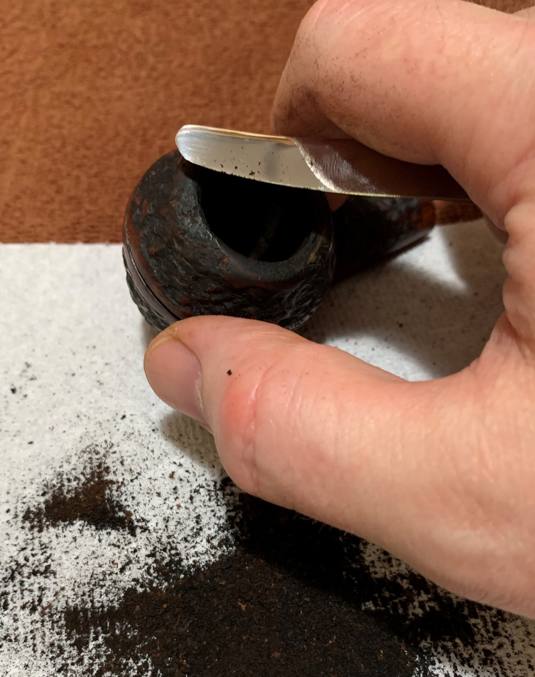
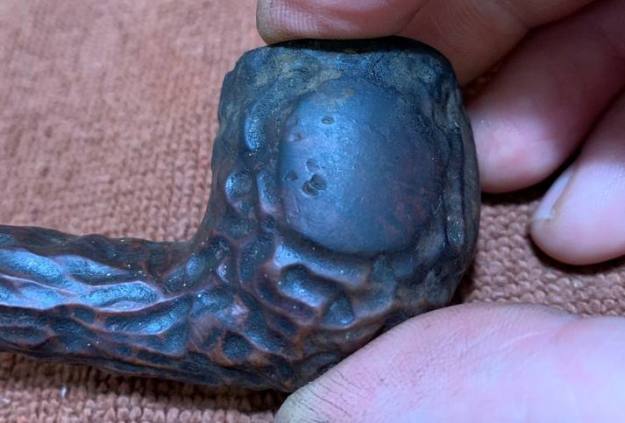
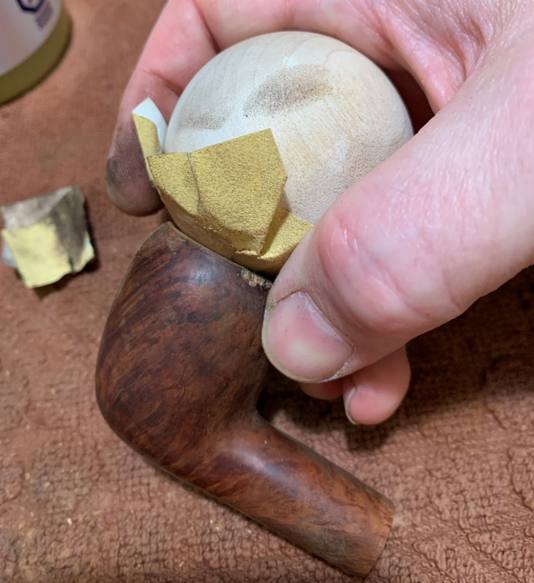
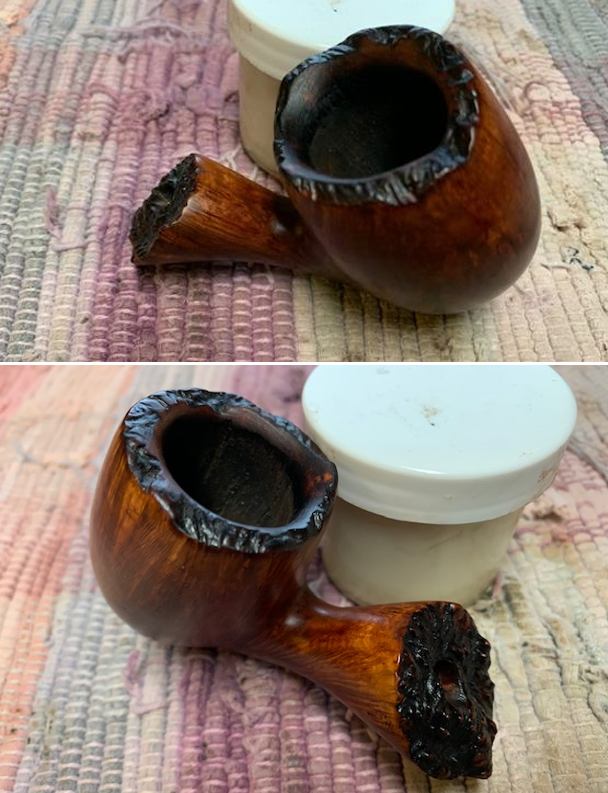
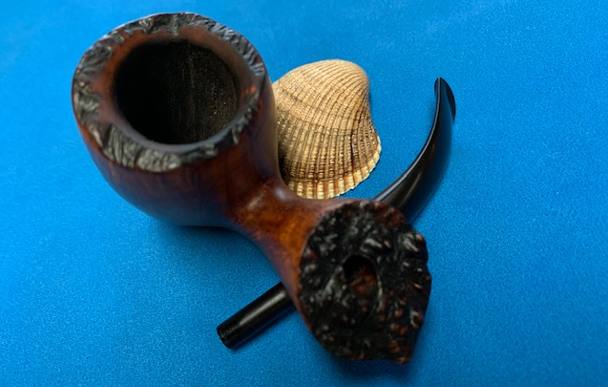
 As I mentioned earlier, the rim of the stummel was pretty ugly and also needed to be addressed. A combination of techniques was used to sort this out. In order to remove the lingering bits of lava and fix the nicks, I “topped” the pipe – that is to say, I gently and evenly sanded down the rim on a piece of 220-grit sandpaper. This effectively removed the lava and the damage, without altering the look of the pipe. I then took a solid wooden sphere, wrapped sandpaper around it, and sanded the inner bevel thoroughly. This was to achieve on the inner part of the rim the same thing that I achieved by “topping” the rim on sandpaper.


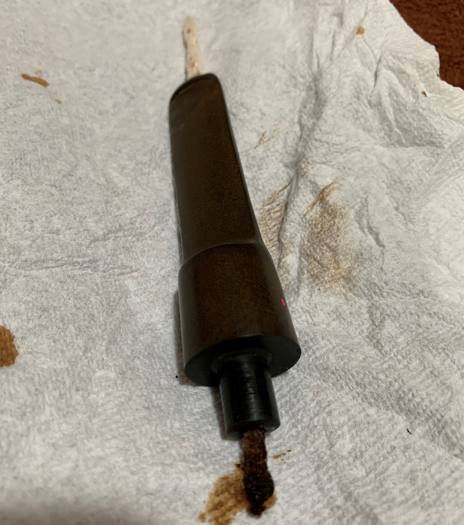
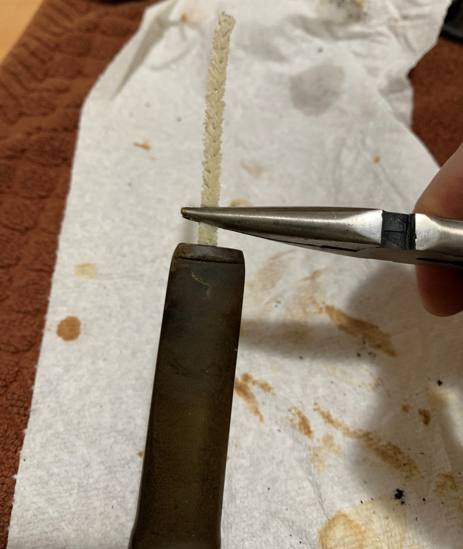
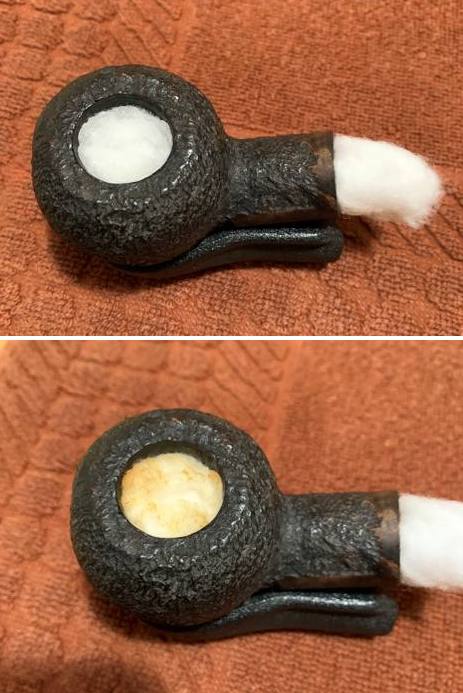
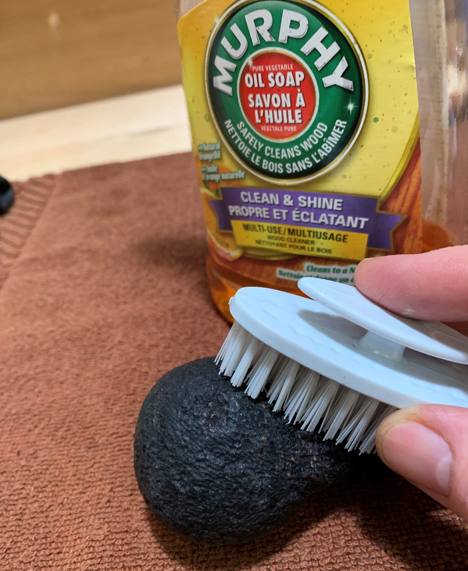
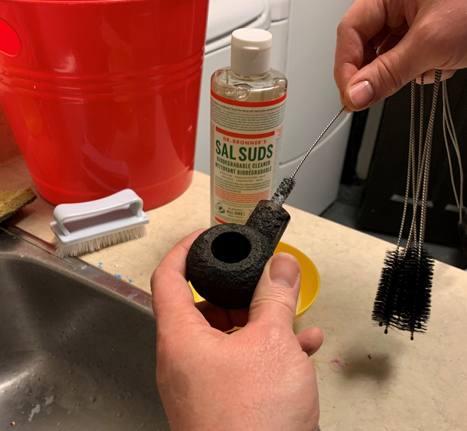
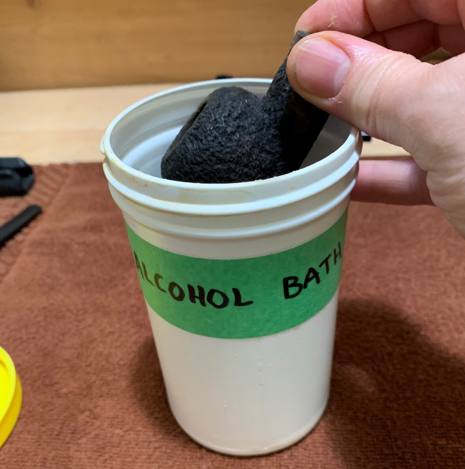
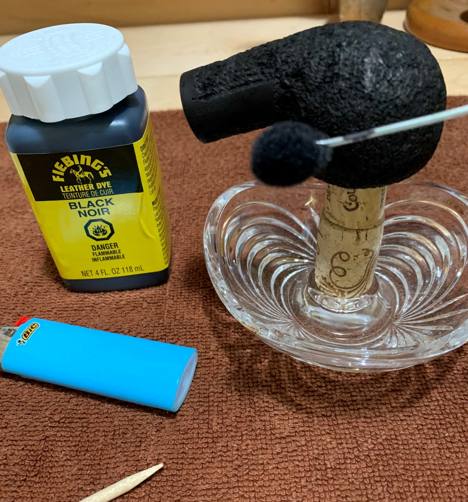
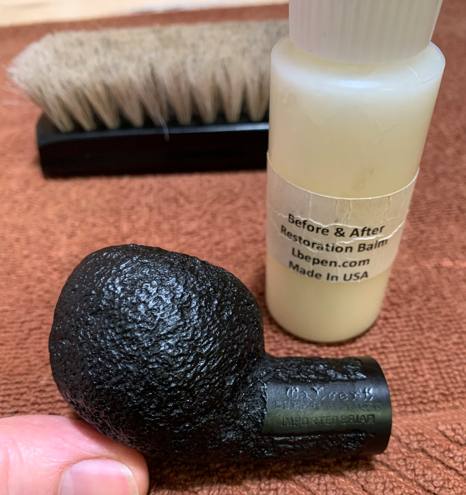
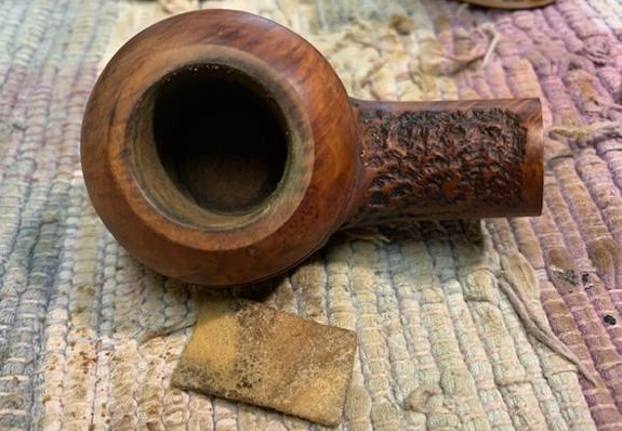
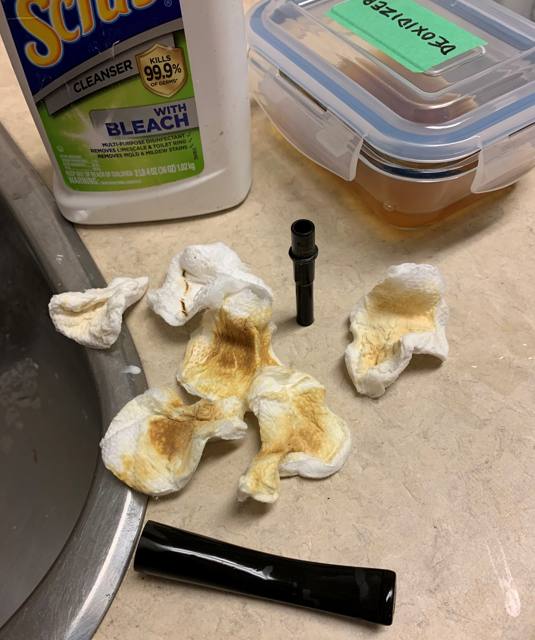
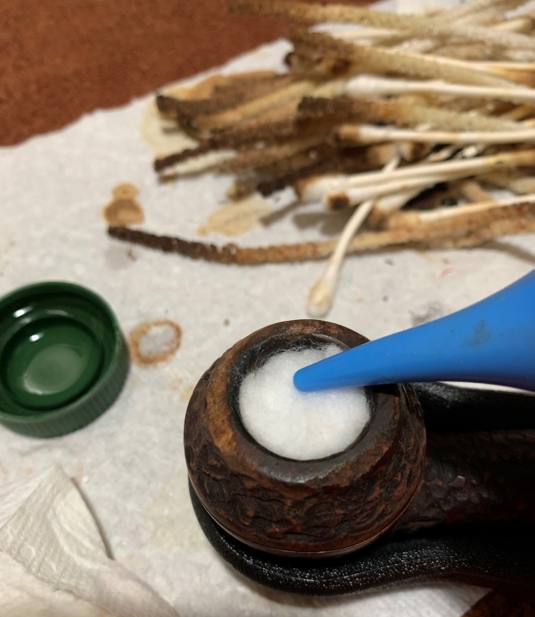
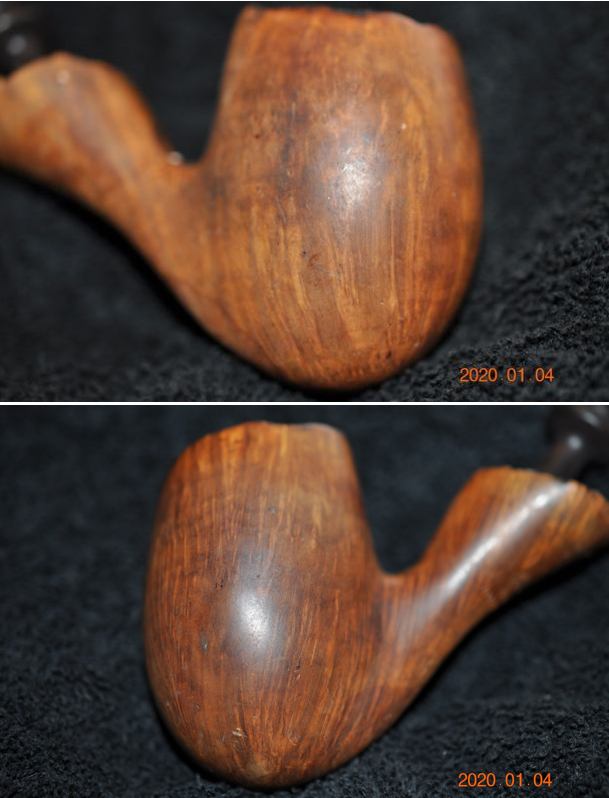
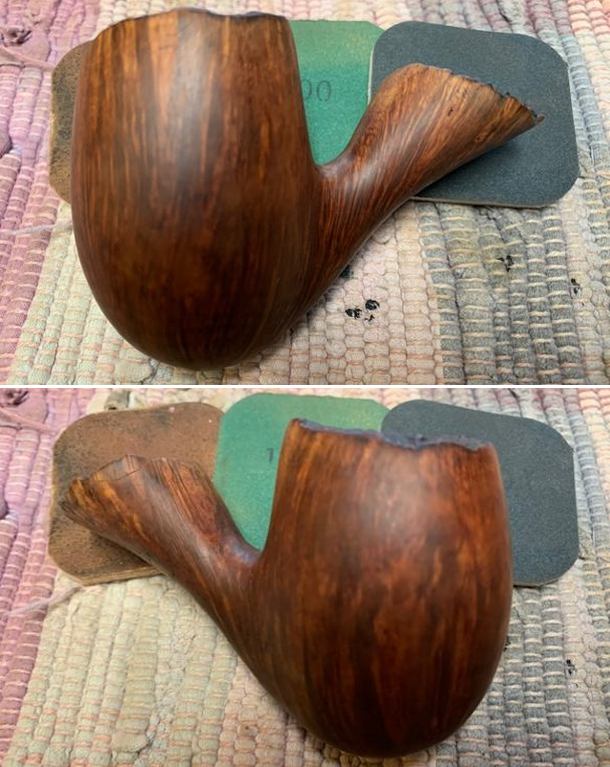
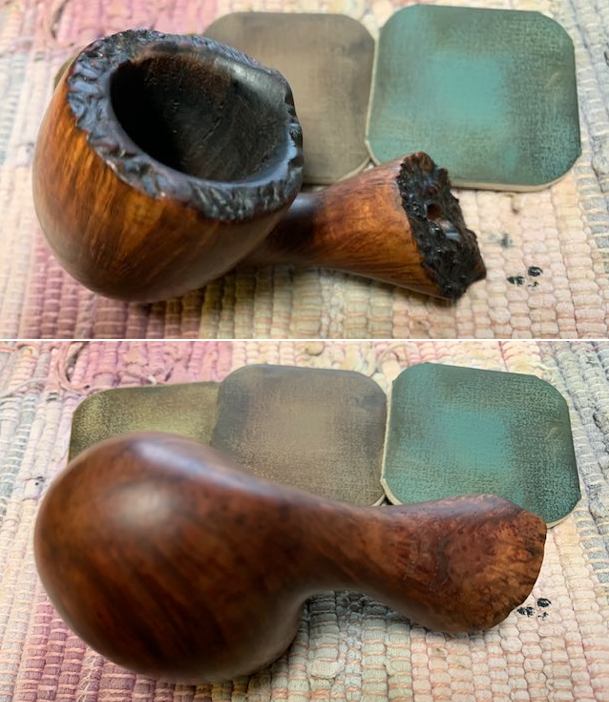
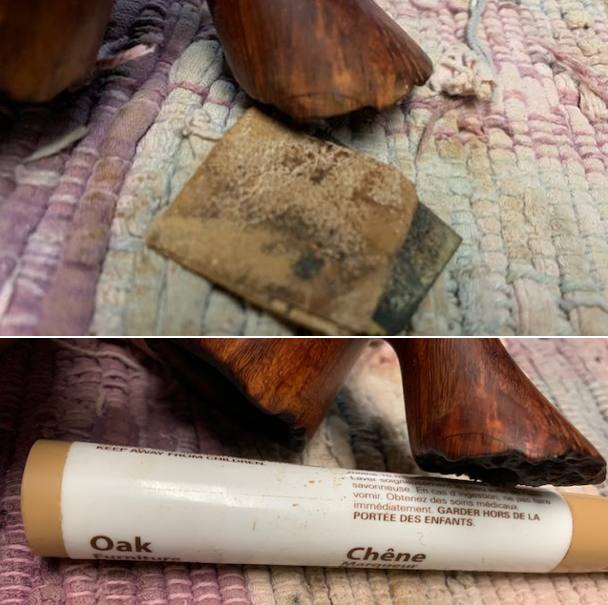
 A de-ghosting session seemed in order, so I thrust cotton balls in the bowl and the shank, and saturated them with 99% isopropyl alcohol. I let the stummel sit for 24 hours. This caused the oils, tars and smells to leech out into the cotton. Finally, a relatively clean and fresh-smelling bowl emerged. I followed that up by cleaning the insides with some dish soap and tube brushes. I then moved on to cleaning the outside of the stummel with Murphy’s Oil Soap and some cotton pads. Some stains were pretty stubborn and I had to scrub hard, but this did eventually remove the remaining dirt. After that, a light application of Before & After Restoration Balm brought out the best in the stummel’s grain.

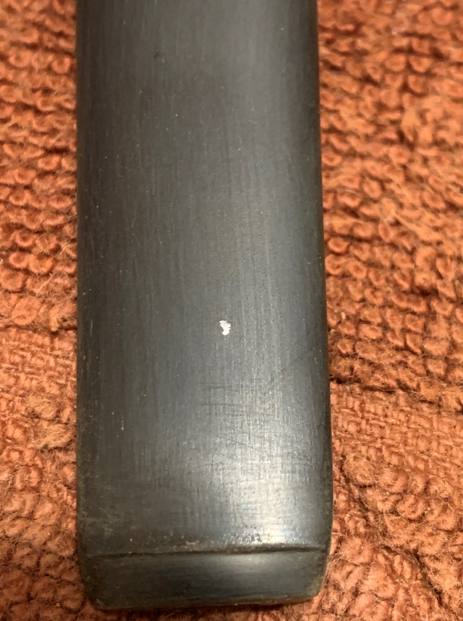
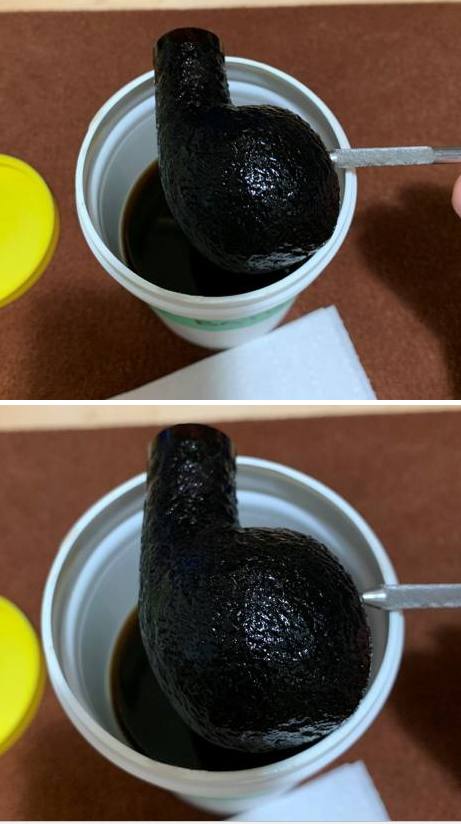
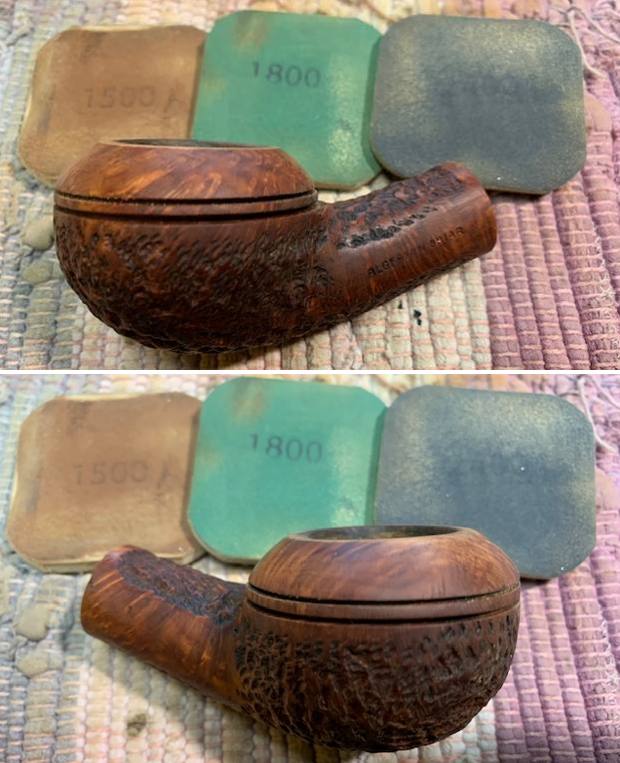
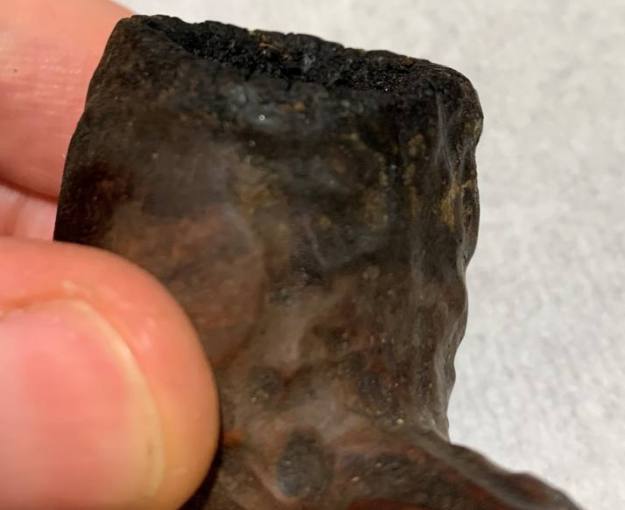
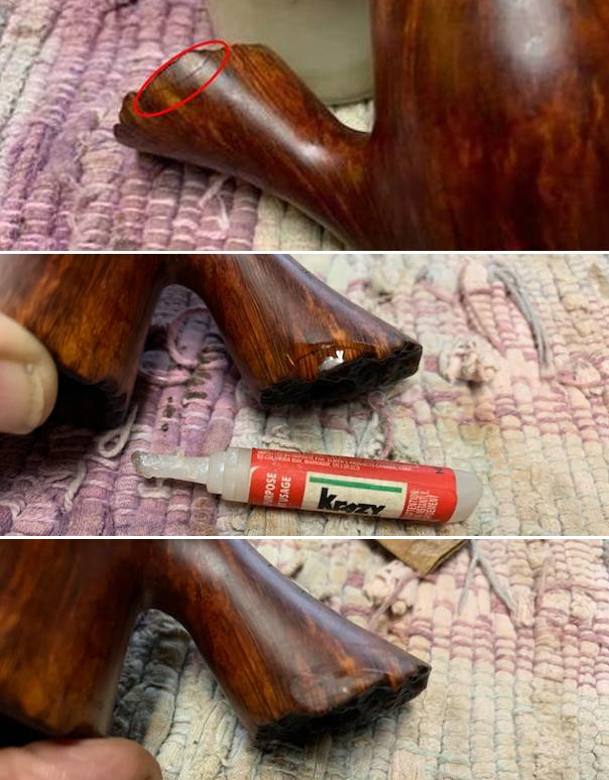
 Having completed that, I was able to address a small nick on the shank. I dug out my iron and a damp cloth to try and raise the nicks. The hot and moist steam created can often cause the wood to swell slightly and return to shape. There was some movement – not a lot, but it was better than doing nothing. I filled the remaining divot with cyanoacrylate adhesive and let it cure. Now, with the nick filled, it was time to sand down the stummel. I used all nine Micromesh pads (1,500 through 12,000 grit) to wet/dry sand everything smooth. Then I added a bit more Before & After Restoration Balm.


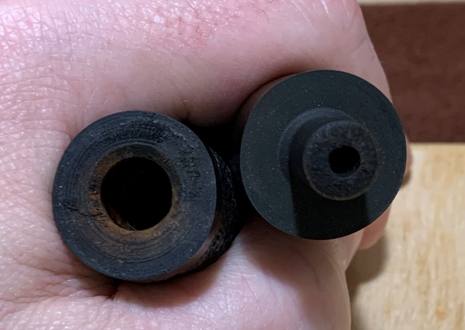
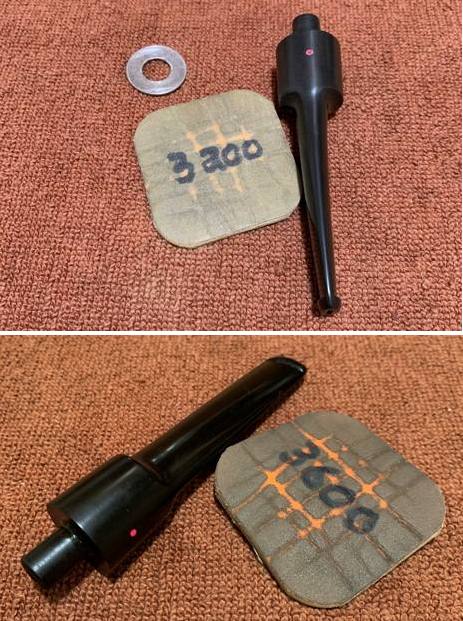
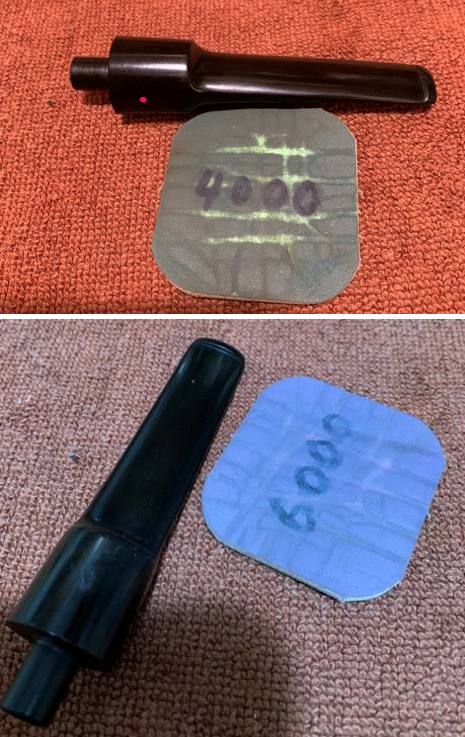
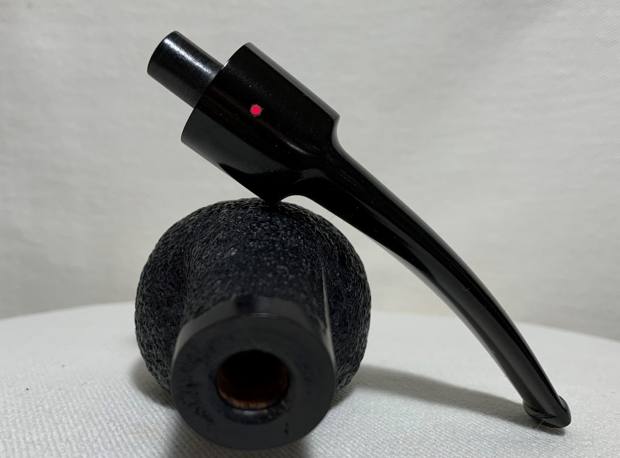
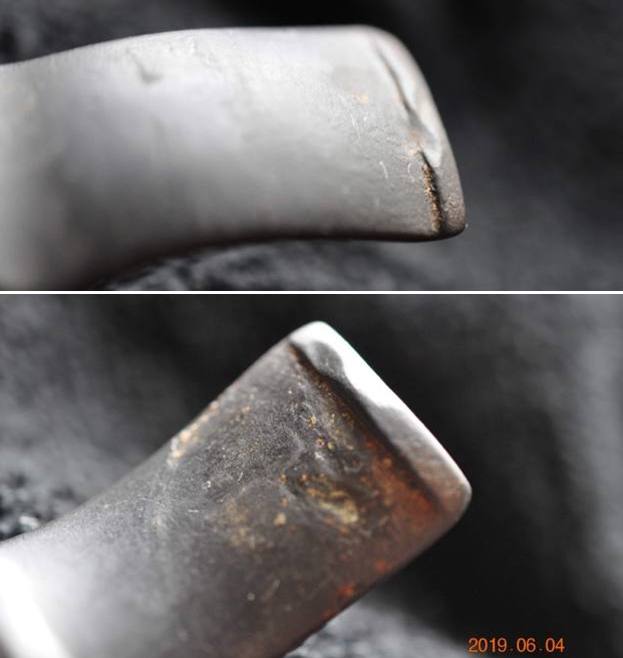
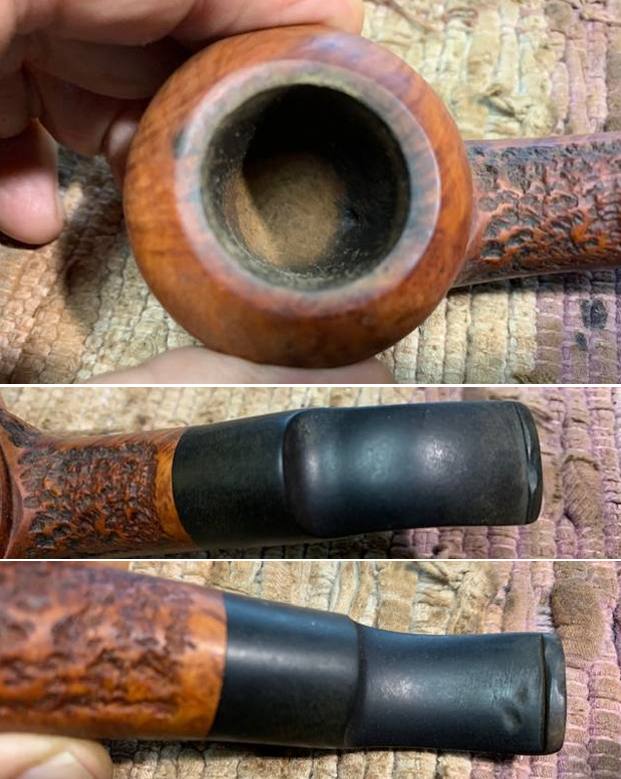
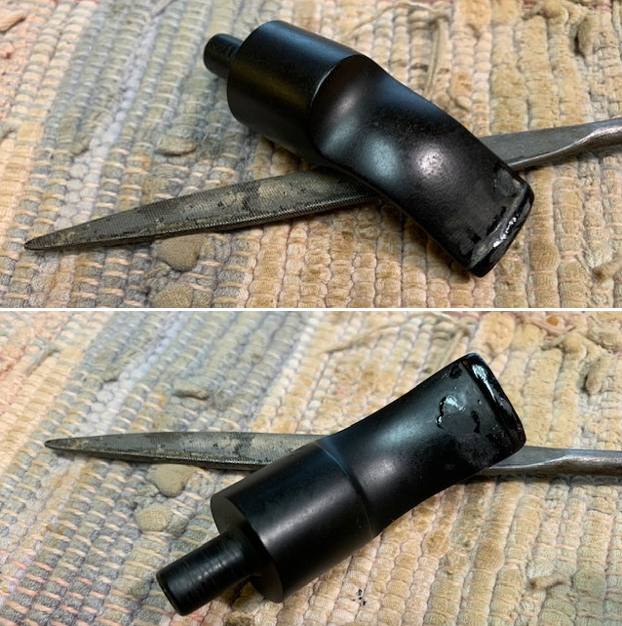
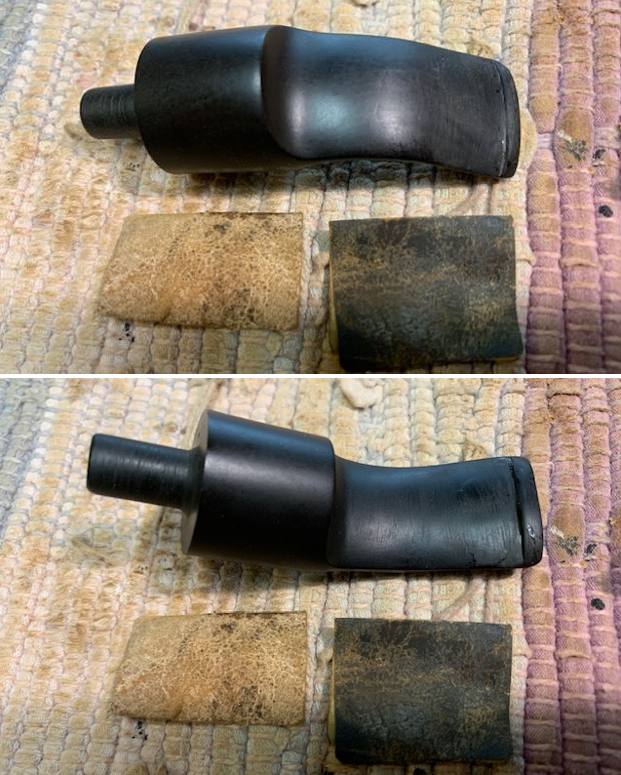
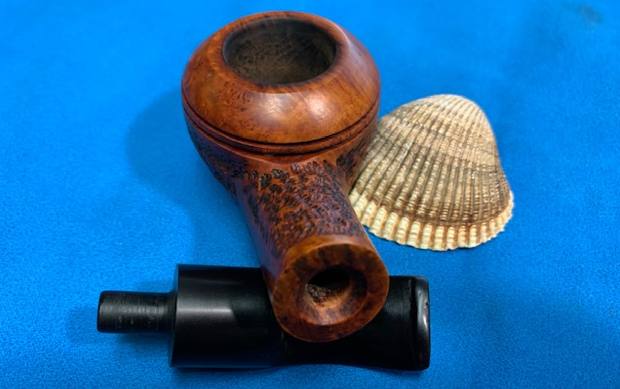
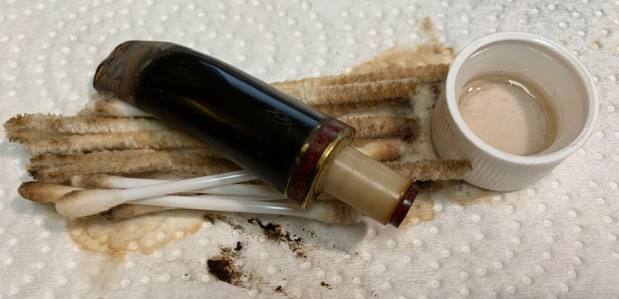
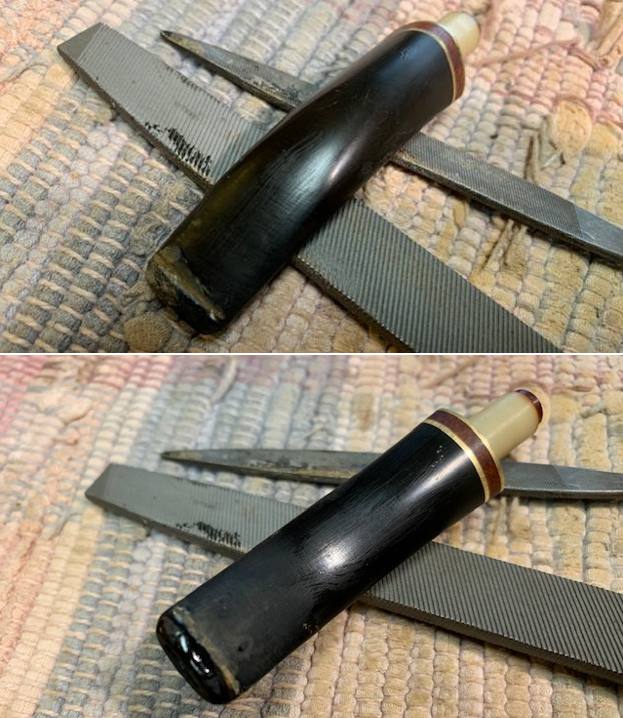
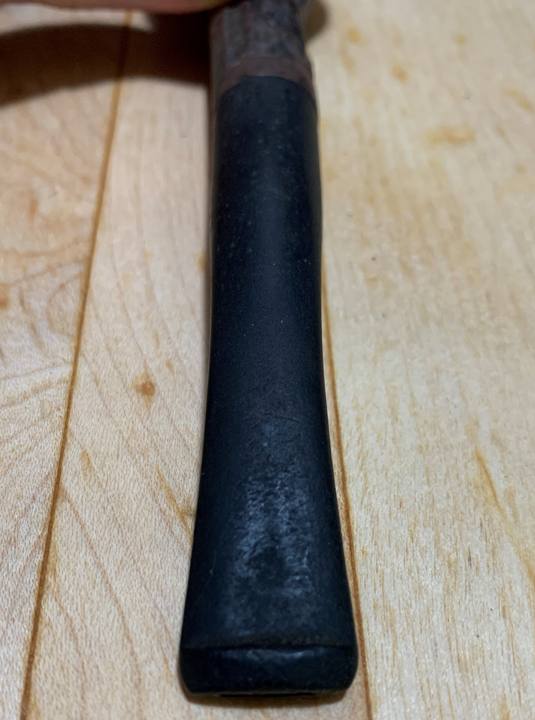
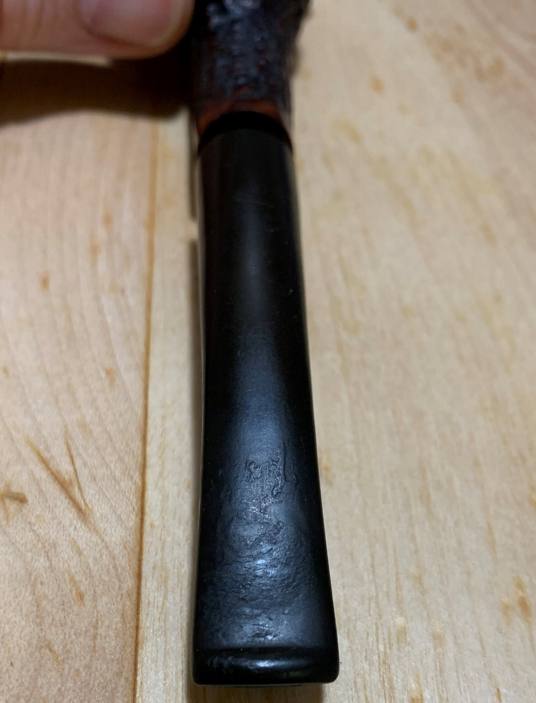
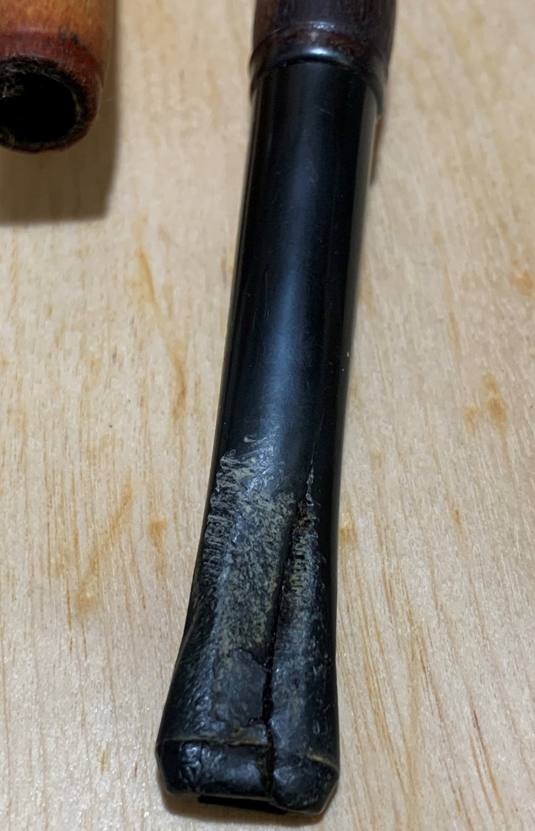
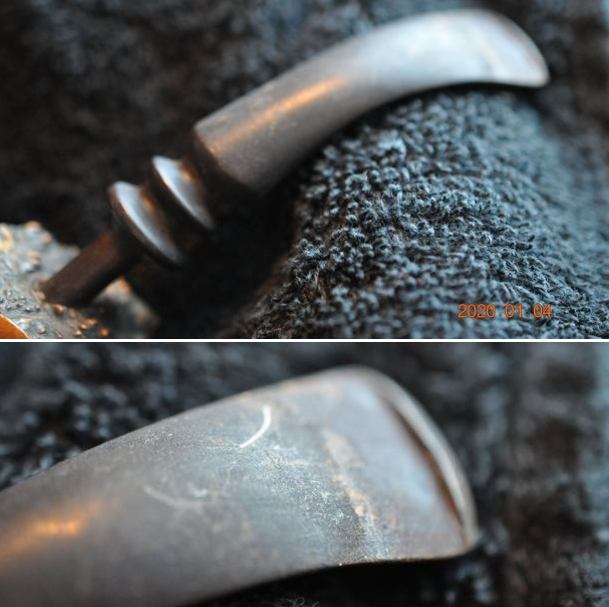
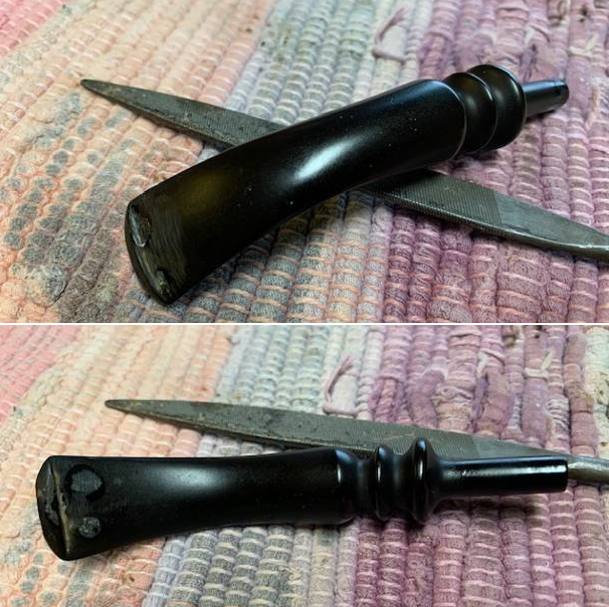
 On to the stem, and what a trial it was. As mentioned, Superman Steve got me a GBD stem and that was terrific: the stem was clean and in nice shape. So what is the problem? Well, its width did not quite match the width of the shank. The stem was slightly wider. So, with 200-grit sandpaper in hand, I began removing the excess vulcanite. As silly as it sounds, this took a couple of hours of work to get this right. The photos below detail the lengthy process to both remove the excess and ensure evenness all around the stem face.


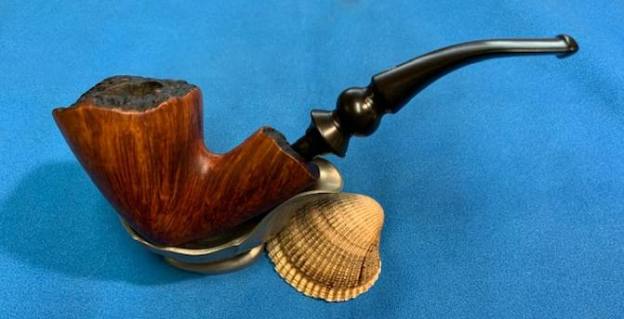
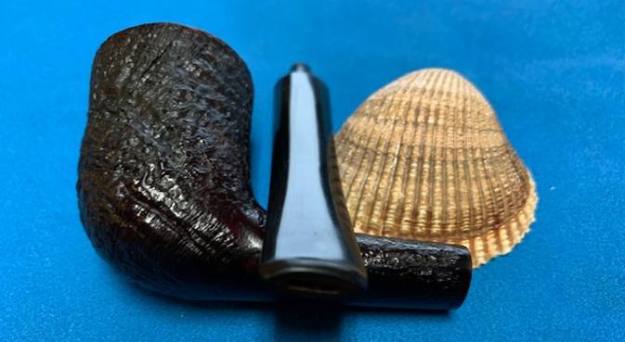
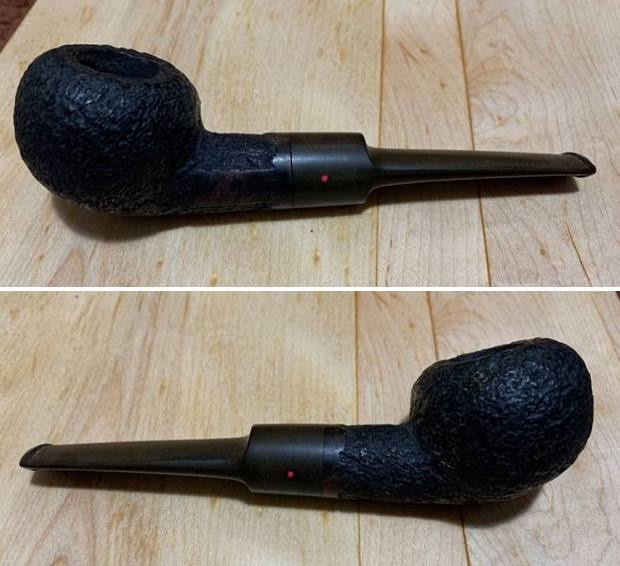
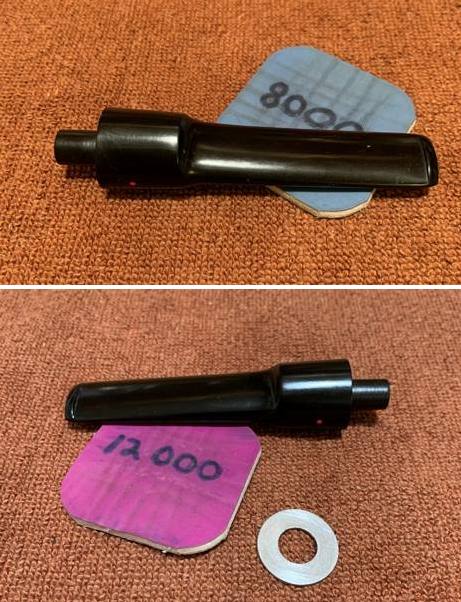
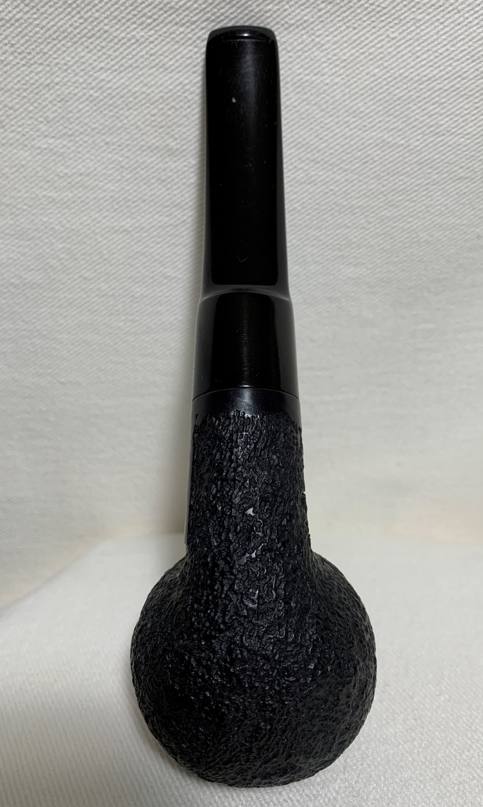
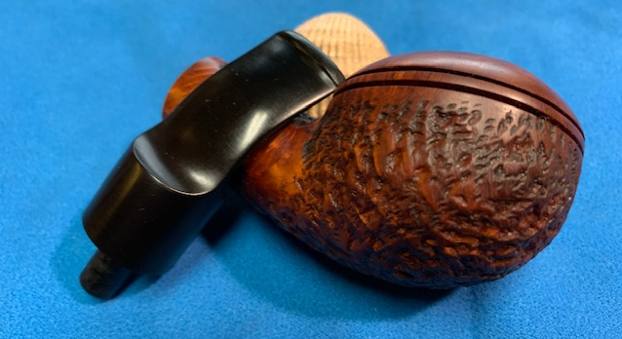
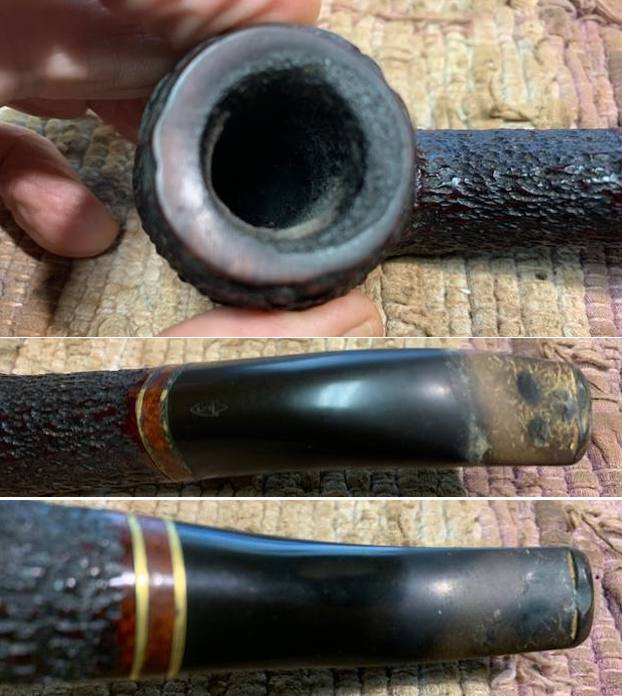
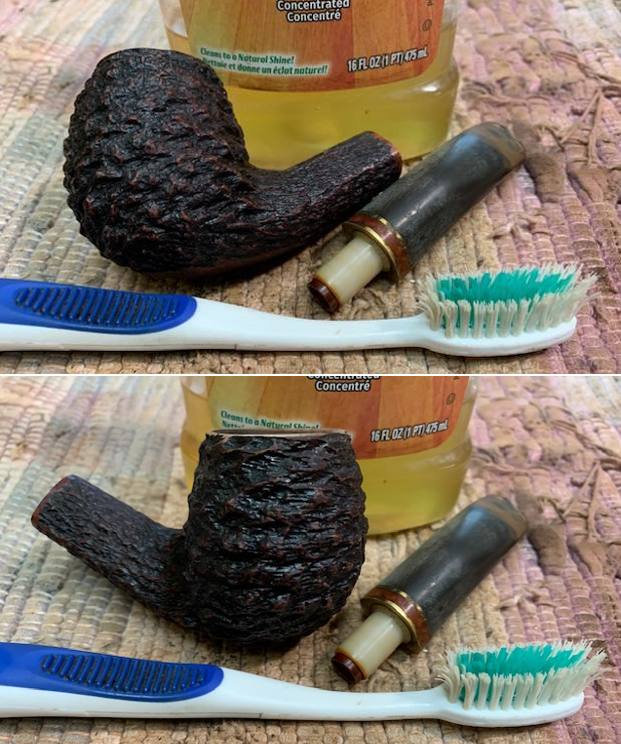
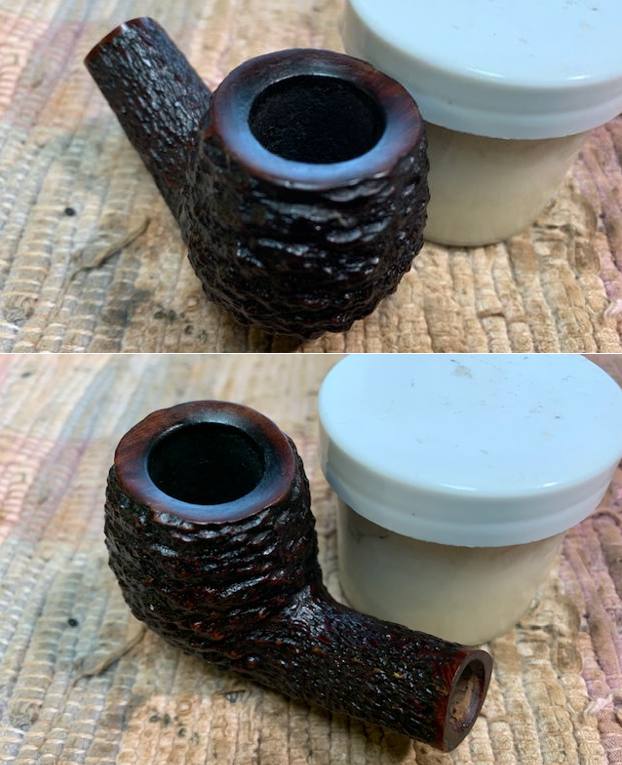
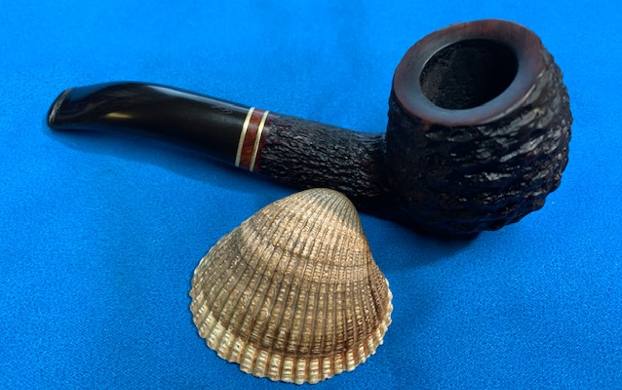
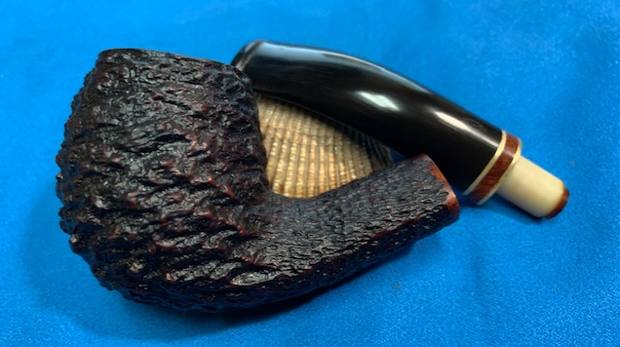
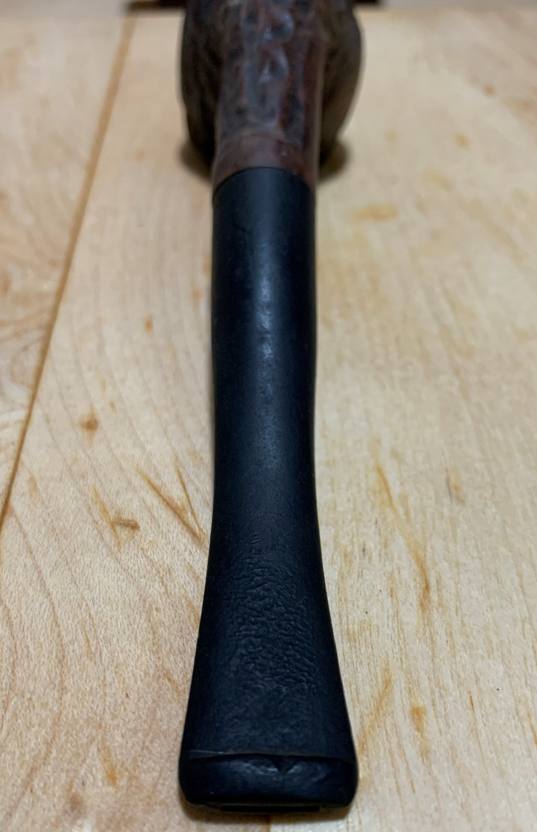
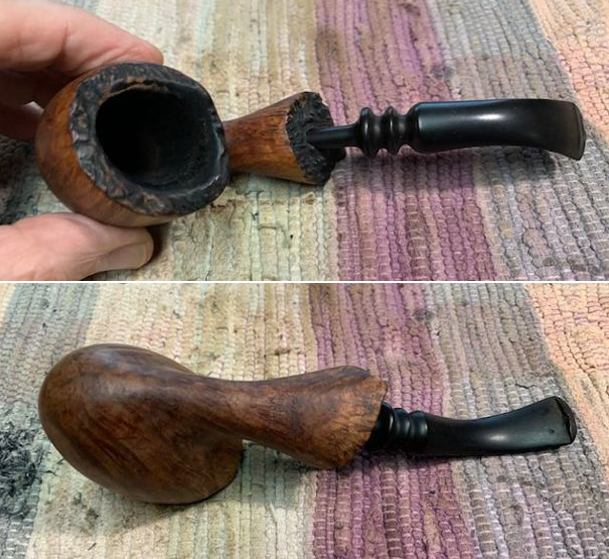
 At long last, I managed to get the size and shape just right, but the faces of both the shank and stem were not matching in the way that one would want. I took the decision that this pipe would benefit from a thin – emphasis on thin – band around the end of the shank. My jar of bands proffered a lovely, thin band that perfectly suited this pipe. With a quick application of glue, the band was on and things were looking much improved. I used some of my Micromesh pads to give that extra shine.


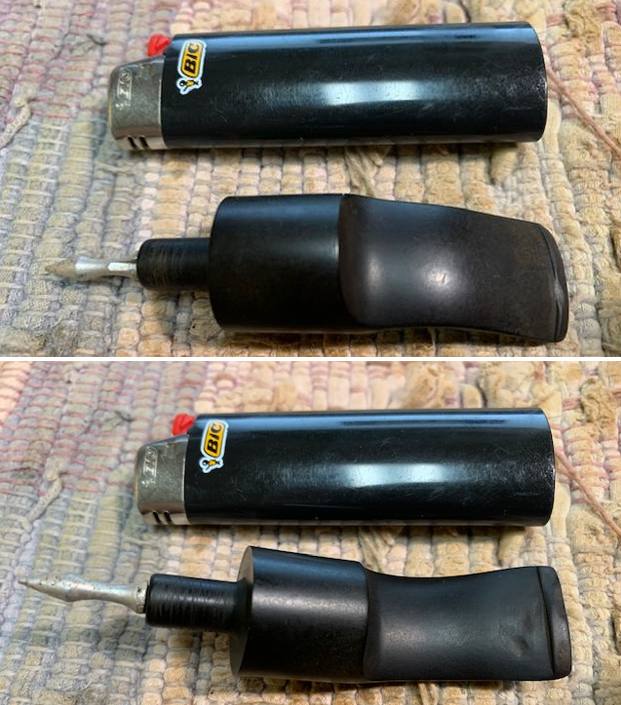
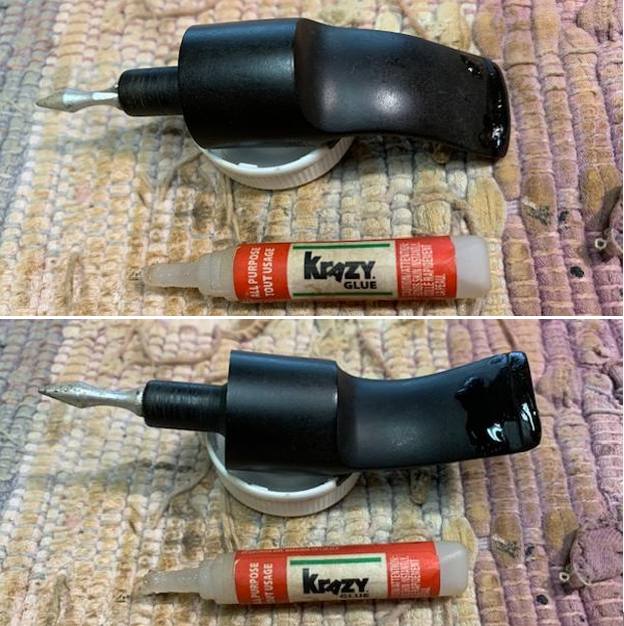
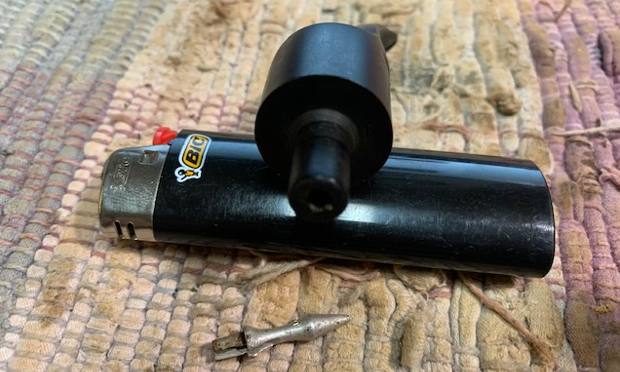
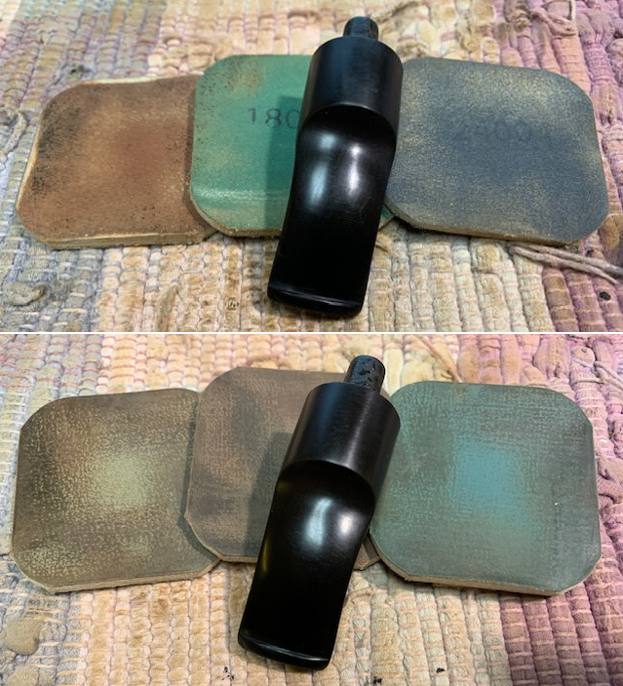
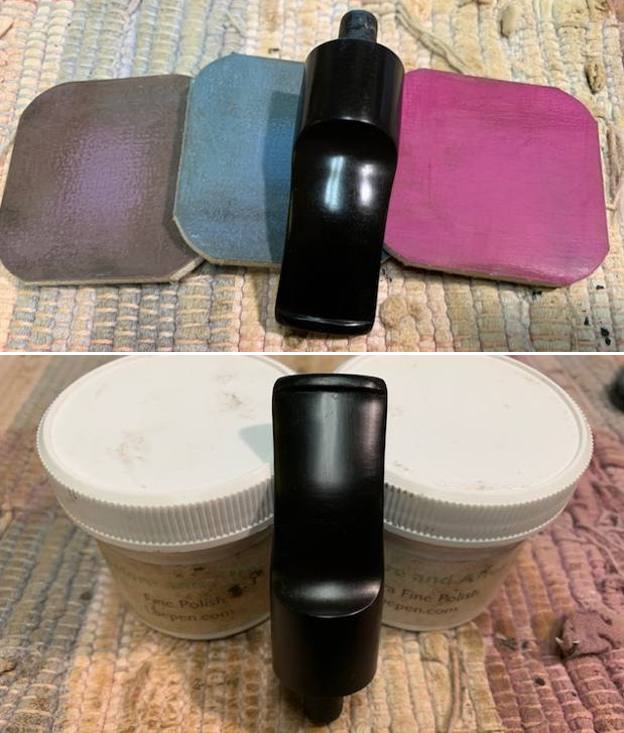
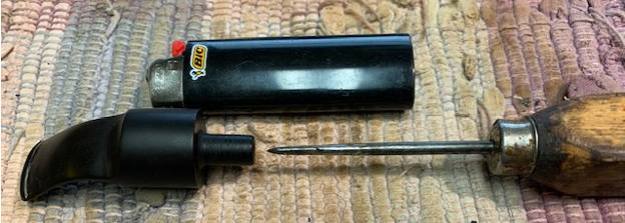
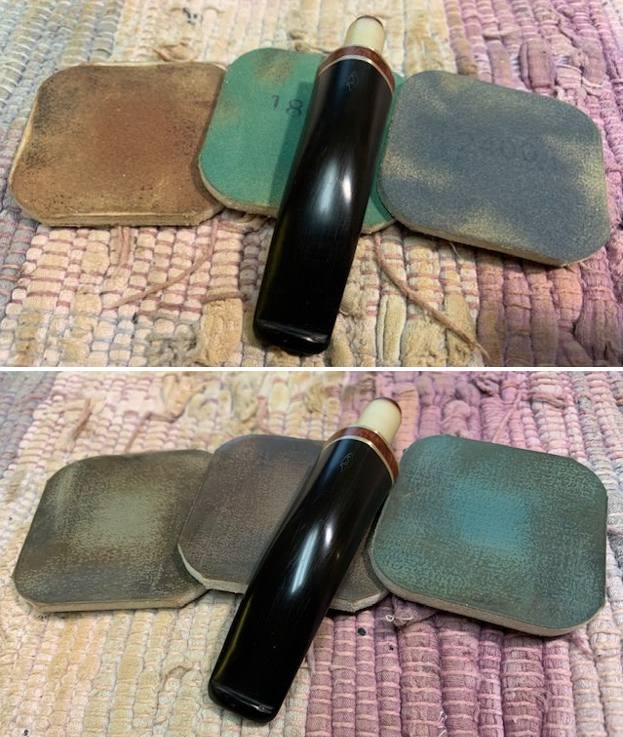
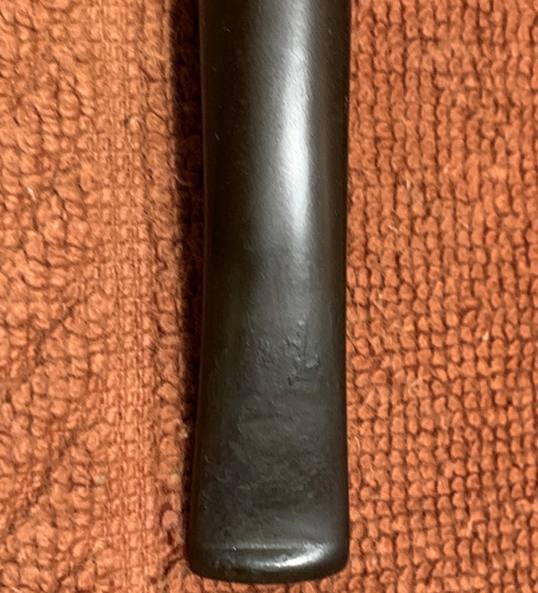
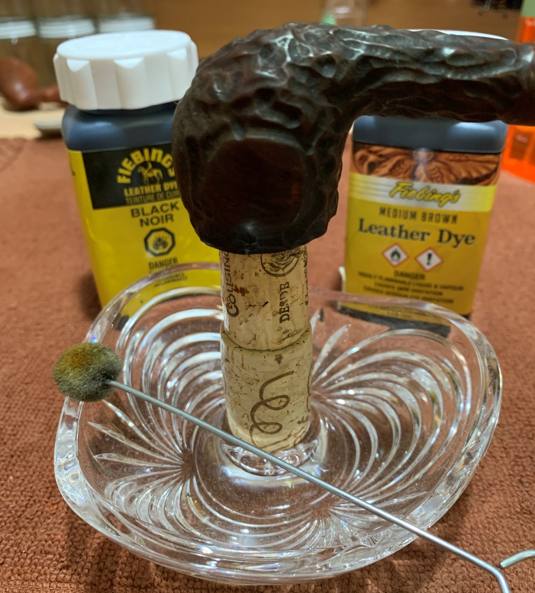
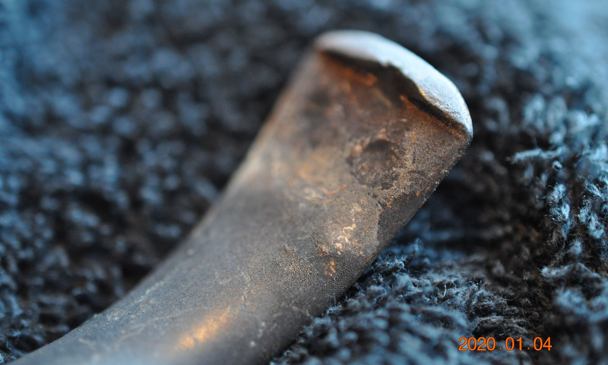
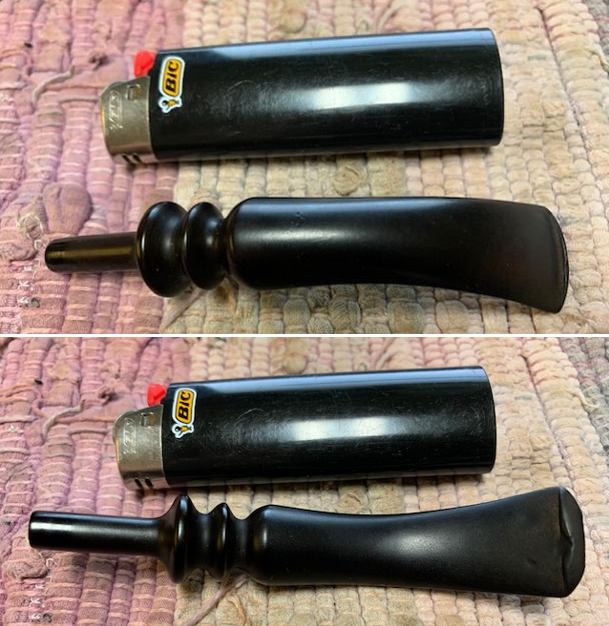
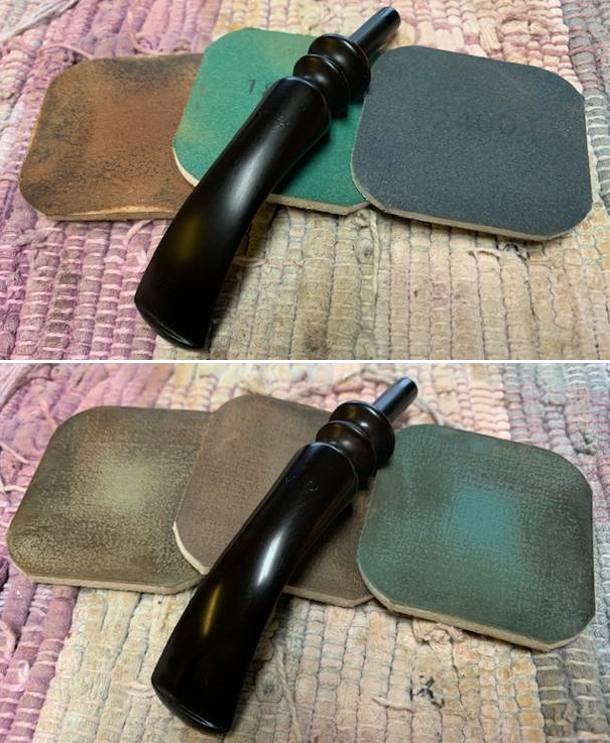
 In order to finish up the stem, I took a BIC lighter and ‘painted’ it with its flame in order to lift the slight tooth marks. This was reasonably successful in raising the dents. Before I moved on to the Micromesh pads, I built up the small dents on the stem with cyanoacrylate adhesive and let them fully cure. I then sanded it down with 220-, 400-, and 600-grit sandpapers to meld the repair seamlessly into the stem. This ensures that it keeps its shape and looks like it should. I then used all nine Micromesh pads (1,500 through 12,000 grit) to bring out the lovely black lustre on the stem. I also used Obsidian Pipe Stem Oil in between each pad scrubbing.

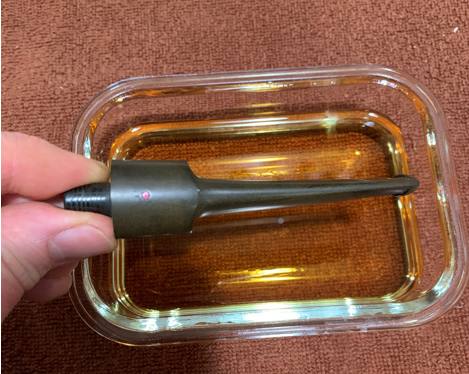
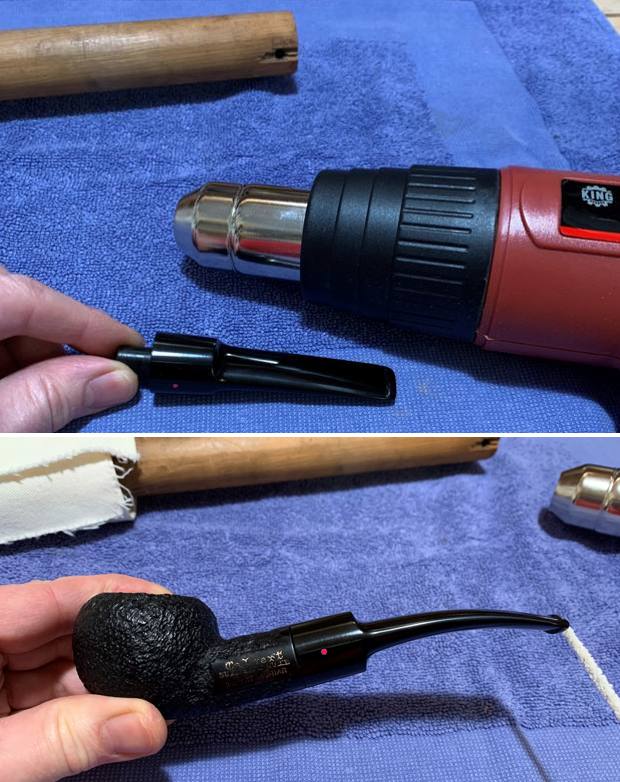
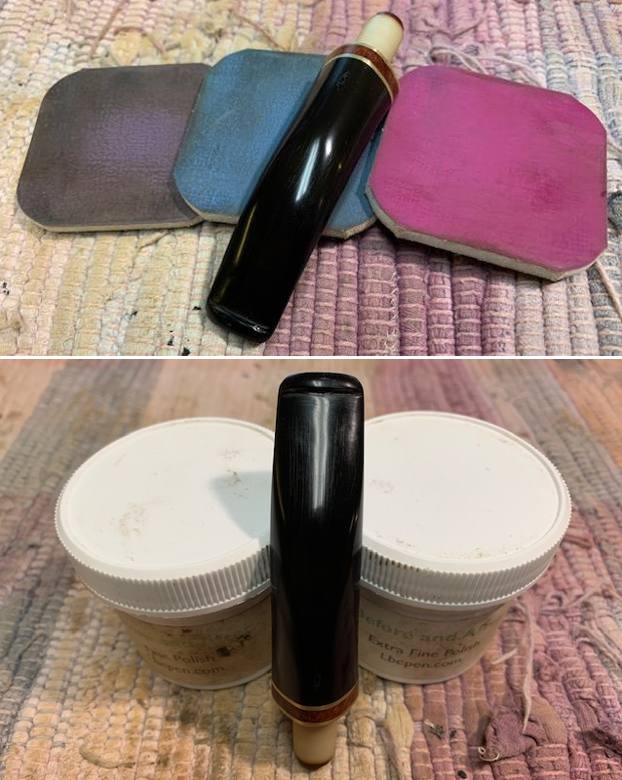
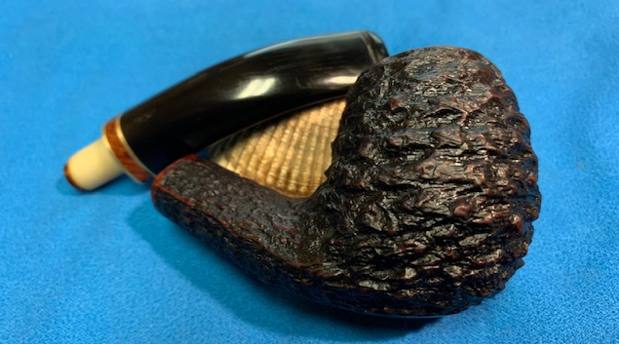
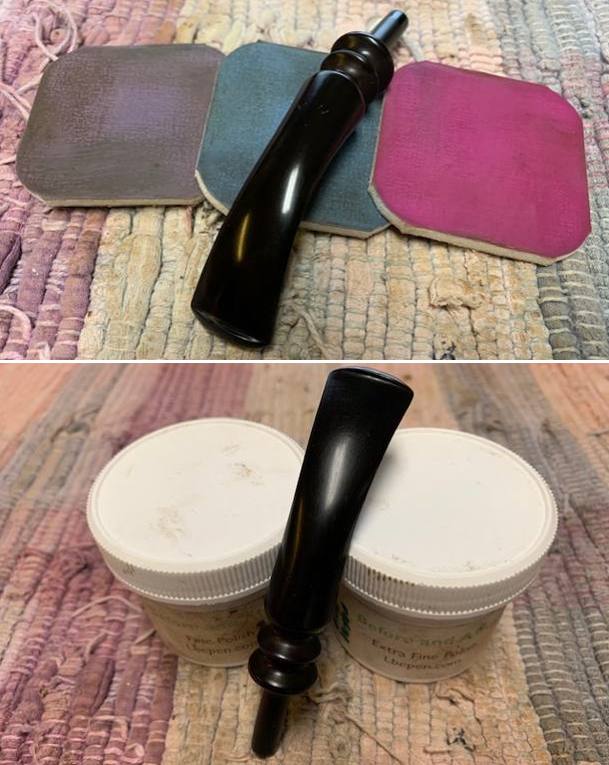
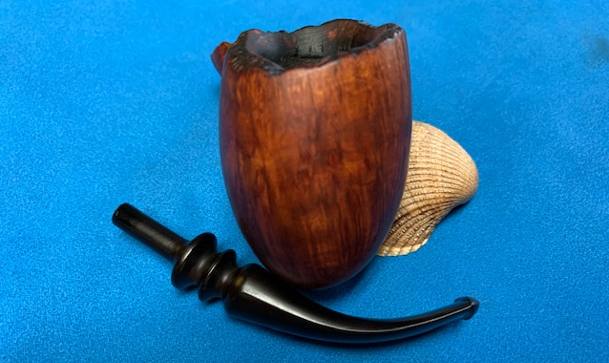
 Of course, since the stem was straight, it did not suit the pipe and needed to be bent. The end of the stem needed to be parallel with the rim of the bowl. I did not have a heat gun at the time, so I brought out a hair drier and heated the vulcanite stem in order to make it malleable. After heating it for 90 minutes (yes, you read that correctly), it became obvious that the hair drier just did not generate enough heat to bend the stem. I then realized that I was going to have to use the nuclear option: dipping the stem in boiling hot water. This is a nuclear option because the water added an horrific oxidation to the stem – the worst I have ever seen. When it was finally soft, I gently curved the stem over a wooden dowel. The dowel provided a firm surface and a proper curve. Once I had the bend I wanted, I left the stem to cool and set itself in place. I then had to go back and use all nine Micromesh pads (and the Obsidian Pipe Stem Oil) again to restore the black lustre. A few four-letter words might have been silently uttered in the process, but I digress…


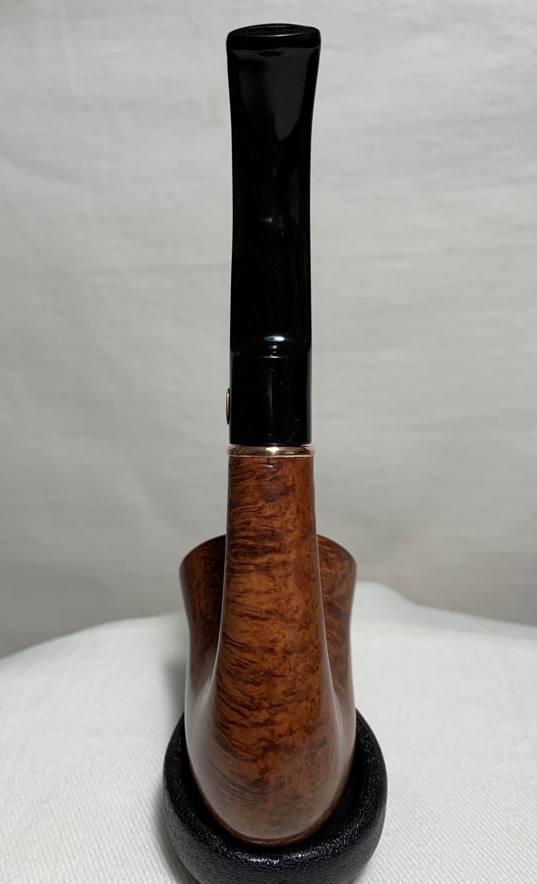
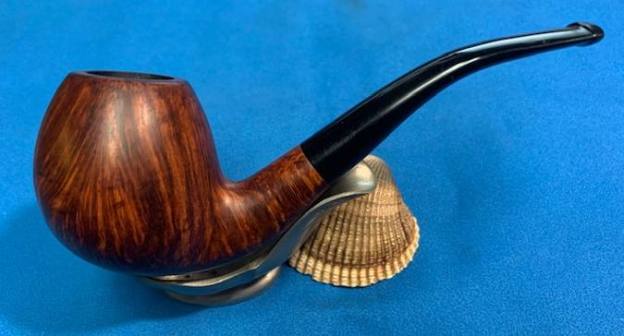
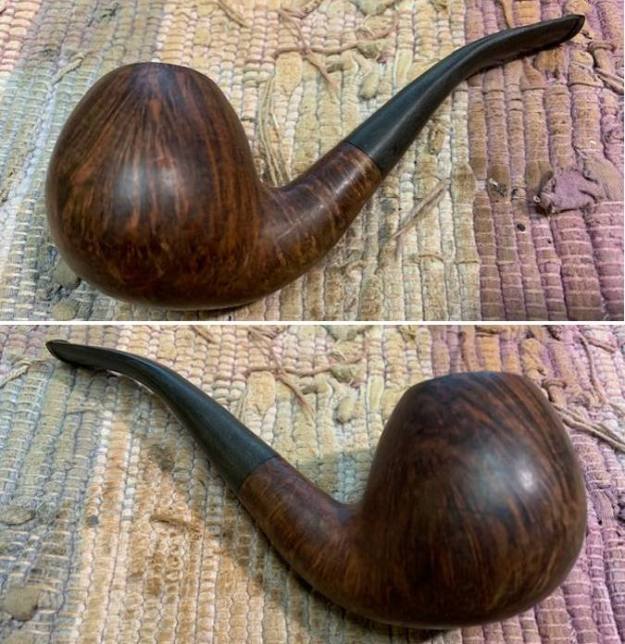
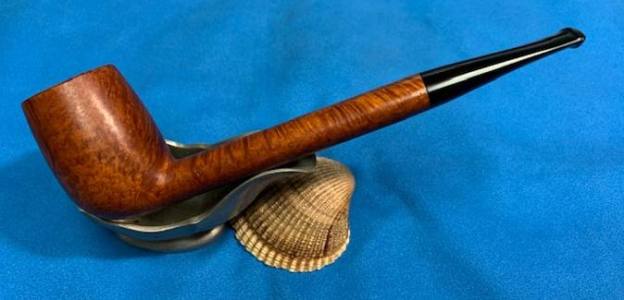
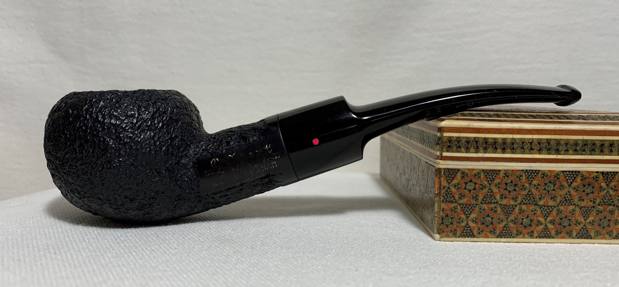
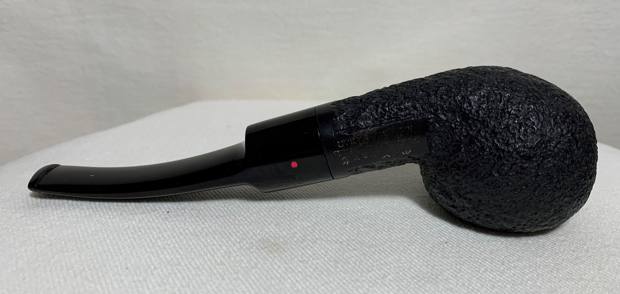
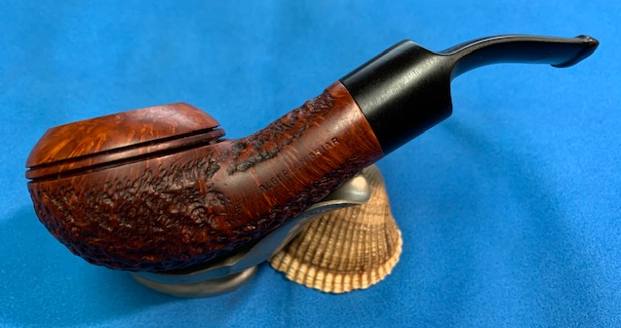
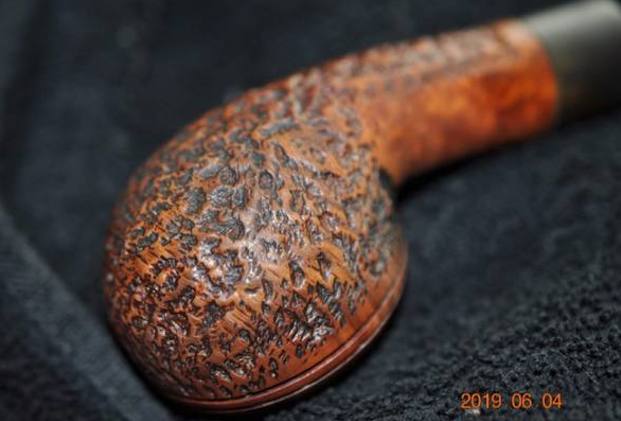
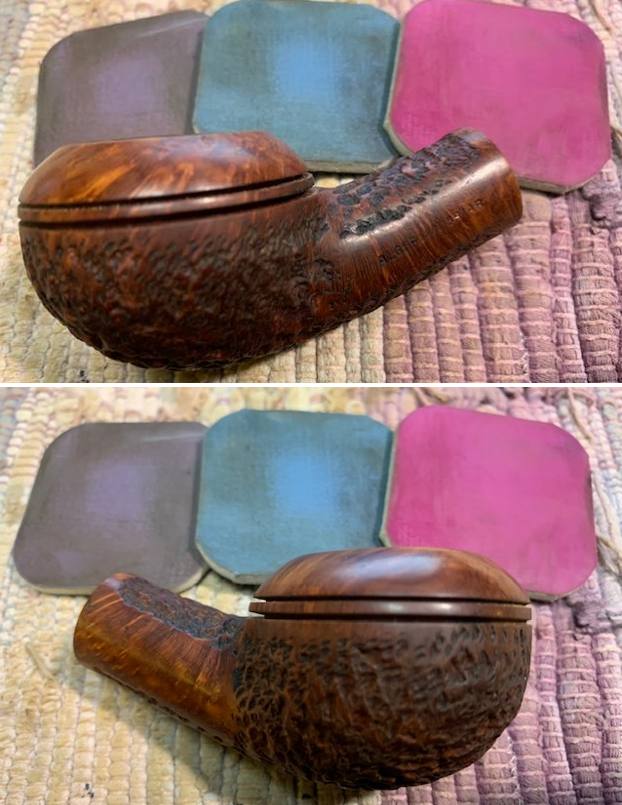
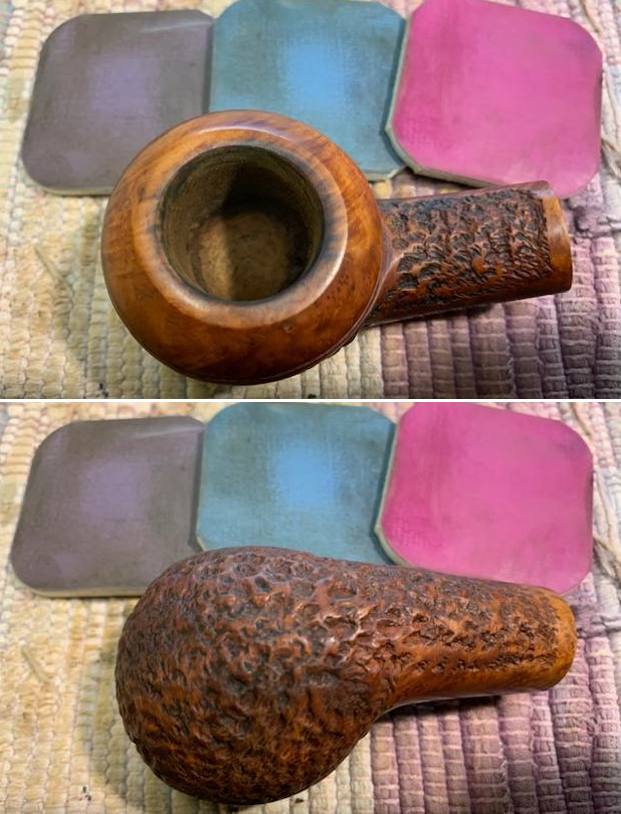
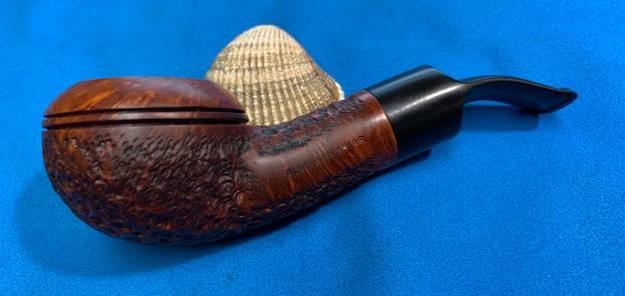
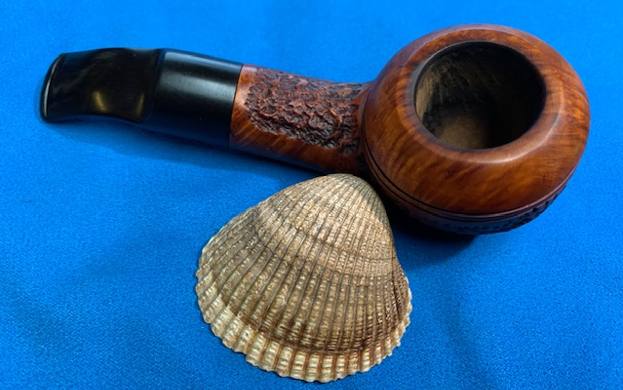
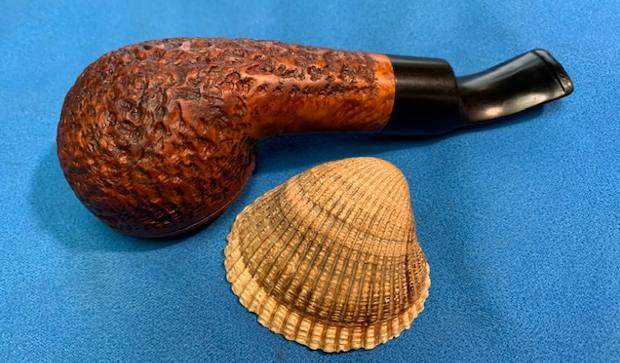
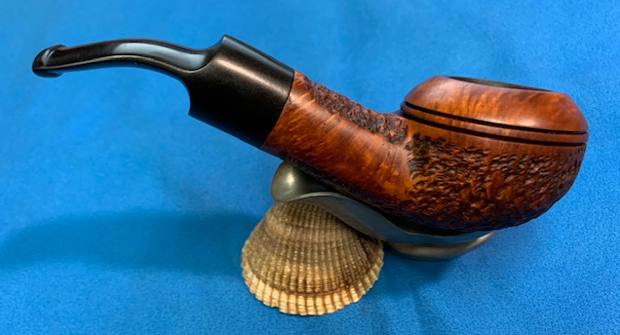
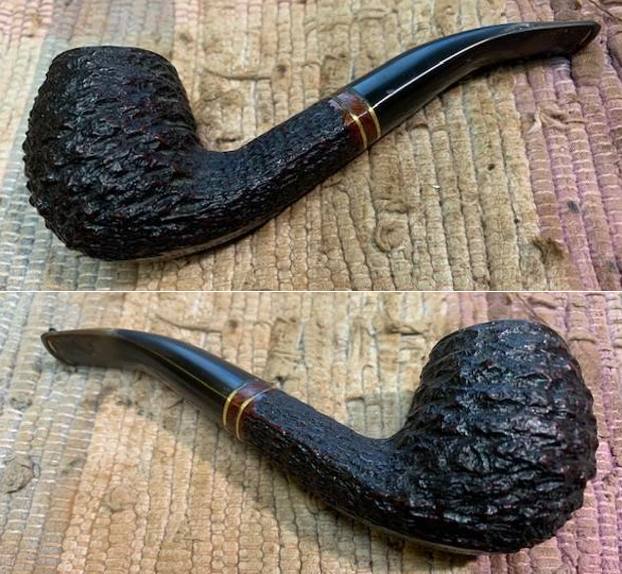
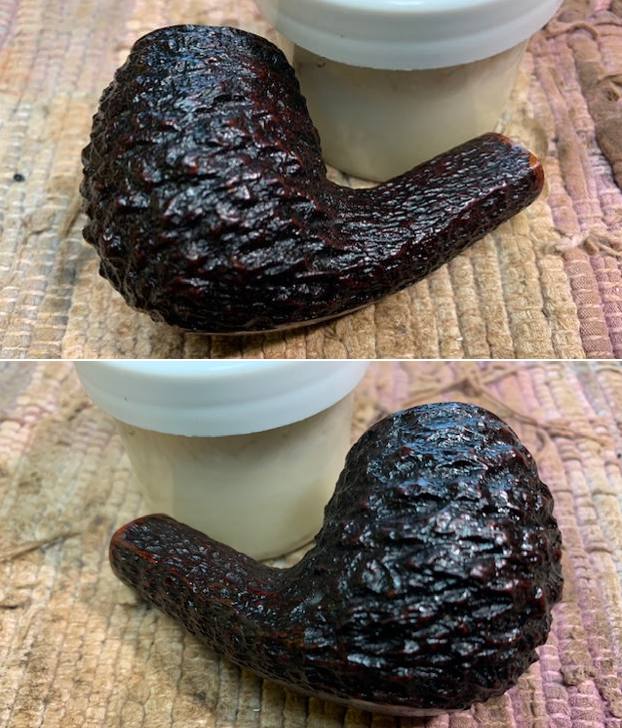
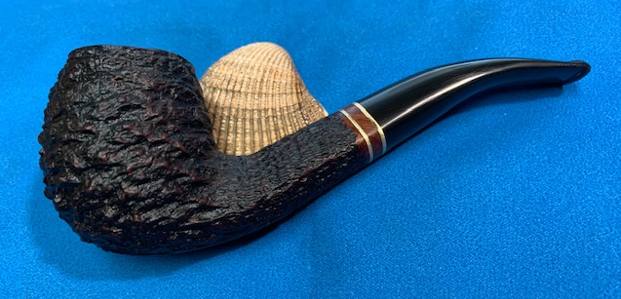
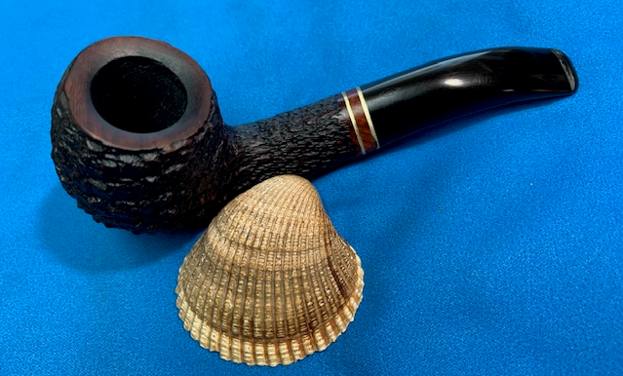
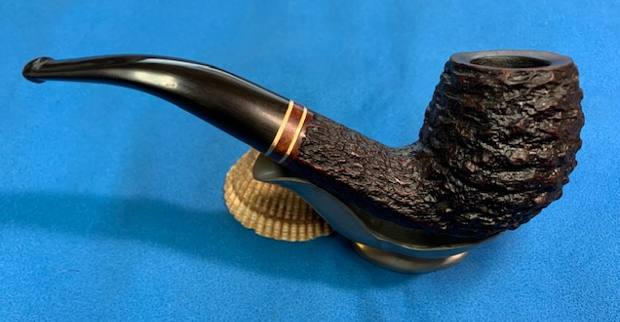
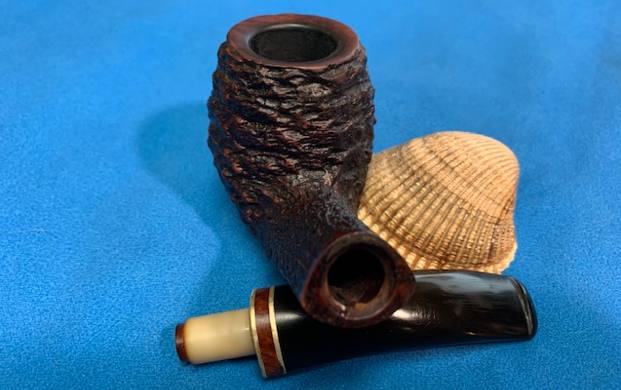
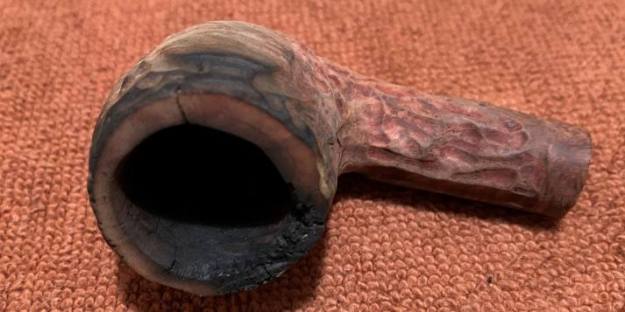
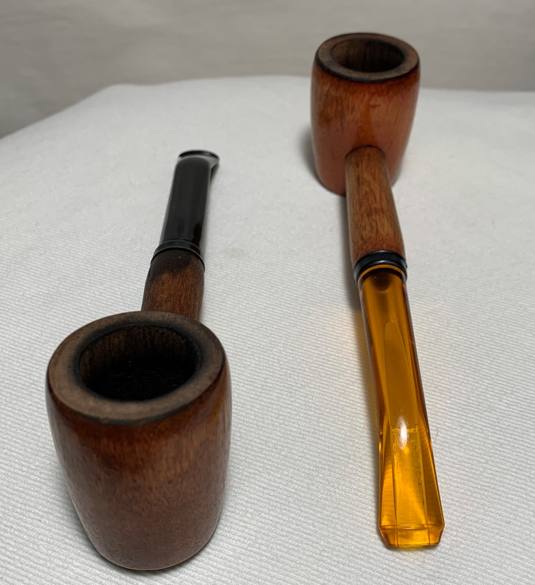
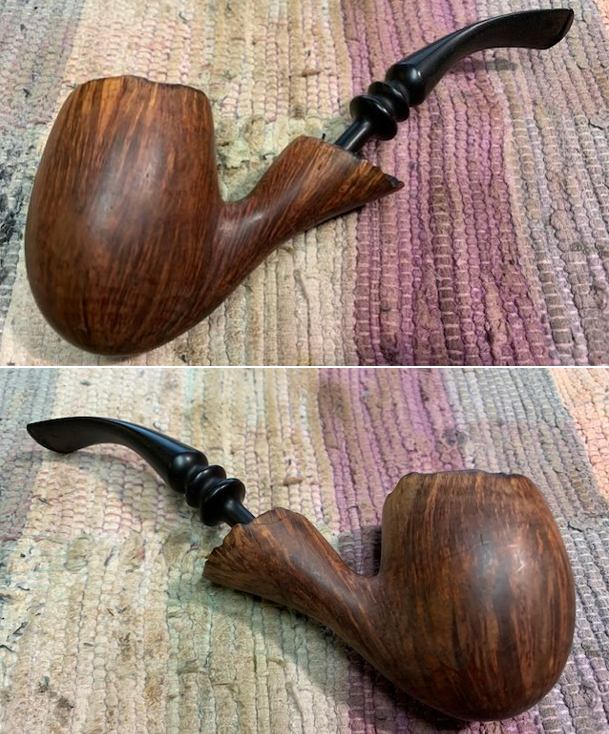
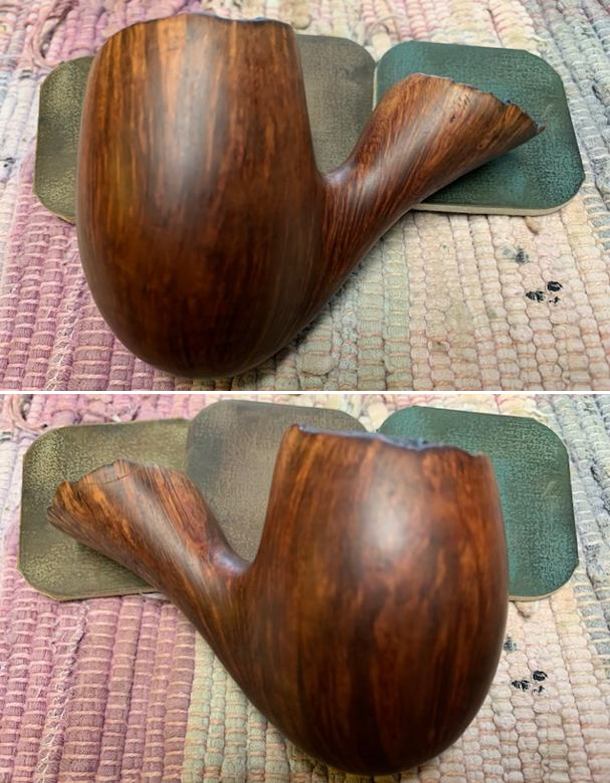
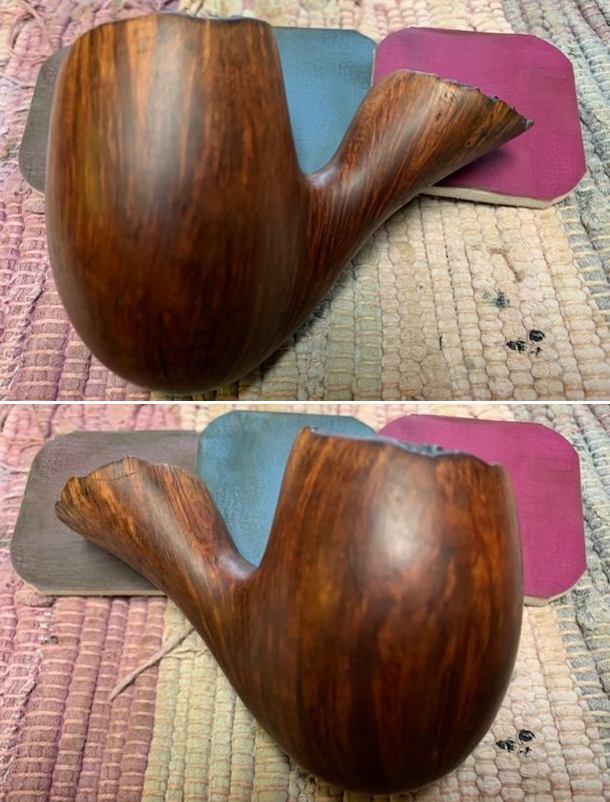
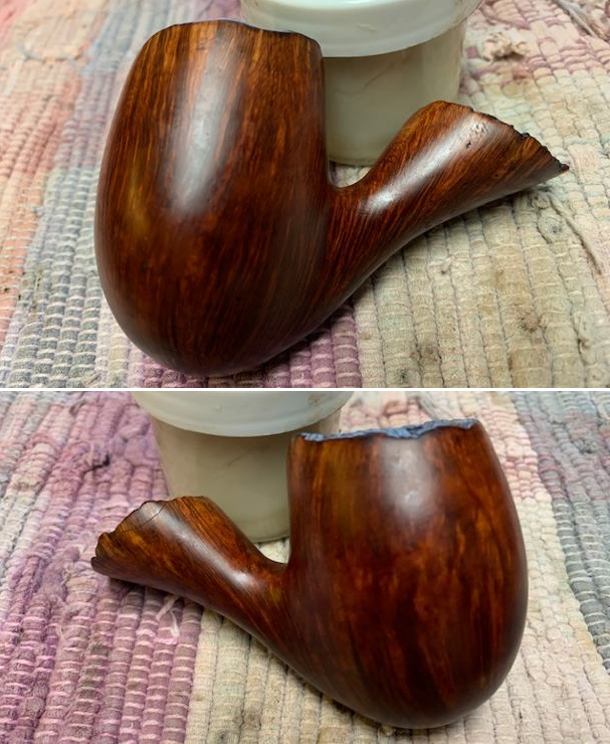
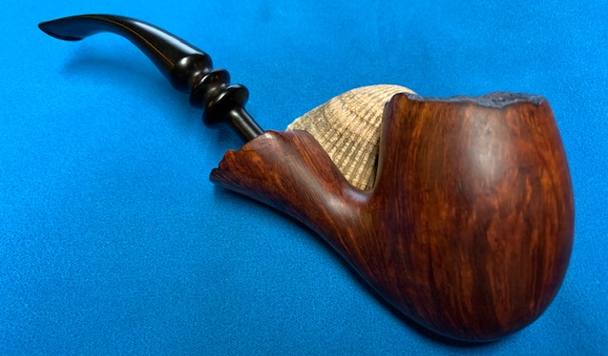
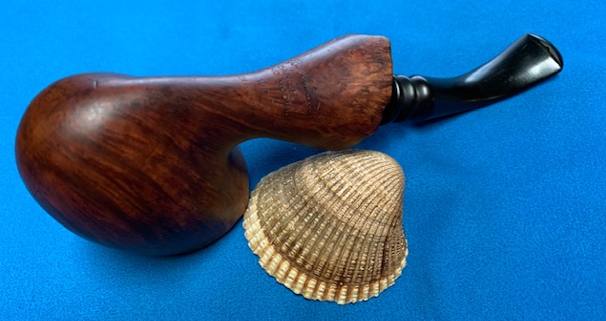
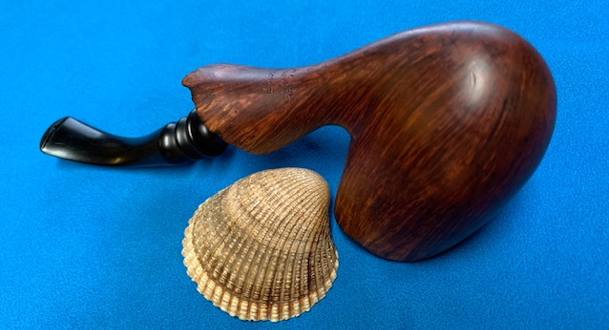
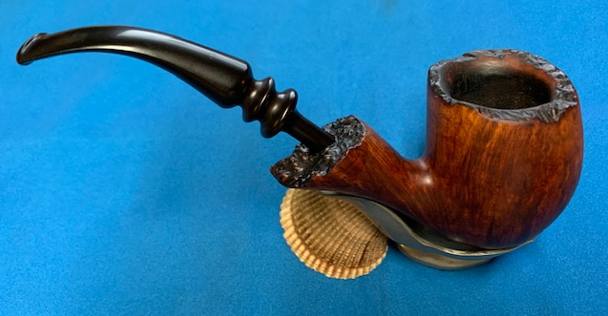
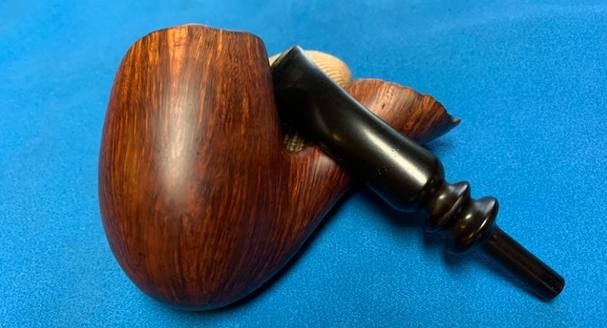
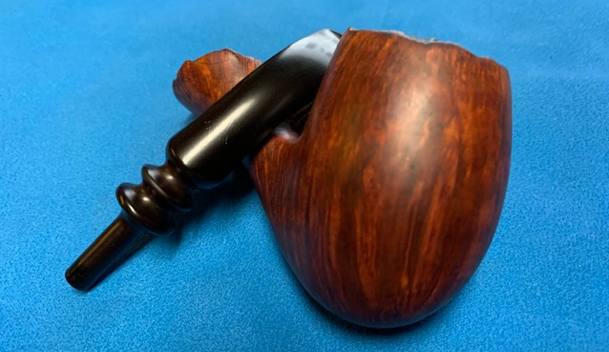
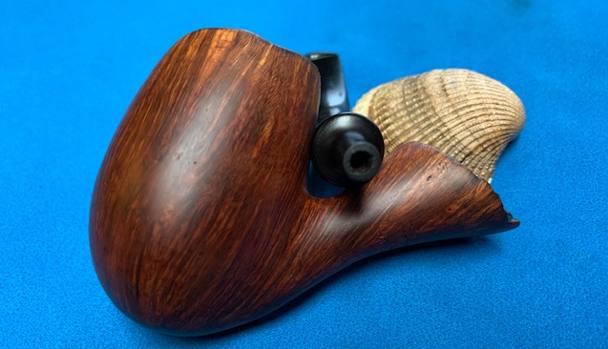
 Then it was off for a trip to the buffer. A dose of White Diamond and a few coats of carnauba wax were just what this pipe needed. The lovely shine made the wood look absolutely beautiful.
This is a wonderfully crafted pipe and has a very elegant feel to it. Steve told me from the beginning that this was a pipe I should keep for myself. So, this one is being added to my collection – and I am pleased to say that it smokes beautifully. I am sure that I will be enjoying this one for many years to come. I hope you enjoyed reading the story of these pipes as much I as I did restoring them. If you are interested in more of my work, please follow me here on Steve’s website or email me directly at kenneth@knightsofthepipe.com. Thank you very much for reading and, as always, I welcome and encourage your comments.


