
Blog by Steve Laug
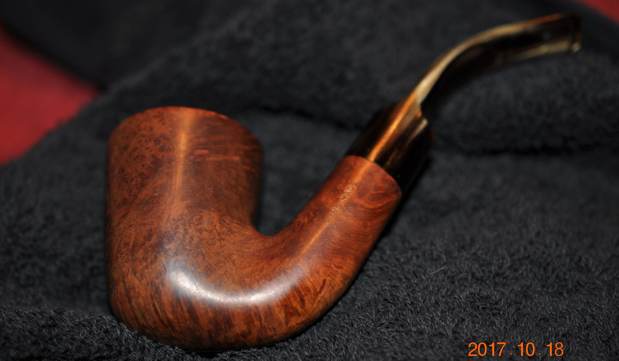
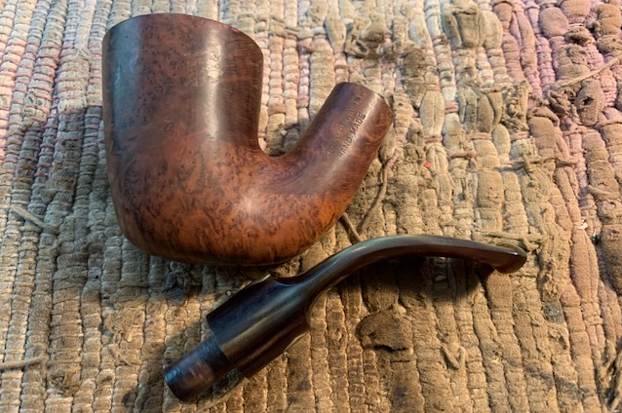
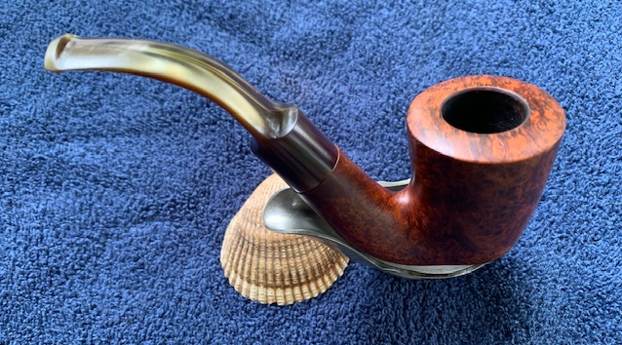
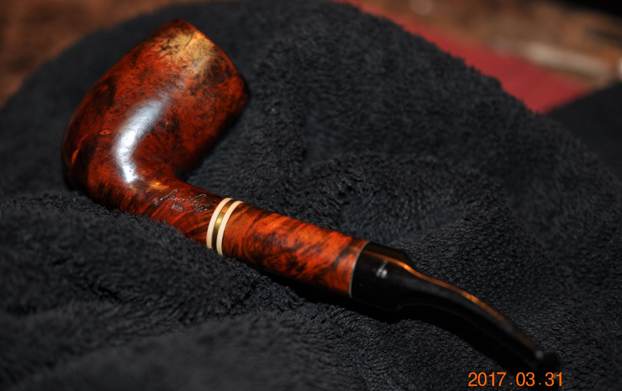
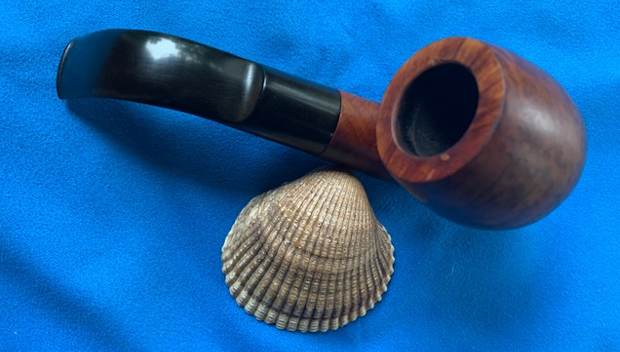
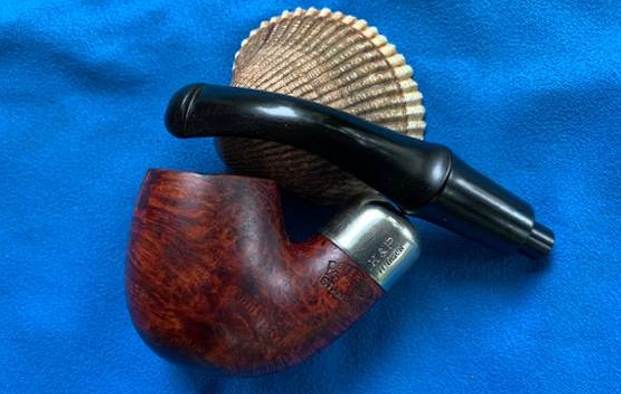
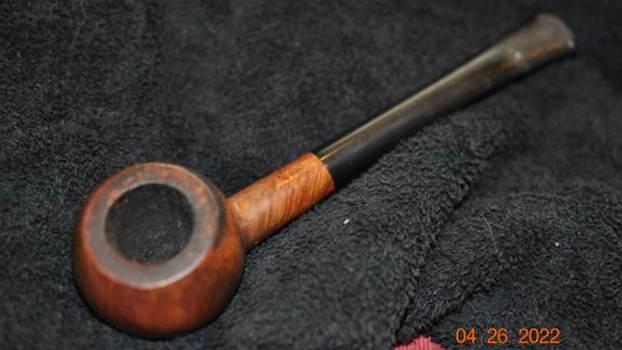
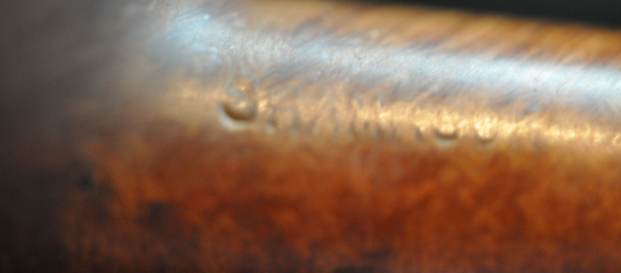
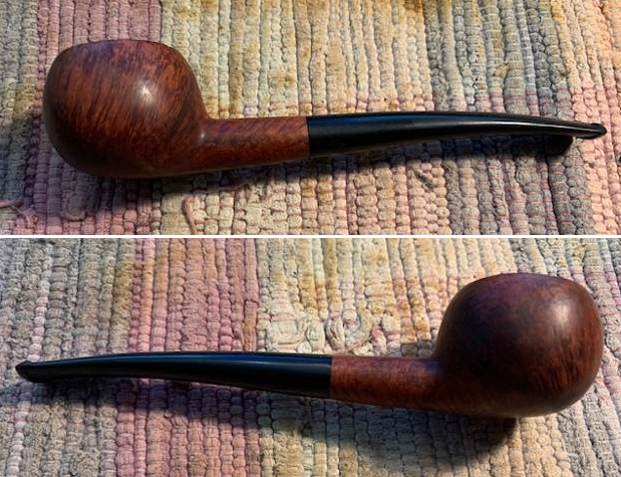
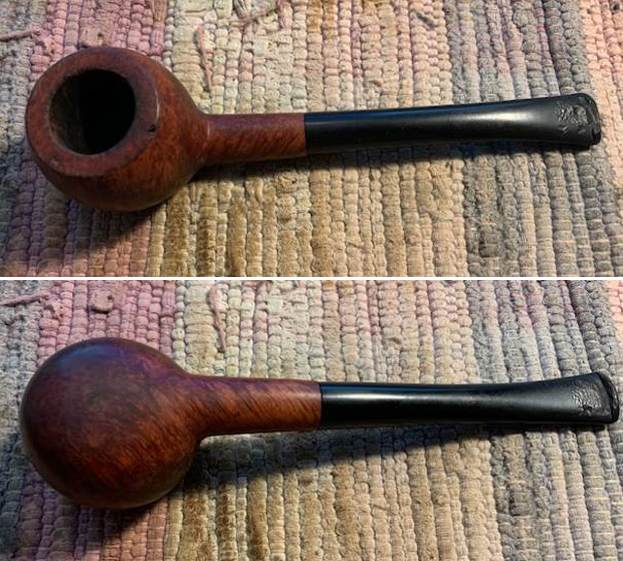
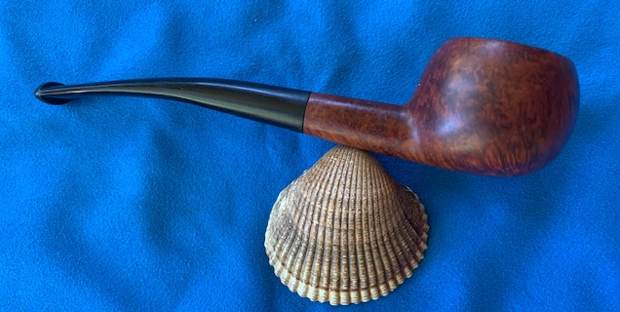
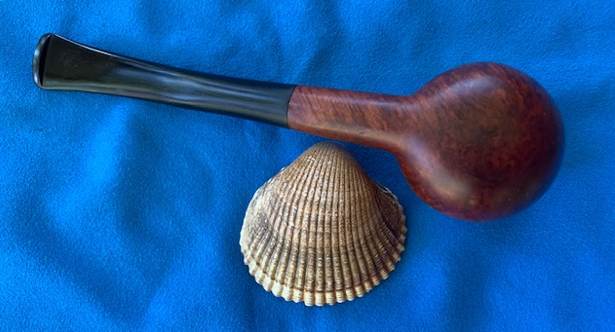
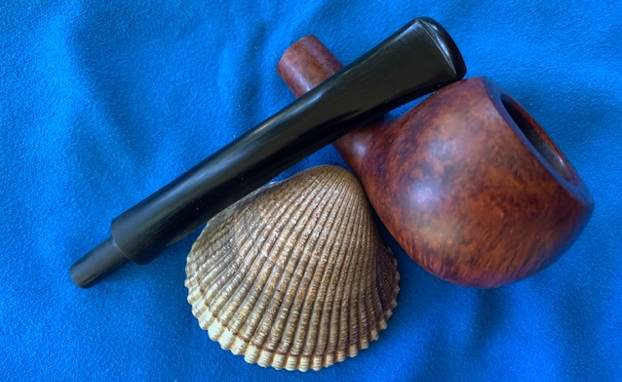
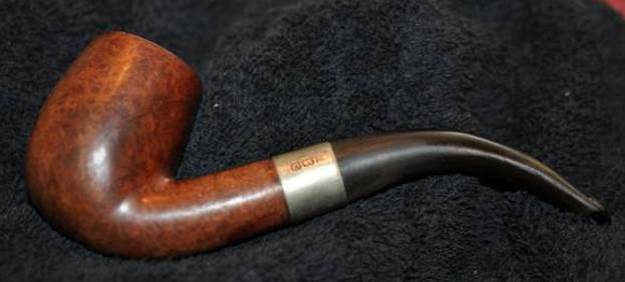
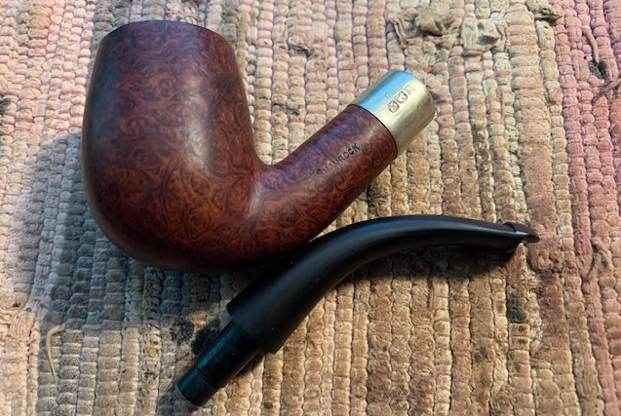
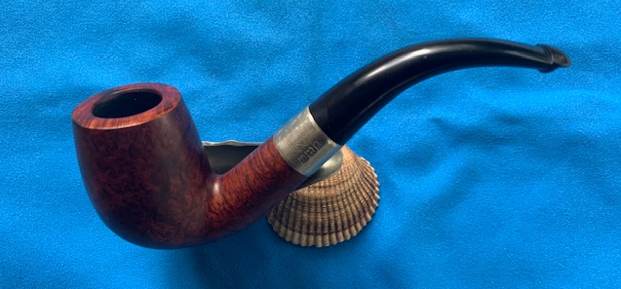
It seems I am finally getting some time to work on the backlog of pipes we have here. We have a large collection of pipes we have picked up over time and cleaned up and set aside to work on. This interesting piece was purchased from an antique store on 10/14/2017 in Pocatello, Idaho, USA and I am finally getting around to it. The pipe is Danish take on a bent Billiard with an extended flat heel that makes the pipe a sitter. It is stamped on the left side of the shank and reads Danets [over] made in Denmark. On the underside near the stem it has the shape number 904 stamped. The briar was dirty with grime ground into the finish. The bowl had a thick cake with an overflow of lava on the beveled rim top. The fancy saddle stem was lightly oxidized and had tooth marks and chatter on both sides ahead of and on the button surface. There was a cursive D on the left side of the saddle stem. There was also a crack in the shank on the left side that ran about ½ inch up the shank.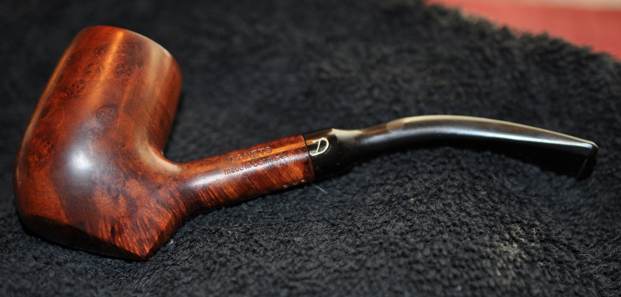
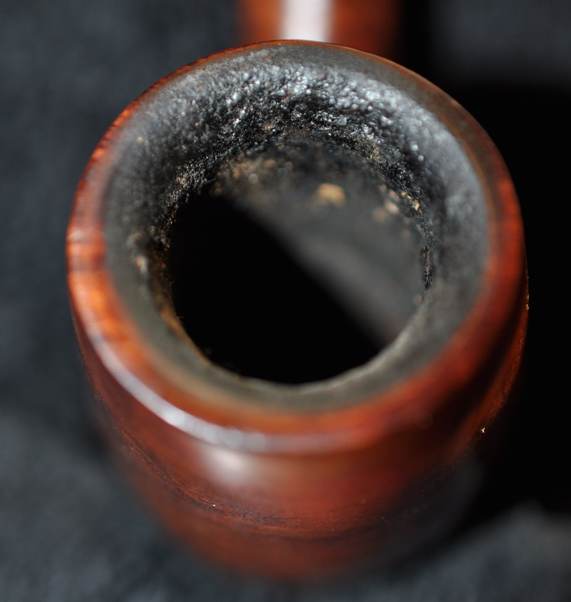
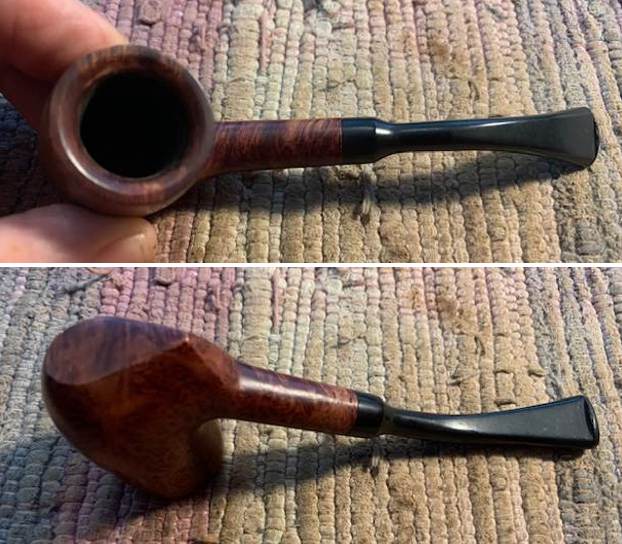
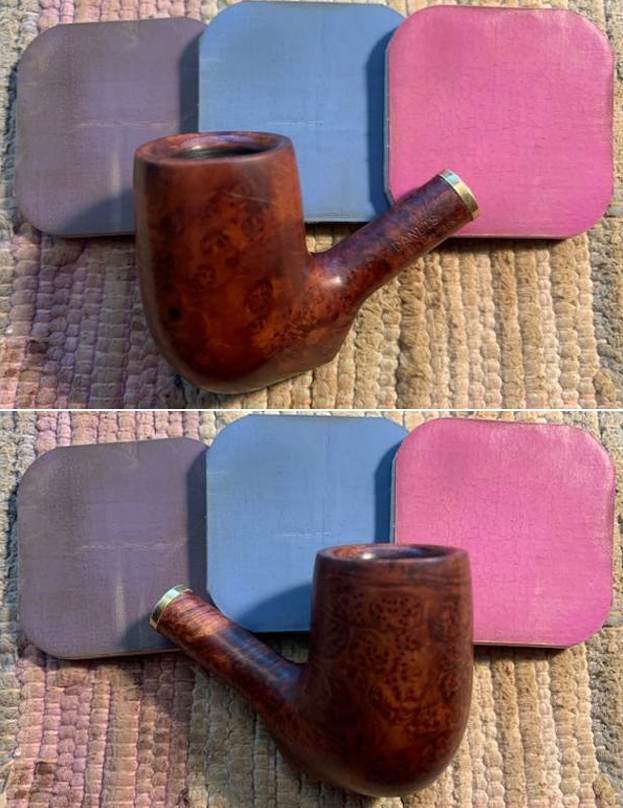
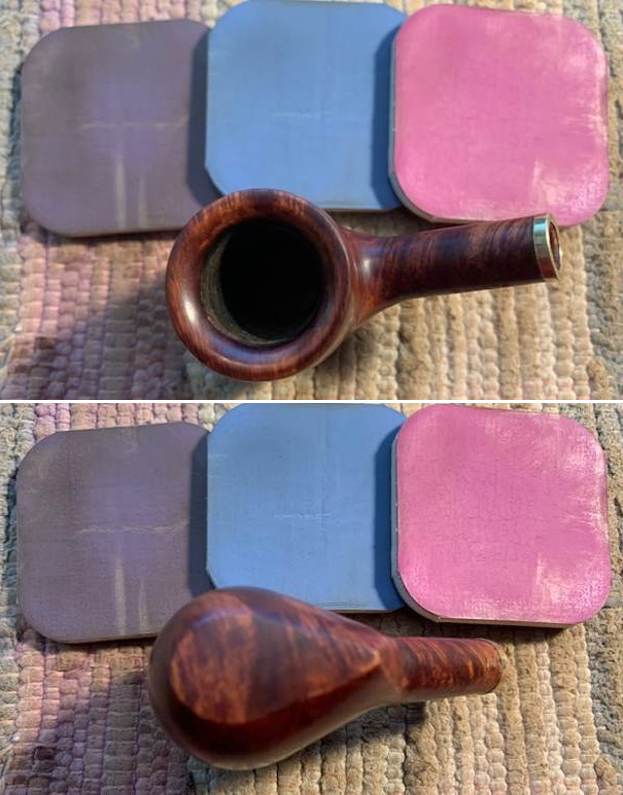
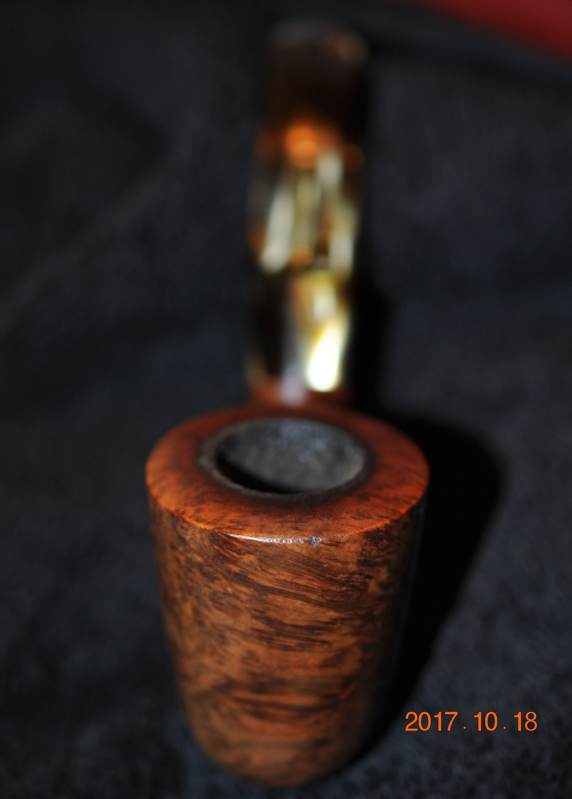
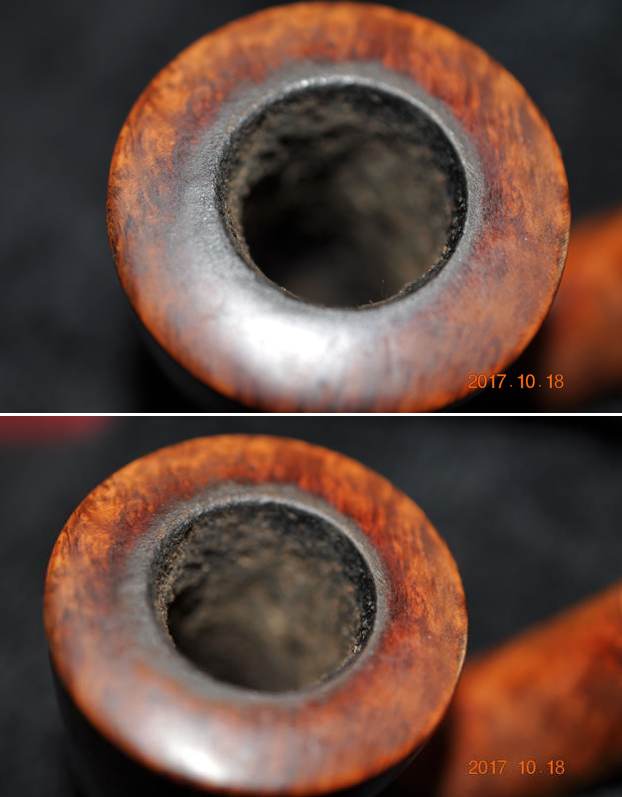
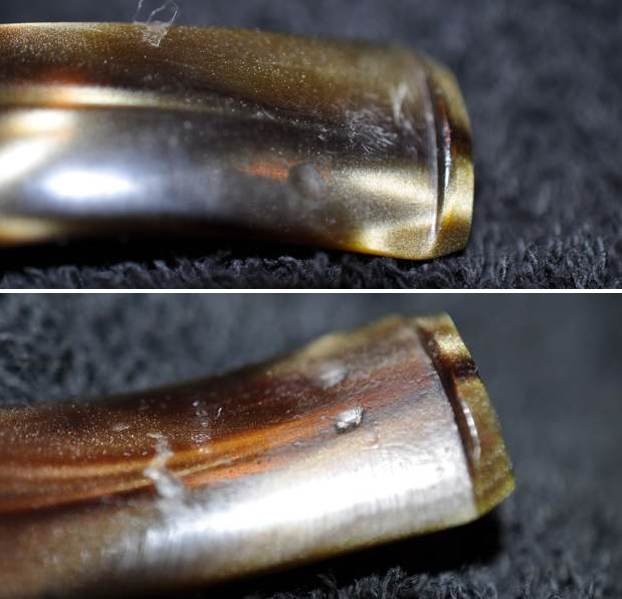
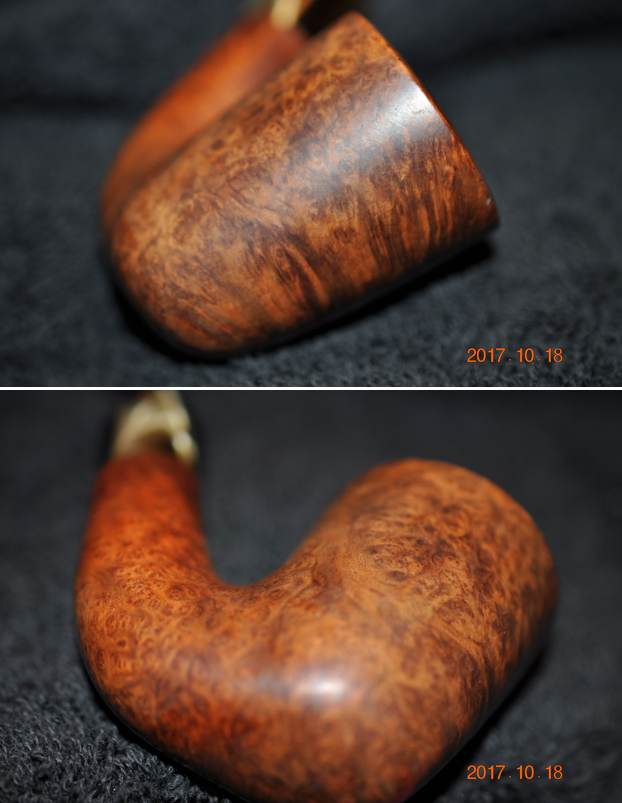
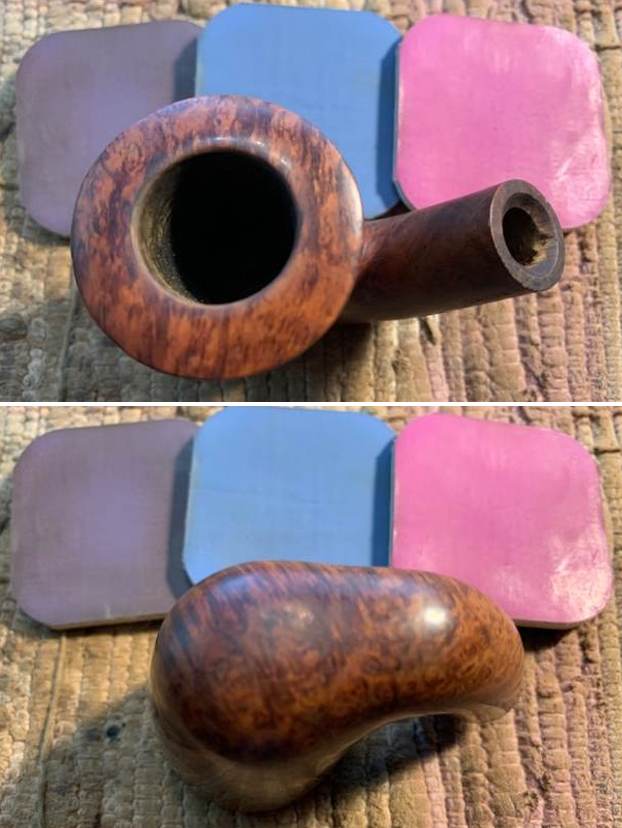
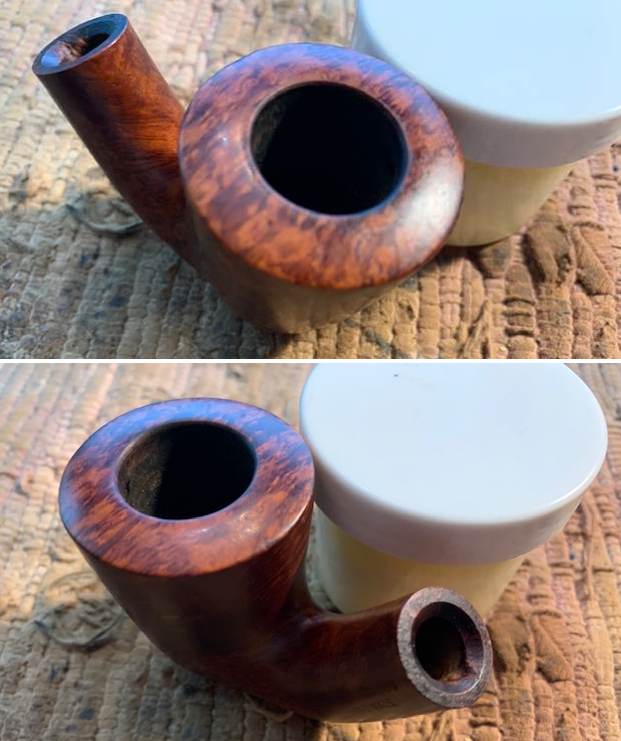
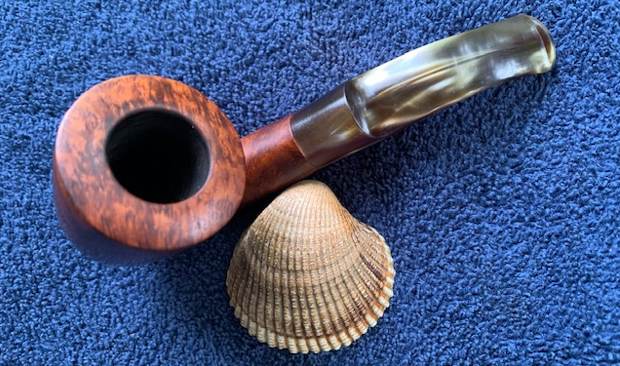
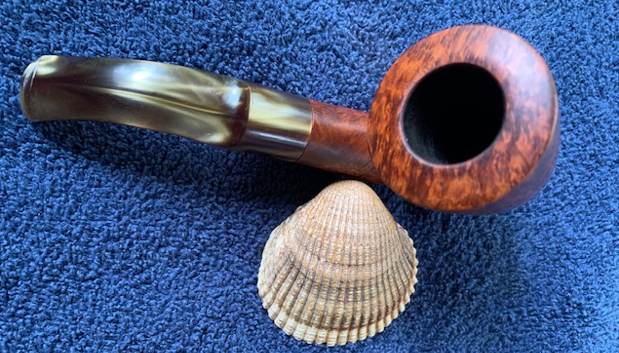
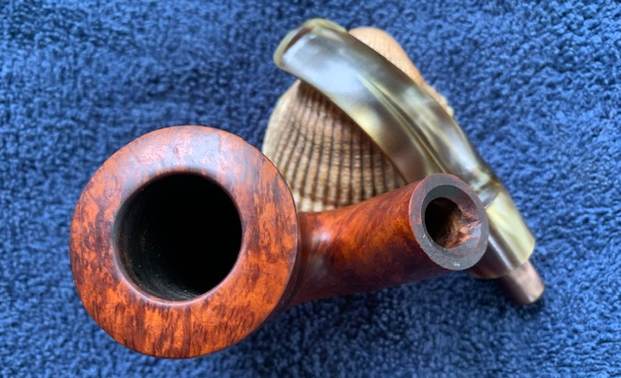
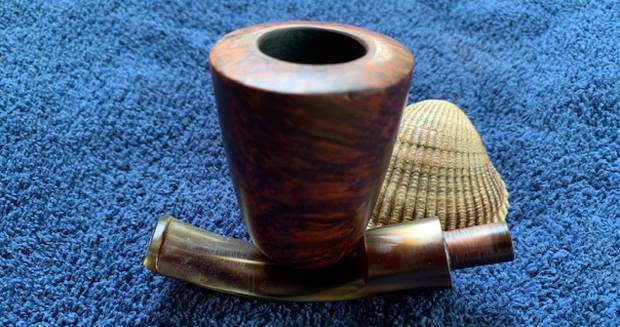
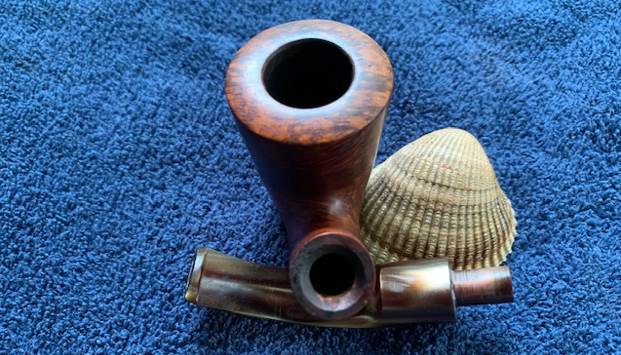
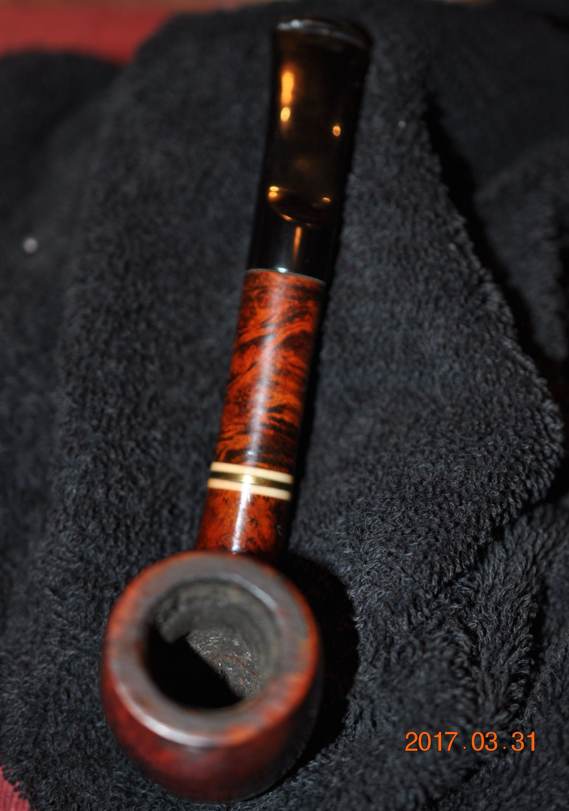
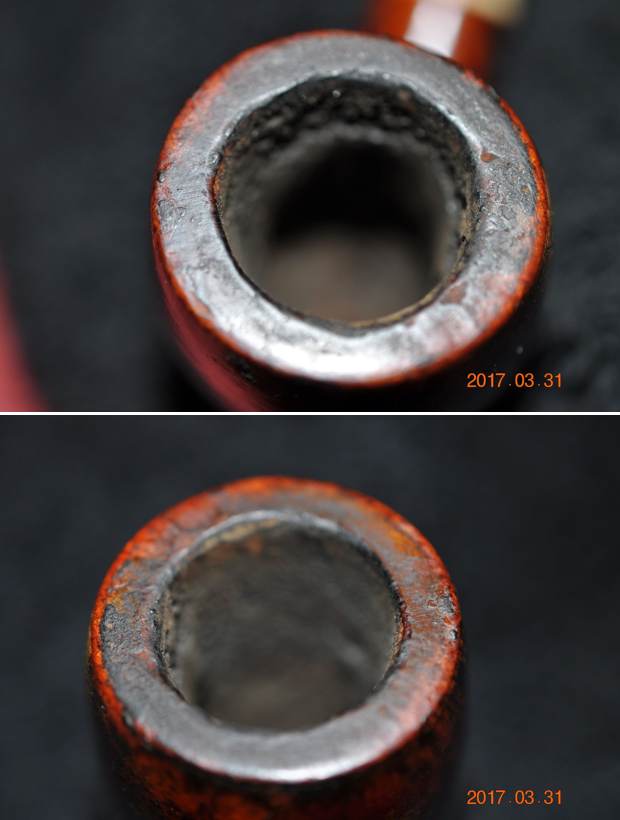
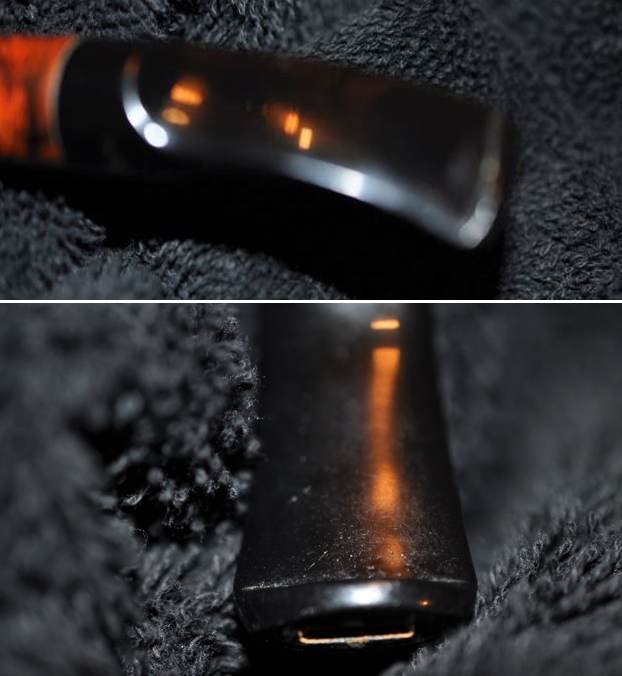
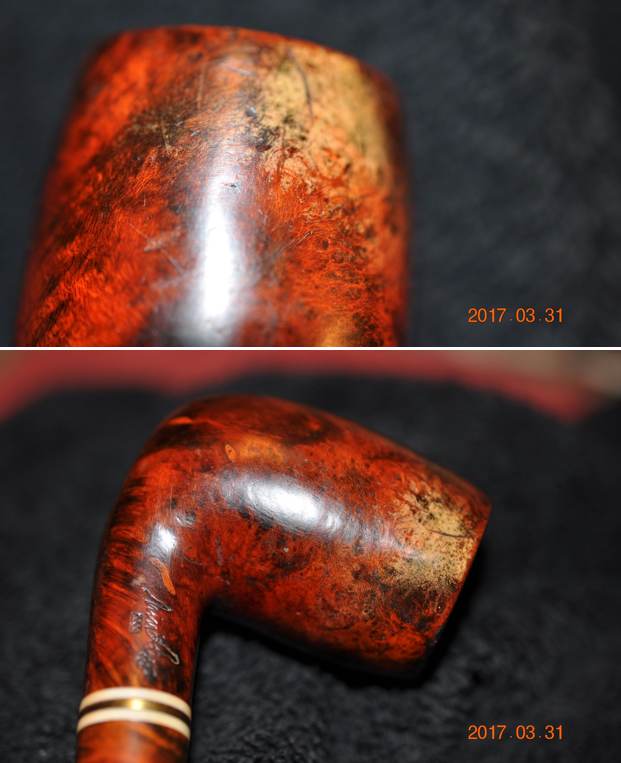
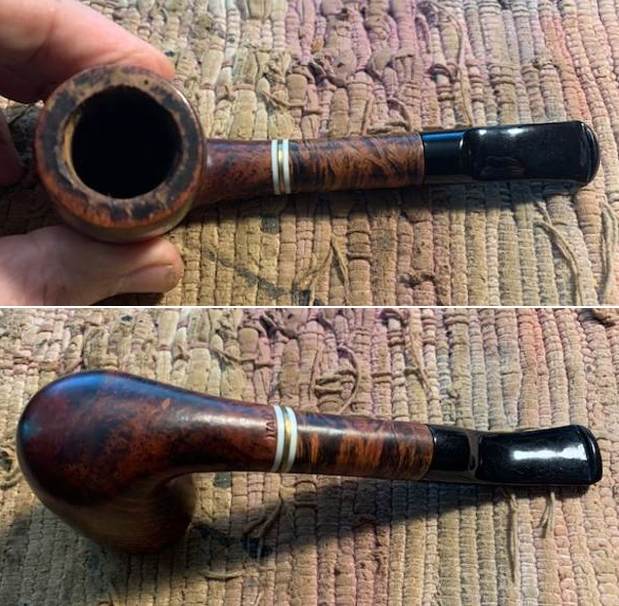
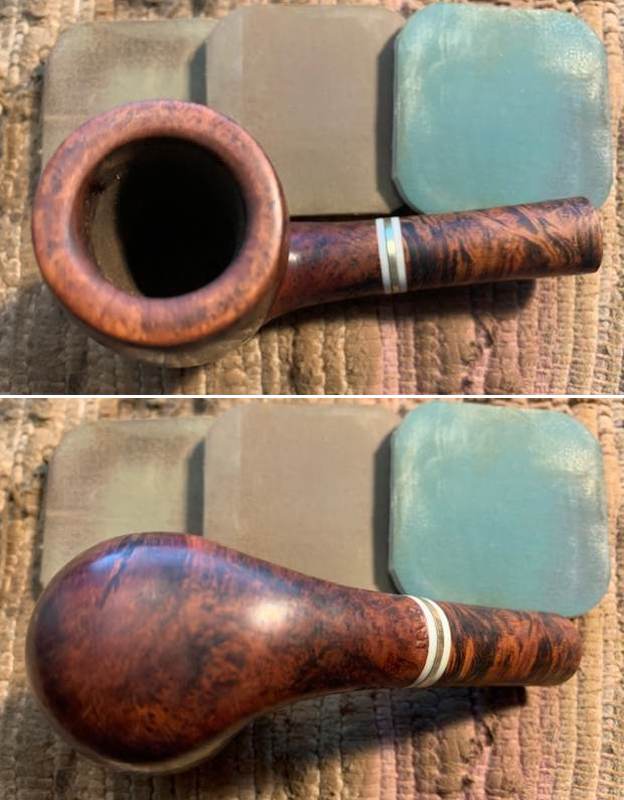
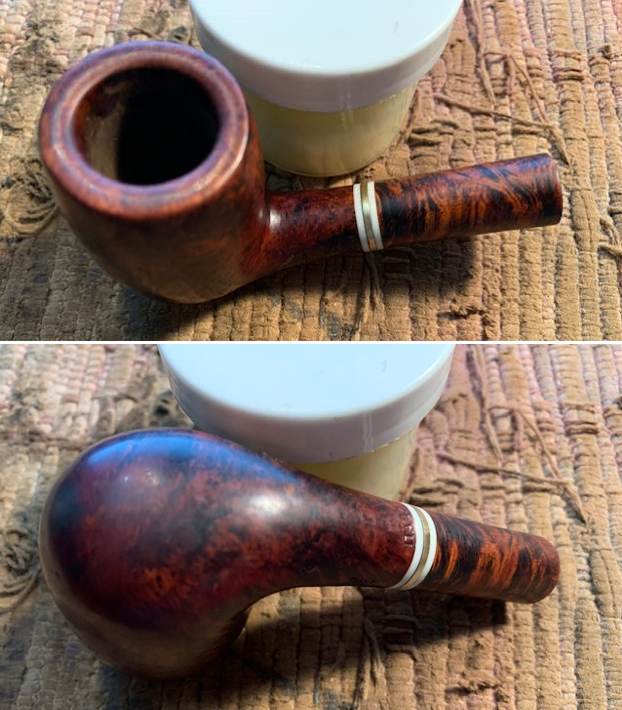
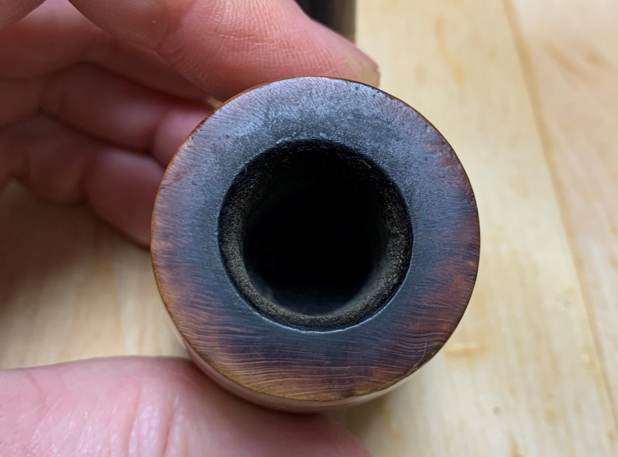
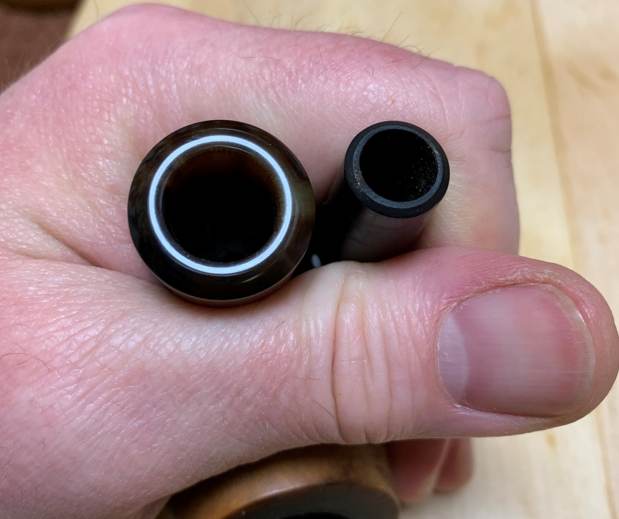
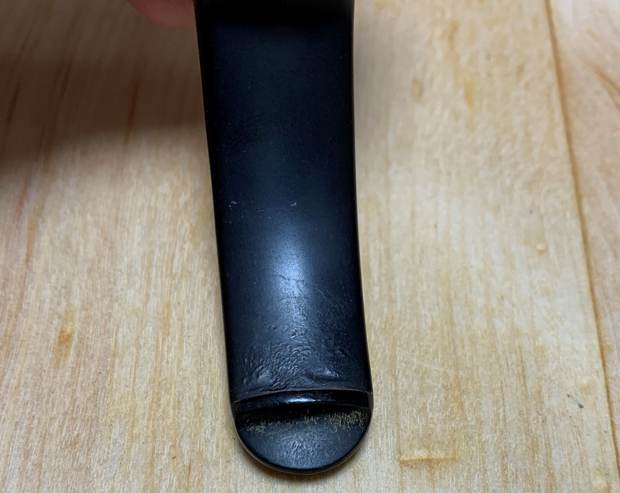
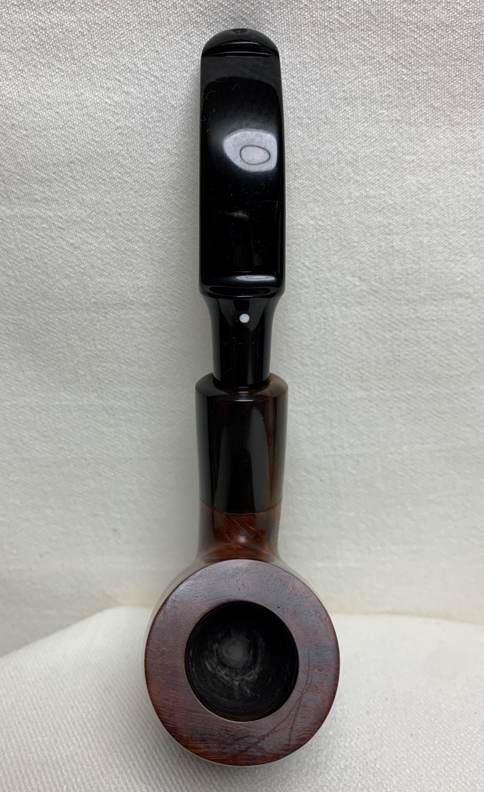
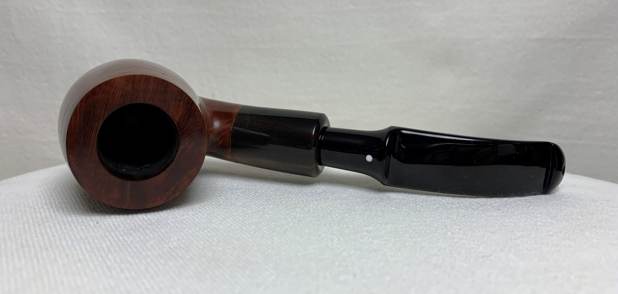
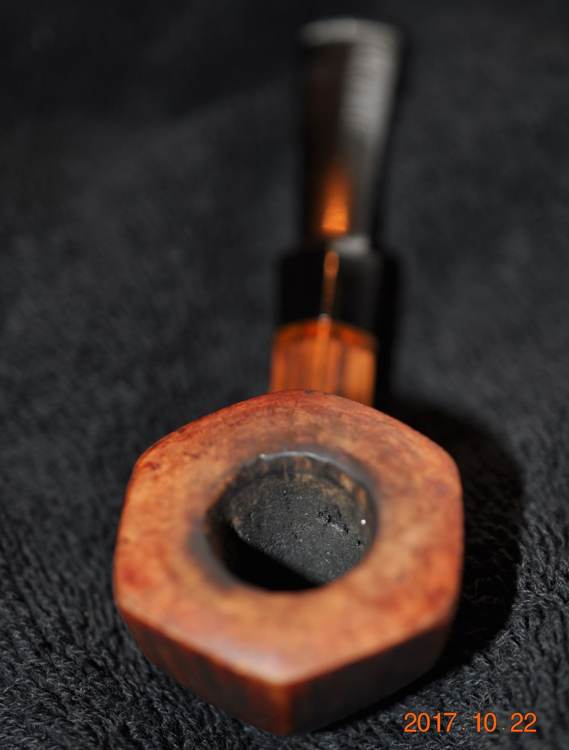
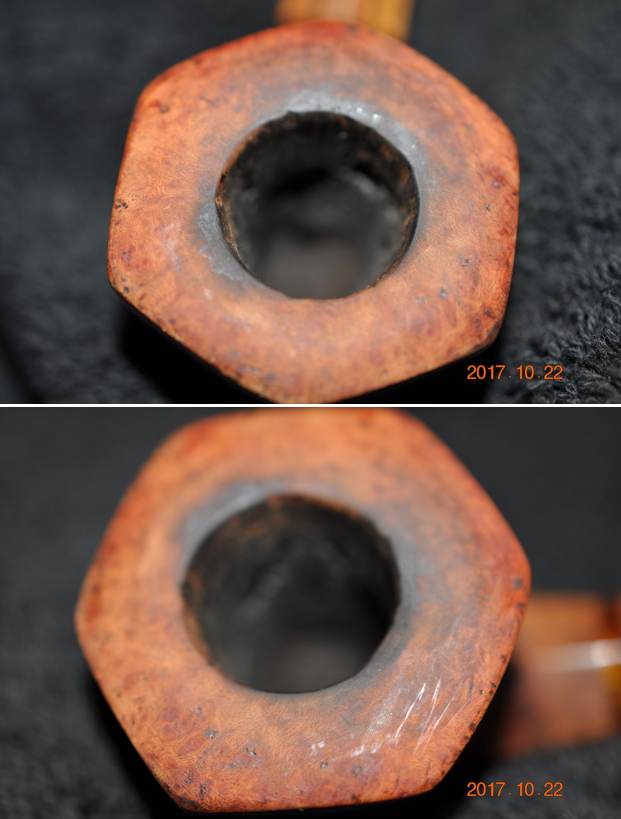
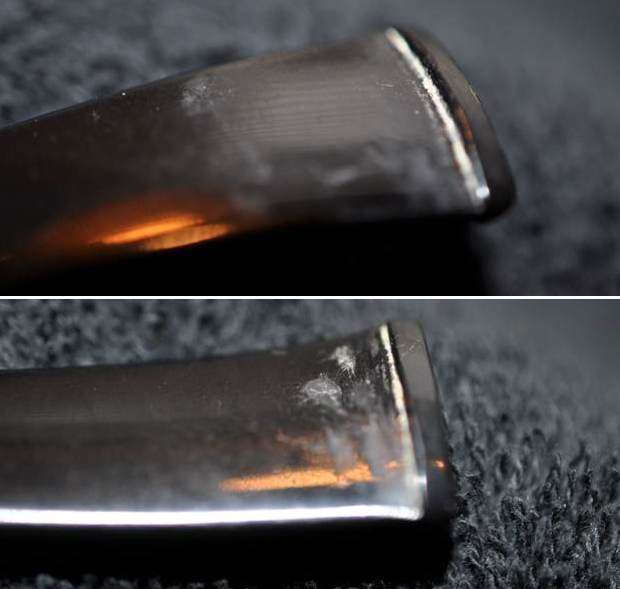
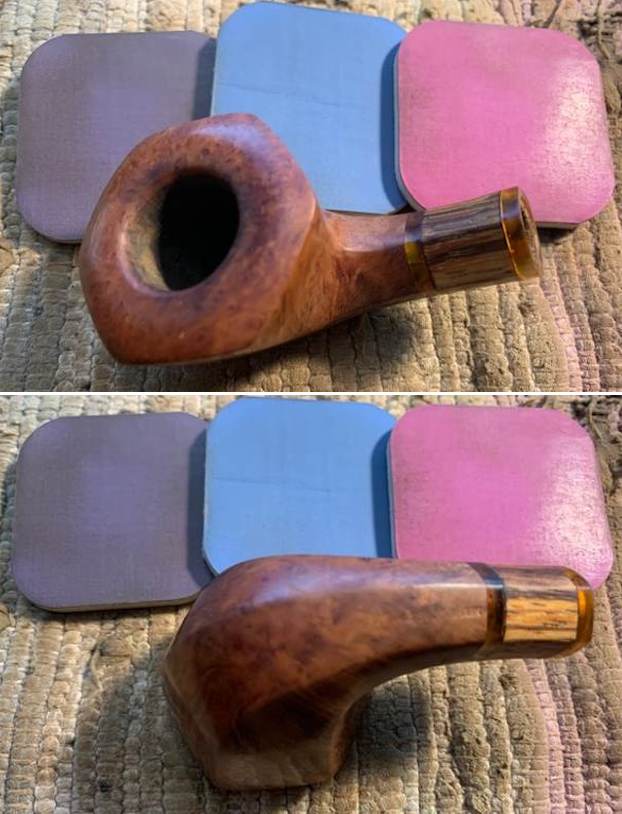
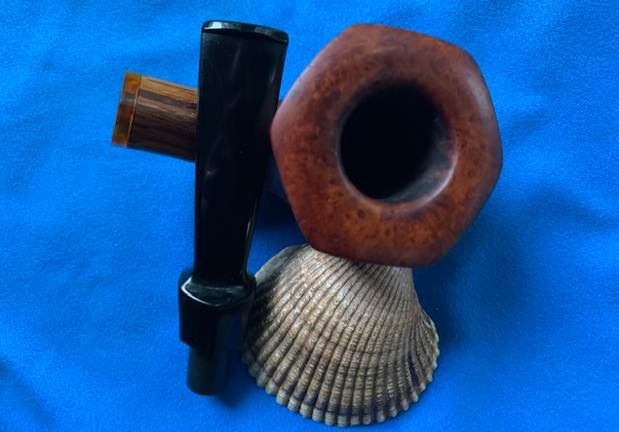
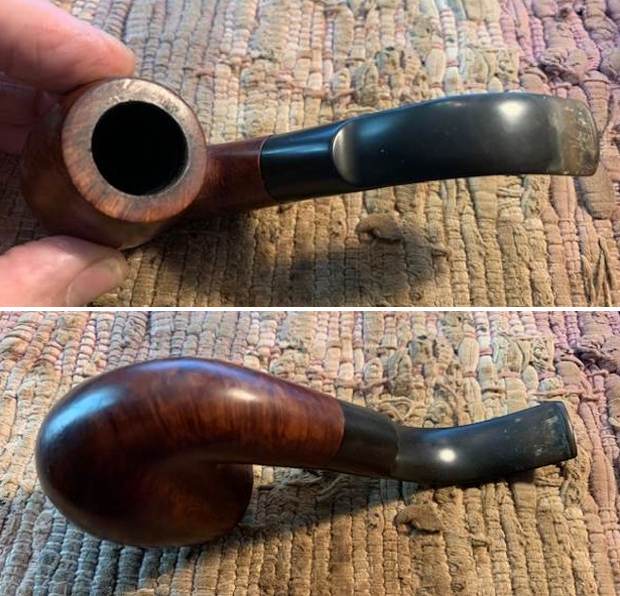
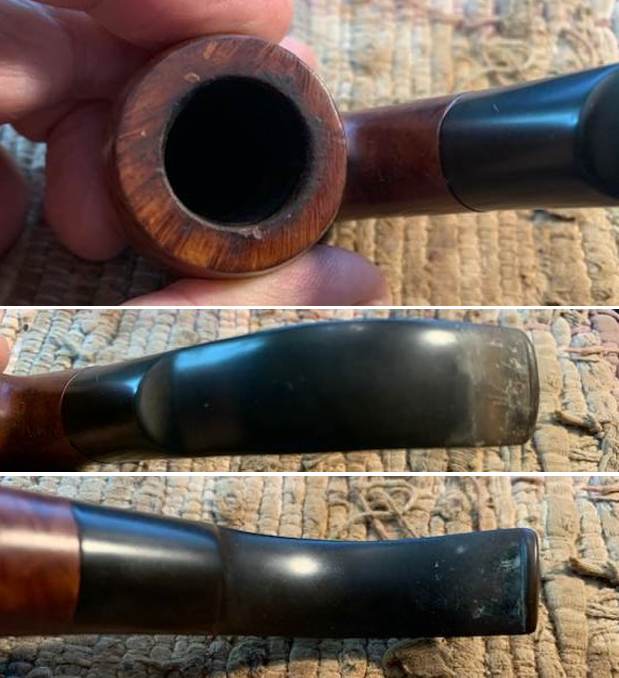
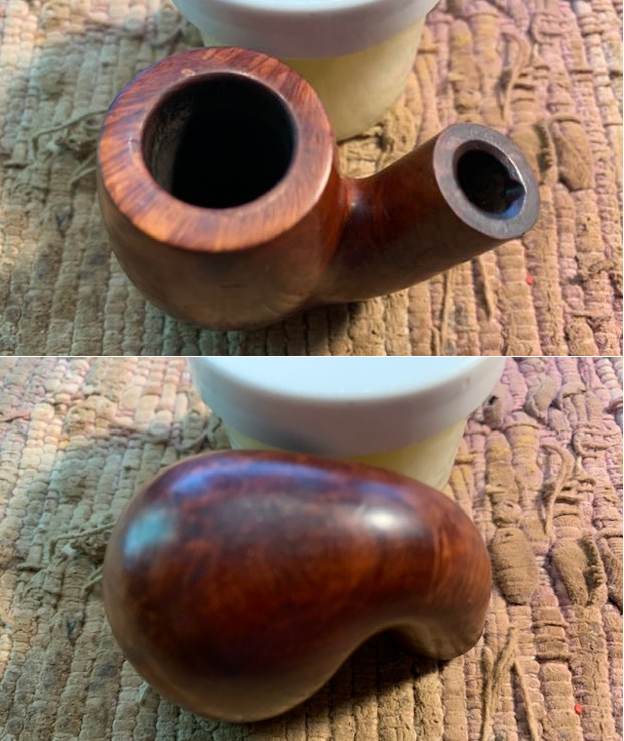
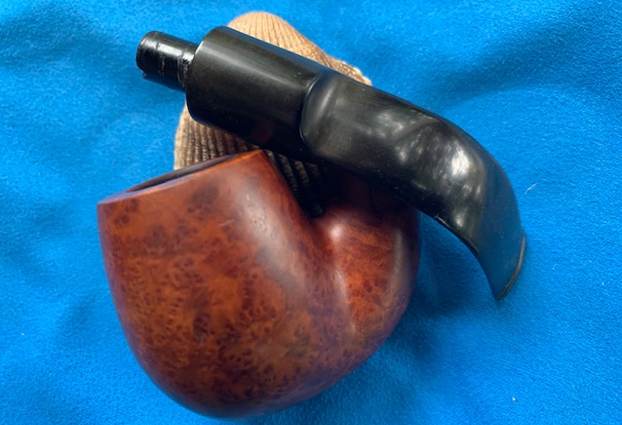
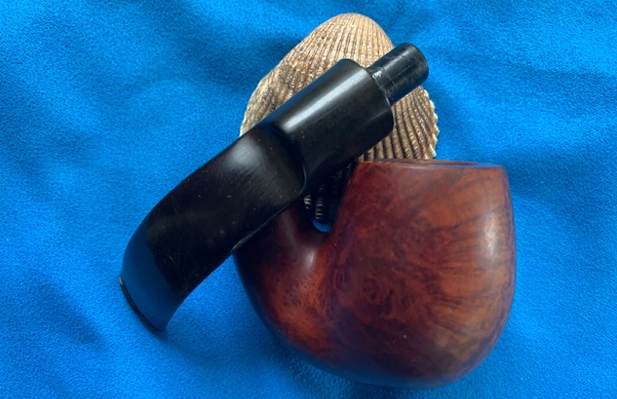
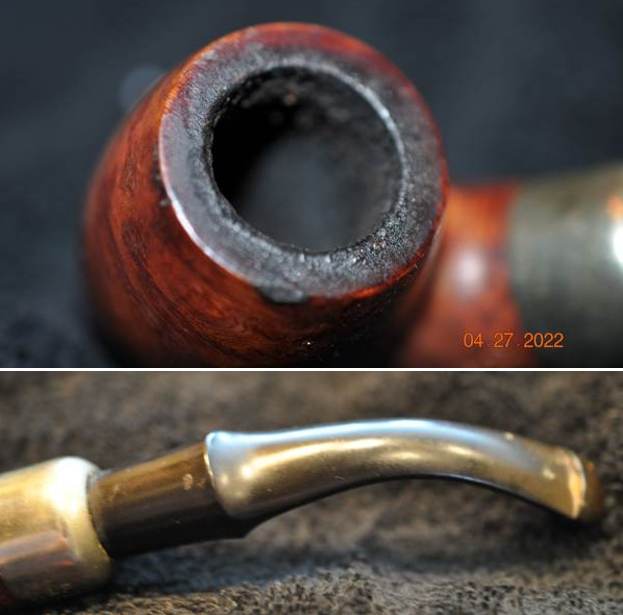
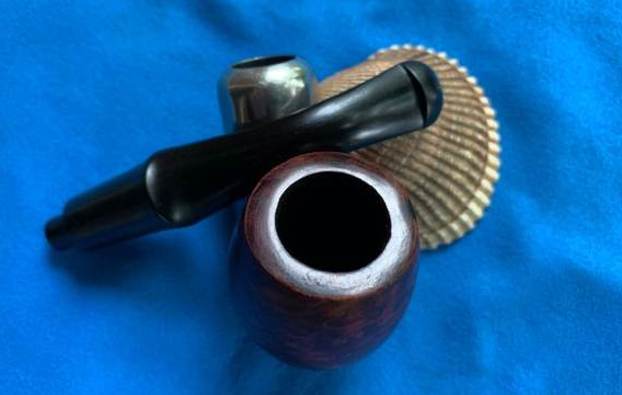
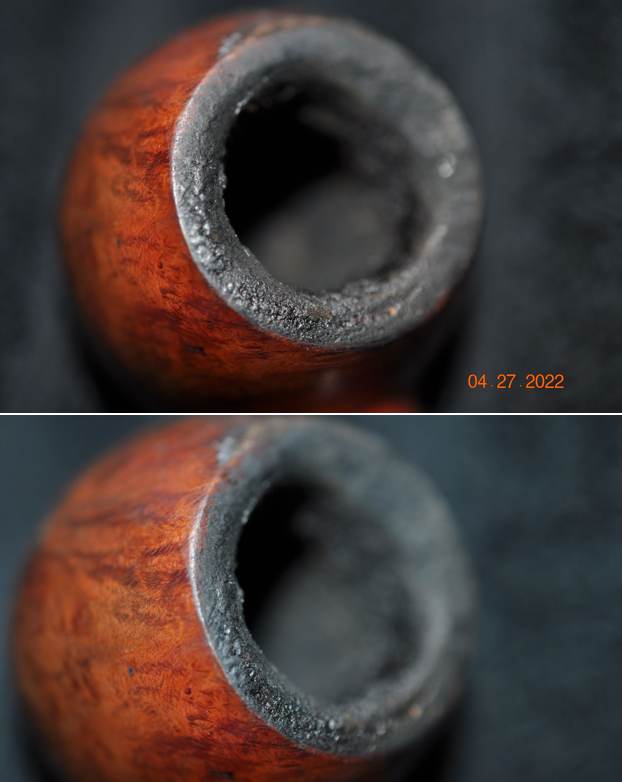
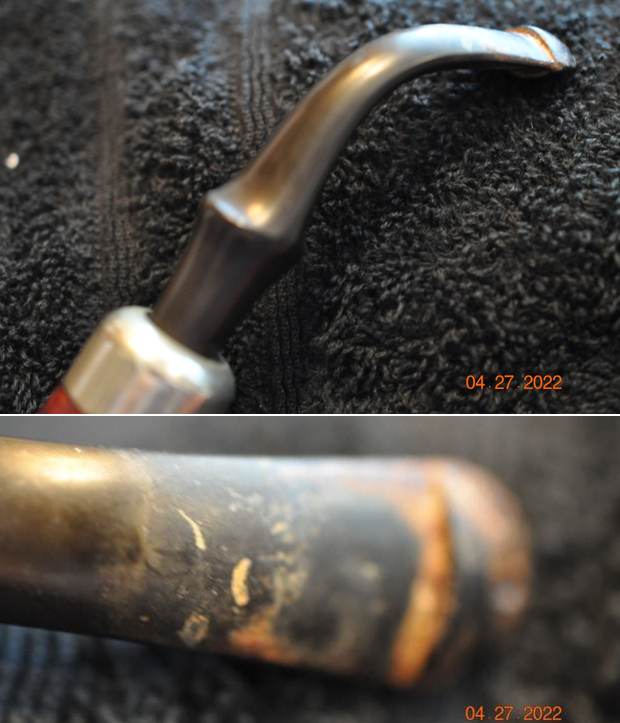
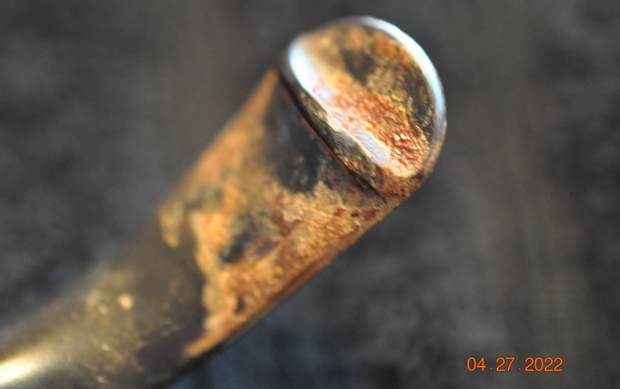
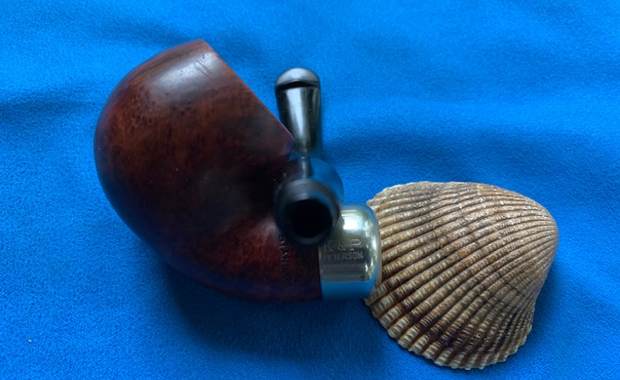
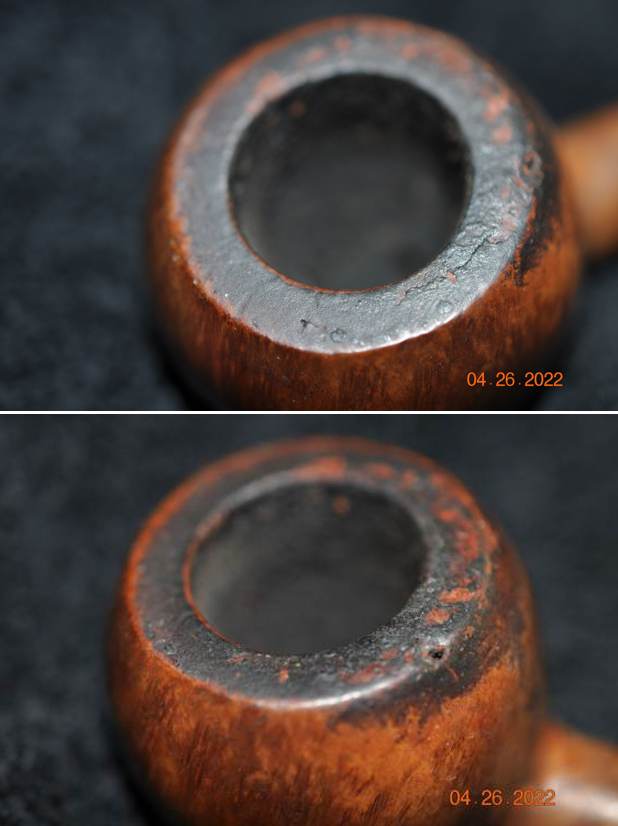
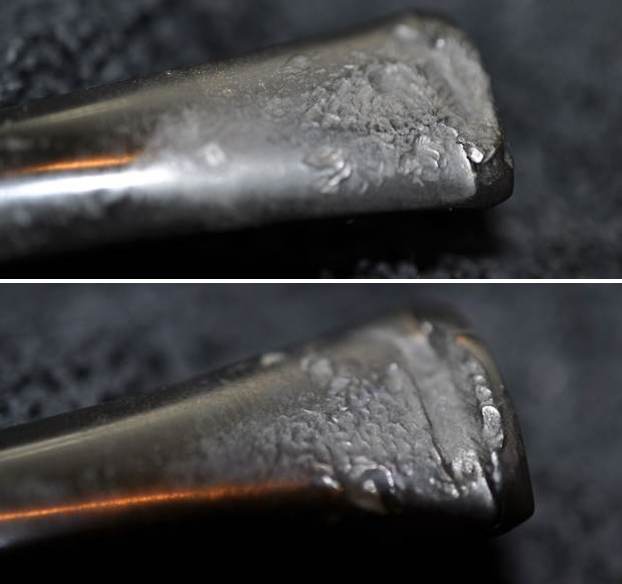
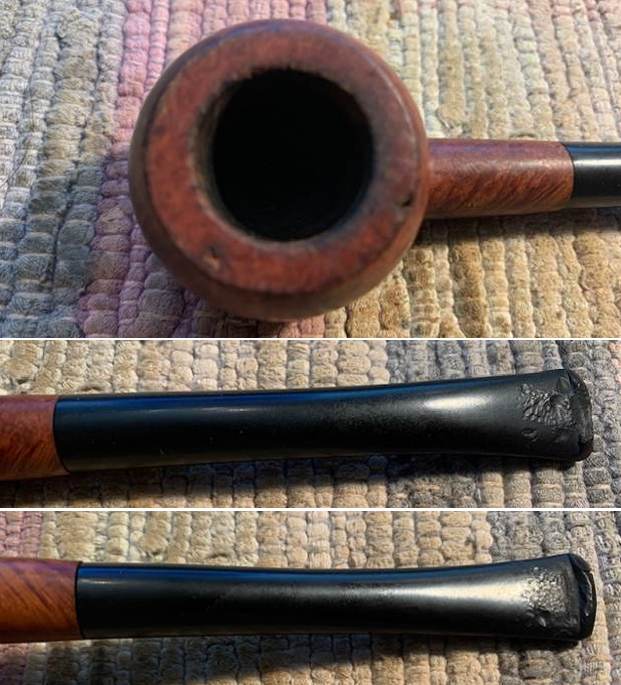
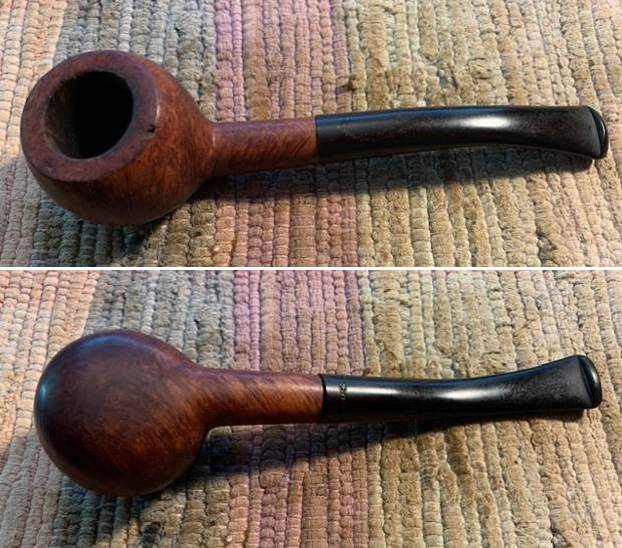
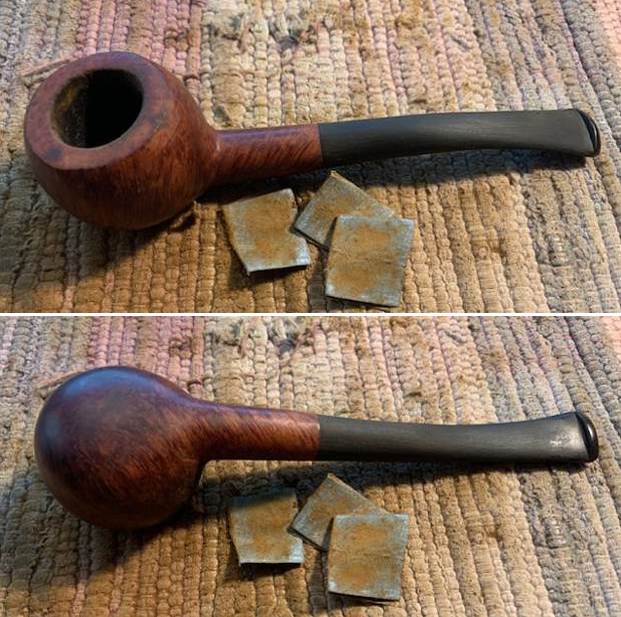
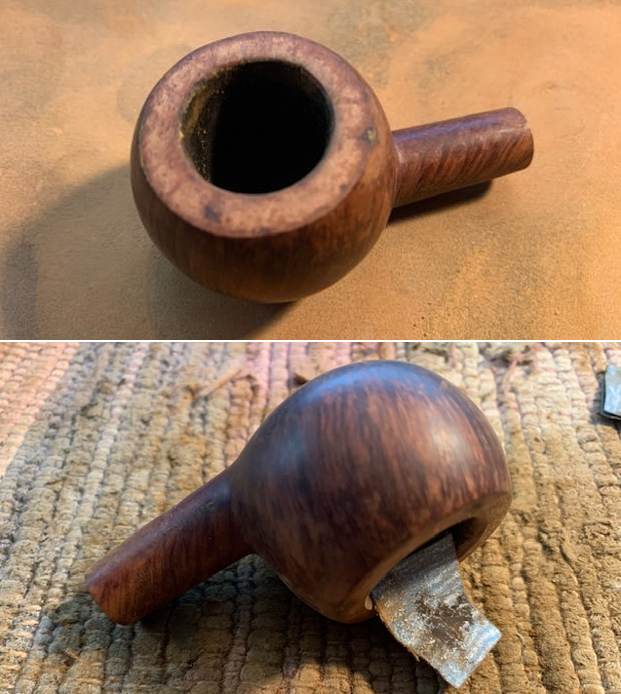
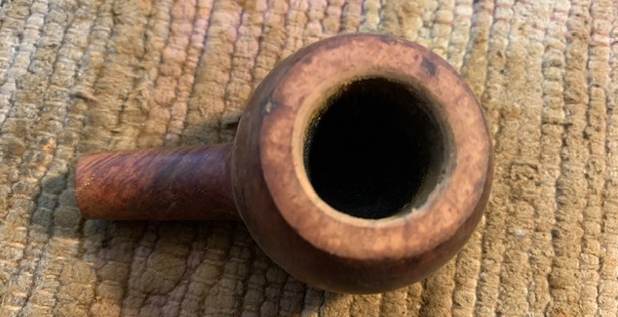
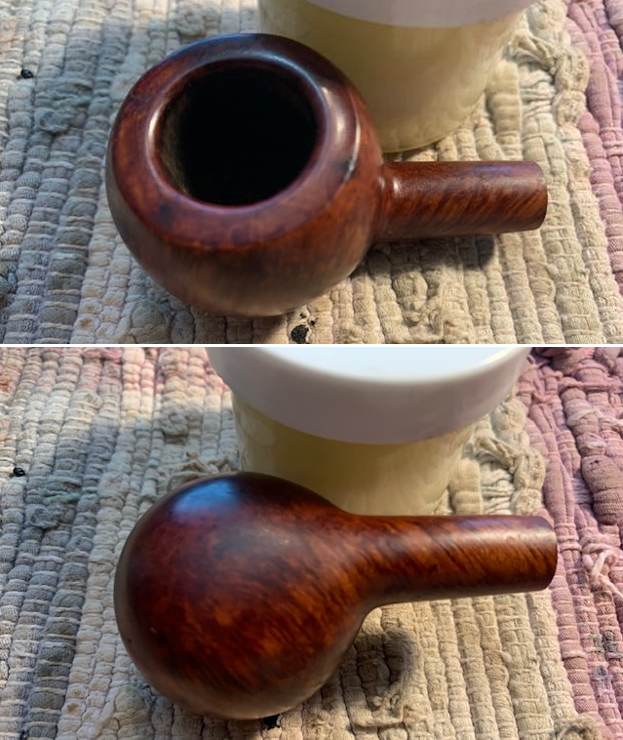
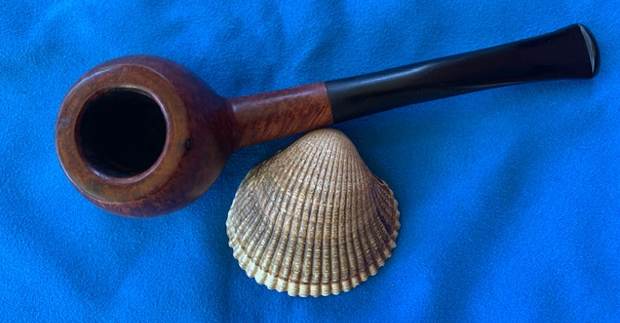
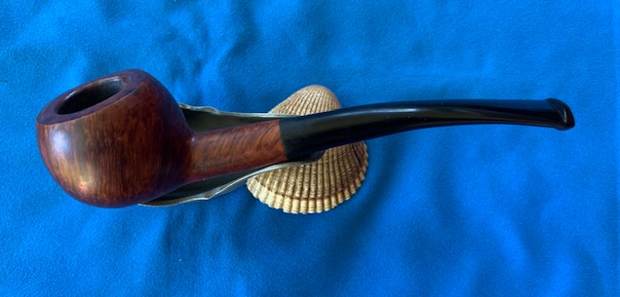
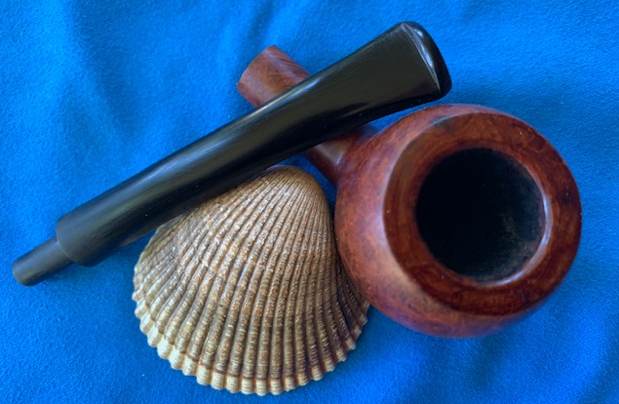
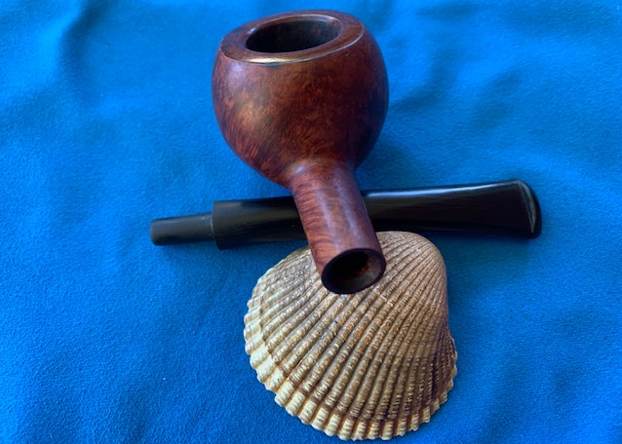
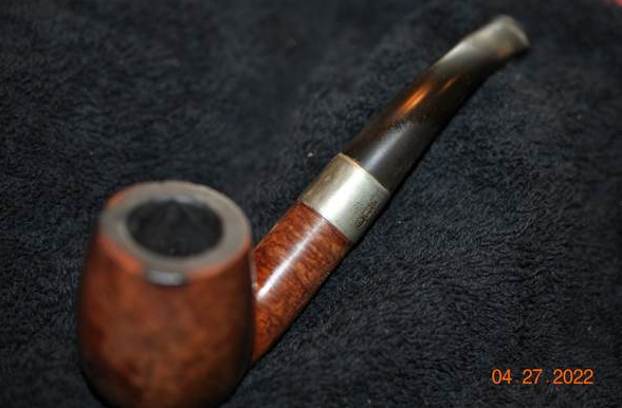
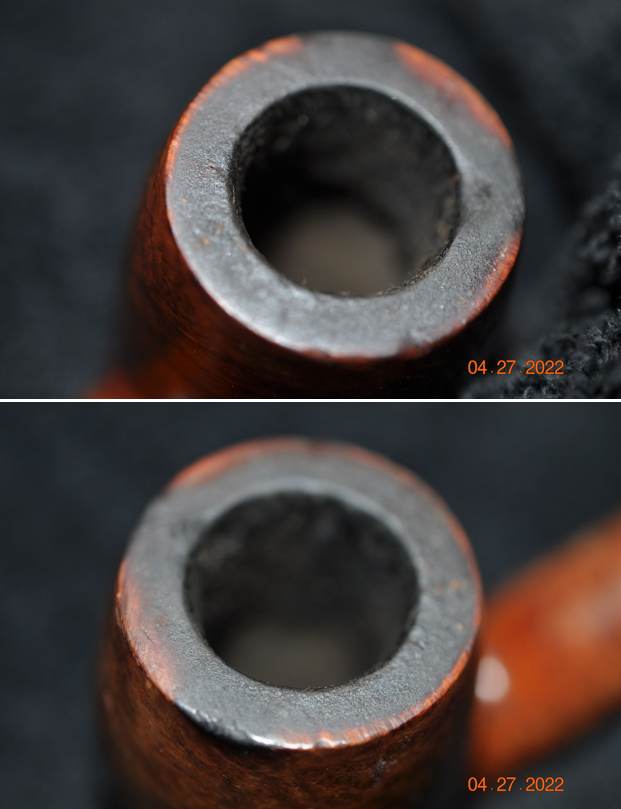
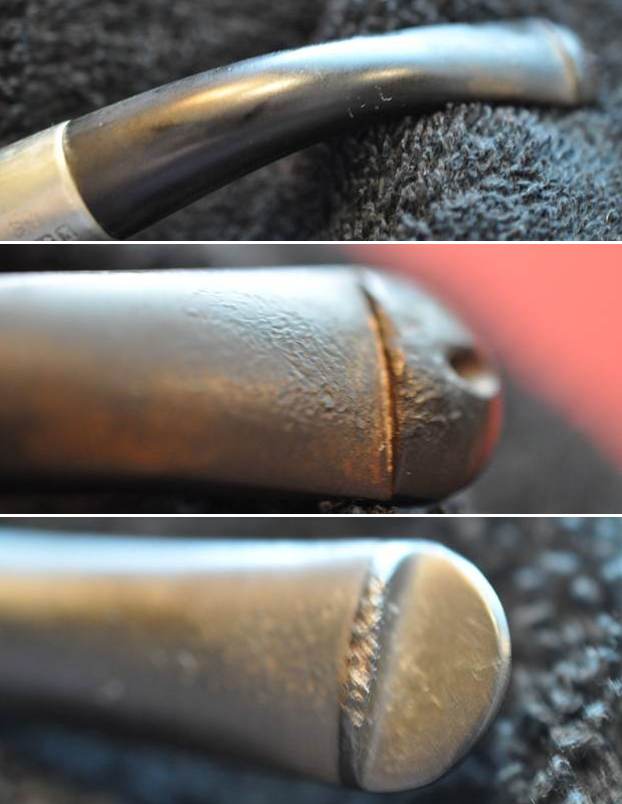
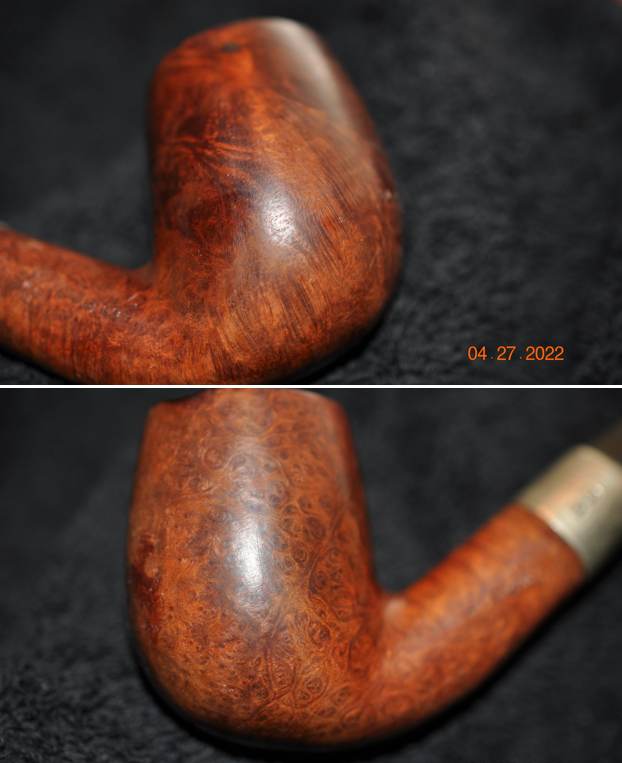
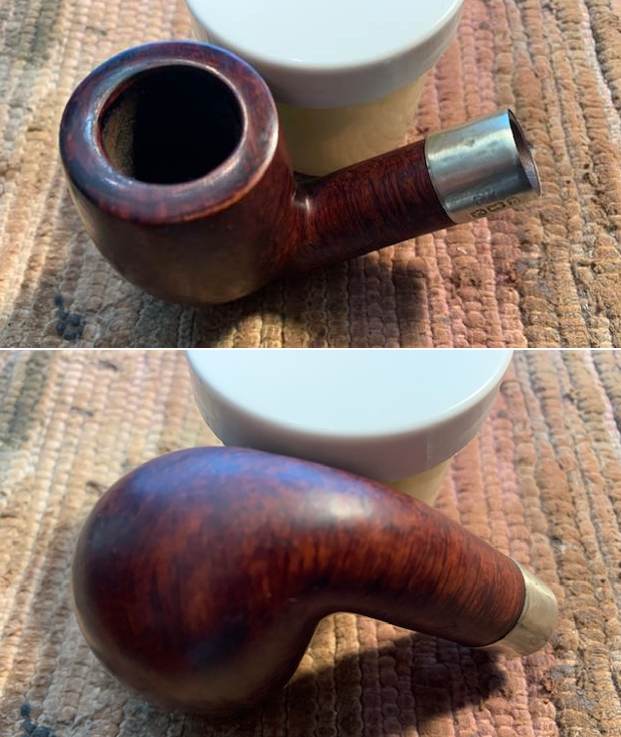
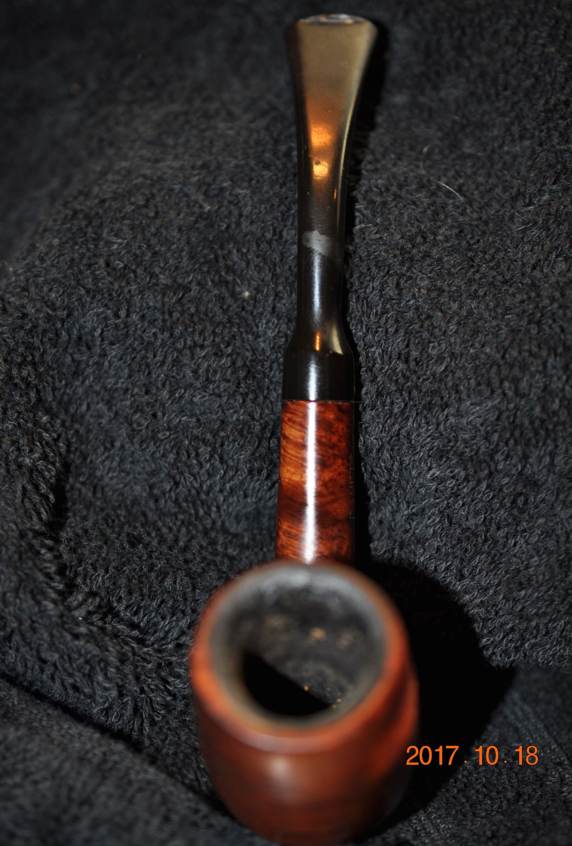 He took photos of the bowl and rim top to show the condition of both. The bowl has a thick cake that overflows with lava onto the beveled inner edge of the rim. It is hard to know what the rim top and edges look like under the cake and lava. He took photos of the stem as well to show the tooth marks and chatter on the top and underside ahead of the button and on the button surface as well.
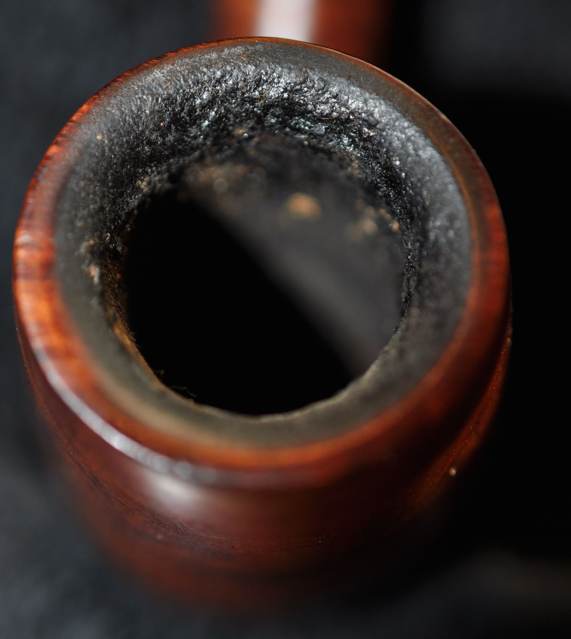
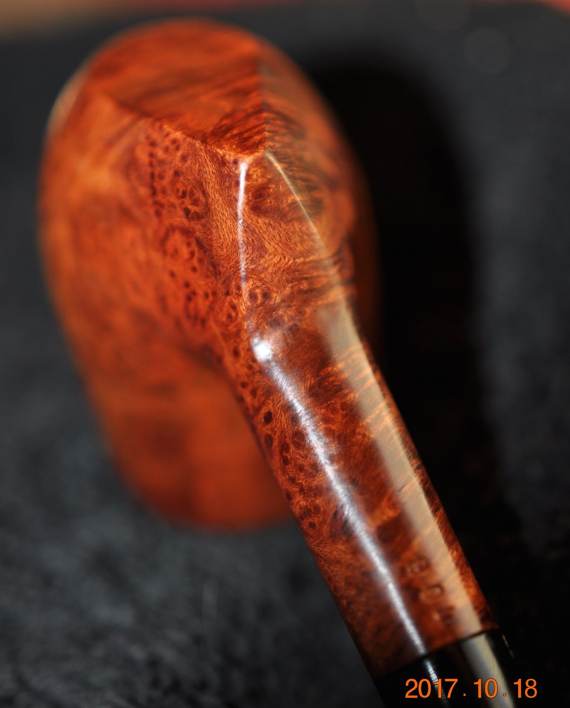
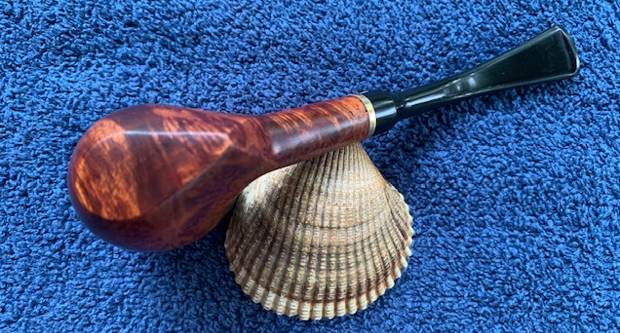
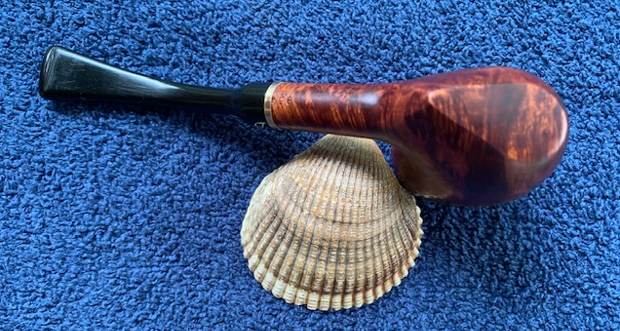
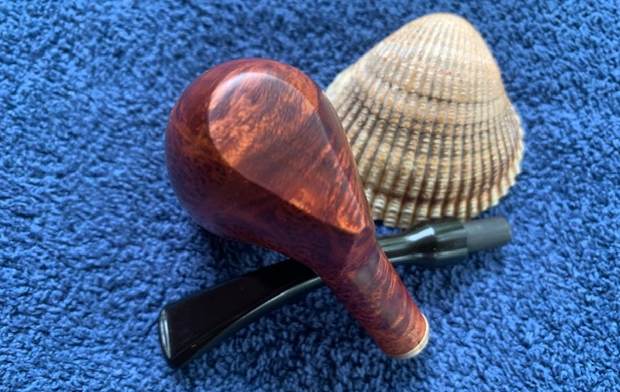
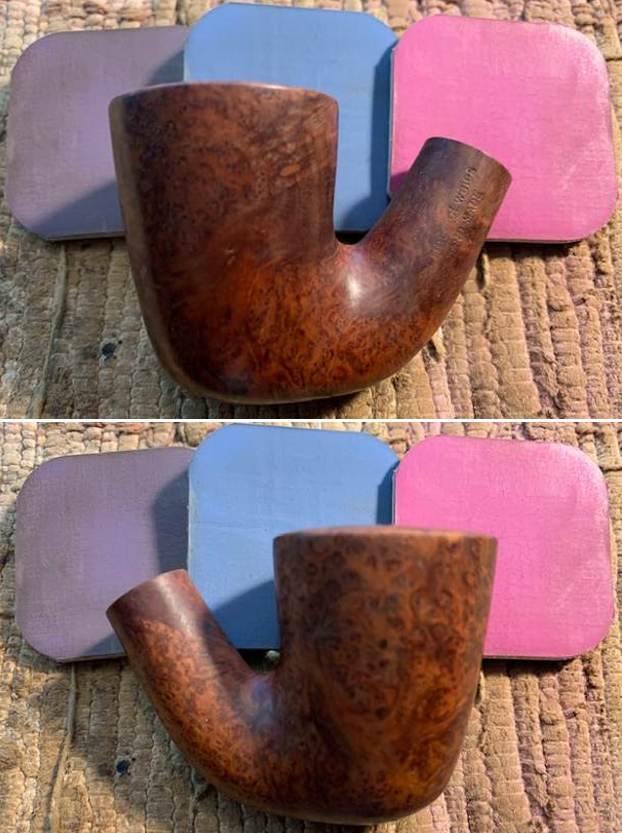
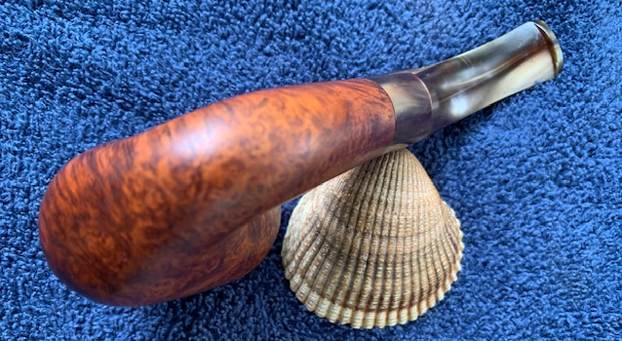
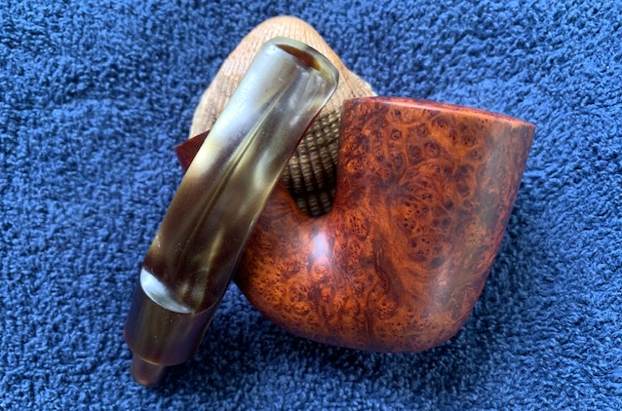
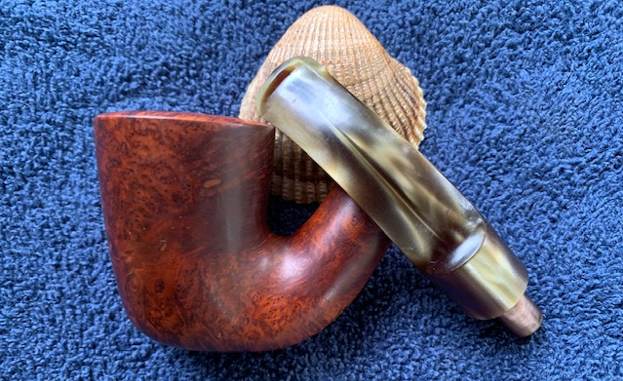
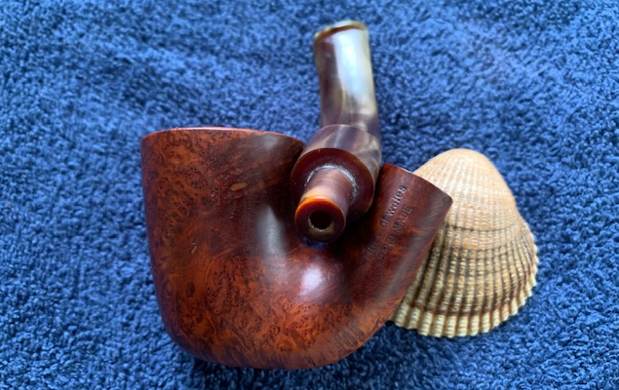
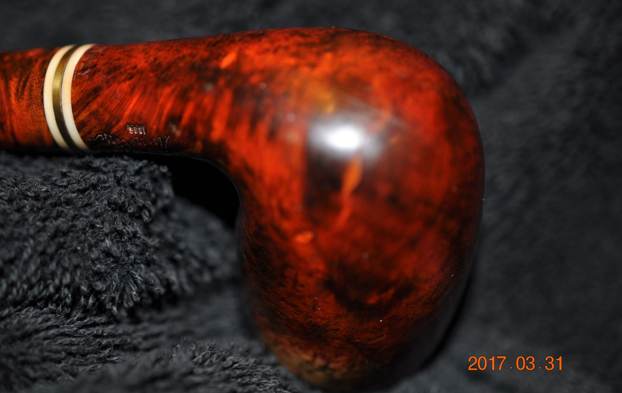
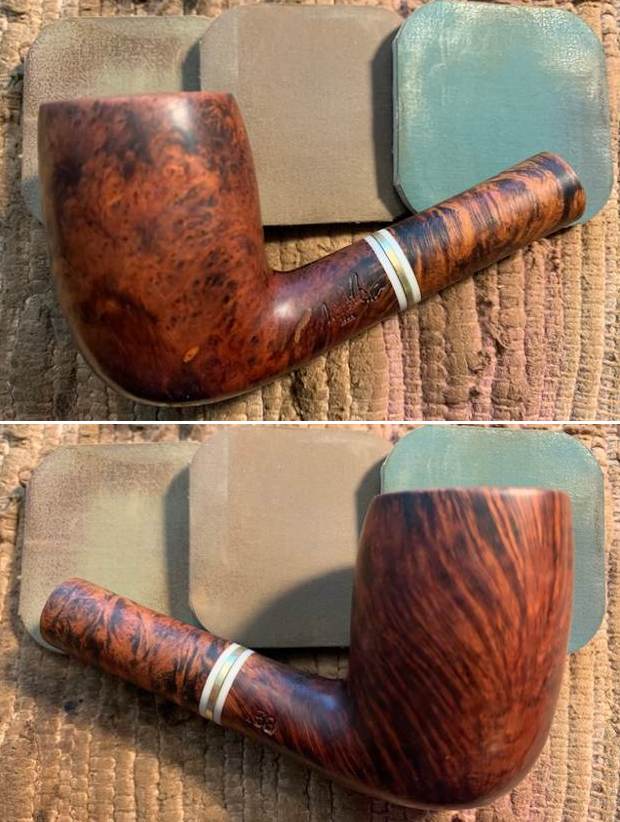
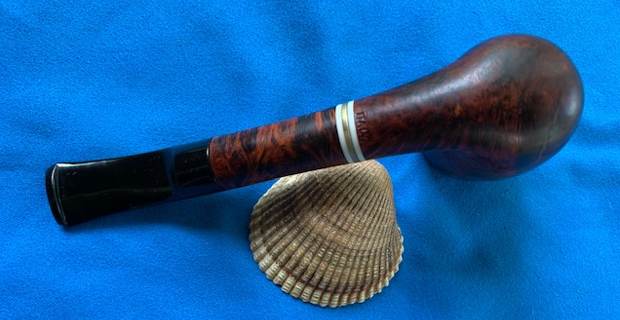
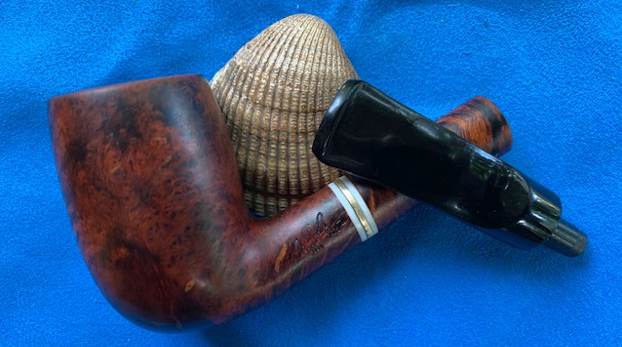
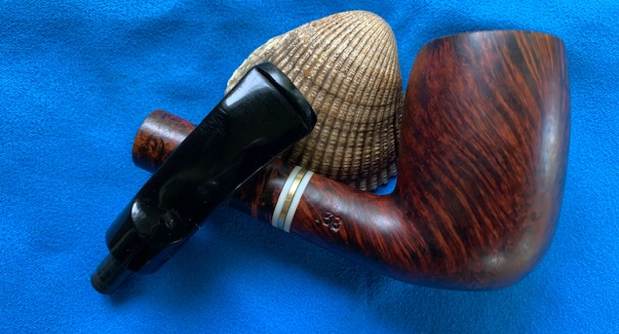
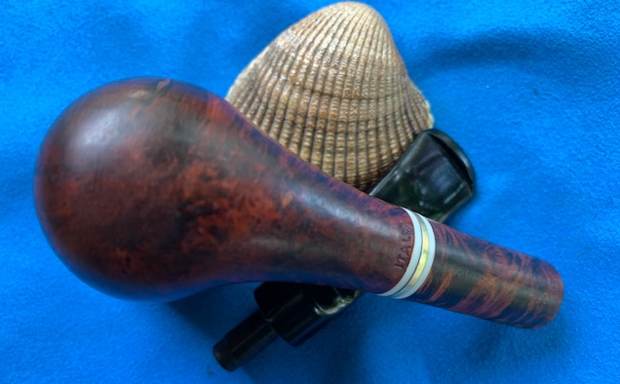
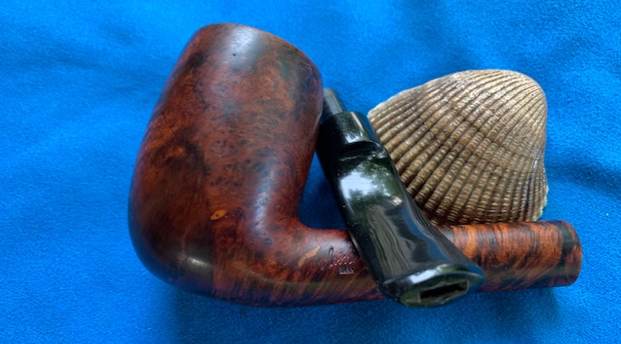
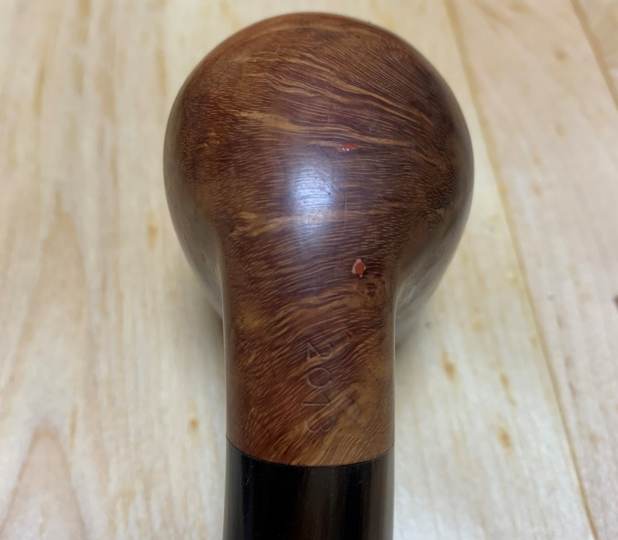
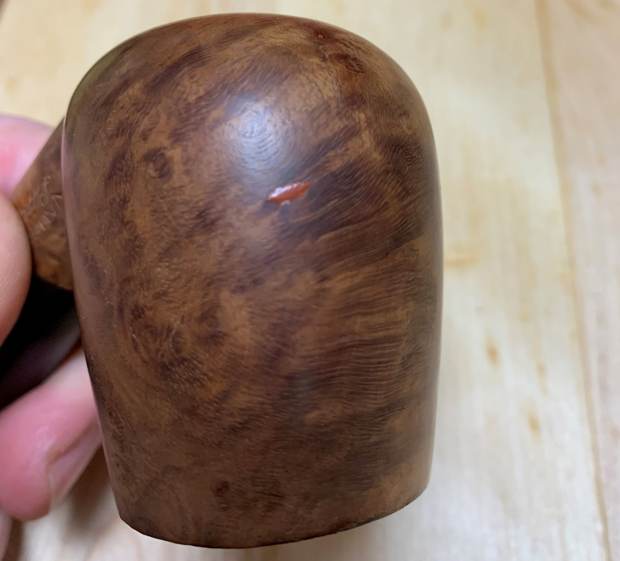
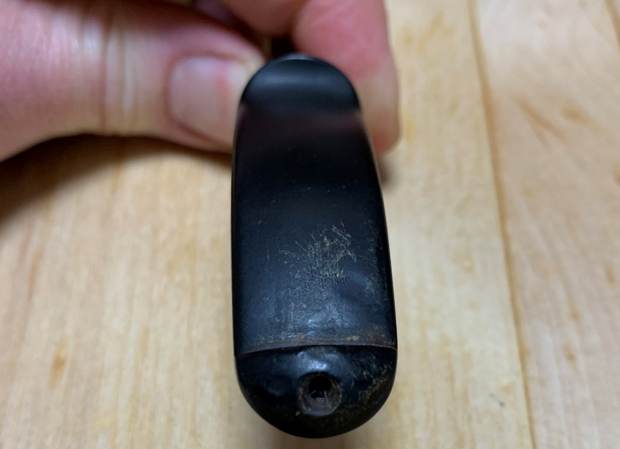
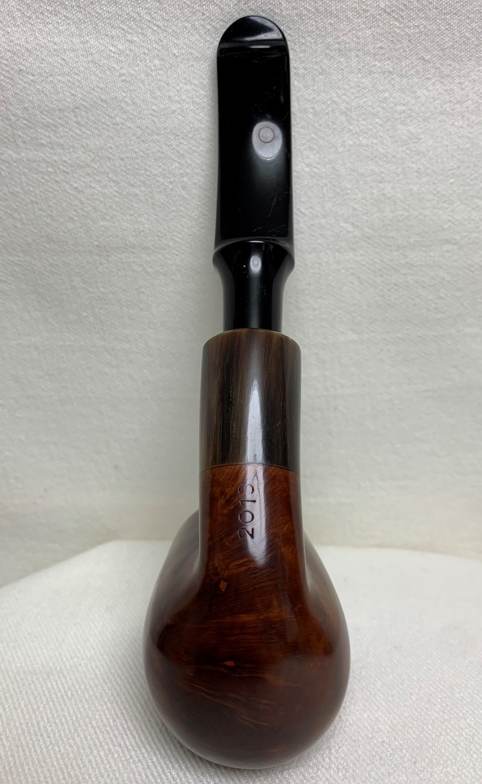
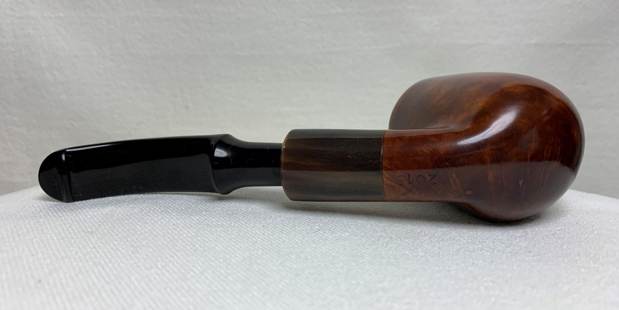
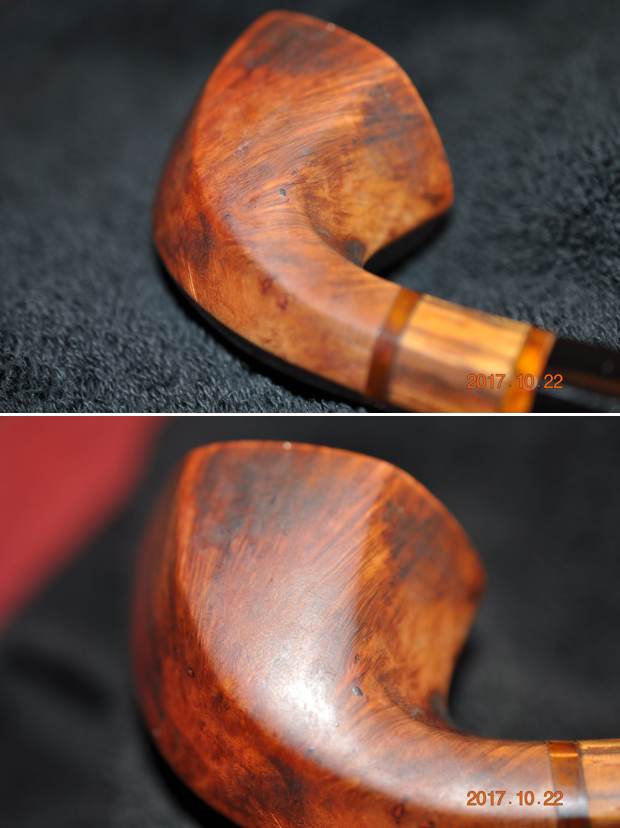
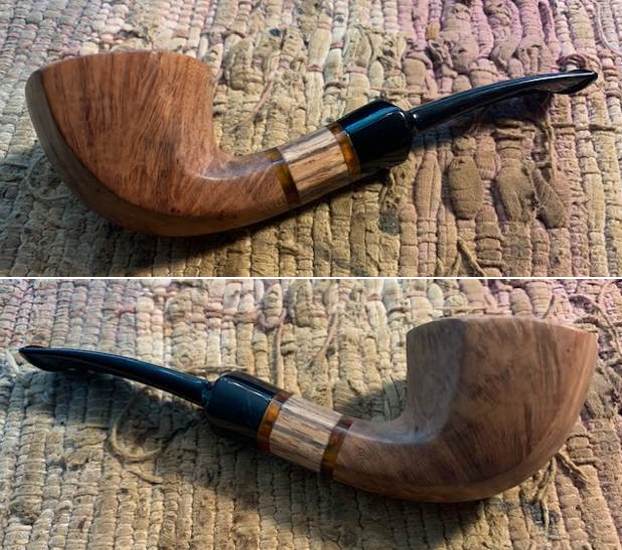
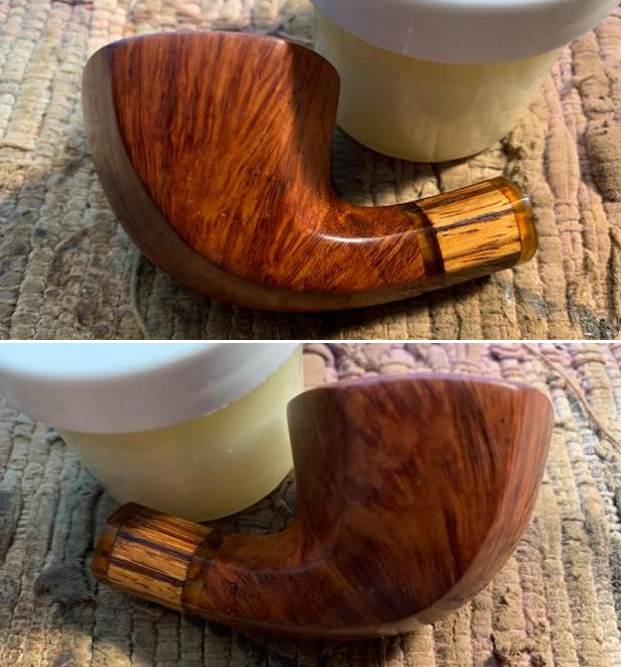
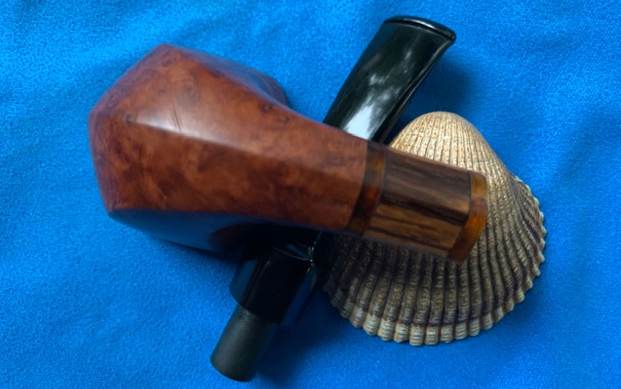
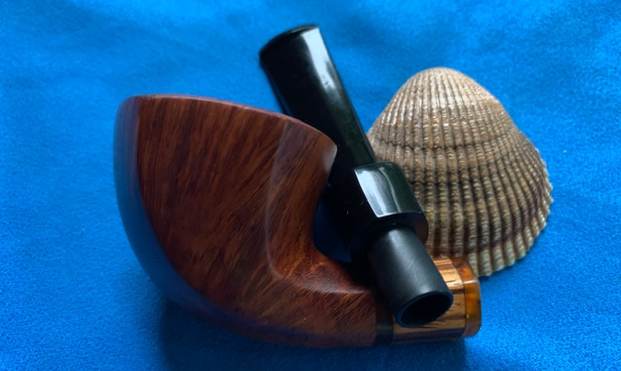
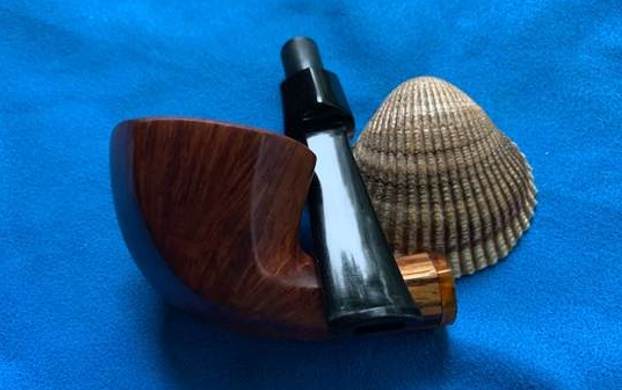
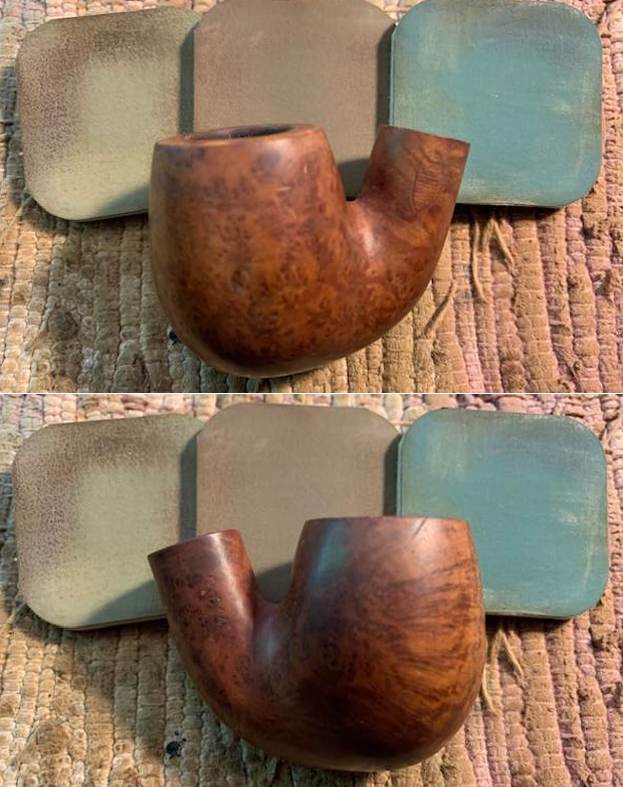
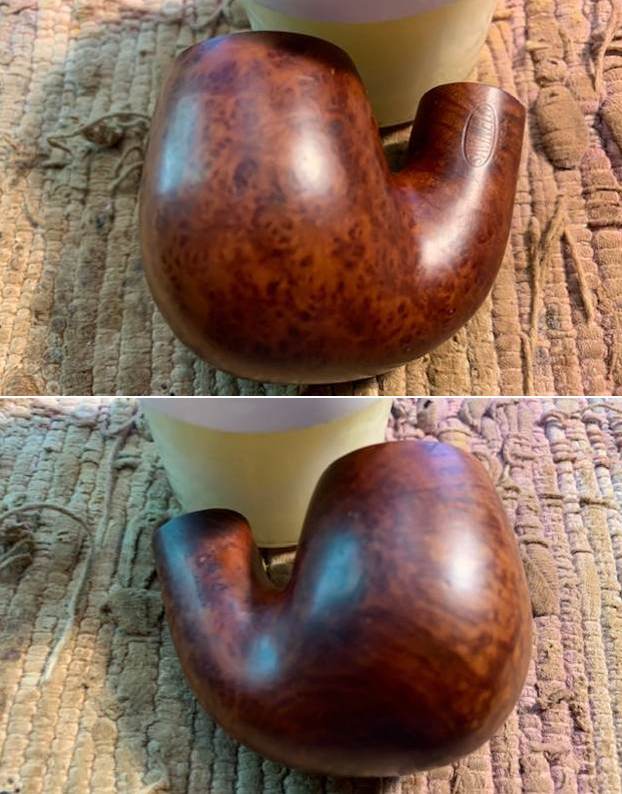
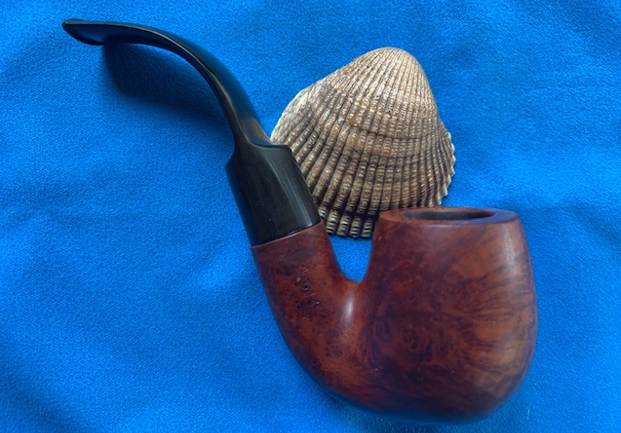
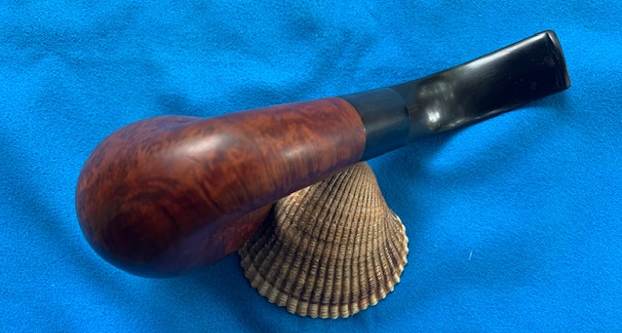
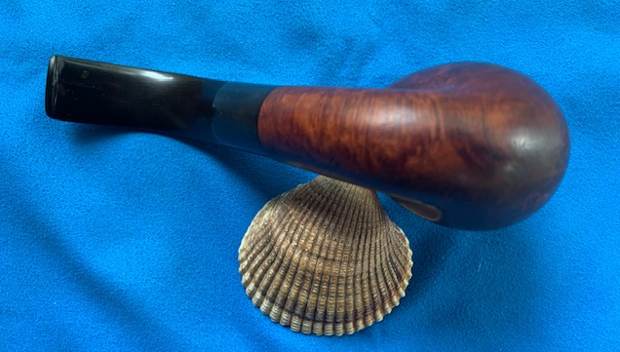
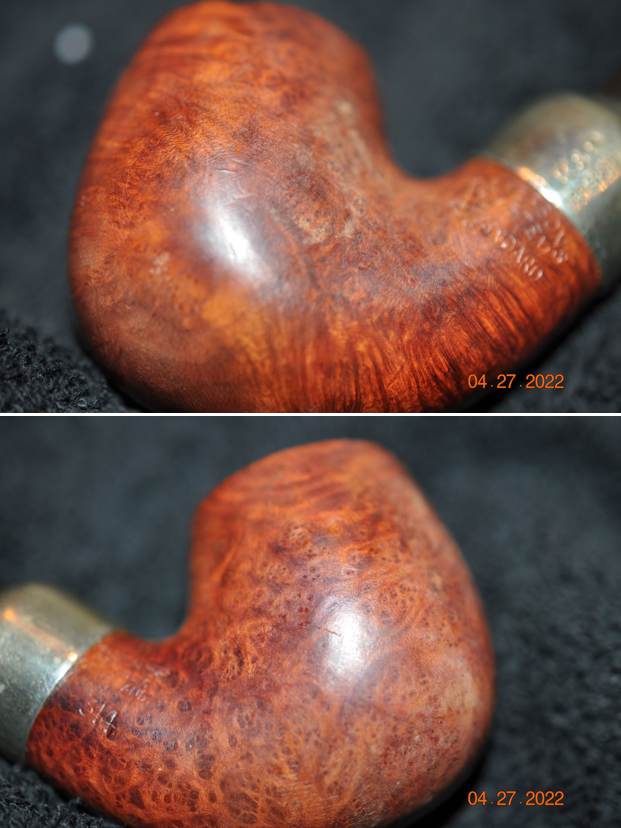
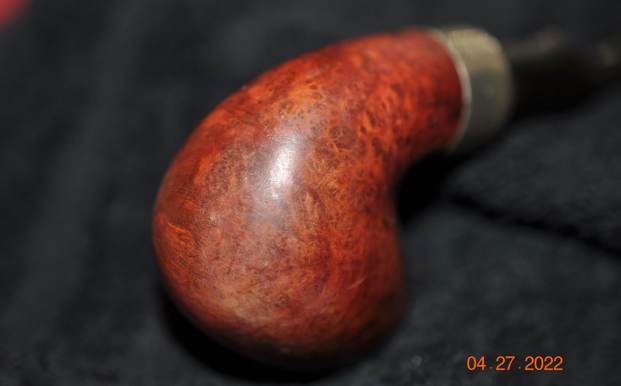
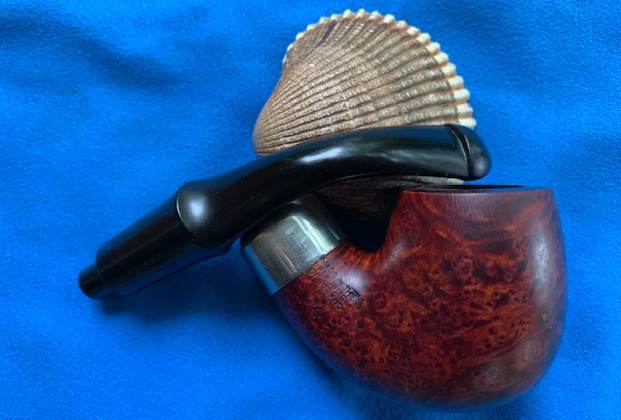
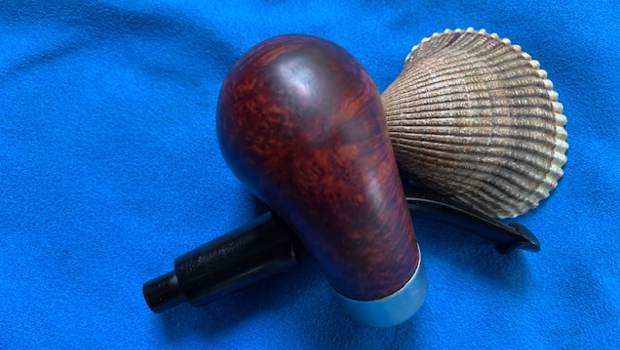
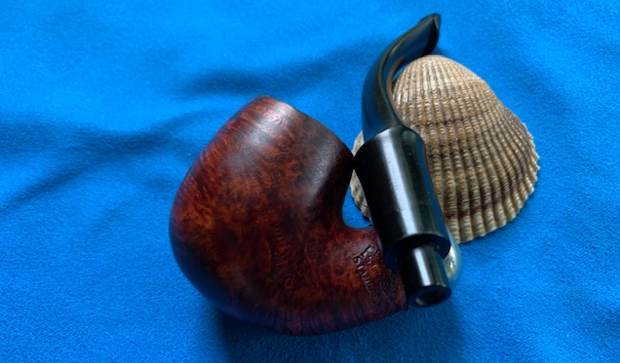
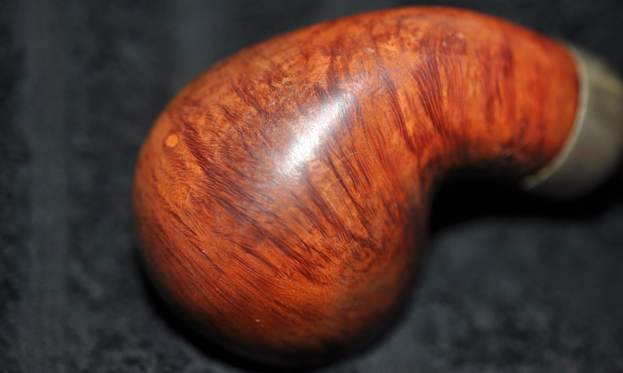
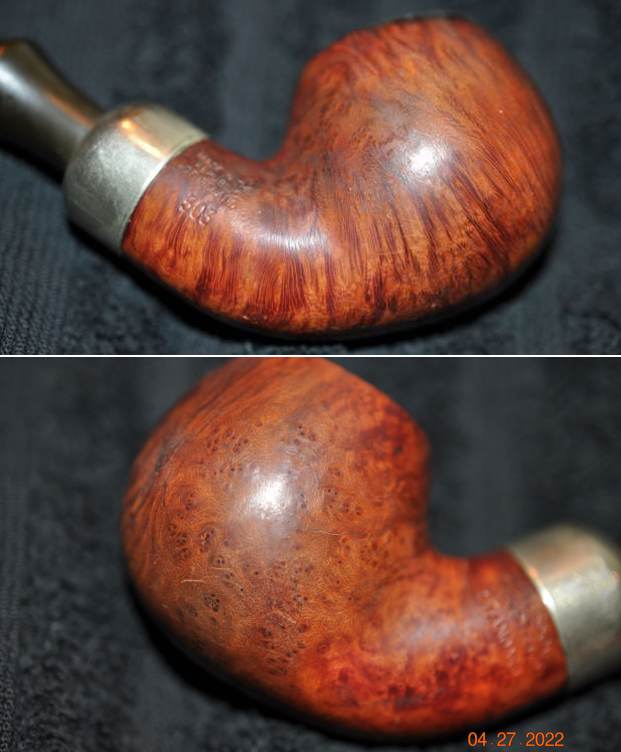
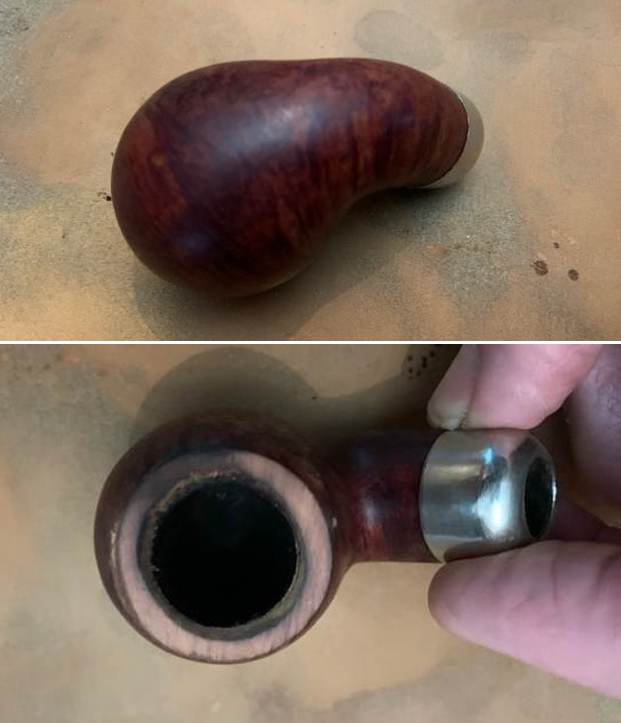
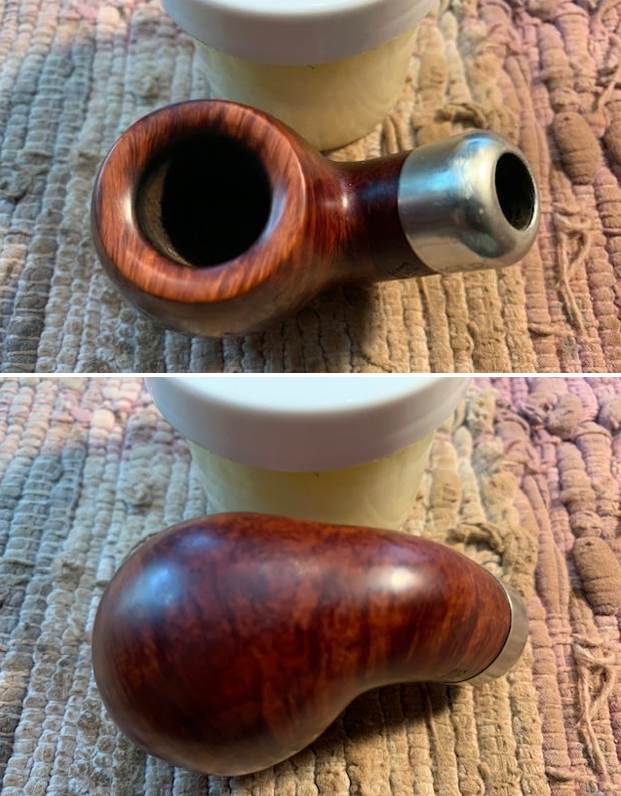
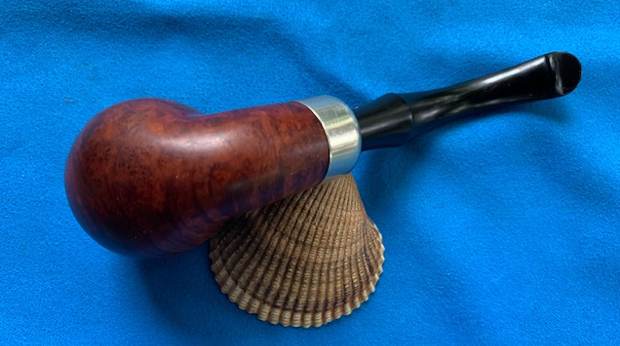
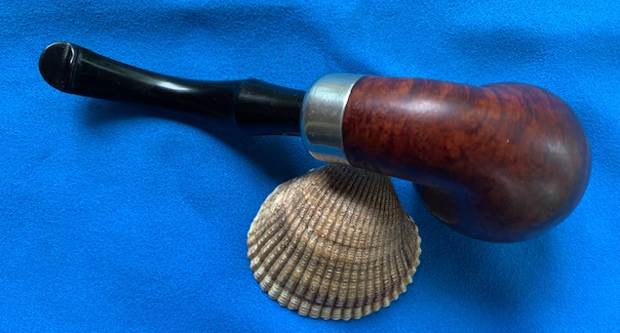
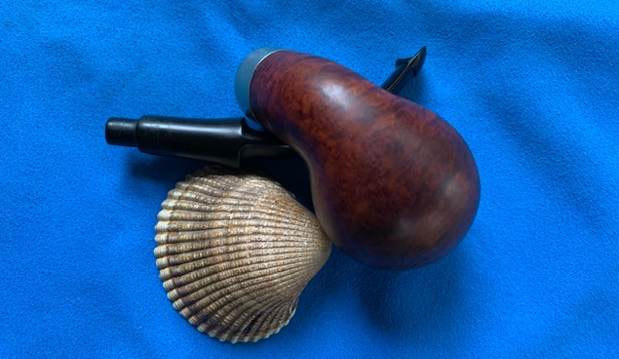
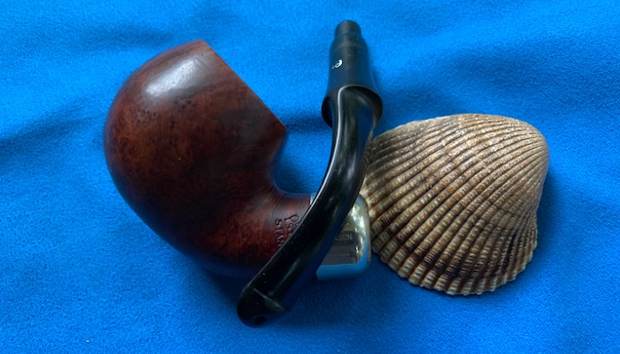
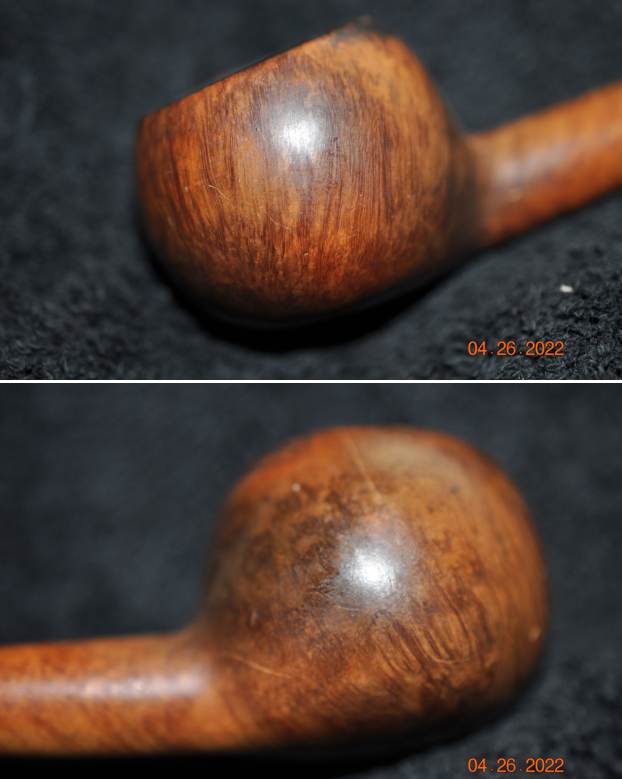
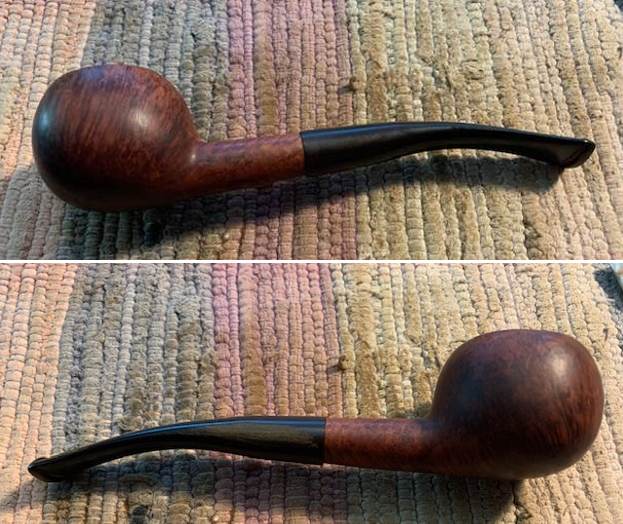
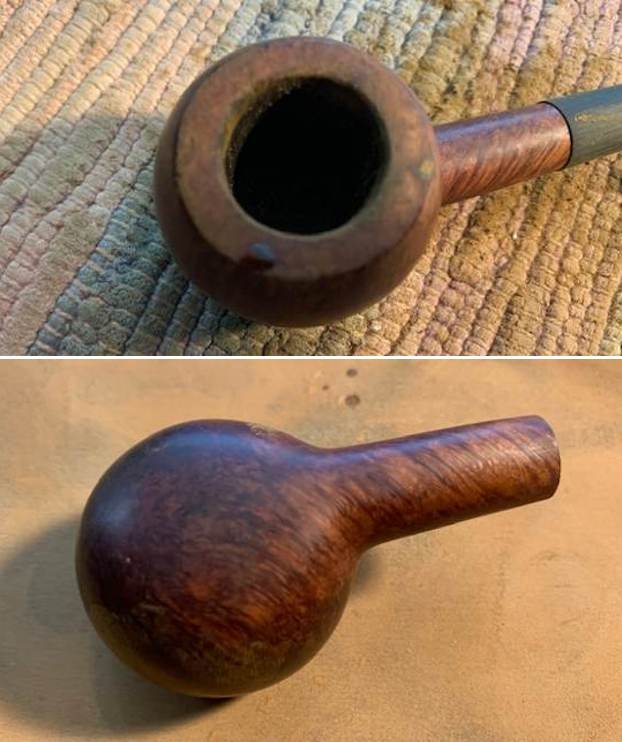
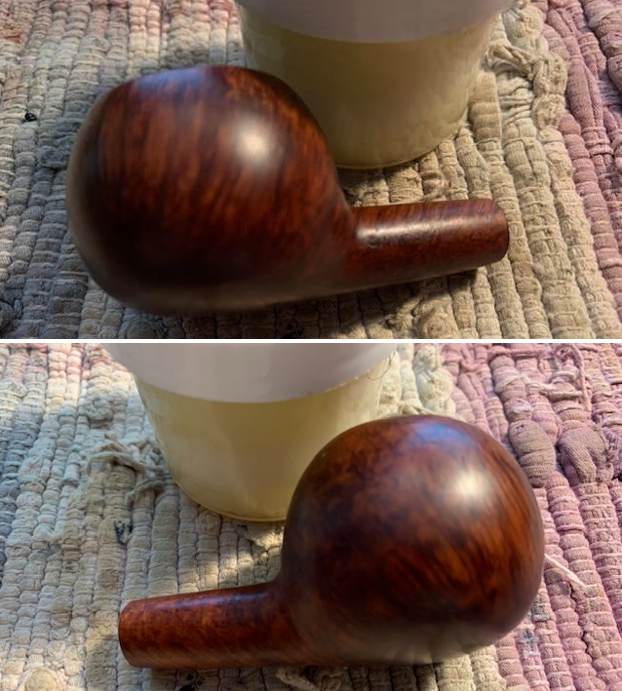
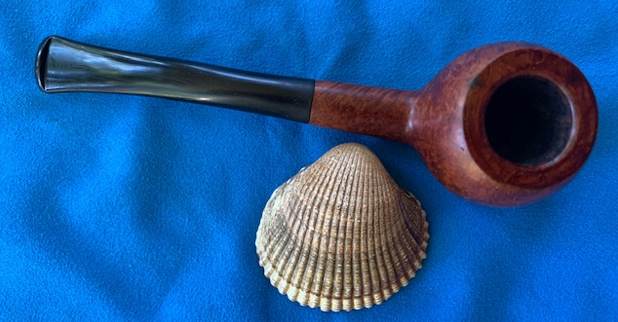
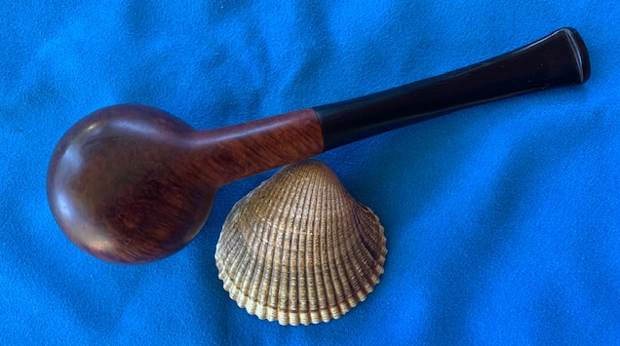
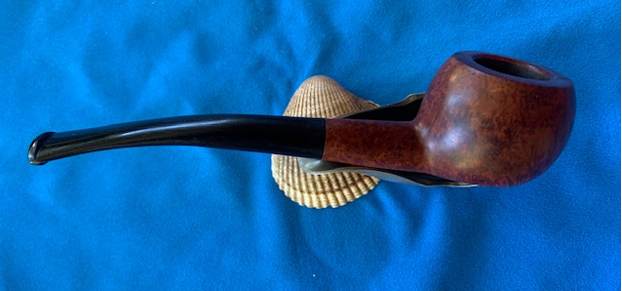
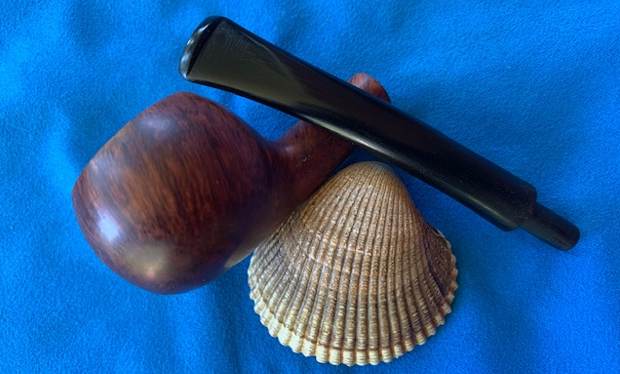
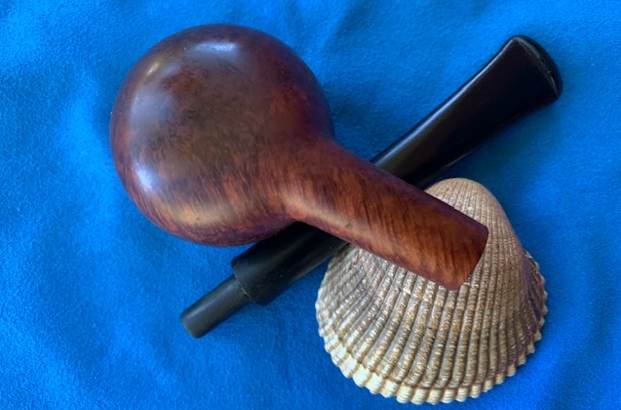
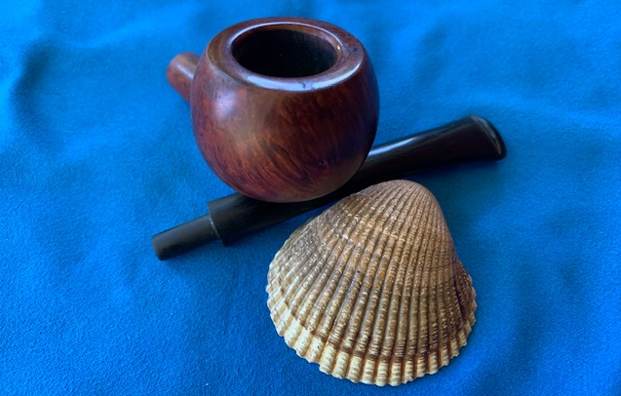
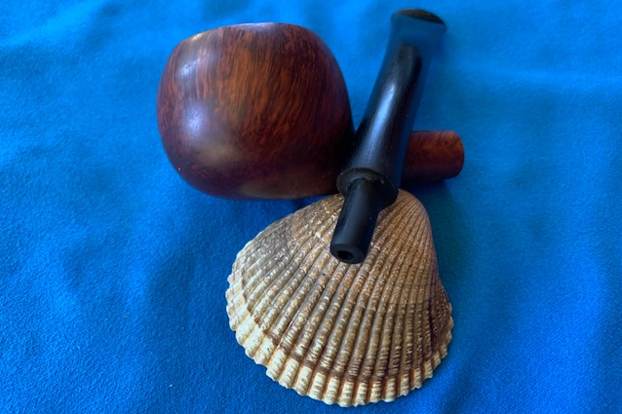
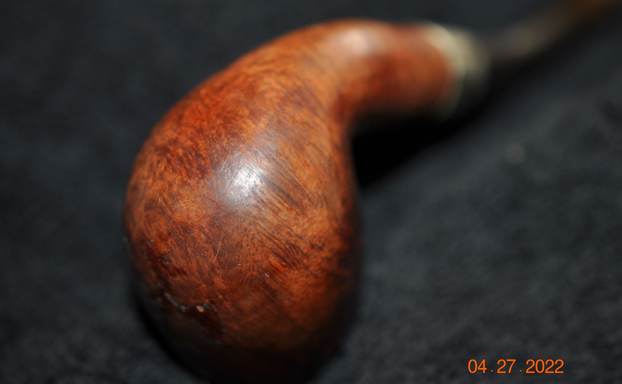
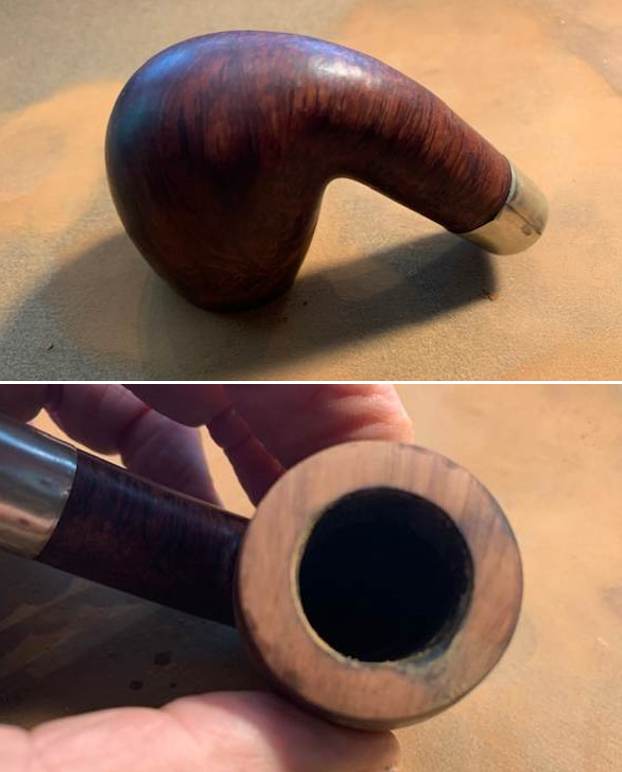
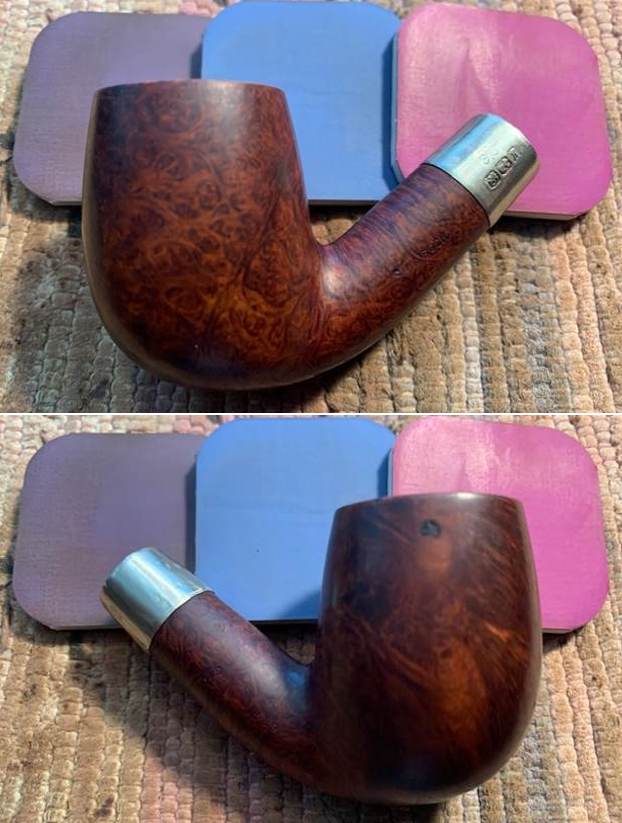
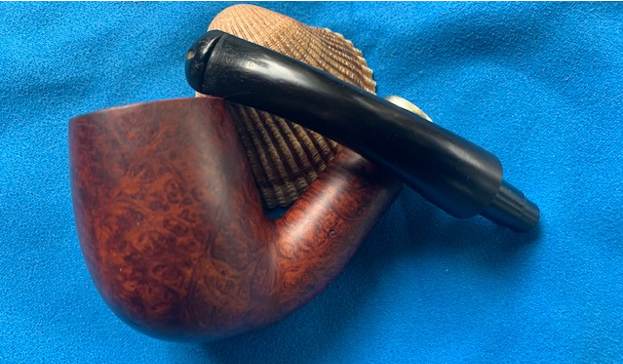
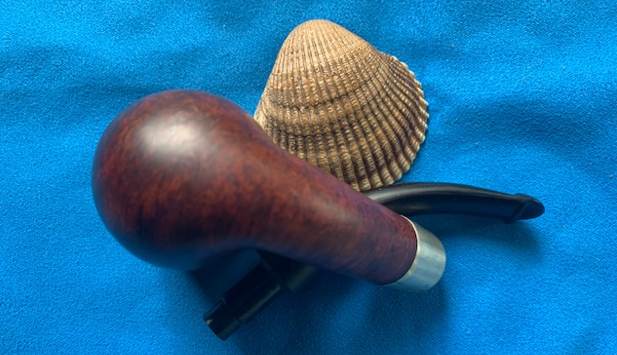
 He took photos of the grain on the heel of the bowl and the shank. The grain was quite nice and followed the flow of the pipe.
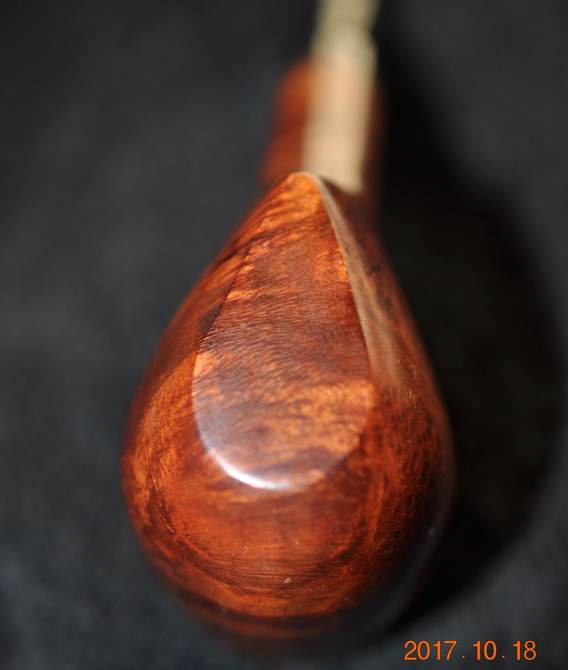
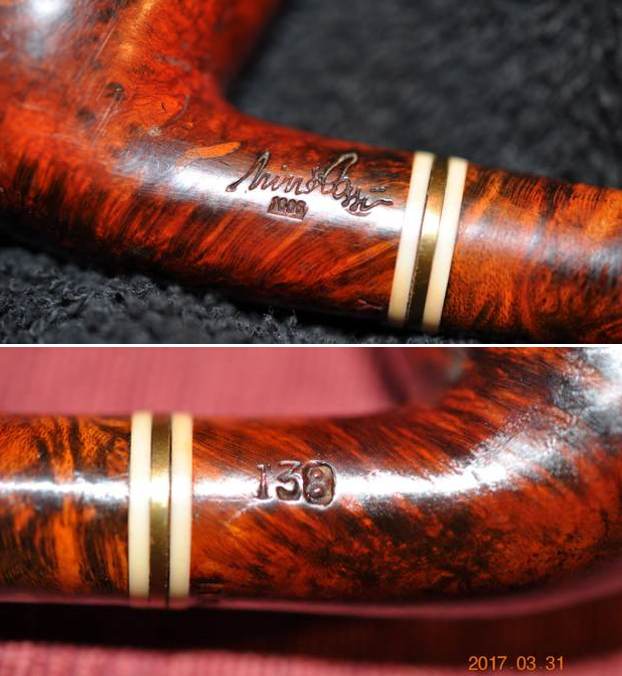
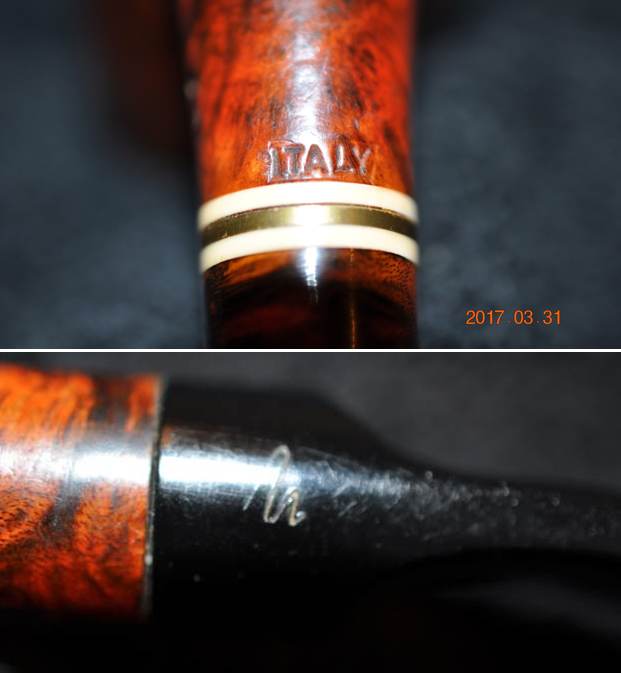
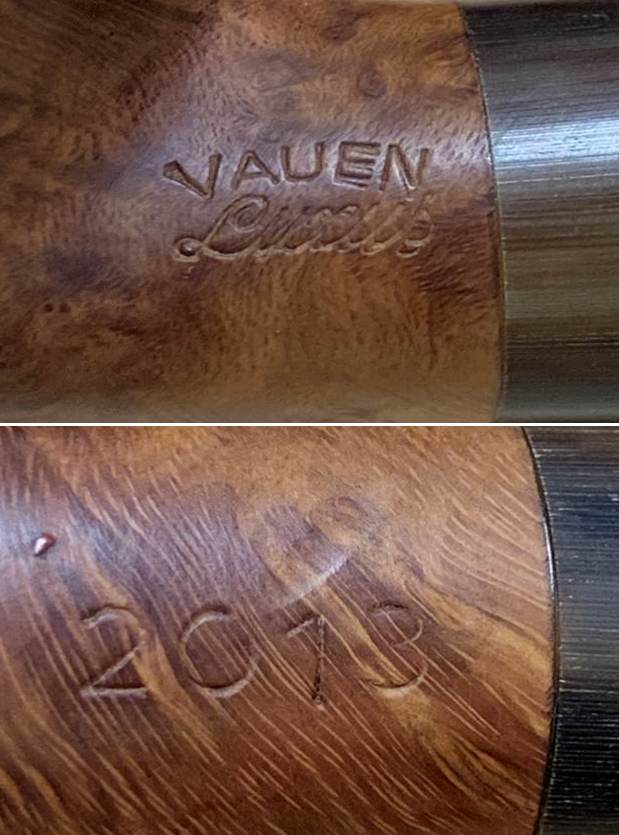
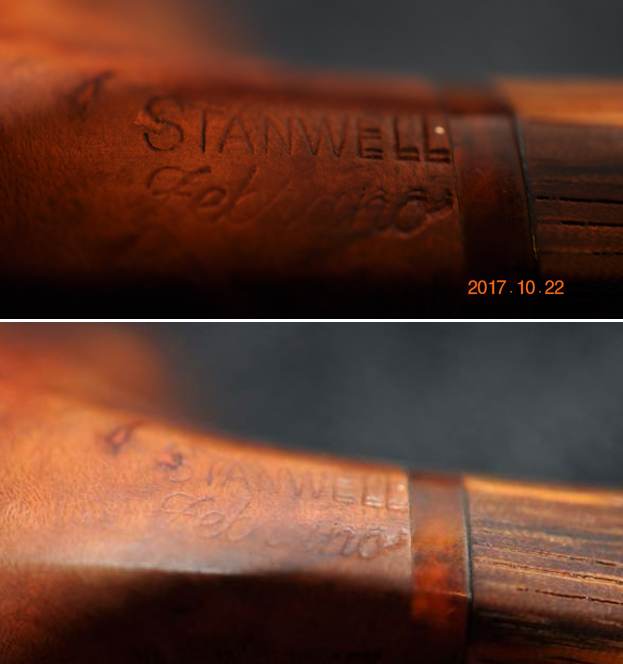
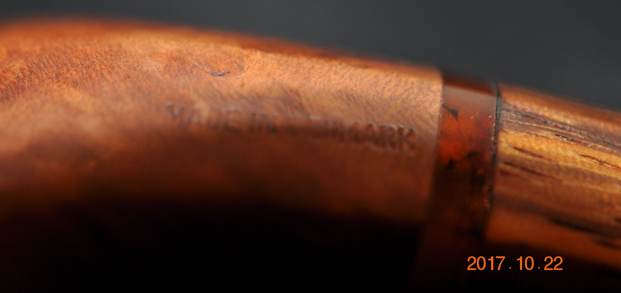
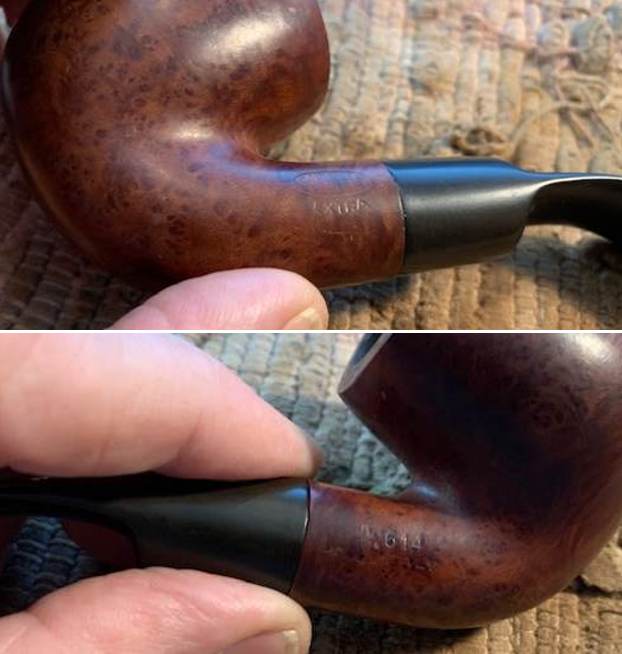
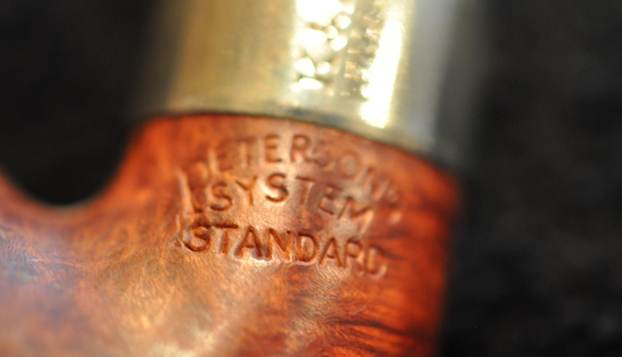
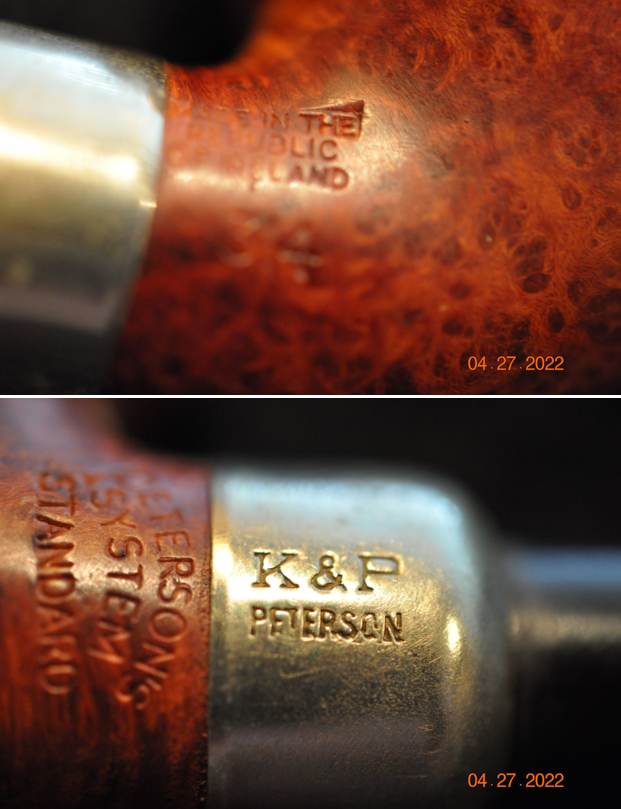
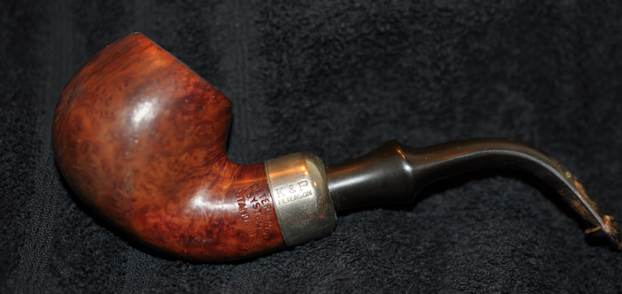
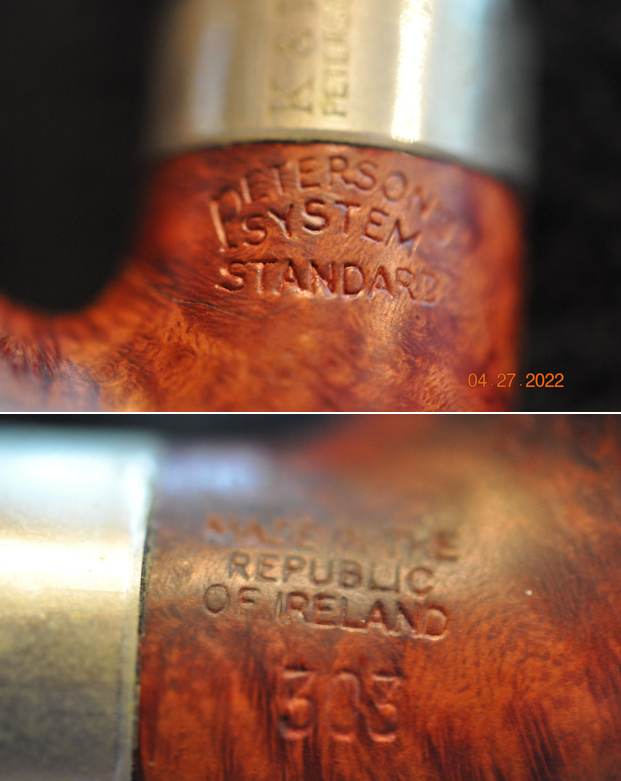
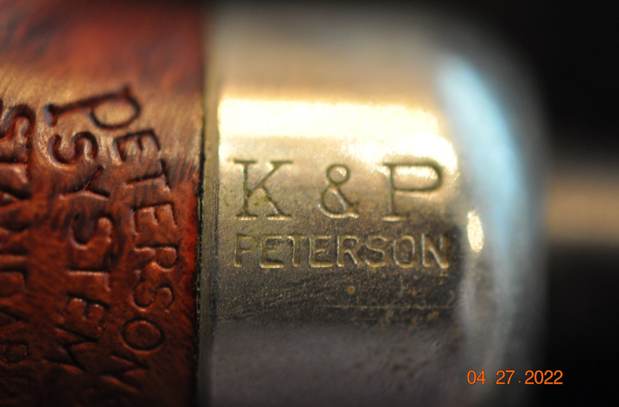
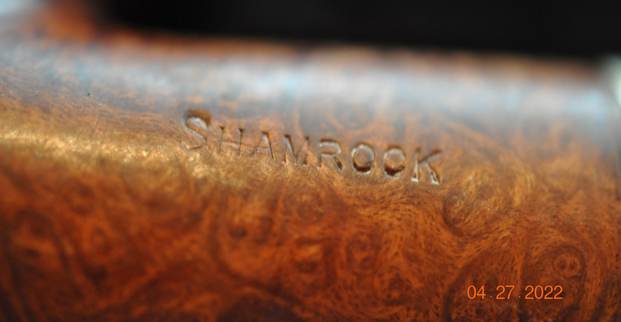
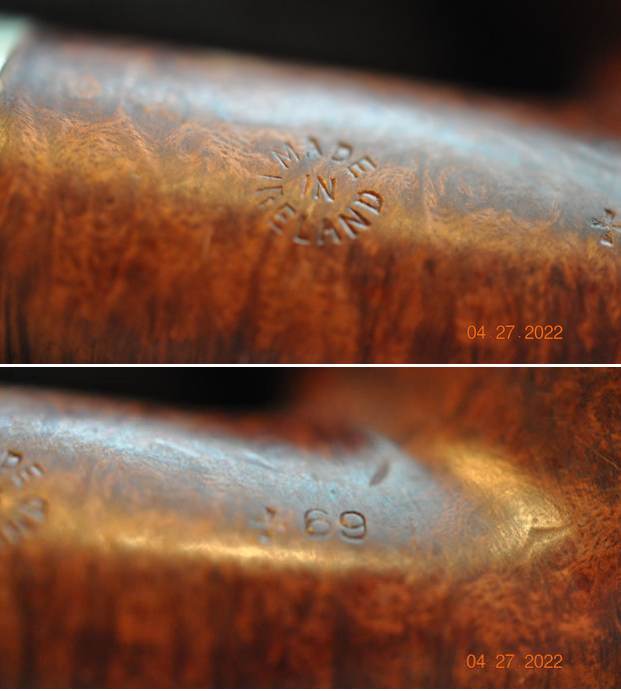
 I took photos of the stamping on the sides of the shank. The stamping was clear and readable on the shank sides. The D stamp on the stem side was also deep and readable.
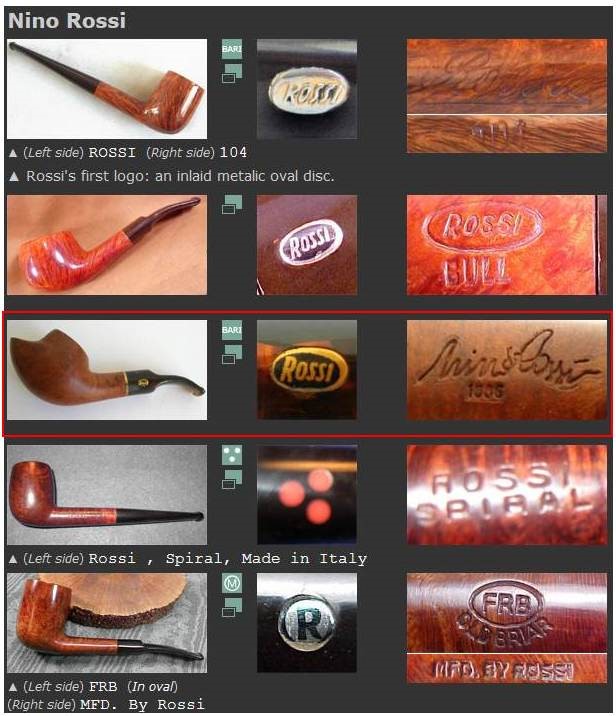
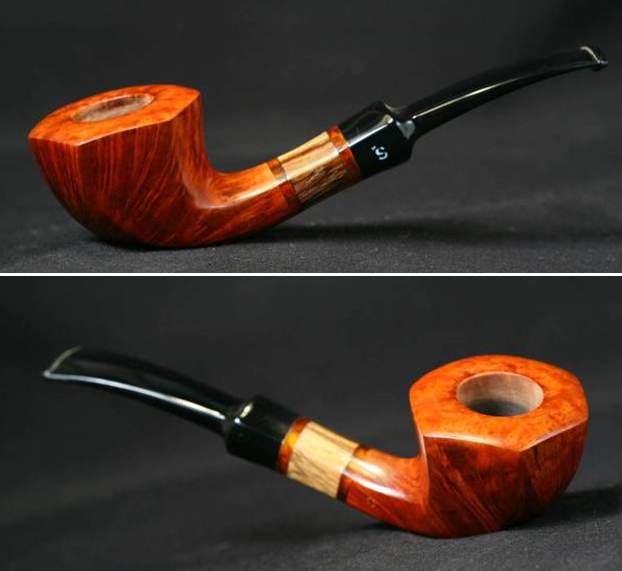
 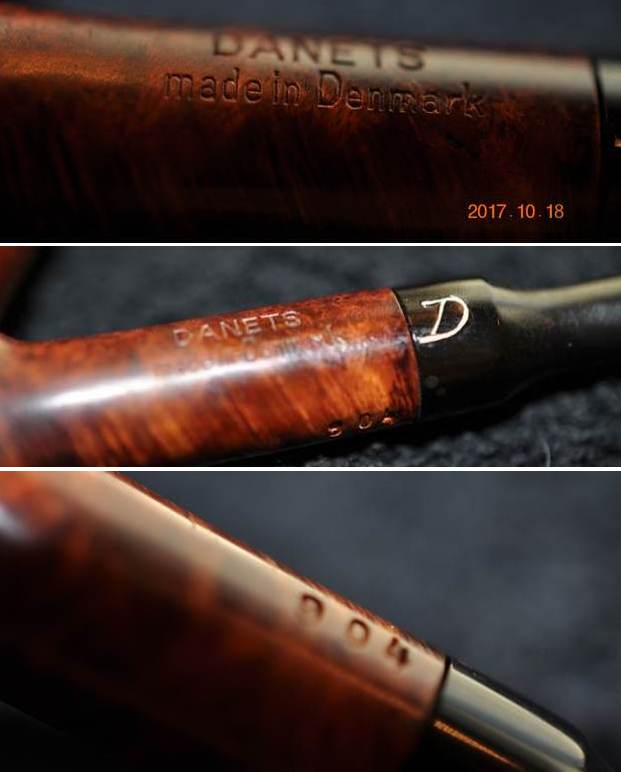 I looked up information on the brand before I started my work on it. I turned first to Pipephil’s site to get a quick overview (http://pipephil.eu/logos/en/logo-d2.html). I included a screen capture of the pipe pictured there. Interestingly, it is the same shape as the one that I am working on. The difference is the taper stem on the one in the photo. I also have included information in the sidebar below the picture. The information connects the Danets to Georg Jensen. I quote:
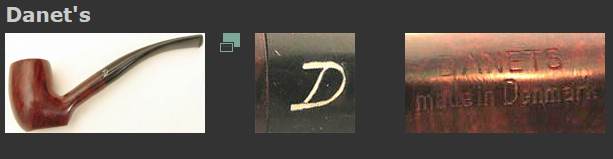 Brand imported from Denmark to USA by BRANDT IMPORT. Sometimes stamped DANETS. Probably a label from Georg Jensen as the photo below would attest these stampings.
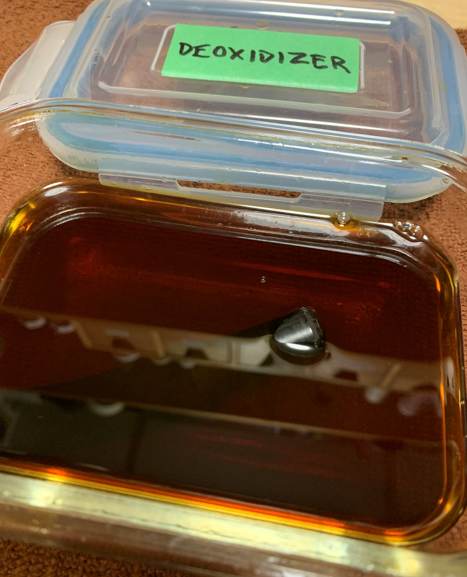
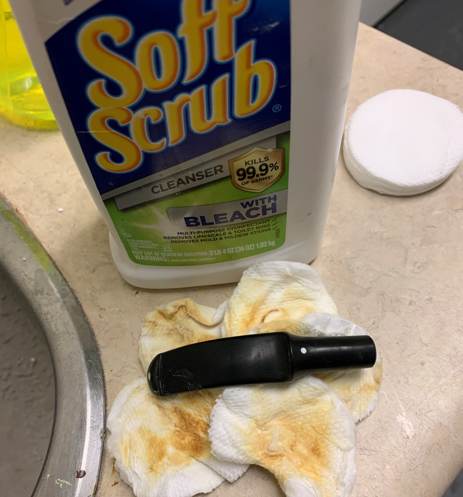
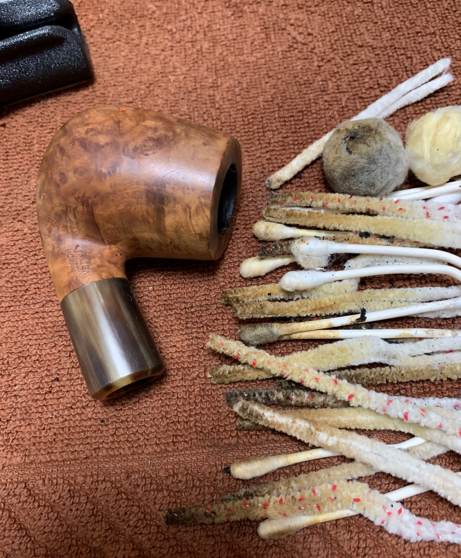
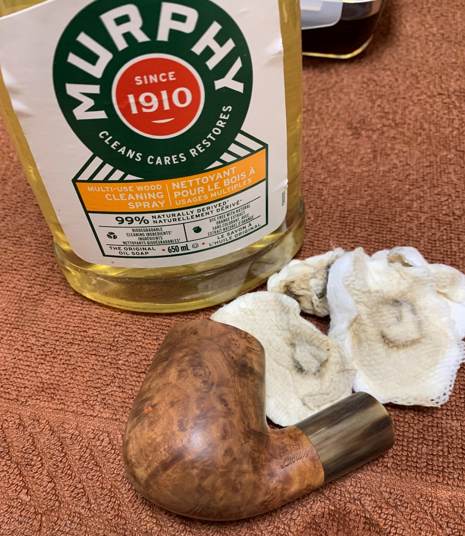
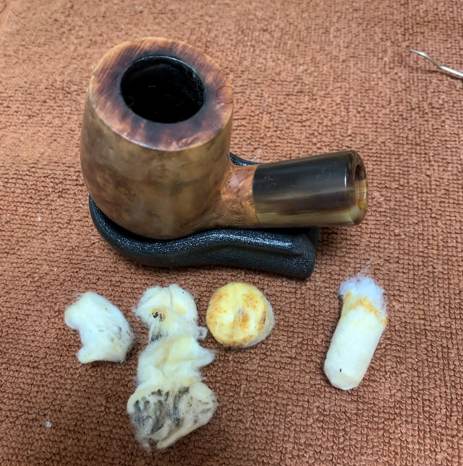
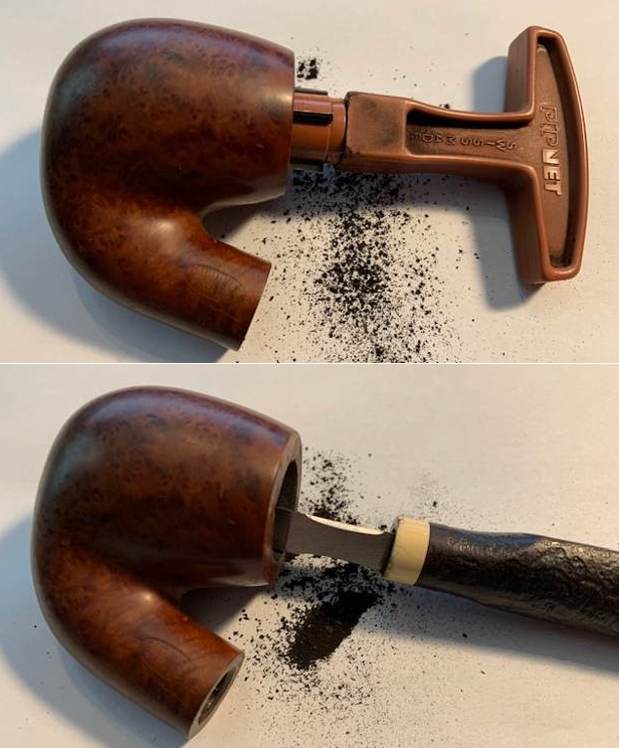
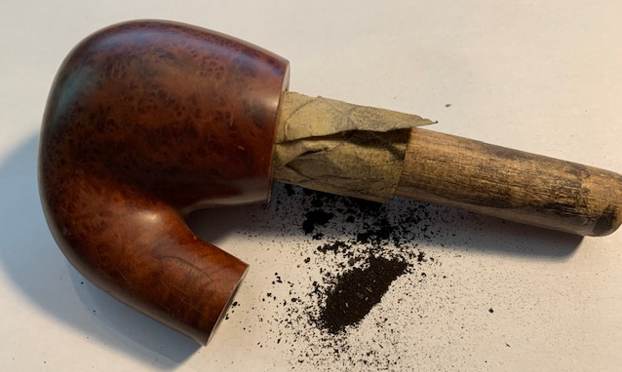
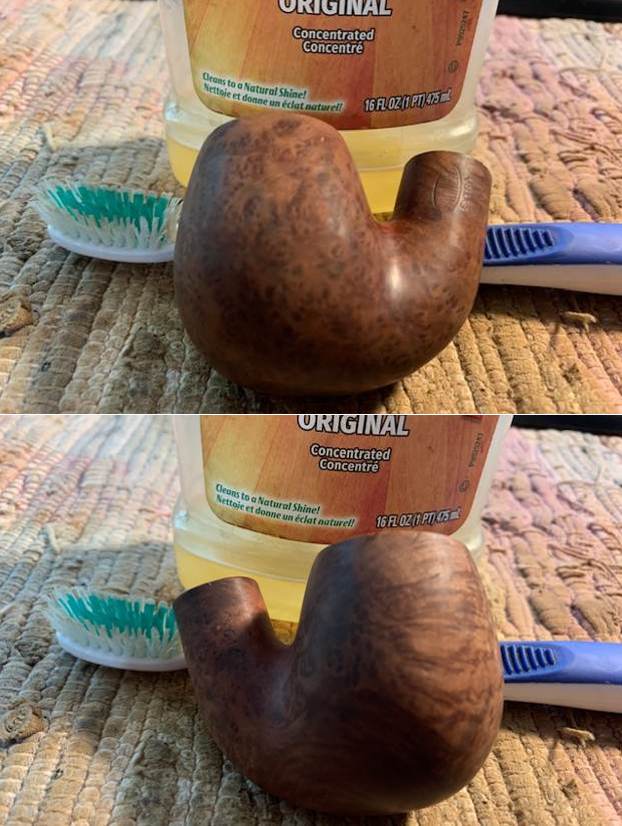
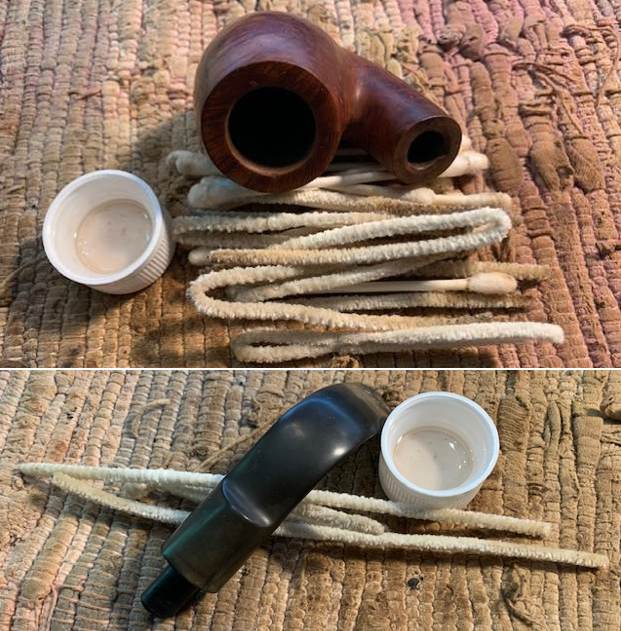
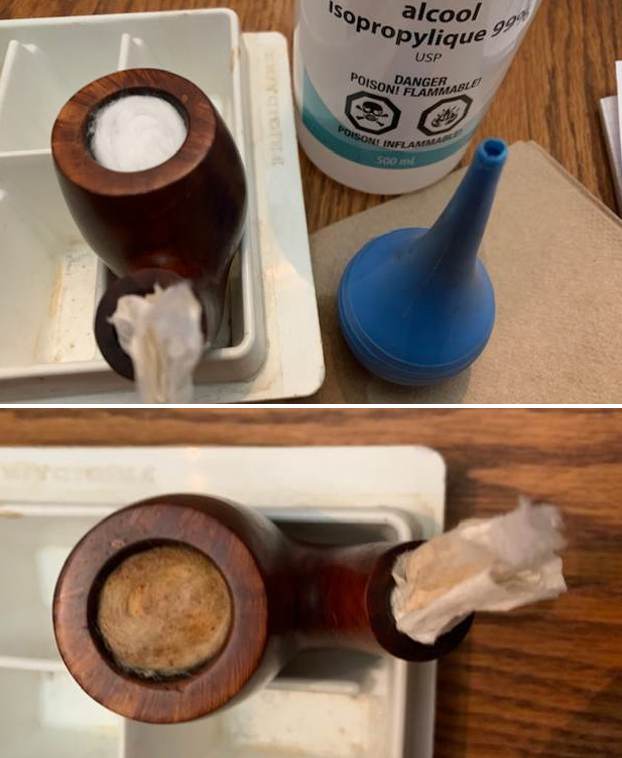
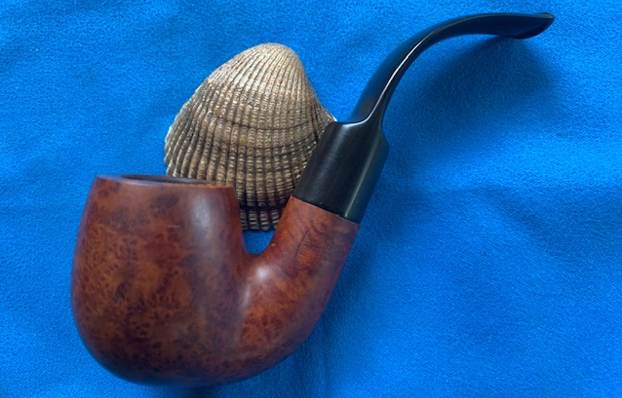
I followed one of the links in the side bar to the photo below. The link with Georg Jensen and Danets is clearly shown in the photo.  With that information, I turned to work on the pipe itself. Jeff had thoroughly cleaned up the pipe. He reamed the pipe with a PipNet Pipe Reamer and cleaned up the remnants with a Savinelli Fitsall Pipe Knife. He scrubbed the bowl with undiluted Murphy’s Oil Soap with a tooth brush. He rinsed it under running warm water to remove the soap and grime. The inner edge of the rim and top cleaned up very well. He cleaned out the inside of the shank and the airway in the stem with alcohol, cotton swabs and pipe cleaners. He scrubbed the exterior of the stem with Soft Scrub to remove as much of the oxidation as possible. He soaked it in Before & After Pipe Stem Deoxidizer and rinsed it with warm water. The vulcanite stem was clean and had light tooth marks and chatter on both sides ahead of the button. There was a Danets D logo stamped on the left side of the stem. I took photos of the pipe before I started my work on it. It was an amazing looking pipe.
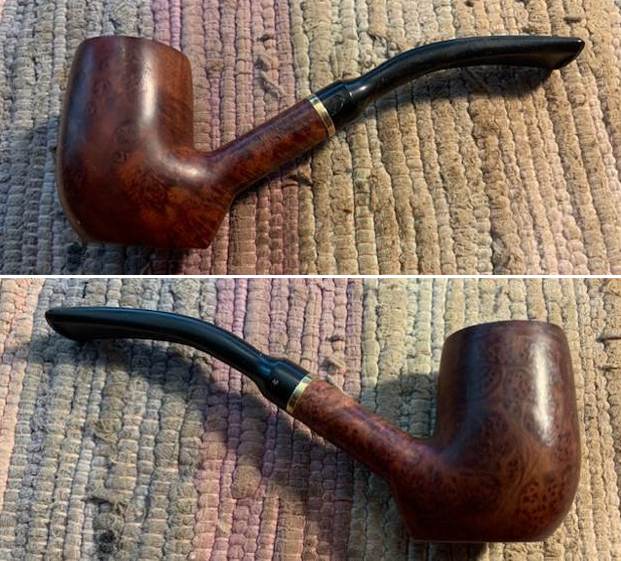
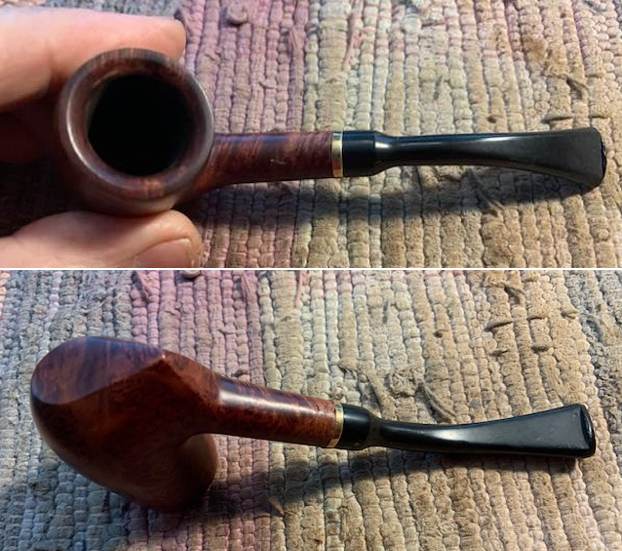
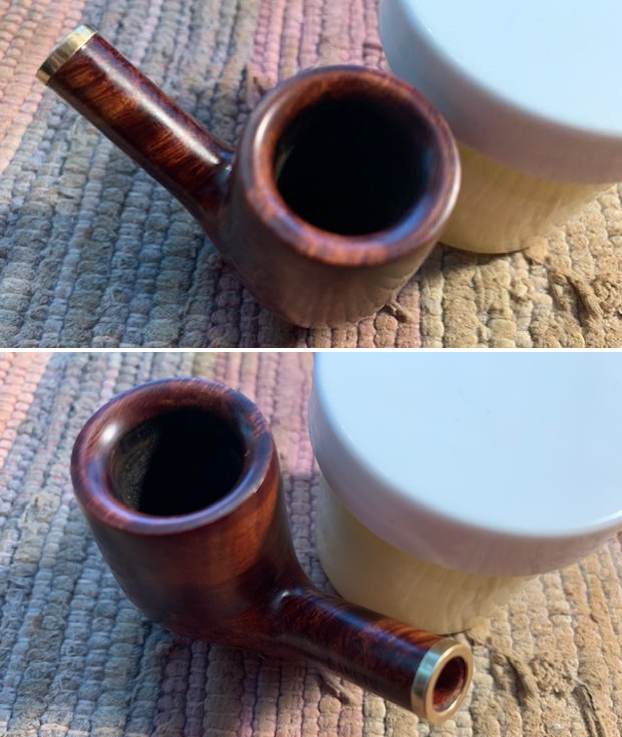
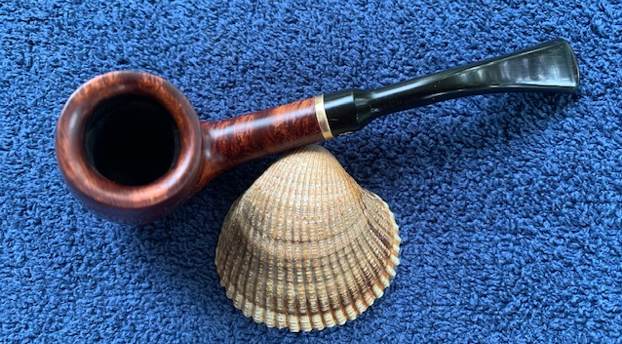
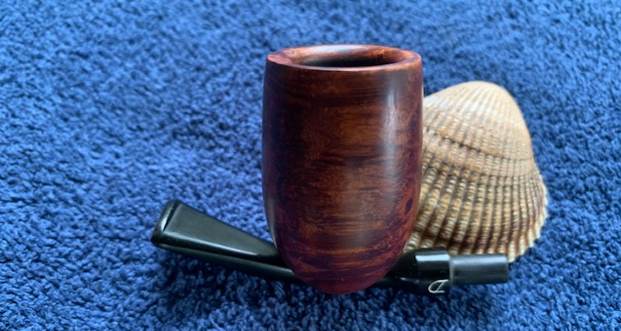
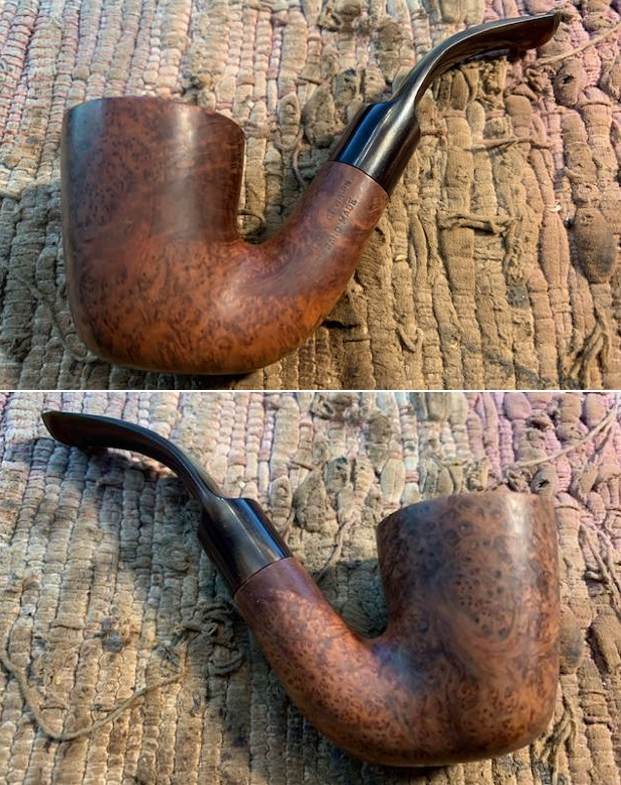
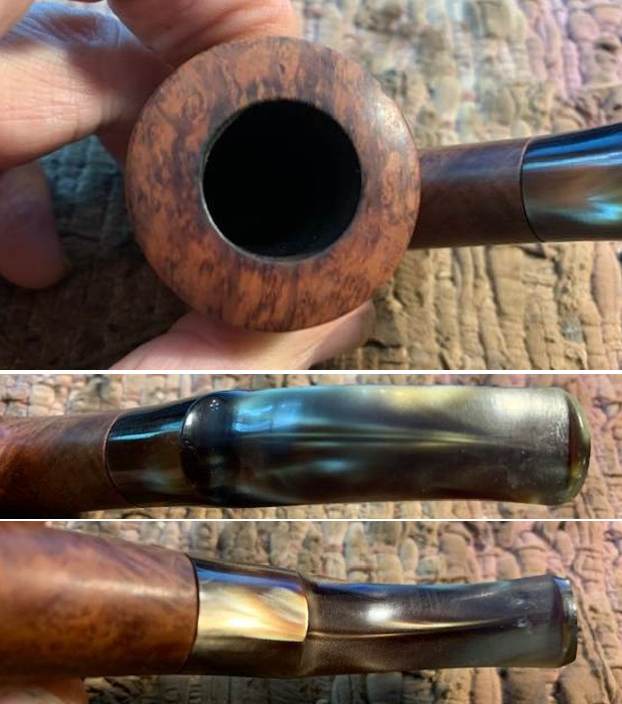
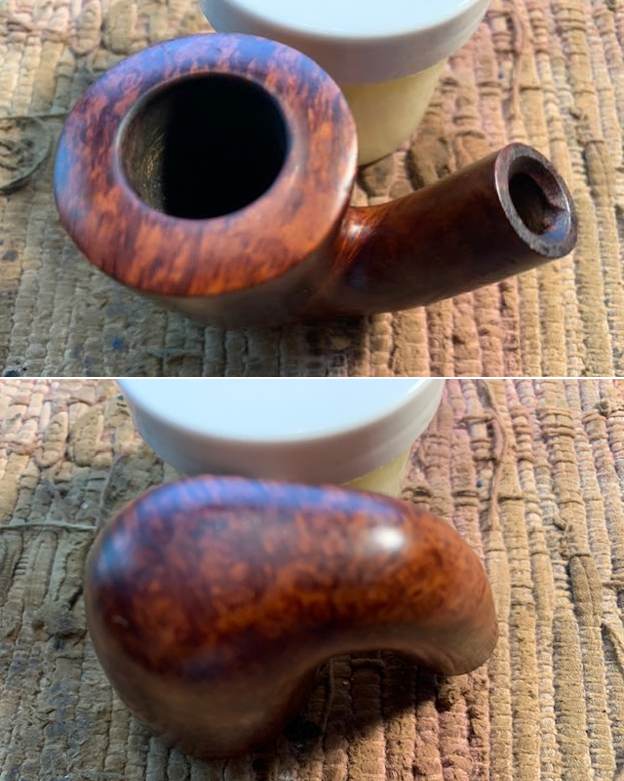
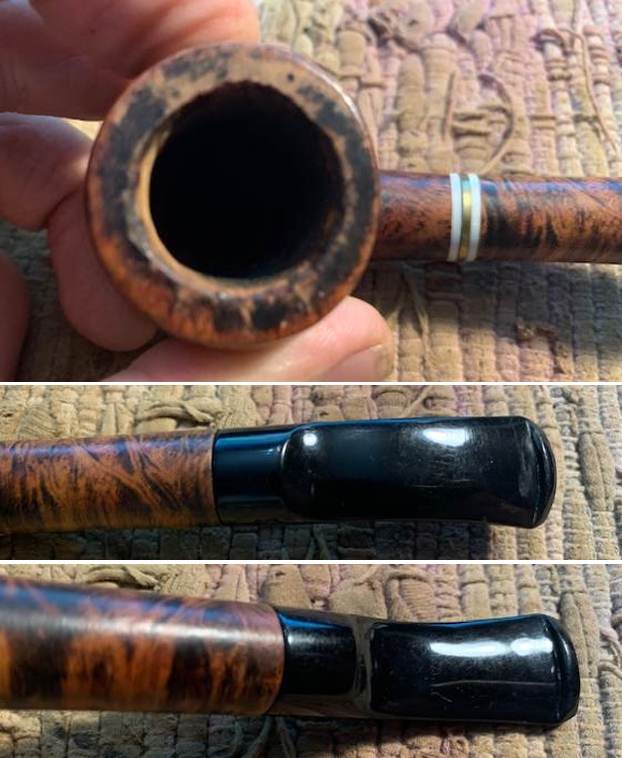
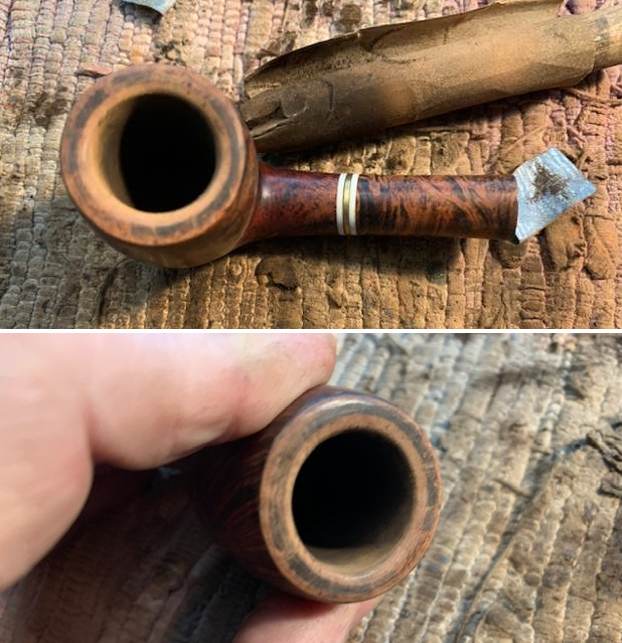
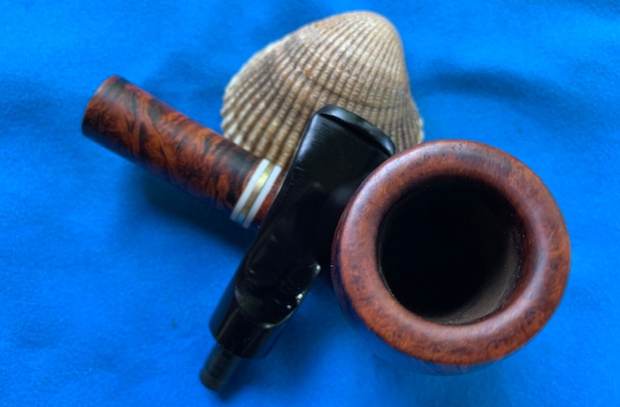
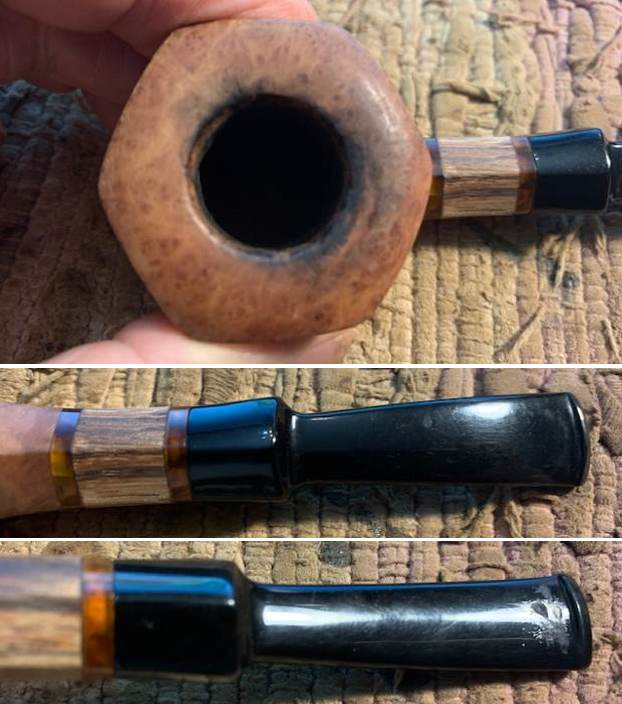
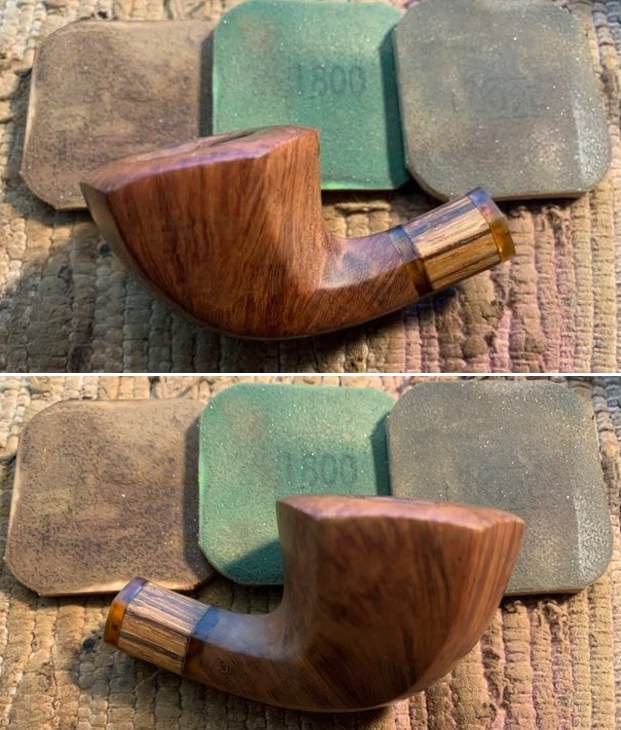
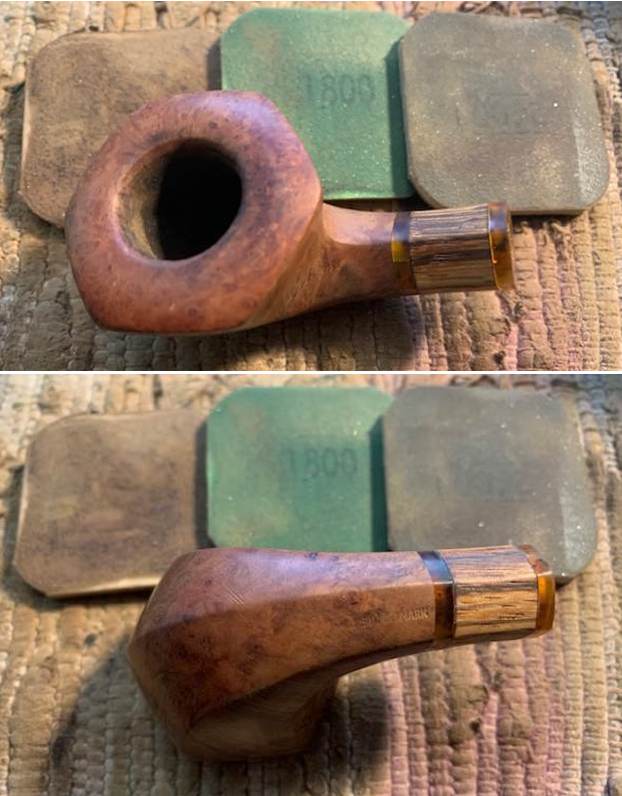
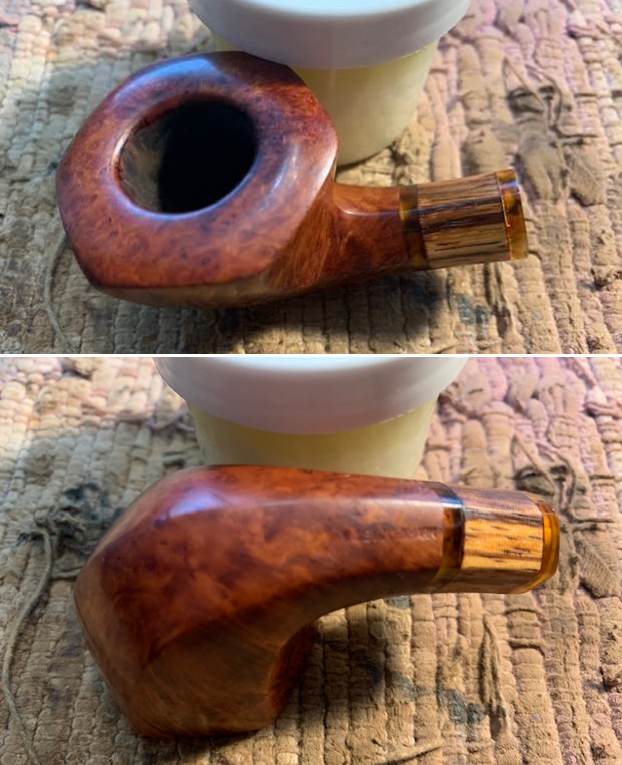
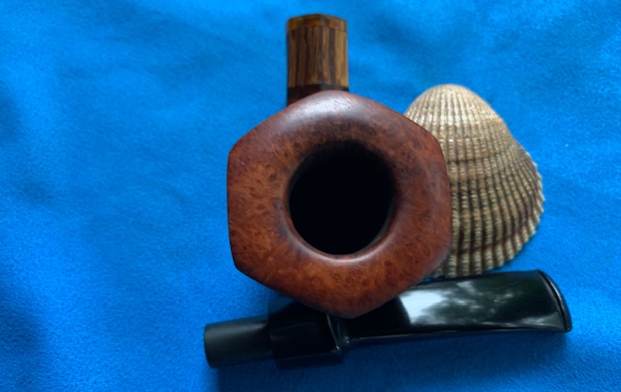
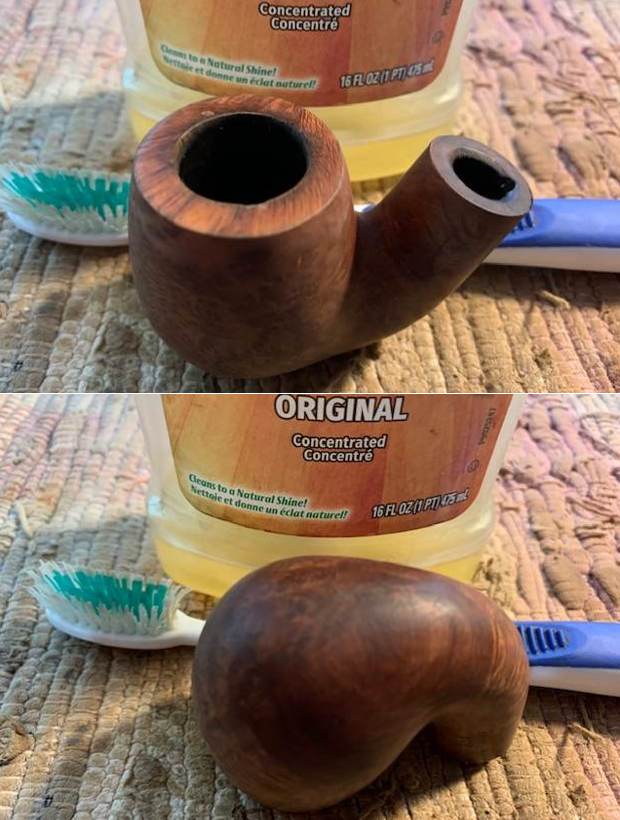
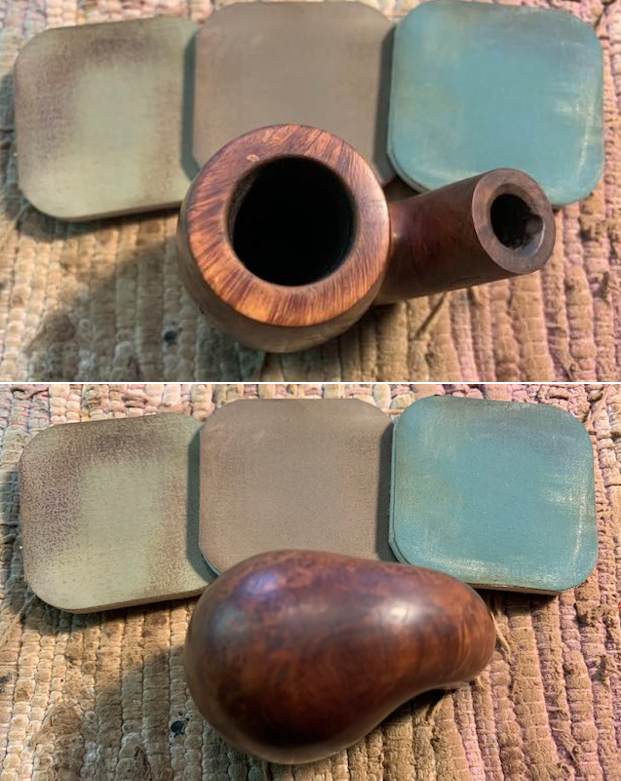
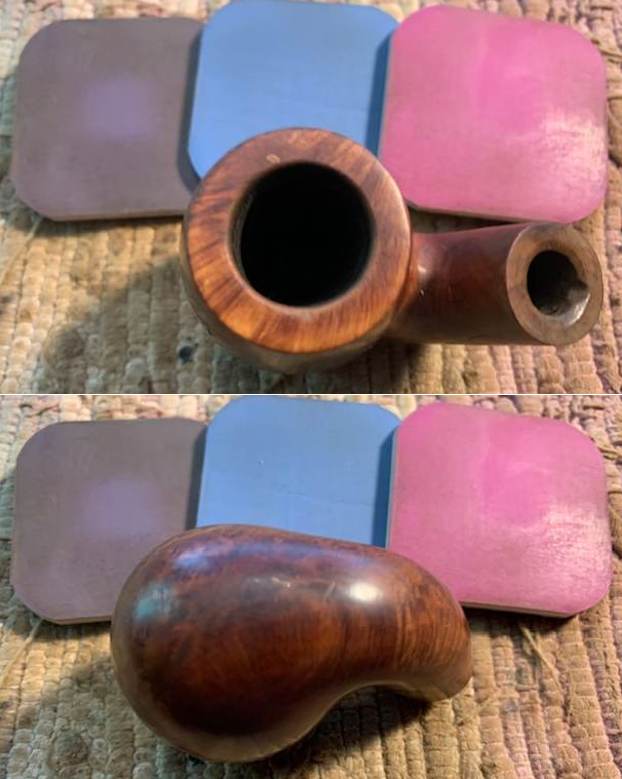
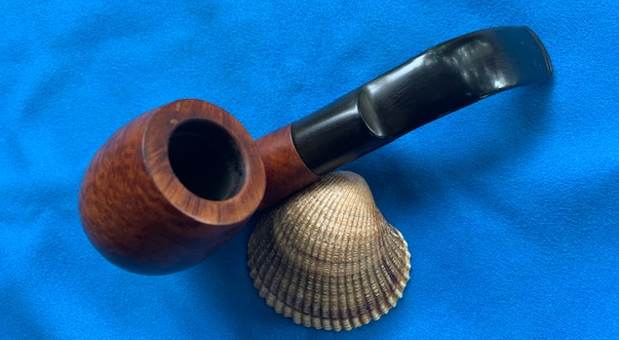
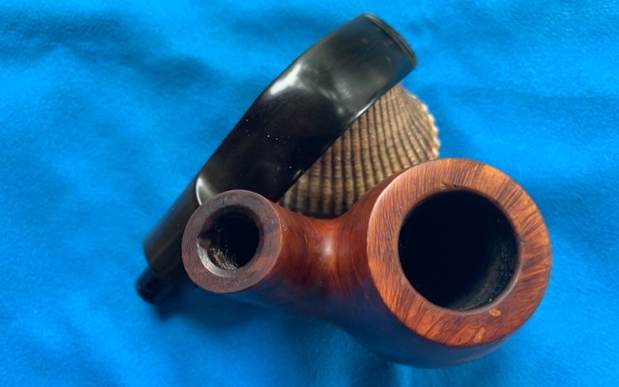
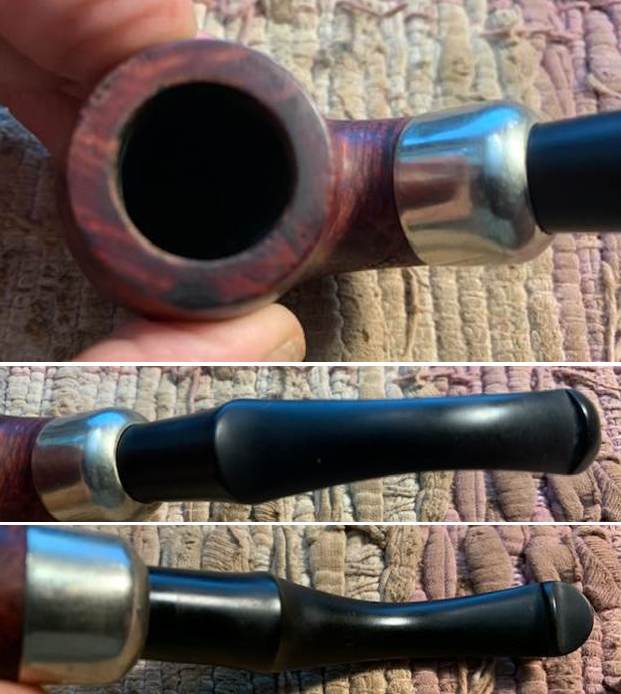
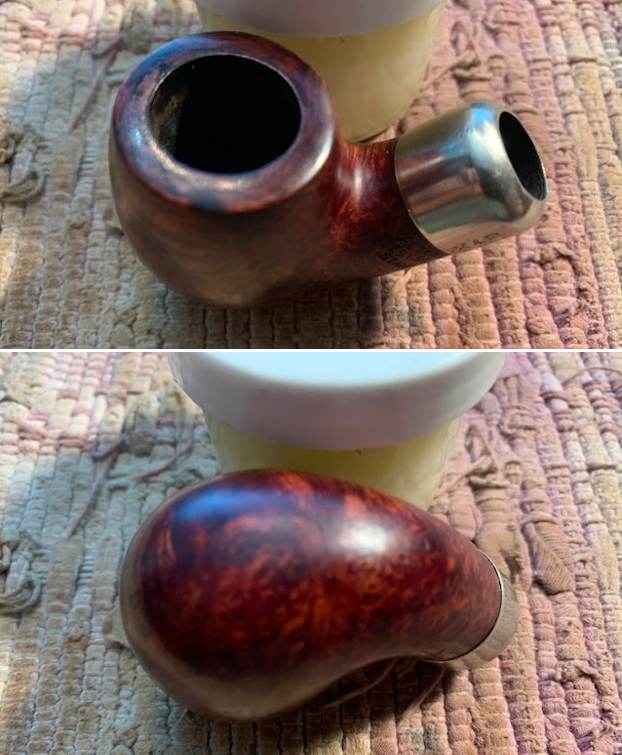
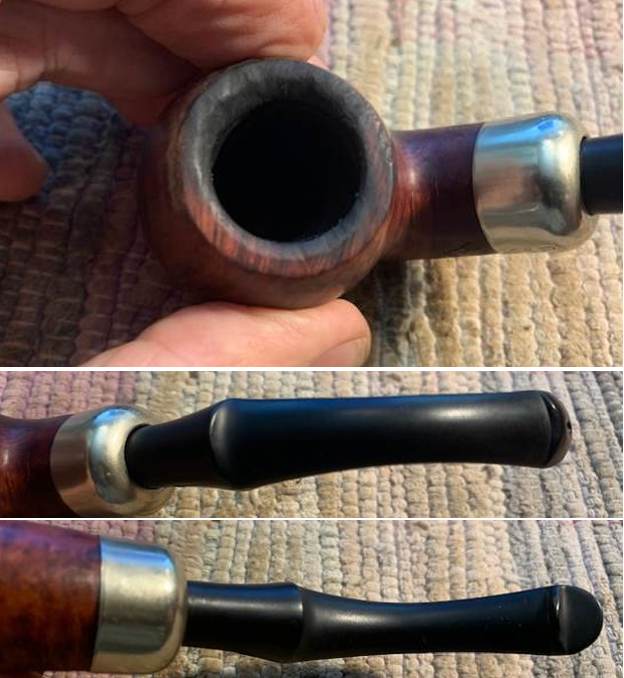
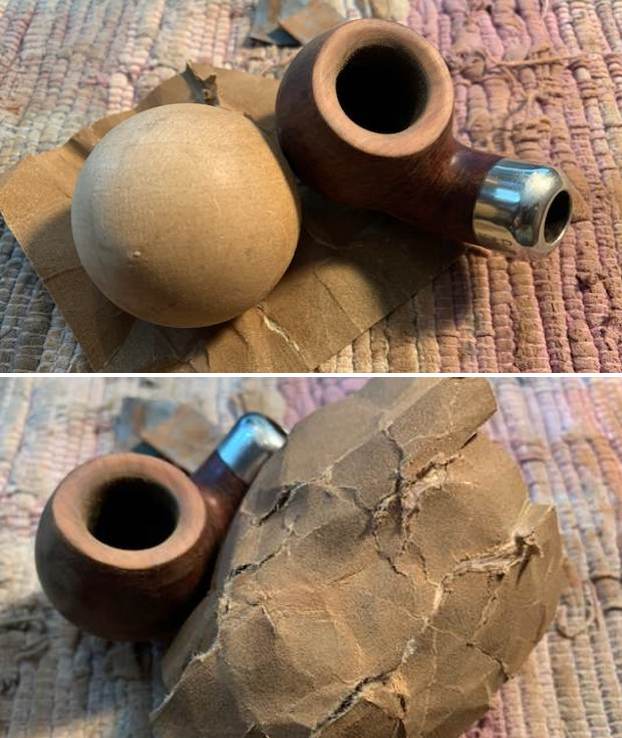
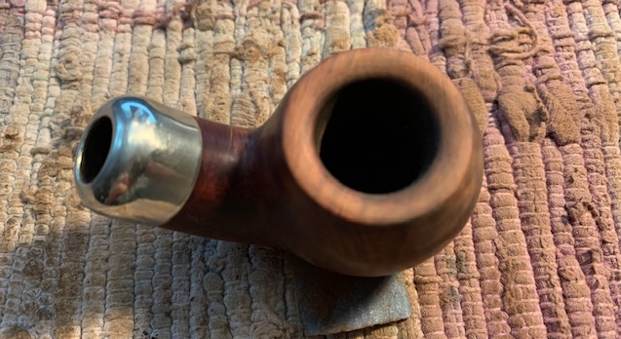
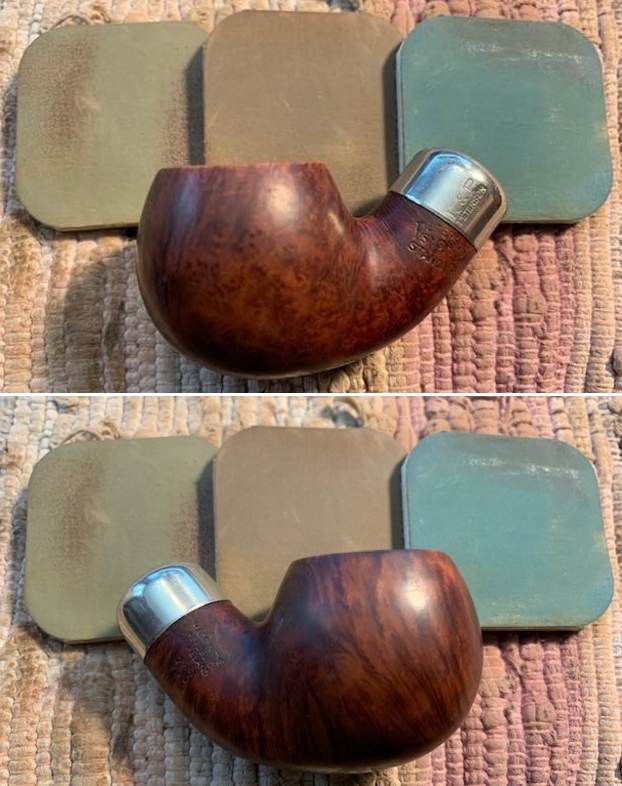
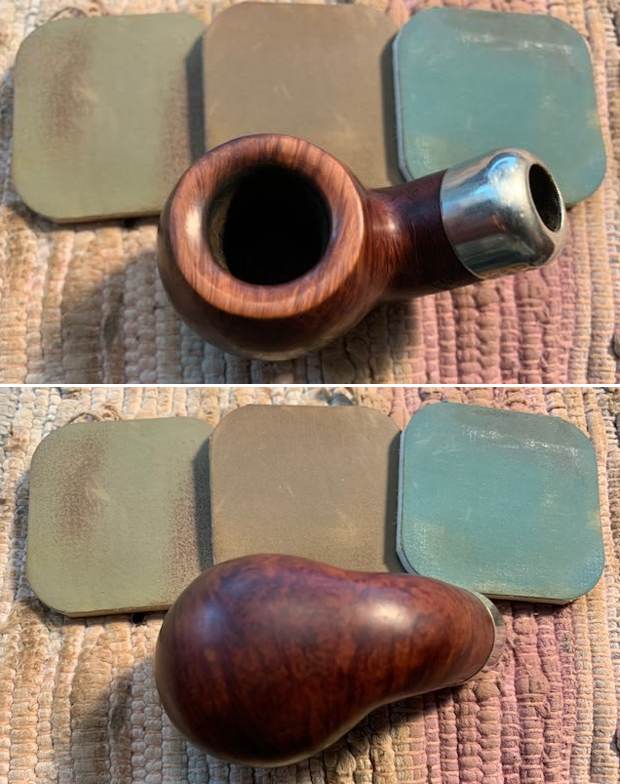
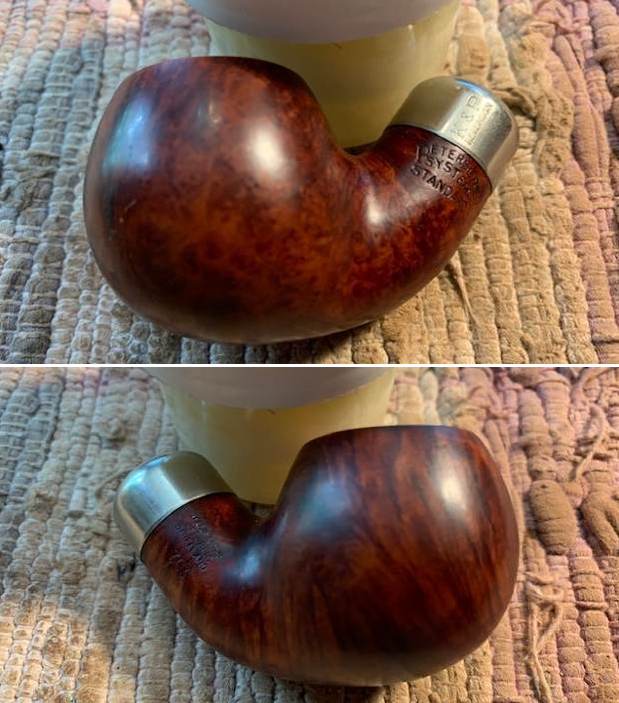
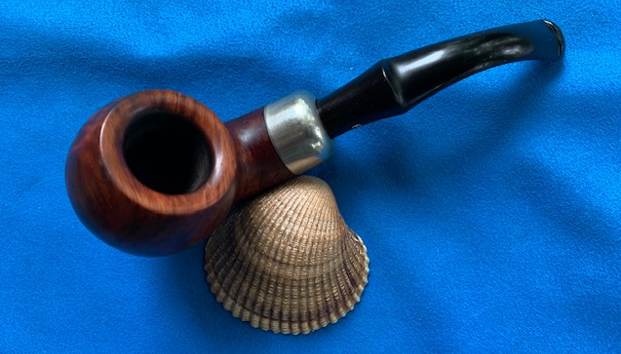
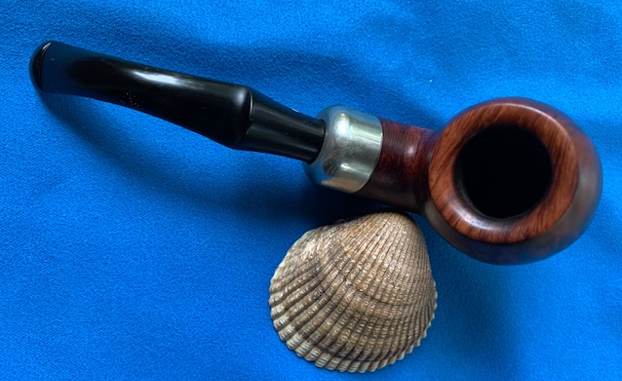
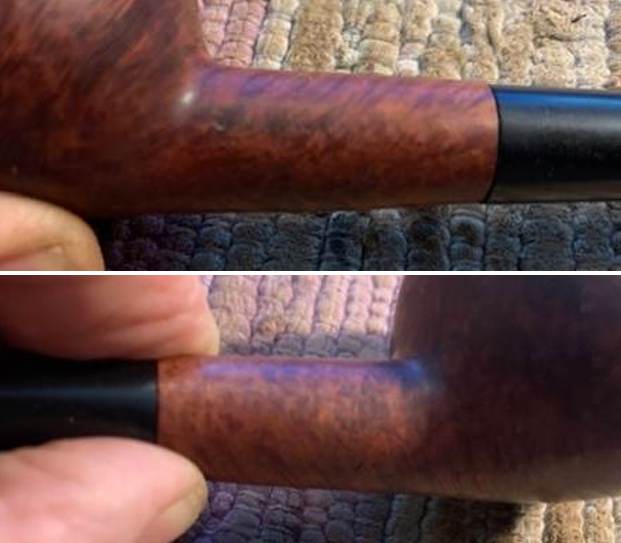
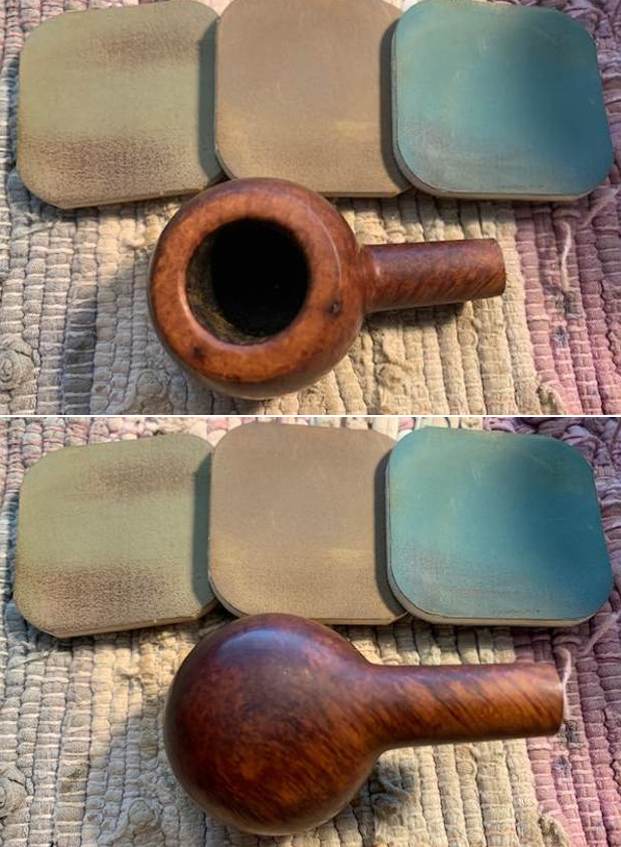
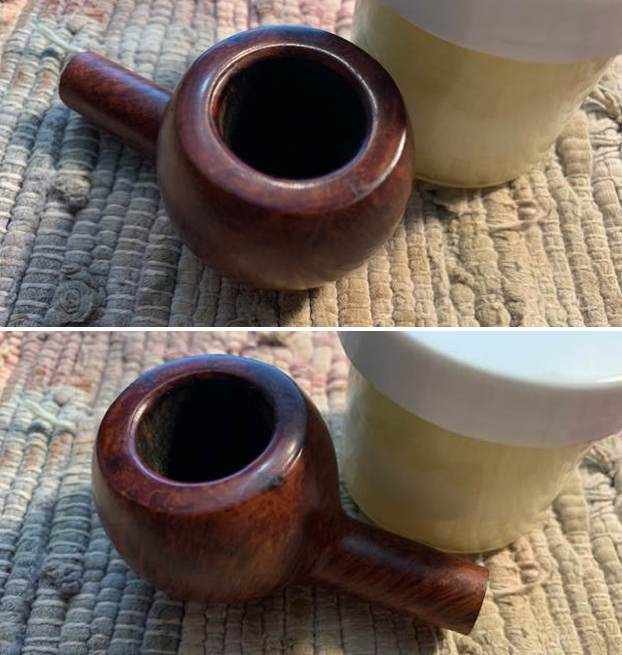
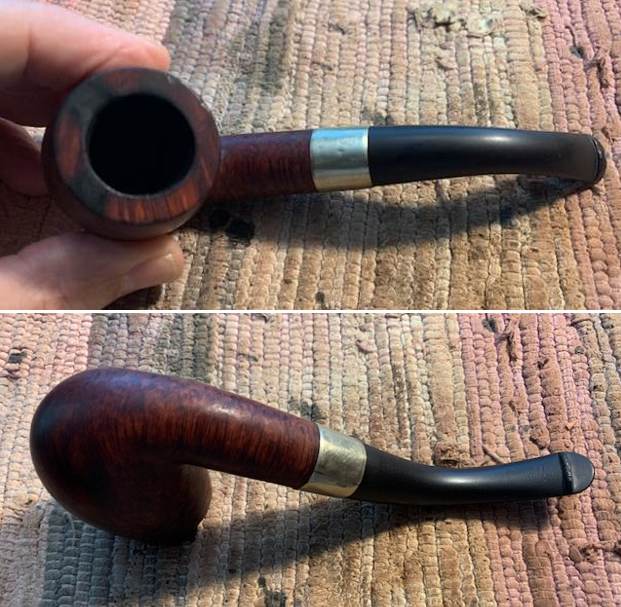
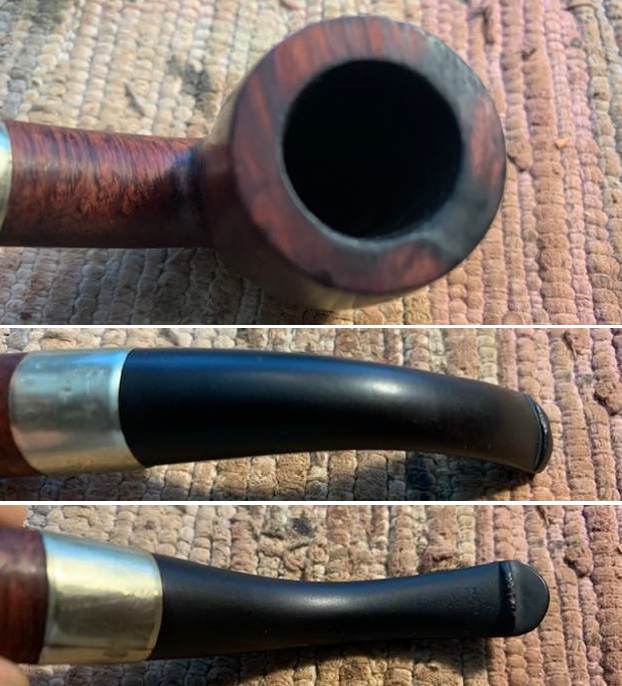
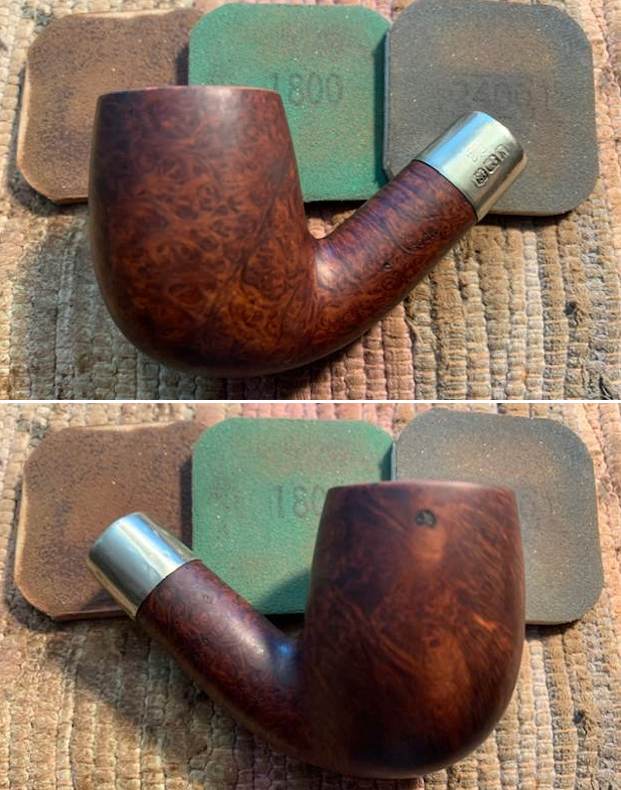
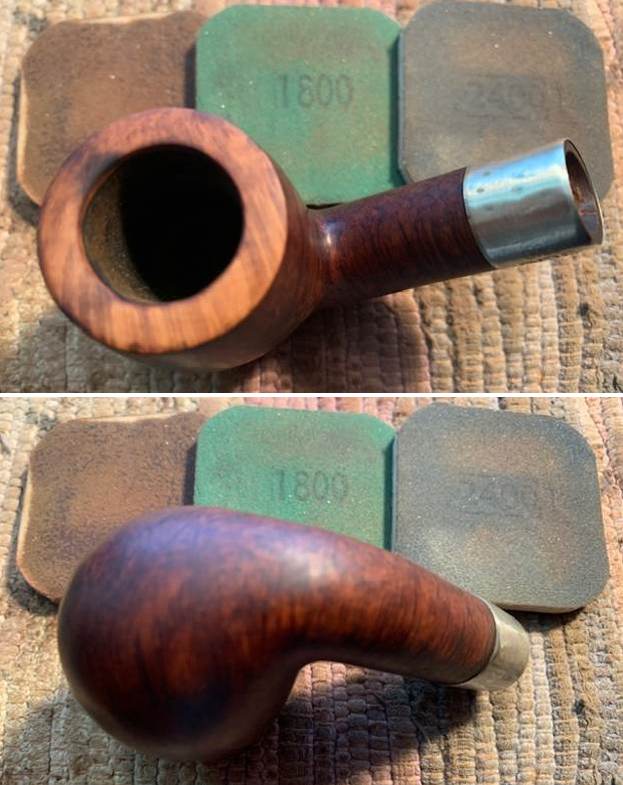
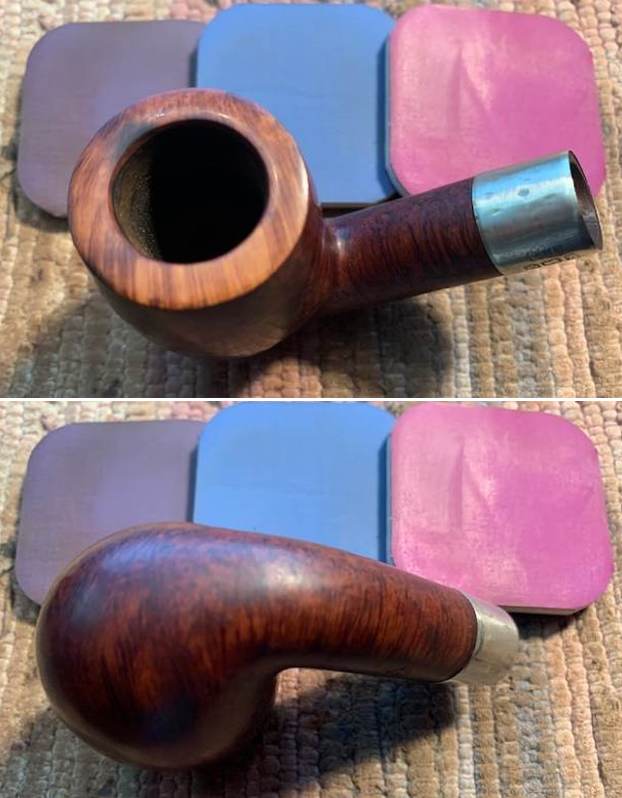
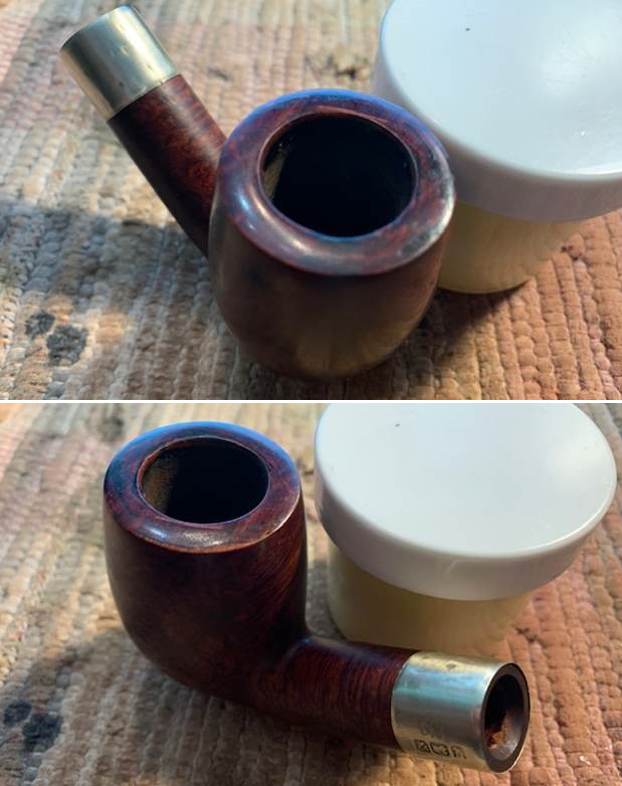
 I took photos of the rim top and bowl as well as the stem to give a sense of the condition of both. The rim top and edges looked very good. The stem cleaned up well and the tooth marks on the top and underside ahead of the button were very light.
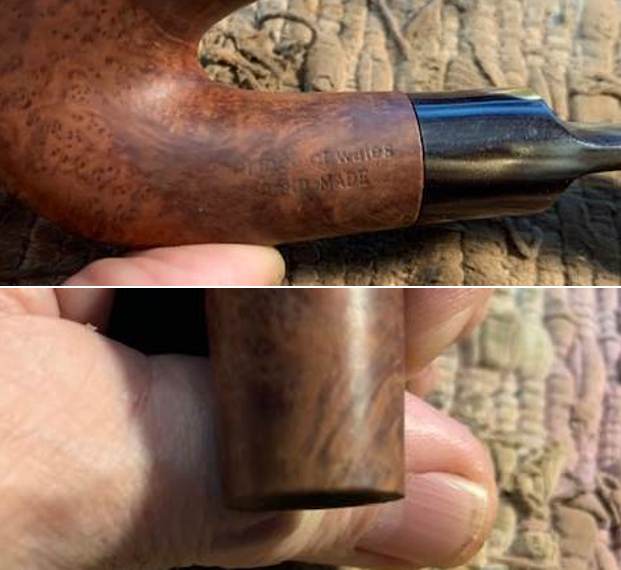
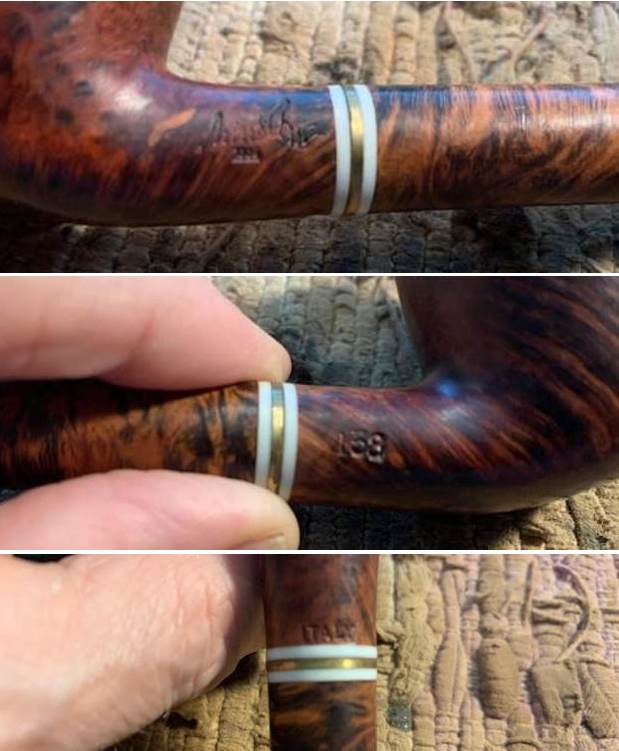
 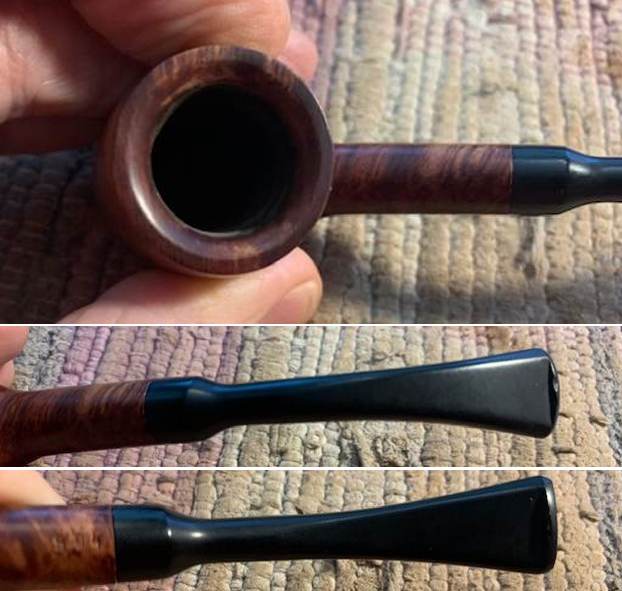 I took photos of the stamping on the sides of the shank. They are readable as noted above. The D on the stem side lost all colour but it is deep and readable.
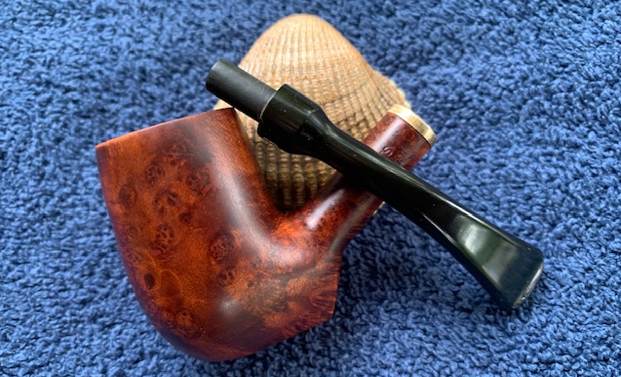
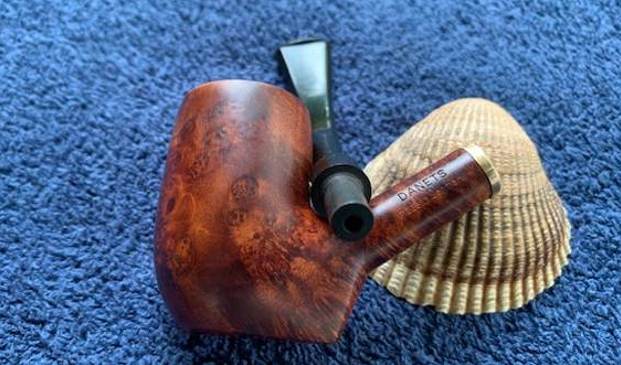
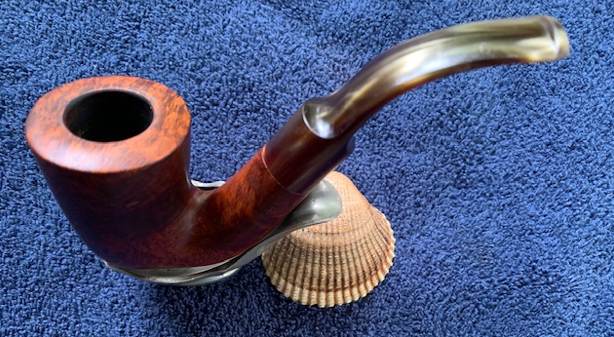
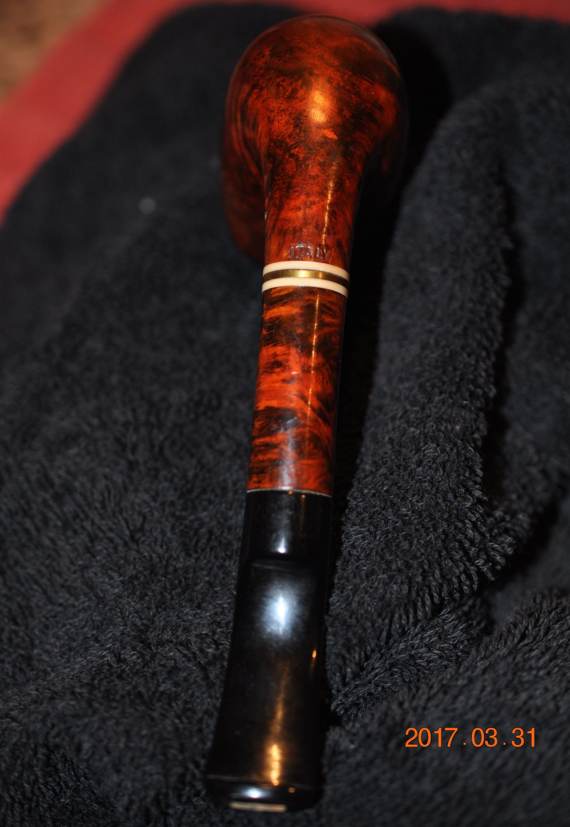
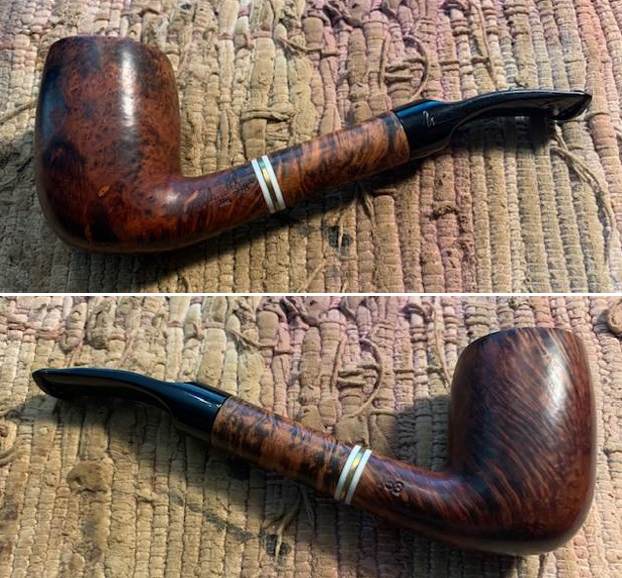
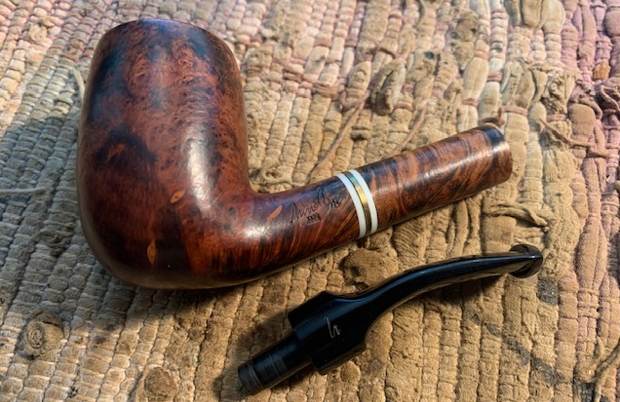
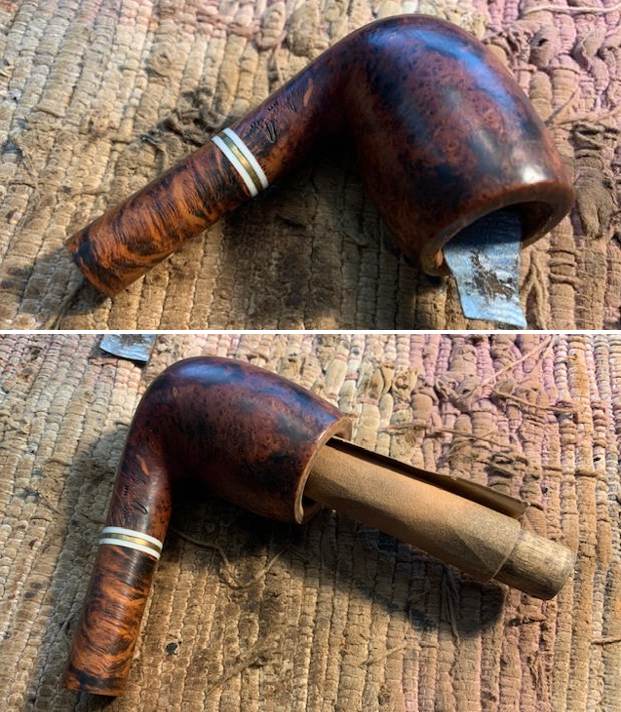
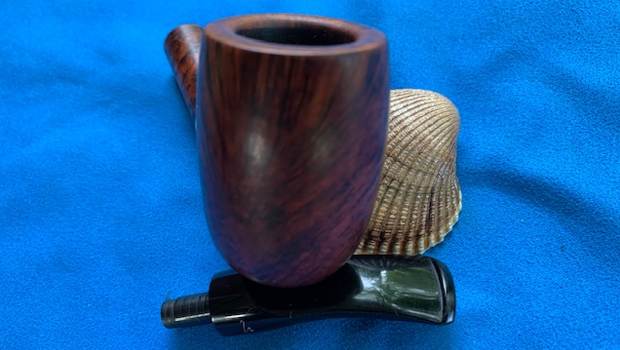
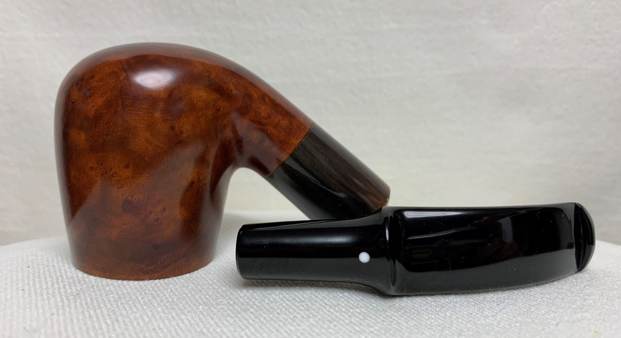
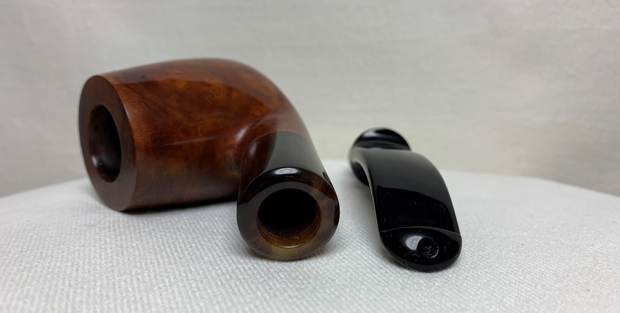
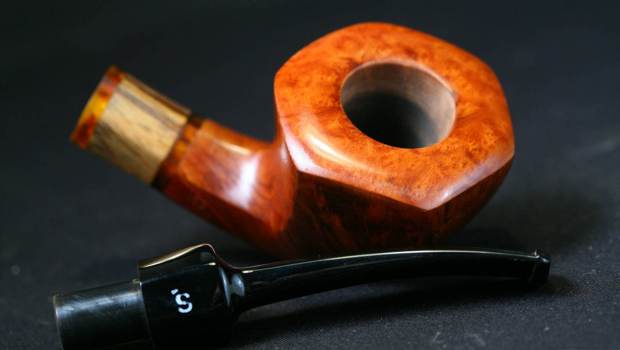
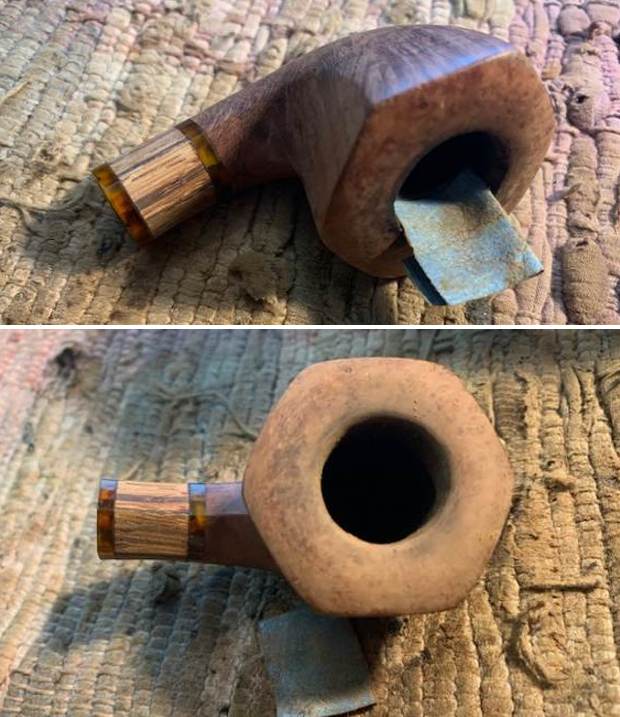
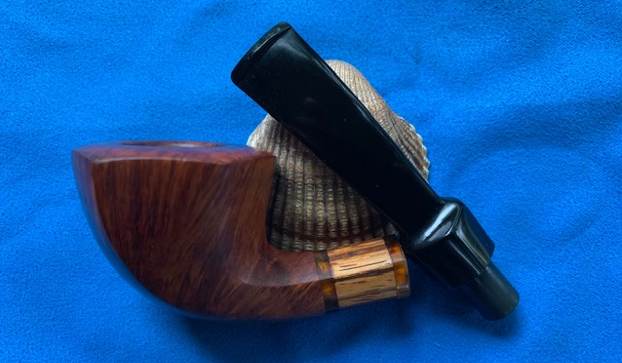
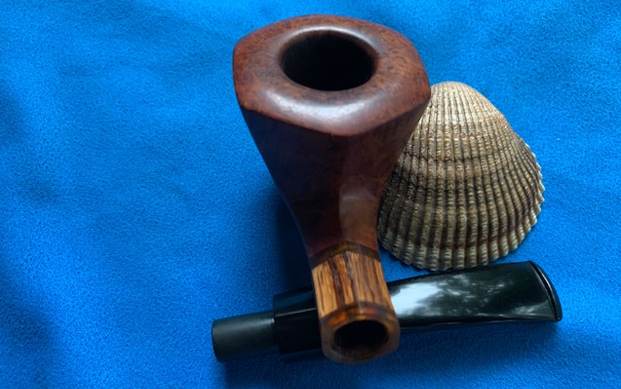
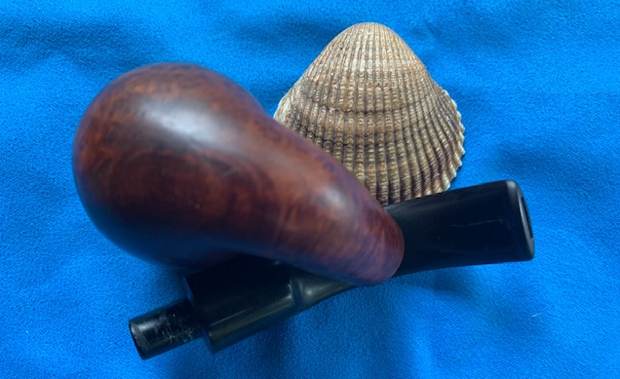
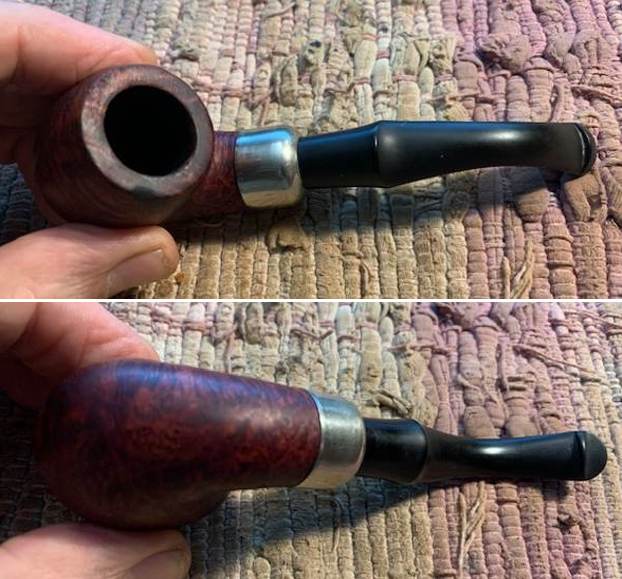
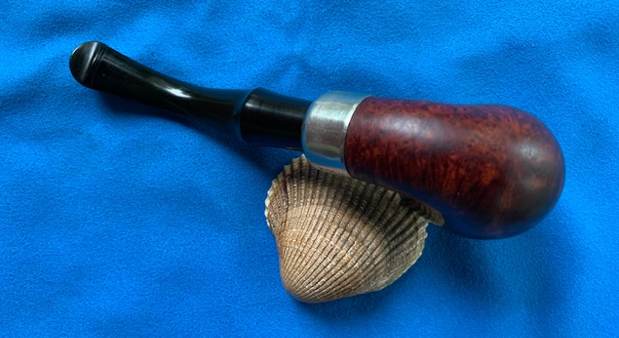
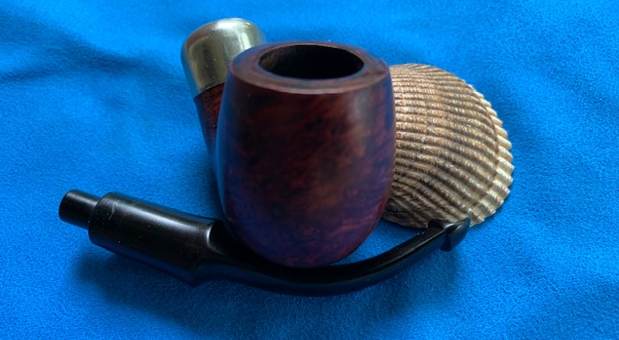
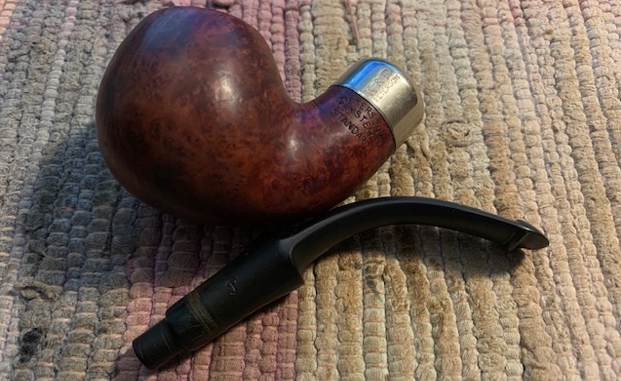
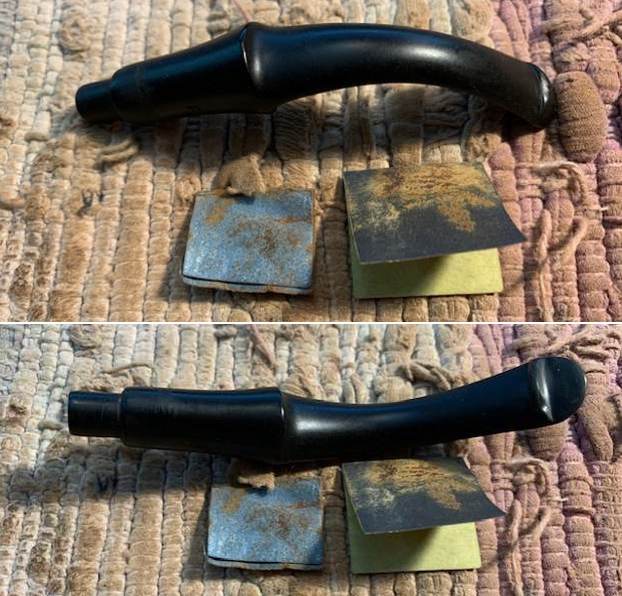
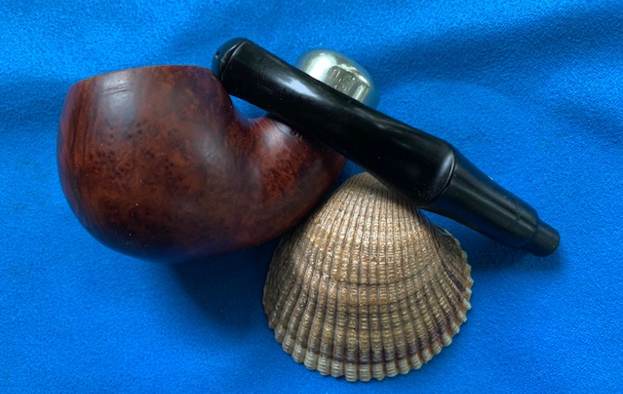
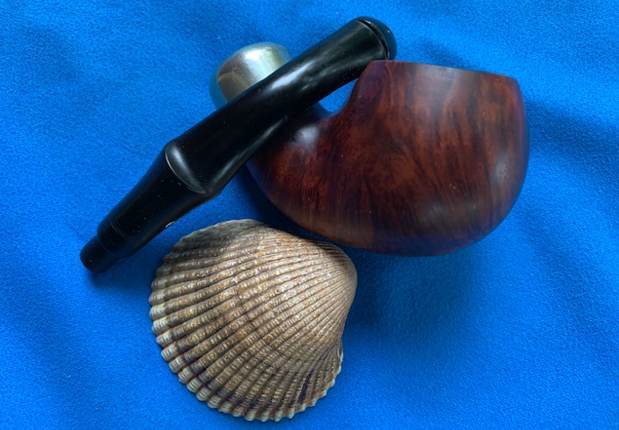
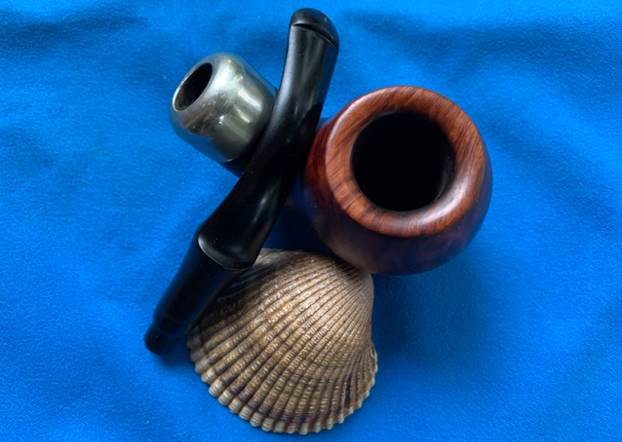
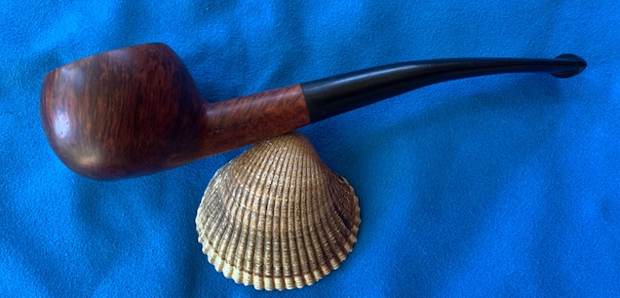
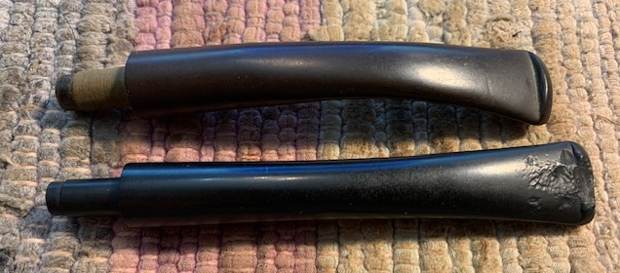
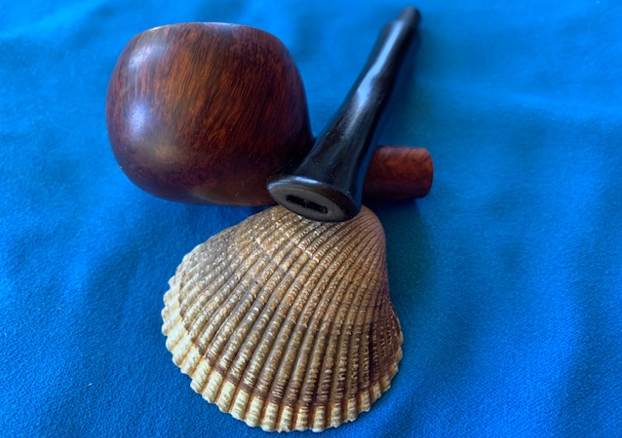
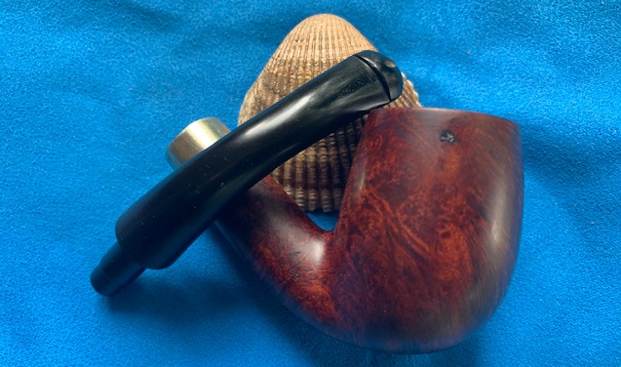
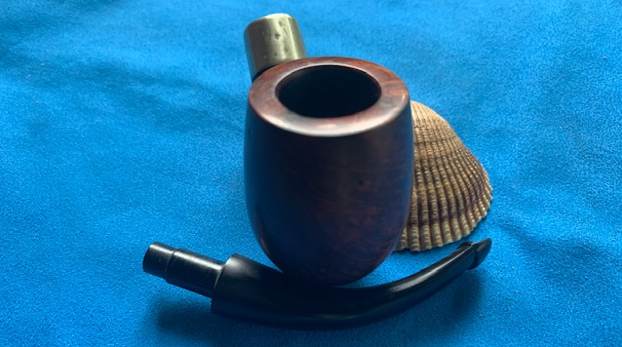
 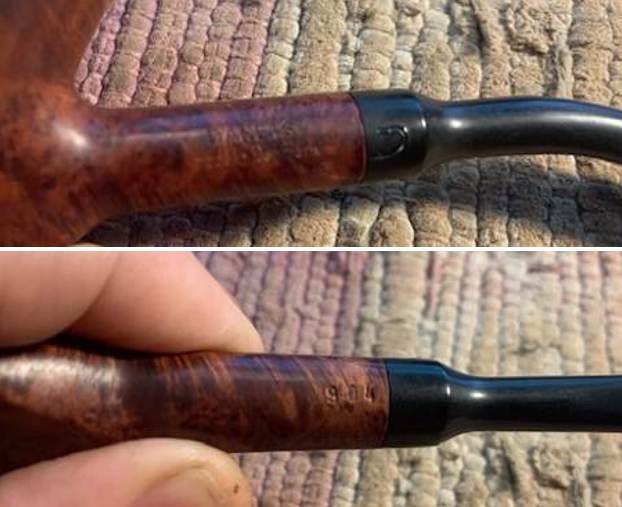 I took the stem out of the shank and took a photo of the overall look of the pipe. It is a unique looking pipe with the oddly shaped flat bottom on the bowl.
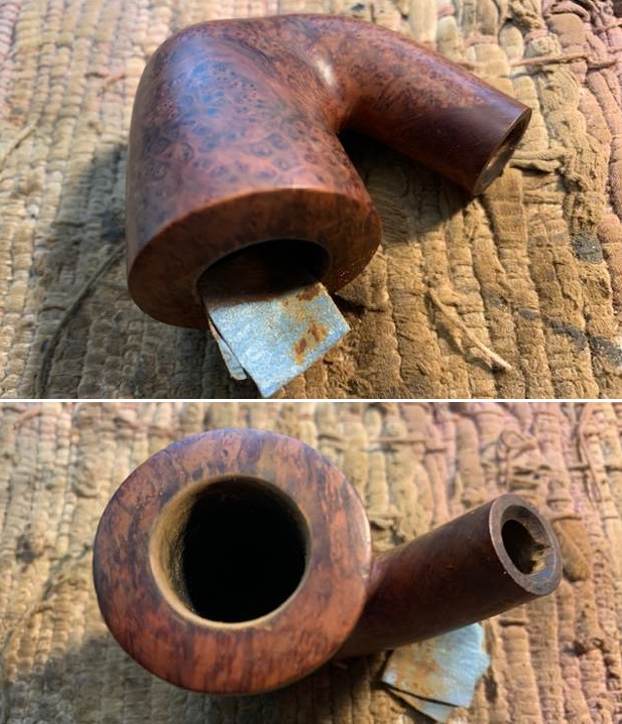
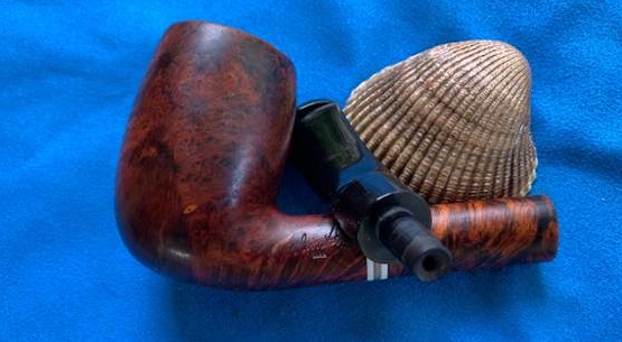
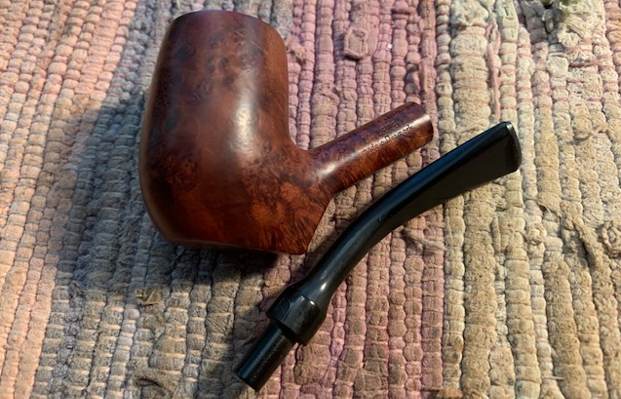 I started my work on the pipe by addressing the hairline crack in the left side of the shank. I found a brass band that was a perfect fit on the shank. The depth of the band was too much and when on the shank covered the edges of the stamping on the shape number on the underside.
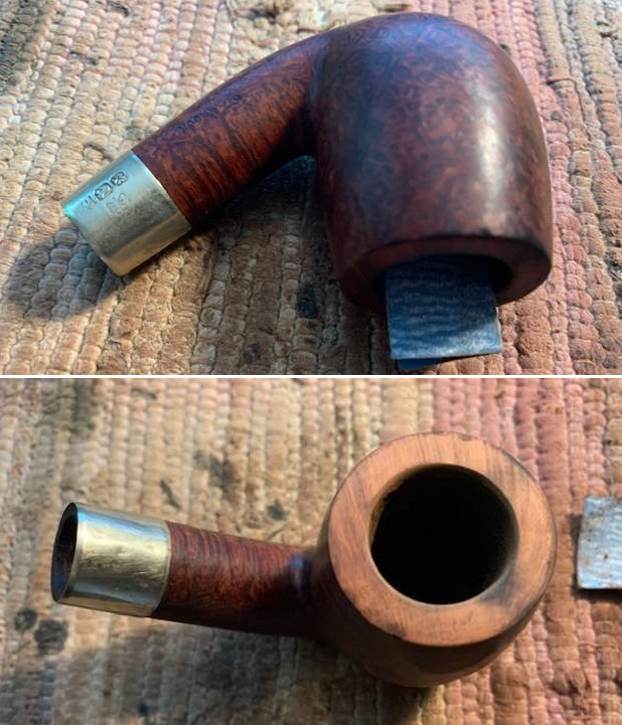
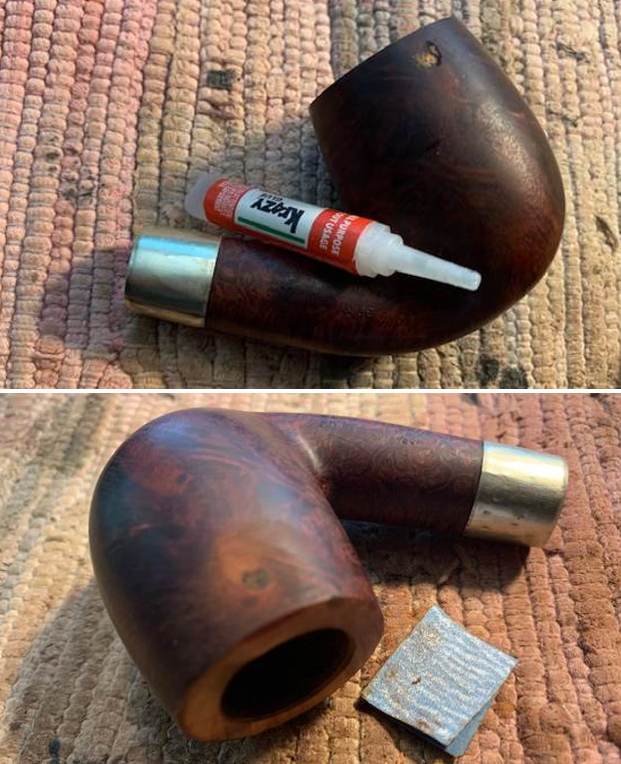
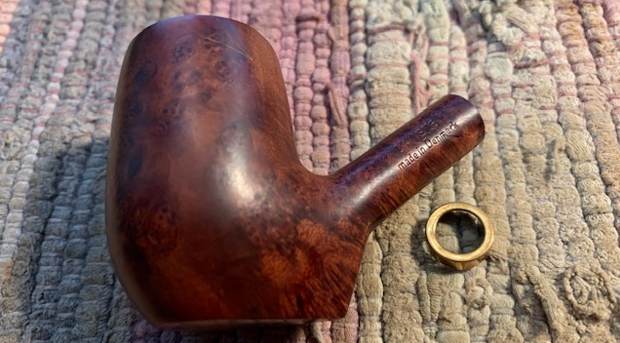 I used a piece of 220 grit sandpaper to sand the underside of the band and reduce the depth. I took half of the depth off and checked the fit regularly to make sure it was thin enough to not cover the stamping on the underside of the shank. Once I had the depth correct I used a tooth pick to put white glue on the cracked shank and inside of the band and pressed it into place on the shank.
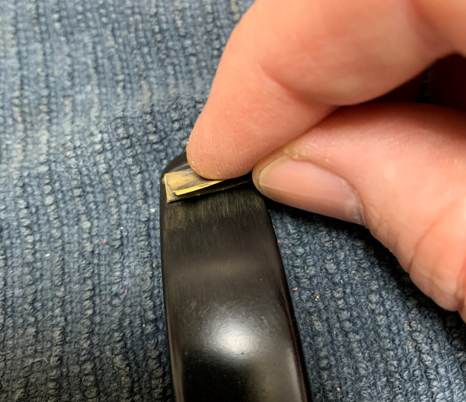
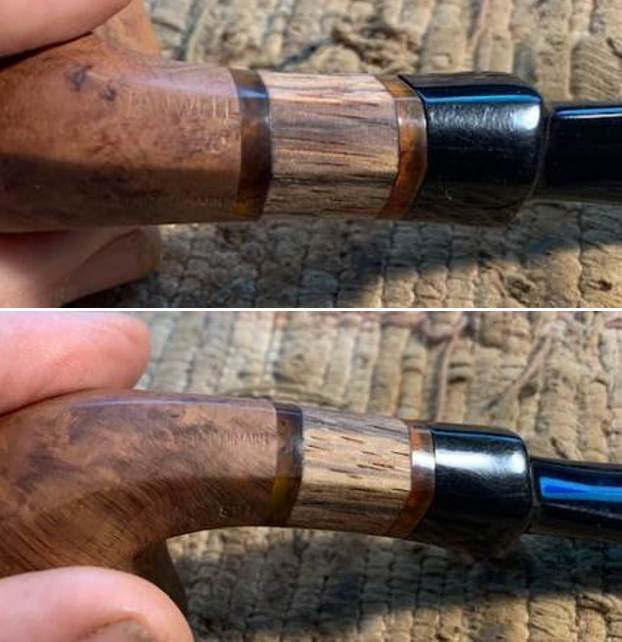
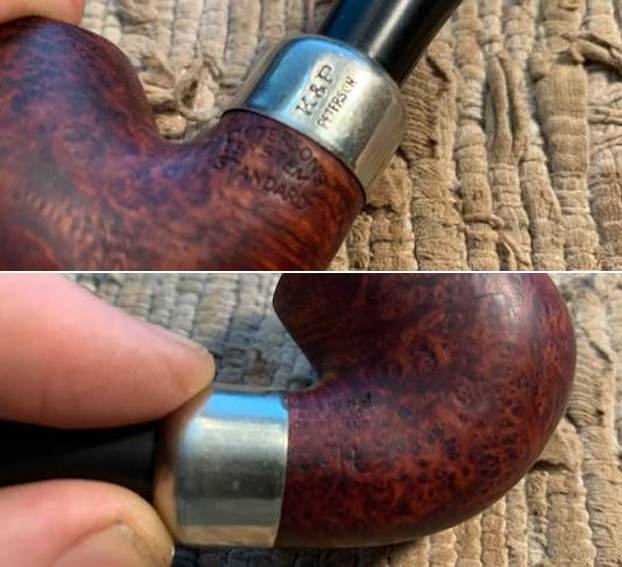
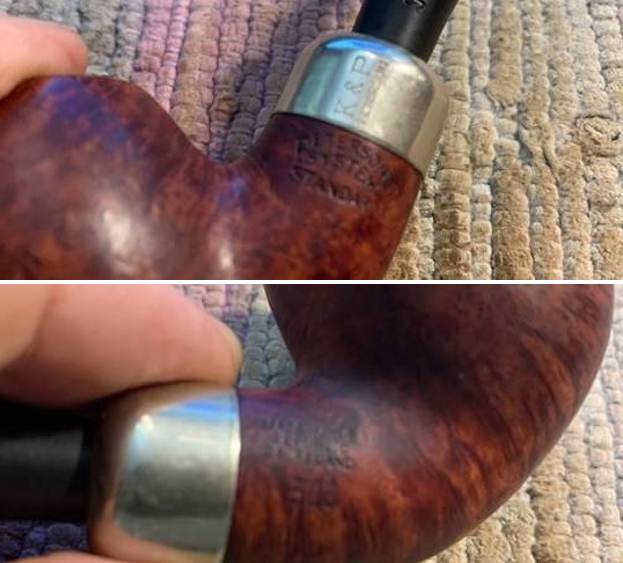
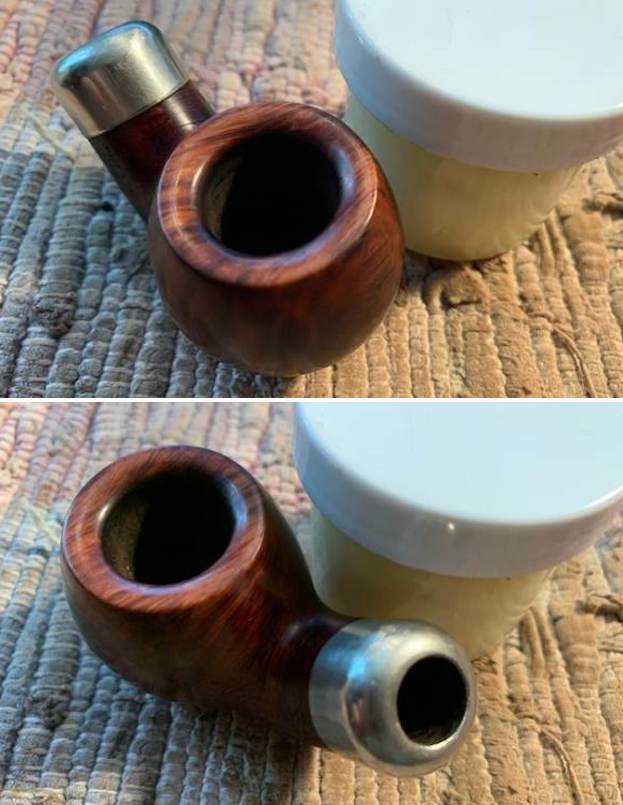
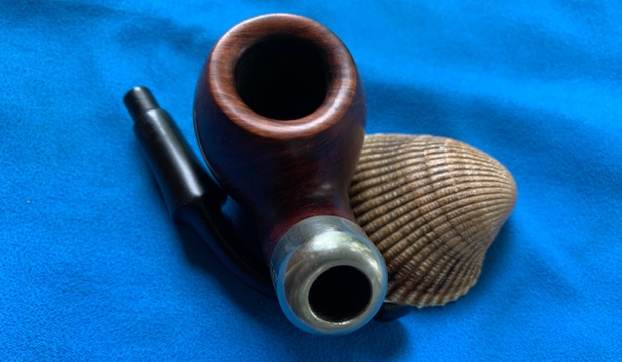
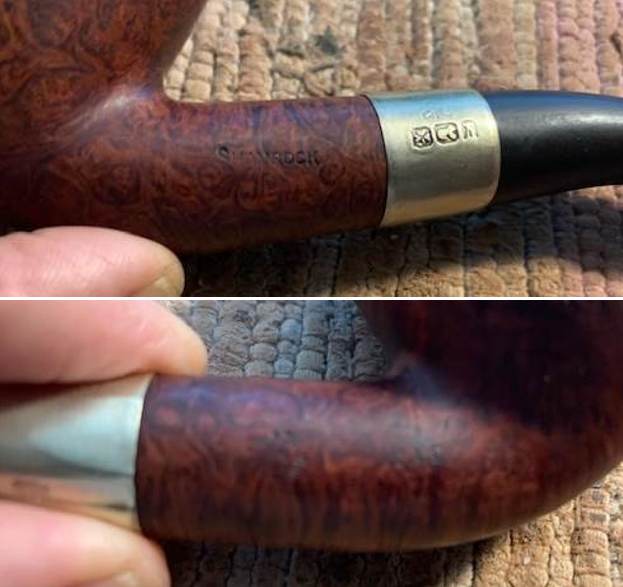
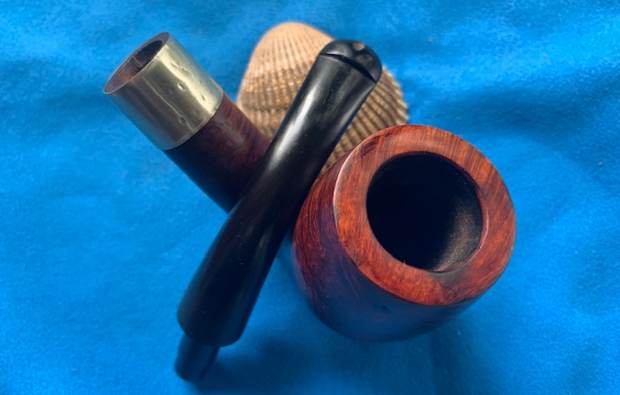
 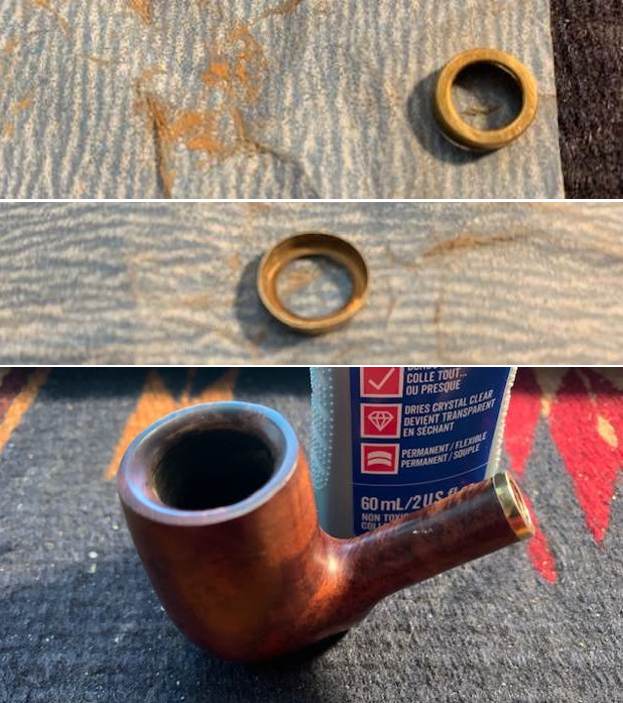 I took photos of the freshly fitted band. The glue had cured and you can see the stamping is not affected by the placement of the band.
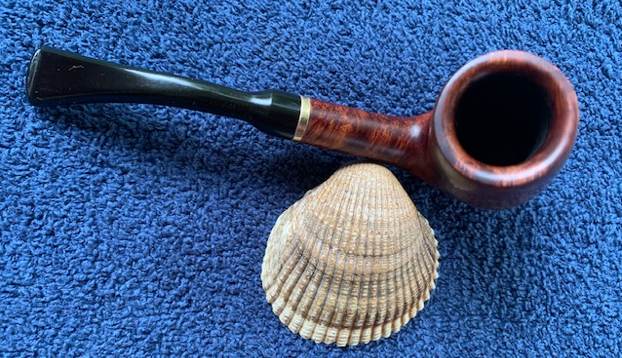
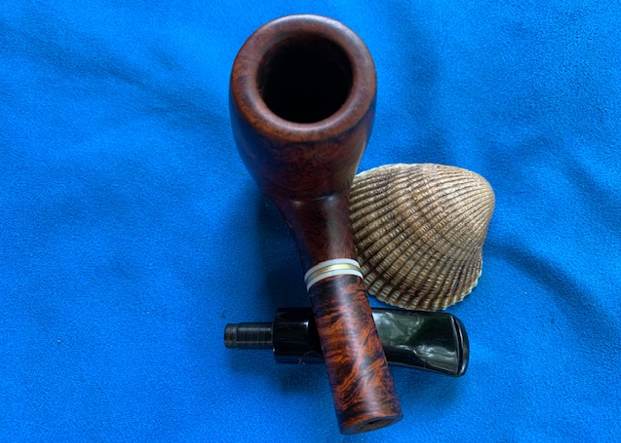
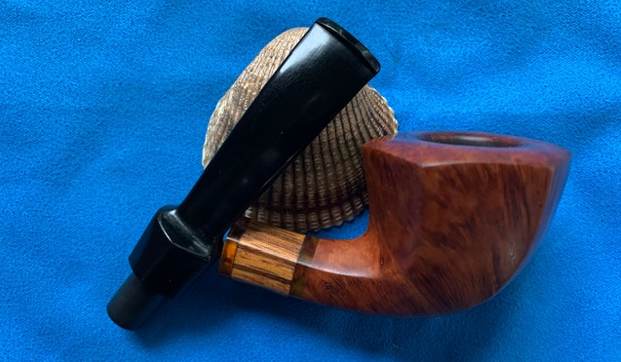
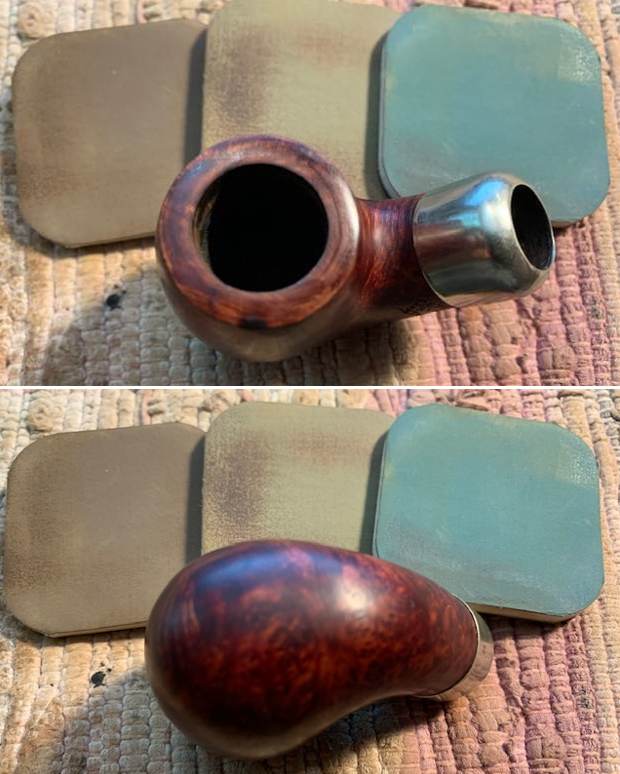
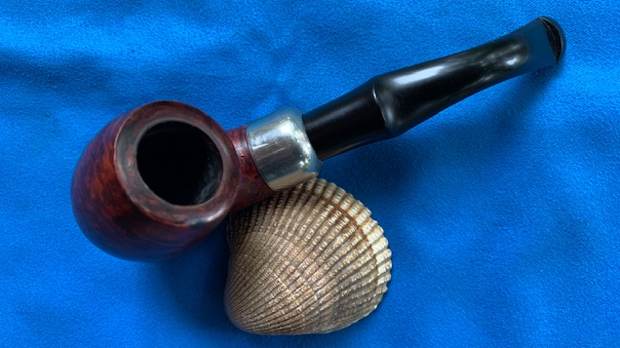
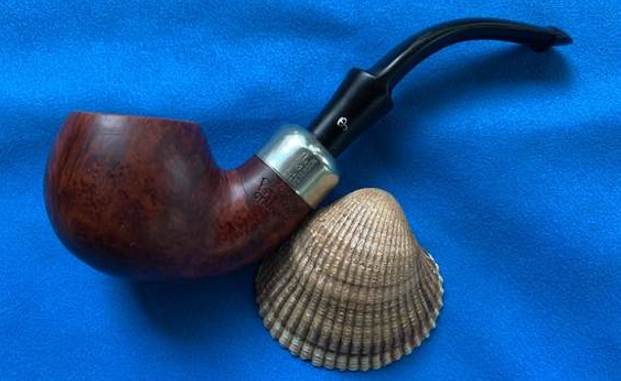
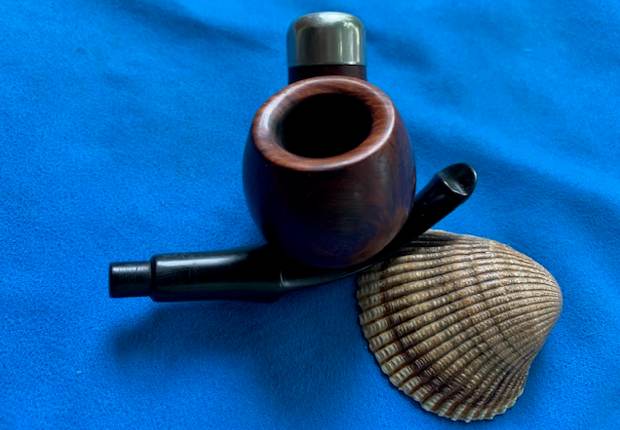
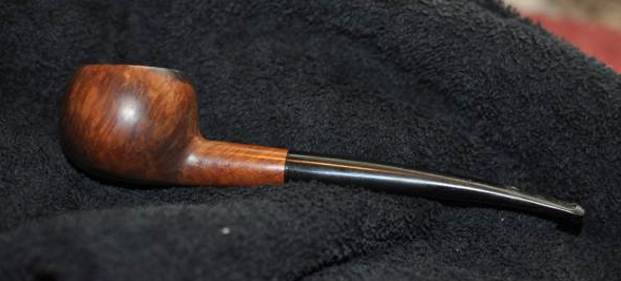
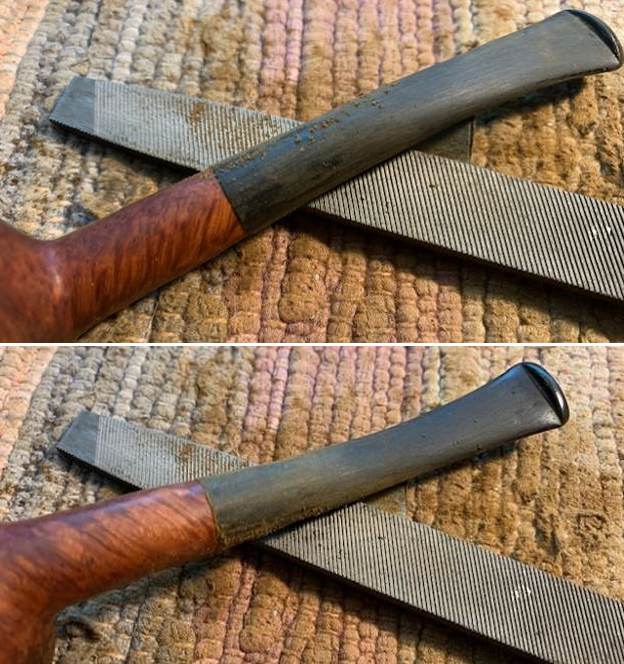
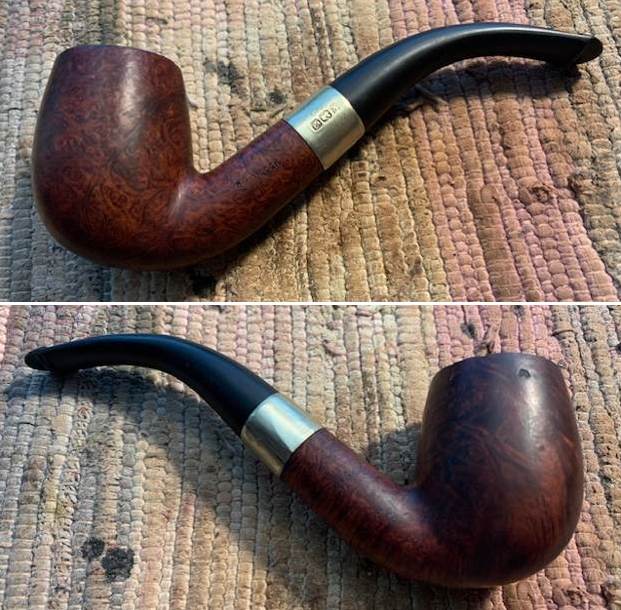
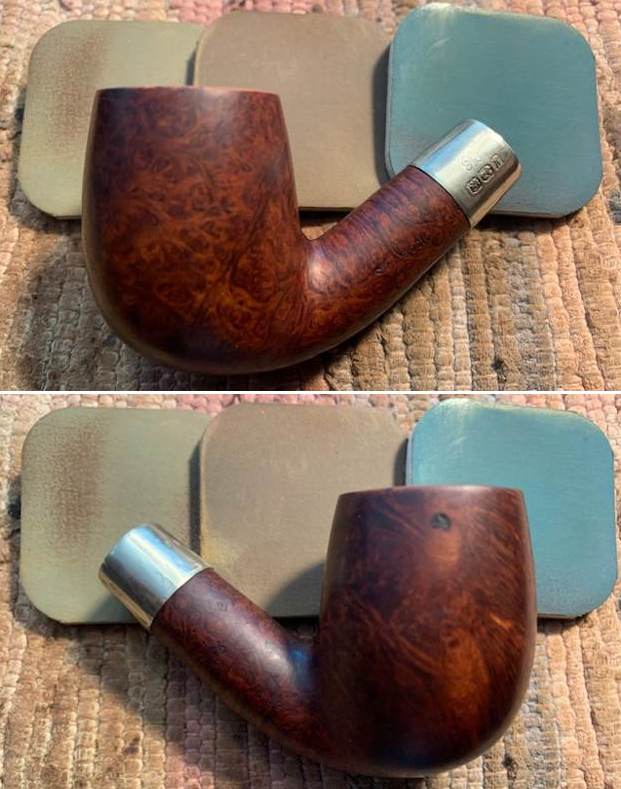
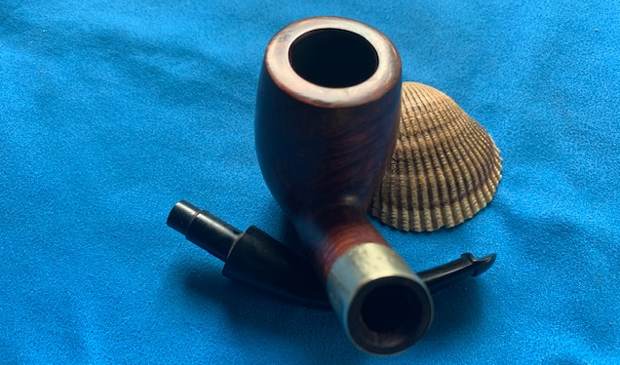
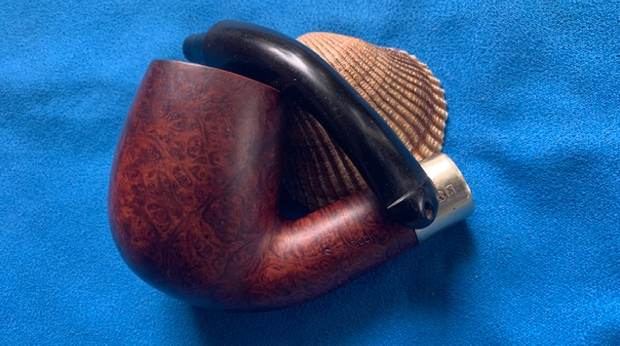
 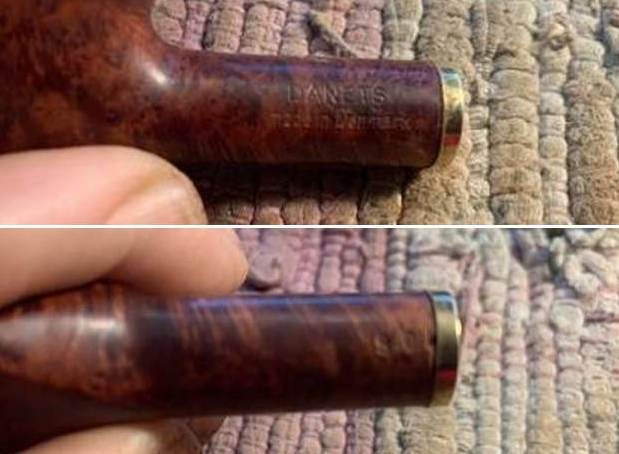 With the band binding together the crack the tenon was too big for the mortise. I sanded the tenon with 220 grit sandpaper to reduce the diameter of the tenon so that it fit the mortise. I put the stem in the shank and took photos of the new look of the pipe.
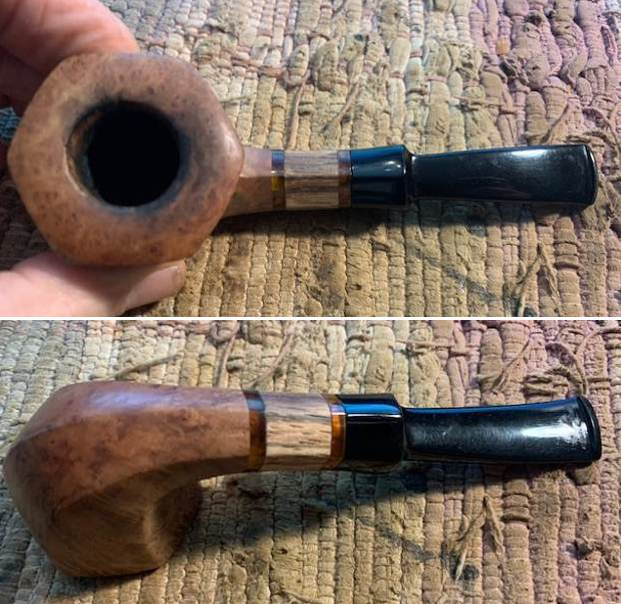
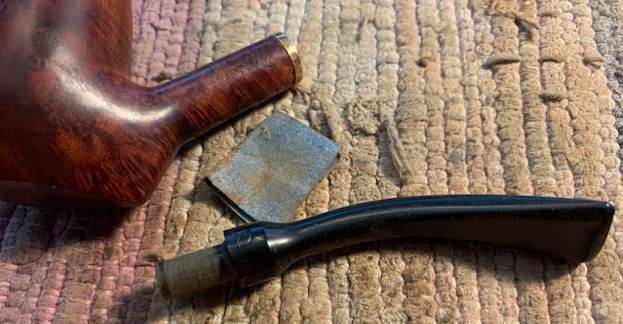
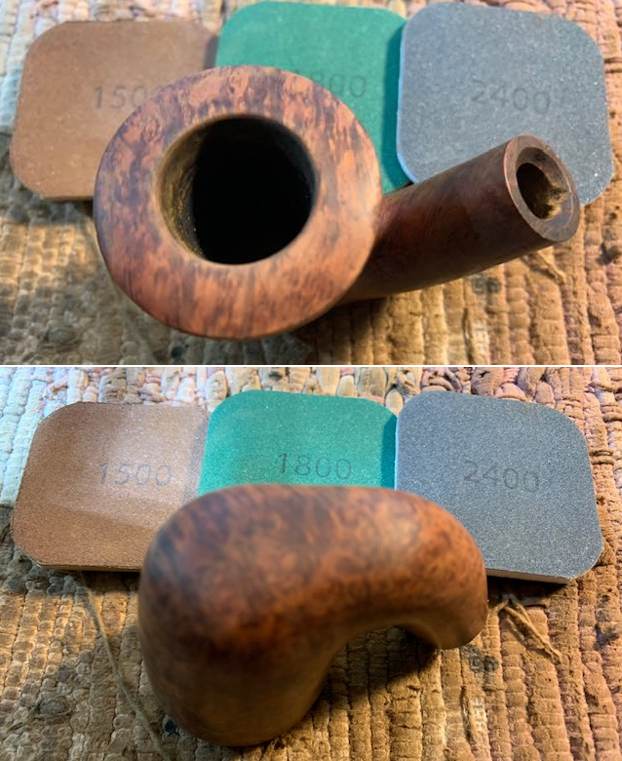
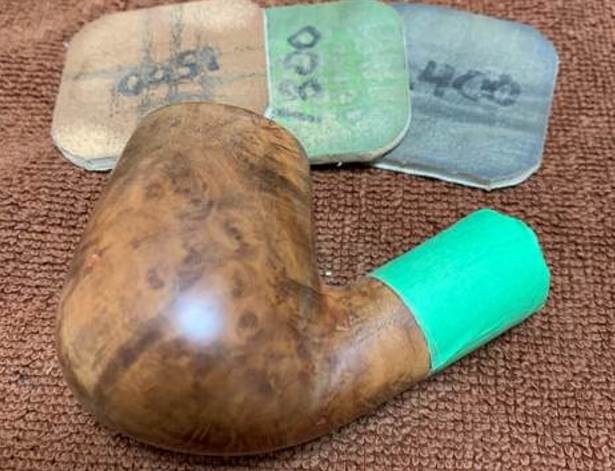
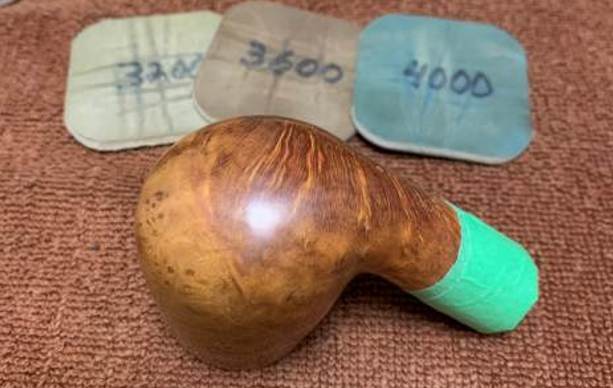
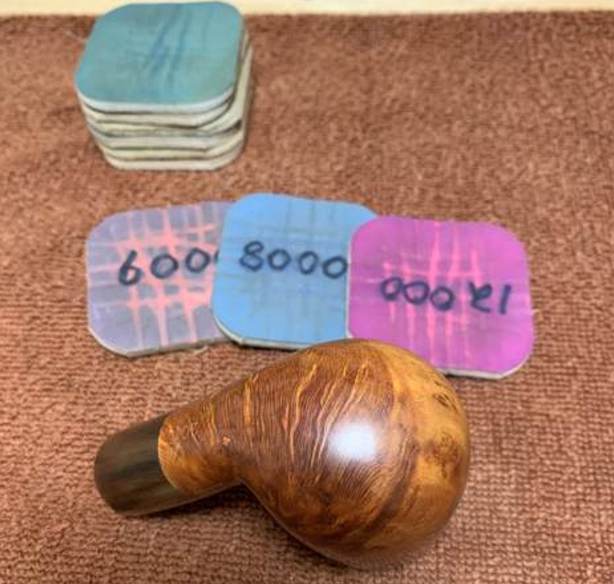
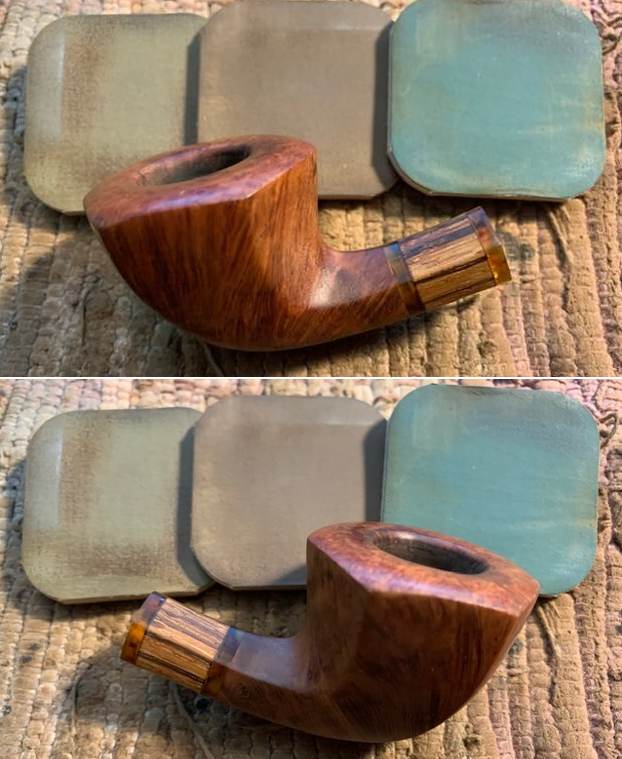
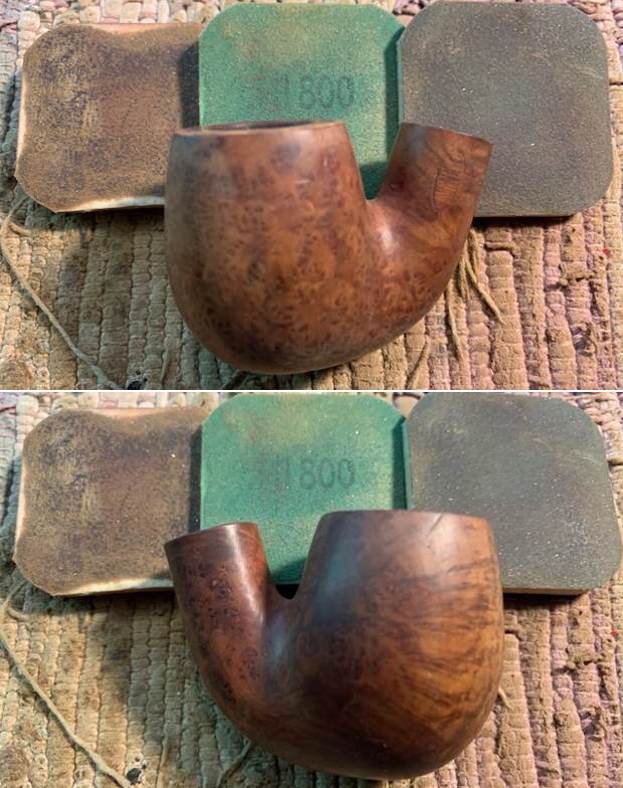
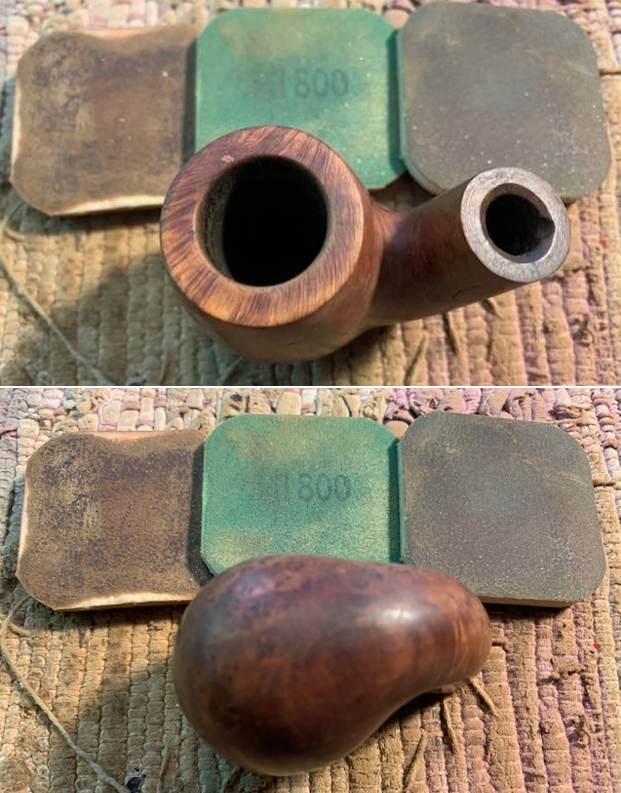
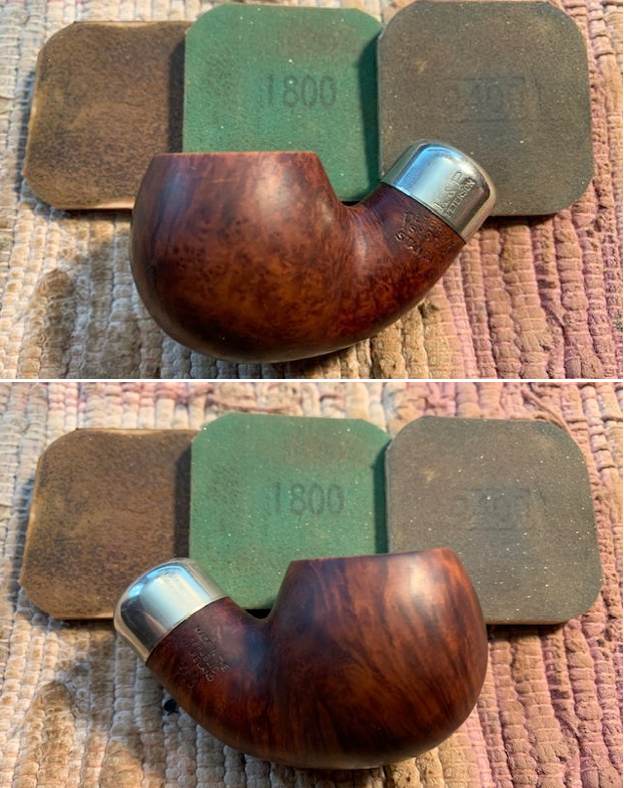
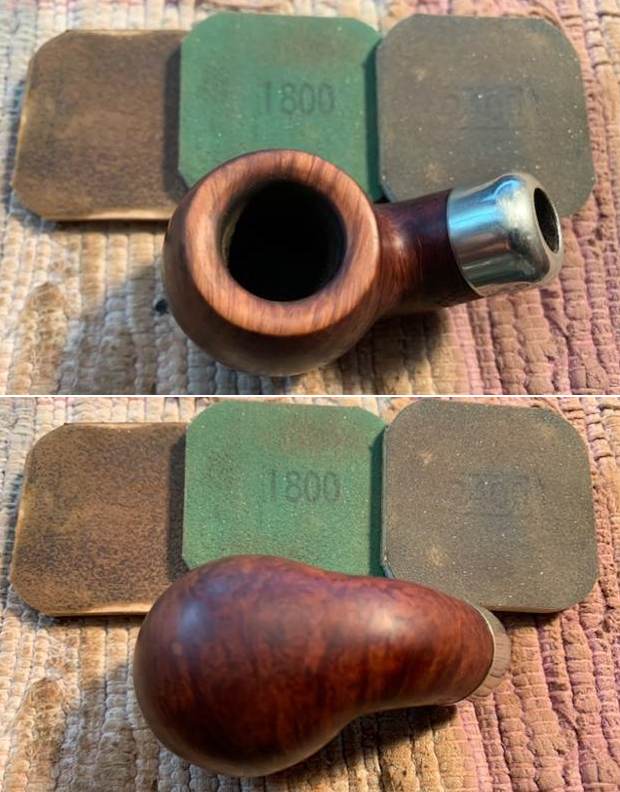
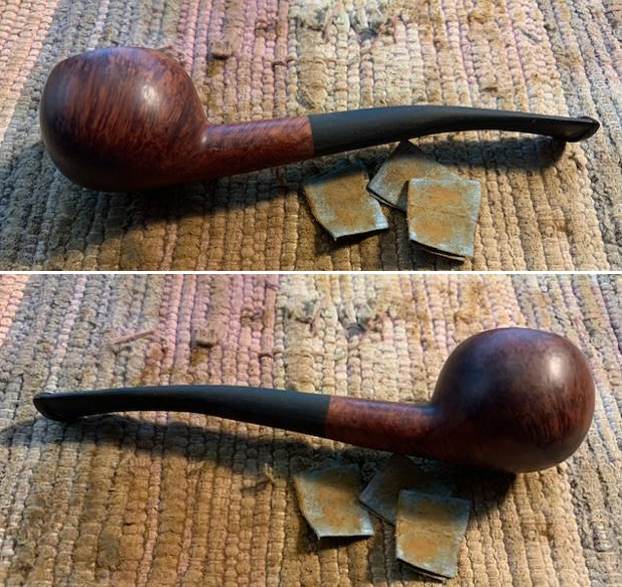
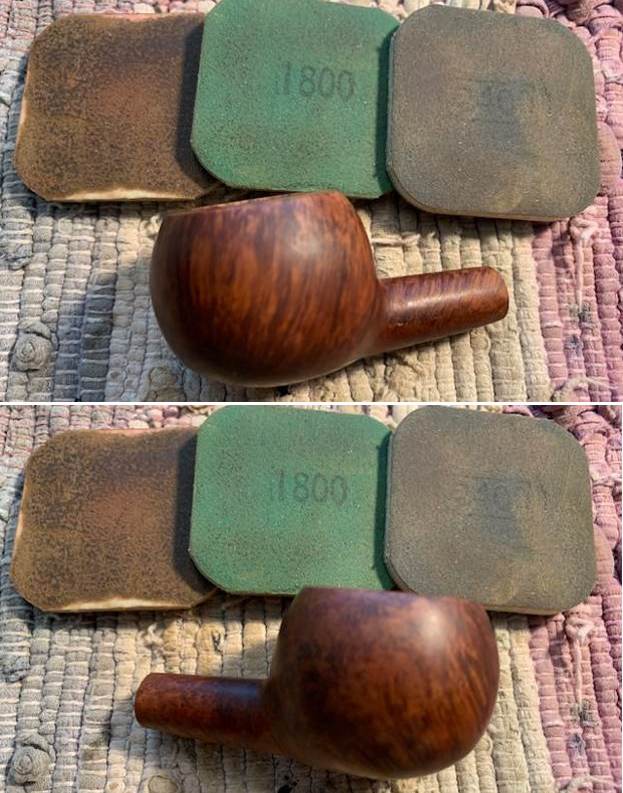
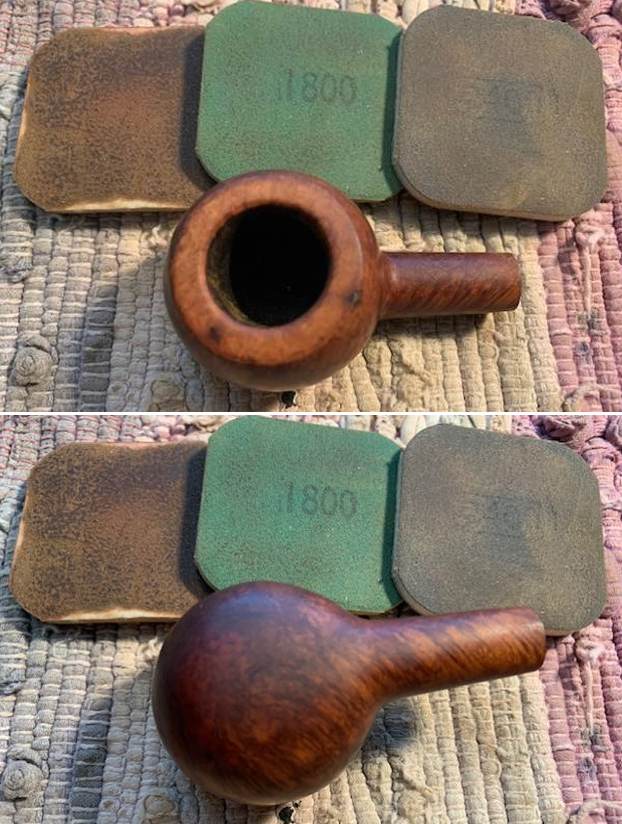
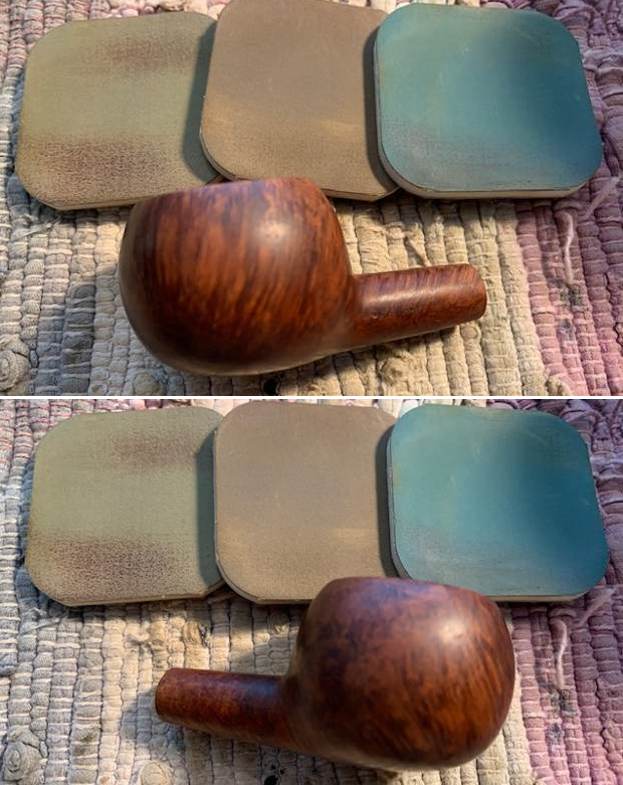
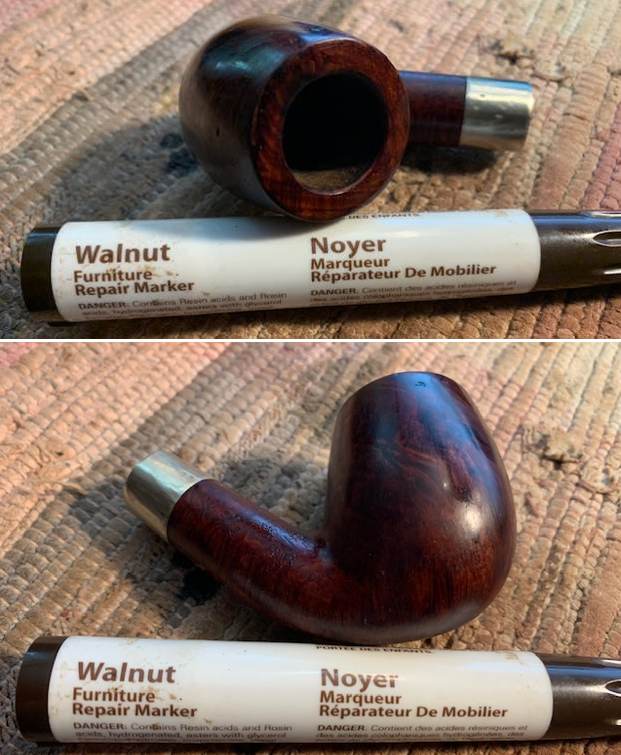
 I polished the briar with micromesh sanding pads – dry sanding it with 1500-12000 grit pads. I wiped the briar down with a damp cloth to remove the sanding dust. The briar really took on a rich shine with the polishing.

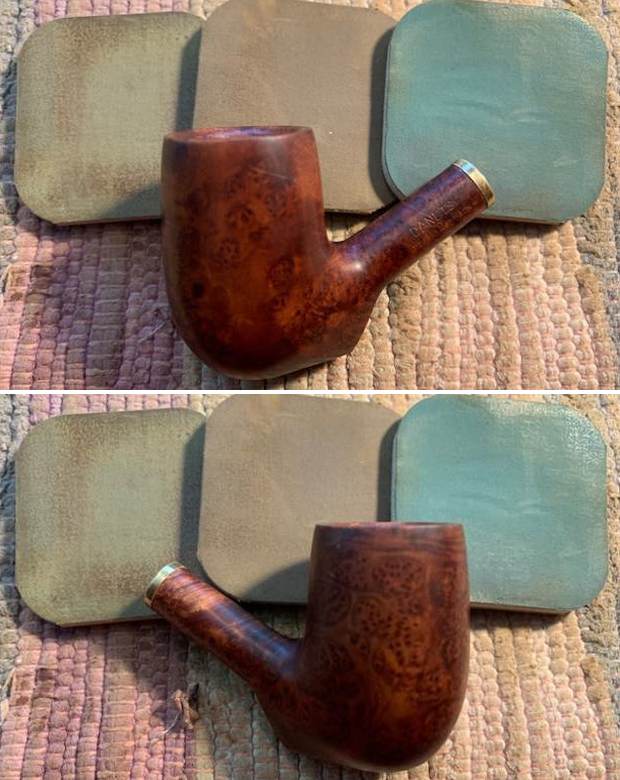
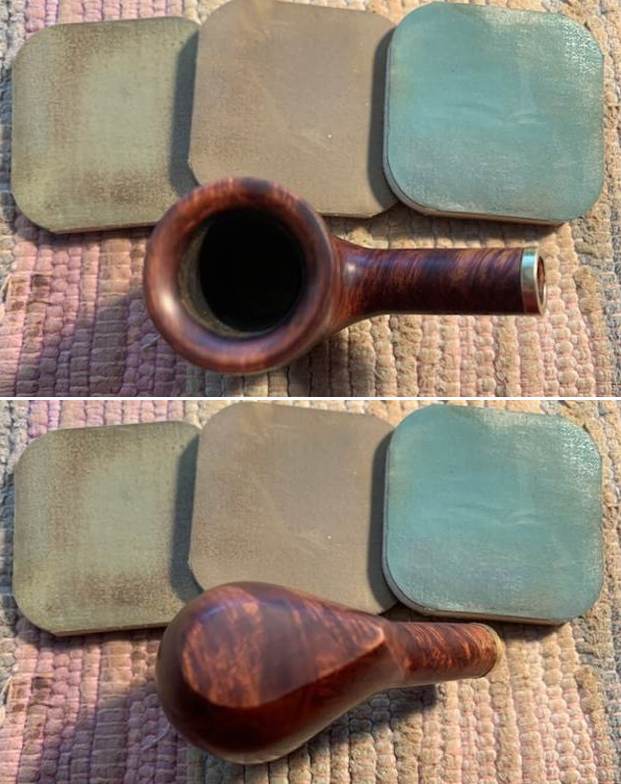
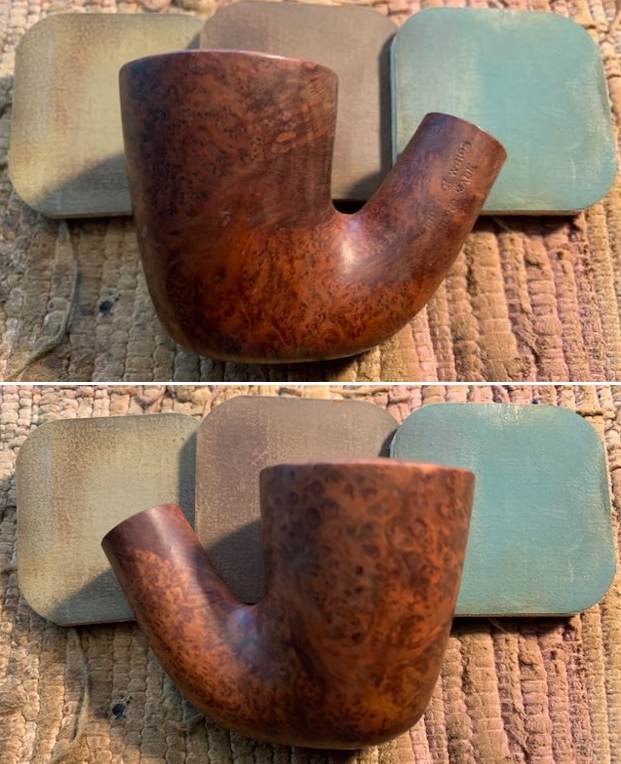
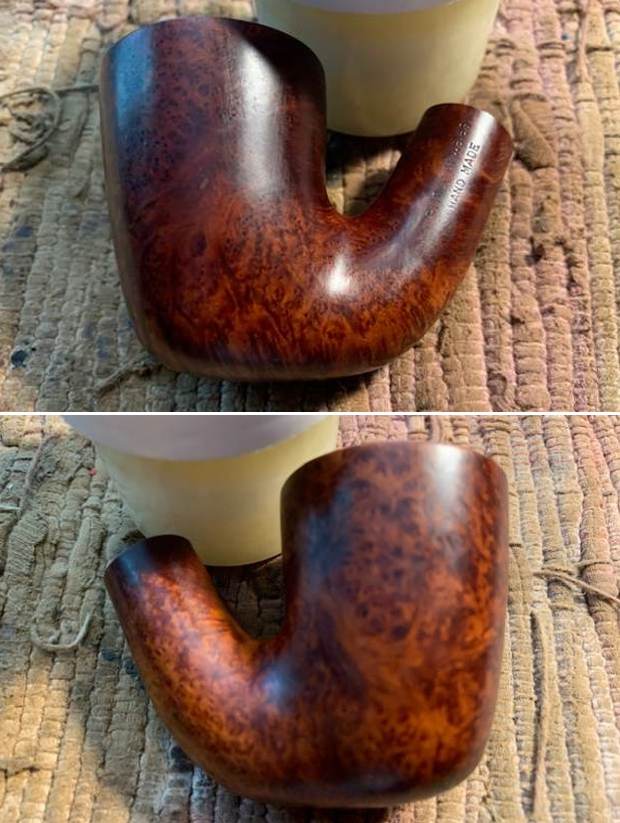
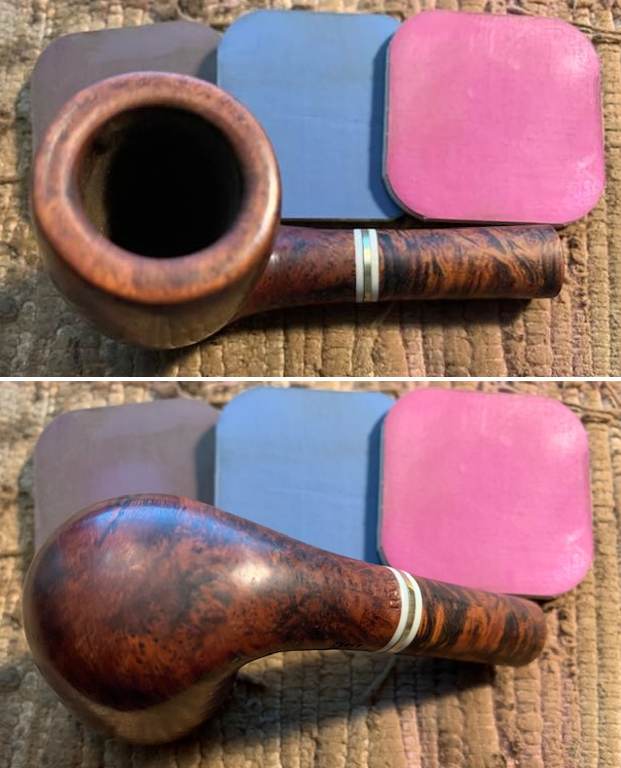
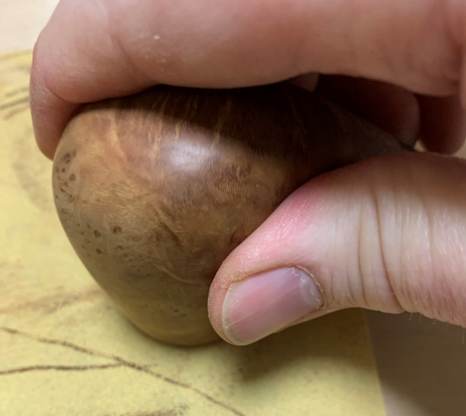
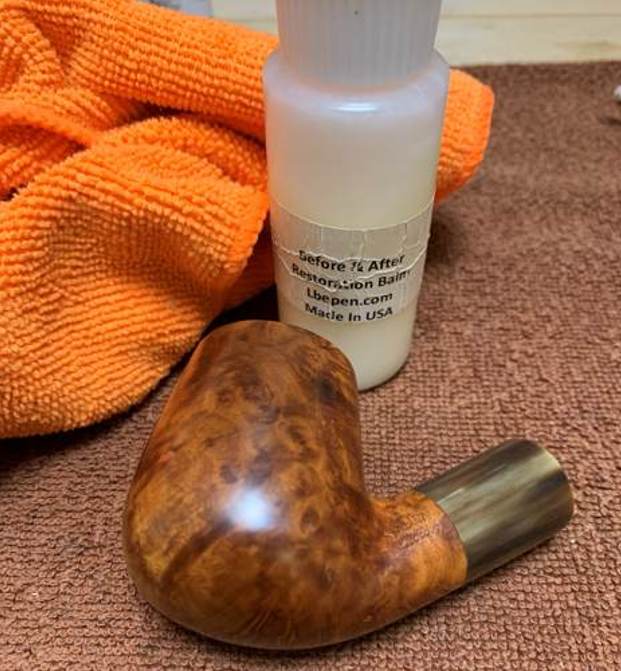
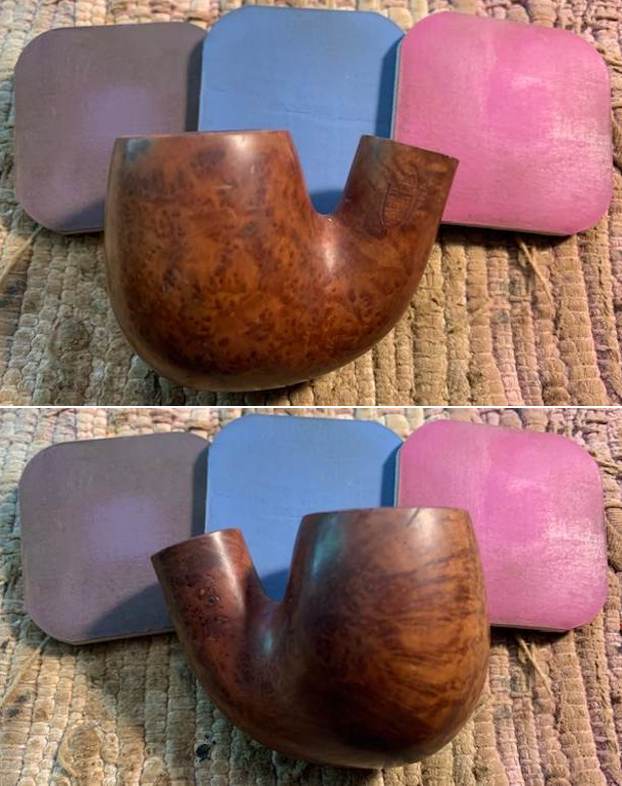
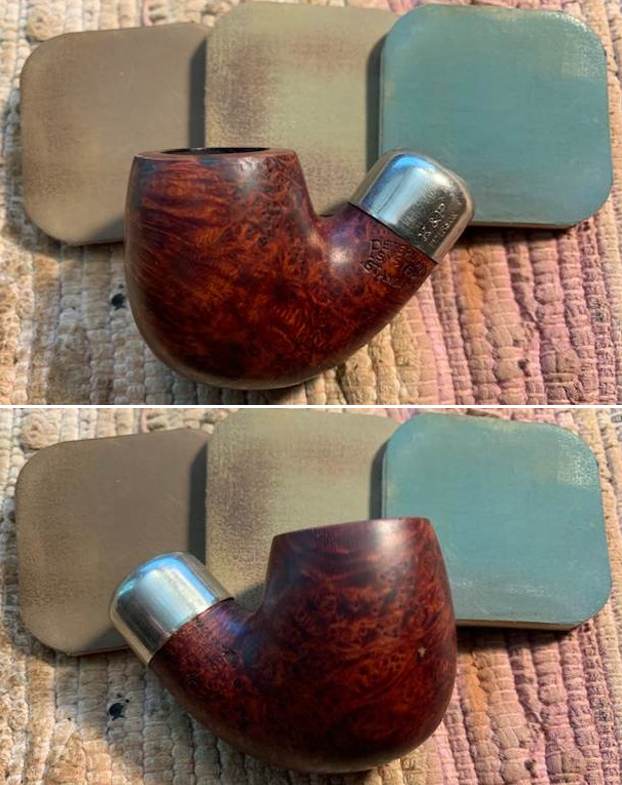
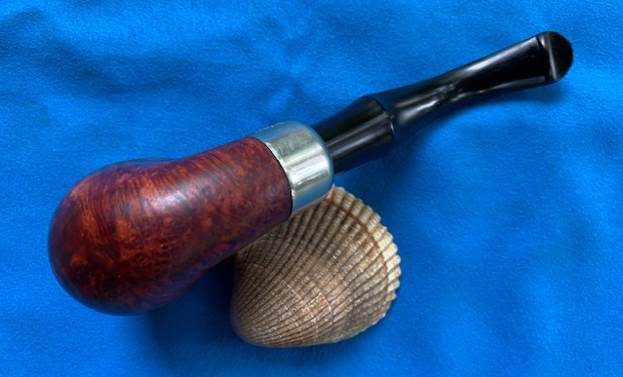
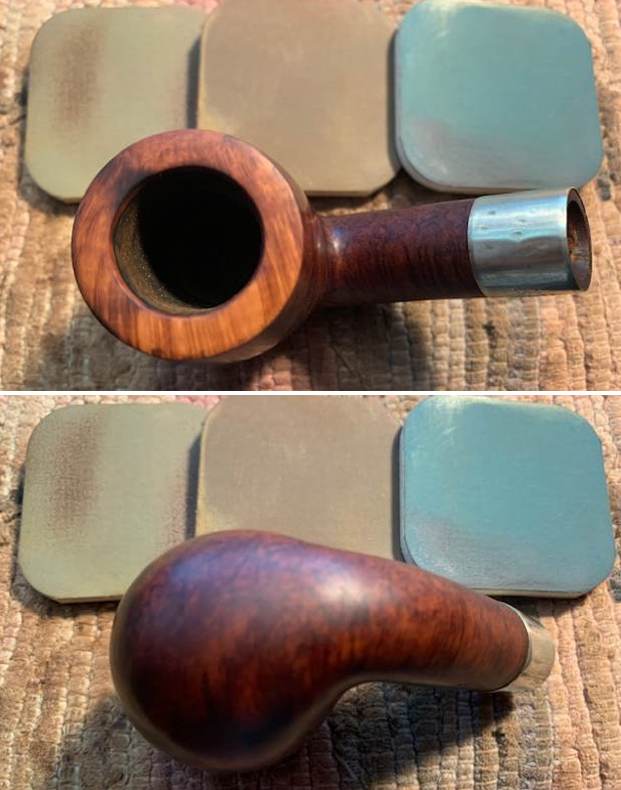
 I rubbed the bowl down with some Before & After Restoration Balm. I worked it into the briar with my finger tips to clean, revive and preserve the wood. It really brings the grain alive once again. I let it sit for 15 minutes then buffed it off with a soft cloth. The grain really pops at this point in the process.
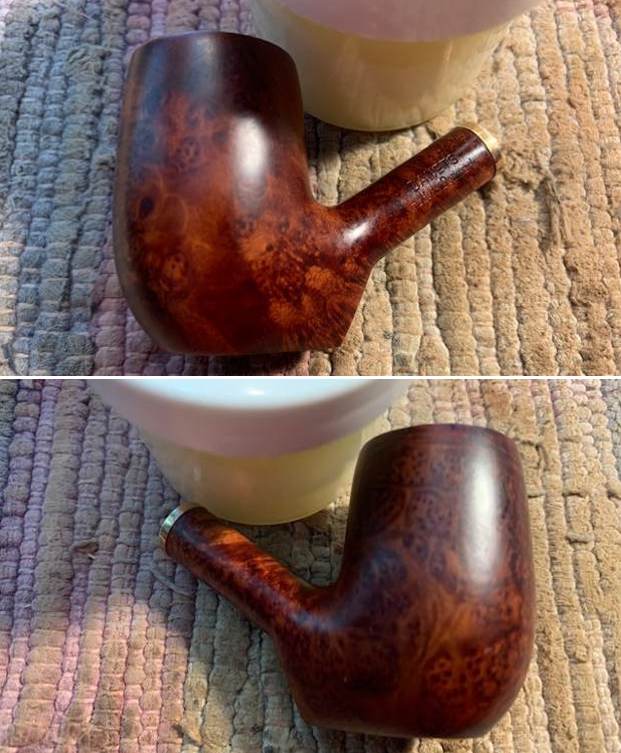

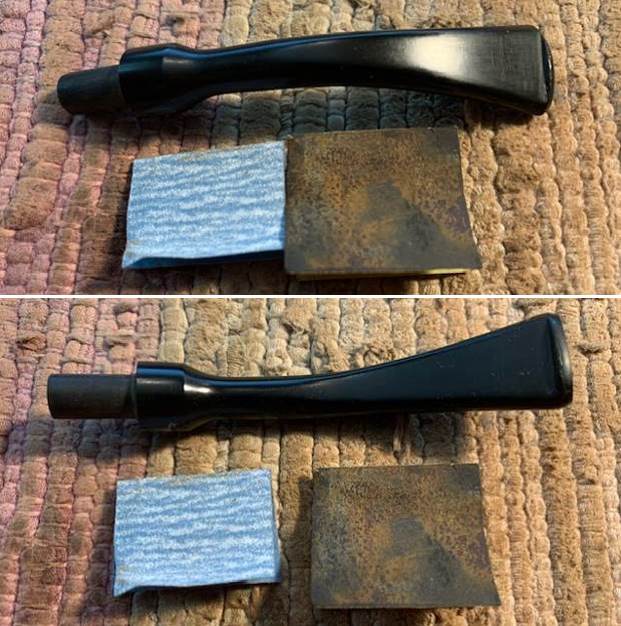
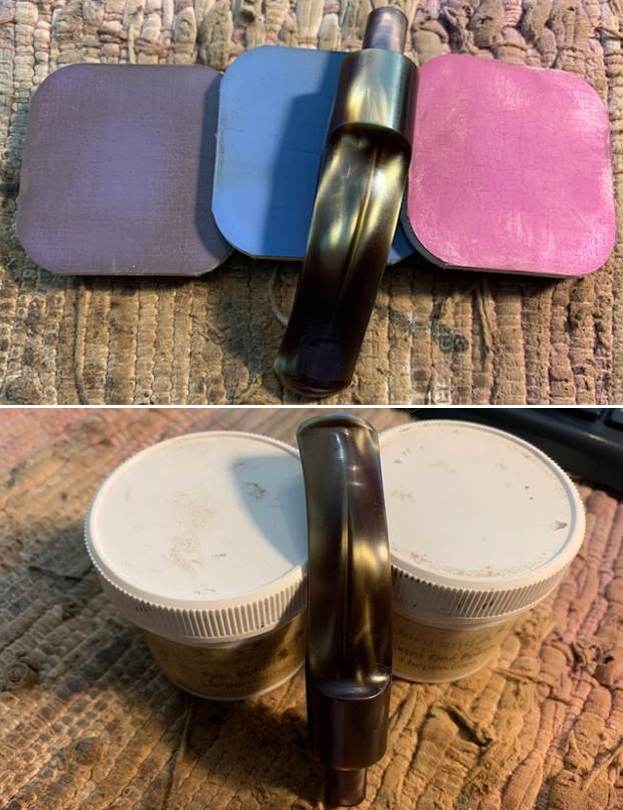
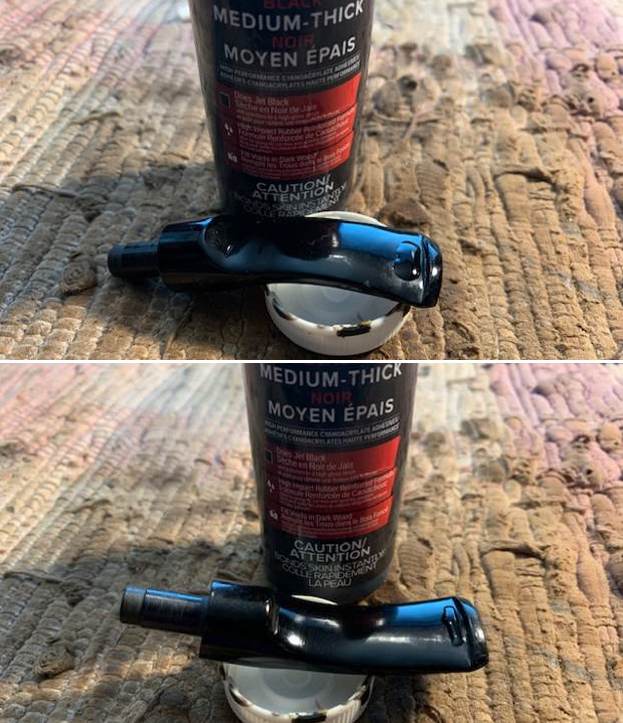
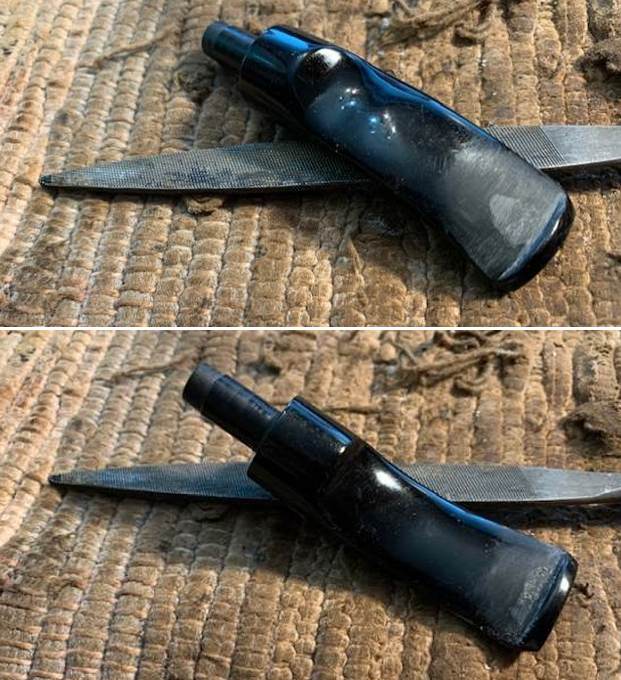
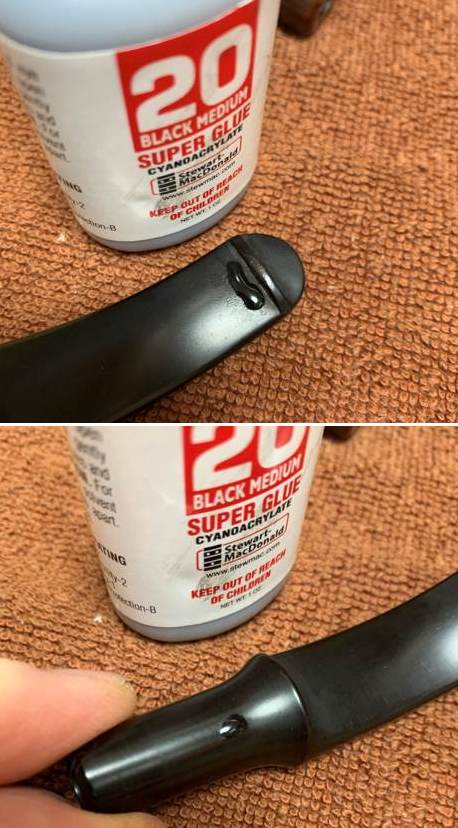
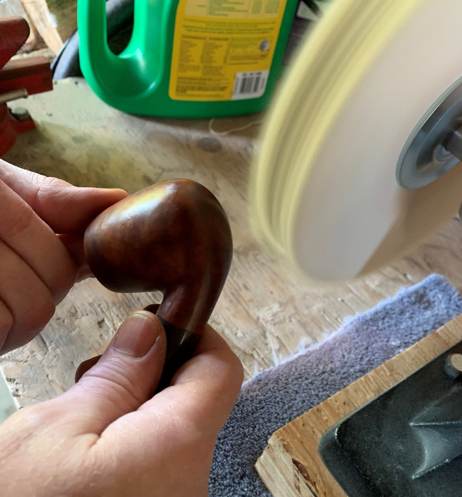
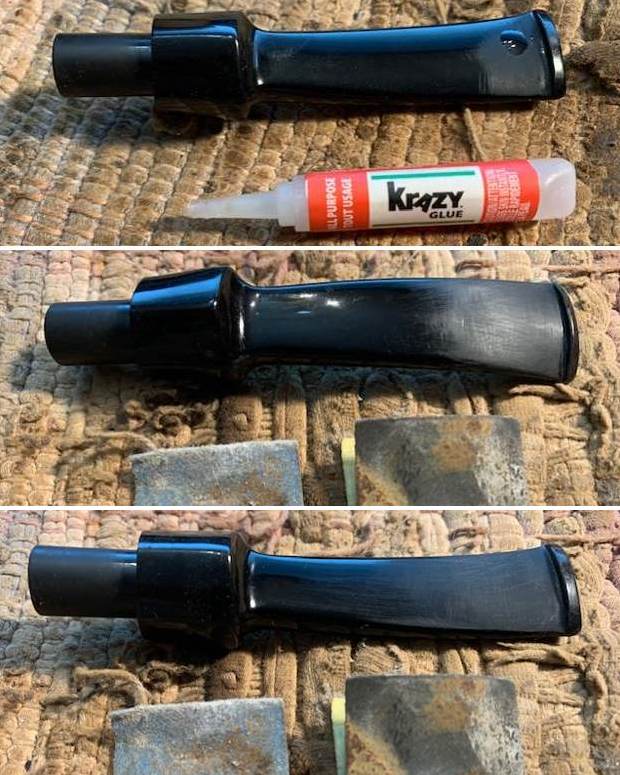
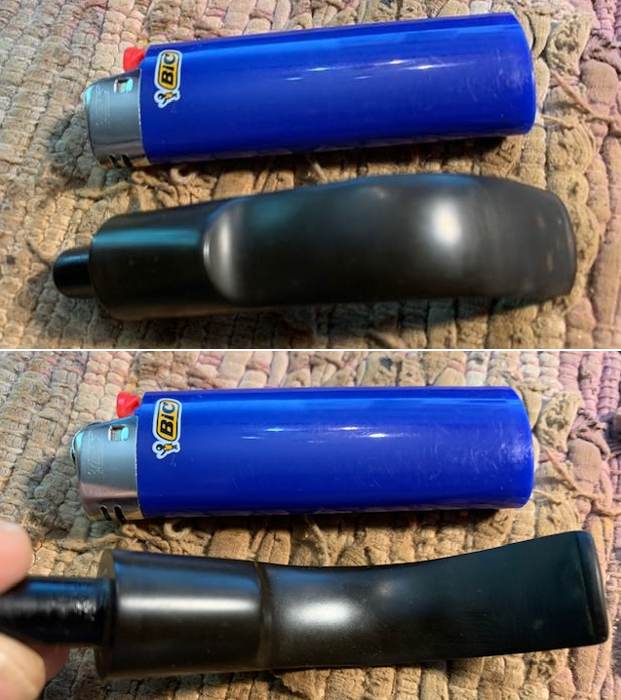
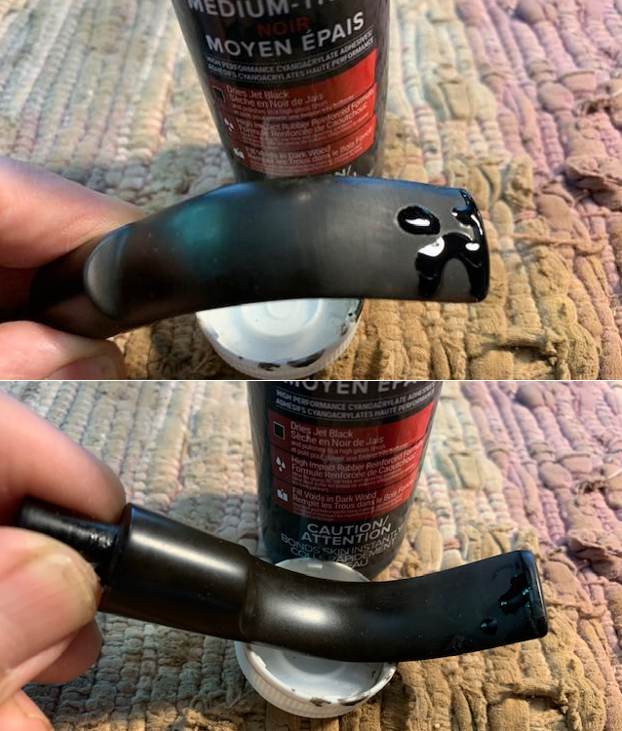
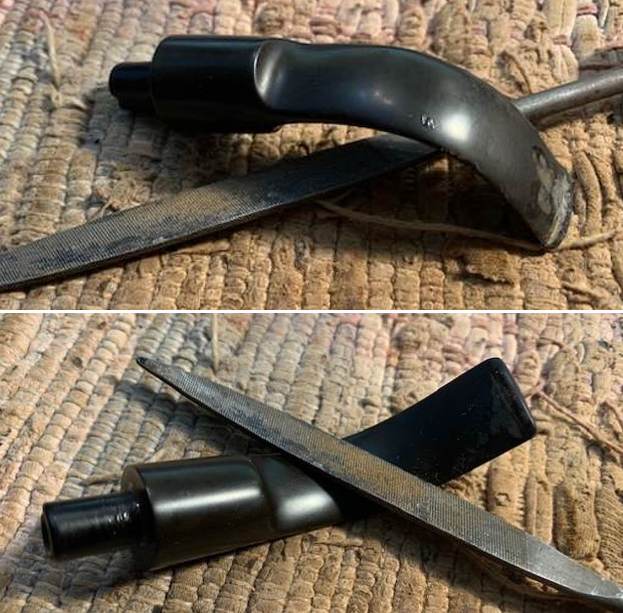
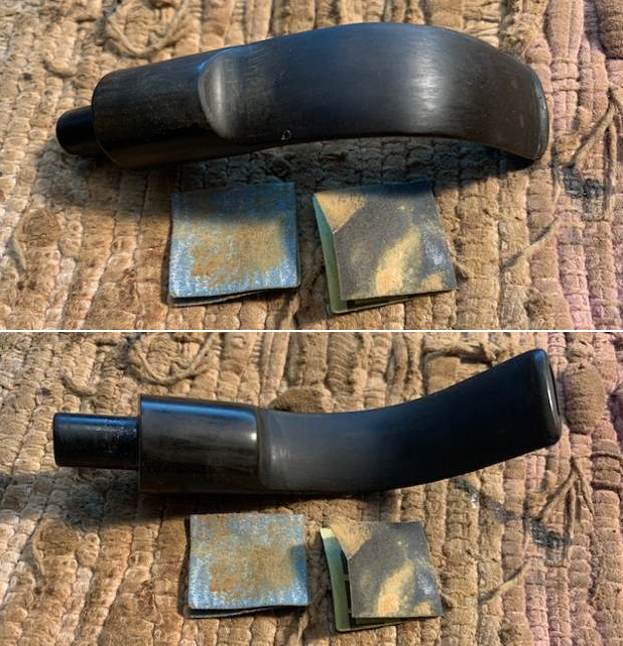
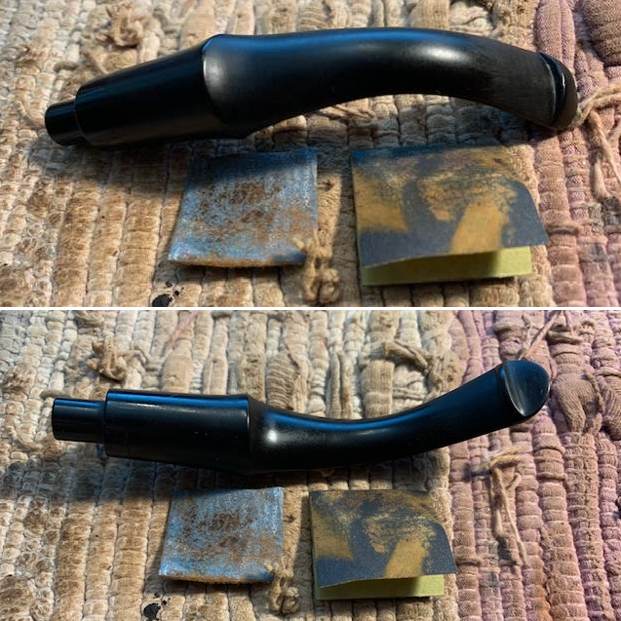
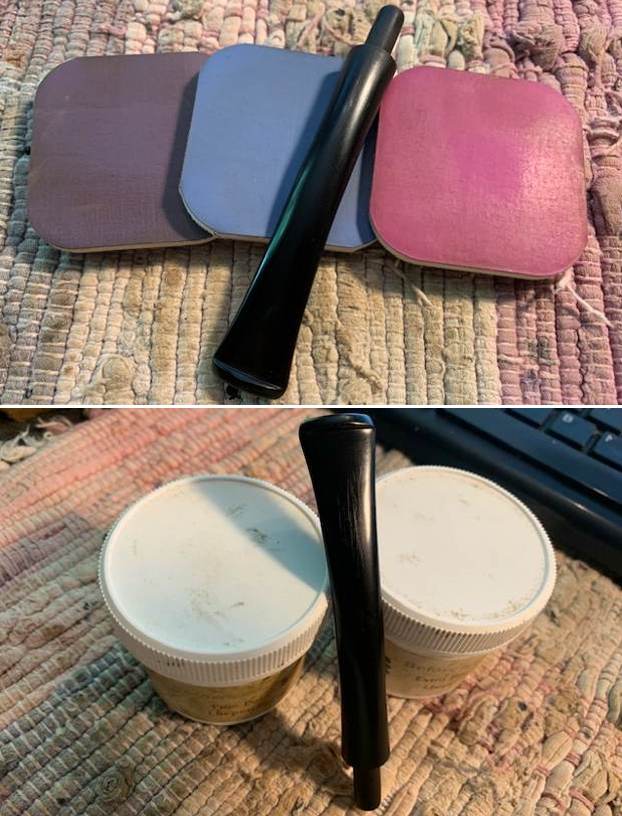
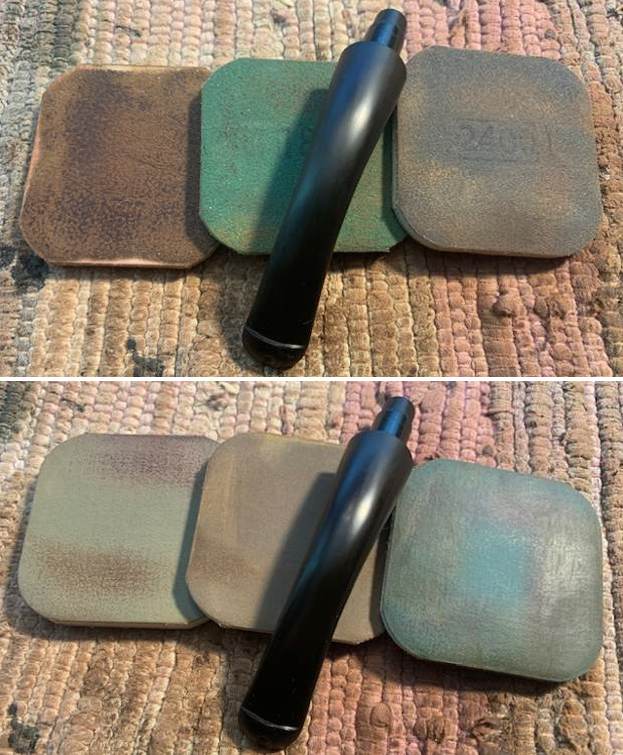
 I set the bowl aside and turned my attention to the stem. I filled in the small tooth marks (almost pin prick marks) next to the button on each side of the stem with clear super glue. Once it cured I sanded them smooth with 220 grit sandpaper and started the polishing with 400 grit wet dry sandpaper.
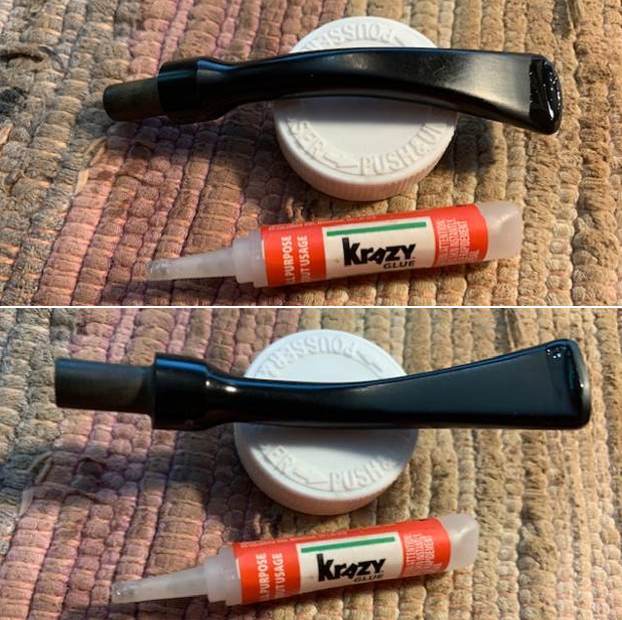
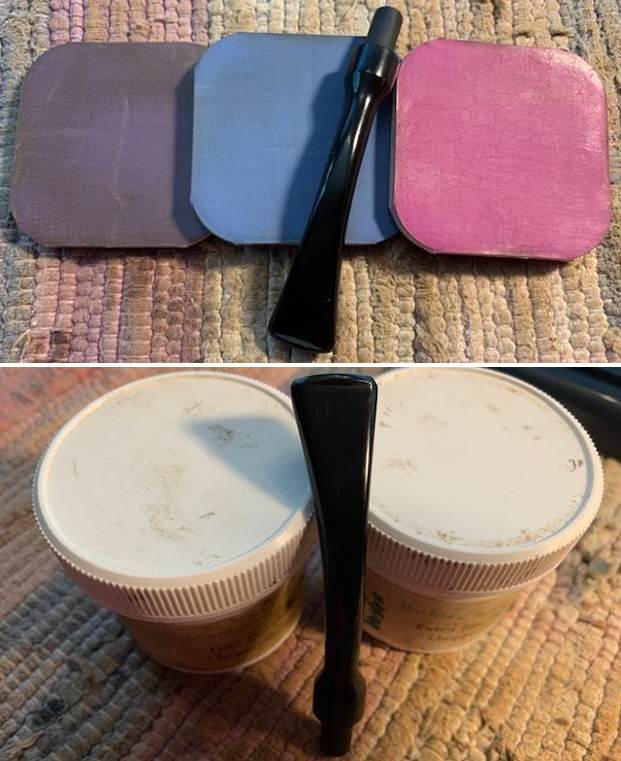
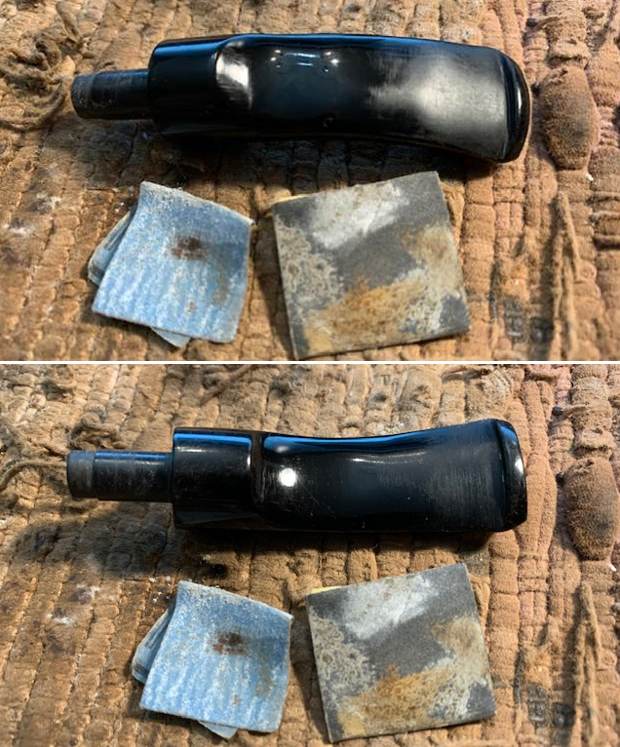
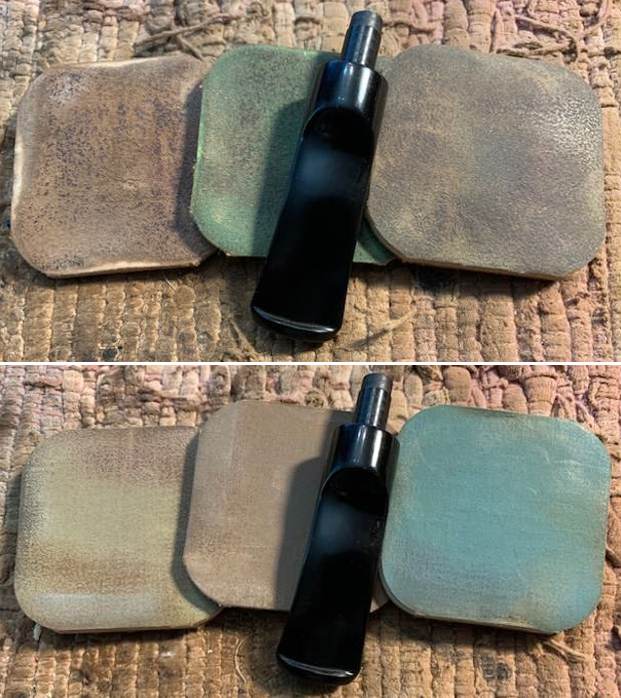
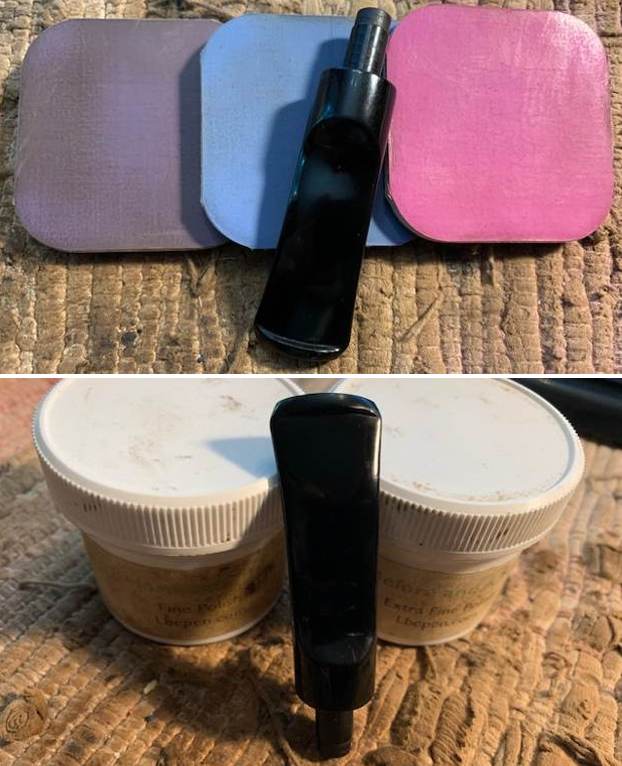
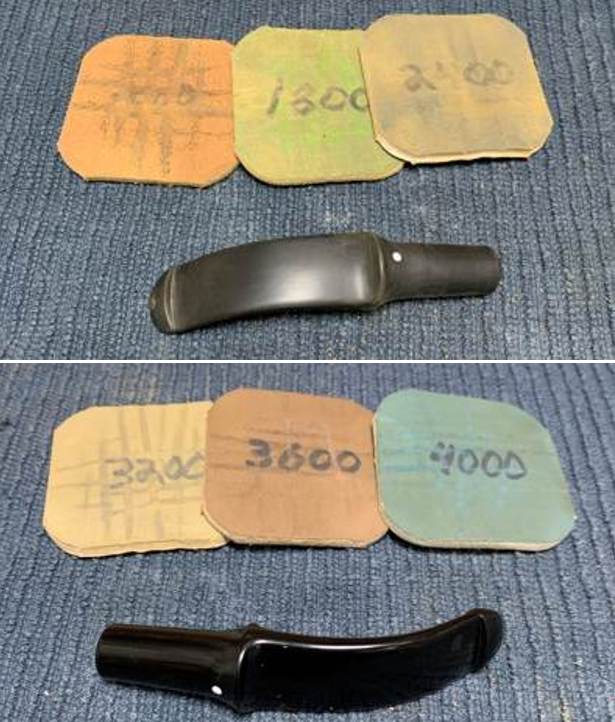
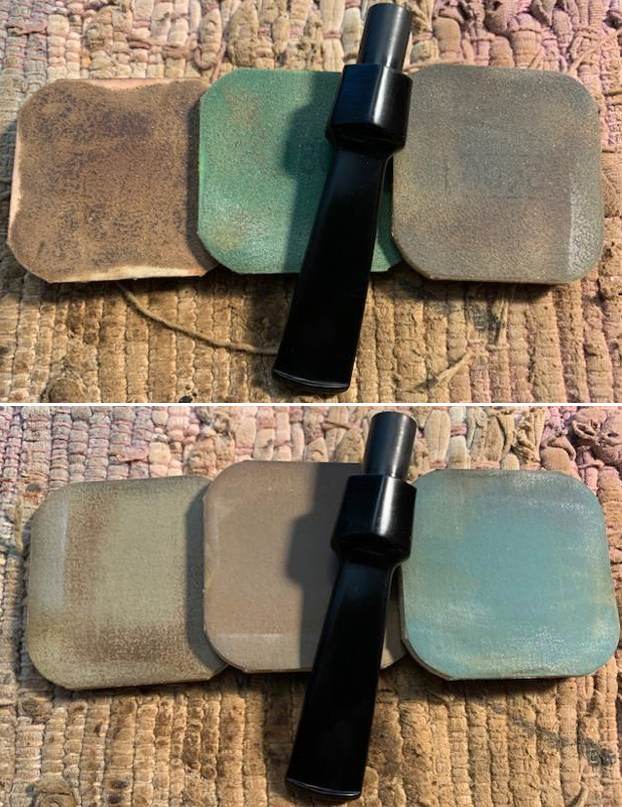
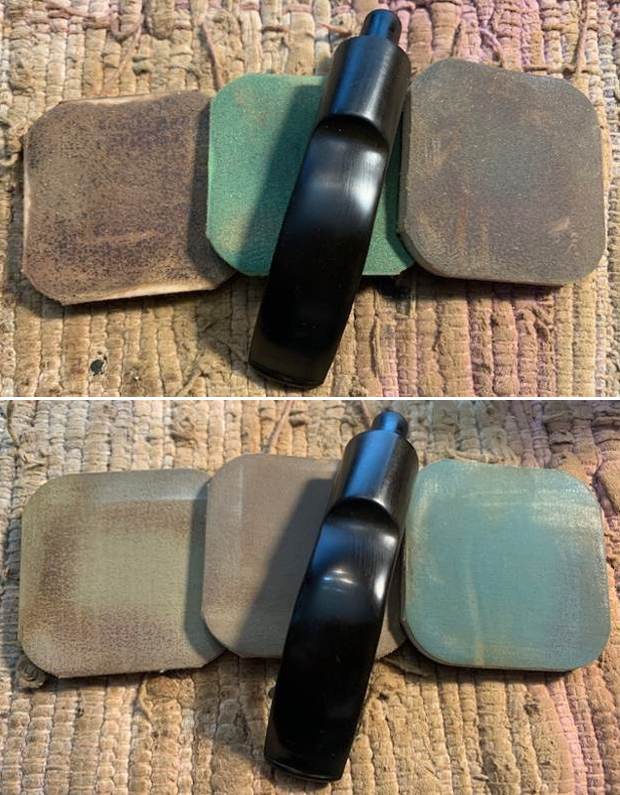
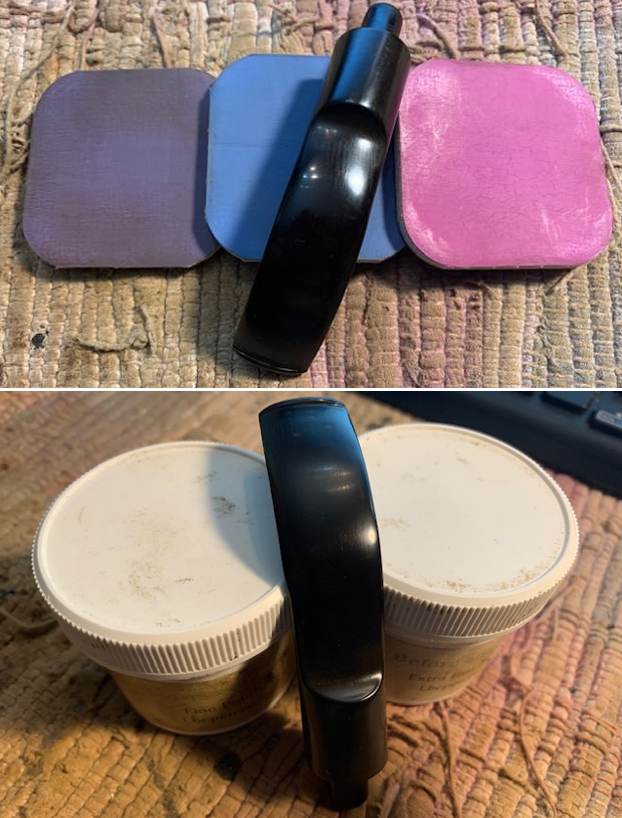
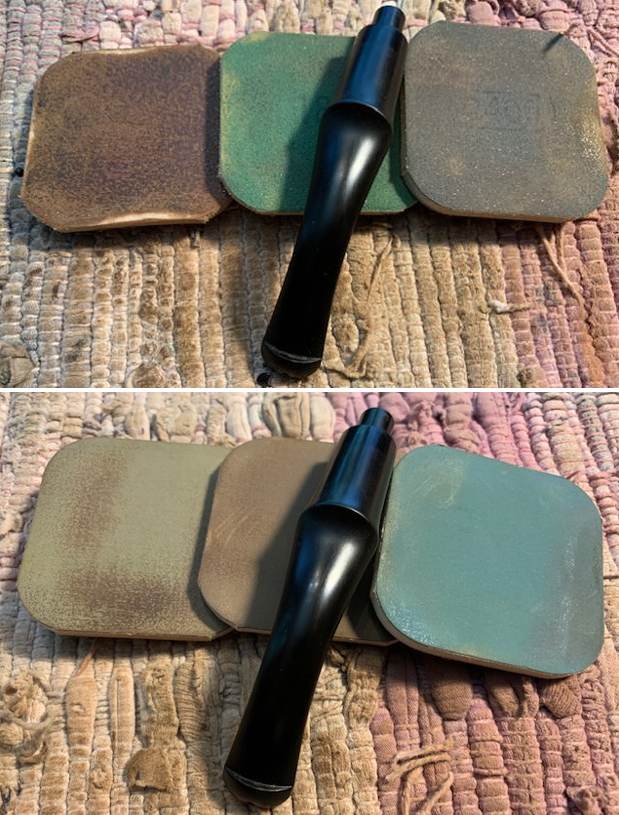
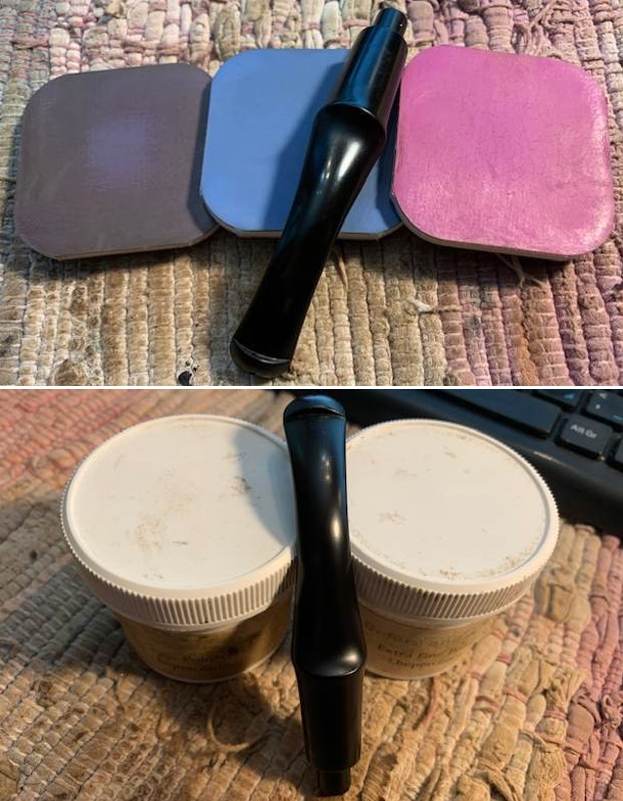
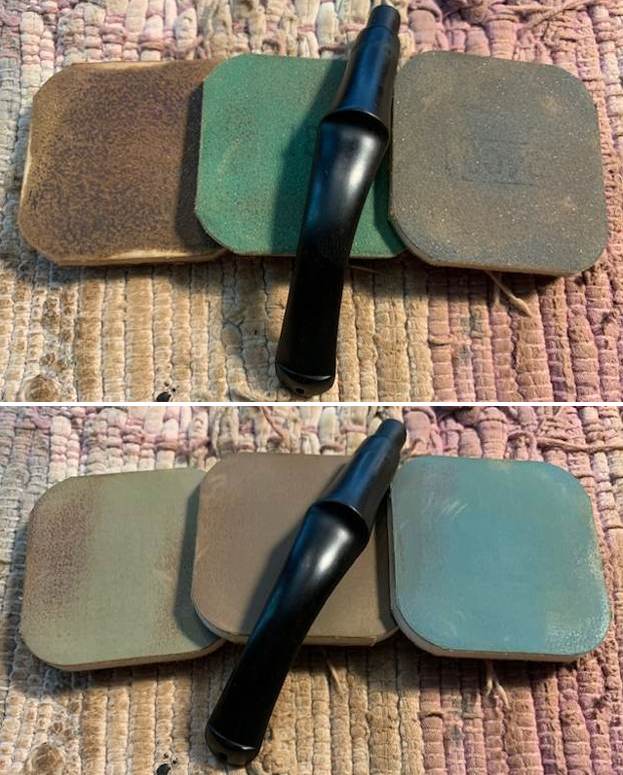
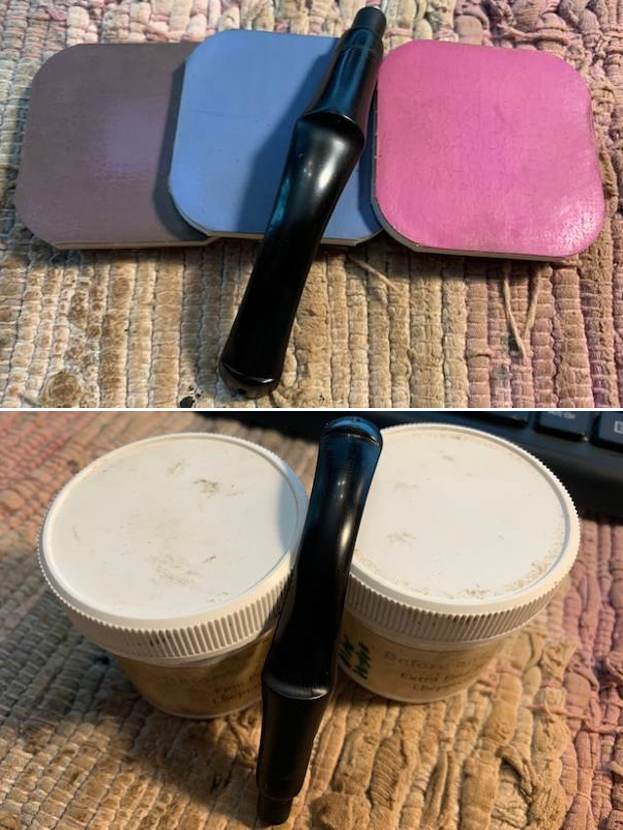
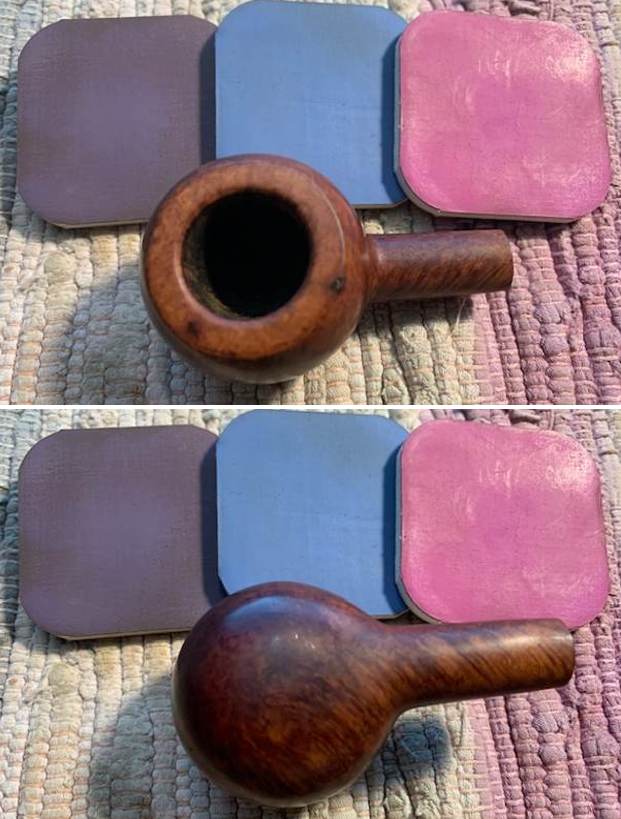
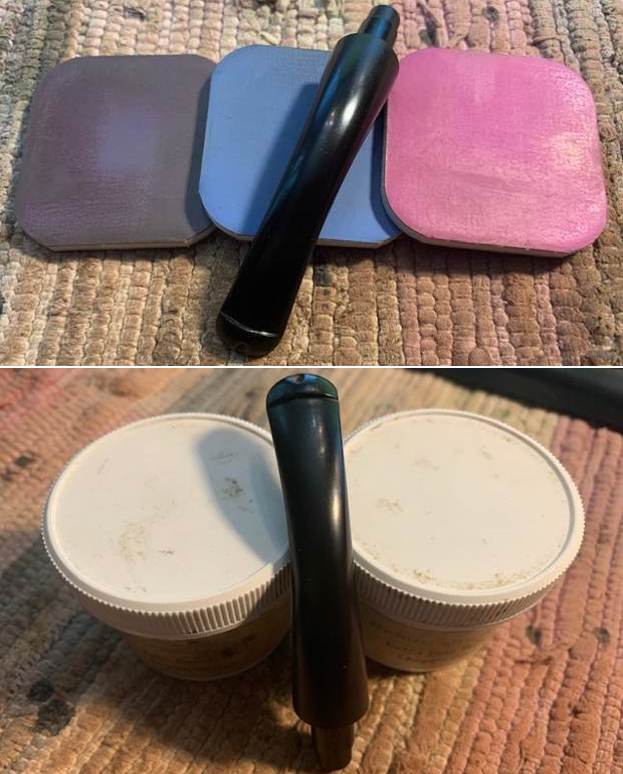
 I polished the stem with micromesh sanding pads – 1500-12000 grit pads. I wiped the stem down after each pad with a cloth impregnated with Obsidian Oil. I finished the polishing with some Before & After Pipe Stem Polish – both Fine and Extra Fine. The stem looked very good.
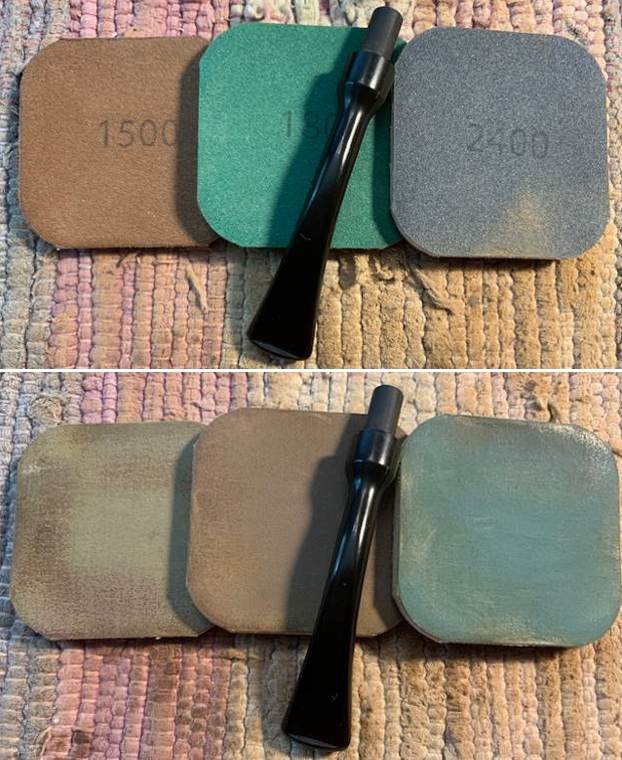
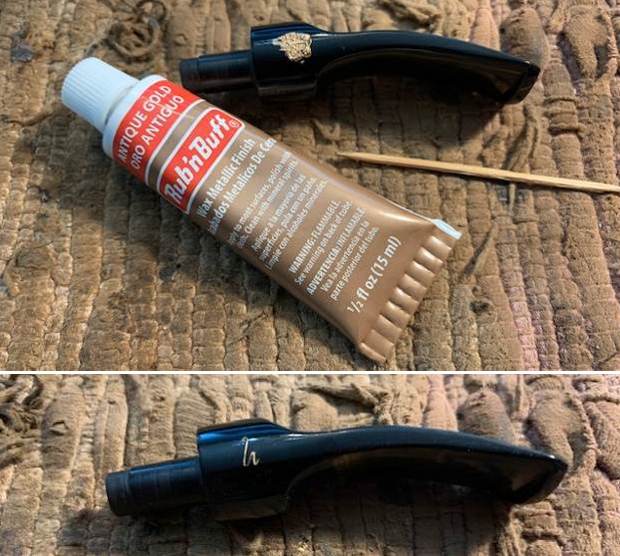
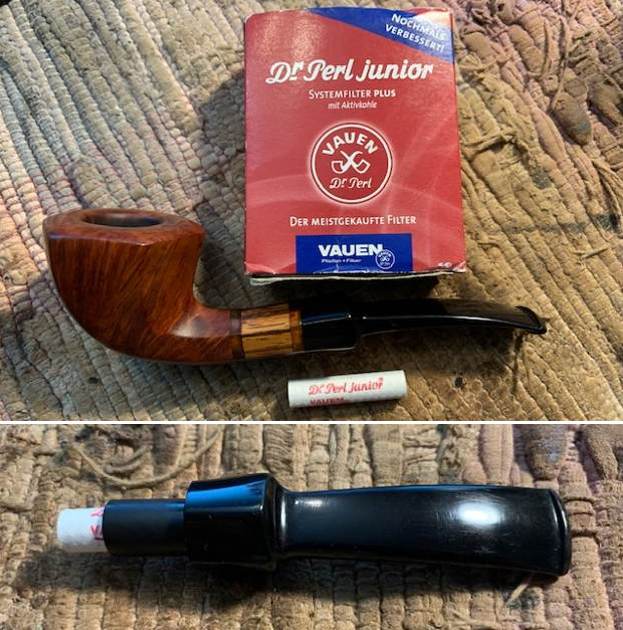
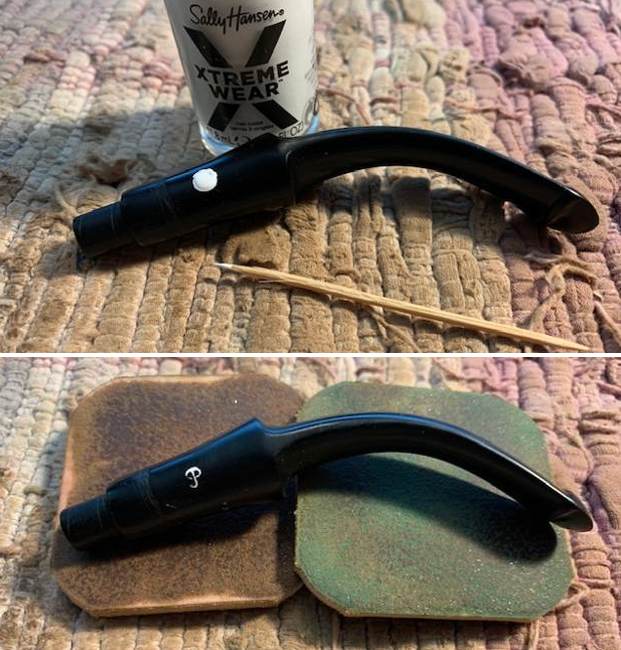
 I touched up the white stamp on the “D” on the left side of the stem with white acrylic fingernail polish. I worked it into the depth of the stamp with a tooth pick. Once it dried, I scraped off the excess material and polished the stem.
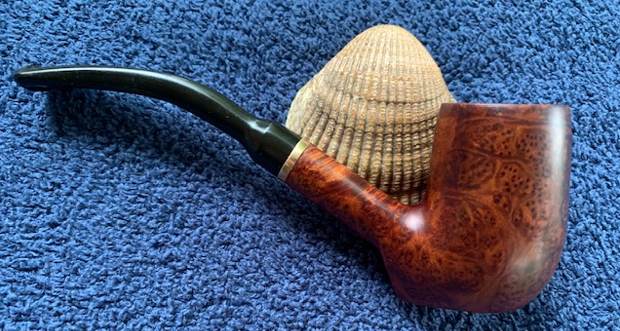
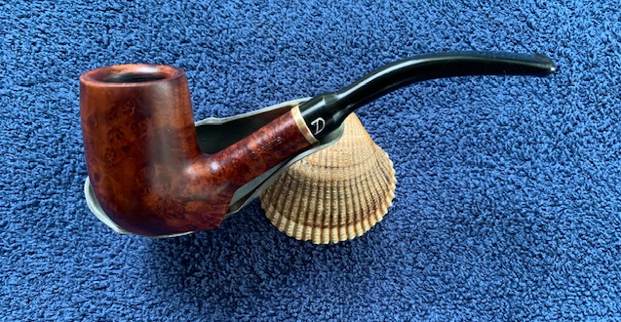
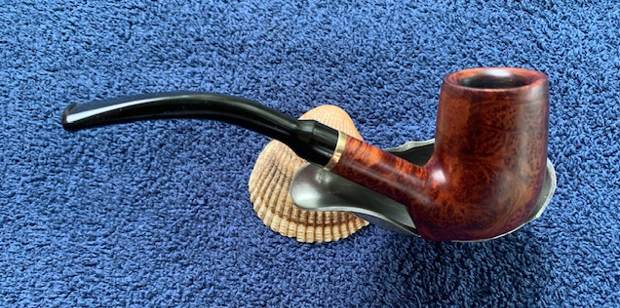
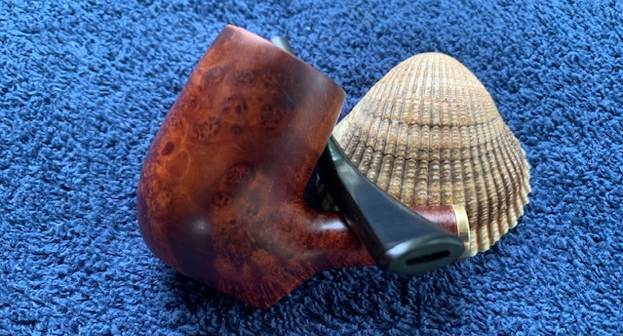
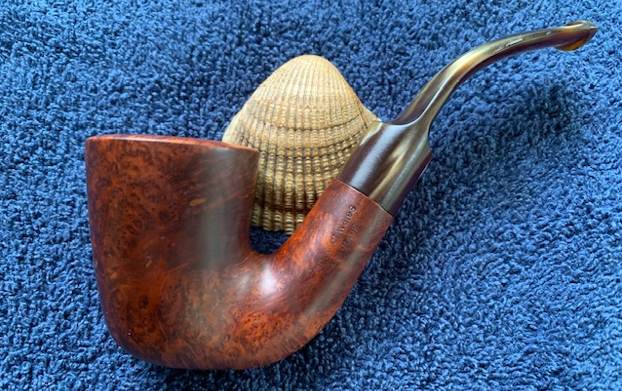
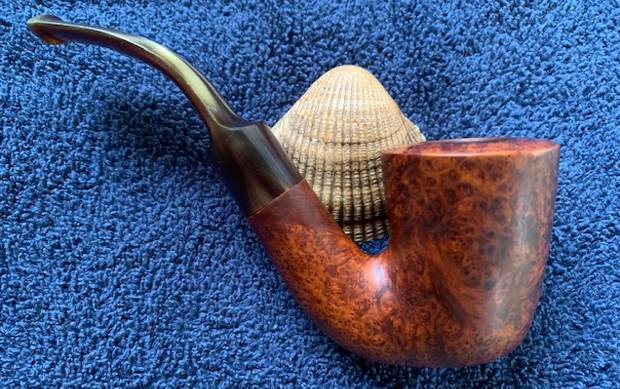
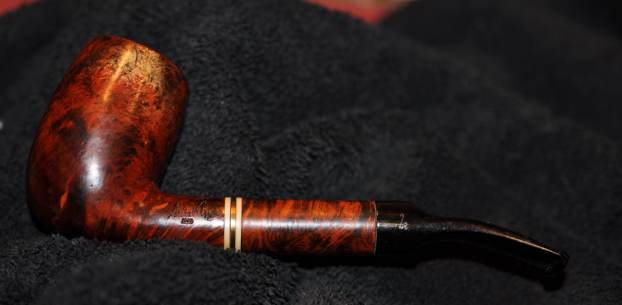
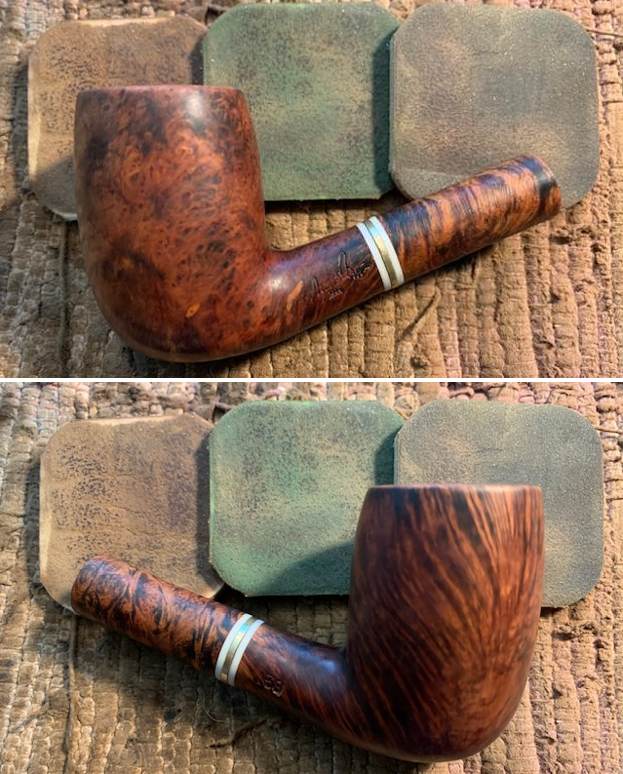
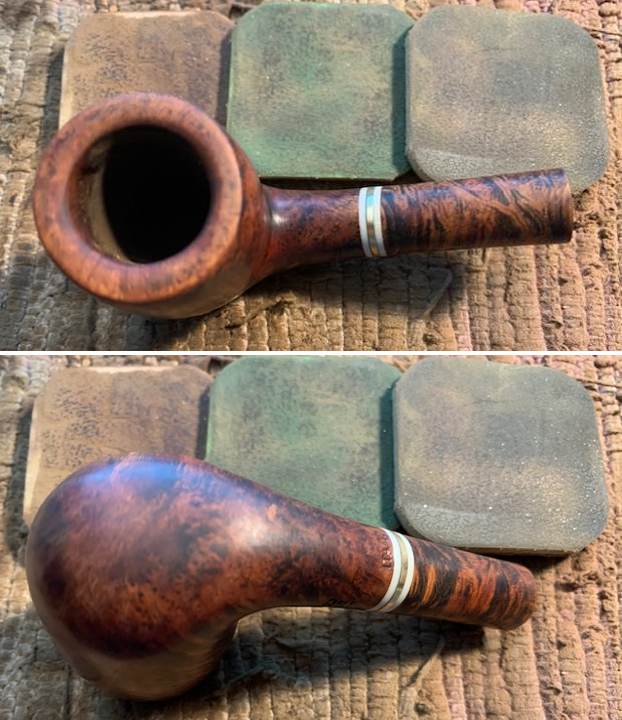
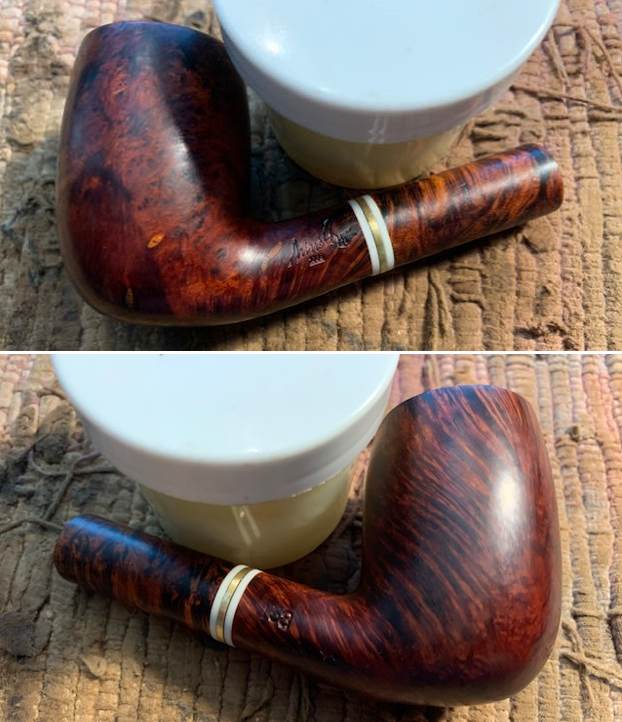
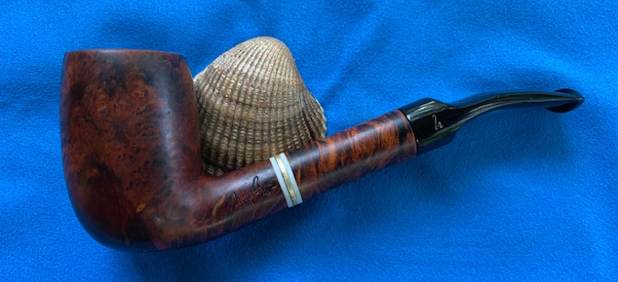
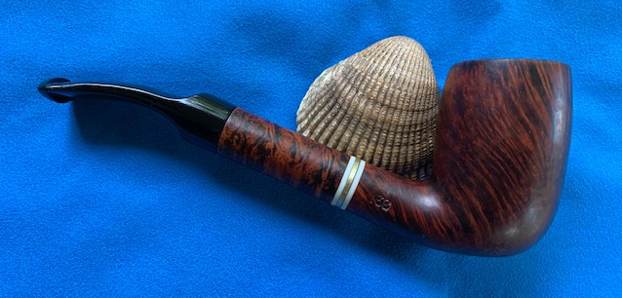
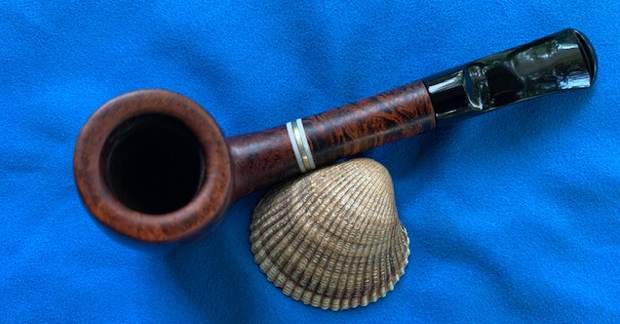
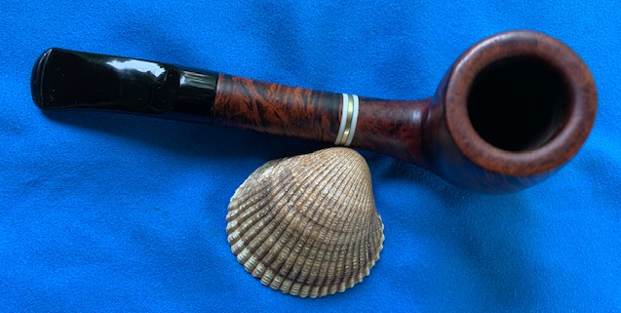
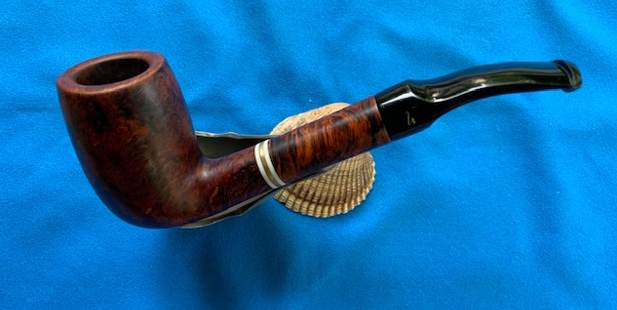
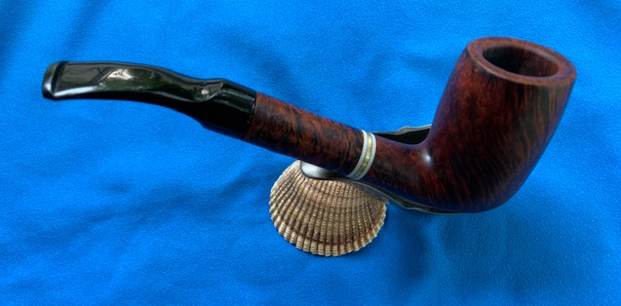
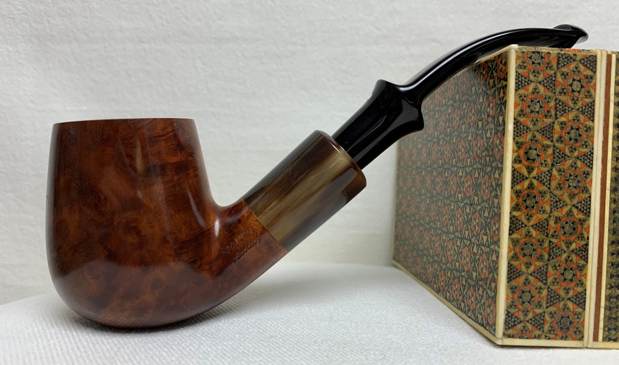
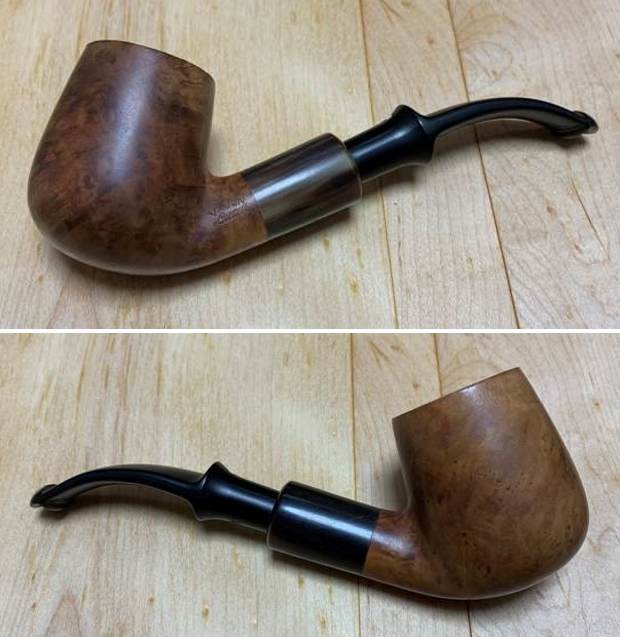
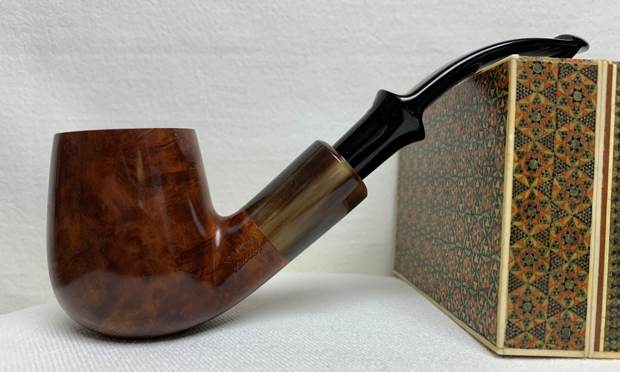
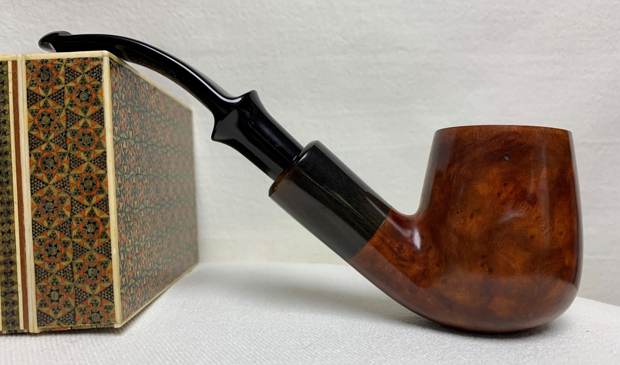
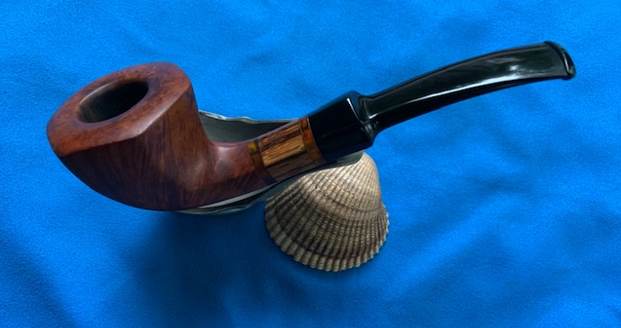
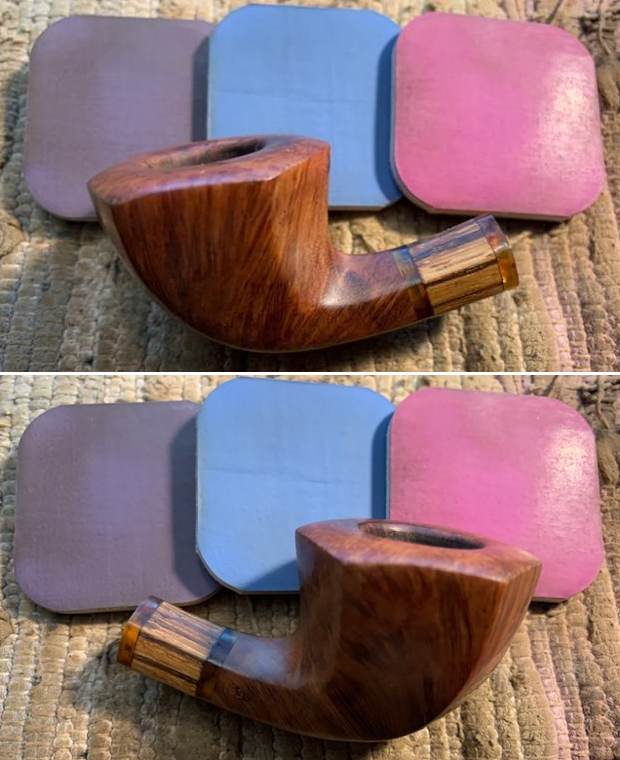
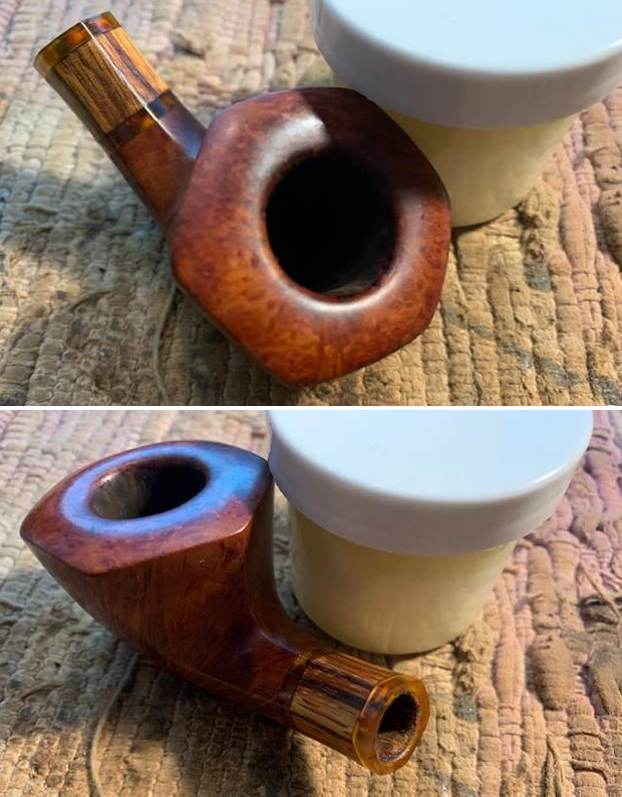
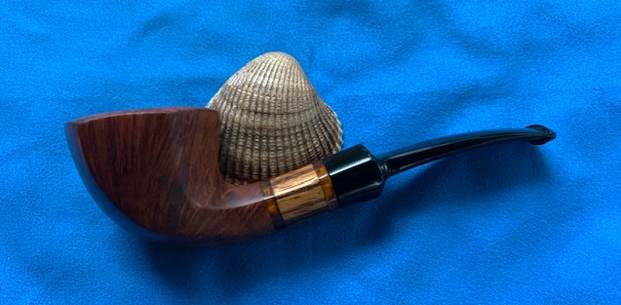
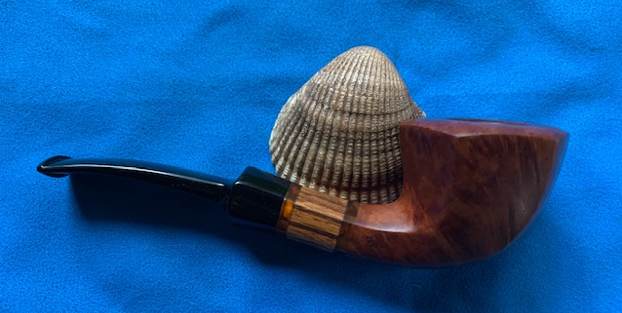
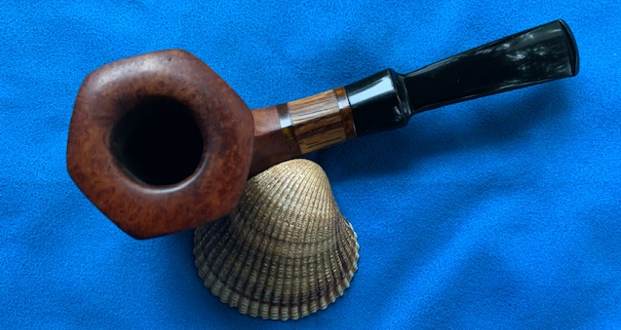
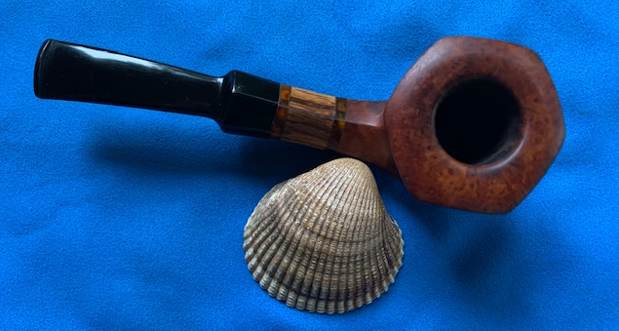
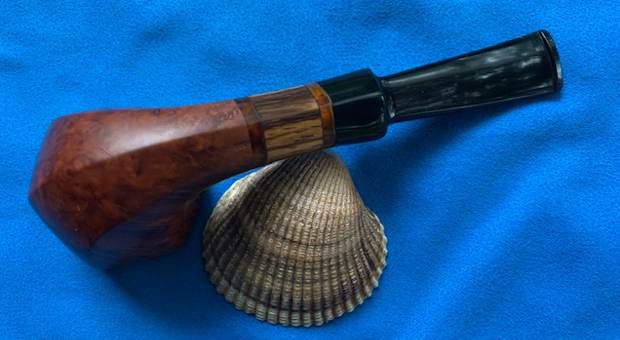
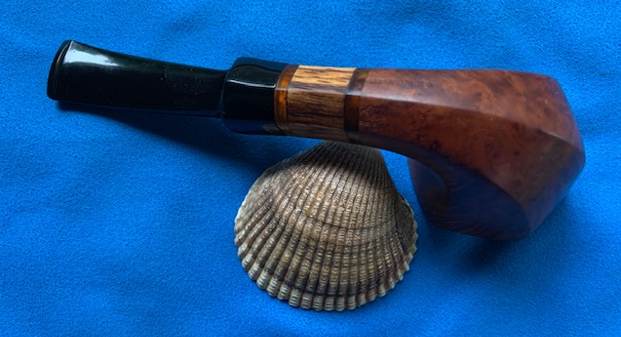
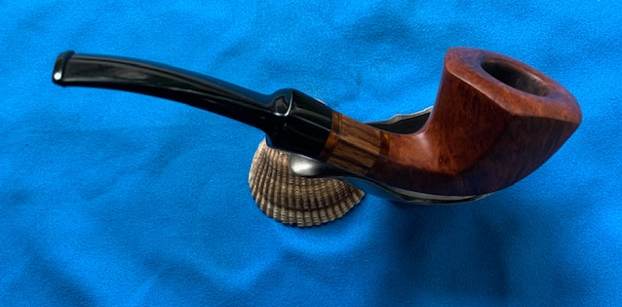
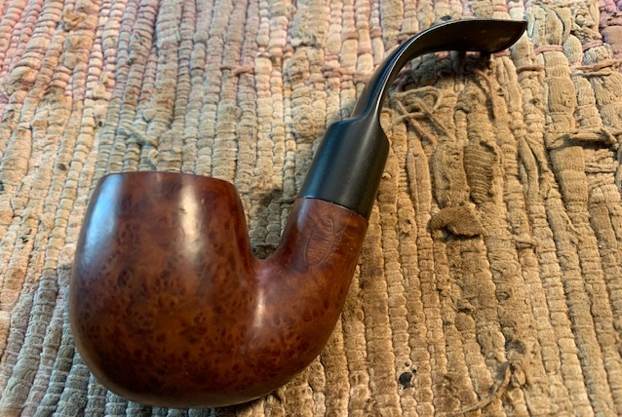
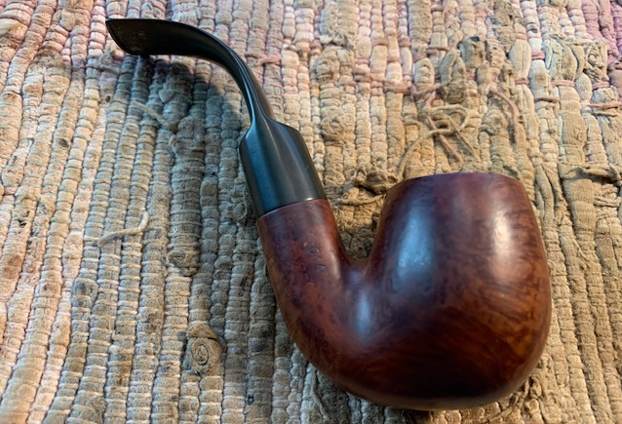
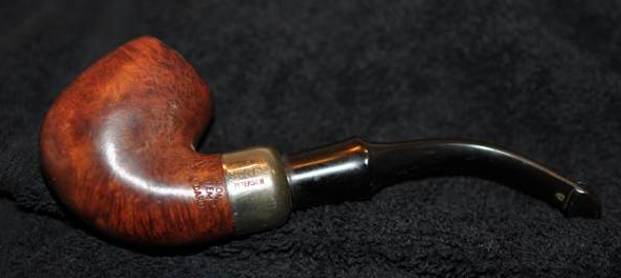
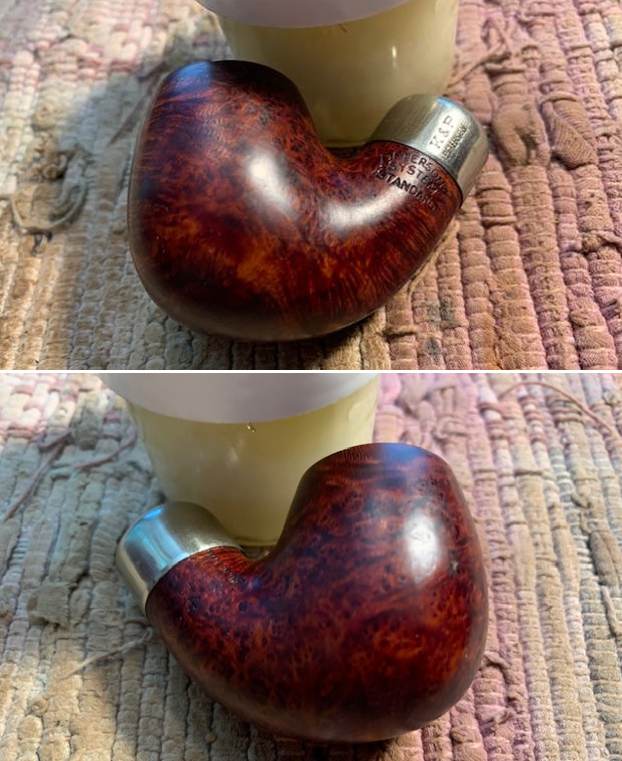
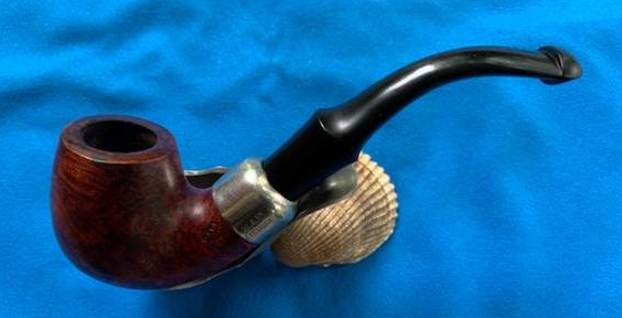
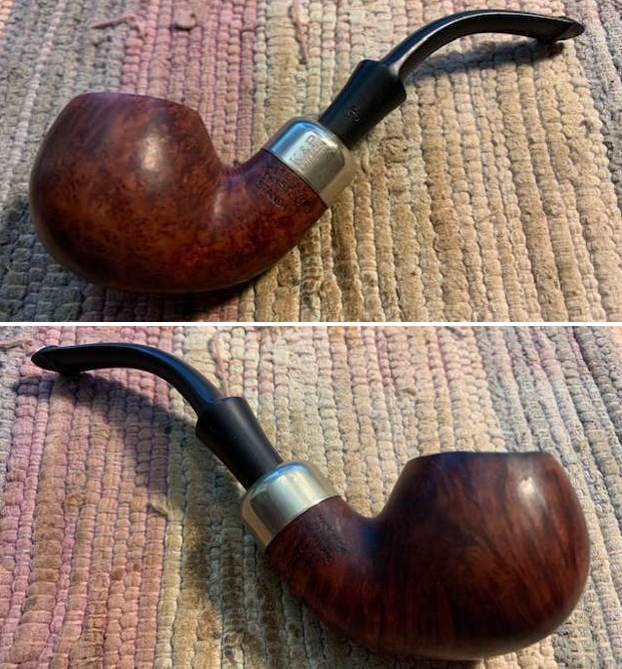
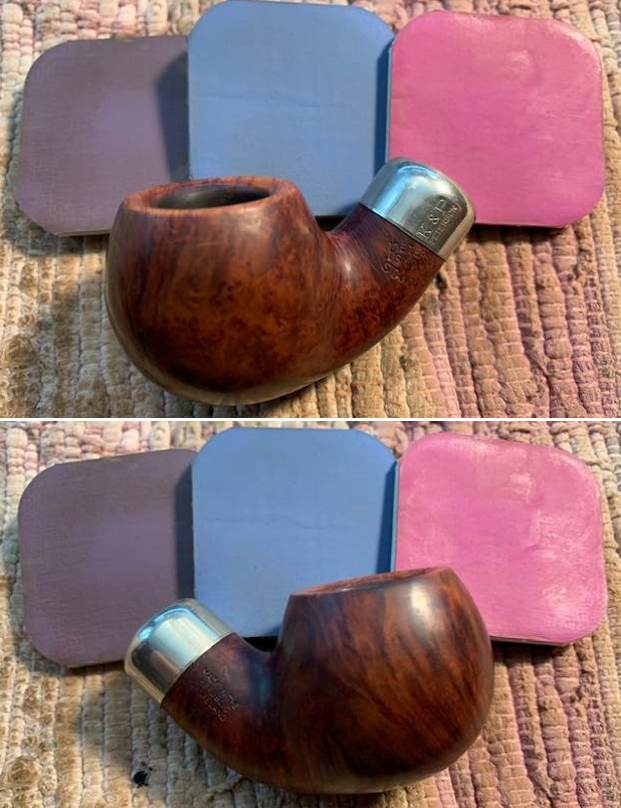
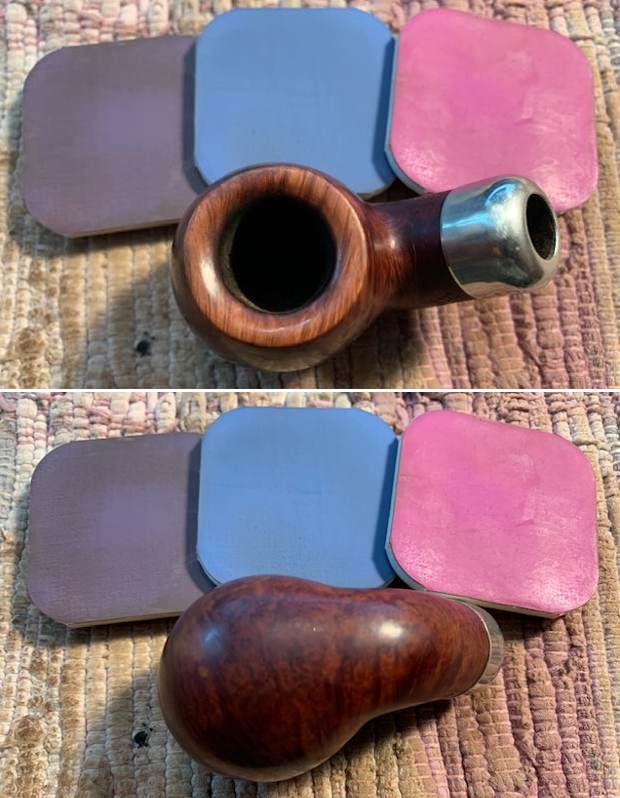
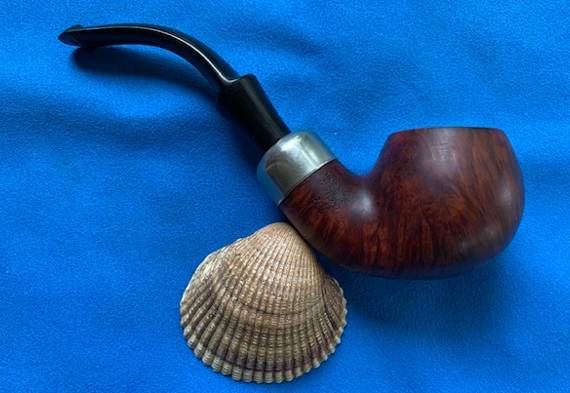
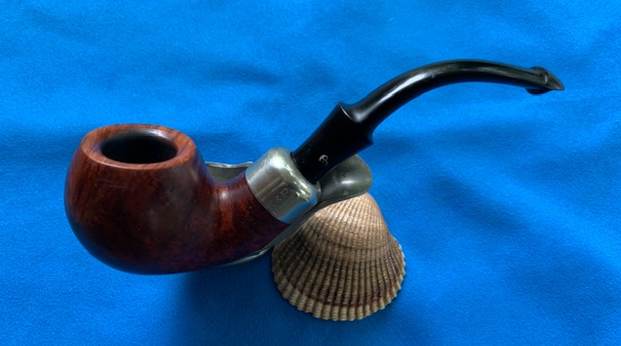
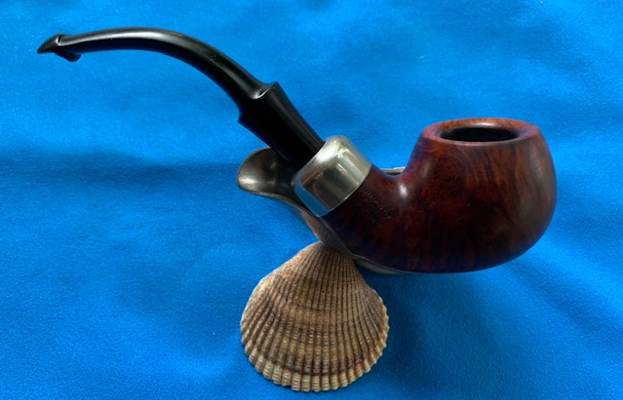
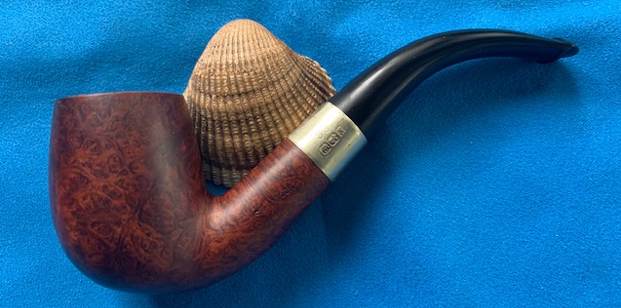
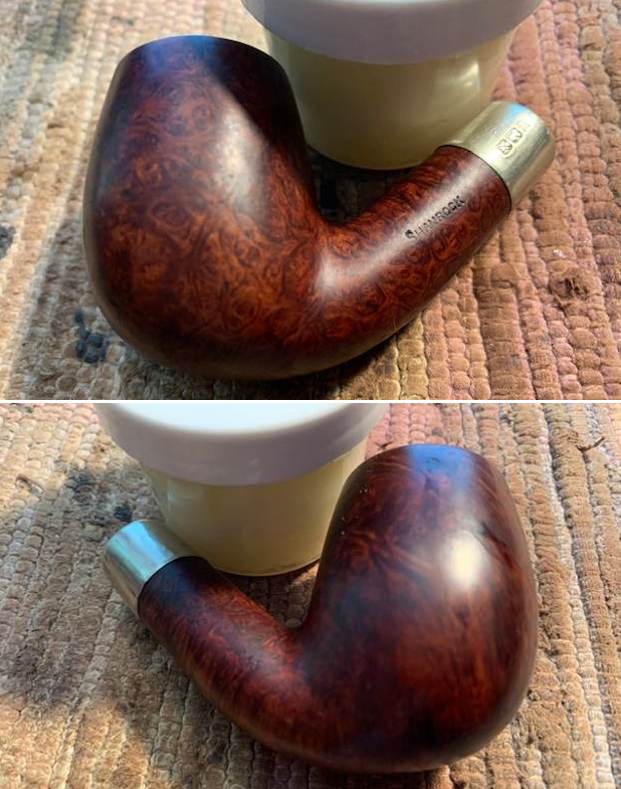
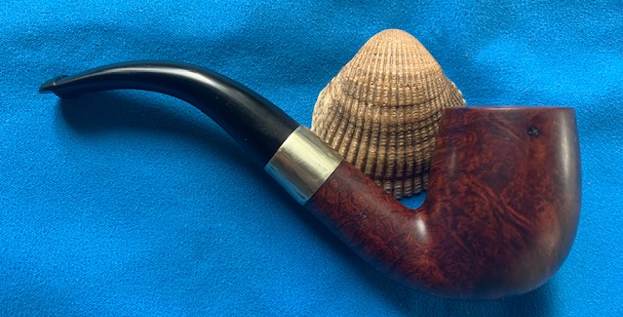
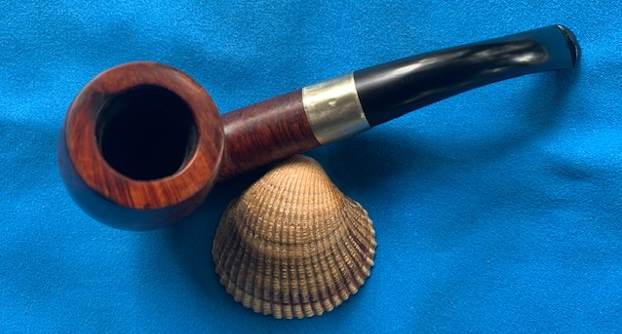
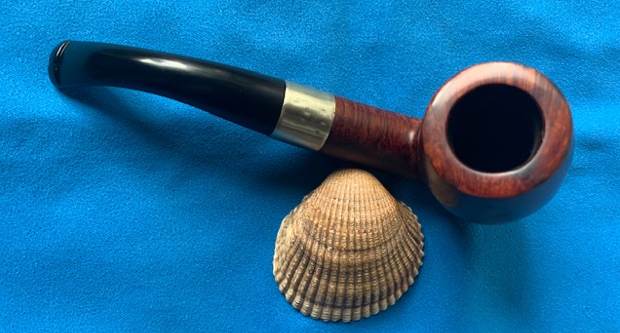
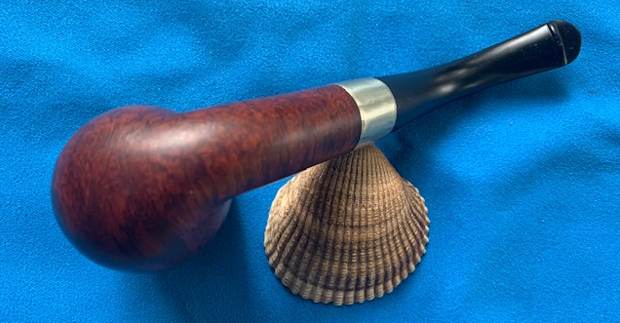
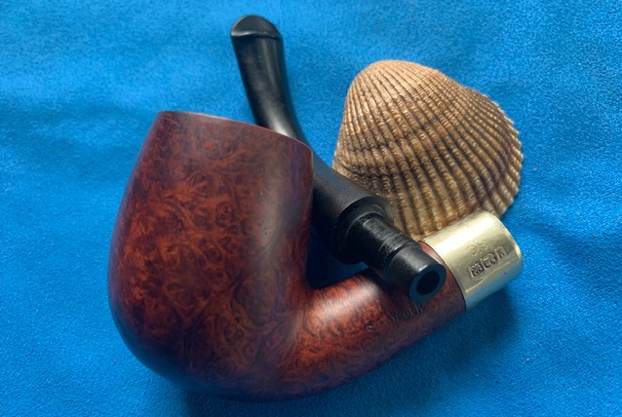
  As always I am excited to finish a pipe that I am working on. I put the Georg Jensen Made Danet 904 Sitter back together and buffed it with Blue Diamond on the buffing wheel. I gave the bowl and the stem multiple coats of carnauba wax. I buffed the pipe with a clean buffing pad and hand buffed it to raise the shine. It is fun to see what the polished bowl looks like with the grain popping around the bowl and shank. The thin brass repair band adds a touch of bling to the pipe. The polished vulcanite saddle stem brought the combination to a beautiful close. It is light and well balanced. Have a look at it with the photos below. The dimensions are Length: 5 inches, Height: 1 ¾ inches, Outside diameter of the bowl: 1 inch, Chamber diameter: ¾ of an inch. The weight of the pipe is 27 grams/.99 ounces. It is a beautiful pipe and one that will be on the rebornpipes store in the Danish Pipe Makers section. If you are interested in adding it to your collection let me know. Thanks for walking through the restoration with me as I worked over this pipe. Thanks to each of you who are reading this blog. I want to keep reminding us of the fact that we are not pipe owners; we are pipemen and women who hold our pipes in trust until they pass on into the trust of the next trustee.


