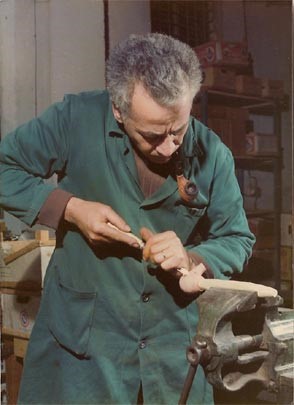
by Kenneth Lieblich
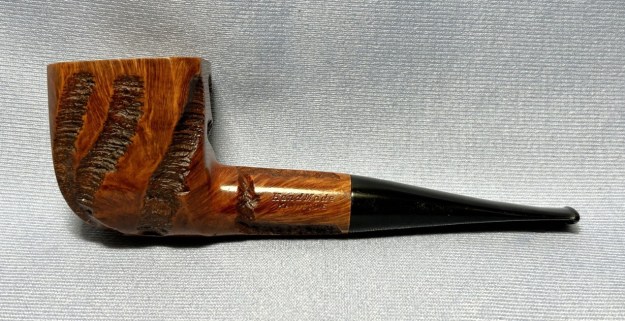
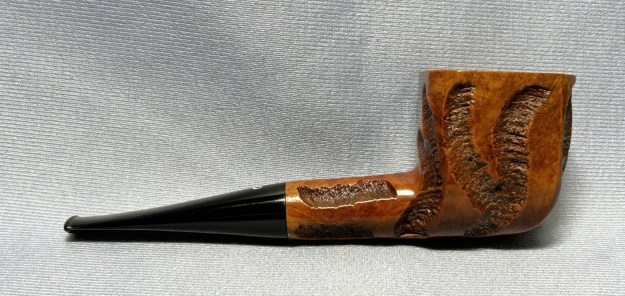
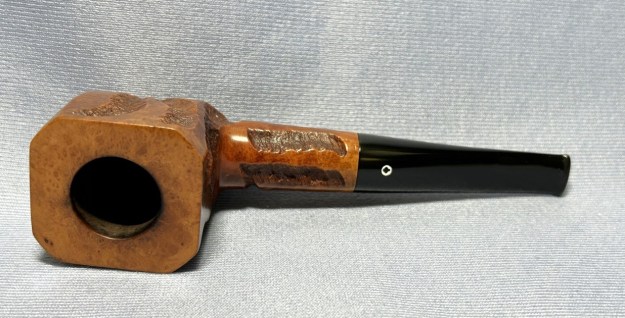
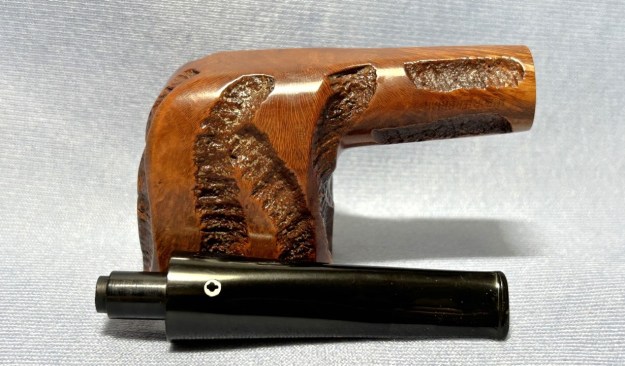
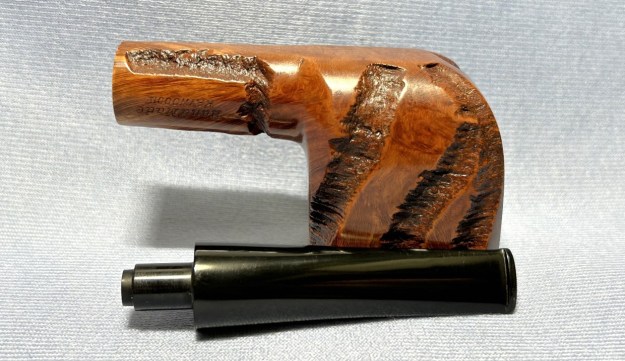
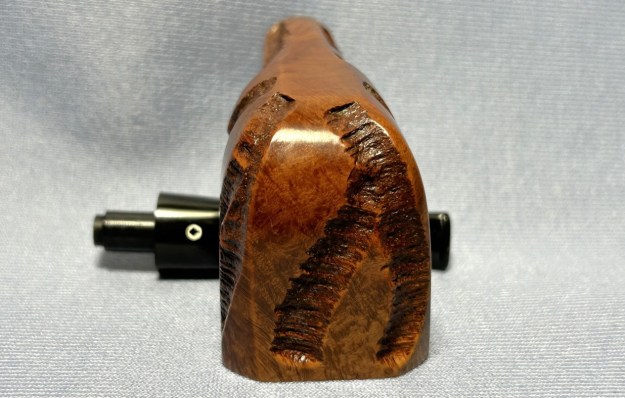
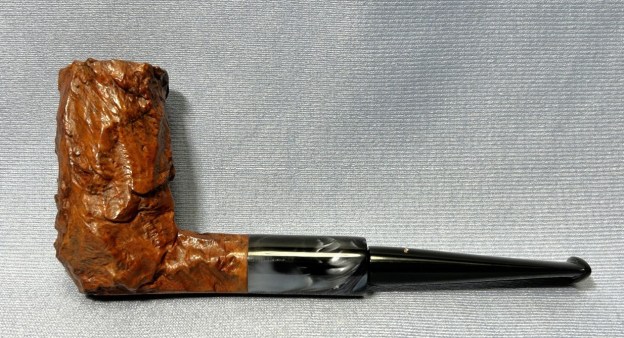
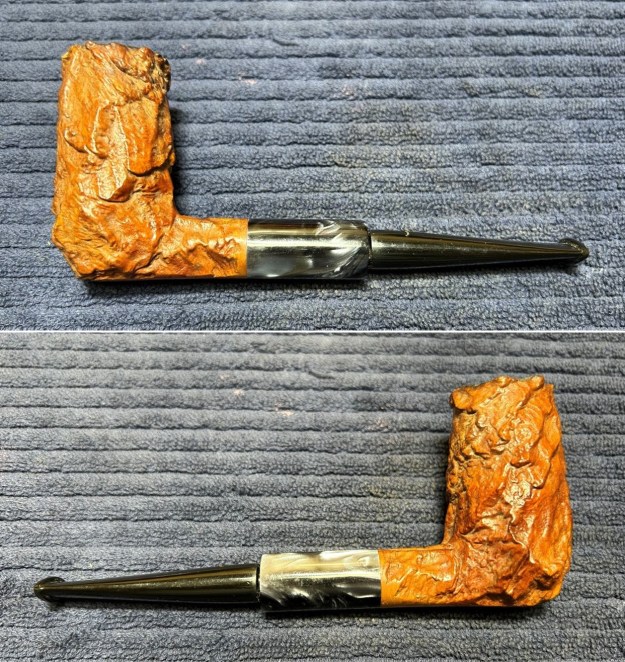
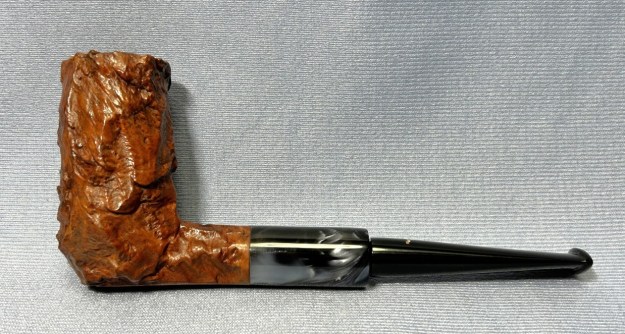
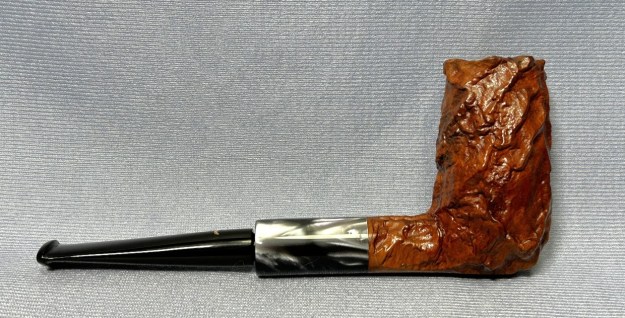
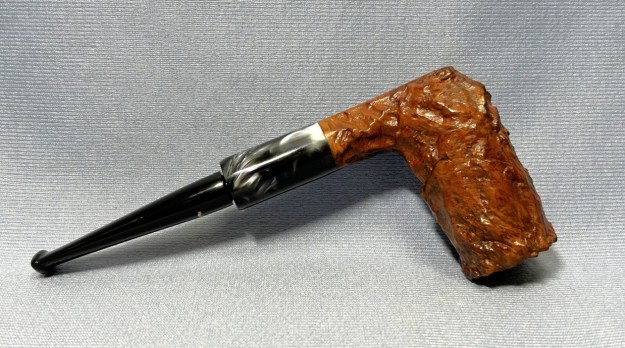
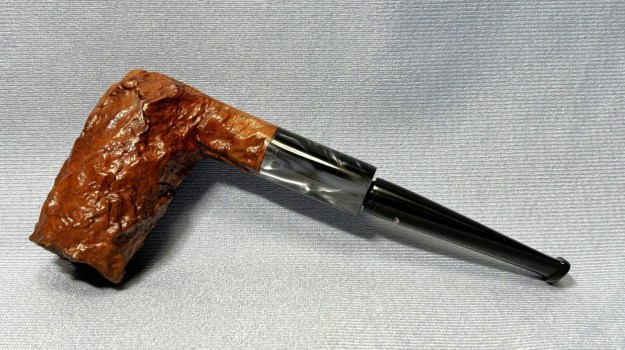
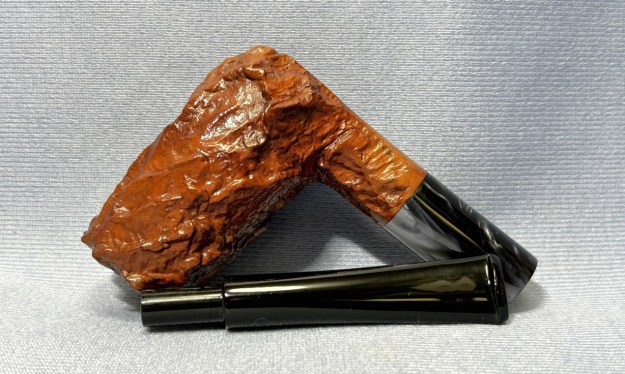
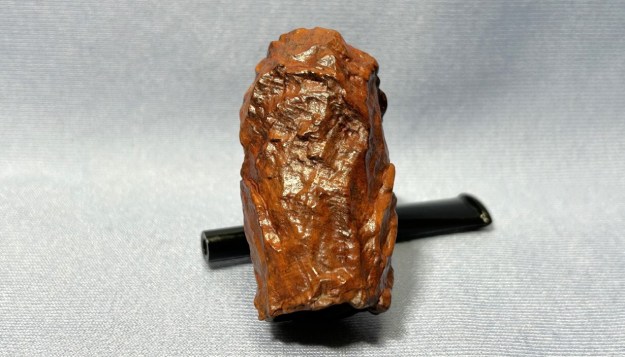
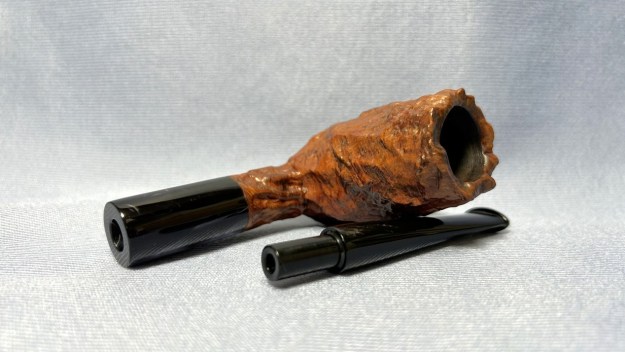
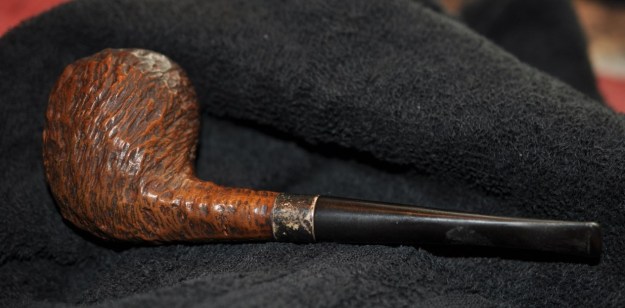
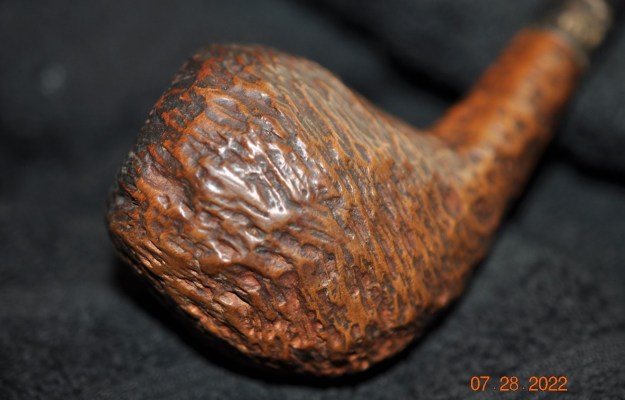
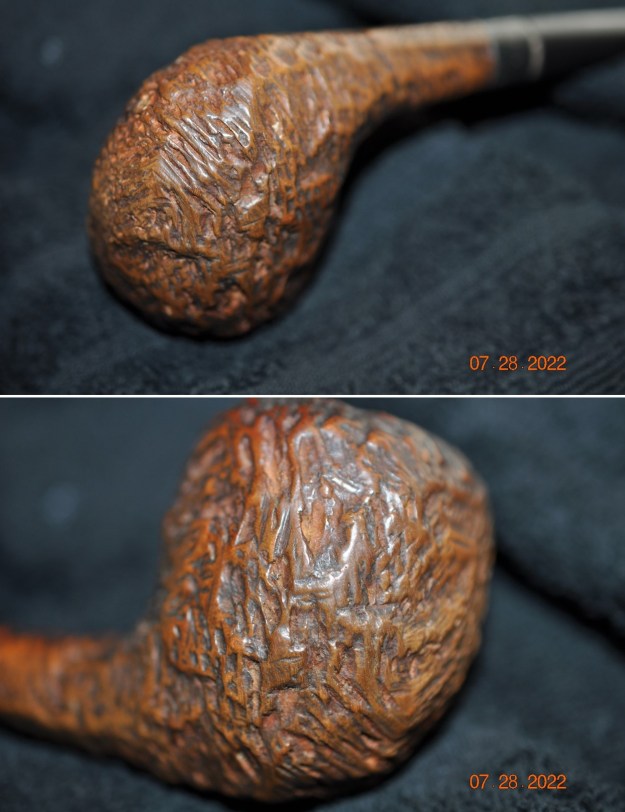
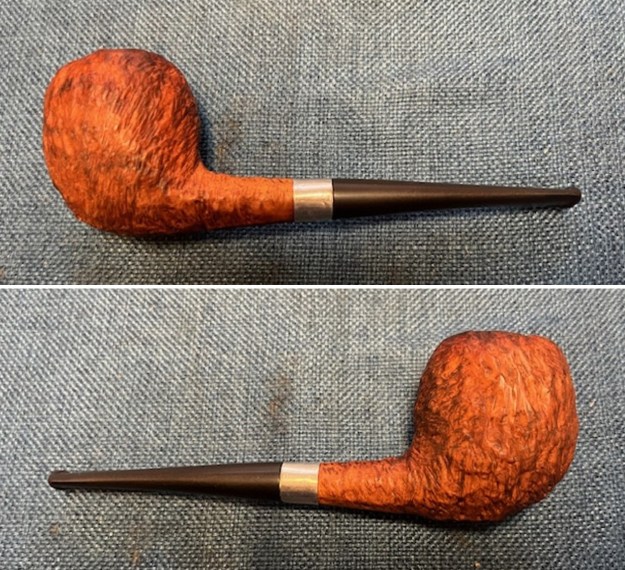
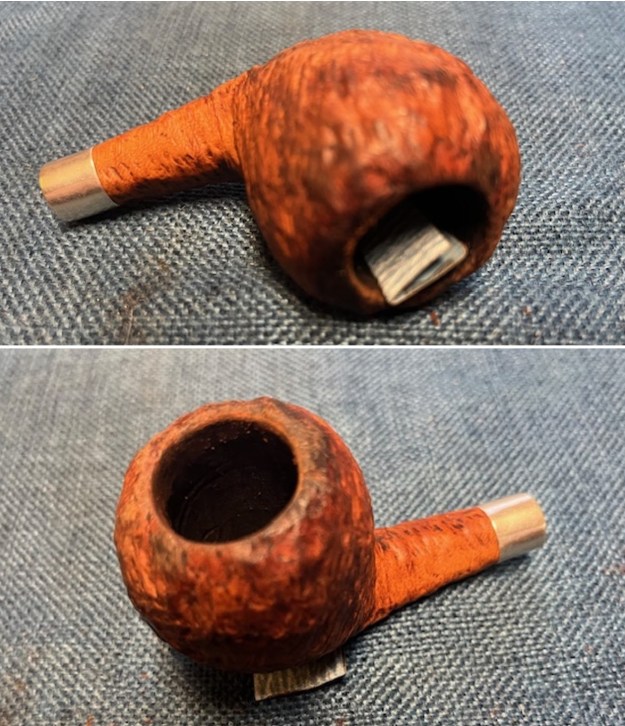
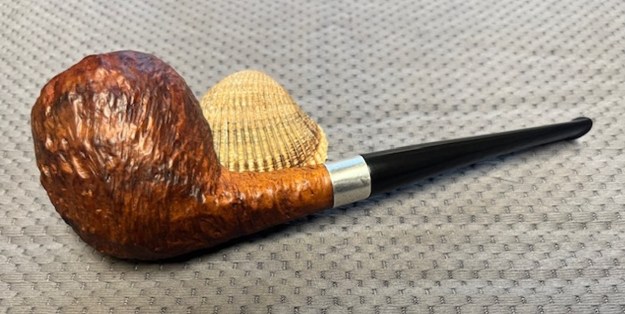
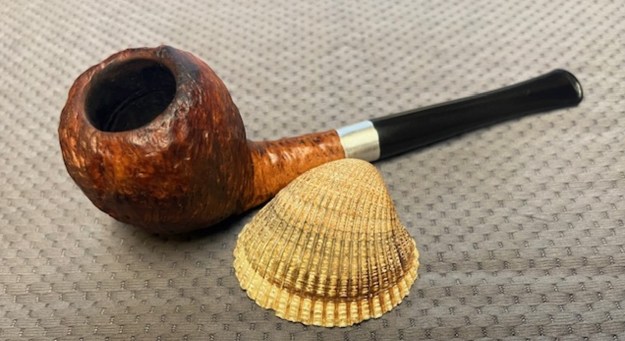
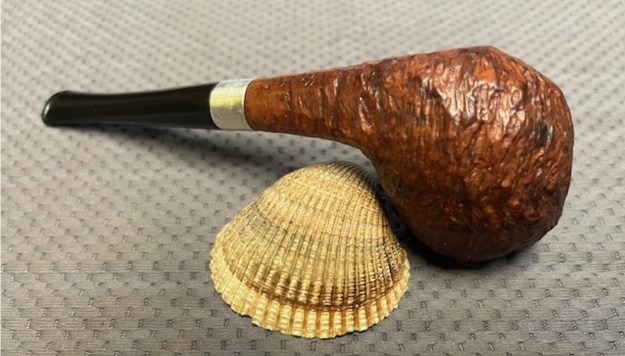
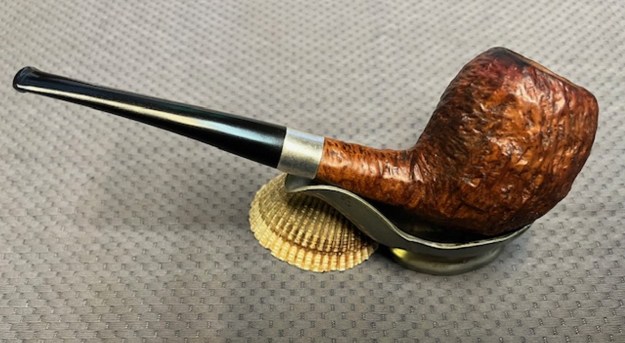
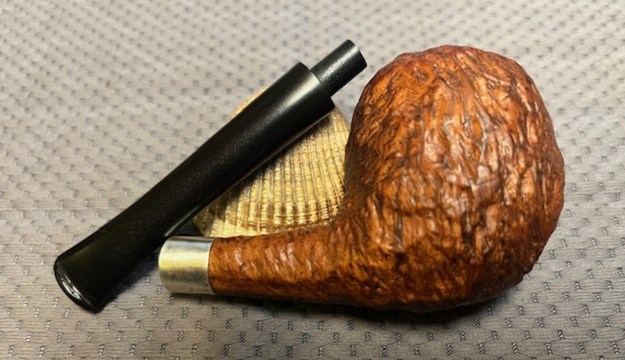
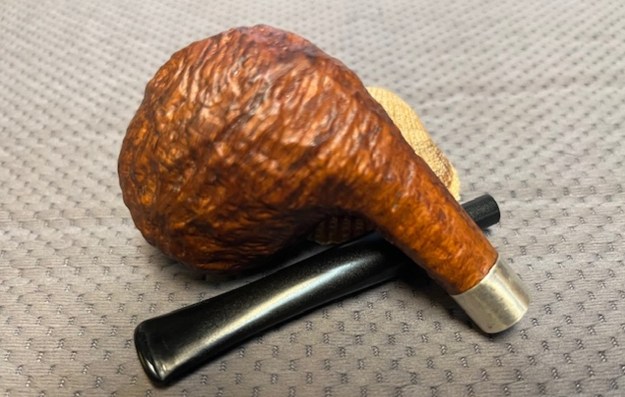
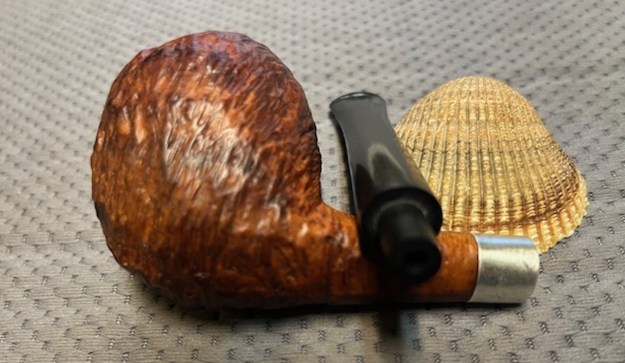
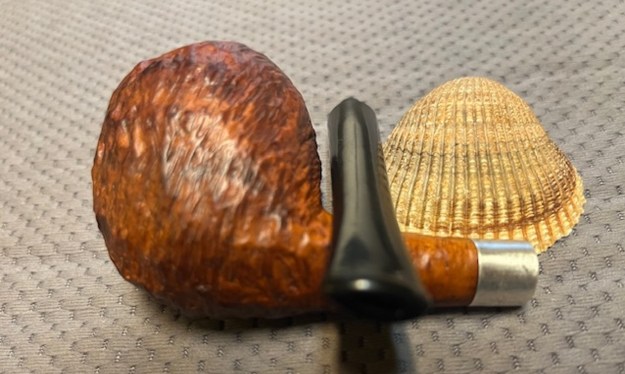
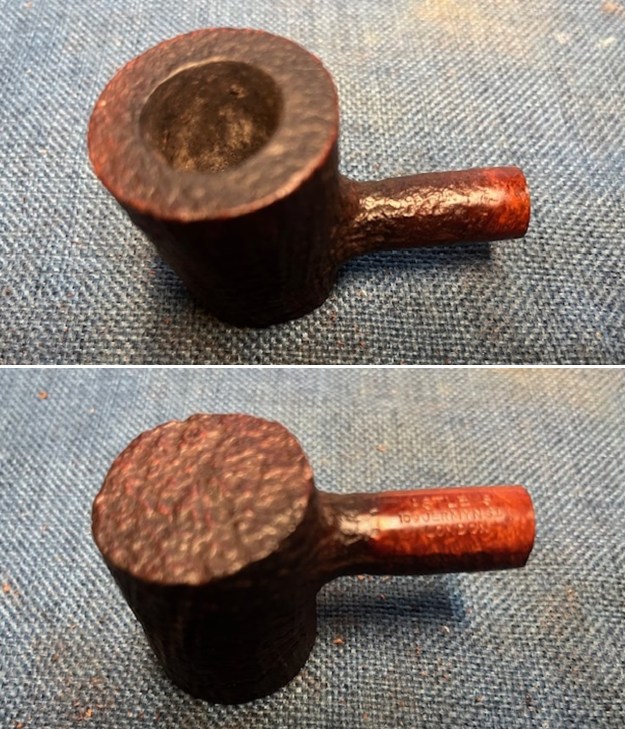
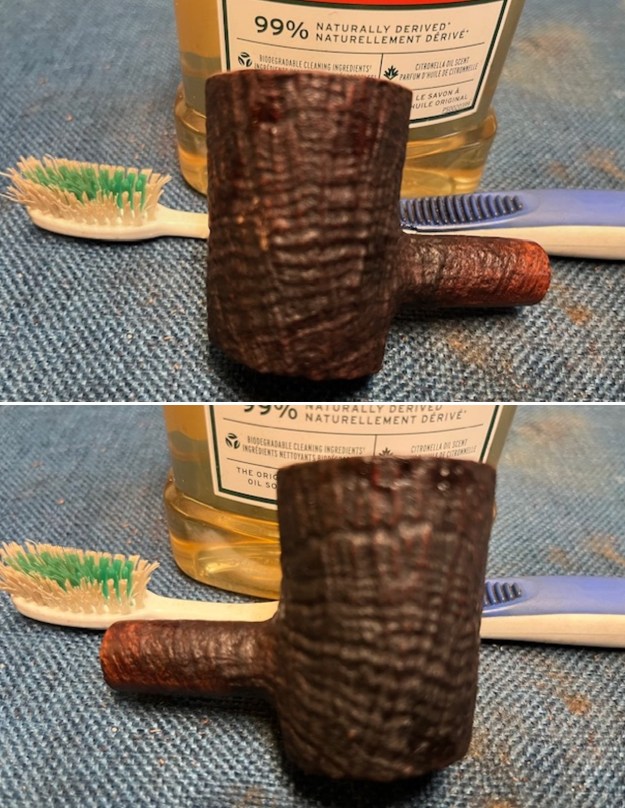
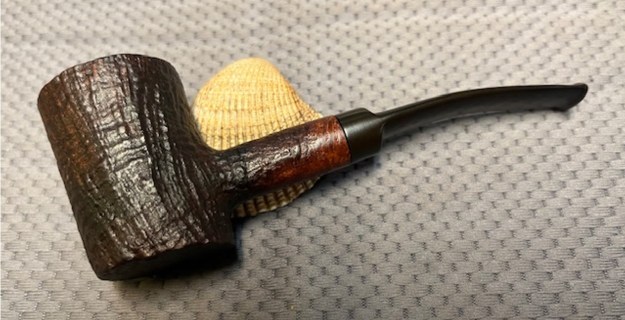
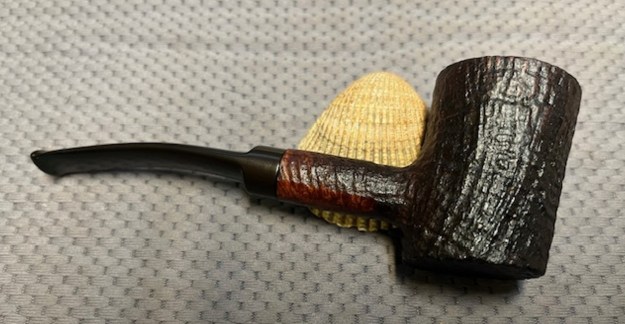
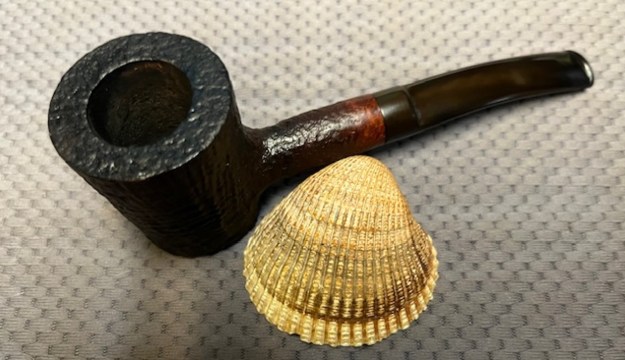
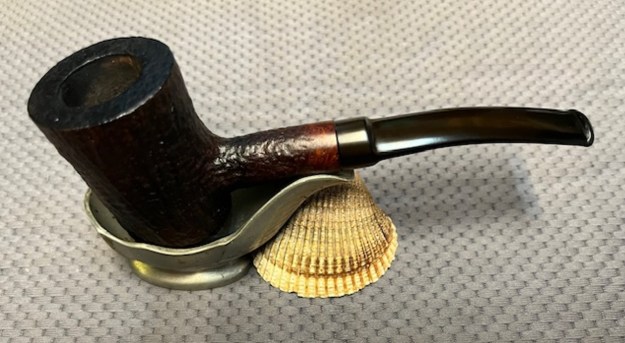
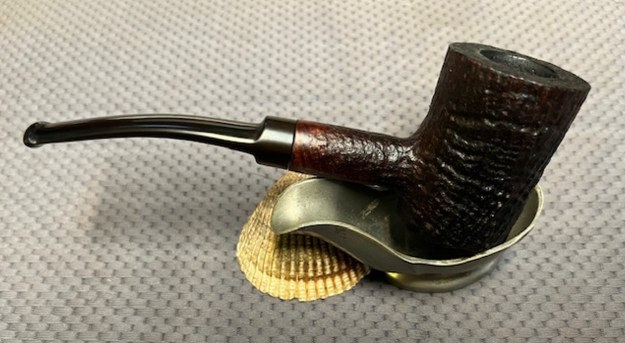
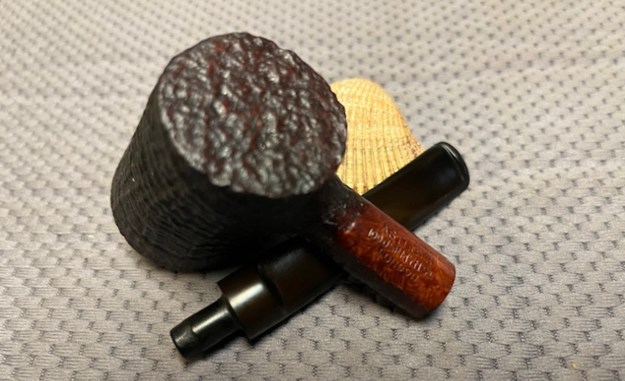
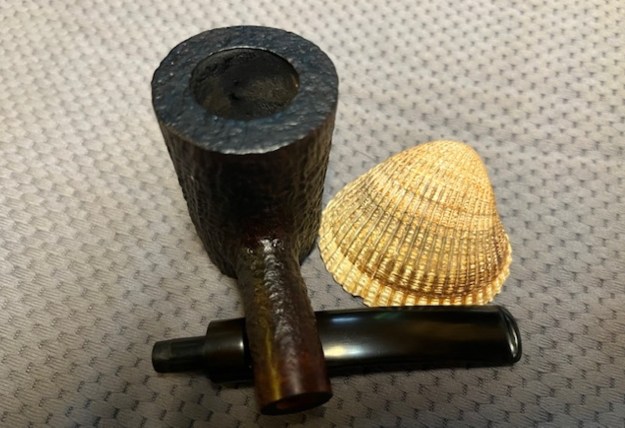
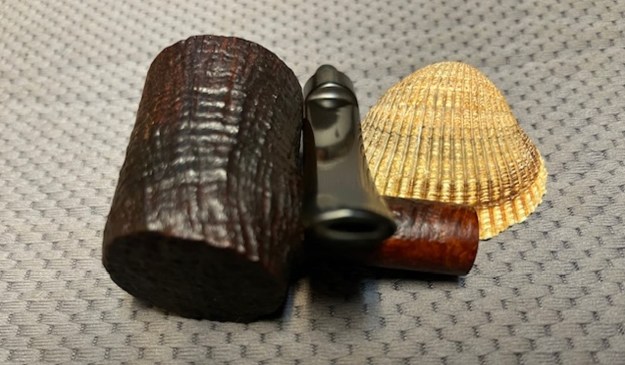
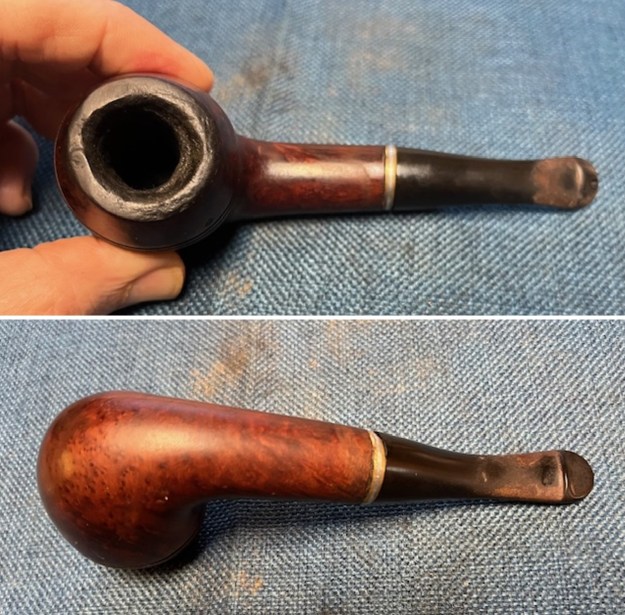
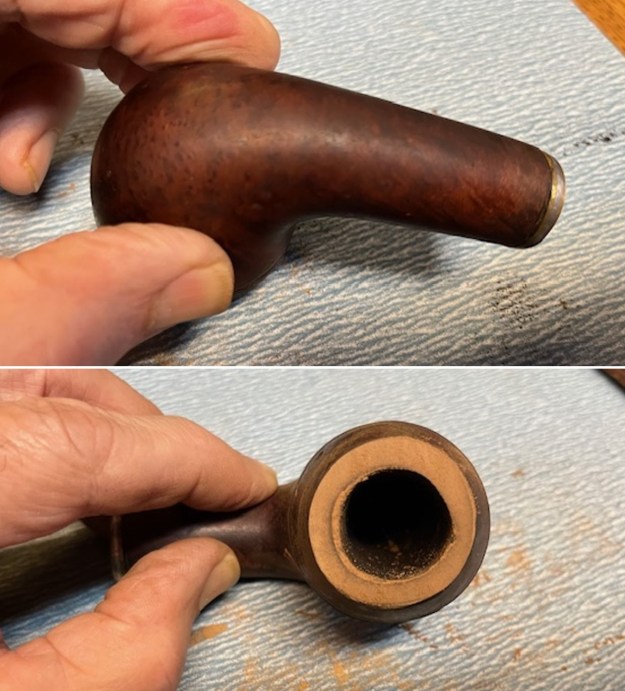
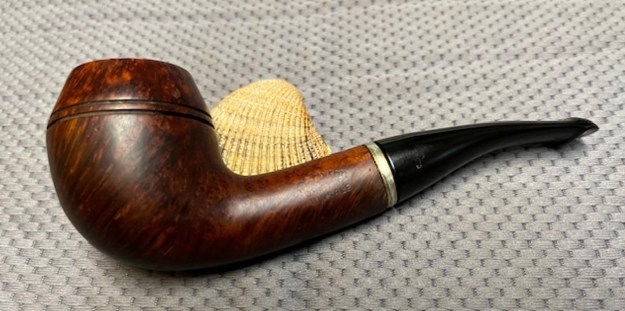
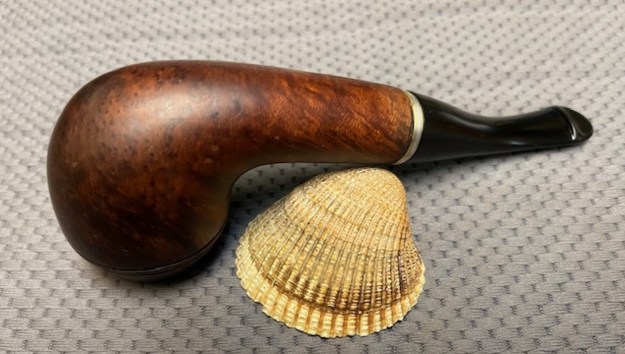
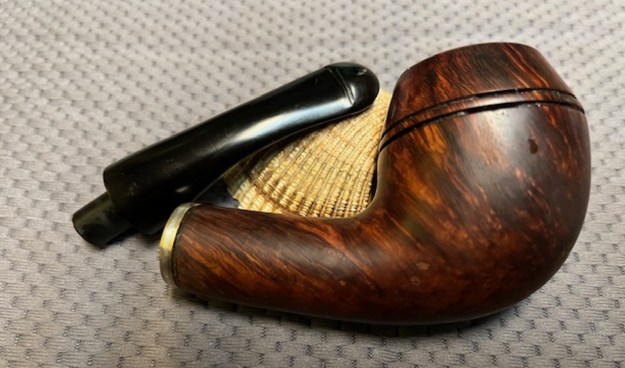
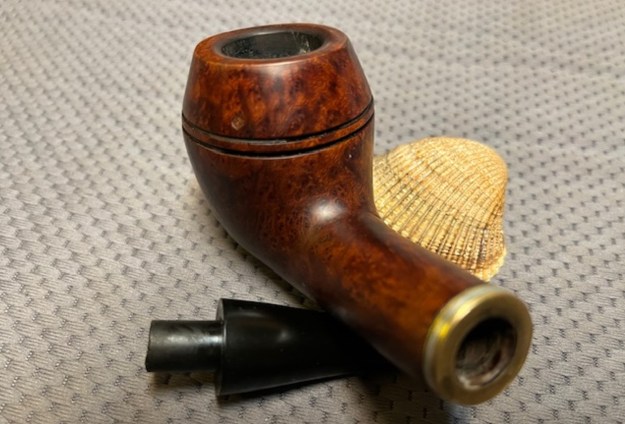
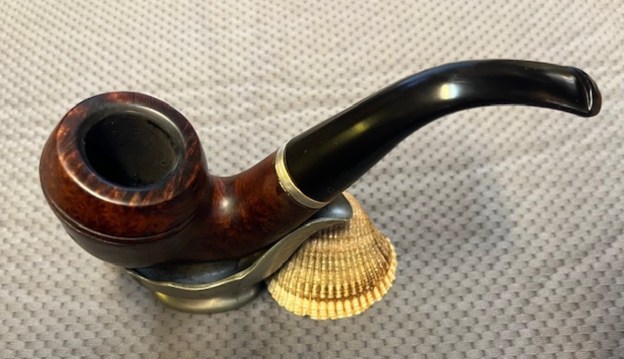
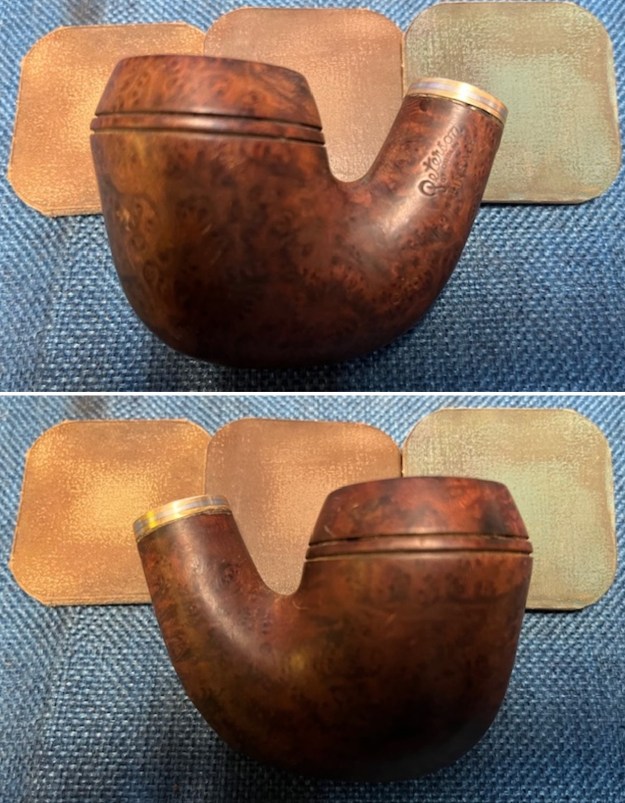
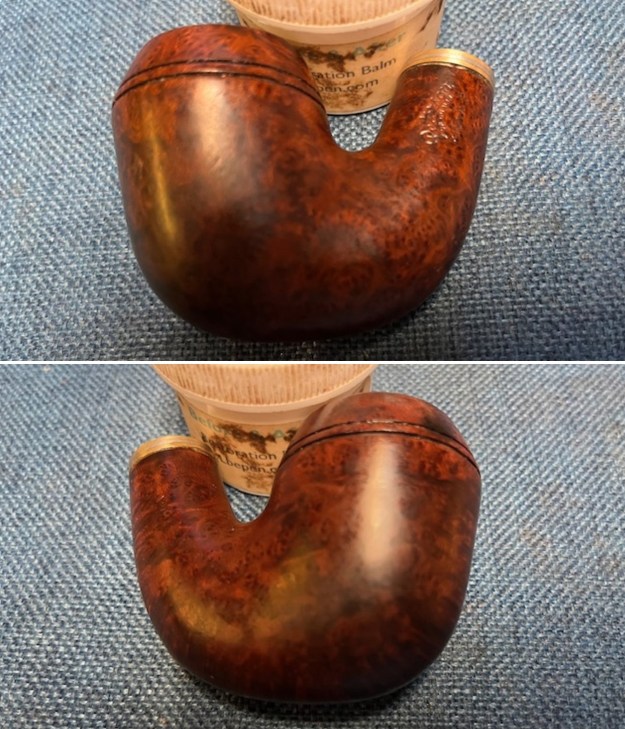
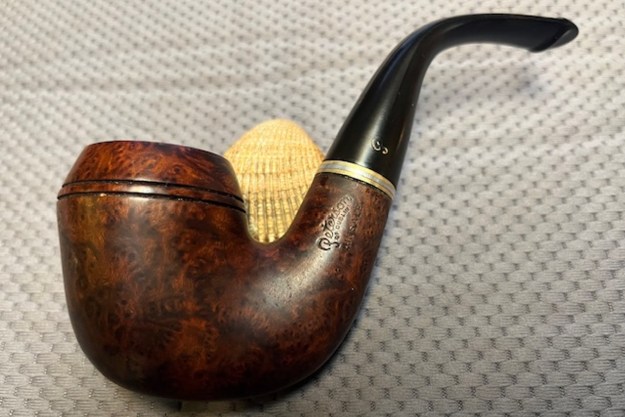
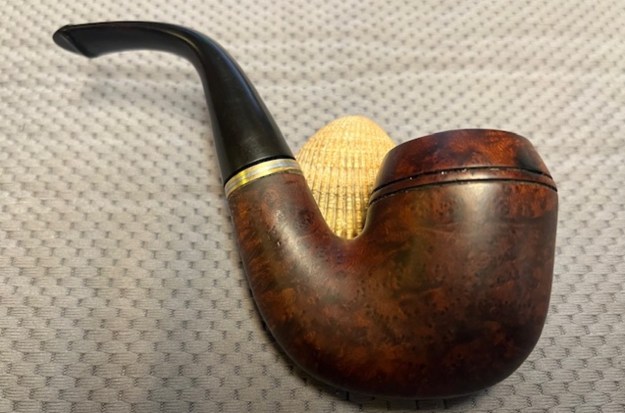
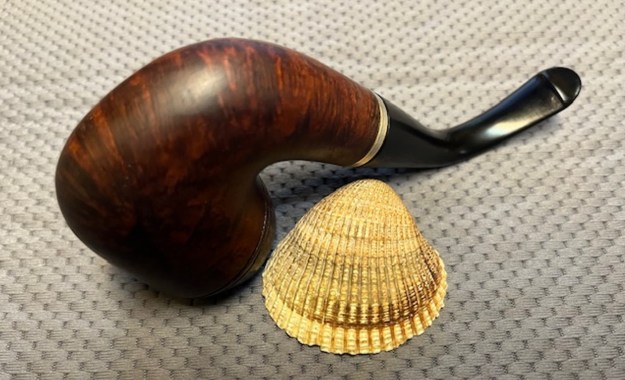
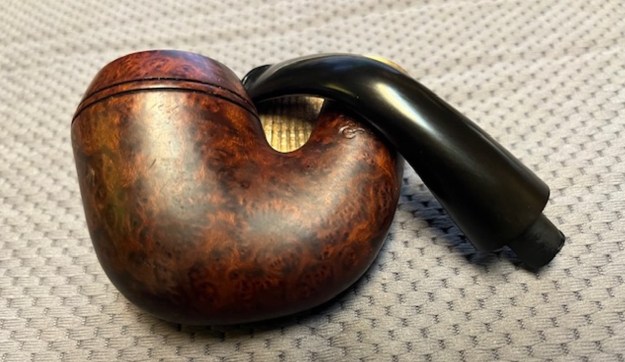
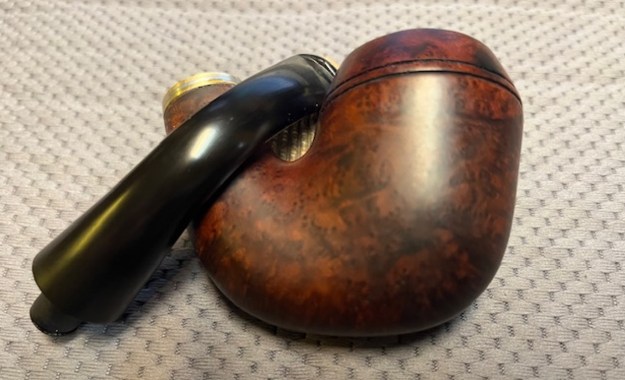
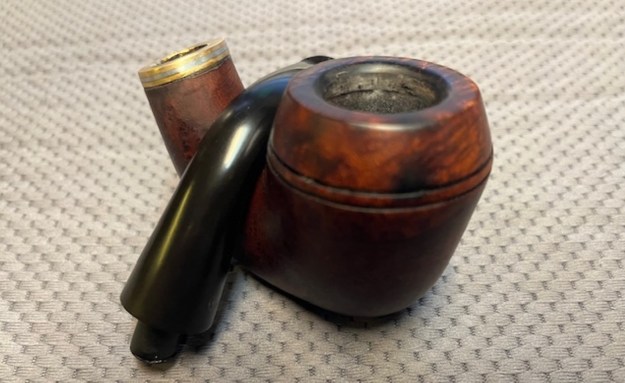
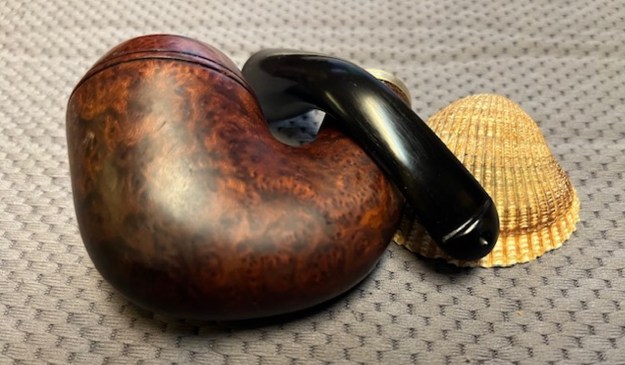
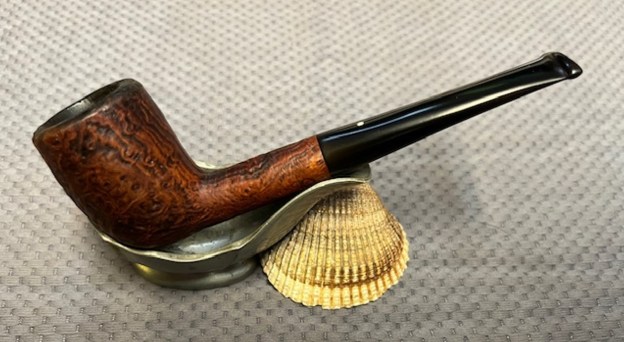
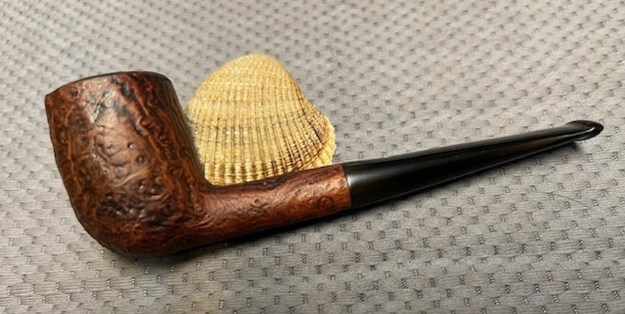
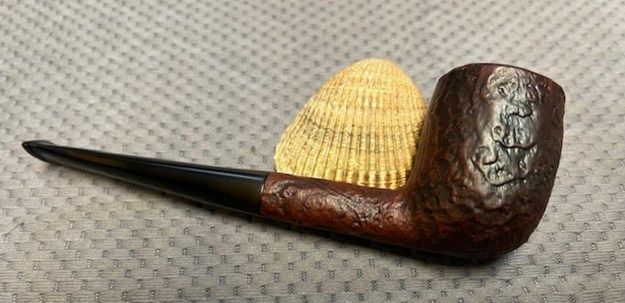
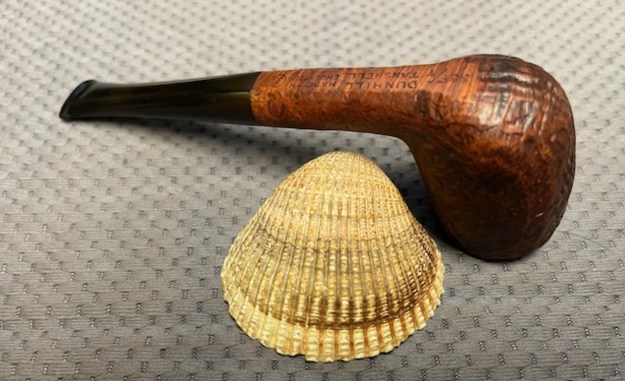
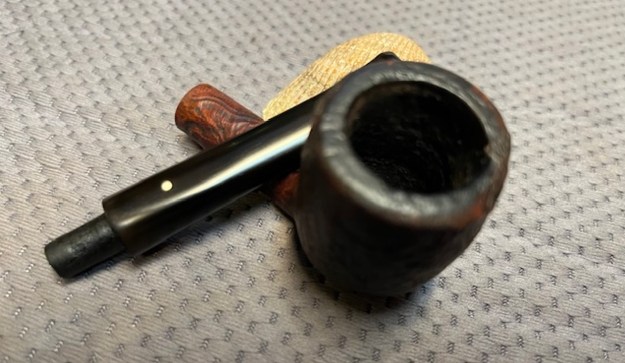
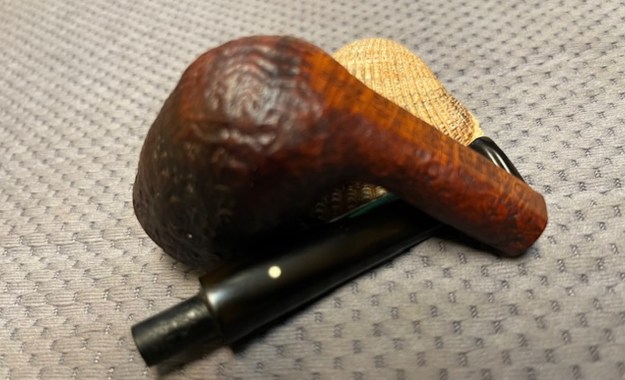
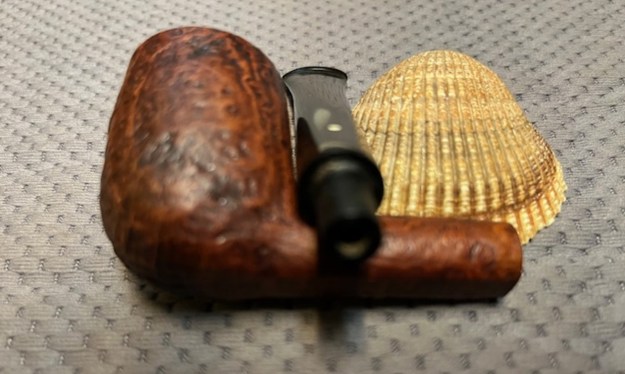
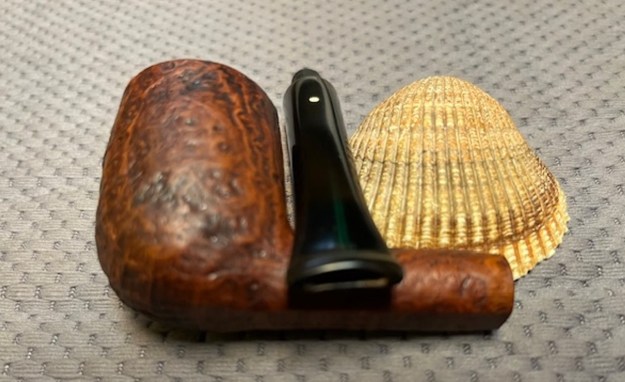
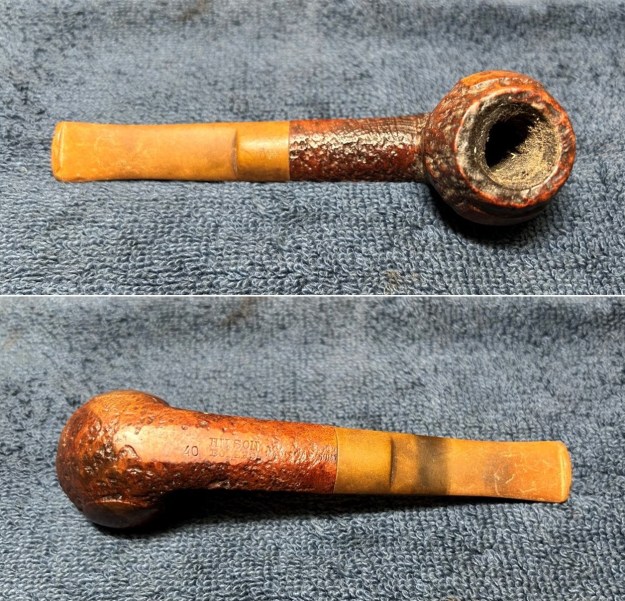
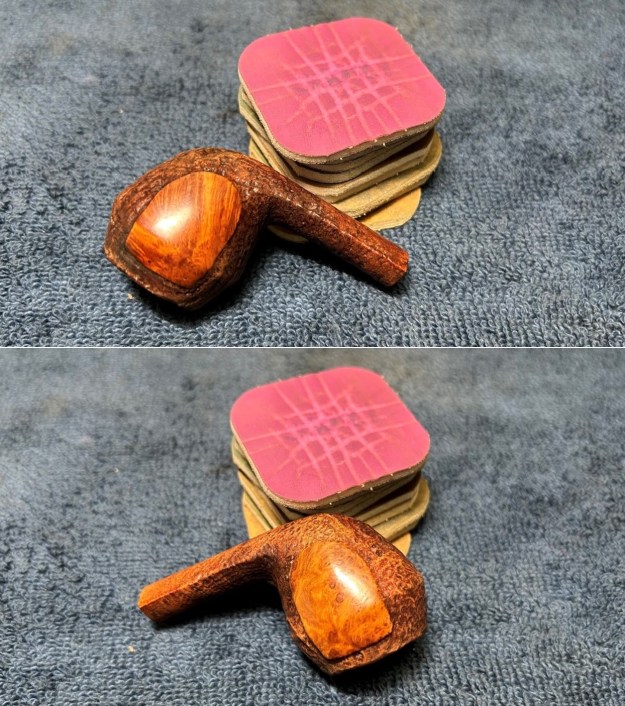
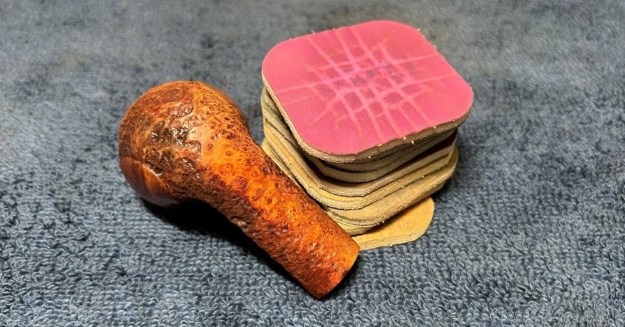
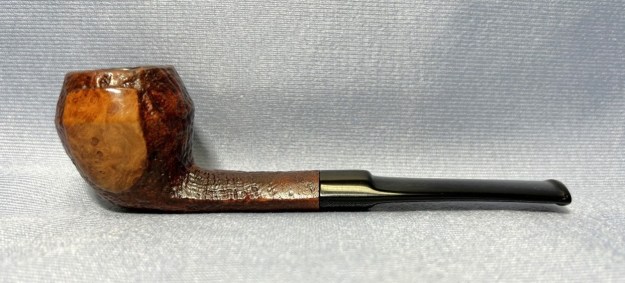
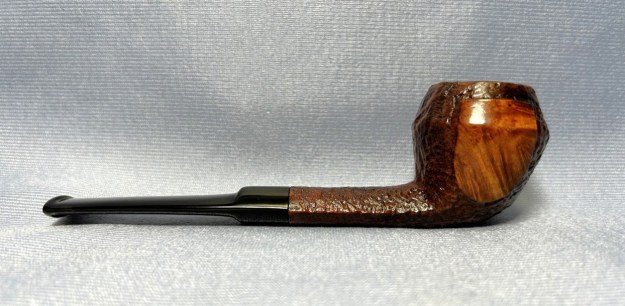
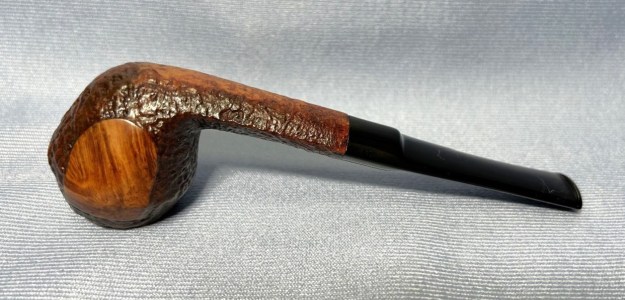
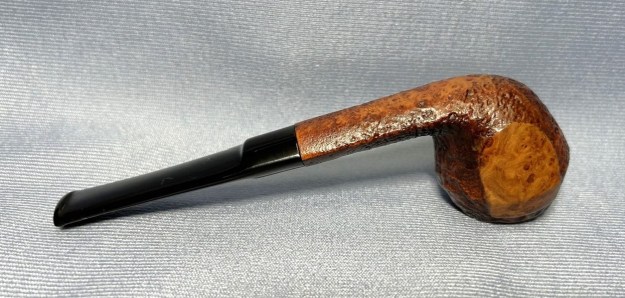
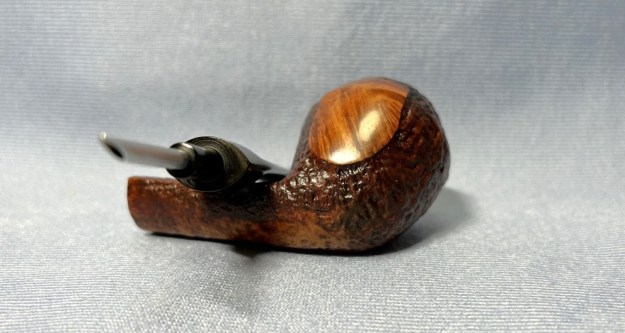
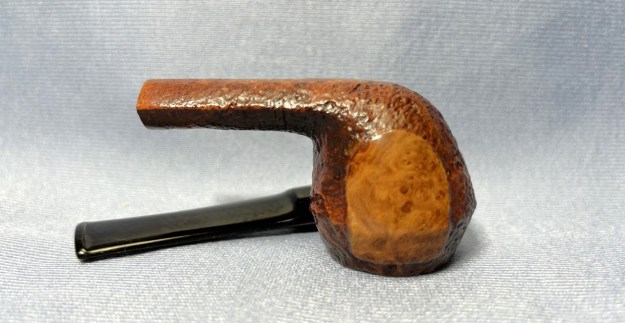
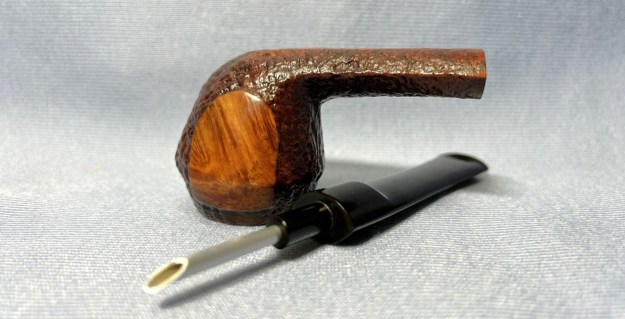
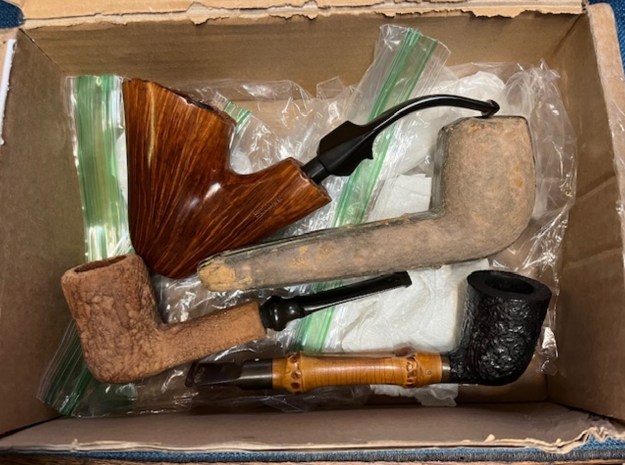
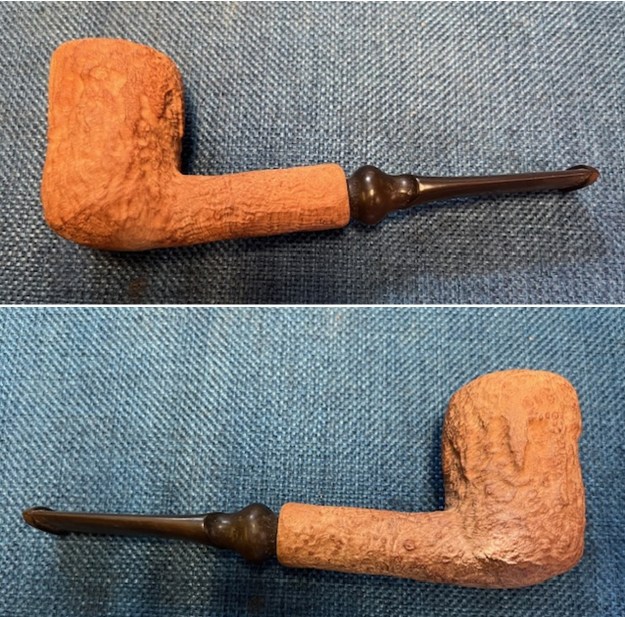
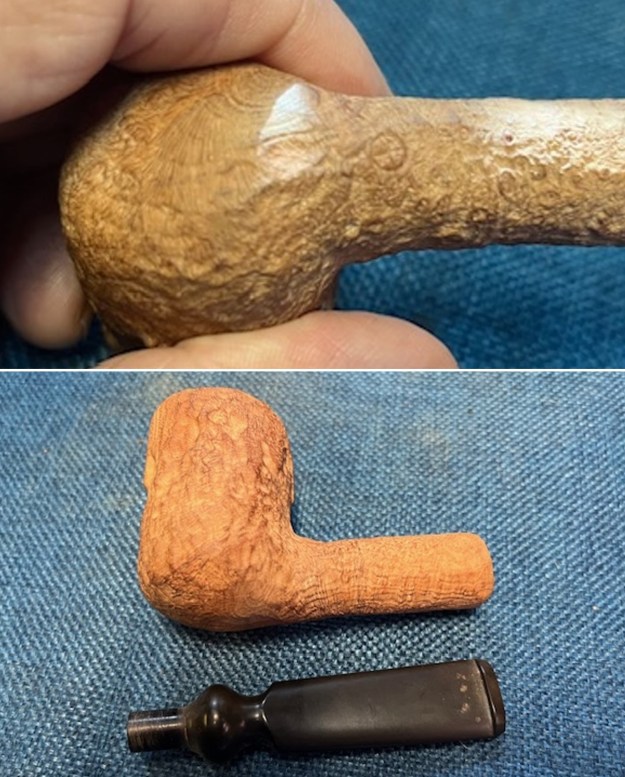
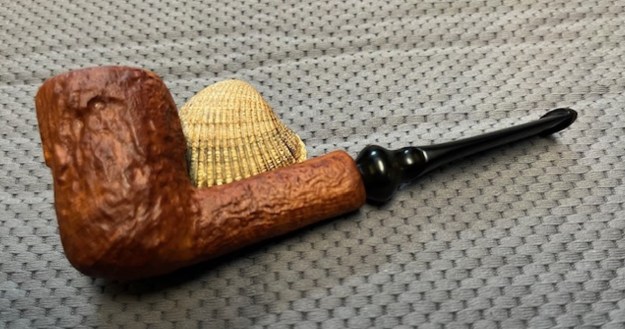
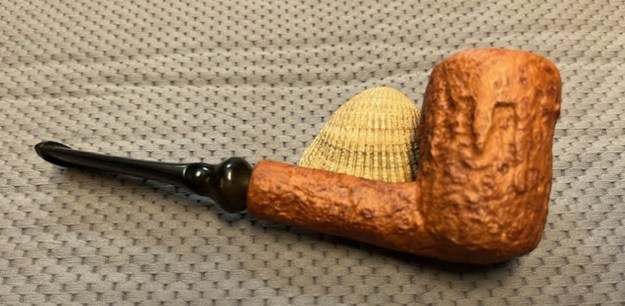
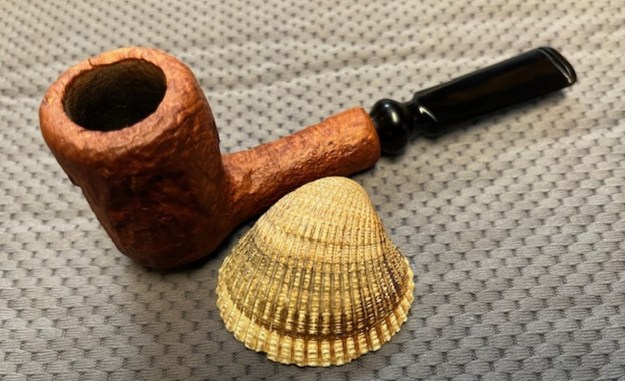
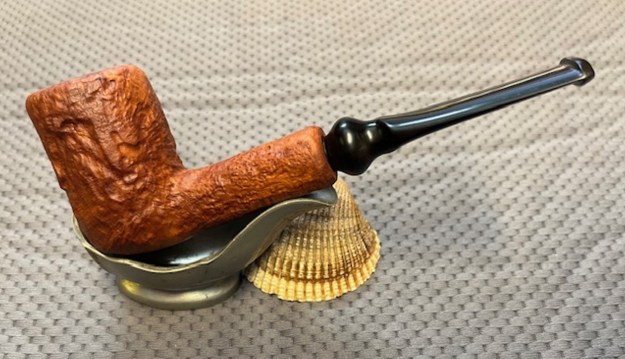
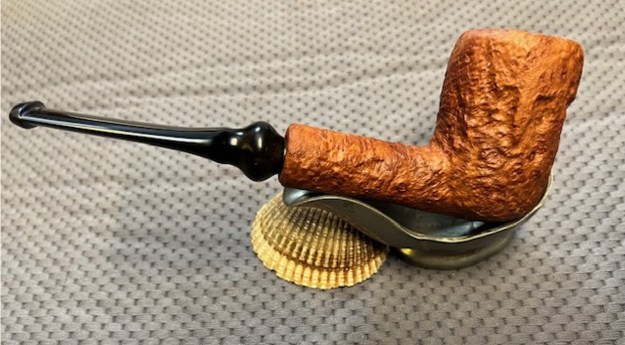
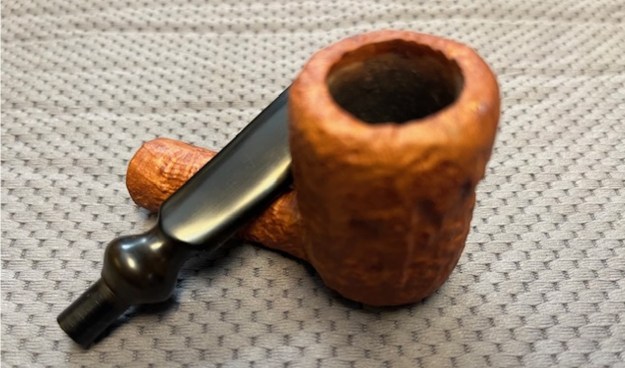
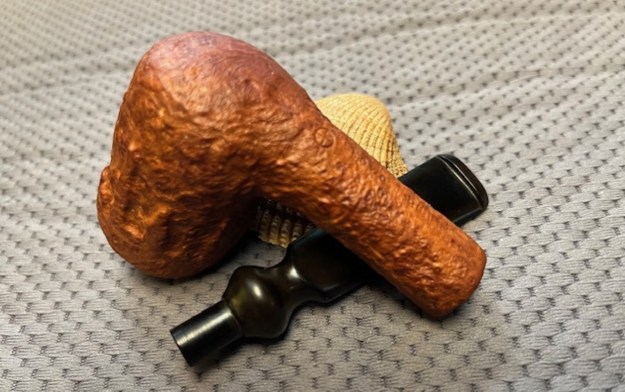
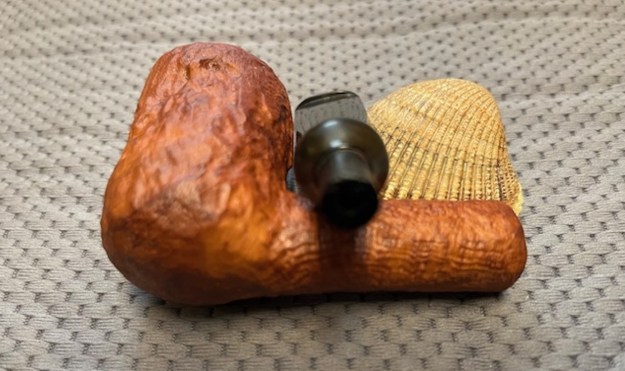
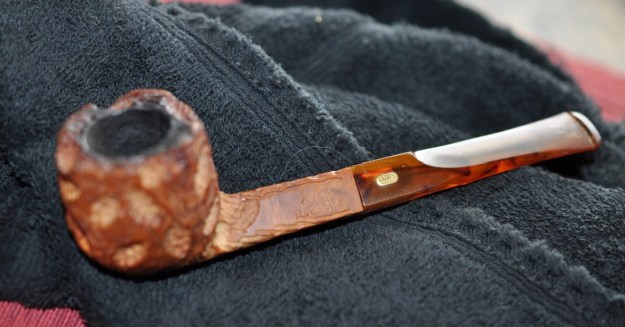
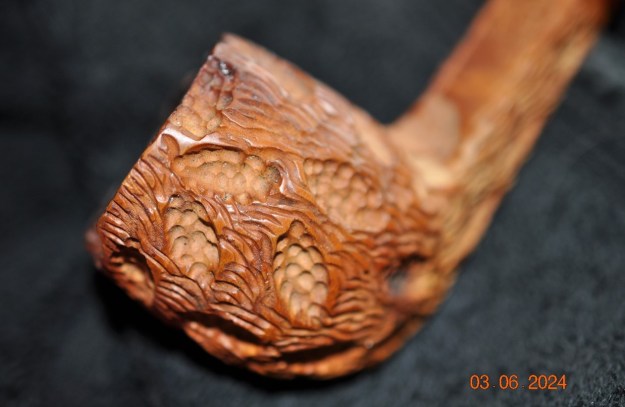
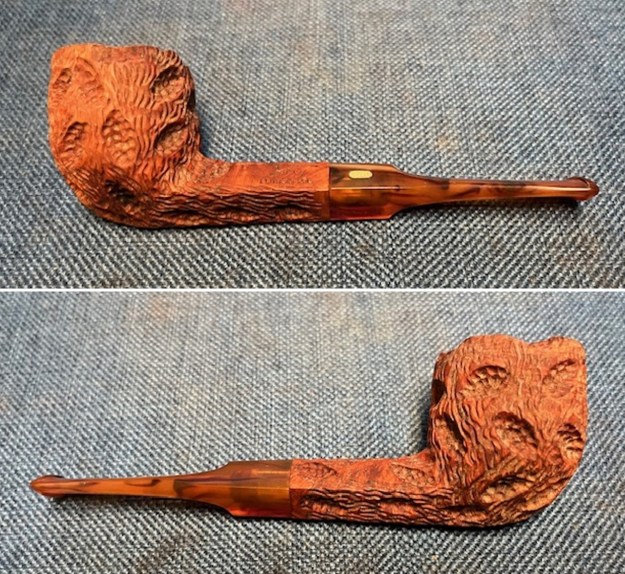
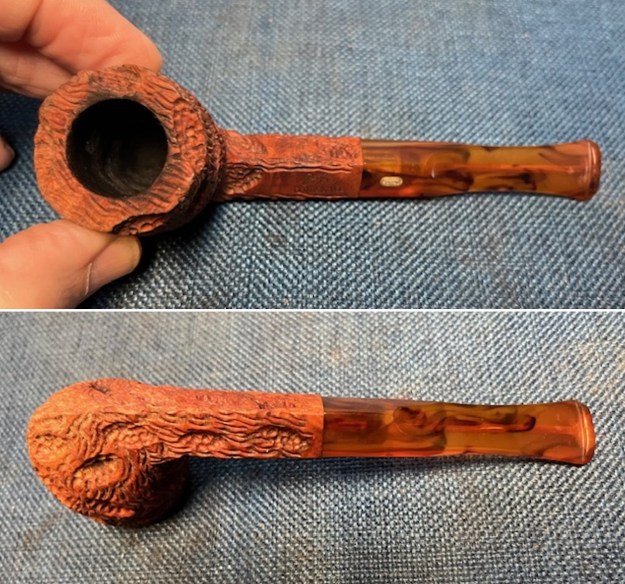
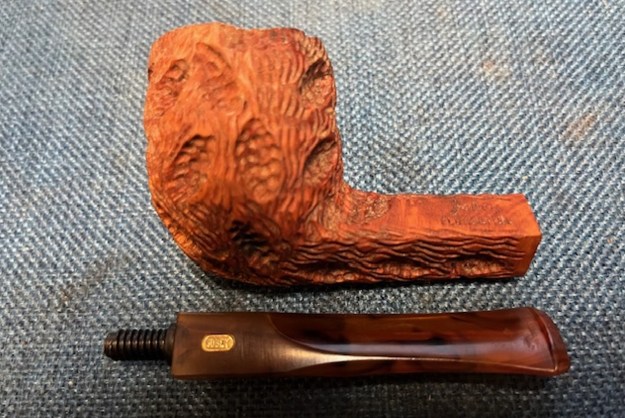
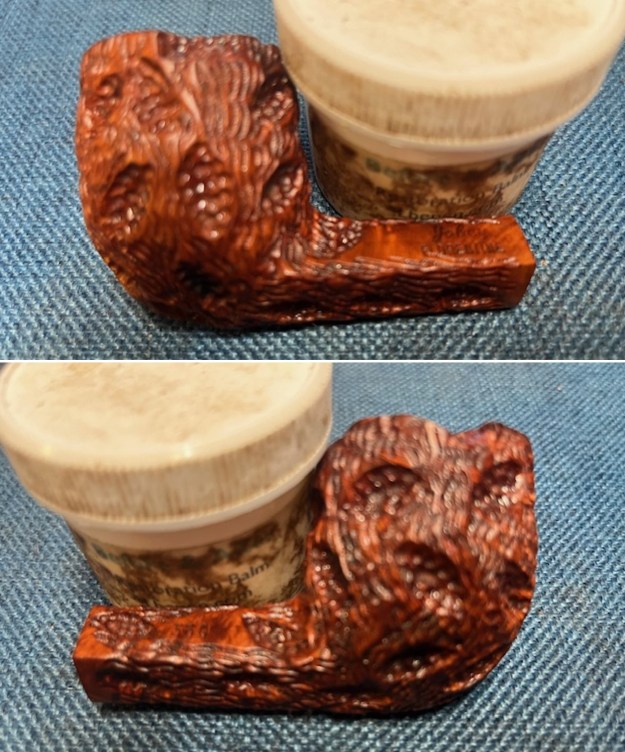
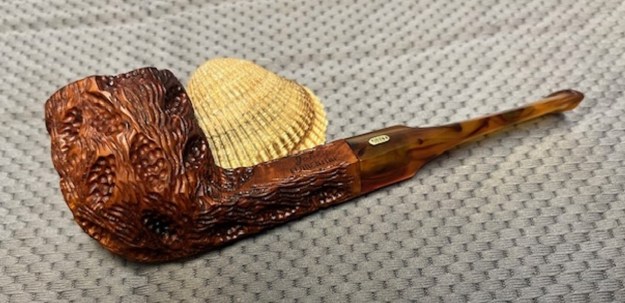
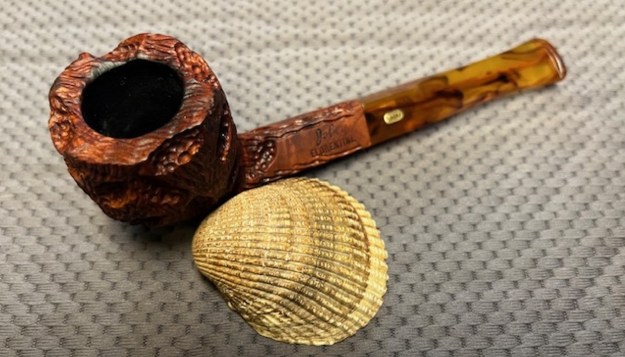
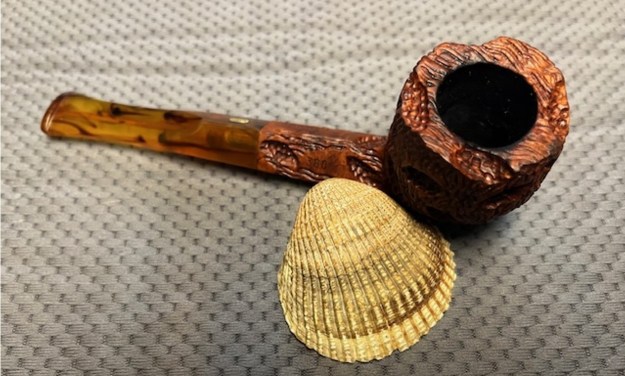
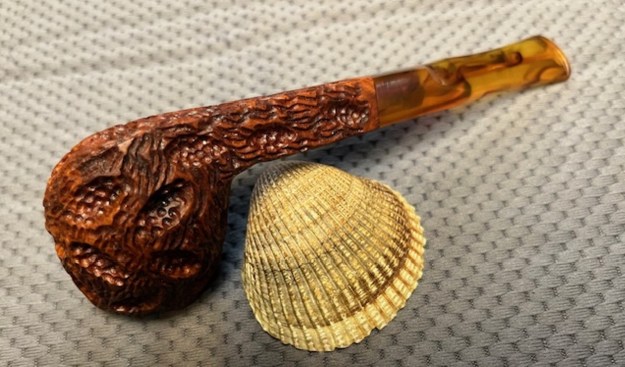
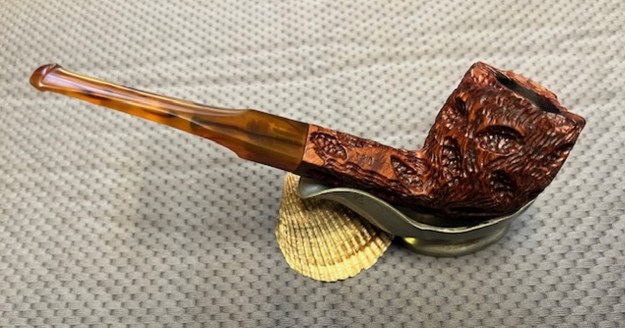
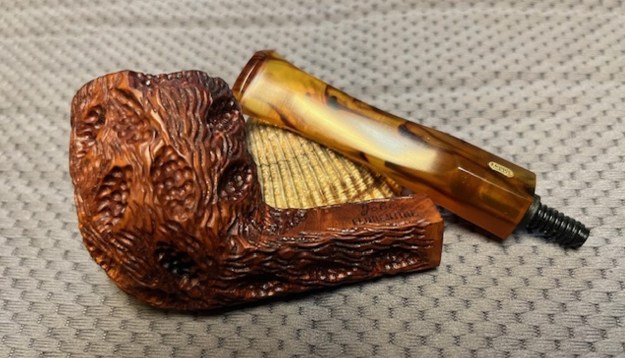
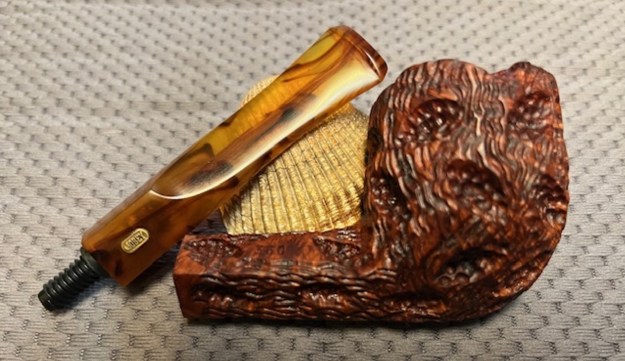
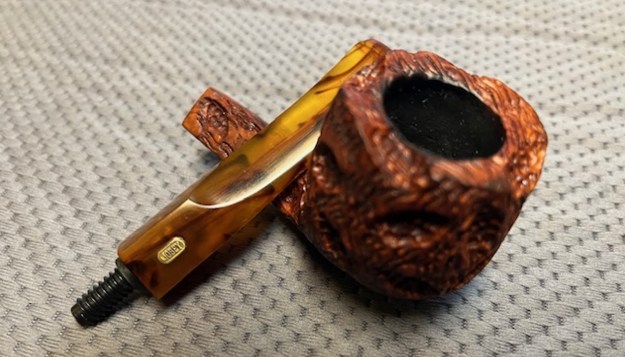
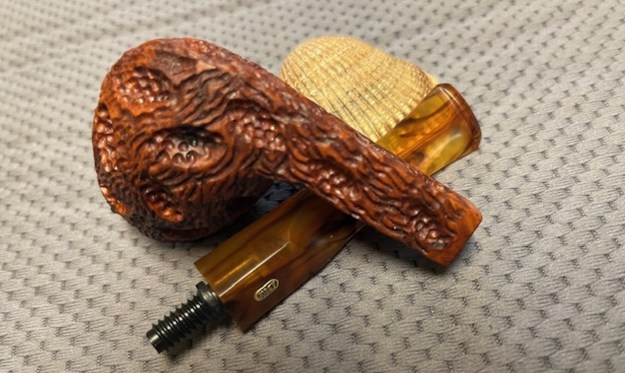
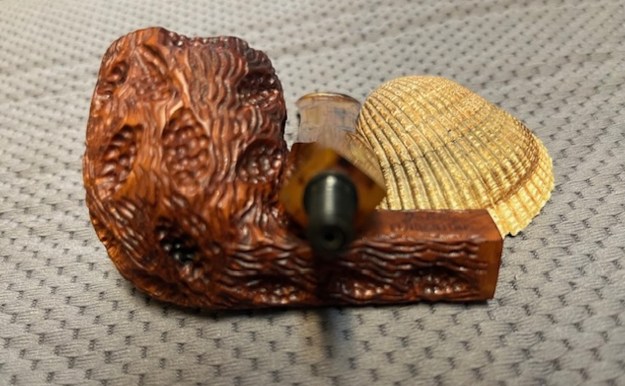
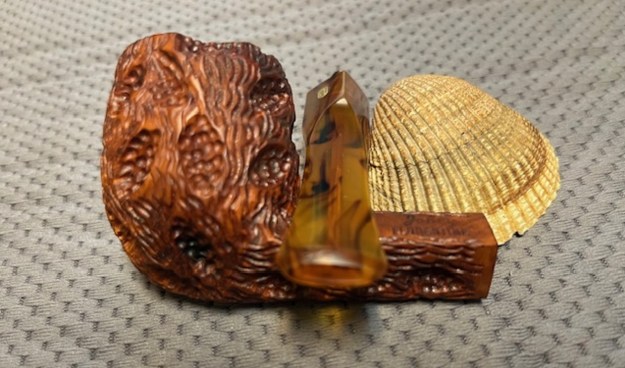
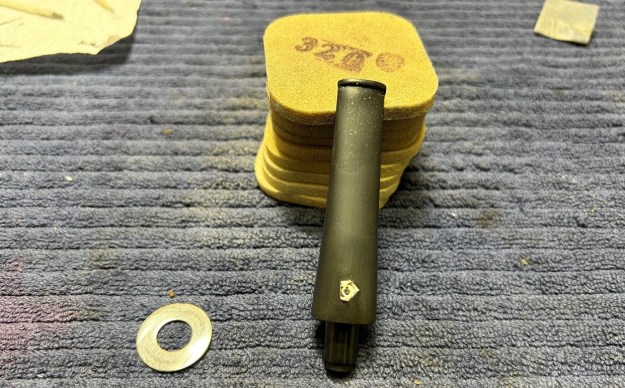
Next up is this interesting, rugged pipe from Kaywoodie. It is from the handmade Oversize Kaywoodie line and has wonderfully thick walls. When I first saw it, this nifty pipe reminded me, in style, of a Custombilt pipe. It is not that, but it is reminiscent of that. This was a bizarre and challenging restoration, but the results are terrific.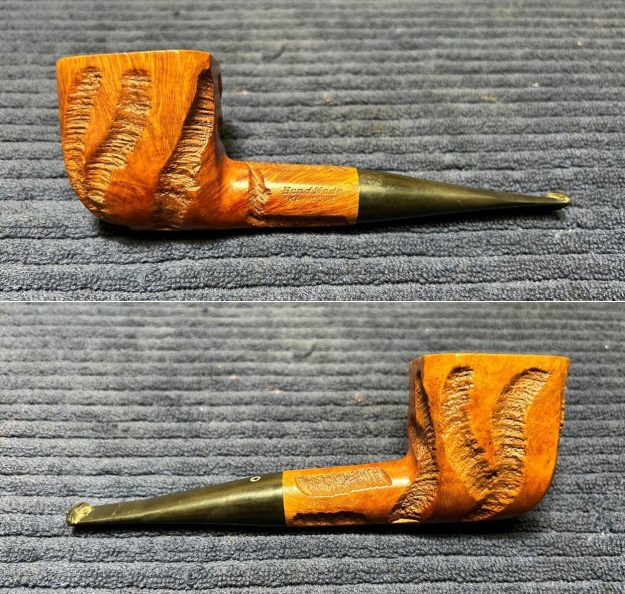
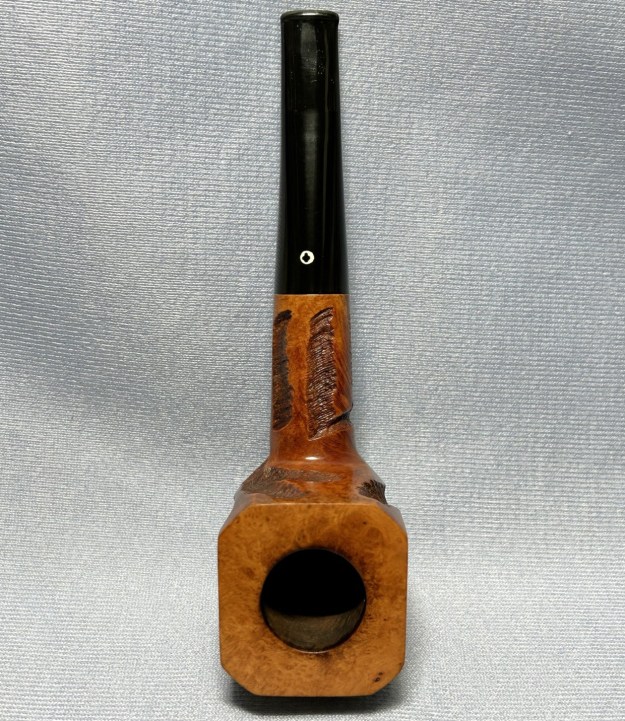
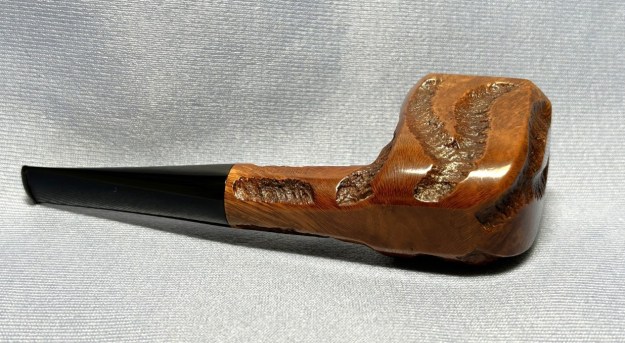
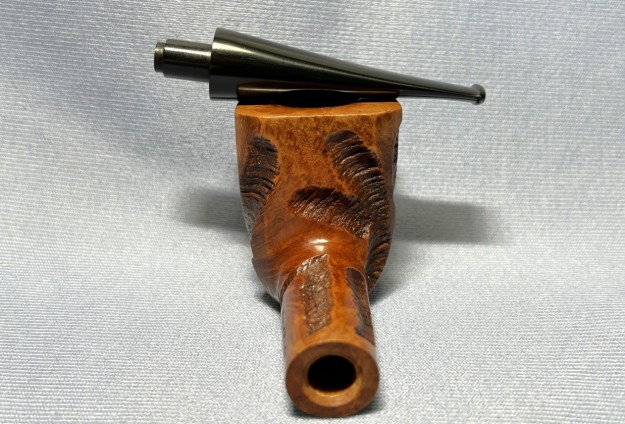
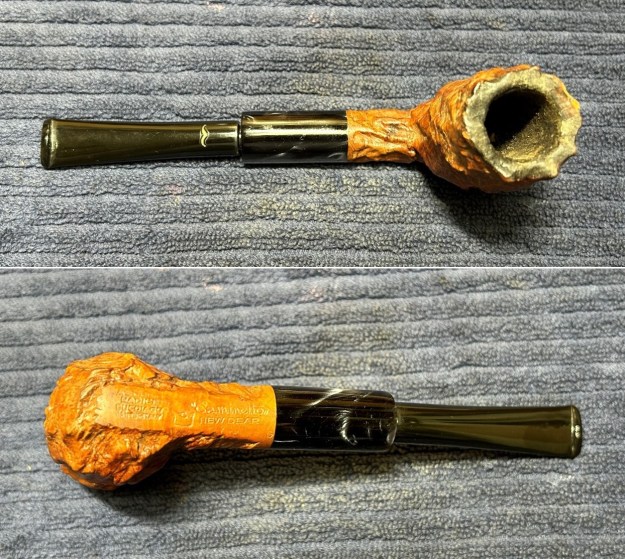
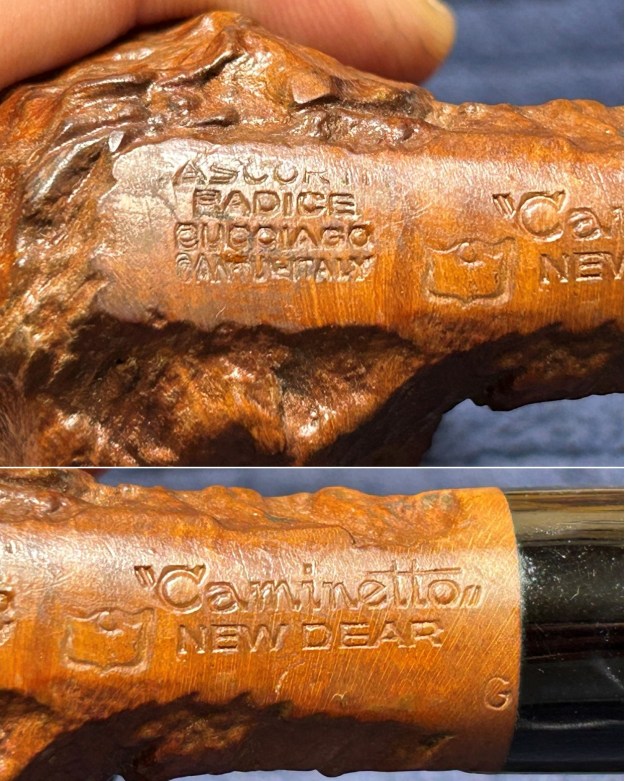
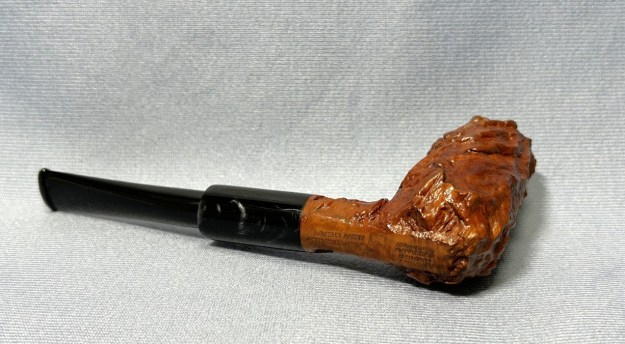
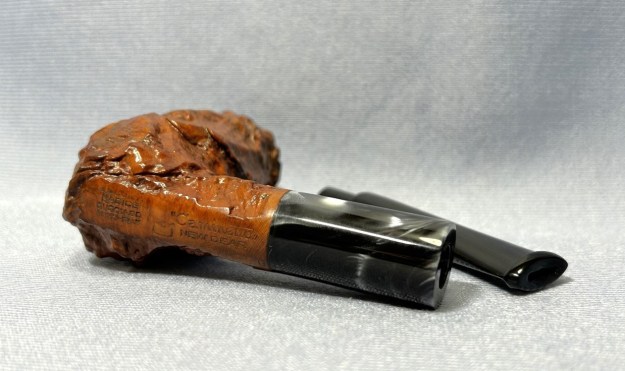
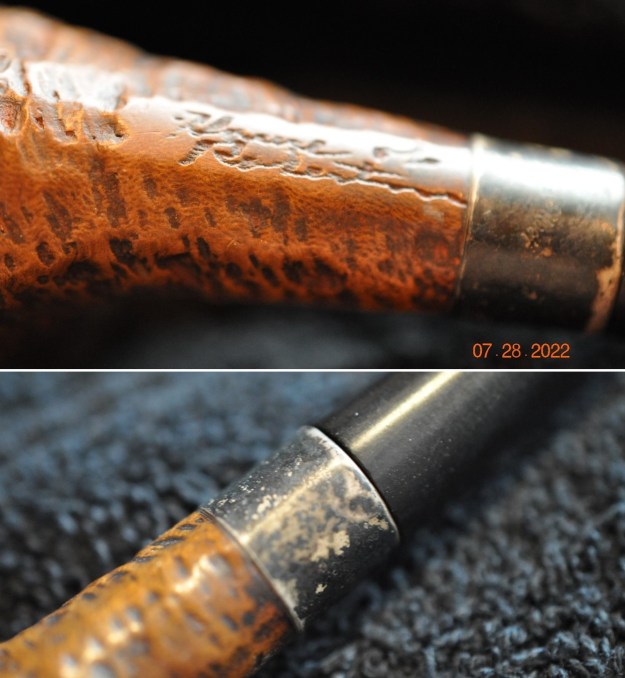
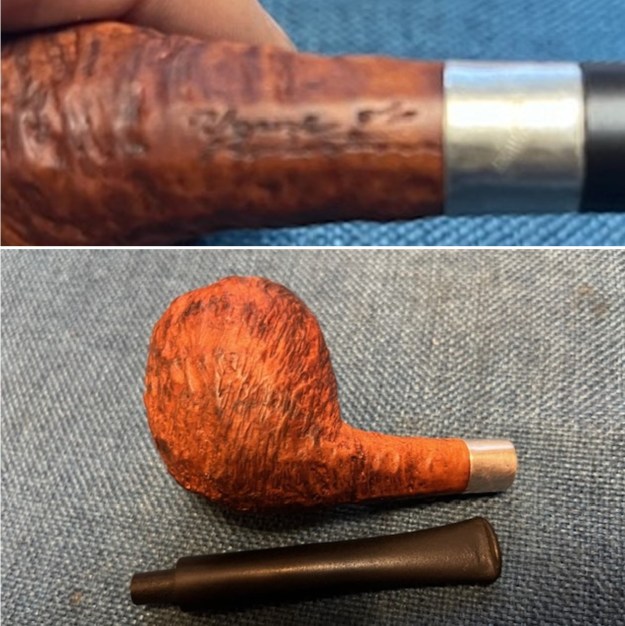
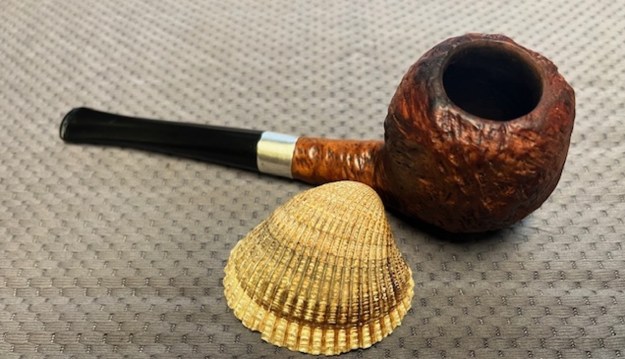
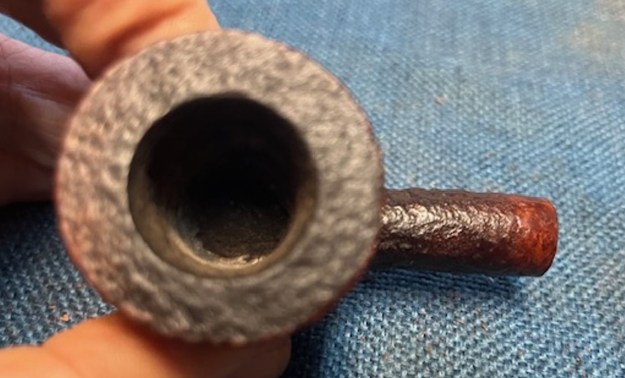
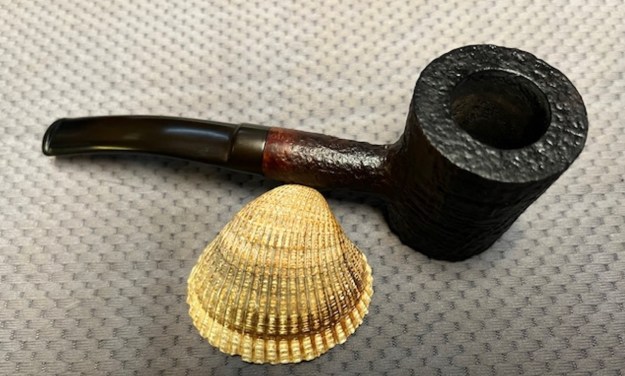
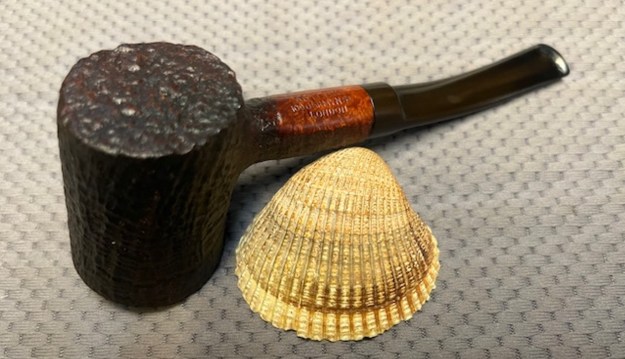
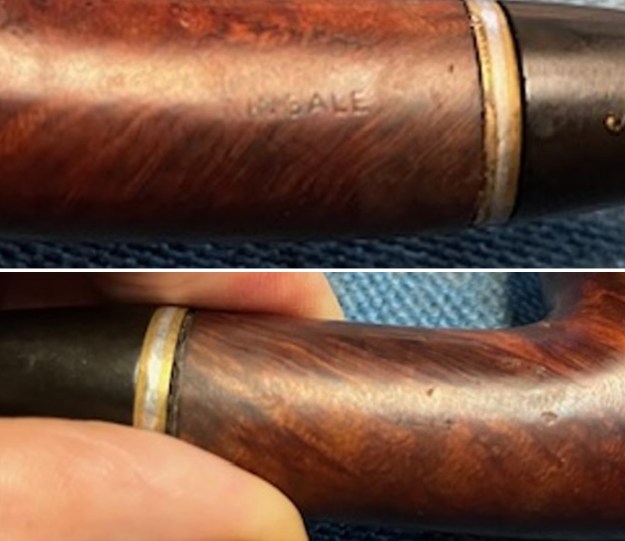
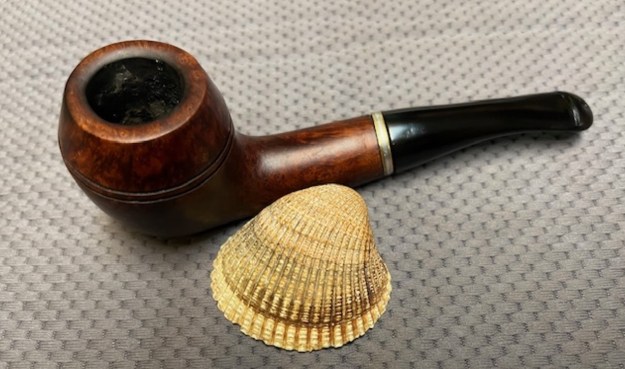
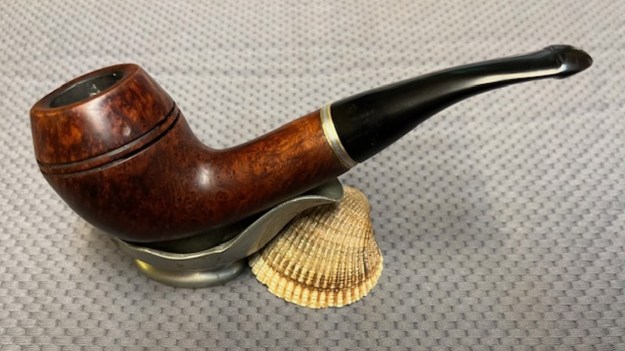
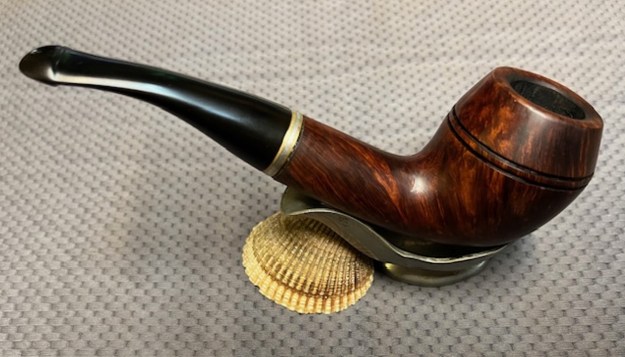
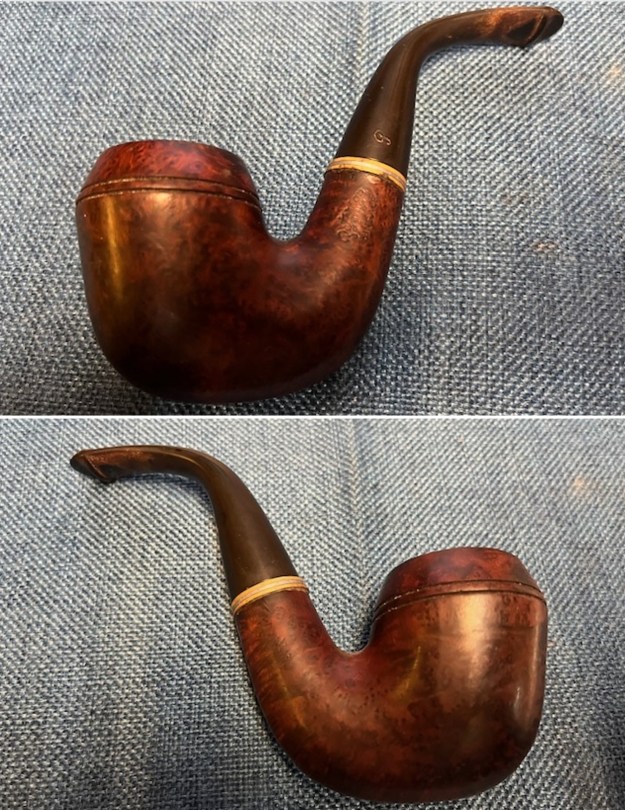
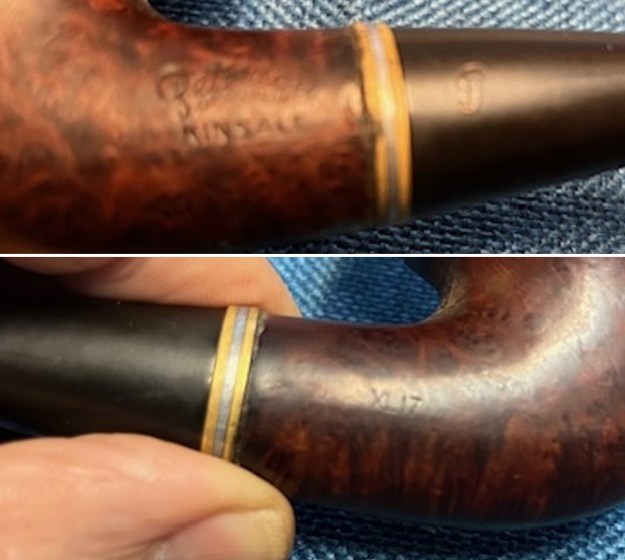
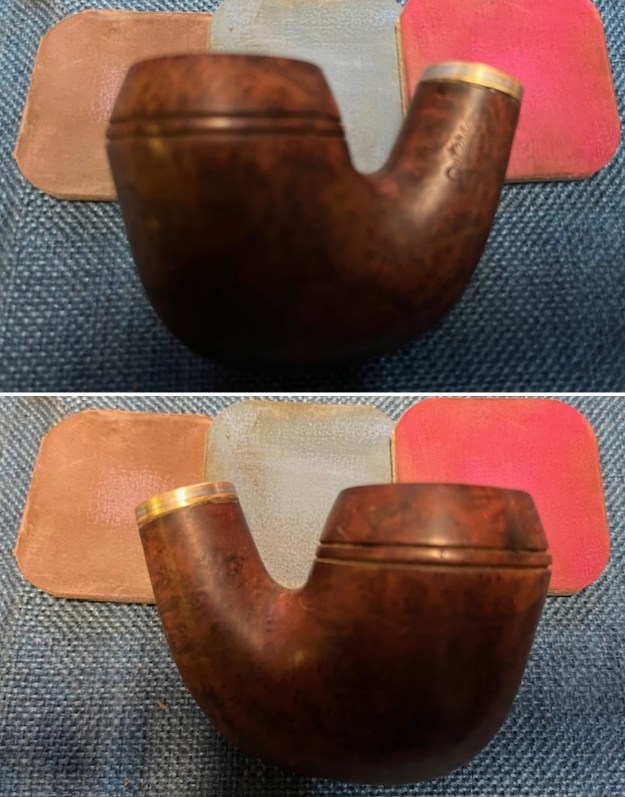
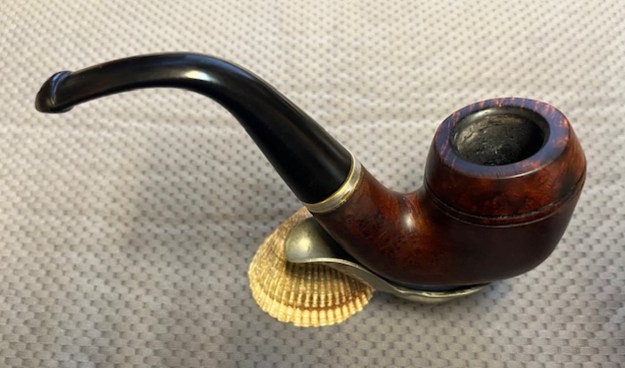
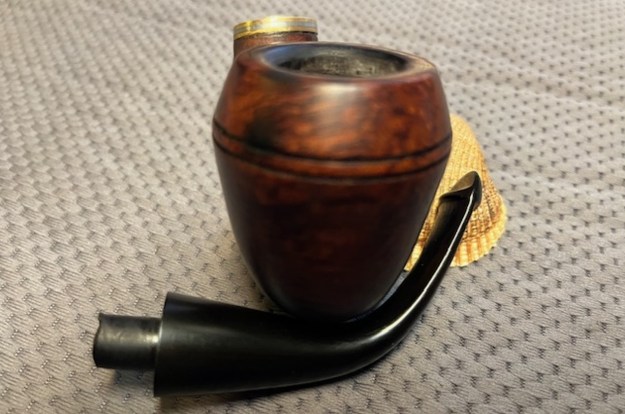
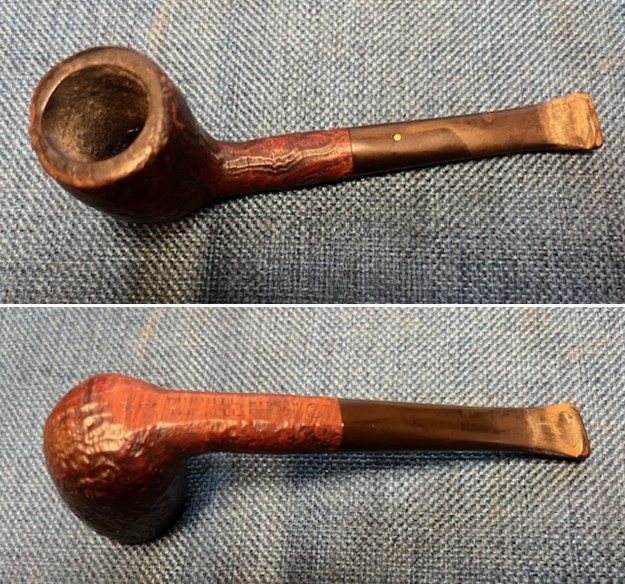
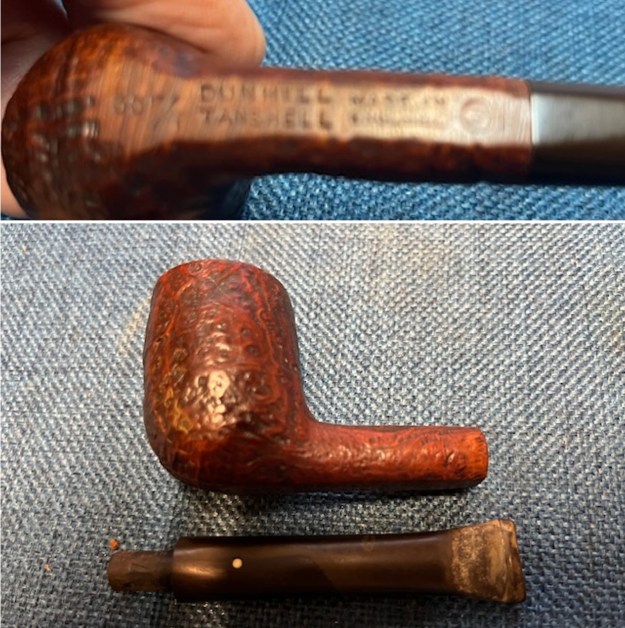
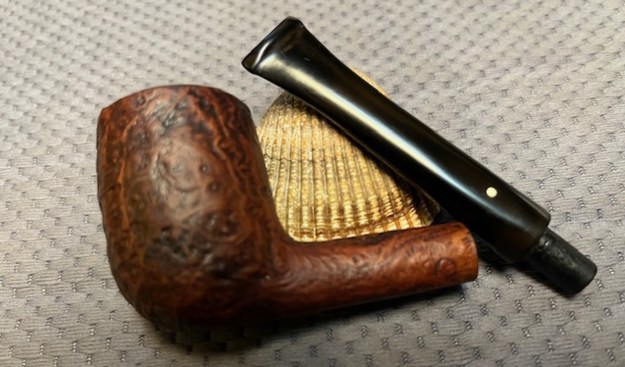
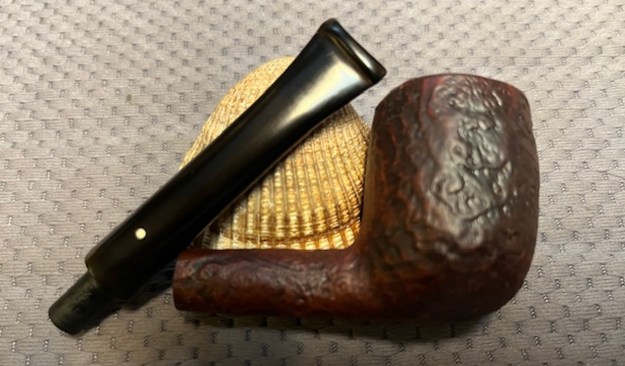
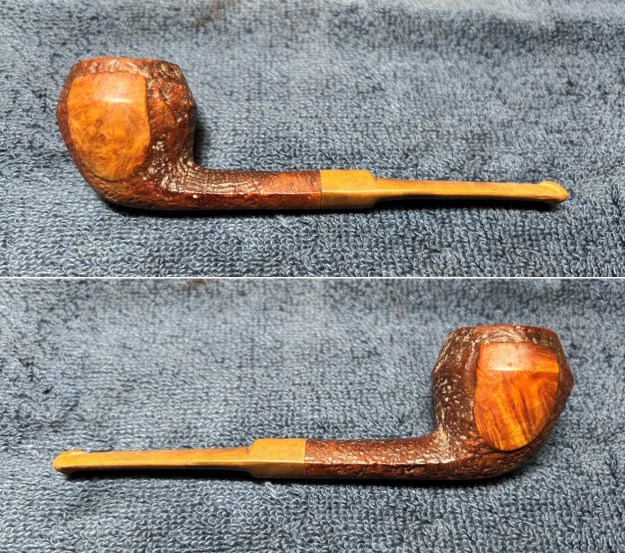
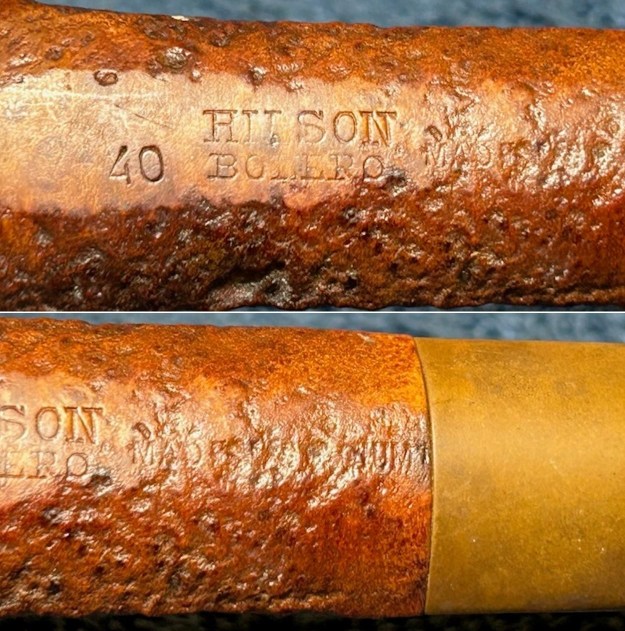
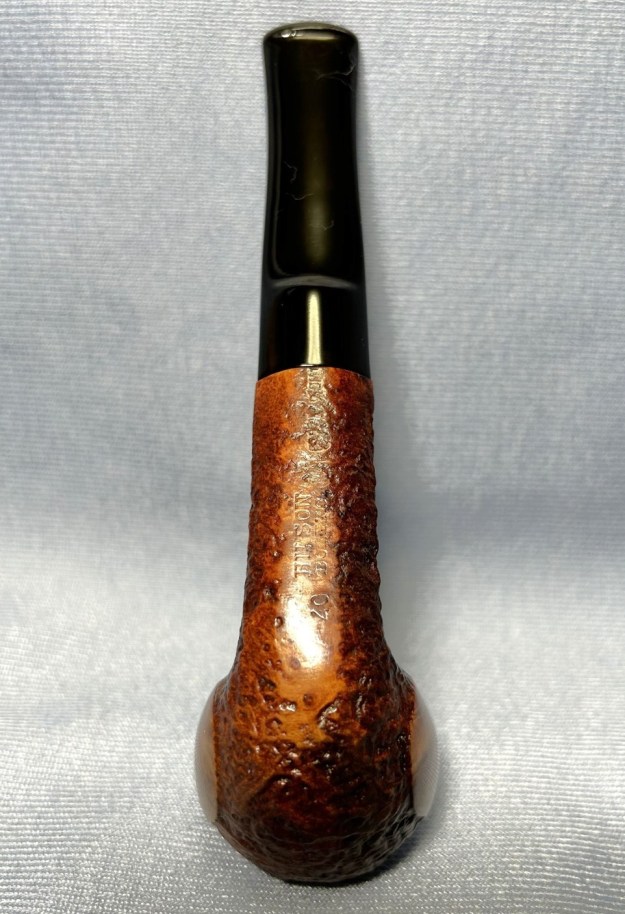
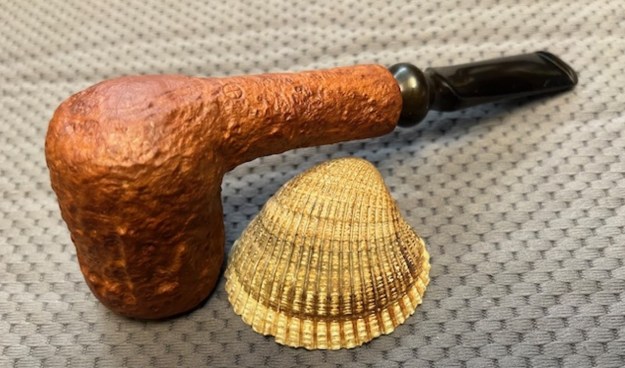
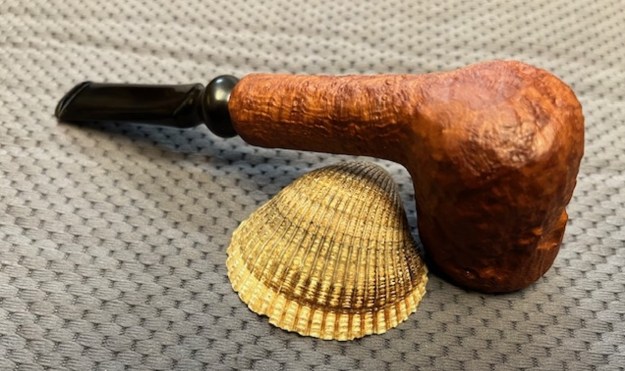
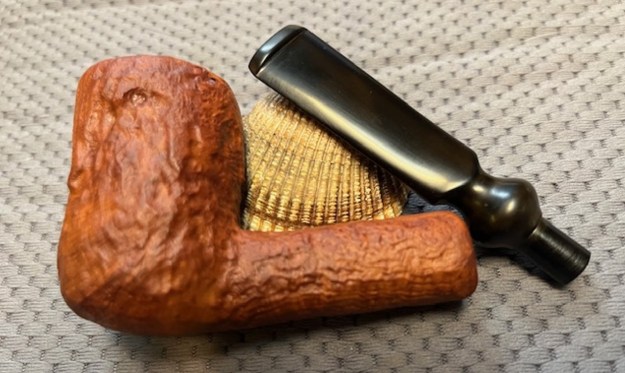
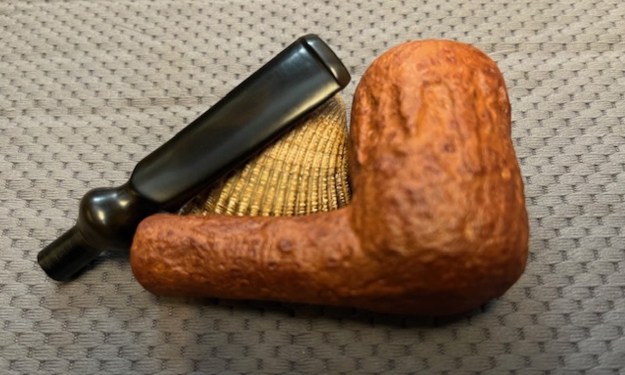
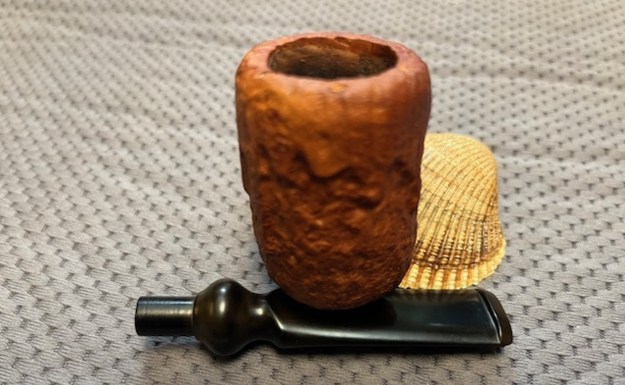
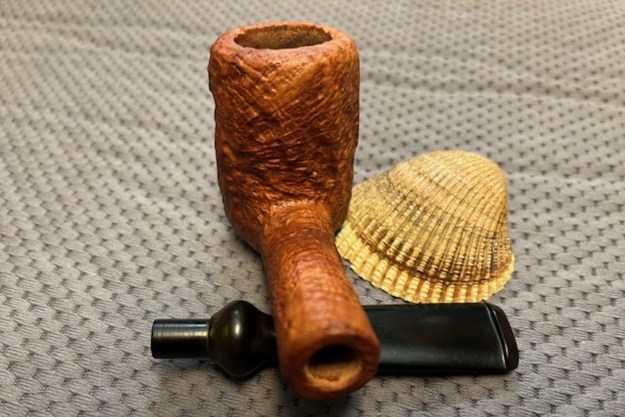
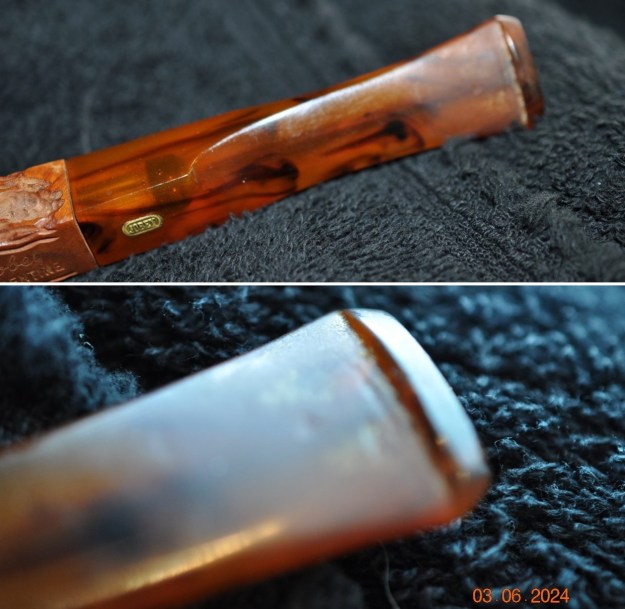
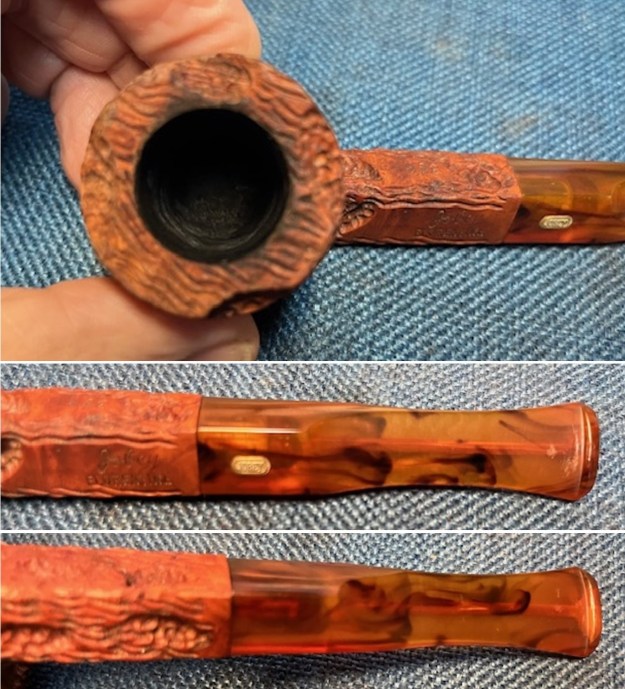
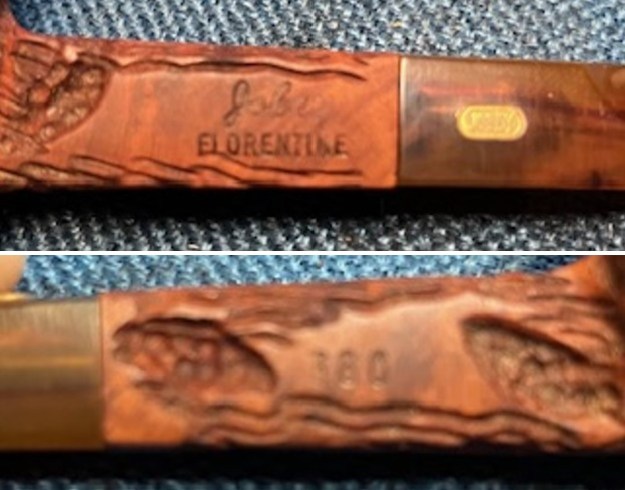
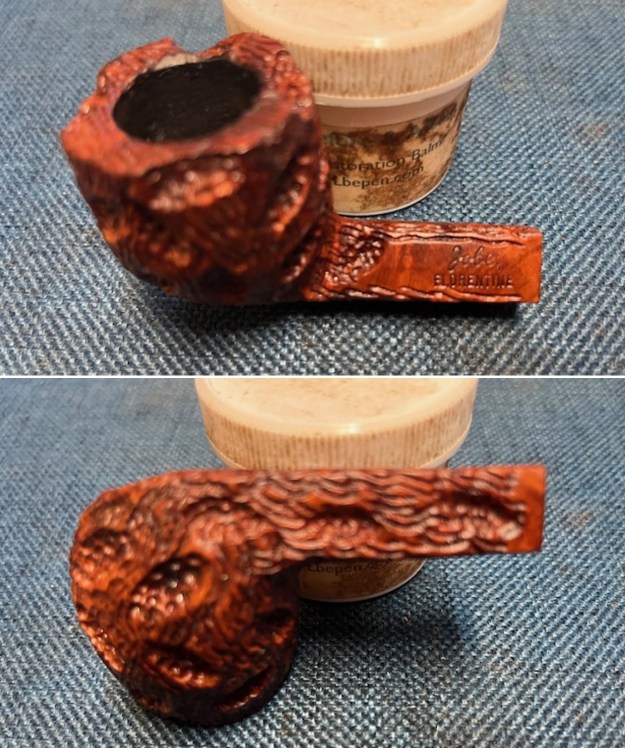
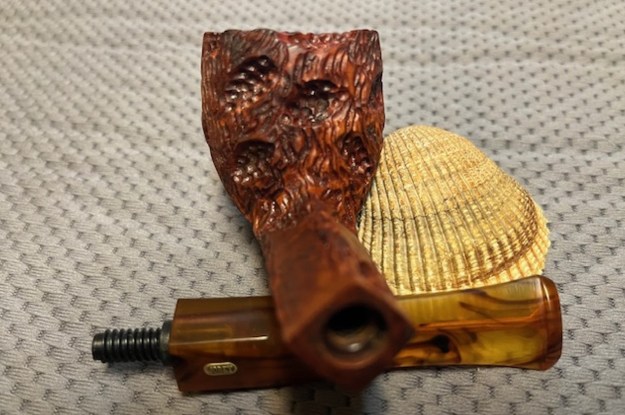
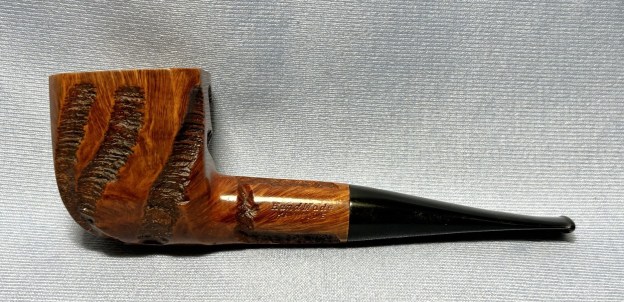
 Let’s examine the markings on the pipe. The left side of the shank shows HandMade [over] Kaywoodie. The right side of the shank shows, merely, Imported Briar. Finally, the stem has the famous cloverleaf logo on the top. As you can see, it is a white circle with a black leaf inside. Unfortunately, there was no shape number, no shape name, nor any other markings. Hmm…
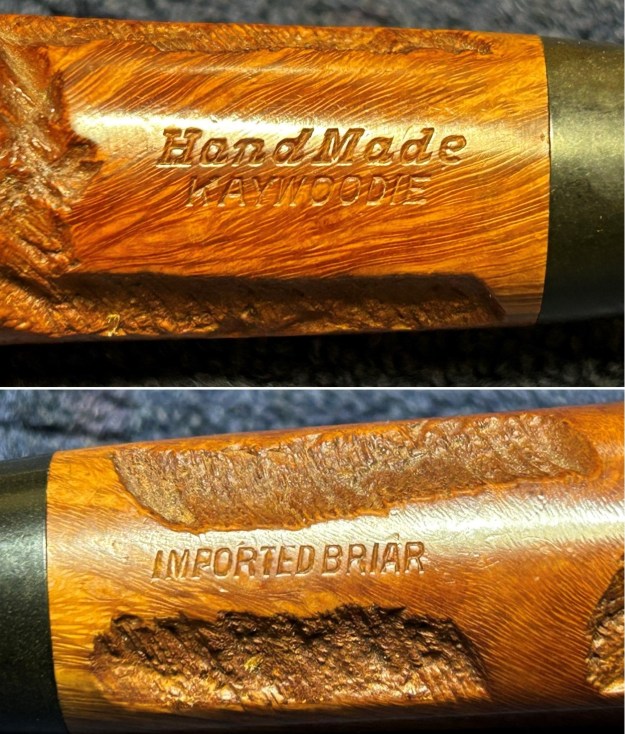
 Dating this Kaywoodie is a bit of a head-scratcher. I think I’ve figured it out, but the historical details of many a pipe have been lost in the mists of time. This is an Oversize Handmade Kaywoodie and it doesn’t help that, as I mentioned, there isn’t any shape number on the pipe. Perhaps the cloverleaf logo on the stem can help. Pipephil says:
The cloverleaf logo: the round logo (black cloverleaf in white circle or white cloverleaf in black circle) was first used in 1937. Up until the late 40’s this logo was used on all of the upper-grade pipes. The concomitant use of the plain white cloverleaf and the disk inlaid logo continued until the early 80’s. Up until the late 1940’s/early 50’s, the logo was on top of the stem. After that the logo was moved to the side of the stem (exceptions exist).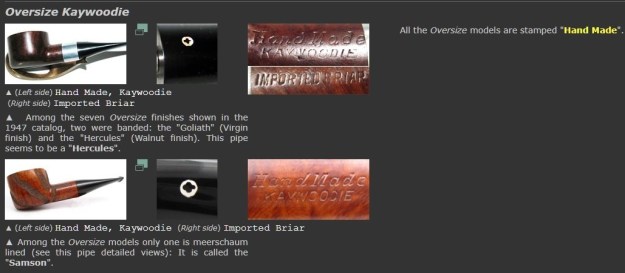 So, perhaps this is a better-quality pipe! From what little I understand, this was, indeed, considered to be a better pipe. Pipedia laid this information out:
Throughout much of the 1940’s, 50’s and 60’s, the Kaywoodie family of pipes consisted of 11 basic grades of briar pipes; though new grades were frequently added to the line and some older grades were discontinued or downgraded. These 11 basic grades of pipes, listed in ascending order of quality, were:
Drinkless
Hand-made Super Grain
Super Grain
Relief Grain
Flame Grain
Silhouette
Oversize Kaywoodies
Meerschaum Inlaid Kaywoodies
Connoisseur
Ninety-fiver
Centennial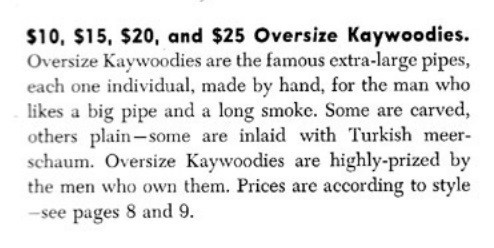
Given how singularly rare the last two were (Ninety-fiver and Centennial), this would indicate a very good quality pipe. Pipedia gave me reason to think this particular pipe was from 1947. Part of the article entitled “Collector’s Guide to Kaywoodie Pipes”, states:
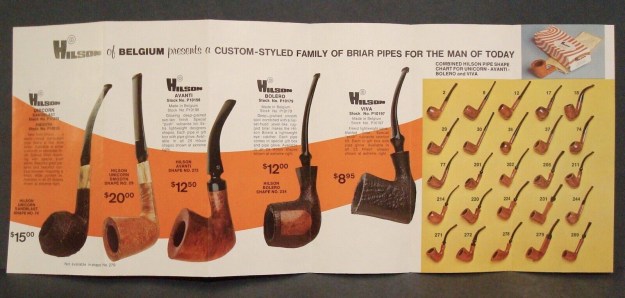
The 1947 Kaywoodie catalog shows 12 grades of briar pipes and introduces the Kaywoodie Block Meerschaum. The briar pipes were available in 69 shapes. In addition to these individual pipes, the 1947 catalog shows two- and seven-pipe matched grain sets. The Oversize Kaywoodies were, as the name implies, “Giants”. Lowndes notes that these pipes were stamped simply, “Hand-Made”. The pipes were all roughly “bulldog-ish” in appearance and were available in the following styles and grades:
Hand-carved “Colossus” ($10)
Walnut finish, banded “Hercules” ($20)
Hand-carved “John Henry” ($10)
Virgin finish, specimen grain “Paul Bunyan”
($25) Virgin finish, banded specimen grain “Goliath”
($25) Walnut finish “Atlas”
($20) Hand-carved, Meerschaum-Inlaid “Samson” ($15)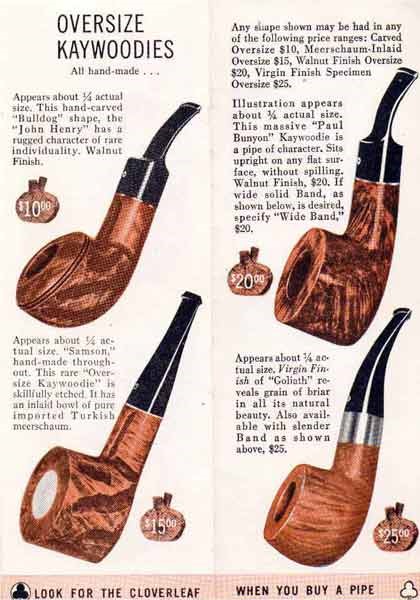 Now, there is no model number or name on my pipe, so it’s not clear to me if this pipe one of the model names mentioned above or some other.
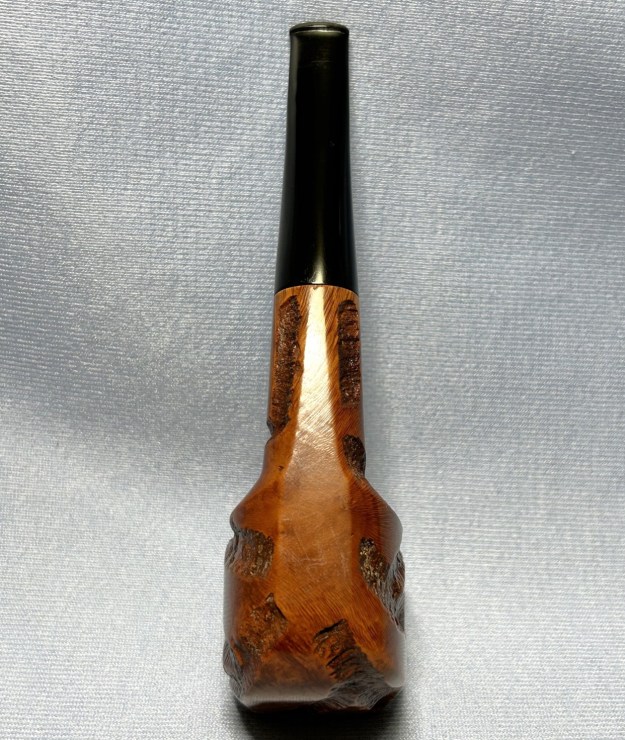
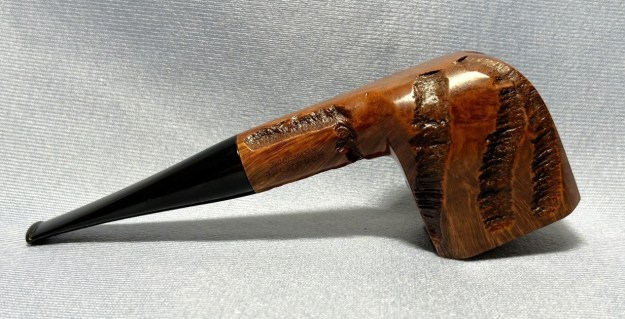
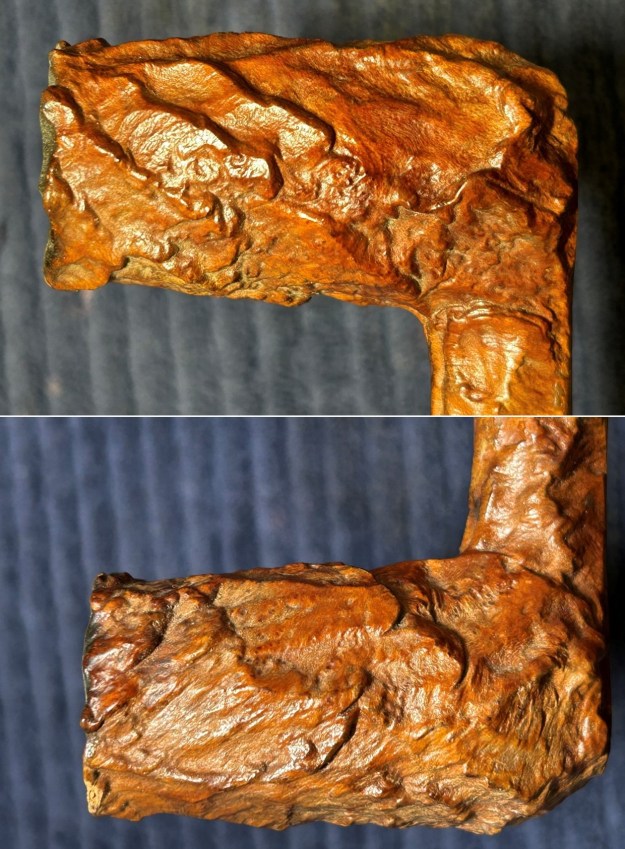
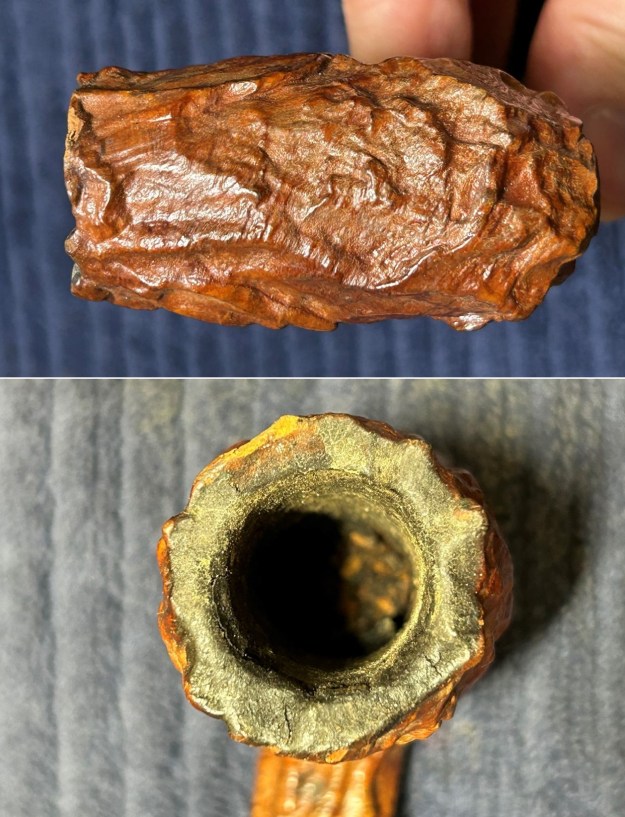
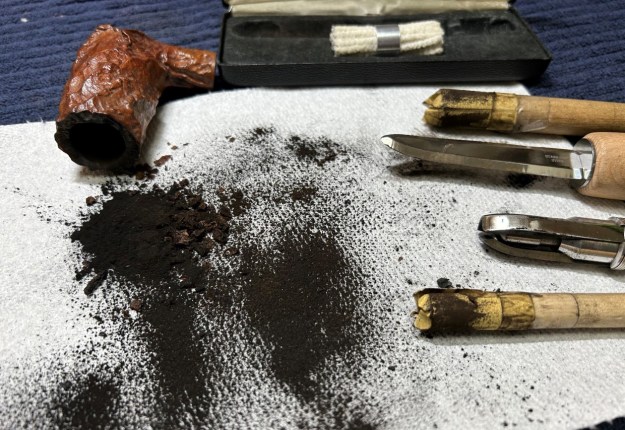
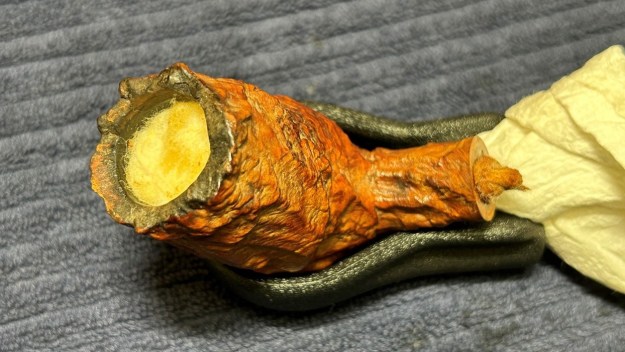
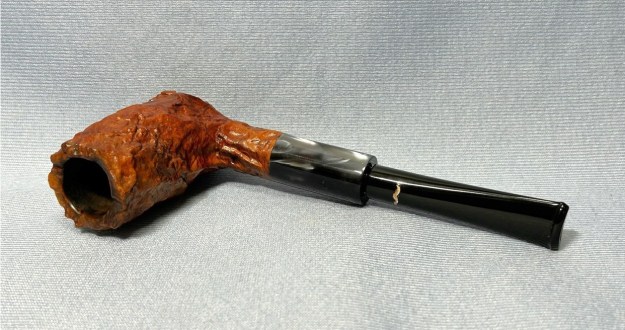
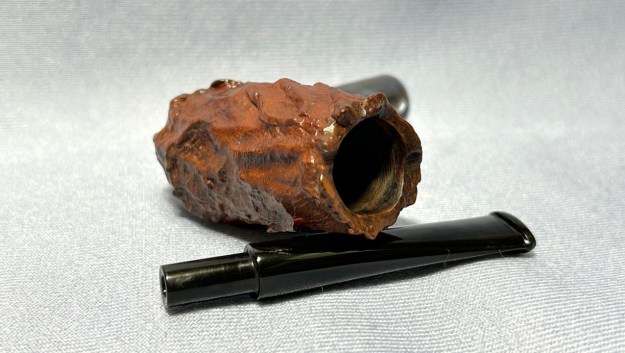
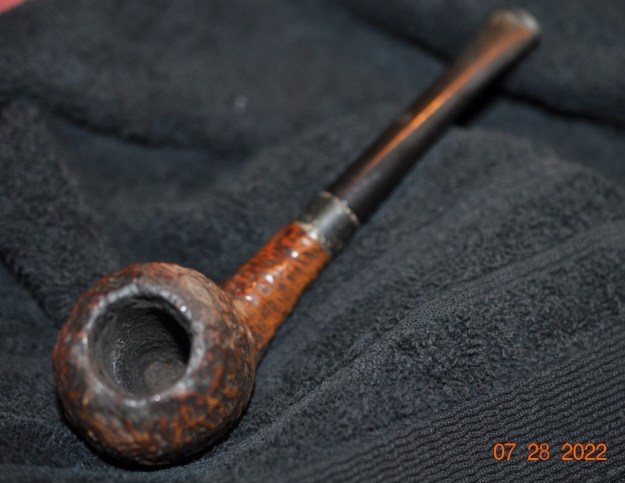
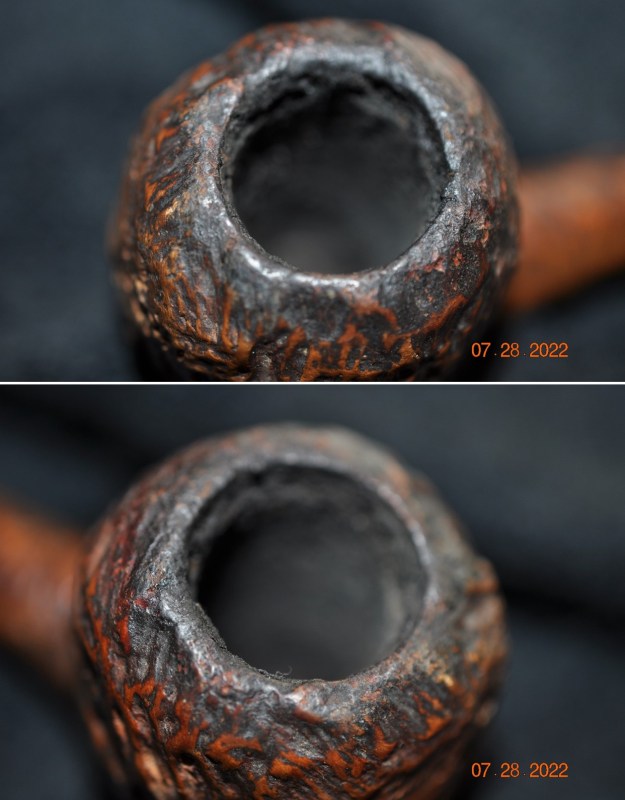
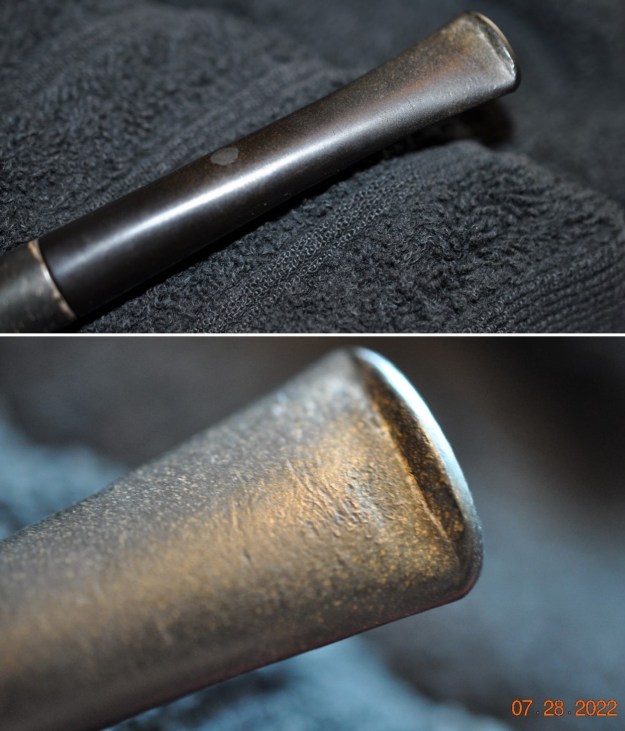
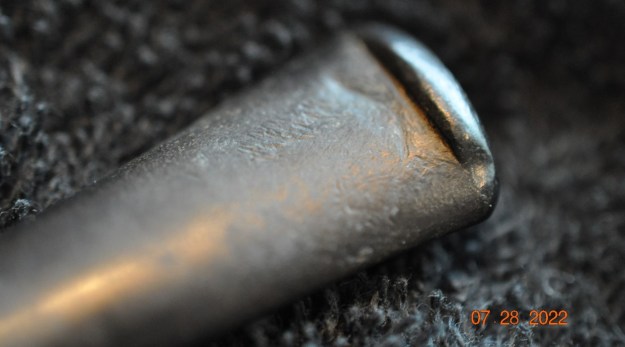
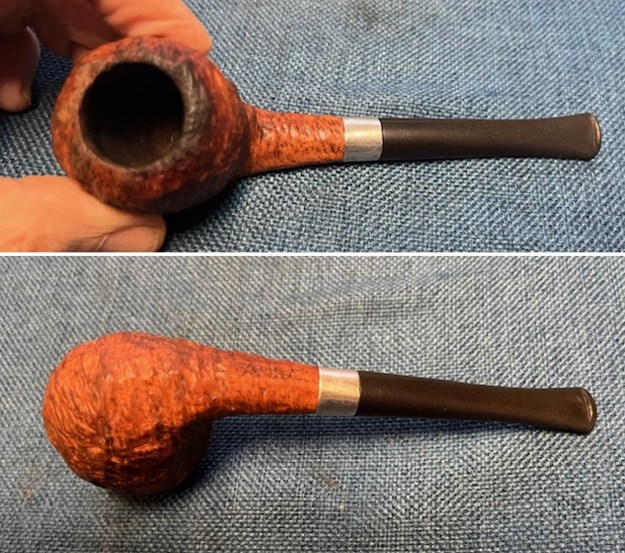
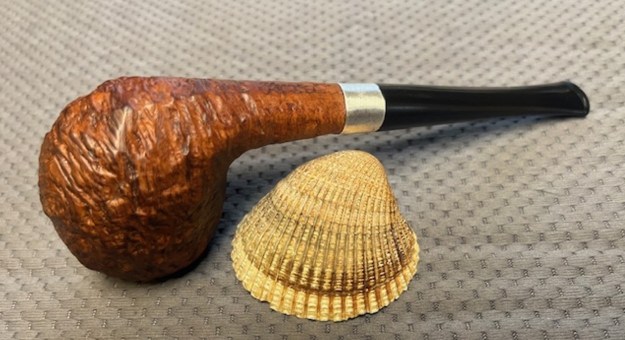
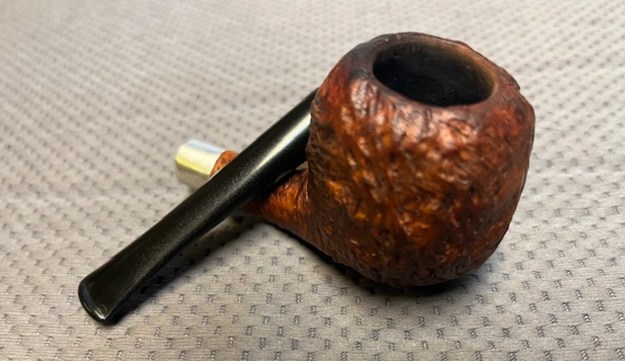
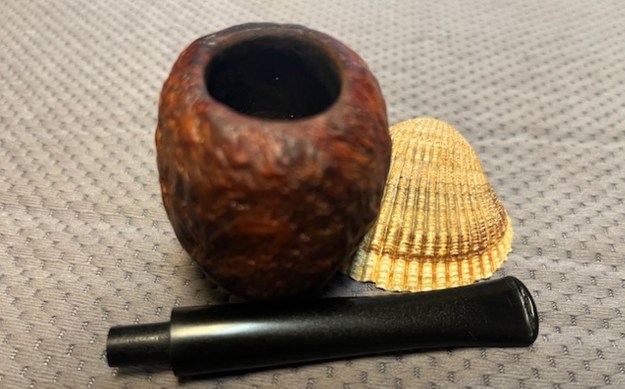
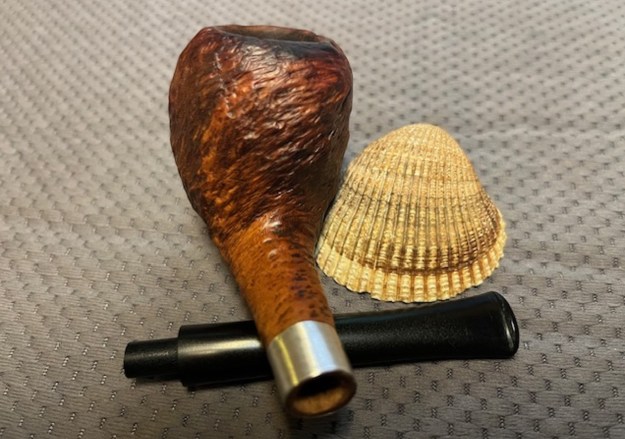
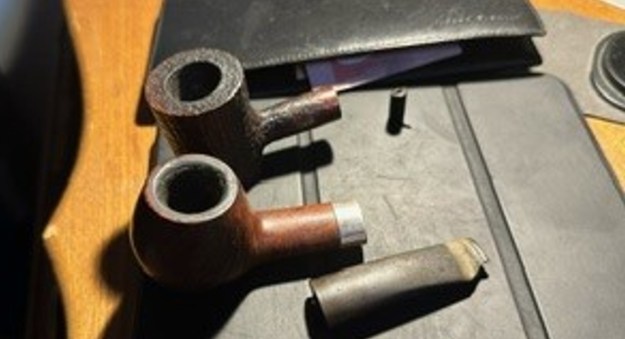
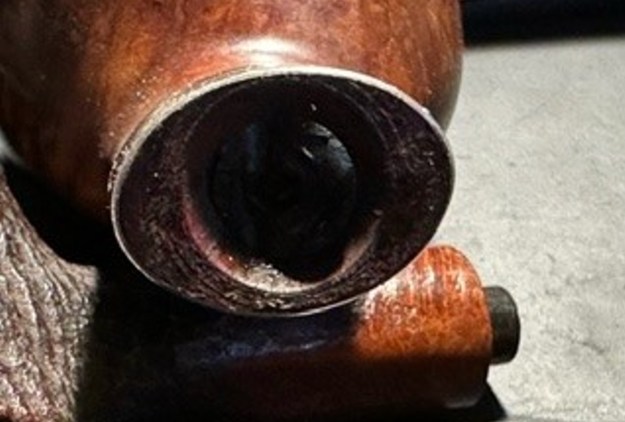
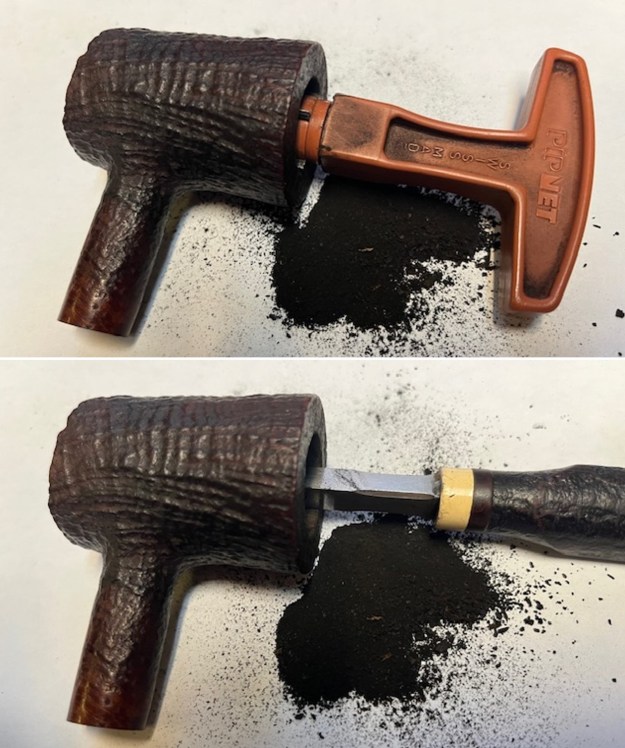
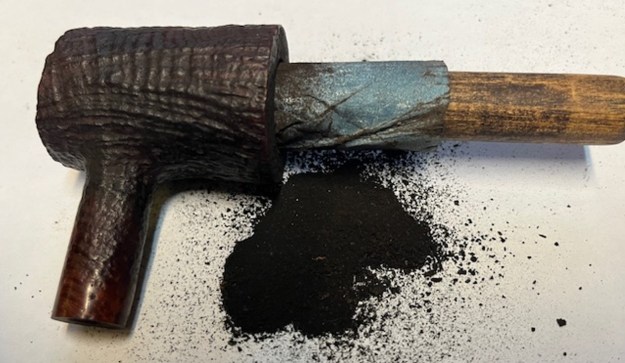
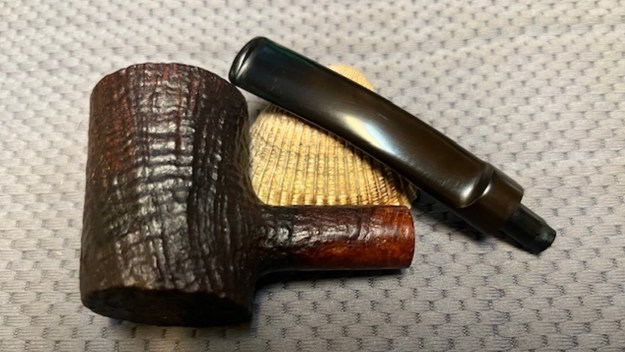
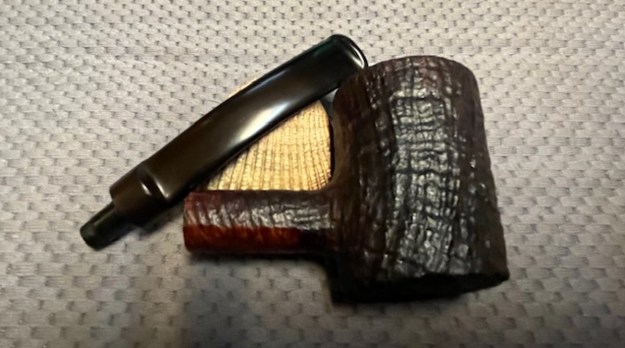
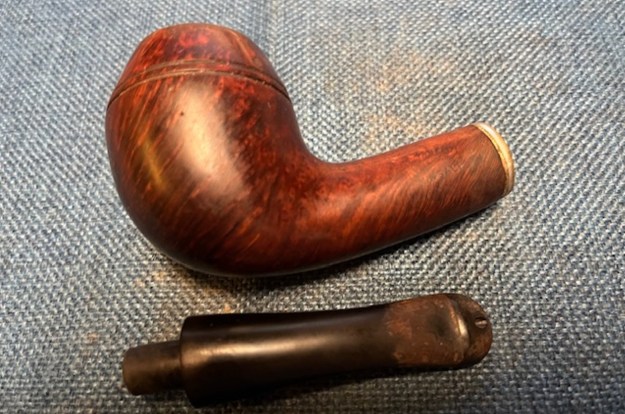
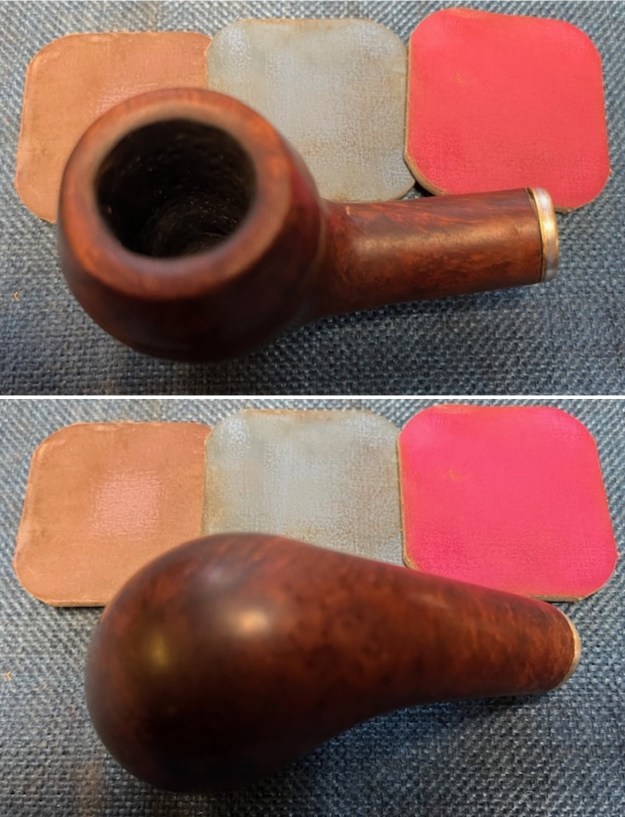
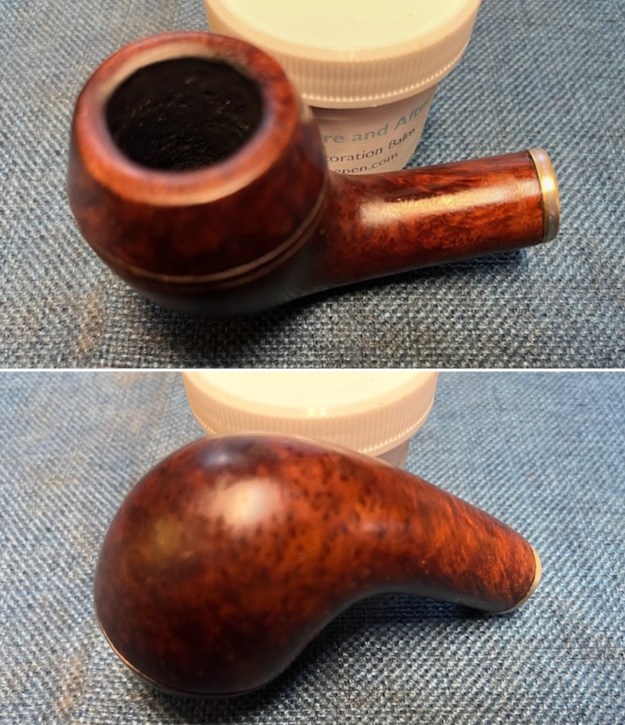
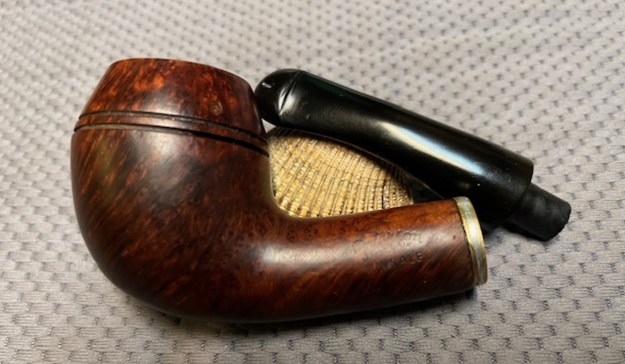
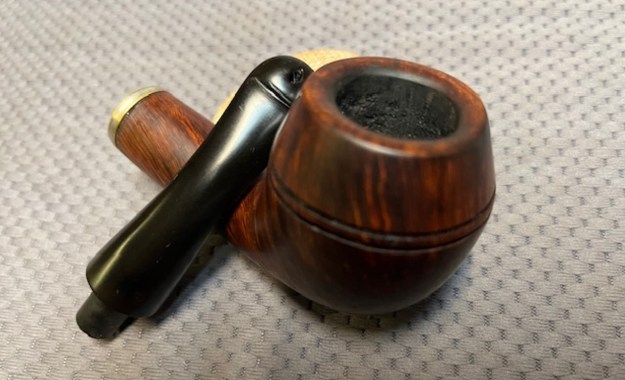
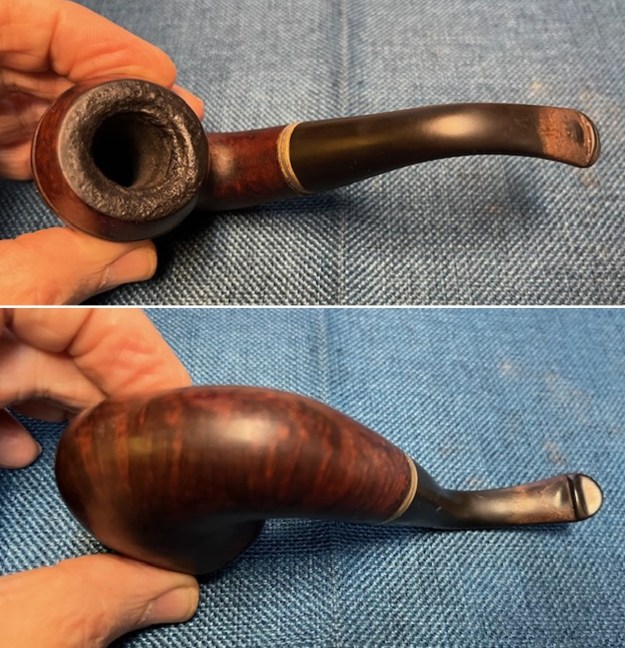
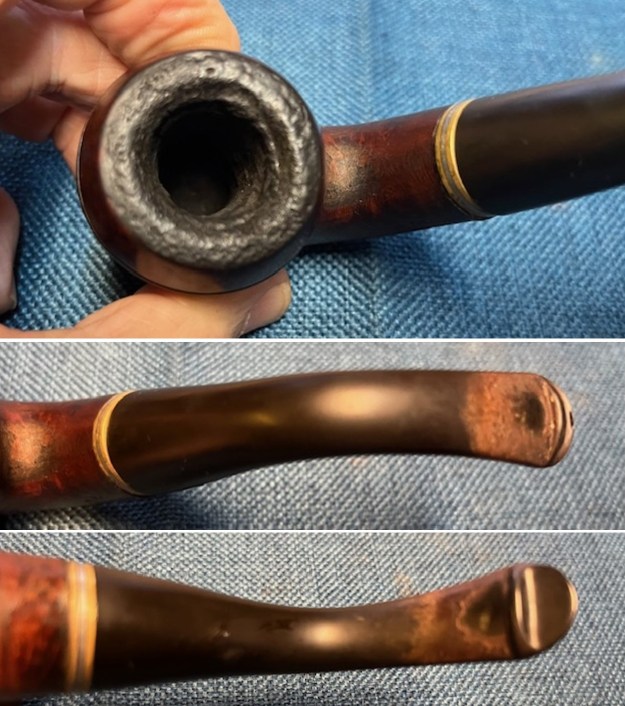
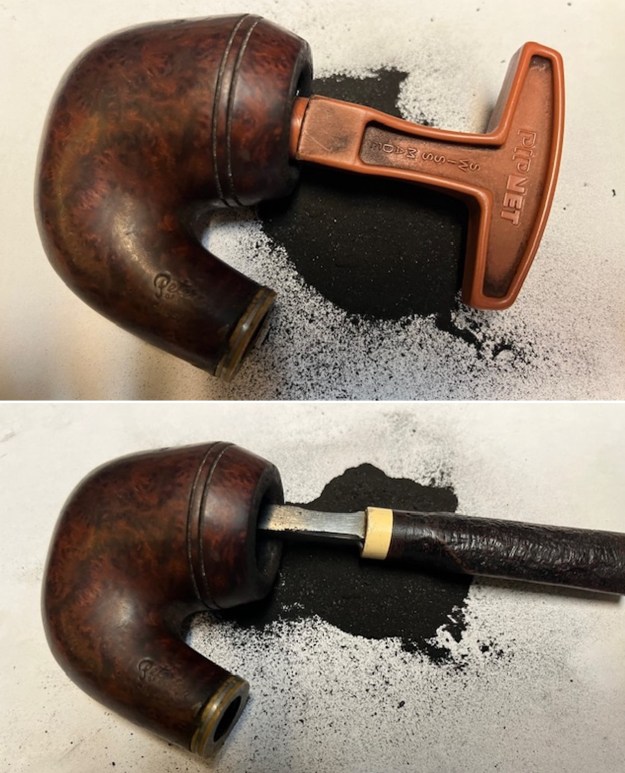
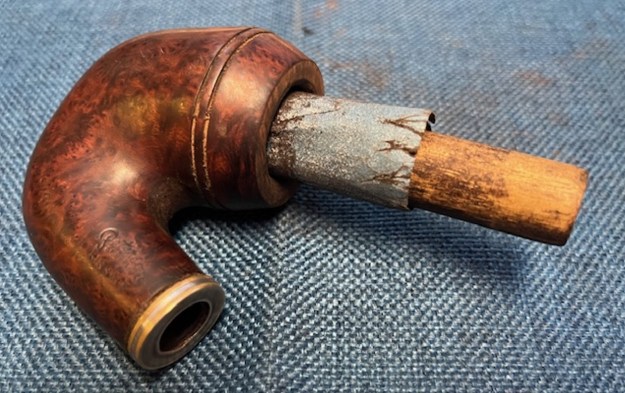
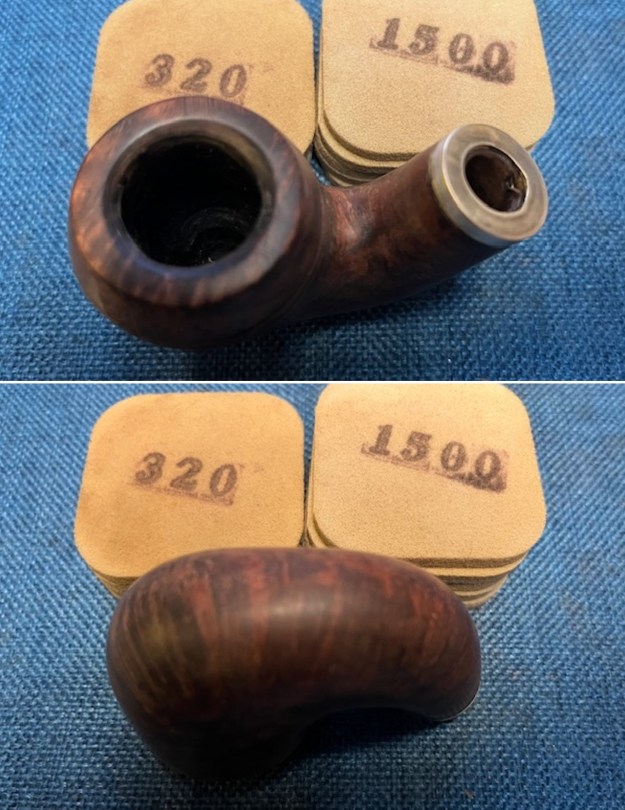
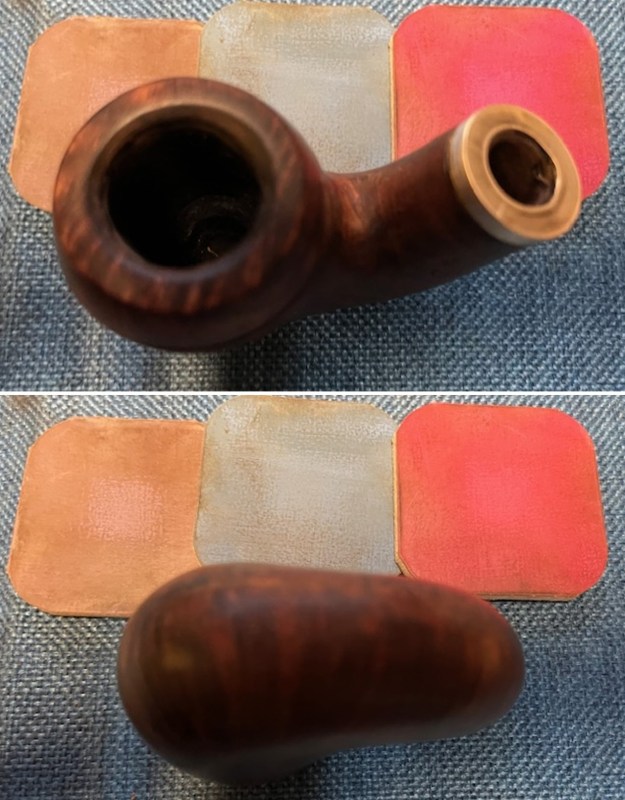
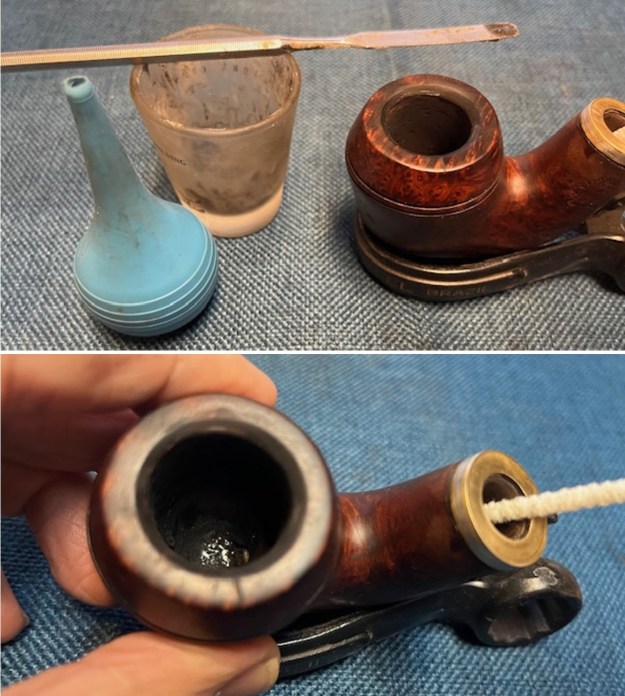
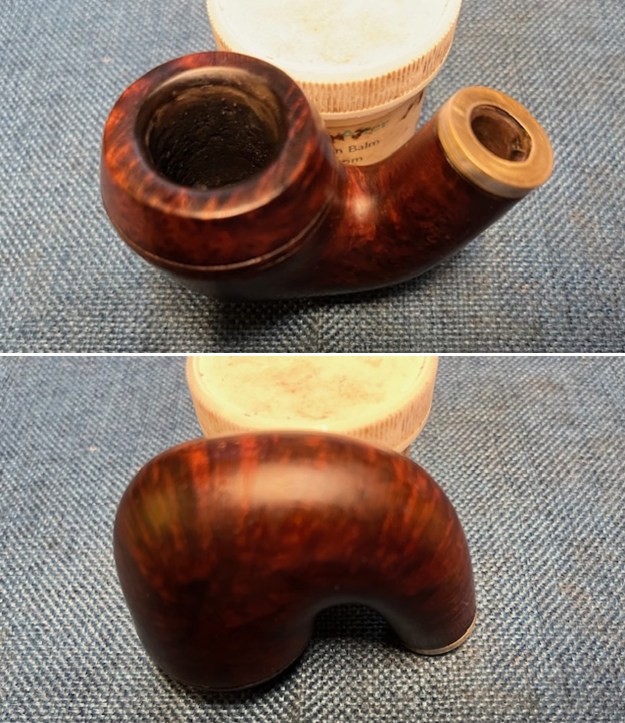
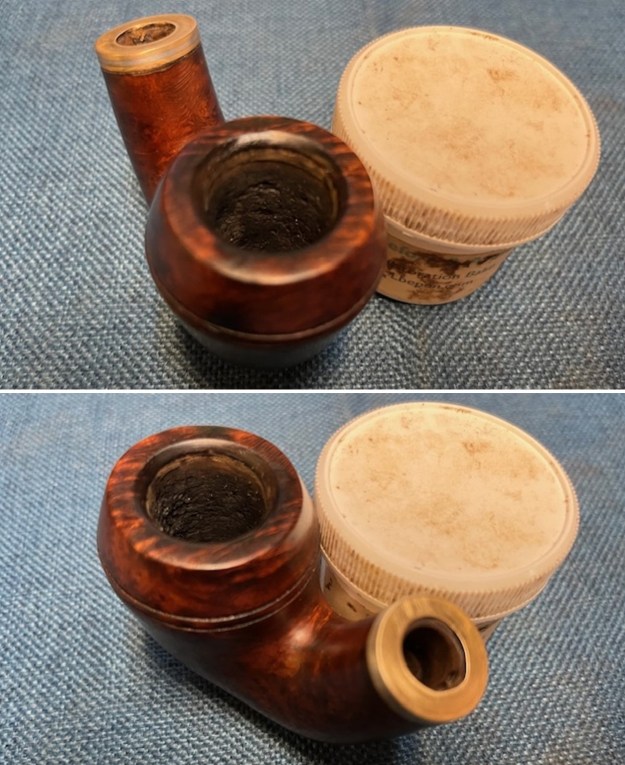
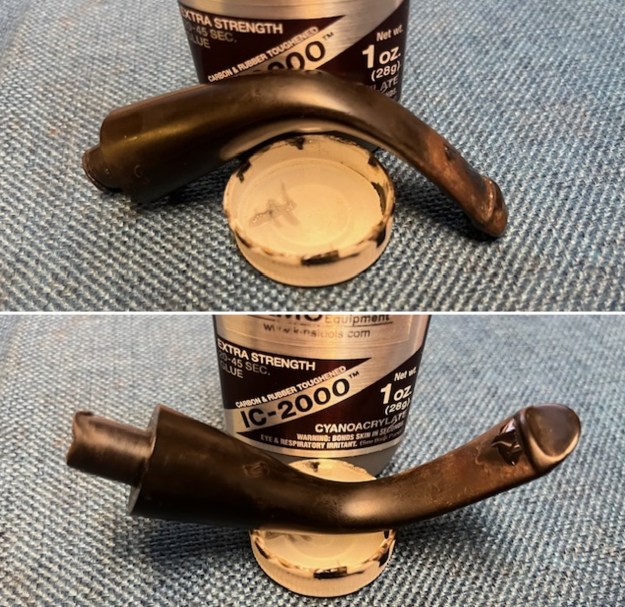
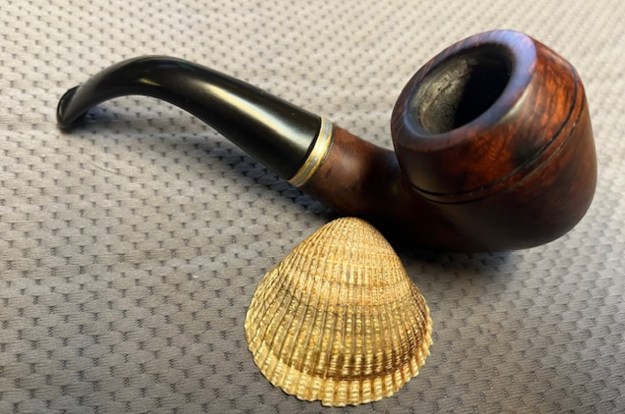
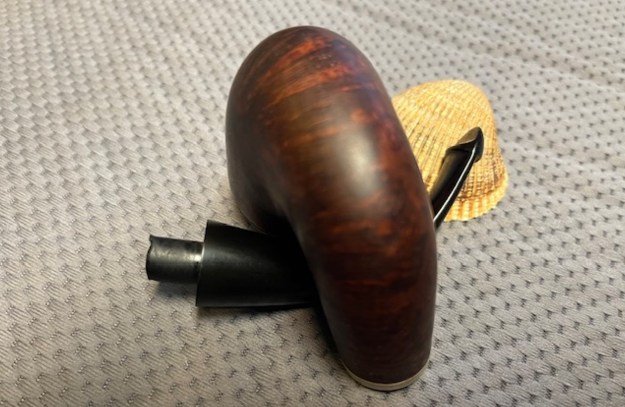
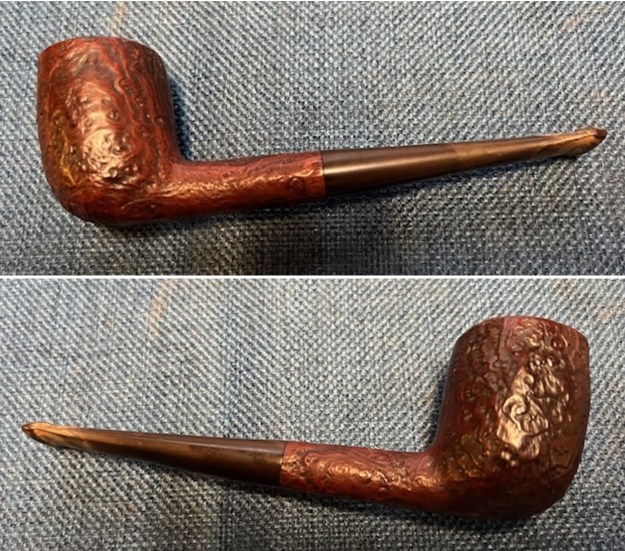
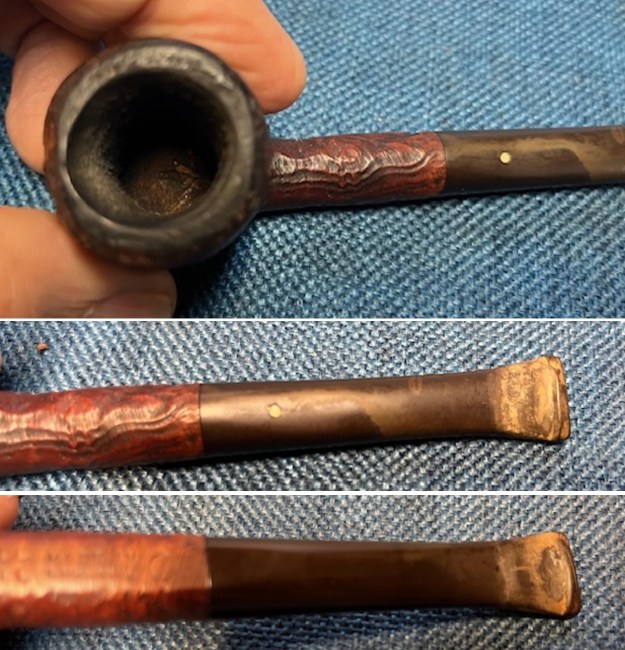
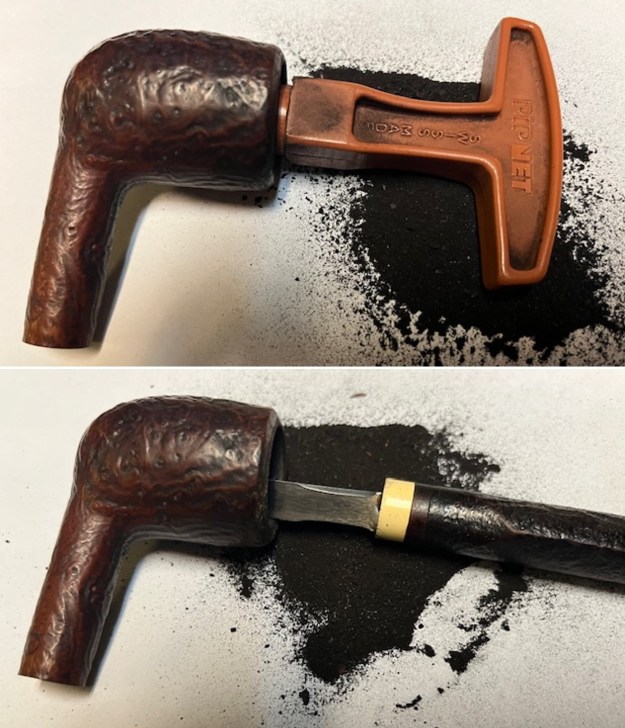
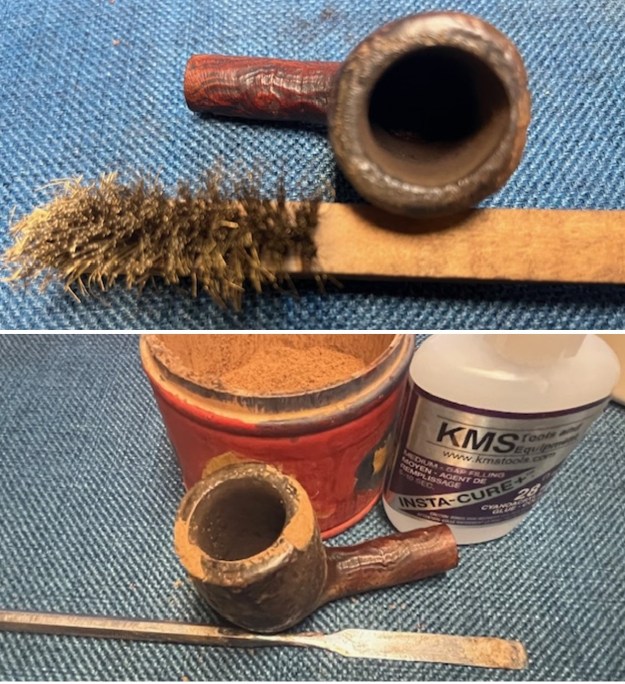
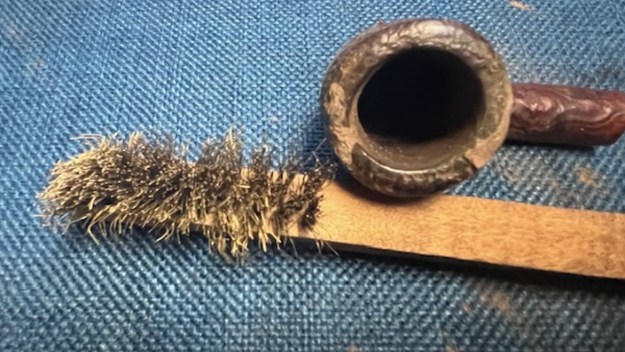
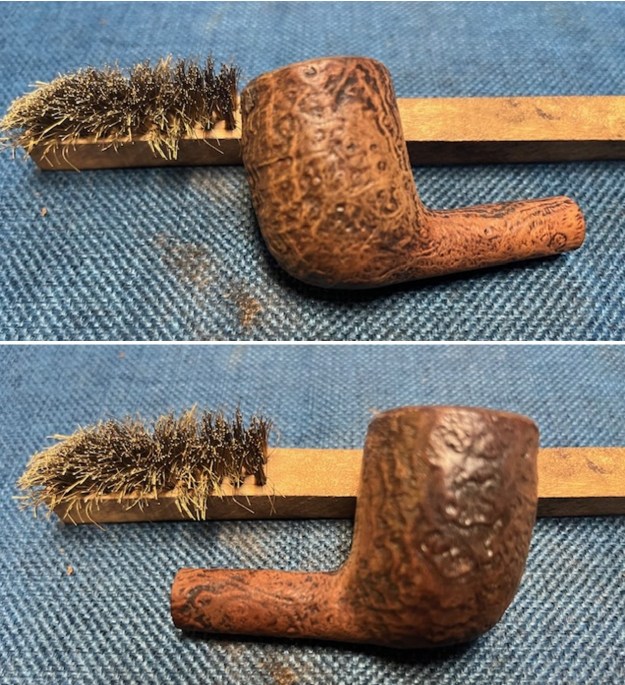
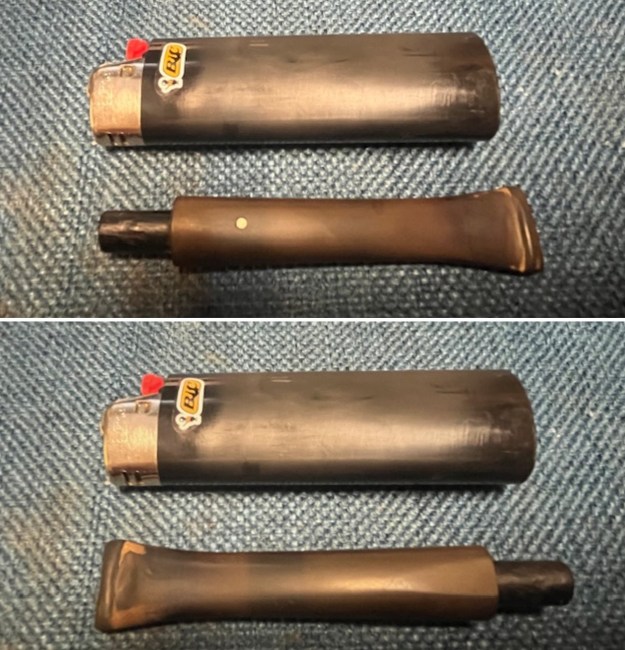
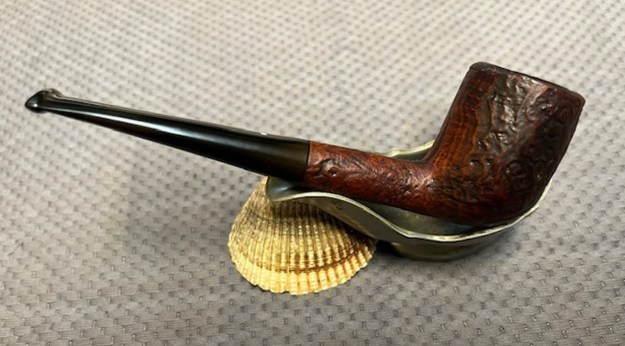
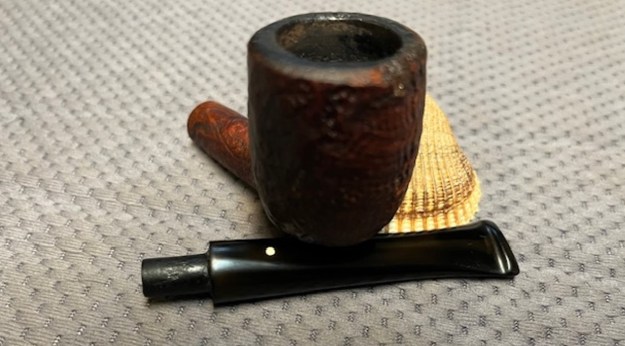
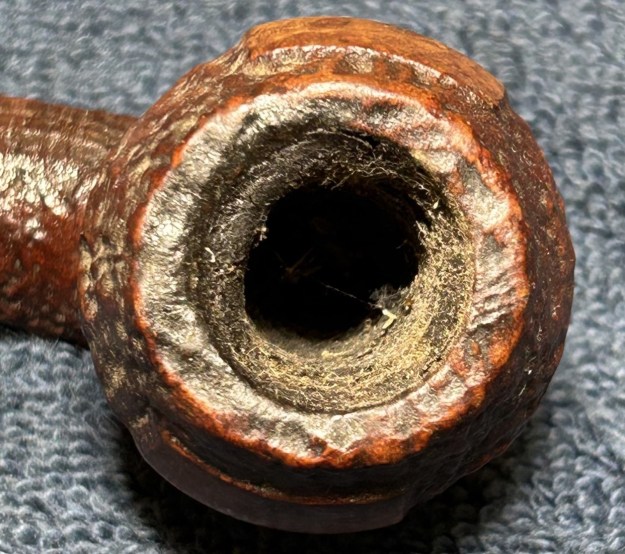
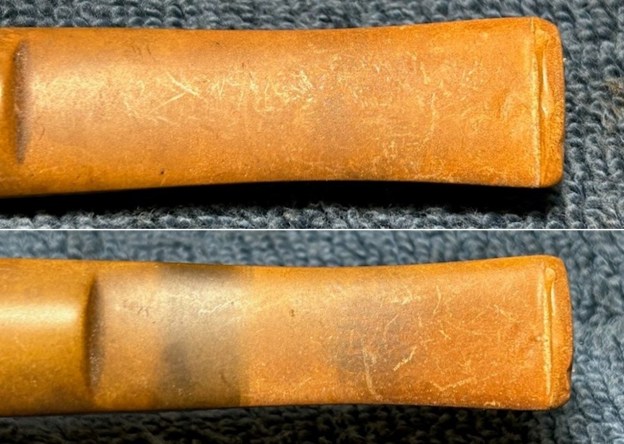
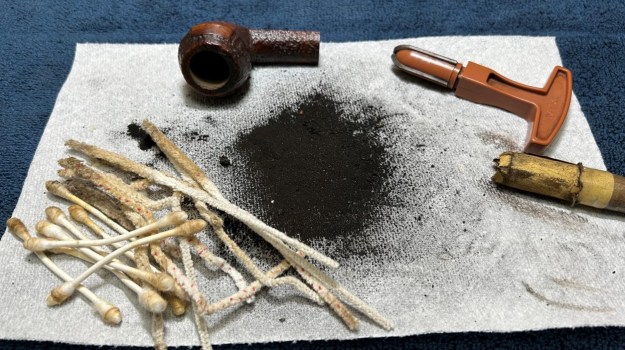
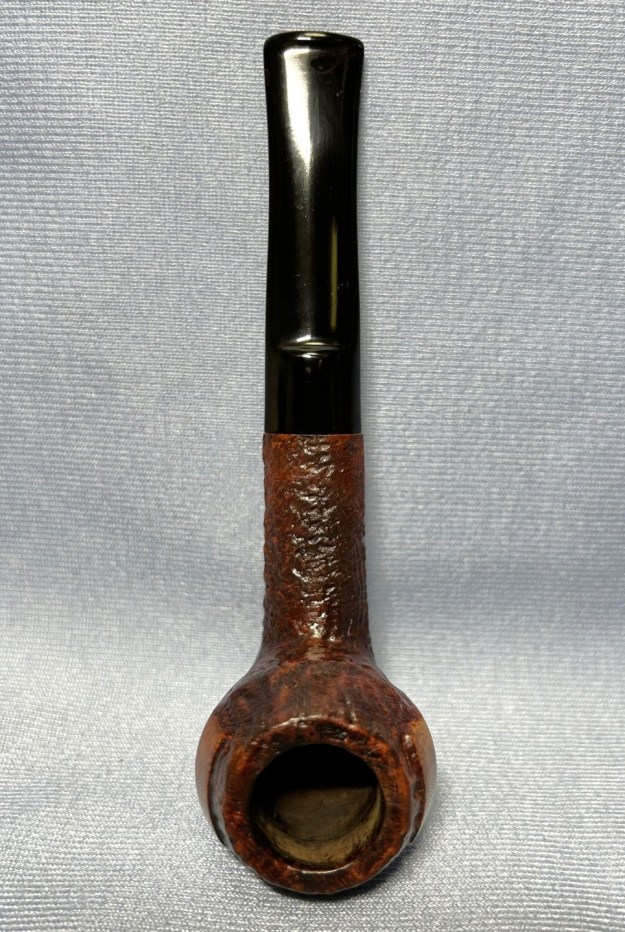
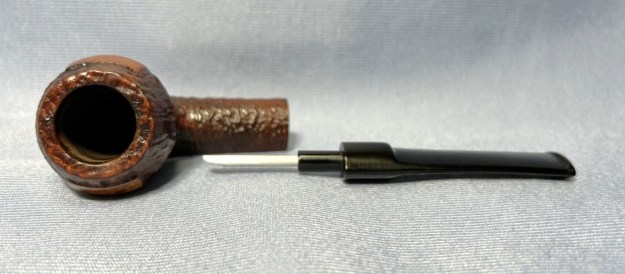
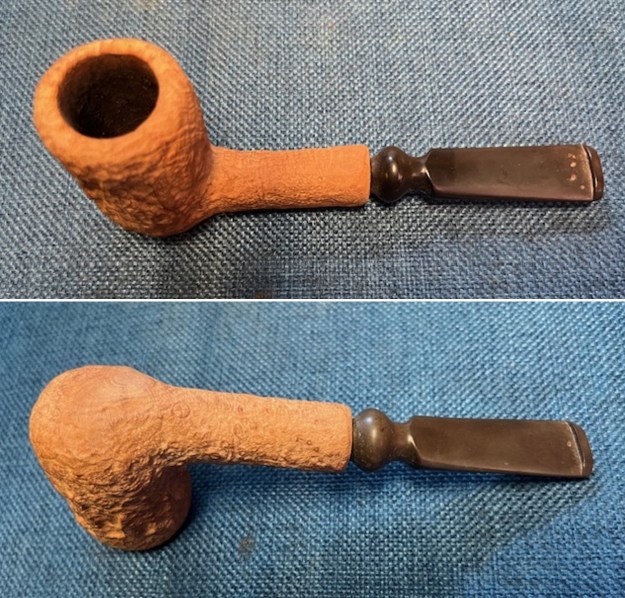
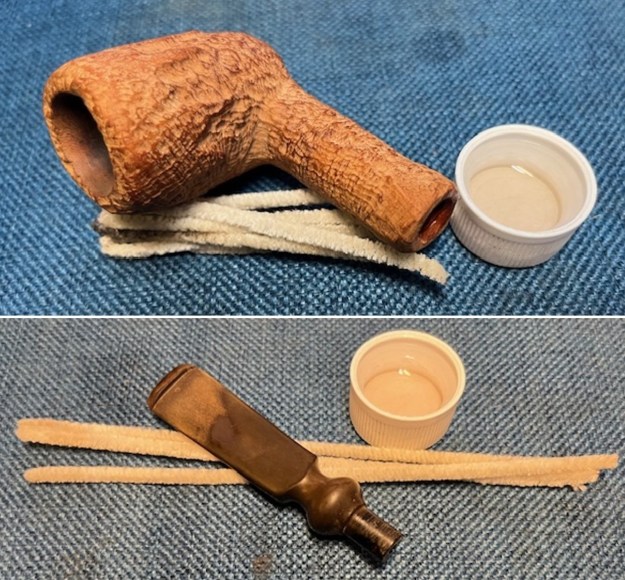
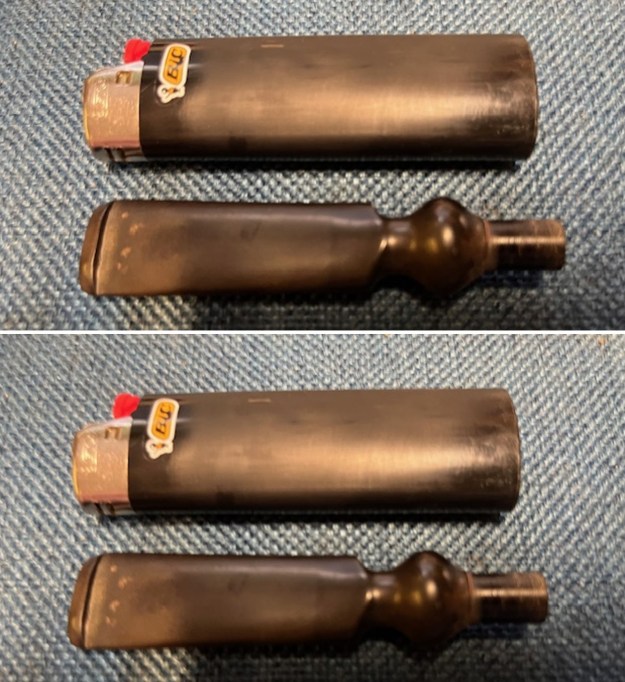
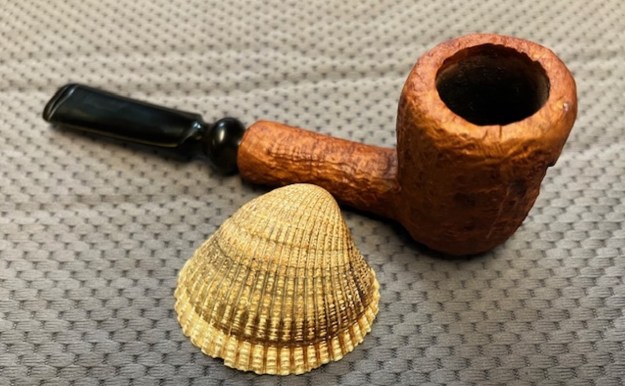
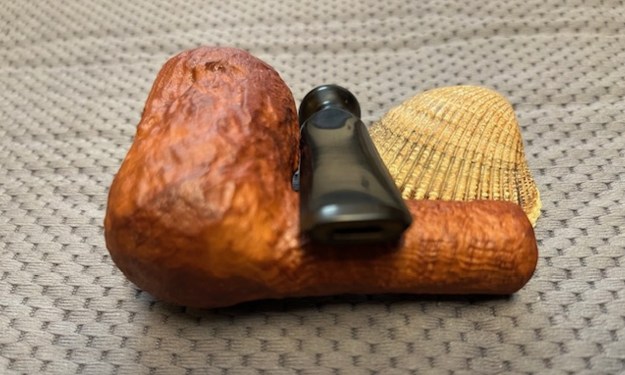
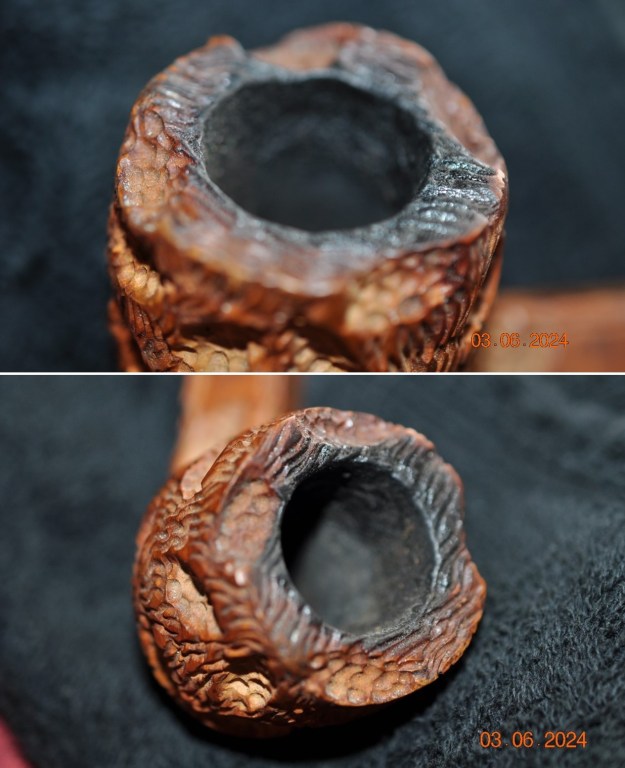
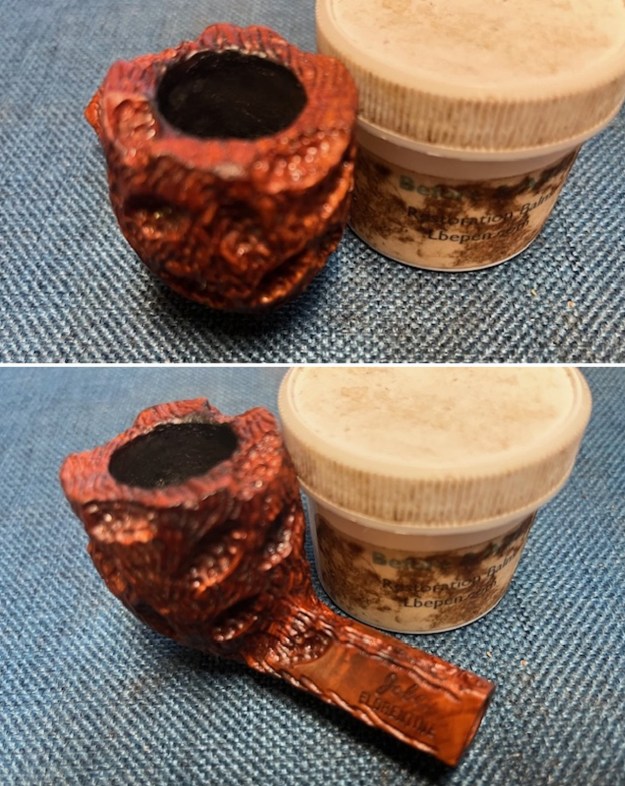
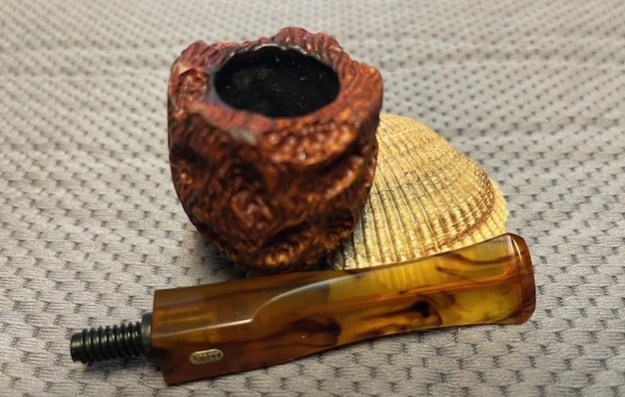
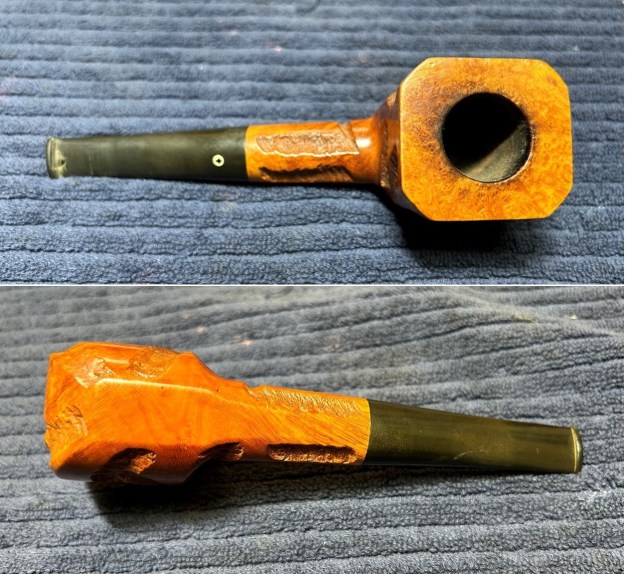
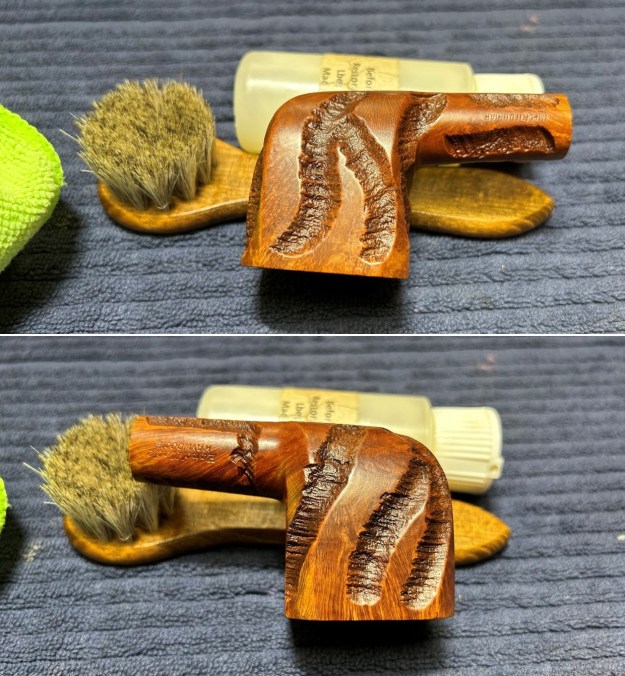
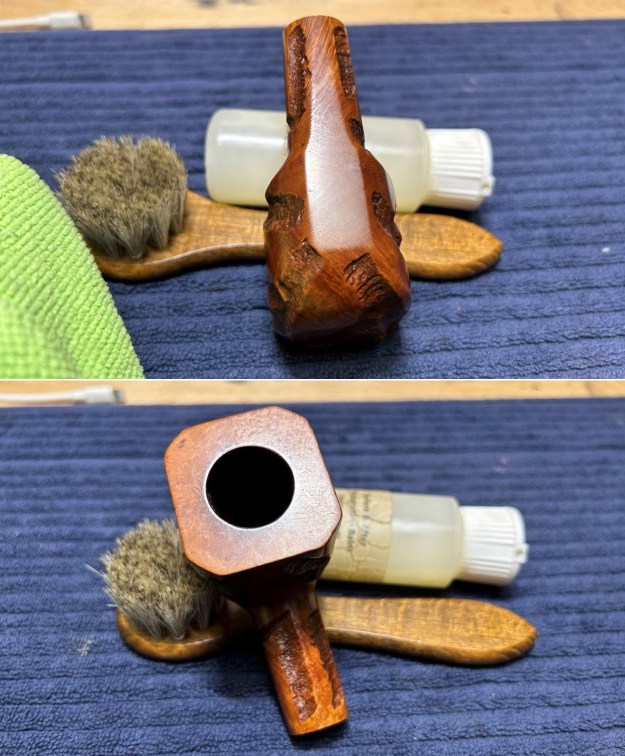
Let’s get on with restoring the pipe. The stummel was in good shape. The main issue with this pipe was the stem. The photos demonstrate that the bit had a small bite through. No big deal, I thought. I’ve repaired those before. Alas, this ended up being much more challenging than I had expected.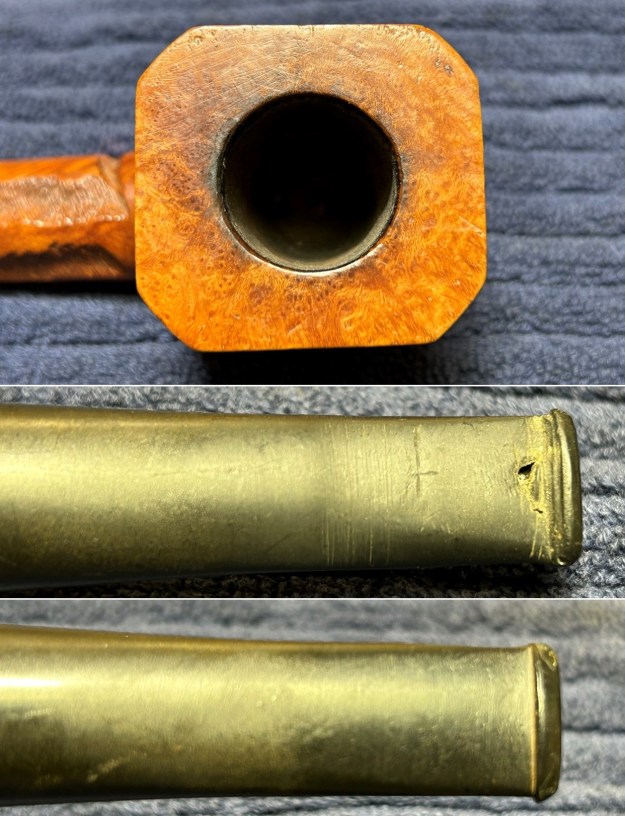 I worked on the stummel first. In order to clean out the cake in the bowl, I used the Pipnet reamer and followed that up with a piece of sandpaper taped to a wooden dowel. I sanded down the cake until I hit the briar walls, so that I could inspect them for potential damage. Everything looked good on the inside, which is great.
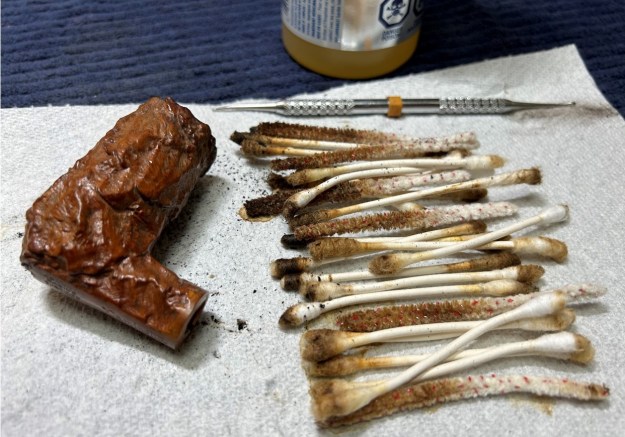
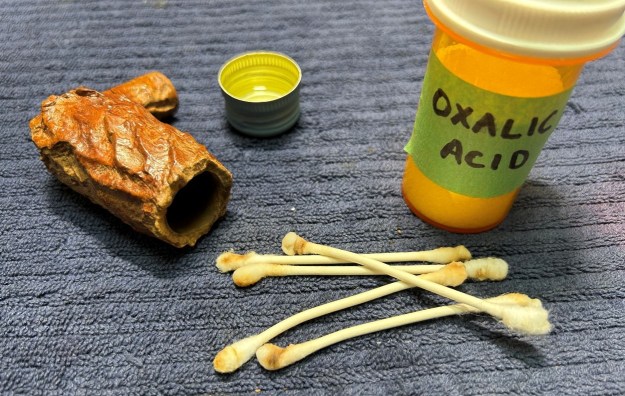
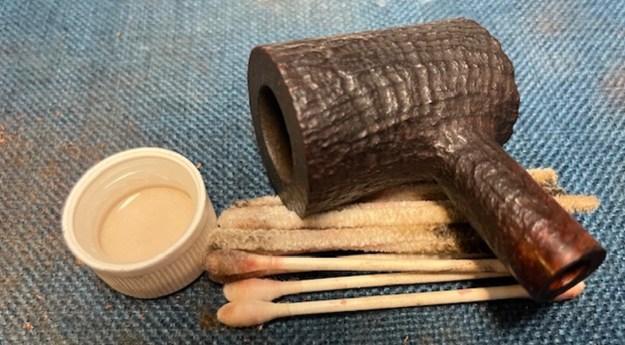
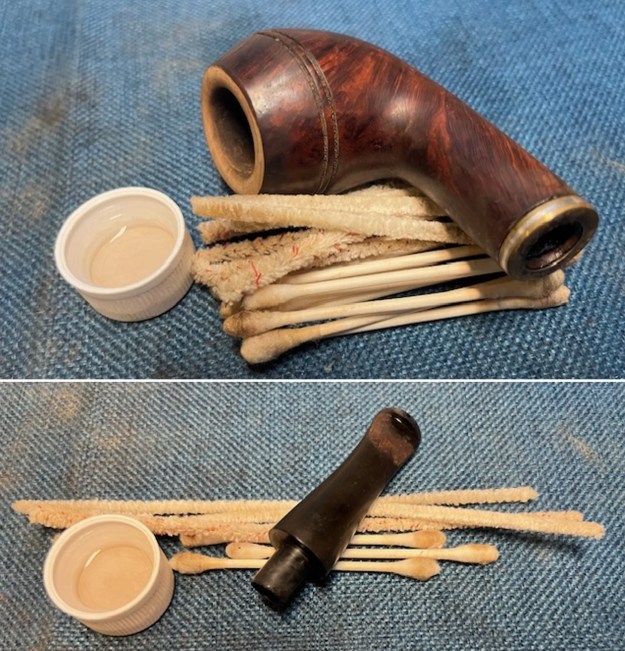
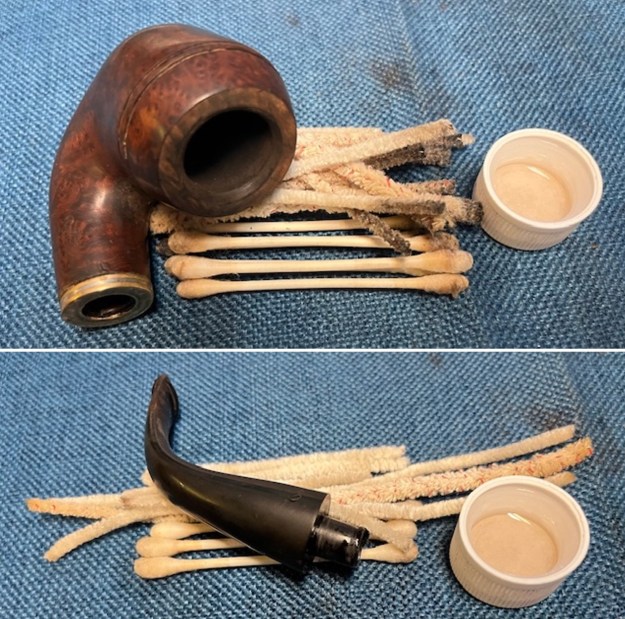
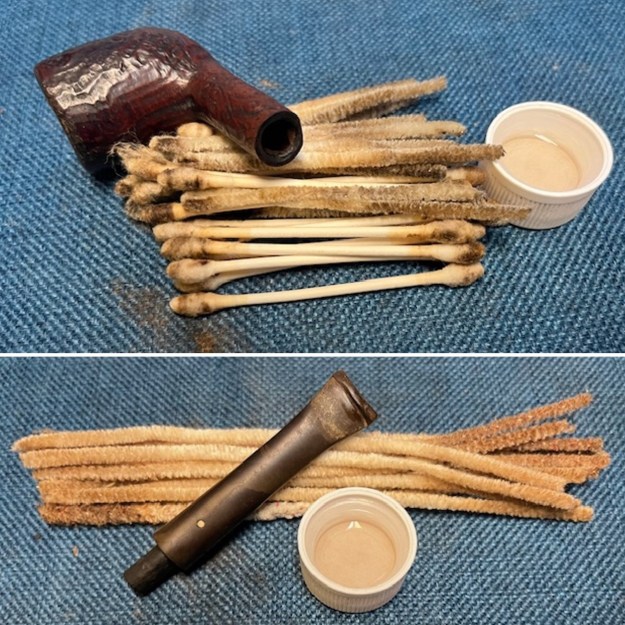
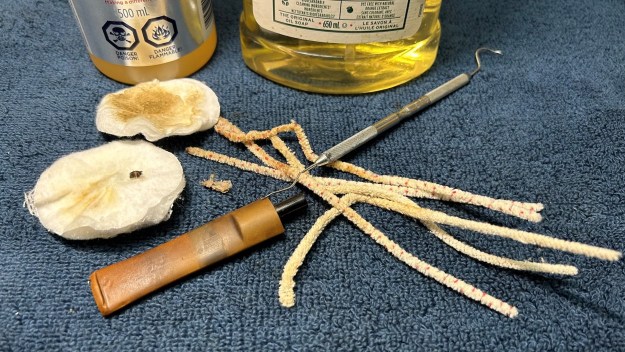
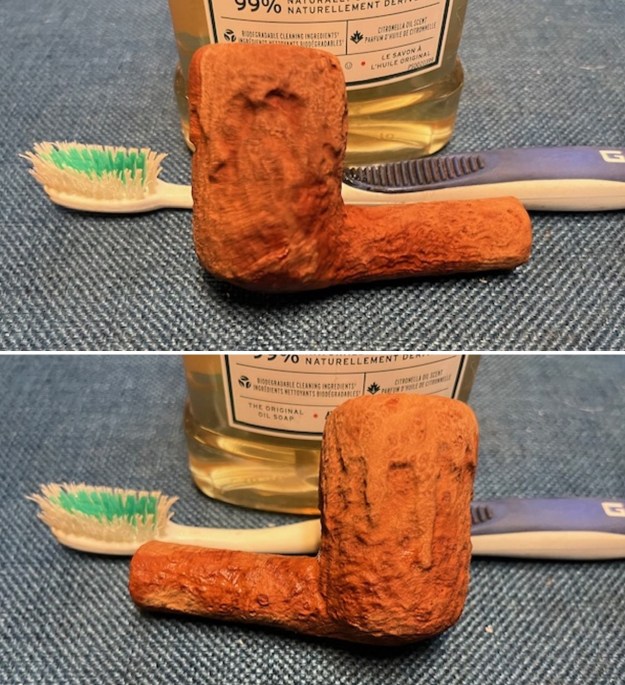
 I proceeded to clean out the inside of the shank with 99% isopropyl alcohol and pipe cleaners and cotton swabs. It was a bit dirty in there, but I got it clean in the end.
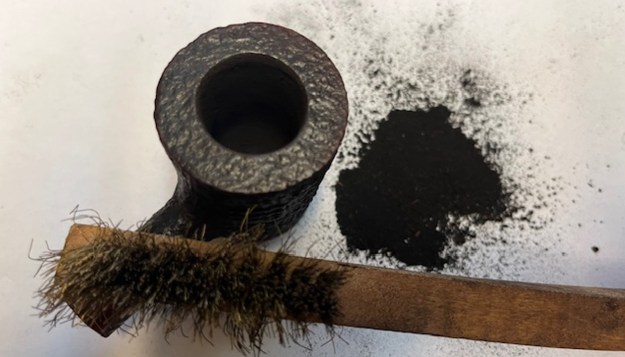
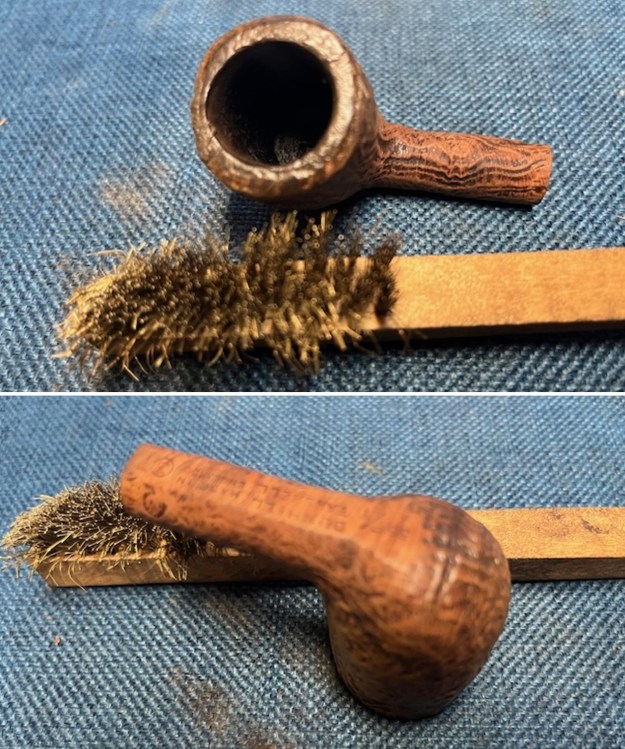
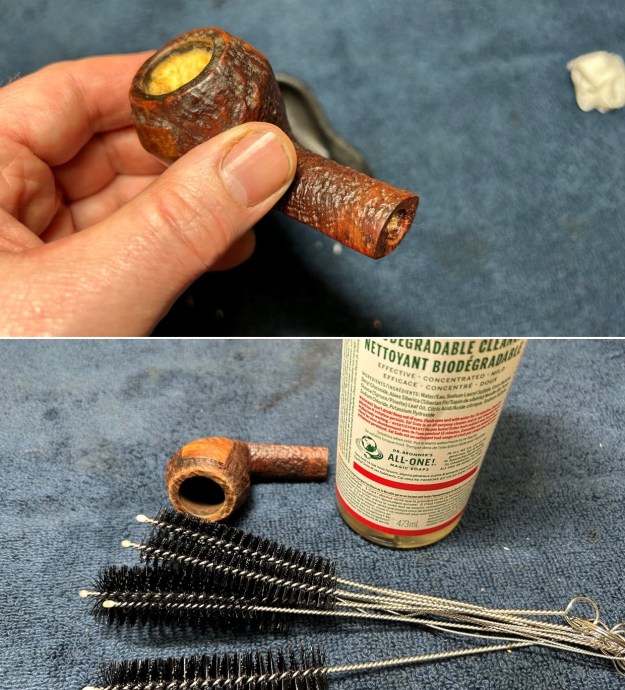
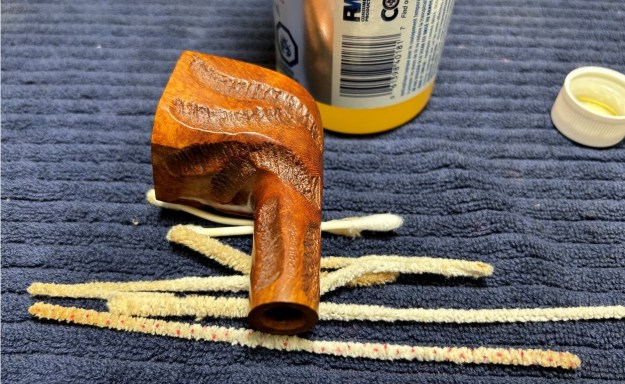 When that was done, I set up to clean the pipe’s insides with soap and some tube brushes. The pipe was beautifully clean after that.
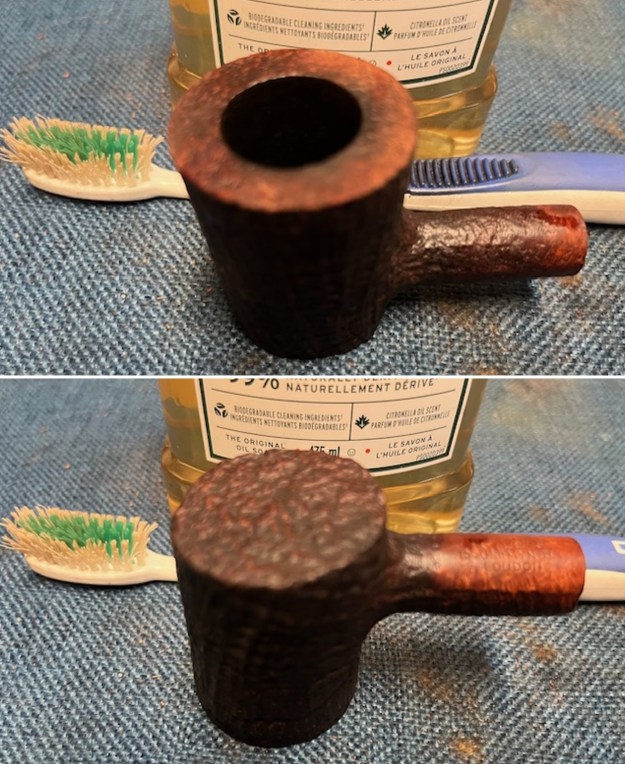
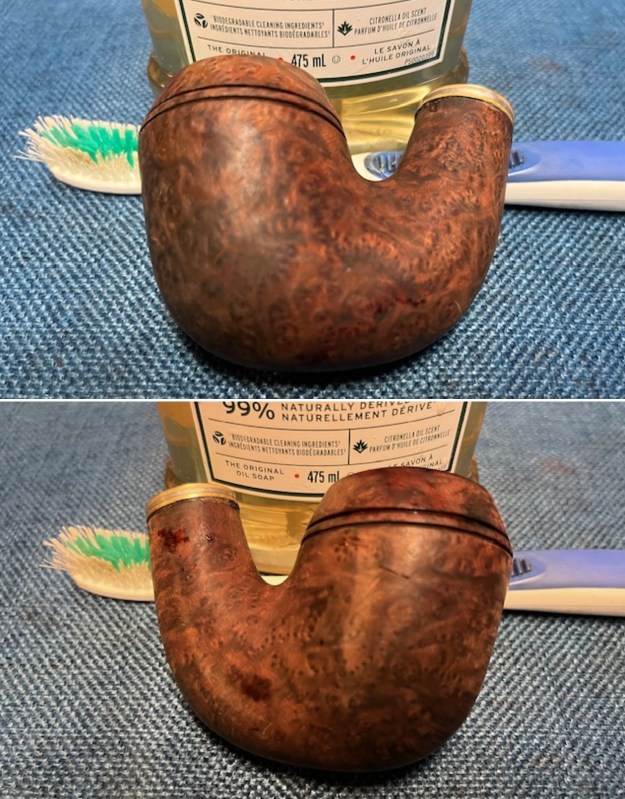
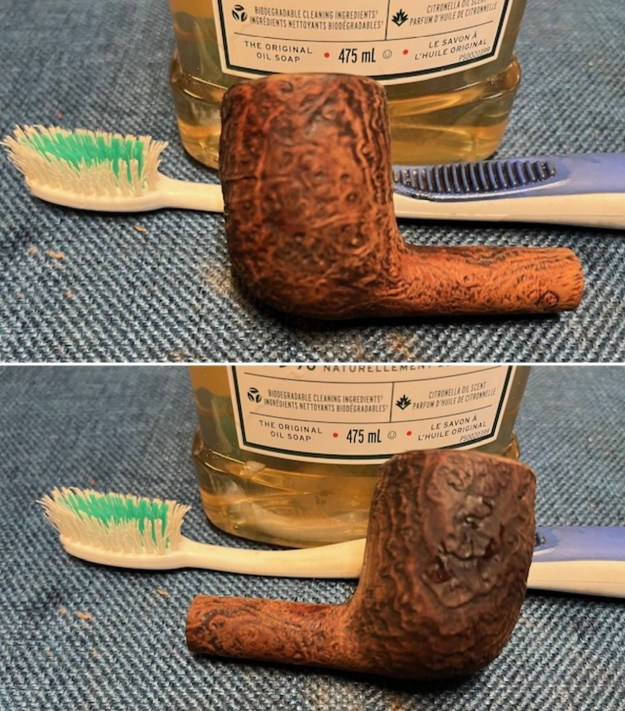
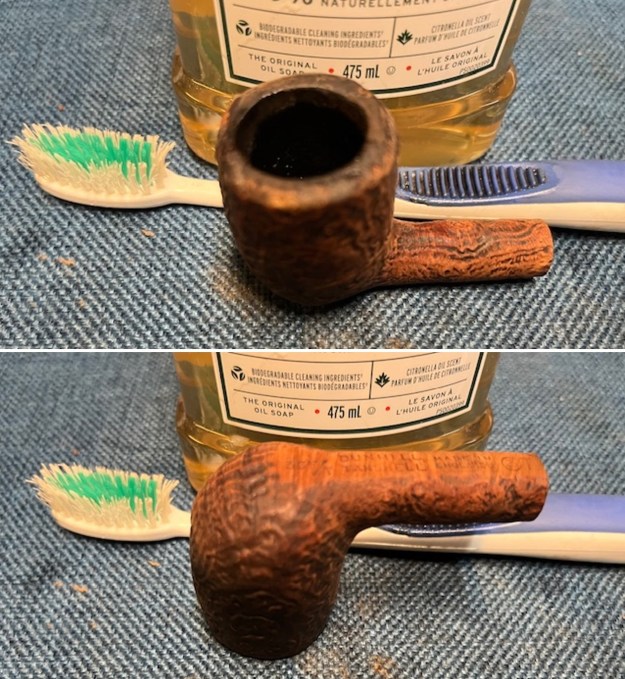
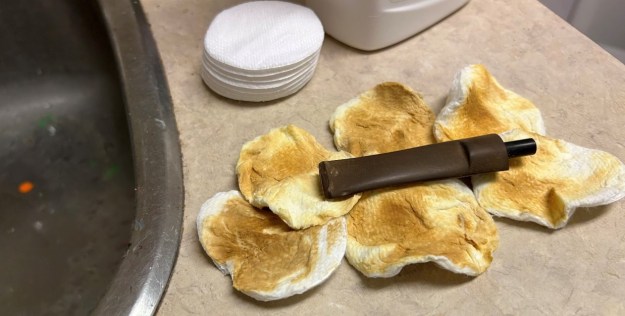
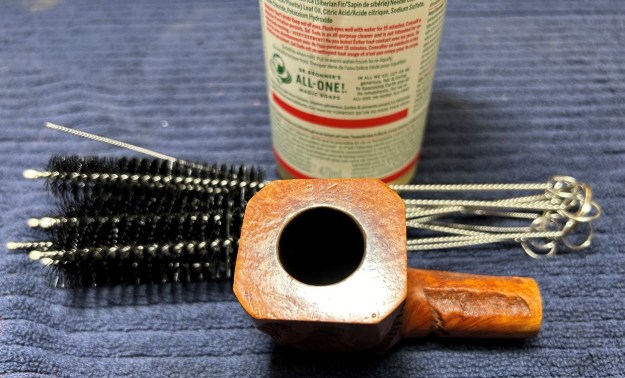 As I was cleaning, I noticed that there were a few minor dents on the rim. I wet a piece of cotton cloth with water, heated up my iron, and set about trying to raise the dents. Often, the hot, moist air created by the cloth and iron can lift the wood back into shape. This technique worked really well on this occasion.
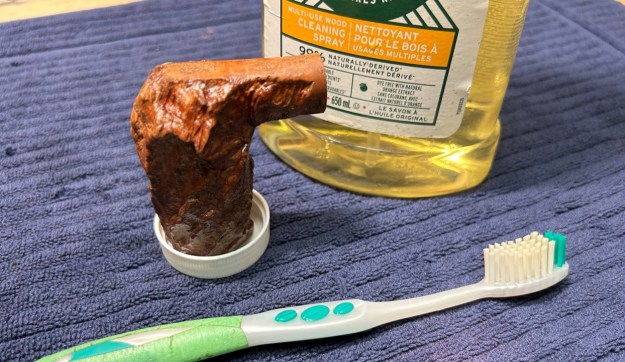
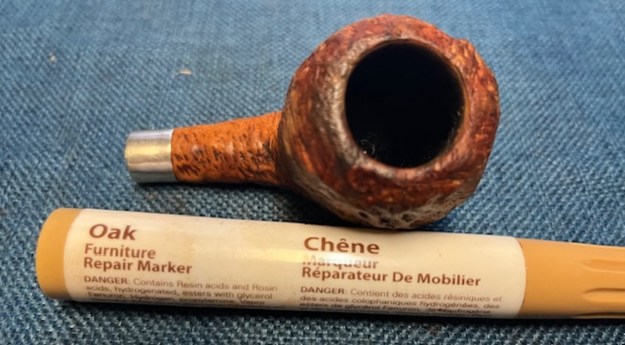
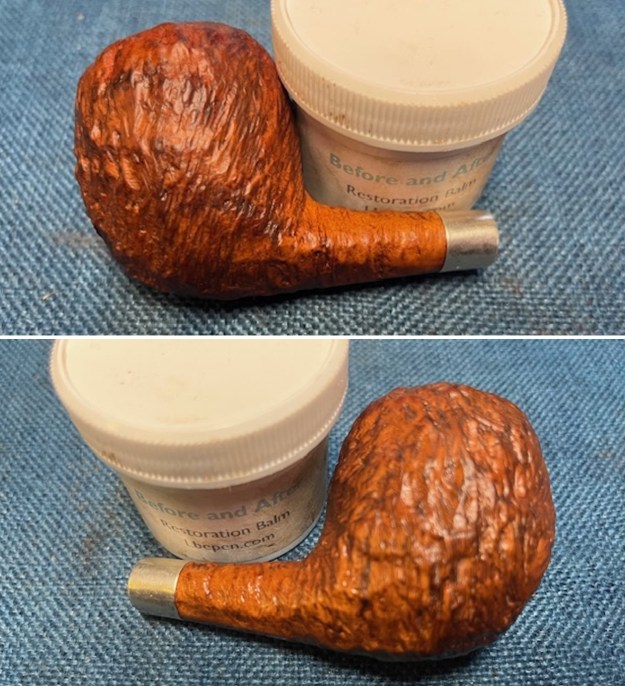
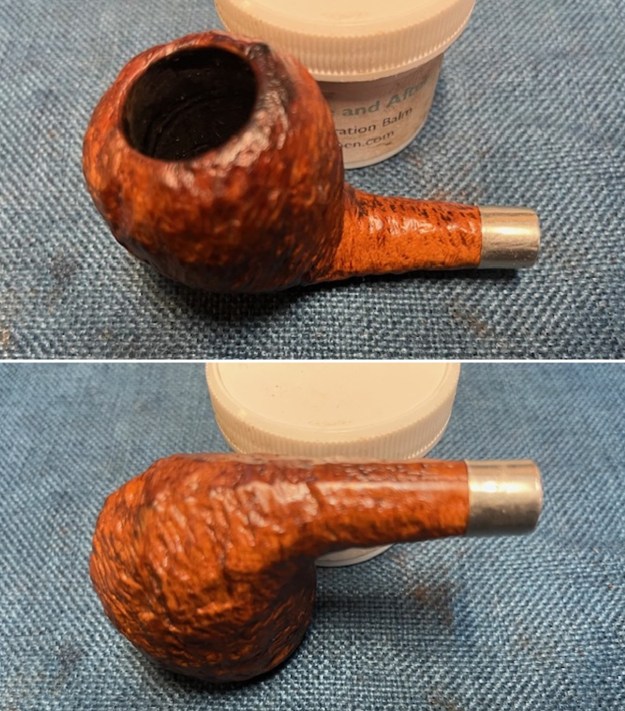
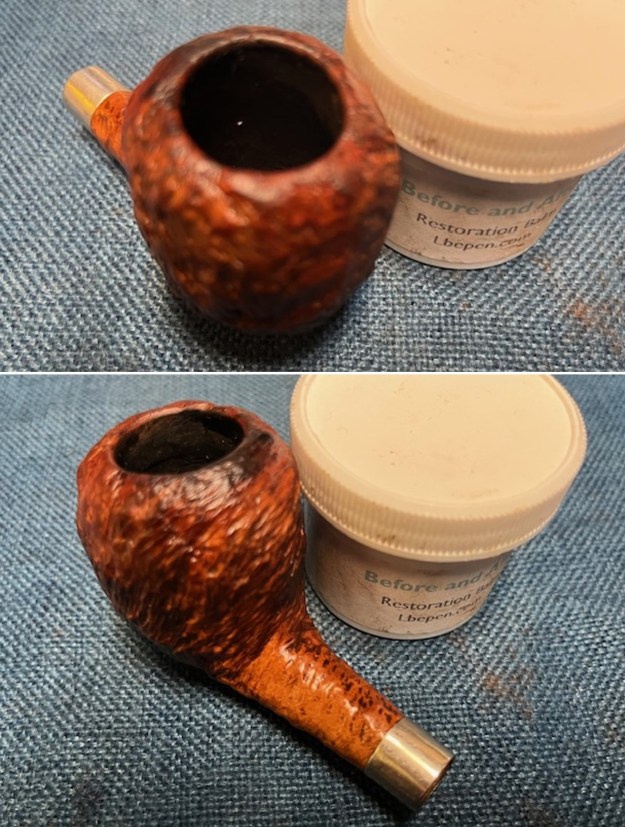
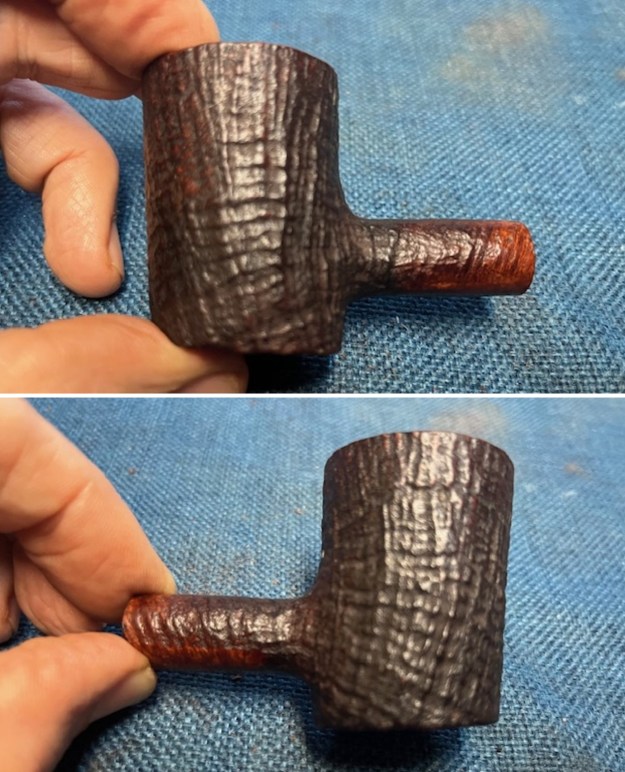
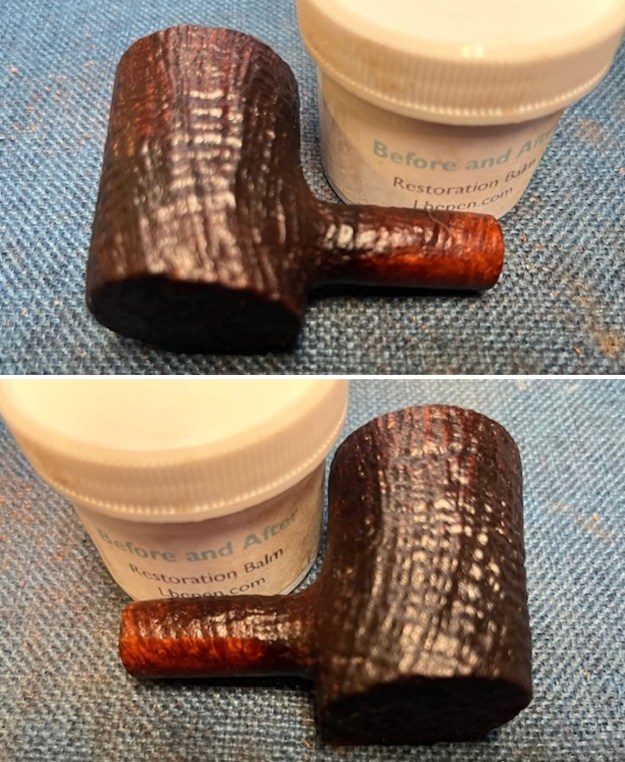
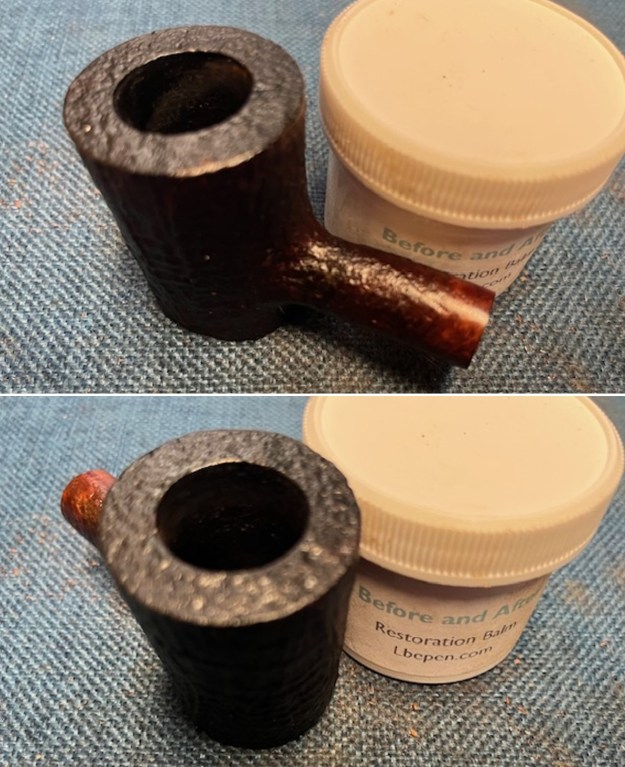
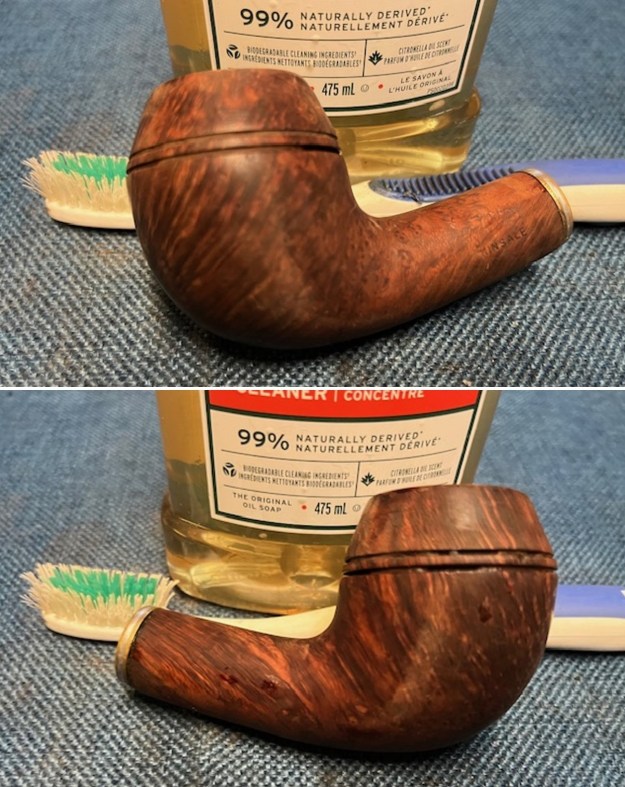
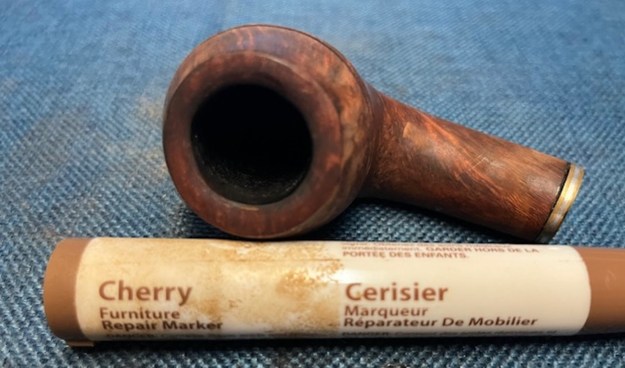
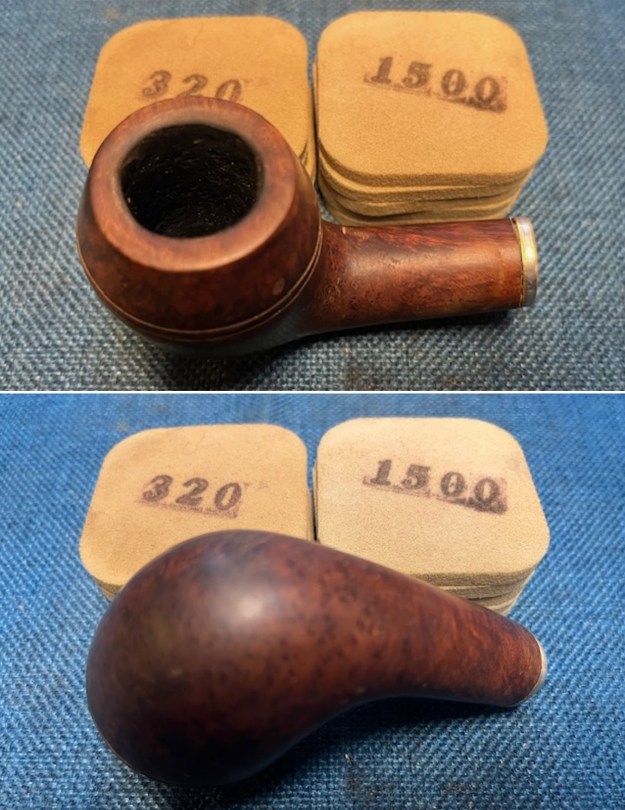
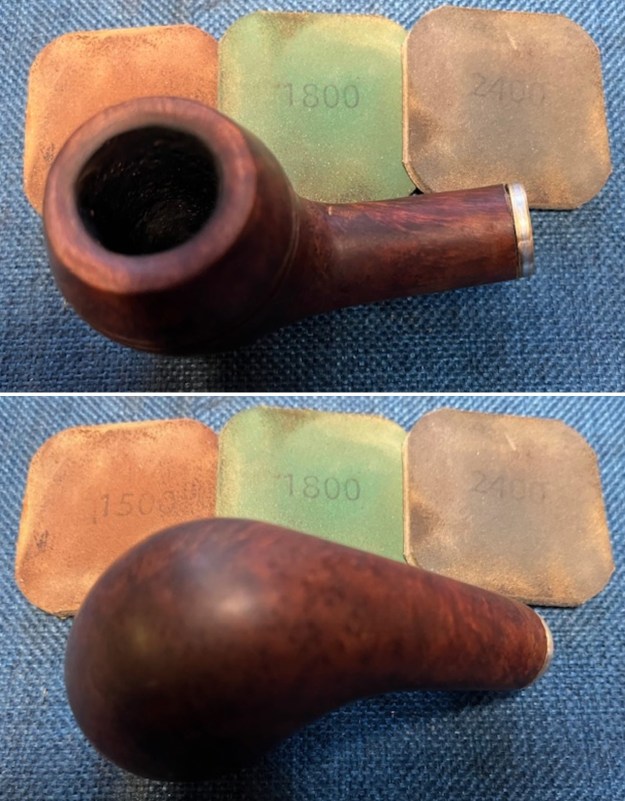
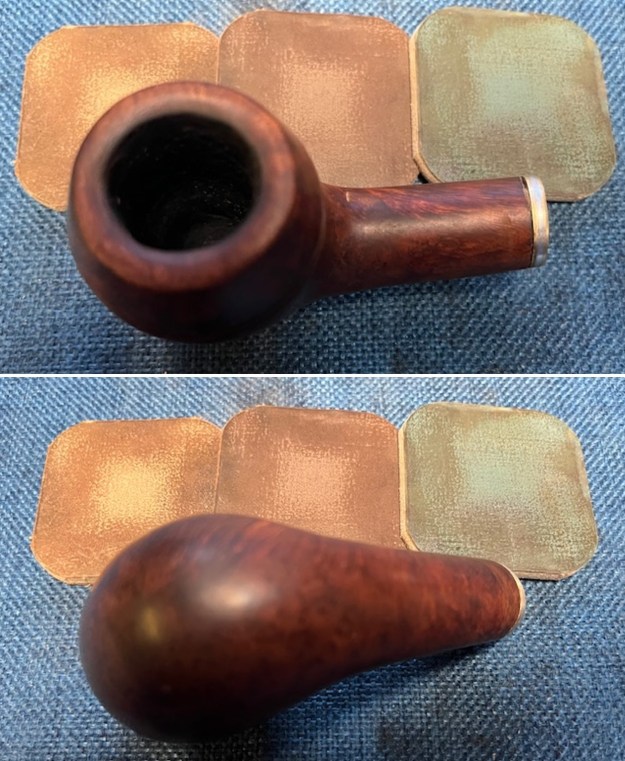
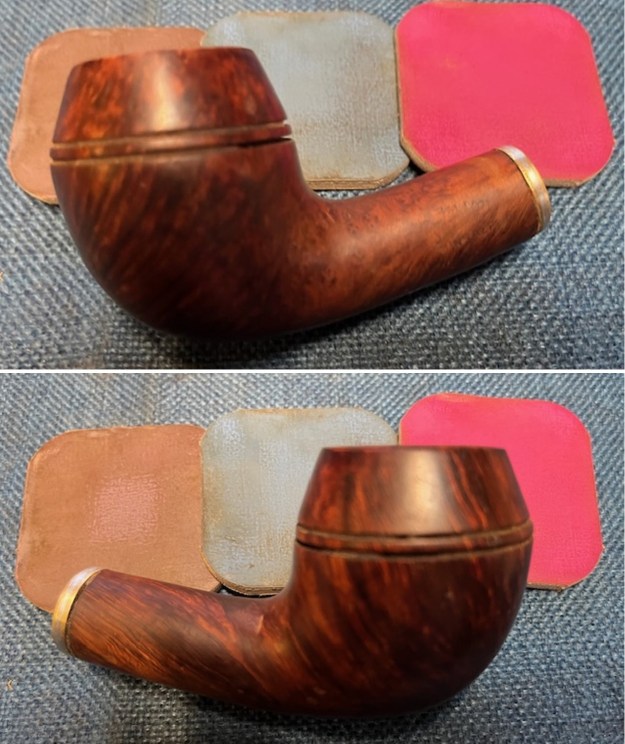
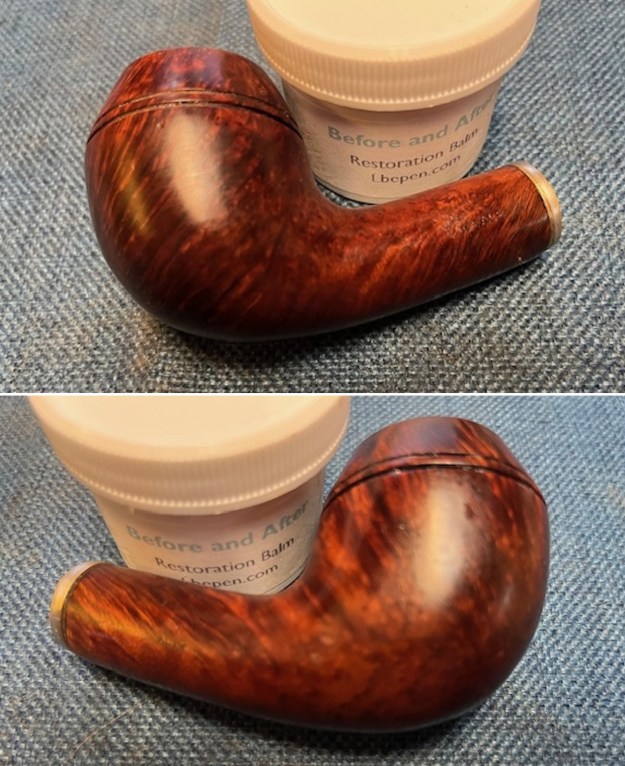
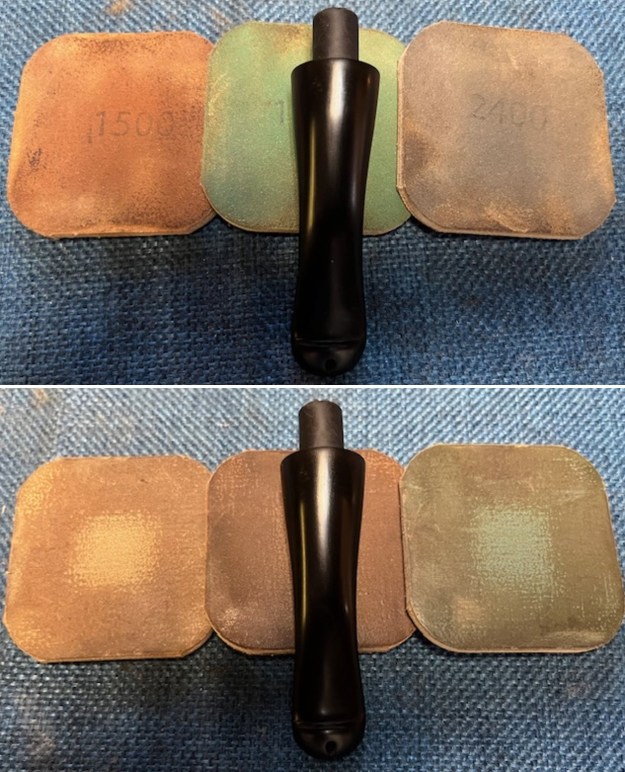
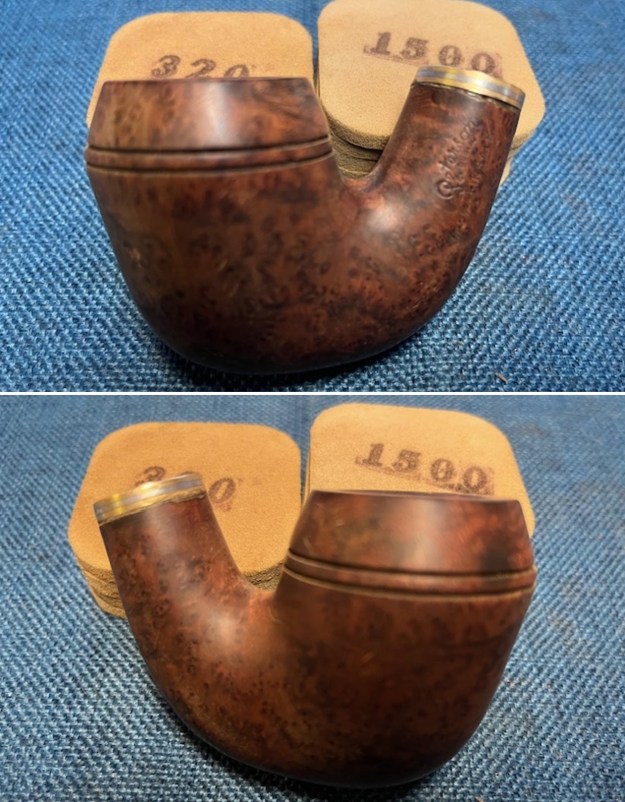
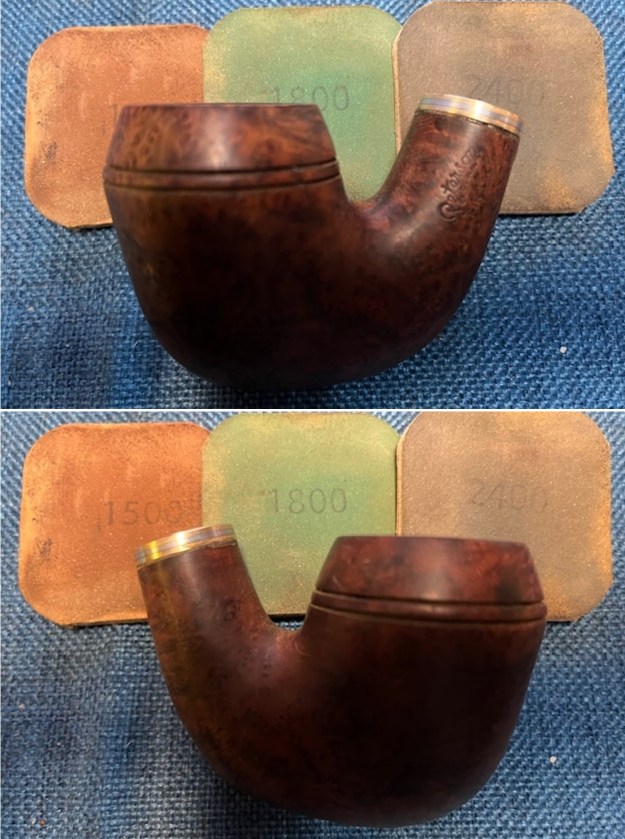
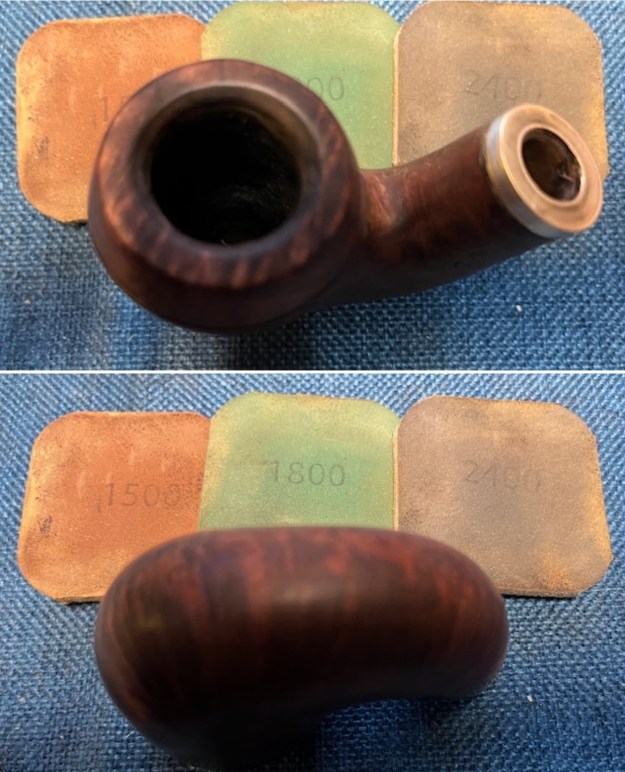
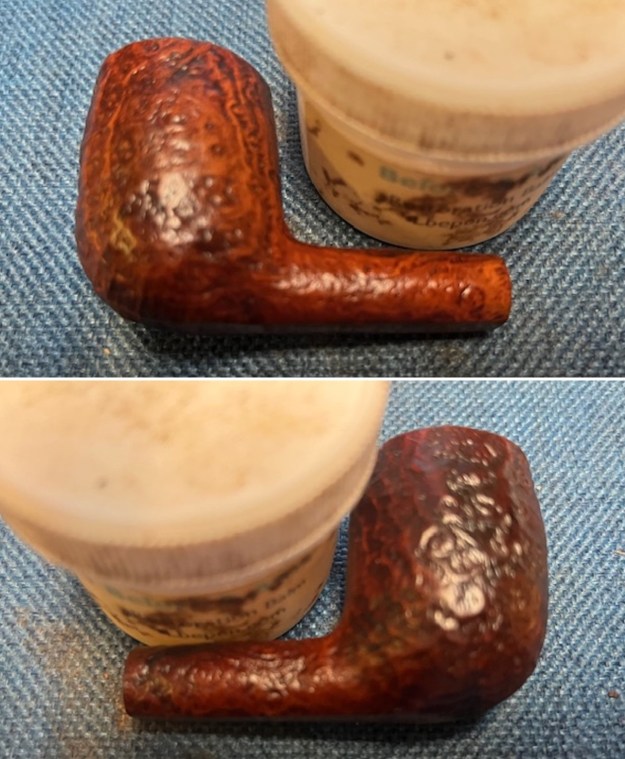
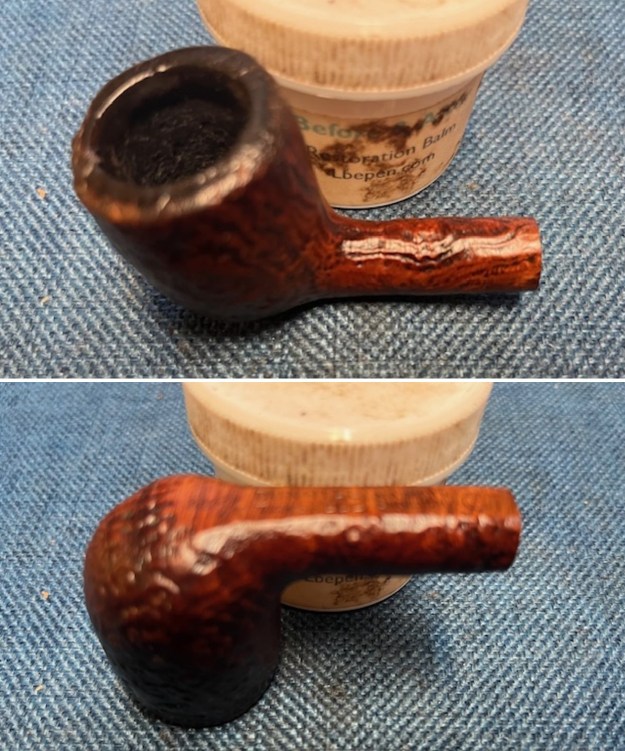
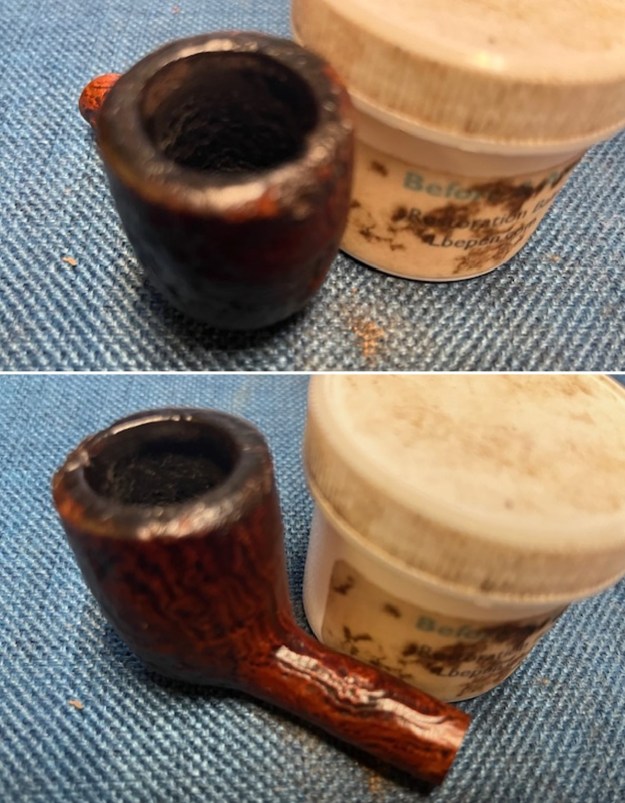
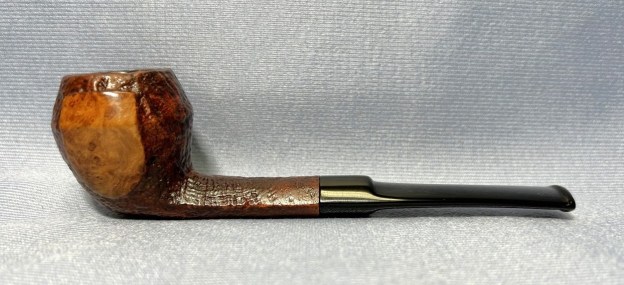
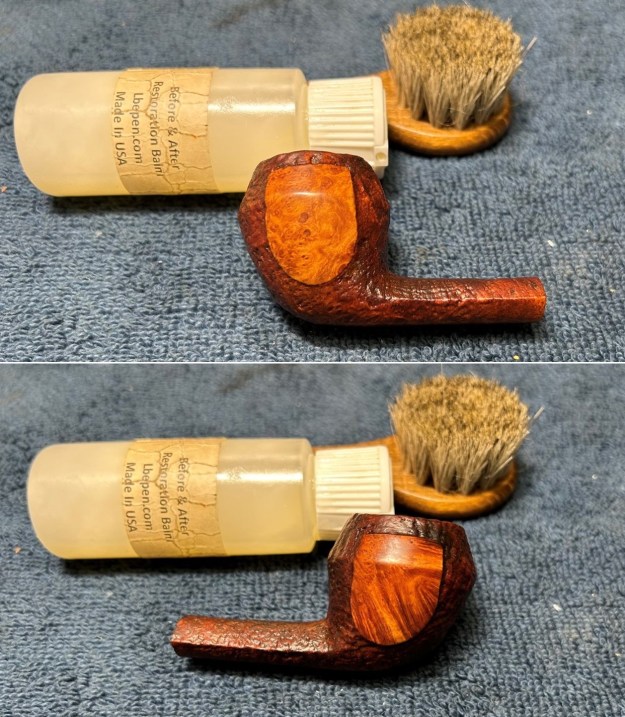
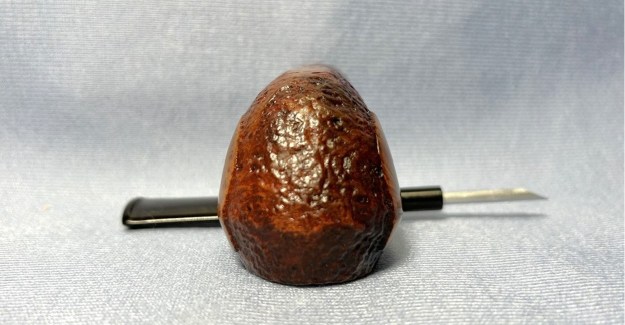
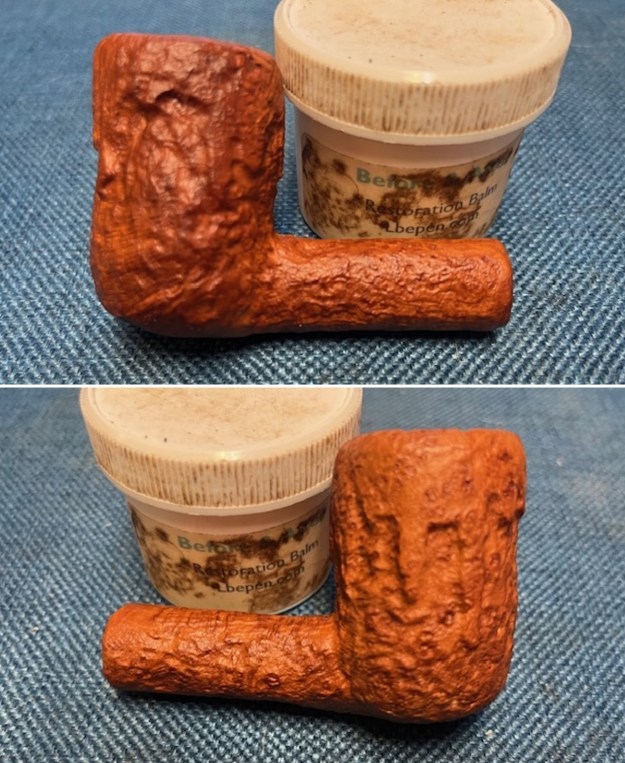
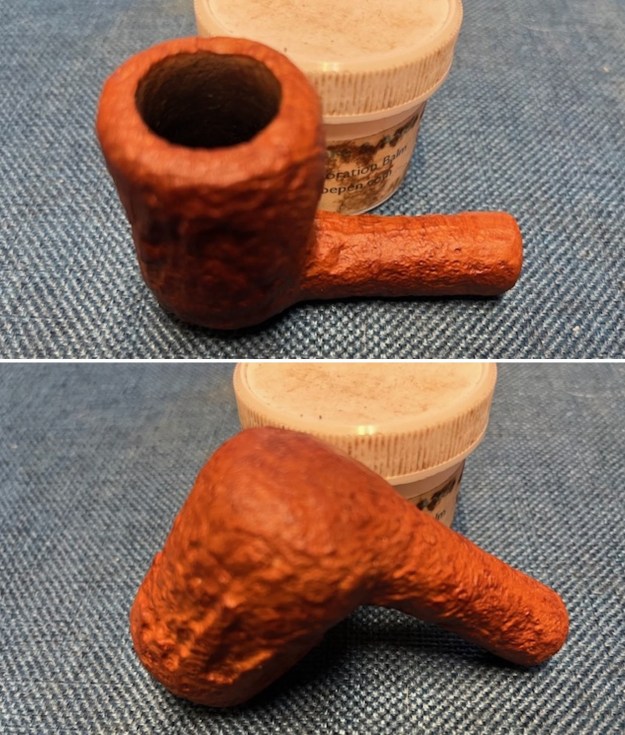
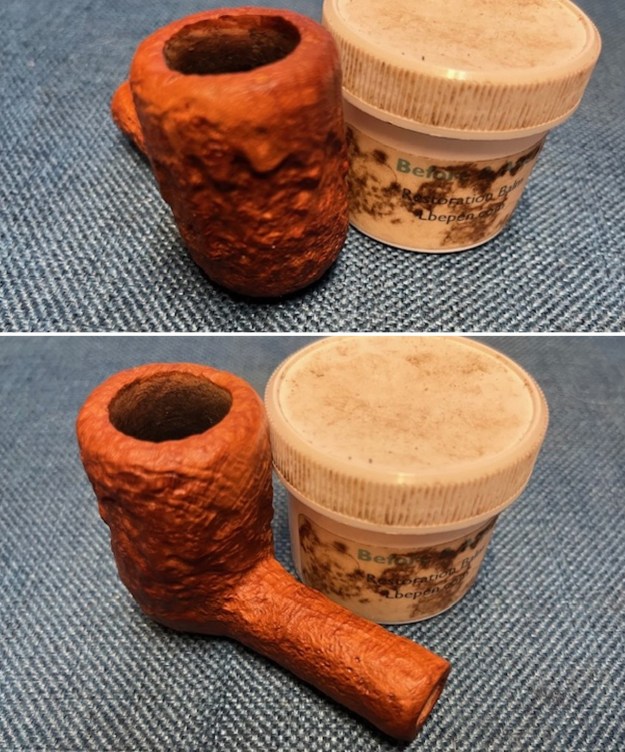
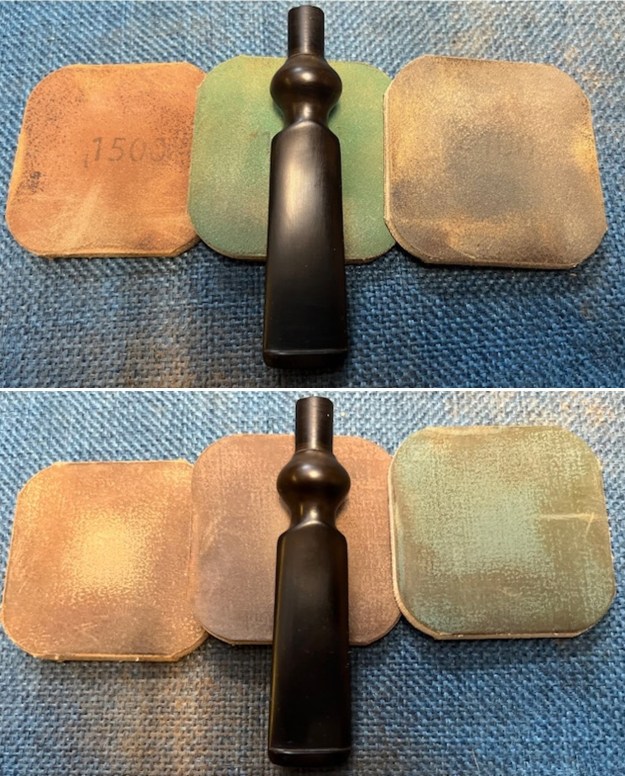
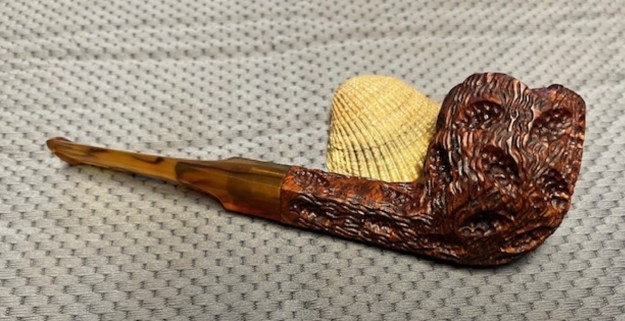
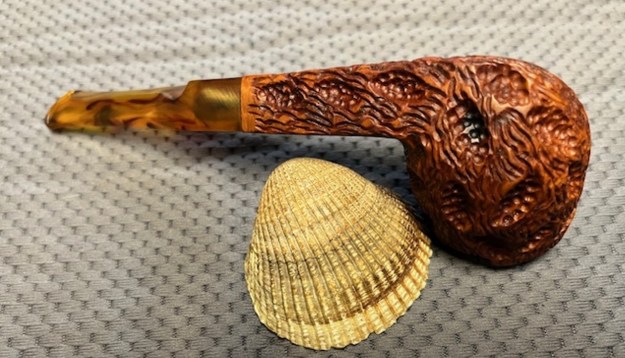
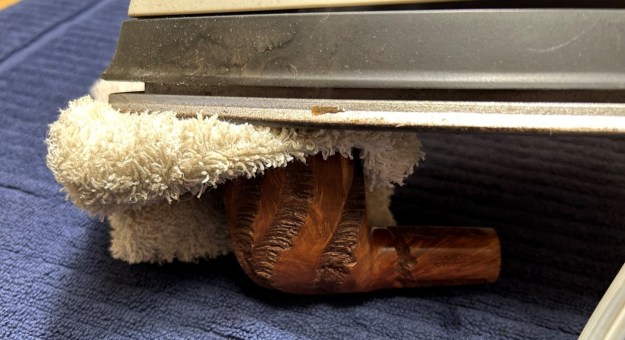 After this, I used all nine Micromesh pads (1,500 through 12,000 grit) to remove the scratches in the wood (especially on the rim) and make everything smooth. Then a light application of Before & After Restoration Balm brought out the best in the stummel’s grain. The grain on this pipe is pretty great!
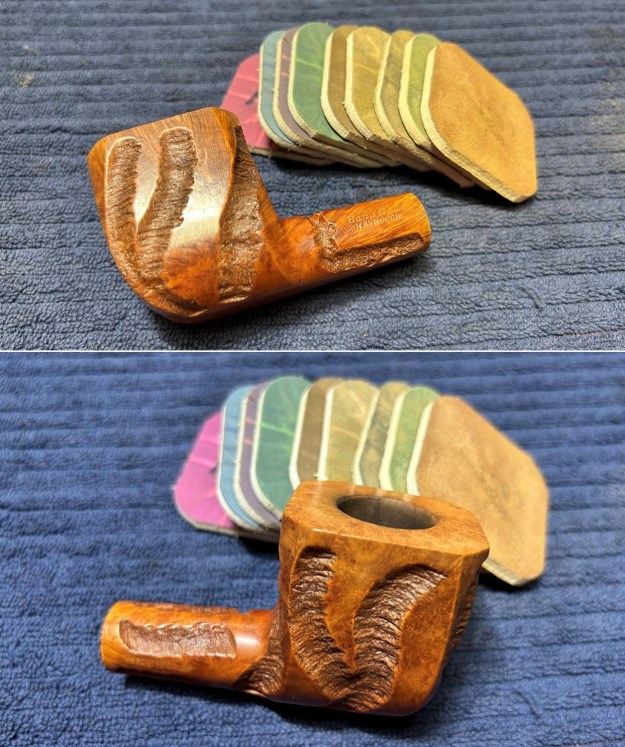
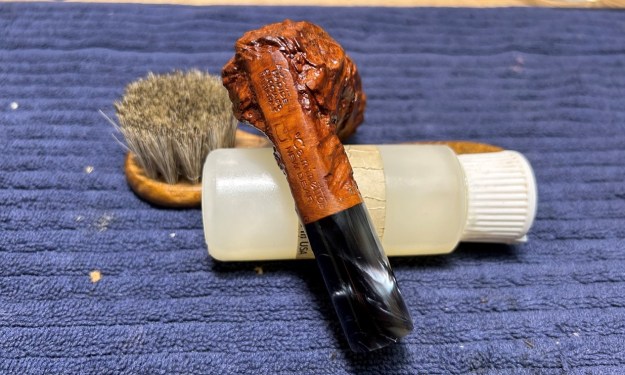
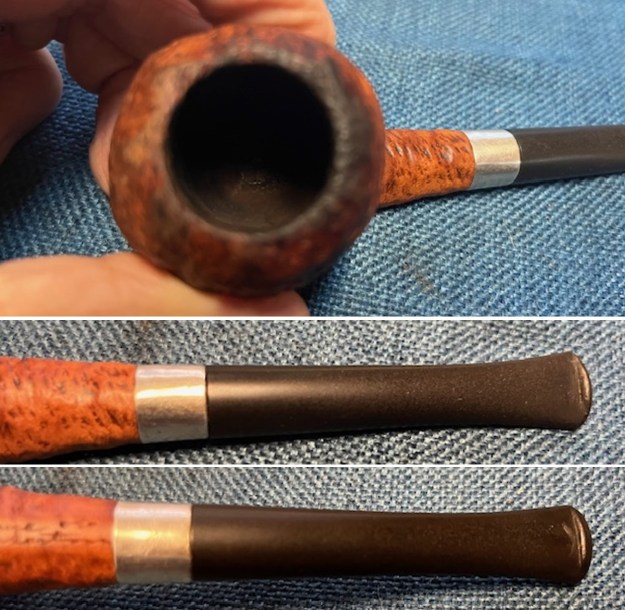
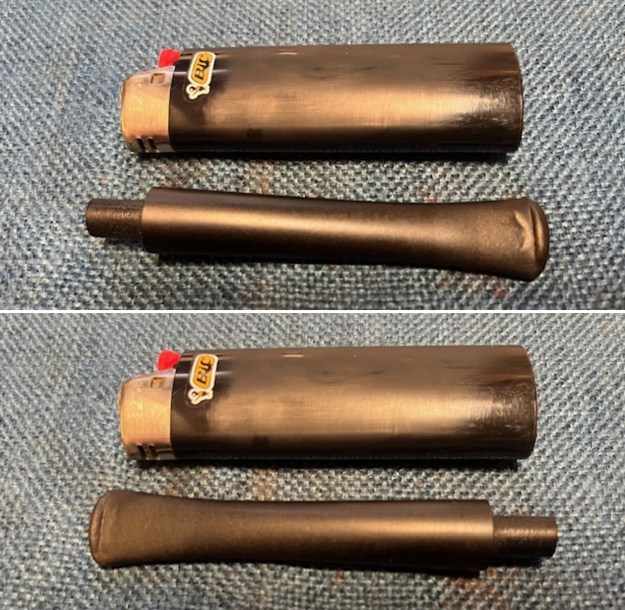
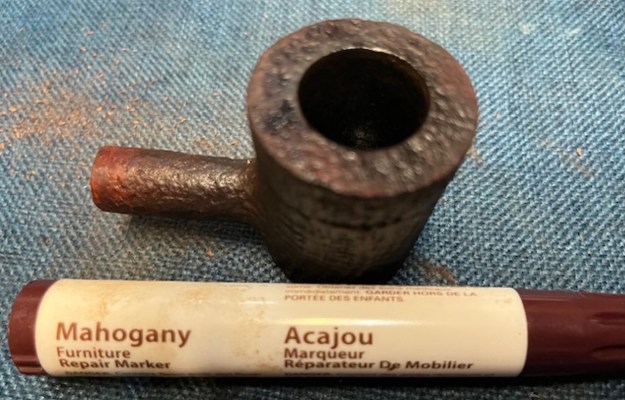
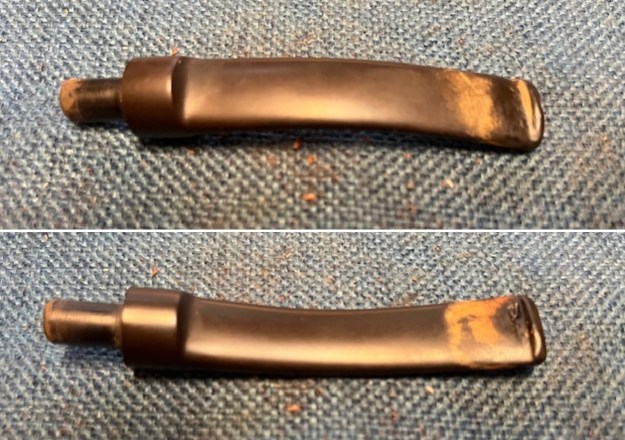
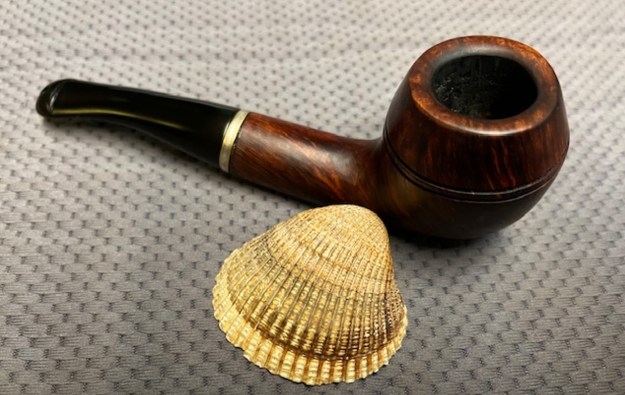
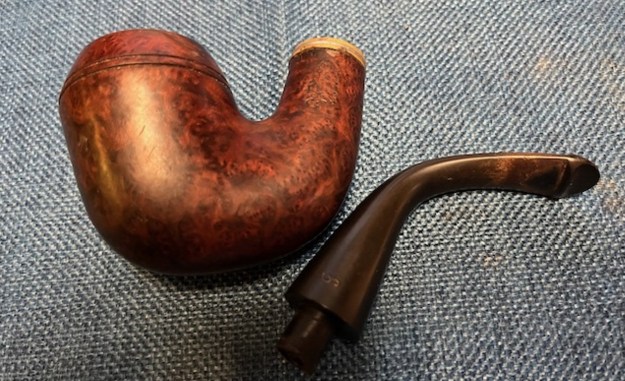
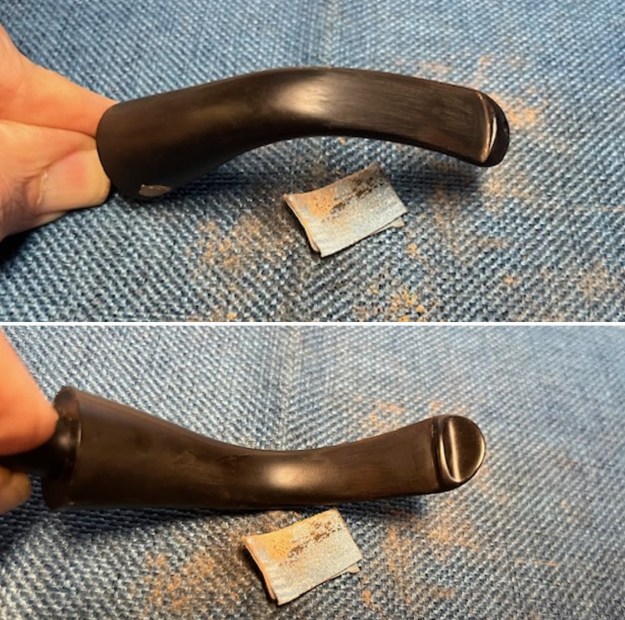
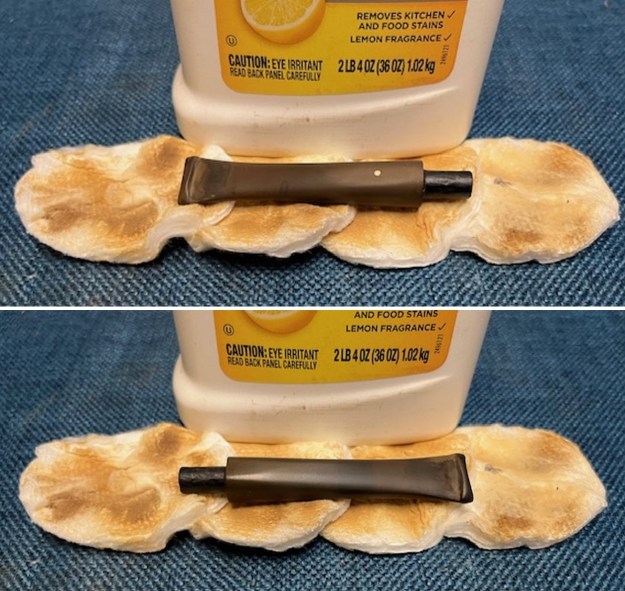
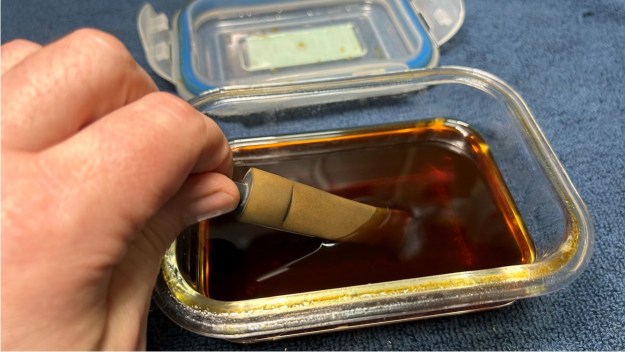
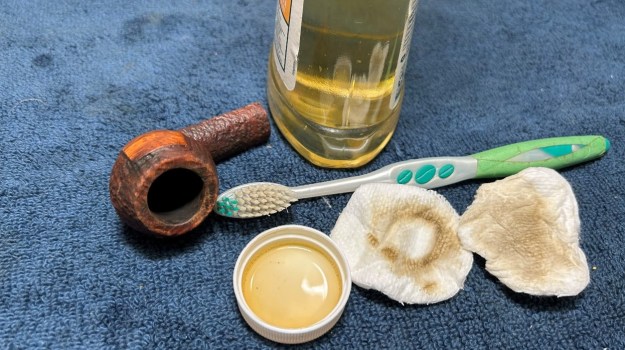
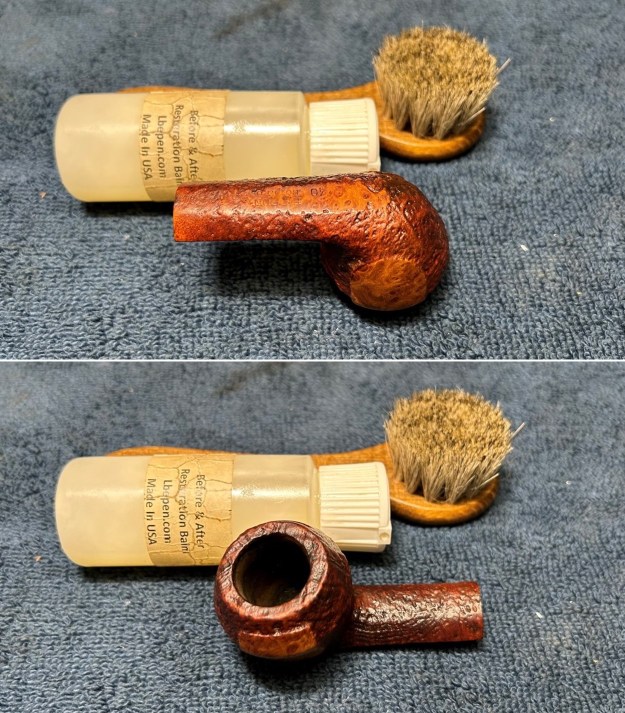
 Moving on to the stem – I started out by cleaning the inside of the stem with lemon-infused 99% isopropyl alcohol and some pipe cleaners and cotton swabs. It was dirty, but not too bad. I also cleaned the stem with some Murphy’s on some cotton rounds. As you can see, the stem wasn’t too dirty and won’t need a soaking.
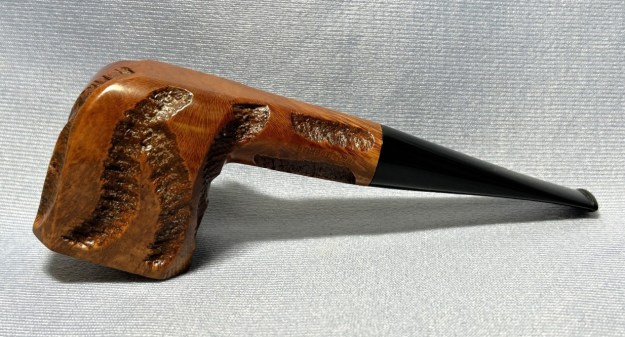
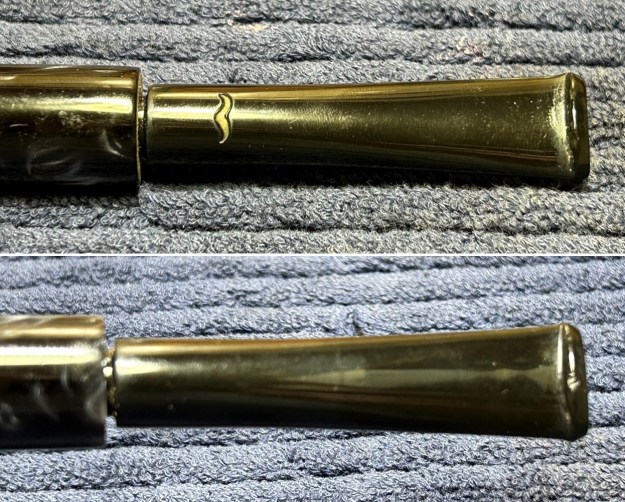
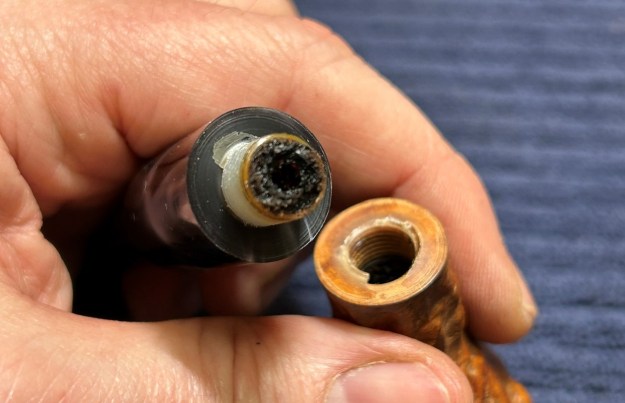
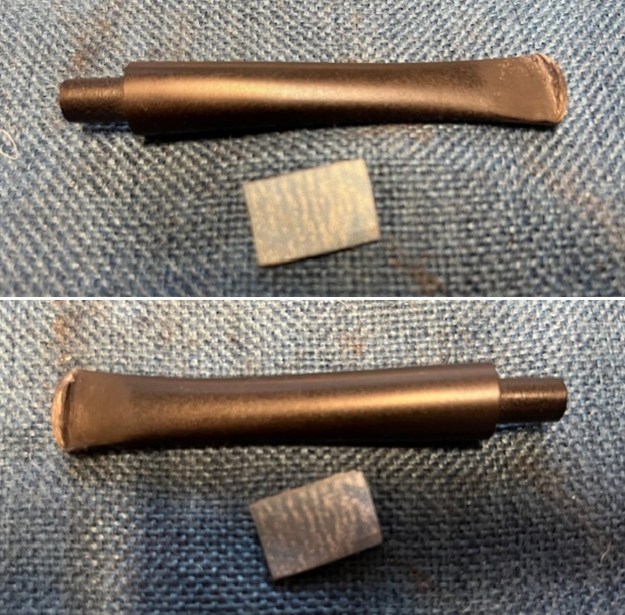
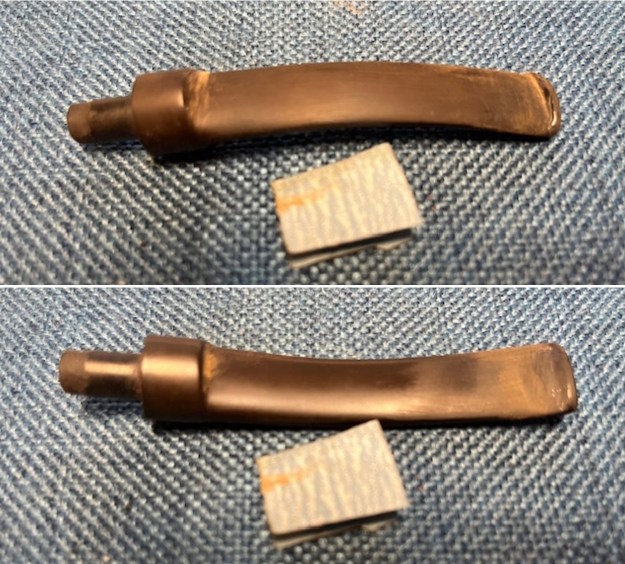
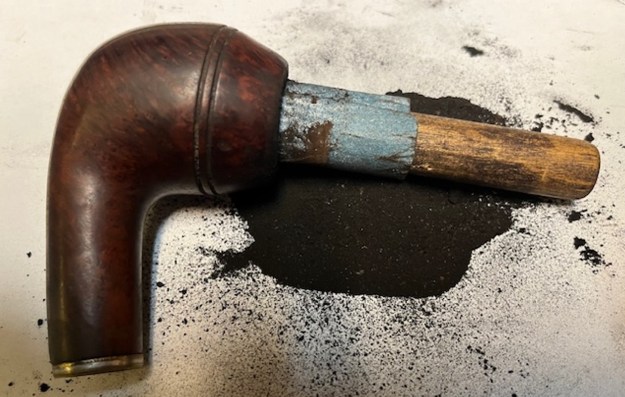
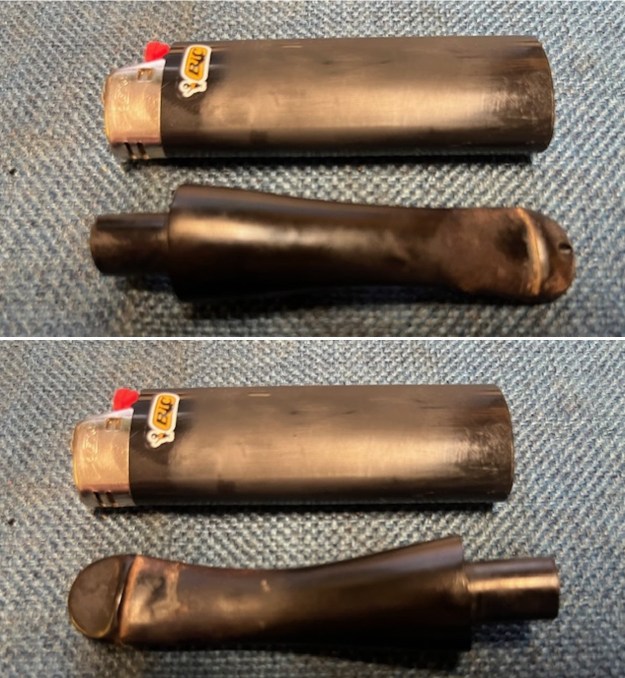
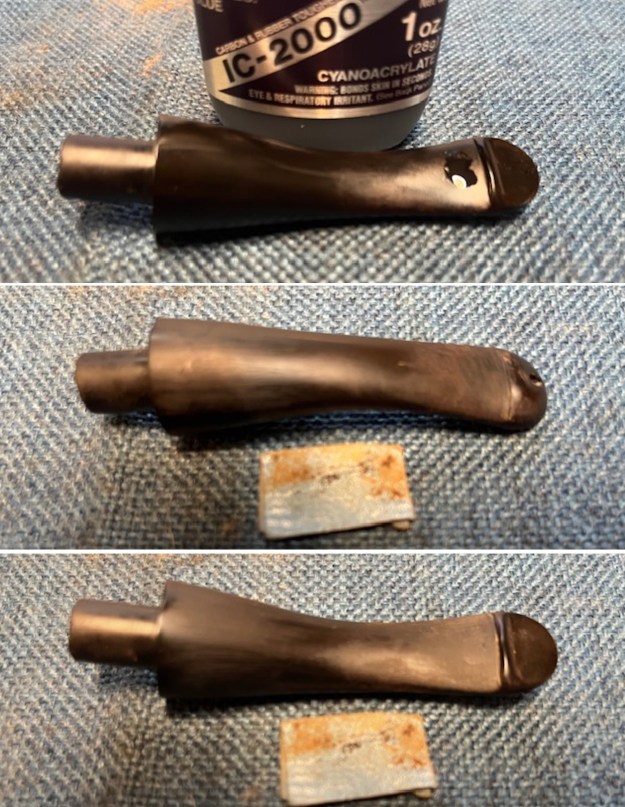
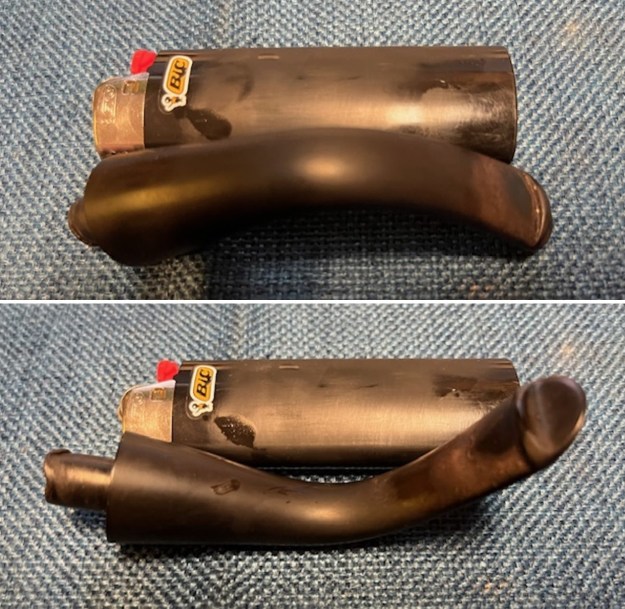
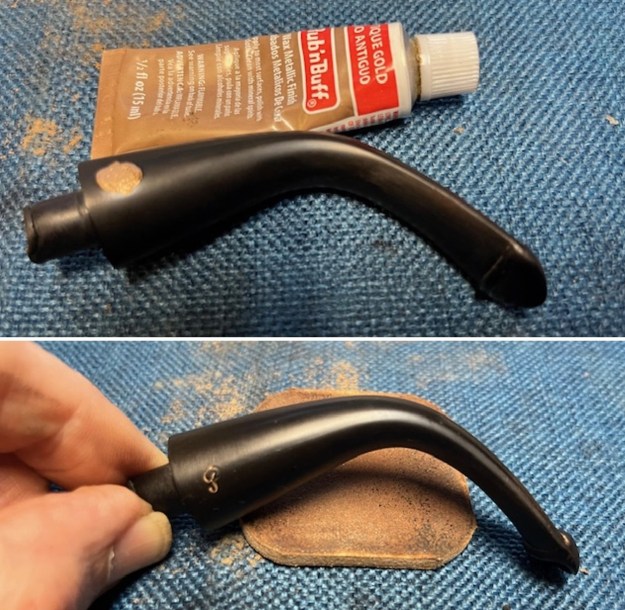
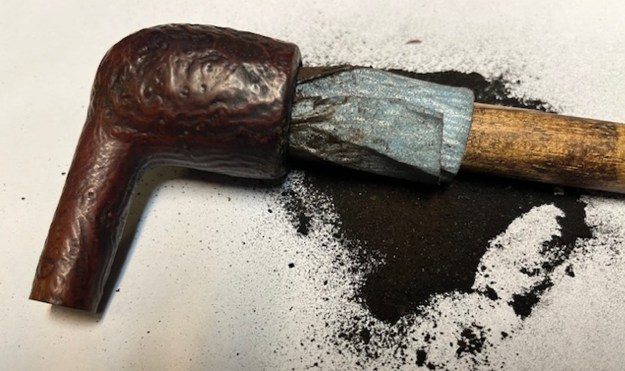
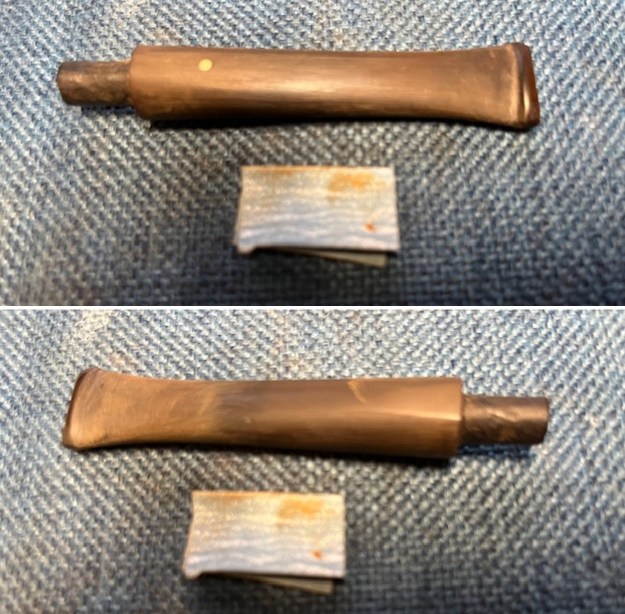
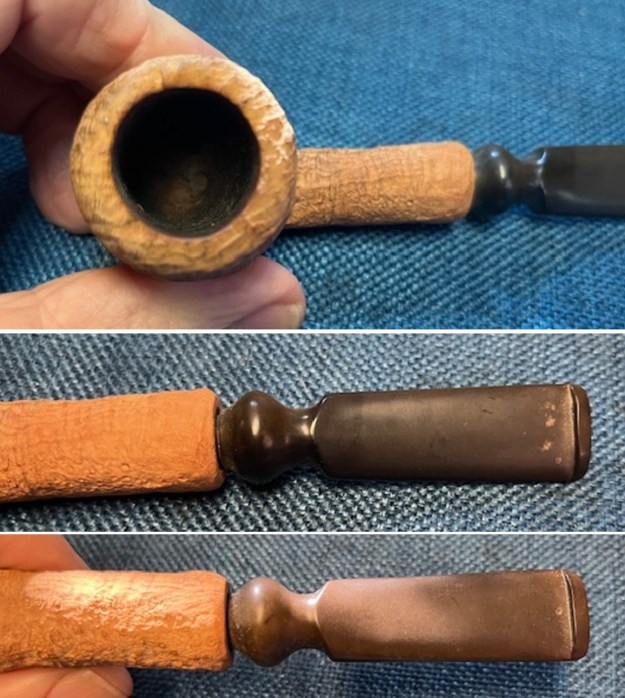
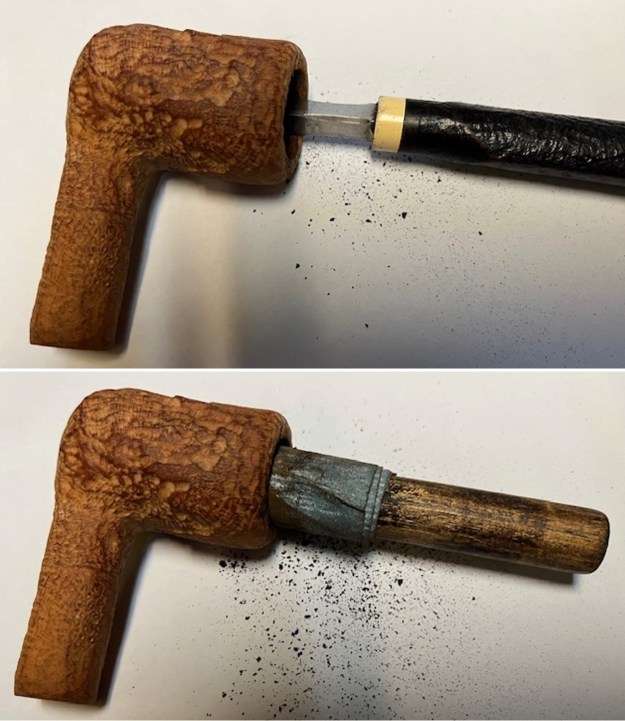
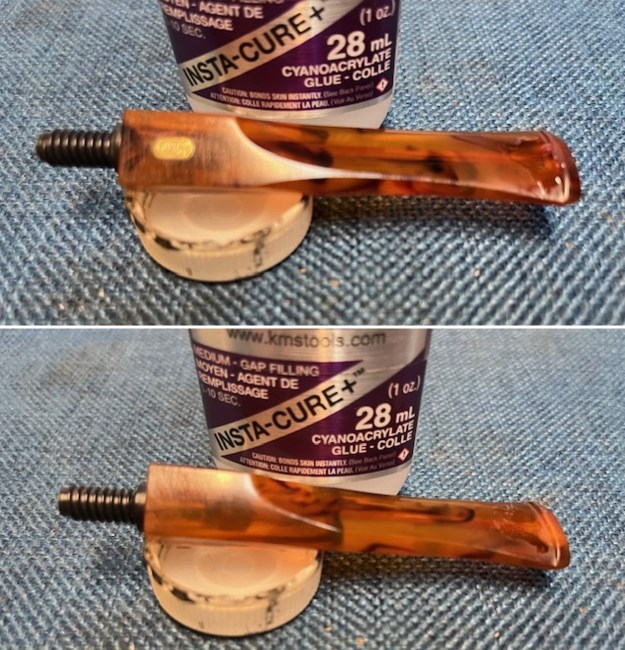
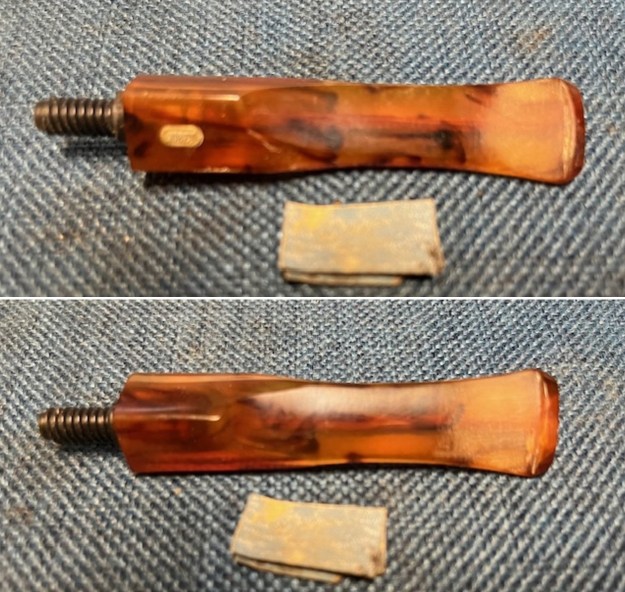
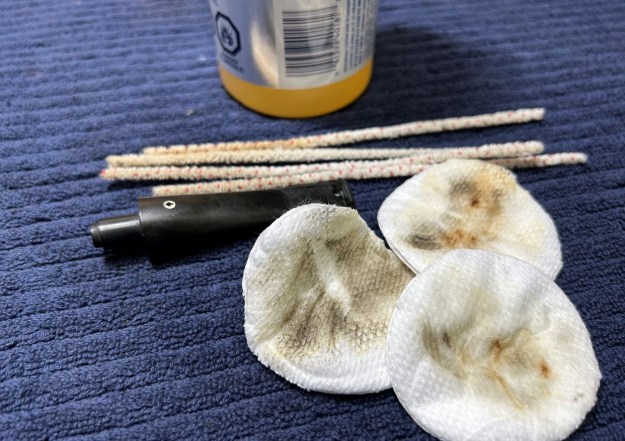 Now it was time to fix the bite-through. Obviously, one option here would be to get another stem from my stock and replace the broken one, but I always try to use original materials wherever possible. I noticed that a repair had already been attempted on this stem at some point in the past. Someone had used some soft rubber (from one of those stem bits) to bridge the gap in the stem.
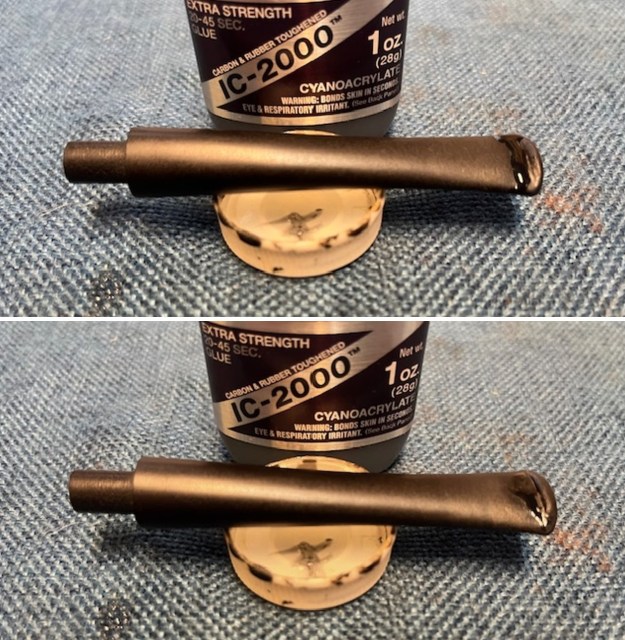
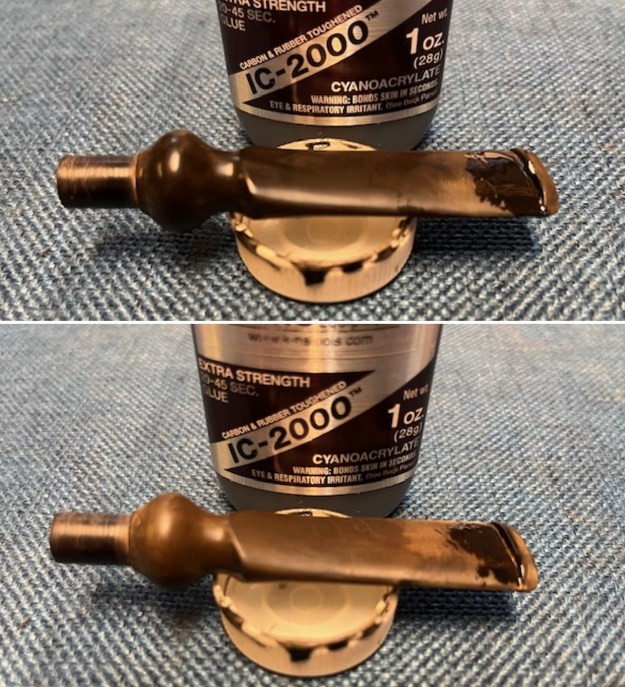
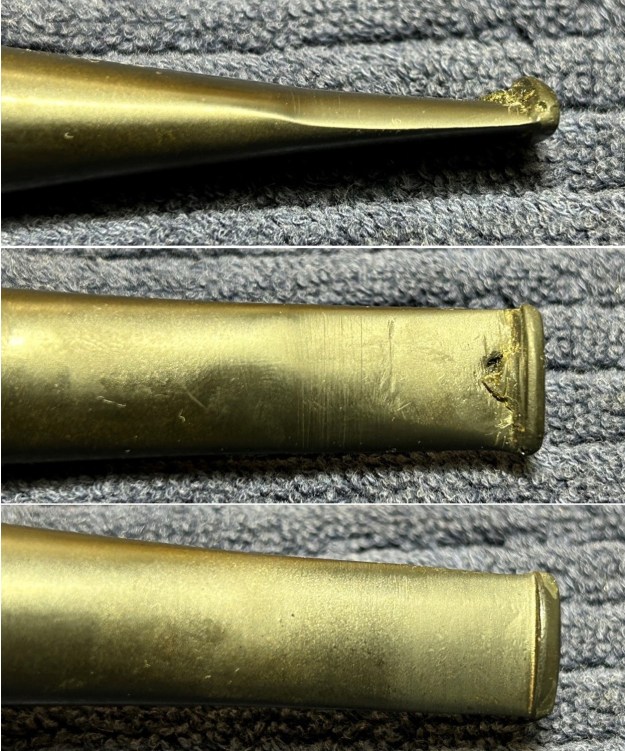 I figured that adding my black carbon and rubber infused cyanoacrylate adhesive to this existing repair would be a good idea. I first plugged up the stem’s draught hole with a pipe cleaner coated in petroleum jelly. This ensured that any of the cyanoacrylate would not accidentally plug up the air passage in the stem.
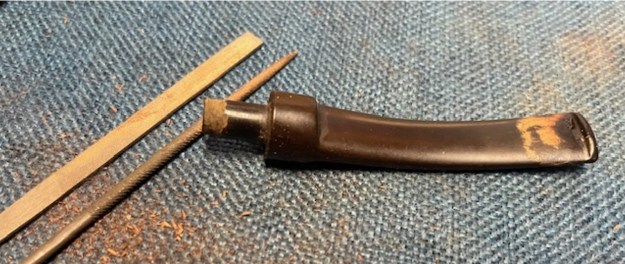
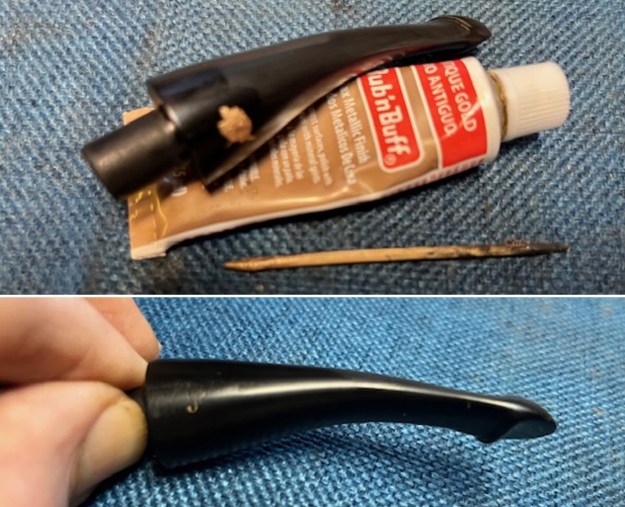
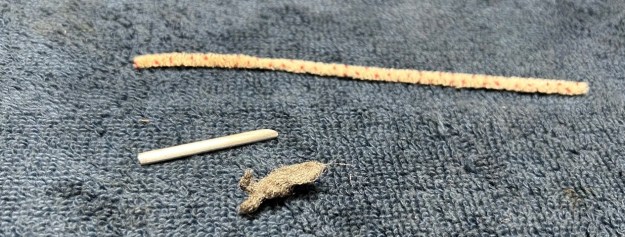
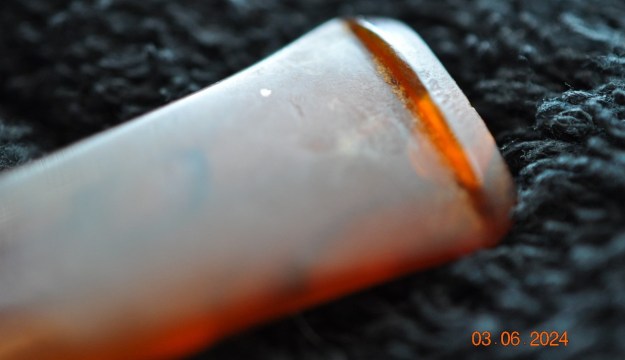
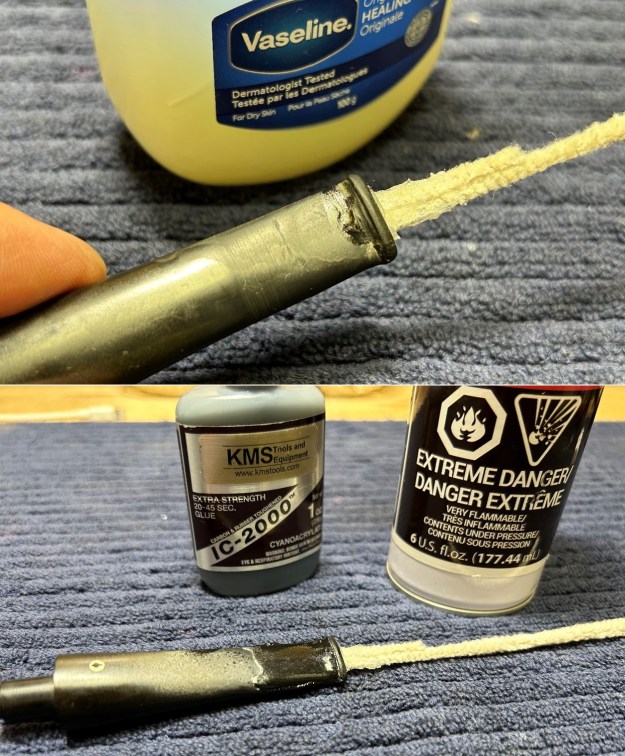 I then used a miniature file to shape the button and make it suitable for sanding. Uh oh – big problem. The soft rubber repair was not nearly good enough and broke off completely while I was sanding.
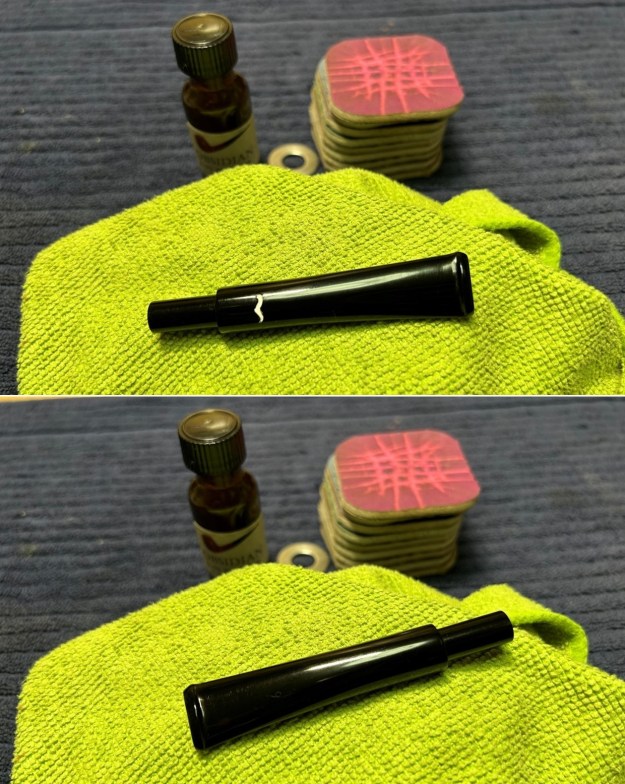
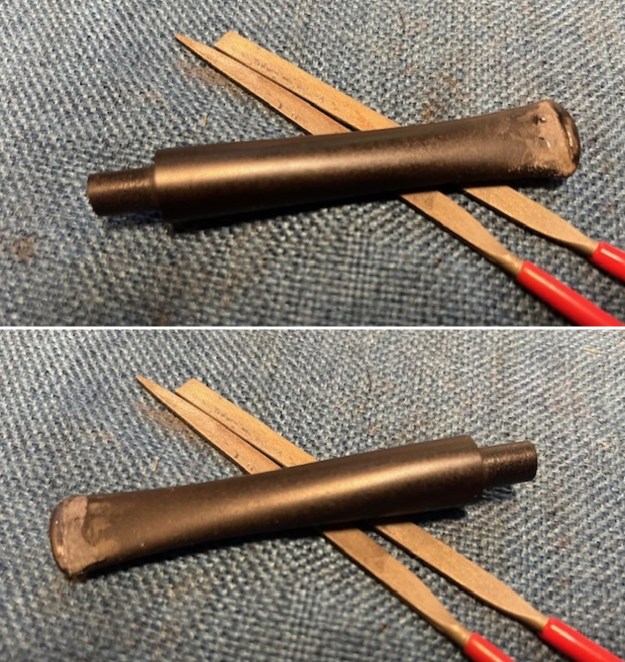
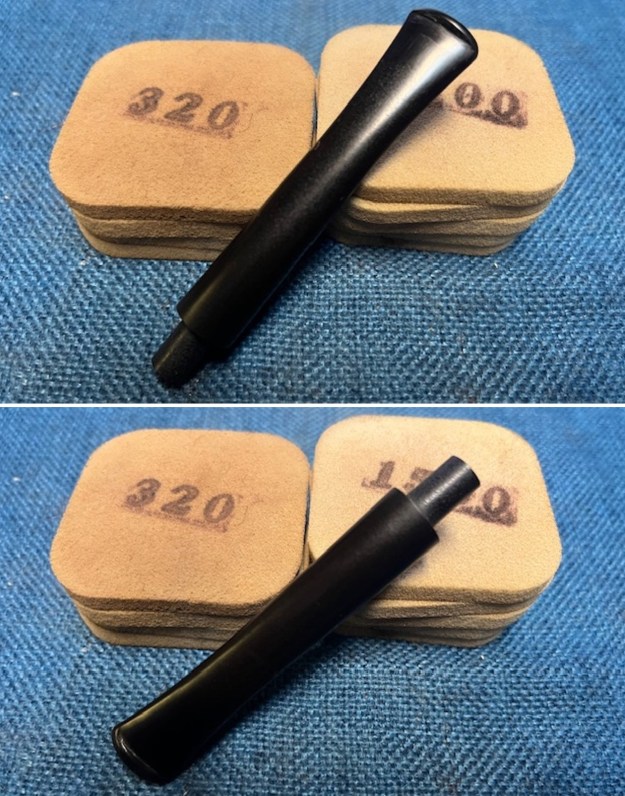
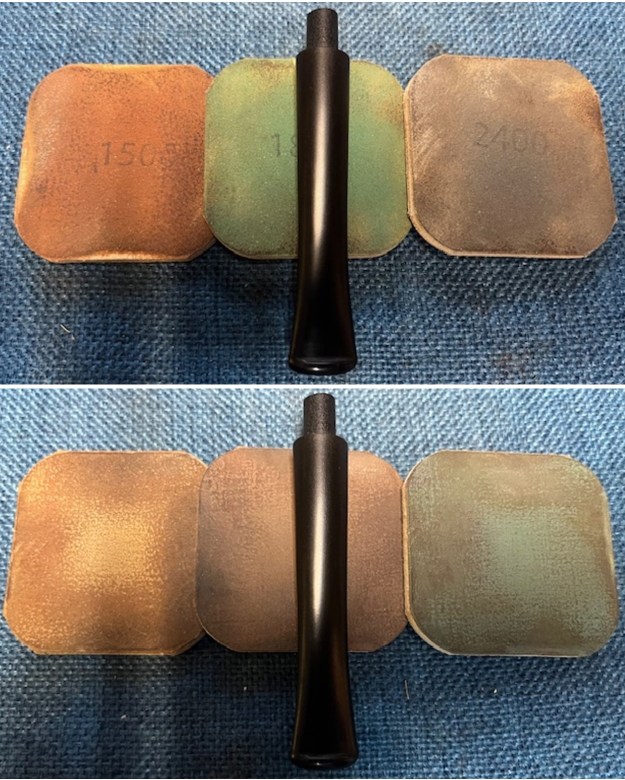
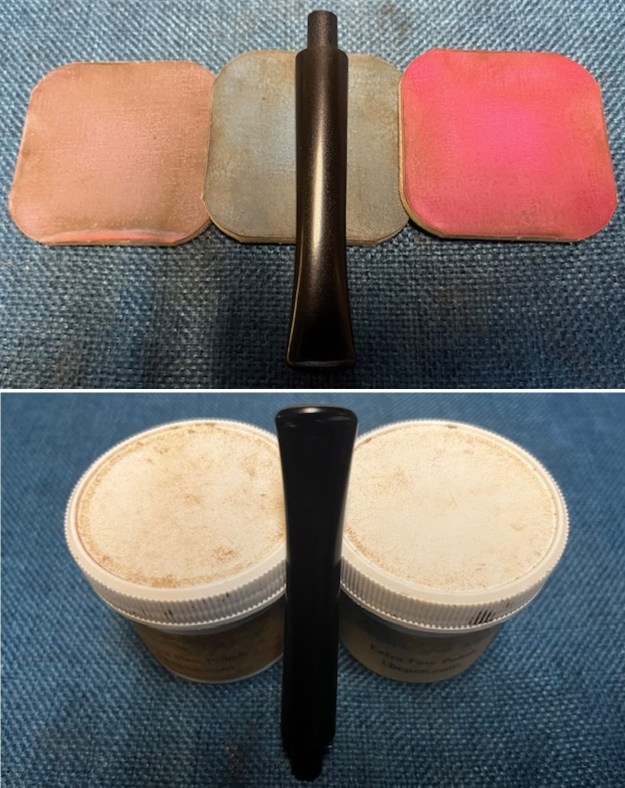
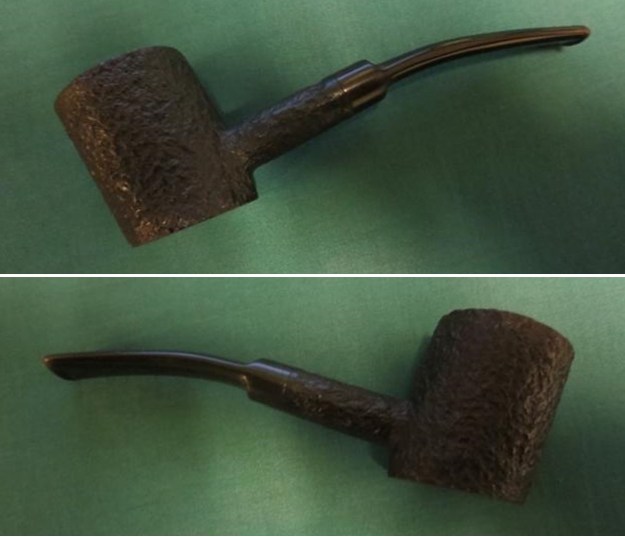
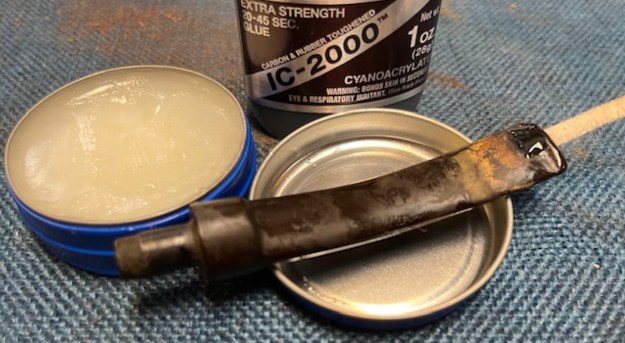
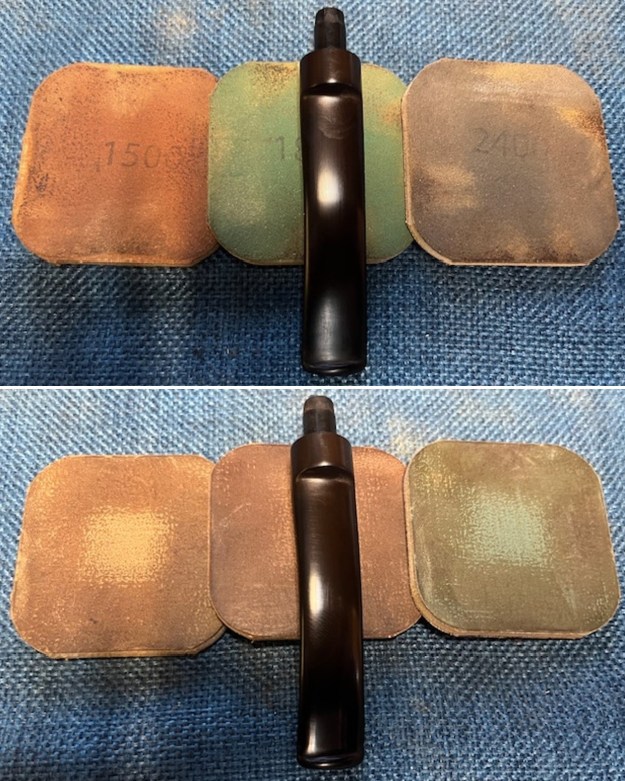
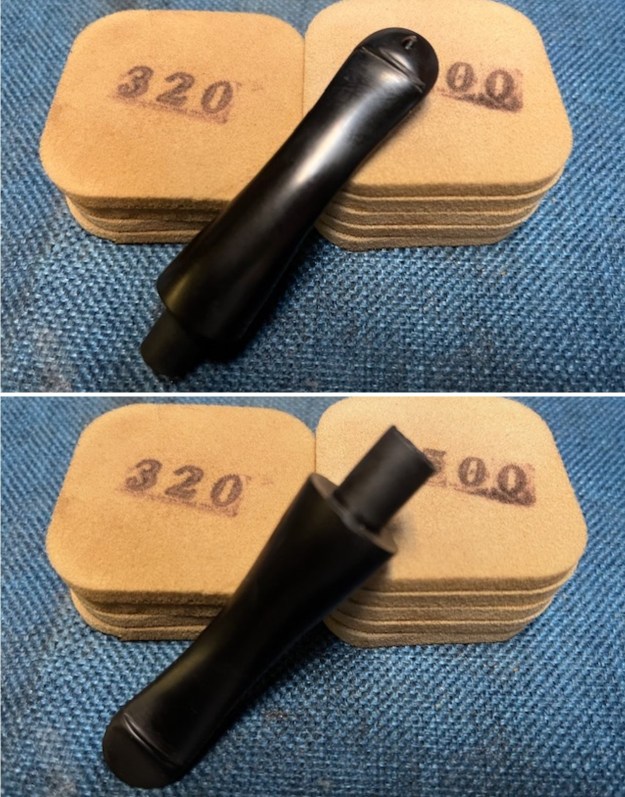
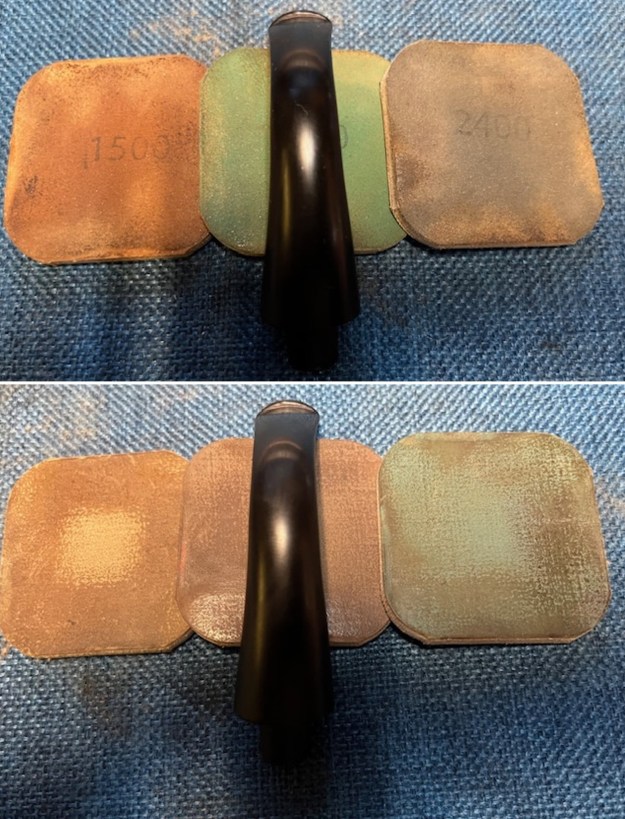
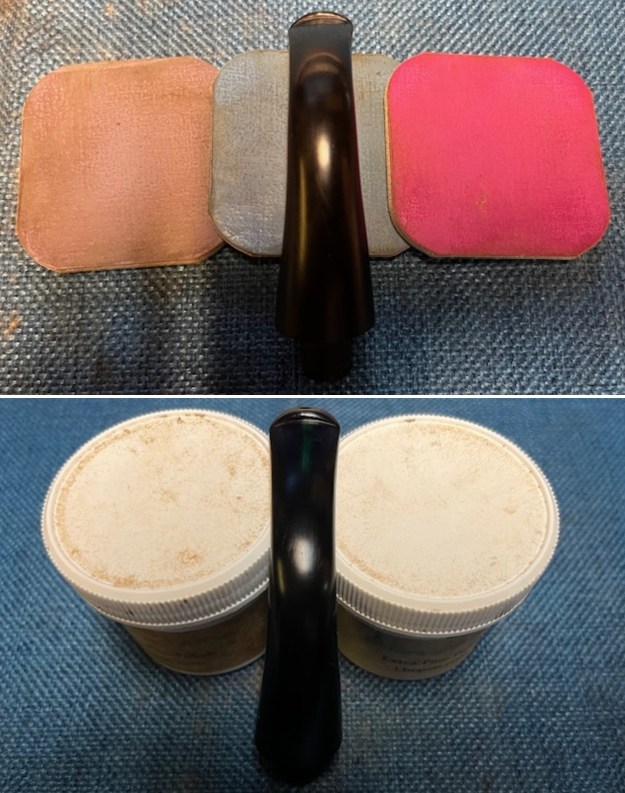
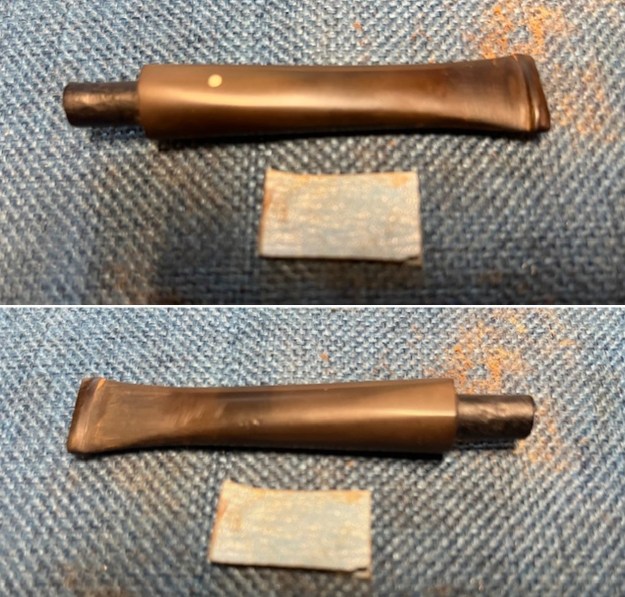
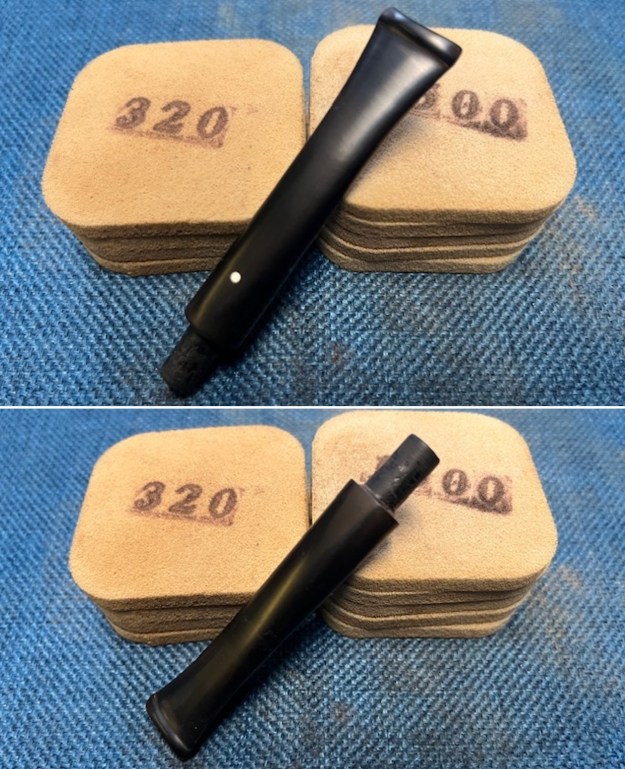
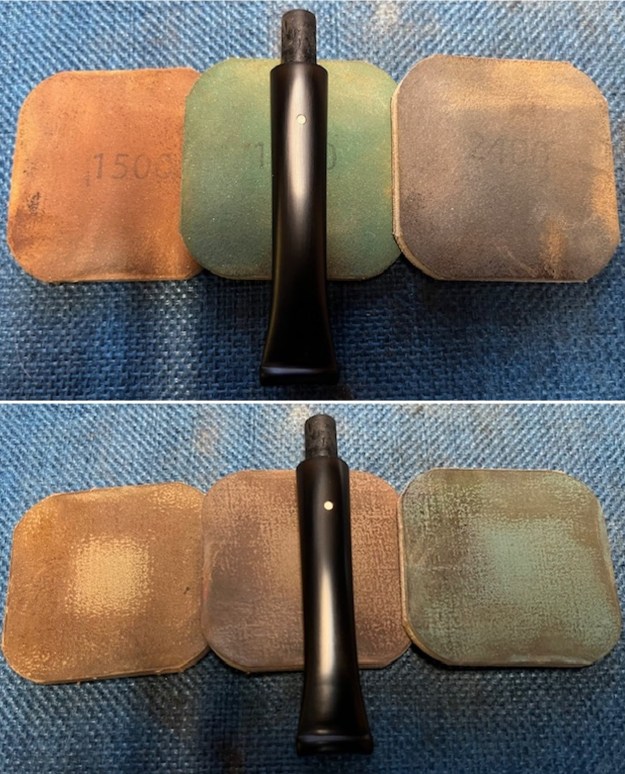
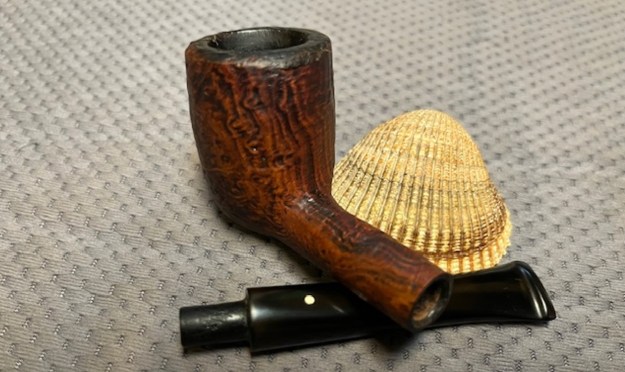
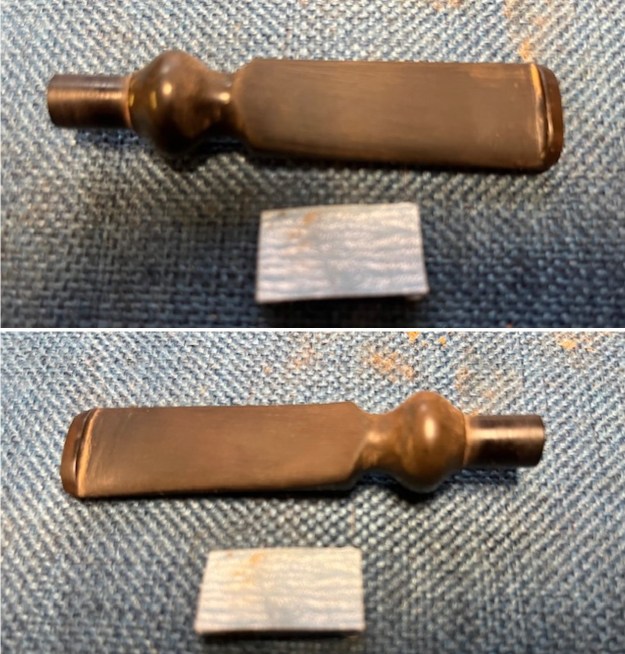
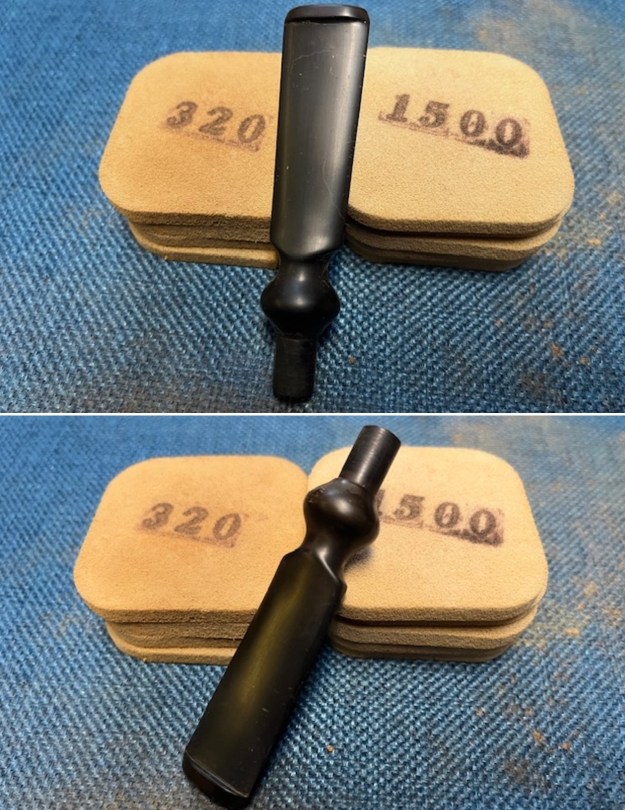
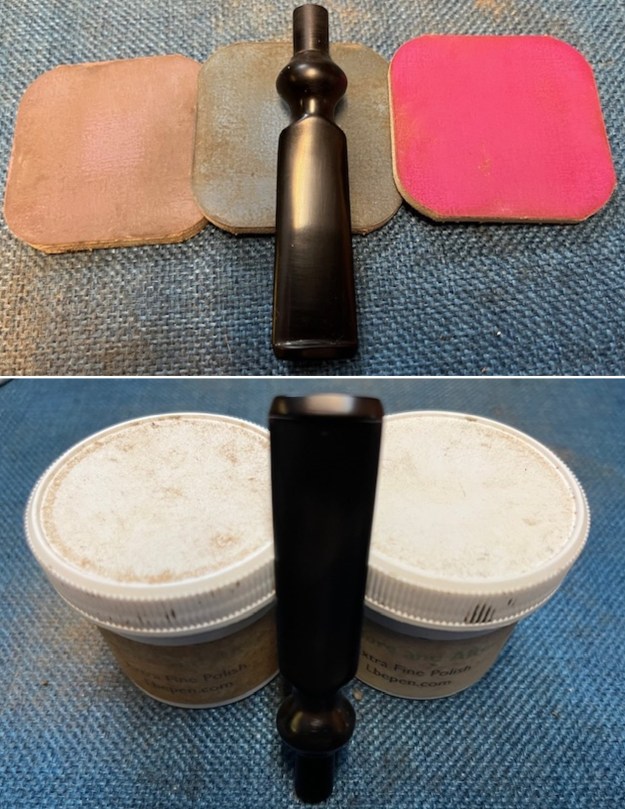
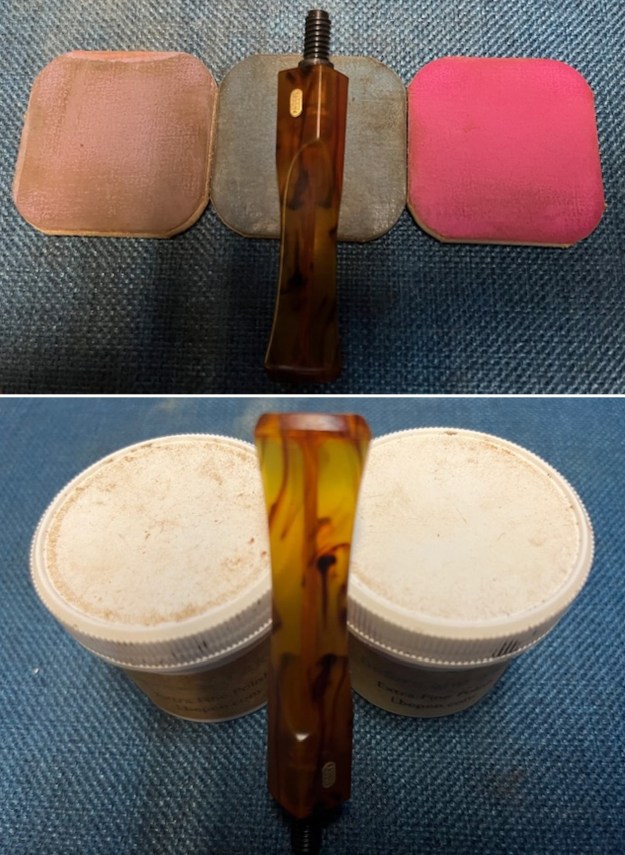
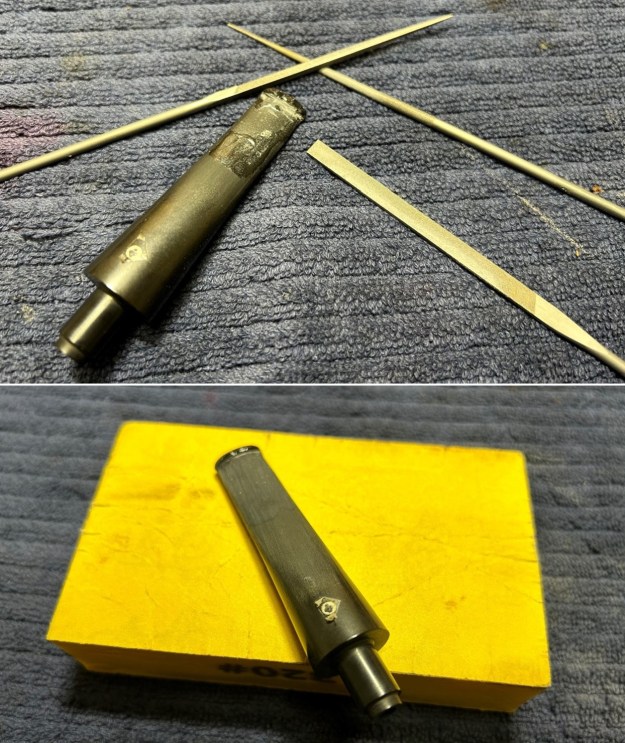
 Sigh. I repeated the process of building up the bit with black cyanoacrylate glue. This time I used a piece of cardboard coated in petroleum jelly (rather than a pipe cleaner). I then sanded the stem down with 220- and 400-grit sandpapers to meld seamlessly into the stem. I also used a sanding sponge to ensure that it keeps its shape and looks like it should. I won’t bore you by repeating myself, but I had to add black cyanoacrylate adhesive two more times until it was satisfactory. I then used all nine Micromesh pads (1,500 through 12,000 grit) on the stem to make it look as good as possible. I also used Obsidian Pipe Stem Oil in between each pad scrubbing. It is worth noting that a repair this big on a stem will never be invisible or perfect, but I was pleased with how the stem finished up.
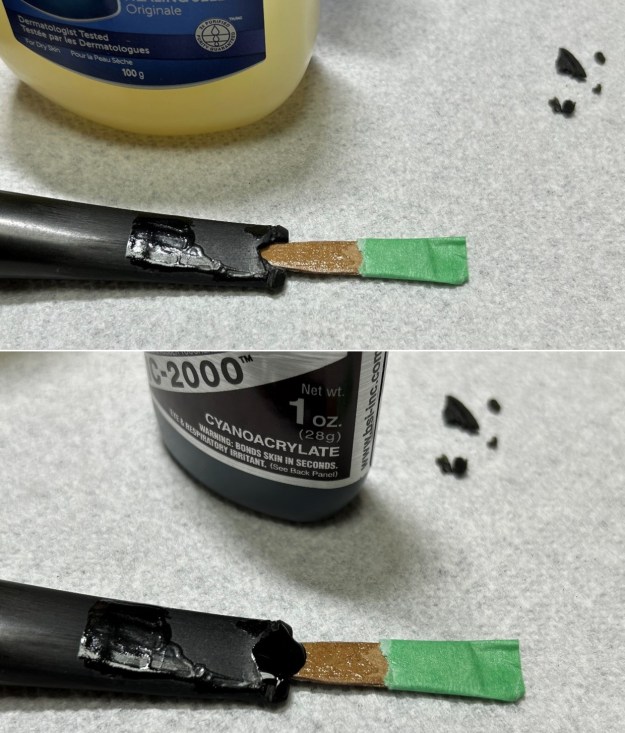
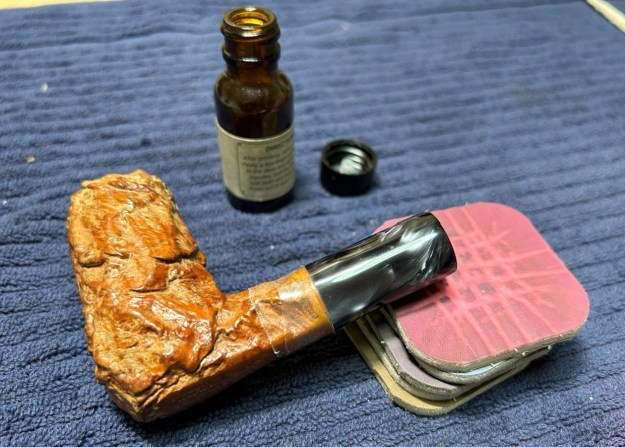
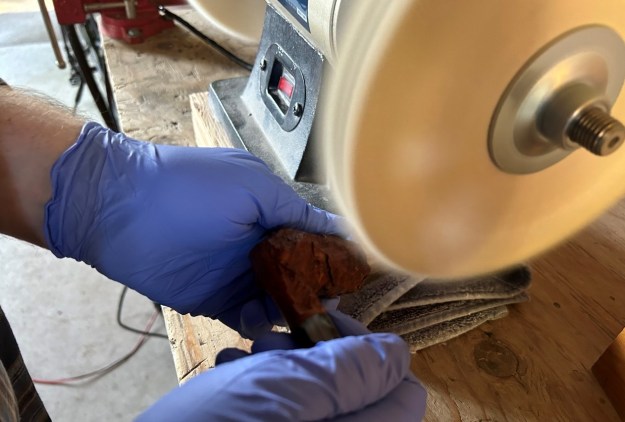
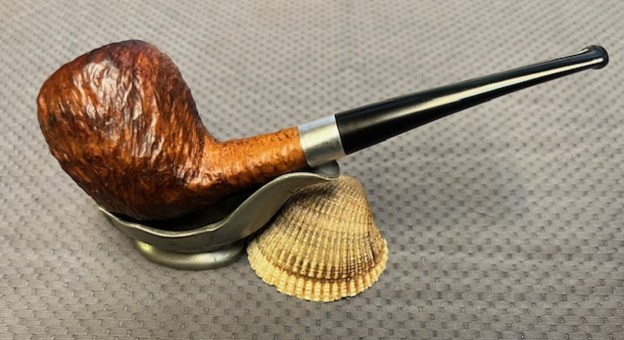
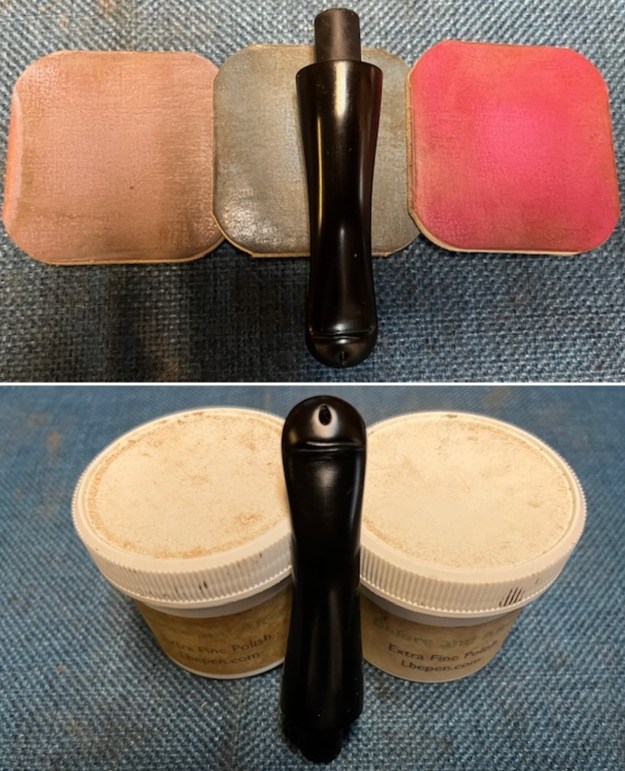
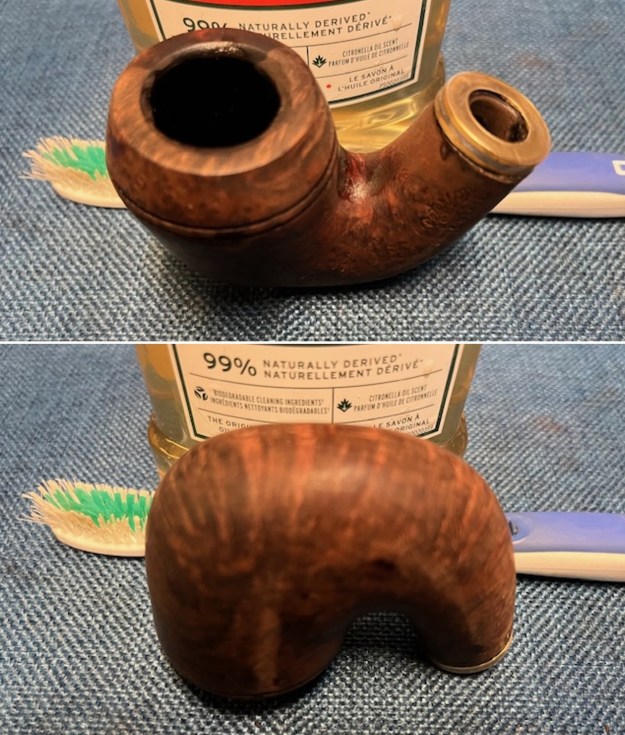
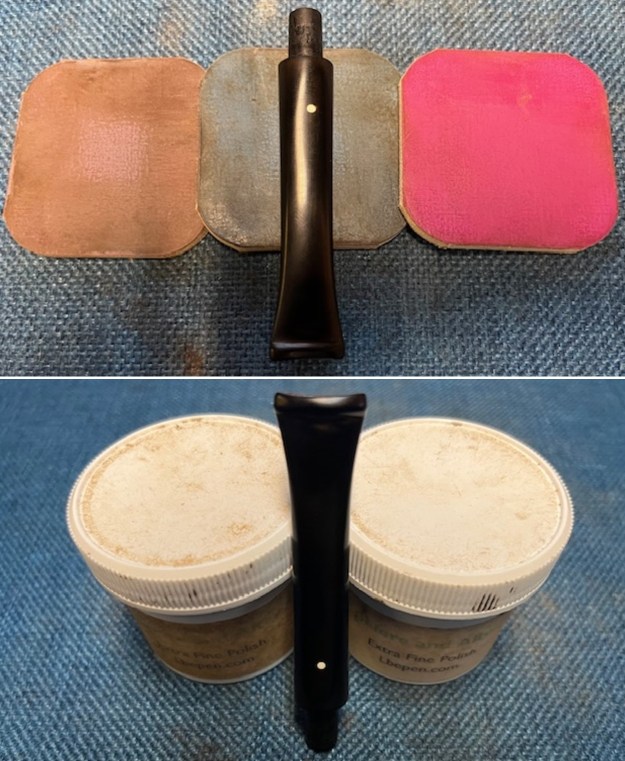
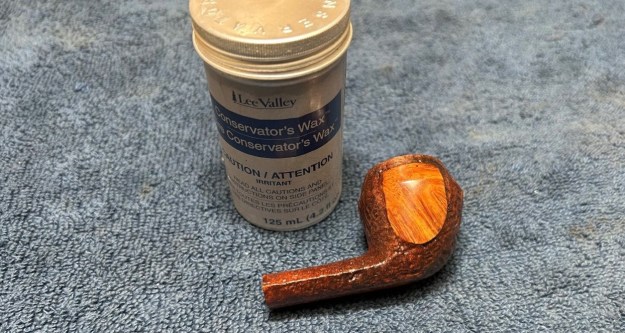
 Off to the bench polisher to put the final touches on this pipe. I first gave it a thorough (but light-handed) going-over with White Diamond compound. One doesn’t want to use too much for fear of gumming up the rustication. Following that, several coats of conservator’s wax created a beautiful seal on the pipe.
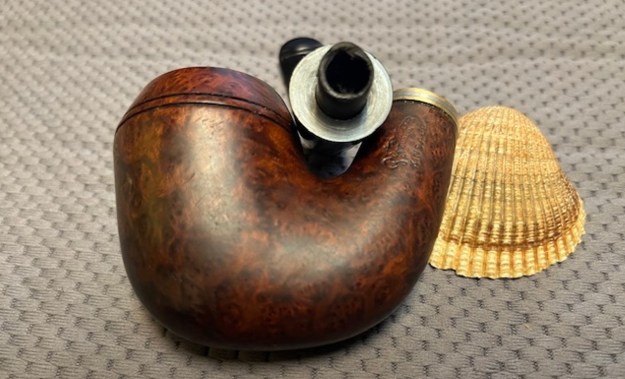
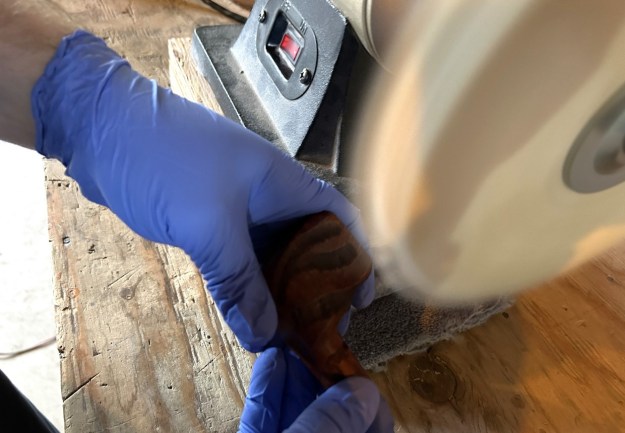 All done! This Handmade Oversize Kaywoodie looks fantastic and is ready to be enjoyed again by the next owner. I am pleased to announce that this pipe is for sale! If you are interested in acquiring it for your collection, please have a look in the “American” section of the store here on Steve’s website. You can also email me directly at kenneth@knightsofthepipe.com. The approximate dimensions of the pipe are as follows: length 6 in. (152 mm); height 2 in. (51 mm); bowl diameter 1½ in. (39 mm); chamber diameter ¾ in. (20 mm). The weight of the pipe is 2¼ oz. (64 g). I hope you enjoyed reading the story of this pipe’s restoration as much as I did restoring it. If you are interested in more of my work, please follow me here on Steve’s website or send me an email. Thank you very much for reading and, as always, I welcome and encourage your comments.