Blog by Steve Laug
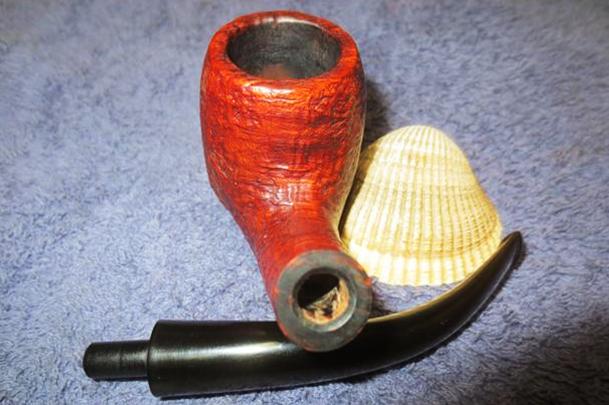
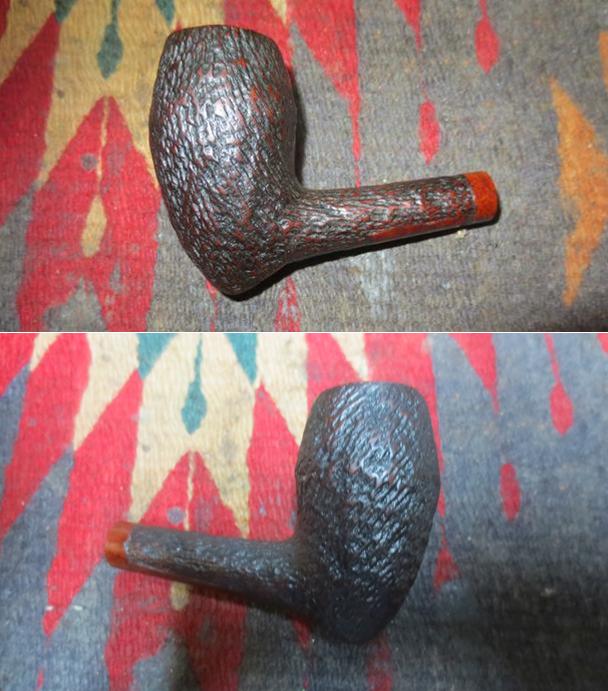
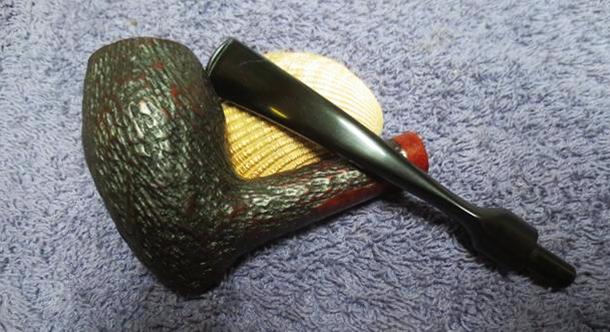
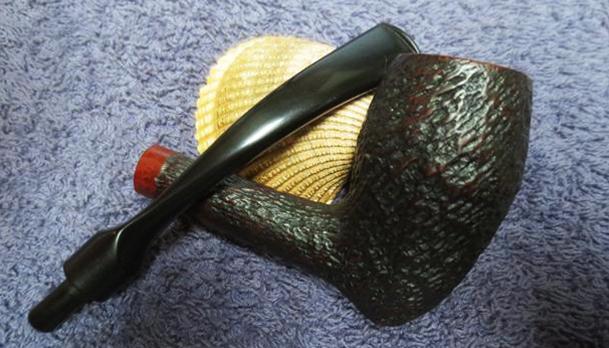
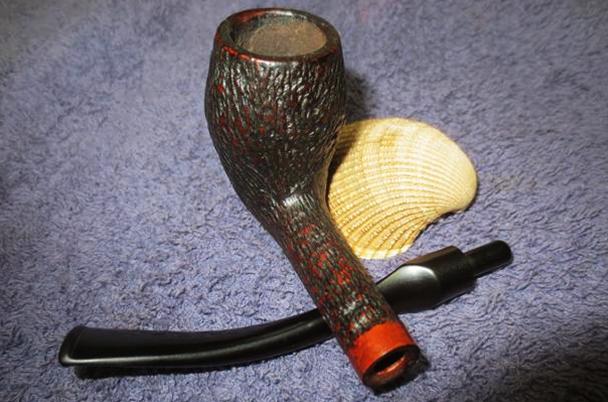
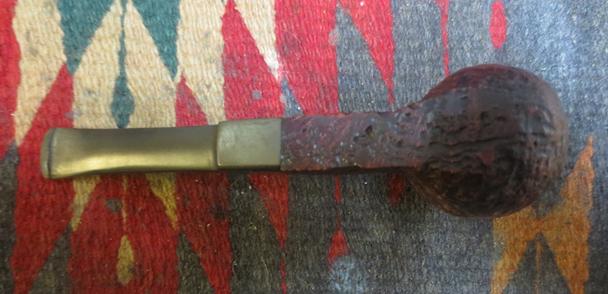
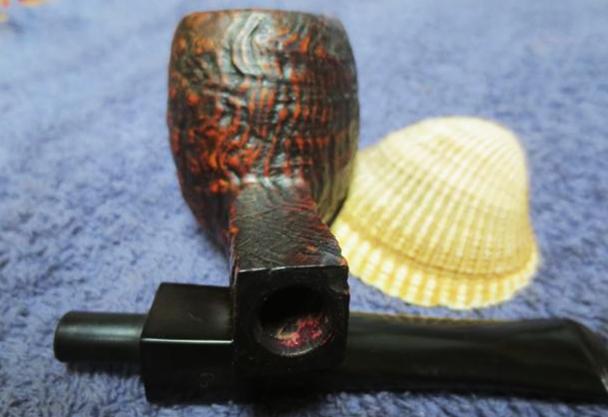
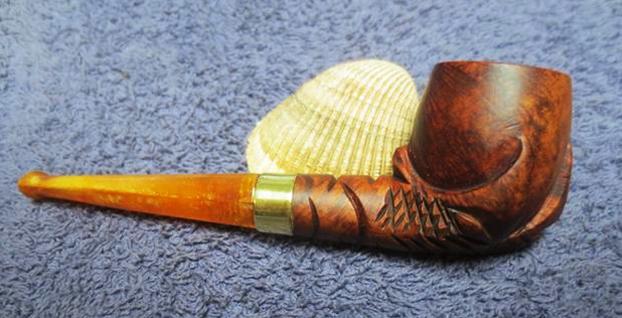
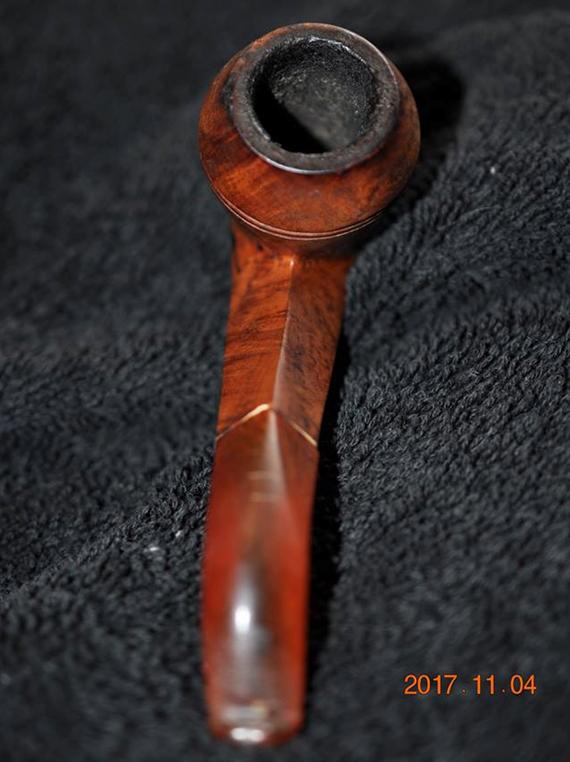
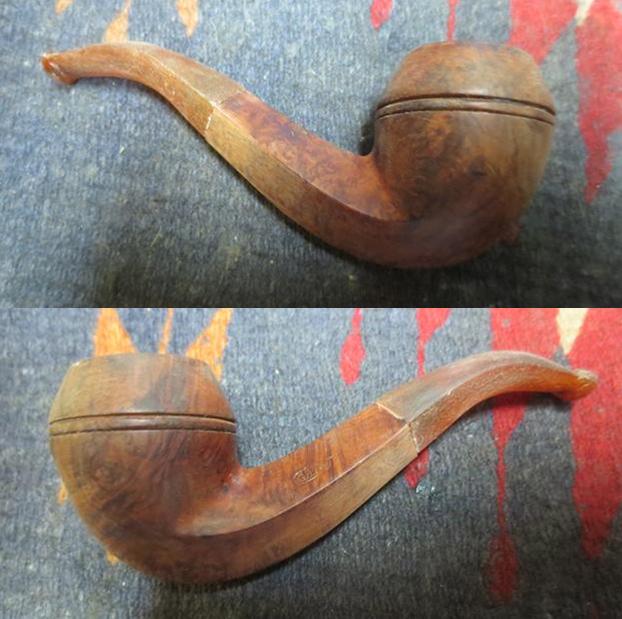
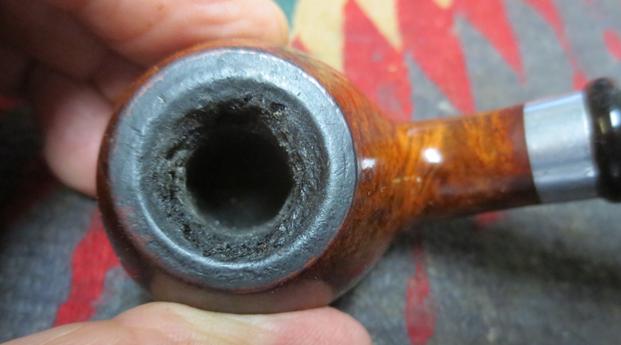
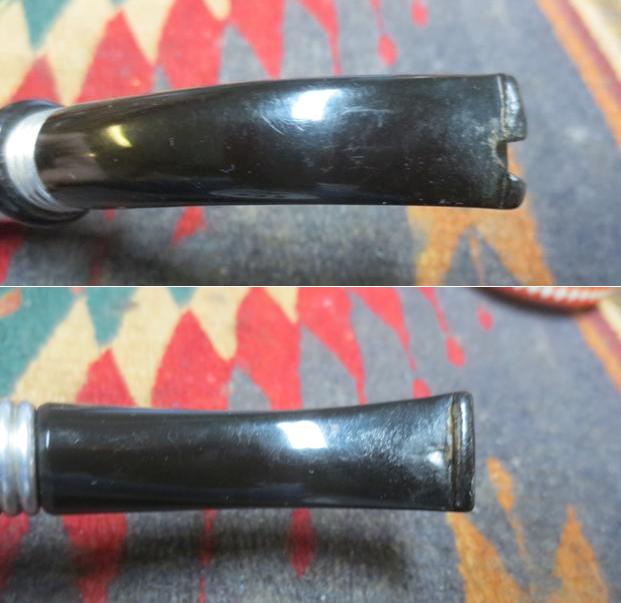
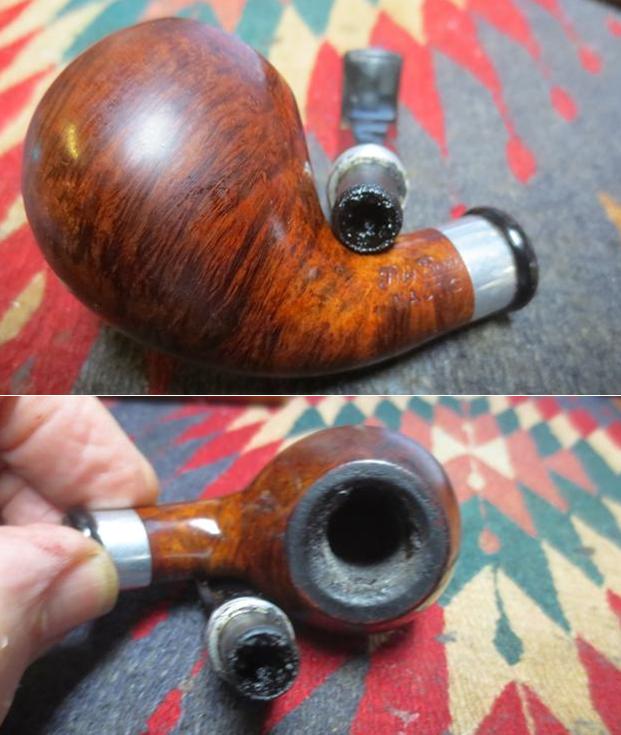
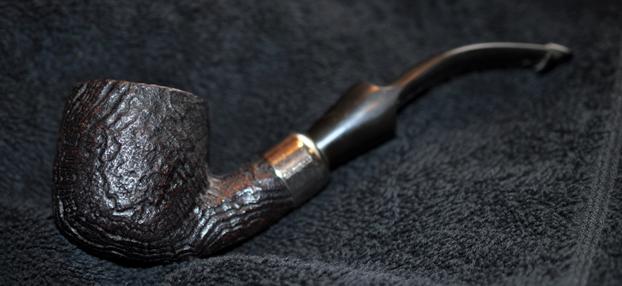
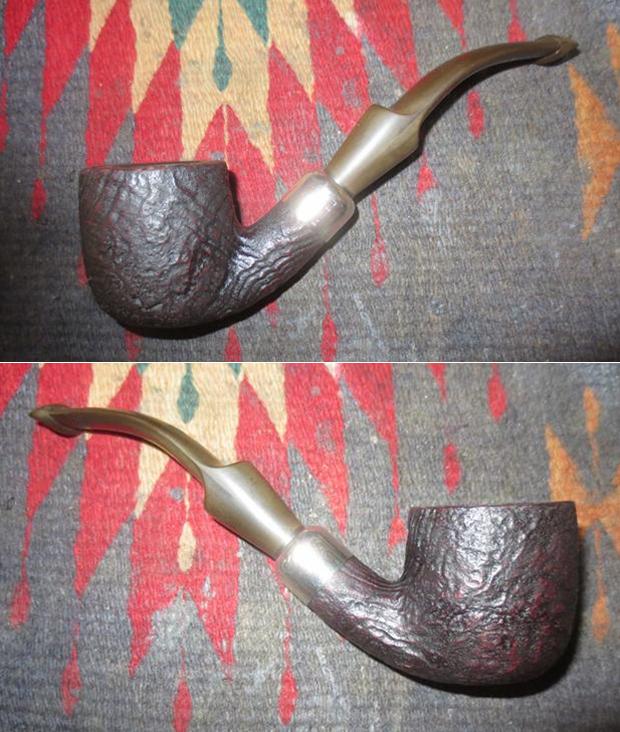
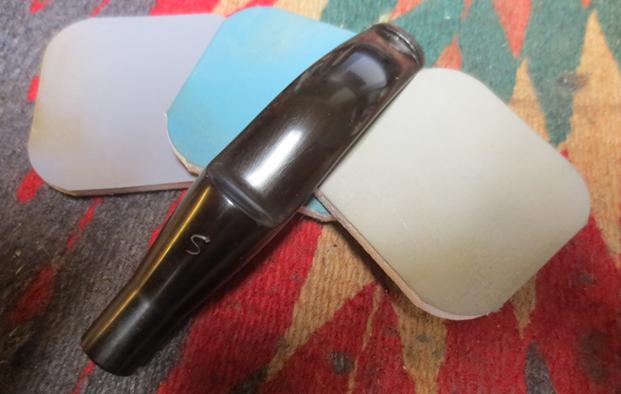
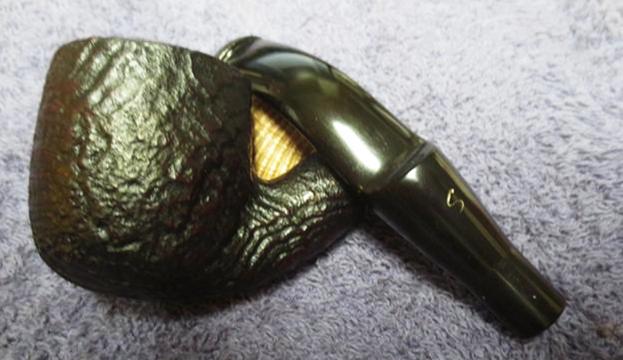
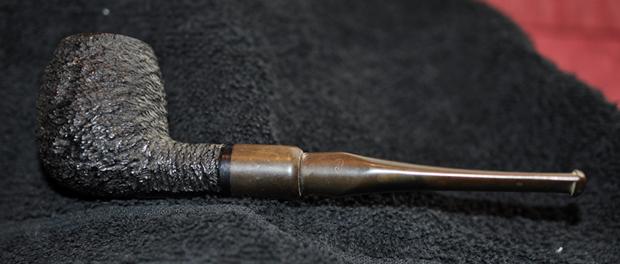
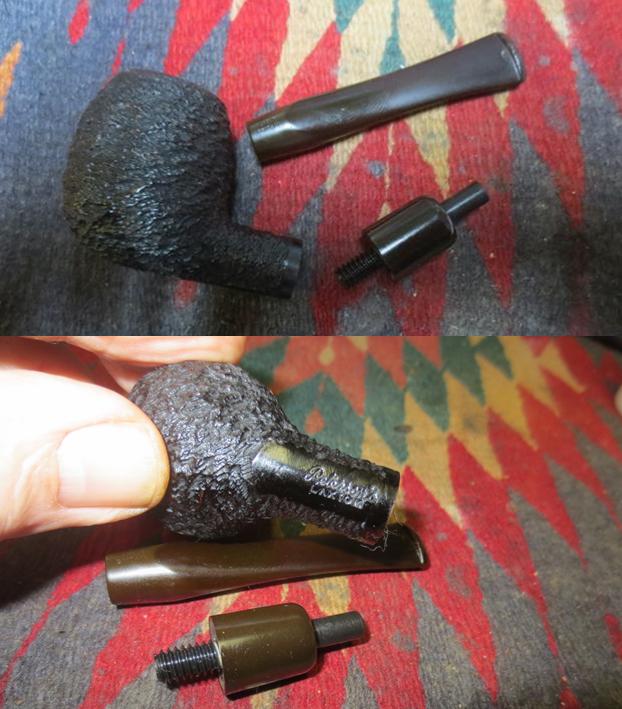
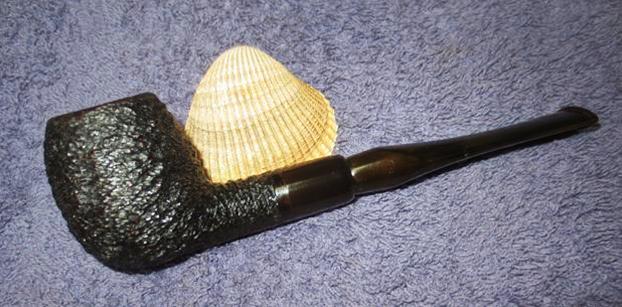
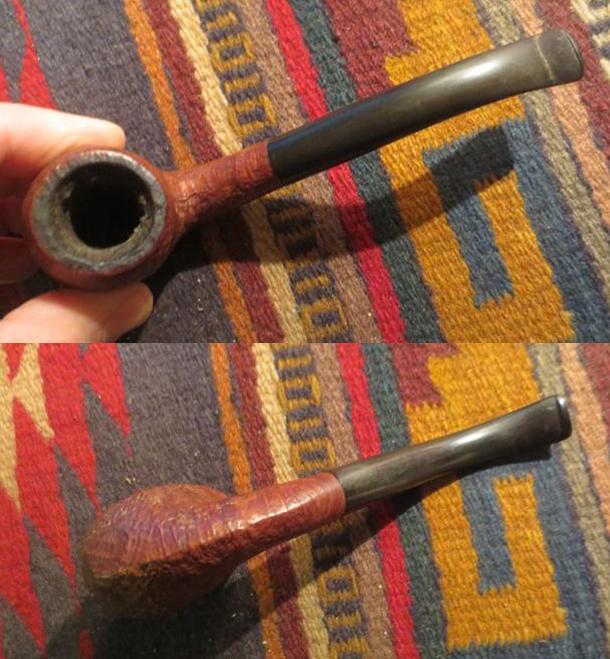
The next pipe on the table is one from a local pipe shop. It came from the estate of an older gentleman whose wife returned them to the shop for restoration and resale. This one is an interesting sandblast finish bent billiard. The sandblast is interesting showing a variety of grain around the bowl. It has smooth panels on the right and left side of the bowl and the right side of the shank. It is stamped on the smooth right side of the shank Danish Special over Made in Denmark. The finish on the pipe was dusty and some of the grooves were almost filled in with grime and dust. The rim top had lava built up in the blast on the flat surface. The bowl had a thick, hard cake almost filling it in. The stem had several tooth marks and was lightly oxidized.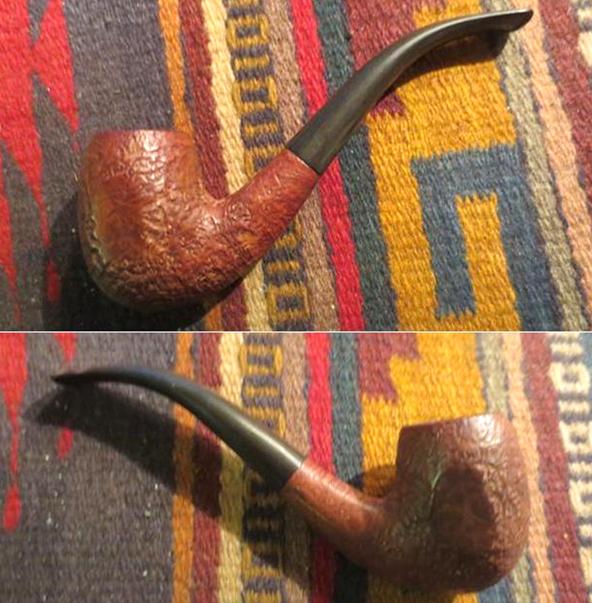
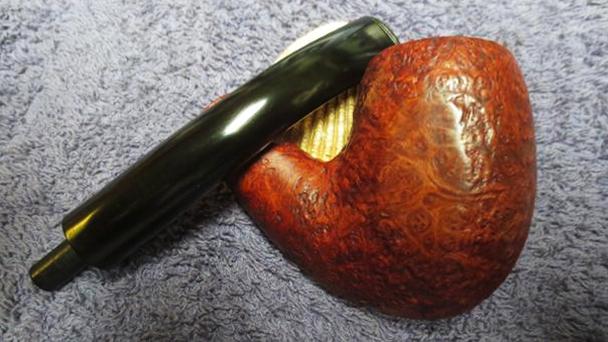
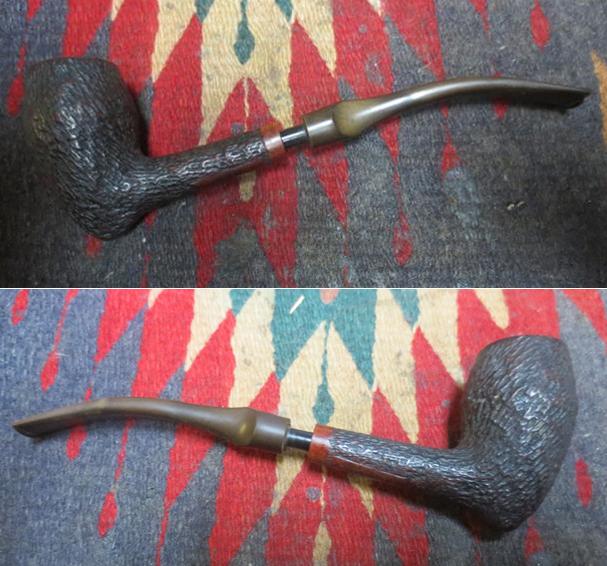
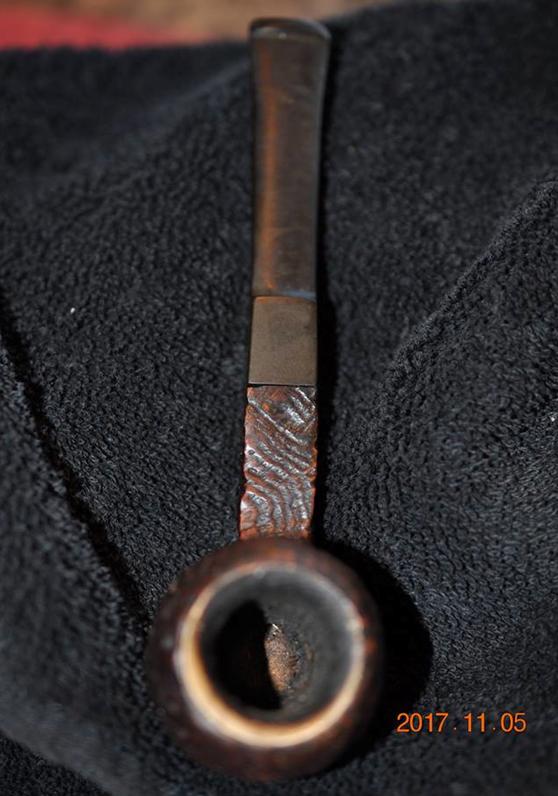
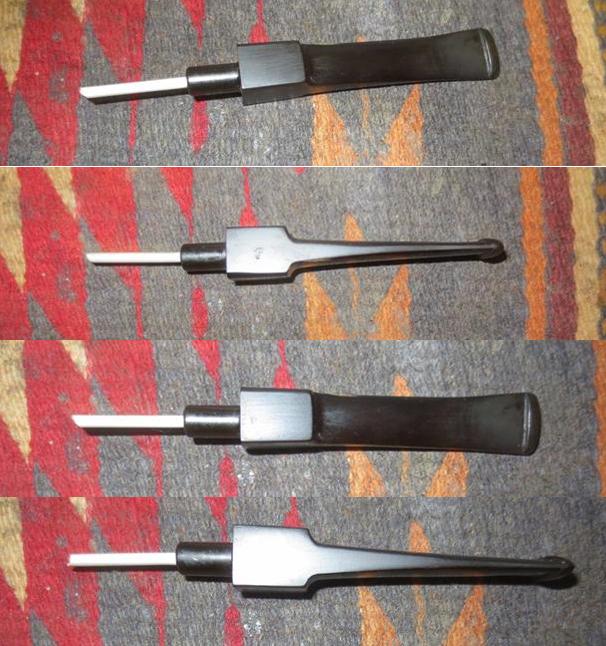
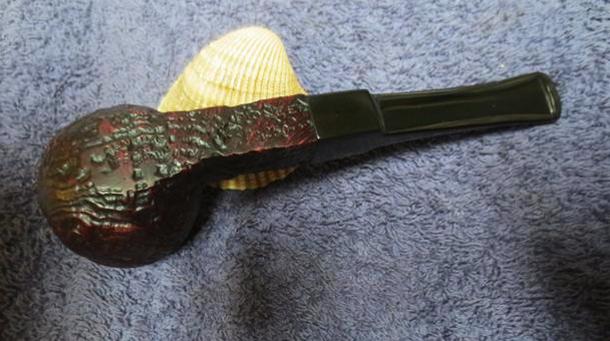
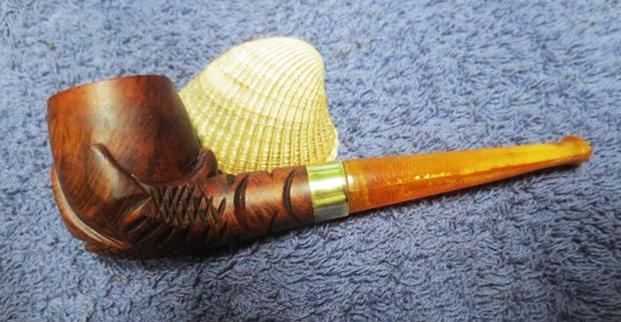
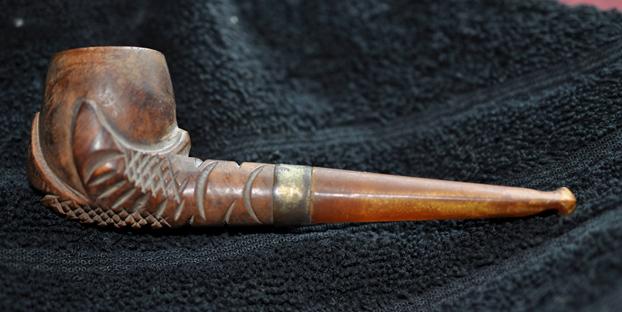
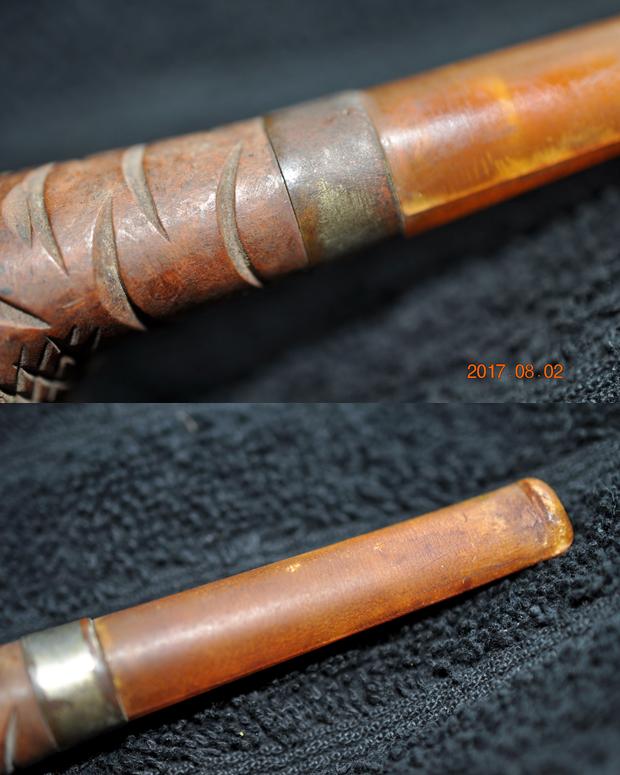
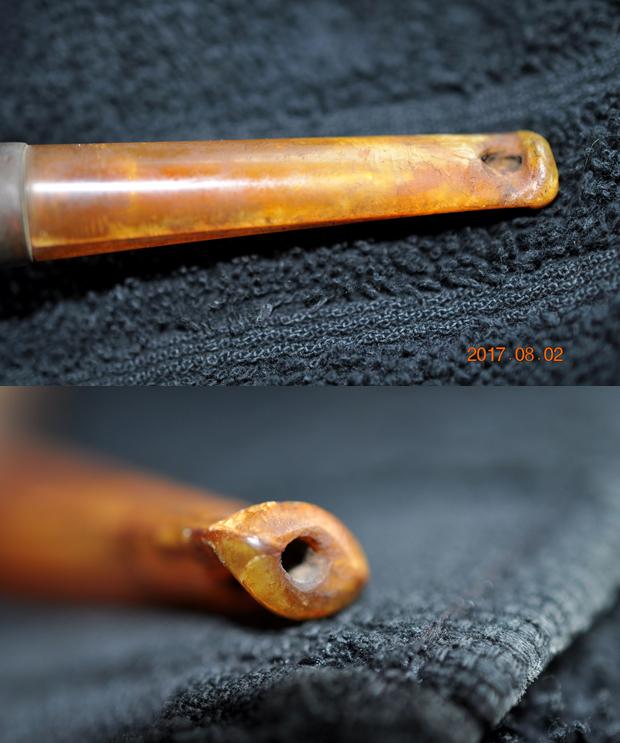
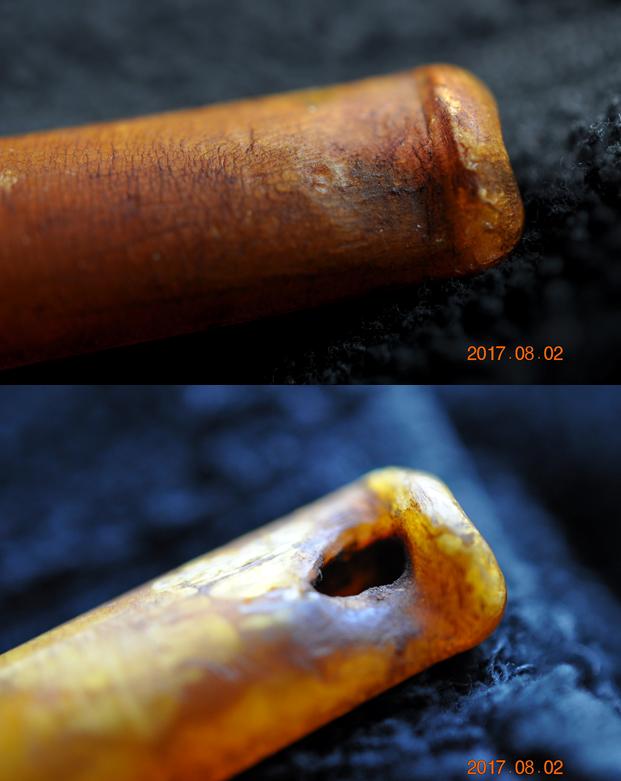
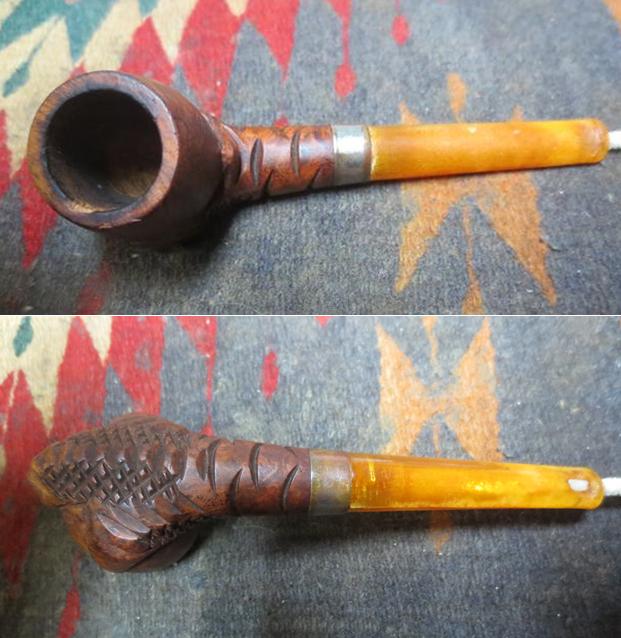
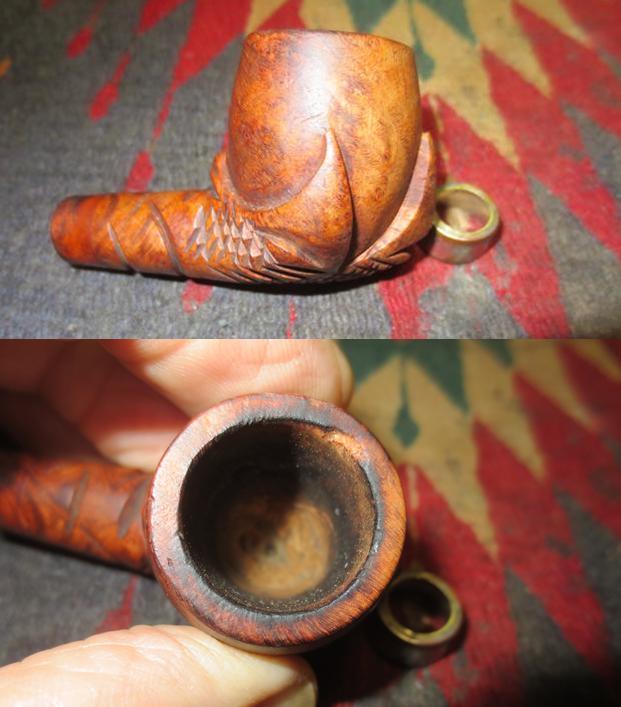
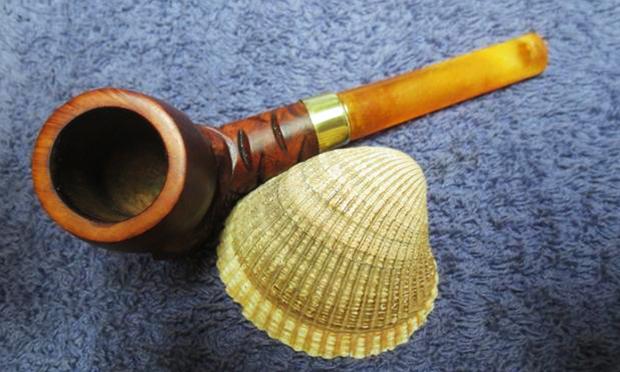
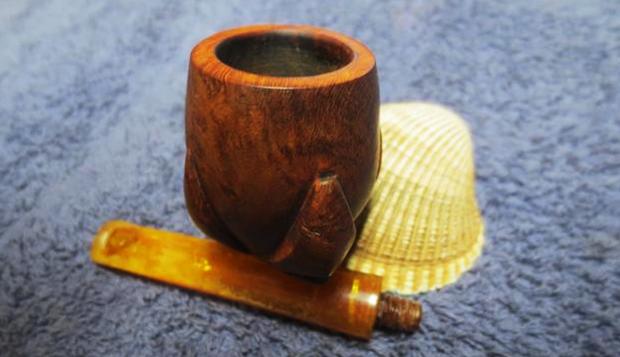
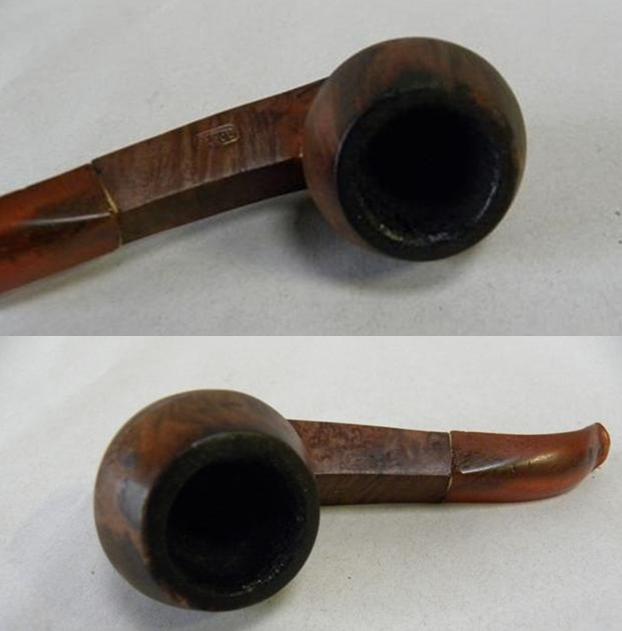
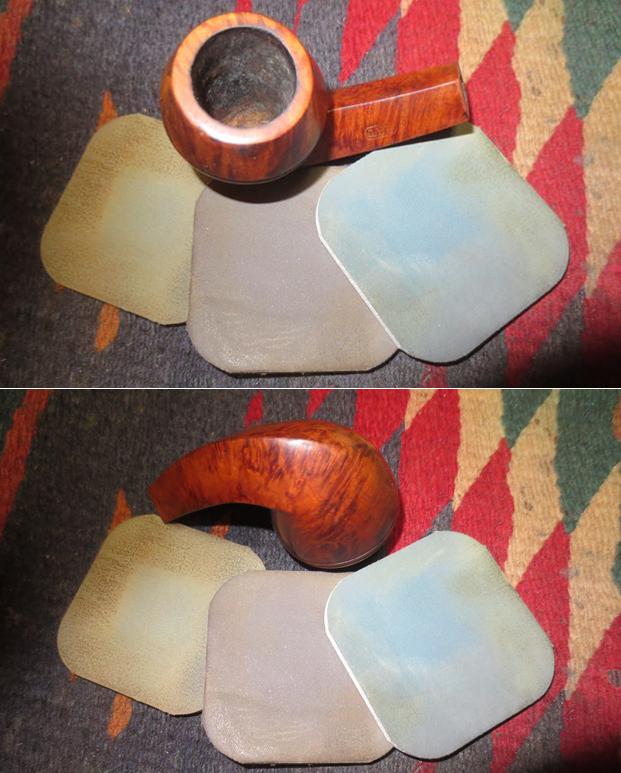
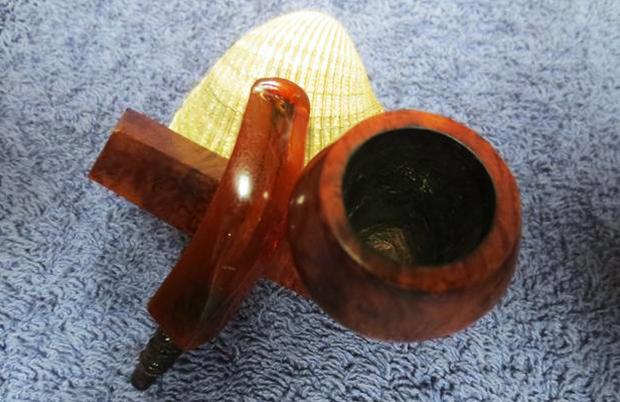
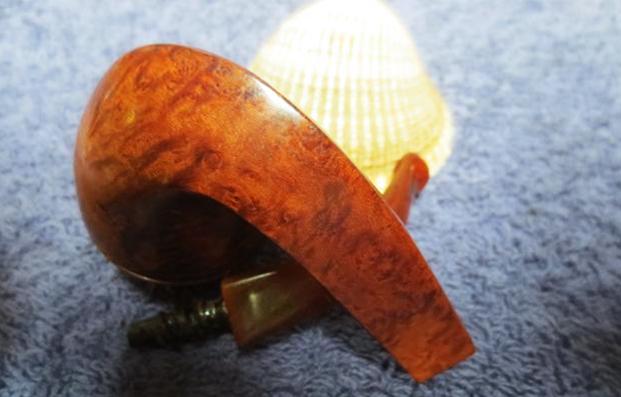
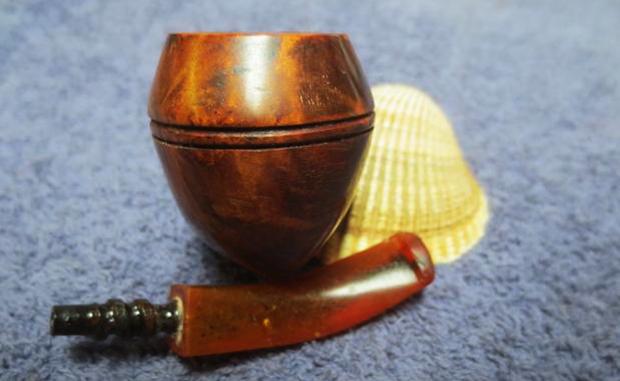
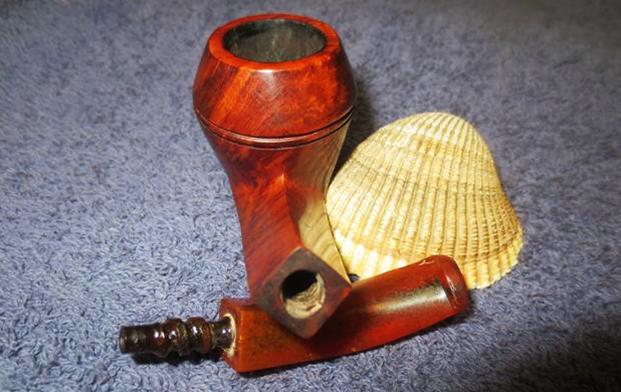
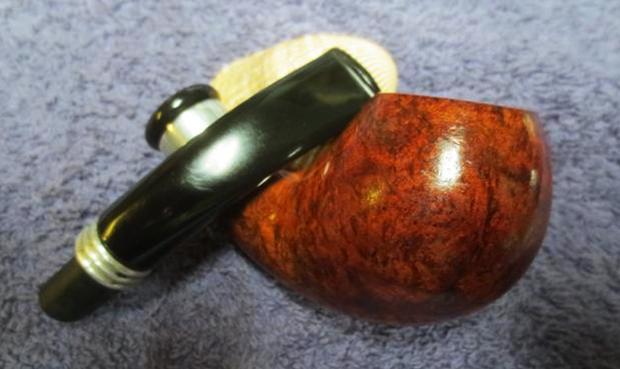
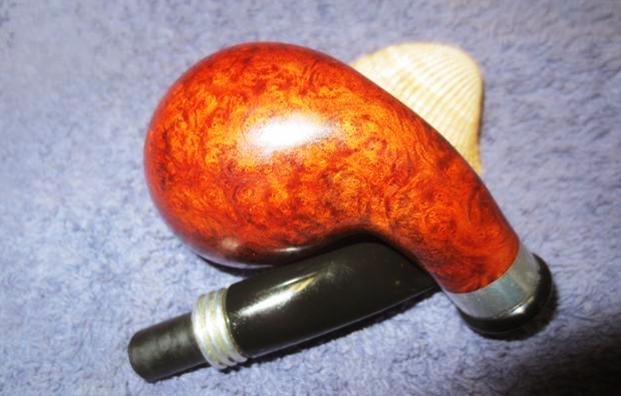
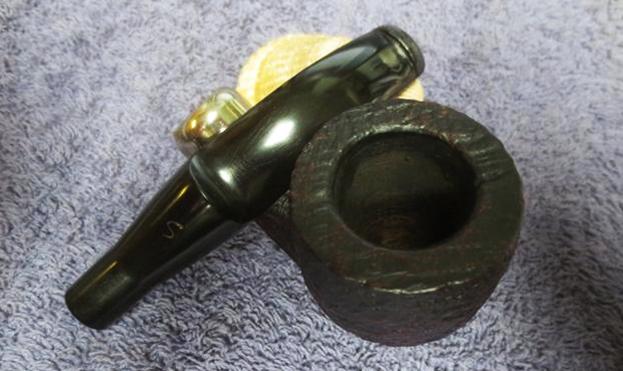
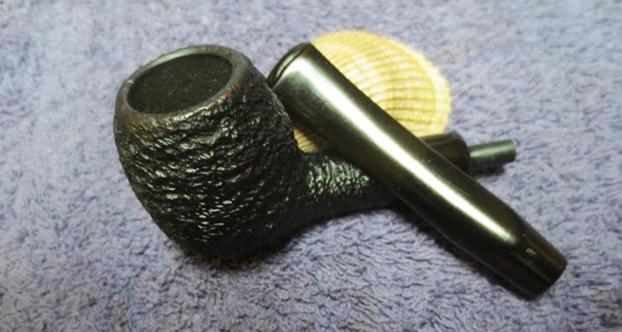
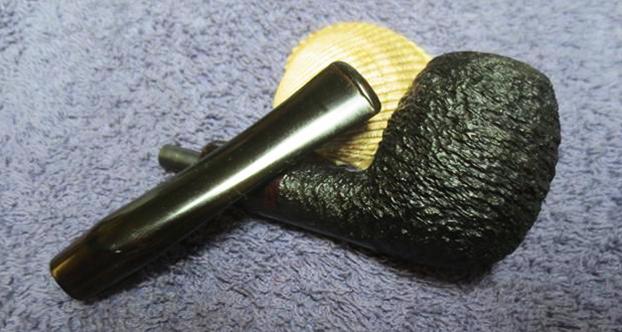
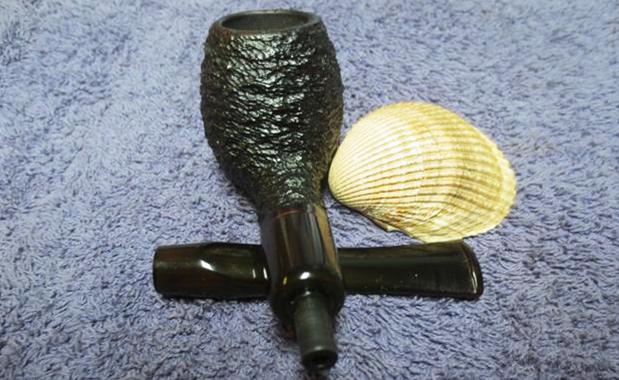
 I sent the pipes off to my brother for cleaning. I have about 50 of them to rework and a waiting queue of pipes to repair. I really appreciate his willingness to clean and ream the pipes for me. When he received the pipe he took a series of photos of it to show its condition.
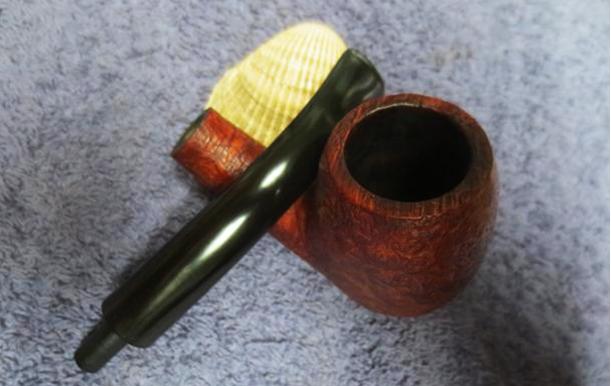
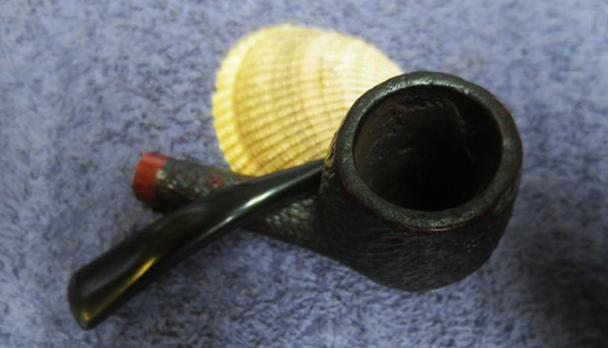
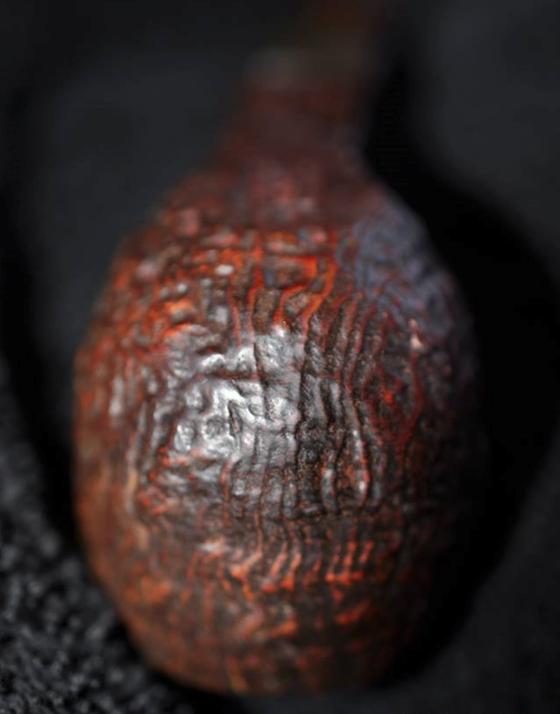
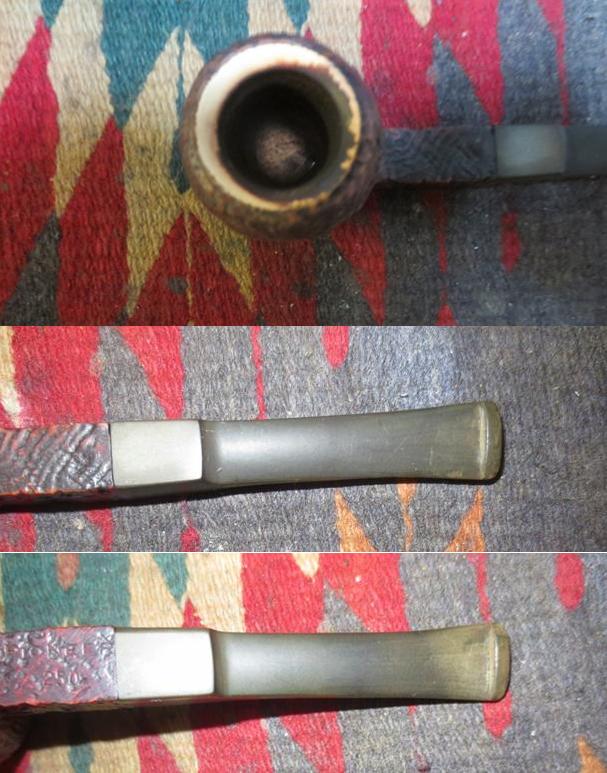
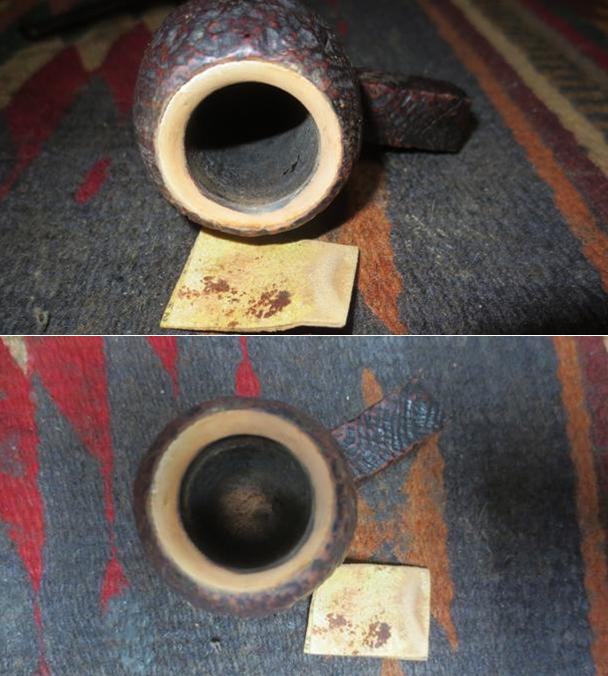
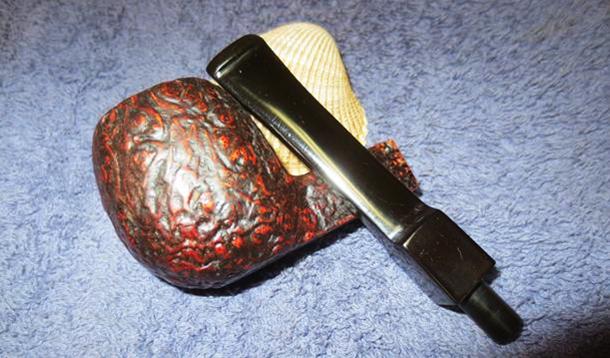
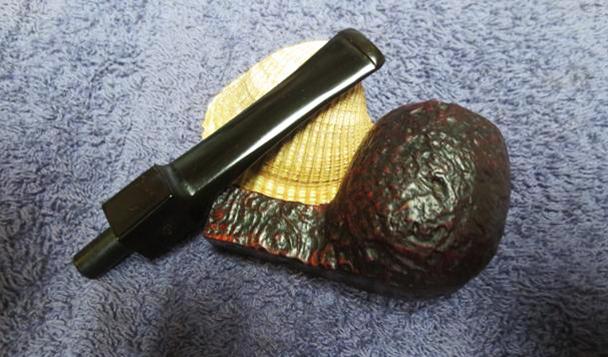
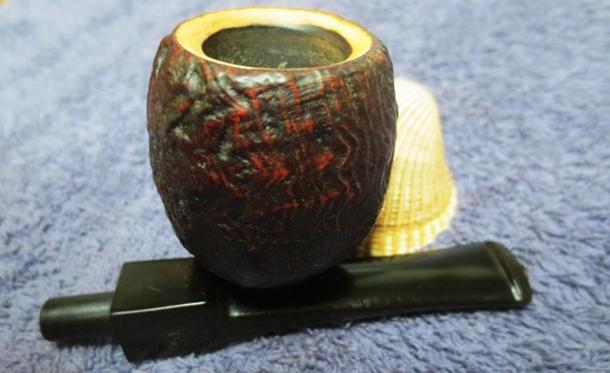
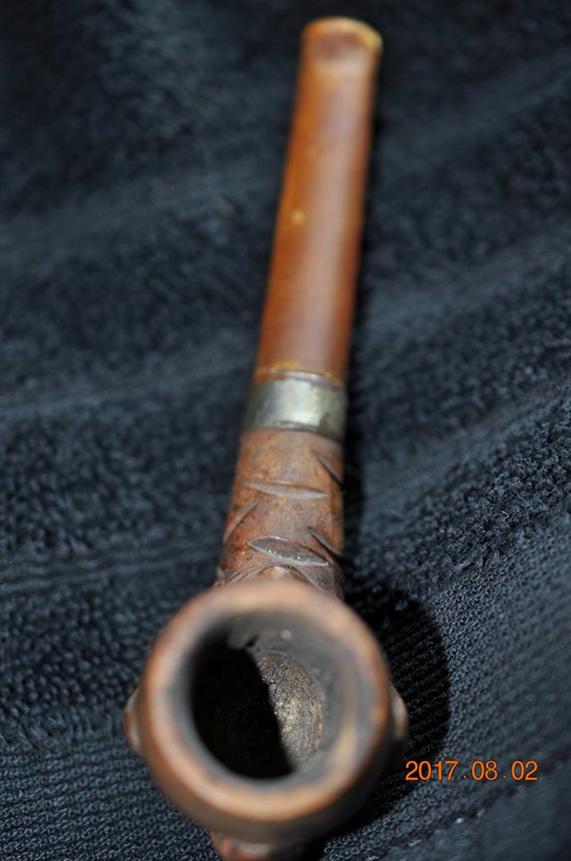
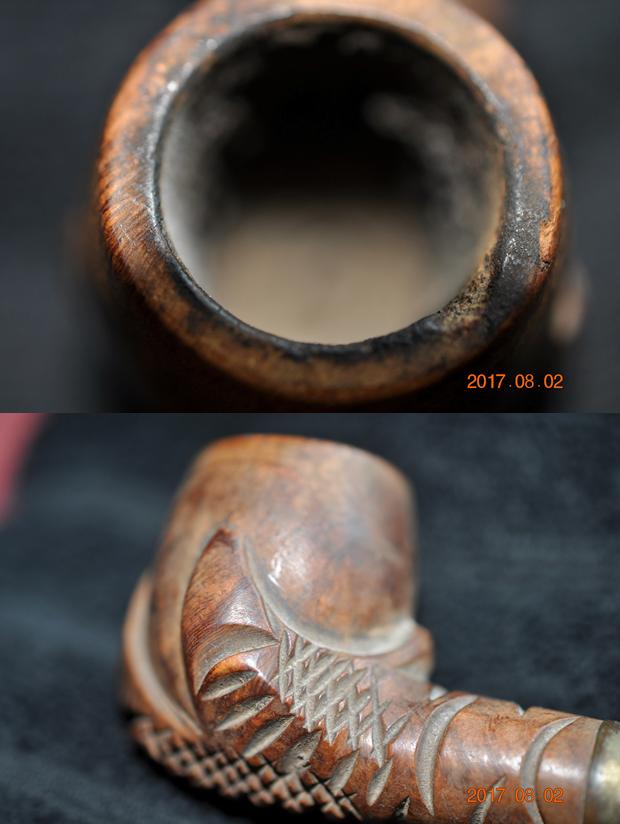
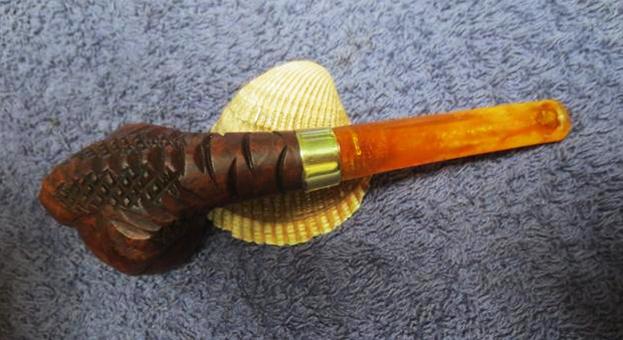
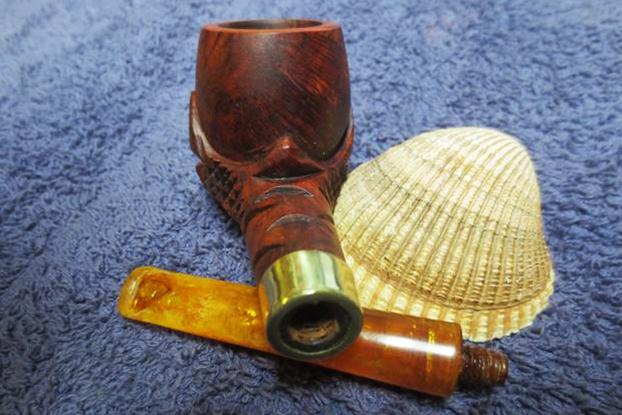
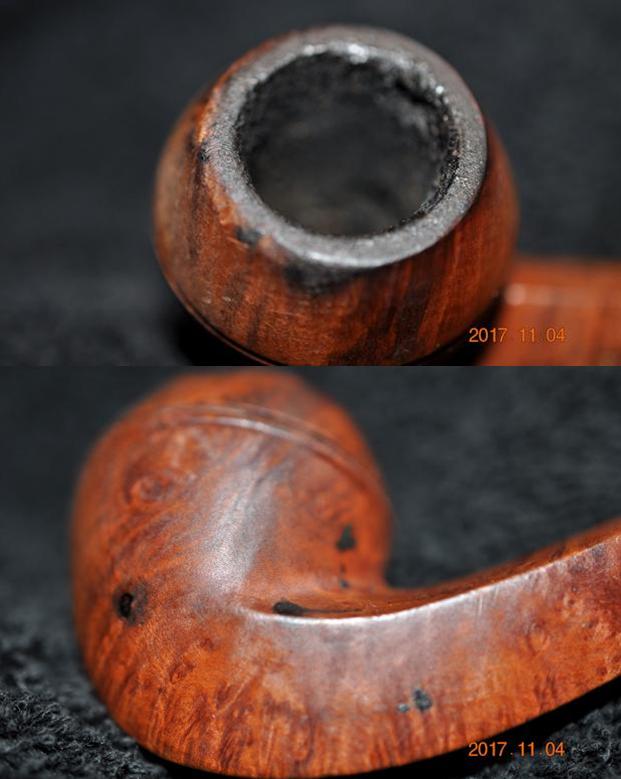
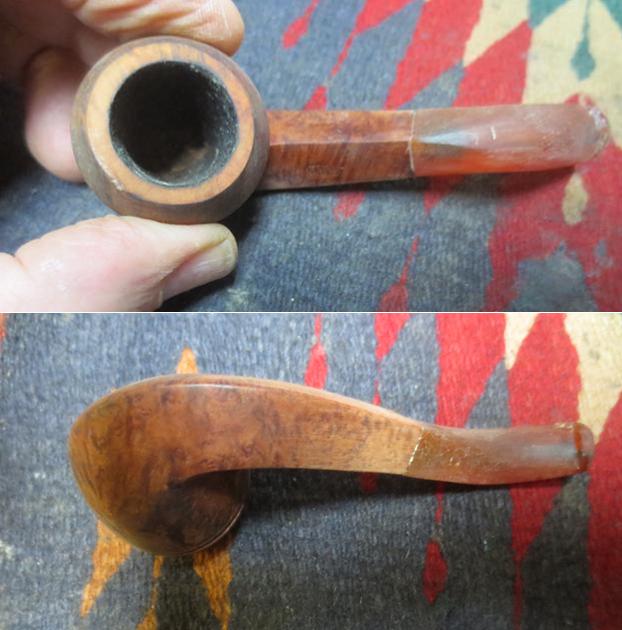
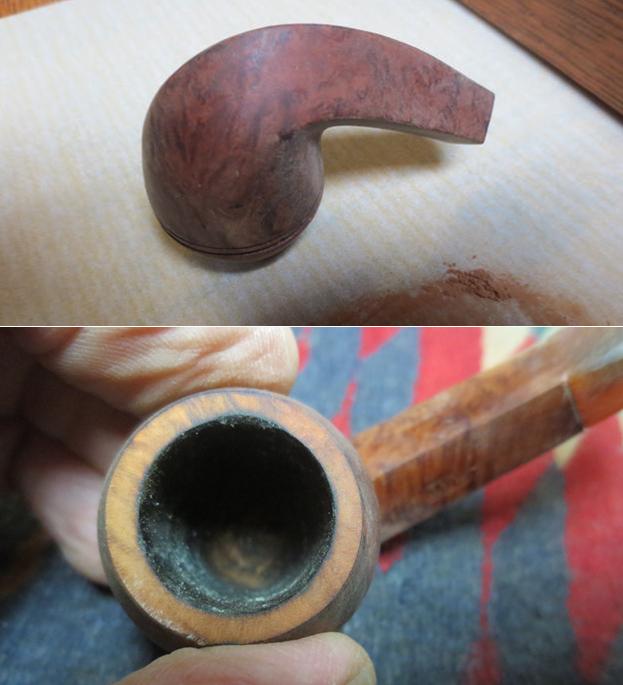
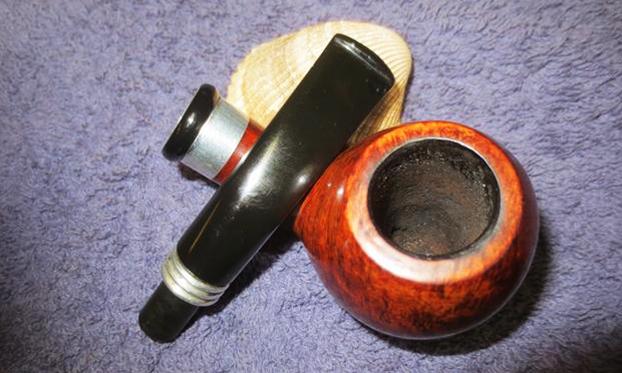
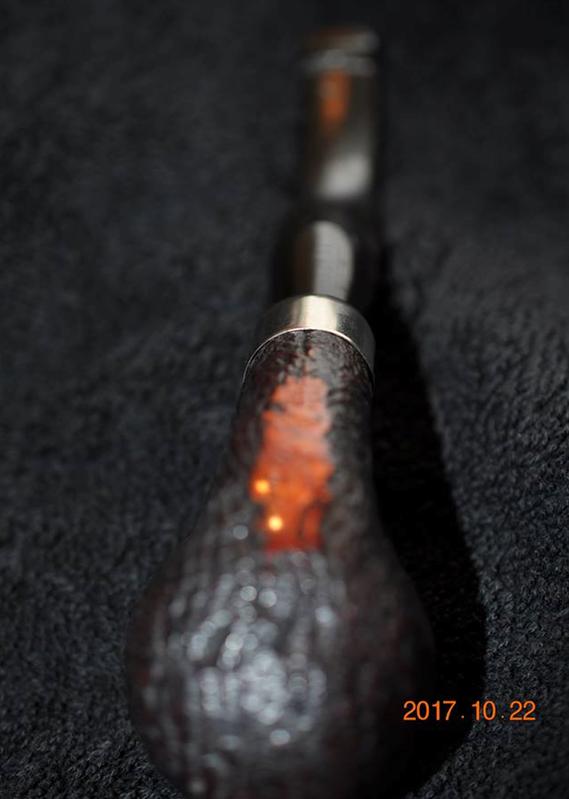
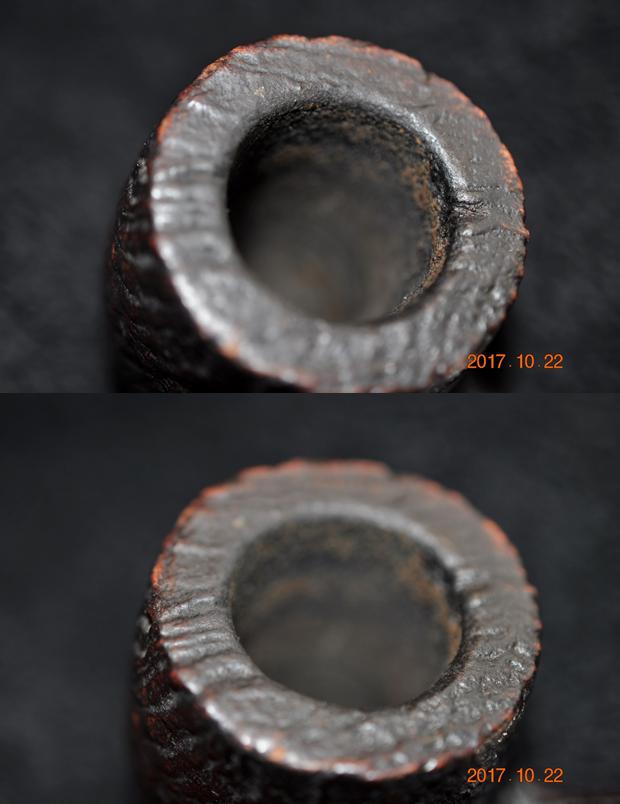
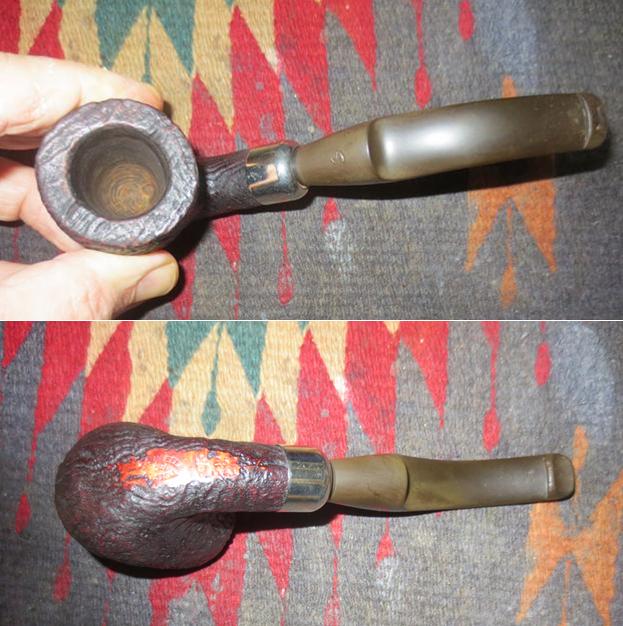
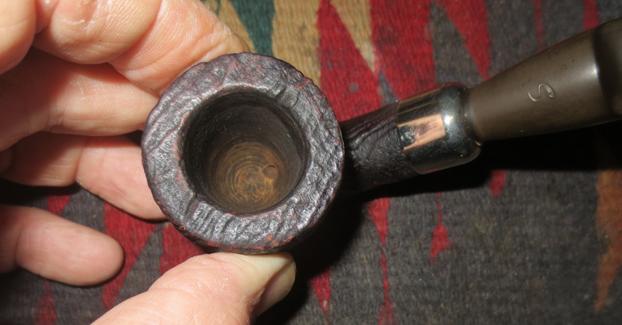
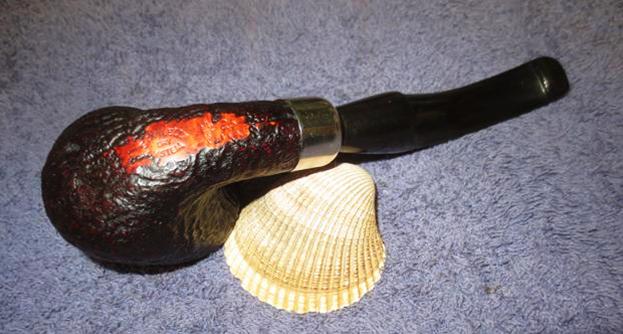
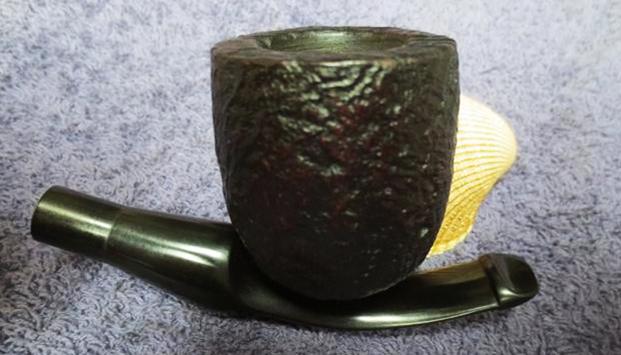
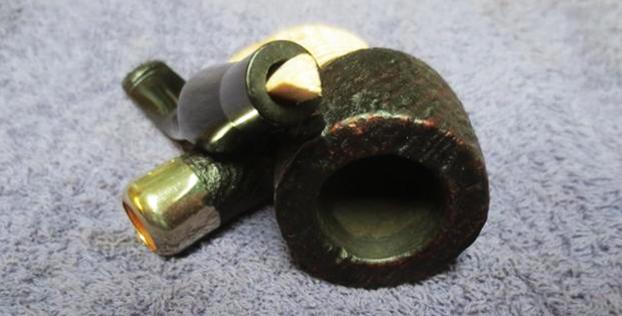
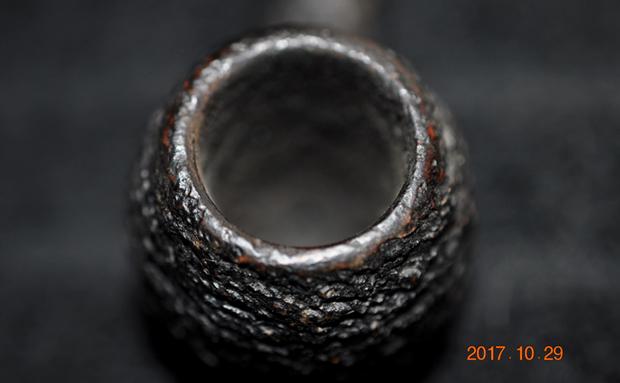
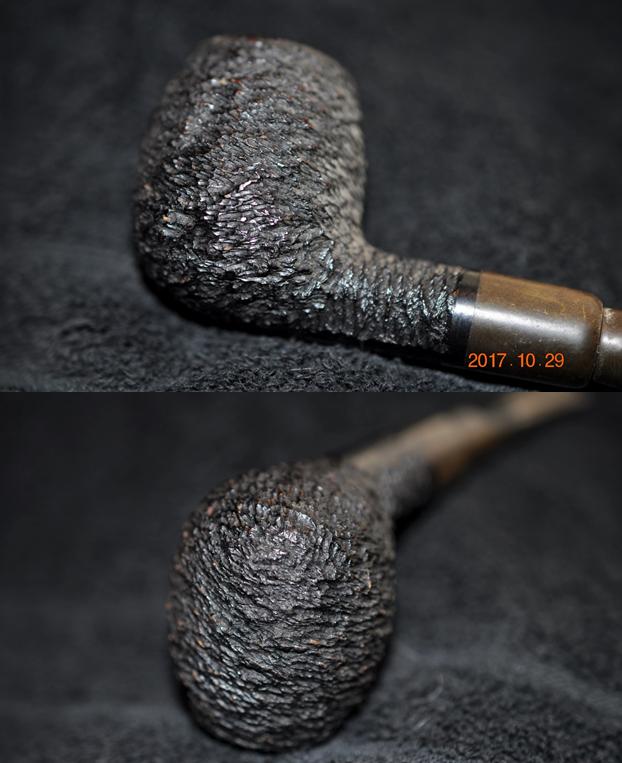
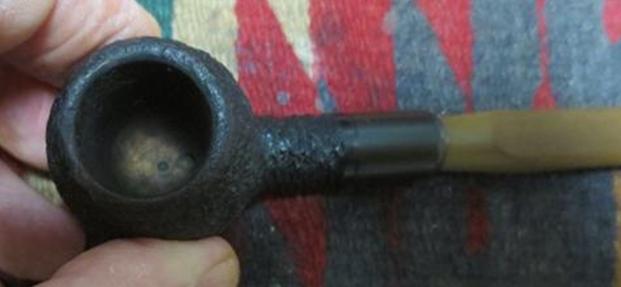
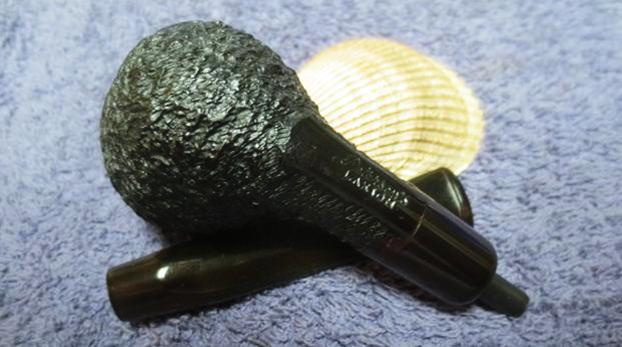
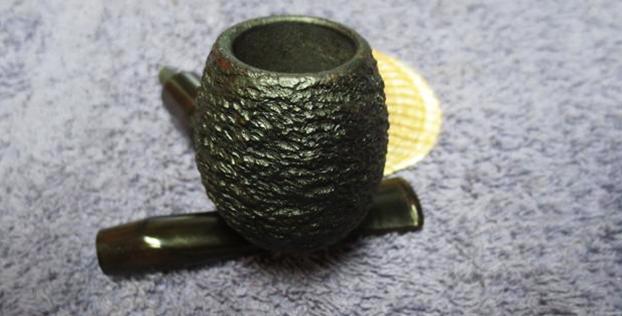
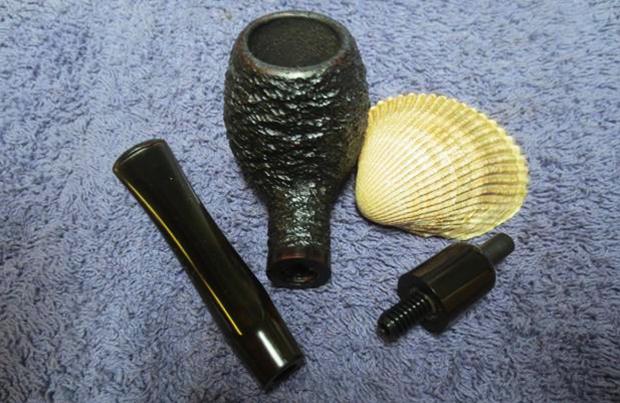
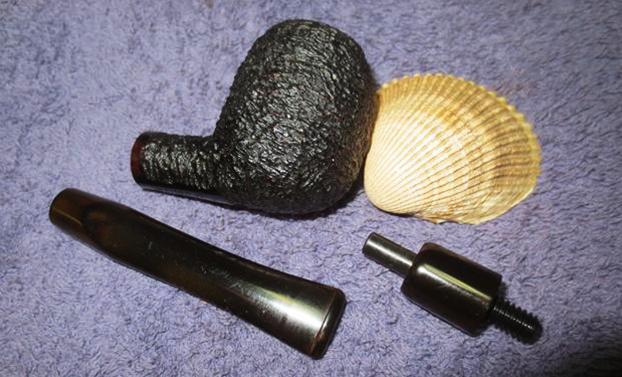
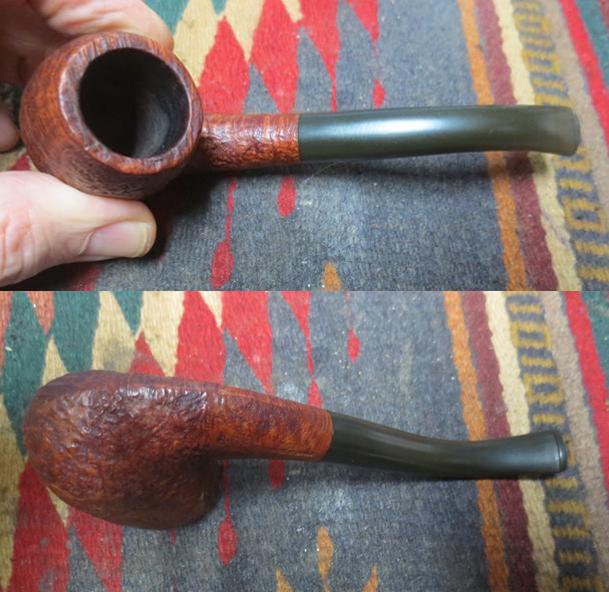
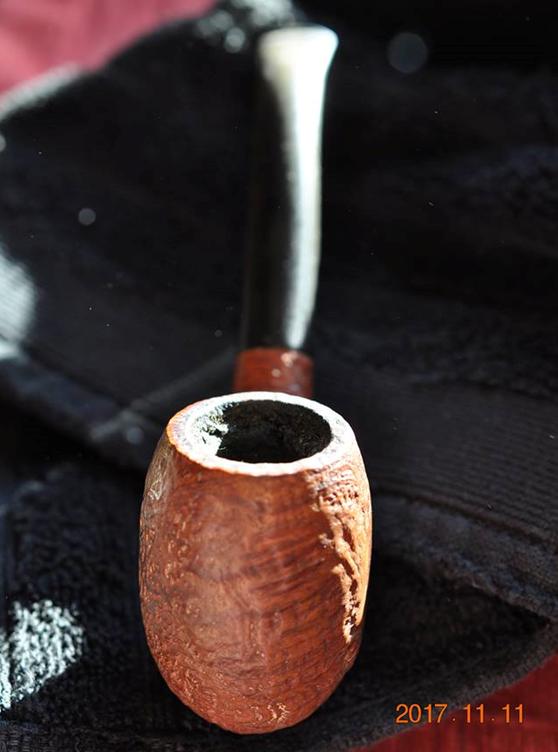 He took a close up photo of the rim top showing the cake and the lava on the flat top of the bowl. The cake is quite thick and the lava has filled in the sandblast on the surface of the rim. He also took photos of the sandblast around the sides and underside of the bowl.
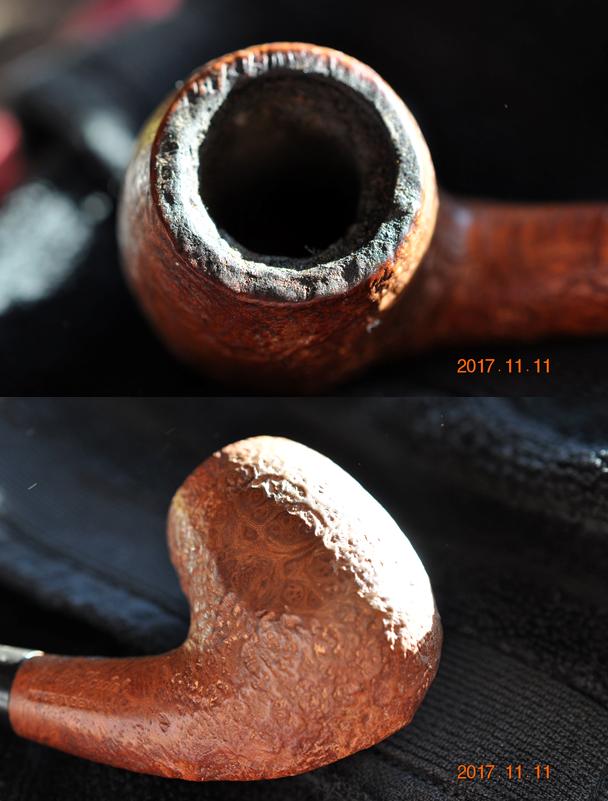
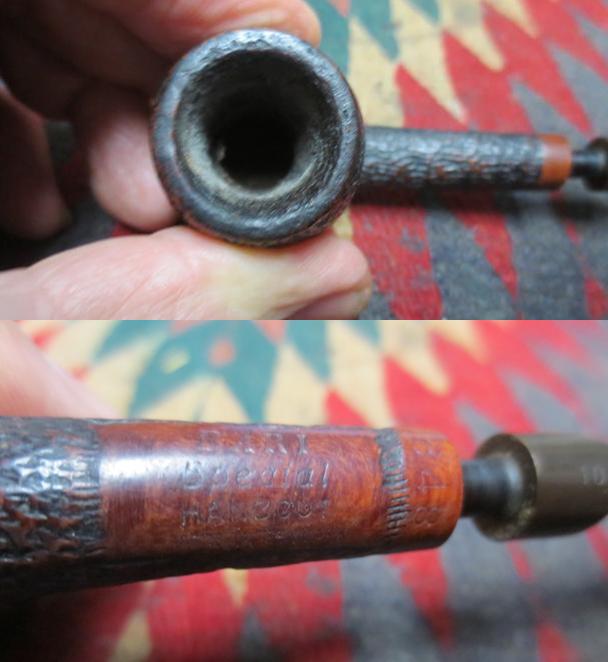
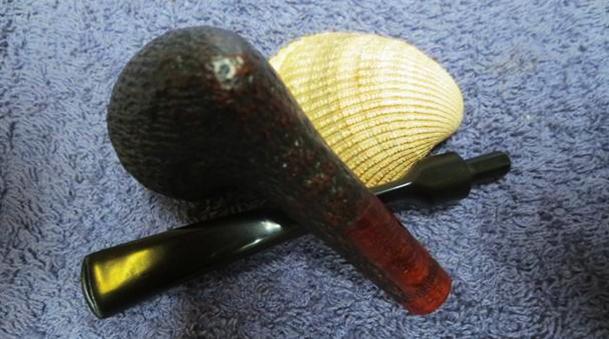
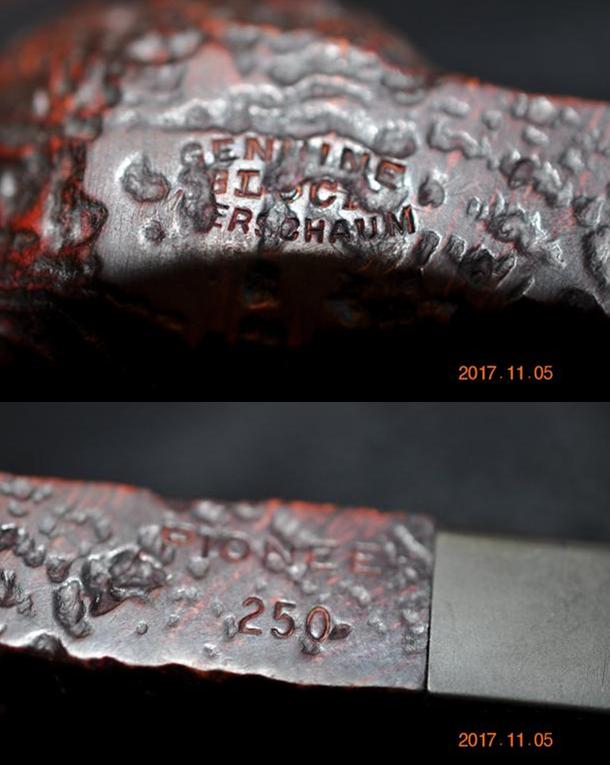
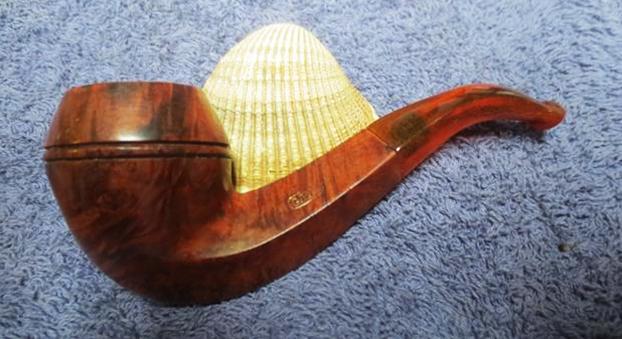
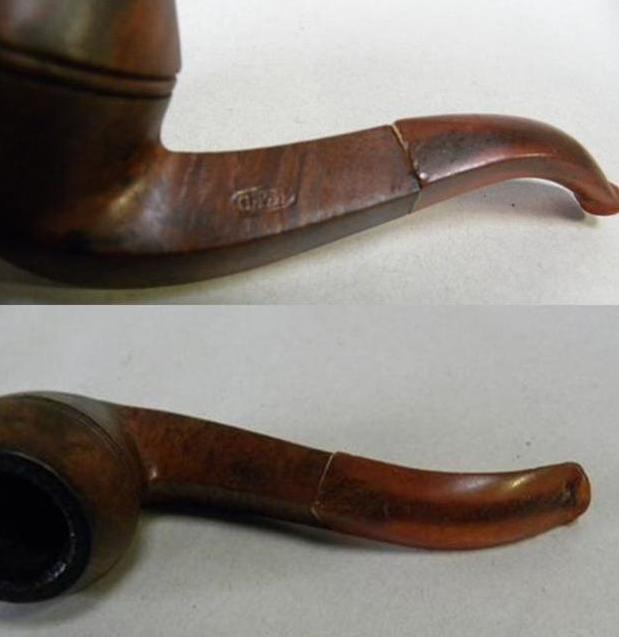
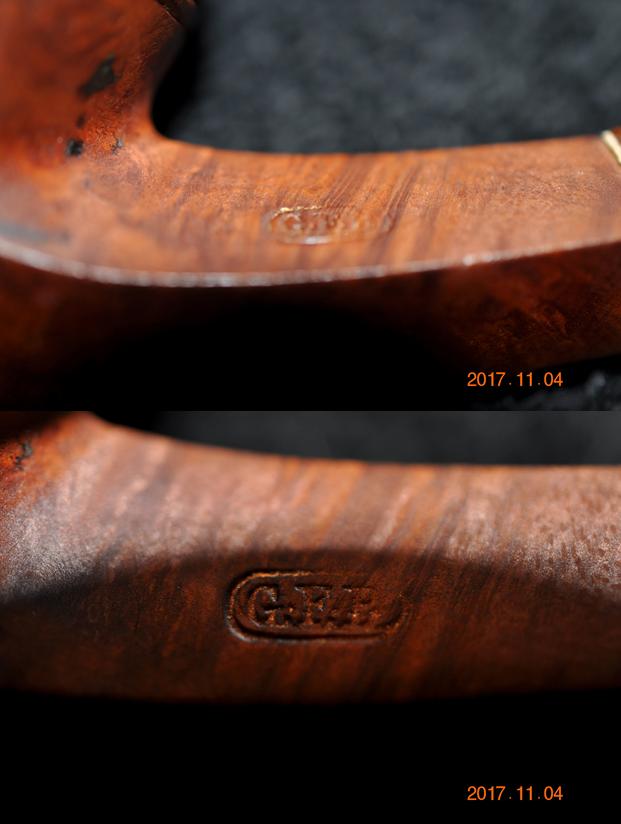
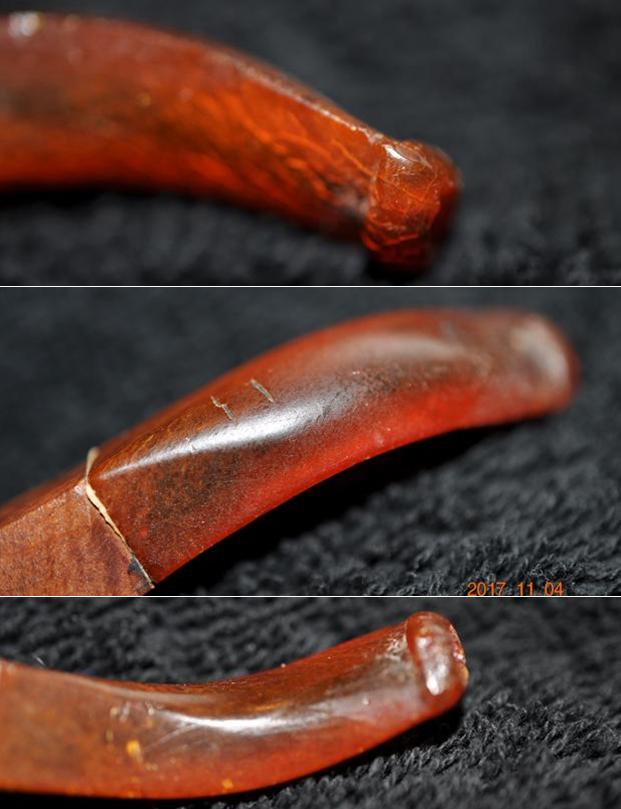
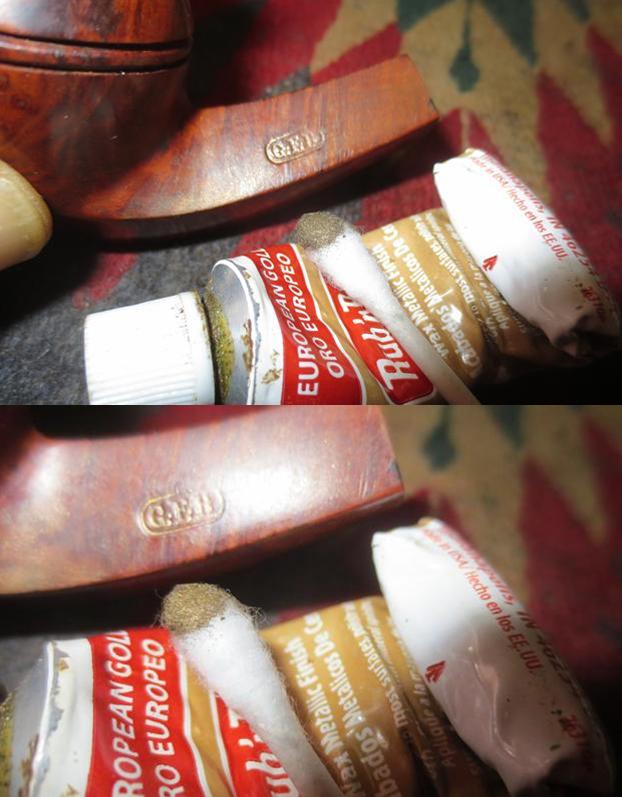
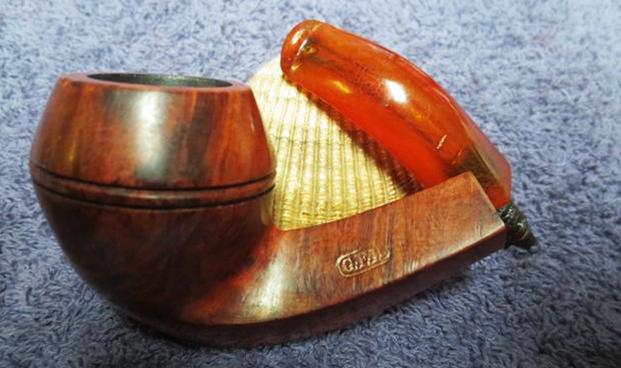
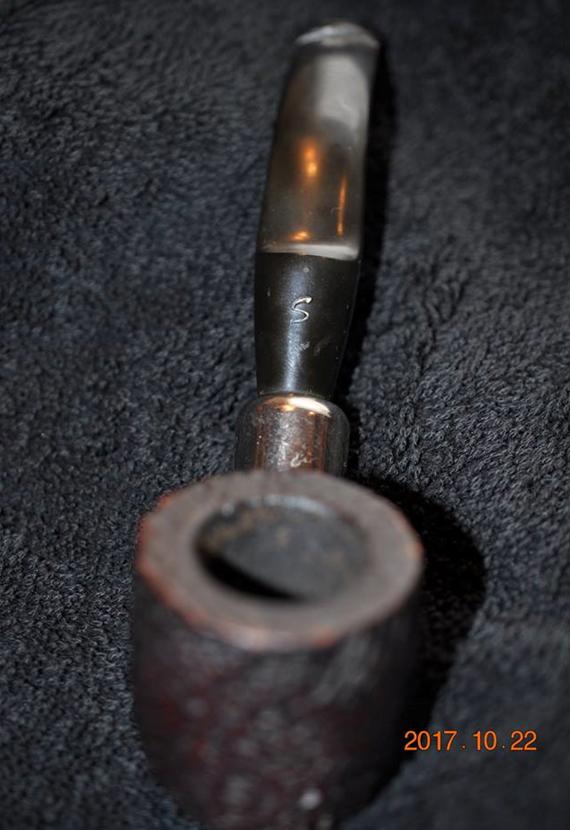
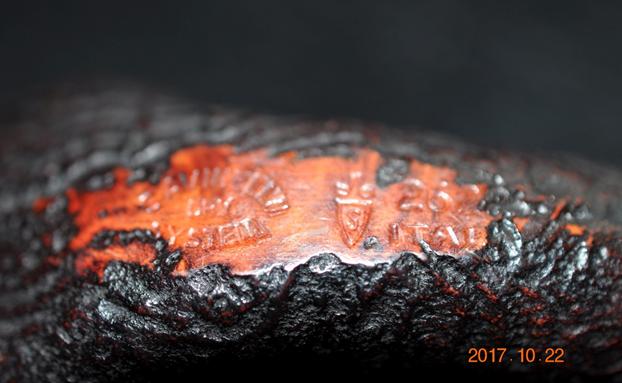
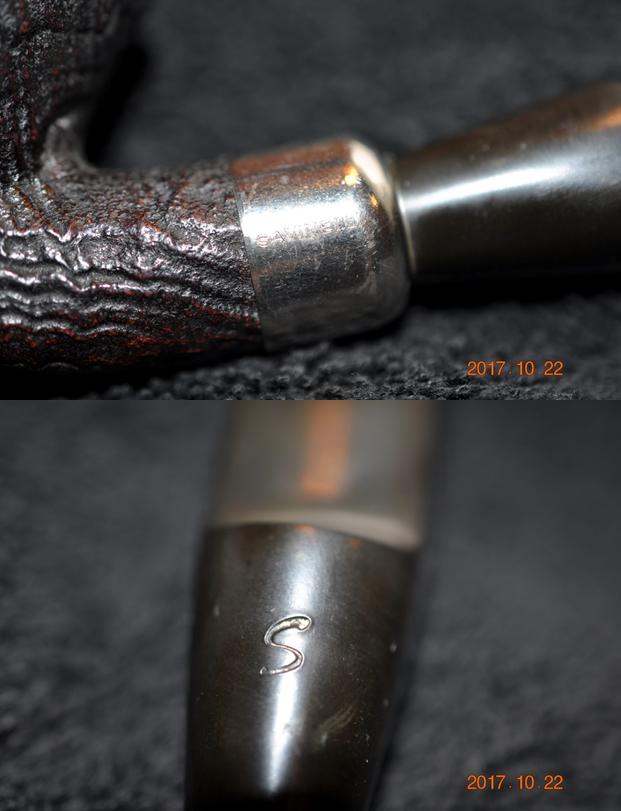
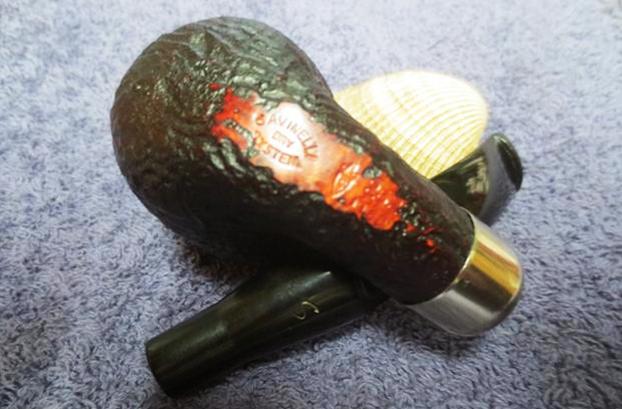
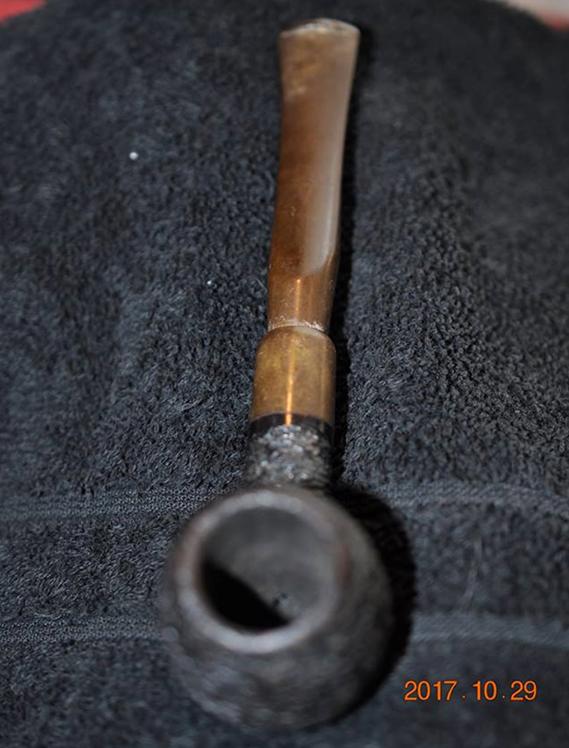
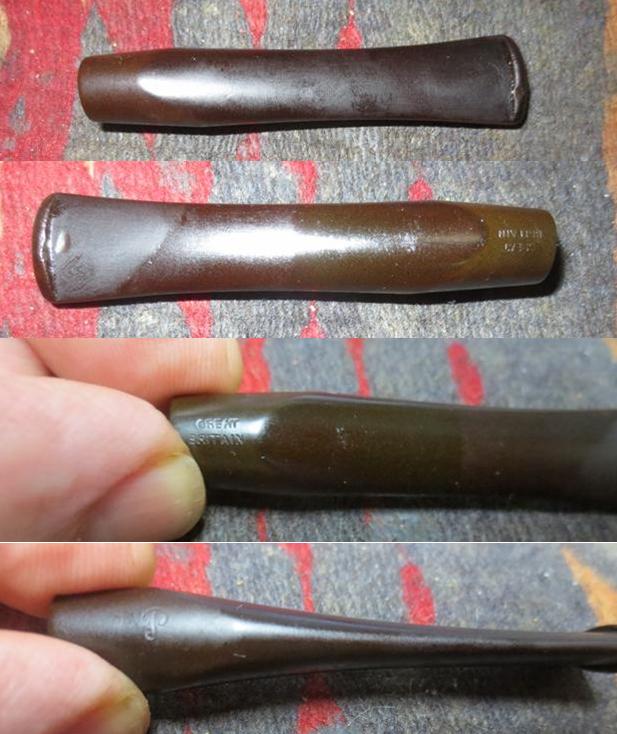
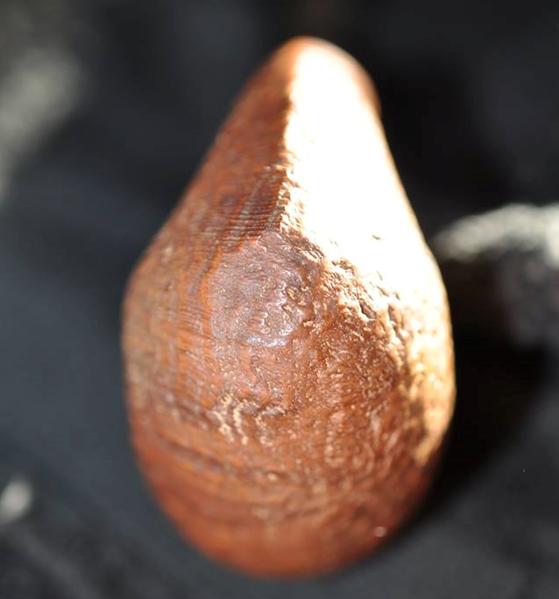 His final photo shows the stamping on the right side of the shank. It is clear and readable. The brand Danish Special was unfamiliar to me. I had heard of Danish Pride, Danish Star, Royal Danish and other Stanwell brands but this one was unfamiliar.
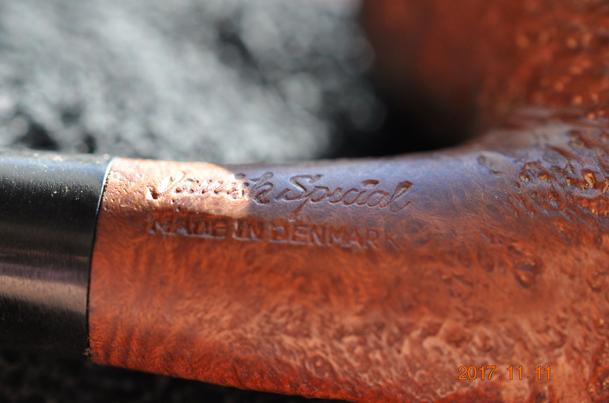 I Googled the name and found that the brand was a sub-brand or second brand of Kriswill pipes. From there I did some reading on Pipedia on the Kriswill Brand and found the following: Kriswill was one of the large pipe manufacturers in Denmark during the 1960s and 1970s, and I believe closed around 20 years ago. Their catalog cover read “By Appointment to the Royal Danish Court, KRISWILL, Kriswork Briar Trading, Briar Pipes Hand Made in Denmark.” https://pipedia.org/wiki/Kriswill
I also went to the PipePhil logos and stamping site and found more on the date of the brand. It had no explicit ties to the Danish Special that I had but it was interesting nonetheless.
Kriswill is a brand of Kriswork Briar Trading, in Kolding (Denmark) established about 1955. Some of Kriswill pipes were designed by Sigvard Bernadotte, Swedish prince and brother to the late Queen Ingrid of Denmark. He collaborated with his Danish partner Acton Bjørn. When the company went bankrupt in the late 1970s it was on a level with Stanwell. Dan Pipe Cigar & Company (Hafenstrasse 30 D-21481 Lauenburg/Elbe, Ge) bought the rights to use the name and it is Holmer Knudsen and/or Poul Winsløw who make the Kriswill line. Nørding, on its side, bought the plant and introduced a Kriswell line. http://www.pipephil.eu/logos/en/logo-k3.html
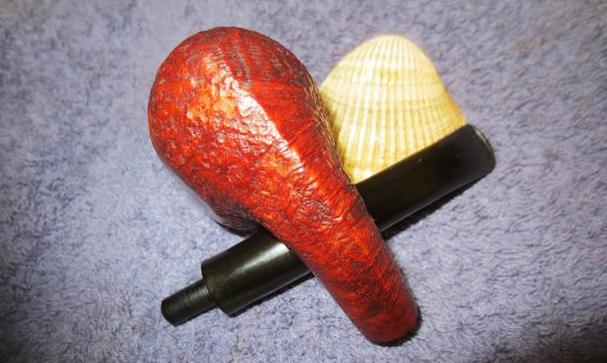
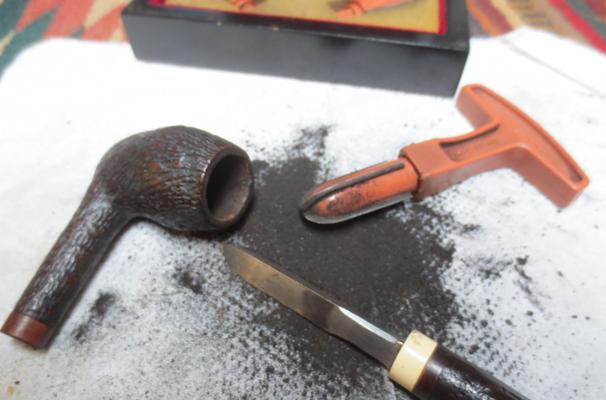
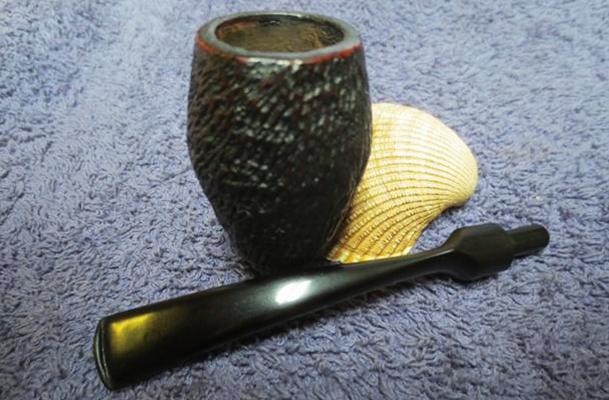
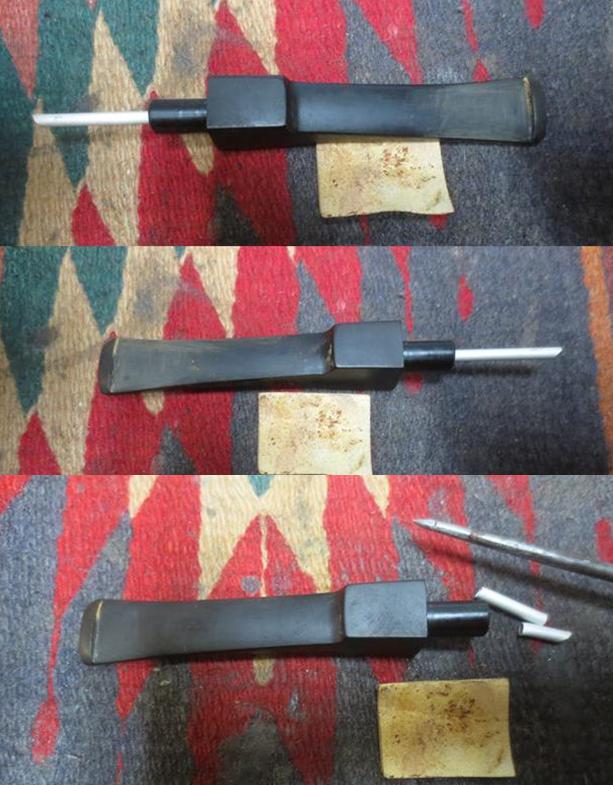
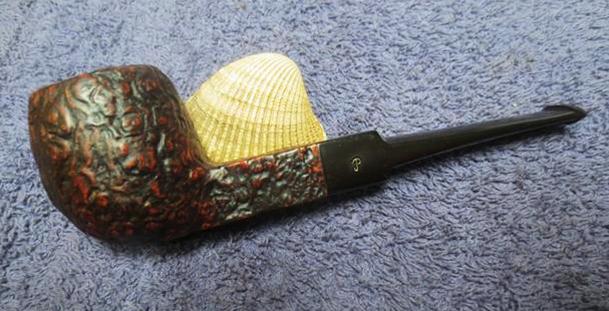
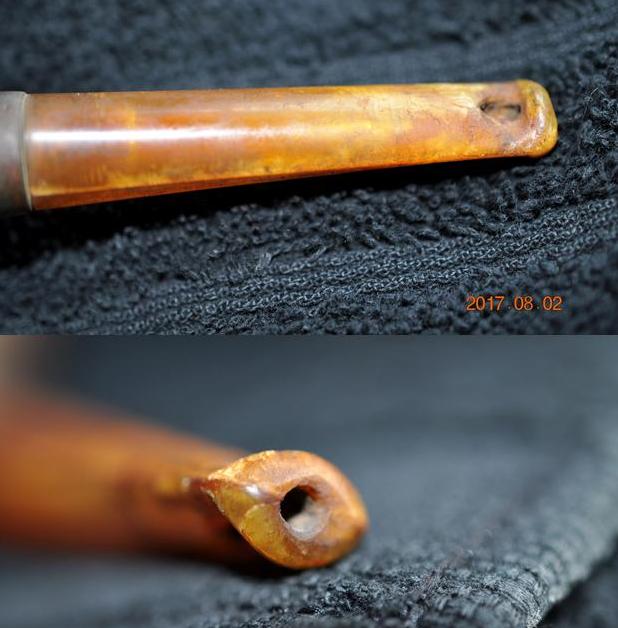
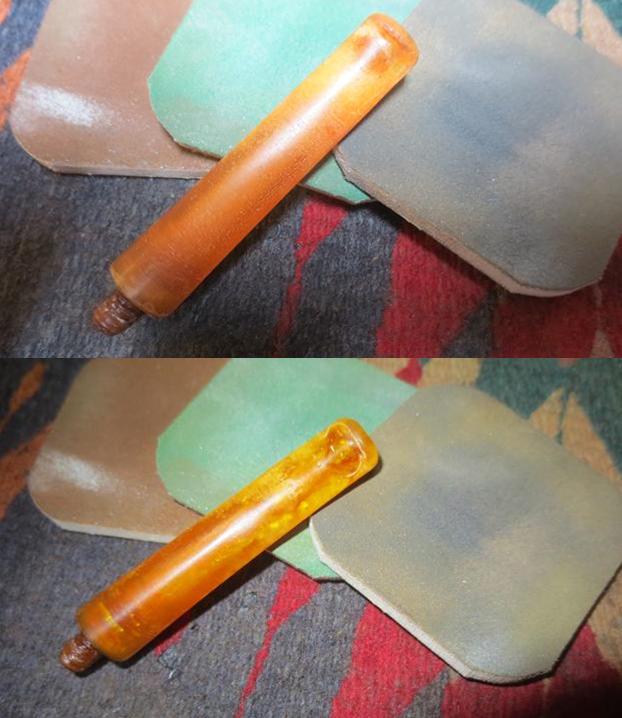
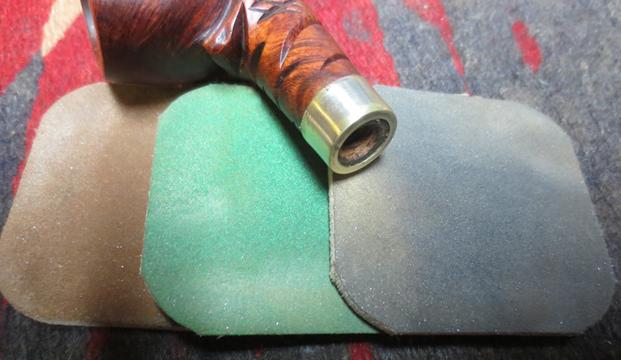
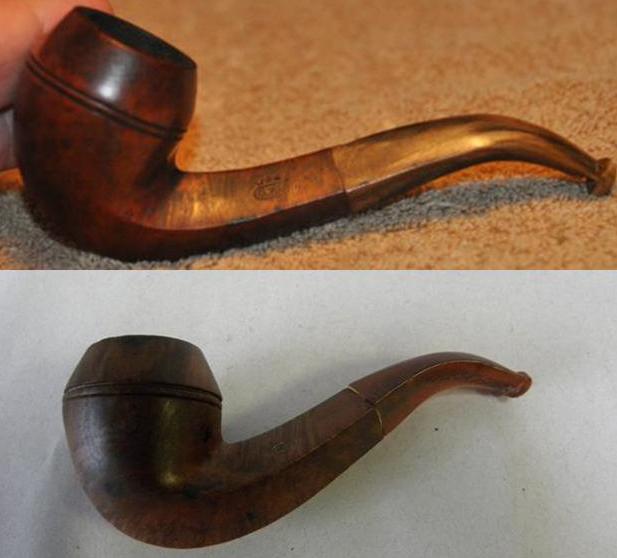
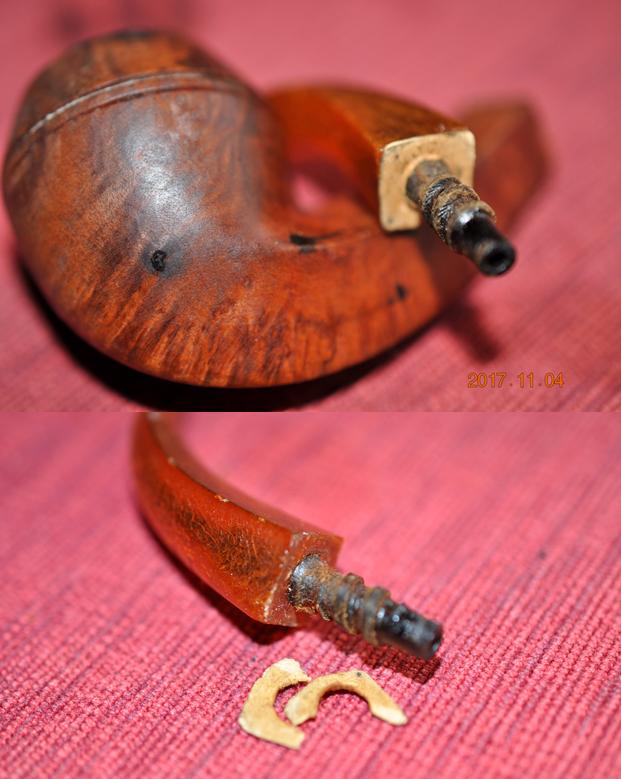
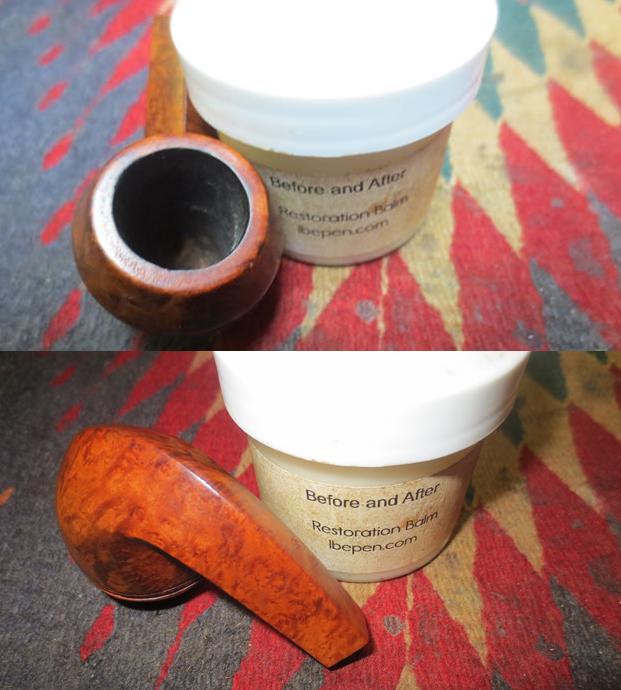
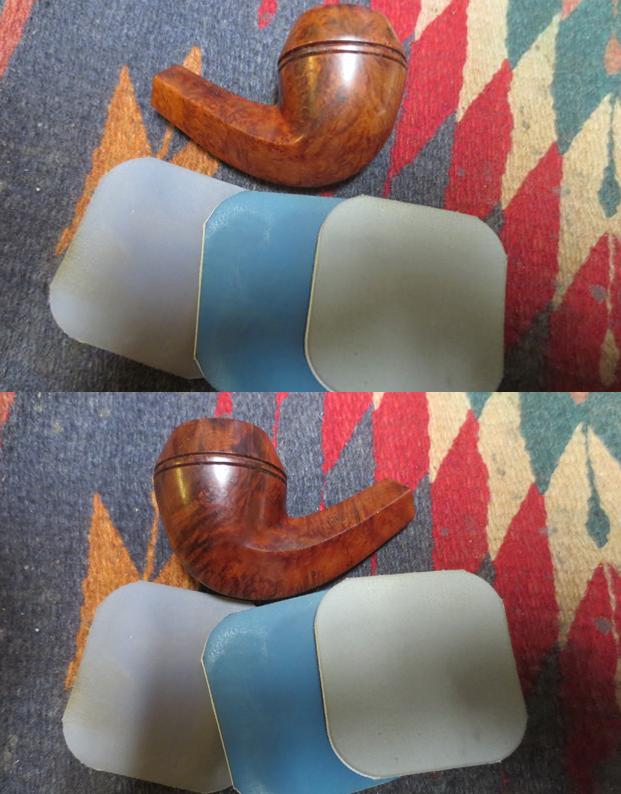
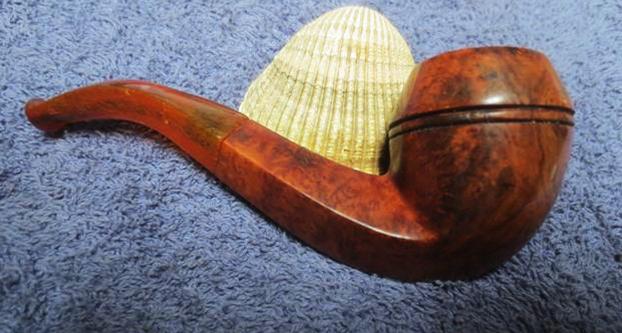
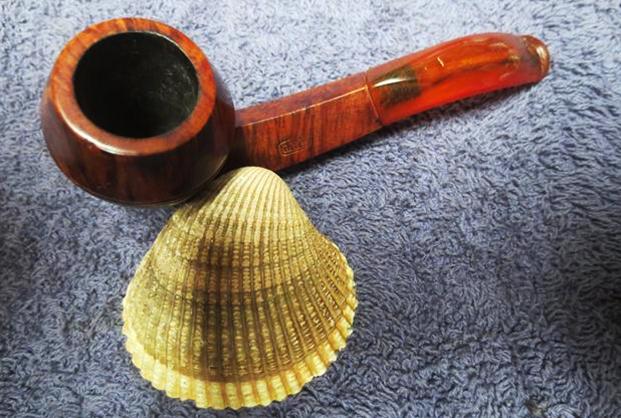
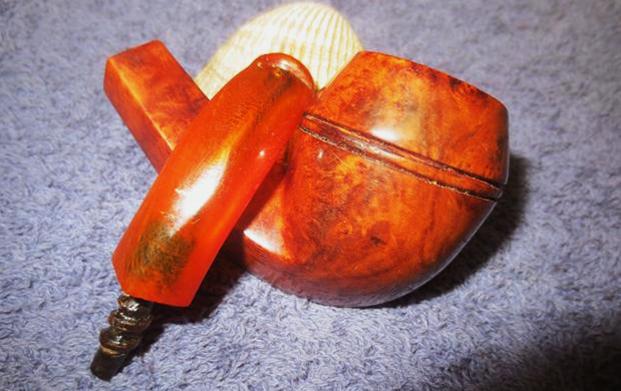
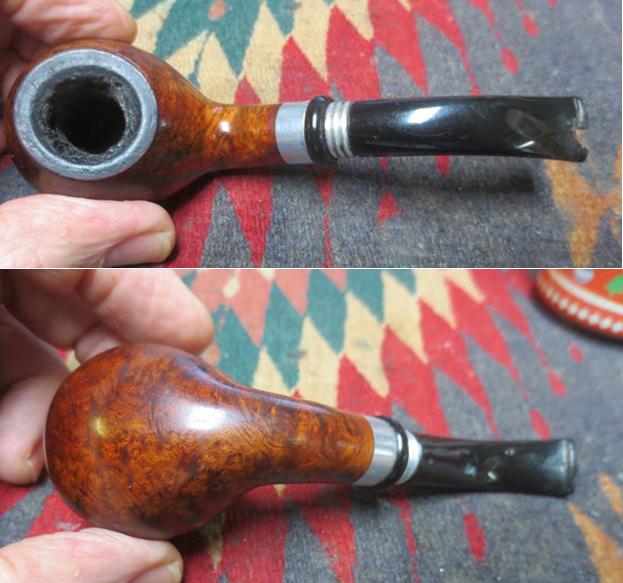
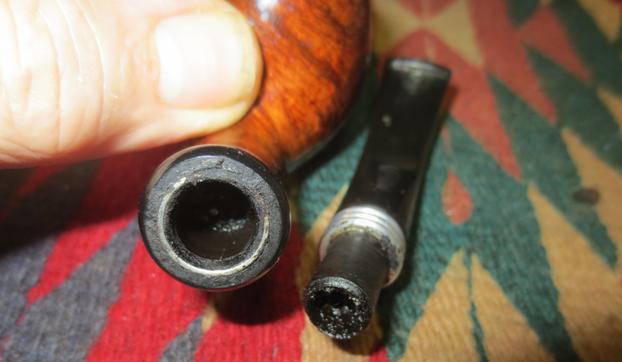
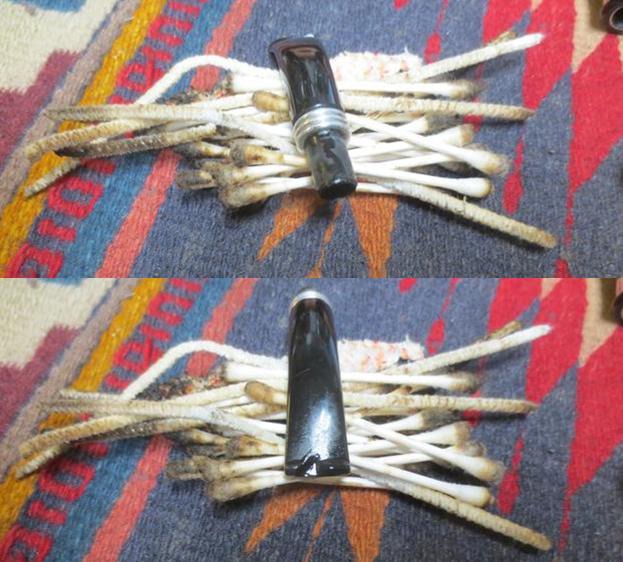
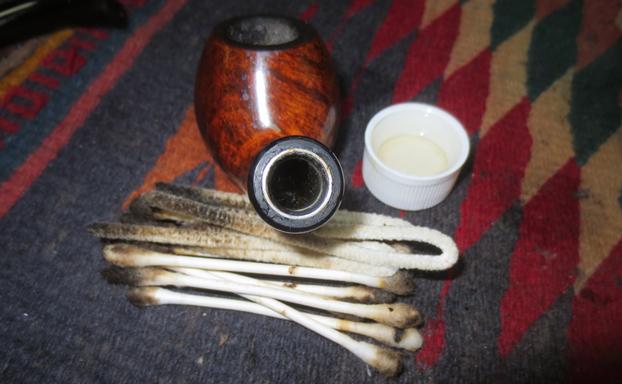
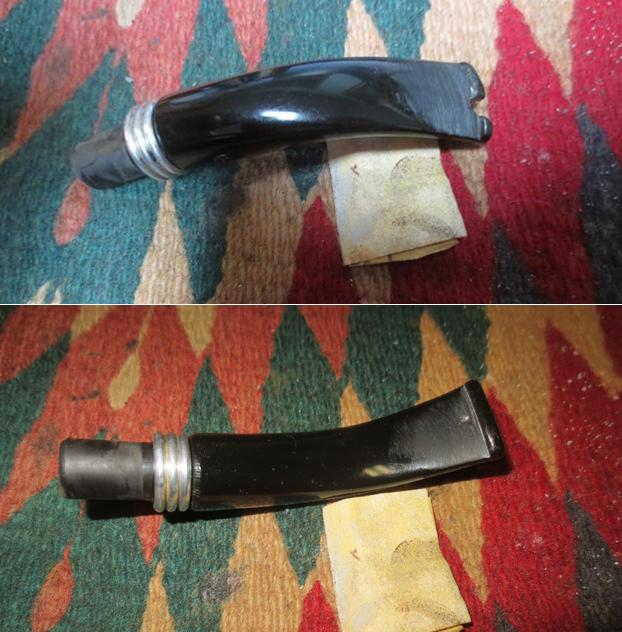
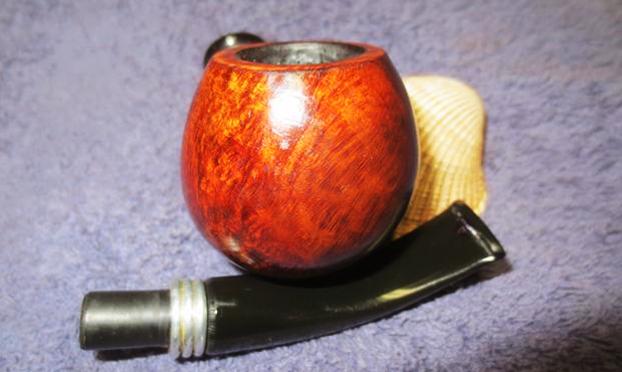
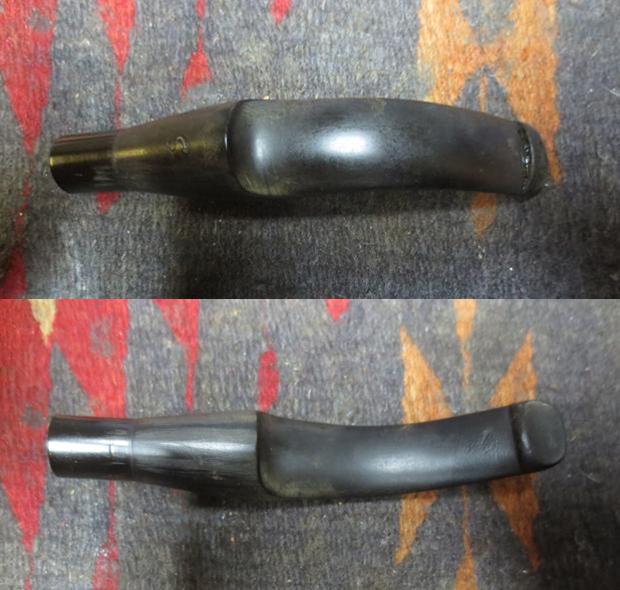
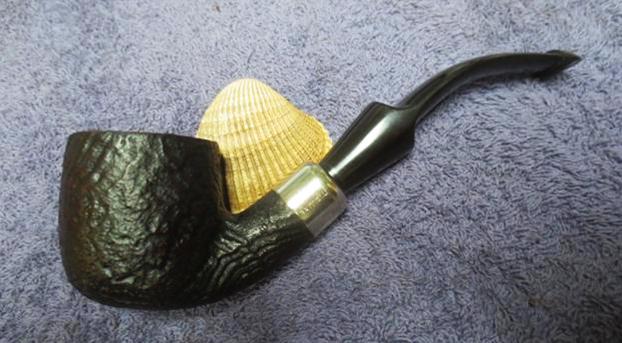
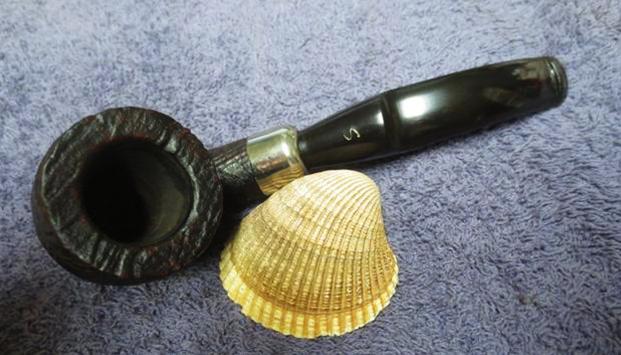
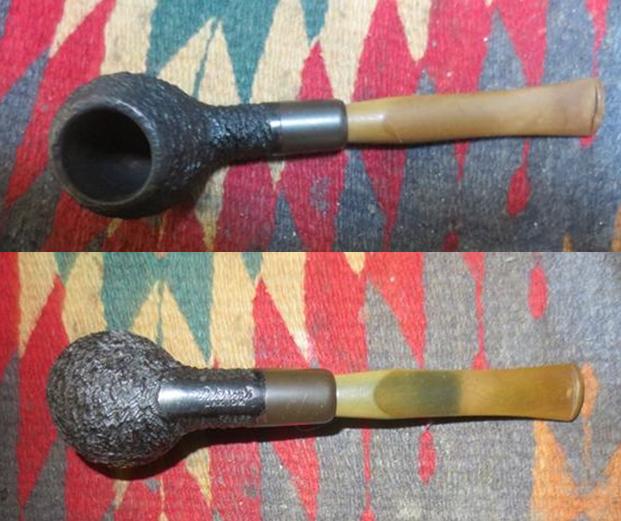
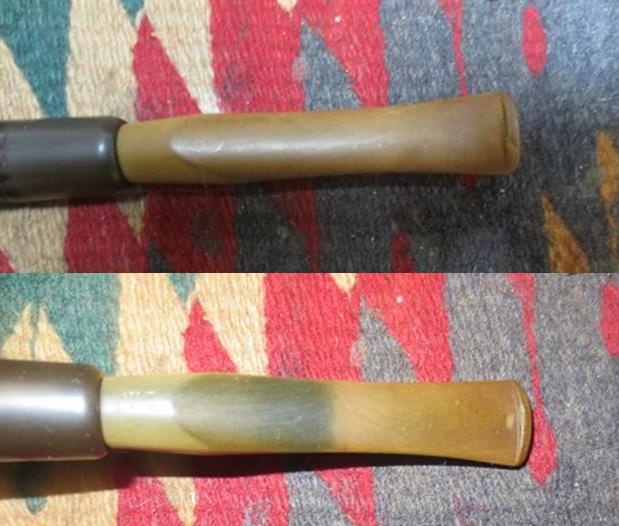
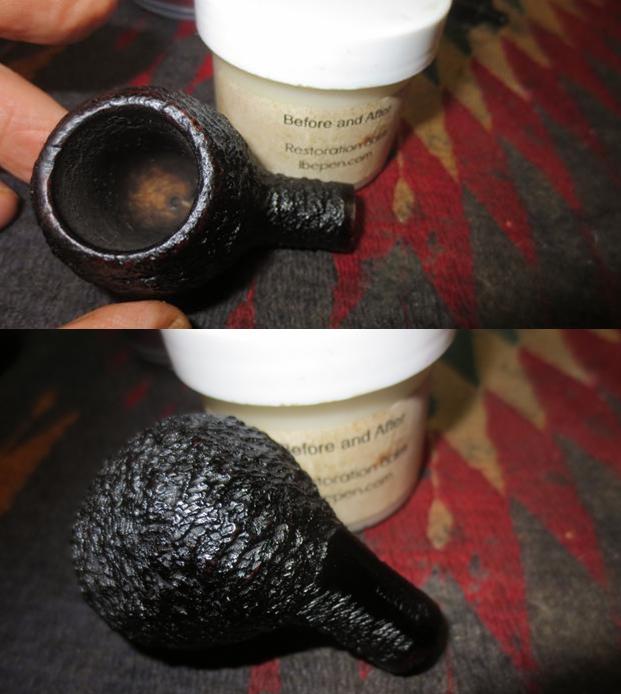
Jeff did his usual thorough cleanup on the bowl and stem. He carefully reamed the bowl back to bare briar with a PipNet Pipe Reamer and cleaned up the remnants with a Savinelli Fitsall Pipe Knife. He cleaned the internals with alcohol, pipe cleaners and cotton swabs – scrubbing out the mortise as it was dirty. He scrubbed the exterior of the pipes with Murphy’s Oil soap and a tooth brush and was able to remove all of the oils and dust in the smooth finish on the briar. He was able to remove all of the lava and grime from the rim top and left it looking very clean. The inner and outer edges of the rim top were in good shape. He soaked the stem in an Oxyclean bath to raise the oxidation to the surface of the vulcanite. It was clean and the remaining oxidation was very light. When the pipe arrived I took some photos to show how it looked before I did the restoration. 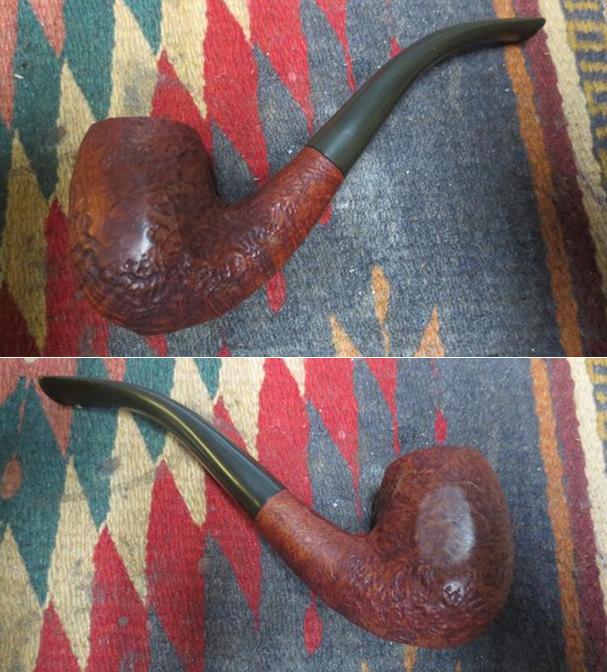
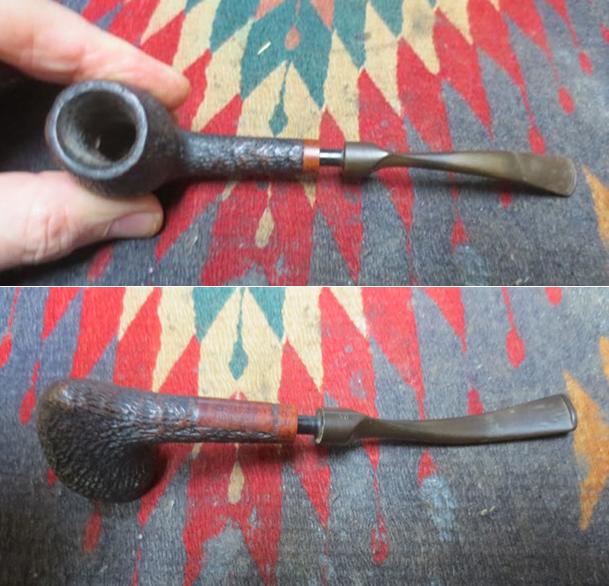
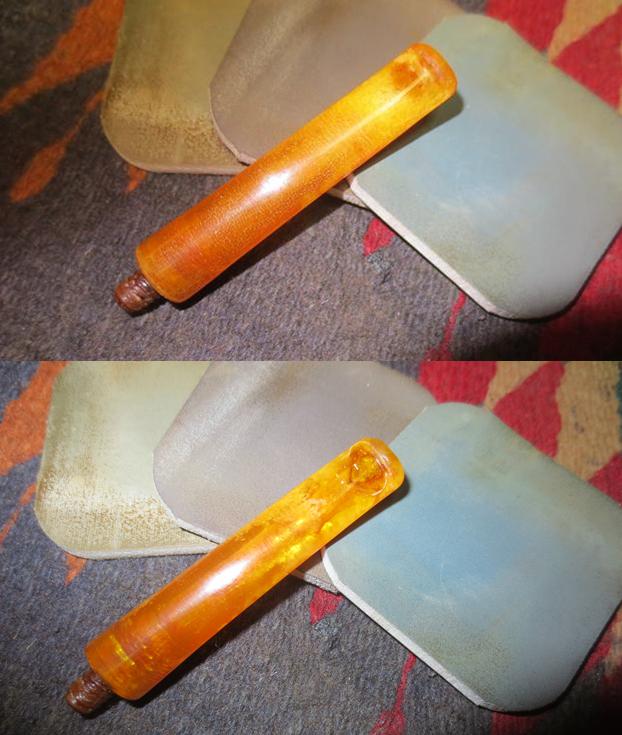
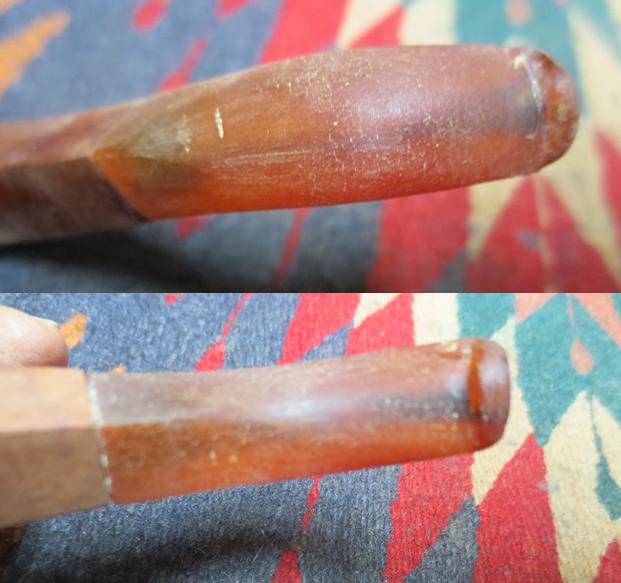
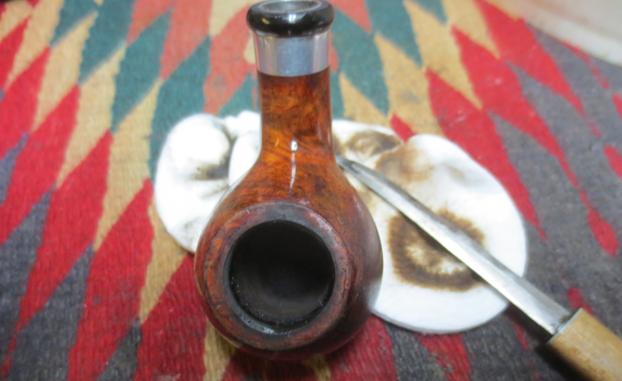
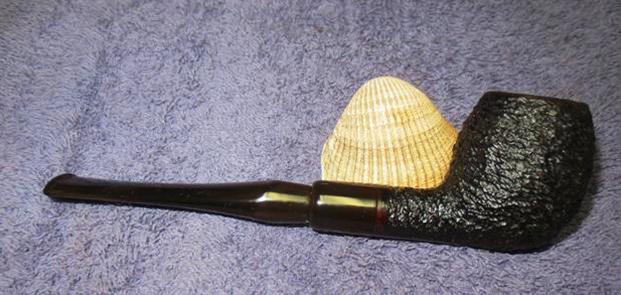
 Jeff was able to remove the lava buildup on the rim top and clean grooves and crevices of the sandblast surface and edges of the rim. The inner and outer edges of the rim were in excellent condition and the rim top looked new. The stem was lightly oxidized and had tooth chatter and marks on both sides of the stem near the button.
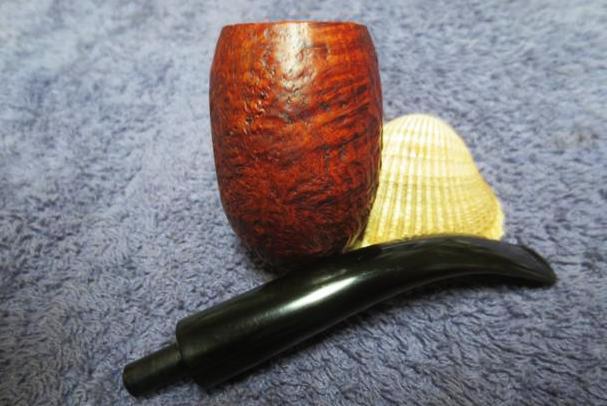
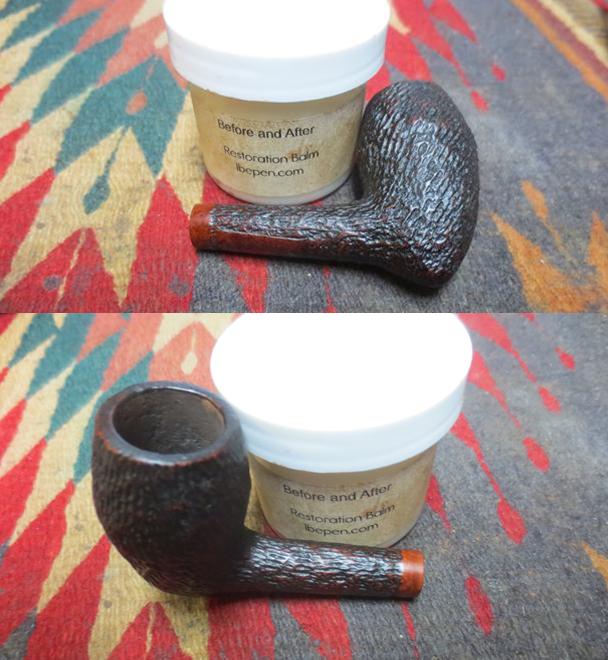
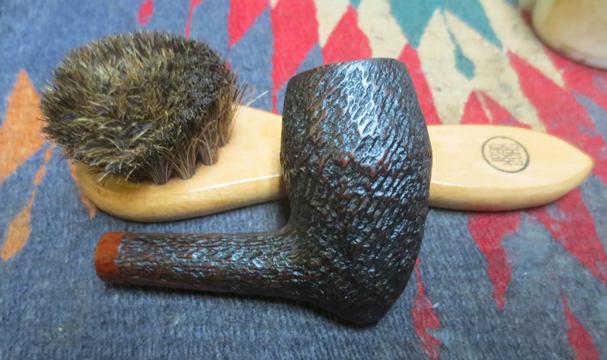
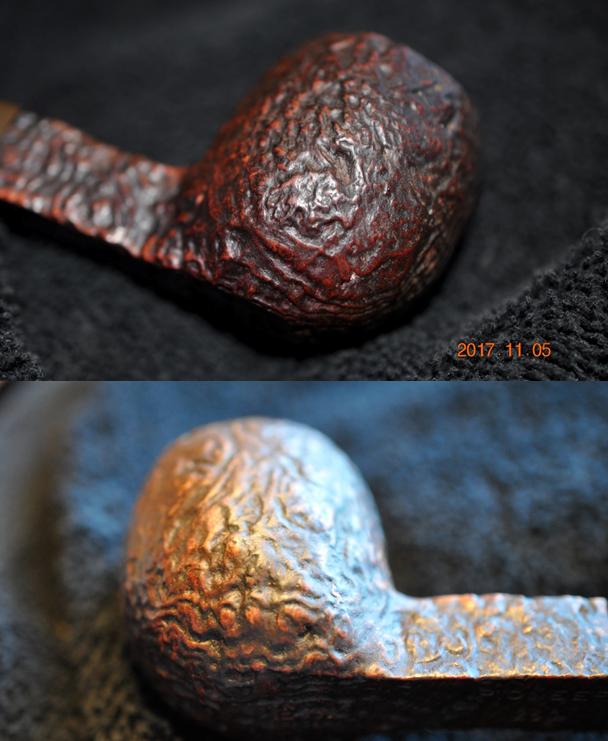
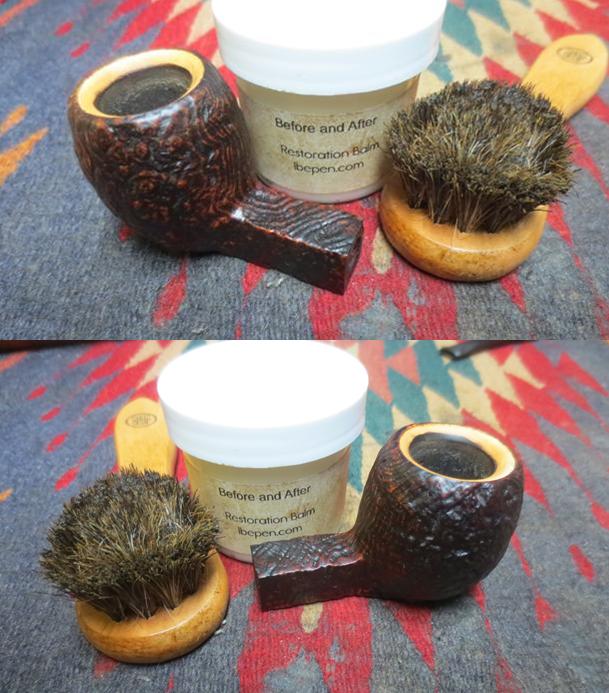
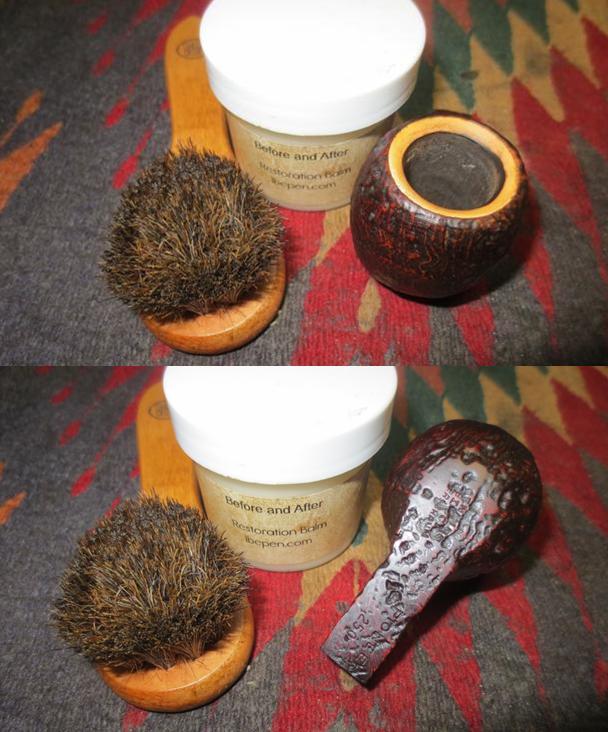
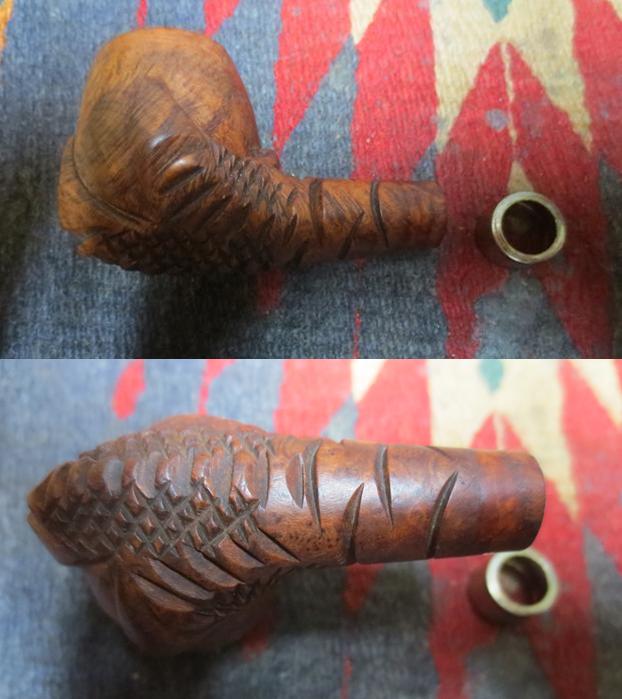
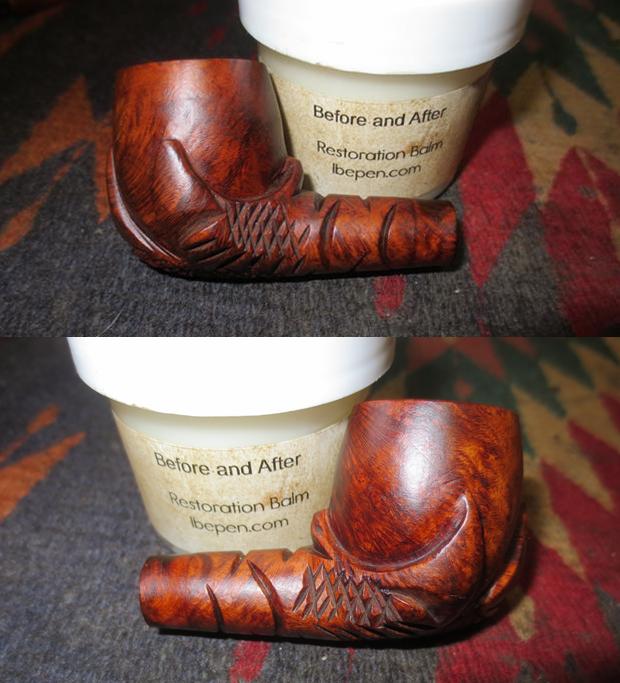
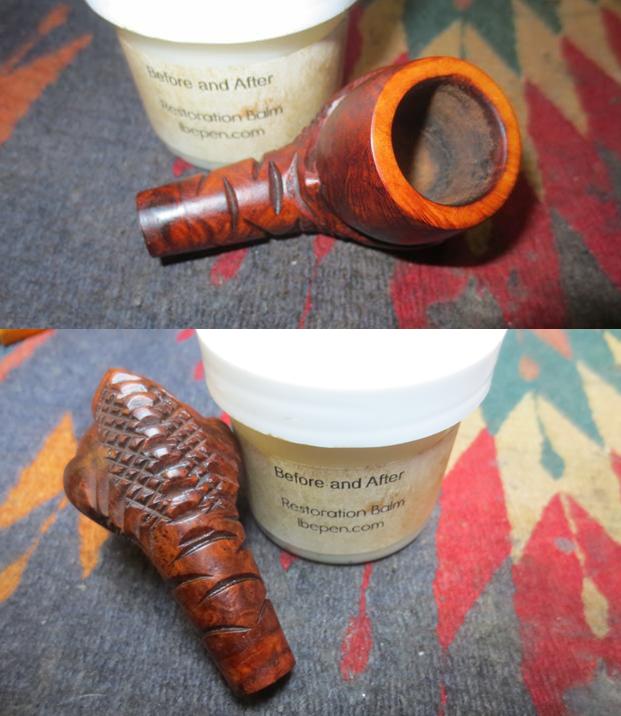
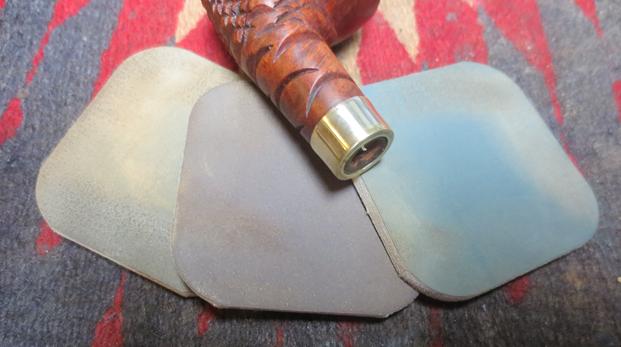
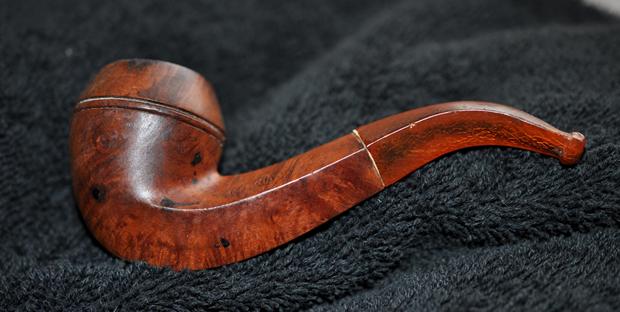
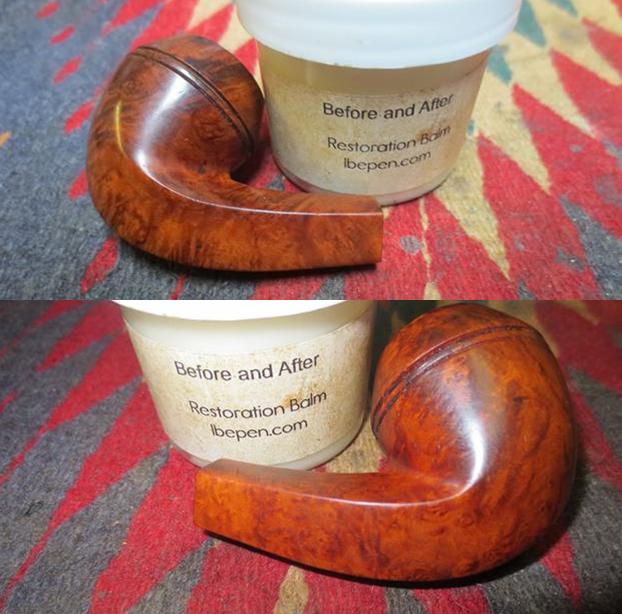
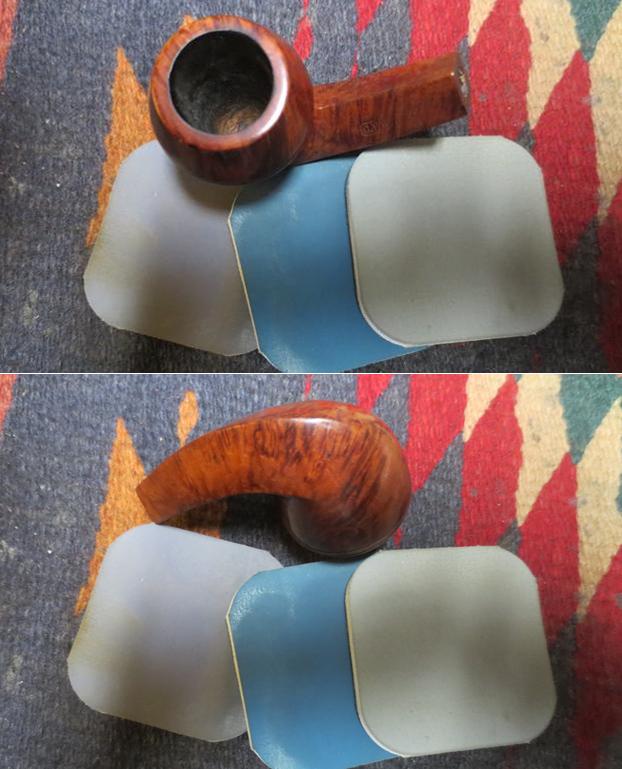
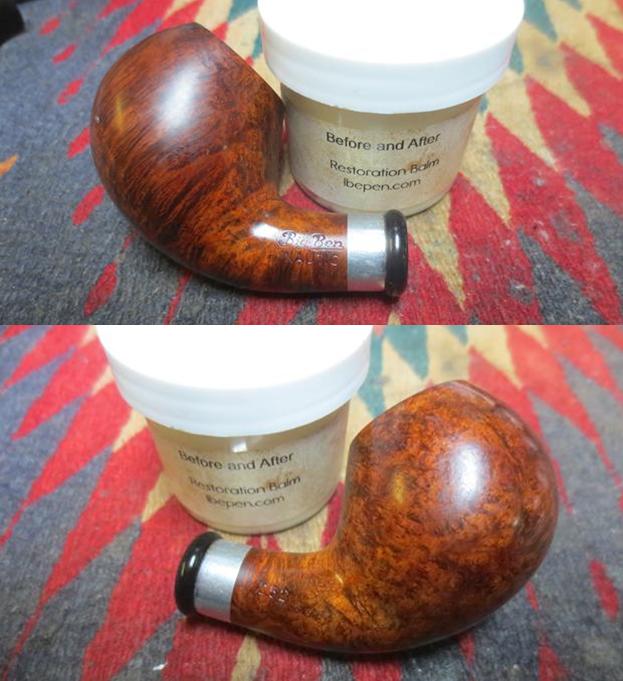
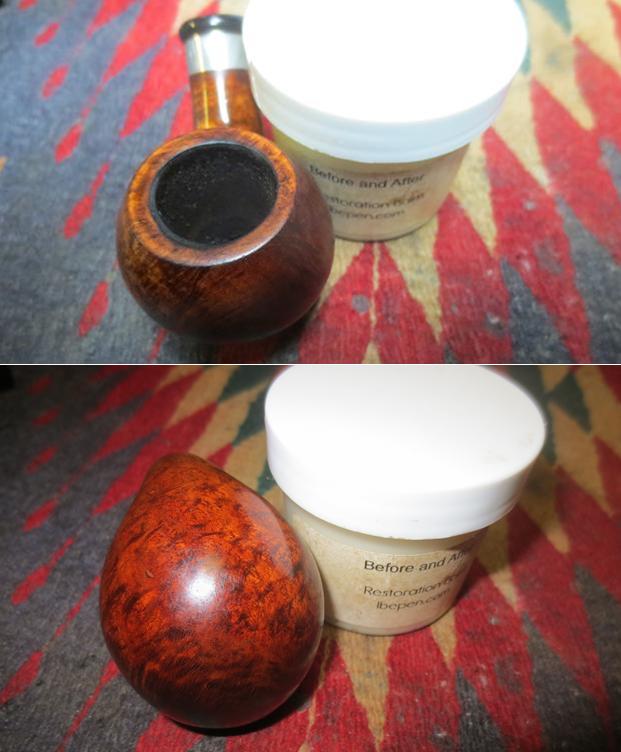
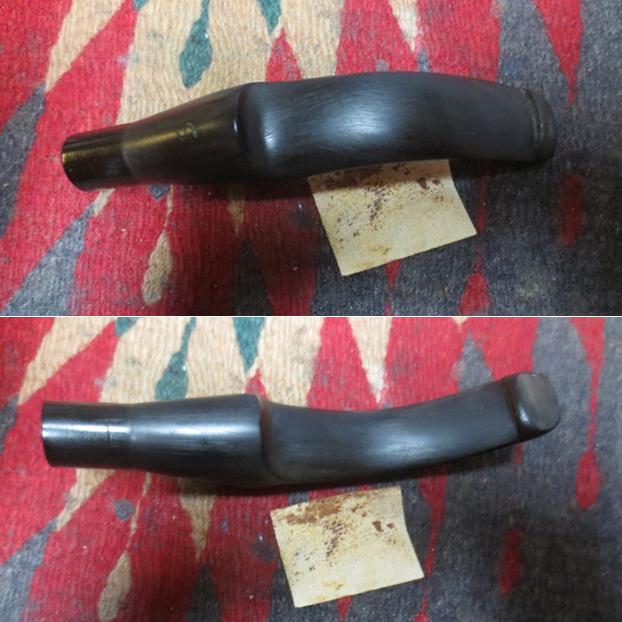
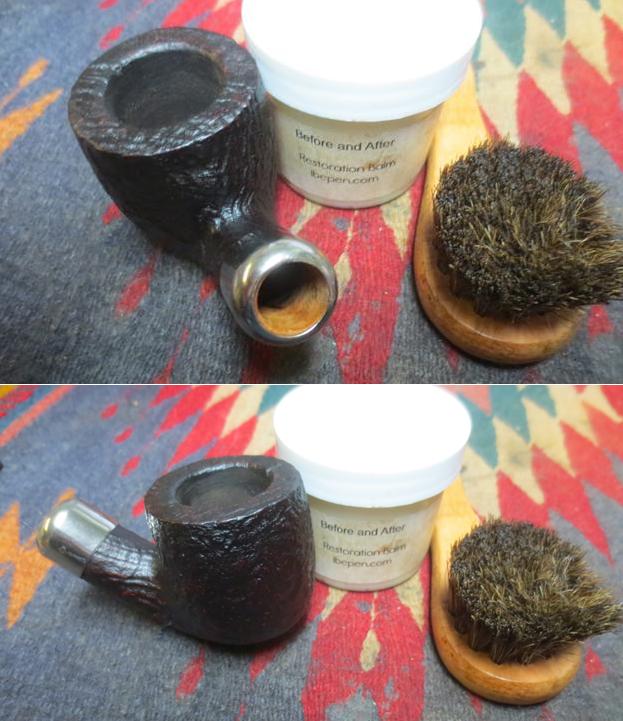
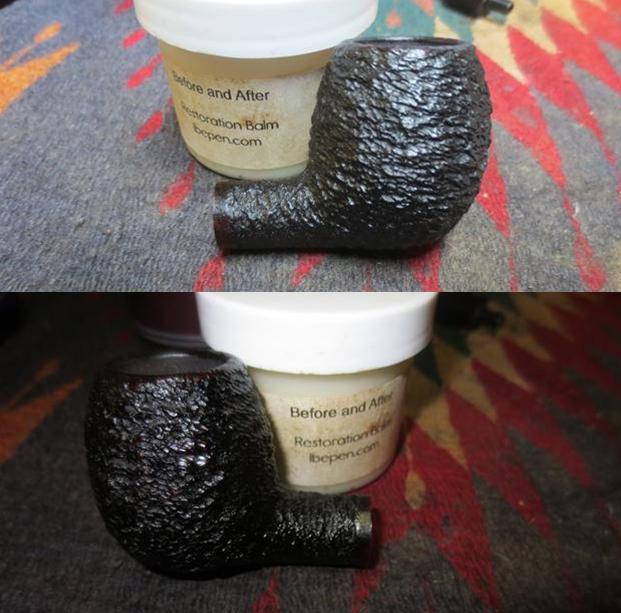
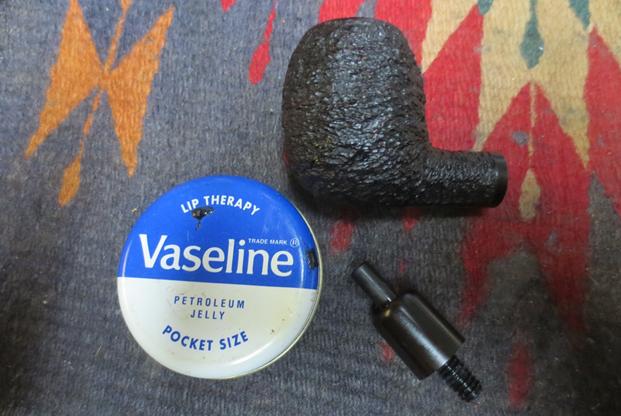
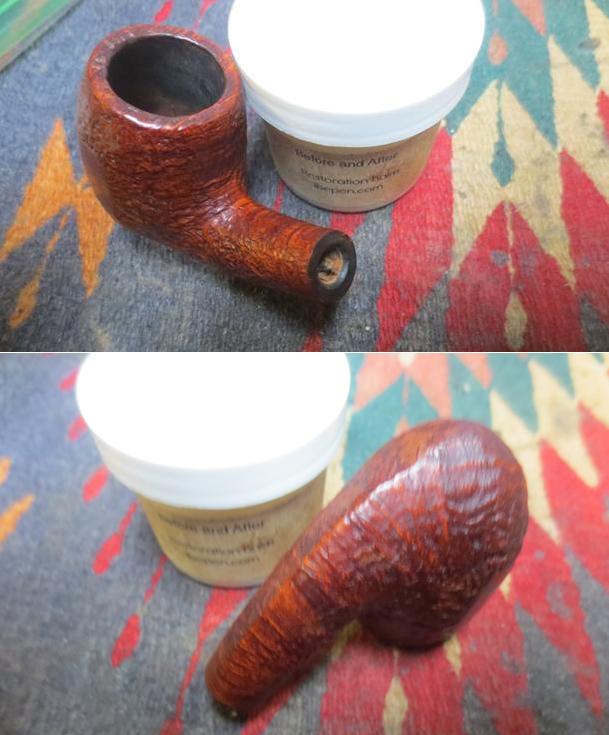
 I rubbed the bowl down with Before & After Restoration Balm to deep clean the nooks and crannies of the finish, enliven and protect the briar. I hand rubbed it with my fingers to get it deep into the grooves. I let it sit for a few minutes and then wiped it off with a soft cloth and buffed it with a horsehair shoe brush. The briar really began to have a deep shine. The smooth panels showed some nice grain patterns and the sandblast looked really good. I took some photos of the bowl at this point to mark the progress in the restoration.
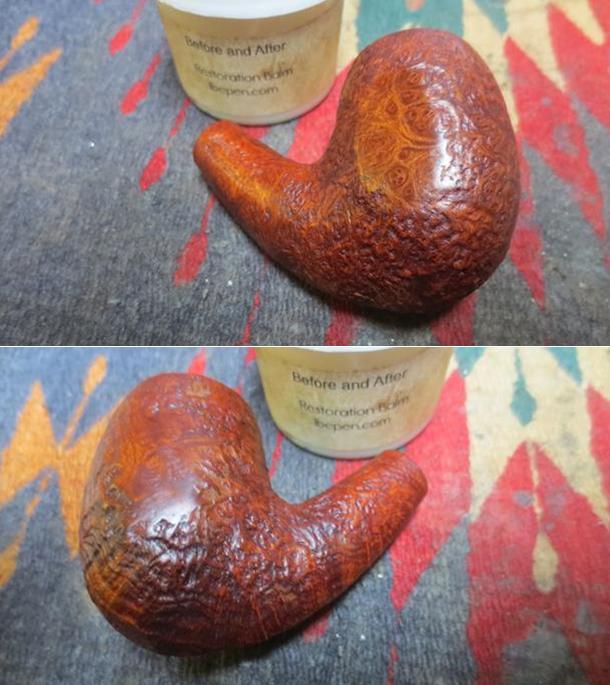
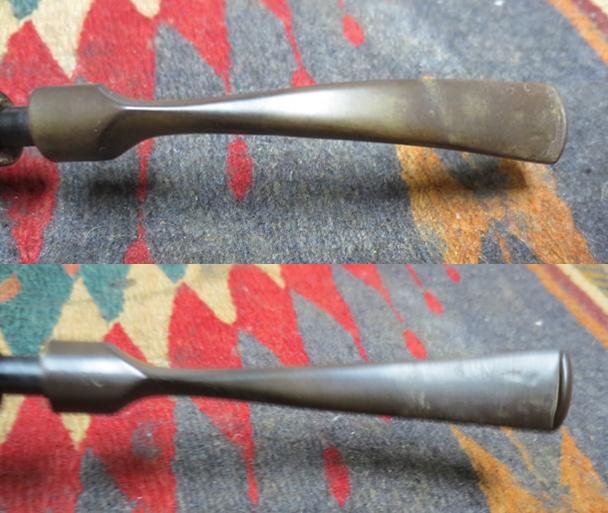
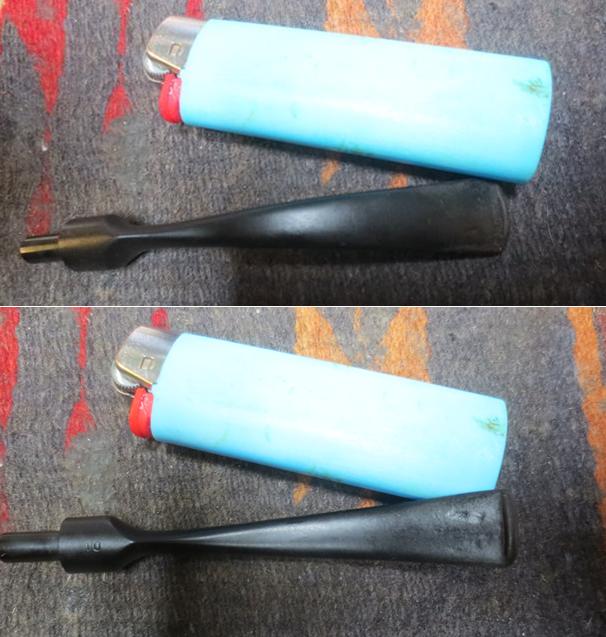
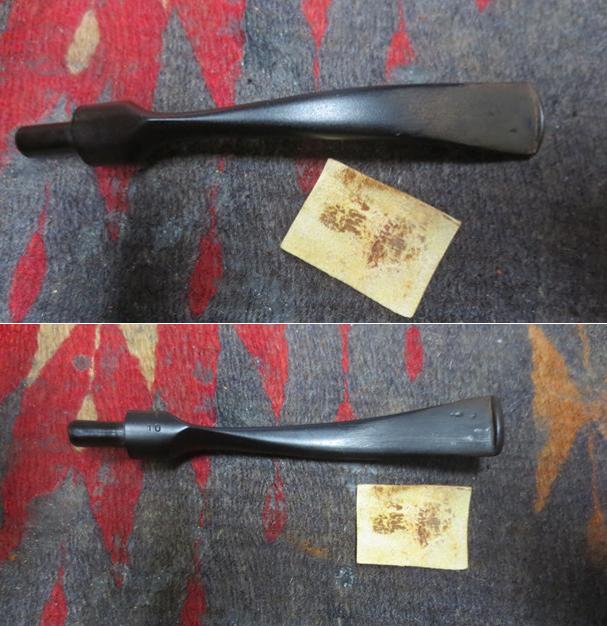
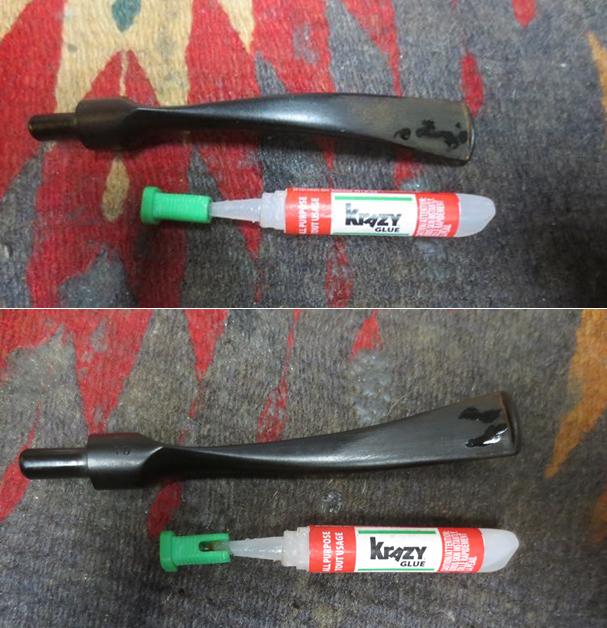
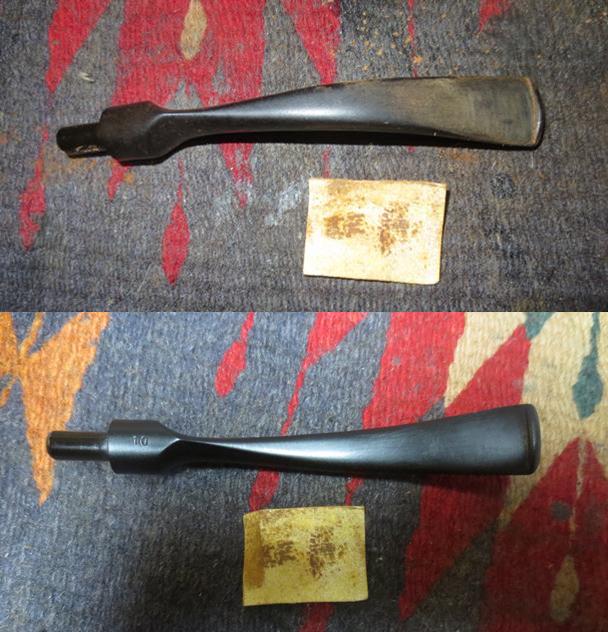
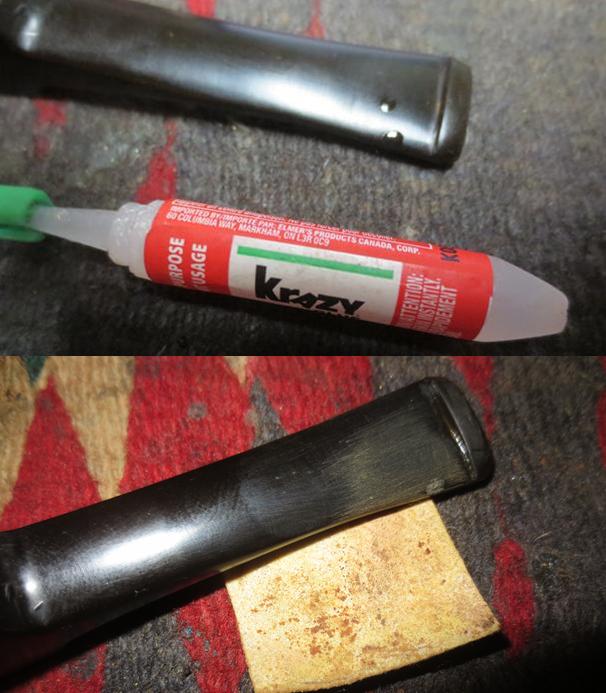
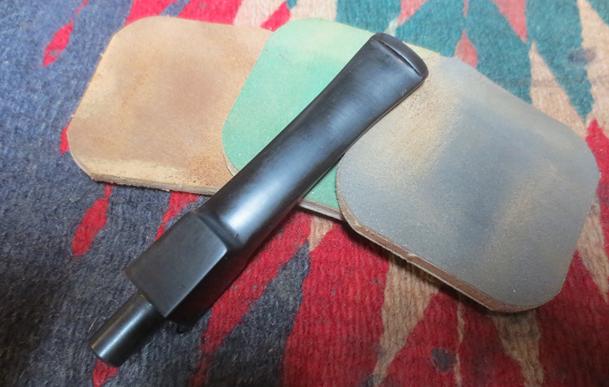
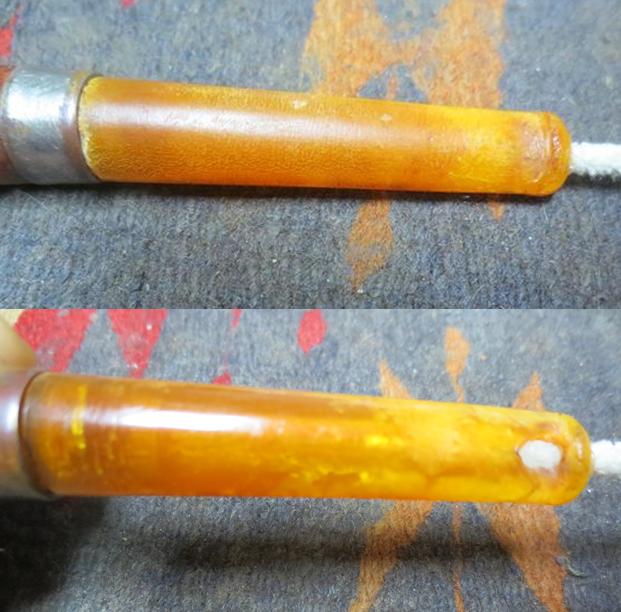
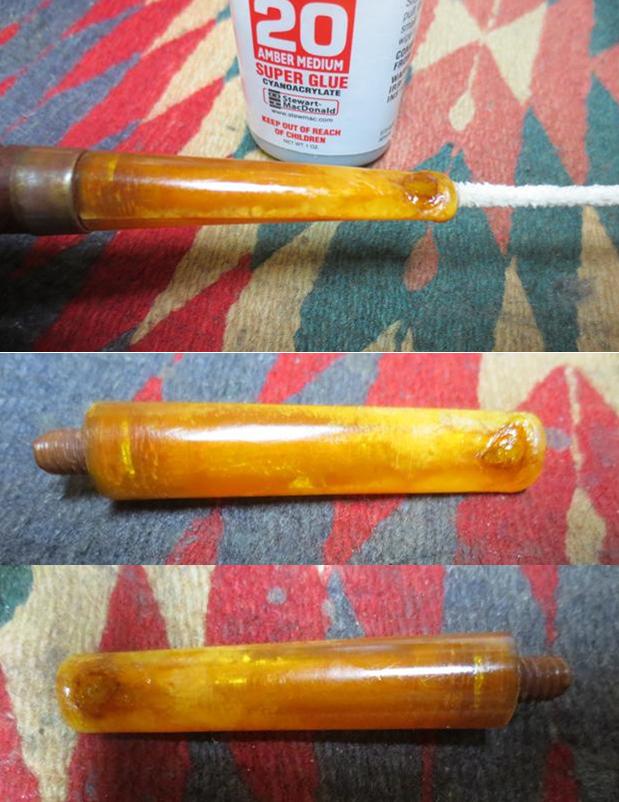
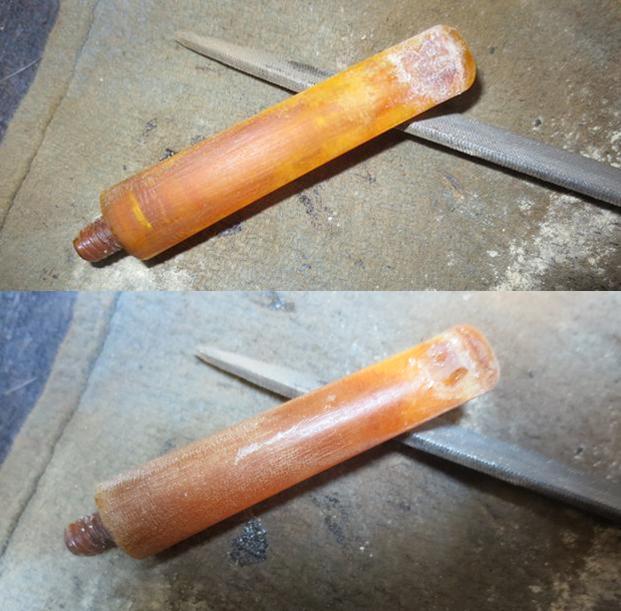
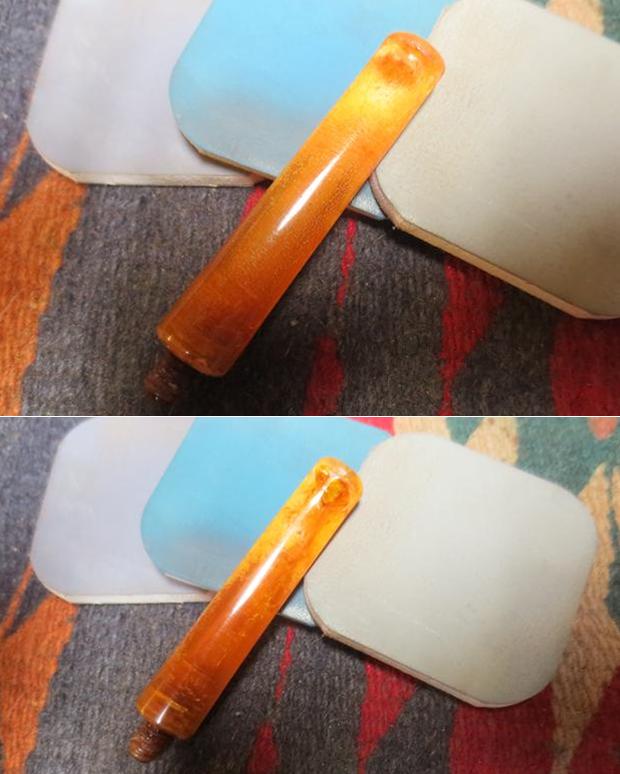
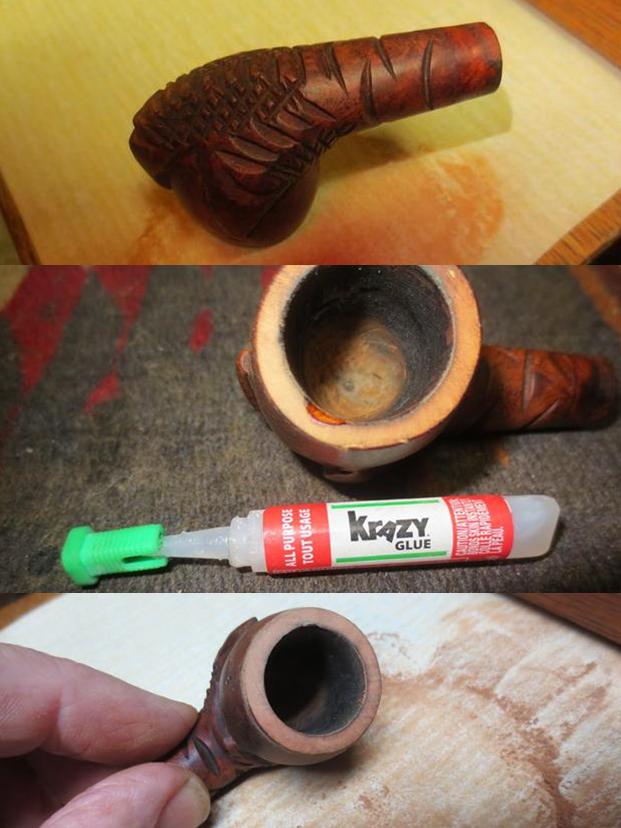
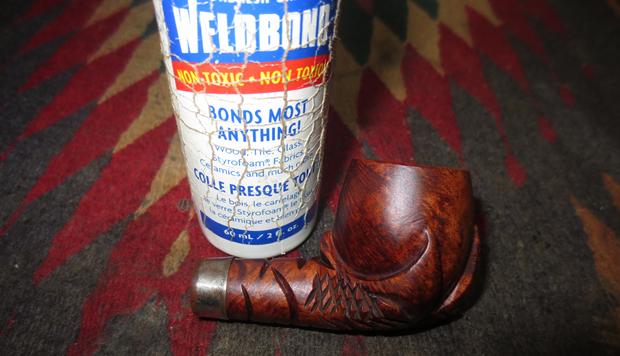
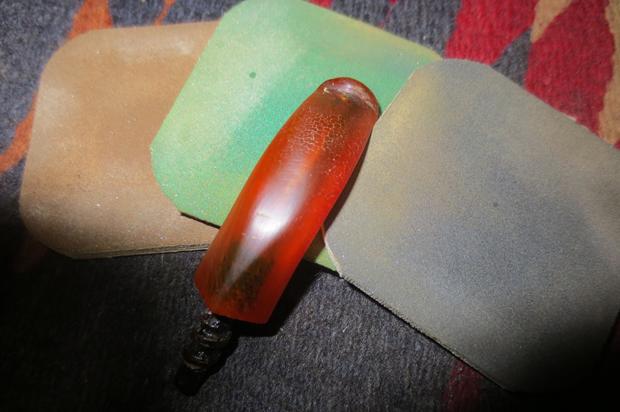
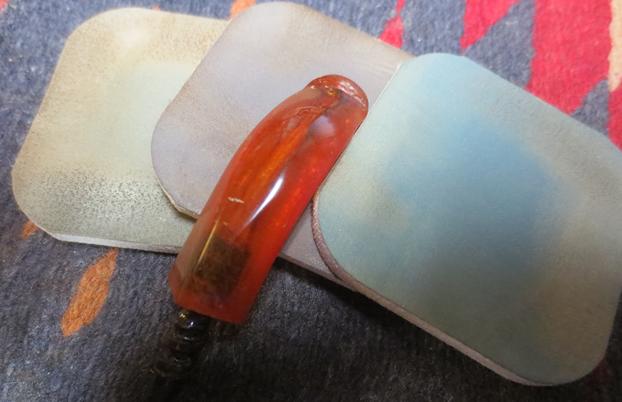
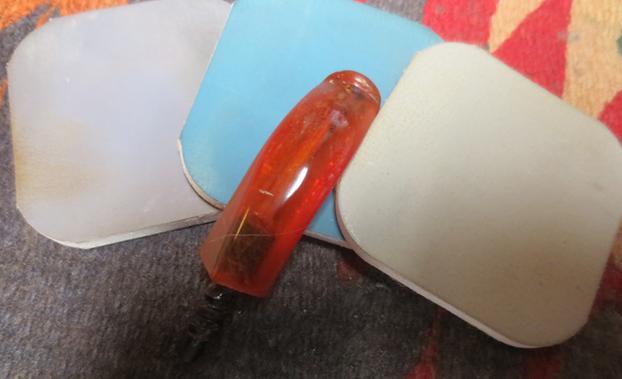
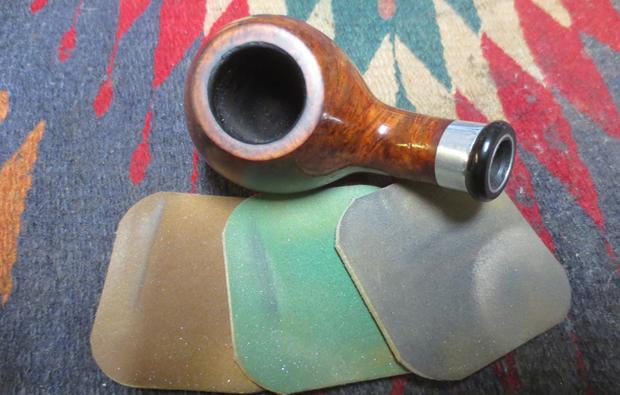
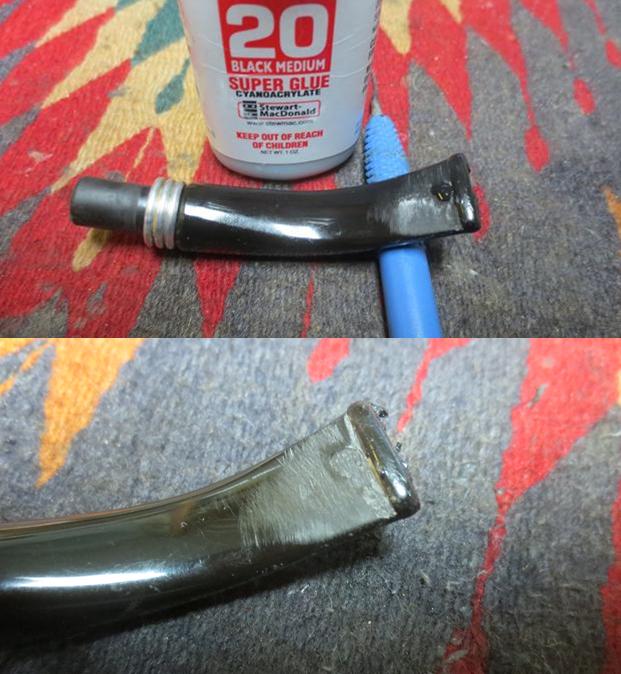
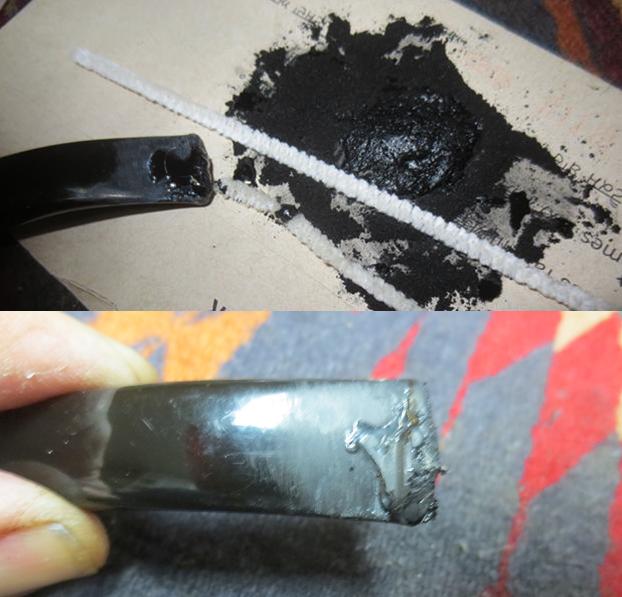
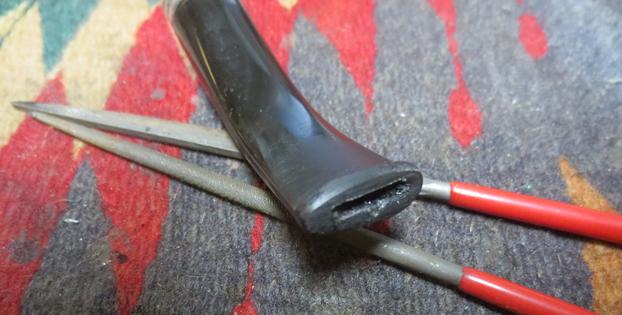
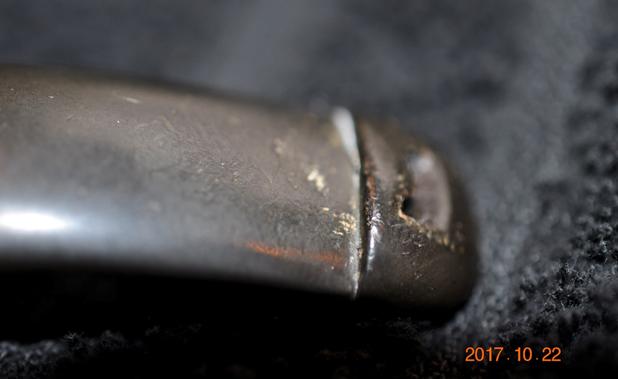
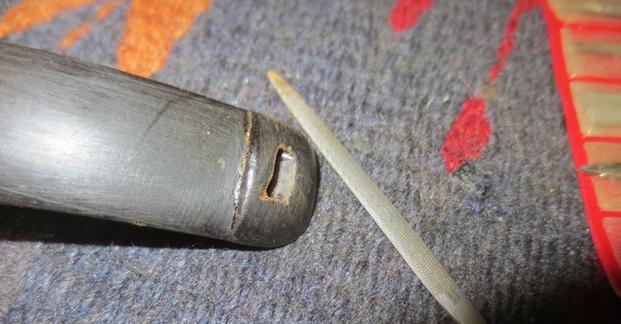
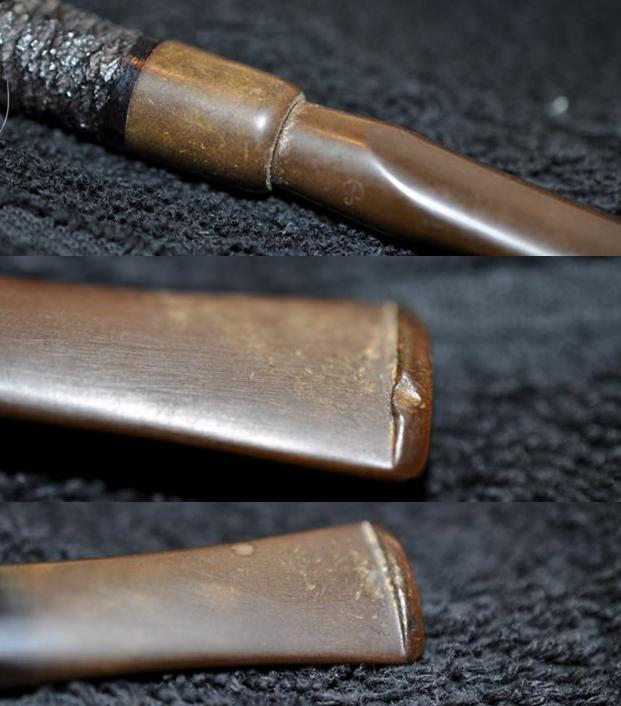
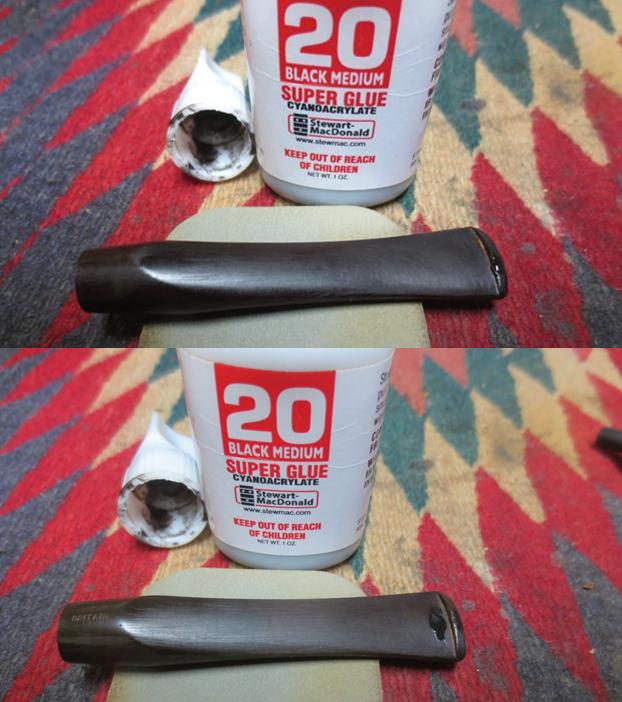
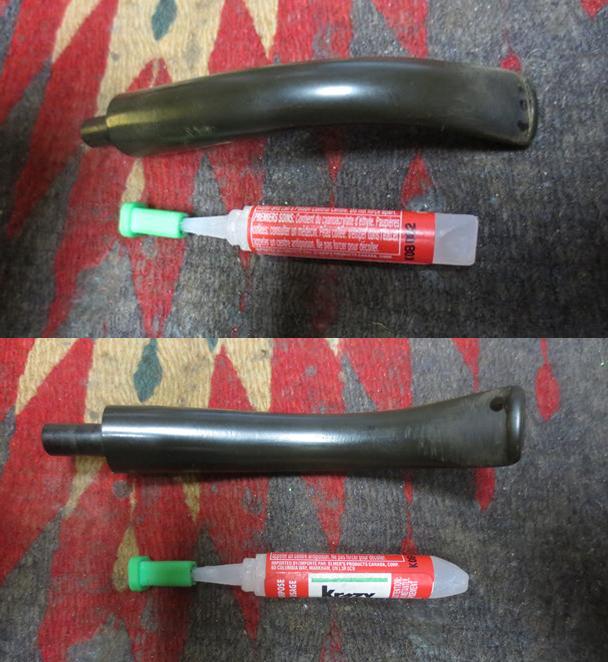
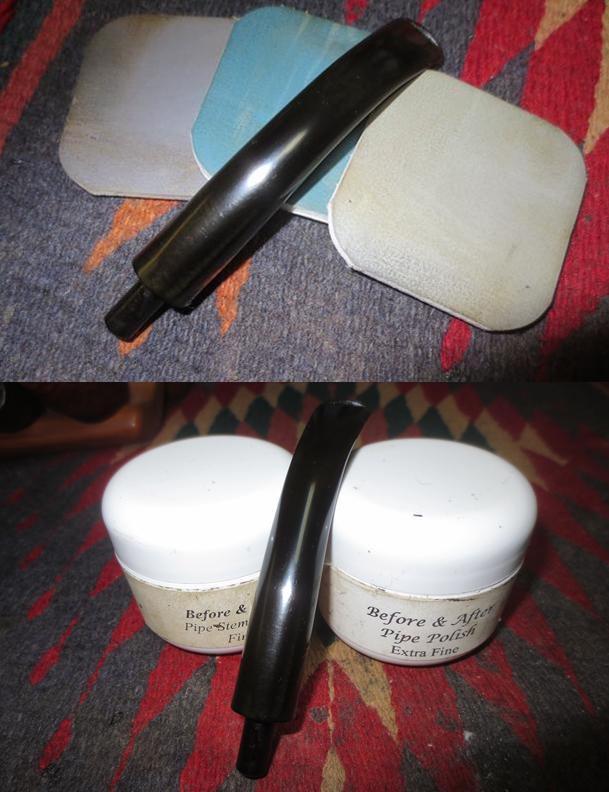
 I set the bowl aside and turned my attention to the stem. I sanded out the tooth chatter and many of the tooth marks with 220 grit sandpaper. There was a small tooth mark on the top and underside of the stem that I cleaned up and filled it in with a drop of clear super glue. When the glue cured, I sanded the repaired areas smooth to blend them into the surface of the stem.
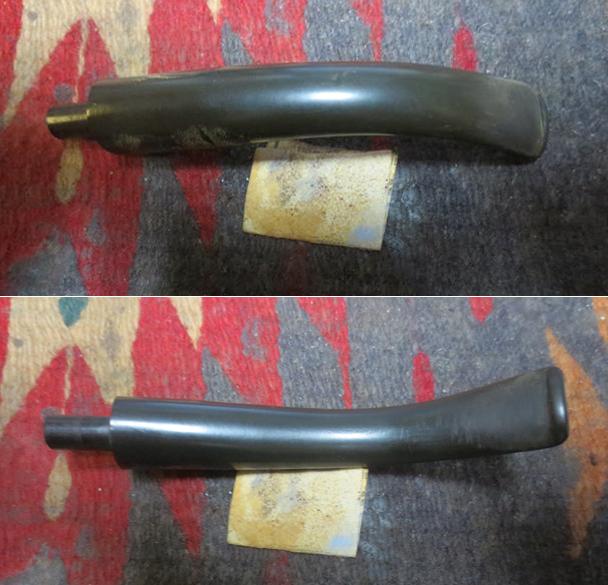
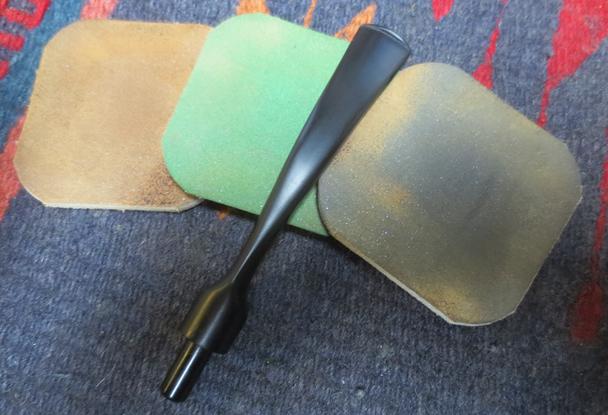
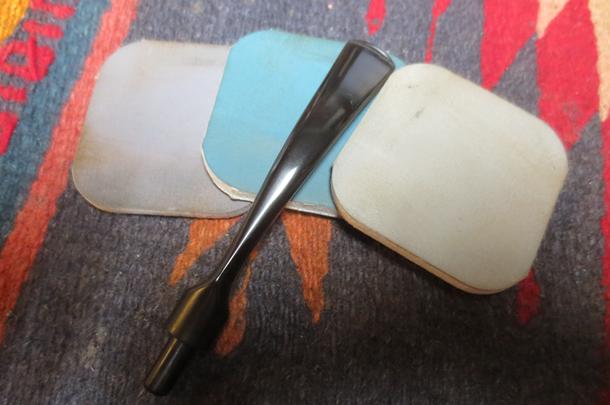
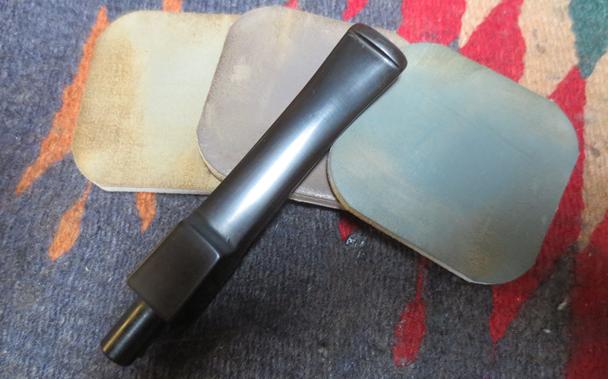
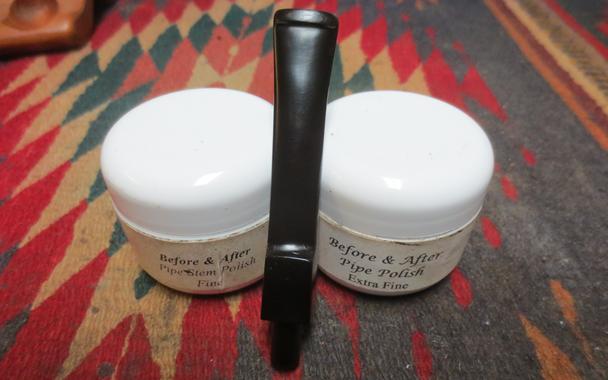
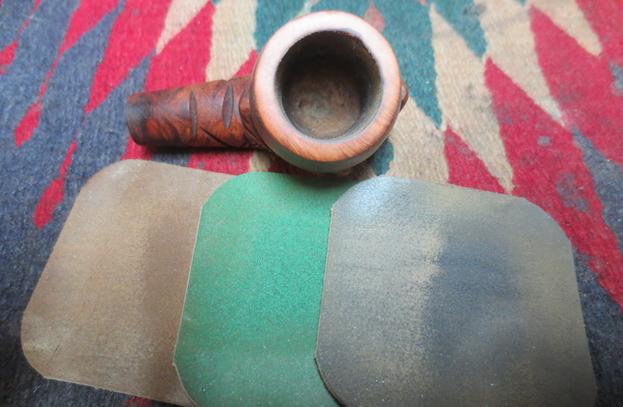
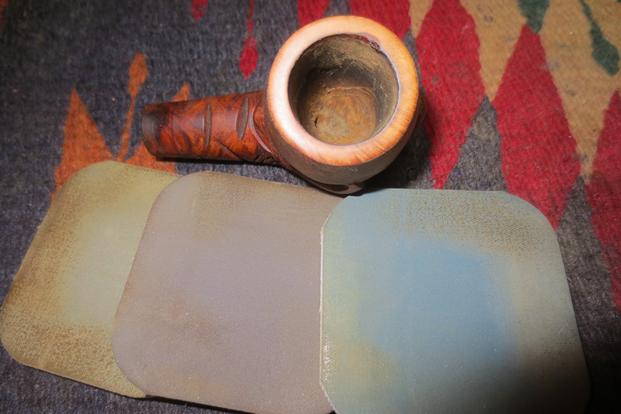
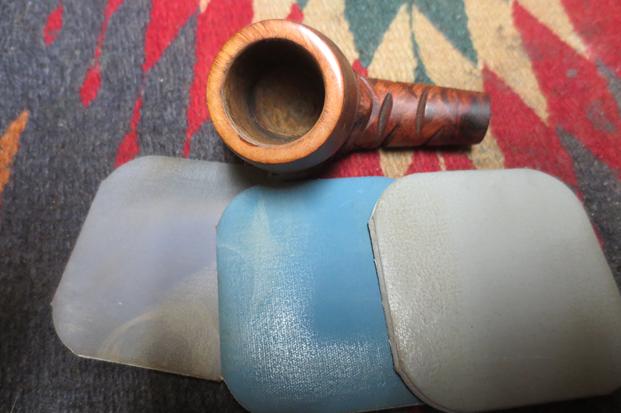
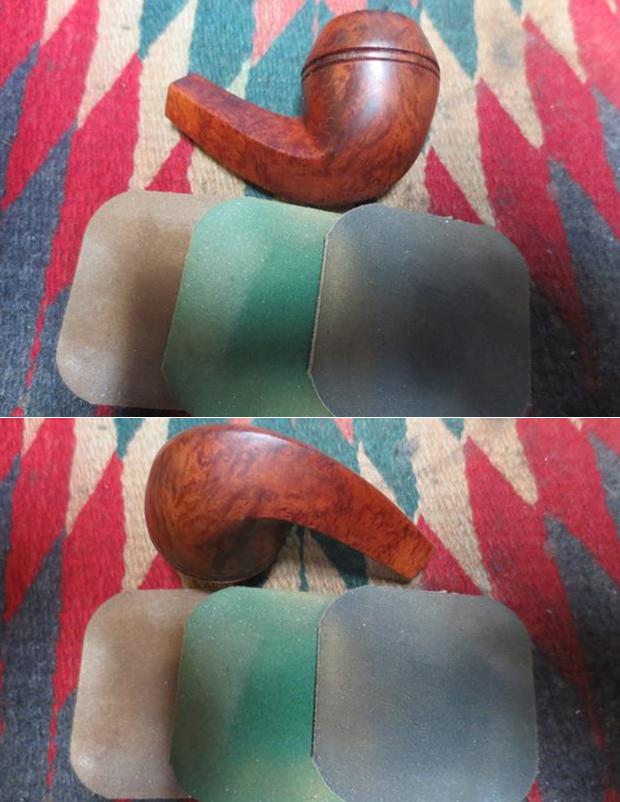
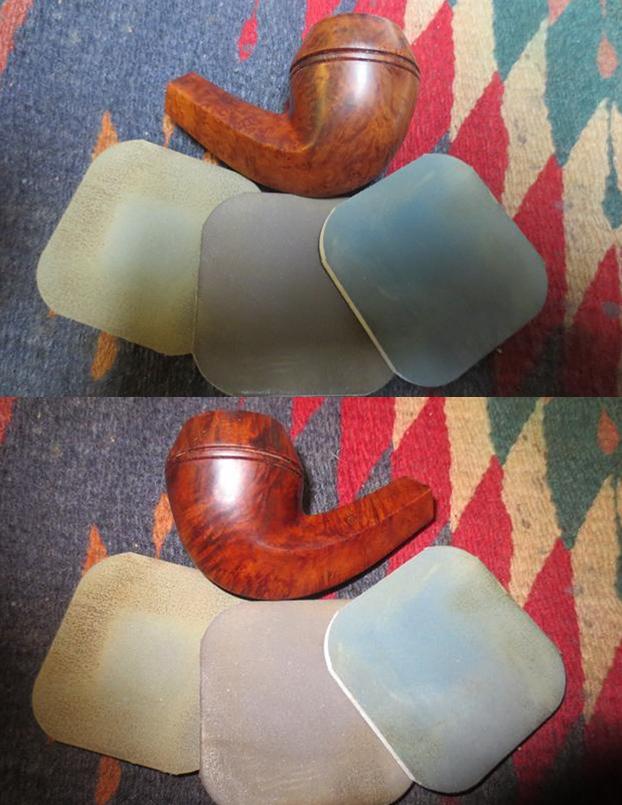
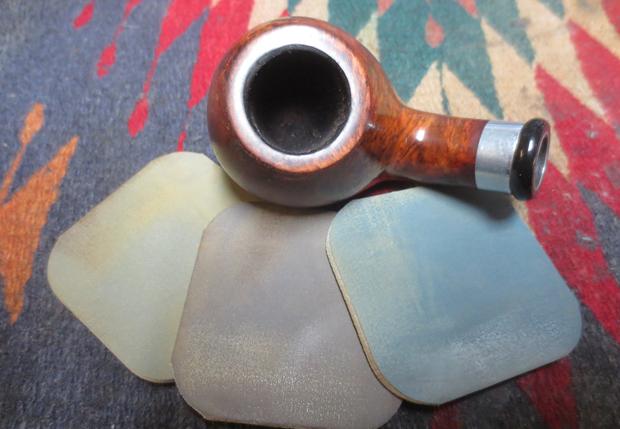
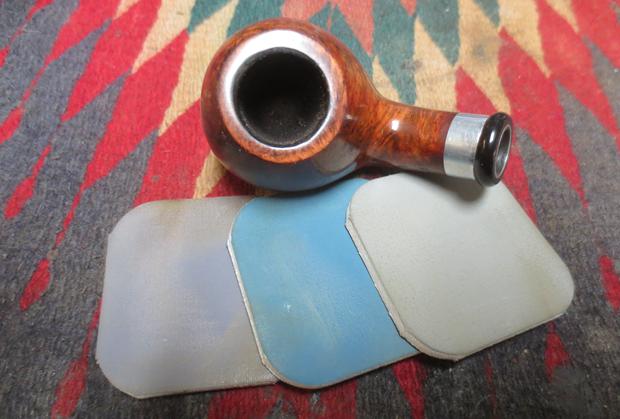
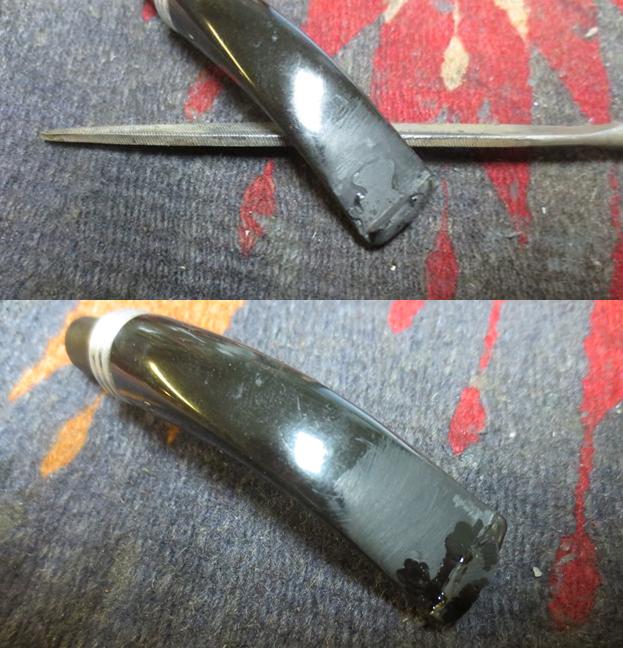
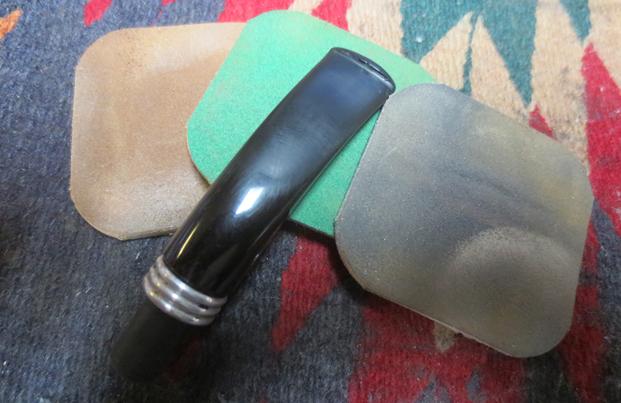
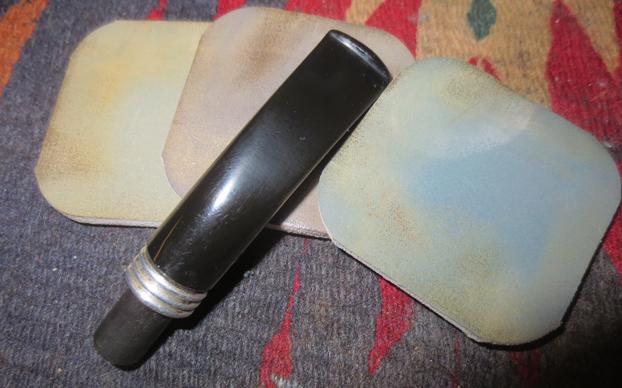
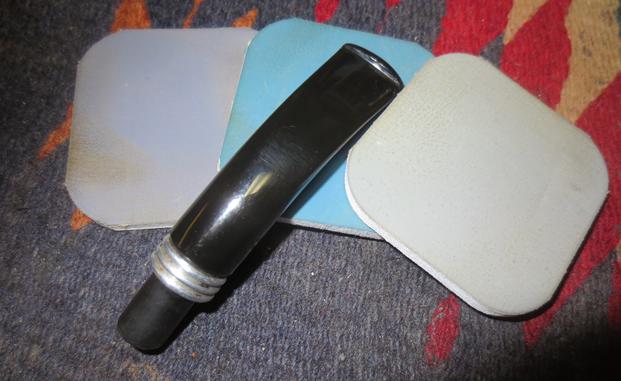
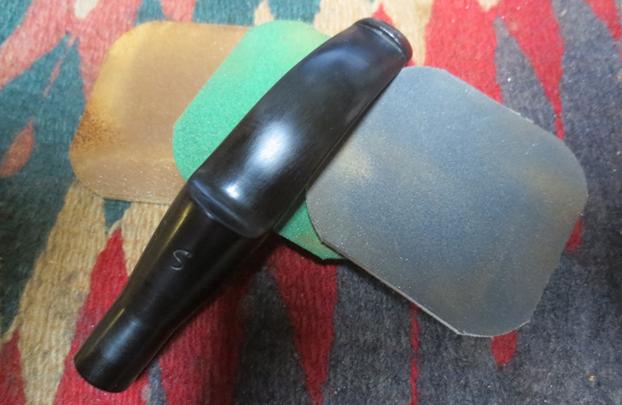
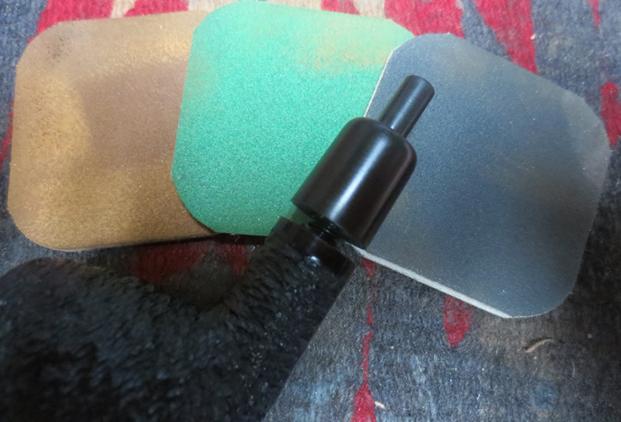
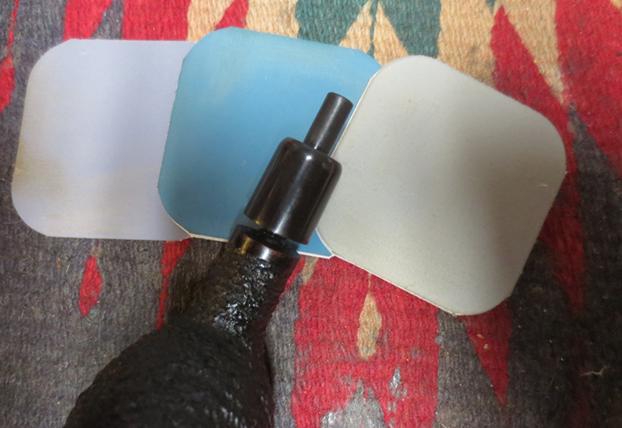
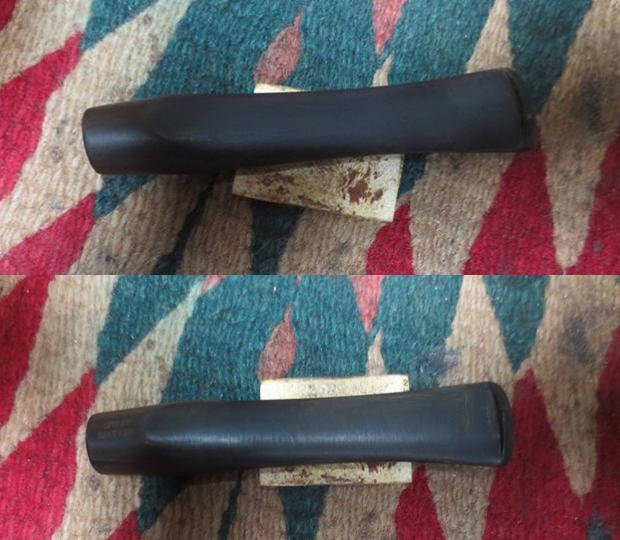
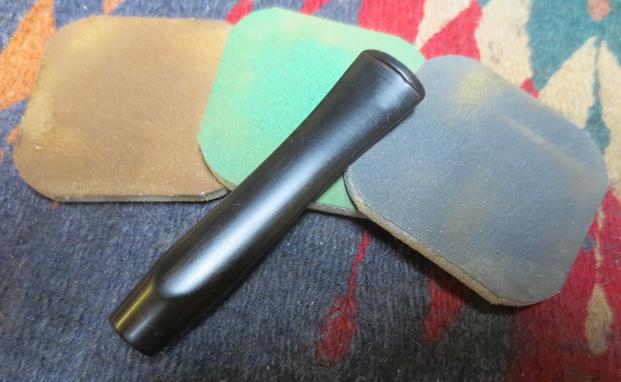
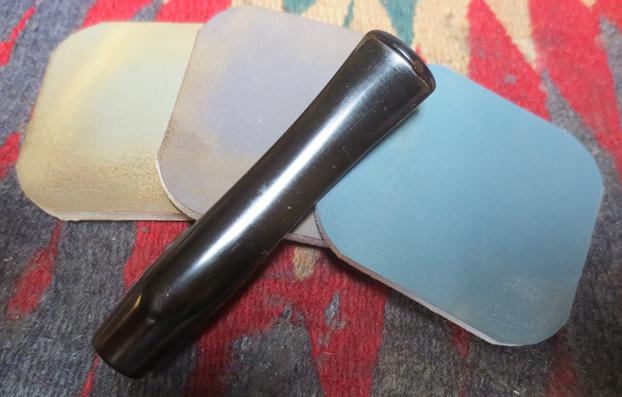
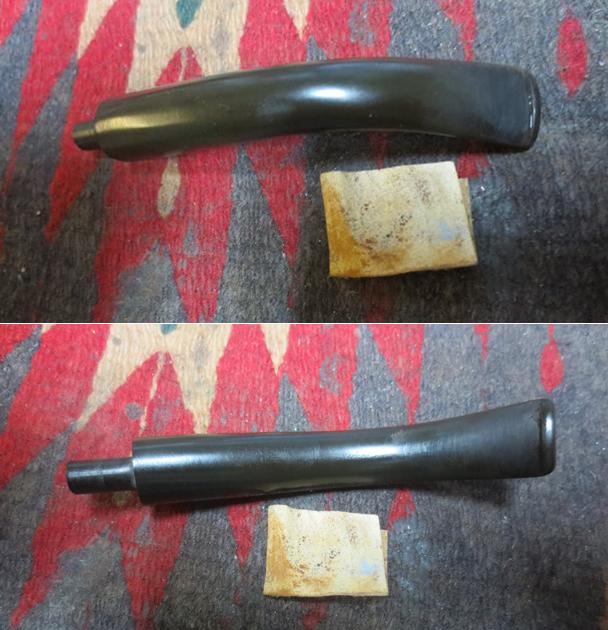 I worked over the stem with micromesh sanding pads. I polished out the sanding scratches and marks in the vulcanite – wet sanding it with 1500-2400 grit pads and dry sanding it with 3200-12000 grit pads and wiped it down with Obsidian Oil after each one. When I finished with the 12000 grit pad I gave it a final coat of oil and set it aside to dry. I polished it with Before & After Stem Fine Polish and wiped it down. I followed that by polishing it with the Extra Fine Polish. I buffed it with a microfiber cloth to raise the shine.
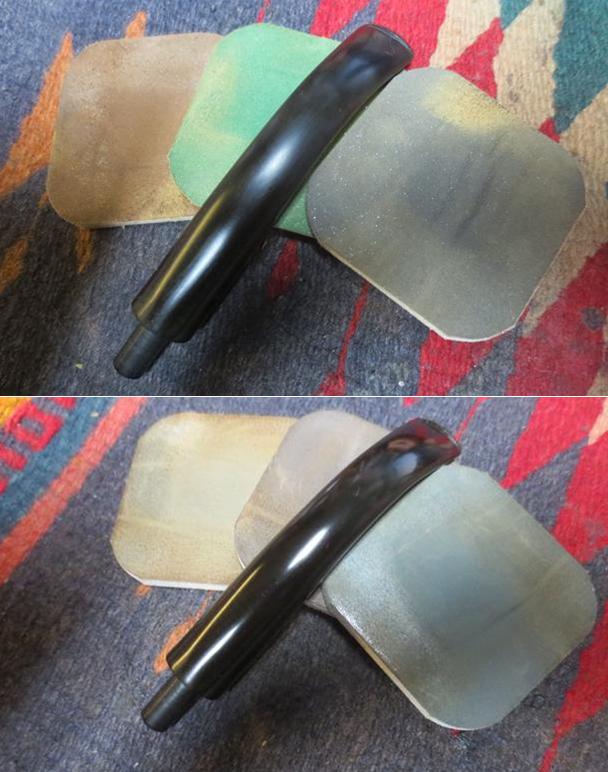
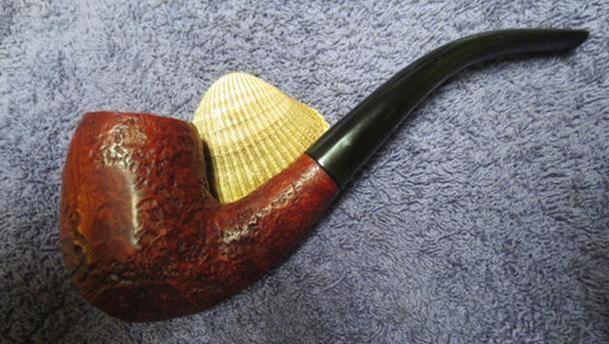
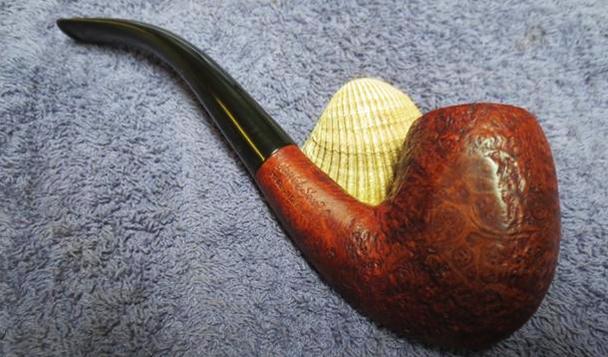
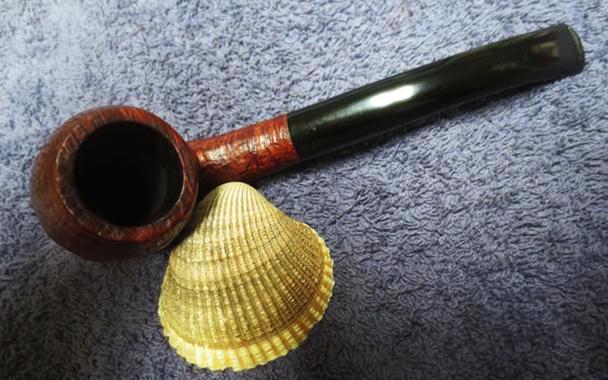
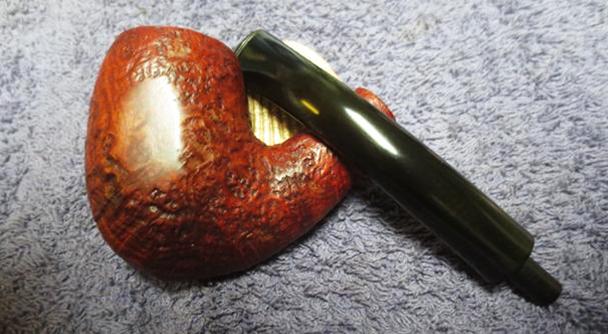
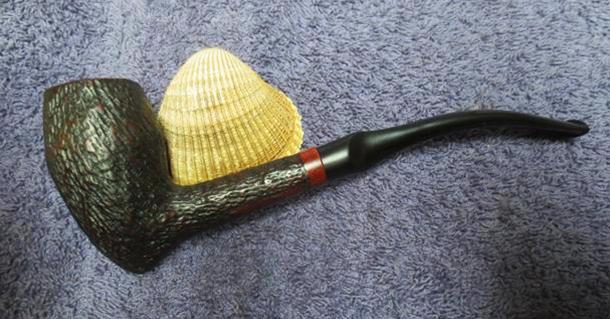
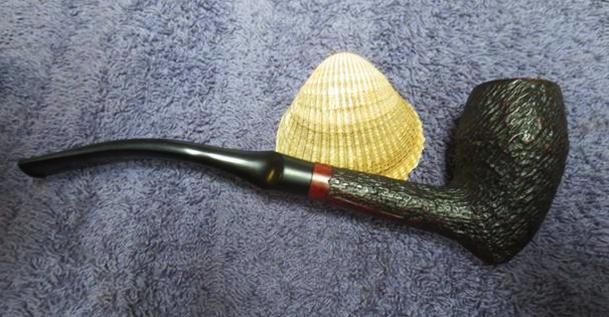
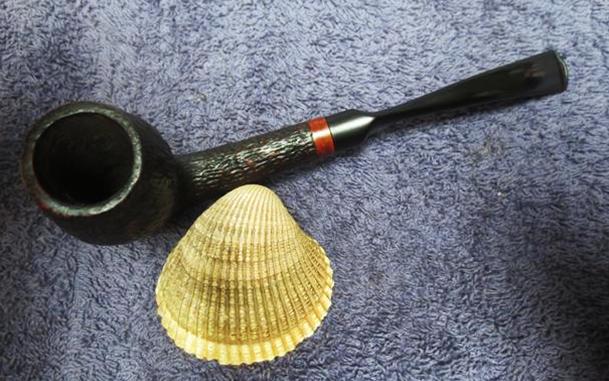
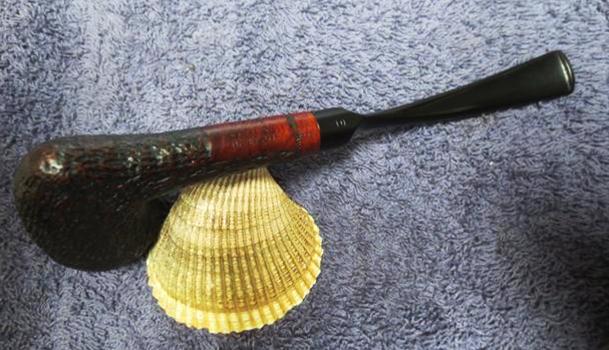
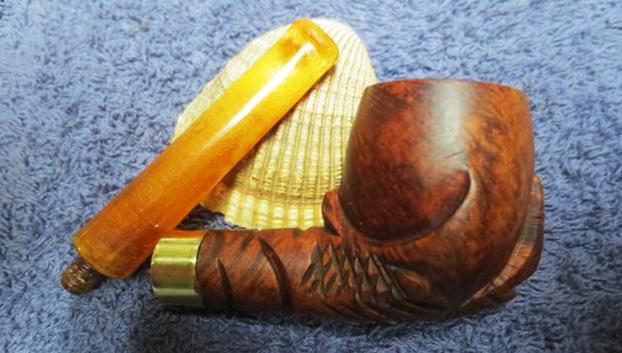
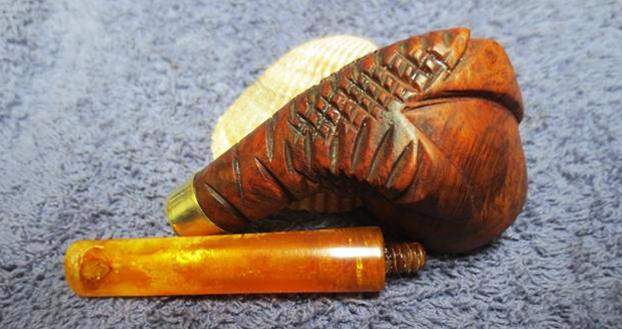
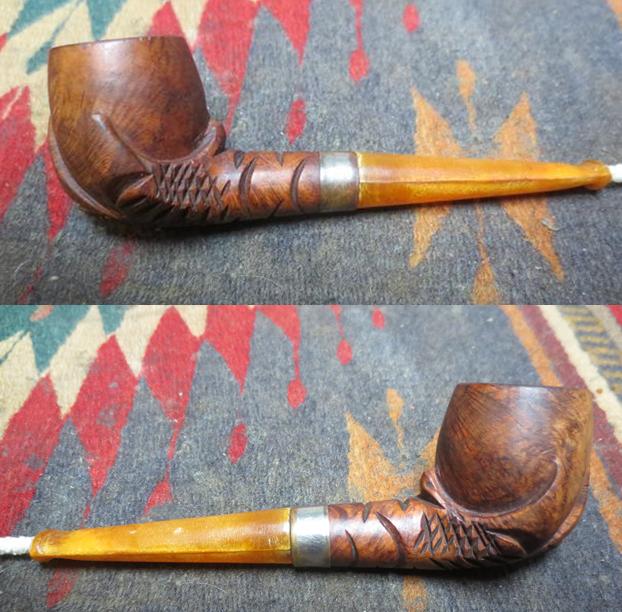
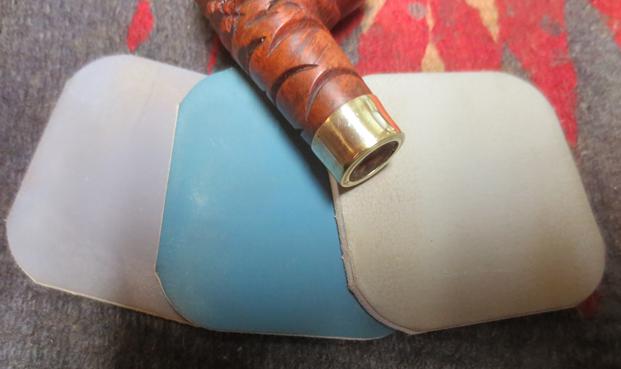
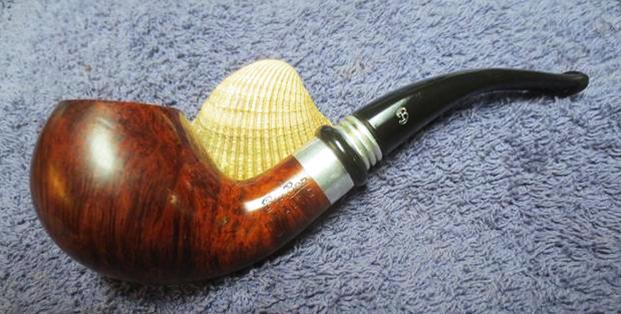
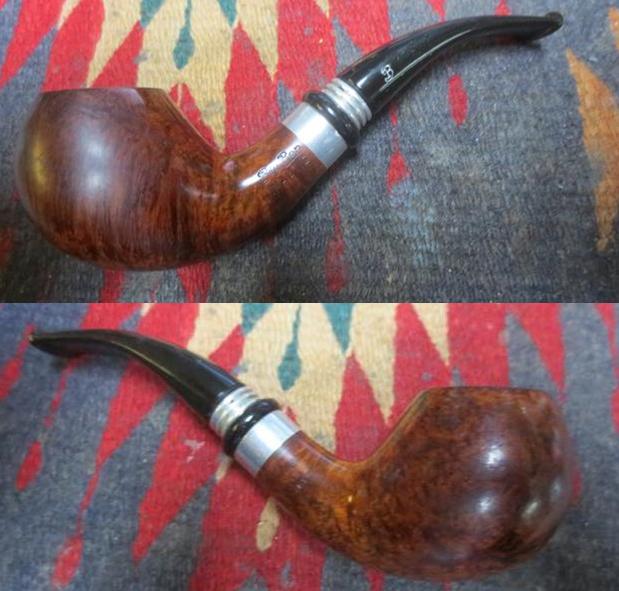
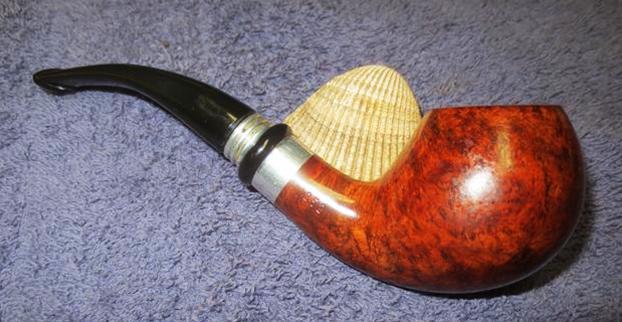
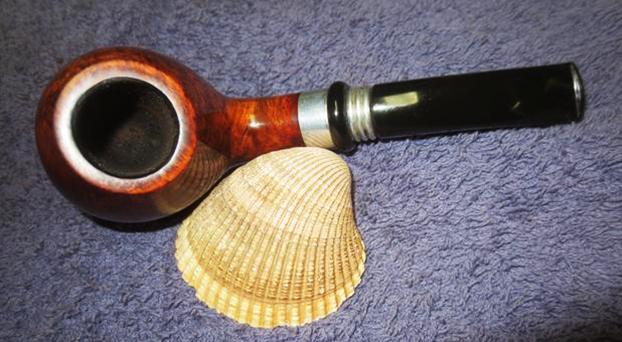
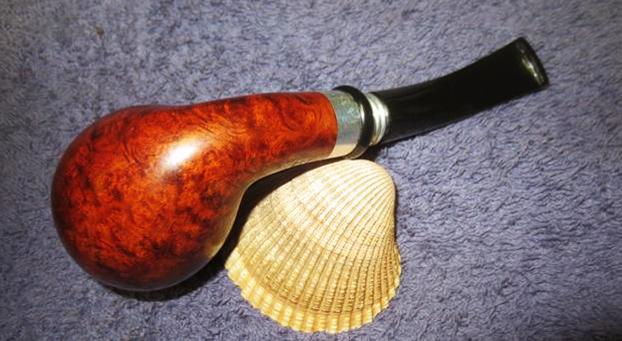
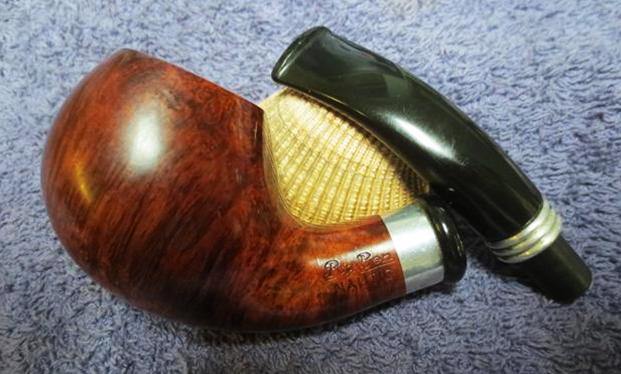
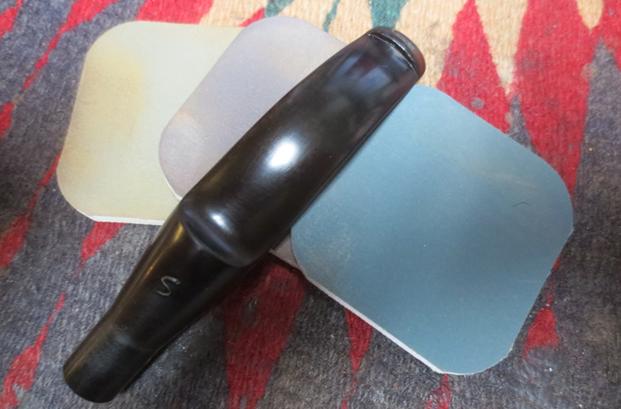
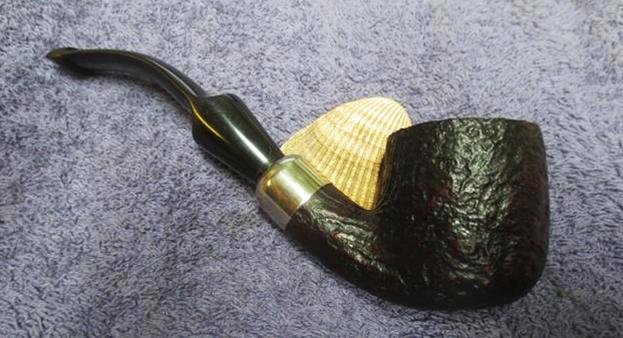
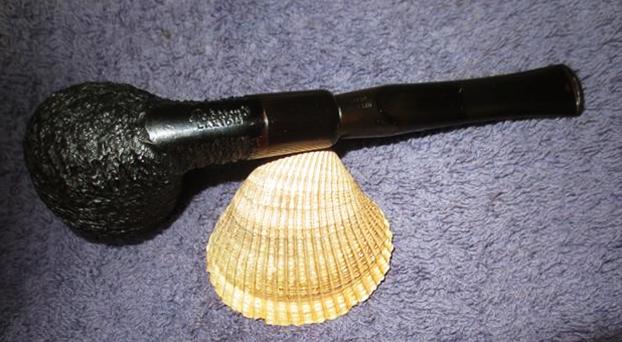
 I put the stem back on the bowl and took the pipe to the buffing wheel to work it over. I buffed the bowl with Blue Diamond to polish the briar. I buffed the stem at the same time to raise the gloss on the vulcanite. I gave the bowl and the stem multiple coats carnauba wax. I buffed the entire pipe with a clean buffing pad to raise the shine. I hand buffed it with a microfiber cloth to deepen the shine. The finished pipe is shown in the photos below. The dimensions of the pipe are: Length: 6 1/2 inches, Height: 2 1/4 inches, Outer Diameter of the Bowl: 1 1/8 inches, Diameter of the Chamber: 7/8 inches. I will be adding this one to the rebornpipes store shortly if you are interested in adding it to your collection. It is a beautiful Kriswill made pipe that feels comfortable in the hand. It will make a great pipe addition to the rack and should smoke dry and cool. If you are interested email me at slaug@uniserve.com or send me a message on Facebook. Thanks for looking.