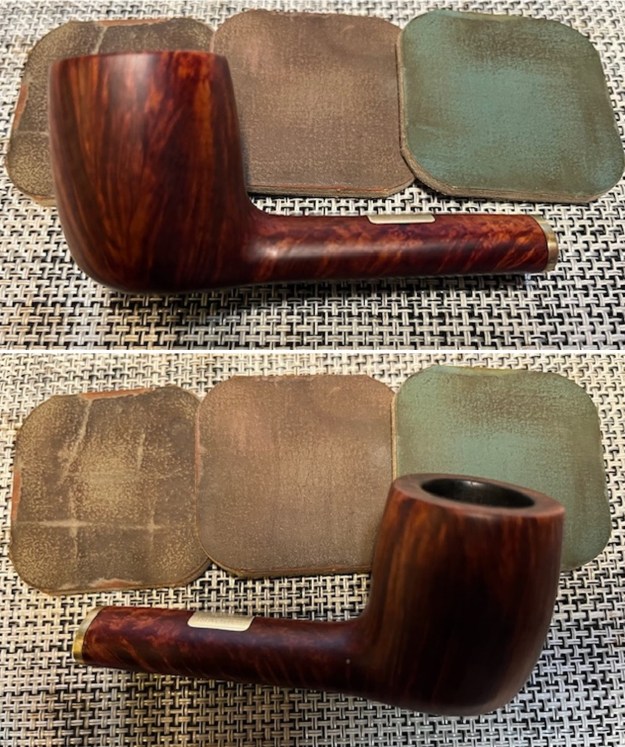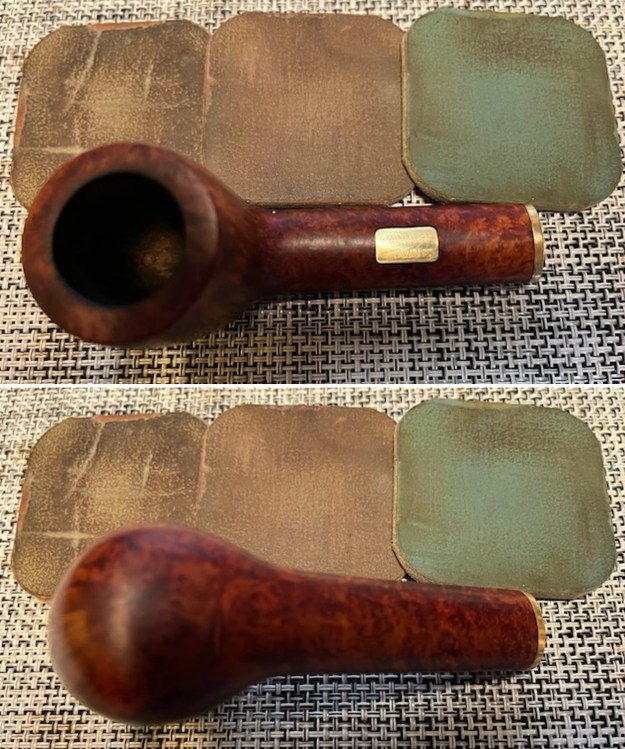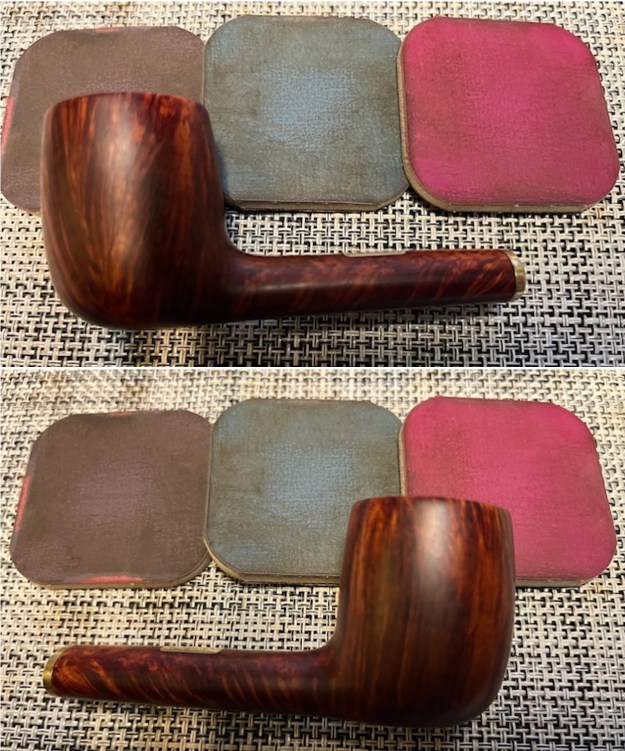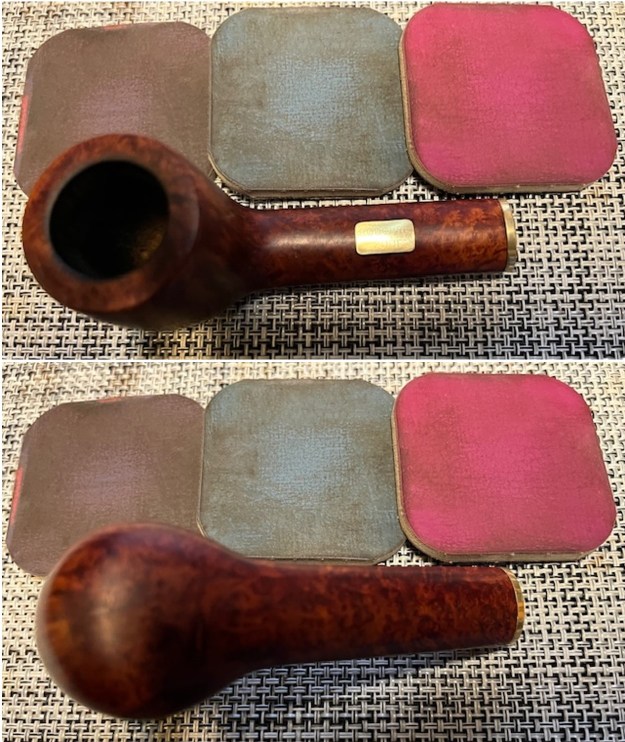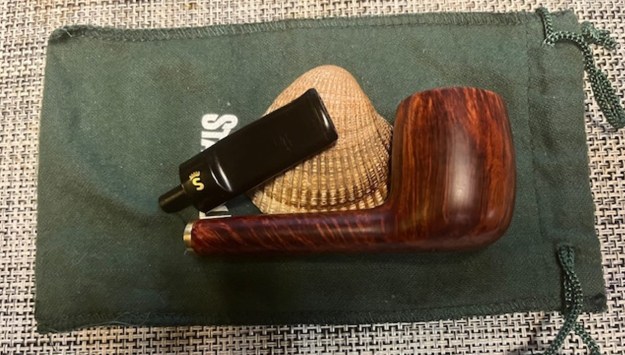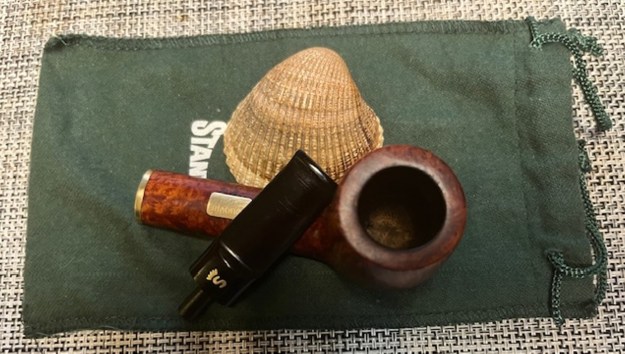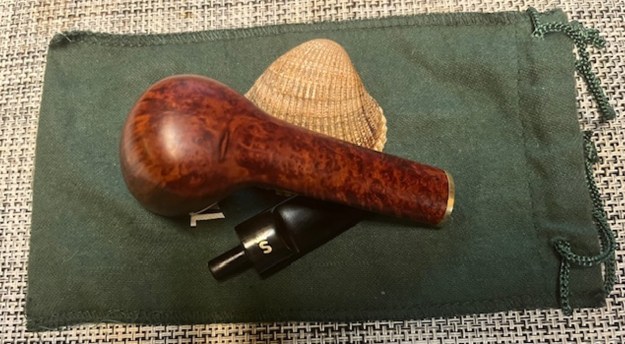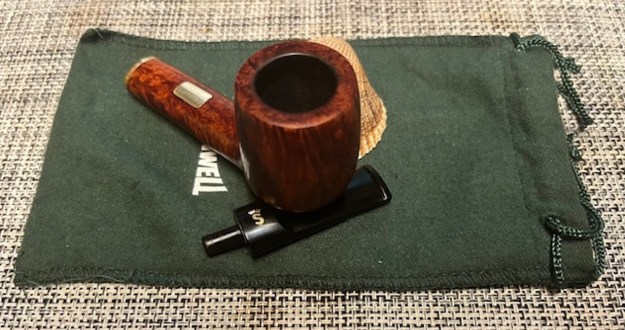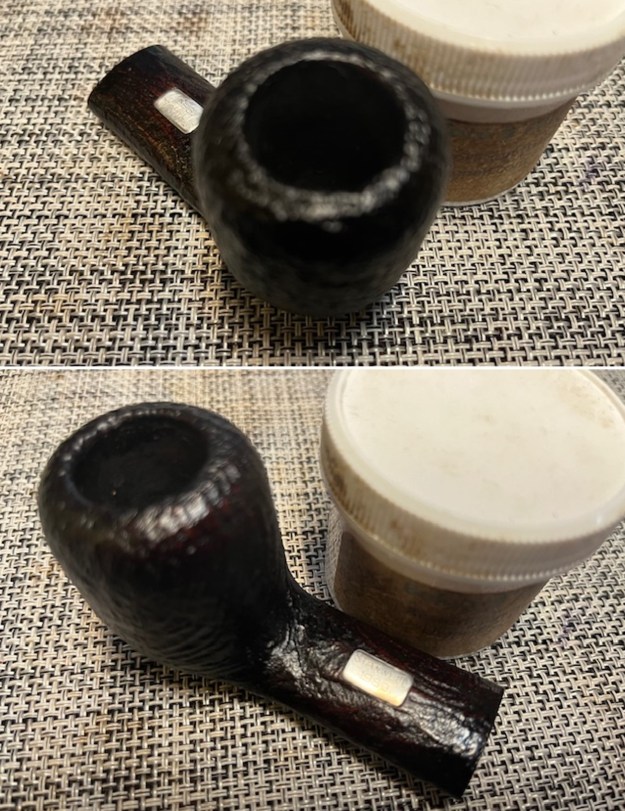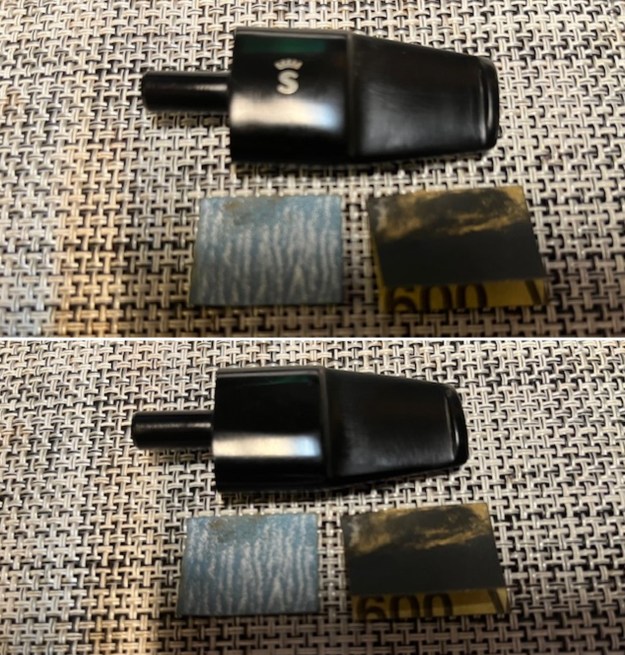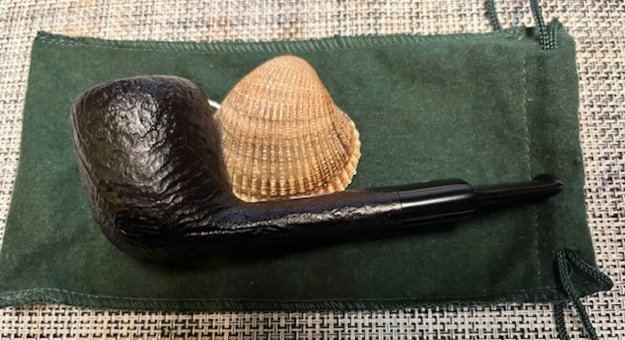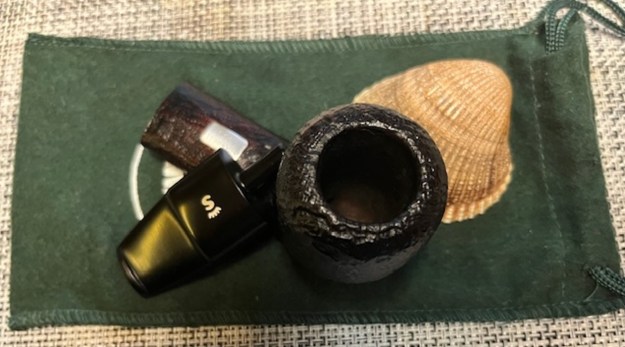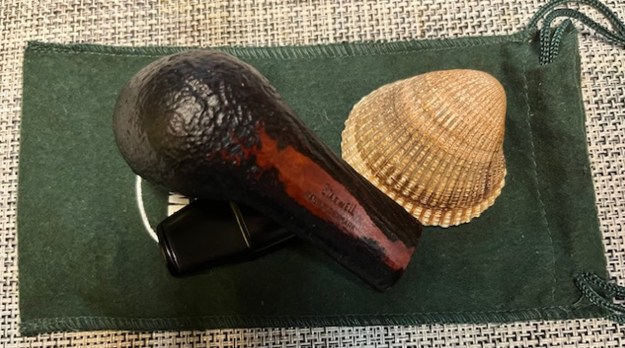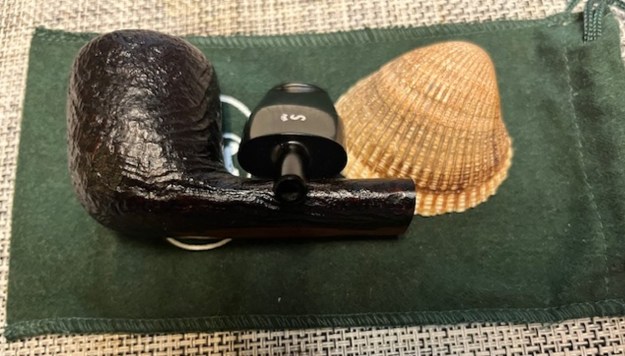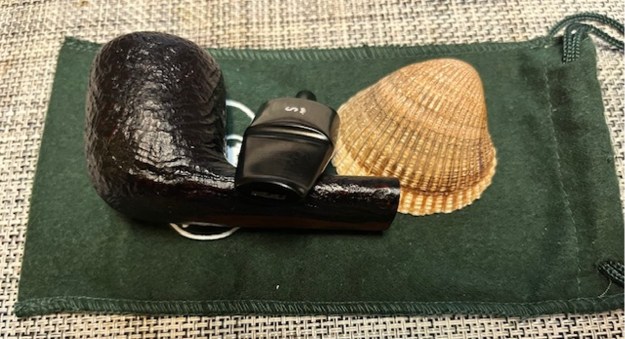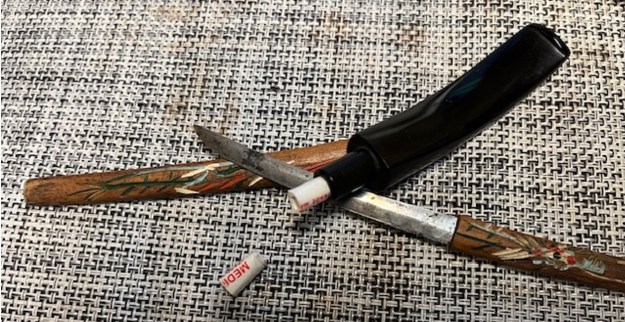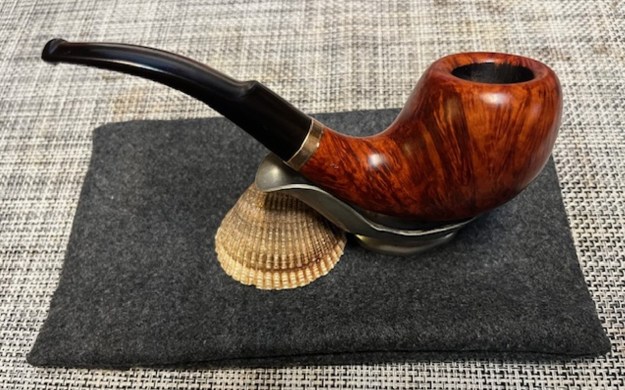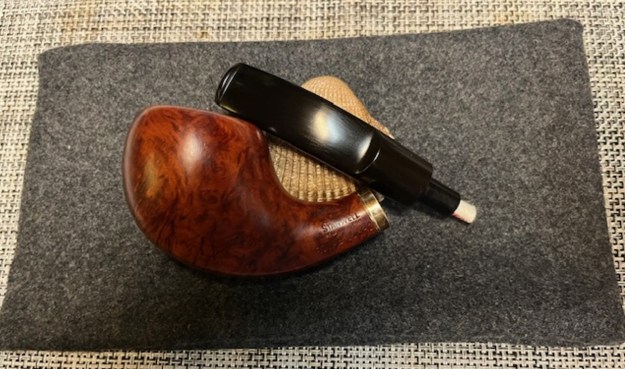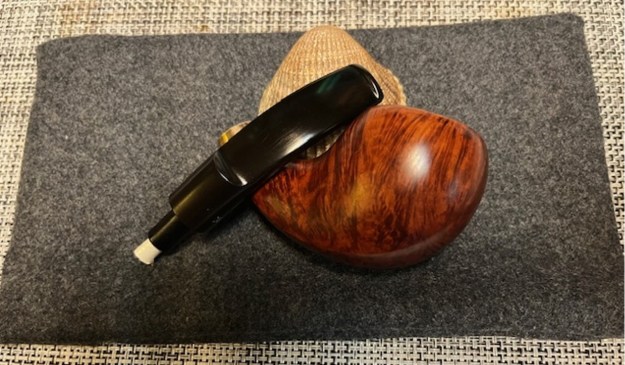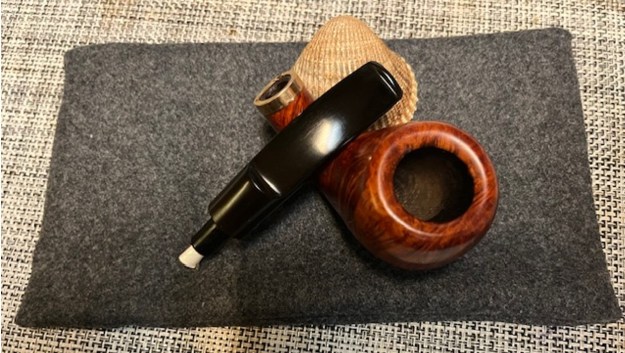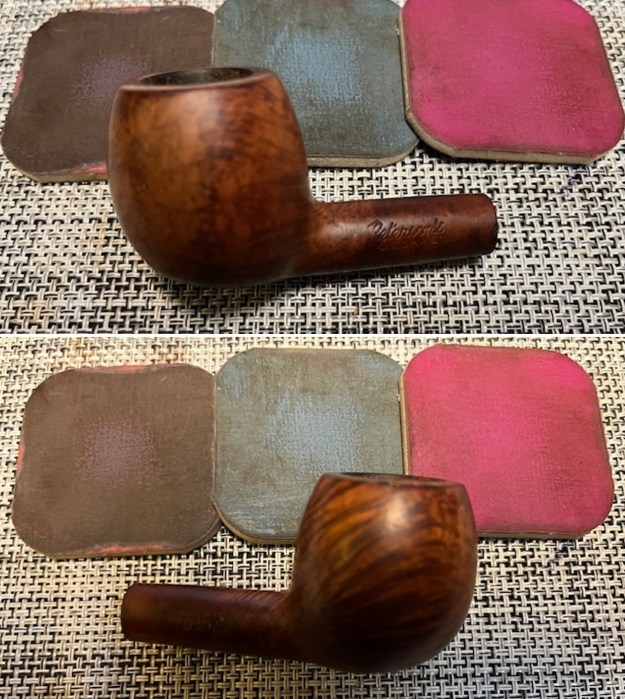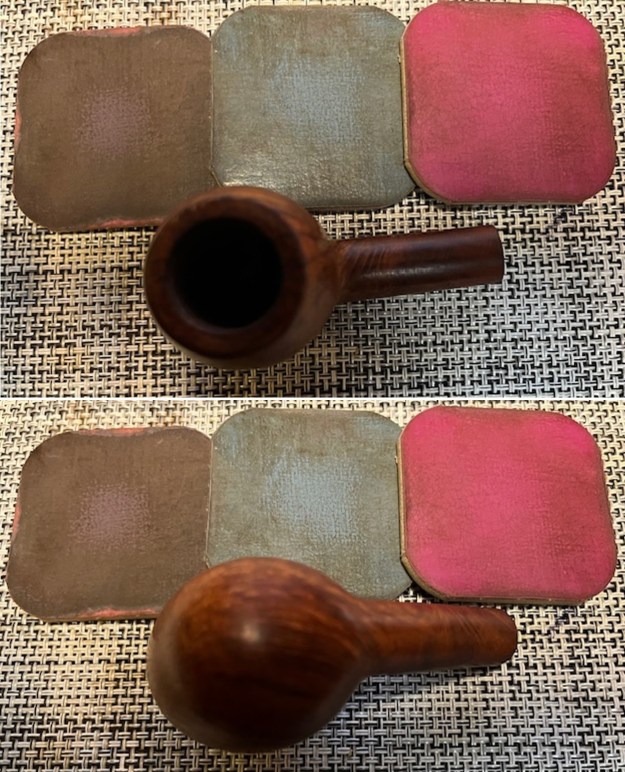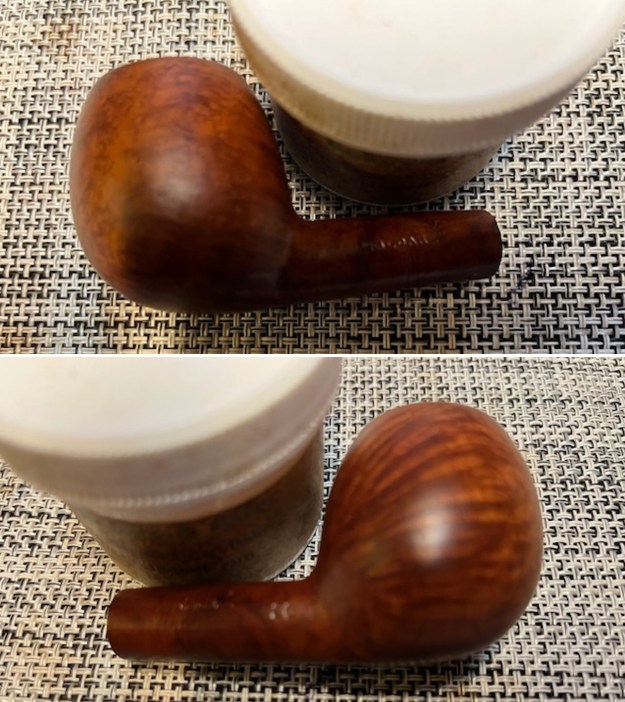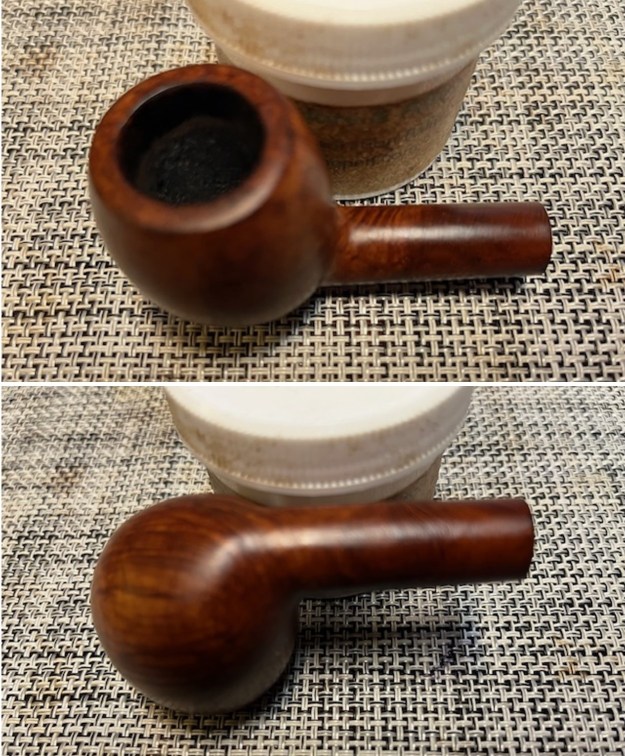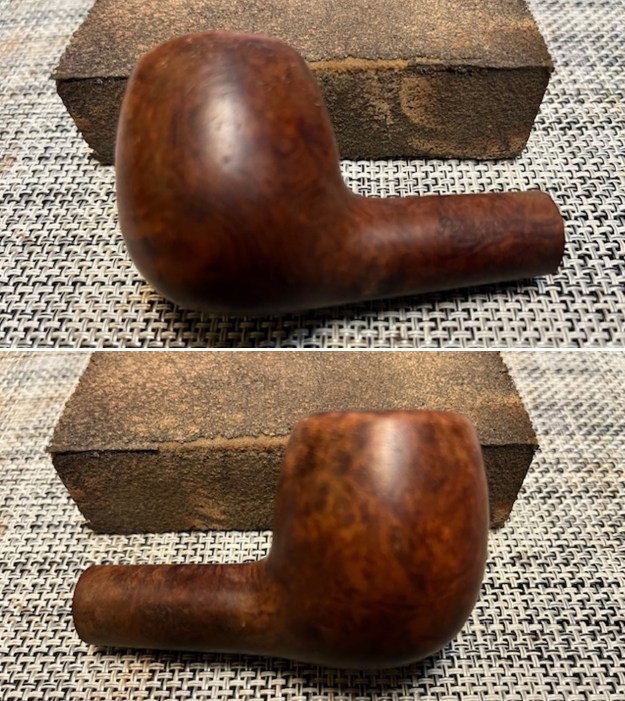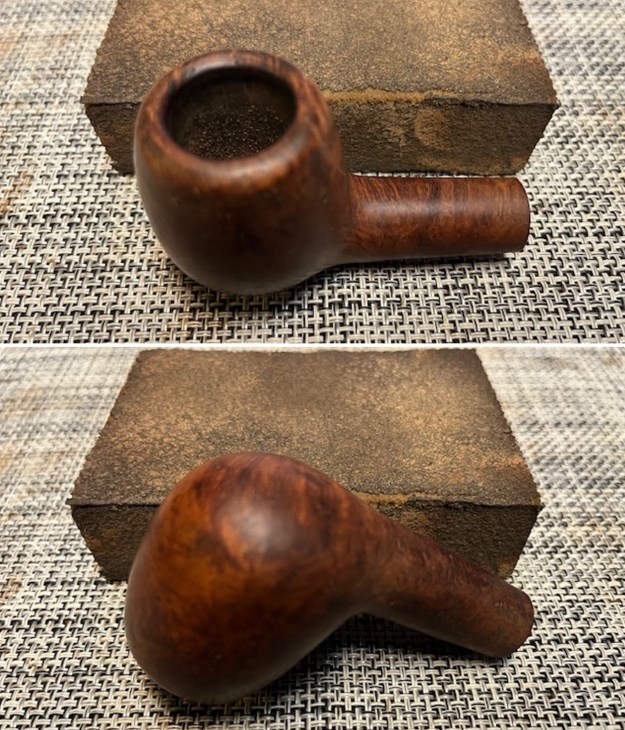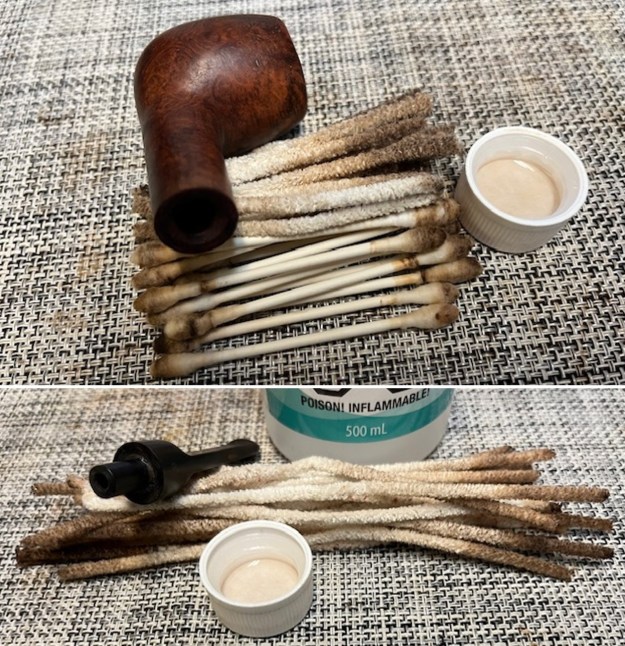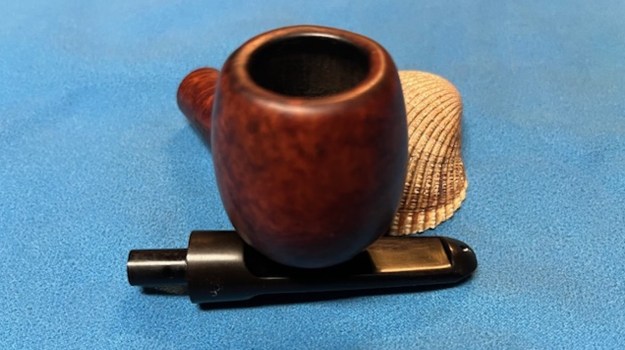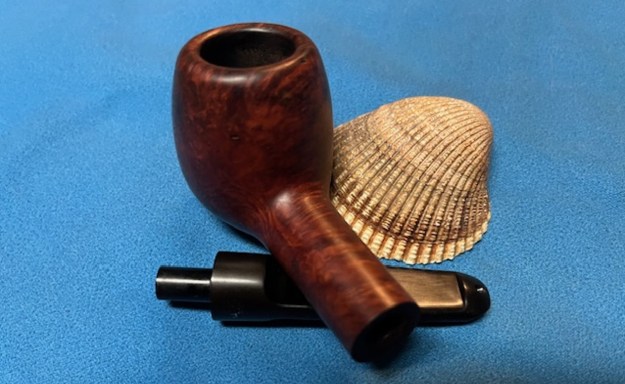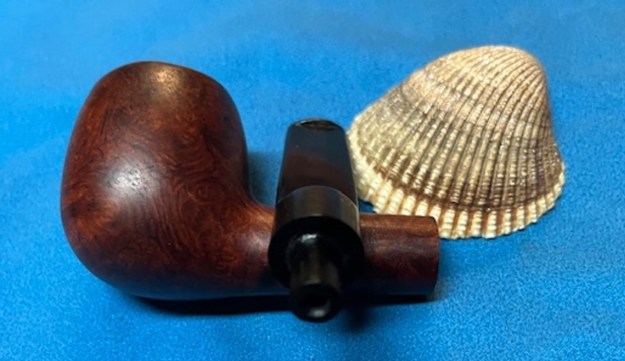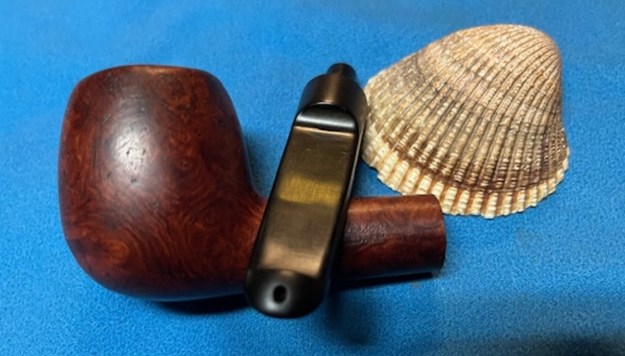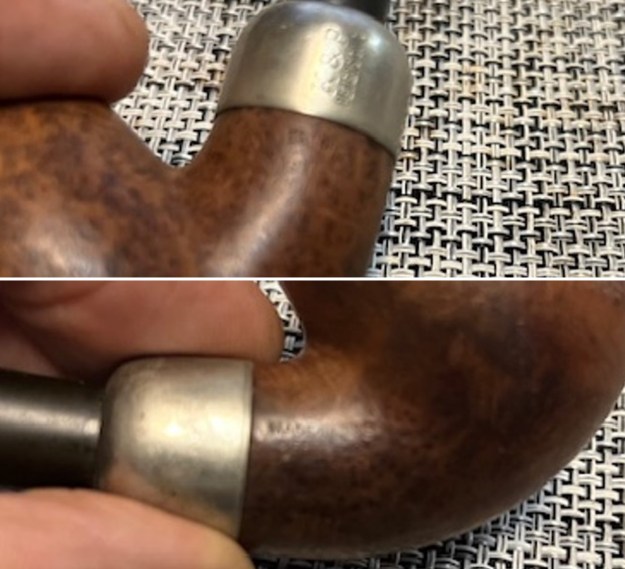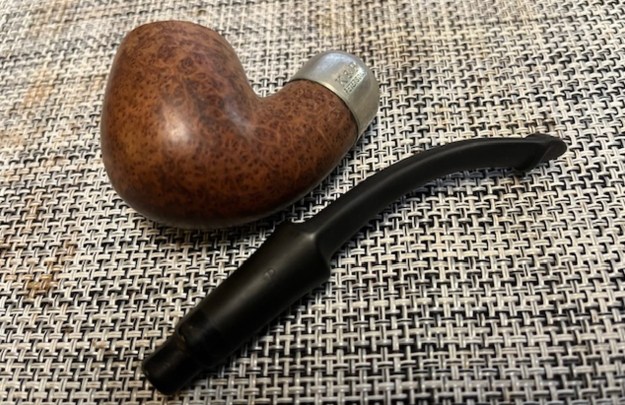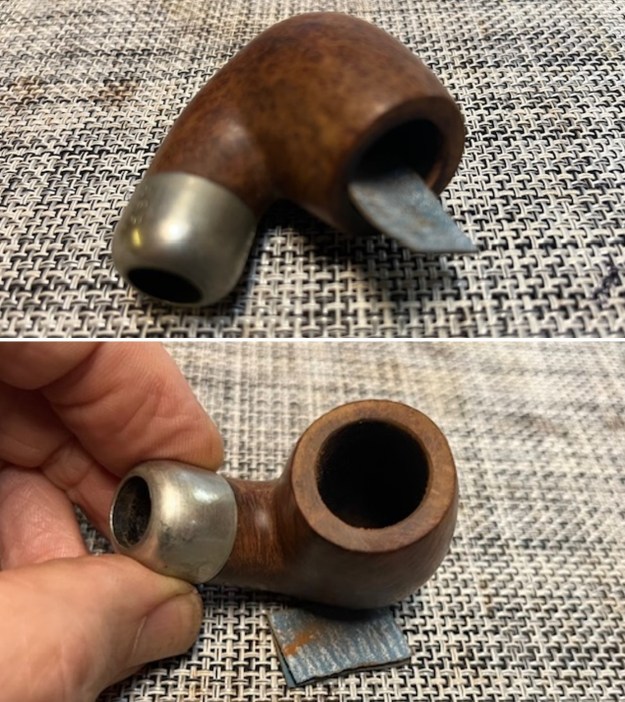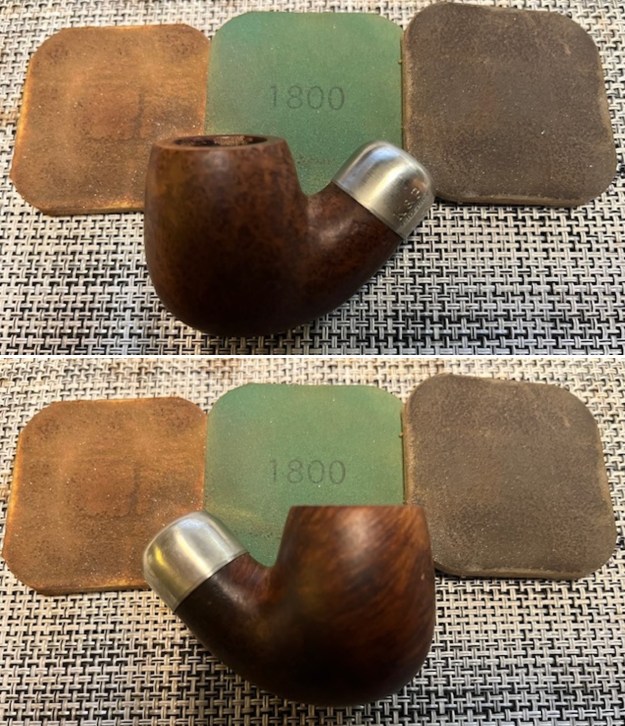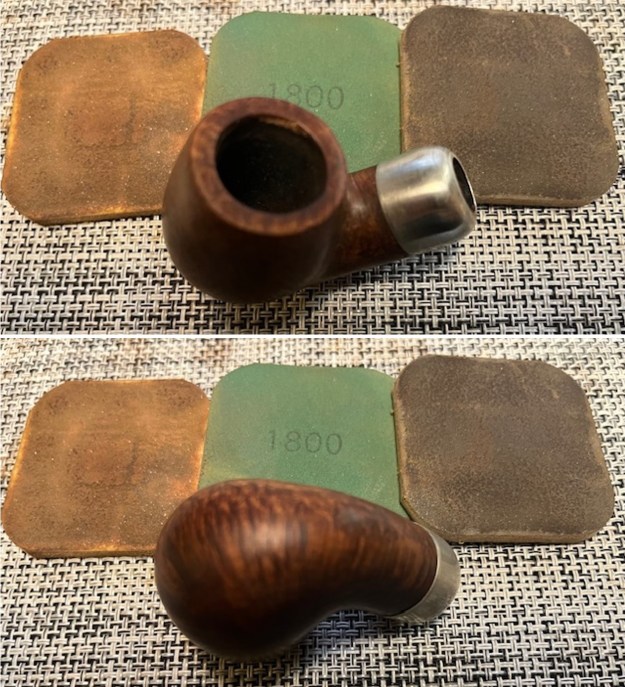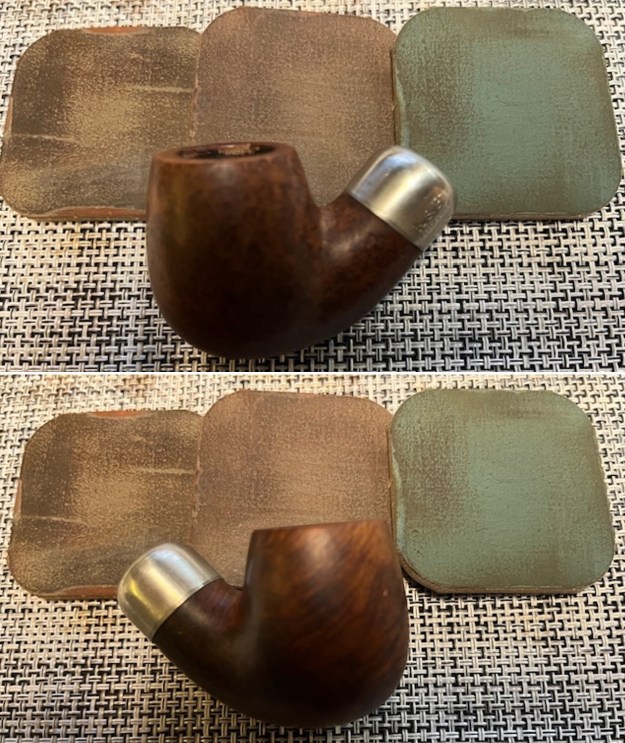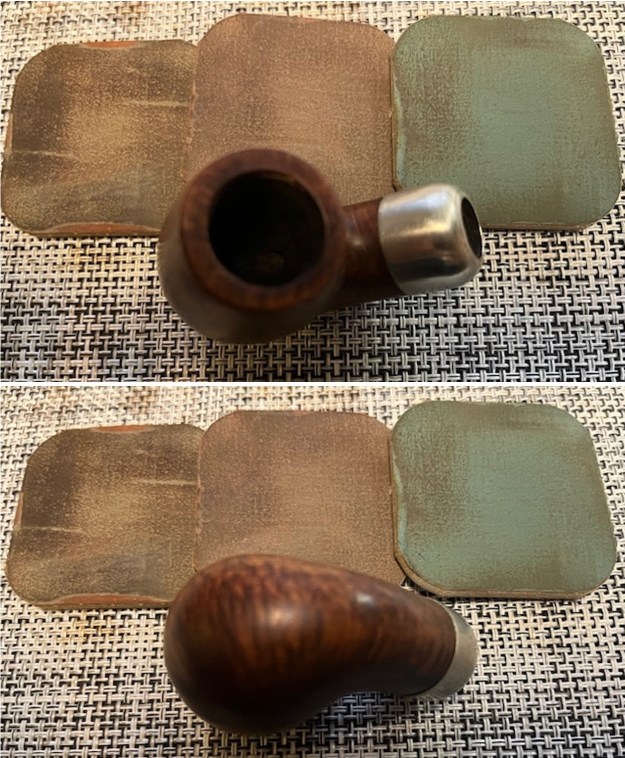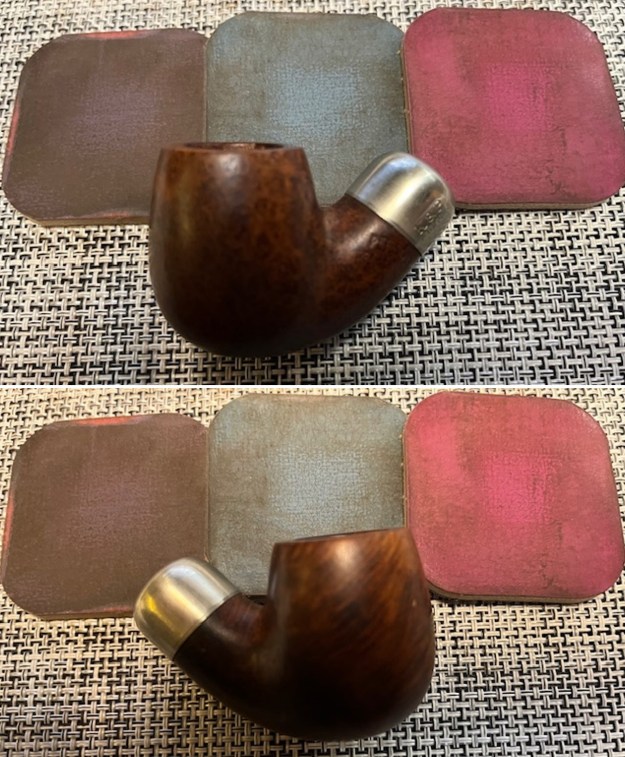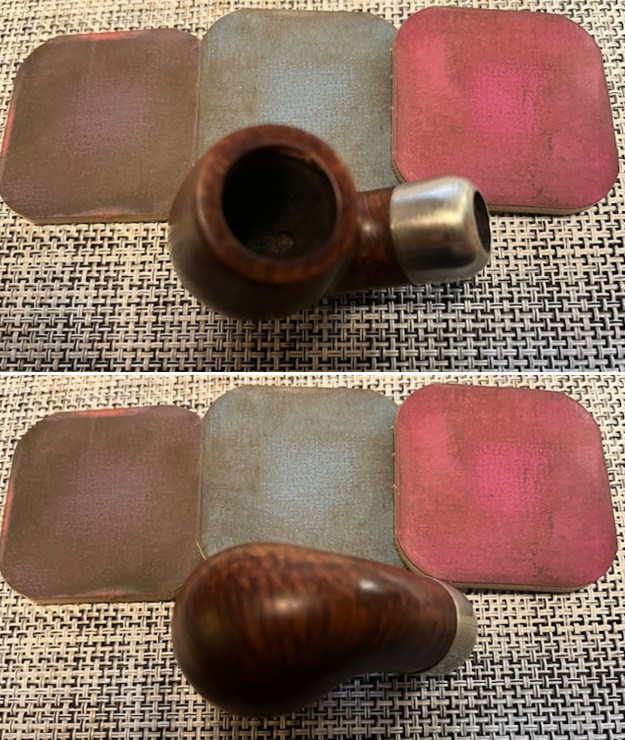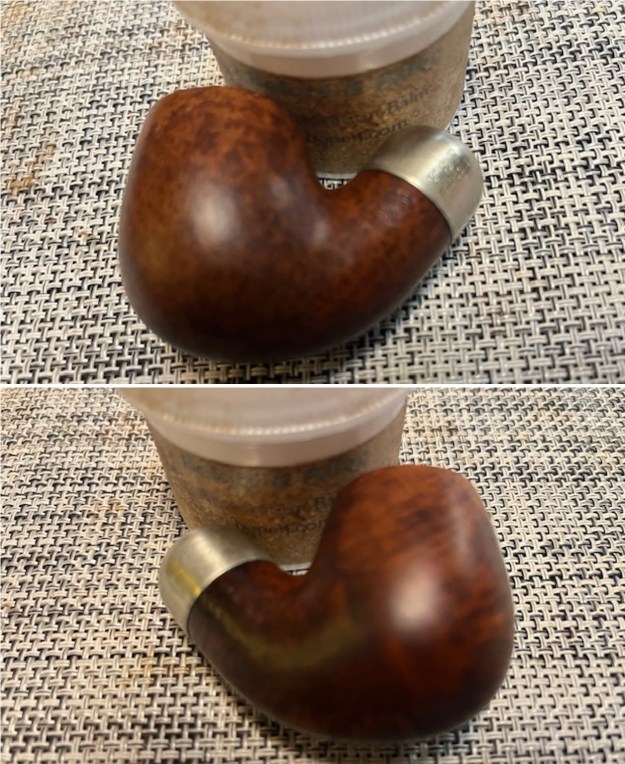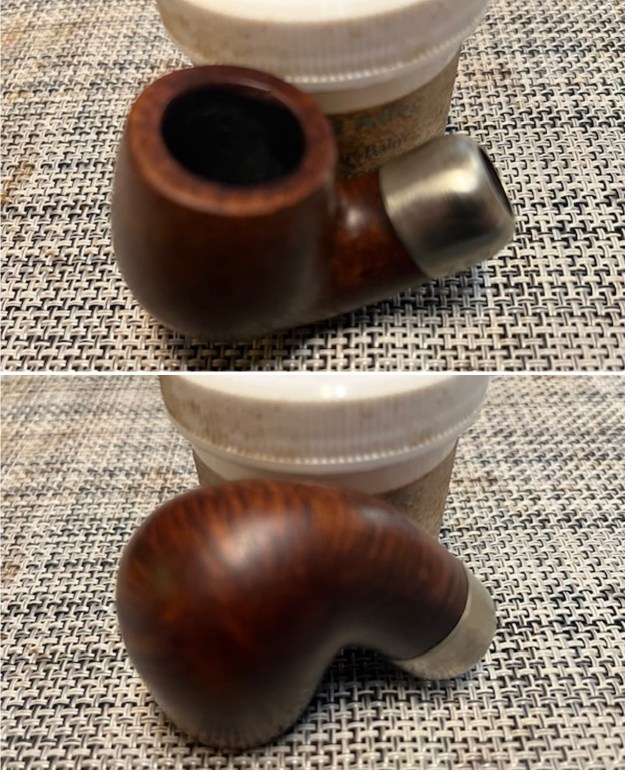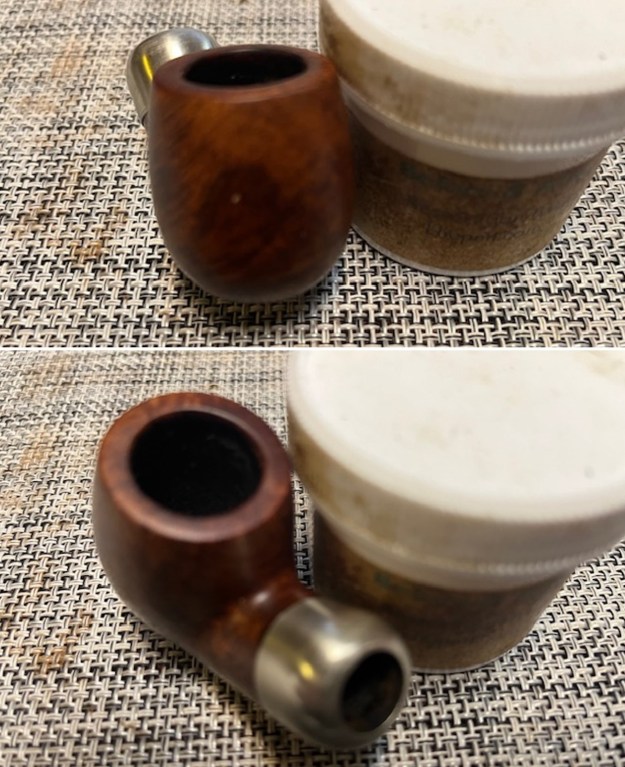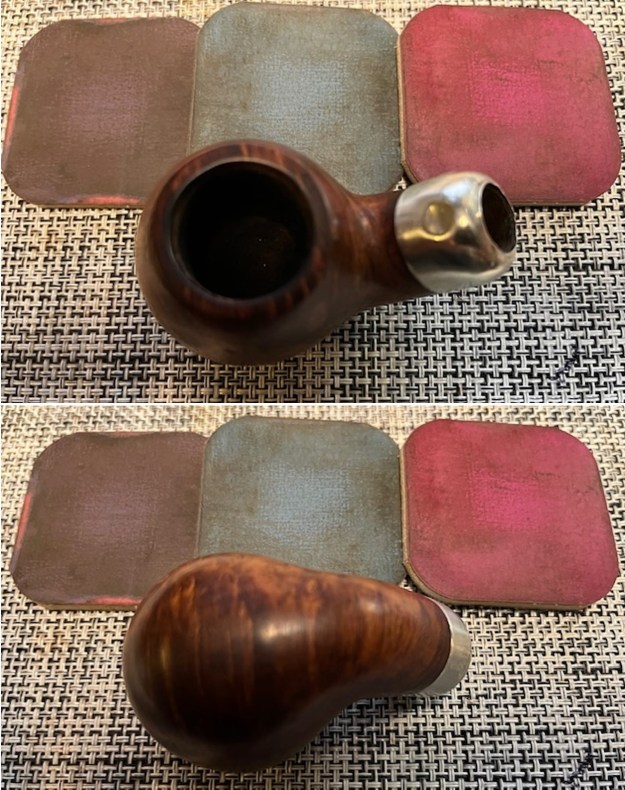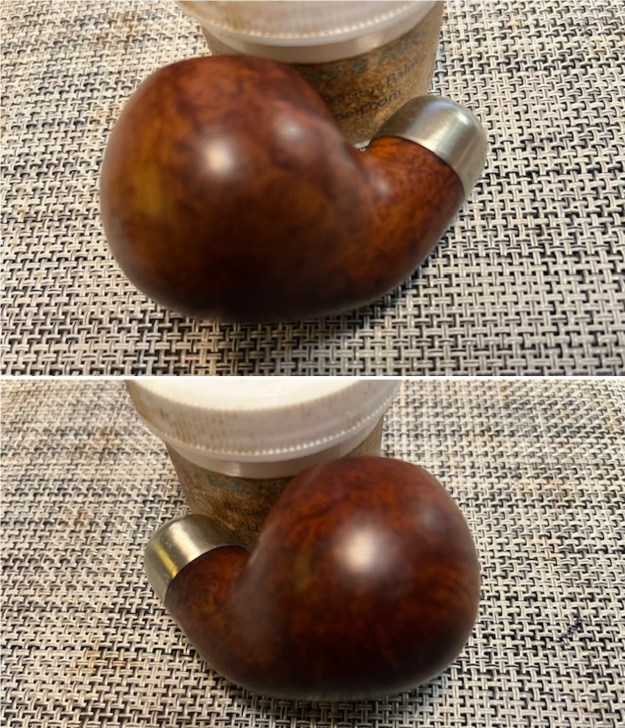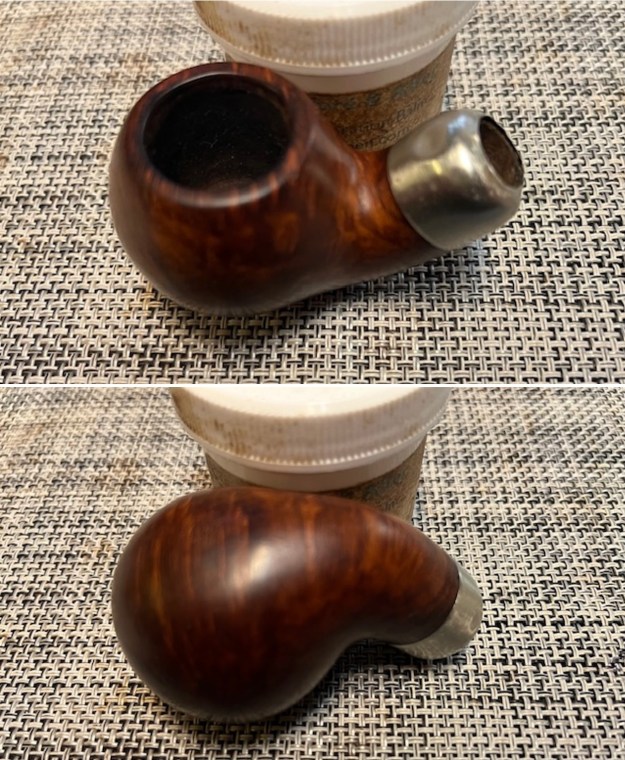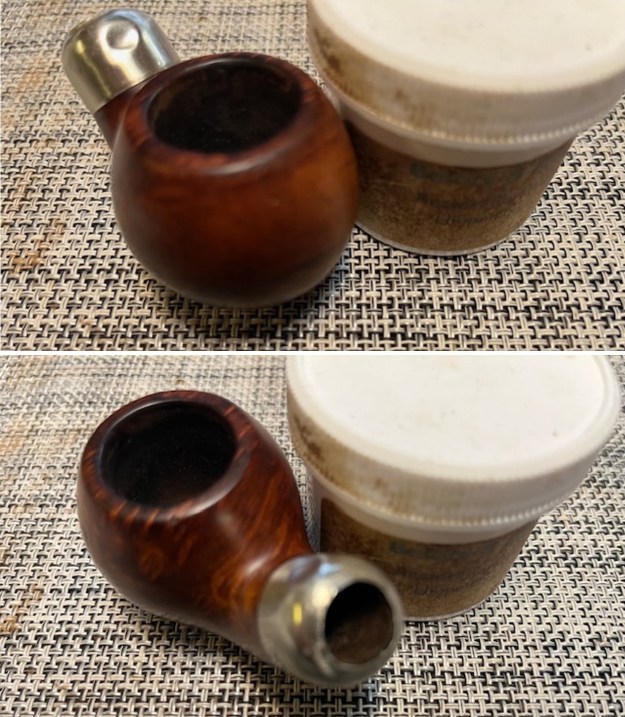

Tag Archives: removing tooth marks

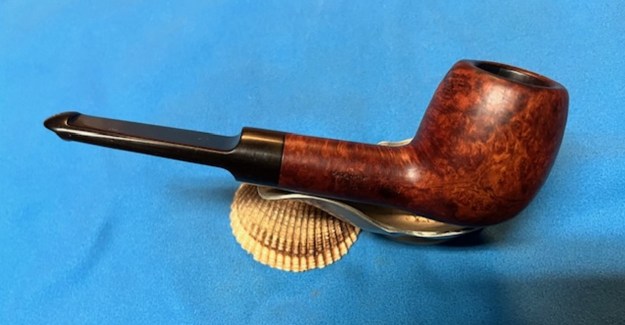
Restoring a Republic Era Petersons “Kildare” 87S Apple with a Saddle Stem


Blog by Steve Laug

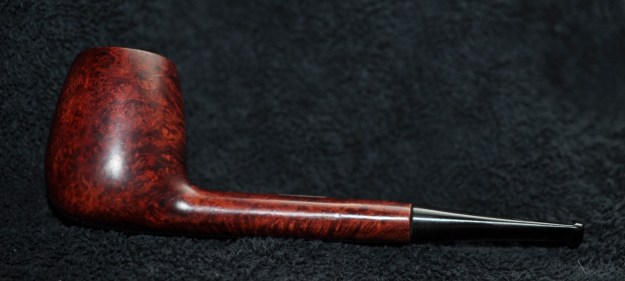
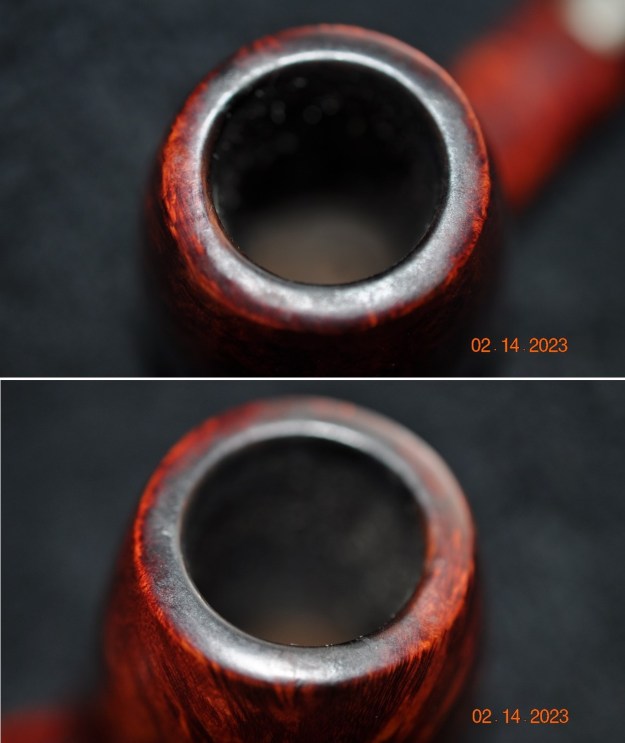
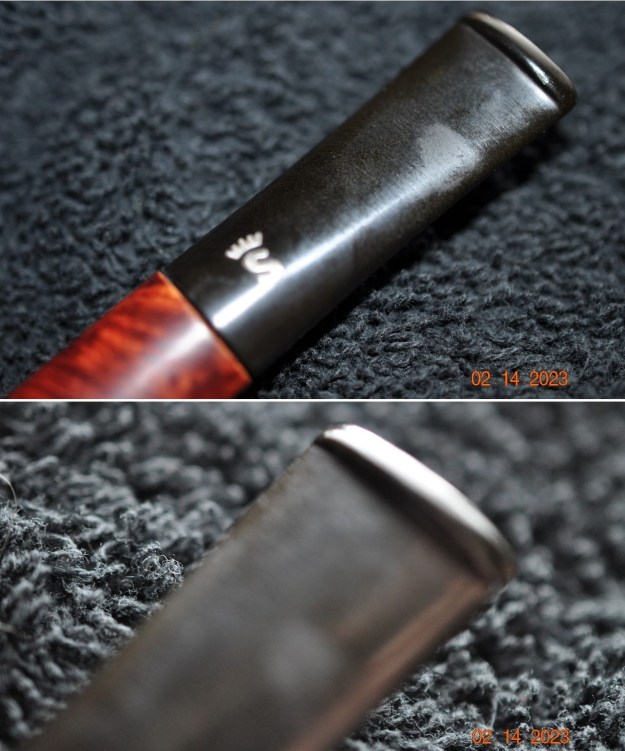
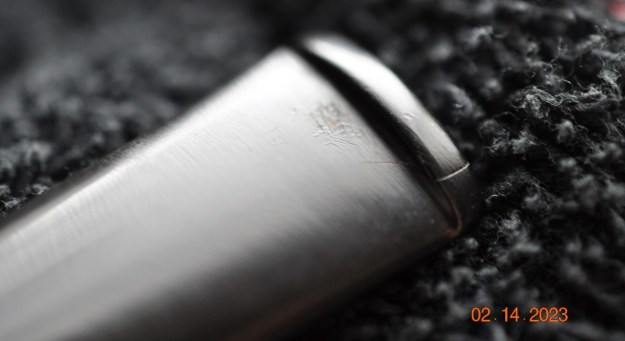
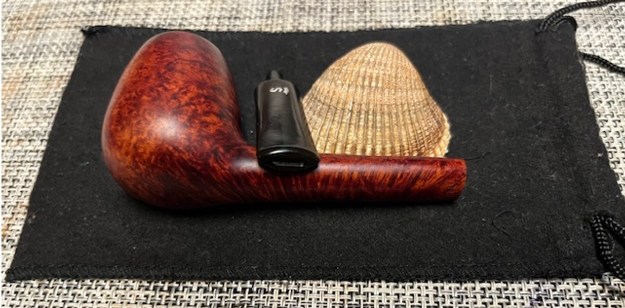
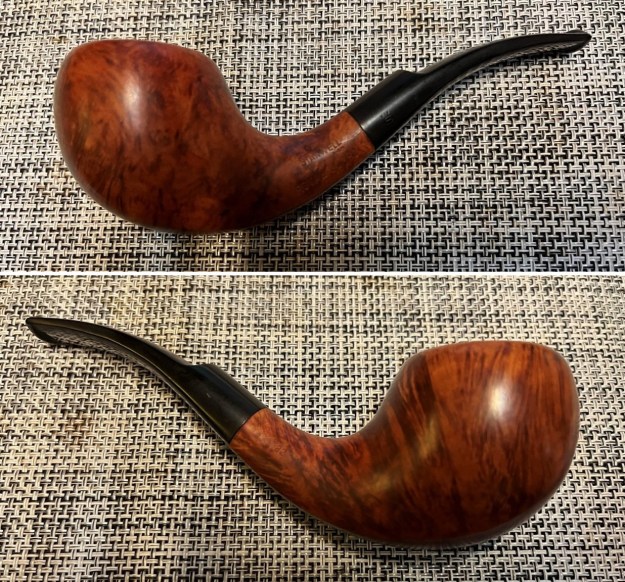
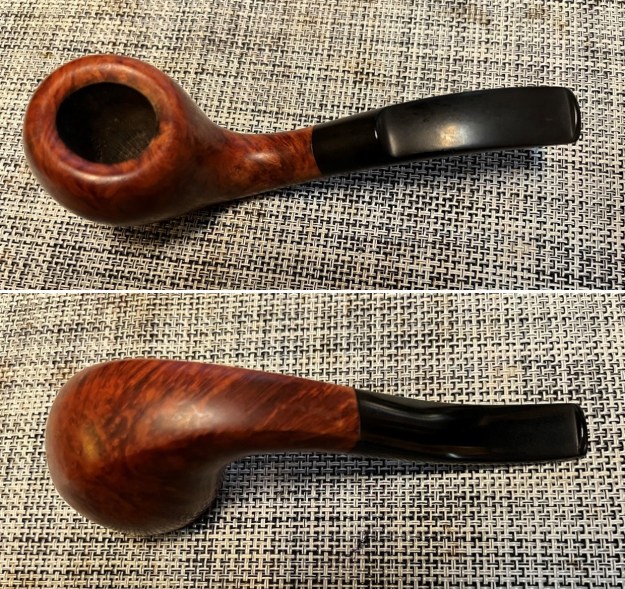
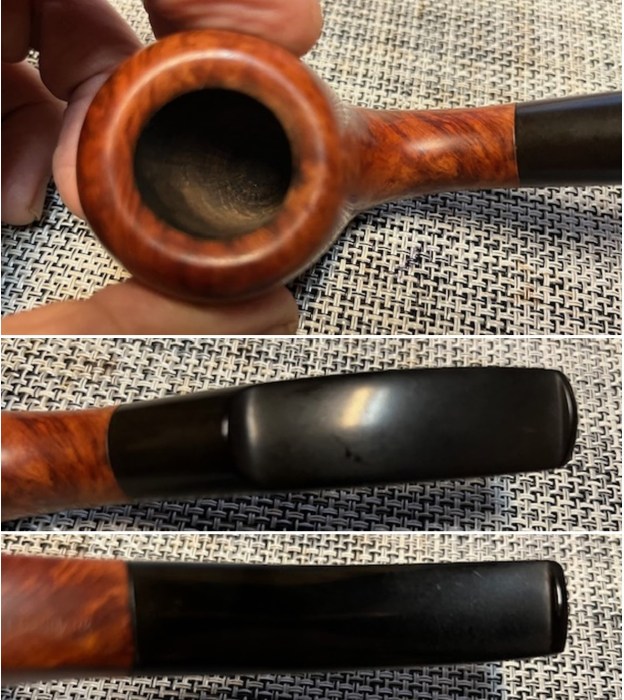
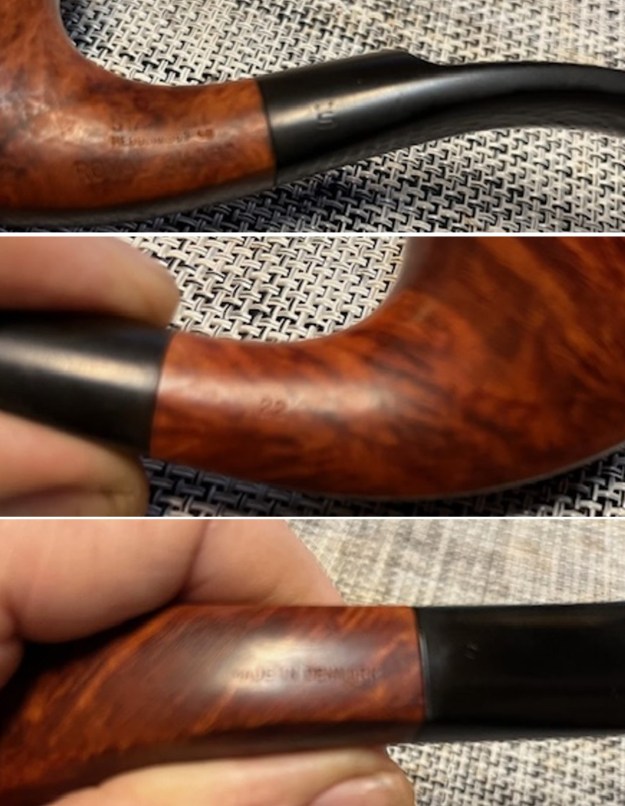
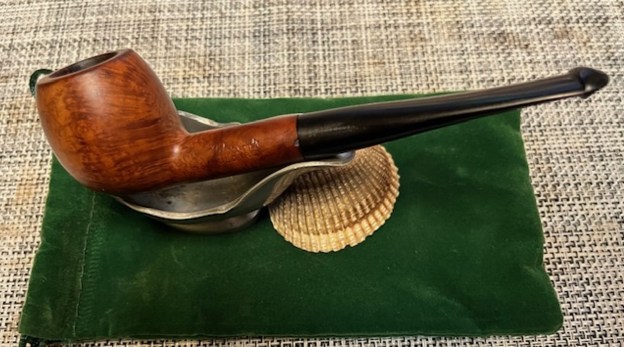
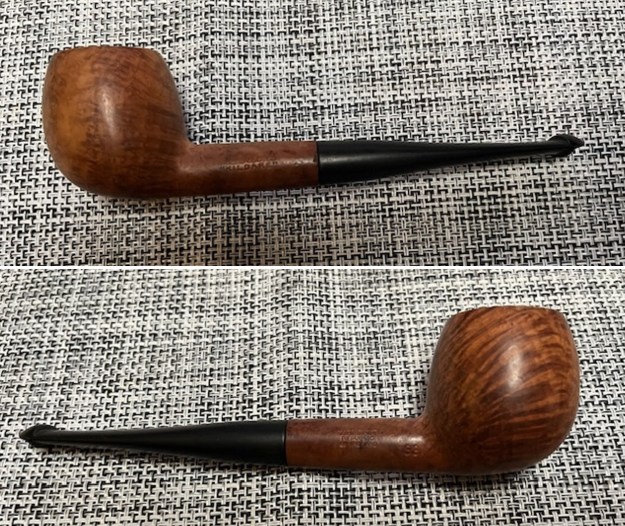
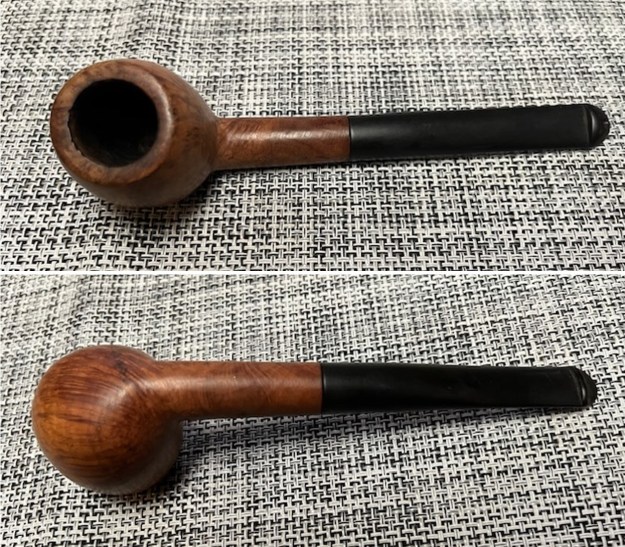
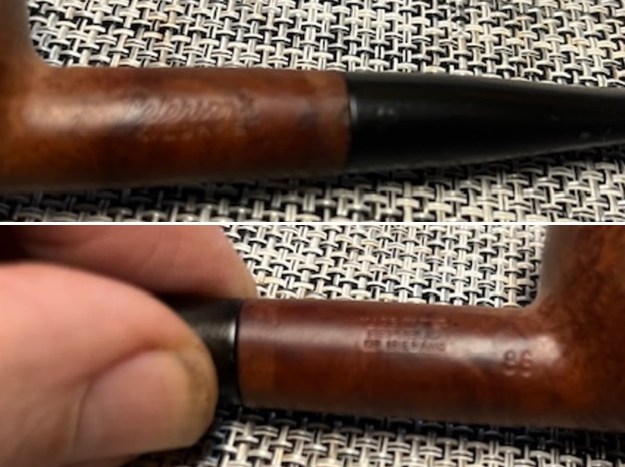
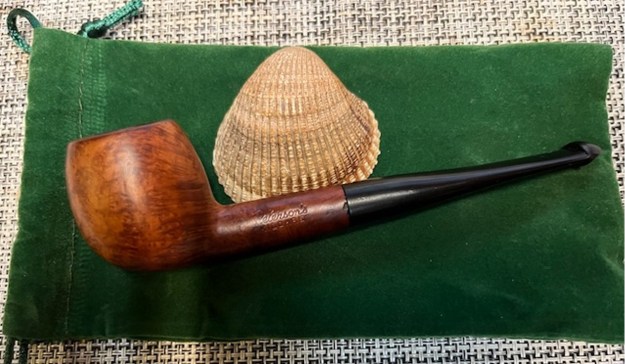
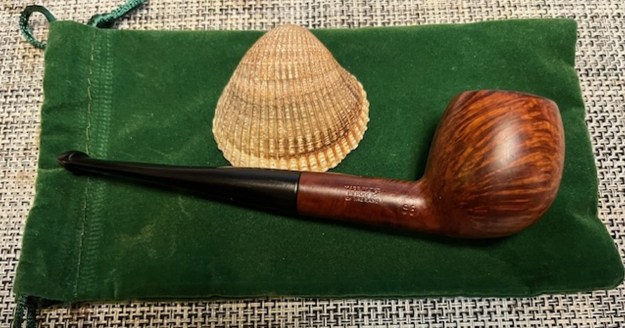
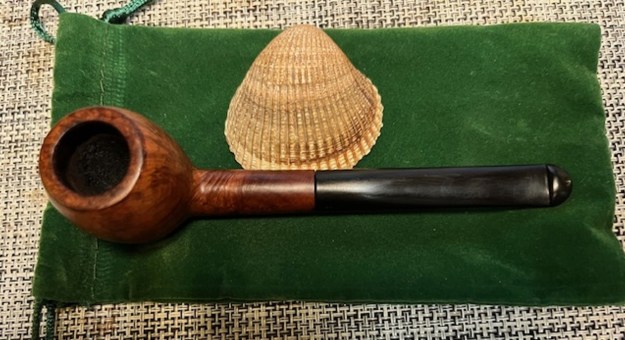
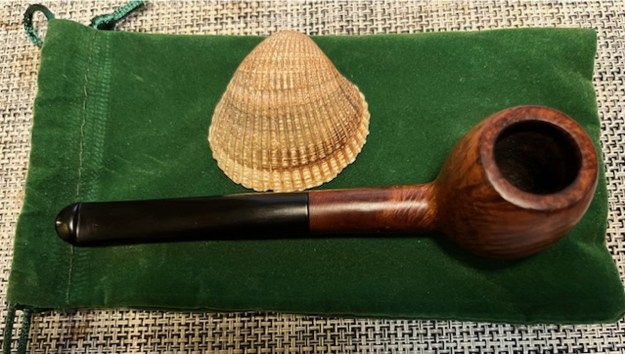
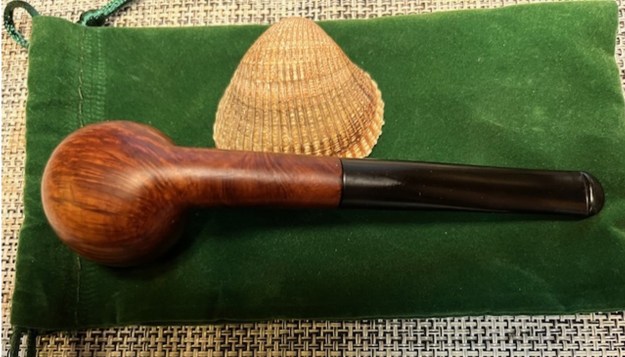
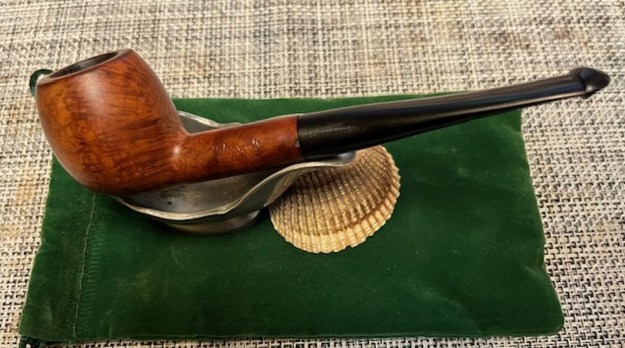
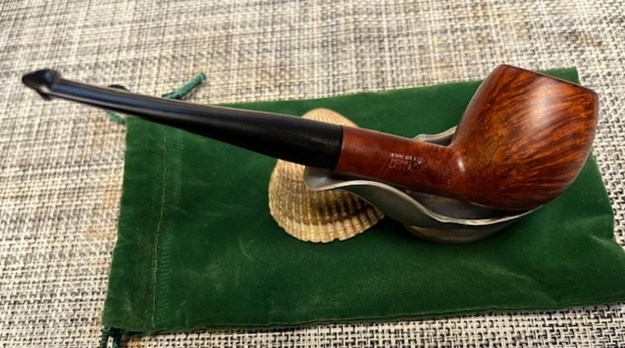
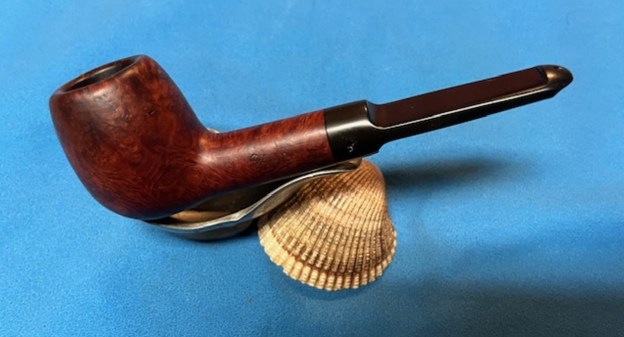
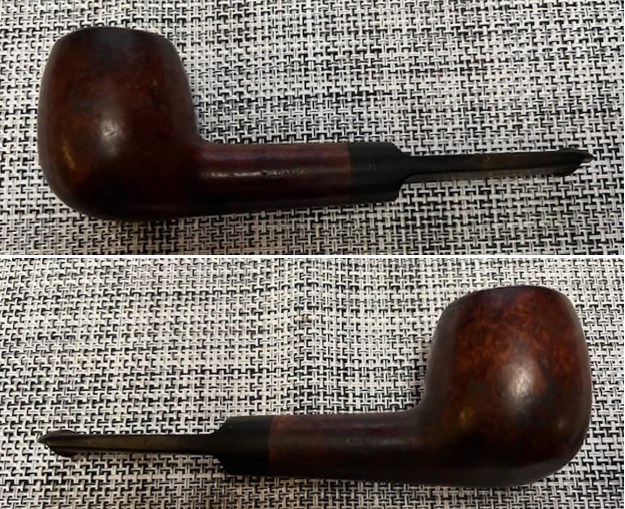
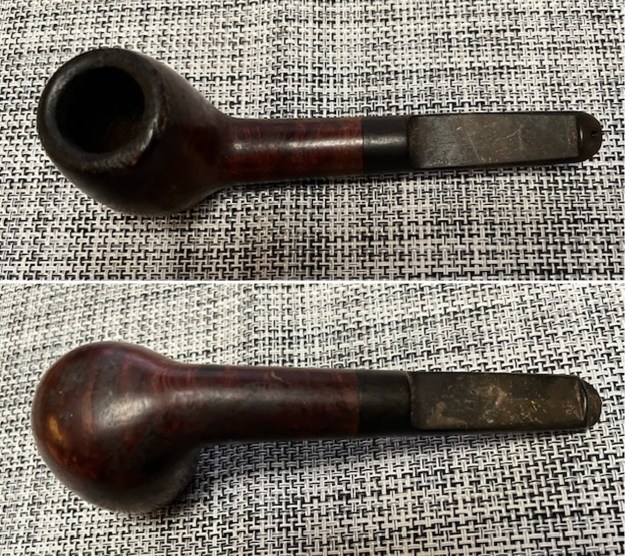
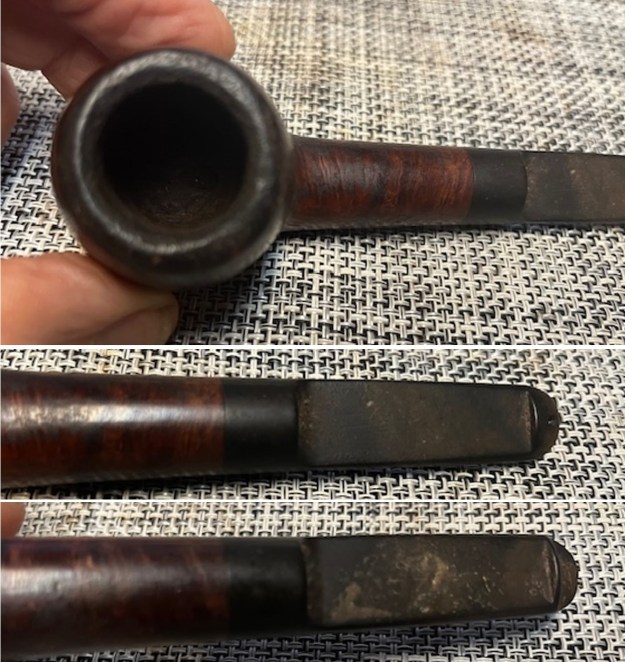
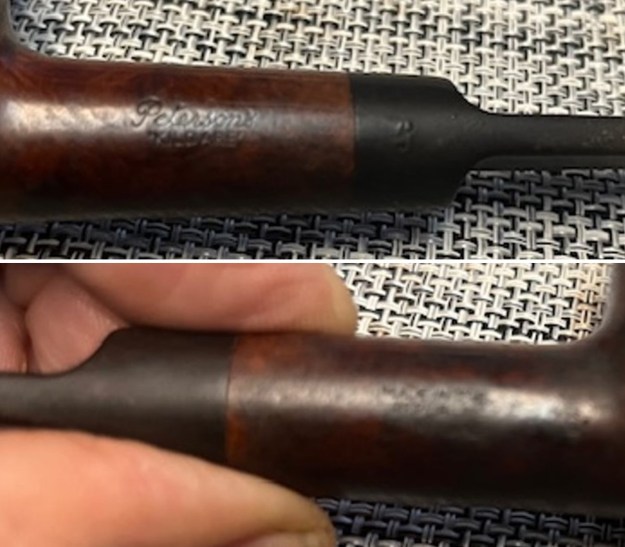
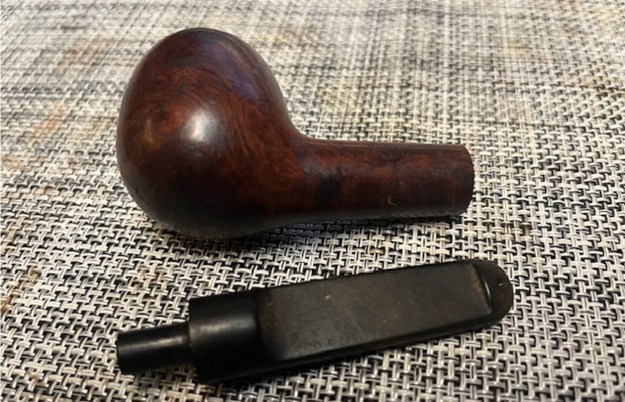
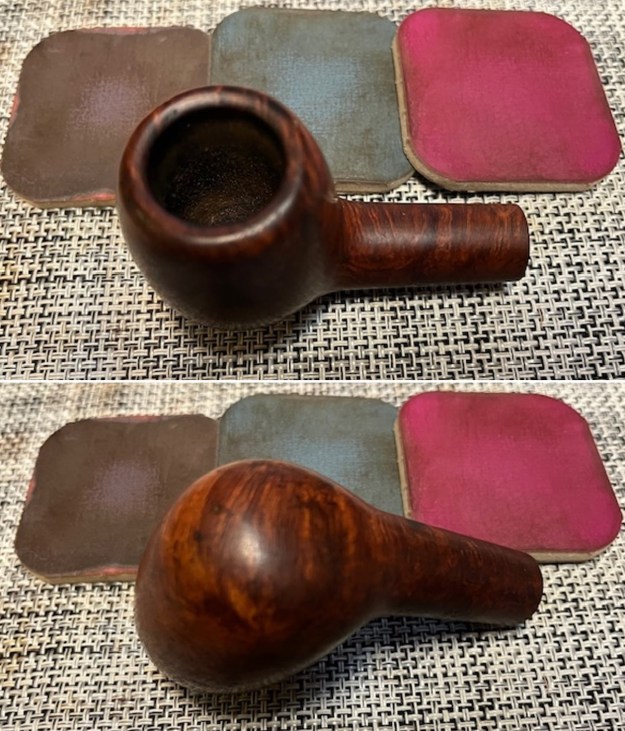
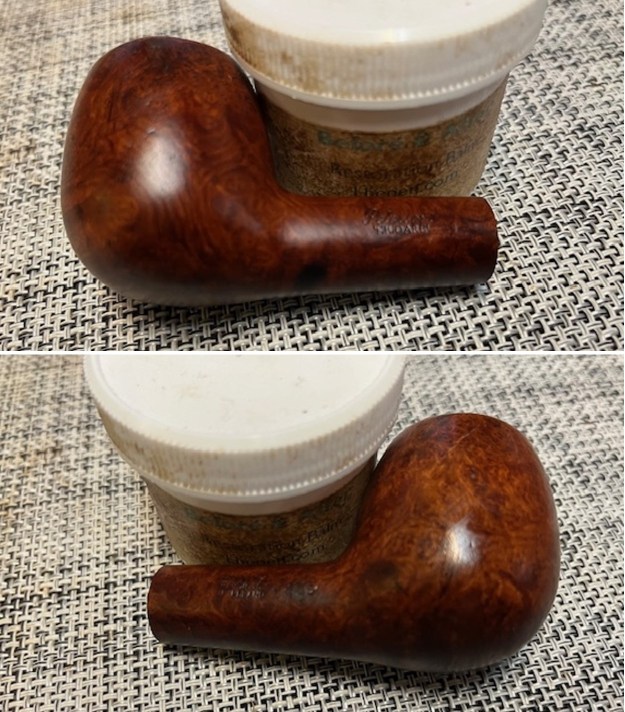
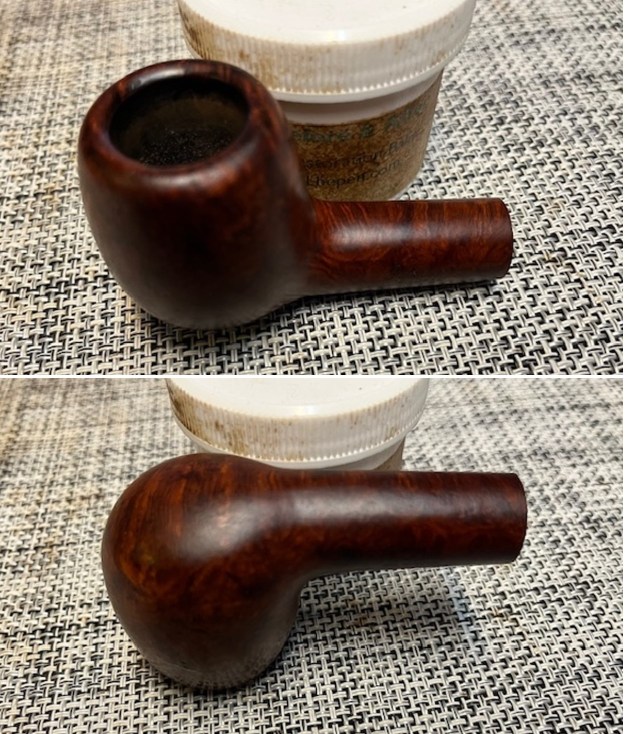
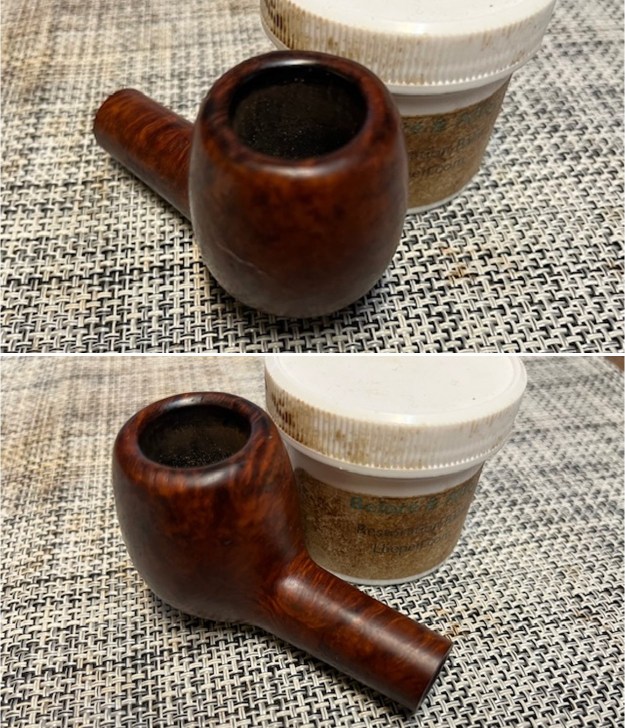
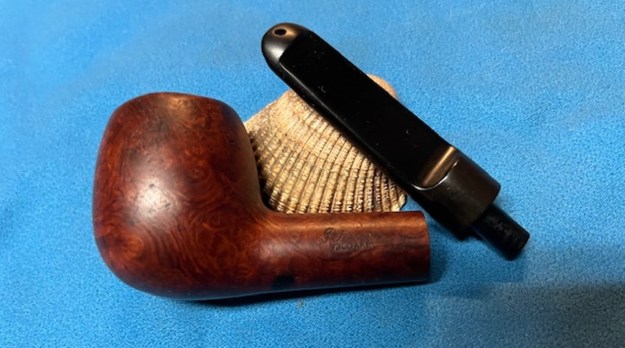
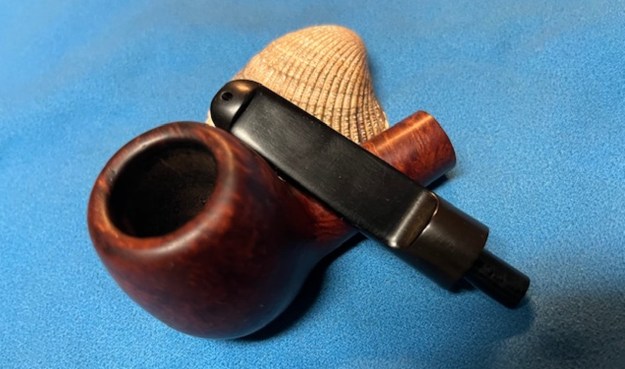
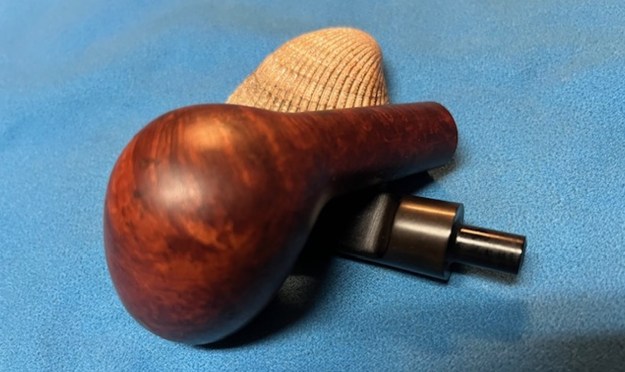
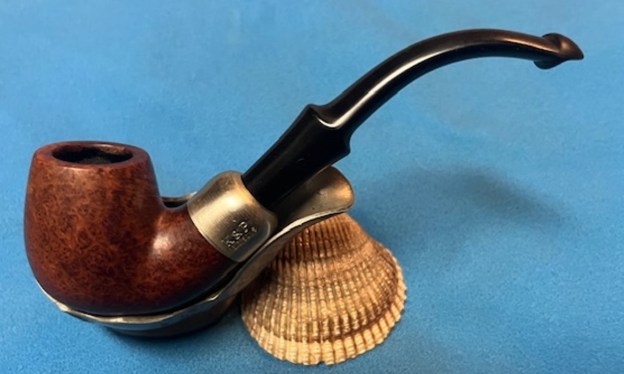
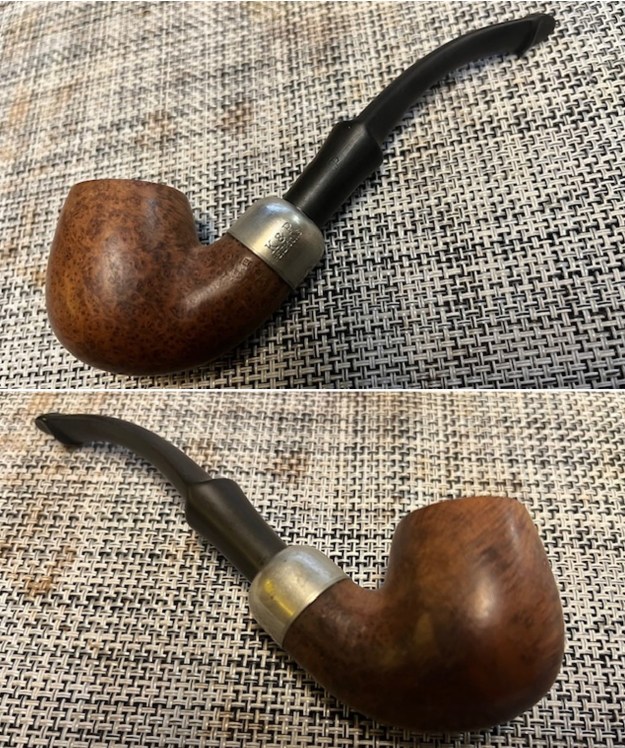
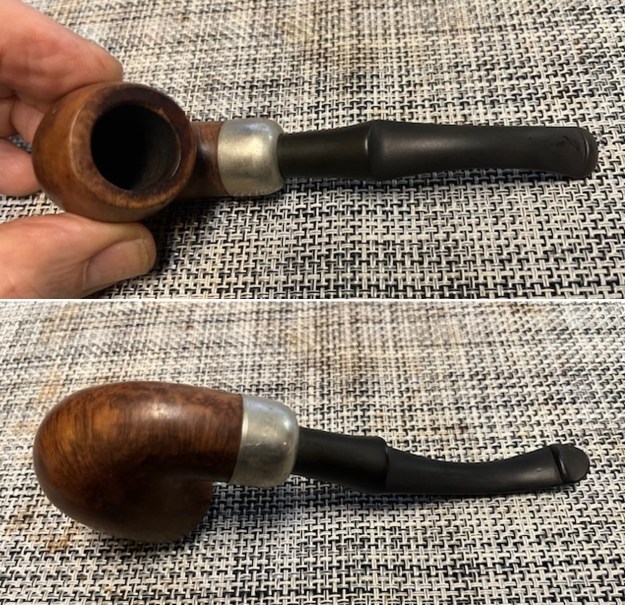
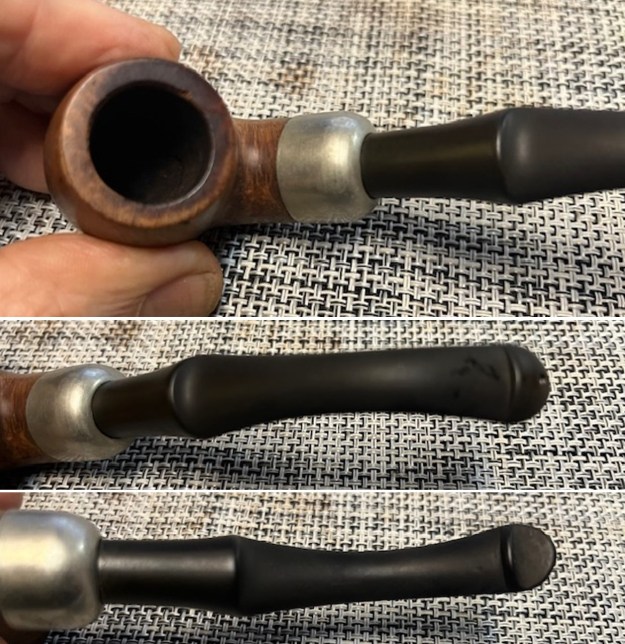
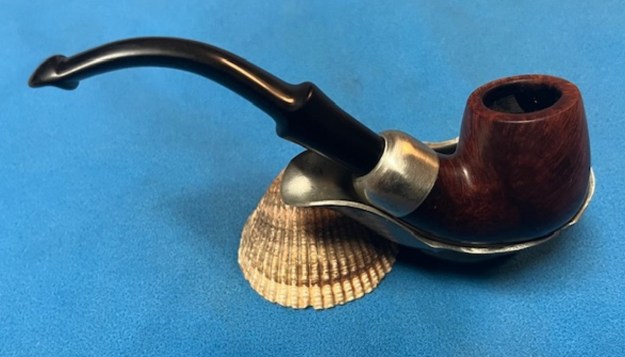
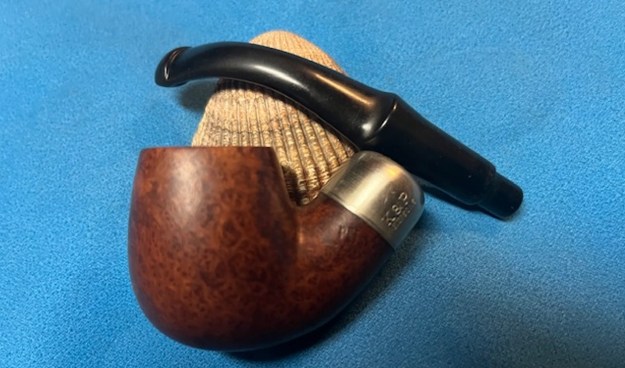
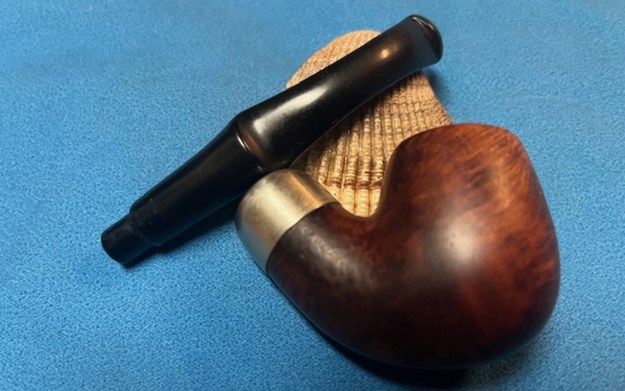
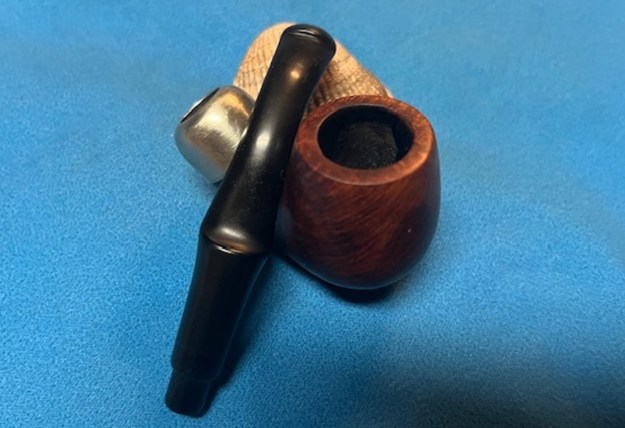
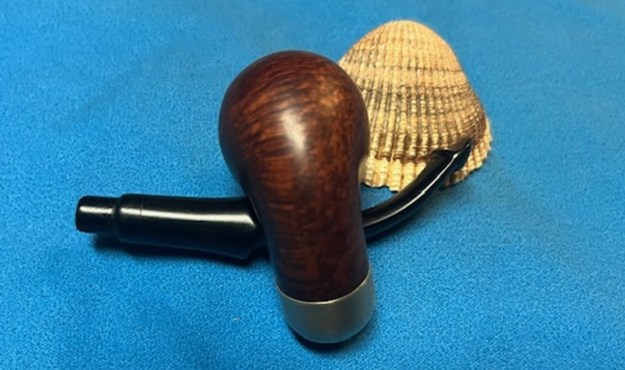
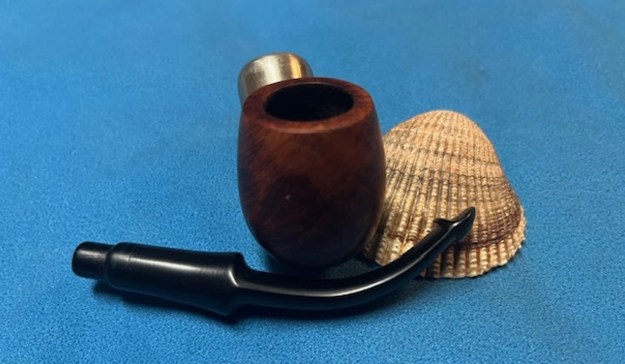
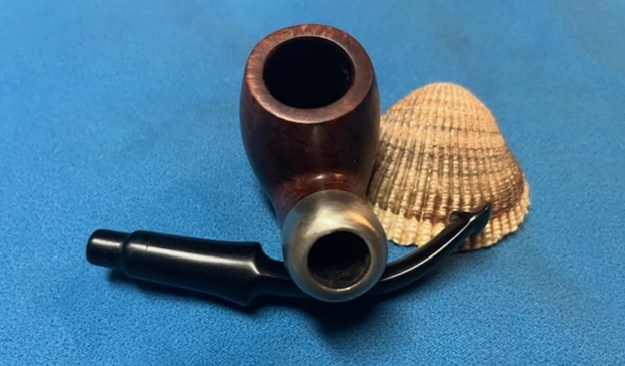
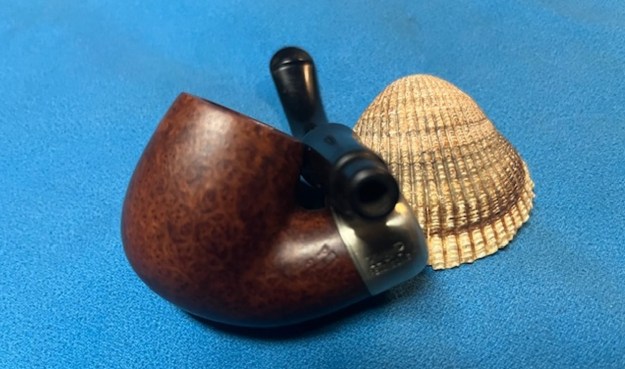
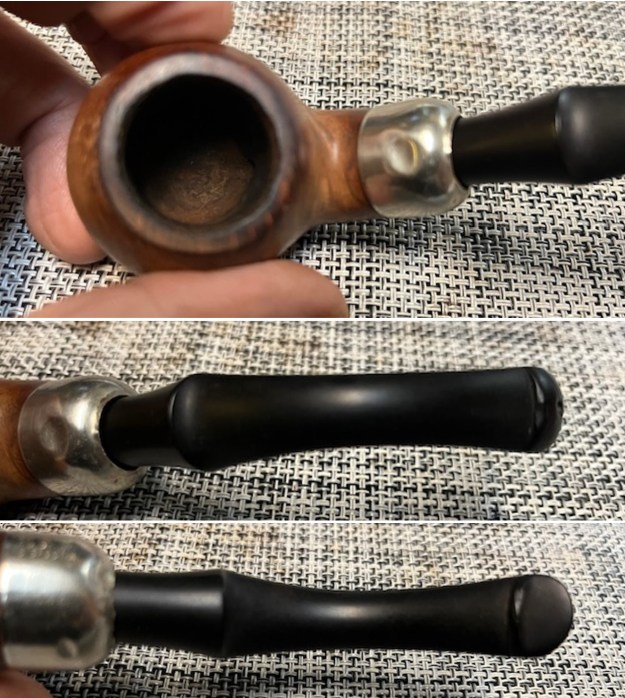
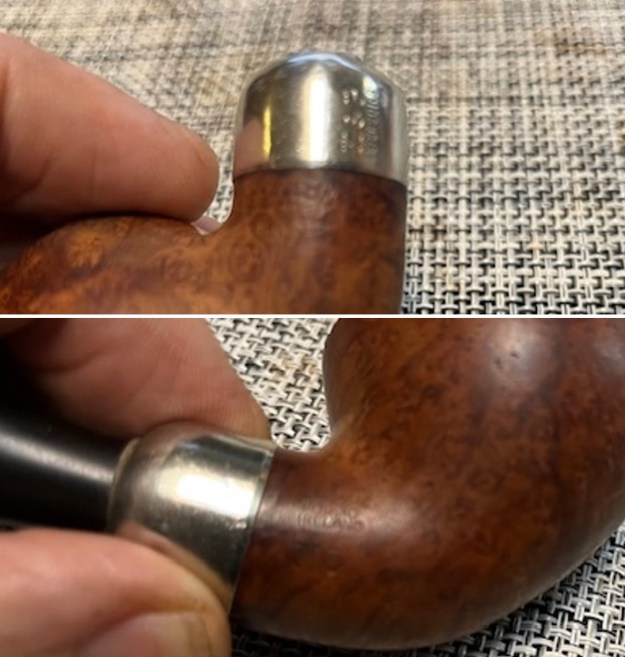
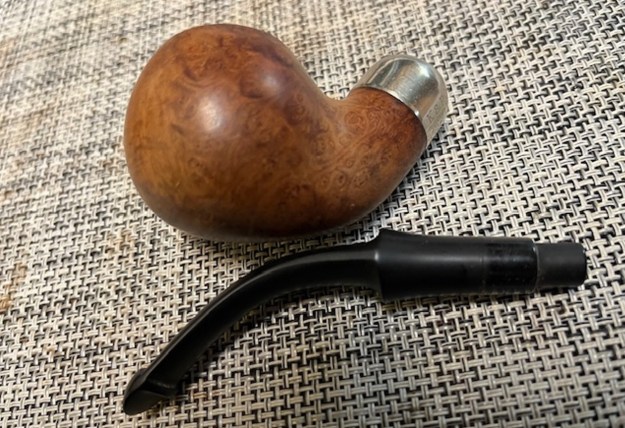
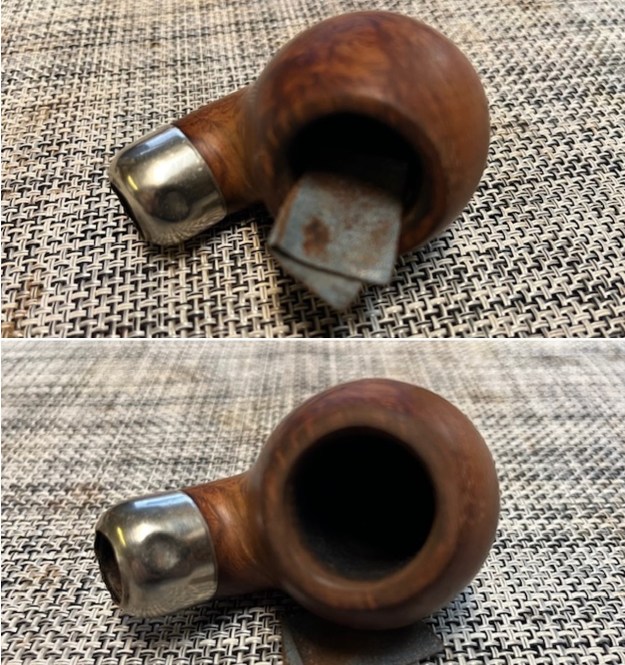
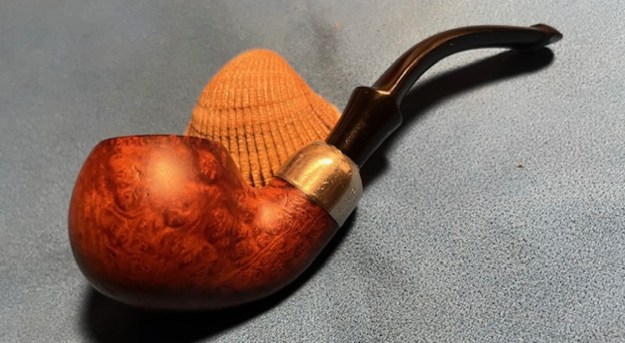
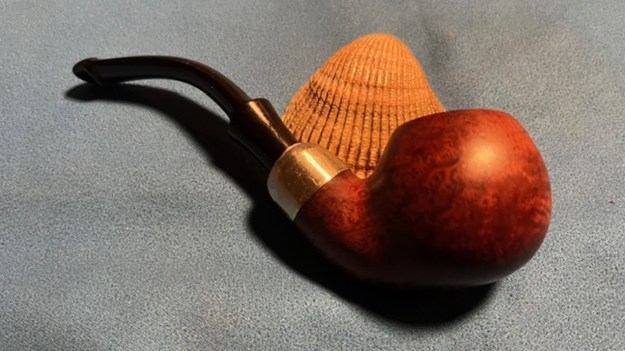
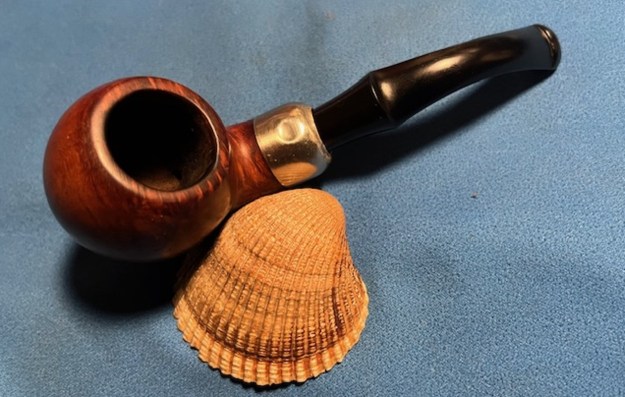
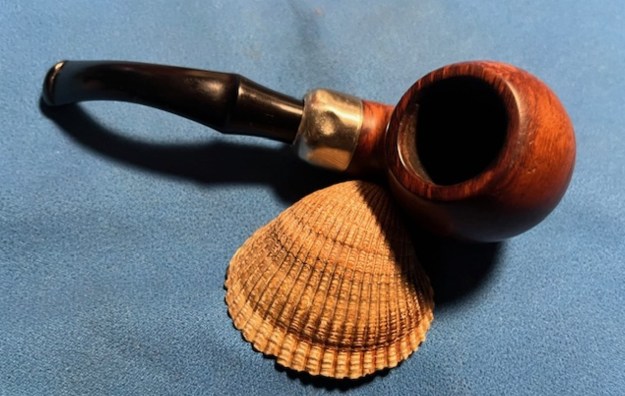
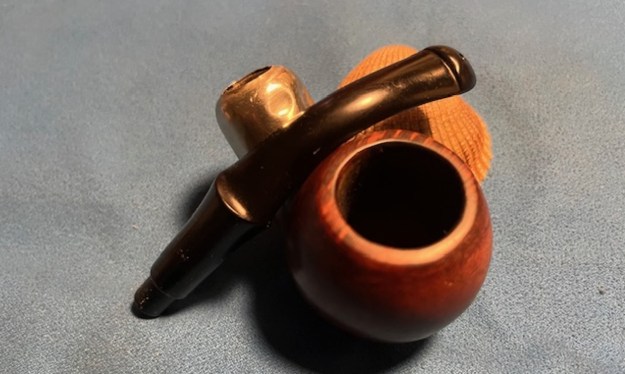
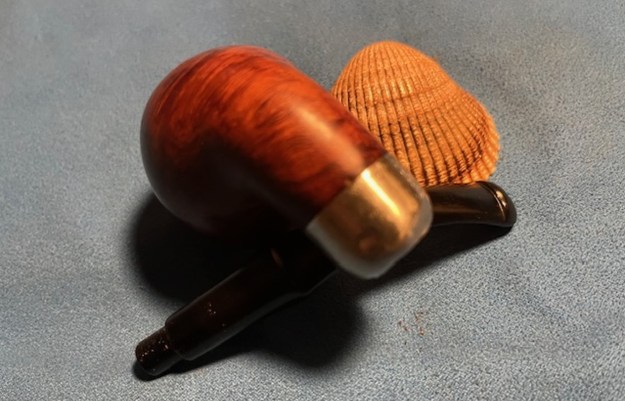
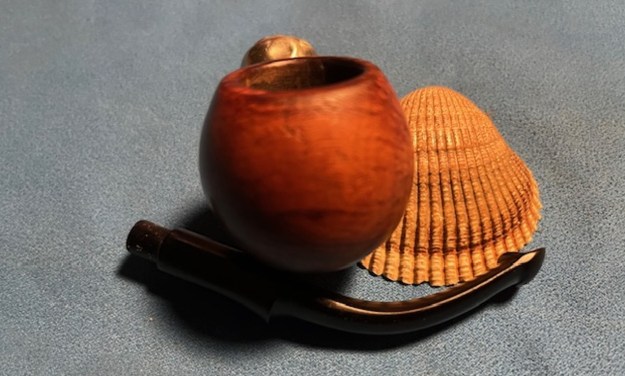
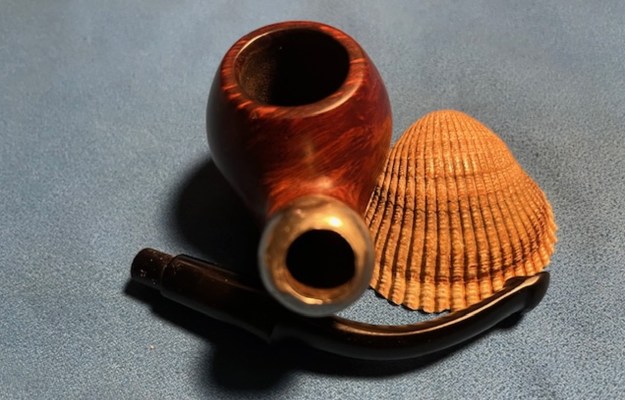
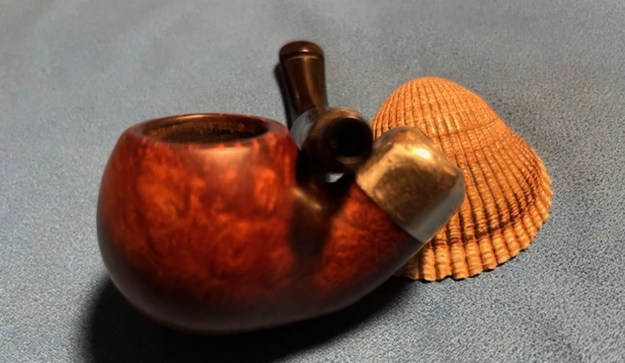
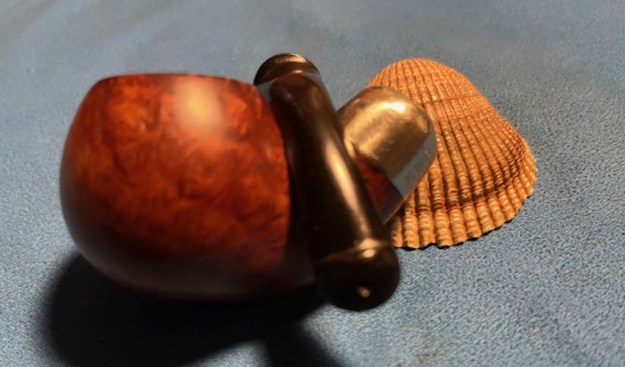
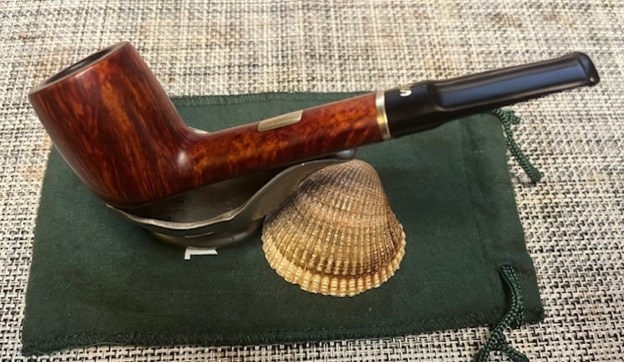
The next pipe I have chosen is smooth finished Peterson’s “Kildare” Apple shaped pipe that had a very dirty/grimy finish but had some good-looking grain around the bowl sides and shank. Both Jeff and I have no memory of where we picked up this pipe. Was it a trade or a pipe hunt find? Could easily have been either one. This Lightweight Apple was stamped on the left side of the shank and read Peterson’s [over] “Kildare”. It was stamped on the right side and read Made in the Republic of Ireland (three lines) followed by the number 87S (faint but present) near the shank/bowl junction. I believe the “S” is for the saddle stem designation. The pipe was filthy when I brought it to the table. There was grime ground into the briar sides and rim. There was a minimal cake in the bowl but there was still a coat of lava on the rim top but the edges of the bowl. The inner edge of the bowl was thickly coated in lava and it was hard to know how the rim top and edges looked underneath. The stem was dirty with oxidation and calcification on it. There were light tooth marks and chatter on the top and underside on and near the button. There was a light “P” stamp logo on left side of the saddle stem. I took photos of the pipe before my cleanup work. They tell the story and give a glimpse of the promise that we see in this pipe. I took photos of the rim top and stem to show the general condition of the pipe. The bowl has been but the rim top has a lava coat flowing down the outside of the bowl and the inner edge. The finish on the bowl is rough around the outer edge but I will know more once it is cleaned up. The photos of the stem show the oxidation, calcification and light tooth marks and chatter on both sides near the button. The P-Lip button and edges look good.I took photos of the sides of the shank to show the stamping. The stamping is faint but readable in the photos below and is as noted above. There is a “P” logo stamp on the left side of the saddle stem. It is faint but I am hoping that I can bring it back with white acrylic. I also removed the stem from the shank and took a photo of the parts of the pipe to give a clear picture of what I see here. I am including the information from Pipedia’s article on Peterson pipes. It is a great read in terms of the history of the brand (https://pipedia.org/wiki/Peterson). I have included a bit of the pertinent history here.

1950 – 1989 The Republic Era – From 1950 to the present time, the stamp for this era is “Made in the Republic of Ireland” in a block format generally in three lines but two lines have been used with or without Republic being abbreviated.

During the 1950’s and 60’s the Kapp & Peterson Company was still in the ownership of the Kapp family. However, 1964 saw the retiral of the company Managing Director Frederick Henry (Harry) Kapp.

I turned to “The Peterson Pipe” by Mark Irwin and Gary Malmberg to get some background on the Peterson’s System Line. On page 314 it had the following information.

Kildare (1965-) First issue of line with matte-finish in Classic Range shapes, P-Lip and fishtail mouthpiece. Second issue C.1979 as Kildare Patch, with rusticated patches on pipe surface. Third issue 2010, matte-brown, P-Lip or fishtail mouthpiece, no band. Fourth issue 2011-, burgundy sandblast finish, nickel army mount, fishtail mouthpiece, exclusive to smokingpipes.com.

Judging from the description above I believe that I am working on a First Issue of the line in the time period of 1965-1979. It is a late Republic Era Classic Shaped pipe with a matte-finish and a P-Lip stem. Now it was time to work on the pipe.

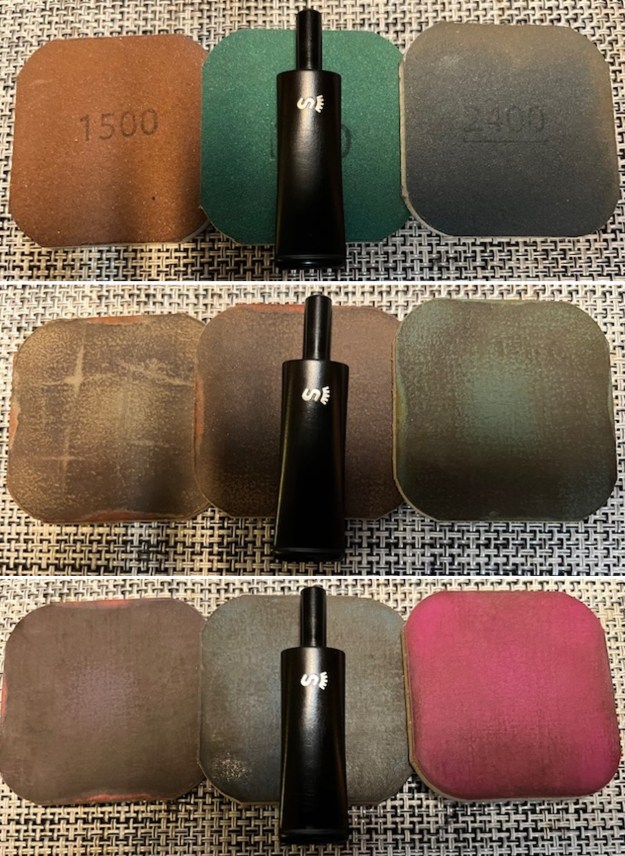
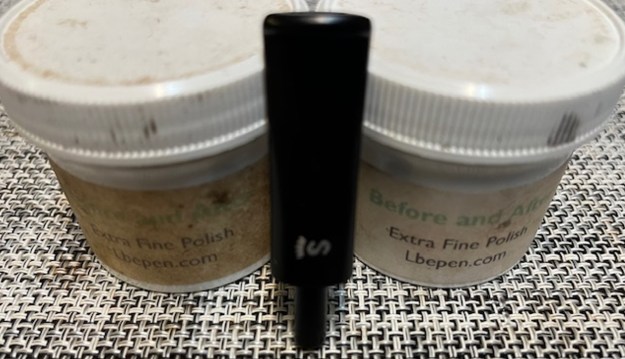
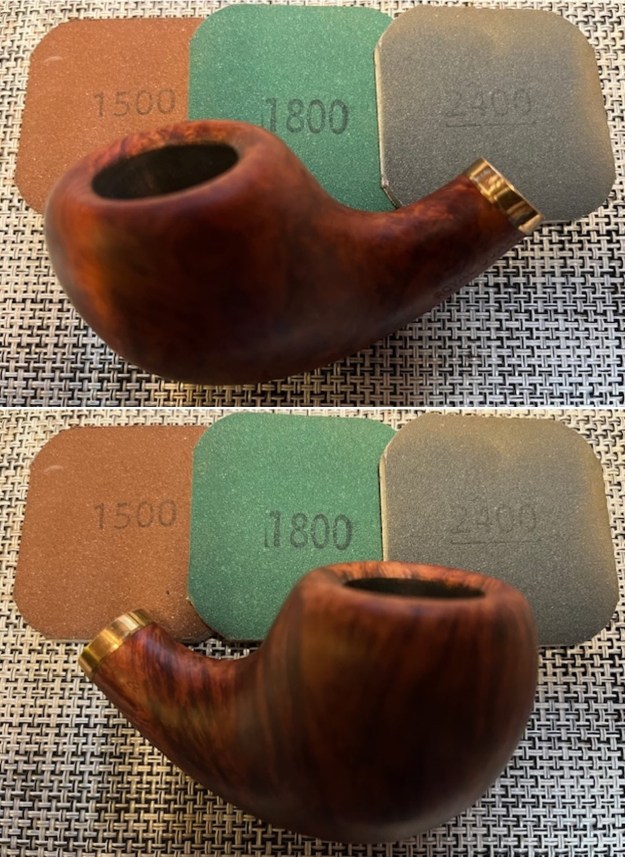
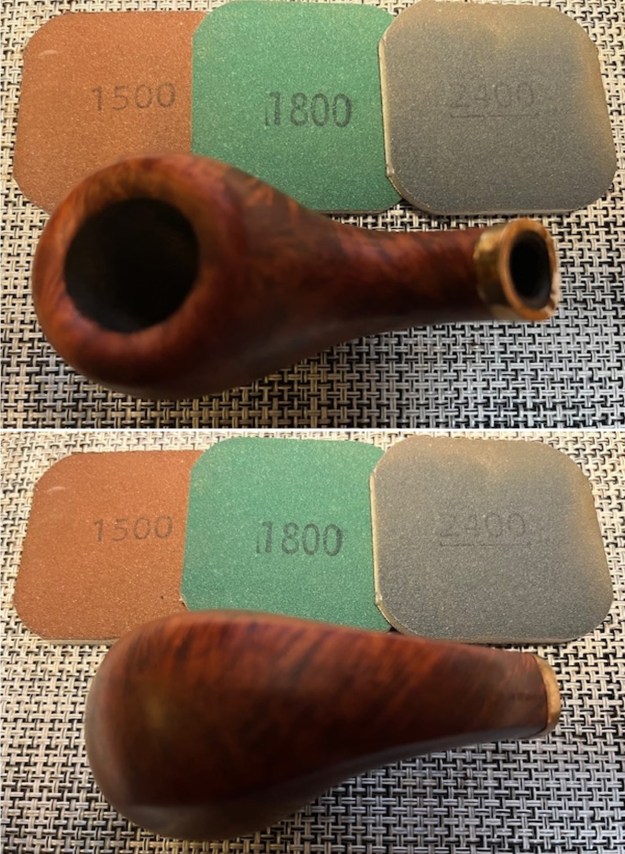
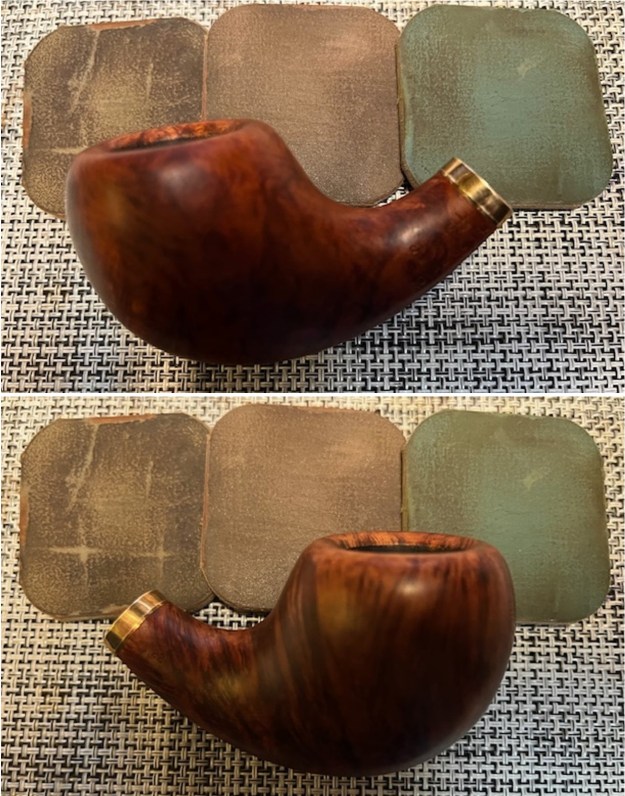
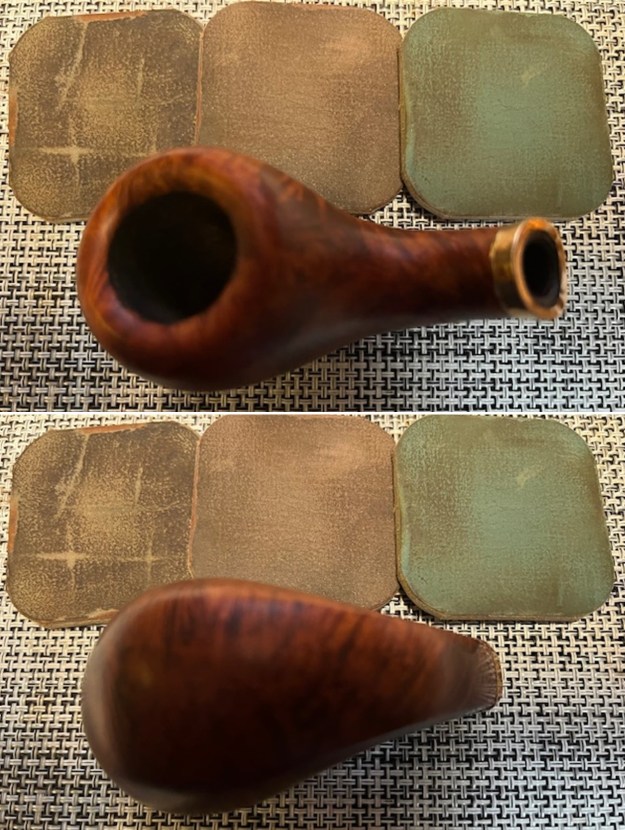
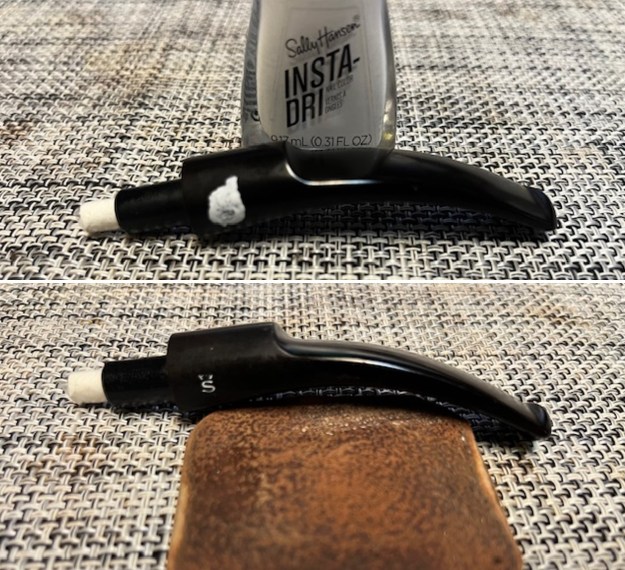
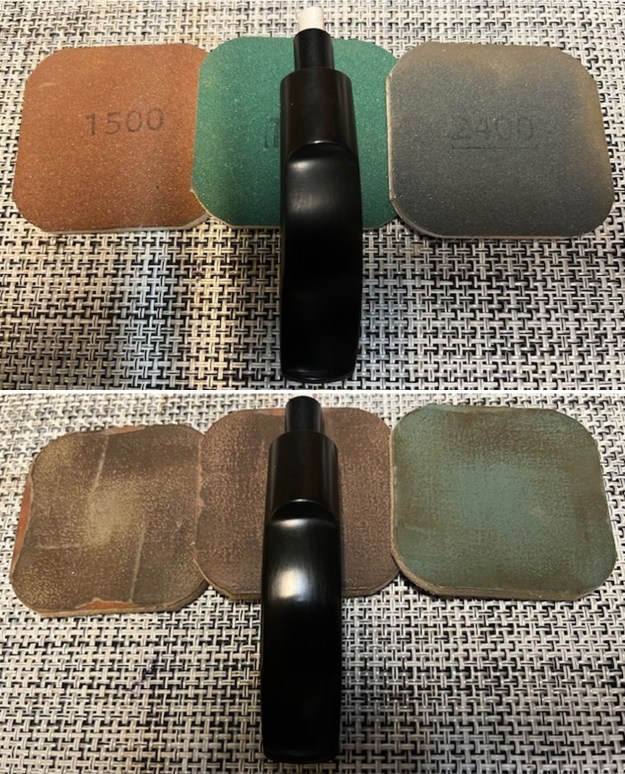
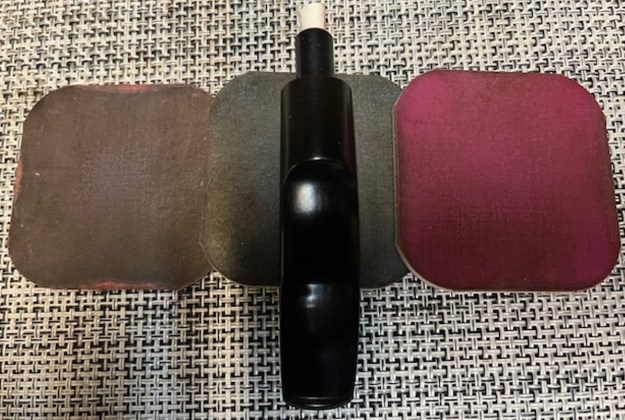
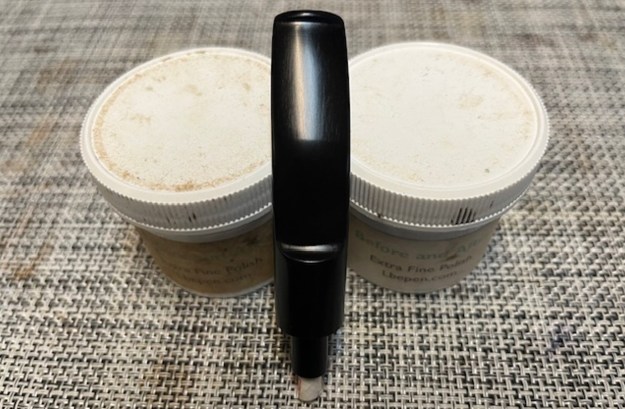
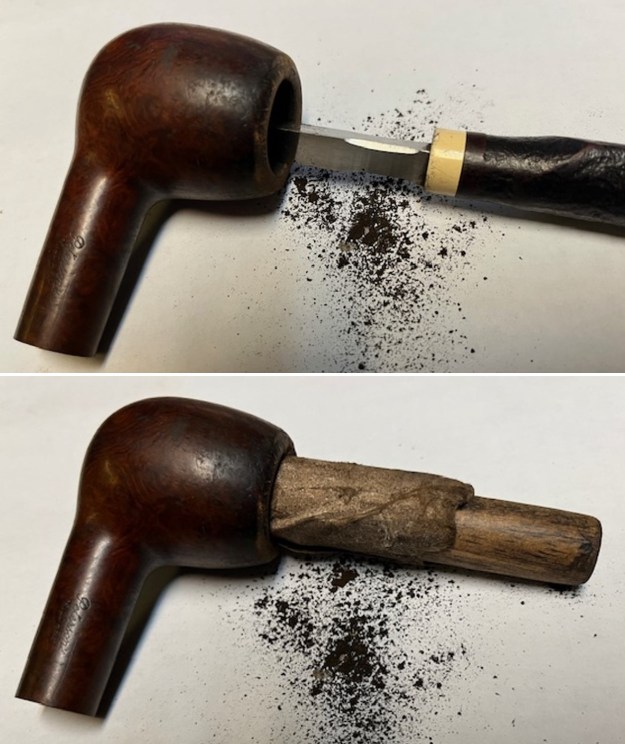
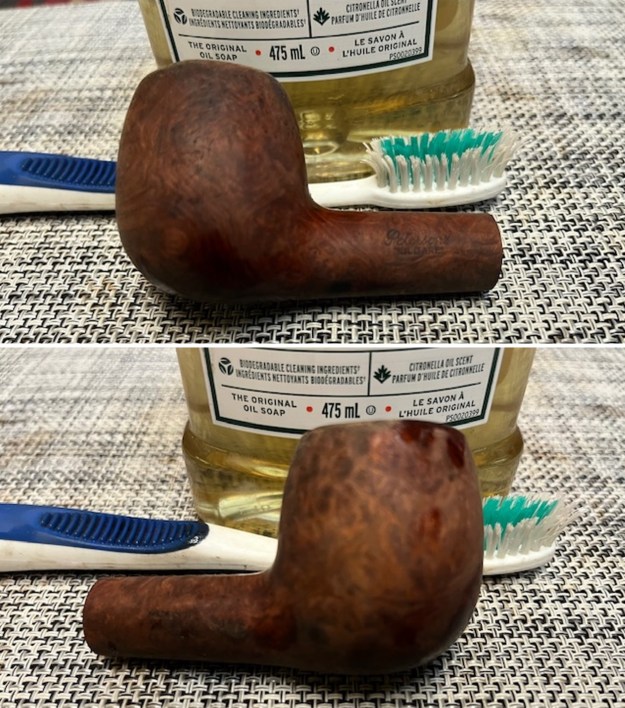
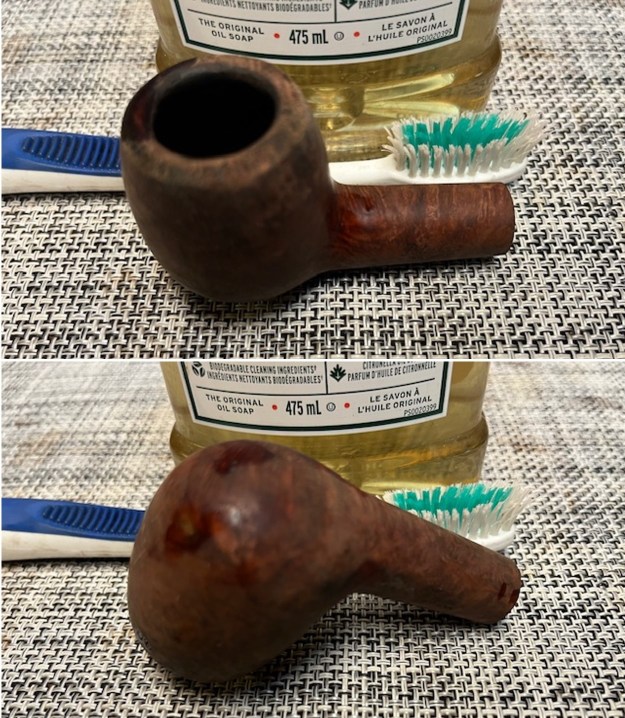
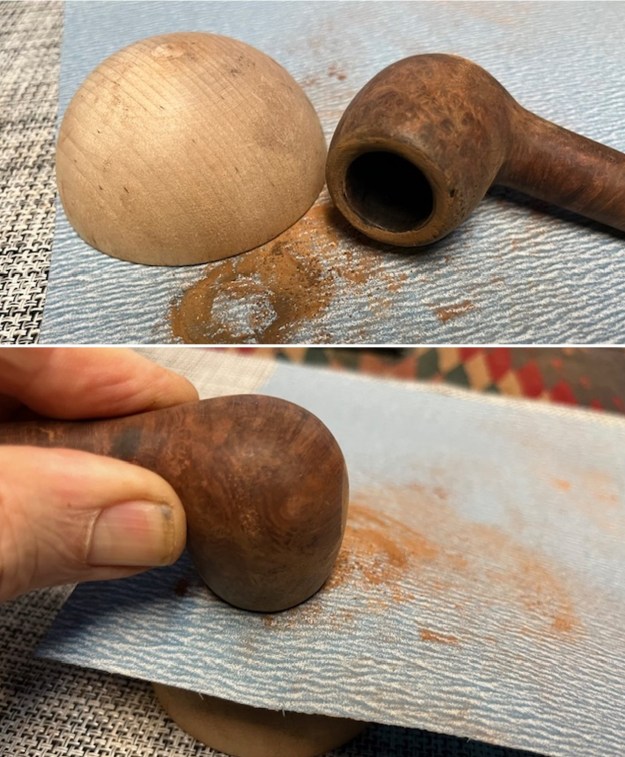
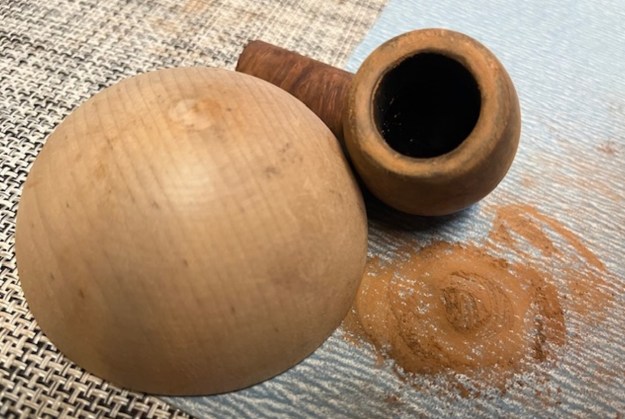
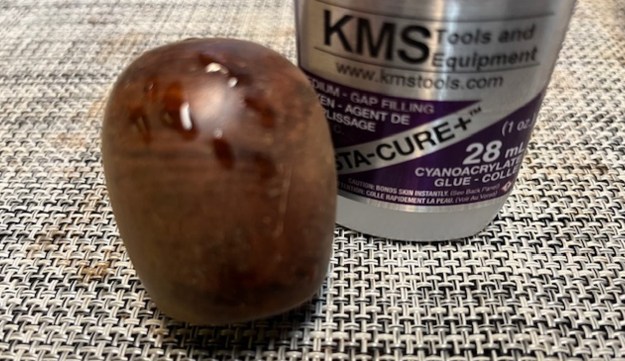
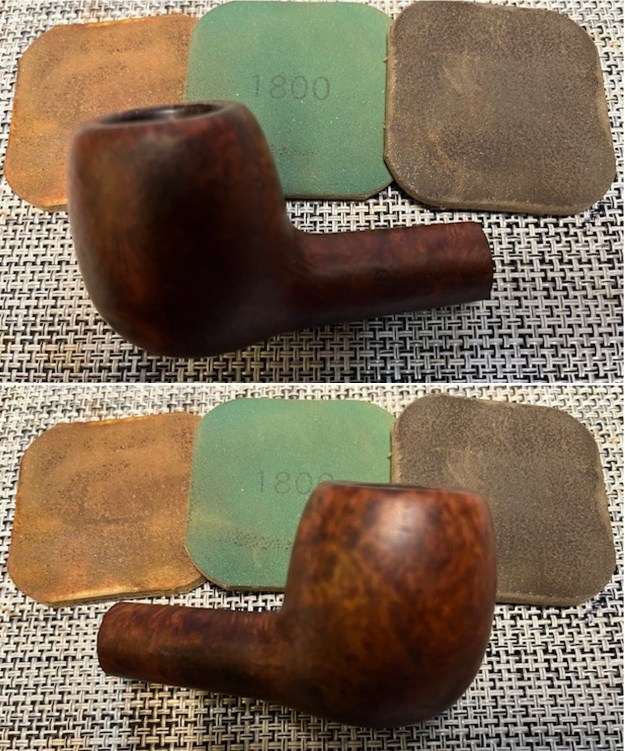
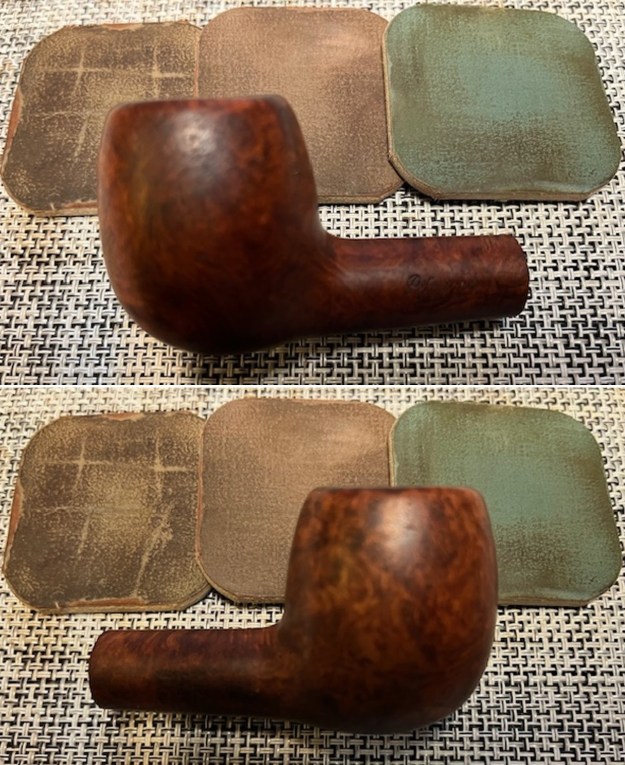
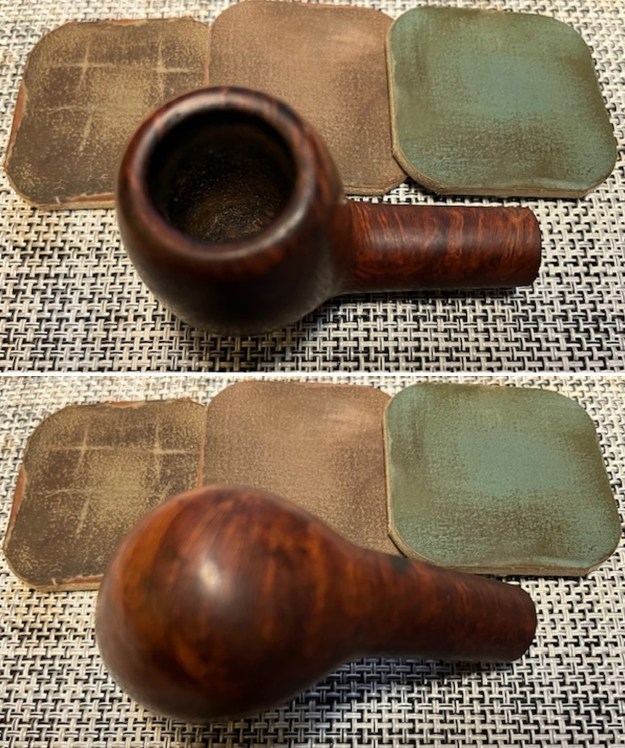
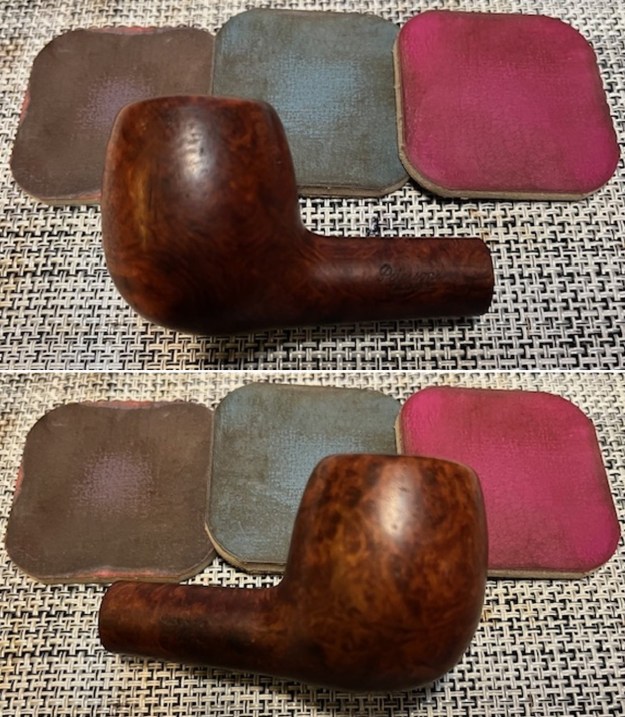
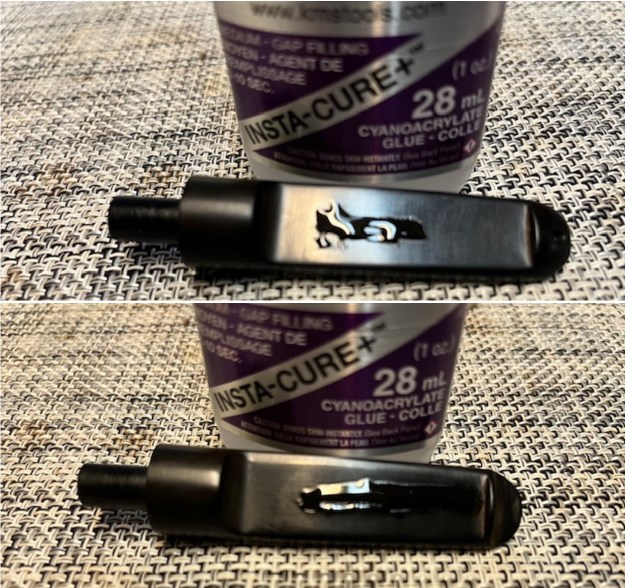
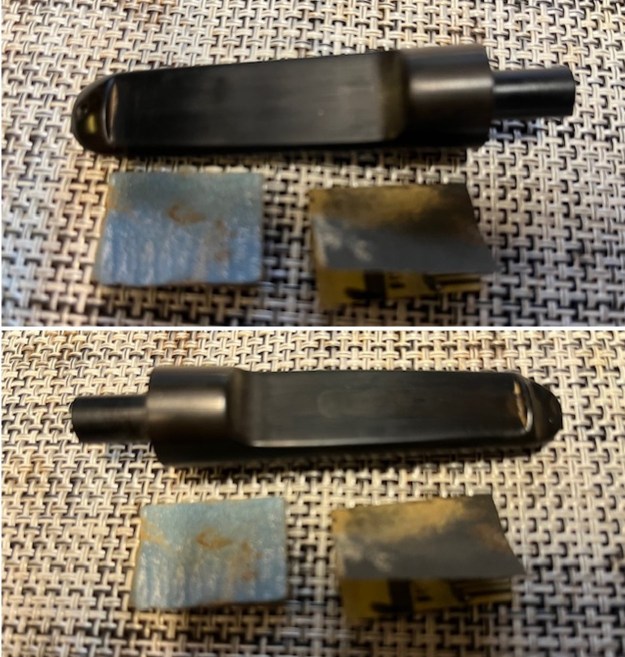
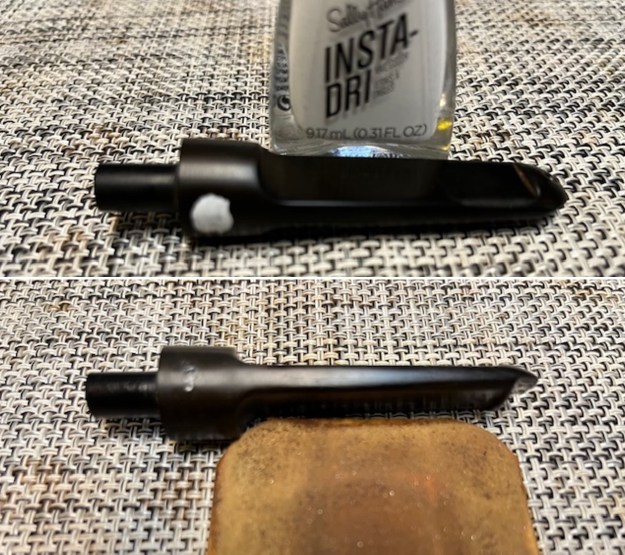
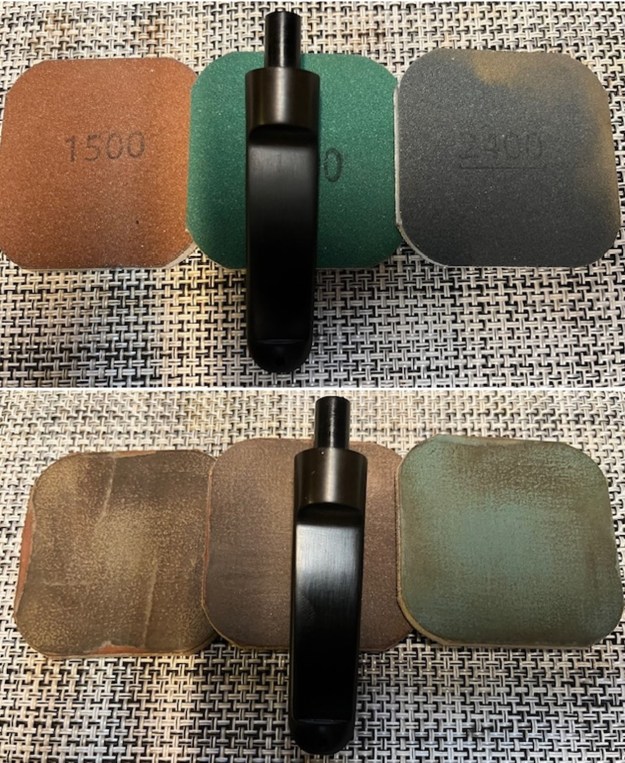
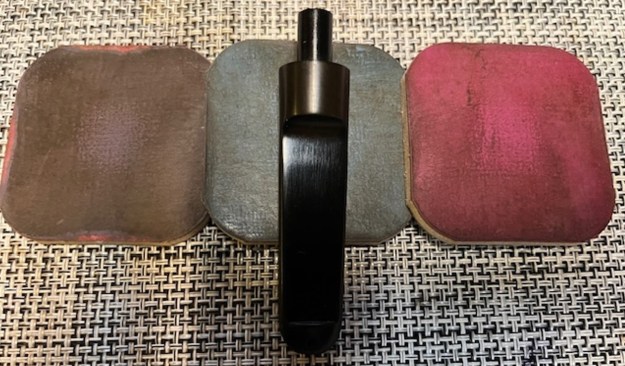
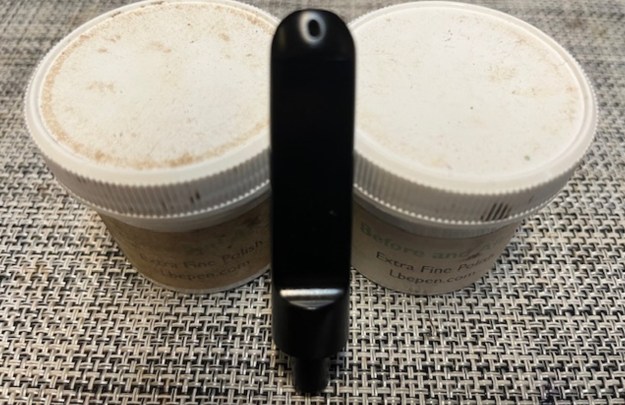
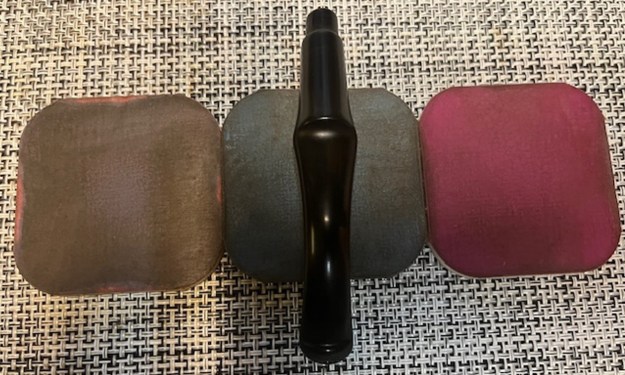
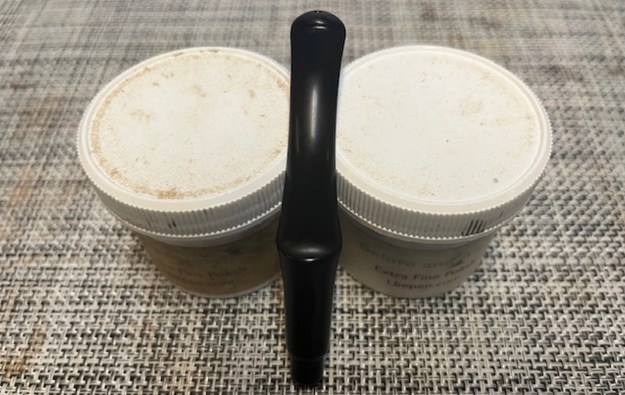
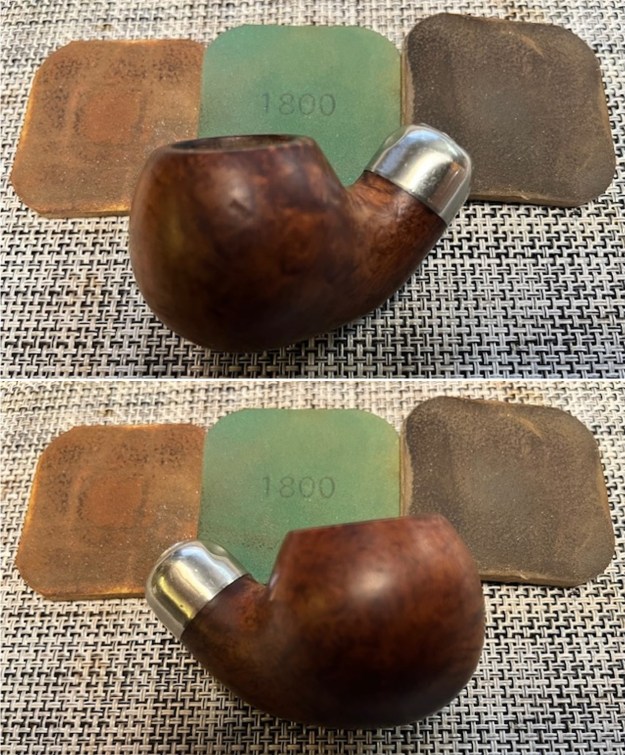
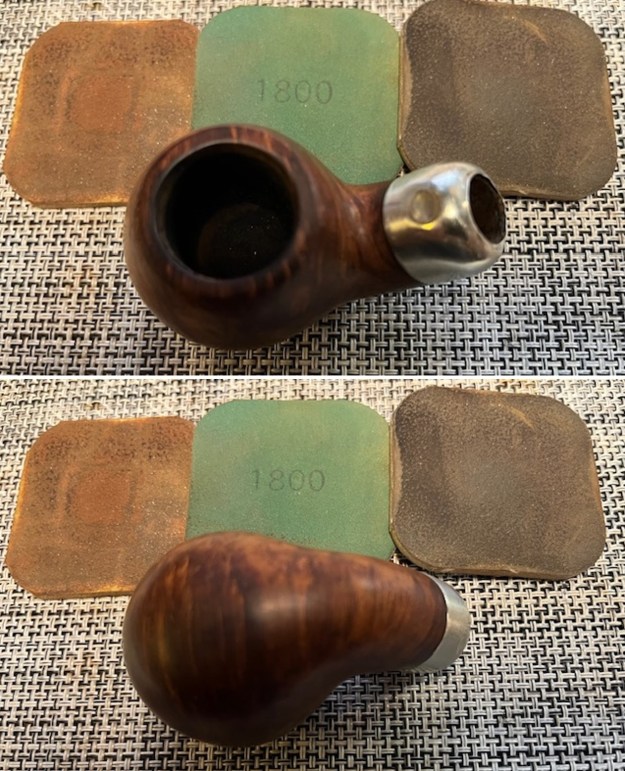
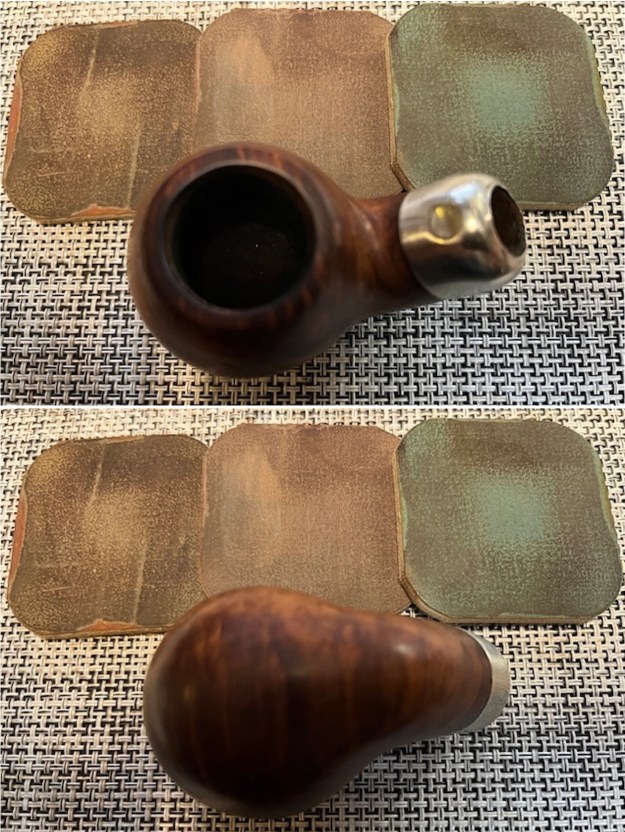
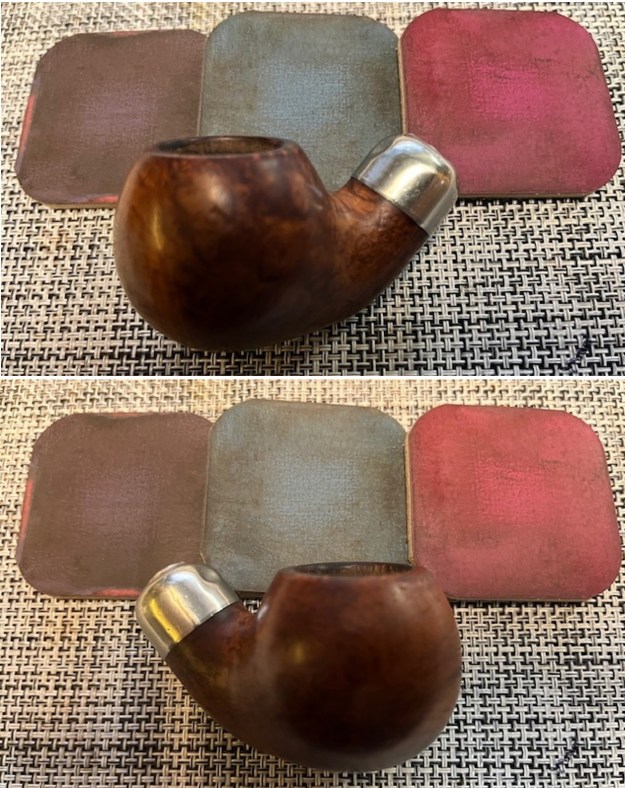
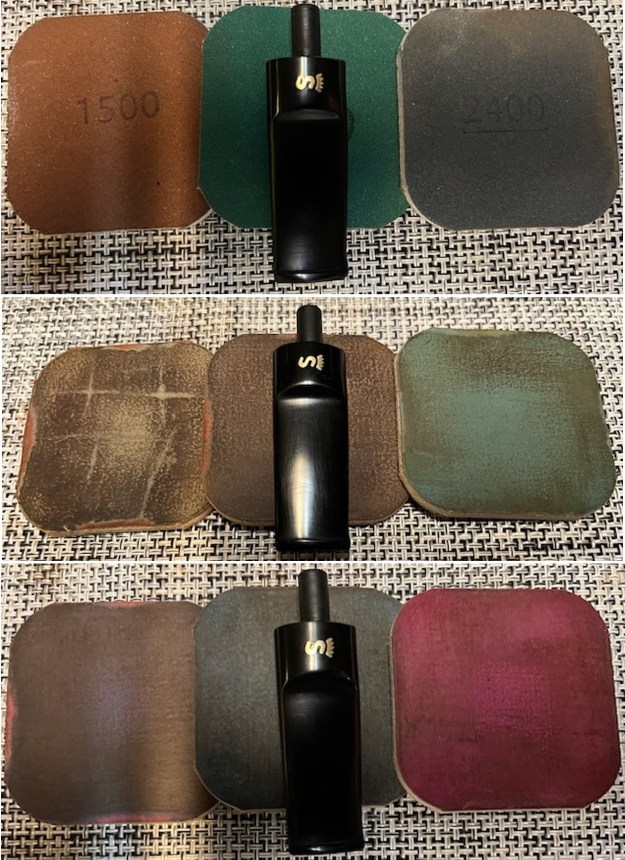
With that information at hand I turned to work on the pipe itself. Jeff had thoroughly cleaned up the pipe. He reamed the pipe with a PipNet Pipe Reamer and cleaned up the remnants with a Savinelli Fitsall Pipe Knife. I scrubbed the bowl with undiluted Murphy’s Oil Soap and a tooth brush. I rinsed it under running warm water to remove the soap and grime. The bowl was much cleaner though there were many small nicks and divots in the surface of the briar – but it was clean! I used a half wooden ball and a piece of 220 grit sandpaper to bevel and clean up the rim top. I also used a folded piece of 220 grit sandpaper to smooth out the outer edge as well and give a slight curved or crown rim top look. I filled in the many nicks and divots in the bowl surface with clear CA glue. Once it cured I smoothed them out with a medium and a fine sanding sponge. Once finished it looked much better. I cleaned out the inside of the shank and the airway in the stem with alcohol, cotton swabs and pipe cleaners. Many pipe cleaners later the airways were clear and the smell much better.I polished it with micromesh sanding pads – dry sanding with 1500-12000 grit sanding pads. I wiped it down with a damp cloth to remove the dust on the surface. I did not need to restain the rim top and edge because with polishing the match is very good. I rubbed the bowl down with Before & After Restoration Balm. I worked it into the surface of the bowl sides and shank with my fingertips. The product works to clean, enliven and protect the briar. I let the balm sit for a little while and then buffed with a cotton cloth to raise the shine. I set the bowl aside and turned my attention to the stem. I scrubbed the exterior of the stem with Soft Scrub to remove as much of the oxidation and calcification as possible. It certainly is improved!In the photos above you can see roughening on the top of the stem surface. I cleaned up the surface and there was some pitting in the surface on both sides. I filled in the pitted surface with clear CA glue. Once it cured I flattened it out with a small file and sanded it smooth with 220 grit sandpaper. I started polishing it with 600 grit wet dry sandpaper. I touched up the “P” stamp on the left side of the saddle with some white acrylic fingernail polish. Once it cured I used a worn 1500 grit micromesh pad to polish off the excess material. The stamp is faint in the vulcanite so it is quite hard to see clearly.I polished the stem with micromesh sanding pads – wet sanding with 1500-12000 grit pads. I wiped the stem down after each sanding pad with Obsidian Oil. I polished it with Before & After Pipe Stem Polish – both Fine and Extra Fine. I gave it a coat of Obsidian Pipe Stem Oil. It works to protect the stem from oxidizing. I set it aside to dry. NOTE: When I was buffing the pipe I notice a scratch on the left side the shank above the stamping that looked like a crack in the shank… I was a bit frustrated so I stopped buffing and checked it out and was relieved to see under bright light that it was a scratch and not a crack. I also removed the stem and checked the mortise end and there was no crack! I tried steaming the scratch out and was able to improve it but it is still present. There is also a small on the underside of the stem… irritating but part of the pipe’s story.

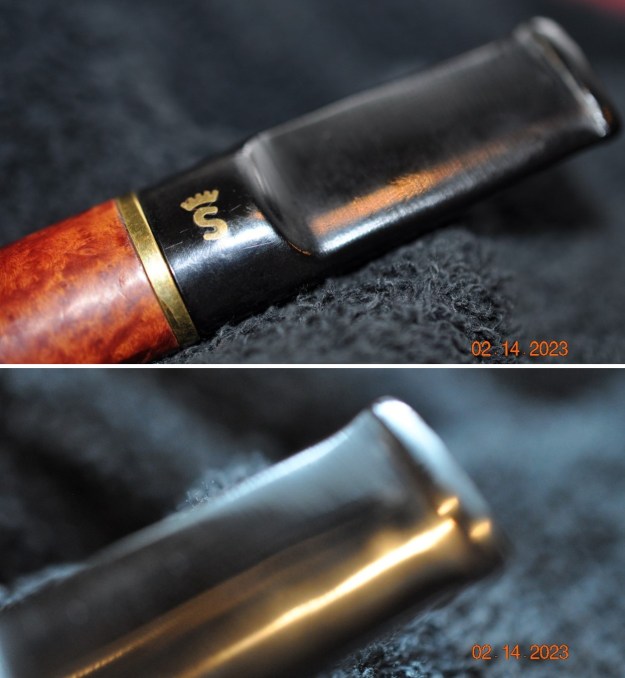
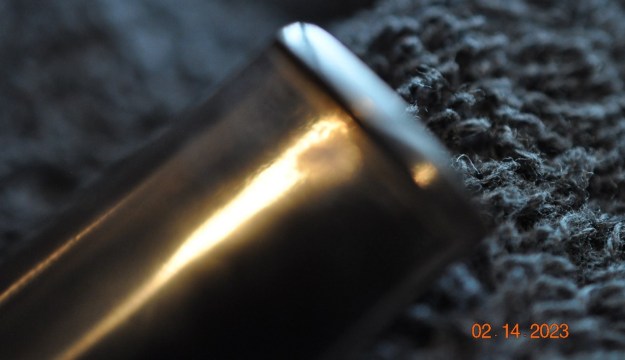
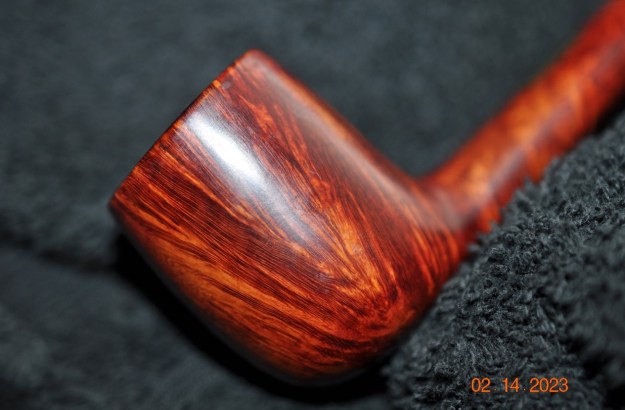
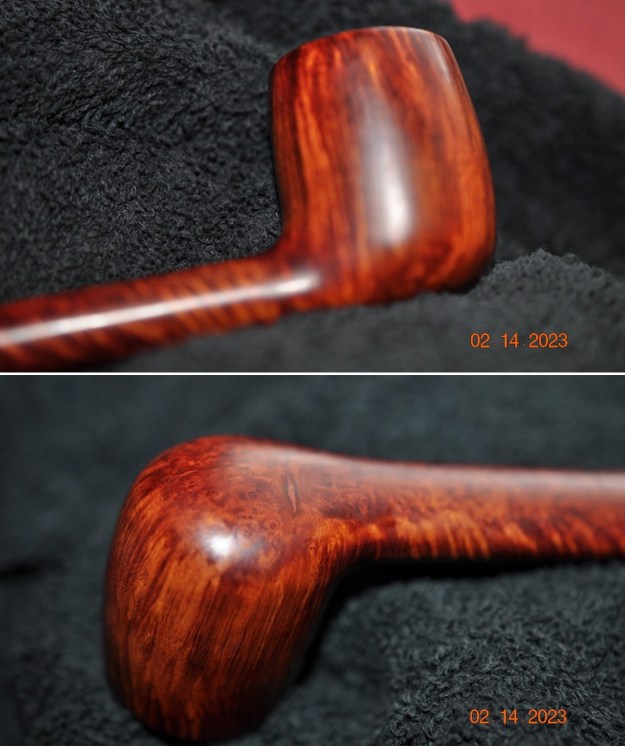
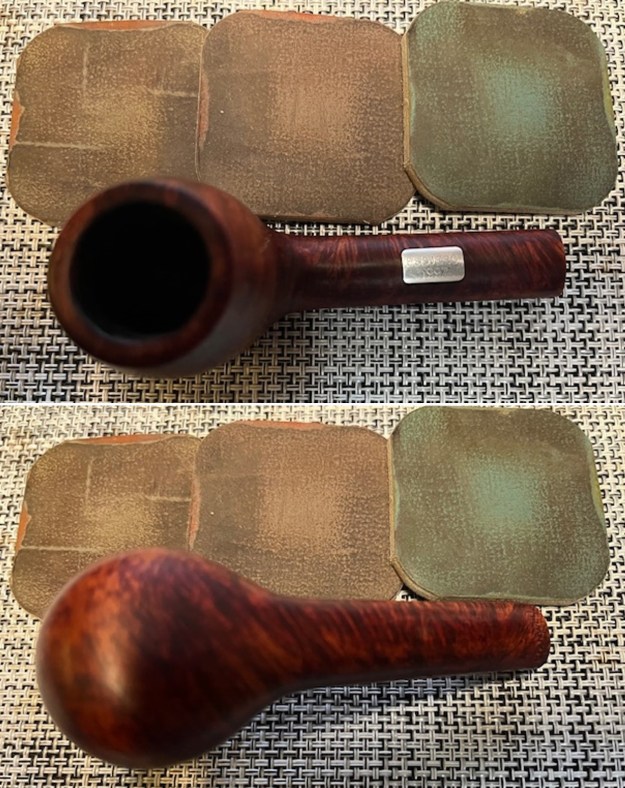
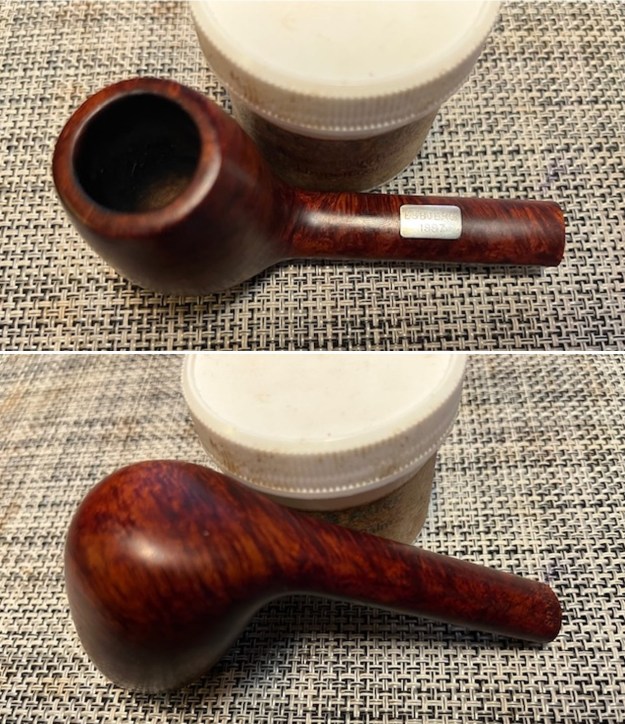
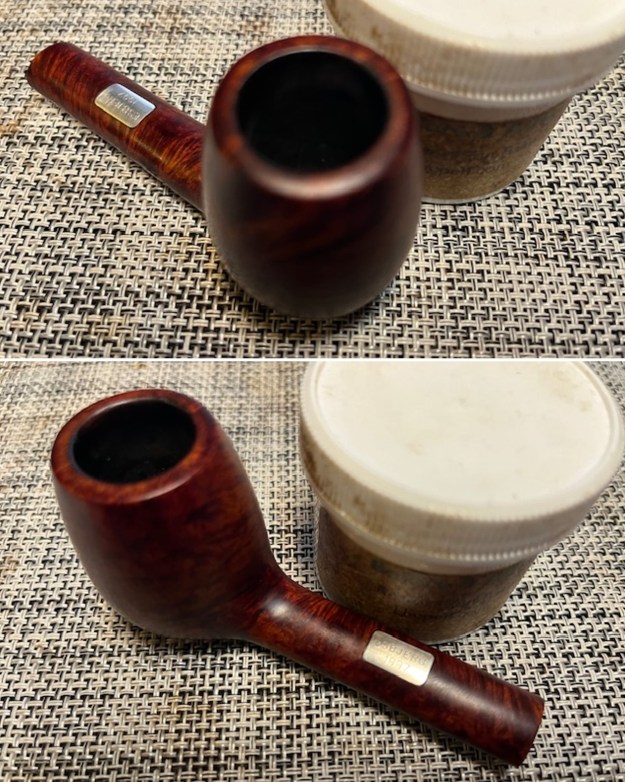
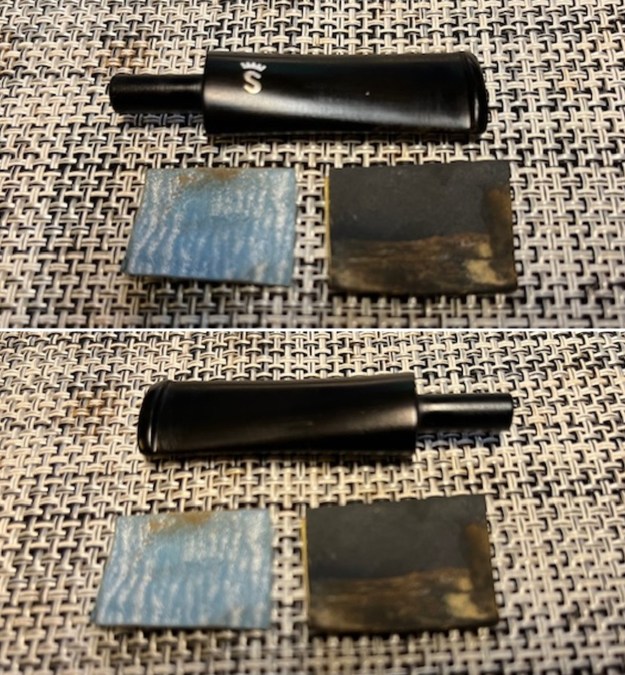
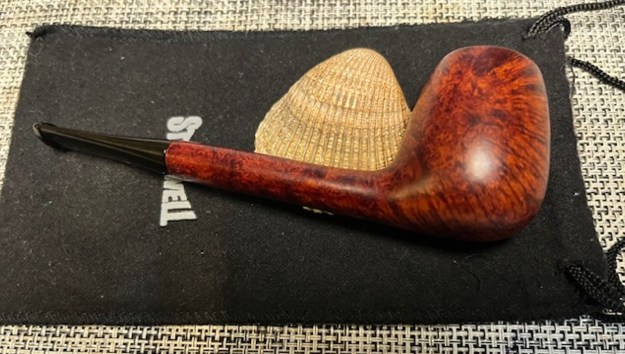
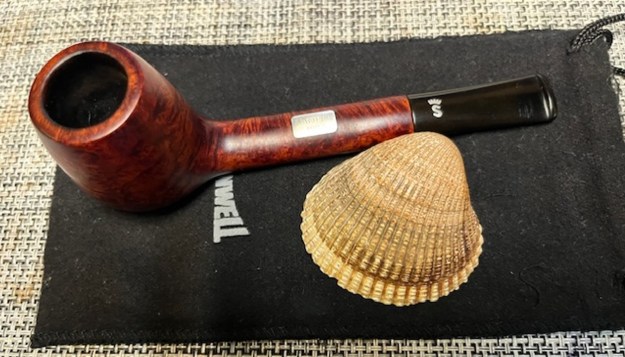
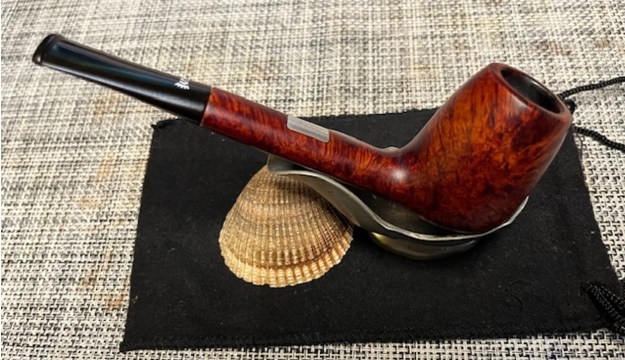
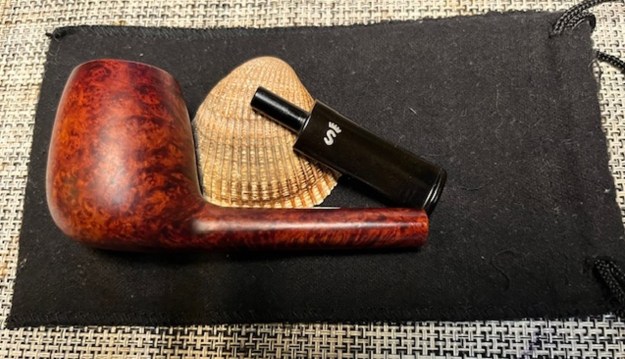
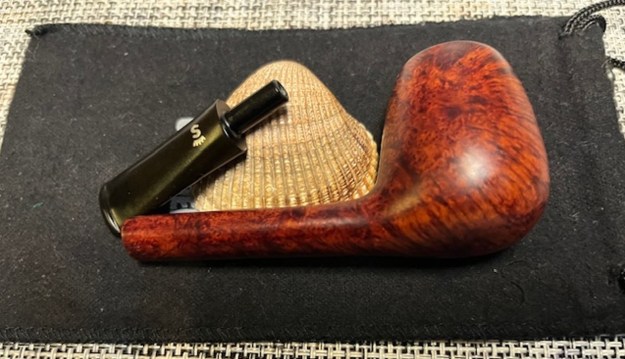
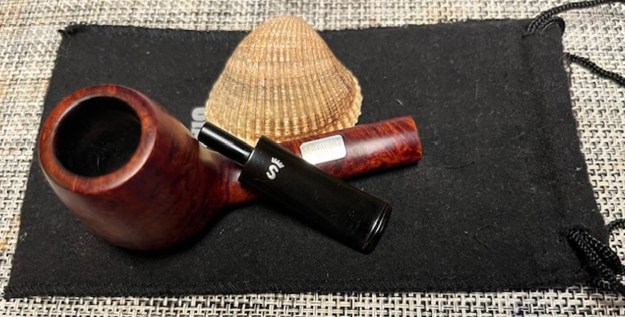
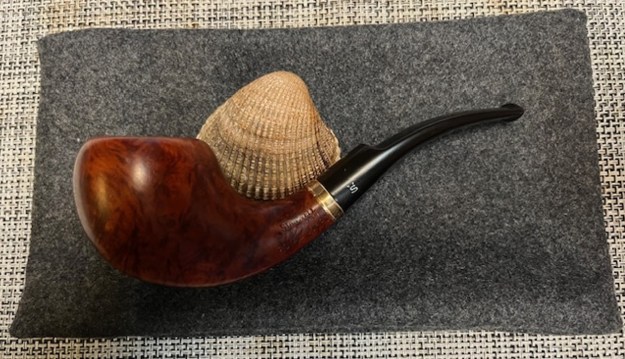
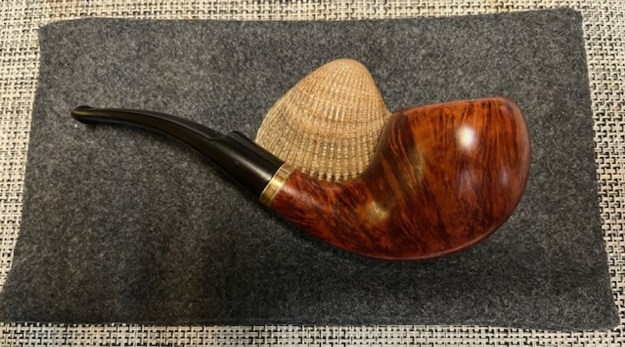
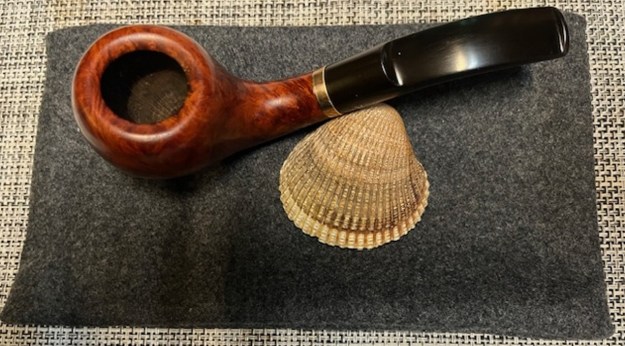
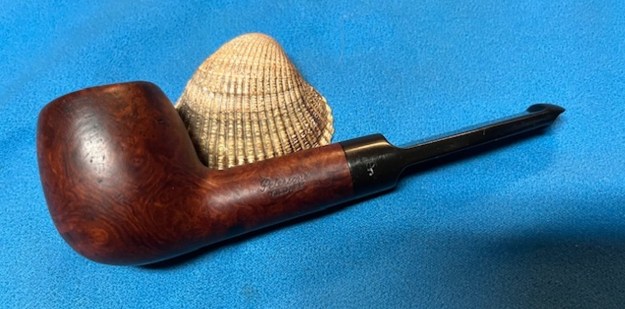
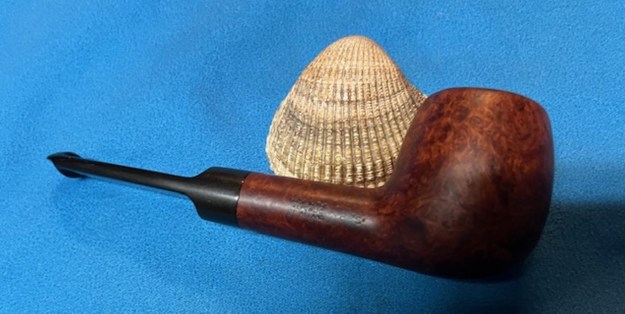
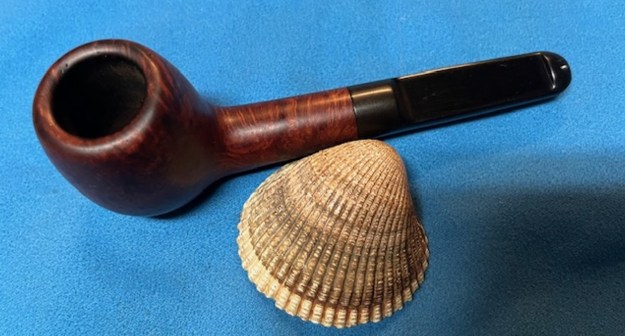
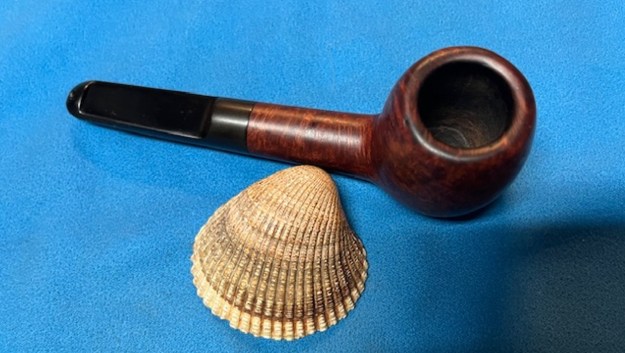
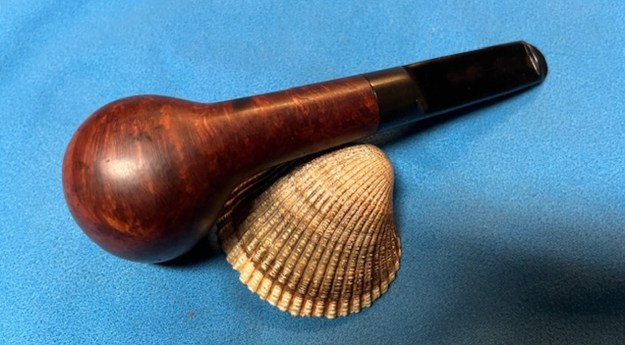
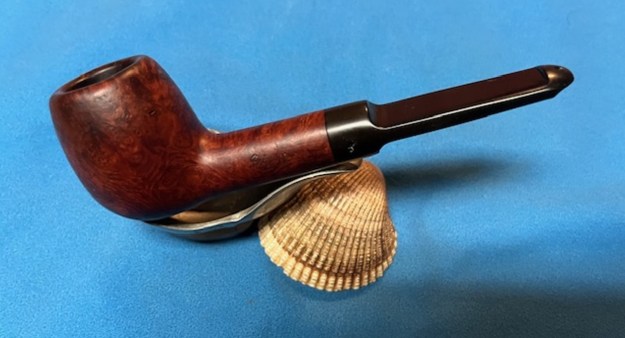
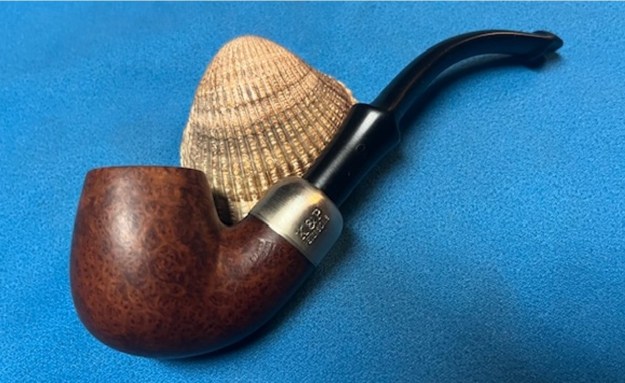
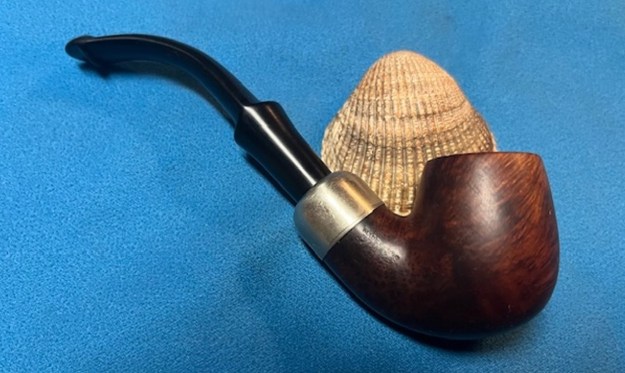
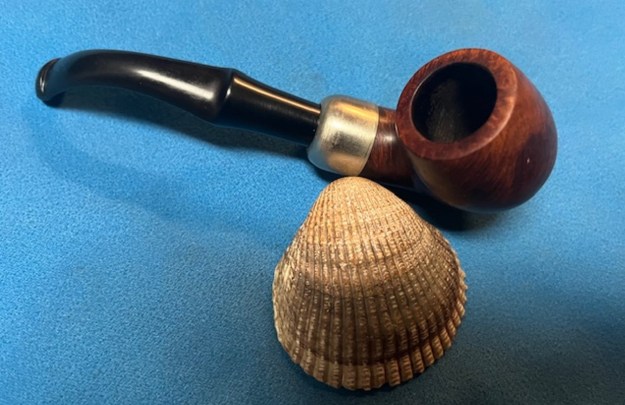
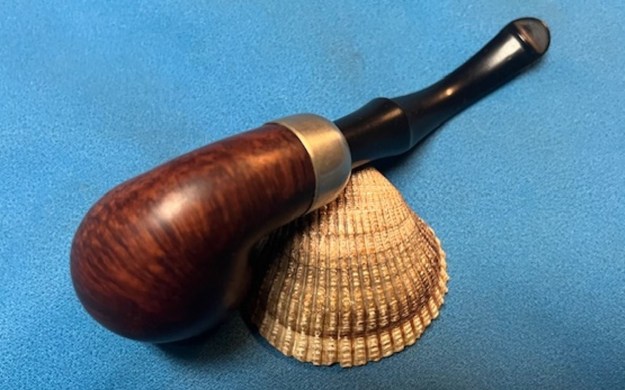
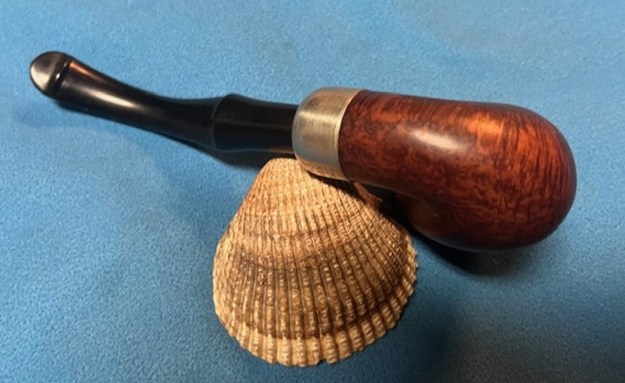
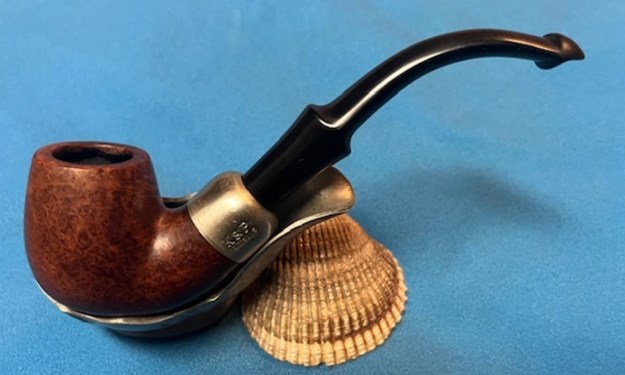
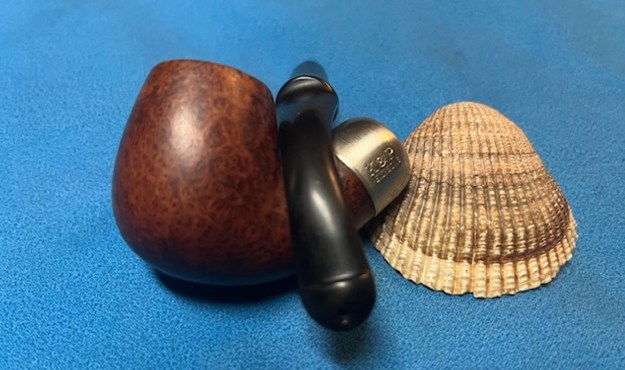
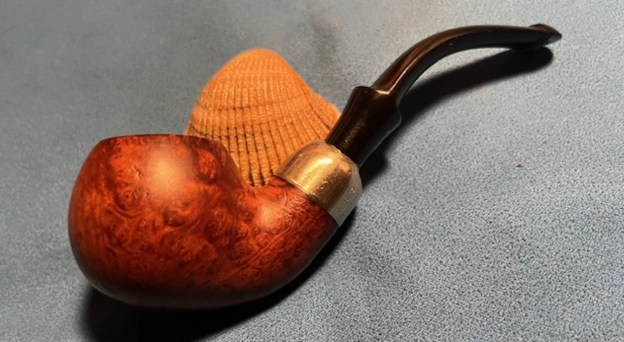
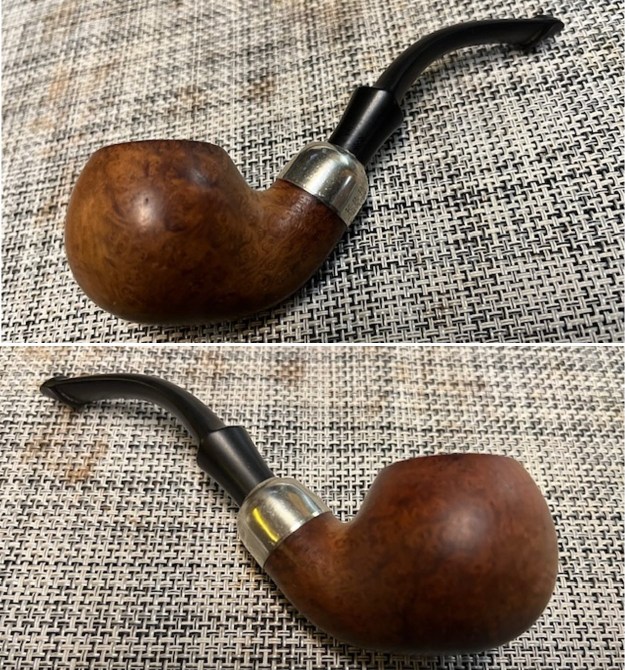
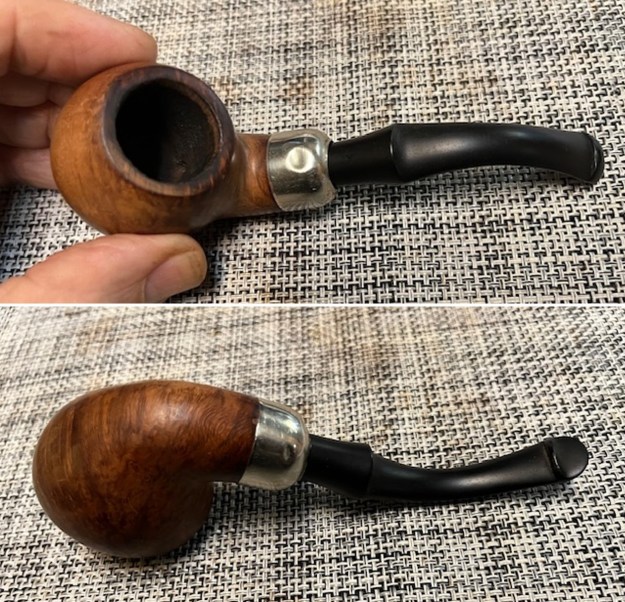
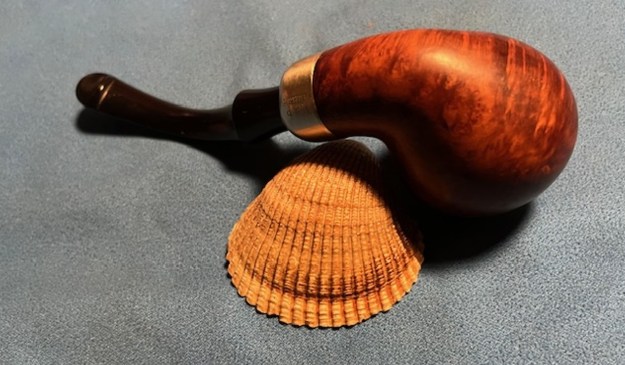
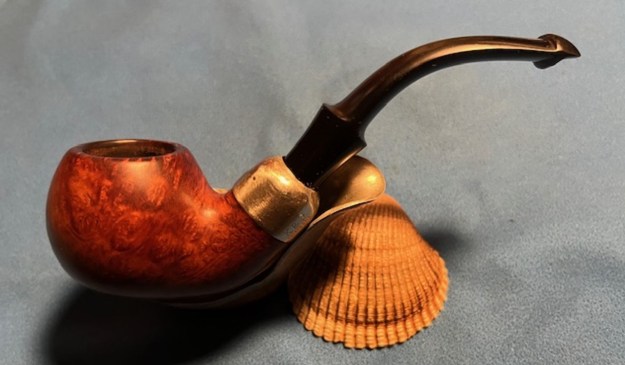
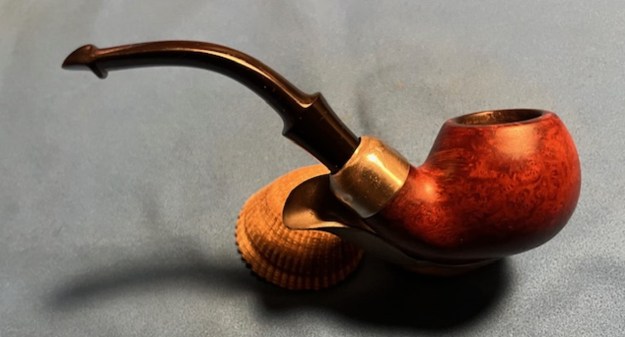
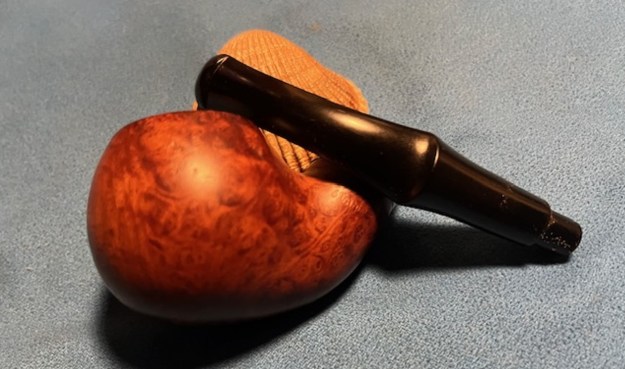
I am excited to be on the homestretch. I look forward to the final look when the Republic Era Peterson’s “Kildare” 87S Apple with a saddle stem is put back together, polished and waxed. I put the bowl and stem back together. I lightly polished the bowl and stem with Blue Diamond to polish out the scratches in the briar and the vulcanite. I gave the bowl and the stem multiple coats of carnauba wax. I buffed the pipe with a clean buffing pad to raise the shine. I hand buffed it with a microfiber cloth to deepen the shine. The pipe polished up pretty nicely. The grain really pops with the wax and polish. The shiny black vulcanite stem is a beautiful contrast to the browns of the bowl and thick shank. This Republic Era Peterson’s “Kildare” 87S Apple was another challenging pipe to work on. It is a nice piece of briar that cleaned up really well. The pipe feels great in the hand will be better when warmed up while smoking. The finished pipe is shown in the photos below. The dimensions of the pipe are Length: 5 ½ inches, Height: 1 ¾ inches, Outside diameter of the bowl: 1 inch, Chamber diameter: ¾ of an inch. The weight of the pipe is 1.13 ounces/32 grams. I will be putting it on the rebornpipes store in the Irish Pipemakers Section if you would like to add it to your rack and carry on the previous pipeman’s legacy. This is an interesting estate to bring back to life.

As always, I encourage your questions and comments as you read the blog. Thanks to each of you who are reading this blog. Remember we are not pipe owners; we are pipe men and women who hold our pipes in trust until they pass on into the trust of those who follow us.

Restoring a Worn and Tired Republic Era Peterson’s System Standard 317


Blog by Steve Laug

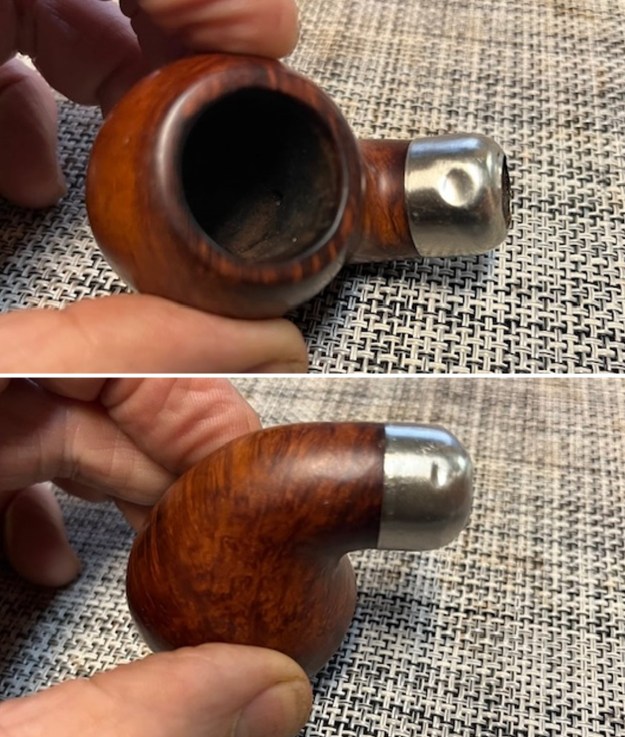
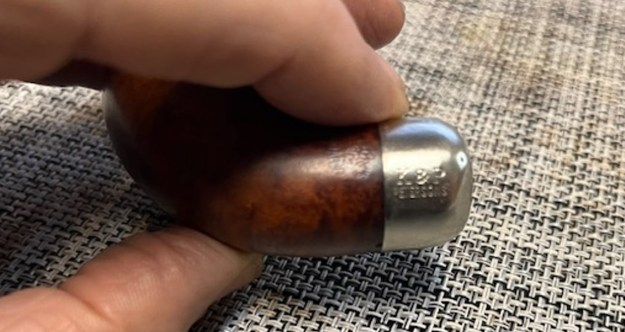
Jeff and I both have no idea where we picked up this pipe. We have no real memory of it but it is obvious that Jeff had cleaned it up sometime in its journey. It was stamped on the left side of the shank and read Peterson’s [over] System [over] Standard. On the right side it is stamped and reads Made in the Republic of Ireland (three lines) with the shape number 317 underneath. The pipe was a tired old workhorse with a worn finish. The bowl was also clean and there was no cake or damage on the bowl walls. The rim top was clean but there was some darkening on the top and on the inner and outer edge of the bowl. The nickel ferrule was tired and dull. It was stamped K&P [over] Peterson and there were no dents in the nickel ferrule. The stem was very clean with a light oxidation and light tooth marks and chatter on the top and underside. There was a faint “P” logo on the stem side. It had also straightened out over time and would need to be bent to fit the flow of the pipe. I took these photos before I started my clean up work to give an idea of the condition of the pipe. I took photos of the rim top and bowl as well as the stem to give a sense of the condition of both. The rim top had some scratching on the top and damage to the inner edge and rim top. The stem cleaned up well and the tooth marks on the top and underside ahead of the button are light and should clean up easily.I took photos of the stamping on the sides of the shank and on the ferrule and stem. It is readable but faint in places. I took the stem out of the shank and took a photo of the overall look of the pipe. I remembered that Paresh had restored a Peterson’s System Standard (his was a 314) earlier this year and as usual had done good work on the research. I turned to his blog and read through his work on the pipe (https://rebornpipes.com/2021/07/24/helping-a-fellow-piper-with-his-dream-pipea-petersons-system-pipe/). I quote below from the section on his blog regarding the dating of the pipe.

While dating a Peterson’s pipe, I always fall back to my under mentioned favorite site; http://thepetersonpipeproject.blogspot.com/2007/07/dating-peterons-pipes.html  I quote from the above site.

Stamping of Bowl: During the years of Kapp and Peterson’s business operations, the country of Ireland has undergone several name changes and K&P’s stamping on their pipes reflects these changes. Knowing these changes, a Peterson pipe can be roughly dated and placed in “eras.”

  • The Republic Era is from 1949 until the present. The Republic of Ireland was formed on 17 April 1949. From 1949 to present the stamp for this era is “Made in the Republic of Ireland” in a block format generally in three lines but two lines have been used with or without Republic being abbreviated.

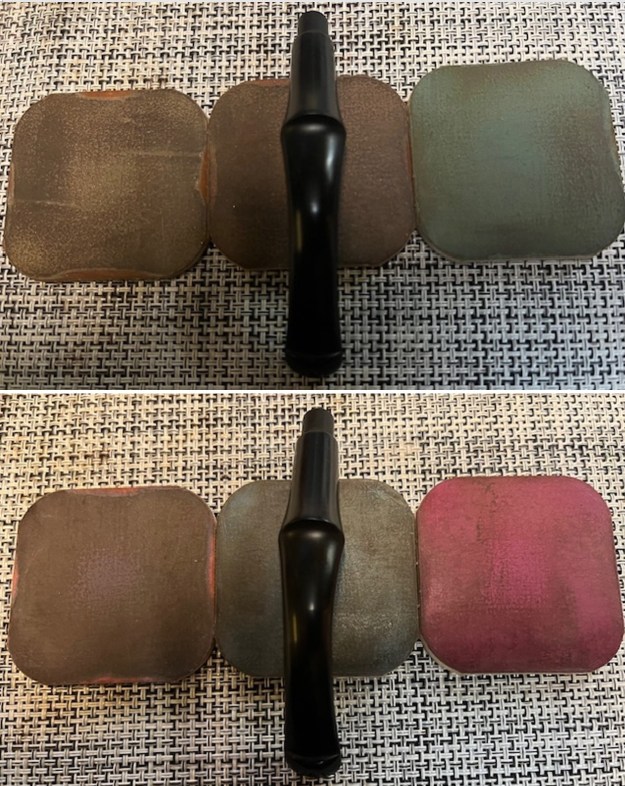
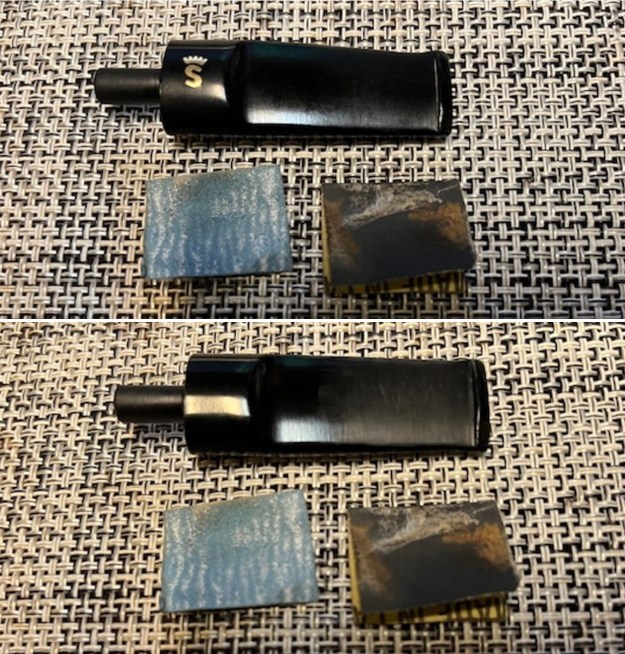
With that information at hand I turned to work on the pipe itself. I decided to start my work on the pipe by addressing the damage on the inside edge of the bowl and the rim top. I used a folded piece of 220 grit sandpaper to give the inner edge a slight bevel to remove the darkening and clean up the rim top. I wiped the top and edges down with a damp cloth and the rim top and edges looked much better. I polished the briar with micromesh sanding pads – dry sanding with 1500-12000 grit pads. I wiped the bowl down after each pad with a damp cloth. I did not need to restain the rim top and edge because with polishing the match is very good. I rubbed the bowl down with Before & After Restoration Balm. I worked it into the surface of the bowl sides and shank with my fingertips. The product works to clean, enliven and protect the briar. I let the balm sit for a little while and then buffed with a cotton cloth to raise the shine. I set the bowl aside and turned to work on the stem. I decided to start by rebending the stem. I heated it with the flame of a lighter to soften the vulcanite and when it was soft I bent it to the correct angle. It looked much better.I repaired the tooth marks on the top of the stem with clear CA glue. There were two deeper marks that I could not lift. This took care of those on the top side. There were none on the underside. Once it cured I sanded the repairs smooth with 220 grit sandpaper and cleaned up the light marks on the underside at the same time. I started polishing the stem with 600 grit wet dry sandpaper. I polished the stem with micromesh sanding pads – 1500-12000 grit pads. I wiped it down with Obsidian Oil after each sanding pad. I continued polishing the stem using Before & After Pipe Polish – both Fine and Extra Fine to further it. I wiped it down with Obsidian Oil and set it aside to dry. This Republic Era Peterson’s System Standard 317 Bent Billiard with a vulcanite stem is a great looking pipe now that it has been restored. The beautiful grain that shines through the polished finish is stunning. The dents in the rotated nickel ferrule really are a part of the story of the pipe and one that was unchangeable. It carries on to the next pipeman or woman who takes on the trust. As the pipe is smoked the patina should darken and look even better. I put the stem back on the bowl and carefully buffed the pipe with Blue Diamond on the buffing wheel. I gave the bowl and the stem multiple coats of carnauba wax on the buffing wheel and followed that by buffing the entire pipe with a clean buffing pad. I hand buffed the pipe with a microfiber cloth to deepen the shine. The finished Peterson’s System Standard 317 Bent Billiard fits nicely in the hand and feels great. Give the finished pipe a look in the photos below. The dimensions of the pipe are Length: 5 inches, Height: 1 ½ inches, Outside diameter of the bowl: 1 inch, Chamber diameter: ¾ of an inch. The weight of the pipe is 33 grams/1.16 ounces. I will soon be adding it to the rebornpipe store in the Irish Pipe Makers Section. If you are interested in this pipe send me a message or an email. Thanks for reading this blog and my reflections on the pipe while I worked on it. There are many more to come!
Restoring a Worn and Tired Republic Era Peterson’s System Standard 303


Blog by Steve Laug

Jeff and I both have no idea where we picked up this pipe. We have no real memory of it but it is obvious that Jeff had cleaned it up sometime in its journey. It was stamped on the left side of the shank and read Peterson’s [over] System [over] Standard. On the right side it is stamped and reads Made in the Republic of Ireland (three lines) with the shape number 303 underneath. The pipe was a tired old workhorse with a worn finish. The bowl was also clean and there was no cake or damage on the bowl walls. The rim top was clean but there was some darkening on the top and on the inner and outer edge of the bowl. The nickel ferrule was tired and had dents on the top and bottom. It was stamped K&P [over] Peterson and the stamp had been turned. Somewhere along the way it was glued on the shank end. It was not movable. The stem was very clean with a light oxidation and light tooth marks and chatter on the top and underside. I took these photos before I started my clean up work to give an idea of the condition of the pipe.  I took photos of the rim top and bowl as well as the stem to give a sense of the condition of both. The rim top had some scratching on the top and damage to the inner edge and rim top. The stem cleaned up well and the tooth marks on the top and underside ahead of the button are light and should clean up easily.I took photos of the stamping on the sides of the shank and on the ferrule and stem. It is readable but faint in places. I took the stem out of the shank and took a photo of the overall look of the pipe. I remembered that Paresh had restored a Peterson’s System Standard (his was a 314) earlier this year and as usual had done good work on the research. I turned to his blog and read through his work on the pipe (https://rebornpipes.com/2021/07/24/helping-a-fellow-piper-with-his-dream-pipea-petersons-system-pipe/). I quote below from the section on his blog regarding the dating of the pipe.

While dating a Peterson’s pipe, I always fall back to my under mentioned favorite site; http://thepetersonpipeproject.blogspot.com/2007/07/dating-peterons-pipes.html  I quote from the above site.

Stamping of Bowl: During the years of Kapp and Peterson’s business operations, the country of Ireland has undergone several name changes and K&P’s stamping on their pipes reflects these changes. Knowing these changes, a Peterson pipe can be roughly dated and placed in “eras.”

  • The Republic Era is from 1949 until the present. The Republic of Ireland was formed on 17 April 1949. From 1949 to present the stamp for this era is “Made in the Republic of Ireland” in a block format generally in three lines but two lines have been used with or without Republic being abbreviated.

With that information at hand I turned to work on the pipe itself. I tried to remove the nickel ferrule. I heated it, put it in the refrigerator, painted the joint of the briar and the ferrule with acetone and none of them worked. The ferrule had been obviously epoxied in place and there was nothing I could do to remove it. The dents in the ferrule would remain with the pipe as a part of its journey. There were also sharp edges on the ferrule end that I would need to smooth out to keep from damaging the vulcanite. It was turned to the left leaving the stamping on the ferrule on the left underside.

I decided to start my work on the pipe by addressing the damage on the inside edge of the bowl and the rim top. I used a folded piece of 220 grit sandpaper to give the inner edge a slight bevel to remove the darkening and clean up the rim top. I wiped the top and edges down with a damp cloth and the rim top and edges looked much better. I polished the briar with micromesh sanding pads – dry sanding with 1500-12000 grit pads. I wiped the bowl down after each pad with a damp cloth. I did not need to restain the rim top and edge because with polishing the match is very good. I rubbed the bowl down with Before & After Restoration Balm. I worked it into the surface of the bowl sides and shank with my fingertips. The product works to clean, enliven and protect the briar. I let the balm sit for a little while and then buffed with a cotton cloth to raise the shine. I used a folded piece of 220 grit sandpaper to smooth out the sharp edge of the ferrule. I polished the ferrule end with micromesh sanding pads. I buffed it with a jewellers cloth to protect and to raise the shine in the nickel. You can see the dents and the rotated ferrule in the photos below but it is still quite nice. I set the bowl aside and turned to work on the stem. I polished the stem with micromesh sanding pads – 1500-12000 grit pads. I wiped it down with Obsidian Oil after each sanding pad. I continued polishing the stem using Before & After Pipe Polish – both Fine and Extra Fine to further it. I wiped it down with Obsidian Oil and set it aside to dry.This Republic Era Peterson’s System Standard 303 Bent Apple with a vulcanite stem is a great looking pipe now that it has been restored. The beautiful grain that shines through the polished finish is stunning. The dents in the rotated nickel ferrule really are a part of the story of the pipe and one that was unchangeable. It carries on to the next pipeman or woman who takes on the trust. As the pipe is smoked the patina should darken and look even better. I put the stem back on the bowl and carefully buffed the pipe with Blue Diamond on the buffing wheel. I gave the bowl and the stem multiple coats of carnauba wax on the buffing wheel and followed that by buffing the entire pipe with a clean buffing pad. I hand buffed the pipe with a microfiber cloth to deepen the shine. The finished Peterson’s System Standard 303 Apple fits nicely in the hand and feels great. Give the finished pipe a look in the photos below. The dimensions of the pipe are Length: 5 ½ inches, Height: 1 ½ inches, Outside diameter of the bowl: 1 ¼ inches, Chamber diameter: ¾ of an inch. The weight of the pipe is 44 grams/1.55 ounces. I will soon be adding it to the rebornpipe store in the Irish Pipe Makers Section. If you are interested in this pipe send me a message or an email. Thanks for reading this blog and my reflections on the pipe while I worked on it. There are many more to come!

New Life for a Republic Era “Peterson’s Product” Shamrock 53 Lovat


Blog by Steve Laug

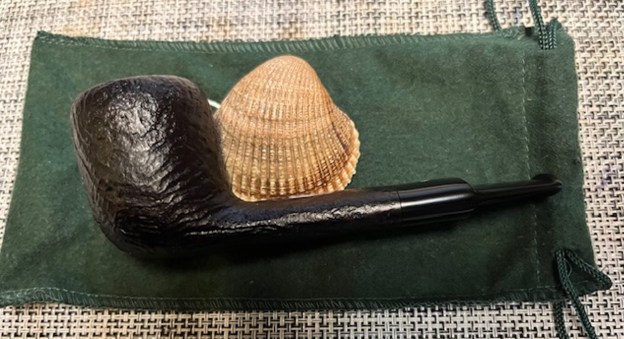
I am working through the remaining Peterson’s Pipes I have in my bins of pipes to work on. All that remain are pipes that neither Jeff or I remember where we obtained them. I chose to work on this nice looking Lovat with a fishtail style taper stem from that group of pipes. It is stamped on the left side of the shank and read SHAMROCK. It was also stamped on the right side and reads “A PETERSON’S [over] PRODUCT” over MADE IN THE REP. OF IRELAND (3 lines) with the shape number 53 next to the bowl. There was also the Shamrock logo “S” on the left side of the saddle stem. The bowl had been reamed and cleaned as obviously Jeff had done his magic on it before I got it. He had scrubbed the exterior with Murphy’s Oil Soap and a tooth brush. The rim top showed darkening and some damage on the inner and outer edges. He had rinsed it with warm water. He cleaned out the inside of the shank and stem with alcohol, cotton swabs and pipe cleaners. The vulcanite stem is lightly oxidized from sitting around here for years and has some light tooth marks and chatter on both sides ahead of the button. There is also a stamped Shamrock “S” logo on the left side of the stem. I took photos of the pipe before I started my work on it. I took photos of the rim top and the bowl to show the condition. The rim top had some nicks on it and some damage on the inner edge of the rim making it slightly out of round. There was also darkening on the bowl top. I also took photos of both sides of the stem to show the light oxidation and tooth chatter. Over all the pipe was in good condition.I took photos of the sides of the shank to show the stamping. The stamping is readable in the photos below and is as noted above. I took the stem off the pipe and took a photo of the parts to give a sense of proportion.I am including the link to the Pipedia’s article on Peterson pipes. It is a great read in terms of the history of the brand (https://pipedia.org/wiki/Peterson).

I turned to “The Peterson Pipe” by Mark Irwin and Gary Malmberg to get some background on the Peterson’s Shamrock Pipe. On page 312 it had the following information.

Shamrock (c1941-2009) Originally stamped SHAMROCK with no brand name, an inexpensive line first described in George Yale (New York) mail order booklet in 1941, imported by Rogers Import. The line was actively promoted beginning in ’45, aggressively promoted in US by Rogers from early ‘50s when they registered the Shamrock logo with US Patent Office, claiming propriety since ’38. Over the years offered with P-lip or fishtail mouthpiece, with or without nickel band, with or without shamrock logo on the band, with or without S stamped in white or later in gold on mouthpiece. Appearing in 2008 as unstained smooth and rustic, fishtail mouthpiece with gold impressed P on the stem. COMS of MADE IN over IRELAND (C1945-1965), MADE IN IRELAND forming a circle (c1945-1965), “A PETERSON’S PRODUCT” over MADE IN IRELAND (c1945-1965), MADE IN THE over REPUBLIC over OF IRELAND c1948-1998). Model is always difficult or impossible to date.

Judging from the description above, the pipe I am working on is stamped with the stamp noted in red above. It reads “A Peterson’s Product” over Made in the Rep. Of Ireland which narrows the date to between approximately 1948-1998. It is just stamped SHAMROCK on the shank side and has an “S” logo on the left side of the taper stem.

I decided to start my work on the pipe by addressing the darkening and damage on the inner and outer edge of the rim. I used a folded piece of 220 grit sandpaper to smooth out and clean up the edge. I also used a wooden ball and a piece of sand paper to give the inner edge a light bevel. It looked much better! I decided to leave the sandpits on the bowl side and filling them seemed unnecessary to me. I polished the briar with micromesh sanding pads – dry sanding with 1500-12000 grit sanding pads. I wiped the bowl down with a damp cloth after each sanding pad. (Note the sandpit on the left side of the shank near the bowl.) I worked some Before & After Restoration Balm into the surface of the briar with my fingertips to clean, enliven and protect the briar. I let the balm sit for 15 minutes and then buffed with a cotton cloth to raise the shine. The photos show the bowl at this point in the restoration process. I set the bowl aside and started working on the stem. I touched up the Shamrock “S” logo on the right side of the stem with white acrylic nail polish. Once it dried, I scraped off the excess wand sanded it clean with a worn 1500 girt micromesh sanding pad.I polished the stem with micromesh sanding pads – dry sanding with 1500-12000 grit sanding pads. I wiped it down after each sanding pad with Obsidian Oil. I finished hand polishing the stem with Before & After Pipe Stem Polish – both Fine and Extra Fine. I wiped it on with my fingers and buffed it off with a soft cloth. The stem really began to have a deep glow. I gave it a final wipe down with Obsidian Oil and set it aside to dry.I am excited to finish this Republic Era a “Peterson’s Product” Shamrock 53 Lovat. I put the pipe back together and buffed it with Blue Diamond on the buffing wheel. I gave the bowl and the stem multiple coats of carnauba wax. I hand buffed the pipe with a clean buffing pad to raise the shine. It is fun to see what the polished bowl looks like with beautiful flame grain all around it. Added to that the polished Sterling Silver band and the black vulcanite stem was beautiful. This smooth Classic Shamrock 53 Lovat is great looking and the pipe feels great in my hand. It is light and well balanced. Have a look at it with the photos below. The dimensions are Length: 5 inches, Height: 1 ¾ inches, Outside diameter of the bowl: 1 ¼ inches, Chamber diameter: ¾ of an inch. The weight of the pipe is 41grams/1.45 ounces. It turned out to be a beautiful pipe. I will be putting it on the rebornpipes store in the Irish Pipe Makers section. If you are interested in adding it to your rack let me know by message or by email to slaug@uniserve.com. Thanks for your time and as Paresh says each time he writes – Stay Safe.
New Life for a “Peterson’s Product” Shamrock 338 Bent Billiard


Blog by Steve Laug

I am working through the remaining Peterson’s Pipes I have in my bins of pipes to work on. All that remain are pipes that neither Jeff or I remember where we obtained them. I chose to work on this nice looking Bent Billiard with a P-lip style taper stem from that group of pipes. It is stamped on the left side of the shank and read SHAMROCK. It was also stamped on the right side and reads “A PETERSON’S [over] PRODUCT” over MADE IN THE REP. OF IRELAND (3 lines) with the shape number 338 next to the bowl. The bowl had been reamed and cleaned as obviously Jeff had done his magic on it before I got it. He had scrubbed the exterior with Murphy’s Oil Soap and a tooth brush. He had rinsed it with warm water. He cleaned out the inside of the shank and stem with alcohol, cotton swabs and pipe cleaners. The vulcanite stem is lightly oxidized from sitting around here for years and has some light tooth marks and chatter on both sides ahead of the button. There is also a stamped Shamrock “S” logo on the right side of the stem. I took photos of the pipe before I started my work on it. I took photos of the rim top and the bowl to show the condition. The rim top was smooth and clean. There were nicks on the rim top and some damage on the inner edge of the rim making it slightly out of round. There was also damage on the front outer edge of the bowl. I also took photos of both sides of the stem to show the light oxidation and tooth chatter. Over all the pipe was in good condition.I took photos of the sides of the shank to show the stamping. The stamping is readable in the photos below and is as noted above. I took the stem off the pipe and took a photo of the parts to give a sense of proportion. I am including the link to the Pipedia’s article on Peterson pipes. It is a great read in terms of the history of the brand (https://pipedia.org/wiki/Peterson).

I turned to “The Peterson Pipe” by Mark Irwin and Gary Malmberg to get some background on the Peterson’s Shamrock Pipe. On page 312 it had the following information.

Shamrock (c1941-2009) Originally stamped SHAMROCK with no brand name, an inexpensive line first described in George Yale (New York) mail order booklet in 1941, imported by Rogers Import. The line was actively promoted beginning in ’45, aggressively promoted in US by Rogers from early ‘50s when they registered the Shamrock logo with US Patent Office, claiming propriety since ’38. Over the years offered with P-lip or fishtail mouthpiece, with or without nickel band, with or without shamrock logo on the band, with or without S stamped in white or later in gold on mouthpiece. Appearing in 2008 as unstained smooth and rustic, fishtail mouthpiece with gold impressed P on the stem. COMS of MADE IN over IRELAND (C1945-1965), MADE IN IRELAND forming a circle (c1945-1965), “A PETERSON’S PRODUCT” over MADE IN IRELAND (c1945-1965), MADE IN THE over REPUBLIC over OF IRELAND c1948-1998). Model is always difficult or impossible to date.

Judging from the description above, the pipe I am working on is stamped with the stamp noted in red above. It reads “A Peterson’s Product” over Made in the Rep. Of Ireland which narrows the date to between approximately 1948-1998. It is just stamped SHAMROCK on the shank side and has an “S” logo on the left side of the taper stem.

I decided to start my work on the pipe by addressing the darkening and damage on the inner and outer edge of the rim. I used a folded piece of 220 grit sandpaper to smooth out and clean up the edge. I also used a wooden ball and a piece of sand paper to give the inner edge a light bevel. It looked much better!I decided to leave the sandpits on the bowl side and filling them seemed unnecessary to me. I polished the briar with micromesh sanding pads – dry sanding with 1500-12000 grit sanding pads. I wiped the bowl down with a damp cloth after each sanding pad. (Note the sandpit on the left side of the shank near the bowl.) I worked some Before & After Restoration Balm into the surface of the briar with my fingertips to clean, enliven and protect the briar. I let the balm sit for 15 minutes and then buffed with a cotton cloth to raise the shine. The photos show the bowl at this point in the restoration process. I set the bowl aside and started working on the stem. I scrubbed the oxidation on it with Soft Scrub cleanser and was able to remove the majority of it. I sanded out the tooth marks on the top and underside of the stem ahead of the button with 220 grit sandpaper and started the polishing with 400 grit wet dry sandpaper. I wiped it down with a cloth impregnated with Obsidian Oil once I was finished. I set it aside to cure. I touched up the Shamrock “S” logo on the right side of the stem with white acrylic nail polish. Once it dried, I scraped off the excess wand sanded it clean with a worn 1500 girt micromesh sanding pad.I polished the stem with micromesh sanding pads – dry sanding with 1500-12000 grit sanding pads. I wiped it down after each sanding pad with Obsidian Oil. I finished hand polishing the stem with Before & After Pipe Stem Polish – both Fine and Extra Fine. I wiped it on with my fingers and buffed it off with a soft cloth. The stem really began to have a deep glow. I gave it a final wipe down with Obsidian Oil and set it aside to dry.I am excited to finish this Republic Era a “Peterson’s Product” Shamrock 338 Bent Billiard. I put the pipe back together and buffed it with Blue Diamond on the buffing wheel. I gave the bowl and the stem multiple coats of carnauba wax. I hand buffed the pipe with a clean buffing pad to raise the shine. It is fun to see what the polished bowl looks like with beautiful flame grain all around it. Added to that the polished Sterling Silver band and the black vulcanite stem was beautiful. This smooth Classic Shamrock 338 Bent Billiard is great looking and the pipe feels great in my hand. It is light and well balanced. Have a look at it with the photos below. The dimensions are Length: 5 inches, Height: 1 ¾ inches, Outside diameter of the bowl: 1 ¼ inches, Chamber diameter: ¾ of an inch. The weight of the pipe is 41grams/1.45 ounces. It turned out to be a beautiful pipe. I will be putting it on the rebornpipes store in the Irish Pipe Makers section. If you are interested in adding it to your rack let me know by message or by email to slaug@uniserve.com. Thanks for your time and as Paresh says each time he writes – Stay Safe.

Fresh Life for a “Captain Peterson” Made in England N24 Rhodesian


Blog by Steve Laug

The next pipe on my work table is another one that I have no idea where or when we picked it up. I know that it has been here for a long time. I figure that it probably came in the same lot as the Captain Peterson N23 Apple. The pipe is stamped on the left side and read “Captain Peterson” (upper case letters in two lines). On the right side it was stamped A “Peterson’s Product” [over] Made in England. That is followed by the shape number N24 near the shank/bowl union. There is a C in a Circle logo on the left side of the taper stem. The pipe had been reamed and cleaned somewhere along its journey which told me that it had come to me from Jeff after he had done is work. He also has no idea of the provenance of the pipe. The finish on the bowl was dull but very clean. There were burn marks on the right and left side toward the cap and on the rim top and edges. It appeared that the pipe had been laid in an ashtray. The bowl was reamed and the rim top was also clean. The inner edge of the bowl looked quite good. The taper stem was also very clean. It had no oxidation on the finish but there were tooth marks and chatter on the surface of the stem. There was a bite through on the underside next to the button edge. This one lacked a stinger. I took photos of the pipe before I started my work on it. I took a photo of the bowl and rim top to show how well it had cleaned up. There was no lava on top and no cake in the bowl. You can see the burn marks or darkening on the rim top and edges – both the inner and outer.I took photos of the stamping on the sides of the shank. It is clear and readable as noted above. The stamped white logo on the side of the taper stem is also clear and readable.I removed the stem from the shank to give a sense of proportion to the pipe and to also show the unique stinger apparatus in the tenon end of the other Captain Peterson was missing on this one.I have included the information from the previous Captain Peterson restoration. For me this is a part of the restoration. I turned first to Pipephil’s site where I found both Captain Pete and Captain Peterson (http://www.pipephil.eu/logos/en/logo-peterson-rep.html#captainpete). I have included a screen capture of the Captain Pete information and also one of the Captain Peterson information. I also included the sidebar information as well.Captain Pete was a brand of Peterson’s English branch (1899-1960). Dublin continued to produce Captain Petes a couple of years after 1960. At the end of the eighties just as the Sherlock Holmes range was being issued, Peterson reintroduced the modern Captain Pete series.Captain Peterson was a brand of Peterson’s English branch. This English made pipe was crafted prior to 1960.

From there I turned to the “Peterson Pipe The Story of Kapp & Peterson” by Mark Irwin and Gary Malmberg, page 295 to see what information I could find there. I quote:

Captain Pete – This line’s name was derived from the nickname of Charles Peterson, known affectionately by friends and employees as “Captain Peterson.” The first issue. C. 1940-62, was in a smooth finish produced for Rogers Imports with a white stamped P inside C or a circled P on the mouthpiece. CAPTAIN over PETE on shank, and MADE IN IRELAND in a circle. English made versions show CAPTAIN over PETE on the shank or “CAPTAIN PETERSON” and a PETERSON’S PRODUCT over MADE IN ENGLAND or LONDON MADE over ENGLAND. The second issue (1998-), features an XL bowl with Sherlock Holmes shapes and compact stems, in rustic or combination of smooth and rustic finish, with a nickel band between two narrow brass bands.

I knew that I was working on a pipe made before 1960 in London, England. Thus, the pipe was a first issue C. 1940-62. It is a beautiful pipe that will need some work but overall was in very good condition for a pipe made before 1960. It was time to start my work on the pipe.

I began by cleaning up the inner edge of the bowl and gently topped the rim top with a folded piece of 220 grit sandpaper. I sanded the edge to give it very slight bevel and minimize the damage. I also sanded the burnt spots on the sides of the bowl to blend them into the surface. I polished the briar with micromesh sanding pads – dry sanding the bowl and shank with 1500-12000 grit pads and wiping it down with a damp cloth between each sanding pad. The bowl took on more of a shine with the completion of each sanding pad. I gave the bowl and shank a wash of Light Brown aniline stain and alcohol. I applied it with a wool dauber and flamed it to set it in the briar. Once it cured I buffed it with Blue Diamond on the buffing wheel. After buffing I worked some Before & After Restoration Balm into the briar with my fingertips. I let it sit on the bowl for 15 minutes. I buffed it off with a soft cotton cloth to raise the shine. It was a beautiful piece of briar. With the bowl finished other than the final buffing I set it aside and turned my attention to the stem. I greased a pipe cleaner with Vaseline and inserted it in the button below the bite through. I filled in the bite through on the underside with black super glue and the tooth marks on the top side with you. I removed the pipe cleaner from the stem and then used a small file to flatten the repair. I sanded it with 220 grit sandpaper and then started polishing it with 600 grit wet dry sandpaper. I touched up the Circle C logo the left side of the stem with some white acrylic fingernail polish. Once it dried I sanded off the excess and the logo looked very good.I polished it with micromesh sanding pads. I wiped the stem down between each pad with a cloth impregnated with Obsidian Oil. By the final pad the pipe stem looked very good. I finished polishing the stem with Before & After Pipe Stem polish (both Fine and Extra Fine) then wiped the stem down with another coat of Obsidian Oil. I am excited to finish the easy restoration of this “Captain Peterson” Made in England N24 Rhodesian. I put the pipe back together and buffed it with Blue Diamond on the buffing wheel. I gave the bowl and the stem multiple coats of carnauba wax. I buffed the pipe with a clean buffing pad to raise the shine and hand buffed it with microfiber cloth to deepen the shine. It is fun to see what the polished bowl looks like with the polished black, taper vulcanite stem was beautiful. This “Captain Peterson” N24 Rhodesian turned out very well and feels great in my hand. It is light and well balanced. Have a look at it with the photos below. The dimensions are Length: 6 inches, Height: 1 ¼ inches, Outside diameter of the bowl: 1 ¼ inch, Chamber diameter: ¾ of an inch. The weight of the pipe is .99 ounces/28 grams. It is a beautiful pipe and one that I will be putting on the rebornpipes store in the Irish Pipe Makers Section. If you are interested in carrying on the trust of this let me know through a message or an email to slaug@unserve.com . Thanks for walking through the cleanup with me as I worked over this pipe.

As always, I encourage your questions and comments as you read the blog. Thanks to each of you who are reading this blog. Remember we are not pipe owners; we are pipe men and women who hold our pipes in trust until they pass on into the trust of those who follow us.

Fresh Life for a “Captain Peterson” Made in England N23 Apple


Blog by Steve Laug

The next pipe on my work table is another one that I have no idea where or when we picked it up. I know that it has been here for a long time. The pipe is stamped on the left side and read “Captain Peterson” (upper case letters in two lines). On the right side it was stamped A “Peterson’s Product” [over] Made in England. That is followed by the shape number N23 near the shank/bowl union. There is a C in a Circle logo on the left side of the tape stem. The pipe had been reamed and cleaned somewhere along its journey which told me that it had come to me from Jeff after he had done is work. He also has no idea of the provenance of the pipe. The finish on the bowl was dull but very clean. The bowl was reamed and the rim top was also clean. The inner edge of the bowl was nicked and sometime it had been reamed with a knife that damaged the edge. The taper stem was also very clean. It had no oxidation on the finish and there were no tooth marks or chatter on the surface of the stem. When I removed the stem there was a unique stinger apparatus in the tenon end. I took photos of the pipe before I started my work on it. I took a photo of the bowl and rim top to show how well it had cleaned up. There was no lava on top and no cake in the bowl. You can see the damage to the inner edge of the rim. It was nicked but still relatively round.I took photos of the stamping on the sides of the shank. It is clear and readable as noted above. The stamped white logo on the side of the taper stem is also clear and readable.I removed the stem from the shank to give a sense of proportion to the pipe and to also show the unique stinger apparatus in the tenon end.Before working on the pipe, I decided to do a bit of work on the background information. For me this is a part of the restoration. I turned first to Pipephil’s site where I found both Captain Pete and Captain Peterson (http://www.pipephil.eu/logos/en/logo-peterson-rep.html#captainpete). I have included a screen capture of the Captain Pete information and also one of the Captain Peterson information. I also included the sidebar information as well.Captain Pete was a brand of Peterson’s English branch (1899-1960). Dublin continued to produce Captain Petes a couple of years after 1960. At the end of the eighties just as the Sherlock Holmes range was being issued, Peterson reintroduced the modern Captain Pete series.Captain Peterson was a brand of Peterson’s English branch. This English made pipe was crafted prior to 1960.

From there I turned to the “Peterson Pipe The Story of Kapp & Peterson” by Mark Irwin and Gary Malmberg, page 295 to see what information I could find there. I quote:

Captain Pete – This line’s name was derived from the nickname of Charles Peterson, known affectionately by friends and employees as “Captain Peterson.” The first issue. C. 1940-62, was in a smooth finish produced for Rogers Imports with a white stamped P inside C or a circled P on the mouthpiece. CAPTAIN over PETE on shank, and MADE IN IRELAND in a circle. English made versions show CAPTAIN over PETE on the shank or “CAPTAIN PETERSON” and a PETERSON’S PRODUCT over MADE IN ENGLAND or LONDON MADE over ENGLAND. The second issue (1998-), features an XL bowl with Sherlock Holmes shapes and compact stems, in rustic or combination of smooth and rustic finish, with a nickel band between two narrow brass bands.

I knew that I was working on a pipe made before 1960 in London, England. Thus, the pipe was a first issue C.1940-62. It is a beautiful pipe that will need some work but overall was in very good condition for a pipe made before 1960. It was time to start my work on the pipe.

I began by cleaning up the inner edge of the bowl with a folded piece of 220 grit sandpaper. I sanded the edge to give it very slight bevel and minimize the damage.I polished the briar with micromesh sanding pads – dry sanding the bowl and shank with 1500-12000 grit pads and wiping it down with a damp cloth between each sanding pad. The bowl took on more of a shine with the completion of each sanding pad. I worked some Before & After Restoration Balm into the briar with my fingertips. I let it sit on the bowl for 15 minutes. I buffed it off with a soft cotton cloth to raise the shine. It was a beautiful piece of briar. With the bowl finished other than the final buffing I set it aside and turned my attention to the stem. I touched up the logo the left side of the stem with some white acrylic fingernail polish. Once it dried I sanded off the excess and the logo looked very good.The stinger in the shank end was removable. I took it out and cleaned it with a brass bristle wire brush to remove any remaining tars or oils on the metals twists of the stinger. I polished it with micromesh sanding pads. I wiped the stem down between each pad with a cloth impregnated with Obsidian Oil. By the final pad the pipe stem looked very good. I finished polishing the stem with Before & After Pipe Stem polish (both Fine and Extra Fine) then wiped the stem down with another coat of Obsidian Oil. I am excited to finish the easy restoration of this “Captain Peterson” Made in England N23 Apple. I put the pipe back together and buffed it with Blue Diamond on the buffing wheel. I gave the bowl and the stem multiple coats of carnauba wax. I buffed the pipe with a clean buffing pad to raise the shine and hand buffed it with microfiber cloth to deepen the shine. It is fun to see what the polished bowl looks like with the polished black, taper vulcanite stem was beautiful. This “Captain Peterson” N23 Apple turned out very well and feels great in my hand. It is light and well balanced. Have a look at it with the photos below. The dimensions are Length: 6 inches, Height: 1 ½ inches, Outside diameter of the bowl: 1 inch, Chamber diameter: ¾ of an inch. The weight of the pipe is 1.13 ounces/32 grams. It is a beautiful pipe and one that I will be putting on the rebornpipes store in the Irish Pipe Makers Section. If you are interested in carrying on the trust of this let me know through a message or an email to slaug@unserve.com . Thanks for walking through the cleanup with me as I worked over this pipe.

As always, I encourage your questions and comments as you read the blog. Thanks to each of you who are reading this blog. Remember we are not pipe owners; we are pipe men and women who hold our pipes in trust until they pass on into the trust of those who follow us.  
The Last Filthy and Messy Pipe – a Worn and Repaired No Name Rhodesian


Blog by Steve Laug

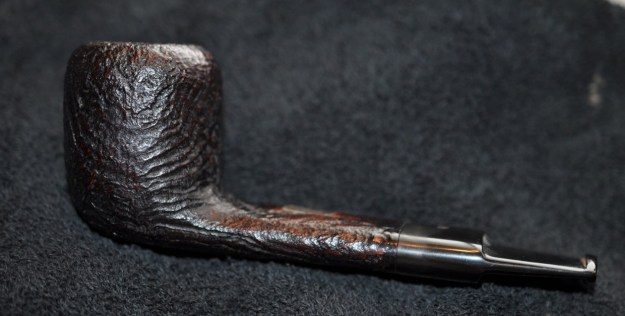
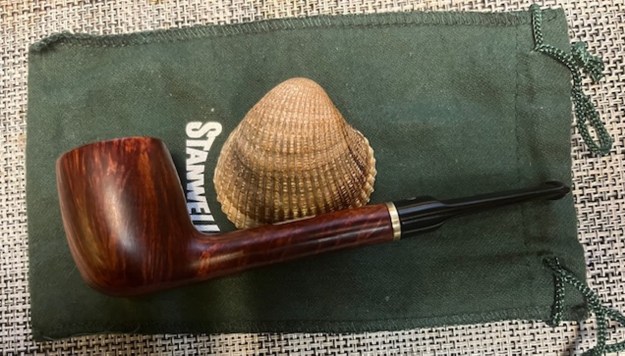
The next pipe I chose to work on came is another one from the lot of 11 pipes I purchased from a lady in Regina, Saskatchewan. She had found them in a house she bought and wanted to know if I wanted them. We struck a deal, I paid for the pipes and shipping and the box arrived while I was traveling in Europe. In the box were 4 Stanwells, 1 Danmore Bowl, 1 Soren Freehand, 1 Calabash with a Briar Bowl, 1 Nording Freehand, 1 Italian Made Bertenetti, 1 Rhodesian with a banded cracked shank, and 1 Brigham. I have restored the Nording, the snapped Stanwell, the Brigham, the Gourd Calabash with the briar bowl, restemmed the Danmore bowl, cleaned the Lorenzetti, restored the Stanwell Made in Denmark 11 Pot, the Stanwell Antique 25 Scoop and the Danish Sovereign Stanwell Second 64 Dublin. There are blogs on each restoration available. I now am down to one remaining pipe. The next pipe on the table is the last of the dirty pipes in a box full of very dirty pipes. There appears to be some stamping on the shank sides but it is so worn that it is utterly unreadable. The pipe was obviously someone’s favourite. The Rhodesian is one of my favourite pipe shapes. This one had not only been smoked to a point of heavy damage on the rim top and inner edge but the band on the shank held together a repair of three branched cracks on the shank. The stem fit well but there was a lot of grit and grime built up in the shank. There was a thick cake in the bowl, debris in the bottom and on the bowl walls and some remnants of tobacco. The airway was plugged and there was no draught on the pipe. There was a heavy lava overflow on the rim top and down the sides of the bowl and shank. The inner edges of the bowl were heavily damage, particularly on the right front side. The outer edge actually looked quite good under the grime. The rim cap was worn at an angle with more briar at the back of the bowl and on the left side than on the front side and the right side. The finish was dirty and there was lava on the sides and heel of the bowl. The stem was in rough shape in appearance but underneath the calcification and oxidation the tooth marks and chatter looked minimal. I took photos of the pipe before I started my cleanup work on it. I took a close-up photo of the bowl and rim top to show the thick cake in the bowl. The rim top shows the thick lava on it and the edges. The inner edge of the bowl is so thickly coated lava that it is hard to know the condition. The outer edges of the bowl were very worn. You can also see how poorly the stem seats against the end of the mortise. There is a gap between the shank end and the saddle stem. I took photos of the top and underside of the stem surface and button to show its general condition. It looked very good under the calcification and oxidation.I took a photo of the underside of the shank to show the cracks in the shank. There is one long crack with two branches off of it. It had been repaired and banded. I also took a photo of the shank end to show the crack and the gummy tars in the shank. It was a mess. I took the stem off the pipe and took a photo to give a sense of the proportion of the pipe. Now it was time to work on the pipe. I removed the stem and turned my attention to the bowl clean up. I reamed the bowl with a PipNet pipe reamer using the fourth (and largest) cutting head to take the cake back to bare briar. I cleaned up the reaming with a Savinelli Fitsall Pipe Knife. I sanded the walls with a piece of 180 grit sandpaper wrapped around a dowel to smooth them out.  I scrubbed the exterior of the briar with a tooth brush and undiluted Murphy’s Oil Soap. I rinsed it off with warm water to remove the grime and soap. It looked much better and the dust and debris was gone. I dried it with a cotton towel. I scrubbed out the internals of the shank, mortise and the airway in the stem with 99% isopropyl alcohol, pipe cleaners and cotton swabs. There was a lot of tar and oil in the shank and airway. It was a mess.Once I had cleaned the shank with alcohol, pipe cleaners and cotton swabs I topped the bowl on a topping board with 220 grit sandpaper. You can see the repaired cracks in the shank under the band. Once the rim was topped the right side or the rim top and inner edge were very thin and work. The bowl was out of round and a real mess. What was I going to do with the mess? Leave it be or fuss with it? I chose to fuss and rebuilt the inner edge with clear CA glue and briar dust until the bowl was back in round. I cleaned up the inner edge of the rebuilt portion of the rim top with a folded piece of 220 grit sandpaper and my Dremel and sanding drum. I was actually pretty happy with the finish… it seems I made a good choice.I filled in the deep flaws in the briar with clear CA glue and briar dust. Once they cured I sanded the repaired areas smooth with 220 grit sandpaper. I used a dark Cordovan aniline stain to give the bowl an undercoat. I applied it with a wool dauber and flamed it to set it in the grain. I rusticated the finish with a home made rustication tools. I wanted to dig deep enough in the briar to mask the many fills in the wood and the repaired cracks in the shank. It would also give the pipe a tactile finish. I rusticated the bowl and shank but left the bull cap and rim top smooth. The twin rings around the cap are clean and still very visible. I used a light brown aniline wash to restain the bowl. I applied it to the briar and flamed it with a lighter. That set the brown on the top of the rustication. I worked some Before & After Restoration Balm into the finish with a horsehair shoe brush and my finger tips to clean and enliven the briar. If you have read my blogs for a while you know that I do this religiously every time as it really works magic! With that done, the bowl was finished other than the final buffing. I set it aside and turned my attention to the stem. I wiped it down with some Soft Scrub on cotton pads to remove the oxidation and calcification. I was able to remove most of the oxidation and the calcification. It looked much better when I finished.I “painted” the stem surface with the flame of a Bic lighter to lift the tooth marks. I was able to lift all of the marks on the top surface and all but three small deeper marks. I filled in those with black CA glue. I flattened the repair with a small file and further blended it into the surface with 220 grit sandpaper and started polishing it with 600 grit wet dry sandpaper. It really was taking on a shine. I polished the stem with micromesh sanding pads – wet sanding with 1500-12000 grit sanding pads. I wiped it down after each sanding pad with Obsidian Oil. I finished polishing the stem with Before & After Pipe Stem polish (both Fine and Extra Fine) then wiped the stem down with another coat of Obsidian Oil. I am excited to finish the reconstruction of this No Name Rhodesian. I put the pipe back together and buffed it with Blue Diamond on the buffing wheel. I gave the bowl multiple coats of Conservator’s Wax and the stem multiple coats of carnauba wax. I buffed the pipe with a clean buffing pad to raise the shine and hand buffed it with microfiber cloth to deepen the shine. It is fun to see what the polished reworked bowl looks like with the polished black, saddle vulcanite stem was beautiful. This No Name Rhodesian turned out very well and feels great in my hand. It is light and well balanced. Have a look at it with the photos below. The dimensions are Length: 5 inches, Height: 1 ½ inches, Outside diameter of the bowl: 1 ½ inches long, Chamber diameter: 7/8 of an inch. The weight of the pipe is 1.80 ounces/51 grams. It is a beautiful pipe and one that I am not sure what I am going to do with at the moment. It is unique and rebuilt but looks like new. Thanks for walking through the cleanup with me as I worked over this pipe.

As always, I encourage your questions and comments as you read the blog. Thanks to each of you who are reading this blog. Remember we are not pipe owners; we are pipe men and women who hold our pipes in trust until they pass on into the trust of those who follow us.
Resurrecting a Savinelli Dry System


by Kenneth Lieblich

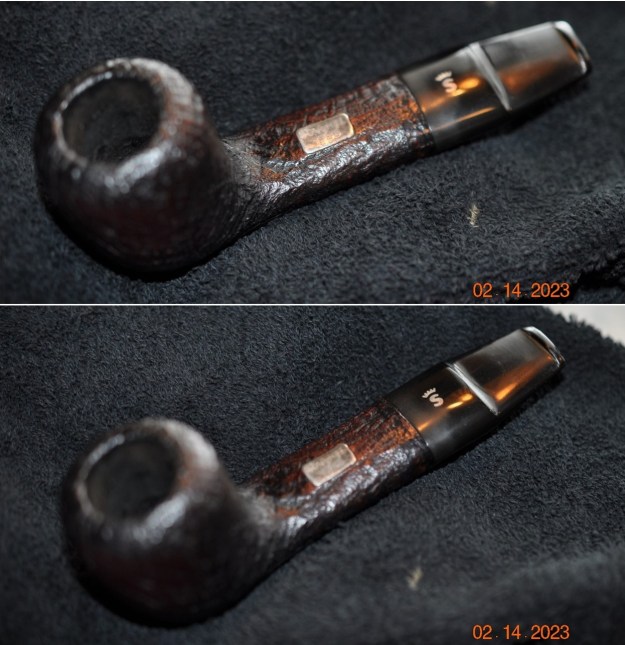
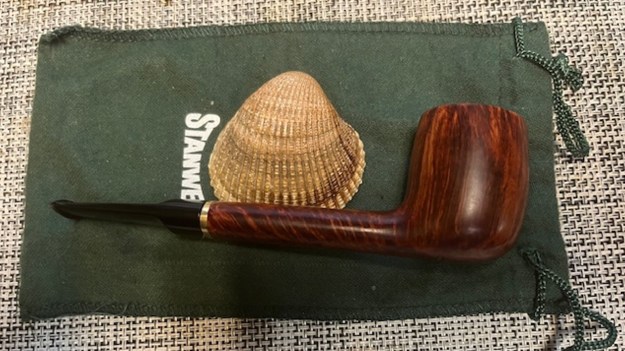
Next on the old chopping block is a wonderful Savinelli Dry System 3621 Bent Dublin. It’s a really good-looking pipe and I understand that this is a popular and well-loved series. I got it recently in a lot of pipes and it called out to me for some help. I suppose this pipe is meant to be reminiscent of the Peterson system pipes – it even has a sort of P-lip button! It’s a terrific-looking pipe, with a bit of a rough history. The main markings of the pipe are on the underside of the stummel. On the left it reads Savinelli [over] Dry [over] System. Next to that is the Savinelli crown and “S” logo. And next to that is 3621 [over] Italy.  The shank has a nickel cap with Savinelli stamped on it. Finally, the stem has a worn, but still readable, stylized “S” on the top.Savinelli is one of the most recognized names in pipe smoking and they have a long and storied history. You can read about them from their own website or from Pipedia’s article about them. However, I was particularly interested in learning more about the Dry System. Sadly, Pipedia had nothing on this subject. I checked with Pipephil and they did have a bit of information which I provide here below:However, the definitive word on the Dry System comes from Savinelli’s own website. It provided some very useful information.

In 1981, after several years of research, Savinelli launched the “Dry System”, combining trap and filter. The name “Dry” comes from the introduction of the balsa “filter” into the traditional system pipe – the “System” being the presence of the built-in moisture trap in the shank. The balsa mops up the moisture in the smoke hence the term “Dry” system, and if the pipe is smoked without the balsa all that will happen is that this moisture will condense and collect in the trap. It can then either be mopped up with a folded pipe cleaner, or flicked out.

Finally, here’s an image of the pipe from an old Savinelli shape chart:This was obviously a terrific smoker, as the wear and tear on this pipe shows. The stummel was quite dirty – both inside and out – and even appeared to have some dust-bunnies inside the bowl (not to mention all the cake). The finish was well worn and would need to be addressed. The nickel cap had some mess on it too. The stem, however, was from another planet. Have you ever seen such oxidation on a pipe stem? In fact, my wife asked me if the stem was actually meant to be brown. “No” was my emphatic answer! Aside from that, the stem had some tooth marks and nicks. I could tell that this stem was going to be a bear to deal with. This pipe is always going to retain some marks from its hard life, but it is my job to make sure this pipe looks as good as possible. It’s a wonderful pipe and it deserves to be part of someone’s collection again.

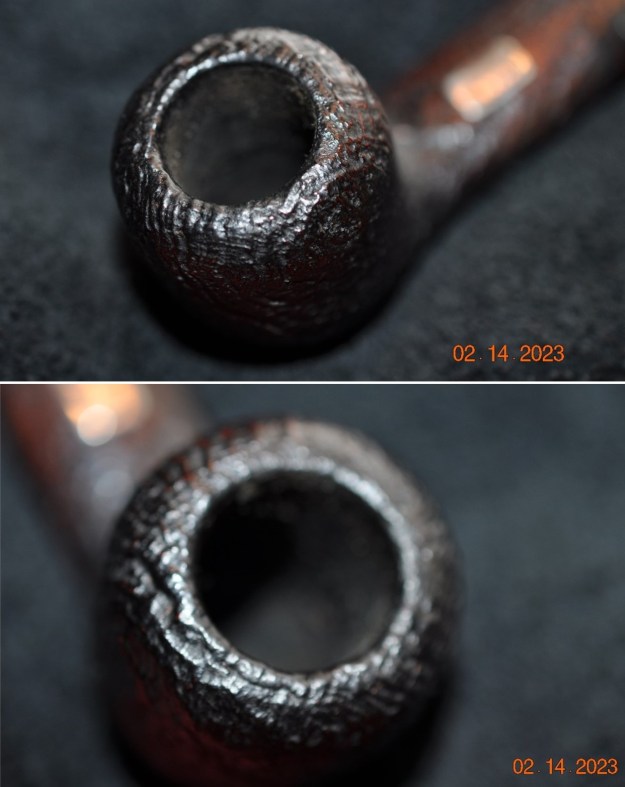
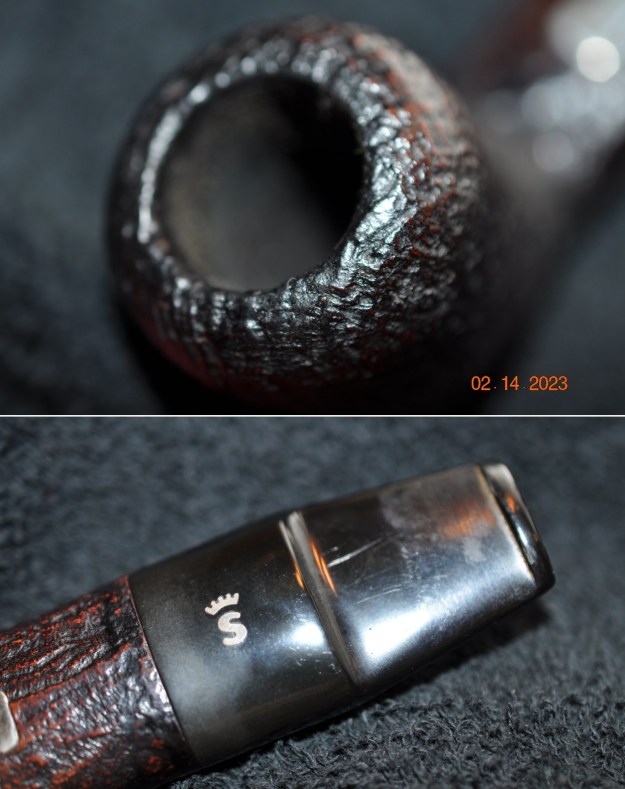
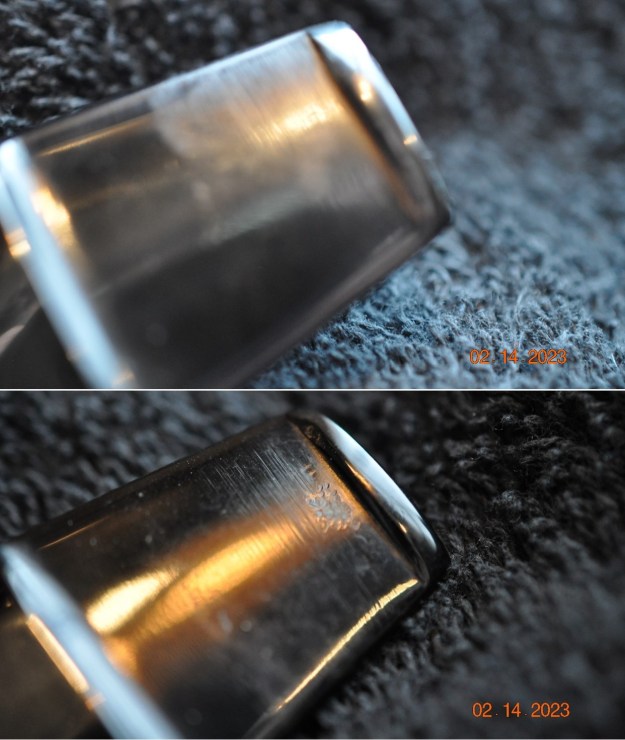
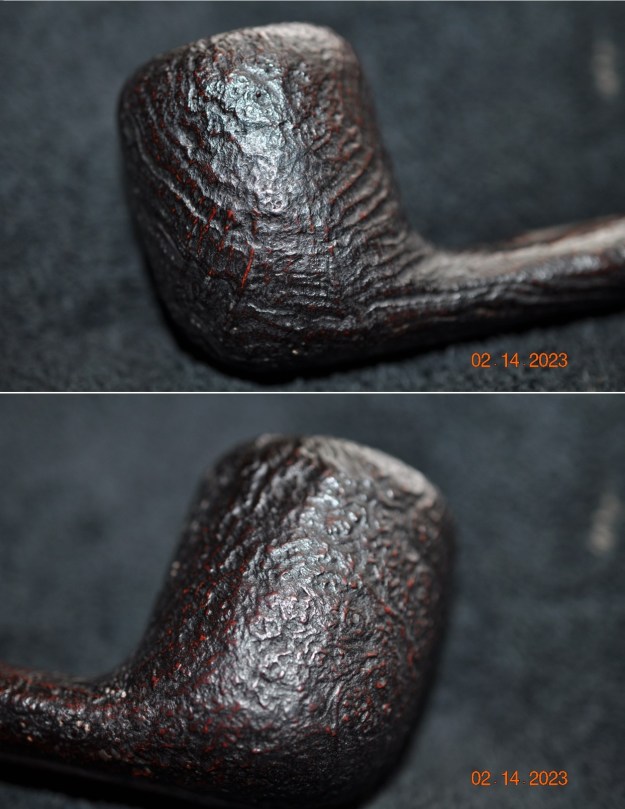
The stem is going to take a lot of work, so let’s get started. I took up the stem and cleaned it off with Murphy’s Oil Soap. It was quite dirty and needed some scrubbing. I then cleaned out the insides of the stem with pipe cleaners and lemon-infused isopropyl alcohol, and, as you can see, if was pretty dirty inside. I also took a BIC lighter and ‘painted’ the stem with its flame in order to lift the tooth marks. This was only moderately successful in raising the dents.Now to tackle the epic oxidation. Next, I scrubbed (and scrubbed and scrubbed) the stem with some SoftScrub cleanser and then put the stem in my container of deoxidizing fluid overnight. This works to draw the oxidation to the surface of the stem, so that it can be cleaned off again with more SoftScrub. As you can see, this worked in the sense that it drew out the oxidation, but there remained a lot of labour ahead. In fact, I repeated the process of scrubbing and soaking overnight, because the situation was so dire. Eventually, I got to a point where the stem was something I could work with. Before I moved on to sanding, I built up the tooth marks on the stem with black cyanoacrylate adhesive and let them fully cure. I then sanded them down with sandpapers to merge a bit better into the stem. I also added some nail polish to the ‘S’ on the stem. At this point, it was clear that more than the ‘usual’ sanding was going to be required here. I took two sanding sponges (220- and 320-grit) and worked the stem hard. I needed to sand out the remaining oxidation to get this stem the best chance of looking decent again. I then used all nine Micromesh pads (1,500 through 12,000 grit) to bring out the lovely black lustre. I also used Obsidian Pipe Stem Oil in between each pad scrubbing. As I mentioned before, there are still hints of its past life, but I’m pretty pleased with how the stem came out. On to the stummel and the usual cleaning procedures were in order for this pipe. I used the KleenReem to remove the cake in the bowl and I followed up by sanding the walls down with some 220-grit sandpaper attached to a wooden dowel. I took it down to bare briar, as I wanted to see if there were any issues in the walls of the bowl. There was some charring and some slight fissures, but nothing serious. I then proceeded to clean out the insides of the shank with Q-tips, pipe cleaners, and isopropyl alcohol. There was some nastiness inside this stummel and it took a lot of cotton to get this thing clean. I decided to de-ghost the bowl to be on the safe side. I thrust some cotton balls into the bowl and the shank and saturated them with 99% isopropyl alcohol. I let the stummel sit overnight. This caused any remaining oils, tars and smells to leach out into the cotton. I then moved on to cleaning the outside of the stummel with Murphy’s Oil Soap and a toothbrush. What a difference that made! I followed that up by cleaning the insides with some dish soap and tube brushes. As I mentioned earlier, there were some minor issues to fix inside the bowl. The solution to this problem is an excellent one: epoxy. I prepared some J.B. Weld epoxy and smeared the walls, ensuring that the epoxy was evenly spread. Once done, a good 24 hours was needed to ensure that the epoxy was properly cured. After that, I gently sanded the inside of the bowl to provide a rough surface for what was to come later. I coated the entire inside of the bowl with a mixture of activated charcoal and my wife’s homemade yogurt. Once hardened, this provides a good, slightly rough surface for a new cake to build. Due to the pipe’s hard life, it was clear to me that the pipe needed to be stained. I applied some Fiebing’s Dark Brown Leather Dye. I flamed it with a BIC lighter and let it set. I then removed the excess with isopropyl alcohol on a cotton round. It looked so much better after this. I then rubbed some Before & After Restoration Balm into the wood. I gently brushed it into the rustication grooves and let the balm sit for fifteen minutes or so. The BARB works so well at bringing out the best in the wood. I brushed it with a horsehair brush and buffed it with a microfibre cloth. Beauty! I rubbed the nickel band with 0000 steel wool. This is the least abrasive grade of steel wool and I wouldn’t use anything harsher than that. I then used a few MicroMesh pads to make the metal shine. Later, I went to the bench buffer and applied some White Diamond to the stummel and stem. Then the final polish! The rusticated surface meant that I didn’t use carnauba wax – it gets gummed up in the grooves. Instead, I used Lee Valley Conservator’s Wax which worked like a charm. This was a nifty restoration and I had fun with it. I think the result is terrific and it’s a very handsome pipe once again. I am pleased to announce that this pipe is for sale! If you are interested in acquiring it for your collection, please have a look in the “Italy” pipe section of the store here on Steve’s website. You can also email me directly at kenneth@knightsofthepipe.com. The approximate dimensions of the Savinelli Dry System 3621 Bent Dublin are as follows: length 5 in. (126 mm); height 4 in. (101 mm); bowl diameter 1⅜ in. (36 mm); chamber diameter ¾ in. (19 mm). The weight of the pipe is 1⅛ oz. (35 g). I hope you enjoyed reading the story of this restoration as much as I enjoyed restoring it. If you are interested in more of my work, please follow me here on Steve’s website or send me an email. Thank you very much for reading and, as always, I welcome and encourage your comments.
Yet Another Filthy and Messy Pipe – a Danish Sovereign Made in Denmark 64 Freehand Dublin


Blog by Steve Laug

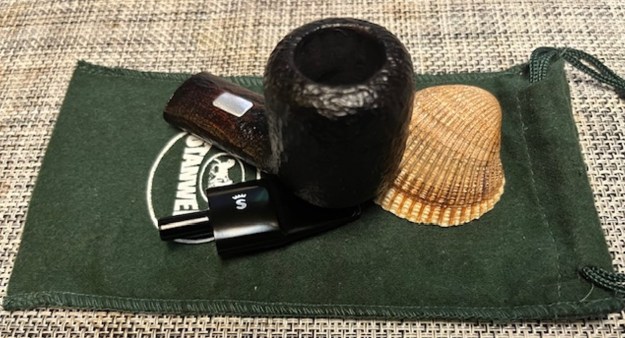
The next pipe I chose to work on came is another one from the lot of 11 pipes I purchased from a lady in Regina, Saskatchewan. She had found them in a house she bought and wanted to know if I wanted them. We struck a deal, I paid for the pipes and shipping and the box arrived while I was traveling in Europe. In the box were 4 Stanwells, 1 Danmore Bowl, 1 Soren Freehand, 1 Calabash with a Briar Bowl, 1 Nording Freehand, 1 Italian Made Bertenetti, 1 Rhodesian with a banded cracked shank, and 1 Brigham. I have restored the Nording, the snapped Stanwell, the Brigham, the Gourd Calabash with the briar bowl, restemmed the Danmore bowl, cleaned the Lorenzetti, restored the Stanwell Made in Denmark 11 Pot, and the Stanwell Antique 25 Scoop. There are blogs on each restoration available. I now am down to two remaining pipes. The next pipe on the table is another one of the dirtiest pipes in a box full of very dirty pipes. It is stamped on the left side of the shank and reads Danish [over] Sovereign (a Stanwell second). There is a shape number 64 on the right side of the shank. On the underside of the shank and reads Made in Denmark. There is a fill in the shank underside which confirms the Danish Sovereign stamping on the shank. It is a great shape for a pipe – a freehand style Dublin that is another Ivarsson design. There was a thick cake in the bowl, debris in the bottom and on the bowl walls and some remnants of tobacco. The airway was plugged and there was no draught on the pipe. There was a heavy lava overflow on the plateau rim top and down the sides of the bowl and shank. It was hard to know the condition of the inner edges of the bowl because of the cake. The outer edge actually looked quite good under the grime. The finish was dirty and dusty and there was lava on the sides and heel of the bowl. The stem was in rough shape in appearance but underneath the calcification and oxidation the tooth marks and chatter looked minimal. I took photos of the pipe before I started my cleanup work on it. I took a close-up photo of the bowl and rim top to show the thick cake in the bowl. The rim top shows some thin lava filling in the plateau. The inner edge of the bowl is so thickly coated lava that it is hard to know the condition. The outer edges of the bowl look quite good. You can also see what appears to be damage to the edge of the shank. The stem seats against the end of the mortise but there is still a gap between the shank end and the saddle stem. I took photos of the top and underside of the stem surface and button to show its general condition. It looked very good under the calcification and oxidation.The stamping on the sides of the shank are faint but readable as noted above. It was very hard to capture them in the light for the photos but they are present. I took the stem off the pipe and took a photo to give a sense of the proportion of the pipe. I turned first to Pipephil’s site (http://www.pipephil.eu/logos/en/logo-d2.html) to see what information I could find there. On the site was a pipe similarly stamped to the one that I am working on. It is clearly identified as a Stanwell second that was marketed only in the USA and Canada. I turned to Pipedia to read more about the brand (https://pipedia.org/wiki/Danish_Sovereign). There was nothing definitive there only a statement that it may be a Stanwell second line. It looks I am dealing with a pipe made especially for the American and Canadian market by Stanwell.

I recognized the shape as being a Sixten Ivarsson design but Icould not remember the shape number associated with it. I turned to Pipedia’s article on shapes that Bas Stevens originally worked on to check it out (https://pipedia.org/wiki/Stanwell_Shape_Numbers_and_Designers). I am including a shape chart below. It identifies the shape as a 64 (bottom right side of the fourth column in the photo below).I also have included information the site regarding the shape 64. The pipe I am working on is 64a in the list below. Stanwell’s “64” shape number actually corresponds to two different designs. The first is a larger version of the “64,” a Freehand, plateau top, saddle stem and designed by Sixten Ivarsson. This vintage “64” is of the first type, really showcasing flowing Dublin shape and the plateau rim top.

  • 64. Two versions of this shape number
  1. a) Freehand, Plateau top, saddle mouthpiece, by Sixten Ivarsson.
  2. b) Bent billiard, medium size, full mouthpiece.

List by designer

  • Sixten Ivarsson: 01 (Nefertiti), 01 (Pick Ax), 02, 06, 07, 09, 10, 11, 13, 15, 17, 19, 20 (Boat), 20 (Bent Dublin), 21, 22, 23, 24, 25, 30, 32 (Free Hand), 33, 34, 35 (Bent Free Hand), 37, 38, 41, 43, 48, 55, 59, 62, 63, 64, 70 (Free Hand Volcano/Sitter), 75 (Billiard w/oval shank), 79, 82, 85 (Bent e), 86, 87, 90, 91R, 95, 96, 105, 110, 119, 124, 2606, POY 1993.

Now I knew it was an Ivarsson Design shape 64 with a saddle stem. Now it was time to work on the pipe. I removed the stem and turned my attention to the bowl clean up. I reamed the bowl with a PipNet pipe reamer using the fourth (and largest) cutting head to take the cake back to bare briar. I cleaned up the reaming with a Savinelli Fitsall Pipe Knife. I sanded the walls with a piece of 180 grit sandpaper wrapped around a dowel to smooth them out.  I scrubbed the exterior of the briar with a brass bristle wire brush, a tooth brush and undiluted Murphy’s Oil Soap. I rinsed it off with warm water to remove the grime and soap. It looked much better and the dust and debris was gone. I dried it with a cotton towel. I worked over the plateau rim top and the bowl some more with a brass bristle wire brush to further knock off the debris in the valleys of the finish.I scrubbed out the internals of the shank, mortise and the airway in the stem with 99% isopropyl alcohol, pipe cleaners and cotton swabs. There was a lot of tar and oil in the shank and airway. It was a mess.Once I had cleaned the shank with alcohol, pipe cleaners and cotton swabs I tried the fit of the stem in the shank. It fit tightly against the mortise end but the gap between the shank end and the stem saddle was still open. I examined the fit and found that the shank end was not even – in fact it was slightly wavy. I heated the brass band and pressed it onto the end of the shank and then checked the fit of the stem and it was perfect. The band created a smooth shank end for the saddle stem. I also really like the look of the thin band. I decided to deghost the bowl so I stuffed it with cotton bolls and rolled one into the shank end. I used a ear syringe to fill the bowl with isopropyl alcohol. I set the bowl aside overnight to let it leech out the tars and oils from the bowl and shank. I polished the briar with micromesh sanding pads – dry sanding it with 1500-12000 git sanding pads. I worked on the high spots on the plateau top along with the bowl and shank. As I finished the last of the micromesh it looked much better. With the briar polished smooth I decided to stain the bowl with a Light Brown aniline wash. I used a wool dauber to apply the stain. I lit it with a lighter to set the stain in the grain. I repeated the process several time until I was happy with the coverage. I buffed the bowl with Blue Diamond on the buffing wheel to polish the newly stained briar. I like the way the wash made the grain stand out and blended in some of the darkened spots. It looked very good.

I worked some Before & After Restoration Balm into the surface of the briar with my fingertips to clean, enliven and protect the briar. I let the balm sit for 15 minutes and then buffed with a cotton cloth to raise the shine. The photos show the bowl at this point in the restoration process. With that done, the bowl was finished other than the final buffing. I set it aside and turned my attention to the stem. I wiped it down with some Soft Scrub on cotton pads to remove the oxidation and calcification. I was able to remove most of the oxidation and the calcification. It looked much better when I finished.I “painted” the stem surface with the flame of a Bic lighter to lift the tooth marks. I was able to lift all of the marks on the top surface and all but three small deeper marks. I filled in those with black CA glue. I flattened the repair with a small file and further blended it into the surface with 220 grit sandpaper and started polishing it with 600 grit wet dry sandpaper. It really was taking on a shine. I polished the stem with micromesh sanding pads – wet sanding with 1500-12000 grit sanding pads. I wiped it down after each sanding pad with Obsidian Oil. I finished polishing the stem with Before & After Pipe Stem polish (both Fine and Extra Fine) then wiped the stem down with another coat of Obsidian Oil.I am excited to finish this Ivarsson Design Danish Sovereign Made in Denmark 64 Freehand. I put the pipe back together and buffed it with Blue Diamond on the buffing wheel. I gave the bowl and the stem multiple coats of carnauba wax. I buffed the pipe with a clean buffing pad to raise the shine and hand buffed it with microfiber cloth to deepen the shine. It is fun to see what the polished bowl looks like with the polished black, saddle vulcanite stem was beautiful. This Danish Sovereign Made in Denmark 64 Freehand is nice looking and the pipe feels great in my hand. It is light and well balanced. Have a look at it with the photos below. The dimensions are Length: 5 ½ inches, Height: 2 inches, Outside diameter of the bowl: 1 ¾ inches long, Chamber diameter: 7/8 of an inch. The weight of the pipe is 1.83 ounces/52 grams. It is a beautiful pipe and one that I will be putting in the Danish Pipemaker Section on the rebornpipes store. Thanks for walking through the cleanup with me as I worked over this pipe.

As always, I encourage your questions and comments as you read the blog. Thanks to each of you who are reading this blog. Remember we are not pipe owners; we are pipe men and women who hold our pipes in trust until they pass on into the trust of those who follow us.