Blog by Bill Hein
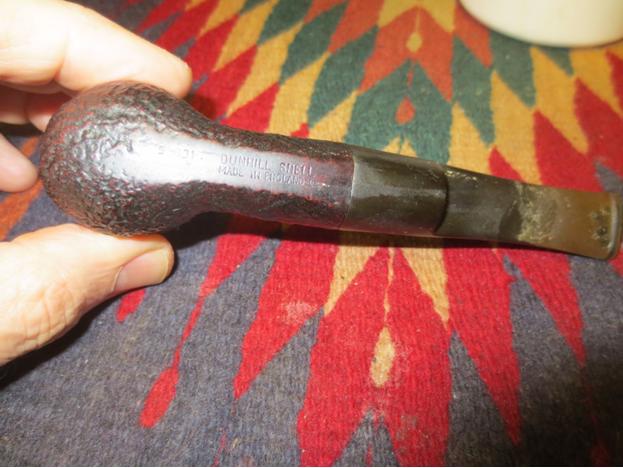
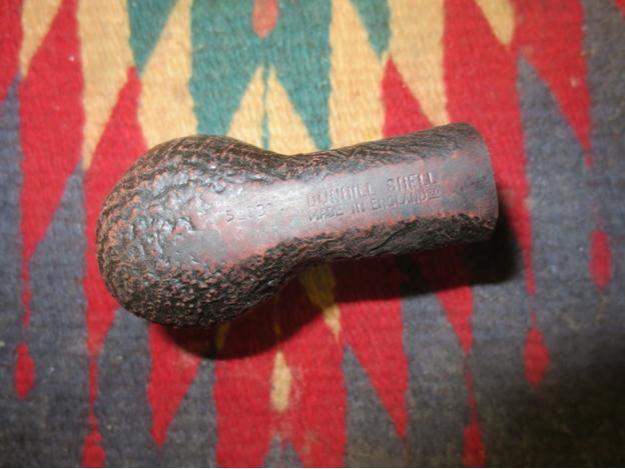
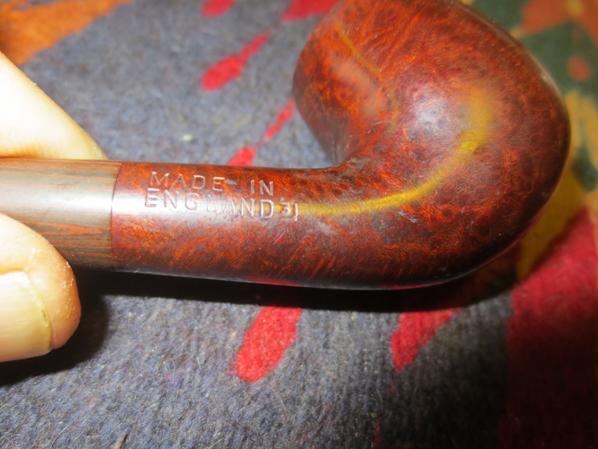
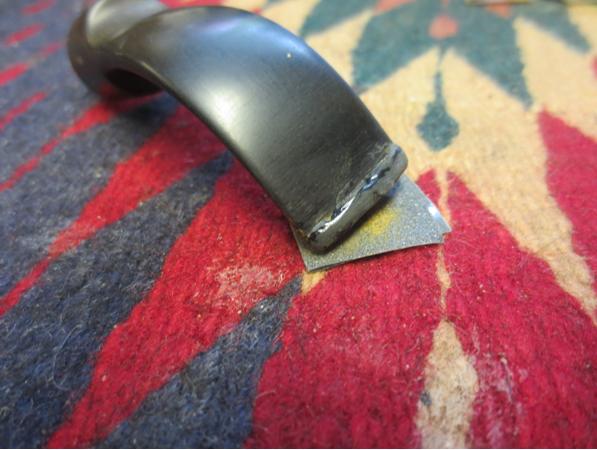
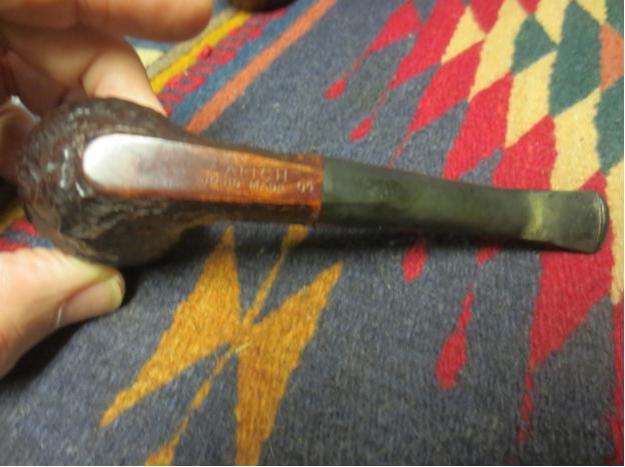
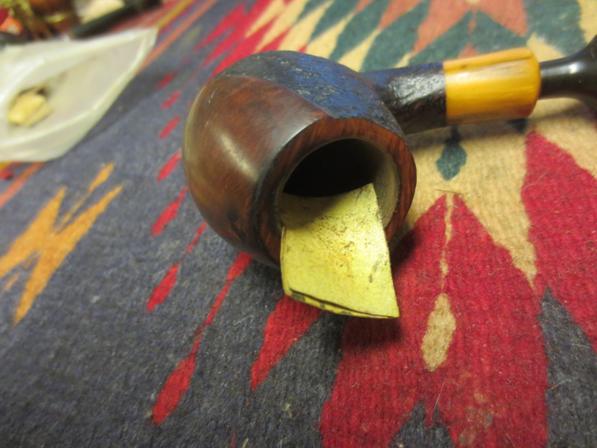
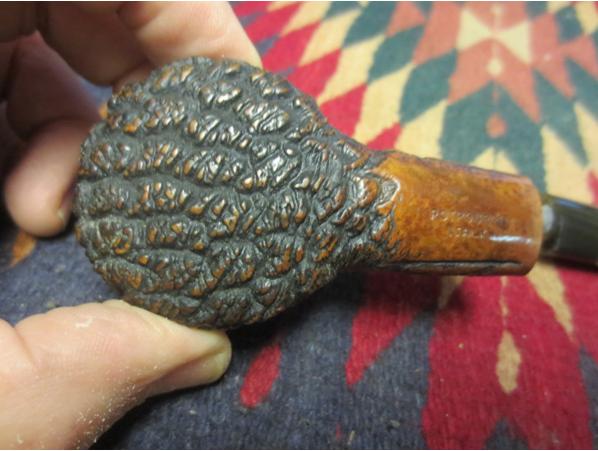
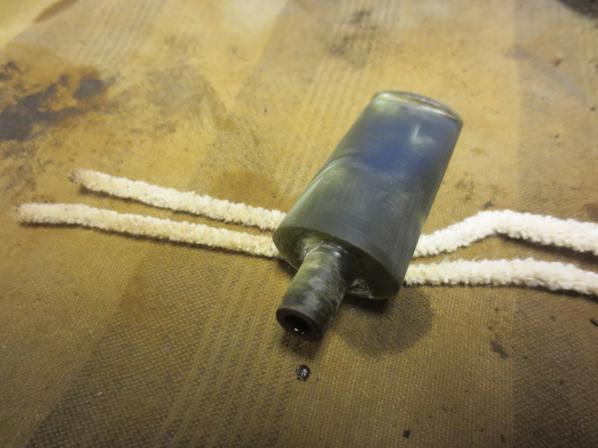
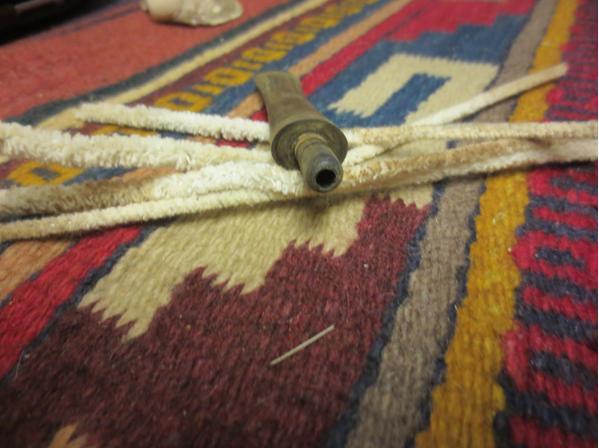
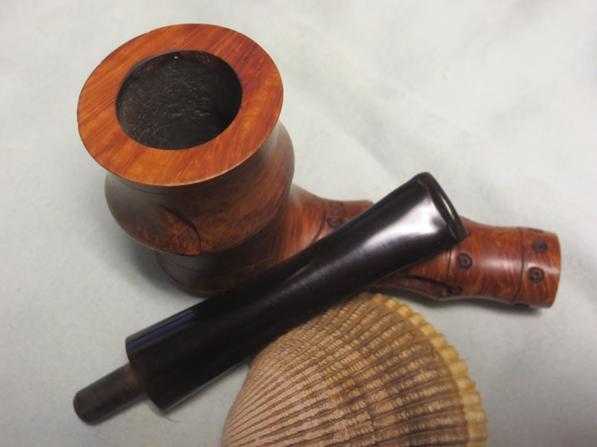
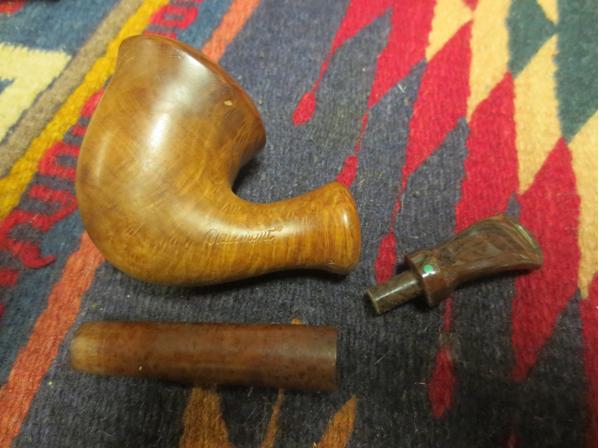
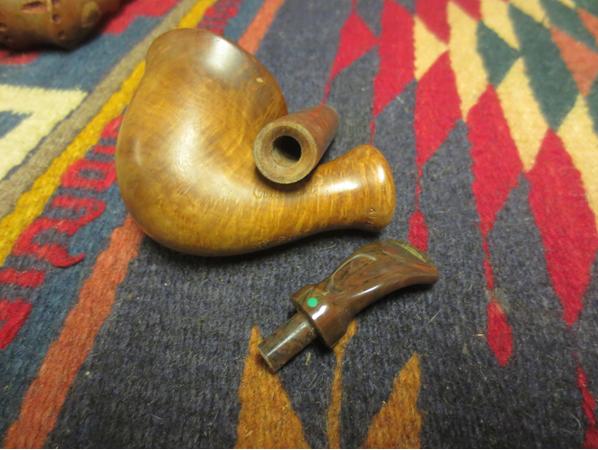
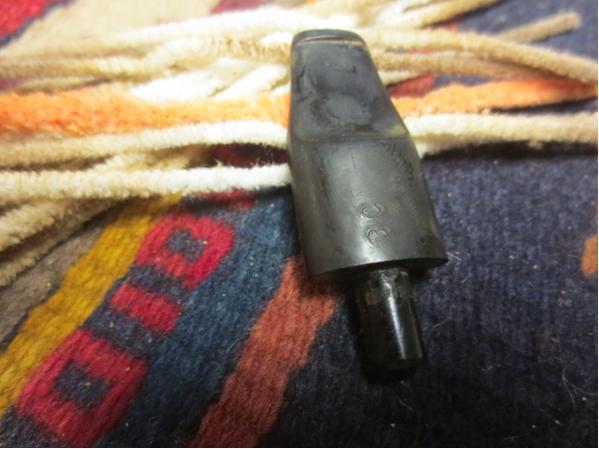
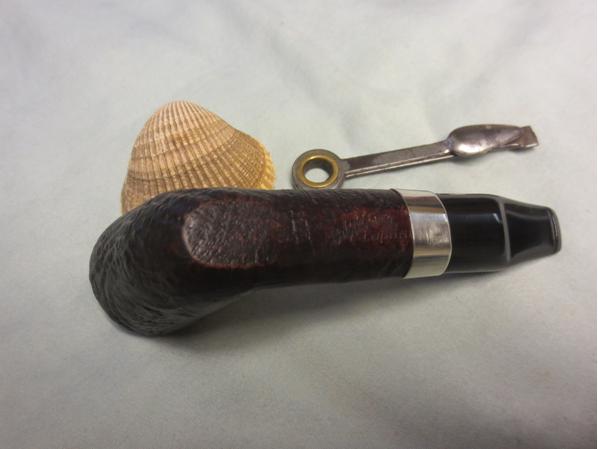
 I bought a lot of pipes a while back that had one of these early Dr. Grabow pipes. Before I started cleaning this one up I started digging around the net to see what I could find out about it as I had never seen the propeller logo before. I mainly collect old Kaywoodies and as such didn’t know much about the older Grabows other than the few I have being great smokers. The bottom of the shank is stamped with the patent number 1896800. I went to the U.S. patent website and searched the number. The patent date is February 7th, 1933. I was unable to save the images but the patent looked to be on stinger design. From reading the patent, it seems the stinger and threaded stem were designed to help strengthen the pipe shank with the insert. The shape of the stinger was designed to also be used as a bowl scraper.
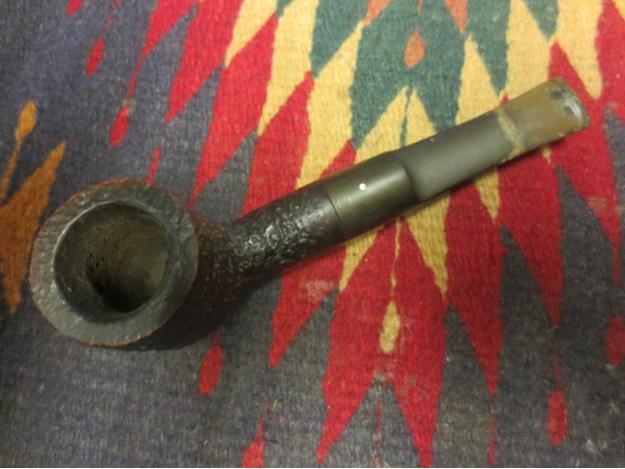
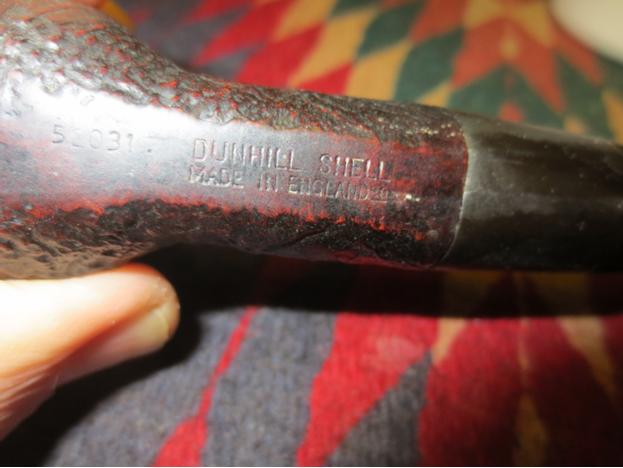
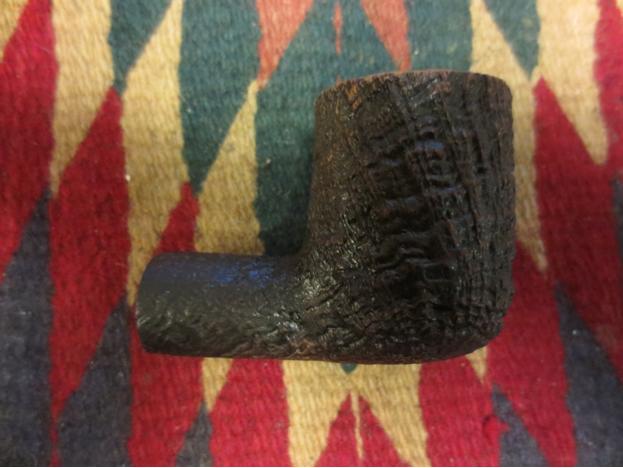
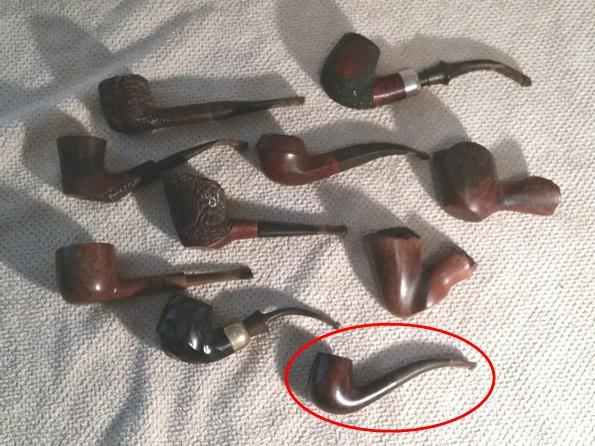
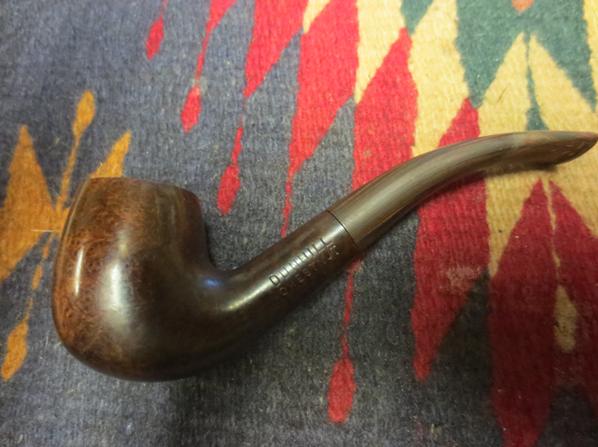
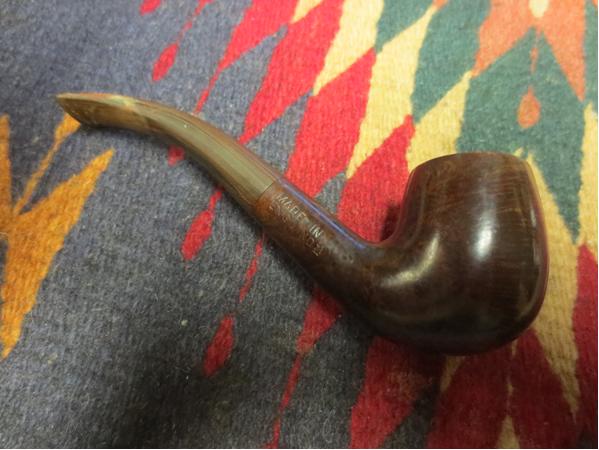
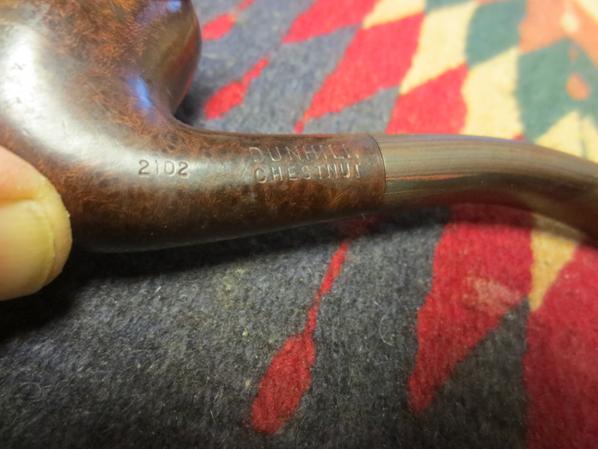
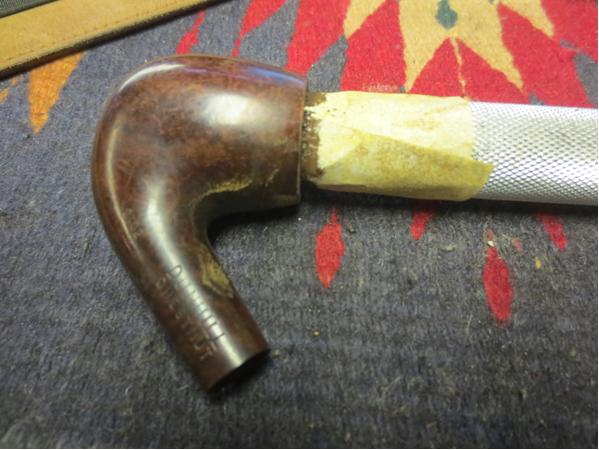
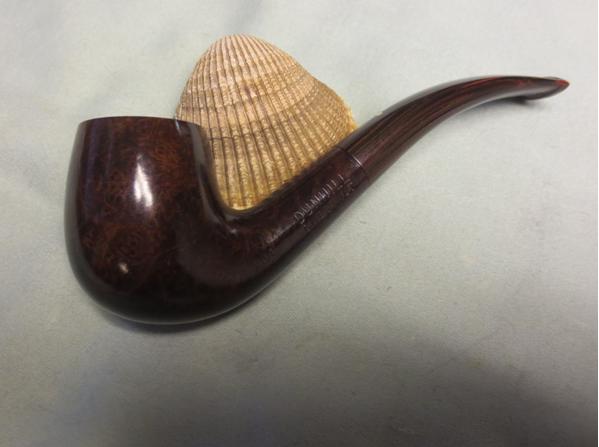
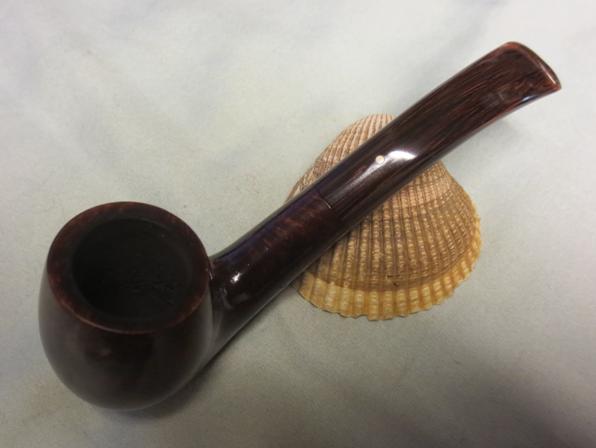
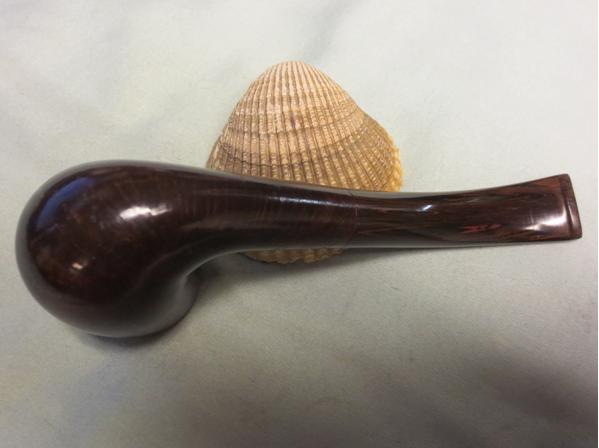
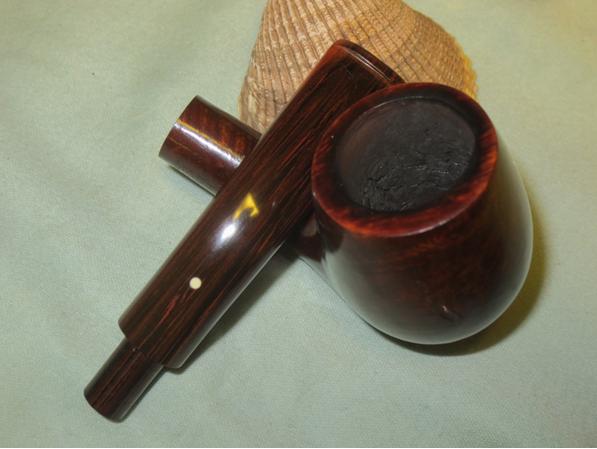
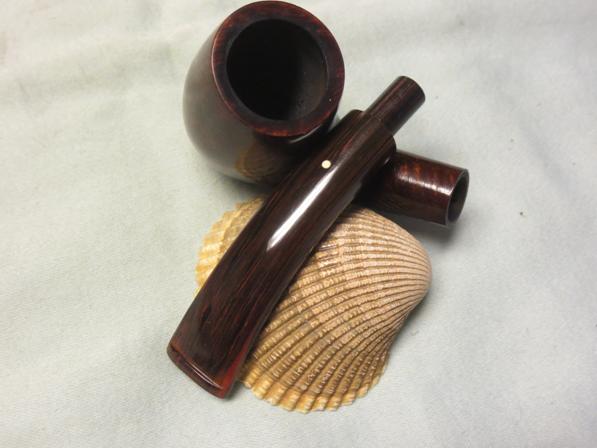
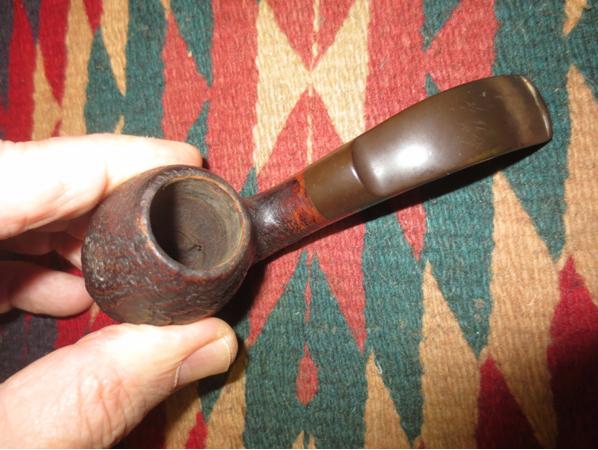
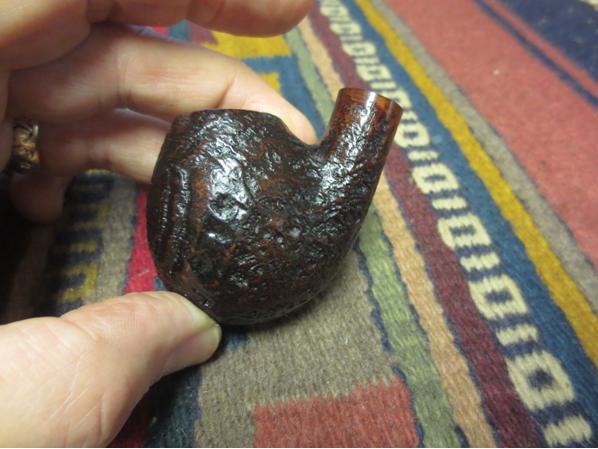
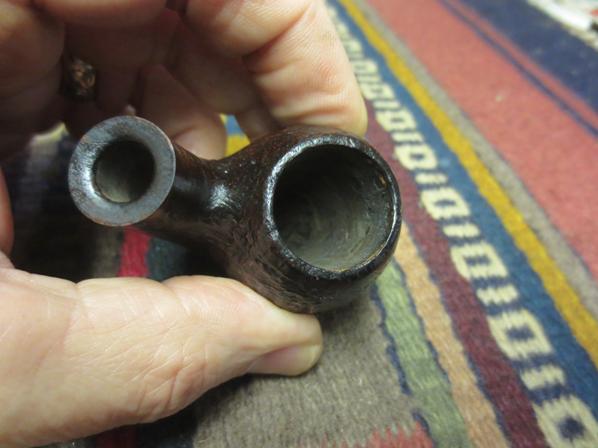
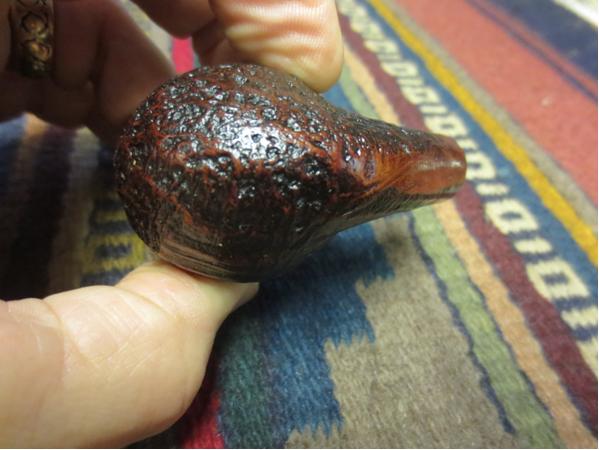
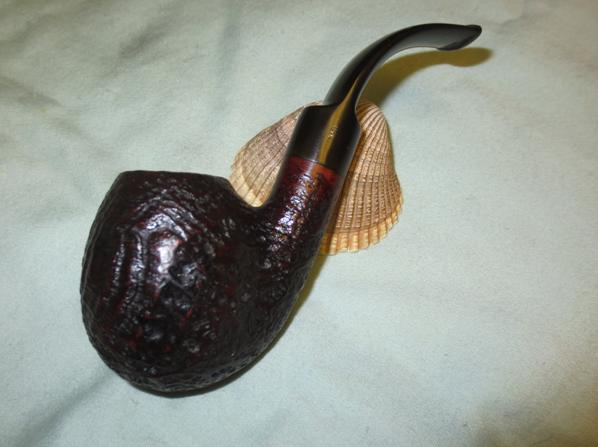
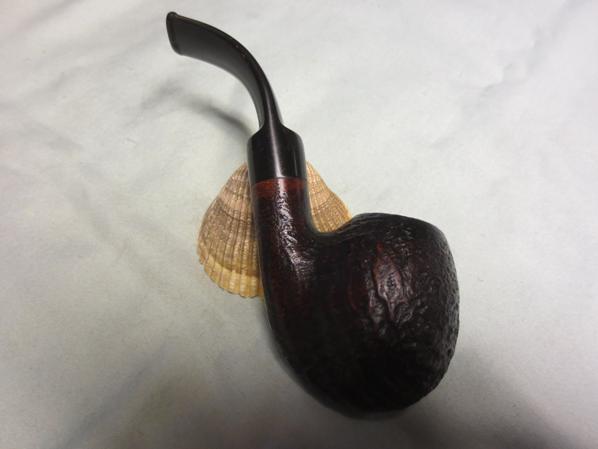
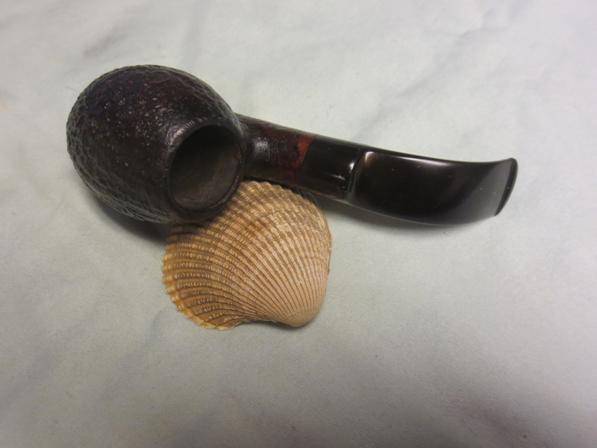
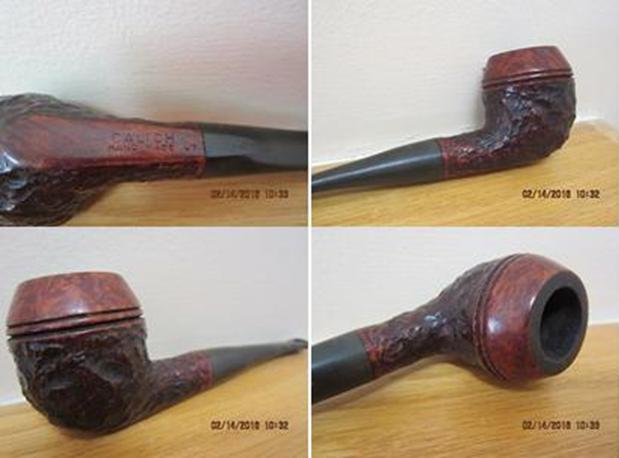
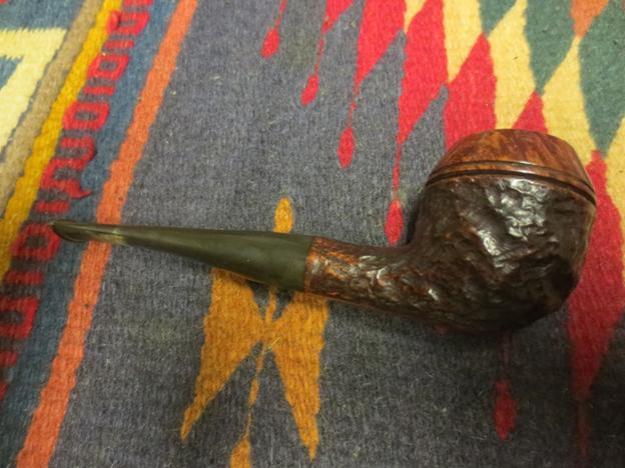
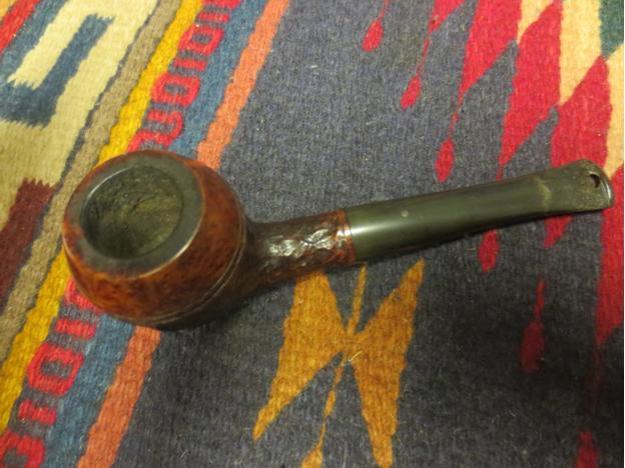
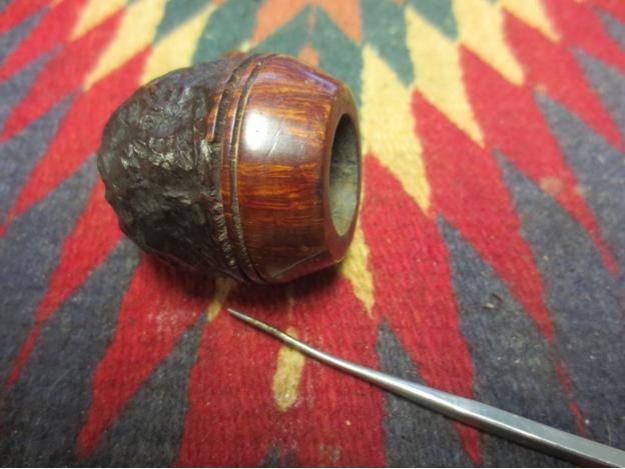
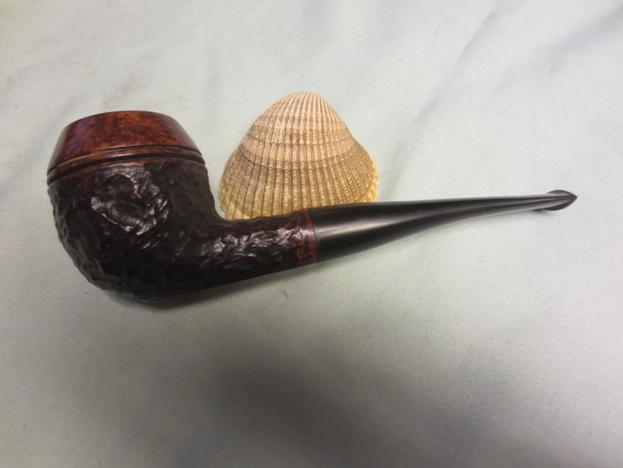
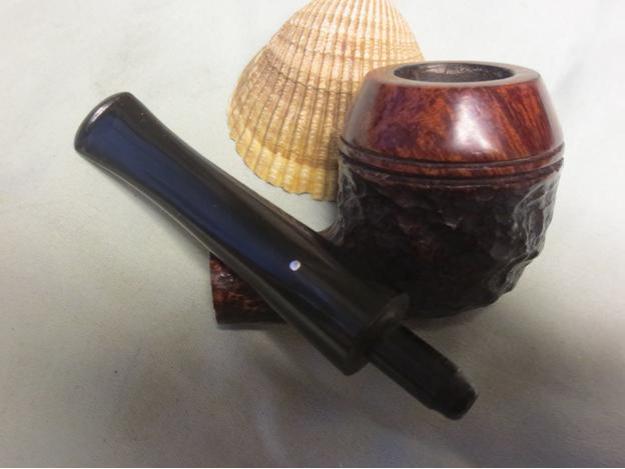
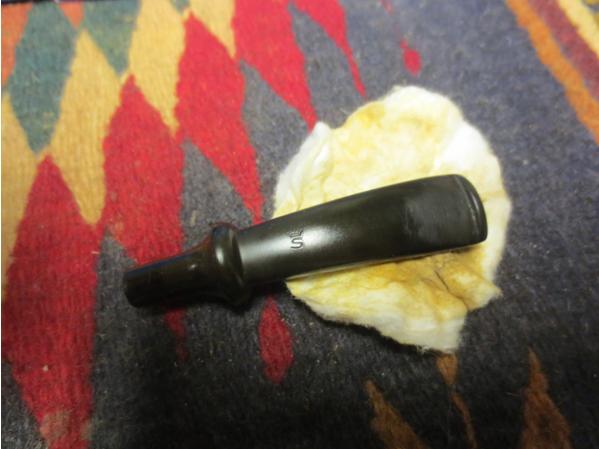
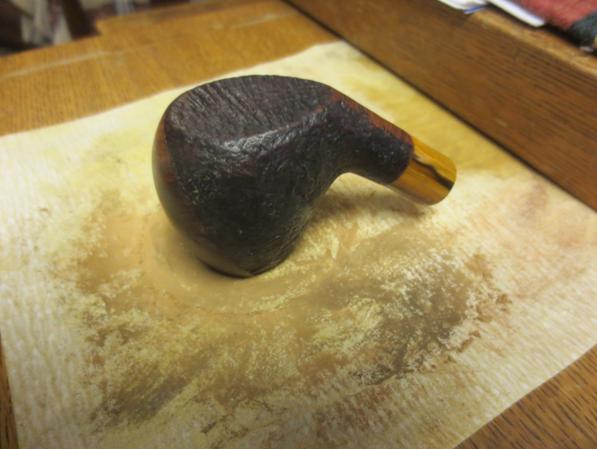
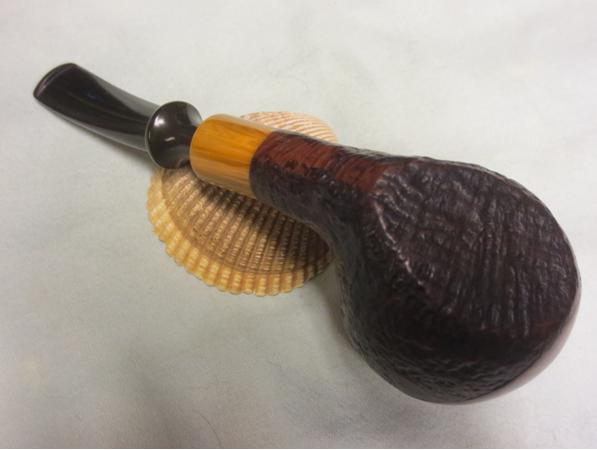
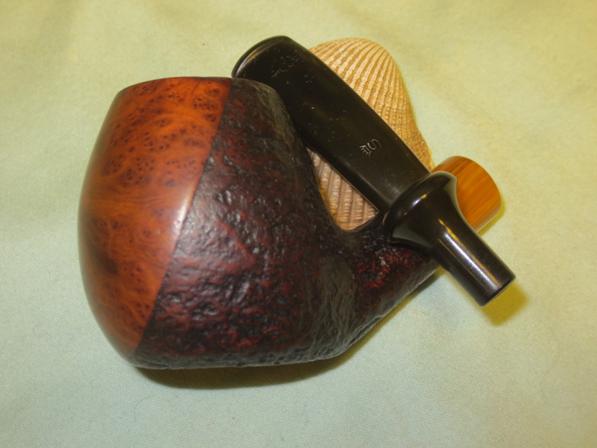
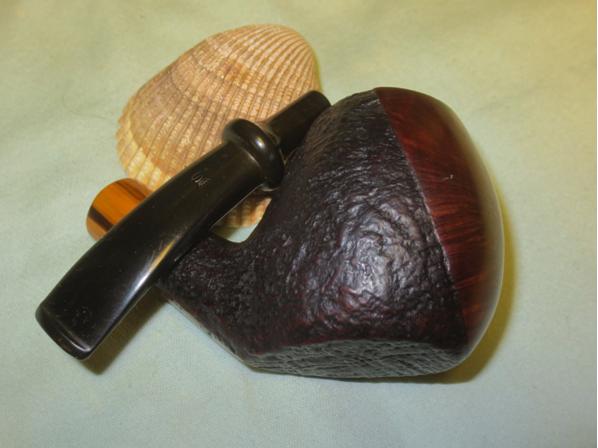
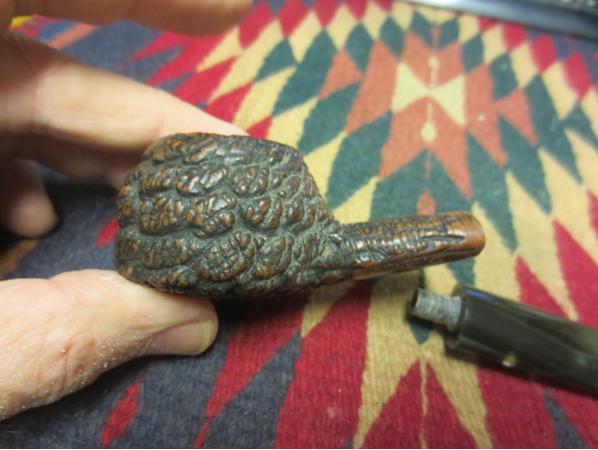
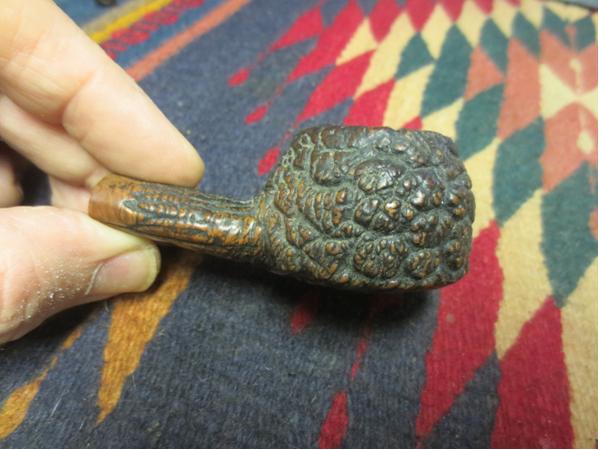
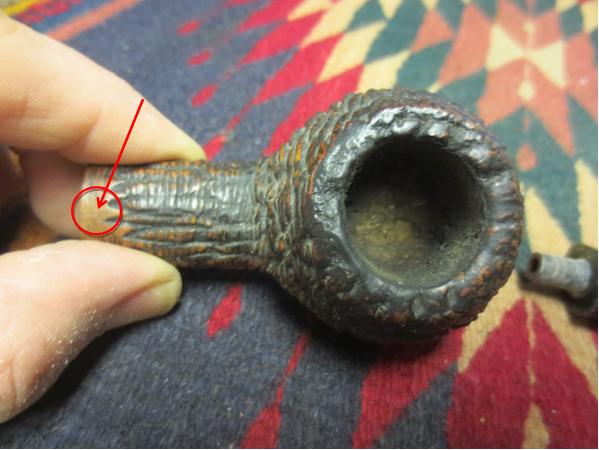
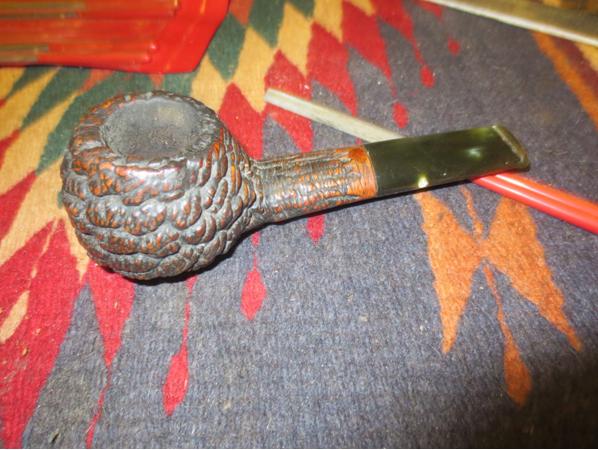
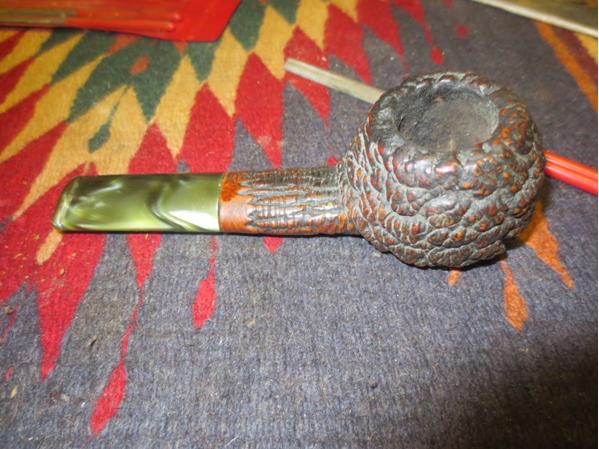
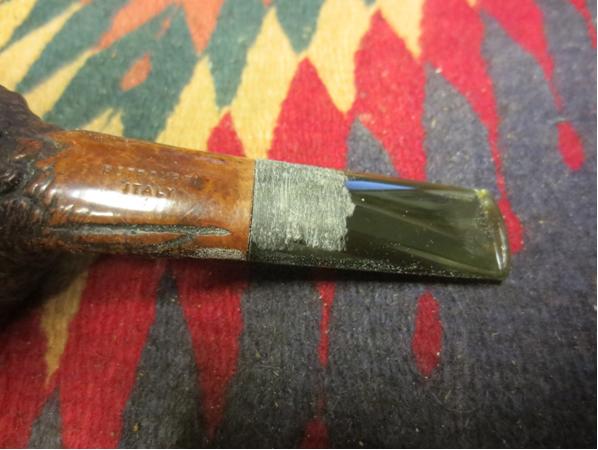
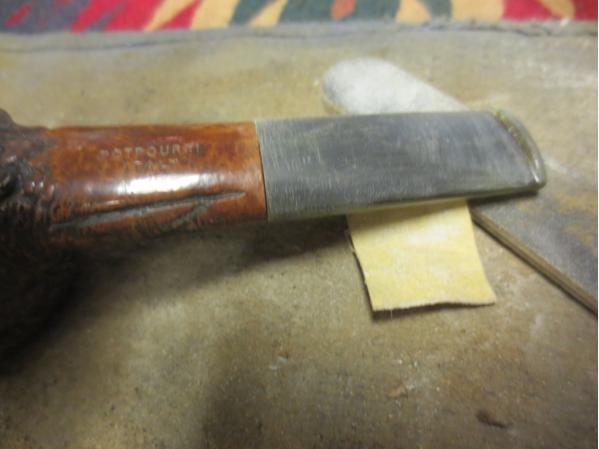
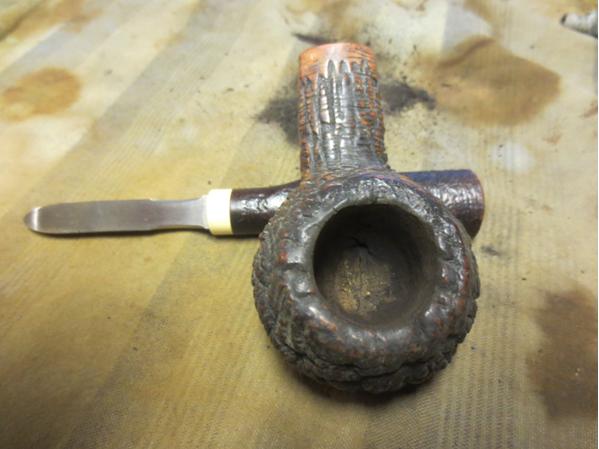
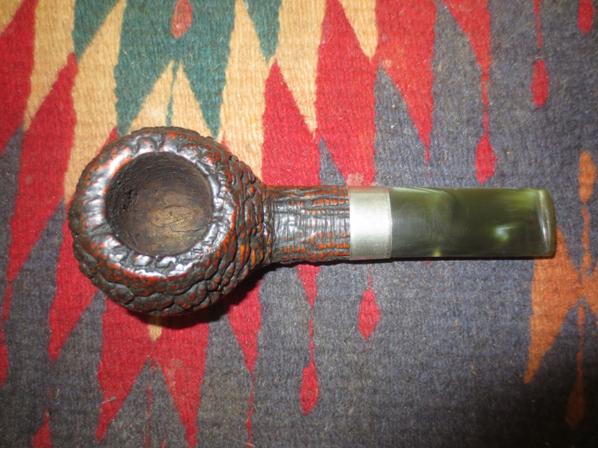
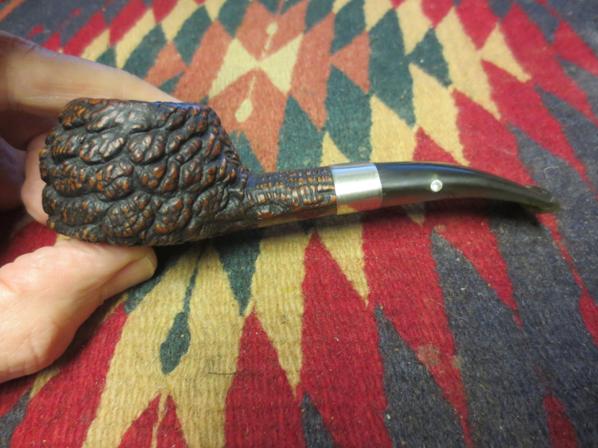
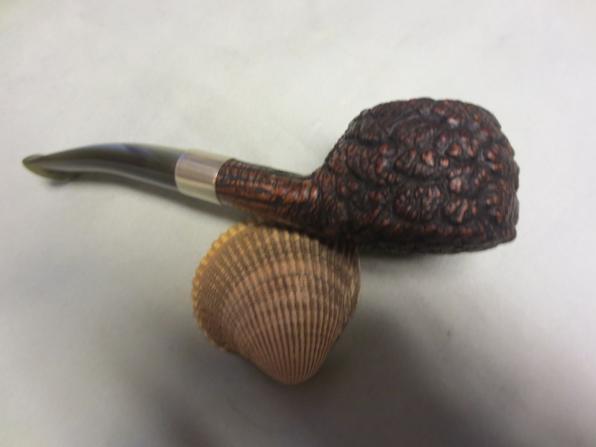
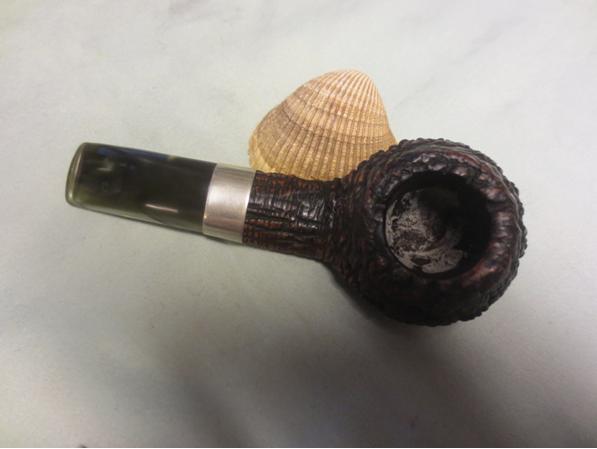
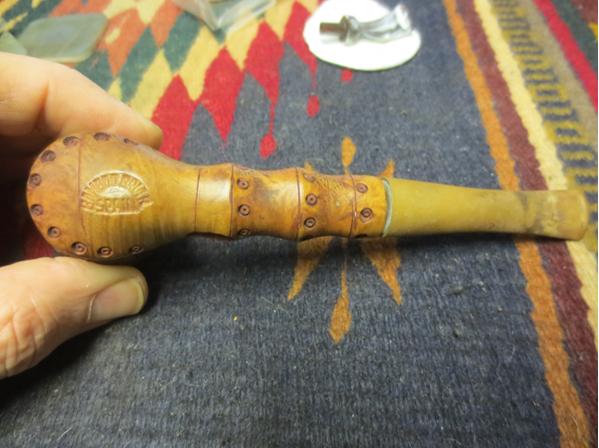
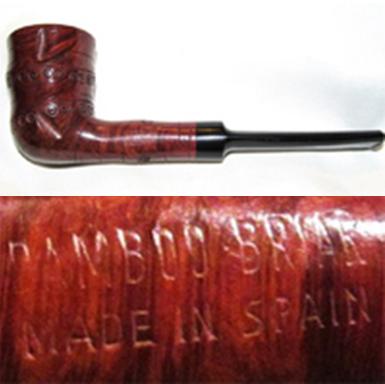
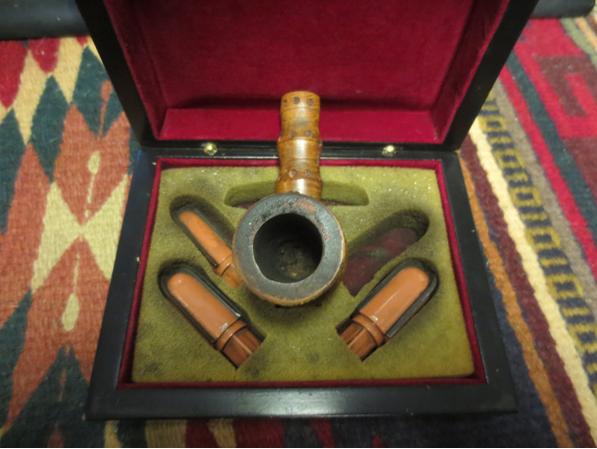
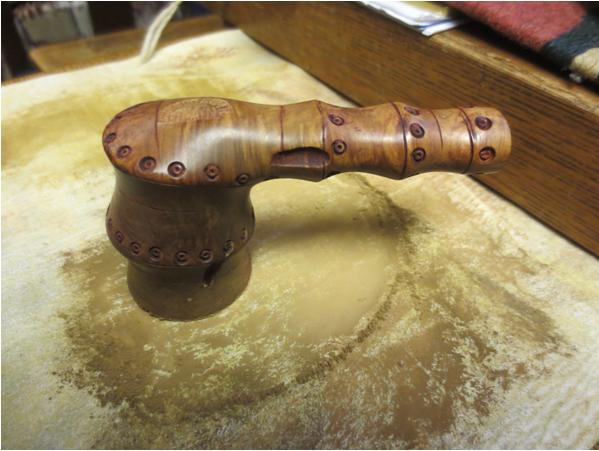
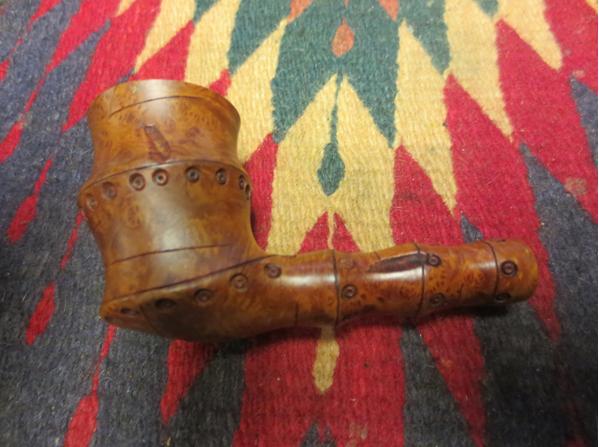
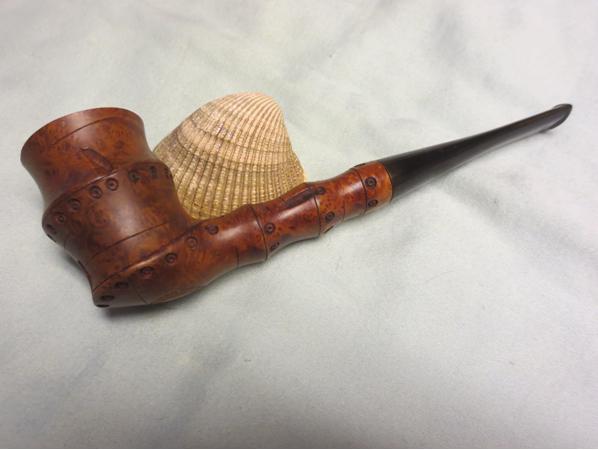
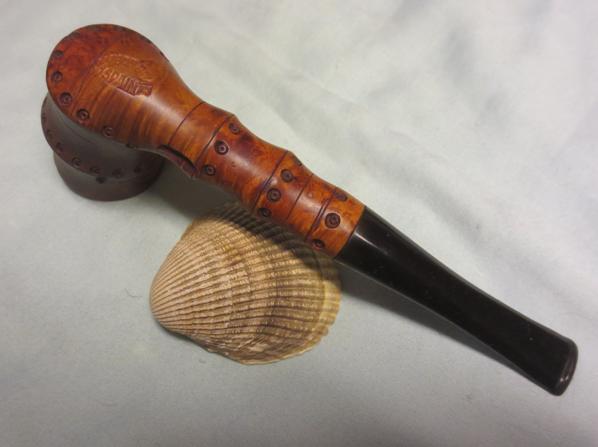
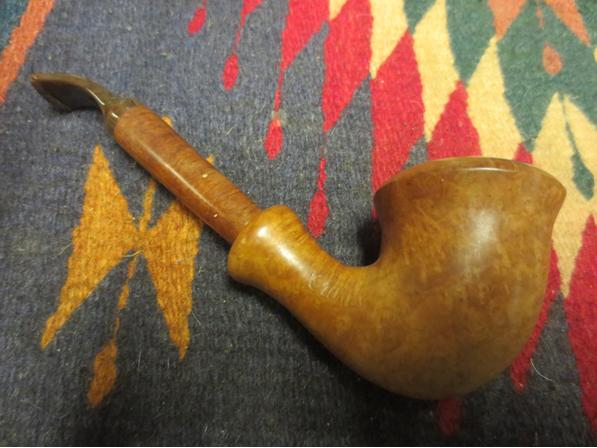
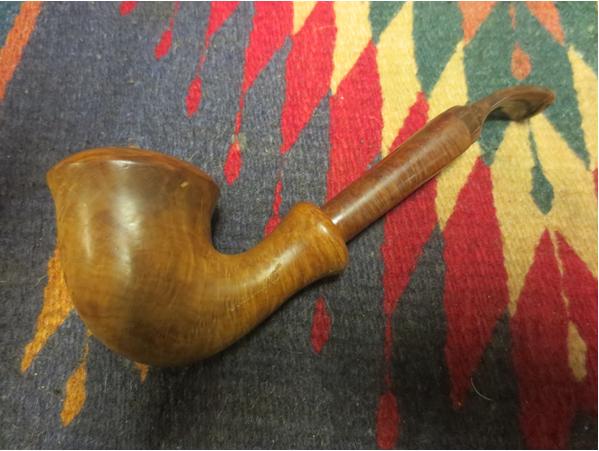
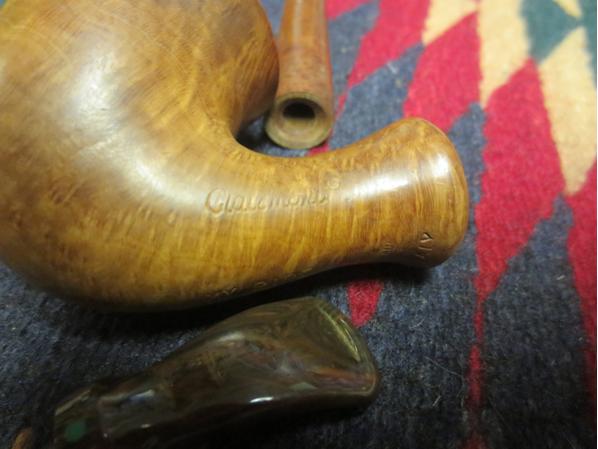
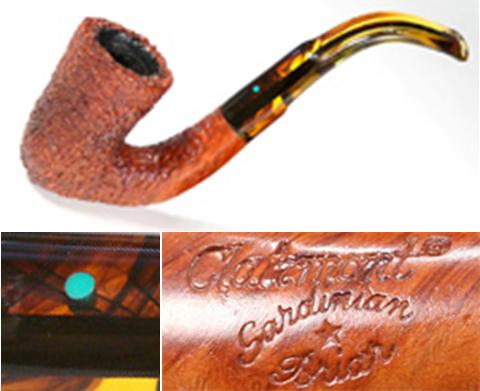
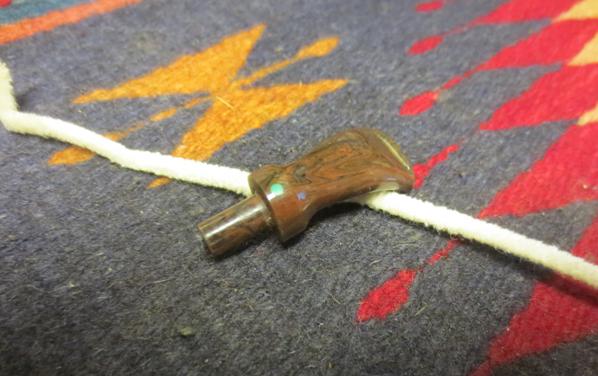
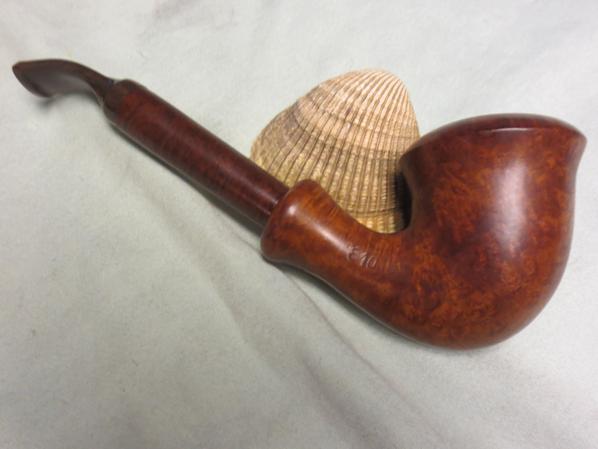
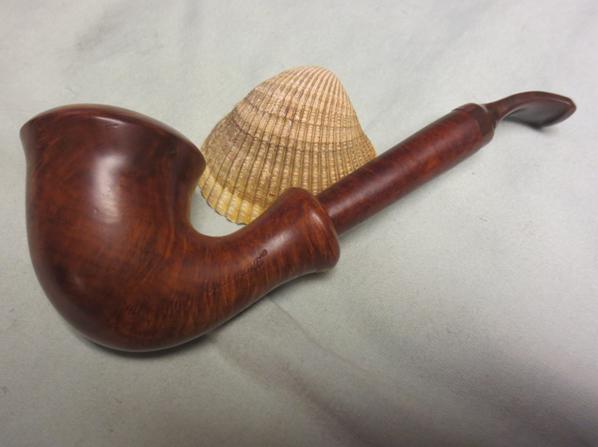
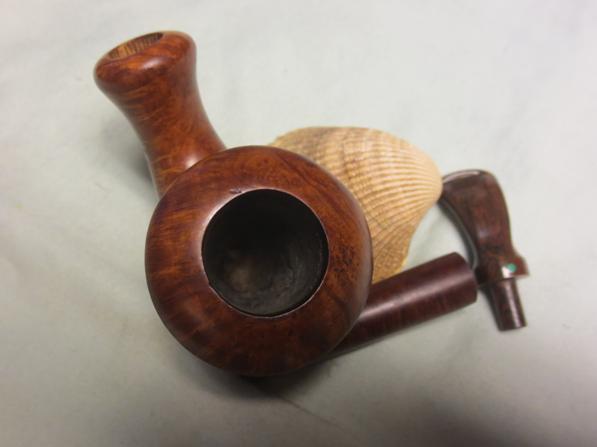
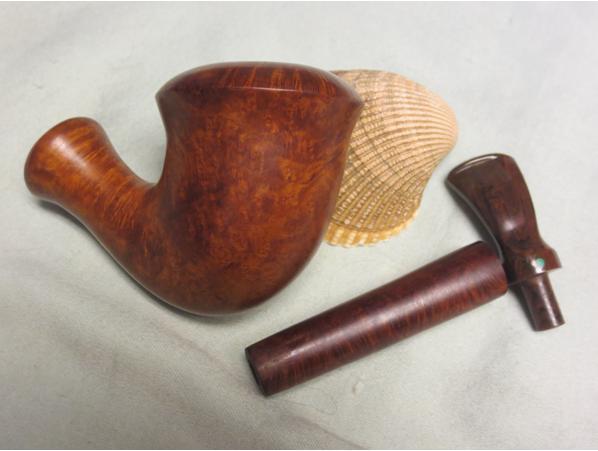
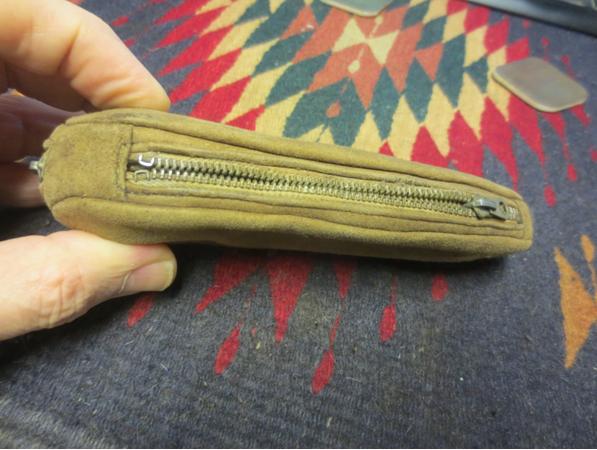
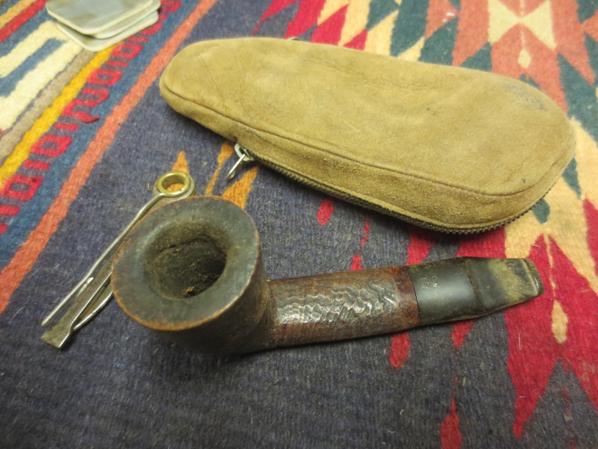
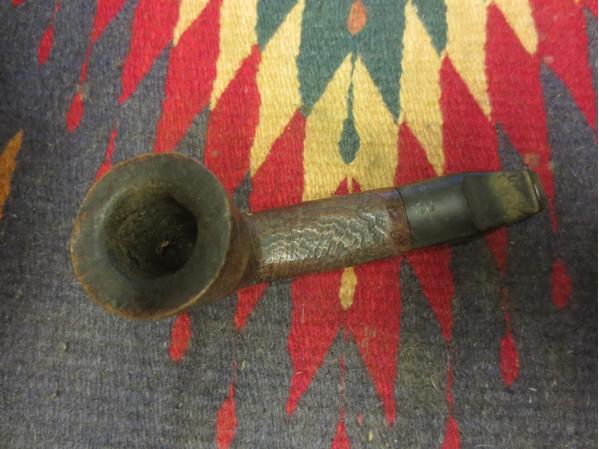
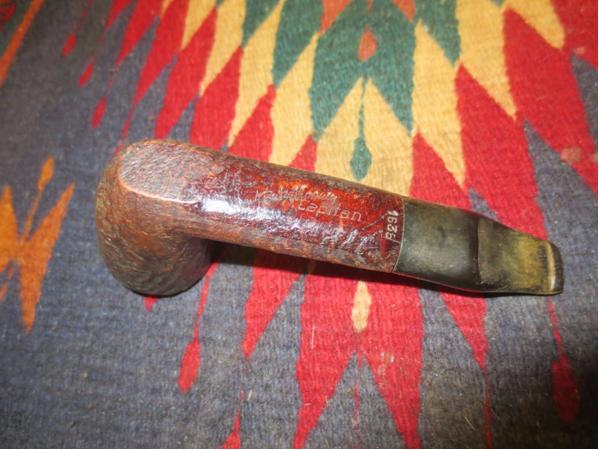
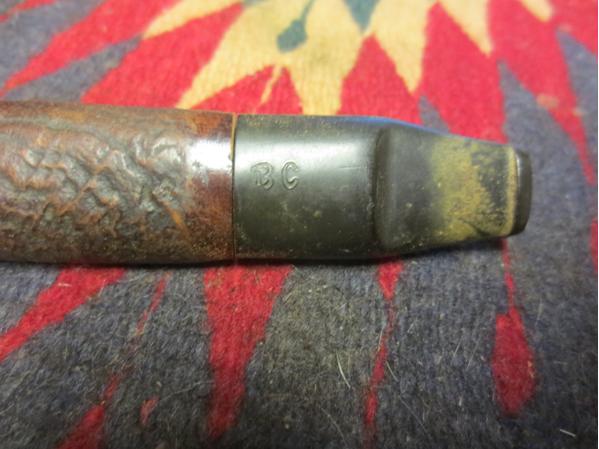
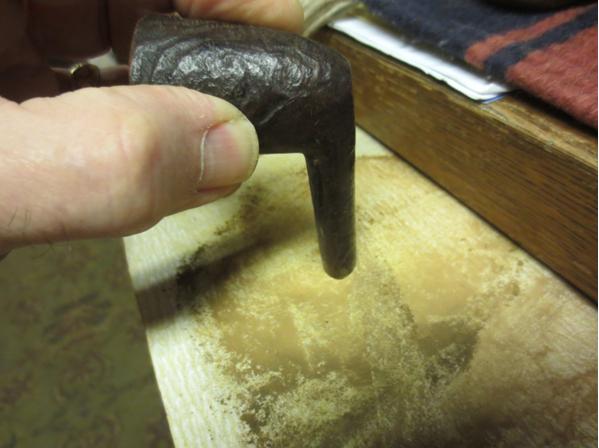
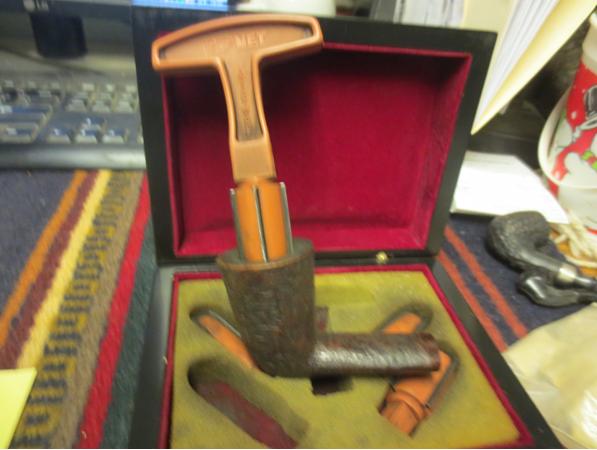
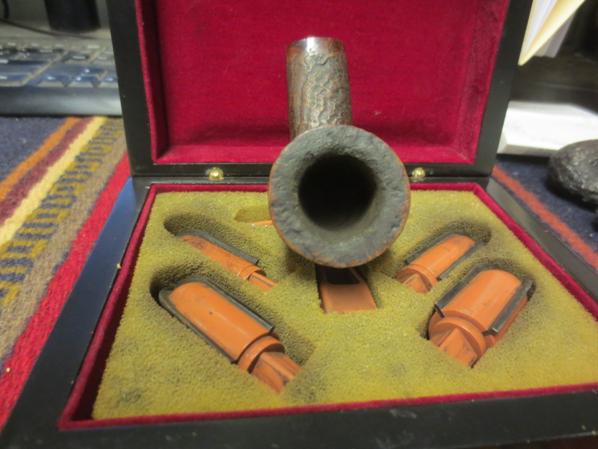
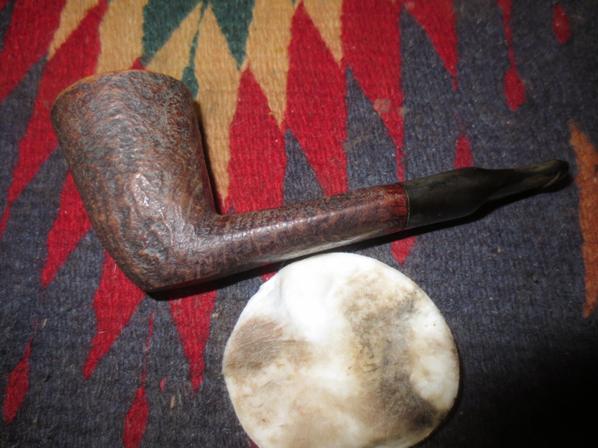
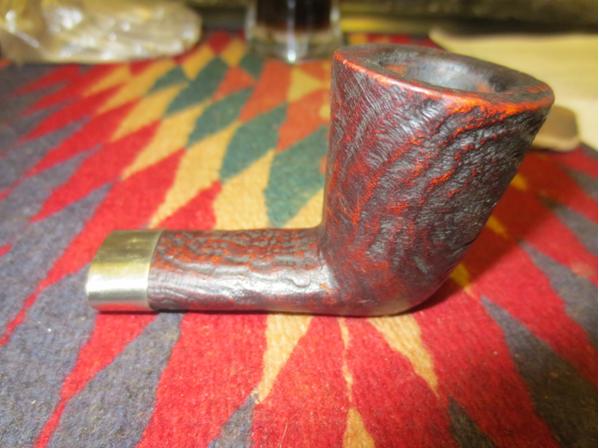
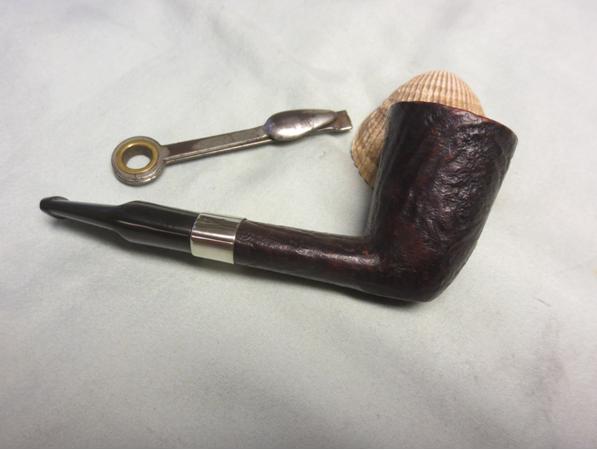
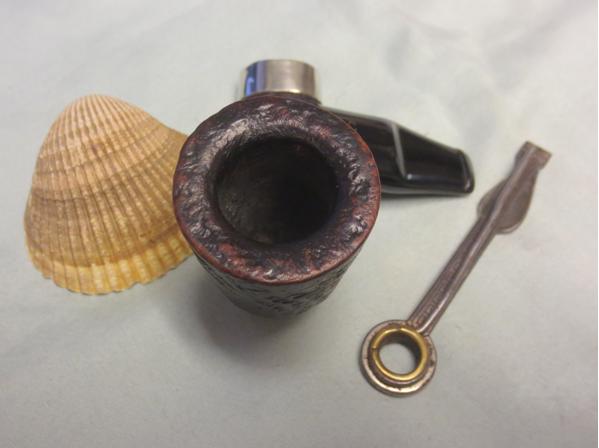
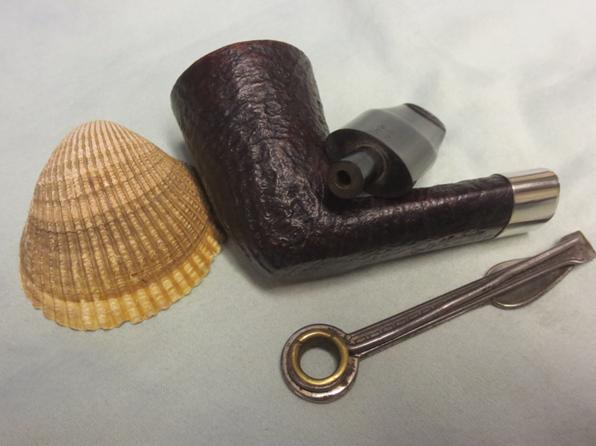
I went to Pipephil.eu and went to the Dr. Grabow section. The first pipe listed is a Propeller Logo De Luxe. They believe this model was made between 1933 and 1937 based off the markings. My pipe is stamped Linkmans’s in block letters above Dr. Grabow in script. The other side of the shank is stamped 9967 with De Luxe in script over bryure in block letters. Aside from the bowl number being slightly different on the Pipephil site, the other markings are the same. Below is the pipe as received.
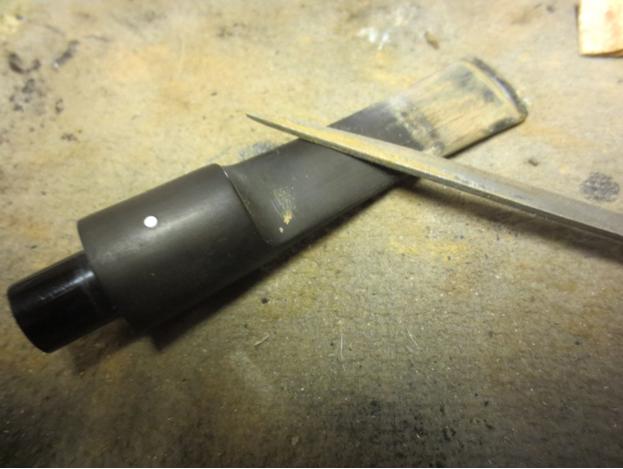
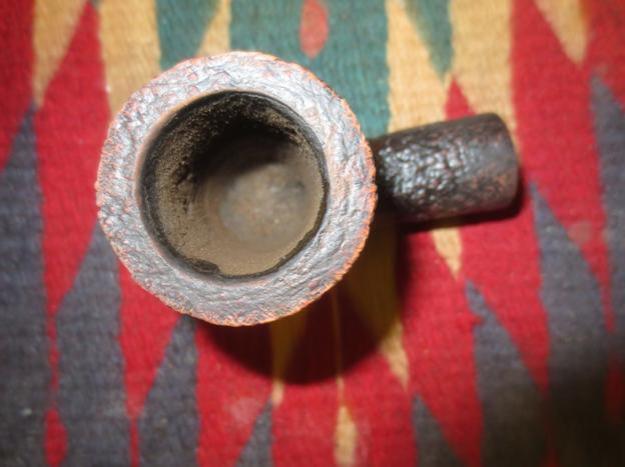
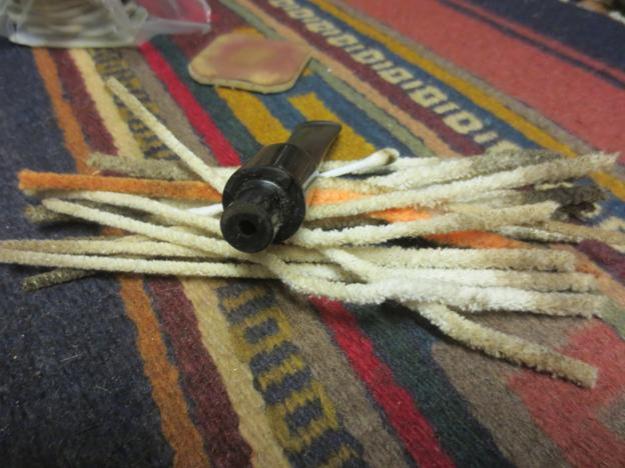
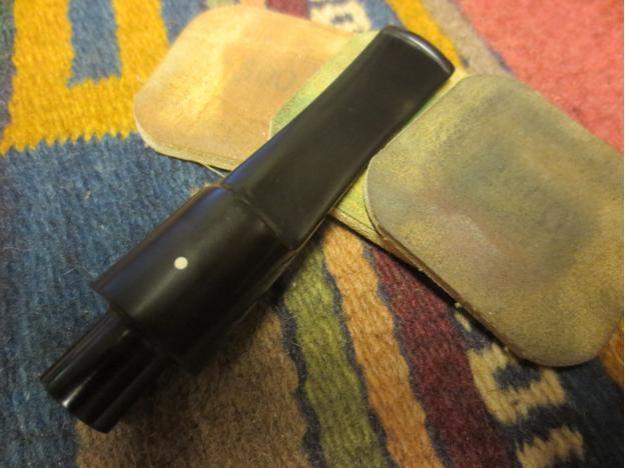
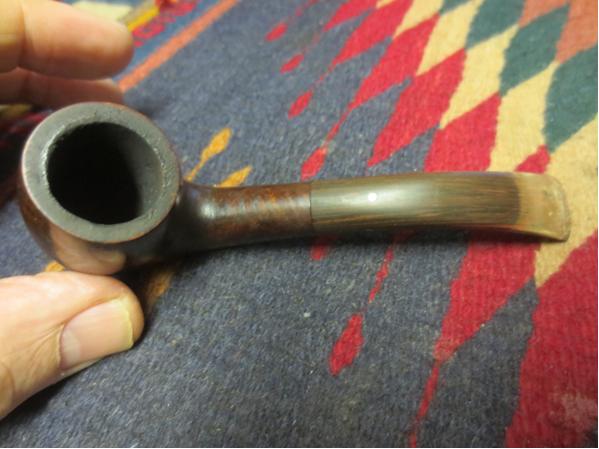
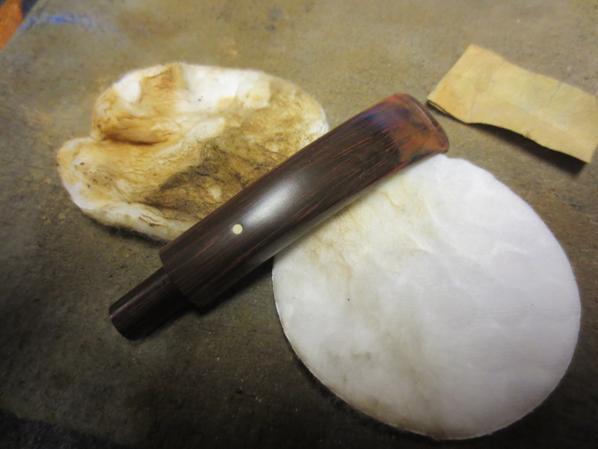
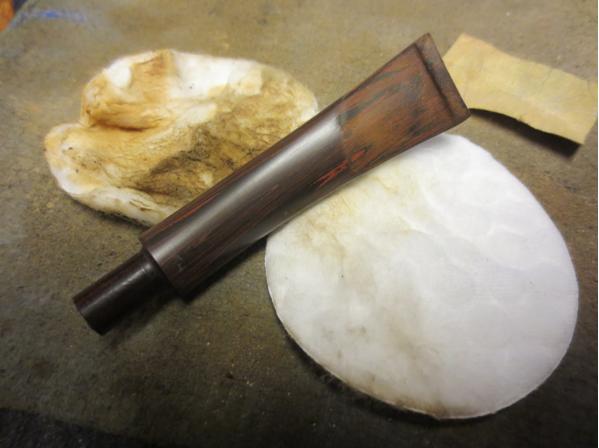
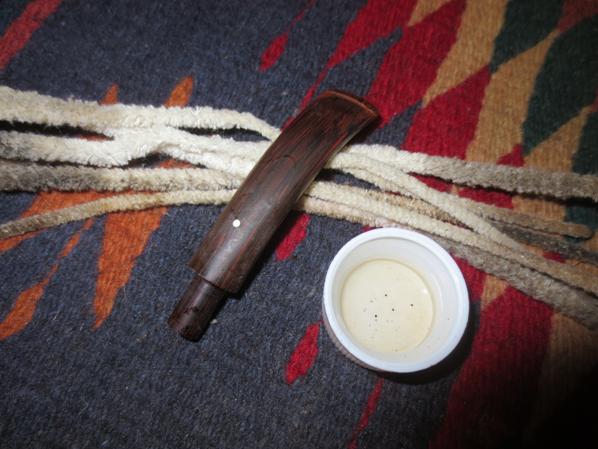
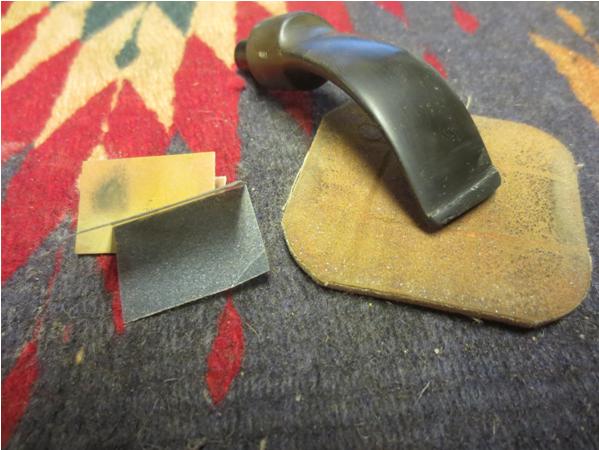
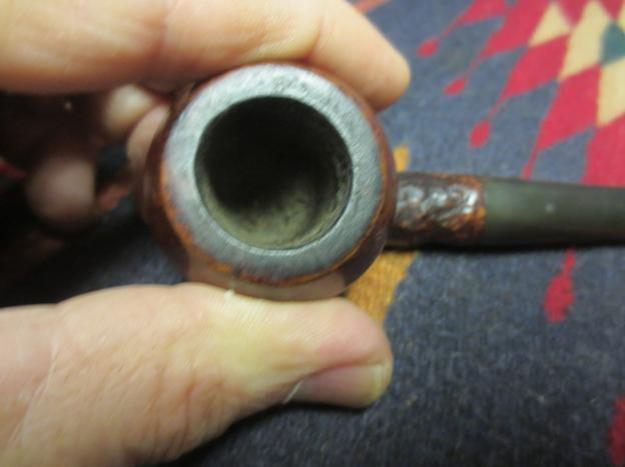
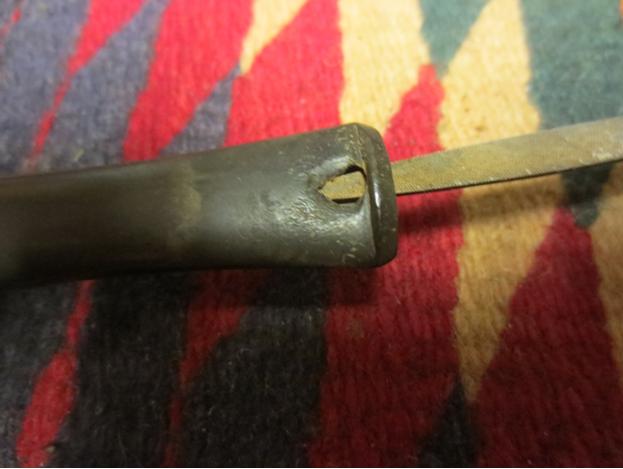
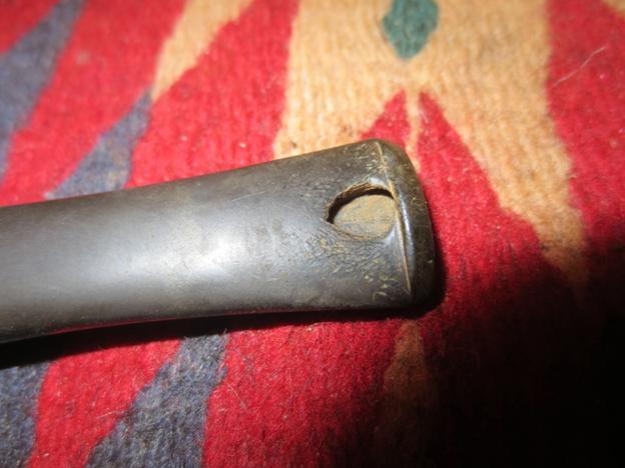
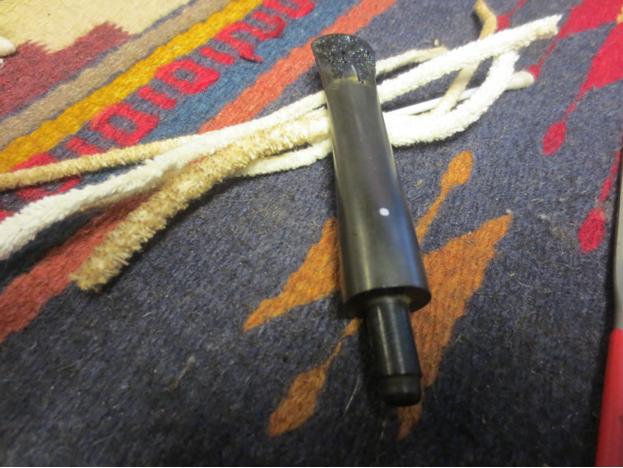
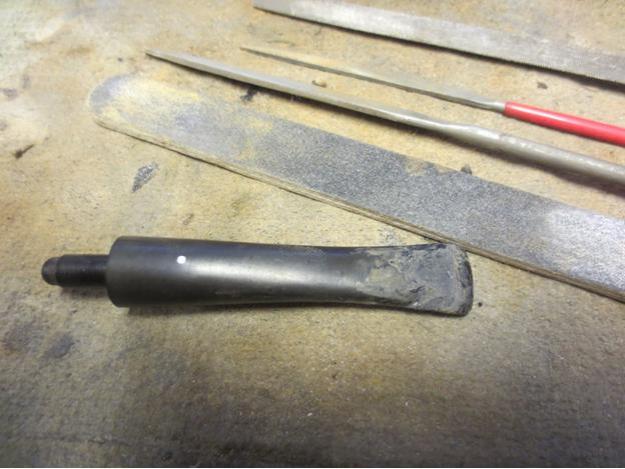
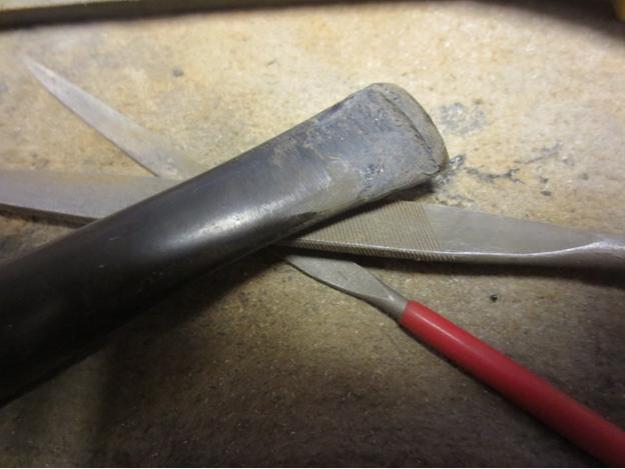
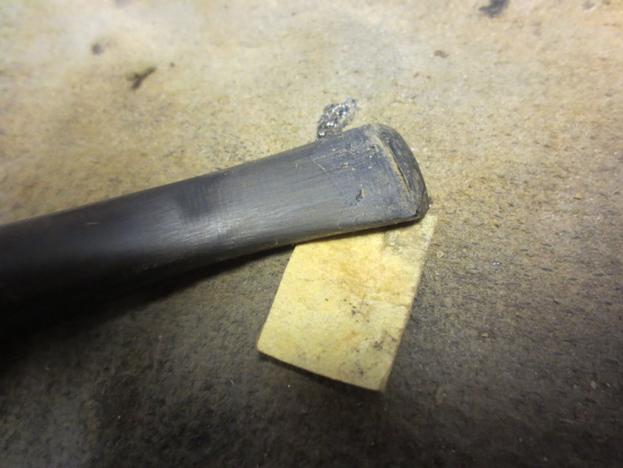
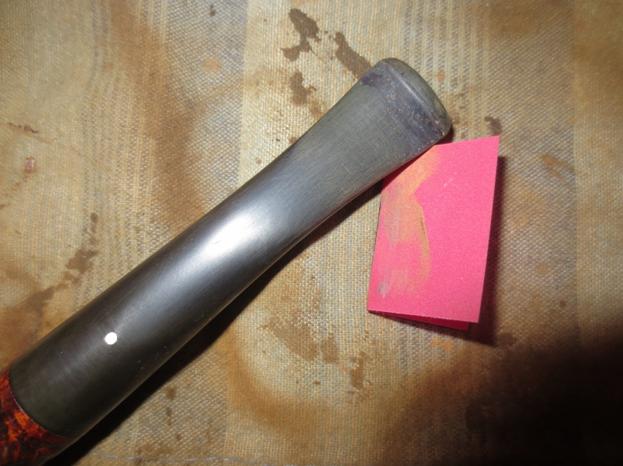
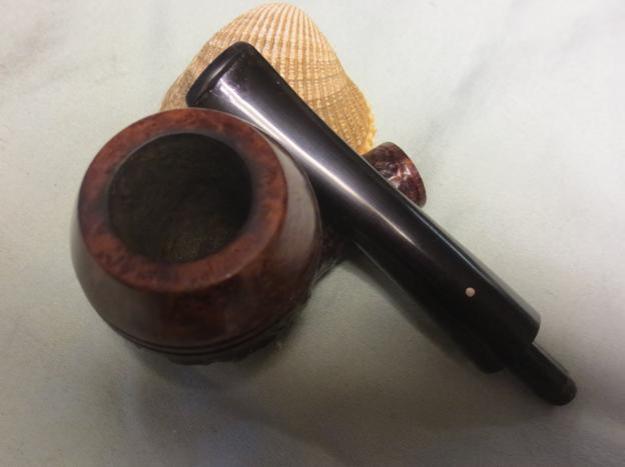
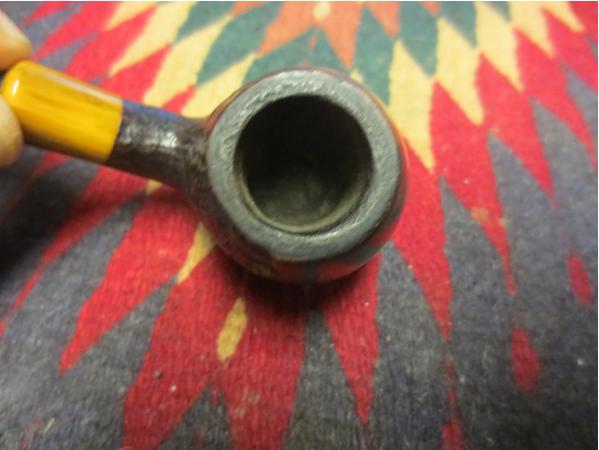
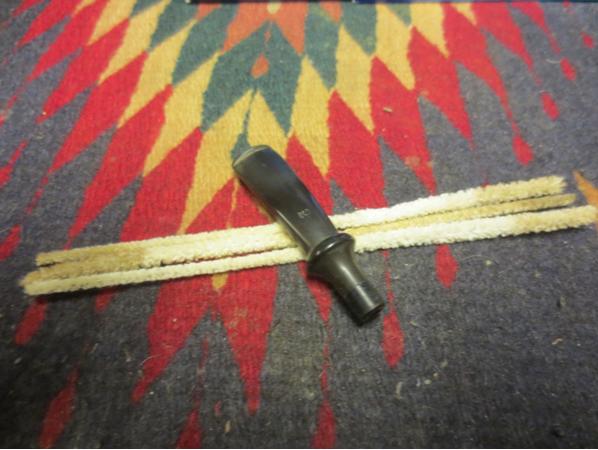
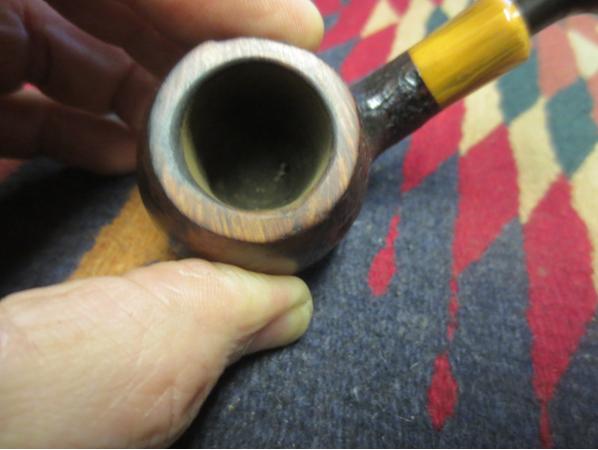
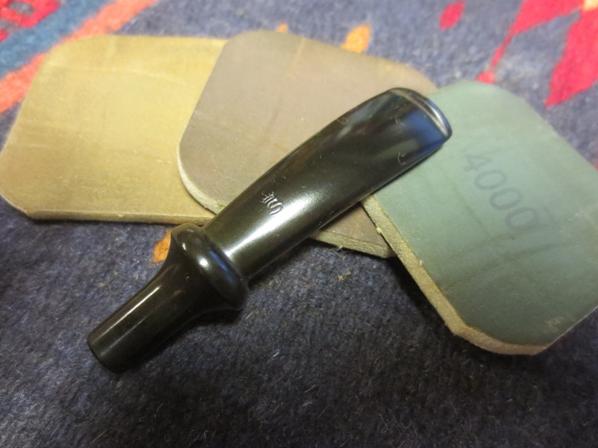
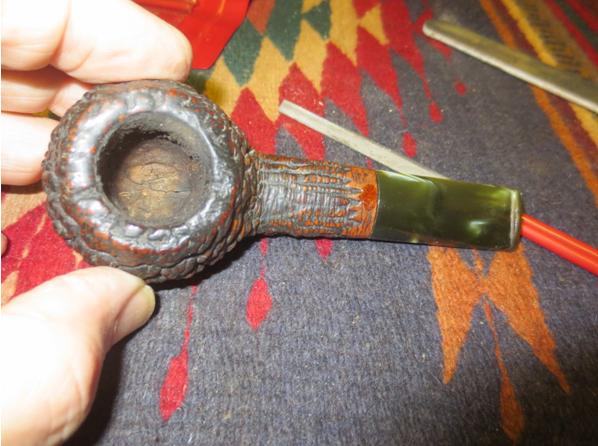
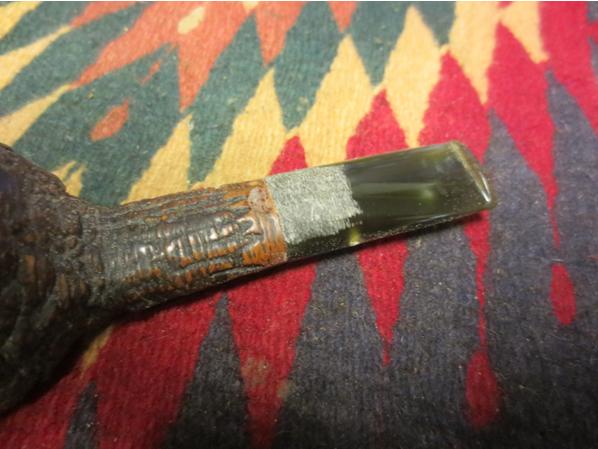
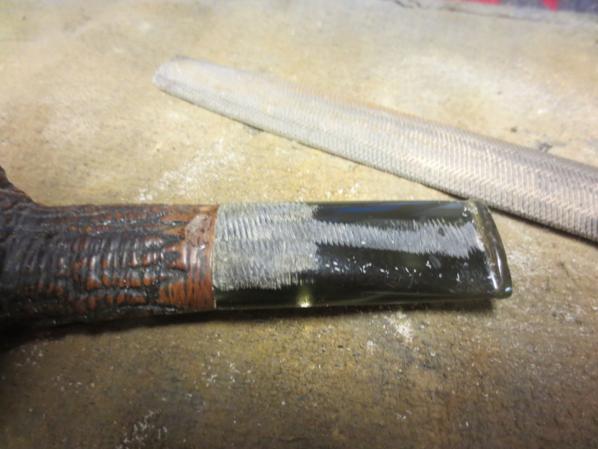
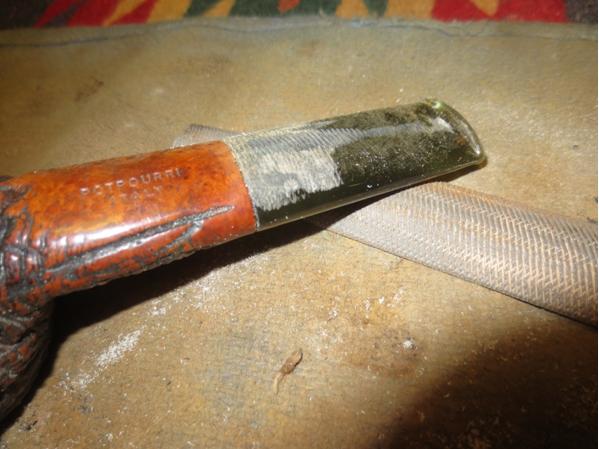
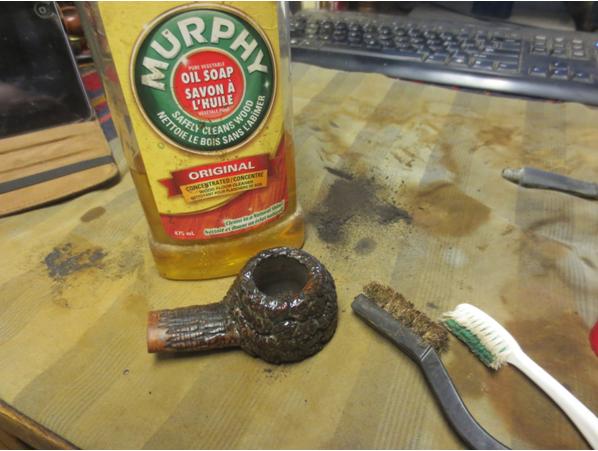
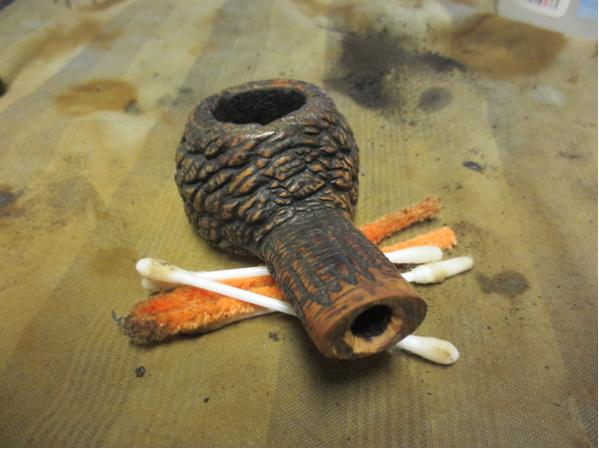
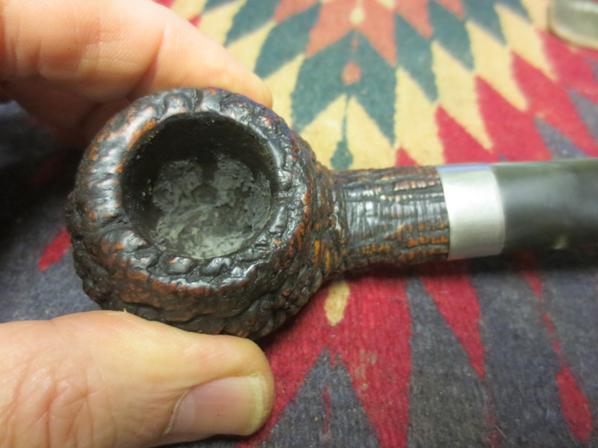
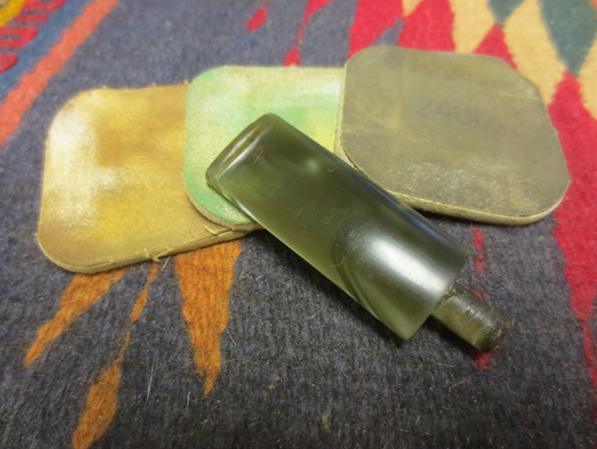
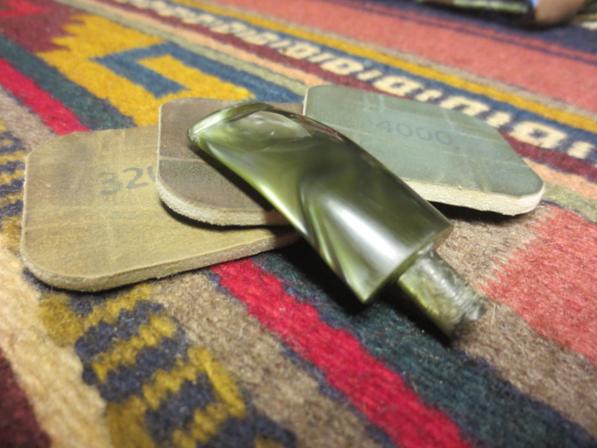
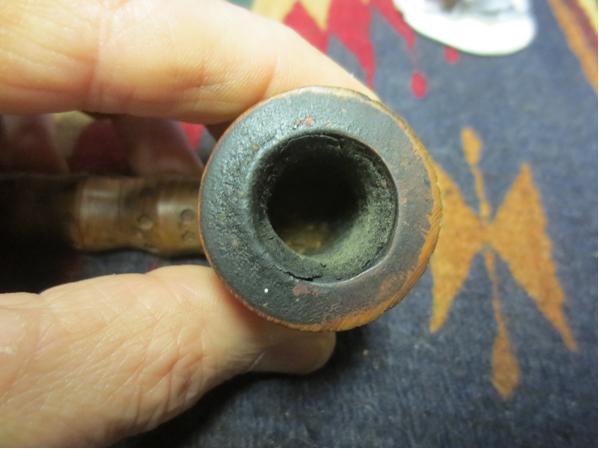
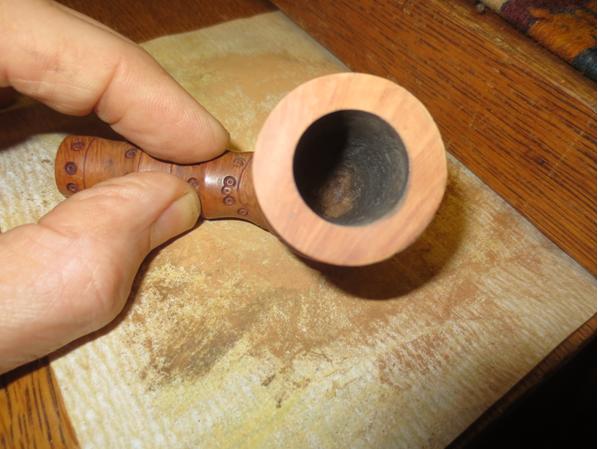
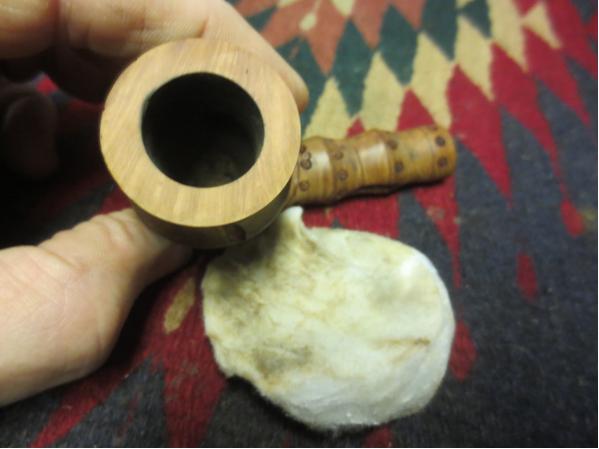
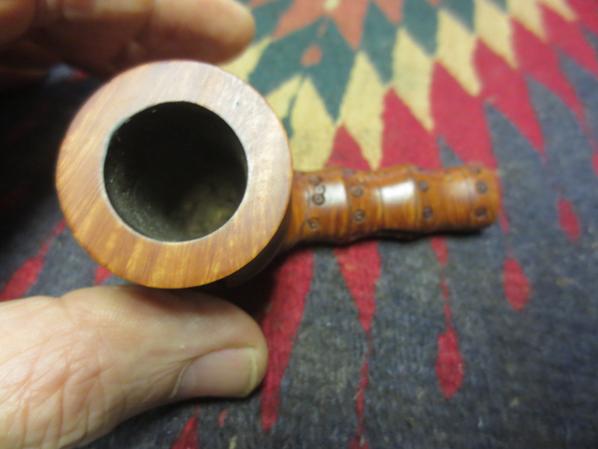
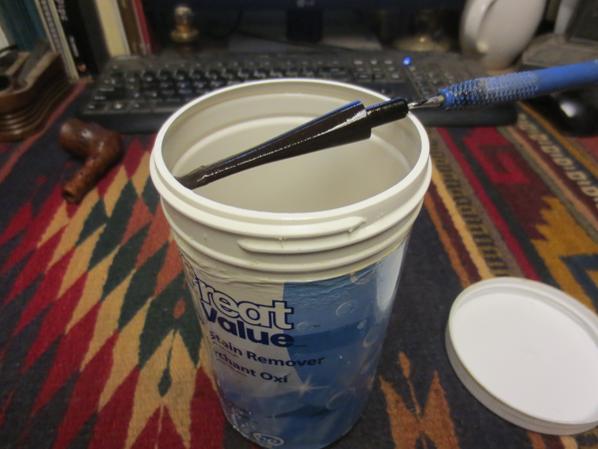
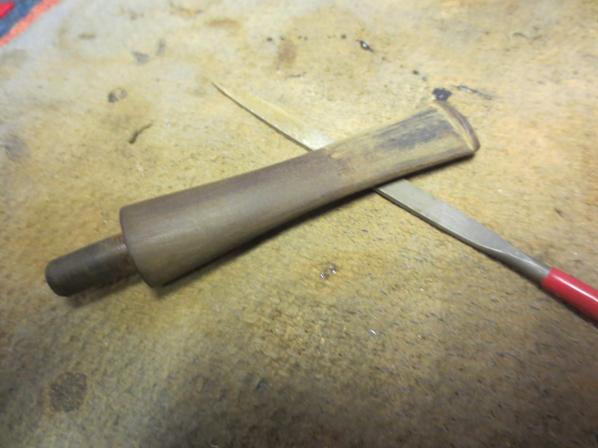
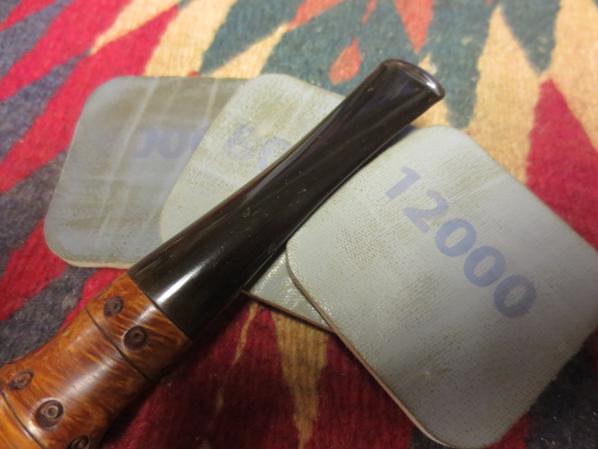
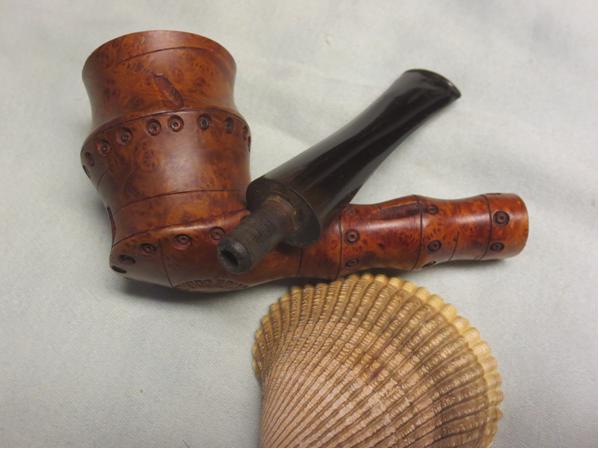
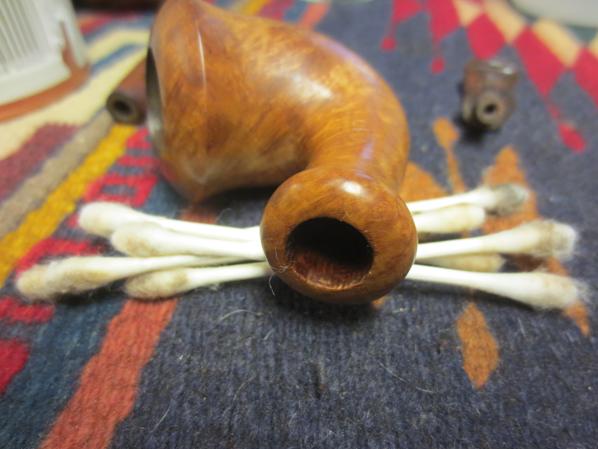
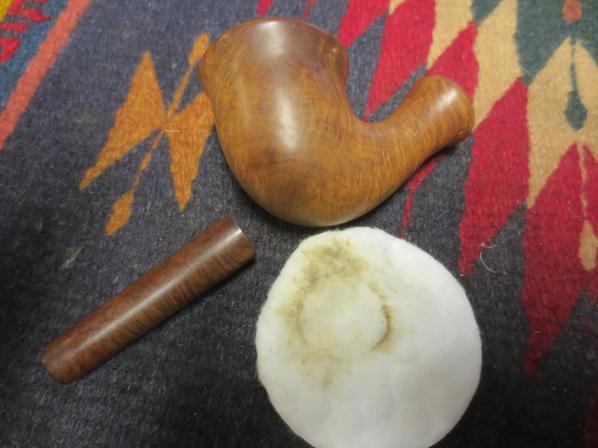
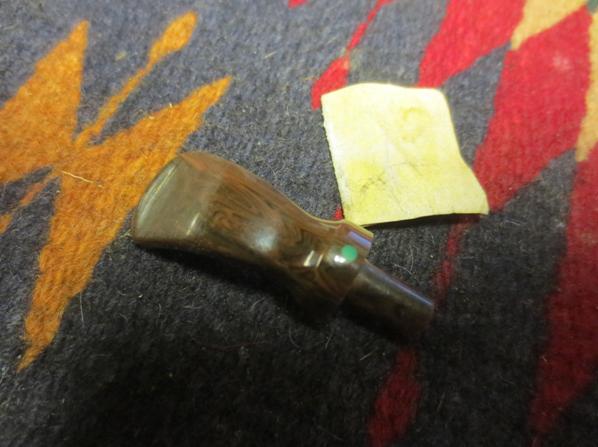
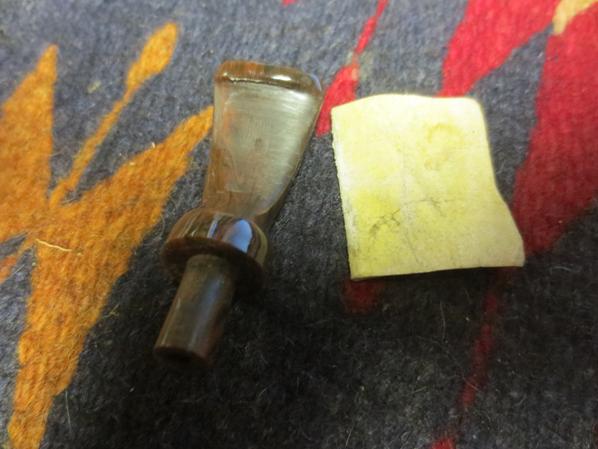
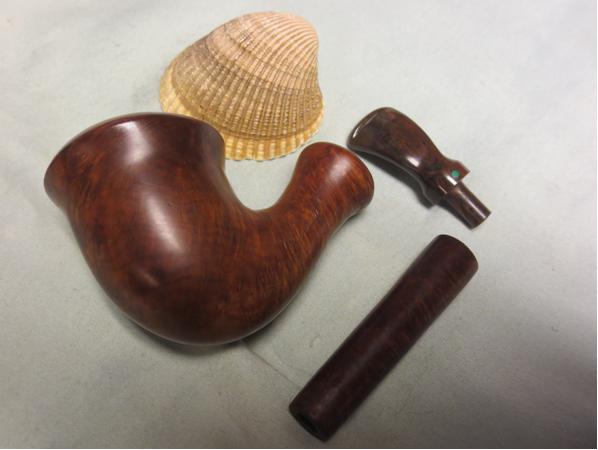
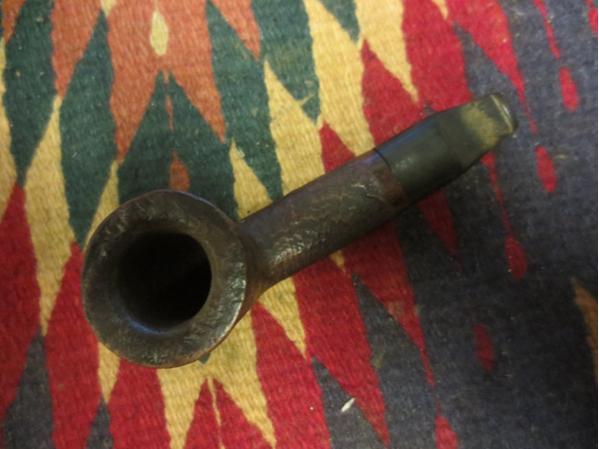
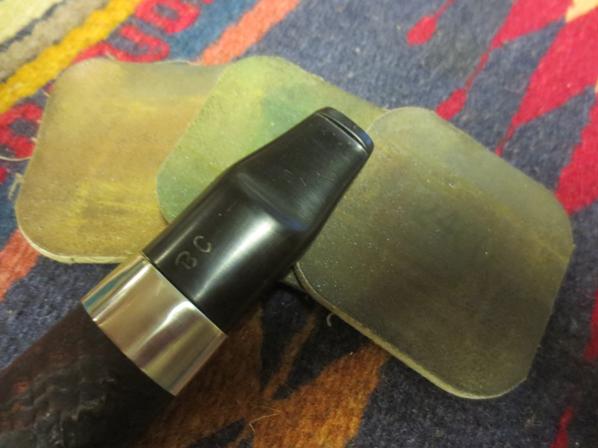
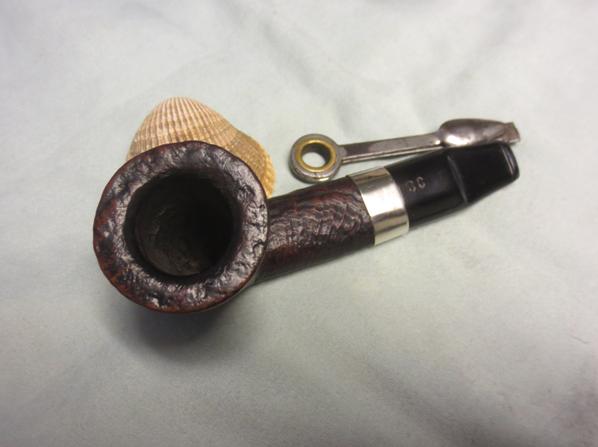
The first thing I did was disassemble the pipe and throw the stem in an oxiclean bath. I then reamed out the bowl.While it soaked I filled the pipe with salt and 91% Isopropyl alcohol. After a few hours I removed the stem from its bath and gave it a good rinse. While it dried I knocked the salt out of the bowl and rinsed the inside of the bowl and shank to make sure all the salt was removed. I then set aside to dry. Once it had dried out a bit I took some 500 grit wet sandpaper and scrubbed off the oxidation from the stem as well as the gunk from the stinger. I noticed there was some build up on the rim of the bowl so I used the same paper to remove as much as I could.

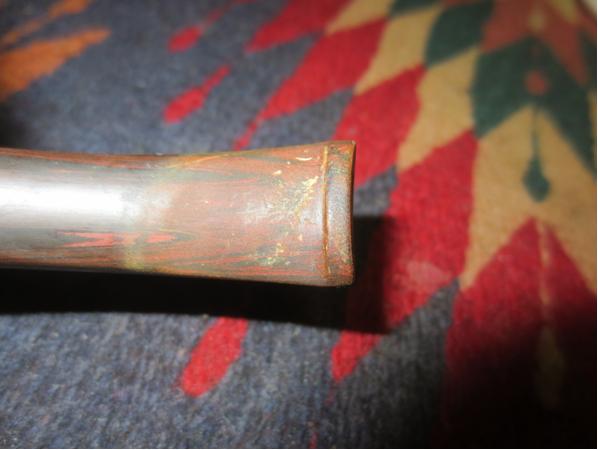
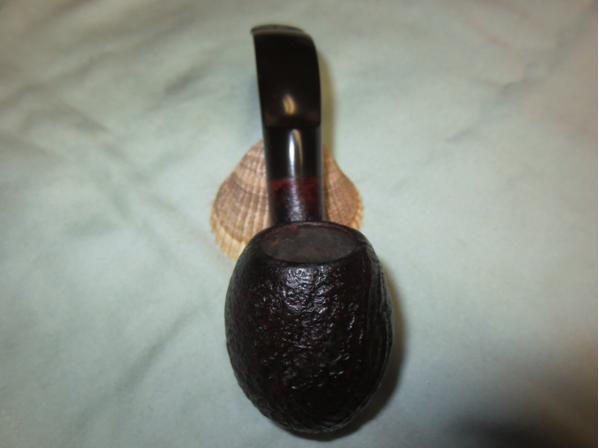
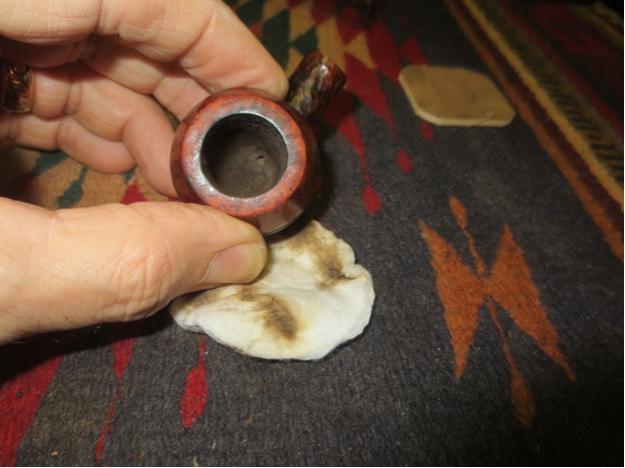
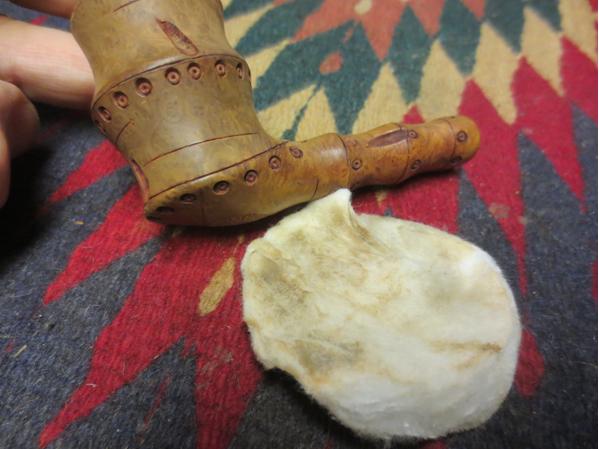
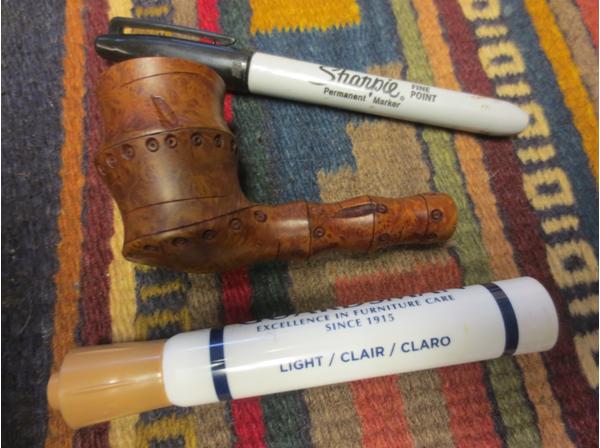
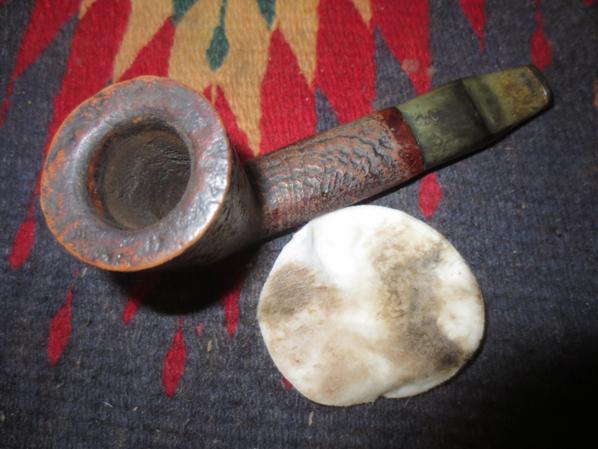
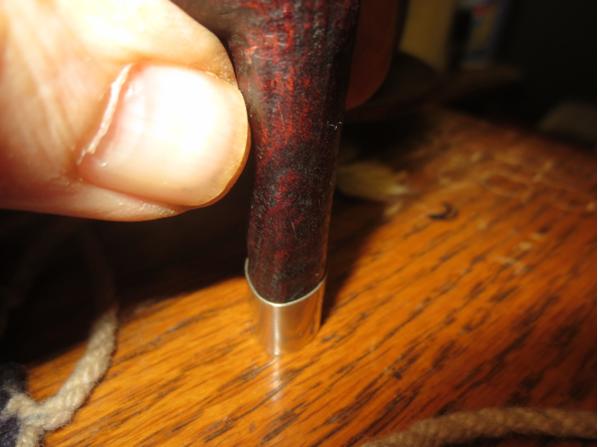
I took a dark walnut stain pen to touch up the rim.
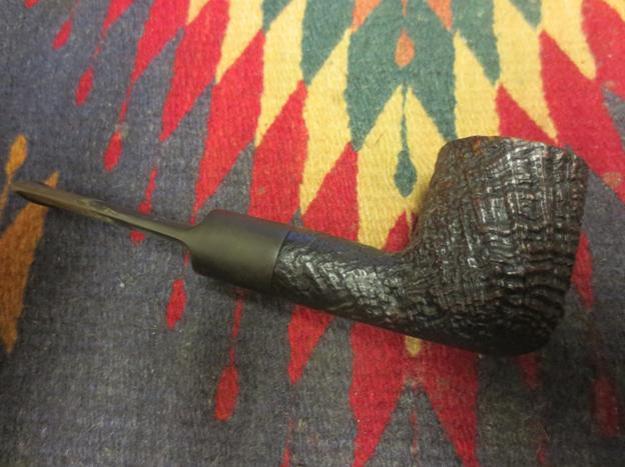
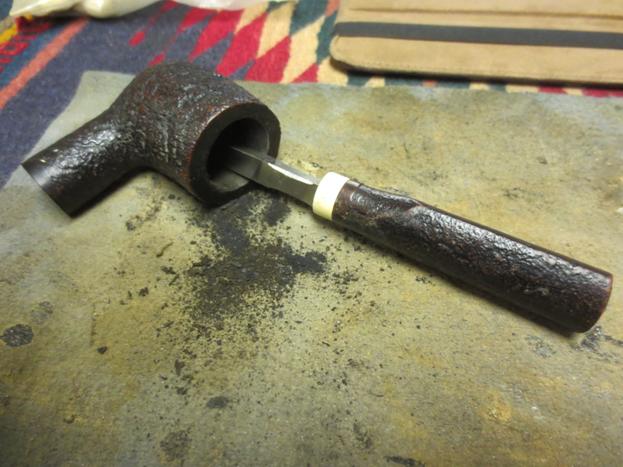
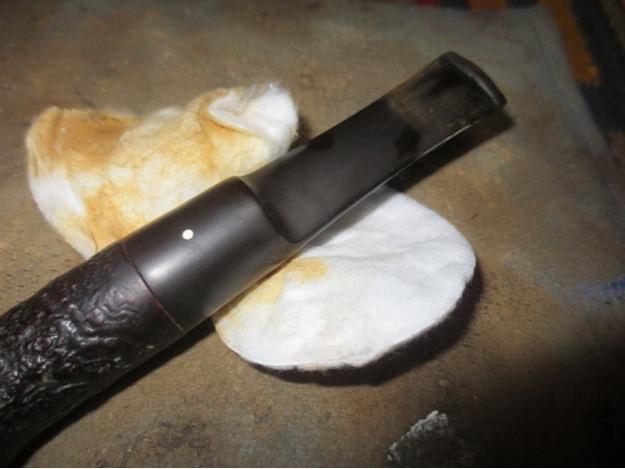
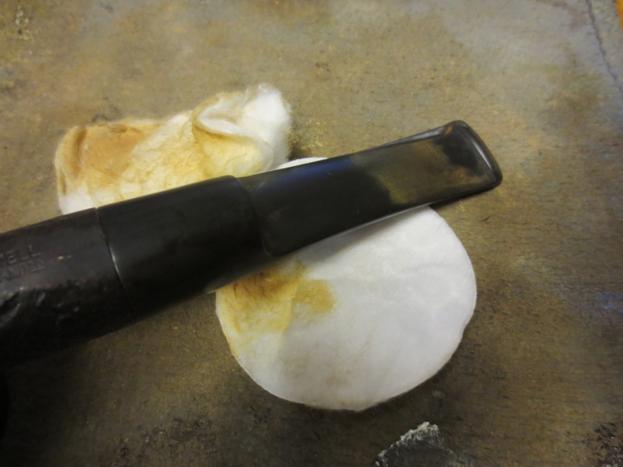
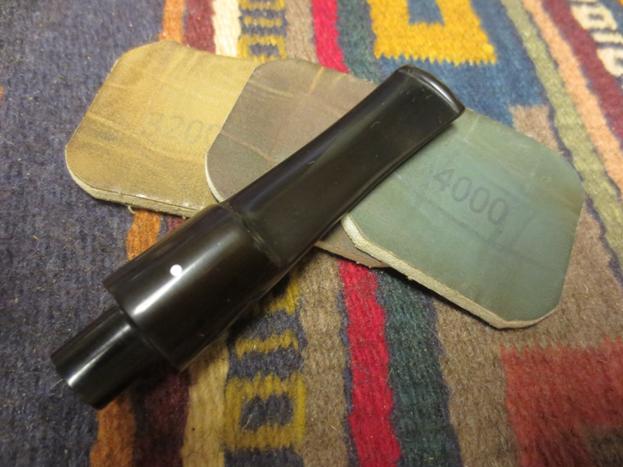
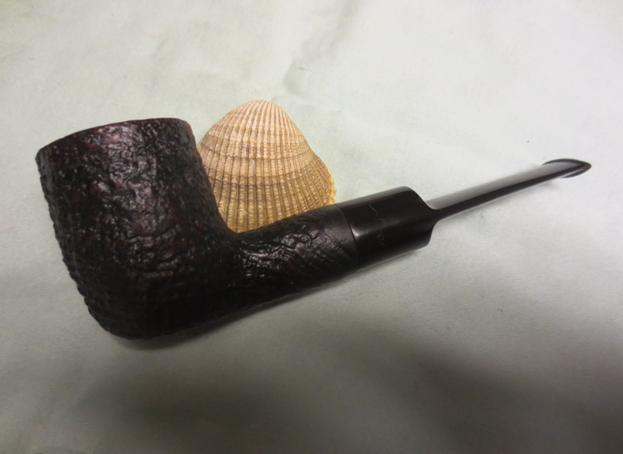
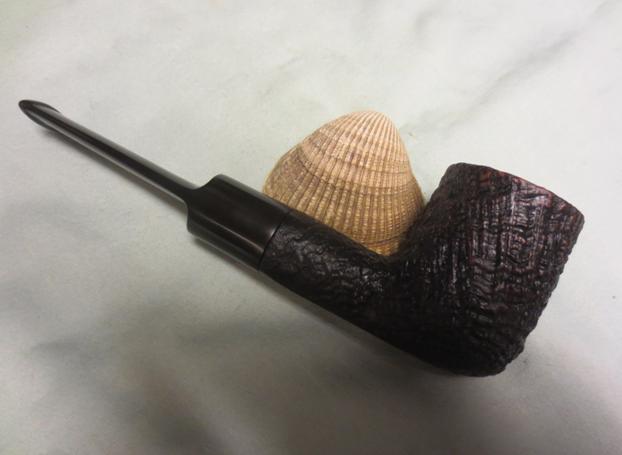
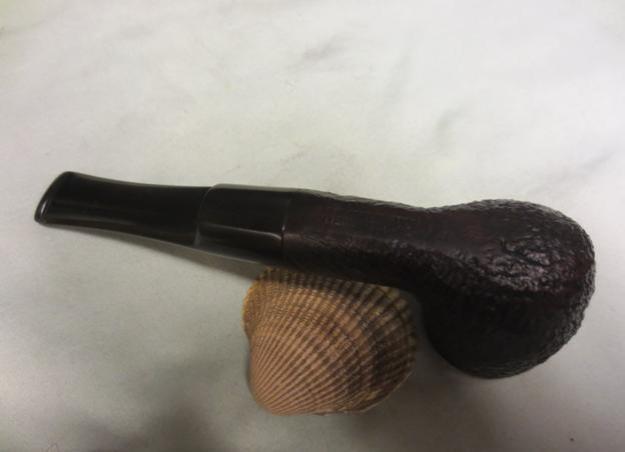
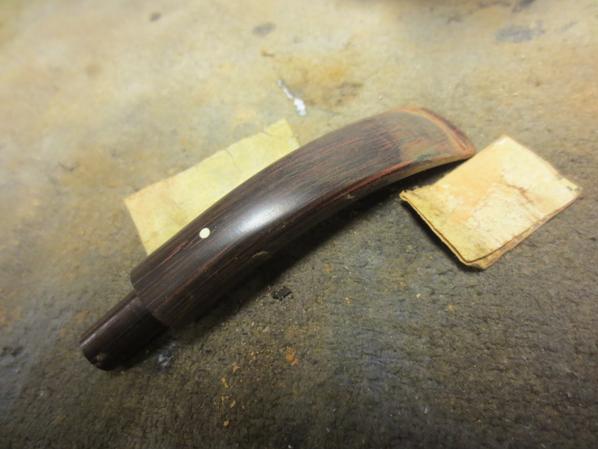
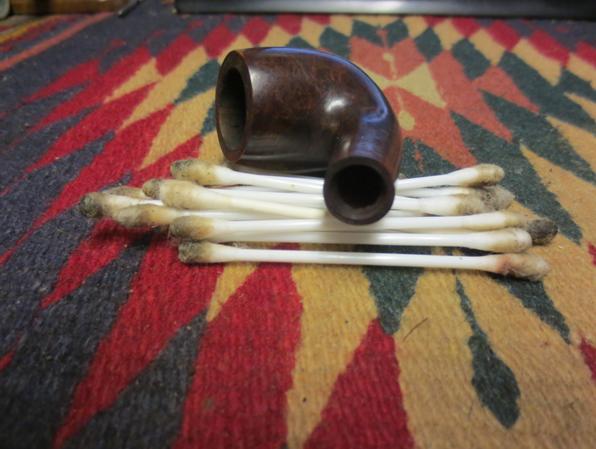
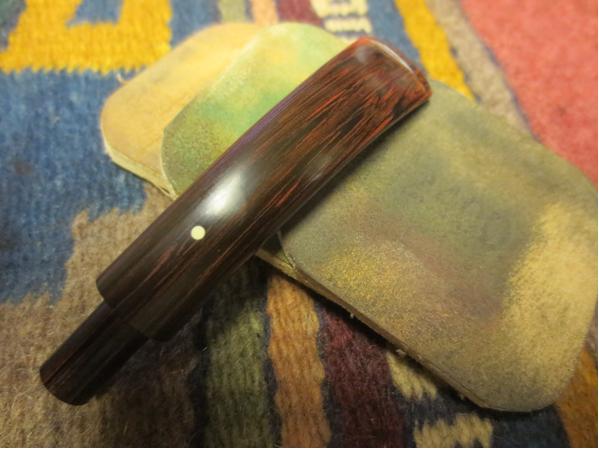
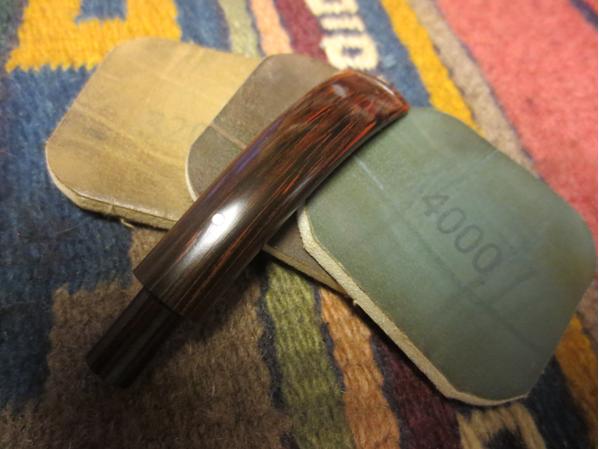
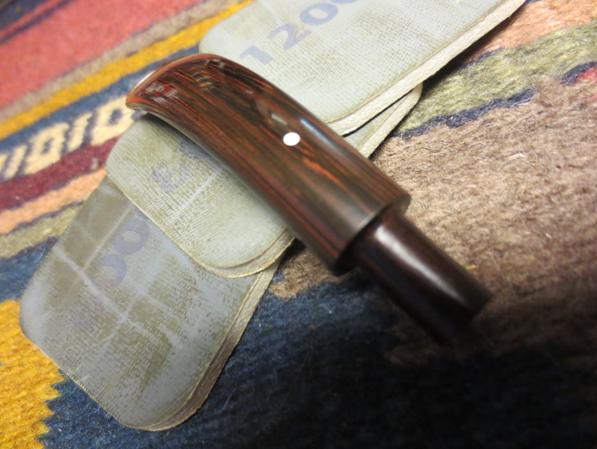
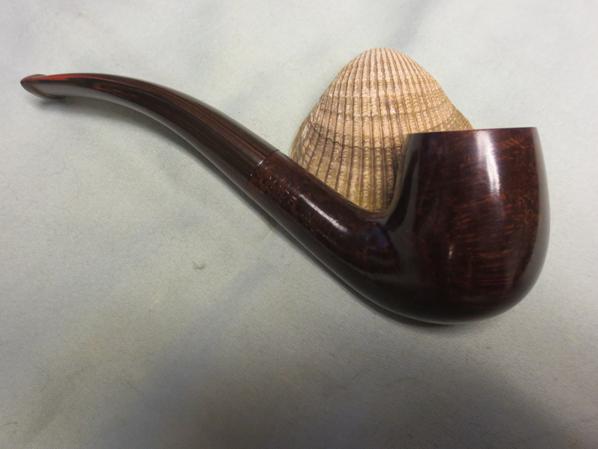
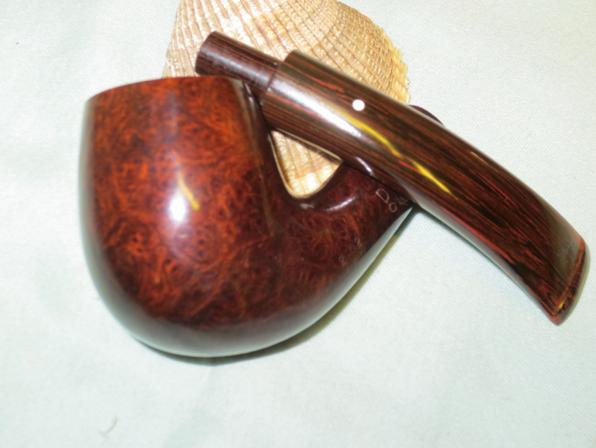
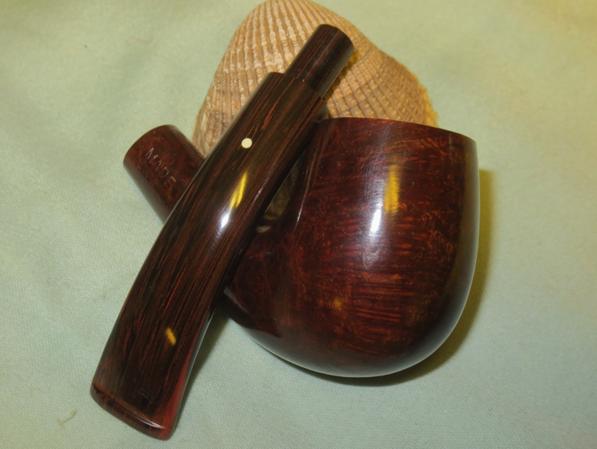
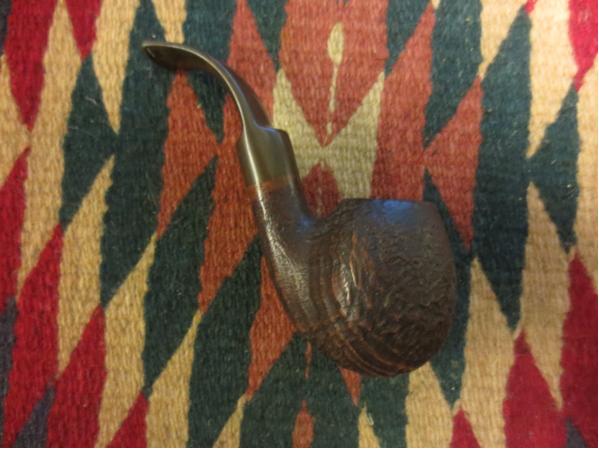
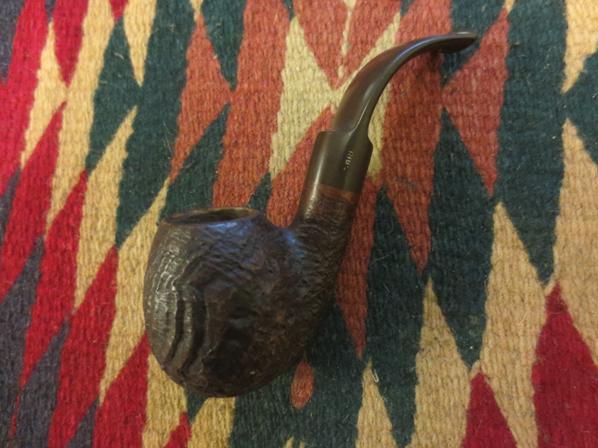
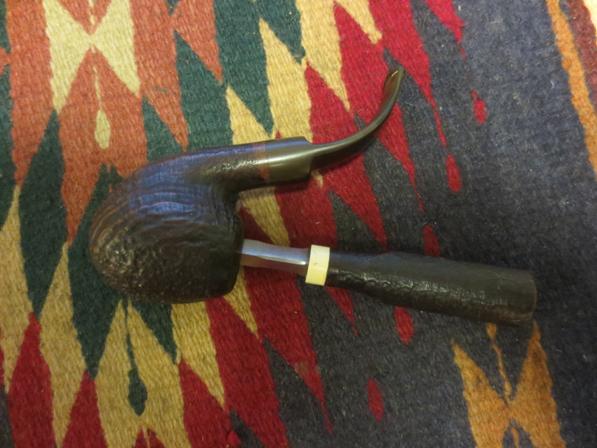
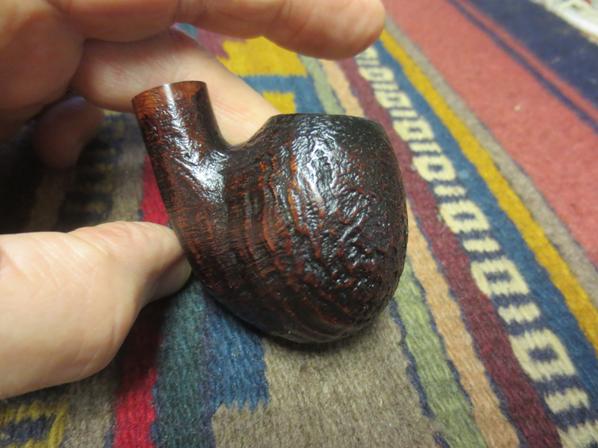
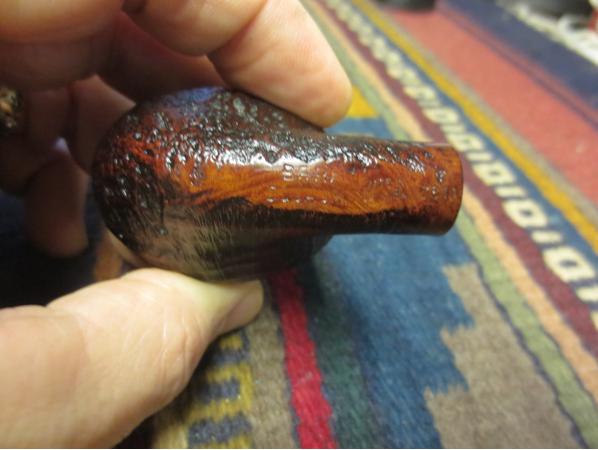
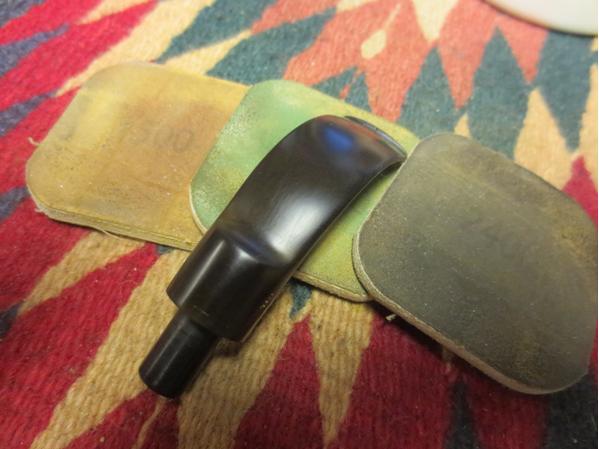
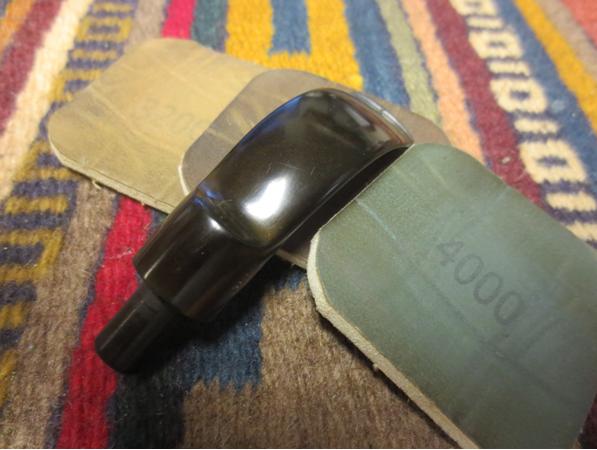
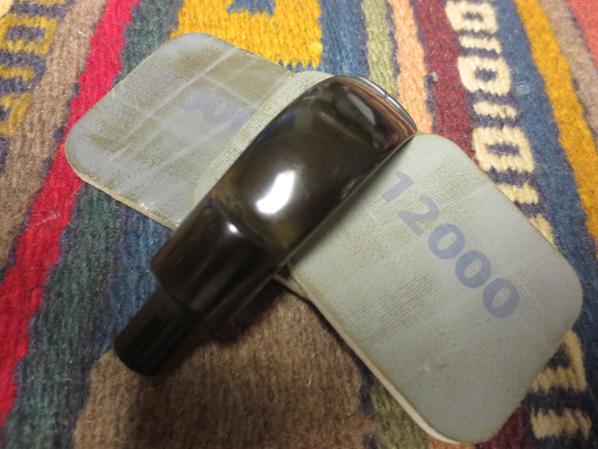
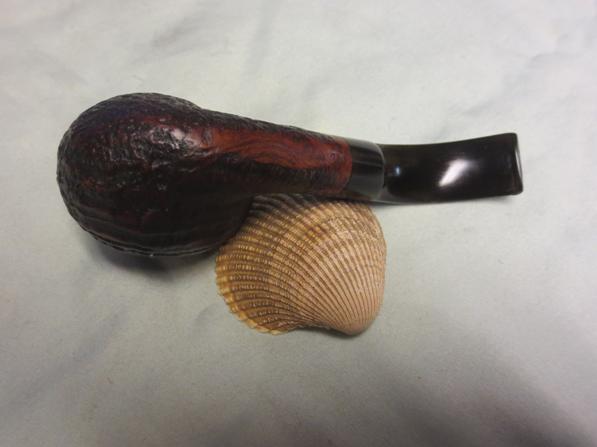
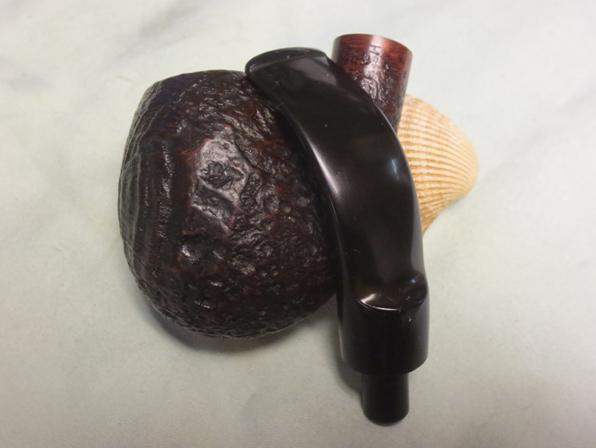
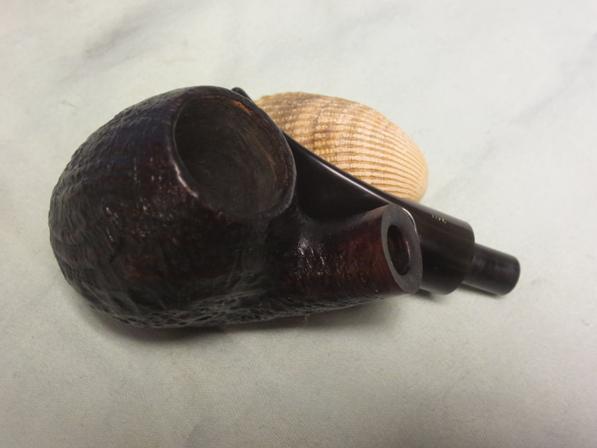
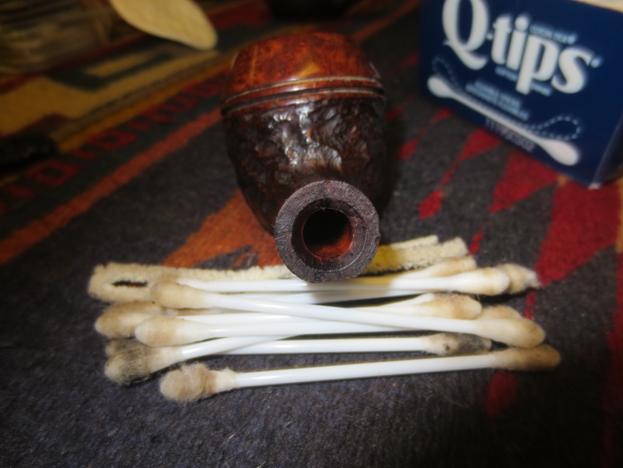
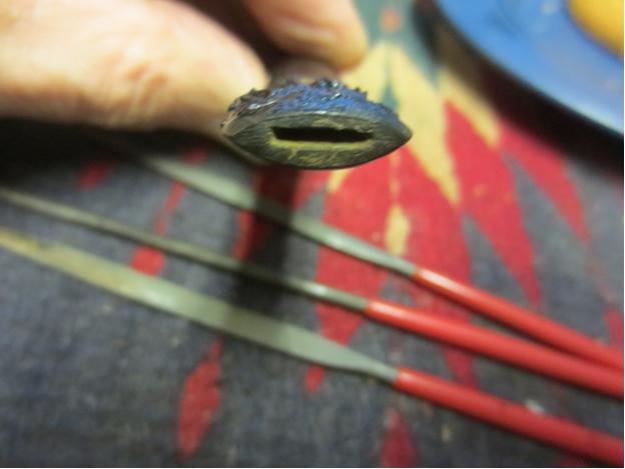
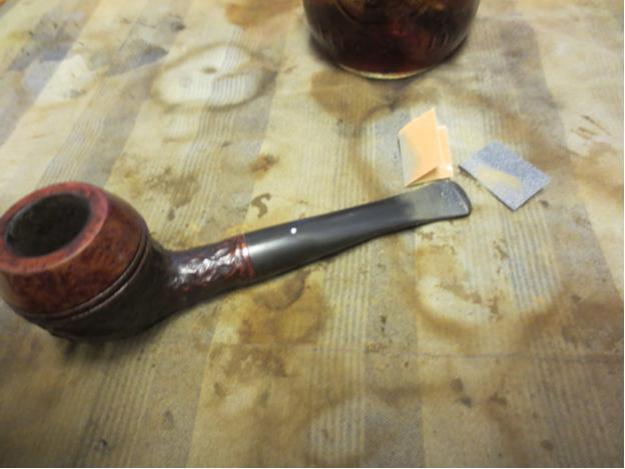
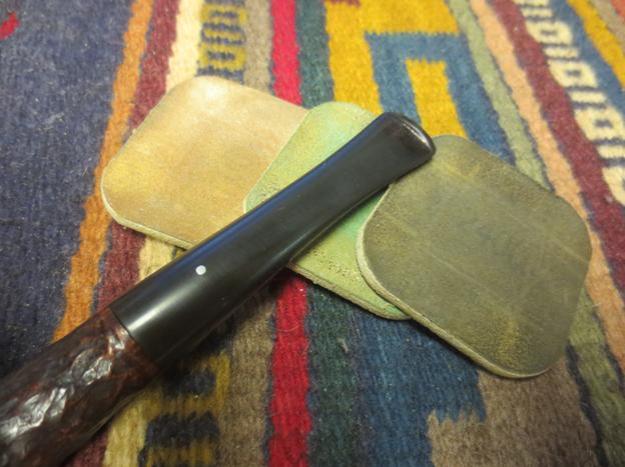
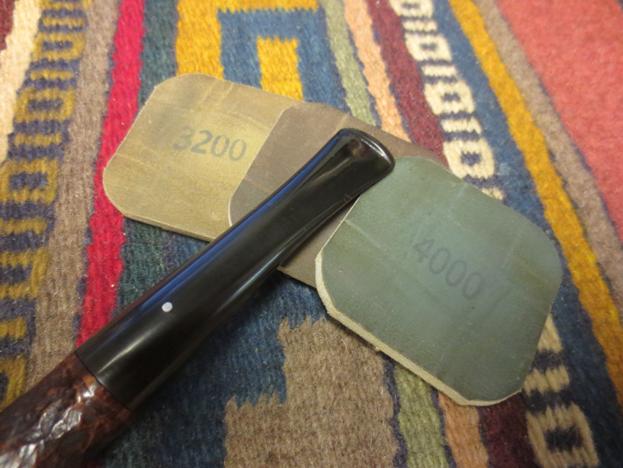
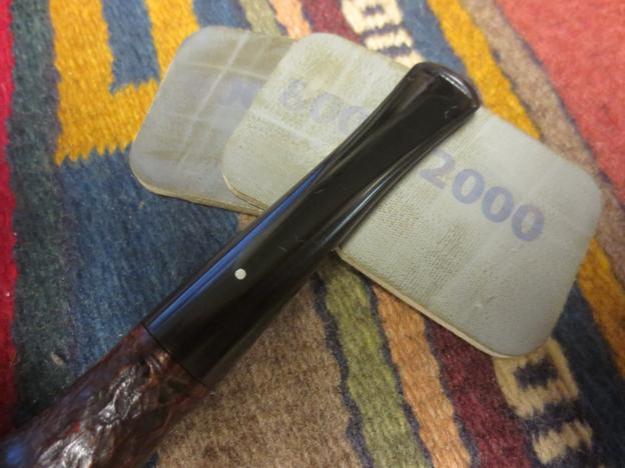
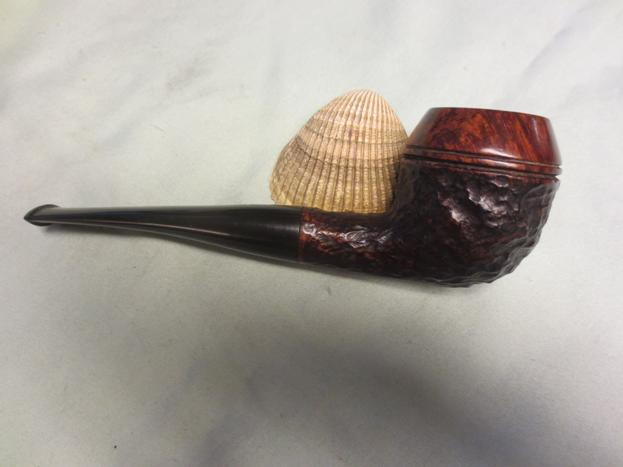
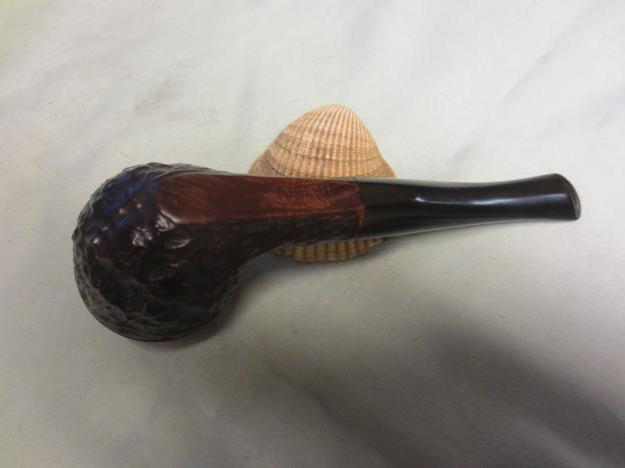
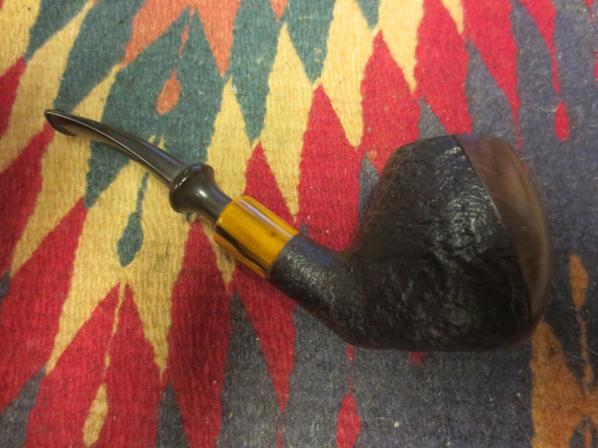
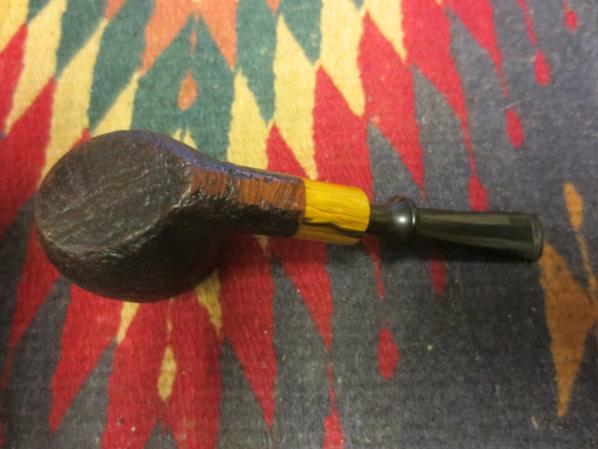
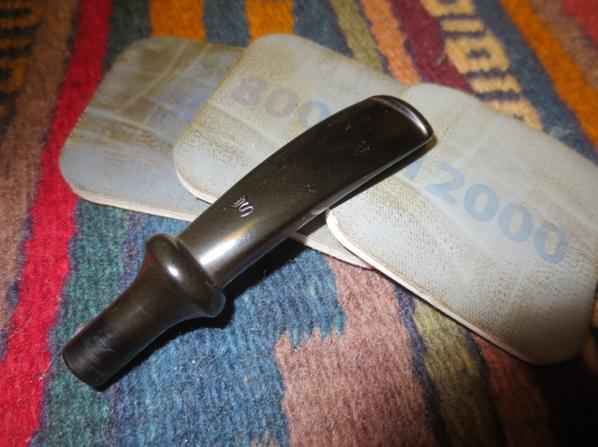
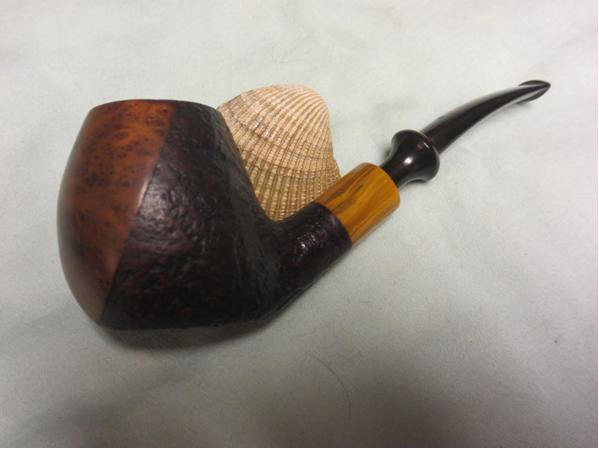
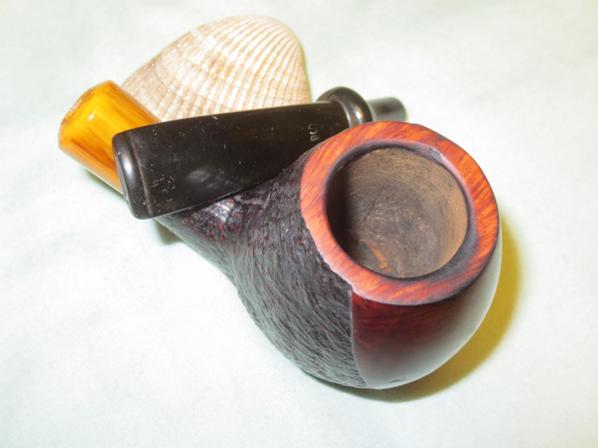
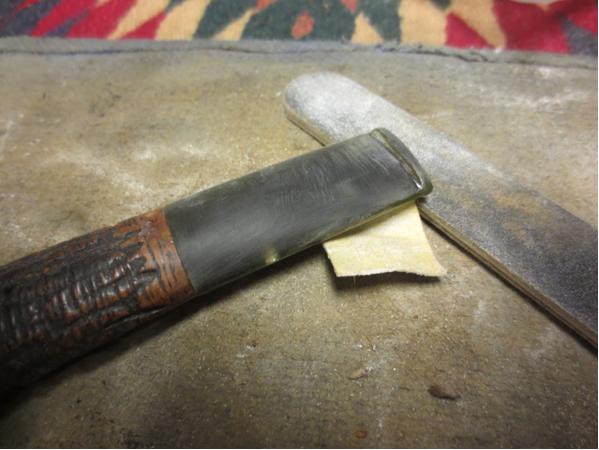
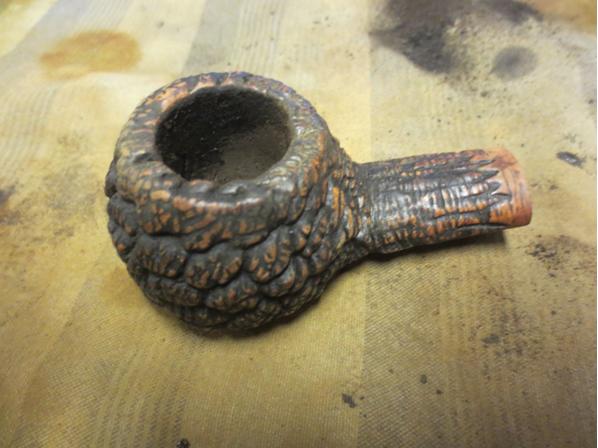
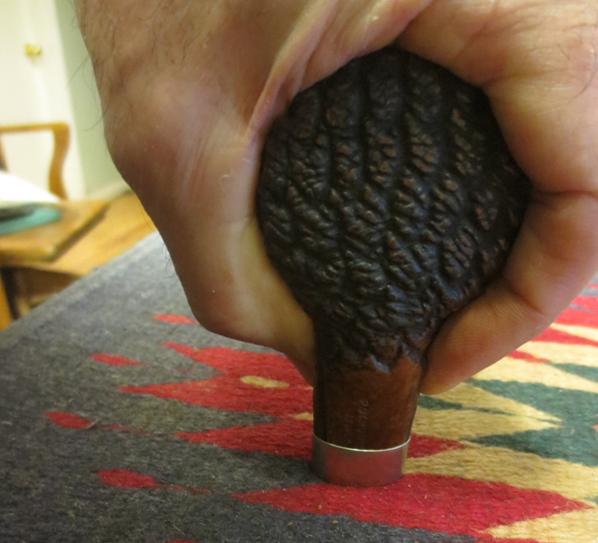
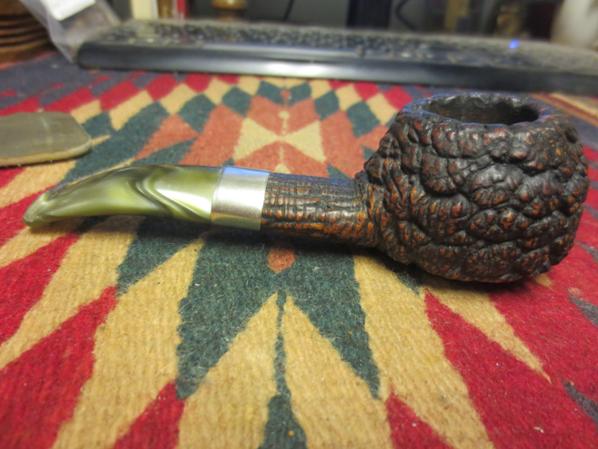
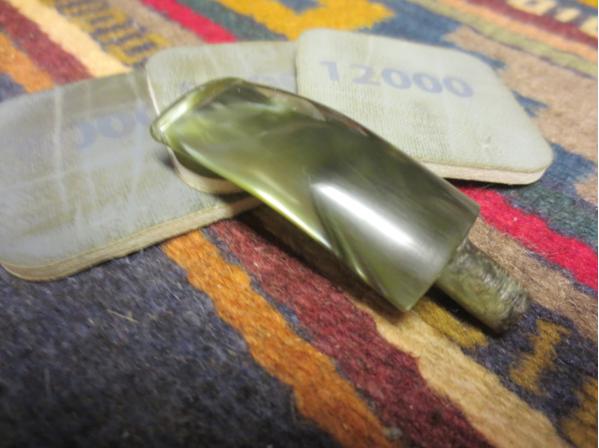
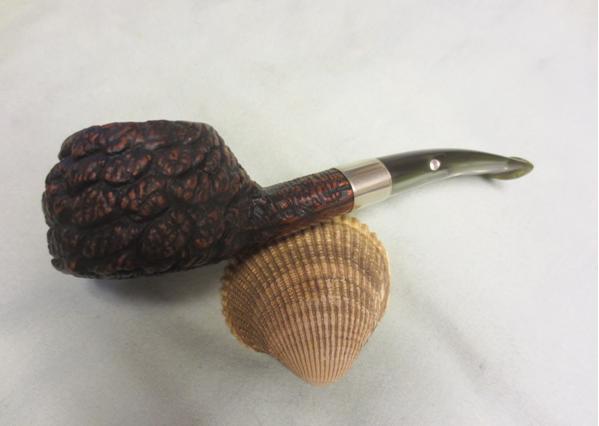
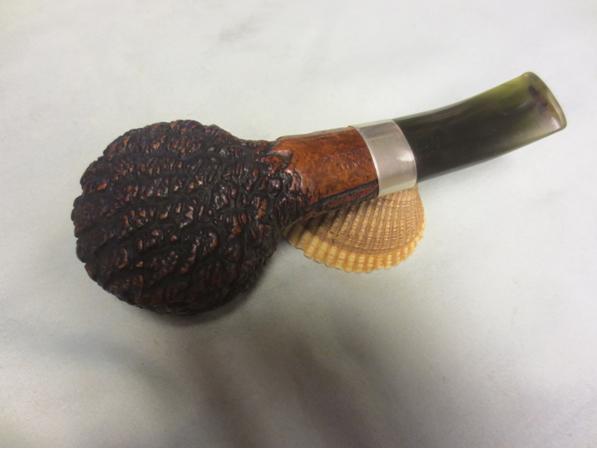
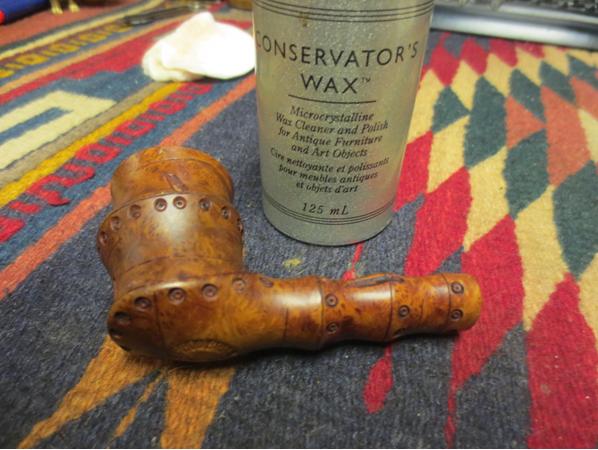
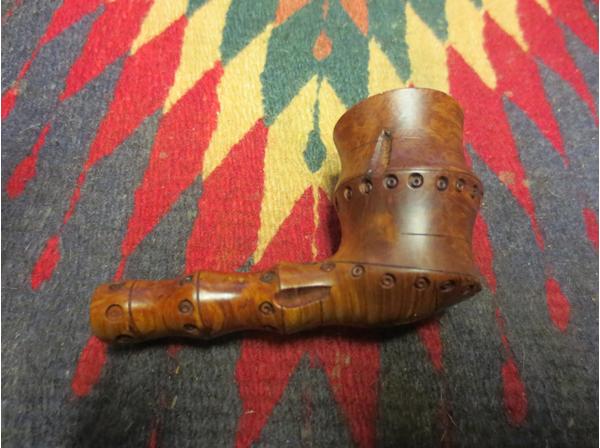
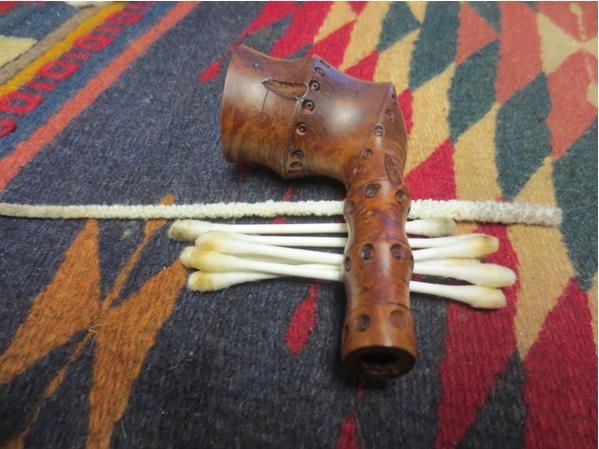
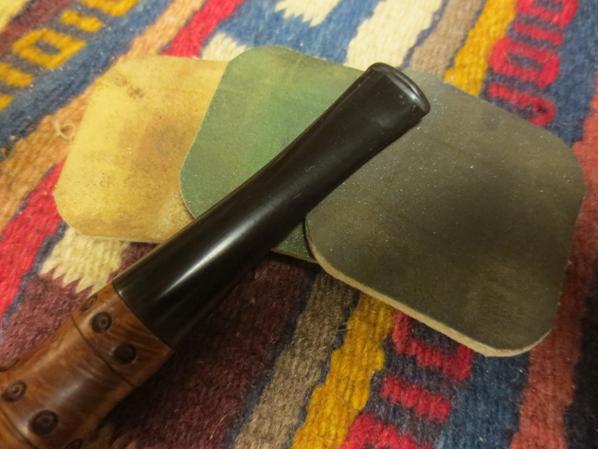
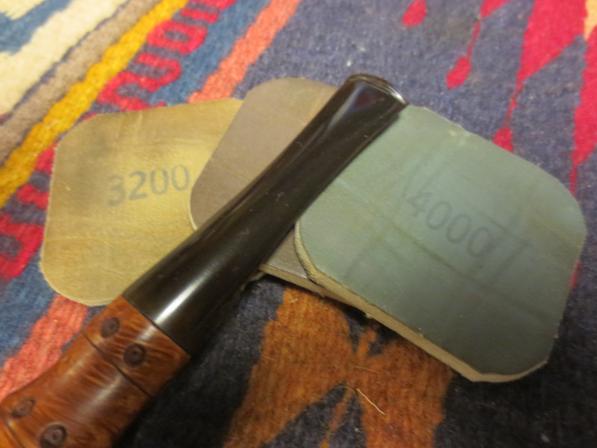
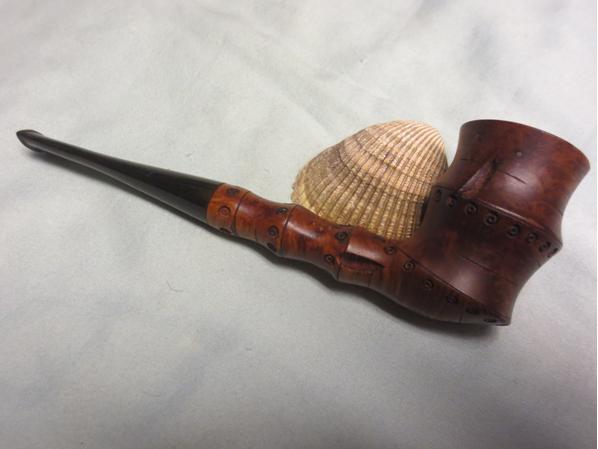
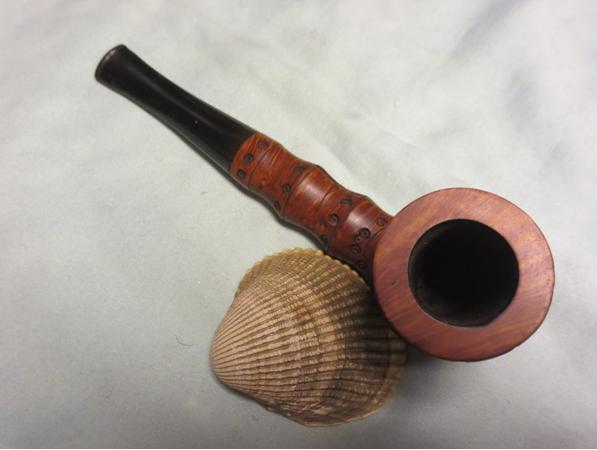
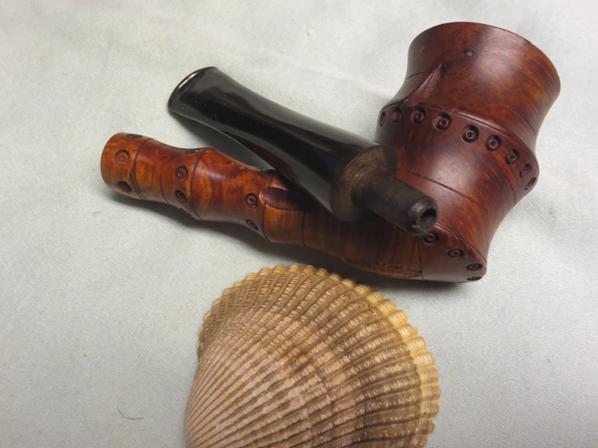
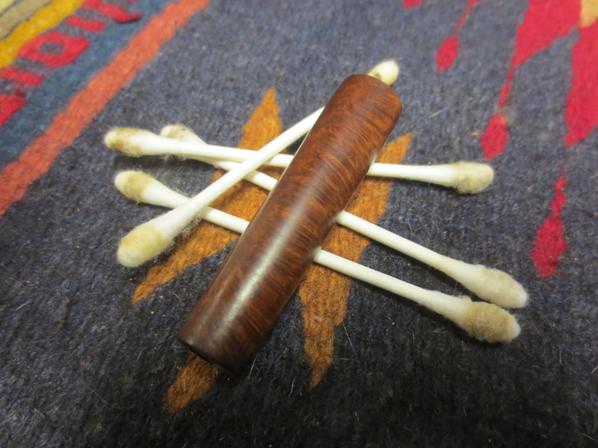
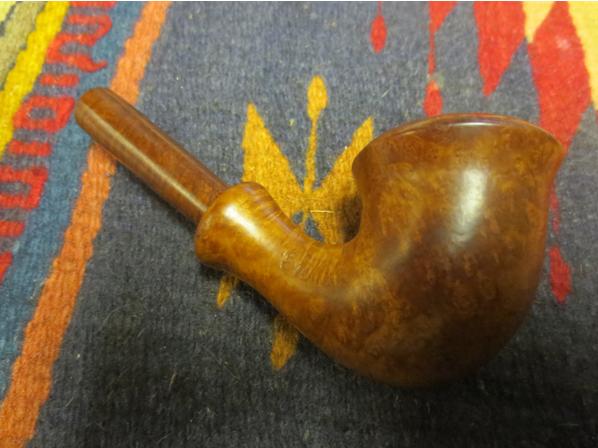
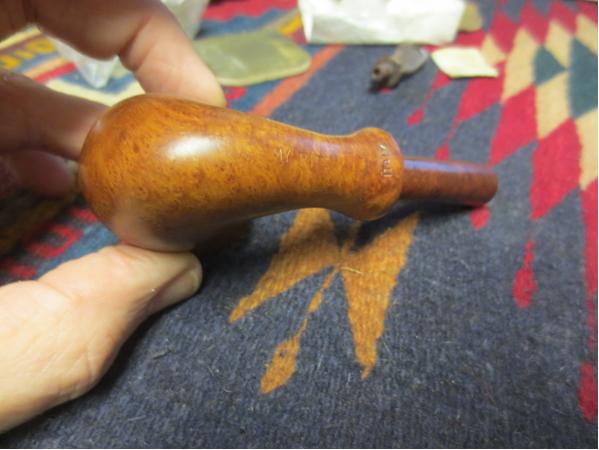
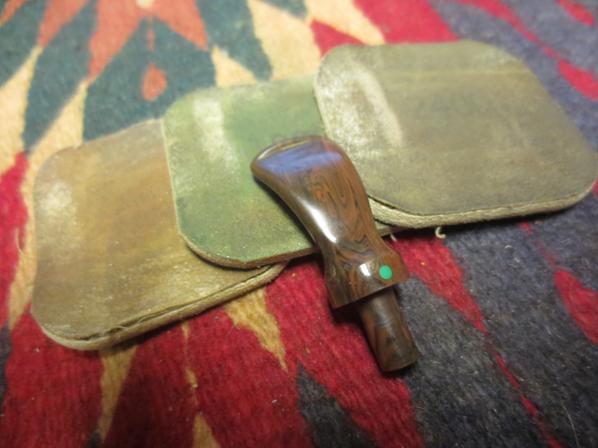
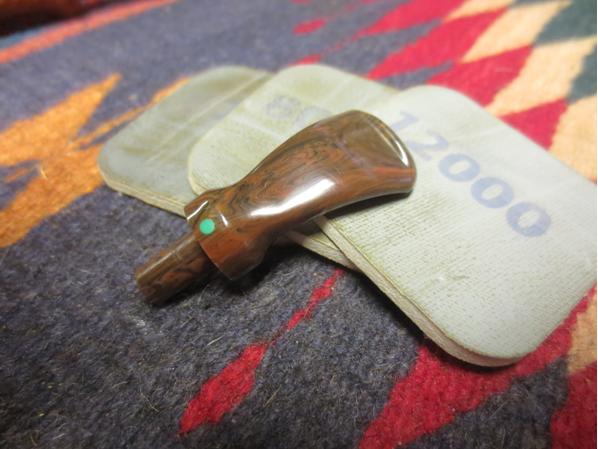
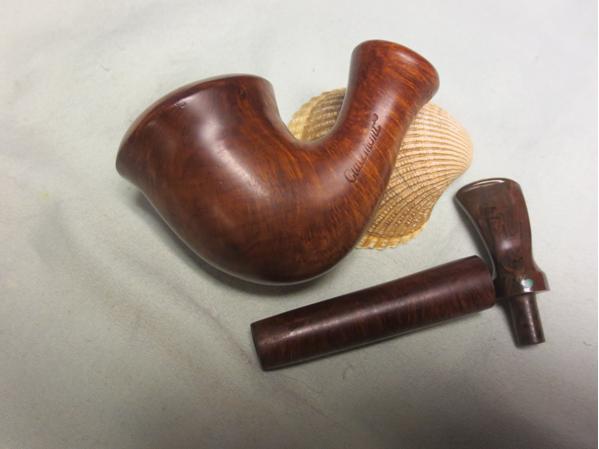
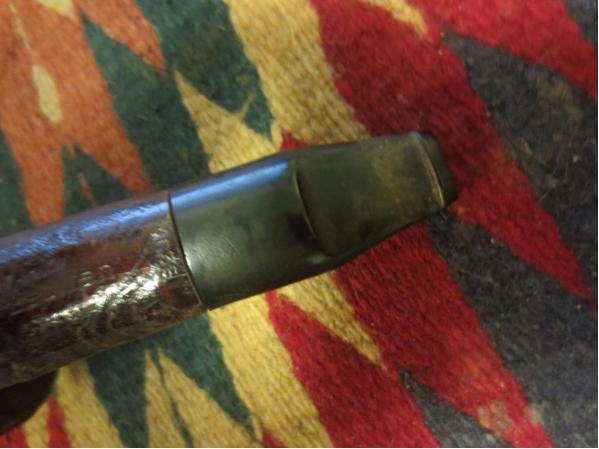
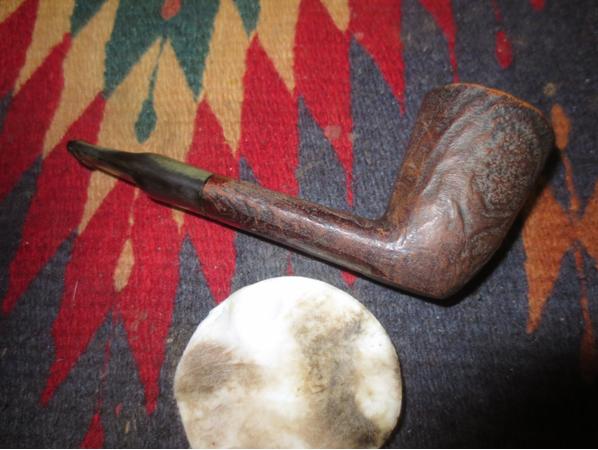
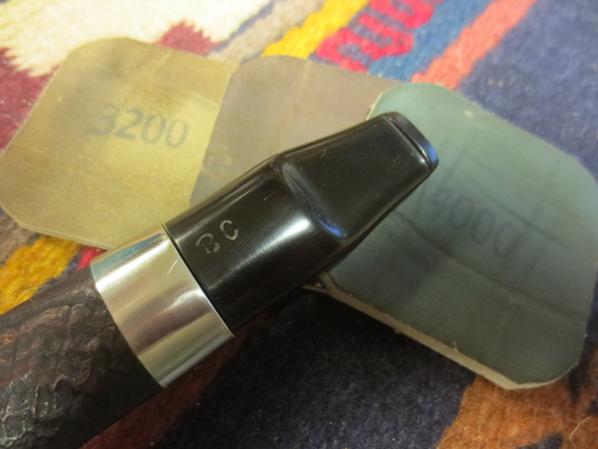
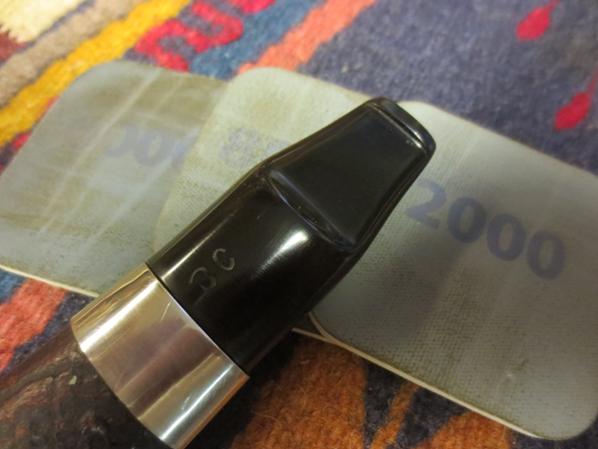
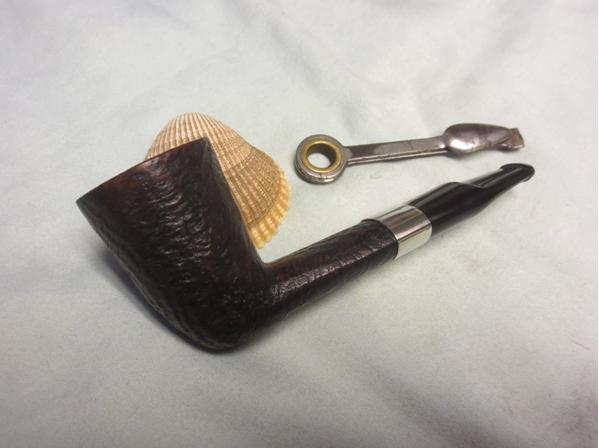
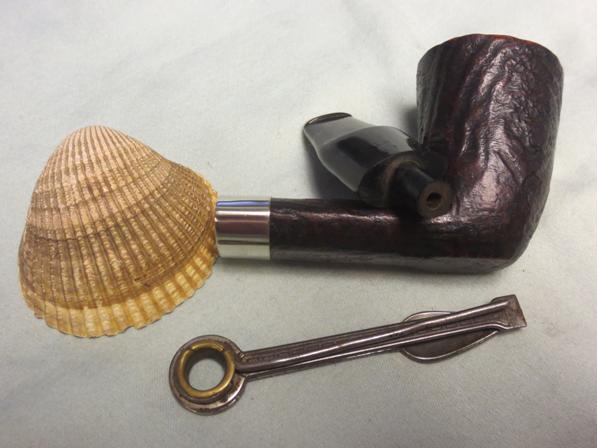
I started scrubbing out the inside of the stem, switching between bristled and soft pipe cleaners. This thing was nasty and I went through quite a few cleaners but finally they came out clean. I then went to my buffer and buffed the stem and stinger with white diamond. I switched wheels and buffed on a few coats of carnauba wax to both the stem and bowl. Once the buffing was done I buffed the pipe by hand with a microfibre cloth until I got a beautiful shine. Below is the finished pipe.