Blog by Steve Laug
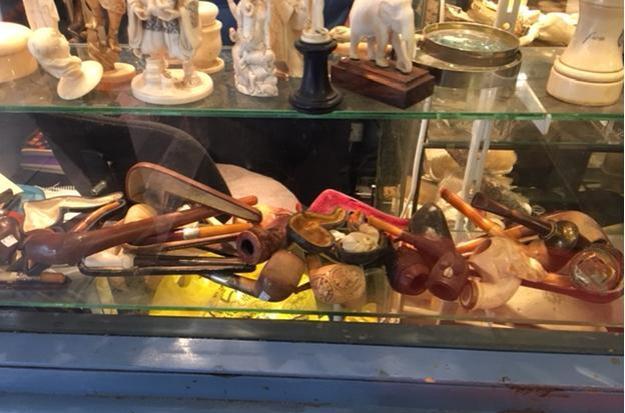
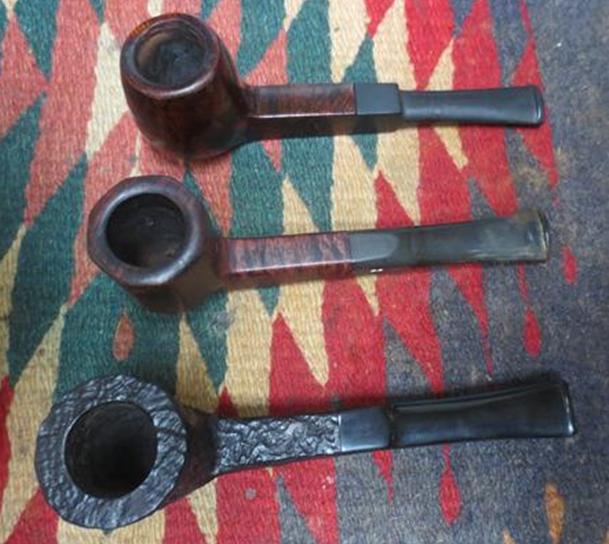
As I mentioned in the first blog I did on the Heritage threesome – the 45S Antique, earlier this summer I was relaxing and surfing Ebay on my iPad and I came across three listings for Heritage Pipes. All were square shank pipes and all were in decent condition. Two of them had original stems while the third had a well done replacement stem. Several years ago I had learned about the brand through Andrew Selking who writes for rebornpipes. Since then I have kept an eye out for them. There do not seem to be too many showing up on Ebay but every so often there is one. This time there were three. I contacted my brother with the links and he bid and won the threesome. I am working on the middle pipe in the threesome now.
 If you missed the first blog on the Heritage Antique I thought I would once again summarize a bit of the history of the brand that Andrew wrote on a previous blog on rebornpipes. Here is the link: https://rebornpipes.com/2014/12/23/refurbishing-a-heritage-heirloom/. I am including a brief summary of what he found in the next two short paragraphs to set the stage for the pipe on my work table.
Heritage pipes were Kaywoodie’s answer to Dunhill. According to one of their brochures, Heritage pipes were made from “briar burls seasoned and cured for up to 8 months,” with only “one briar bowl in over 300 selected to bear the Heritage name.” “Heritage stems are custom fitted with the finest hand finished Para Rubber stems. Mouthpieces are wafer thin and concave.”
The Heritage line began in the early 1960’s, with the trademark issued in 1964. The line was started at the request of Stephen Ogdon, (who worked for Kaywoodie in 1962). Mr. Ogdon had previous experience working for Dunhill, either running the New York store or working for Dunhill North America. Mr. Ogden was made President of Heritage Pipes, Inc., Kaywoodie Tobacco Co.,Inc. and Kaywoodie Products Inc. as well as a Vice President of S.M. Frank & Co. Heritage Pipes were produced from 1964 until 1970 (Source Kaywoodie.myfreeforum.org).
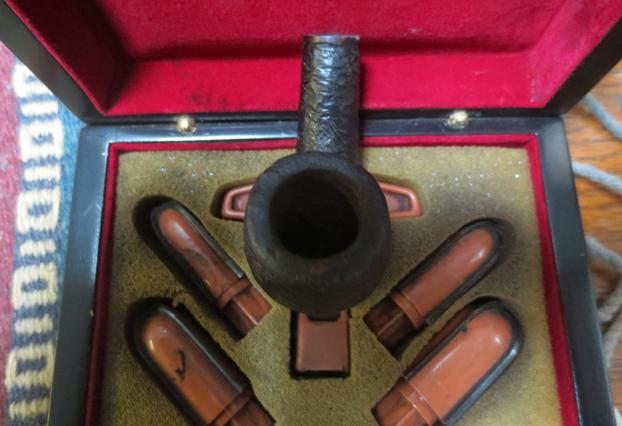
The second pipe I chose to work on first from the threesome I had on the table was the number 45 an Octagon, Square Shank, Taper stem billiard. I have circled it in the page below. Interestingly, the one thing the Heritage line shared with Kaywoodie was the size and shape numbers. Unlike Kaywoodies, the Heritage pipes are normal push tenons.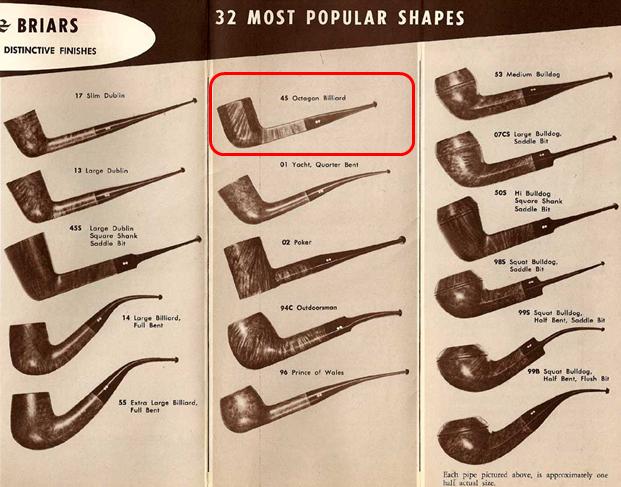 I am also including another page from Andrew’s blog post that highlights the line of Heritage pipes that the Octagon Billiard comes from. It is a Heritage Diplomat which is described in the page below. Its “Hand rubbed finish accents the richness of the fine grain”. The brochure goes on to describe it in these terms, “…The distinguished grain of the Heritage Diplomat is a joy to behold. The virgin bore insures easy break-in and full flavor of the tobacco. Heritage Diplomat is truly distinctive in character, becoming mellow and enriched with time and smoking.”
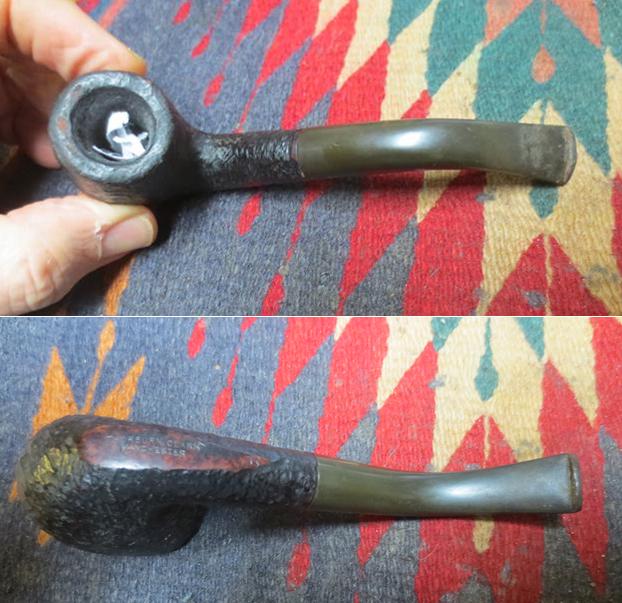
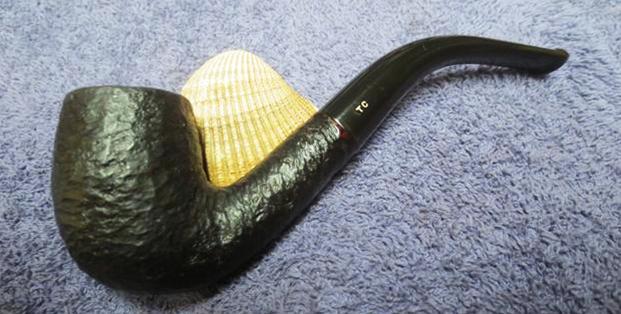
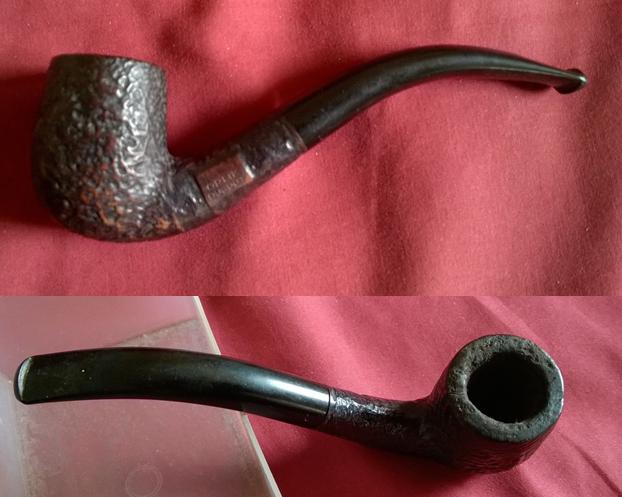
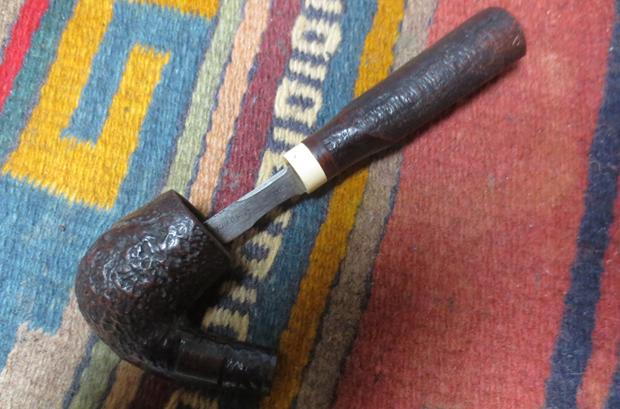
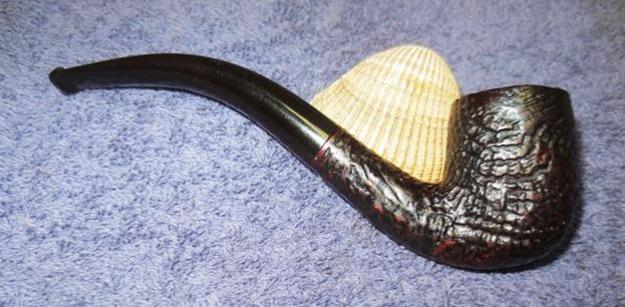
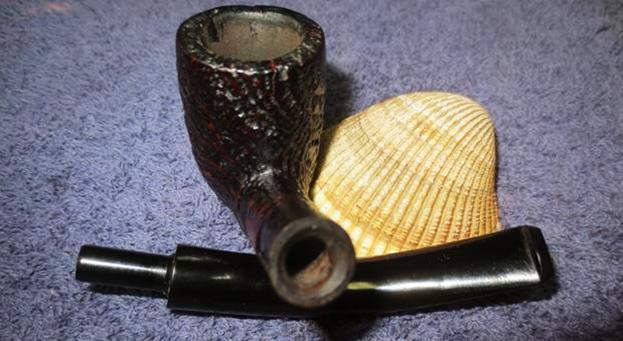
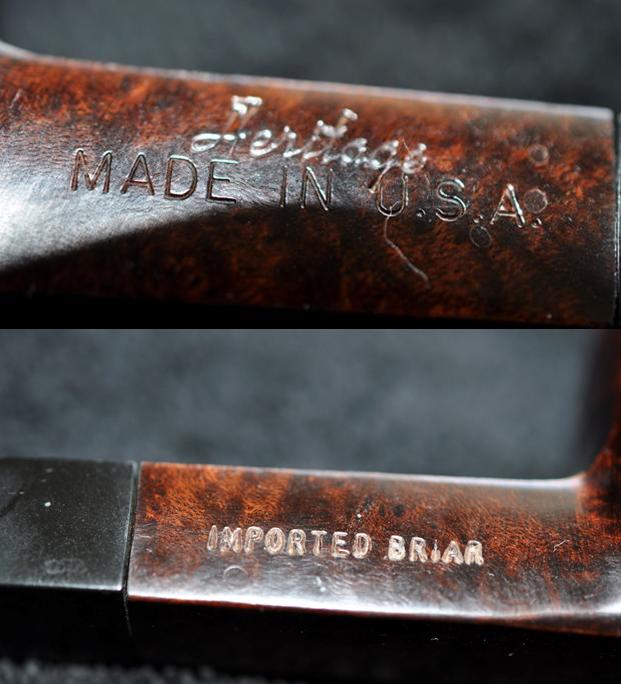
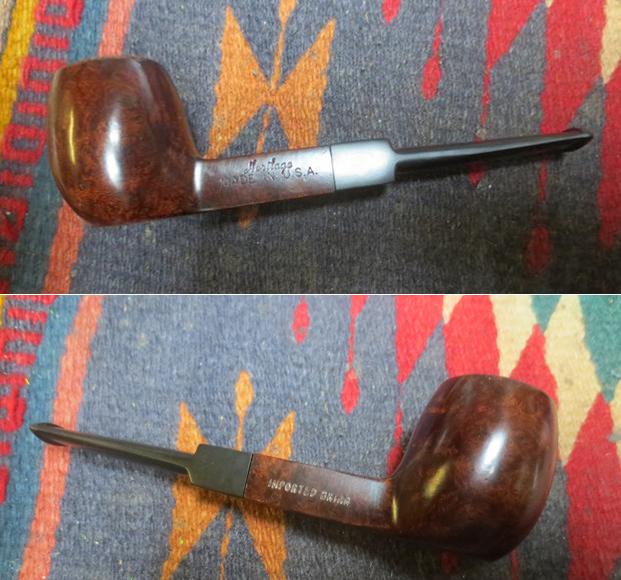
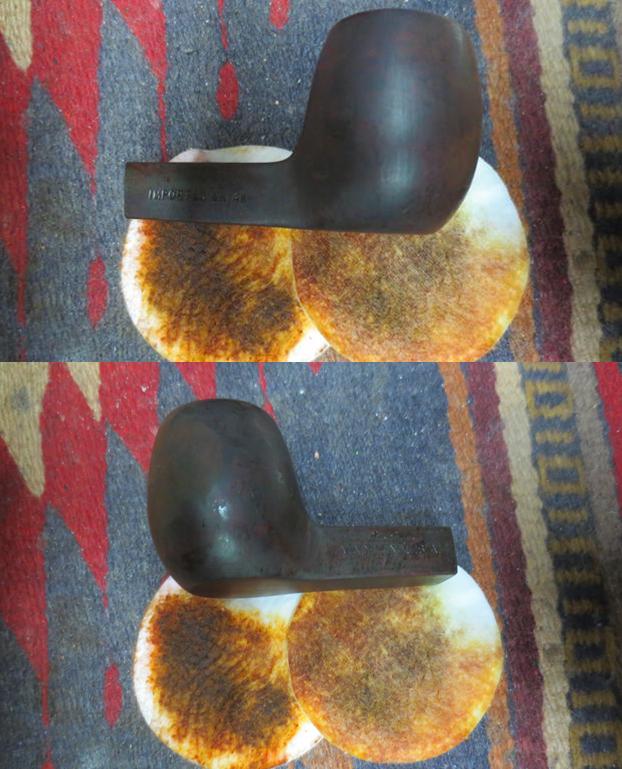
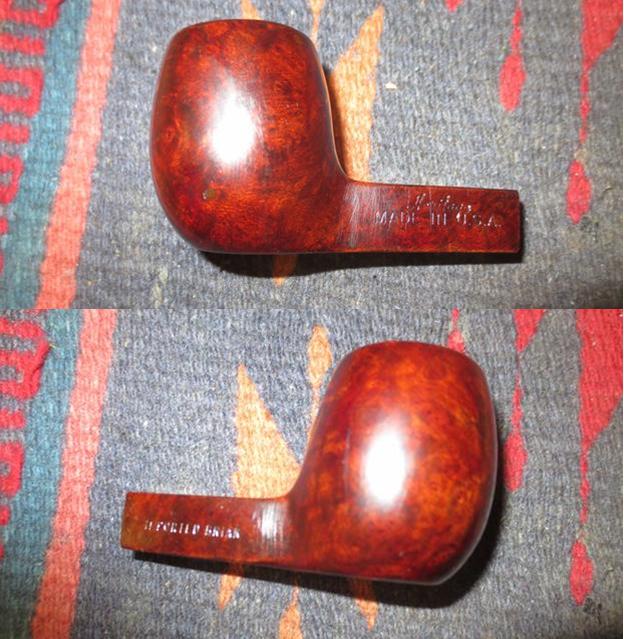
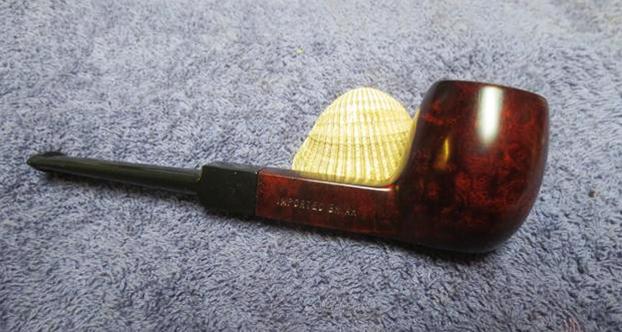
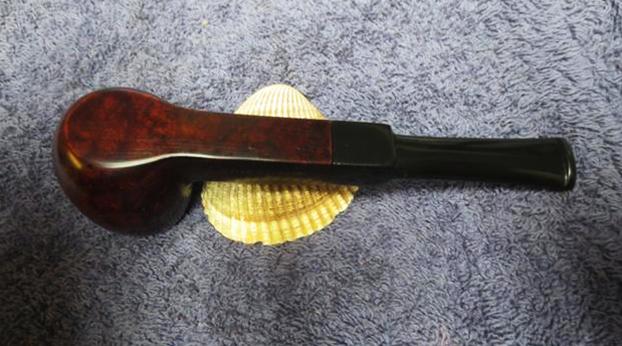
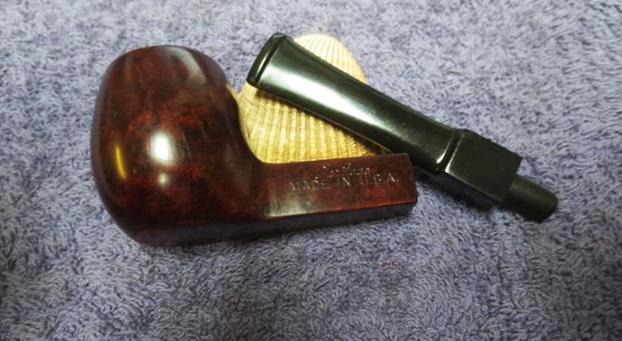
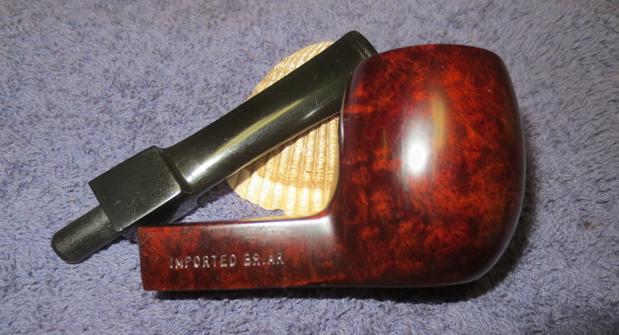
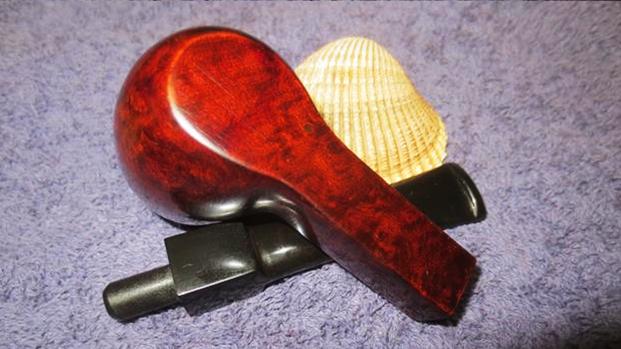
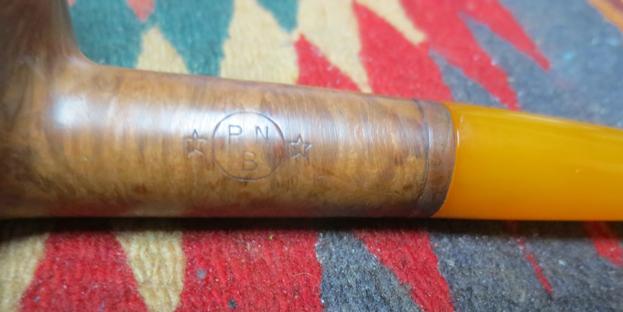
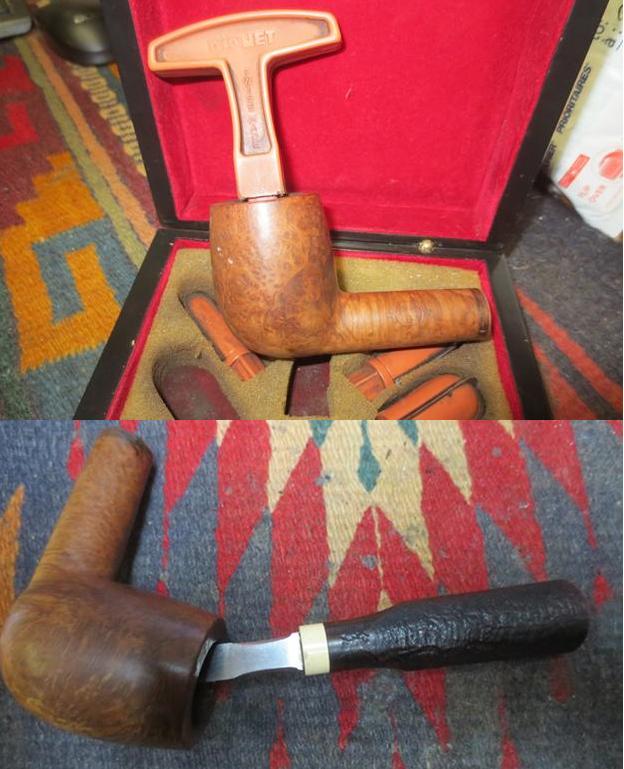
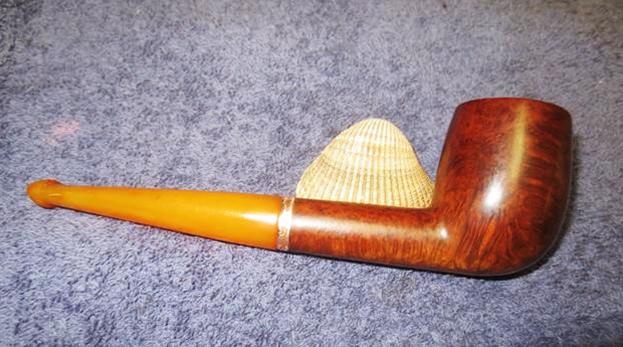
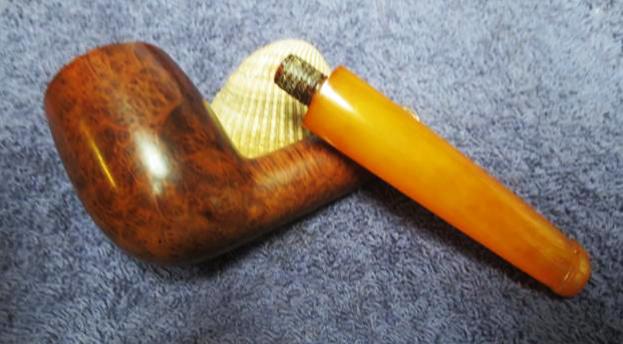
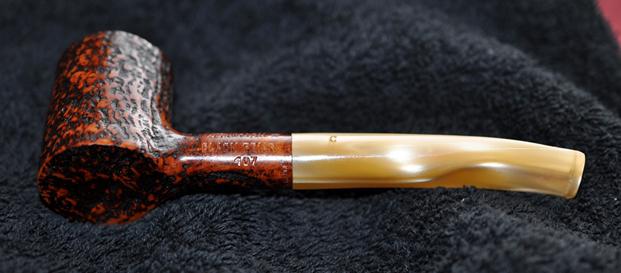
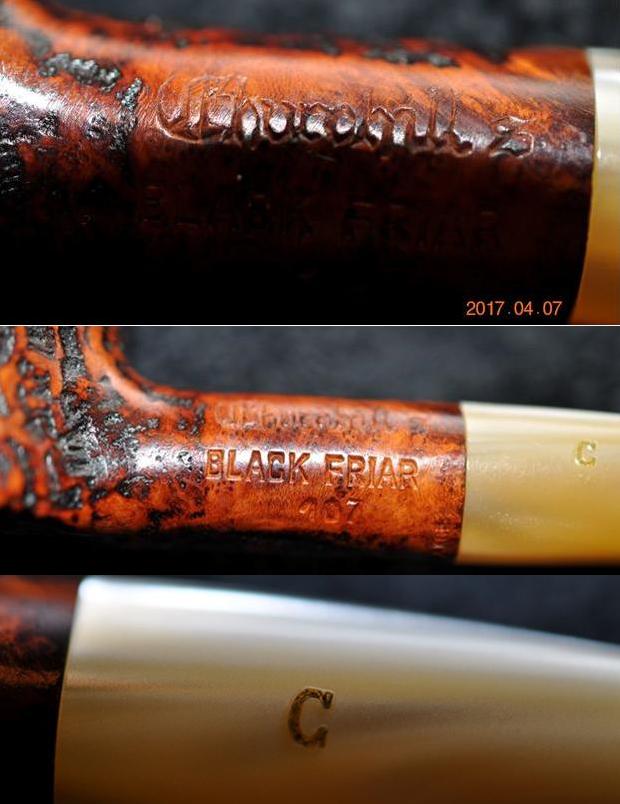
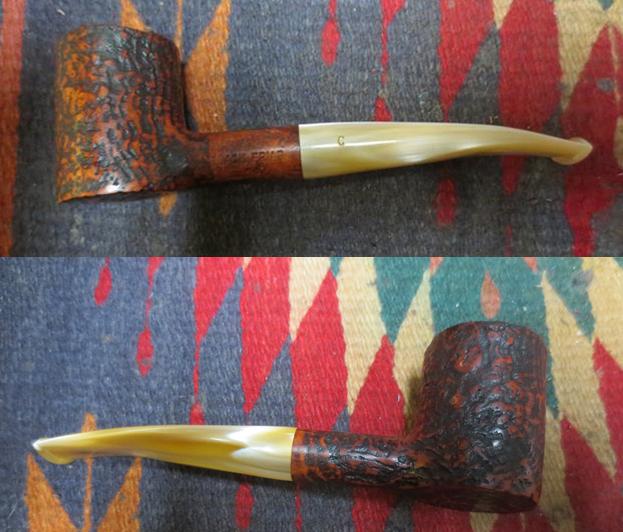
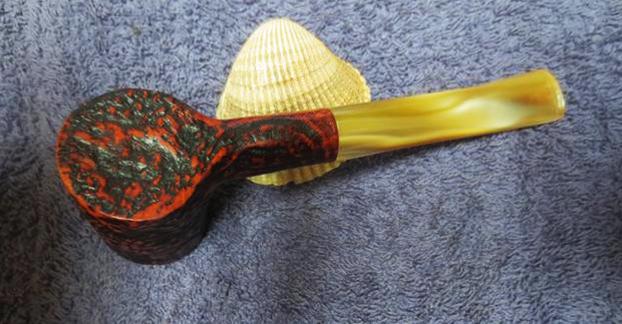
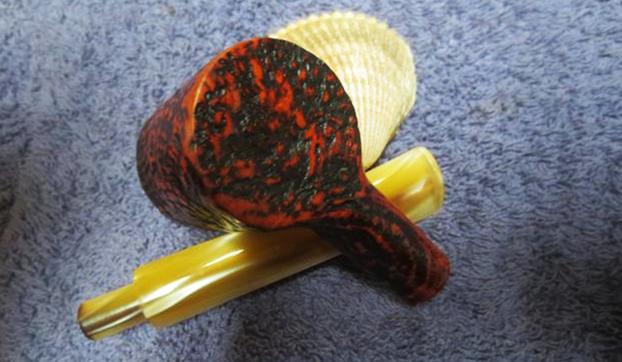
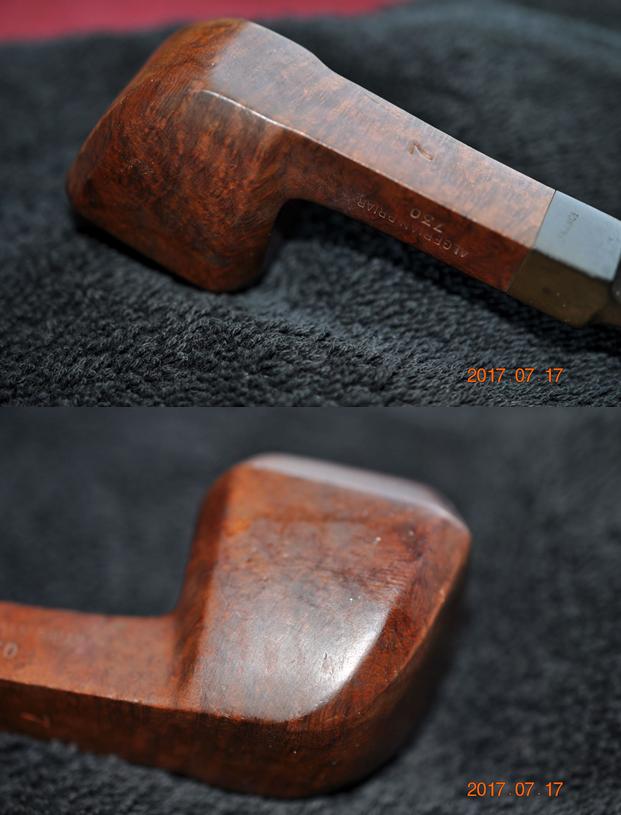
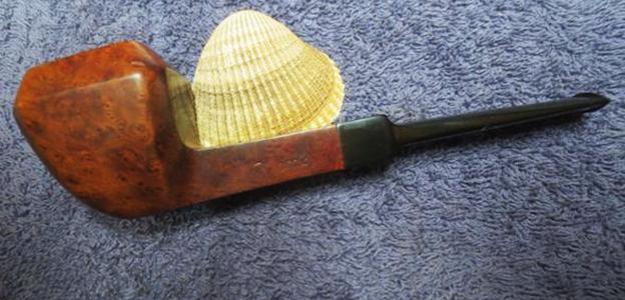
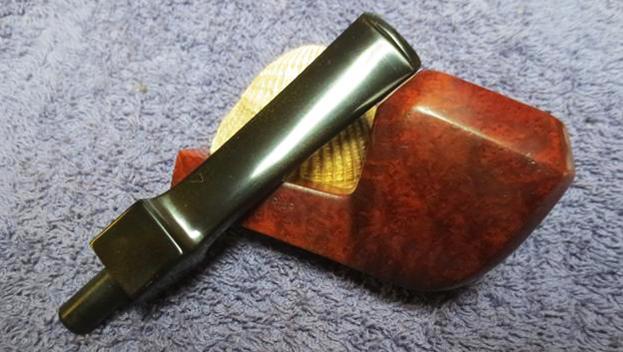
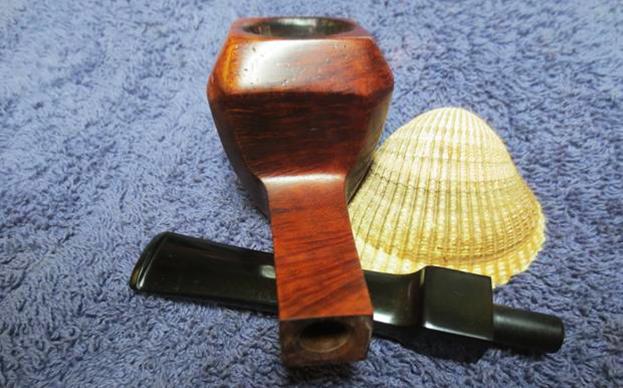
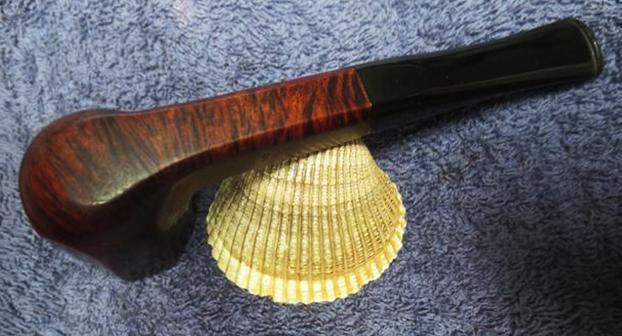
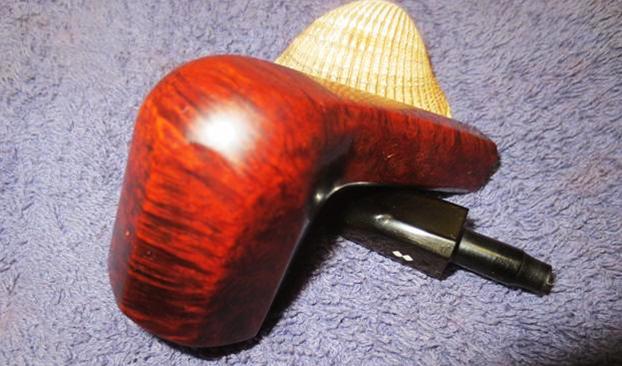
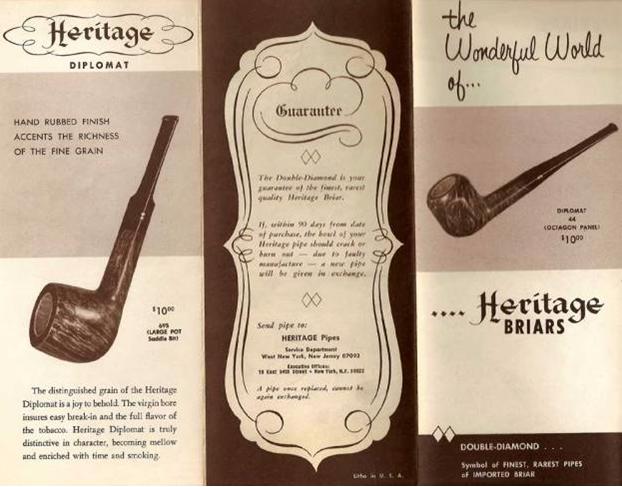 When the pipes arrived in Idaho, Jeff took photos of them before he did his cleanup work. The 45 Octagon Billiard was in good condition. There was a light cake in the bowl and a light overflow of lava on the rim. The grain on the eight sides of the bowl is quite interesting being a combination of cross grain, birdseye and mixed. The finish was dirty but appeared to be in good condition under the grime and grit the years. The bowl and square shank were clean and undamaged. There was a small fill on the back side of the bowl just above the bowl/shank junction and one on the front of the bowl. It was stamped Heritage over Diplomat over Imported Briar on the left side of the shank and has the shape number 45 on the right side of the shank. The stem had light oxidation and some tooth chatter and some light tooth marks on both sides of the stem just ahead of the button. The double diamond logo on the left side of the stem was in good condition. The quality vulcanite had held up well through the years.
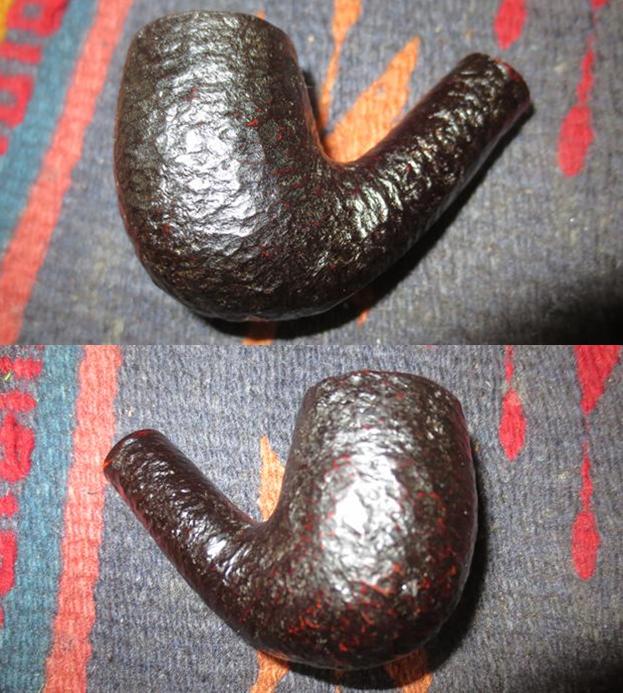
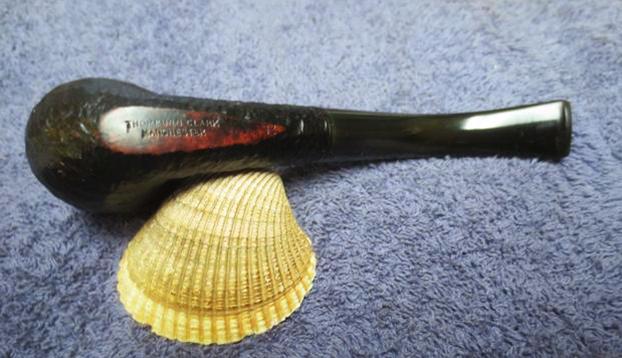
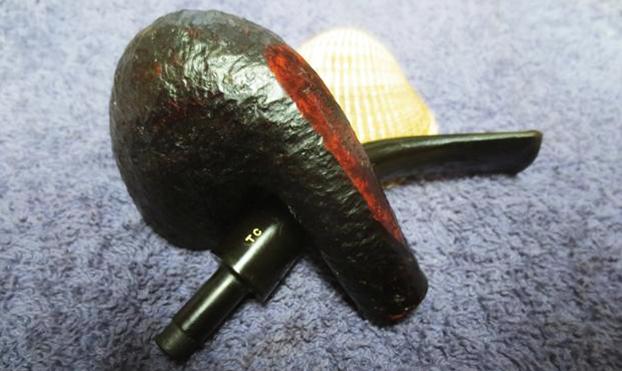
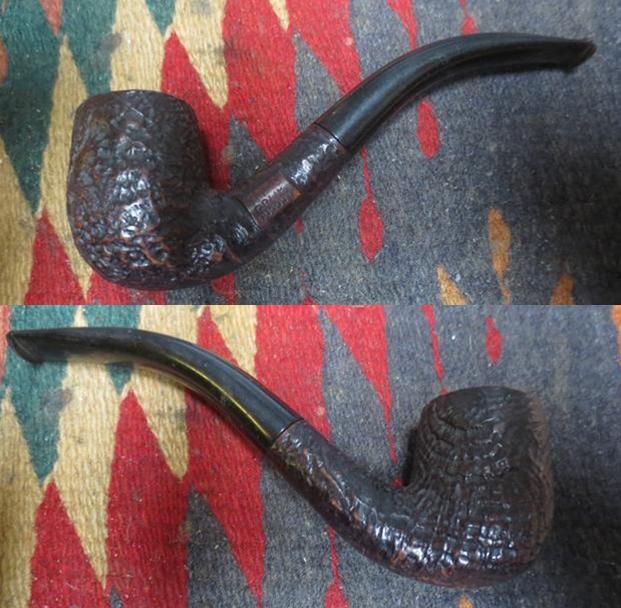
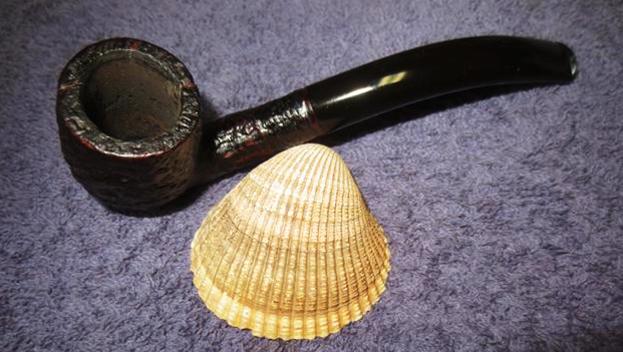
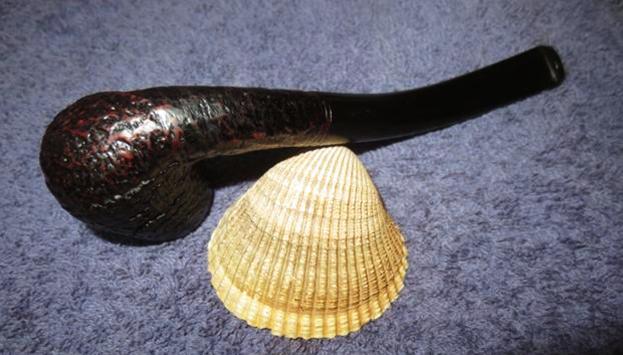
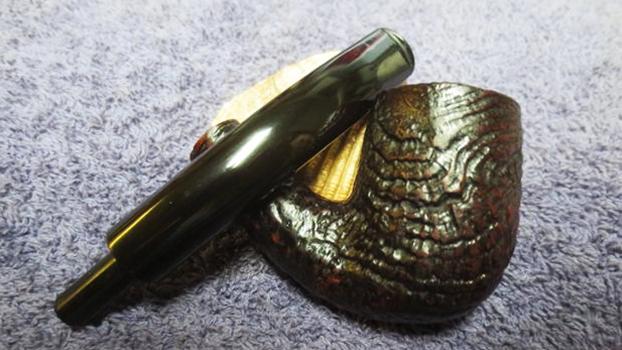
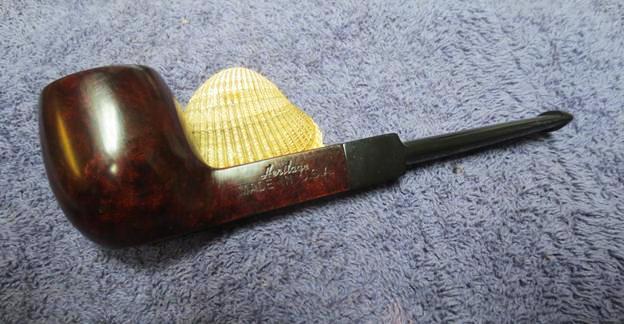
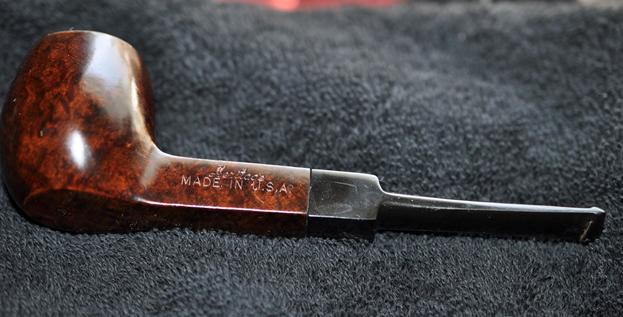
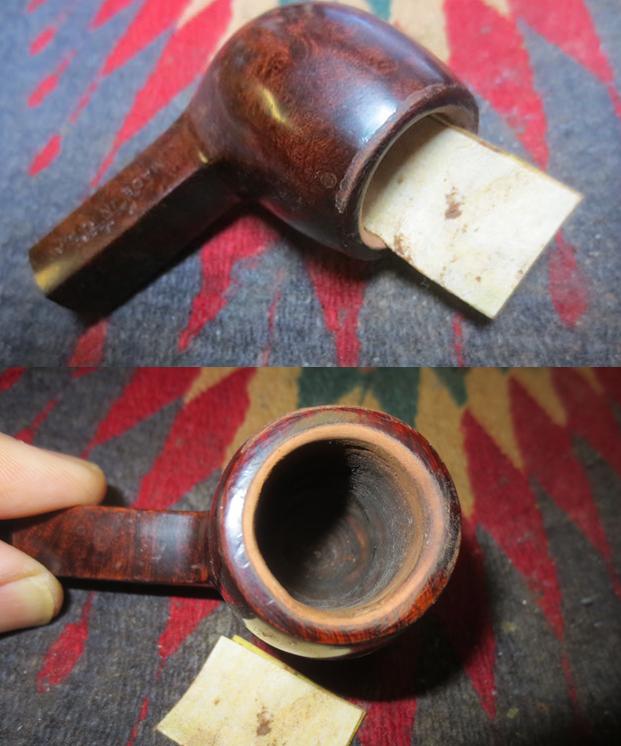
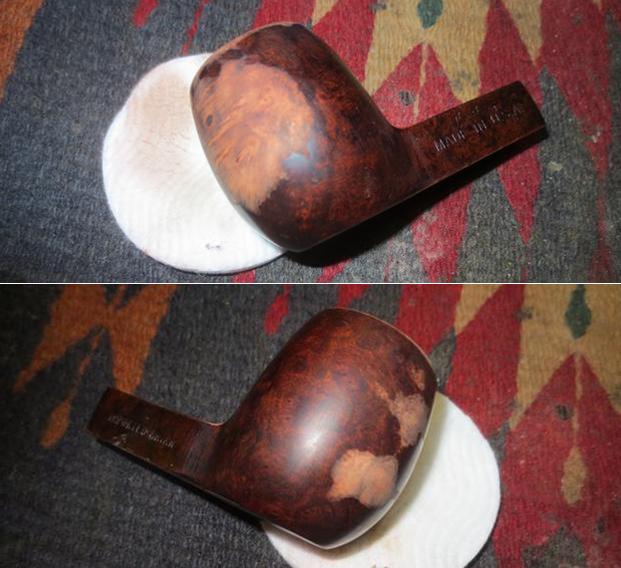
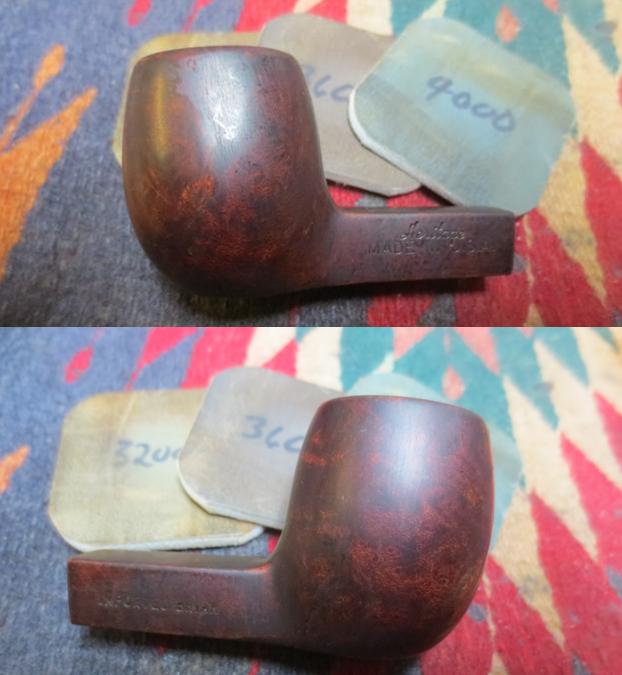
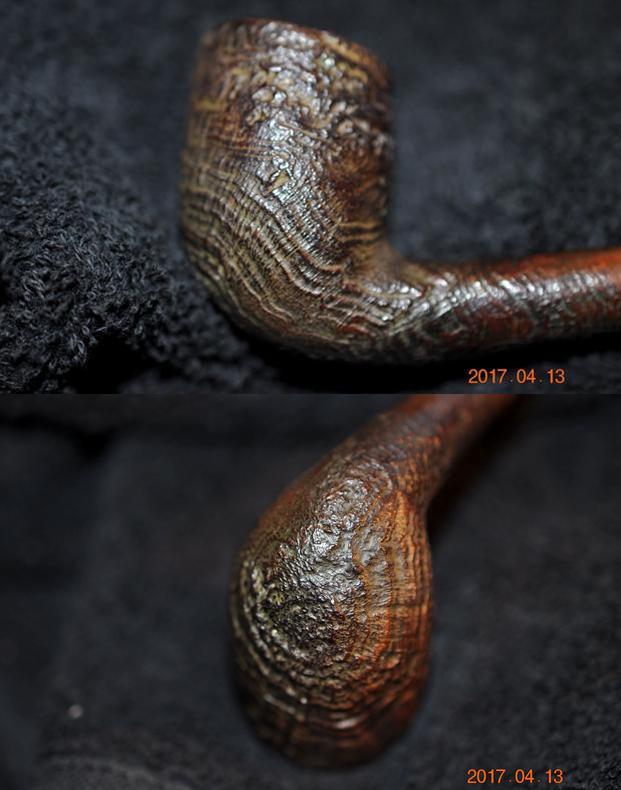
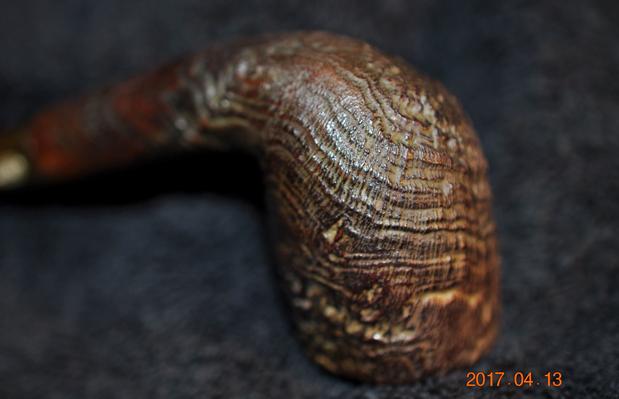
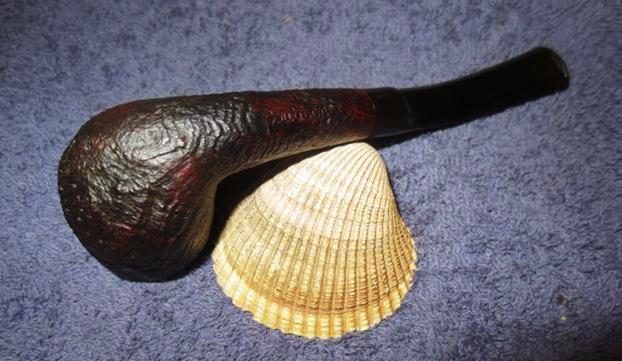
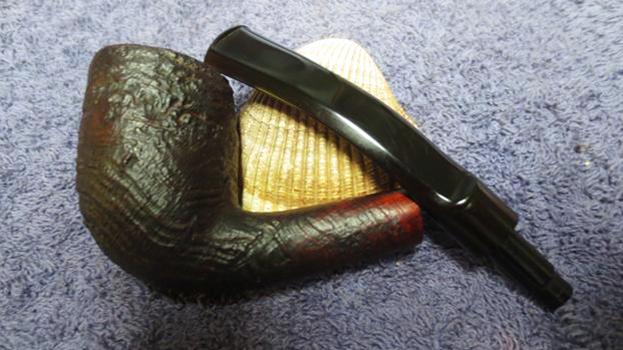
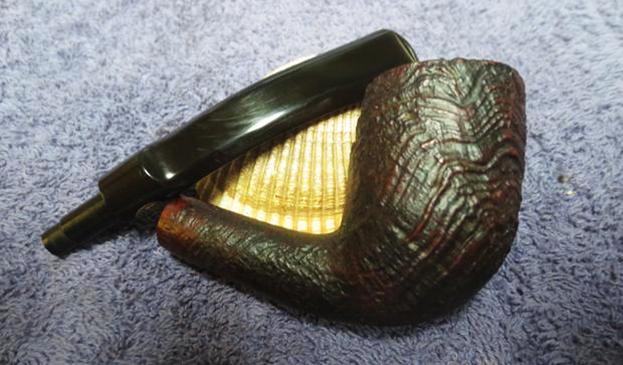
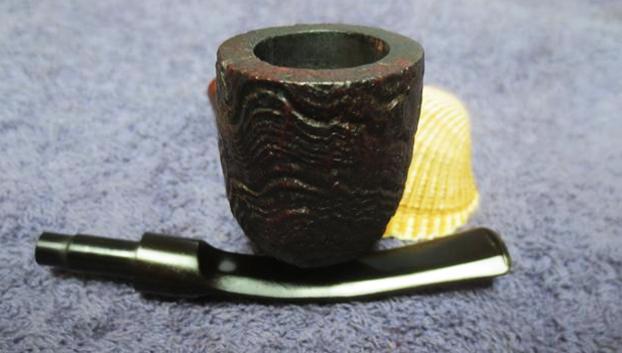
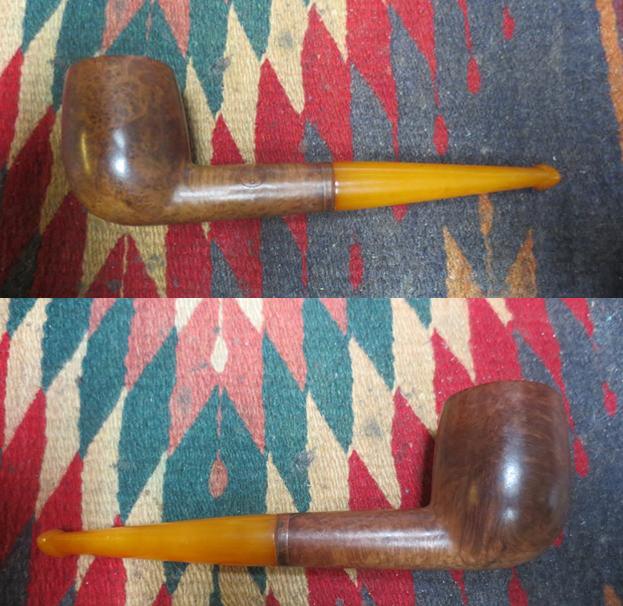
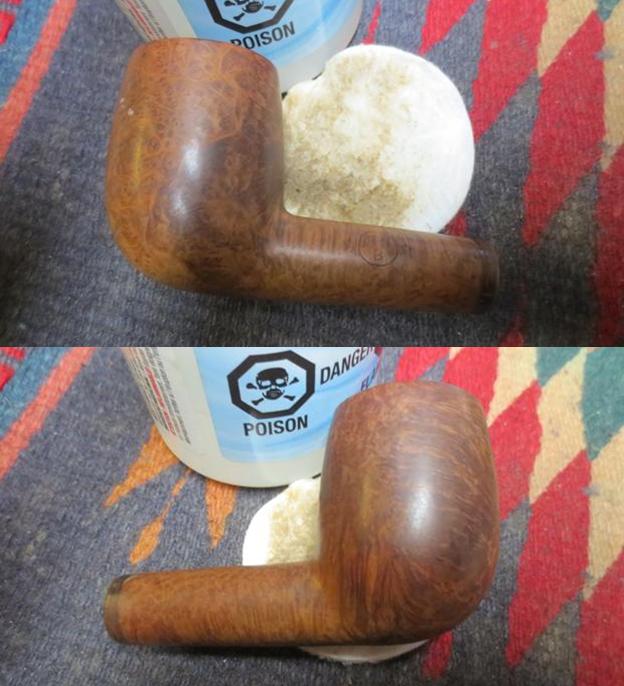
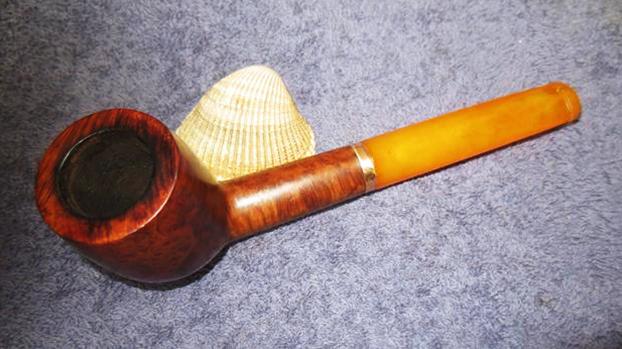
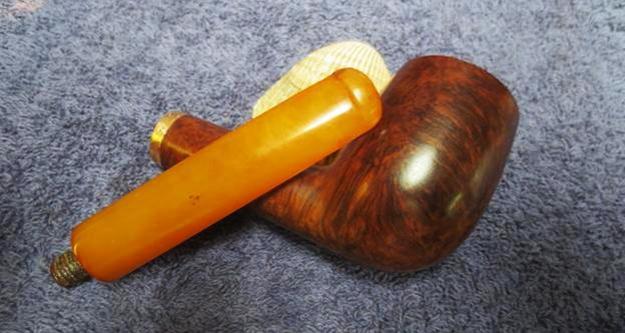
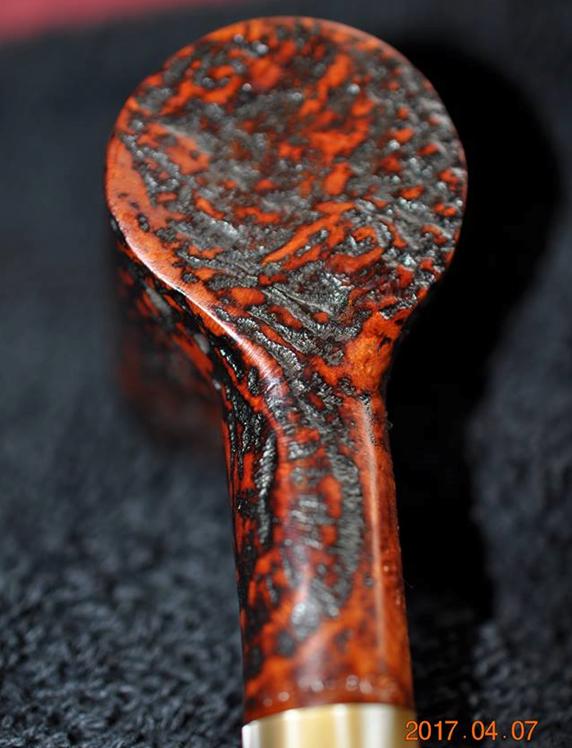
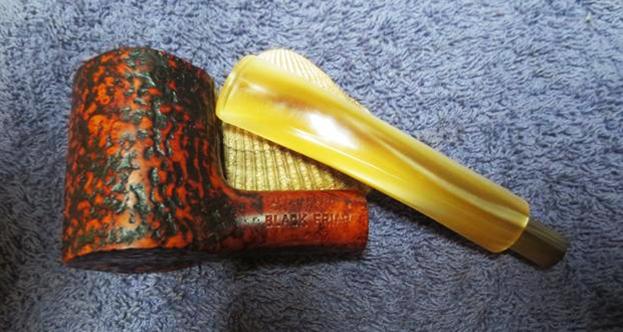
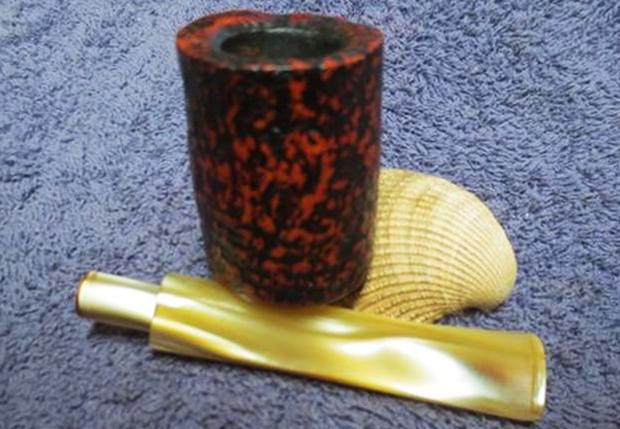
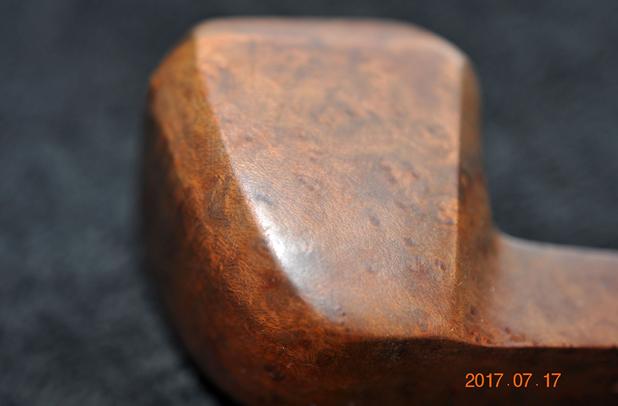
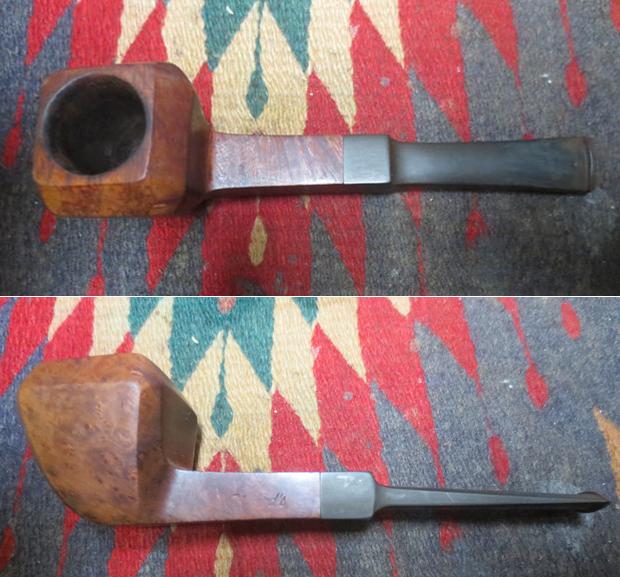
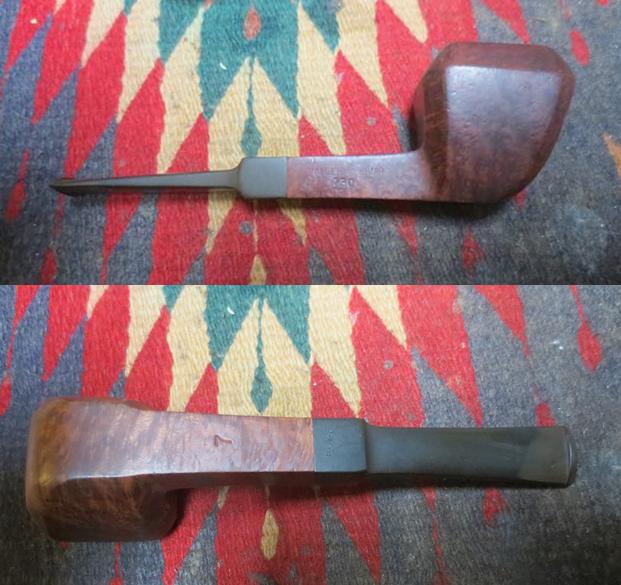
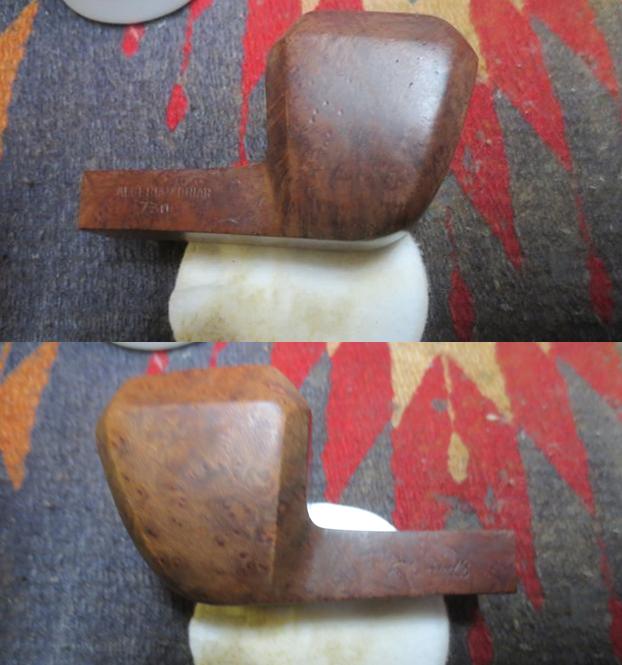
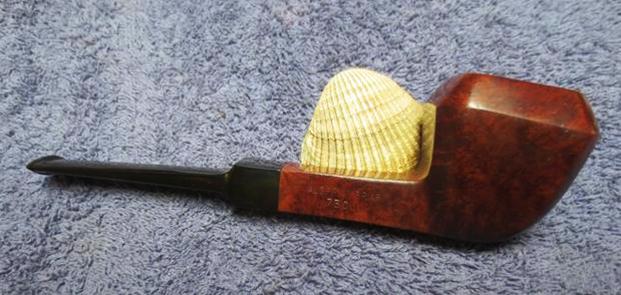
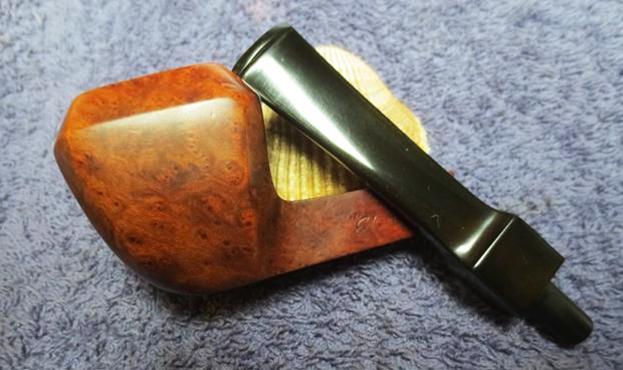
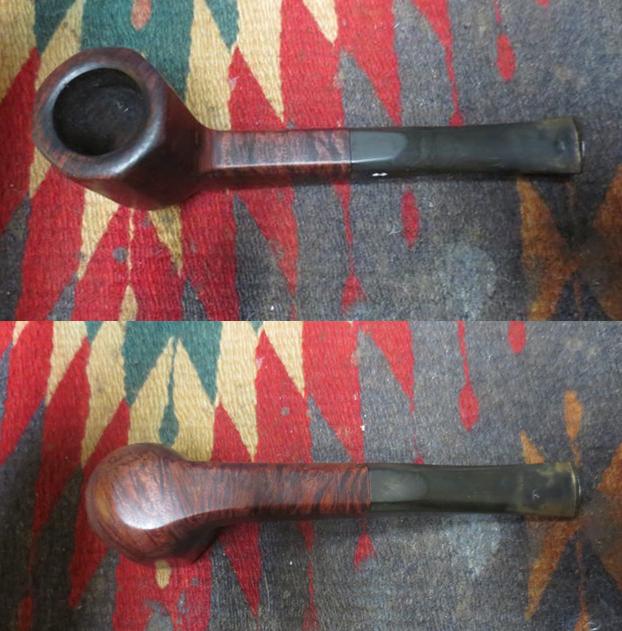
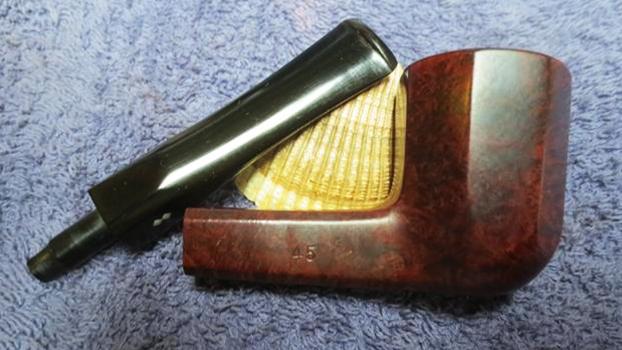
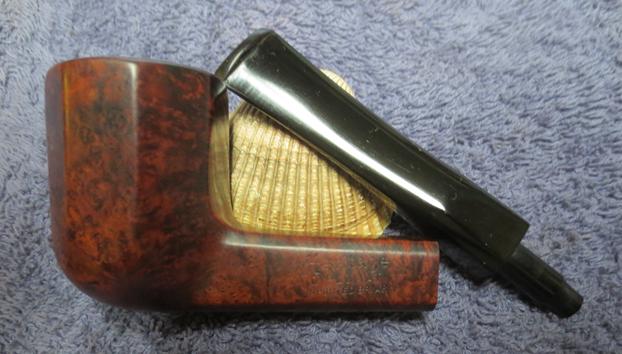
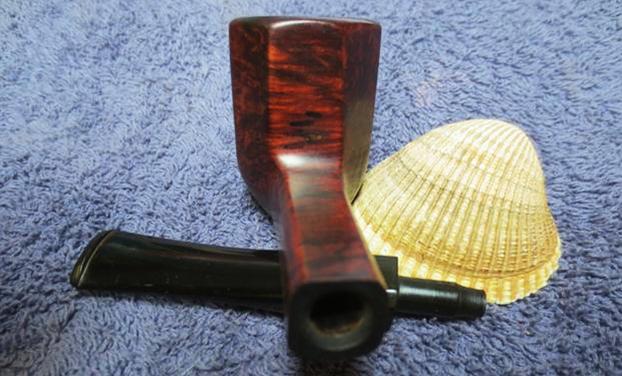
 Jeff took some photos of the sides and bottom of the bowl and shank to show the condition of the pipe, the rich stain on the pipe and the lovely grain all around.
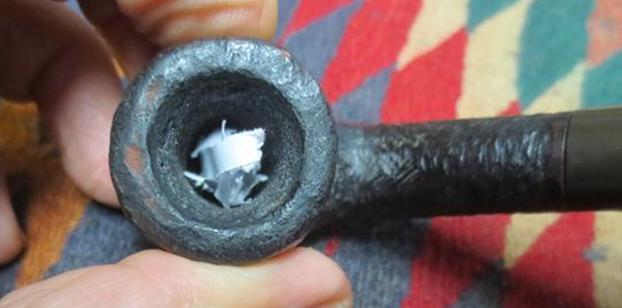
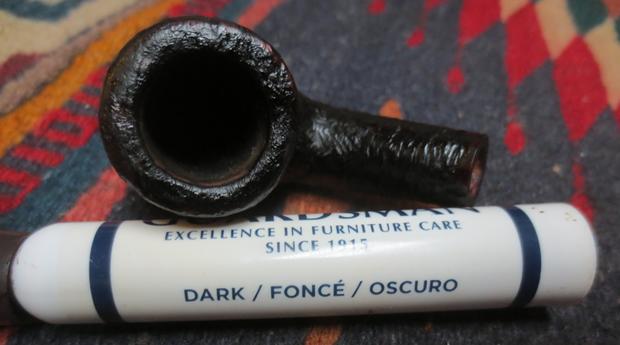
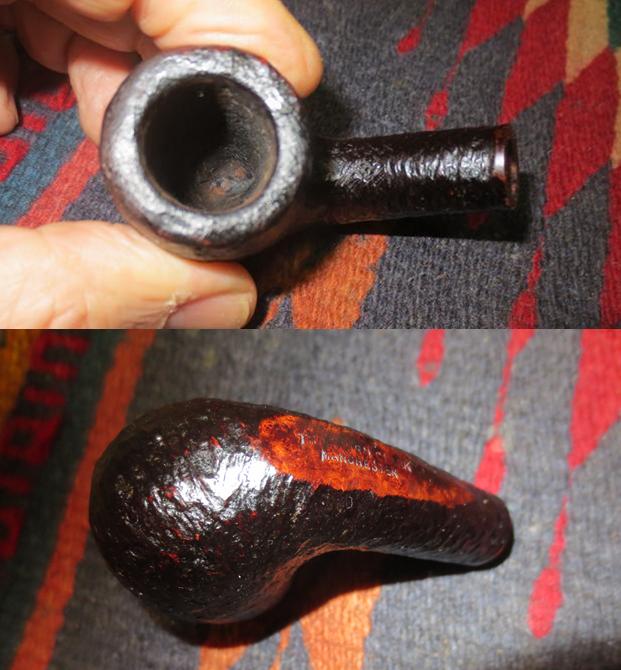
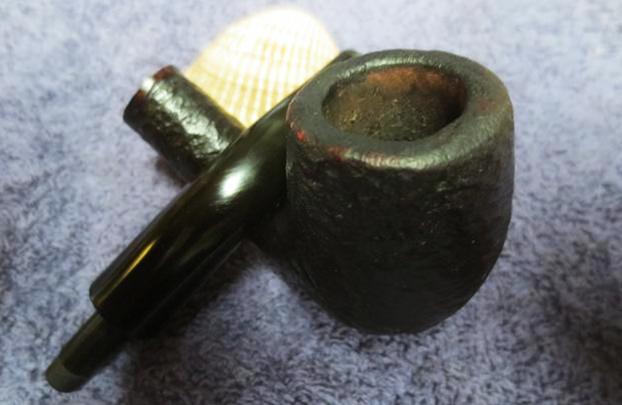
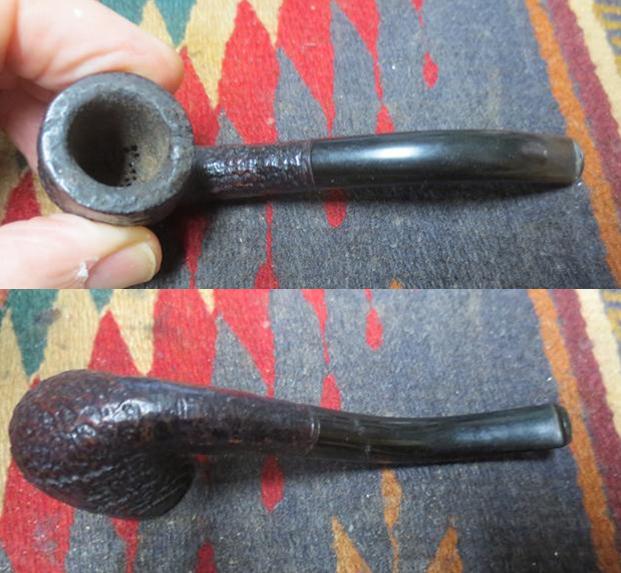
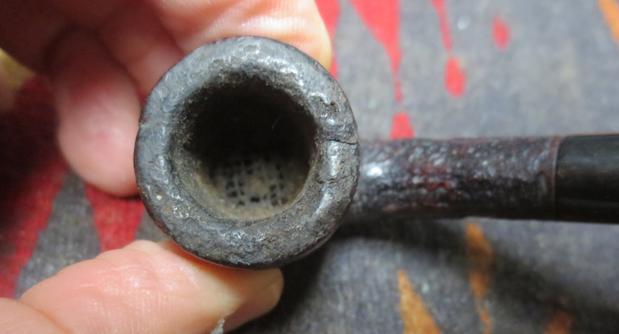
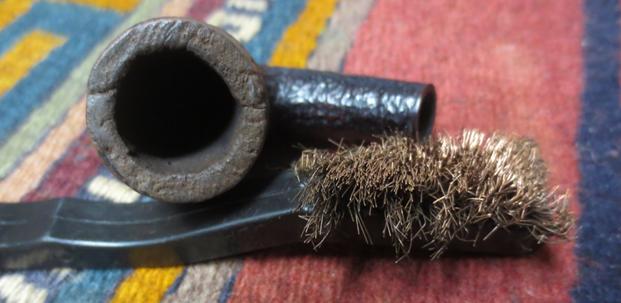
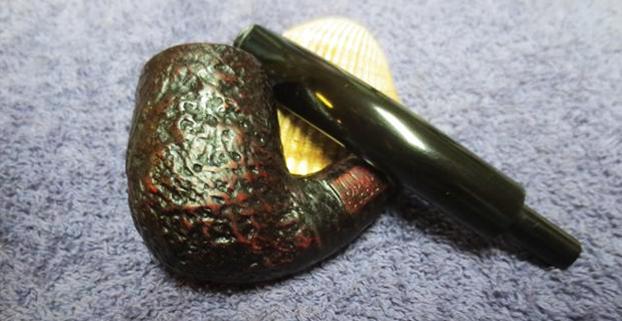
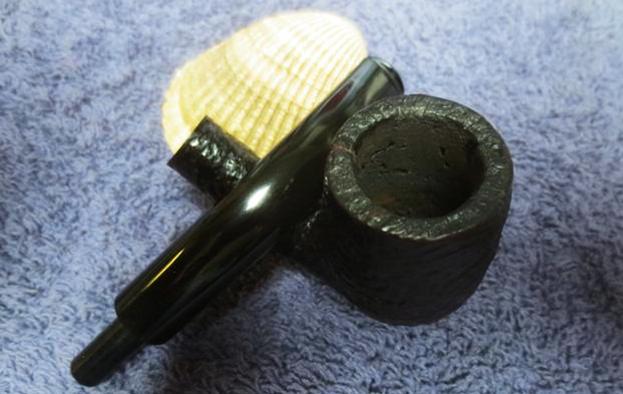
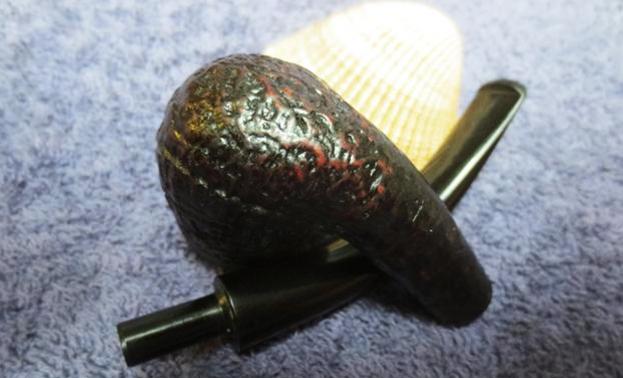
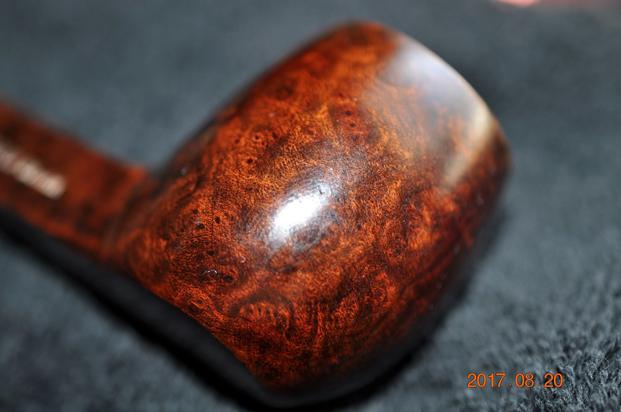
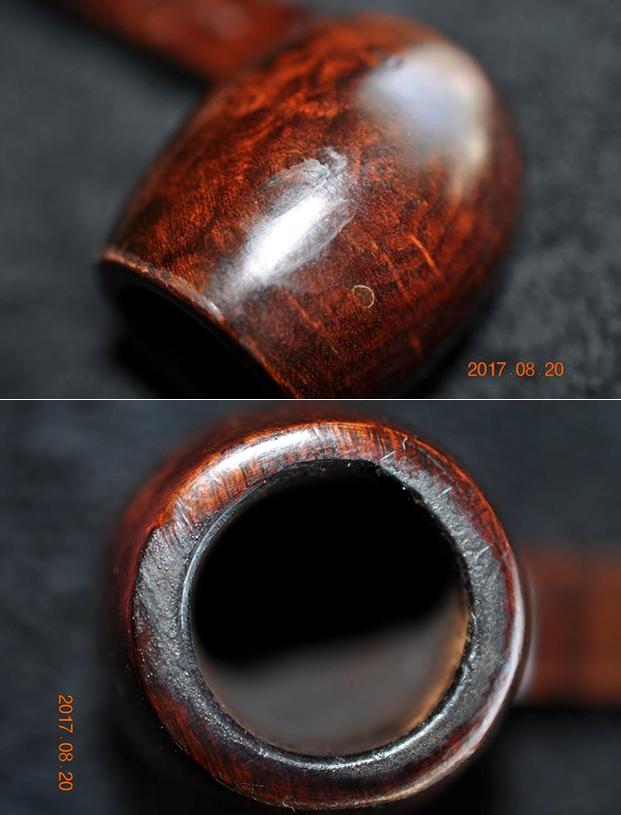
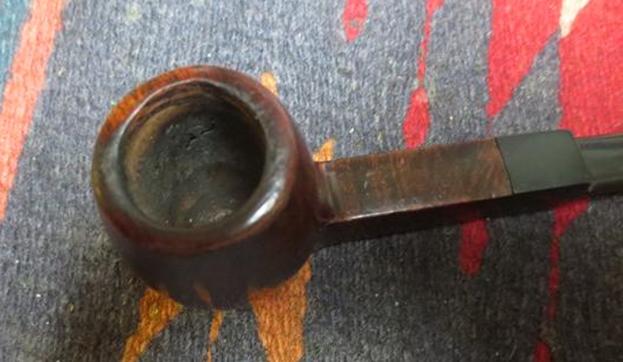
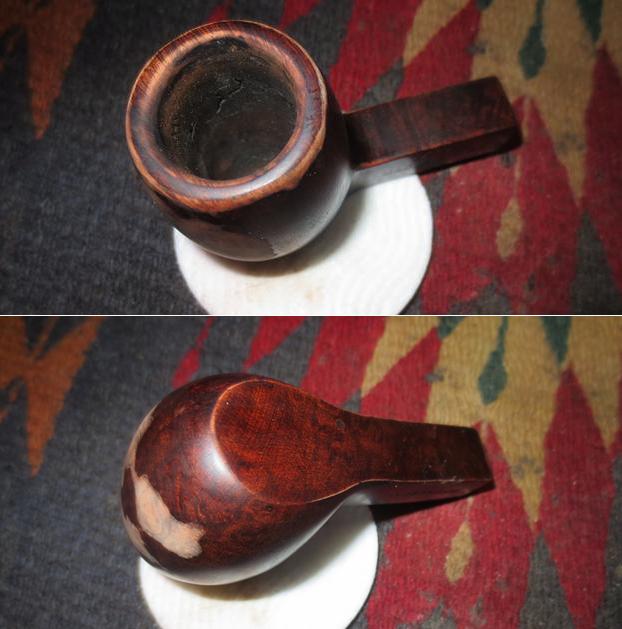
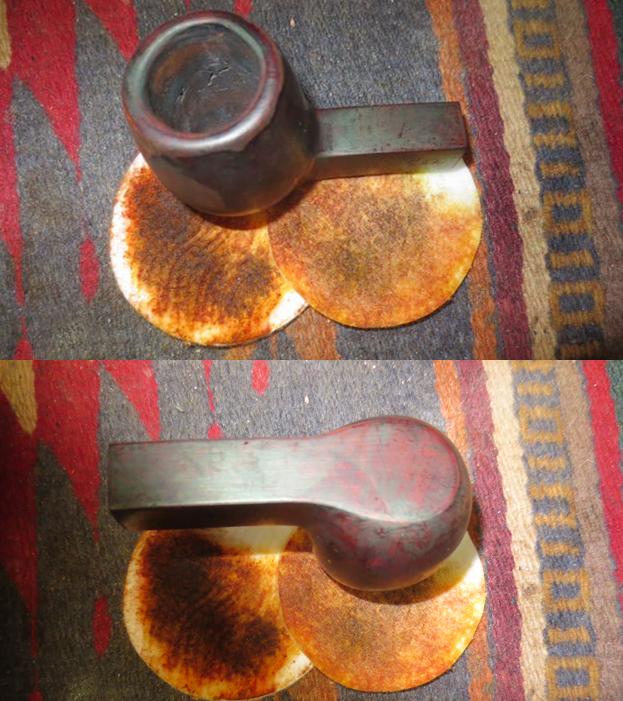
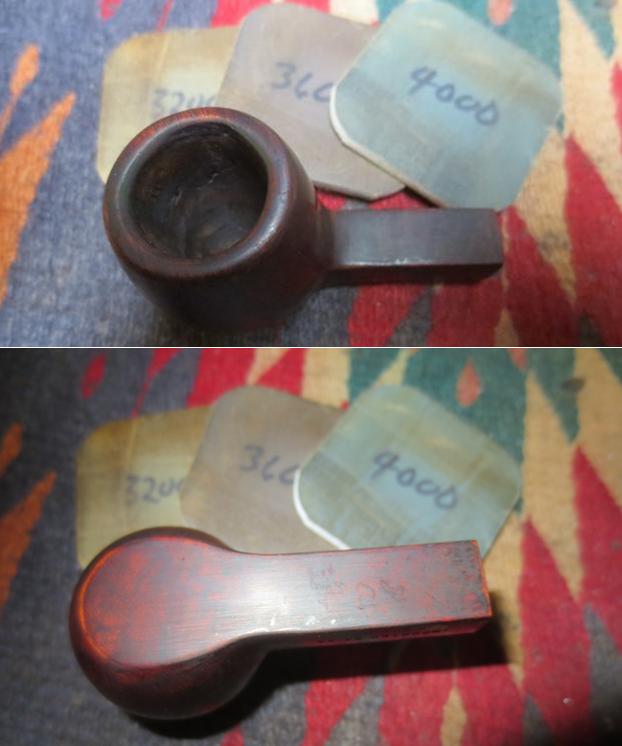
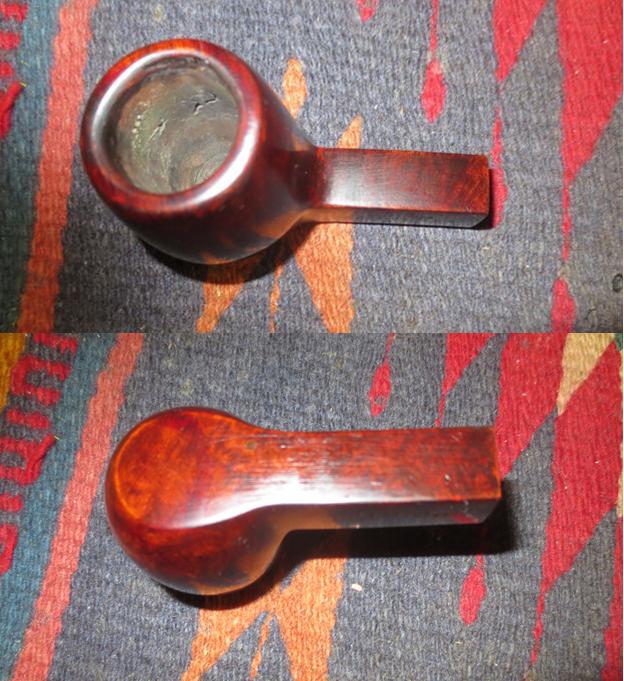
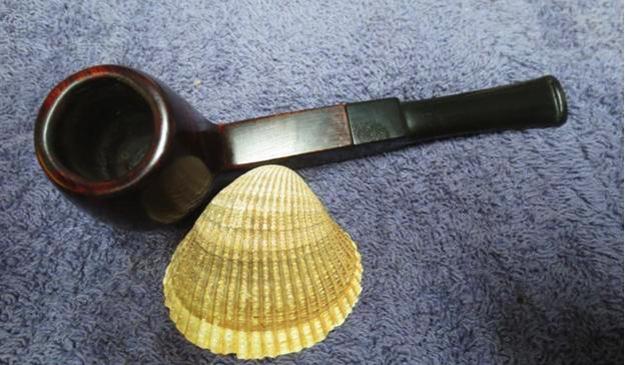
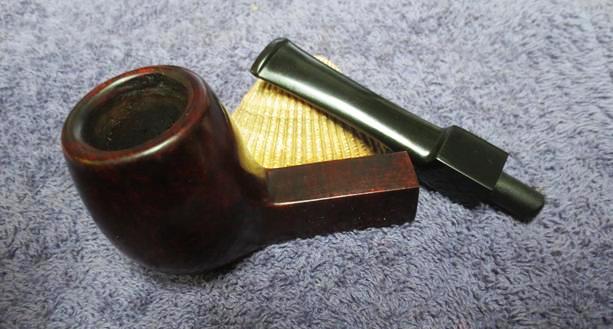
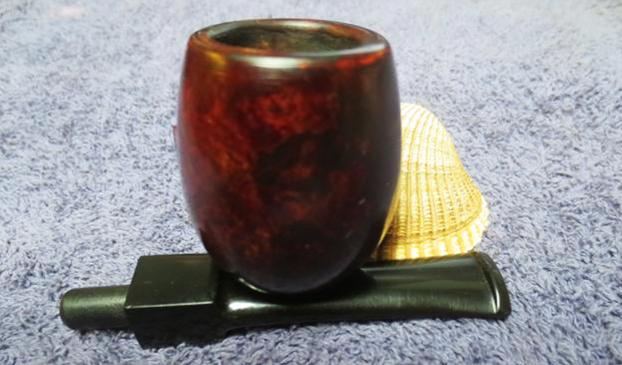
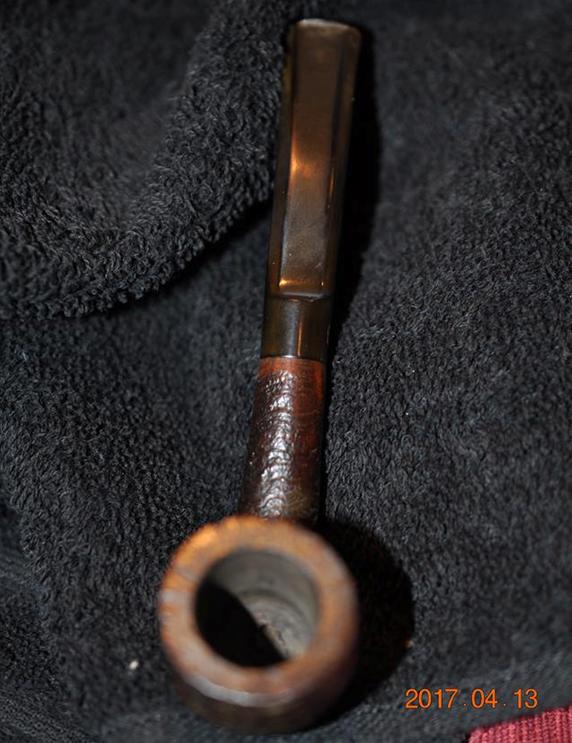
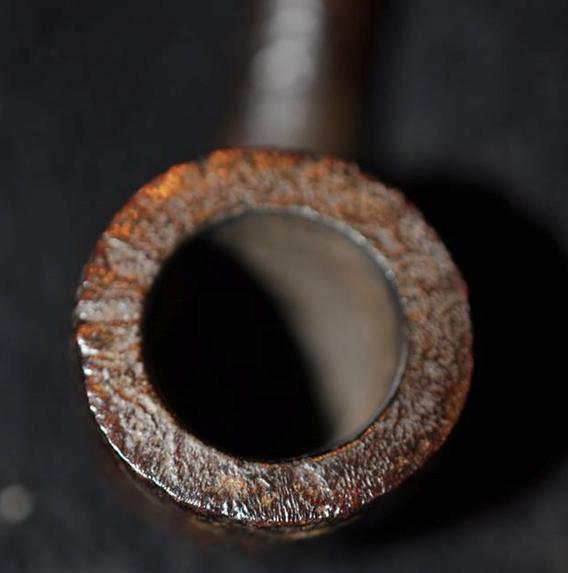
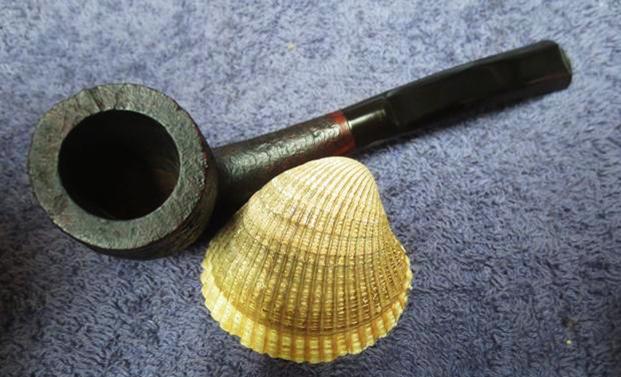
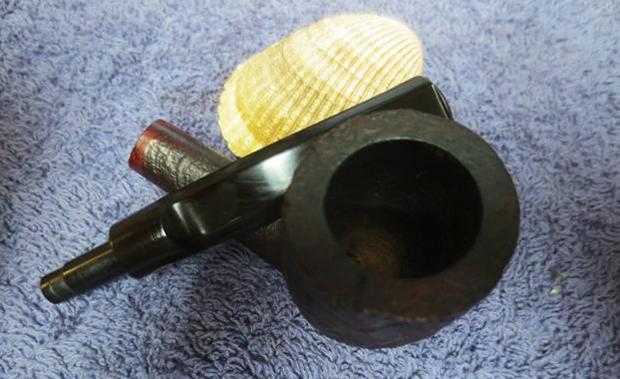
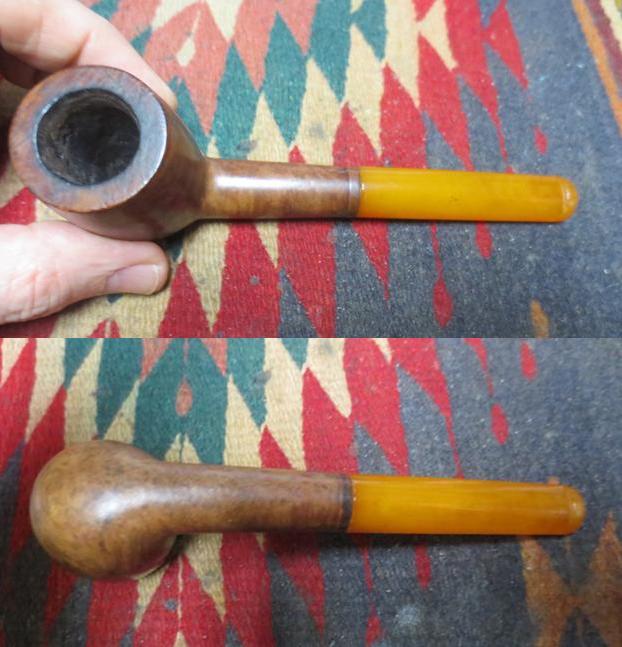
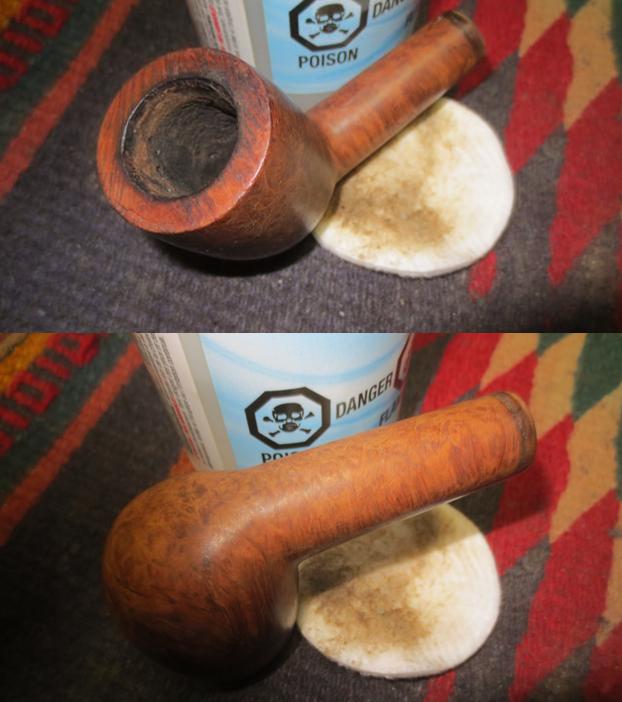
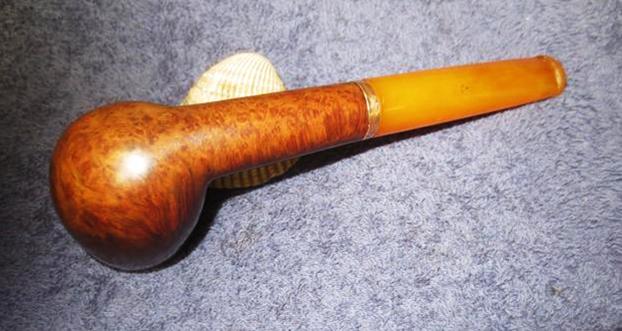
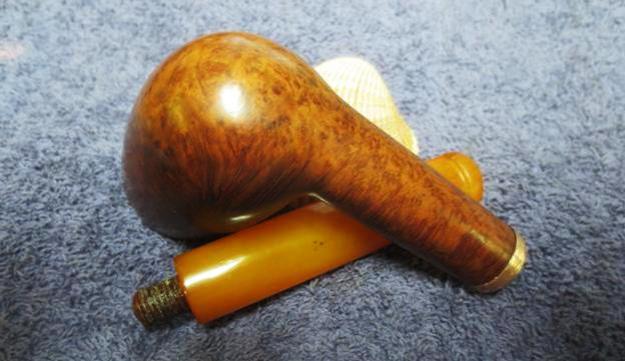
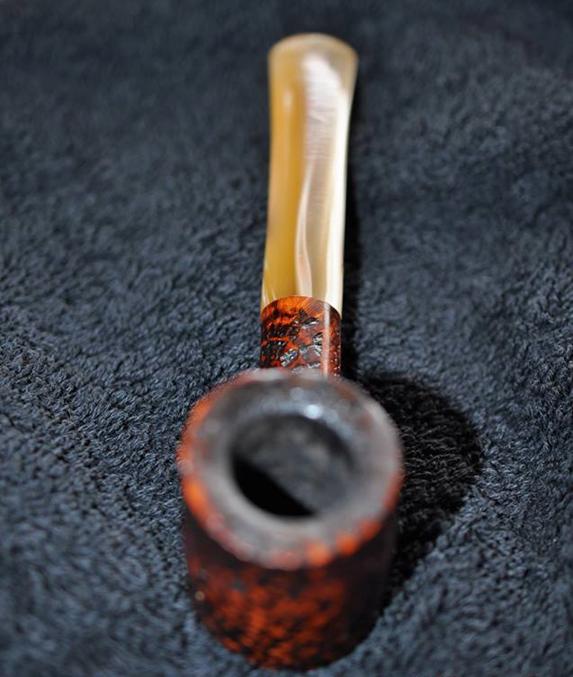
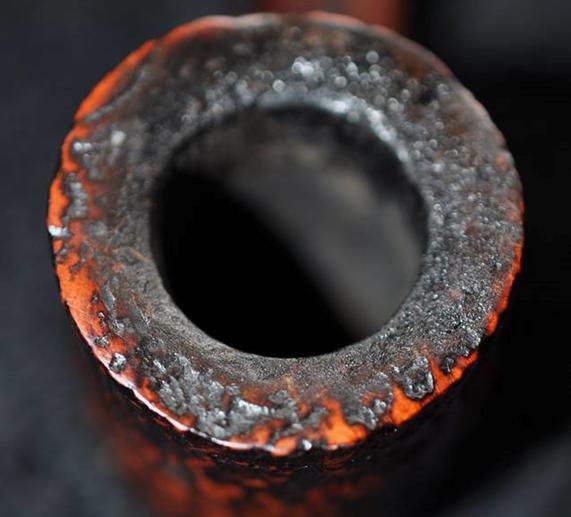
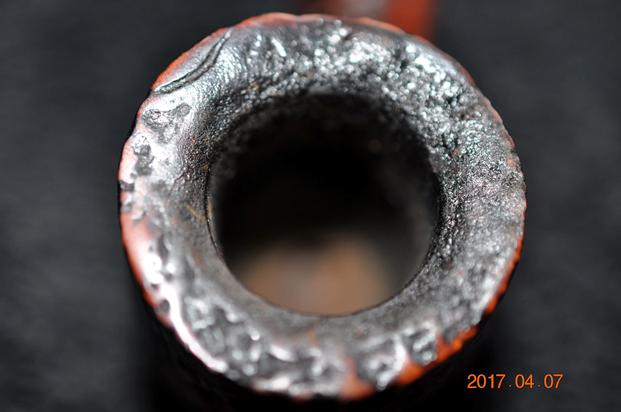
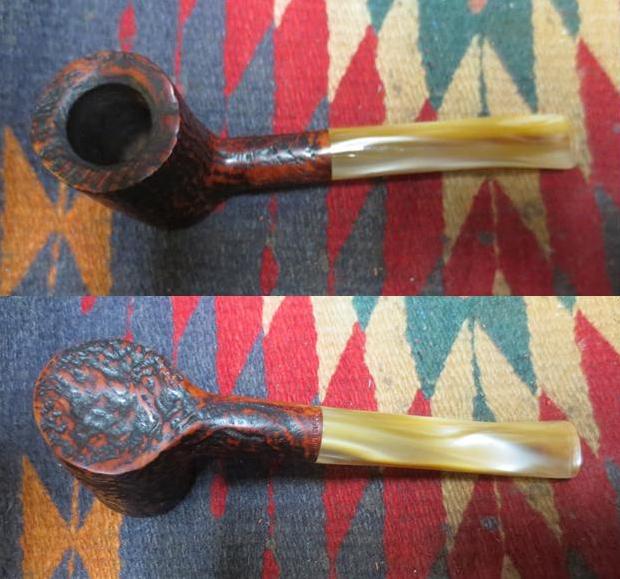
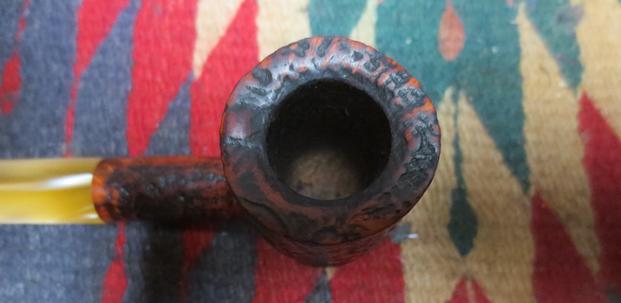
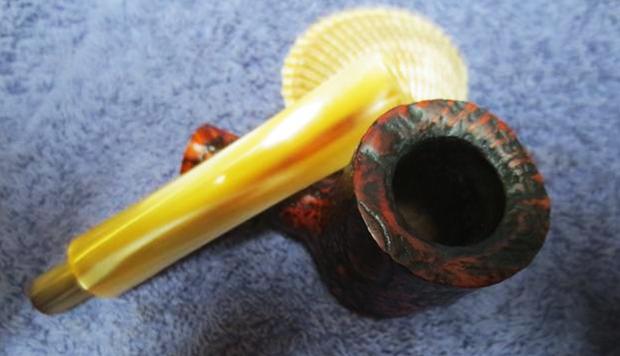
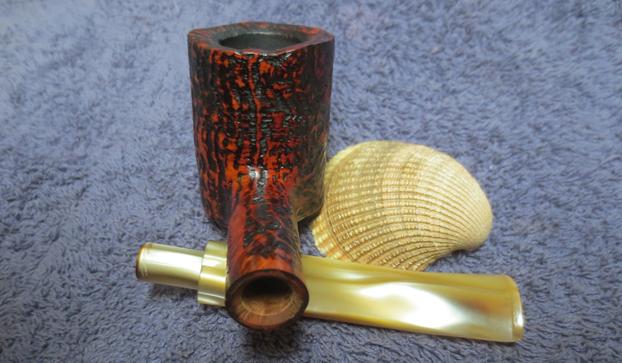
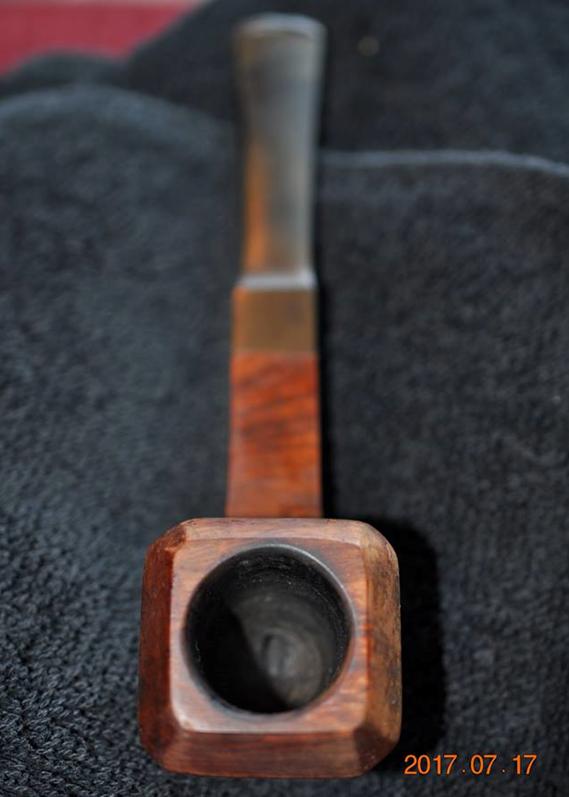
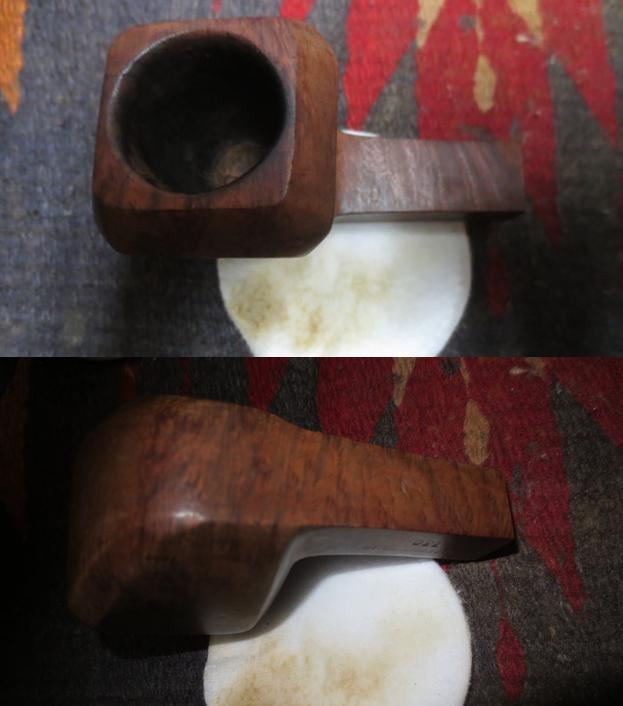
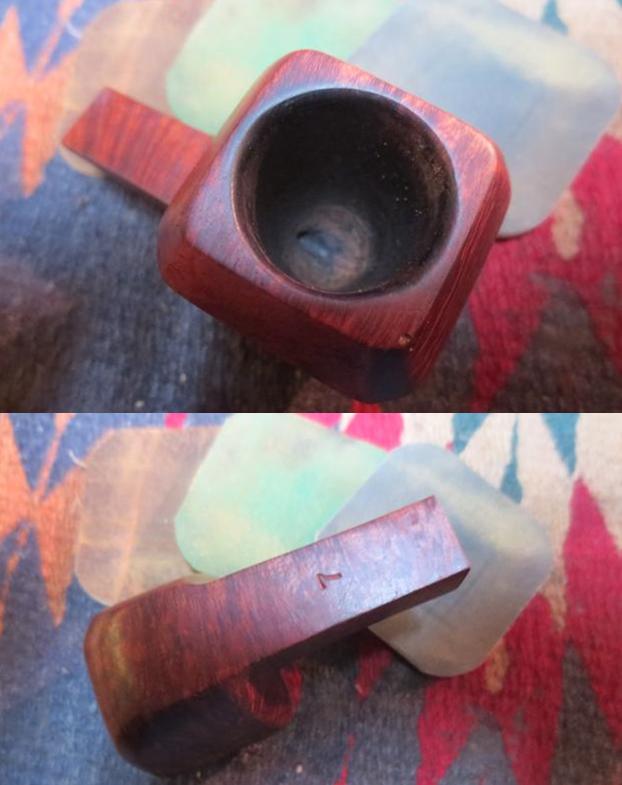
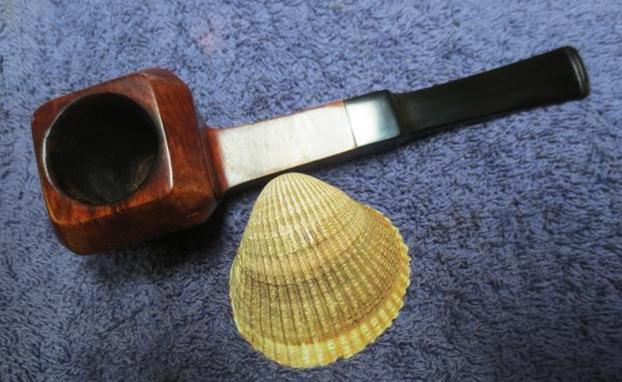
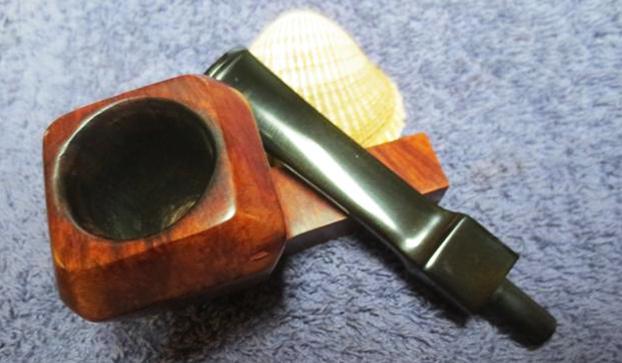
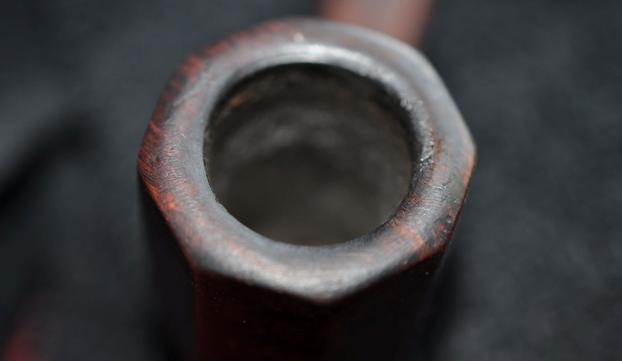
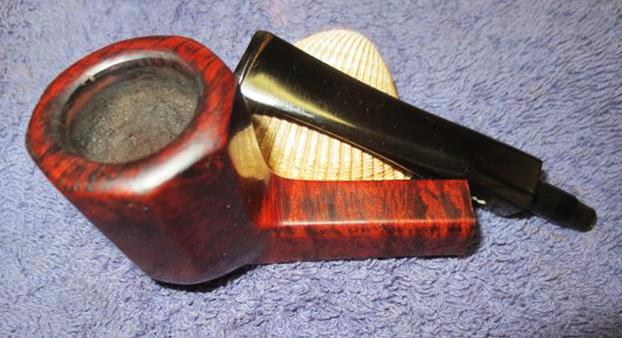
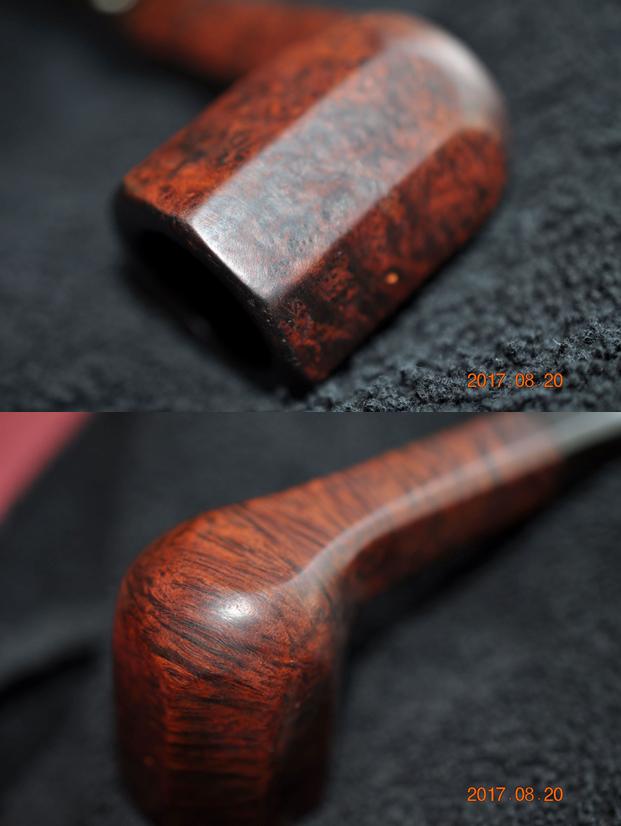 The next two photos show the condition of the rim and the bowl. They are surprisingly clean with only a light cake and lava overflow. They should clean up nicely. The first photo also shows the fill on the back side of the bowl. I have circled it in red so it is readily identifiable.
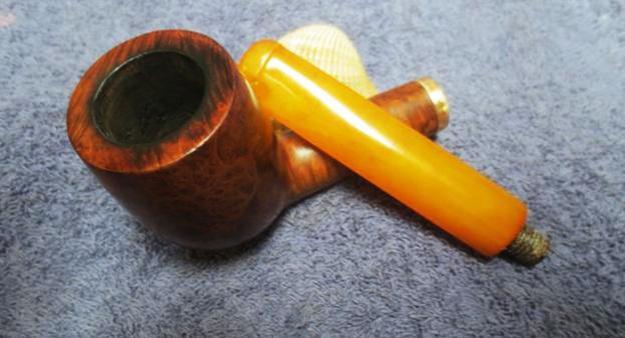
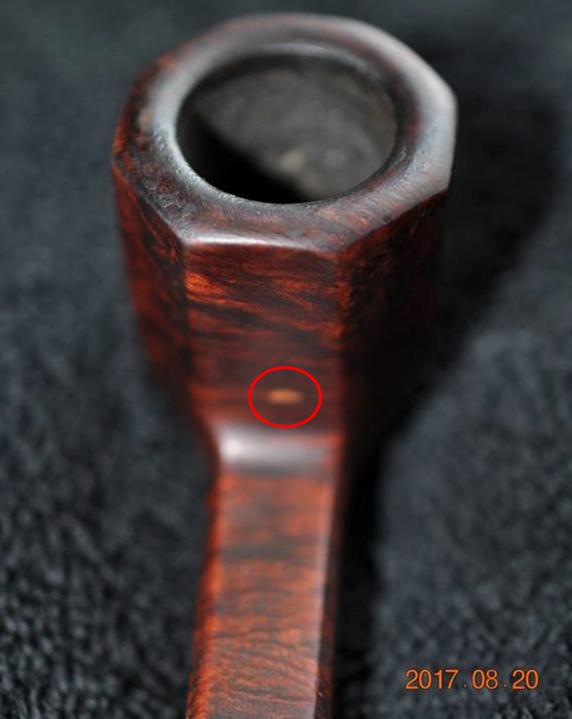
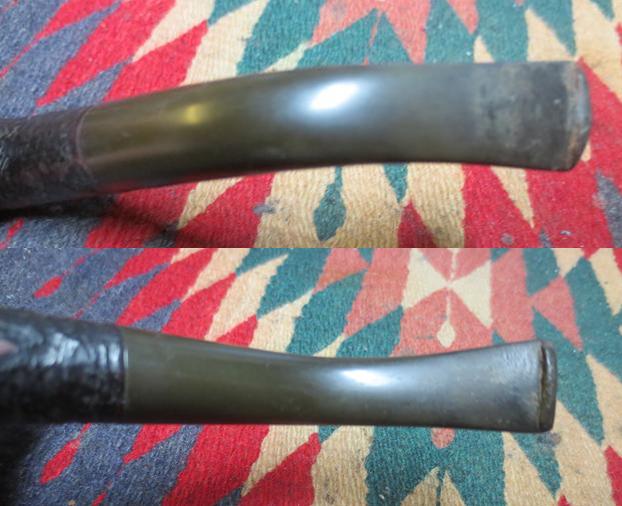
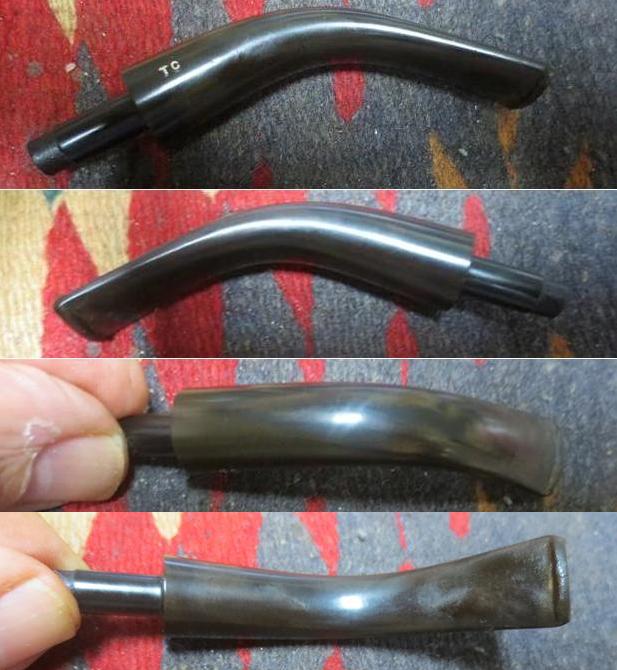
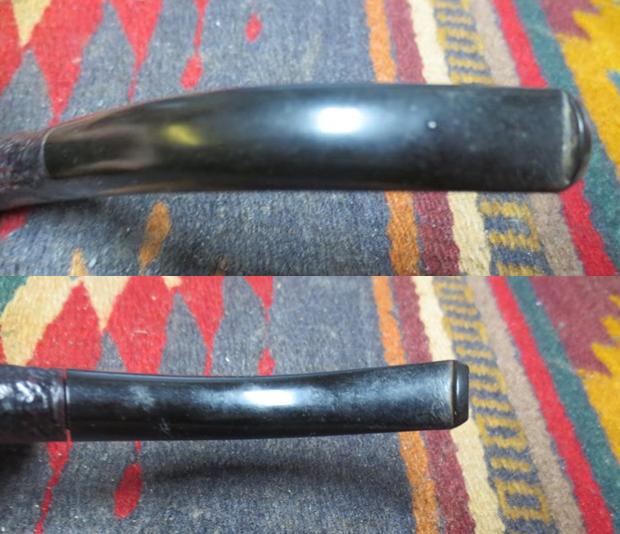
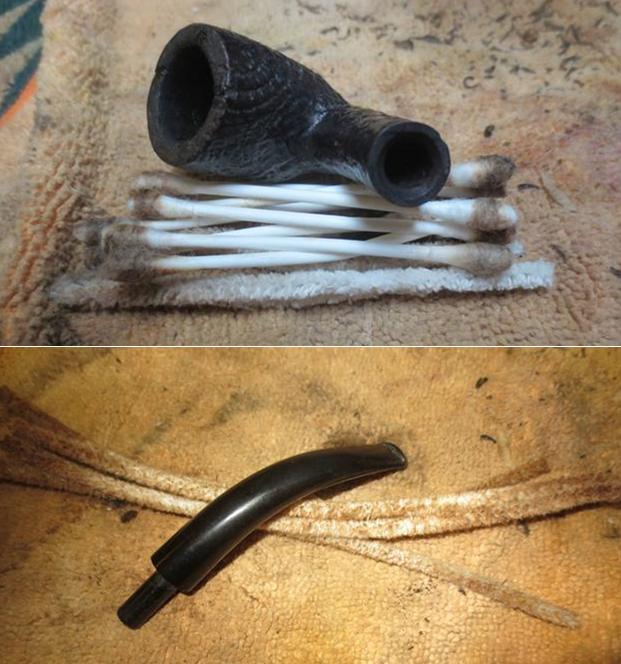
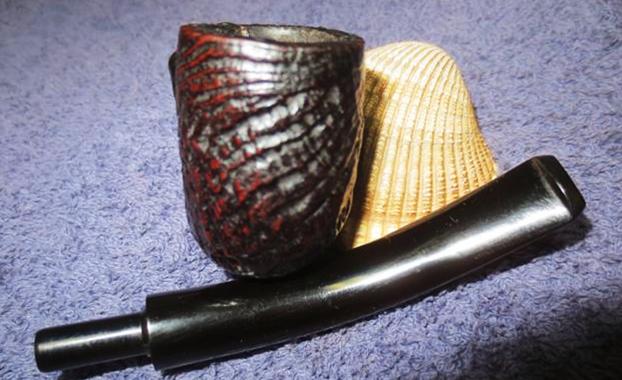
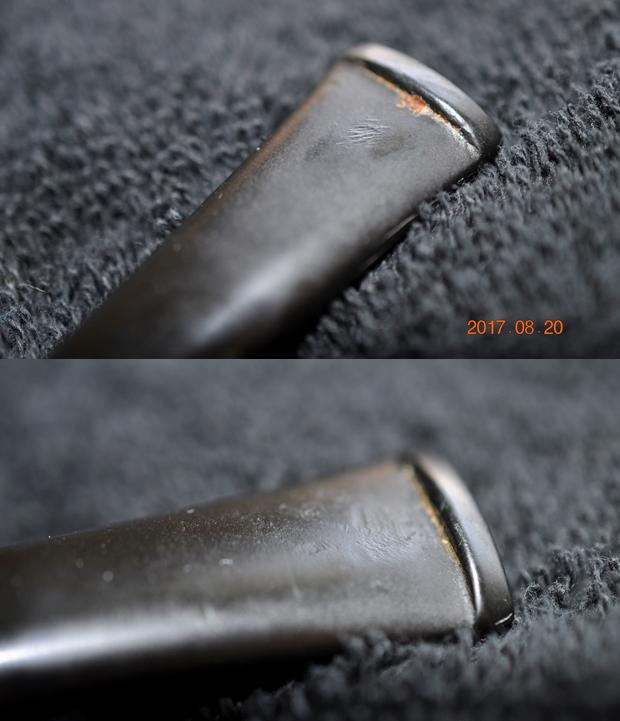
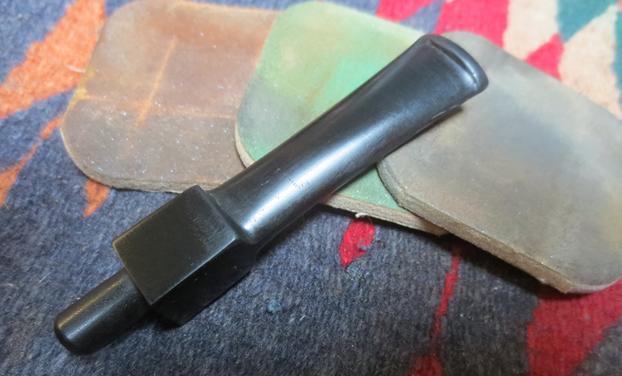
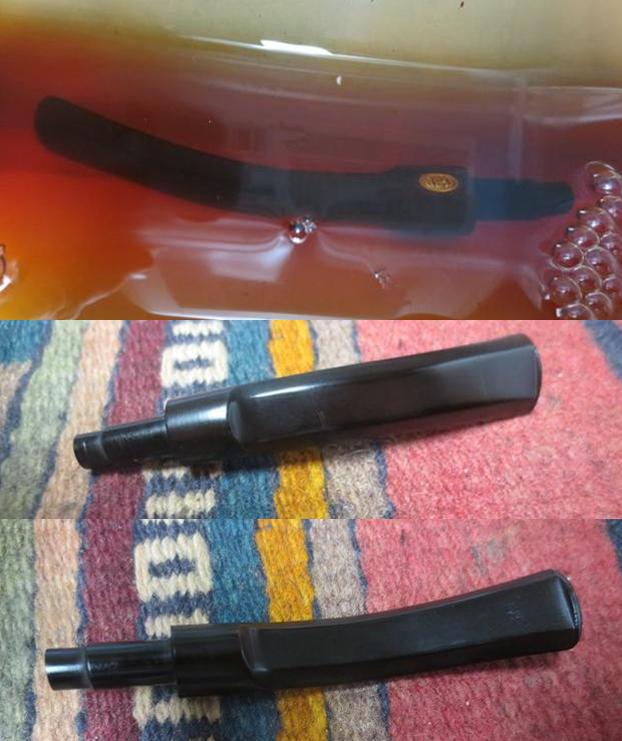
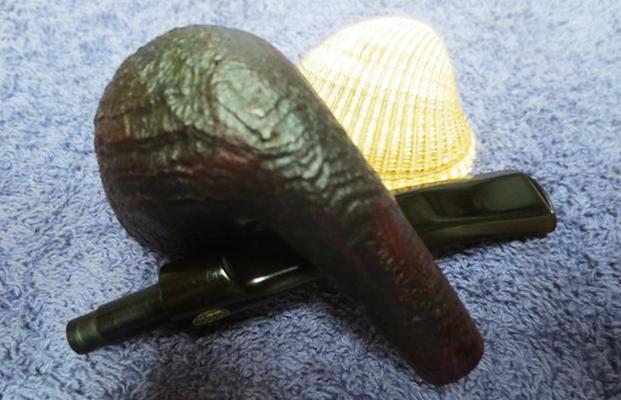
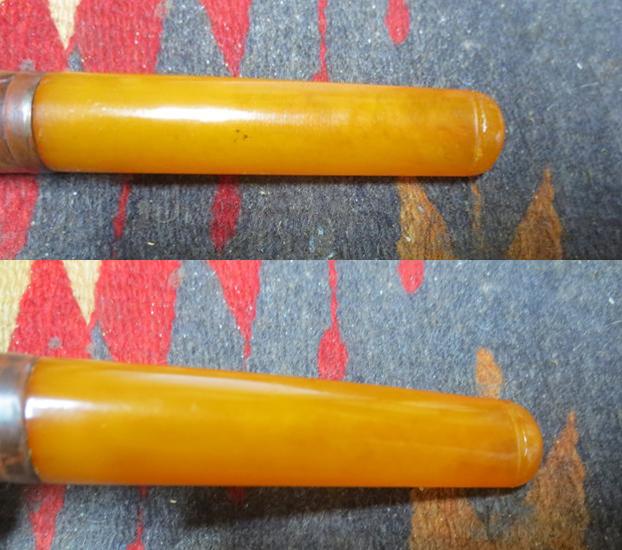
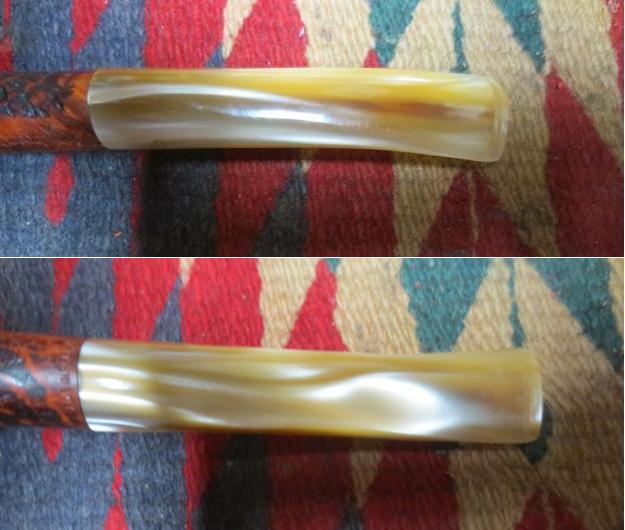
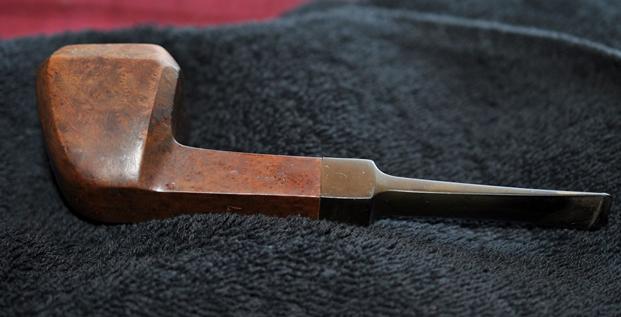
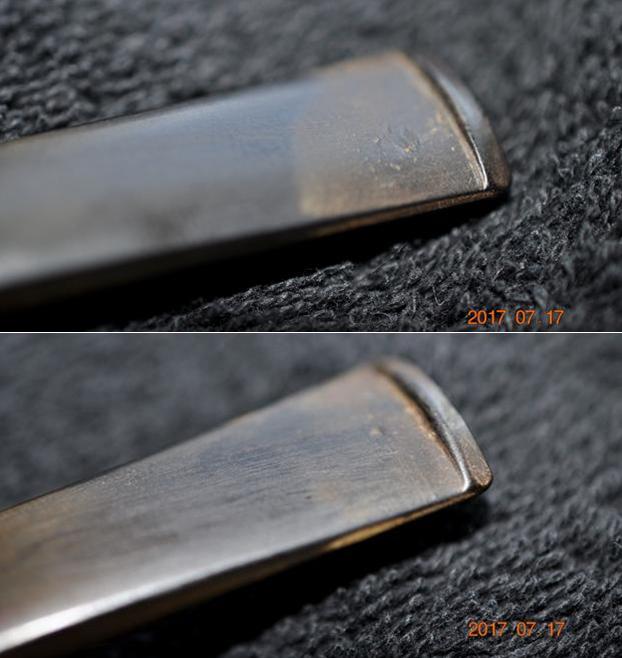
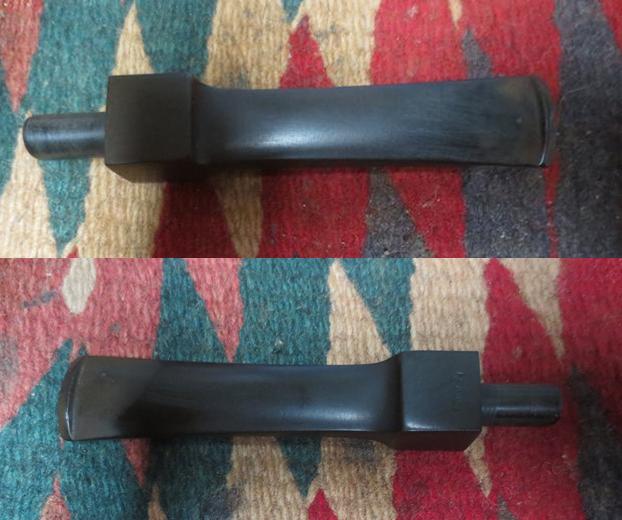
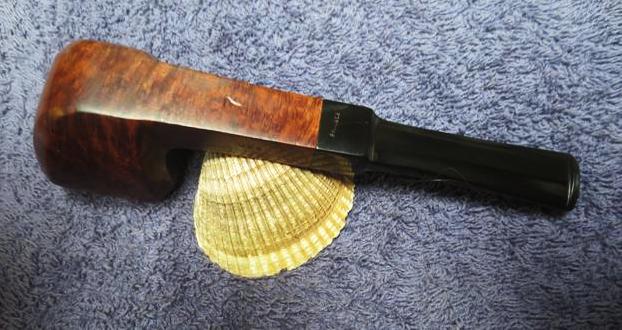
 The next two photos show the stem. There is minor tooth chatter on both sides of the stem at the button. There at tooth marks on the top side of the stem are quite deep.
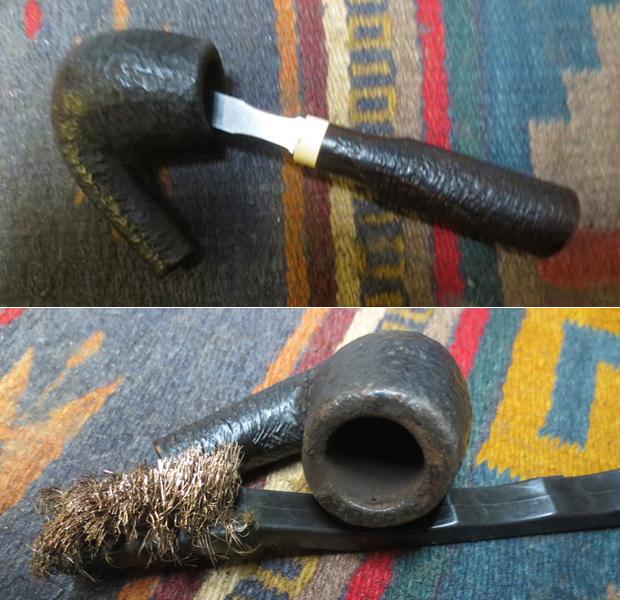
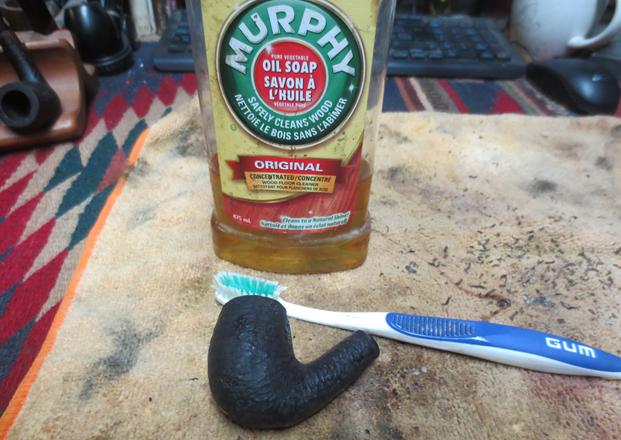
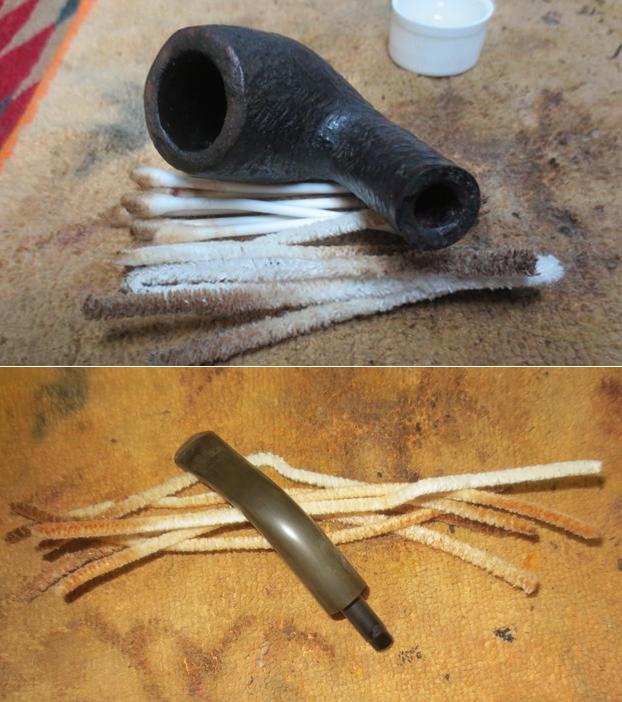
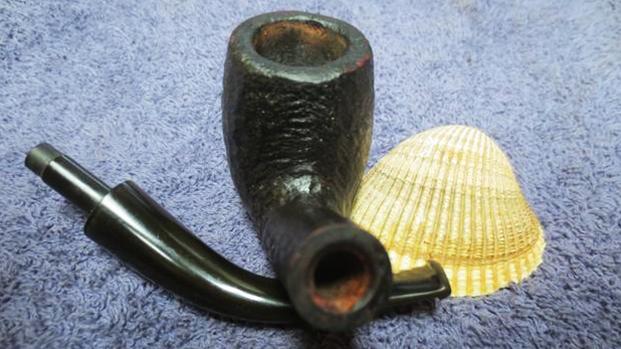
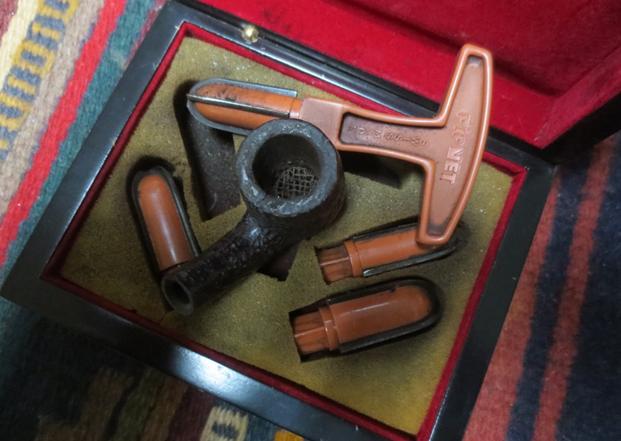
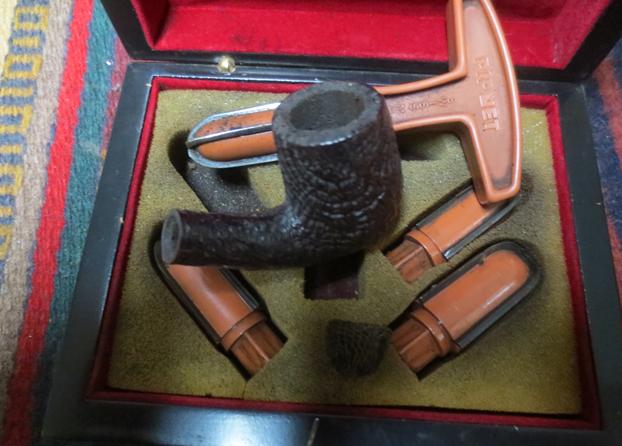
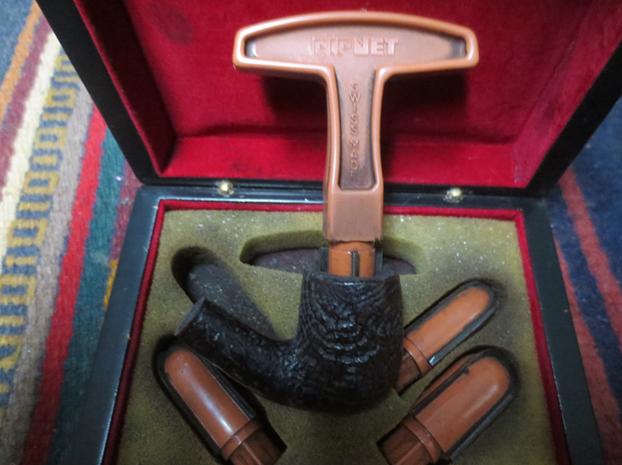
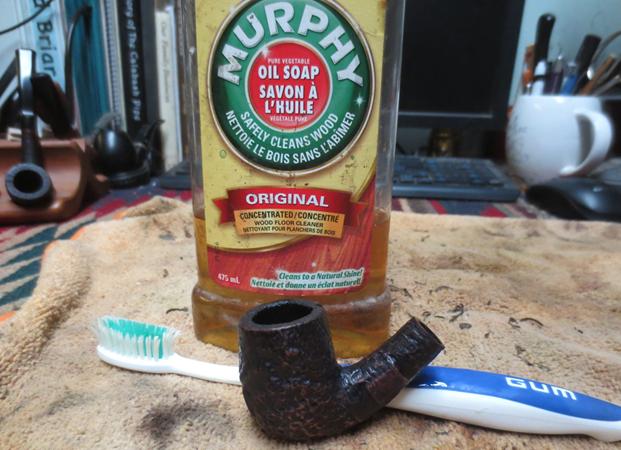
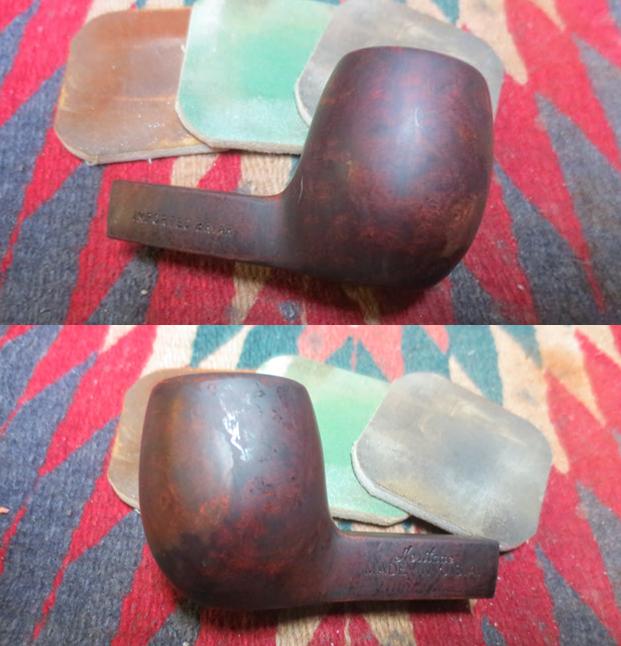
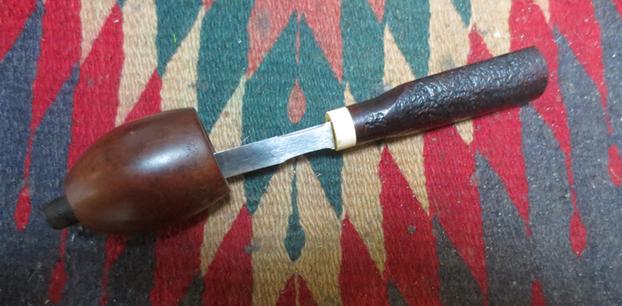
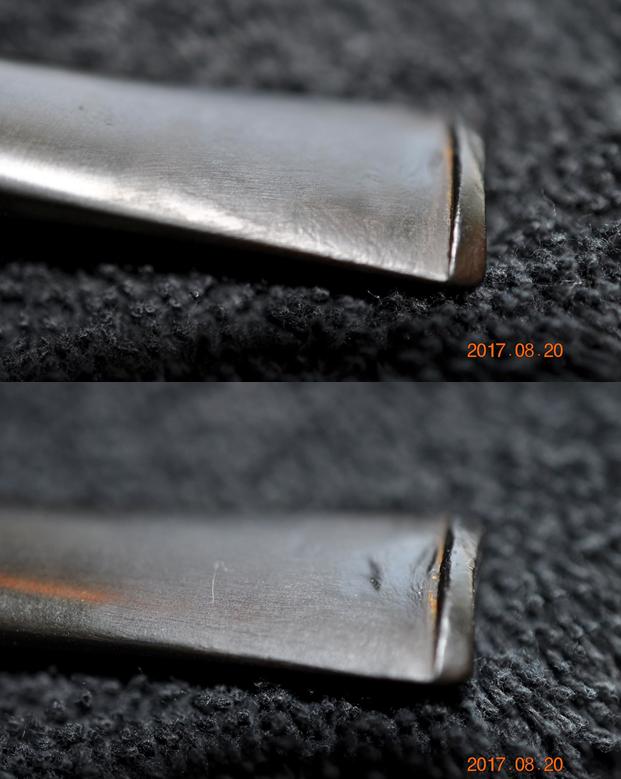 Jeff once again worked his magic in cleaning up this pipe. He reamed it with a PipNet reamer and smoothed the walls of the bowl with a Savinelli Fitsall pipe knife. He scrubbed out the mortise and the airway in the shank and the stem with alcohol, cotton swabs and pipe cleaners. He scrubbed the exterior of the bowl, rim and shank with a tooth brush and Murphy’s Oil Soap to the oils and tars on the bowl, rim and shank. He rinsed it under running water. He dried it off with a soft cloth. Once the grime was removed the finish underneath was in stellar condition. The rich patina of the older briar was a mix of grain around the bowl and shank. The cleaning of the stem left a light oxidation in the vulcanite. The tooth marks were clean but visible. I took photos of the pipe to show its condition before I started my work on it.
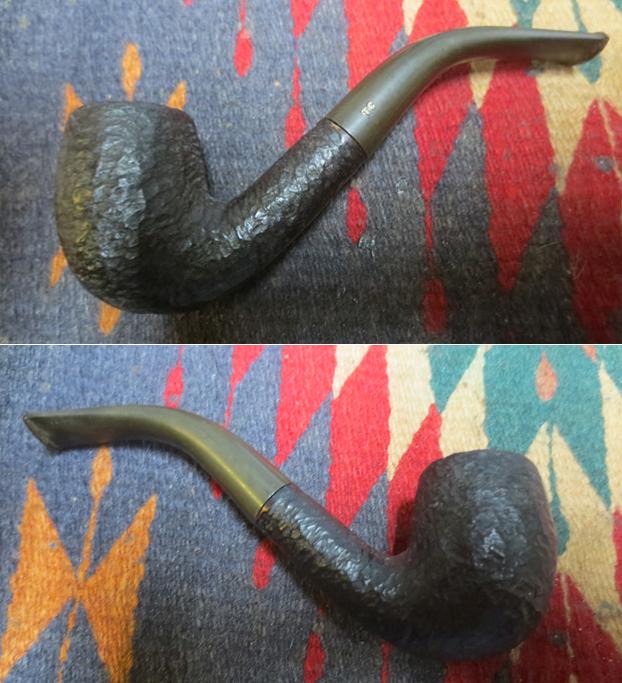
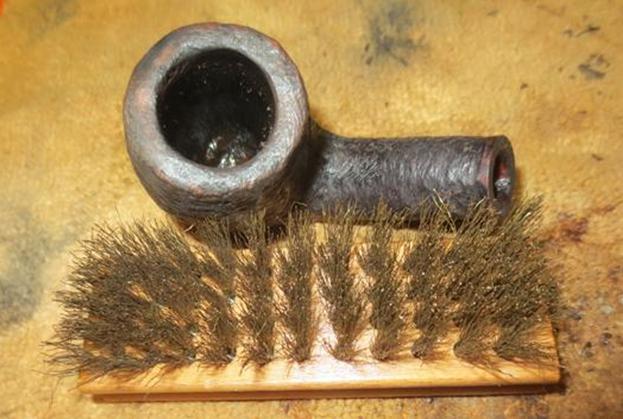
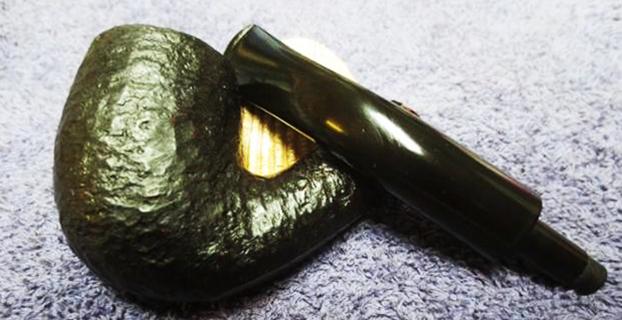
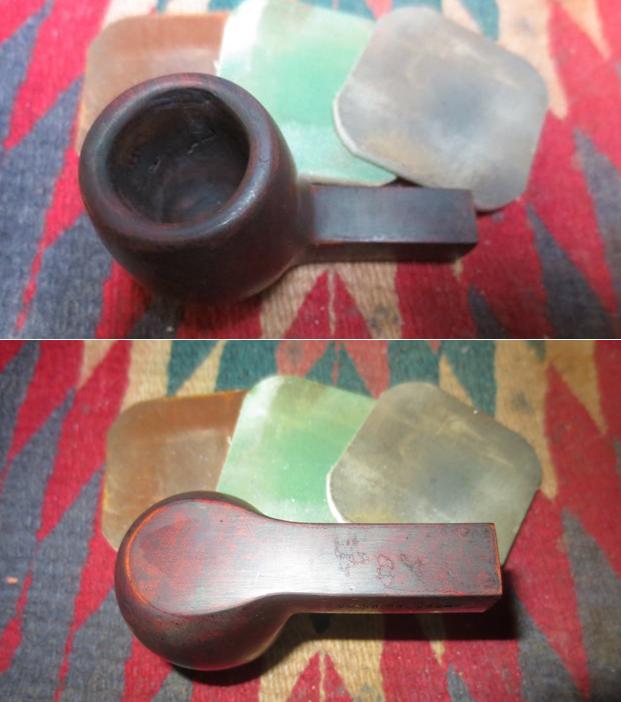
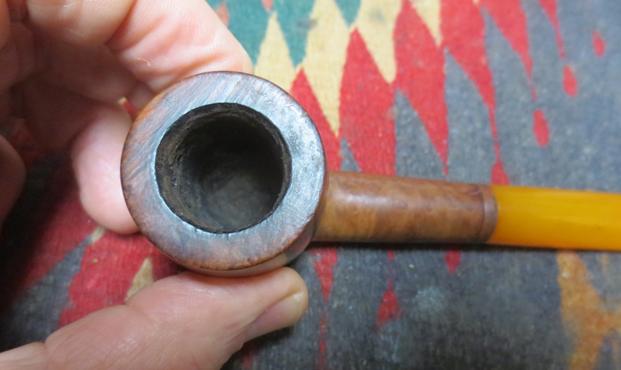
 The rim top and edges are very clean. There is some darkening and light scratching on the top and inner bevel of the rim that will need to be taken care of but otherwise it looks good.
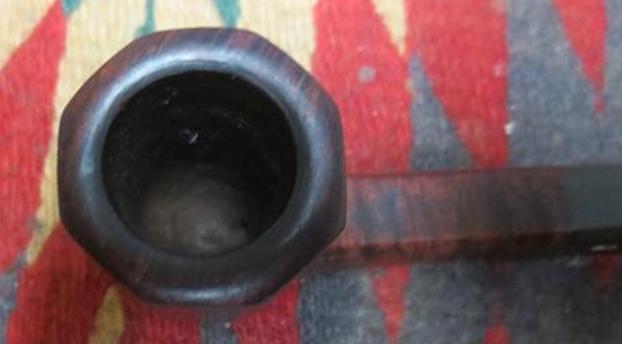 The stem was clean but needed to be worked on in terms of the bite marks and chatter. The light oxidation needed to be polished out. The square stem and shank were also eight sided which gave the pipe an interesting appearance.
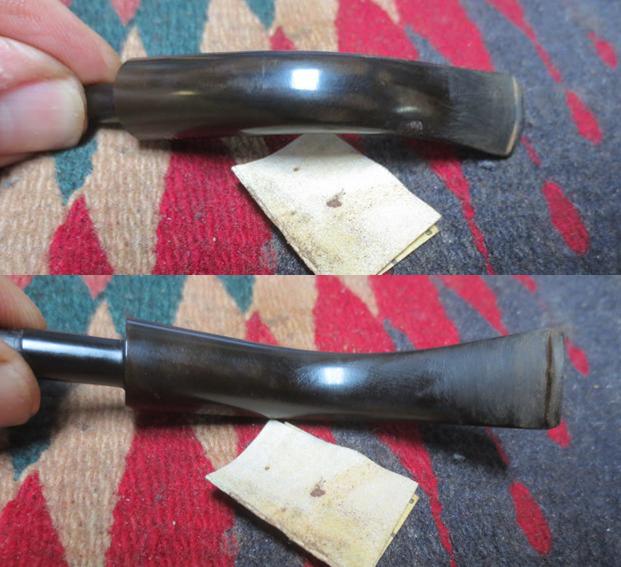
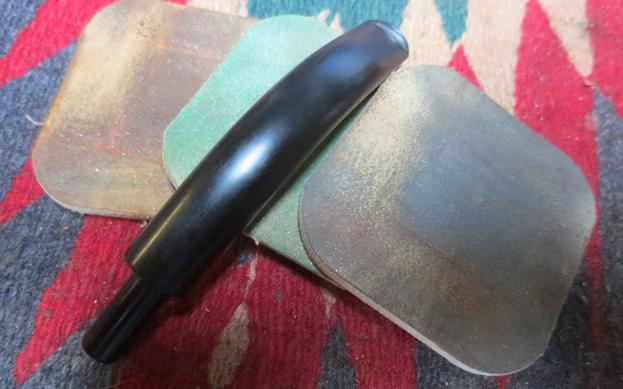
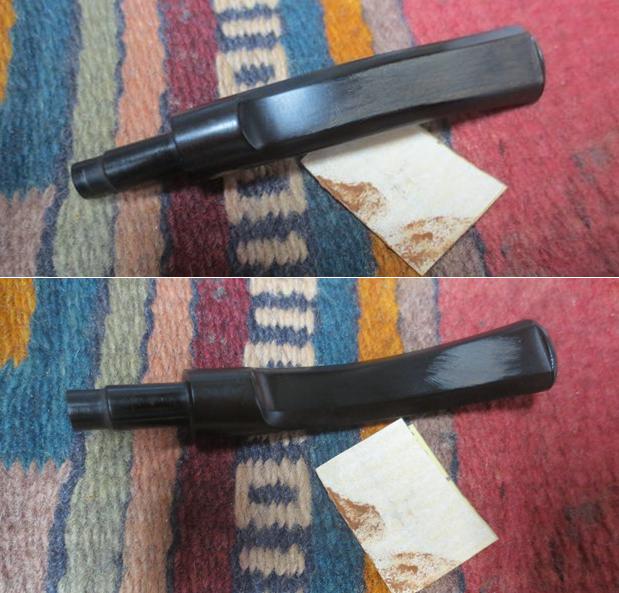
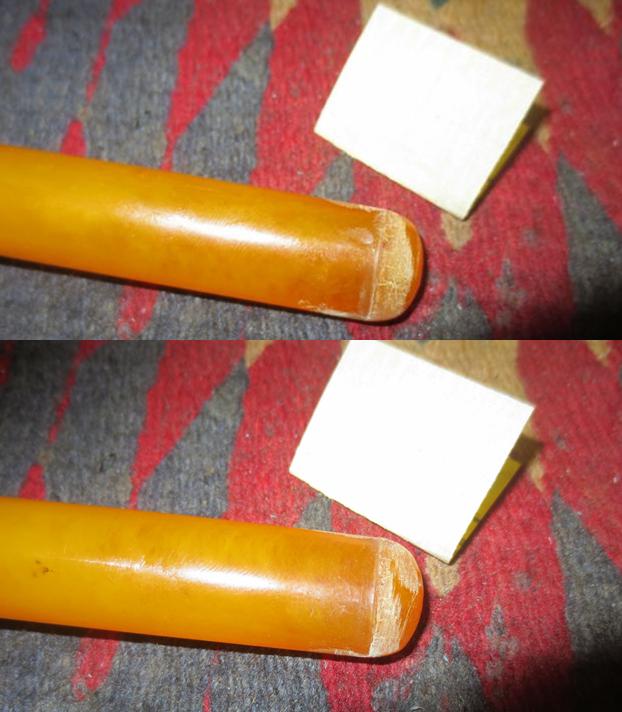
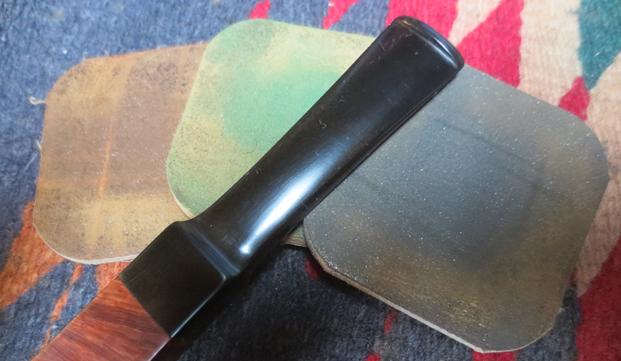
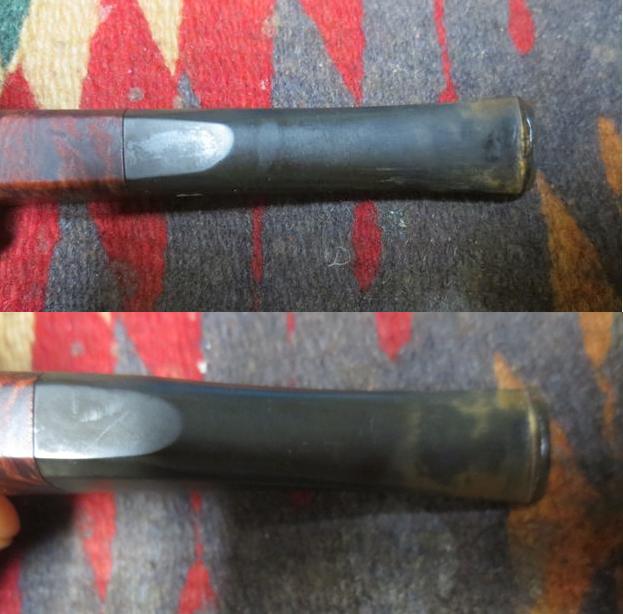 I “painted” the stem with the flame of a lighter to lift the tooth marks and dents in the rubber. I was able to raise the dents considerably. Some of them disappeared. Others would need to be sanded out and repaired. The stem certainly looked better after heating.
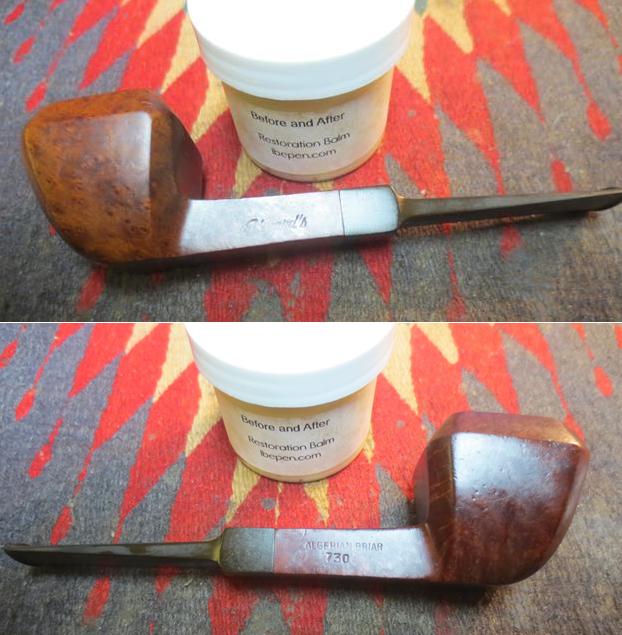
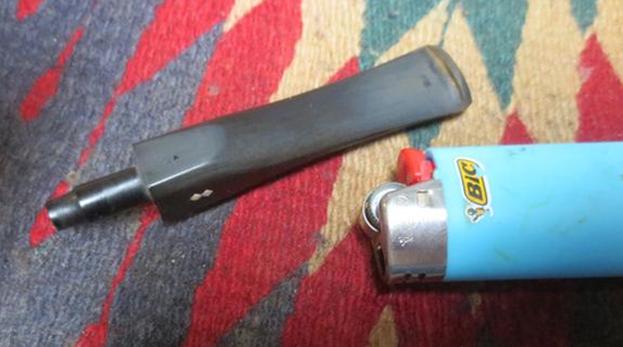 I used the Savinelli Fitsall Knife to clean up the small bit of remaining cake on the backside of the bowl a little more.
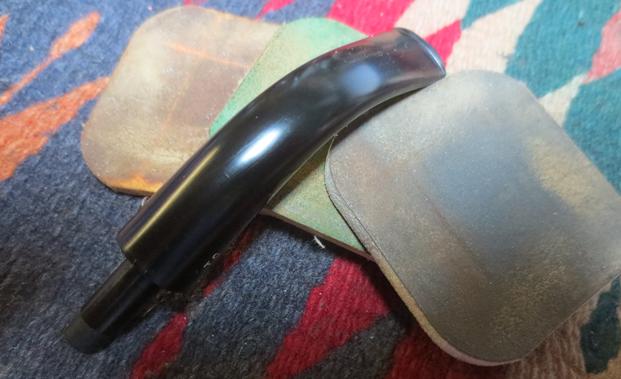
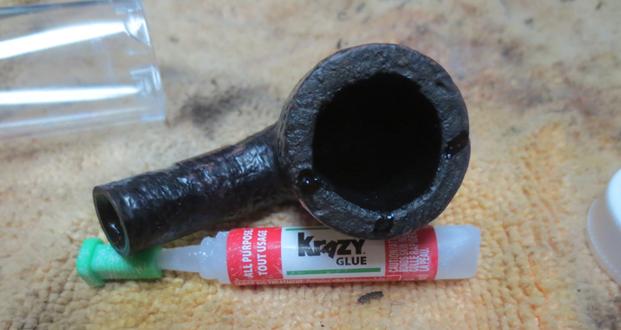
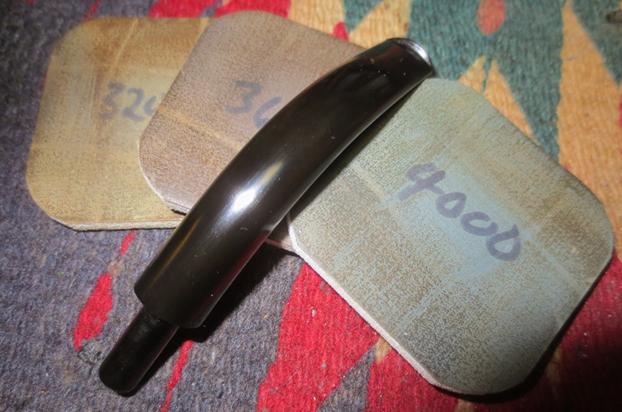
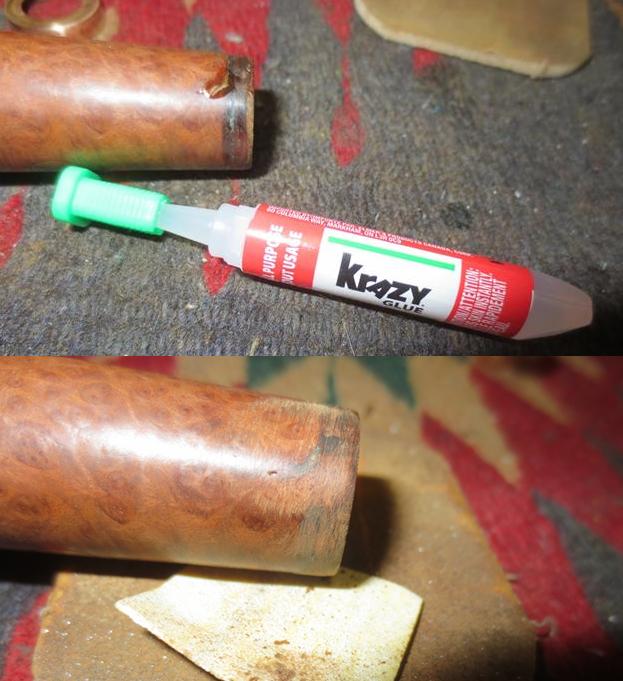
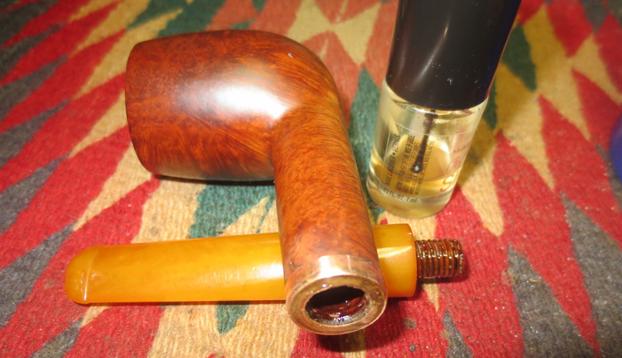
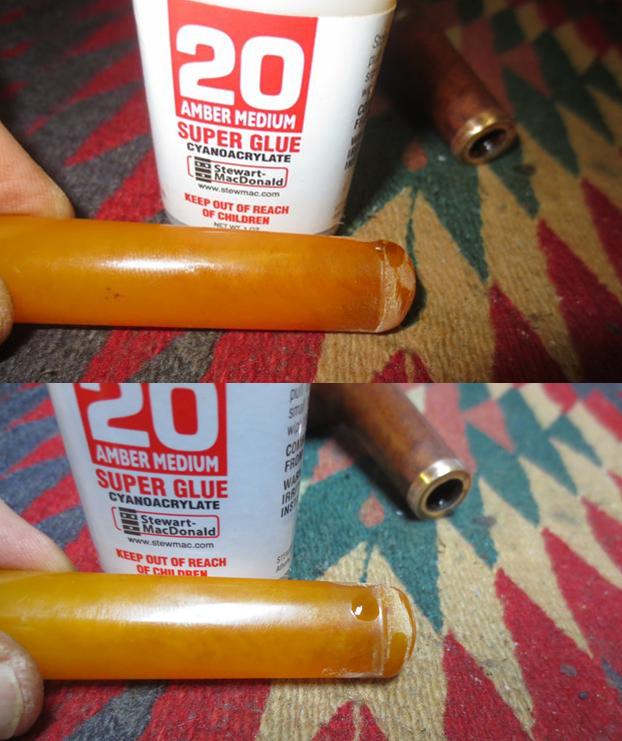
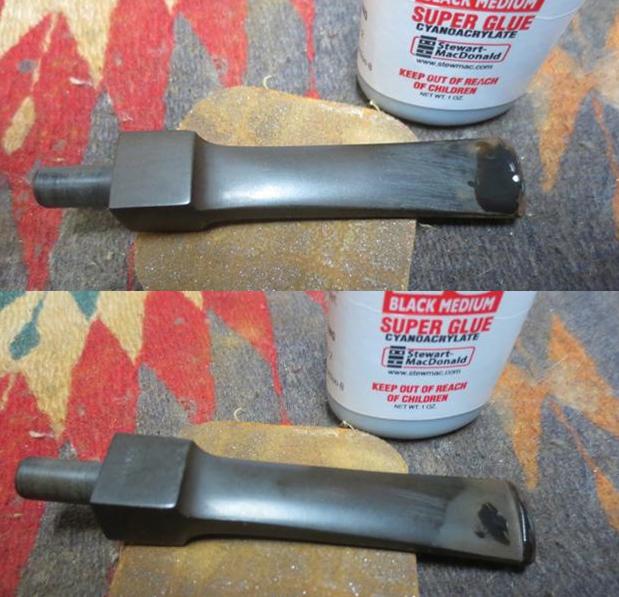
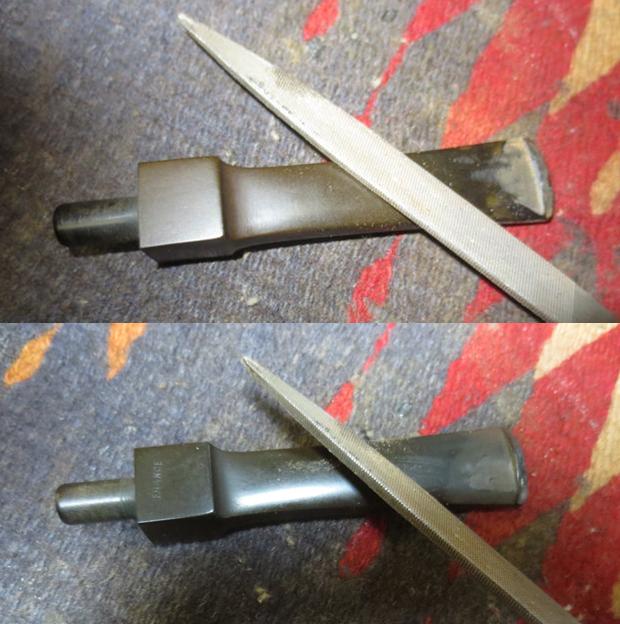
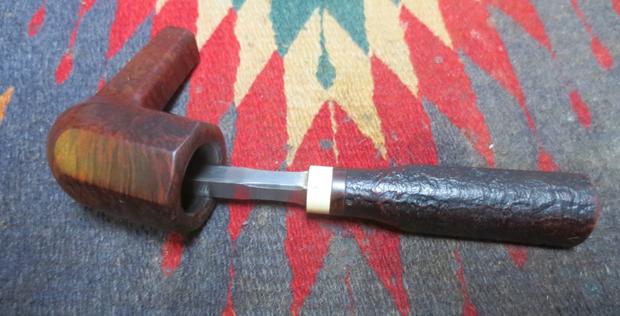 Three of the marks on the top side of the stem were deep enough that I could not sand them out. I used some clear super glue to fill in the marks. Once the repairs dried I used a file to smooth out the repairs and bring them down even with the surface of the stem. I sanded it with 220 grit sandpaper to further smooth it out.
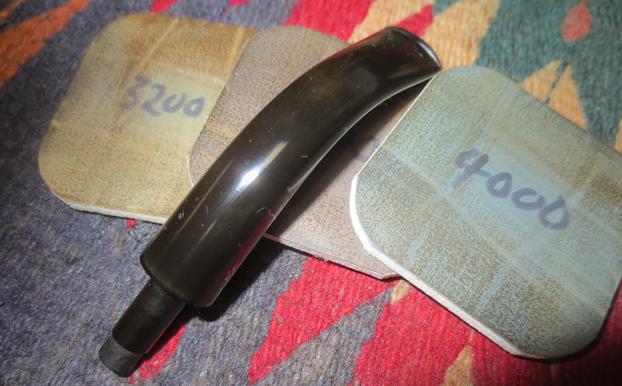
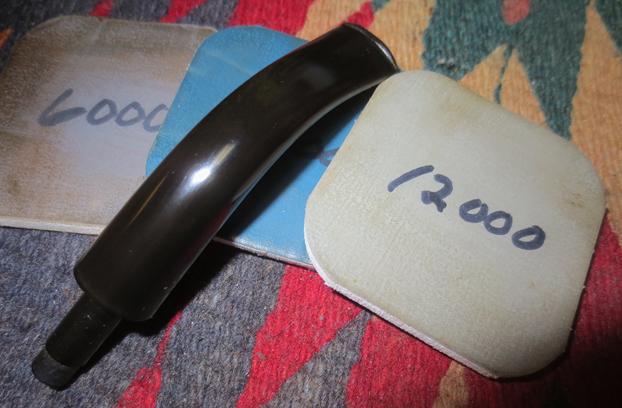
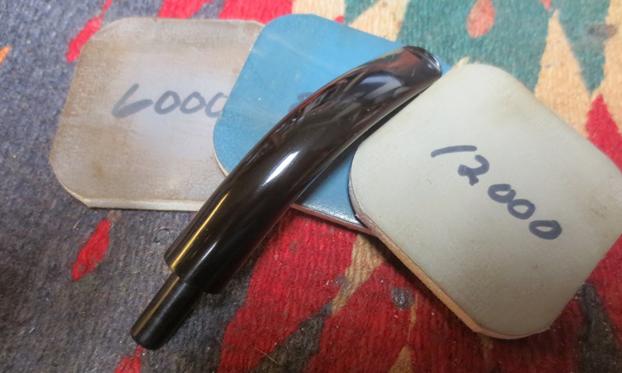
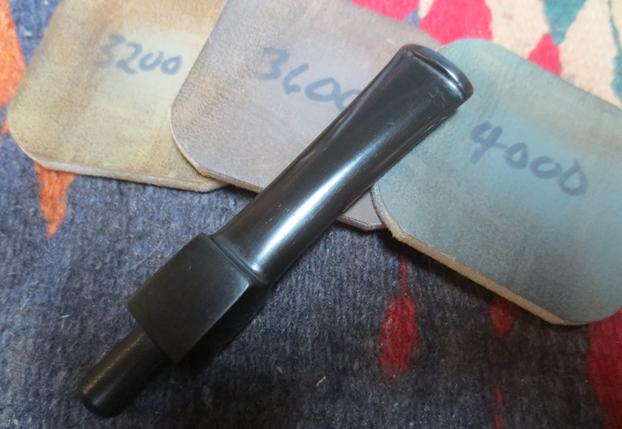
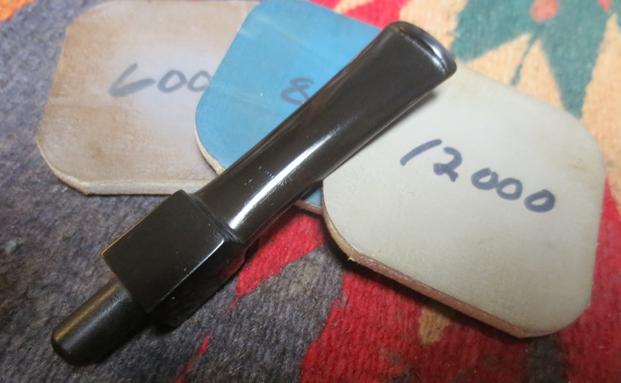
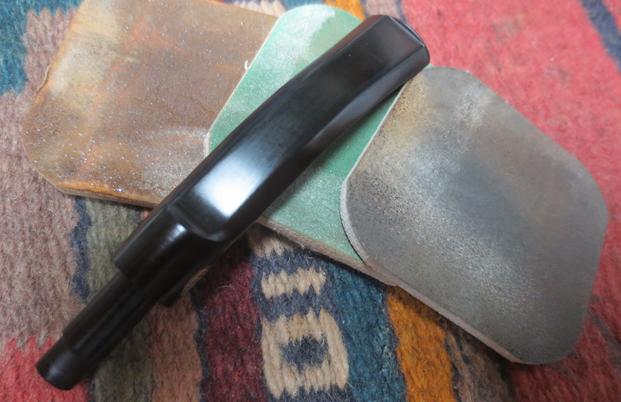
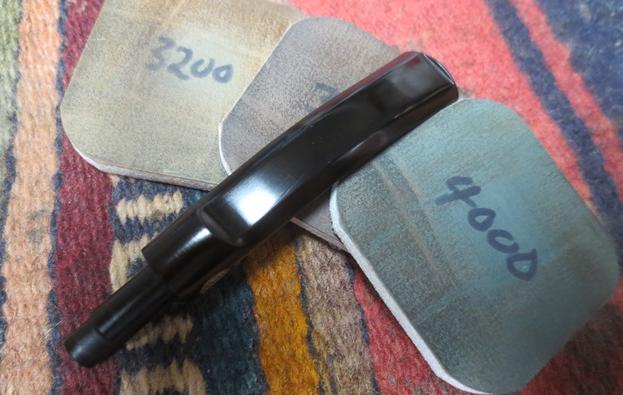
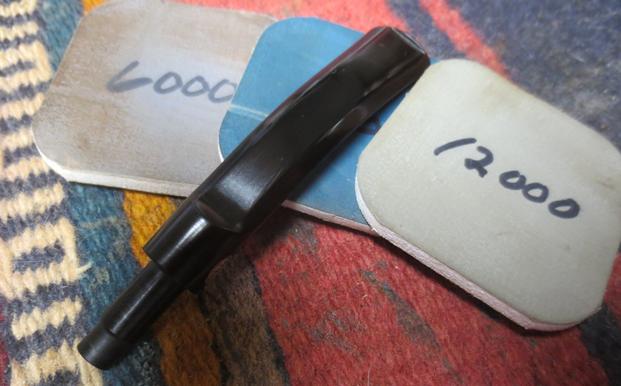
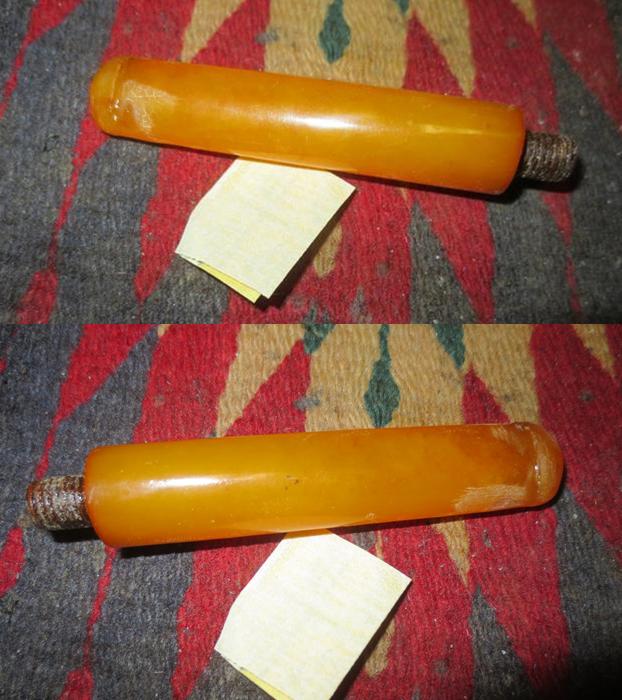
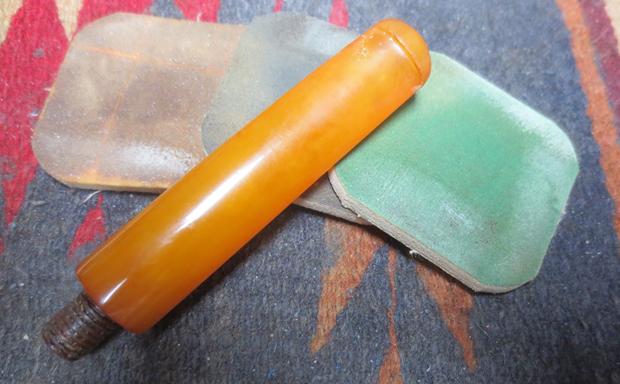
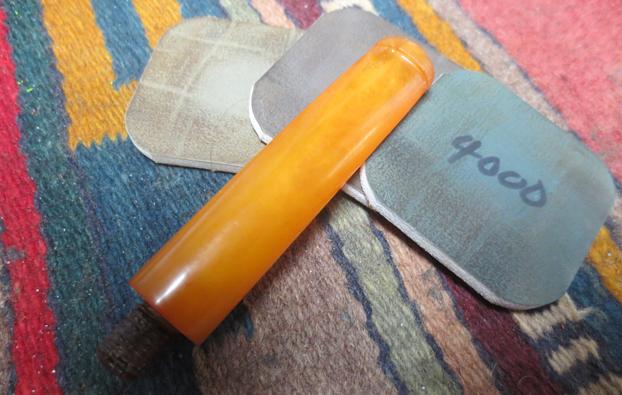
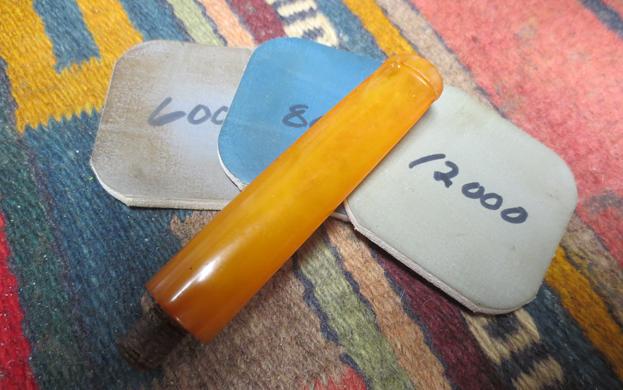
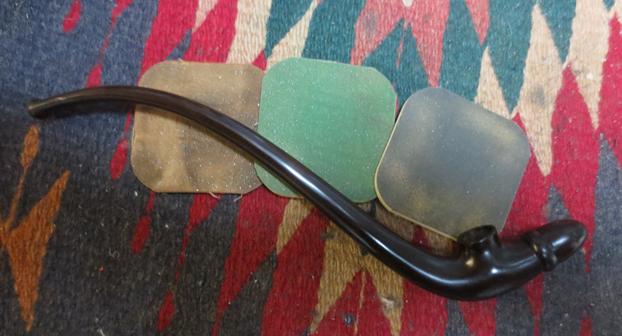
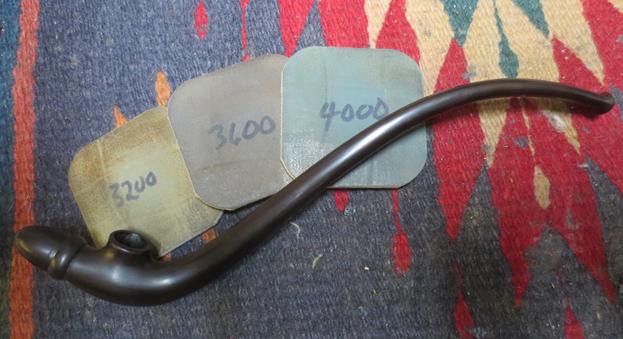
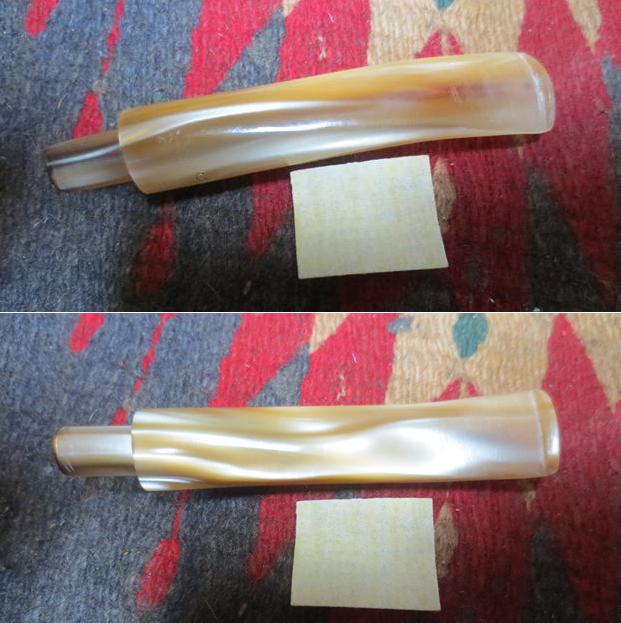
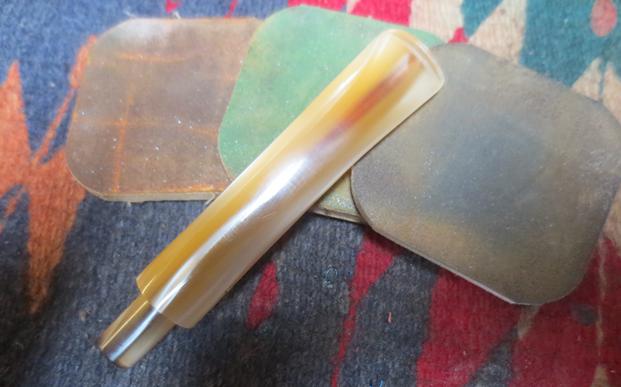
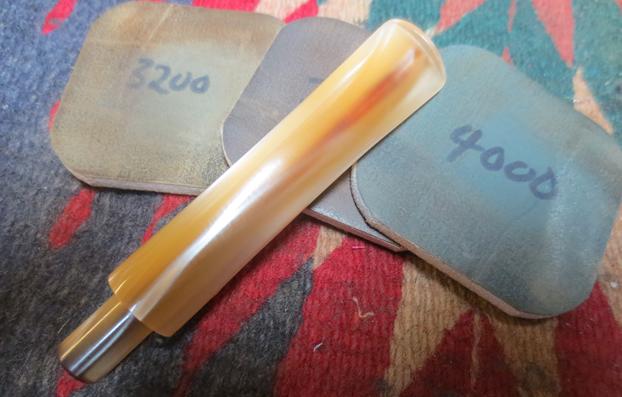
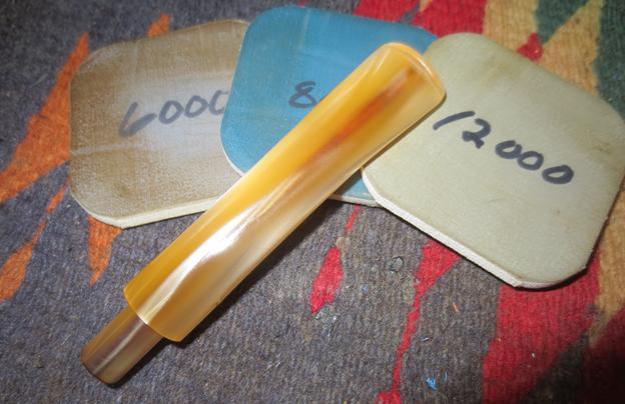
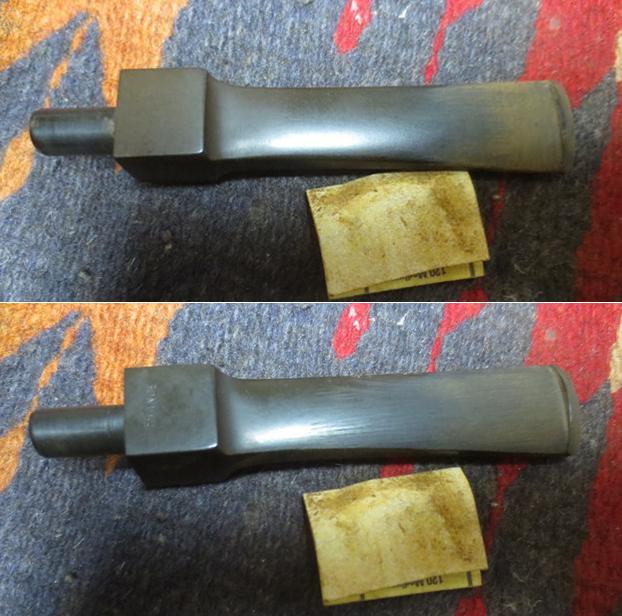
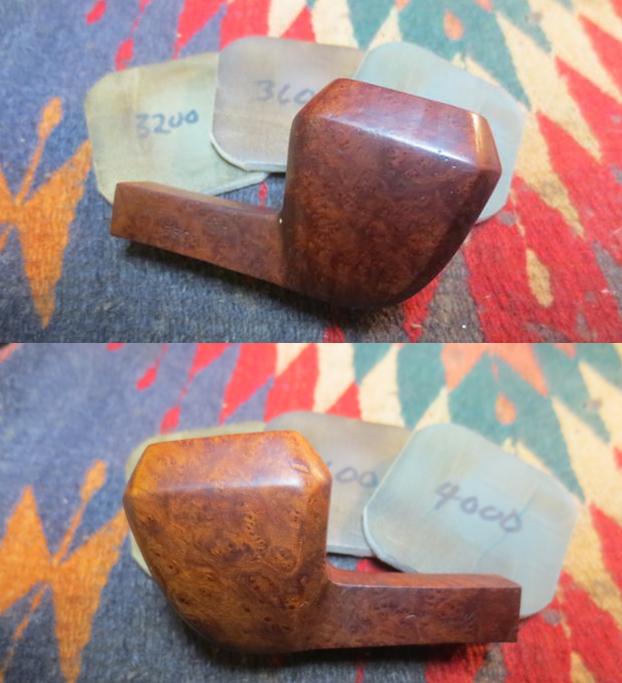
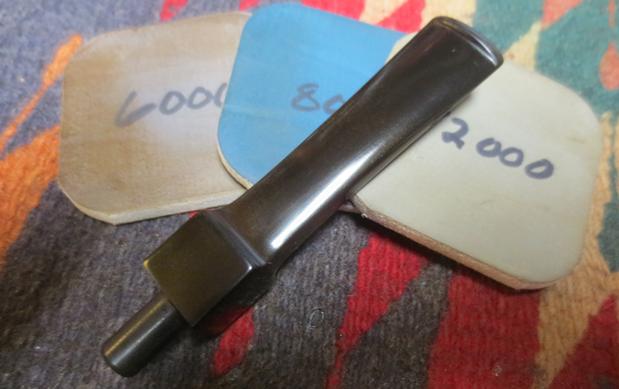
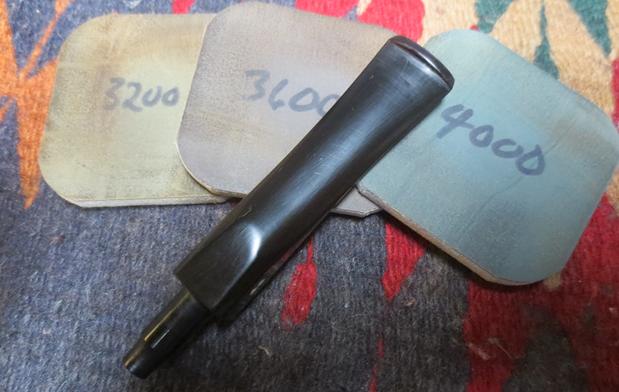
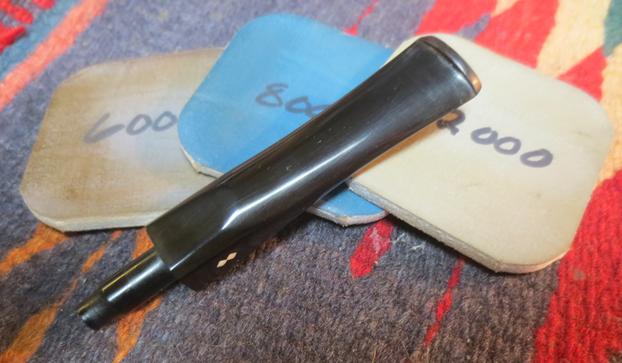
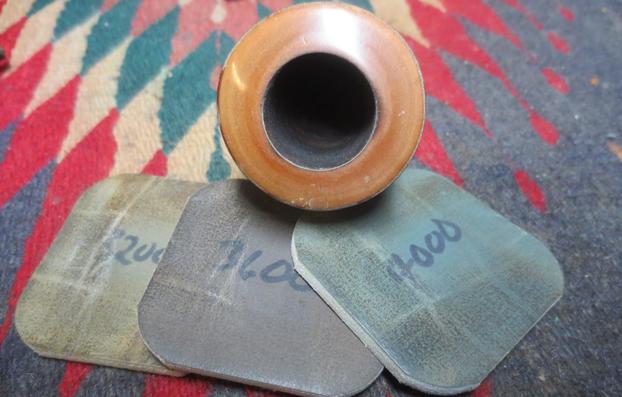
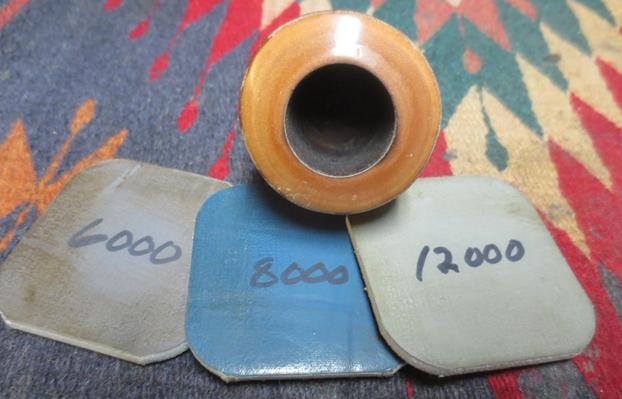
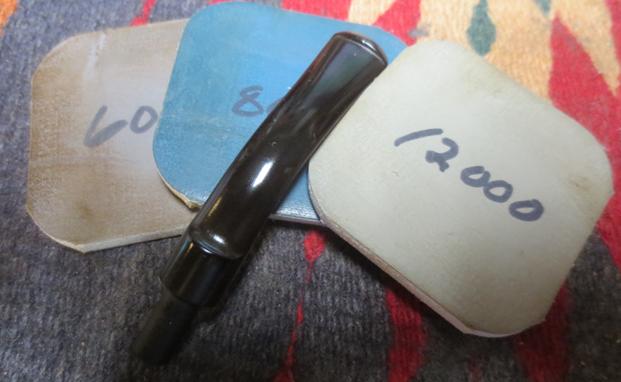
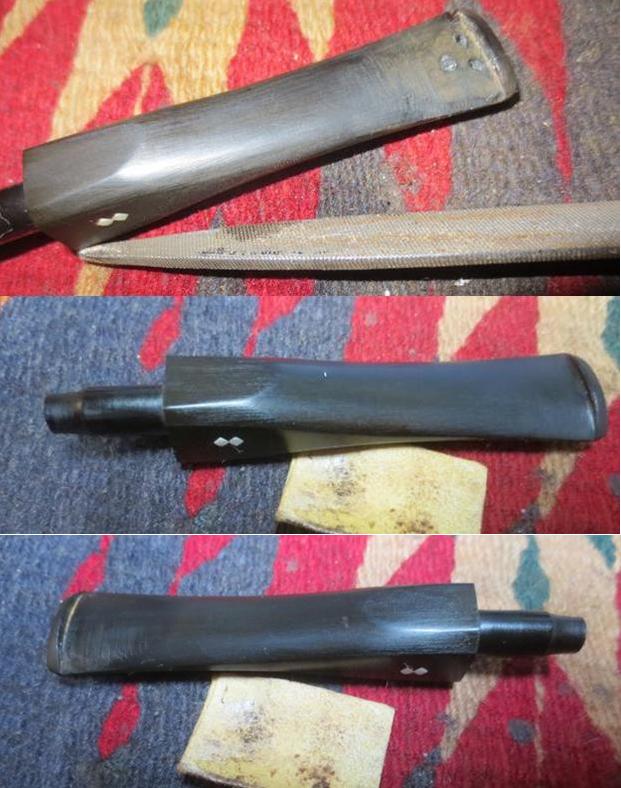 I polished the stem with micromesh sanding pads – wet sanding it with 1500-2400 grit pads and wiping it down after each pad with Obsidian Oil to give the next pad more bite when I sanded. I dry sanded it with 3200-12000 grit pads and again wiped it down with the oil after each pad. After the final pad I wiped it down with a damp cloth and set it aside while I finished the bowl.
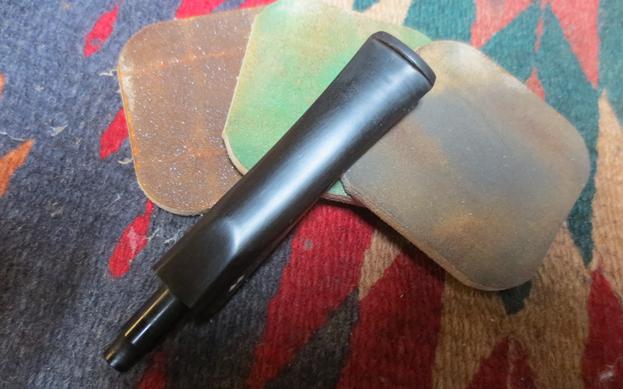
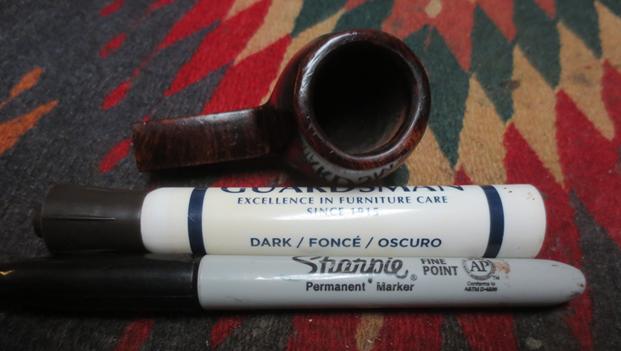
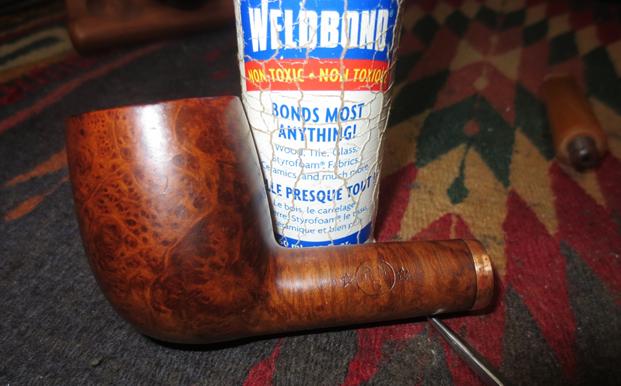
 I turned my attention back to the bowl. I repaired the fill in the back of the bowl with clear super glue. I sanded out the repaired area to blend it into the surface of the briar. Once it was smooth to touch I used a black Sharpie to blend in the light coloured fill.
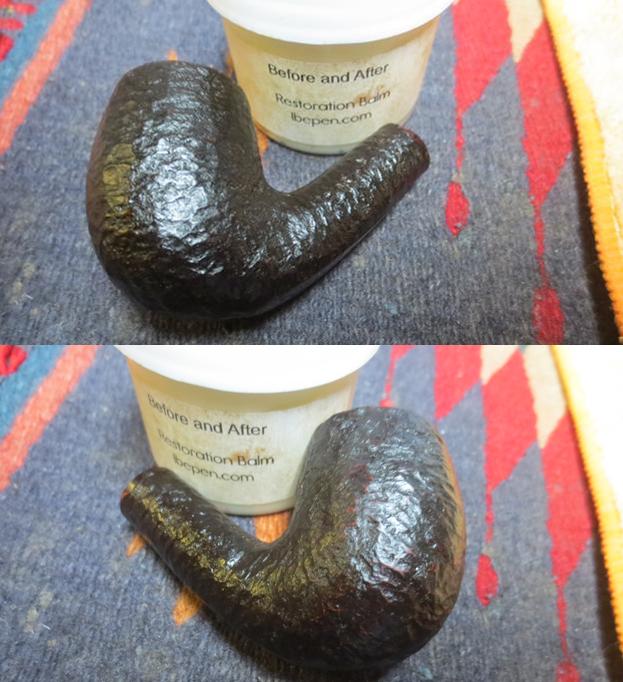
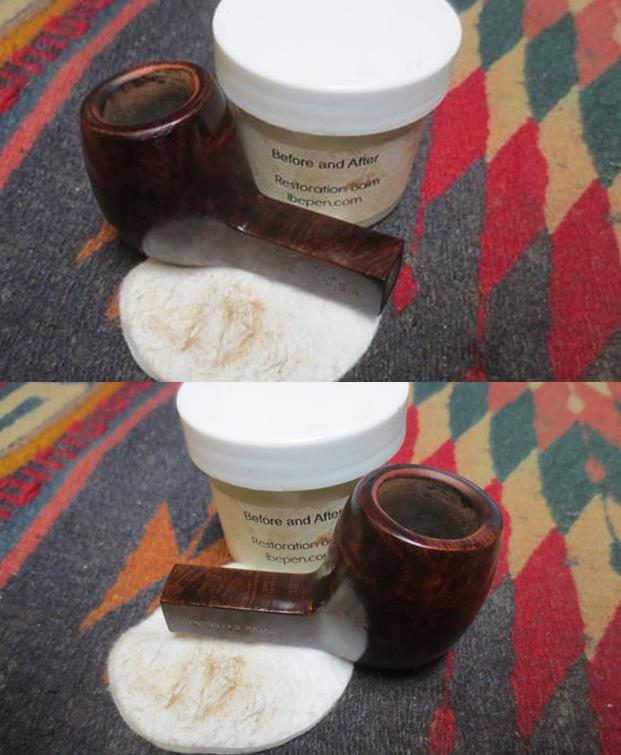
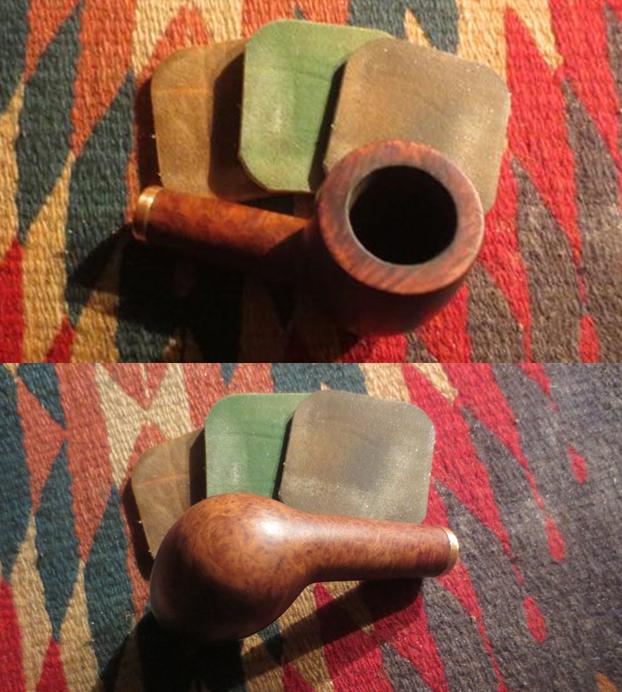
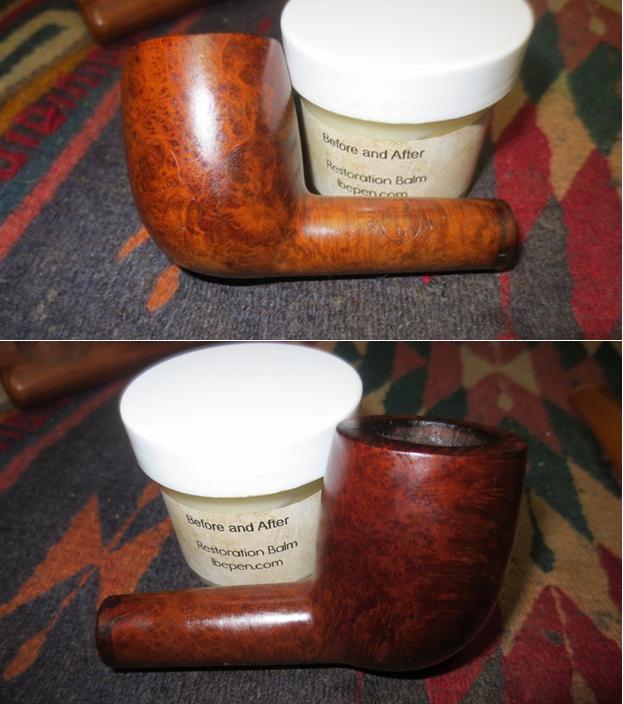
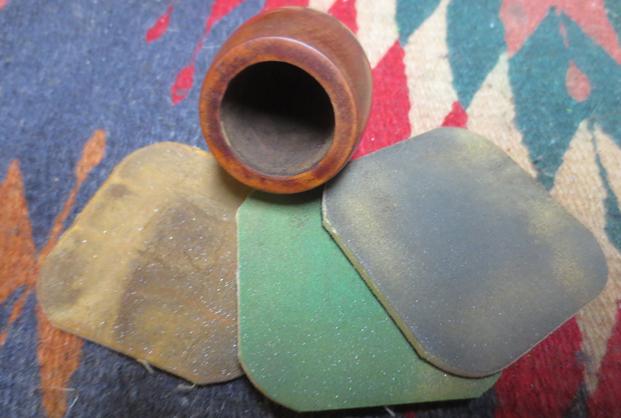
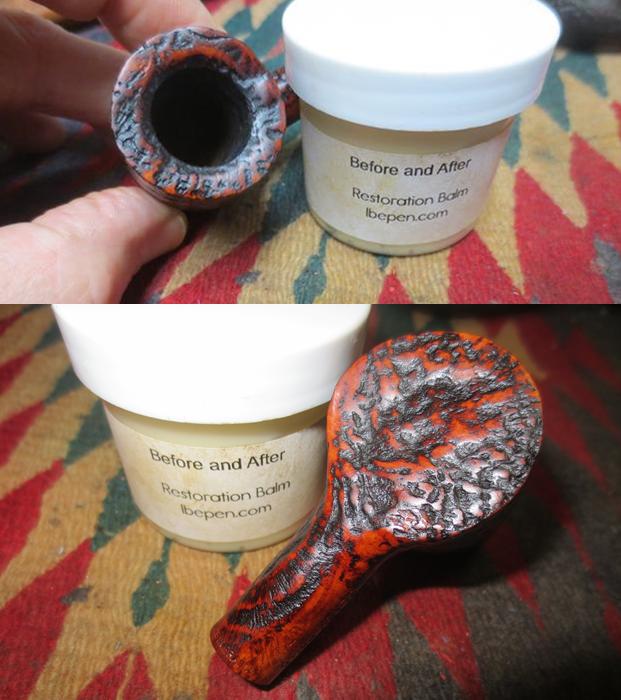
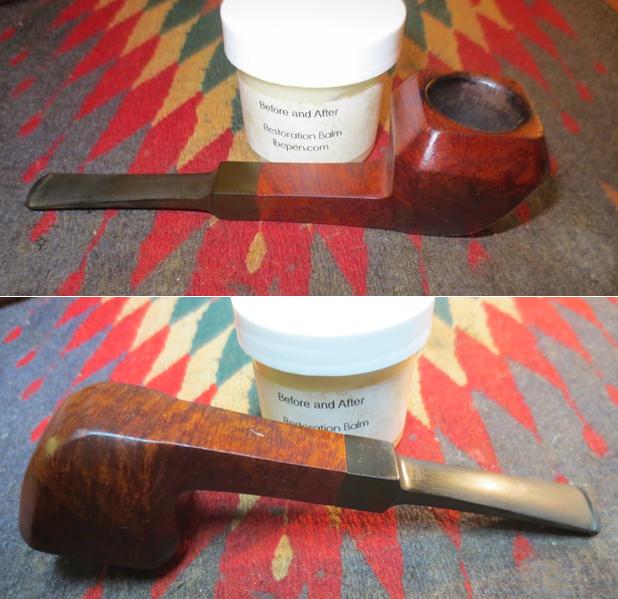
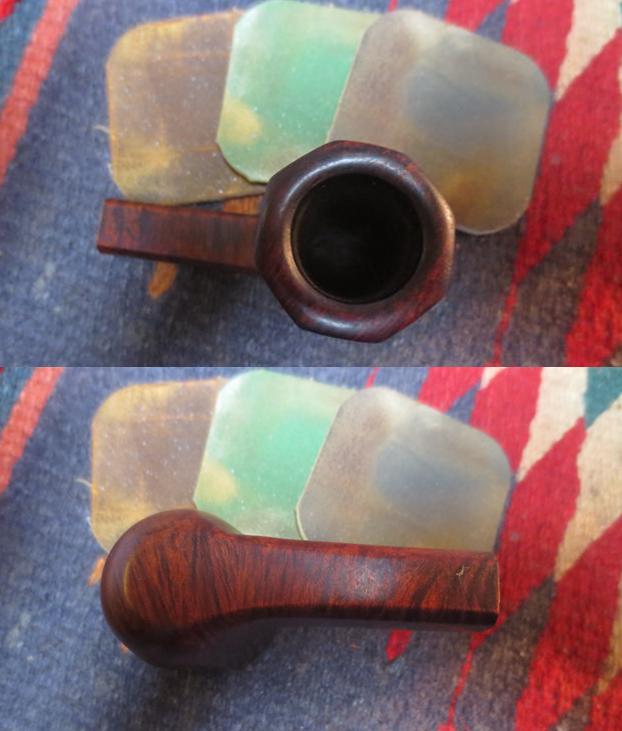
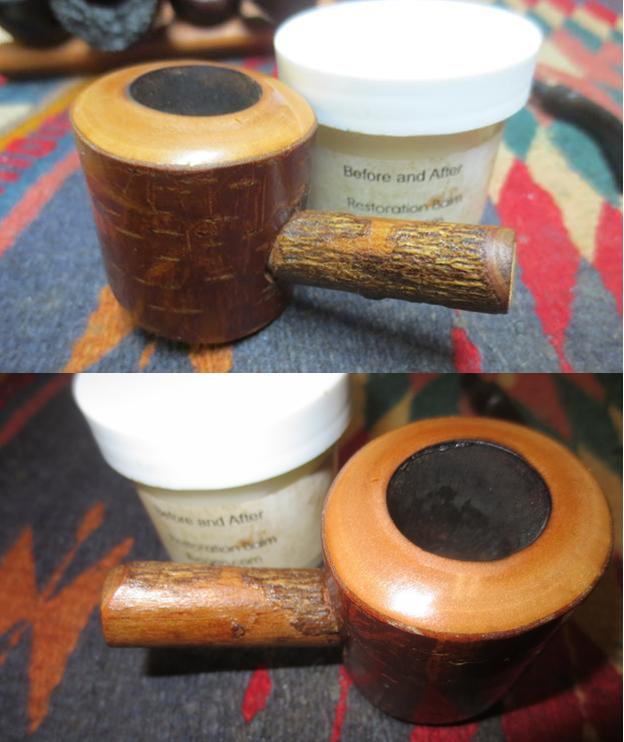
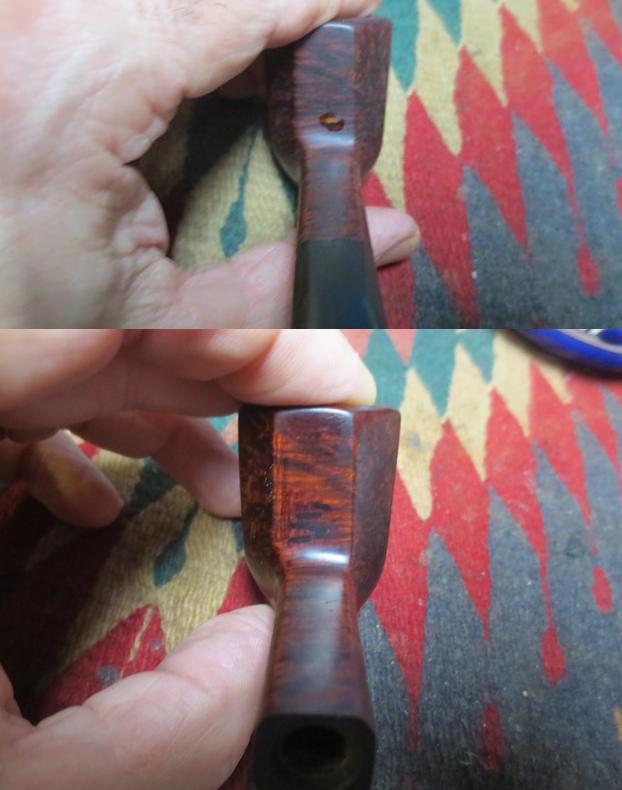 I am continuing to test out Mark Hoover’s new product that he calls Before & After Restoration Balm. I have used it on rusticated, sandblast and smooth briar bowls. Mark is the creator of the Before & After Pipe Stem Deoxidizer and Polishes that I have written about in earlier blogs and reviewed. I am including Mark’s description of the product once more so that if you have not read this you will have an idea of the rationale for the product. He says that the product can be used on briar or stems – whether vulcanite, acrylic or horn. He said it was designed to pull the dirt off of the briar as well as polish it. He added some anti-oxidants to keep the briar from getting damaged from both UV rays and water. I rubbed it into the finish on the bowl and shank with my fingers and worked it into the finish with a cotton pad to see if it pulled out the dirt. It seemed to work very well and I took the following photos to show the results. I will continue using it for a while and see how it works in a variety of settings before I give an opinion of the product.
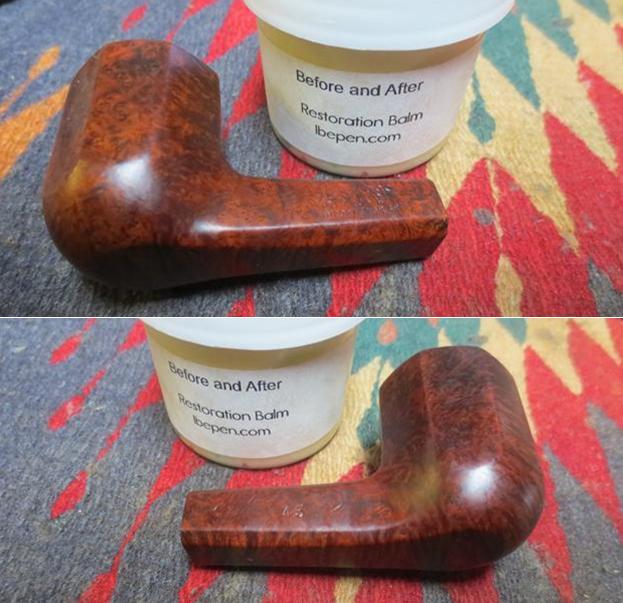
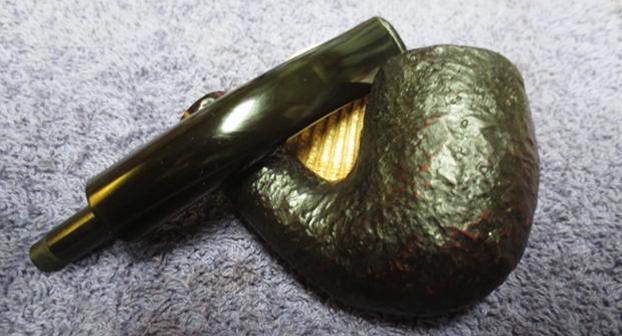
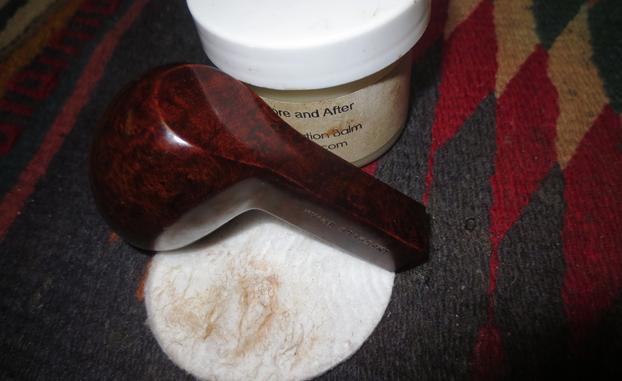
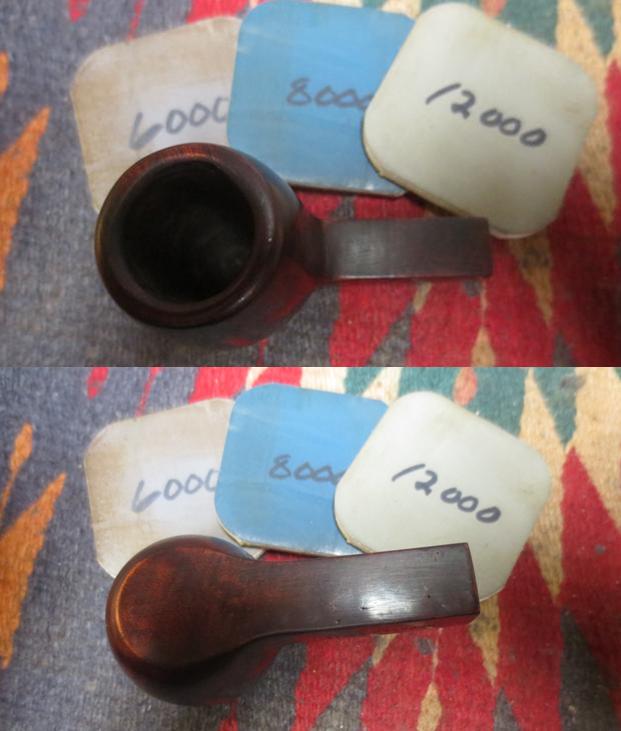
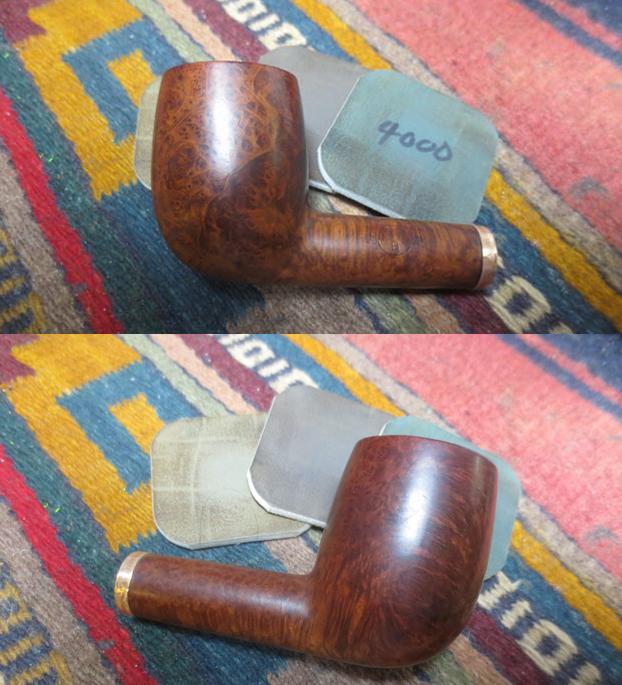
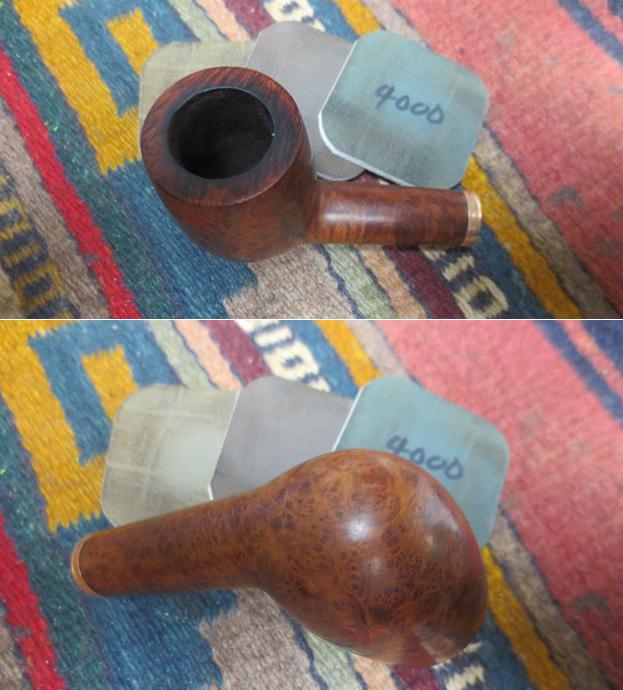
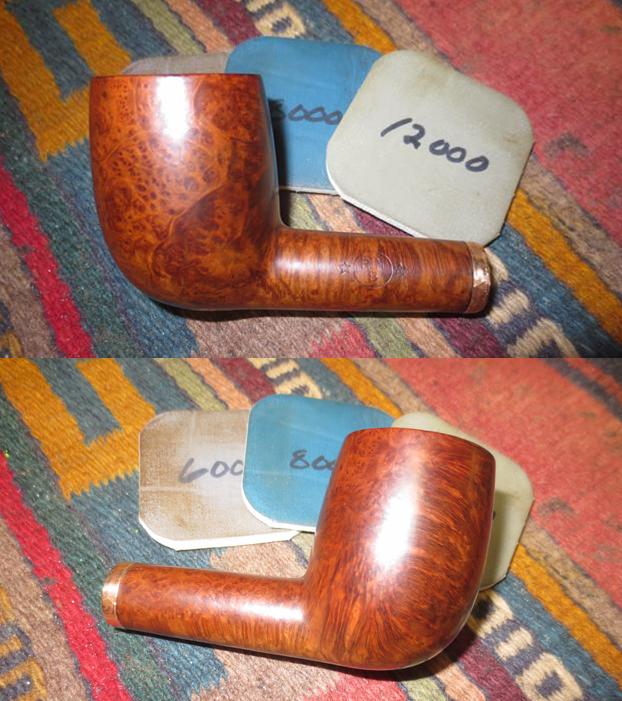
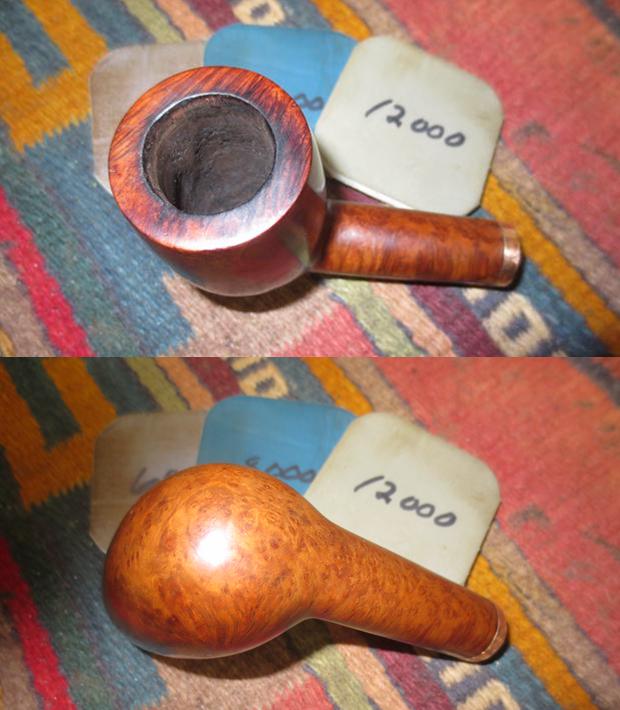
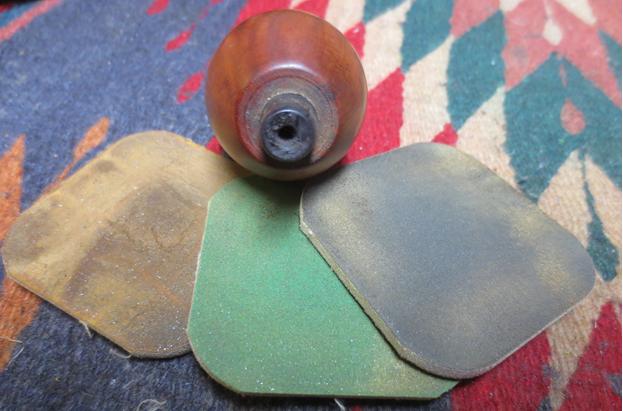
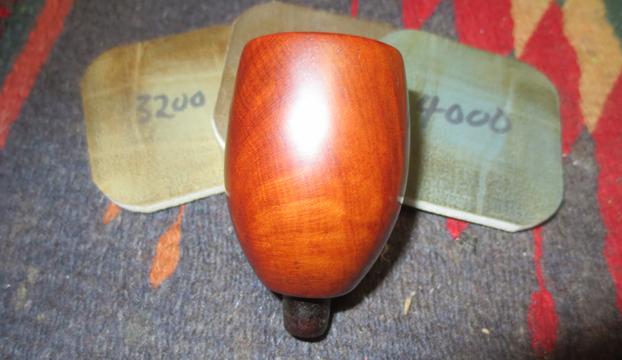
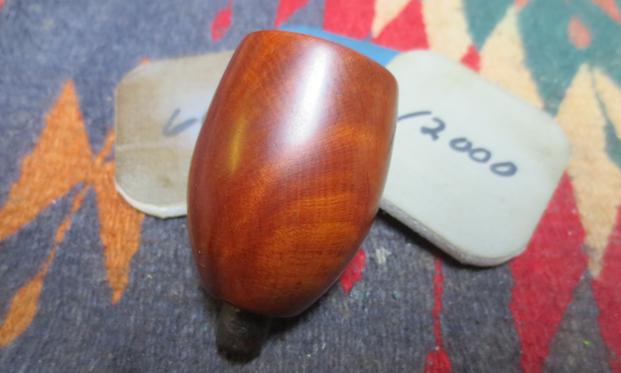
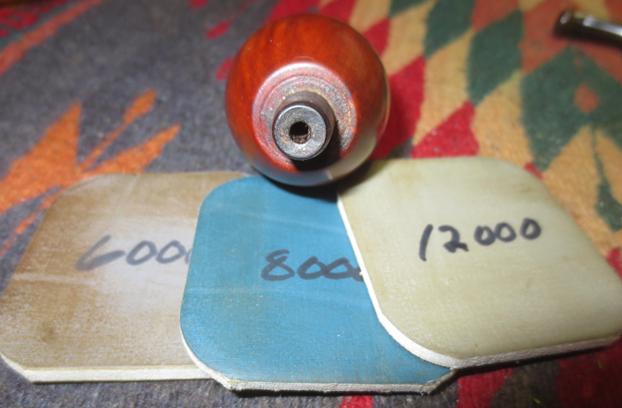
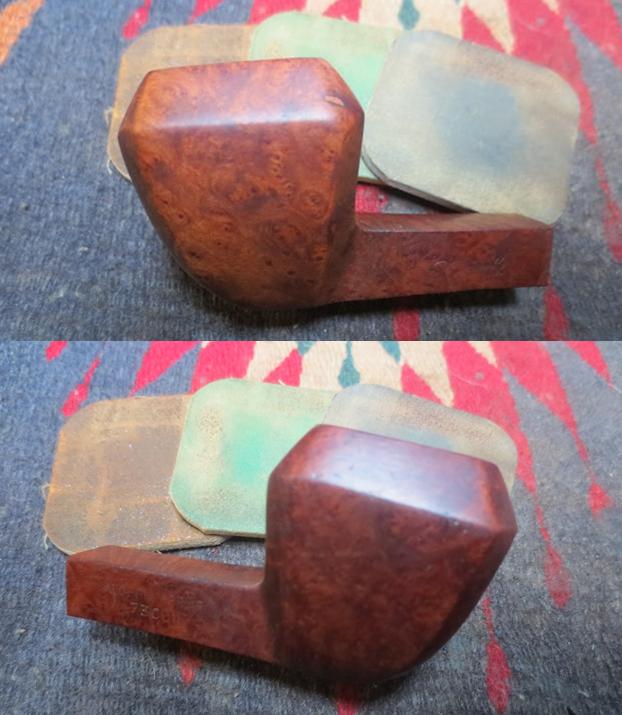
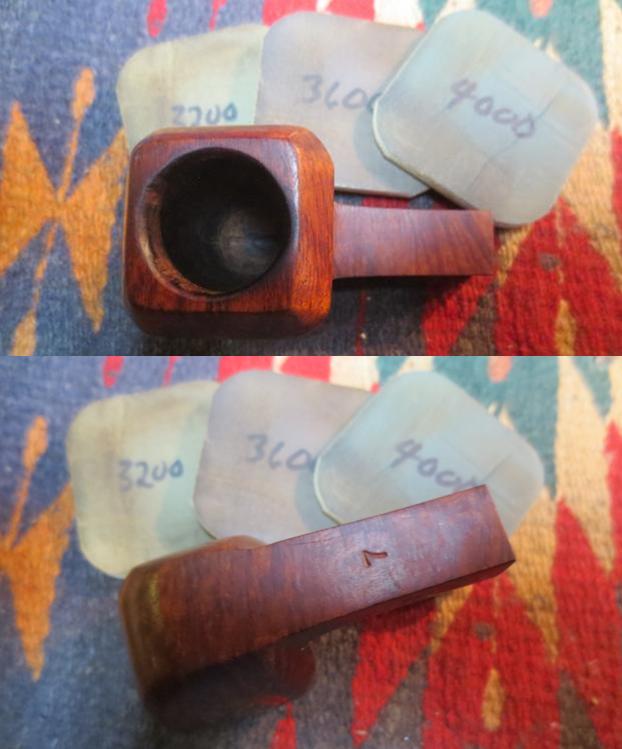
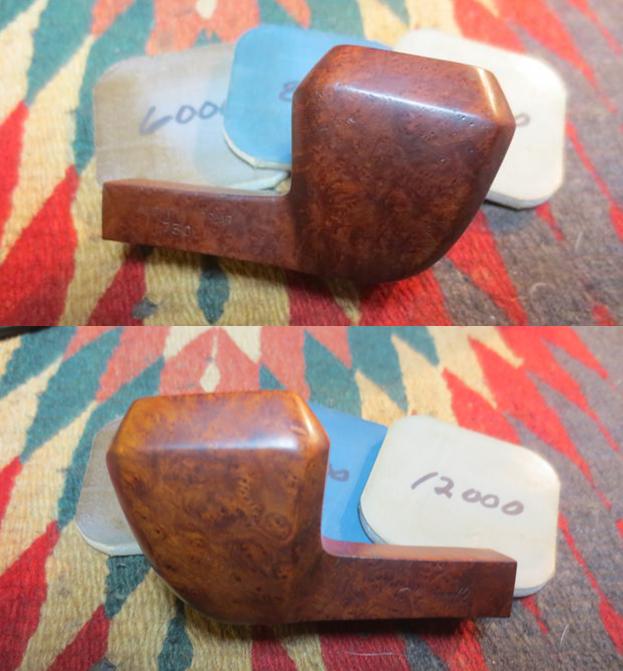
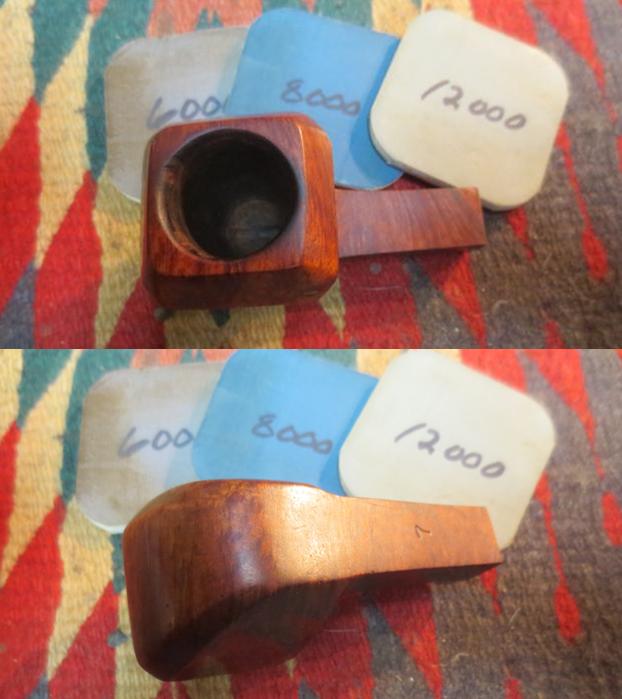
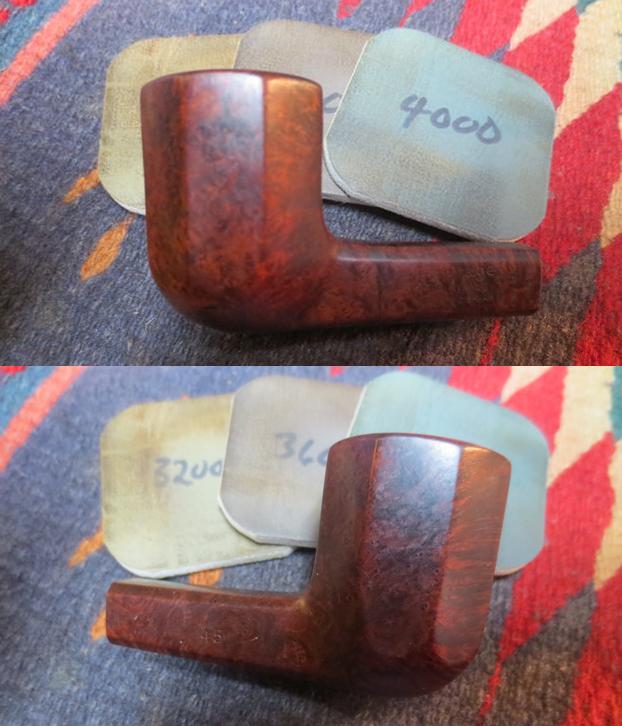
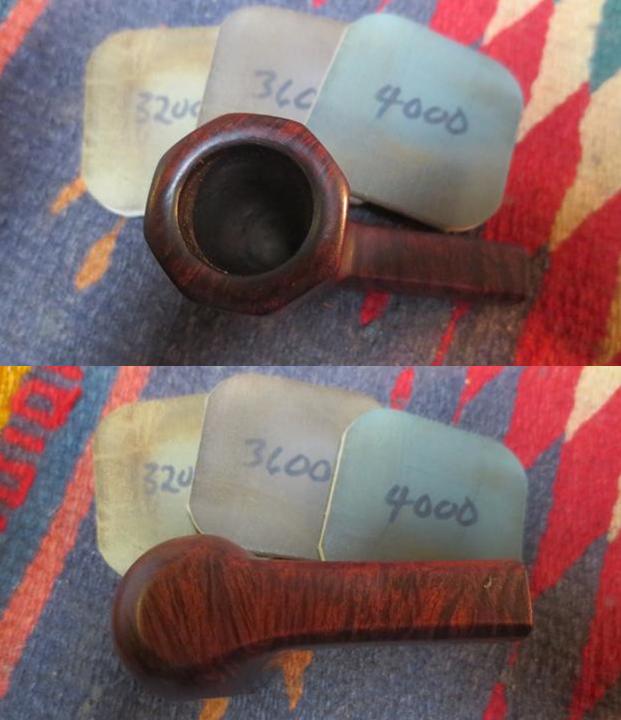
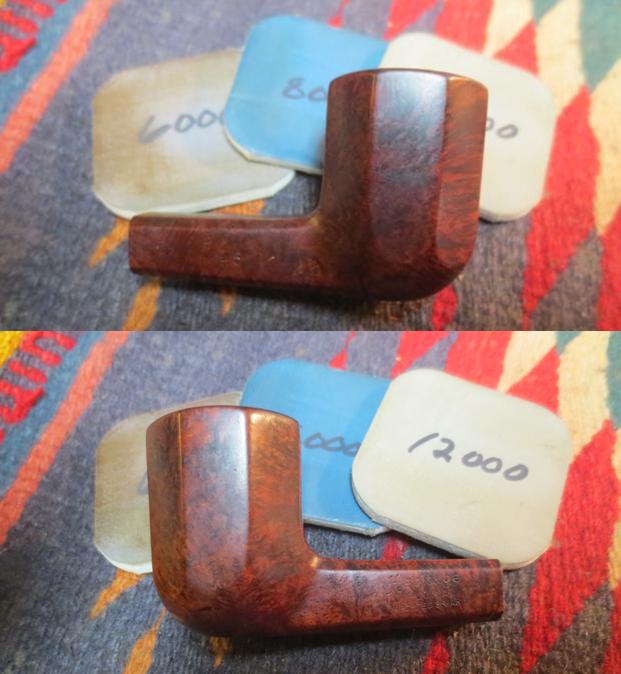
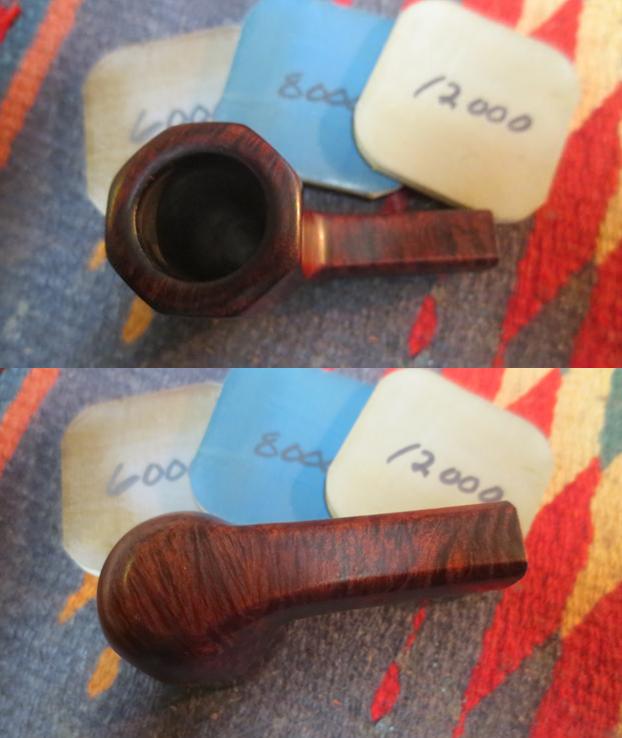
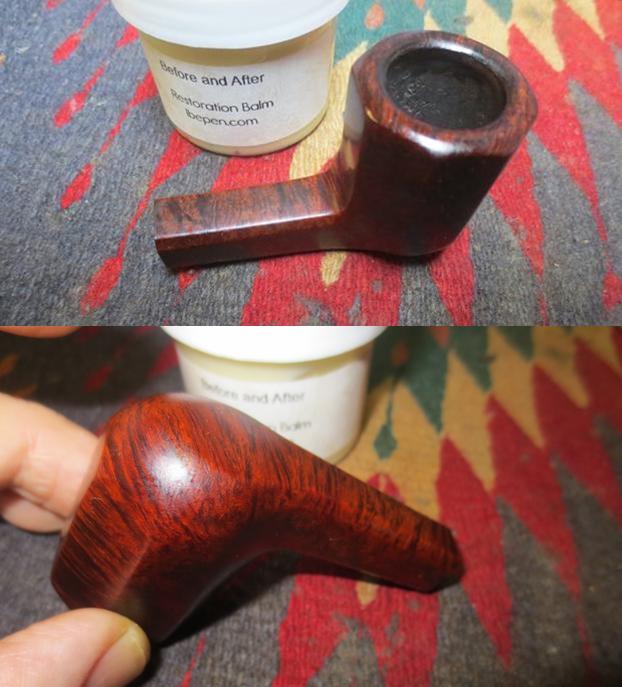 I lightly buffed the bowl with Blue Diamond to polish it to see where I needed to do some work before the final buff. I hand polished the briar with micromesh sanding pads – wet sanding with 1500-2400 grit pads and dry sanding with 3200-12000 grit pads. I worked on the beveled inner edge of the bowl to clean it up some more. I wiped the bowl down with a damp cloth after each pad. I hand buffed it with a microfibre cloth after the 12000 grit pad. The pictures below show the progress of the polishing on the briar.
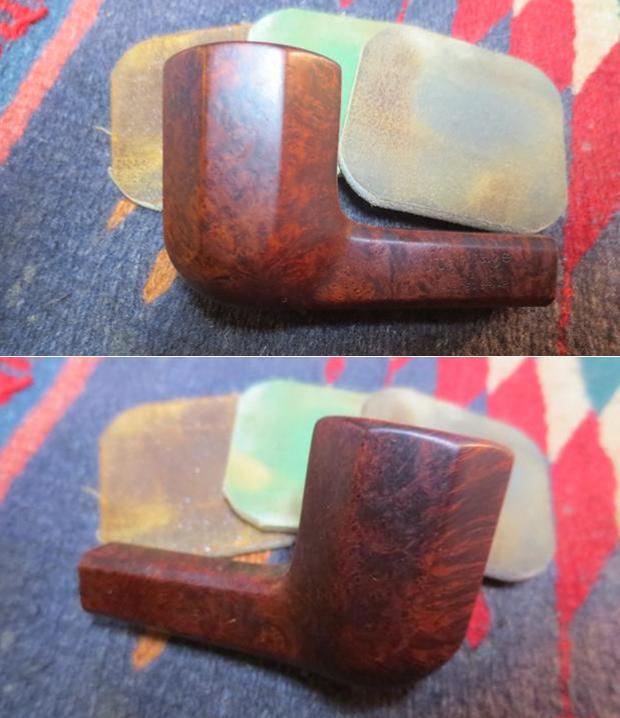
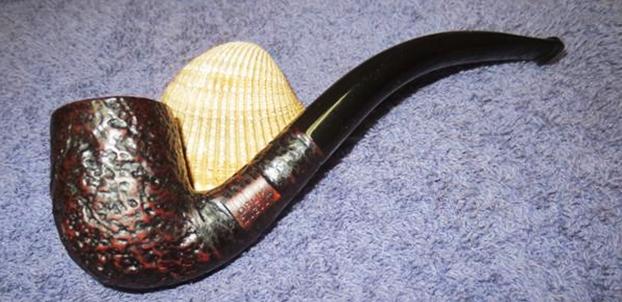
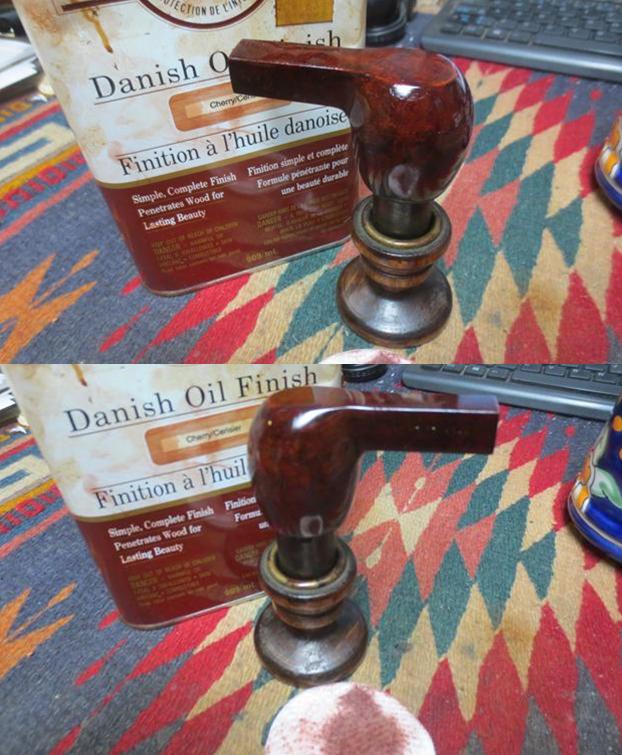
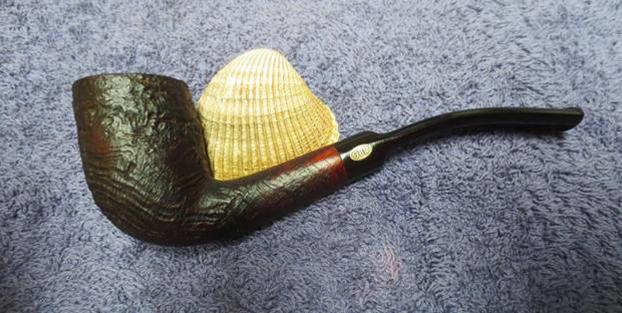
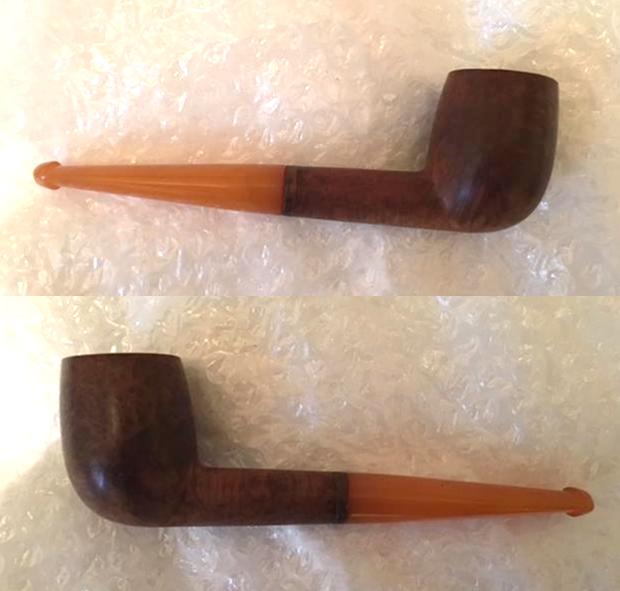
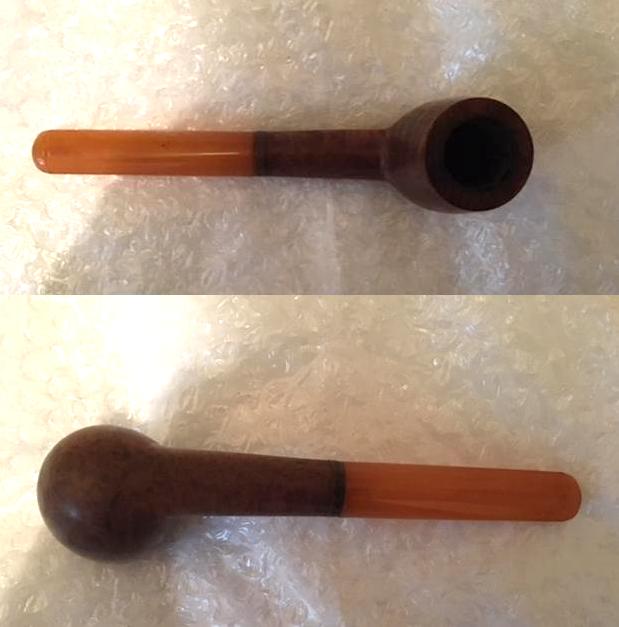
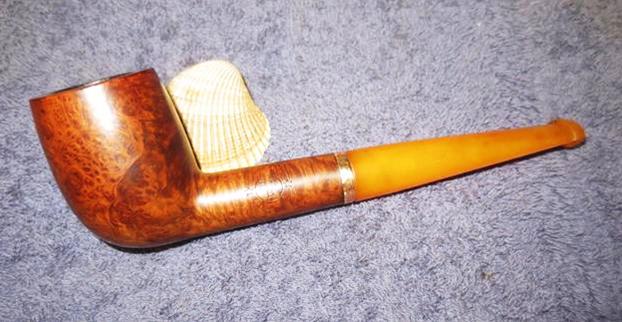
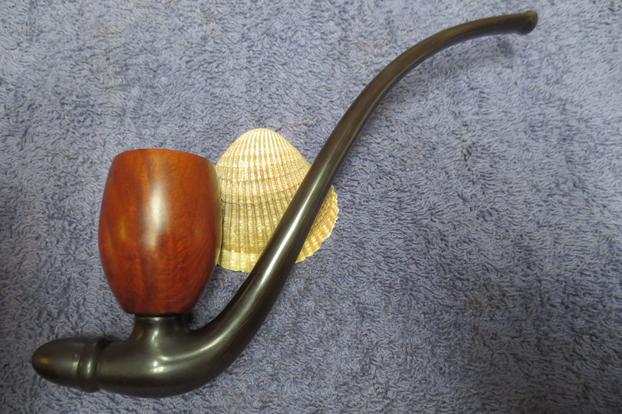
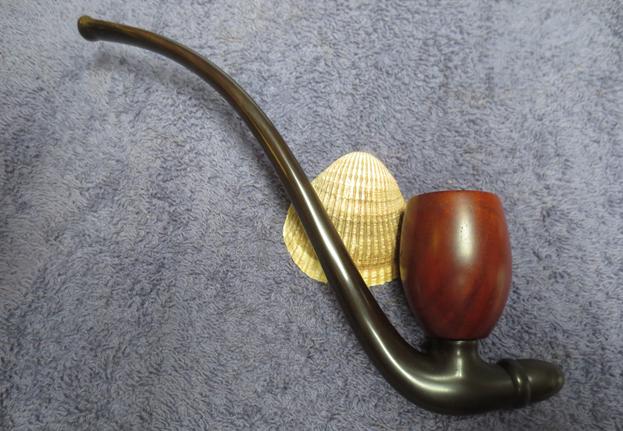
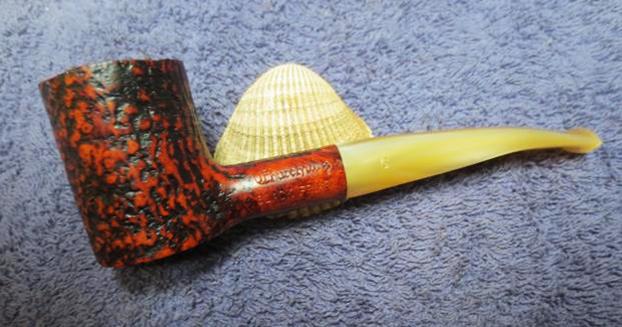
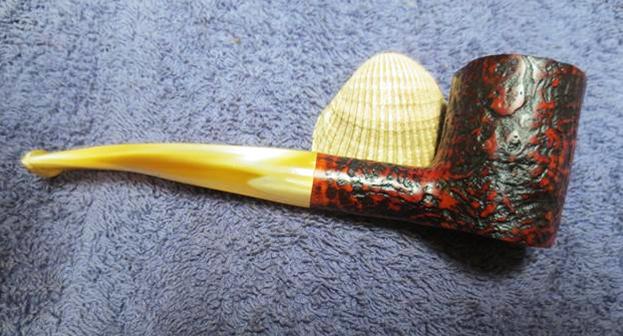
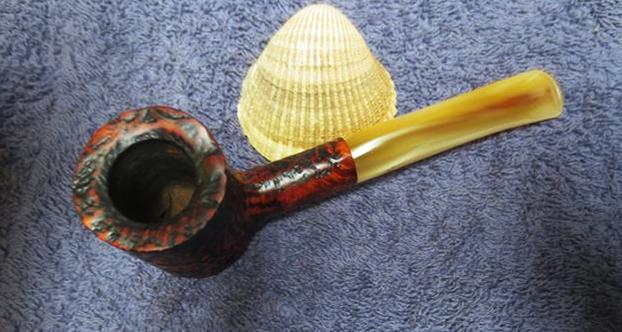
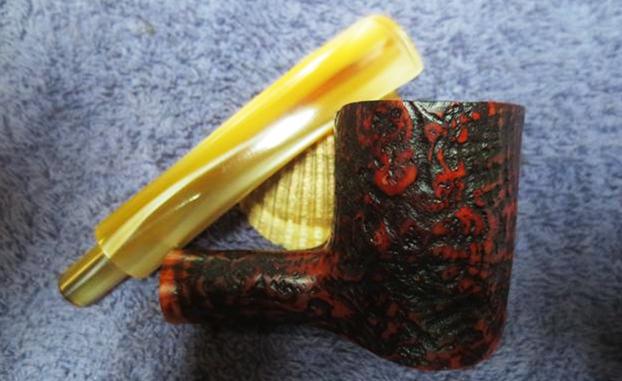
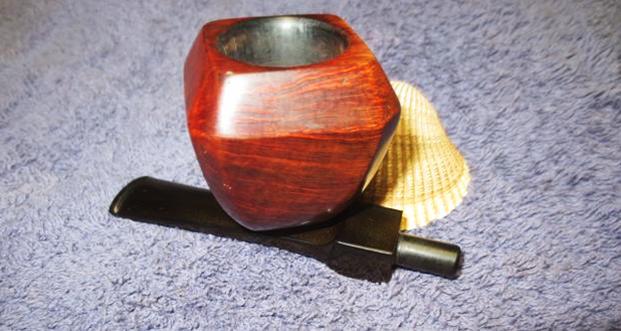
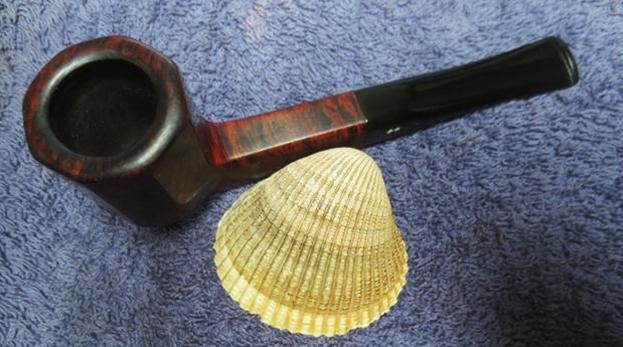
 I put the stem back on the bowl and buffed it with Blue Diamond on the buffing wheel to polish the briar. I used a soft touch around the stamped areas as I did not want to flatten them polish them away even more that they already were. I gave the stem and bowl multiple coats of carnauba wax buffed it with a clean buffing pad to raise a shine. I hand buffed it with a microfiber cloth to deepen the shine. The octagonal shaped bowl, shank and stem combine to present a beautiful pipe. The pipe looks fresh and new. The dimensions of this pipe are Length: 5 1/2 inches, Height: 1 3/4 inches, Bowl diameter: 1 1/4 inches, Chamber diameter: ¾ inches. The finished pipe is shown in the photos below. I will soon be adding it to the rebornpipes store if you are interested in adding to your collection. It is a beauty and will serve someone very well. Email me at slaug@uniserve.com or send me a message on Facebook. Thanks for looking.
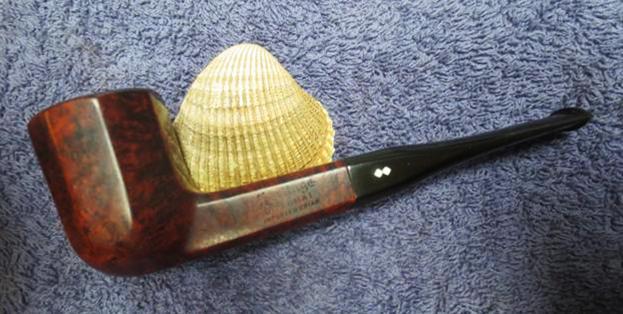


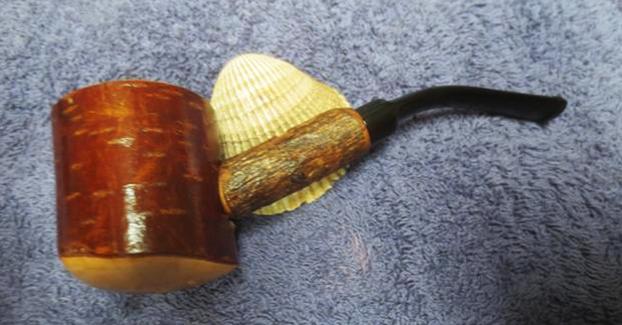

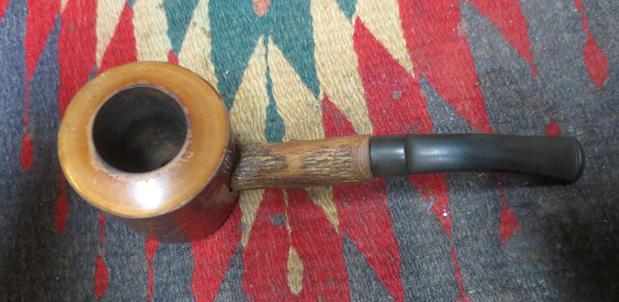
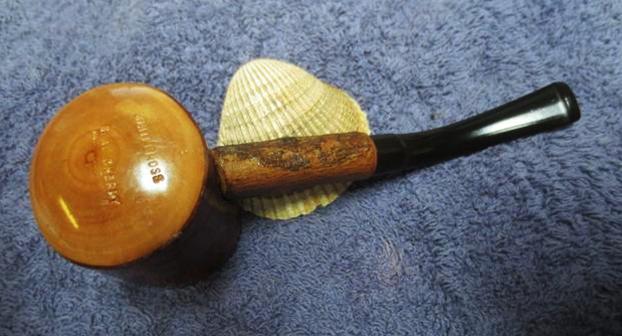
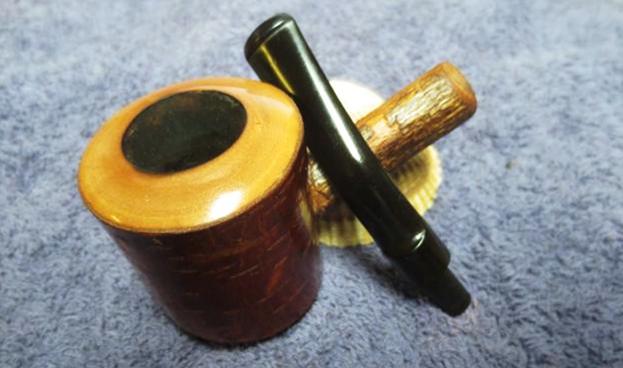
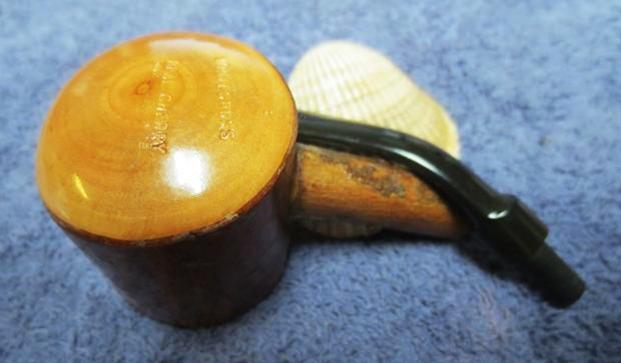
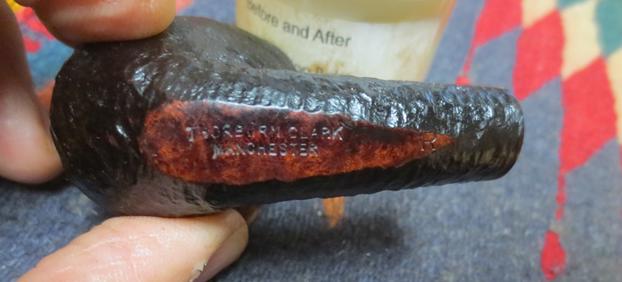
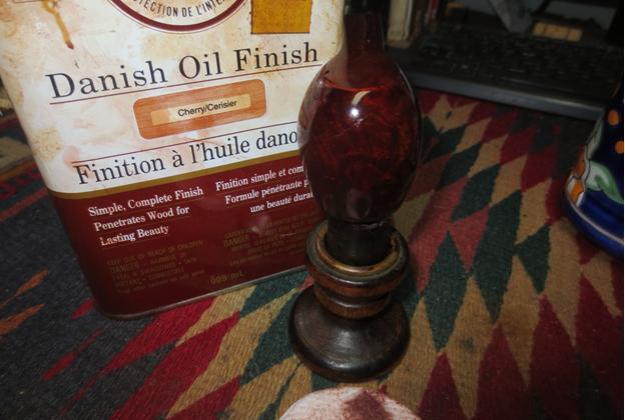
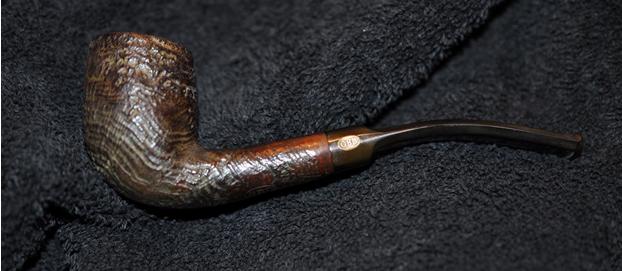
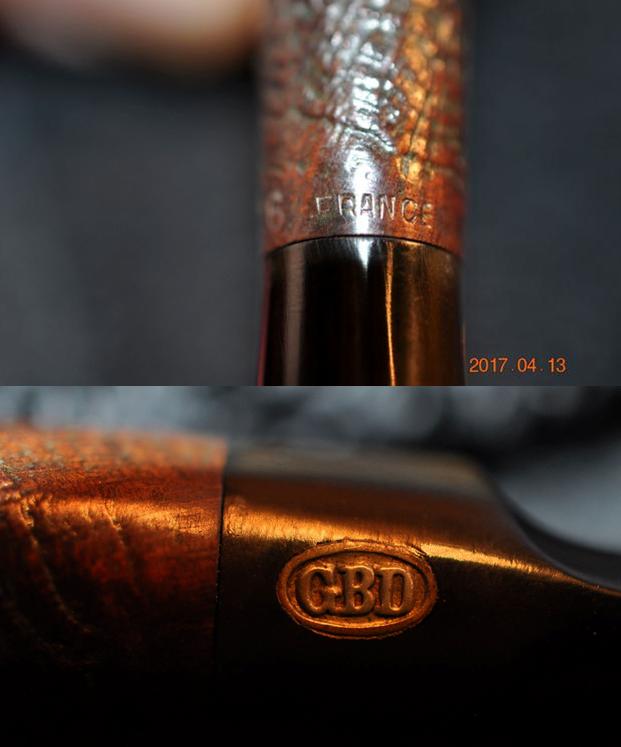
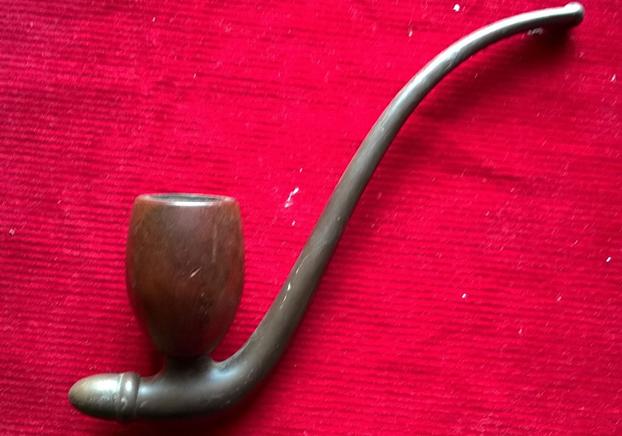
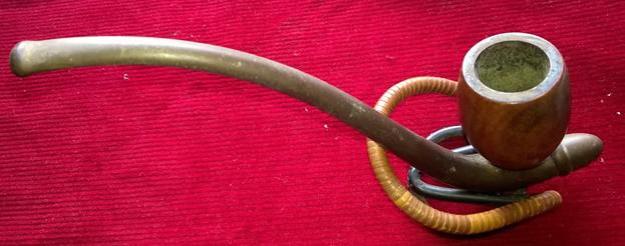
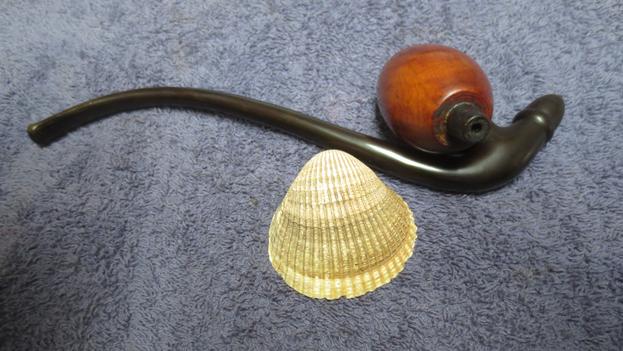
 The next photo shows the stamping on the underside of the pipe. The Made in France stamping makes me fairly certain that this is a Ropp brand pipe. It has all the components of a Ropp and the cherry wood look of the pipe is all Ropp.
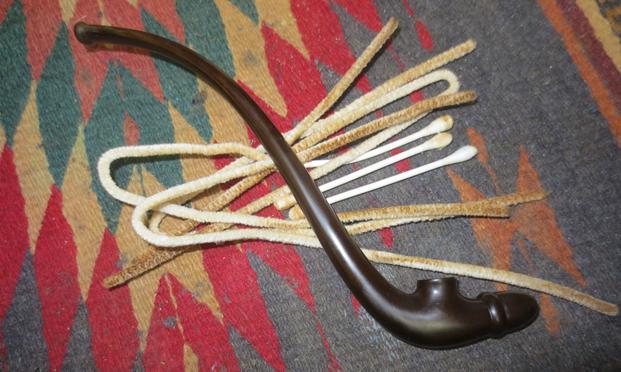
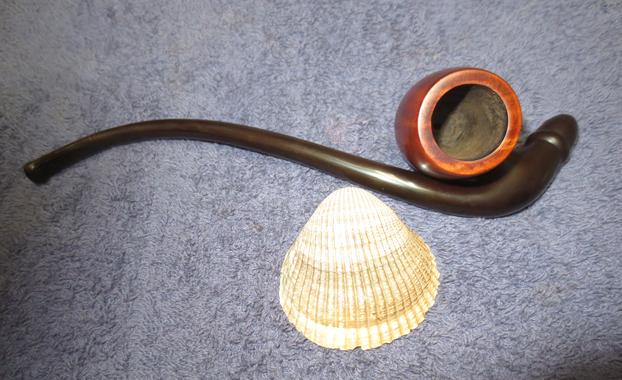
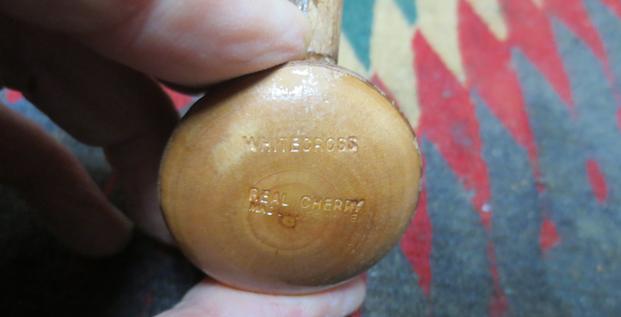 I unscrewed the shank from the bowl to clean up the interior of the shank and open area under the air hole in the bottom of the bowl. I cleaned it with alcohol, pipe cleaners and cotton swabs. I was surprised at how little dirt, tar and oil had built up there. I cleaned the airway in the shank and stem with pipe cleaners and alcohol.
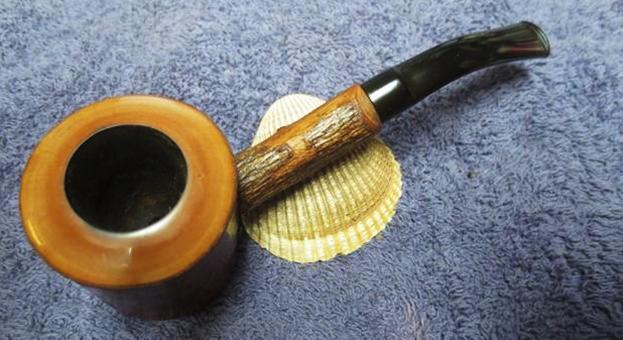
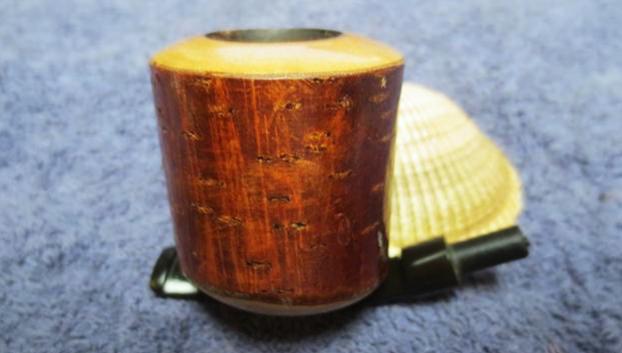
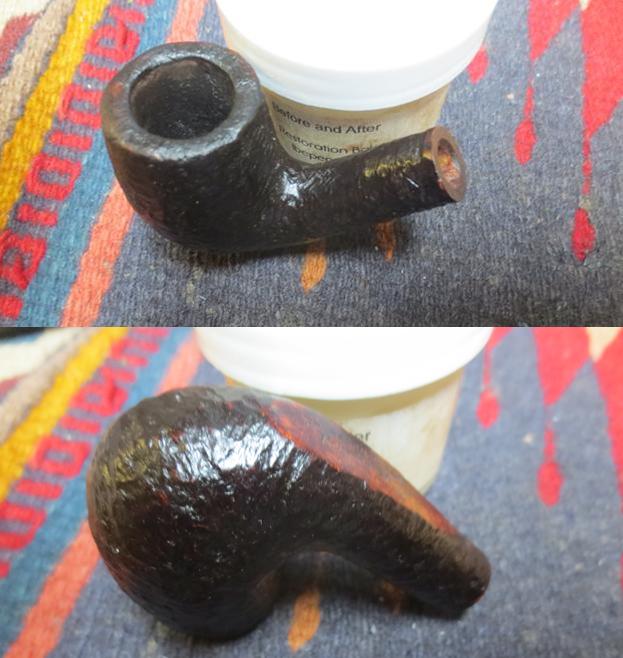
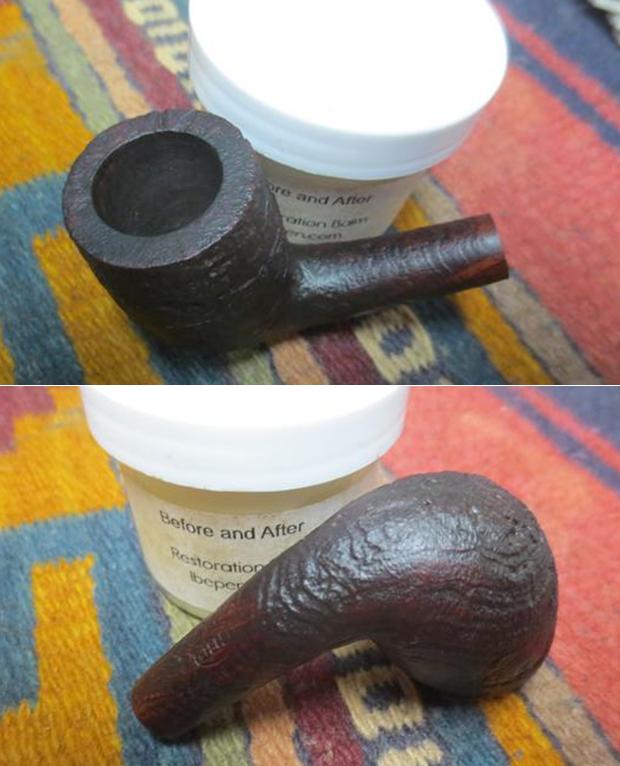
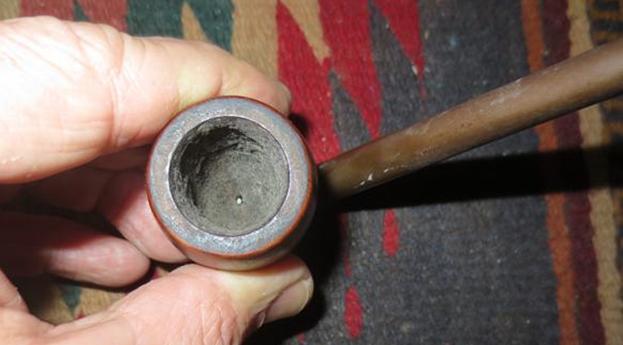
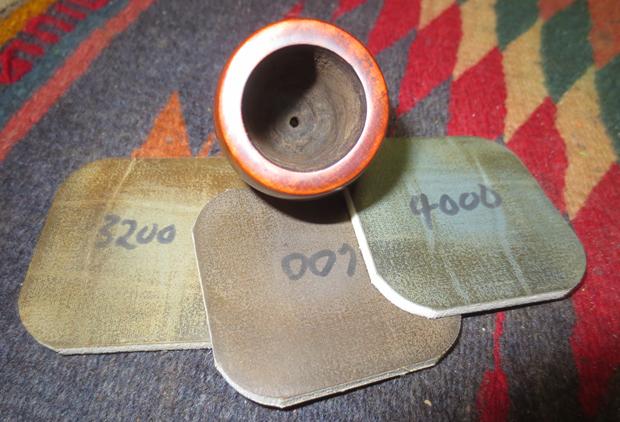
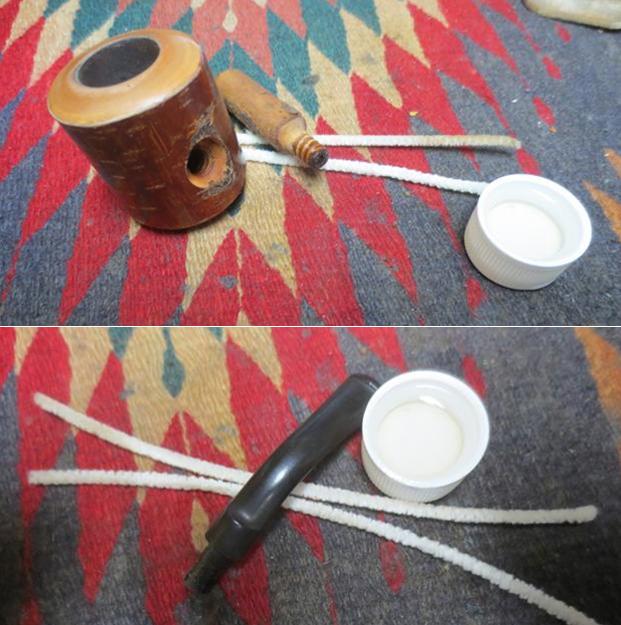 I cleaned up the rim top and edges with micromesh sanding pads. I wet sanded it with 1500-2400 grit micromesh pad and dry sanded it with 3200-12000 grit pads. I was able to remove all of the lava on the rim edge and the peeling edges of varnish. When I was finished the bowl looked really good.
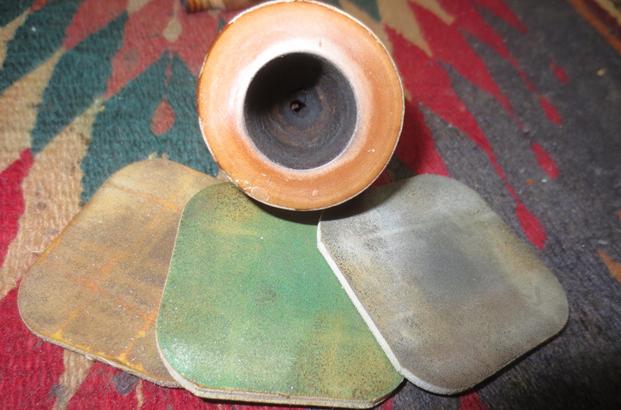
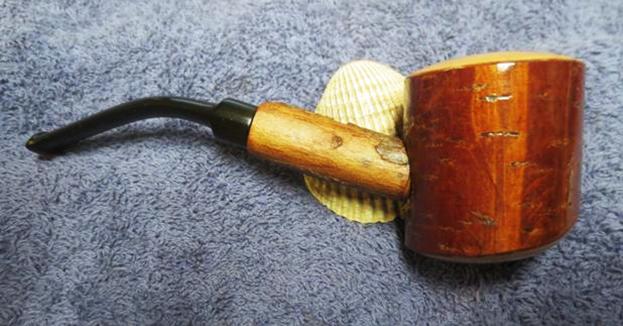
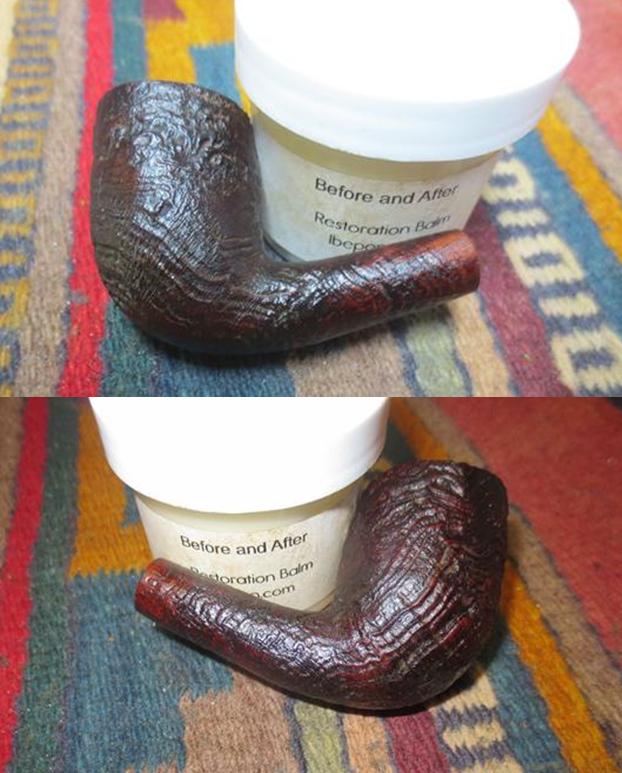
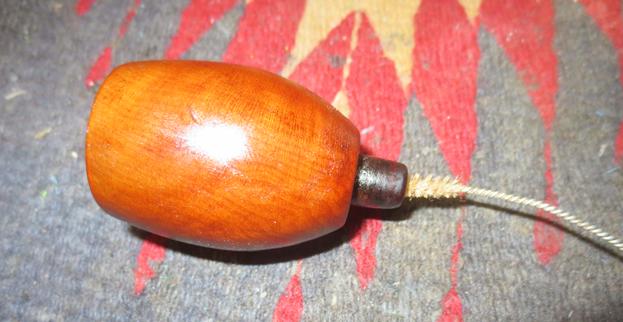
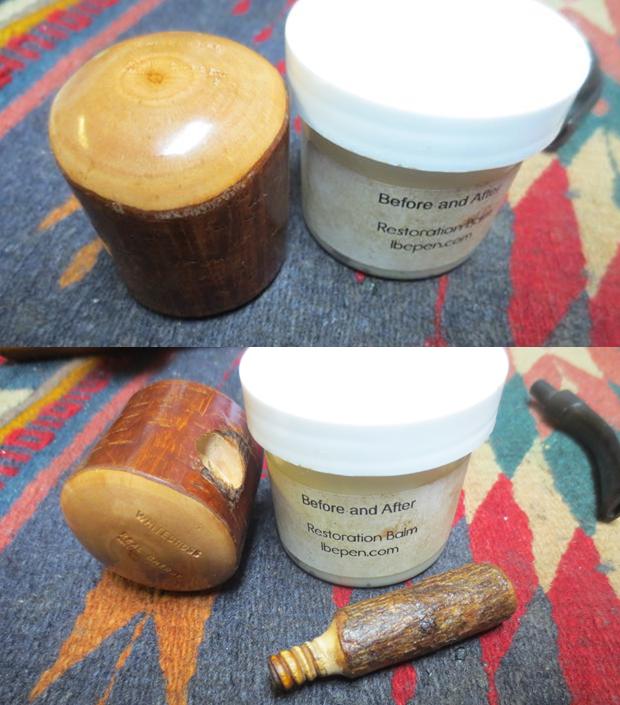
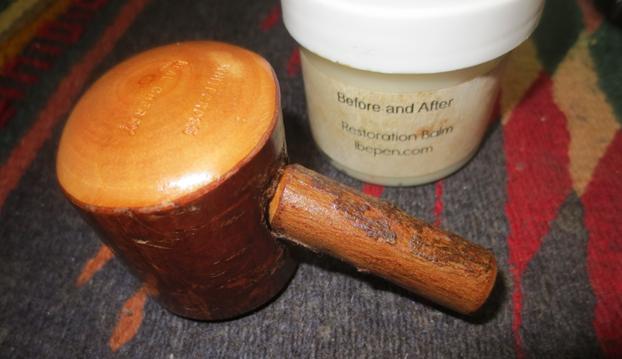
 I rubbed the Cherry wood down with Before & After Restoration Balm. I used my fingers to rub it into the bark and the bare parts of the pipe. I wiped it down with a soft cloth and hand buffed it with a shoe brush. I rubbed the shank down with the Balm and buffed it with the shoe brush as well. I put the shank on the pipe and buffed it again with the shoe brush.
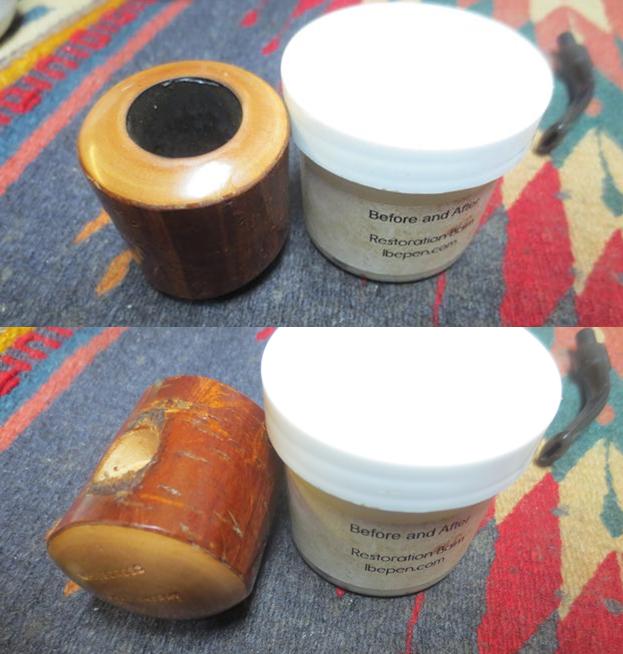
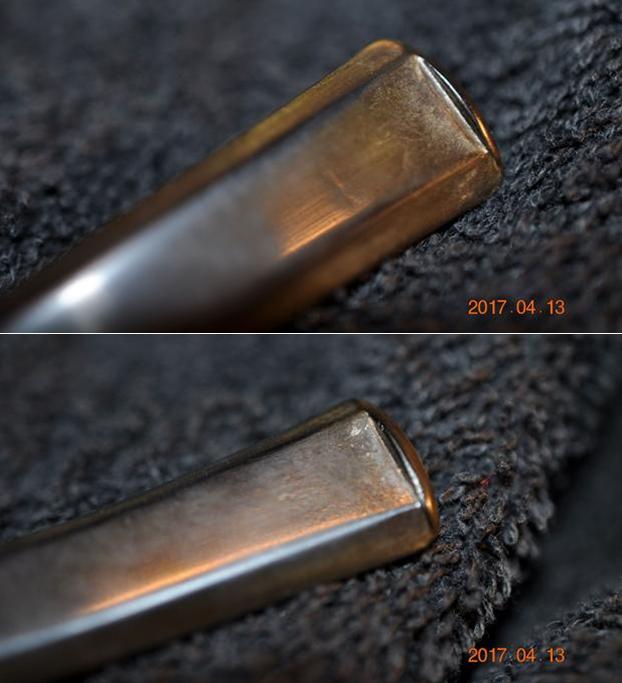
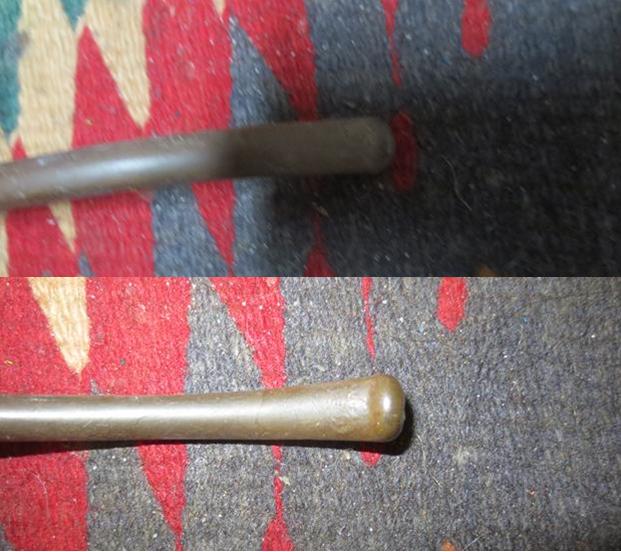
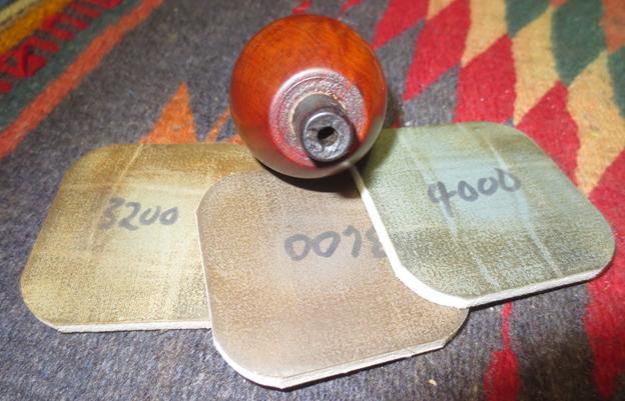
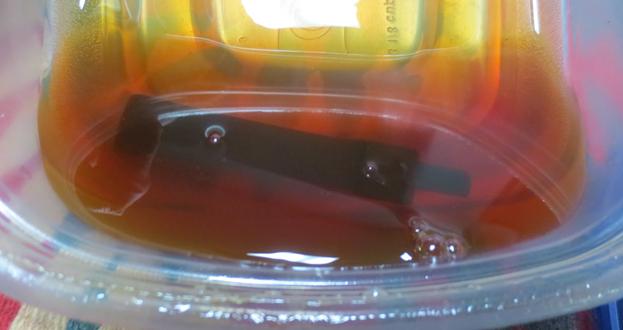
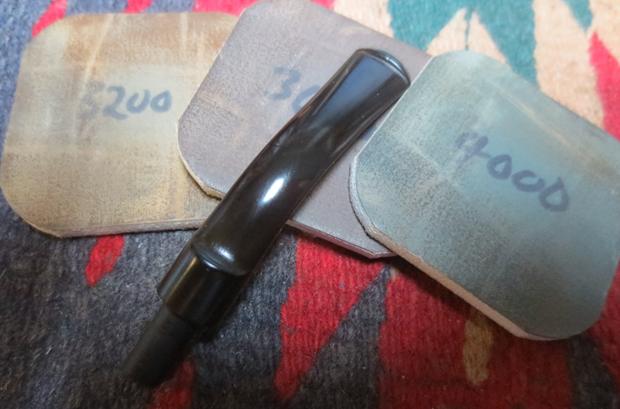
 I polished out the vulcanite stem with micromesh sanding pads – wet sanding it with 1500-2400 grit pads and dry sanding it with 3200-4000 grit pads. I wiped the stem down with Obsidian Oil after each sanding pad. I buffed the stem with Blue Diamond on the buffing wheel. I brought it back to the table and sanded it with the final three 6000-12000 grit pads. After the final pad I gave it a final coat of oil and set it aside to dry.
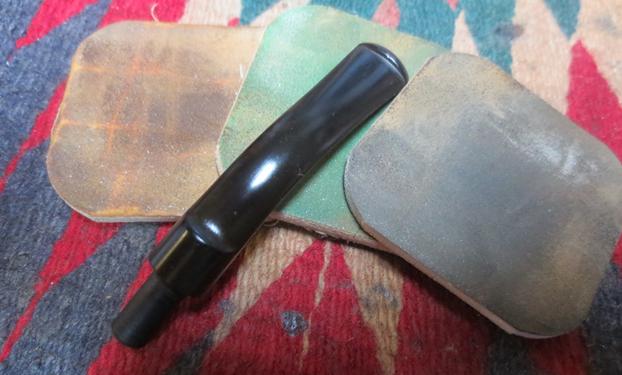
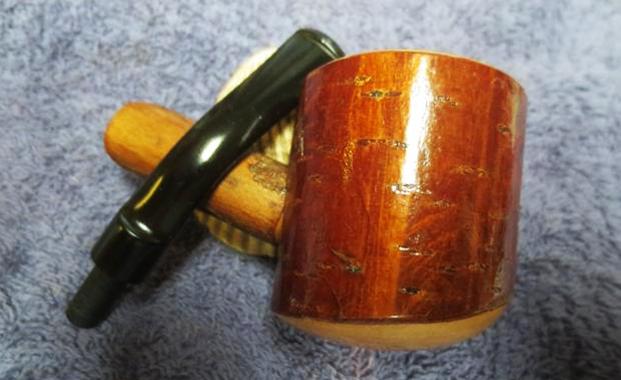
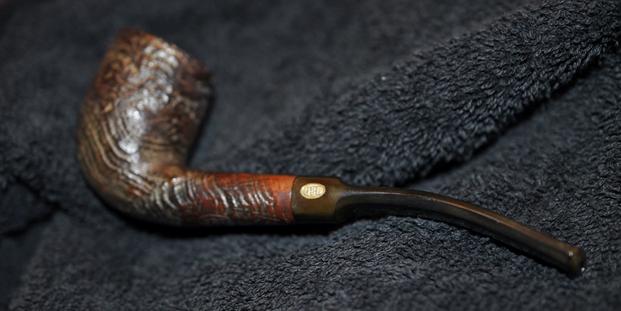
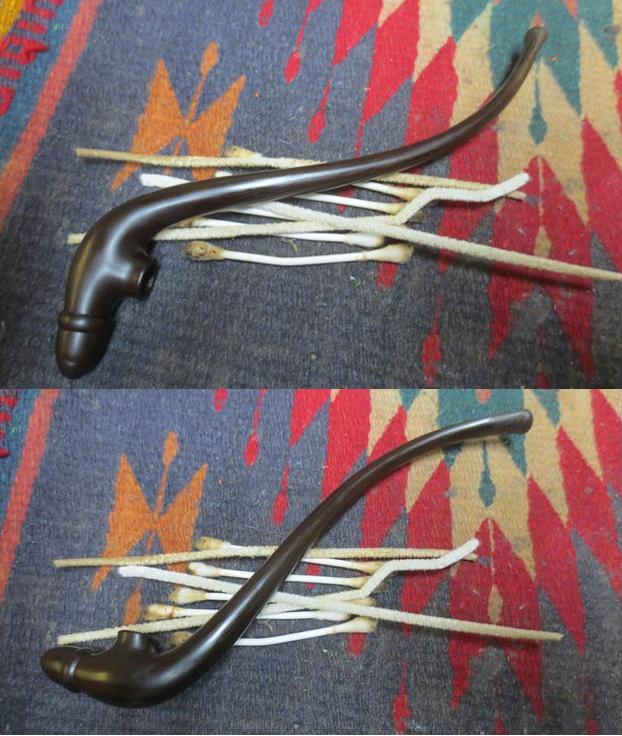
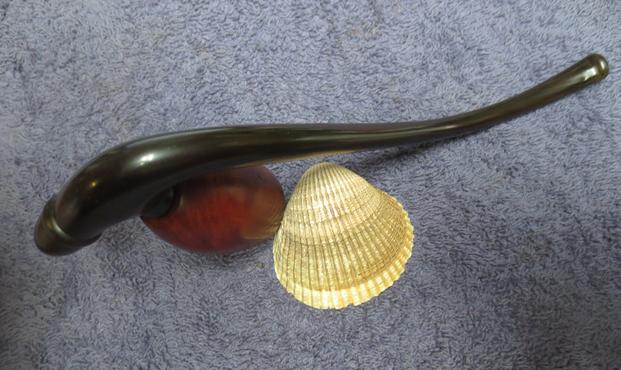
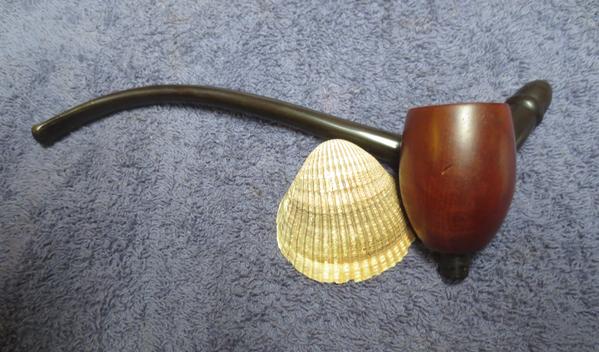
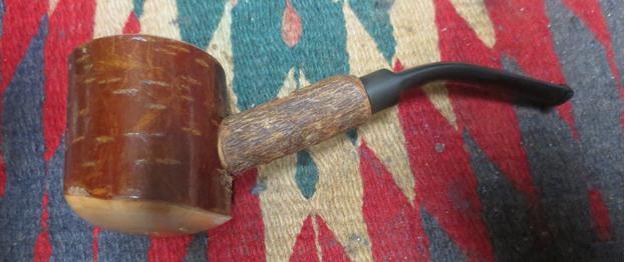
 I put the stem back on the bowl and gently worked the pipe over on the buffing wheel using Blue Diamond to polish the bowl and shank. I used a gentle touch on the pipe when I was buffing it so that the bark would remain intact on the bowl and shank. I buffed the stem with a harder touch to raise the gloss on the rubber. I gave the bowl multiple coats of Conservator’s Wax and gave the stem multiple coats of carnauba wax. I buffed the pipe with a shoe brush to raise the shine. I hand buffed it with a microfiber cloth to deepen the shine. The finished pipe is shown in the photos below. It looks better than it did in the beginning. It is a neat little Ropp style Cherrywood pipe. The dimensions of the pipe are: Length: 5 1/2 inches, Height: 1 3/4 inches, Diameter of the bowl: 1 5/8 inches, Diameter of the bowl: 3/4 inches. I will be adding this one to the rebornpipes store shortly if you are interested in adding it to your collection. It will make a fine addition to the rack. If you are interested email me at slaug@uniserve.com or send me a message on Facebook. Thanks for looking.