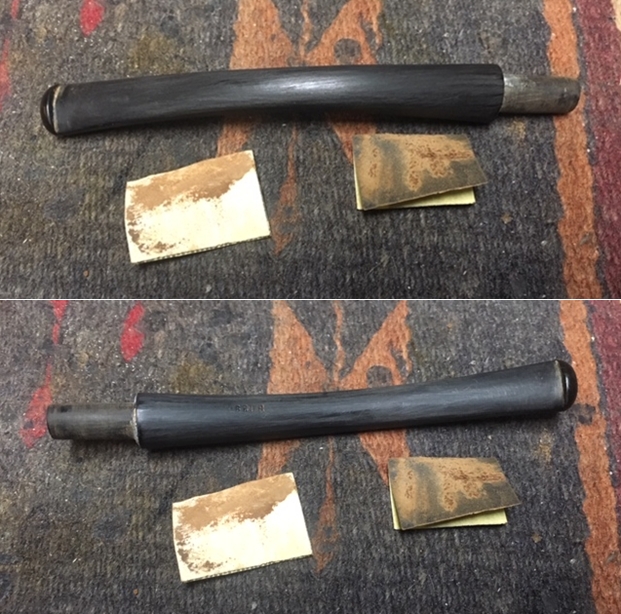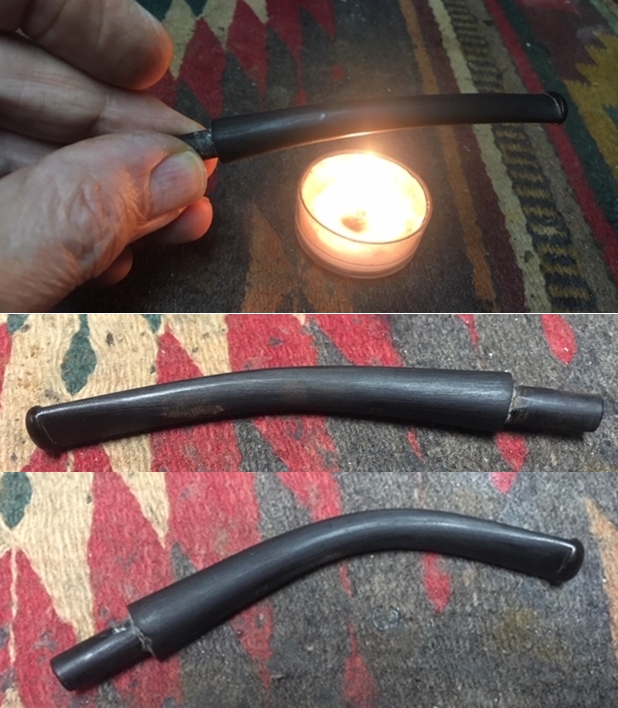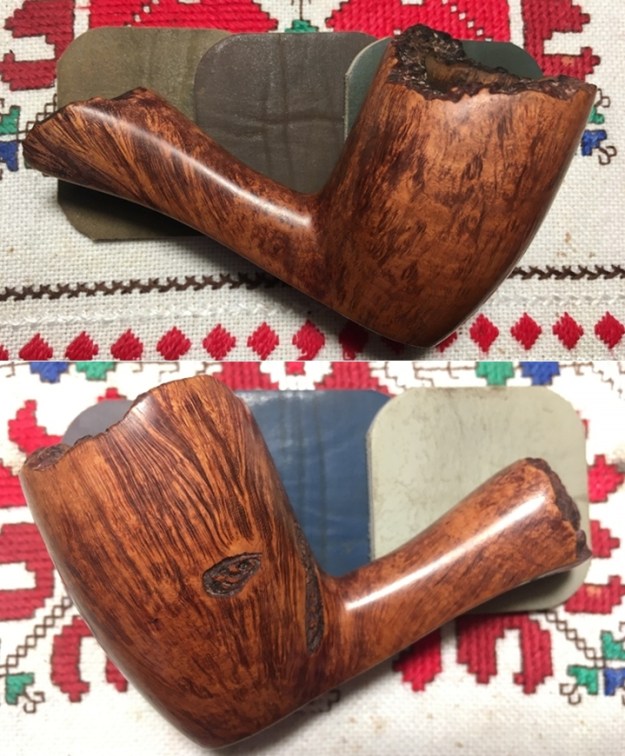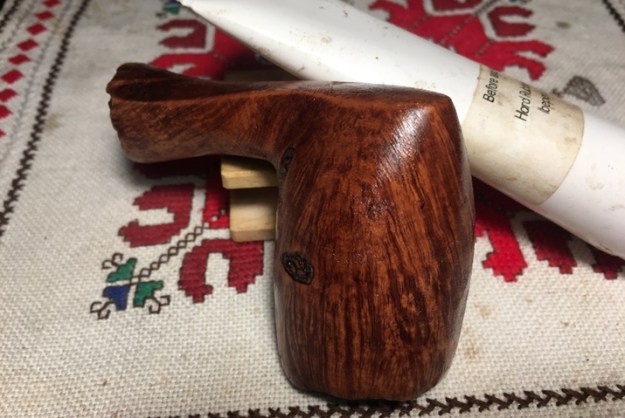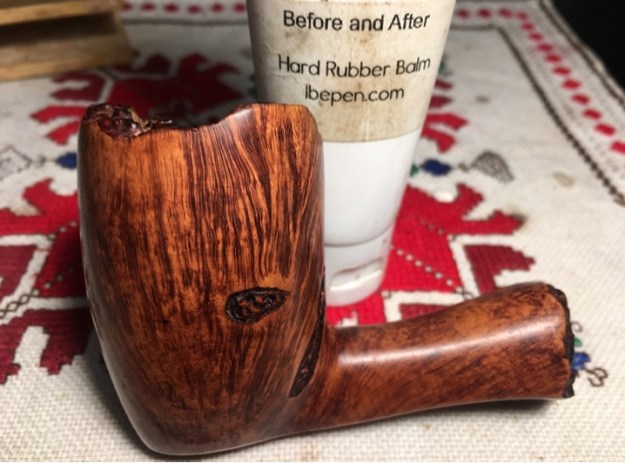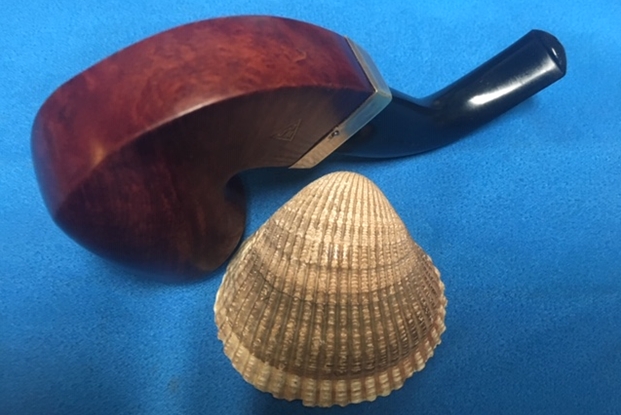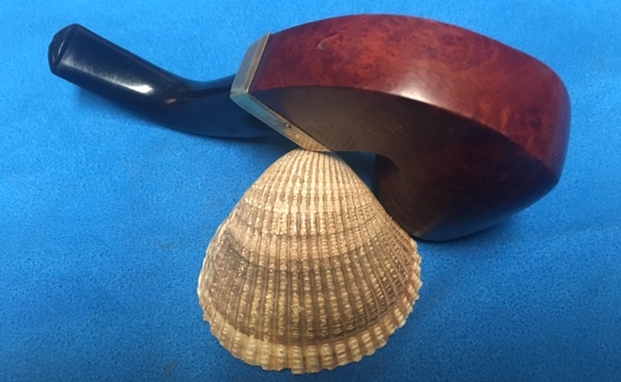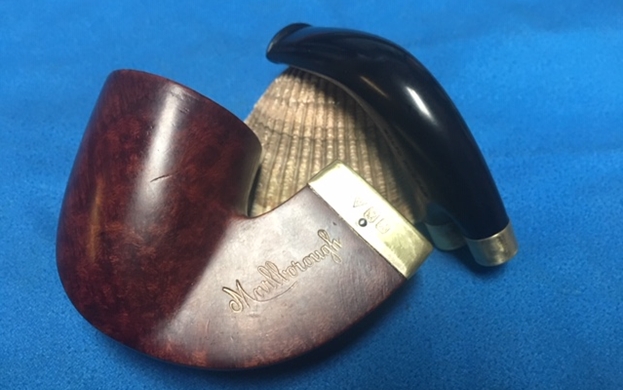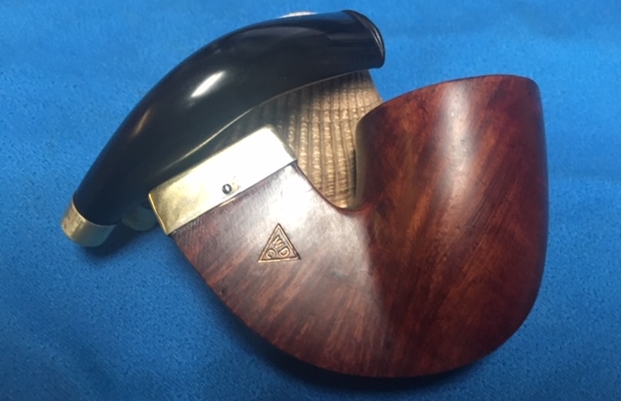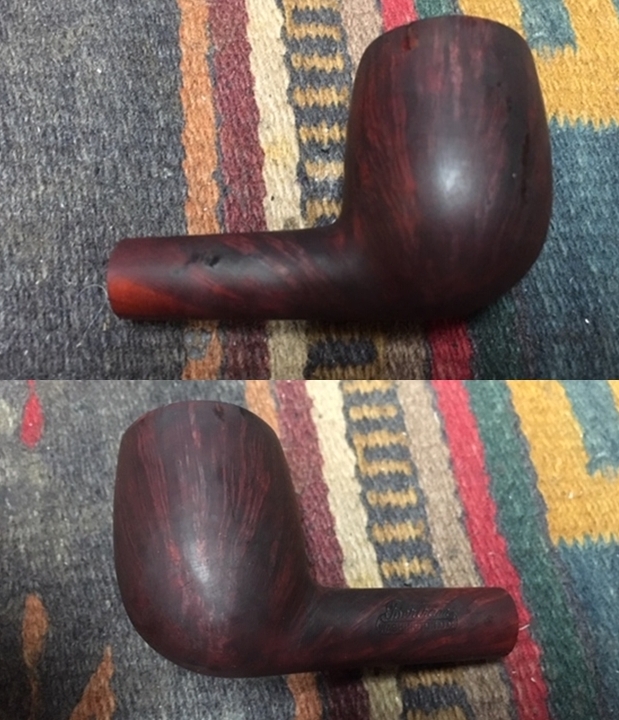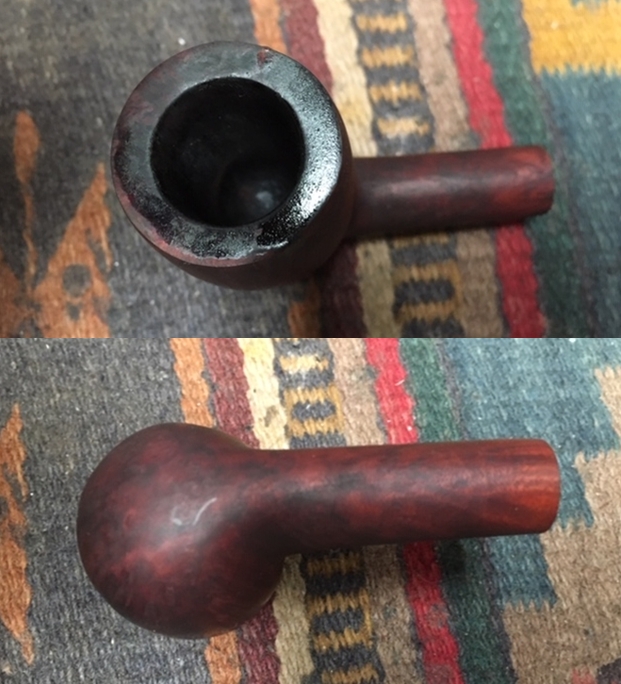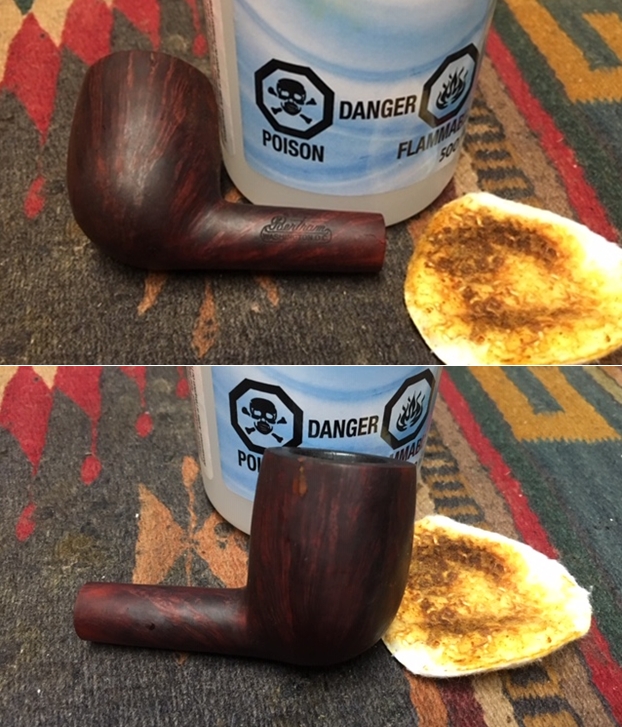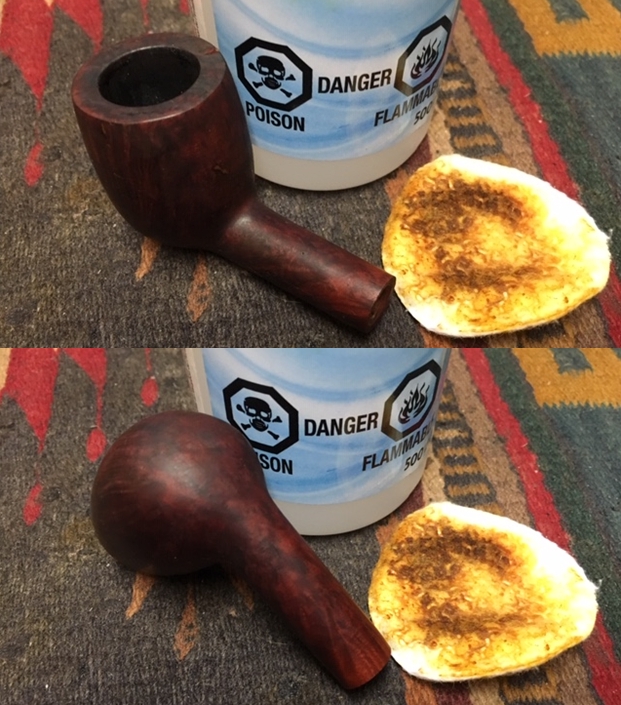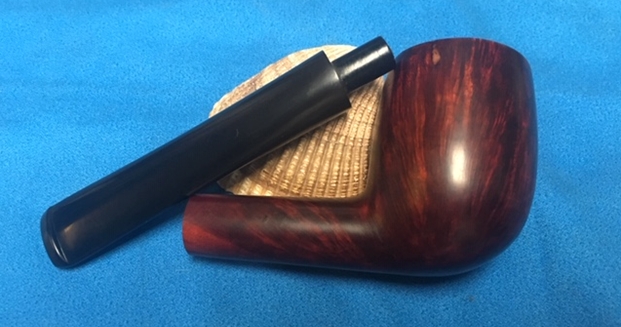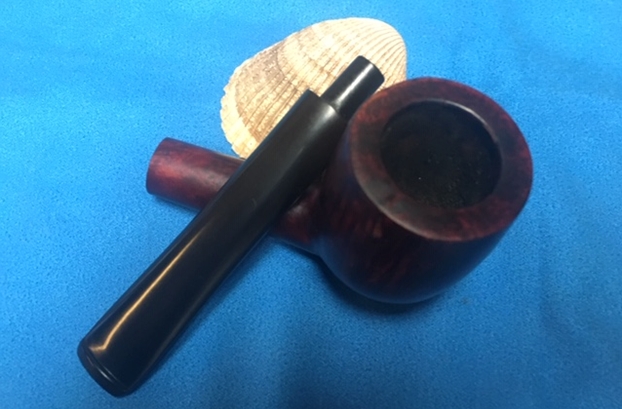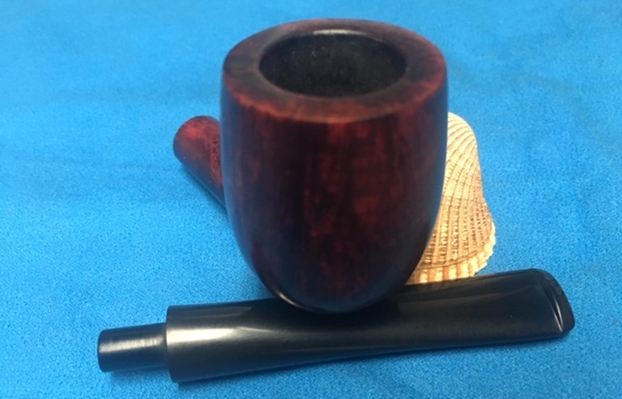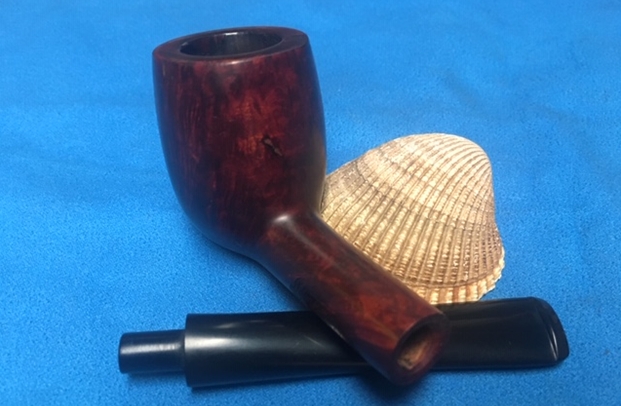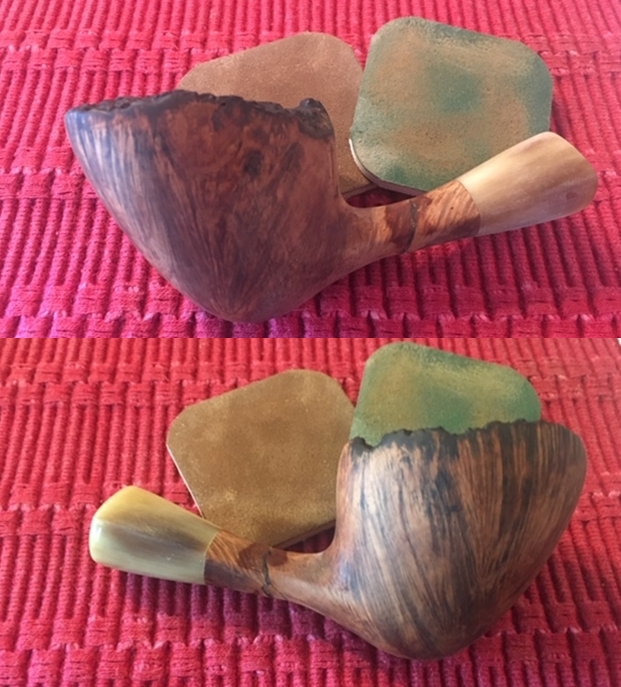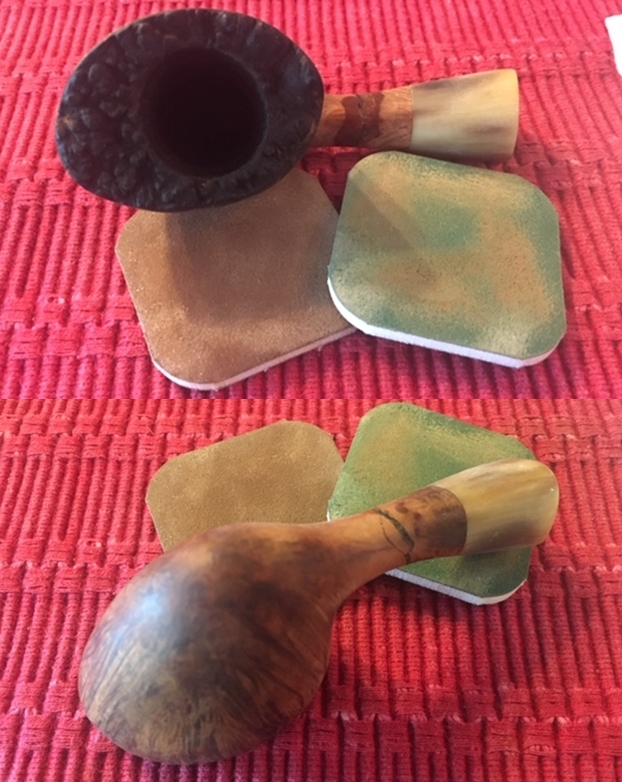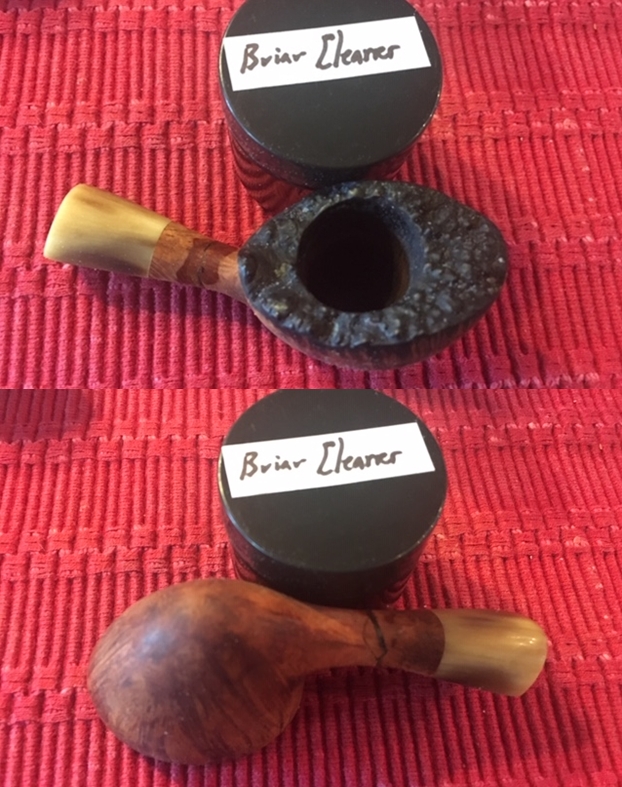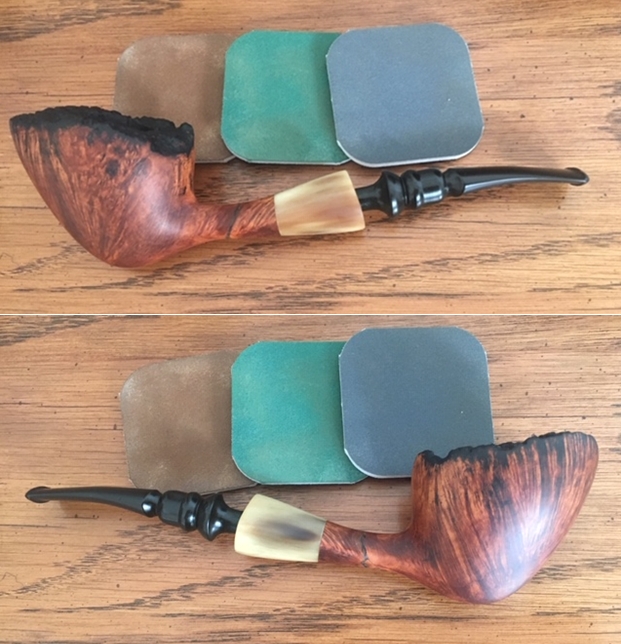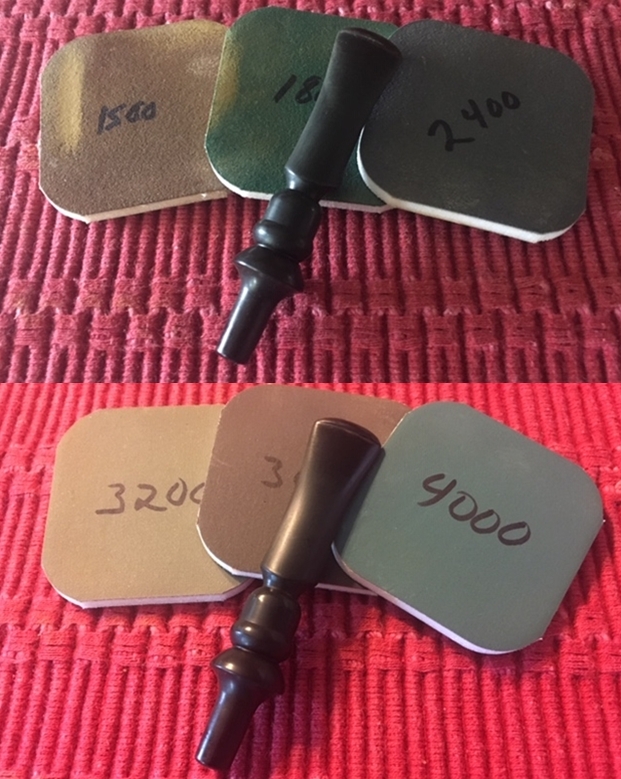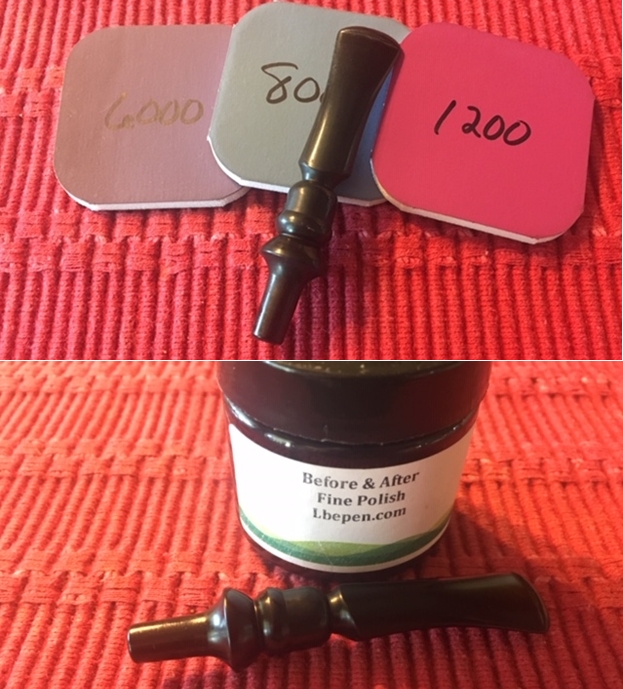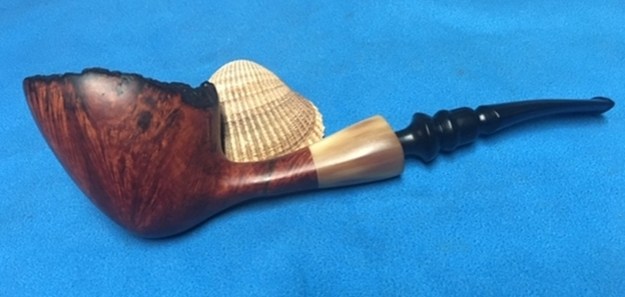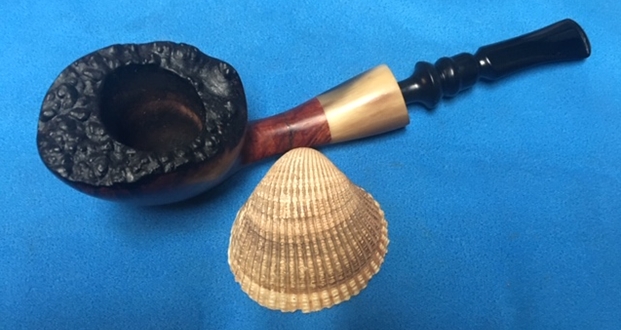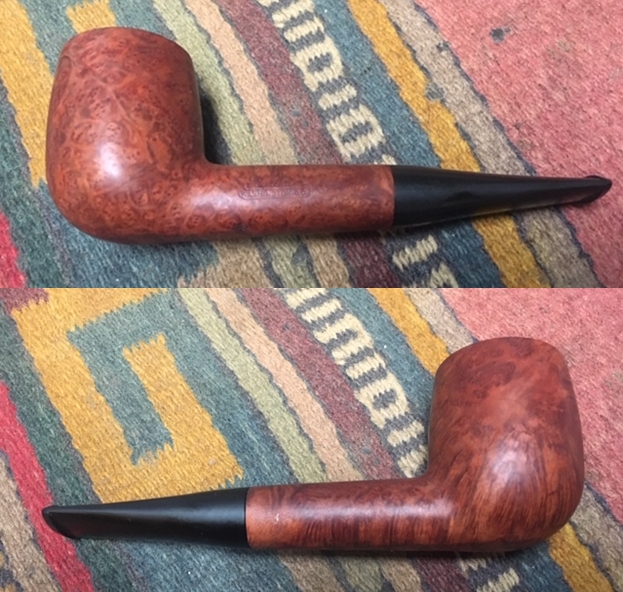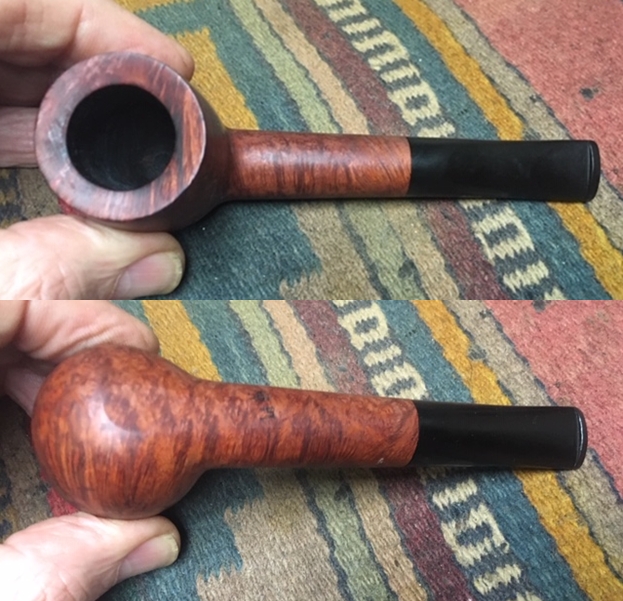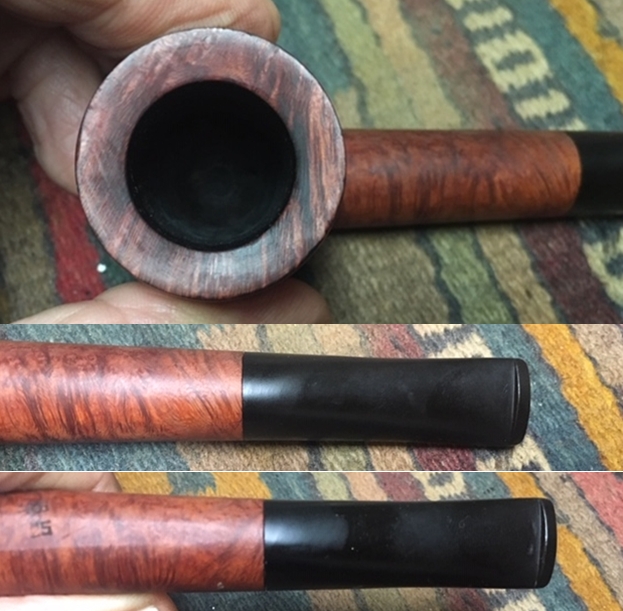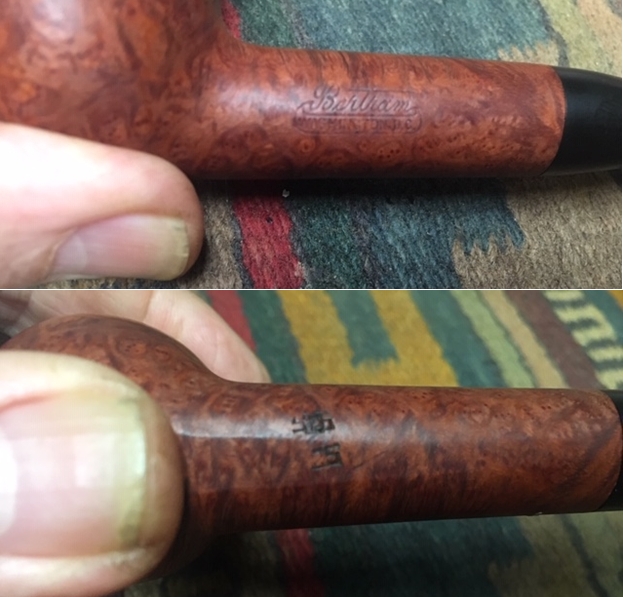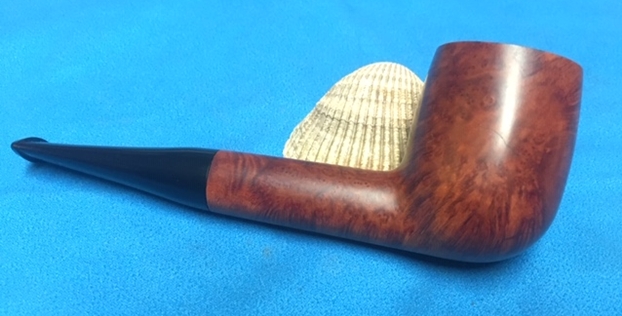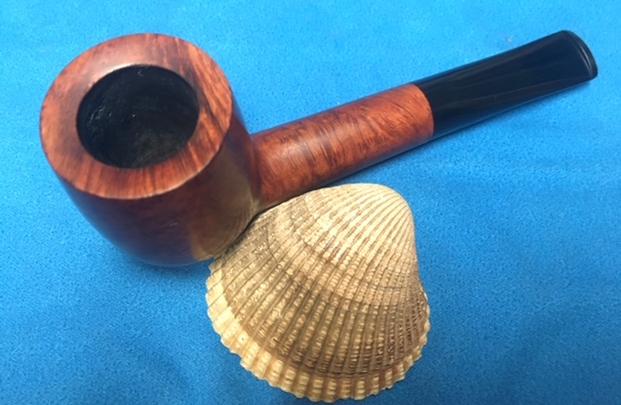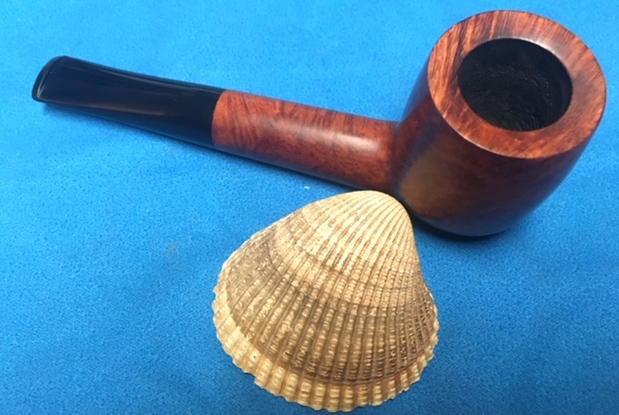
Tag Archives: removing tooth marks

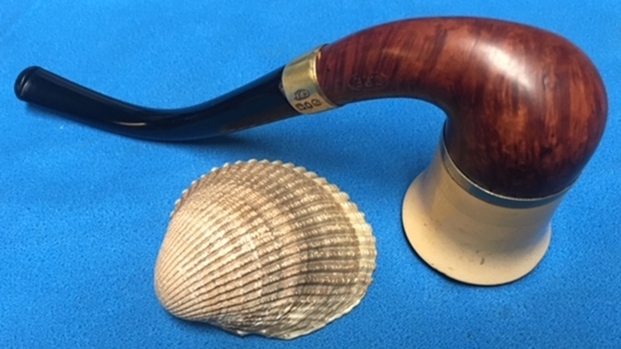
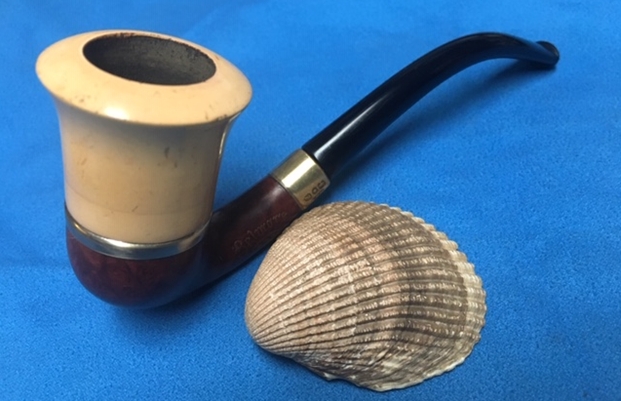
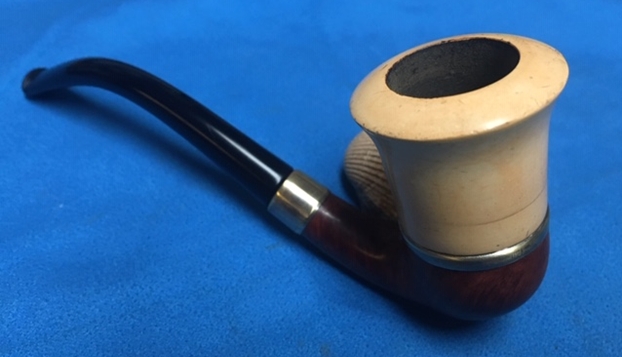
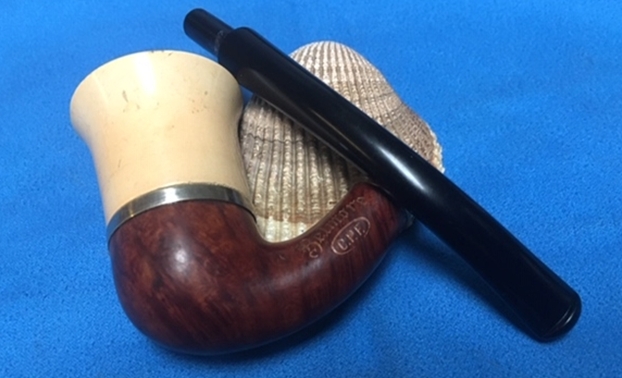
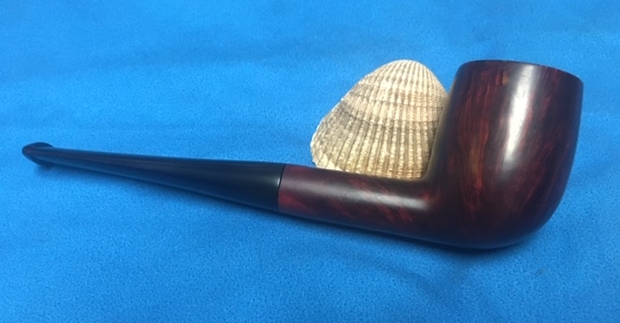
A Study in Opposites – Restoring a Hard Used C.P.F. Briar Calabash


Blog by Steve Laug

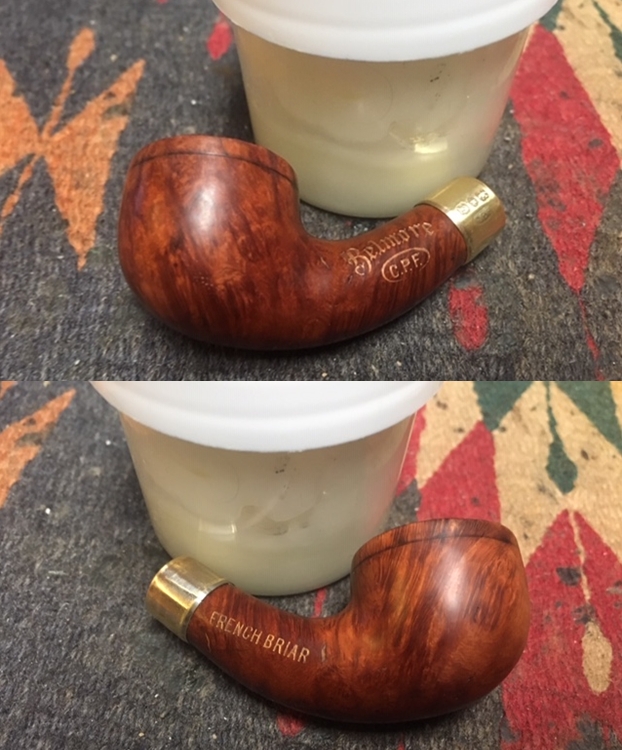
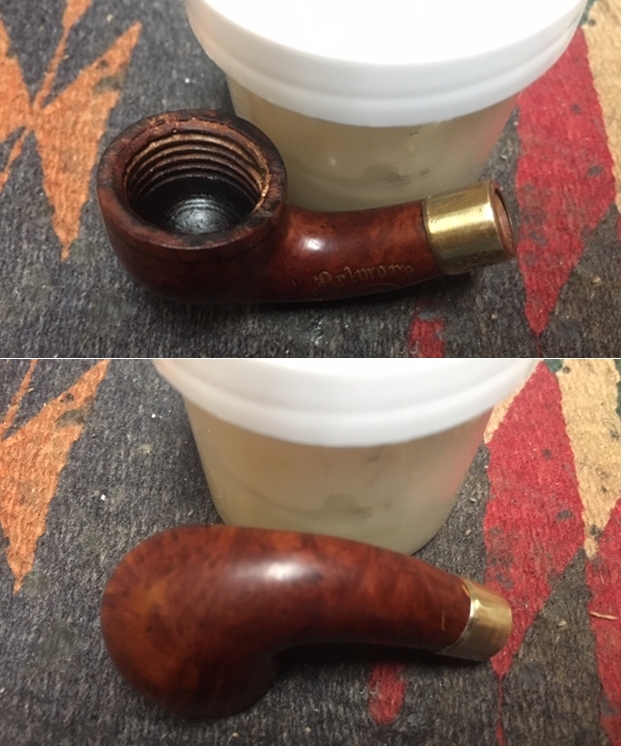
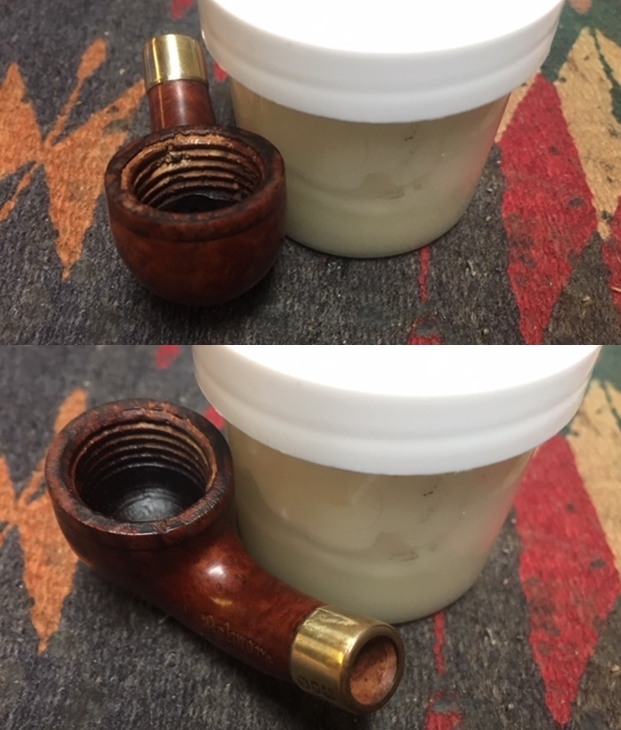
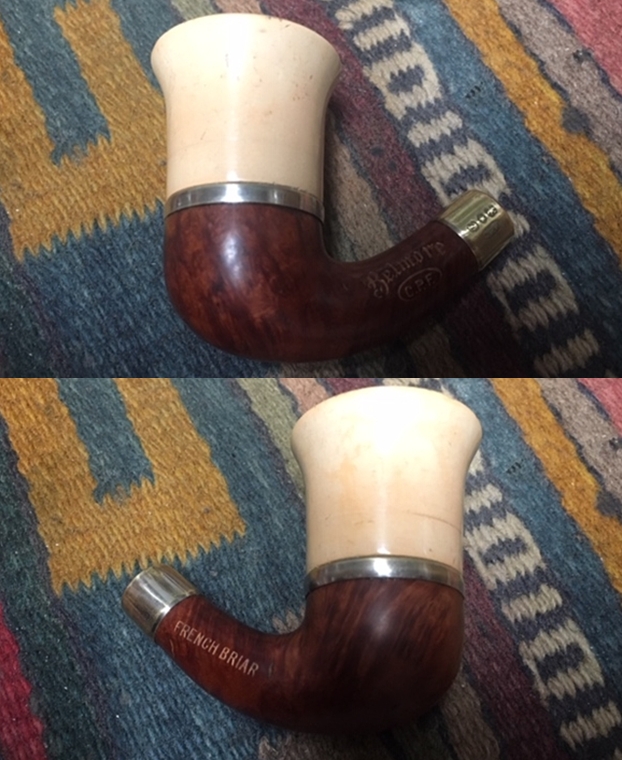
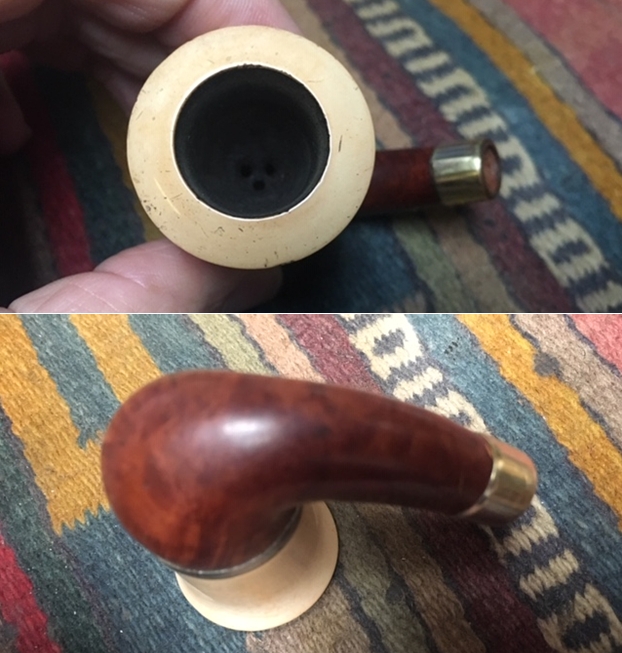
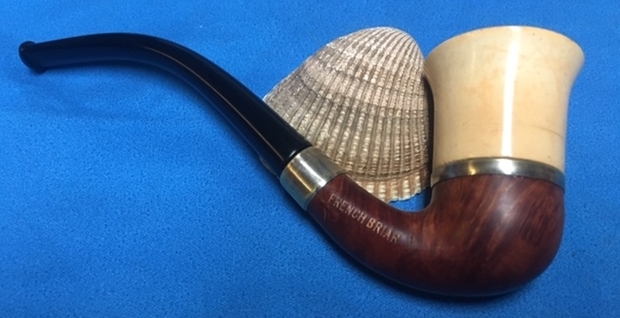
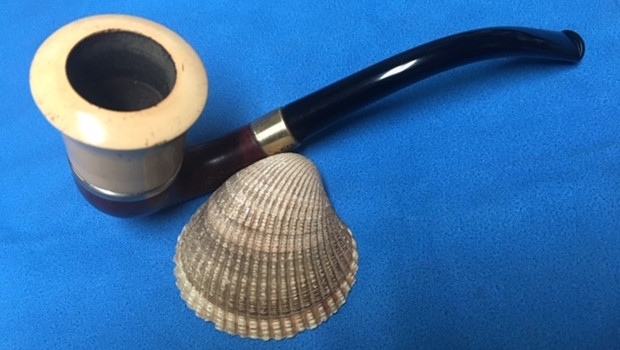
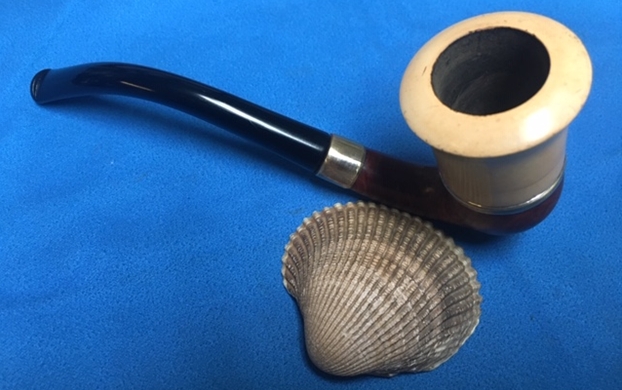
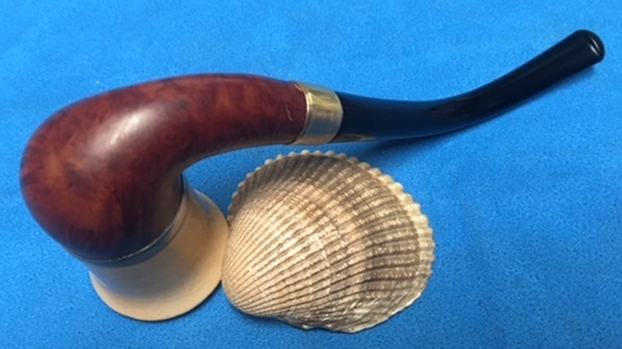
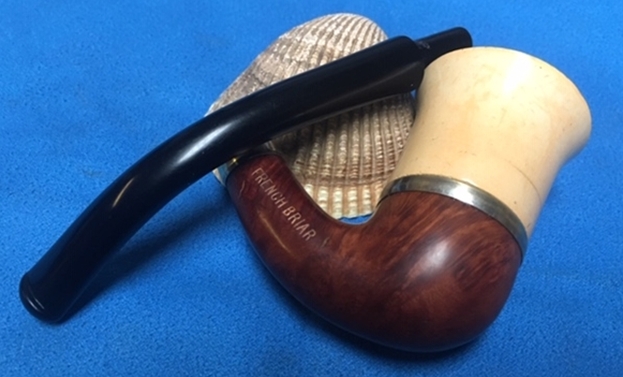
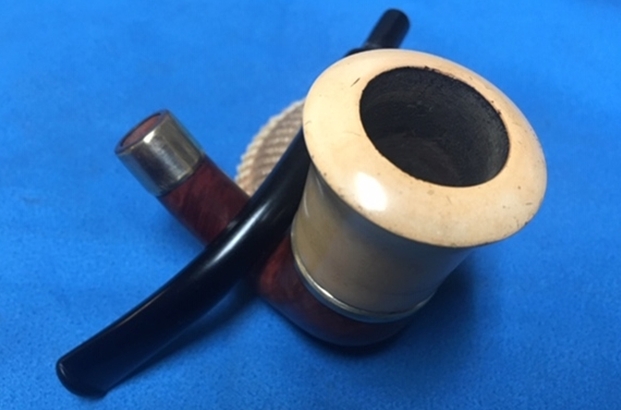
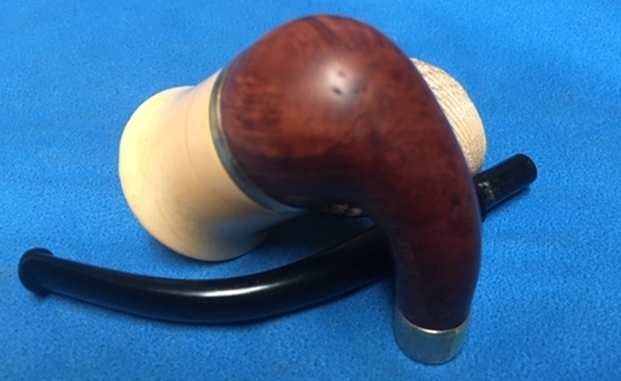
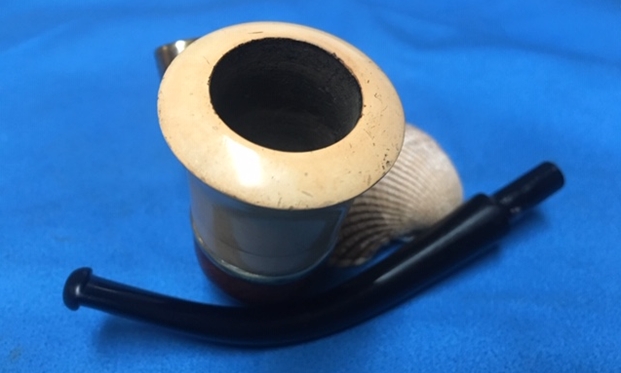
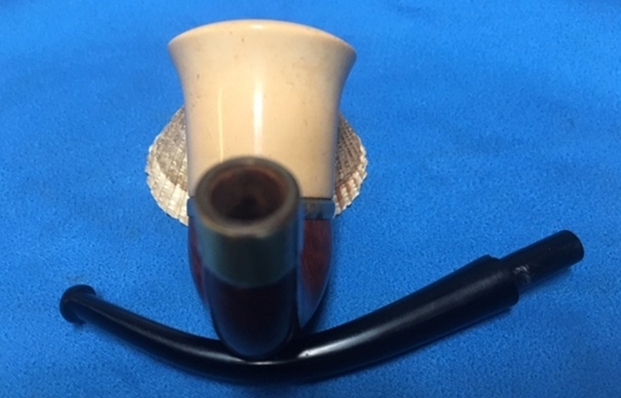
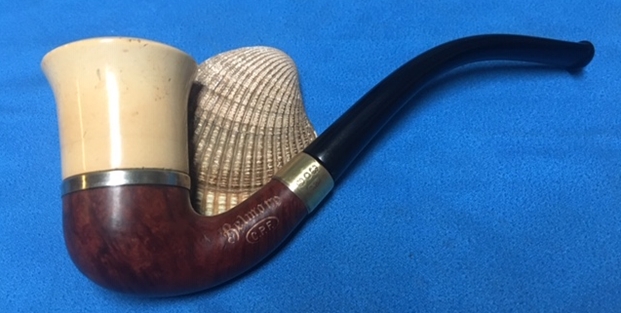
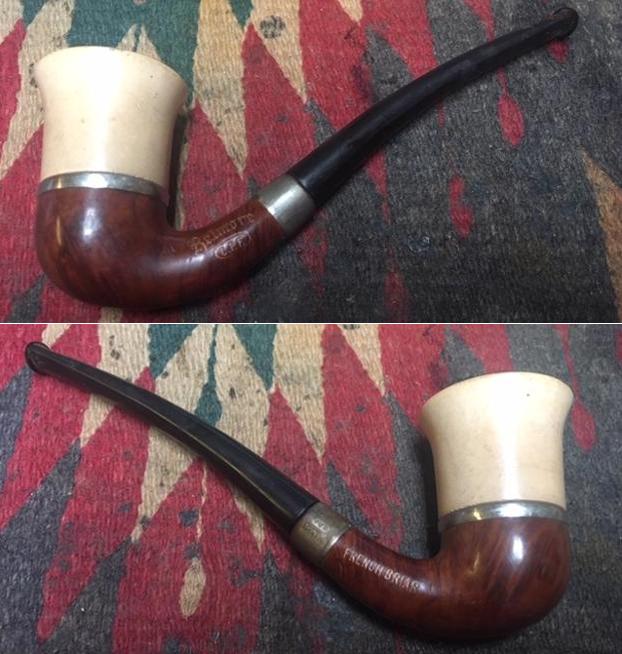
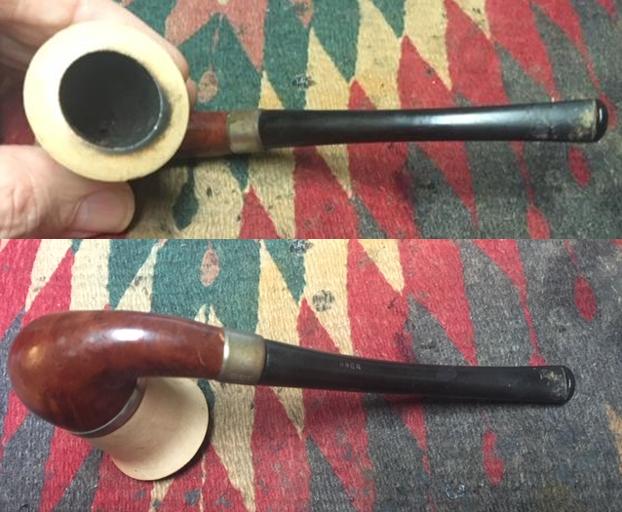
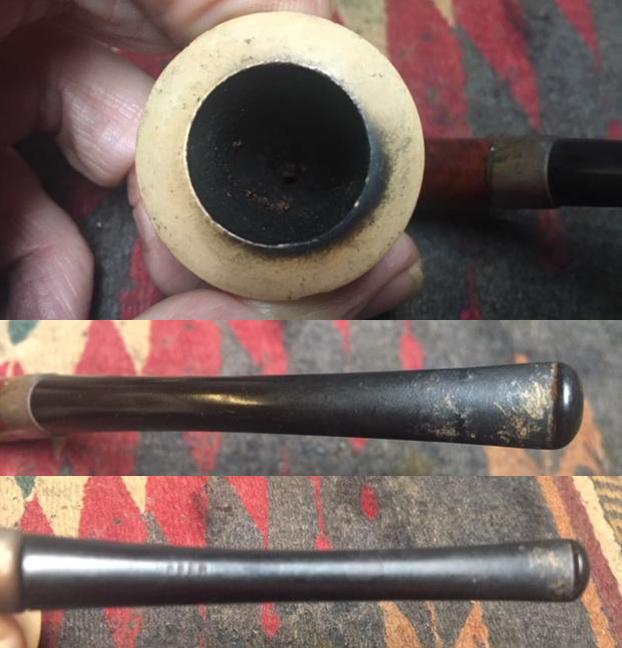
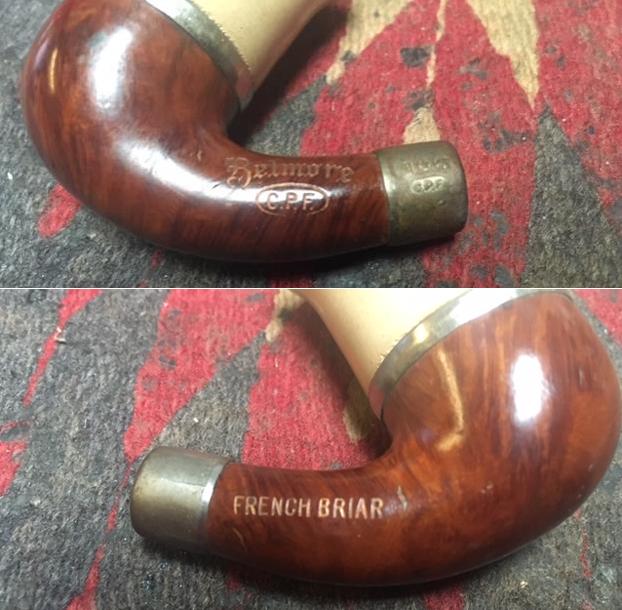
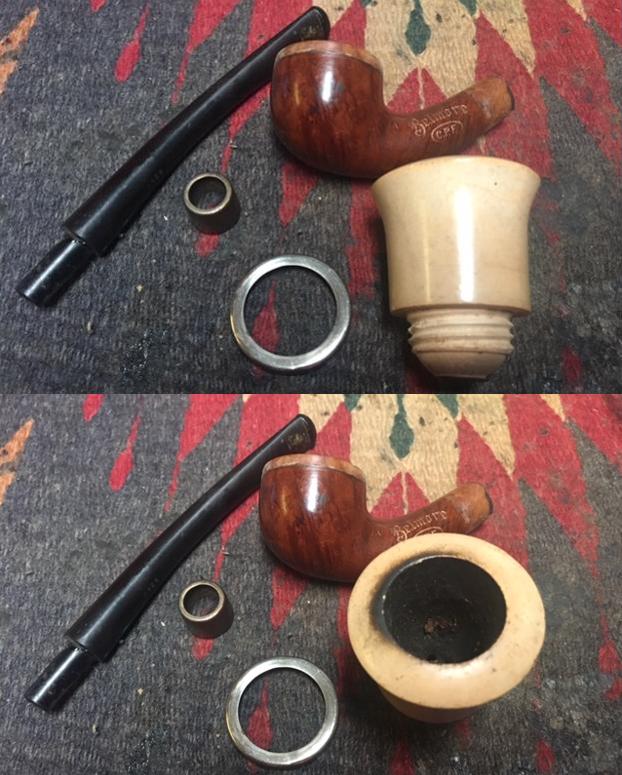
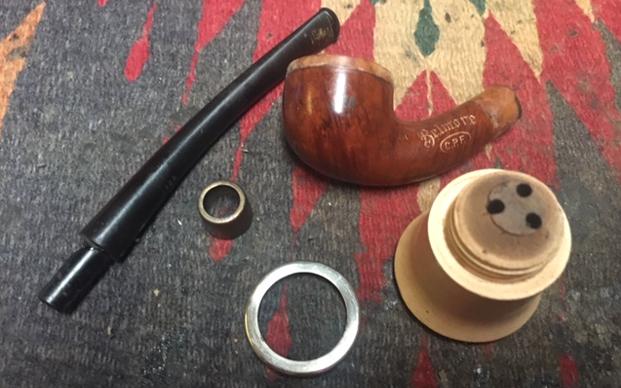
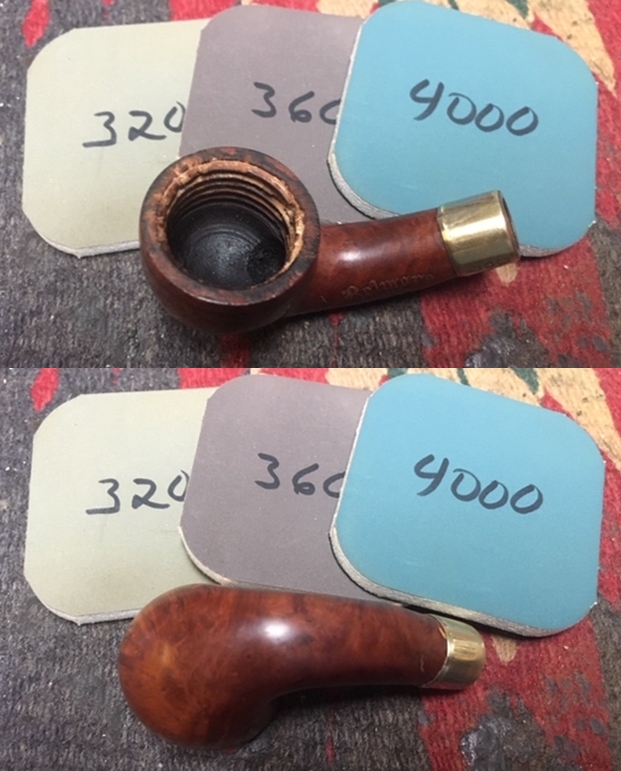
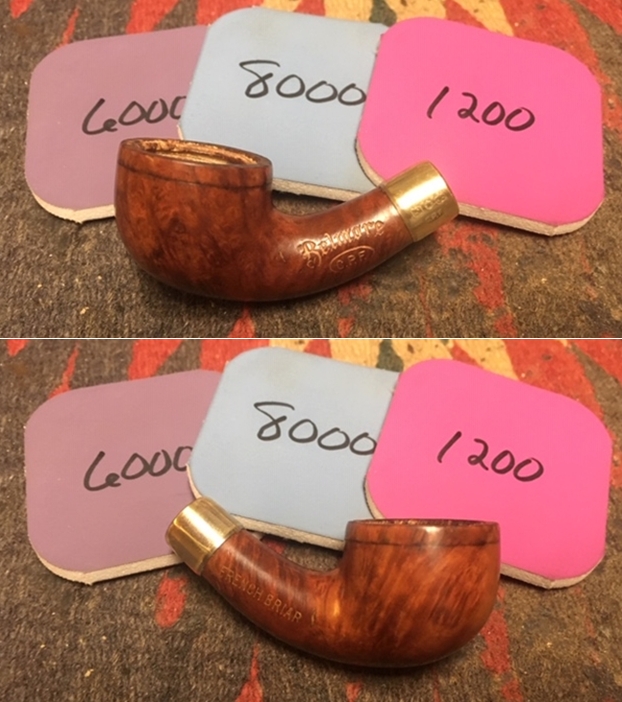
After the last batch of very clean pipes that I brought back from my trip to Idaho in a small bag of unsmoked C.P.F. pipes this pipe comes as a big change. It is the first of the smoked ones from that bag that I am working on. I have to say working on NOS time dusty pipes is a breeze and a pleasure in comparison to this dirty little calabash. The bowl is another screw in meerschaum cup that is almost tulip or funnel shaped. It is dirty and sports a thick cake in the bowl. It has some thick lava on the back side of the rim top and some darkening around the rim and in the bowl. There are no deep chips or nicks in the meer which is unusual in a pipe this age but the bowl is almost grey from use. The base is briar with a brass/metal between the bowl and base. The finish on the briar had a coat of varnish or possibly shellac over it so it had a spotty shiny look to it even under the dirt and grime of years. The left side of the shank is stamped with gold leaf and reads Belmore over C.P.F. in the oval logo. The right side of the shank reads French Briar. There is a brass/silver ferrule on the shank end that is oxidized and also loose. The vulcanite stem had some tooth chatter and light marks near the button. It was oxidized as well. The stem had lost some of its bend over time. The tenon has a chip out of it as well that will need to addressed. I took photos of the pipe to show its condition at the start of the process. I took a close up photo of the meerschaum rim top and bowl to show the condition of the meer bowl. It was heavily caked with lava overflow and darkening on the rim top. The airways are at the bottom of the bowl much like a gourd calabash though in this case there are three openings. The metal ferrule is oxidized and dirty. The photos of the vulcanite stem show its general condition. It was oxidized and dirty. There was tooth chatter and marks on both sides near the orifice button. The tenon had a chip on the topside that will need to be addressed.The next photo shows the stamping on the left side of the shank. It is clear and readable. The stamping reads as noted above. The band is loose and is stamped with the C.P.F. in an oval logo with the faux hallmarks that are on all of the metal banded C.P.F. pipes.I unscrewed the bowl from the pipe and took photos of the parts – the briar base and the meer bowl as well as all the adornments. It looks good on the inside. The threads in the base and on the meerschaum bowl are in good condition. I have included the following information with each of the blogs on C.P.F. pipes because I always want to keep the historical context in mind as I work on these. The link to the blog follows (https://rebornpipes.com/2013/04/14/some-reflection-on-the-historical-background-on-cpf-pipes/). I quote a pertinent part of the blog below:
From my reading and research it seems to me that CPF brand was discontinued sometime in the 1910-1920 range. Again, turning to Bill Feuerbach I found that he notes the following, which pins down the time frame of the discontinuation of the brand more specifically, “I have a CPF Chesterfield in our office display that has a name tag from way before my time that says 1900 CPF Chesterfield. It looks like most other Chesterfields you’ve seen, including the military type push stem, except this stem is horn and not vulcanite. As far as I have gathered the CPF brand was phased out sometime around 1915.” Interestingly, he noted that the Chesterfield name and style was later introduced in the KB&B, Kaywoodie and Yello-Bole lines. He says that the 1924 KB&B catalog shows KB&B Chesterfields…

… From my research I believe that we can definitively assert that the CPF logo stands for Colossus Pipe Factory. The brand was purchased by KB&B sometime between 1884 and 1898 and that it continued until 1915. That time frame gives help in dating some of the older CPF pipes you or I might find. It can be said that prior to the dual stamping it is fairly certain that the pipe is pre-1884 to 1898. After the dual stamping it can be placed post 1898 until the closure of the brand line in 1915. CPF made beautiful pipes.

From that information I can tentatively date the pipe to the period prior to 1884-1898 because of the single C.P.F. stamp on the shank, ferrule and stem. At any rate it is another old pipe though this one is well smoked. The story of its journey to Jeff and me this long after the date it was made is another mystery. This batch of pipes has made me wish that even one of them could share its story with us. I can only imagine the journey it has had even minimally from the bits that I do know. It traveled from the Colossal Pipe Factory in New York City to Idaho Falls in journey that began in the 1880s and ended in 2019. Now it is has further traveled by air to Vancouver, Canada, as far west as it can go and remain on the same continent… what a well-traveled pipe. Armed with that information it was not time to work on the pipe.

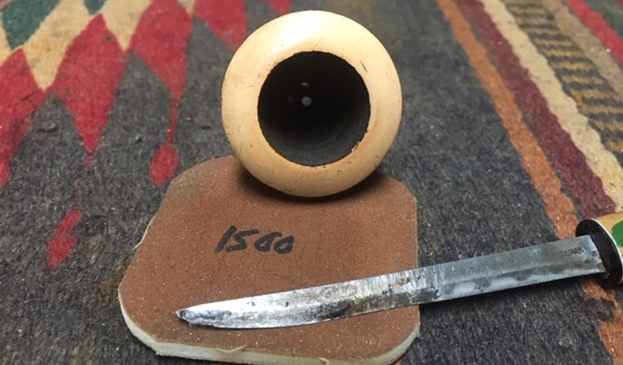
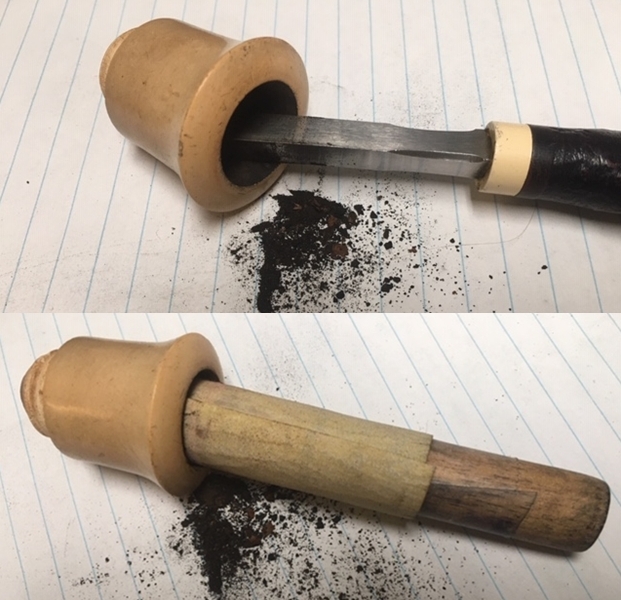
I decided to begin with the bowl. I unscrewed the bowl from the briar base. I carefully scraped the rim top to remove the lava build up. I finished it up with a 1500 grit micromesh pad. I reamed the bowl with a Savinelli Fitsall Pipe knife to scrape away the cake on the walls. I wanted to avoid cracking or damaging the meer in any way so I chose this method. Once it was reamed, I sanded the internal walls with 220 sandpaper wrapped around a dowel until it was smooth. I wiped down the bowl with a damp cotton pad to remove the surface dirt. I cleaned out the sump area in the base with cotton swabs and alcohol. I worked on the airway in the bowl and shank and the mortise with alcohol, cotton swabs and pipe cleaners. I scrubbed until the airway was clean. I cleaned out the airway in the stem with pipe cleaners and alcohol. I am still experimenting with Mark Hoover’s Briar Cleaner to see what I think of it as a possible replacement for my usual Murphy’s Oil Soap scrub. I rubbed it onto the briar portion of the pipe and worked it into the grain of the briar. I wiped it off with a clean cloth. There was still a coat of grime and grit from the cleaner left behind so I rinsed it with warm water to remove that and dried it with a microfiber cloth. I am really not sure if this is any better than the Murphy’s but I am committed to working with it. I forgot to take photos of this point in the process.
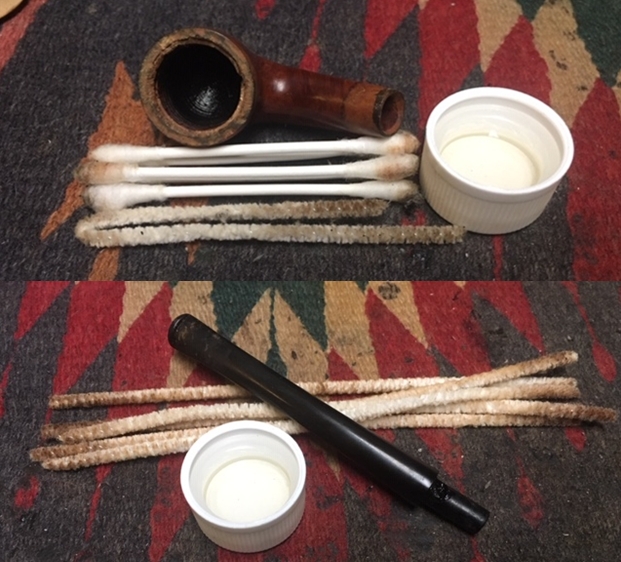
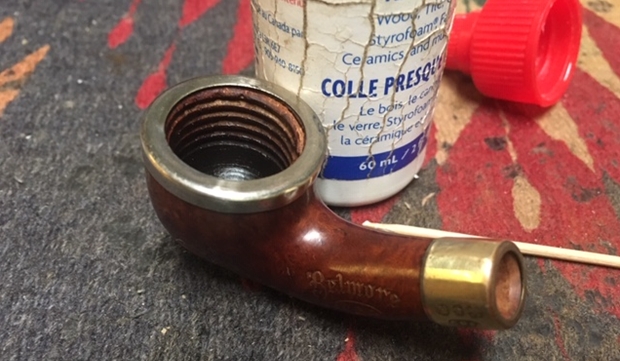
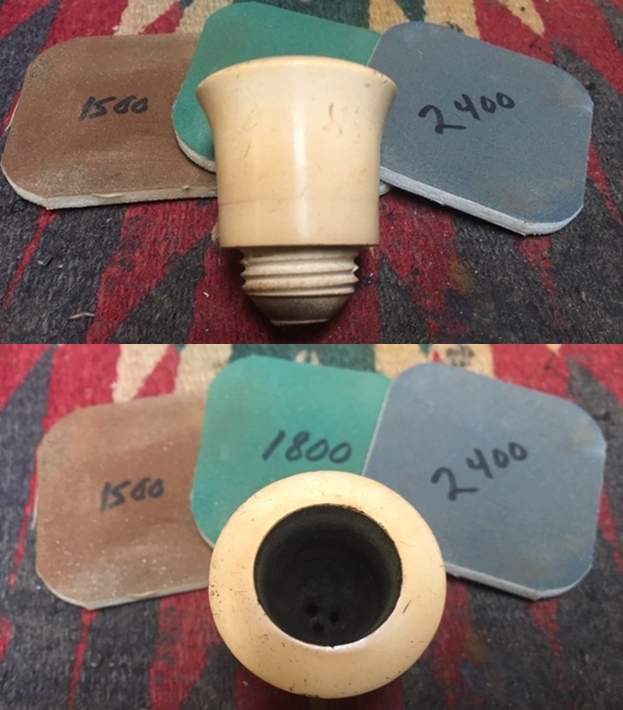
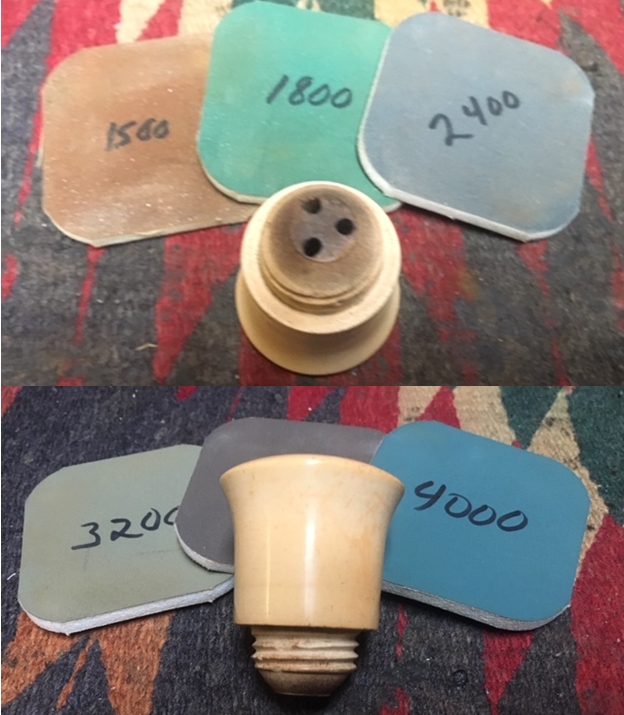
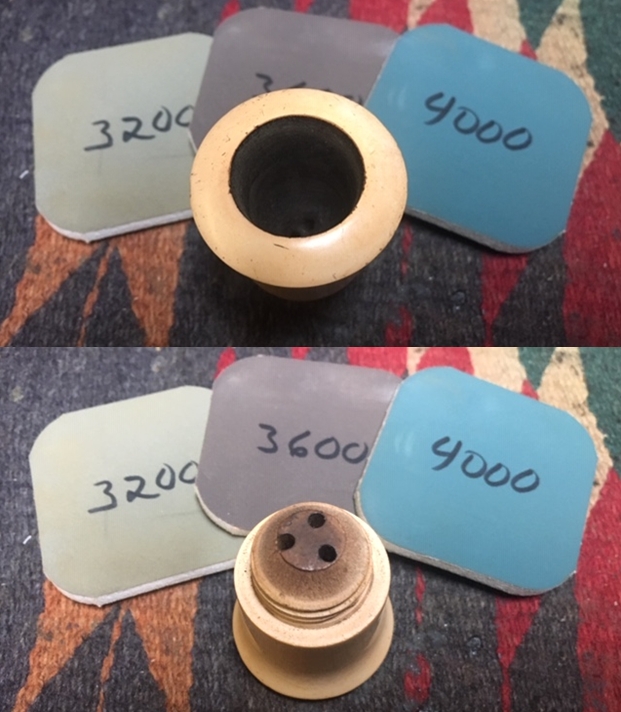
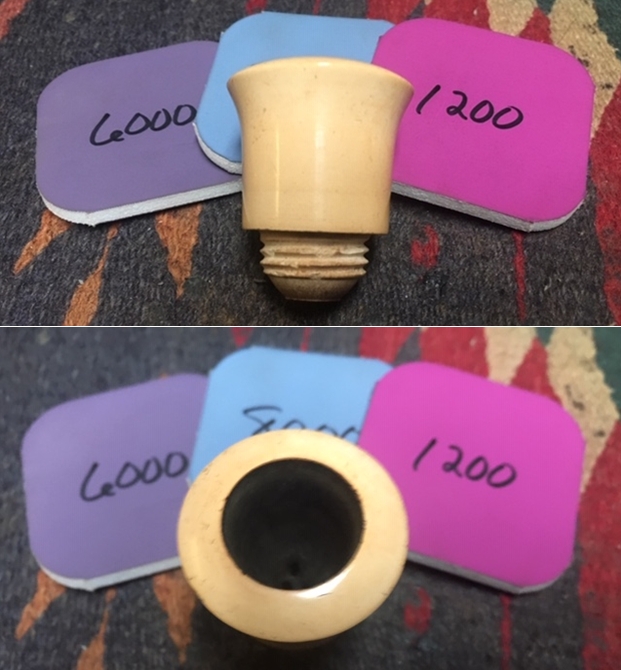
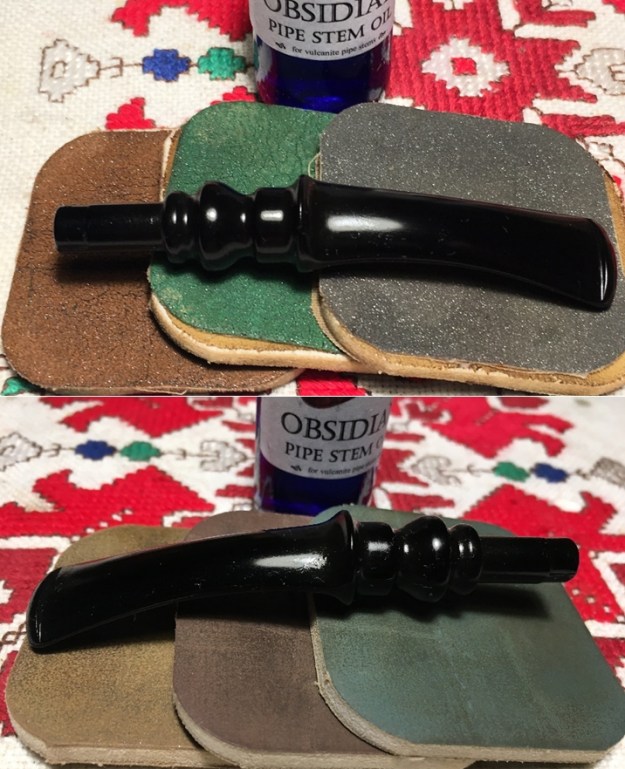
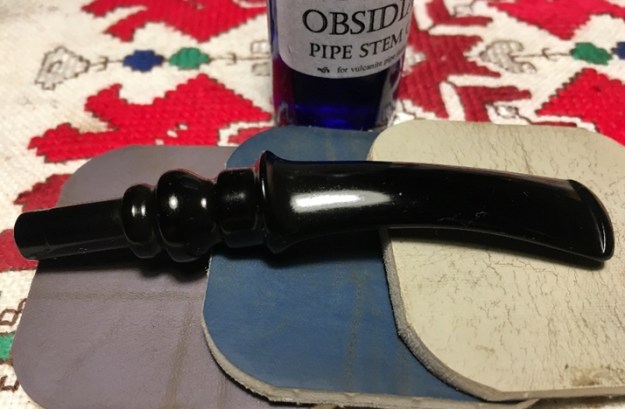
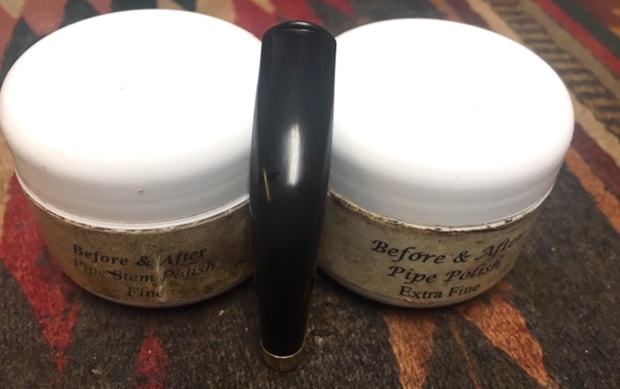
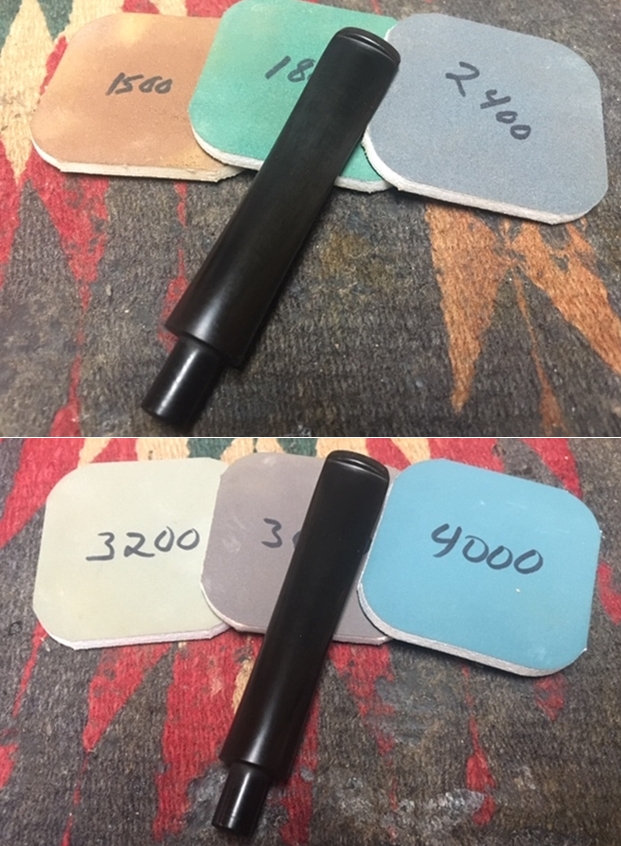
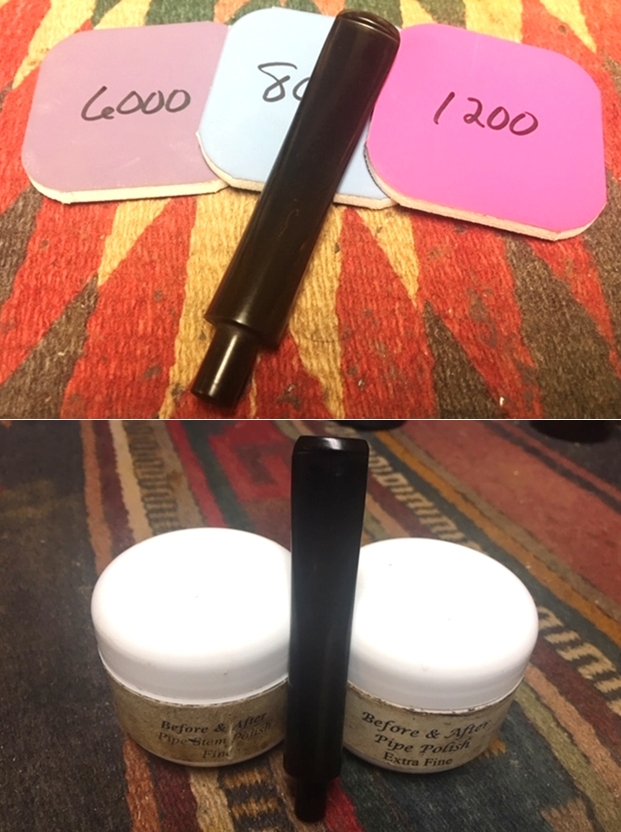
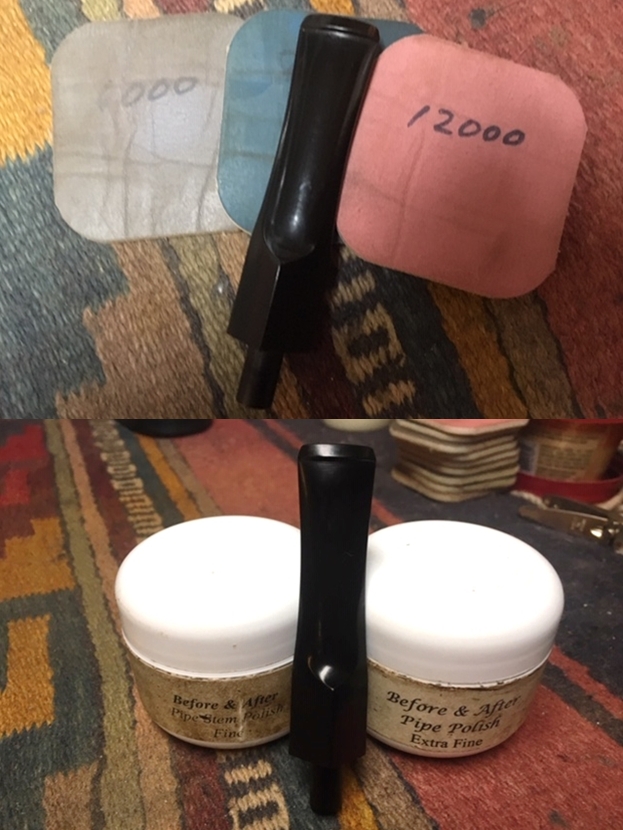
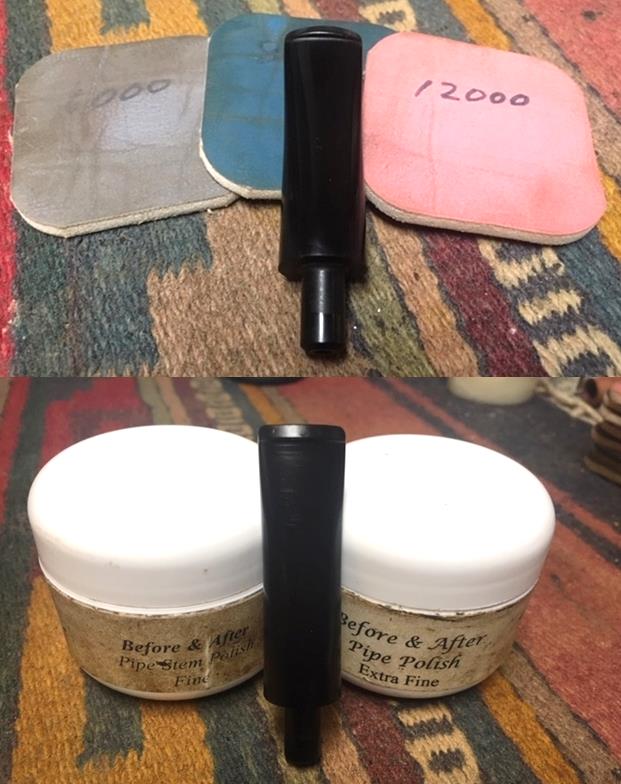
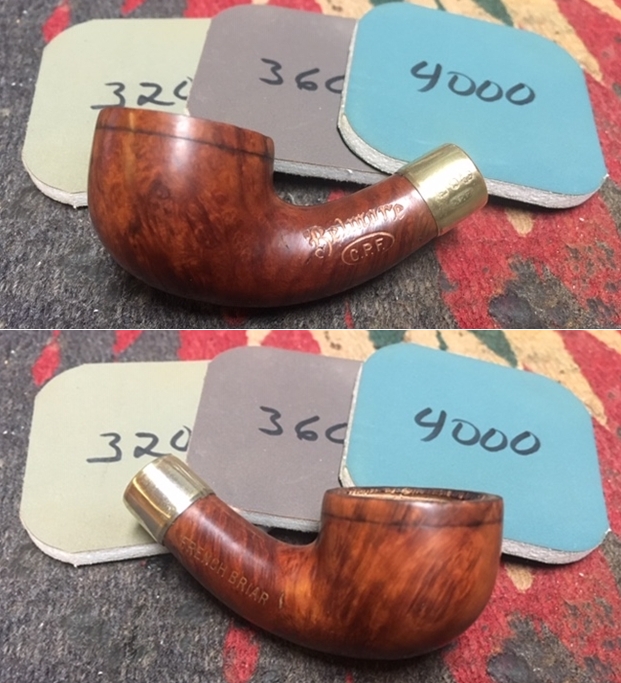
I sanded the old glue and dirt off the shank and then I spread some Weldbond white glue on the shank end. I spread it evenly on the shank end with a tooth pick. I pressed the brass ferrule on the shank end and aligned it so that the C.P.F. oval logo and the faux hallmarks lined up with the stamping on the left side of the shank. I rubbed the briar bowl and shank down with a coat of Before & After Restoration Balm. I worked it into the surface of the briar. The product works to clean, enliven and protect the briar. The old briar was dry and it drank up the balm. I buffed the bowl with a soft cloth to raise a shine. I like how the pipe looks as this point in the process. I glued the metal spacer on top of the base plate making sure all was aligned properly before I pressed them into place.I polished the meerschaum bowl with micromesh sanding pads – wet sanding with 1500-12000 grit pads. I wiped the bowl down after each pad with a damp cloth to remove the dust. Each successive sanding pad brought more shine to the meerschaum. There was a scratch in the meerschaum on one side of the bowl about 1/3 up from the bottom of the bowl. It appears to look like a crack but it is not one. If I had continued to sand it I would have changed the profile of the bowl. I put the meerschaum cup back in the briar bowl and buffed it with microfiber cloth to raise a shine. The scratch at the front of the bowl is visible but it is still a beautiful pipe.I set the bowl aside and started working on the stem. I filled in the damaged area on the tenon on the top side with clear super glue. Once the repair cured I used a needle file to smooth out the repaired area. I smoothed out the tenon repair and sanded out the tooth chatter and marks with 220 grit sandpaper. I sanded out the scratches with 400 grit sandpaper. I wiped the stem down with Obsidian Oil.I heated the vulcanite stem over a candle until the rubber had softened and bent the stem to the proper angle to match the curve of the base.I polished the stem with micromesh sanding pads – wet sanding it with 1500-2400 grit pads and dry sanding it with 3200-12000 grit pads. I wiped it down with Obsidian Oil after each sanding pad. I finished the polishing with Before & After Pipe Polish – both Fine and Extra Fine. I gave it a final coat of Obsidian Oil and set it aside to dry. By now if you have read rebornpipes for very long you know that I love these old C.P.F. pipes. There is some serious thought that they were carved by European trained craftsman who were skilled pipemakers. These pipemakers were brought to the US by the Colossal Pipe Factory to make pipes. Many of the shapes, bands and stems have such high quality workmanship involved that I really think there is truth to this story. This is little bent Meerschaum stacked Calabash is a real beauty.
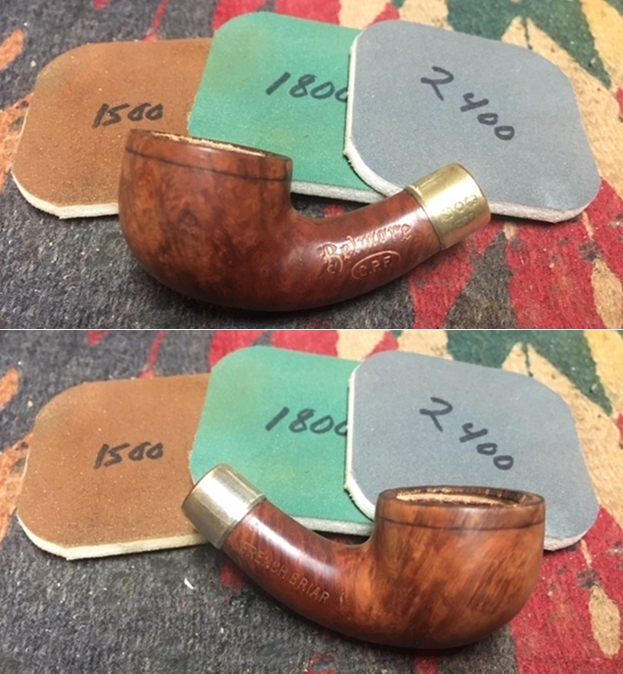
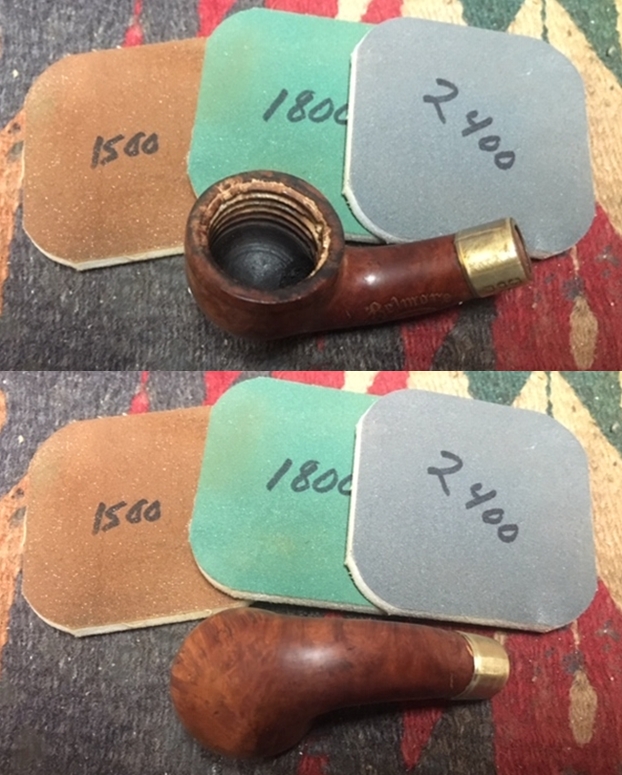
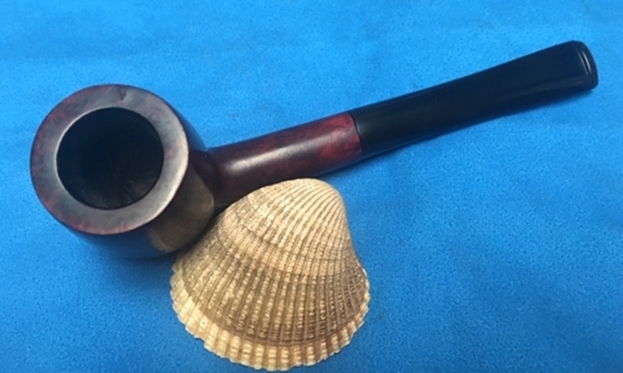
I screwed the bowl back on the base and carefully polished stem and the bowl with Blue Diamond polish on the buffing wheel carefully avoiding the stamping on the shank. I gave the bowl and the stem multiple coats of carnauba wax. I buffed the pipe with a clean buffing pad to raise the shine. I hand buffed it with a microfiber cloth to deepen the shine. The pipe polished up pretty nicely. The grain on the base and shank really began to stand out; it seemed to take on life with the buffing. The rich contrasting brown stain on the bowl works well with the polished Meerschaum bowl that is also beginning to take on colour. The black vulcanite stem also provides contrast. The finished pipe has a rich look that is quite catching. Have a look at it with the photos below. The shape, finish and flow of the pipe and stem are very well done. The dimensions are Length: 5 1/2 inches, Height: 2 1/4 inches, Outside diameter of the bowl: 1 3/8 inches, Chamber diameter: 3/4 of an inch. This is another one that I will be adding to my collection. It fits in the C.P.F. niche group that I have been building. The shape and feel in the hand is perfect. Since this one is already well smoked it will be an easy pipe to load and fire up. Thanks for walking through the restoration with me as I restored and reworked this old meerschaum stack Calabash from 1884-1898. It is always a treat for me to work on a piece of pipe history especially when I have learned a bit of the story behind it.

A Denver Christmas Karl Erik Heading for the Black Sea Beach!


Blog by Dal Stanton

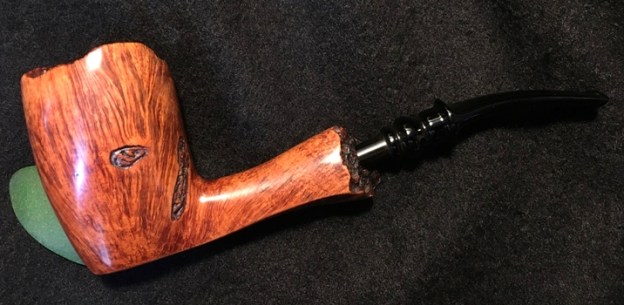
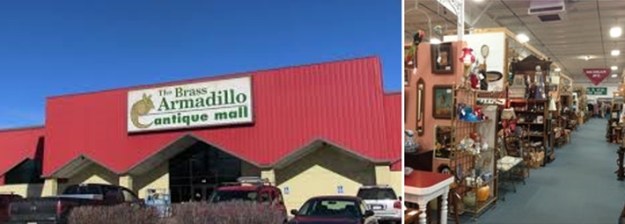
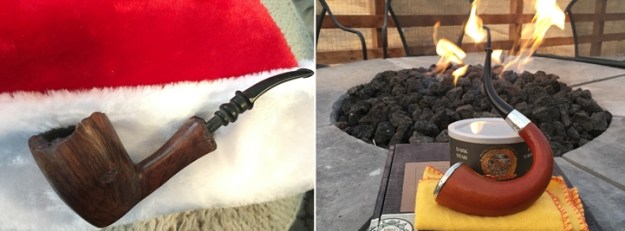
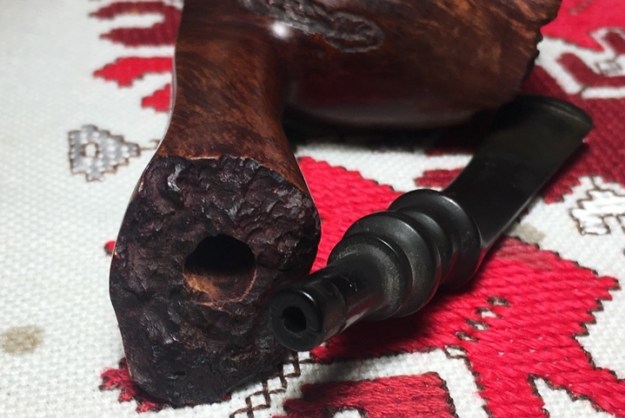
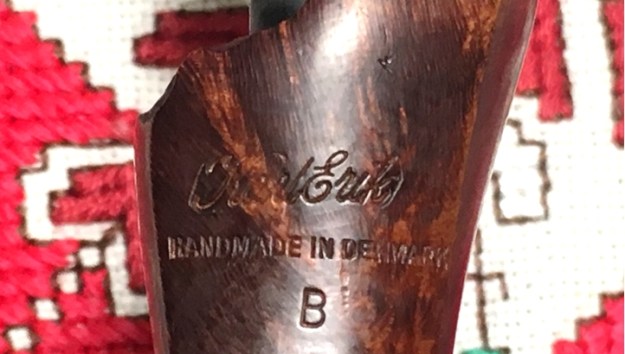
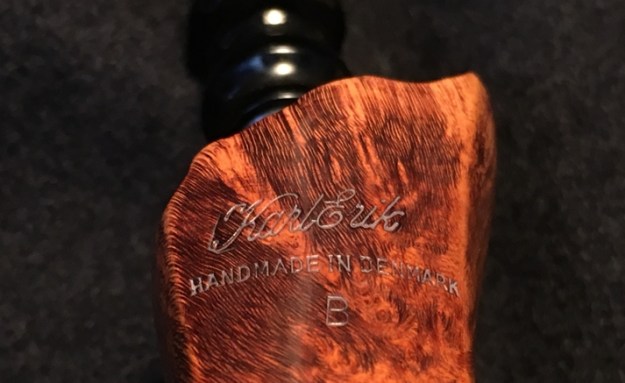
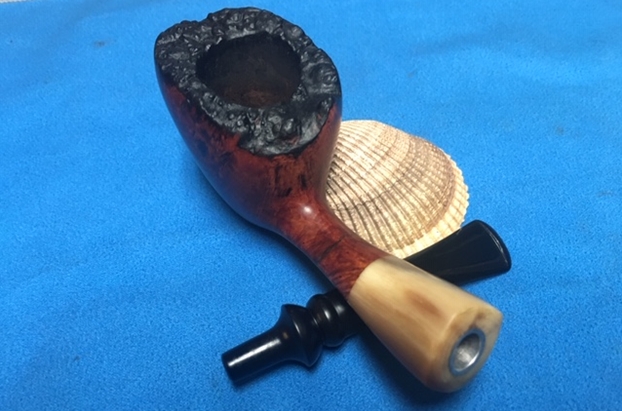
Last Christmas, my wife and I made the trek from Bulgaria to Denver to celebrate the holidays with our family – renewing relationships with our growing number of grandchildren in the US!  Living and serving in Bulgaria is a deeply fulfilling life, but we miss our family and this Christmas reunion was a wonderful close to the year.  One of the highlight activities with the ‘Ole Man’ (that would be me) is to go pipe picking at the various secondhand stores and antique shops in the Denver area.  My main aim during these picking expeditions is to add pipes to the ‘For “Pipe Dreamers” Only!’ collection to benefit our work with the Daughters of Bulgaria – women and girls who have been trafficked and sexually exploited.  One of the favorite spots I’ve picked before is the huge Brass Armadillo Antique Mall where you can spend hours and we did.  There were many pipes, but few were priced favorably enough for me to justify acquiring for the Daughters, but I did see one particular pipe that I ‘ooooo’d and ahhhh’d’ over and my Denver-based daughter, Jocelyn, and her husband, Jordan, were watching me closely 😊.  Yes, you guessed it, the Karl Erik Handmade in Denmark B Freehand that I was drooling over, but was stressing my pocketbook too much, had been secretly squirrelled away from the Brass Armadillo.  I discovered it a few days late under the tree on Christmas morning – woohoo!  When you have a dad who does what I do, gift giving is never a problem!  This Dad has made out quite well from Jocelyn and Jordan’s gift-giving.  Along with the Karl Erik Handmade, a few years ago they gifted me the pictured unbelievable 1907 McLardy Silver Ferruled Gourd Calabash which I restored (see LINK) and have enjoyed as a treasure in my collection.  The McLardy was enjoying their fire pit in Jocelyn and Jordan’s back yard while I enjoyed the very mellow McClelland Dark Star loaded in the McLardy.  Rebornpipes’, very own Steve Laug, suggested Dark Star as a good way to inaugurate the McLardy Gourd Calabash.  As usual, Steve was on the money! I love my family and I’m thankful to God for each one of our 5 children and the spouses they’ve found (one is still working on that!) and the now, 5 grandchildren they have brought into the world.  My younger daughter from Nashville, and her husband, Niko, joined me out by the firepit while we each enjoyed a Christmas bowl together at the foot of the Rocky Mountains – trying to stay warm!The Karl Erik is now on the worktable back in Bulgaria and was pulled out of my personal collection ‘Help Me!’ basket to restore.  Now Summer, mid-July, my wife and I will be heading to the Black Sea coast for a few days of R&R and I want to bring the Karl Erik with me!  He’s been waiting patiently for me in the basket and now on the worktable, I take some additional pictures to get a closer look at this striking Christmas gift. The nomenclature is located on the lower shank, just below the shank facing plateau.  Stamped there in cursive script is the name, ‘Karl Erik’ [over] HANDMADE IN DENMARK [over] B. Not long ago I worked on a Karl Erik, Knute of Denmark Freehand, that I gifted to my son, Josiah, upon his graduation with a Master’s Degree in counseling (see LINK).  The Freehand style was given to the pipe world by the Danish and Karl Erik was a major contributor.  Pipedia’s article gives the basic history which has been repeated many times – one more time for this Karl Erik on my worktable (https://pipedia.org/wiki/Karl_Erik):

Karl Erik Ottendahl (1942 – 2004) was born in Aalborg (Jutland), just a few miles from the very northernmost tip of Denmark. He began smoking a pipe when he was 14 and upon leaving school he started an apprenticeship in the craft as a lithographer at the age of 16. While working as an apprentice he began hand carving pipes as a hobby. Many were given as gifts to his more senior colleagues. Upon completion of his apprenticeship he moved to Nairobi, Kenya to work as a lithographer during the 1962 war. While in that war-torn country, he was unable to procure pipes for himself. In the face of such a predicament, he chose to continue to make pipes for his own use rather than go without.

Returning to Denmark after three years he couldn’t find a well paid occupation in his job, and so he began making a few pipes on the side to boost his income choosing his prenames “Karl Erik” – logo “KE” – for his label. When he managed to find some major Copenhagen pipe stores willing to sell his pieces his reputation grew little by little and he was finally able to purchase more and better machinery and began working full time as a pipe maker.

One other paragraph from the Karl Erik article in Pipedia referenced above is noteworthy in understanding this pipe man who died in 2004:

As one of the few notable Danes Karl Erik Ottendahl dedicated himself to the needs of the normal pipe smoker with a normal income. In the end he was one of the last of this tier. He never made any pretense of the fact that his “hand mades” were prefabricated to a large extent on automated machines and only the last steps of fine-shaping and finishing were carefully made by hand. But he never employed a copy milling, so many KE pipes may look very similar but not two are identical. As well the bulk of the stems was supplied by Stanwell in a close-to-finished state. Stanwell also did the sand blasting for KE to a large extent.

One more bit of information from Pipedia helped me understand the “B” in the nomenclature.  Regarding the grading system for Karl Erik pipes it said:

KE’s new grading used numbers ascending from D to A. The unique “Ekstravagant” pipes C, B, A, AA to AAA. These superb pieces of remarkable quality were, almost certainly, the least expensive high- quality handmade pipes coming from Denmark today!

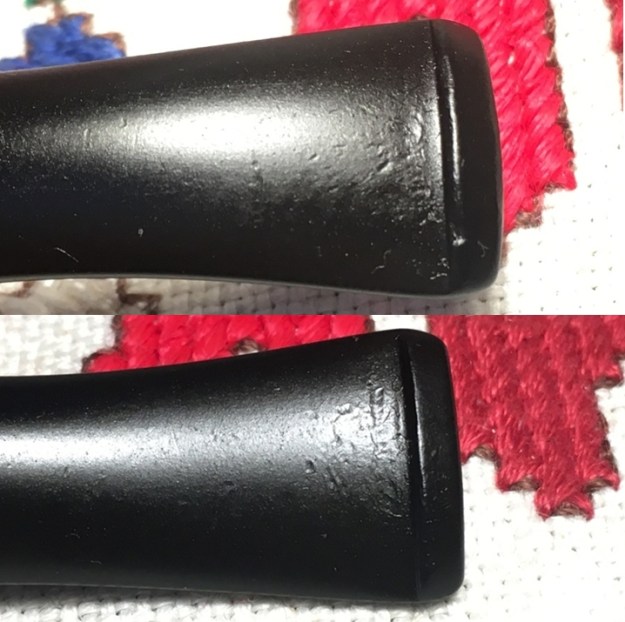
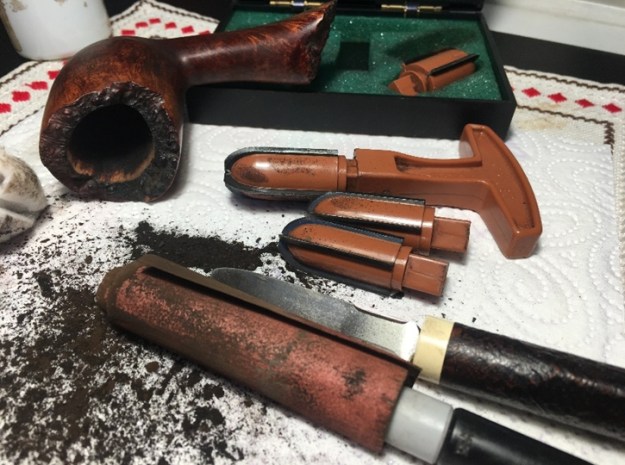
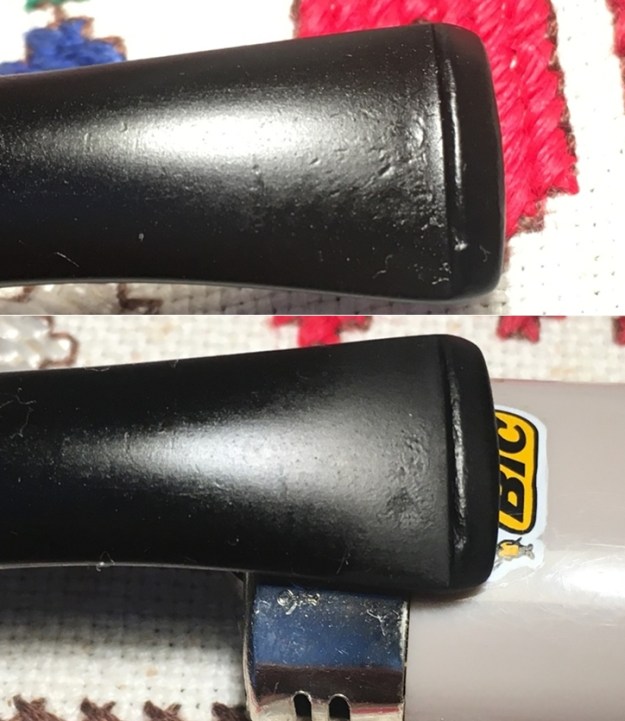
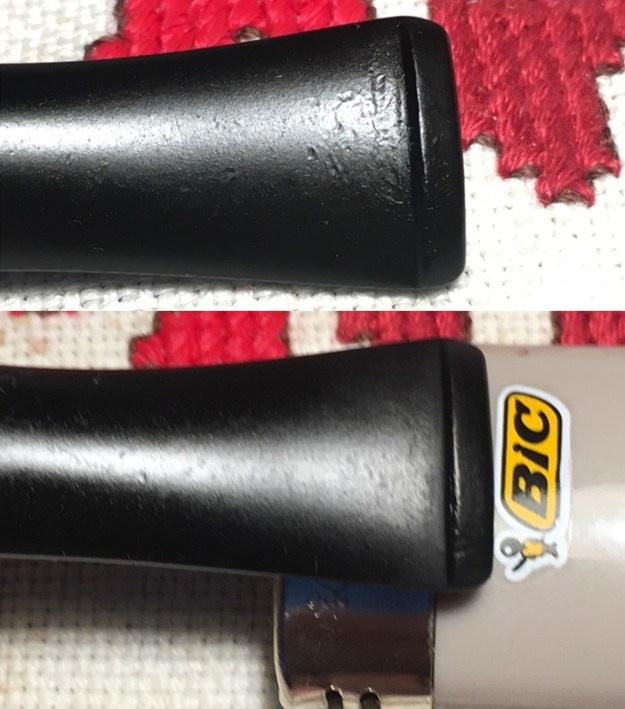
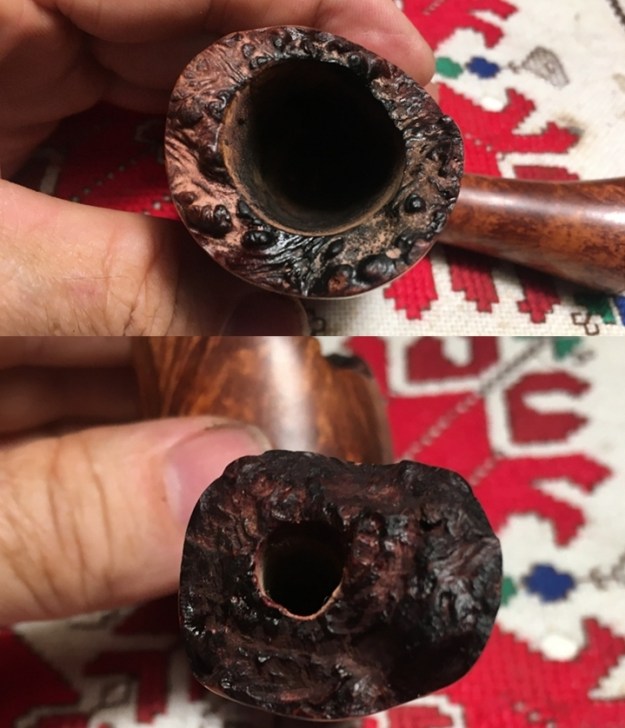
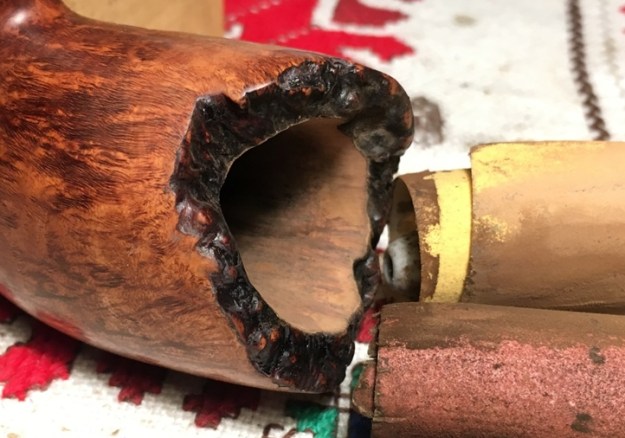
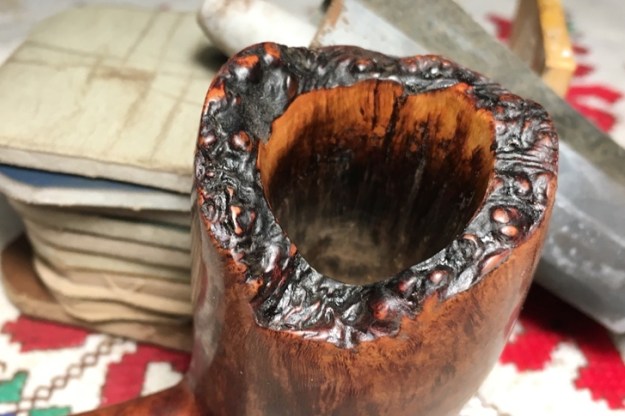
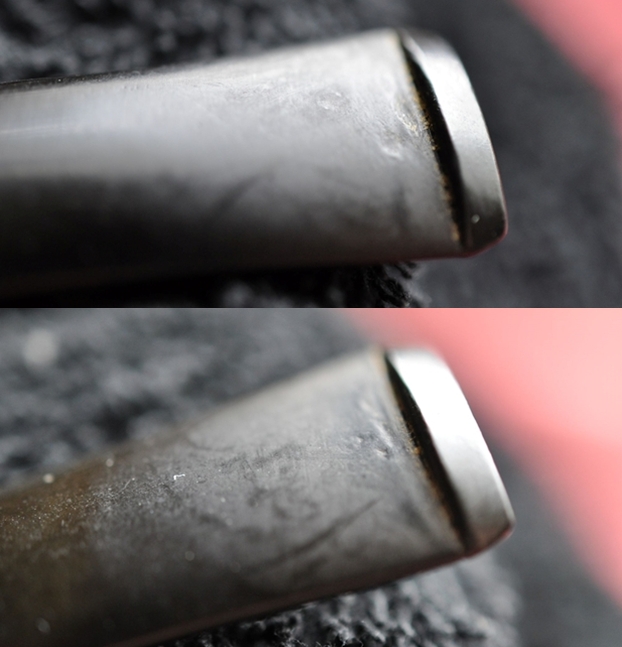
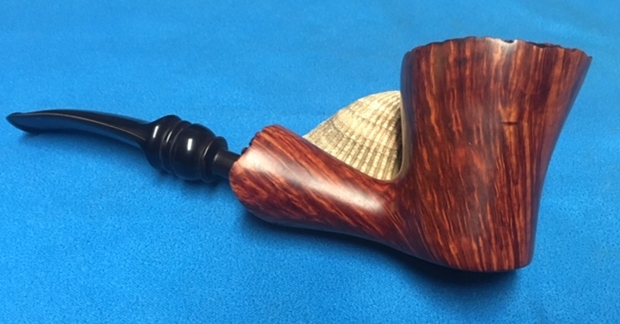
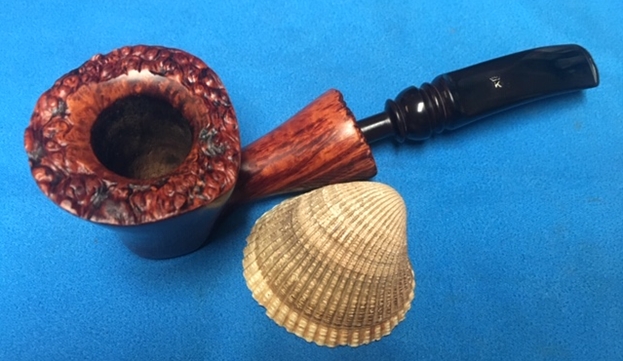
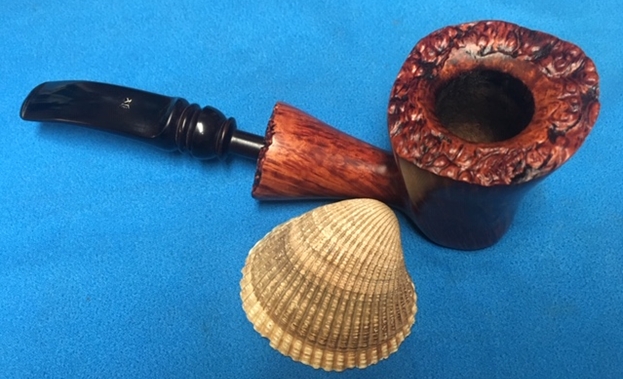
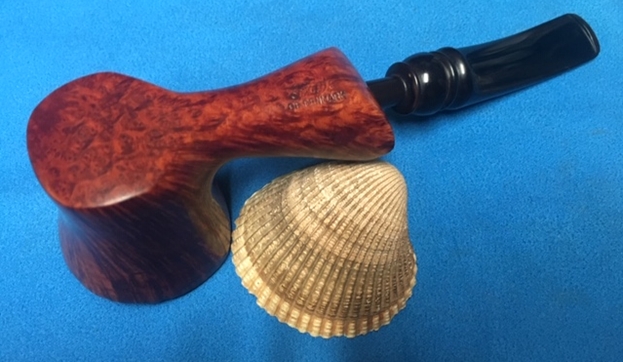
What this tells me is that the ‘B’ rating is just under the best, ‘A’ rating regarding quality.  My Black Sea beach bound Karl Erik got my attention at the Brass Armadillo in Denver because of the sweeping vertical grain that defines and encircles the Freehand bowl – reaching upward to the expressive plateau.  I’m thankful that he doesn’t need too much attention to be recommissioned!  The chamber has light cake buildup and the plateau surfaces, bowl and shank facing, are dirty.  The smooth briar is in great shape and only needs cleaning.  The grain is pristine – I detect few very small scratches from normal wear and no fills, which one would expect with a Karl Erik higher grade I suppose!  The stem has very mild tooth chatter on the upper and lower bit and a small compression on the upper lip.  To begin, to address the very mild oxidation, I add the Karl Erik fancy stem to a soak of Before and After Deoxidizer with other pipes in the queue.  I first clean the airway with pipe cleaners wetted with isopropyl 95%. After a few hours soaking, I fish out the KE stem and after draining the Deoxidizer, I wipe the stem with a cotton pad wetted with alcohol to remove the raised oxidation.  I also run another pipe cleaner wetted with isopropyl 95% through the stem to clear the Deoxidizer liquid. To continue to rejuvenate the stem, I then add a coat of paraffin oil to the vulcanite and put it aside.Turning now to the Handmade’s stummel, I take a closeup showing the chamber and the mild carbon cake build up.  To remove the cake to give the briar a fresh start, I use the Pipnet Reaming Kit to start the job.  After putting paper towel down to help in clean up, I start by using the smallest blade head and then quickly graduate through two additional blade heads.  I then transition to using the Savinelli Fitsall tool and this does a great job getting down into the chamber’s hard-to-reach recesses.  Finally, I wrap a piece of 240 grade sanding paper around a Sharpie Pen and sand the chamber and follow by wiping it with a cotton pad wetted with alcohol to clean it.  After an inspection of the cleaned chamber, I see no problems with burning or heating. Moving on to the external briar surface, I use undiluted Murphy’s Oil Soap to scrub the briar with a cotton pad.  I also use a bristled toothbrush and a bit of a brass wire brush to clean the plateaus – bowl and shank facing.  After the scrubbing, I take the stummel to the sink and continue the cleaning by using a shank brush and kitchen dish soap to scrub the mortise using hot water.  After scrubbing, I rinse the stummel thoroughly. Now, moving to the internals I use cotton buds and pipe cleaners dipped in isopropyl 95% to start the cleaning. Happily, I find that the internals are clean after the previous scrubbing with dish soap and shank brushes – I move on!I move on to applying the full regimen of micromesh pads to the stummel.  I start by wet sanding with pads 1500 to 2400 and follow with dry sanding with pads 3200 to 4000 and 6000 to 12000.  I absolutely love the way the micromesh pads coax and tease out the grain.  Beautiful vertical grain – possibly called ‘fire grain’! Before turning again to the stem, I apply Before & After Restoration Balm to the stummel.  The B&A Balm does a great job pulling out the subtle hues of the grain.  I put some Balm on my fingers, and I work it into the briar surface.  For now, I do not apply it to the plateaus because I first need to do some further work.  I put the stummel aside for about 20 minutes to allow the Balm to do its thing.After about 20 minutes, I wipe off the excess Balm with a cotton cloth and then buff it with a microfiber cloth. Not bad!  I’m loving my Christmas gift!With the stummel on the sidelines for a time, I turn again to the Karl Erik fancy stem.  The light tooth chatter should be addressed easily.  I start using the heating method by painting the chatter with the flame of a Bic lighter.  The characteristics of the vulcanite expands as its heated to reclaim its original shape – or at least in part.  After painting with the Bic flame, I do a before and after picture for the upper and then lower.  There is a notable difference!

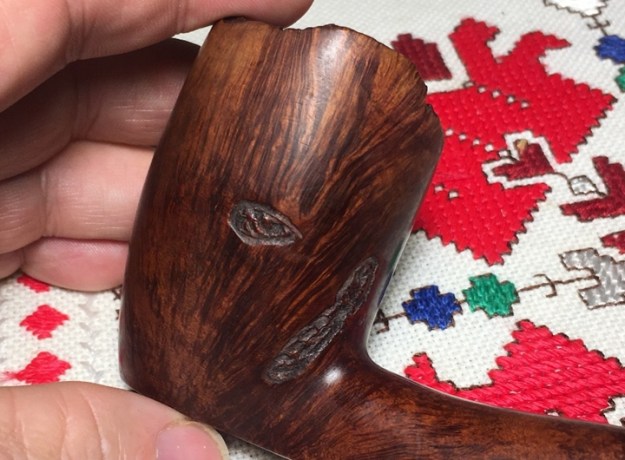
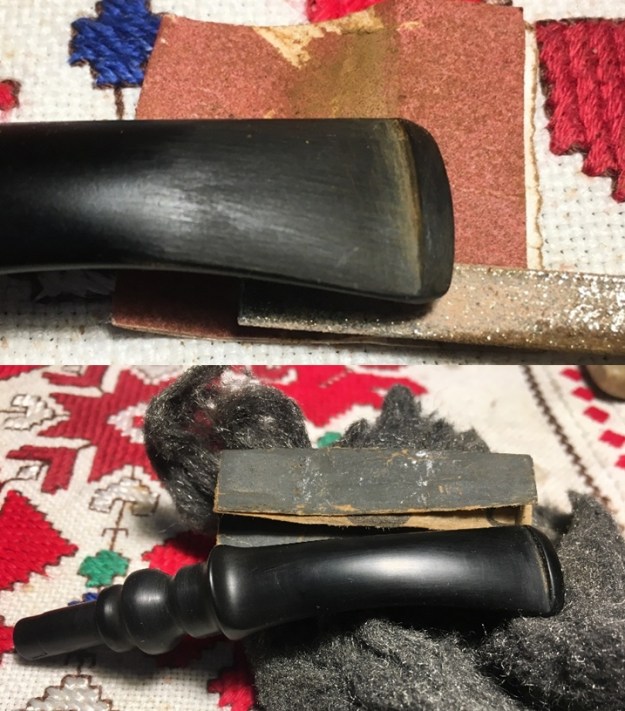
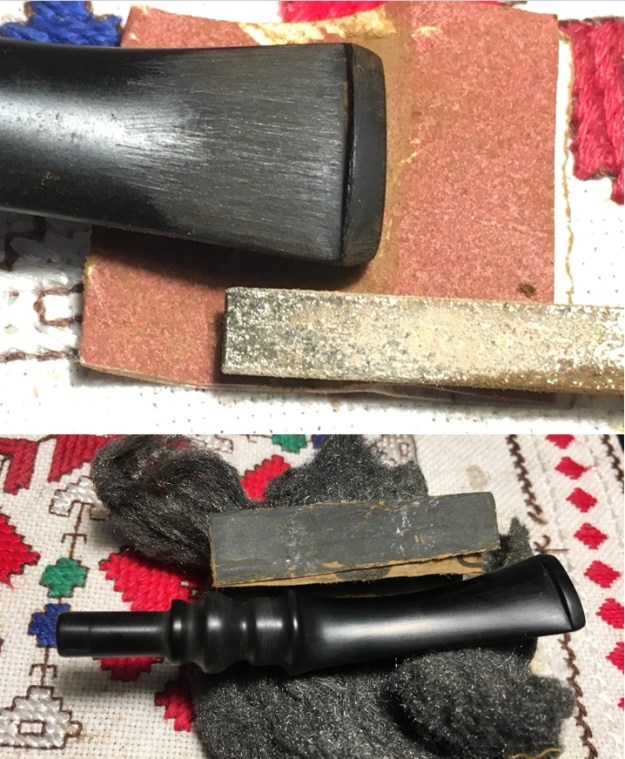
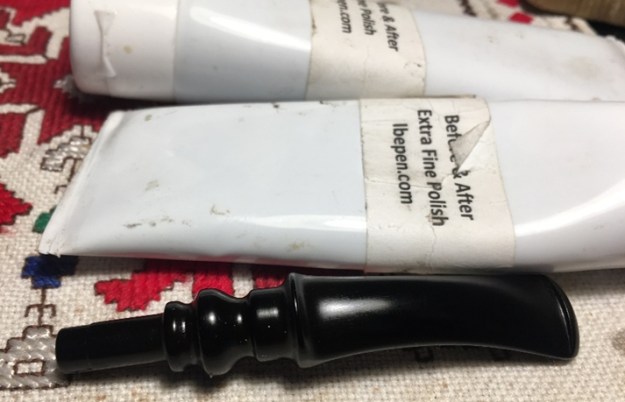
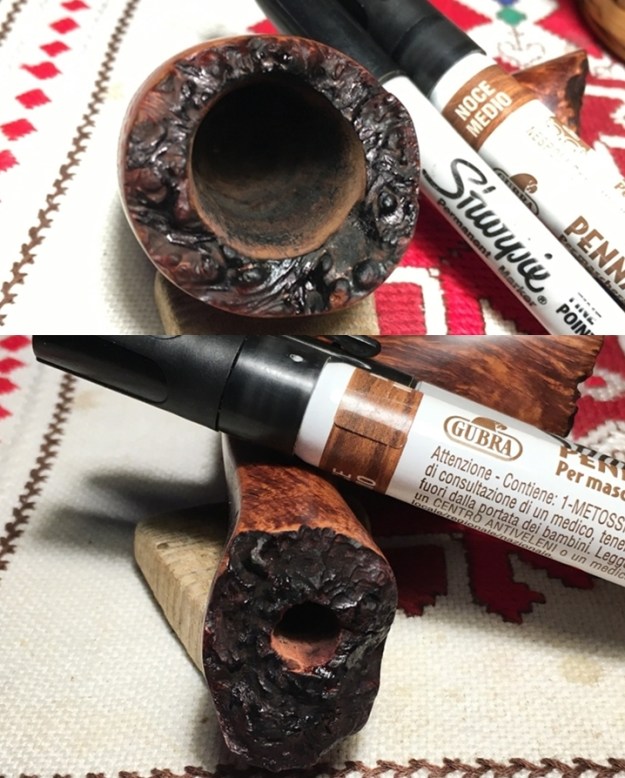
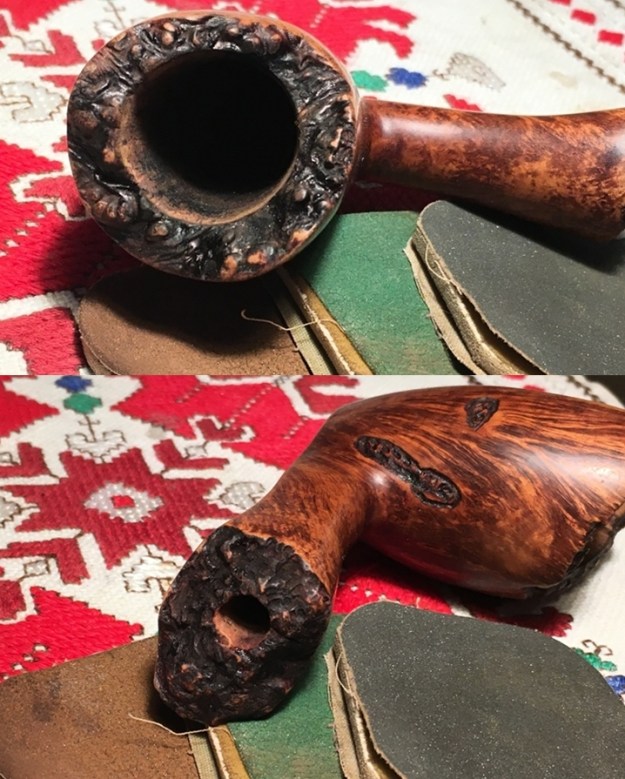
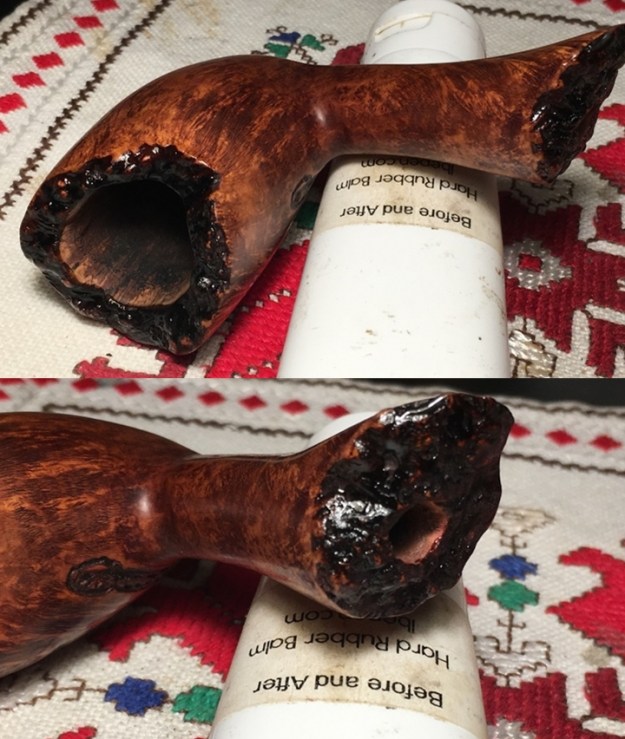
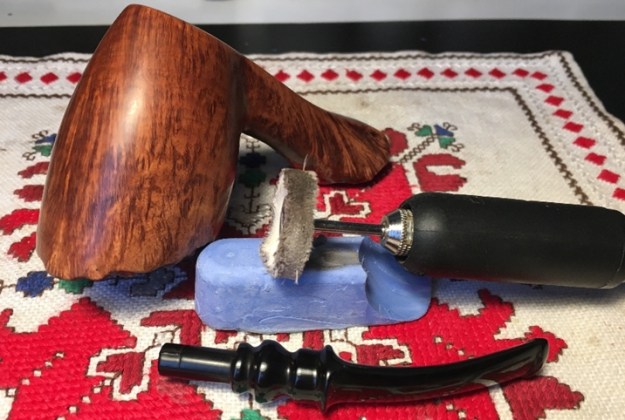
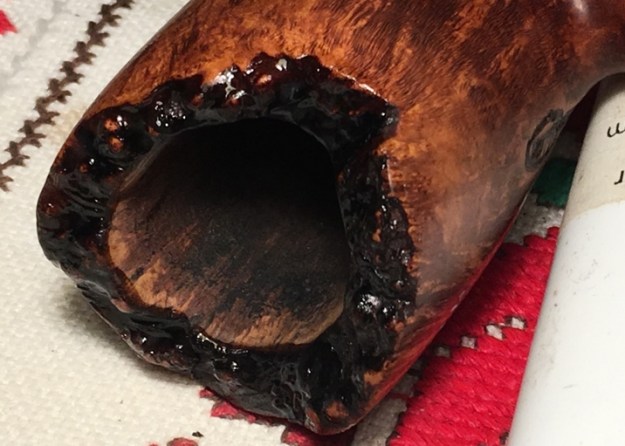
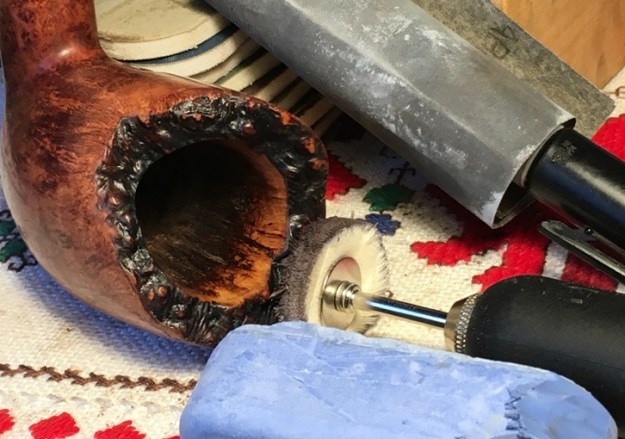
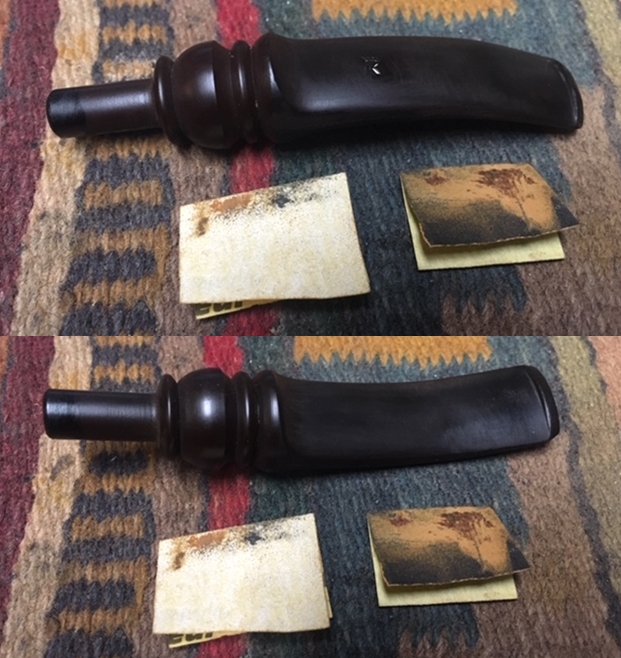
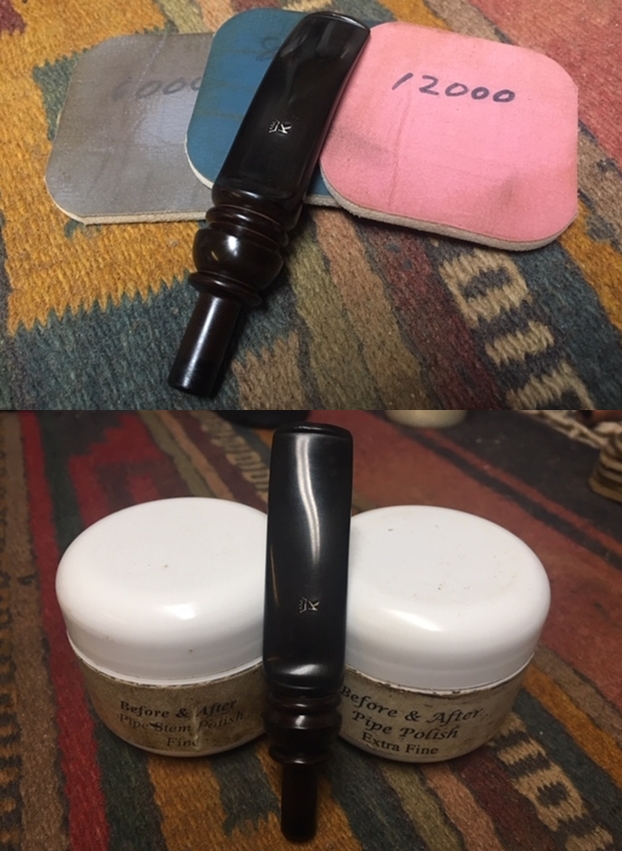
Upper before and after:Lower bit before and after:I continue using 240 grade sanding paper to dispatch the remaining chatter and compression on the upper button lip.  I also use the flat needle file to freshen the button.  I follow that with wet sanding the entire stem with 600 grade paper and finishing this phase of sanding with 000 steel wool – upper then lower: Next, in order to recondition the stem, I apply Before & After Fine and Extra Fine Polishes in succession.  For each, I apply using my fingers – rubbing the polish into the vulcanite and then putting aside for a few minutes to do its thing.  I then wipe the excess polish off with a paper towel and then buff the stem with a cloth.Turning again to the Karl Erik Handmade stummel, my next step is to freshen the plateau presentations.  Looking at examples of Karl Erik Freehand pipes, the treatment of the plateaus is even between leaving the plateaus the natural hue and darkening the plateau moonscape to provide a contrasting perspective.  With this Karl Erik, it appears that the plateau had color previously and so I decide to go in this direction.  The next two pictures mark the starting point for each plateau. The first step is to apply an Italian dye stick labeled Medio Noce, which is a very dark shade of brown that almost appears black.  I apply this in random ways along the ridges and valleys of both the rim and shank facing plateaus.  Then, more sparingly, I use a black Sharpie Pen to darken the more distinctive valleys.  I do this to give slight, subtle contrast in hues.  Forgetting to picture, I also use a fine point Sharpie to darken and accent to two small sculptings on the side of the stummel.Then to add more contrast, I use micromesh pads 1500 to 2400 to ‘feather’ sand off the peaks of the ridges.  I like this contrasting effect – providing a rustic look that is attractive.I then apply some Before & After Restoration Balm to the plateaus and put the stummel aside to absorb.Back to the stem with the full regimen of 9 micromesh pads.  I start by wet sanding with pads 1500 to 2400 and follow with pads 3200 to 4000 and 6000 to 12000.  Between each set of 3 pads I apply a coat of Obsidian Oil to further condition the vulcanite. The stem is looking great! With the stem ready to go, I mount a cotton cloth buffing wheel to the Dremel and set the speed at about 40% full power.  I then apply Blue Diamond compound to both the stem and the stummel of the Karl Erik Handmade. I keep the stem and stummel separated because it’s easier to rotate each piece individually.While applying the compound and working on the rim plateau, I realized that I was missing a great opportunity to release more grain to enjoy.  With a peaked Freehand style, I find that the inside wall of the plateau crest provides additional aesthetic enjoyment when it is sanded, and this allows a grain presentation on the chamber side.  I forgot to take a picture but borrow the previous picture during the B&A Balm to show the inside chamber wall – darkened and ignored.I decide to coax out this grain and use 240 and 320 grade papers in succession wrapped around the Sharpie Pen to sand this area.Following this, I use 600 grade paper wrapped around the Sharpie Pen.  I keep the sanding parallel to the chamber wall – I don’t want to bevel the internal lip eating into the plateau.  I follow the 600 grade paper by sanding the area through each of 9 micromesh pads – 1500 to 12000.The final step is to apply Blue Diamond compound to the chamber wall.  I like it.  It’s a small enhancement but I think it adds a classiness to an already very classy Karl Erik.With the application of the Blue Diamond compound completed, I wipe/buff the stem and stummel with a felt cloth to remove any residue compound dust in preparation of applying wax.  I mount another cotton cloth buffing wheel to the Dremel, maintain 40% power and apply a few coats of carnauba wax to stem and stummel.  After completing the application of the wax, I give stem and stummel (separately) a rigorous hand buffing with a microfiber cloth to make sure all the excess wax is removed and to raise the shine even more.

This Karl Erik Handmade in Denmark is stunning, and a wonderful gift: Thanks Jocelyn and Jordan!  I’m pleased to add it to my collection!  He came along to the Black Sea and here I’m inaugurating his recommissioning with a bowl of my favorite blend, Lane BCA.  Thanks for joining me!

Cleaning up a gift WDC Marlborough Twin Bore Bent Briar


Blog by Steve Laug

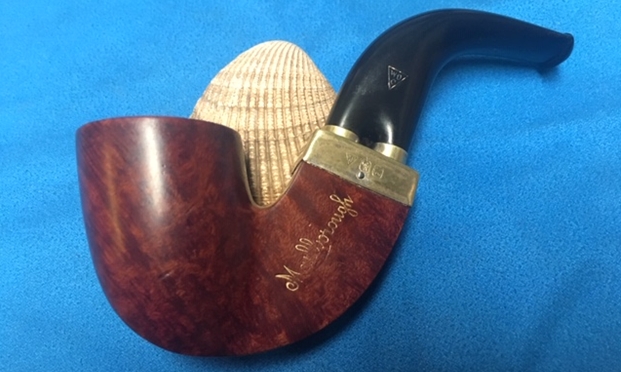
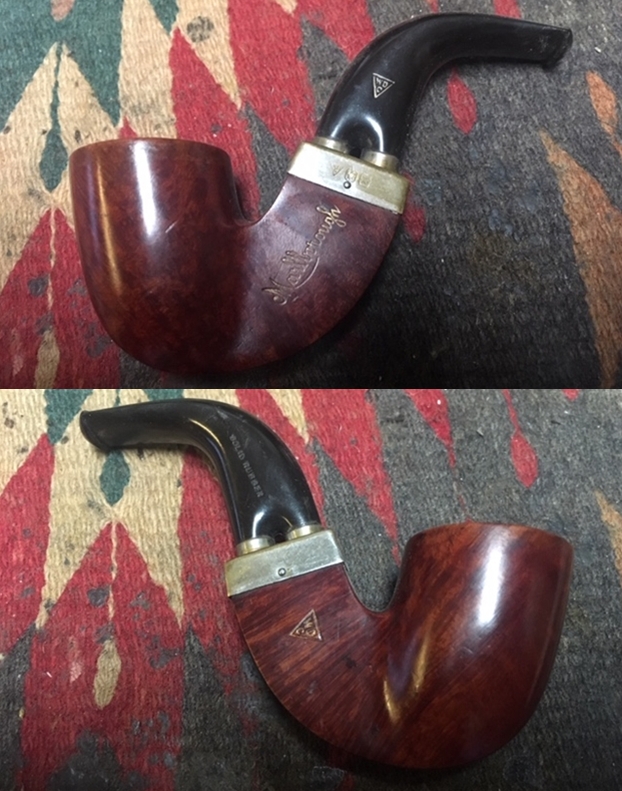
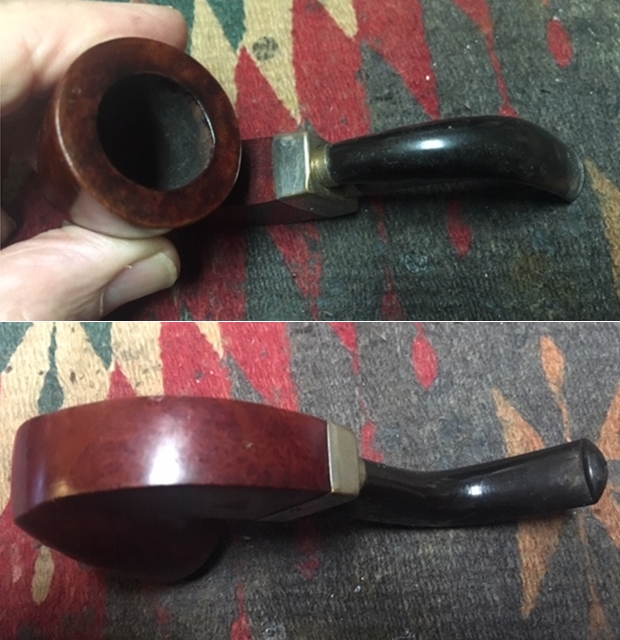
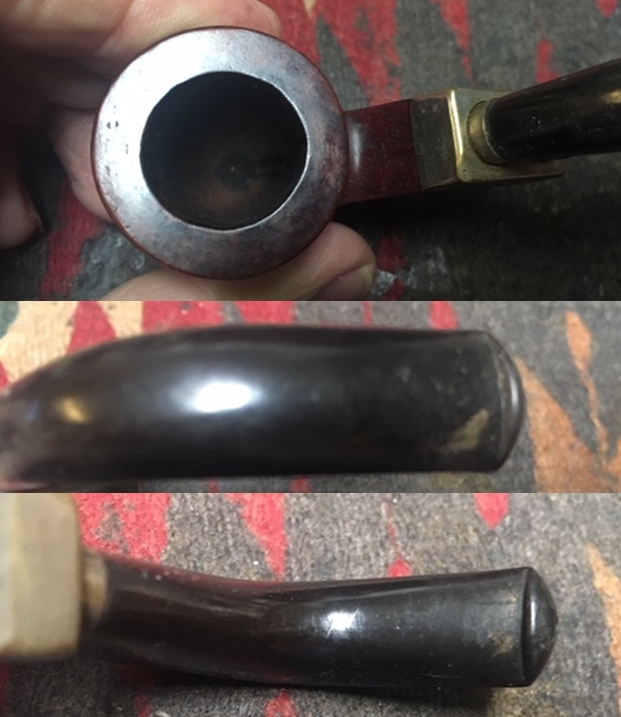
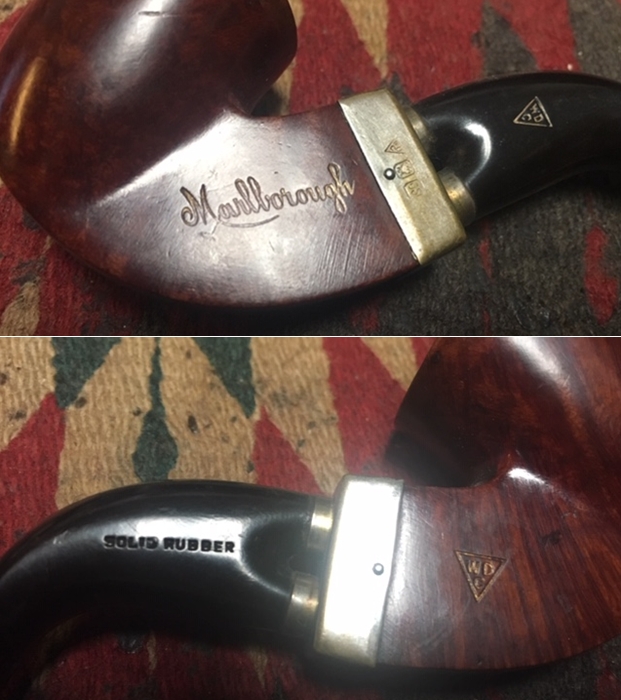
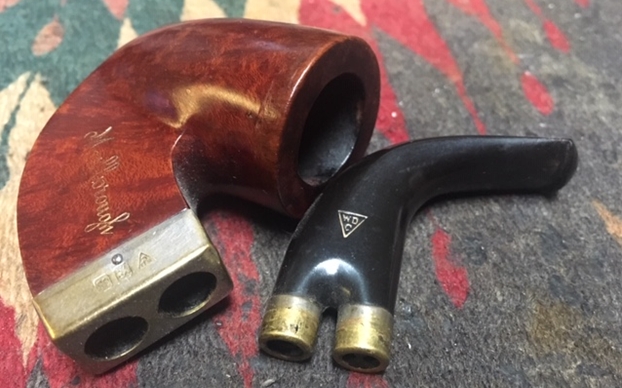
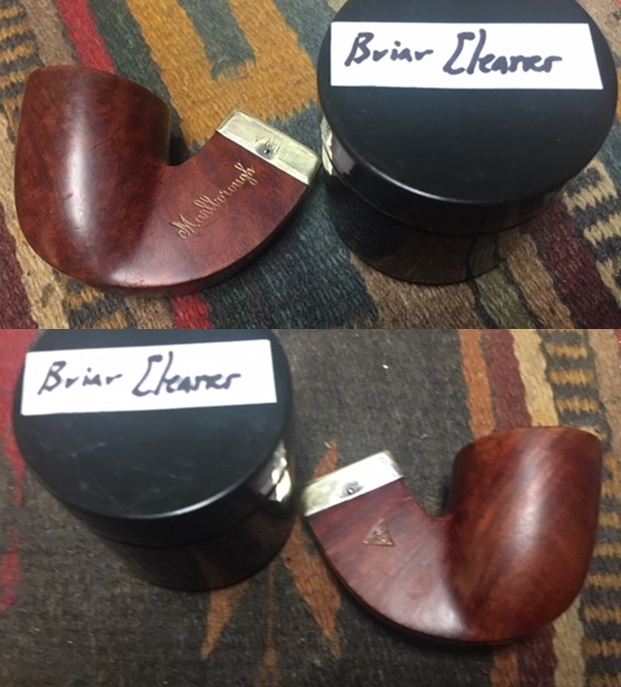
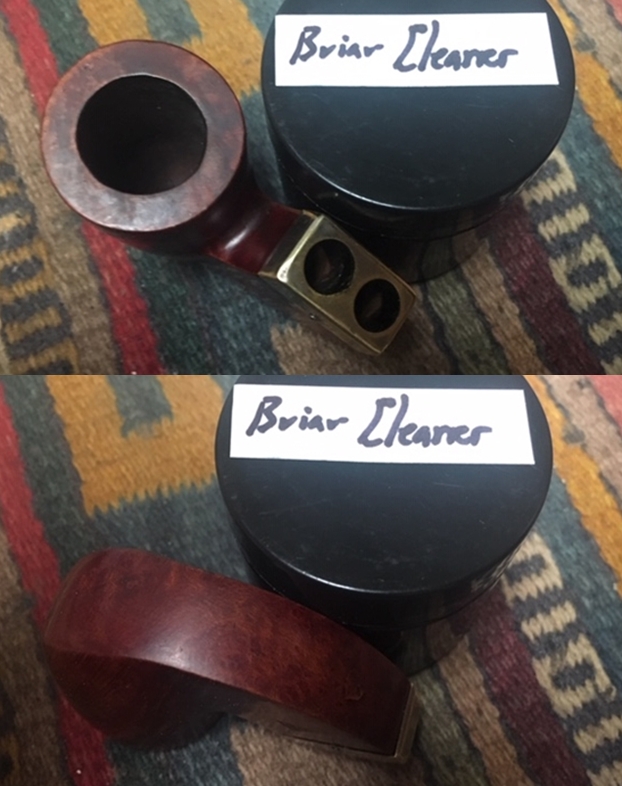
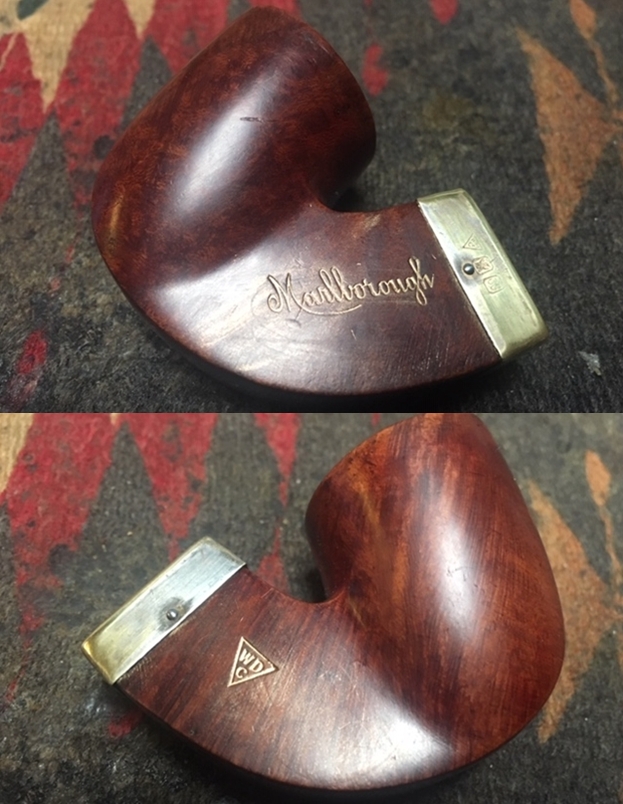
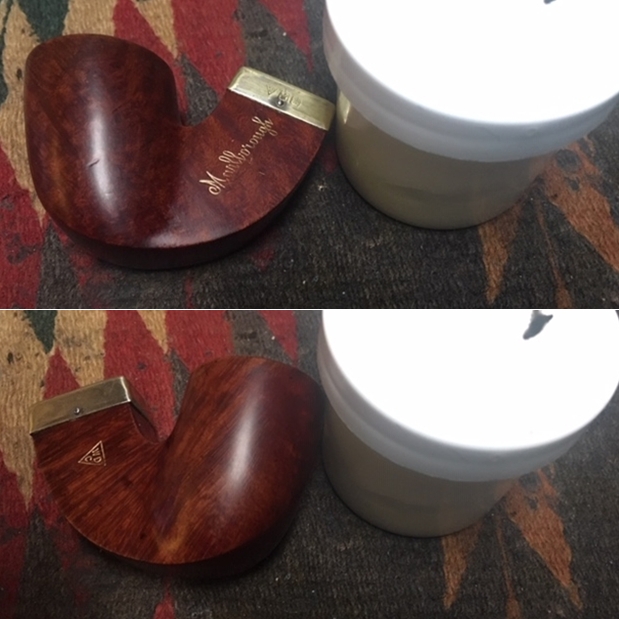
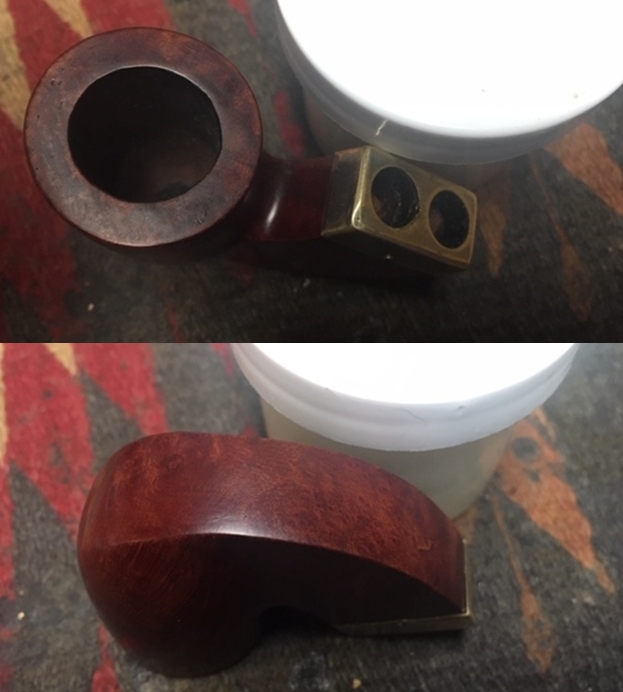
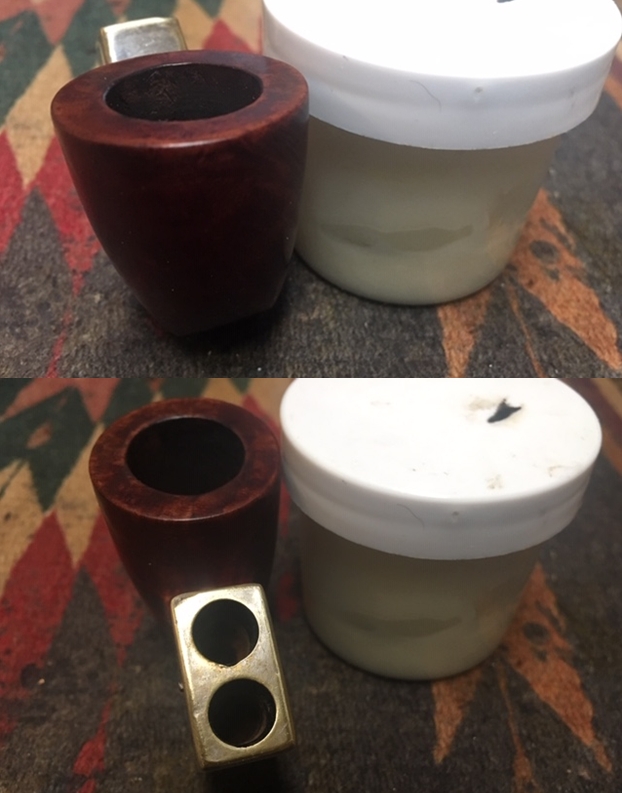
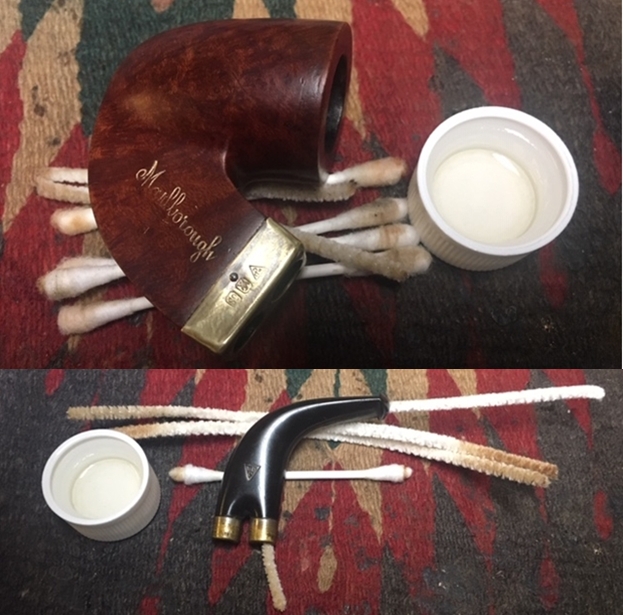
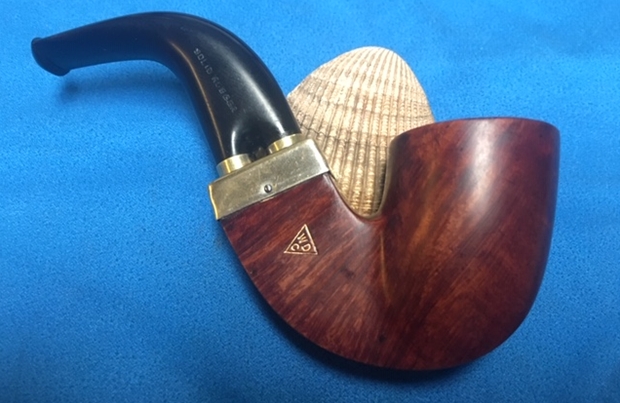
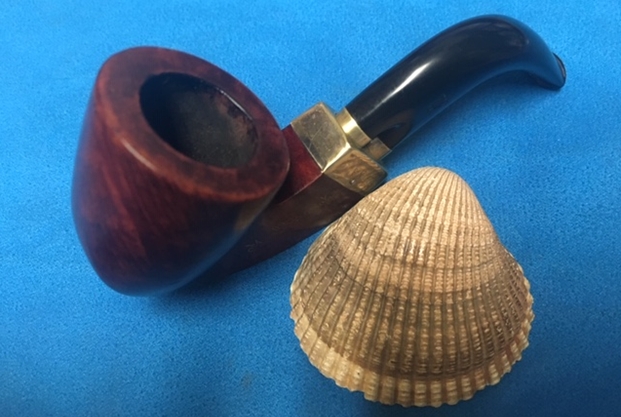
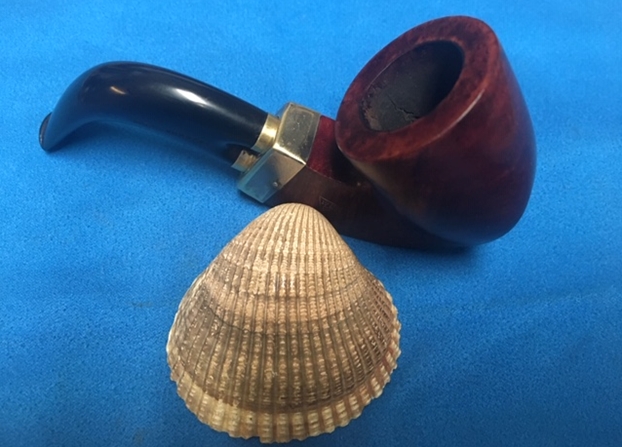
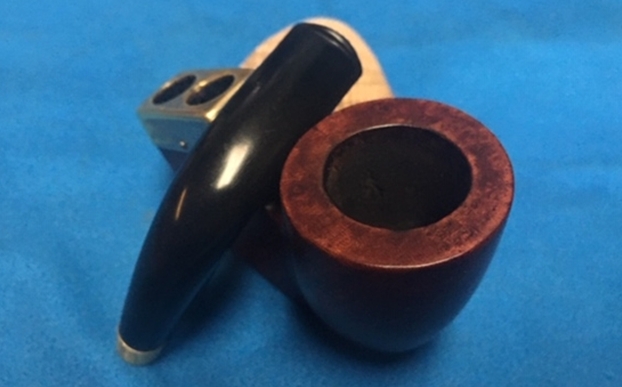
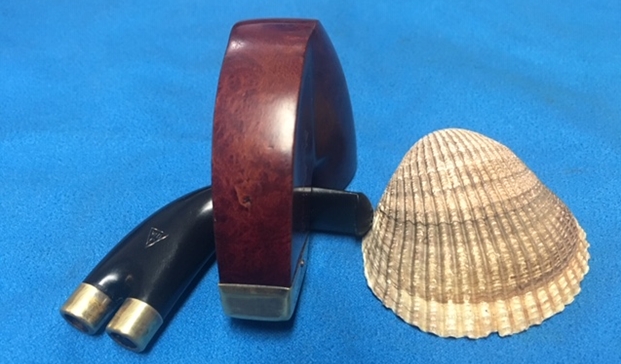
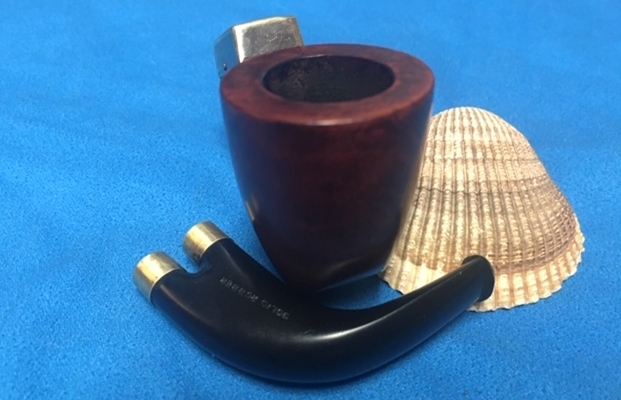
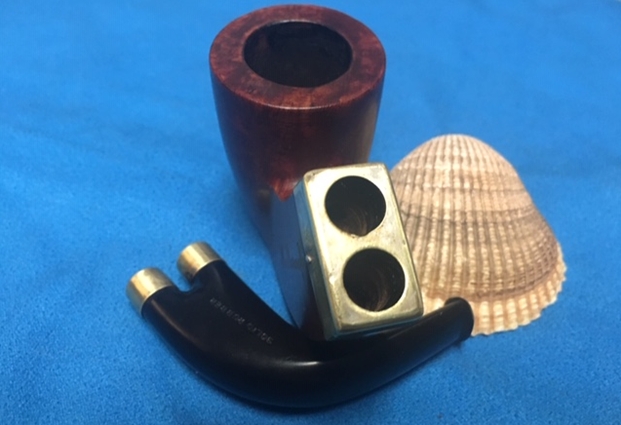
One of the gifts I brought home from Pune, India and my visit with Paresh, Abha, Mudra and Pavni was one of his Grandfather’s unique pipes. It is an old timer that is very similar to a CPF Cromwell pipe that I restored previously. I referred to this very pipe in that blog. Here is the link to the blog on that pipe (https://rebornpipes.com/2017/07/01/out-damn-spots-a-c-p-f-cromwell-double-vertical-stem-bent-billiard/). Paresh’s Grandfather was obviously gifted this old pipe. It did not appear to have been smoked very much (unlike the other pipes that Paresh received from him). Like the C.P.F. pipes from this time period this WDC Marlborough has some real charm. It is on the petite side of things – 4 ½ inches long and 1 3/4 inches tall. It is not a bad piece of briar, a mix of grains. The brass/silver collar on the shank is stamped with faux hallmarks and the WDC triangle logo. The stem is the unusual part of the mix. It has two brass plated spigot tenons that fit into openings in the shank collar. The twin stems merge into one single airway. Looking at it I could not wait to examine it and see the internals in the mortise and shank. The finish was worn but the pipe looked like it still had some life in it. The left side of the shank is stamped in worn gold leaf Marlborough in script. The right side of the shank is stamped in gold leaf with the WDC Triangle logo. The stem is also stamped on the left side with the WDC triangle and SOLID RUBBER on the right side. I took photos of the pipe from a variety of angles to show the uniqueness and the condition before I started my cleanup work. I took some close up photos of the bowl top to show what it looked like before I started the cleanup work on it. I also included some close up photos of the stem to show the tooth marks and chatter on both sides. The finish looks very good with a little dust and debris on the briar.The stamping on the left side of the shank and stem is readable – Marlborough on the shank in gold leaf and WDC in a triangle on the stem. It is clear and readable. You can also see the hallmark and logo on the brass/silver band. The stamping on the right side of the shank and stem is also clear. The shank reads WDC in a triangle in gold leaf and the stem reads SOLID RUBBER. I took the stem out of the shank and took a photo of the parts of the pipe. You can see the dual ports in the shank and the dual ports in the stem. I turned to the previous blog on the CPF pipe to refresh my memory of the information I had found at that point in the processs (https://rebornpipes.com/2017/07/01/out-damn-spots-a-c-p-f-cromwell-double-vertical-stem-bent-billiard/). I quote from that blog and also include a diagram that I did on the airflow of the pipe.

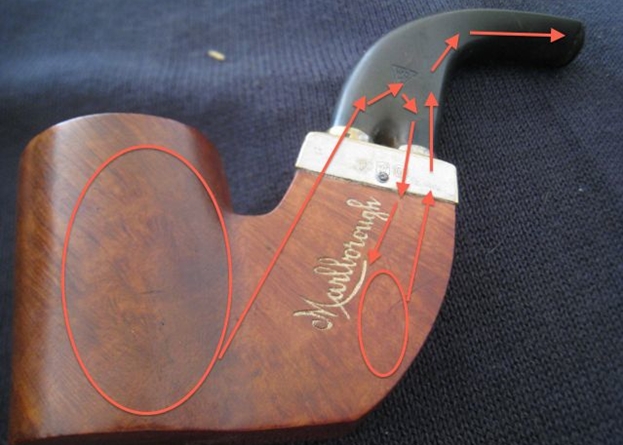
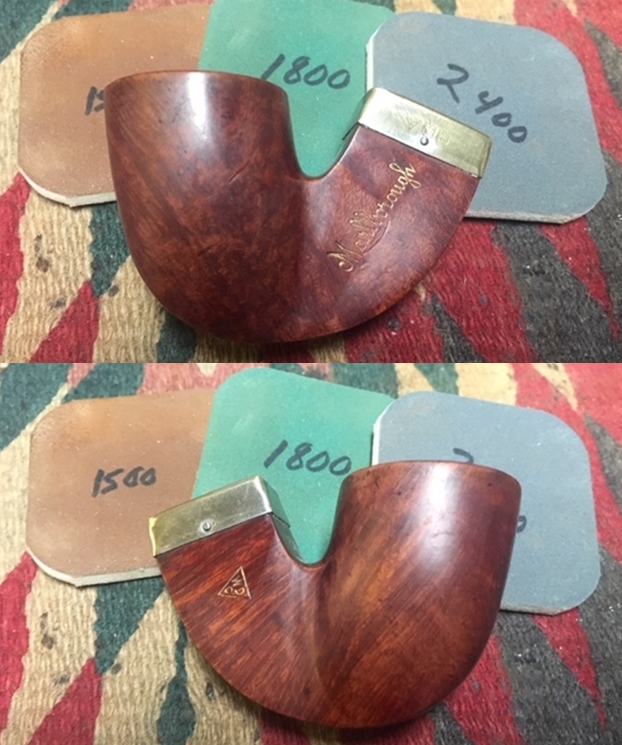
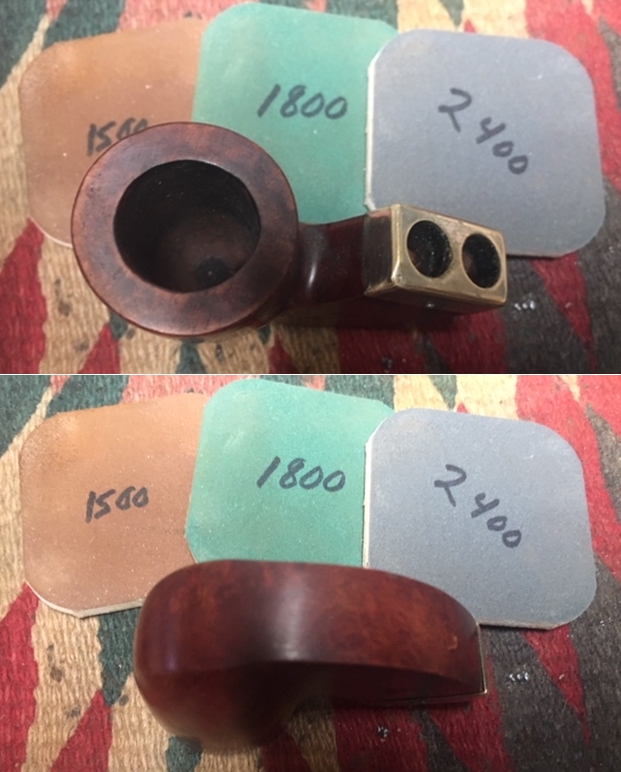
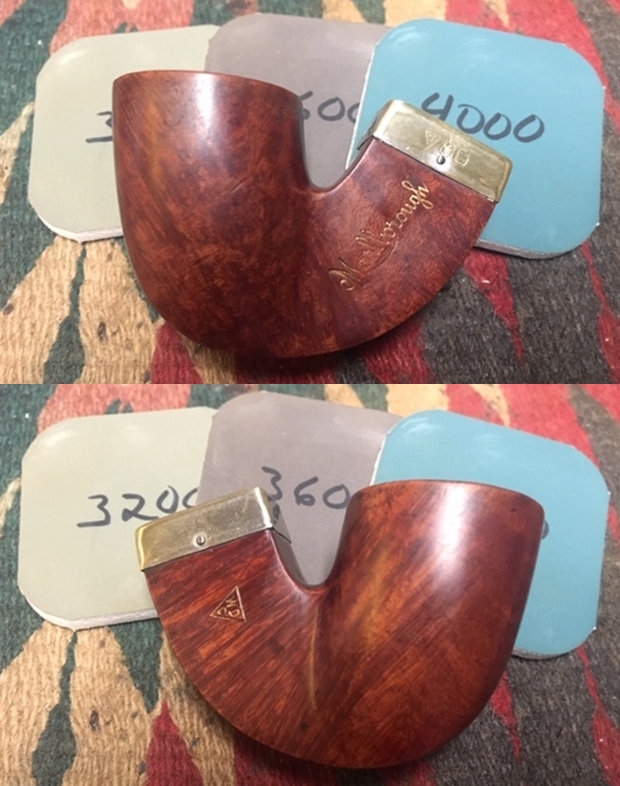
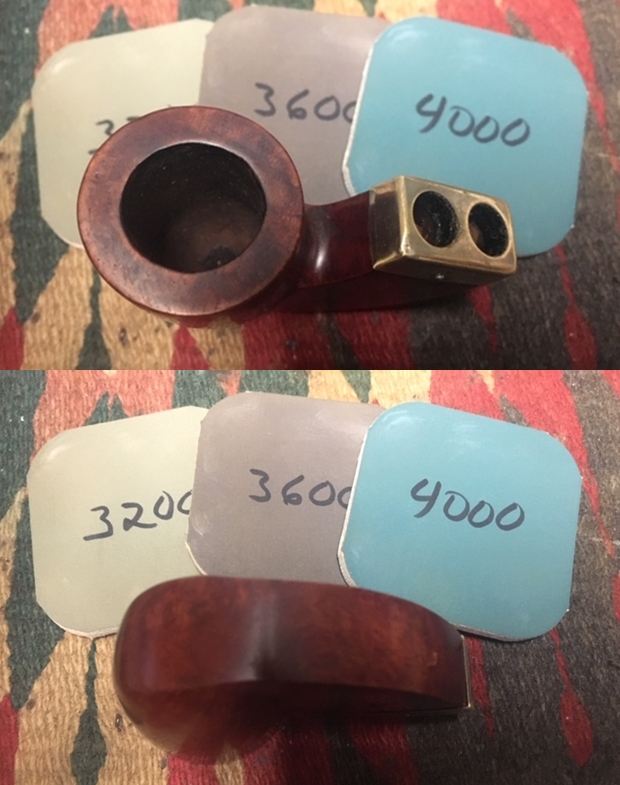
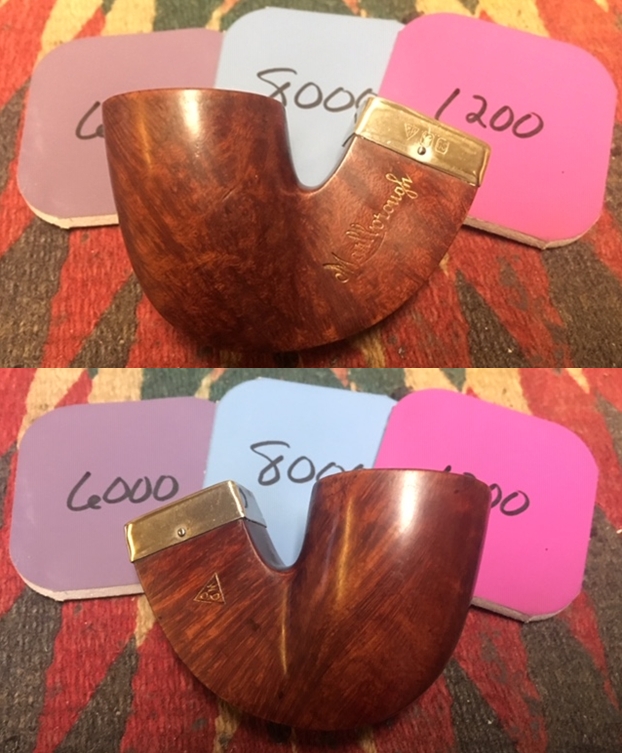
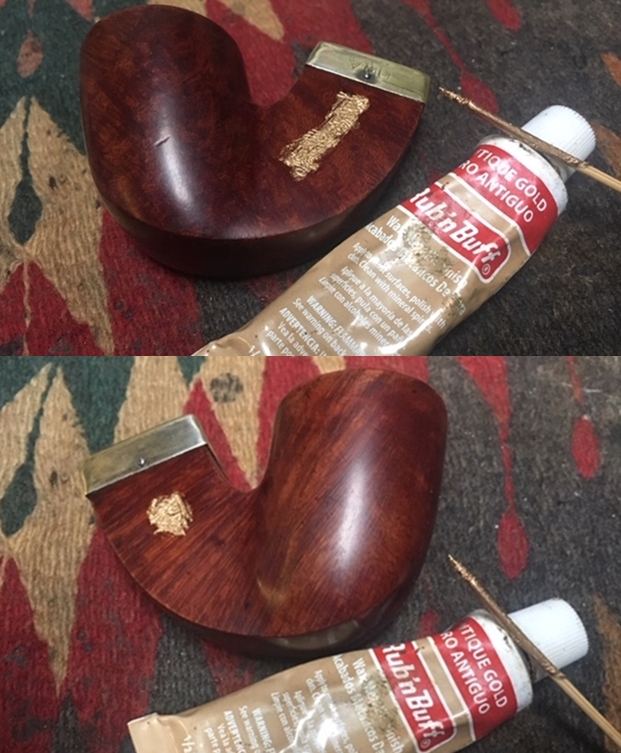
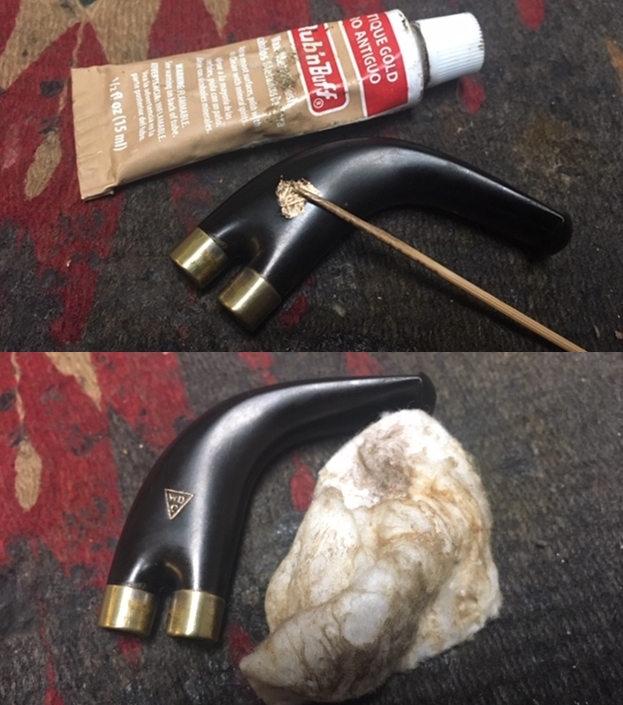
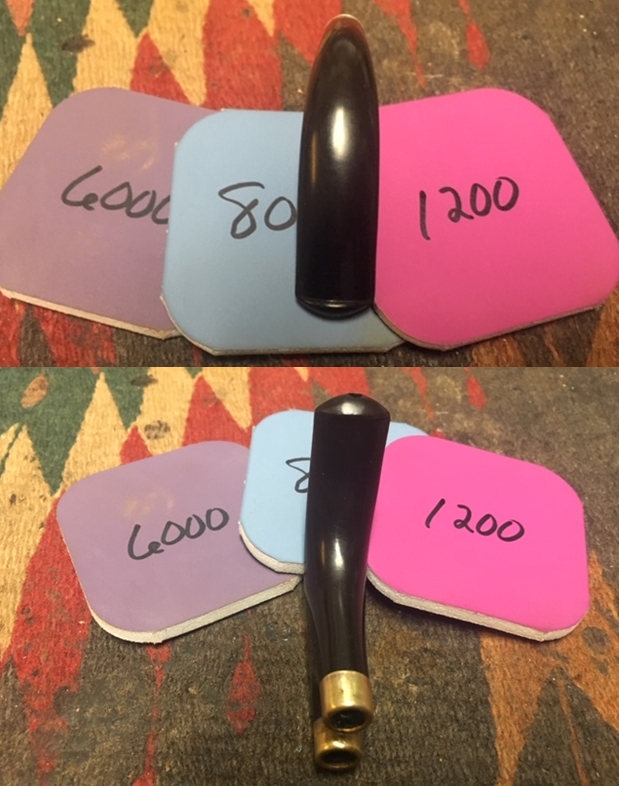
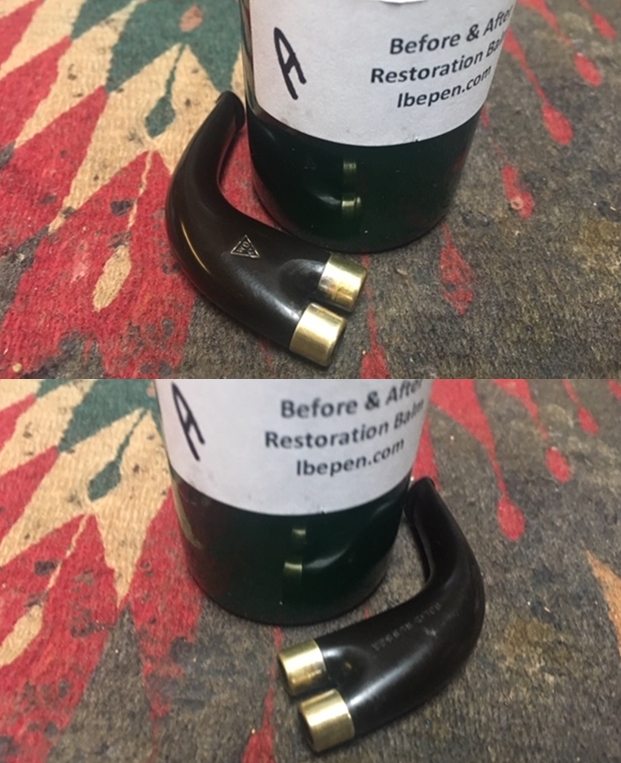
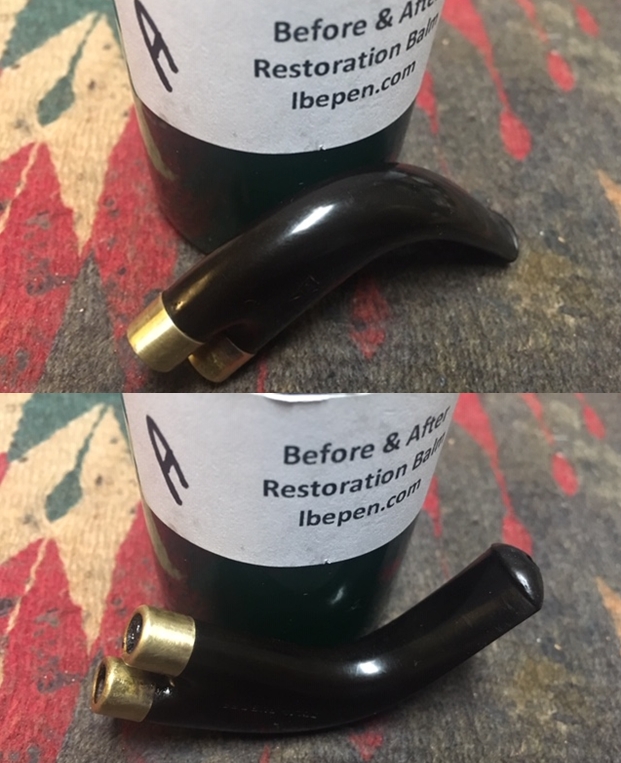
I did some digging online and found a WDC Marlborough that had a similar configuration though far more boxy. It did not have the elegance that the C.P.F. does in my opinion. Playing around with the mechanics of the smoke and how it flowed through the stem I examined the dual mortise and the way the stem was laid out. I fed a pipe cleaner through the stem and found that natural flow of the cleaner was from the button through the top of the stem and into the top mortise. I could plug the lower tenon and the air was unobstructed from tenon to button. When I plugged the upper tenon and blew air through it I could feel it against my fingertip and then it made its way out the lower tenon. The airflow seems to have flowed against my finger and back a short distance to an opening between the two stems and out. From that I figured out that the smoker draws smoke through the upper mortise and into the airway on the stem. It flows into the bottom stem and mortise (which is a sump like the Peterson System pipes have) where moisture is collected and the smoke exits up the lower stem and into the button and into the mouth of the smoker. In my online search I found a photo of the Marlborough with the airpath drawn out as I conceived it in my words above. I drew the same kind of pattern on the C.P.F. to show how it appeared from my experiments. I used the link on the previous blog to go back and read the online forum about the Marlborough pipe. Here is the link to the Marlborough (http://pipesmagazine.com/forums/topic/wdc-marlborough-double-airway).Now that I had a bit of the back story on the pipe from Paresh’s Grandfather’s collection it was time to go to work on it. I polished the briar with micromesh sanding pads – wet sanding with 1500-12000 grit sanding pads. I wiped it down with a clean damp cloth after each pad. I brought back a package of Restoration Balm from Mark Hoover from Idaho. He included a sample of a new product that he was experimenting with called Briar Cleaner. It is to be used prior to scrubbing (possibly instead of scrubbing with Murphy’s Oil Soap) and to be followed up with the Balm. I decided to give it a try on the smooth finish of this pipe. I worked it into the finish with my fingertips and scrubbed it off with a soft cloth. I buffed the bowl with a microfiber cloth to dry and shine it. The product seemed to work well to lift the dirt and grime from the finish. I am still not sure if it a necessary extra step for me but I am working with it on the next few pipes. The photos below show the pipe after cleaning with the product. I used some Rub’n Buff Antique Gold to repair the gold fill in the stamping on both sides of the shank. I rubbed it on and pressed it into the stamping with a tooth pick. I buffed it off with a soft cotton pad and a microfiber cloth. The photos tell the story. I rubbed Before & After Restoration Balm into the briar and worked it in with my fingertips. I let the bowl sit while the Balm did its work on the briar. Once it had been sitting for a few moments I buffed it off with a soft cotton cloth. The photos show the bowl after the Balm had worked. After cleaning the exterior of the briar with Mark’s new product it was time to clean the internals. I scrubbed out the mortise and the airway in the shank and the stem with pipe cleaners, cotton swabs and isopropyl alcohol. I was surprised to find that the pipe was pretty clean. I was also surprised to see some of the dark stain coming out of the shank. It appears that the pipe may have been dip stained. I set the bowl aside and worked on the stem. I sanded out the tooth marks with 220 grit sandpaper and started the polishing with 400 grit sandpaper.I polished the stem with micromesh sanding pads – wet sanding with 1500-12000 grit pads. I wiped the stem down after each pad with Obsidian Oil. I interrupted the polishing after the 4000 grit pad and used Rub’N Buff Antique Gold to touch up the WDC Triangle stamp on the left side fo the dual stem. I cleaned off the excess Rub’N Buff gold and then continued polishing with 6000-12000 grit pads. I rubbed it down with Obsidian Oil after each pad. I used some new product that Mark Hoover put together – Before & After Restoration Balm that was made to work on vulcanite. It did a good job of polishing the vulcanite. I finished by polishing the stem with Before & After Pipe Polish – both Fine and Extra Fine. I wiped it down a final time with Obsidian Oil and set it aside to dry.I put the stem back on the shank and buffed it lightly with Blue Diamond on the buffing wheel. I hand buffed it with a microfiber cloth to raise a shine in the briar. The finish on the briar came alive with the buffing and took on a deep shine. I gave the bowl and stem several coats of carnauba wax and buffed it with a clean buffing pad and with a microfiber cloth. The finished pipe is shown in the photos below. It is an interesting little pipe measuring 4 1/2 inches in length, 1 3/4 inches in height. The outside diameter of the bowl is 1 1/4 inches and a chamber diameter of 3/4 of an inch. The unique design and the flow of air through the pipe make this a very interesting looking pipe. It is a beautiful, bent billiard with a double shank and stem. This pipe is staying with me as it is the background to the similar CPF Cromwell that I have in my personal collection. It is another beautiful old pipe that fits into my old US Made pipe collection. Thanks for reading the blog. Enjoy.

New Life for a Hurricane Standard Lovat


Blog by Steve Laug

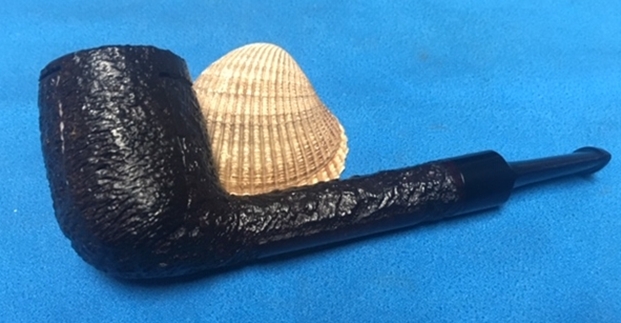
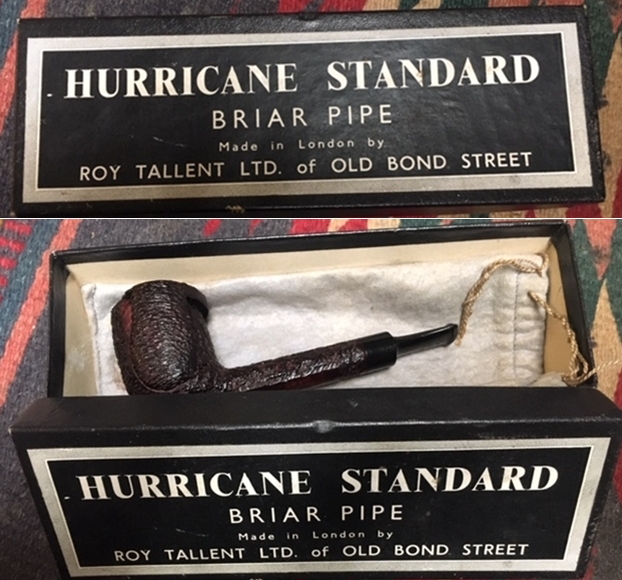
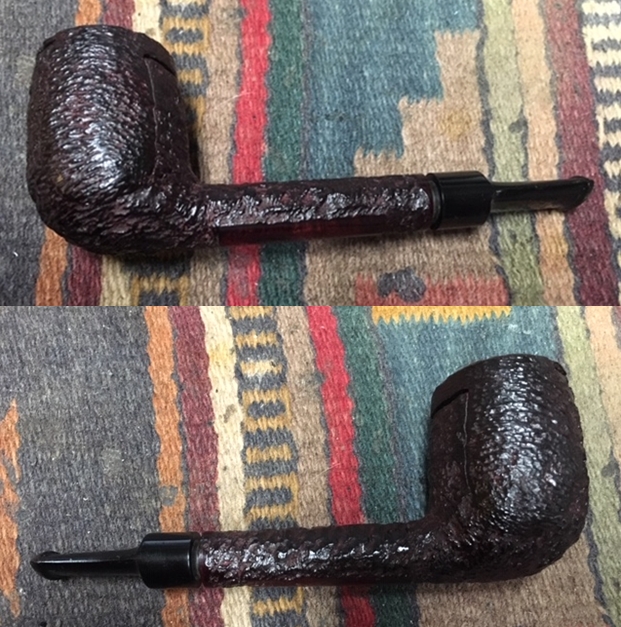
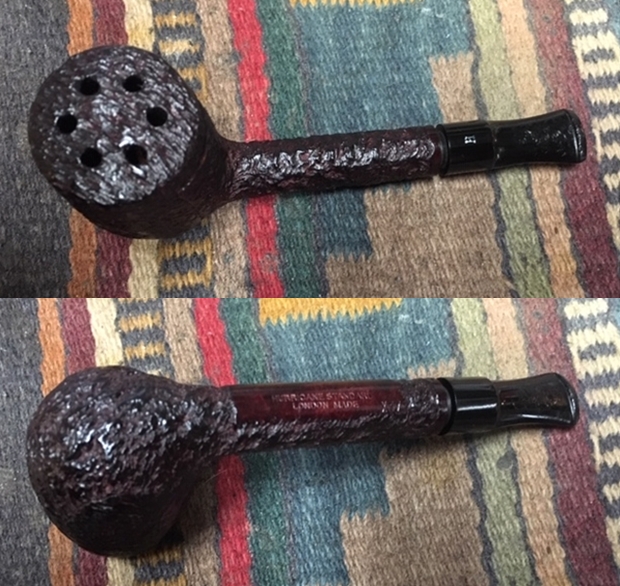
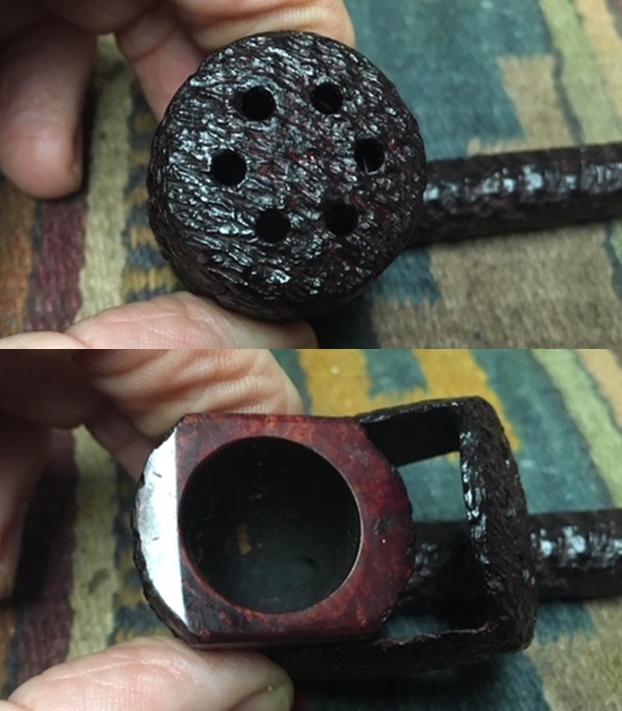
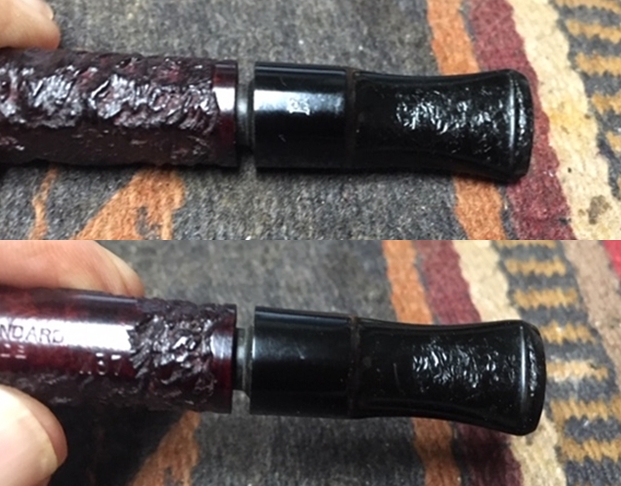
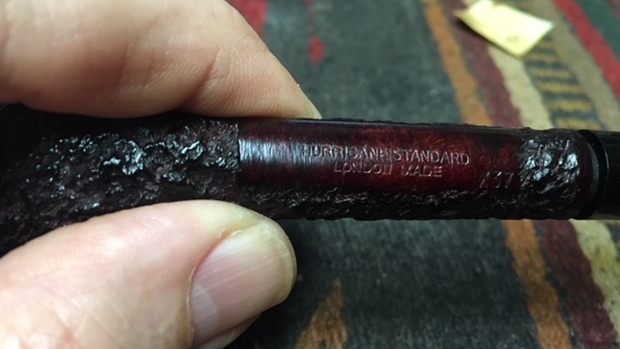
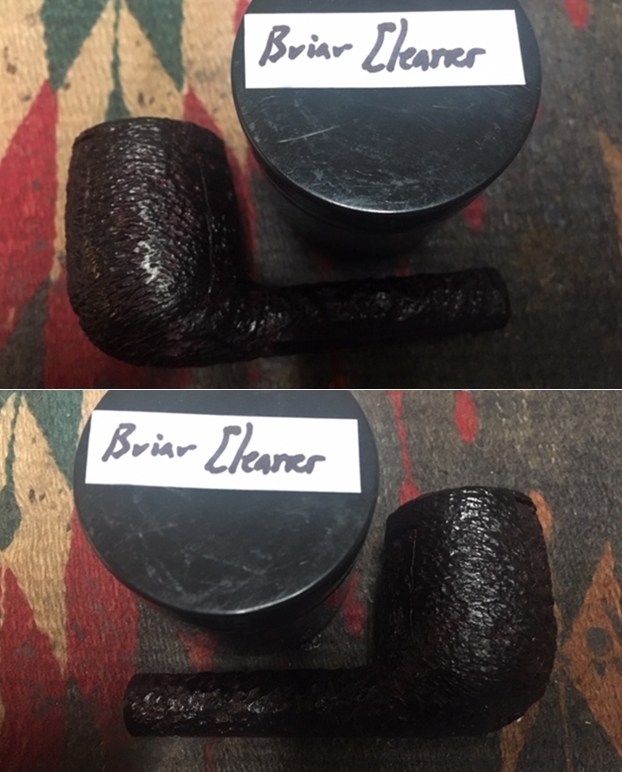
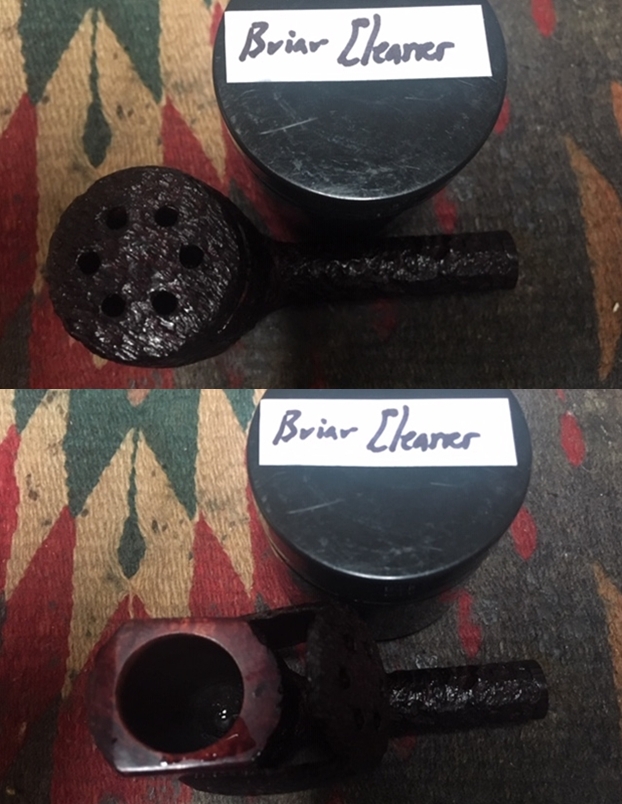
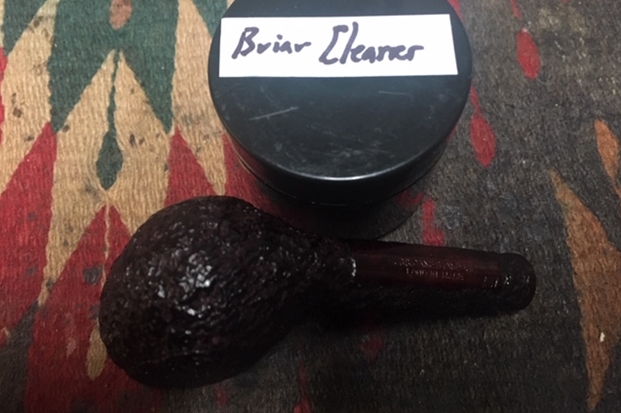
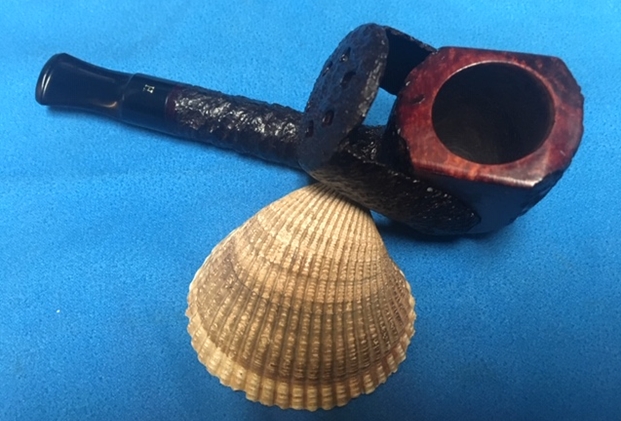
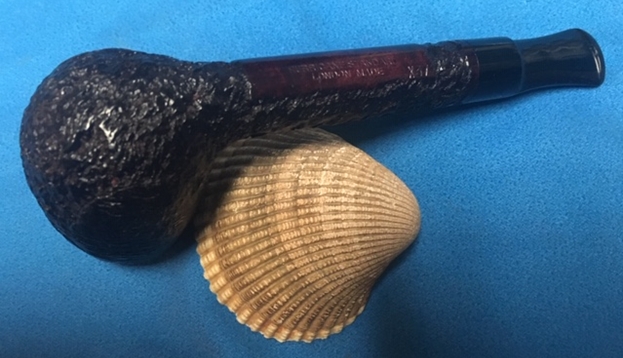
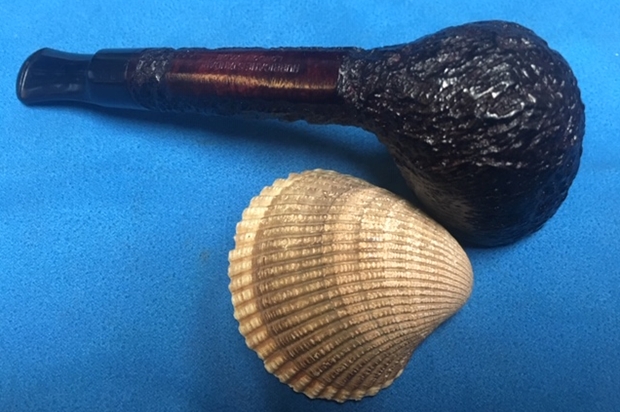
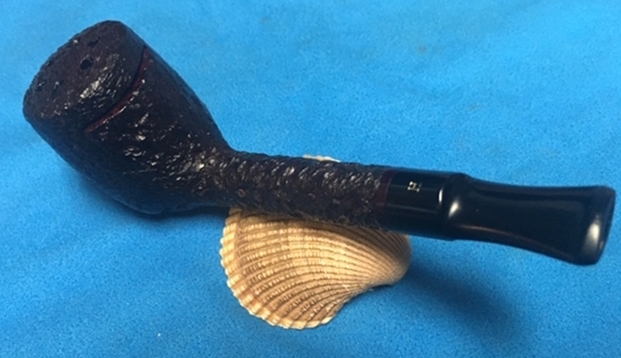
The next pipe on the work table was one that I brought back from Jeff’s on this last trip. This was a pipe that came from one of the pipe lots Jeff picked up through the auctions he frequents. It was barely smoked and not even broken in. It was stamped Hurricane Standard over London Made and the shape number X37 on the underside of the shank. The finish is a combination of what appears to be rustication and sandblasting. It is stained with a dark brown/black stain. The finish was in very good condition other than being dirty. The windcap is made of briar and the finish matches the rest of the pipe. It tips toward the back of the bowl to reveal a smooth rim top and smooth panels under the cap on each side of the bowl. When the cap is opened the rim top is in perfect condition with no damage to the inner or outer edges of the bowl. The bowl had a light cake with tobacco remnants stuck on the sides. The black vulcanite stem had a lot more tooth marks and chatter on both sides than I would have expected considering the condition of the bowl. It did not sit in the shank well and I figured once I had cleaned it that would be solved. There was also an aluminum stinger in the tenon that I would remove and set aside. The pipe came in box marked as noted in the photos. I had a felt pipe sock here so I included that with the pipe. I took the following photos to show what pipe looked like before I started.I took the pipe out of the box and took photos of it before I started my restoration work on it. It looks very good. The briar cap and side panels are very different than the ones I have seen on previous Hurricane pipes that I have worked on. The Lovat shape works well with the pipe. The panels and cap blend in well with the finish around the bowl. It is a very striking looking Lovat that combines a briar wind cap that matches the rest of the bowl. I took some close up photos of the bowl top with the cap closed and open. You can see the debris in the bowl and the dirt on the top of the opened rim top. I also included some close up photos of the stem to show the tooth marks on both sides. The finish looks very good with a little dust and debris in the crevices and valleys of the finish. The stamping on the underside of the shank is clear and readable. It reads Hurricane Standard over London Made followed by the shape number code X37.I looked up the Hurricane Standard pipe on the Pipephil Site to see what I could find out about the maker (http://www.pipephil.eu/logos/en/logo-h4.html). I quote in full the information included in the sidebar of the listing.

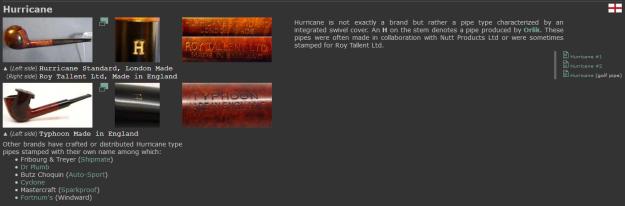
Hurricane is not exactly a brand but rather a pipe type characterized by an integrated swivel cover. An H on the stem denotes a pipe produced by Orlik. These pipes were often made in collaboration with Nutt Products Ltd or were sometimes stamped for Roy Tallent Ltd.

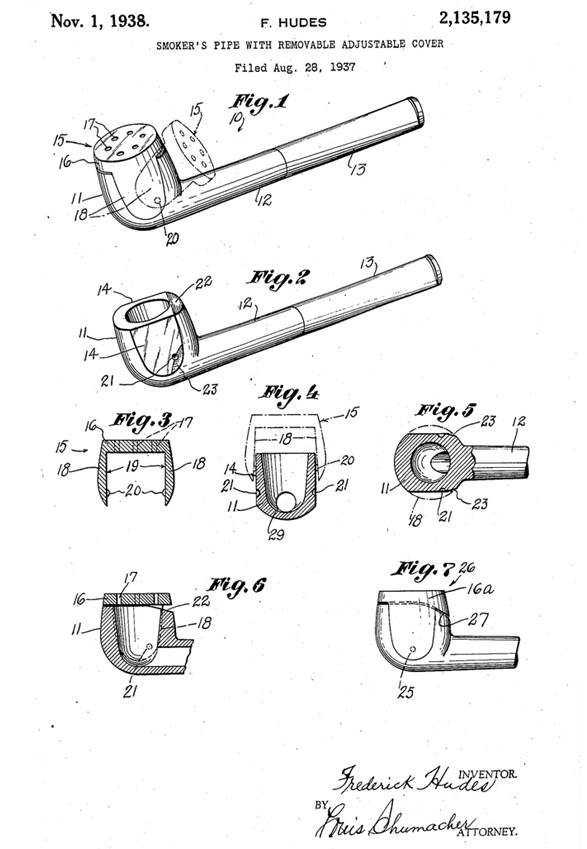
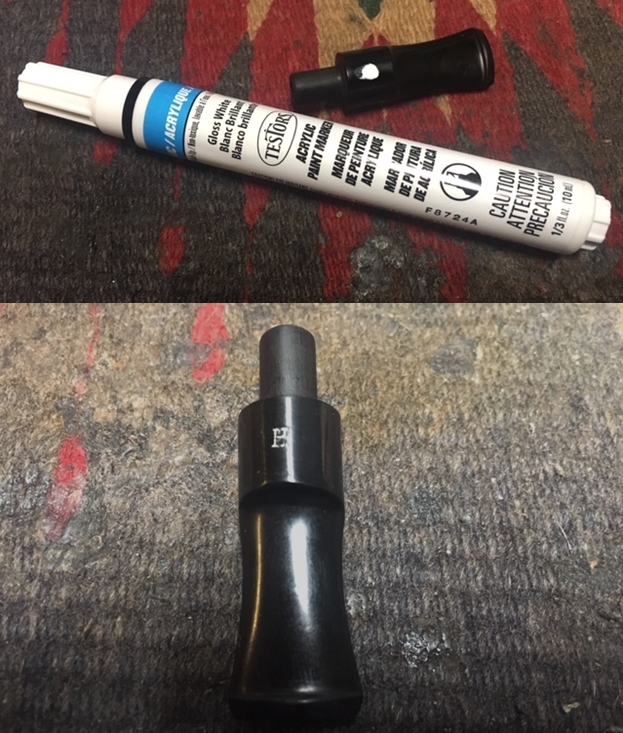
I include a screen capture of the listing from Pipephil as well. Note the various brands that made a Hurricane pipe with the same style or similar style wind cap. Note also that the one I have is made by Roy Tallent Ltd. of Old Bond Street. It bears the same H stamp on the top of the saddle stem as the pipes in the photo below.From that link I did a bit of search for the Fortnum brand. I found a listing for the brand on Pipedia. It said: Fortnum & Mason, the famed London department store in operation since 1707, has among countless other products sold its own line of pipes. One of the most notable was Fortnum’s Windward, a “Hurricane” type pipe with a built in swiveling windcap. The pipe was made following the design of Frederick Hudes, who received a patent for the pipe in the U.S. numbered 2135179 in 1938 (https://pipedia.org/wiki/Fortnum_%26_Mason). I include the patent drawings below.Now that I had a bit of the back story on the Orlik made Roy Tallent Ltd. Hurricane Standard pipe it was time to go to work on it. I brought back a package of Restoration Balm from Mark Hoover from Idaho. He included a sample of a new product that he was experimenting with called Briar Cleaner. It is to be used prior to scrubbing (possibly instead of scrubbing) and to be followed up with the Balm. I decided to give it a try on the rusticated finish of this pipe. I worked it into the finish with my fingertips and scrubbed it off with a soft cloth. It left behind some grit that I rinsed off with some warm water. I buffed the bowl with a microfiber cloth to dry and shine it. The product seemed to work well to lift the dirt and grime from the finish. I am still not sure if it a necessary extra step for me or not but I am working with it on the next few pipes. The photos below show the pipe after cleaning with the product. After cleaning the exterior of the briar with Mark’s new product it was time to clean the internals. I scrubbed out the mortise and the airway in the shank and the stem with pipe cleaners, cotton swabs and isopropyl alcohol. I was surprised to find that the pipe was pretty clean. I was also surprised to see some of the dark stain coming out of the shank. It appears that the pipe may have been dip stained.I tipped the windcap back and cleaned up the walls of the bowl with a Savinelli Fitsall Pipe Knife. I scraped away the remnants of tobacco and the thin bands of cake. I sanded the bowl walls with 220 grit sandpaper wrapped around a piece of dowel. I rubbed Before & After Restoration Balm into the briar and worked it in with my fingertips and a horsehair shoe brush. I let the bowl sit while the Balm did its work on the briar. Once it had been sitting for a few moments I buffed it off with a soft cotton cloth and the shoe brush. The photos show the bowl after the Balm had worked.  I set the bowl aside and worked on the stem. I sanded out the tooth marks with 220 grit sandpaper and started the polishing with 400 grit sandpaper.I polished the stem with micromesh sanding pads – wet sanding with 1500-12000 grit pads. I wiped the stem down after each pad with Obsidian Oil. I interrupted the polishing after the 4000 grit pad and used a Testors White Acrylic Paint pen to touch up the H stamp on the top of the saddle stem. I cleaned off the excess paint and then continued polishing with 6000-12000 grit pads. I rubbed it down with Obsidian Oil after each pad. I finish by polishing it with Before & After Pipe Polish – both Fine and Extra Fine. I wiped it down a final time with Obsidian Oil and set it aside to dry. I put the stem back on the shank and buffed it lightly with Blue Diamond on the buffing wheel. I hand buffed it with a microfiber cloth to raise a shine in the briar. The finish on the briar came alive with the buffing and took on a deep shine. I gave the bowl several coats of Conservators Wax and buffed it with a shoe brush and with a microfiber cloth. The finished pipe is shown in the photos below. It is an interesting little pipe measuring 5 inches in length, 1 7/8 inches in height. The outside diameter of the bowl is 1 1/4 inches and a chamber diameter of 5/8 of an inch. The rustication/sandblast on the bowl shows interesting contrasts between the crevices and the high spots in the finish. It is a beautiful, classic shaped Lovat with a saddle stem. It will be a fun pipe to break in and enjoy. This one is staying with me as it is very different from the other Hurricane pipes that I have restored. Thanks for reading the blog. Enjoy.

Restoring a Beautiful Bertram Billiard with a Dark Stain


Blog by Steve Laug

It you have not read the previous blogs I have posted on this brand give them a read to get some background on the pipes in this lot. If you have not been hit with a box I am sure you have a hard time understanding how overwhelming it feels to look at the 200+ pipes that need to be restored. It is mind boggling for sure – but there is only one way to move ahead – 1 pipe at a time. I could not do it without Jeff’s help doing the clean up on the lot. If I had to do it all by myself it would be more than I handle moving through this many pipes. From his cleaned pipes I get to choose what I want to work on. Doing the work this way we have already cleaned about 70 pipes and I have restored around 38 of them. We are getting there slowly but surely.

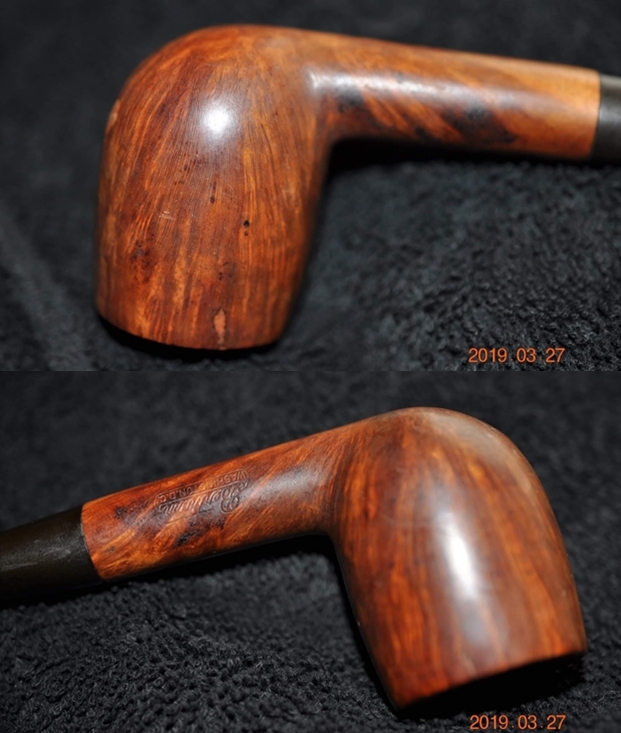
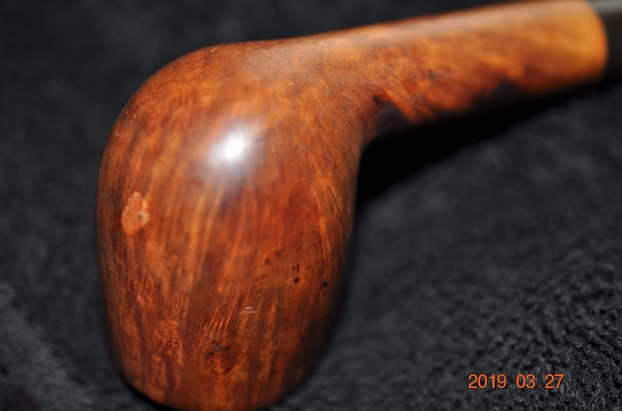
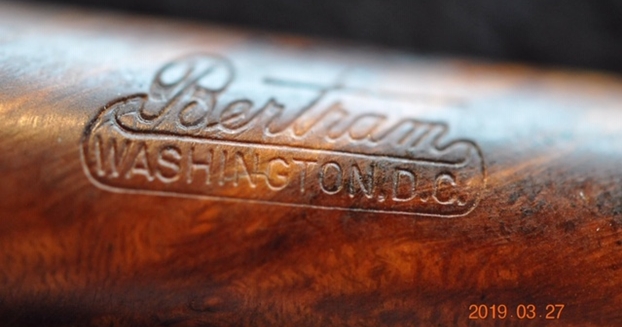
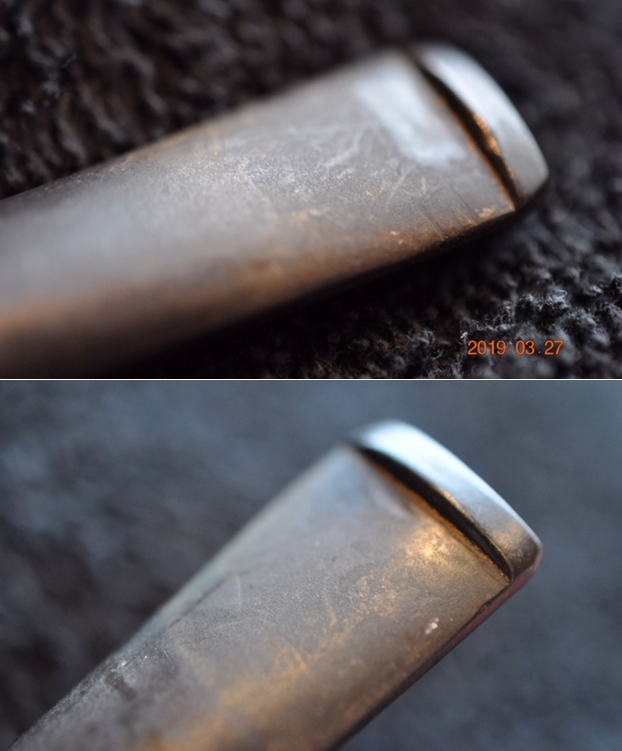
This time I chose a darker coloured Bertram Billiard to work on. It has some amazing grain with a few visible fills on the sides of the bowl. There is no grade number stamped on the pipe but judging from the other ones I have worked on I would say it is probably a grade 30 pipe. The briar has a mix of grains – straight, flame and birdseye. The exterior of the bowl looked really good. There were some fills around the bowl, on both sides and the rim top. The bowl had cake in the chamber and the rim top had some darkening and lava overflow. It was hard to know what the inner edge of the bowl edge of the bowl looked like until the cake and lava were gone. The stem had some oxidation and tooth marks and chatter near the button on both sides. Jeff took some photos of the pipe before he began his cleanup work on it. Jeff took close-up photos of the bowl and rim to capture the condition of the pipe when it arrived. The rim top had a thick coat of lava and the bowl had a thick cake. You can see from the photos why it was hard to tell the condition of the inner edge of the rim. The pictures of the bowl sides and the heel give a clear picture of the grain around the heel and the sides of the bowl. Other than the obvious fills the bowl looks very good. I am looking forward to seeing what is under all of the grime. The fills are visible in the photos below. The next photo captures the stamping on the left side of the shank. You can see the Bertram Washington, D.C. stamp clearly readable.The next two photos show the stem surface. They show the calcification, oxidation and the chatter on both sides near the button. There are tooth marks on the stem near the button. There is some wear on the button edge.With each of the blogs that I have written on the Bertrams that I have worked on I have included the following information. If you have read it in past blogs, you can skip over it. If you have not, I have included the link to Bertram history and information. I would recommend that if you don’t know much about them take some time to read the background. I include a link to the write up on Pipedia (http://pipedia.org/wiki/Bertram). Bertram pipes were based out of Washington DC. They were popular among famous politicians and celebrities of the time. They made many products for them from FDR’s cigarette holders to Joseph Stalin’s favorite pipe. They were considered some of the best America had to offer till they finally closed their doors in the 70s. Bertram graded their pipes by 10s and sometimes with a 5 added (15, 25, 55 etc.), the higher the grade the better. Above 60s are uncommon and 80-90s are quite rare. I have worked on one 120 Grade billiard. I have several blogs that I have written on rebornpipes that give some history and background to Bertram pipes. (https://rebornpipes.com/2015/06/16/an-easy-restoration-of-a-bertram-grade-60-217-poker/).
I have included the following link to give a bit of historical information on the pipe company. It is a well written article that gives a glimpse of the heart of the company. http://www.streetsofwashington.com/2012/01/bertrams-pipe-shop-on-14th-street.html#

From this information I learned that all of these Bertrams were made before the closure of the shop in the 1970s. This Bertram Billiard with stunning grain – only marred by the fills around the bowl sides.This pipe has no Grade stamp on it which I am sure takes into account the fills.

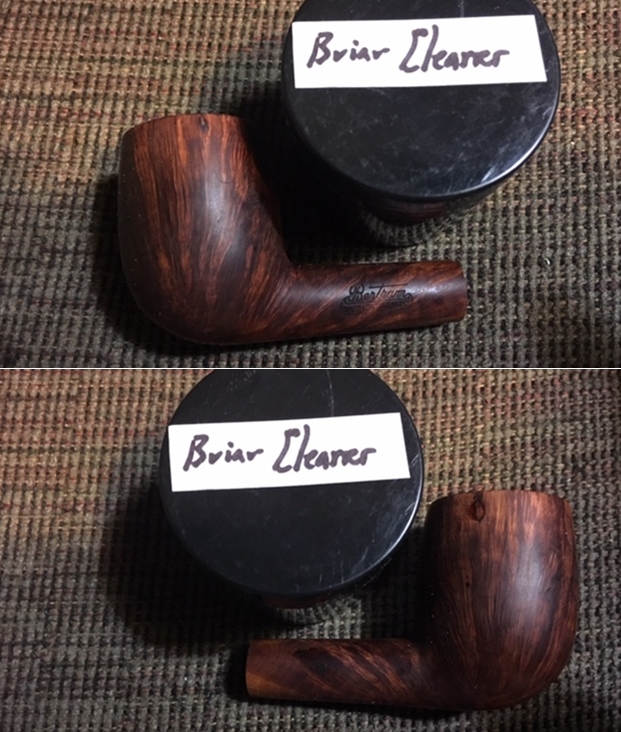
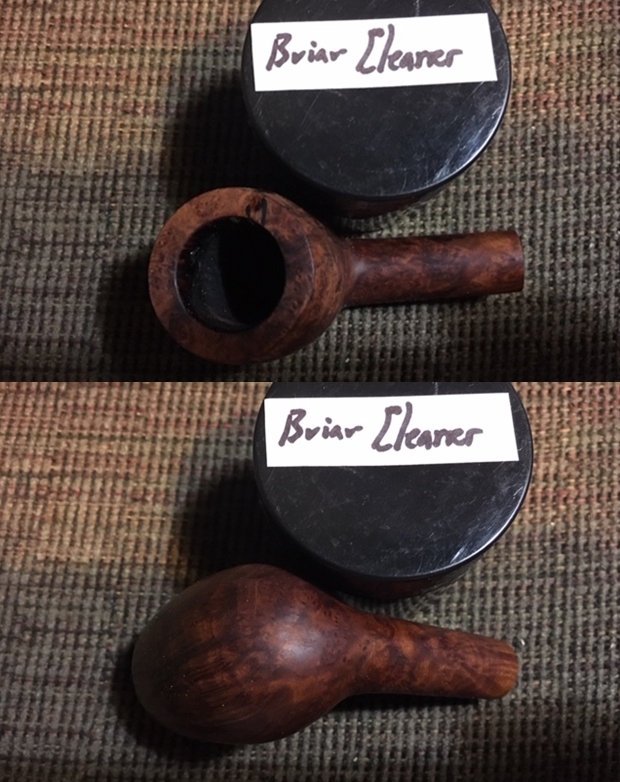
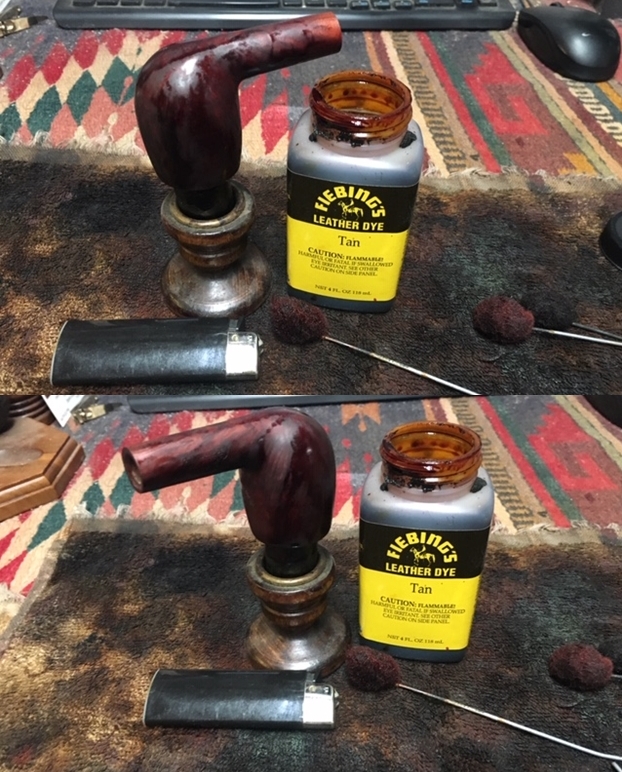
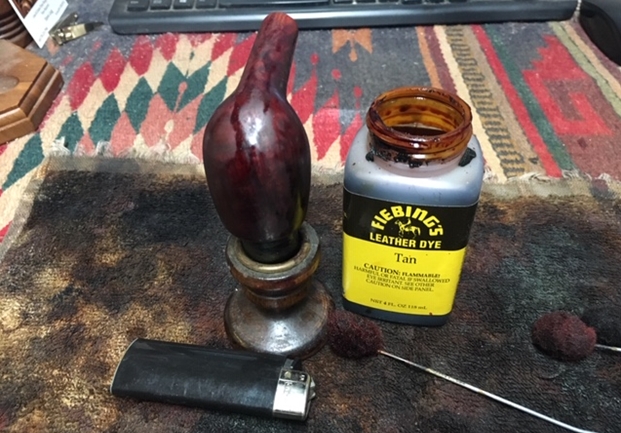
Jeff is methodical in his cleaning regimen and rarely varies the process. He reamed the bowl with a PipNet pipe reamer and followed up with a Savinelli Fitsall pipe knife to remove the cake. He scrubbed out the mortise and the airway in the shank and the stem with alcohol, cotton swabs and pipe cleaners. He scrubbed the exterior of the bowl, rim, shank and stem with a tooth brush and Murphy’s Oil Soap to remove the oils and tars on the rim and the grime on the finish of the bowl. He rinsed it under running water. He dried it off with a soft cloth. He was able to remove lava build up on the rim top and you could see the great condition of the rim top and edges of the bowl. He soaked the stem in Before & After Deoxidizer to remove the oxidation. I took photos of the pipe before I started my work on it. I took a close up photo of the rim top to show the condition of the bowl and rim after Jeff had cleaned up the grime and lava. Without the lava the inward bevel on the rim looked very good with slight darkening at the rear. The inner edge was in great condition. The stem photos show that the light oxidation is gone. The stem is in excellent condition with some light tooth marks and chatter on both sides near the button.I decided to work on the repairs to the fills on the sides and heel of the bowl. I filled them in with clear super glue to smooth out the roughness. Once the repairs had cured I sanded them smooth with 220 grit sandpaper and with 400 grit wet dry sandpaper. It is fascinating to see that the fills follow the pattern of the grain perfectly and once sanded they blended in better with the grain around the bowl. I am still in the process of experimenting with some of Mark Hoover’s new products – this one a Briar Cleaner. I worked it into the surface of the briar to clean out the dirt and grit in the grain. I wiped it down with a clean paper towel to remove the cleaner. I heated the briar and stained it with a tan Fiebings stain. I lit the stain with a lighter to set it in the briar. I repeated the process until the colour was what I wanted. My aim was to blend the fills into the bowl better than they did previously. I set the bowl aside overnight to let the stain coat cure. In the morning I took photos of the bowl before I did further work on it. I wiped the newly stained bowl with alcohol on a cotton pad to make it more transparent. The photos show the bowl at this point in the process. I worked some Before & After Restoration Balm into the finish of the briar with my fingertips to clean, enliven and protect it. I let the balm sit for a little while and then buffed with a cotton cloth to raise the shine. The Restoration Balm really makes the grain stands out beautifully. If you have not tried some why not give it a try. I set the bowl aside and turned my attention to the stem. I sanded out the small tooth marks and chatter next to the button on both sides of the stem with a folded piece of 220 grit sandpaper. I wiped it down with some Obsidian Oil and set it aside to dry. I polished out the sanding scratches with micromesh sanding pads – wetsanding it with 1500-12000 grit pads. I wiped the stem down with Obsidian Oil after each pad. I polished it with Before & After Pipe Polish – both Fine and Extra Fine and gave it a final coat and set it aside to dry. I gave it one more coat of Obsidian Oil and let it dry. Jeff and I are gradually working through this 200+ lot dealing with each of the challenges they present one at a time. This one is another Bertram’s take on a classic Billiard shape. I put the stem and bowl back together and buffed the pipe with Blue Diamond on the buffing wheel. I polished the briar and the minute scratches still in the vulcanite of the stem until there was a rich shine. For a non-graded Bertram this pipe is quite stunning. The finish really has some interesting grain on a proportionally well carved pipe. Once I buffed the pipe the briar came alive and the mixture of grain popped with polishing. The black vulcanite stem had a rich glow. The finished pipe is well shaped Billiard. This Bertram feels great in the hand sits right in the mouth. Have a look at the finished pipe in the photos below. The dimensions are Length: 6 inches, Height: 2 inches, Outside diameter of the bowl: 1 1/4 inches, Chamber diameter: 3/4 of an inch. Maybe this shape speaks to you and you want to add it to your collection. If you are interested let me know as I will be adding it to the store soon. Thanks for walking through the restoration with me as it was a pleasure to work on.

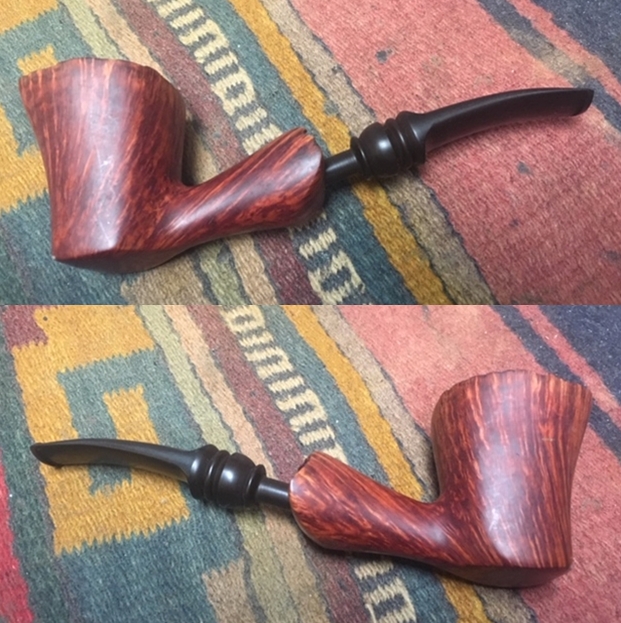
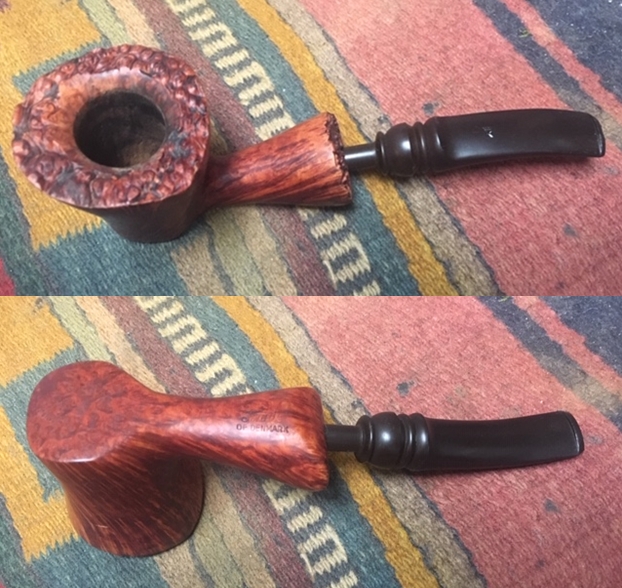
New Life for a Broken Nording Danmark F Freehand


Blog by Steve Laug

In one of the bags of parts Jeff purchased there was a bowl and there was a piece of shank with a stem in place. We took all the parts out of the bag and were able to see that these two parts actually went together. The shank piece is stamped on the underside as follows: F over NORDING over DANMARK near the horn extension/shank union. The bowl shape follows the grain of the block of briar very well. The break in the shank was not a clean one – it was a mess. The inside of the airway was plugged with lava and tar. Someone had tried to repair the two parts by gluing them together with epoxy. As expected the repair did not hold. Jeff took photos of the pieces to show the extent of the damage to the pipe – it really was a stunning pipe originally. The shank was thin but the briar was thick enough. The nice piece of striated horn that made a shank extension was in excellent condition. There was a steel tube in the end of the horn where the stem sat in place to protect it from splitting when the stem was repeatedly inserted. The turned fancy stem was in good condition with some tooth marks on both sides but otherwise it was undamaged. There was a thick cake in the bowl and a heavy overflow of lava on the rim top.The next series of photos shows the two parts of the shank and the thick buildup of tars and oils in the shank interior and the broken briar around the shank. The next photos show the rim top and the thick cake in the bowl and the lava build up on the plateau top. The valleys and high spots are almost filled smooth with lava.Jeff also took photos of the sides and heel of the bowl to show the grain on the pipe. The finish is very dirty but the grain is quite beautiful. There are nicks and dents in the briar.The stamping on the shank portion of the broken pipe is readable but worn. The joint between the shank and the horn extension is very good – solid. The metal tube in the shank end provided the internal strength to hold this joint tight. It is interesting to note that the shank broke just ahead of the tube inside the shank. The stem appeared to be in good condition. The button was worn with tooth marks on the topside. There was some oxidation and wear on the surface near the button.Jeff reamed the bowl and cleaned up the plateau top with Murphy’s Oil Soap and a tooth brush. He scrubbed it until it was clean. He cleaned out the inside of the two parts of the shank with pipe cleaners, cotton swabs and alcohol until the airway was clear. He cleaned up the broken ends of the shank with a tooth brush and the soap. He rinsed off the bowl and shank and the airway with warm water. He dried it off and set it aside. He cleaned up the stem and let it soak in a bath of Before & After stem deoxidizer. He took it out of the bath and rinsed it off and cleaned out the airway with pipe cleaners and alcohol. When I arrived he showed me the parts. They were incredibly clean. I was excited to get started on the repair of the broken shank… so much so that I forgot to take pictures of the cleaned up parts of the pipe.

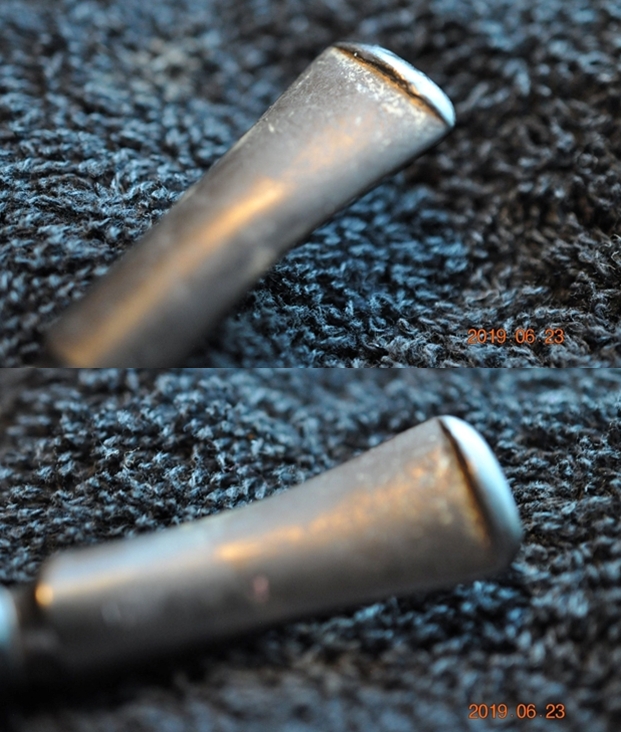
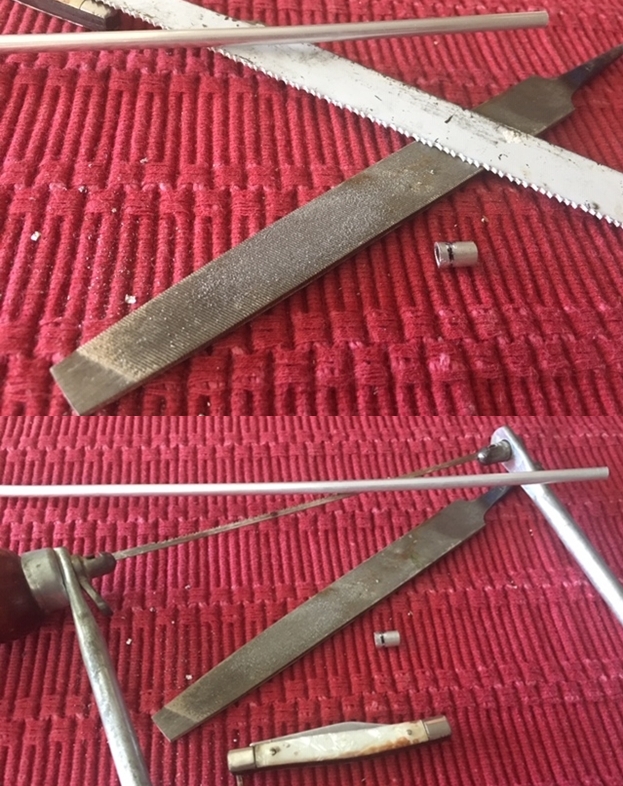
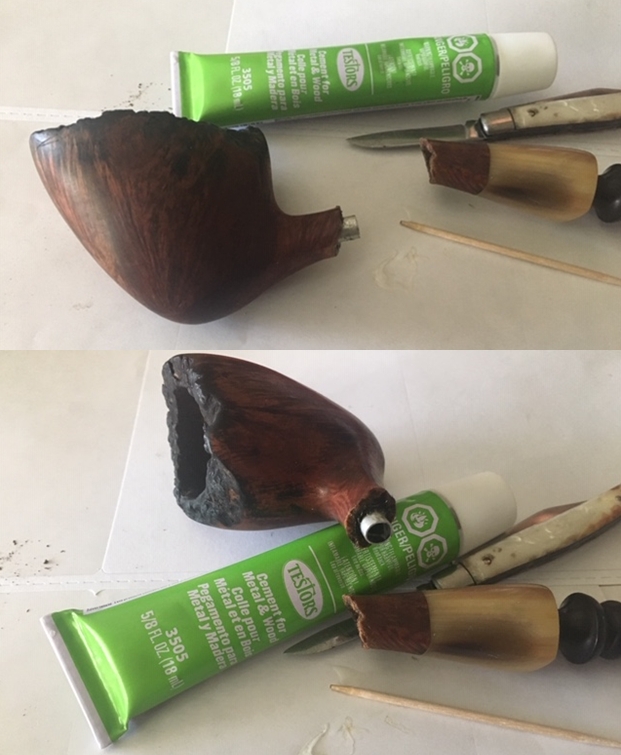
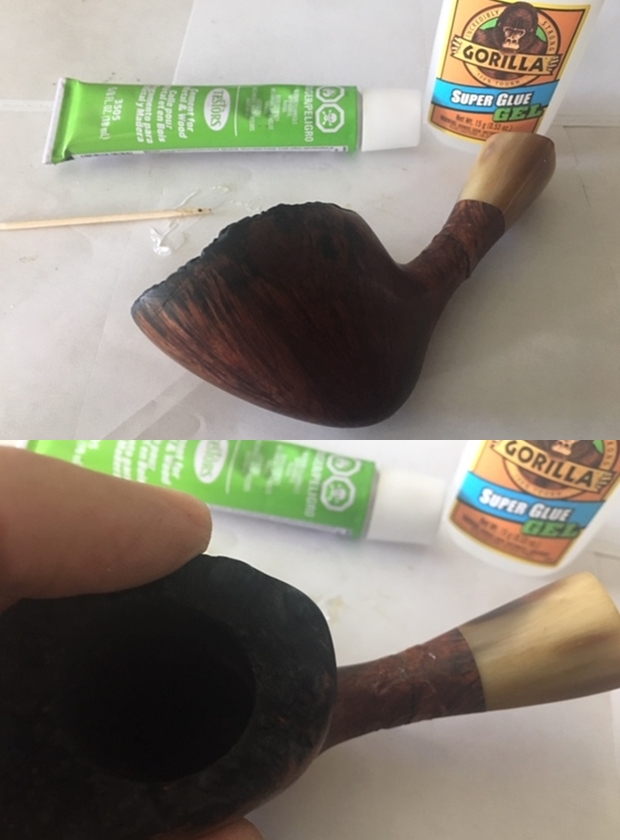
I picked up some tubing at Hobby Lobby and cut off a piece that was close to the length I needed to join the two parts of the shank together. I used a Sawsall blade and a hacksaw to cut a length from the tube. I used a metal rasp to flatten the end of the piece of tube and shorten it enough to fit into the two parts of the shank. I used the small blade on a pocket knife to open up the airway in the bowl end of the shank and to flare the end of the tube in the stem end of the shank.I used the hacksaw to rough up the surface of the tube so the glue would have a surface to bond to between the briar and the tube. I used some Testor’s Metal and Wood Glue to insert the tube into the bowl end of the shank. I used a tooth pick to press the glue into the area around the tube. I filled in the remainder of the gap with clear Gorilla glue.I used the tooth pick to put Gorilla Glue on the open ends of each piece of the shank. I coated the tube with some glue as well. I aligned the two parts and pressed the pieces together. I held them tightly in place until the glue set and the two parts were bound together. I filled in the repaired area with Gorilla Glue to smooth out the repair. I set the bowl aside to let the repair cure. Once the glue had cured and the shank was solid, I smoothed out the repair a medium and fine sanding block. I sanded the repaired area and glue with 1500 and 1800 grit micromesh sanding pads to remove the excess glue. I smoothed out the finish. I decided to use Mark Hoover’s Briar Cleaner at this point in the process to clean off the briar. It works to remove the dust and debris in the briar and leaving behind a clean piece of briar. I polished the bowl and horn shank extension with micromesh sanding pads – wetsanding with 1500-12000 grit sanding pads. I took photos of the pipe at this point in the process. It is a nice looking pipe for sure. At this point in the process I brought the pipe back to Vancouver. I sanded the repaired area with a folded piece of 220 grit sandpaper to blend it into the surrounding briar. I wanted to remove some of the darkened area around the repair so that I could polish it further and restain the shank to match the rest of the pipe.I polished the repaired area with micromesh sanding pads – wet sanding with 1500-2400 grit pads to polish out the sanding scratches. I polished it further with 3200-12000 grit pads. Once it was smooth I stained it with a Cherry stain pen to blend it into the rest of the pipe. The photos tell the story of the repair. I rubbed the bowl and shank down with Before & After Restoration Balm. I worked it into the briar and set it aside to dry. Once the Balm had been doing its work for a while I buffed it down with a microfiber cloth. The Balm cleaned, protected and enlivened the briar. The repaired shank was looking very good at this point in the process. I cleaned the pipe stem with a new version of Mark Hoover’s Before & After Restoration Balm that he had designed to work well on both the briar bowls and the vulcanite stems. I rubbed it into the surface of the stem with my fingertips and buffed it off with a microfibre cloth. I polished the stem with microfibre pads – wetsanding with 1500-12000 grit pads. I wiped it off with Obsidian Oil after each sanding pad. After the 12000 grit pad I polished it with Before & After Fine Polish and gave it a final coat of Obsidian Oil. I put the stem back on the pipe and took the pipe to the buffer. I carefully buffed the bowl and stem with Blue Diamond to polish the briar and the vulcanite. I wanted to get a shine but not risk damaging the pipe by having it fly off the wheel. Blue Diamond does a great job on the smaller scratches that remain in both briar and vulcanite. I gave the bowl and the stem several coats of carnauba wax and buffed the pipe with a clean buffing pad to raise the shine. I hand buffed it with a microfiber cloth to deepen the shine. The pipe polished up really nicely with a great contrasting stain look to the briar. The finished pipe is shown in the photos below. This is a beautiful Eric Nording F Freehand – the fancy turned stem and the horn shank extension give the pipe a great look. The polished black vulcanite stem looks really good with the rich browns standing out in the grain and the blacks of the plateau rim. The dimensions of the pipe are Length: 7 inches, Height: 2 inches, Outside diameter of the bowl: 1 ½ inches wide and 2 inches long, Chamber diameter: 7/8 of an inch. This pipe is truly a rebornpipe. The shank repair and inside tube that binds it together should last a long time. Thanks for walking with me through the repair and the restoration of this beauty!

Restoring a Beautiful Bertram Tiger Grain Bulldog 40


Blog by Steve Laug

It you have not read the previous blogs I have posted on this brand give them a read to get some background on the pipes in this lot. If you have not been hit with a box I am sure you have a hard time understanding how overwhelming it feels to look at the 200+ pipes that need to be restored. It is mind boggling for sure – but there is only one way to move ahead – 1 pipe at a time. I could not do it without Jeff’s help doing the clean up on the lot. If I had to do it all by myself it would be more than I handle moving through this many pipes. From his cleaned pipes I get to choose what I want to work on. Doing the work this way we have already cleaned about 70 pipes and I have restored around 40 of them. We are getting there slowly but surely.

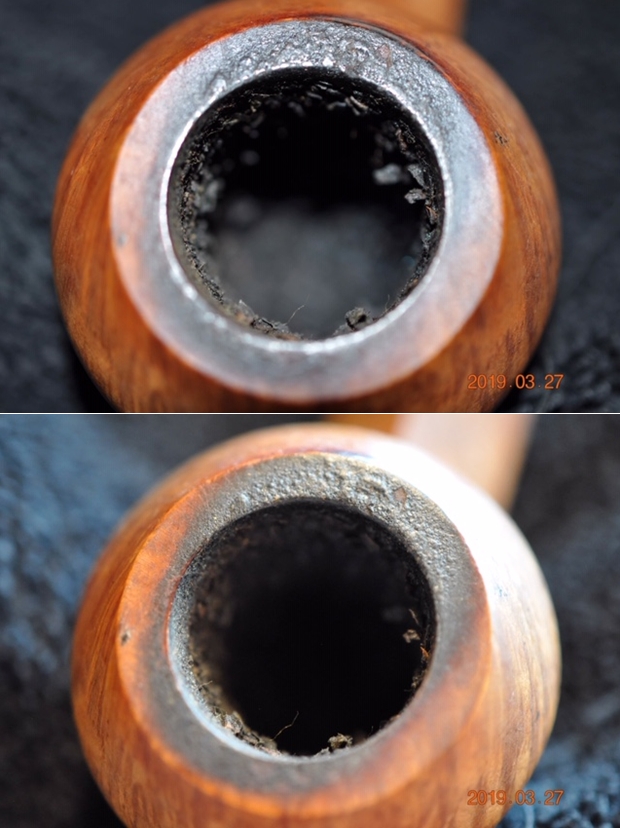
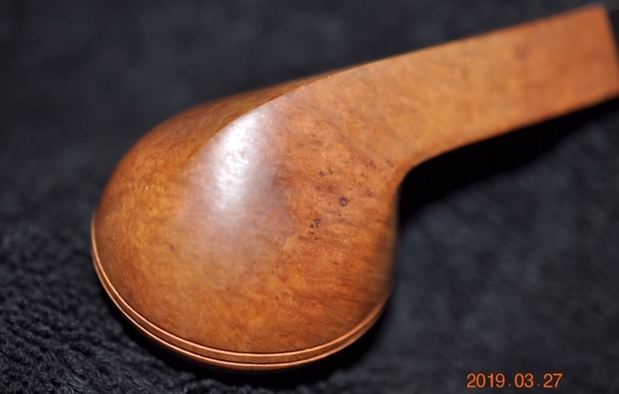
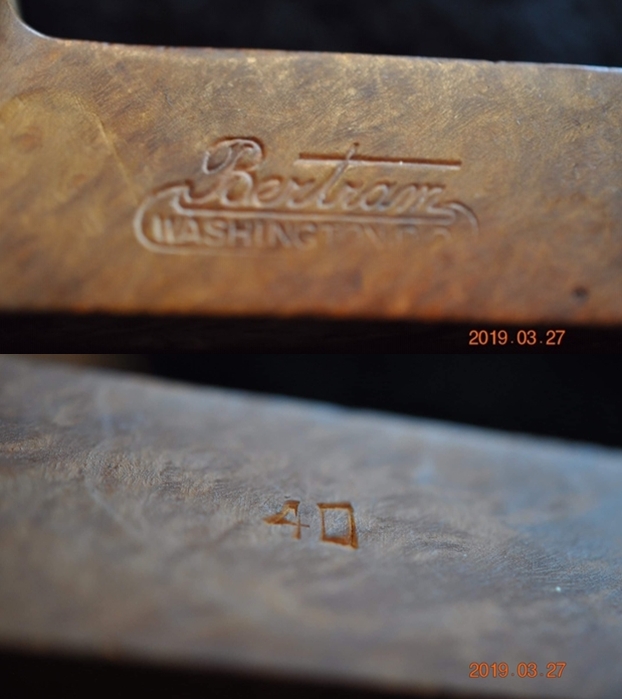
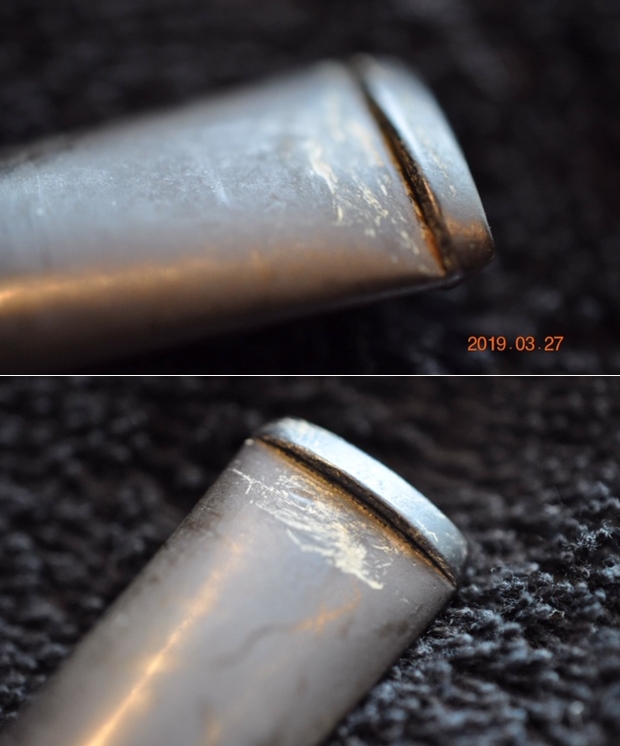
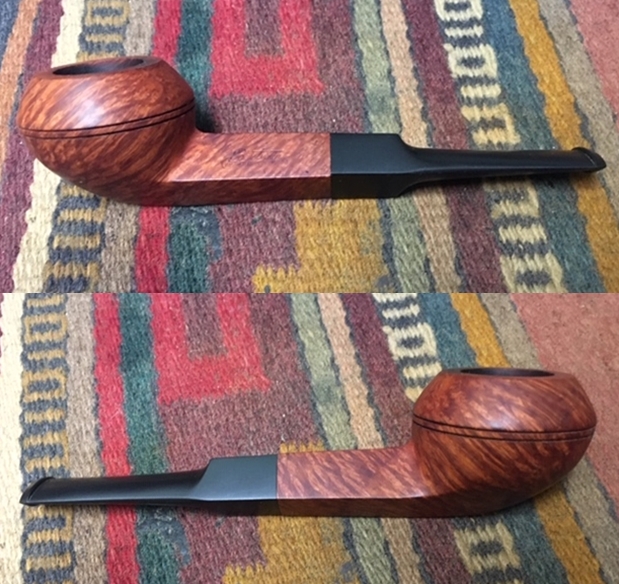
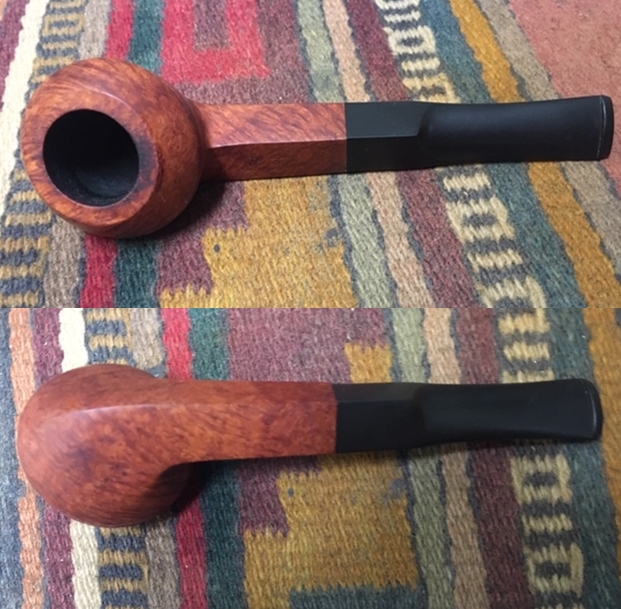
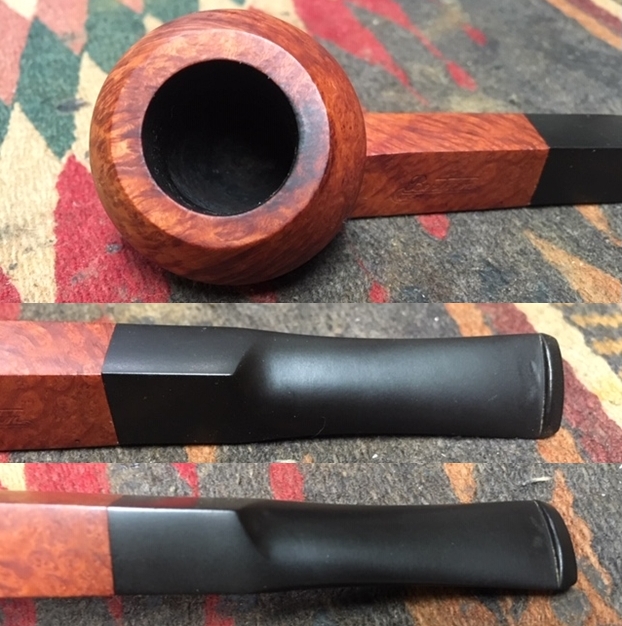
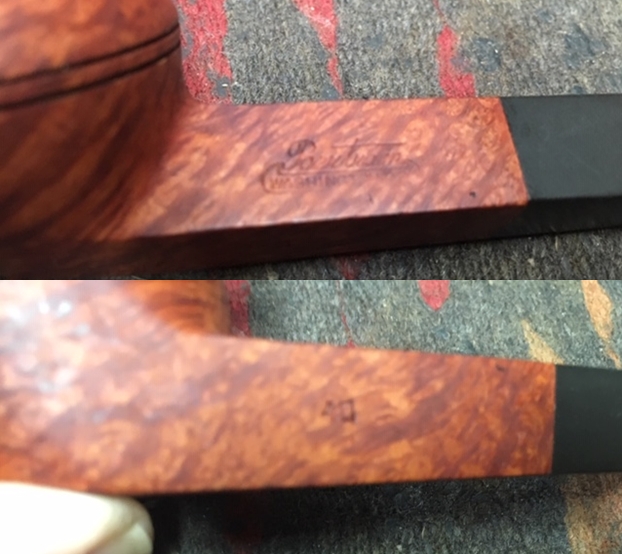
This time I chose another Bertram Bulldog to work on. It has a diamond shank and a diamond saddle vulcanite stem. It has grade 40 number stamped on the left underside of the shank. The briar has some really interesting grain – almost tiger grain. It is beautiful. The exterior of the bowl looked good. Unlike the previous Bulldog this one either has no fills or they are well place and hidden. The bowl had a thick cake in the chamber with shards of tobacco stuck to the walls. The rim top had some darkening all around the bowl and thick lava overflow on the back top. It was hard to know what the inner edge of the bowl edge of the bowl looked like until the cake and lava were gone. The stem had some oxidation and tooth marks and chatter near the button on both sides. Jeff took some photos of the pipe before he began his cleanup work on it. Jeff took close-up photos of the bowl and rim to capture the condition of the pipe when it arrived. The rim top had a thick coat of lava and the bowl had a thick cake. You can see from the photos why it was hard to tell the condition of the inner edge of the rim.The picture of the bowl sides and the heel give a clear picture of the grain around the heel and the sides of the bowl. The bowl looks very good – maybe a small fill on the bottom right side of the bowl but cleaning will tell for sure. I am looking forward to seeing what is under all of the grime. The grain looks very interesting in these pictures and should look amazing when cleaned and polished.The next photos capture the stamping on the left side of the shank. You can see the Bertram Washington, D.C. stamp on the upper left side of the diamond shank and the grade 40 stamp on the left underside of the shank.The next two photos show the stem surface. They show the calcification, oxidation and the chatter on both sides near the button. There are light tooth marks on the stem near the button. There is some wear on the button edge.With each of the blogs that I have written on the Bertrams that I have worked on I have included the following information. If you have read it in past blogs, you can skip over it. If you have not, I have included the link to Bertram history and information. I would recommend that if you don’t know much about them take some time to read the background. I include a link to the write up on Pipedia (http://pipedia.org/wiki/Bertram). Bertram pipes were based out of Washington DC. They were popular among famous politicians and celebrities of the time. They made many products for them from FDR’s cigarette holders to Joseph Stalin’s favorite pipe. They were considered some of the best America had to offer till they finally closed their doors in the 70s. Bertram graded their pipes by 10s and sometimes with a 5 added (15, 25, 55 etc.), the higher the grade the better. Above 60s are uncommon and 80-90s are quite rare. I have worked on one 120 Grade billiard. I have several blogs that I have written on rebornpipes that give some history and background to Bertram pipes. (https://rebornpipes.com/2015/06/16/an-easy-restoration-of-a-bertram-grade-60-217-poker/).
I have included the following link to give a bit of historical information on the pipe company. It is a well written article that gives a glimpse of the heart of the company. http://www.streetsofwashington.com/2012/01/bertrams-pipe-shop-on-14th-street.html#

From this information I learned that all of these Bertrams were made before the closure of the shop in the 1970s. This Bertram Bulldog is the first of this squat Bulldog style that I have worked on. This pipe has a grade 40 which I think is a reflection on the beautiful grain.

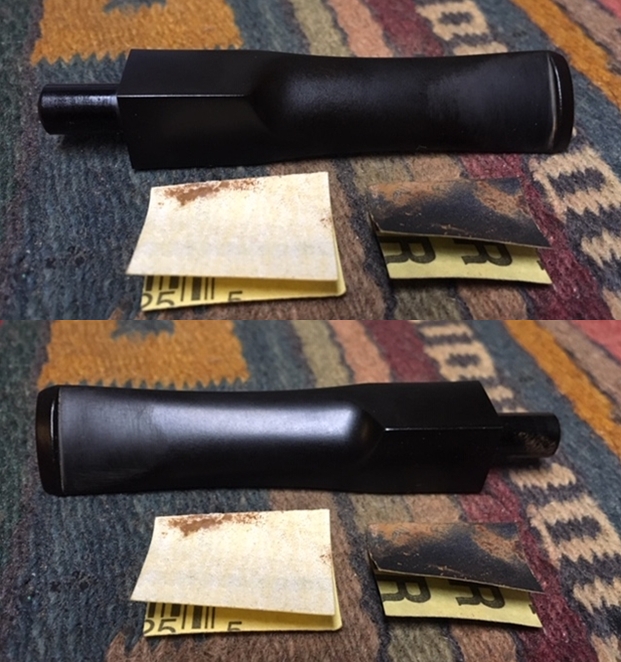
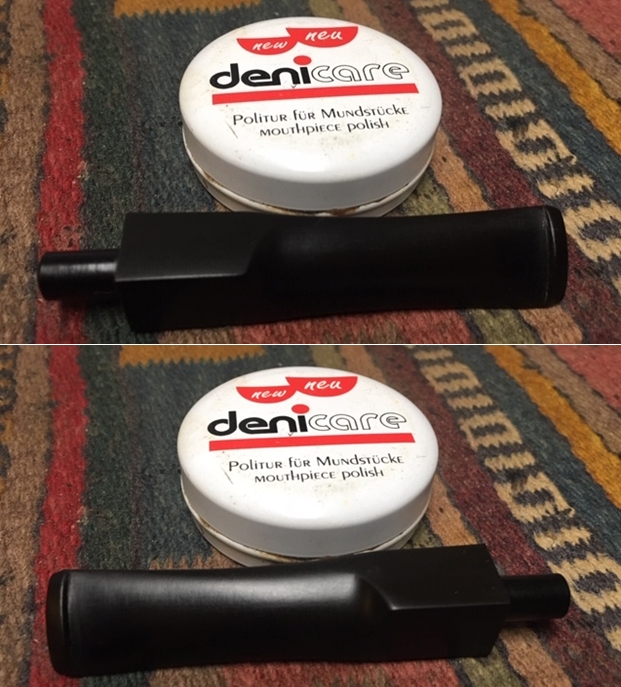
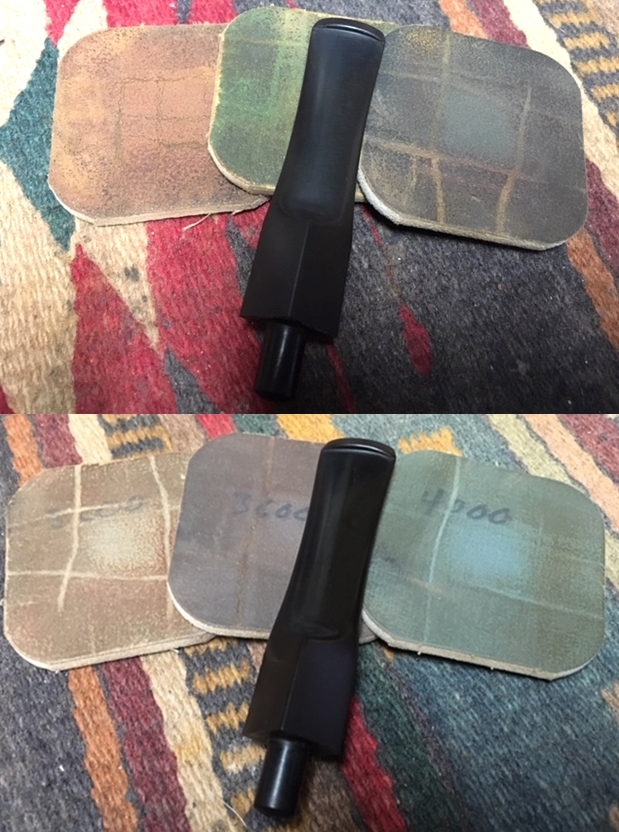
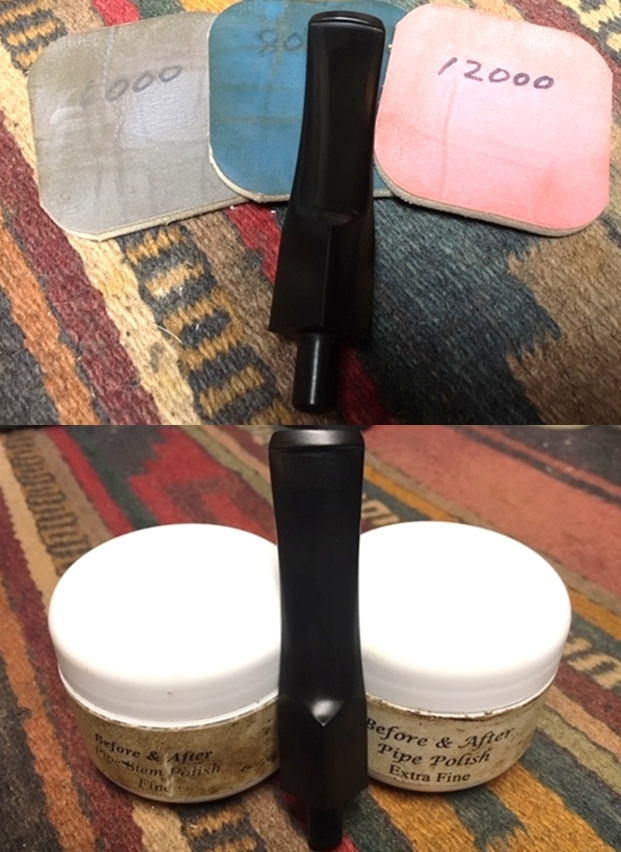
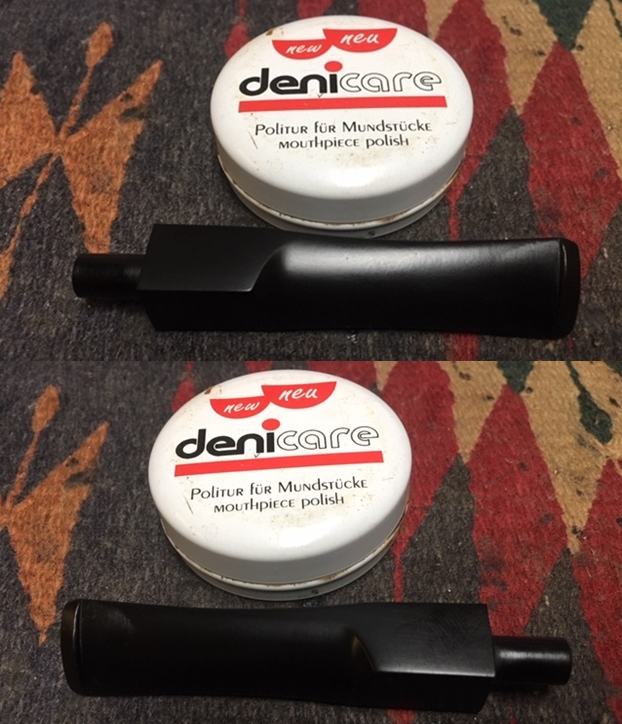
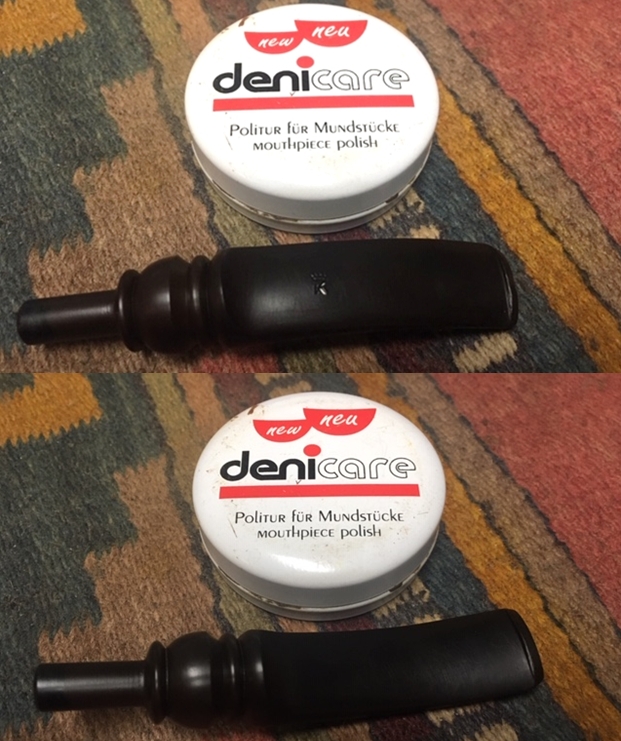
Jeff is methodical in his cleaning regimen and rarely varies the process. He reamed the bowl with a PipNet pipe reamer and followed up with a Savinelli Fitsall pipe knife to remove the cake. He scrubbed out the mortise and the airway in the shank and the stem with alcohol, cotton swabs and pipe cleaners. He scrubbed the exterior of the bowl, rim, shank and stem with a tooth brush and Murphy’s Oil Soap to remove the oils and tars on the rim and the grime on the finish of the bowl. He rinsed it under running water. He dried it off with a soft cloth. He was able to remove lava build up on the rim top and you could see the great condition of the beveled rim top and edges of the bowl. He soaked the stem in Before & After Deoxidizer to remove the oxidation. I took photos of the pipe before I started my work on it. I took a close up photo of the rim top to show the condition of the bowl and rim after Jeff had cleaned up the grime and lava. Without the lava the rim looked very good with some darkening at the rear. The inner edge was a little rough on the back edge; otherwise it was in great condition. The stem photos show that the light oxidation is gone. The stem is in excellent condition with some light tooth marks and chatter on both sides near the button.I took photos of the stamping to show how it looked after the cleanup. The Bertram Washington DC is clear and readable though a bit faded on the right side of the stamp. The Grade 40 stamp is deep and clear.I cleaned up the darkening on the rim and smoothed out the damage on the back inner edge with a folded piece of 220 grit sandpaper. I cleaned up the sanding marks with 400 grit wet dry sandpaper. The first photo shows the rim when I started. The second shows the clean up of the inner edge and the darkening on the rim top. The third photo shows the finished rim top. I polished the bowl and rim top with micromesh sanding pads – wetsanding it with 1500-12000 grit pads. I wiped the bowl down with a damp cloth after each pad to remove the sanding debris. The grain began to stand out. After the final sanding pad I hand buffed it with a cotton cloth to raise a shine. I worked some Before & After Restoration Balm into the finish of the briar with my fingertips to clean, enliven and protect it. I let the balm sit for a little while and then buffed with a cotton cloth to raise the shine. The Restoration Balm really makes the grain stands out beautifully. The rich tiger grain really pops on this beauty! If you have not tried some why not give it a try. I sanded out the small tooth marks and chatter next to the button on both sides of the stem with a folded piece of 220 grit sandpaper. I sanded the stem with 400 grit wet dry sandpaper to remove the scratches. I polished it with Denicare Mouthpiece Polish to scrub out the scratches. I wiped it down with some Obsidian Oil and set it aside to dry. I polished out the sanding scratches with micromesh sanding pads – wetsanding it with 1500-12000 grit pads. I wiped the stem down with Obsidian Oil after each pad. I polished it with Before & After Pipe Polish – both Fine and Extra Fine and gave it a final coat and set it aside to dry. Jeff and I are gradually working through this 200+ lot dealing with each of the challenges they present one at a time. This one is Bertram’s take on a classic diamond shank straight Bulldog shape. It has probably the most stunning grain of any of the Bertrams I have worked on. I would call it a tiger grain. I put the stem and bowl back together and buffed the pipe with Blue Diamond on the buffing wheel. I polished the briar and the minute scratches still in the vulcanite of the stem until there was a rich shine. For a Bertram Grade 40 this pipe is quite stunning. I cannot find any sign of visible fills. It has a saddle stem on a diamond shank. The finish really has some interesting grain on a proportionally well carved pipe. Once I buffed the pipe the briar came alive and the swirling tiger grain popped with polishing. The black vulcanite stem had a rich glow. The finished pipe is well shaped Bulldog. This is another Bertram that feels great in the hand sits right in the mouth. Have a look at the finished pipe in the photos below. The dimensions are Length: 5 3/4 inches, Height: 1 1/2 inches, Outside diameter of the bowl: 1 1/2 inches, Chamber diameter: 3/4 of an inch. This is one that will stay with me for a while. The grain is captivating. Thanks for walking through the restoration with me as it was a pleasure to work on.

Restoring a Beautiful Bertram Long Shank Bulldog 20


Blog by Steve Laug

It you have not read the previous blogs I have posted on this brand give them a read to get some background on the pipes in this lot. If you have not been hit with a box I am sure you have a hard time understanding how overwhelming it feels to look at the 200+ pipes that need to be restored. It is mind boggling for sure – but there is only one way to move ahead – 1 pipe at a time. I could not do it without Jeff’s help doing the clean up on the lot. If I had to do it all by myself it would be more than I handle moving through this many pipes. From his cleaned pipes I get to choose what I want to work on. Doing the work this way we have already cleaned about 70 pipes and I have restored around 38 of them. We are getting there slowly but surely.

This time I chose a Bertram Bulldog to work on. It has a long, diamond shank and a diamond saddle vulcanite stem. It has grade 20 number stamped on the left underside of the shank. The briar has a mix of grains – straight, flame and birdseye. The exterior of the bowl looked really good. There was on large fill on the left underside of the shank near the bowl/shank junction that was chipped and rough. The bowl had cake in the chamber and the rim top had some darkening and lava overflow. It was hard to know what the inner edge of the bowl edge of the bowl looked like until the cake and lava were gone. The stem had some oxidation and tooth marks and chatter near the button on both sides. Jeff took some photos of the pipe before he began his cleanup Jeff took close-up photos of the bowl and rim to capture the condition of the pipe when it arrived. The rim top had a thick coat of lava and the bowl had a thick cake. You can see from the photos why it was hard to tell the condition of the inner edge of the rim.The pictures of the bowl sides and the heel give a clear picture of the grain around the heel and the sides of the bowl. Other than the one obvious large fill the bowl looks very good. I am looking forward to seeing what is under all of the grime. The large fill /flaw is visible in the second photo below. I have circled it in red so it easy to identify. The next photos capture the stamping on the left side of the shank. You can see the Bertram Washington, D.C. stamp on the upper left side of the diamond shank and the grade 20 stamp on the left underside of the shank. The photo below captures the nature of the flaw and damaged fill that I had noted above with the red circle. It is on the left underside of the diamond shank.The next two photos show the stem surface. They show the calcification, oxidation and the chatter on both sides near the button. There are light tooth marks on the stem near the button. There is some wear on the button edge.
With each of the blogs that I have written on the Bertrams that I have worked on I have included the following information. If you have read it in past blogs, you can skip over it. If you have not, I have included the link to Bertram history and information. I would recommend that if you don’t know much about them take some time to read the background. I include a link to the write up on Pipedia (http://pipedia.org/wiki/Bertram). Bertram pipes were based out of Washington DC. They were popular among famous politicians and celebrities of the time. They made many products for them from FDR’s cigarette holders to Joseph Stalin’s favorite pipe. They were considered some of the best America had to offer till they finally closed their doors in the 70s. Bertram graded their pipes by 10s and sometimes with a 5 added (15, 25, 55 etc.), the higher the grade the better. Above 60s are uncommon and 80-90s are quite rare. I have worked on one 120 Grade billiard. I have several blogs that I have written on rebornpipes that give some history and background to Bertram pipes. (https://rebornpipes.com/2015/06/16/an-easy-restoration-of-a-bertram-grade-60-217-poker/).

I have included the following link to give a bit of historical information on the pipe company. It is a well written article that gives a glimpse of the heart of the company. http://www.streetsofwashington.com/2012/01/bertrams-pipe-shop-on-14th-street.html#

From this information I learned that all of these Bertrams were made before the closure of the shop in the 1970s. This Bertram Bulldog with a long shank is the first of this style that I have worked on. This pipe has a grade 20 which I am sure takes into account the large fill that is present on the shank.

Jeff is methodical in his cleaning regimen and rarely varies the process. He reamed the bowl with a PipNet pipe reamer and followed up with a Savinelli Fitsall pipe knife to remove the cake. He scrubbed out the mortise and the airway in the shank and the stem with alcohol, cotton swabs and pipe cleaners. He scrubbed the exterior of the bowl, rim, shank and stem with a tooth brush and Murphy’s Oil Soap to remove the oils and tars on the rim and the grime on the finish of the bowl. He rinsed it under running water. He dried it off with a soft cloth. He was able to remove lava build up on the rim top and you could see the great condition of the beveled rim top and edges of the bowl. He soaked the stem in Before & After Deoxidizer to remove the oxidation. I took photos of the pipe before I started my work on it. I took a close up photo of the rim top to show the condition of the bowl and rim after Jeff had cleaned up the grime and lava. Without the lava the inward bevel on the rim looked very good with slight darkening at the rear. The inner edge was in great condition. The stem photos show that the light oxidation is gone. The stem is in excellent condition with some light tooth marks and chatter on both sides near the button.I took photos of the stamping to show how it looked after the cleanup. The Bertram Washington, DC is clear and readable as is the Grade stamp 20.The damaged fill/flaw on the underside of the diamond shank was the only significant issue with the pipe. I wiped it down with alcohol on a cotton swab then filled it in with clear super glue. Once the repair had cured I sanded it smooth with 220 grit sandpaper and with 400 grit wet dry sandpaper. It is fascinating to see that the fill or flaw follows the pattern of the grain perfectly and once it was sanded it blended in well with the grain on that portion of the bowl. I cleaned up the darkening on the rim and smoothed out the damage on the back inner edge with a folded piece of 220 grit sandpaper. I cleaned up the sanding marks with 400 grit wet dry sandpaper.I polished the bowl and rim top with micromesh sanding pads – wetsanding it with 1500-12000 grit pads. I wiped the bowl down with a damp cloth after each pad to remove the sanding debris. The grain began to stand out. After the final sanding pad I hand buffed it with a cotton cloth to raise a shine. I worked some Before & After Restoration Balm into the finish of the briar with my fingertips to clean, enliven and protect it. I let the balm sit for a little while and then buffed with a cotton cloth to raise the shine. The Restoration Balm really makes the grain stands out beautifully. If you have not tried some why not give it a try. I sanded out the small tooth marks and chatter next to the button on both sides of the stem with a folded piece of 220 grit sandpaper. I sanded the stem with 400 grit wet dry sandpaper to remove the scratches. I polished it with Denicare Mouthpiece Polish to scrub out the scratches. I wiped it down with some Obsidian Oil and set it aside to dry. I polished out the sanding scratches with micromesh sanding pads – wetsanding it with 1500-12000 grit pads. I wiped the stem down with Obsidian Oil after each pad. I polished it with Before & After Pipe Polish – both Fine and Extra Fine and gave it a final coat and set it aside to dry. Jeff and I are gradually working through this 200+ lot dealing with each of the challenges they present one at a time. This one is Bertram’s take on a classic long shank straight Bulldog shape. I put the stem and bowl back together and buffed the pipe with Blue Diamond on the buffing wheel. I polished the briar and the minute scratches still in the vulcanite of the stem until there was a rich shine. For a Bertram Grade 20 this pipe is quite stunning. I cannot find any sign of visible fills. The grain is sporadic but pretty. It has a saddle stem on a diamond shank. The finish really has some interesting grain on a proportionally well carved pipe. Once I buffed the pipe the briar came alive and the mixture of grain popped with polishing. The black vulcanite stem had a rich glow. The finished pipe is well shaped long shank Bulldog. This Bertram feels great in the hand sits right in the mouth. Have a look at the finished pipe in the photos below. The dimensions are Length: 6 inches, Height: 2 inches, Outside diameter of the bowl: 1 1/2 inches, Chamber diameter: 3/4 of an inch. Maybe this shape speaks to you and you want to add it to your collection. If you are interested let me know as I will be adding it to the store soon. Thanks for walking through the restoration with me as it was a pleasure to work on.

Restoring a Beautiful Bertram Lumberman 50/25 from the Bertram Lot


Blog by Steve Laug

It you have not read the previous blogs I have posted on this brand give them a read to get some background on the pipes in this lot. If you have not been hit with a box I am sure you have a hard time understanding how overwhelming it feels to look at the 200+ pipes that need to be restored. It is mind boggling for sure – but there is only one way to move ahead – 1 pipe at a time. I could not do it without Jeff’s help doing the clean up on the lot. If I had to do it all by myself it would be more than I handle moving through this many pipes. From his cleaned pipes I get to choose what I want to work on. Doing the work this way we have already cleaned about 70 pipes and I have restored around 38 of them. We are getting there slowly but surely.

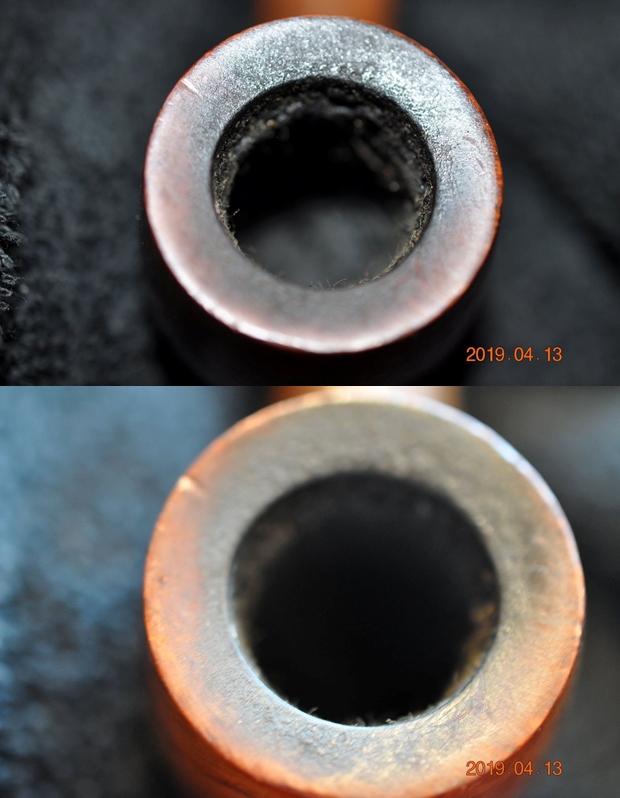
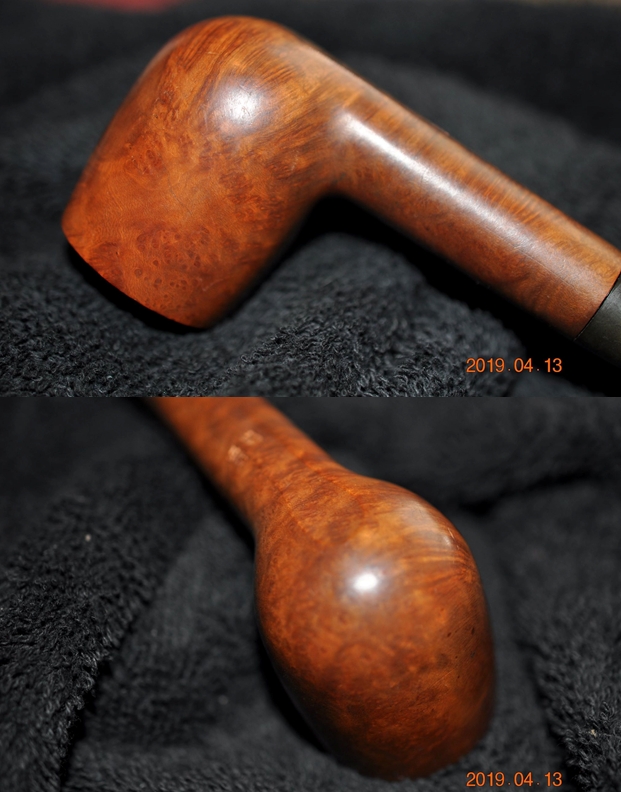
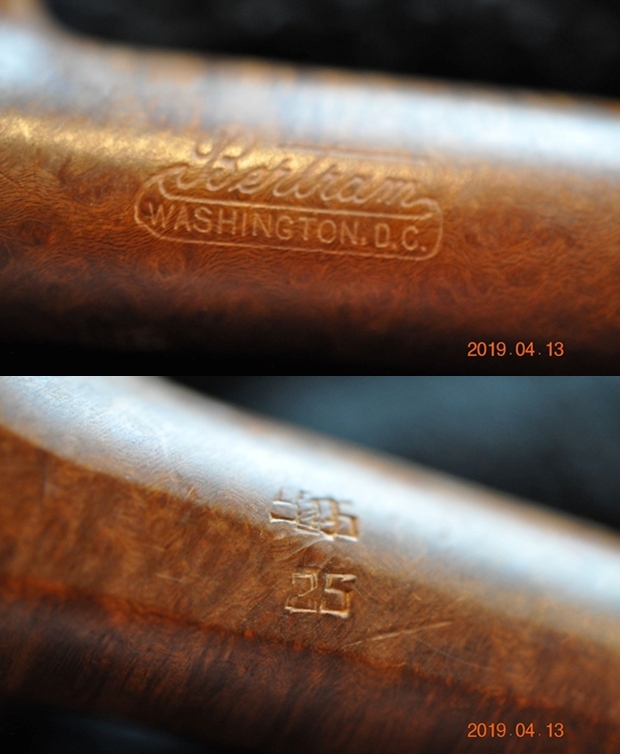
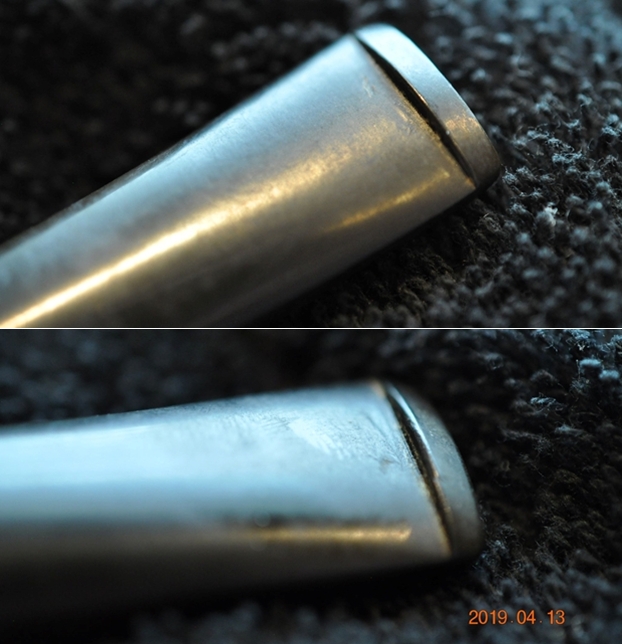
This time I chose a Bertram Lumberman to work on. It has a short, round shank and a tapered vulcanite stem. It has grade 50 number stamped on the left side of the shank and crossed out with a 25 stamped over the top. That too has been crossed out and there is a Grade 25 stamped below it on the underside of the shank. The briar has a mix of grains – straight, flame and birdseye. The exterior of the bowl looked really good. The bowl had cake in the chamber and the rim top had some darkening and lava overflow. It was hard to know what the inner edge of the bowl edge of the bowl looked like until the cake and lava were gone. The stem had some oxidation and tooth marks and chatter near the button on both sides. Jeff took some photos of the pipe before he began his cleanup work on it. Jeff took close-up photos of the bowl and rim to capture the condition of the pipe when it arrived. The rim top had a thick coat of lava and the bowl had a thick cake. You can see from the photos why it was hard to tell the condition of the inner edge of the rim.The pictures of the bowl sides and the heel give a clear picture of the grain around the heel and the sides of the bowl. It was hard to see any fills in the briar. I am not sure why it is restamped with a 25. I am looking forward to seeing what is under all of the grime.The next photos capture the stamping on the left side of the shank. You can see the overstamped grade 50 and 25 over the top on the left side of the shank. You can see that is also crossed out. The second photo shows another 25 stamped below it on the underside of the shank. The next two photos show the stem surface. They show the calcification, oxidation and the chatter on both sides near the button. There are light tooth marks on the stem near the button. There is some wear on the button edge.With each of the blogs that I have written on the Bertrams that I have worked on I have included the following information. If you have read it in past blogs, you can skip over it. If you have not, I have included the link to Bertram history and information. I would recommend that if you don’t know much about them take some time to read the background. I include a link to the write up on Pipedia (http://pipedia.org/wiki/Bertram). Bertram pipes were based out of Washington DC. They were popular among famous politicians and celebrities of the time. They made many products for them from FDR’s cigarette holders to Joseph Stalin’s favorite pipe. They were considered some of the best America had to offer till they finally closed their doors in the 70s. Bertram graded their pipes by 10s and sometimes with a 5 added (15, 25, 55 etc.), the higher the grade the better. Above 60s are uncommon and 80-90s are quite rare. I have since worked on a 120 Grade billiard. I have several blogs that I have written on rebornpipes that give some history and background to Bertram pipes. (https://rebornpipes.com/2015/06/16/an-easy-restoration-of-a-bertram-grade-60-217-poker/).
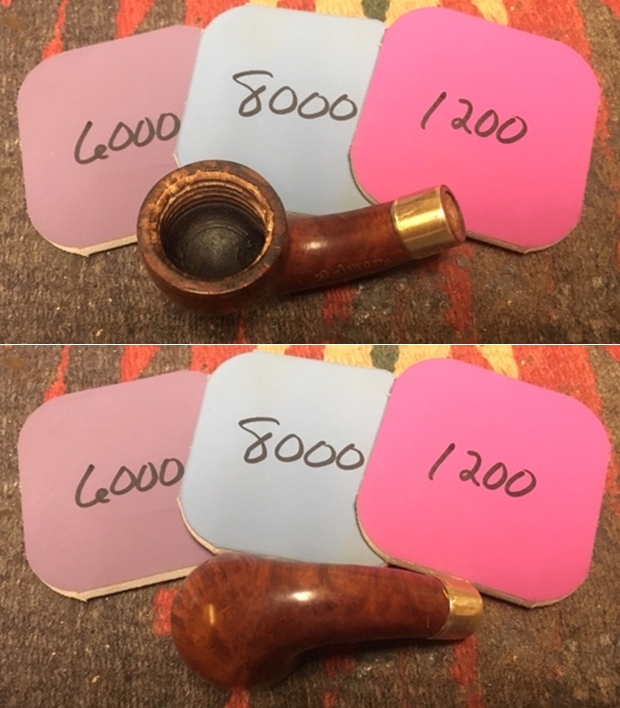
I have included the following link to give a bit of historical information on the pipe company. It is a well written article that gives a glimpse of the heart of the company. http://www.streetsofwashington.com/2012/01/bertrams-pipe-shop-on-14th-street.html#

From this information I learned that all of these Bertrams were made before the closure of the shop in the 1970s. This Bertram Lumberman is another one of the several that I have worked on from the collection. Here is a link to the blog on another Lumberman I restored. It has a longer shank but is also the same shape (https://rebornpipes.com/2019/06/14/a-bertram-50s-lumberman-pipe-from-the-bertram-lot/). This pipe has a crossed out grade 50 and is marked with a 25 grade stamp. Looking at the grain, I am not sure how Bertram arrived at the quality stamp on this pipe.

Jeff is methodical in his cleaning regimen and rarely varies the process. He reamed the bowl with a PipNet pipe reamer and followed up with a Savinelli Fitsall pipe knife to remove the cake. He scrubbed out the mortise and the airway in the shank and the stem with alcohol, cotton swabs and pipe cleaners. He scrubbed the exterior of the bowl, rim, shank and stem with a tooth brush and Murphy’s Oil Soap to remove the oils and tars on the rim and the grime on the finish of the bowl. He rinsed it under running water. He dried it off with a soft cloth. He was able to remove lava build up on the rim top and you could see the great condition of the beveled rim top and edges of the bowl. He soaked the stem in Before & After Deoxidizer to remove the oxidation. I took photos of the pipe before I started my work on it. I took a close up photo of the rim top to show the condition of the bowl and rim after Jeff had cleaned up the grime and lava. Without the lava the inward bevel on the rim looked very good with slight darkening at the rear. The inner edge was in great condition. The stem photos show that the light oxidation is gone. The stem is in excellent condition with some light tooth marks and chatter on both sides near the button.I took photos of the stamping to show how it looked after the cleanup. The Bertram Washington DC is clear and readable as is the overstamped 50/25. The second photo shows the grade 25 stamp on the underside of the shank.I cleaned up the darkening on the rim with a folded piece of 220 grit sandpaper. I cleaned up the sanding marks with 400 grit wet dry sandpaper.I polished the bowl and rim top with micromesh sanding pads – wetsanding it with 1500-12000 grit pads. I wiped the bowl down with a damp cloth after each pad to remove the sanding debris. The grain began to stand out. After the final sanding pad I hand buffed it with a cotton cloth to raise a shine. I worked some Before & After Restoration Balm into the finish of the briar with my fingertips to clean, enliven and protect it. I let the balm sit for a little while and then buffed with a cotton cloth to raise the shine. The Restoration Balm really makes the grain stands out beautifully. If you have not tried some why not give it a try. I sanded out the small tooth marks and chatter next to the button on both sides of the stem with a folded piece of 220 grit sandpaper. I sanded the stem with 400 grit wet dry sandpaper to remove the scratches. I wiped it down with some Obsidian Oil and set it aside to dry. I polished out the sanding scratches with micromesh sanding pads – wetsanding it with 1500-12000 grit pads. I wiped the stem down with Obsidian Oil after each pad. I polished it with Before & After Pipe Polish – both Fine and Extra Fine and gave it a final coat and set it aside to dry. Jeff and I are gradually working through this 200+ lot dealing with each of the challenges they present one at a time. This one is Bertram’s take on a classic Lumberman shape. I put the stem and bowl back together and buffed the pipe with Blue Diamond on the buffing wheel. I polished the briar and the minute scratches still in the vulcanite of the stem until there was a rich shine. For a Bertram Grade 25 this pipe is quite stunning. I cannot find any sign of visible fills. The grain is sporadic but pretty. It has a tapered stem on a thick shank. The finish really has some interesting grain on a proportionally well carved pipe. Once I buffed the pipe the briar came alive and the mixture of grain popped with polishing. The black vulcanite stem had a rich glow. The finished pipe is well shaped short shank Lumberman. This Bertram feels great in the hand sits right in the mouth. Have a look at the finished pipe in the photos below. The dimensions are Length: 5 inches, Height: 1 3/4 inches, Outside diameter of the bowl: 1 ¼ inches, Chamber diameter: 3/4 of an inch. Maybe this shape speaks to you and you want to add it to your collection. If you are interested let me know as I will be adding it to the store soon. Thanks for walking through the restoration with me as it was a pleasure to work on.

Breathing Life into a Knute of Denmark Freehand


Blog by Steve Laug

I chose the next pipe to work on from some that Jeff and I recently purchased from a guy in Illinois. There were some nice pipes in the assortment from a variety of ranges. The pipe on my worktable comes from that collection. This one is a beautifully grained Knute Freehand with a turned vulcanite stem. The rim top and shank end are plateau and have been selectively darkened in the grooves and valleys. The shape follows the grain of the block of briar very well. It is stamped on the underside of the shank Knute of Denmark. There is no other stamping on the pipe. The pipe is shaped to sit nicely on a desk or table top. The stem is stamped with a Crown over the letter K on the top. The pipe was very dirty with a thick cake in the bowl and some lava overflowing on to the plateau rim top. It was hard to know what the inner edge of the rim looked like because of the lava and cake. Other than being dirty the finish appeared to be in good condition. The stem was oxidized and had come calcification where a pipe Softee bit had been. There was some tooth chatter and marks on both sides of the stem at the button. Jeff took photos of the pipe before he started working on it so I could see what he was dealing with. He took photos of the rim top to show the thick cake in the bowl and the overflow of lava. The cake is thick and hard and the lava overflows into the plateau. The bowl is a real mess but it must have been a great smoking pipe. He also took a photo of the dusty plateau at the shank end. The next photos show the sides and heel of the bowl to give a clear picture of the beauty of the grain around the bowl of the pipe. Under the grime there is some great grain peeking through. Jeff took a photo of the stamping to capture the clarity of it even under the grime. The stamping reads Knute in script over of Denmark running horizontally along the underside of the shank.The stem looked dirty and oxidized with the calcification left behind by a pipe Softee bit. The bite marks and tooth chatter on the stem was light and should not take too much work to remedy. The Crown over K logo looked good at this point. Hopefully the cleanup will preserve it well. Before I started my work on the pipe I wanted to remind myself of the provenance of the pipe. I remembered that it was linked to Karl Erik as the earlier pipe I worked on was. I wanted to know where this pipe fit into the Karl Erik lines so I turned to the first of two sites that I always check to gather information on a brand. I turned first to Pipedia (https://pipedia.org/wiki/Karl_Erik). There it is clearly identified and linked to Karl Erik Ottendahl. It is designated as a second and frequently having rustication. For some reason this beauty does not have any rustication and it is a great piece of briar.

I turned to the second information site – Pipephil’s (http://www.pipephil.eu/logos/en/logo-k3.html) got a quick overview on the brand once again connecting it to Karl Erik.Pipedia also had this great picture of Karl Erik Ottendahl and I decided to include it here as a reminder of the artisan who first carved and released this pipe. Reminded of the tie to Karl Erik I knew a bit about the pipe at hand. I turned to address the pipe itself. Jeff cleaned up the pipe for me. He reamed the bowl with a PipNet pipe reamer and cleaned it up with a Savinelli Fitsall Pipe Knife. He scrubbed the exterior with Murphy’s Oil Soap and a tooth brush to clean off the grime off the finish and the heavy overflow of lava on the rim top. The cleaning had removed some of the black stain on the rim top. He cleaned up the internals of the shank, mortise and stem with pipe cleaners, cotton swabs and alcohol to remove all of the oils and tars in the pipe. He soaked the stem in Before & After Deoxidizer and was able to remove much of the oxidation. When it arrived here in Vancouver it was a clean pipe and I knew what I had to work with. I took photos of it before I started my part of the restoration. I took photos of the rim top and the stem to show their condition once it arrived in Canada. Jeff was able to clean up the incredibly thick cake and lava overflow that was shown in the rim and bowl photos above. The plateau and the inner bevel to the rim look really amazing. He was also able to get rid of the grime and grit in the surface of the briar. The rim top and edges looked very good. The stem looked very good and was much cleaner. There was light tooth marks and chatter on both sides near the button. The white paint in the stamping had been removed by the soak and cleaning but the stamp was still good so I could repaint it.I have noticed on some repairs that folks don’t pay much attention to the stamping when they are restoring a pipe. To me this is a critical part of the restoration to leave undamaged as it is the only link we have to who made the pipe. I took a photo of the stamping on the underside of the shank to show that it was very readable and undamaged by the cleanup work.There was a small cut in the briar on the right side of the bowl mid bowl that I would take care of first. I filled in the cut with a small drop of super glue. Once it cured I sanded it out with a worn piece of 220 grit sandpaper and polished the scratches left behind with 400 grit wet dry sandpaper.I started polishing the briar with micromesh sanding pads. I wet sanded it with 1500-12000 grit pads. I wiped the bowl down after each pad with a damp cloth. The bowl began to take on a rich shine and grain was beginning to stand out. I wet sanded with all of the pads and wiped the bowl down after each pad with a soft cloth. I rubbed the bowl and shank down with Before & After Restoration Balm to deep clean the finish on the bowl and shank. The product works to clean, enliven and protect the briar. I worked it in with my fingers to get it into the briar. I used a horsehair shoe brush to work it into the plateau top and shank end.  After it sat for a little while I wiped it off and buffed it with a soft cloth. The briar really began to have a rich shine. I took some photos of the bowl at this point to mark the progress in the restoration. It is a beautiful bowl. I set the bowl aside and worked on the stem at this point in the process. I sanded tooth chatter and the remaining oxidation on the stem with folded pieces of 220 to remove the marks and the light brown colouration on the stem surface. I sanded them with 400 grit sandpaper until the marks were gone and the oxidation was gone. I wiped it down with Obsidian Oil. I rubbed the stem down with Denicare Mouthpiece Polish and a cotton pad to remove remnants of oxidation and to further blend in the sanding. The stem was showing some promise at this point in the process. I used a liquid paper to touch up the stamping on the top side of the fancy saddle stem. I rubbed it into the stamp and set it aside to dry. I polished off the excess white product and left the remainder in the stamp itself.I polished the stem with micromesh sanding pads – wet sanding with 1500-2400 grit pads and dry sanding with 3200-12000 grit pads. I wiped the stem down after each pad with a damp cloth to remove the sanding dust. I used the Before & After Pipe Polish to remove the small minute scratches left in the vulcanite even after the micromesh regimen. I finished by wiping the stem down with a final coat of Obsidian Oil and set it aside to dry. I put the stem back on the pipe and took the pipe to the buffer. I buffed the bowl and stem with Blue Diamond to polish the briar and the vulcanite. Blue Diamond does a great job on the smaller scratches that remain in both. I gave the bowl and the stem several coats of carnauba wax and buffed the pipe with a clean buffing pad to raise the shine. I hand buffed it with a microfiber cloth to deepen the shine. The pipe polished up really nicely with a great contrasting stain look to the briar. The finished pipe is shown in the photos below. This is a beautiful Karl Eric Freehand – the fancy turned stem and plateau shank end give the pipe a great look. The polished black vulcanite stem looks really good with the rich browns standing out in the grain. The dimensions of the pipe are Length: 6 1/2 inches, Height: 2 inches, Outside diameter of the bowl: 1 3/4 inches, Chamber diameter: 3/4 of an inch. This is another pipe that I will be putting it on the rebornpipes online store shortly, if you are interested in adding it to your collection. Thanks for walking through the restoration with me on this beauty!