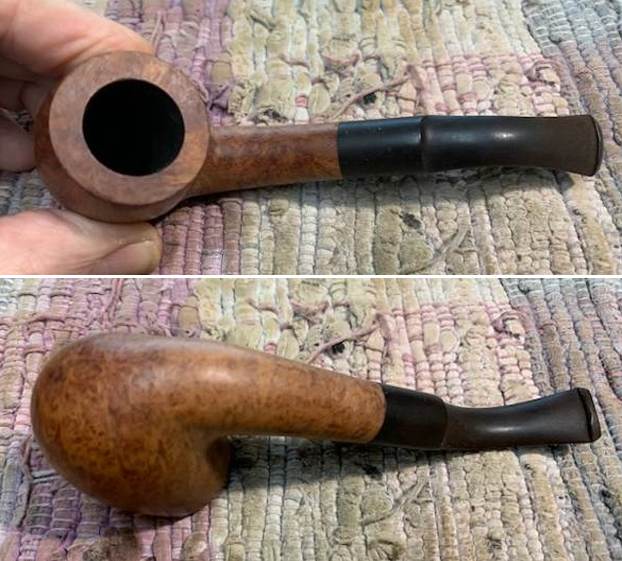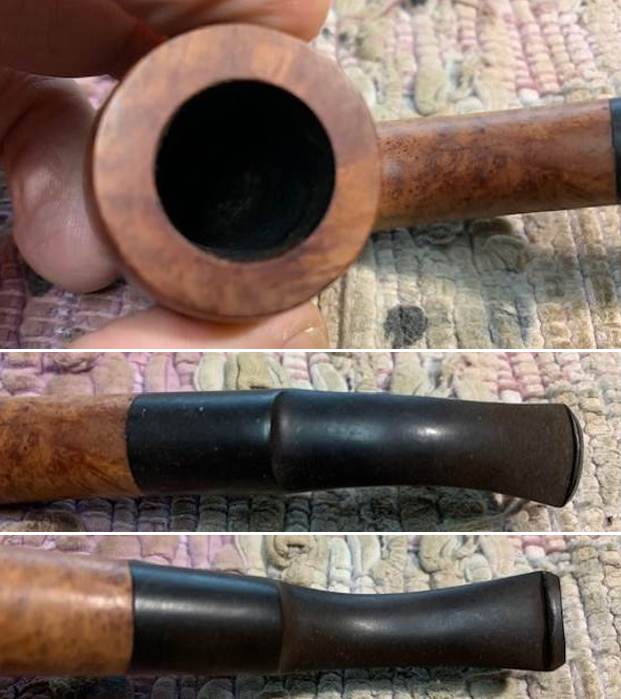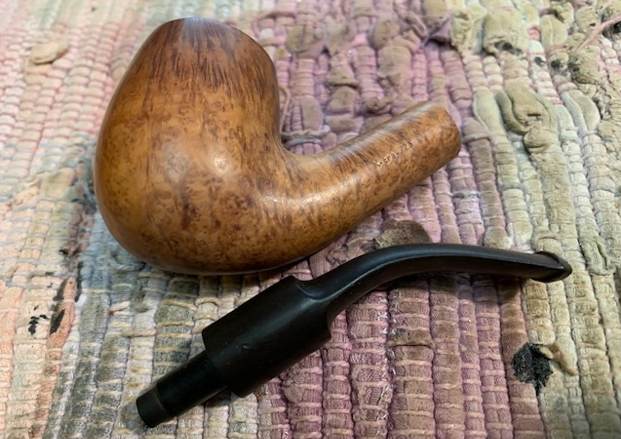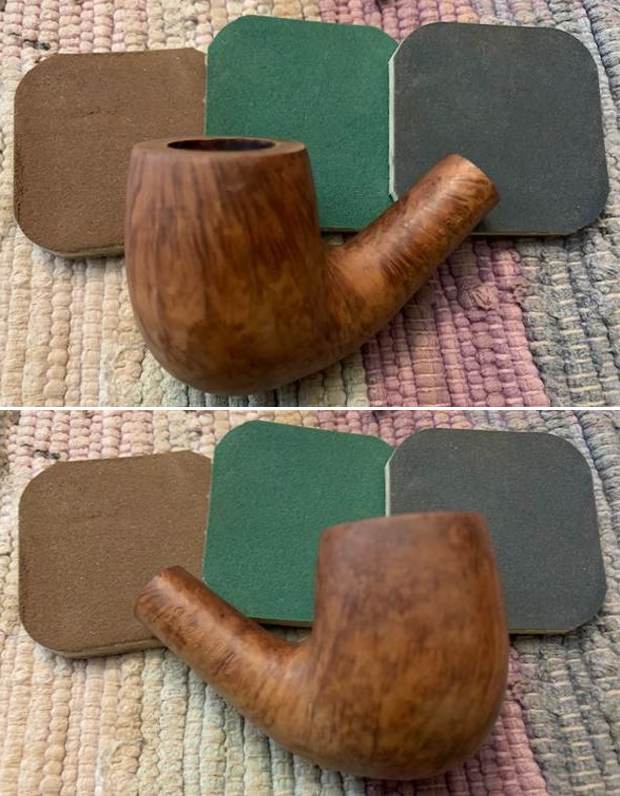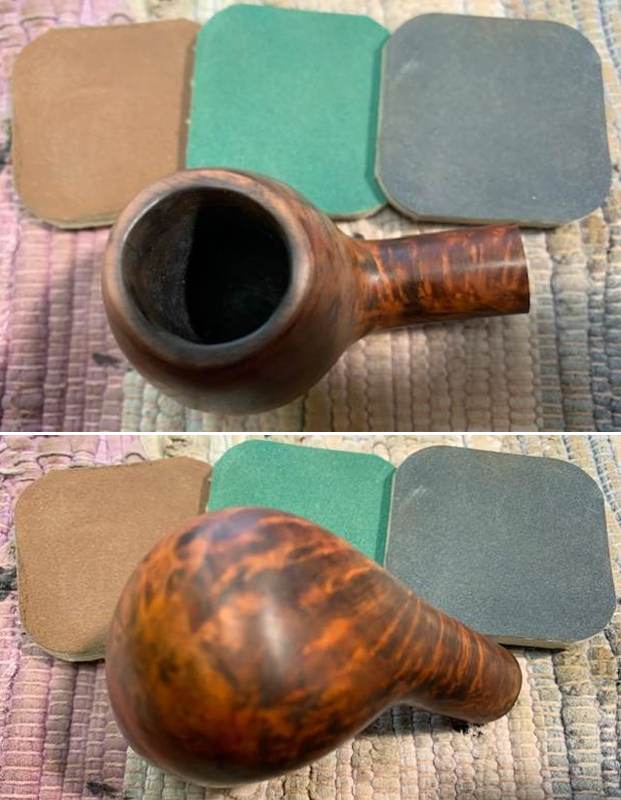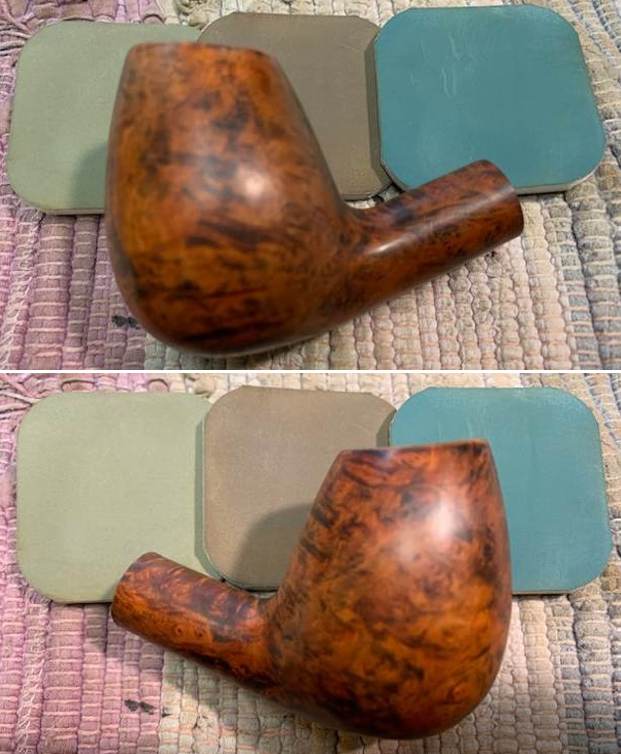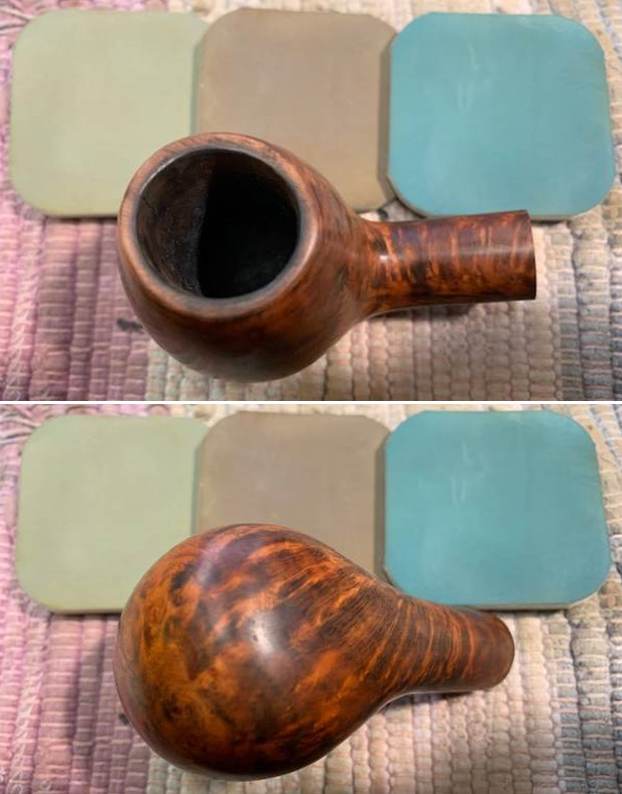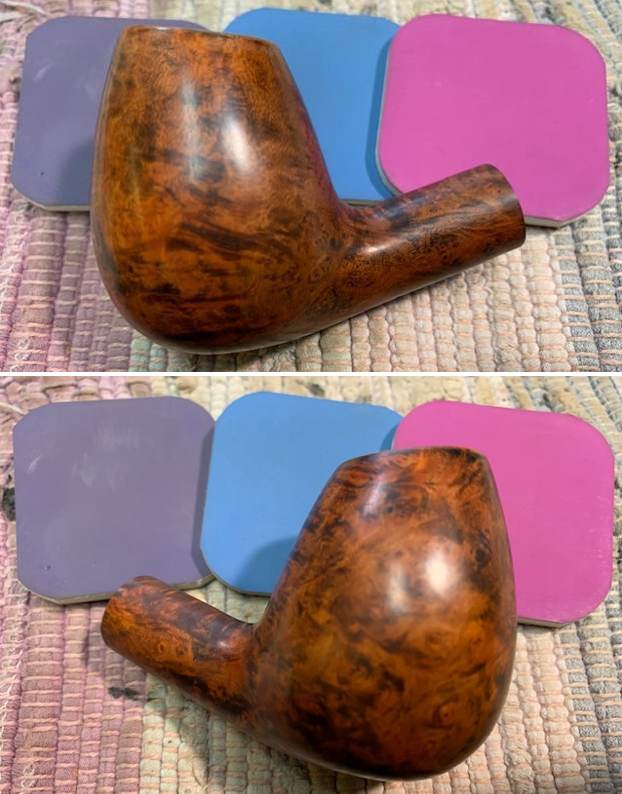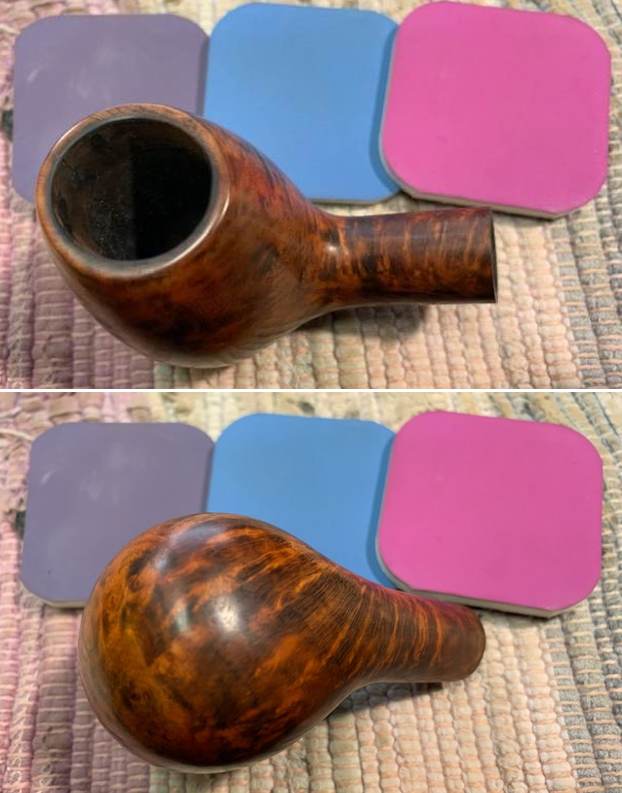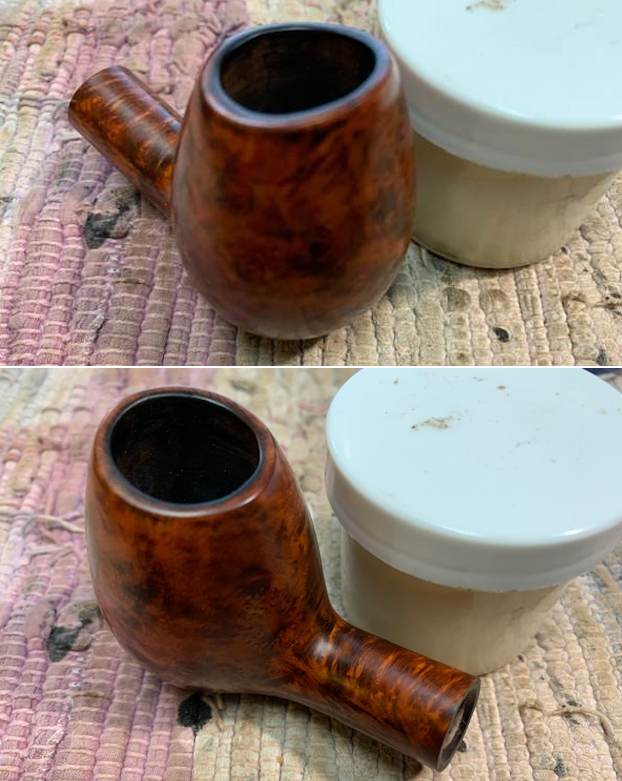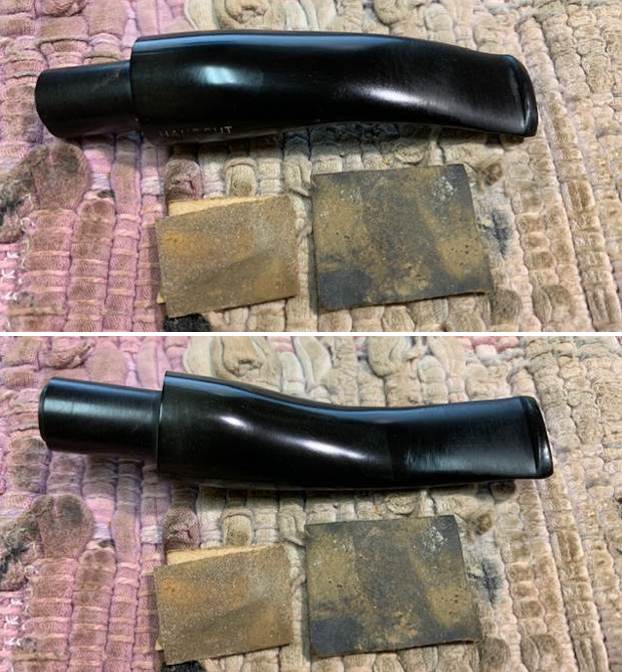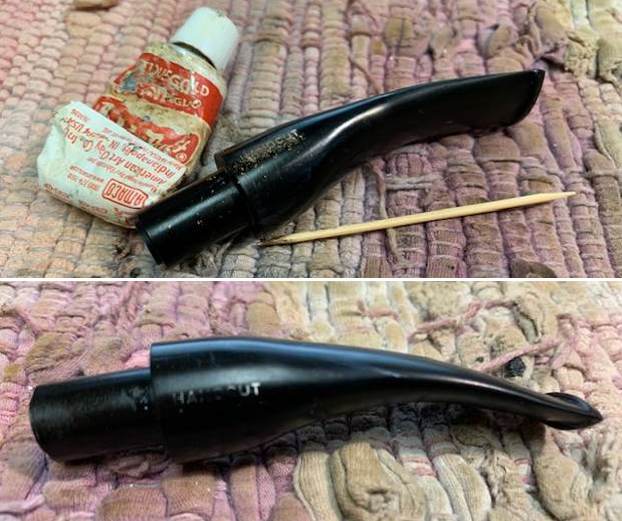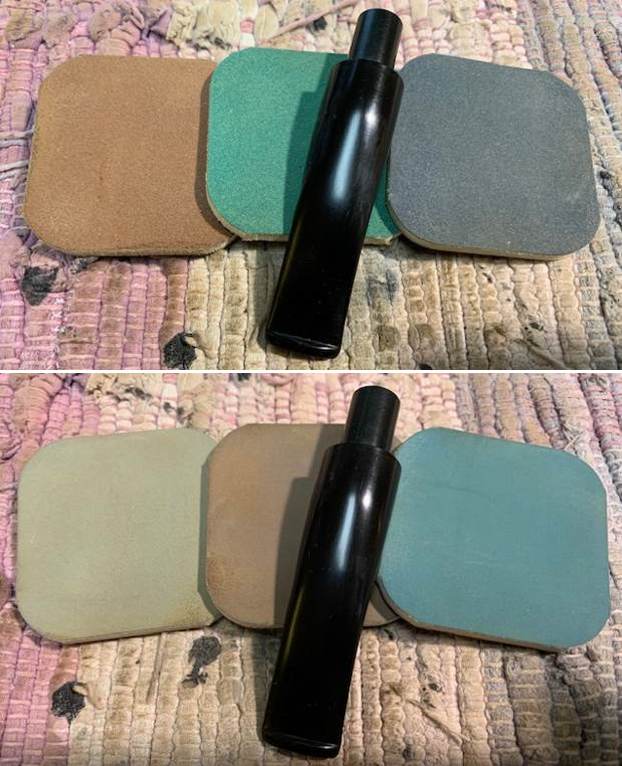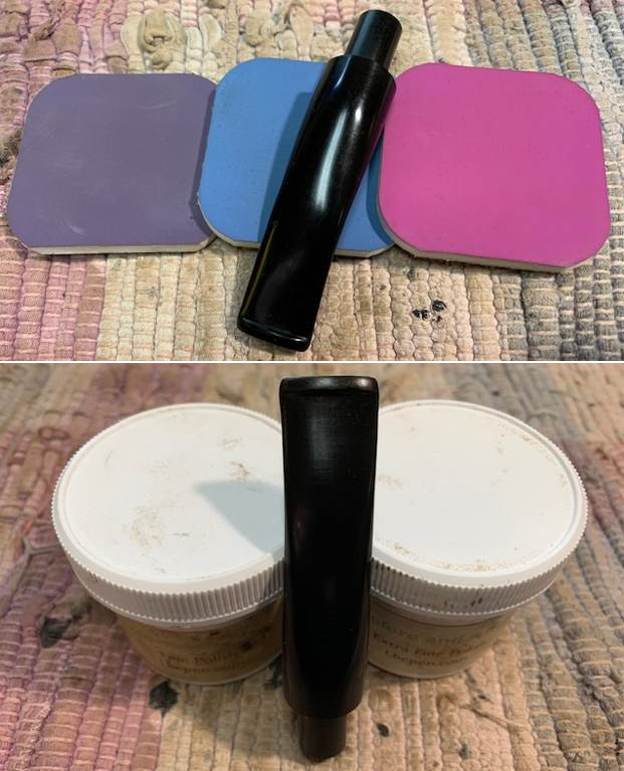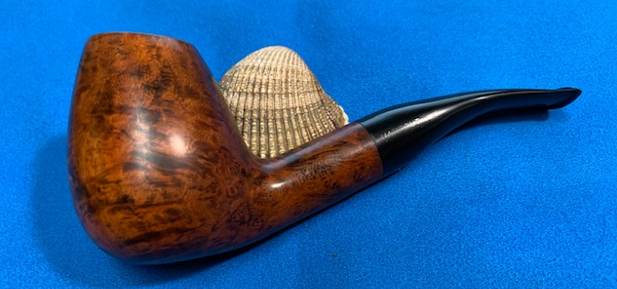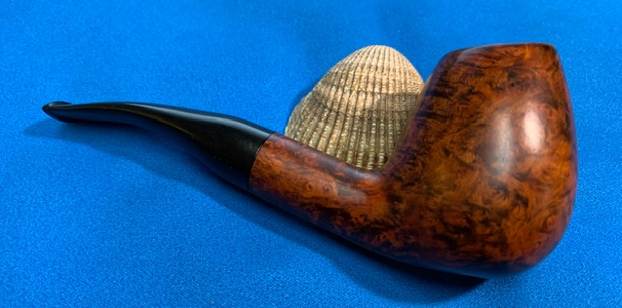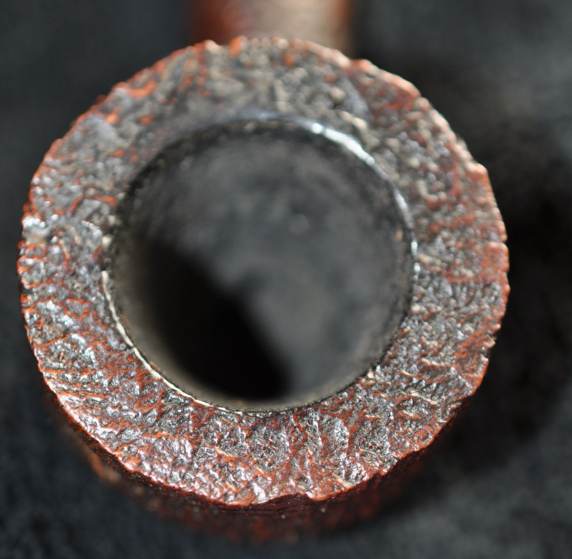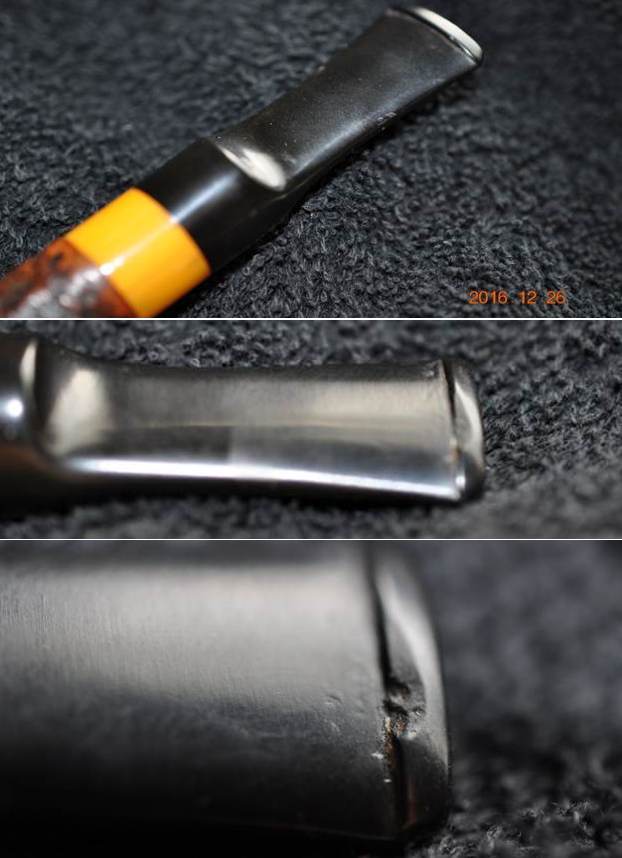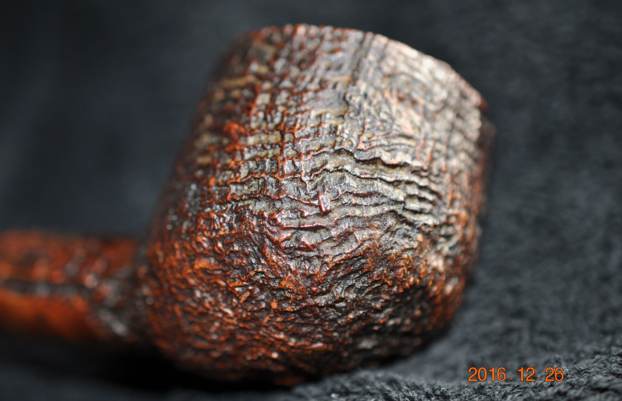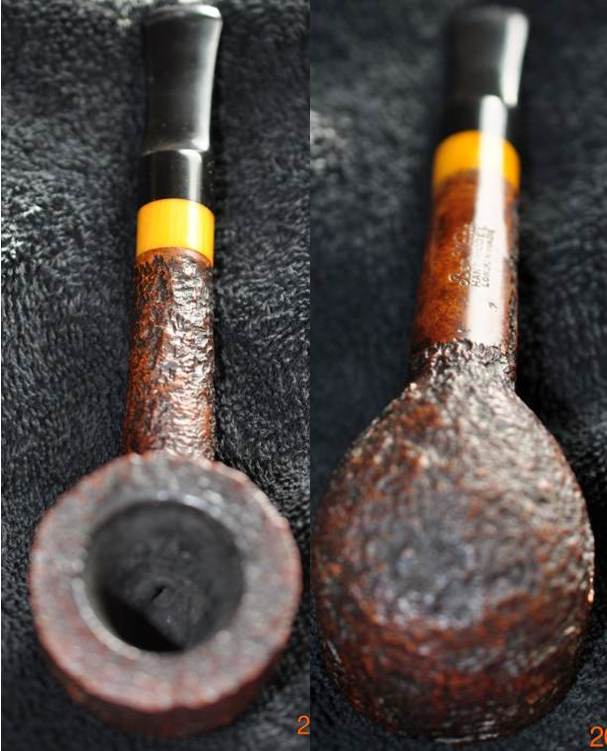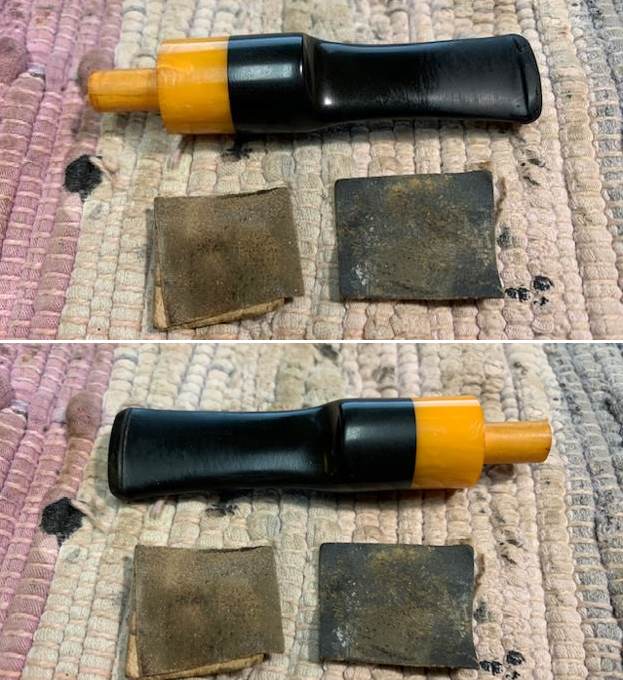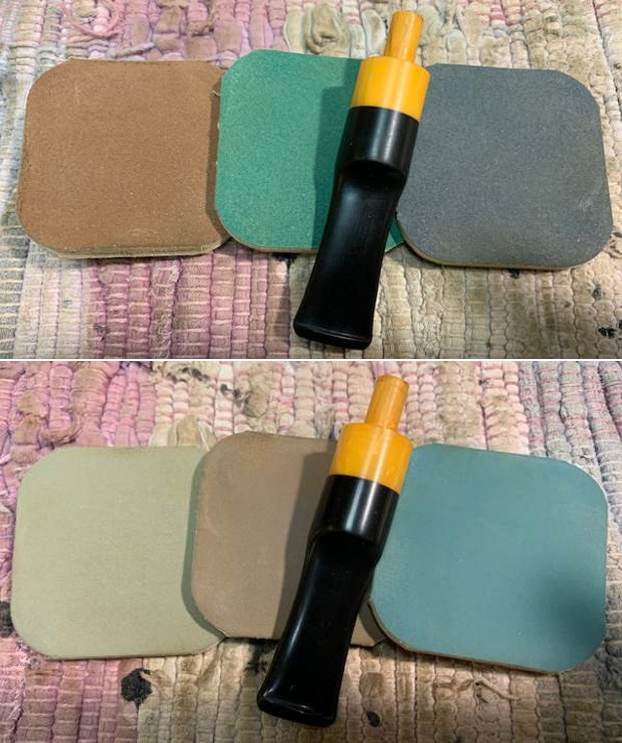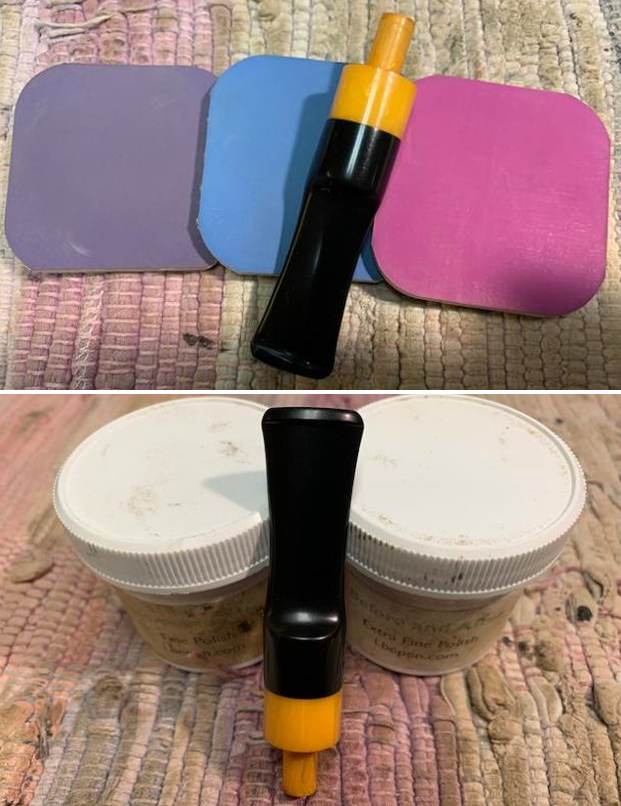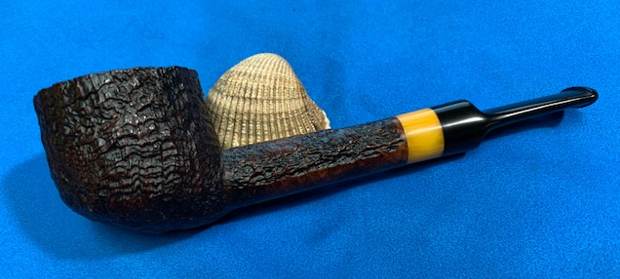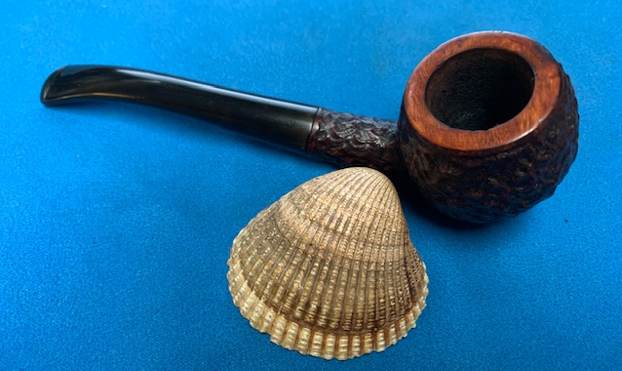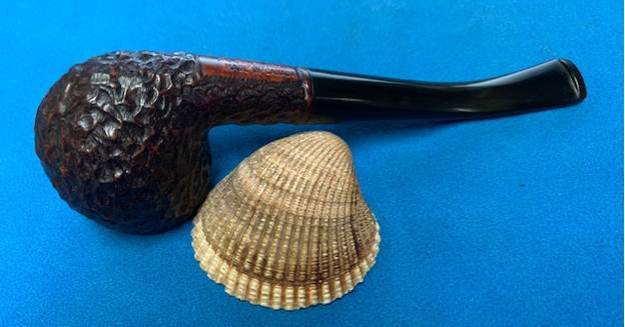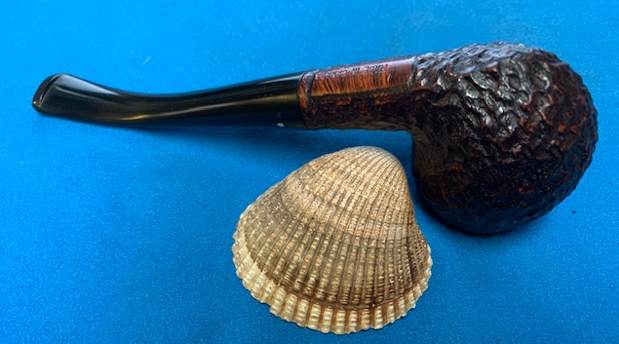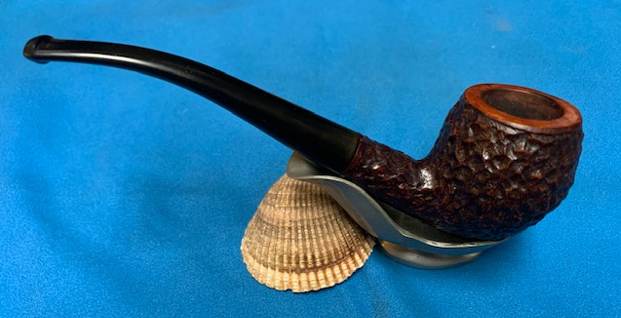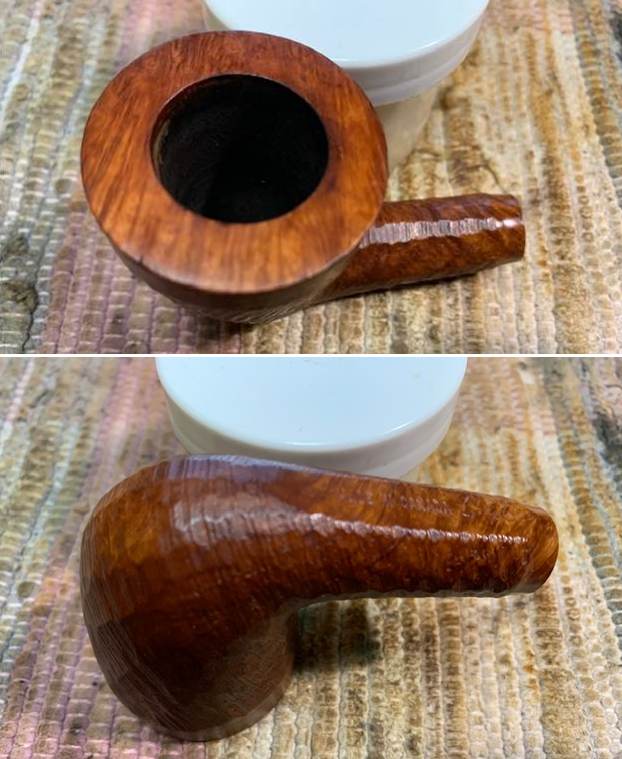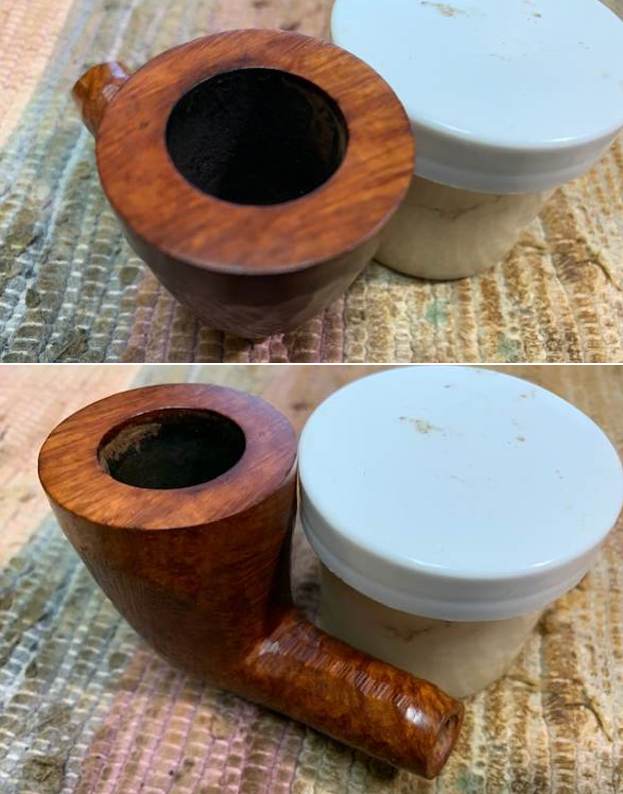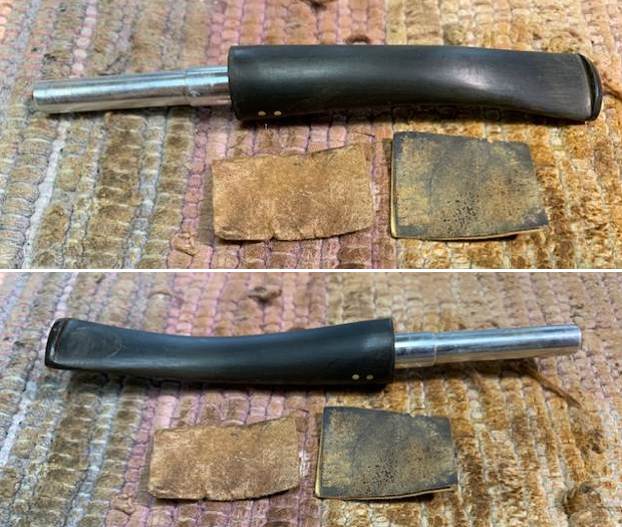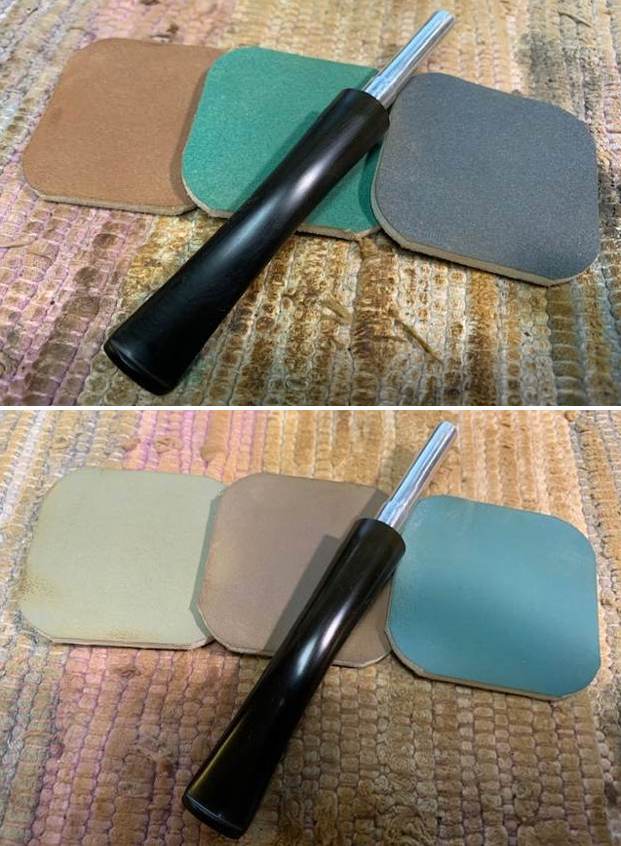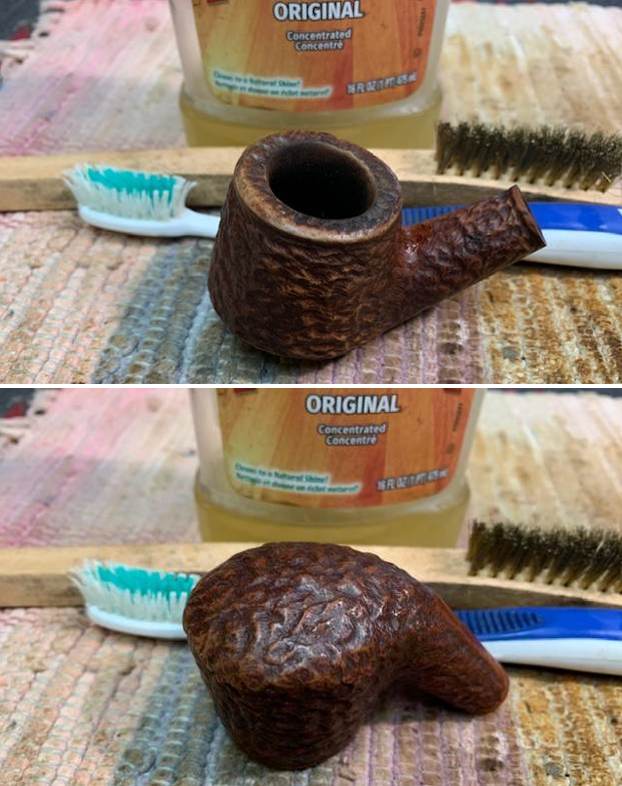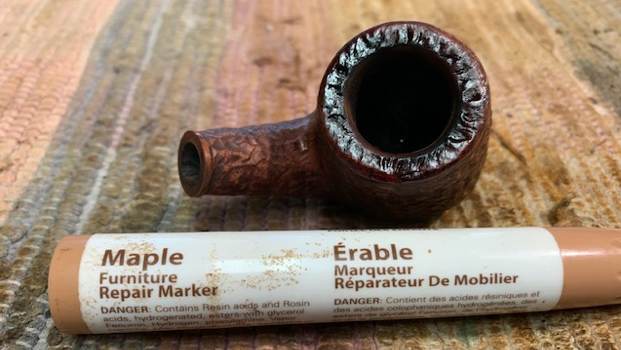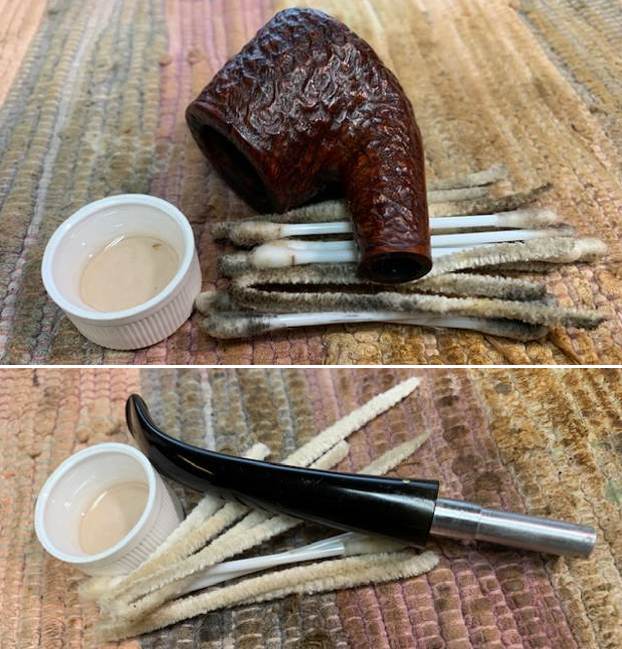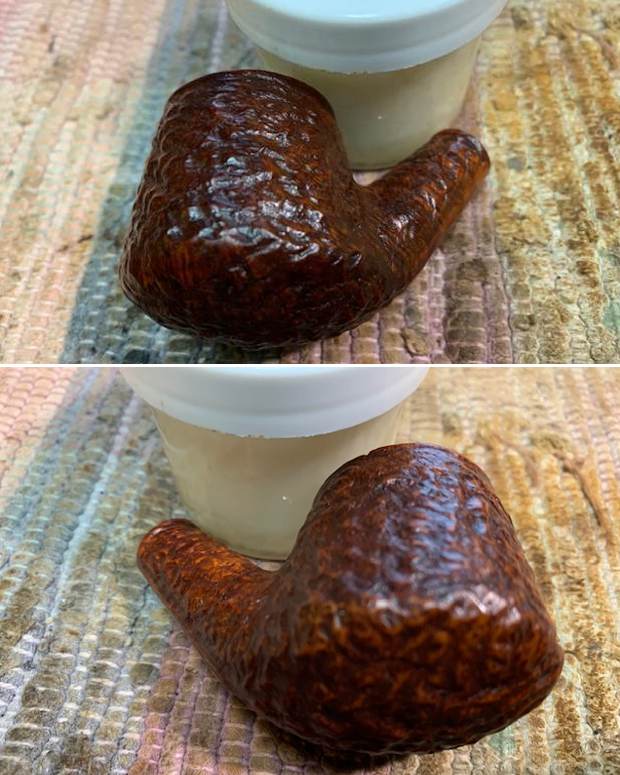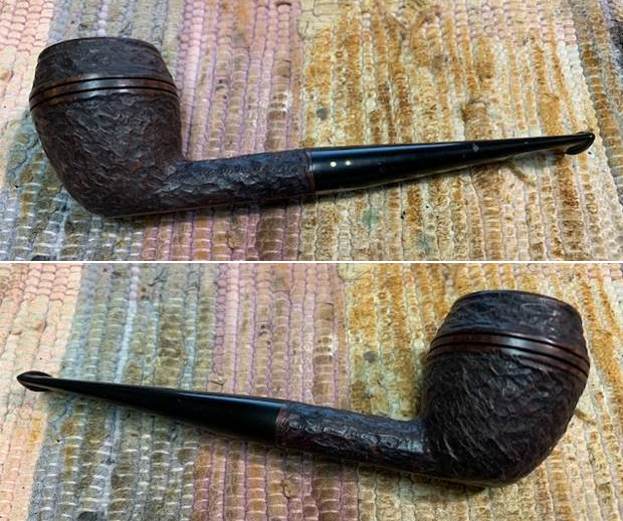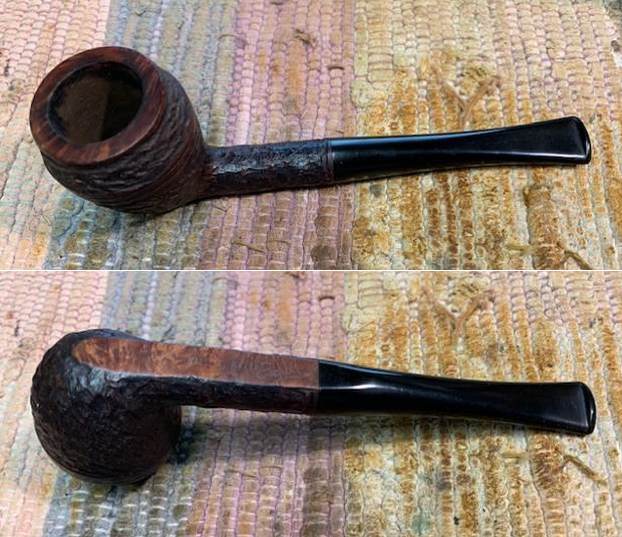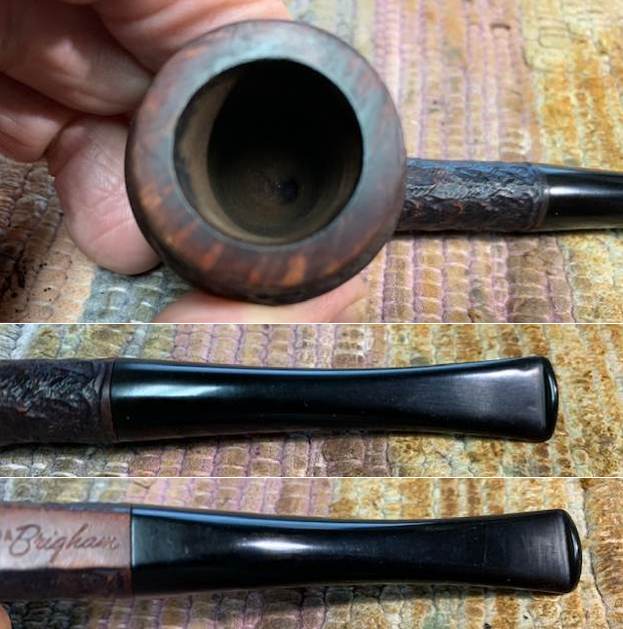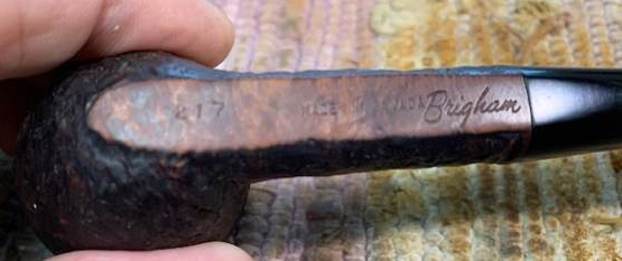
Tag Archives: removing tooth marks

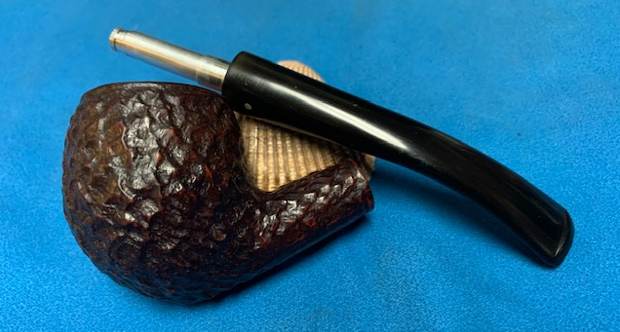
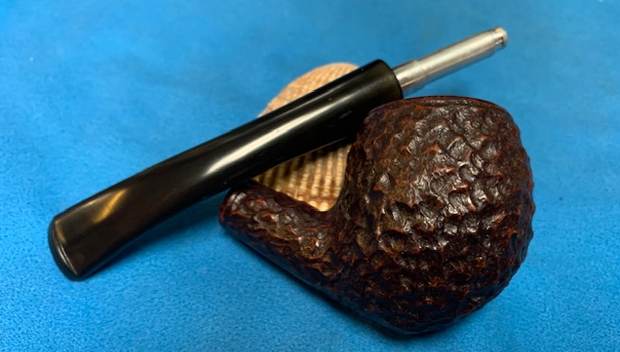
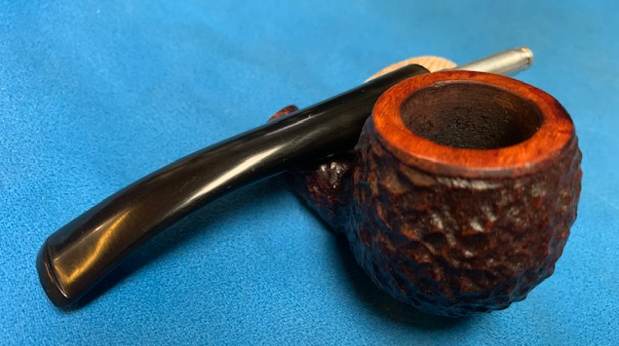
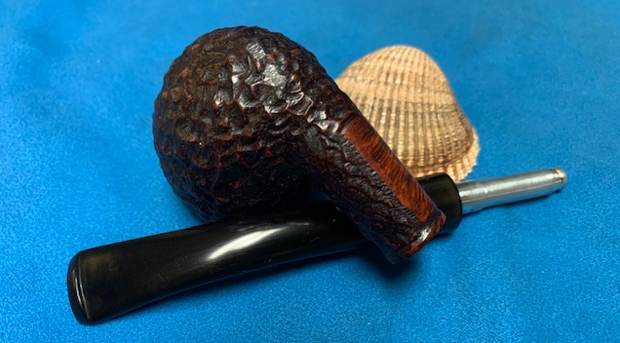
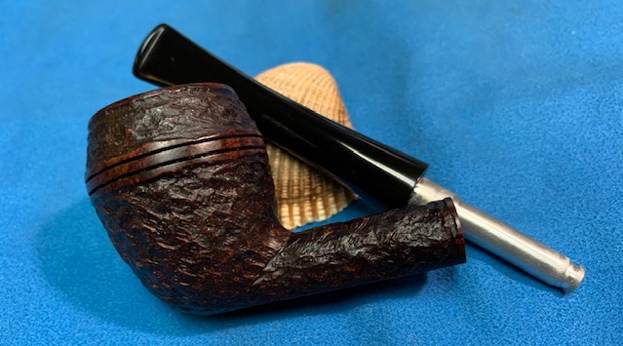
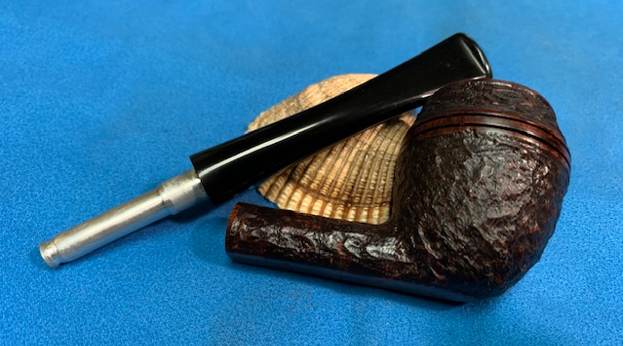
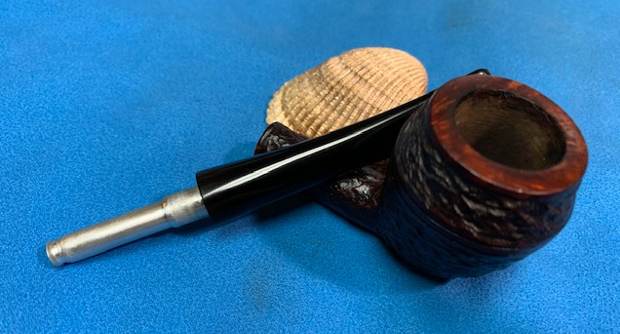
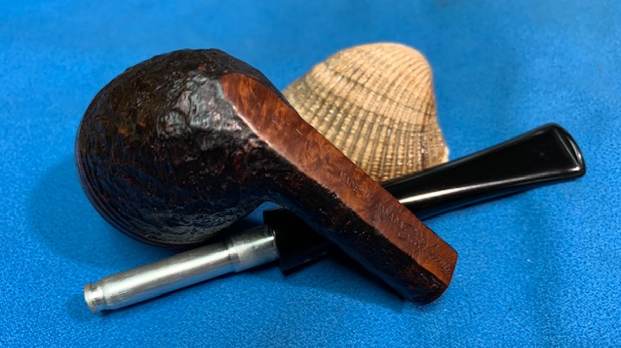
Restoring a Made in Canada Brigham (2 Dot) Sportsman Bent Dublin


Blog by Steve Laug

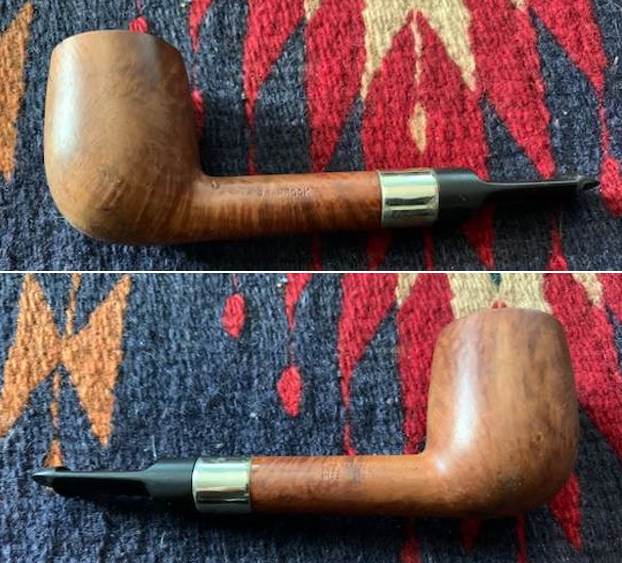
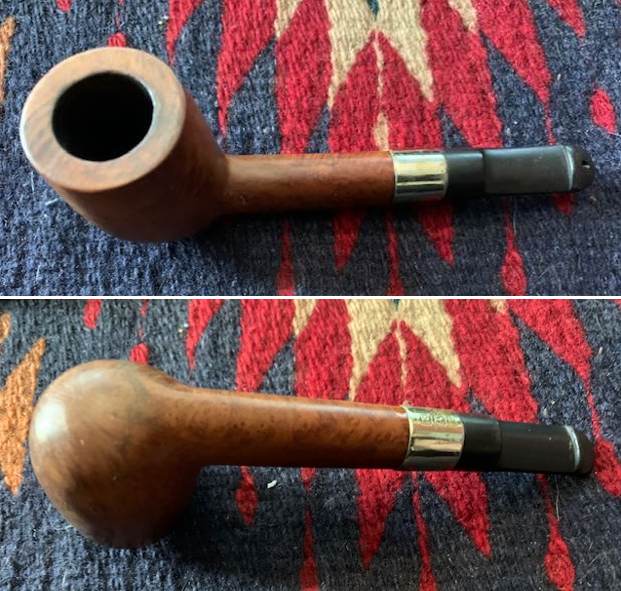
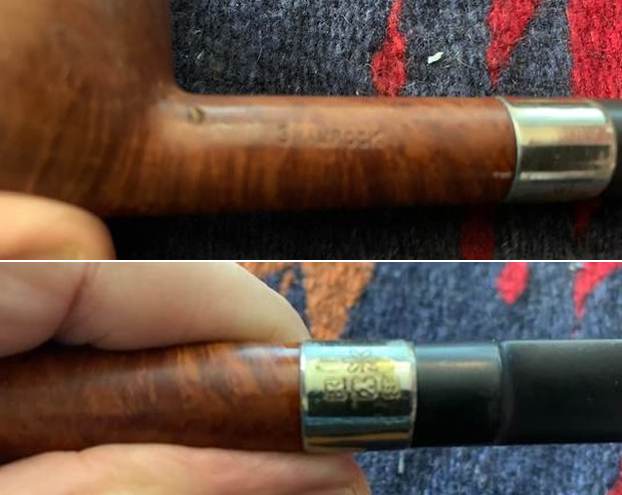
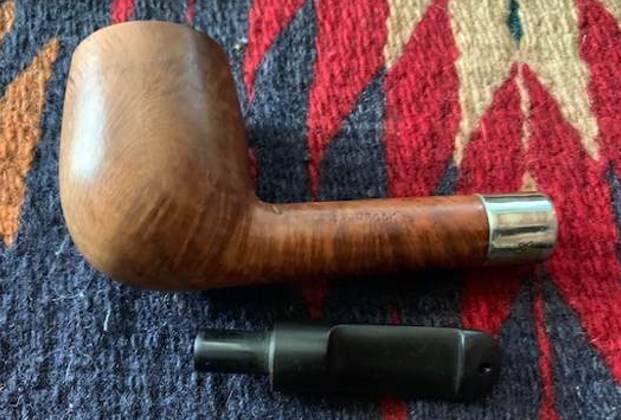
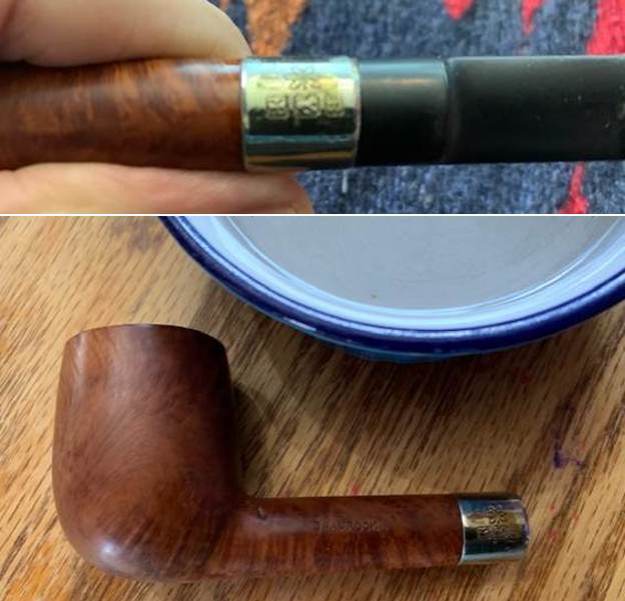
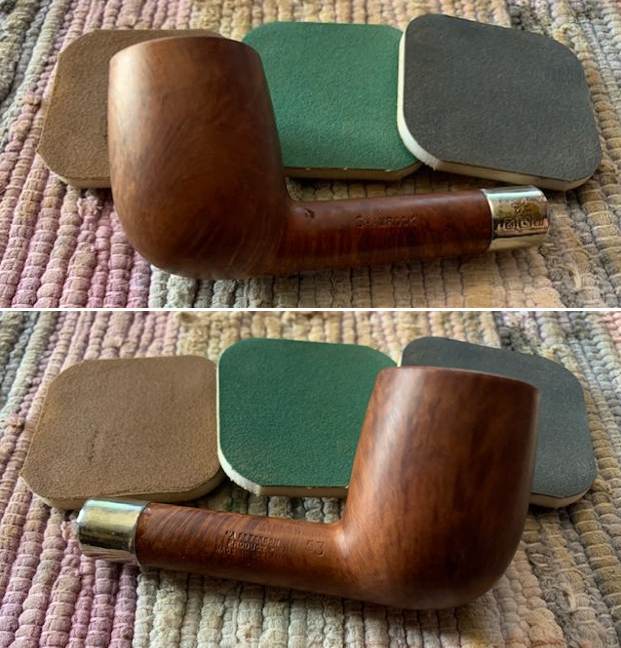
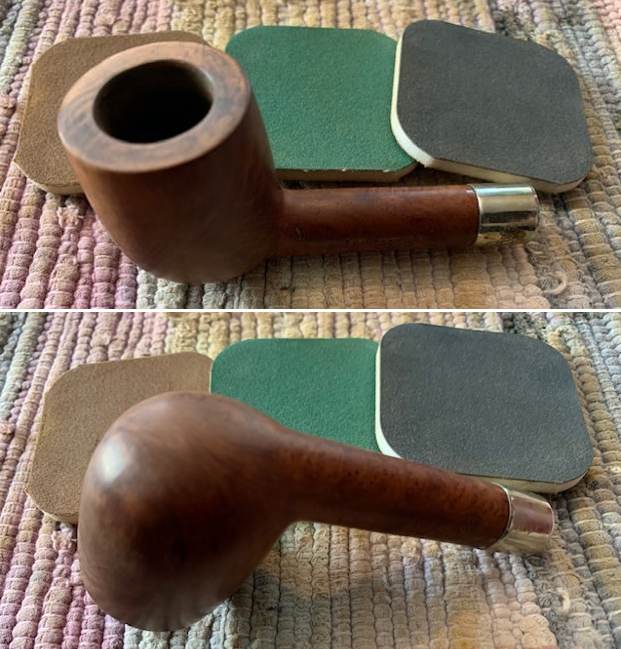
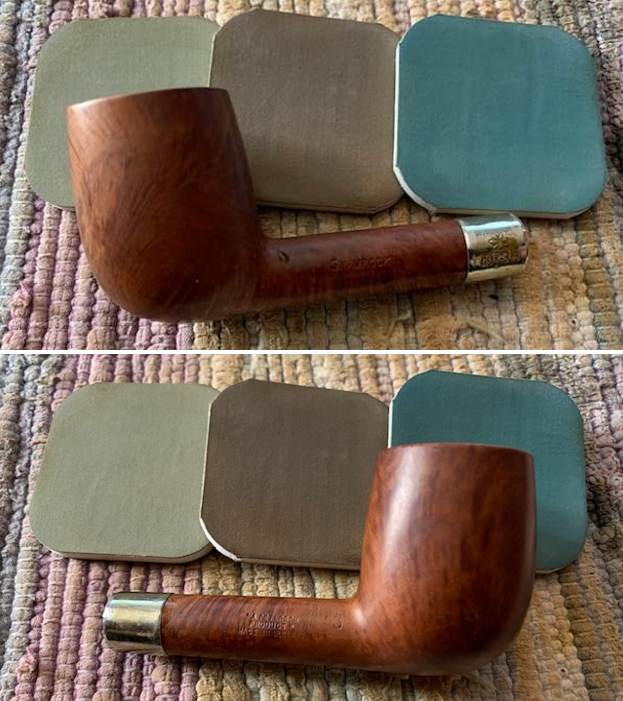
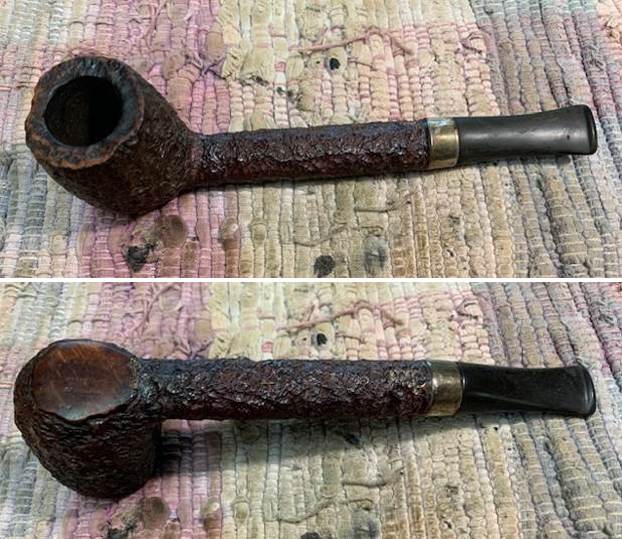
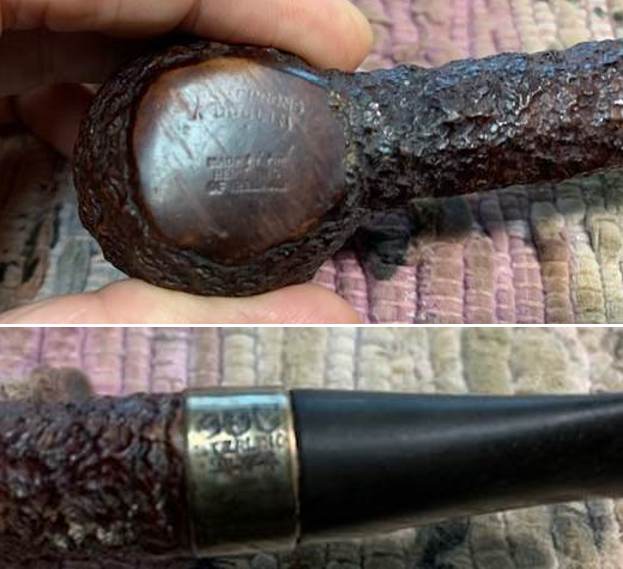
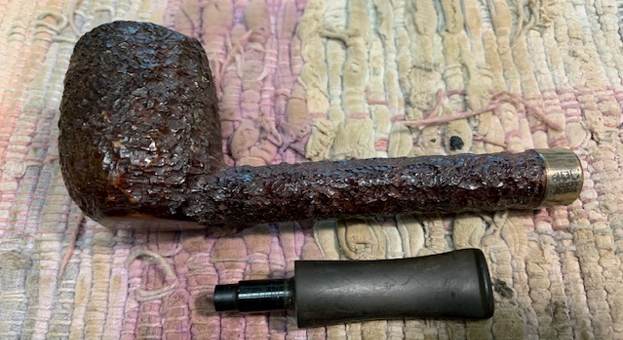
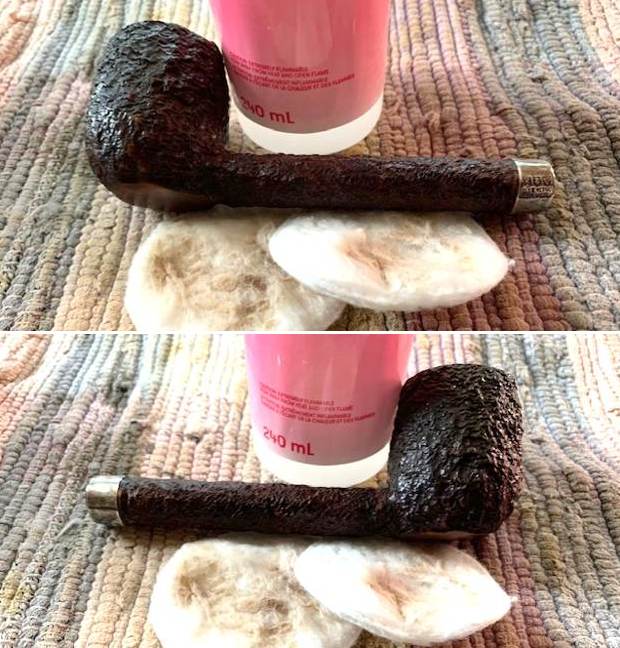
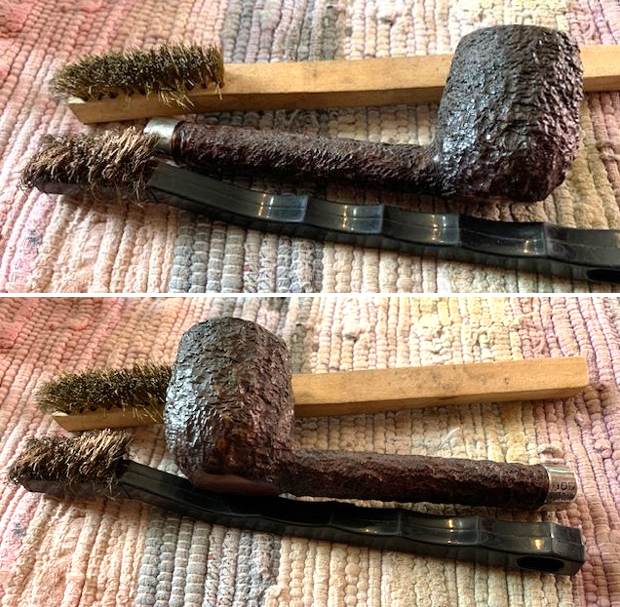
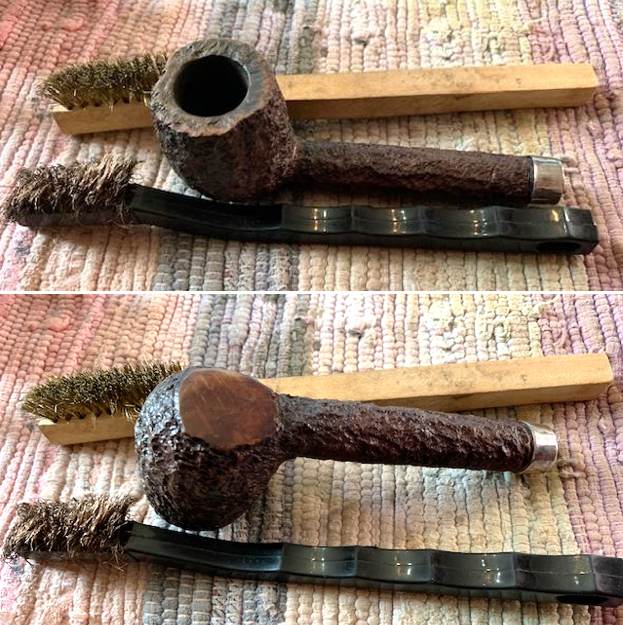
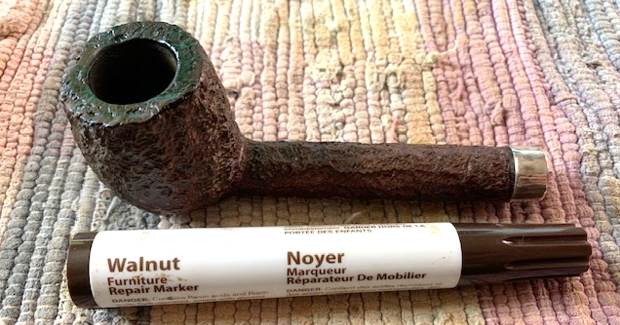
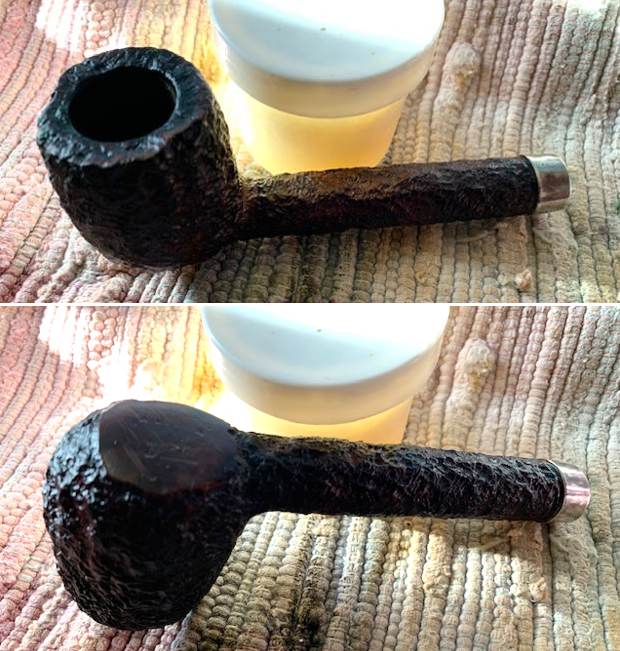
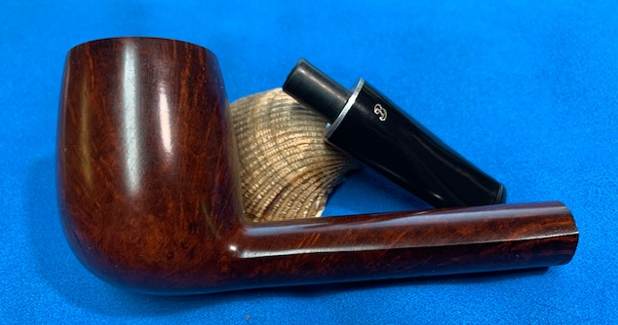
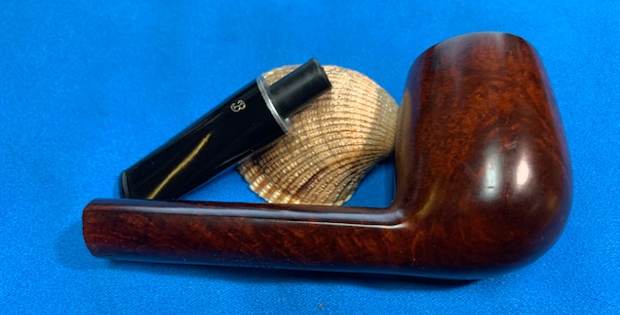
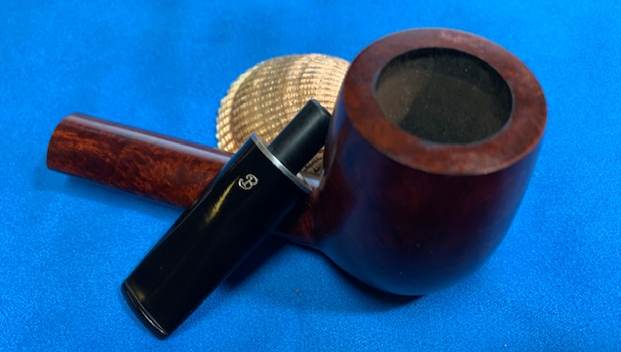
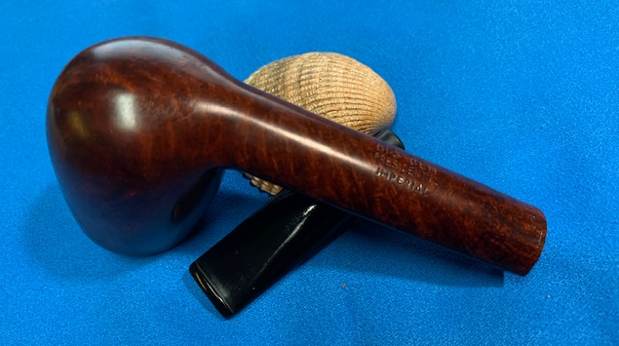
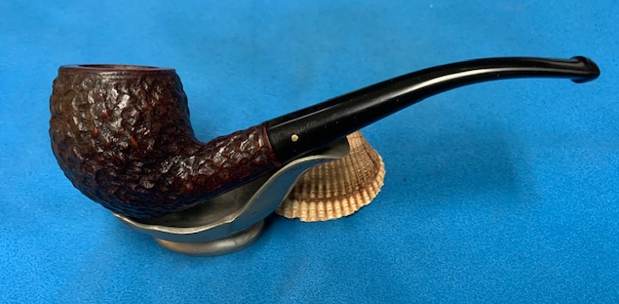
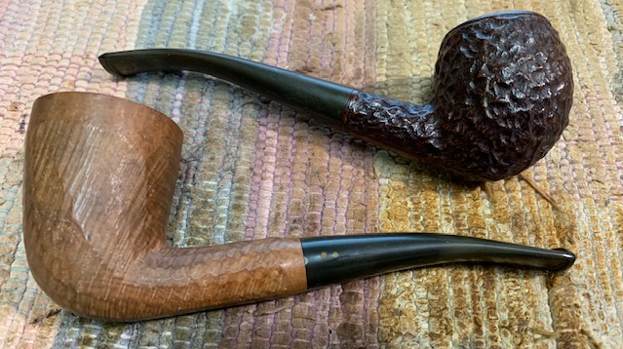
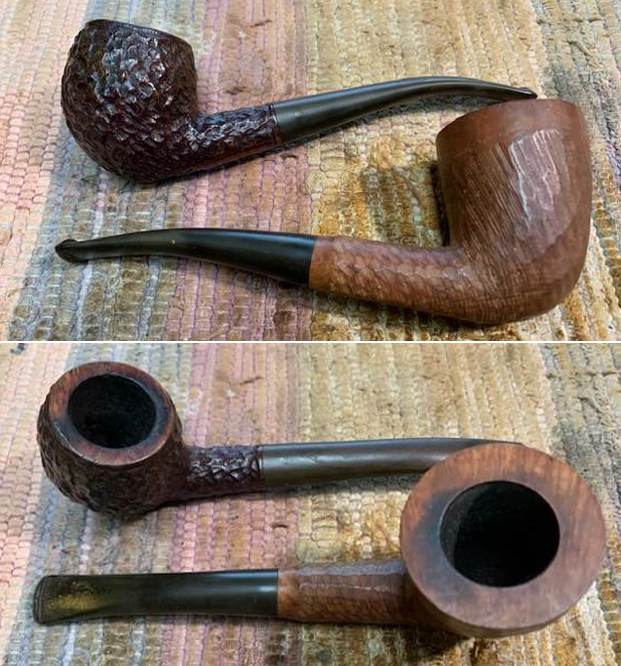
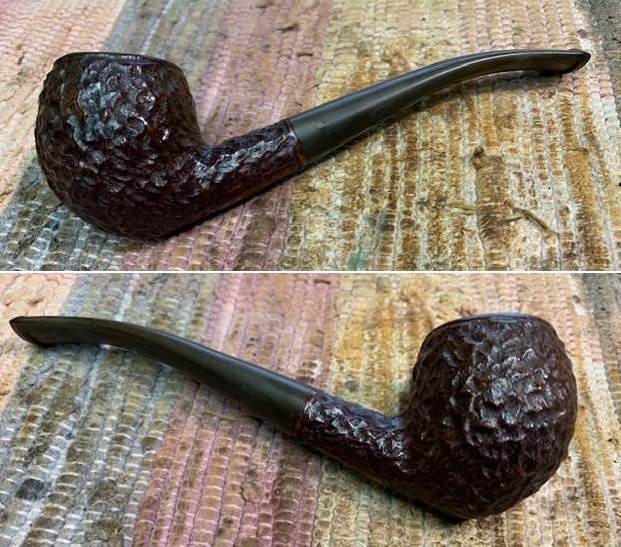
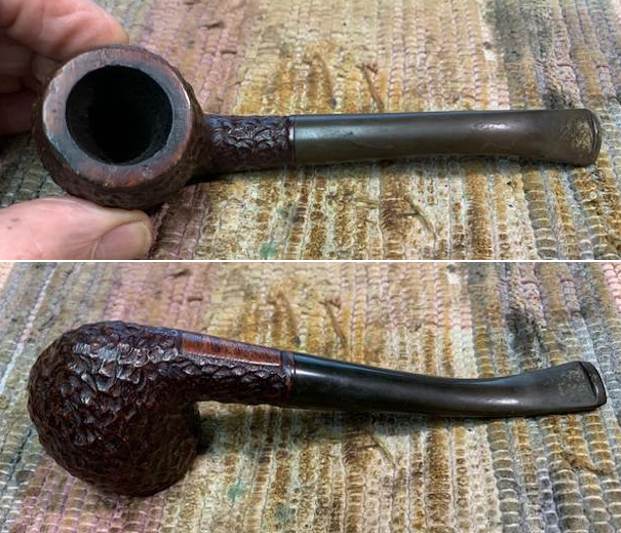
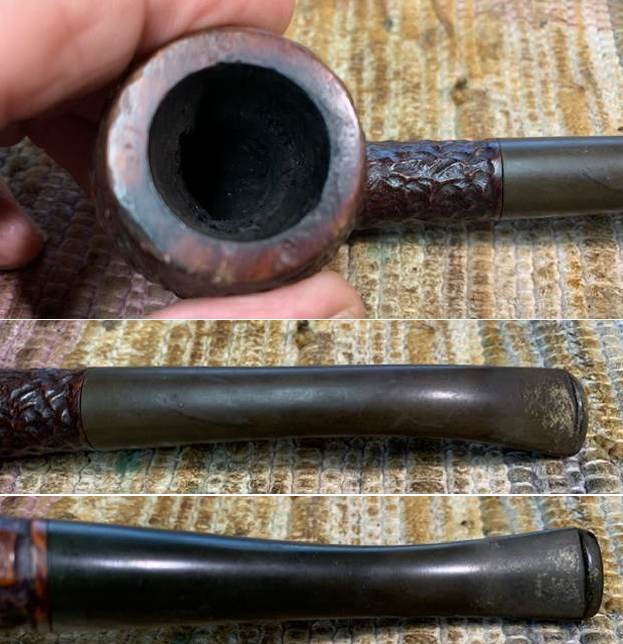
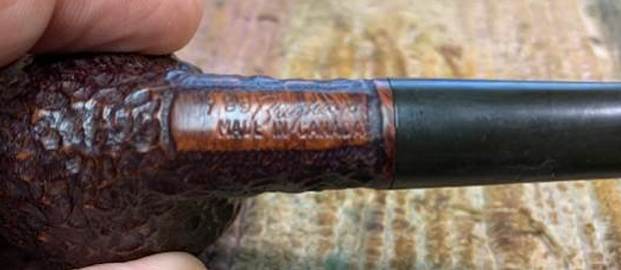
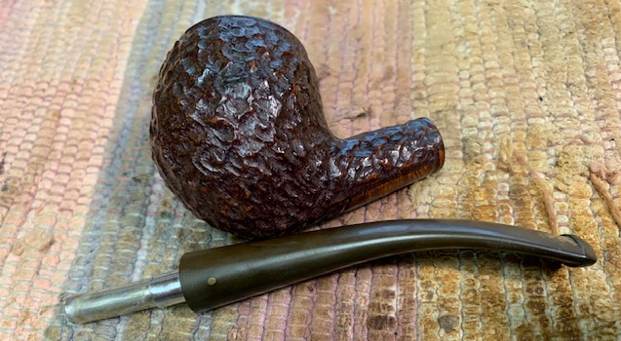
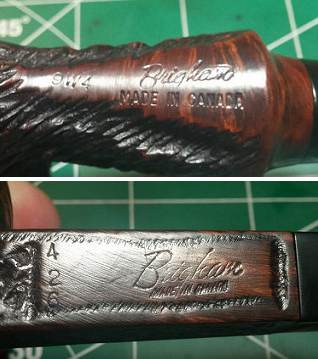
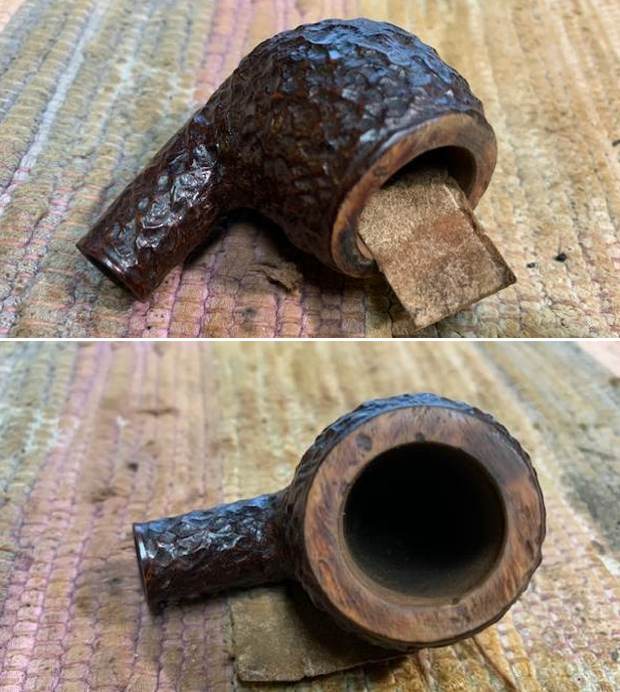
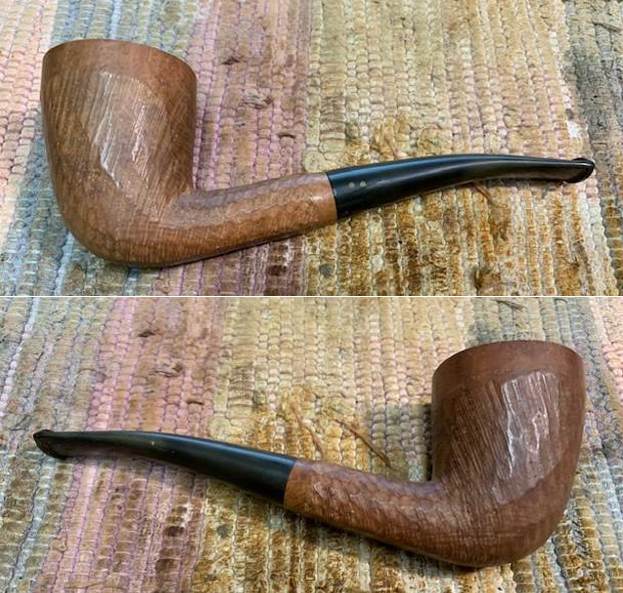
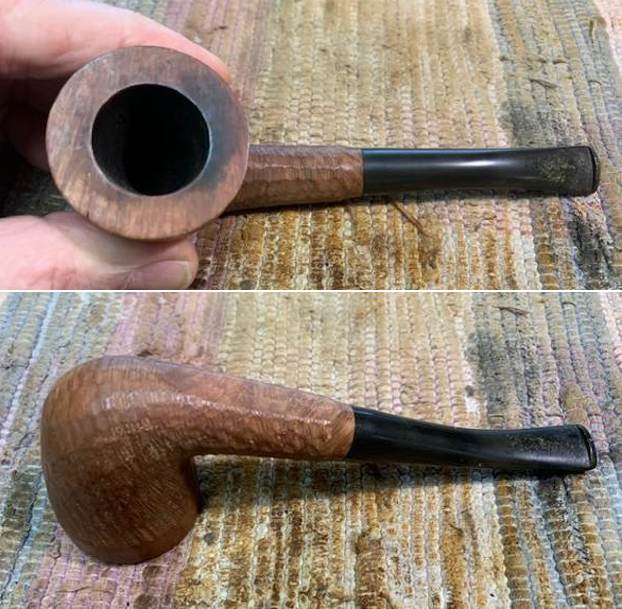
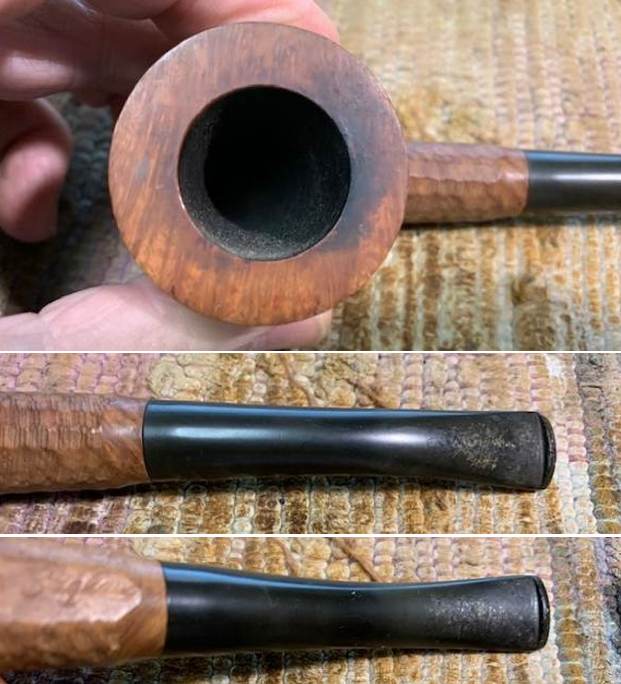
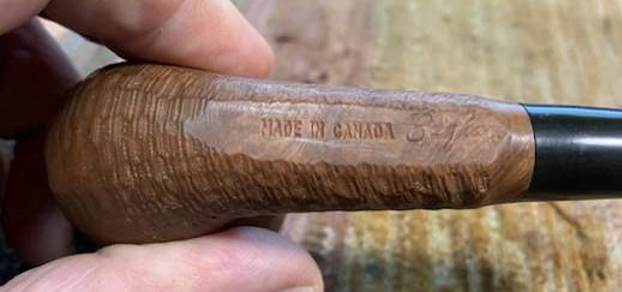
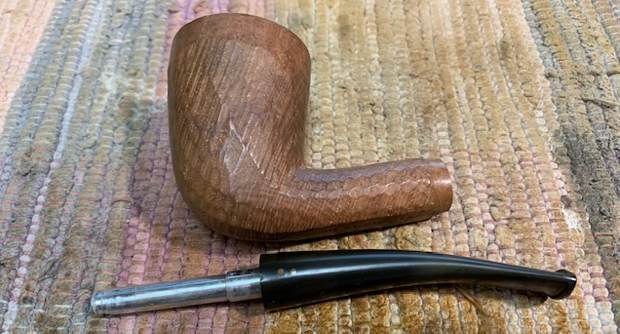
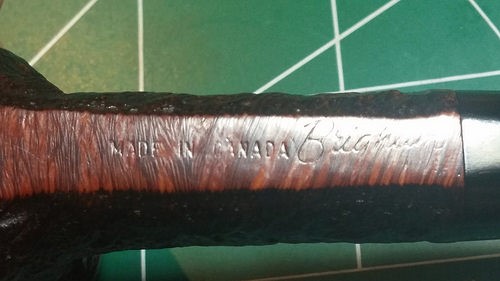
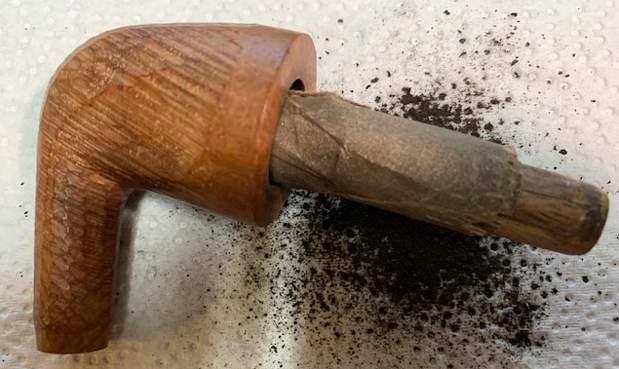
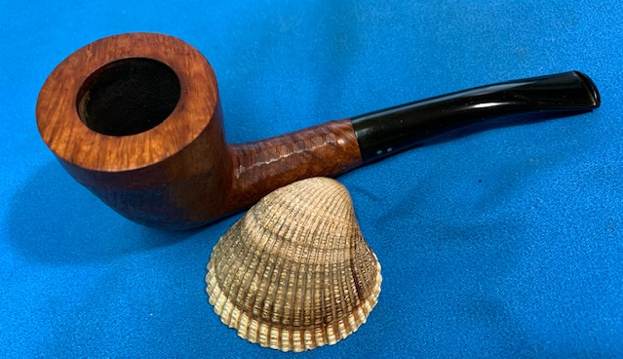
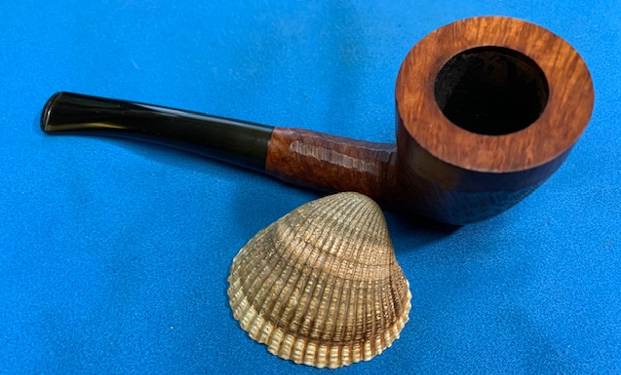
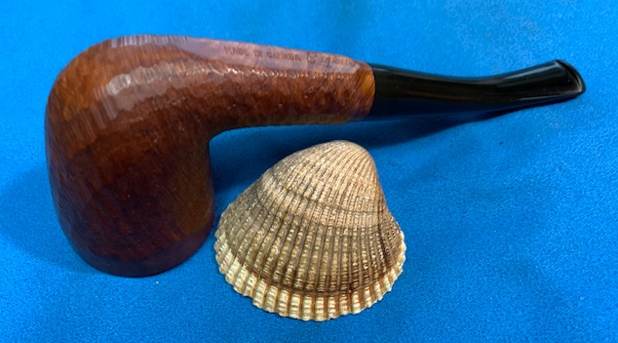
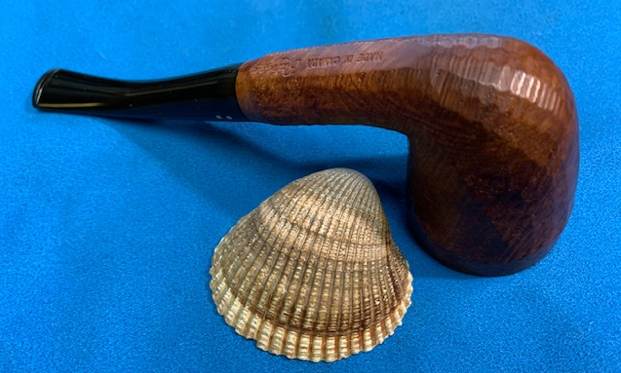
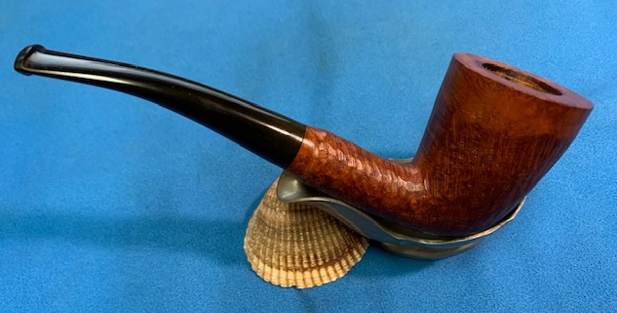
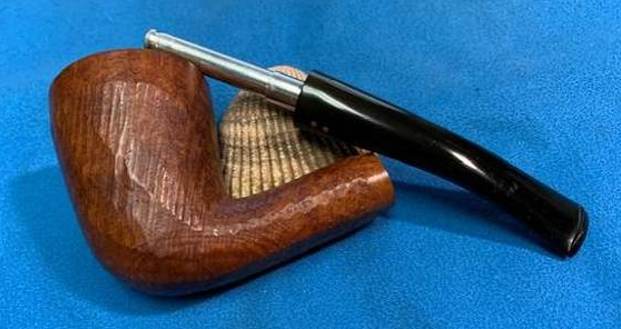
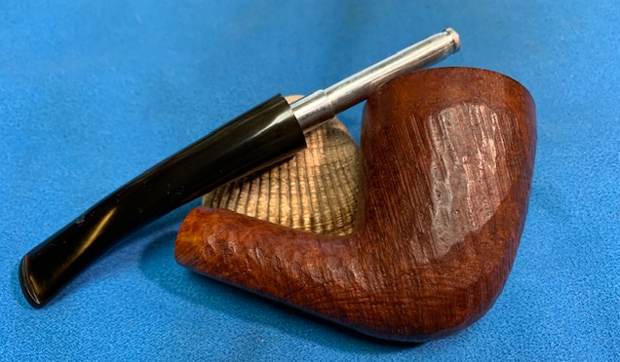
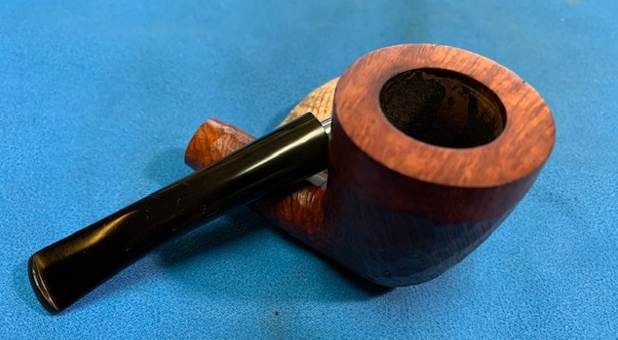
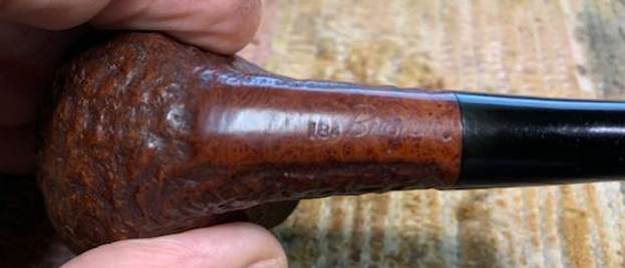
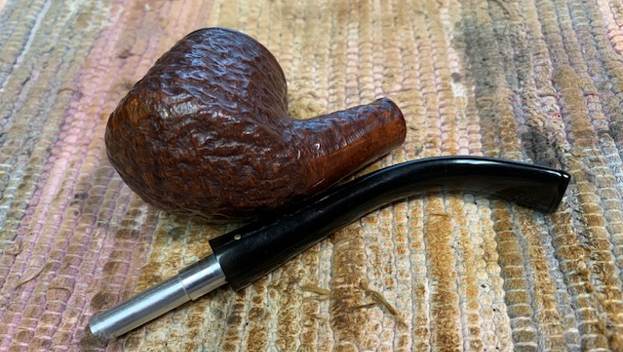
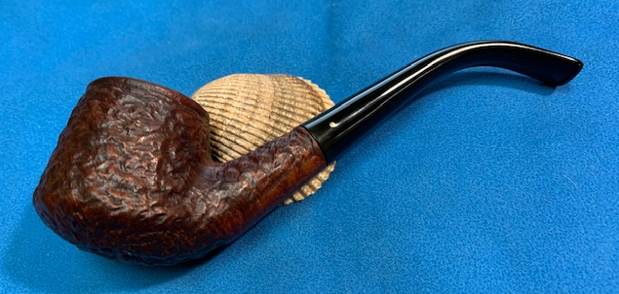
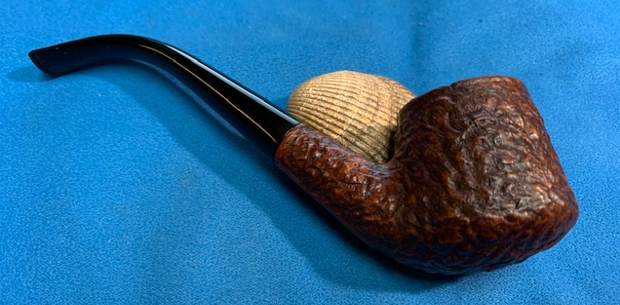
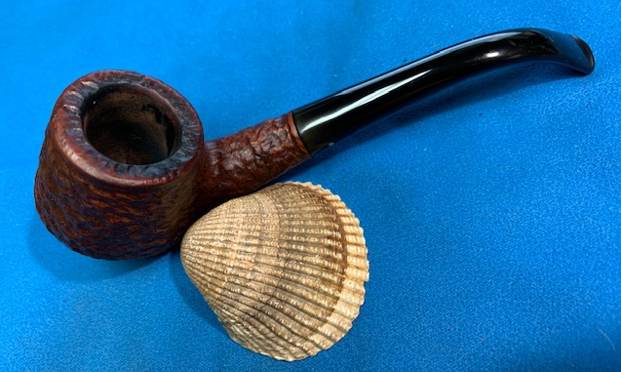
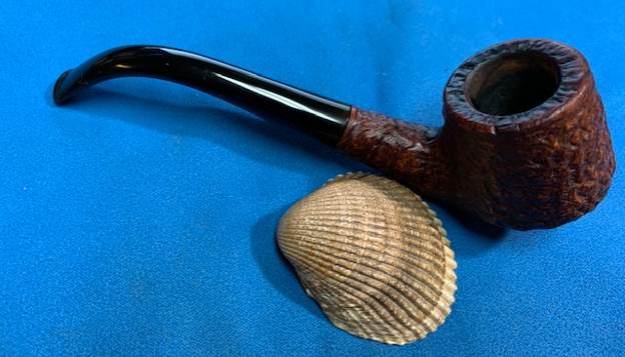
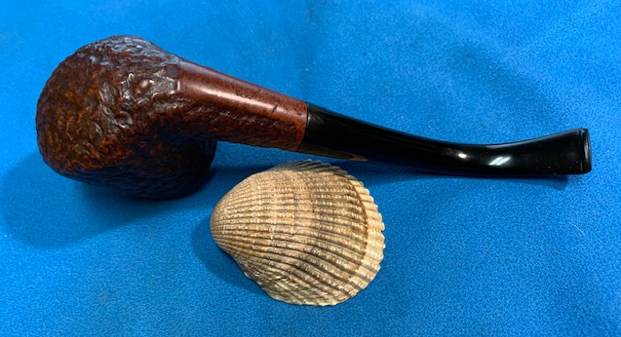
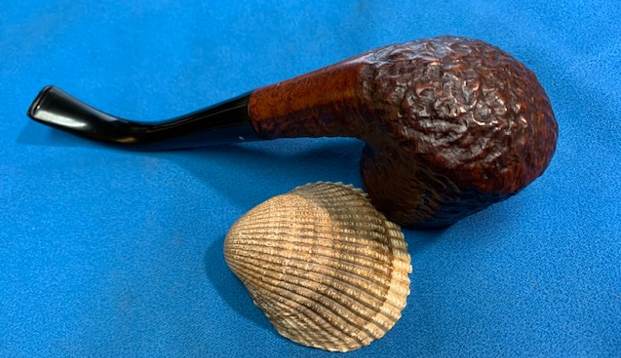
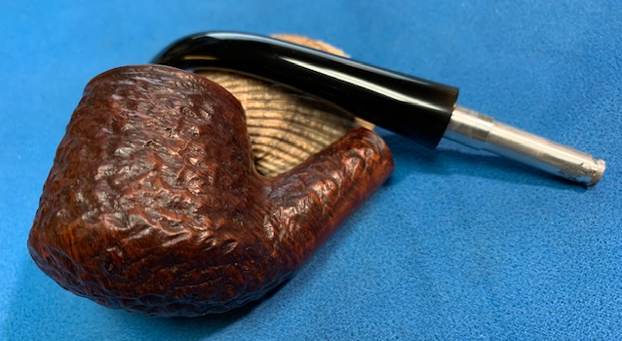
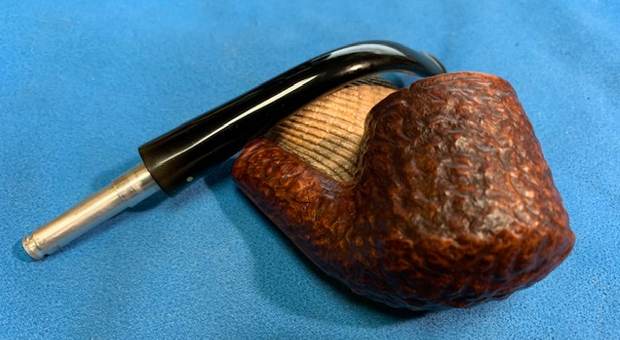
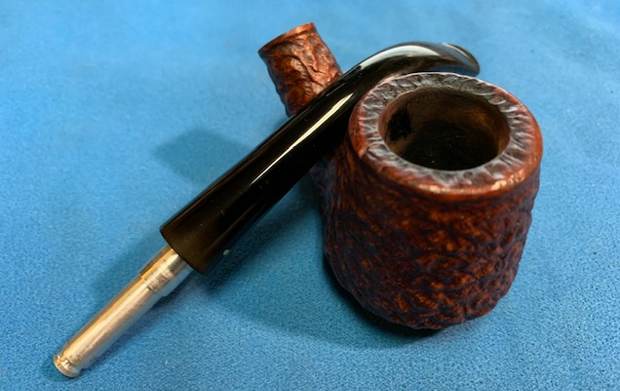
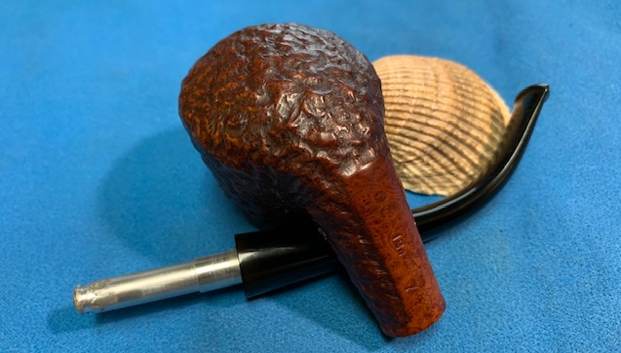
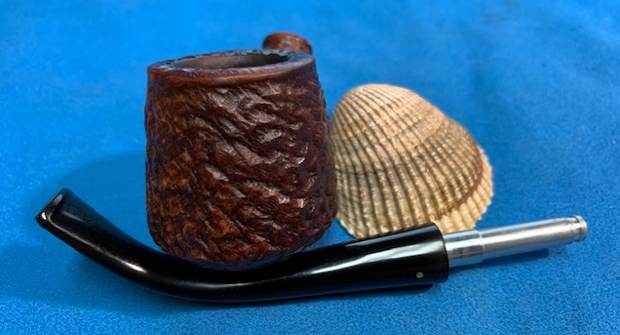
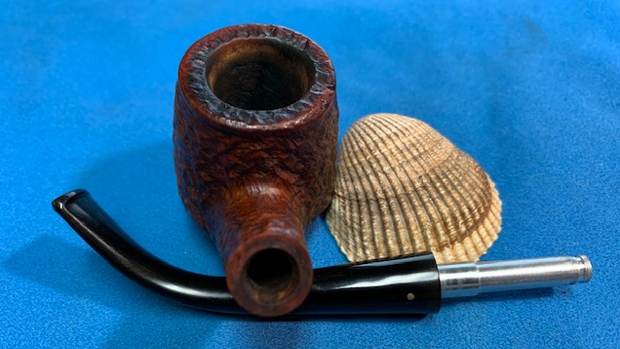
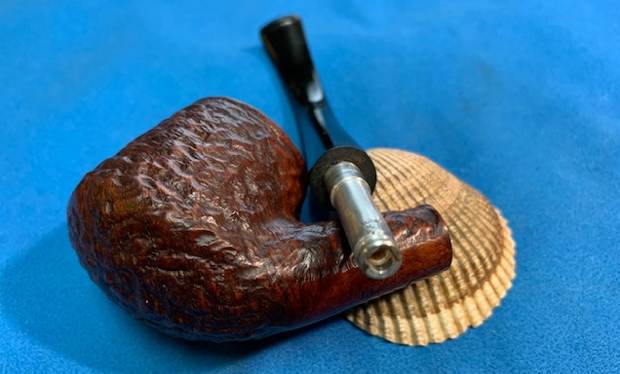
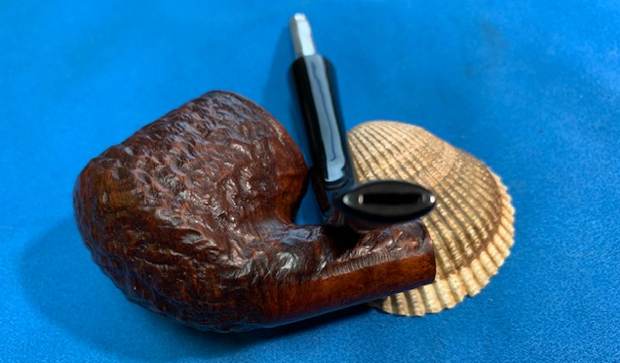
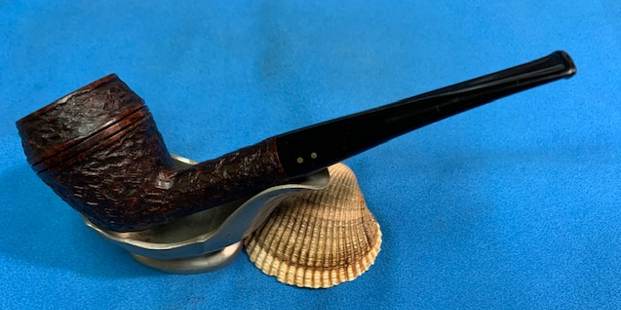
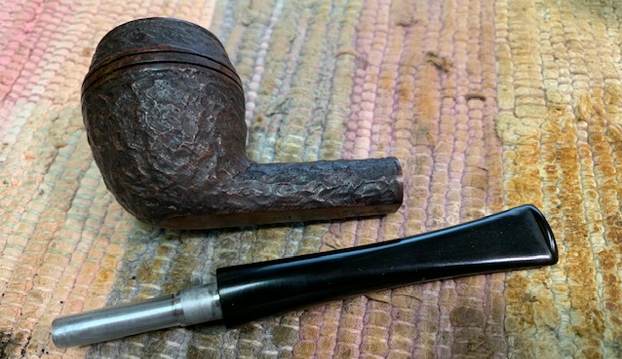
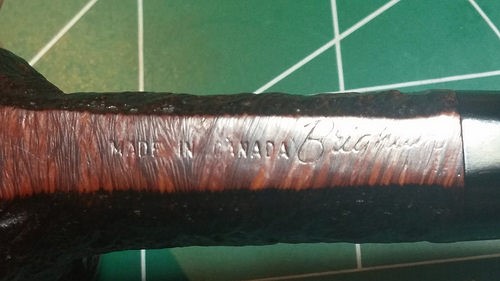
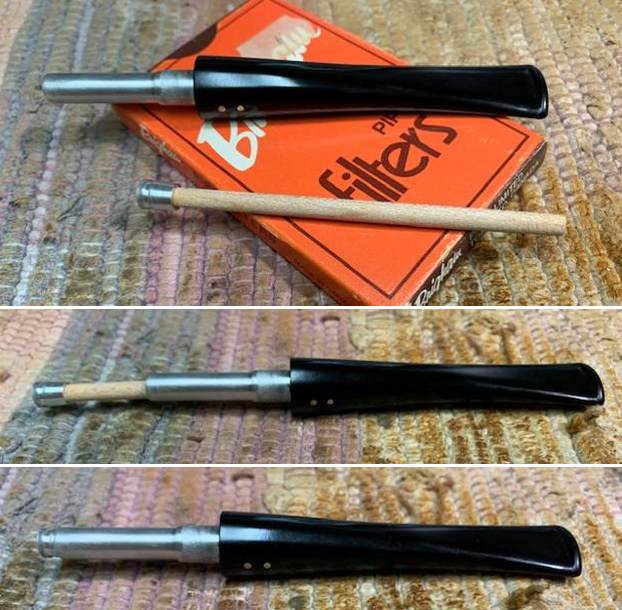
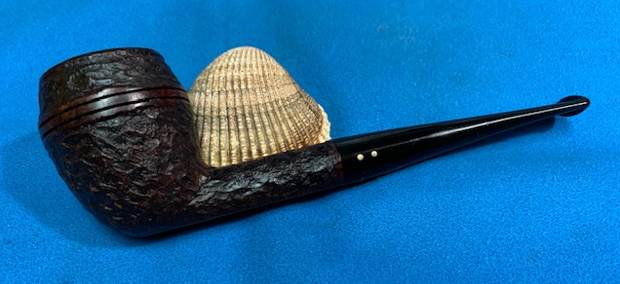
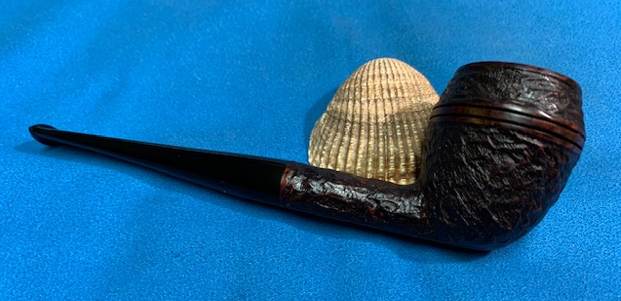
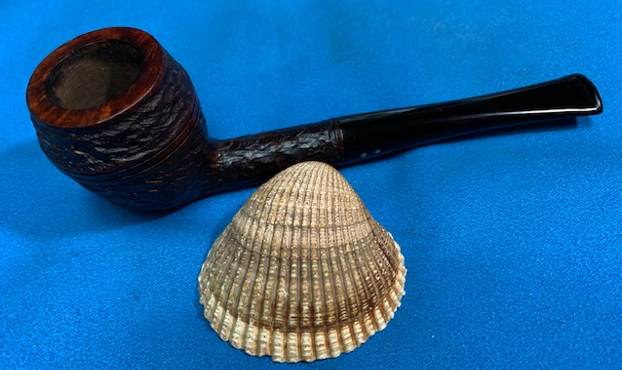
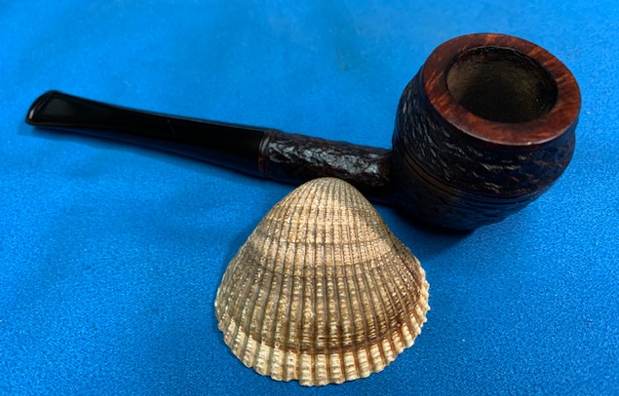
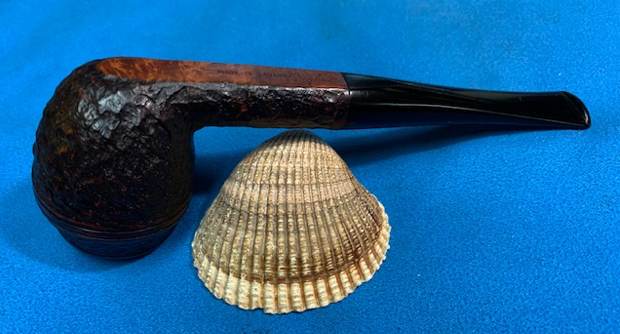
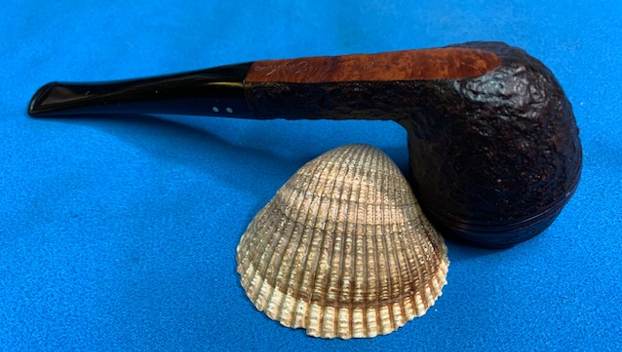
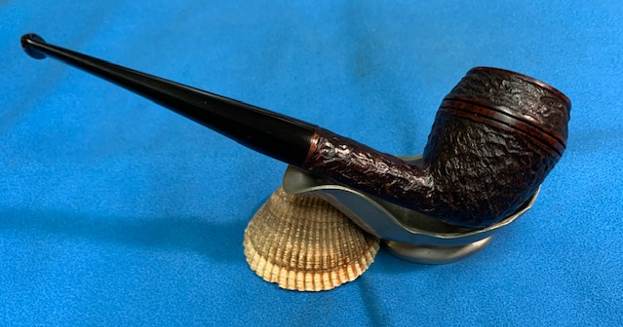
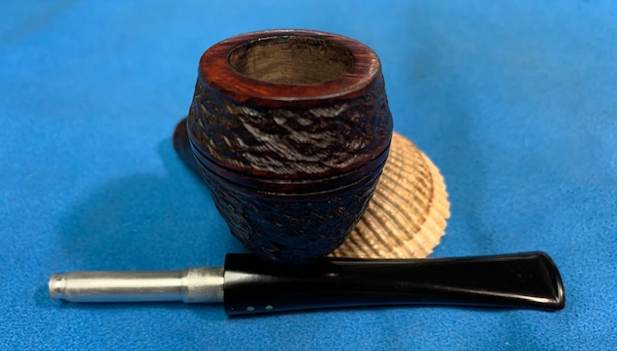
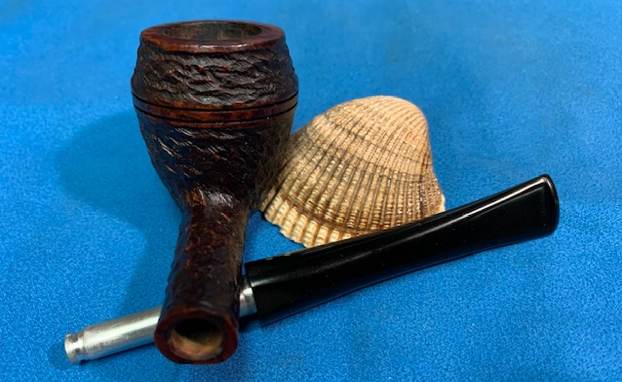
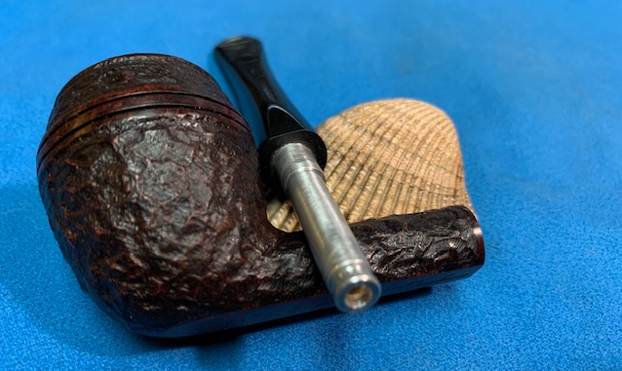
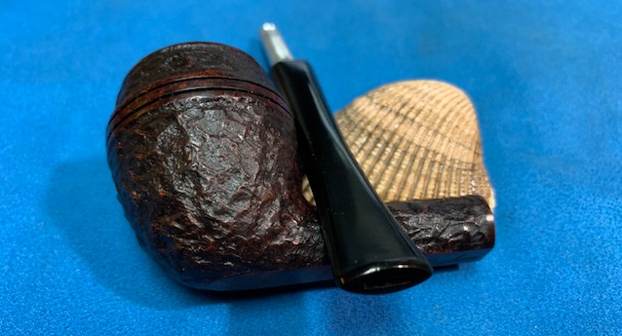
Not too long ago my wife and I had dinner with some good friends here in Vancouver – first time since COVID-19 so it was good to see them. At the beginning of the meal he handed me a box that he said was for me. In it were some pipes that he was giving to me and a bunch of cigars. The pipes included to Brigham rusticated pipes that I have included photos of below. The two pipes in the photo were clean but well smoked. The bowls had light cake and some lava and darkening on the rim top. The stems were lightly oxidized and had tooth chatter on both sides ahead of the button. I decided I would work on them next. I turned to the first of them, a Brigham 2 Dot Sportsman Dublin from Brigham’s unfinished line. It is well carved but the finish is partially unfinished and there is no stain or topping coat on it. It is stamped on the underside and reads Made in Canada followed by the Brigham logo. There were two dots on the stem side and tooth chatter and oxidation. It was going to be a beauty once cleaned up. I took photos of the pipe when it arrived. There was a light cake in the bowl in the bowl with lava overflowing into the rim top. The shank and airways seem to be dirty with tars and oil. The finish was dirty and would need scrubbing. I was hoping to bring it back to the natural finish. It had a clean Hard Rock Maple filter in the tenon and the pipe smelled surprisingly clean. The stem was lightly oxidized and there was some light tooth chatter to the top or underside of the stem. The button had no damage. Overall the pipe looked good even though it was a dirty one. I took photos of the rim top and the bowl to show the condition. The rim top was smooth and covered in lava at the back of the bowl. The inner and outer edges of the bowl looked very good. I also took photos of both sides of the stem to show the tooth marks and chatter. Over all the pipe was in okay condition.I took a photo of the stamping on the underside of the shank. It is faint but it reads as noted above.I took a photo of the pipe with the stem removed to give an overall picture of the pipe. It really is quite beautiful.For historical background for those unfamiliar with the brand I am including the information from Pipedia on Brigham pipes. It is a great read in terms of the history and background on the pipes (https://pipedia.org/wiki/Brigham_Pipes). Charles Lemon (Dadspipes) is currently working on a book on the history of the brand. Until that is complete this article is a good summary. I have included it below.

Roy Brigham, after serving an apprenticeship under an Austrian pipesmith, started his own pipe repair shop in Toronto, in 1906. By 1918 the business had grown to include five other craftsmen and had developed a reputation across Canada for the high quality of workmanship. After repairing many different brands of pipes over the years, Roy noted certain recurring complaints by pipe smokers, the most common referred to as “tongue bite”. Tongue bite is a burning sensation on the smoker’s tongue, previously thought to be due to the heat of the smoke (i.e. a “hot smoking pipe”).

He soon began manufacturing his own pipes, which were lightweight, yet featured a more rugged construction, strengthening the weak points observed in other pipes. The problem of tongue bite intrigued him, and he decided to make overcoming it a future goal.

About 1938, Roy’s son Herb joined him to assist in the business. The business barely survived the great depression because pipes were considered to be a luxury, not a necessity, and selling pipes was difficult indeed. In approximately 1937 [1], after some experimentation, Roy and Herb discovered that tongue bite was in fact a form of mild chemical burn to the tongue, caused by tars and acids in the smoke. They found that by filtering the smoke, it was possible to retain the flavour of the tobacco and yet remove these impurities and thereby stop the tongue bite.

Just as Thomas Edison had searched far and wide for the perfect material from which to make the first electric light bulb filaments, Roy & Herb began experimenting with many materials, both common and exotic, in the quest for the perfect pipe filter. Results varied wildly. Most of the materials didn’t work at all and some actually imparted their own flavour into the smoke. They eventually found just two materials that were satisfactory in pipes: bamboo and rock maple. As bamboo was obviously not as readily available, rock maple then became the logical choice.

They were able to manufacture a replaceable hollow wooden tube made from rock maple dowelling, which when inserted into a specially made pipe, caused absolutely no restriction to the draw of the pipe, yet extracted many of the impurities which had caused tongue bite. The result was indeed a truly better smoking pipe…

I remembered that Charles had done a blog on a pair of Brigham Sportsman pipes for his Dadspipes Blog. I looked that up to get a bit of background on this series of pipes so I could understand it better (https://dadspipes.com/2017/05/04/a-bevy-of-brighams-part-iii-a-pair-of-unsmoked-3-dot-sportsman-pipes/).  I quote a section of the blog below:

For those unfamiliar with this series, the Sportsman pipes were roughly shaped, semi-finished and sold each year at the Toronto Sportsman’s Show as rugged, rough-and-ready pipes suitable for bringing along to the cottage, hunt camp, fishing lodge or campground. The briar blocks were factory drilled, had the top half or so of the bowl machine-turned, and were fitted with a stem containing the Brigham filter system. The bottom half of the bowl and the shank were left roughly carved. Many of the Sportsman pipes were graded at a 3 Dot level, though I believe they were available in 3, 4 and 5 Dot grades.

Interestingly the pipe I have in hand is a 2 Dot grade but very well done. It is stamped Made in Canada followed by the Brigham logo.

Charles Lemon has also written a great article on the stampings and marking on the Brigham pipes that fit into a time line that he has drafted. It is well worth a read and is fascinating. (https://pipedia.org/wiki/Brigham_Pipes_%E2%80%93_A_Closer_Look_at_Dots,_Dates_and_Markings). I quote from the pertinent section on the time frame for this pipe.

The patent on the Brigham filter system expired in 1955, ushering in the Post-Patent Era (1956 – roughly 1969). The “CAN PAT” stamp was replaced by a “Made in Canada” stamp in block letters. The 1960s saw the introduction of new product lines, including the Norsemen and Valhalla series of rusticated and smooth (respectively) freehand-style pipes created to capitalize on the growing demand for Danish pipe shapes.

This solidly places the pipe I am working on in the period of Brigham production that Charles calls the Post-Patent Era (1956-1969). It is a great looking pipe with the Sportsman style of finish.

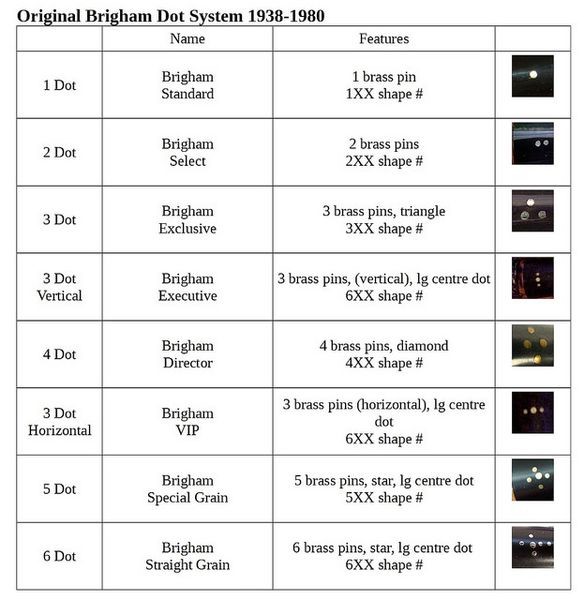
The Original Brigham Dot System 1938 – 1980

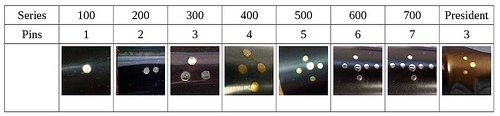
Brigham pipes are reknown in the pipe world for their famous “Brigham Dots”, a system of brass pins inset in the stem to denote the grade of each pipe. The original 8-grade pinning system, used for 42 years between 1938 and 1978 (spanning the Patent, Post-Patent and Canadian Eras) looked like this:I knew that I was dealing with a pipe made between 1956-1969 from the Post-Patent Era. It sports 2 dot making it Brigham Select pipe but the fact that it is a Sportsman Series pipe I am not sure that the dot information applies. There is not a shape number on the pipe. Now to do a bit of spiffing with the pipe itself.

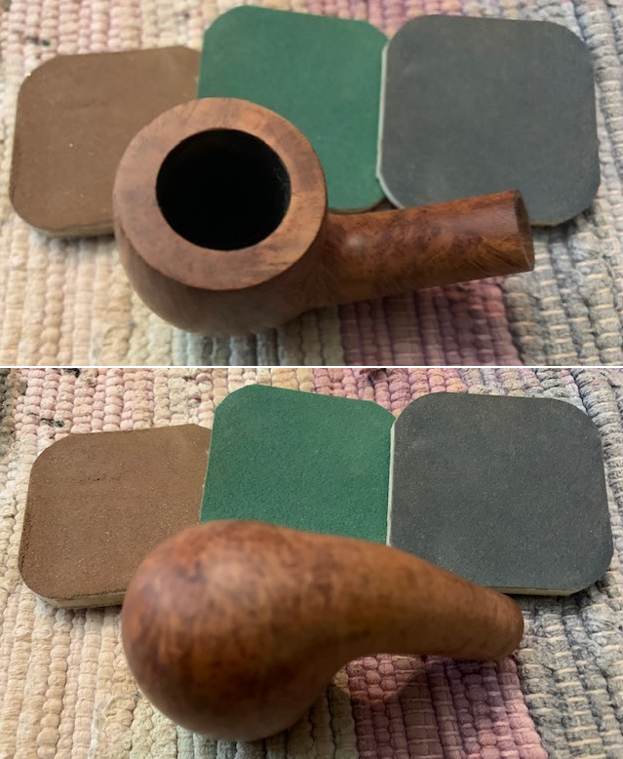
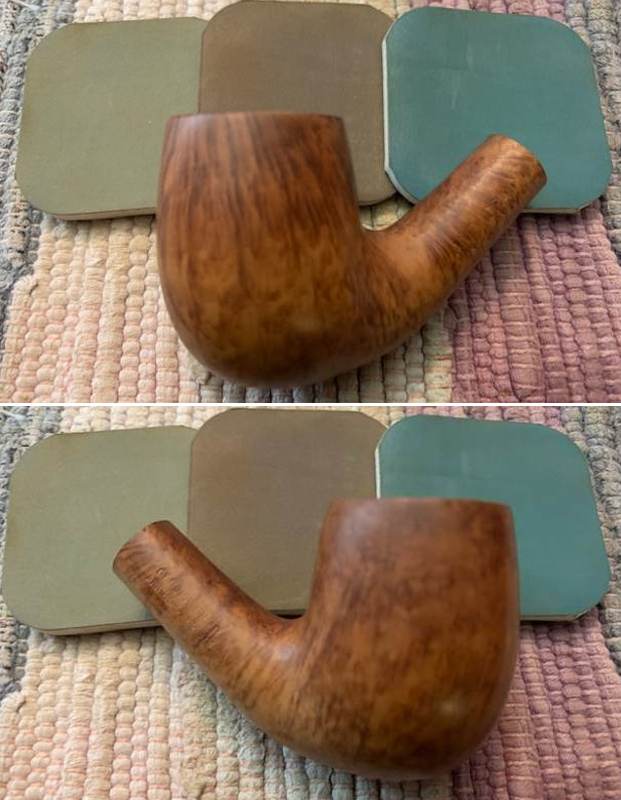
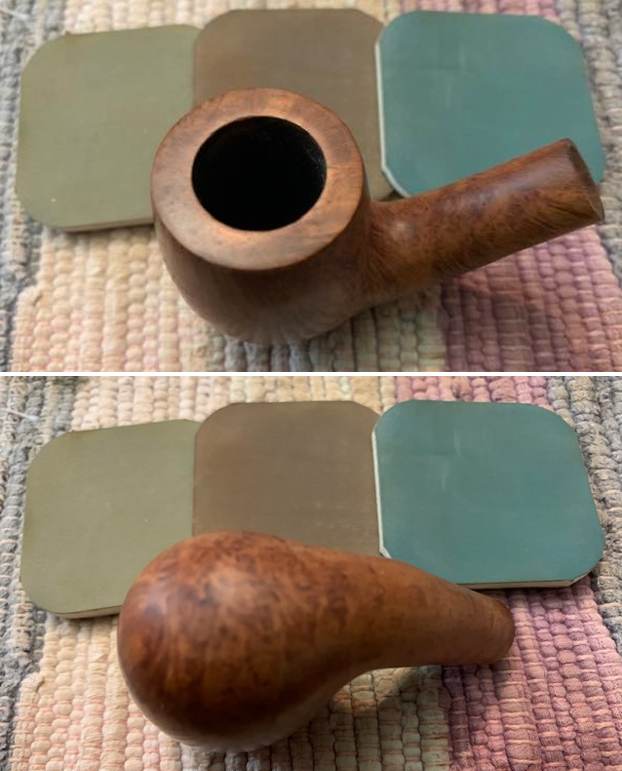
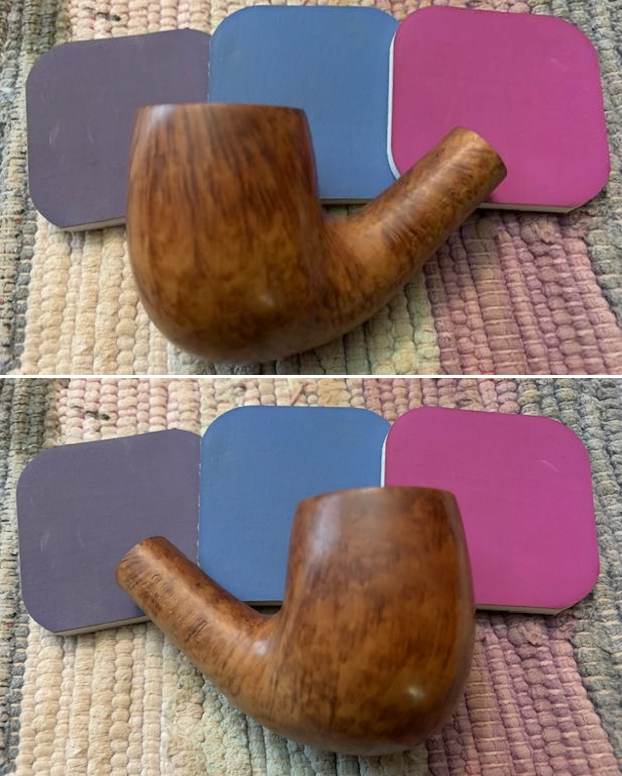
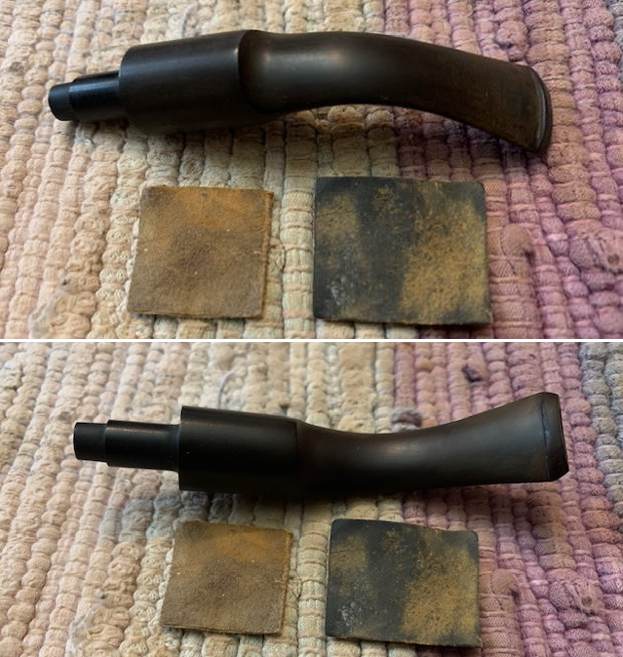
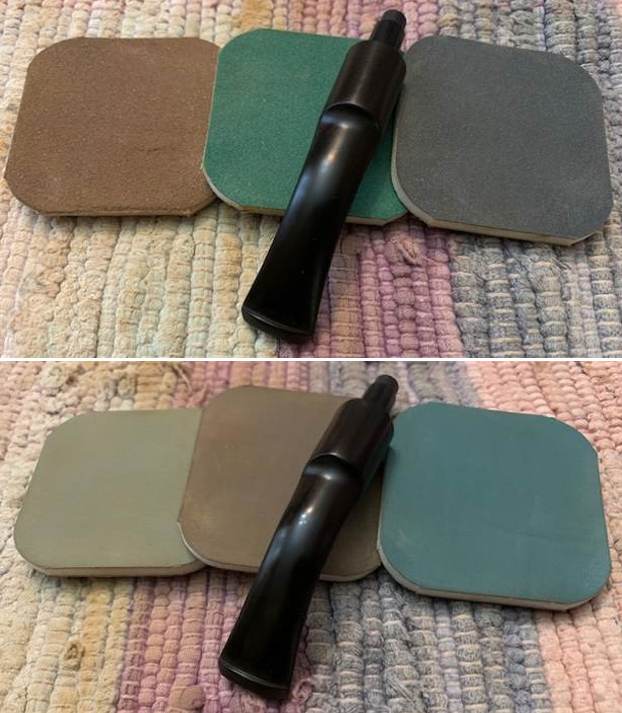
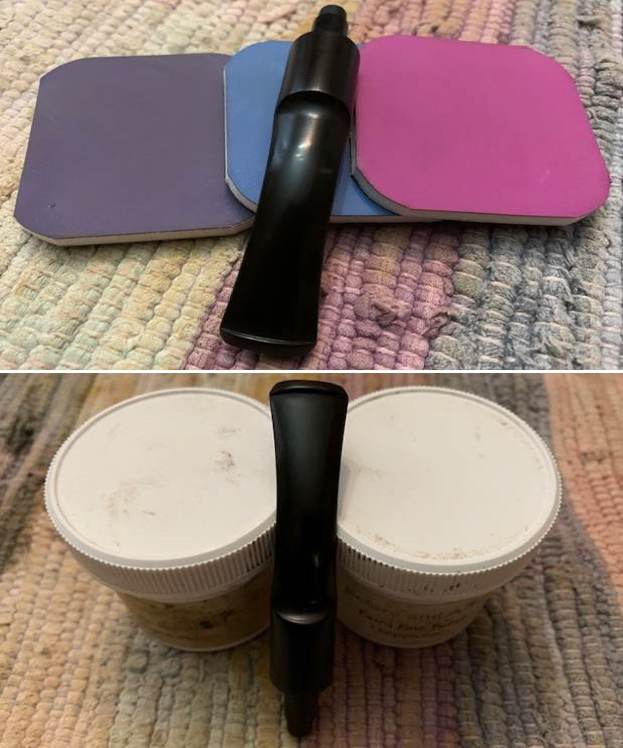
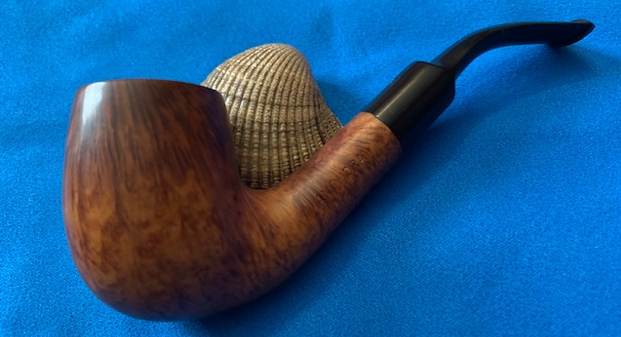
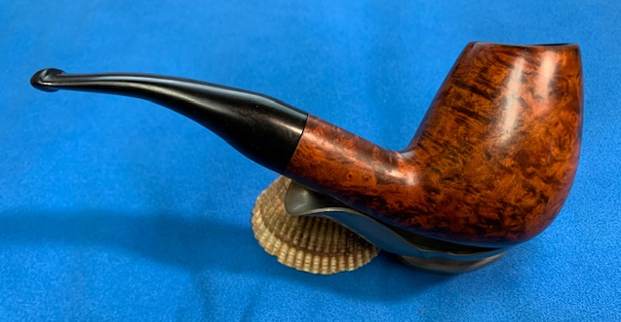
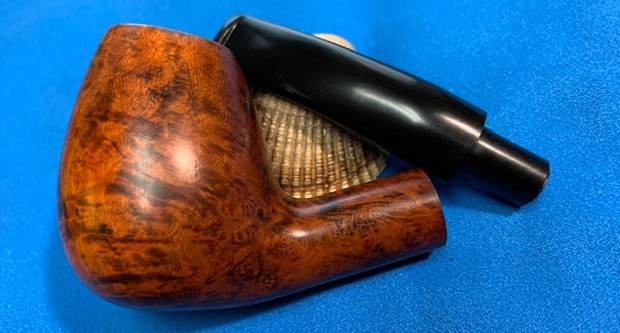
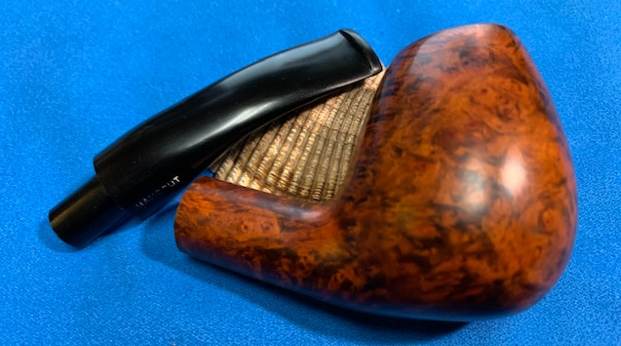
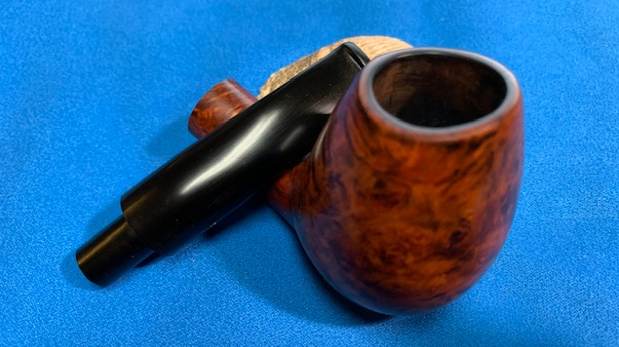
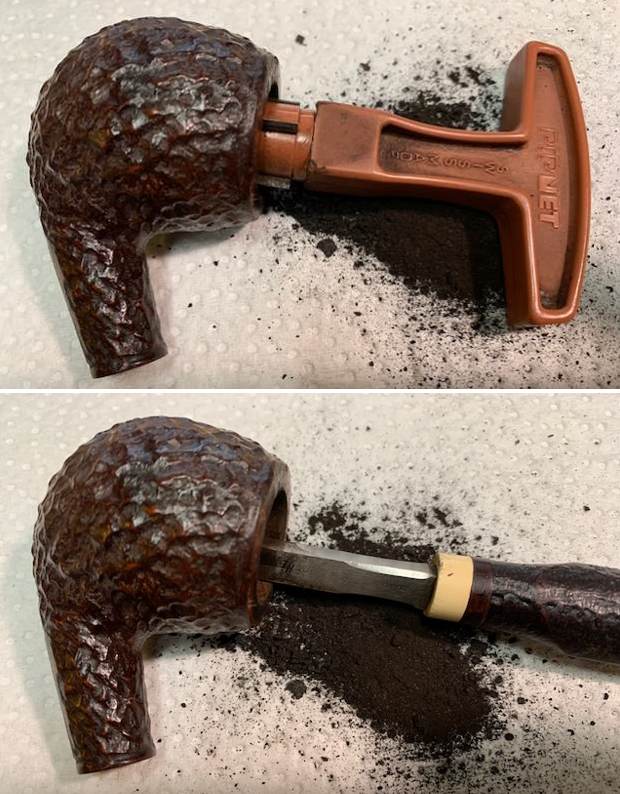
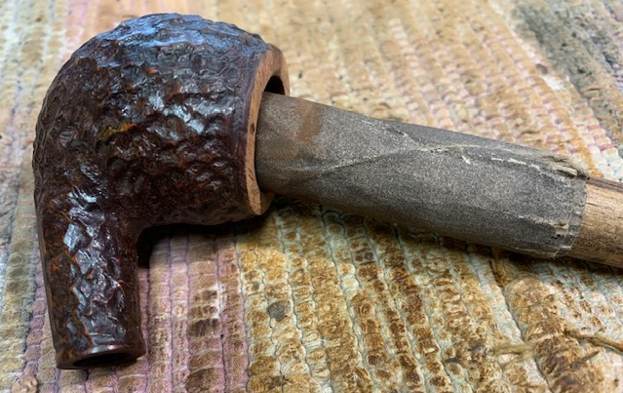
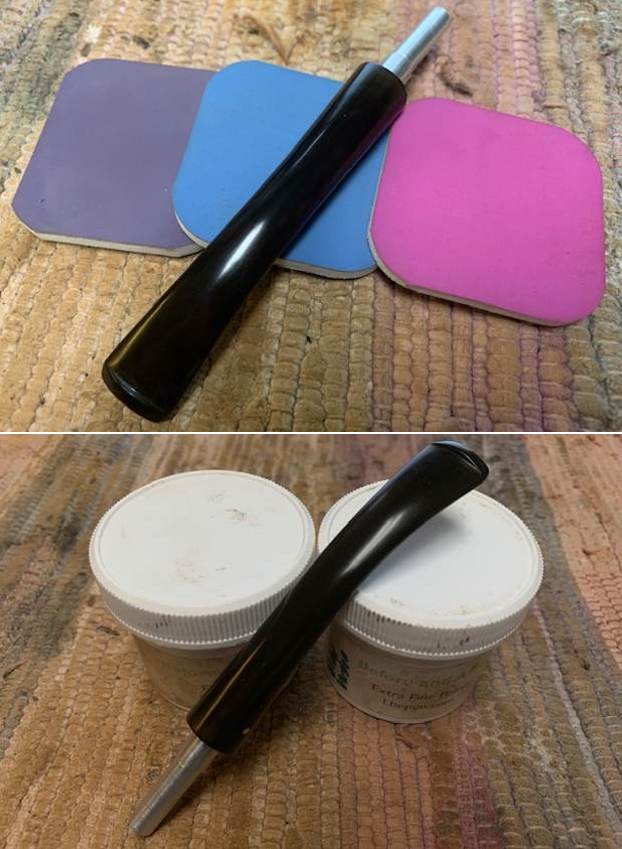
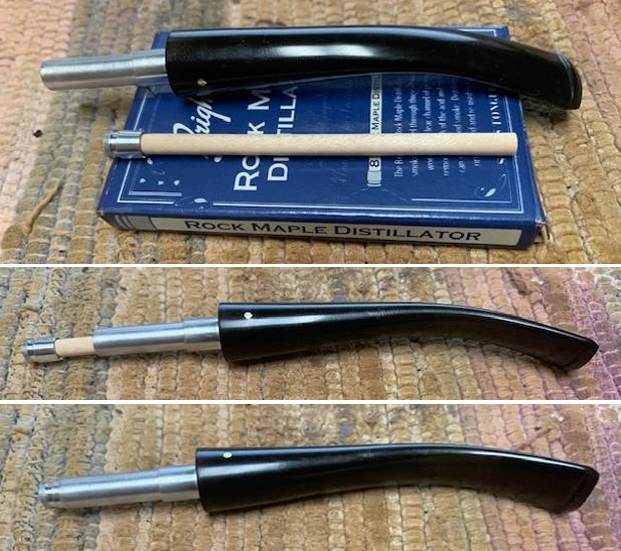
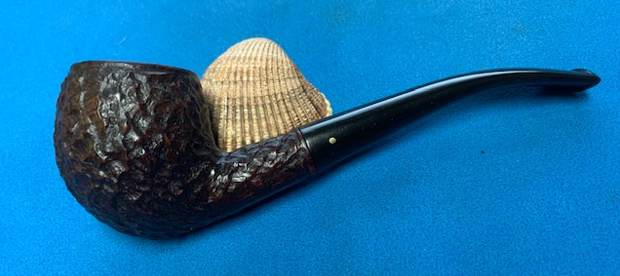
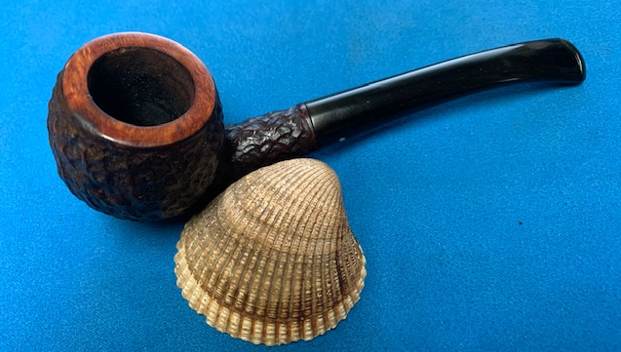
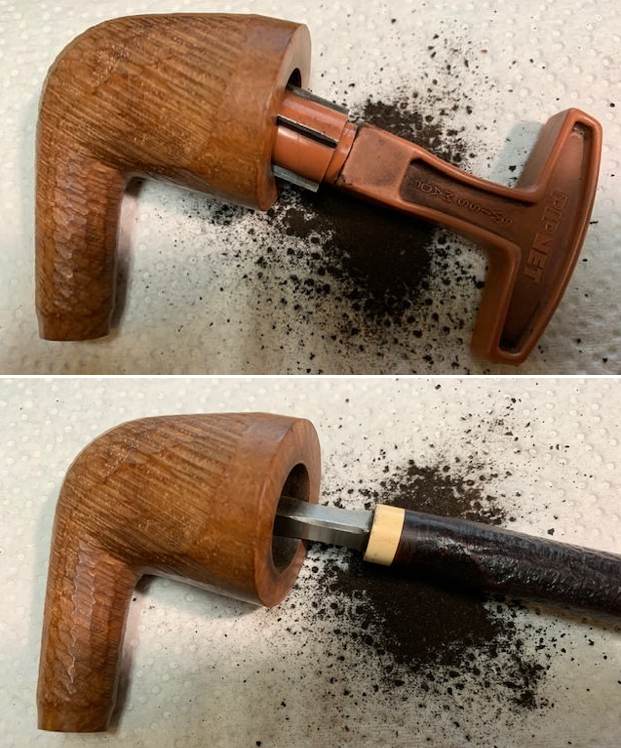
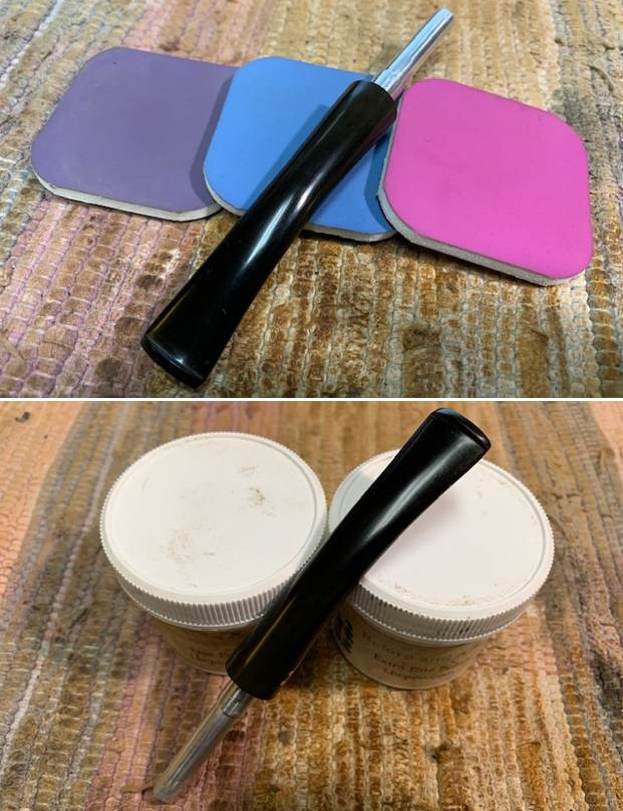
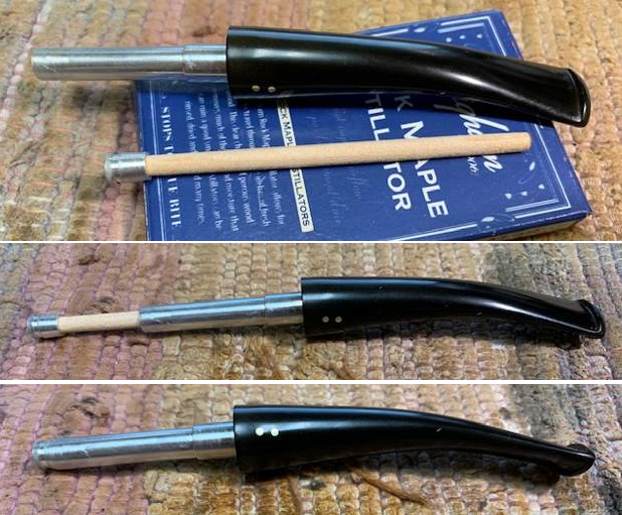
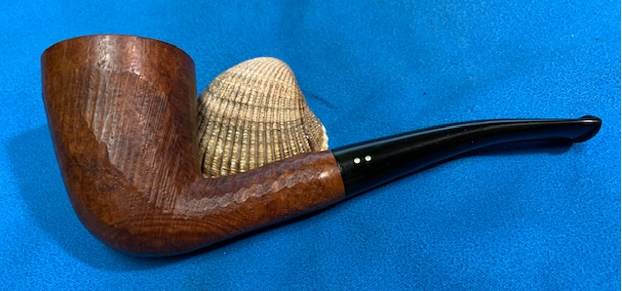
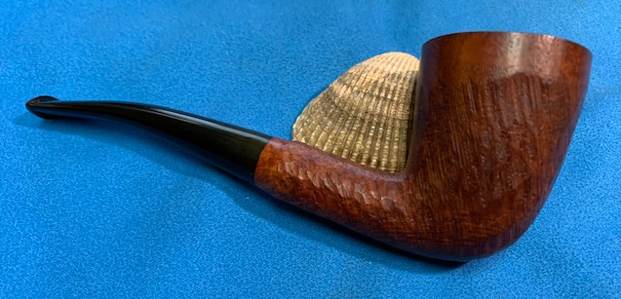
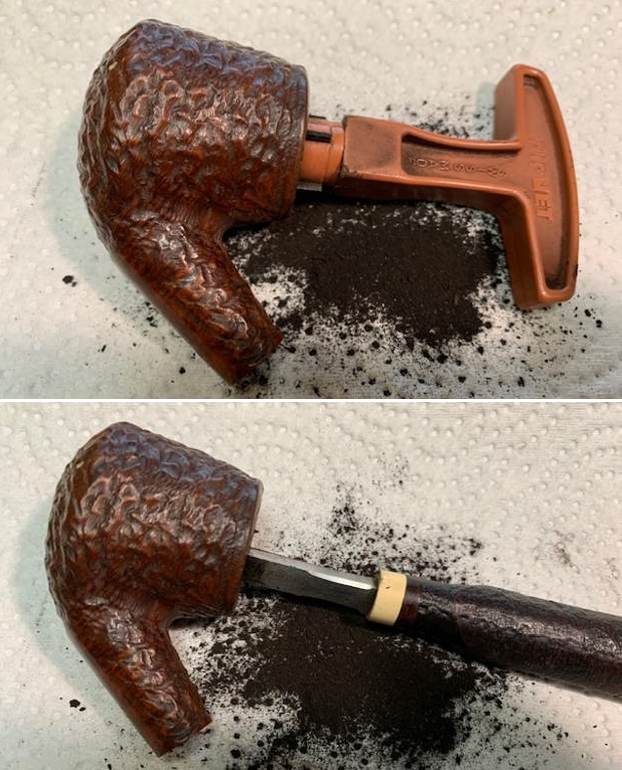
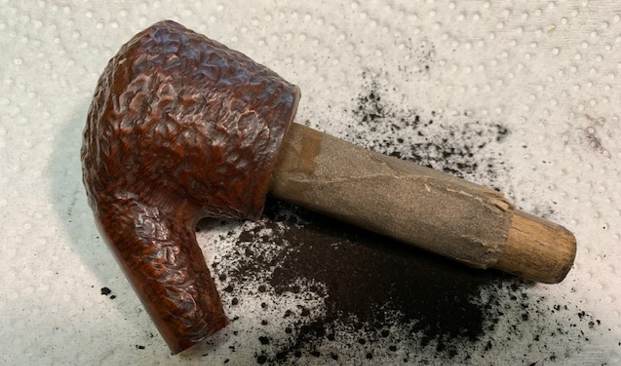
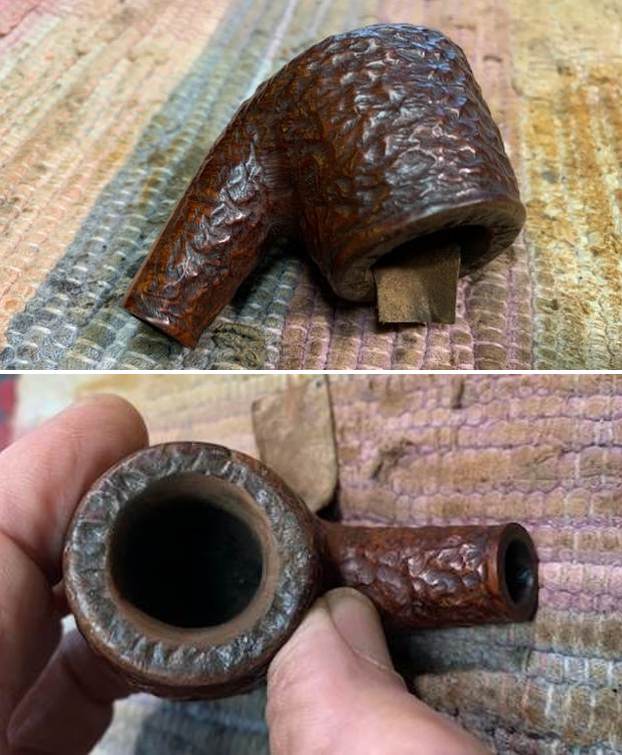
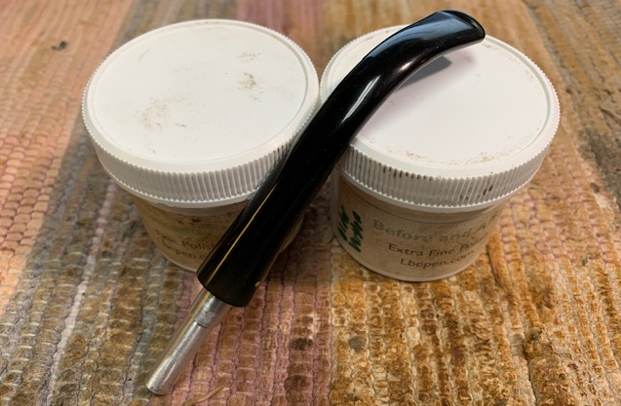
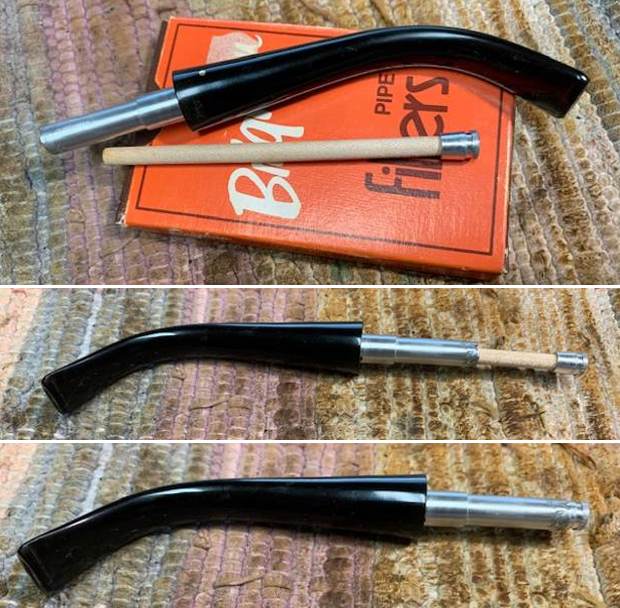
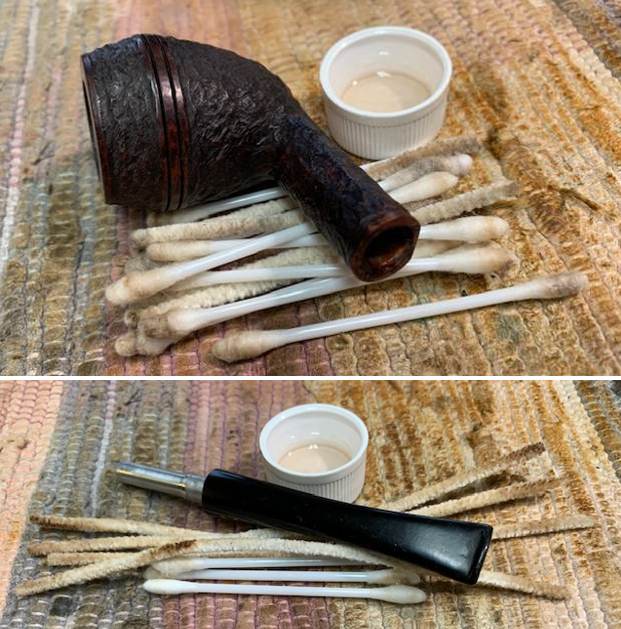
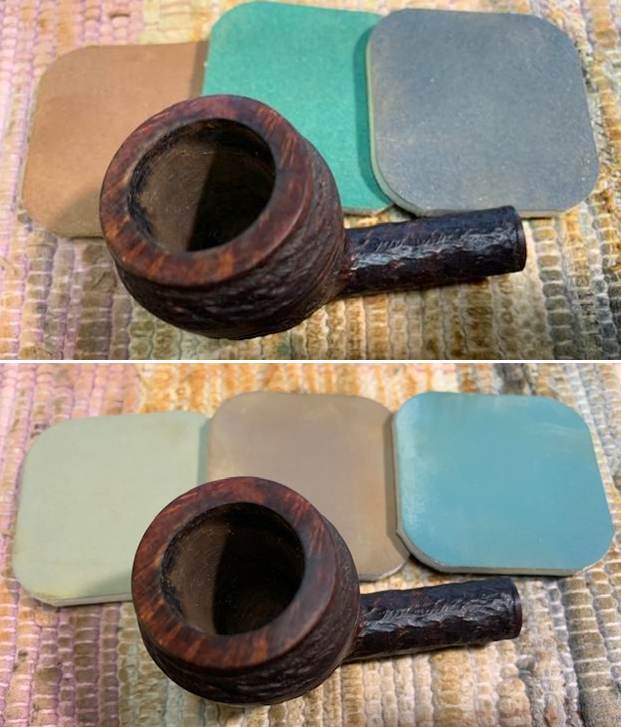
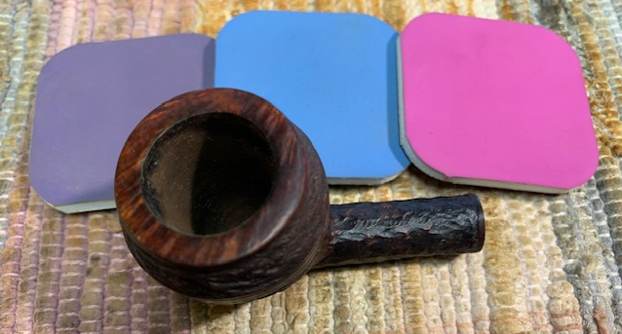
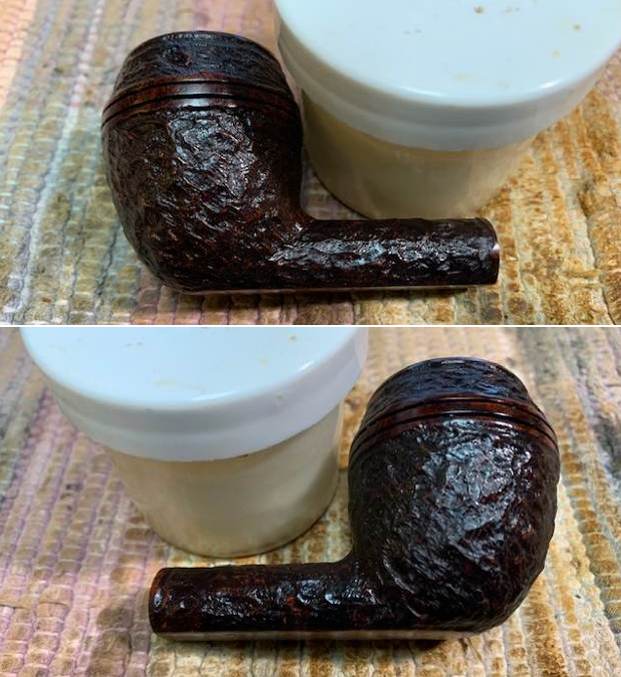
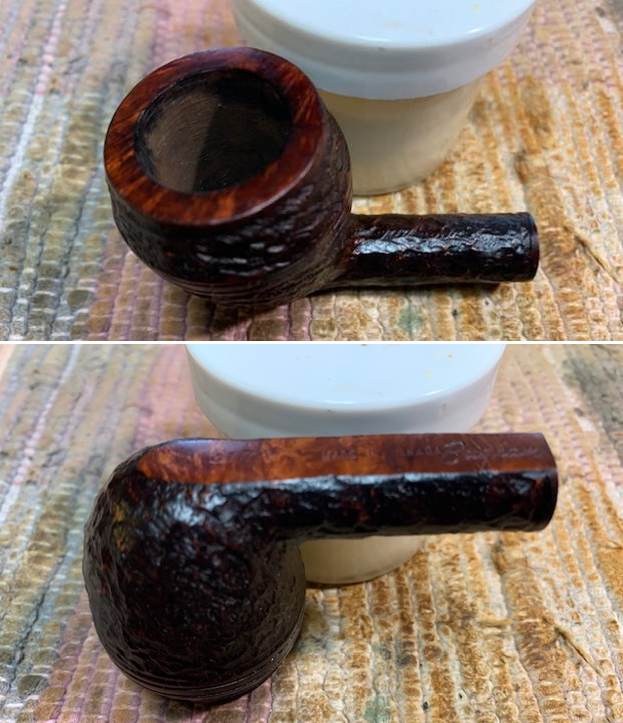
I reamed the pipe with a PipNet pipe reamer to remove the light cake from the bowl walls. It was uneven and needed to be removed so I took it back to bare briar. I cleaned up the reaming with a Savinelli Fitsall Pipe Knife and then sanded the bowl with a dowel wrapped with 220 grit sandpaper to smooth out the walls. I scrubbed the exterior of the pipe with a tooth brush with undiluted Murphy’s Oil Soap. I scrubbed it to remove the build up on the rim top. I rinsed it with warm water and dried it off with a soft cloth.I cleaned out the internals with alcohol, cotton swabs and pipe cleaners to remove the debris and the oils from the shank and tenon as well as the airway into the stem and bowl. I rubbed the bowl down with some Before & After Restoration Balm. I worked it into the briar with my fingertips. The product works to clean, renew and protect briar. I let it do its work for 15 minutes then buffed it off with a soft cloth. The pipe is really quite a beauty. I set the bowl aside and turned my attention to the stem. I sanded out the tooth marks and chatter on both sides with 220 and then started the polishing with 400 grit wet dry sandpaper. I polished out the surface of the stem ahead of the button on both sides using micromesh sanding pads. I dry sanded the stem with the 1500-12000 grit pads, then wiped it down with a cloth impregnated with Obsidian Oil. I finished polishing it with Before & After stem polish – both Fine and Extra Fine. I gave it a final coat of Obsidian Oil and set it aside to dry. I fit the clean and polished stem with the Brigham Rock Maple Distillator and took photos to show what it looked like. This is in essence a hollow Maple wood tube that serves to filter out the moisture and deliver a clean and flavourful smoke. I am excited to finish this 1956-1969 Post-Patent Era Brigham Sportsman 2 Dot Dublin. I put the pipe back together and buffed it with Blue Diamond on the buffing wheel. I gave the bowl and the stem multiple coats of carnauba wax. I buffed the pipe with a clean buffing pad to raise the shine and hand buffed it with microfiber cloth to deepen the shine. It is fun to see what the polished bowl looks like with the rustic finish. Added to that the polished black vulcanite stem with the shining brass pins was beautiful. This mixed grain on the rustic Brigham Sportsman 2 Dot Dublin is nice looking and the pipe feels great in my hand. It is light and well balanced. Have a look at it with the photos below. The dimensions are Length: 6 inches, Height: 2 ¼ inches, Outside diameter of the bowl: 1 ¾ inches, Chamber diameter: 7/8 of an inch. The weight of the pipe is 1.90 ounces/54 grams. It is a beautiful pipe and one that will be on the rebornpipes store in the Canadian Pipe Makers Section soon. If you are interested in adding it to your collection let me know. Thanks for walking through the cleanup with me as I worked over this pipe. Thanks to each of you who are reading this blog. Remember we are not pipe owners; we are pipemen and women who hold our pipes in trust until they pass on into the trust of those who follow us.

Restoring a Brigham (1 Dot) Rusticated 184 Bent Volcano


Blog by Steve Laug

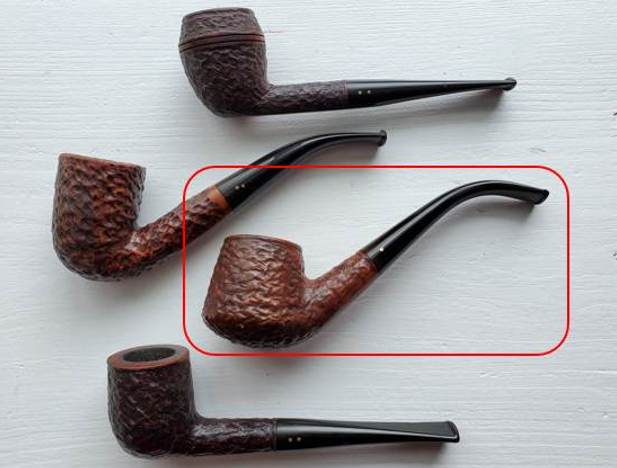
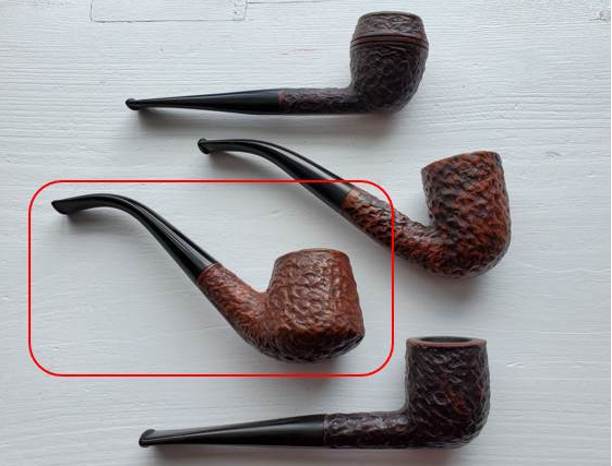
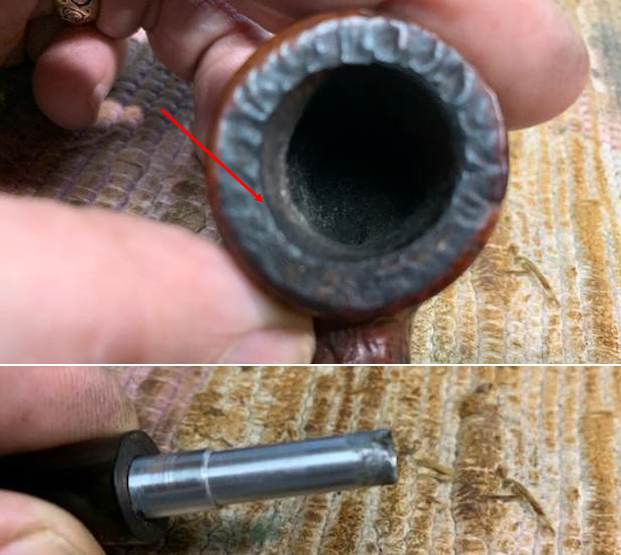
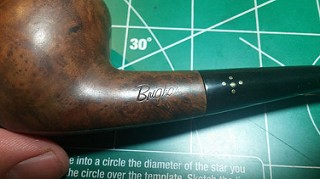
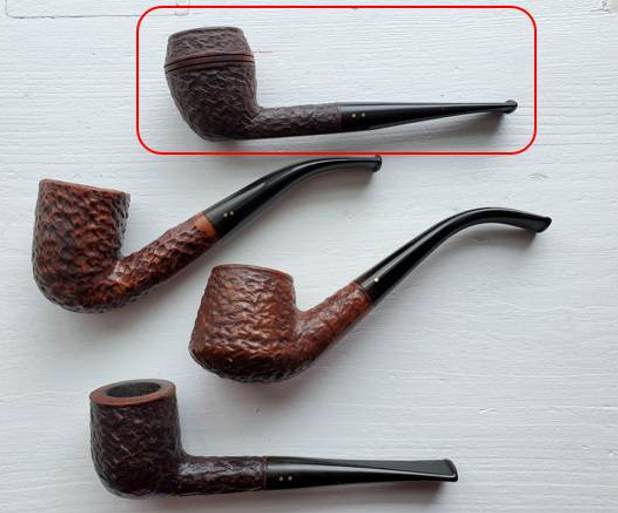
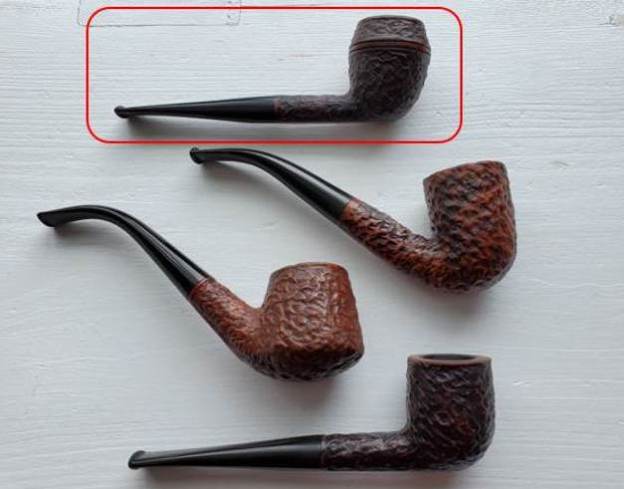
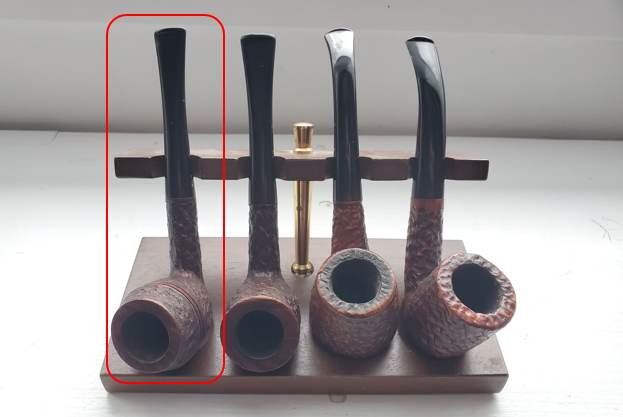
Not too long ago a fellow in Eastern Canada was selling a foursome of Brigham rusticated pipes on Facebook. Jeff contacted him and we became the new owners of the pipes. He sent us some photos of the pipes that I have included below. It did not take long for them to arrive here in Vancouver. When they did I was amazed at how good they looked. Two of them were relatively clean and two were used. The top two pipes in the photo were clean and the bottom two were still dirty with cake and debris in the bowls. I decided I would work on them next. I turned to the final pipe of the lot a Bent Volcano shape – the second from the bottom in the photos below as marked by the red box outlining it. It is stamped on the underside with the shape number 184 on the shank followed further down the shank by Brigham. It was by far the most used of the four pipes. It had the thickest cake in the bowl, lava on the rim top and some damage to the end of the metal tenon/keeper for the Brigham Rock Maple Distillator. It was also probably the newest of the lot of four but I would figure that out as I worked on it. I took photos of the pipe when it arrived. There was some damage on the inner edge with the bowl being out of round. There was a moderate cake in the bowl in the bowl with lava overflowing into the rustication of the rim top. The shank and airways seem to be dirty with tars and oil. It did not have the Hard Rock Maple filter in the shank but the interior smelled strongly of tobacco. The stem was very clean and shiny without any tooth damage to the top or underside of the stem. The button was clean with no damage. Overall the pipe looked good even though it was a dirty one. I took photos of the rim top and the bowl to show the condition. The rim top was rusticated and covered in lava heavily at the back of the bowl. You can see the damage on the inner edge of the bowl making it out of round and the thick cake that is present. I also took photos of both sides of the stem to show the lack of tooth marks and chatter. Over all the pipe was in okay condition.I took a photo of the stamping on the underside of the shank. It is faint but it reads as noted above.I took a photo of the pipe with the stem removed to give an overall picture of the pipe. It really is quite beautiful.I took a photo of the rim top to show how out of round the bowl was and of the damage on the end of the aluminum Distillator holder/tenon. I have included them below. The red arrow shows one of the spots where the damage is visible.For historical background for those unfamiliar with the brand I am including the information from Pipedia on Brigham pipes. It is a great read in terms of the history and background on the pipes (https://pipedia.org/wiki/Brigham_Pipes). Charles Lemon (Dadspipes) is currently working on a book on the history of the brand. Until that is complete this article is a good summary. I have included it below.

Roy Brigham, after serving an apprenticeship under an Austrian pipesmith, started his own pipe repair shop in Toronto, in 1906. By 1918 the business had grown to include five other craftsmen and had developed a reputation across Canada for the high quality of workmanship. After repairing many different brands of pipes over the years, Roy noted certain recurring complaints by pipe smokers, the most common referred to as “tongue bite”. Tongue bite is a burning sensation on the smoker’s tongue, previously thought to be due to the heat of the smoke (i.e. a “hot smoking pipe”).

He soon began manufacturing his own pipes, which were lightweight, yet featured a more rugged construction, strengthening the weak points observed in other pipes. The problem of tongue bite intrigued him, and he decided to make overcoming it a future goal.

About 1938, Roy’s son Herb joined him to assist in the business. The business barely survived the great depression because pipes were considered to be a luxury, not a necessity, and selling pipes was difficult indeed. In approximately 1937 [1], after some experimentation, Roy and Herb discovered that tongue bite was in fact a form of mild chemical burn to the tongue, caused by tars and acids in the smoke. They found that by filtering the smoke, it was possible to retain the flavour of the tobacco and yet remove these impurities and thereby stop the tongue bite.

Just as Thomas Edison had searched far and wide for the perfect material from which to make the first electric light bulb filaments, Roy & Herb began experimenting with many materials, both common and exotic, in the quest for the perfect pipe filter. Results varied wildly. Most of the materials didn’t work at all and some actually imparted their own flavour into the smoke. They eventually found just two materials that were satisfactory in pipes: bamboo and rock maple. As bamboo was obviously not as readily available, rock maple then became the logical choice.

They were able to manufacture a replaceable hollow wooden tube made from rock maple dowelling, which when inserted into a specially made pipe, caused absolutely no restriction to the draw of the pipe, yet extracted many of the impurities which had caused tongue bite. The result was indeed a truly better smoking pipe…

Charles Lemon has also written a great article on the stampings and marking on the Brigham pipes that fit into a time line that he has drafted. It is well worth a read and is fascinating. (https://pipedia.org/wiki/Brigham_Pipes_%E2%80%93_A_Closer_Look_at_Dots,_Dates_and_Markings). I quote from the pertinent section on the time frame for this pipe.

I have dubbed the decades between 1980 and 2000 the Late Canadian Era, a period that saw several changes at Brigham that are of note to the collector. First, the traditional 8-grade pinning system (the famous Brigham “Dots” which denoted the quality of the pipe) was changed to a 7-grade system to simplify pinning (more on this below), and the Norsemen and Valhalla series were merged to form the President Series, which represented the very finest pipes coming out of the Toronto factory. Early pipes from this era (left, below) are stamped with a shape number and “Brigham” over “Canada”; later pipes (late 1980s+, on right below) are stamped simply with a shape number and the Brigham logo.

This solidly places the pipe I am working on in the period of Brigham production that Charles calls the Late Canadian Era (1980-2000). It is a great looking pipe with an older style rustication pattern than the later Brighams that I have worked on.

Charles also put together a chart that helps the restorer to understand the Brigham dot system. I quote from the same link on Pipedia as noted above.

Revised Dot System 1980

Brigham changed the Dot system in 1980, adding a 7 Dot at the top of the line, dropping the names of each series and eliminating the confusing vertical and horizontal 3 Dot configurations. The Norsemen and Valhalla series were combined to form the President series of freehand pipes, which adopted a 3 Dot pattern with a larger dot on the right as shown below. The 7- grade pinning system stayed in place from 1980 to 2001. I knew that I was dealing with a pipe made between 1980-2000 from the Late Canadian Era. It sports 1 dot making it Brigham Series 100 pipe with a 3 digit shape number 184. Now to do a bit of spiffing with the pipe itself.

I reamed the pipe with a PipNet pipe reamer to remove the light cake from the bowl walls. It was uneven and needed to be removed so I took it back to bare briar. I cleaned up the reaming with a Savinelli Fitsall Pipe Knife and then sanded the bowl with a dowel wrapped with 220 grit sandpaper to smooth out the walls. I cleaned up the damage to the inner edge of the rim with a folded piece of 220 grit sandpaper and made the bowl edge both smooth and round.I scrubbed the exterior of the pipe with a brass bristle wire brush and a tooth brush with undiluted Murphy’s Oil Soap. I scrubbed it to remove the build up on the rim top. I rinsed it with warm water and dried it off with a soft cloth. I touched up the stain on the rim top and edges with a Maple Stain Pen to match the surrounding colour of the briar. Once it is buffed and polished I think it will look good.I cleaned out the internals with alcohol, cotton swabs and pipe cleaners to remove the debris and the oils from the shank and tenon as well as the airway into the stem and bowl. I rubbed the bowl down with some Before & After Restoration Balm. I worked it into the briar with my fingertips and a horse hair shoe brush. The product works to clean, renew and protect briar. I let it do its work for 15 minutes then buffed it off with a soft cloth. The pipe is really quite a beauty. I set the bowl aside and turned my attention to the stem. I polished out the surface of the stem ahead of the button on both sides using micromesh sanding pads. I also polished out the damaged end of the aluminum tube. I was not perfect but it was smooth and held the filter in place. I dry sanded the stem and tenon with the 1500-12000 grit pads, then wiped it down with a cloth impregnated with Obsidian Oil. I finished polishing it with Before & After stem polish – both Fine and Extra Fine. I gave it a final coat of Obsidian Oil and set it aside to dry.  I fit the clean and polished stem with the Brigham Rock Maple Distillator and took photos to show what it looked like. This is in essence a hollow Maple wood tube that serves to filter out the moisture and deliver a clean and flavourful smoke.  I am excited to finish this Late Canadian Era Made in Canada Brigham 184 Bent Volcano. I put the pipe back together and buffed it with Blue Diamond on the buffing wheel. I gave the bowl multiple coats of Conservator’s Wax and the stem multiple coats of carnauba wax. I buffed the pipe with a clean buffing pad to raise the shine and hand buffed it with microfiber cloth to deepen the shine. It is fun to see what the polished bowl looks like with the rusticated finish. Added to that the polished black vulcanite stem with the shining brass pin was beautiful. This mixed grain on the rusticated Brigham 184 Volcano is nice looking and the pipe feels great in my hand. It is light and well balanced. Have a look at it with the photos below. The dimensions are Length: 6 inches, Height: 1 ¾ inches, Outside diameter of the bowl: 1 ¼ inches, Chamber diameter: ¾ of an inch. The weight of the pipe is 1.55 ounces/44 grams. It is a beautiful pipe and one that will be on the rebornpipes store in the Canadian Pipe Makers Section soon. If you are interested in adding it to your collection let me know. Thanks for walking through the cleanup with me as I worked over this pipe. Thanks to each of you who are reading this blog. Remember we are not pipe owners; we are pipemen and women who hold our pipes in trust until they pass on into the trust of those who follow us.

Restoring a Post-Patent Era Made in Canada Brigham Rusticated 217 Rhodesian


Blog by Steve Laug

Not too long ago a fellow in Eastern Canada was selling a foursome of Brigham rusticated pipes on Facebook. Jeff contacted him and we became the new owners of the pipes. He sent us some photos of the pipes that I have included below. It did not take long for them to arrive here in Vancouver. When they did I was amazed at how good they looked. Two of them were relatively clean and two were used. The top two pipes in the photo were clean and the bottom two were still dirty with cake and debris in the bowls. I decided I would work on them next. I started with the Straight Rhodesian shaped pipe – the first one in the photos below as marked by the red box outlining it. It is stamped on the underside with the shape number 217 on the heel of the bowl followed further down the shank by Made in Canada followed by Brigham. I took photos of the pipe when it arrived. It was clean other than some ash in the bowl and in the airway. The finish was quite clean and the aluminum tenon also is clean. It did not have the Hard Rock Maple filter in the shank but it appeared to be very clean. The stem was very clean and shiny with no tooth marks on the top or underside of the stem. The button was very clean as well with no damage. Overall the pipe looked very good. I took photos of the rim top and the bowl to show the condition. The rim top was smooth. I also took photos of both sides of the stem to show how clean it looked. Over all the pipe was in good condition. I would need to run pipe cleaners through to remove the carbon in the bowl. I took a photo of the stamping on the underside of the shank. It reads as noted above.I took a photo of the pipe with the stem removed to give an overall picture of the pipe. It really is quite beautiful.For historical background for those unfamiliar with the brand I am including the information from Pipedia on Brigham pipes. It is a great read in terms of the history and background on the pipes (https://pipedia.org/wiki/Brigham_Pipes). Charles Lemon (Dadspipes) is currently working on a book on the history of the brand. Until that is complete this article is a good summary. I have included it below.

Roy Brigham, after serving an apprenticeship under an Austrian pipesmith, started his own pipe repair shop in Toronto, in 1906. By 1918 the business had grown to include five other craftsmen and had developed a reputation across Canada for the high quality of workmanship. After repairing many different brands of pipes over the years, Roy noted certain recurring complaints by pipe smokers, the most common referred to as “tongue bite”. Tongue bite is a burning sensation on the smoker’s tongue, previously thought to be due to the heat of the smoke (i.e. a “hot smoking pipe”).

He soon began manufacturing his own pipes, which were lightweight, yet featured a more rugged construction, strengthening the weak points observed in other pipes. The problem of tongue bite intrigued him, and he decided to make overcoming it a future goal.

About 1938, Roy’s son Herb joined him to assist in the business. The business barely survived the great depression because pipes were considered to be a luxury, not a necessity, and selling pipes was difficult indeed. In approximately 1937 [1], after some experimentation, Roy and Herb discovered that tongue bite was in fact a form of mild chemical burn to the tongue, caused by tars and acids in the smoke. They found that by filtering the smoke, it was possible to retain the flavour of the tobacco and yet remove these impurities and thereby stop the tongue bite.

Just as Thomas Edison had searched far and wide for the perfect material from which to make the first electric light bulb filaments, Roy & Herb began experimenting with many materials, both common and exotic, in the quest for the perfect pipe filter. Results varied wildly. Most of the materials didn’t work at all and some actually imparted their own flavour into the smoke. They eventually found just two materials that were satisfactory in pipes: bamboo and rock maple. As bamboo was obviously not as readily available, rock maple then became the logical choice.

They were able to manufacture a replaceable hollow wooden tube made from rock maple dowelling, which when inserted into a specially made pipe, caused absolutely no restriction to the draw of the pipe, yet extracted many of the impurities which had caused tongue bite. The result was indeed a truly better smoking pipe…

Charles Lemon has also written a great article on the stampings and marking on the Brigham pipes that fit into a time line that he has drafted. It is well worth a read and is fascinating. (https://pipedia.org/wiki/Brigham_Pipes_%E2%80%93_A_Closer_Look_at_Dots,_Dates_and_Markings). I quote from the pertinent section on the time frame for this pipe.

The patent on the Brigham filter system expired in 1955, ushering in the Post-Patent Era (1956 – roughly 1969). The “CAN PAT” stamp was replaced by a “Made in Canada” stamp in block letters. The 1960s saw the introduction of new product lines, including the Norsemen and Valhalla series of rusticated and smooth (respectively) freehand-style pipes created to capitalize on the growing demand for Danish pipe shapes.

This solidly places the pipe I am working on in the period of Brigham production that Charles calls the Post-Patent Era (1956-1969). It is a great looking pipe with an older style rustication pattern than the later Brighams that I have worked on.

Charles also put together a chart that helps the restorer to understand the Brigham dot system. I quote from the same link on Pipedia as noted above.

The Original Brigham Dot System 1938 – 1980

Brigham pipes are renown in the pipe world for their famous “Brigham Dots”, a system of brass pins inset in the stem to denote the grade of each pipe. The original 8-grade pinning system, used for 42 years between 1938 and 1978 (spanning the Patent, Post-Patent and Canadian Eras) looked like this: I knew that I was dealing with a pipe made between 1956-1969 from the Post-Patent Era. It sports 2 dots making it Brigham Select pipe with a 3 digit shape number 217. Now to do a bit of spiffing with the pipe itself.

I cleaned out the internals with alcohol, cotton swabs and pipe cleaners to remove the debris and the oils from the shank and tenon as well as the airway into the stem and bowl. I also wiped down the inside of the bowl with a paper towel. to remove the carbon dust that was there.I polished the smooth rim top with micromesh sanding pads – dry sanding it with 1500-12000 grit pads. I wiped rim top down with a damp cloth to wipe off the dust and debris. It started to look very good. I rubbed the bowl down with some Before & After Restoration Balm. I worked it into the briar with my fingertips and a horse hair shoe brush. The product works to clean, renew and protect briar. I let it do its work for 15 minutes then buffed it off with a soft cloth. The pipe is really quite a beauty. I set the bowl aside and turned my attention to the stem. There were tooth marks (light but present) on both sides ahead of the button. I sanded them smooth with 220 grit sandpaper and started the polishing with 400 grit wet dry sandpaper. I was able to remove all of the marks. I polished out the scratches remaining in the surface of the stem ahead of the button on both sides using micromesh sanding pads. I dry sanded the stem and them wiped it down with a cloth impregnated with Obsidian Oil. I finished polishing it with Before & After stem polish – both Fine and Extra Fine. I gave it a final coat of Obsidian Oil and set it aside to dry. I fit the clean and polished stem with the Brigham Rock Maple Distillator and took photos to show what it looked like. This is in essence a hollow Maple wood tube that serves to filter out the moisture and deliver a clean and flavourful smoke.  I am excited to finish this Post-Patent Era Made in Canada Brigham 217 Rhodesian. I put the pipe back together and buffed it with Blue Diamond on the buffing wheel. I gave the bowl multiple coats of Conservator’s Wax and the stem multiple coats of carnauba wax. I buffed the pipe with a clean buffing pad to raise the shine and hand buffed it with microfiber cloth to deepen the shine. It is fun to see what the polished bowl looks like with the rusticated finish. Added to that the polished black vulcanite stem with the shining brass pins was beautiful. This mixed grain on the rusticated Brigham 217 Rhodesian (Bulldog) is nice looking and the pipe feels great in my hand. It is light and well balanced. Have a look at it with the photos below. The dimensions are Length: 5 ¾ inches, Height: 1 ¾ inches, Outside diameter of the bowl: 1 ¼ inches, Chamber diameter: ¾ of an inch. The weight of the pipe is 1.34 ounces/38 grams. It is a beautiful pipe and one that will be on the rebornpipes store soon. If you are interested in adding it to your collection let me know. Thanks for walking through the cleanup with me as I worked over this pipe. Thanks to each of you who are reading this blog. Remember we are not pipe owners; we are pipemen and women who hold our pipes in trust until they pass on into the trust of those who follow us.

Restoring a Post-Patent Era, Made in Canada Brigham Select Rusticated 202 Billiard


Blog by Steve Laug

Not too long ago a fellow in Eastern Canada was selling a foursome of Brigham rusticated pipes on Facebook. Jeff contacted him and we became the new owners of the pipes. He sent us some photos of the pipes that I have included below. It did not take long for them to arrive here in Vancouver. When they did I was amazed at how good they looked. Two of them were relatively clean and two were used. The top two pipes in the photo were clean and the bottom two were still dirty with cake and debris in the bowls. I decided I would work on them next. I chose the Straight Billiard shaped pipe next – the bottom one in the photos below as marked by the red box outlining it. It is stamped on the underside with the shape number 202 on the heel of the bowl followed further down the shank by Made in Canada followed by Brigham. I took photos of the pipe when it arrived. There was some damage on the inner edge and a light cake in the bowl. The shank and airways seem to be dirty with tars and oil. It did not have the Hard Rock Maple filter in the shank but it smelled dirty. The stem was very clean with light tooth marks on the top or underside of the stem. The button was clean with no damage. Overall the pipe looked very good. I took photos of the rim top and the bowl to show the condition. The rim top was smooth but you can see the damage on the inner edge of the bowl and the cake that is present. I also took photos of both sides of the stem to show the tooth marks and chatter. Over all the pipe was in good condition. I would need to run pipe cleaners through to remove the carbon in the bowl.I took a photo of the stamping on the underside of the shank. It is faint but it reads as noted above.I took a photo of the pipe with the stem removed to give an overall picture of the pipe. It really is quite beautiful.For historical background for those unfamiliar with the brand I am including the information from Pipedia on Brigham pipes. It is a great read in terms of the history and background on the pipes (https://pipedia.org/wiki/Brigham_Pipes). Charles Lemon (Dadspipes) is currently working on a book on the history of the brand. Until that is complete this article is a good summary. I have included it below.

Roy Brigham, after serving an apprenticeship under an Austrian pipesmith, started his own pipe repair shop in Toronto, in 1906. By 1918 the business had grown to include five other craftsmen and had developed a reputation across Canada for the high quality of workmanship. After repairing many different brands of pipes over the years, Roy noted certain recurring complaints by pipe smokers, the most common referred to as “tongue bite”. Tongue bite is a burning sensation on the smoker’s tongue, previously thought to be due to the heat of the smoke (i.e. a “hot smoking pipe”).

He soon began manufacturing his own pipes, which were lightweight, yet featured a more rugged construction, strengthening the weak points observed in other pipes. The problem of tongue bite intrigued him, and he decided to make overcoming it a future goal.

About 1938, Roy’s son Herb joined him to assist in the business. The business barely survived the great depression because pipes were considered to be a luxury, not a necessity, and selling pipes was difficult indeed. In approximately 1937 [1], after some experimentation, Roy and Herb discovered that tongue bite was in fact a form of mild chemical burn to the tongue, caused by tars and acids in the smoke. They found that by filtering the smoke, it was possible to retain the flavour of the tobacco and yet remove these impurities and thereby stop the tongue bite.

Just as Thomas Edison had searched far and wide for the perfect material from which to make the first electric light bulb filaments, Roy & Herb began experimenting with many materials, both common and exotic, in the quest for the perfect pipe filter. Results varied wildly. Most of the materials didn’t work at all and some actually imparted their own flavour into the smoke. They eventually found just two materials that were satisfactory in pipes: bamboo and rock maple. As bamboo was obviously not as readily available, rock maple then became the logical choice.

They were able to manufacture a replaceable hollow wooden tube made from rock maple dowelling, which when inserted into a specially made pipe, caused absolutely no restriction to the draw of the pipe, yet extracted many of the impurities which had caused tongue bite. The result was indeed a truly better smoking pipe…

Charles Lemon has also written a great article on the stampings and marking on the Brigham pipes that fit into a time line that he has drafted. It is well worth a read and is fascinating. (https://pipedia.org/wiki/Brigham_Pipes_%E2%80%93_A_Closer_Look_at_Dots,_Dates_and_Markings). I quote from the pertinent section on the time frame for this pipe.

The patent on the Brigham filter system expired in 1955, ushering in the Post-Patent Era (1956 – roughly 1969). The “CAN PAT” stamp was replaced by a “Made in Canada” stamp in block letters. The 1960s saw the introduction of new product lines, including the Norsemen and Valhalla series of rusticated and smooth (respectively) freehand-style pipes created to capitalize on the growing demand for Danish pipe shapes.

This solidly places the pipe I am working on in the period of Brigham production that Charles calls the Post-Patent Era (1956-1969). It is a great looking pipe with an older style rustication pattern than the later Brighams that I have worked on.

Charles also put together a chart that helps the restorer to understand the Brigham dot system. I quote from the same link on Pipedia as noted above.

The Original Brigham Dot System 1938 – 1980

Brigham pipes are renown in the pipe world for their famous “Brigham Dots”, a system of brass pins inset in the stem to denote the grade of each pipe. The original 8-grade pinning system, used for 42 years between 1938 and 1978 (spanning the Patent, Post-Patent and Canadian Eras) looked like this: I knew that I was dealing with a pipe made between 1956-1969 from the Post-Patent Era. It sports 2 dots making it Brigham Select pipe with a 3 digit shape number 202. Now to do a bit of spiffing with the pipe itself.

I reamed the pipe with a PipNet pipe reamer to remove the light cake from the bowl walls. It was uneven and needed to be removed so I took it back to bare briar. I cleaned up the reaming with a Savinelli Fitsall Pipe Knife and then sanded the bowl with a dowel wrapped with 220 grit sandpaper to smooth out the walls.  I cleaned out the internals with alcohol, cotton swabs and pipe cleaners to remove the debris and the oils from the shank and tenon as well as the airway into the stem and bowl. I cleaned up the damage to the inner edge of the rim with a folded piece of 220 grit sandpaper and made the bowl edge both smooth and round.I polished the smooth rim top with micromesh sanding pads – dry sanding it with 1500-12000 grit pads. I wiped rim top down with a damp cloth to wipe off the dust and debris. It started to look very good.  I rubbed the bowl down with some Before & After Restoration Balm. I worked it into the briar with my fingertips and a horse hair shoe brush. The product works to clean, renew and protect briar. I let it do its work for 15 minutes then buffed it off with a soft cloth. The pipe is really quite a beauty. I set the bowl aside and turned my attention to the stem. There were tooth marks (light but present) on both sides ahead of the button. I “painted” the surface of both sides with the flame of a Bic lighter and was able to lift the marks. I sanded the remnants smooth with 220 grit sandpaper and started the polishing with 400 grit wet dry sandpaper. I was able to remove all of the marks. I polished out the scratches remaining in the surface of the stem ahead of the button on both sides using micromesh sanding pads. I dry sanded the stem and them wiped it down with a cloth impregnated with Obsidian Oil. I finished polishing it with Before & After stem polish – both Fine and Extra Fine. I gave it a final coat of Obsidian Oil and set it aside to dry. I fit the clean and polished stem with the Brigham Rock Maple Distillator and took photos to show what it looked like. This is in essence a hollow Maple wood tube that serves to filter out the moisture and deliver a clean and flavourful smoke. I am excited to finish this Post-Patent Era Made in Canada Brigham Select 202 Billiard. I put the pipe back together and buffed it with Blue Diamond on the buffing wheel. I gave the bowl multiple coats of Conservator’s Wax and the stem multiple coats of carnauba wax. I buffed the pipe with a clean buffing pad to raise the shine and hand buffed it with microfiber cloth to deepen the shine. It is fun to see what the polished bowl looks like with the rusticated finish. Added to that the polished black vulcanite stem with the shining brass pins was beautiful. This mixed grain on the rusticated Brigham 202 Billiard is nice looking and the pipe feels great in my hand. It is light and well balanced. Have a look at it with the photos below. The dimensions are Length: 5 ¾ inches, Height: 1 ¾ inches, Outside diameter of the bowl: 1 ¼ inches, Chamber diameter: ¾ of an inch. The weight of the pipe is 1.16 ounces/33 grams. It is a beautiful pipe and one that will be on the rebornpipes store in the Canadian Pipe Makers Section soon. If you are interested in adding it to your collection let me know. Thanks for walking through the cleanup with me as I worked over this pipe. Thanks to each of you who are reading this blog. Remember we are not pipe owners; we are pipemen and women who hold our pipes in trust until they pass on into the trust of those who follow us.

Refreshing a Late Canadian Era Brigham Canada Rusticated 2 Dot Bent Billiard


Blog by Steve Laug

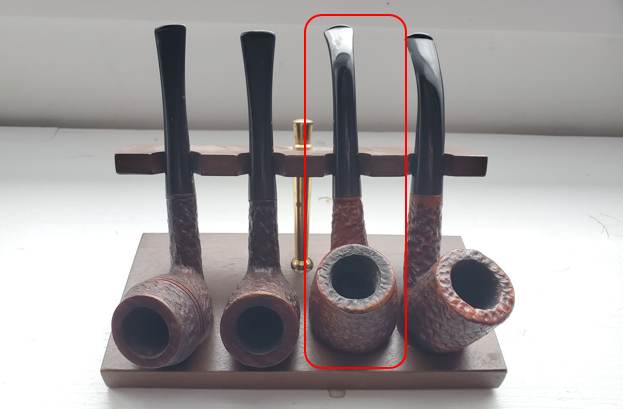
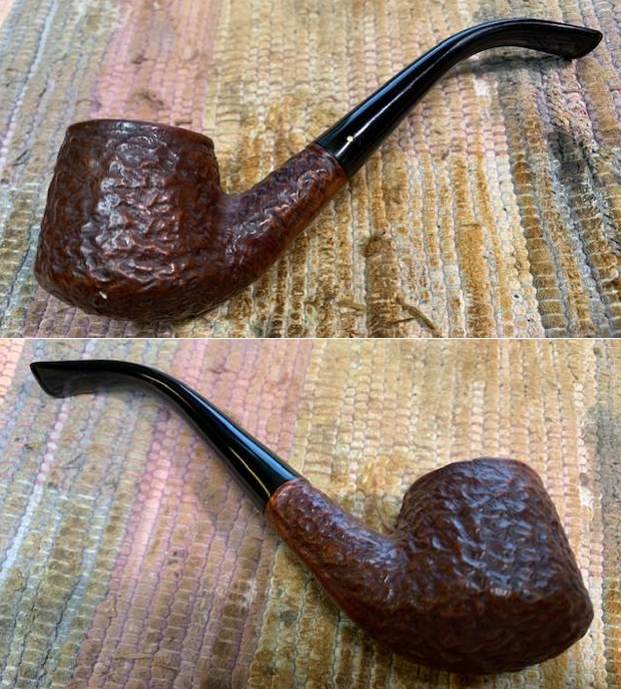
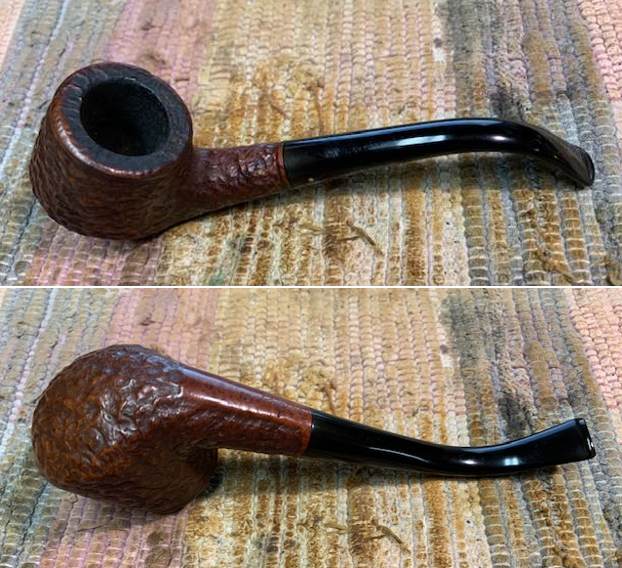
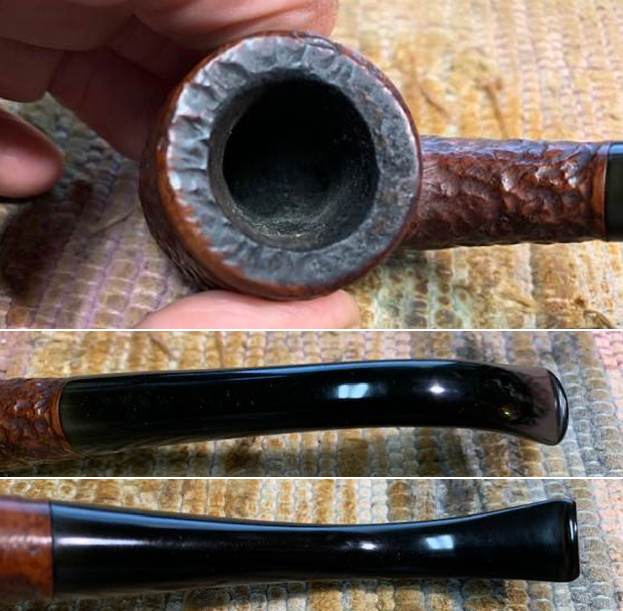
Not too long ago a fellow in Eastern Canada was selling a foursome of Brigham rusticated pipes on Facebook. Jeff contacted him and we became the new owners of the pipes. It did not take long for them to arrive here in Vancouver. When they did I was amazed at how good they looked. Two of them were relatively clean and two were used. The top two pipes in the photo were clean and the bottom two were still dirty with cake and debris in the bowls. I decided I would work on them next. I started with the Bent Billiard – the second one down in the photos below as marked by the red box outlining it. Stamped on the underside with the number 2 on the heel of the bowl followed further down the shank by Brigham [over] Canada. He sent us photos of the pipes we bought. I took photos of the pipe when it arrived. It was clean other than some ash in the bowl and in the airway. The finish was quite clean and the aluminum tenon also is clean. It did not have the Hard Rock Maple filter in the shank but it appeared to be very clean. The stem was very clean and shiny with no tooth marks on the top or underside of the stem. The button was very clean as well with no damage. Overall the pipe looked very good. I took photos of the rim top and the bowl to show the condition. I also took photos of both sides of the stem to show how clean it looked. Over all the pipe was in good condition. I would need to run pipe cleaners through to remove the carbon in the bowl.I took a photo of the stamping on the underside of the shank. It is faint but it reads as noted above in the photos.I took a photo of the pipe with the stem removed to give an overall picture of the pipe. It really is quite beautiful.For historical background for those unfamiliar with the brand I am including the information from Pipedia on Brigham pipes. It is a great read in terms of the history and background on the pipes (https://pipedia.org/wiki/Brigham_Pipes). Charles Lemon (Dadspipes) is currently working on a book on the history of the brand. Until that is complete this article is a good summary. I have included it below.

Roy Brigham, after serving an apprenticeship under an Austrian pipesmith, started his own pipe repair shop in Toronto, in 1906. By 1918 the business had grown to include five other craftsmen and had developed a reputation across Canada for the high quality of workmanship. After repairing many different brands of pipes over the years, Roy noted certain recurring complaints by pipe smokers, the most common referred to as “tongue bite”. Tongue bite is a burning sensation on the smoker’s tongue, previously thought to be due to the heat of the smoke (i.e. a “hot smoking pipe”).

He soon began manufacturing his own pipes, which were lightweight, yet featured a more rugged construction, strengthening the weak points observed in other pipes. The problem of tongue bite intrigued him, and he decided to make overcoming it a future goal.

About 1938, Roy’s son Herb joined him to assist in the business. The business barely survived the great depression because pipes were considered to be a luxury, not a necessity, and selling pipes was difficult indeed. In approximately 1937 [1], after some experimentation, Roy and Herb discovered that tongue bite was in fact a form of mild chemical burn to the tongue, caused by tars and acids in the smoke. They found that by filtering the smoke, it was possible to retain the flavour of the tobacco and yet remove these impurities and thereby stop the tongue bite.

Just as Thomas Edison had searched far and wide for the perfect material from which to make the first electric light bulb filaments, Roy & Herb began experimenting with many materials, both common and exotic, in the quest for the perfect pipe filter. Results varied wildly. Most of the materials didn’t work at all and some actually imparted their own flavour into the smoke. They eventually found just two materials that were satisfactory in pipes: bamboo and rock maple. As bamboo was obviously not as readily available, rock maple then became the logical choice.

They were able to manufacture a replaceable hollow wooden tube made from rock maple dowelling, which when inserted into a specially made pipe, caused absolutely no restriction to the draw of the pipe, yet extracted many of the impurities which had caused tongue bite. The result was indeed a truly better smoking pipe…

Charles Lemon has also written a great article on the stampings and marking on the Brigham pipes that fit into a time line that he has drafted. It is well worth a read and is fascinating. (https://pipedia.org/wiki/Brigham_Pipes_%E2%80%93_A_Closer_Look_at_Dots,_Dates_and_Markings). I quote from the pertinent section on the time frame for this pipe.

I have dubbed the decades between 1980 and 2000 the Late Canadian Era, a period that saw several changes at Brigham that are of note to the collector. First, the traditional 8-grade pinning system (the famous Brigham “Dots” which denoted the quality of the pipe) was changed to a 7-grade system to simplify pinning (more on this below), and the Norsemen and Valhalla series were merged to form the President Series, which represented the very finest pipes coming out of the Toronto factory. Early pipes from this era (left, below) are stamped with a shape number and “Brigham” over “Canada”; later pipes (late 1980s+, on right below) are stamped simply with a shape number and the Brigham logo.

This solidly places the pipe I am working on in the period of Brigham production that Charles calls the Late Canadian Era (1980-2000). It is a great looking pipe with a slightly different rustication pattern than some of the early Brighams I have worked on.

Charles also put together a chart that helps the restorer to understand the Brigham dot system. I quote from the same link on Pipedia as noted above.

The Original Brigham Dot System 1938 – 1980

Brigham pipes are renown in the pipe world for their famous “Brigham Dots”, a system of brass pins inset in the stem to denote the grade of each pipe. The original 8-grade pinning system, used for 42 years between 1938 and 1978 (spanning the Patent, Post-Patent and Canadian Eras) looked like this:

Revised Dot System 1980 — Brigham changed the Dot system in 1980, adding a 7 Dot at the top of the line, dropping the names of each series and eliminating the confusing vertical and horizontal 3 Dot configurations. The Norsemen and Valhalla series were combined to form the President series of freehand pipes, which adopted a 3 Dot pattern with a larger dot on the right as shown below. The 7- grade pinning system stayed in place from 1980 to 2001. I knew that I was dealing with a pipe made between 1980 and 2000 from the Late Canadian Era. It sports 2 dots making it a Series 200 pipe. Now to do a bit of spiffing with the pipe itself.

I cleaned out the internals with alcohol, cotton swabs and pipe cleaners to remove the debris and the oils from the shank and tenon as well as the airway into the stem and bowl. I also wiped down the inside of the bowl with a paper towel. to remove the carbon dust that was there.I rubbed the bowl down with some Before & After Restoration Balm. I worked it into the briar with my fingertips and a horse hair shoe brush. The product works to clean, renew and protect briar. I let it do its work for 15 minutes then buffed it off with a soft cloth. The pipe is really quite a beauty. I polished out the light tooth scratches in the surface of the stem ahead of the button on both sides using micromesh sanding pads. I dry sanded the stem and them wiped it down with a cloth impregnated with Obsidian Oil. I finished polishing it with Before & After stem polish – both Fine and Extra Fine. I gave it a final coat of Obsidian Oil and set it aside to dry. I fit the clean and polished stem with the Brigham Rock Maple Distillator and took photos to show what it looked like. This is in essence a hollow Maple wood tube that serves to filter out the moisture and deliver a clean and flavourful smoke. I am excited to finish this Brigham 2 Bent Billiard. I put the pipe back together and buffed it with Blue Diamond on the buffing wheel. I gave the bowl multiple coats of Conservator’s Wax and the stem multiple coats of carnauba wax. I buffed the pipe with a clean buffing pad to raise the shine and hand buffed it with microfiber cloth to deepen the shine. It is fun to see what the polished bowl looks like with the rusticated finish. Added to that the polished black vulcanite stem with the shining brass pins was beautiful. This mixed grain on the rusticated Brigham 2 Dot Bent Billiard is nice looking and the pipe feels great in my hand. It is light and well balanced. Have a look at it with the photos below. The dimensions are Length: 5 ½ inches, Height: 2 inches, Outside diameter of the bowl: 1 ½ inches, Chamber diameter: ¾ of an inch. The weight of the pipe is 1.66 ounces/47 grams. It is a beautiful pipe and one that will be on the rebornpipes store soon. If you are interested in adding it to your collection let me know. Thanks for walking through the cleanup with me as I worked over this pipe. Thanks to each of you who are reading this blog. Remember we are not pipe owners; we are pipemen and women who hold our pipes in trust until they pass on into the trust of those who follow us.

Cleaning up a Crown Duke, Dr. Grabow Bent Billiard for a Memory Box of Dad


Blog by Steve Laug

I received an email a while ago from a lady who wanted to have one of her Dad’s pipe cleaned and restored. As we emailed back and forth it was clear that it was one of those pieces that was filled with memories. I pressed to see if she was sure that she wanted it cleaned as it would remove the remnants of debris and tobacco from her Dad’s use of the pipe. She was clear that she wanted it cleaned up to look as good as possible because she was going to make a shadow box to hold the pipe and a photo and other memorabilia of her late Dad. When it finally arrived here in Vancouver I could see why she wanted it clean. The pipe was very dirty and there was a crack in the shank. The pipe had not been smoked for a long time and there was no tobacco smell in it at all. There was a hard thin cake in the bowl and lava on the rim top. The stem was oxidized and had calcification on the button end. It was a filter pipe that had been smoked without a filter so the insides were dirty. The pipe was stamped on the left side and read Crown Duke [over] Dr. Grabow. On the right side it read Imported Briar. There was a blue Grabow Spade on the left side of the taper stem. It was dirty and worn looking with some obvious fills around the bowl. I took some photos of the pipe before I started to work on it.    I took a photo of the rim top and bowl to give a clear picture of what I was dealing with. I also captured the crack in the top of the shank in the photo (I have outlined it in a red box). Other than being incredibly dirty the stem was in decent condition with light tooth chatter and light marks near the button edge.The stamping on the shank sides was faint but readable and reads as noted above.I took a better photo of the crack in the top of the shank and have included it below. It was quite wide open but came to an end in the squiggle at the end toward the bowl. I would need to glue and band it to make it solid again.I took a photo of the pipe with the stem removed to get a sense of the look of the Bent Billiard.I picked a band out of my box of bands. It is far too deep so I will need to take it down for a proper fit on the shank. I started the process by using a topping board. I then used my Dremel and sanding drum to remove the full amount I wanted gone. I finished the shaping of the band on the topping board.Once I had the fit correct, I removed it from the shank and cleaned up the area around the crack with alcohol and cotton swabs. I filled in the crack with clear super glue and clamped the crack shut. Once the glue cured I heated the band and pressed it onto the shank. I took some photos of the repaired shank and band. Now it was time to clean the bowl. I have often done the process in reverse but I really wanted to stabilize the crack before I worked on cleaning the exterior and interior of the bowl and shank. I did not want to chance making the crack worse. I reamed the cake out of the bowl with a Pipnet pipe reamer and took the cake back to bare briar. I cleaned up the reaming with a Savinelli Fitsall pipe knife and sanded the bowl walls smooth with a piece of dowel wrapped with 220 grit sandpaper. I wanted the bowl to be smooth for the display. I scrubbed the exterior of the bowl with undiluted Murphy’s Oil Soap and a tooth brush. I was able to remove the debris and grime around the bowl and clear off the lava on the rim top. I dried the bowl off with a cloth and took these photos. You can see the dark fills and spots around the bowl sides. The largest was a rough fill on the front of the bowl that was pink putty. I repaired the pink, rough fill on the front of the bowl with clear super glue. Once the repair cured I sanded it smooth with 220 grit sandpaper. It was now smooth to the touch. It would be interesting to try to blend it into the surrounding briar once I was staining it. I sanded the entire bowl with 1500 grit micromesh at the same time.I cleaned out the airway in the shank and the stem with cotton swabs, pipe cleaners and isopropyl alcohol. It took quite a few to get the tars and oils out of the airways.I buffed the pipe on the buffer with Blue Diamond and then stained it with a light brown stain. I applied the stain and then flamed it to set it. I used a black and brown Sharpie pen to stain the pinkish fill on the front of the bowl.I set the bowl aside for the stain to cure and turned my attention to the stem. I sanded out the tooth chatter and marks on the stem with 220 grit sandpaper and started the polishing with 400 grit wet dry sandpaper. It is actually beginning to look much better. I polished the stem with micromesh sanding pads – dry sanding with 1500-12000 grit pads. I wiped the stem down after each pad with an Obsidian Oil impregnated cloth to give the pads a little more bite. I polished it with Before & After Stem Polish both Fine and Extra Fine and gave it a final rub down with Obsidian Oil. I set the stem aside to dry and worked on the bowl again. By this time the stain was dry and I was able to tackle the bowl again. I wiped it down with alcohol on paper towels to make the stain more transparent. Because of the fills in the bowl I decided to leave it dark as it did a good job masking them. I buffed the bowl on the wheel with Blue Diamond to further aid the transparency. It is hard to see in the photos but in person the grain is there and not terribly hidden. The fills are hidden and other than the large one on the front of the bowl they look good. I put the stem on the bowl and buffed the pipe with Blue Diamond on the buffing wheel. I was careful when buffing around the stamping and the logo on the stem. I had decided to leave some of the nicks and marks in the briar as they were a part of the story of the pipe and its owner. I wanted it to still bear his definitive marks so that when it was in the shadow box those who knew him would remember the story of the pipe.  I did not want the pipe to look brand new as that would remove the story from it. The nickel band worked well to bind together the crack in the shank. The aluminum spacer on the stem sits up against it and looks quite nice as a joint with the band. It almost gives the band the look of a ferrule. The pipe came out quite well. The darker stain is very similar to what was originally on the pipe when it was new. It also did a good job of masking the fills around the bowl. I will soon be packing it up and sending it back to the pipeman’s daughter so she can build her tribute to her Dad. Thanks for reading the blog.

Cleaning up a Lightly Smoked Italian Made C.B. Perkins Normandy 256 Dublin


Blog by Steve Laug

The next pipe I chose to work on is another C.B. Perkins pipe, different from the English Skater I just finished not only in the fact that it was lightly smoked and had an acrylic stem but also in that it was Italian Made. This one was an interesting shape that I call a Dublin with a taper variegated rose coloured acrylic stem. It came in the original box that is in great condition. It had a light cake and some tobacco remnants in the bowl and rim top that showed that some darkening on the inner edge. The finish very good and the pipe had some nice grain around the bowl and shank. There were no visible flaws or fills on the bowl sides or shank. It was stamped on the left side of the shank and read C.B. Perkins. [over] Normandy. Underneath that toward the stem is stamped the shape number 256. On the shank/stem union it is stamped Italy. It has an acrylic taper stem with no logo or marking. The stem has light scratching and tooth chatter on both sides. I took photos of the pipe when I brought it to the work table.  I took photos of the bowl and rim top and the stem surfaces to show the condition of both. The bowl has a thin cake and the rim top and edges have some darkening and lava. The stem is also in great condition other than light tooth chatter on the surface ahead of the button. I took photos of the stamping on the left side of the shank. It took two photos to capture the stamping. It is clear and readable as noted above. On the underside of the shank it is stamped Italy.I took the stem off the shank to show the overall look of this interesting pipe. I just finished a Perkins earlier so I have included the information on the brand that I found for that blog. I checked first on Pipephil site (http://pipephil.eu/logos/en/logo-c1.html#c_bperkins) and found photos of various pipes. None of the photos include the Normandy or the Made in Italy stamp. I am including a screen capture of the pertinent information. There was no other information in the sidebars.Then I turned to Pipedia and was more successful with background information on the company (https://pipedia.org/wiki/C.B._Perkins). I quote a portion of that article below that gives a bit of history and more importantly cleared up where the pipes came from for me.

The first C.B. Perkins store opened in Boston in the early 1900’s. Perkins quickly became the leading retail tobacconist in New England, a position it held for over 75 years. In 1986 Perkins management sold their Pennsylvania and New Jersey stores to DES Tobacco Corporation.

DES is a wholly owned subsidiary of the S. Frieder and Sons Company. S. Frieder and Sons had been a cigar manufacturer since 1920. In 1978 S. Frieder sold its manufacturing business to United States Tobacco so it could focus all its assets and energy on the retail tobacco business under the name of DES Tobacco. Thus, the merger of C.B. Perkins and DES represented four generations of tobacco experience.

 I started my work on this pipe by reaming the bowl. I reamed it with a PipNet Pipe Reamer and took the thin cake back to bare briar. I cleaned up the reaming with a Savinelli Fitsall Pipe Knife. I sanded the walls of the bowl smooth with a piece of dowel and 220 grit sandpaper. I scrubbed the exterior of the bowl with a tooth brush and undiluted Murphy’s Oil Soap. I rinsed it under warm running water to remove the grime and the soap. It is beginning to look good! I scrubbed out the internals of the shank and the stem with pipe cleaners, cotton swabs and isopropyl alcohol. It did not take much to remove the tars and oils. I believe that there was also some stain on the inside of the shank that came out in the process. Both are clean now. I polished the briar with micromesh sanding pads – dry sanding with  1500-12000 grit pads and wiping the bowl down after each pad with a damp cloth. It really is a nice looking piece of briar. I rubbed some Before & After Restoration Balm into the finish of the pipe. I worked it into the briar because the product cleans, enlivens and protects the briar. I let the pipe sit with the Balm for 10 minutes then buffed it off with a soft towel. The Balm did its magic and the pipe looked really good. I set the bowl aside and turned my attention to the stem. I turned my attention to the stem. I polished the stem with micromesh sanding pads – dry sanding with 1500-12000 grit pads. Even though I know that Obsidian Oil is not necessary for acrylic I use it anyway as it gives some bite to the micromesh pads and also removes the dust. I wiped the stem down after each pad with a cloth impregnated with Obsidian Oil. I polished it with Before & After Stem Polish – both Fine and Extra Fine then gave it a final coat of Obsidian Oil and set it aside to dry. This lightly smoked C.B. Perkins Normandy 256 Dublin with a Rose coloured acrylic taper stem looks really good. The grain around the bowl and shank stands out with the contrasting brown stains. I put the pipe back together and buffed the pipe with Blue Diamond on the wheel (being careful of the stamping on the stem so as not to damage that). I gave the bowl and stem multiple coats of carnauba wax and buffed the pipe with a clean buffing pad to raise the shine. I hand buffed it with a microfiber cloth to deepen the shine. The dimensions of this pipe are – Length: 5 ¾ inches, Height: 2 inches, Outside diameter of the bowl: 1 ½ inches, Chamber diameter: ¾ of an inch. The weight of the pipe is 1.45 ounces/41 grams. It is a great looking pipe and one that will be going on the rebornpipes store in the American Pipe Makers section. If you want to add it to your collection let me know via email to slaug@uniserve.com or by message. Thanks for walking through the cleanup with me.

Restoring a Pre-Cadogan Orlik 90S Rhodesian with a Saddle Stem


Blog by Steve Laug

The next pipe on my work table is a shape I would call a Bulldog but Orlik called a Rhodesian. It is stamped on the left side of the shank and reads ORLIK [over] Straight Grain. On the right side it is stamped MADE IN ENGLAND [over] the shape number 90S near the shank/bowl junction. The bent saddle vulcanite stem is inlaid with a brass “O” on the top left side of the stem. The briar has great looking straight grain around the bowl and shank. This pipe was purchased in October of 2018 from an antique store in Brookings, Oregon, USA. The finish was dirty and but the briar was good looking. The rim top was caked with lava more heavily on the top back and inner edge of the bowl. There was a thick cake in the bowl and some tobacco debris. The shank and stem airway was very dirty. The stem was very oxidized, calcified and had some tooth marks and chatter on both sides ahead of the button. Jeff took photos of the pipe before he started his clean up. He took photos of the rim top and bowl to show the cake in the bowl, and the lava on the top and inner edge. The stem photos show the oxidation, calcification and tooth chatter and marks very well. Jeff took a photo of the heel and side of the bowl to highlight the condition and the grain around the bowl sides and base.He captured the stamping on the sides of the shank in the next photos. They are clean and readable as noted above. The stem also had a faint crown stamped on the left side. I turned to Pipephil (http://www.pipephil.eu/logos/en/logo-o2.html) to get a quick view of the Orlik Brand and see if there was a Straight Grain line. There was not a specific listing for the Straight Grain but I did a screen capture of the site’s information and have included that below.I turned to Pipedia (https://pipedia.org/wiki/Orlik) for a quick read. The site is worth reading the history of the Orlik brand and some information on dating the brand. I quote below.

Dating guide – In the Pre-Cadogan era of the Orlik, the name is ORLIK in a straight line, capital block letters. Also the MADE IN ENGLAND is in a straight line, capital block letters. However, there are a known model (ORLIK NATURAL T 1155) stamped with MADE IN ENGLAND in a straight line, capital serif letters. Date is unknown. The mouth piece have the Orlik logo, a circular O as a brass inlay.

After joining Cadogan the same origin stamp as other Cadogan brands like Comoy´s etc. was used, MADE IN LONDON in circular an below ENGLAND in straight.

In the margins on the Pipedia site there was a link to a catalogue scanned as a PDF. I have included the link here (https://pipedia.org/images/0/00/Orlik_Pipe_Shapes.pdf). I did a screen capture of the cover of catalogue and the page that had the 90S shape number. Orlik called it a Bent Rhodesian with the S signifying a saddle stem (I have drawn a red box around the shape). Jeff cleaned up the pipes with his usual thoroughness – reaming the bowl with a PipNet pipe reamer and cleaning up the reaming with a Savinelli Fitsall Pipe Knife. He scrubbed the internals of the shank and the stem with alcohol, cotton swabs and pipe cleaners. He scrubbed the exterior with Murphy’s Oil Soap to clean off the dust and grime on the finish. When he sent it the pipe was ready to restore. I could not believe how good the rim top looked in comparison to what it was when he started. I took photos of the pipe when I unpacked it. The briar was clean and the grain quite stunning. The finish looked dull and lifeless. I took a close up photo of the bowl and rim top after Jeff had cleaned it up. The look of the rim top and edges is very good. There were some spots where the stain was worn away. He had been able to remove the cake and the lava very well. The bowl was spotless. The stem is also shown and was very clean. He had scrubbed it with Soft Scrub and then soaked it in Mark’s Before & After Deoxidizer. There was tooth chatter and deep marks still remaining.I took a photo of the stamping on the sides of the shank. It is clear and readable as noted above.I removed the stem from the shank and took a photo of the pipe to show the look of the pipe. It is a real beauty.The bowl was very clean and the briar looked good. I polished the briar with micromesh sanding pads – dry sanding with 1500-12000 grit sanding pads. I wiped it down with a damp cloth after each sanding pad. I rubbed the briar down with Before & After Restoration Balm. I worked it into the briar with my fingertips. The product cleans, enlivens and preserves the briar. I let it do its magic. It sat for 10 minutes and then I buffed it off with a cotton cloth. The bowl really is looking good at this point. I “painted” the tooth marks with the flame of a Bic Lighter. I was able to raise all of them except for one on the topside. I filled it in with a spot of black superglue. Once it cured I flattened the repairs with a small file to blend them into the surface. I sanded the stem with a folded piece of 220 grit sandpaper. I started polishing it with 400 grit wet dry sandpaper. I set the bowl aside and turned my attention to the stem. I scrubbed the stem down with Soft Scrub to remove the deep oxidation on the stem surface. I was able to remove much of what was present.I polished the stem with micromesh sanding pads – dry sanding with 1500-12000 grit pads. I wiped the stem down after each pad with a cloth impregnated with Obsidian Oil. I polished it with Before & After Stem Polish – both Fine and Extra Fine then gave it a final coat of Obsidian Oil and set it aside to dry. There is something about the amazing straight grain on this beautiful pipe. This Orlik Straight Grain 90S Bent Rhodesian looks great. The straight grain really stands out on the bent pipe. I put the stem on the shank and buffed the pipe with Blue Diamond on the wheel (being careful of the stamping so as not to damage that). I gave the bowl and the stem multiple coats of carnauba wax and buffed the pipe with a clean buffing pad to raise the shine. I hand buffed it with a microfiber cloth to deepen the shine. The dimensions of this pipe are – Length: 5 ½ inches, Height: 1 ¾ inches, Outside diameter of the bowl: 1 ¾ inches, Chamber diameter: ¾ of an inch. The weight of the pipe is 1.48 ounces/ 42 grams. It is a great looking pipe and one that will be going on the rebornpipes store in the British Pipe Makers section. If you want to add it to your collection let me know via email to slaug@uniserve.com or by message. Thanks for walking through the restoration with me.

Restoring a Wire Rusticated Savinelli Extra 6002 Bent Billiard


Blog by Steve Laug

The next pipe on my work table a wire rusticated Bent Billiard shaped pipe. It is stamped on the heel of the bowl and the underside of the shank and reads Savinelli [over] Extra followed by the Savinelli shield S then the shape number 6002 [over] Italy. The bent taper vulcanite stem is stamped with a faint crown on the left side of the stem. The briar has a wire rusticated finish around the bowl and shank. This pipe was purchased on 02/19/21 from a fellow in Victorville, California, USA. The finish was dirty and worn  on the rim edges and sides of the bowl but the shape was good looking. The rim top was caked with lava that also covered the inner edge. There was a thick cake in the bowl and some tobacco debris. The shank and stem airway was very dirty. The stem was lightly oxidized, calcified and had deep tooth marks and chatter on both sides ahead of the button. Jeff took photos of the pipe before he started his clean up. He took photos of the rim top and bowl to show the cake in the bowl, and the lava on the top and inner edge. The stem photos show the oxidation, calcification and tooth chatter and deep marks very well. There was also a tarry and dirty stinger in the tenon. Jeff took photos of the sides of the bowl to highlight the rustication around the bowl sides and base. He captured the stamping on the heel of the bowl and the underside of the shank in the next photos. They are clean and readable as noted above. The stem also had a faint crown stamped on the left side. I turned to Pipephil (http://www.pipephil.eu/logos/en/logo-savinelli2.html) to get a quick view of the Extra Line. I did a screen capture of the site’s information and have included that below. I am also including a screen capture of the Shape and code chart introduction that is link in the above capture. The 6002 shape is not present in the chart.I turned to Pipedia (https://pipedia.org/wiki/Savinelli) for a quick read. The site is worth reading the history of the Savinelli brand and its philosophy of pipemaking. There was a photo of a brochure that included the Extra (https://pipedia.org/wiki/File:Sav_Extra.jpg) that came from Doug Vliatchka.Jeff cleaned up the pipes with his usual thoroughness – reaming the bowl with a PipNet pipe reamer and cleaning up the reaming with a Savinelli Fitsall Pipe Knife. He scrubbed the internals of the shank and the stem with alcohol, cotton swabs and pipe cleaners. He scrubbed the exterior with Murphy’s Oil Soap to clean off the dust and grime on the finish. When he sent it the pipe was ready to restore. I could not believe how good the rim top looked in comparison to what it was when he started. I took photos of the pipe when I unpacked it. The briar was clean and the rustication quite unique. The finish looked dull and lifeless. I took a close up photo of the bowl and rim top after Jeff had cleaned it up. The look of the rim top and edges is very good. There were some spots where the stain was worn away. He had been able to remove the cake and the lava very well. The bowl was spotless. The stem is also shown and was very clean. He had scrubbed it with Soft Scrub and then soaked it in Mark’s Before & After Deoxidizer. There was tooth chatter and deep marks still remaining.I took a photo of the stamping on the heel and the underside of the shank. It is clear and readable as noted above.I removed the stem from the shank and took a photo of the pipe to show the look of the pipe. It is a real beauty.The bowl was very clean and the briar looked good. In examining it I realized that the worn spots on the briar were part of the finish. I decided to rub the briar down with Before & After Restoration Balm. I worked it into the briar with my fingertips and a horsehair shoe brush. The product cleans, enlivens and preserves the briar. I let it do its magic. It sat for 10 minutes and then I buffed it off with a cotton cloth. The bowl really is looking good at this point. I set the bowl aside and turned my attention to the stem. I “painted” the tooth marks with the flame of a Bic Lighter. I was able to raise most of them. Those that remained I filled in with clear CA glue. I set the stem aside to let the repairs cure. I smoothed out the repairs with a small file to start the process of blending them in. I continued the blending with a folded piece of 220 grit sandpaper. I started polishing it with 400 grit wet dry sandpaper. I scrubbed the stem down with Soft Scrub to remove the deep oxidation on the stem surface. I was able to remove much of what was present. Once I worked it over with micromesh it would be better.I polished the stem with micromesh sanding pads – dry sanding with 1500-12000 grit pads. I wiped the stem down after each pad with a cloth impregnated with Obsidian Oil. I polished it with Before & After Stem Polish – both Fine and Extra Fine then gave it a final coat of Obsidian Oil and set it aside to dry. There is something about this finish that make this a beautiful pipe. This wire rusticates Savinelli Extra 6002 Bent Billiard looks great. The swirling, hairlike etching of the rustication on the pipe is quite nice with the dark finish. I put the stem on the shank and buffed the pipe with Blue Diamond on the wheel (being careful of the stamping so as not to damage that). I gave the bowl multiple coats of Conservator’s Wax and the stem multiple coats of carnauba wax and buffed the pipe with a clean buffing pad to raise the shine. I hand buffed it with a microfiber cloth to deepen the shine. The dimensions of this pipe are – Length: 5 ½ inches, Height: 1 ¾ inches, Outside diameter of the bowl: 1 ¼ inches, Chamber diameter: ¾ of an inch. The weight of the pipe is 1.34 ounces/38 grams. It is a great looking pipe and one that will be going on the rebornpipes store in the Italian Pipe Makers section. If you want to add it to your collection let me know via email to slaug@uniserve.com or by message. Thanks for walking through the restoration with me.

A Mystery Poker/Cherrywood with the initials BW stamped on the left side of the shank


Blog by Steve Laug

This interesting pipe with a very simple and blurry BW stamp on the left side of the shank came to us from an online auction on in February, 2021 in Upland, California, USA. It is a mystery in that there is no record of who “BW” was or where he lived and carved. The pipe has some amazing grain around the bowl and shank. There was some darkening on the inner edge of the bowl and a stain mark on the left side near the top. The bowl had a moderate cake in the bowl with a light lava overflow on the back side of the edge and rim. The stem was oxidized and had light tooth marks and chatter on both sides near the button. Jeff took photos of the pipe before he started the clean up work on it.He took photos of the rim top and bowl to show the condition of the bowl and rim. The rim top looked amazingly good under the grime with some amazing birds eye. You can also see the cake in the bowl. And the lava on back edge of the rim. He took photos of the stem surface to show the oxidation and the tooth chatter and marks on both sides ahead of the button. He took photos of the sides and heel of the bowl. The grain is really quite stunning and really stands out. Once it is cleaned up and polished it should really sing. He took a close up of the oil stain on the left side of the bowl near the rim top. Jeff was able to capture the stamping on the shank side. It appears to read BW but we cannot be certain. Perhaps someone reading this recognizes the stamp and can let us know.This pipe was better condition than many of the pipes we work on. I was curious to see what it would look like when I unpacked it. I was surprised at how good the bowl looked. Jeff reamed it with a PipNet pipe reamer and cleaned up the reaming with a Savinelli Fitsall Pipe Knife. He scrubbed out the internals of the shank and stem with alcohol, pipe cleaners and cotton swabs until the pipe was clean. He scrubbed the exterior of the bowl with Murphy’s Oil Soap and a tooth brush to remove the grime and grit on the briar and the light lava on the rim top. The staini mark on the side of the bowl looked better. The finish on the bowl looked really good when I got it. The rim top looked very good. The edges looked good as well. He scrubbed the stem with Soft Scrub and the let it soak in Before & After Pipe Stem Deoxidizer. He rinsed it off and cleaned out the internals. The surface of the stem was clean and the tooth marks were light and less visible. I took photos of the pipe before I started my work on it.  I took photos of the condition of the rim top and stem before I started working. The rim top looks very good and the bowl is spotless. The stem is clean and the light tooth chatter is very visible in the photos. I took a photo of the stamping on the left side of the shank. It looks like BW but is slightly overstamped. I took the bowl and stem apart and took a photo of the pipe to show the look of the pipe. The polished the briar with micromesh sanding pads – dry sanding with 1500-12000 grit pads. I wiped the briar down with a damp cloth after each sanding pad.I worked some Before & After Restoration Balm into the finish of the bowl, rim top and shank with my fingertips to clean, enliven and protect it. I find that the balm really makes the briar come alive again. The contrasts in the layers of stain and the separate finishes really made the grain stand out. I let the balm sit for 10 minutes and then buffed with a cotton cloth to raise the shine. The bowl really looks good at this point. I polished the stem with micromesh sanding pads – wet sanding it with 1500-12000 grit pads. I wiped the stem down after each pad with a cloth impregnated with Obsidian Oil. I polished it further with Before & After Pipe Stem Polish – both fine and extra fine. I gave it a final coat of Obsidian Oil and set it aside to dry. This well made mystery pipe that is lightly smoked. It is a Poker or Cherrywood Sitter with a slope on the front can be yours today. It is a well made pipe with a tall bowl and a great finish. The rim top is smooth and the inner edge is lightly beveled. The finish is a quite attractive around the bowl. The grain is straight around the sides of the bowl and shank and birdseye on the rim top and base. The left side of the shank is stamped BW or FW and no other stamping. The pipe looks great, feels great in the hand and should smoke very well. The contrast between the polished black vulcanite stem and the brown finished bowl works well together. This pipe is ready for you to load with a favourite tobacco and make it yours. The dimensions of the pipe are Length: 6 inches, Height: 1 3/4 inches, Outside diameter of the bowl: 1 1/2 inches, Chamber diameter: 7/8 of an inch. The weight of the pipe is 46 grams/1.62 ounces. This well made, moderately priced pipe might be one to add to your collection.