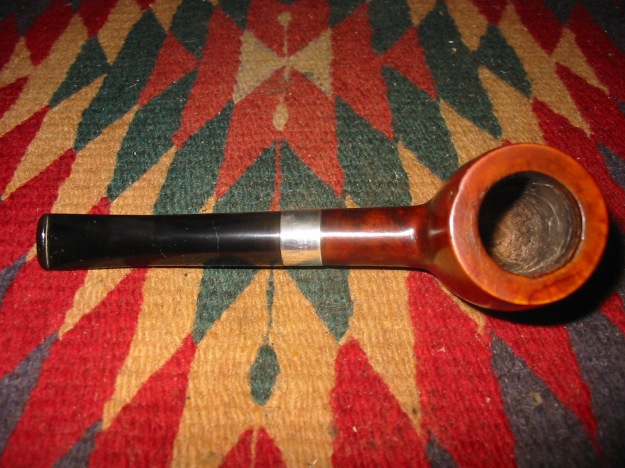
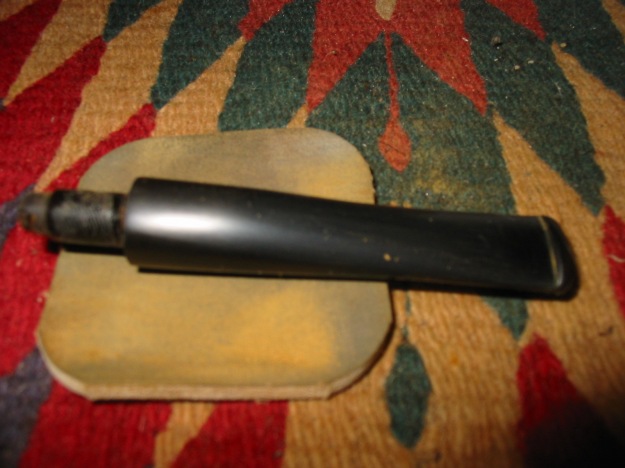
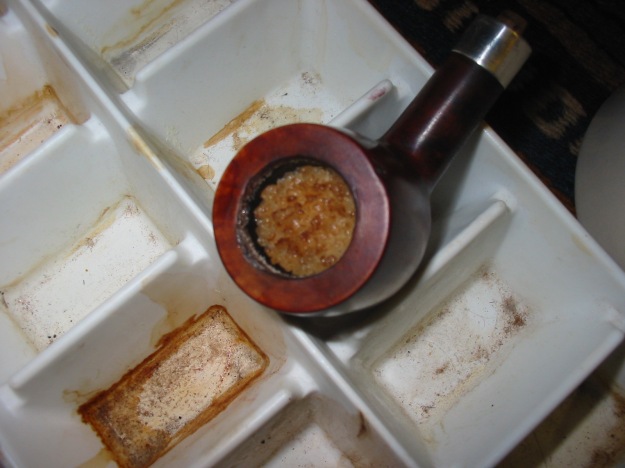
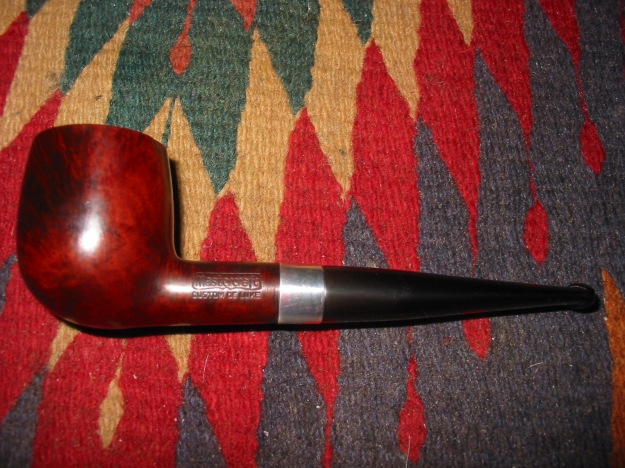
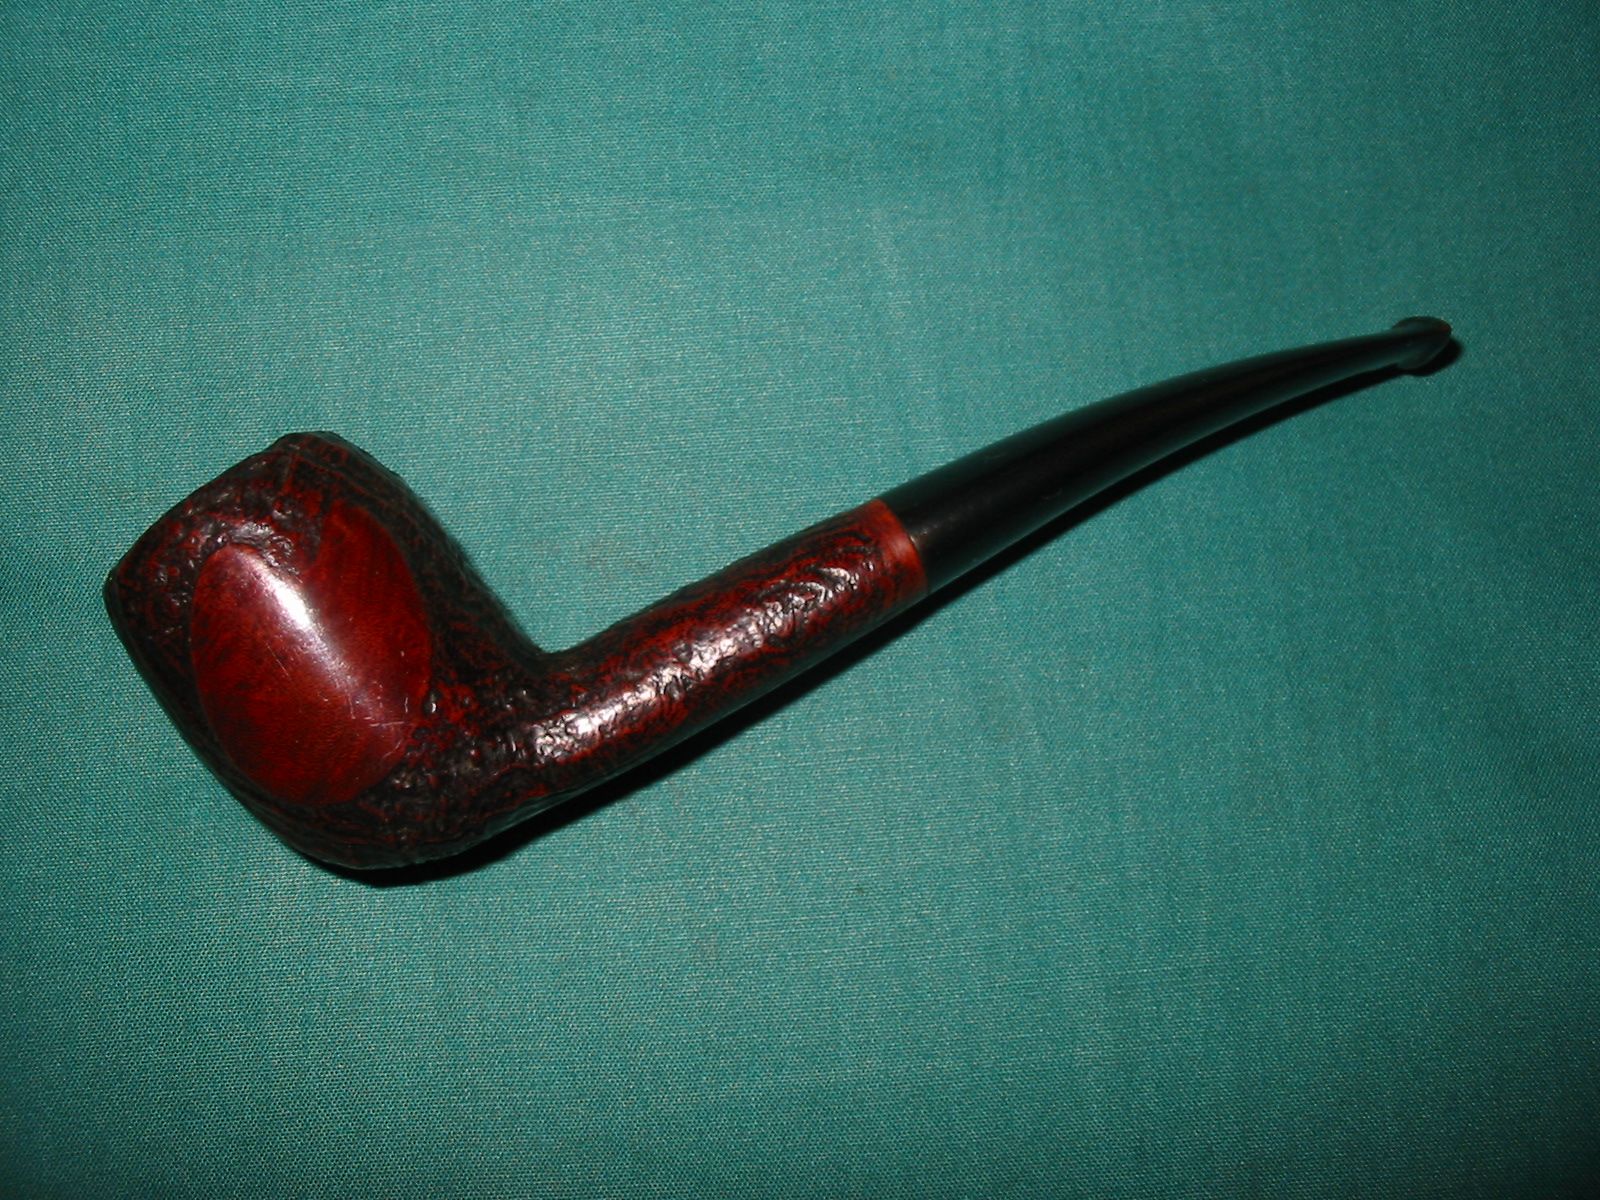
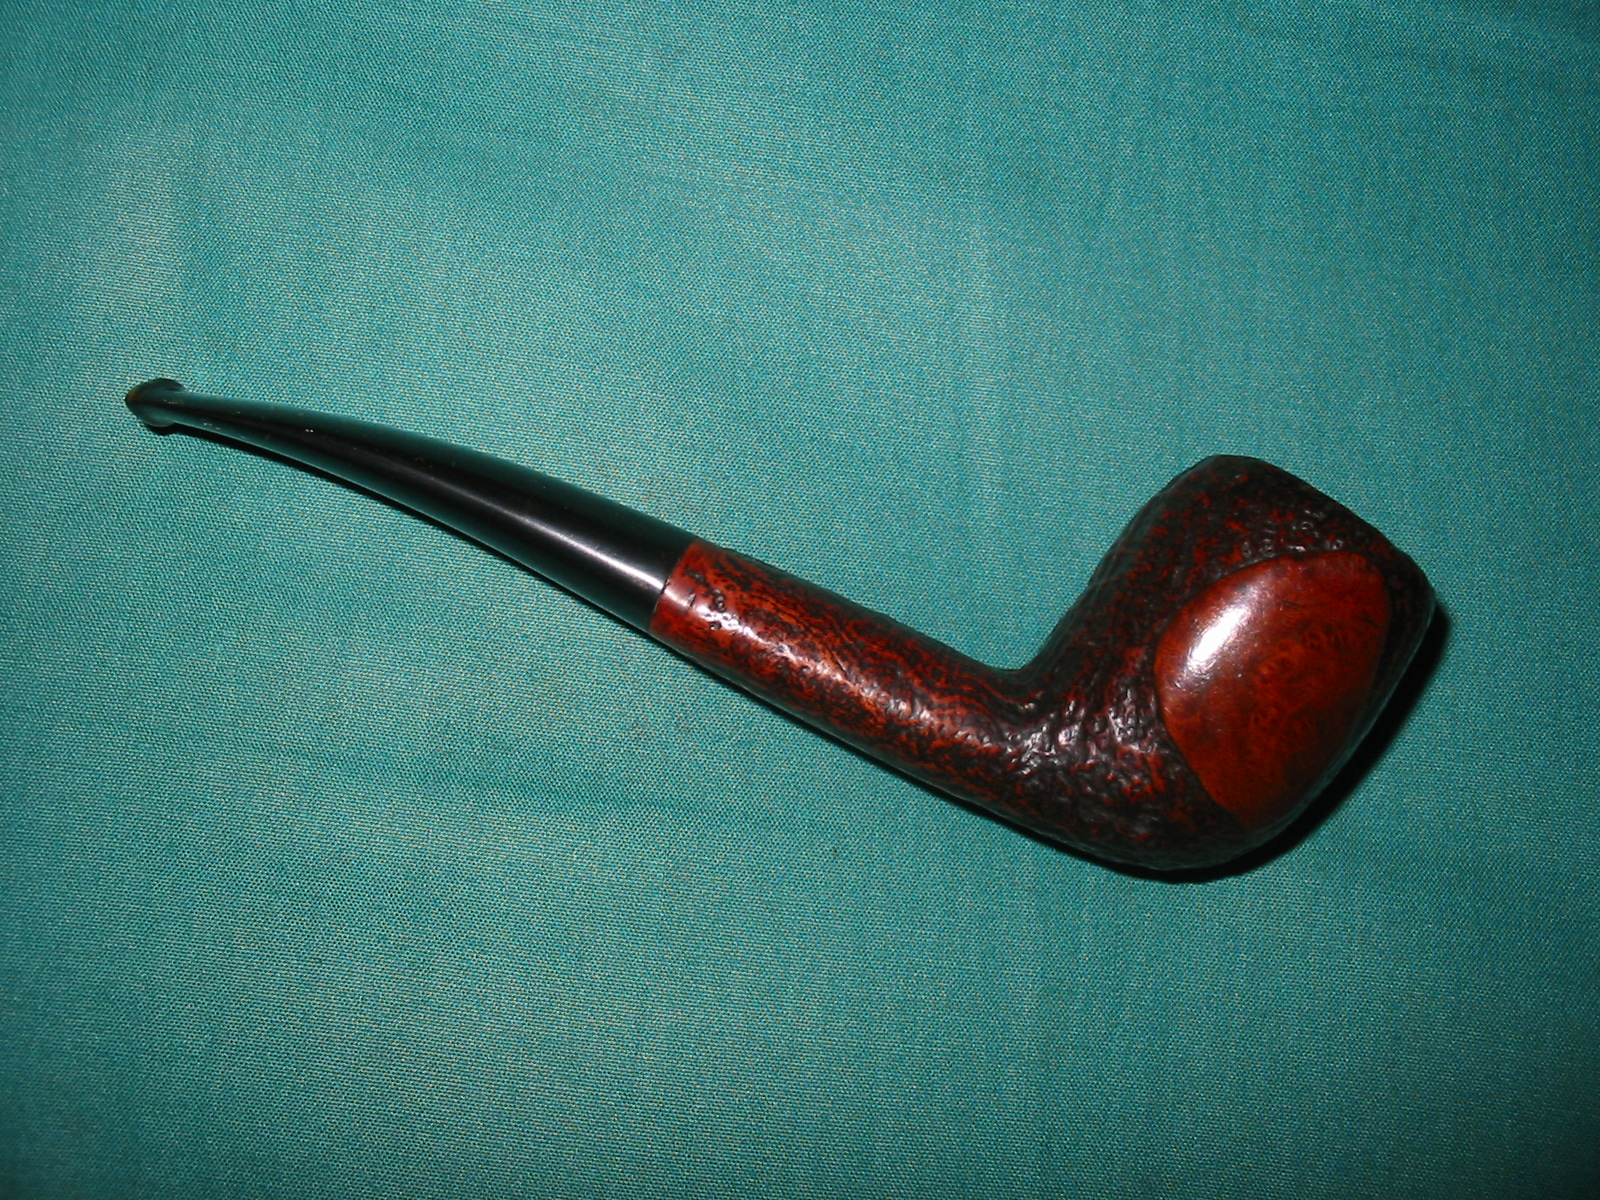
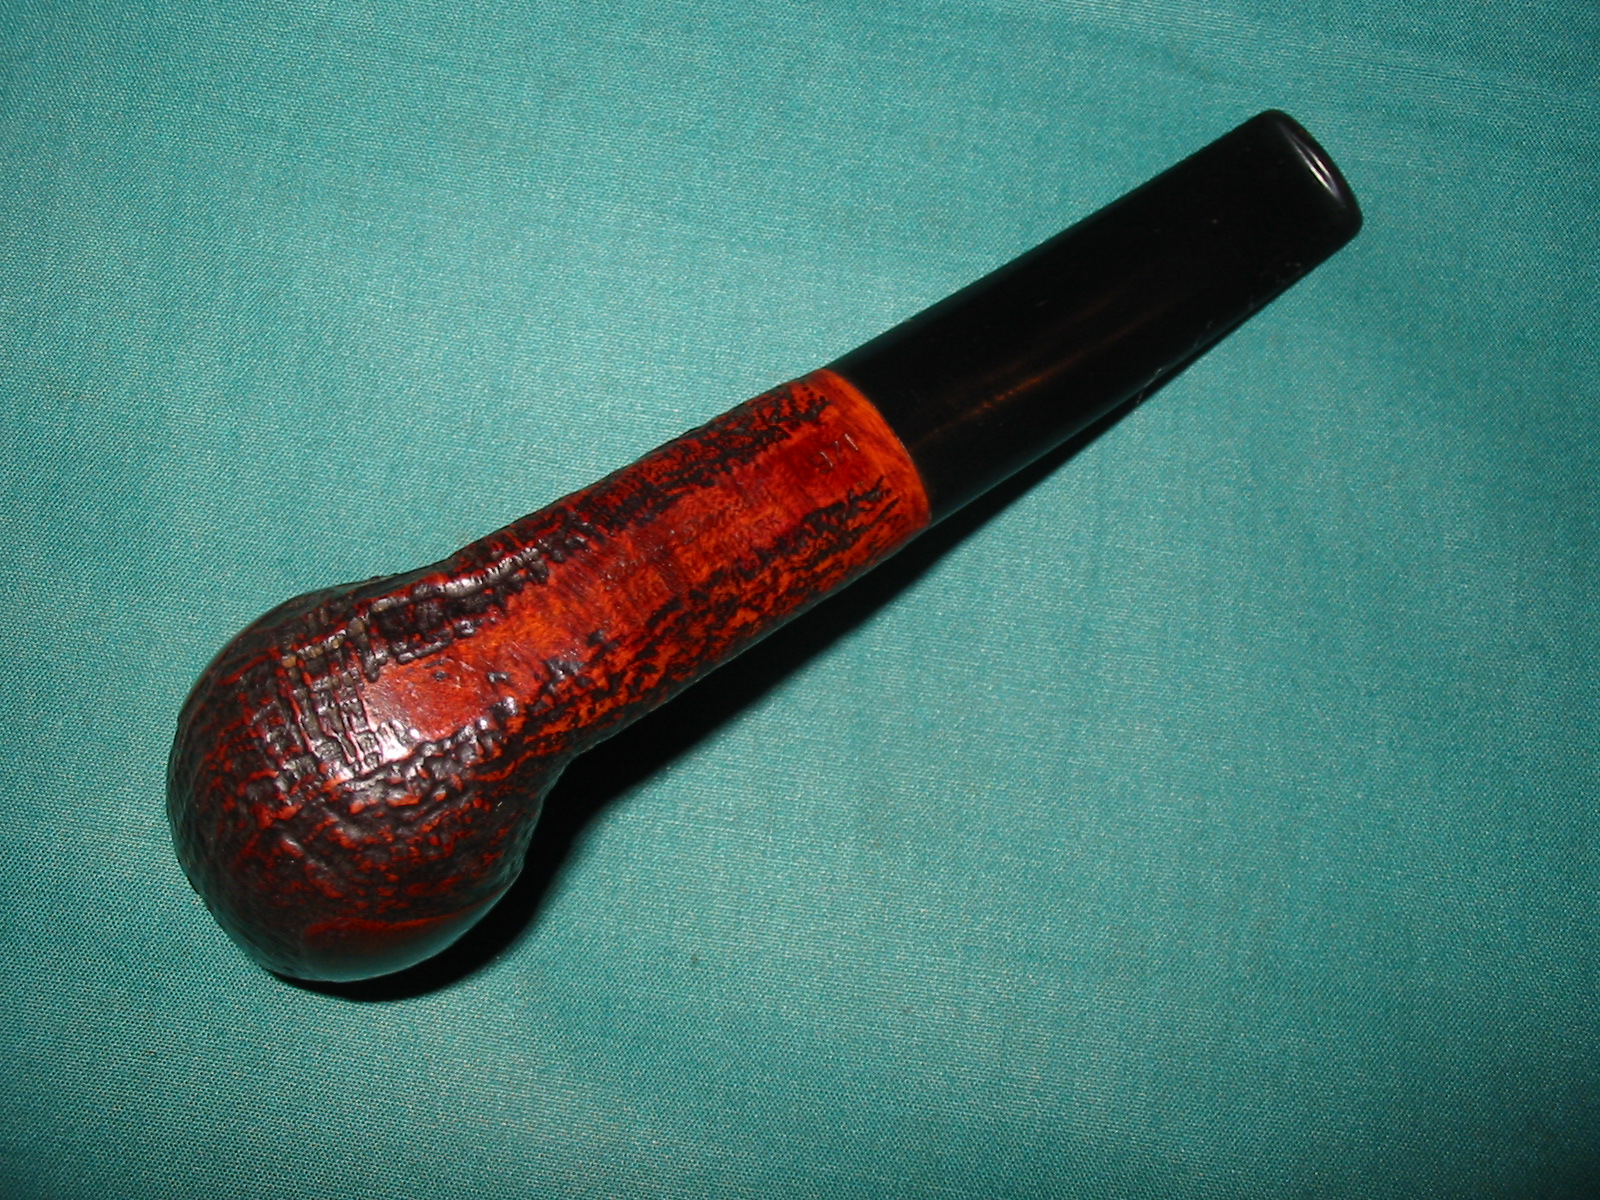
Tag Archives: removing oxidation

Refurbed No name Dublin


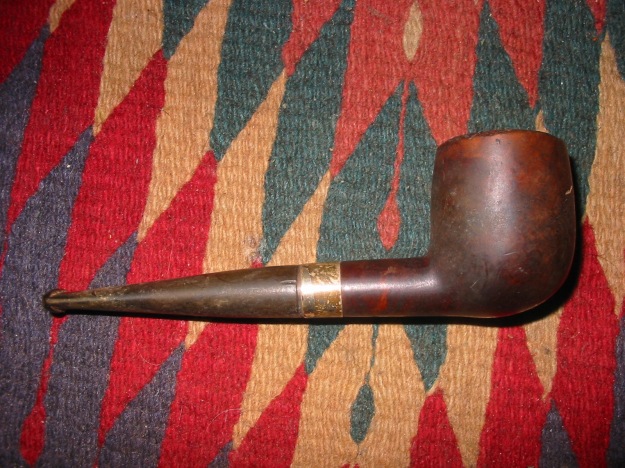
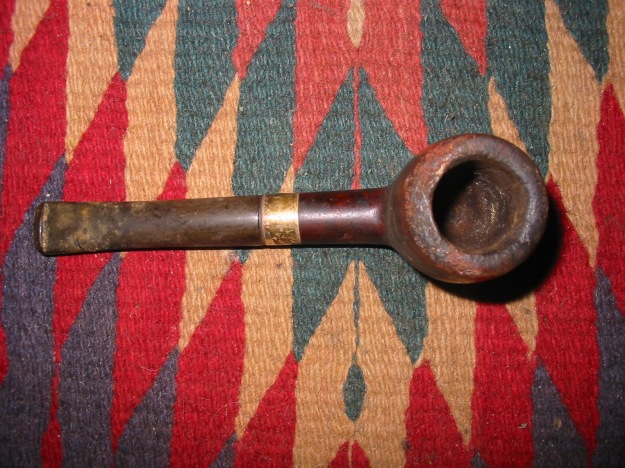
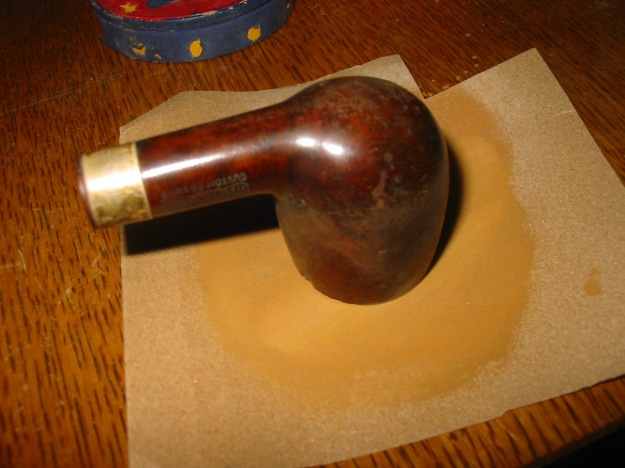
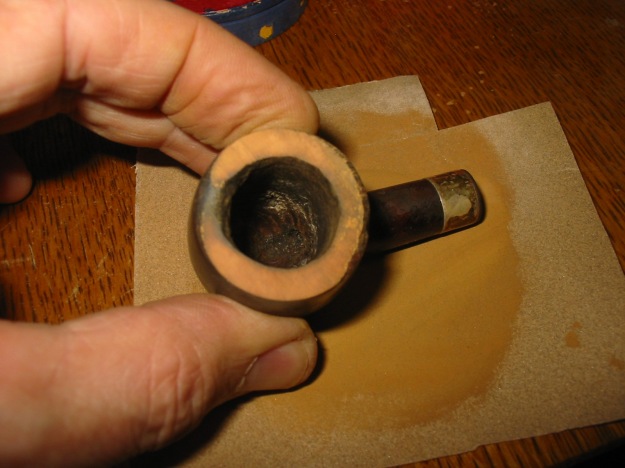
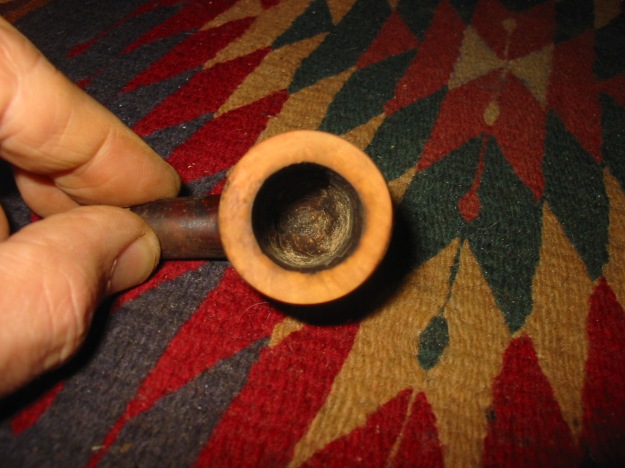
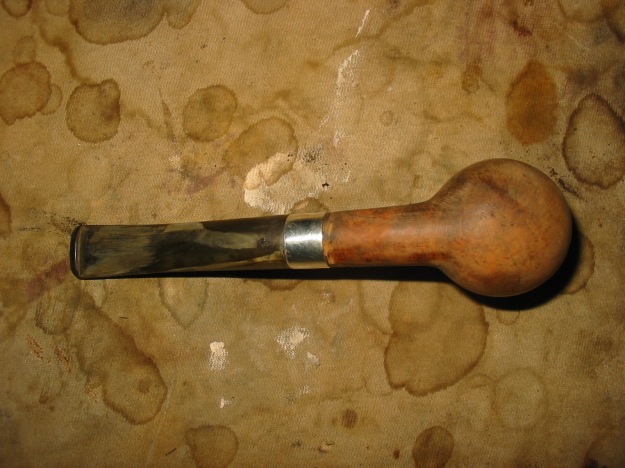
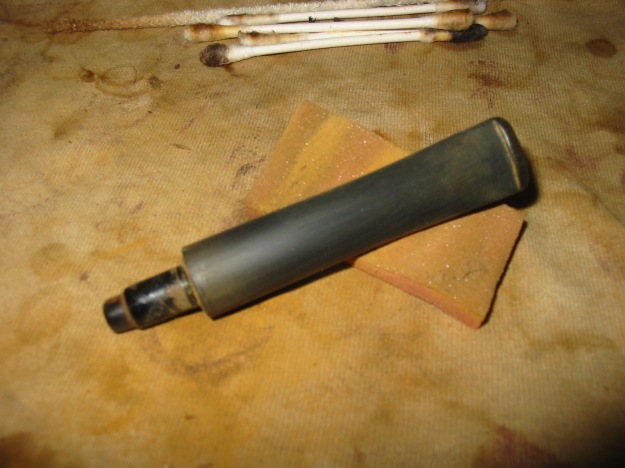
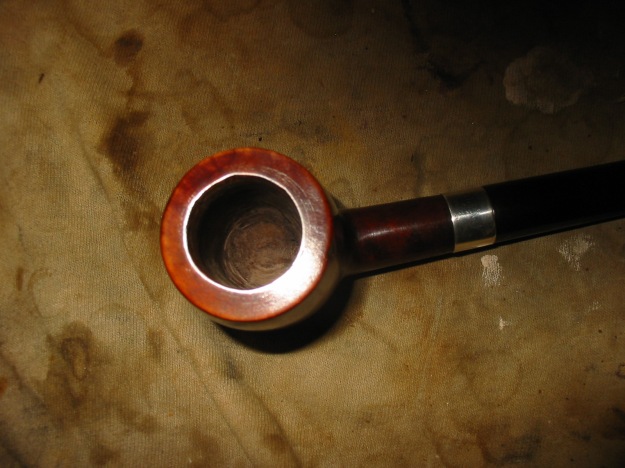
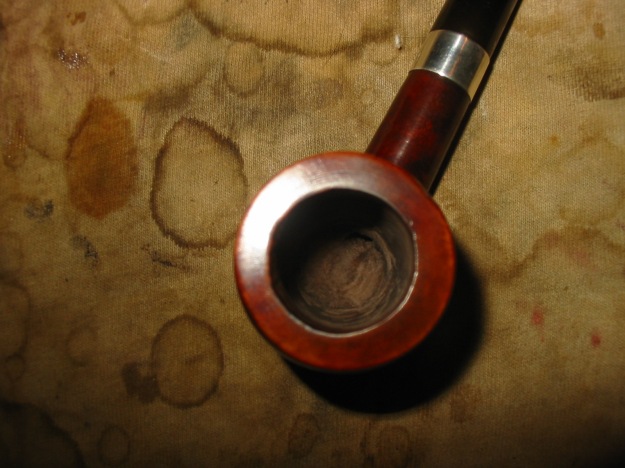
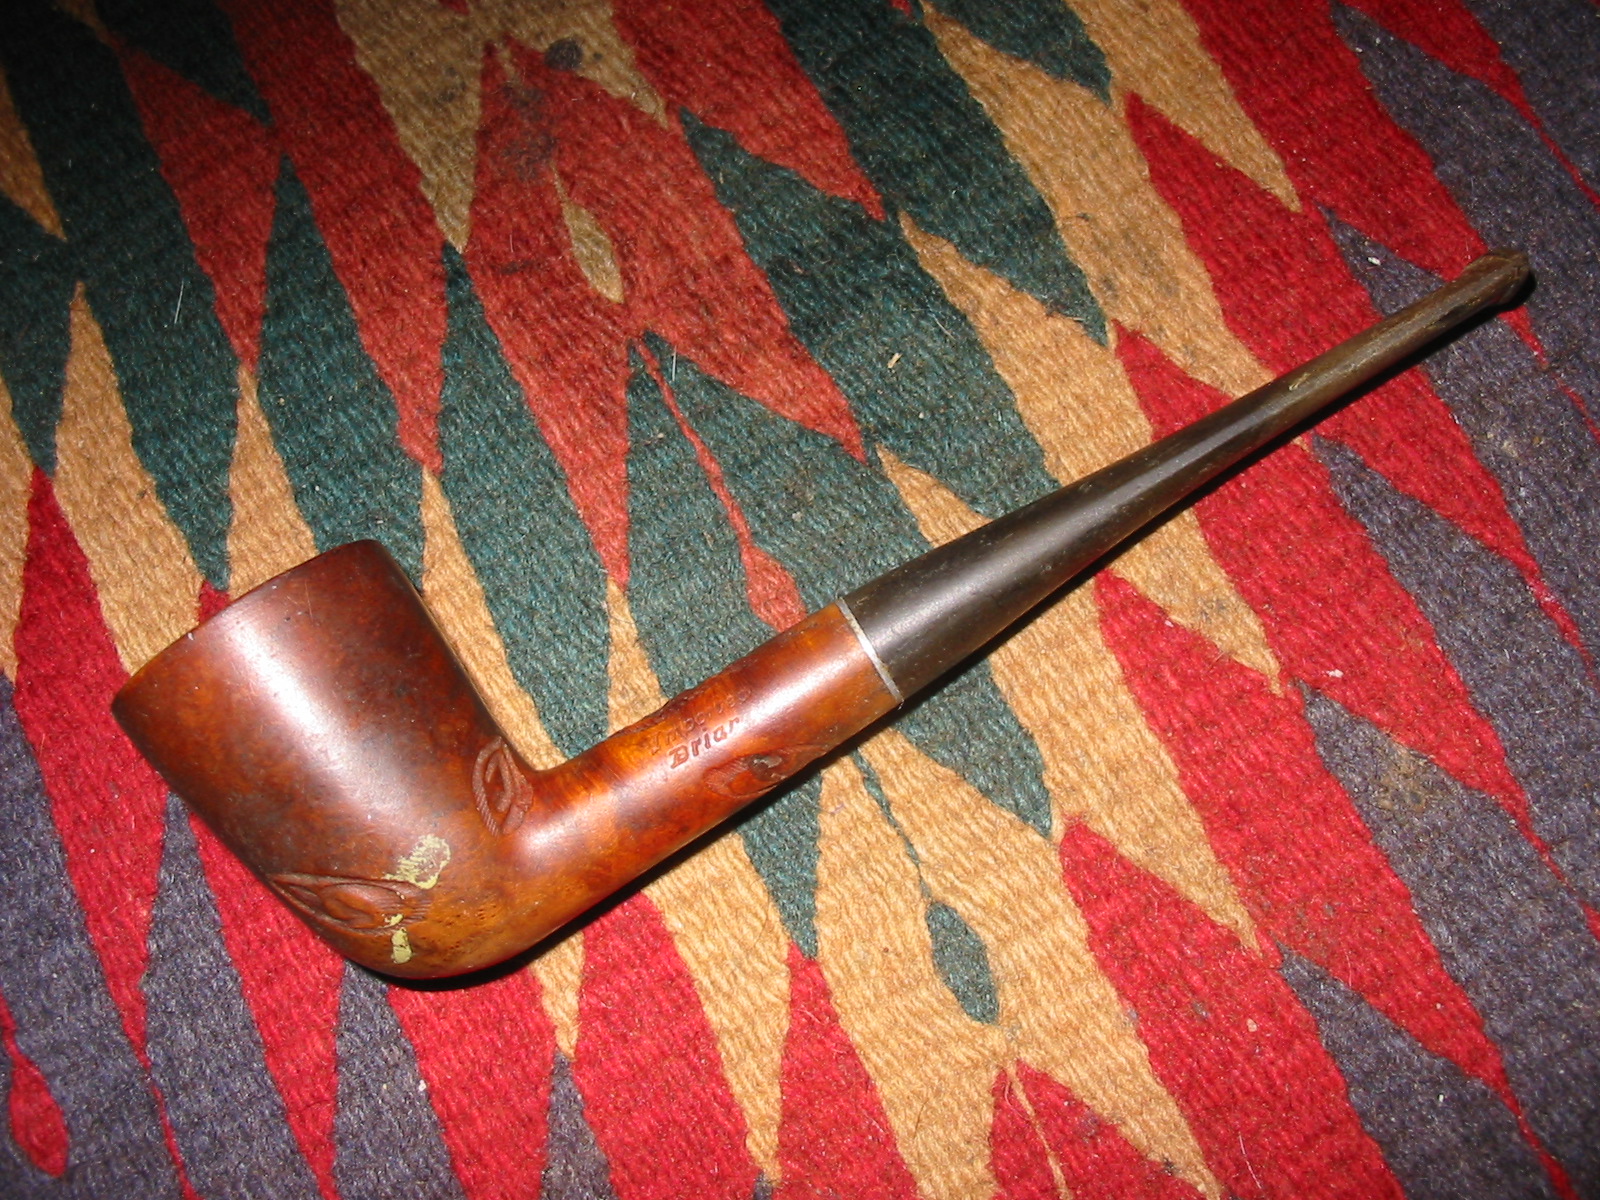
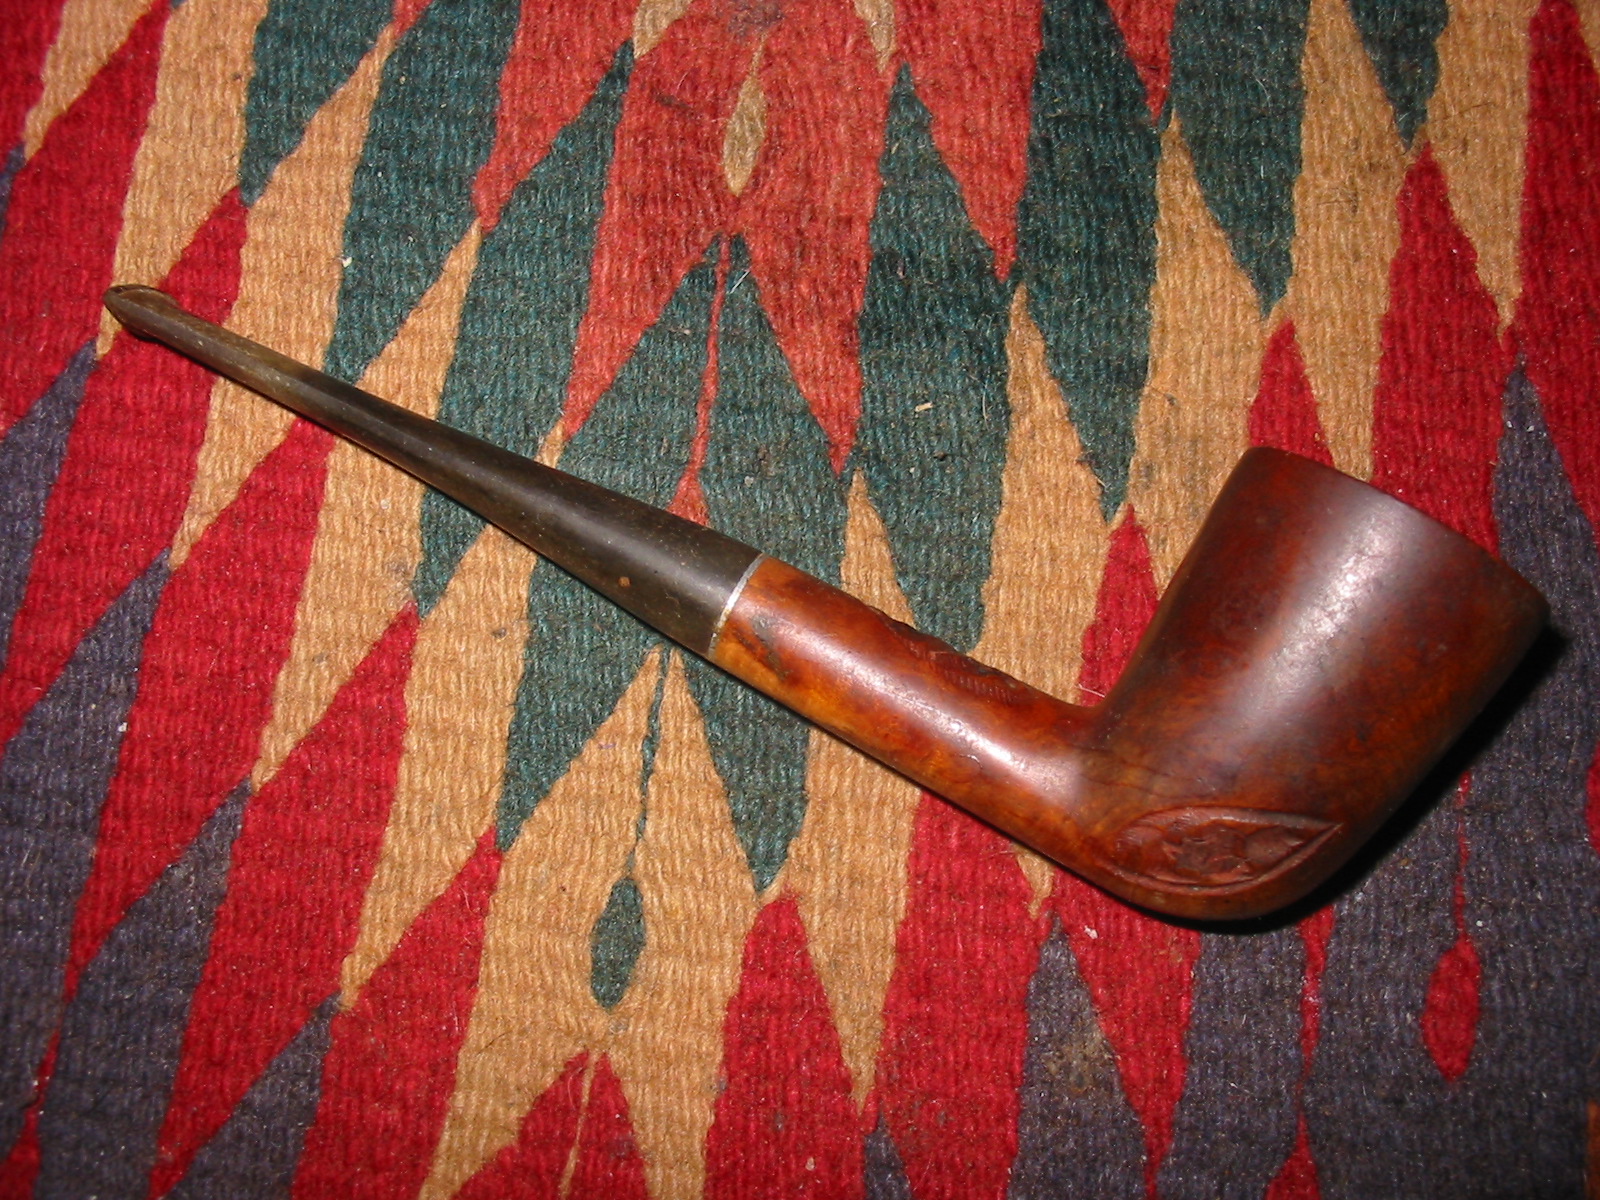
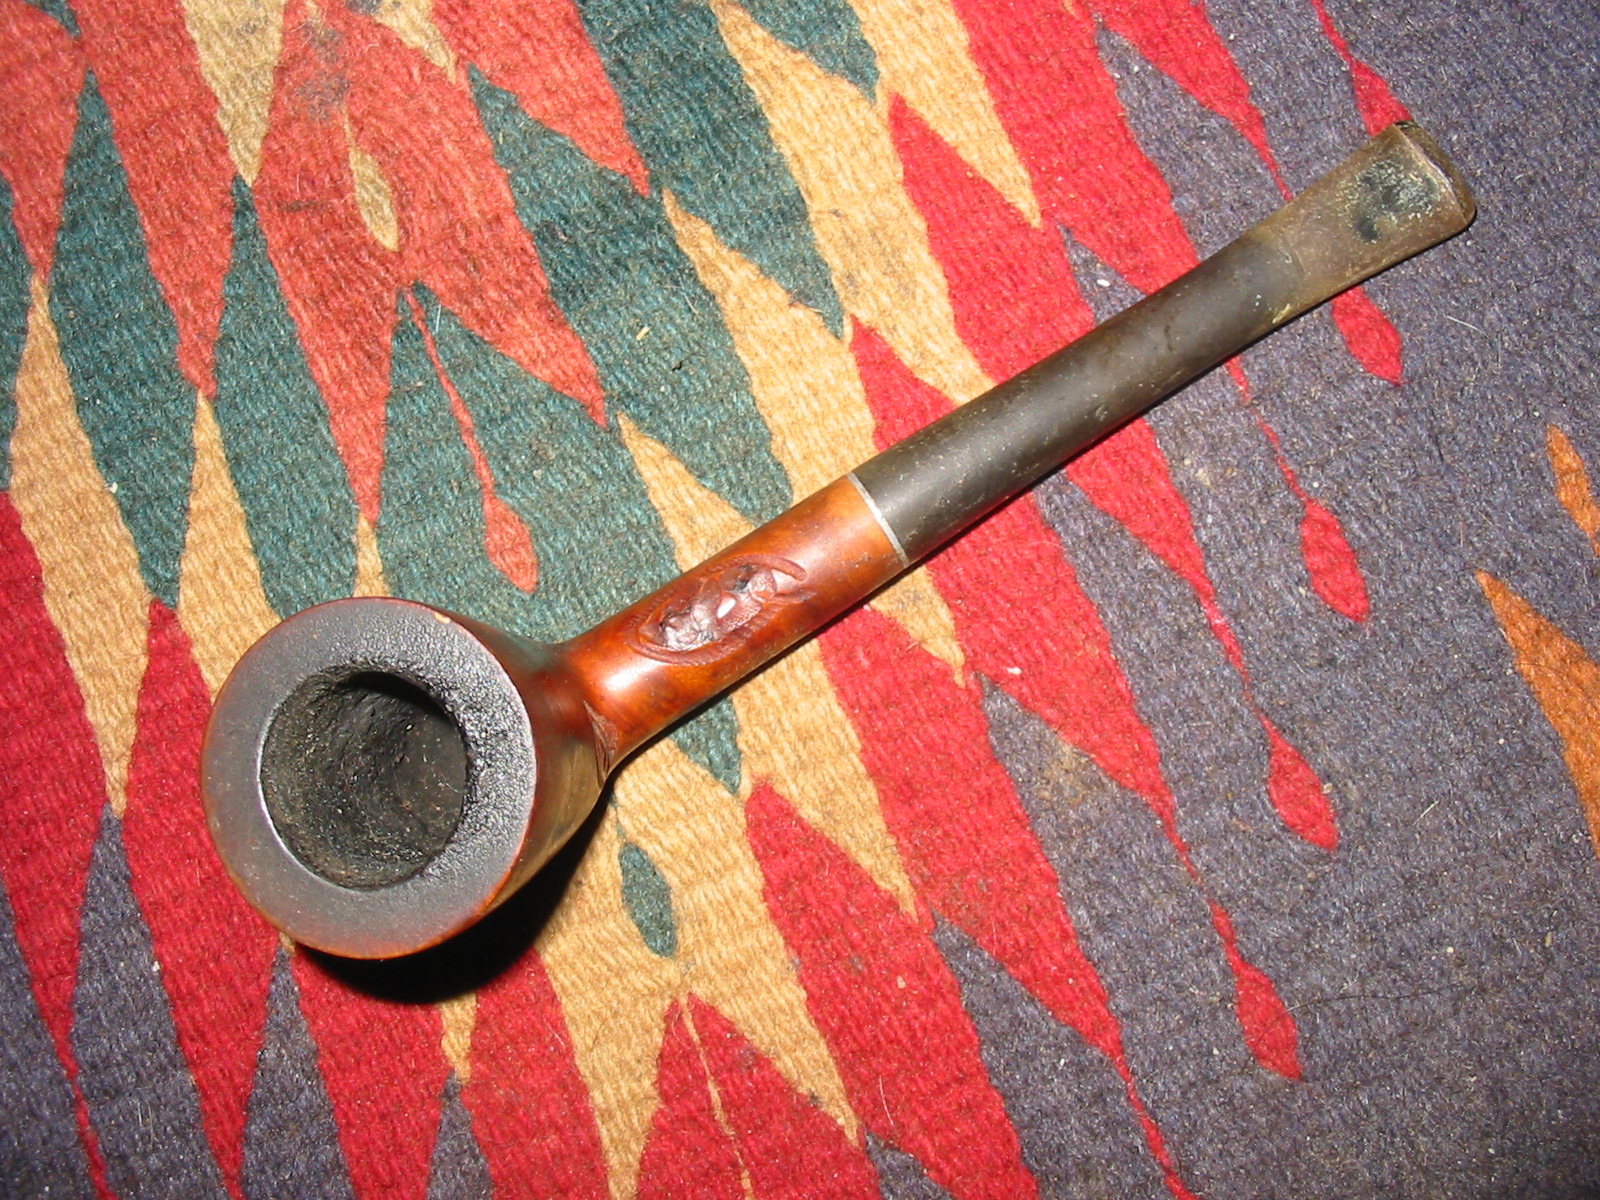
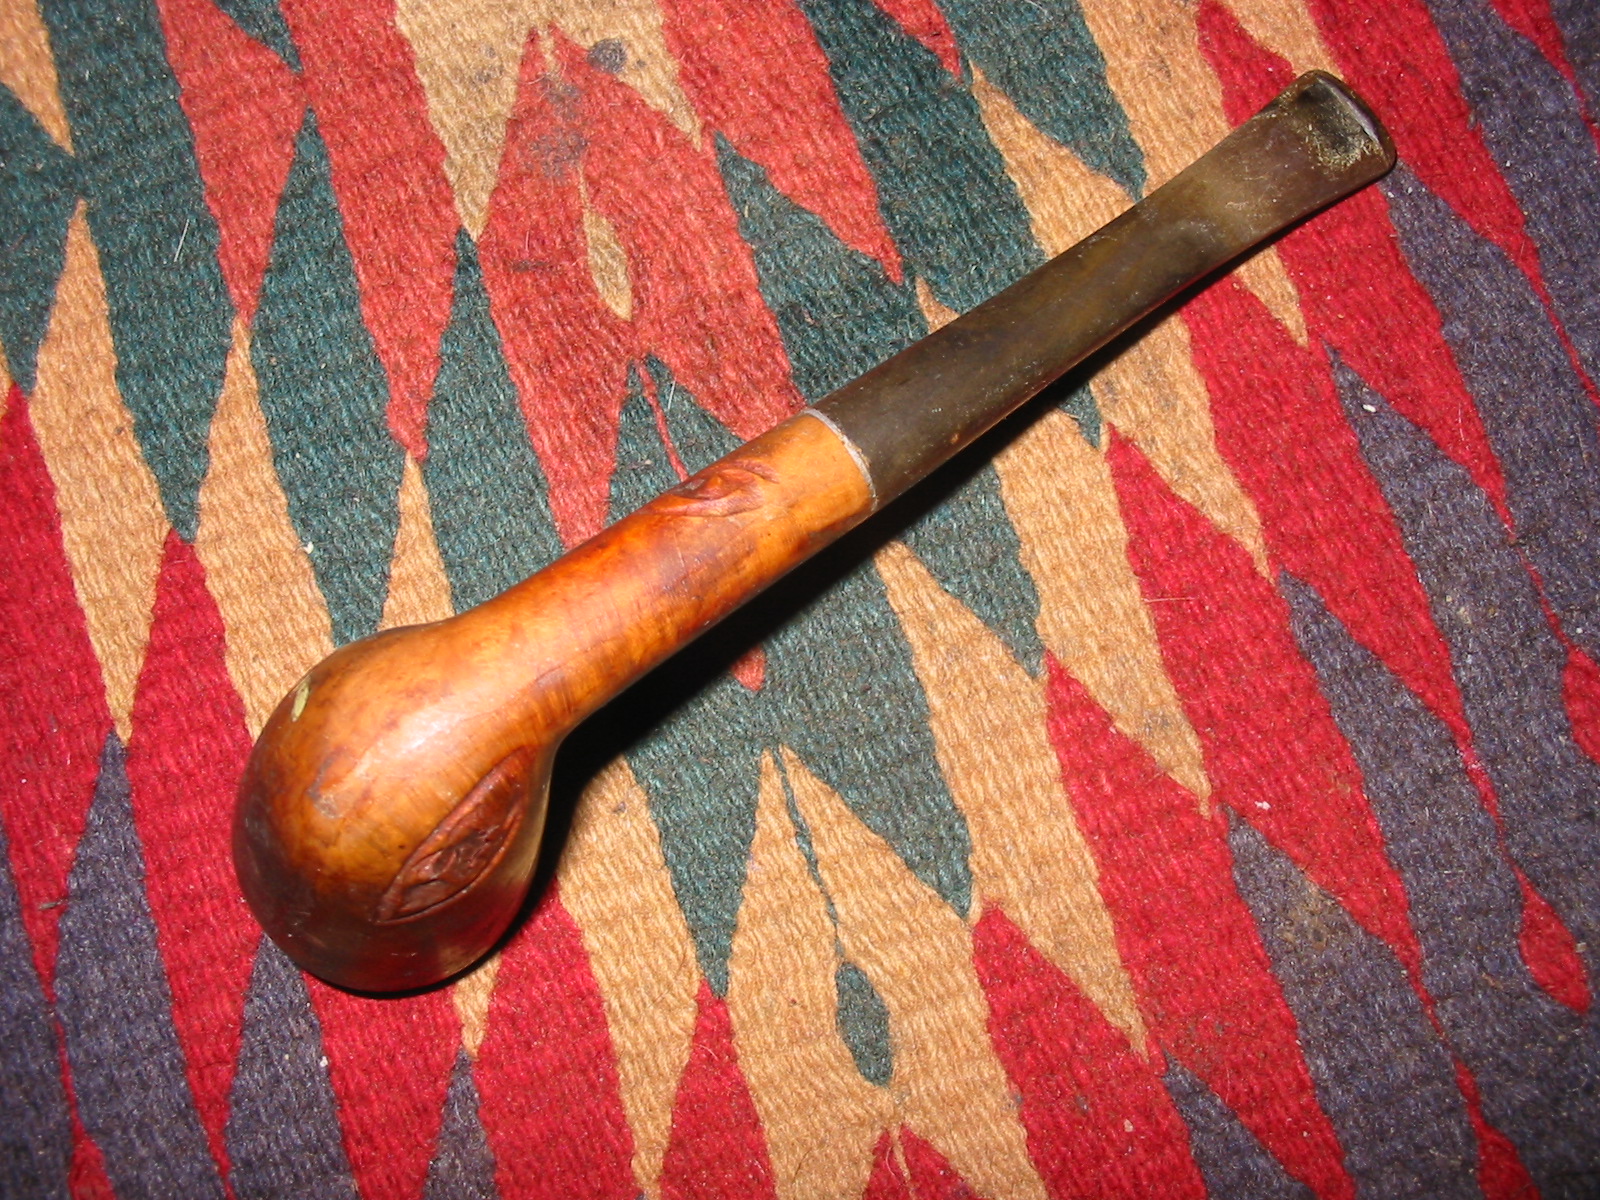
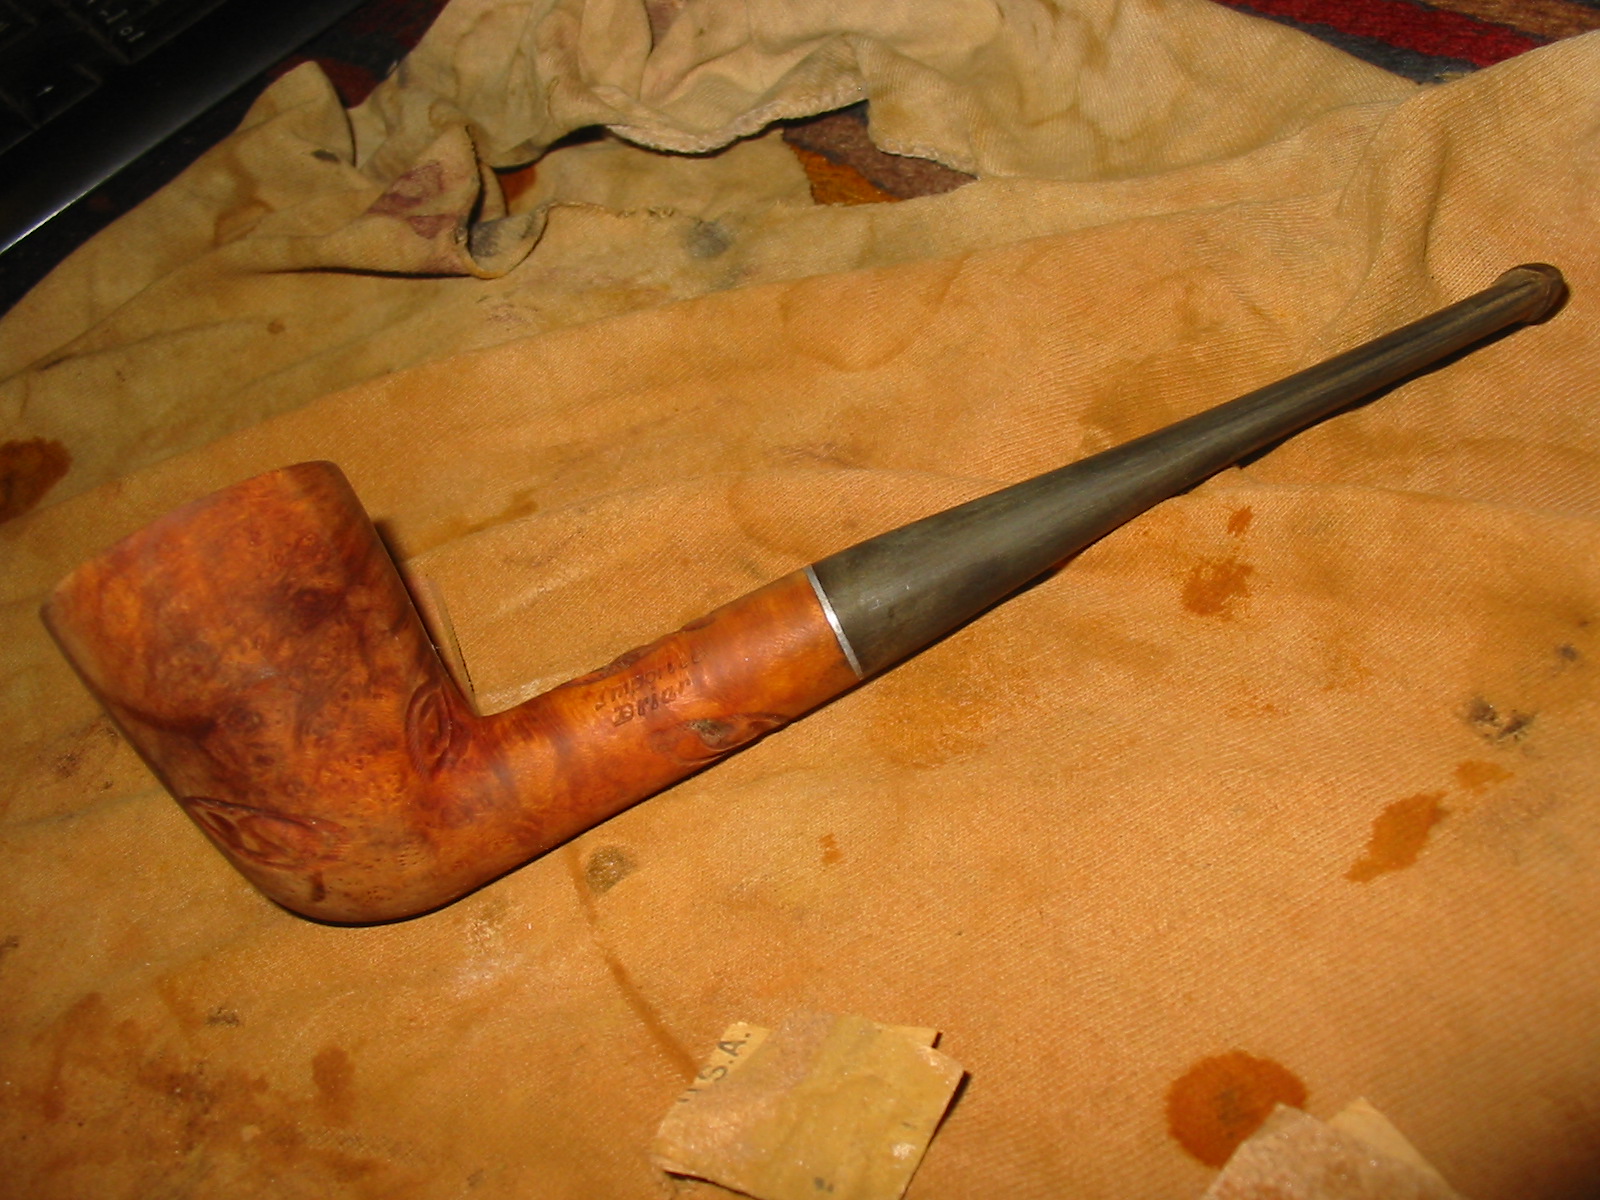
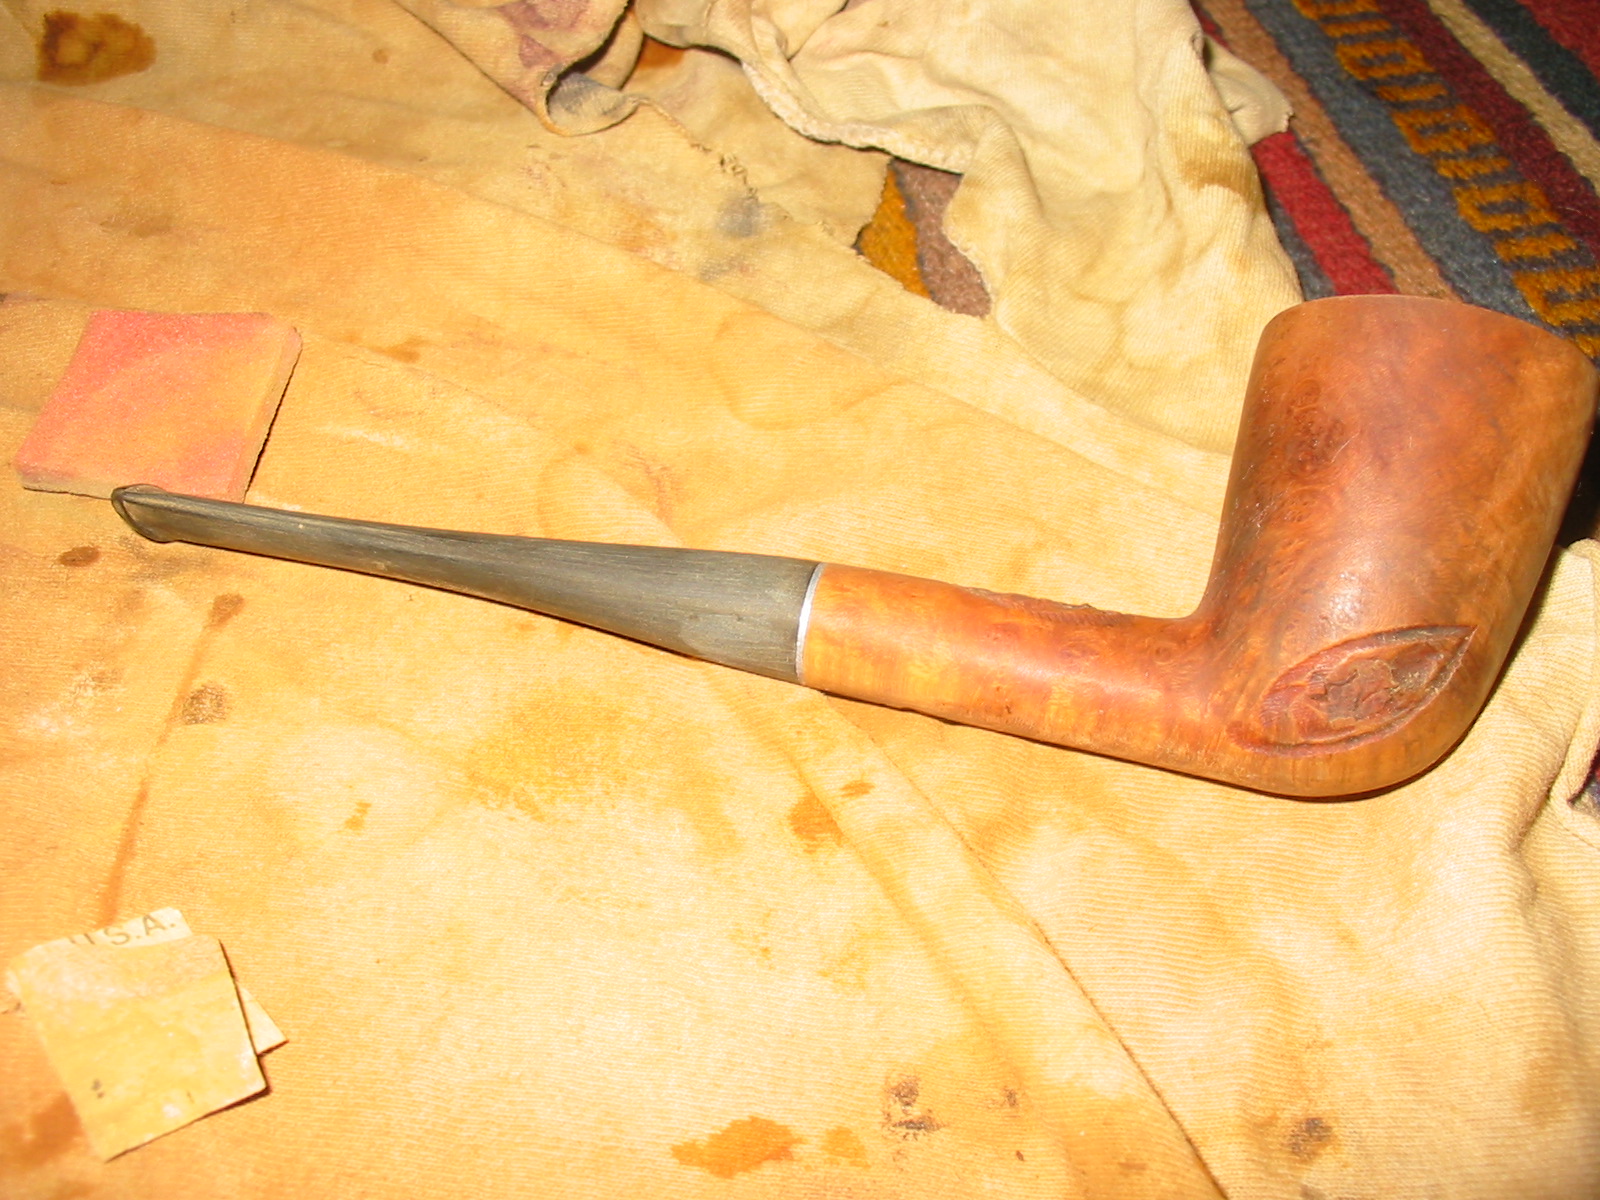
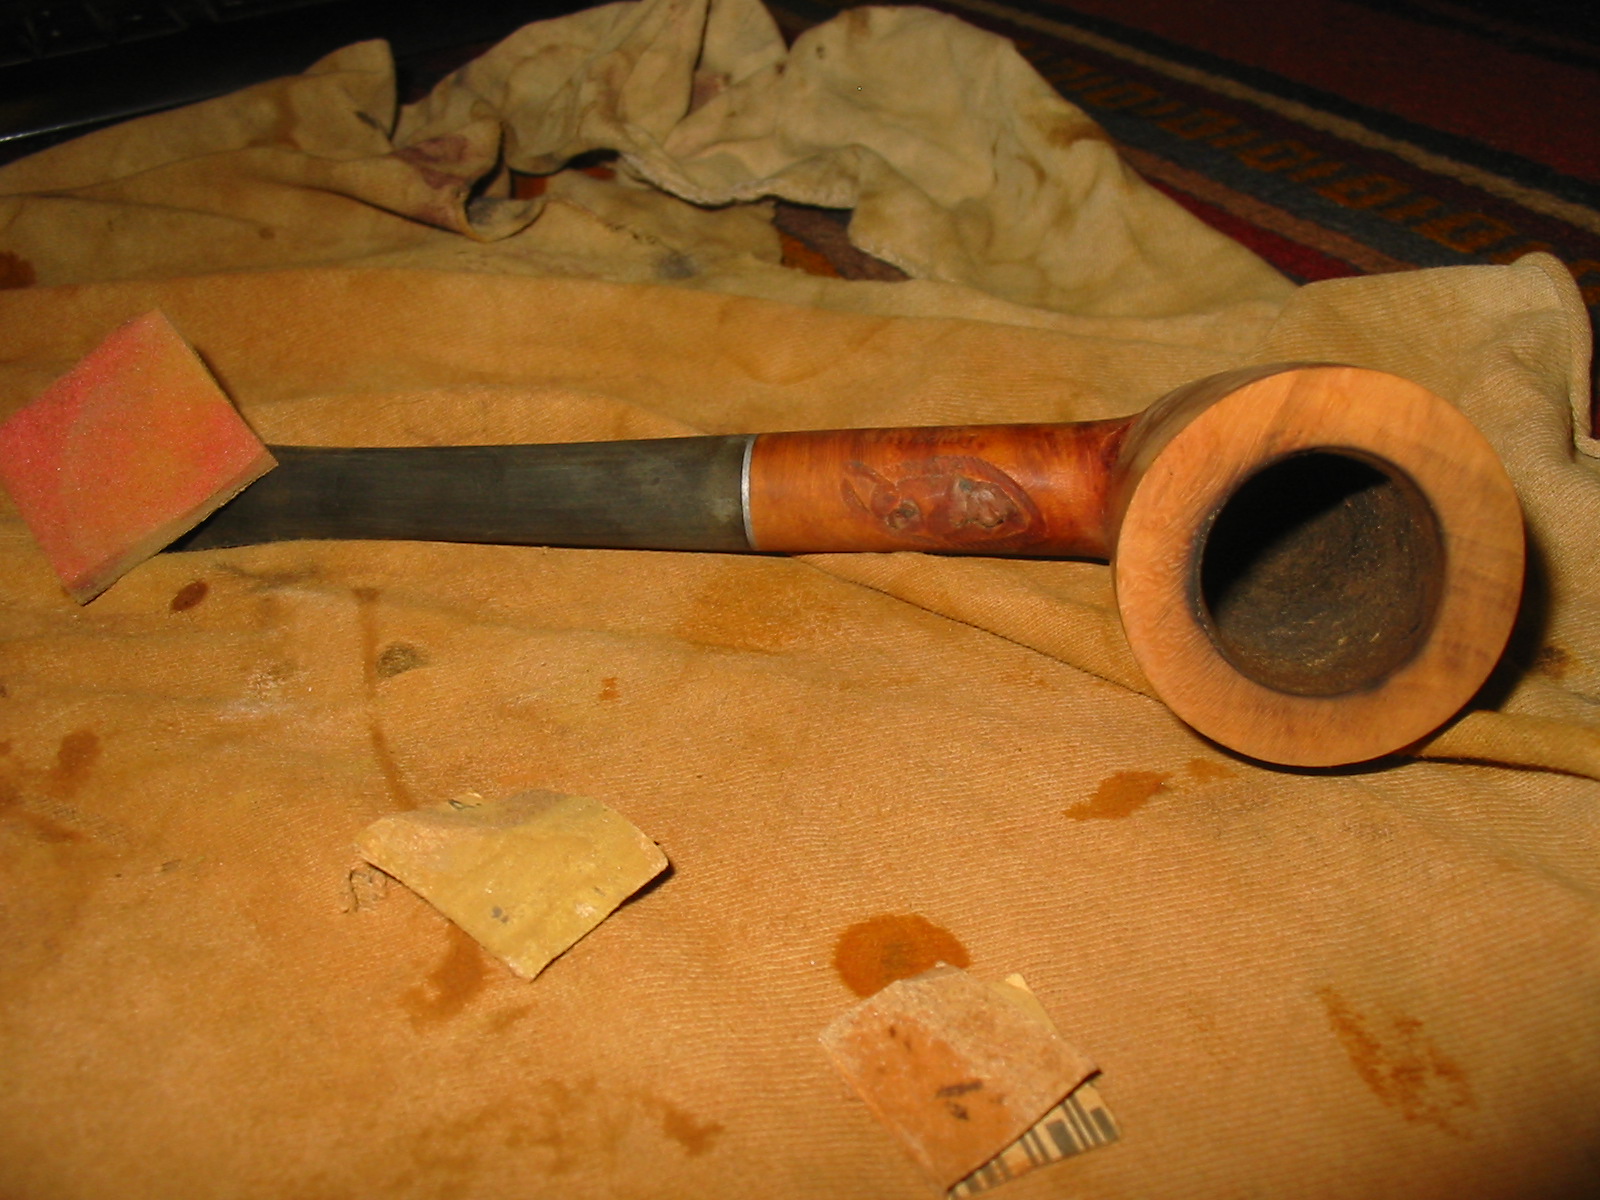
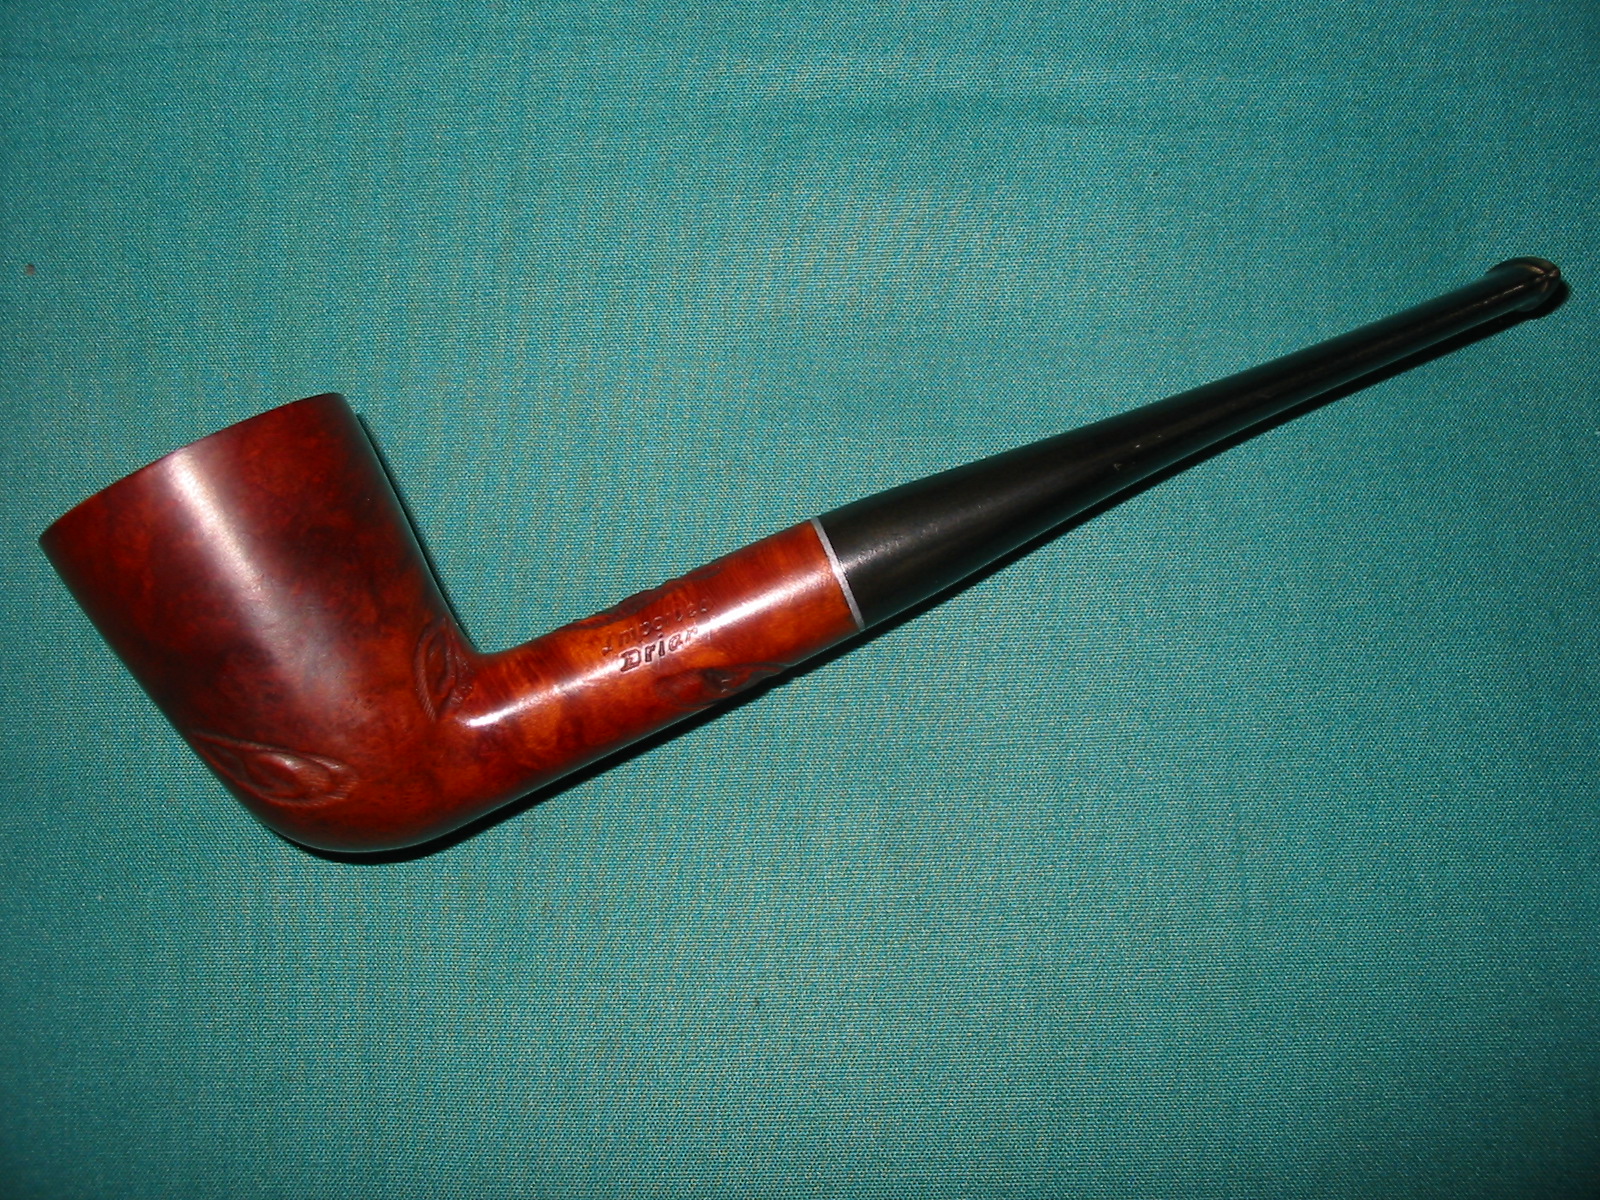
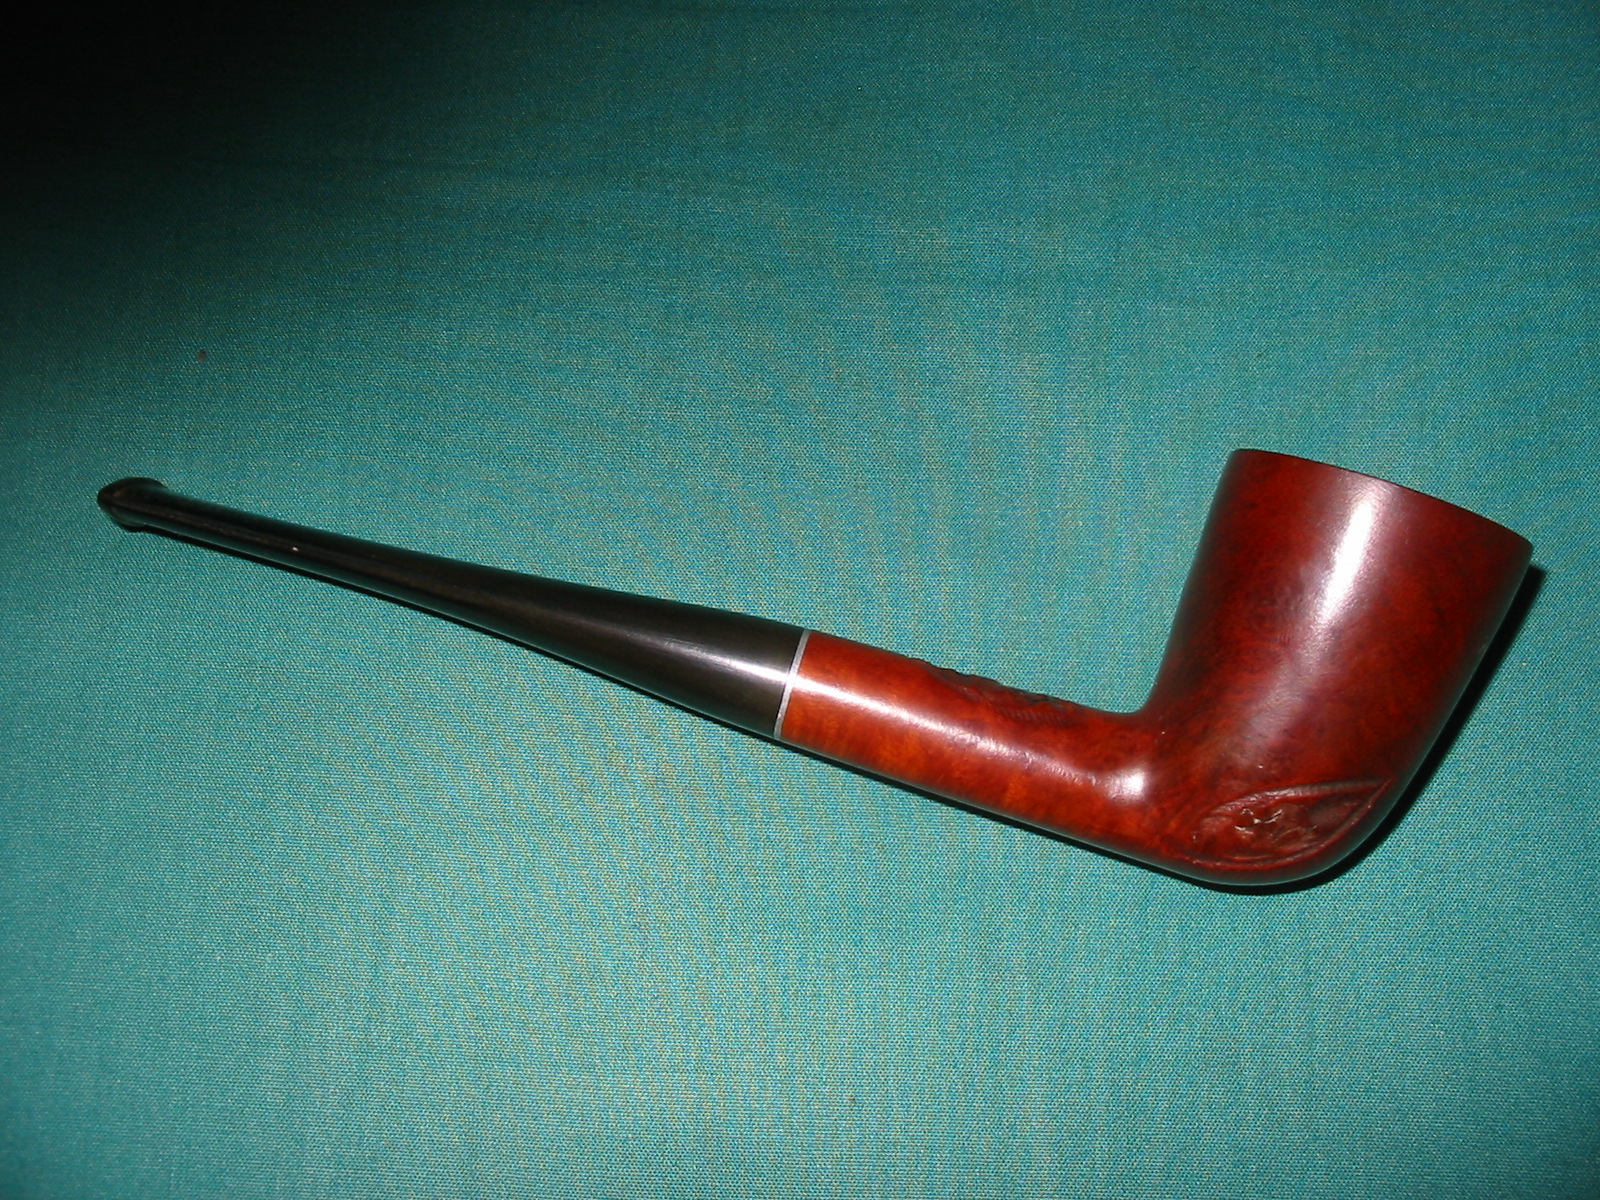
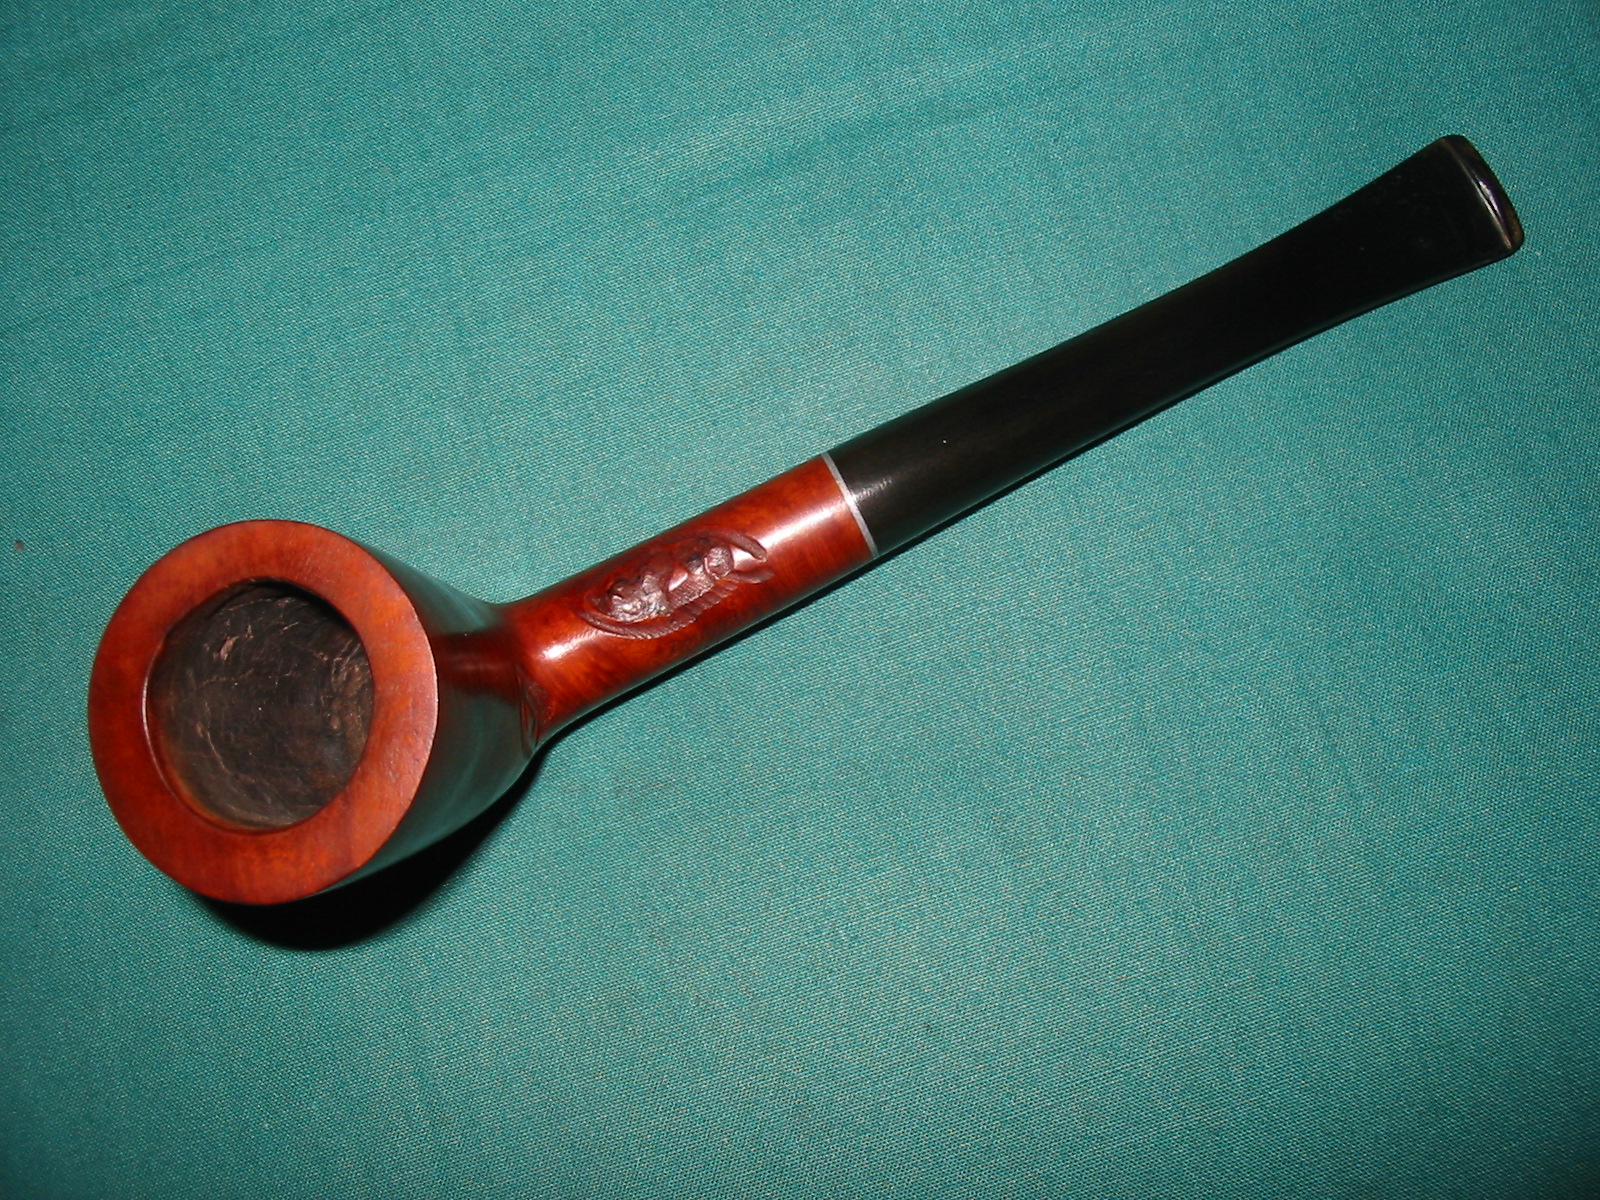
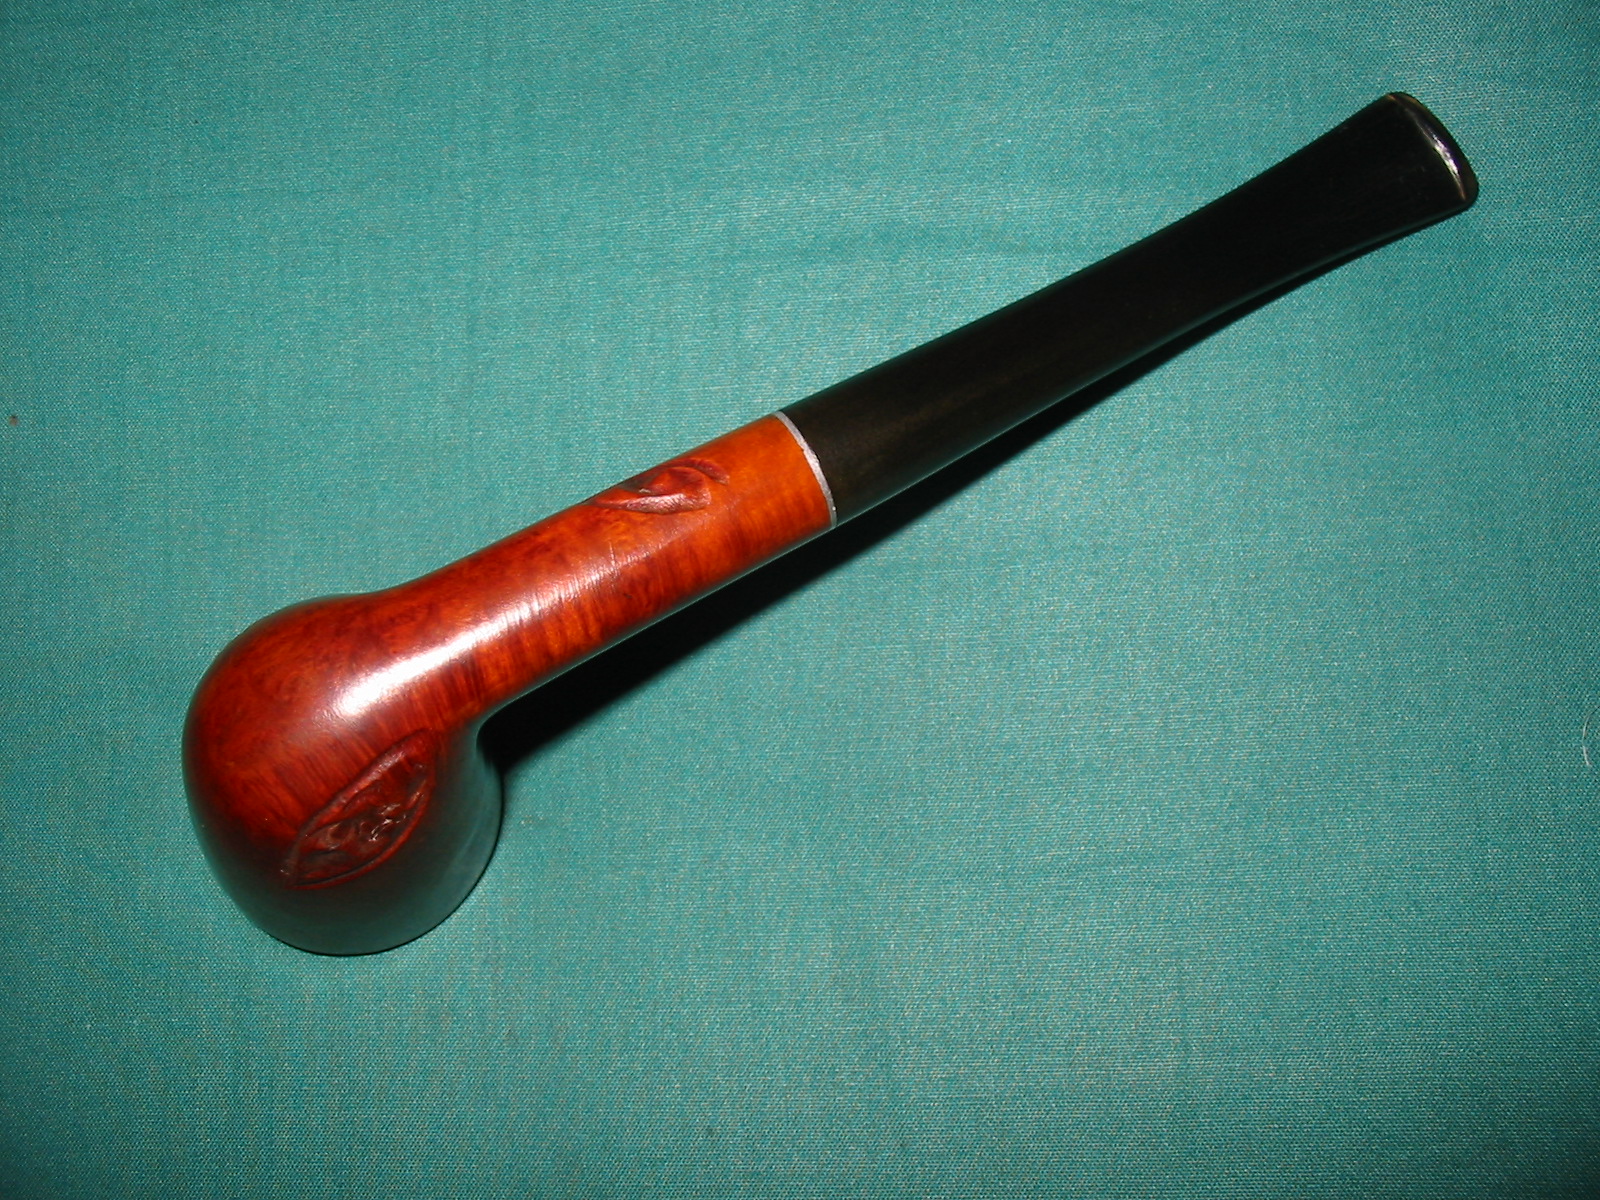
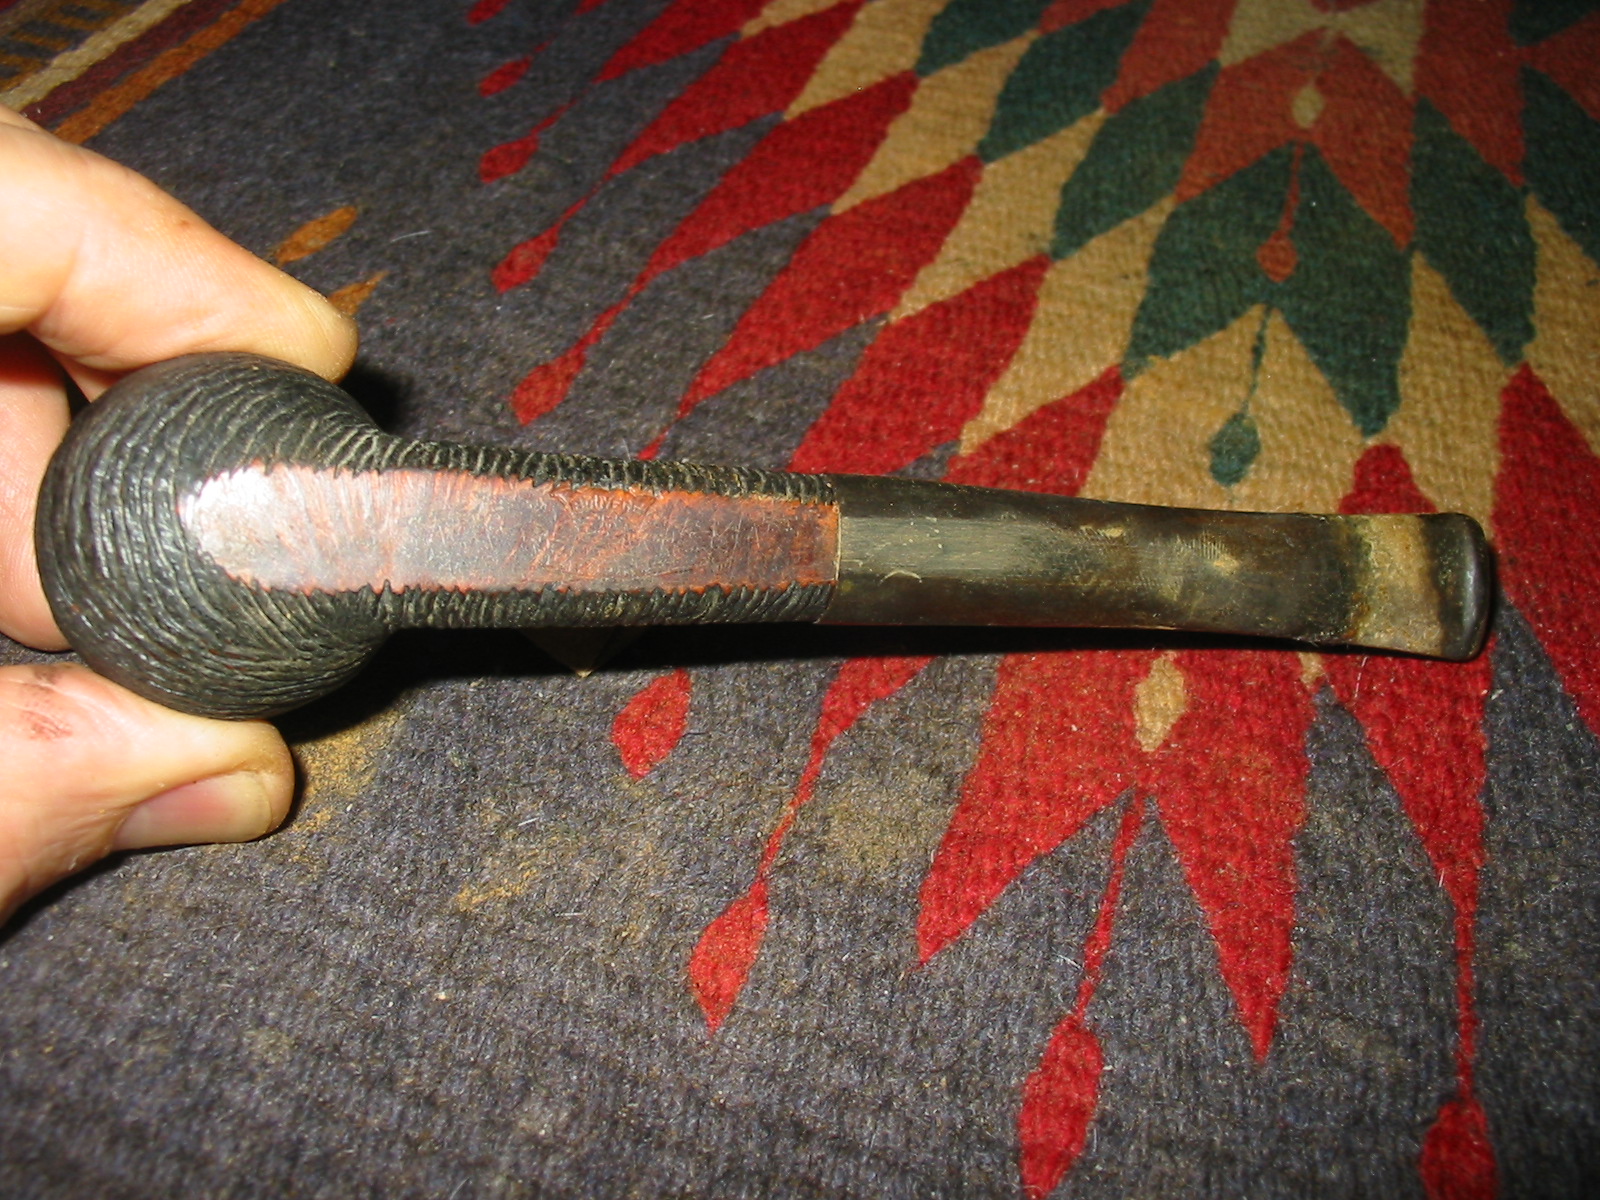
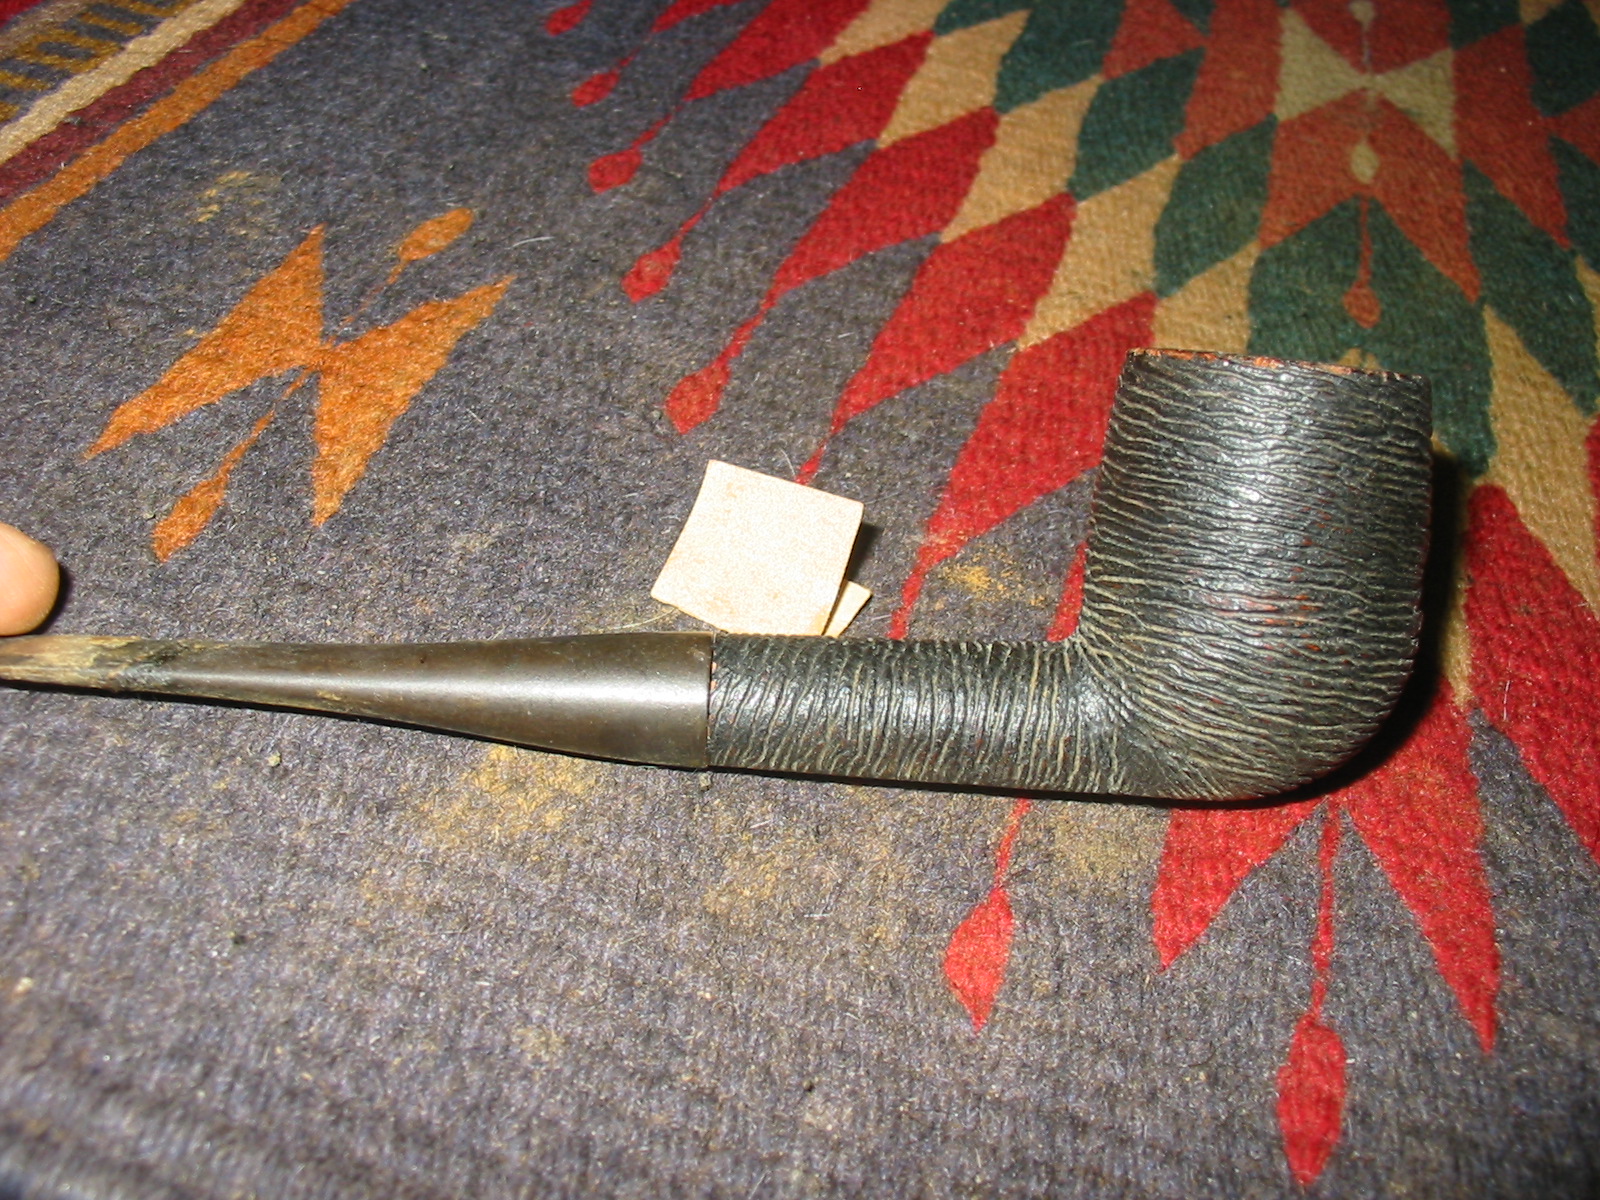
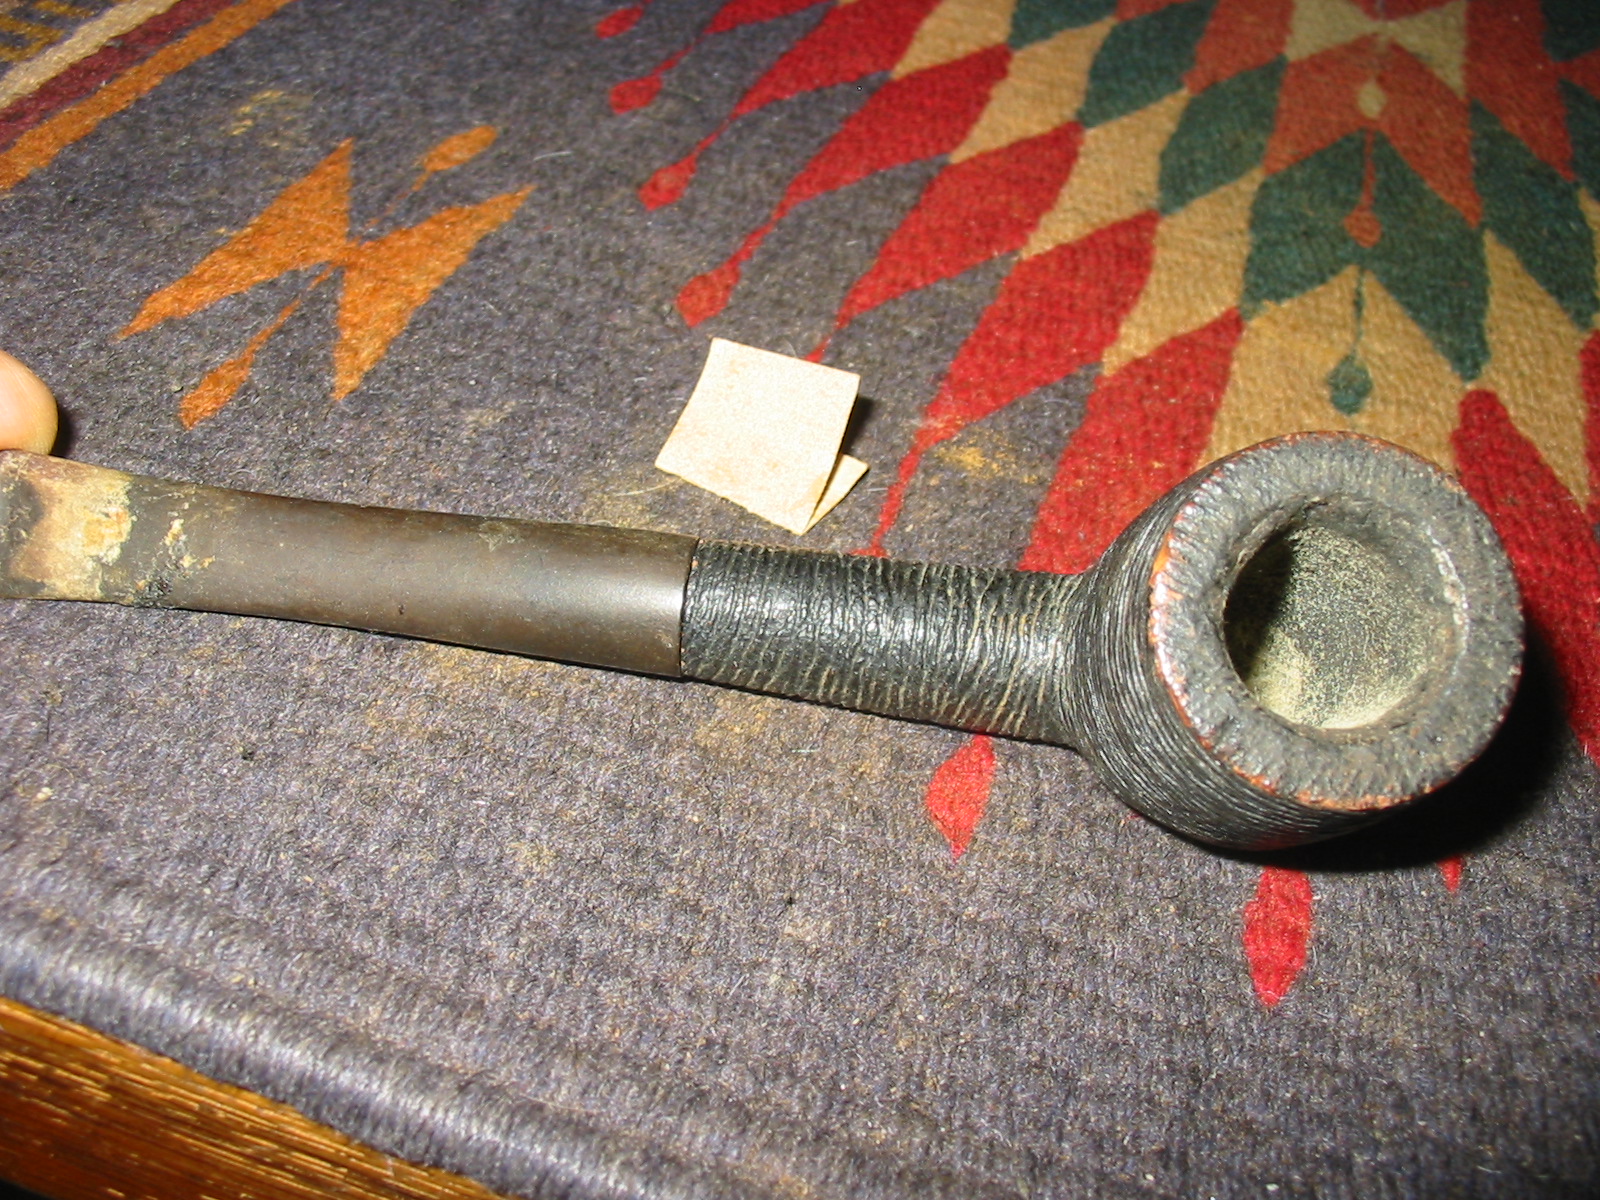
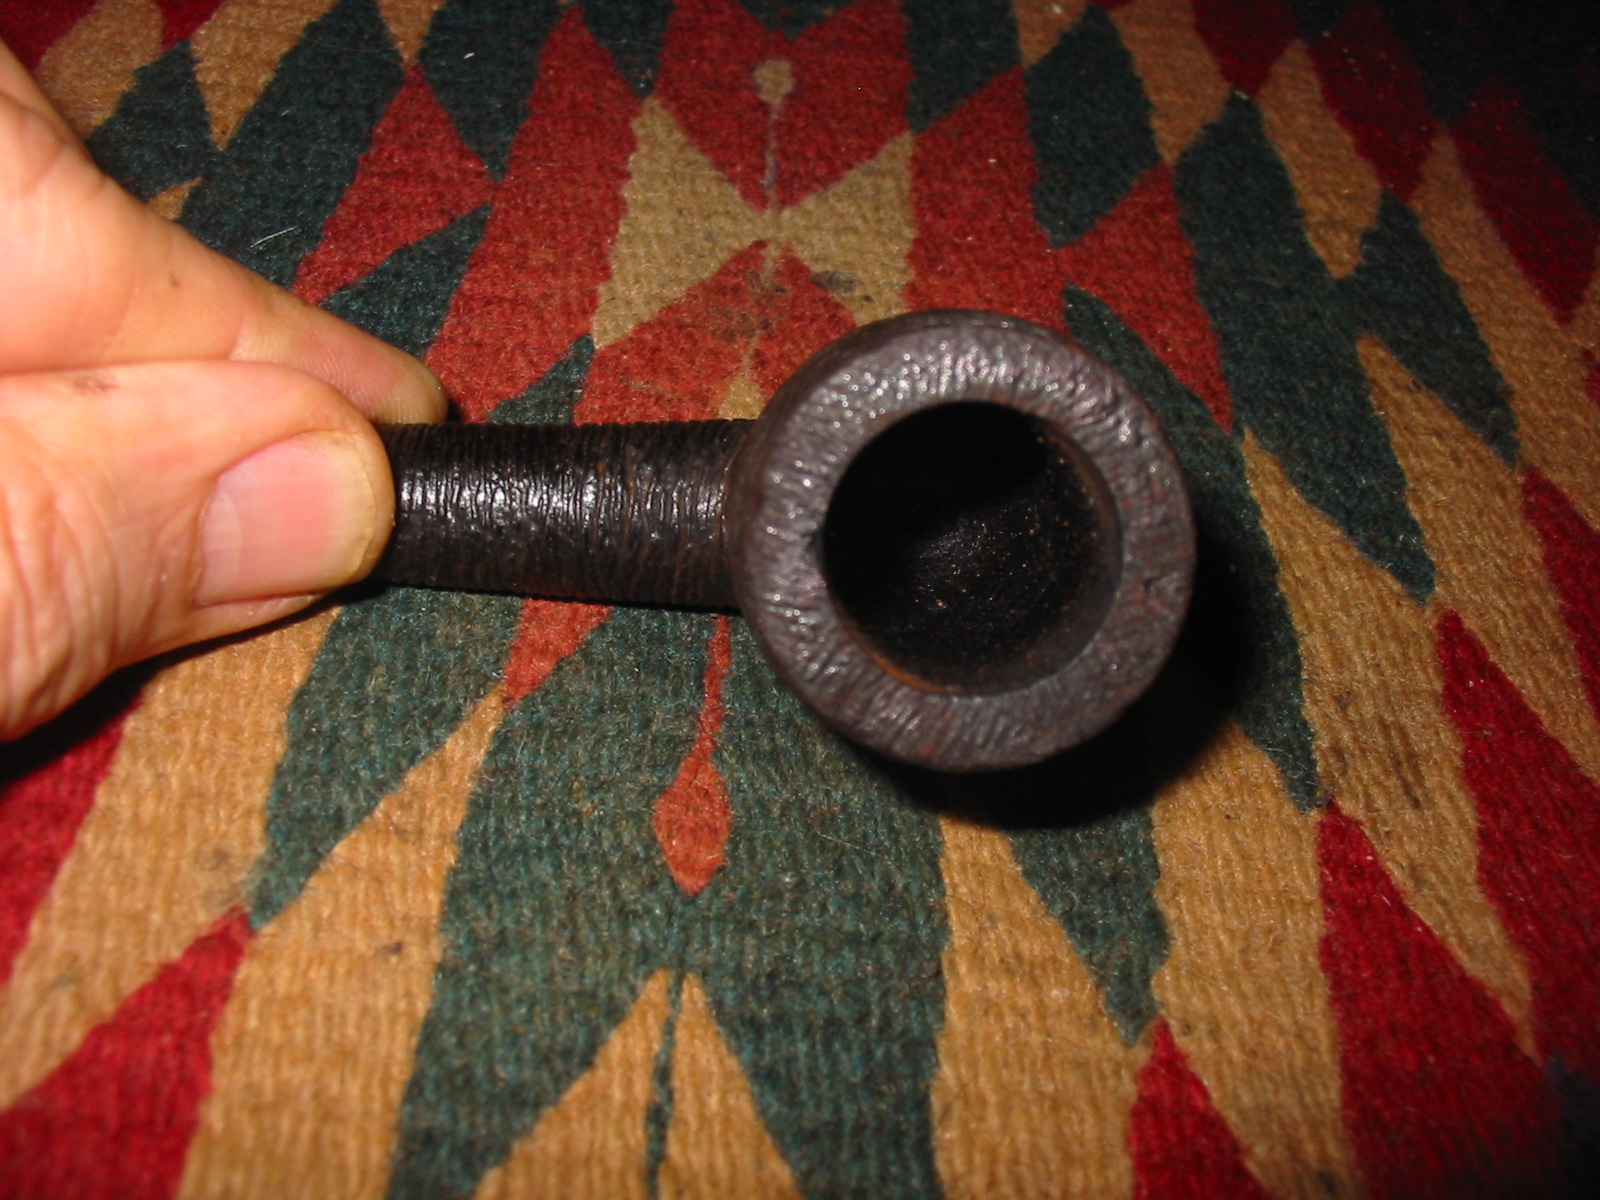
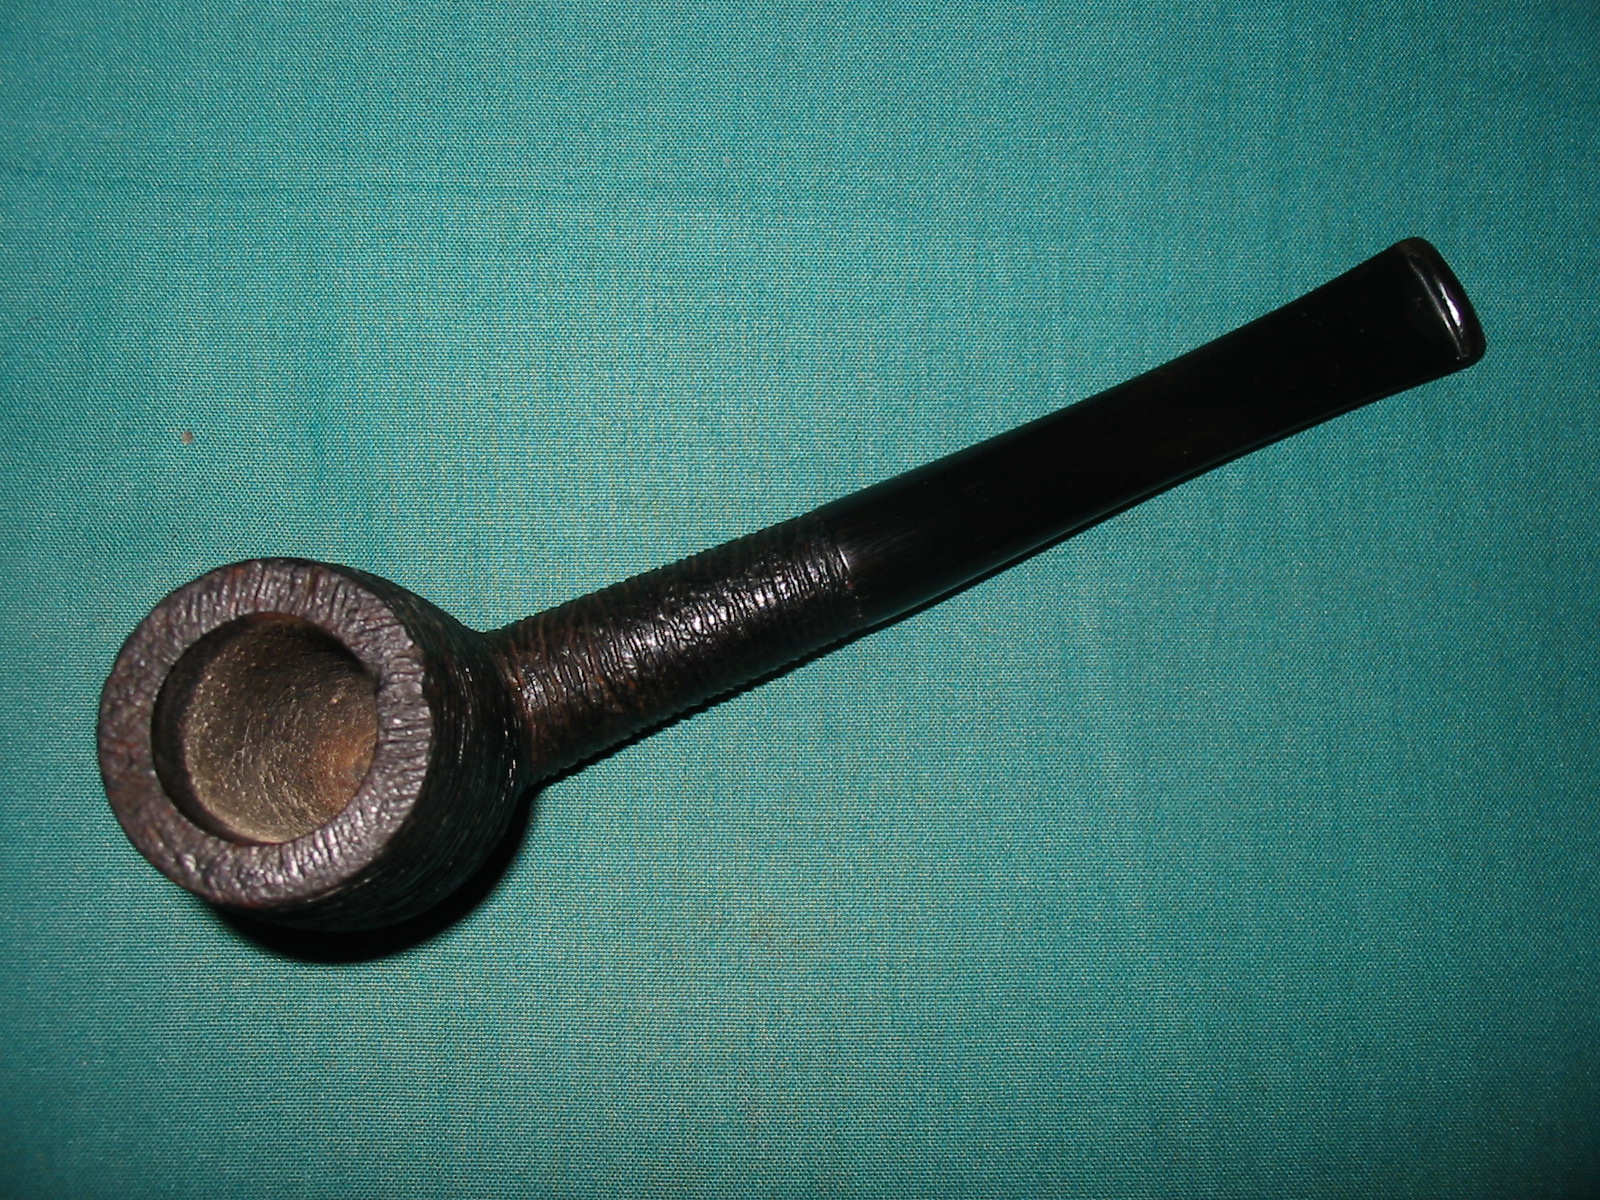
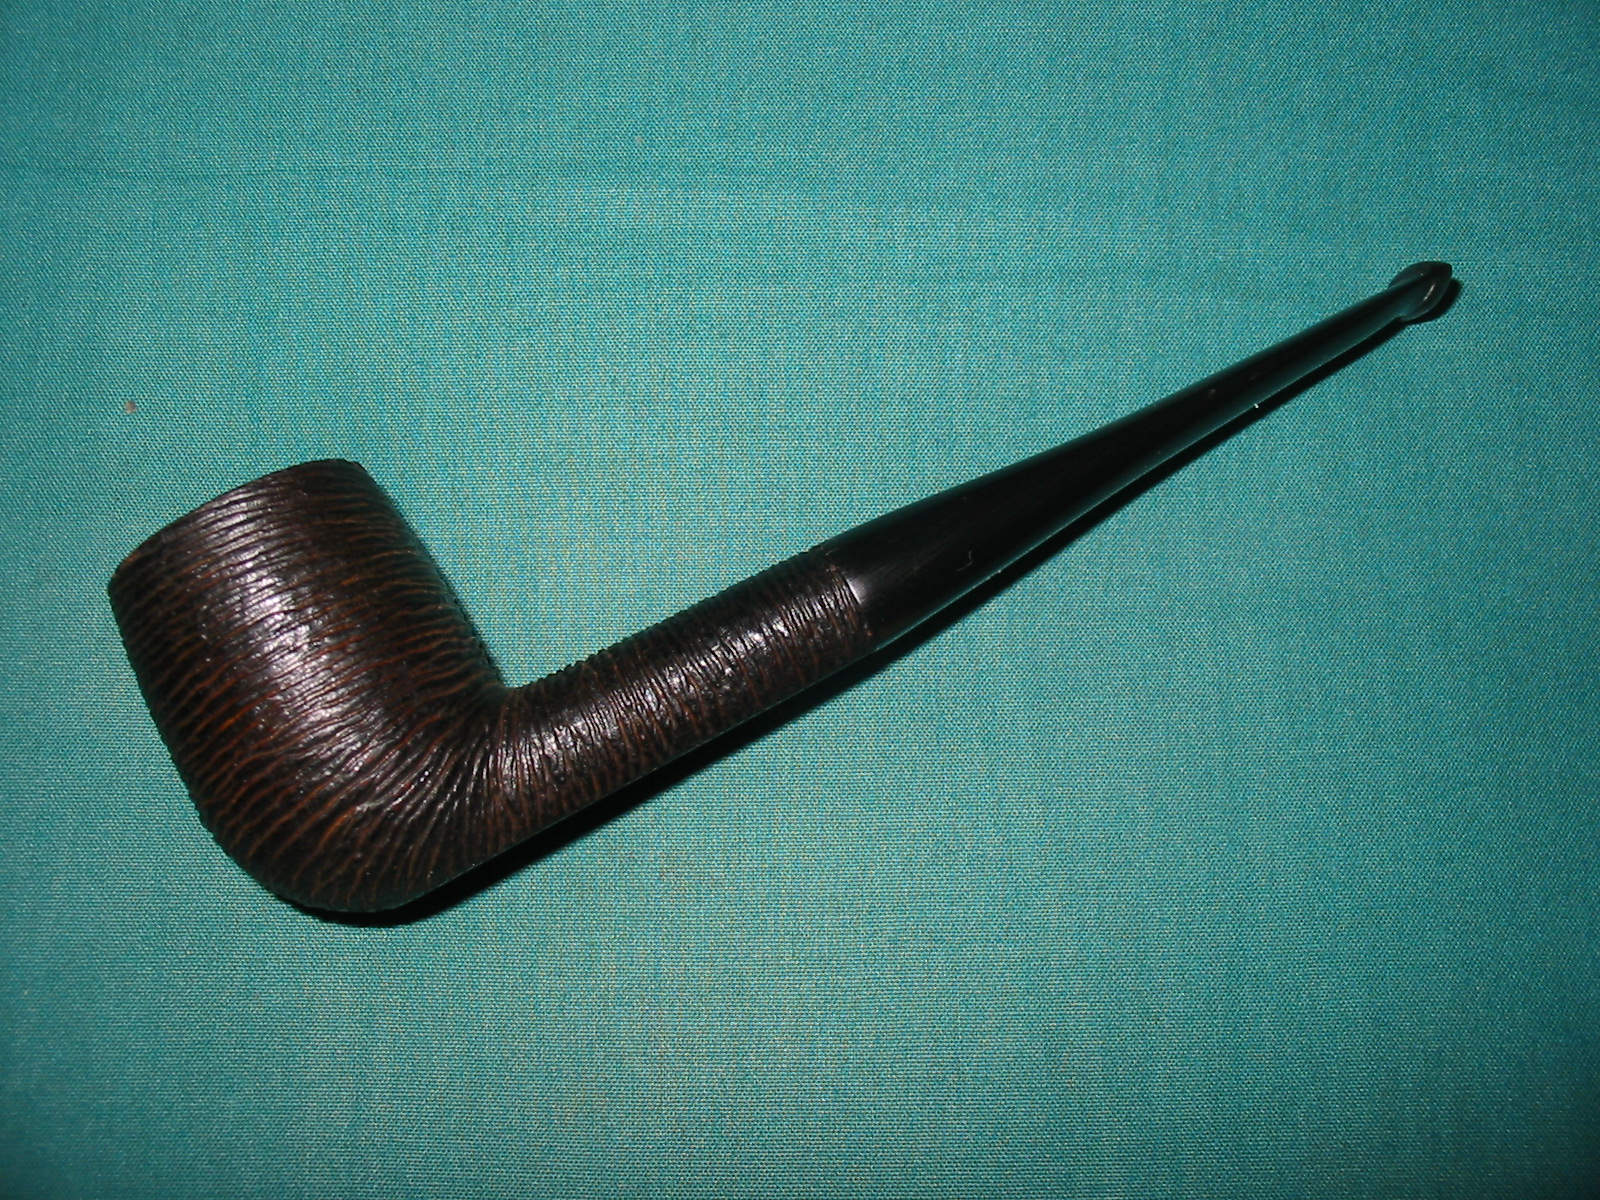
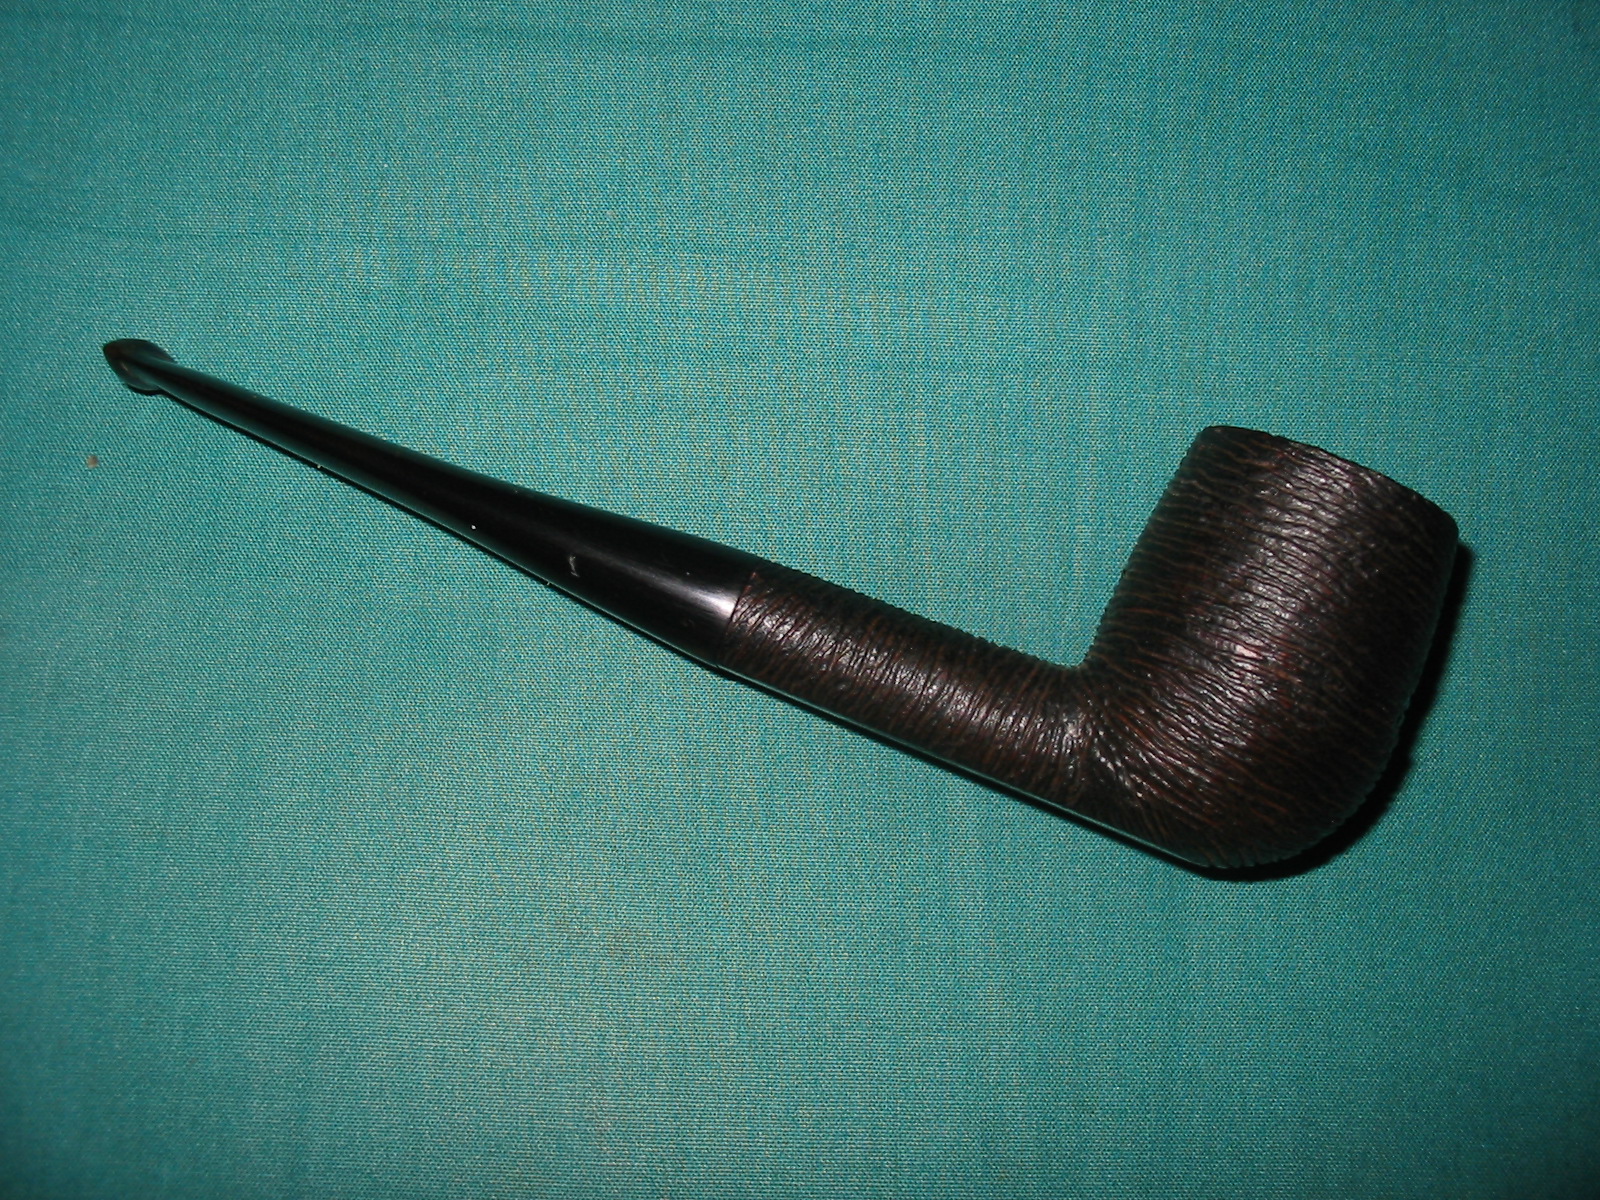
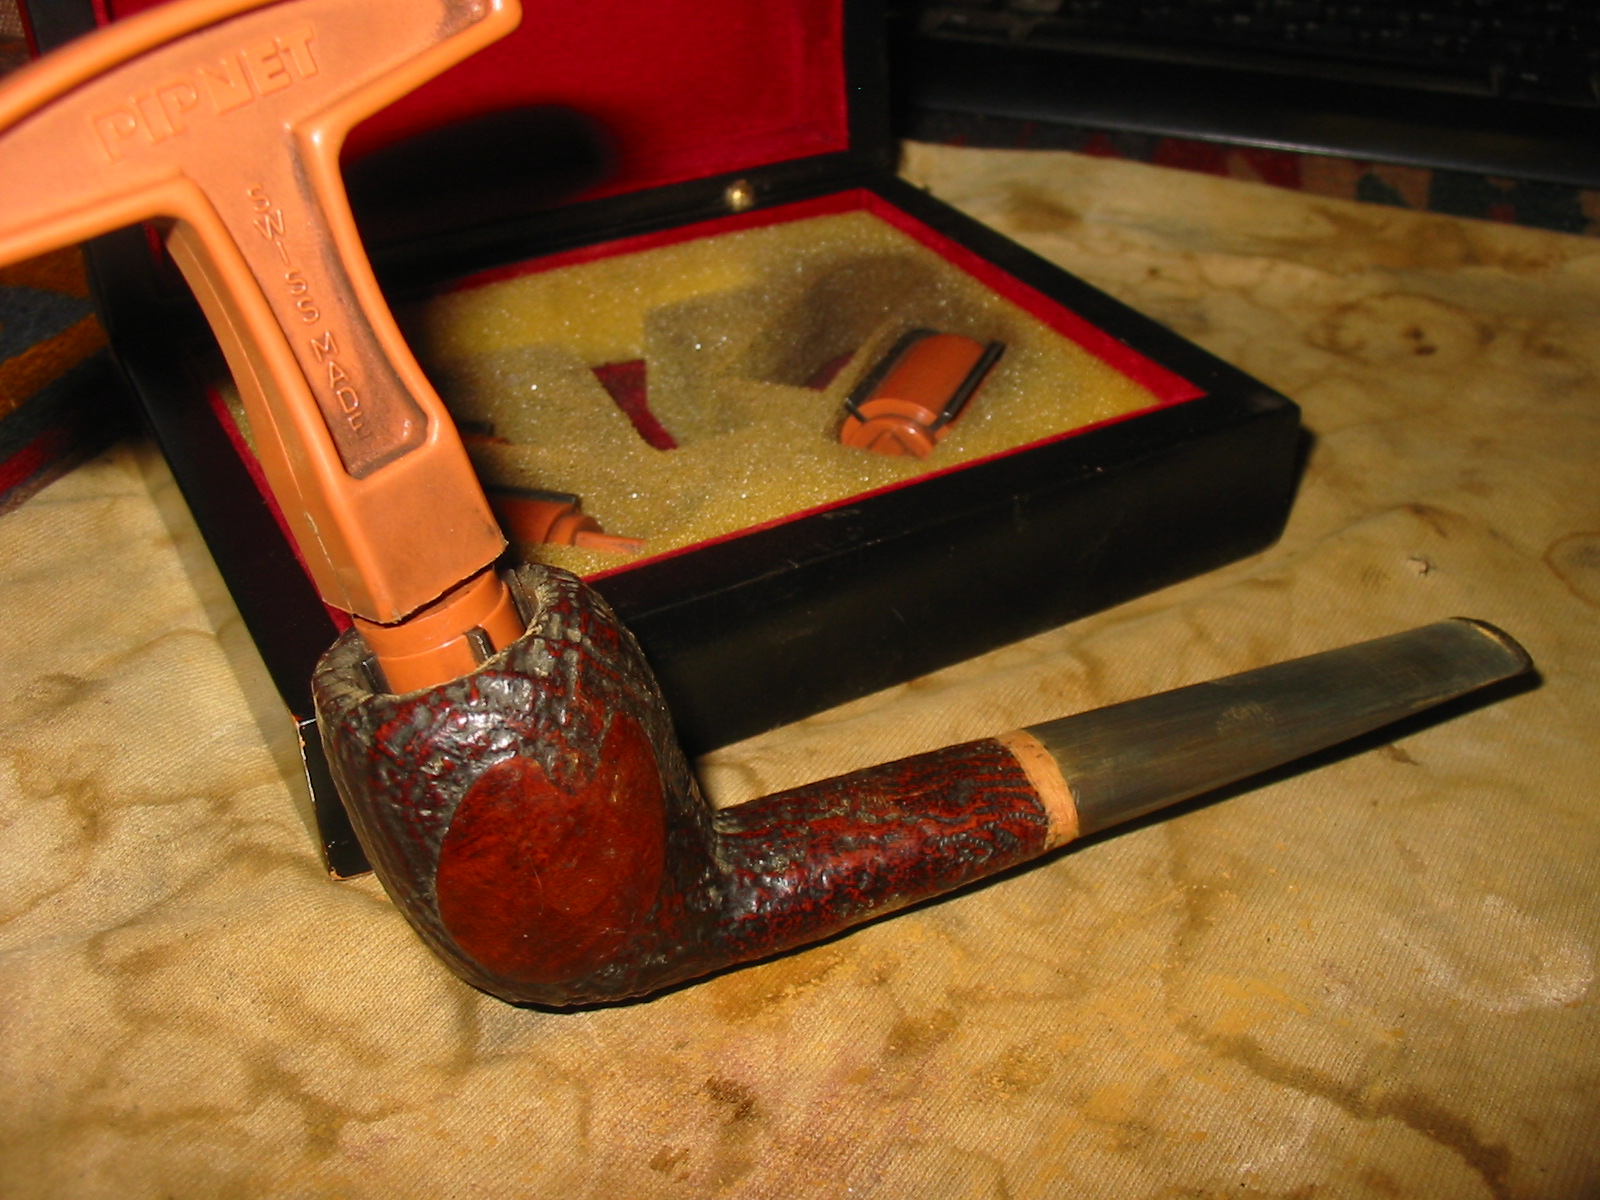
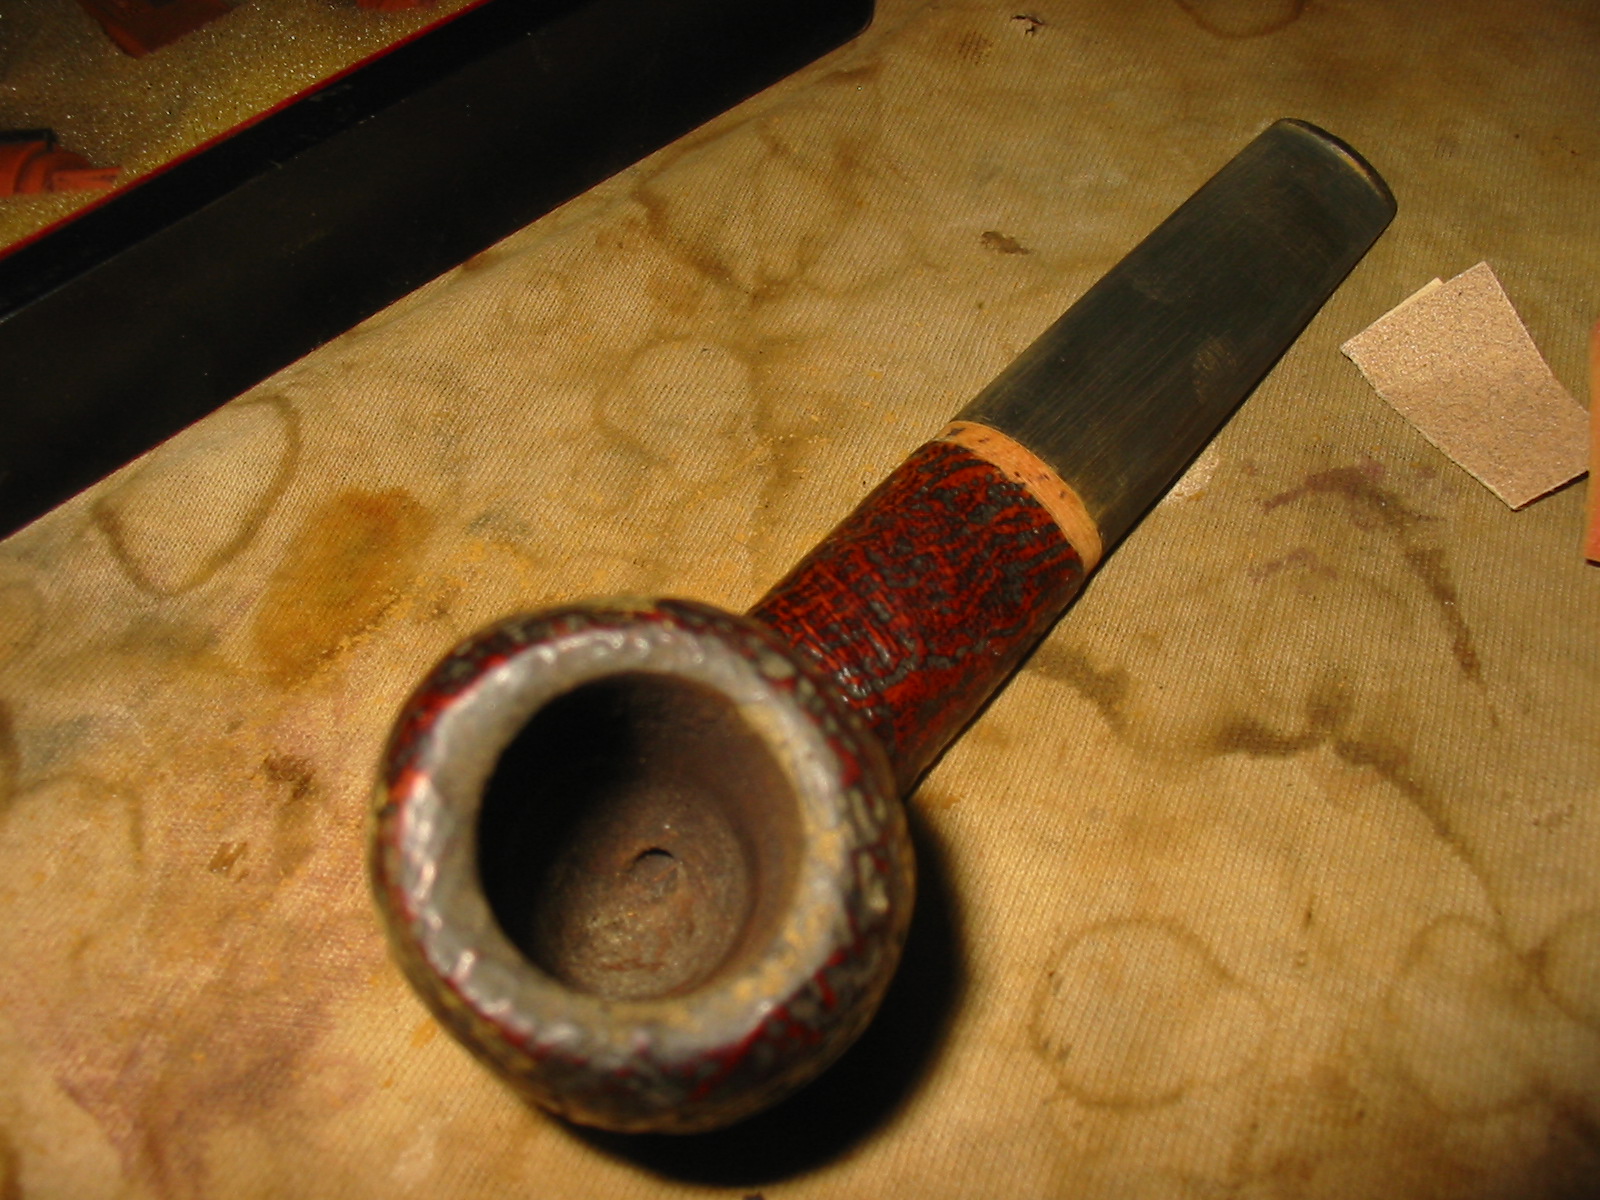
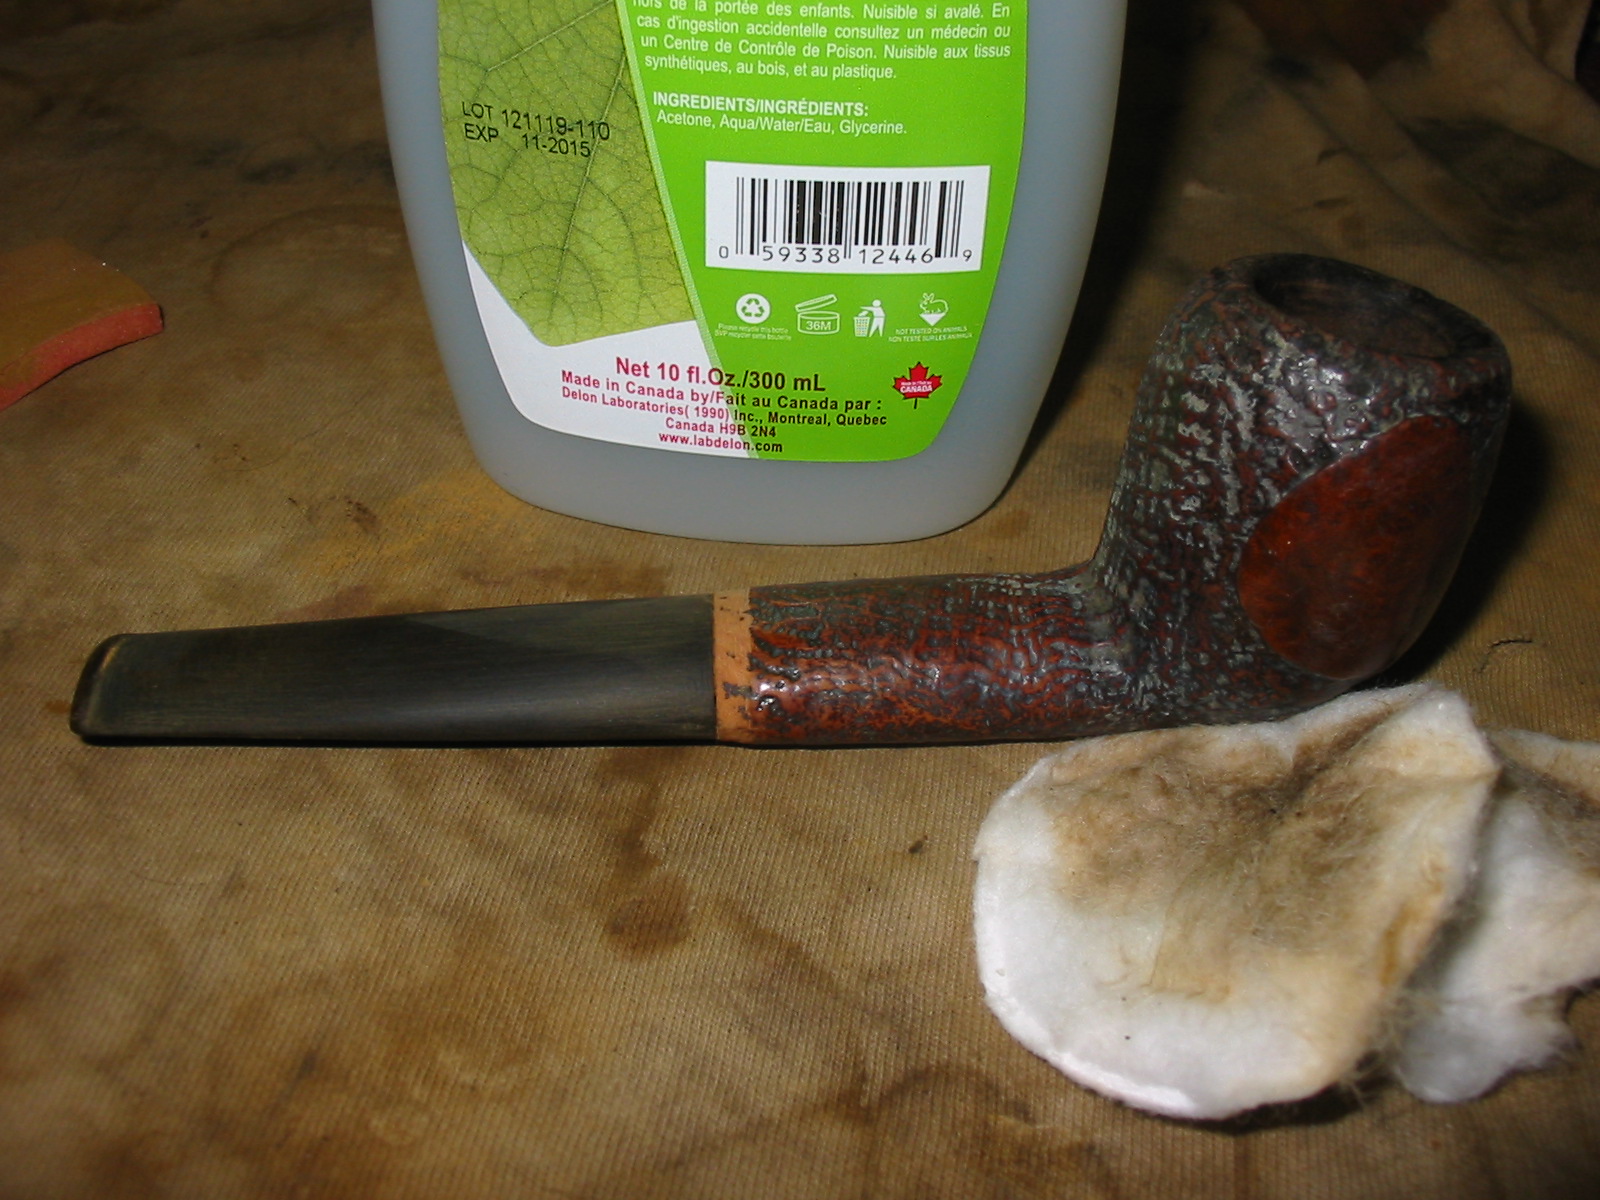
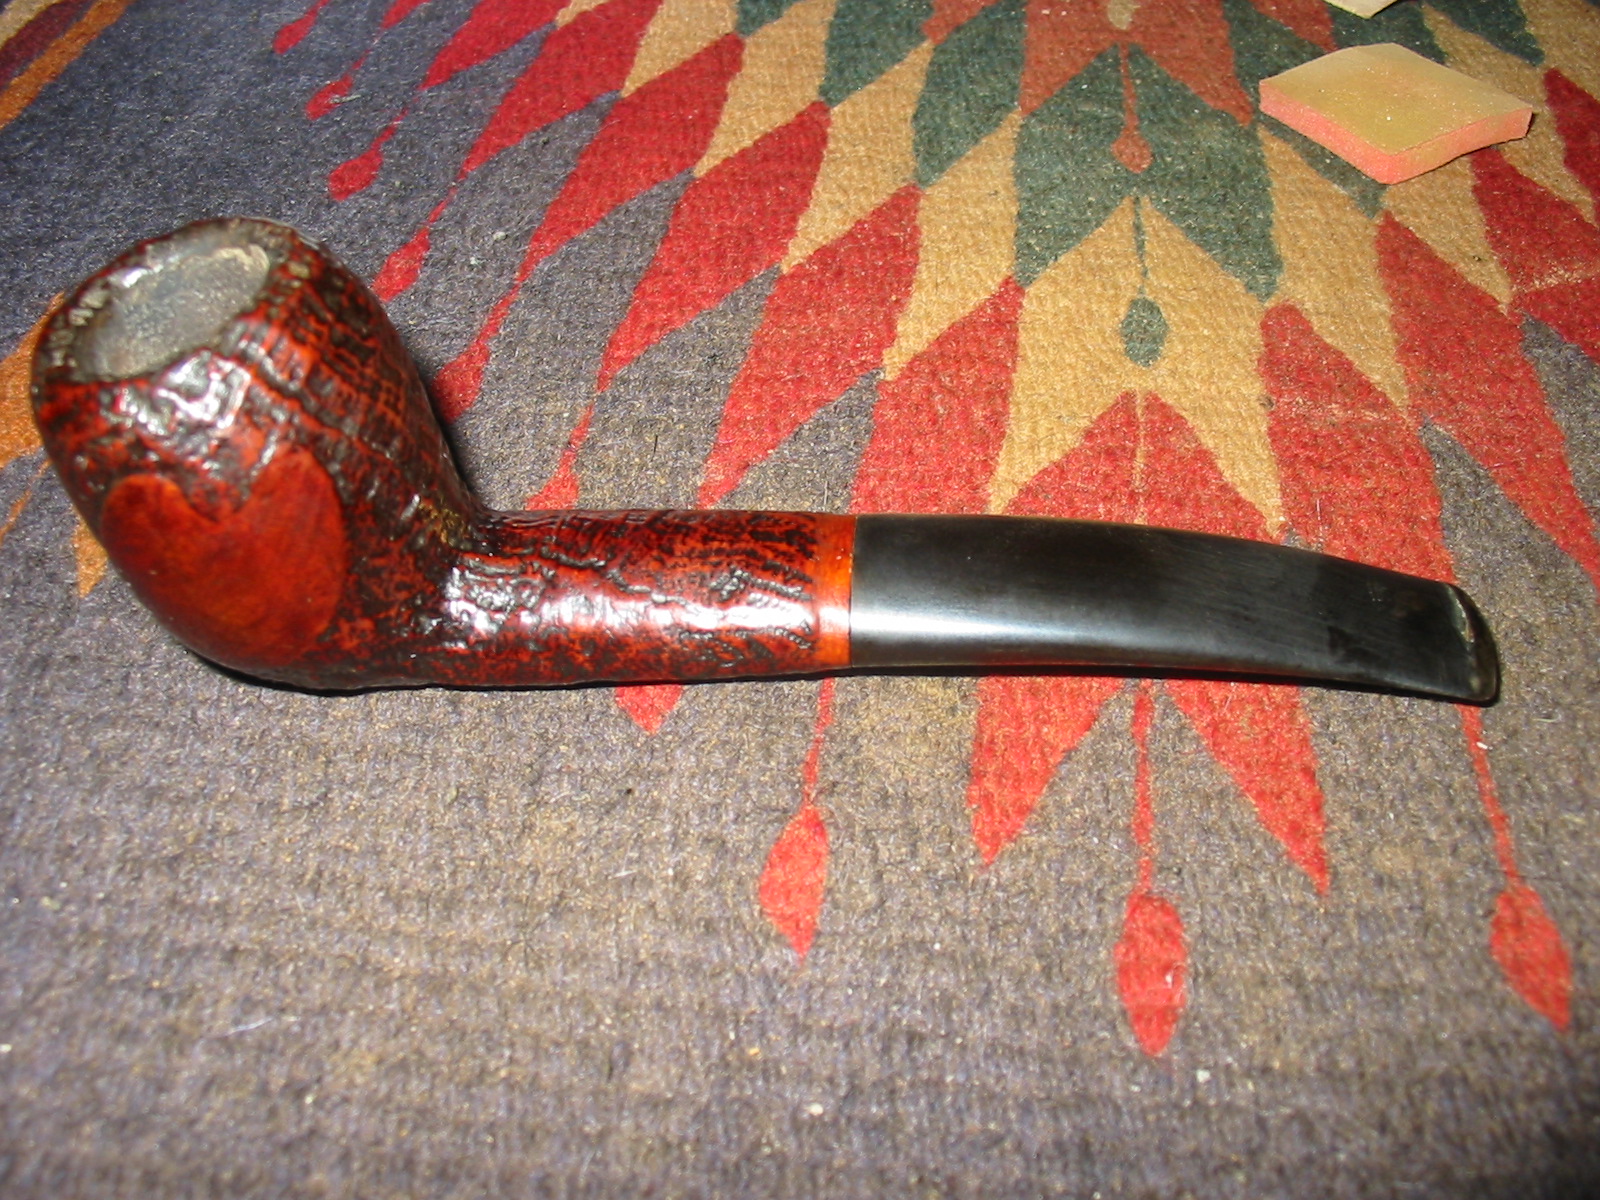
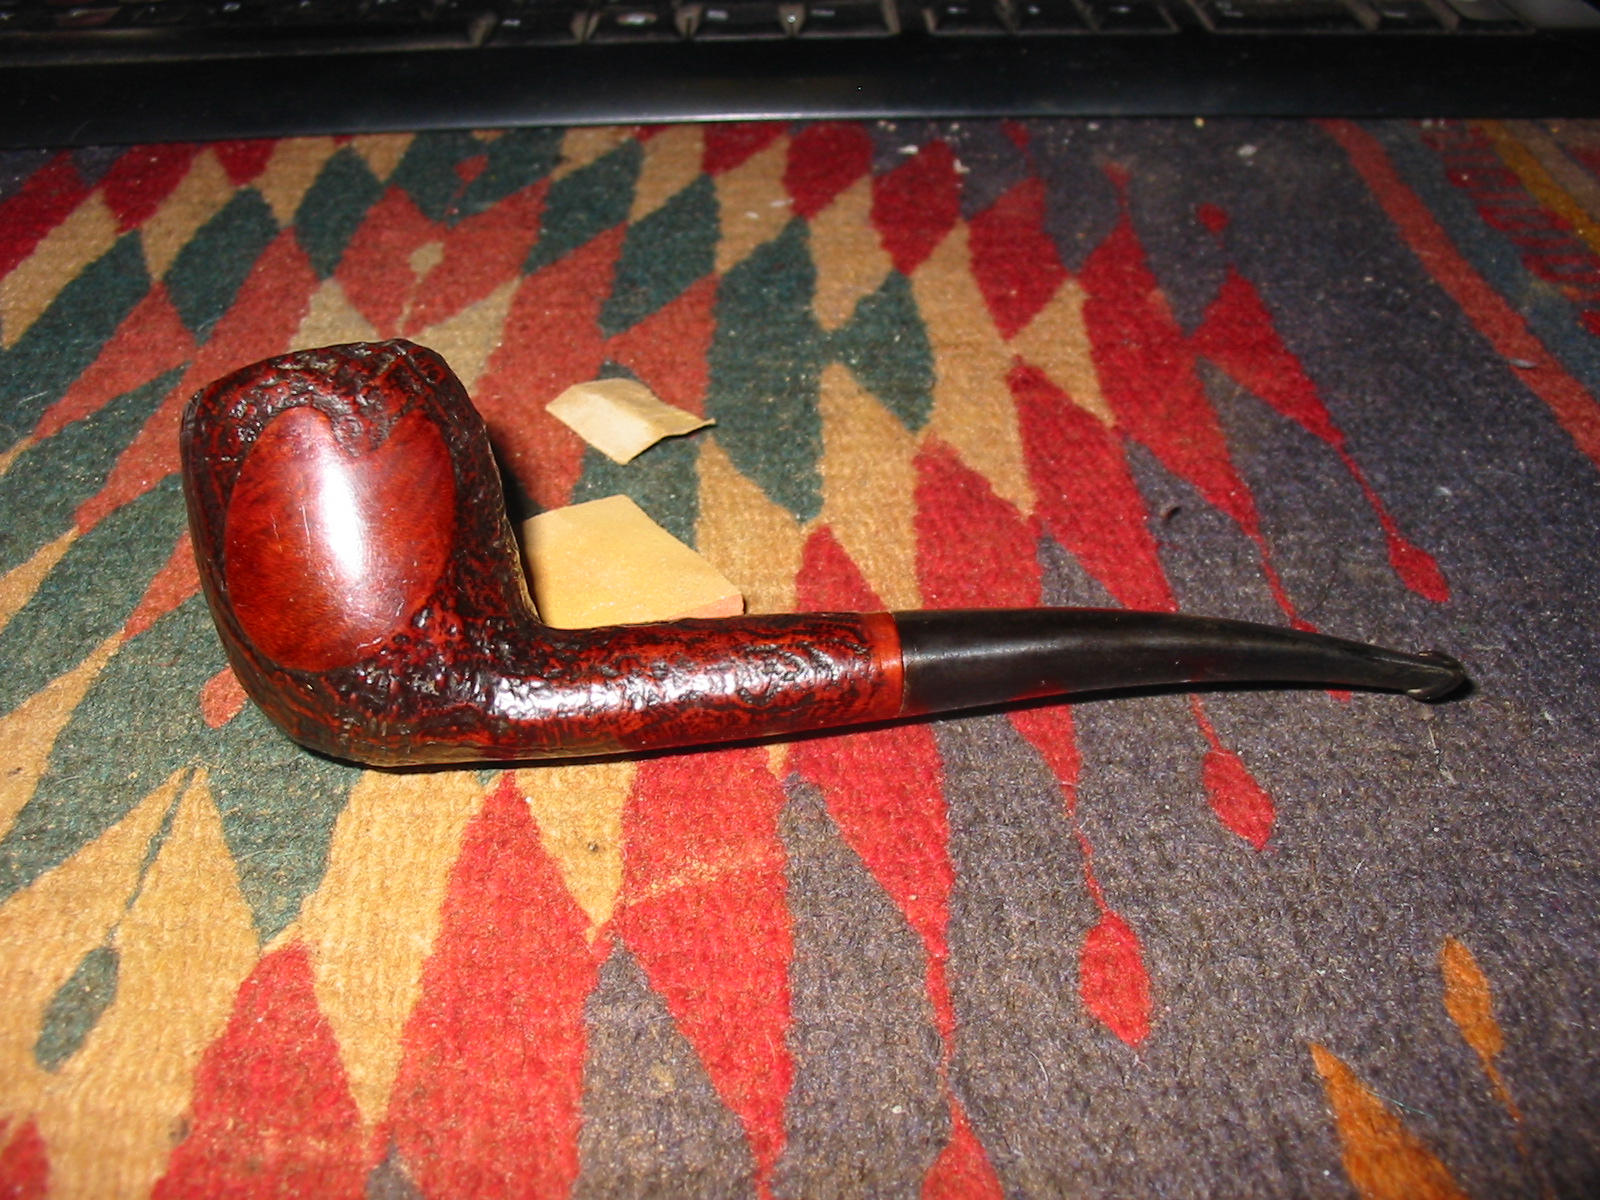
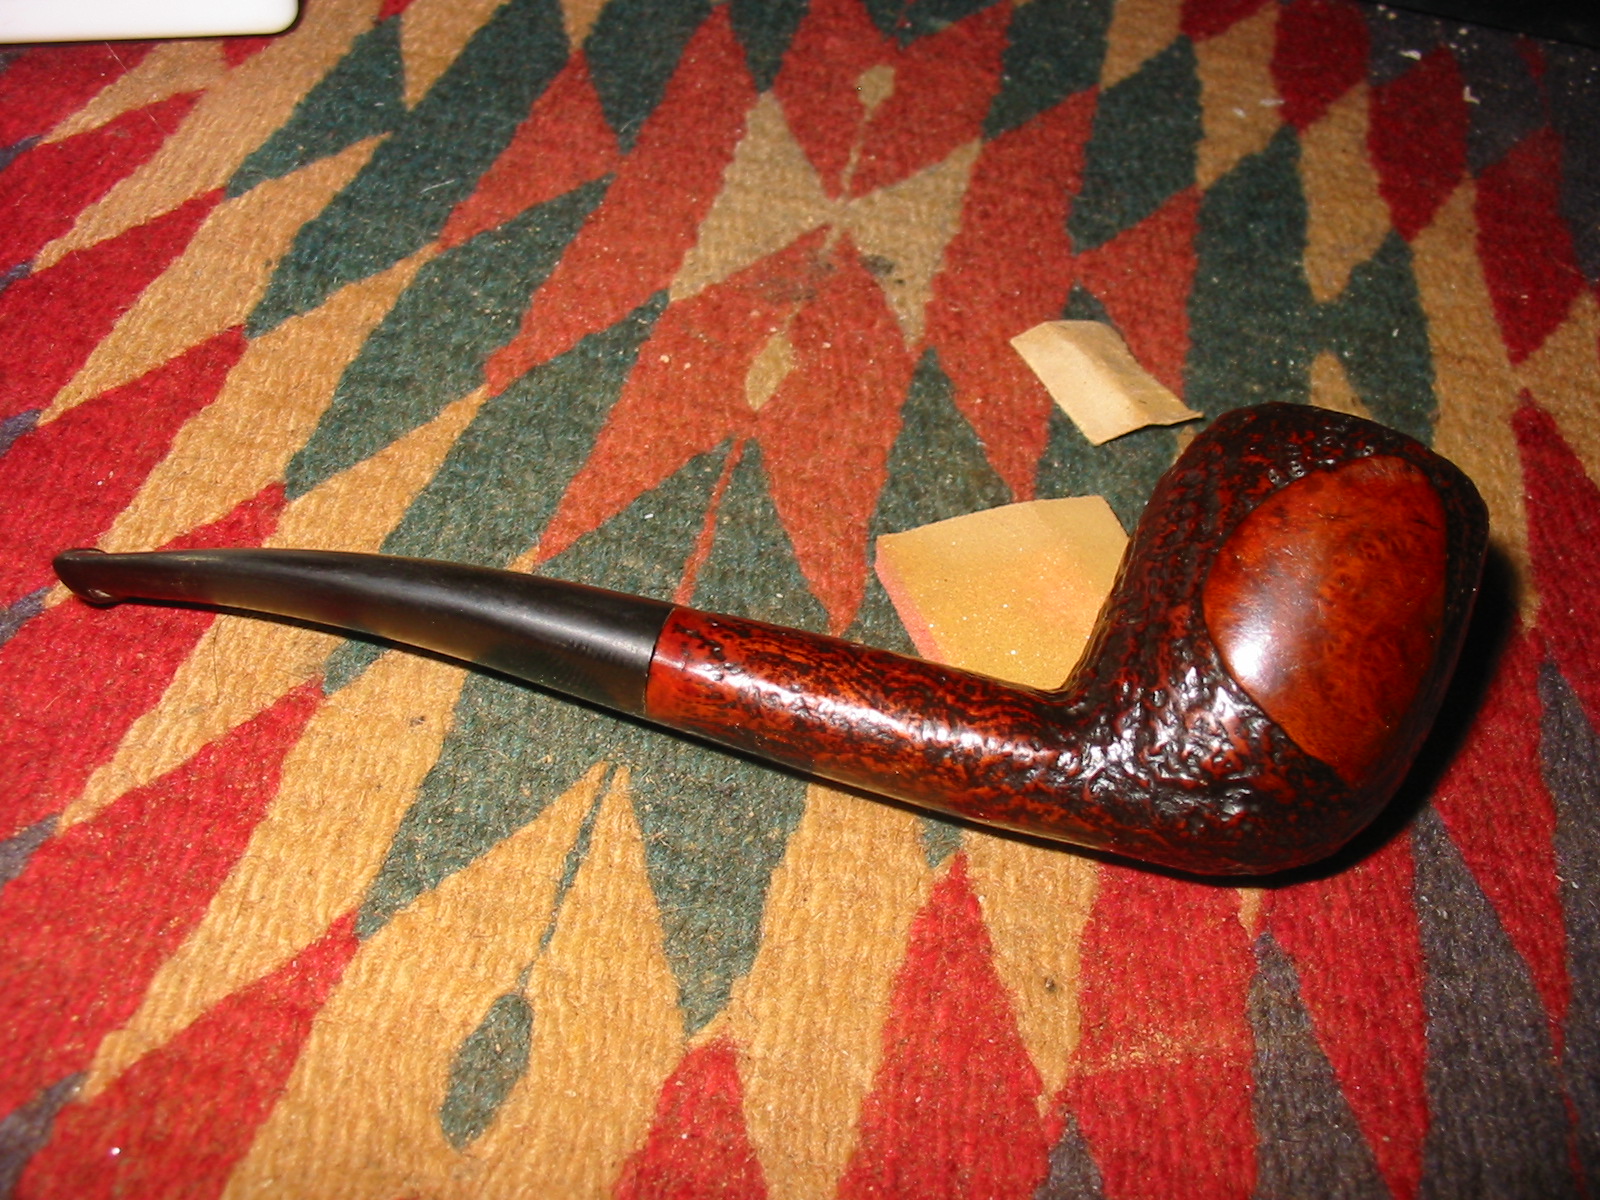
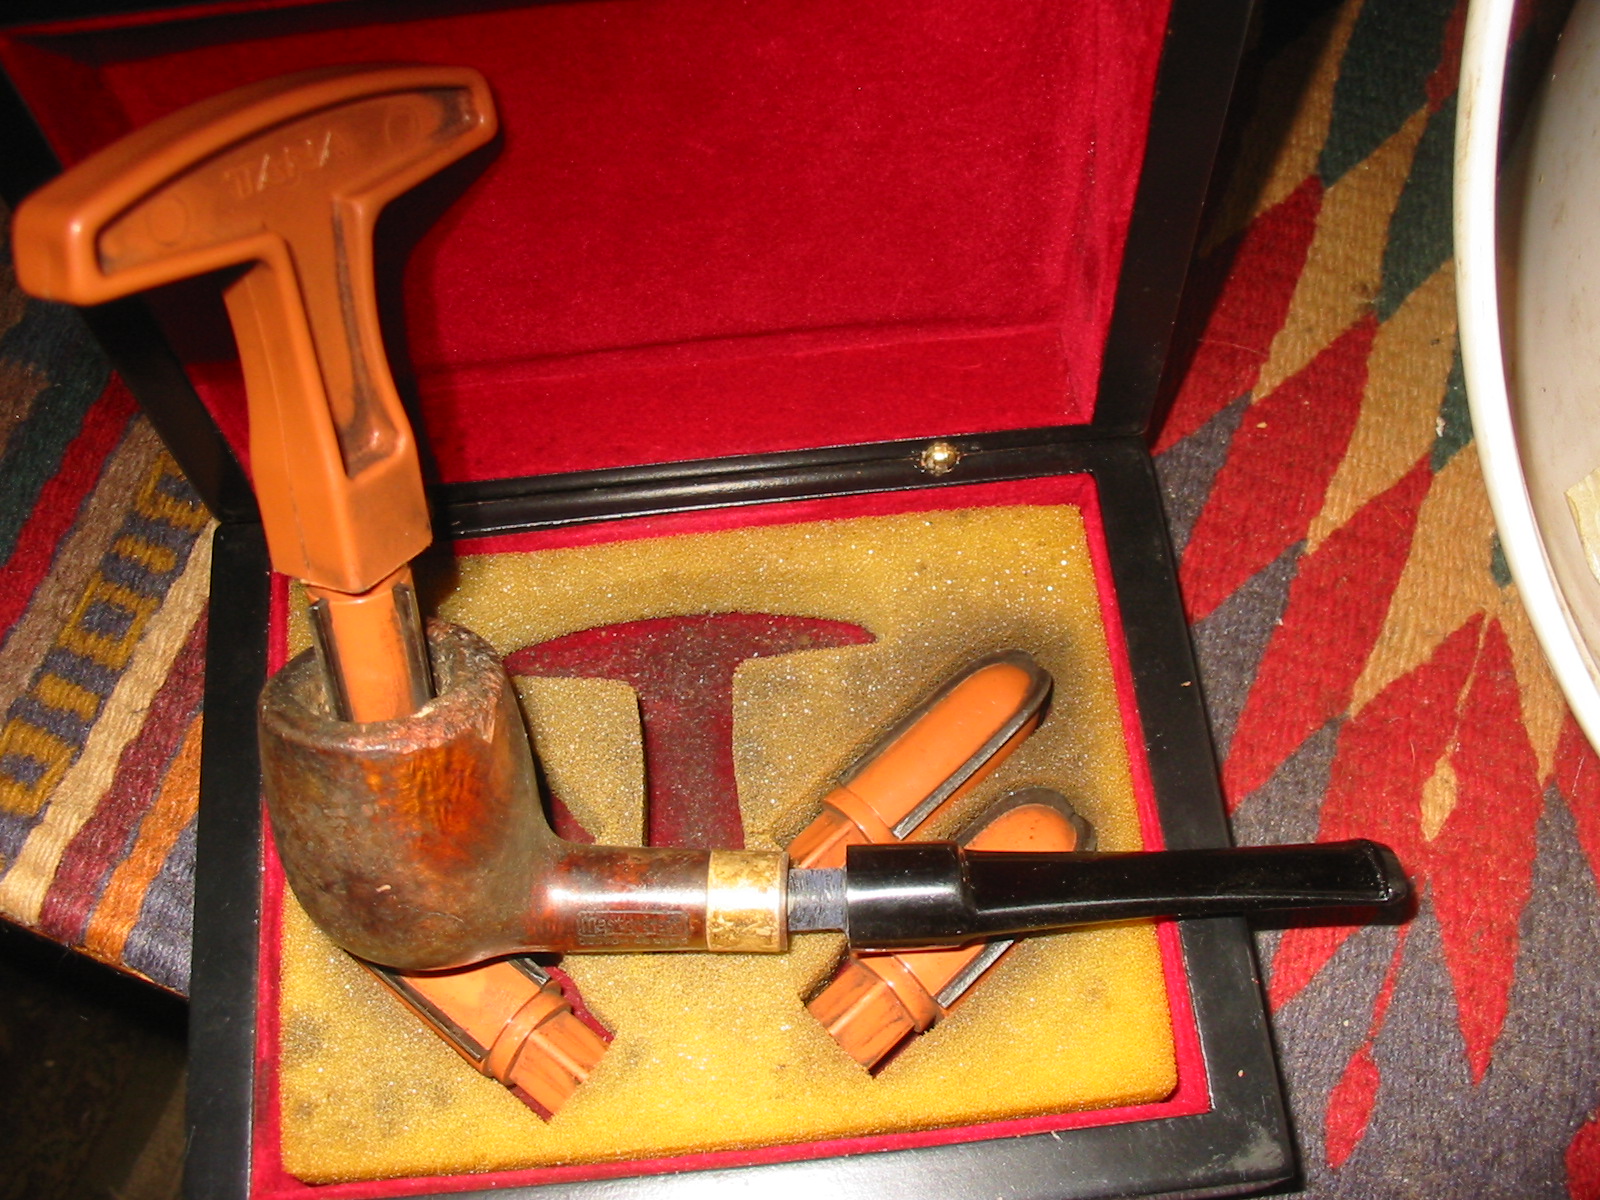
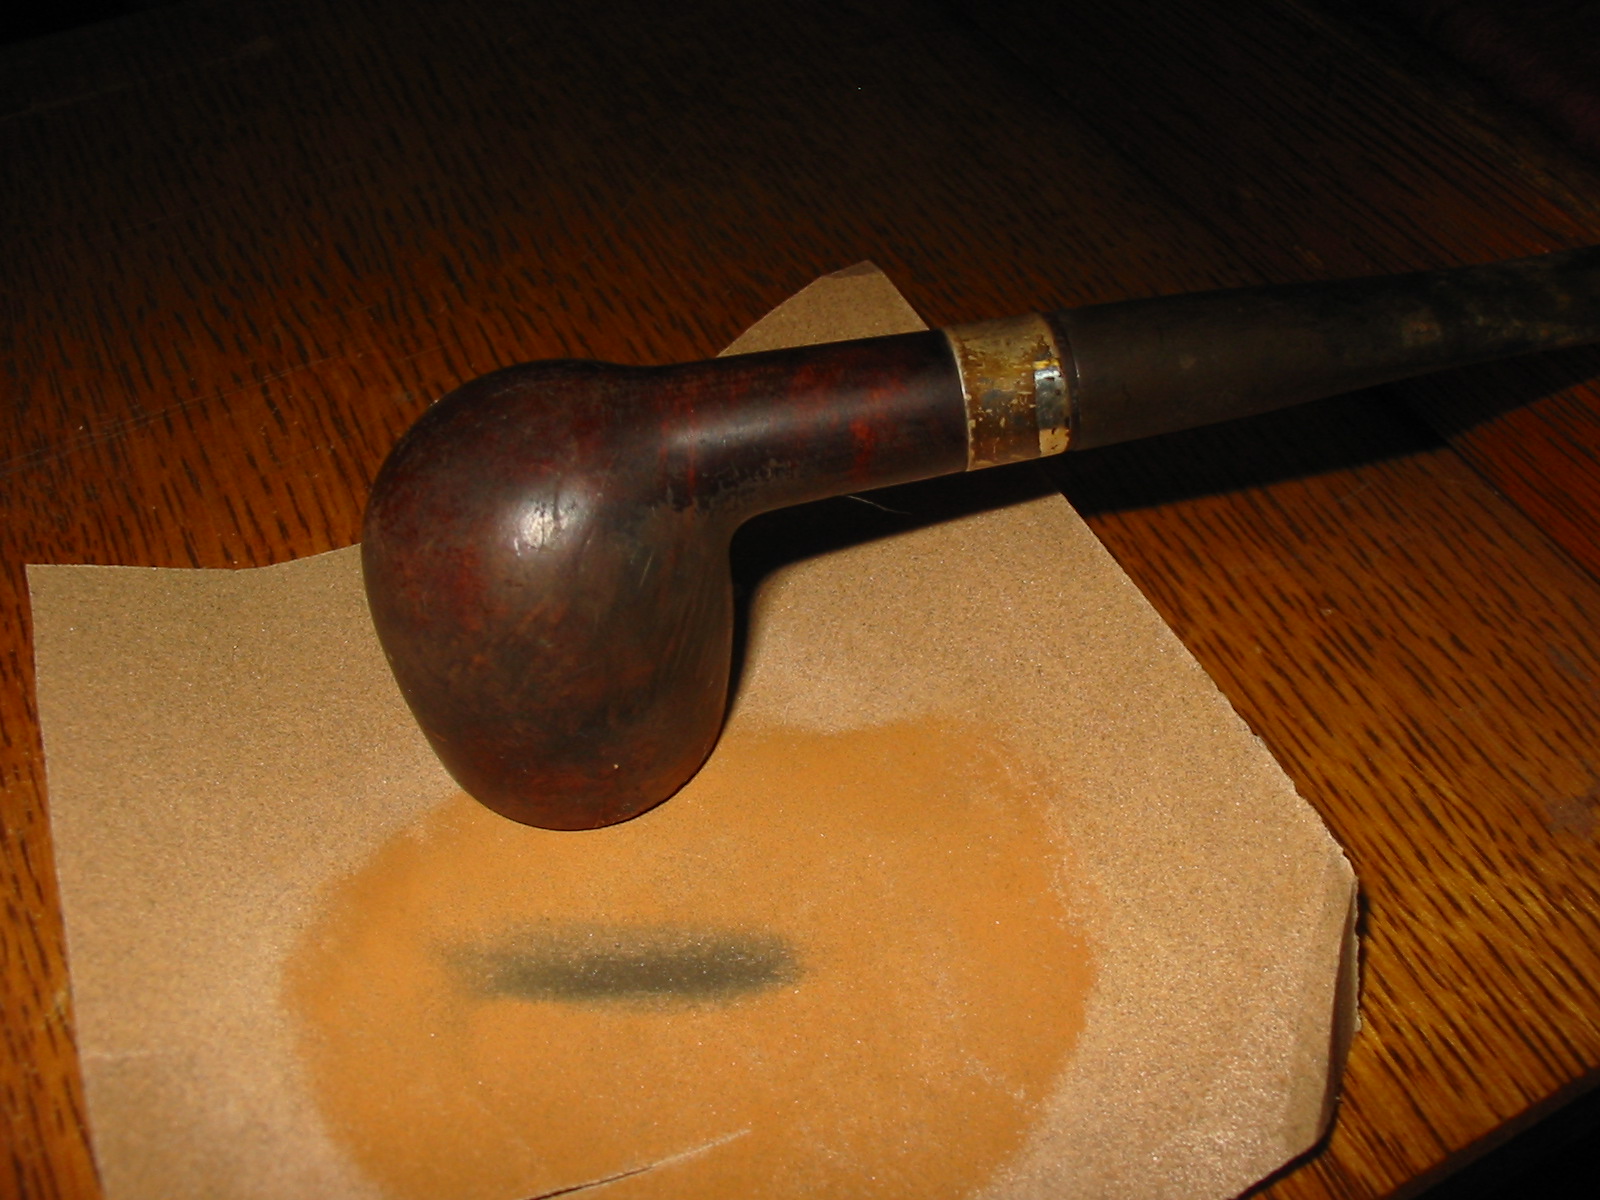
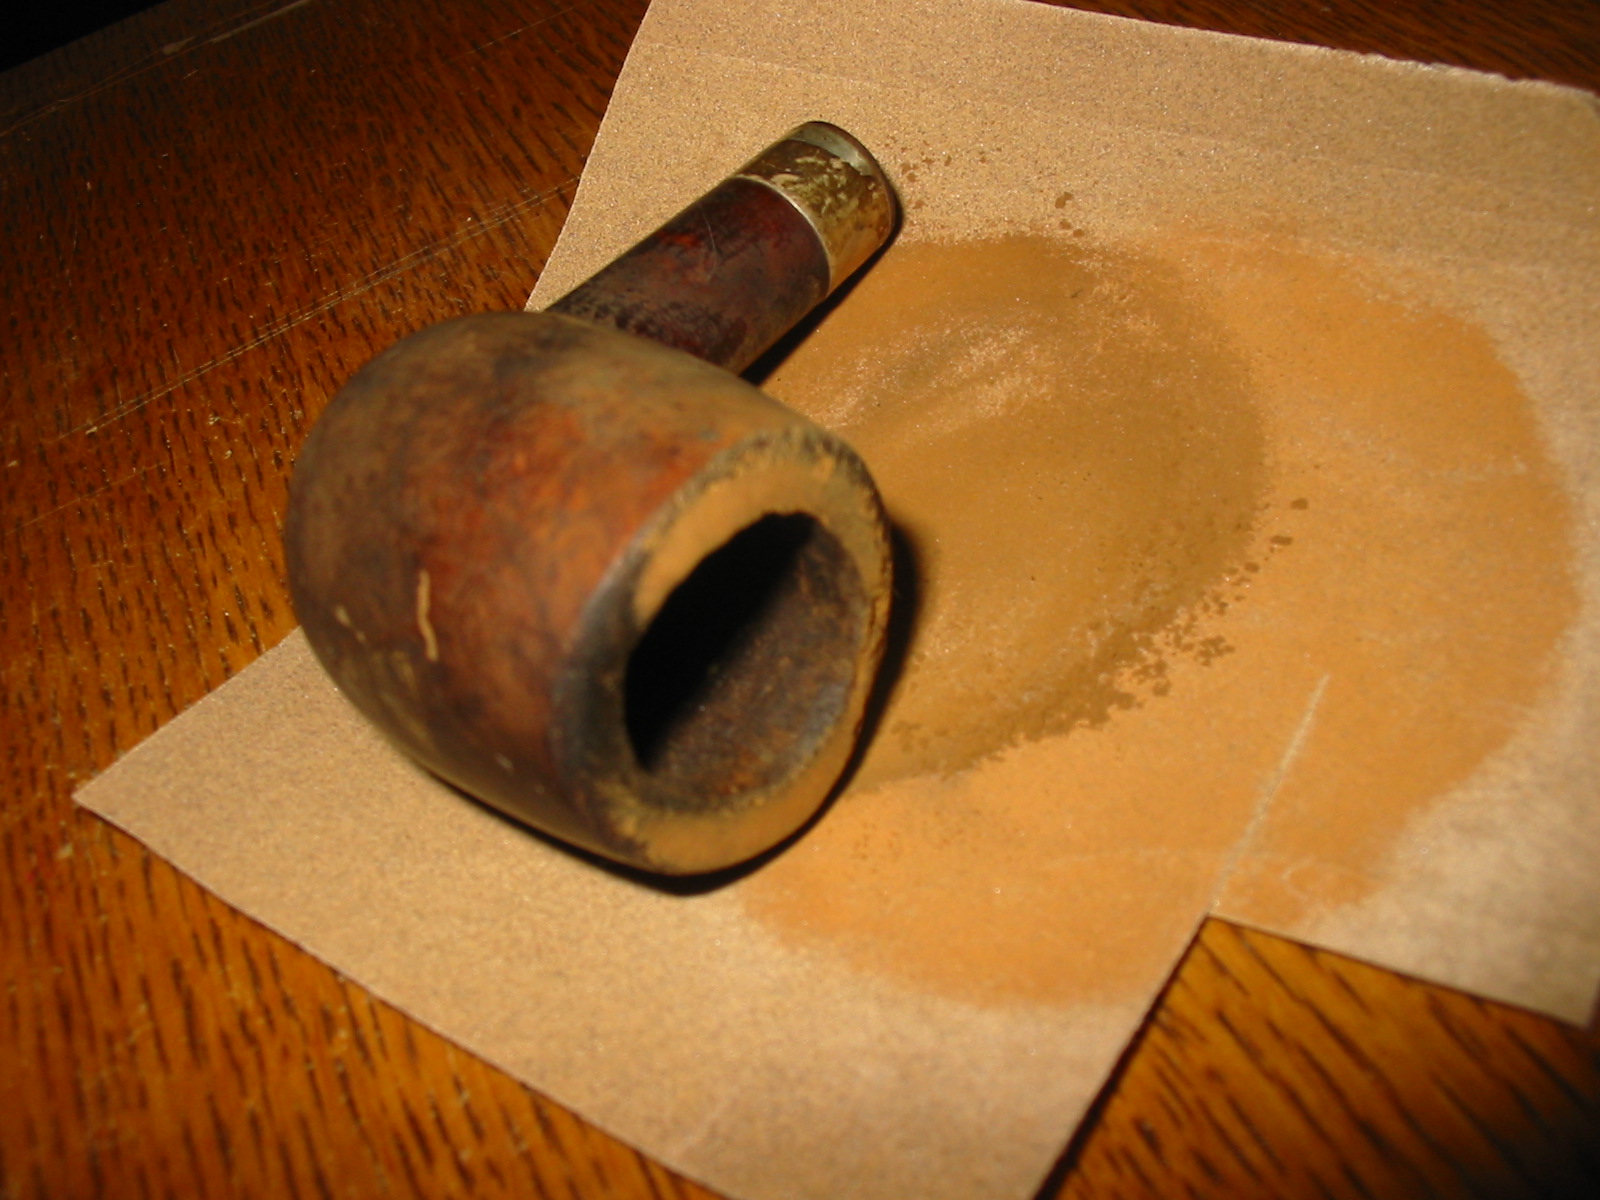
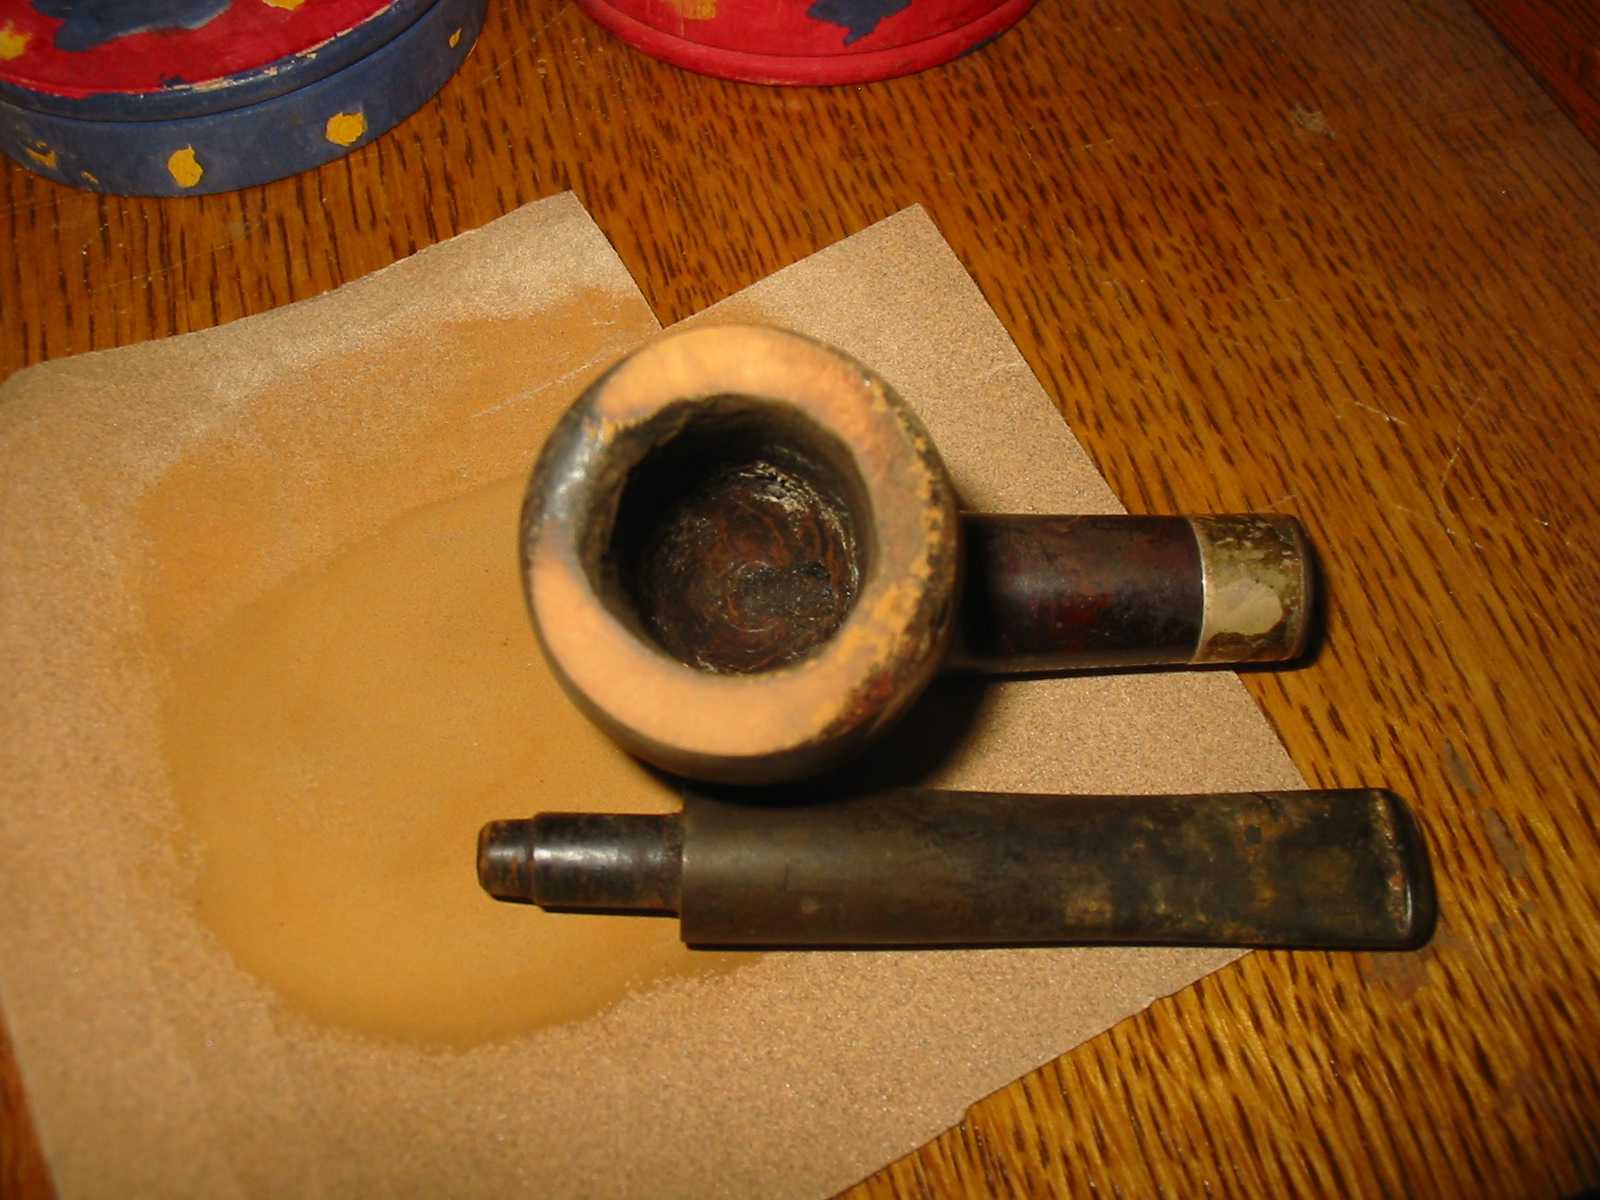
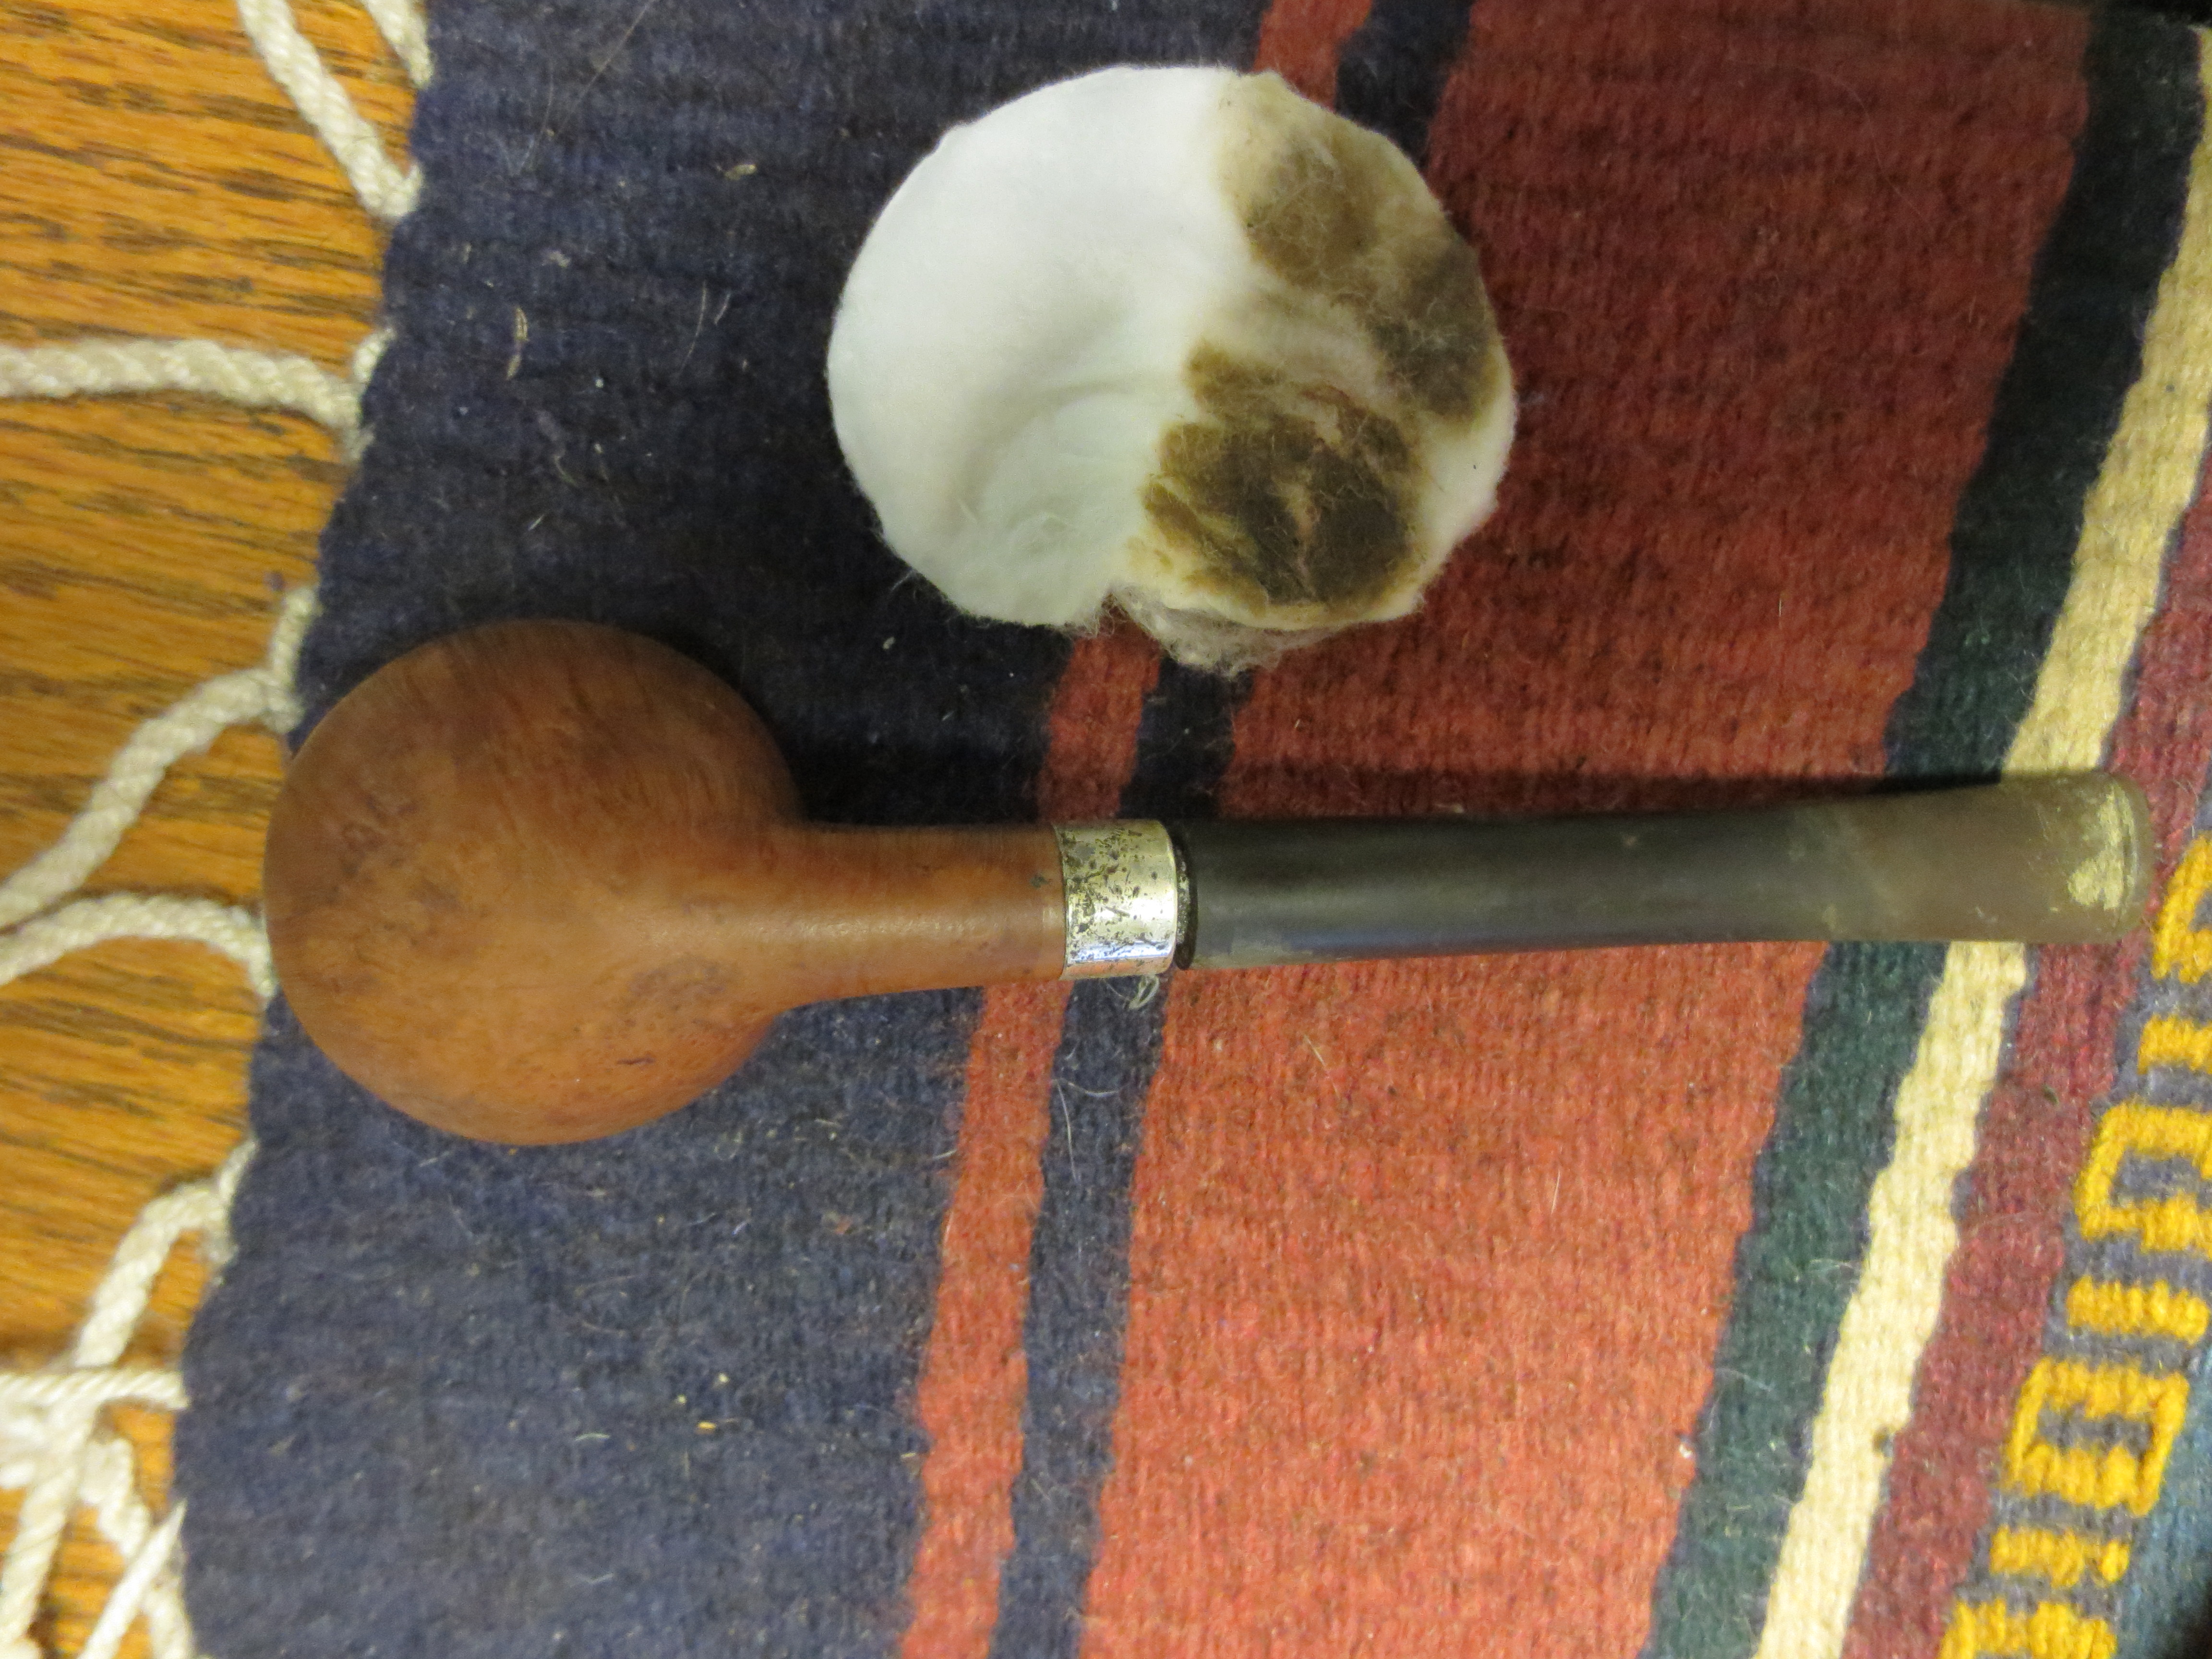
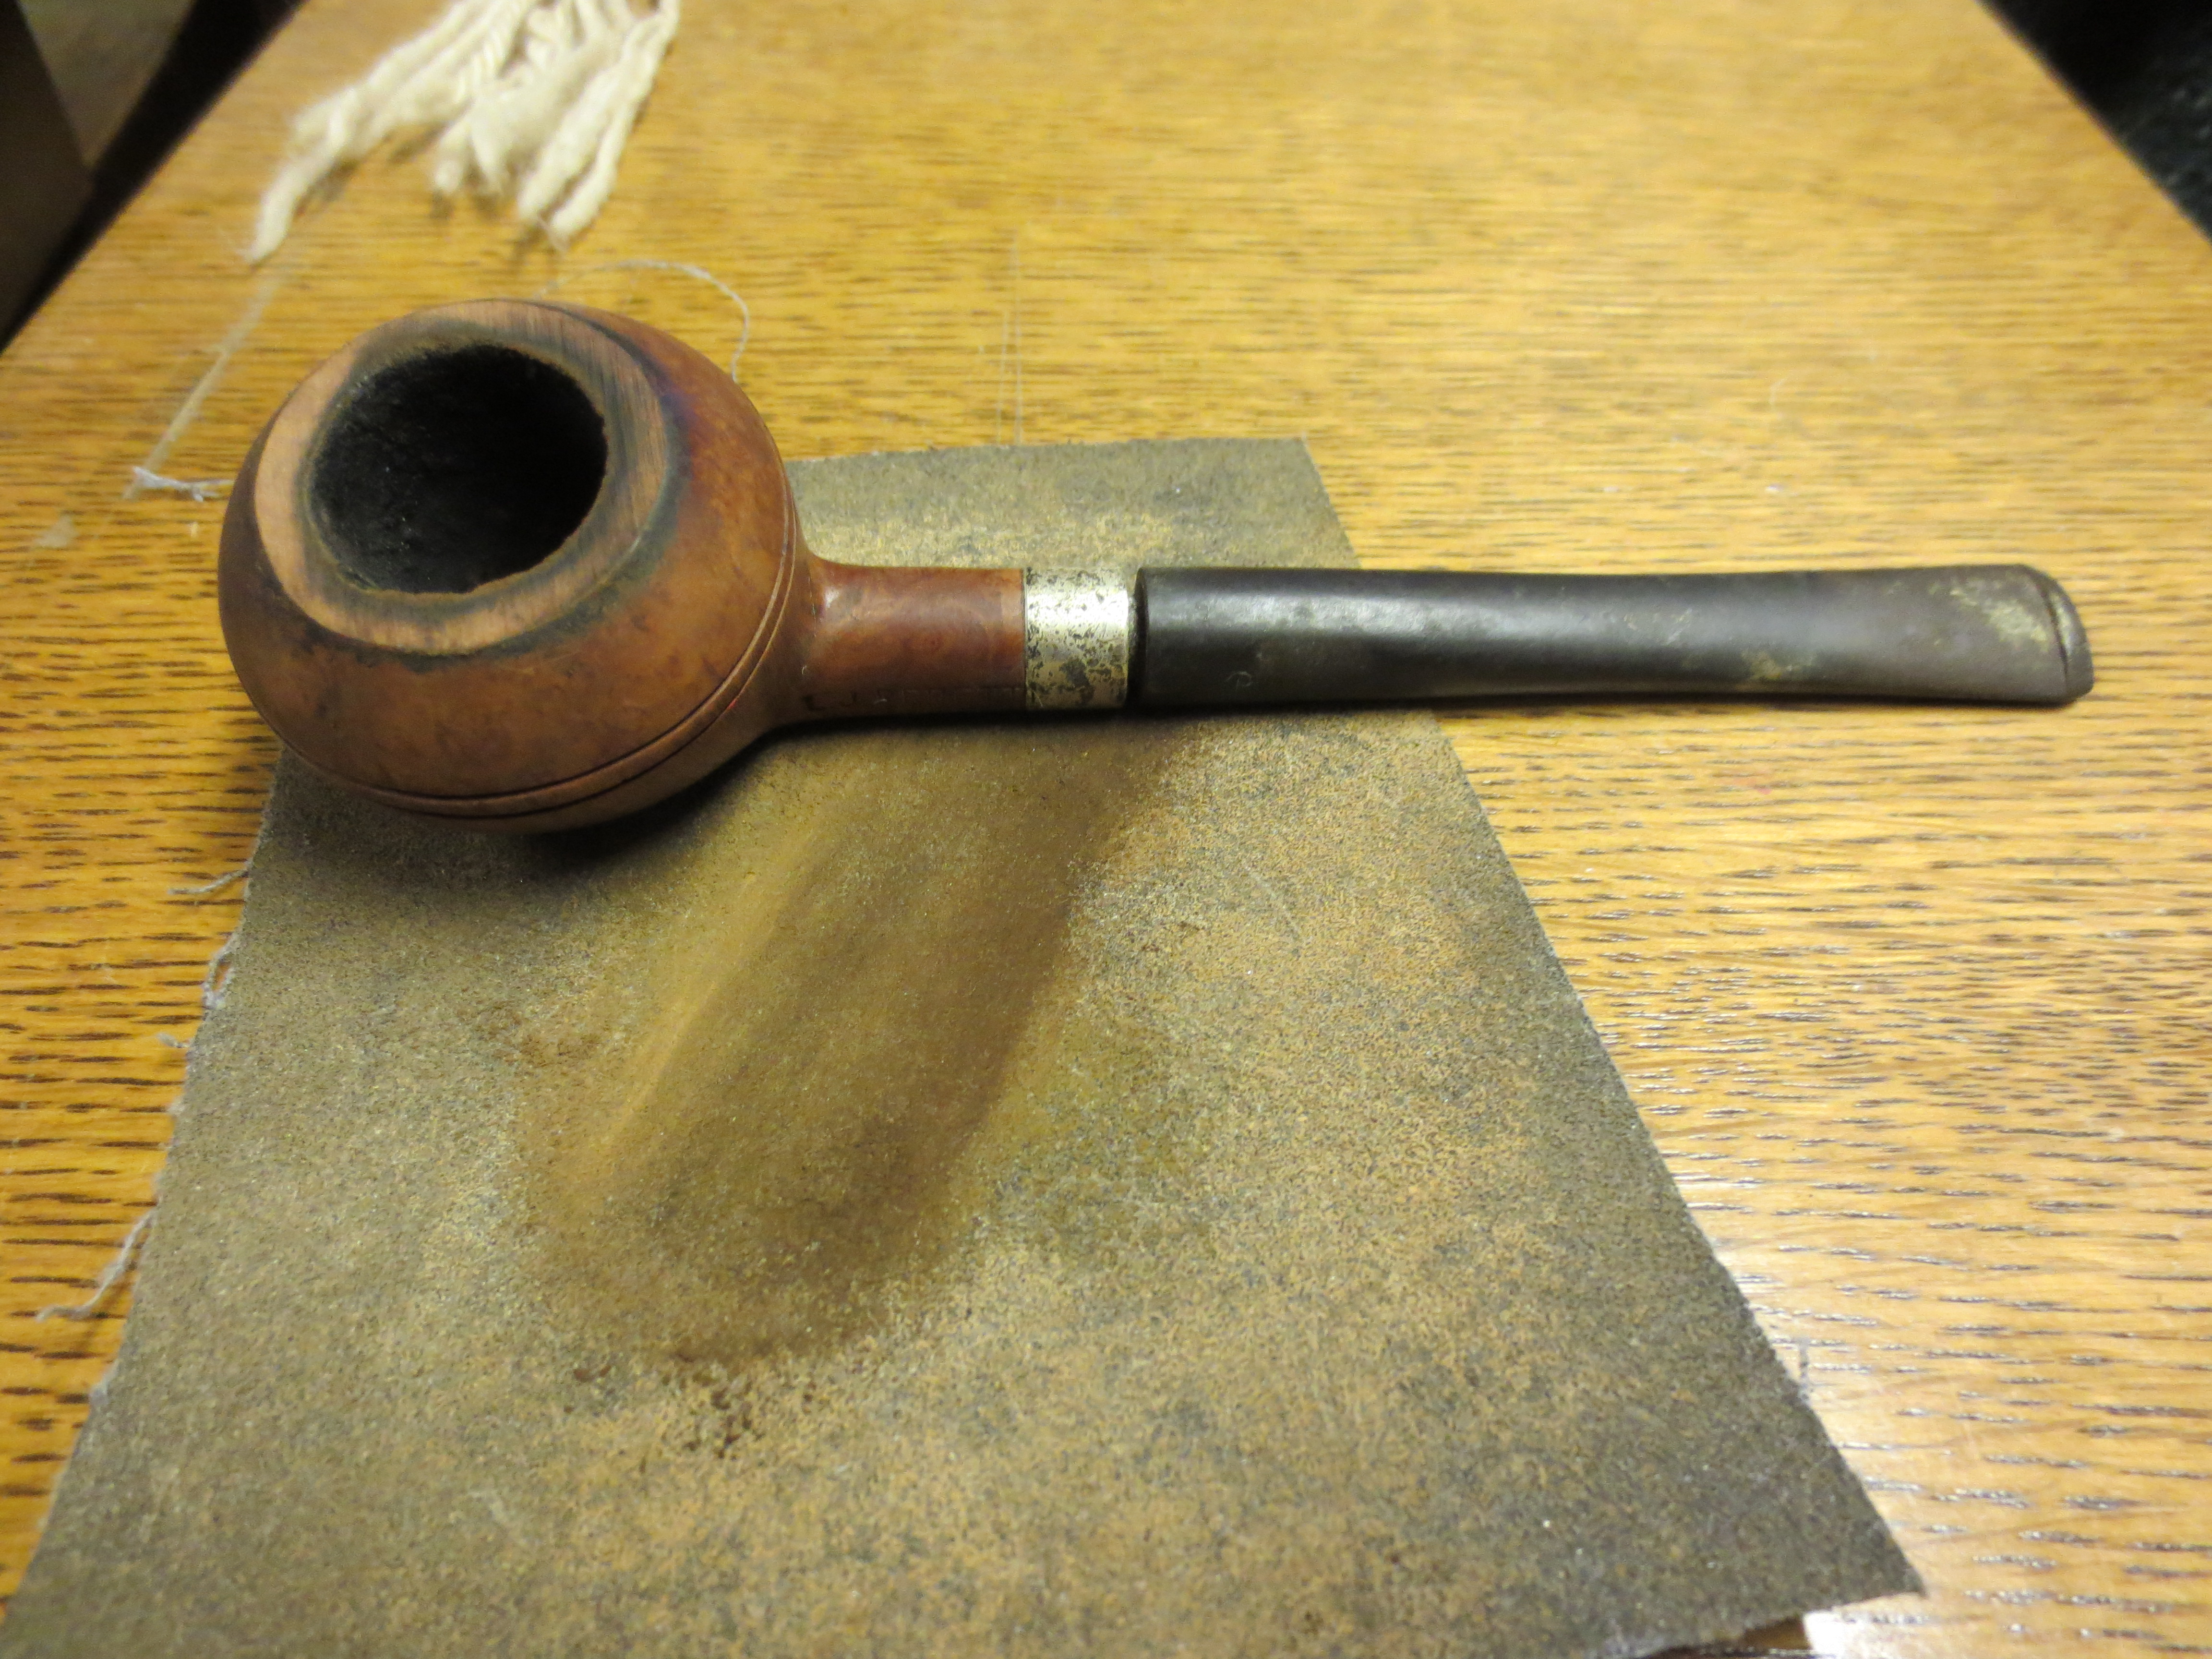
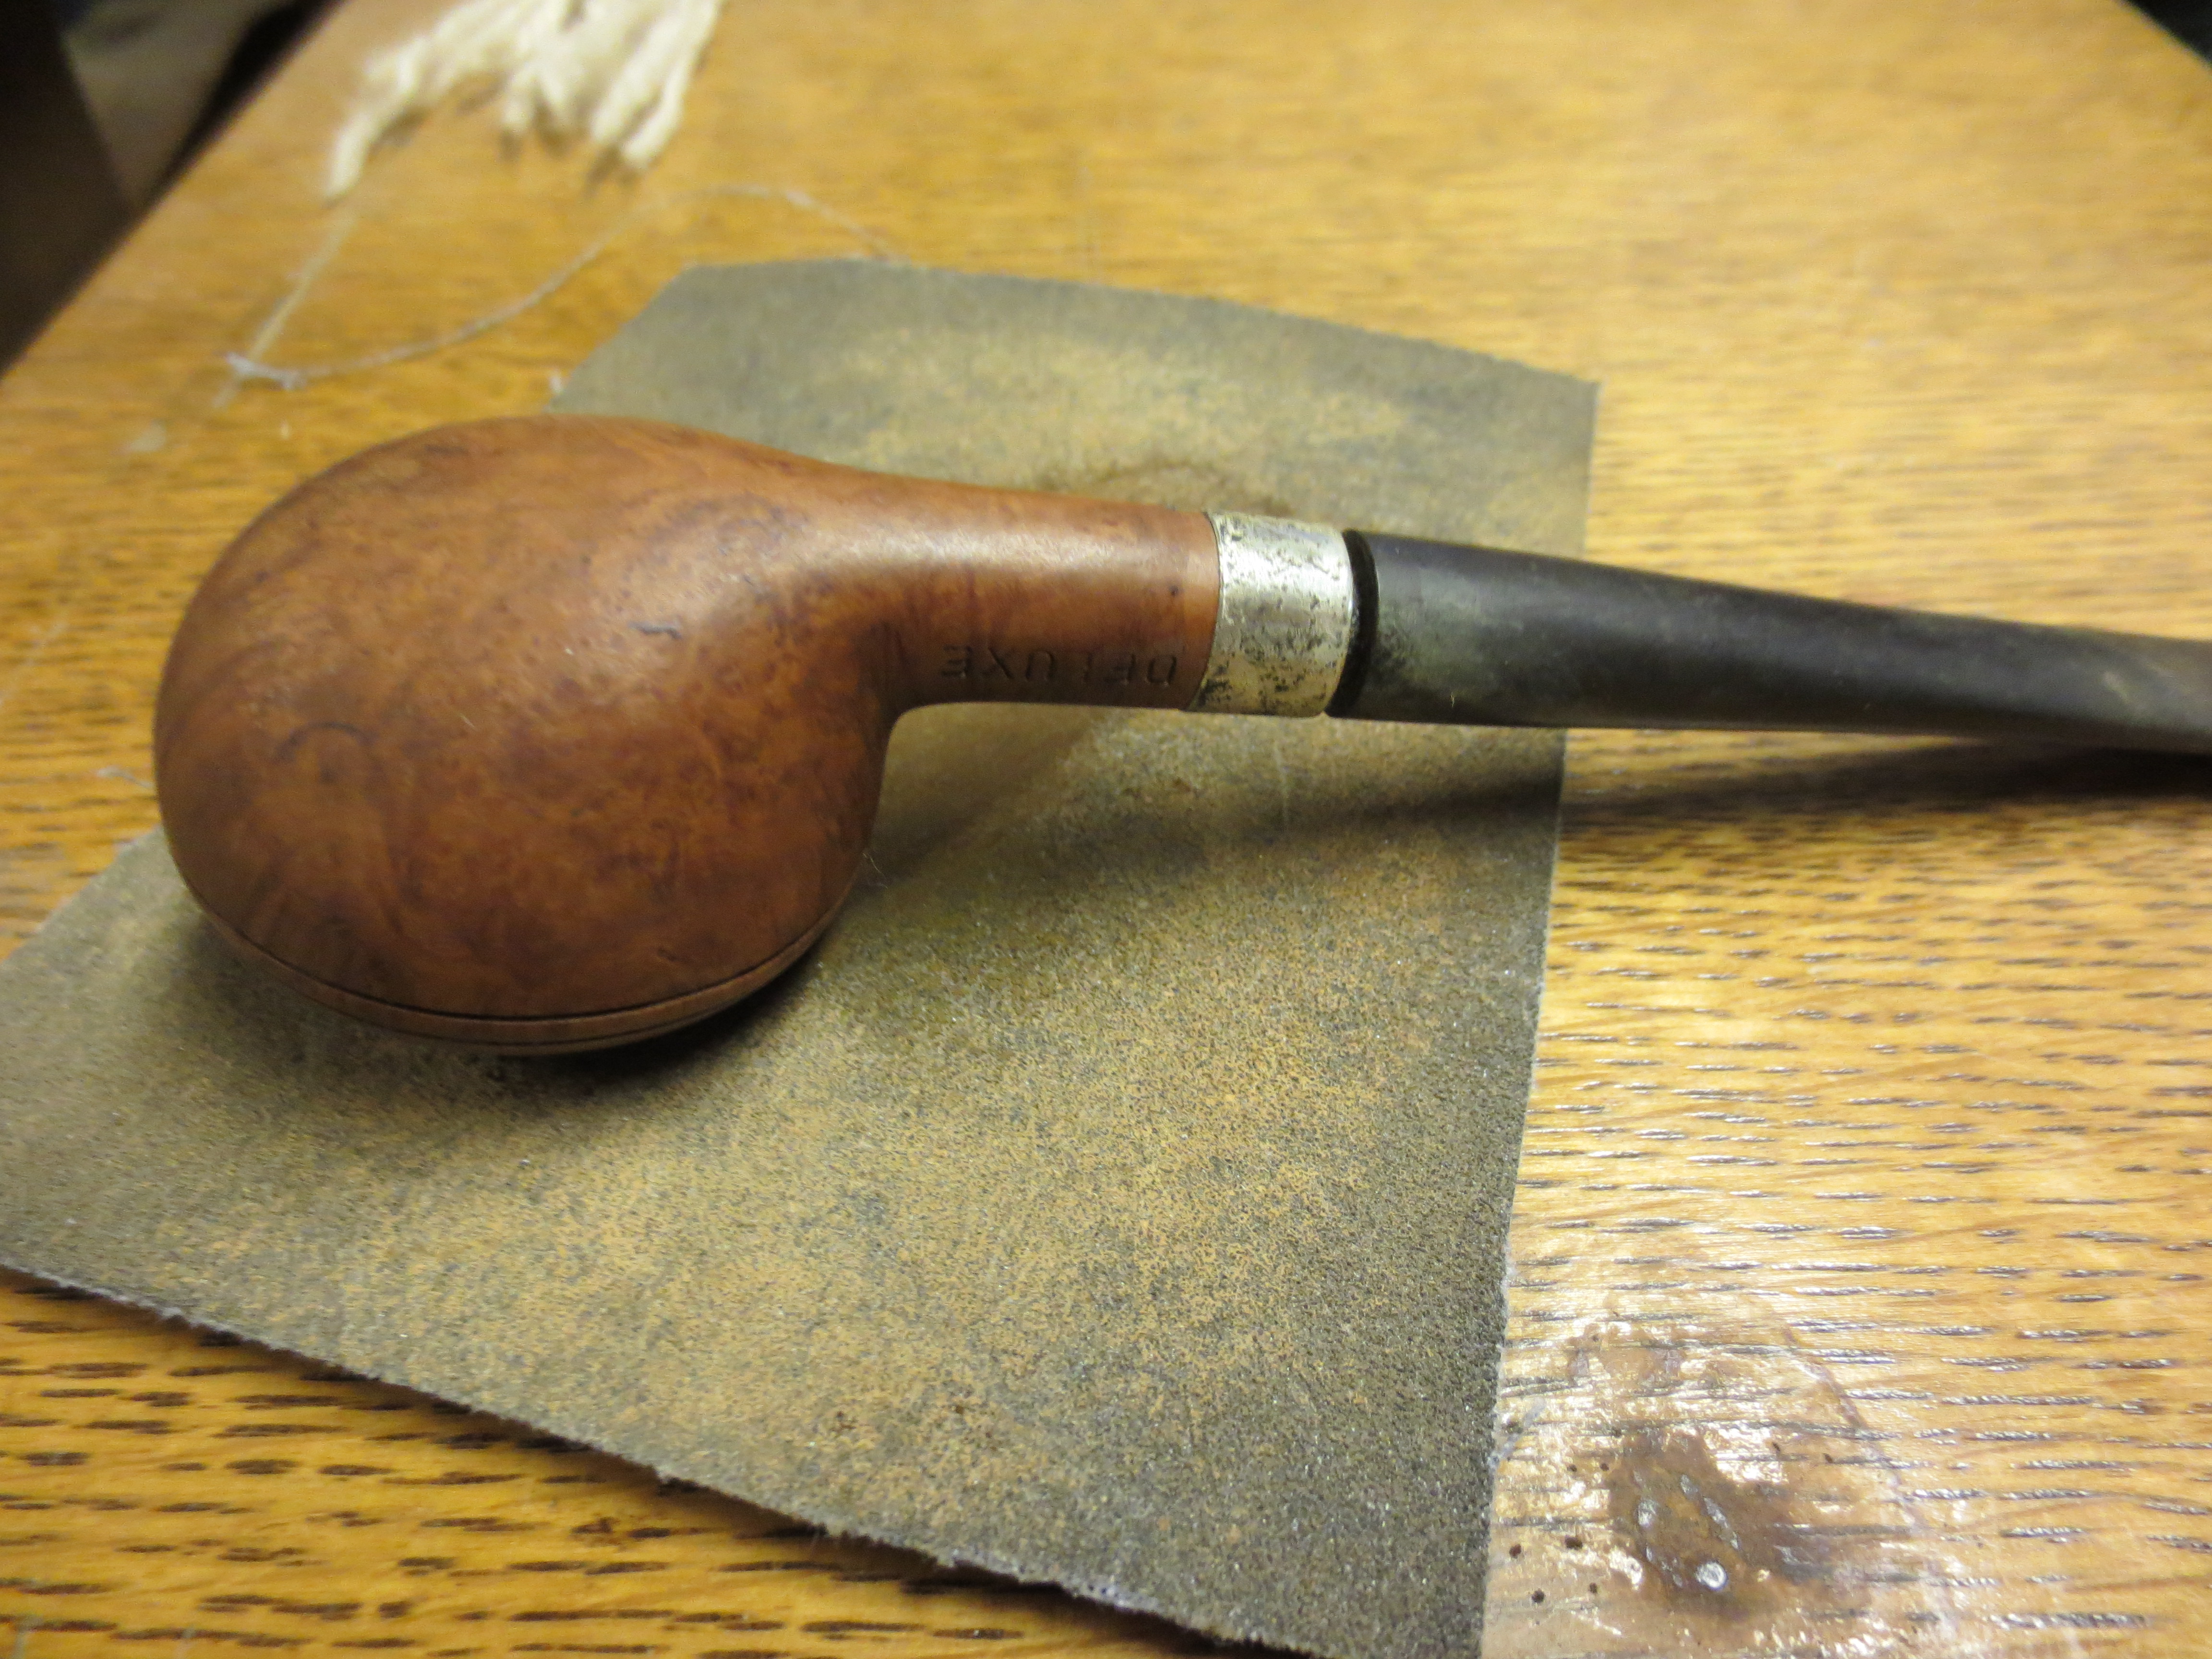
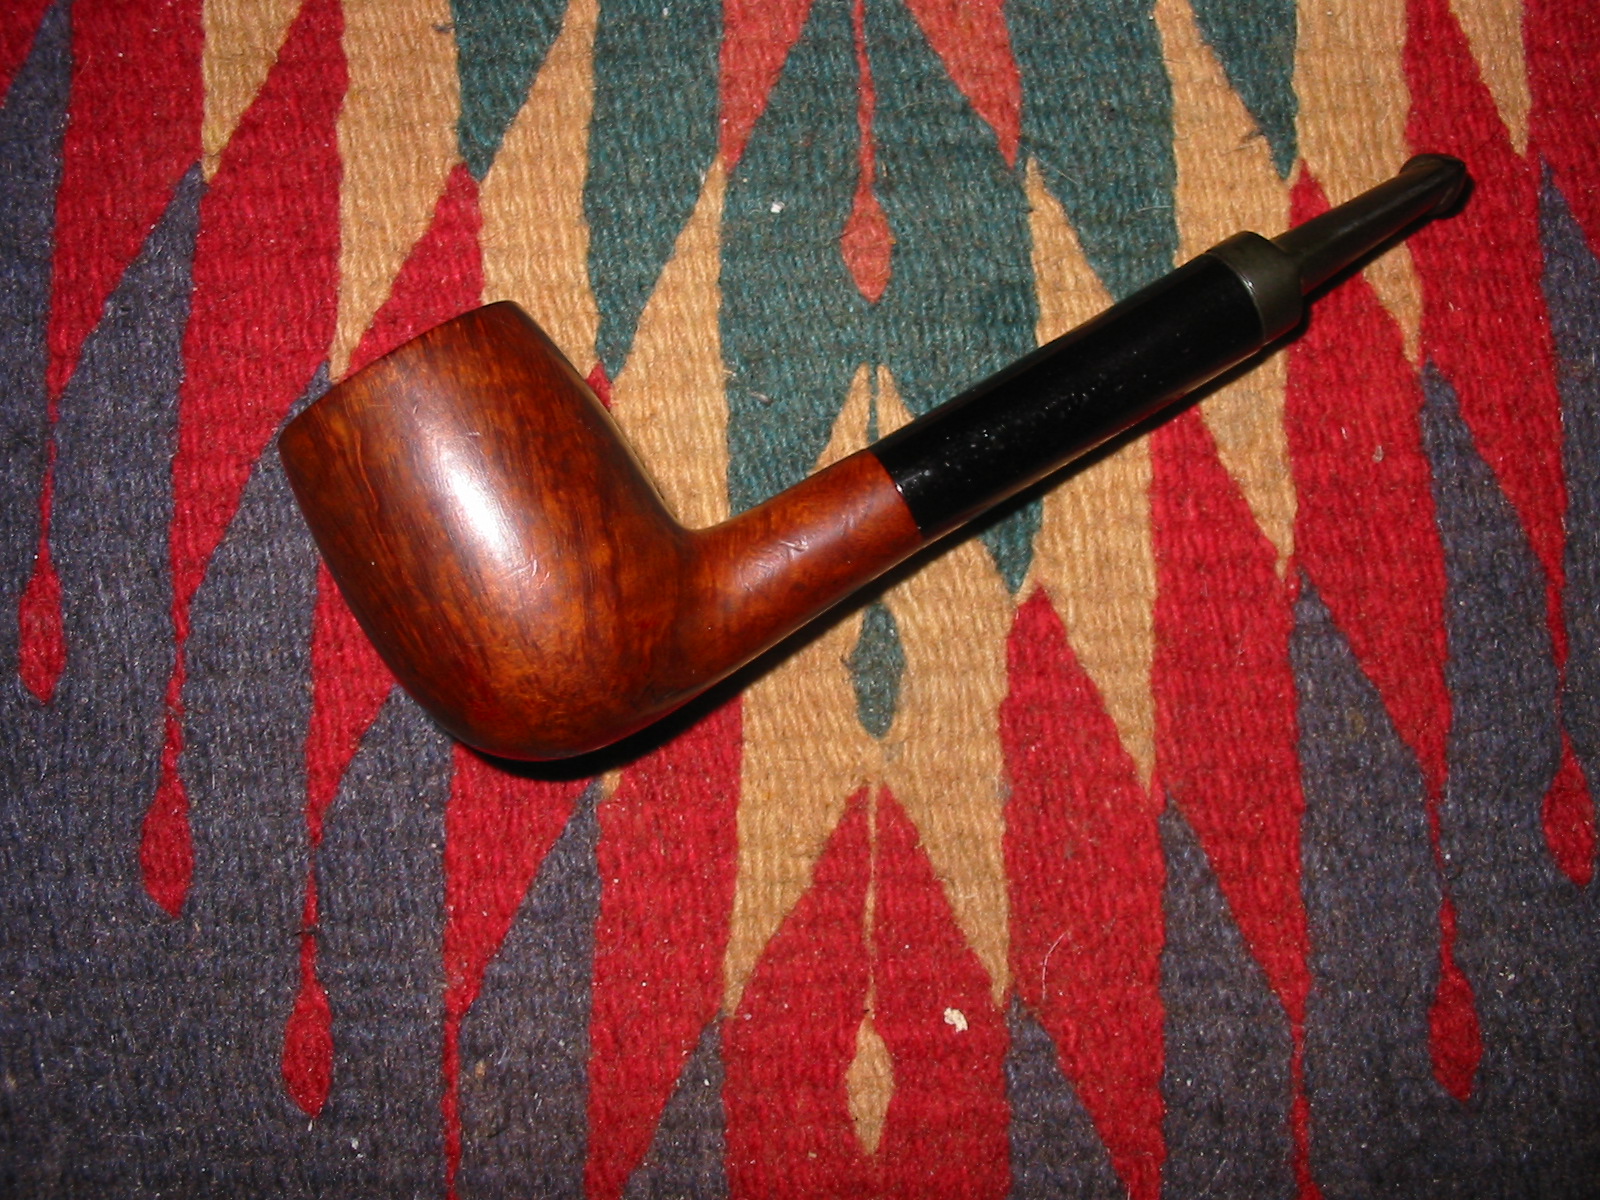
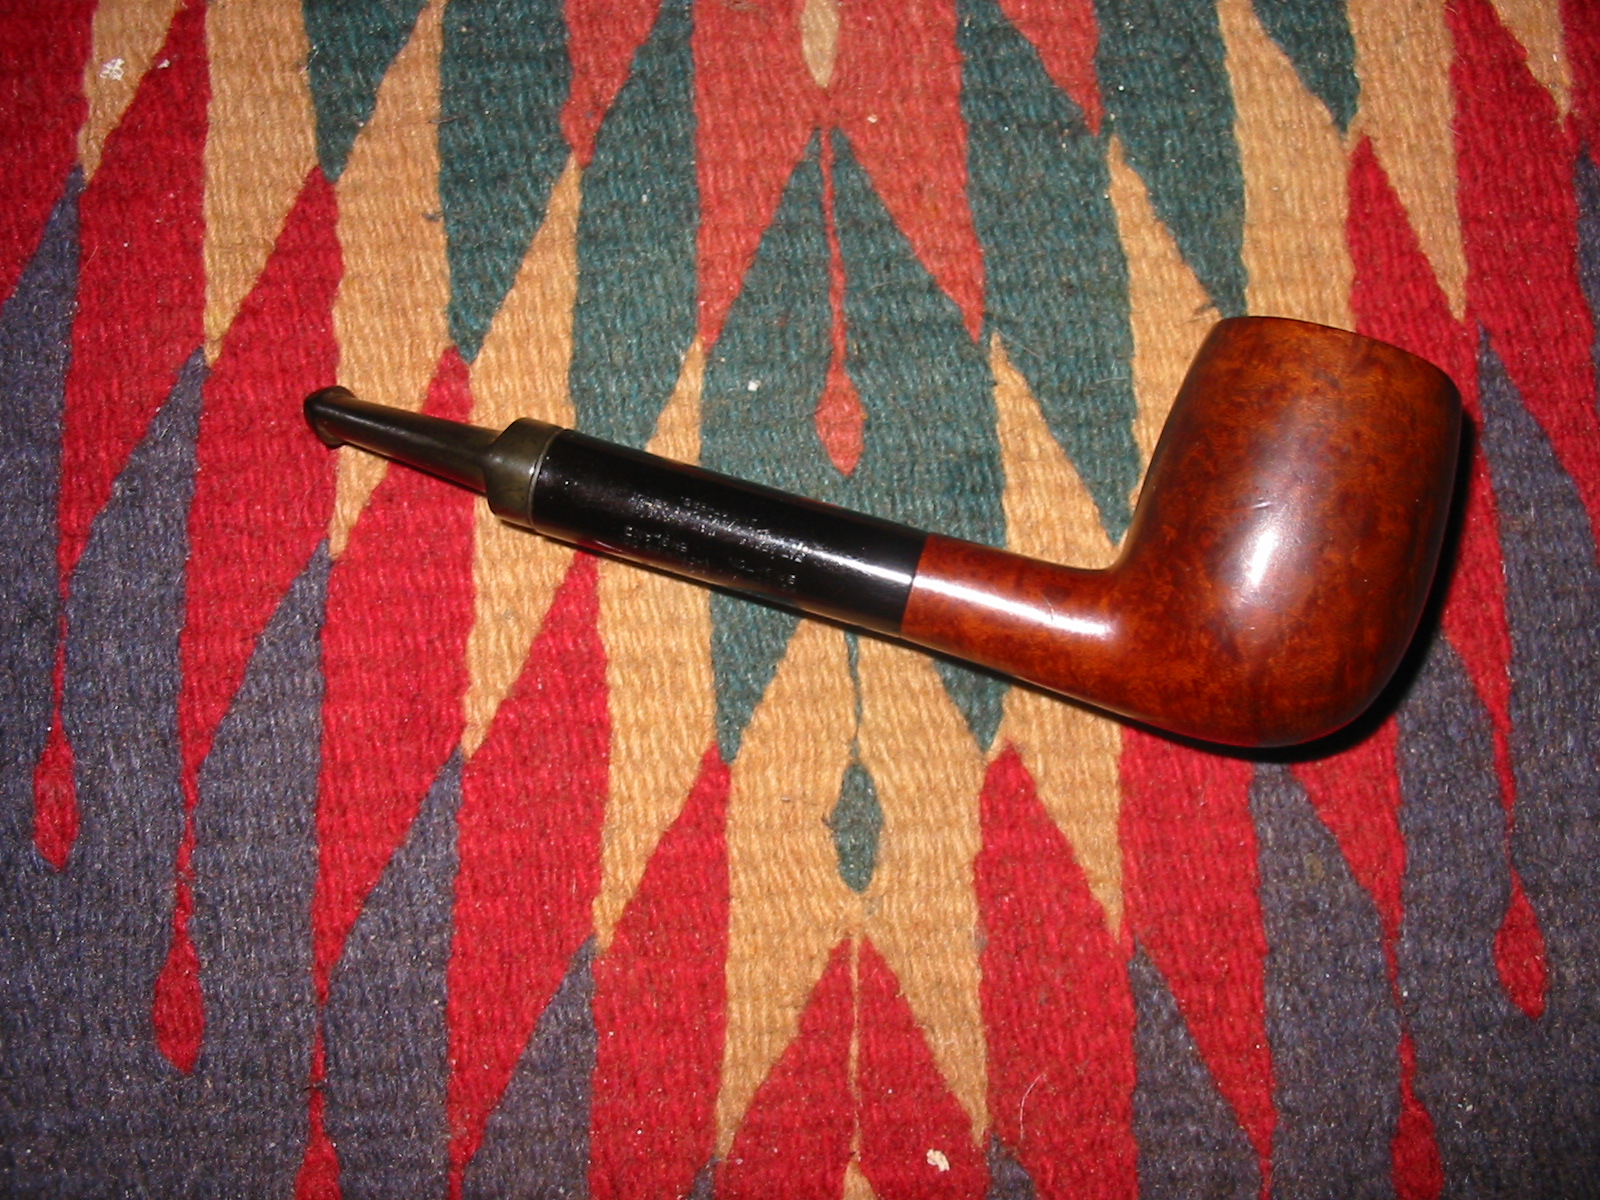
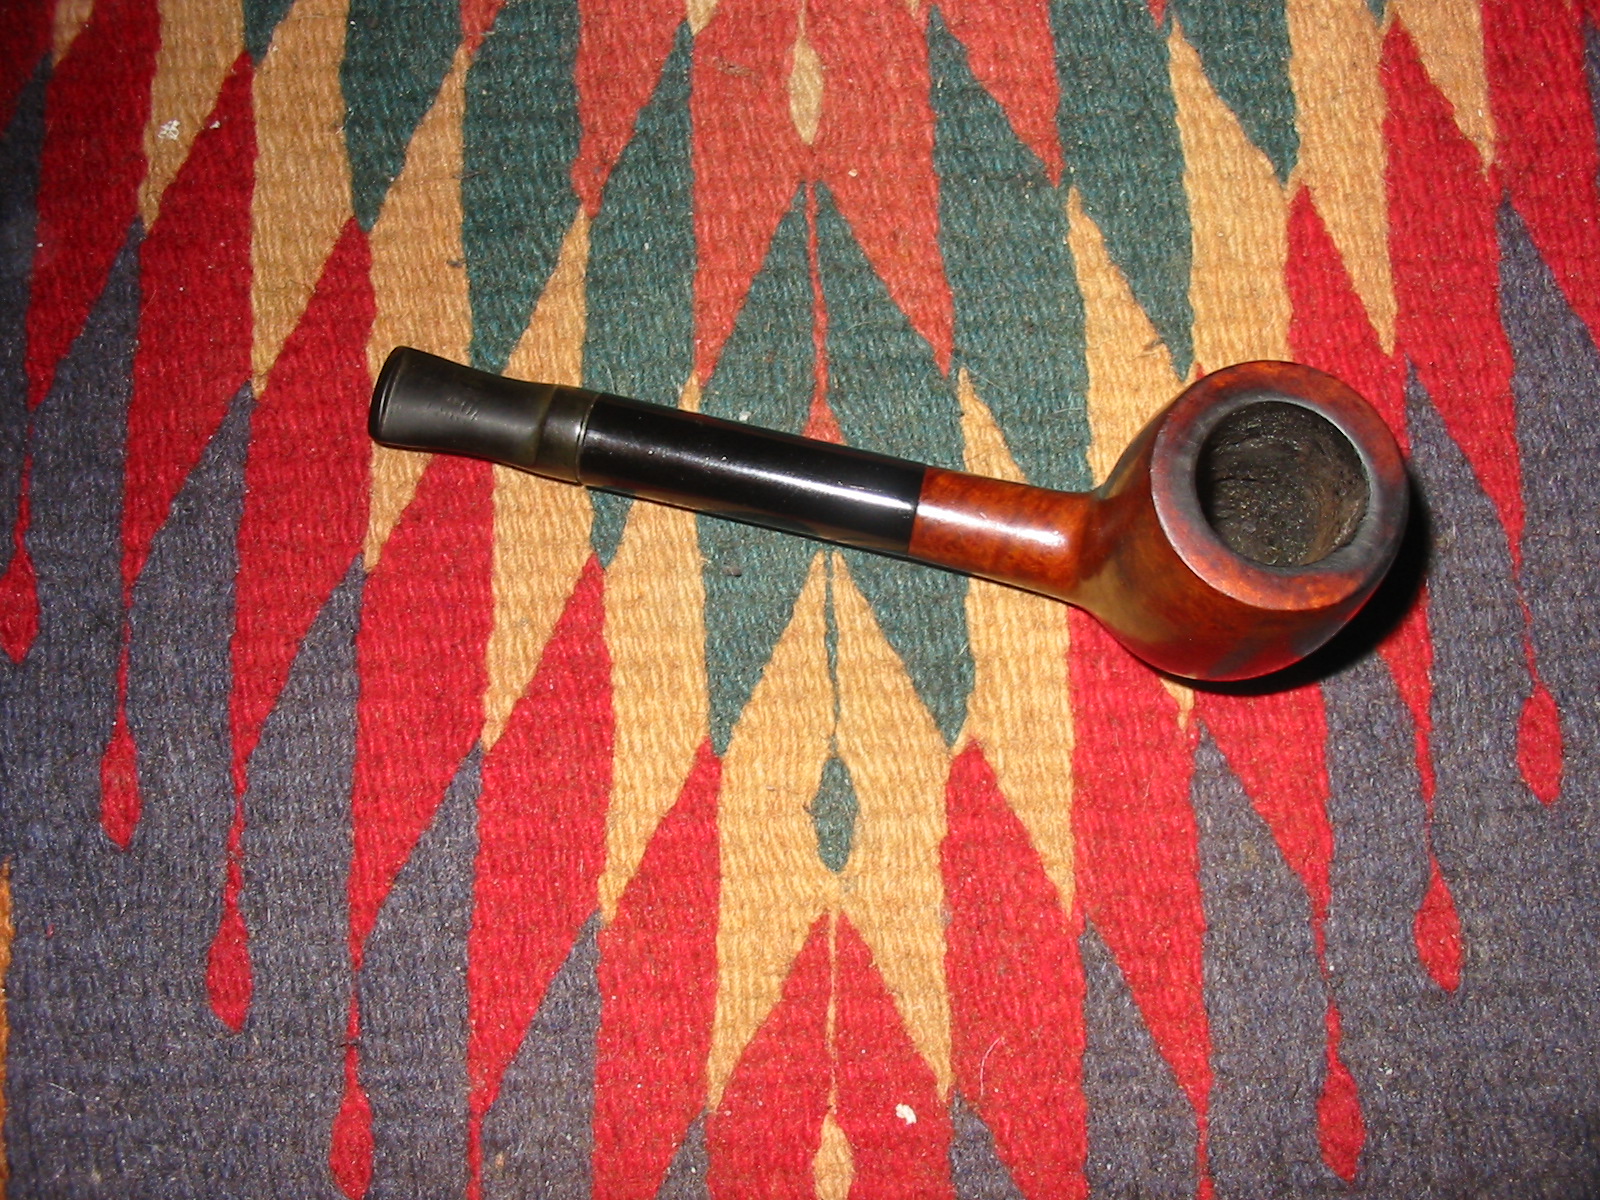
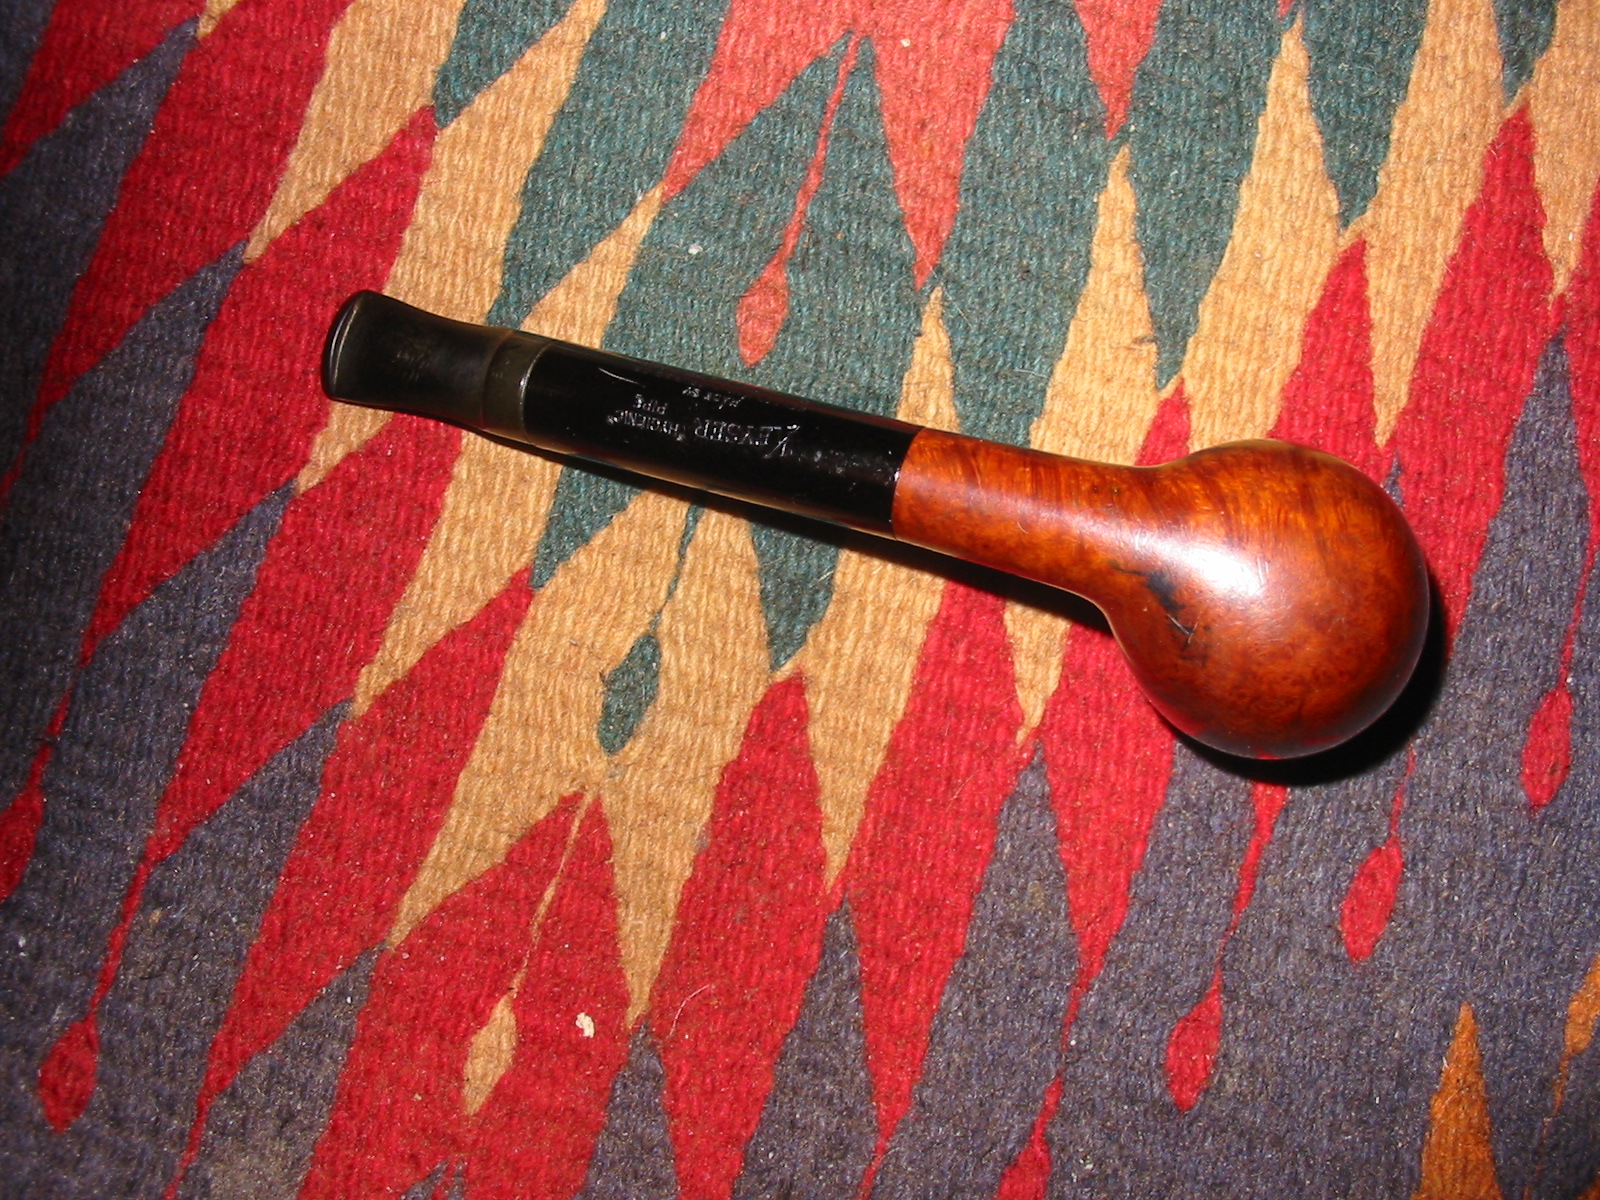
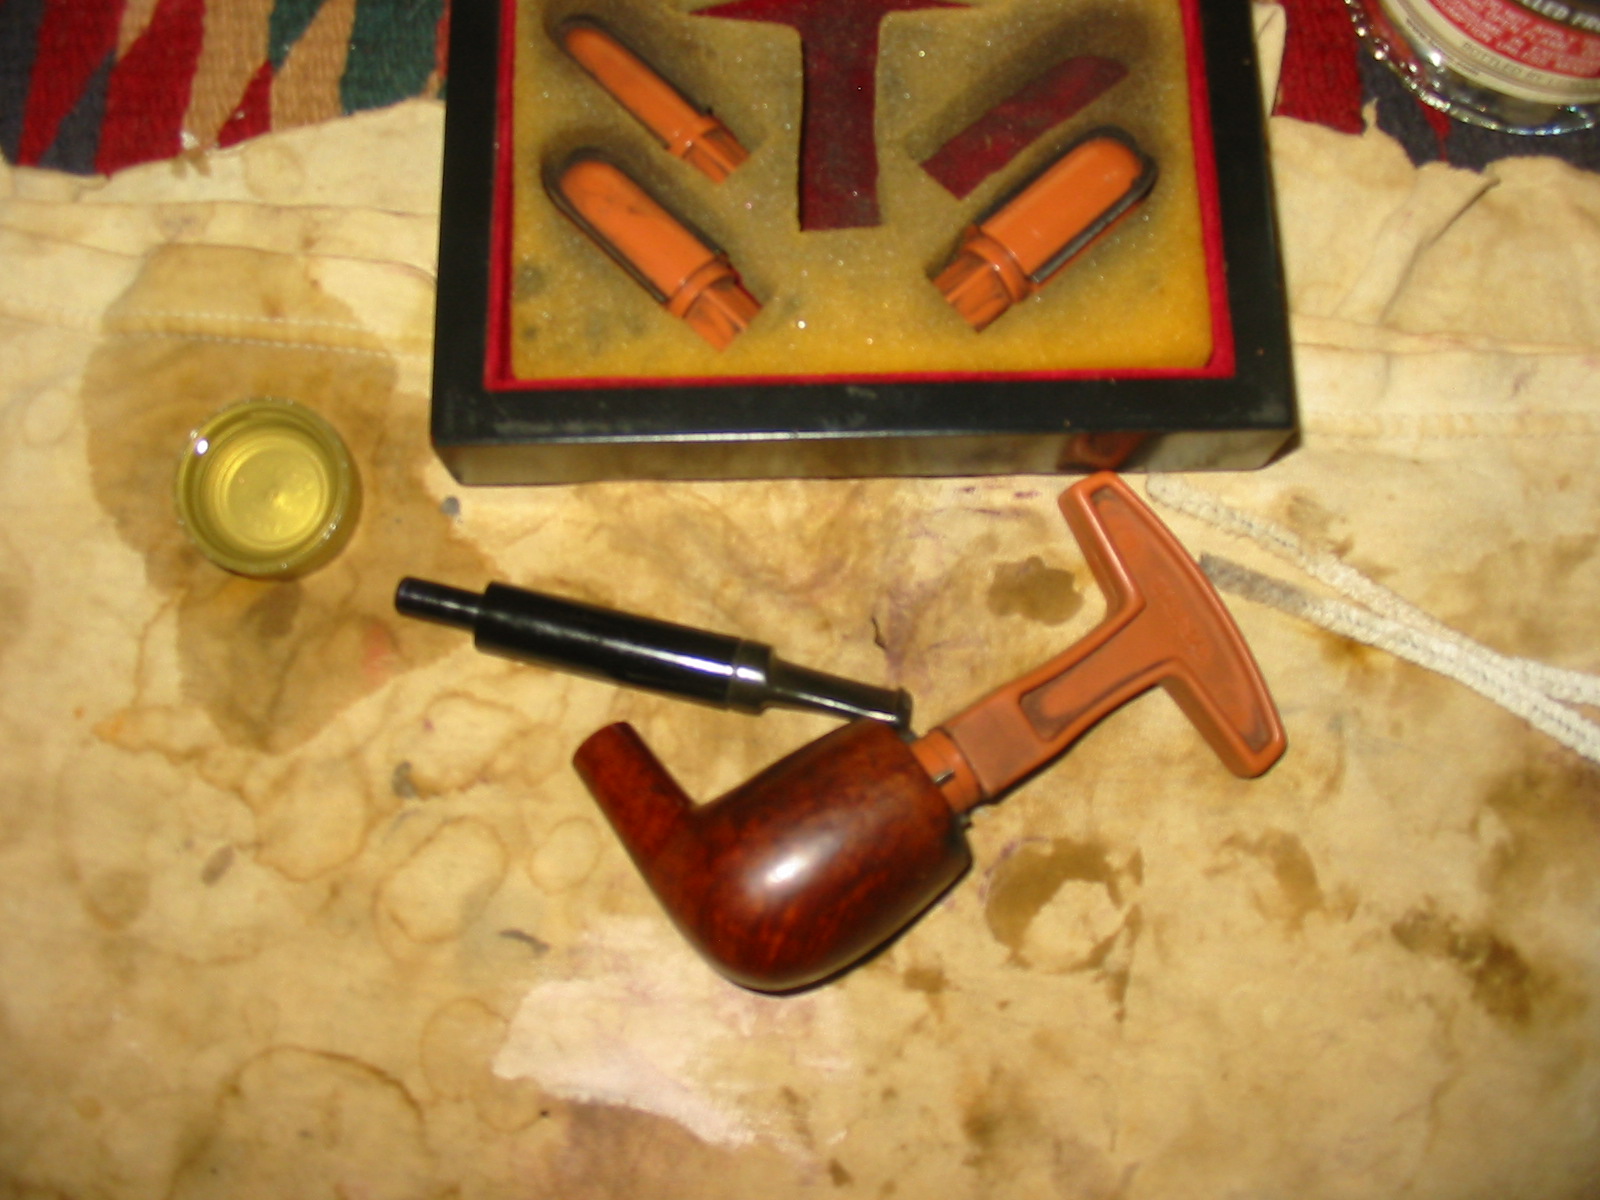
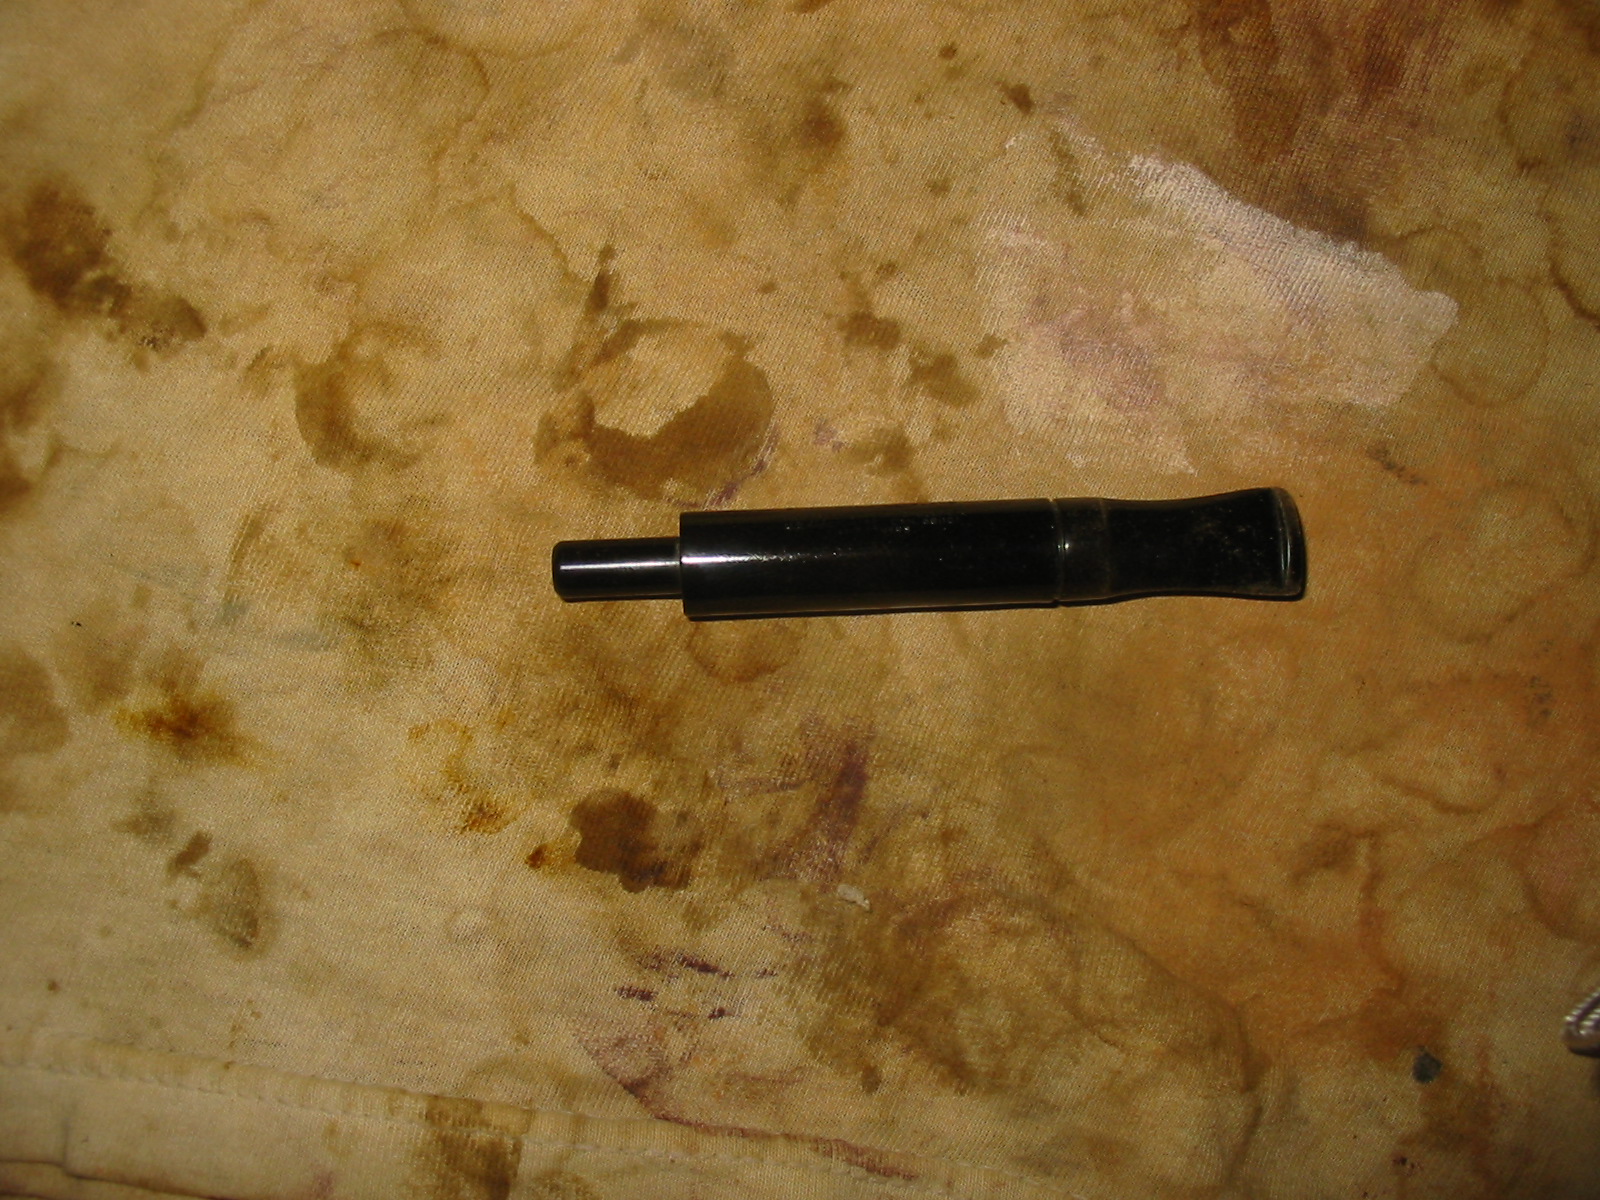
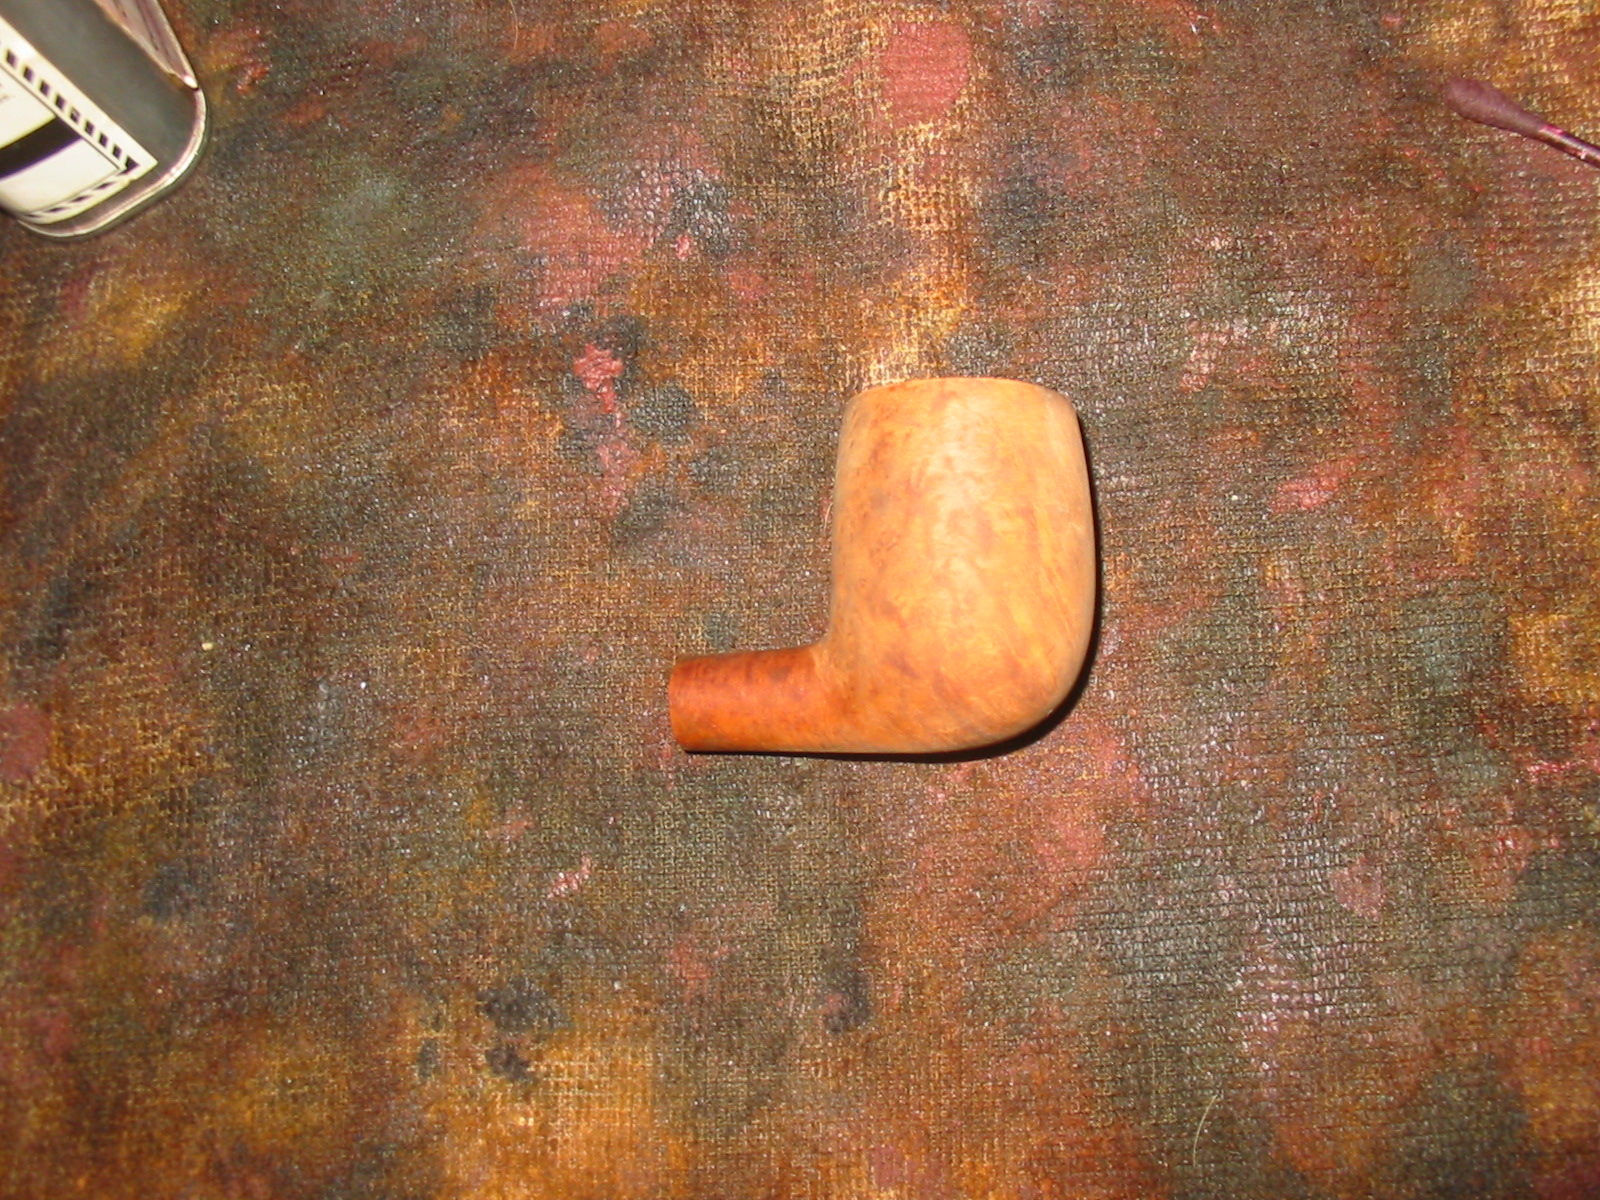
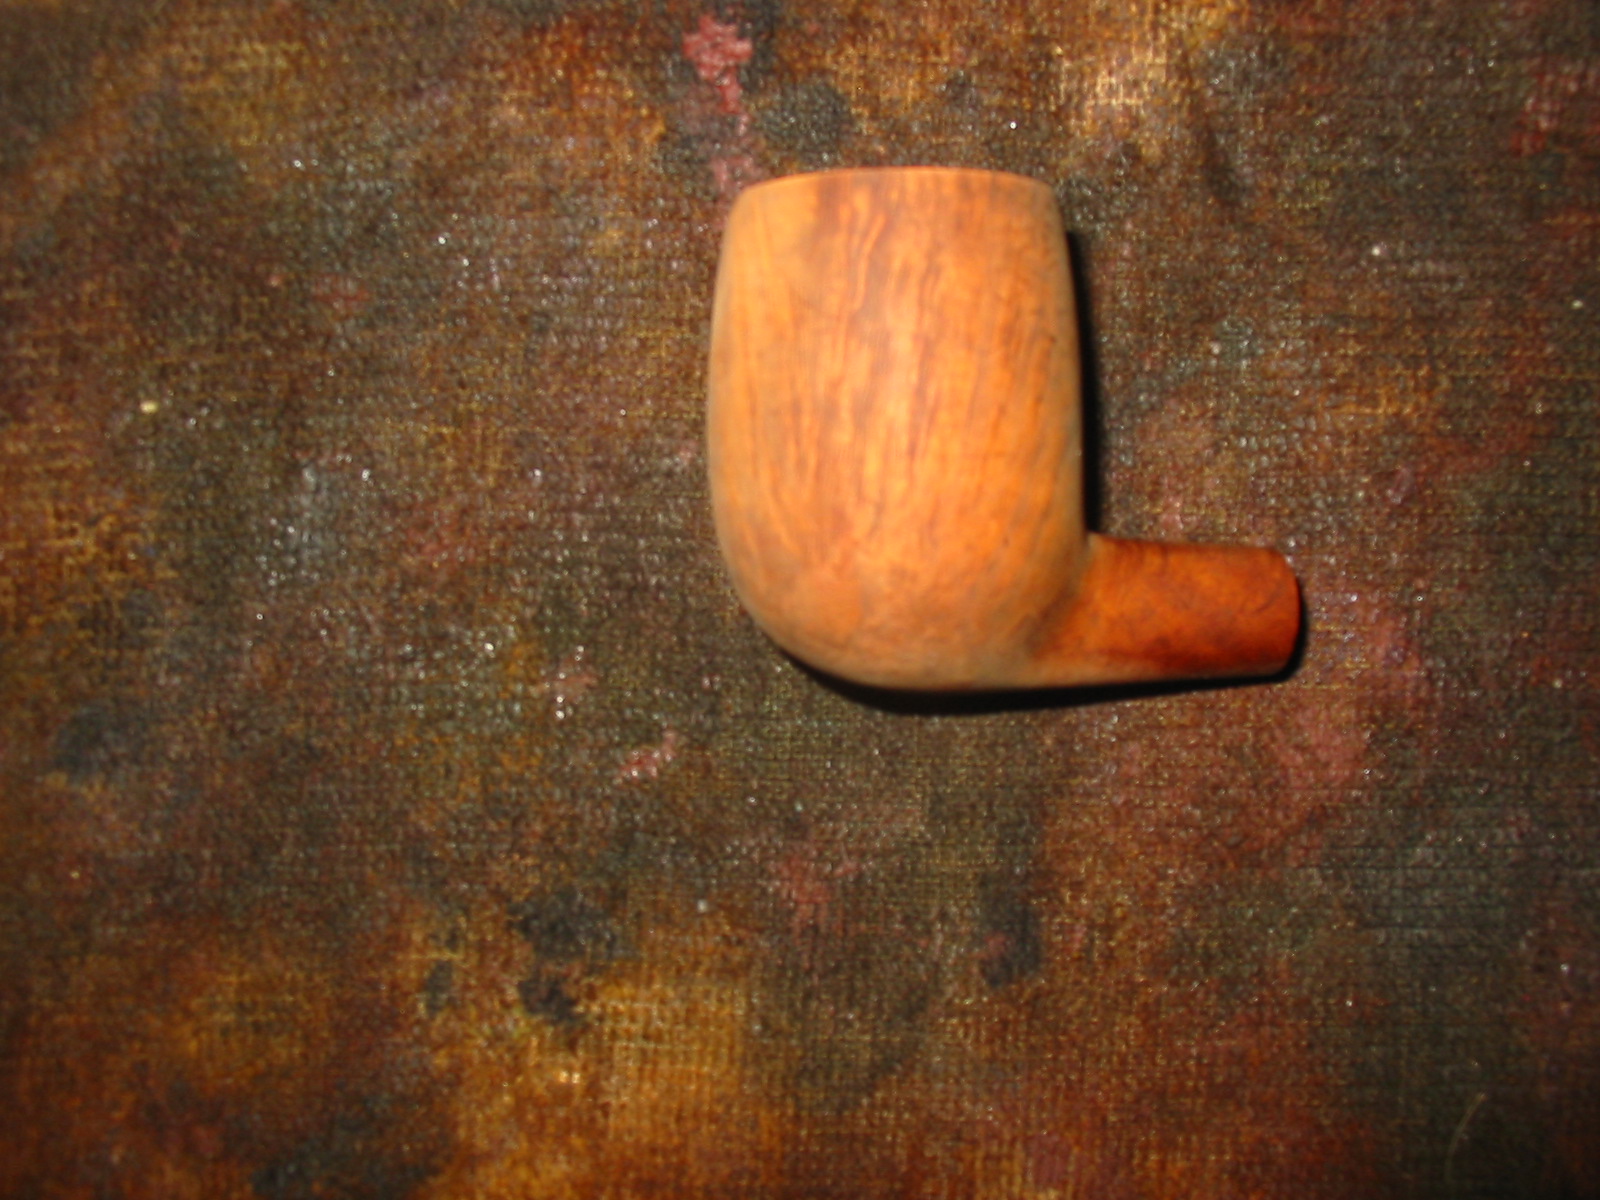
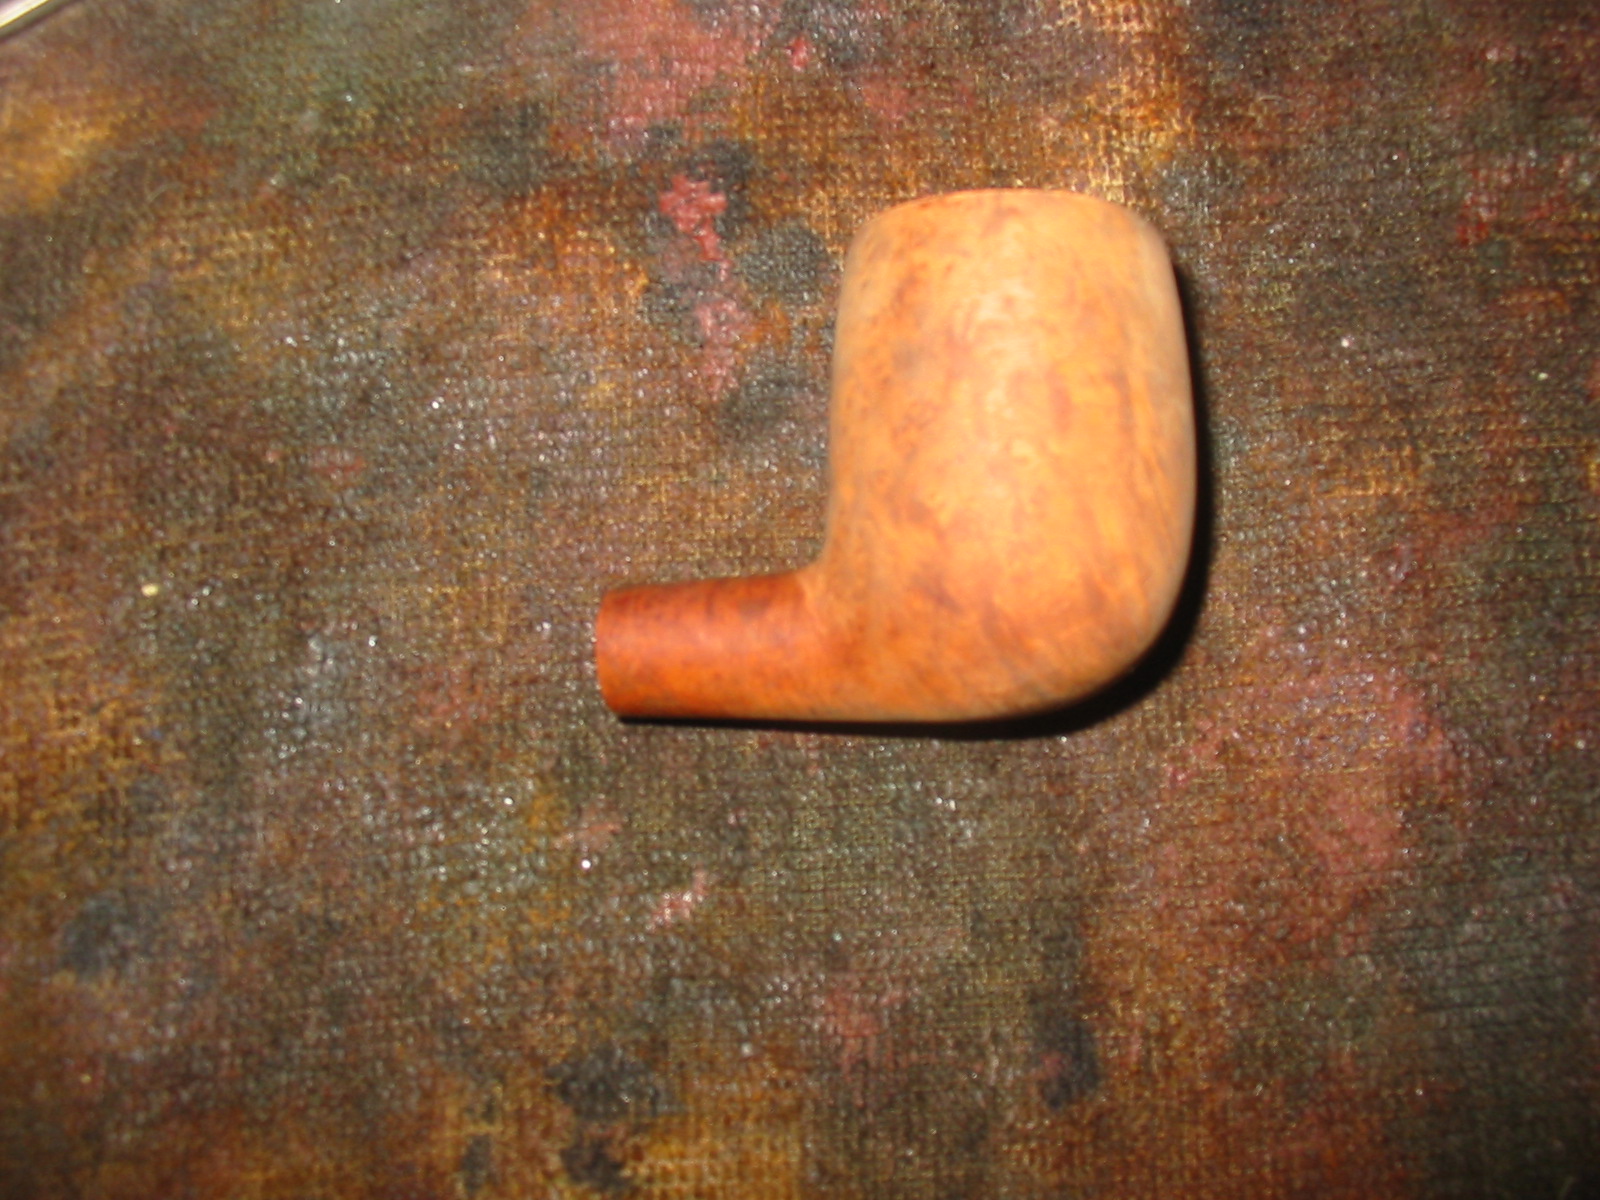
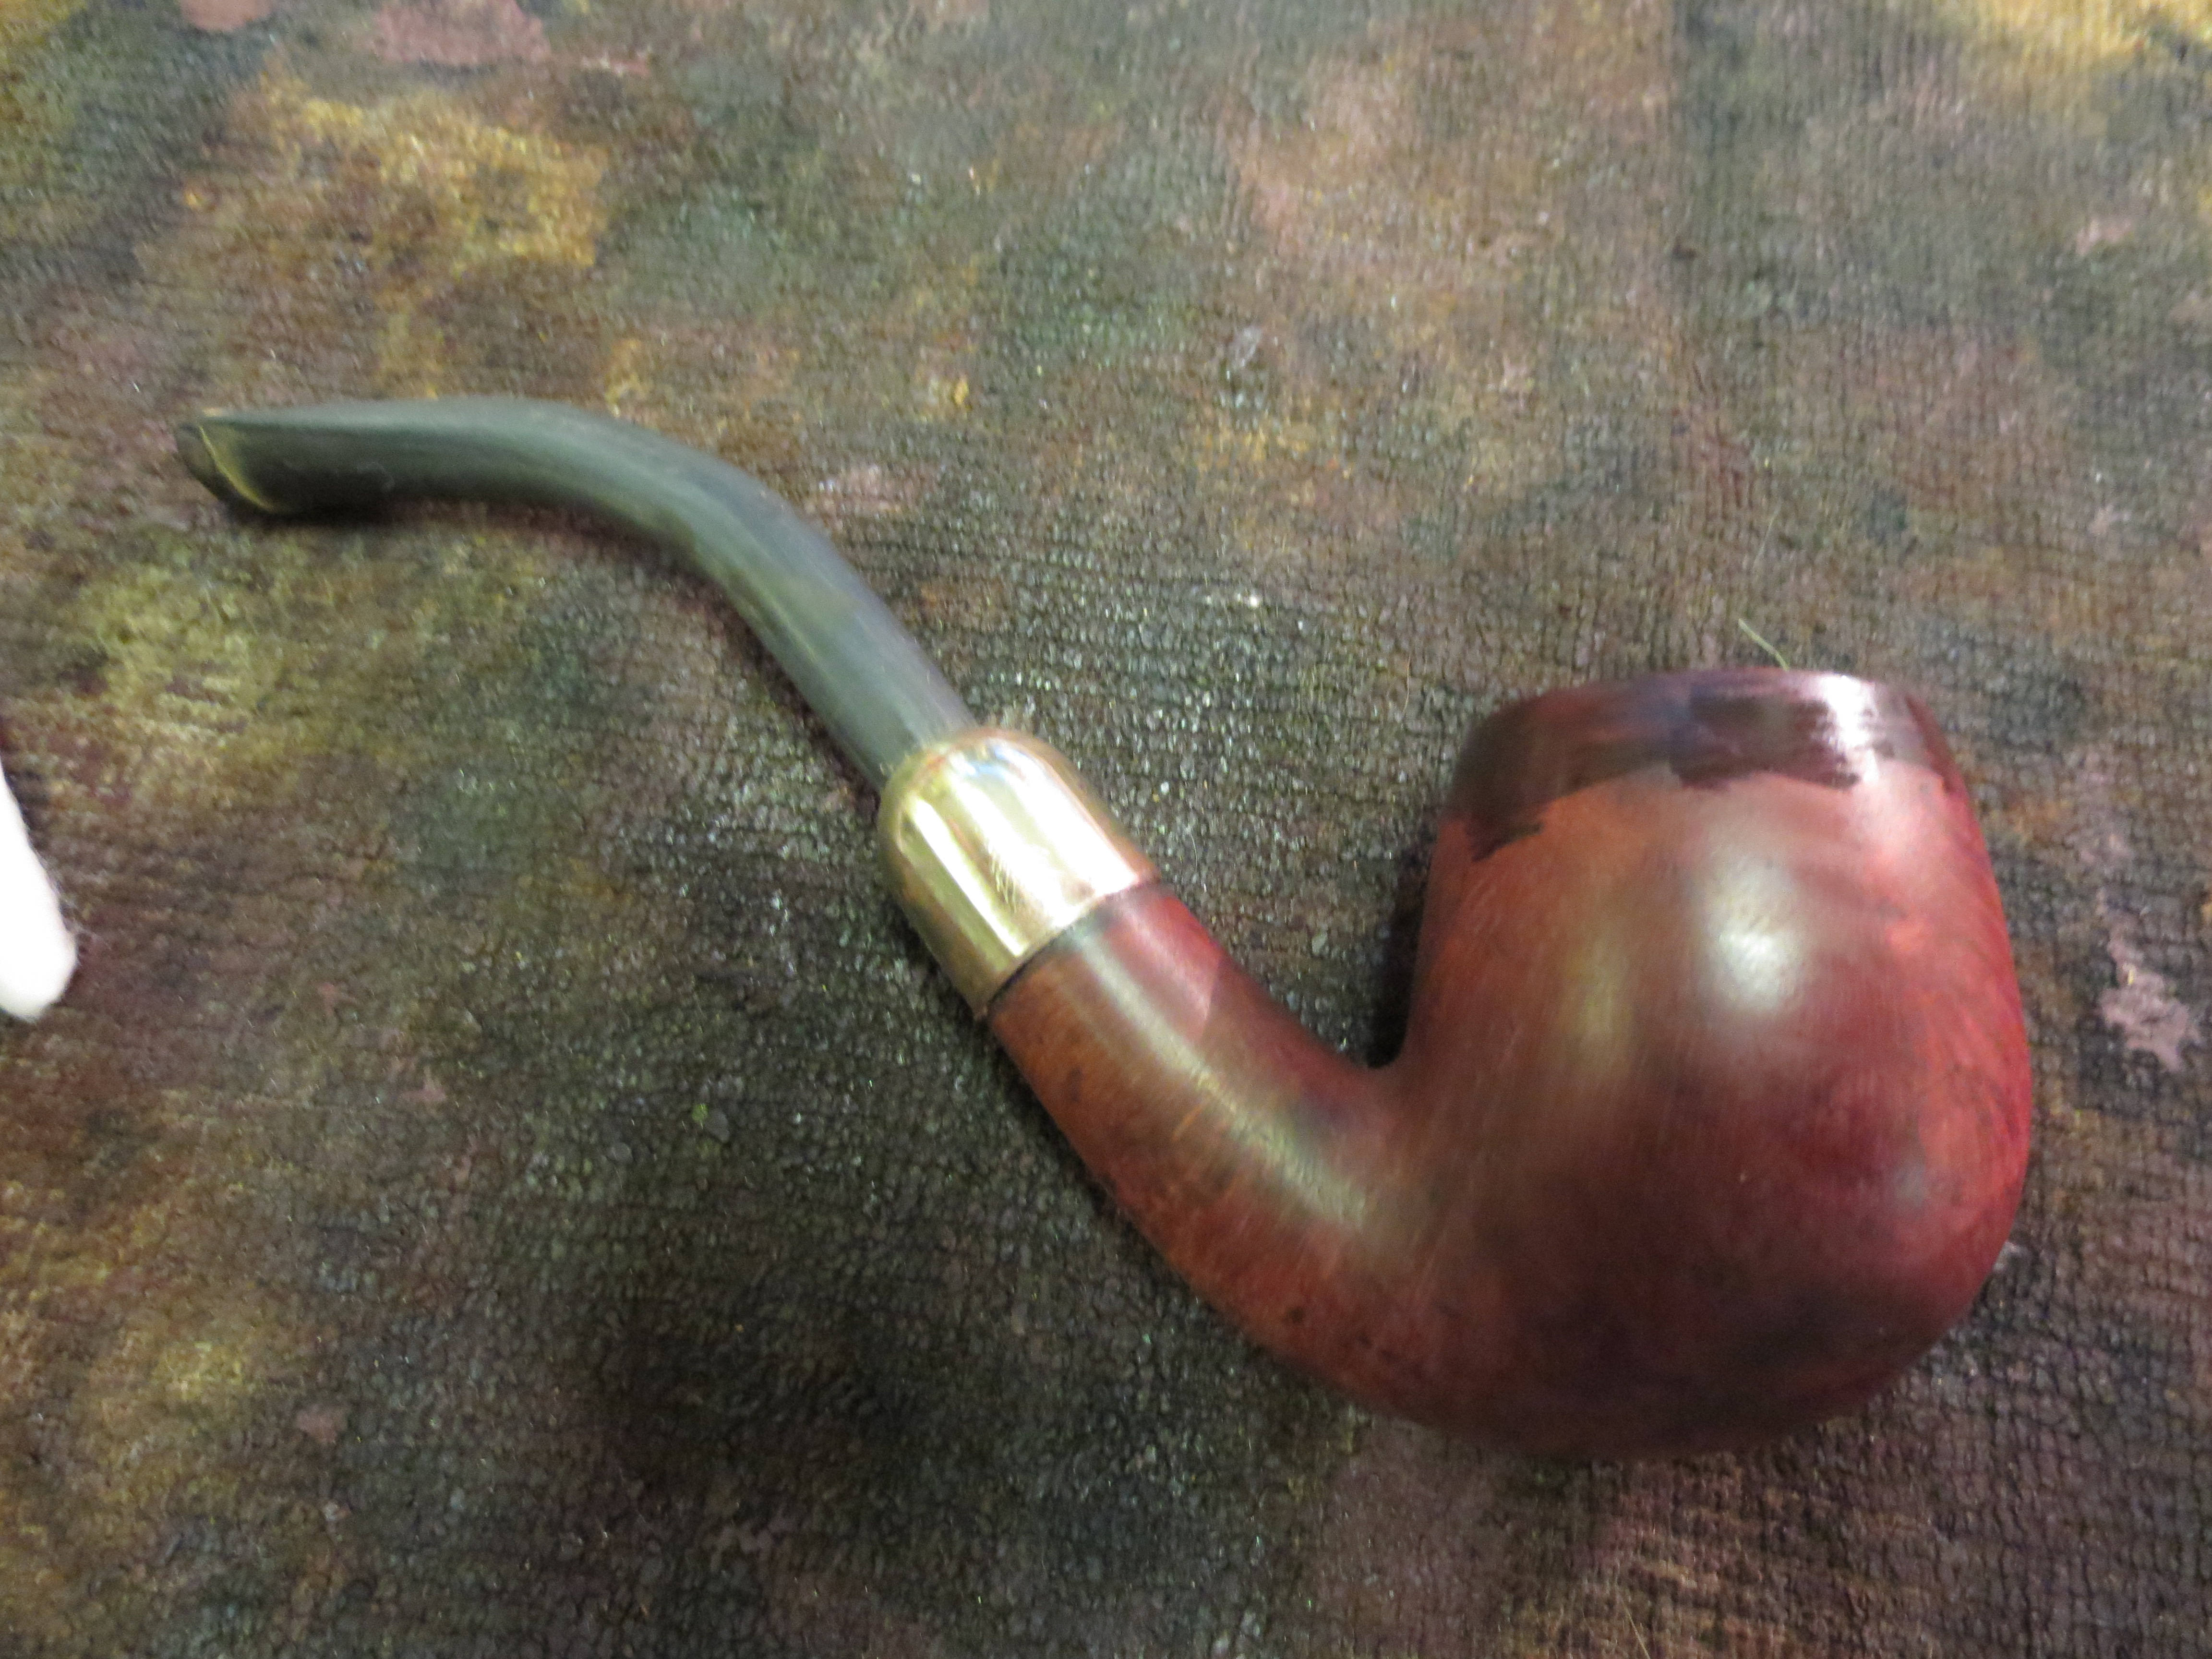
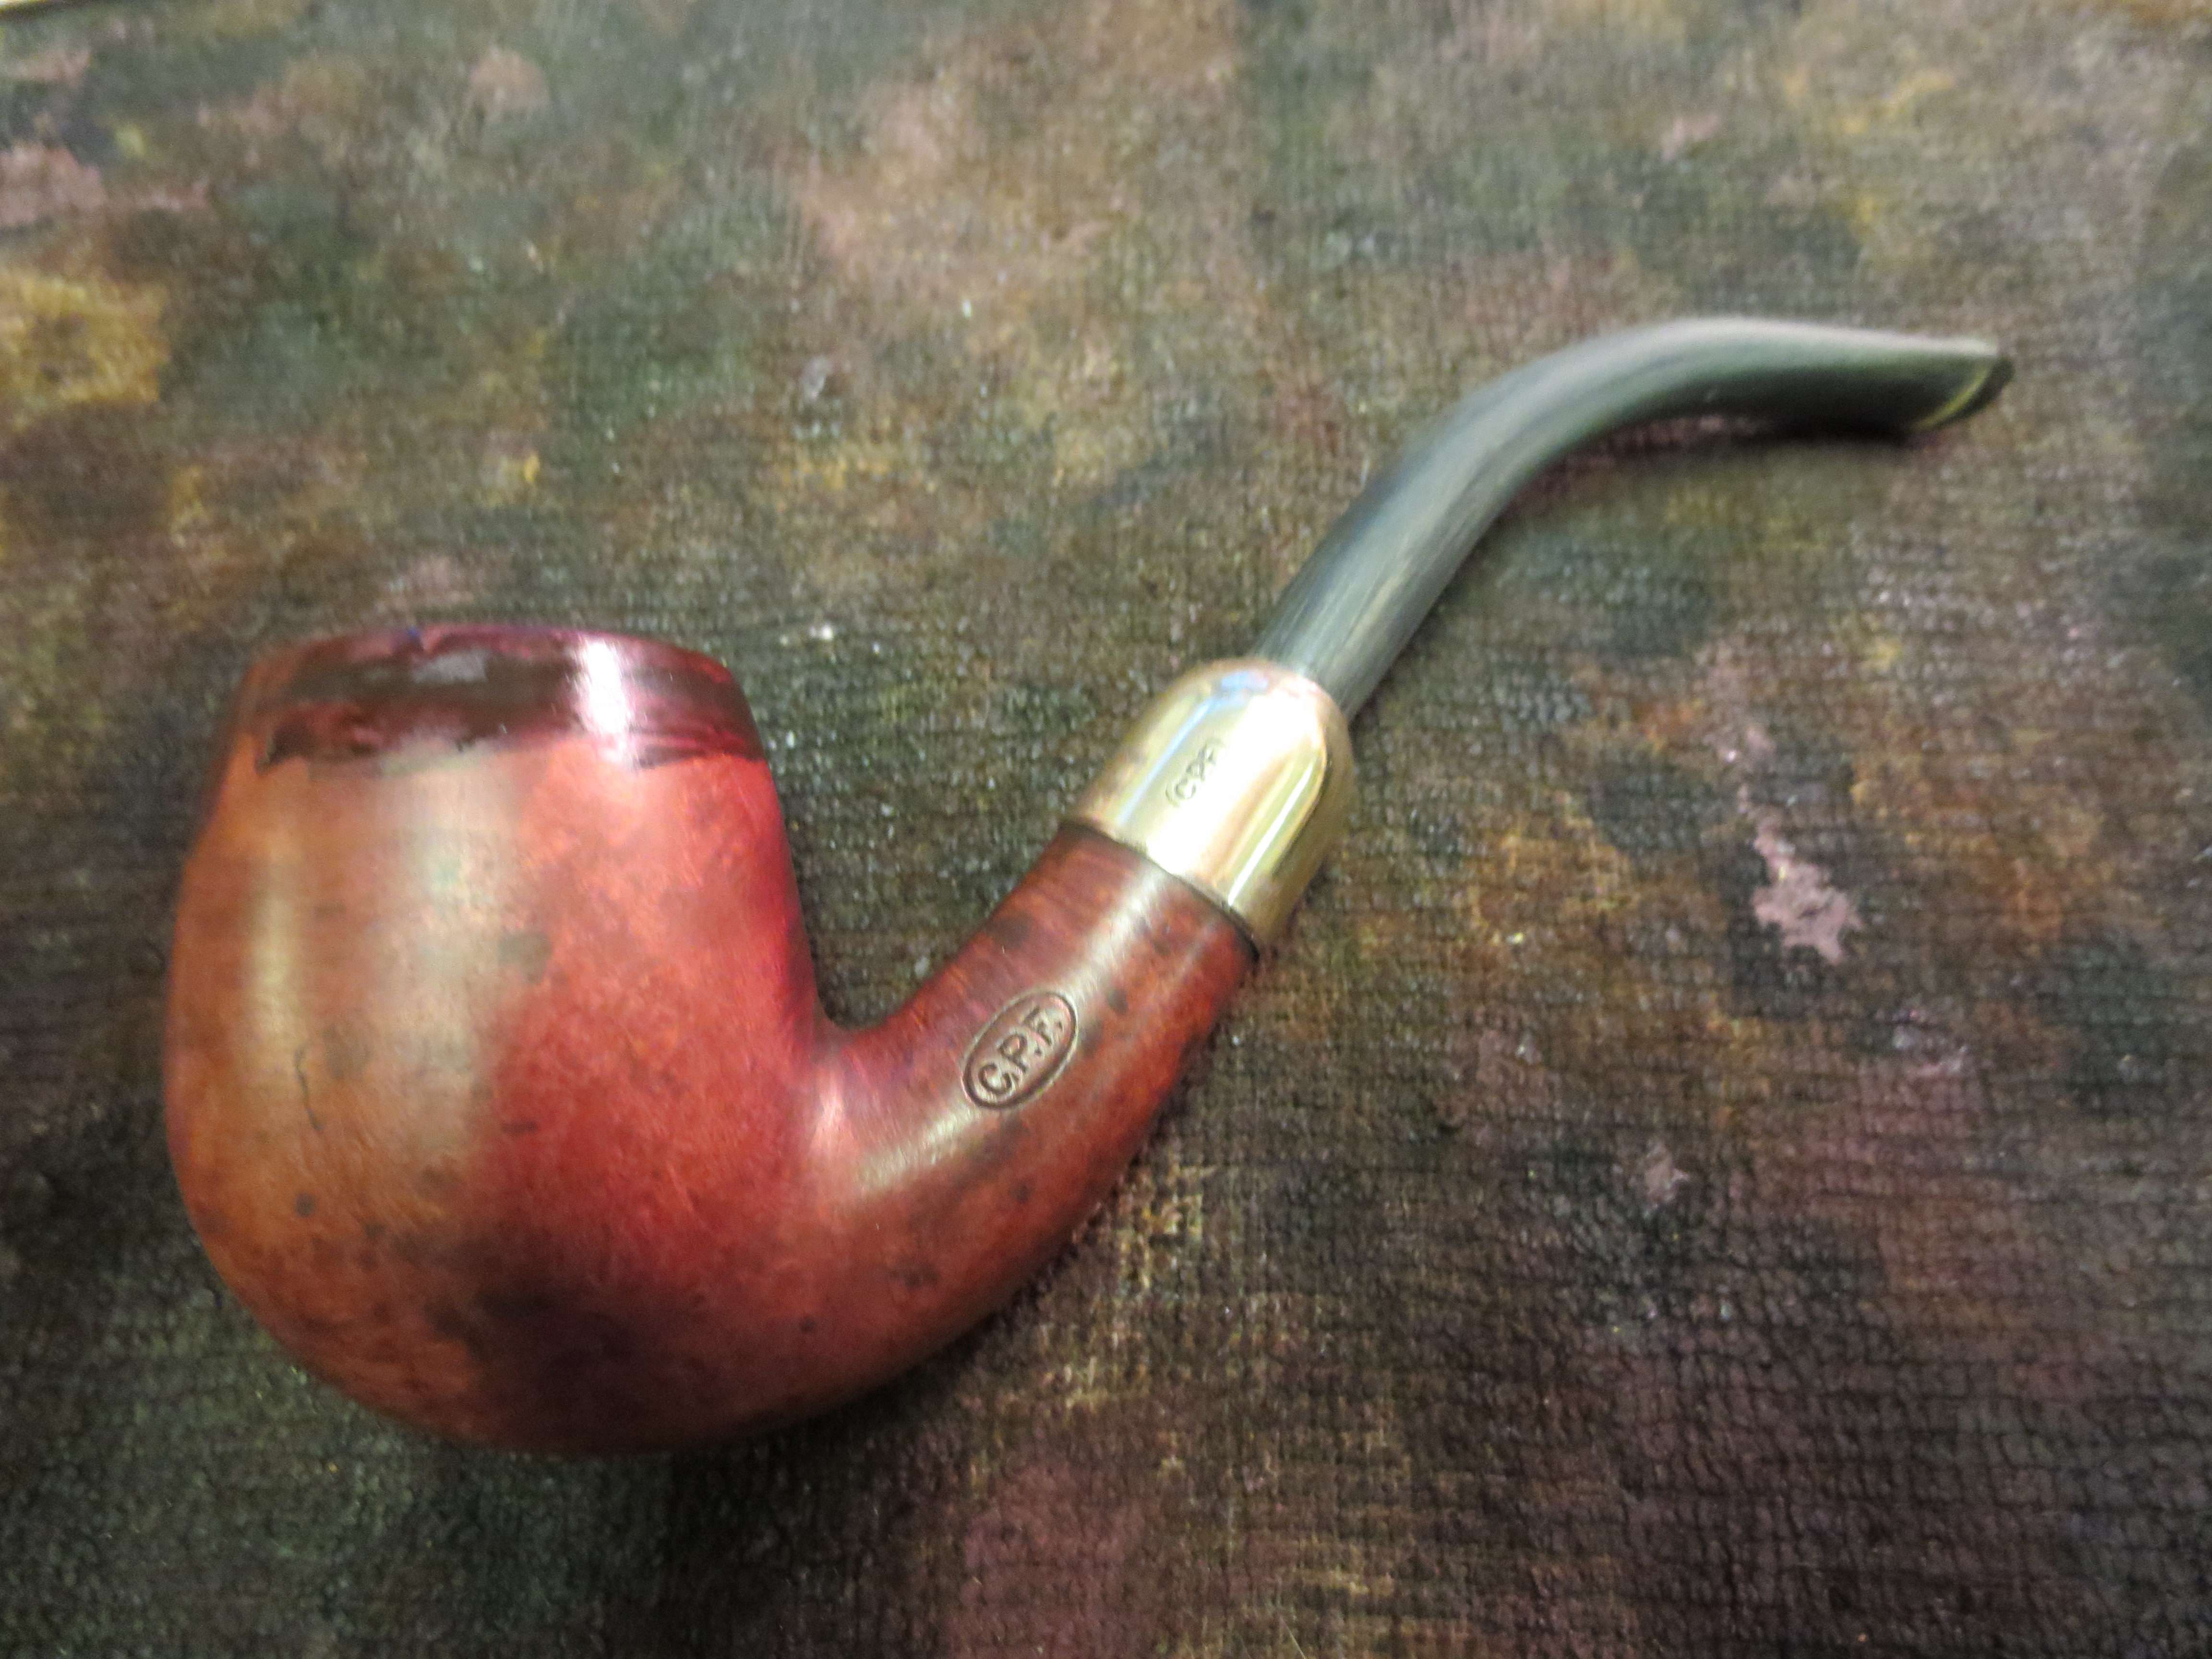
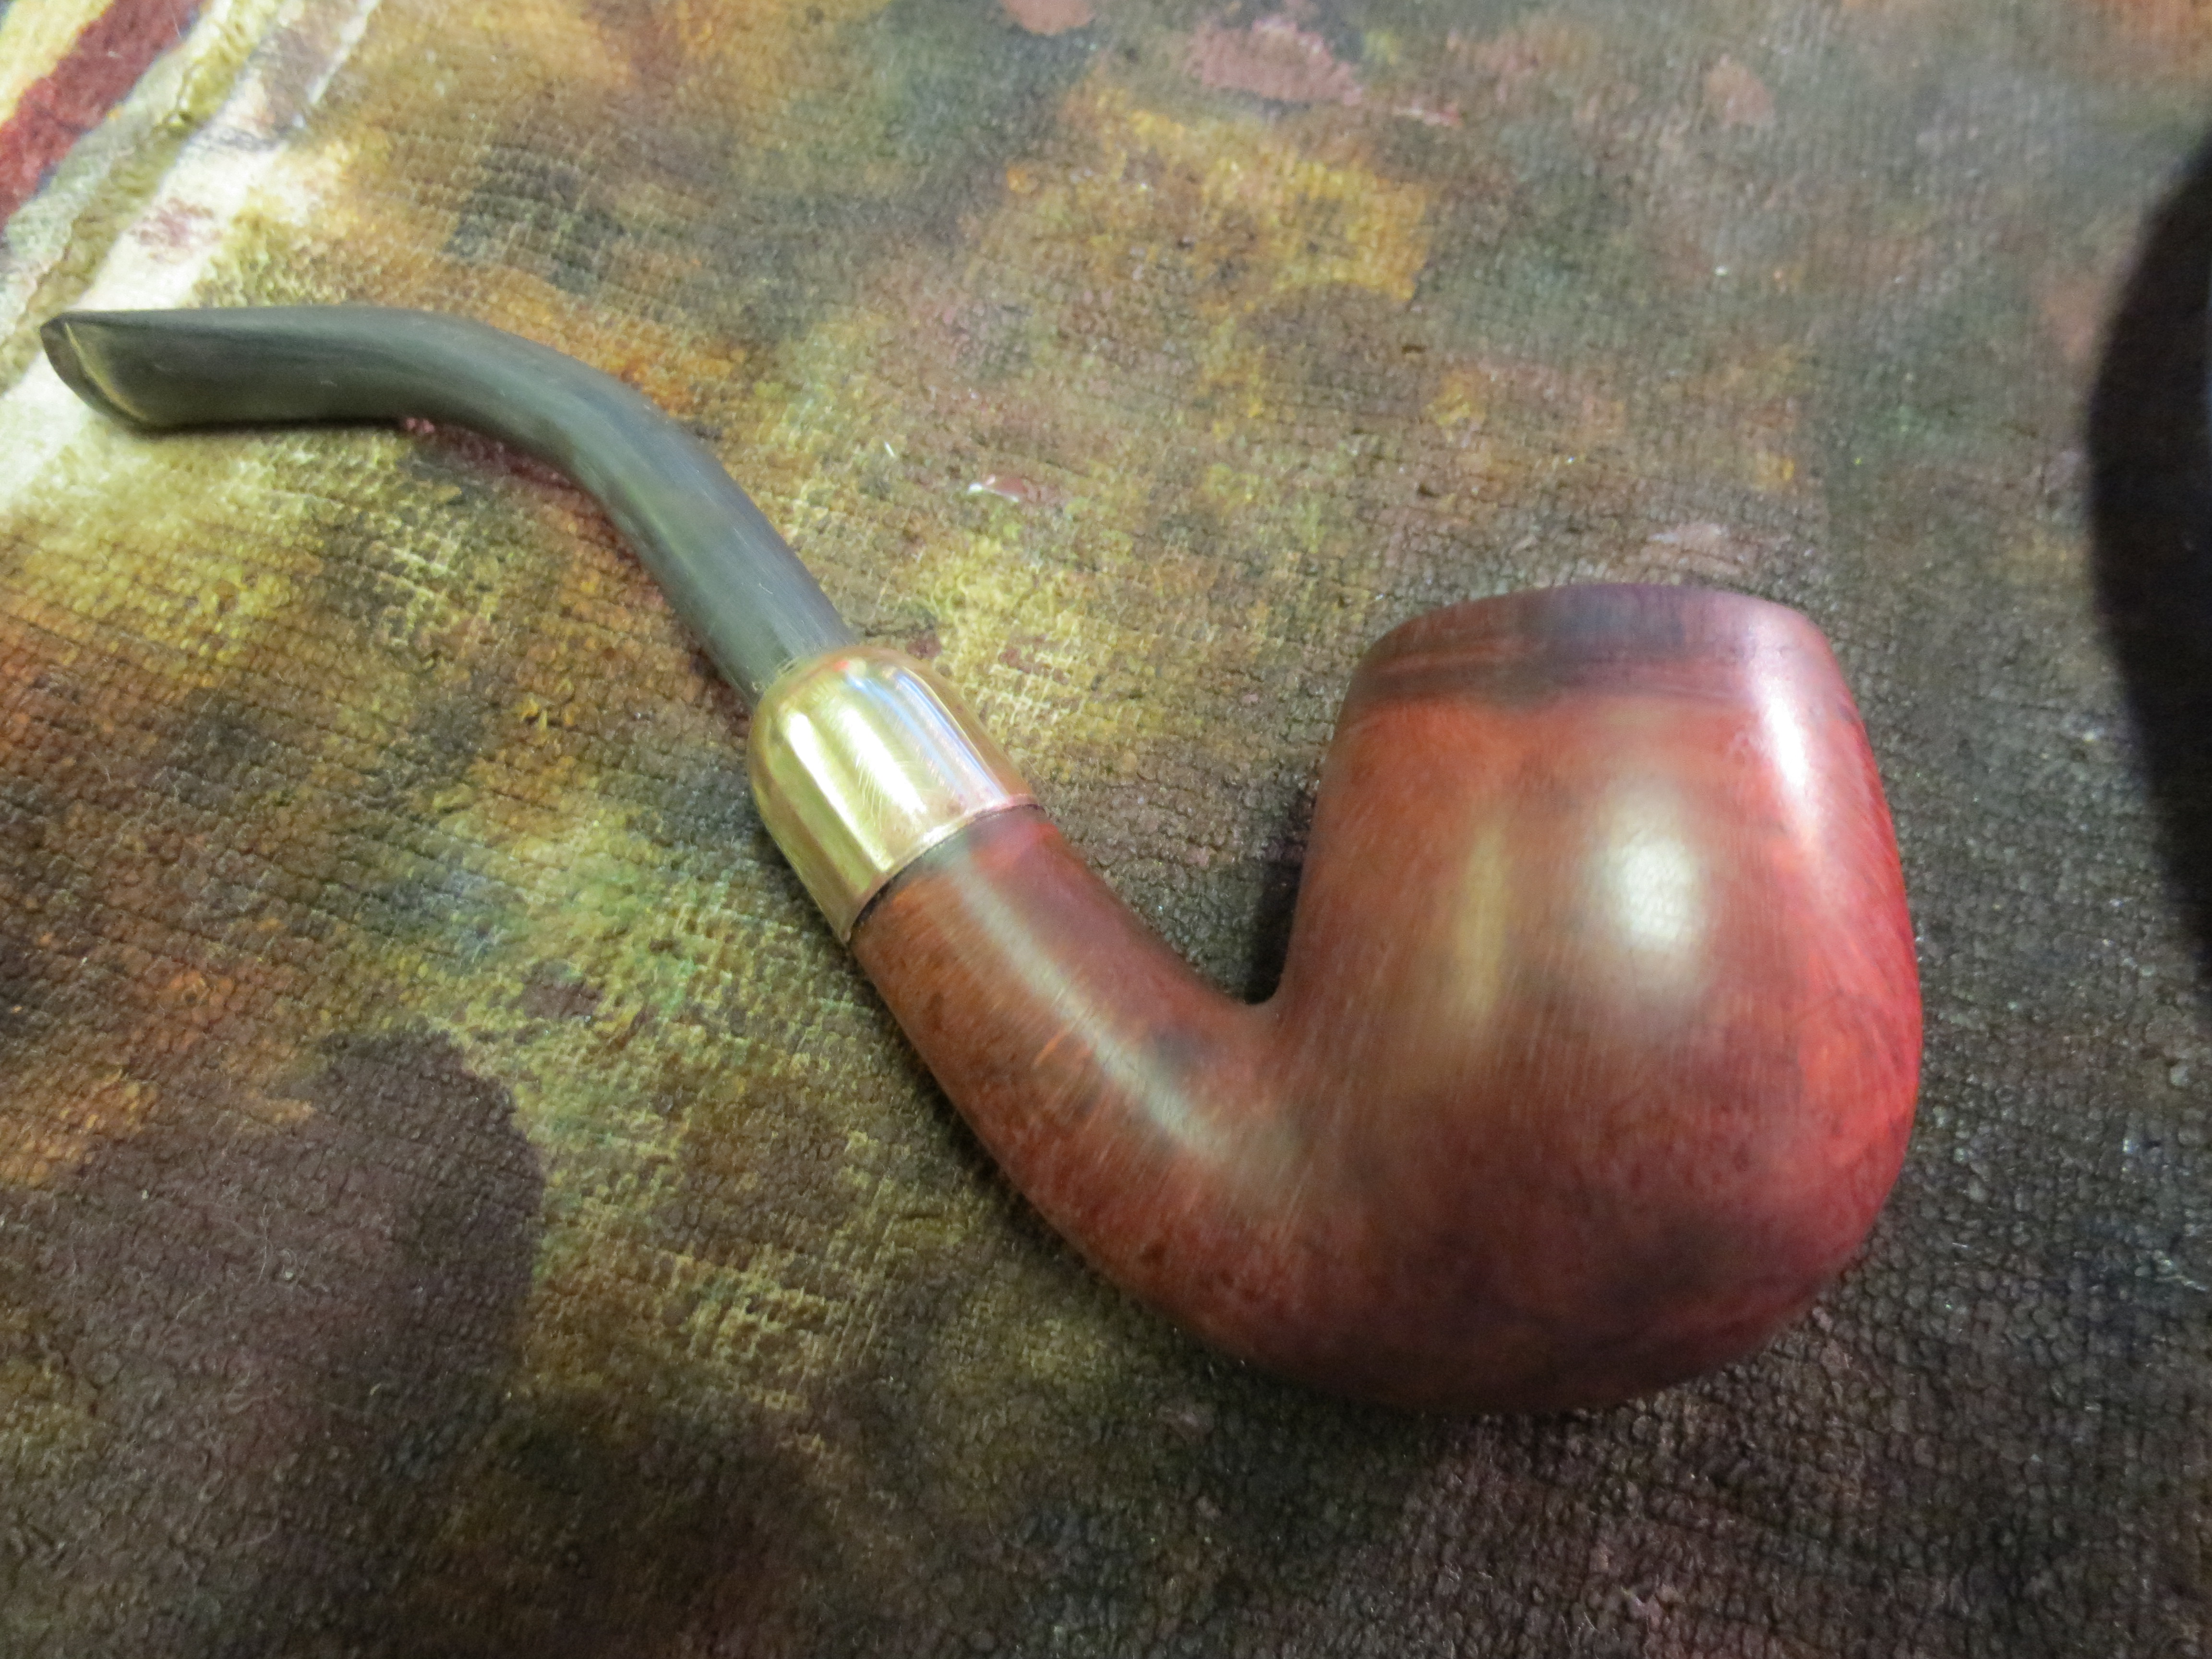
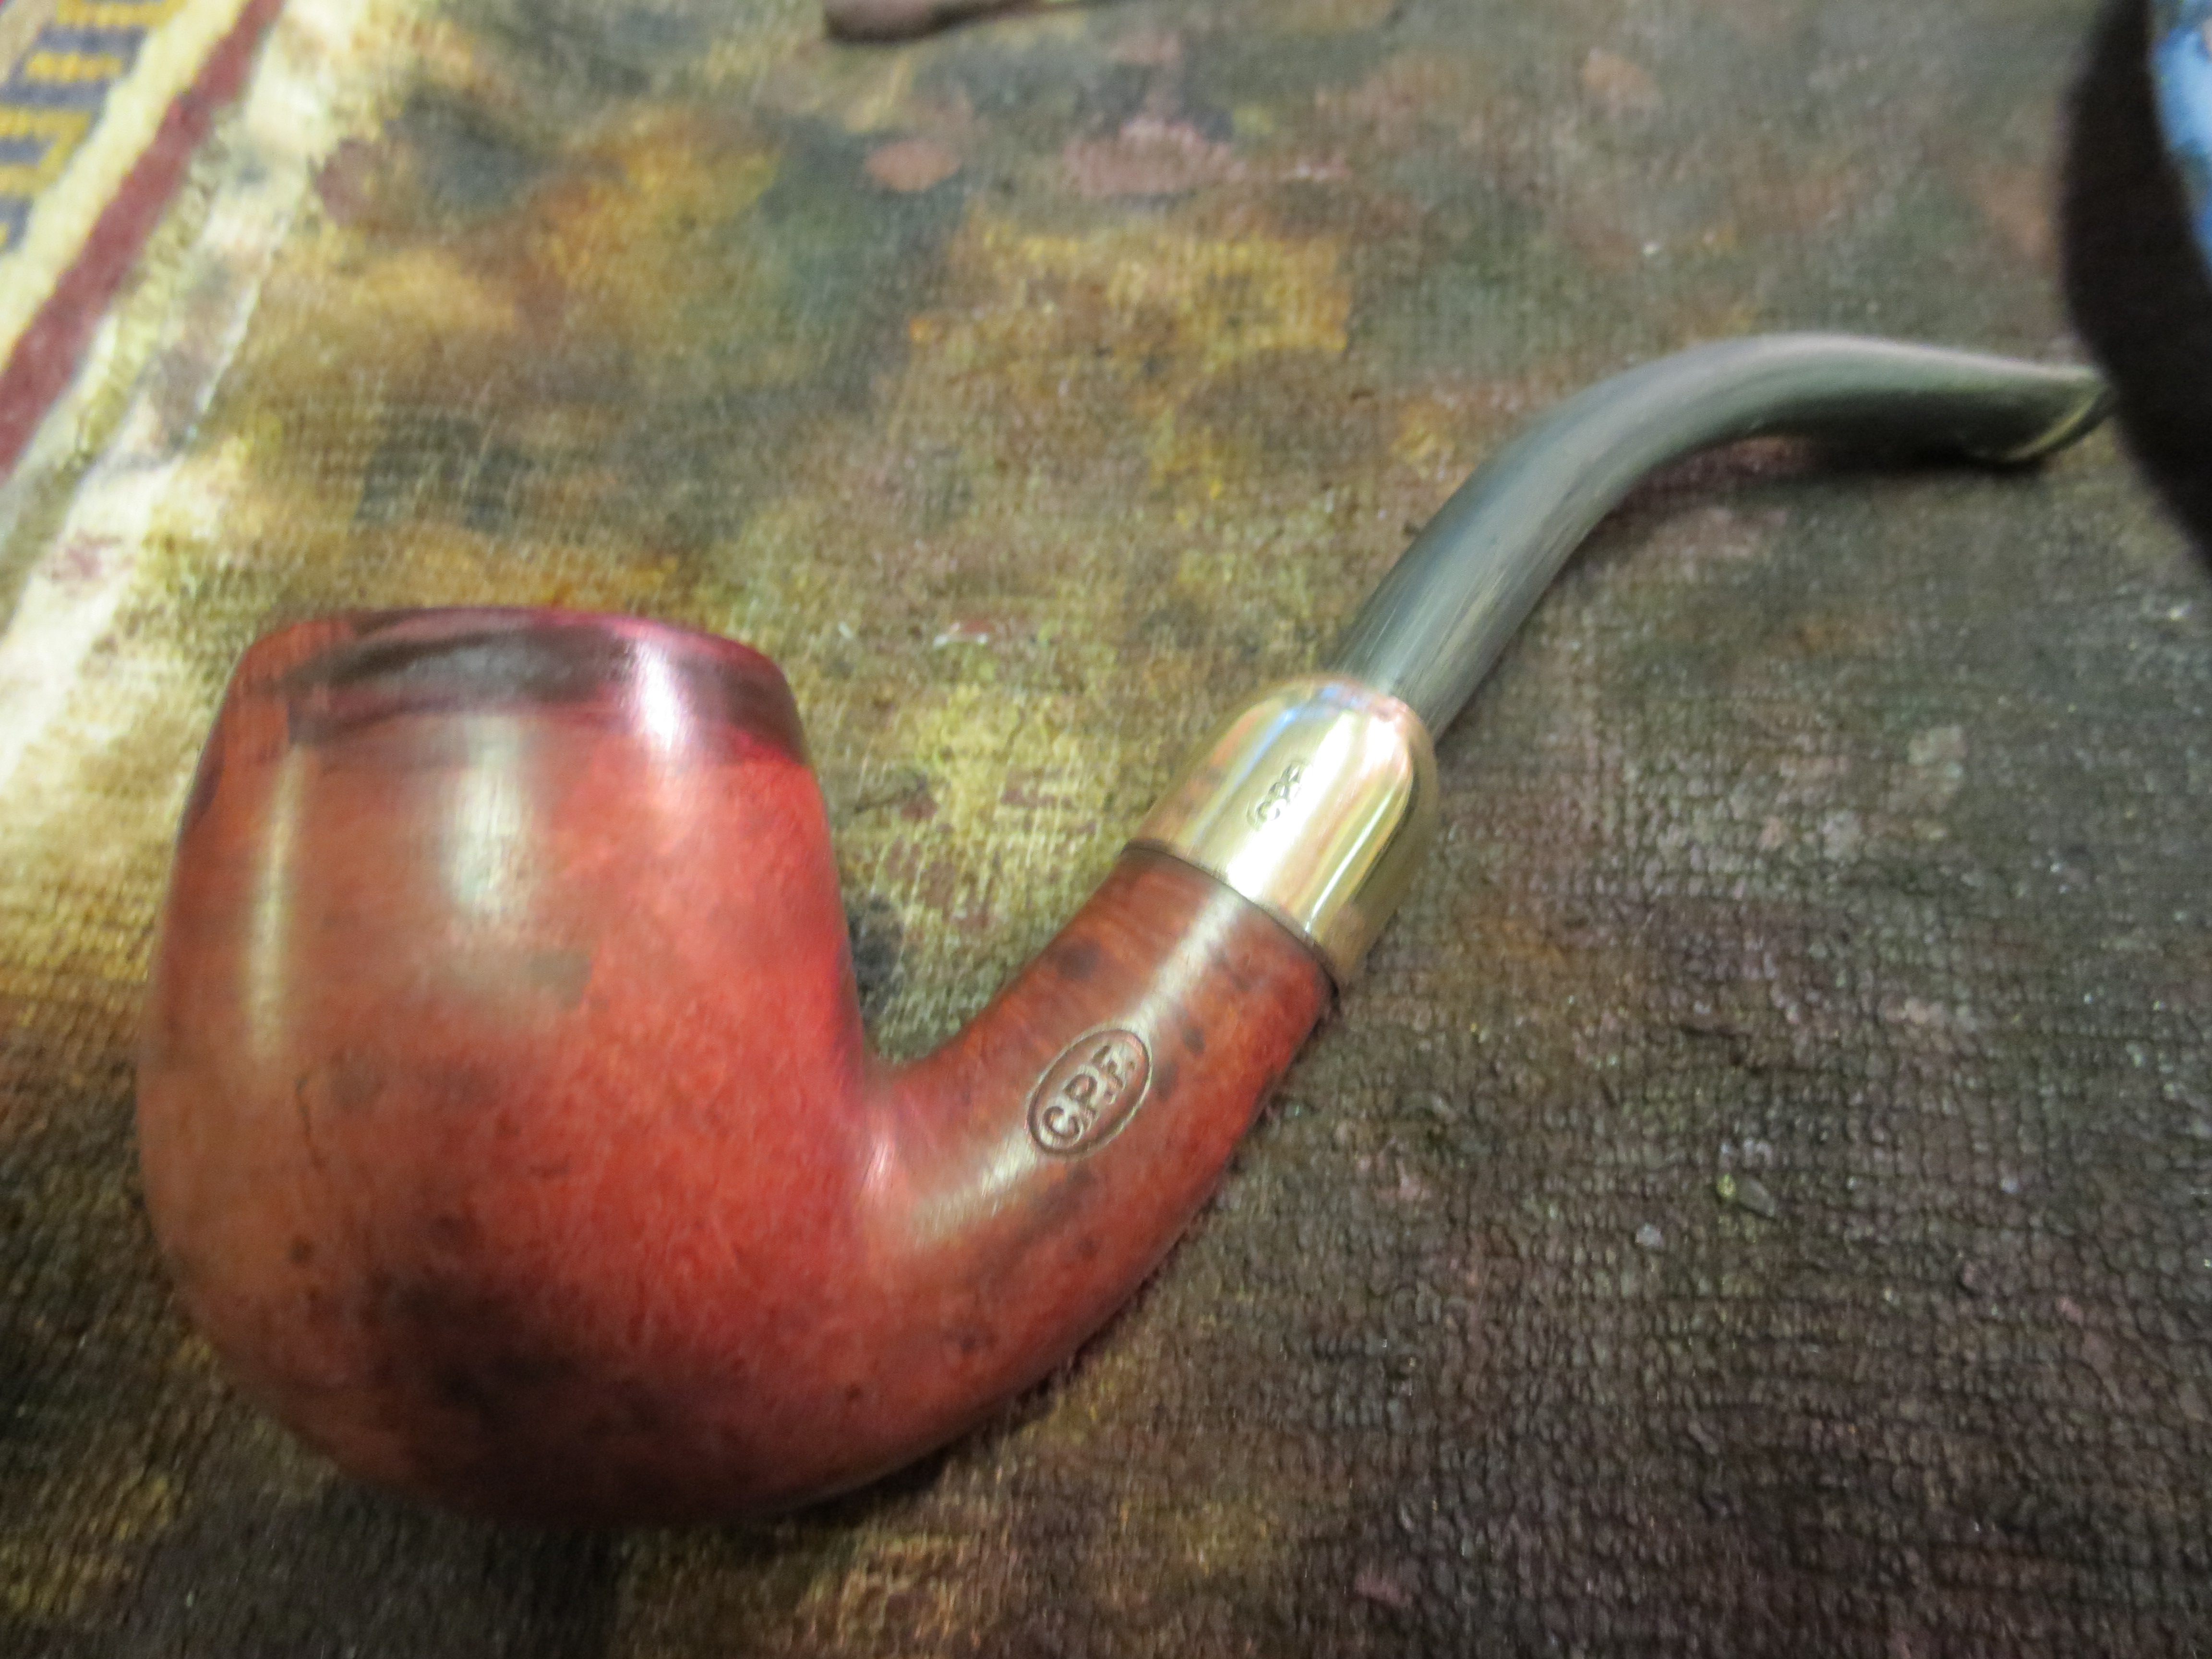
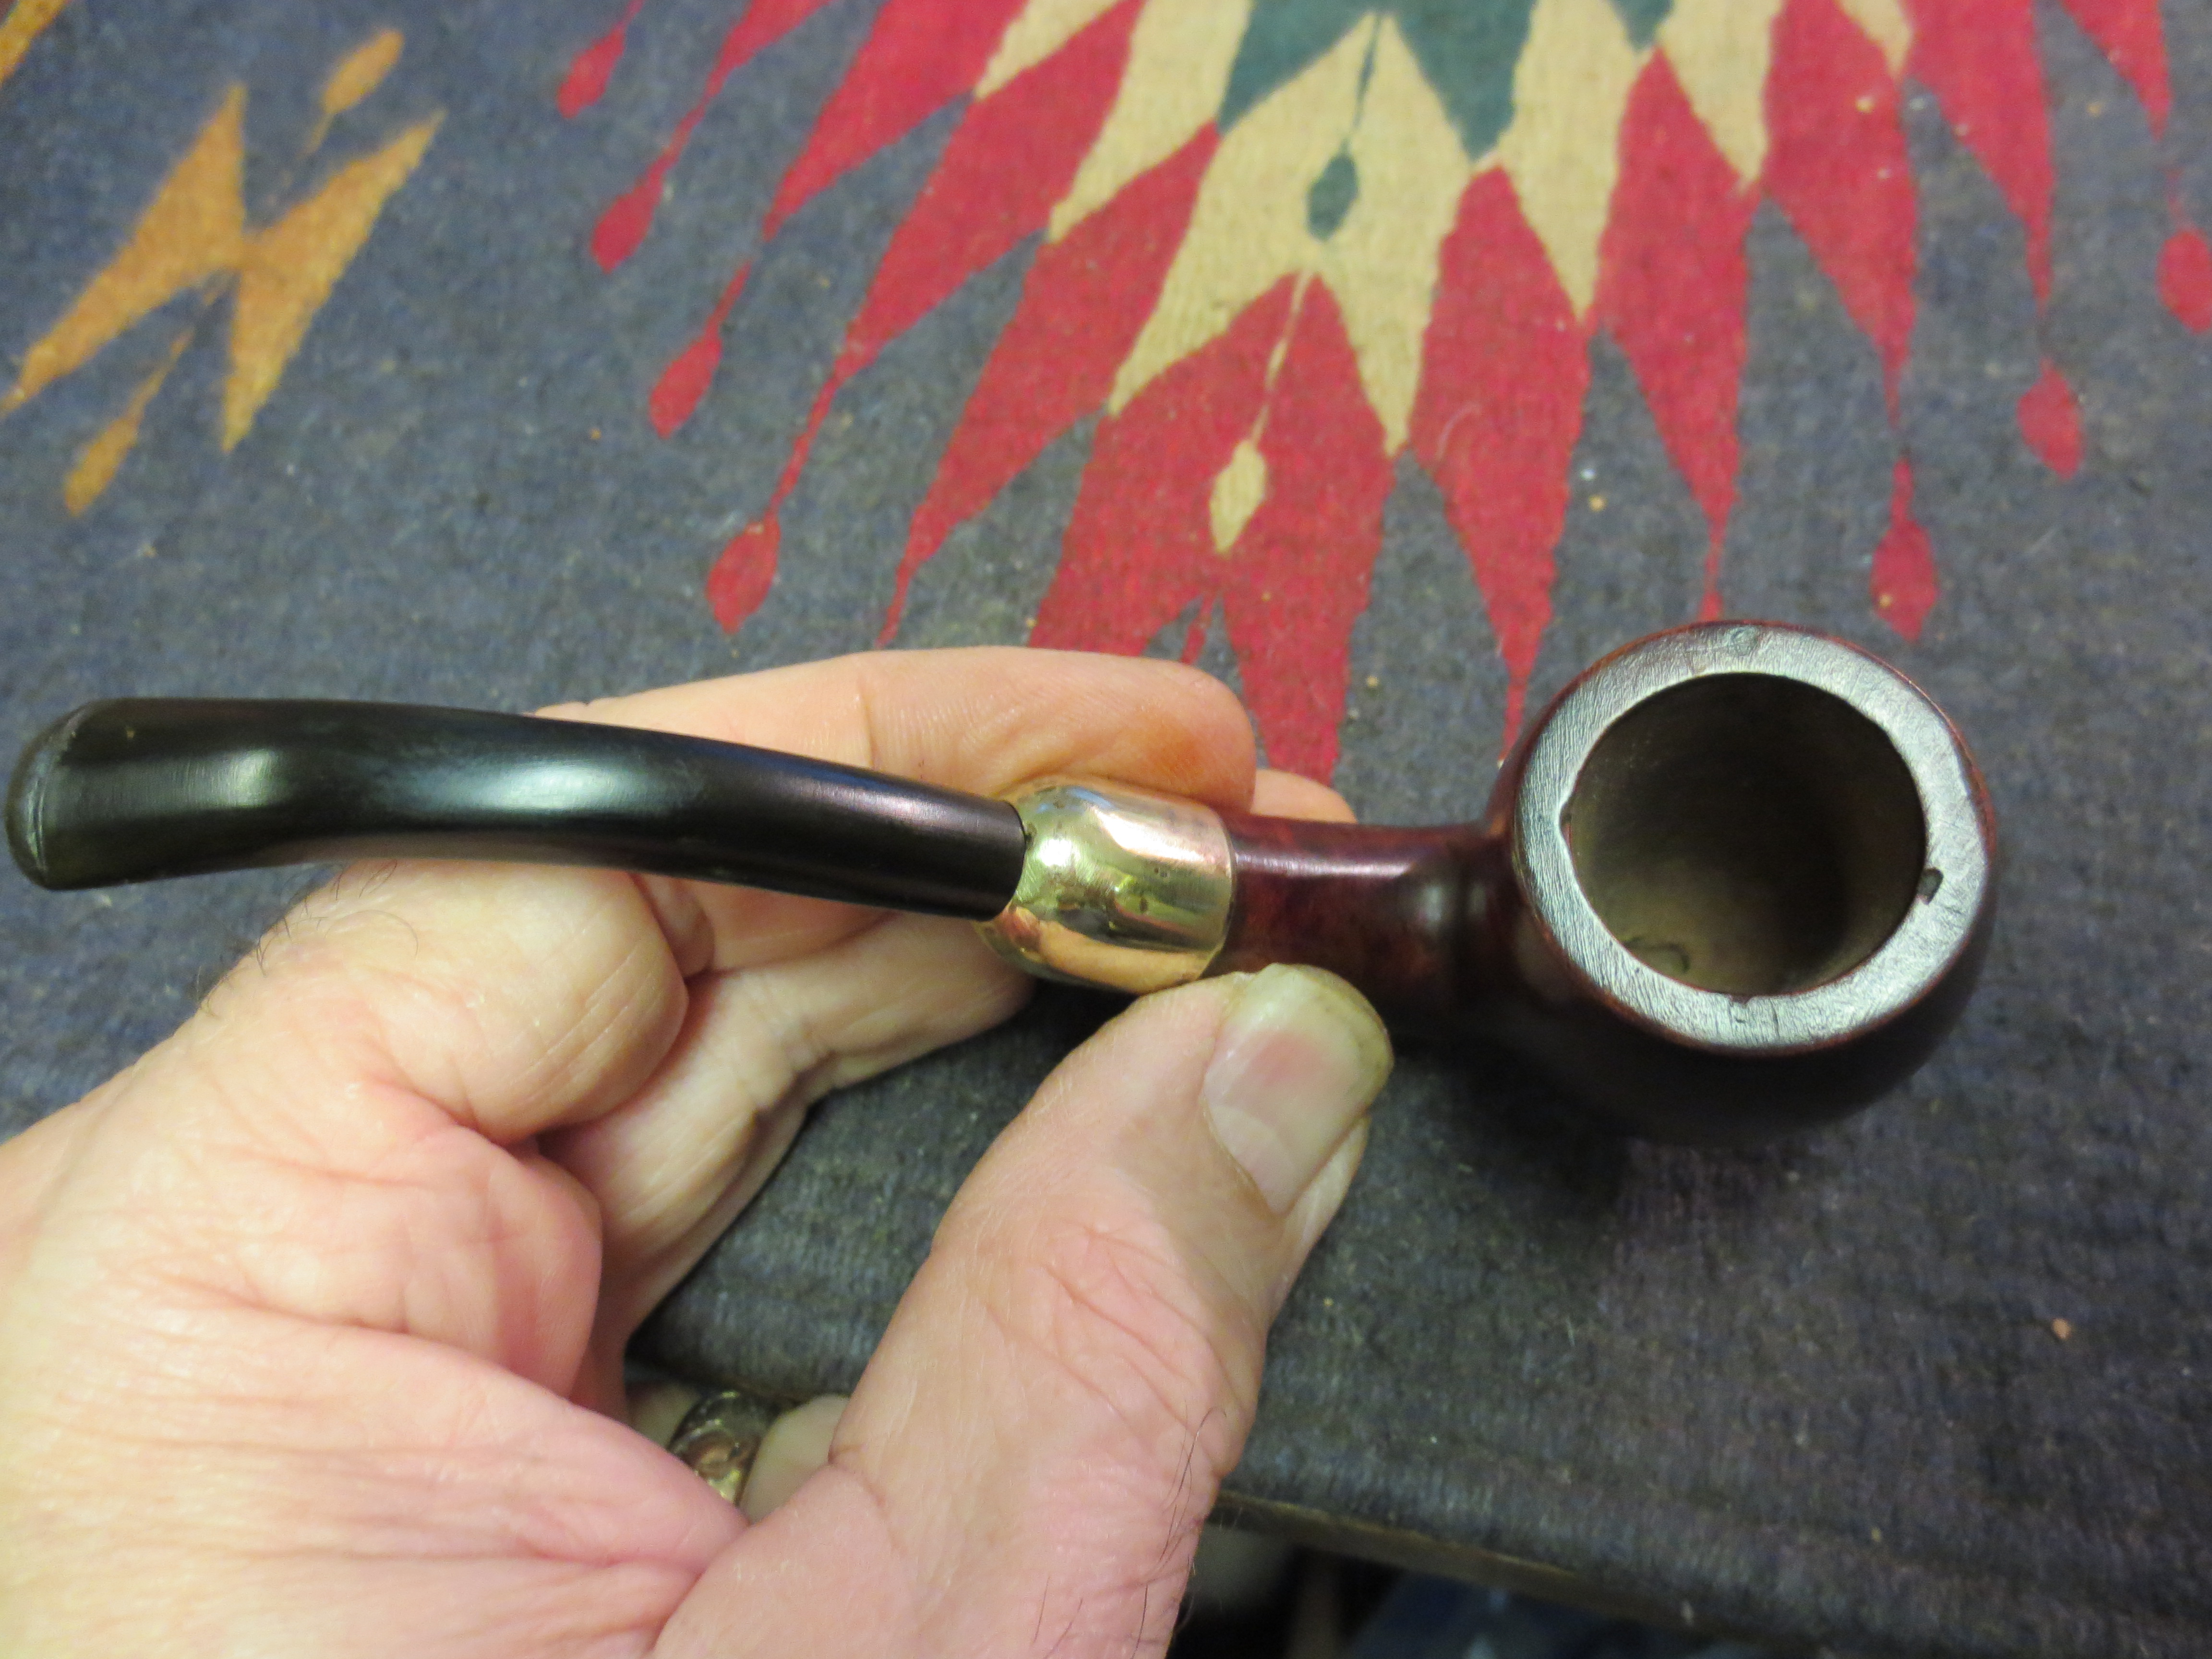
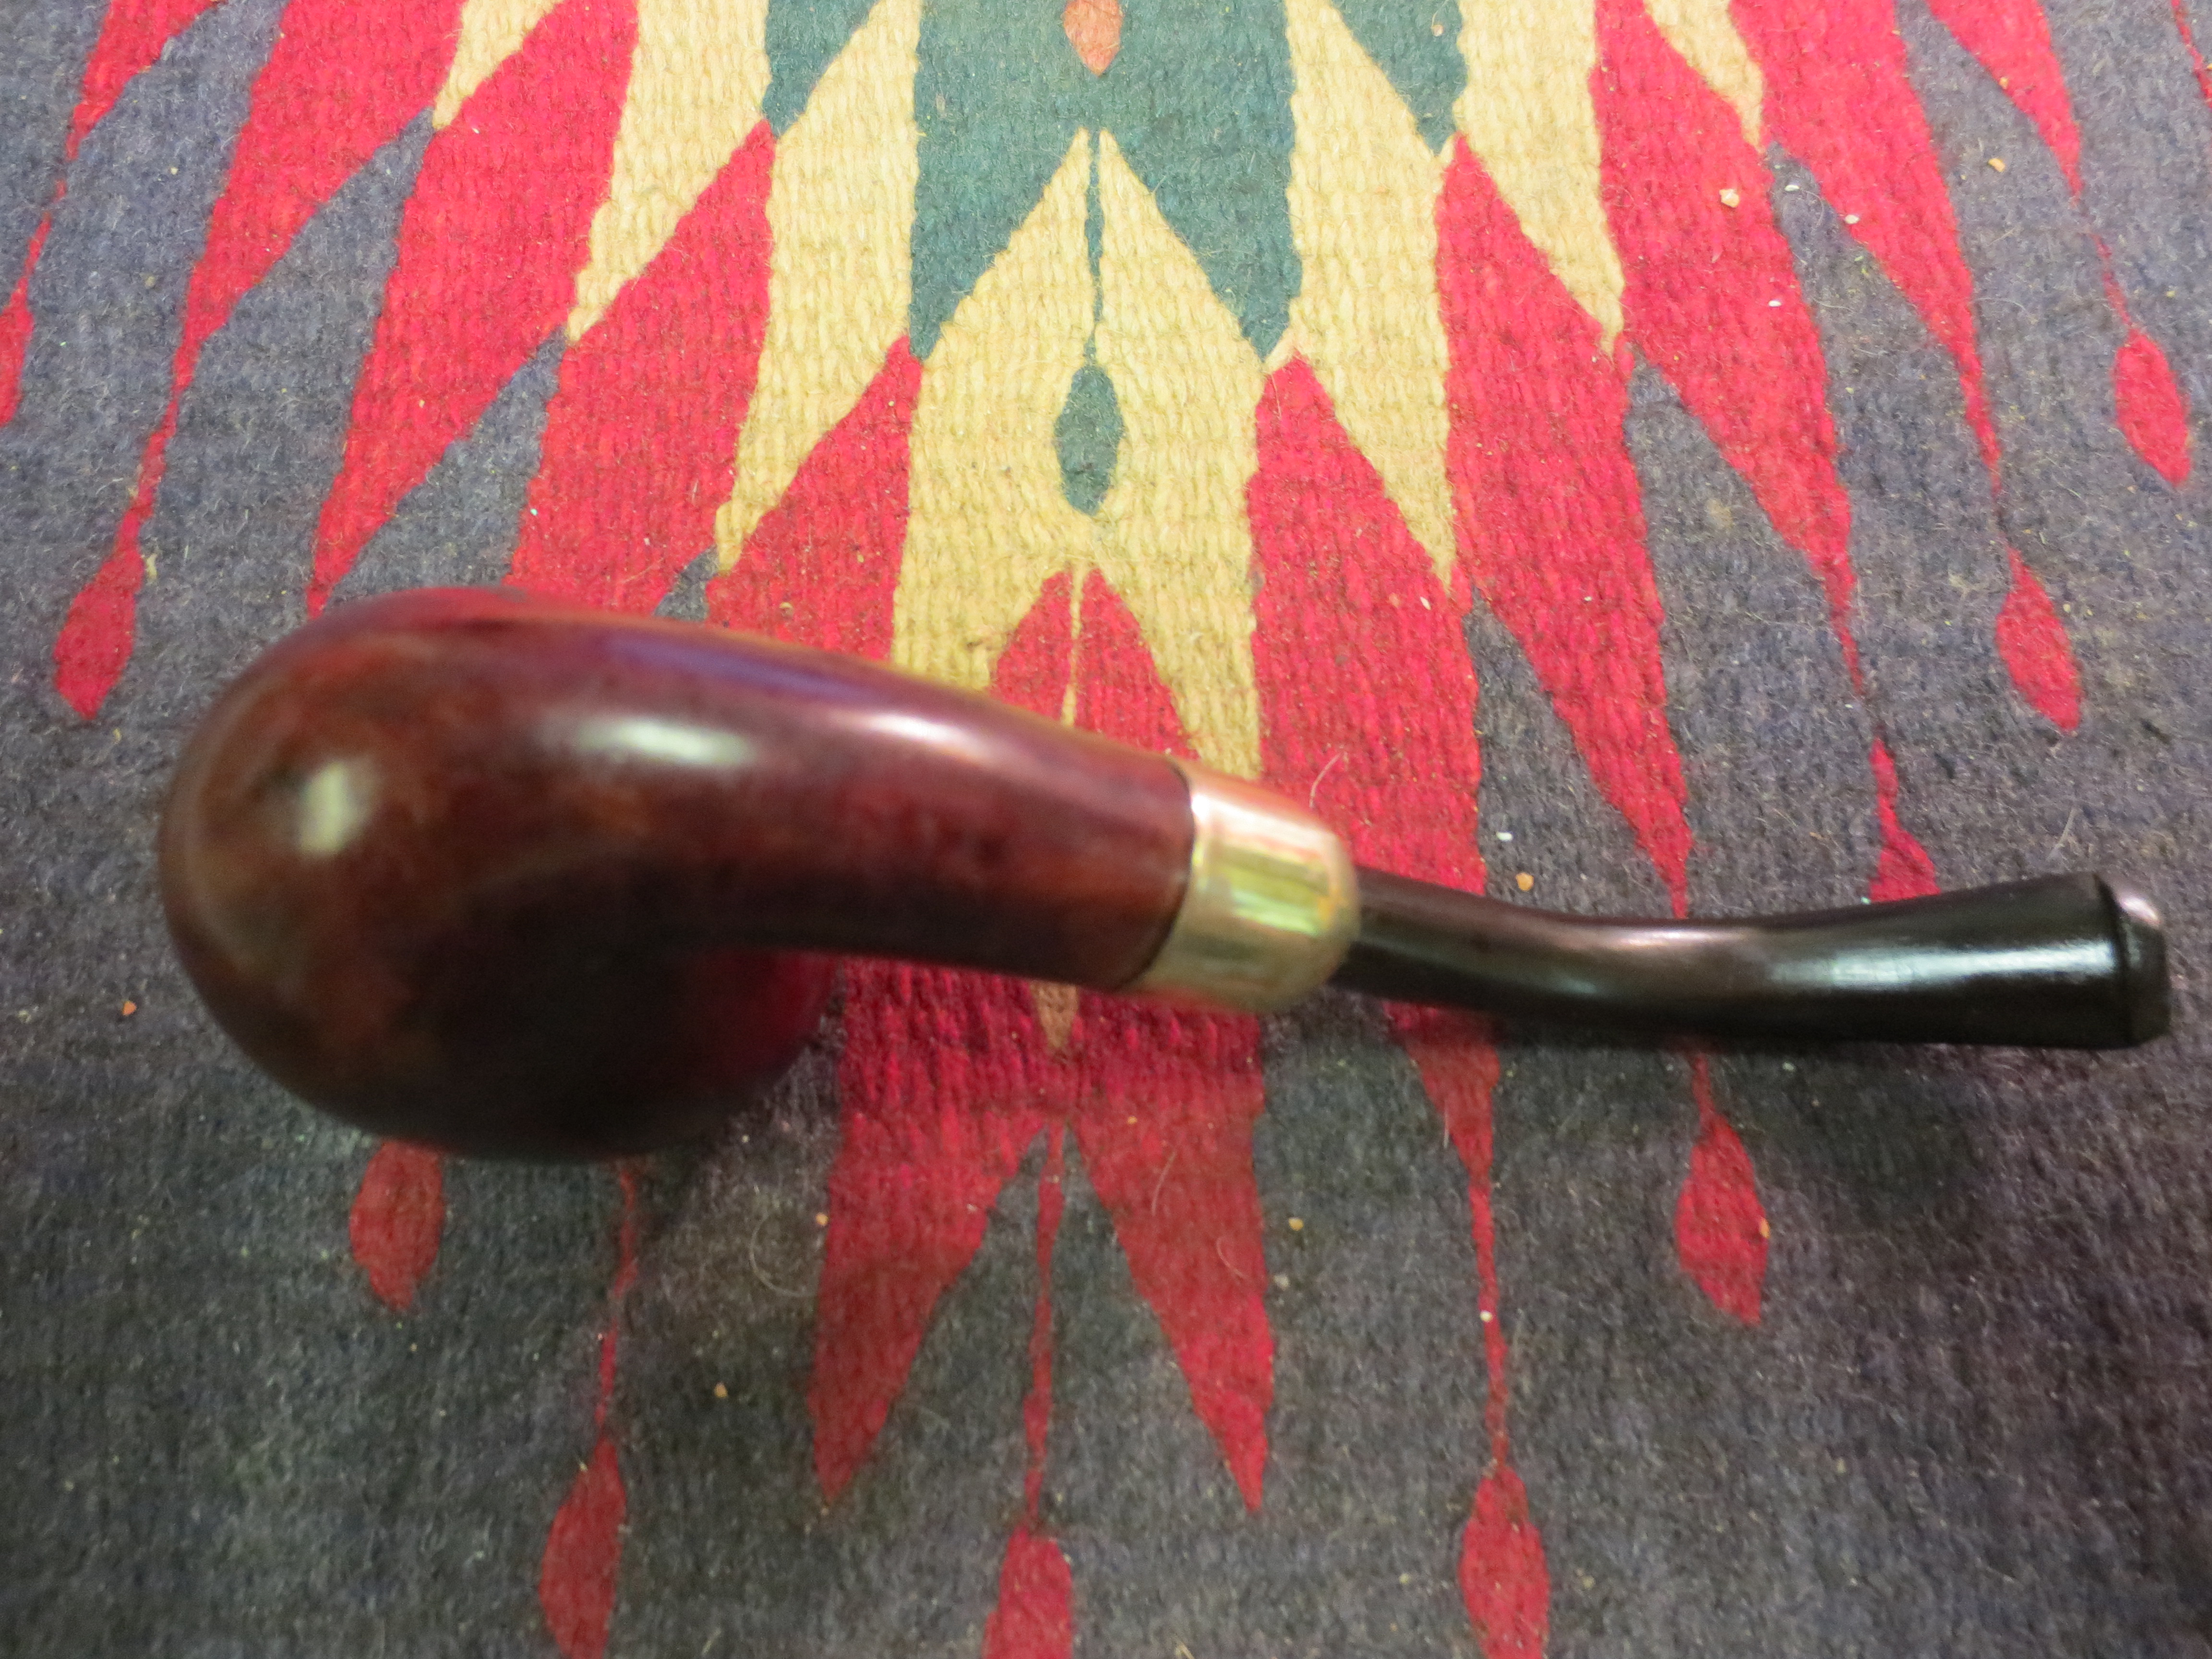
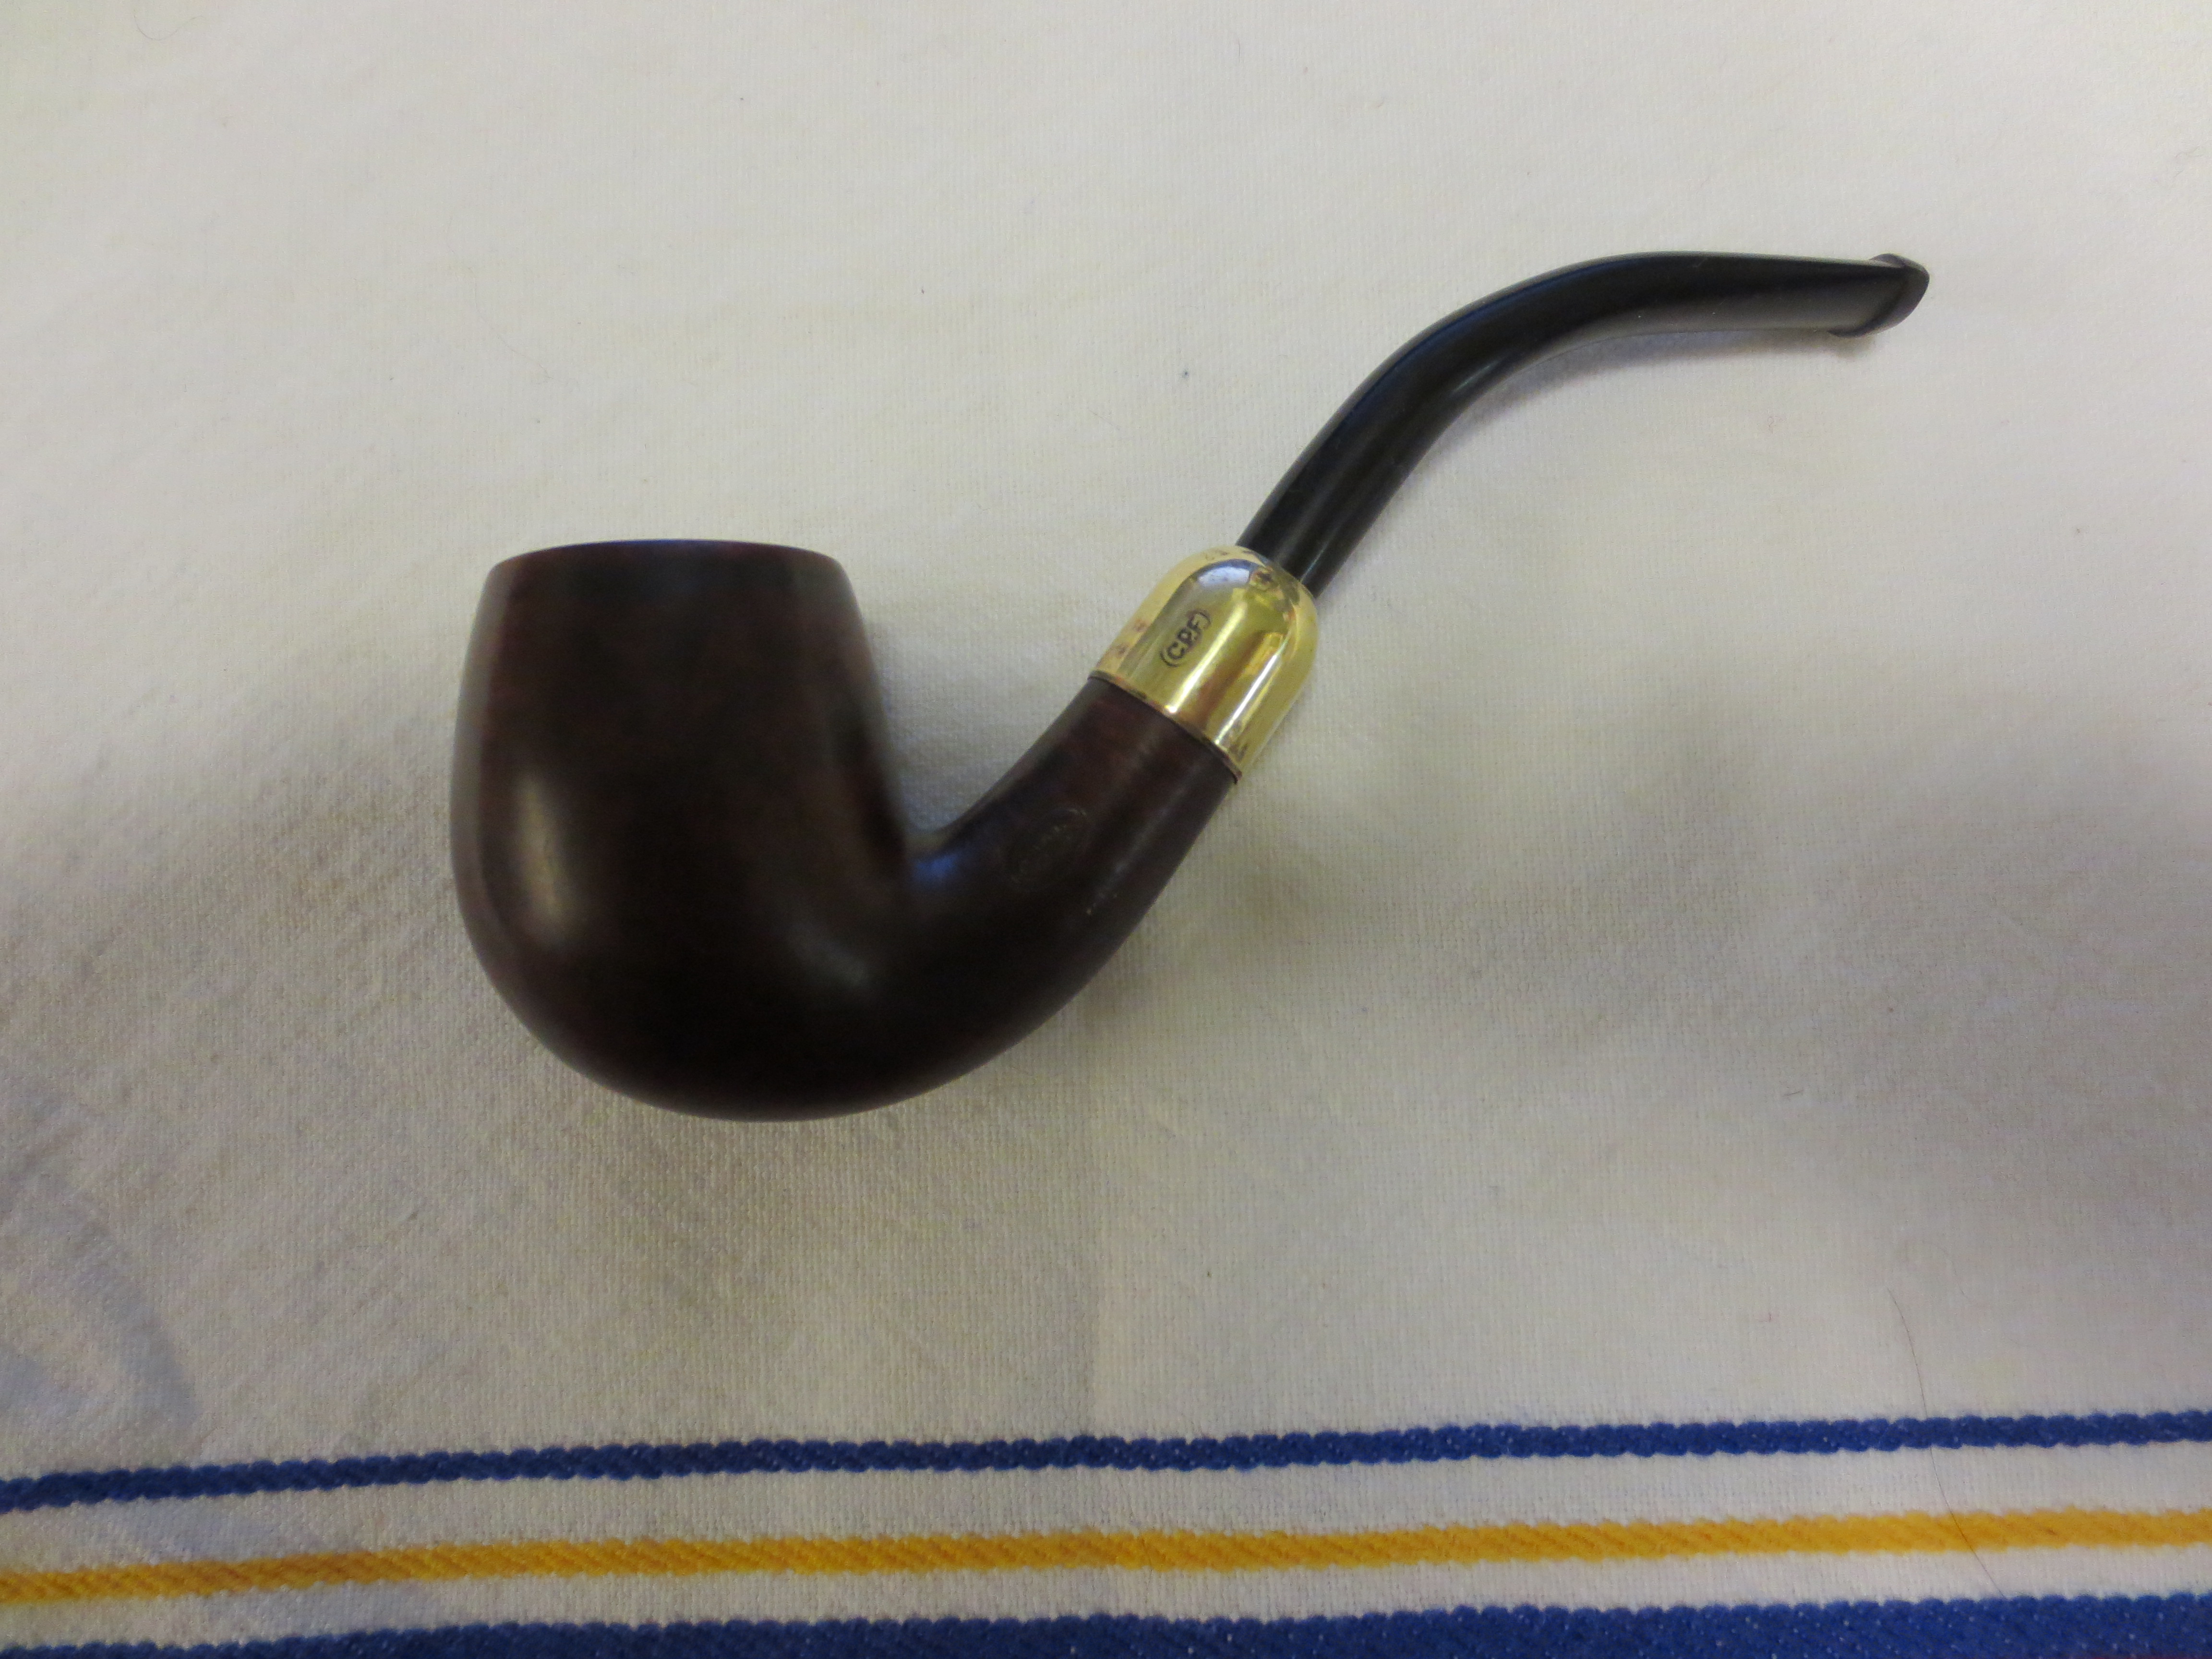
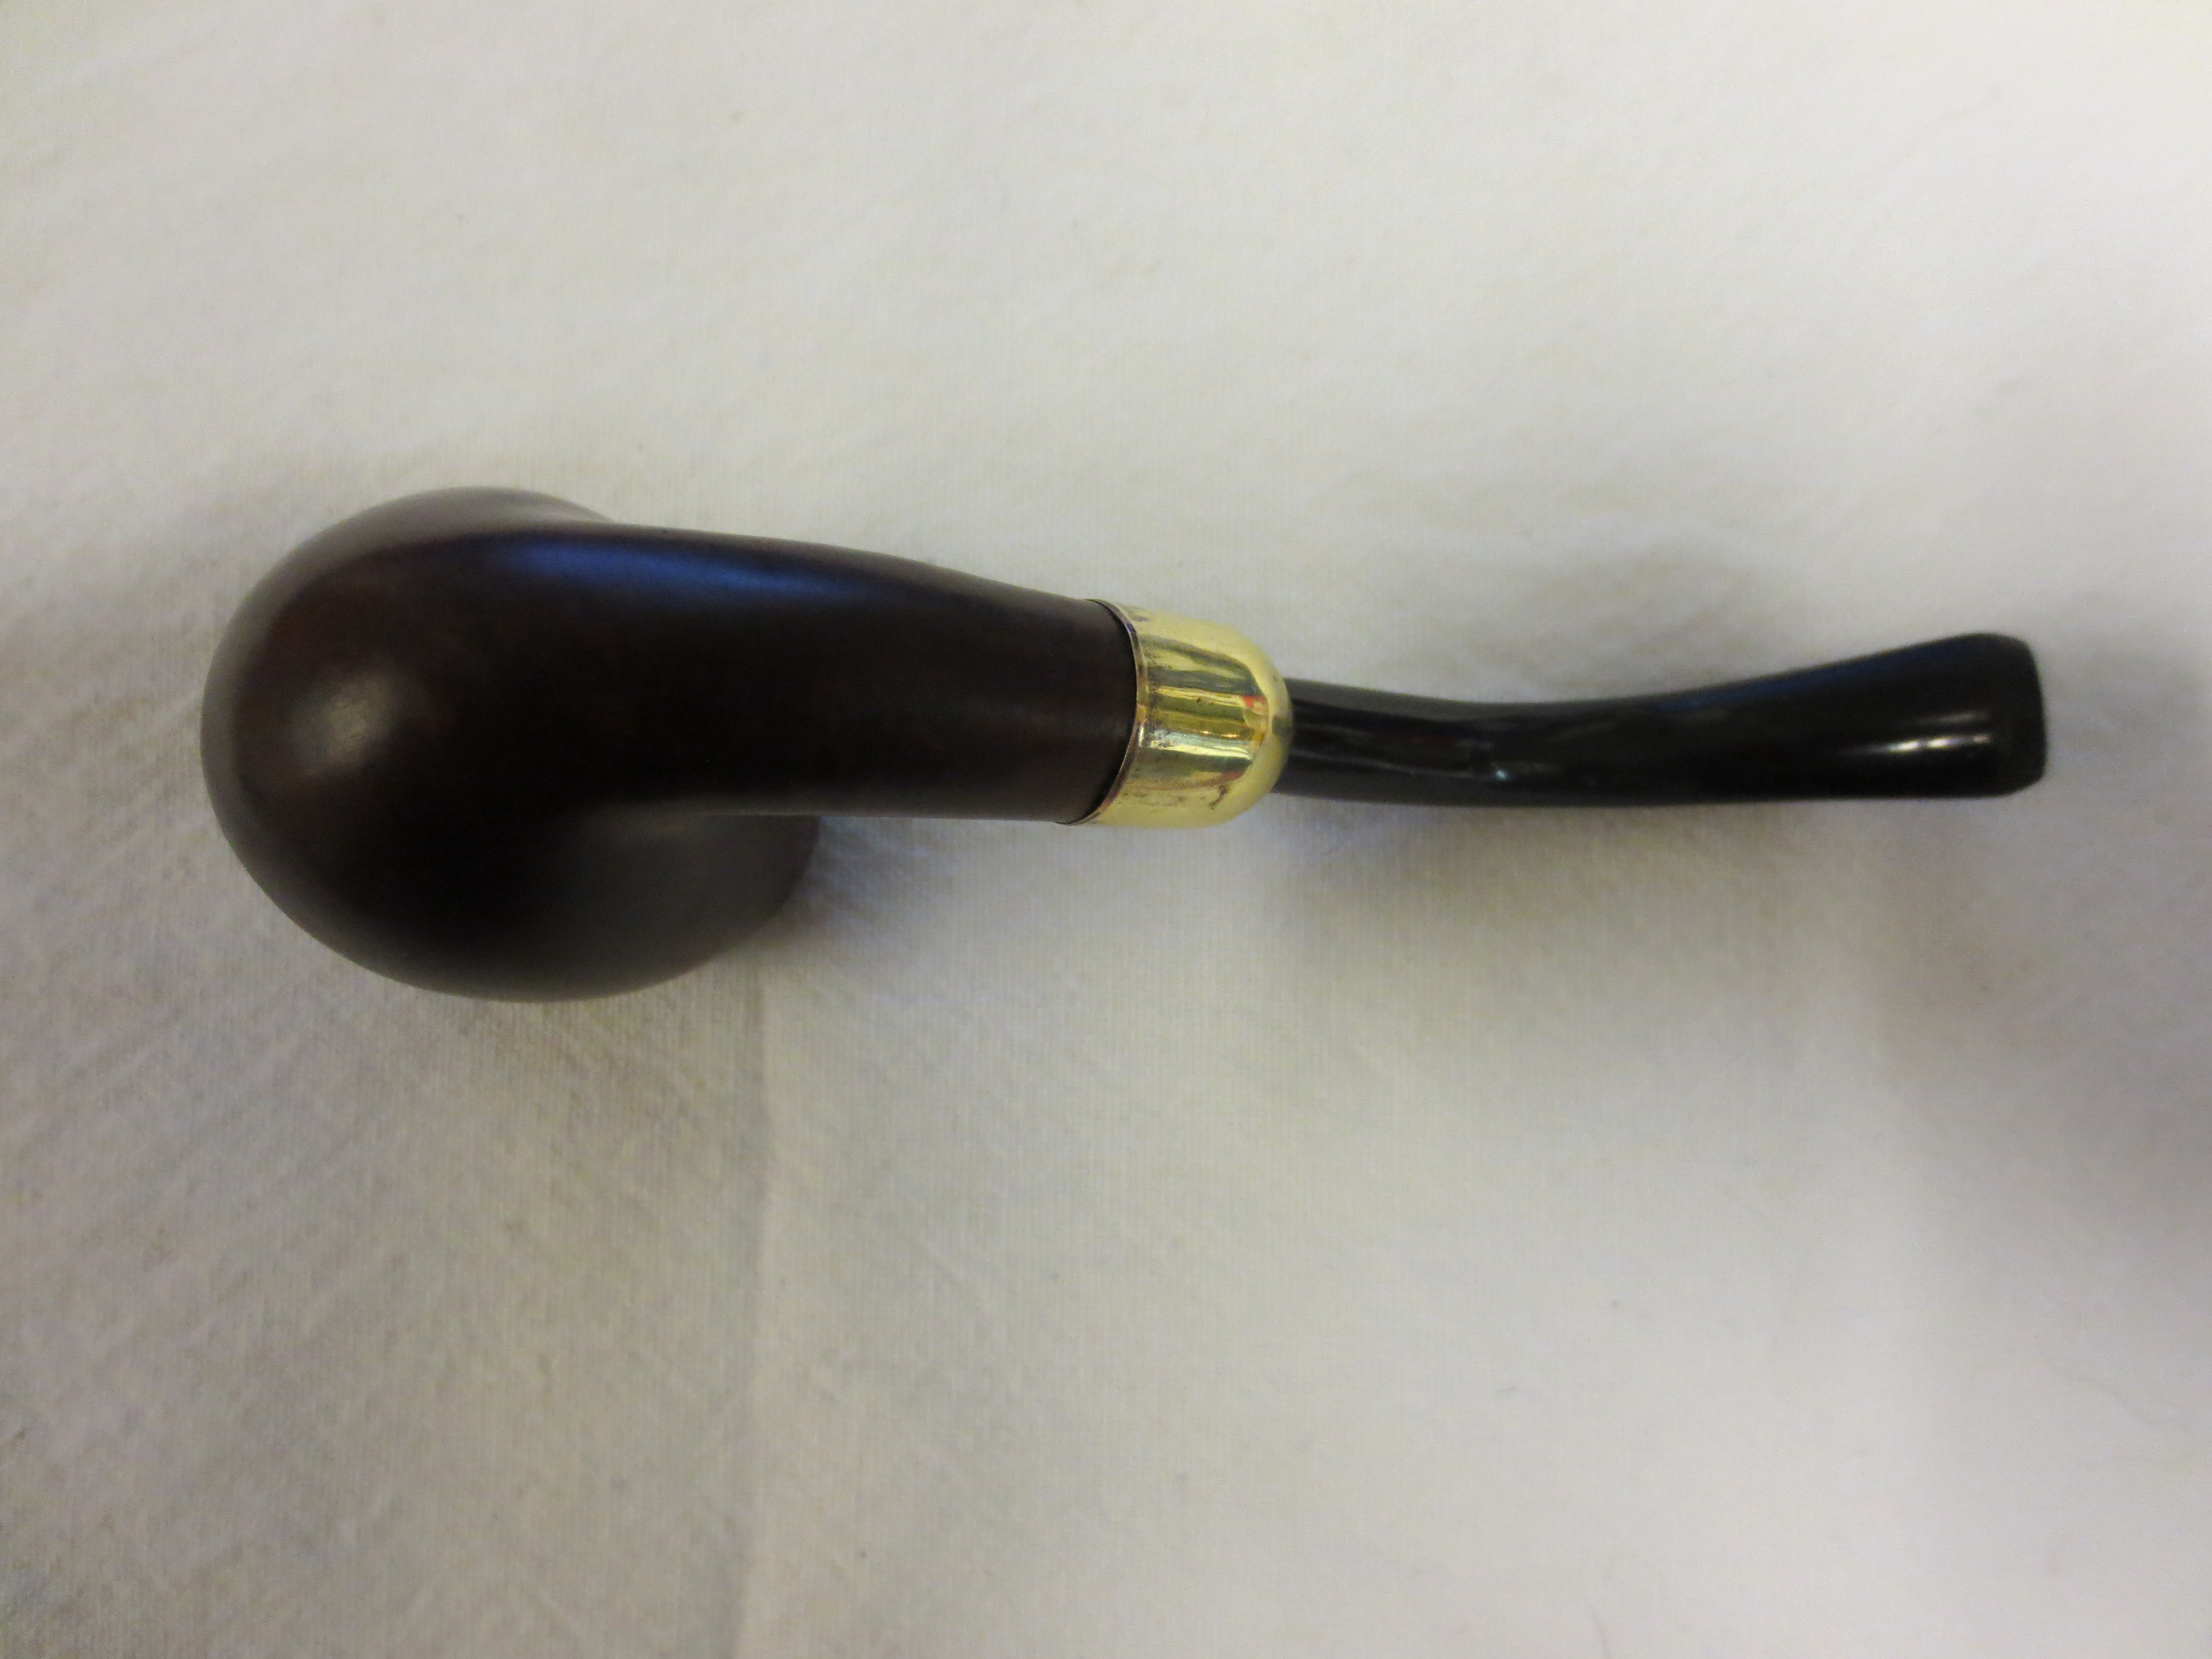
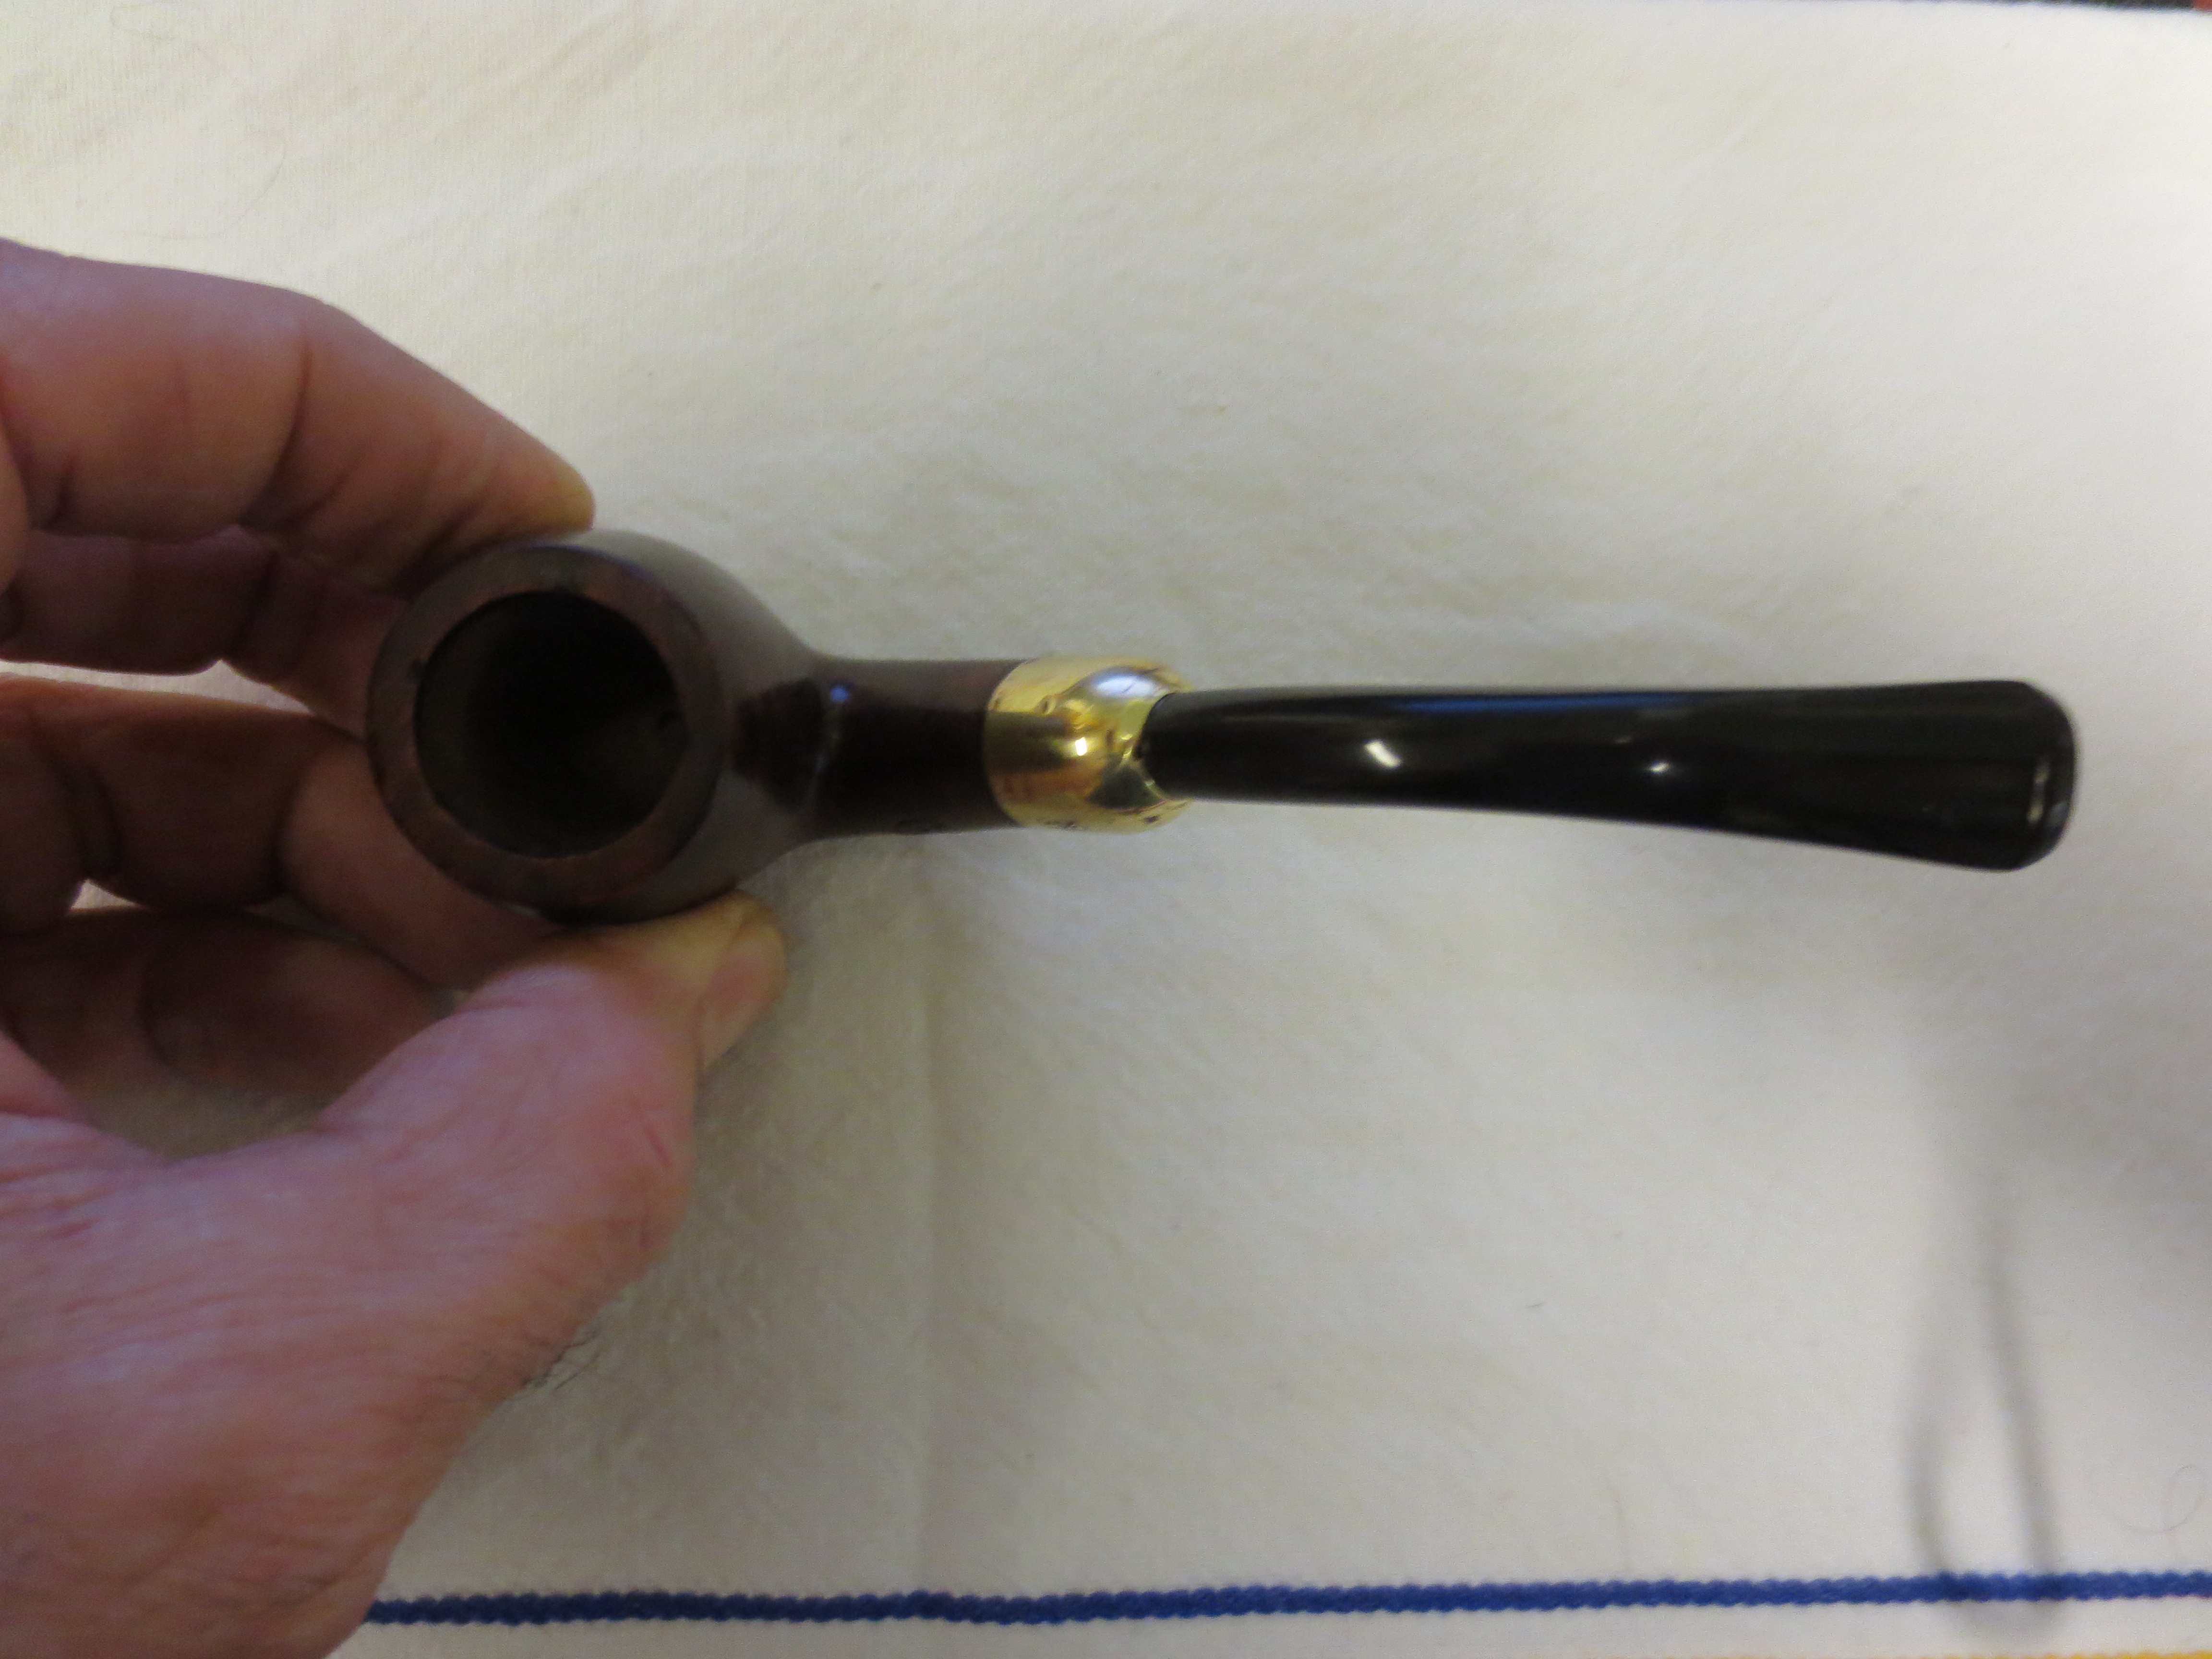
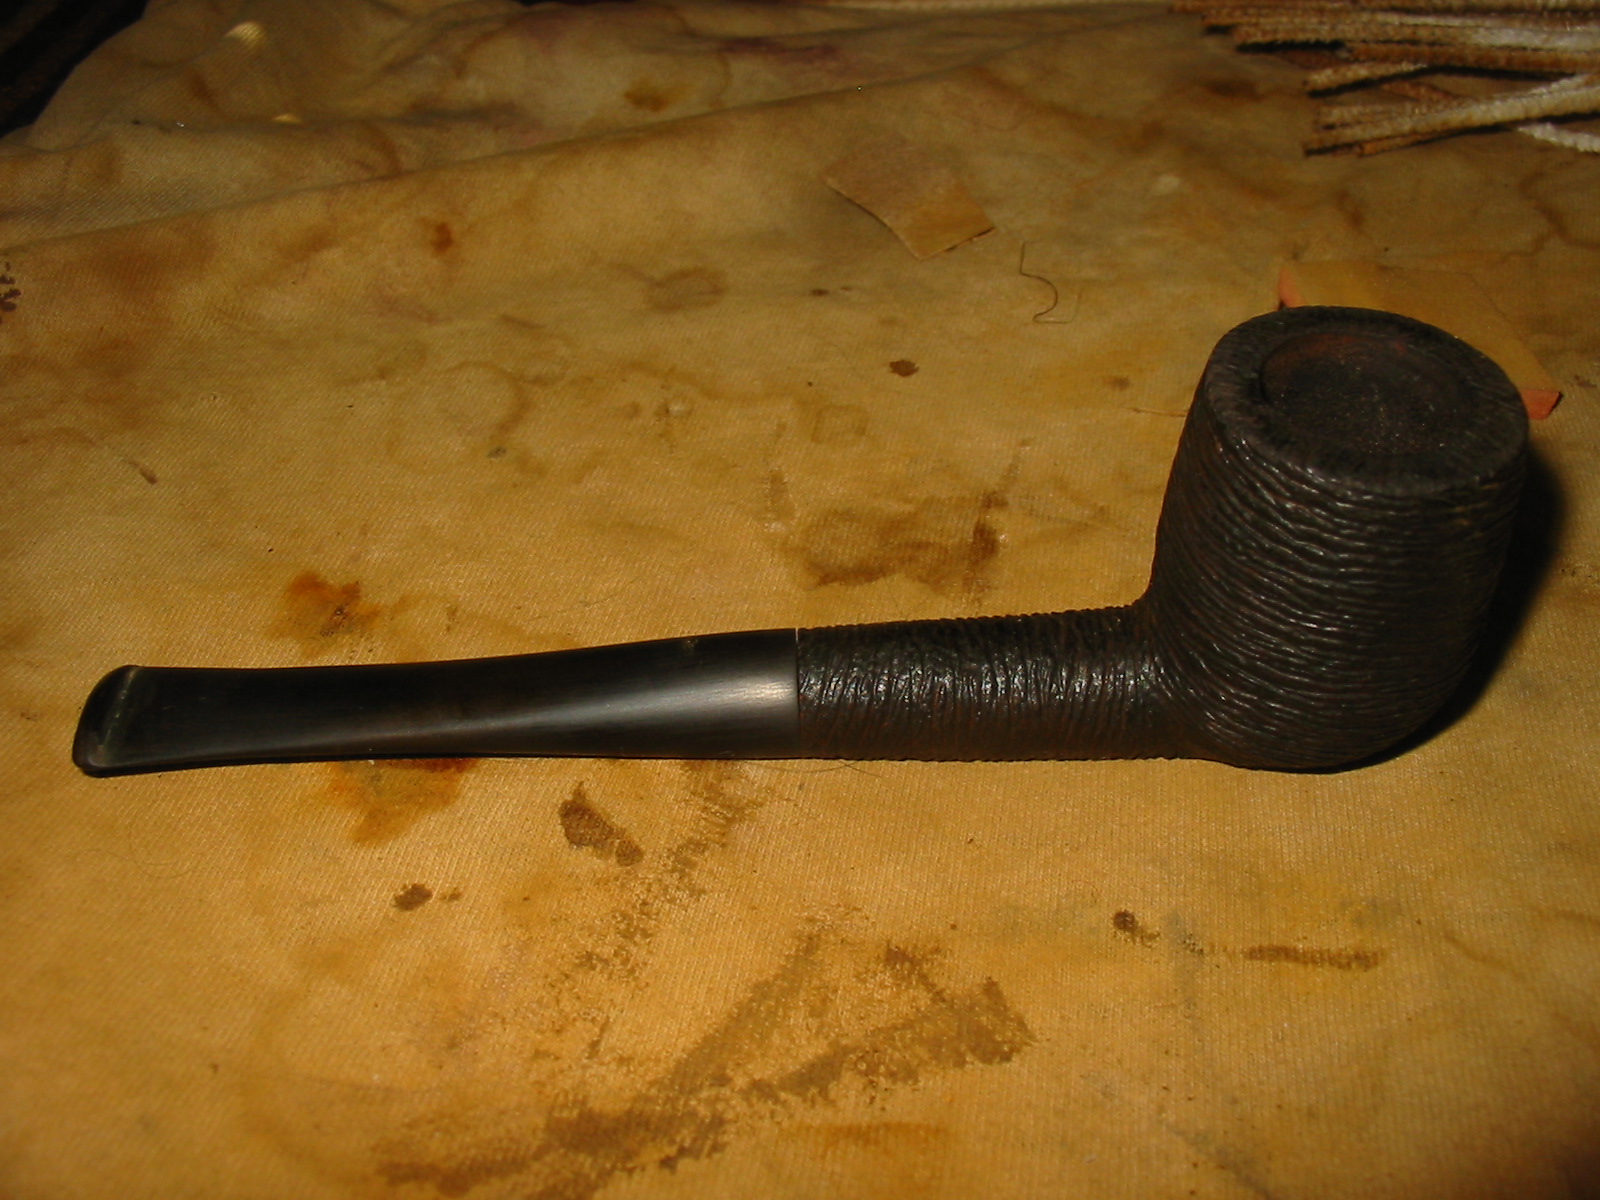
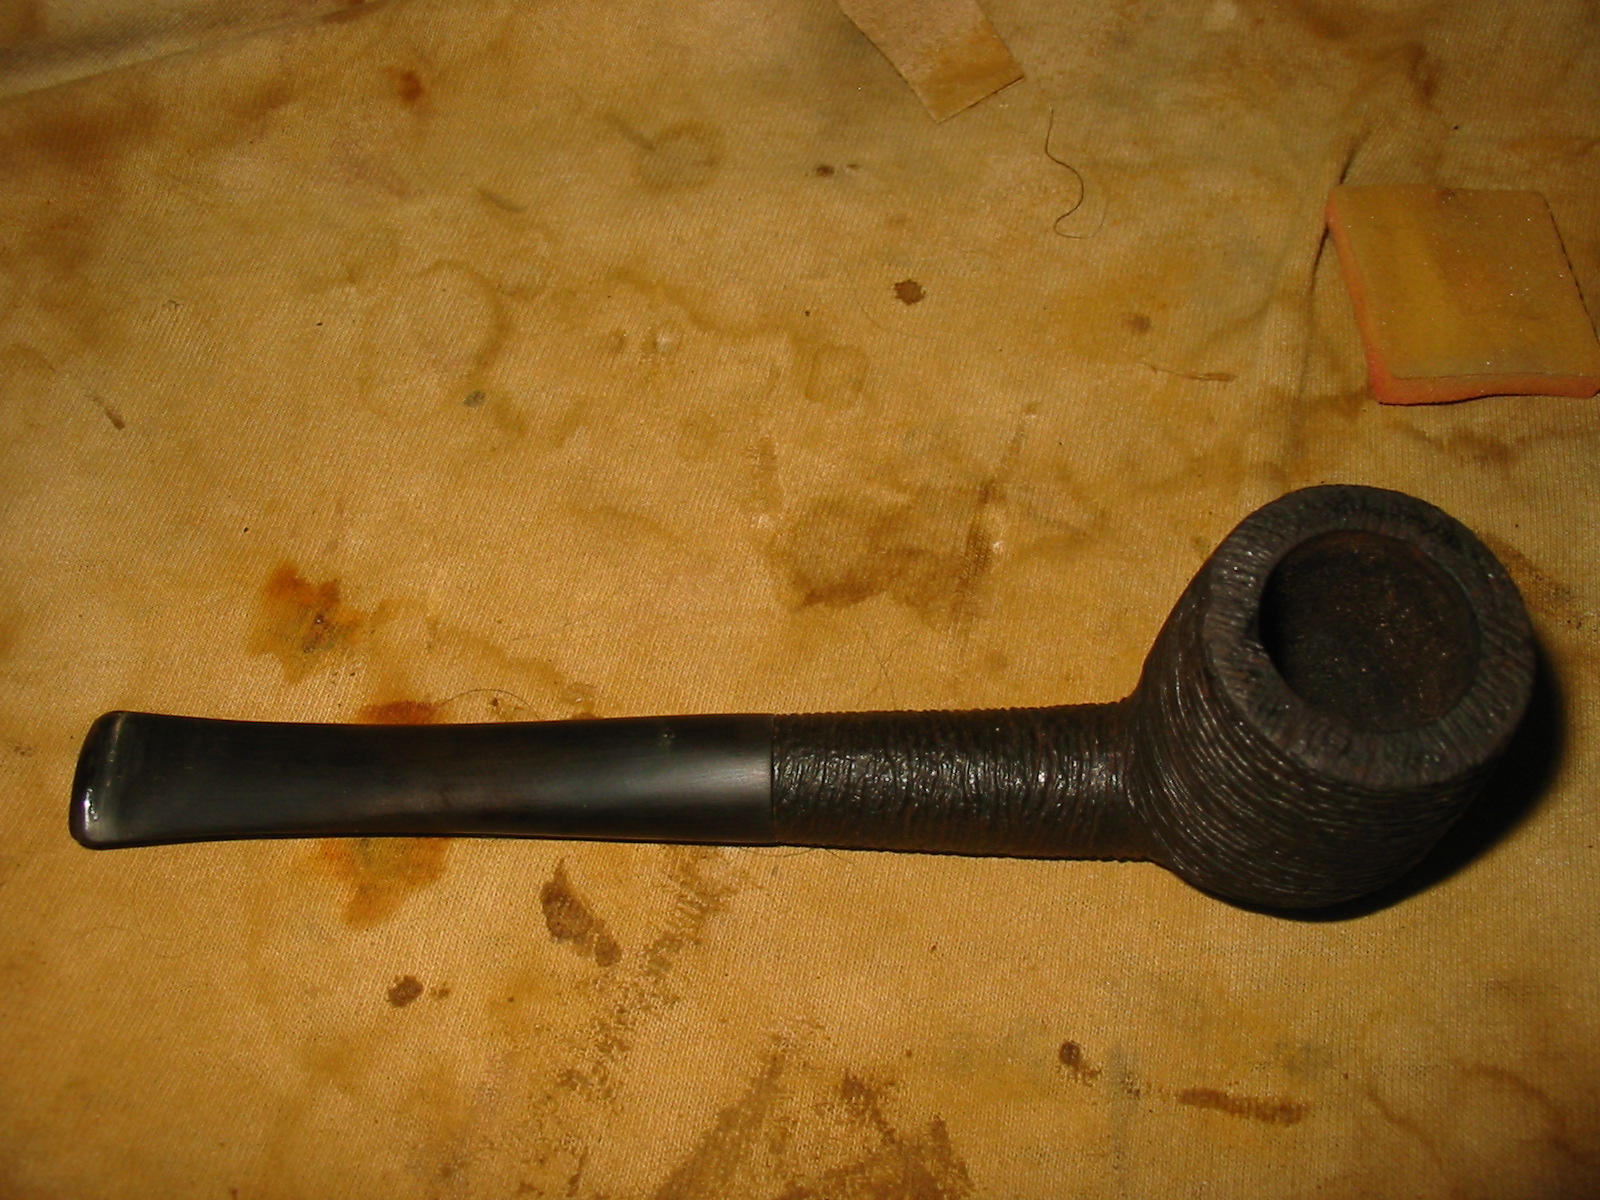
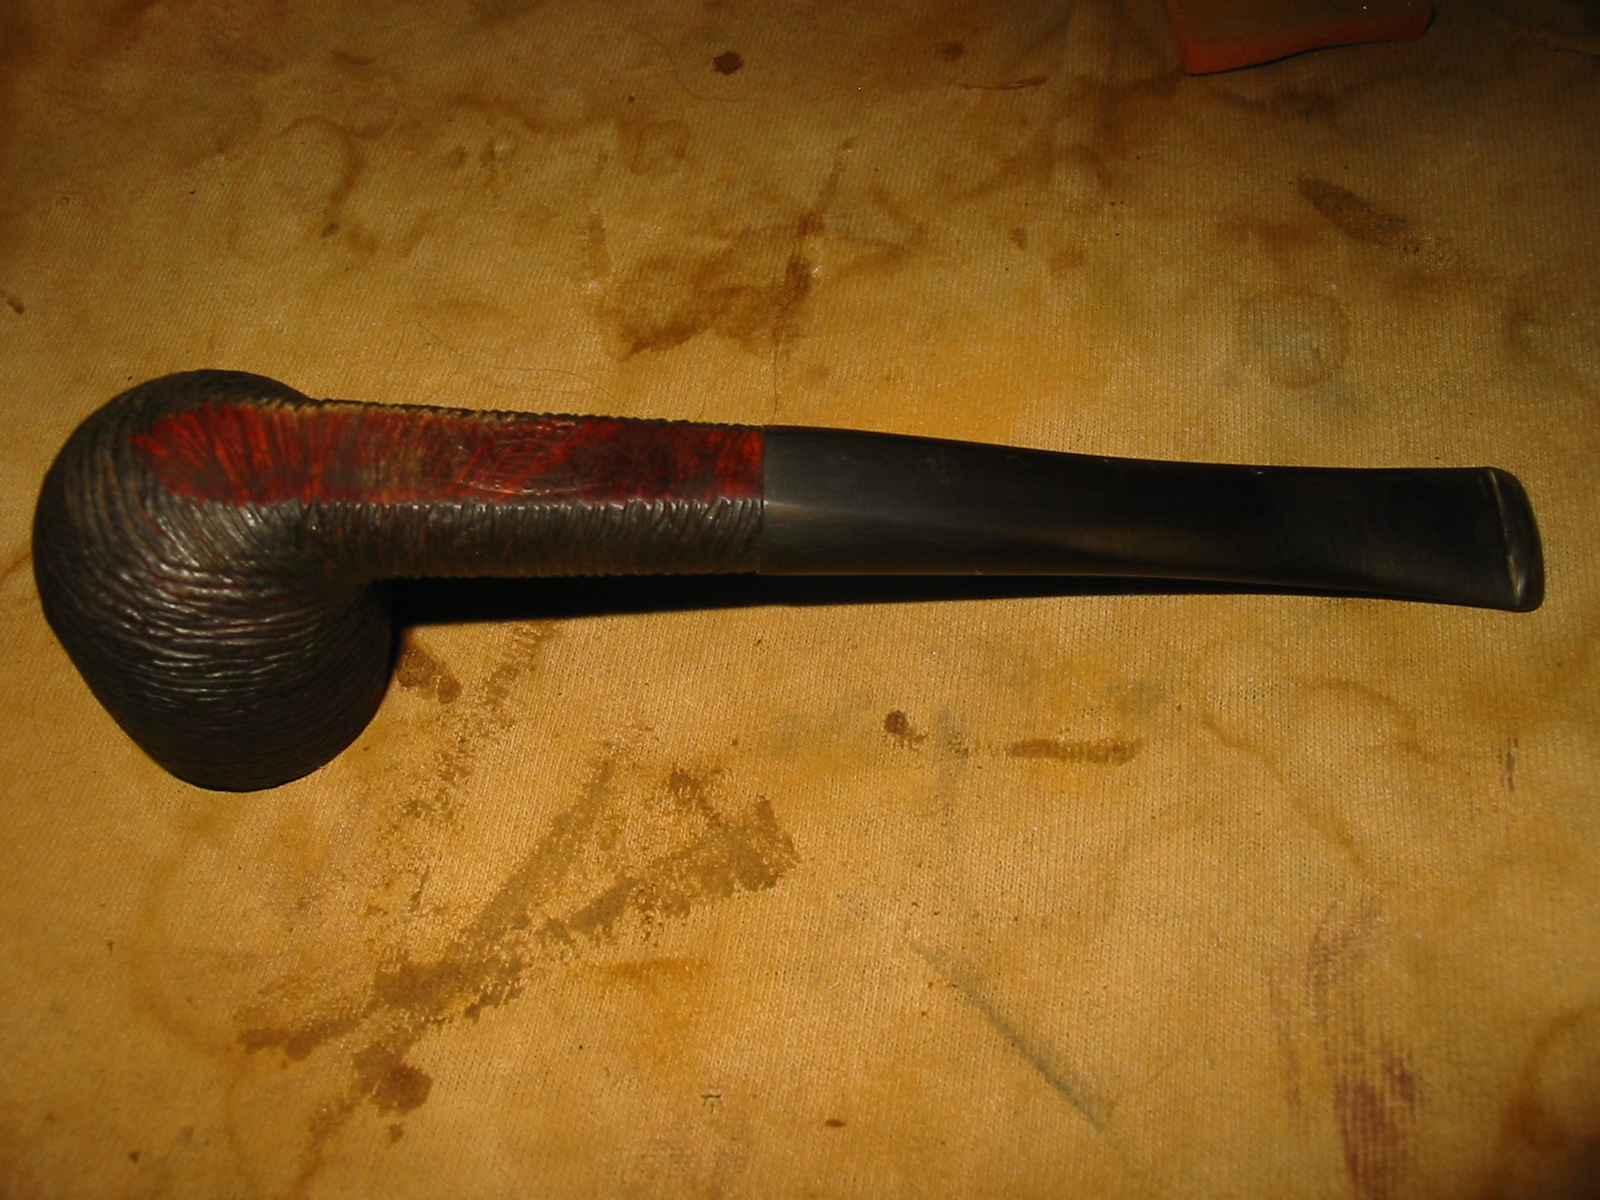
I am once again down to the remnants of the box of pipes to refurbished. This one is a no name Dublin with a large bowl and a long stem. The only stamping on the pipe is the words Imported over Briar on the left side of the shank. It is a screw mount metal tenon but the condenser attachment is missing. The stem was oxidized and had tooth dents on the top and bottom near the button. The inside of the stem was sticky black tar and smelled of sweet aromatics with goopy topping. The bowl was caked but not too badly so. There were flakes of tobacco stuck to the walls of the bowl. There was some darkening to the briar on the outside that made me wonder what I would find underneath the uneven cake. The exterior of the bowl was very dirty. There was a lot of oil ground into the finish on the smooth parts of the bowl and the carved feathers/leaves had dirt built up in the grooves. There was also a large drop of green paint on the lower left side of the bowl. The rim was caked and dirty and was slightly out of round.

IMG_1640

IMG_1641

IMG_1642

IMG_1643

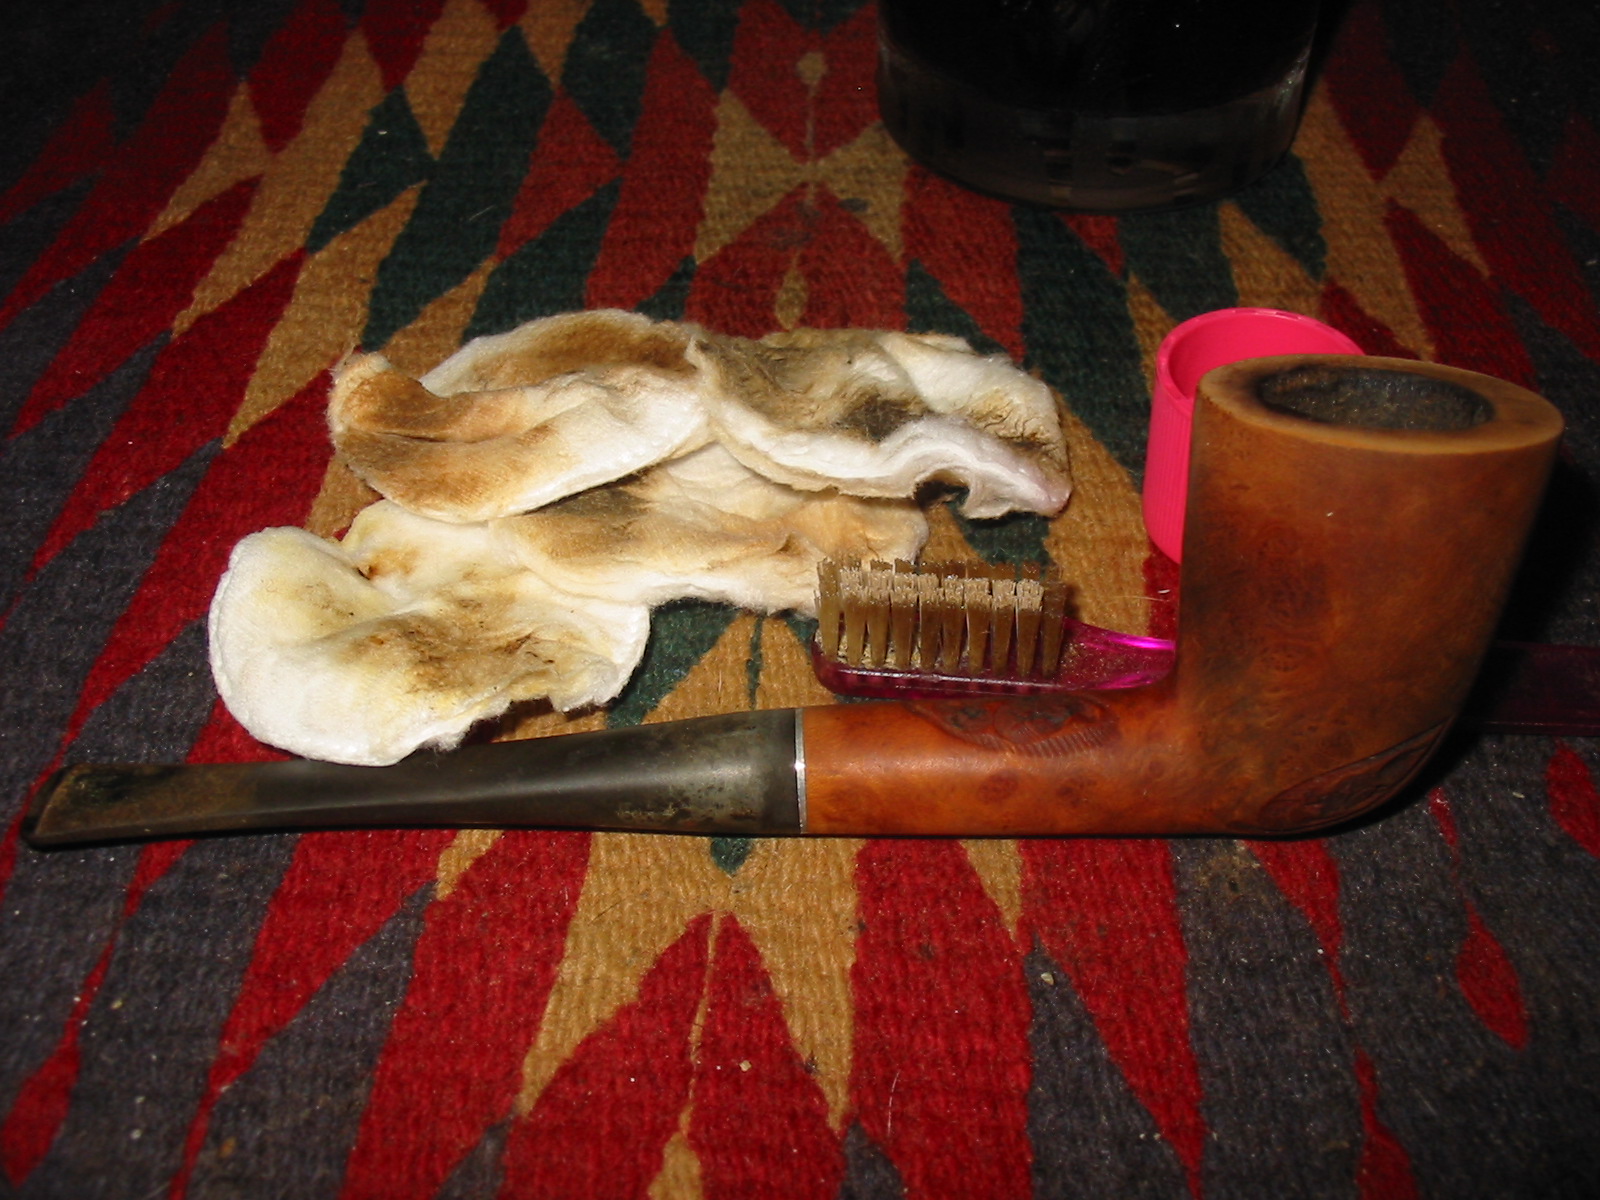
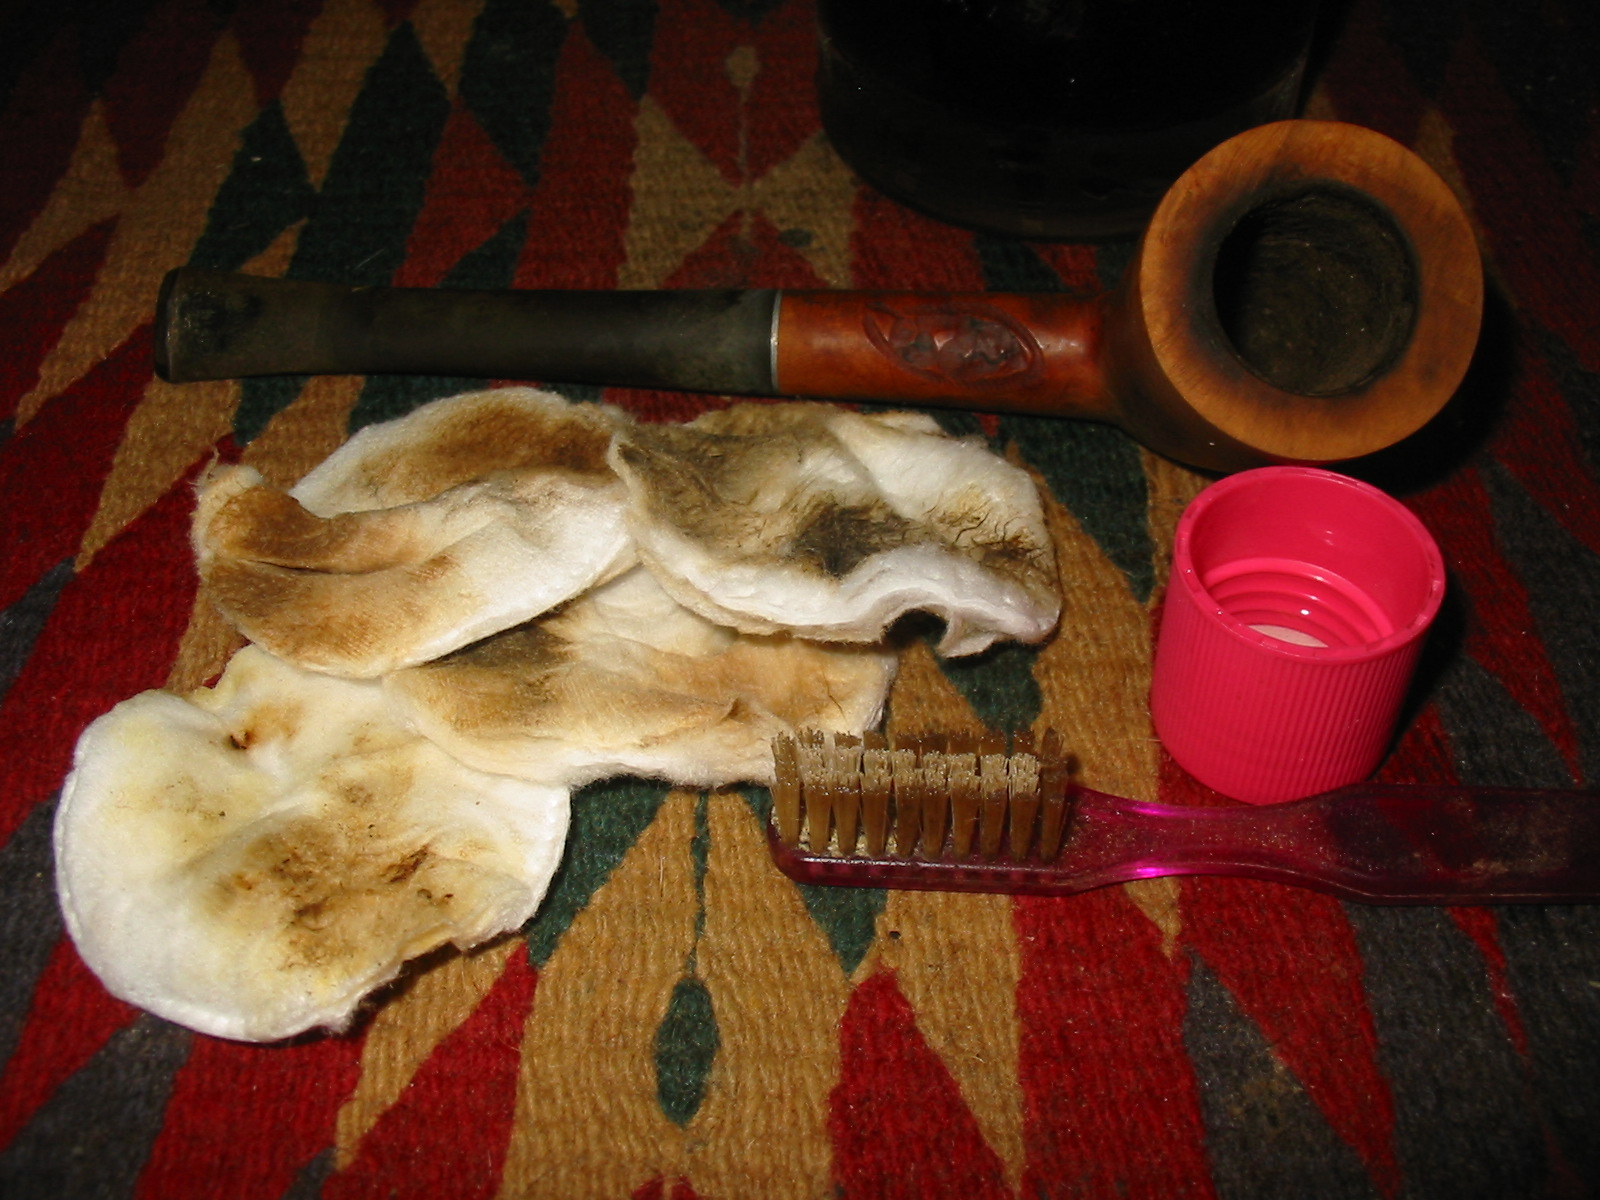
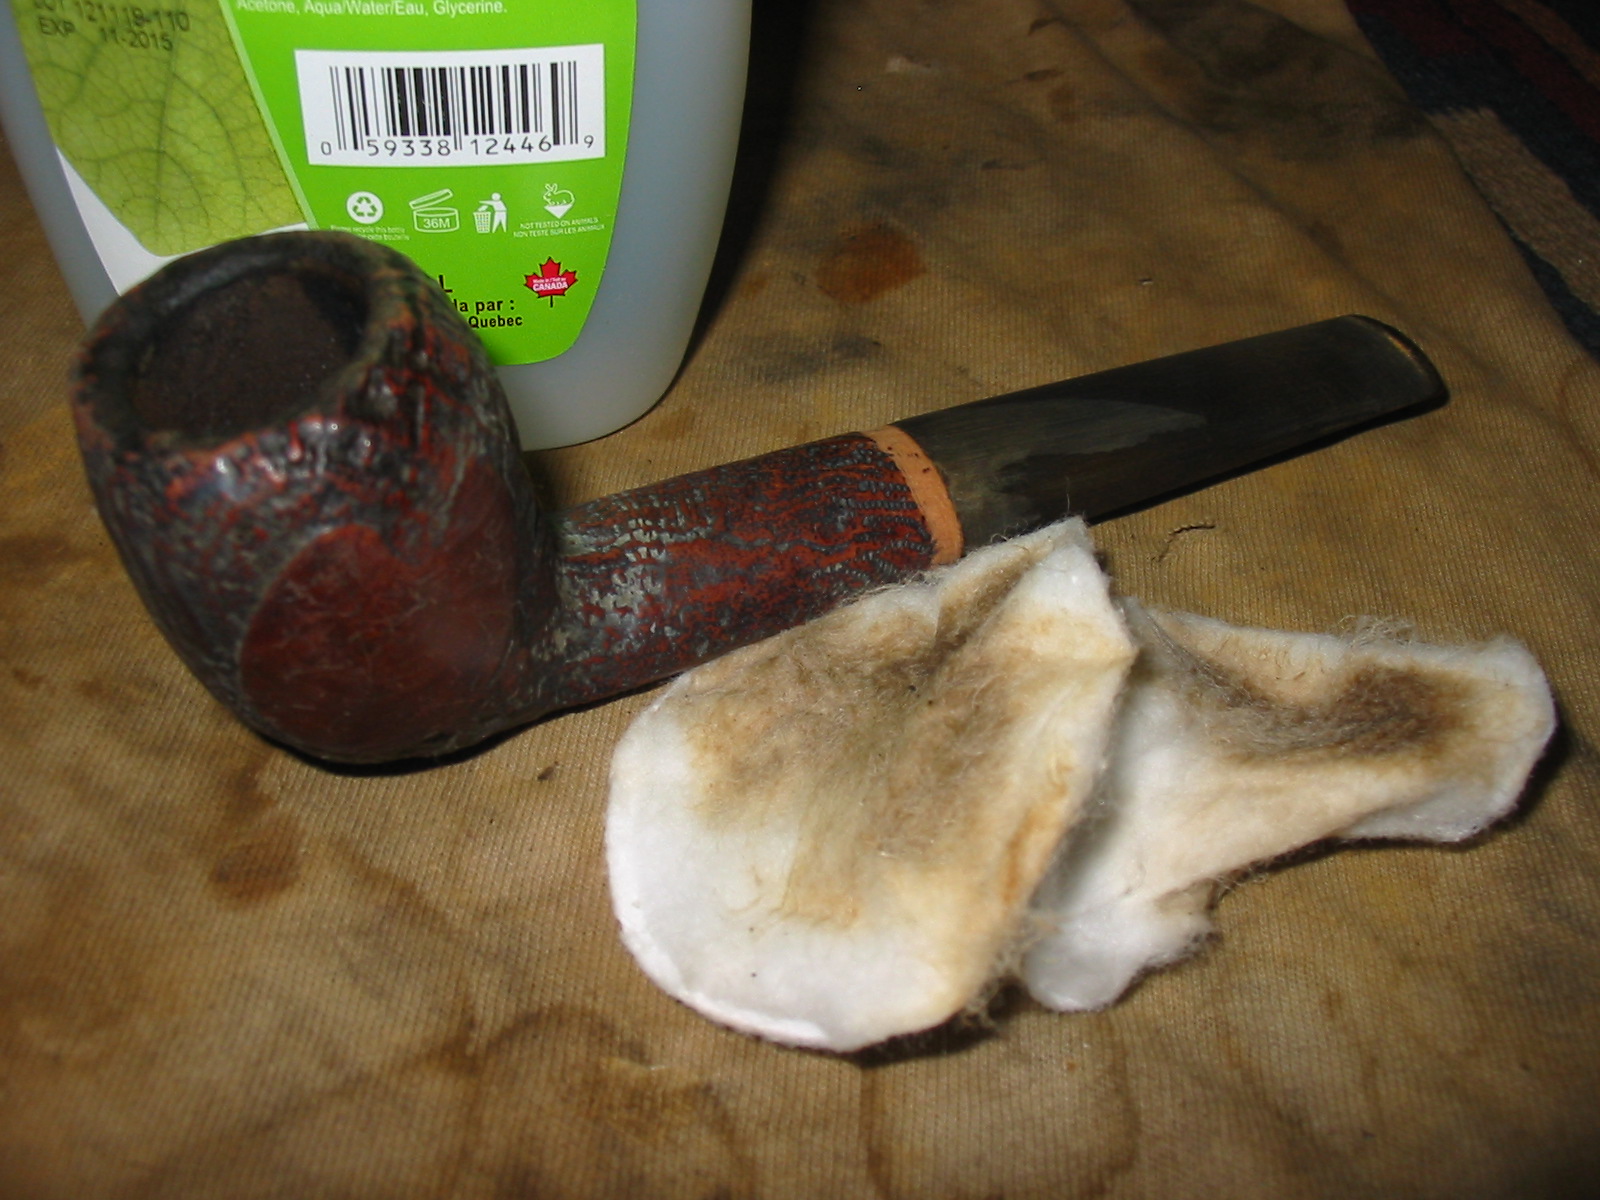
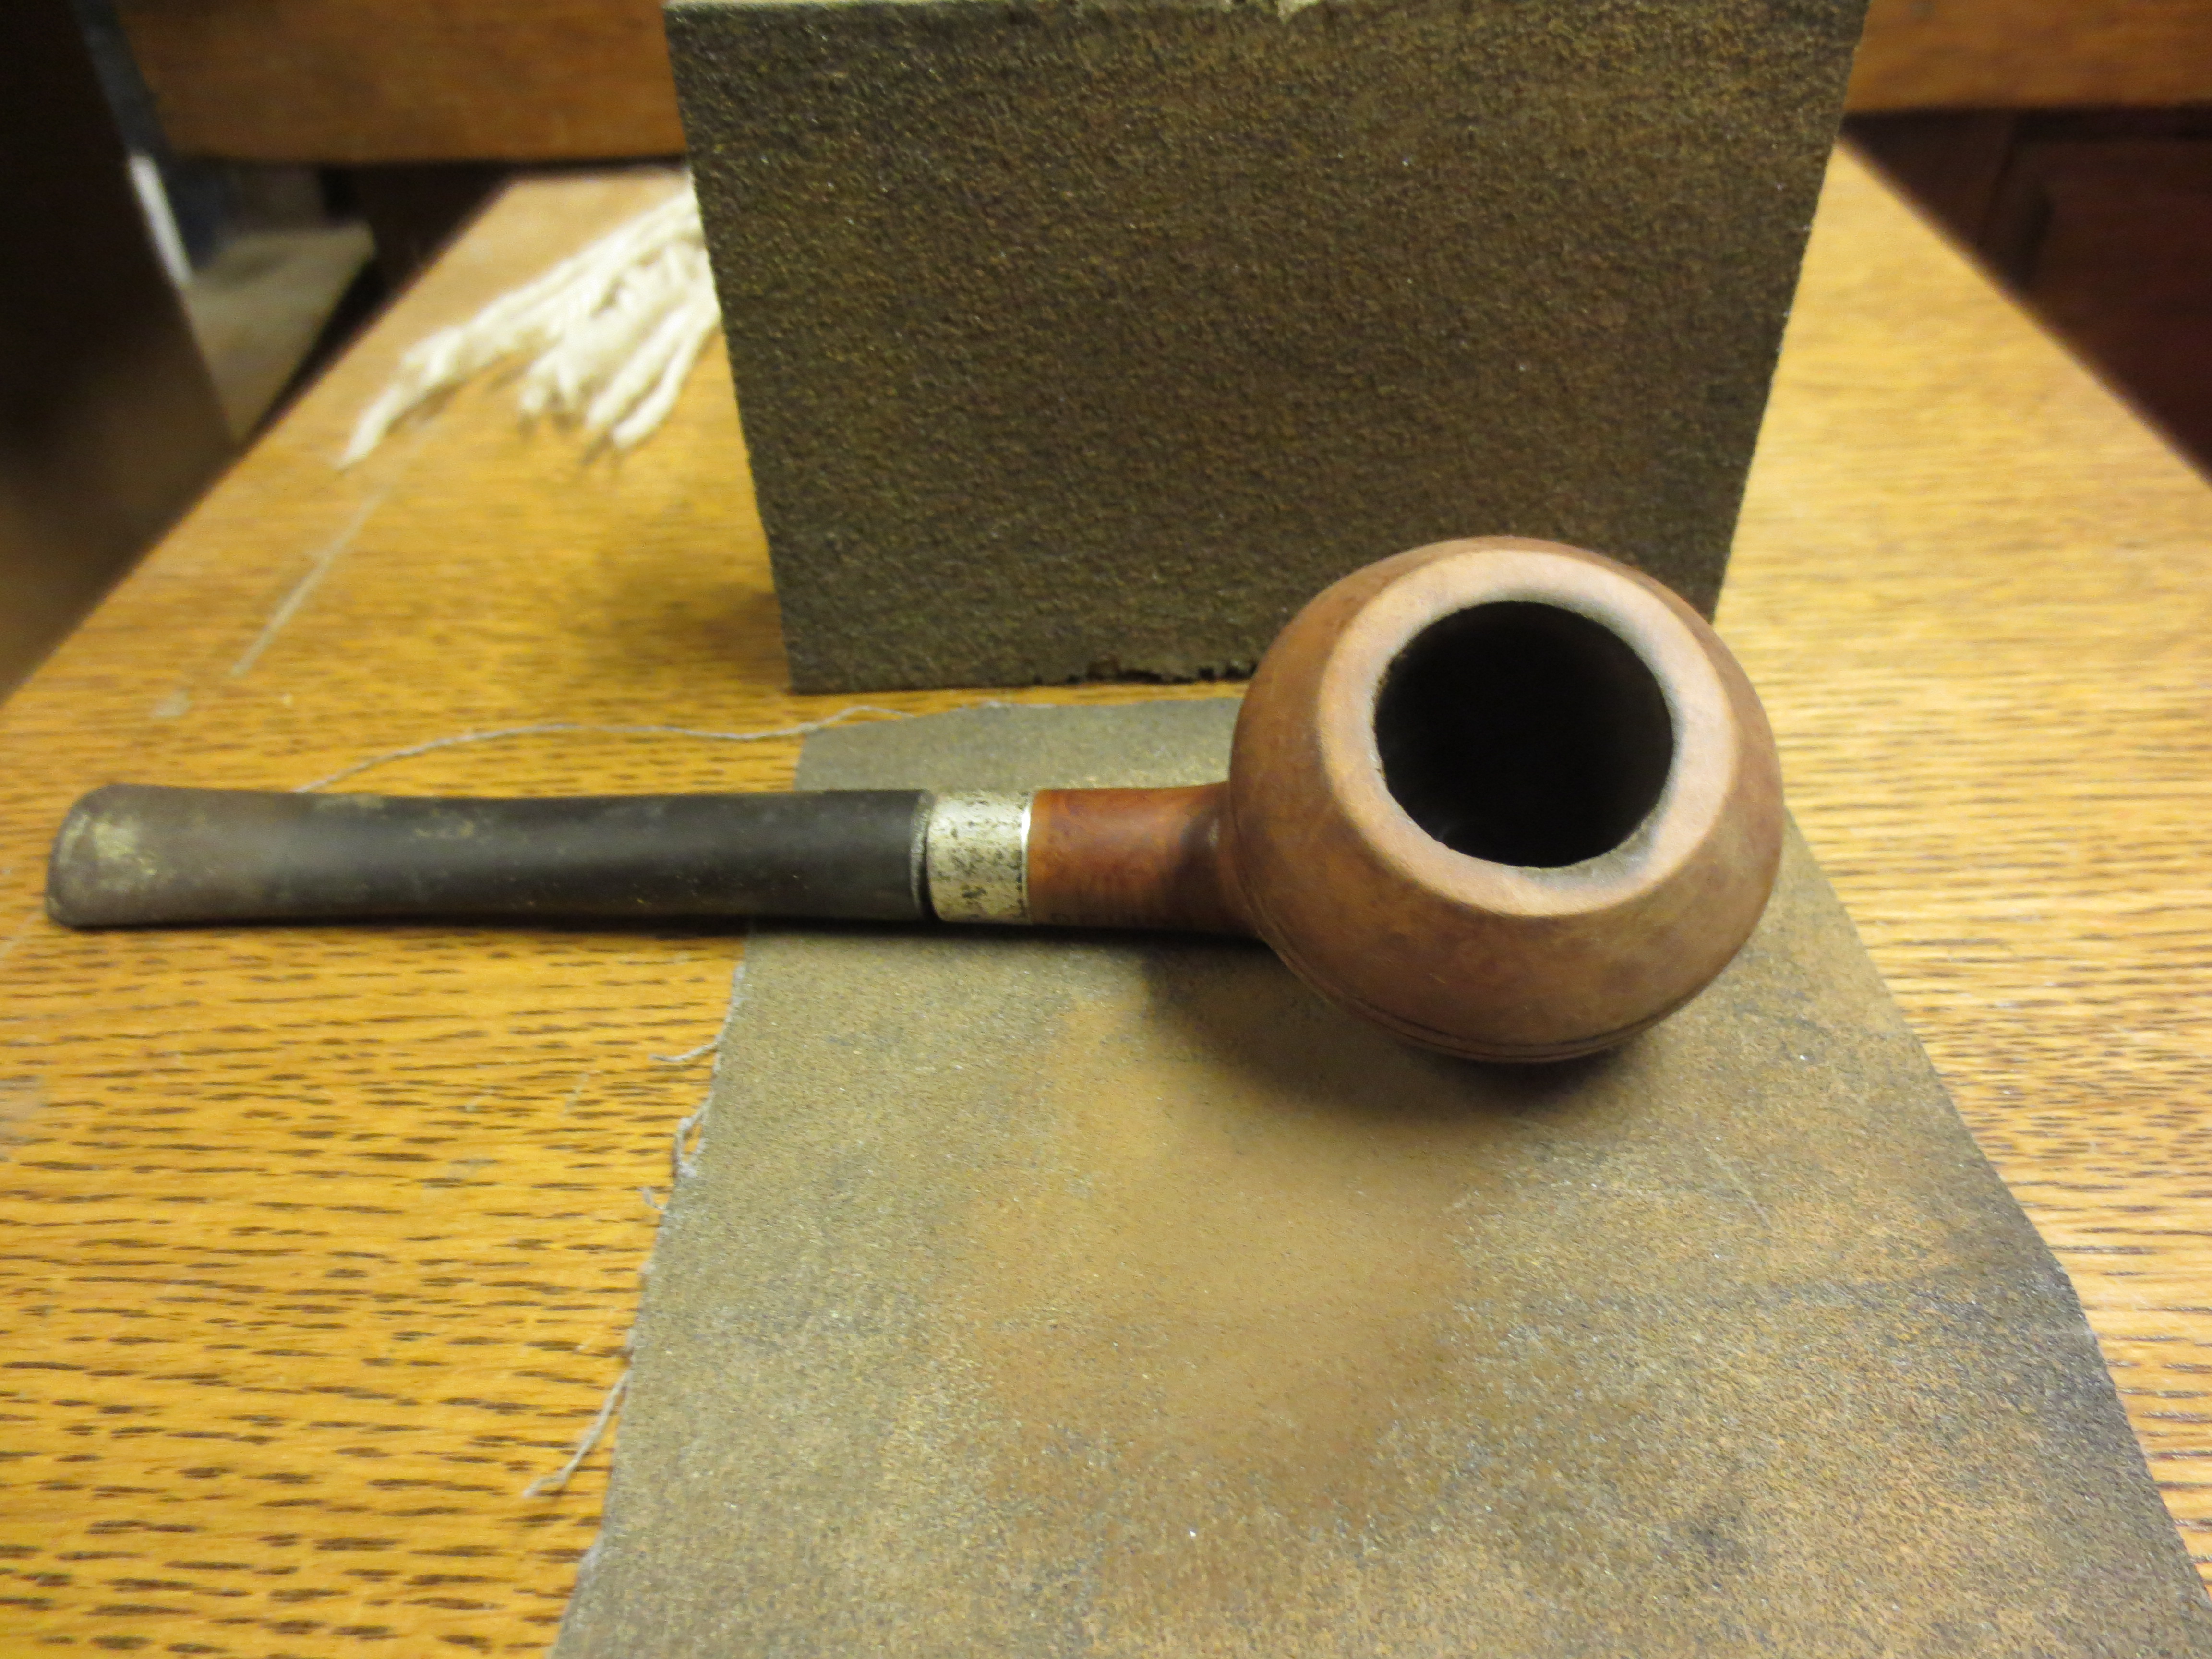
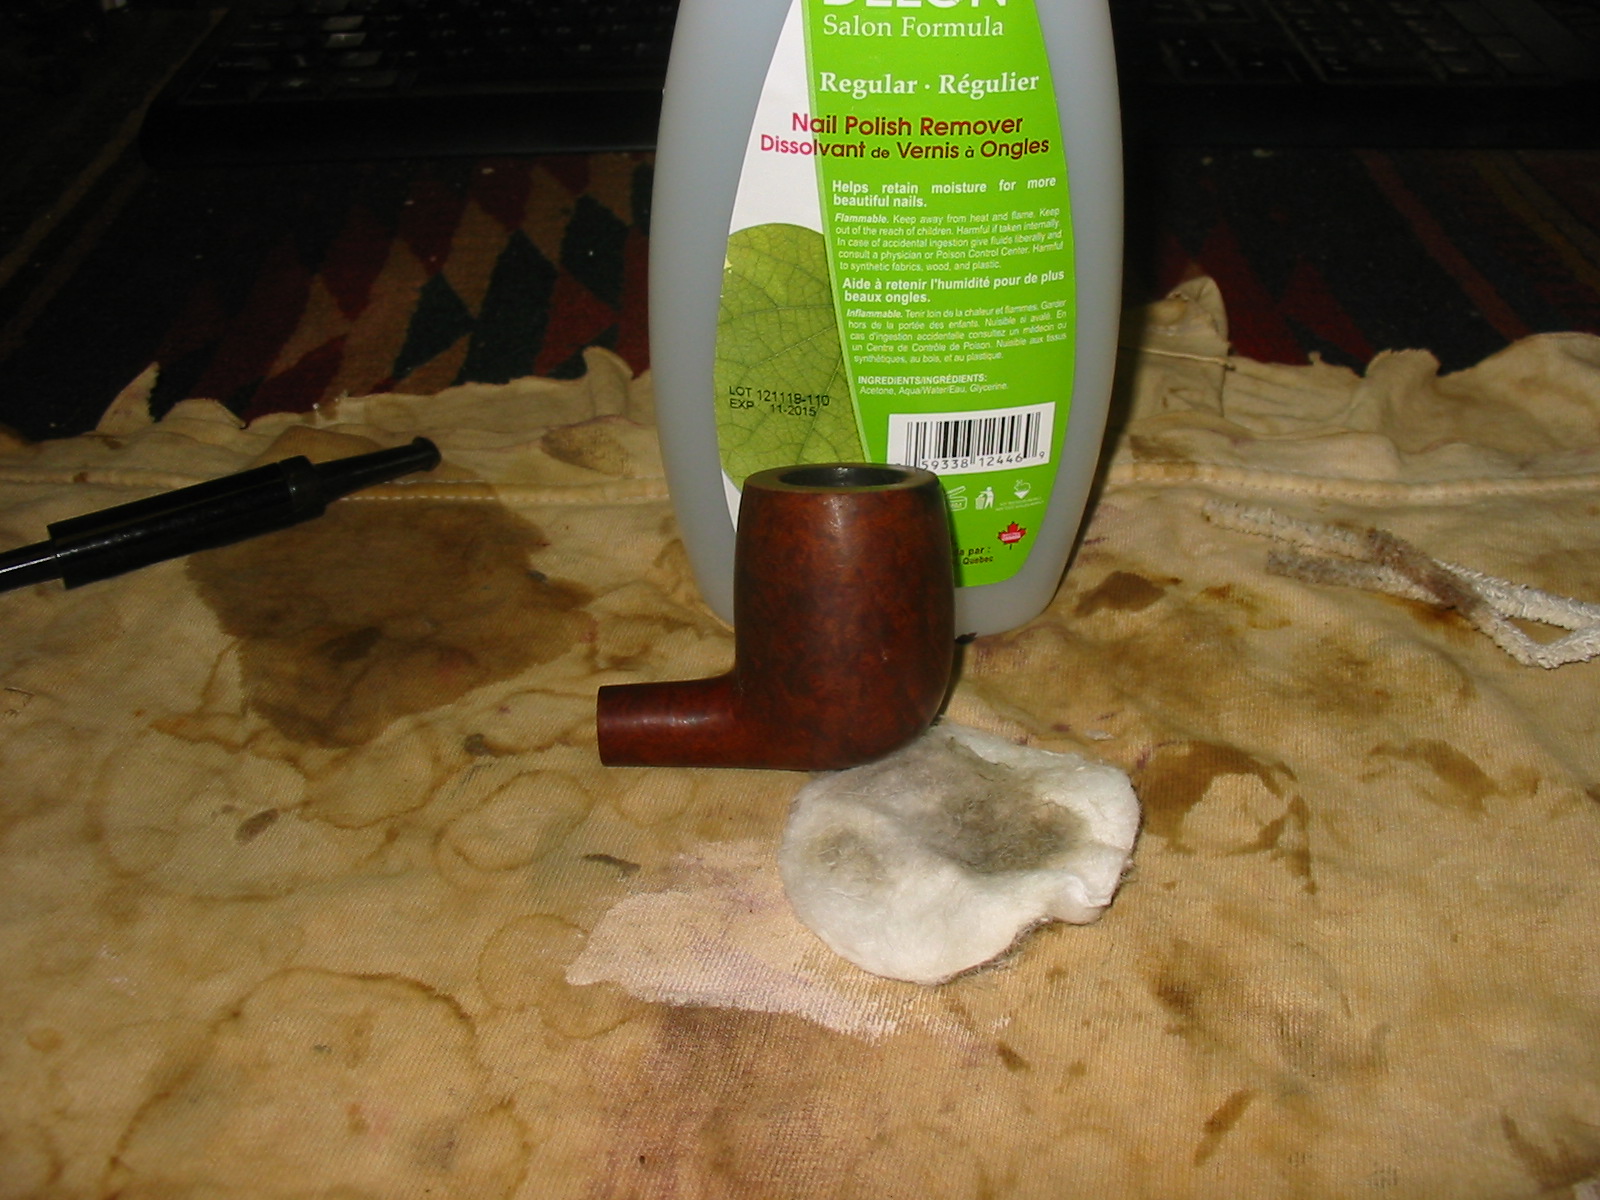
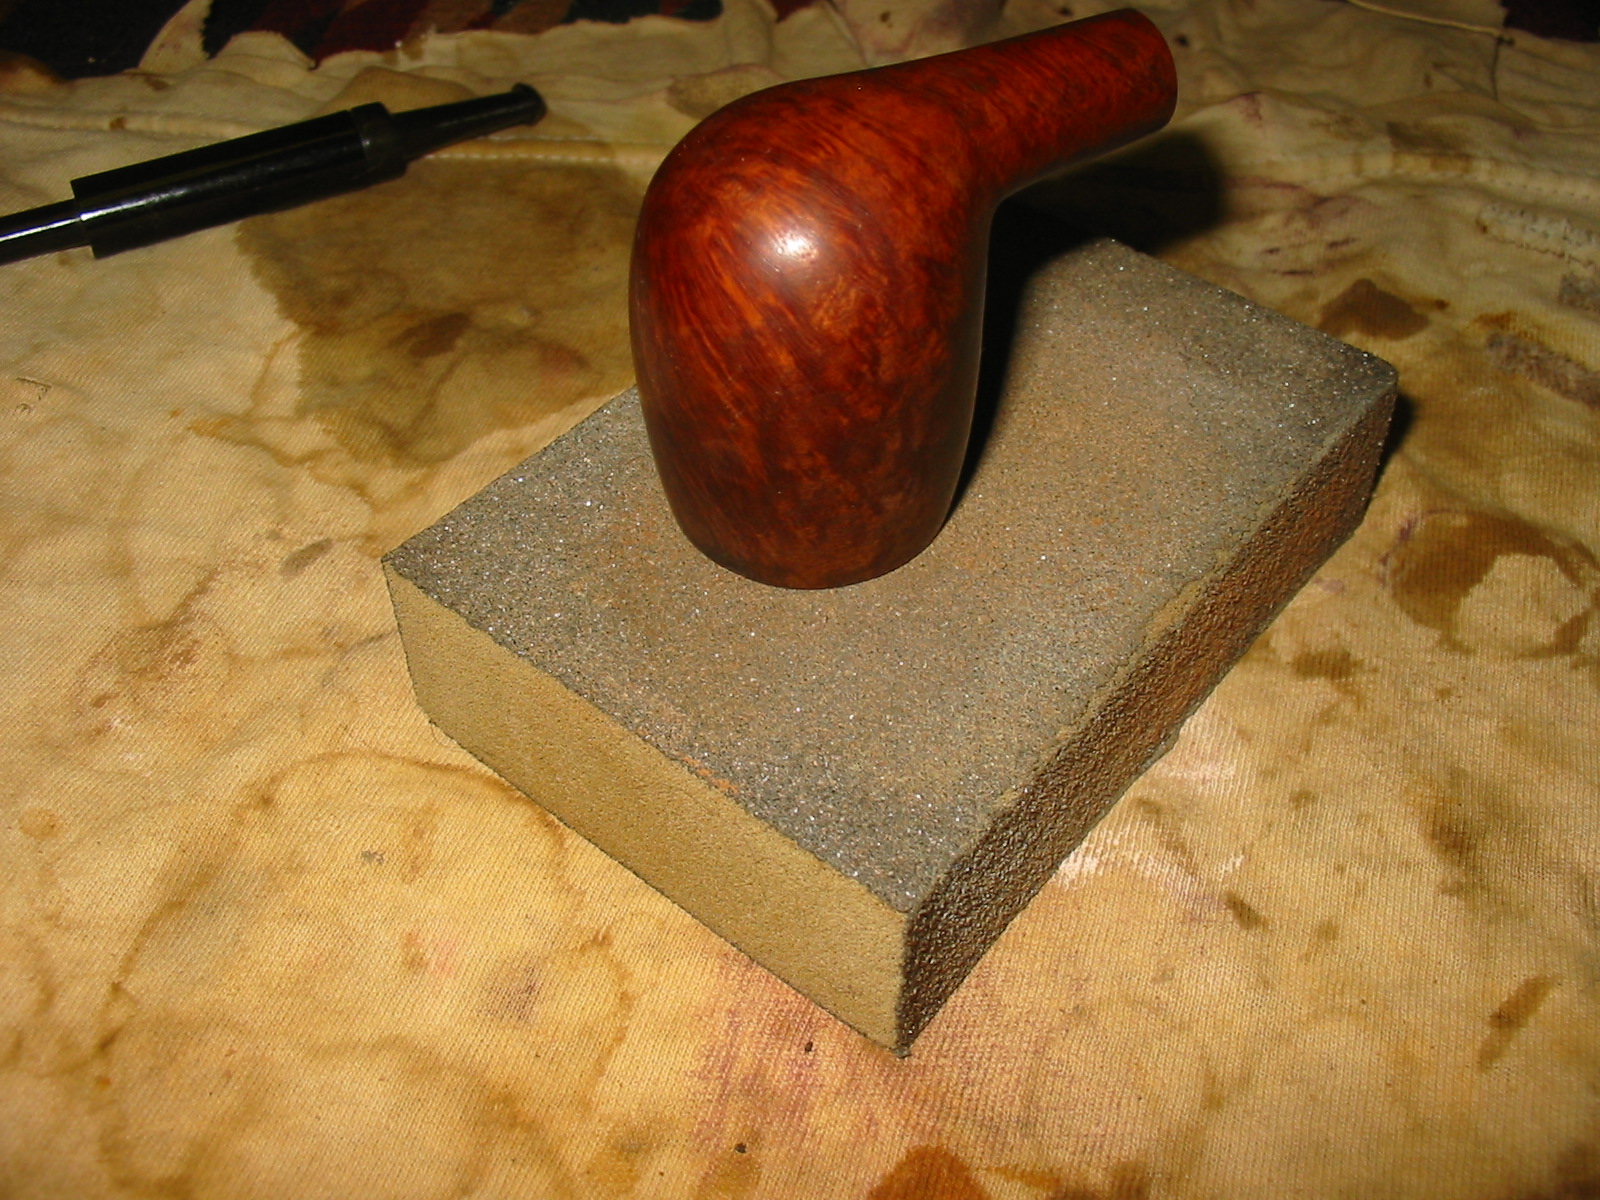
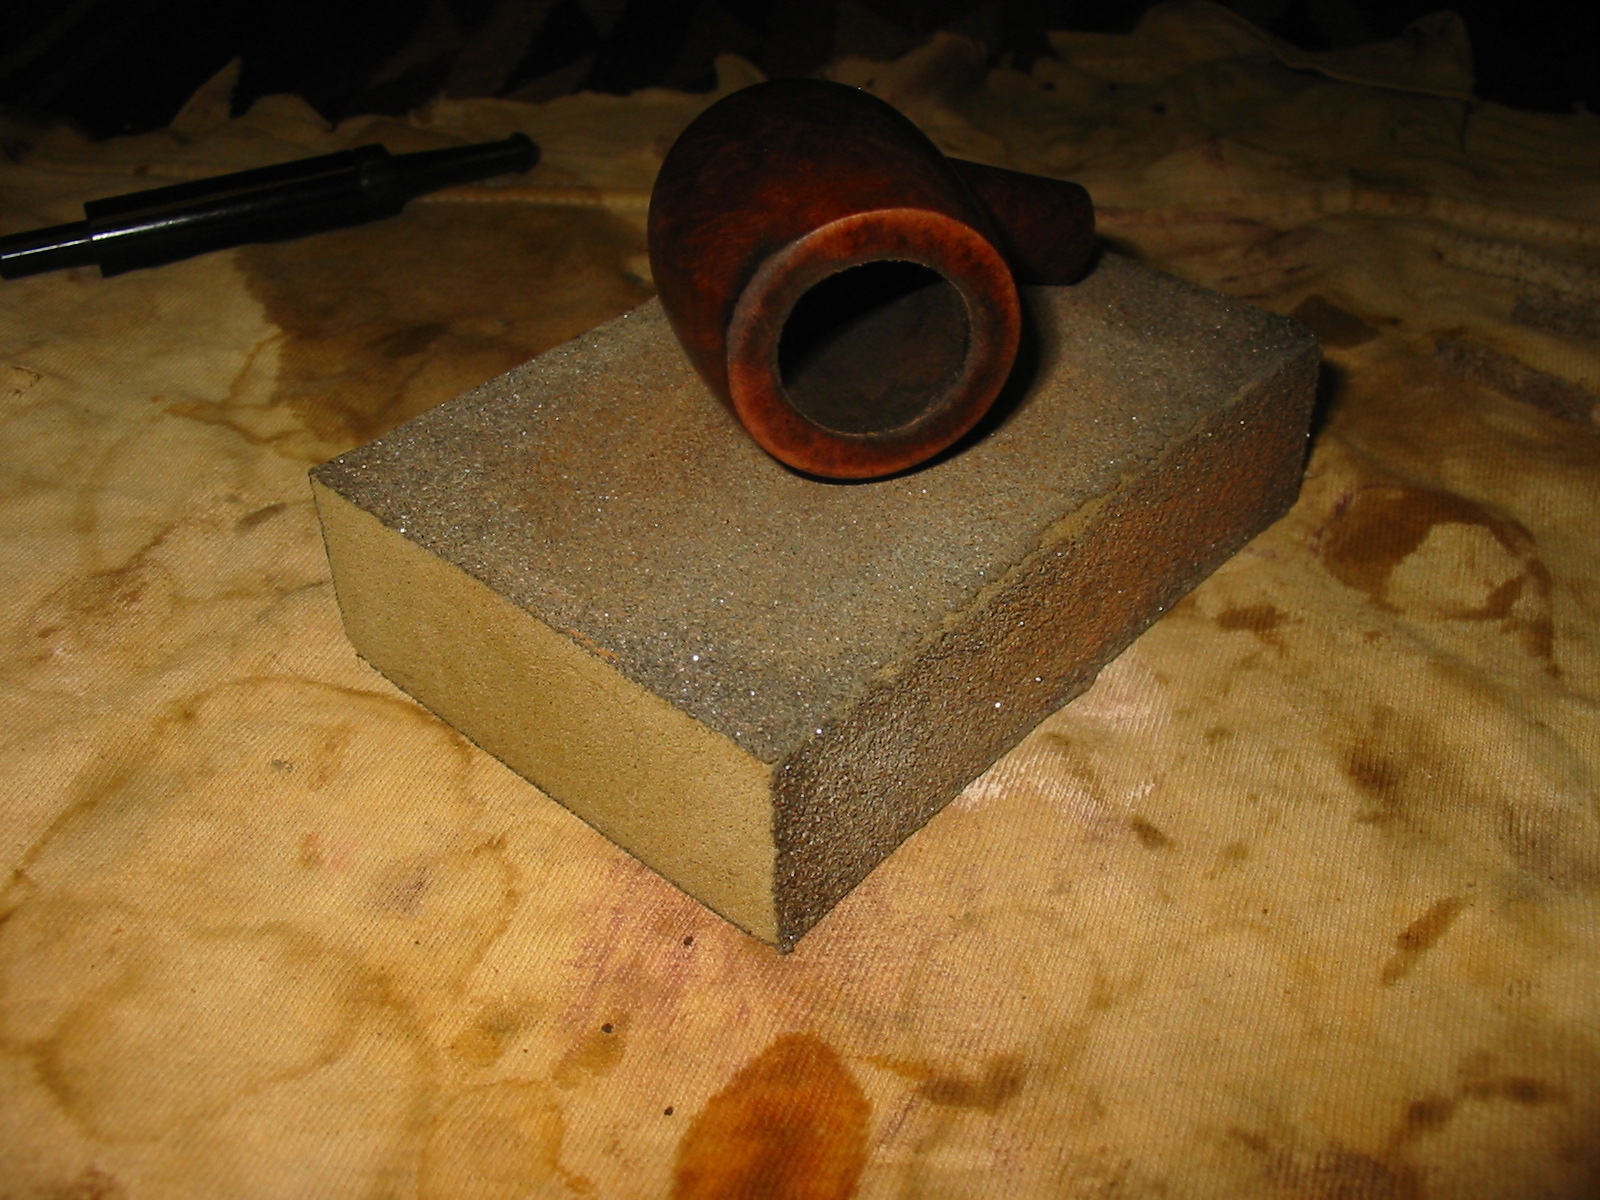
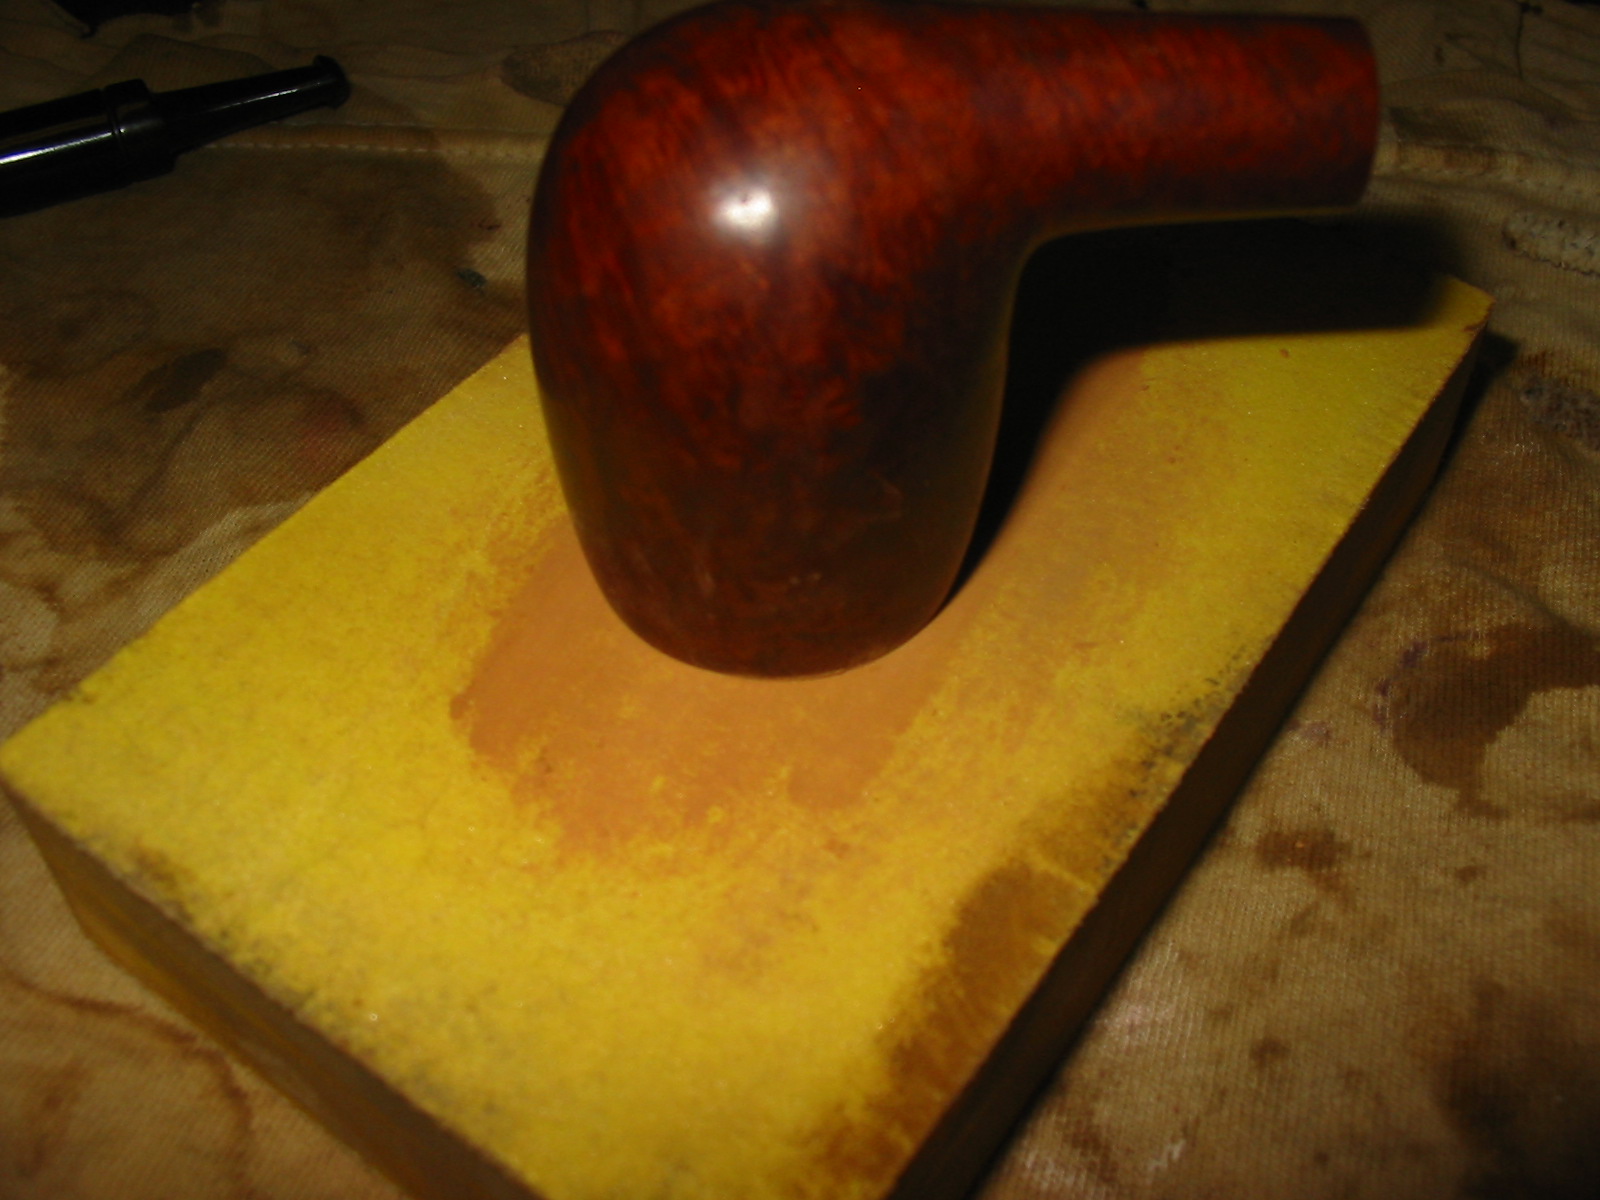
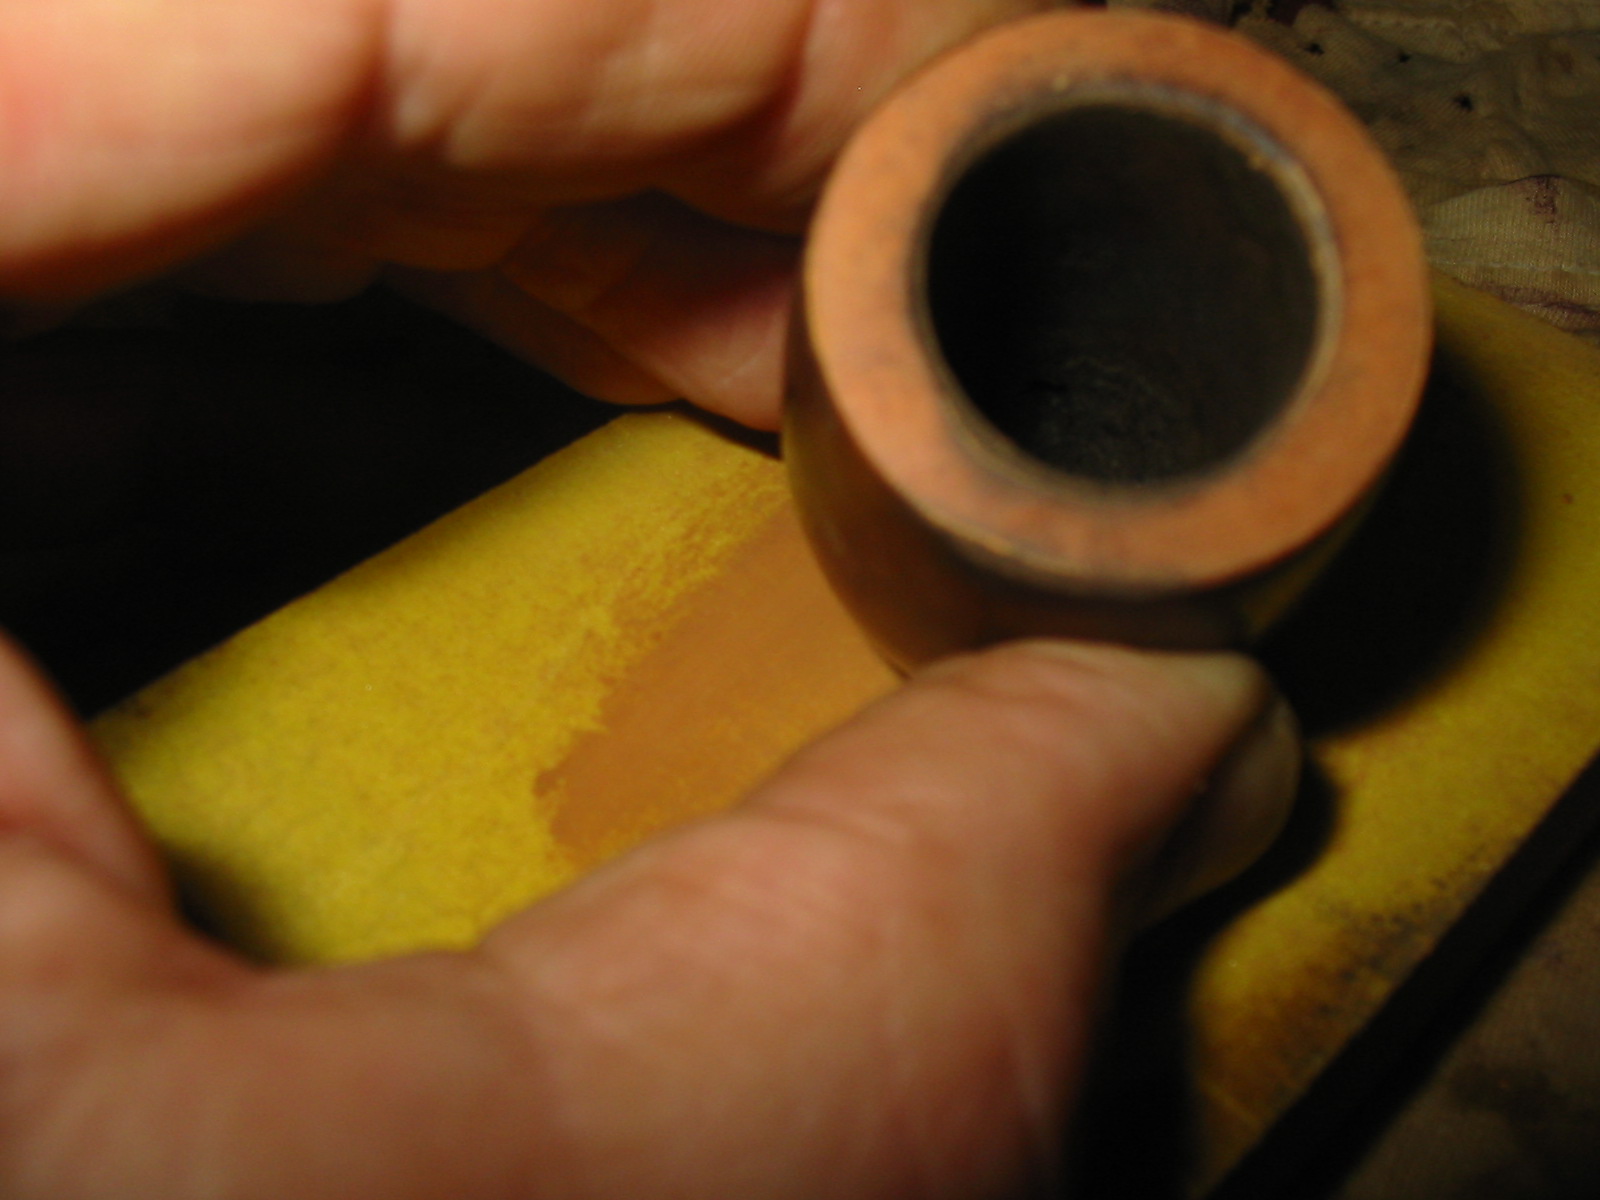
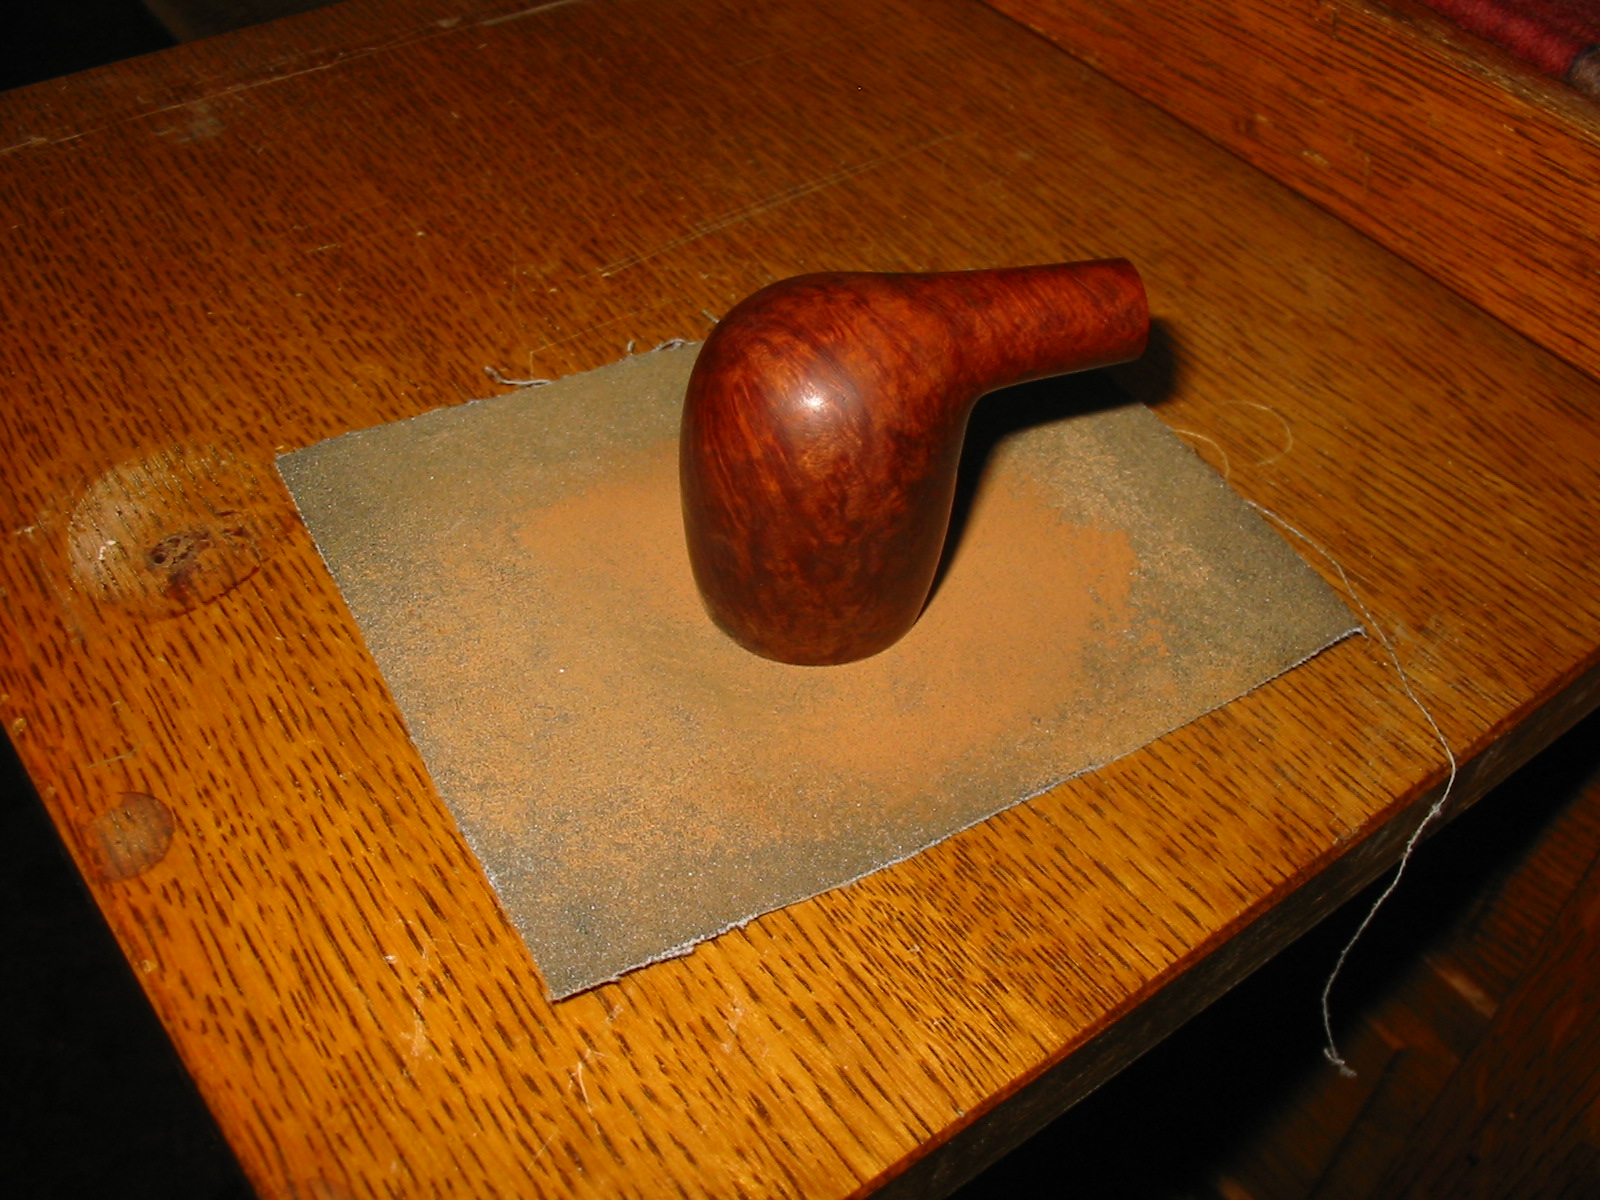
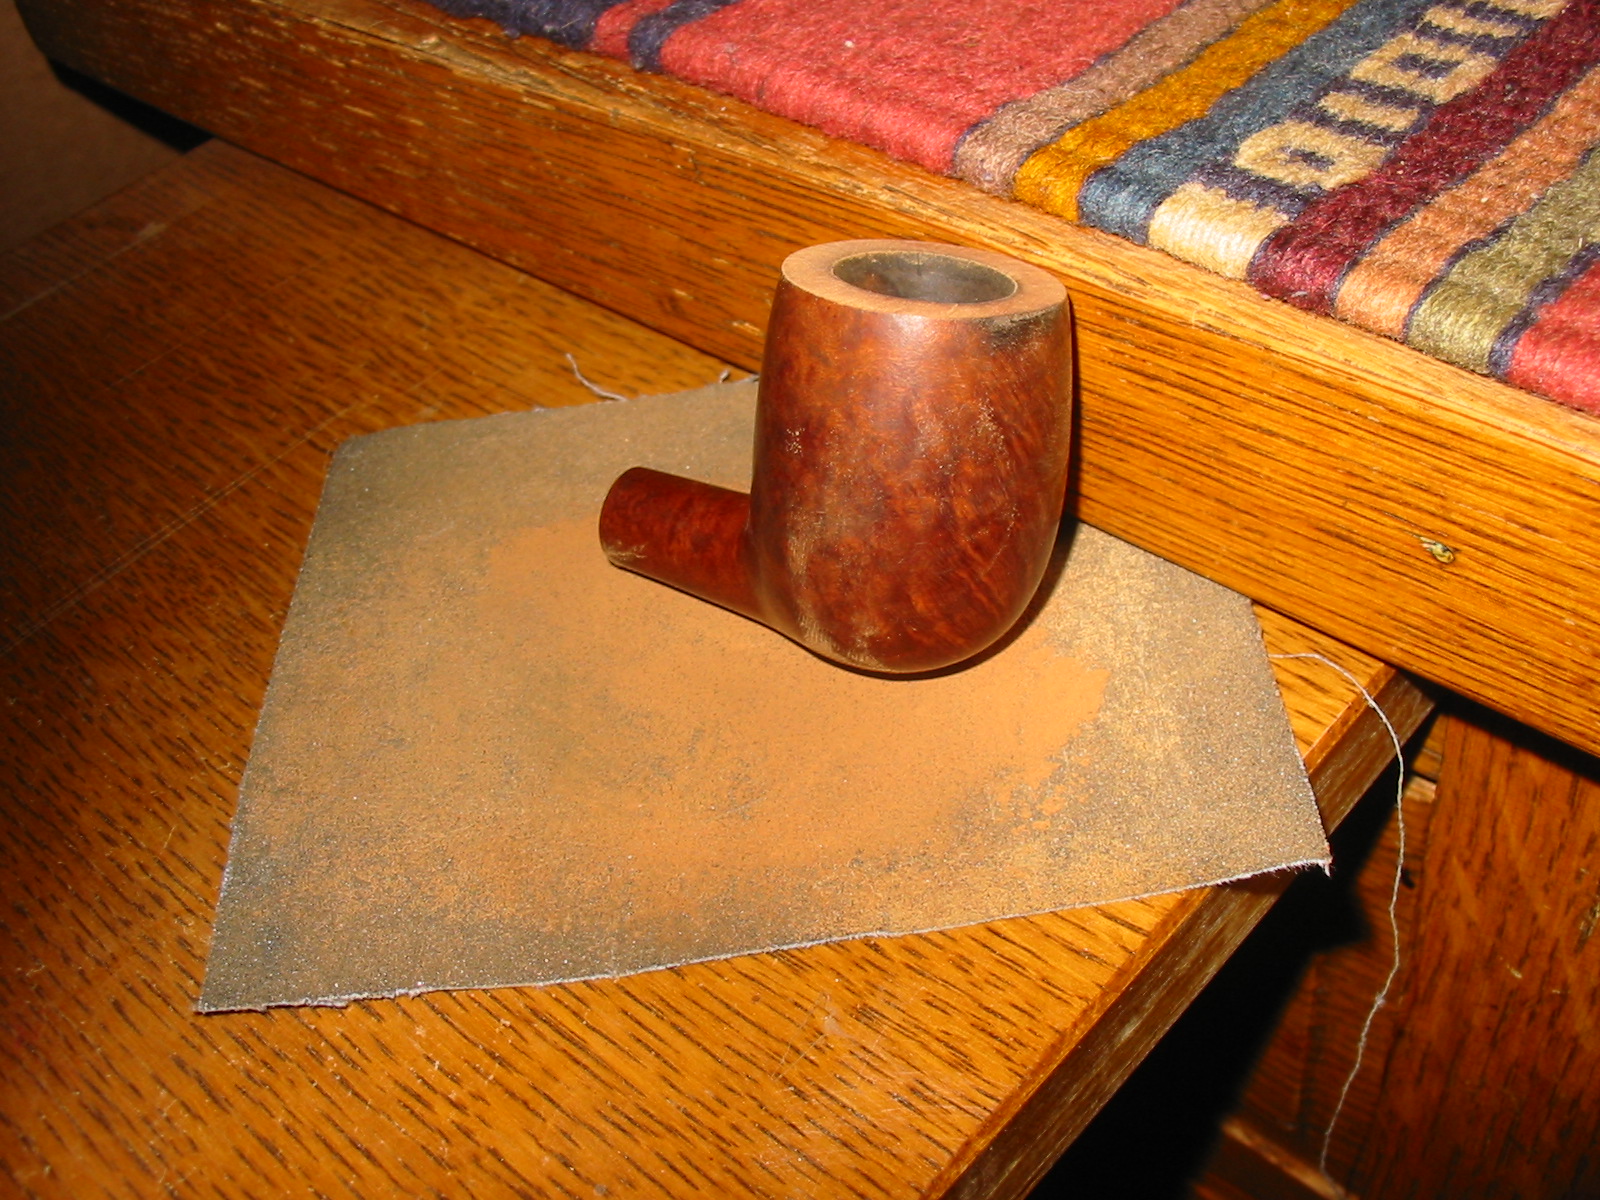
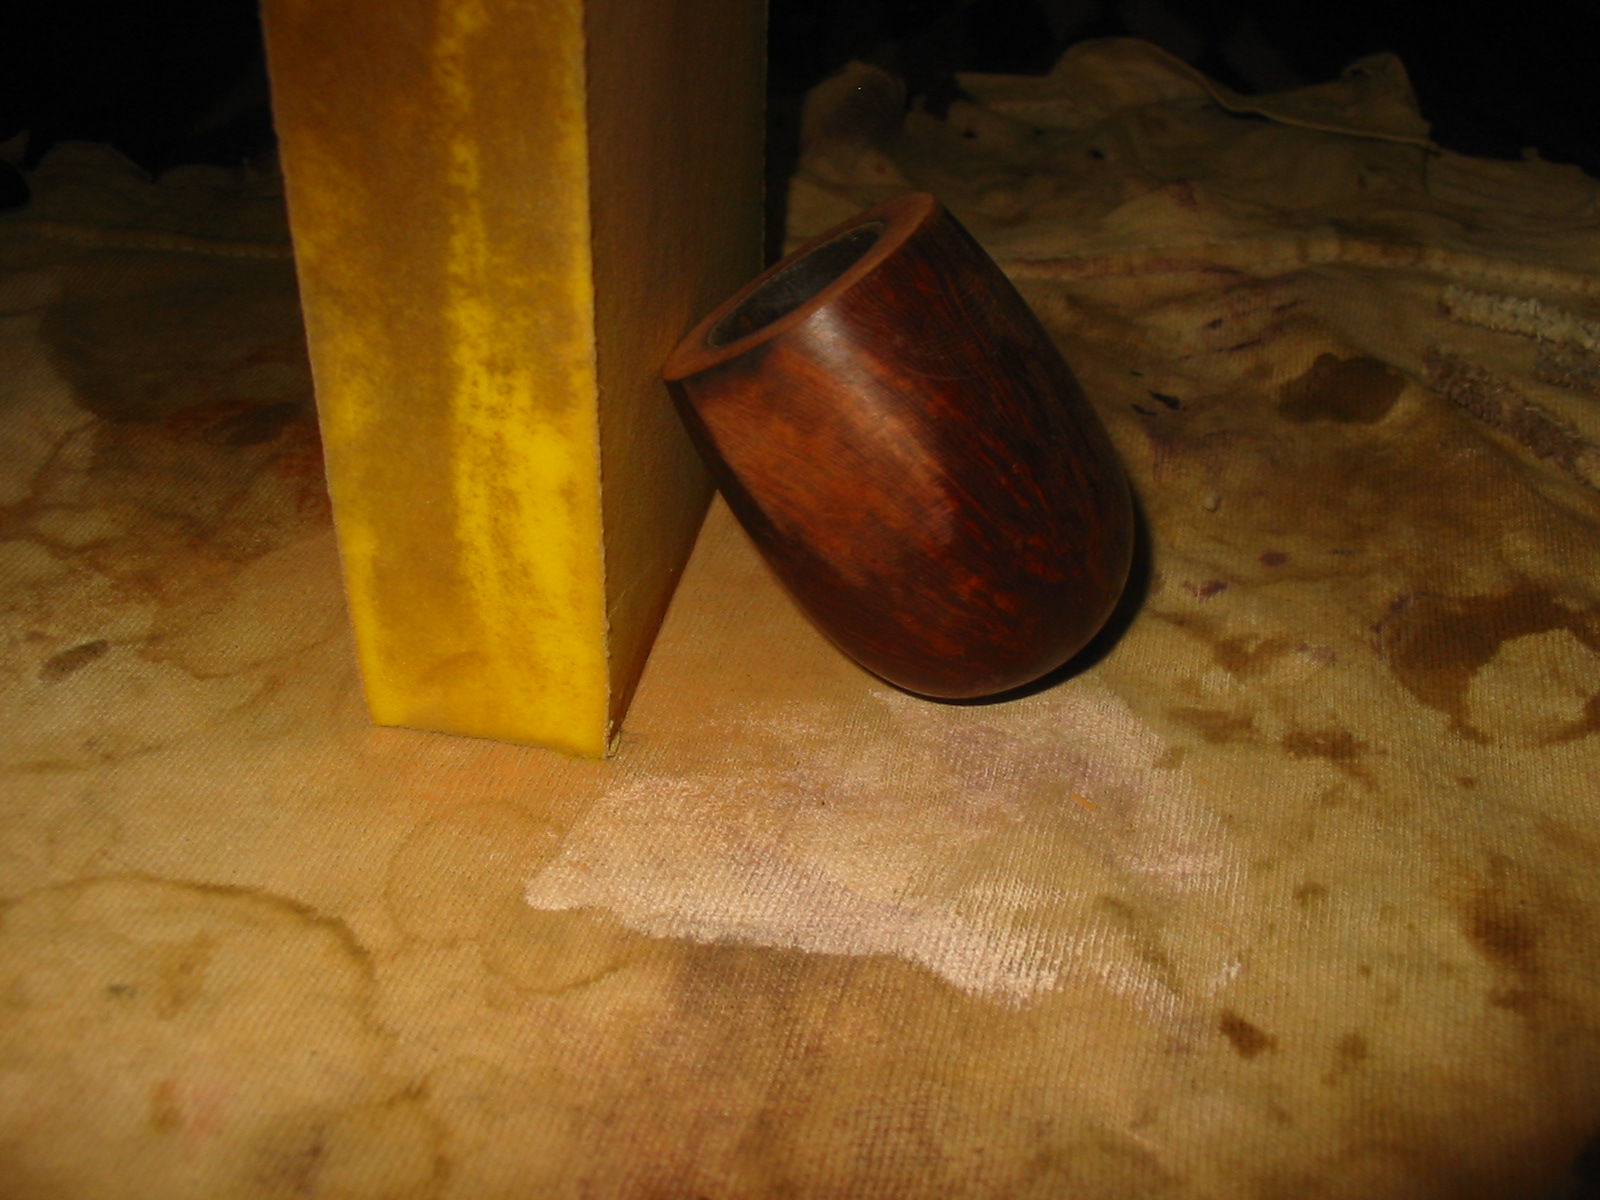
I reamed the uneven cake from the bowl with the PipNet reamer set. Underneath the surface of the cake there were some fissures in the surface of thin cake I left on the wood of the inside of the bowl. The pipe may be a candidate for quick bowl coating or pipe mud to protect it from any damage or burn out. I scrubbed the exterior of the bowl with acetone wetted cotton pads. It took many pads before I was down to the clean surface of the briar. I topped the bowl with a medium grit sanding block to remove the buildup on the surface. I followed up on this with a fine grit sanding block to remove the scratches and then with a fine grit sanding sponge. I used a tooth brush and acetone to clean out the grooves of the carvings.

IMG_1644

IMG_1645

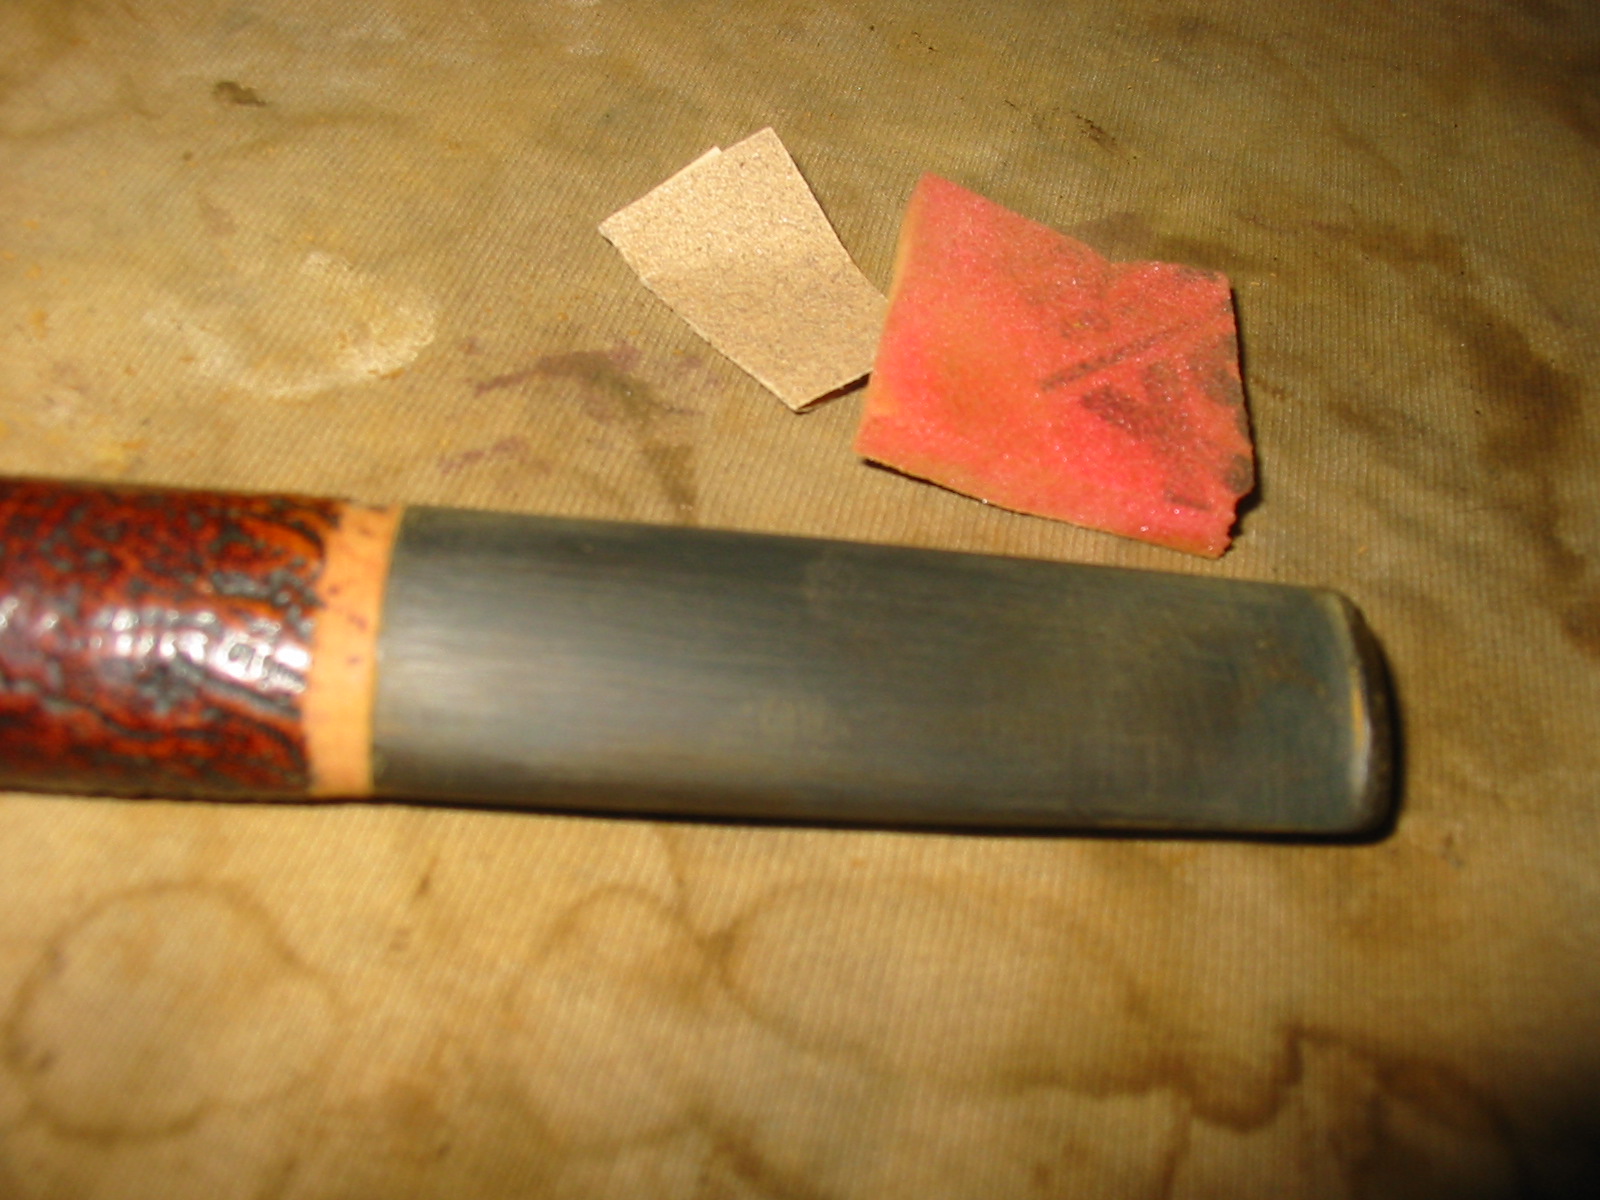
I sanded the entire bowl and shank with a fine grit sanding sponge to remove the remaining finish. I also sanded the stem with 220 grit sandpaper and then followed up with the same sanding sponge. I heated the bite marks with a Bic lighter to lift them and then sanded the surface smooth with 220 grit sandpaper. I sanded that area of the stem with fine grit sandpaper and a sanding sponge. Once the bowl was sanded and ready to be stained I wiped it down a final time with an acetone wetted cotton pad to remove the sanding dust from the grooves and carvings.

IMG_1646

IMG_1647

IMG_1648

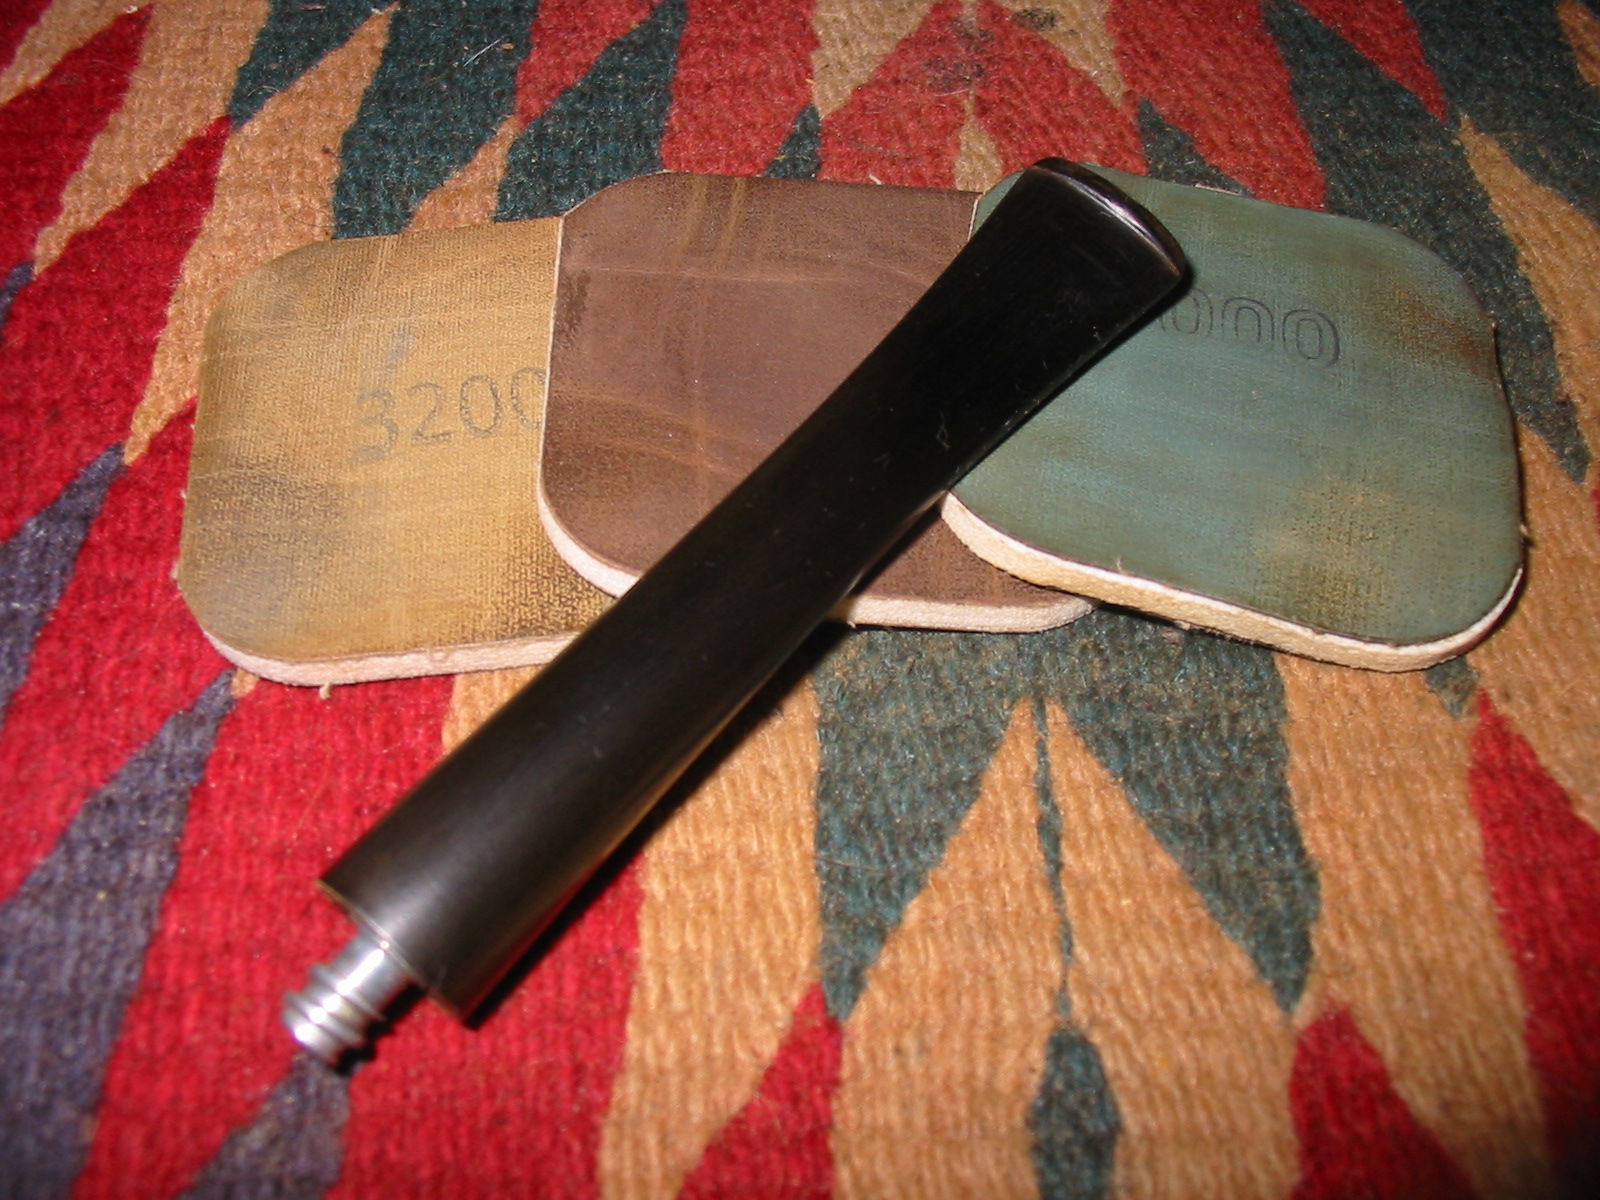
I sanded the stem with micromesh sanding pads from 1500-12,000 grit to bring back the shine. I rubbed down the stem with Obsidian Oil and buffed it with White Diamond. I coated the stem with carnauba wax and hand polished it with a shoe brush.

IMG_1649

IMG_1650

IMG_1651

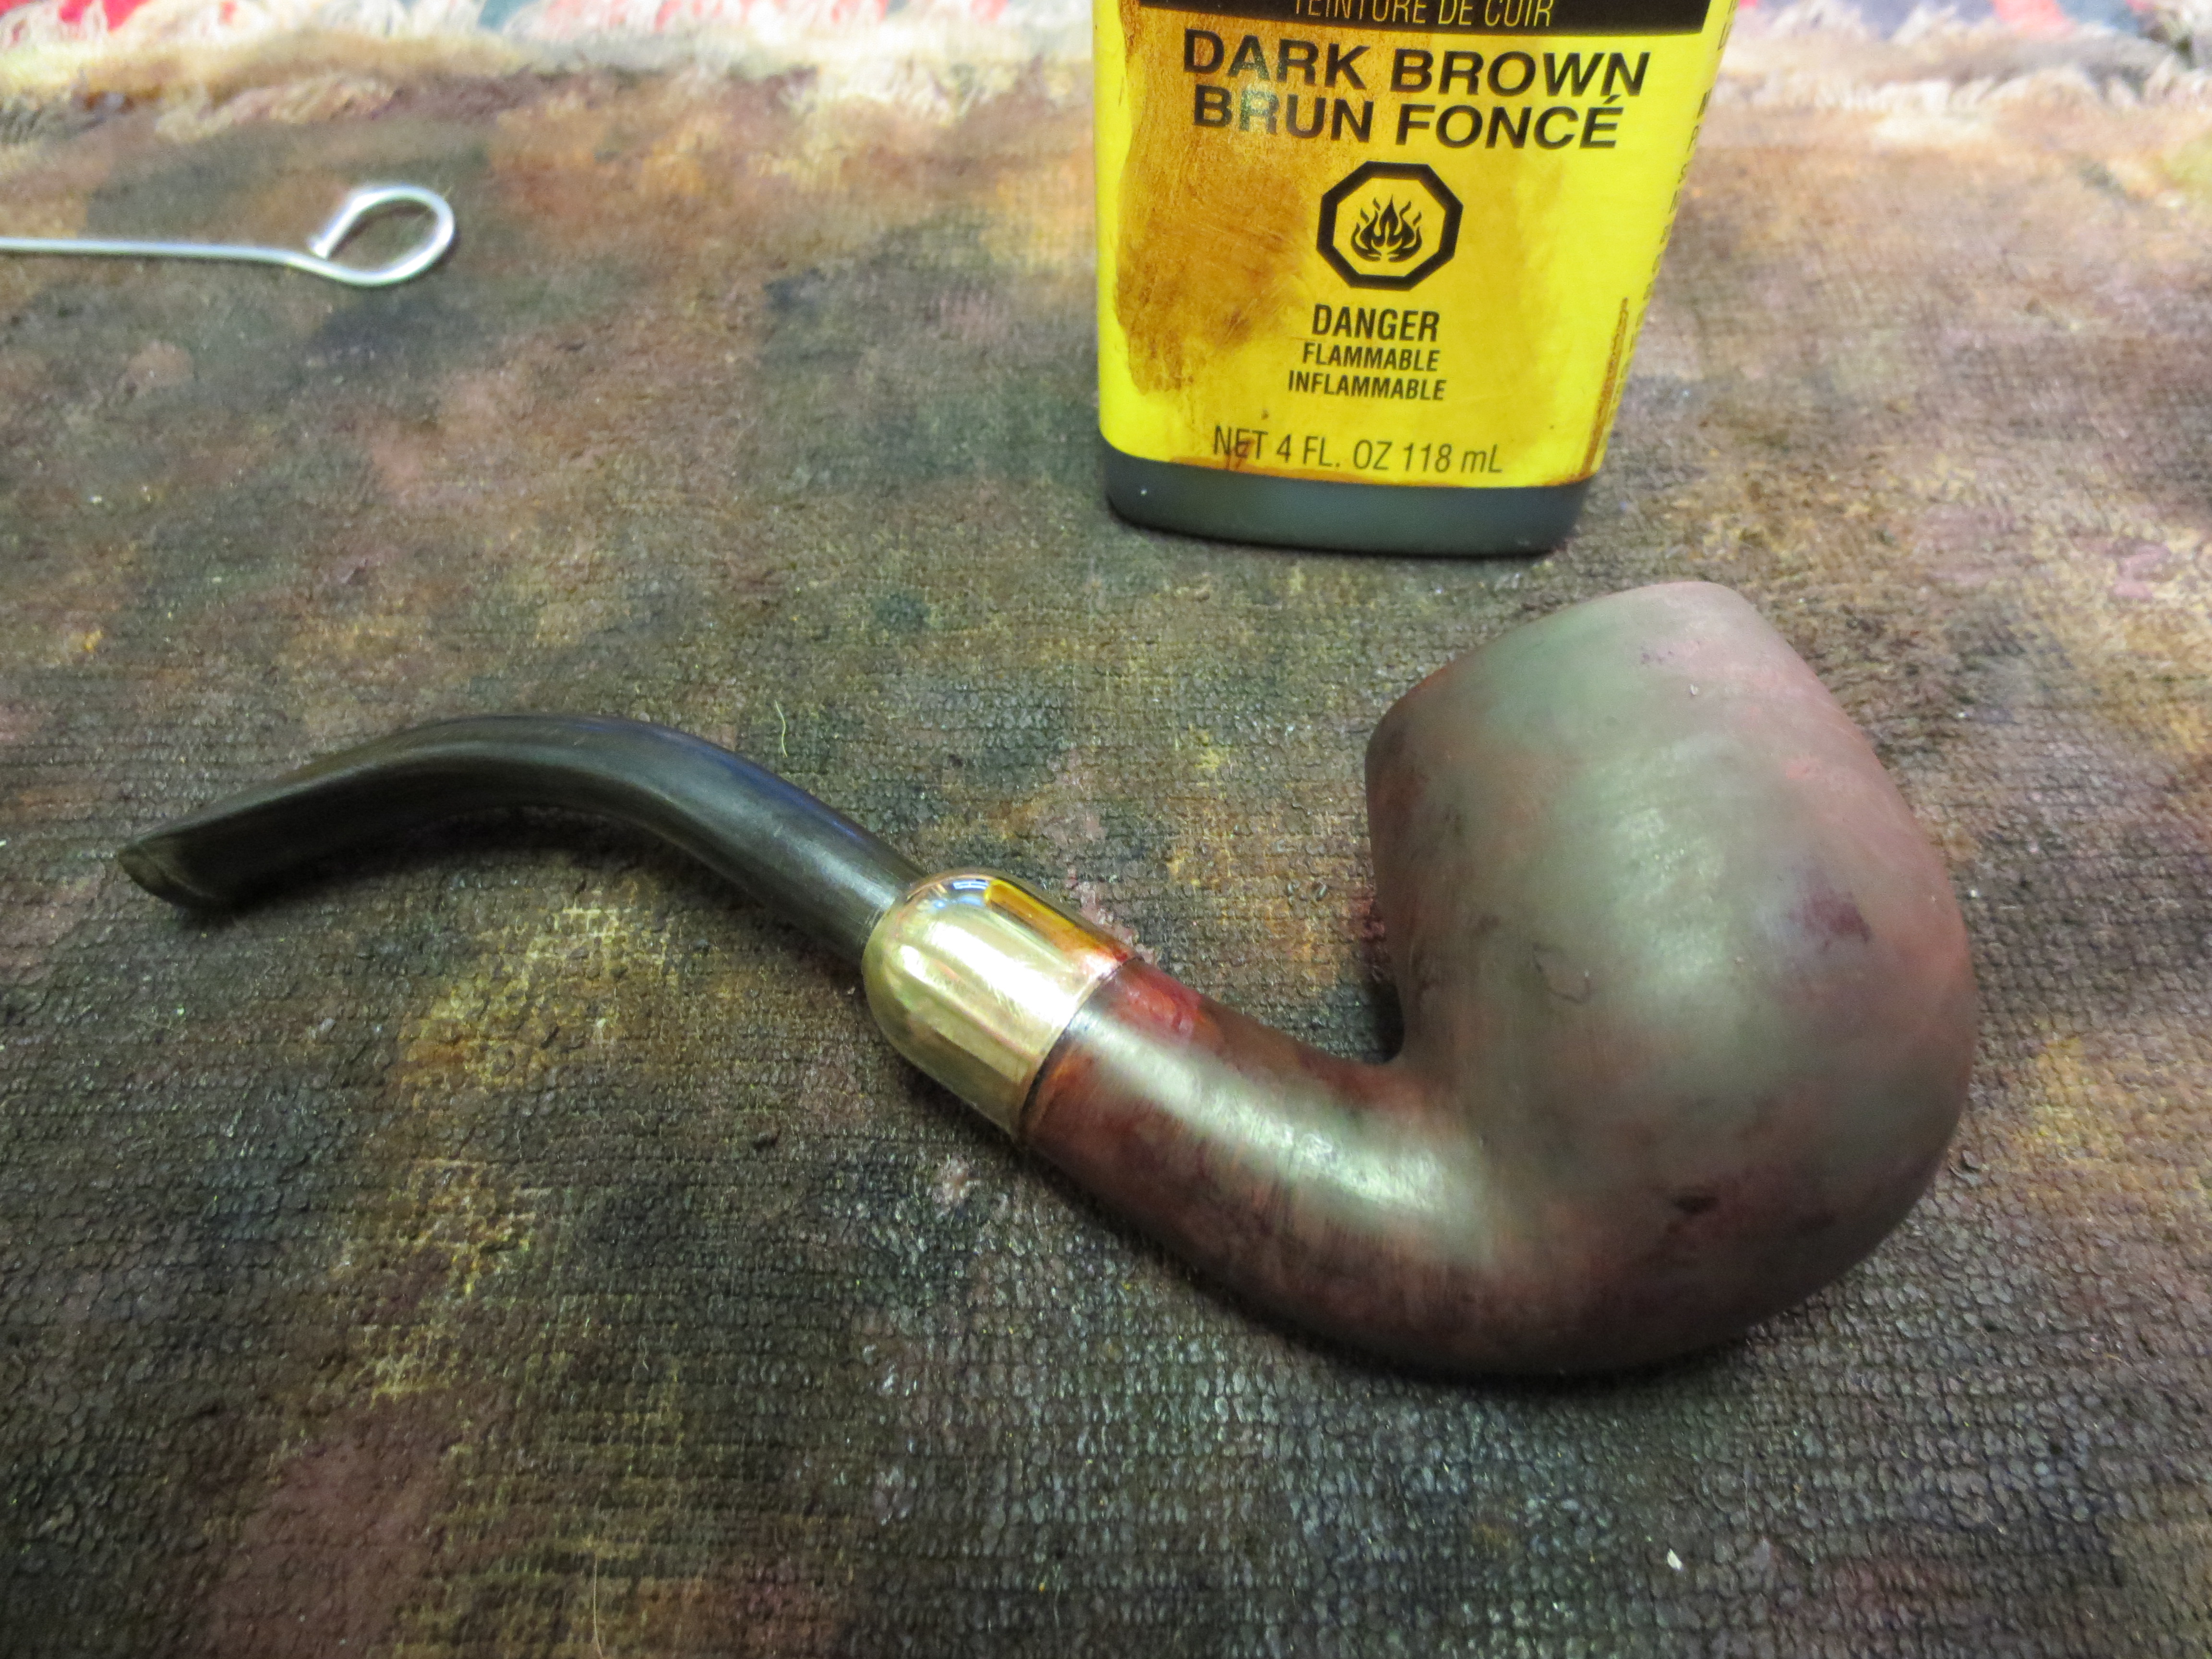
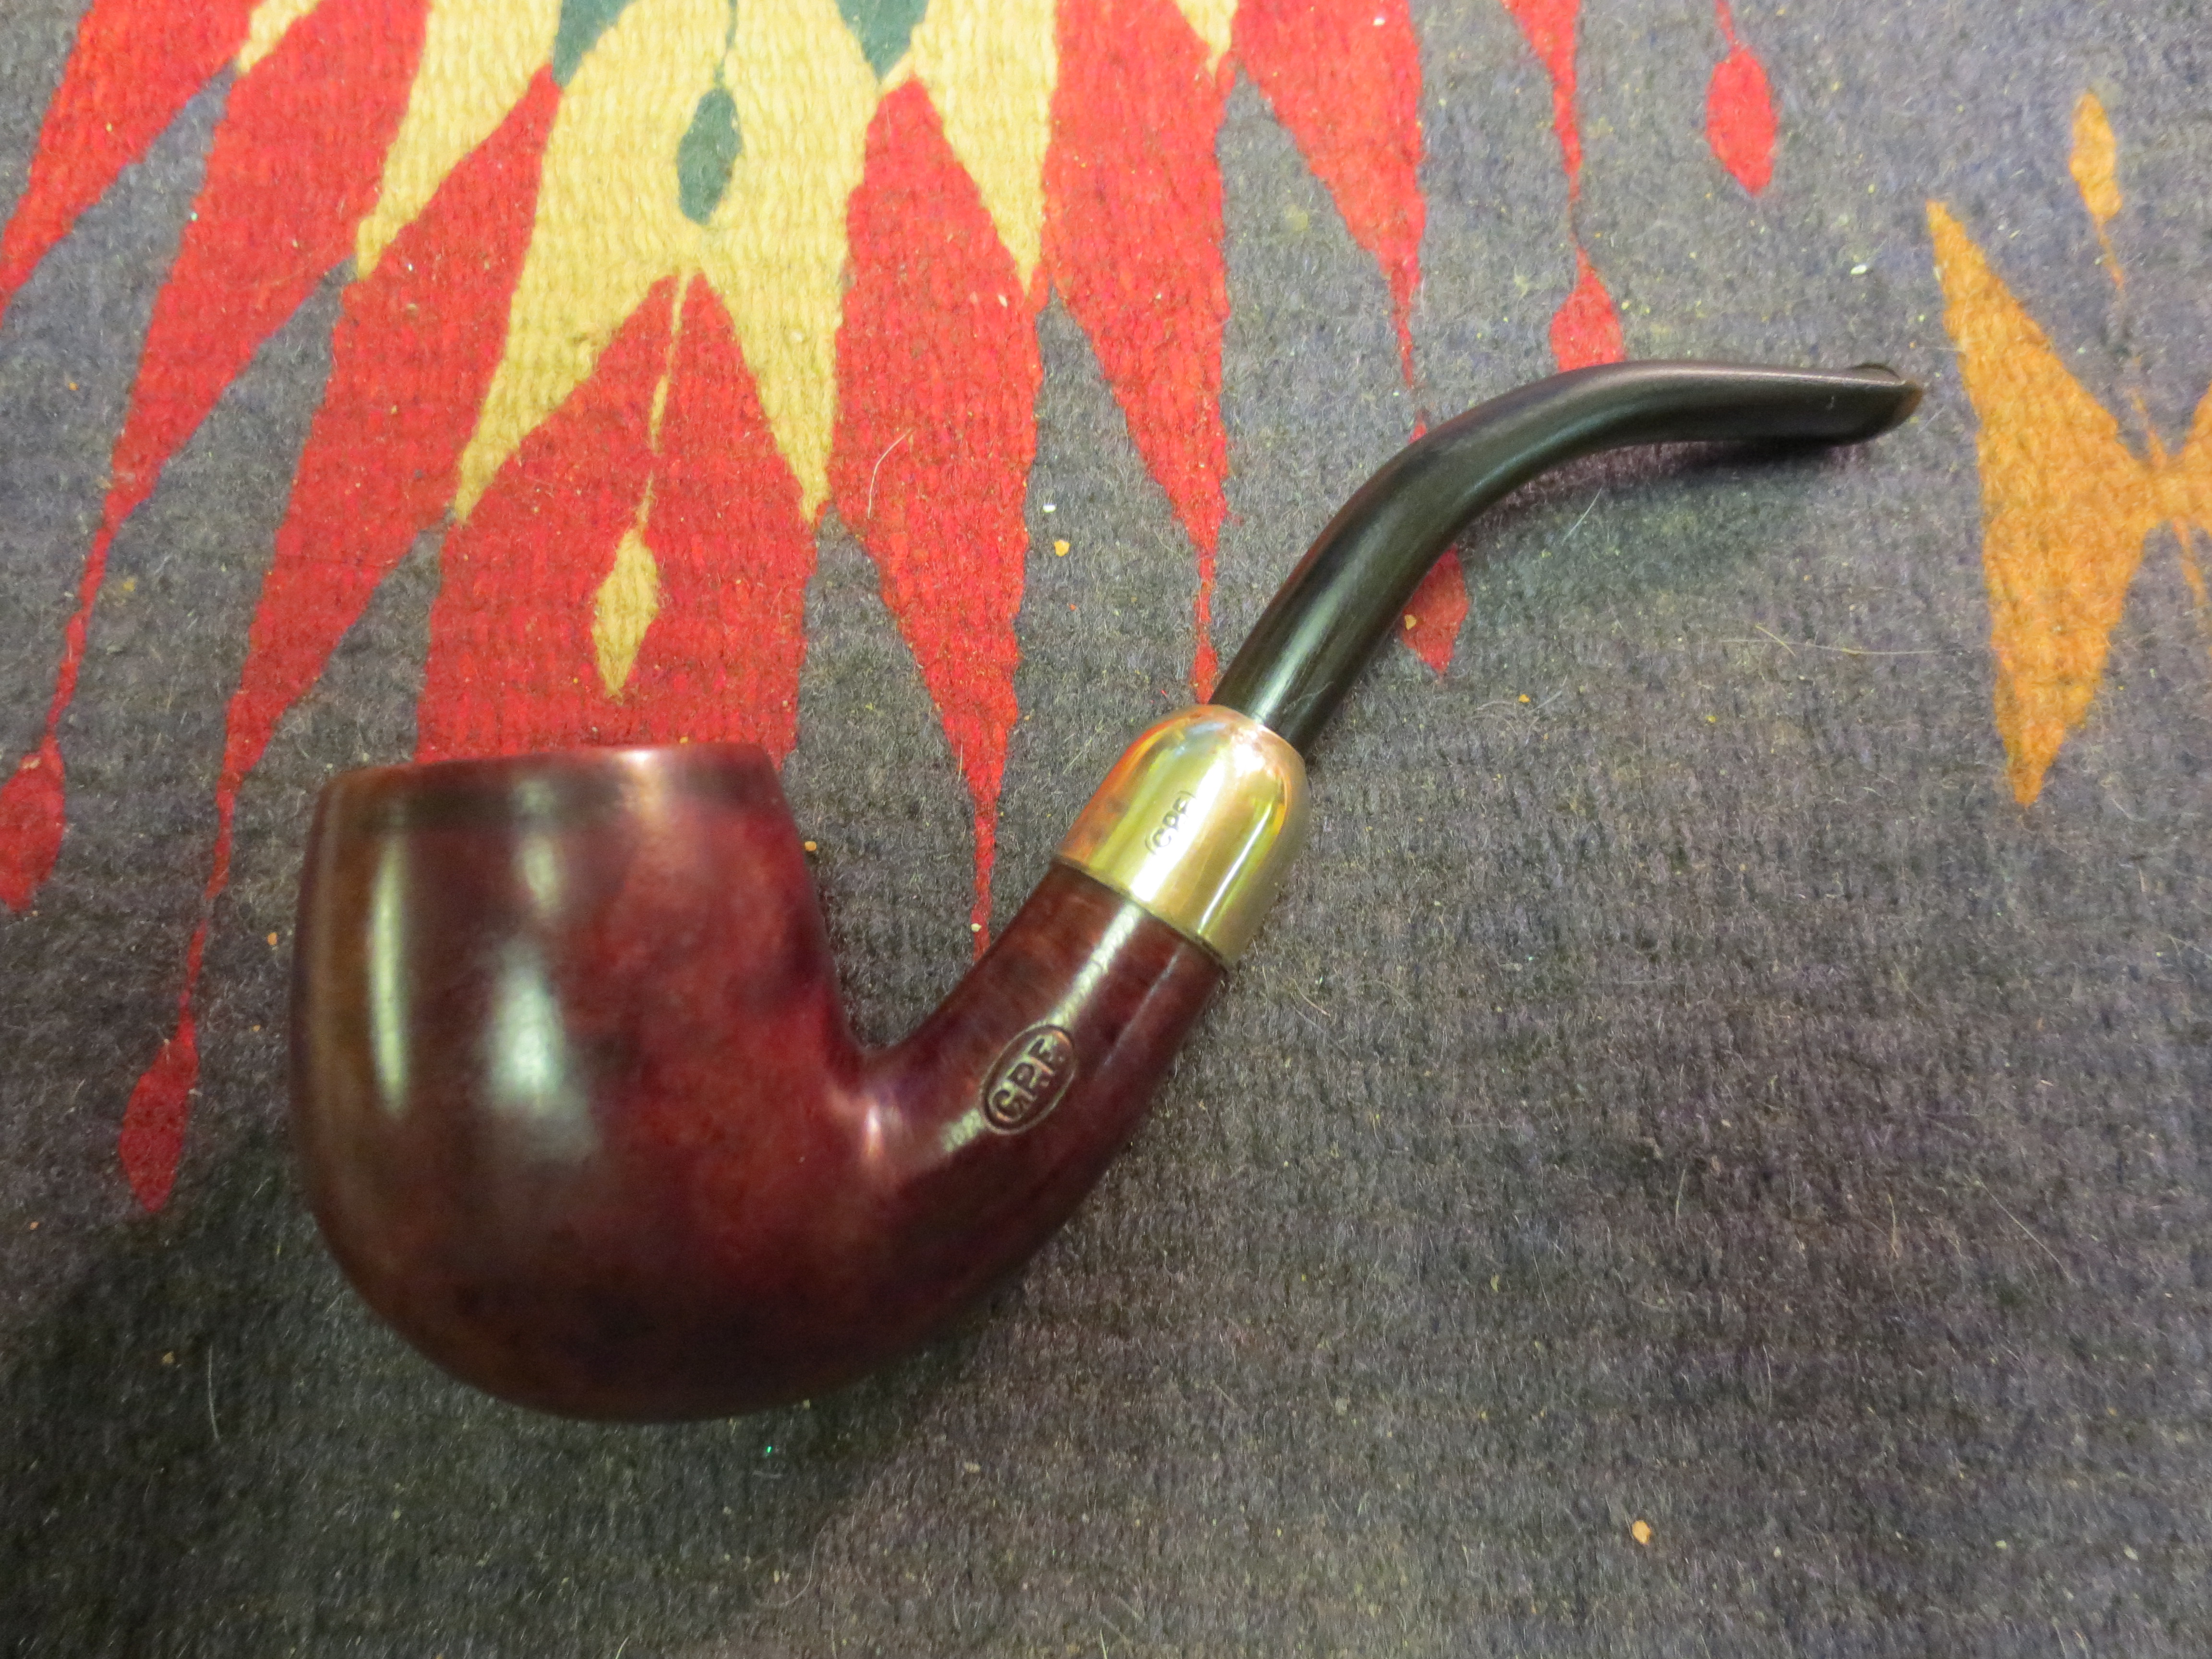
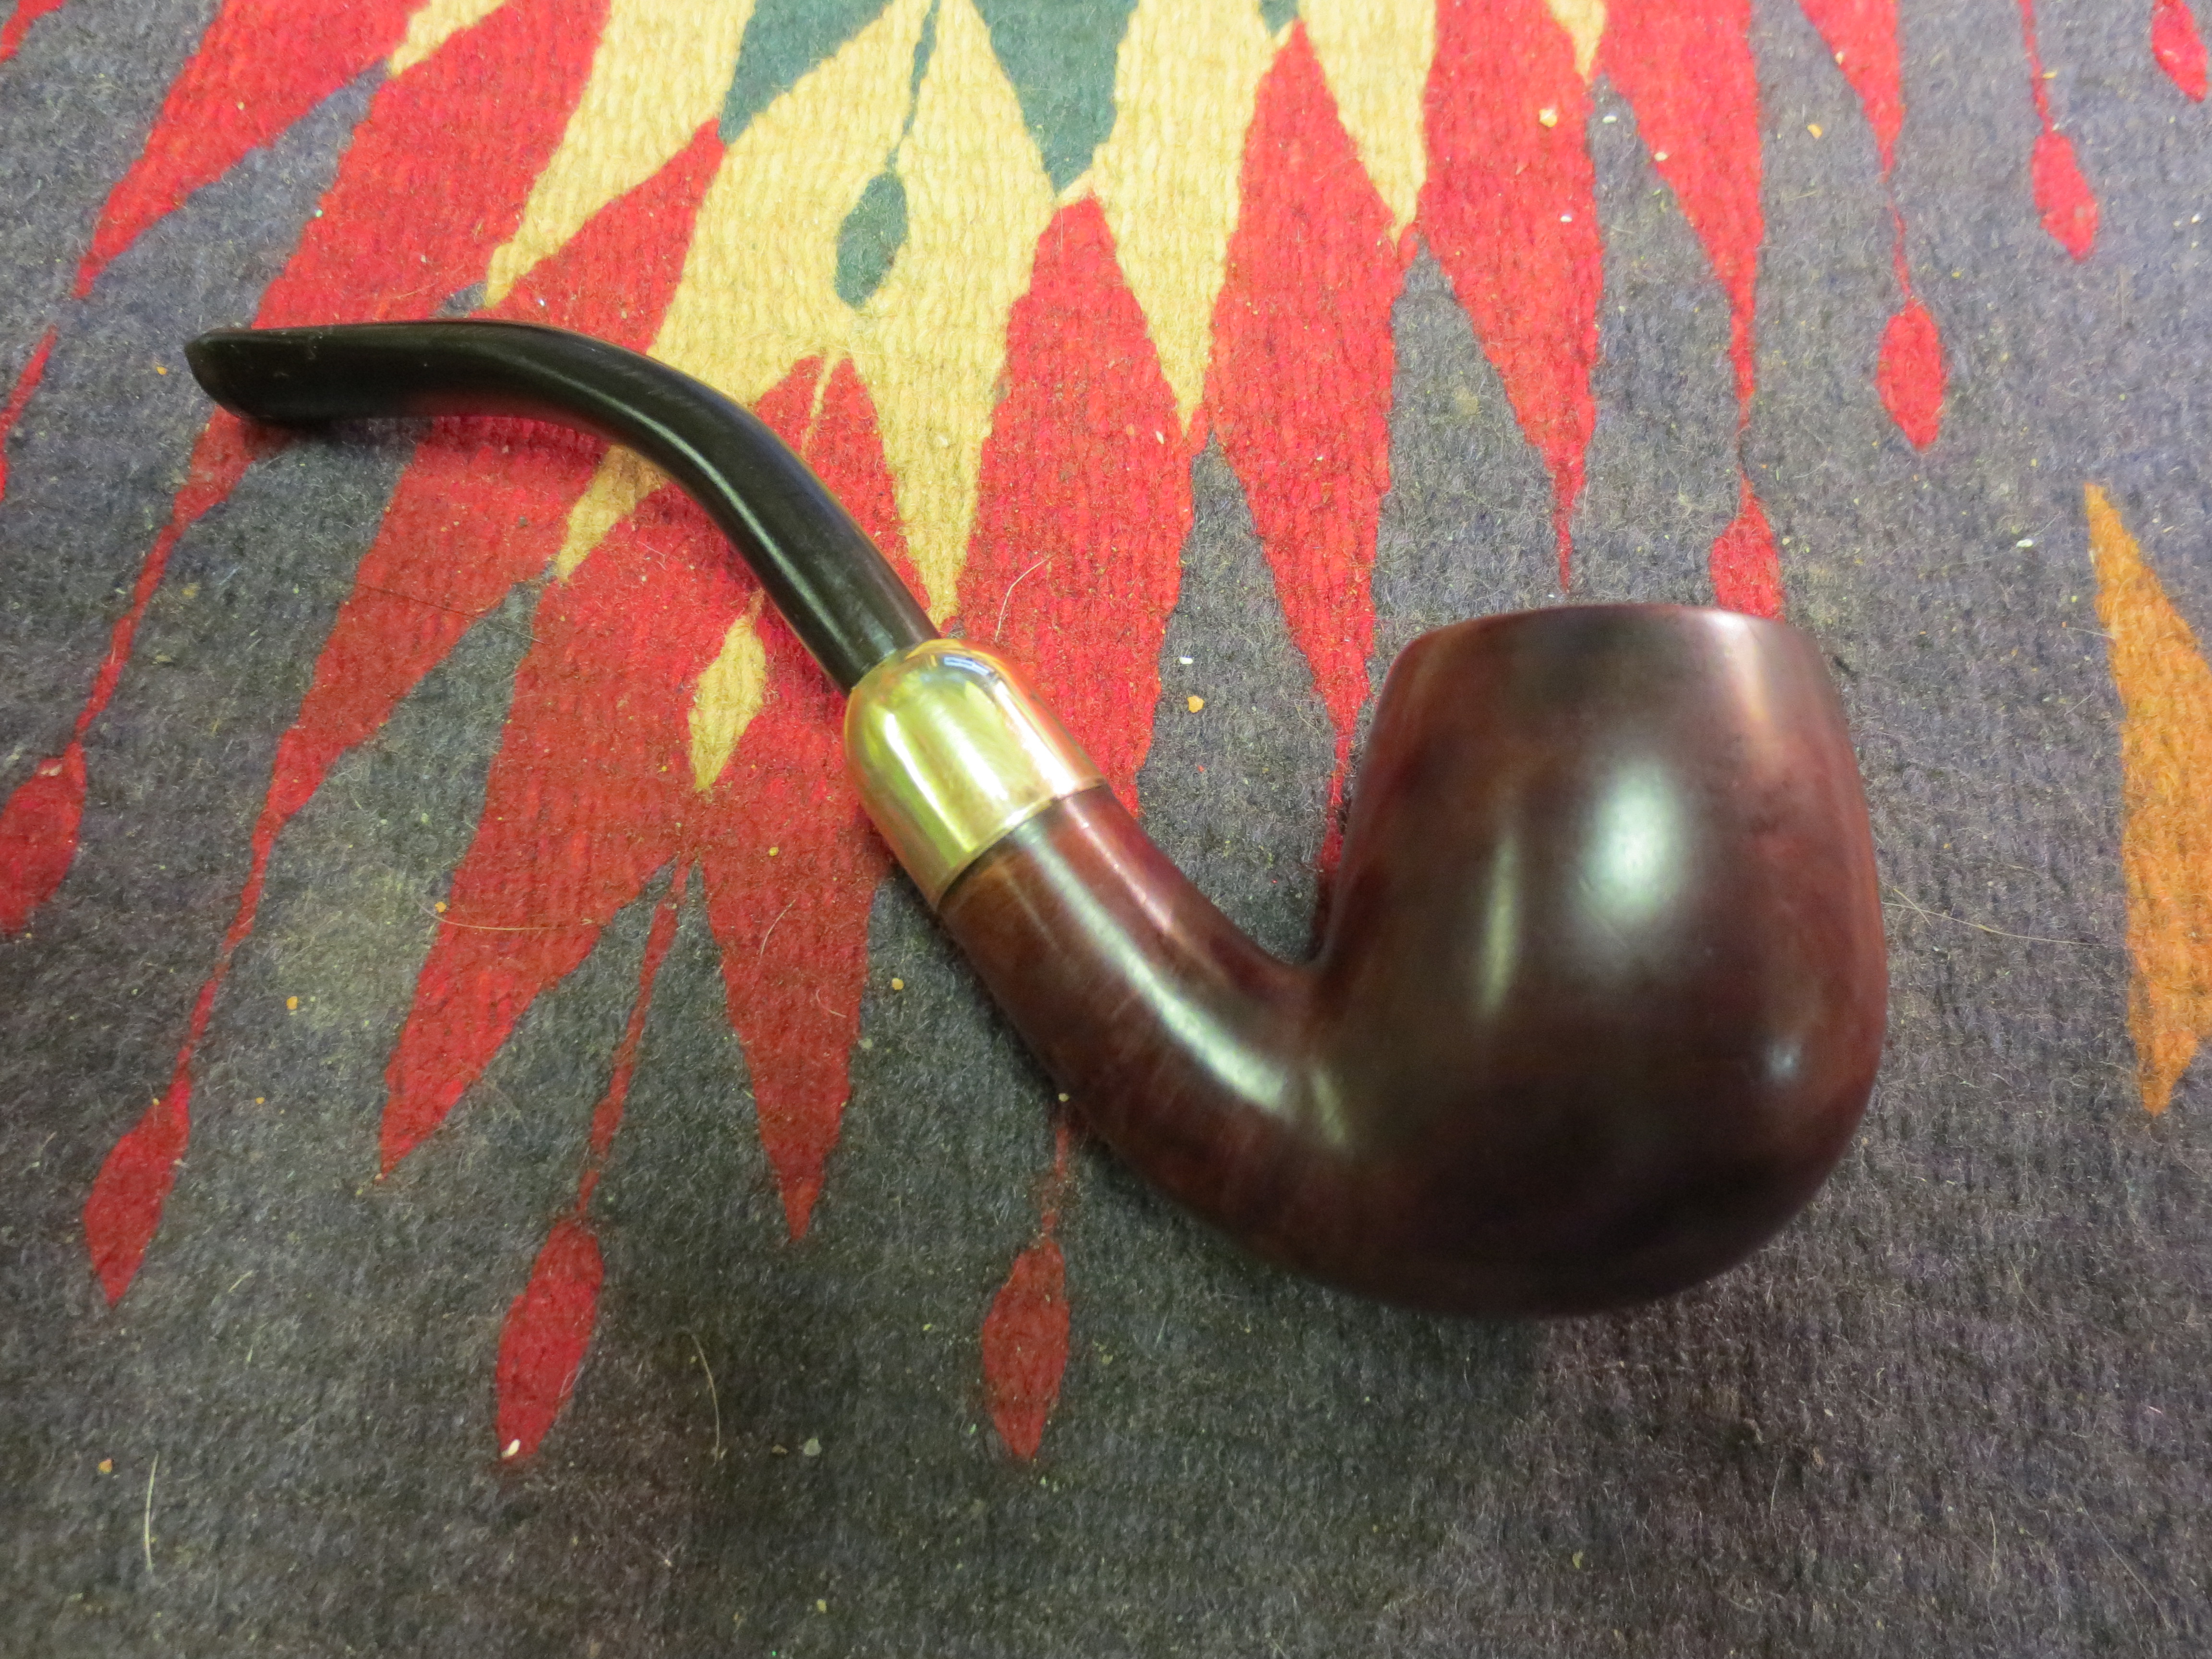
I stained the bowl with a dark brown aniline stain that I mixed with isopropyl alcohol in a 2:1 ratio to get it to be the colour I wanted for this pipe. I applied the stain with a cotton swab and flamed it to set it in the grain. I repeated the staining until the colour was on target and even around the bowl. Each time I flamed it to set it in the briar. Once it was dry I buffed the pipe and stem on the buffer with White Diamond and then gave it repeated coats of carnauba wax and buffed in between with a soft flannel buffing pad. The finished pipe is pictured below.

IMG_1652

IMG_1653

IMG_1654

IMG_1655

Restemming a Bruyere Krone Billiard


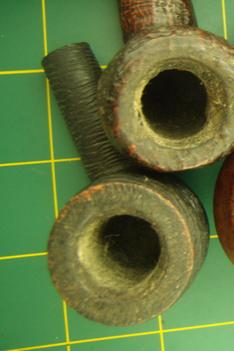
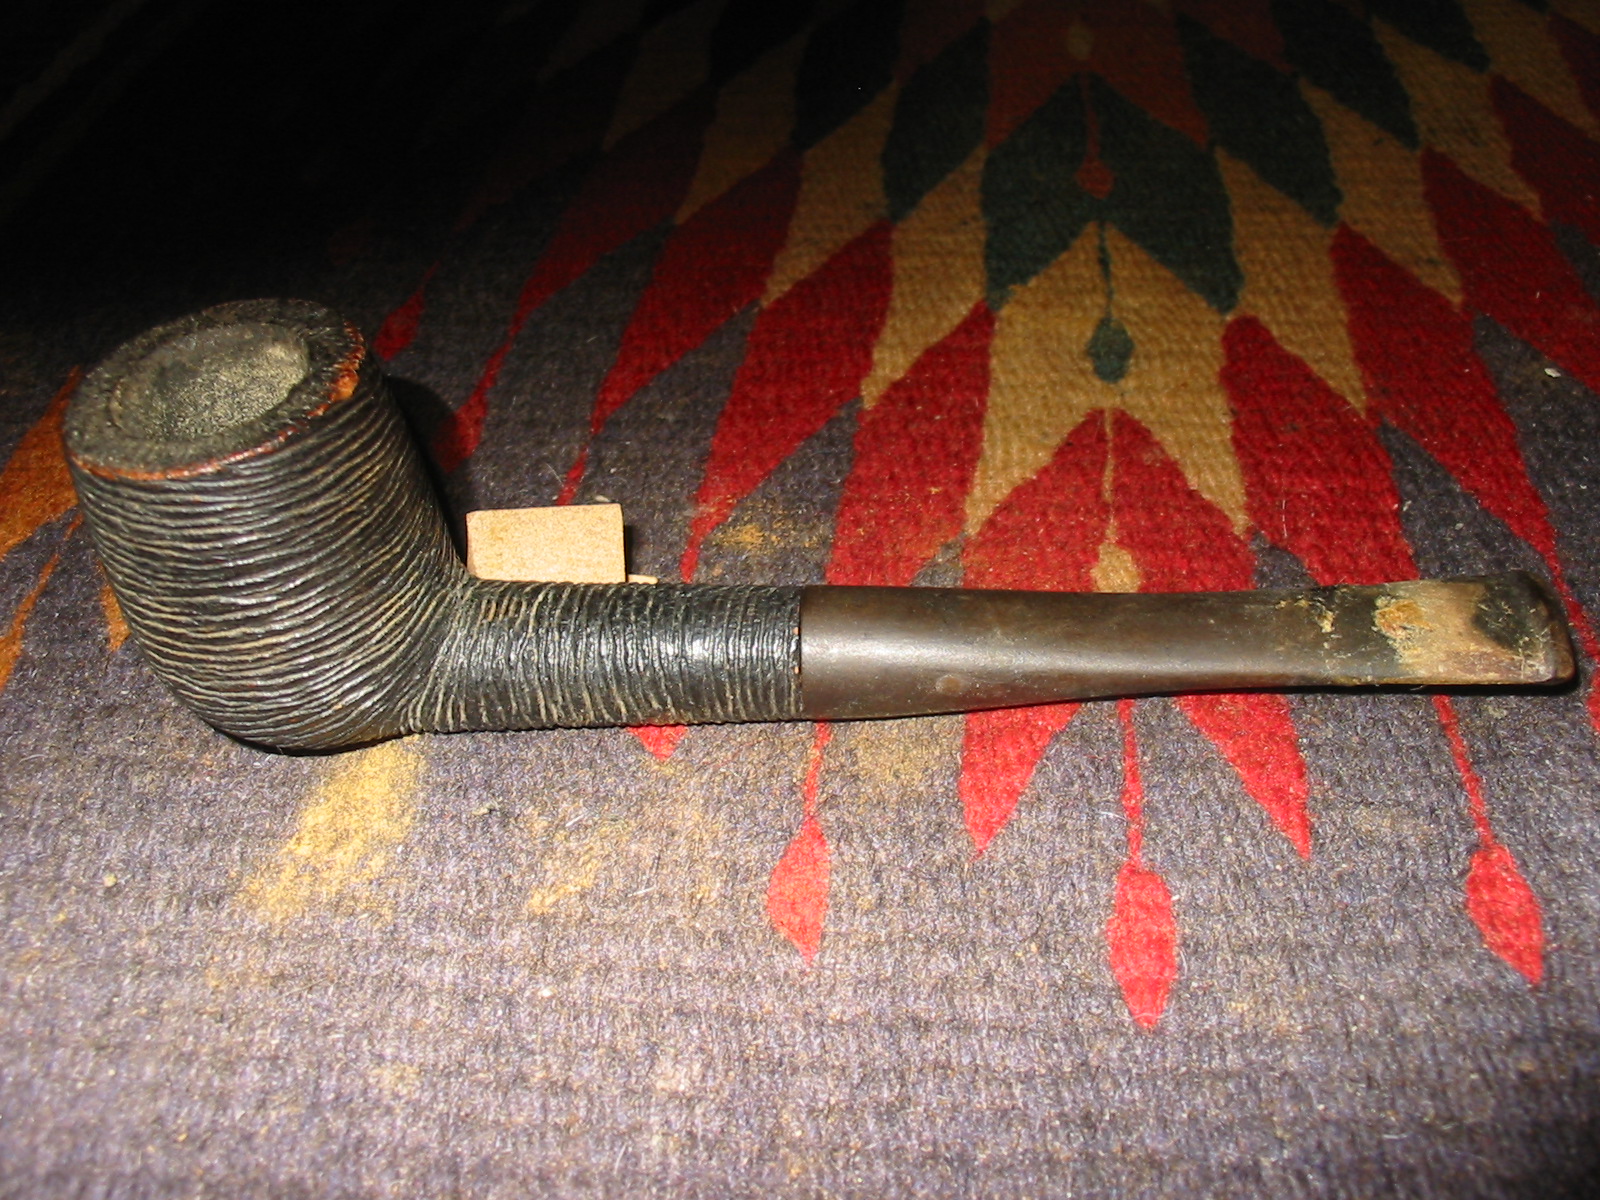
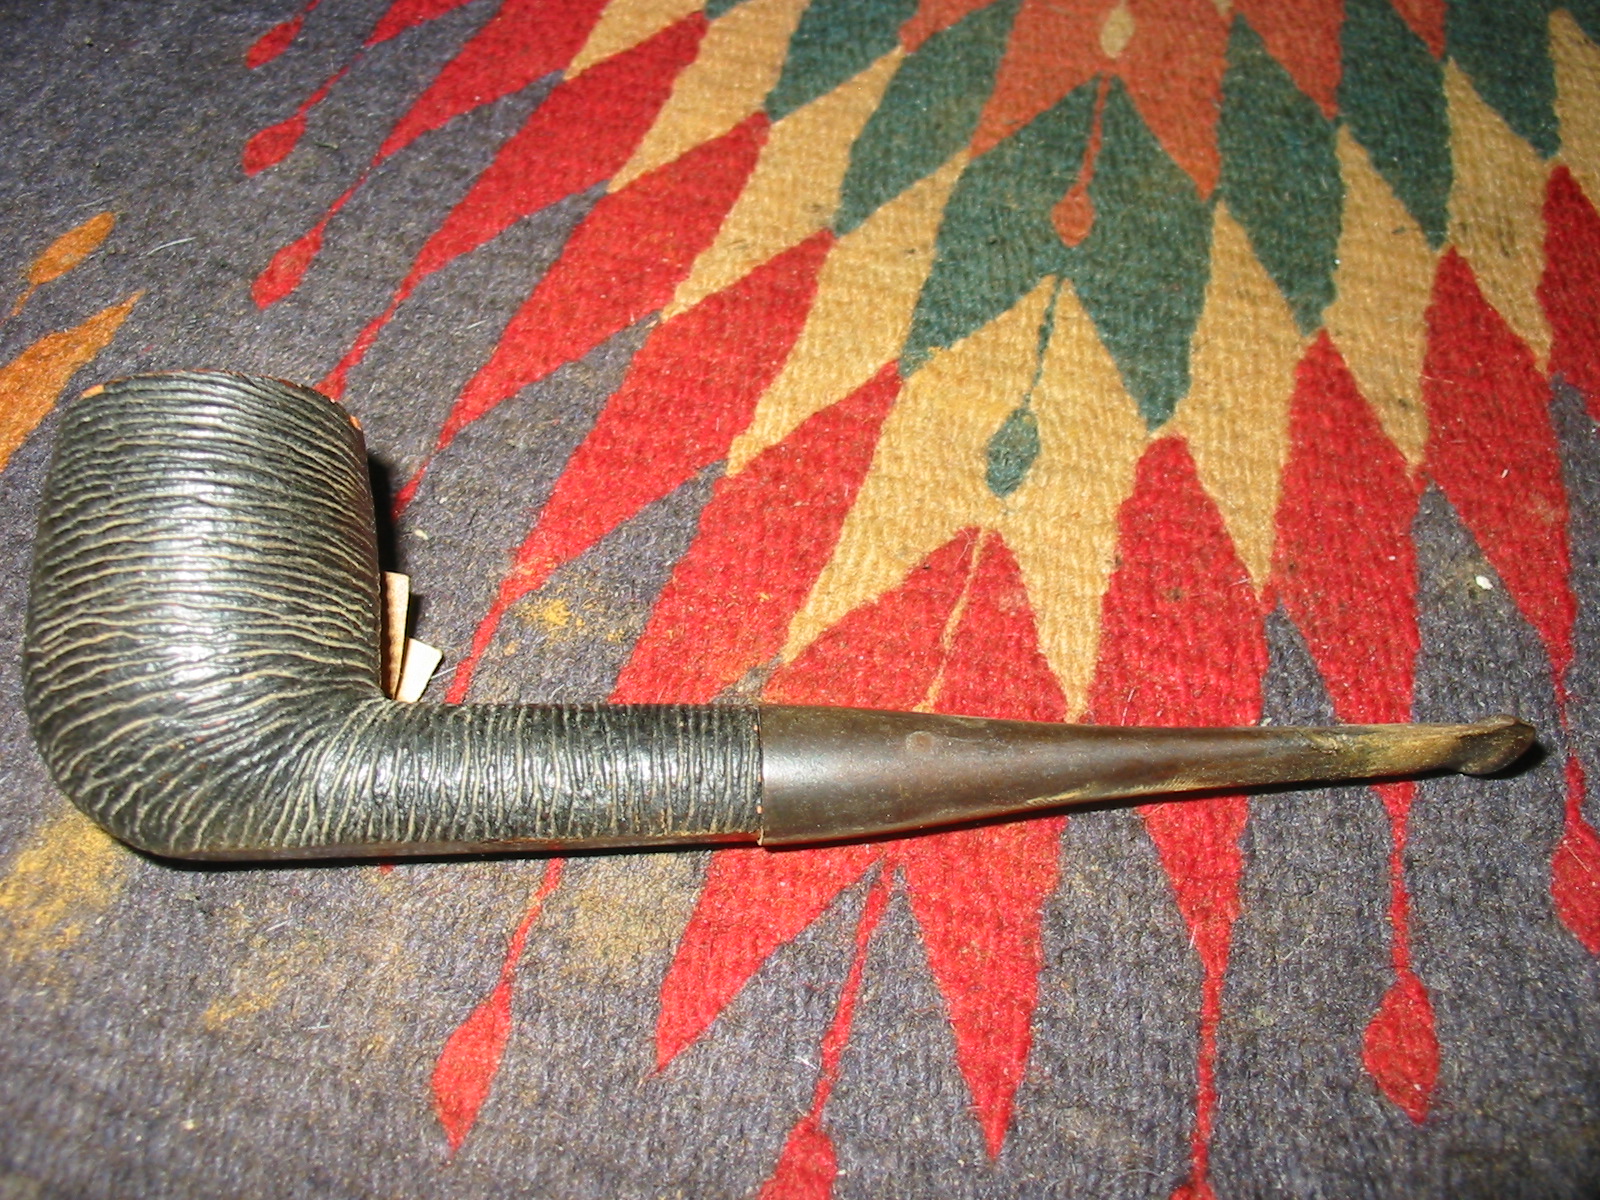
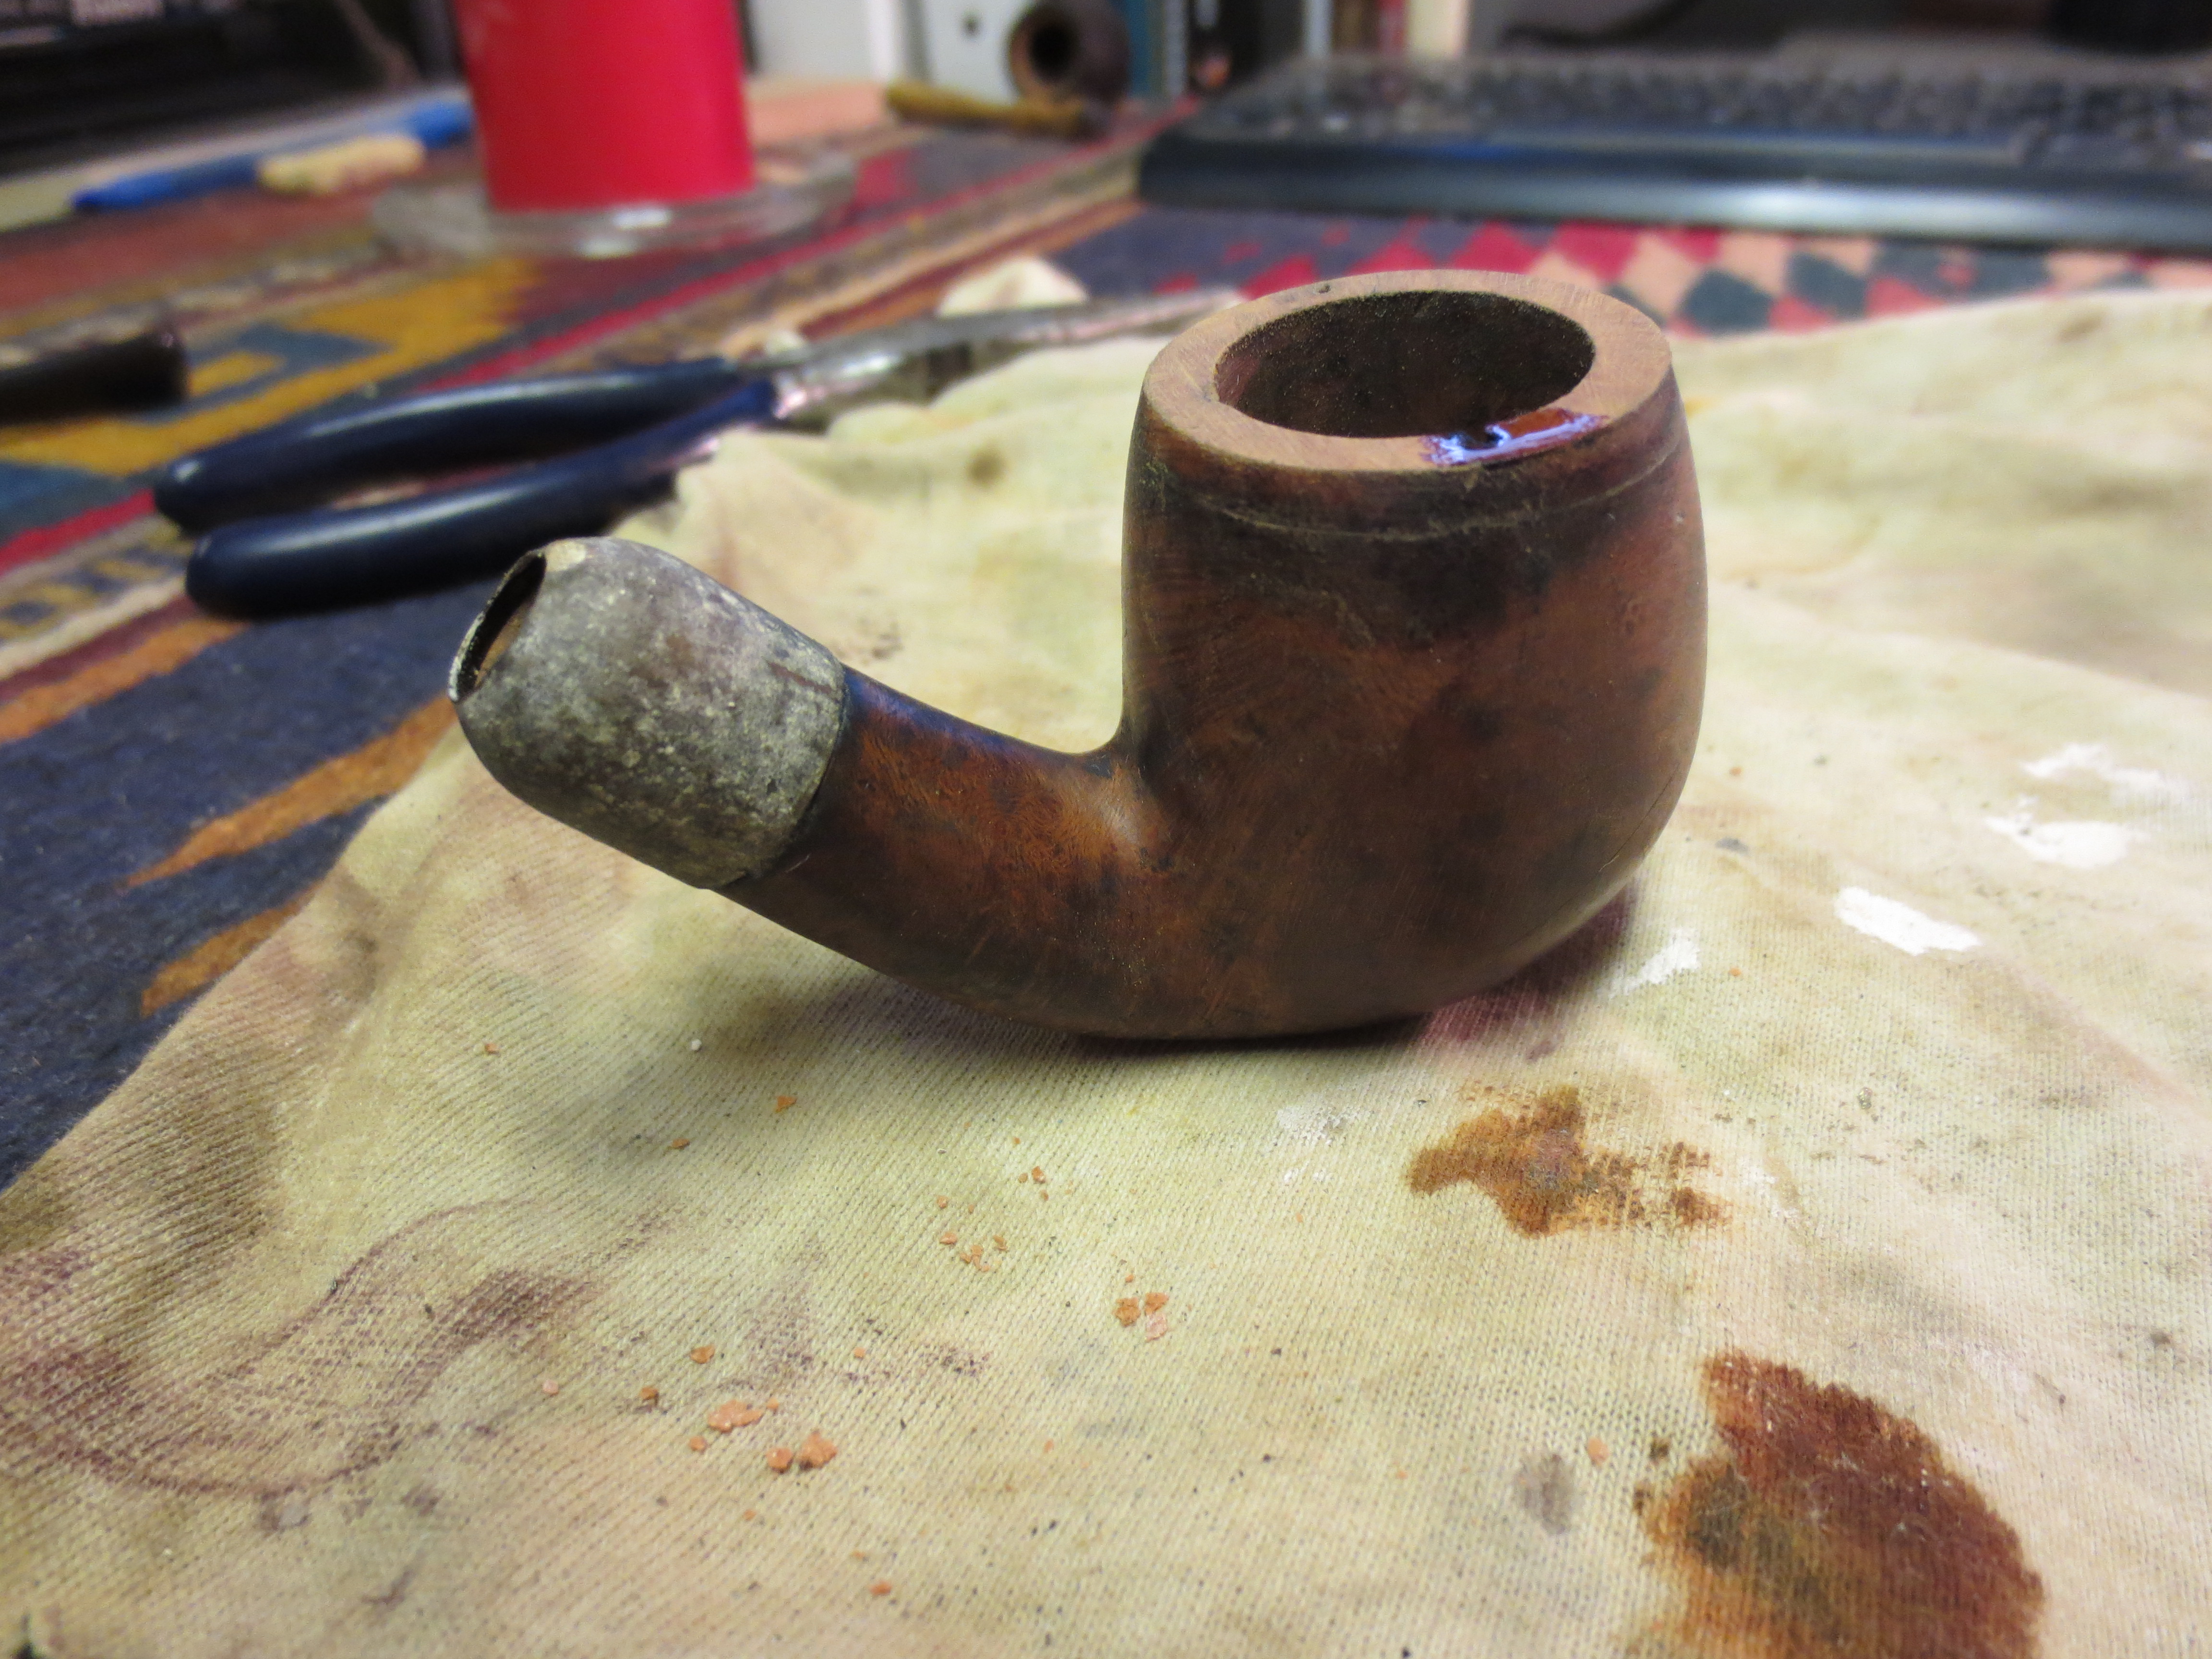
I am just about finished restemming the lot of pipe bowls I picked up on EBay. This is one of the last two pipes that I have left in the lot below. It is the fourth pipe down in the left column. It has an interesting rustication pattern that reminds of one that is done on Saseini pipes. It is striated around the bowl and then tapers up from the bottom to a striated pattern around the shank. It has a flat bottom on the shank that is smooth and stamped Bruyere in a crown with a large R in the centre of the band on the crown. Underneath the crown is an unfurled banner that is stamped K R O N E. I have no idea of who the maker is or when and where it was made. The stamping is faint so I may be missing a few letters but I think this is an accurate rendering of what is stamped. The finish was pretty dirty with grime in the grooves on the bowl and shank. The rim was caked with a tarry buildup and the grooving on the rim was not visible. There were also place on the finish where the stain was missing and the briar underneath exposed. The inside of the bowl had dust and cob webs and a pretty large cake buildup that would need to be removed. The bowl came without a stem and fitting one would take flattening of the stem on the underside to match the shank.

bowls1

sas

I went through my box of estate stems and found one that was a good fit to the shank. Once the cleanup of the stem was done and a flattening of the underside of the stem the pipe would look like it came with that stem. The stem had a calcified buildup around the button and some tooth marks as well. The oxidation was not too bad but was present.

IMG_1492

IMG_1493

IMG_1494

IMG_1495

IMG_1496

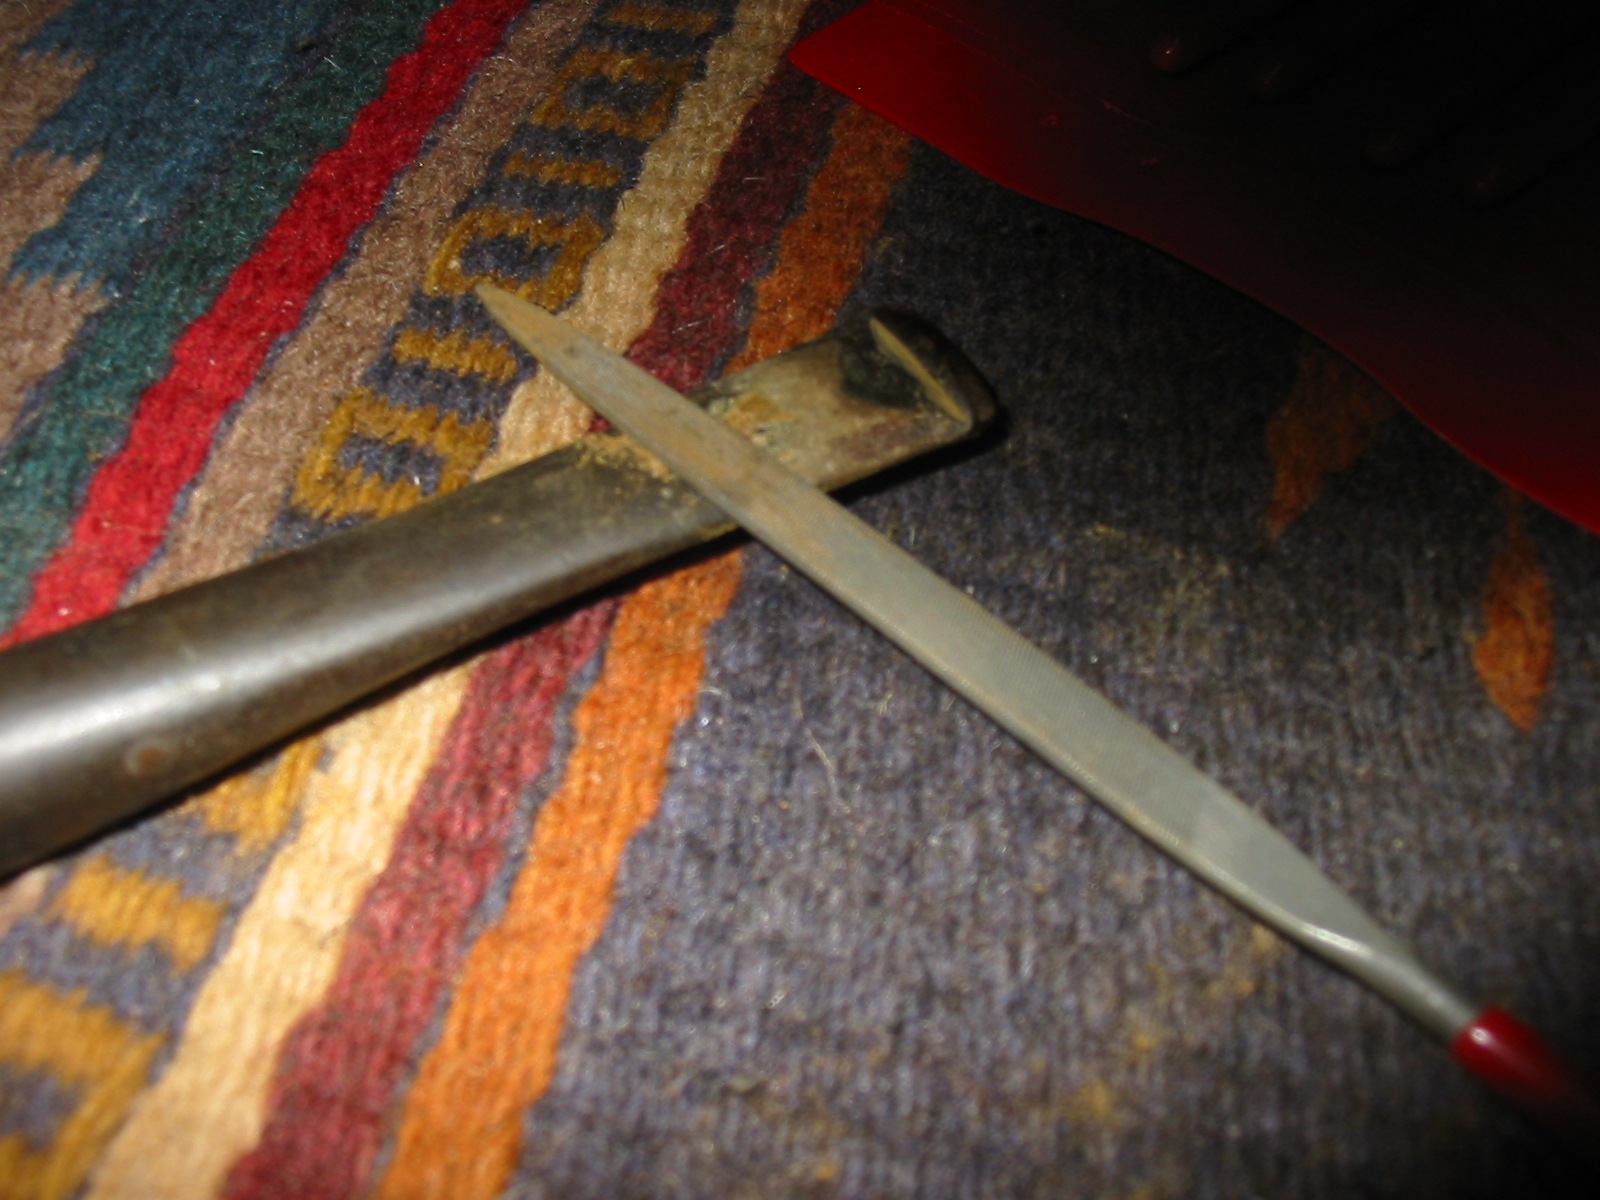
The clean angles of the button against the stem were gone so I recut them with needle files to clean up the edge. I reamed the bowl back to bare briar with a PipNet reamer starting with the smallest cutting head and progressing to the one that was the diameter of the bowl without the cake. Once it was cleaned out I scrubbed down the bowl with Murphy’s Oil Soap and a soft bristle tooth brush to remove the grime. I scrubbed the buildup on the rim with a soft bristle brass tire brush to remove the tars. Once I had scrubbed it I rinsed it with warm water to remove the soap and dried it off with a cotton towel. I wiped down the bowl with acetone on a cotton pad and prepared it to be stained. After heating it with a heat gun I stained it with a dark brown aniline stain. I used a permanent black marker to touch up the raw briar areas where it was scratched or damaged. I reapplied the stain and flamed it. The newly stained pipe is shown in photos 2 and 3 below.

IMG_1497

IMG_1498

IMG_1499

I sanded the stem with medium grit emery paper to remove the calcification around the button and also heated the tooth marks with a Bic lighter to lift them as much as possible. I “painted” the surface of the stem with the flame to burn off the sulfur of the oxidation that I had loosened by sanding. I repaired the tooth marks on both sides of the stem with black superglue and set it aside to dry overnight.

IMG_1500

The next morning I cleaned out the bowl and shank with pipe cleaners, cotton swabs and Everclear. I sanded the stem and the superglue patch with 220 grit sandpaper and then with a medium grit sanding sponge to clean up the scratches in the finish. I put it back on the bowl to get an idea of the overall look of the pipe and see if the diameters of the stem fit the shank. I needed to flatten the bottom of the stem some more to match the bottom of the shank and also removed some more of the material on the diameter of both sides to bring it into line with the shank. Once the stem was well fitted I moved on to sanding with micromesh sanding pads from 1500-12,000 grit.

IMG_1501

IMG_1502

IMG_1503

IMG_1504

IMG_1505

IMG_1506

IMG_1507

I buffed the stem with White Diamond and a Blue polish. I gave the bowl a light buff with White Diamond to bring up the shine. I gave the bowl a coat of Halcyon II wax and buffed it by hand with a shoe brush. I gave the stem multiple coats of carnauba and buffed it on the buffer with a clean flannel buff. I think the pipe came out well. Does anyone know anything about the brand?

IMG_1508

IMG_1509

IMG_1510

IMG_1511

Restoration – The Guildhall 284


By Al Jones

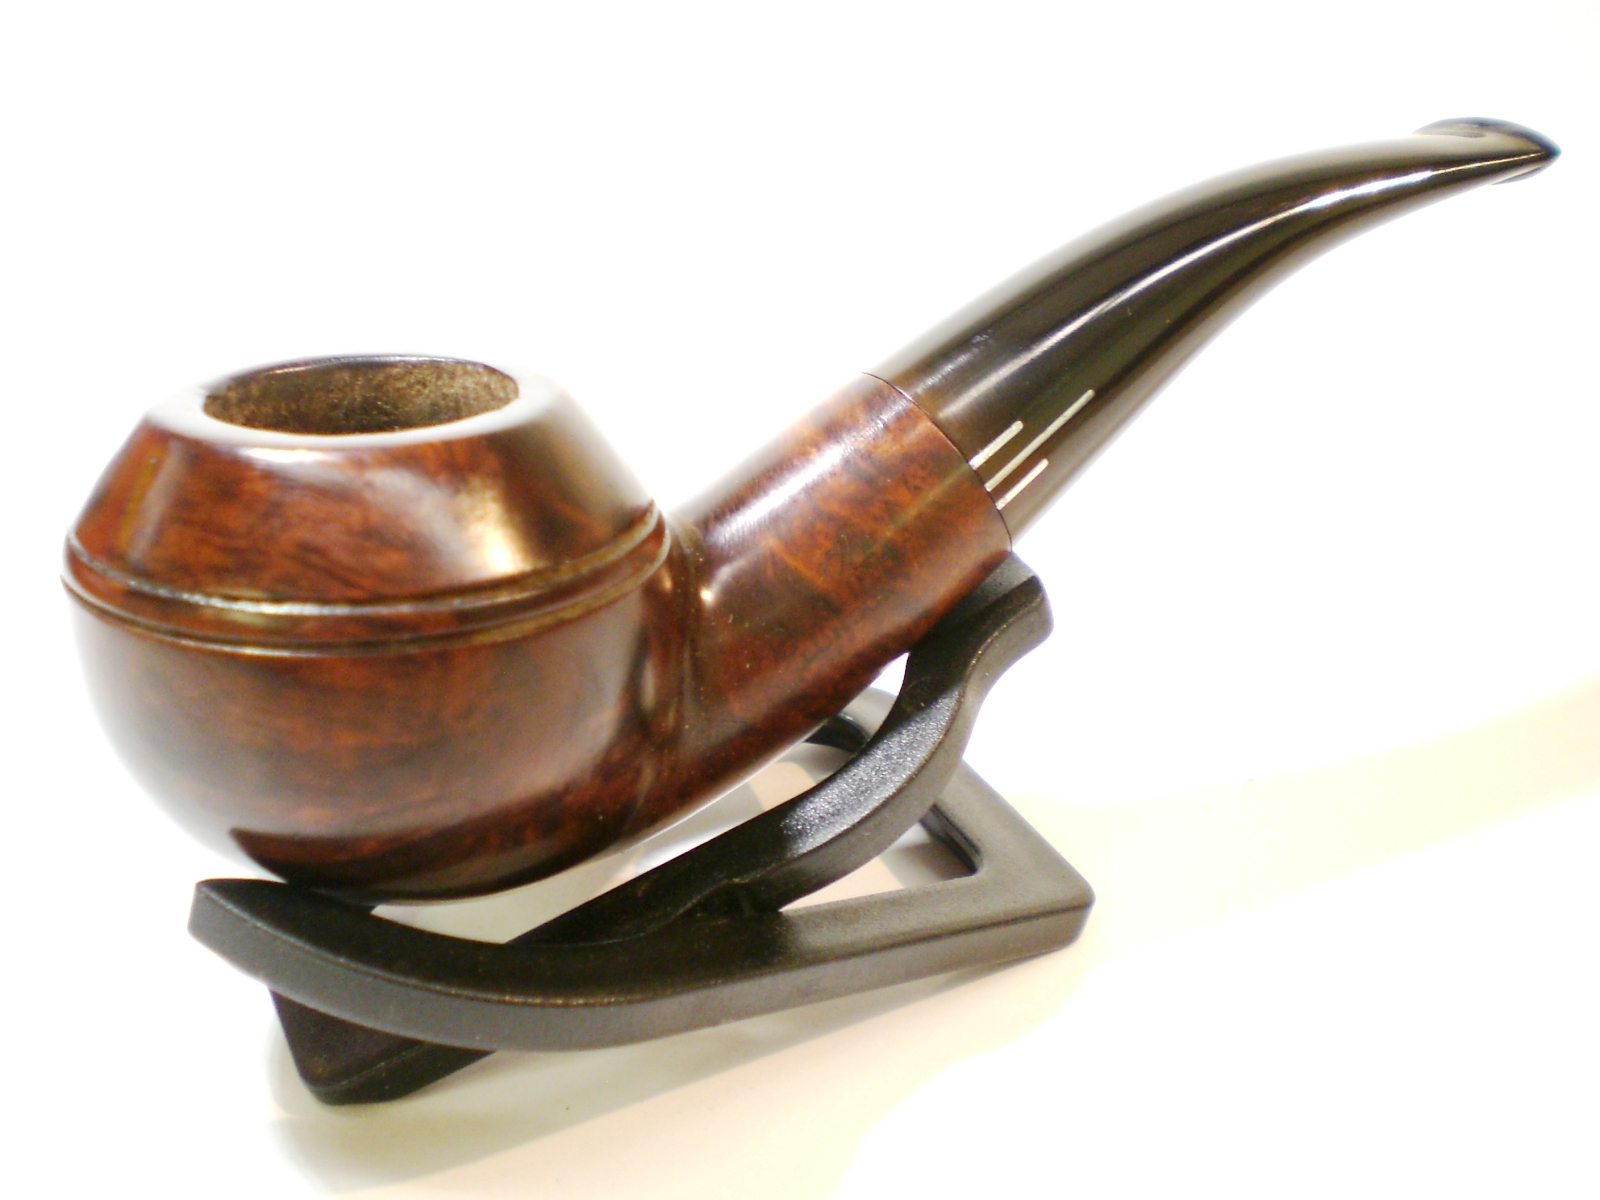
I am an admirer of the Rhodesian shape and the Comoy’s Shape 284, a compact Rhodesian, is one of my favorites. Unfortunately that shape doesn’t show up that often and when it does there is strong competition. I found this “The Guidall” shape 284 on Ebay but it was not in great shape, so I took a chance on it. “The Guildhall London Pipe” is a Comoy’s second line with a distinctive three-metal bar stem logo.

As you can see from these photos, the stem was heavily oxidized but it didn’t appear to have any tooth marks. The bowl top was a little misshapen and it had a very heavy cake build-up. Mike, the “Streets of London” social group administrator on the SmokersForums.uk tells me that The Guidall used pre-made stems. This one had a large stinger. I’m not a fan of stingers, so I warmed the metal end of the stinger and pulled it out.

Guidall_284_Before (4)

Guidall_284_Before

Guidall_284_Before (1)

Guidall_284_Before (2)

Guidall_284_Before (3)

I reamed the bowl starting with my smallest Castleford bit and gradually worked up to the full bowl size. There was some damage at the bottom of the bowl that I will have to repair with some “pipe mud” (cigar ash & water). I soaked the bowl overnight with some sea salt and alcohol to remove the tars and residue. The stem was soaked in a mild Oxyclean and water solution. The metal stem logo looked pretty durable, so I didn’t do anything to protect it.

After the bowl soak was completed, I polished the briar on my buffer with some Tripoli and then White Diamond rouge. The briar was in remarkably good condition, considering the way the rest of the pipe was treated over its life. I didn’t detect any fills or other imperfections. You can see the burned out area on the bottom of the bowl, but when I filled it with pipe mud, it wasn’t as deep as it appeared.

Guidall_284_Work (2)

The stem took quite a bit of work to remove the heavy layer of oxidation, which was also in the draft hole. I started with 800 wet grit paper, then progressed to 1500 and 200 grits. I then moved to the micro-mesh paper, with 8000 and finally 12000 grit papers used. The stem was then buffed on the machine with White Diamond rouge. I always use an automotive plastic polish as a final prep. The end of the stem where it meets the briar still has a little oxidation but I was reluctant to sand further for fear of rounding the stem. I may go back and retouch this area. I mixed up some cigar ash I save with just a few drops of water to make a paste called “pipe mud”. I used the spoon on a Czech tool to ladle in the mixture and a small button head bolt to tamp it into shape.

The premade stem feels all right in my mouth, but I have to wait until the pipe mud dries to smoke it. I need a compact pipe for travel use and carry in my one-pipe bag and I’m hoping this one can fit that requirement.

Here is the finished pipe.

Guidall_284_Finished (7)

Guidall_284_Finished

Guidall_284_Finished (1)

Guidall_284_Finished (2)

Guidall_284_Finished (3)

Guidall_284_Finished (4)

Guidall_284_Finished (6)

Royal Danish Acorn Shape 971 Reborn


Blog by Steve Laug

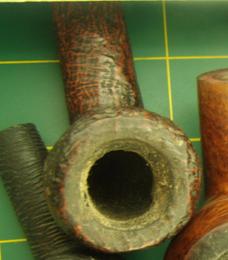
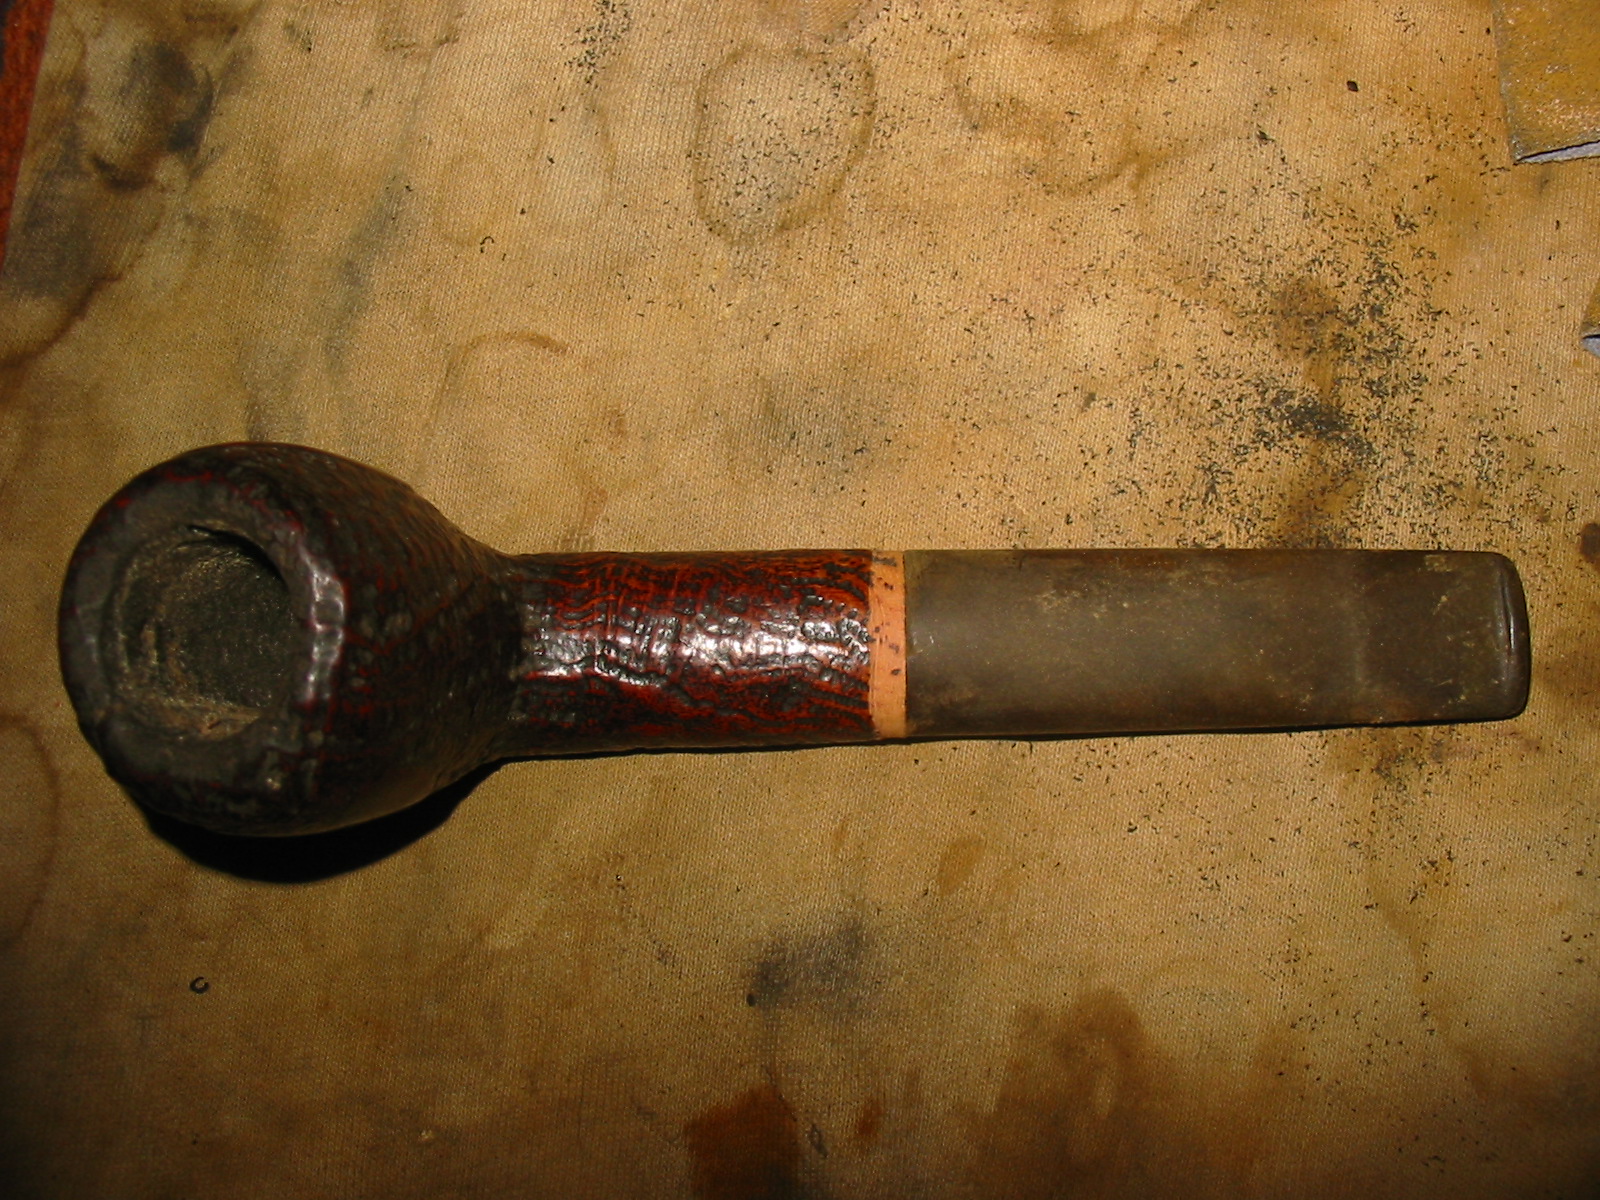
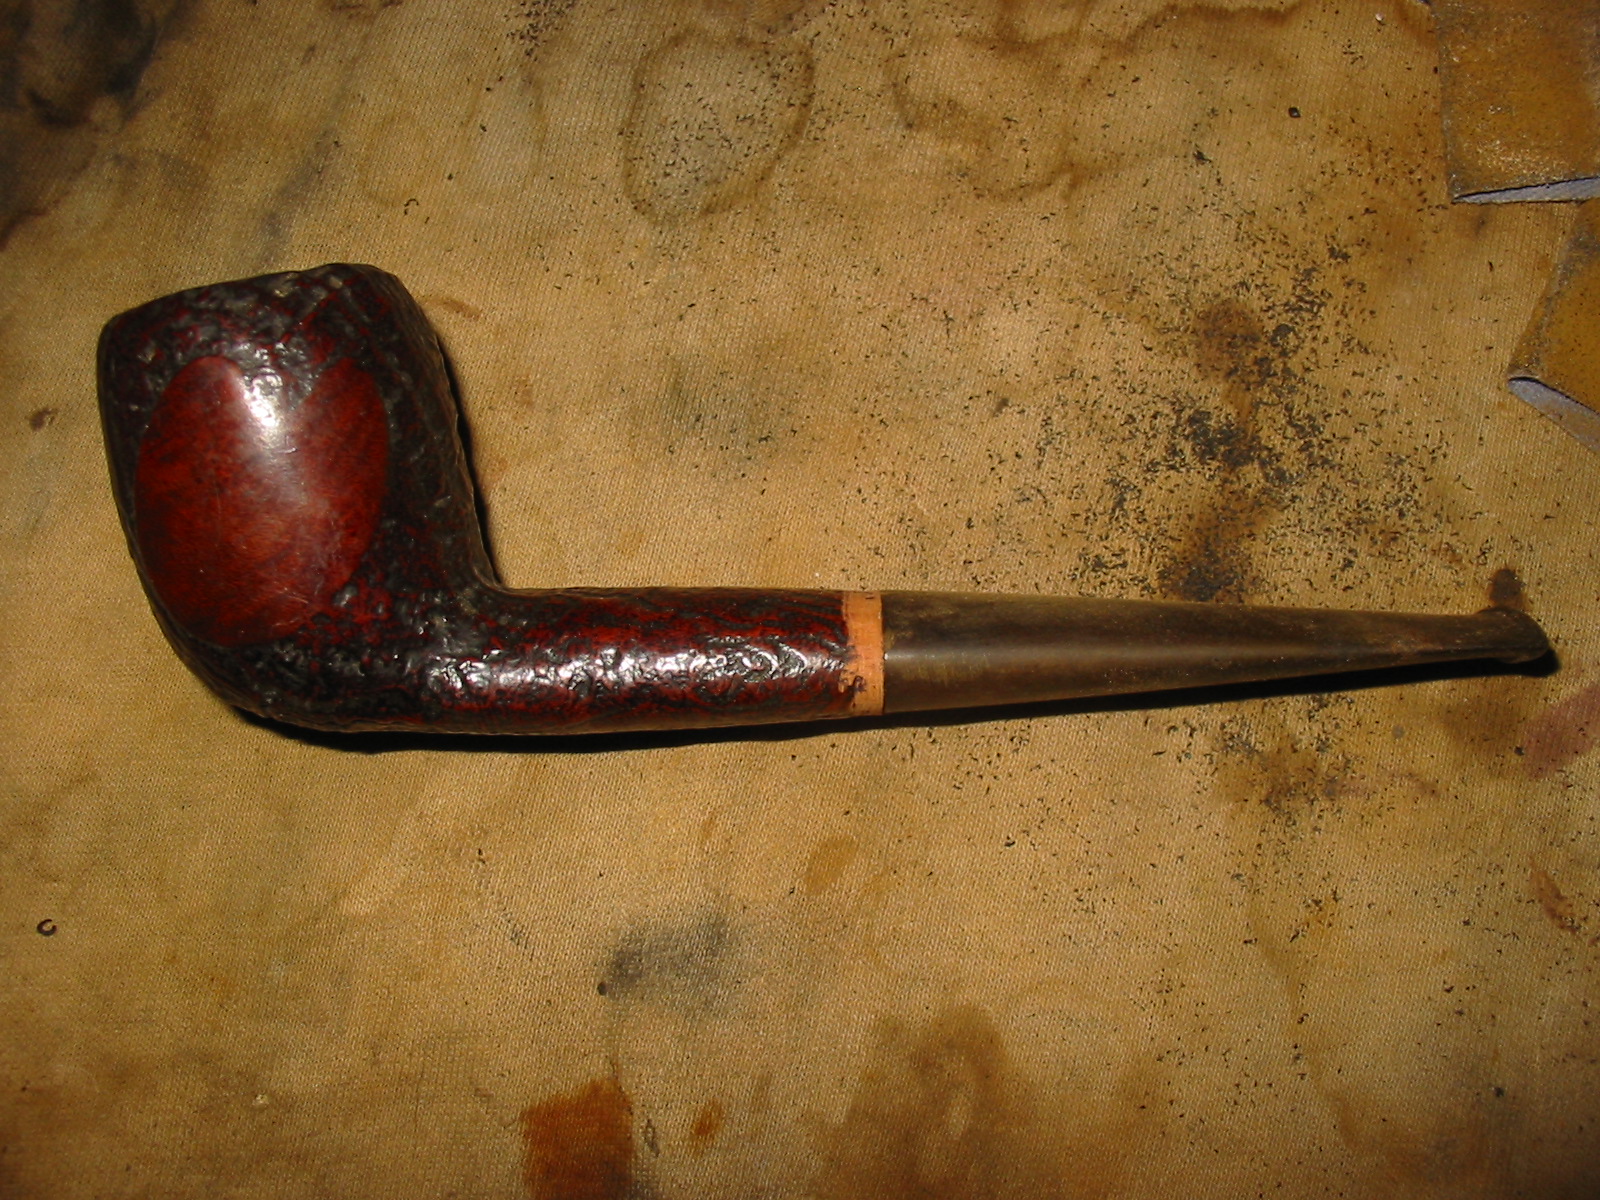
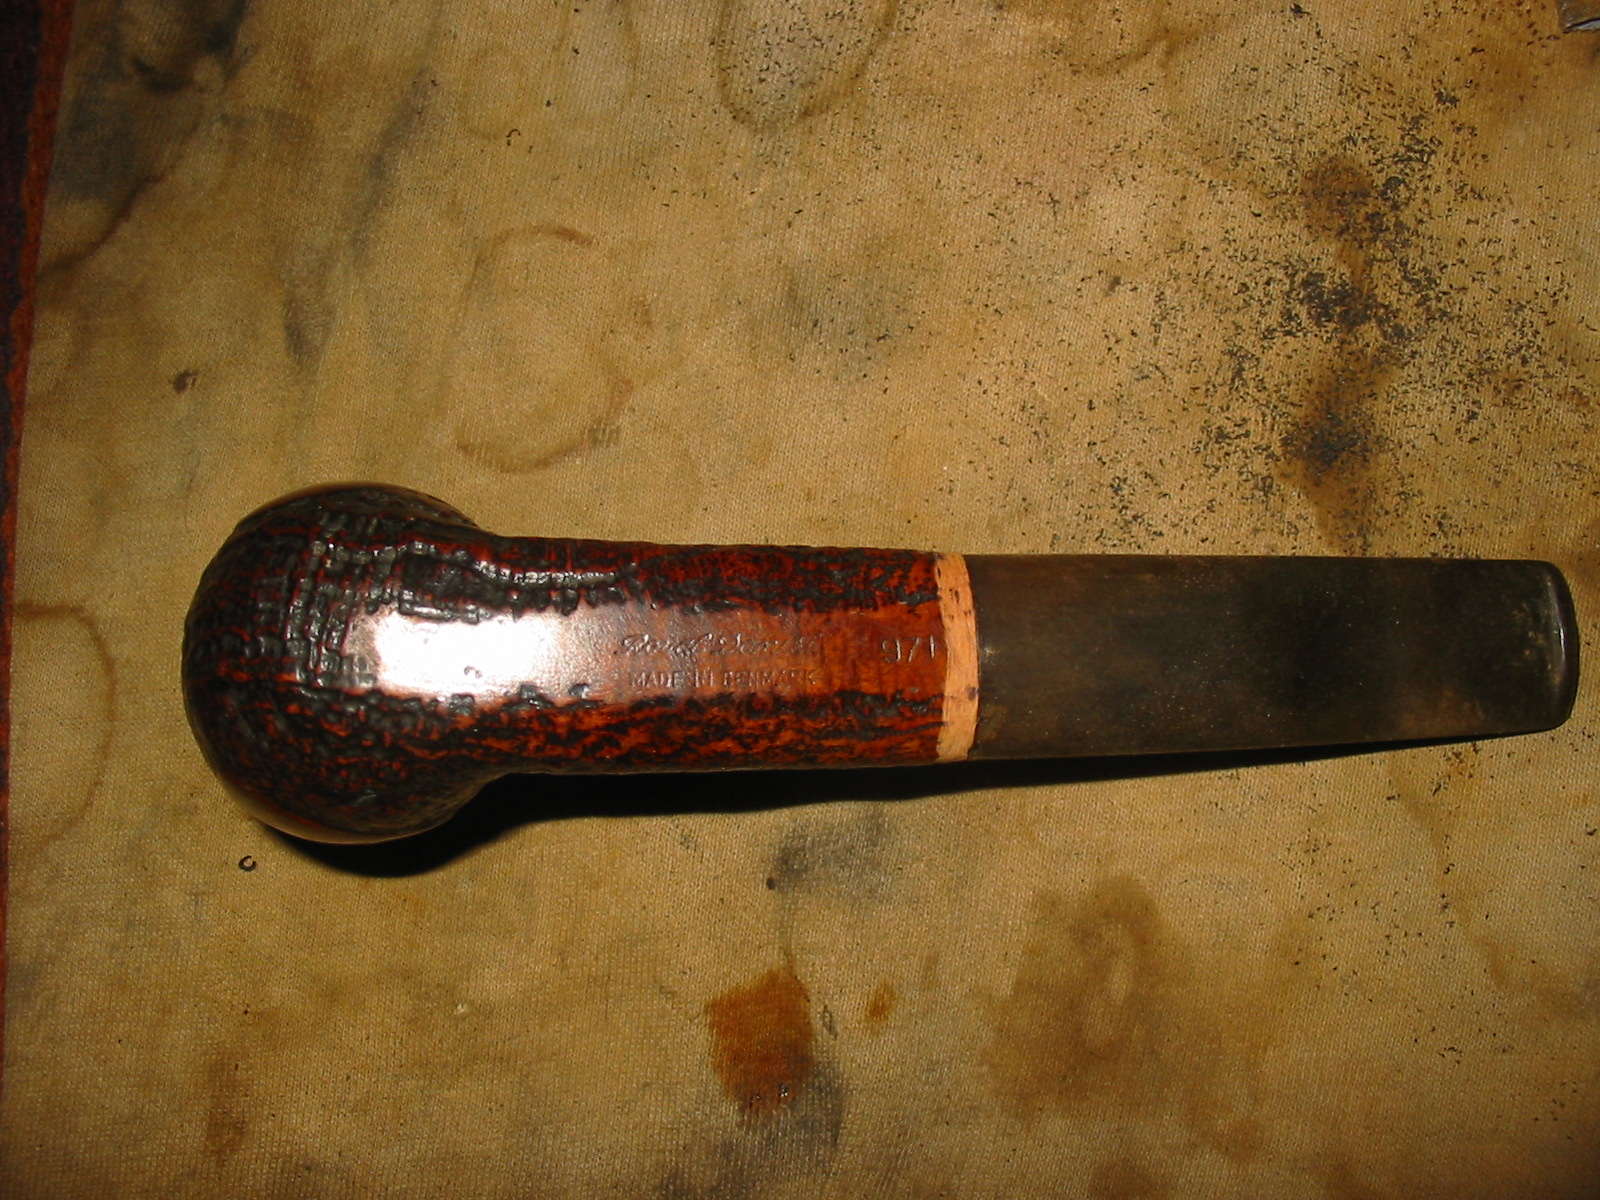
This is another pipe from the lot I picked up on Ebay not long ago. The lot is pictured in the photo below and this one is the third pipe down on the first column, left side. It is stamped Royal Danish in script over MADE IN DENMARK on the underside of the shank. It is also stamped 971. To me the shape is an oval shanked acorn. It has a sandblast finish with a smooth area on each side of the bowl and on the area that bears the stamping on the shank. The bowl was heavily caked as can be seen in the second photo. The finish was not in bad shape just dirty and the smooth areas had small scratches on the surface. The rim was caked with spill over from the bowl and would need to be scrubbed to remove the build up and make the sand blasted rim visible again. The bowl came without a stem.

bowls1

Danish

I sorted through my box of stems to see if I had one that was suitable for this pipe and found an estate stem that would work with a little cleanup. It was heavily oxidized and had some tooth chatter on the surface of the stem that became very visible as I cleaned it. The stem was clogged with tar and oils and I would have to unclog it to make it work. I used a paper clip that I straightened out to clean out the build up in the stem then sanded the tenon until the stem fit the pipe. I lined it up with the curves on the shank. Because of the sandblast on the shank the stem would not line up perfectly so I decided to sand a smooth band around the shank for the stem to line up with. I used a Dremel with a sanding drum to smooth out the edge of the shank. The next four photos show the finished band around the shank. Once it was stained I thought it would be a good contrast with the stem and the finish of the sandblast.

IMG_1282

IMG_1283

IMG_1284

IMG_1285

I reamed the bowl with a PipNet reamer. I began with the smallest cutting head and worked my way up to the second cutting head (first photo below). Once I had the bowl cleaned out I worked on the stem to clean up the oxidation and work on the tooth marks. I sanded it with 220 grit sandpaper and then with a fine grit sanding sponge (photos 2 and 3 below). I also sanded the banded area that I cut with the sanding drum.

IMG_1286

IMG_1287

IMG_1288

I wiped the bowl and shank down with acetone and a cotton pad. I wanted to remove the grime in the crevices of the blast on the shank and bowl. I used a soft bristle tooth brush and acetone to clean up the rim of the pipe. I scrubbed it until the finish was clean. Photos 1 and 2 below show the finish after the cleaning. The grey is the finish after it broke down with the acetone. I continued to scrub it until the finish was clean.

IMG_1291

IMG_1292

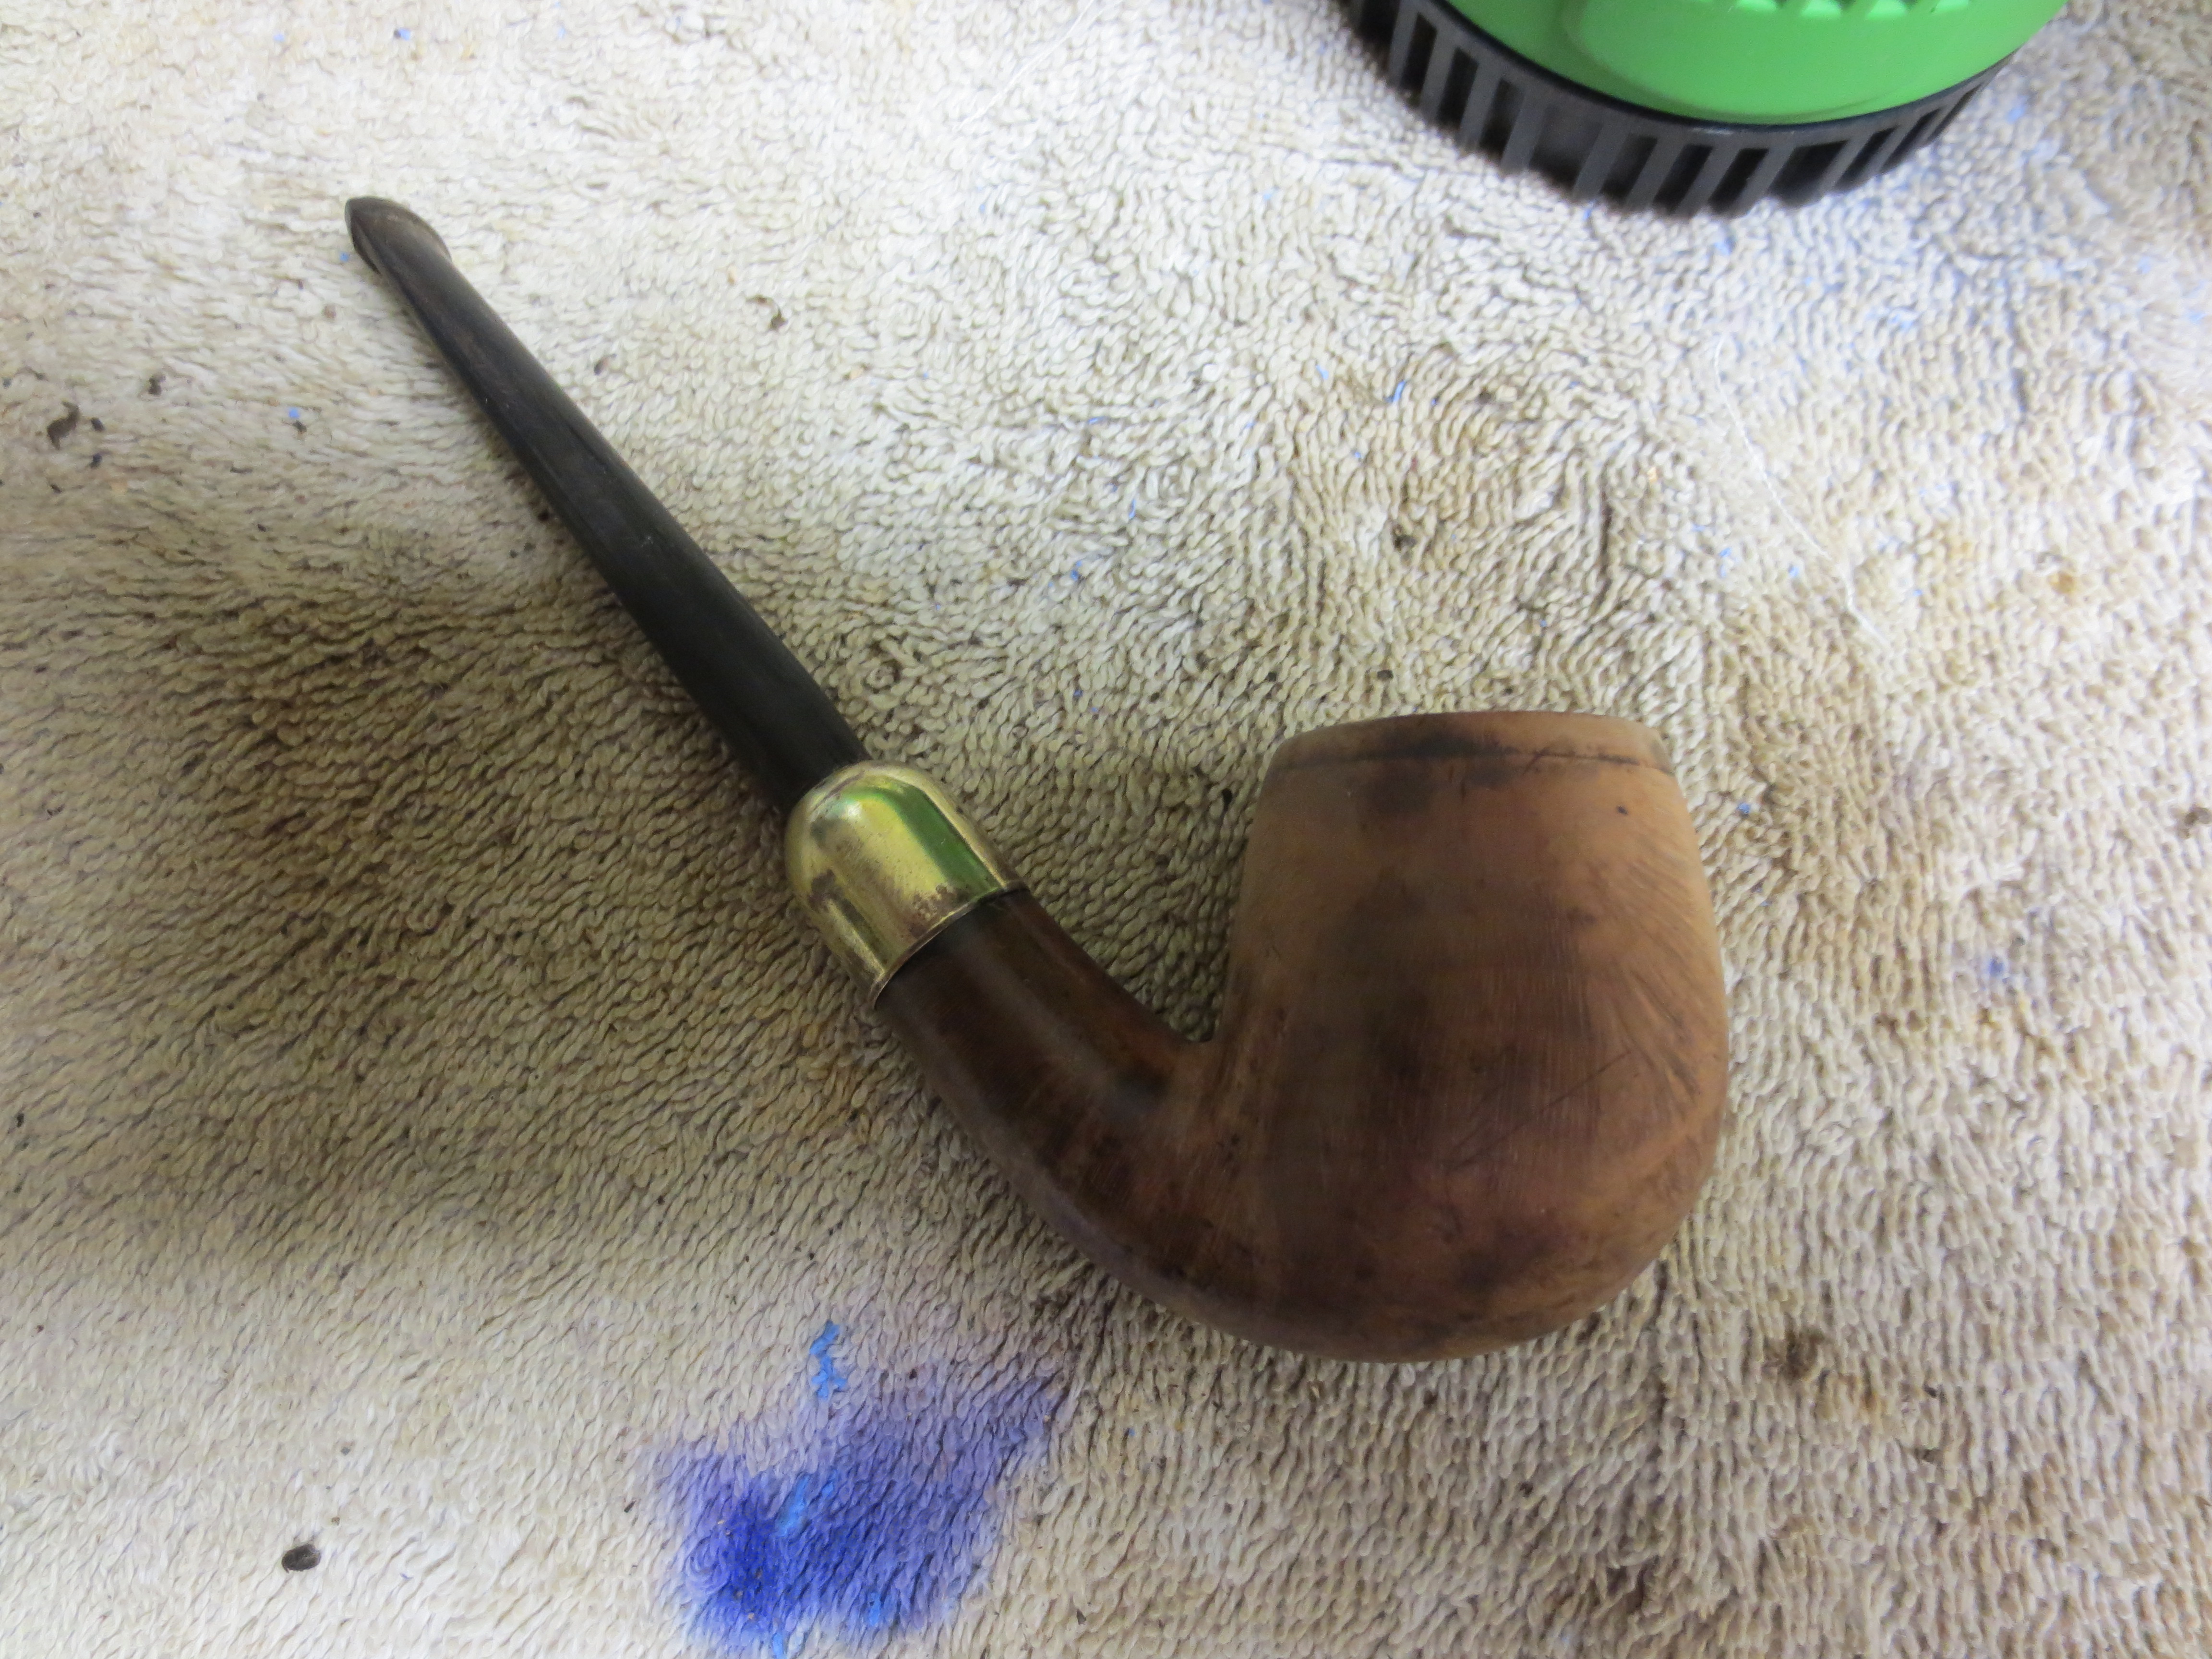
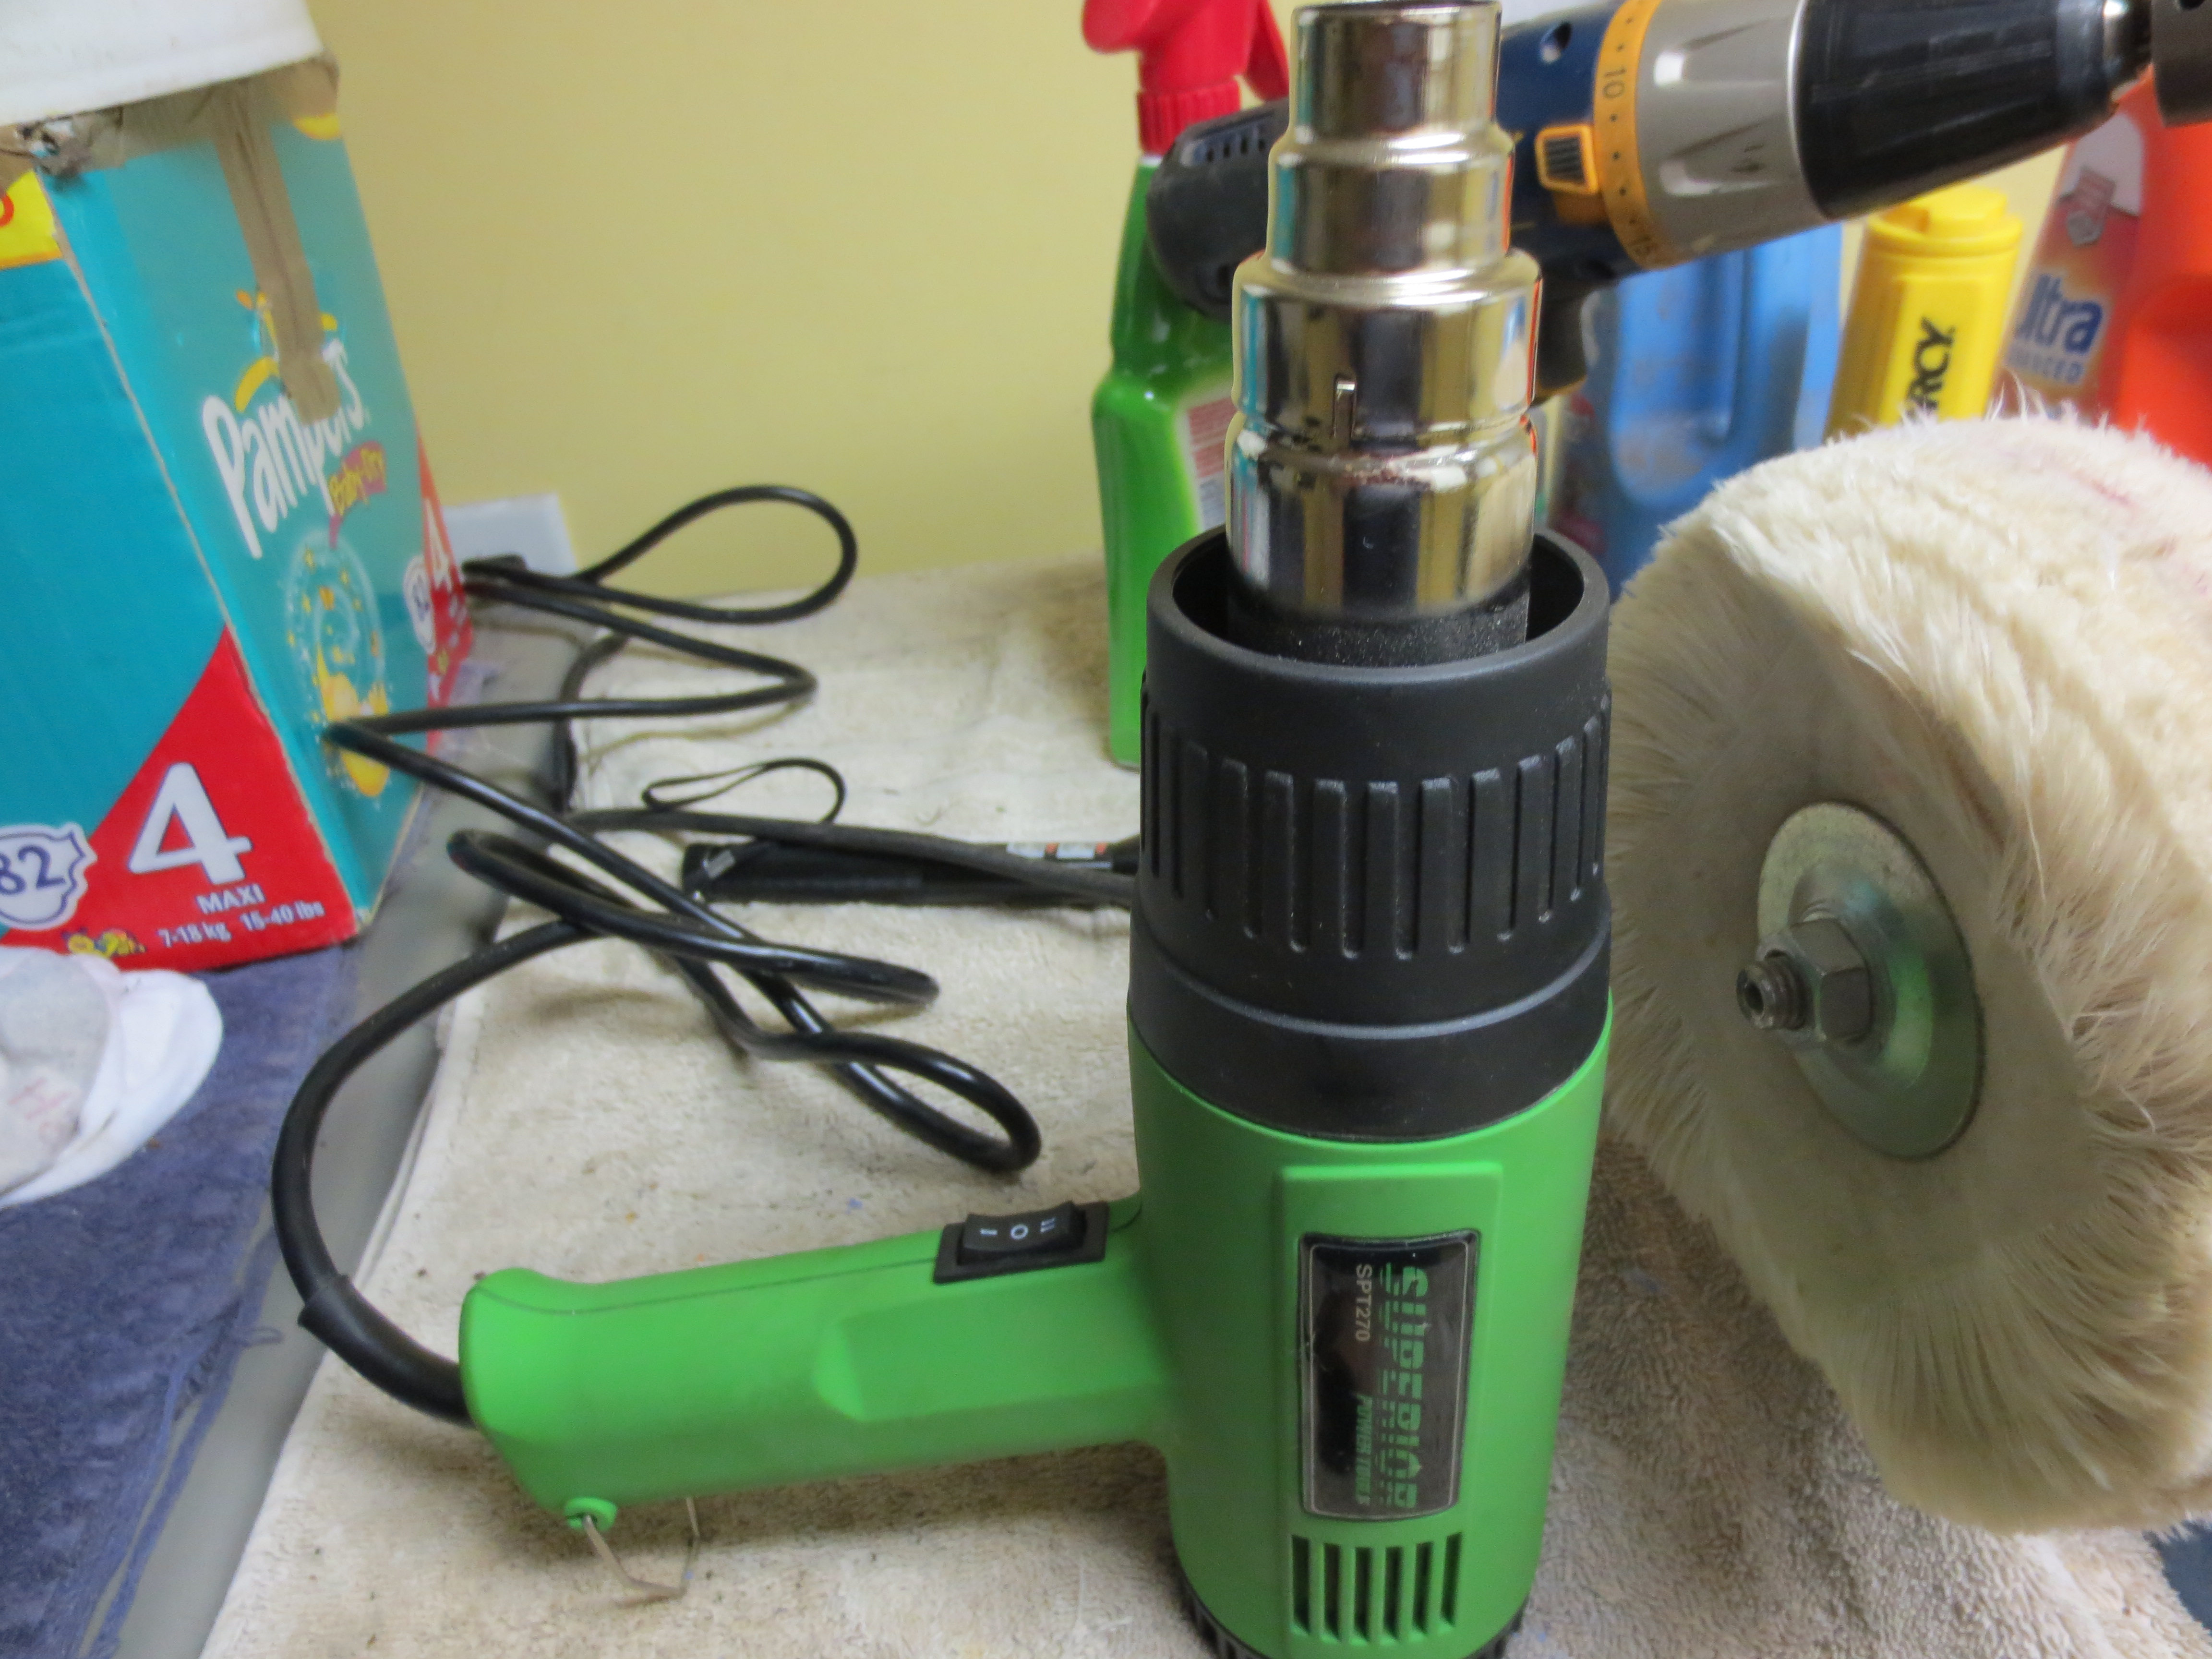
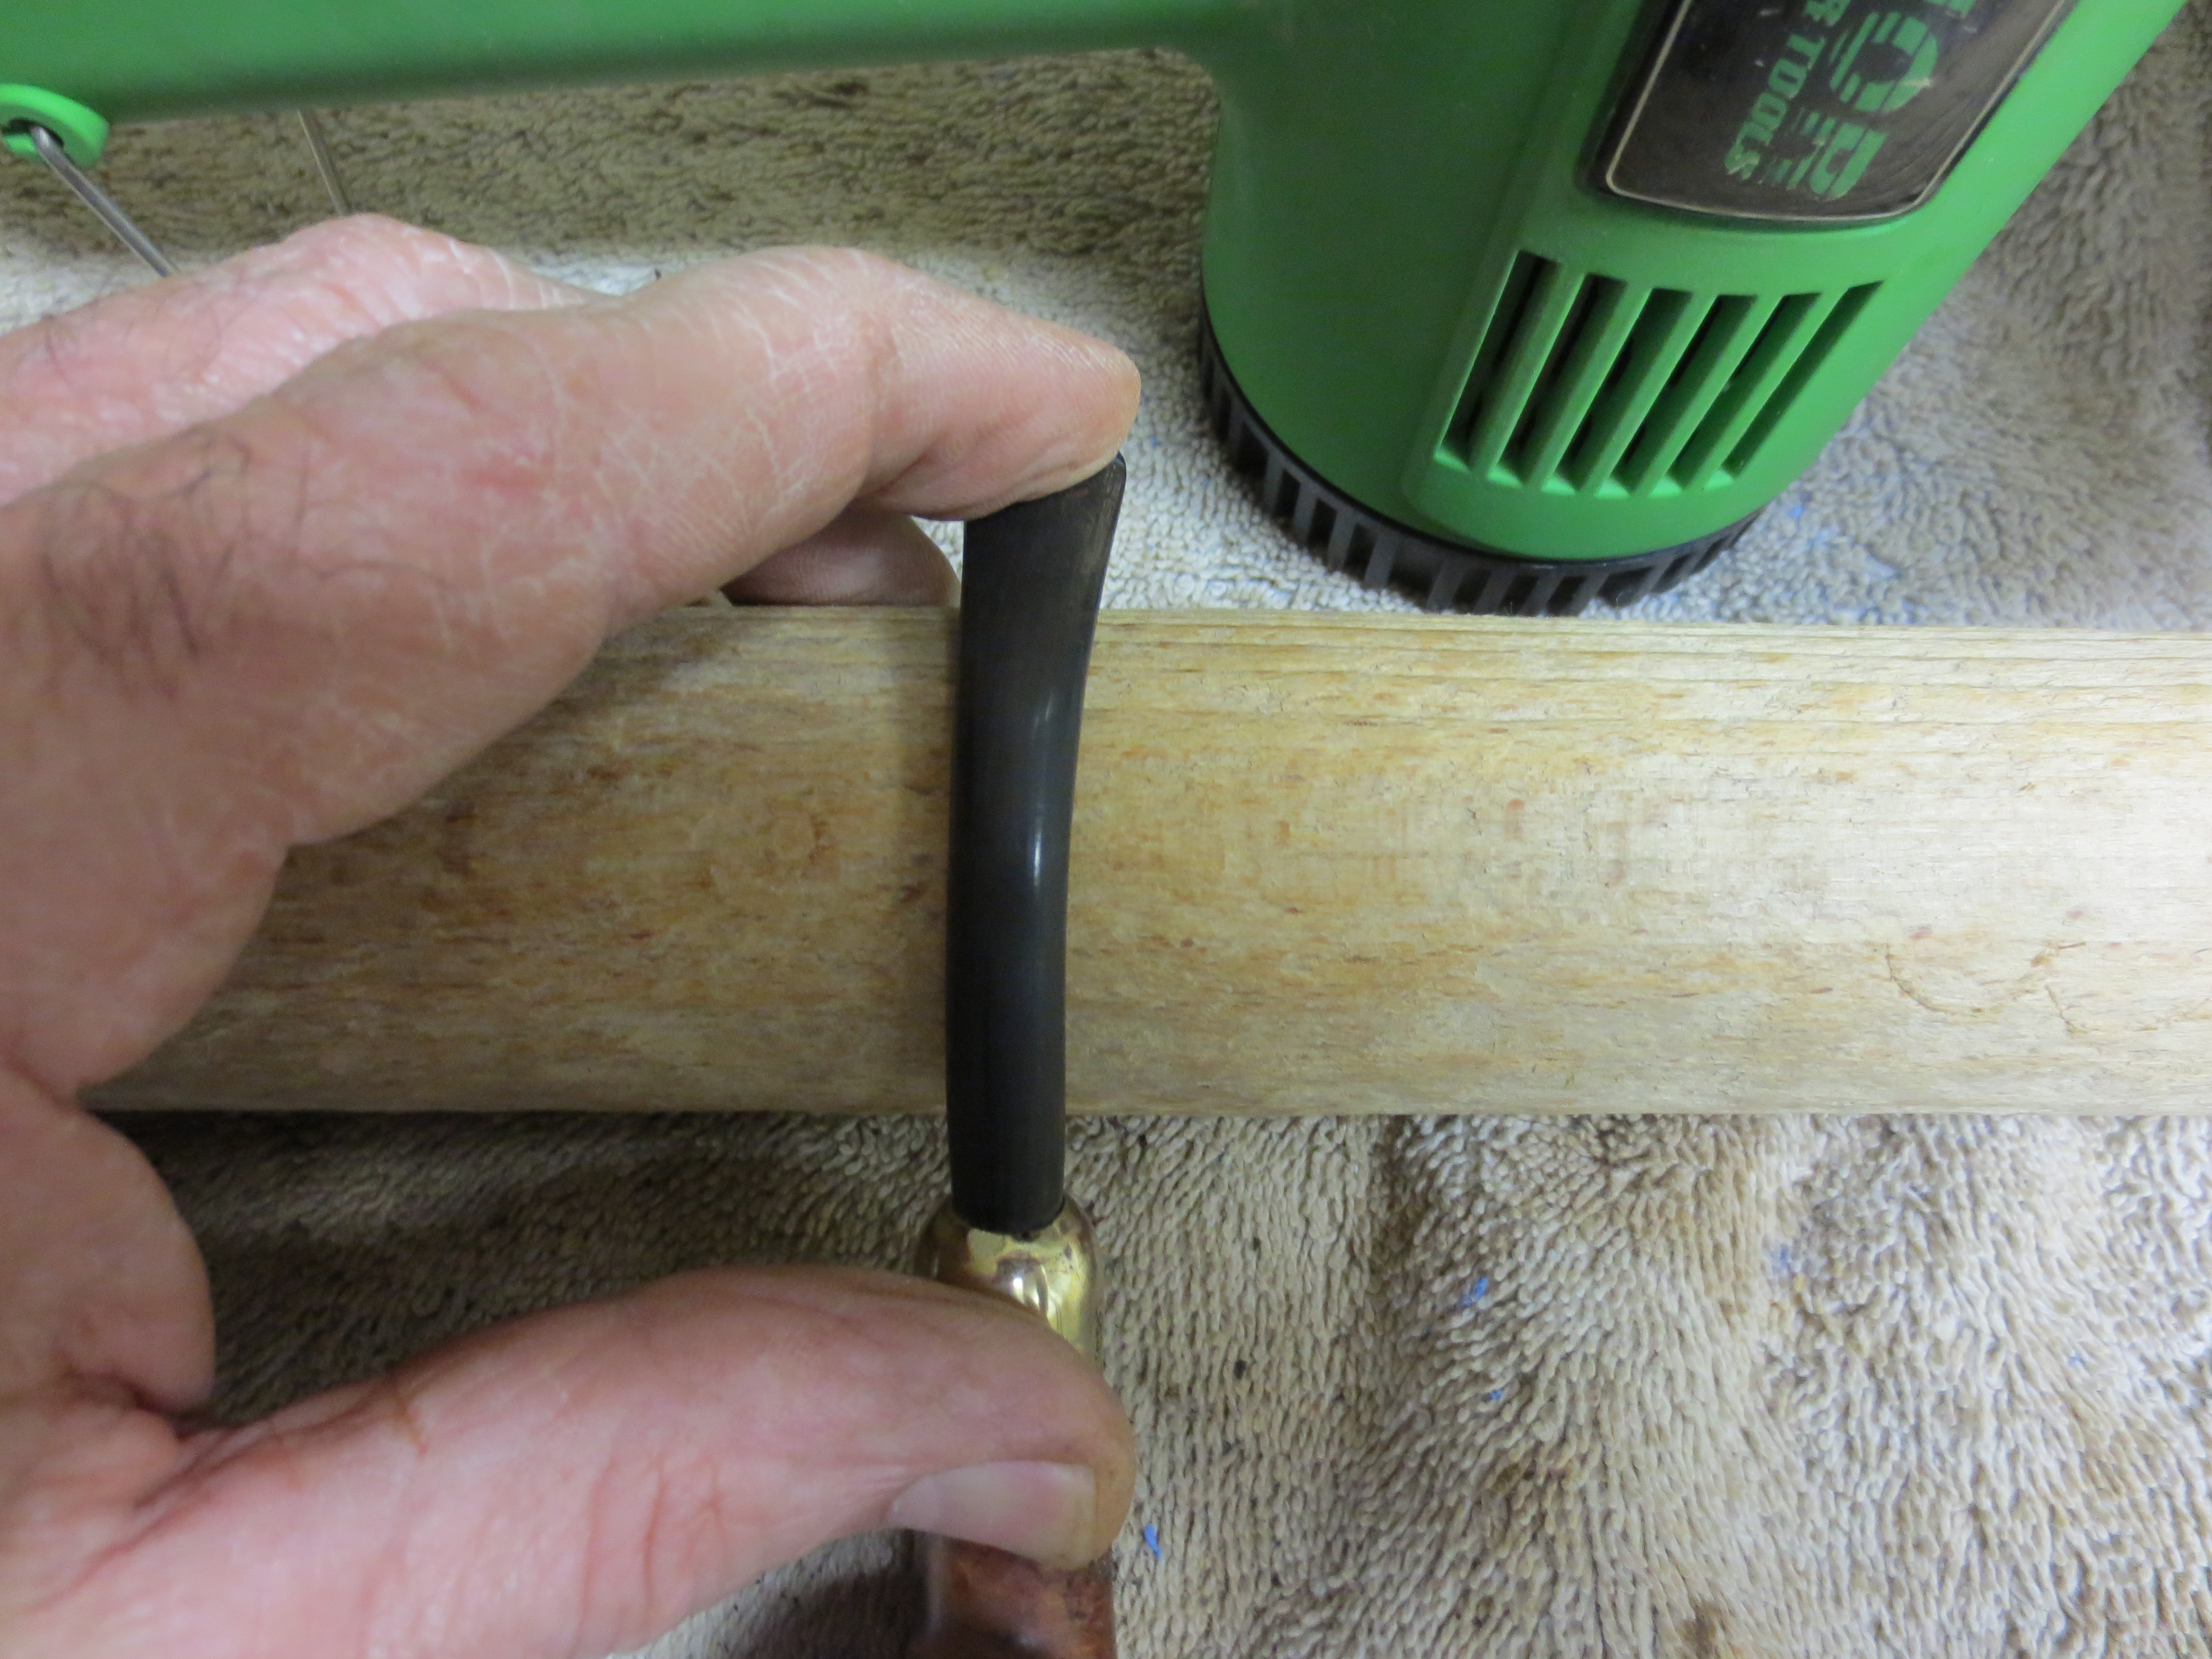
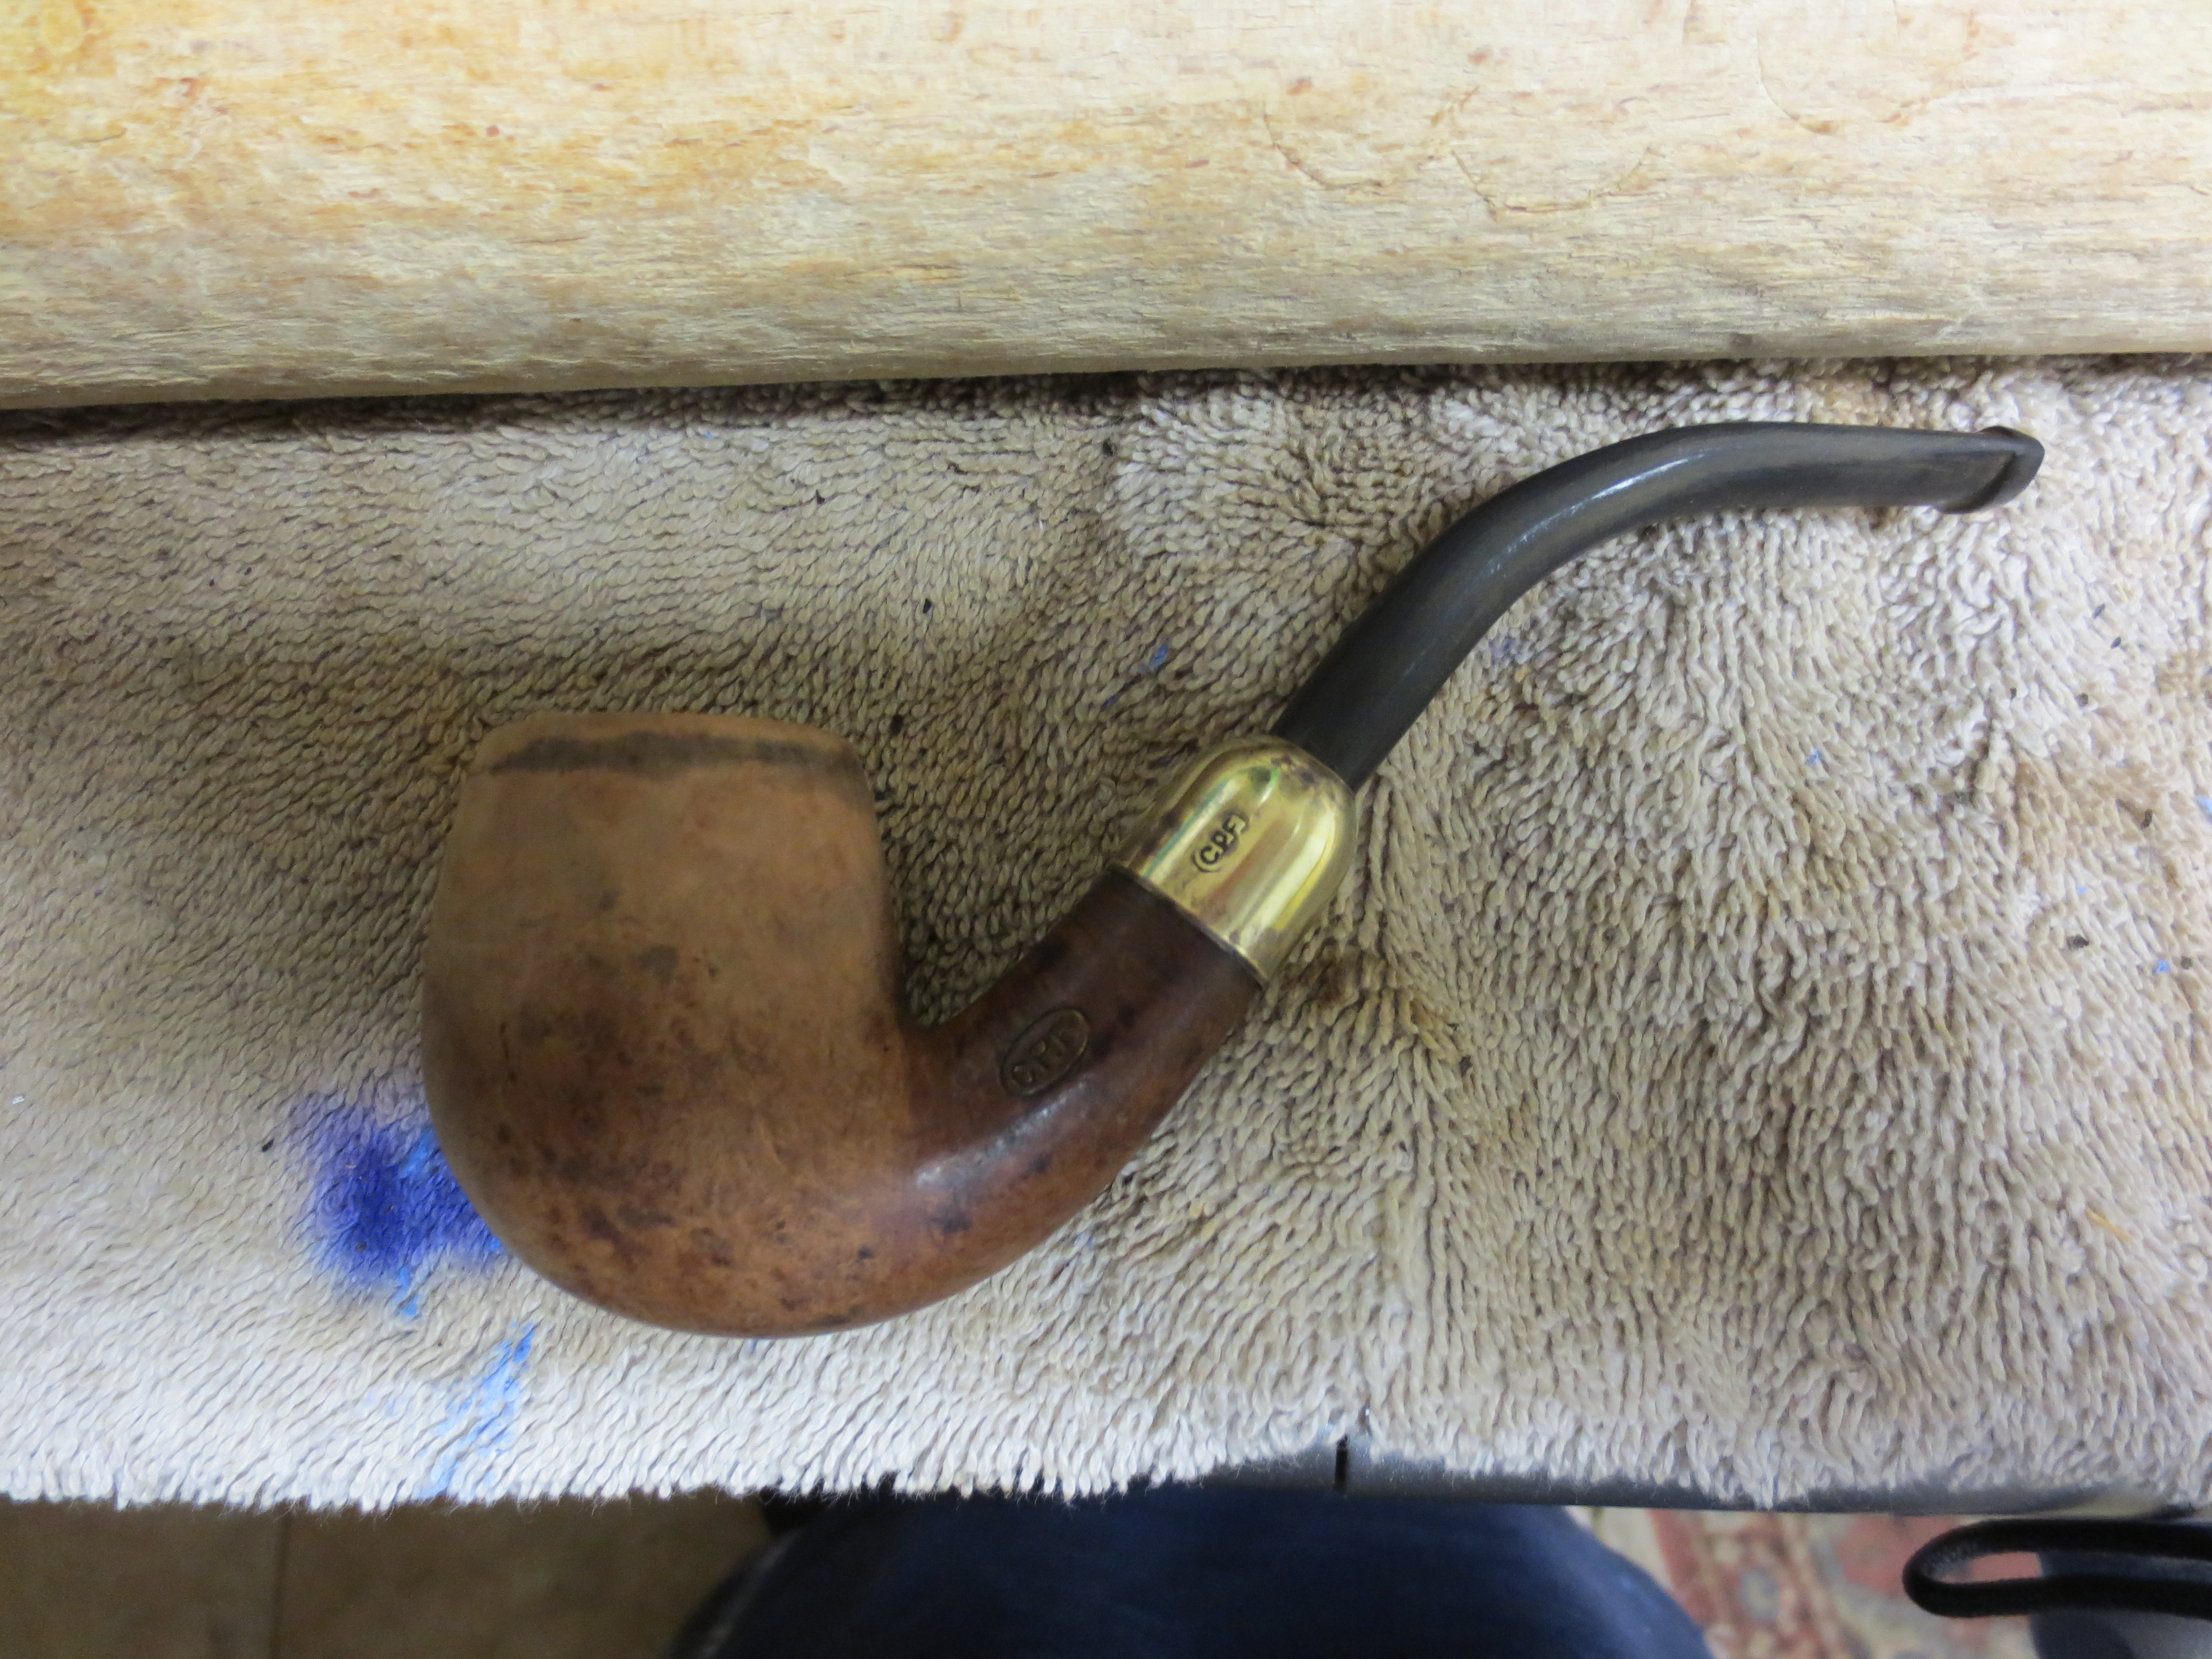
I set up the heat gun and heated the stem and bent it over the rolling pin that I use to get a good straight bend in the stem. I also buffed the stem and bowl with White Diamond. I used a light touch on the stem as I intended to keep sanding it with the micromesh sanding pads. I took it back to the work table and restained it with a dark brown aniline stain thinned with isopropyl alcohol. The mix was my attempt to match it to the original stain. I wanted the dark stain in the grooves of the blast to stand out against the brown over stain. The next three photos show the bend in the stem and the restained bowl. The band that I sanded in the shank is a nice contrast to the sandblast and the black of the vulcanite stem.

IMG_1296

IMG_1297

IMG_1298

I sanded the stem with micromesh sanding pads from 1500-12,000 grit. I wet sanded with the 1500-2400 grit pads and then dry sanded with the 3200-12,000 grit pads. The next series of four photos show how each progressive grit of sanding pads bring a deeper shine to the stem.

IMG_1304

IMG_1305

IMG_1306

IMG_1307

I wiped the stem down with Obsidian Oil to protect the new shine against oxidation and then once it was dry took it to the buffer and buffed the stem with White Diamond. I finished by buffing the bowl and stem lightly with White Diamond a second time. It took the pipe back to my work table and gave it several coats of Halcyon II Wax. I have found that it does a great job on sandblast and rusticated finishes. When it was dry I hand buffed it with a shoe brush until it had a rich shine. The next series of photos show the finished pipe. I like the new look to the shank and bowl and the new stem looks like it came with the pipe!

IMG_1309

IMG_1310

IMG_1311

IMG_1312

Reworking a Mastercraft Custom Deluxe Billiard and Removing Mold


Blog by Steve Laug

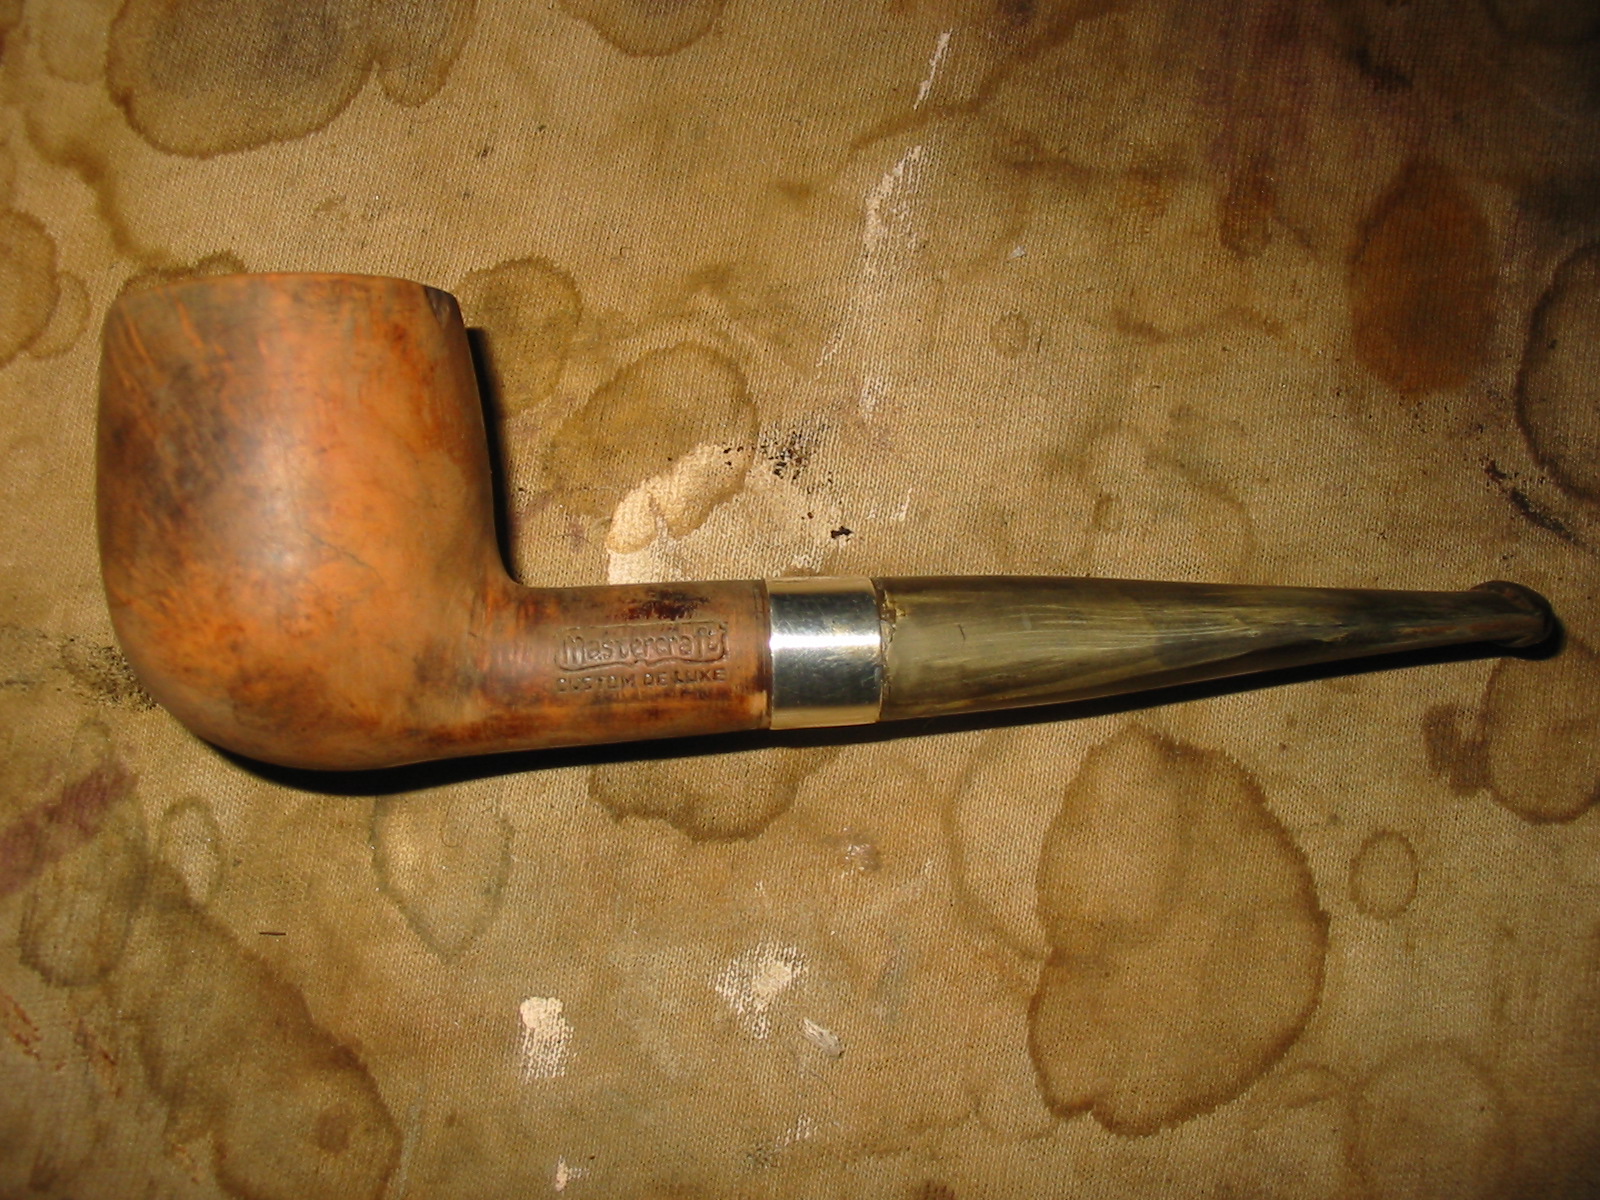
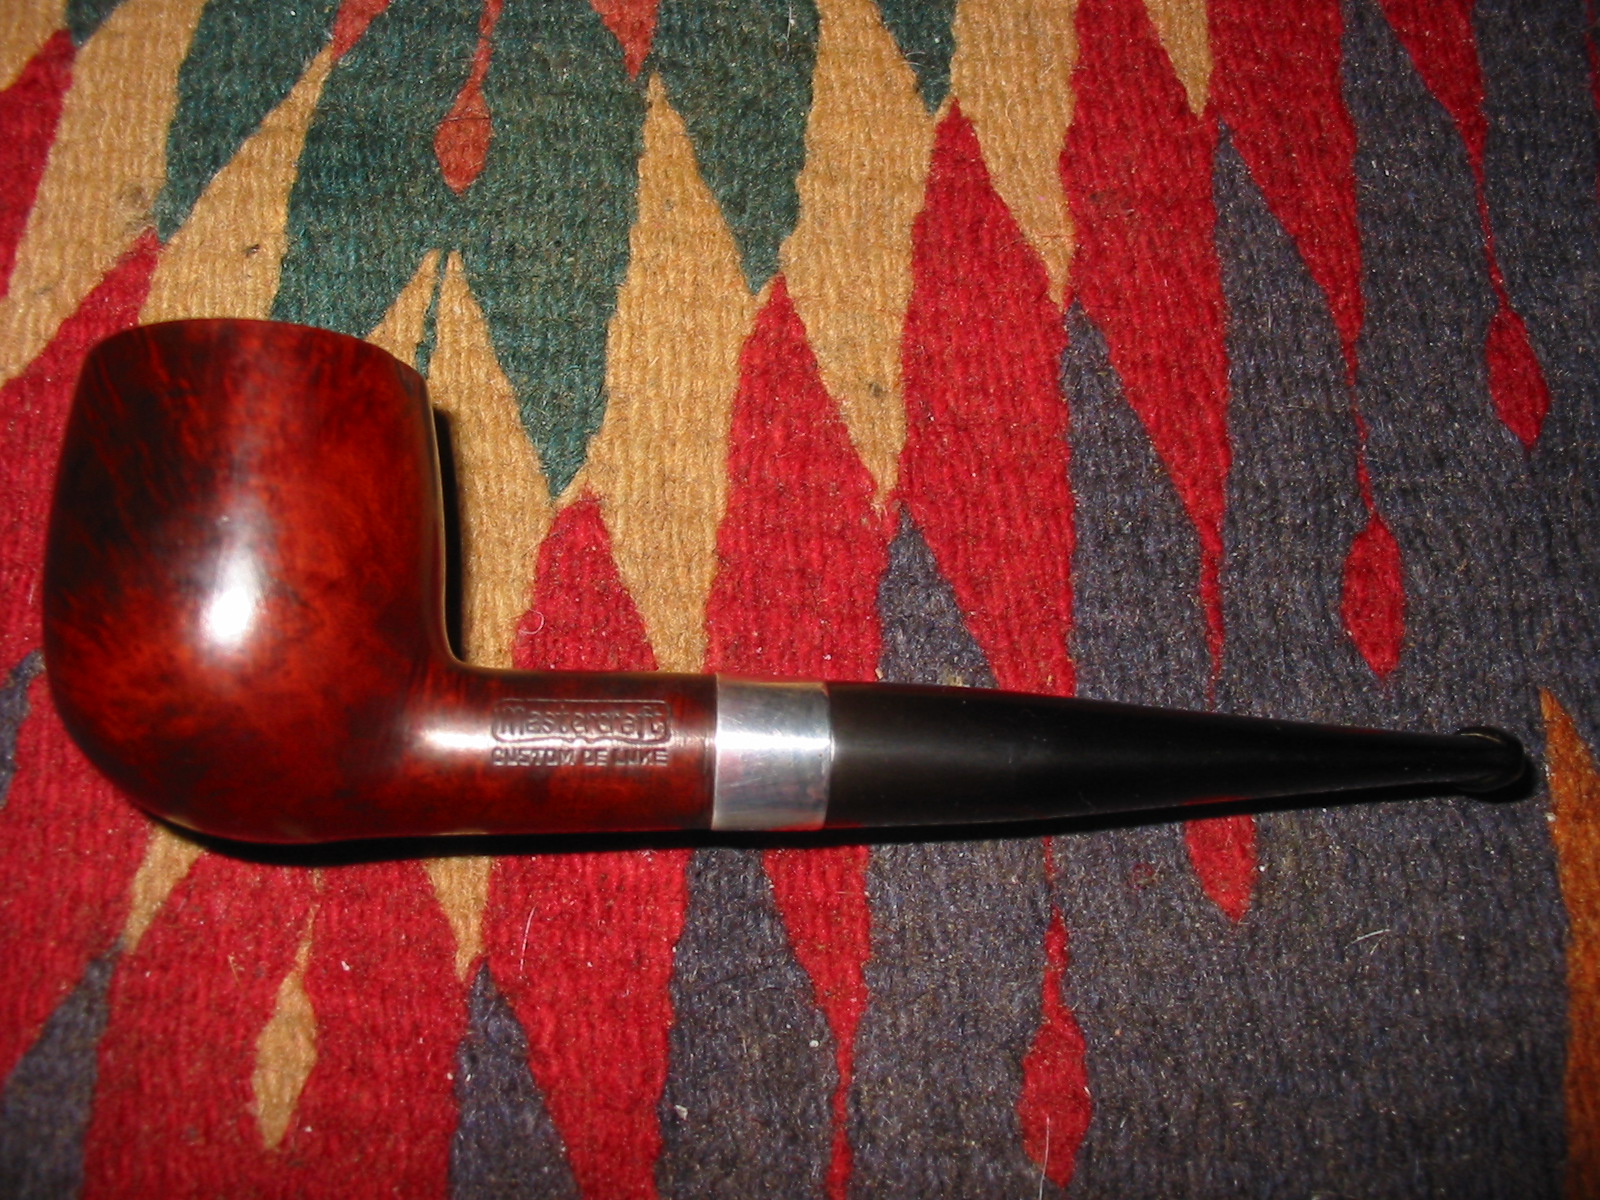
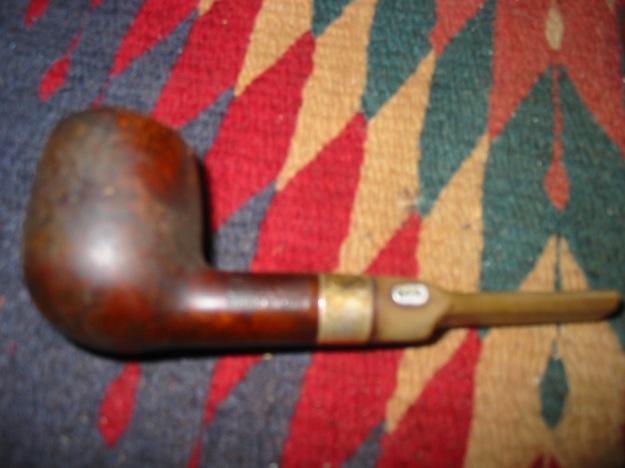
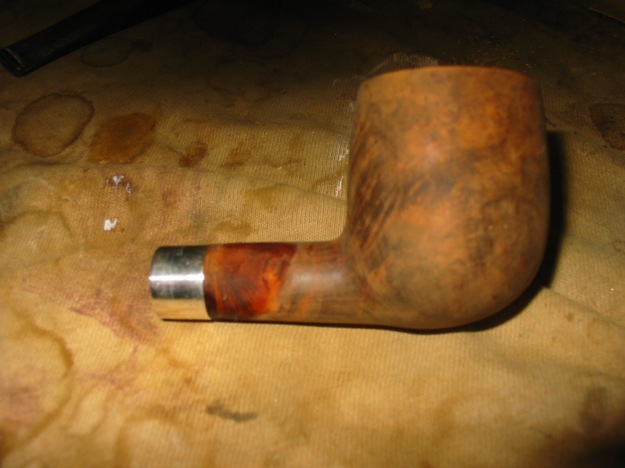
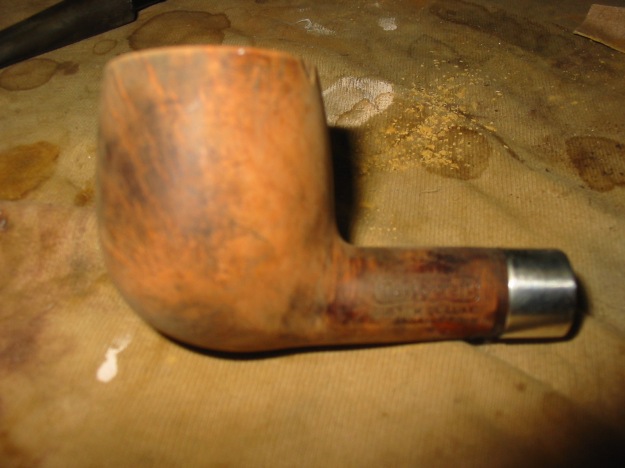
This old Mastercraft billiard is the second pipe of the threesome that was sent to me last week as a gift. In his email asking if I wanted them he said they were either going to the rubbish bin or to me so I was not surprised when I opened the box and unpacked them. It had some nice looking grain underneath all of the grime and peeling varnish. But this one was in very rough shape. The stem was chewed in half so there was not enough to save. The inner tube apparatus inserted into the stem looked like it had been destroyed and then somebody bent it close to shape and cut a X cut in the end of the tenon so that it would fit into the stem. The shank was grimy and dark with a white mold residing inside both the bowl and the shank. The pipe reeked of mold. The bowl itself had a heavy but broken cake underneath the mold. It had a coat of varnish that was spotty and peeling where it was worn off the briar. In those worn spots the briar was almost black. The rim was also in very bad shape. The front was burned down from repeatedly lighting the pipe in the same spot with a torch. The back side of the rim looked like it had been scraped on concrete or hammered out on concrete because it was worn and broken down. The three photos below (I apologize for the poor quality – still getting used to this new camera!) show the state of the bowl and stem.
IMG_1009

IMG_1010

IMG_1011

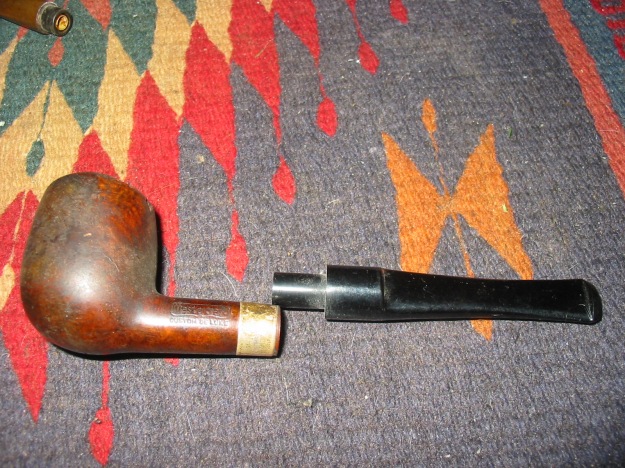
I sorted through my stems and found two options that I thought might work on the pipe. The first one was an acrylic saddle stem that I thought might look good with the bowl (pictured in the first photo below). I turned the tenon and fit it to the pipe but did not like the proportion of the stem and shank length. I then took the second stem – a shorter, straight tapered stem and fit it to the pipe (pictured in the second – fourth photo below). It looked like it belonged on the pipe so my choice was made. It was an old previously used vulcanite stem from my collection of old pre-used stems that I collect. This one would take some work as it was oxidized and had a calcified buildup around the button area. It was also clogged and the slot was plugged to a small pin hole. But it had the right look so it would be worth cleaning up.
IMG_1020

IMG_1049

IMG_1050

IMG_1051

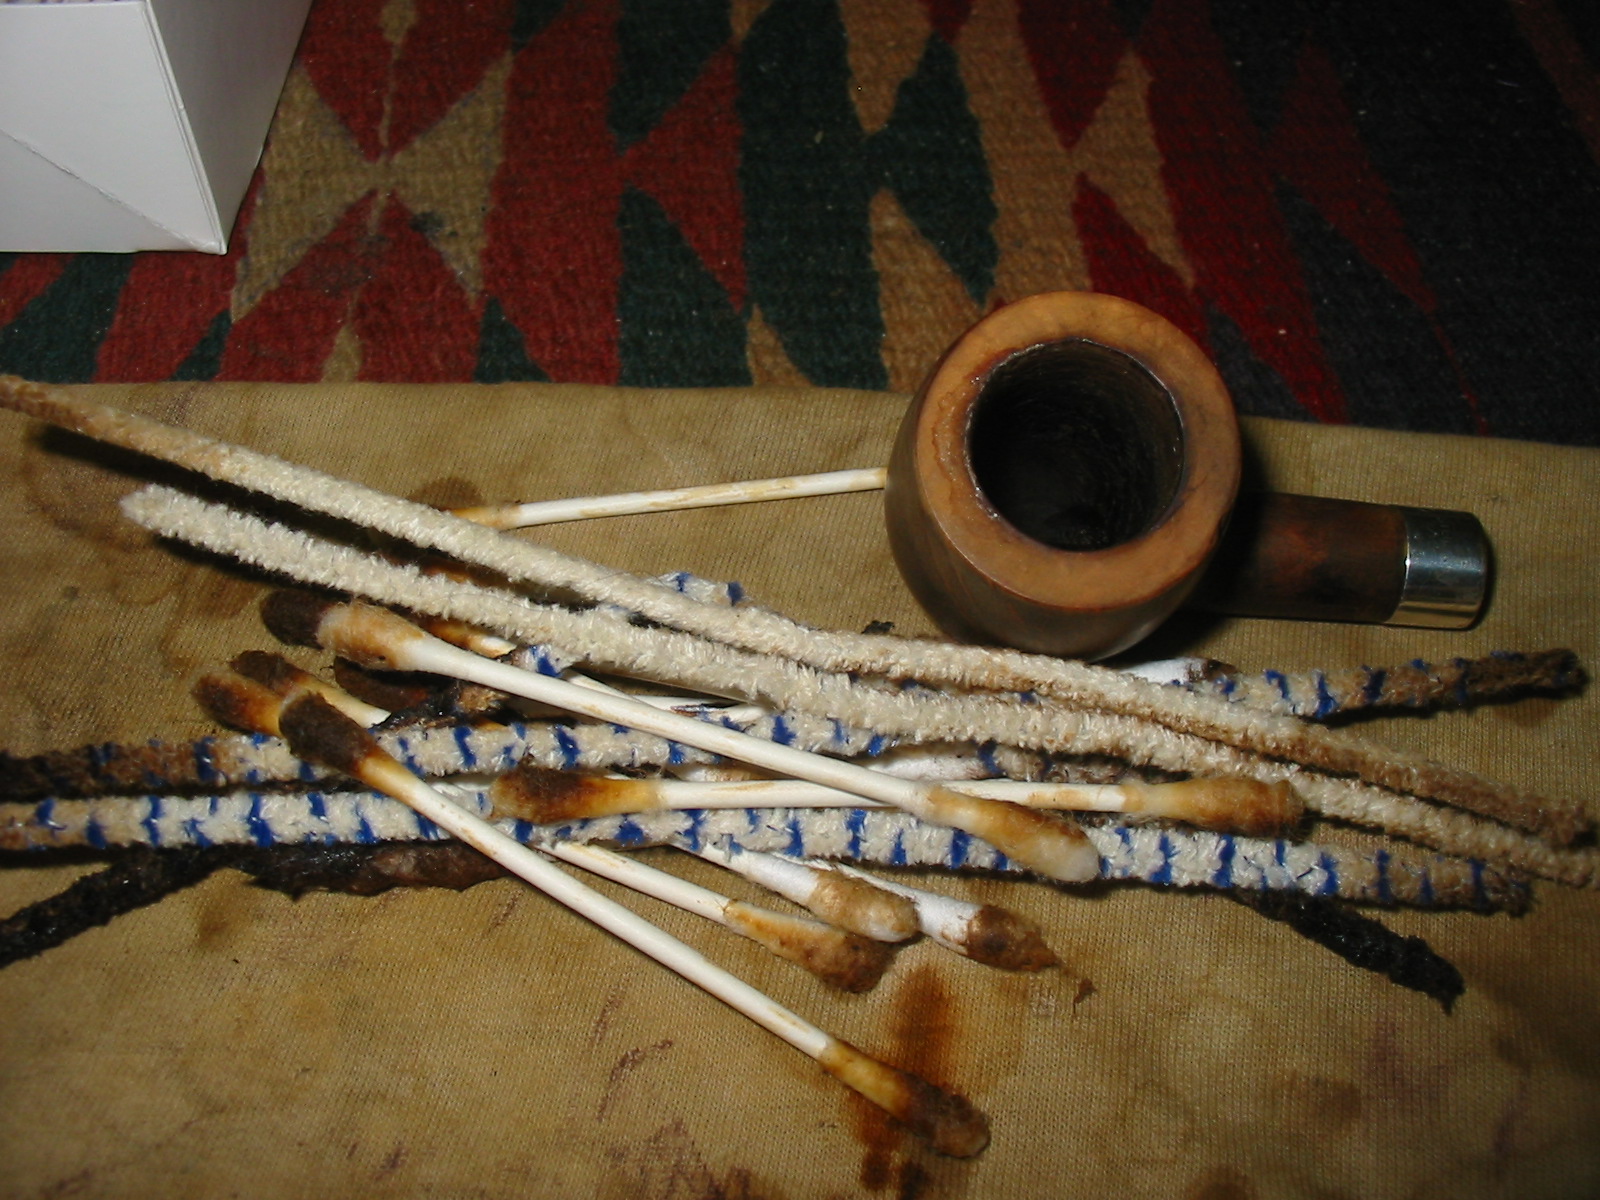
I set the stem aside and worked on the bowl. I reamed the pipe with a PipNet reamer to get rid of the cake and the mold. I cleaned the reamer with alcohol before putting it away. I cleaned the bowl and the shank with cotton swabs, pipe cleaners and Everclear to remove as much of the tars and oils and moldy smell as possible.
IMG_1021

IMG_1022

IMG_1023

When I finished it still smelled moldy, but I had several plans in mind for addressing that. But first I topped the bowl with my usual flat board and 220 grit sandpaper. I place the bowl rim down flat against the sandpaper and work in it a circle to remove the damage on the rim. This one took quite a bit of work to even out the top and get rid of the damage from the burn on the front side of the rim and the roughened back edge done by beating the pipe against concrete. I sanded it, repeatedly checking to see if I was removing enough of the damage to get a sharp edge on the bowl. On the outer rim next to the shank there was a chunk of briar missing that I would try to minimize after topping the bowl. I was able to remove all of the damage of the burned area and most of the damage of the battering the old pipe had taken. The rim looked good. I used a folded piece of sand paper to work on the inside edge of the rim and clean up the damage that was done there and keep the bowl in round.

IMG_1053

IMG_1054

IMG_1055

IMG_1056

IMG_1057

IMG_1058

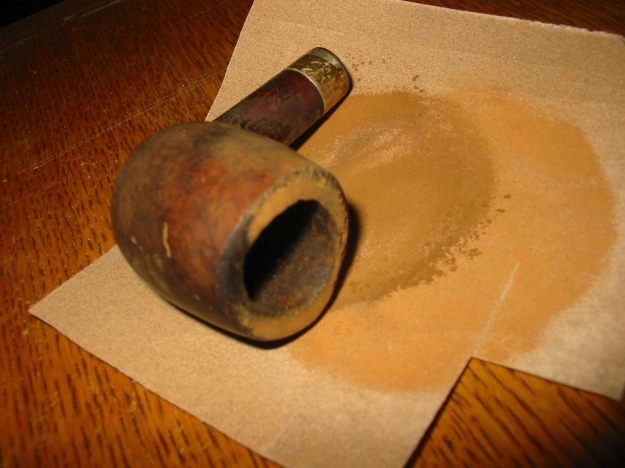
I wiped the exterior of the bowl down with acetone on a cotton pad to remove the grime and the finish that remained. I repeated this until I could not remove any more finish or grime. The next two photos show the wipe downed bowl.
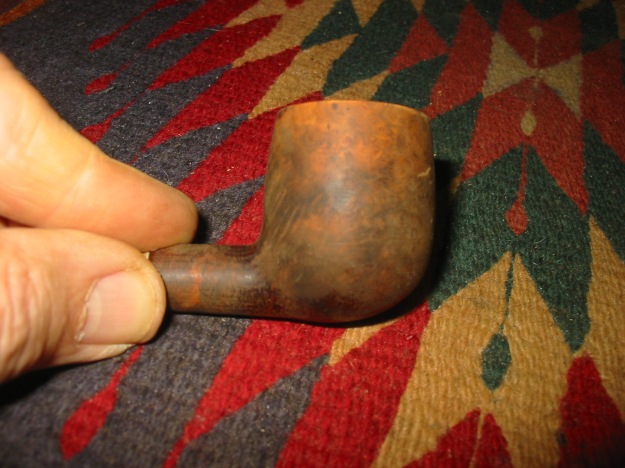
IMG_1059

IMG_1060

I placed the bowl in an alcohol bath for several hours while I worked on the stem and worked on several other old pipes that I have on the go. When I took it out of the bath, I dried it off with a cotton cloth and scrubbed it with a tooth-brush dipped in alcohol from the bath. I dried it again to check on the finish. There were still several spots where the varnish remained – the shank and the bottom of the bowl. One benefit of the bath was that the glue softened on the over pressed band and I was able to remove it from the shank. I sanded and scrubbed the old glue off the shank and sanded the bowl with a fine grit sanding sponge. I wiped it down with another acetone cotton pad. It still needed to soak a bit longer to finish breaking down the varnish that remained. While it soaked I cleaned up the silver band with silver polish and the jeweler’s polishing cloth. Under all the tarnish I found that the band was stamped Sterling.
I removed the bowl from the alcohol soak and dried it off. I used a lighter to burn off the alcohol from inside the bowl and the shank. I then recleaned the inside of the bowl and the shank with Everclear and many more pipe cleaners and cotton swabs. The amount of tars and sticky oils and grit that came out of the shank was incredible. It was no wonder that the pipe still reeked like mold. The next series of three photos show the pipe after soaking and sanding.
IMG_1061

IMG_1062

IMG_1063

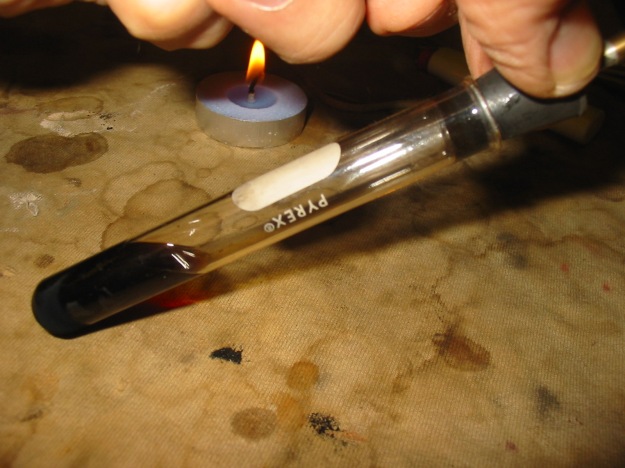
I scoured the shank until it was fairly clean and then set up a retort to do a more thorough clean. The retort sends vaporized alcohol into the bowl and shank and in essence boils out the grime with hot alcohol. As the alcohol cools it returns to the tube and with it the grime and oils from the pipe. I repeated the retort three times on the pipe until the alcohol came out clean. I then took apart the pipe and cleaned out the shank with pipe cleaners and cotton swabs a third time. There was even more oil and grime that came out of the shank. I cleaned off the surface with an acetone wipe and then reset the silver band with Weldbond glue. I turned it so that the Sterling stamp was on the top of the shank and pressed it on to the shank until it was even with the edge of the shank. Weldbond dries fairly quickly to touch so that the band would not be loosened when I went on to the next step in my cleaning process.

IMG_1064

IMG_1065

IMG_1071

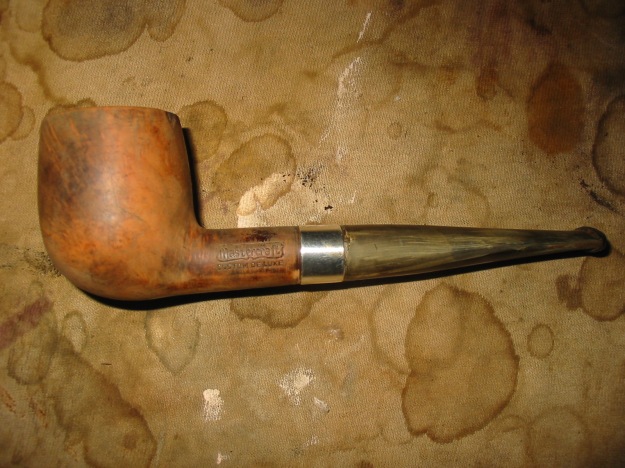
After removing the retort I cleaned the bowl and shank. Yet even more grime came out. I put the stem back on and took the four photos below to show the state of the pipe at this point. I did this more for an encouragement to me as this one was proving a difficult rework. The photos gave me a picture of what I was aiming for in cleaning this one up. If I lose sight of that it will end up in the bin as rubbish.
IMG_1066

IMG_1067

IMG_1068

IMG_1069

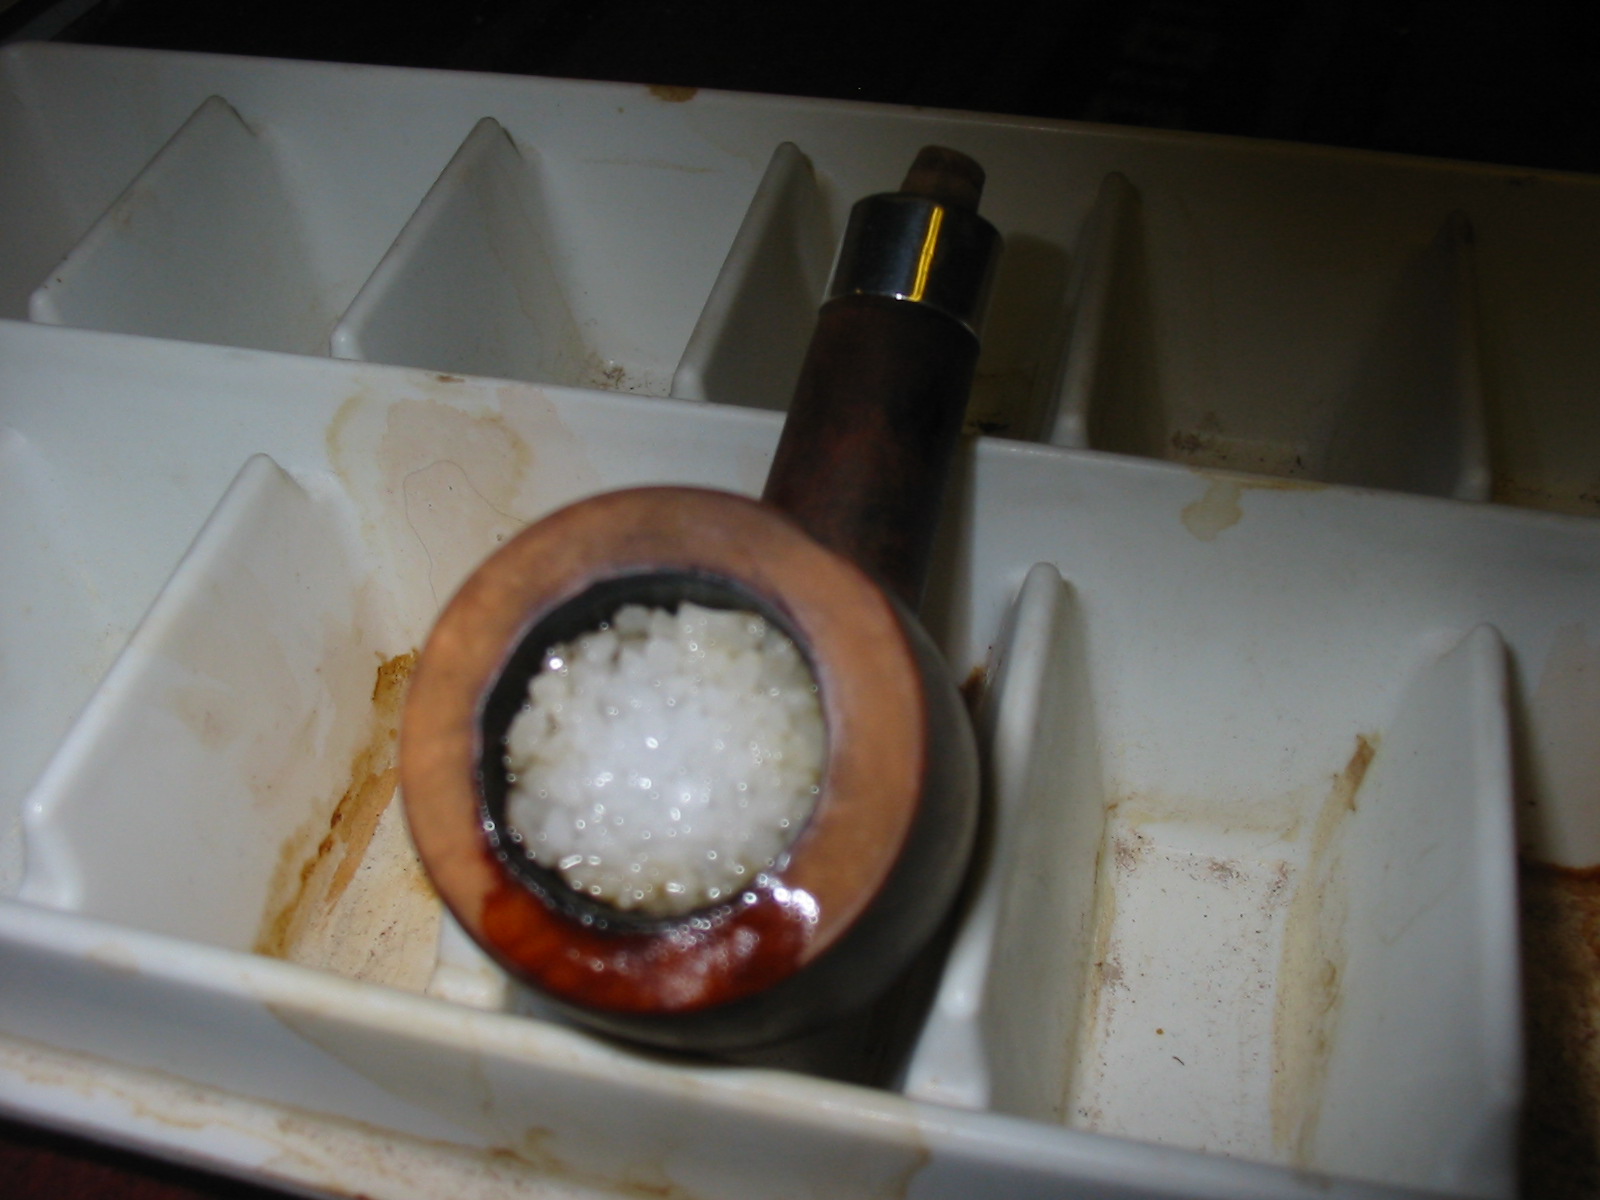
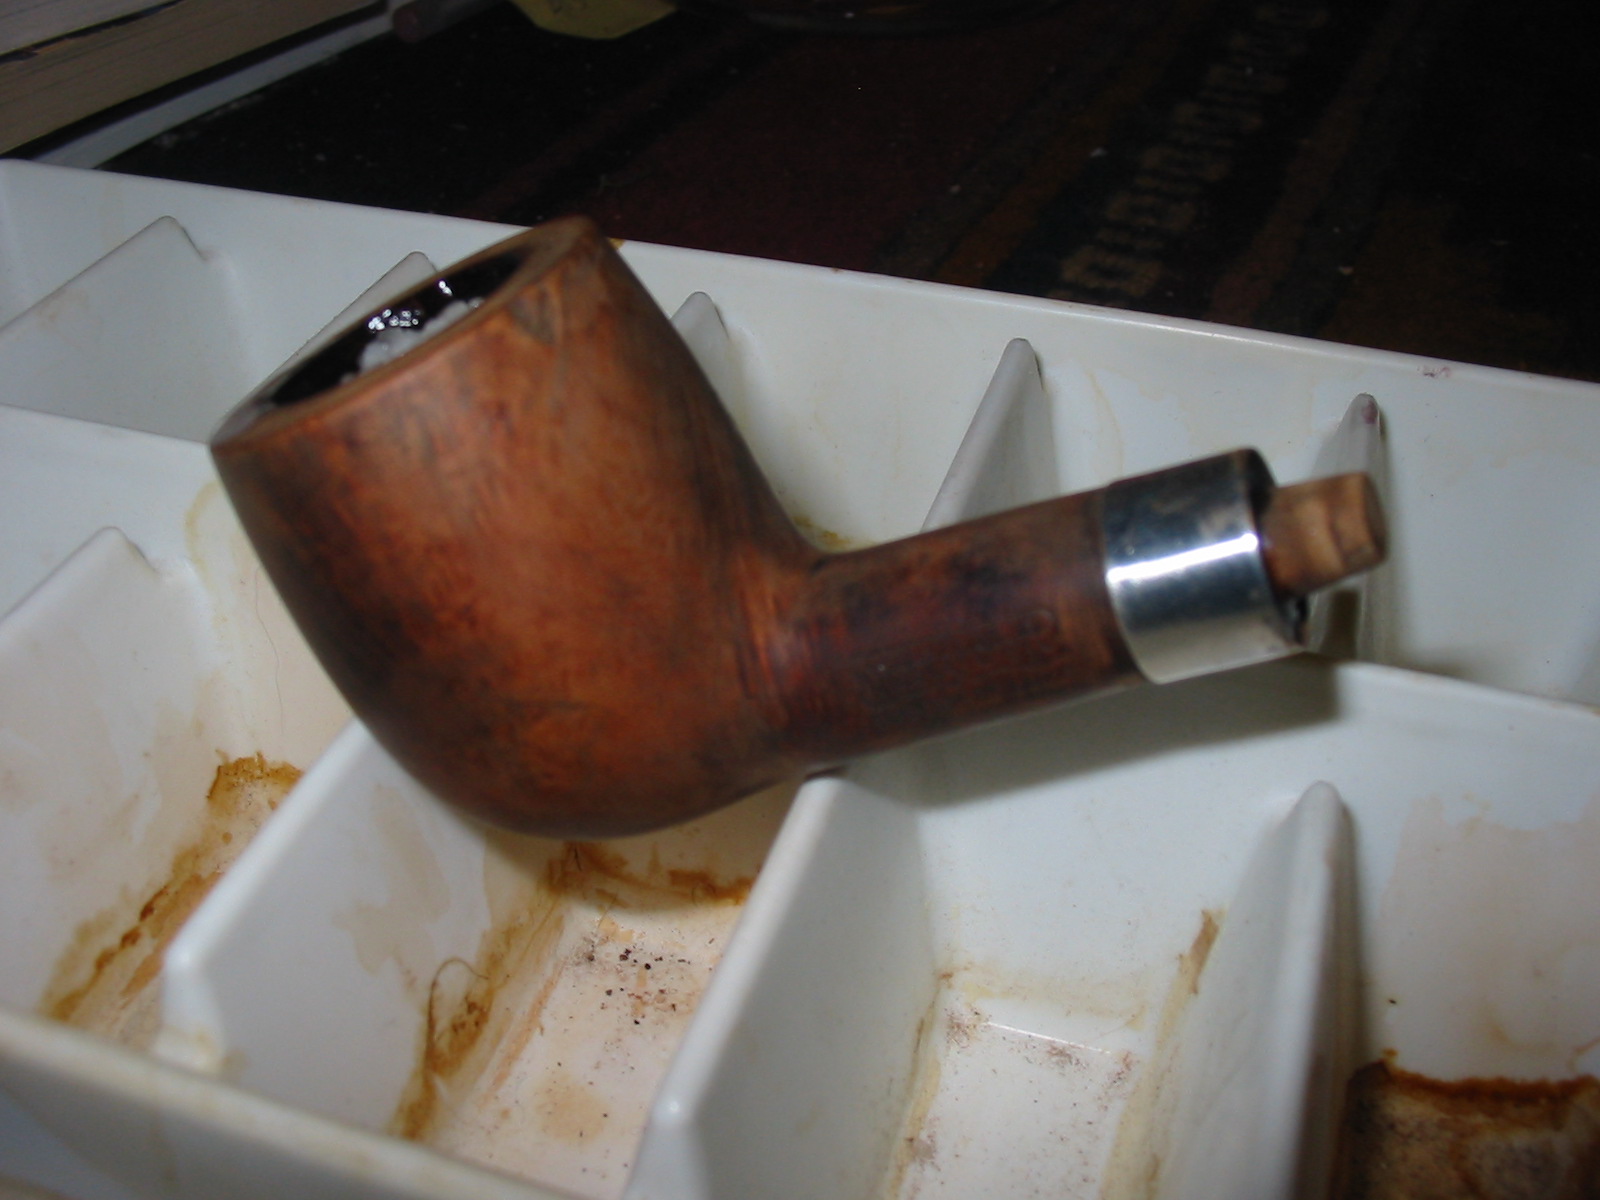
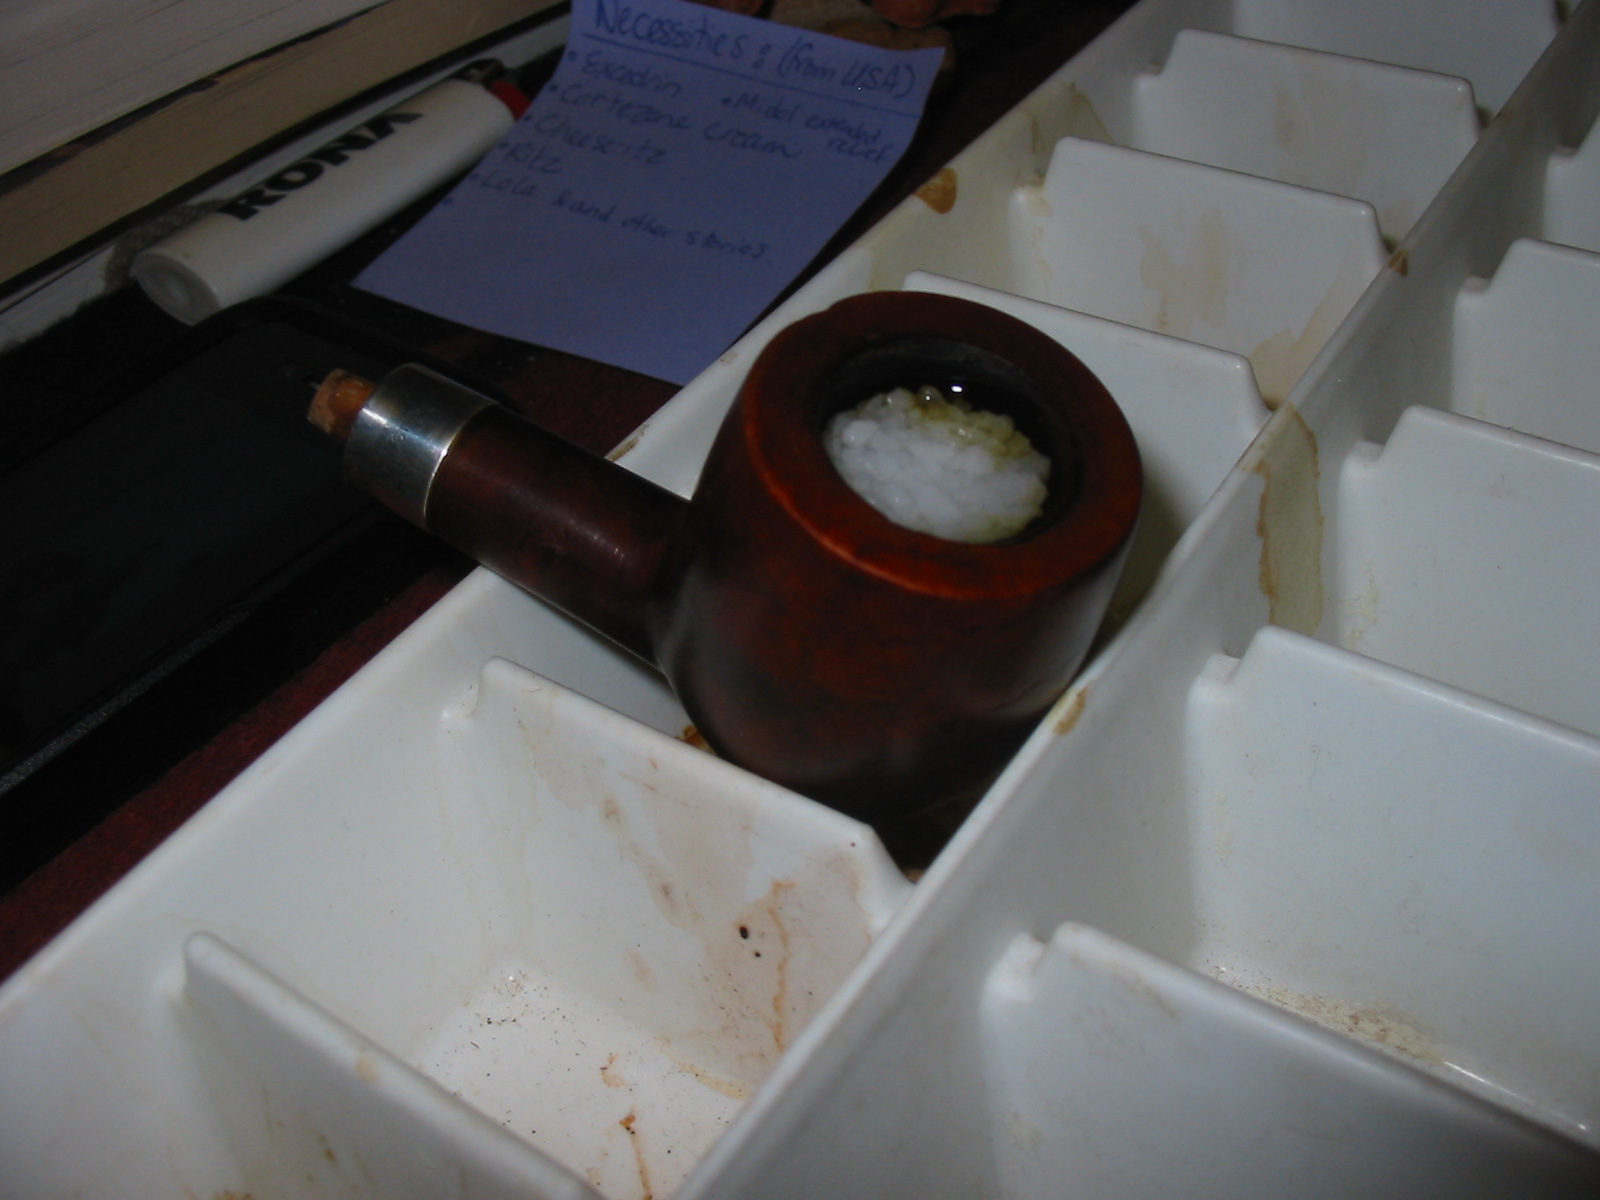
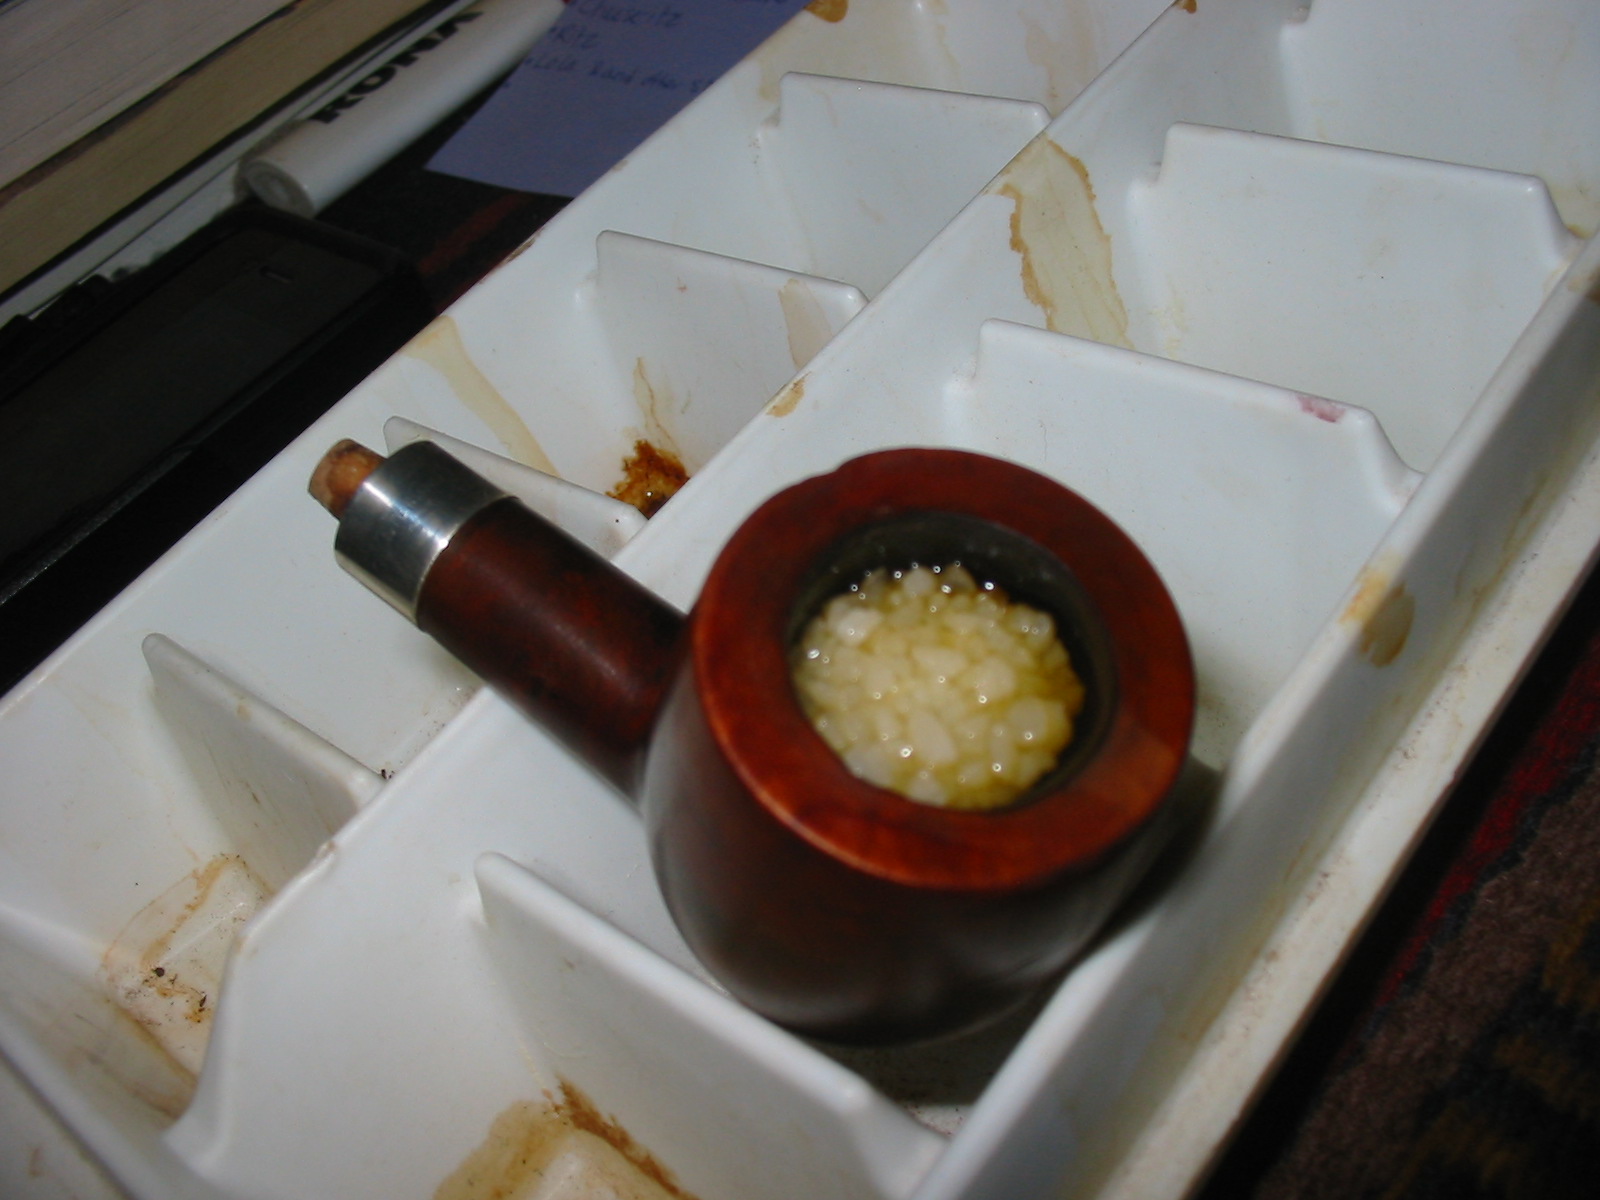
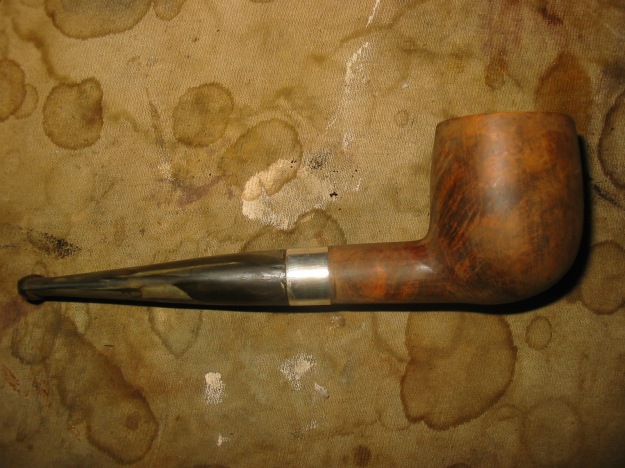
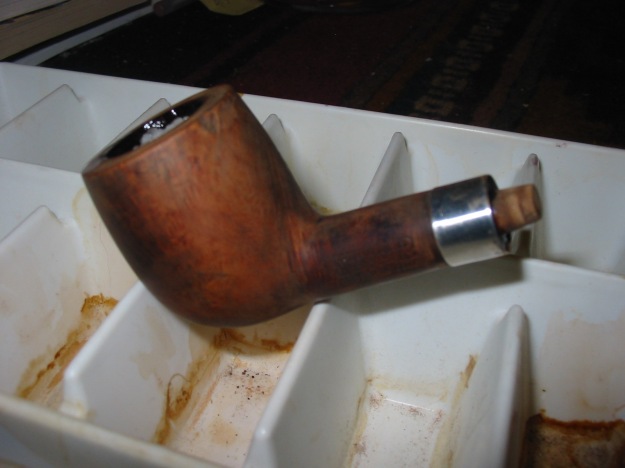
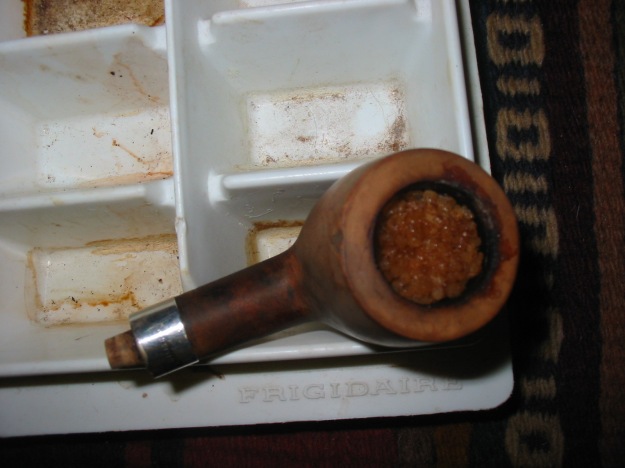
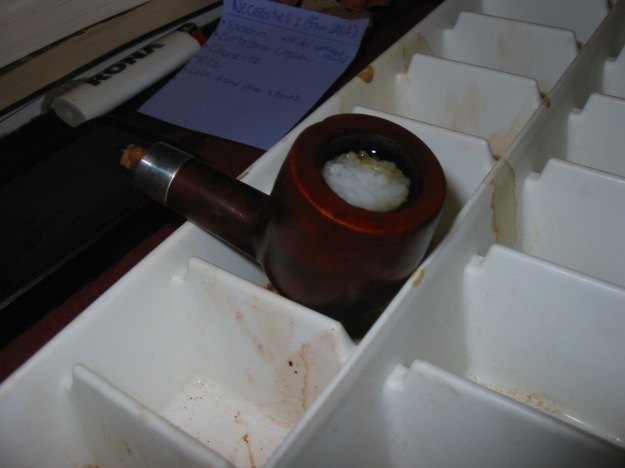
When the alcohol dried in the bowl and the visual showed a clean bowl and shank I took a sniff of the bowl. After all of this work the moldy smell still was present in the bowl and shank. This called for more drastic measures. I used the Dremel with a sanding drum on it and sanded the inside of the bowl until the briar was bare and clean. Then I filled the bowl with salt and alcohol to leach out the oil from the inside of the bowl and shank. My hope was that in doing this I would also kill the stench. I plugged the shank with a cork, filled the bowl with kosher rock salt (I was out of my normal cotton bolls) and set it up on an old ice-cube tray. I used an ear syringe to fill the bowl with 99% isopropyl alcohol. I set it aside and went to bed to let the treatment do its work while I was sleeping. The two photos below show the bowl after filling with alcohol.

IMG_1072

IMG_1073

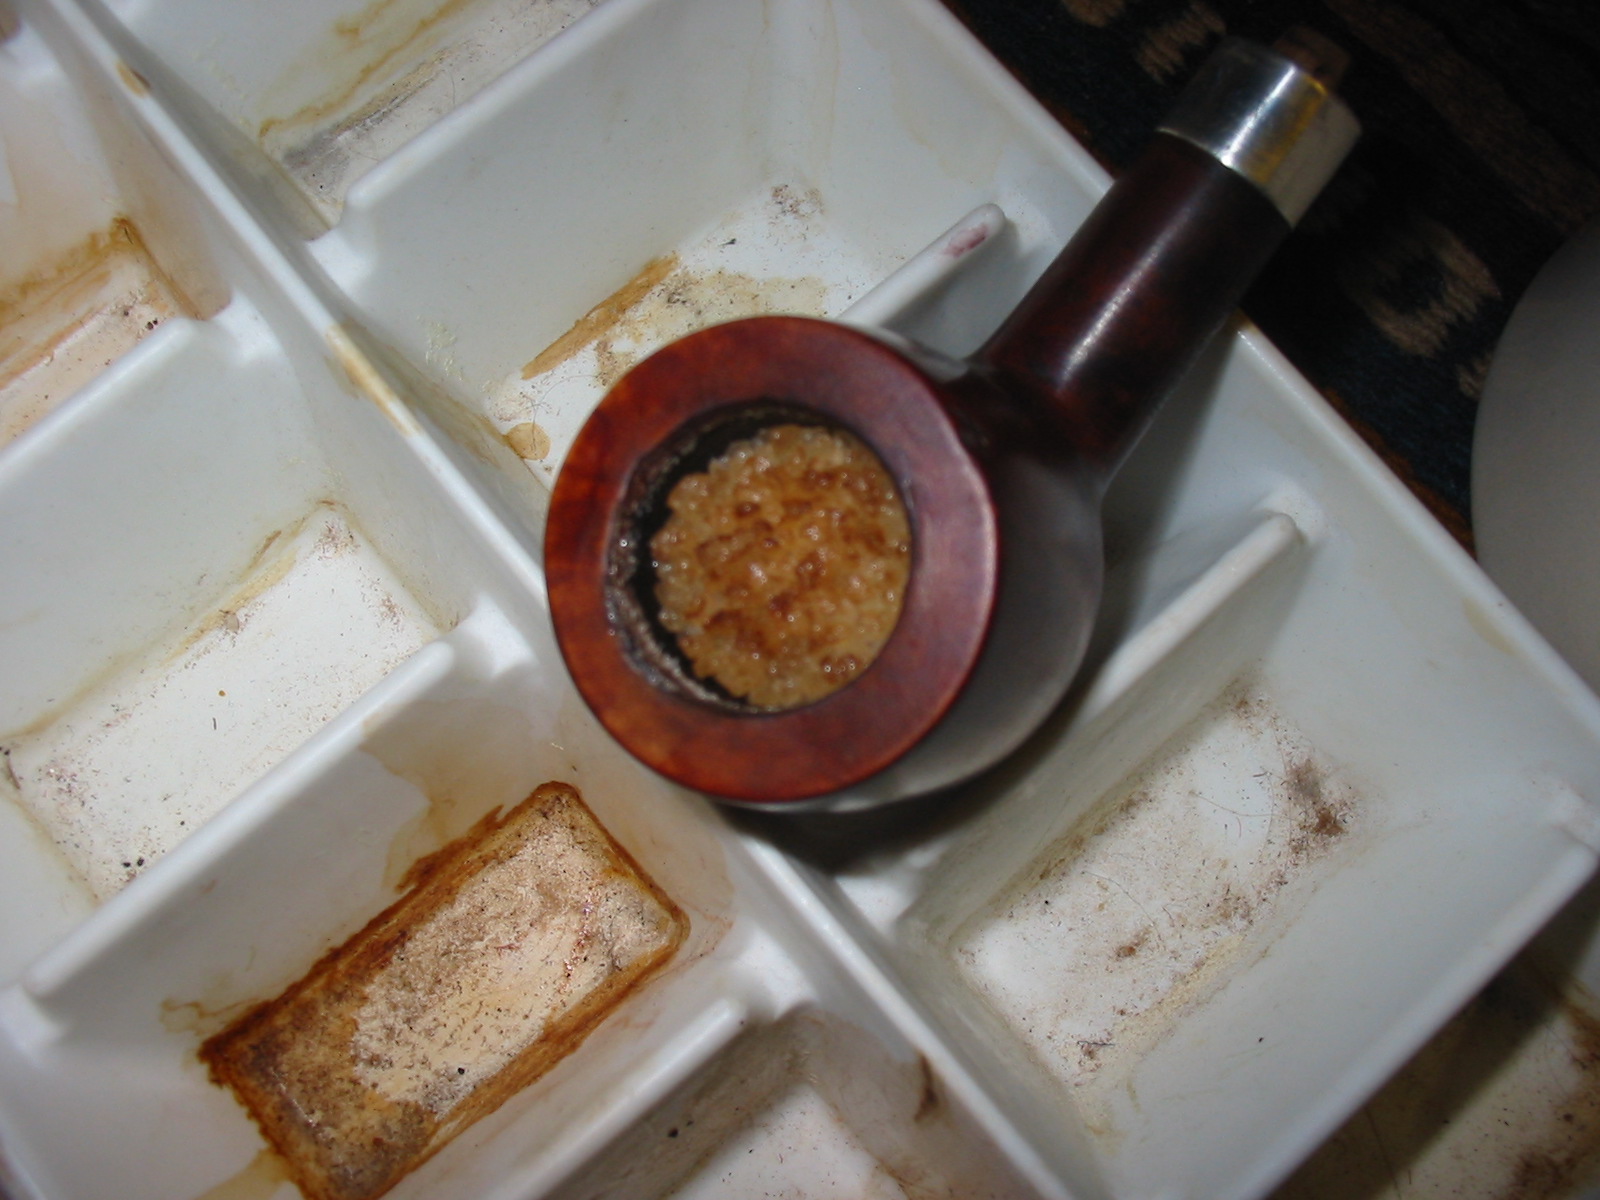
In the morning the salt was a dark brown as pictured below. I emptied the now darkened salt and dried out the inside of the bowl by flaming the alcohol with my lighter. It still smelled like mold though the smell was definitely losing strength.

IMG_1070

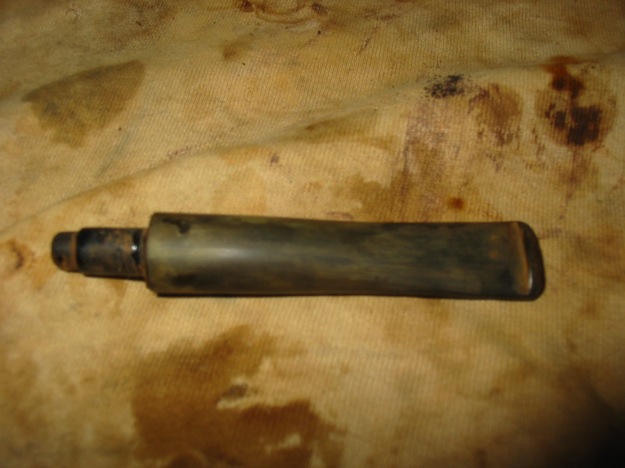
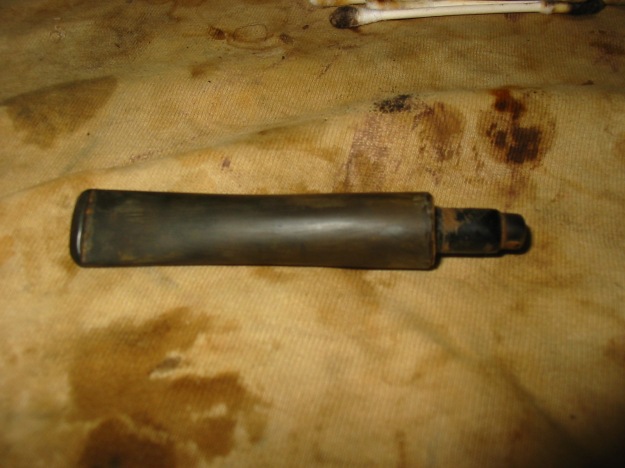
I cleaned out the button area of the stem with the dental pick and then ran several bristle pipe cleaners through it and then followed up with regular pipe cleaners. I soak both in Everclear to clean out the stem. I then sanded the stem with 220 grit sandpaper to remove the calcification that was all over the stem. I also gave the stem a quick sand all over with the 220 grit to remove the top oxidation. I ran the flame from the Bic lighter over the surface to burn off the oxidation. It did a great job of removing what I had loosened with the sandpaper. I continued sanding it with a fine grit sanding sponge to remove the remaining oxidation. I rubbed down with Obsidian Oil and set it aside with the bowl while I went off to work. The Obsidian Oil sat on the stem and soaked in for the 9 hours I was at work.
IMG_1074

IMG_1075

IMG_1076

IMG_1077

I refilled the bowl with salt and put a cork in the shank. I again used the ear syringe to fill the bowl with alcohol and set it aside to work on the stem. It too sat for the nine hours I was at work.

IMG_1072

When I got home from work the stem looked quite good. It was significantly more black and the oxidation was gone except around the stem shank union. More work to do there. The salt was a dark brown, but slightly lighter than the first treatment. I dumped out the salt and cleaned out the bowl and shank with cotton swabs again. When I finished the smell was better but present nonetheless. I cleaned out the bowl with alcohol and cotton swabs again.
IMG_1078

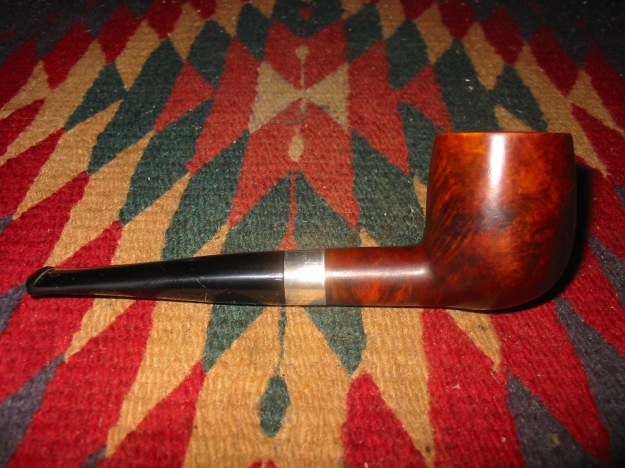
I needed another bit of encouragement at this point so I decided to stain the pipe with a dark brown aniline stain cut 2:1 with isopropyl alcohol. I applied the stain, flamed it and then buffed it on with Tripoli and White Diamond (photos 1-4 below). The brown did a fair job of coverage but I would need to give it a second coat of stain using a oxblood colour to do some blending with the dark areas on the bowl.

IMG_1083

IMG_1084

IMG_1085

IMG_1086

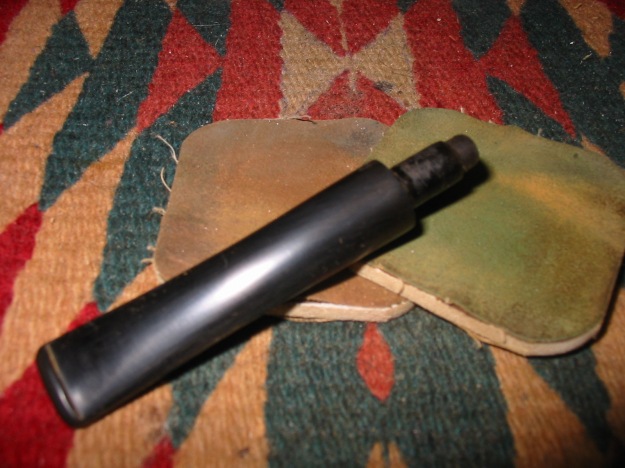
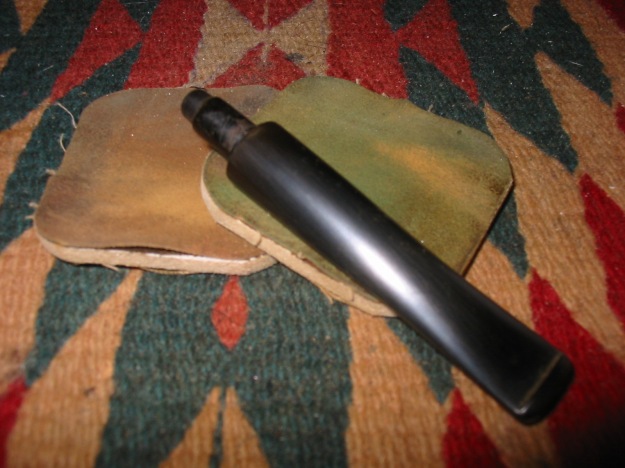
I worked on the stem with fine grit sanding sponges and 1500-2400 grit micromesh sanding pads. There were some minor tooth dents that still showed up so I passed over them with a Bic lighter and was able to raise them. More sanding was needed and I repeated the sanding described above.
IMG_1079

IMG_1080

IMG_1081

IMG_1082

Once the bowl dried out it still smelled so I decided to repeat the salt and alcohol treatment a third time. I filled the bowl with salt and isopropyl and set it aside over night (photo 1 below). In the morning the salt was little lighter brown this time (photos 2-3 below). I dumped the salt out and cleaned the bowl and shank again. This time the cotton swabs came out fairly clean. I flamed the inside of the bowl. Once the bowl dried out it still smelled so I decided to repeat the salt and alcohol treatment again. I filled the bowl with salt and isopropyl and set it aside over night. In the morning the salt was once again a dark brown. I dumped the salt out and cleaned the bowl and shank again. This time the cotton swabs came out fairly clean. I flamed the inside of the bowl. Though the inside of the bowl and the shank was very clean the musty smell still remained, though less prevalent. This was one stubborn pipe bowl to clean.
IMG_1087

IMG_1088

IMG_1089

While the inside of the bowl dried out I decided to restain the bowl. For the second/top coat I used a oxblood stain. I applied it and wiped it off (first photo below). The coverage this time was much better. The dark reddish stain blended well and covered the dark areas of the bowl. The finished colour is a nice older deep reddish brown look (second-fourth photos below).
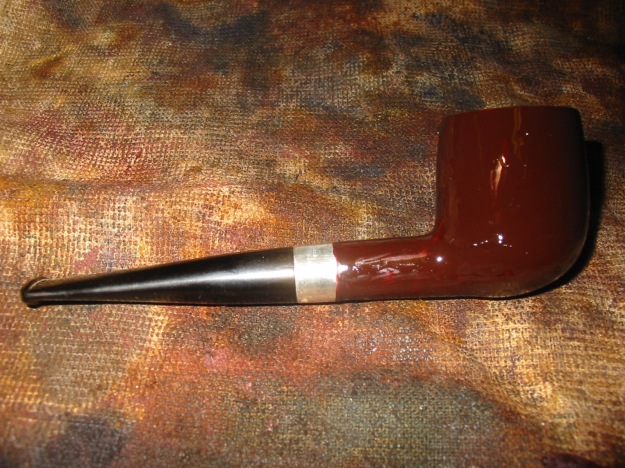
IMG_1090

IMG_1091

IMG_1092

IMG_1093

I decided to sand back the inside of the bowl yet again. I used the Dremel with the sanding drum a second time. When I was finished the inside of the bowl was very clean and fresh looking. The smell was still there. I stuffed the bowl with cotton bolls and then used an ear syringe to fill it with white vinegar and set it in the ice-cube tray to let it work. I have used that in the past to remove stubborn ghosts so I thought I would give it a try on this one.

IMG_1094

While the bowl soaked I worked on the stem with the remaining grits of micromesh sanding pads – 3200-12,000 to bring back the deep shine on the stem. Sanding them with the higher grits of micromesh really gives a deep shine to the stem. It is amazing to see the difference between each of the successive grits of micromesh. I did not take photos of the steps as almost all of my refurbishing posts have shown the polishing process with the micromesh. The next two photos show the finished stem. Once the bowl is finished I will buff the bowl and stem with White Diamond and then give the whole a buff with multiple coats of carnauba wax to polish.

IMG_1141

IMG_1142

Once the vinegar had soaked in the bowl for several hours I removed the cotton boll and dried out the bowl. I then used a Dremel with a sanding drum to sand back the sides of the bowl yet again. This time I extended the diameter of the bowl to get rid of the surface area of the bowl interior. Once I was finished with the Dremel I hand sanded the bowl with 220 grit sandpaper to smooth out the small ridges left behind by the drum sanding. The last two photos in this sequence show the newly sanded bowl.

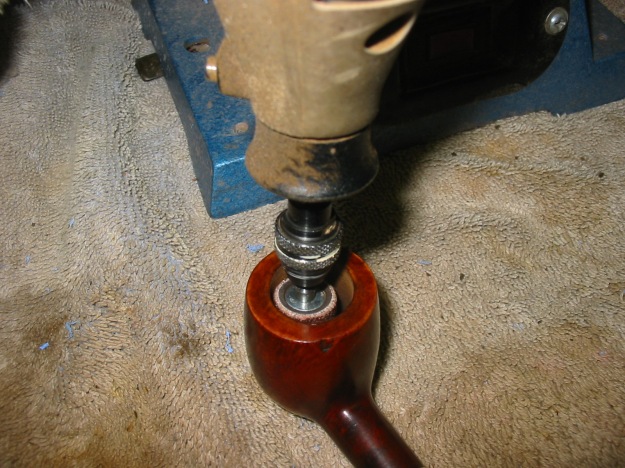
IMG_1126

IMG_1127

IMG_1119

IMG_1120

I took the bowl outside and put it in the bright sun on my patio. I wanted to let the heat and the UV rays from the sun do more work on the potential mold in the bowl. The evening is cooling down and the sun is no longer as warm. I brought in the bowl and wiped down the inside of the bowl and shank with an alcohol based anti bacterial wipe. I took it to the buffer and gave the whole pipe a buff with White Diamond. I then gave it several coats of carnauba wax and buffed it with a clean flannel buff. The pipe is like new and it SMELLS GREAT. I finally beat the moldy smell. The final four photos show the finished pipe.
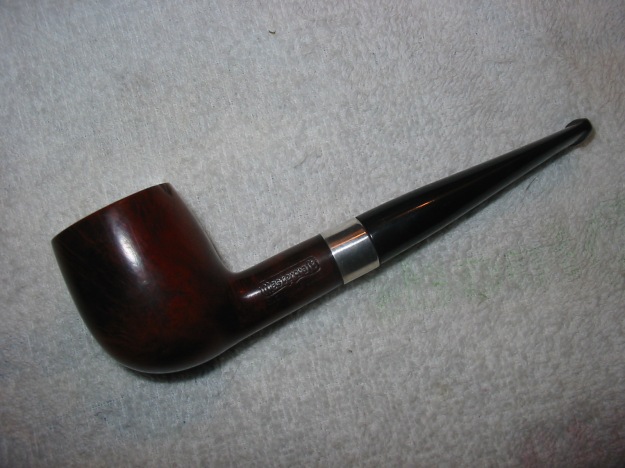
IMG_1143

IMG_1144

IMG_1145

IMG_1146

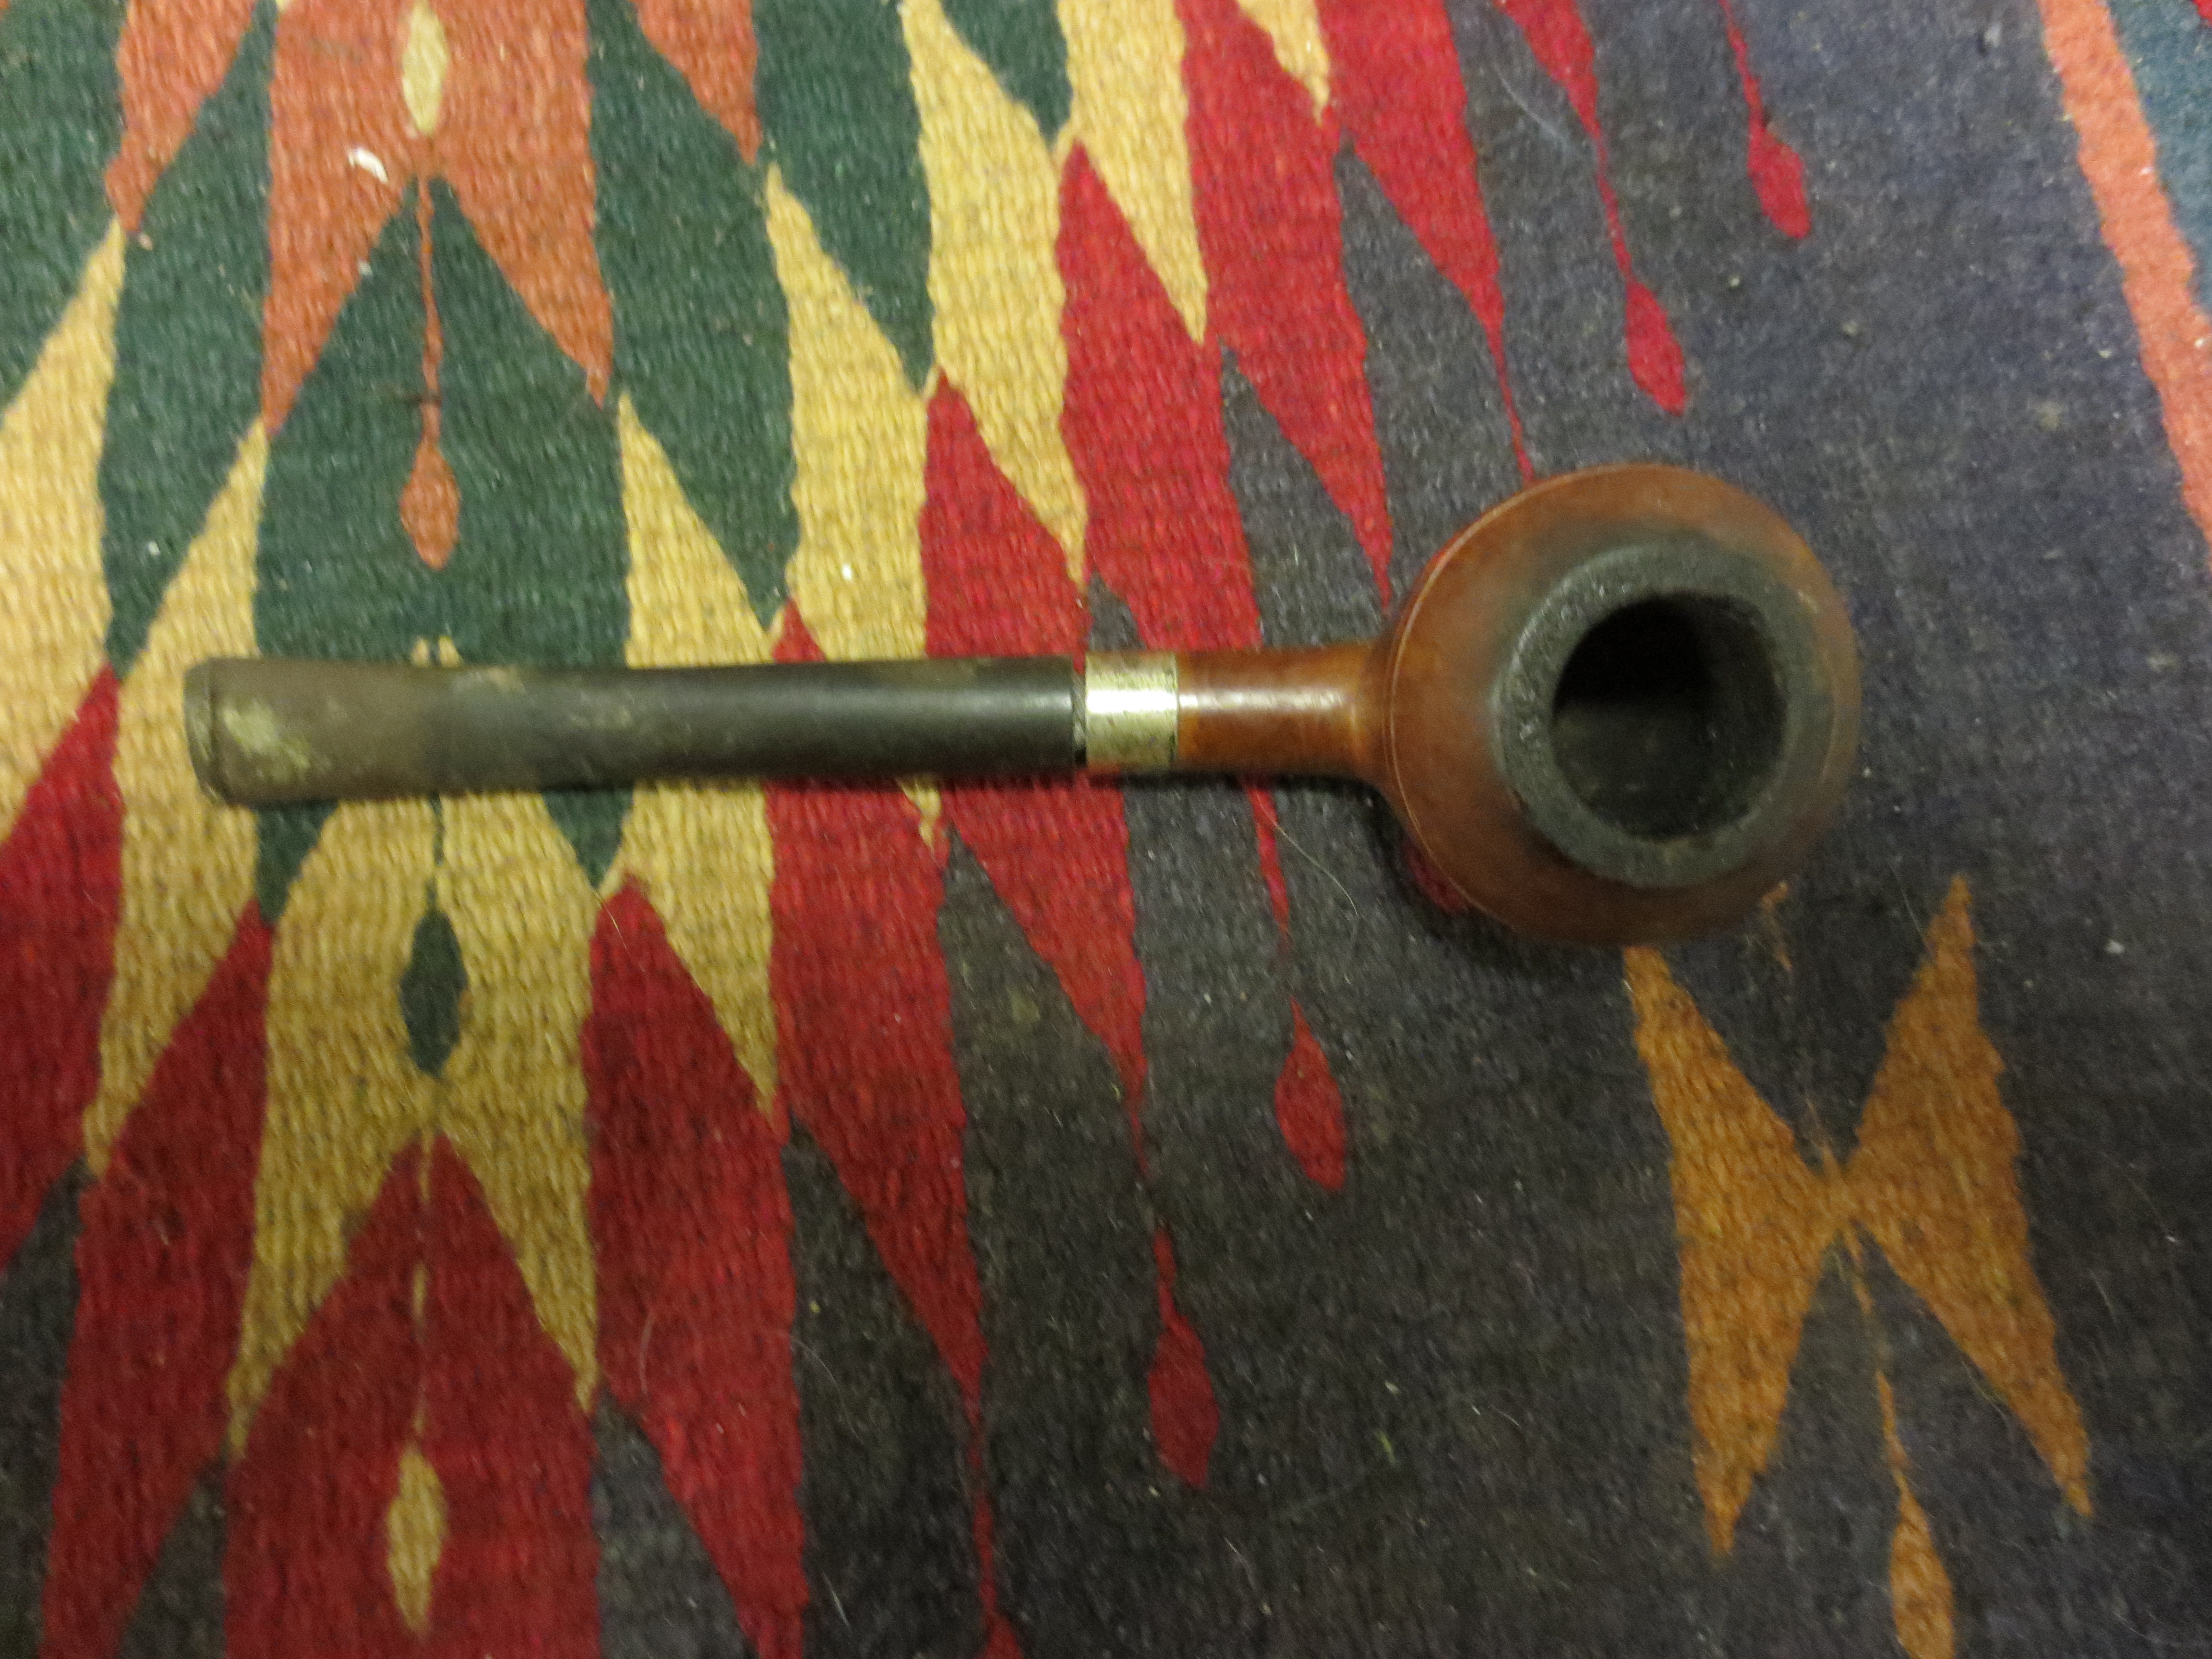
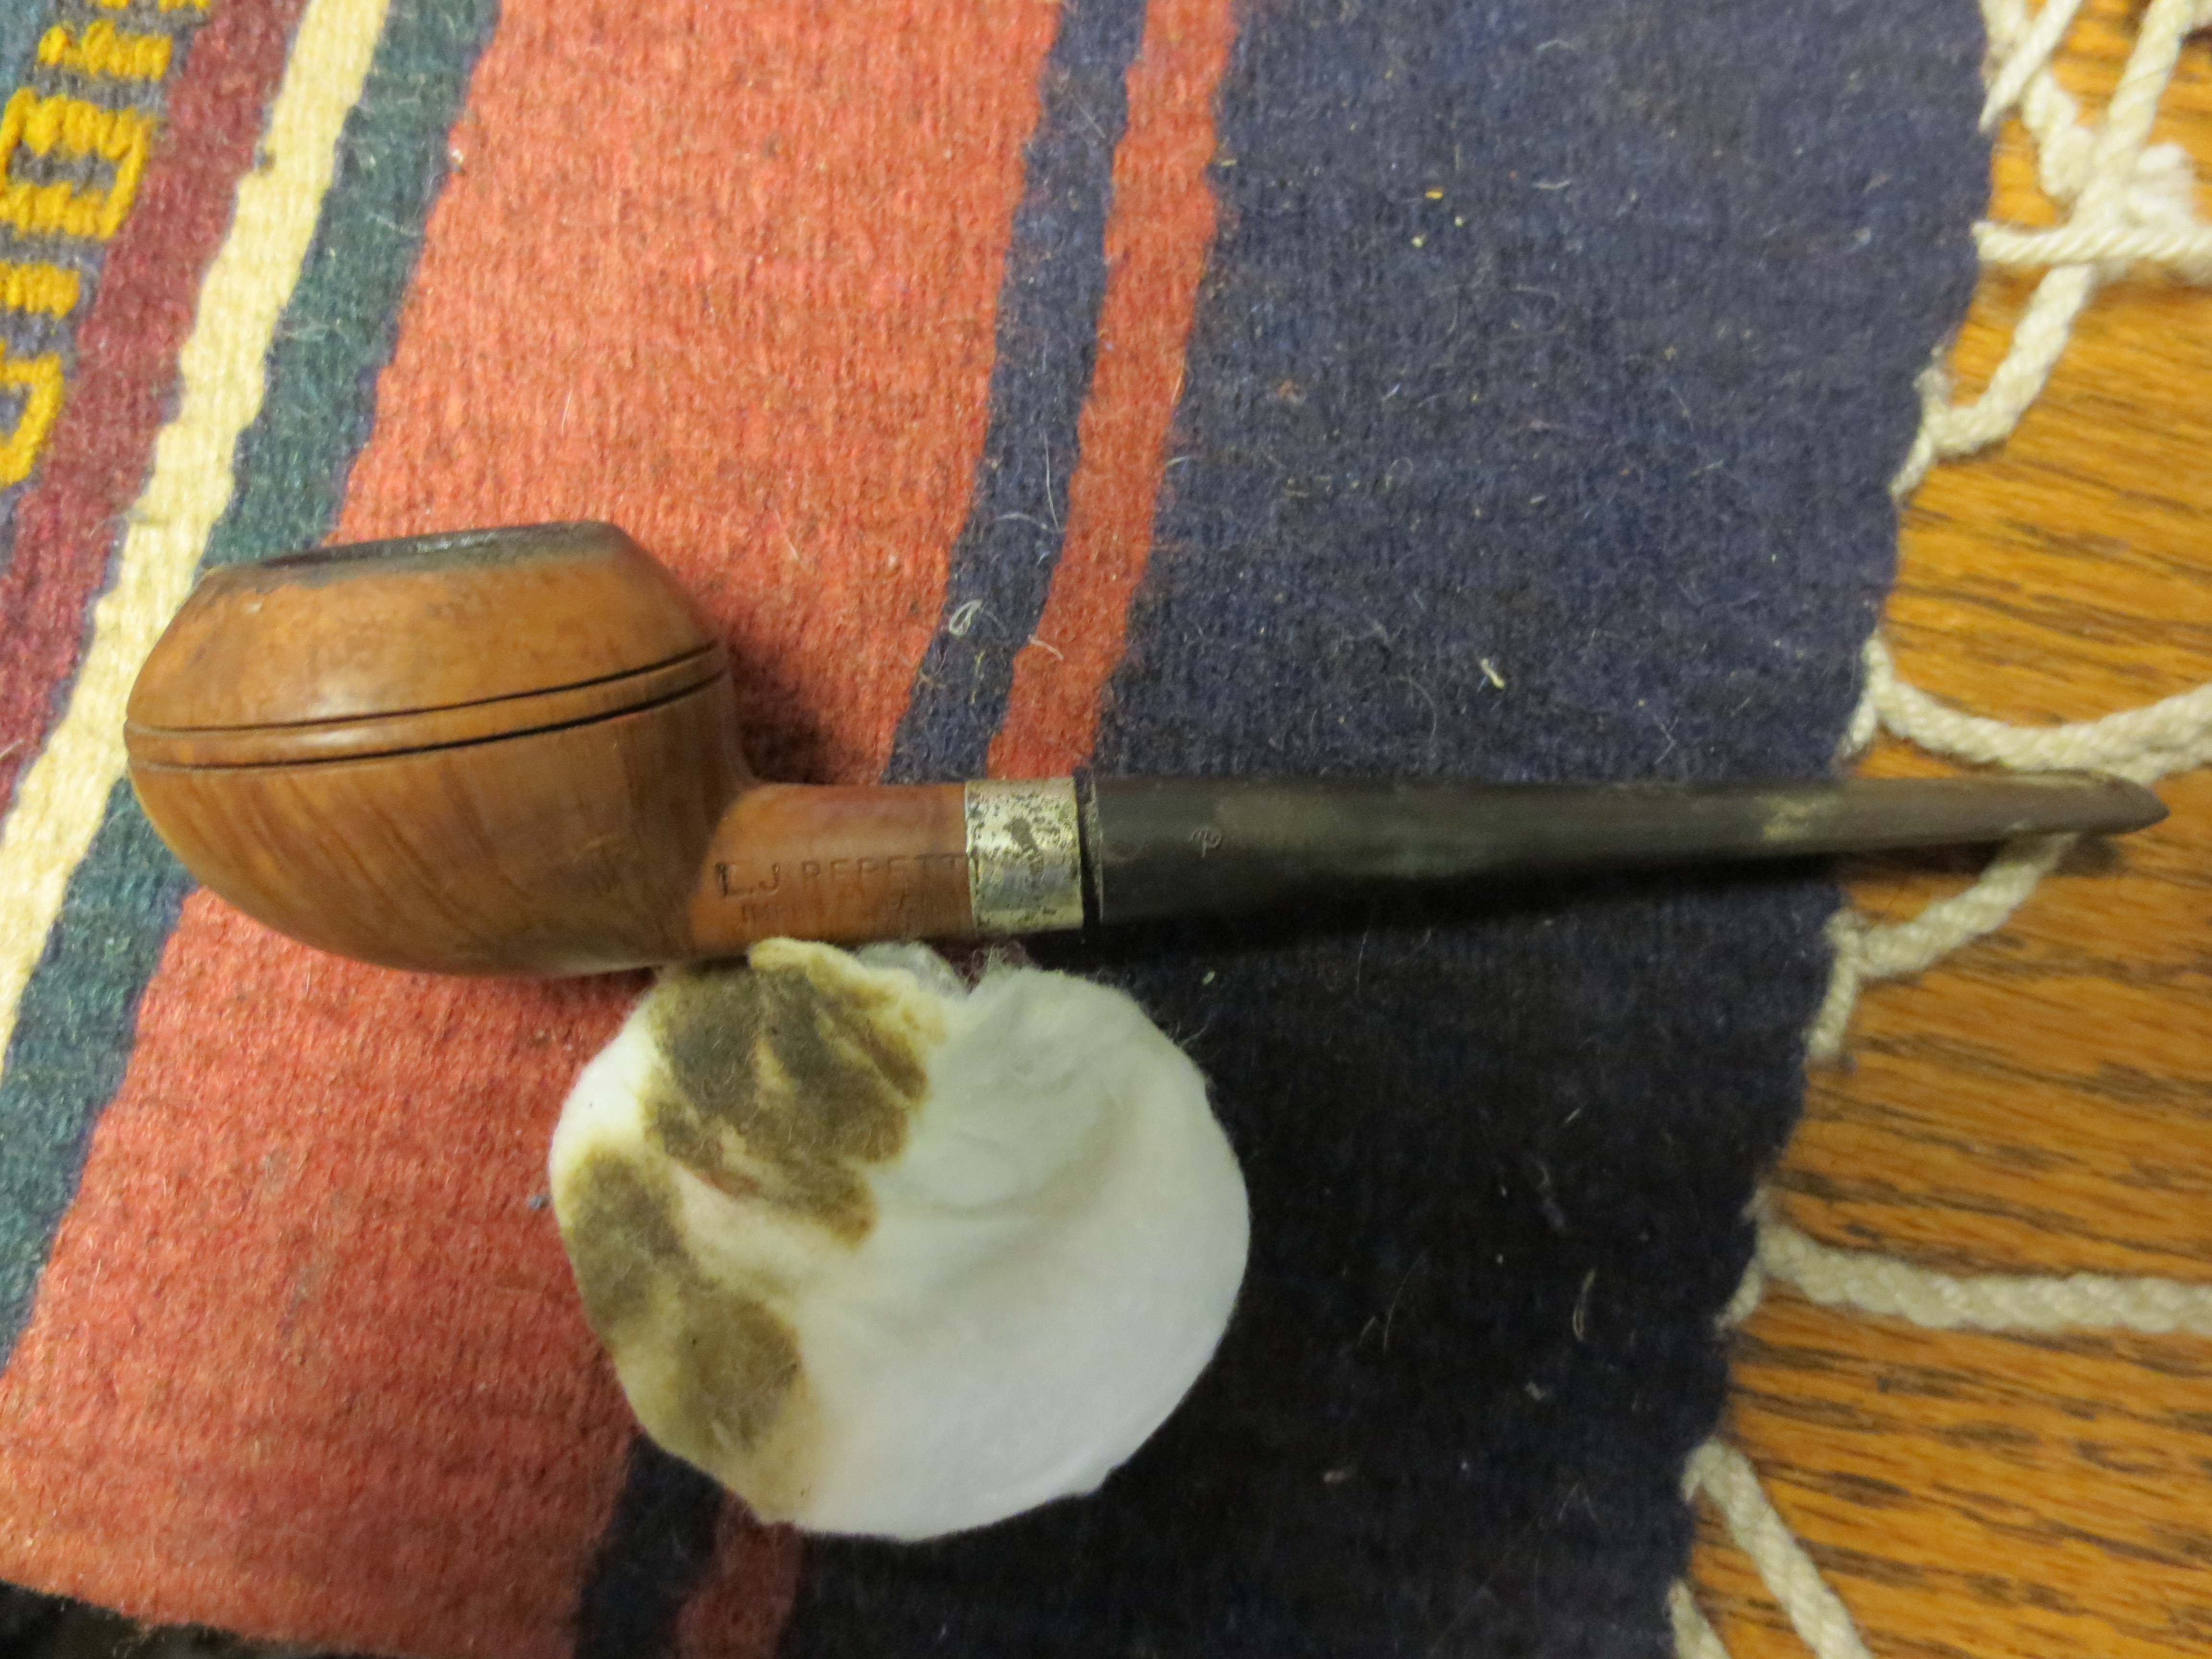
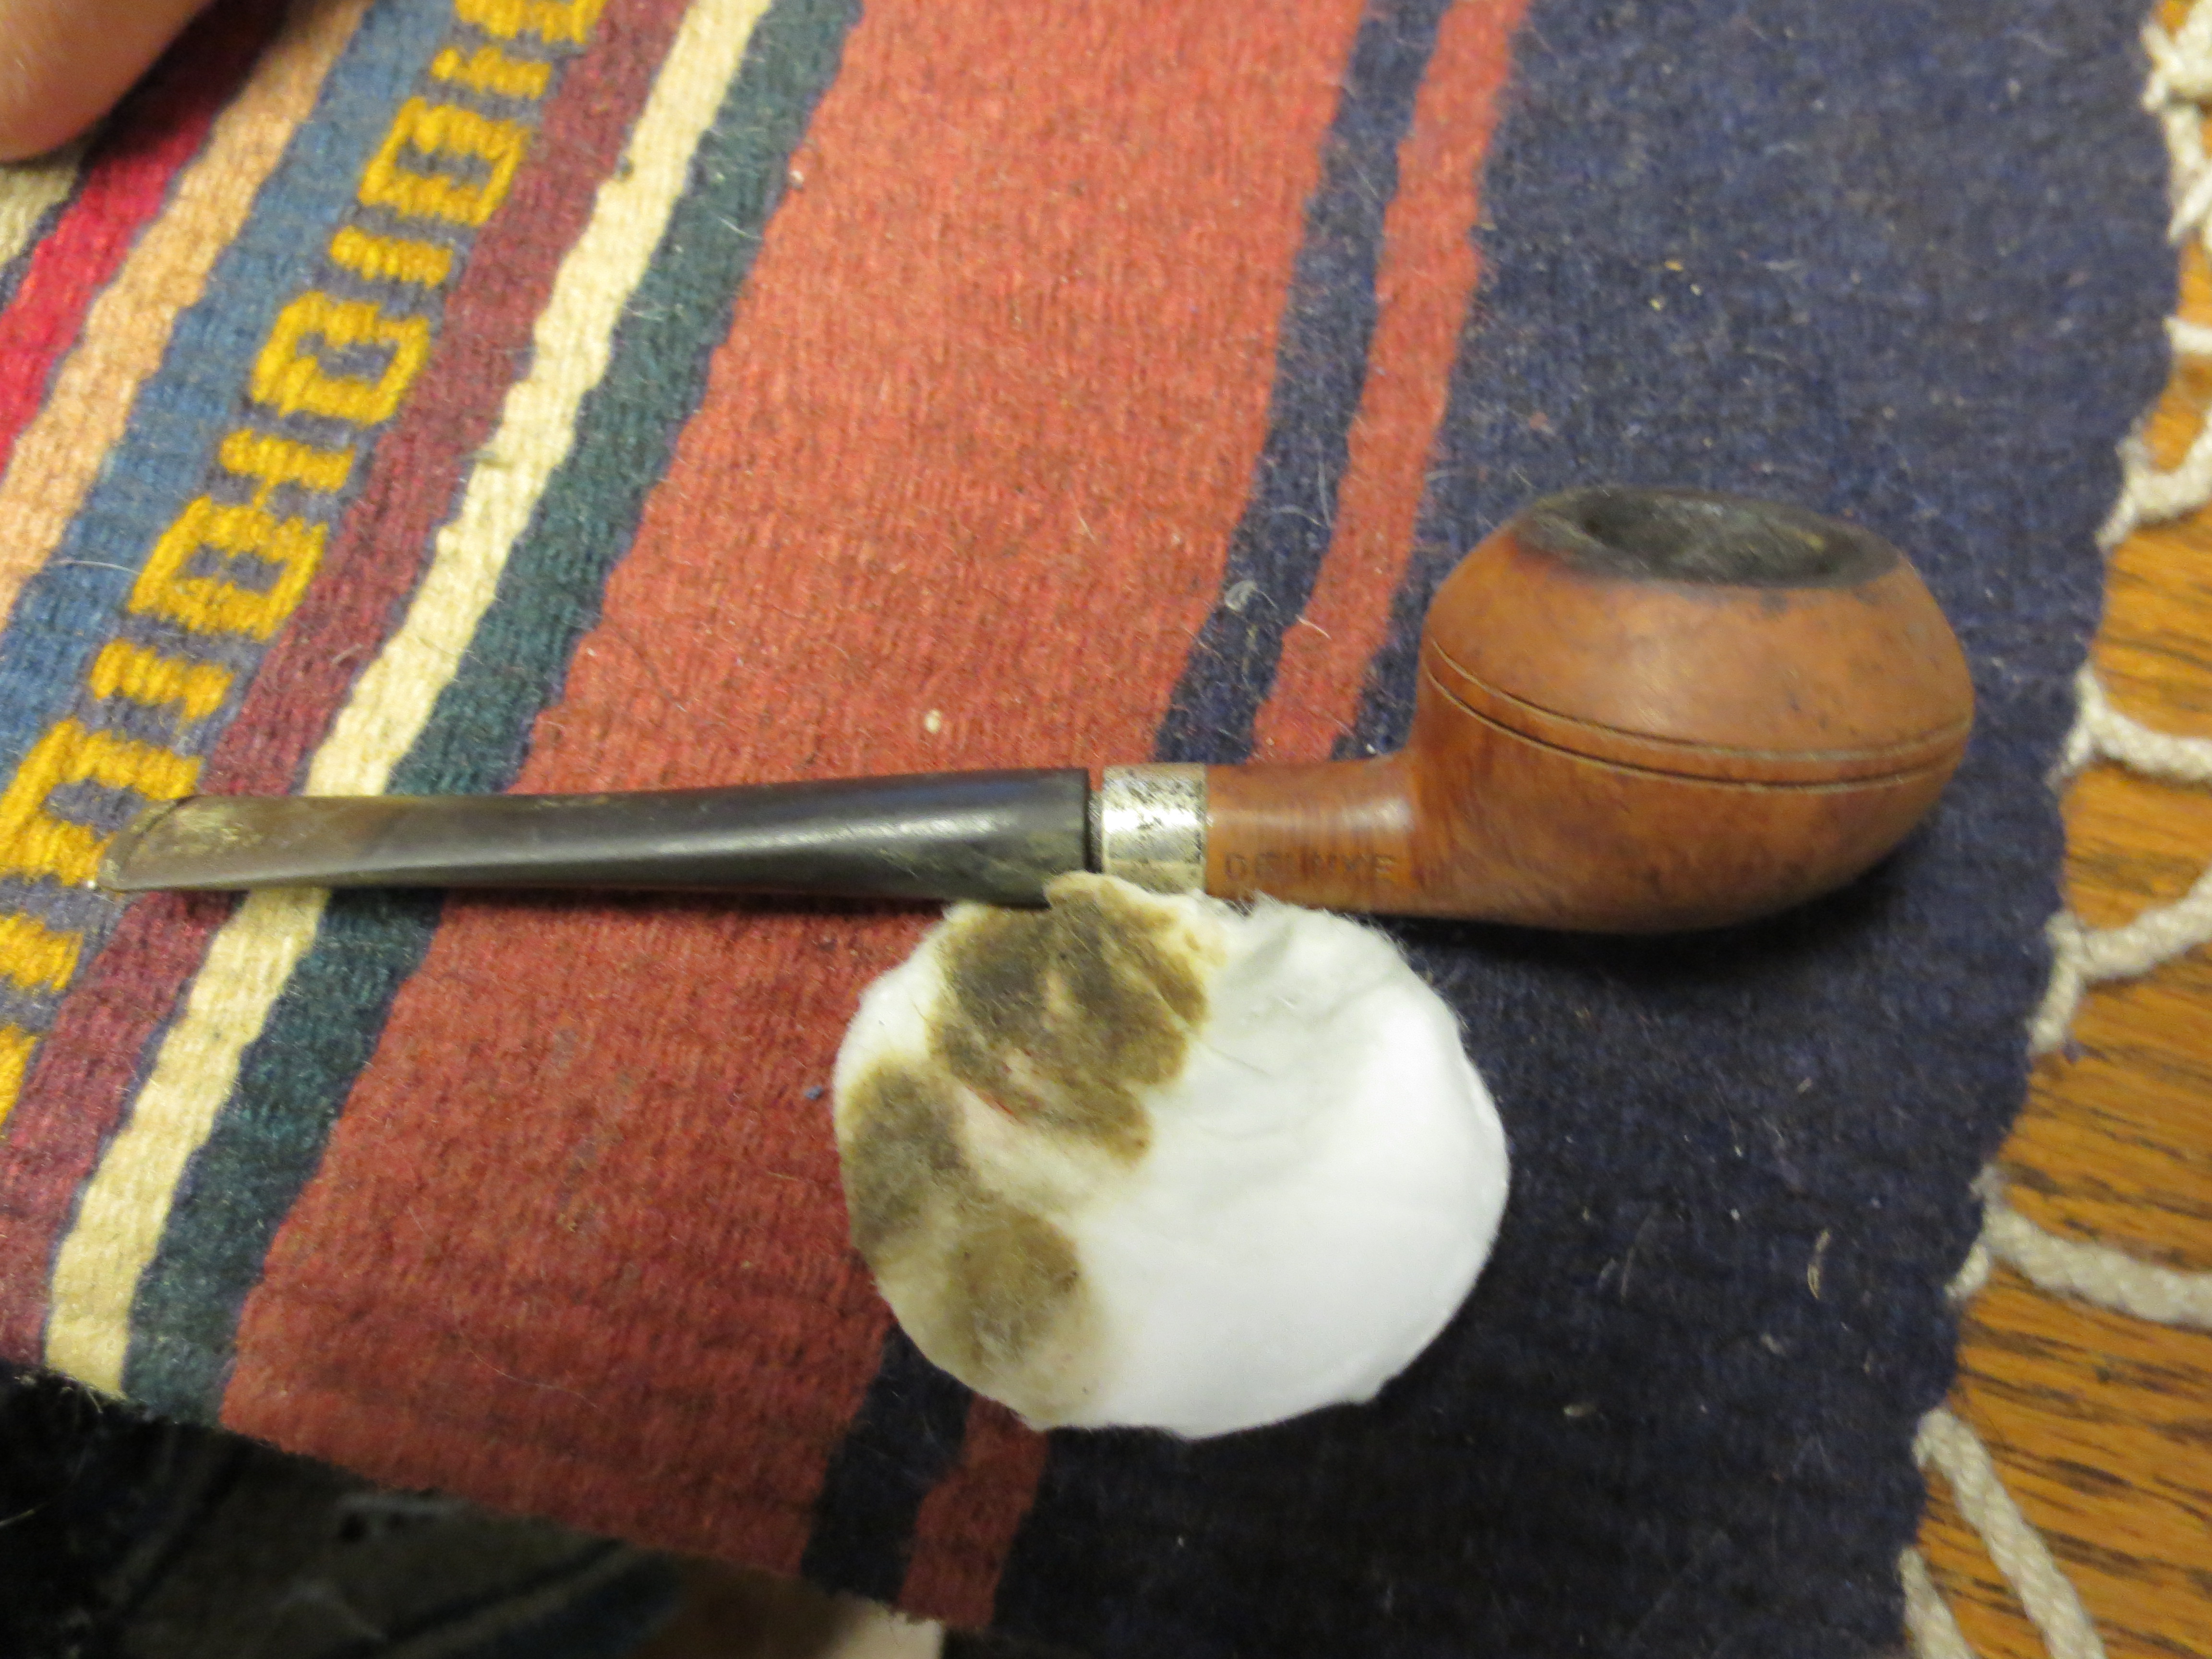
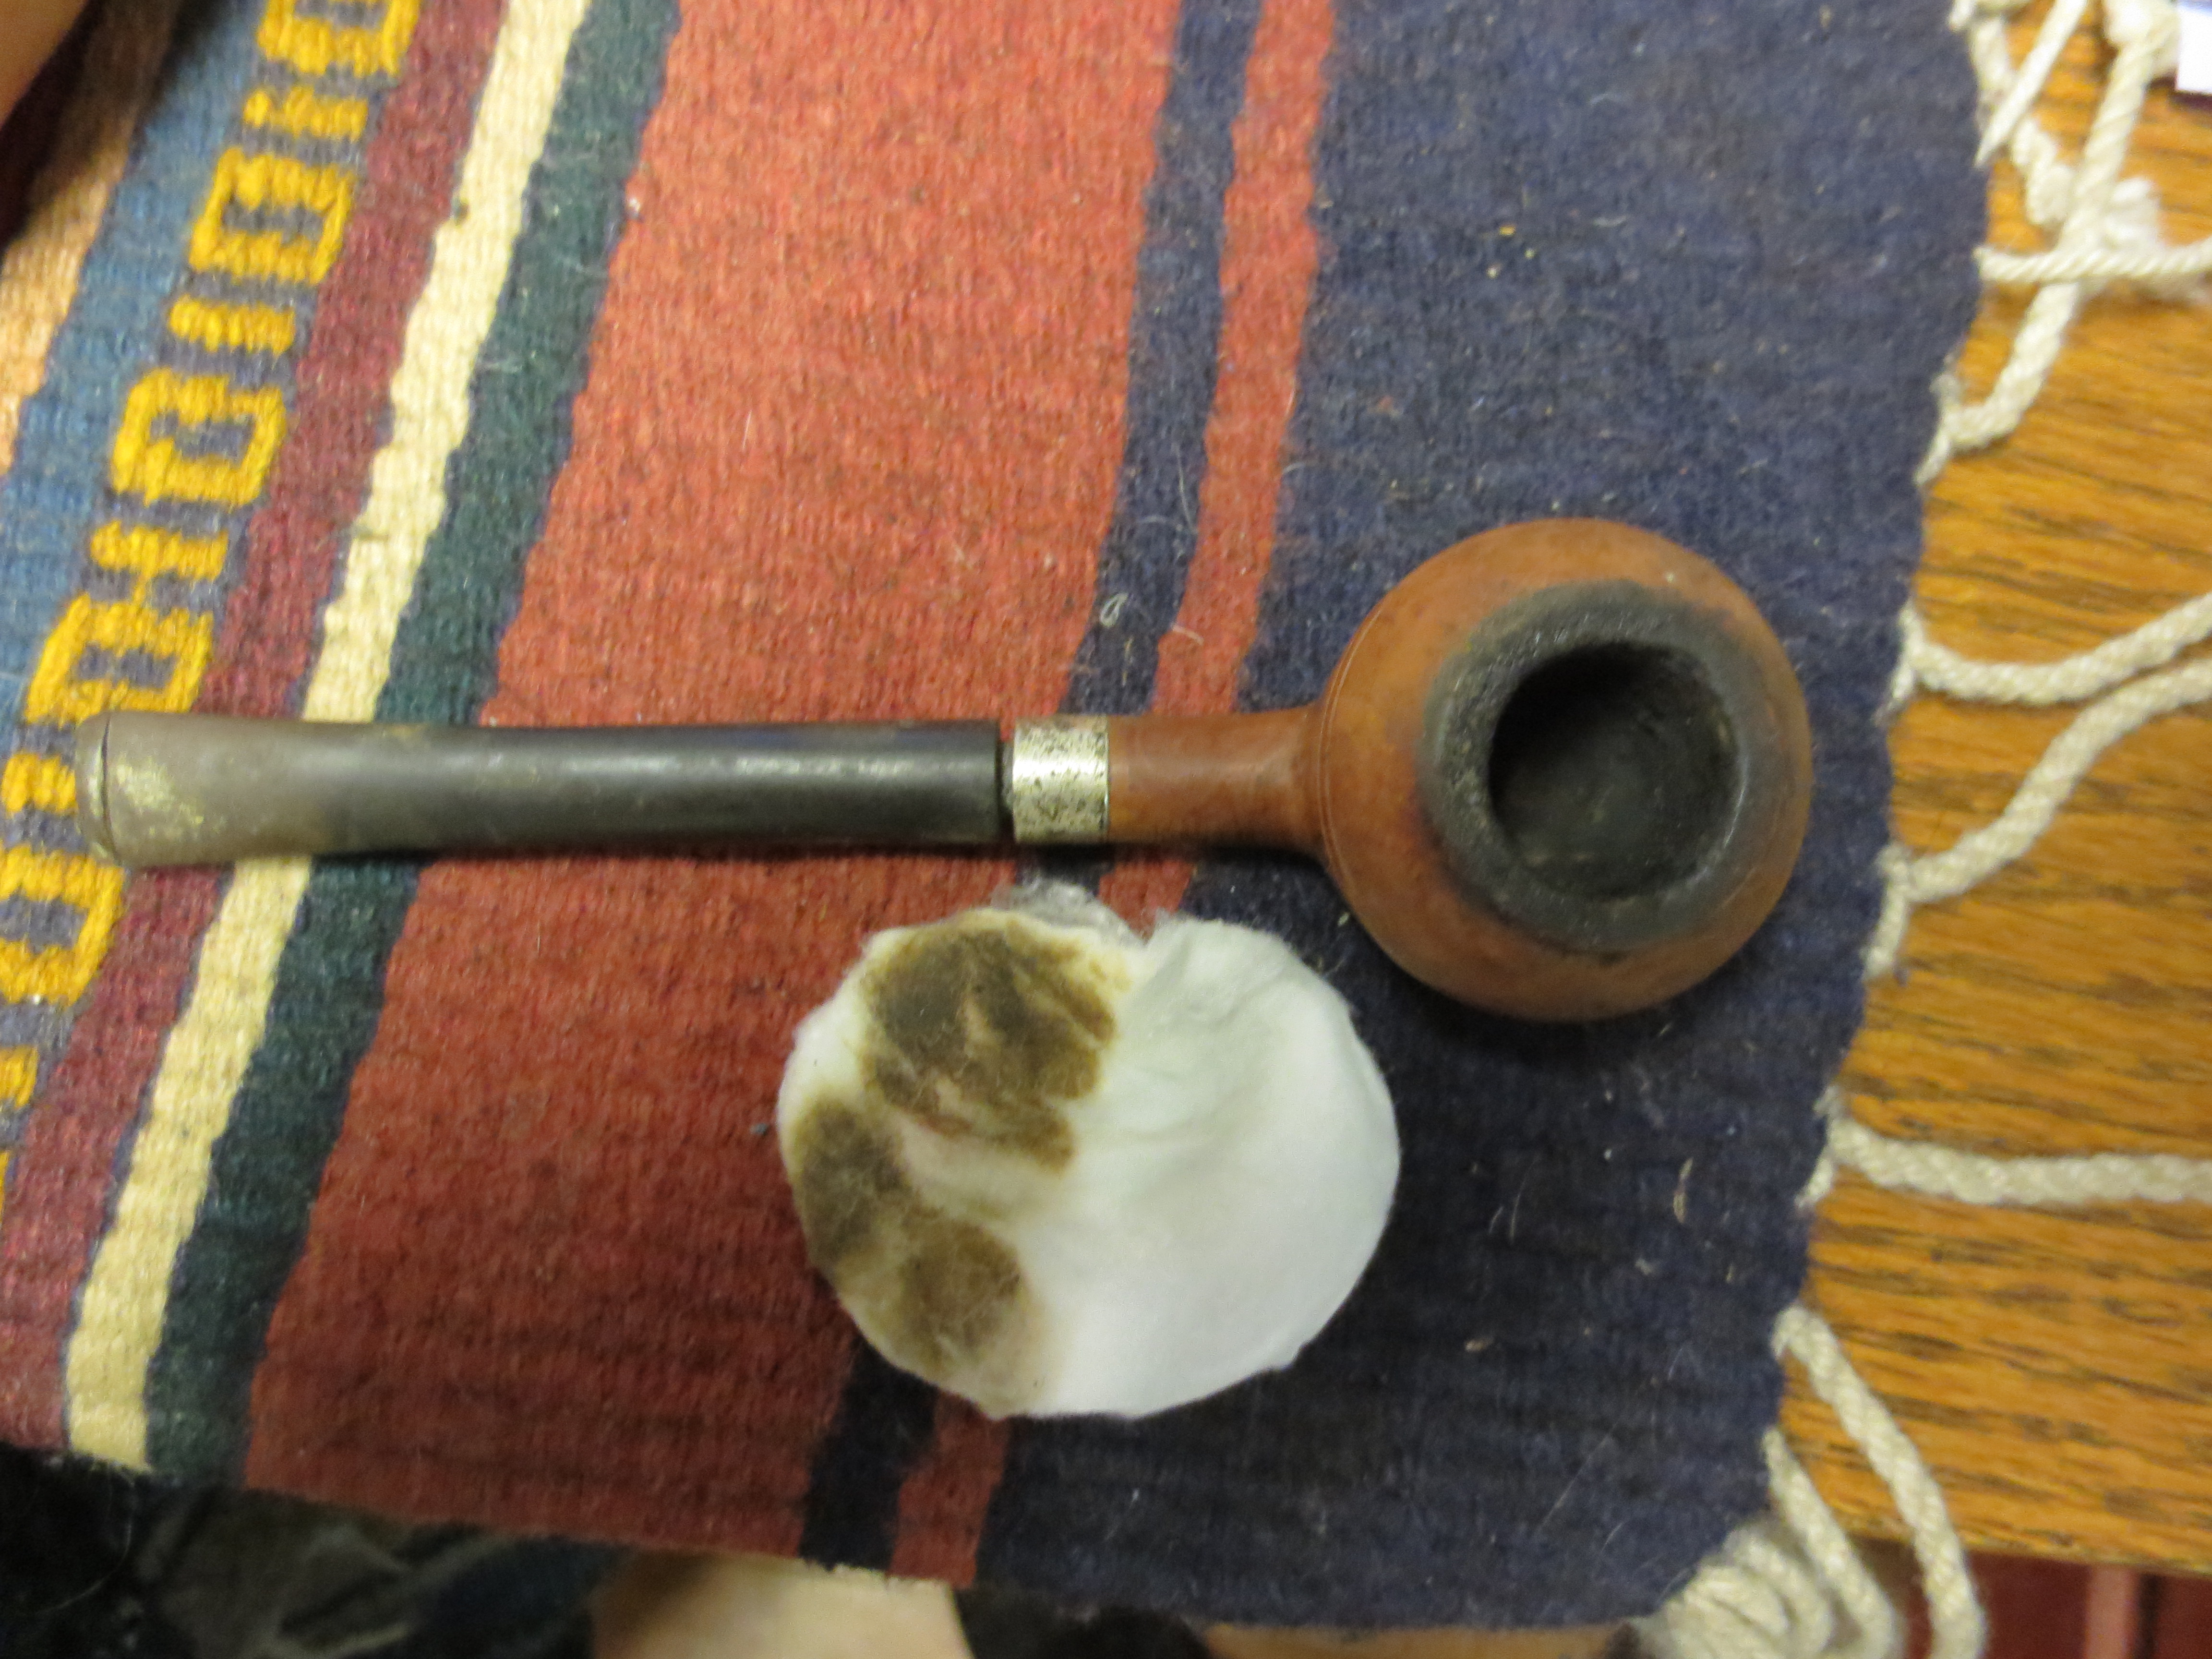
Restoring an L.J. Perretti Deluxe Prince


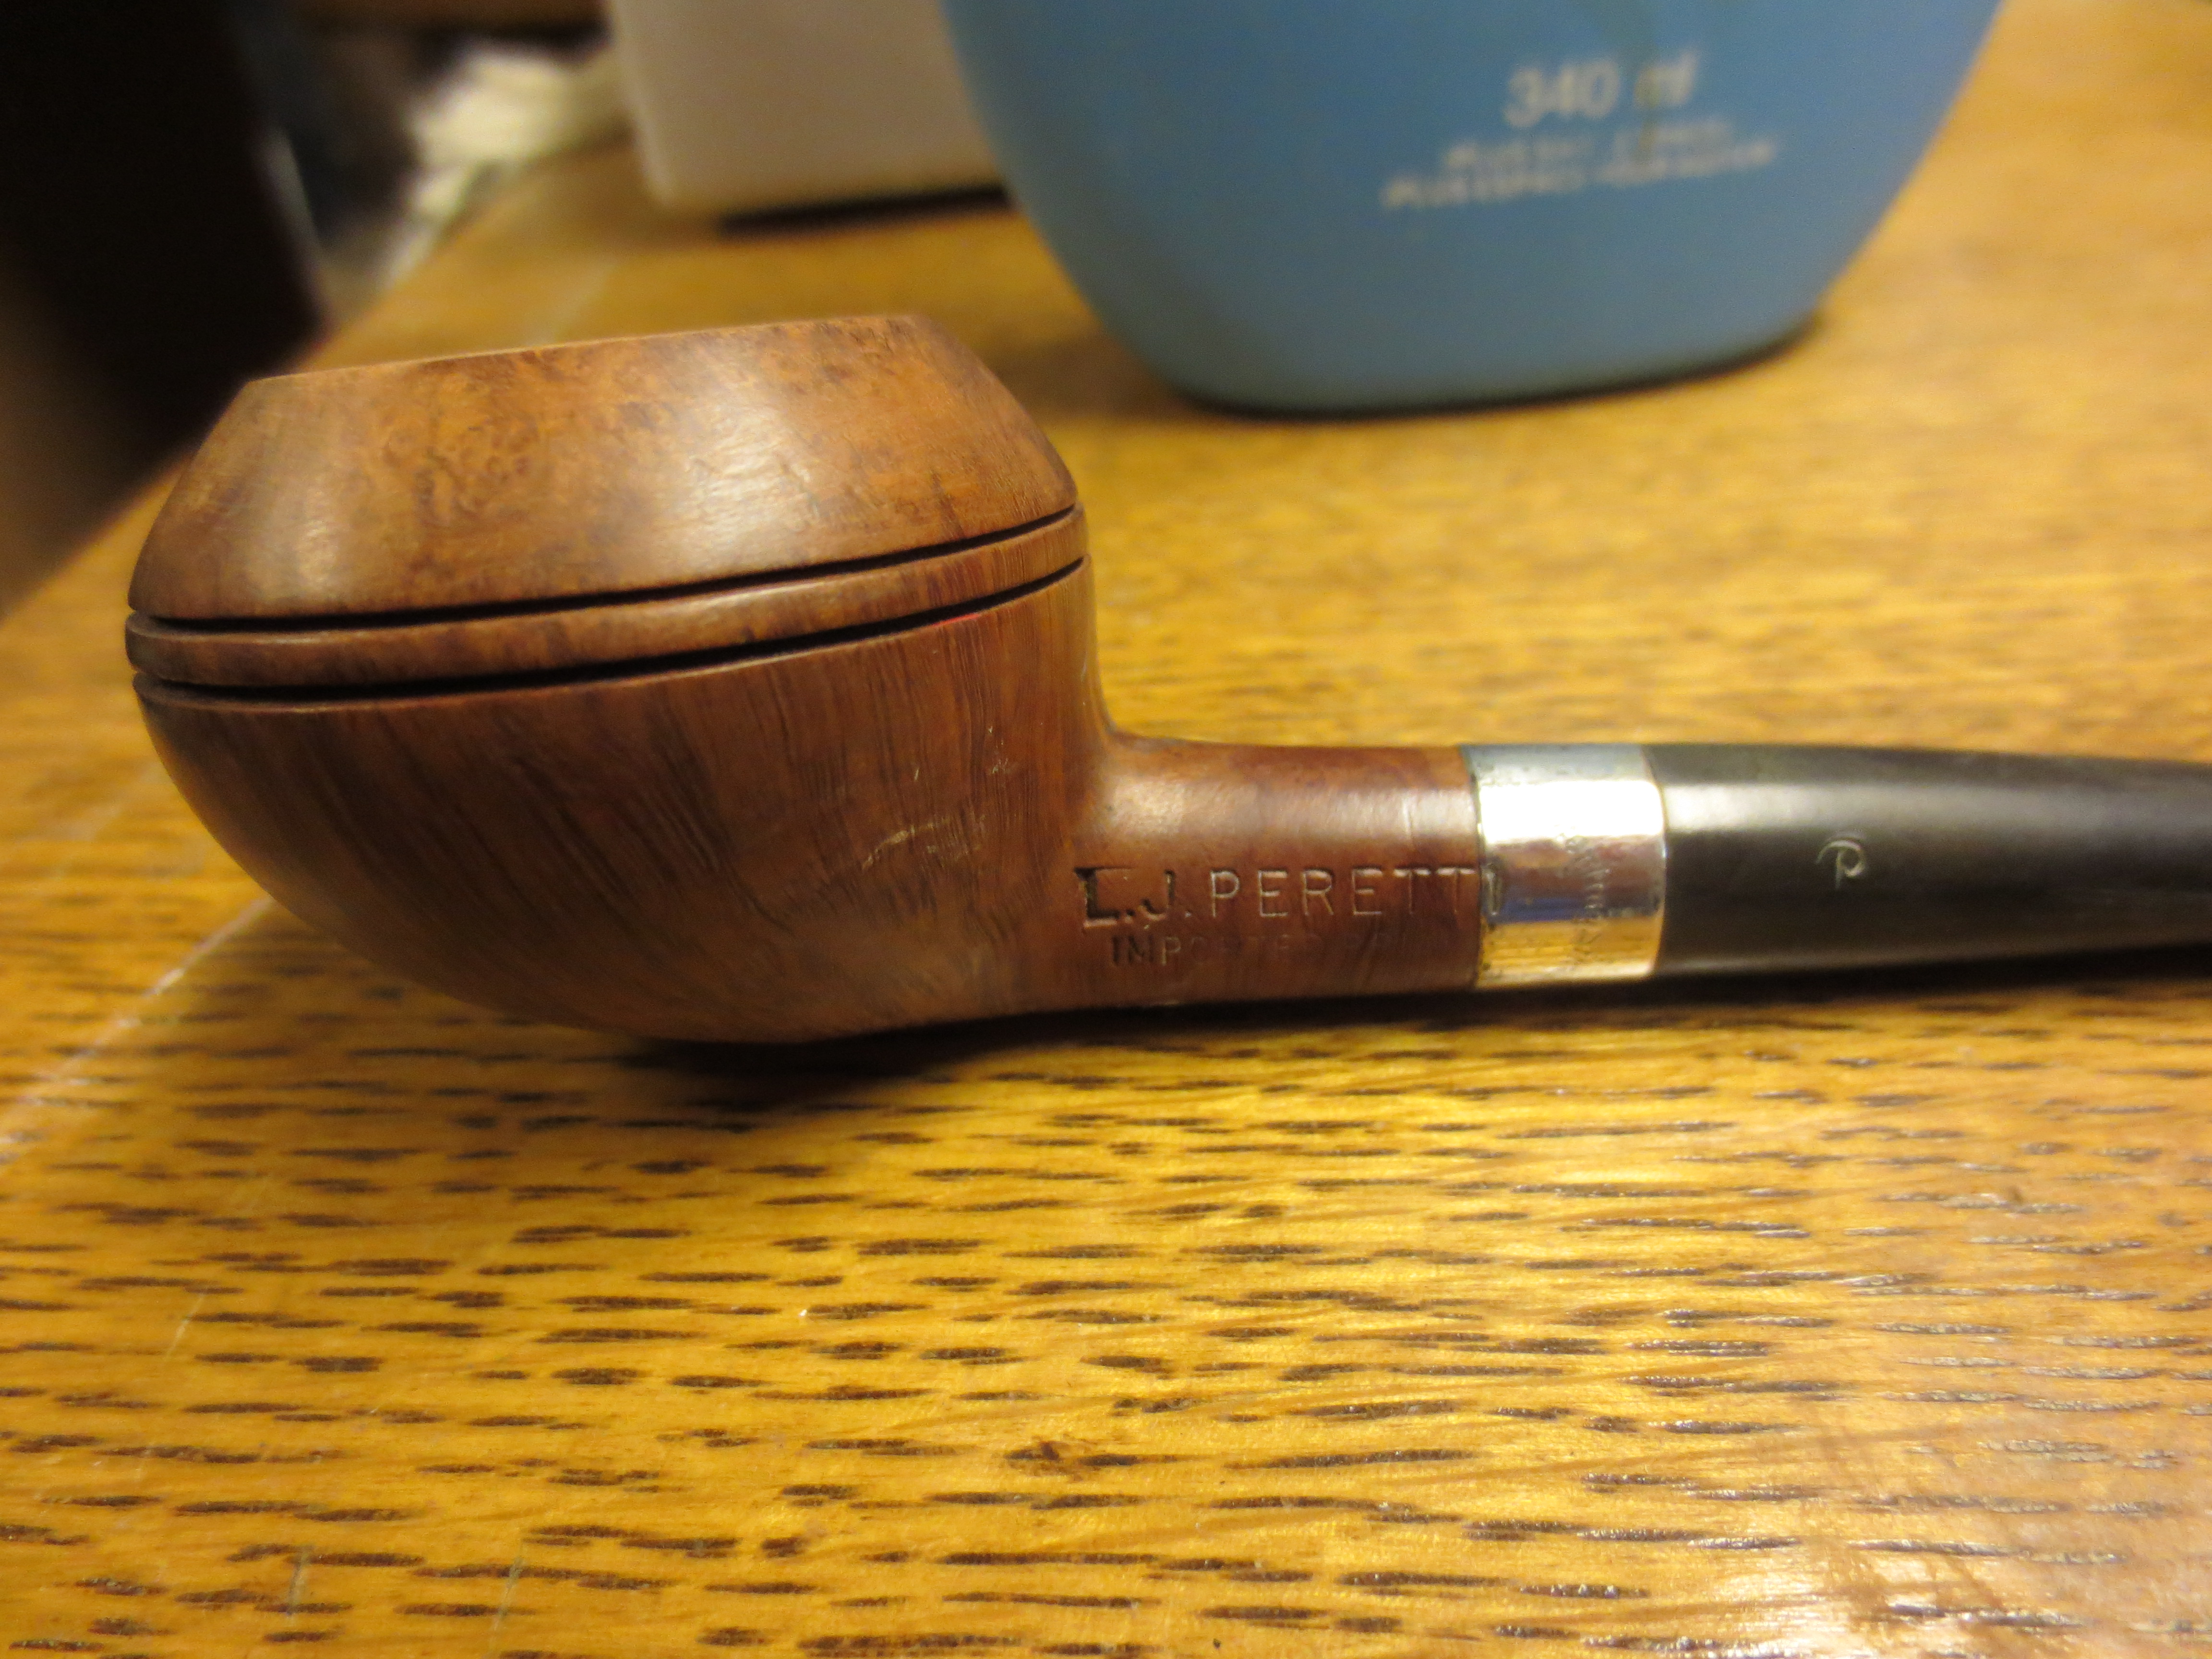
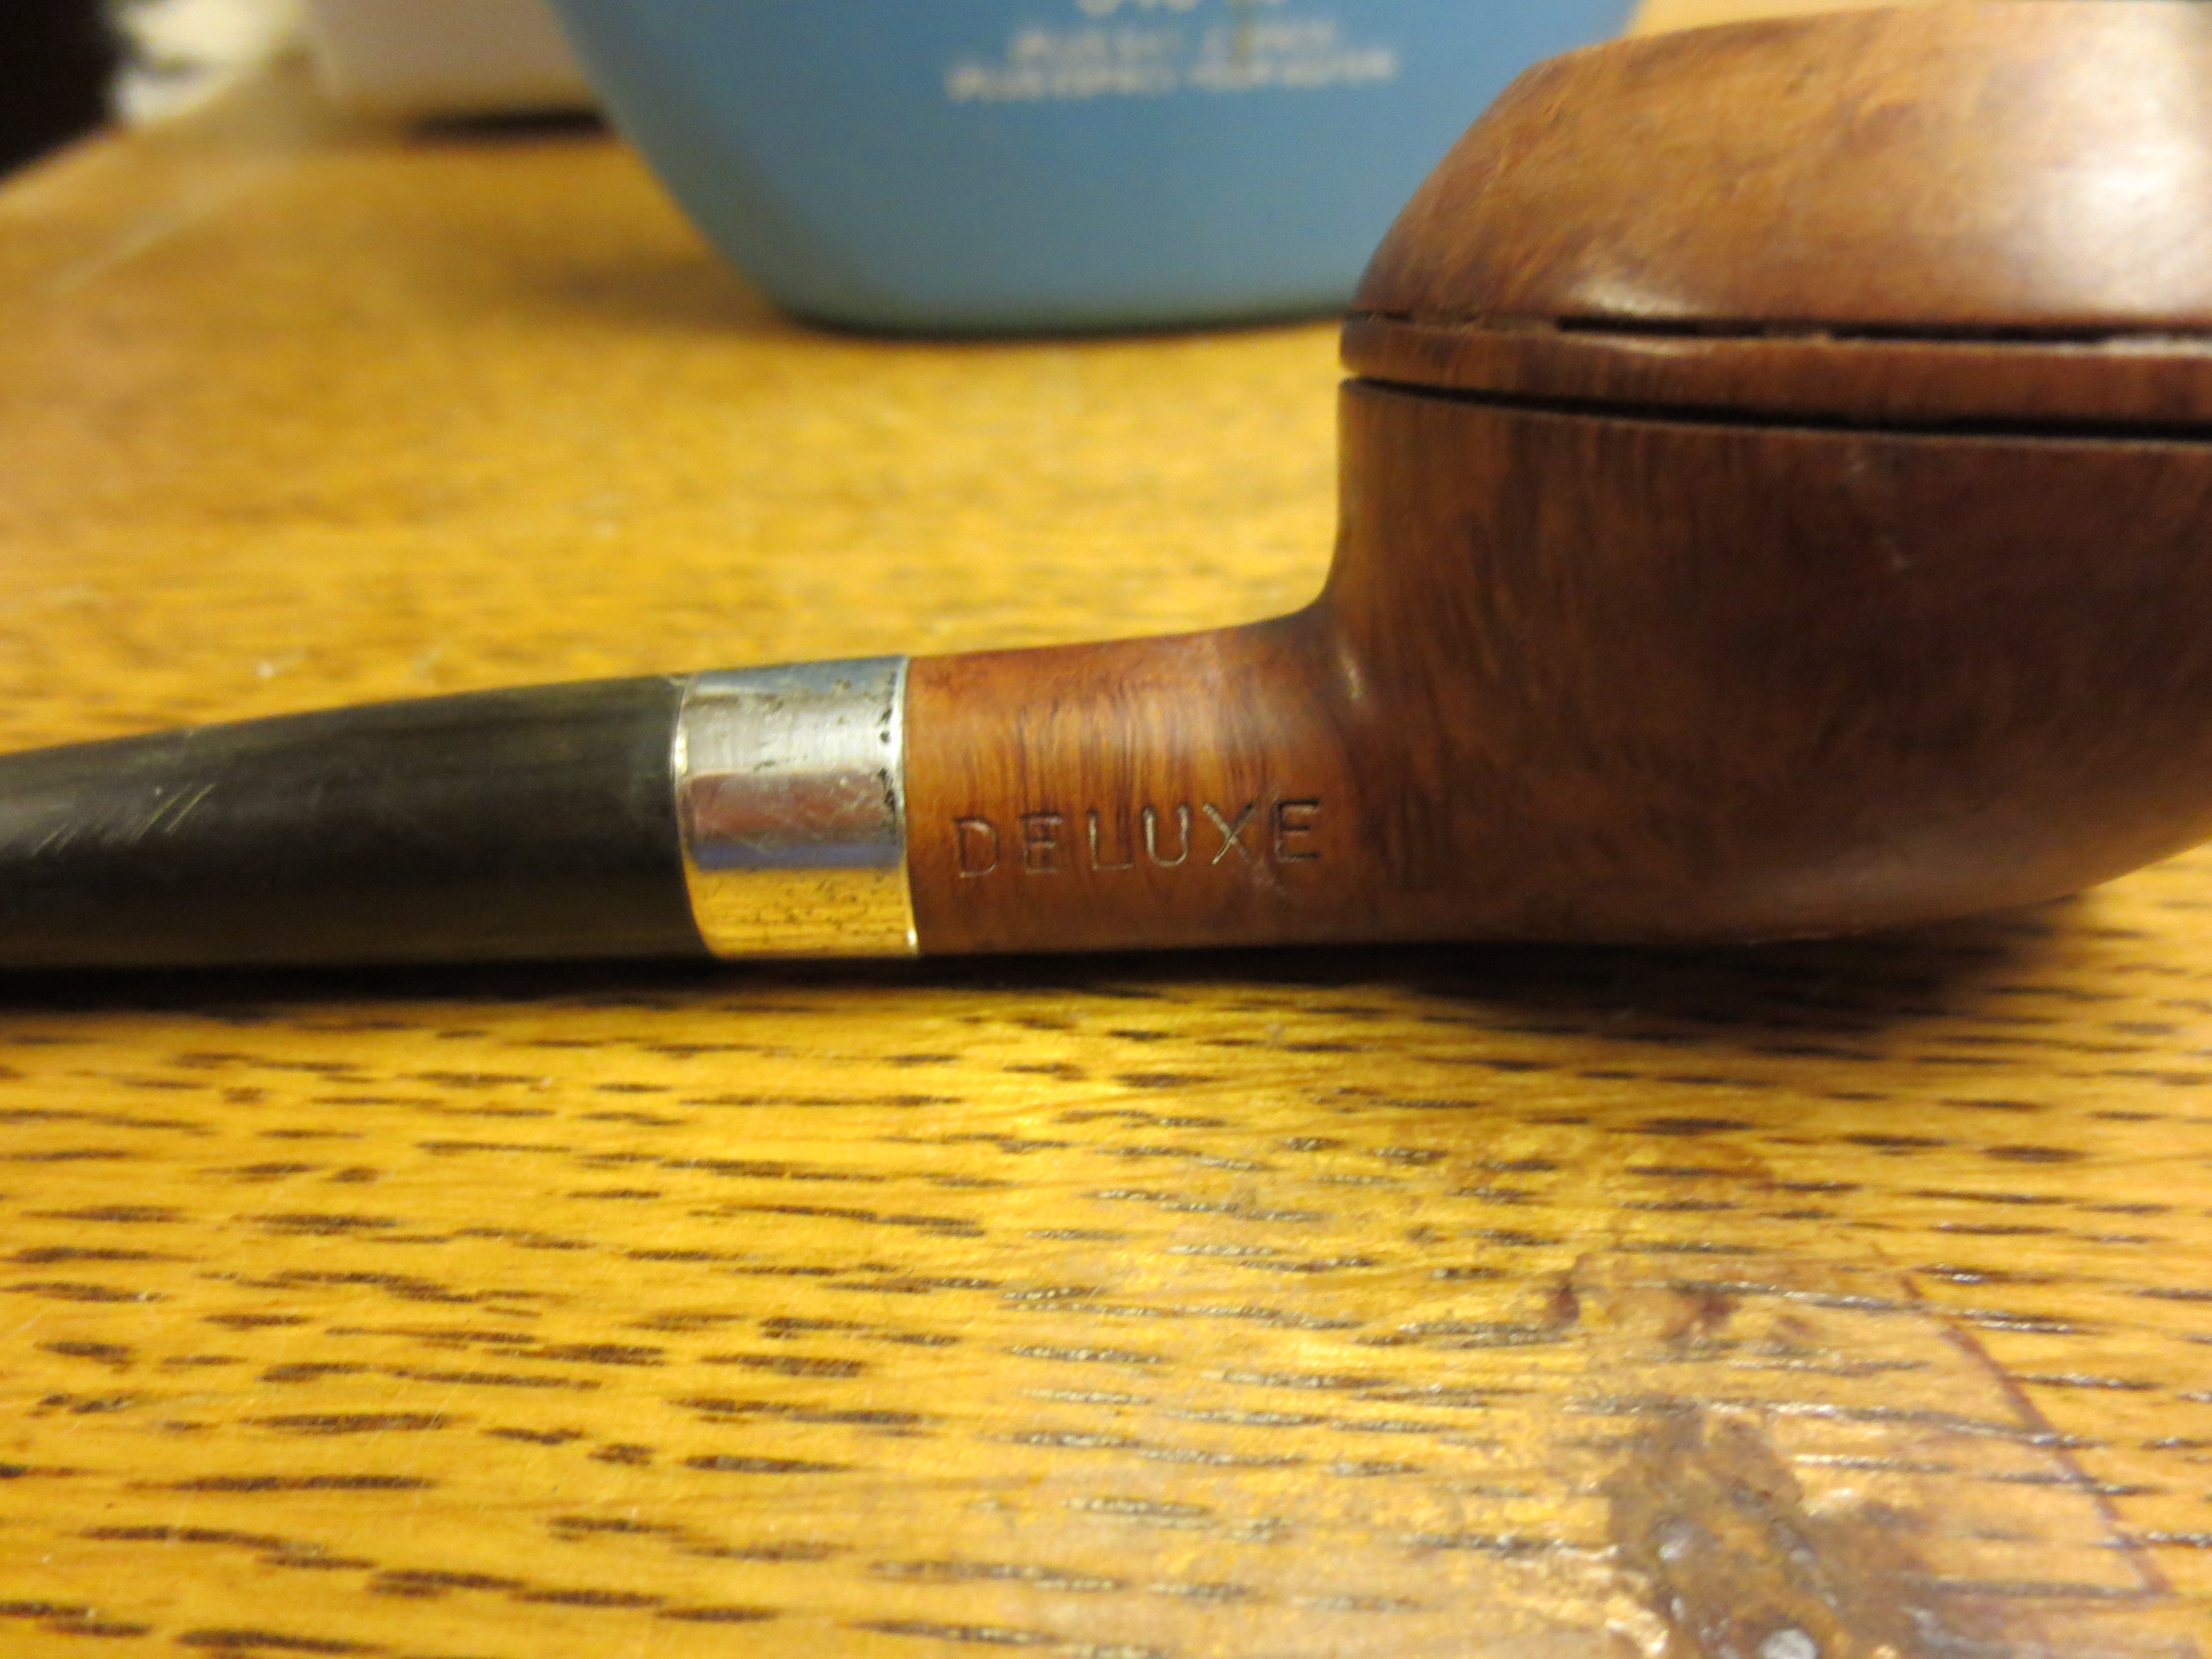
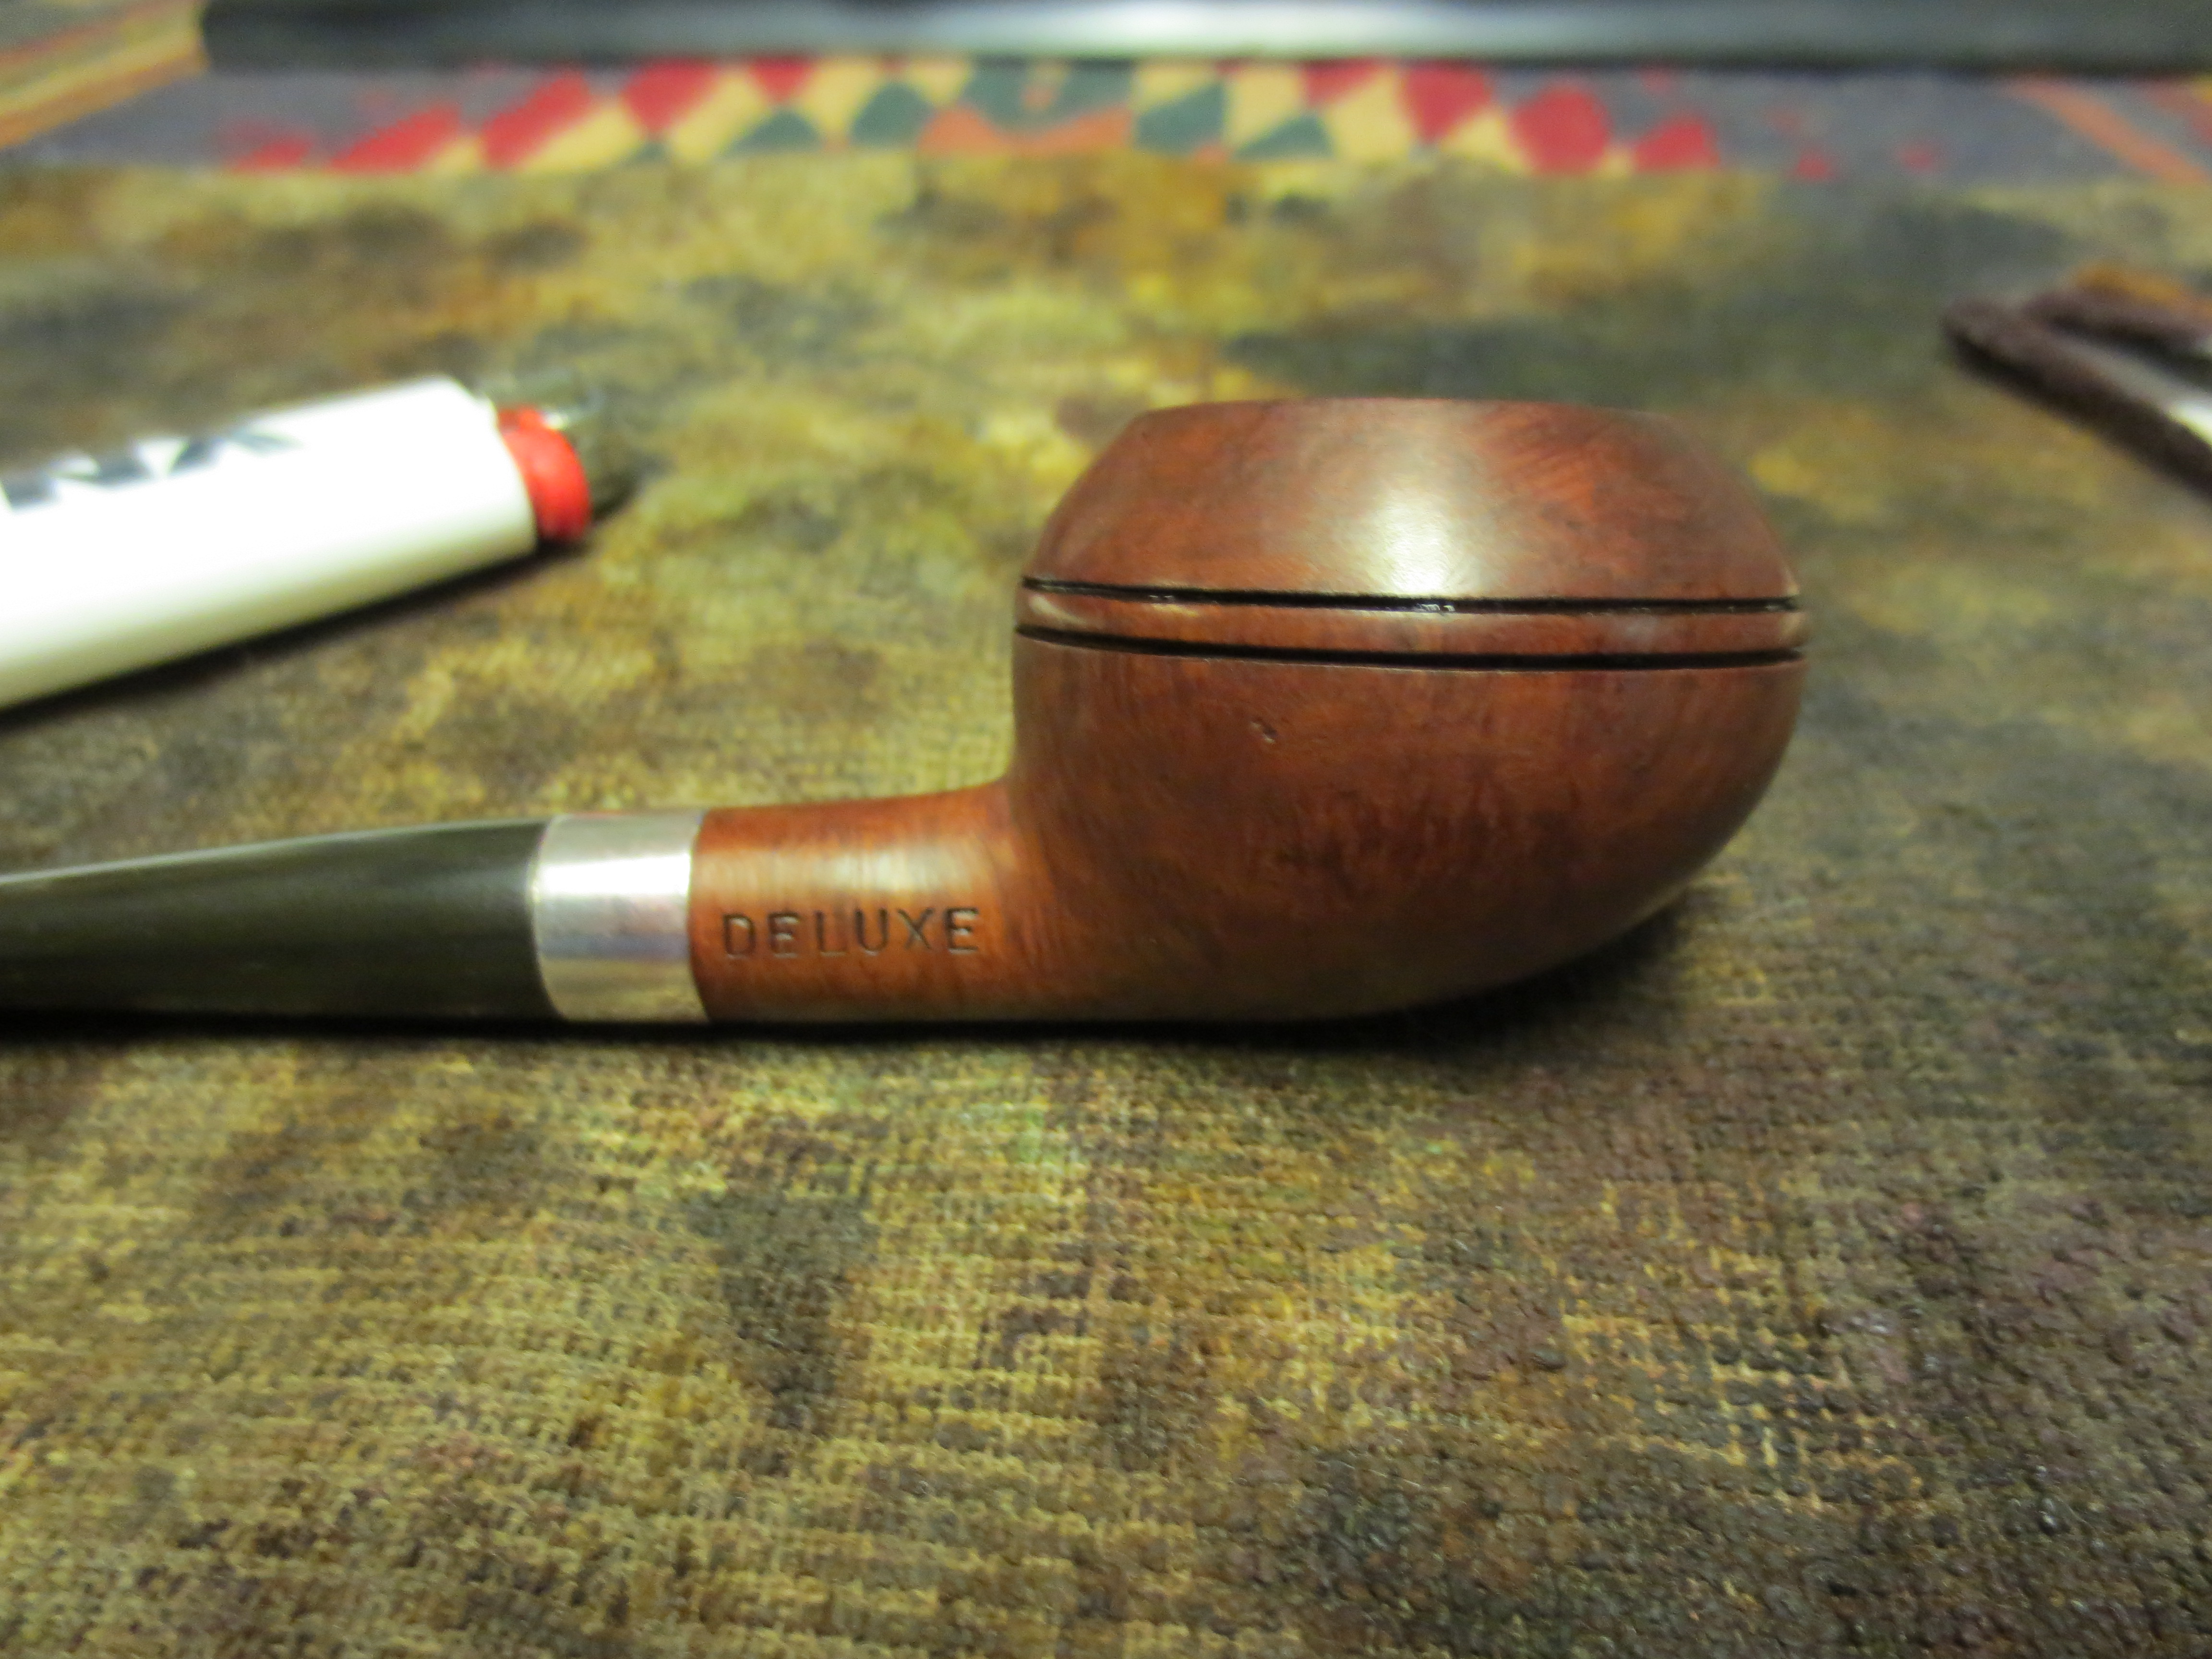
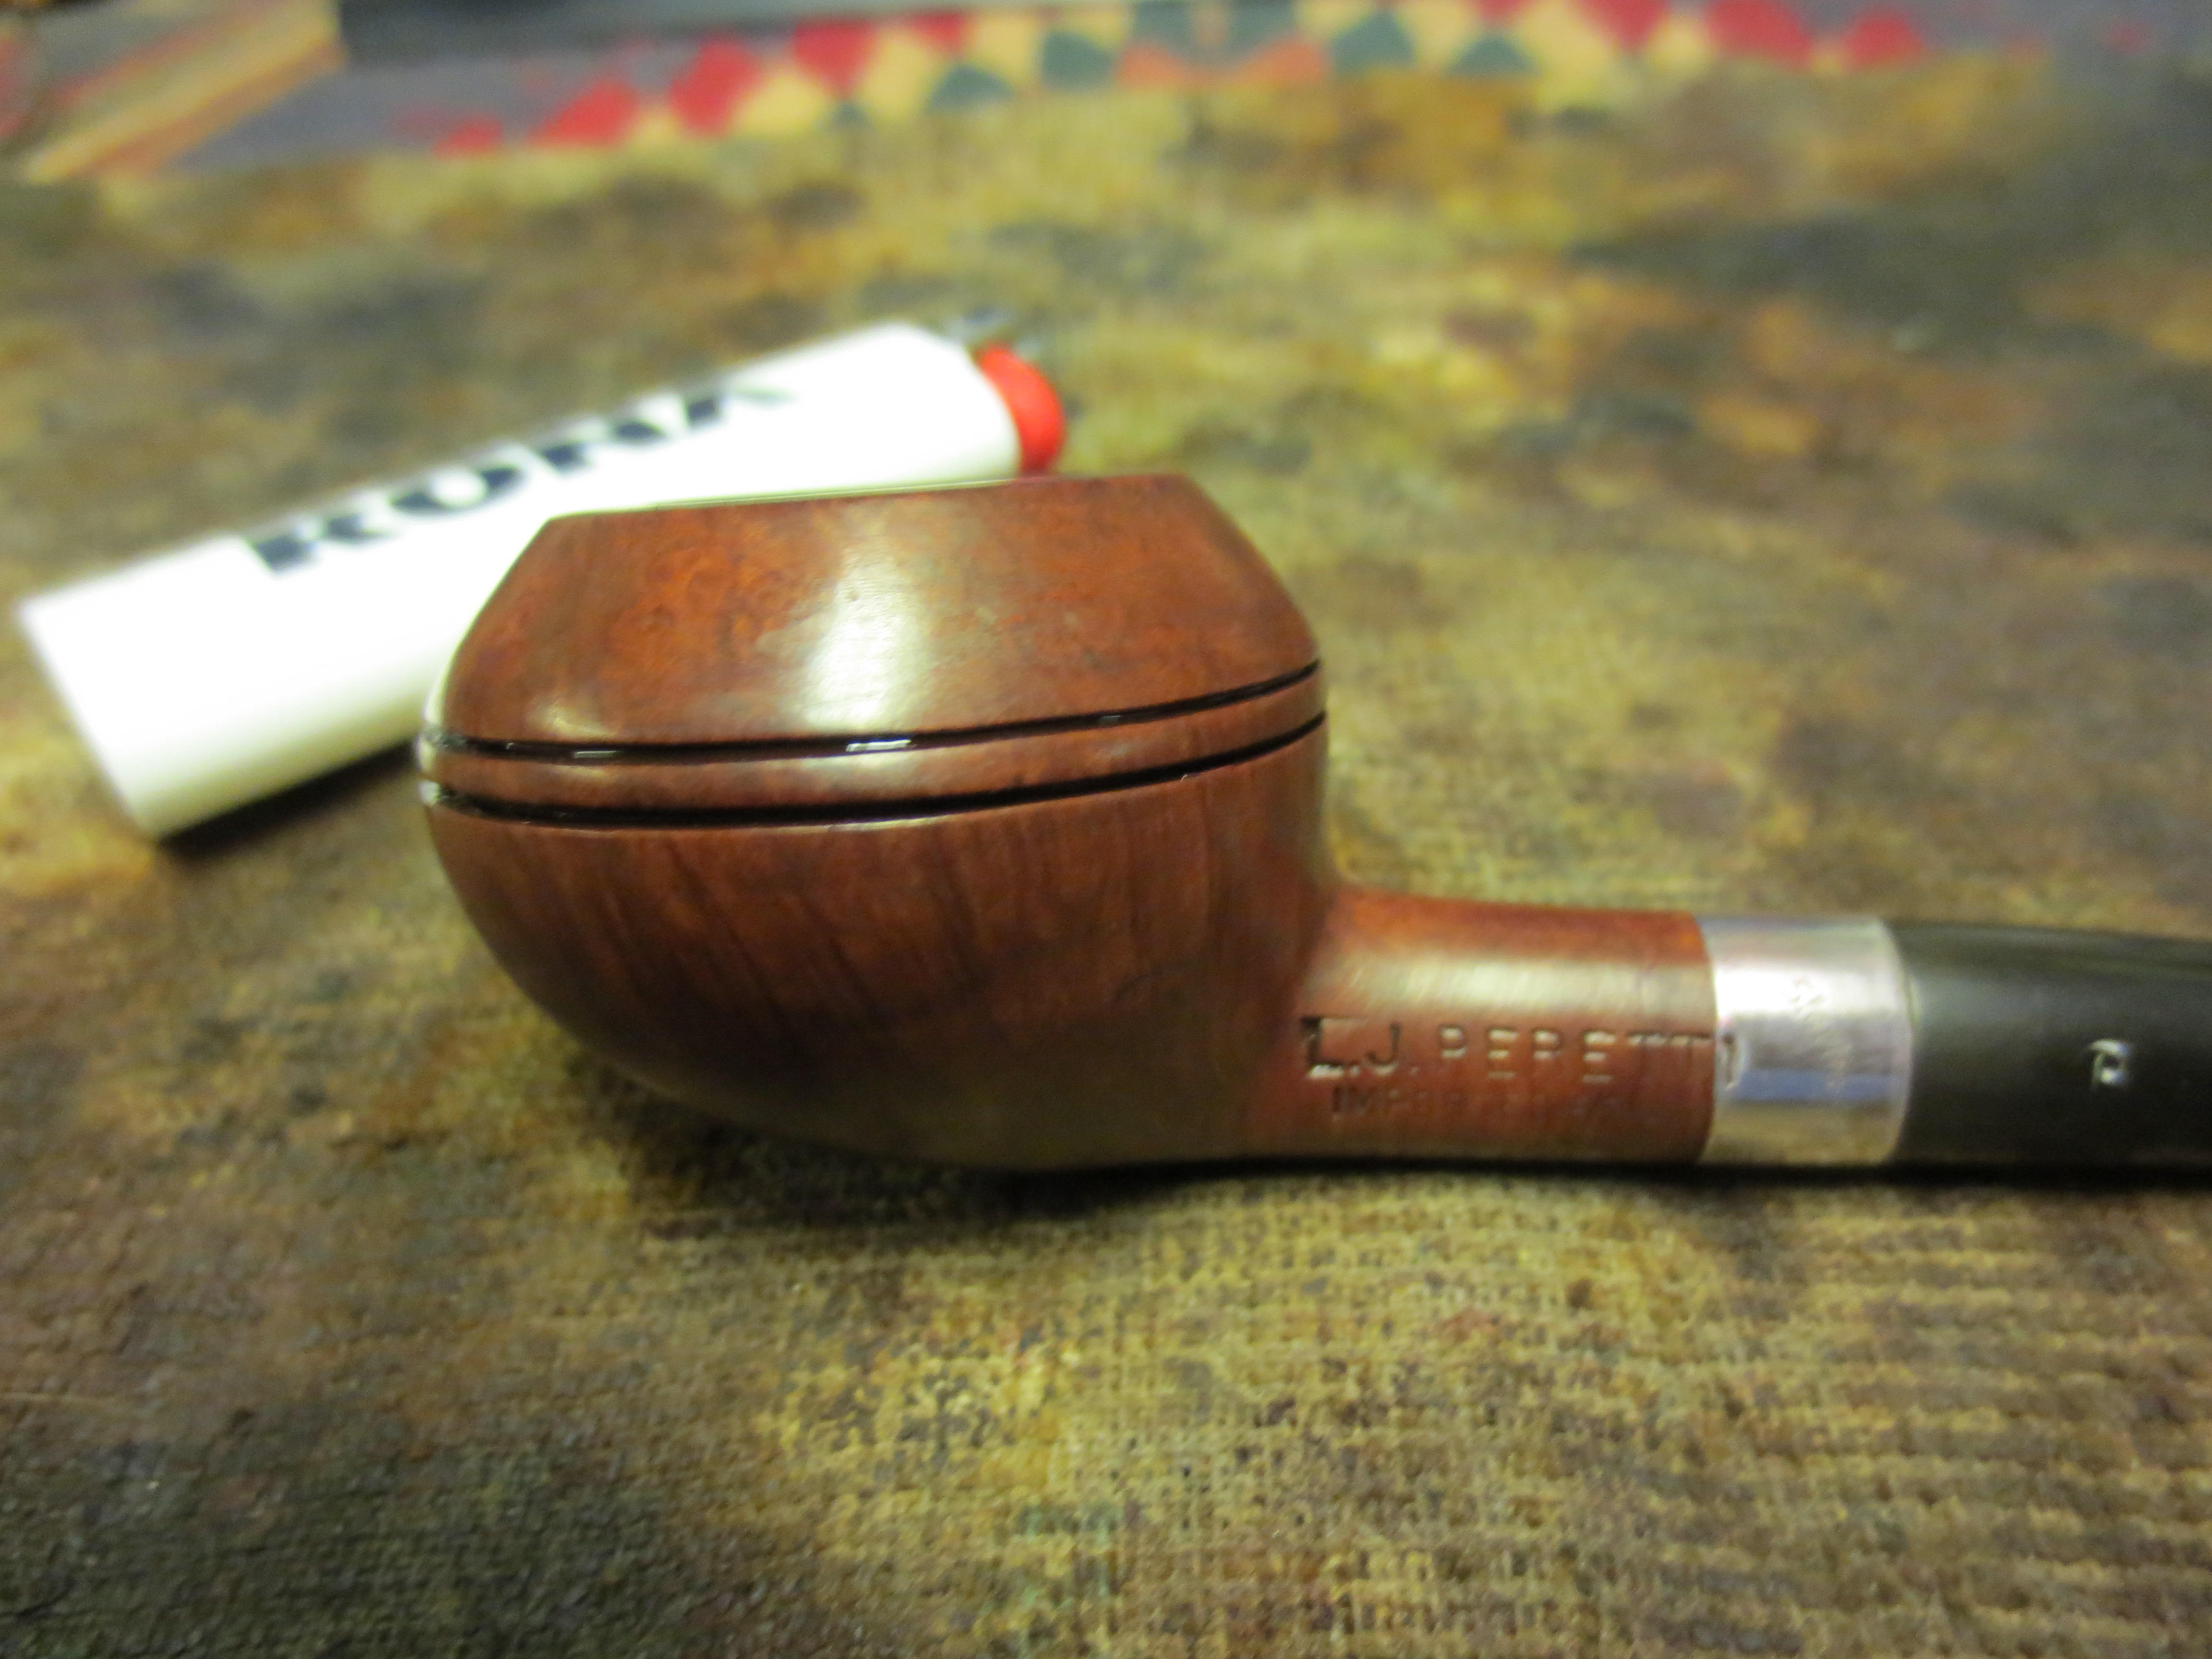
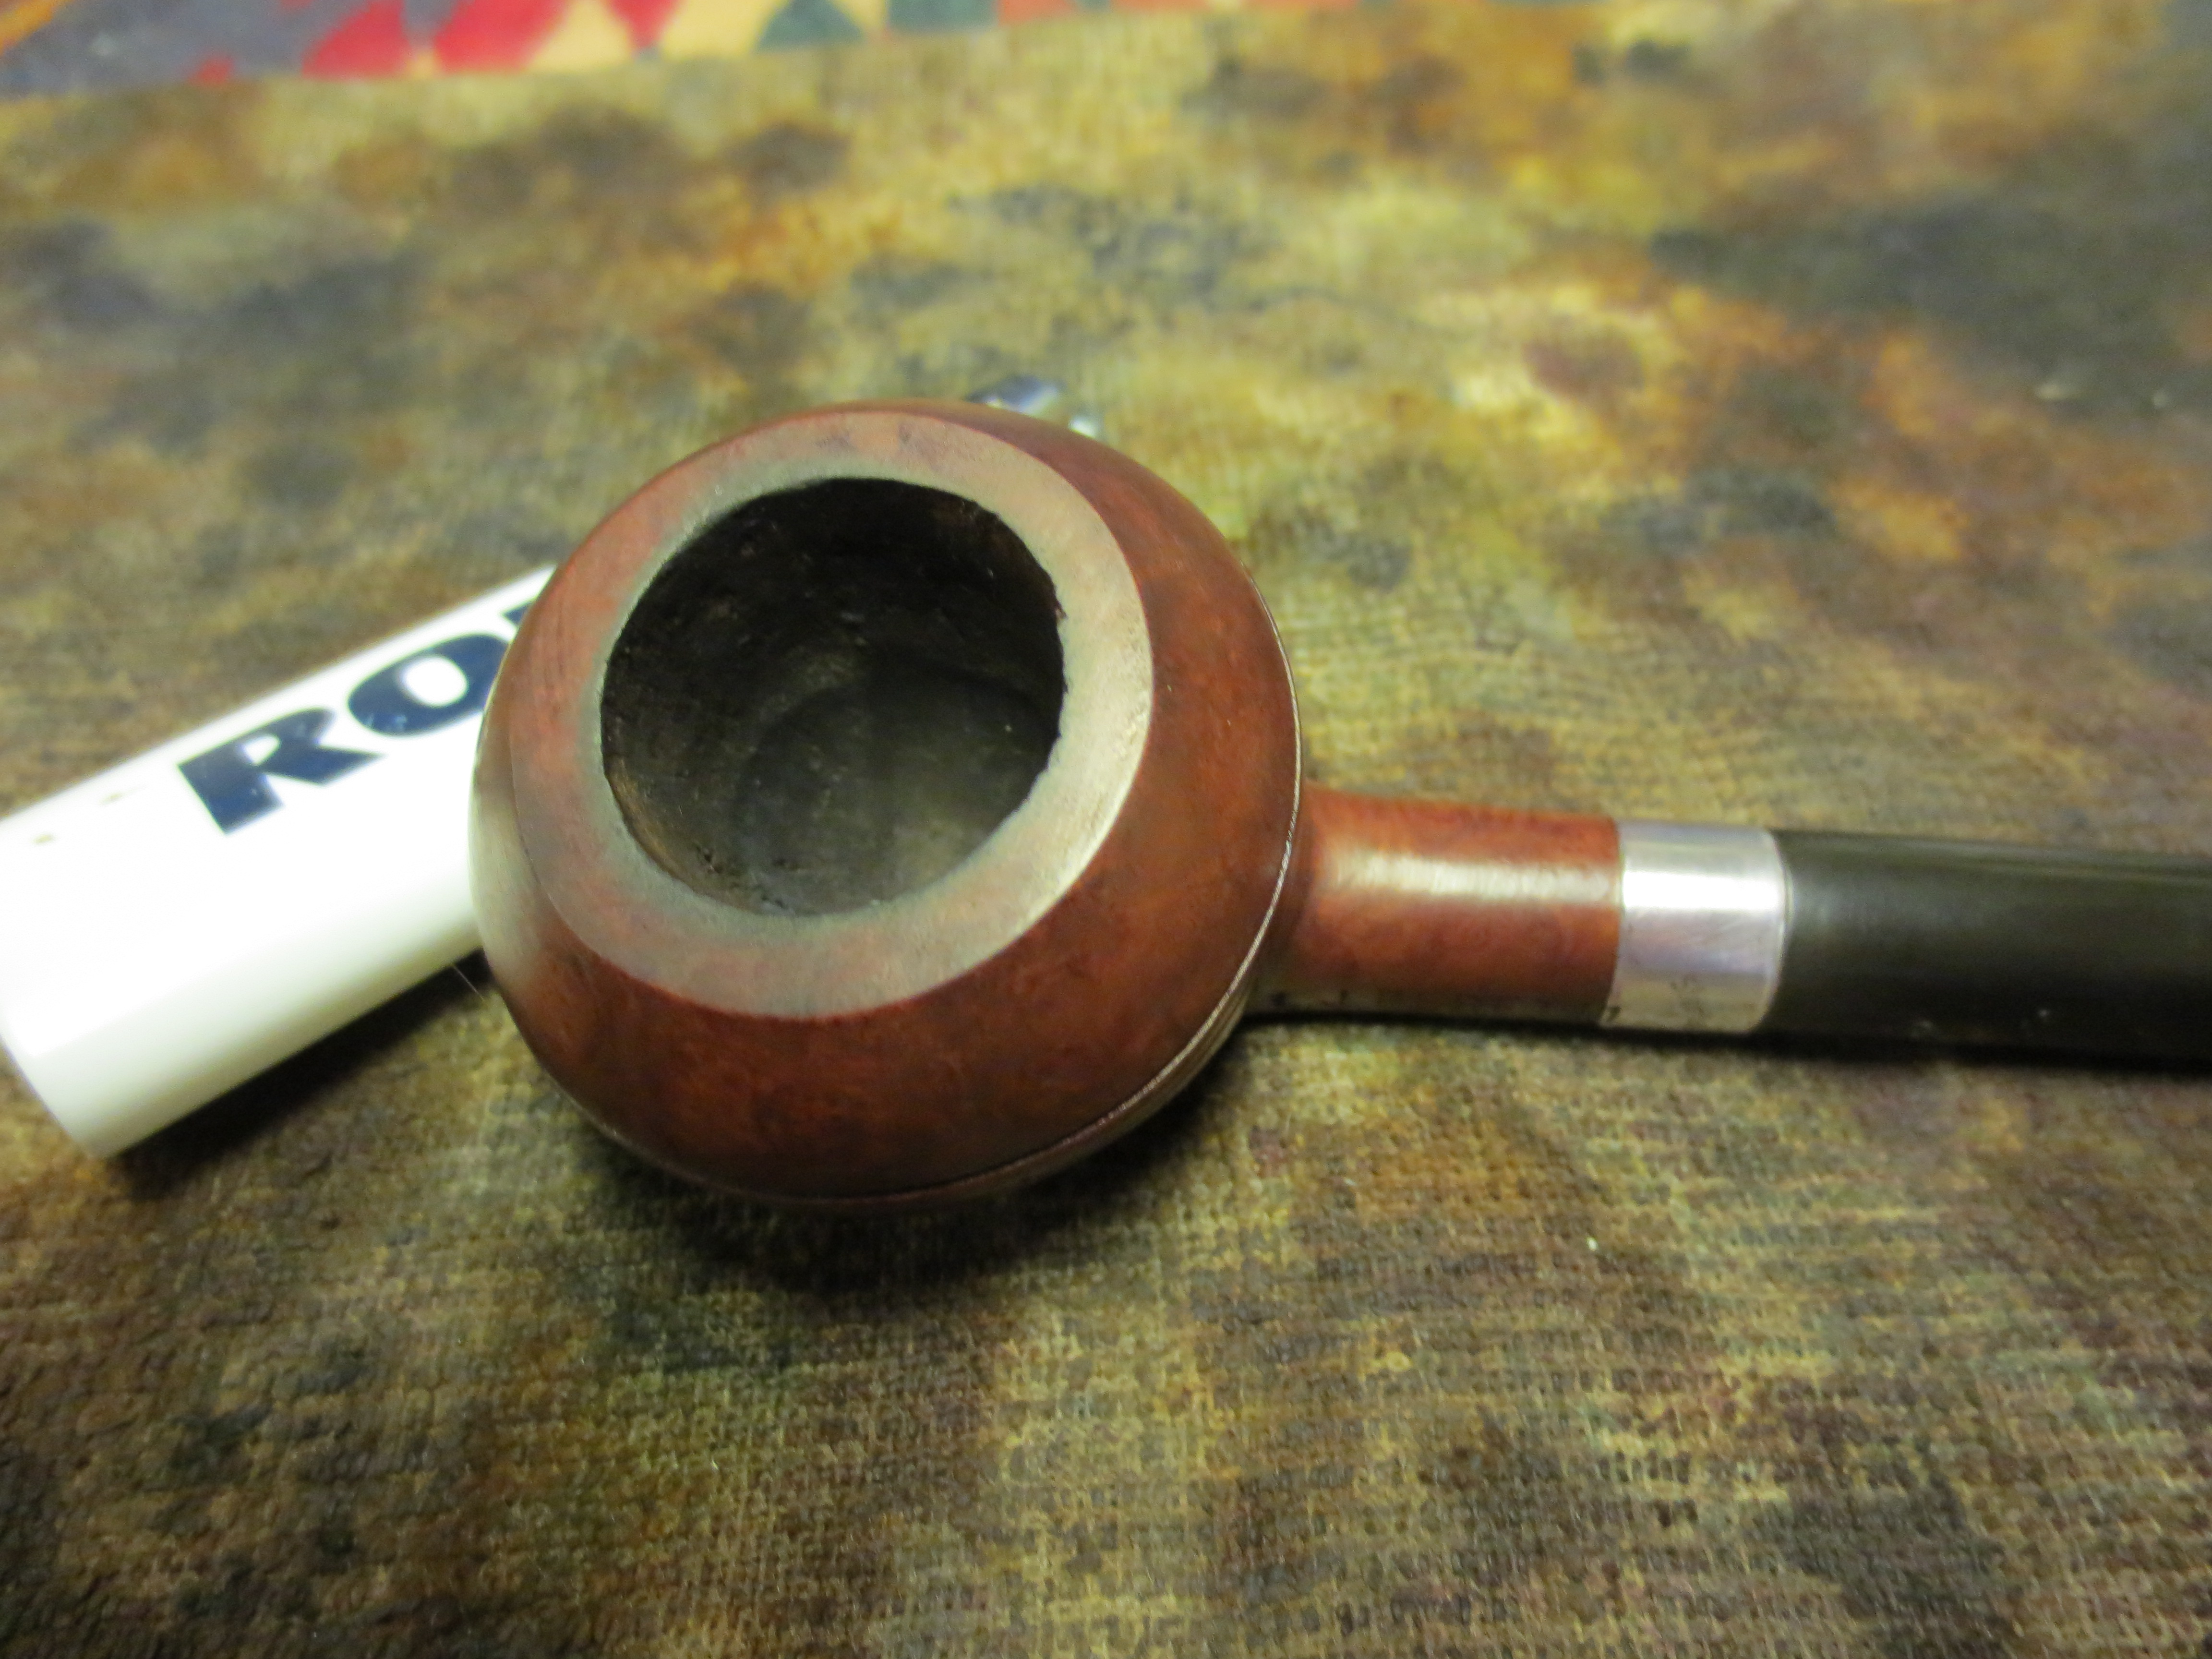
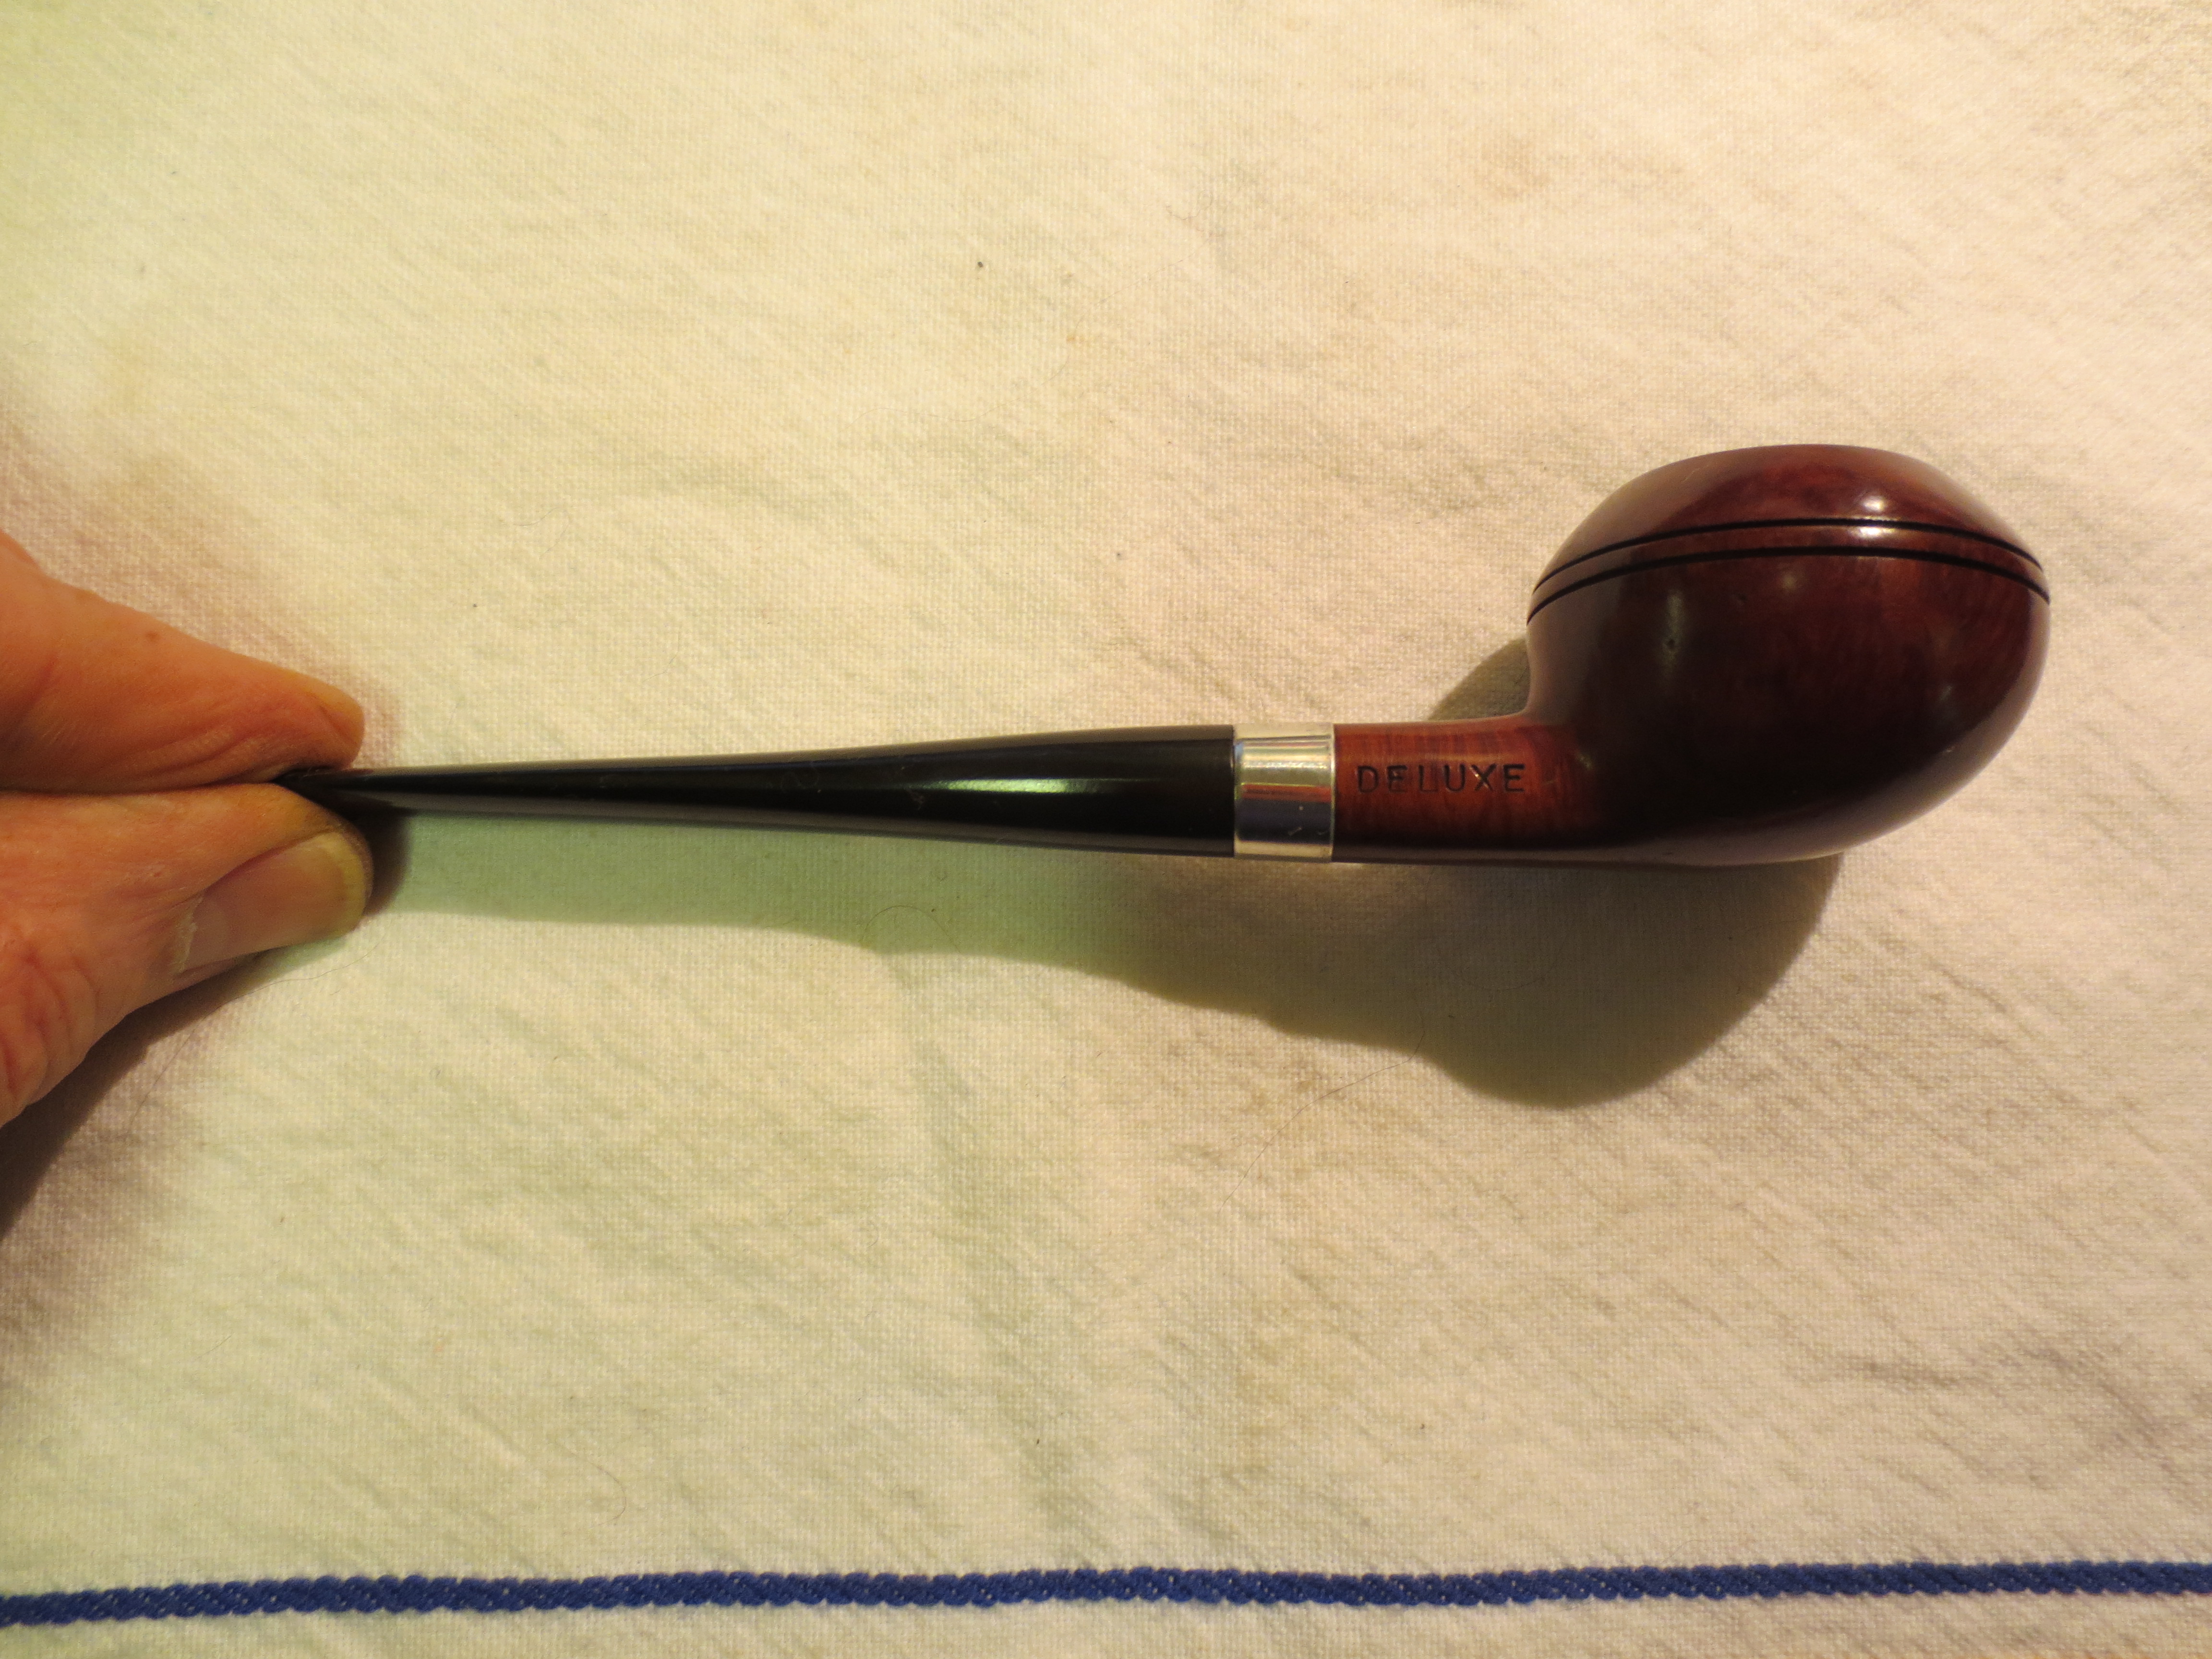
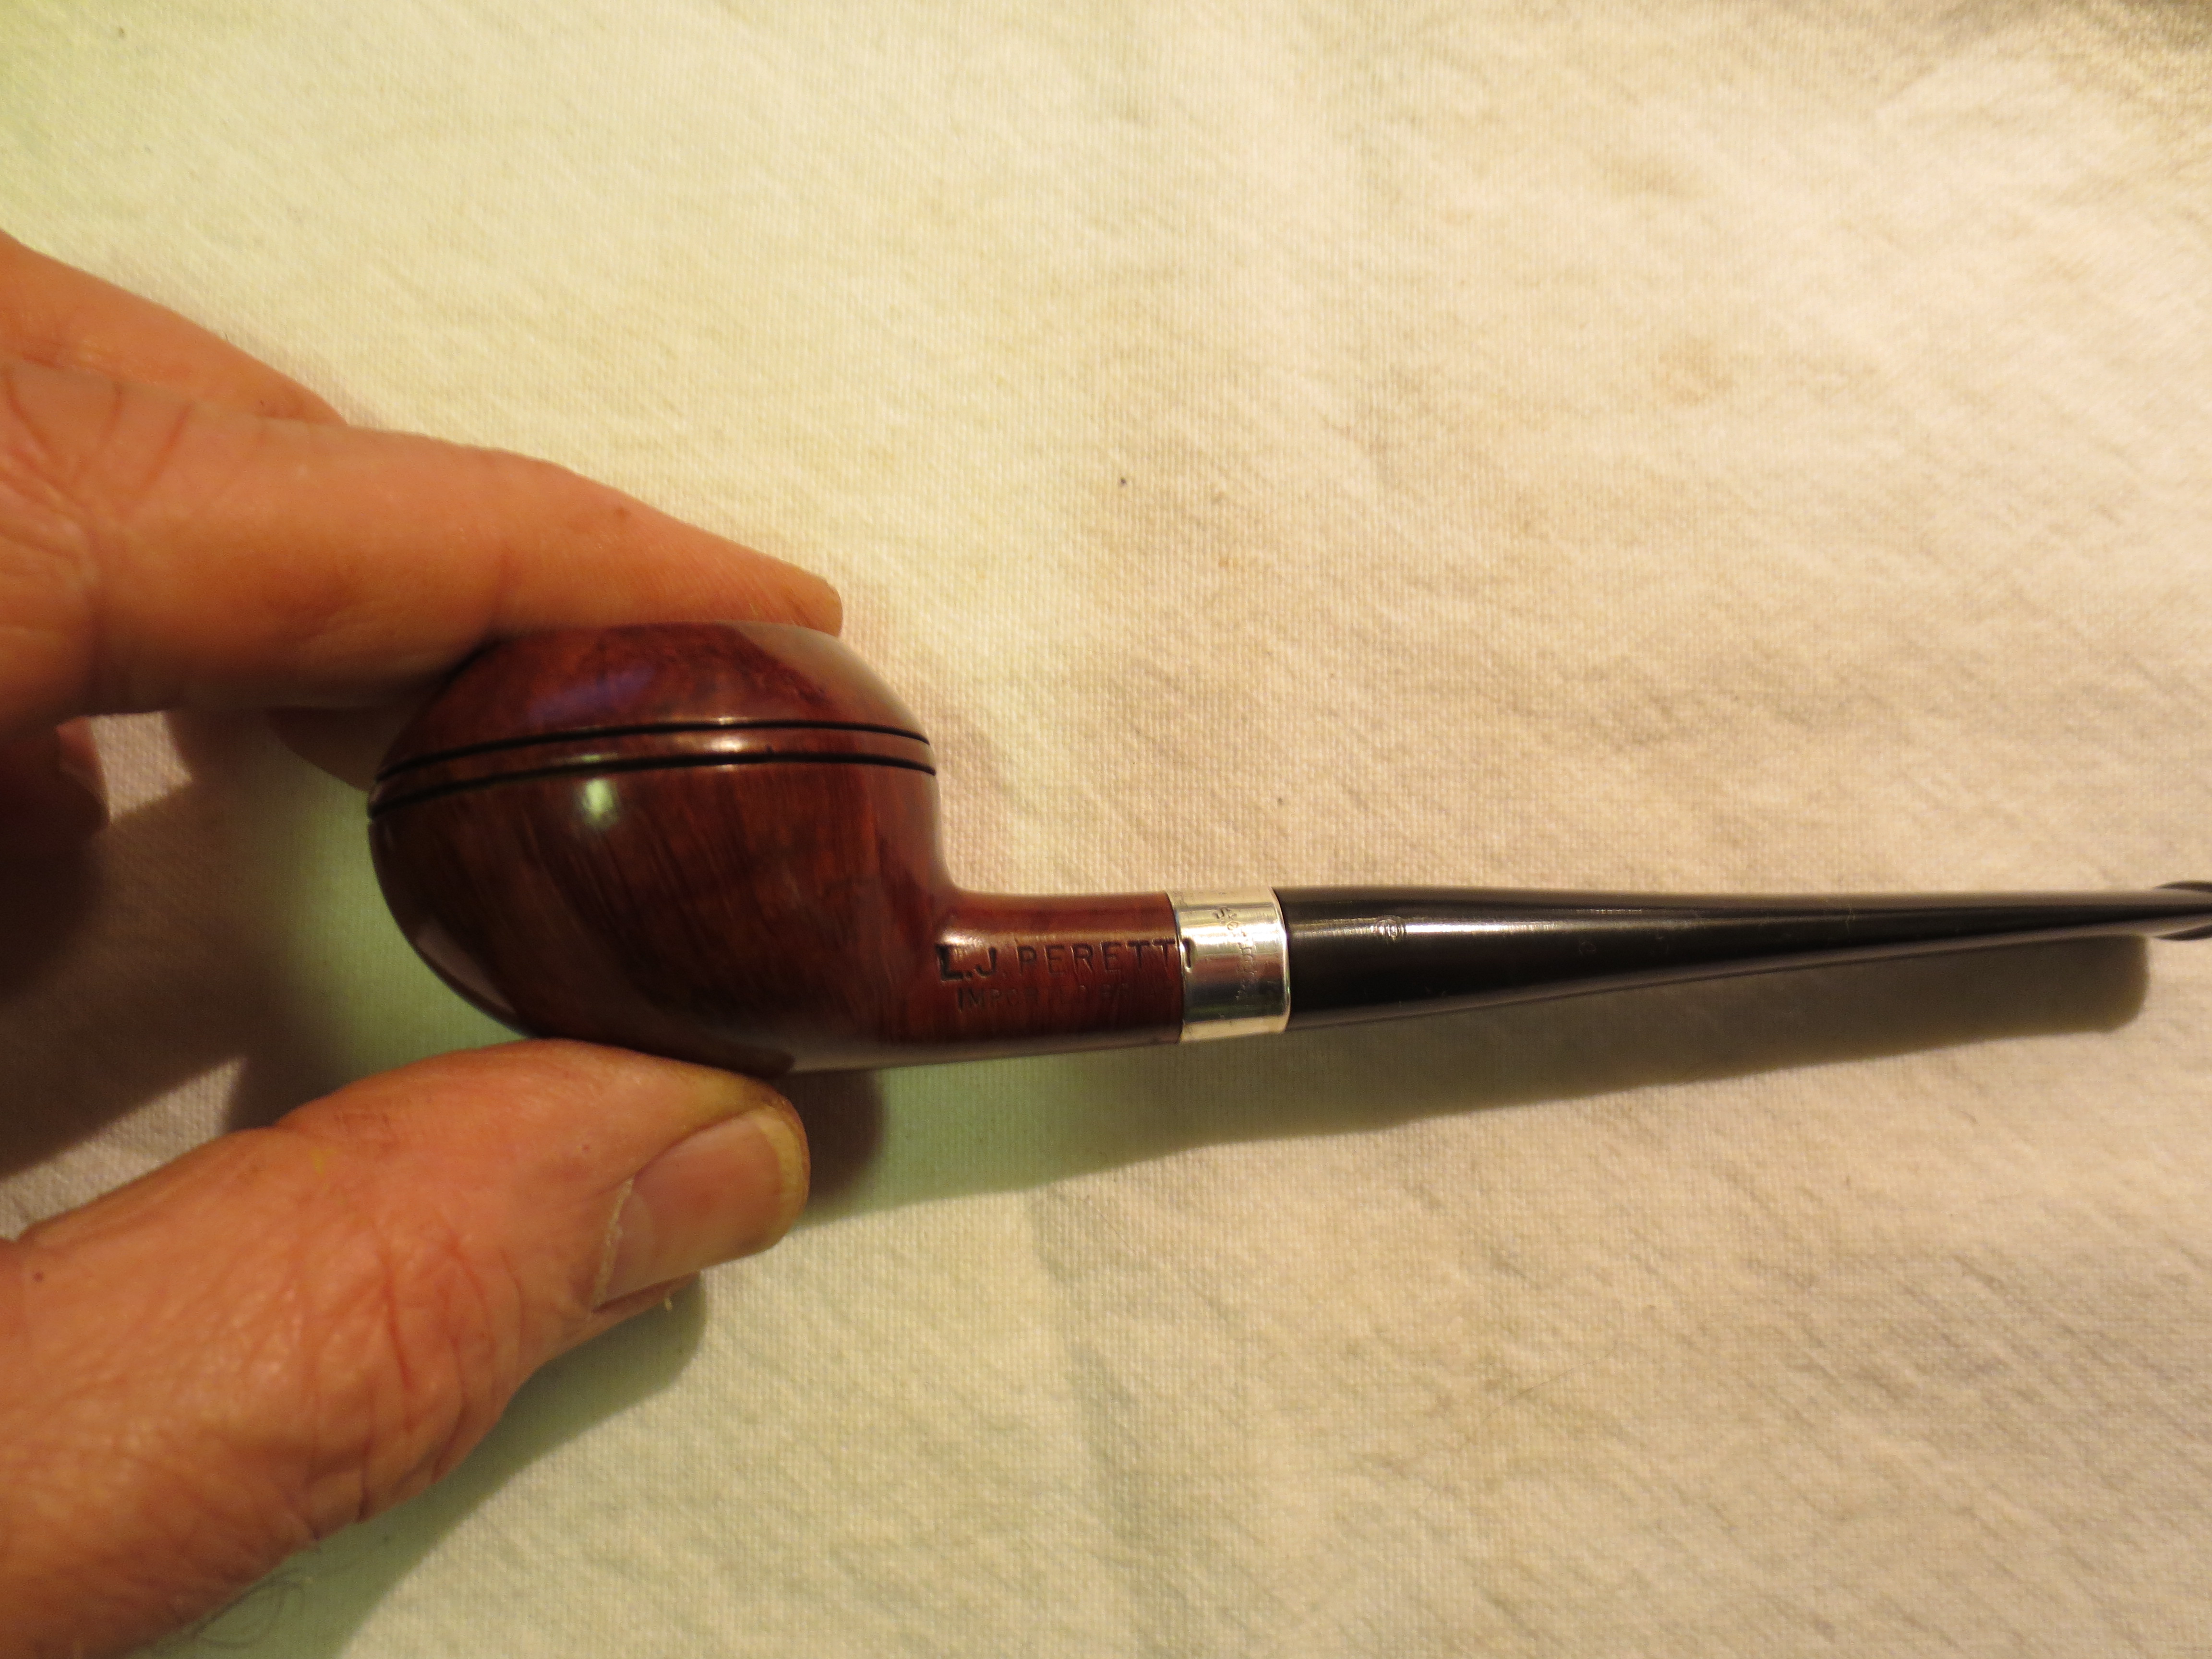
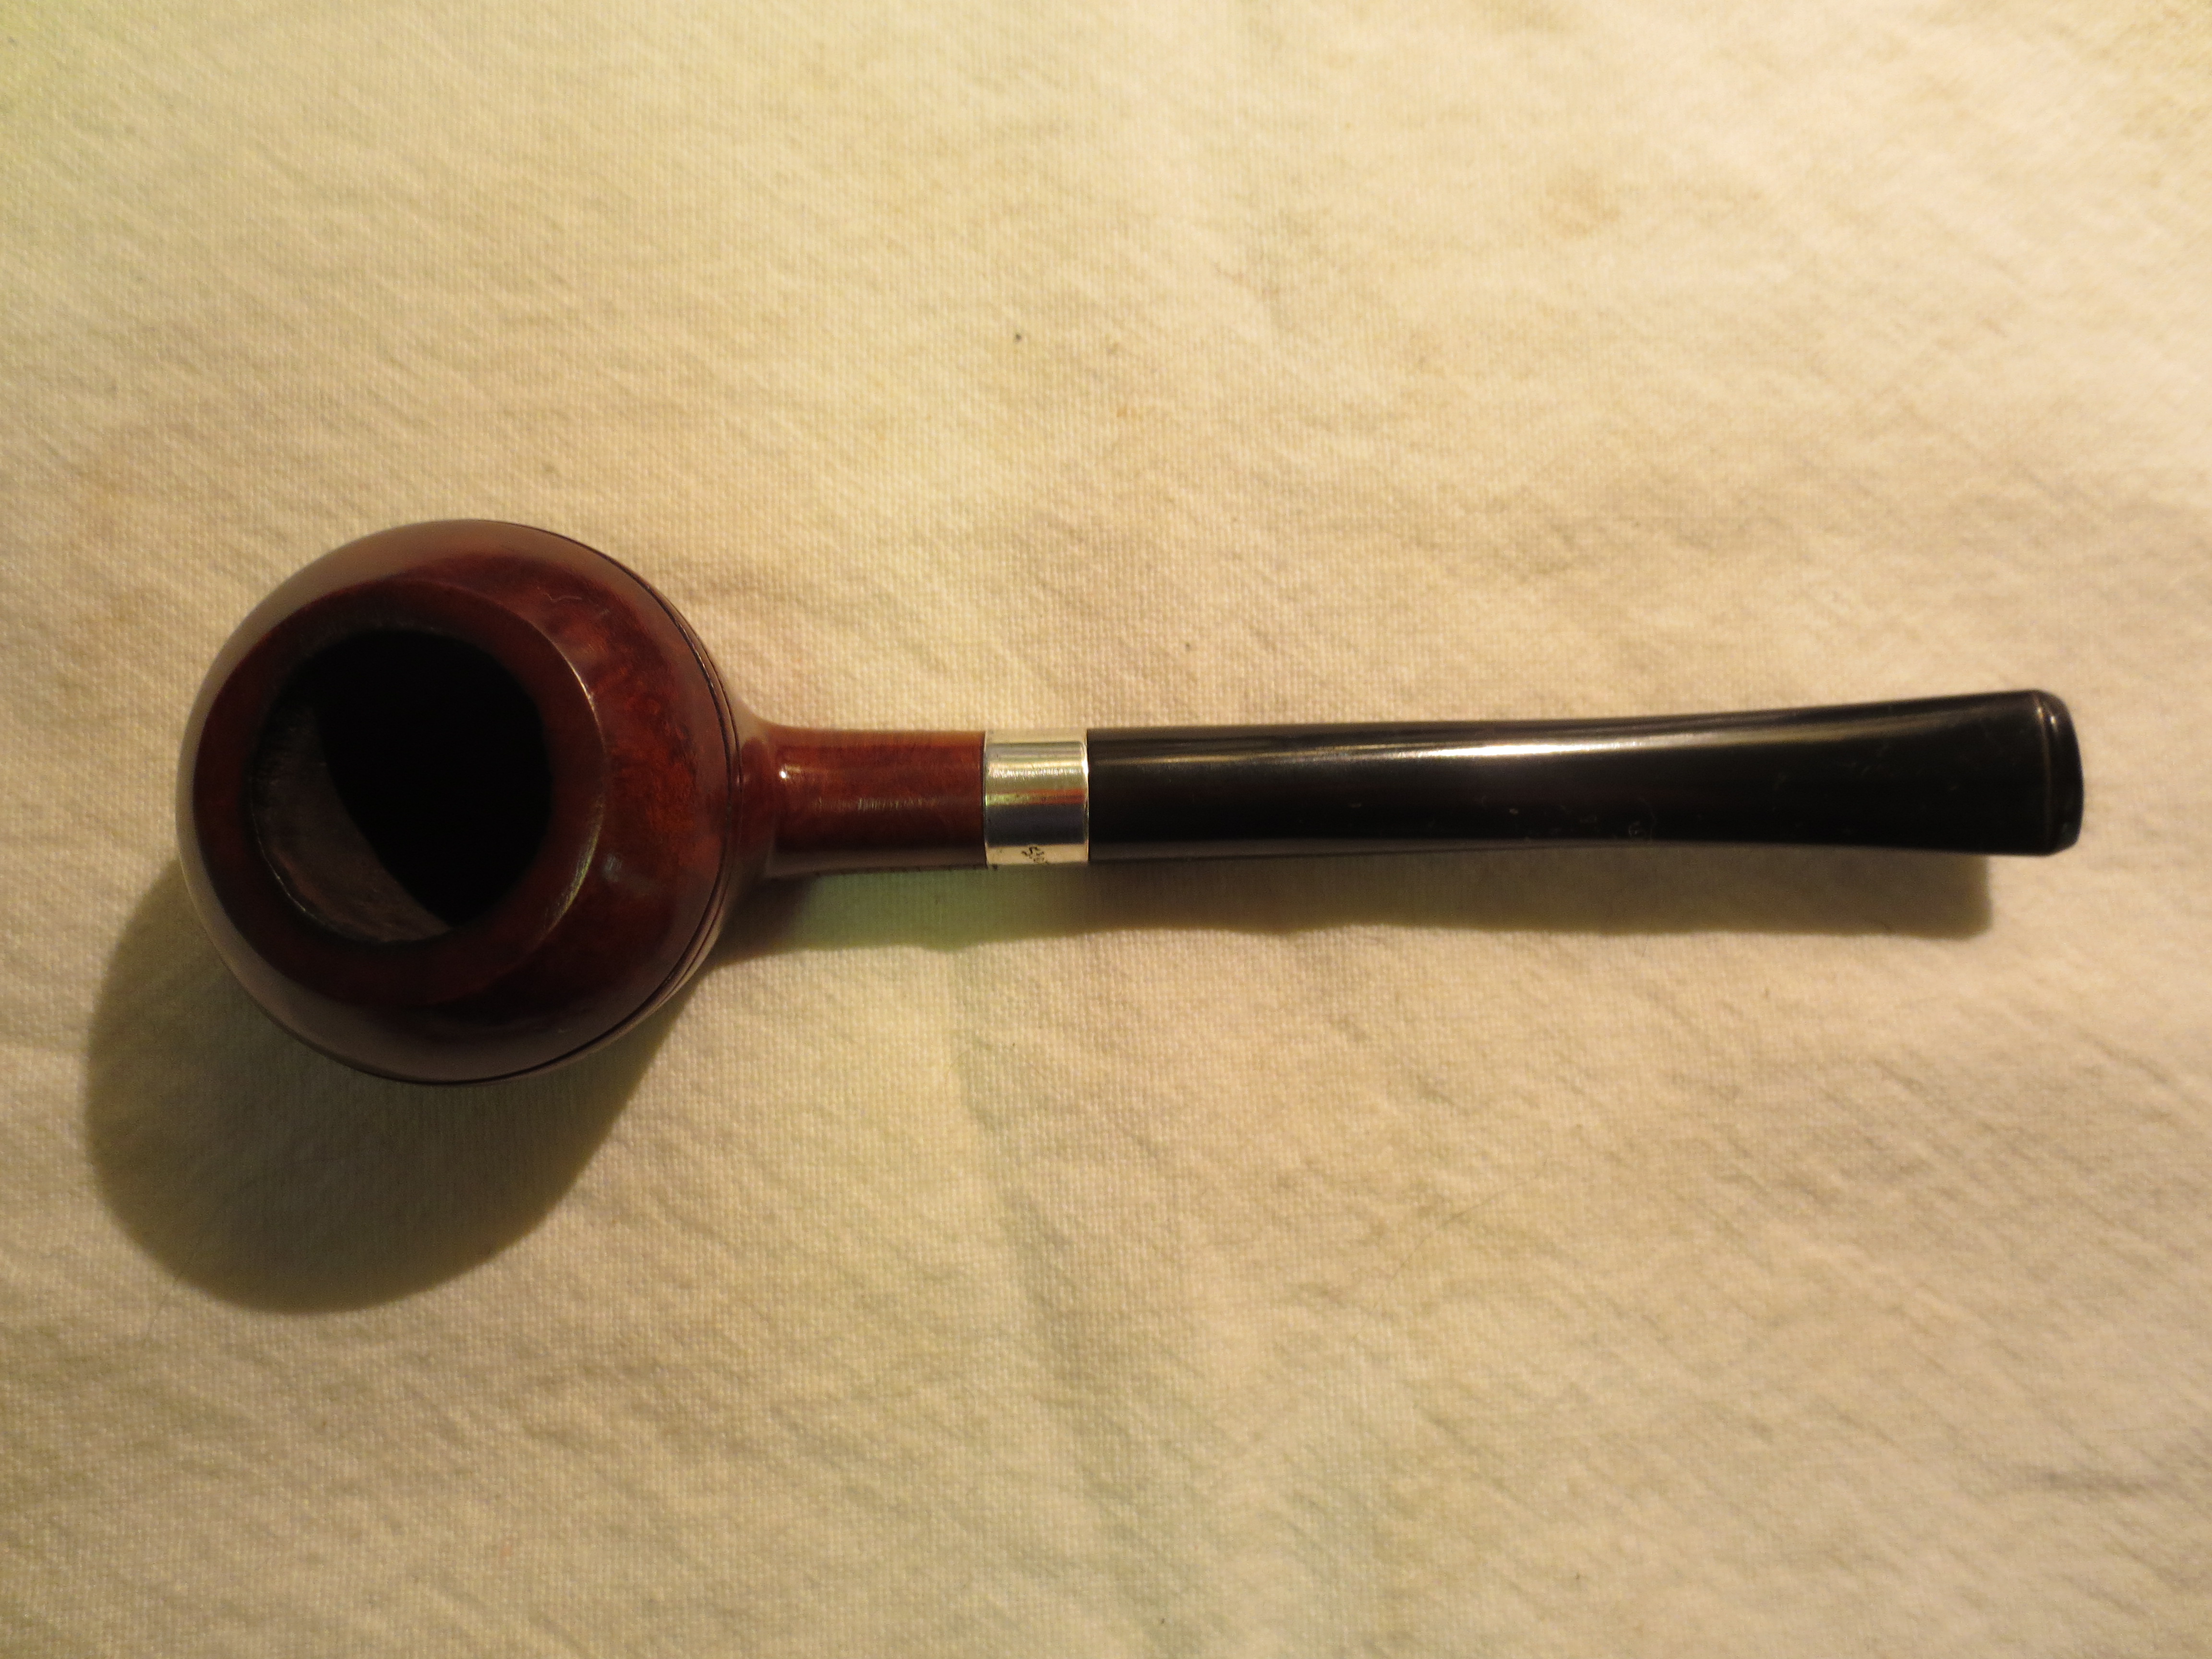
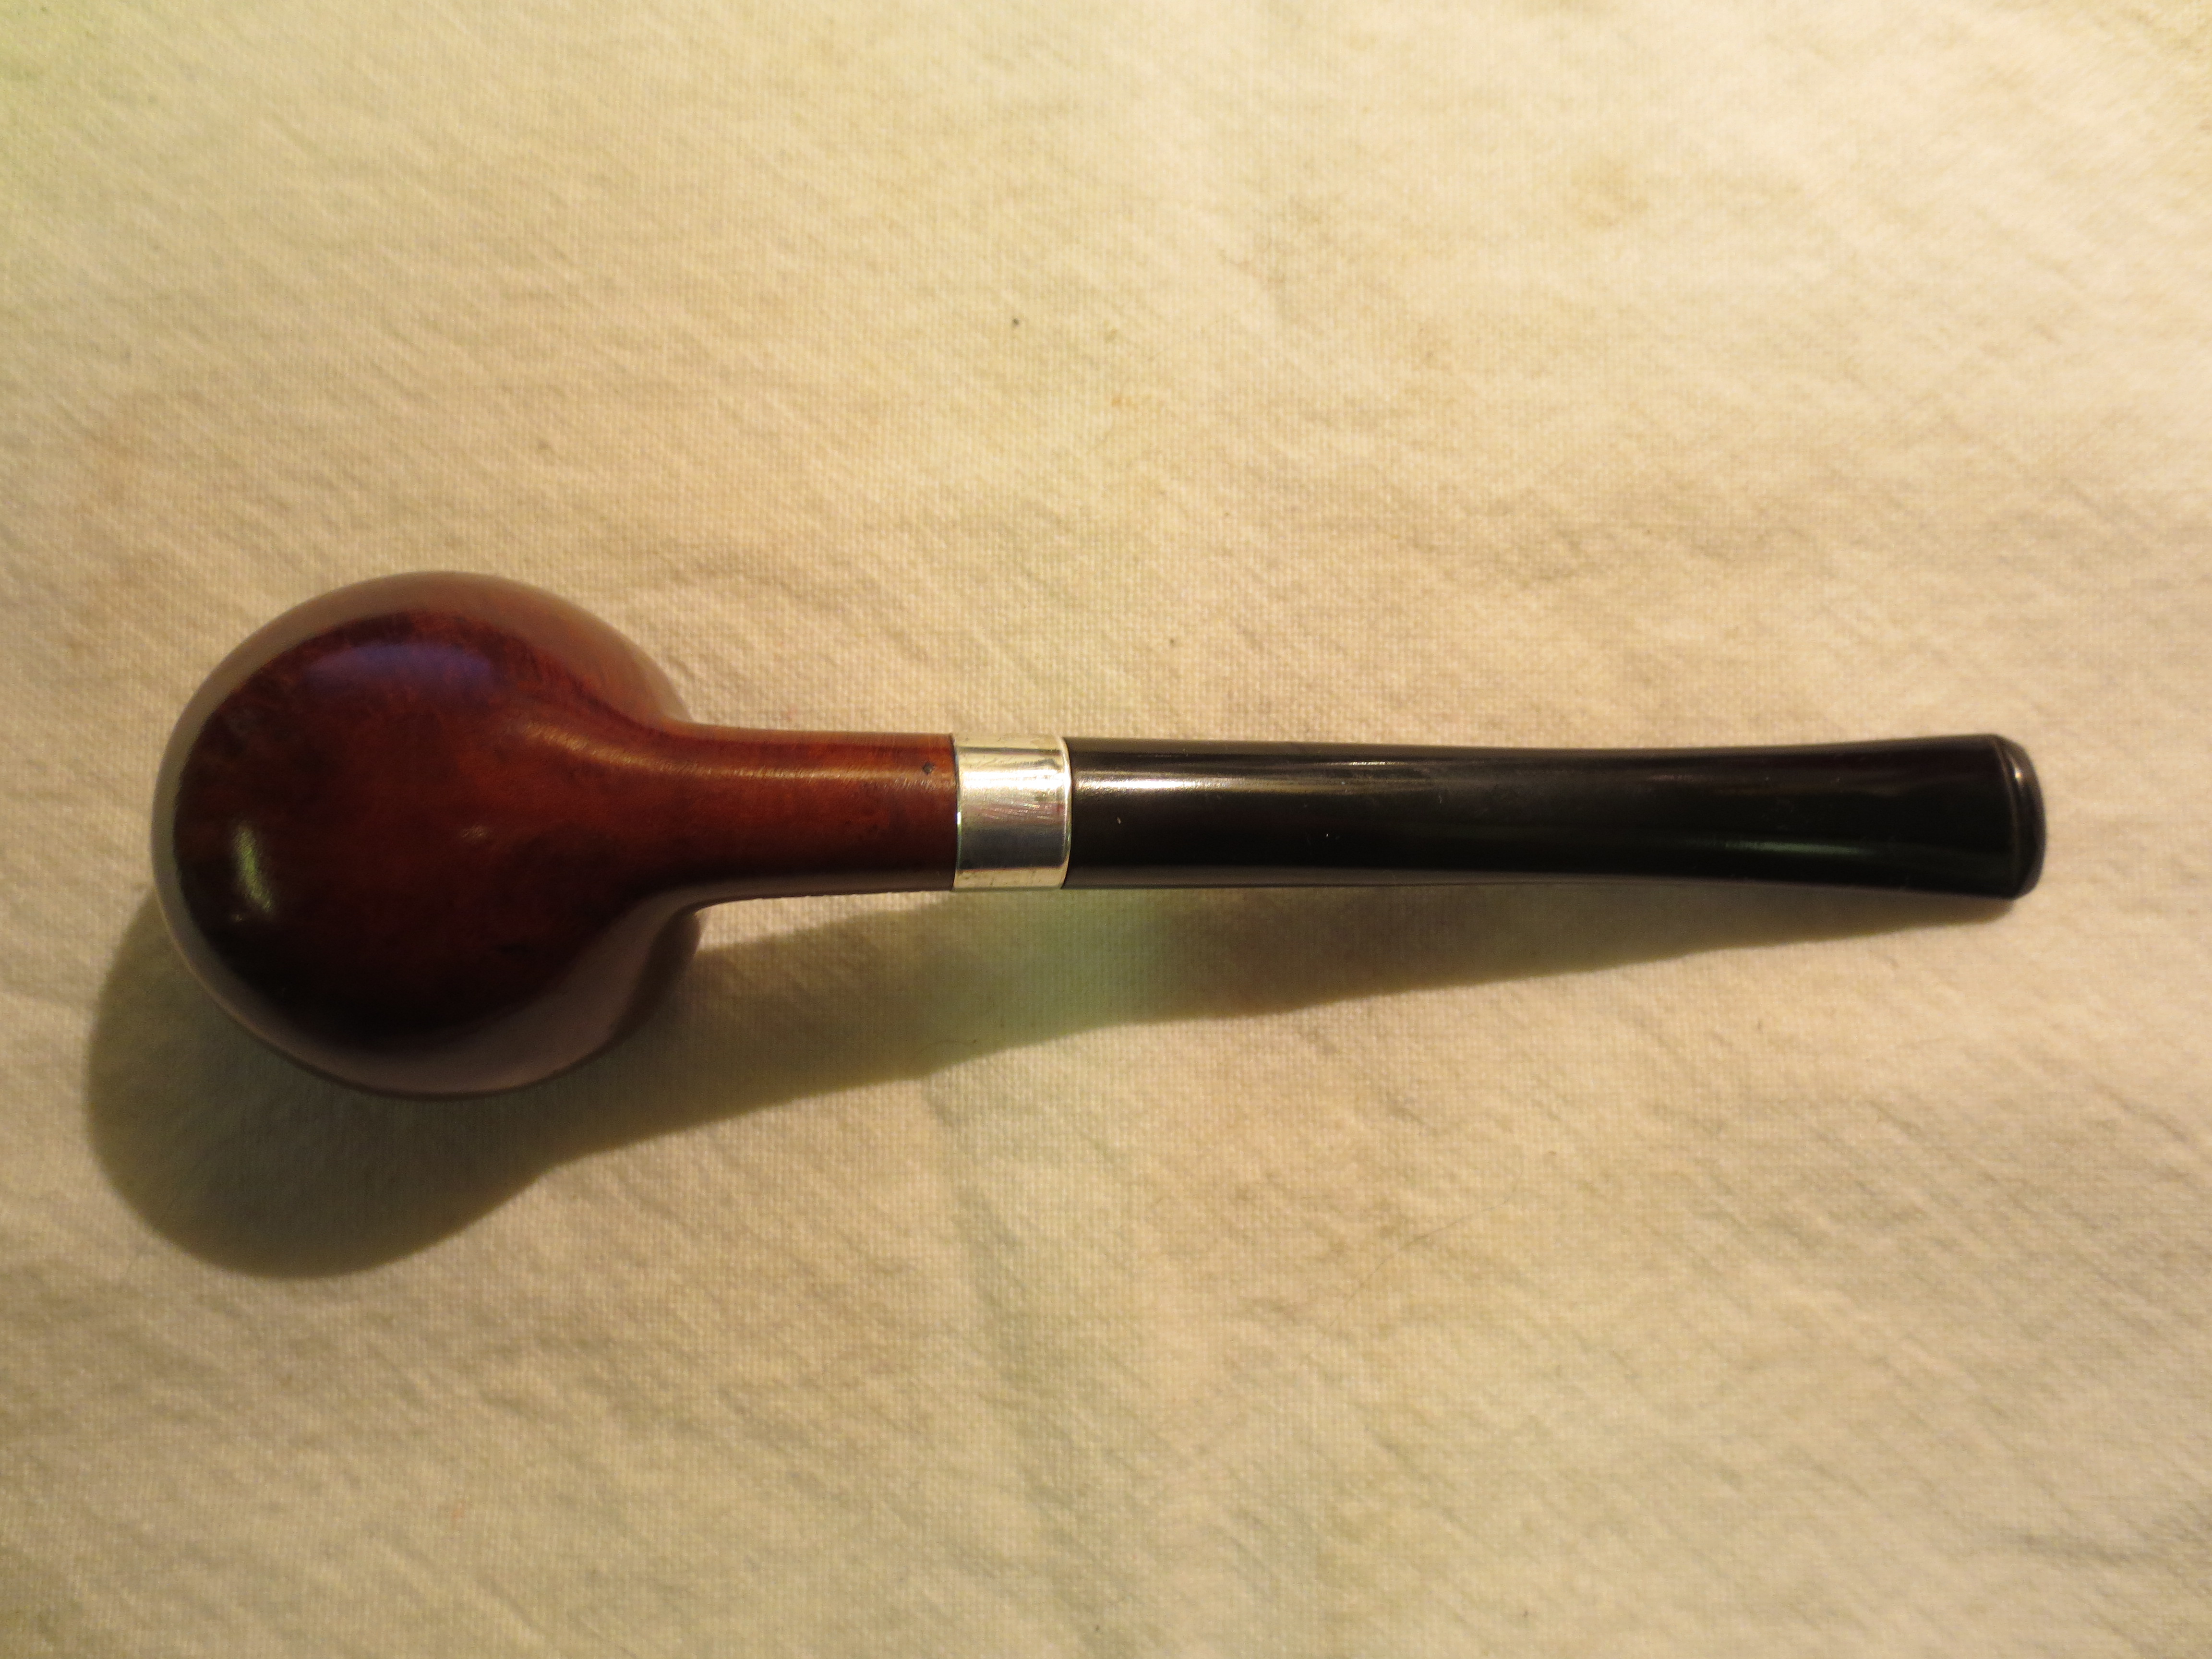
I learned from the last Perretti pipe that I worked on and subsequent replies that the Straight Grain was the top of the line of Perretti pipes. I have no idea where in the hierarchy this one sits but it is stamped L.J. PERRETTI over Imported Briar on the left side and DELUXE on the right side of the shank. It has a factory installed band that is stamped Sterling Silver in an arch. This pipe was a bit of a mess. Like some of the others I have had this one was marked with a swatch of paint – this time red paint. In the first photo below you can see it on the left side of the bowl near the shank bowl junction. The finish was rough but underneath was some great grain. Again there were no fills visible in this piece of briar. The bowl was caked and the lava had erupted over the edges of the rim leaving a thick hard cake on the rim of the bowl. The silver was badly tarnished and the stamping on the silver was not readable. The L.J. Perretti stamping on the left side of the shank ends with the “I” stamped on the silver band. The stem was oxidized and also had a buildup of calcification from the button up the stem about ½ inches. The stem was about a ¼ inch out of the shank and could not be pushed in from the buildup on tars in the shank. The first three photos show the state of the pipe when I brought it to the work table.
IMG_0892

IMG_0893

IMG_0894
I wiped down the bowl with acetone on a cotton cloth. I find that the acetone quickly dispenses with paint spots and splashes on the briar. It seems to go beneath the paint and it easily is scrubbed off. It also removes grime and buildup on the finish and removes the remaining stain on the briar. I wiped down the caked rim to soften the hard surface before I moved on to top the bowl. The next four photos show the pipe after I had scrubbed it with acetone.

IMG_0927

IMG_0928

IMG_0929

IMG_0930
I set up my sanding board and placed the medium grit emery paper on the board. I rotated the bowl on the sandpaper in a circular motion to remove the grime on the rim. I also had seen that there was some burn damage on the rim that needed to be removed. I place the pipe with the rim firmly against the sandpaper and work it until the rim is clean and the damage is minimized. Photos 1 & 2 show the process of sanding on the emery paper. Once I had finished the rough work I moved on to use a medium grit sanding sponge in the same way. I place the sponge flat on the board and work the bowl in a circular motion on the flat surface of the sponge (Photo 3). I then used a fine grit sanding sponge to do the same (Photo 4). Each progressive sanding grit smoothed the scratches and marks left by the previous grit.
IMG_0931

IMG_0932

IMG_0933

IMG_0934
When I had finished topping the bowl I reamed the bowl and cleaned out the shank with cotton swabs, pipe cleaners and Everclear. I also polished the silver band with some tarnish remover applied with a cloth and rubbed into the band. I finished by wiping down the pipe again using Everclear on a cotton pad. This removed the sanding dust and also the overrun of the silver polish on the briar. I reinserted the stem to make sure the fit was correct. The next two photos show the pipe at this point in the process.
IMG_0935

IMG_0936
The next series of six photos show the progressive work on the stem using 1500-12,000 grit micromesh sanding pads. Each degree of grit gave the stem a deeper shine and removed any remaining oxidation. Once I had finished with the micromesh pads I wiped down the stem with Obsidian Oil and then when dry I put the stem on the pipe and buffed it with White Diamond.
IMG_0937

IMG_0938

IMG_0939

IMG_0940

IMG_0941

IMG_0942
I stained the bowl with two different stains – dark brown aniline thinned 2:1 with isopropyl alcohol (Photos 1 – 3 below) and then followed up with an oxblood aniline stain. I flamed the stain, restained, reflamed and then gave the rim a third coat of the brown stain.
IMG_0943

IMG_0944

IMG_0945
The final four photos show the finished pipe. I buffed the entirety a final time with White Diamond and then gave it multiple coats of carnauba wax. I finished by buffing it with a clean flannel buff to bring out the shine.
IMG_0947

IMG_0948

IMG_0949

IMG_0950

Restoring a Unique Edition of the Keyser Hygienic System Pipe


I picked up this Keyser Hygienic on EBay because it caught my eye. I have three other Keyser Hygienic pipes and they are all very similar in terms of the system. They are briar bowls and shanks with an aluminum mortise with a tube in the centre running to the airway in the bowl. This is matched with a military mount stem with a tube with a down turn on it that fits into the airway in the mortise. The swirling smoke rolls around the inside of the mortise where the moisture in the smoke condenses on the sides of the aluminum mortise. The cooled air is drawn into the down turned tube in the stem and it delivers a cool, dry smoke. The system is fairly straightforward and simple. The genius of the design is that any stem fits any pipe of the same size. Replacement stems are easily purchased and all that is necessary is the size of the pipe and the replacement will be a ready fit.
Keyser Pipes
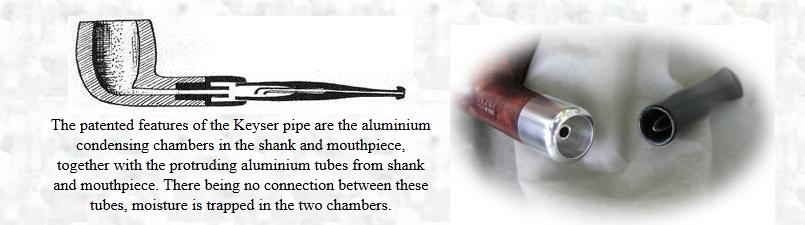
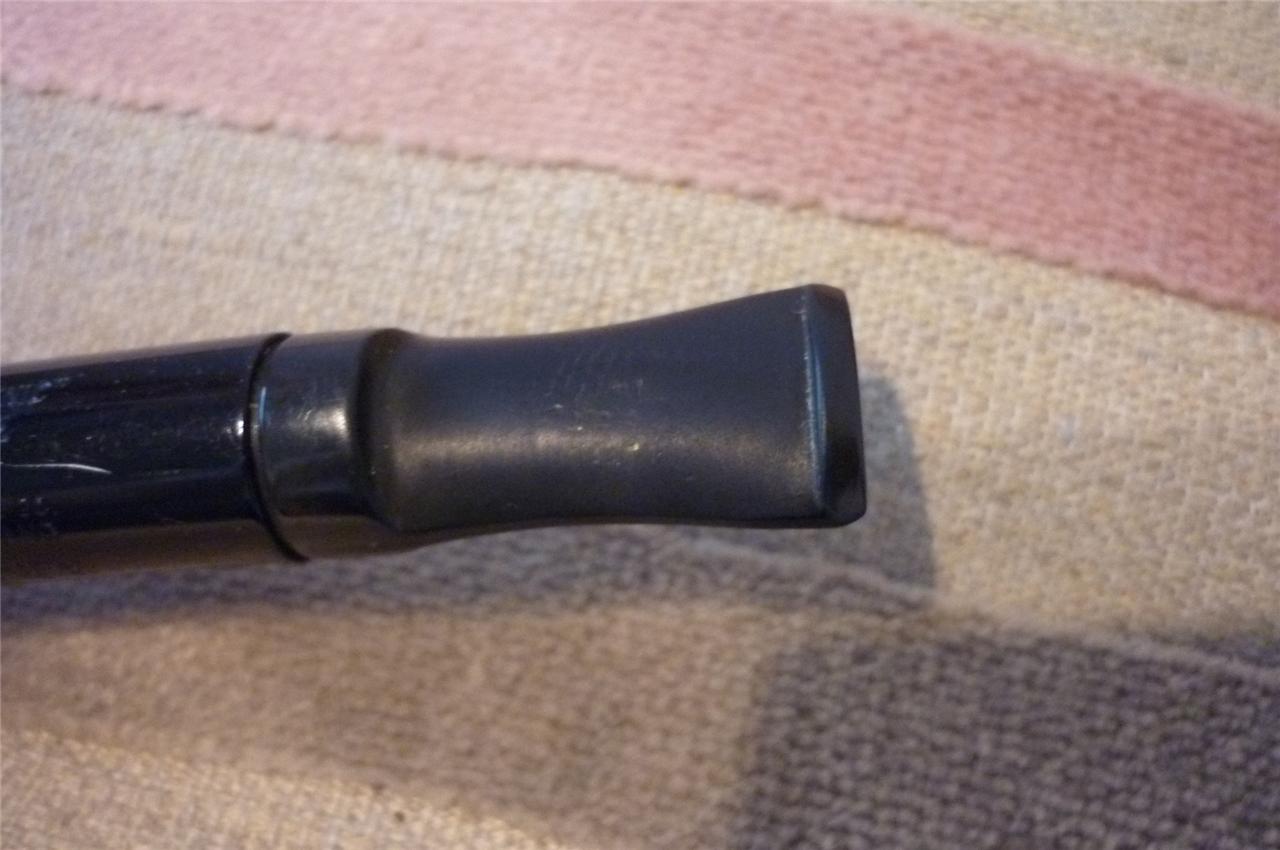
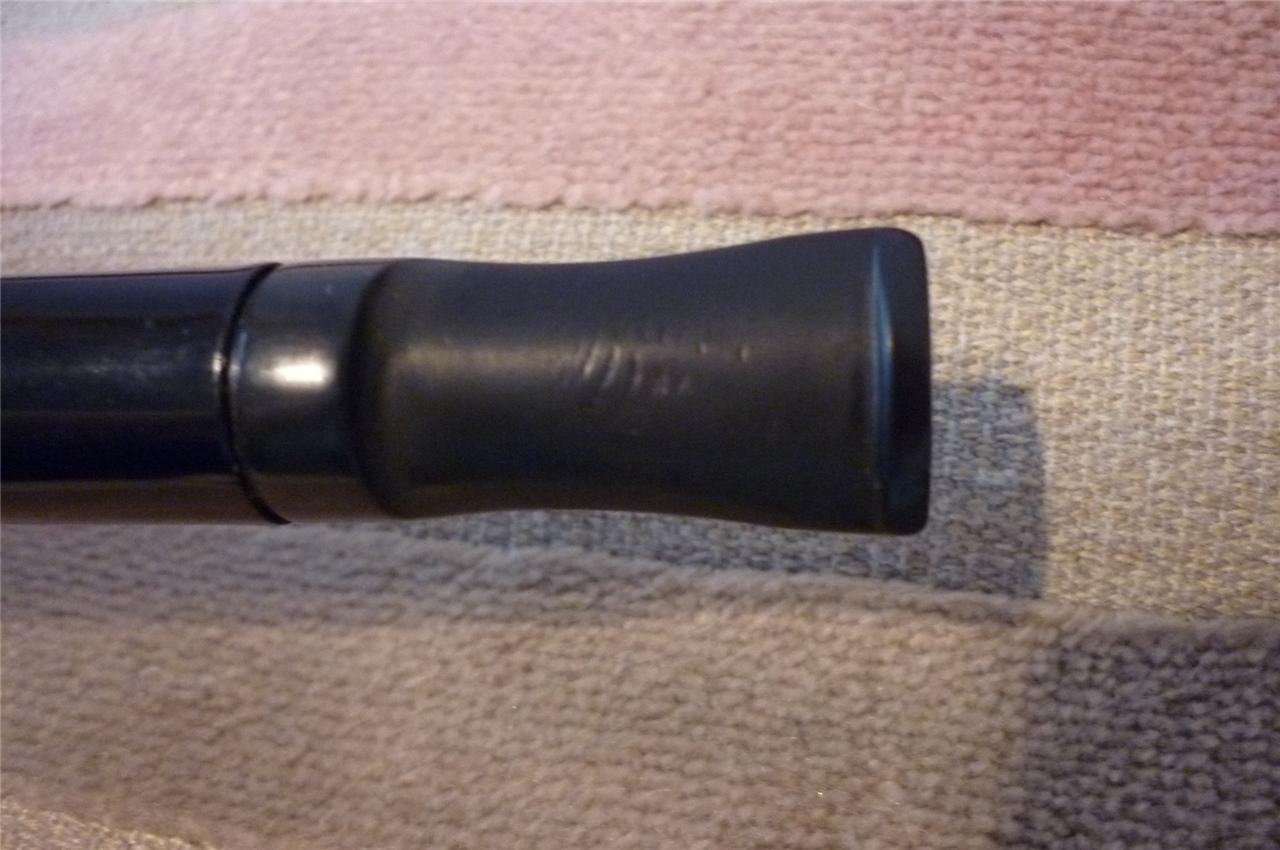
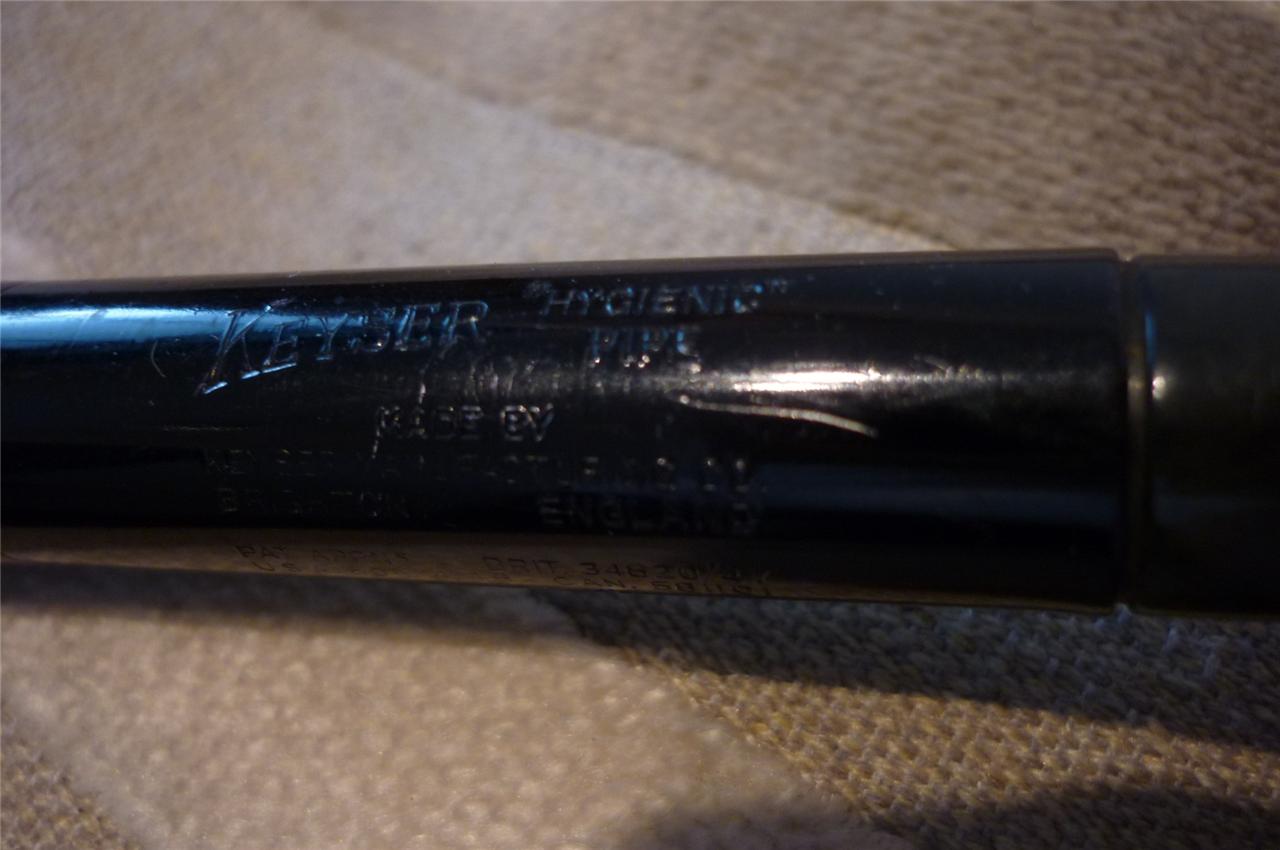
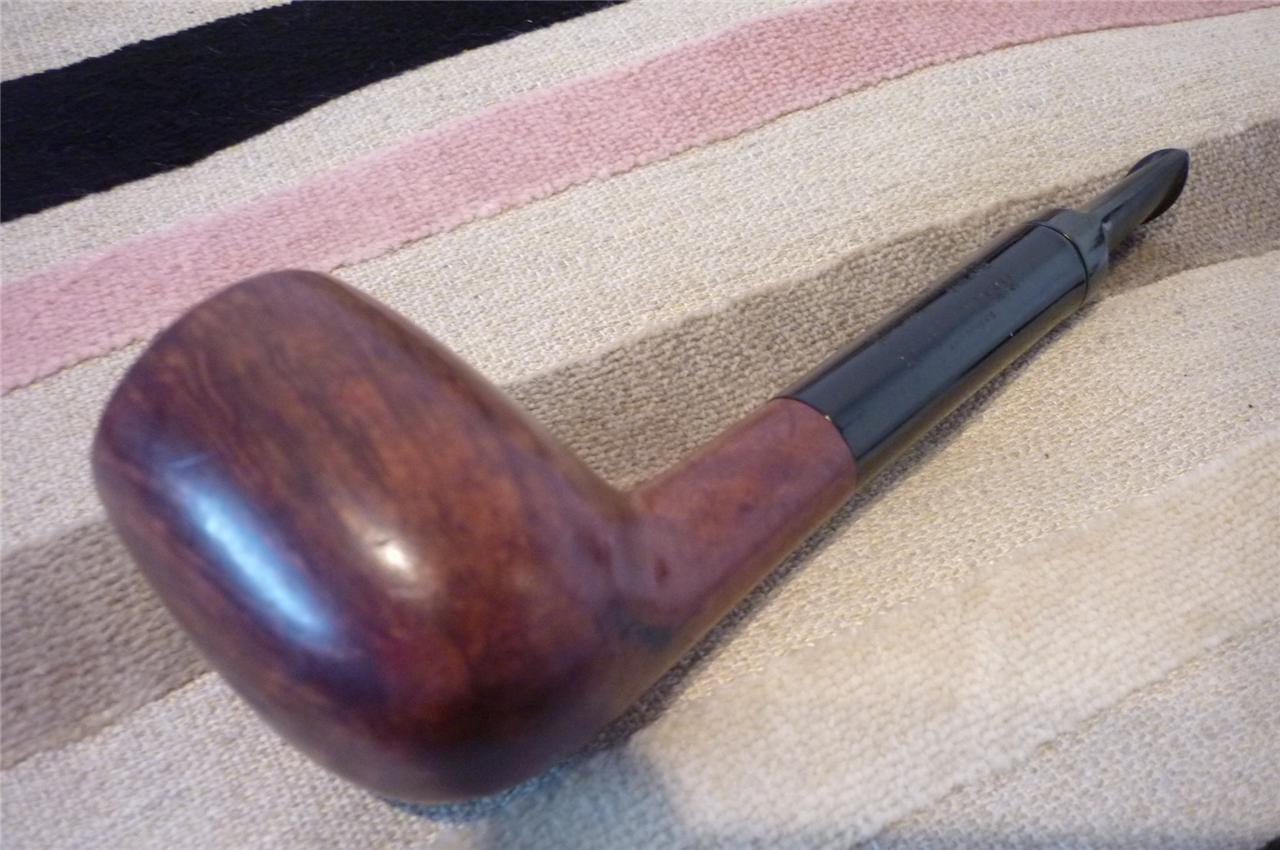
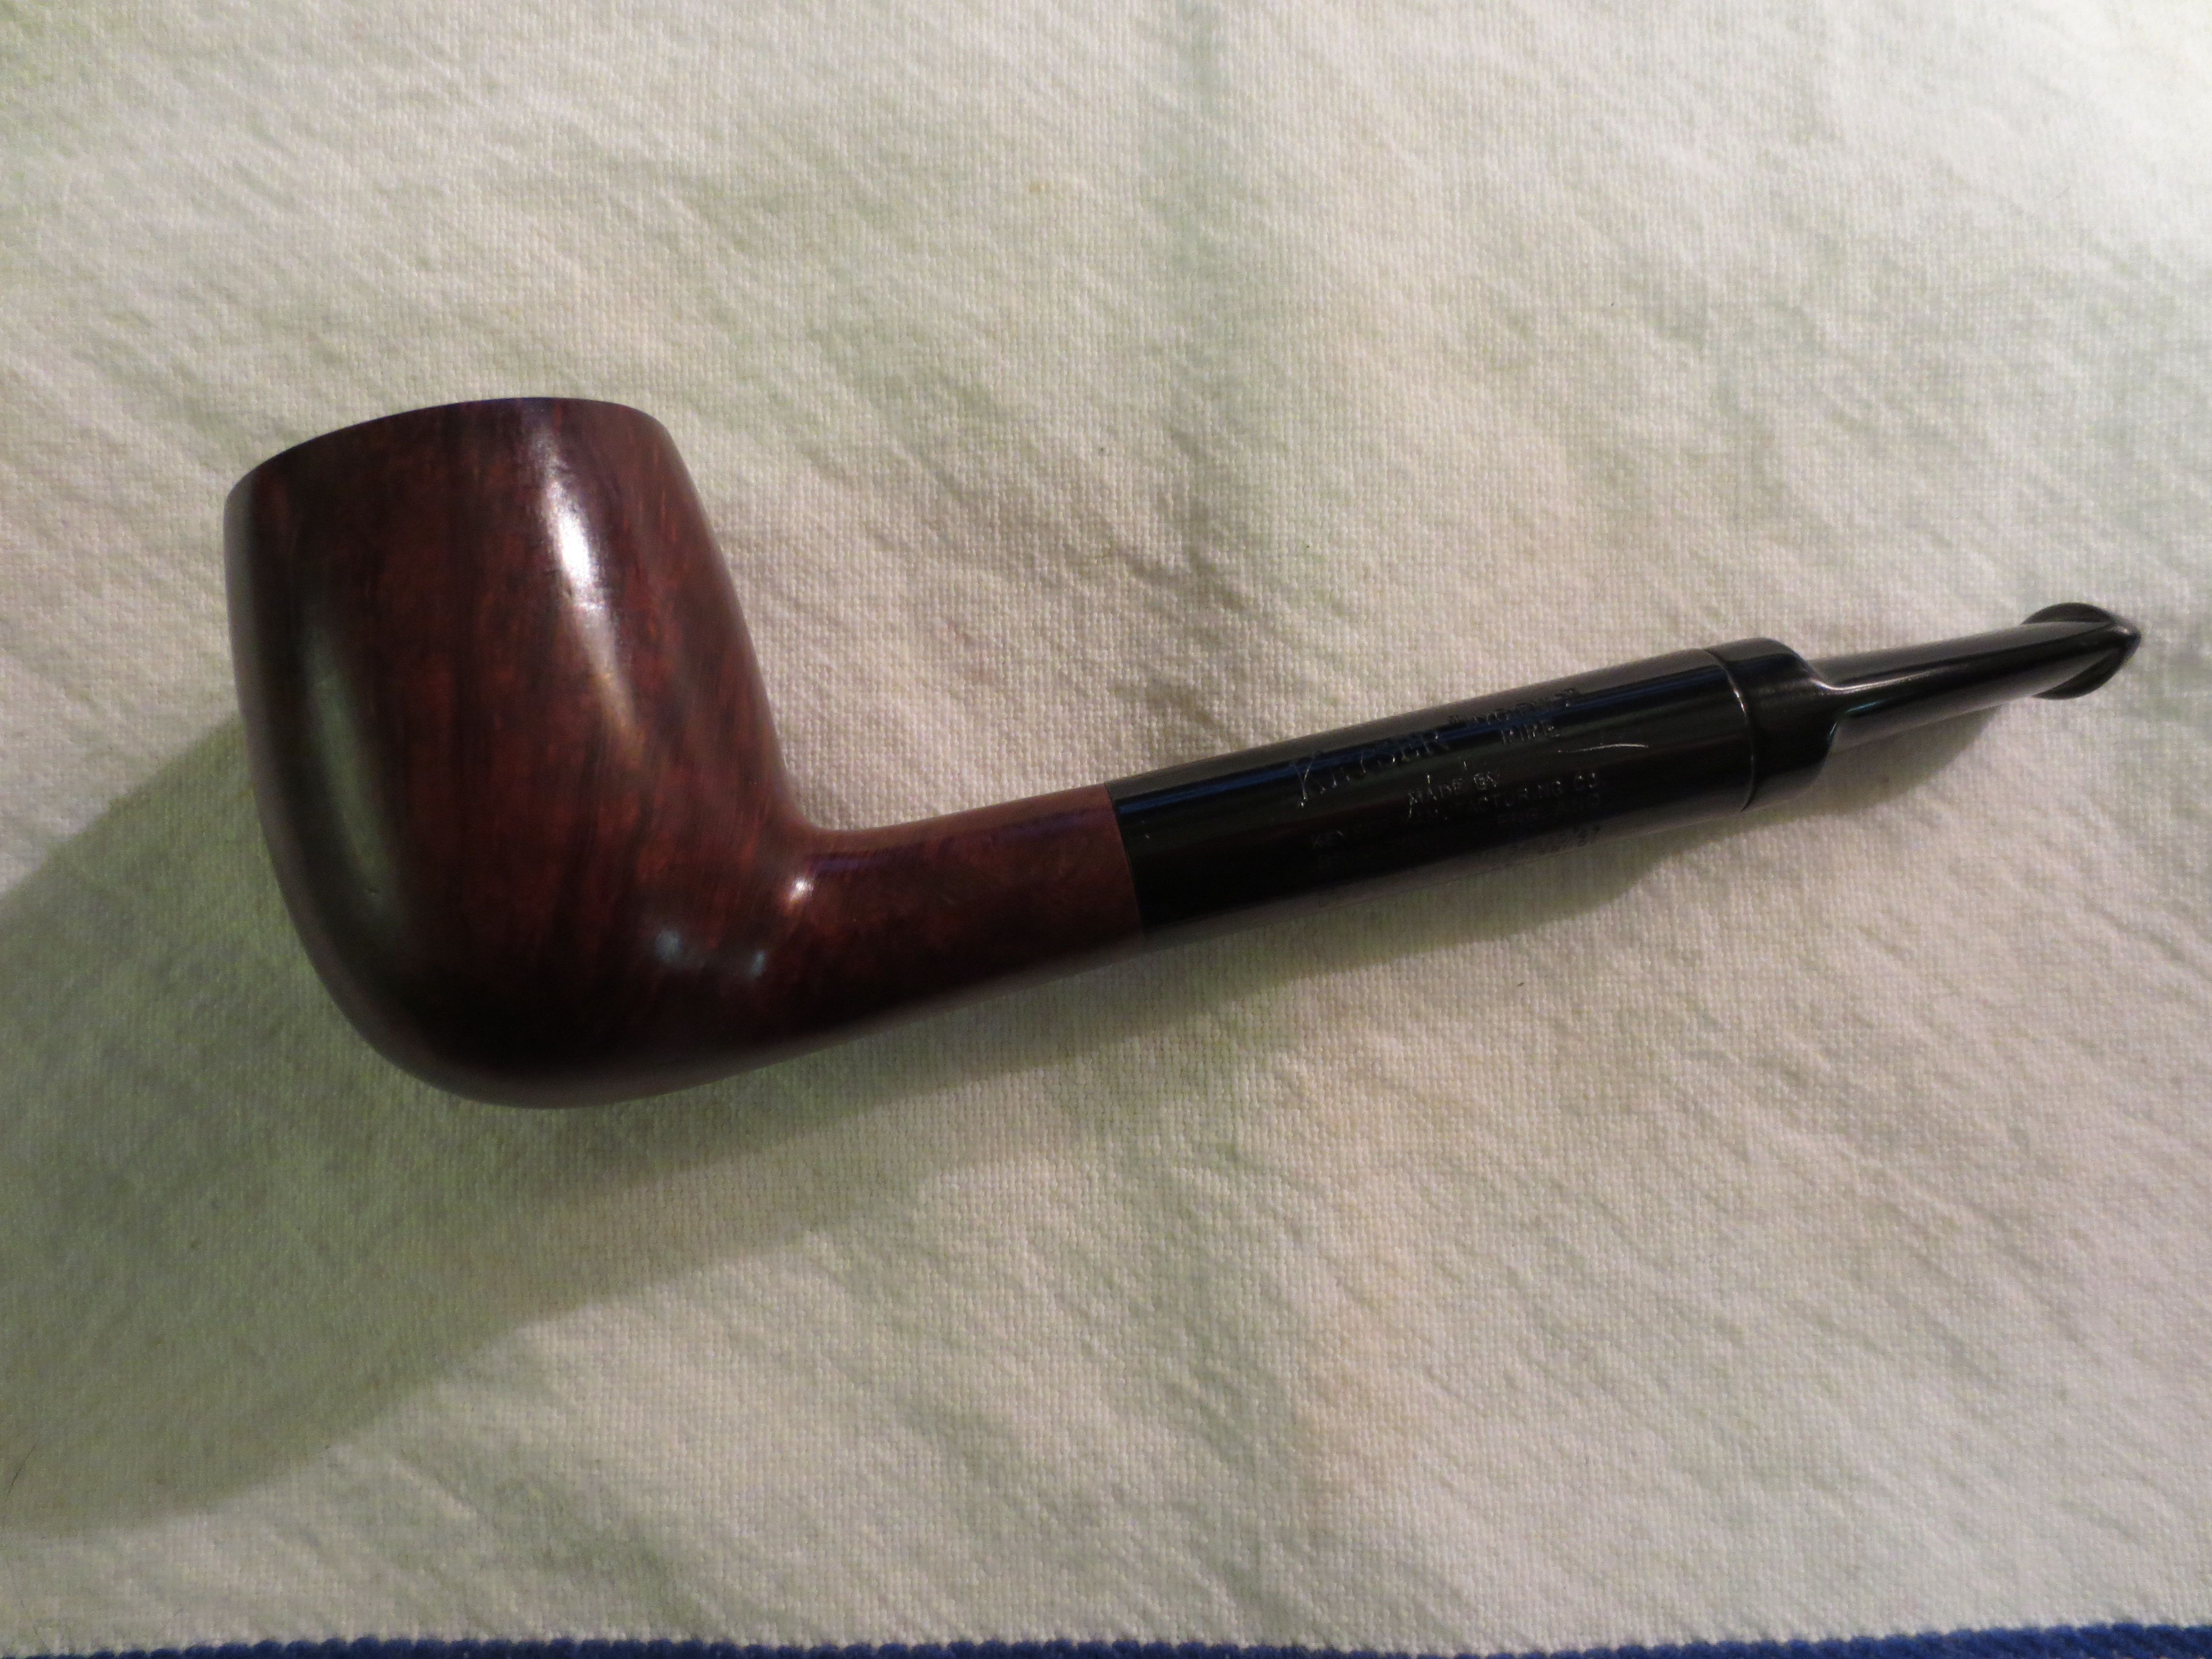
But this new Keyser was unique in all ways. The system design seems like a prototype of the original or maybe a step toward the ones that I have. It is composed of a short shanked briar bowl and a metal tube that has a normal vulcanite tenon. This sits in the shortened shank. Inside the tube is a second tube that extends ¾ of the way up the barrel. The inner tube is the extension of the airway in the tenon. The stem is a short pressure fit stem with a shoulder that allows it to ride on the end of the outer tube. On the end of the stem is a down turned short tube that draws air in to the mouth piece from the condensing chamber of the tube. It is a fascinating design. It is that uniqueness that caught my eye – that and the stamping/engraving on the outer tube which reads as follows:

KEYSER HYGIENIC PIPE
Made By
Keyser Manufacturing Co.
Brighton England
Pat Appns Brit 34B20/47
US 6067474/48
Can 581101

The next series of seven pictures shows the pipe as it appeared in the EBay webpage. The seller did a great job describing the current state of the pipe and the areas of concern. The seller notes some of the scratches on the outer tube and the darkening of the rim. He also noted the tooth chatter and scratch marks on both the top and underside of the stem.
Keyser1

Keyser2

Keyser3

Keyser4

Keyser5

Keyser6

Keyser7
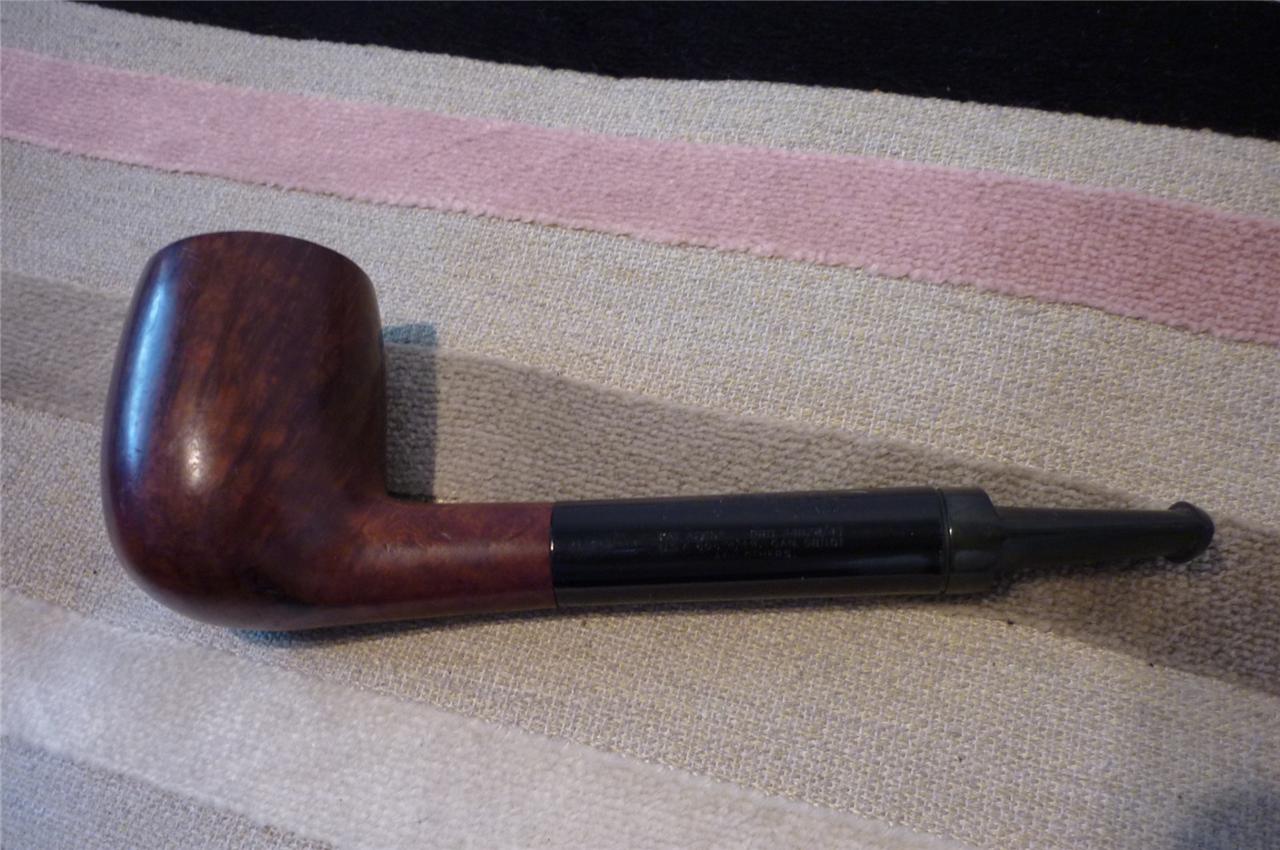
When the pipe arrived I unpacked it and examined it. There were indeed tooth chatter/marks on both the top and bottom of the stem. There was a cigarette burn mark on the bottom of the shank where it meets the bowl. It was not a deep burn and there was no charred wood just a dark mark. The rim itself also had some issues. While the surface was not charred there was a burned area on the front inside of the bowl and on the front outside of the bowl. It looked to be damage from a lighter used in the same place repeatedly over time. The remainder of the finish was in pretty good shape but the entire pipe would need to be stripped in order to address the burn marks on the rim and the side of the shank. The inside of the bowl and shank were very clean. The pipe had not been reamed but there was a light cake that smelled like an aromatic. The barrel was tight on the shank but I carefully was able to remove it. The vulcanite tenon on the end of the barrel was undamaged but the airway was closed in with tars. The way the tenon was attached to the barrel was interesting. The end of the barrel was bonded to a circular plug of vulcanite with the tenon an integral piece of the part. The stem was frozen in the barrel and could not be removed. The button on the stem was unmarked and the tooth marks were actually mid stem on the top and bottom sides. The vulcanite stem was oxidized and would need to be cleaned. The next four photos show the items that I have pointed out in this paragraph.
IMG_0507

IMG_0508

IMG_0509

IMG_0510
I was able to remove the barrel and tenon from the shank of the pipe by carefully twisting the barrel free of the shank. I always hold tightly to the shank with one hand right next to the shank and then twist with the other hand. I try to maintain equal pressure on all points so that the shank is not strained or cracked in the process. The next photo shows the tenon on the barrel. It is almost the same length as the shank and the airway is lined up very closely to the airway in the bottom of the bowl. I cleaned out the mortise with cotton swabs and Everclear and found that it was quite clean. I also cleaned out the barrel from both ends but was not able to get a pipe cleaner to go all the way through the pipe from button to tenon.
IMG_0511
The next three photos show the front of the bowl and the extent of the burn marks on the front outside of the bowl and the front inside of the rim. These were two areas that would need to be worked over to minimize the burn marks on the finished pipe.
IMG_0512

IMG_0513

IMG_0514
I used my PipNet reamer to ream out the soft aromatic cake in the bowl and then recleaned the shank and the inside of the bowl with pipe cleaners and Everclear to remove the carbon dust that came from the reaming process (Photo 1 below). I wiped down the outside of the bowl and shank with a cotton pad and acetone to remove the finish on the pipe (Photo 2 below).
IMG_0515

IMG_0516
The next series of fourteen photos show the topping of the bowl to remove the burned area on the inside of the rim and the front outside edge. The burn had rounded the outside edge and made it appear out of round when looking at it from the top. I wanted to top the bowl enough to bring the top view back into round, minimize the wood damage in both spots and clean up the sharp edge of the bowl. I used two different sanding sponges – medium grit (black coloured sponge) and a fine grit sponge (yellow coloured sponge) both pictured below to start the process. I went on to use medium grit emery paper on the hard board to further top the bowl and ended with 320 grit sandpaper on the board. I polished the finish of the topped pipe bowl with the fine grit yellow sanding sponge. I also worked on the burned area that extended down the front of the bowl with the two sanding sponges.
IMG_0517

IMG_0518

IMG_0519

IMG_0524

IMG_0525

IMG_0526

IMG_0528

IMG_0529

IMG_0530

IMG_0531

IMG_0532

IMG_0533

IMG_0534

IMG_0535

IMG_0536
While I was working on the bowl I put the barrel and stem unit in the freezer to try to break loose the stuck stem. I have found that the varying contraction time of the metal and vulcanite will often loosen the stem. Once it was in the freezer for 30 minutes I could easily remove the stem and give the inside of the barrel and the stem a thorough cleaning with pipe cleaners and cotton swabs dipped in Everclear. I cleaned them until both came out clear. The next five photos show the broken down stem and the tube on the end of the stem that I was talking about above. There is one photo of the barrel but it is too dark to see the inner tube.
IMG_0537

IMG_0538

IMG_0539

IMG_0542

IMG_0543
Once the stem and barrel was clean it was time to deal with the tooth marks and chatter on the stem itself. I sanded the top and the bottom with 320 grit sandpaper to remove the marks and the chatter. None of them were too deep. They were more of a ripple like effect on the surface of the vulcanite. I sanded them flat to the surface of the stem and then went on to sand the stem with micromesh sanding pads from 1500-12,000 grits. The next four photos show the progress of the shine.
IMG_0544

IMG_0545

IMG_0546

IMG_0547
After shining the stem with the micromesh I took it to the buffer and buffed the stem with White Diamond and then rubbed it down with Obsidian Oil and finished it with a coat of carnauba wax. I put the stem back in the barrel and lined up the stem with the stamping on the side of the barrel. I gave the entire barrel and stem another coat of carnauba wax and hand buffed them. The next three photos show the assembled barrel and stem unit polished and ready to put on the bowl once it was restained and ready.
IMG_0548

IMG_0549

IMG_0550
I sanded and resanded the bowl with fine grit sanding sponges and then sanded it with micromesh sanding pads from 1500-3200 grit. I wiped it down with acetone between sandings and again when I was finished to prepare it for staining. The next three photos show the prepared pipe ready for staining. The burn mark on the bottom of the shank is gone with very little sanding and no change to the shank surface itself. The one on the front of the is minimized and the one on the rim is also virtually gone. The bowl is ready for a new finish coat.
IMG_0551

IMG_0552

IMG_0553
I restained the bowl with an oxblood aniline stain, flamed it and restained and reflamed it. I rubbed it down with a cotton terry cloth to smooth out the stain and then took it to the buffer. I always buff with my thumb in the bowl to ensure that the buffer does not grab the bowl from my hand and launch it against the wall. I rotate it slowly in my hand and with a light touch buff the shank. I am careful not to apply too much pressure and round the shoulders on the shank. I normally do not buff with the stem off the bowl but in this case I did not want to risk buffing off the black paint on the barrel so I chance the buffing on the bowl alone. The next three photos show the buffed bowl before polishing.
IMG_0554

IMG_0555

IMG_0556
I reassembled the pipe and then hand buffed it with multiple coats of carnauba wax and polished it with a shoe brush. The stem and bowl have a great shine and the bowl has some beautiful grain on it. I look forward to smoking this one and comparing it with my other Keyser Hygienic pipes. The final four photos below show the finished pipe. I have yet to do the research on the patent information on the barrel but I am hoping to find out a bit of history on this piece.
IMG_0723

IMG_0724

IMG_0725

IMG_0726
From the photo of the bottom of the bowl and shank above you can see that the burn mark there is eliminated in its entirety. Also in the photo of the rim above and the one of the front of the bowl below you can see that the burn mark is gone and what remains is blended into the stain.
IMG_0728

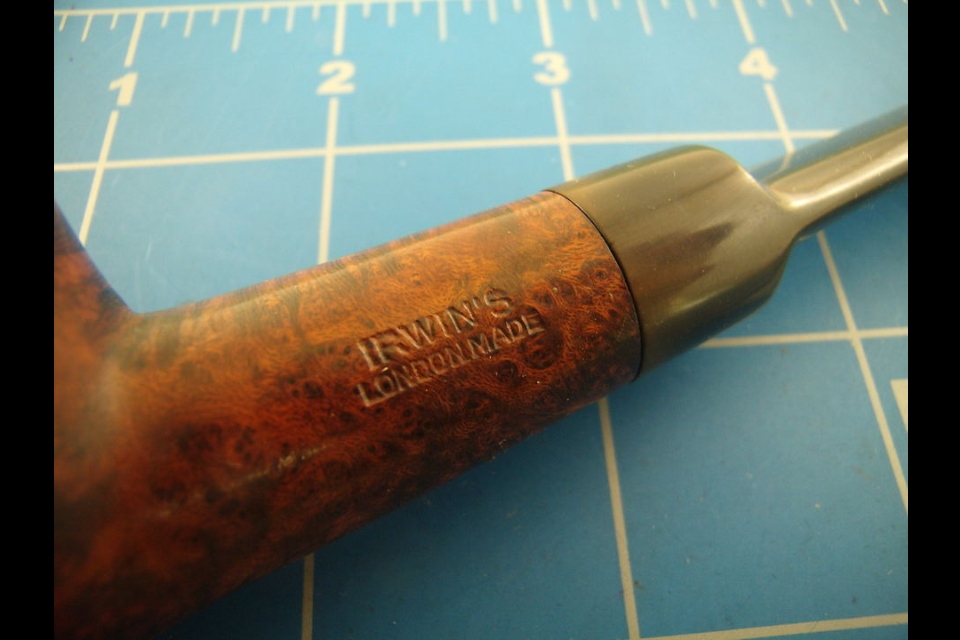
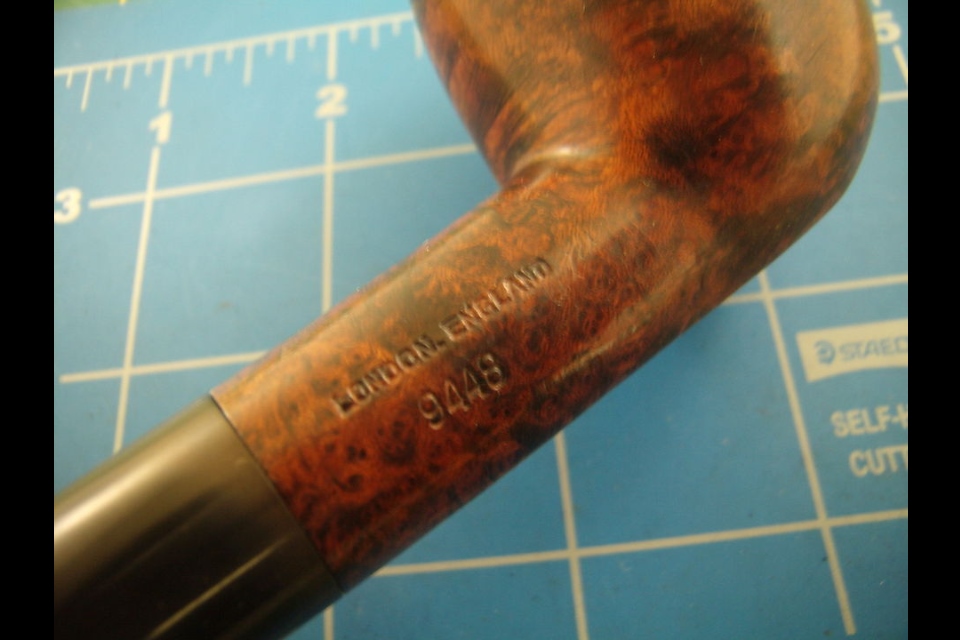
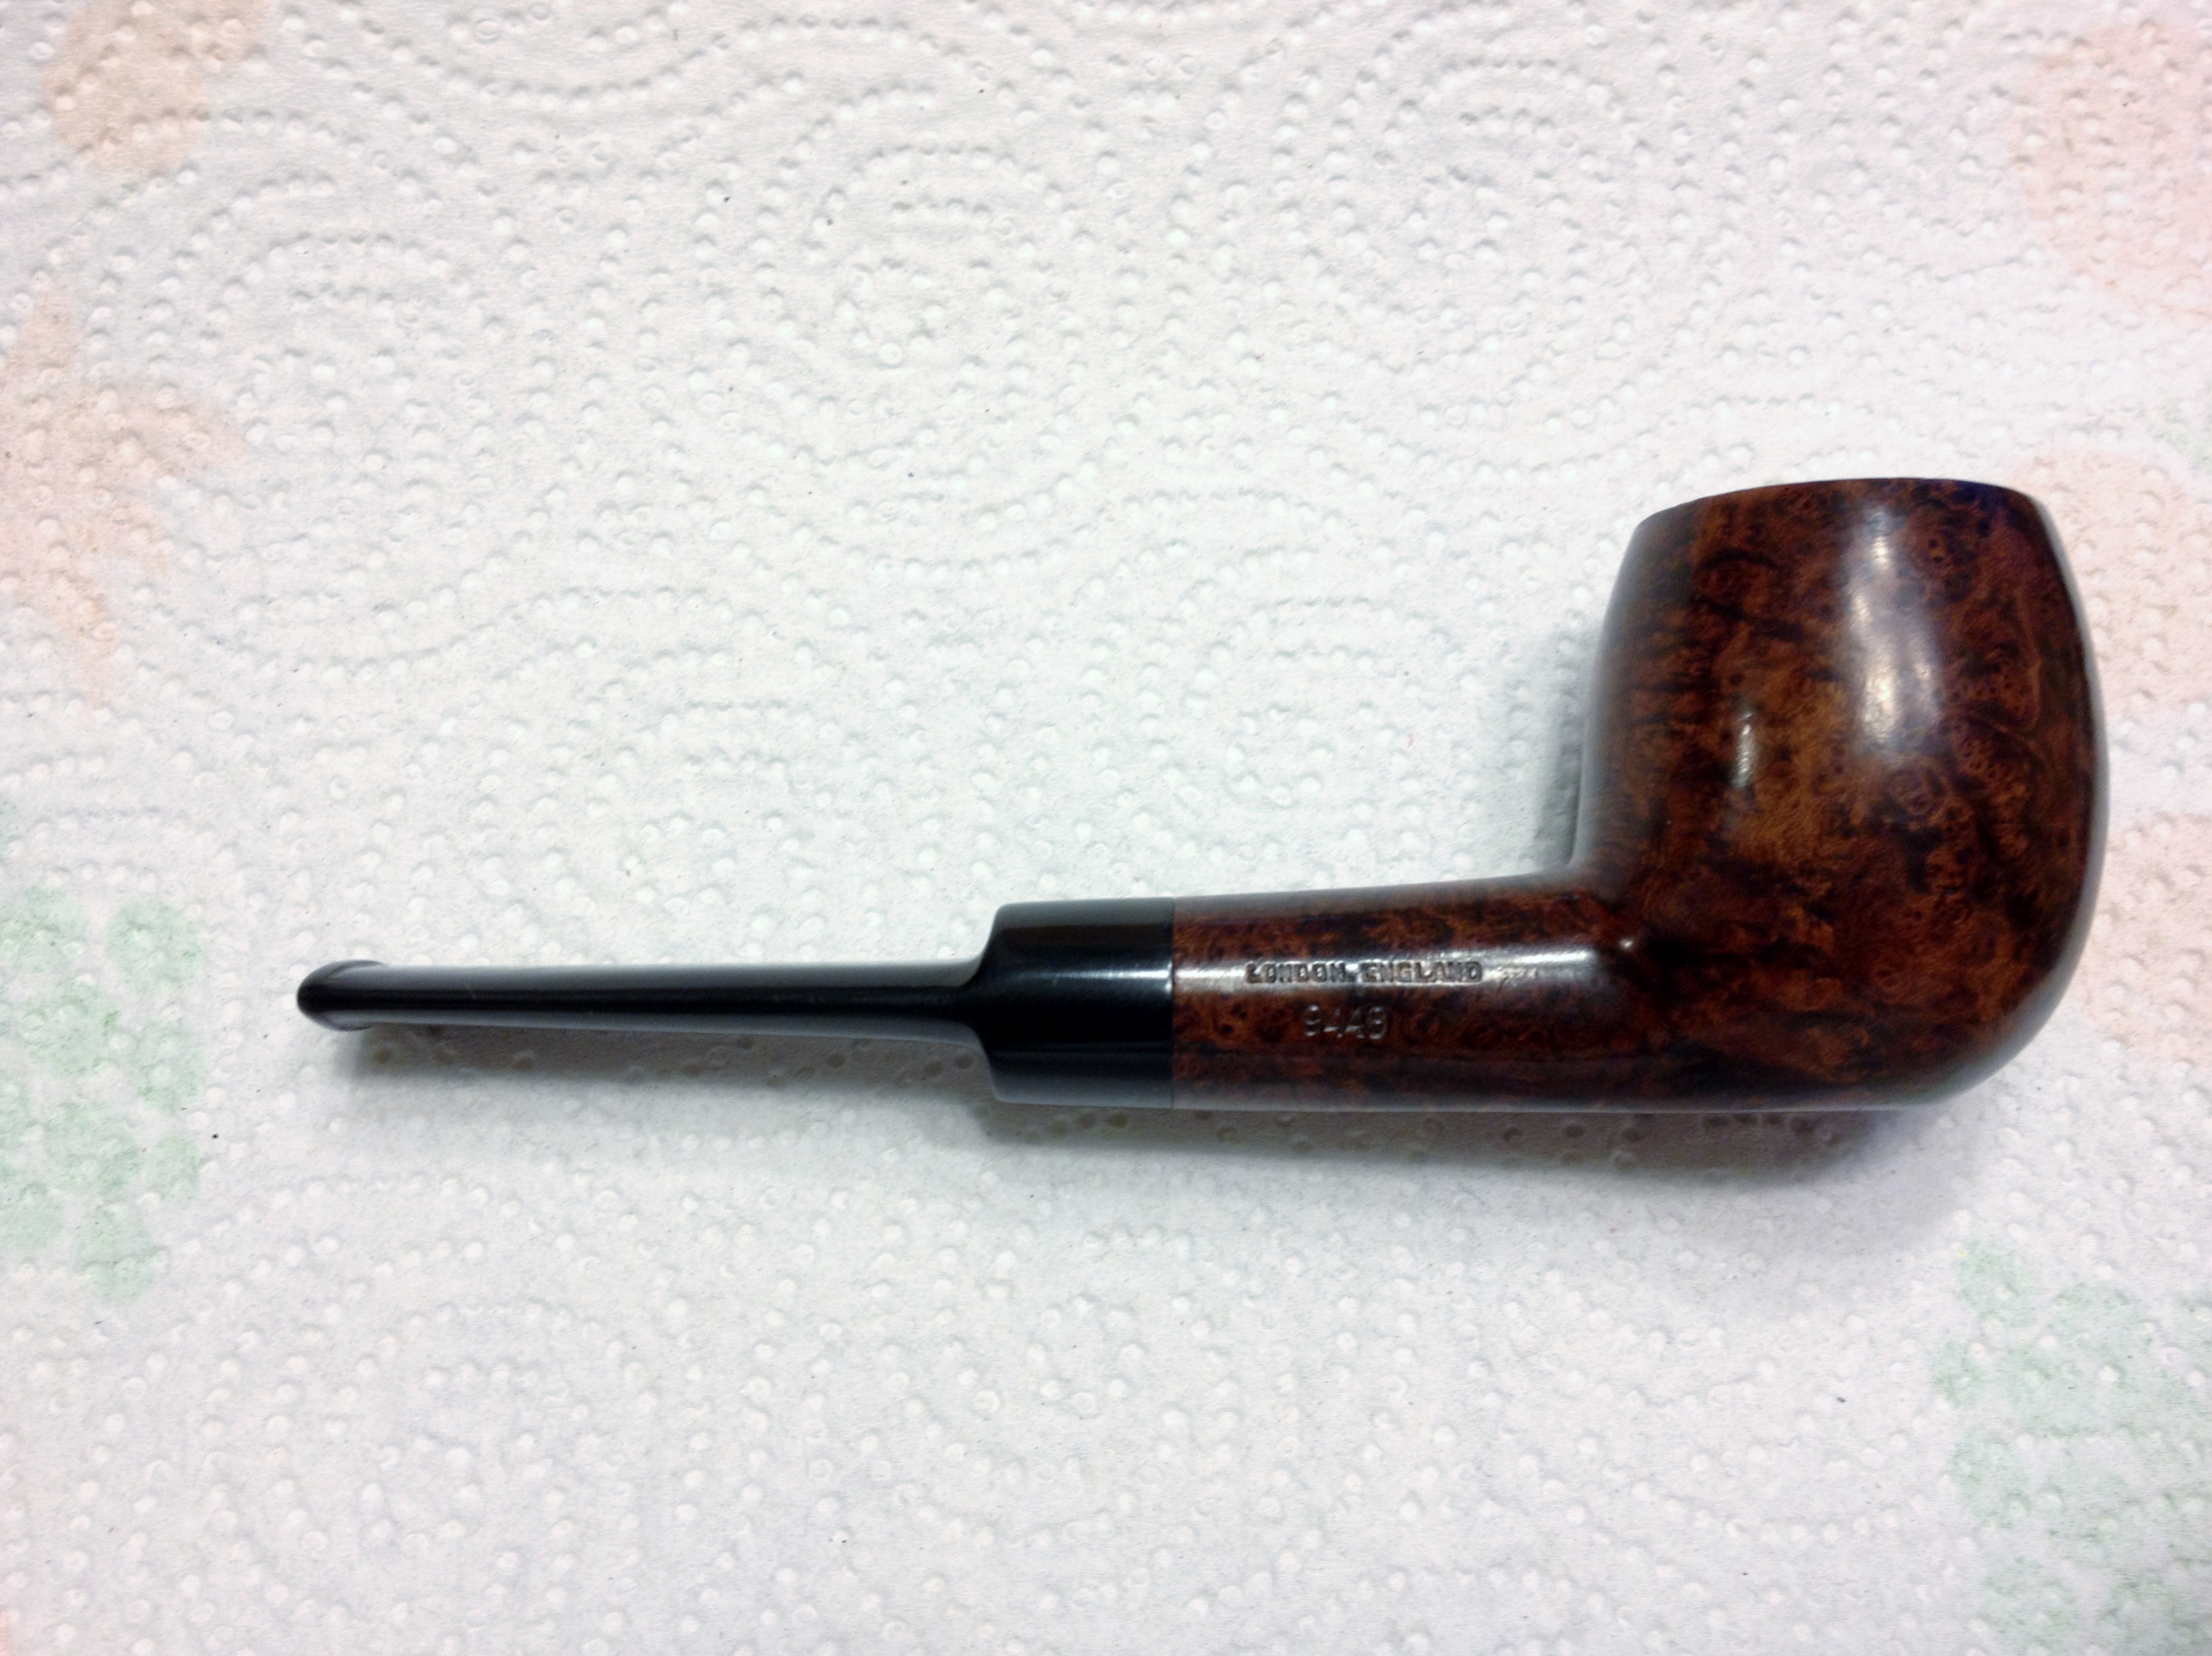
Irwin’s (GBD Second) 9448 Refurbished


Blog by Greg Wolford

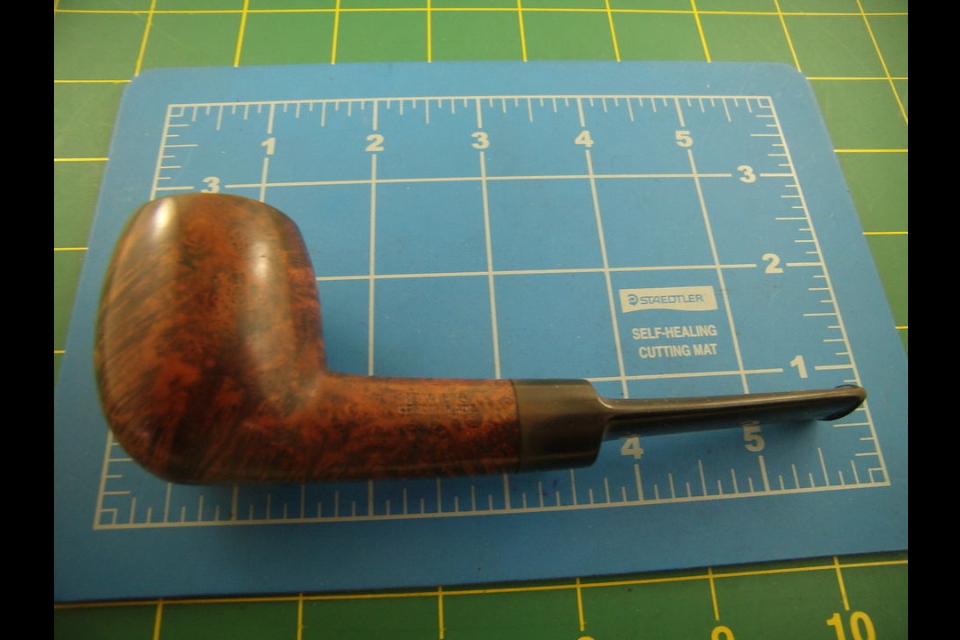
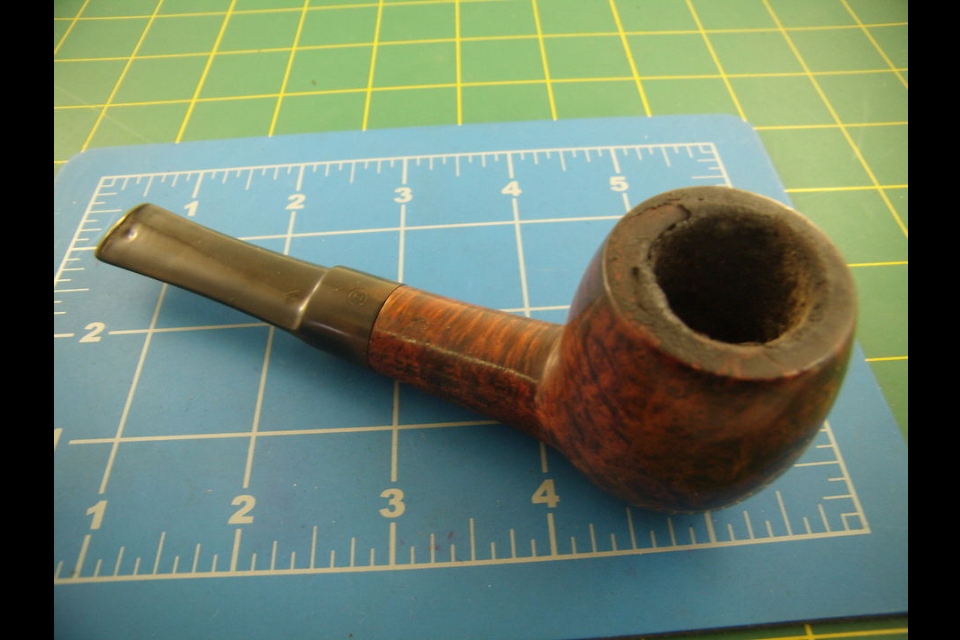
I picked this Irwin’s 9448 up not too long ago expecting it to be an easy clean up, which was partly right and partly wrong, and knowing it was a GBD second it should be a great pipe for the money. From the seller’s photos I figured a little heat to lift the tooth dents, some light sanding and then micro meshing and the stem would be good to go. The stummel I figured would need to be cleaned, soaked in an alcohol bath and retained. Here are the photos from the seller:

Seller's Photo

Seller’s Photo

IMG_5457 (2) IMG_5458 (2) IMG_5459 (2) IMG_5460 (2) IMG_5461 (2) IMG_5462 (2)

I forgot to take my own photos when the pipe arrived and during the process so only the seller’s before and my after photos will be shown. The process went as follows though:

The stummel was in better shape than I anticipated: it was dirty and did have a few dents to raise but was in really good condition overall. The stem was another story: the tooth dents were much deeper than the photos showed or than I had expected. I knew that this stem was going to require filling the dents and thought over a few options, which I have more to say on later here. So, I decided to start with the stummel.

After reaming the bowl and cleaning the shank, I began by wiping the pipe down with acetone on disposable cotton pads, and went through many of them. After get most of the dirt and wax off, I took some cotton swabs dipped in 91% isopropyl alcohol and began to work off the heavy build up on the rim. It was a slow process but as the layers came off I could see the rim was in very nice shape and didn’t need topped. Once all the gunk was off, I took a few more passes over the entire stummel with a couple more cotton pads wet with alcohol to make sure all the finish and dirt was removed. I then turned my attention to the dents: one on the front of the bowl, two on the bottom near where the curve of the bowl met the flat “sitter” area, and a couple on the rim.

I used my heat gun to heat up the end of an old kitchen “butter knife” and a wet scrap rag to produce the steam to raise the dents. All of them came out fairly easily except for one on the “sitter” portion and it took several applications of steam to get it out. But it did finally raise.

At this point I went to the buffer to see what the stummel looked like. I buffed it with some Tripoli and then again my hand with an old t-shirt. I saw then that the pipe had good color under all the dirt, it had just been hidden. And the steam had done its job very nicely, too, giving me a pretty well smoothed out stummel. There was one fill on the left side of the bowl but not a large one and it didn’t really stand out to my eye so I decided to leave it alone. I wiped it down with one more alcohol pad to remove any trace left from the Tripoli and then decided to not sand or re-stain it; the color was really nice and the grain showed in a nice contrast. So I set the stummel aside to work on the stem.

I began by heating the stem, with a pipe cleaner inserted to make holding, moving and not damaging the airway easier. The dents lifted some but, as I expected, were too deep to come anywhere near level. So now it was time to try some patching or filling of the dents.

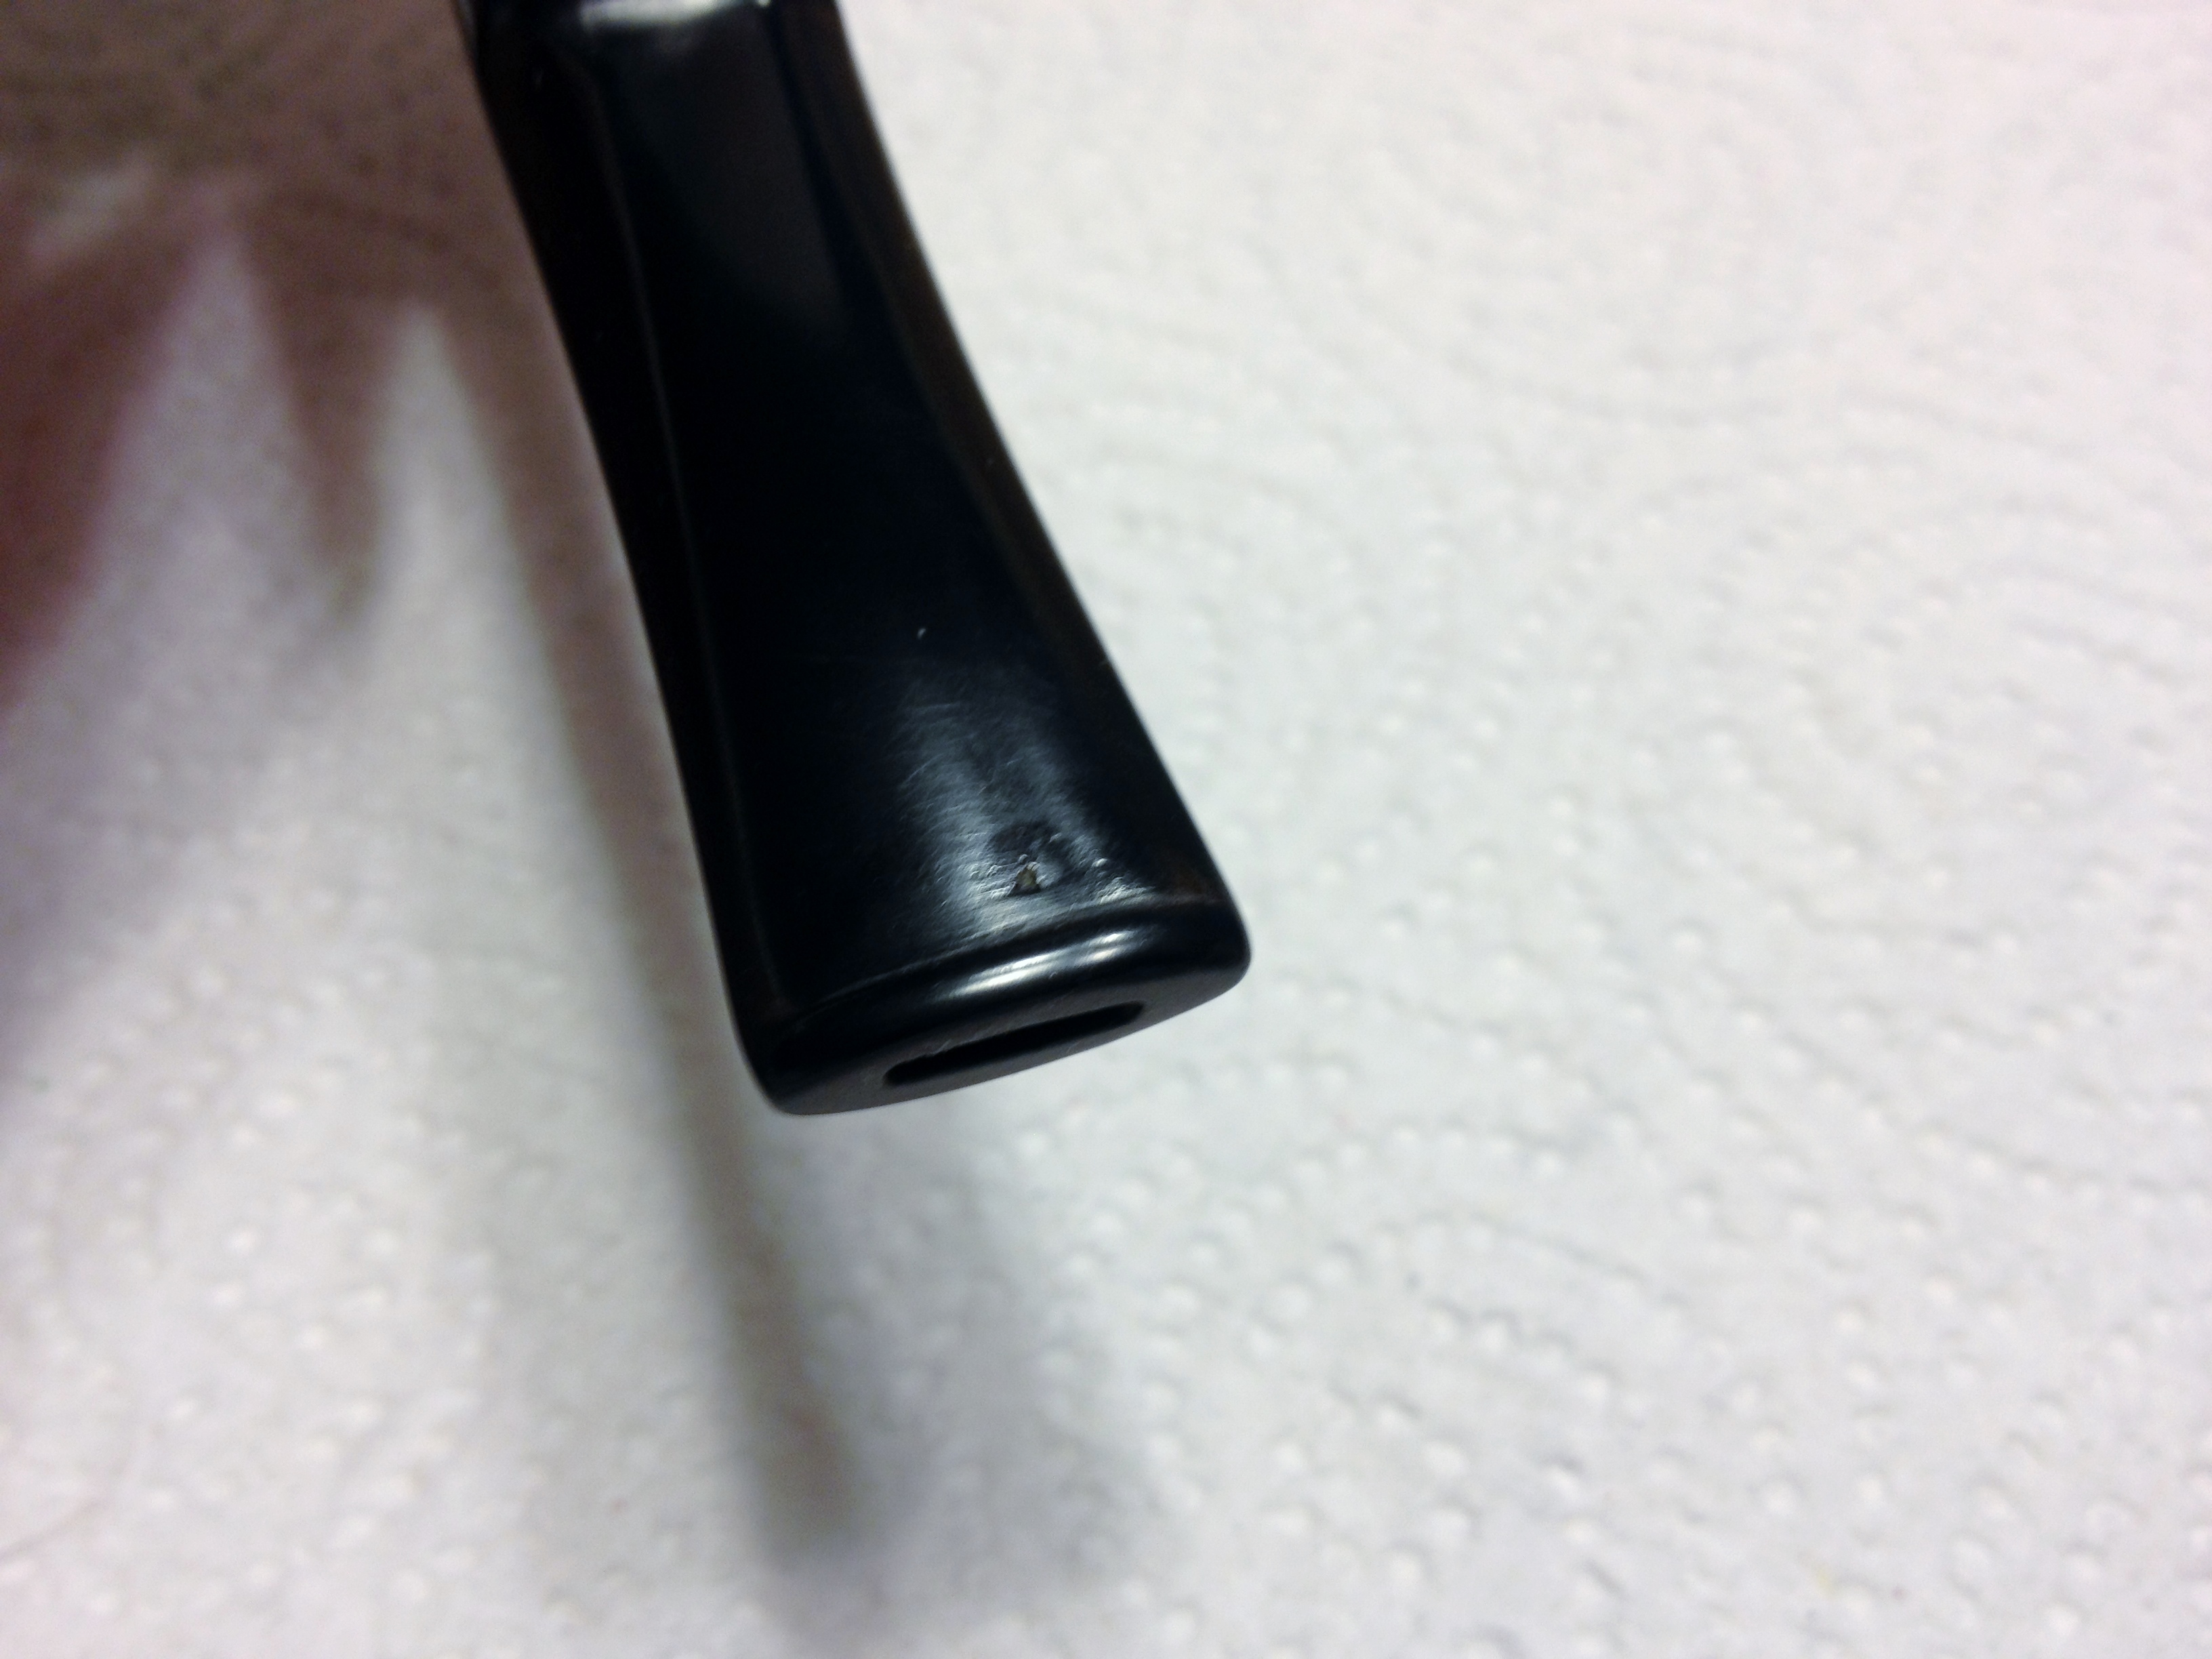
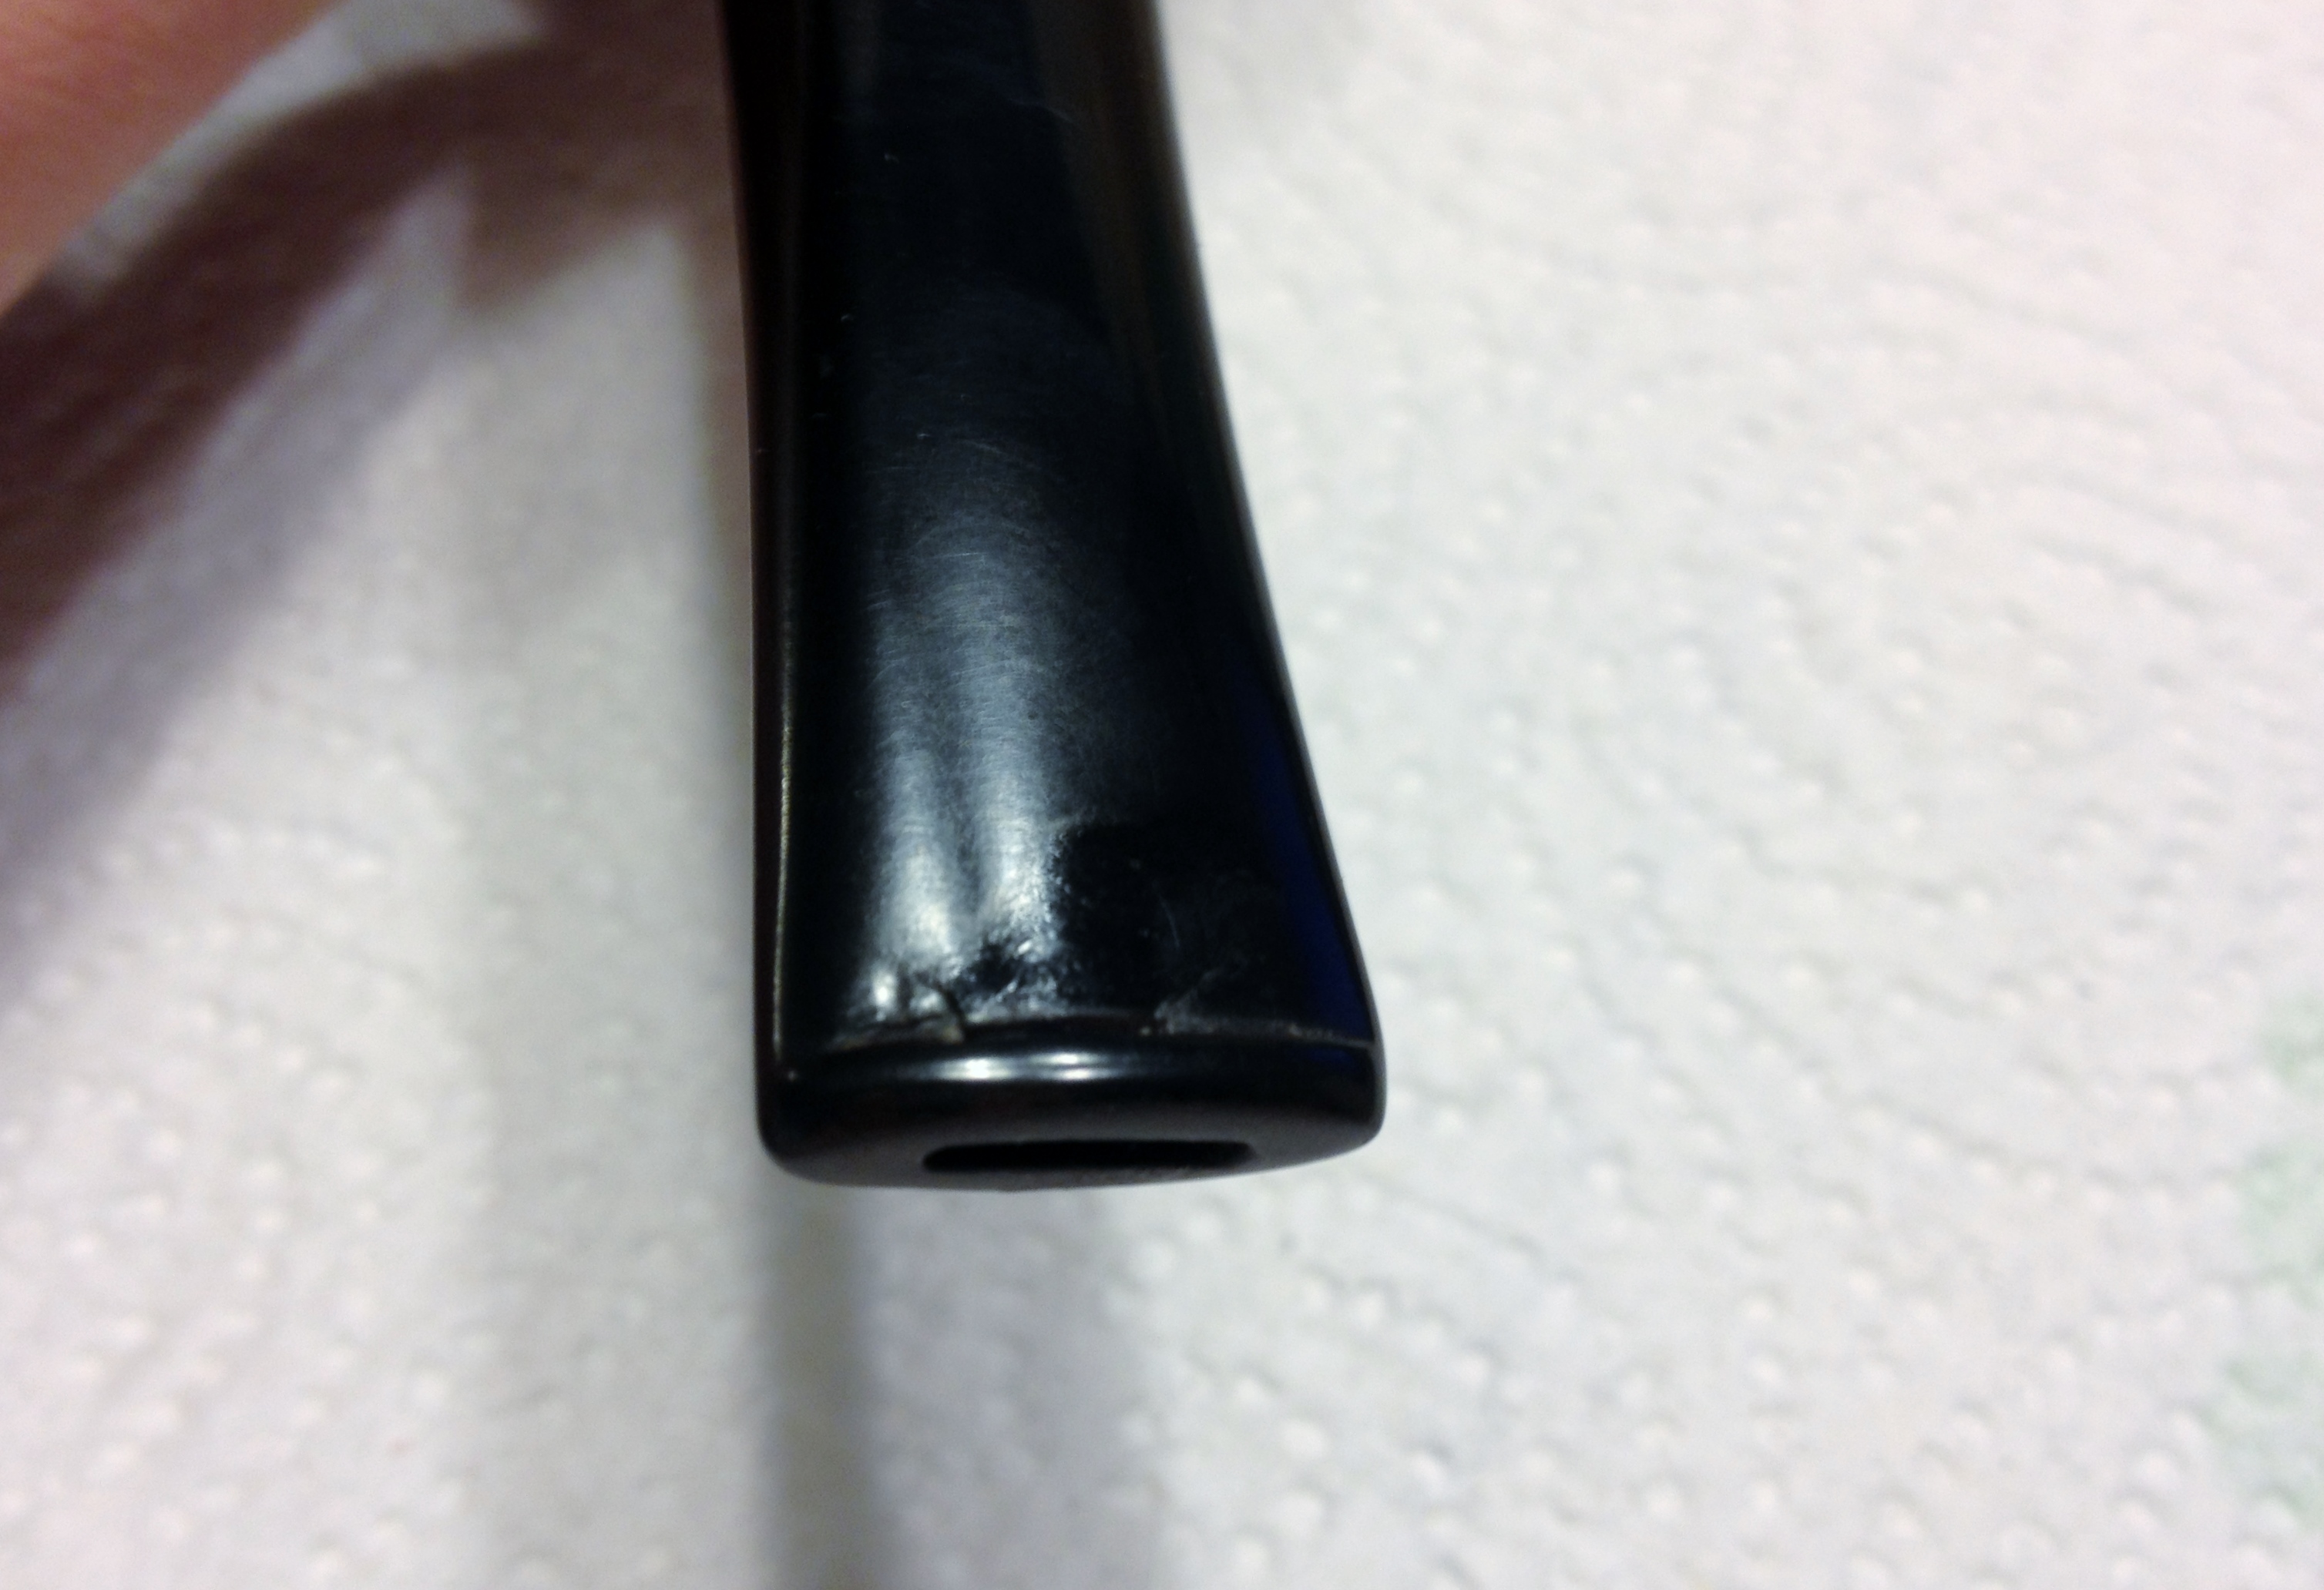
A while back Al, another contributor here on the blog, had mentioned he had used cigar ash to fill in a few dents but that they were still visible repairs. I have been experimenting with a couple of ideas that so far have not made any great improvements over just using super glue alone. I thought that on this one I would try to make a patch with carbon reamed from the pipe. The carbon is much darker, a real black, than ash so I thought this might make a better repair. I worked in layers, packing in the carbon, applying a drip of super glue, allowing it to dry, sanding it back down with an emery board and repeating; I think I did three rounds on each side of the stem, trying raise the dents slowly and make them stronger in the long run. After the last application on the underside, I began to work with my needle files, then emery boards, 320 grit wet sand and finally onto micro mesh, wet sanding 1500-2400. I then applied the Novus 2 plastic polish, rubbing it on and off with cotton pads. The remaining grits of micro mesh I used dry through 12,000. Finally I used the Novus 2 again, applied the Mother’s Back to Black with my fingers and let it dry before buffing it off with another cotton pad. The final step was to polish it with the Novus 1 plastic polish. Now it was time to reassemble the pipe and take it back to the buffer. At this point I knew the patch wasn’t as good as I’d hoped it would be: it was better, I think, but it was also still noticeable.
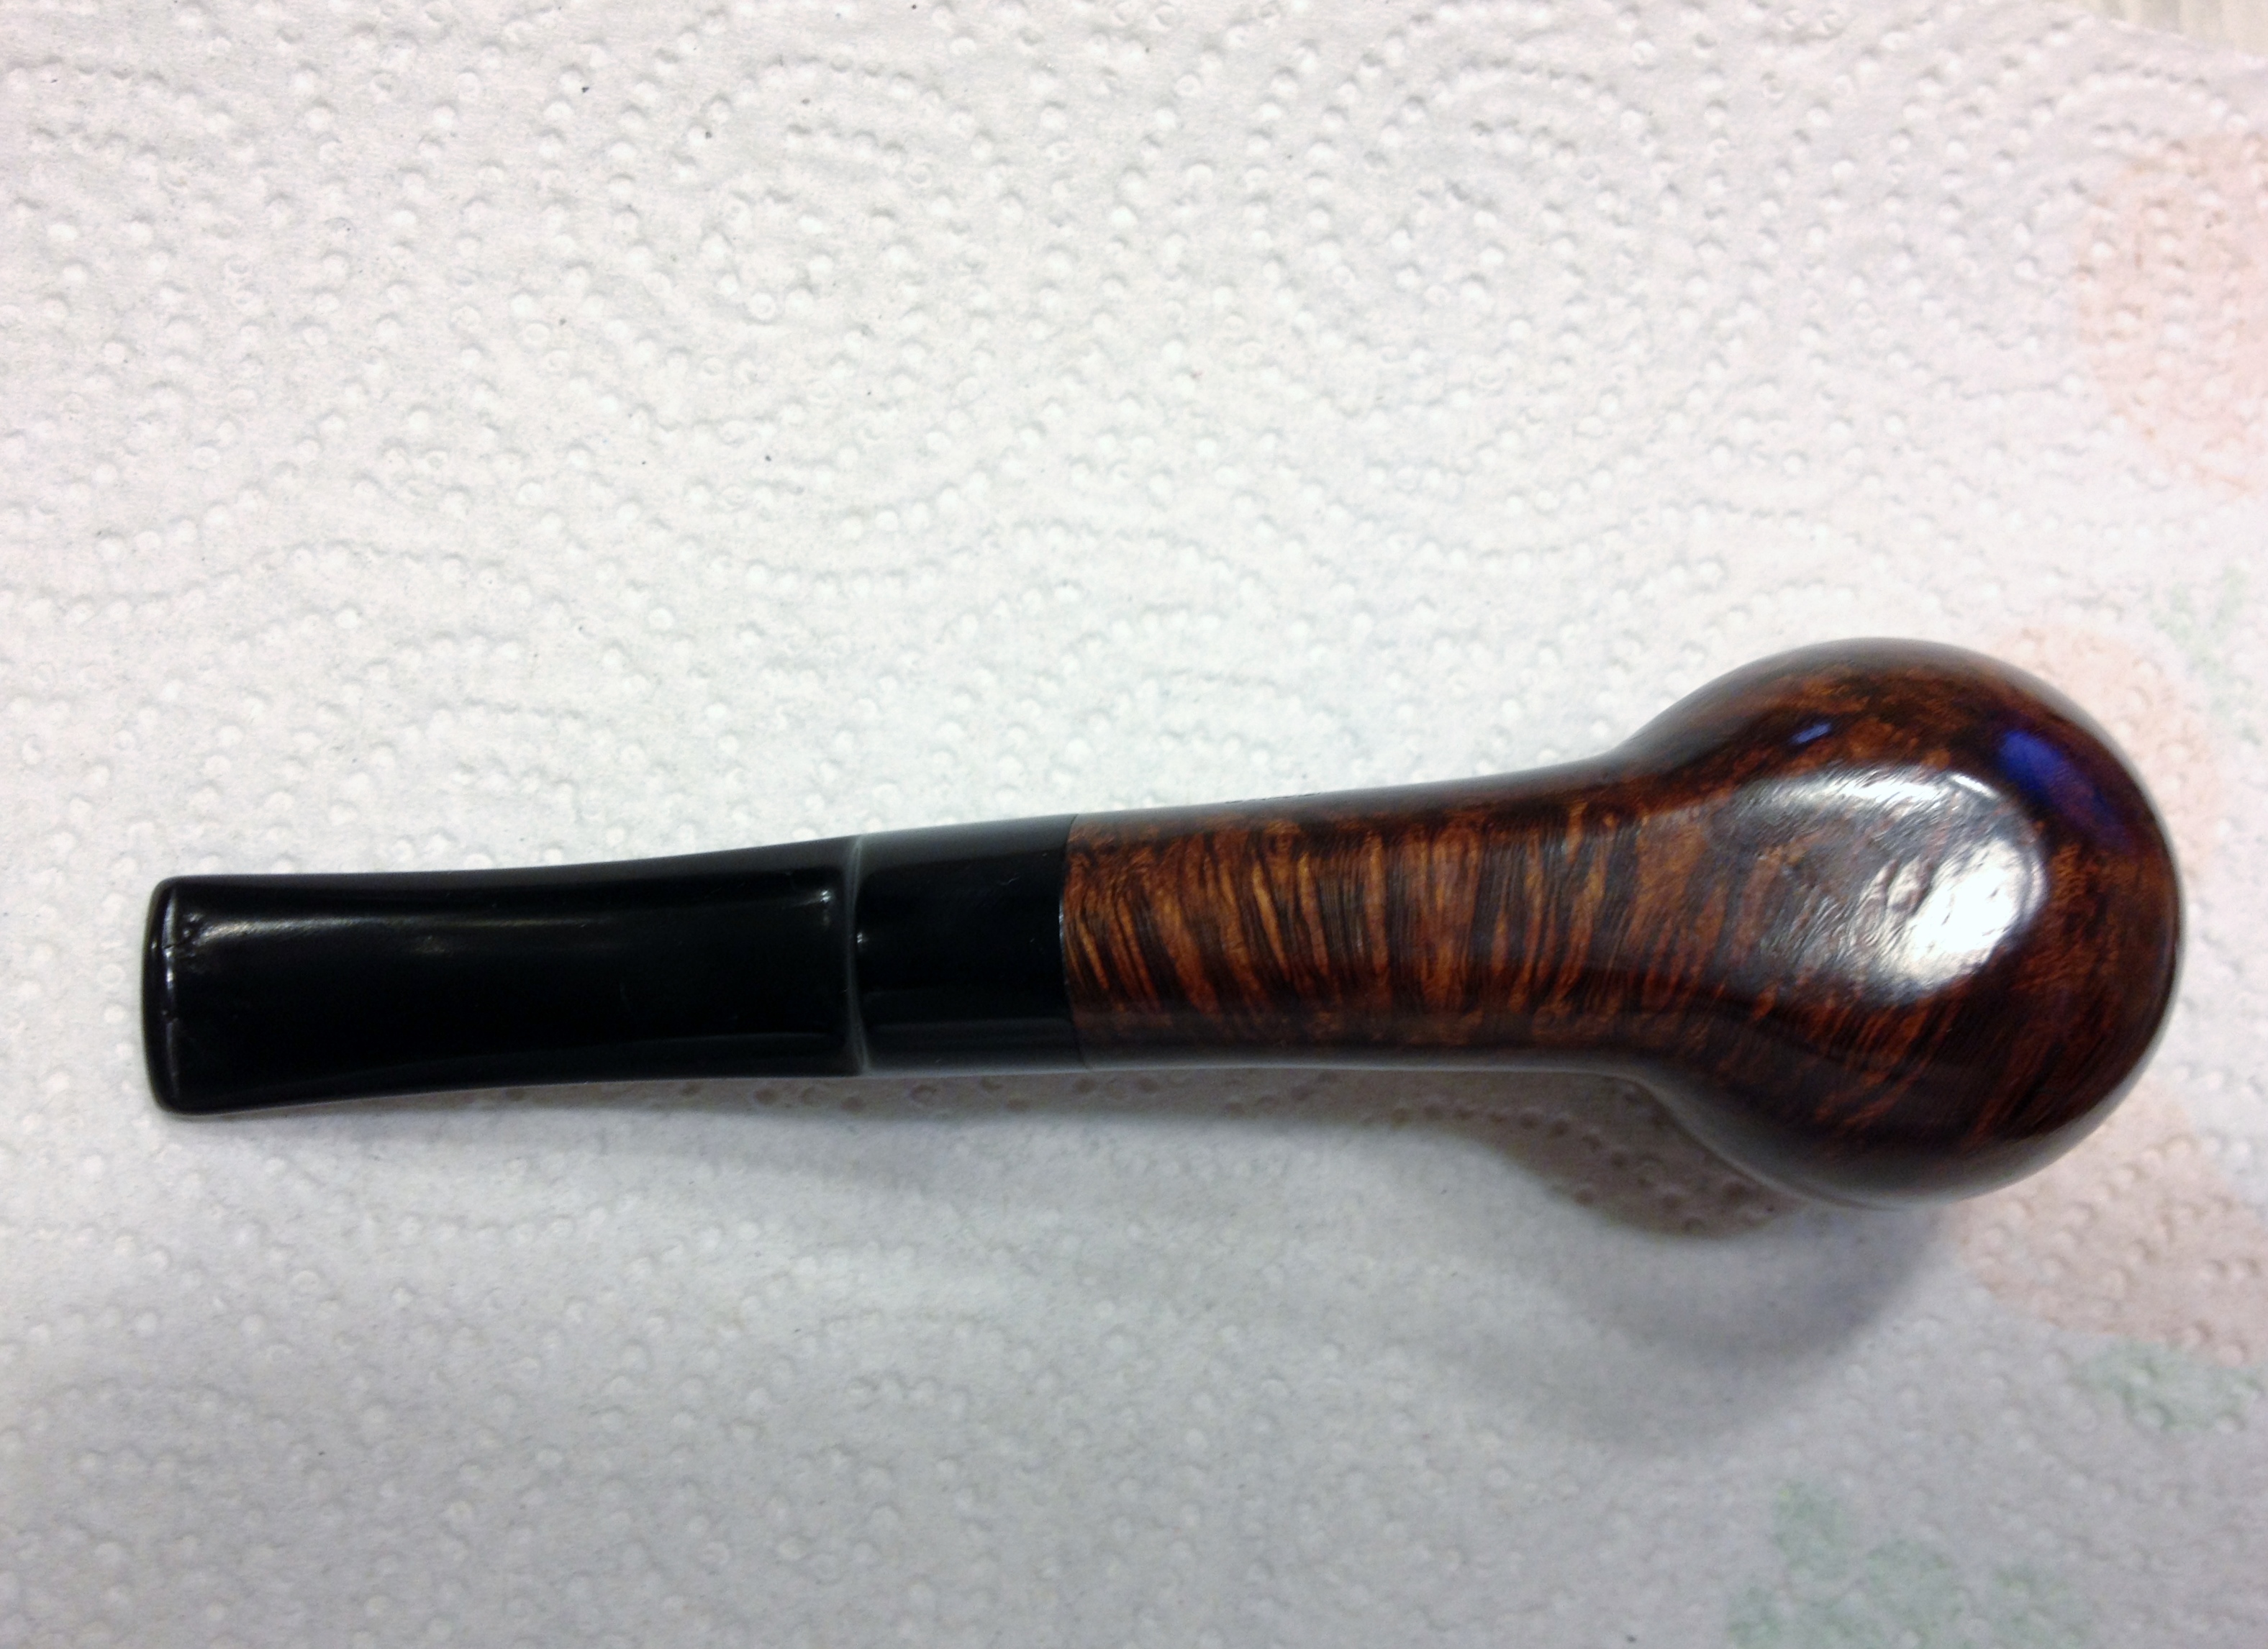
I buffed the stummel with Tripoli again before I reassembled the pipe and buffed the entire pipe with white diamond. I then applied several coats of carnauba wax to the pipe and buffed it out with a new soft cloth wheel. This is what the pipe looks like now, cleaned up (except for the fact I smoked it before I took the photos) but without any new staining done to it.

After

After

IMG_5493 IMG_5492 IMG_5491

The bit area does look a lot better and it is smooth, almost; apparently the layering technique wasn’t my best idea as a small piece of the top patch came off at some point, probably on the buffer. Next time I will not work in layers but more like a briar-dust fill and do it all at once, which be faster, too. I do wish it were less noticeable on the whole,though.

IMG_5494 IMG_5495

Before and After

Before and After

I have a few other ideas about trying to get a less visible patch that I may pursue. However, now that I know I can get black super glue, already made, that may be my future course. But the “can I do it myself ” part of me wants to keep experimenting so we shall see. If any of you readers have any ideas on making these repairs less visible I’d be most appreciative if you would share them in the comments section.

Restored CPF Bent Billiard – A Reclamation Project


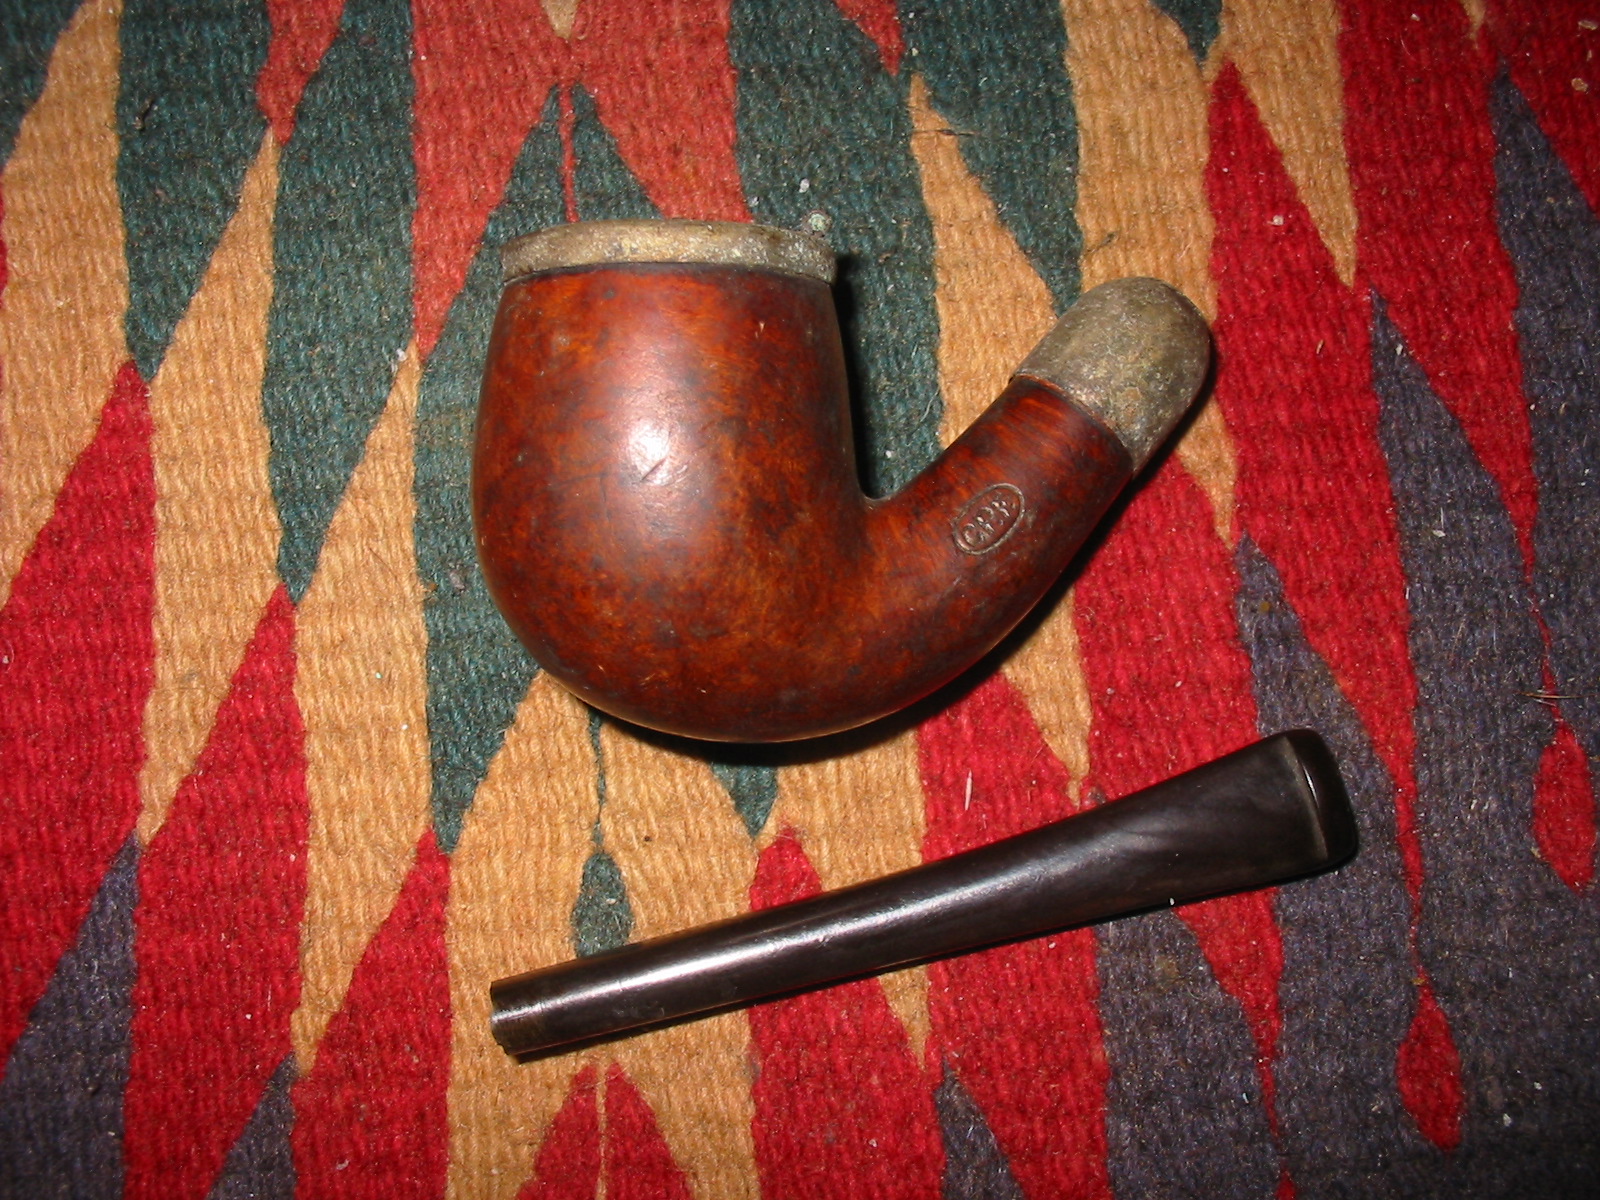
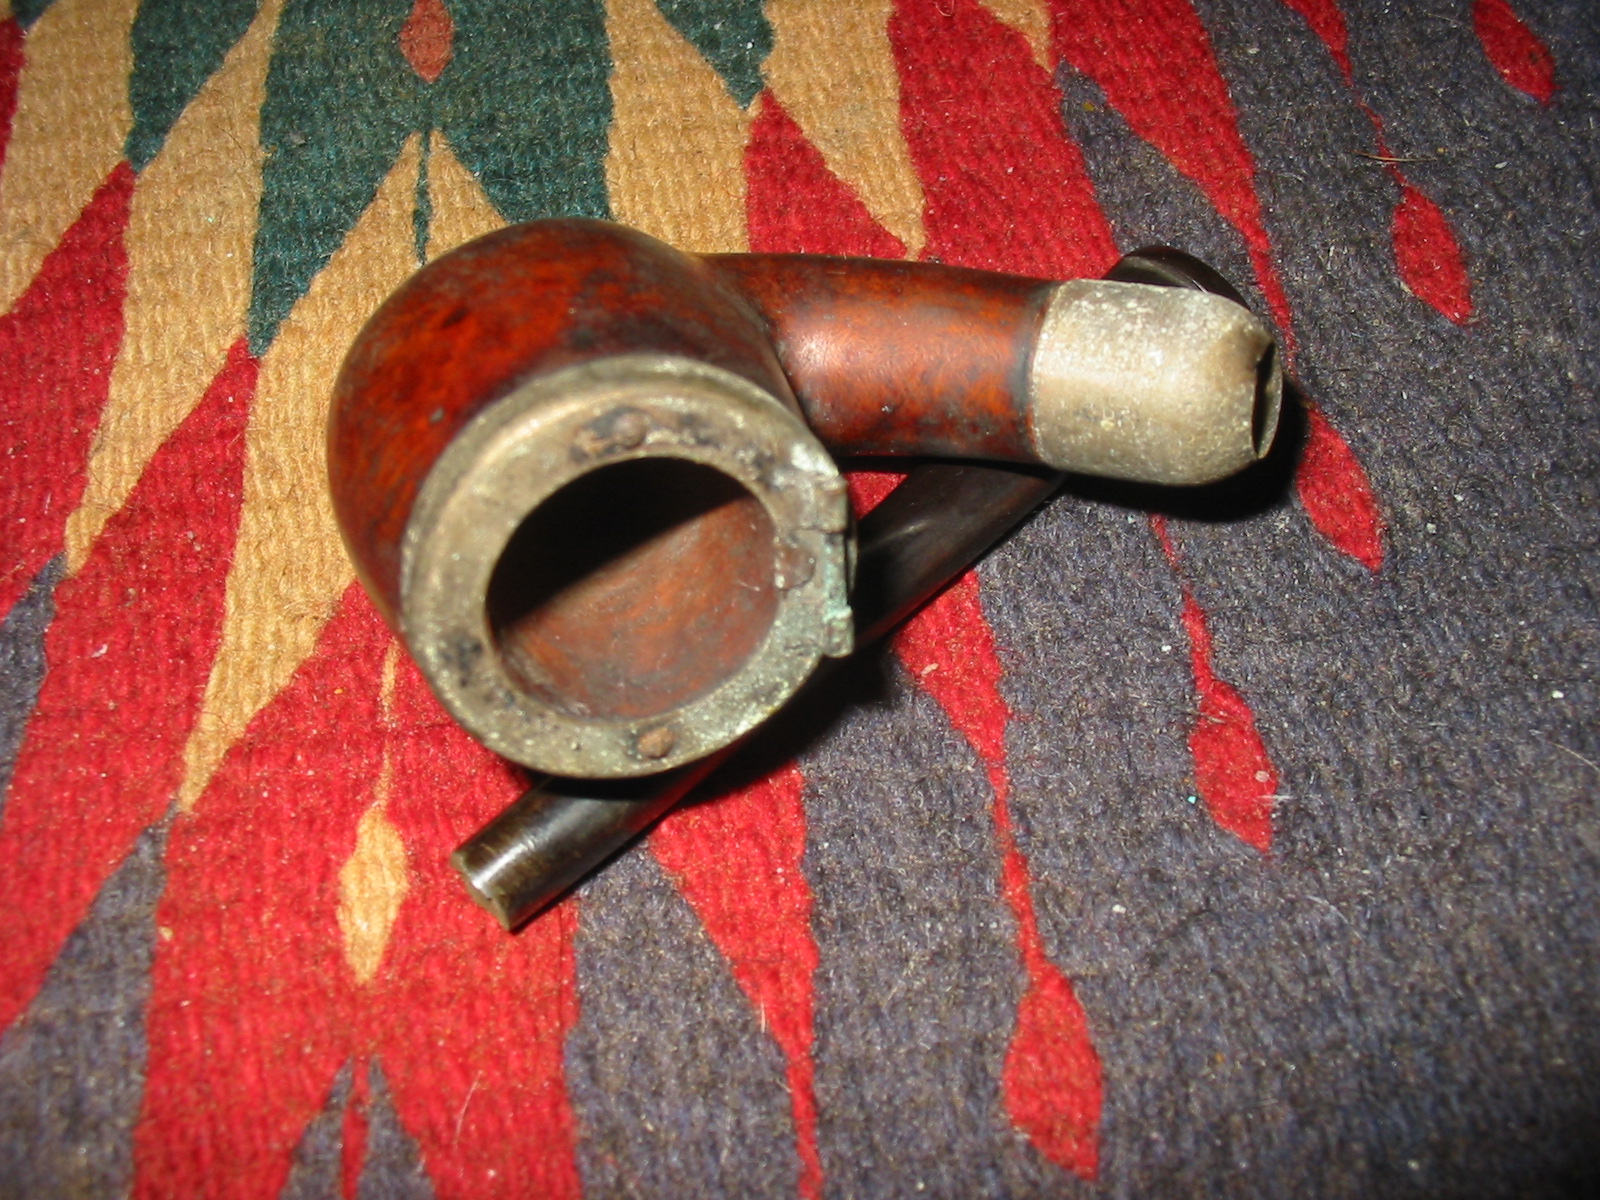
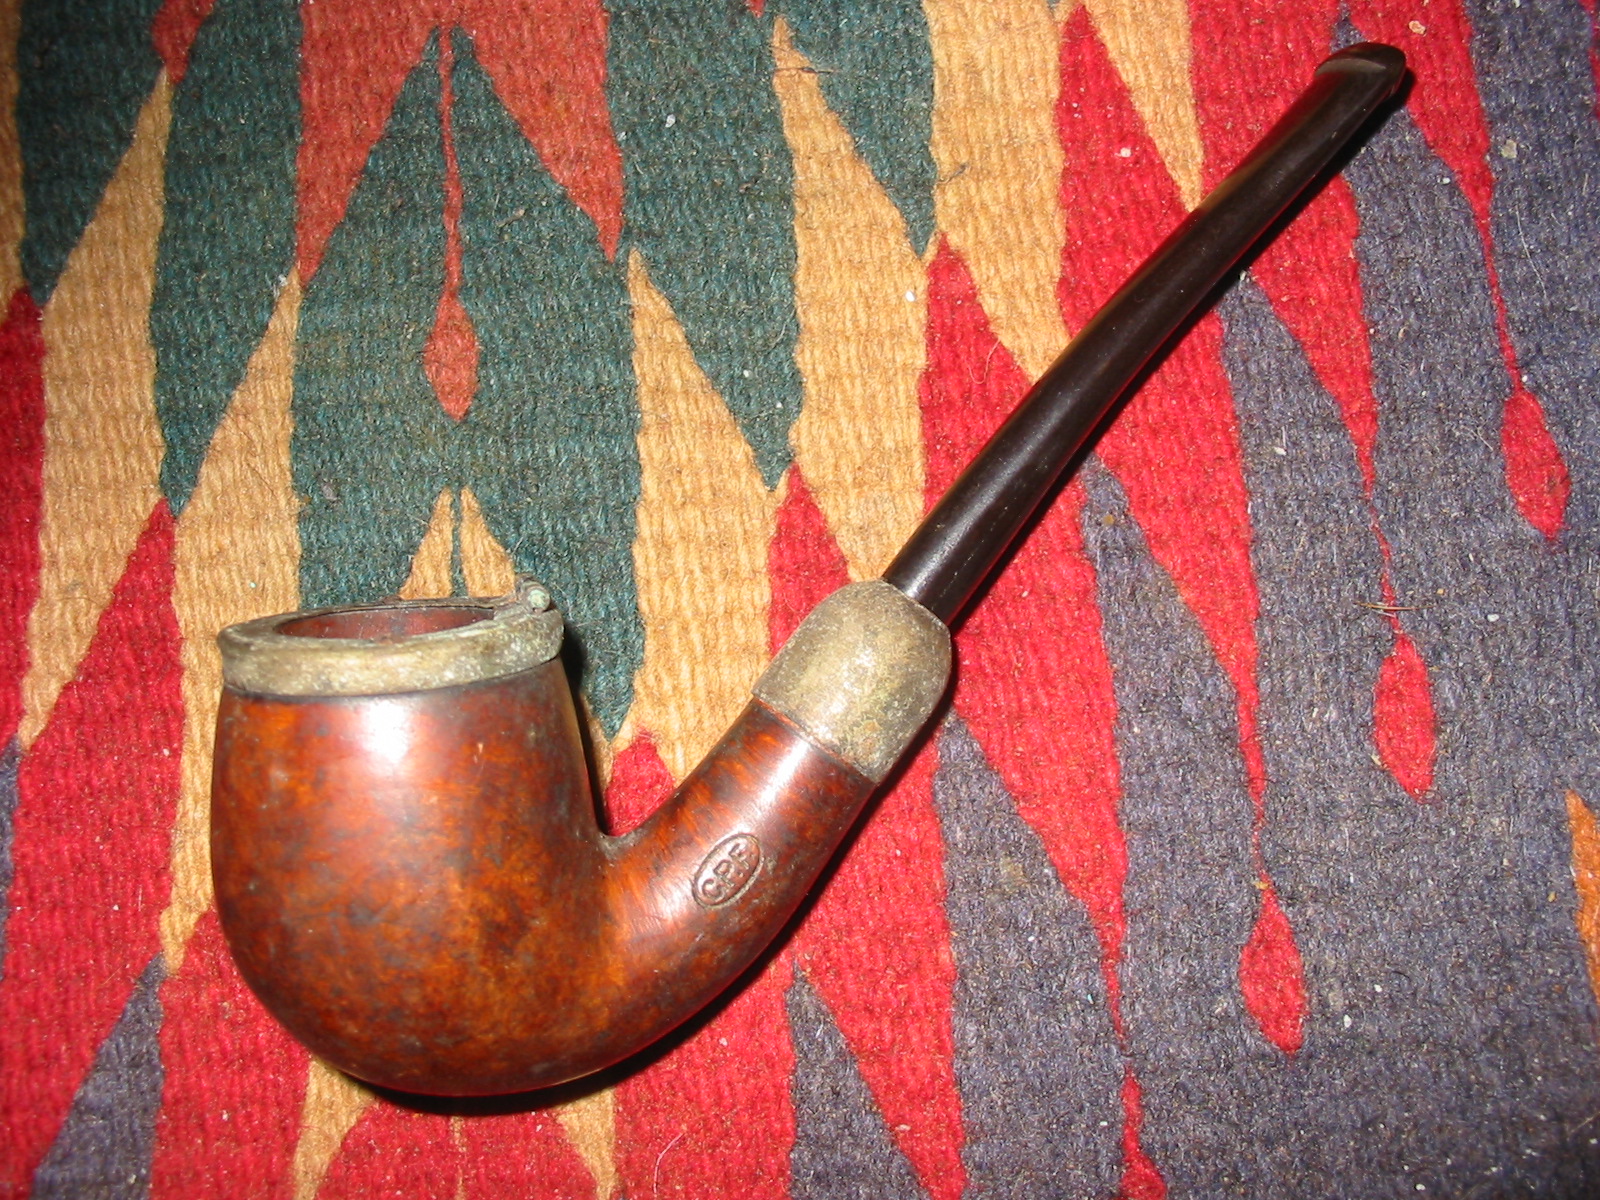
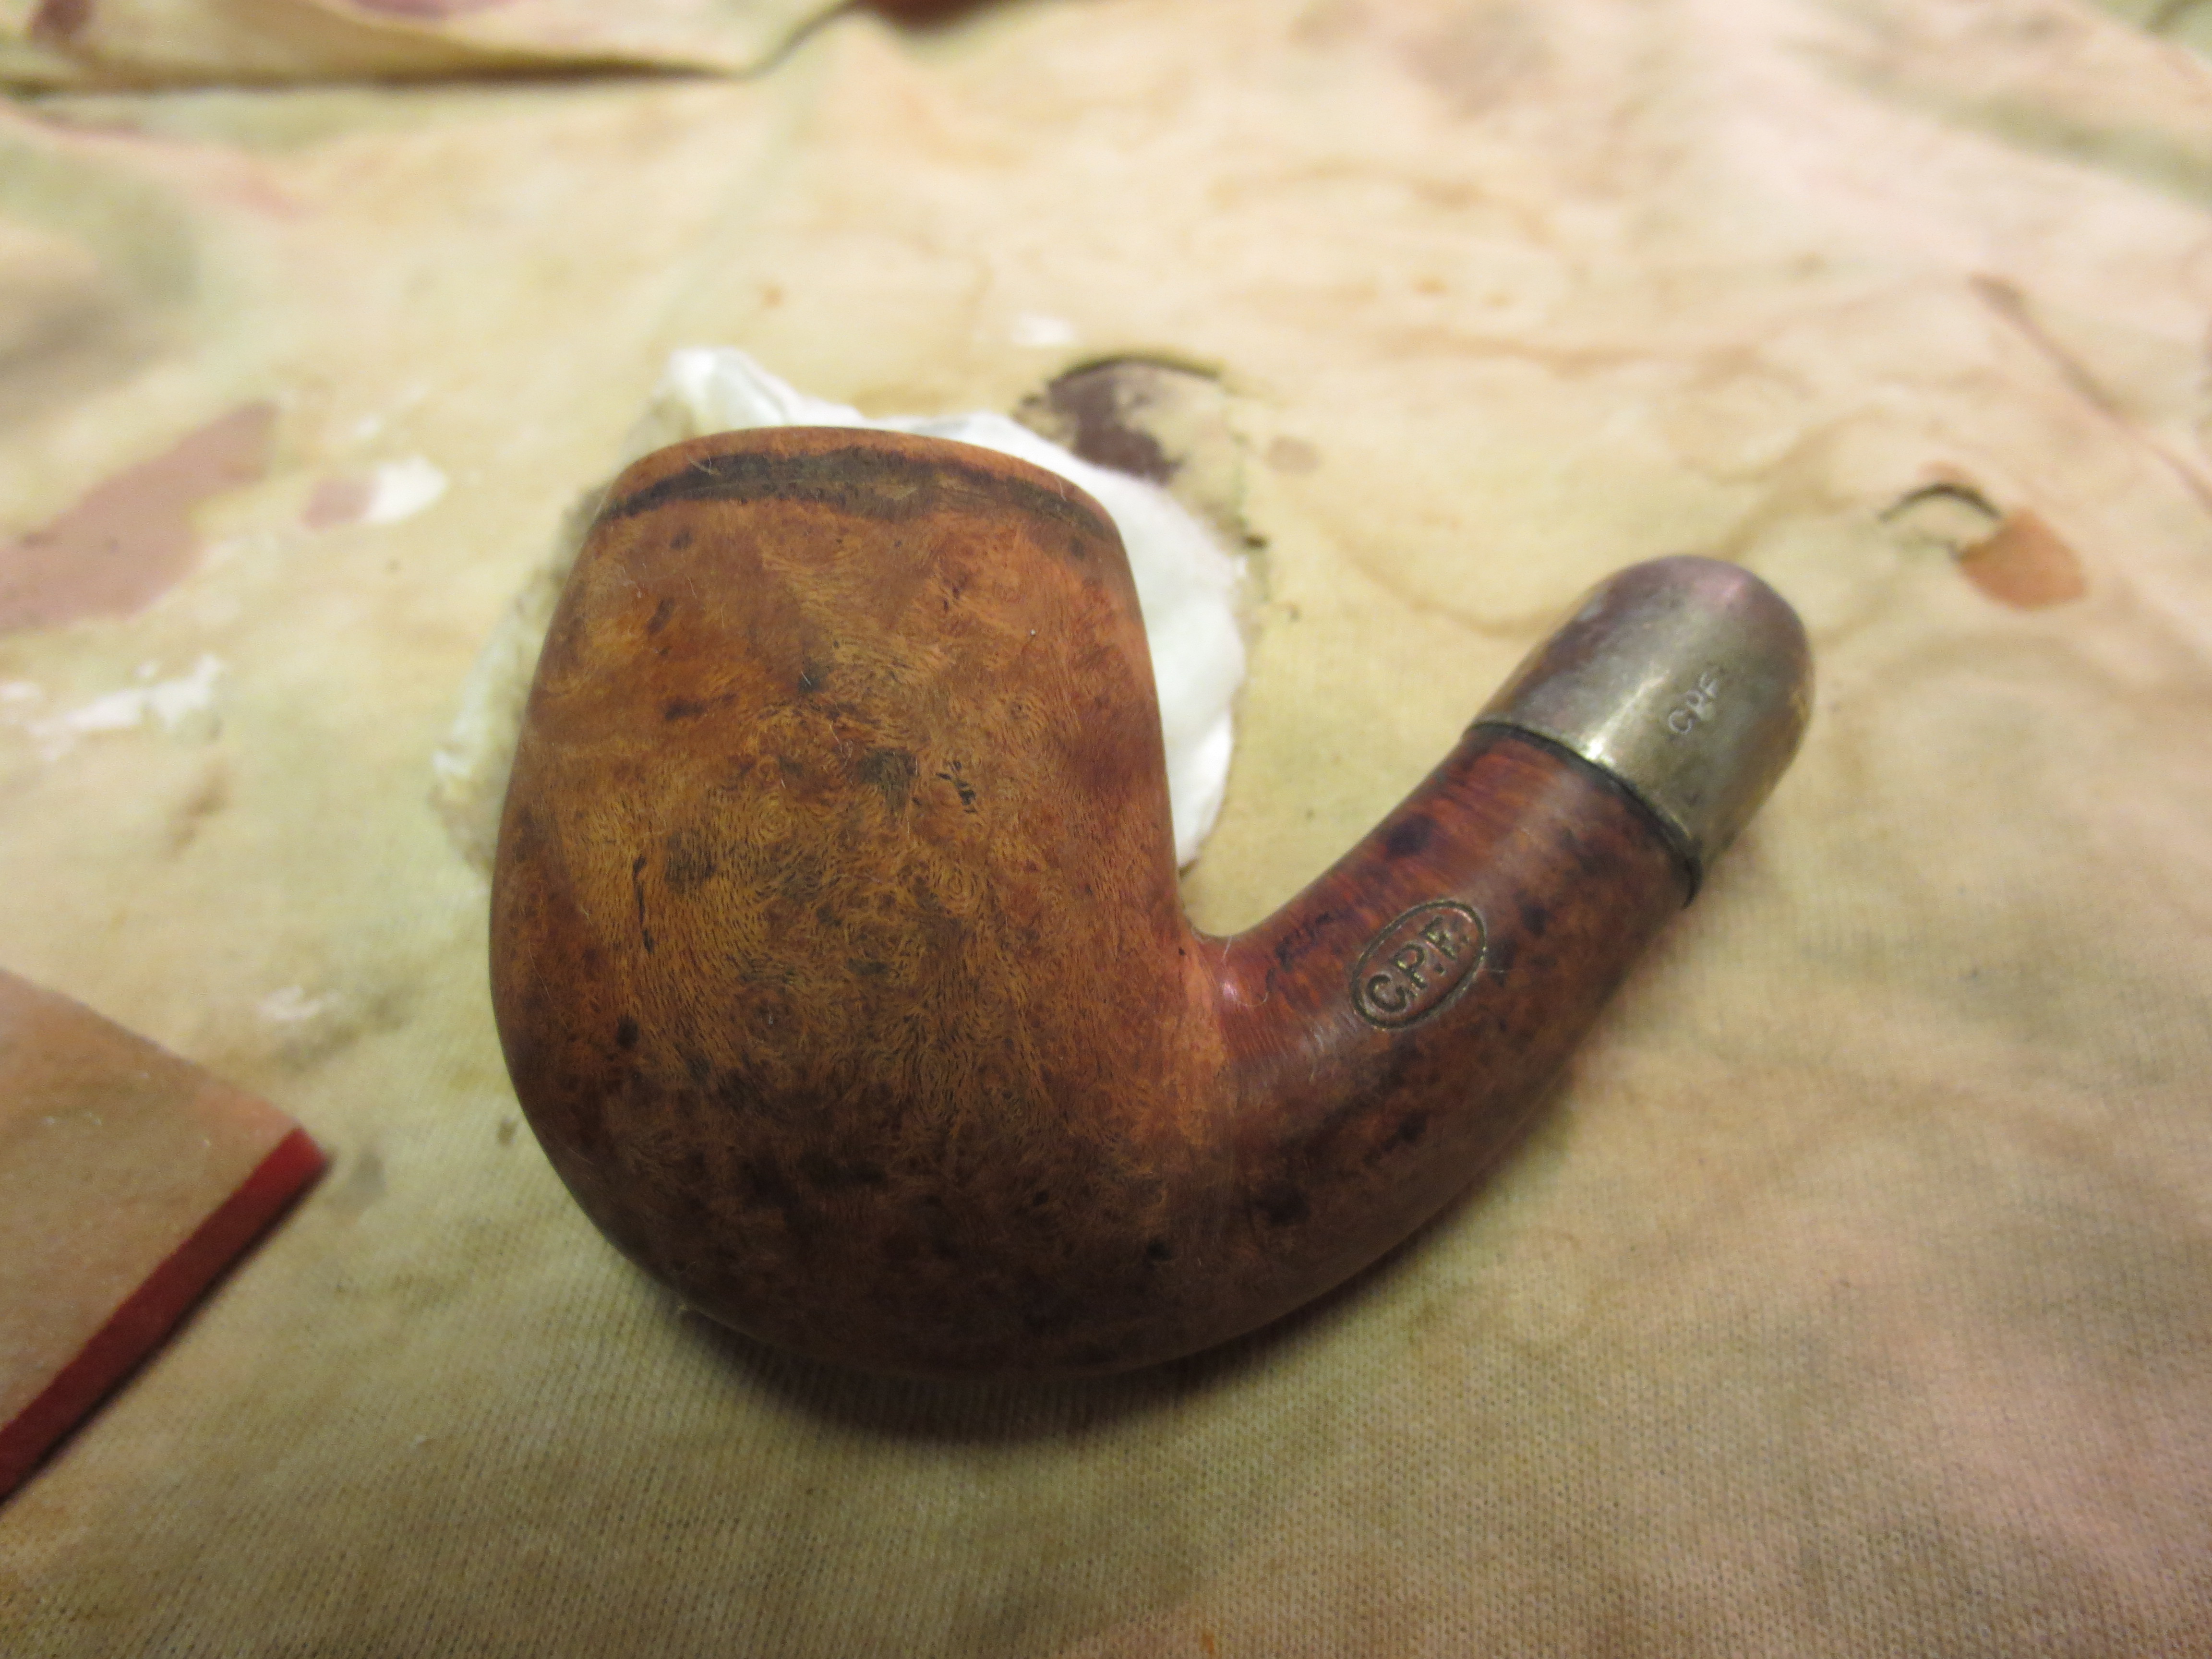
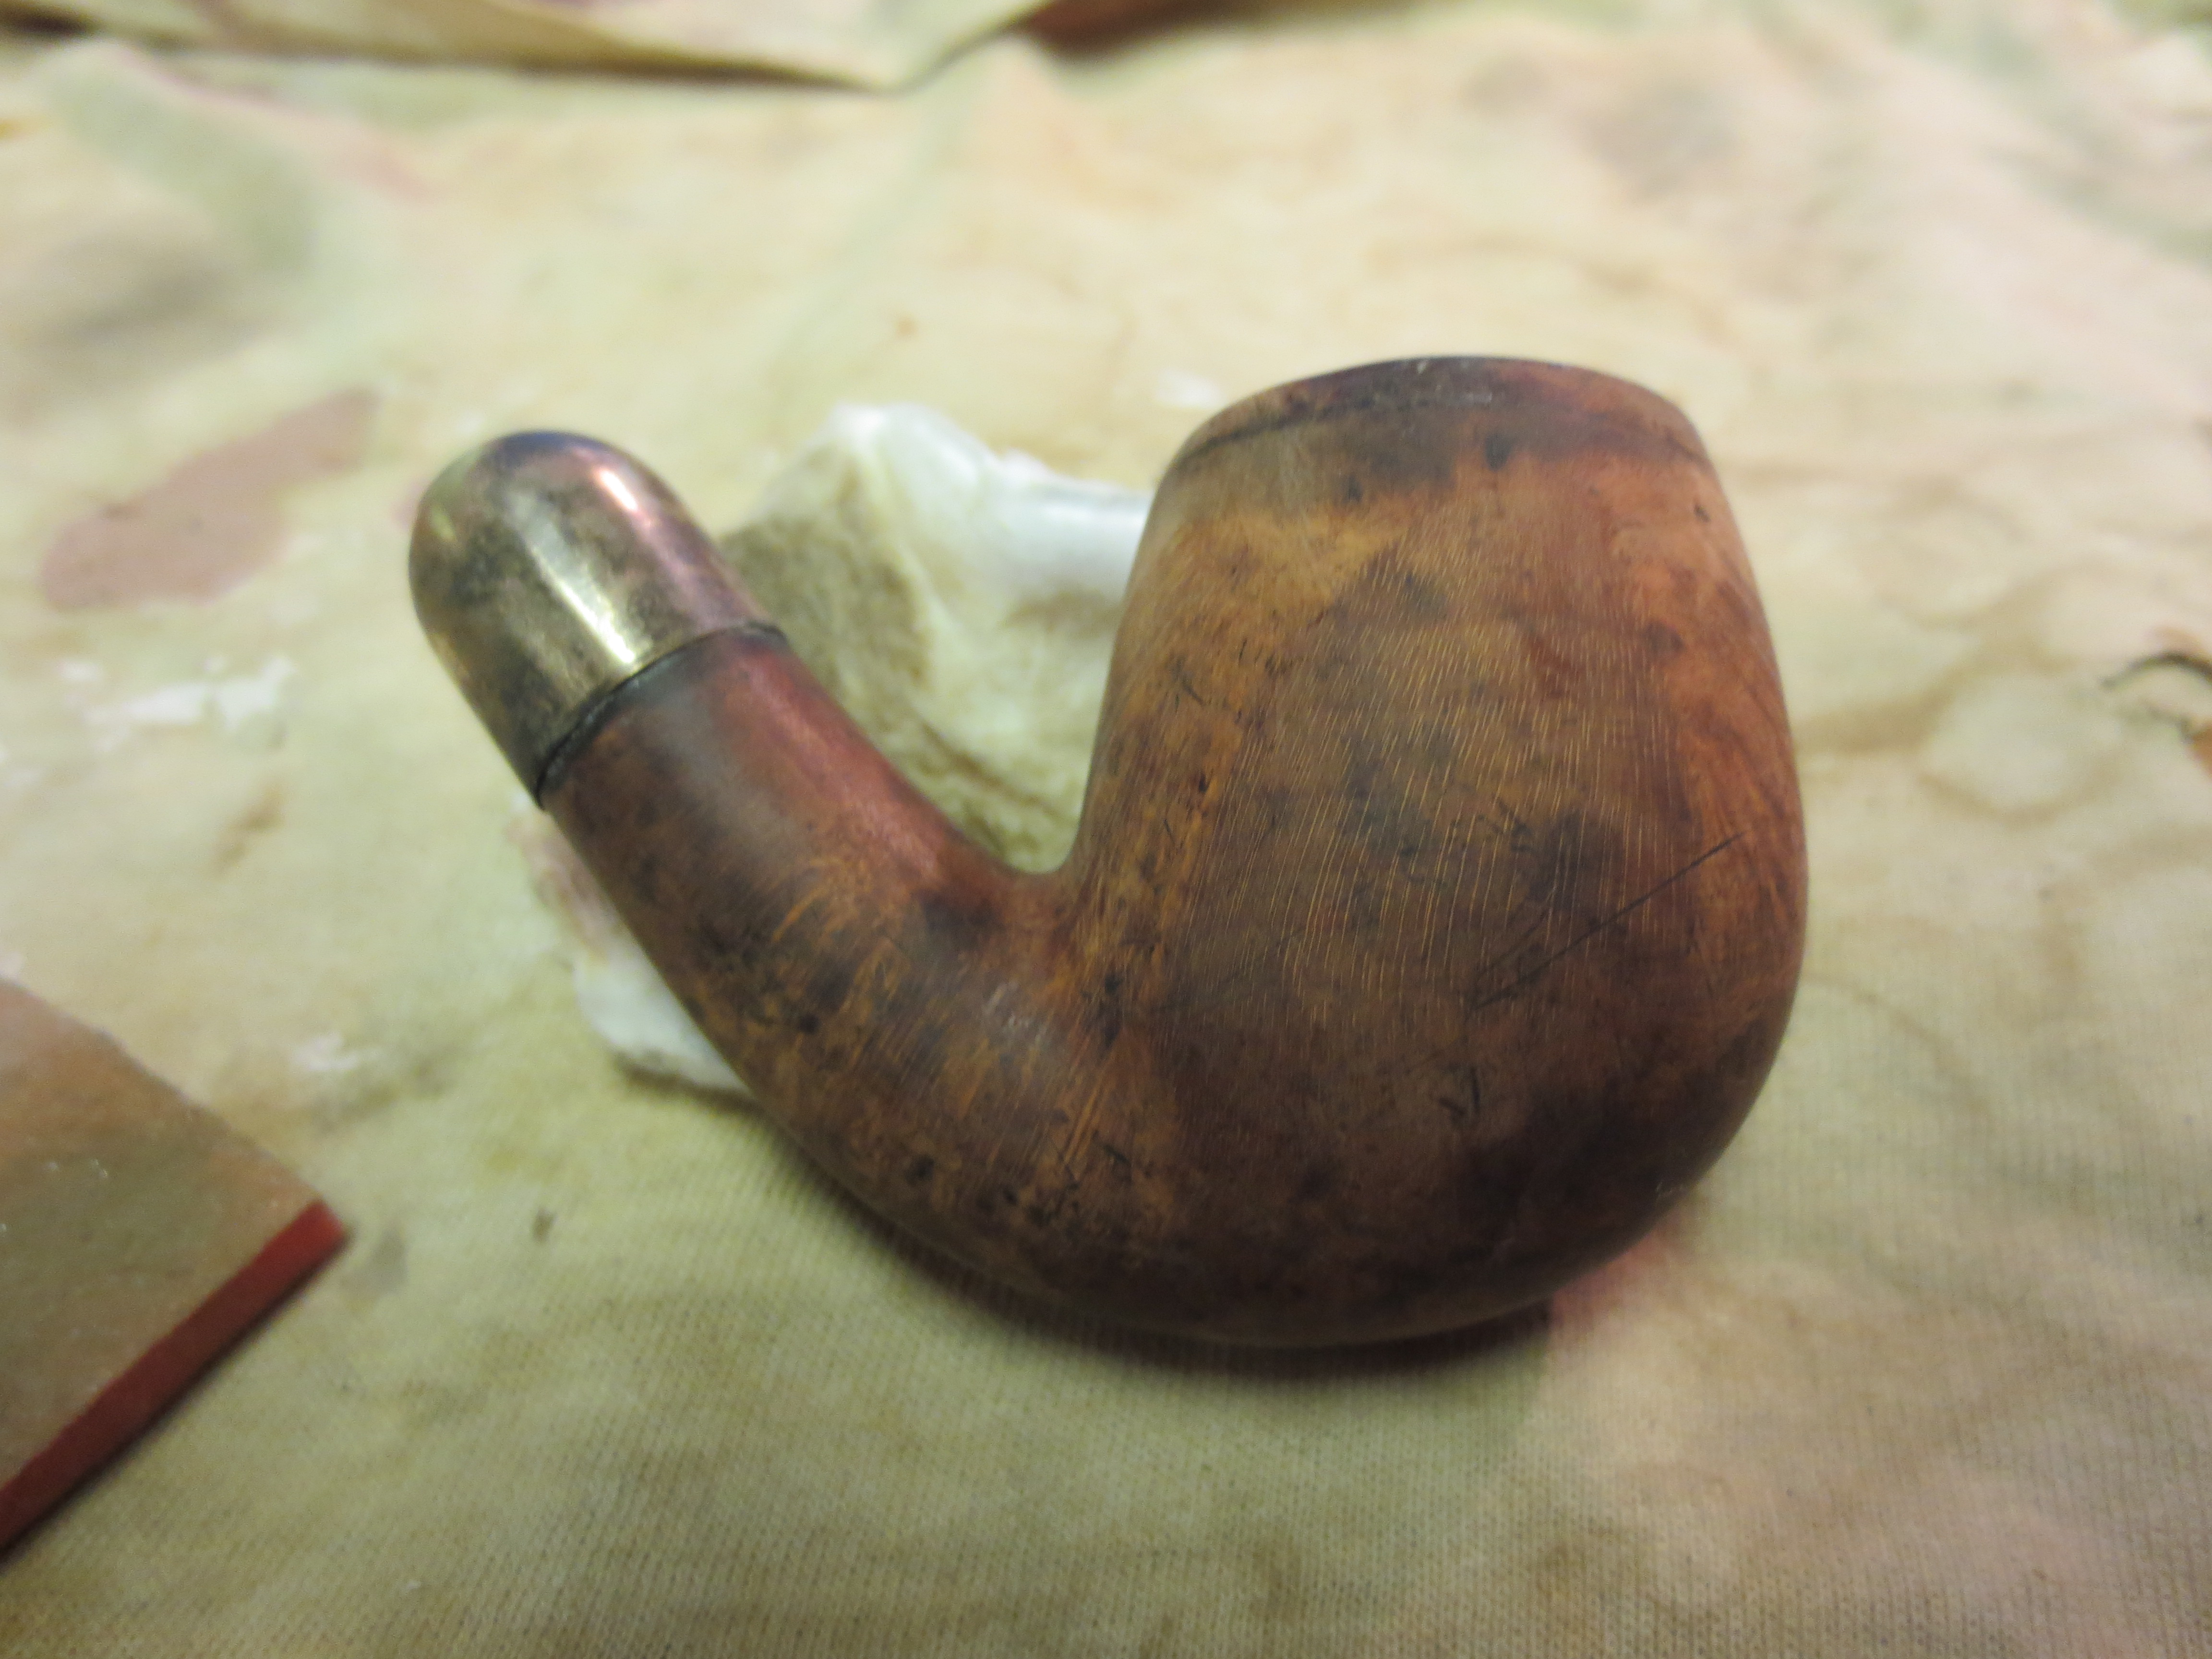
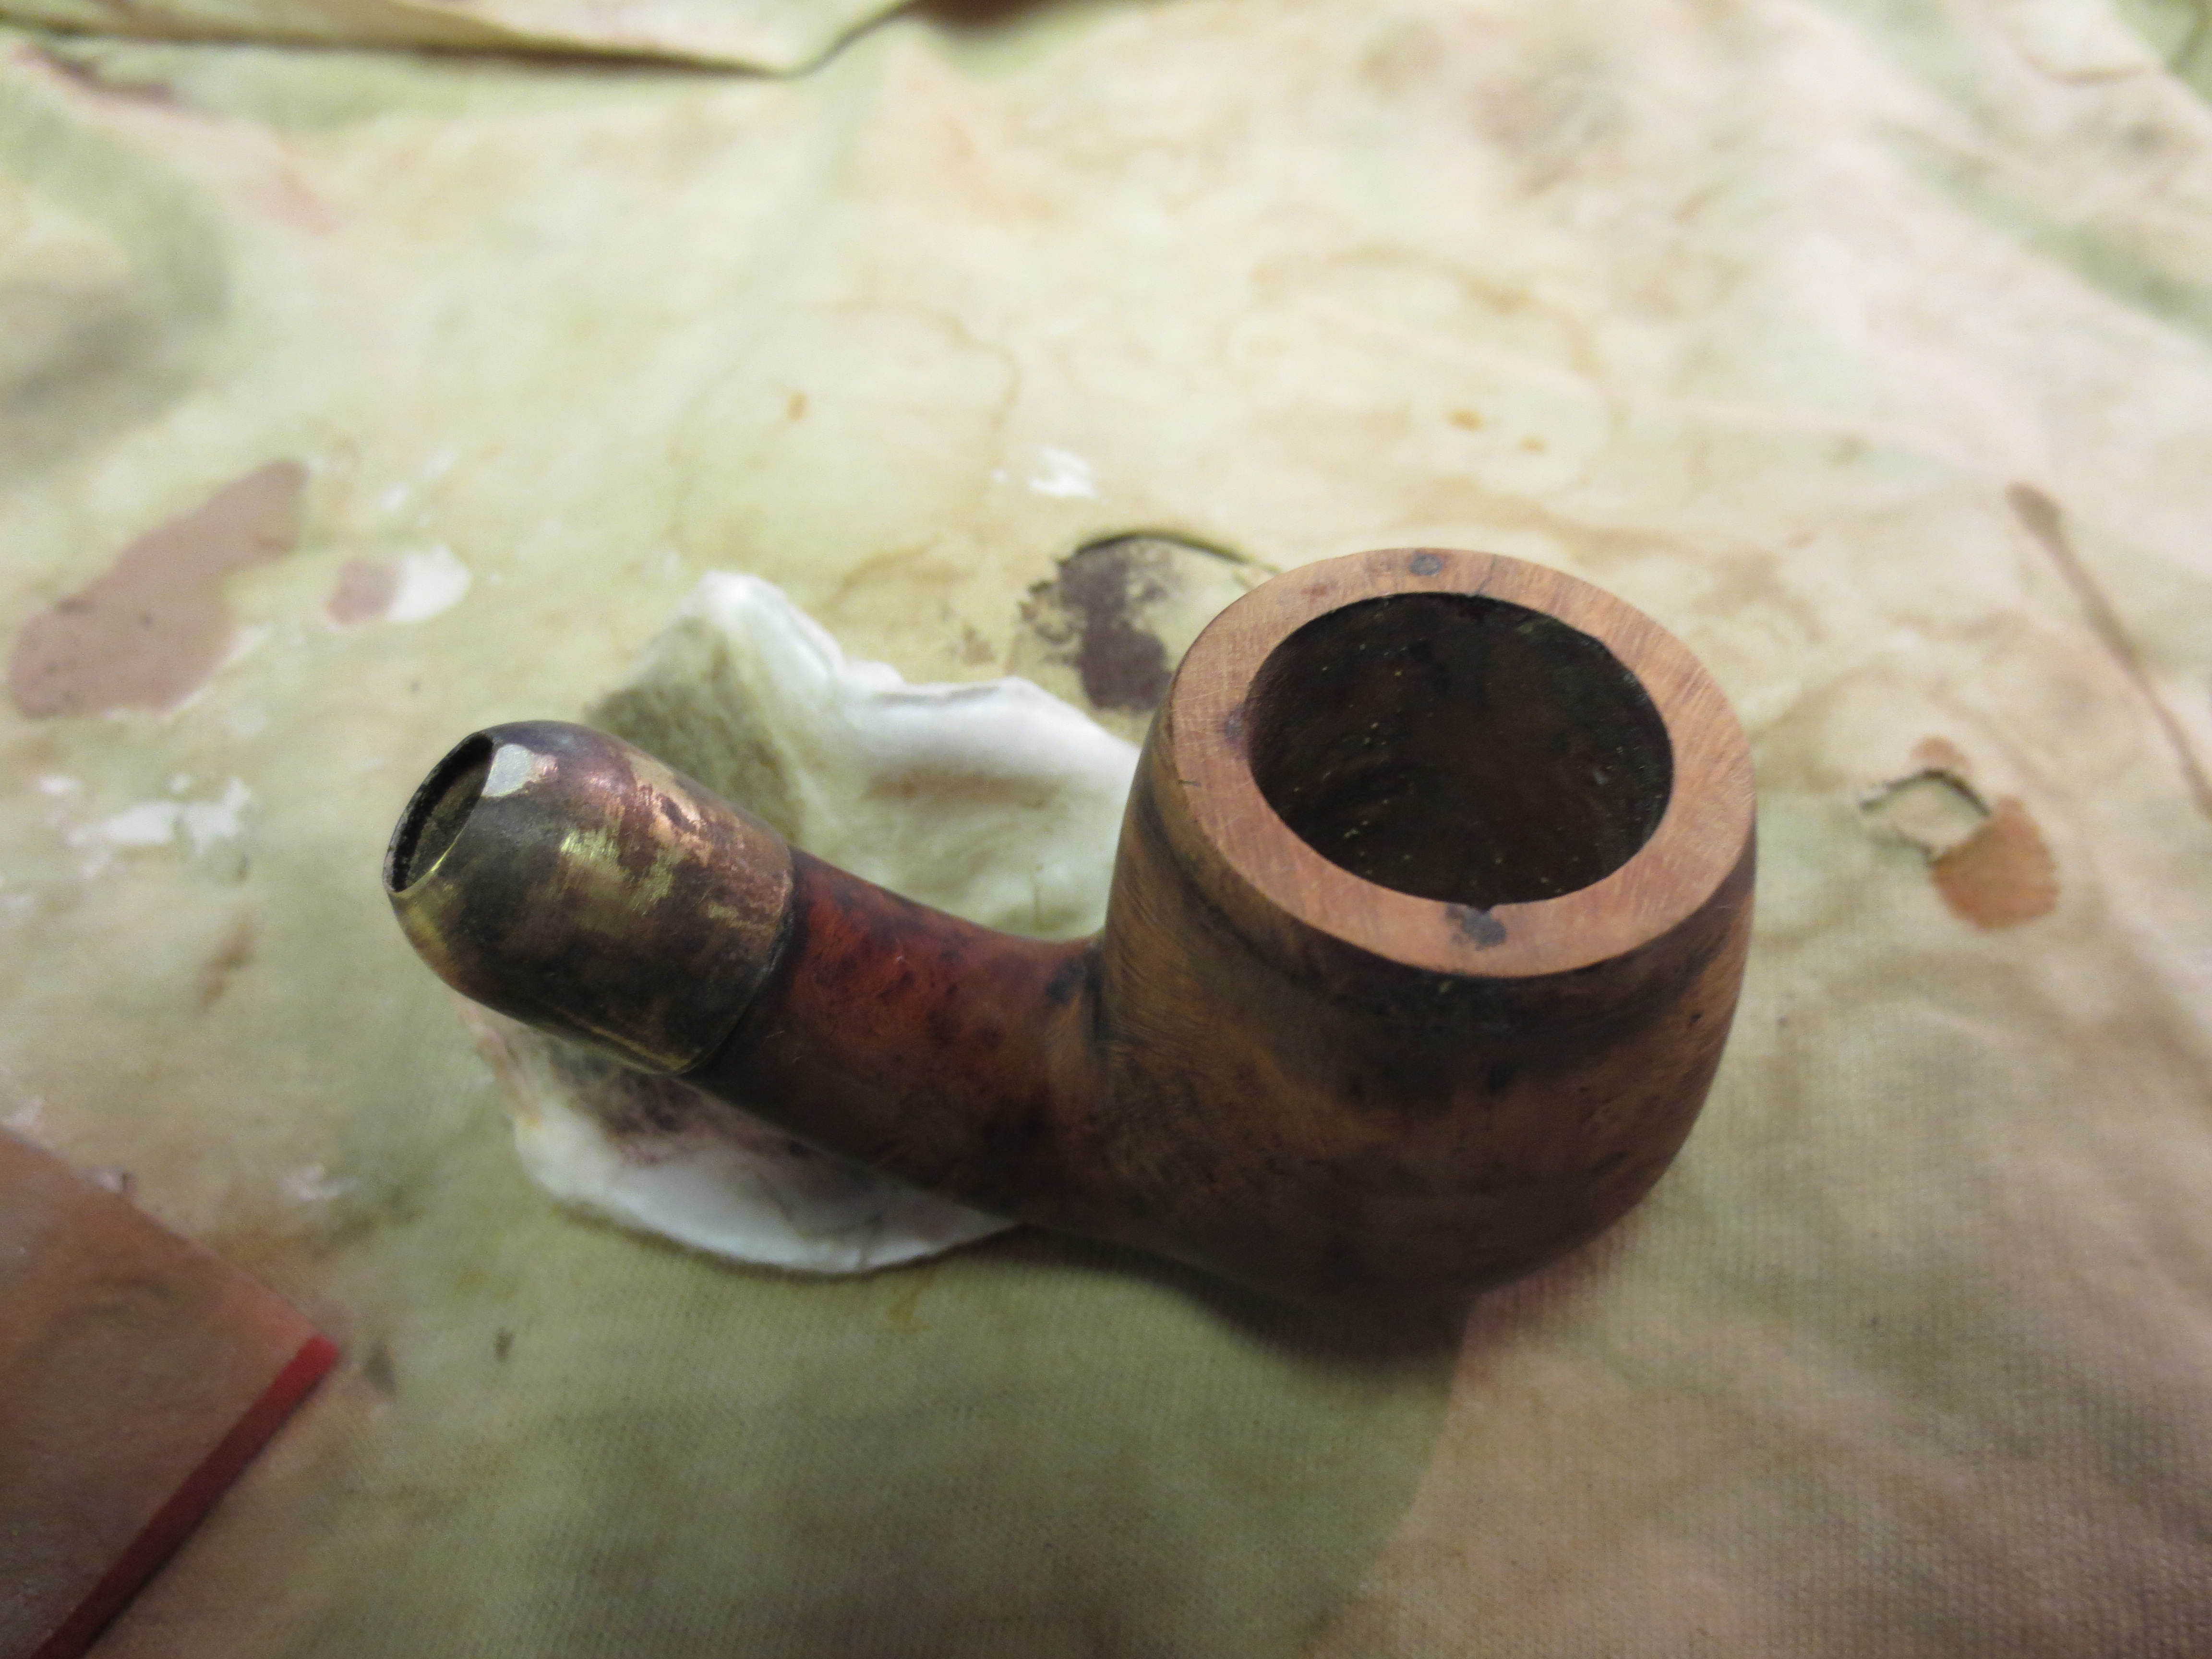
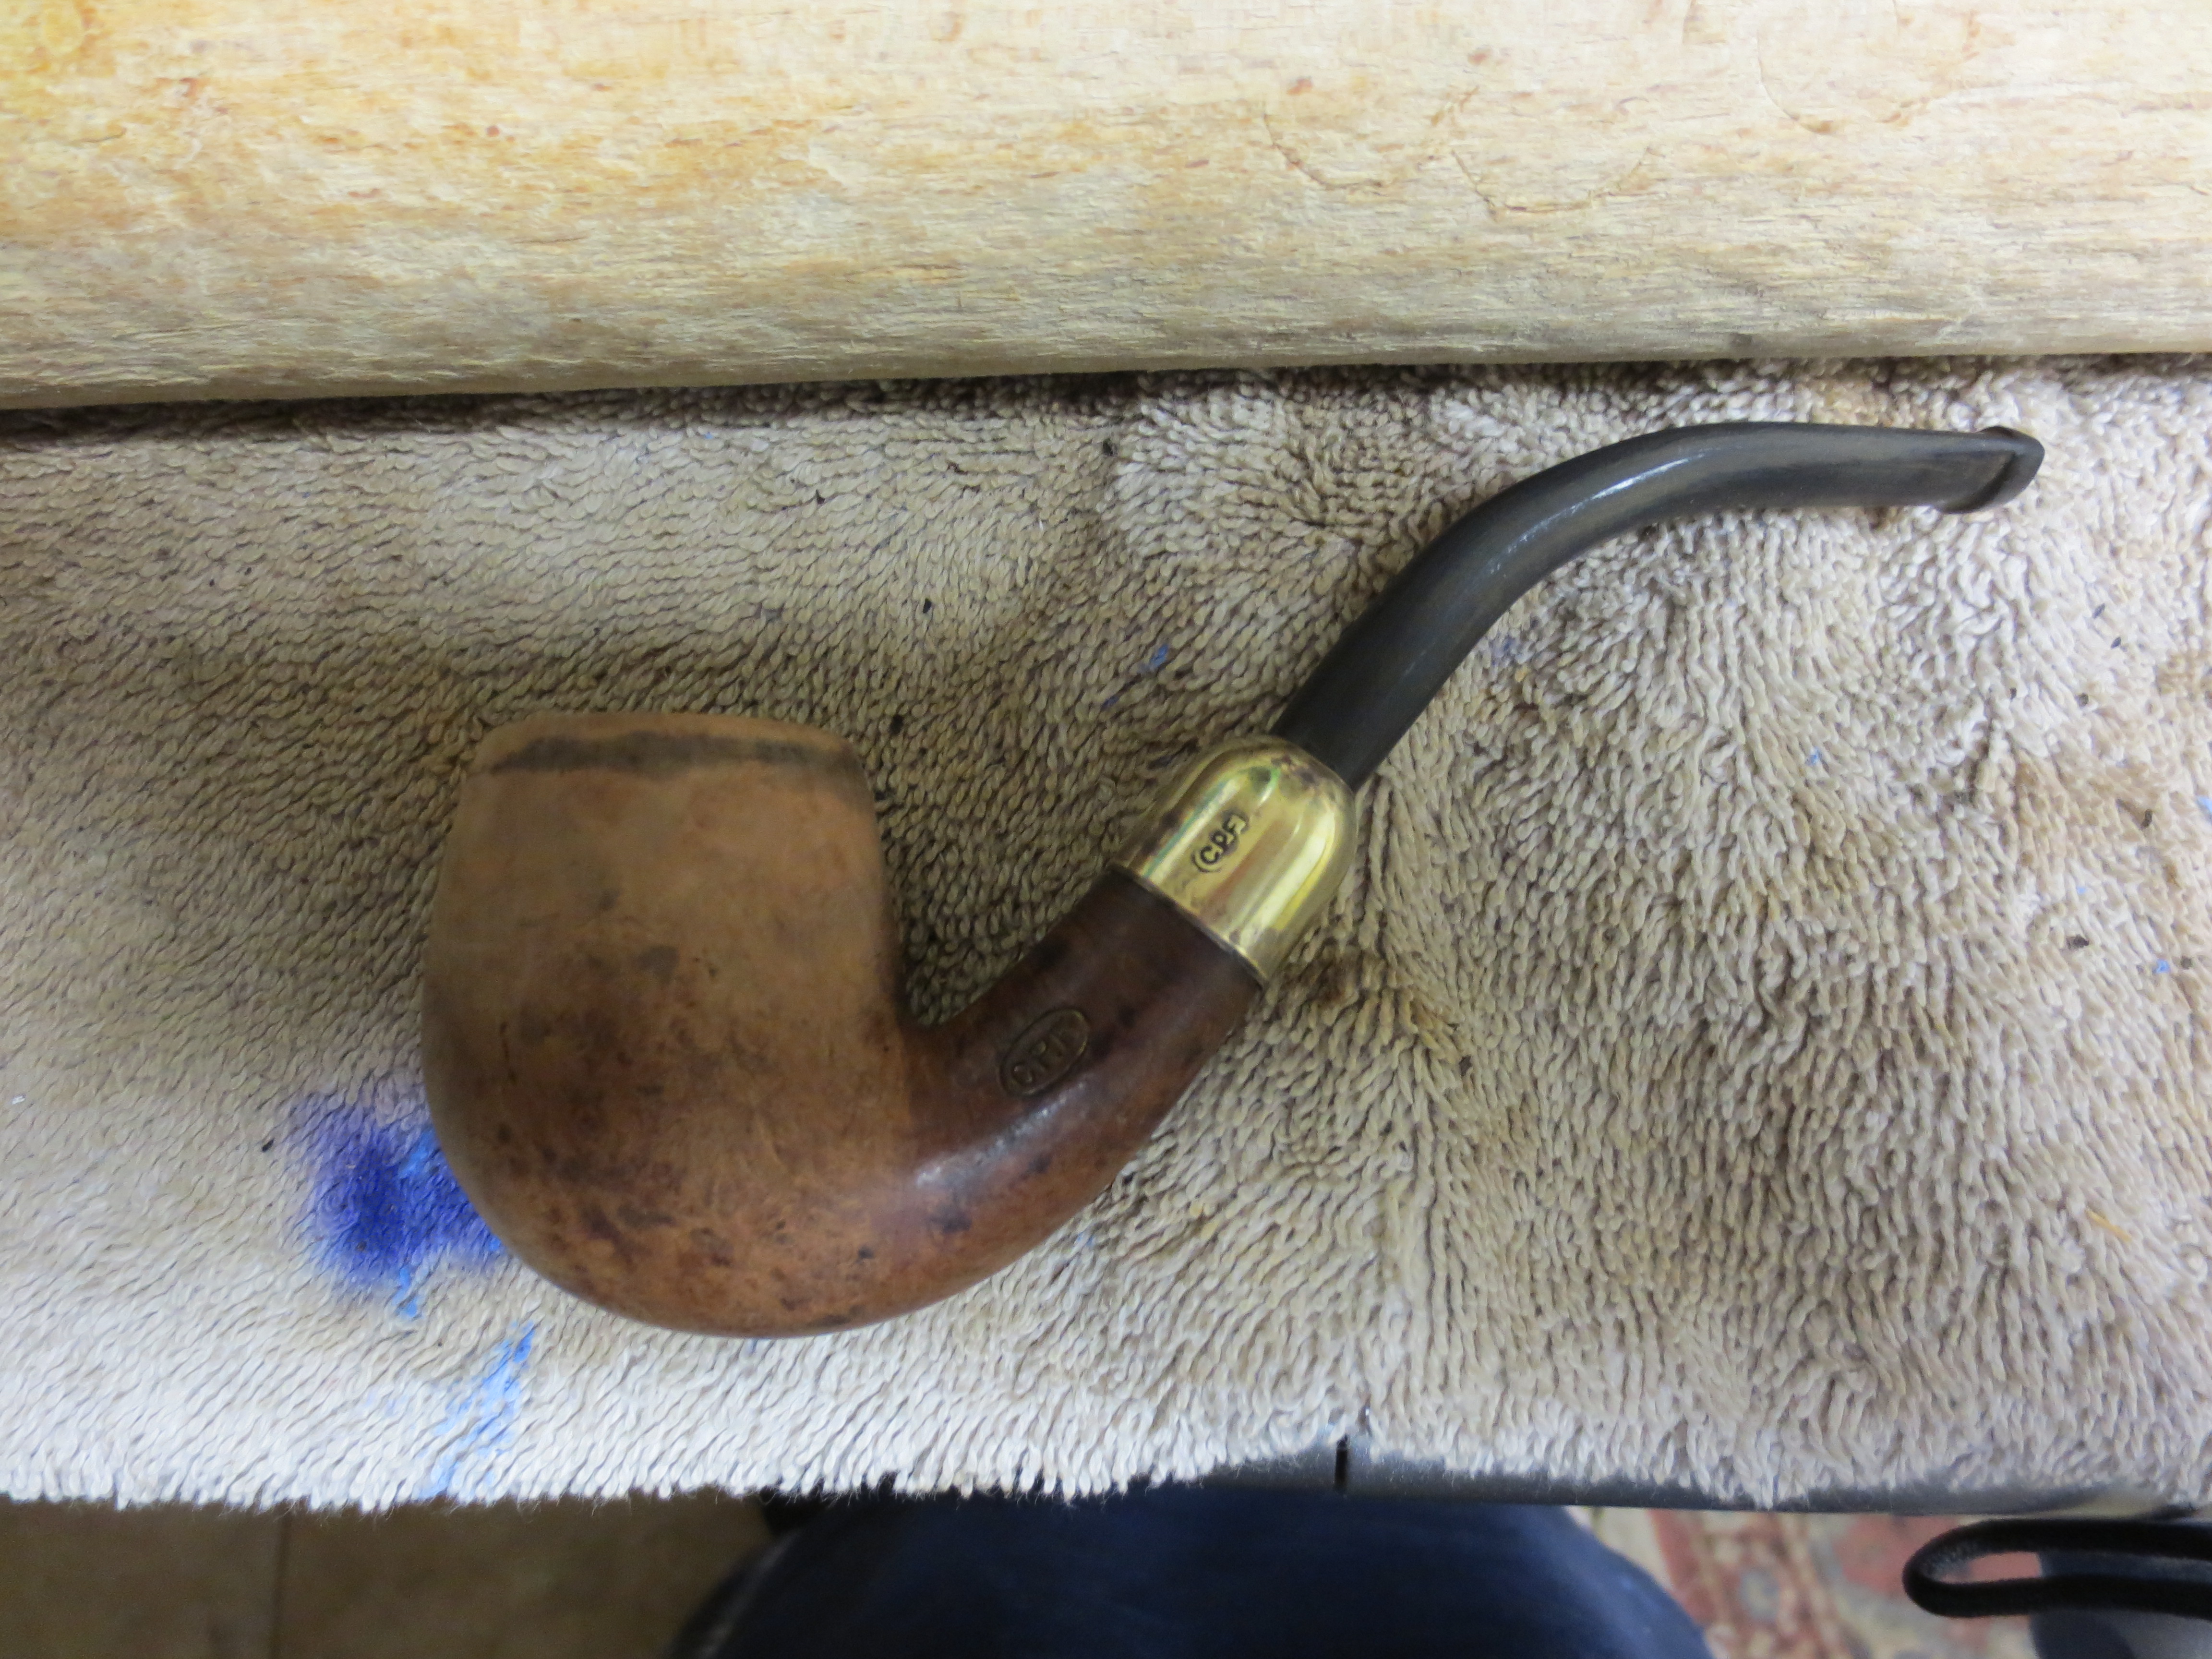
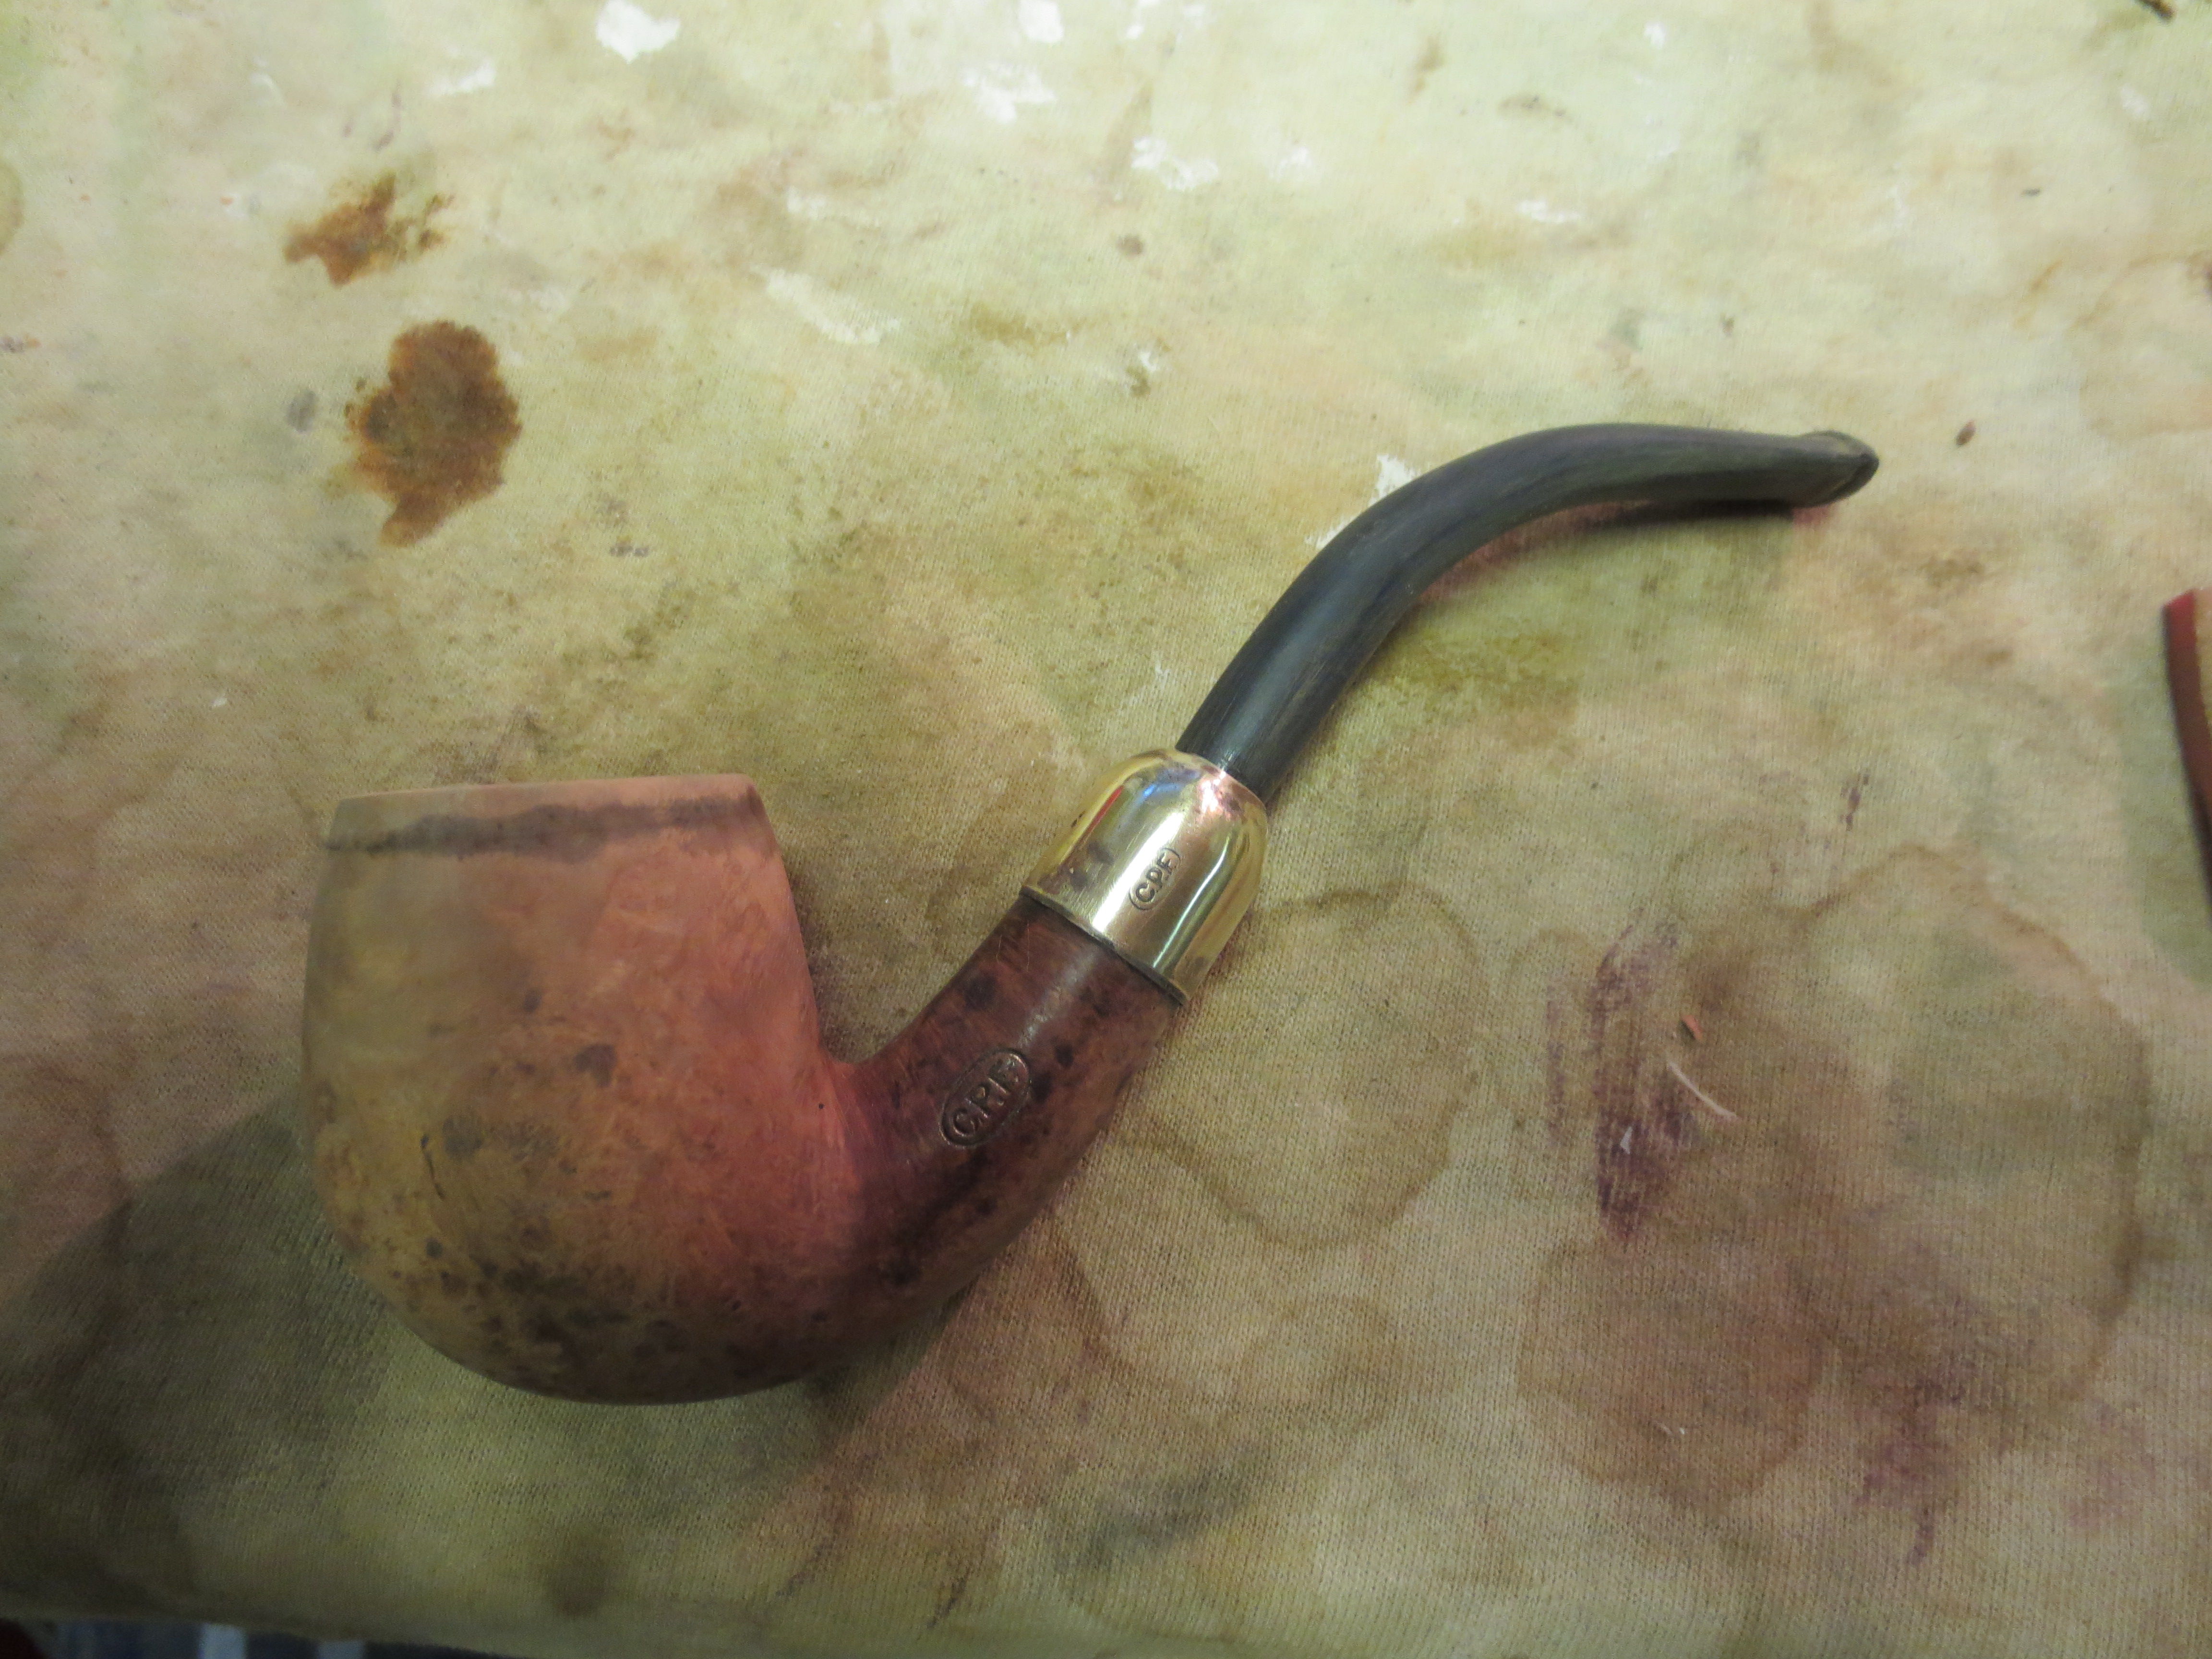
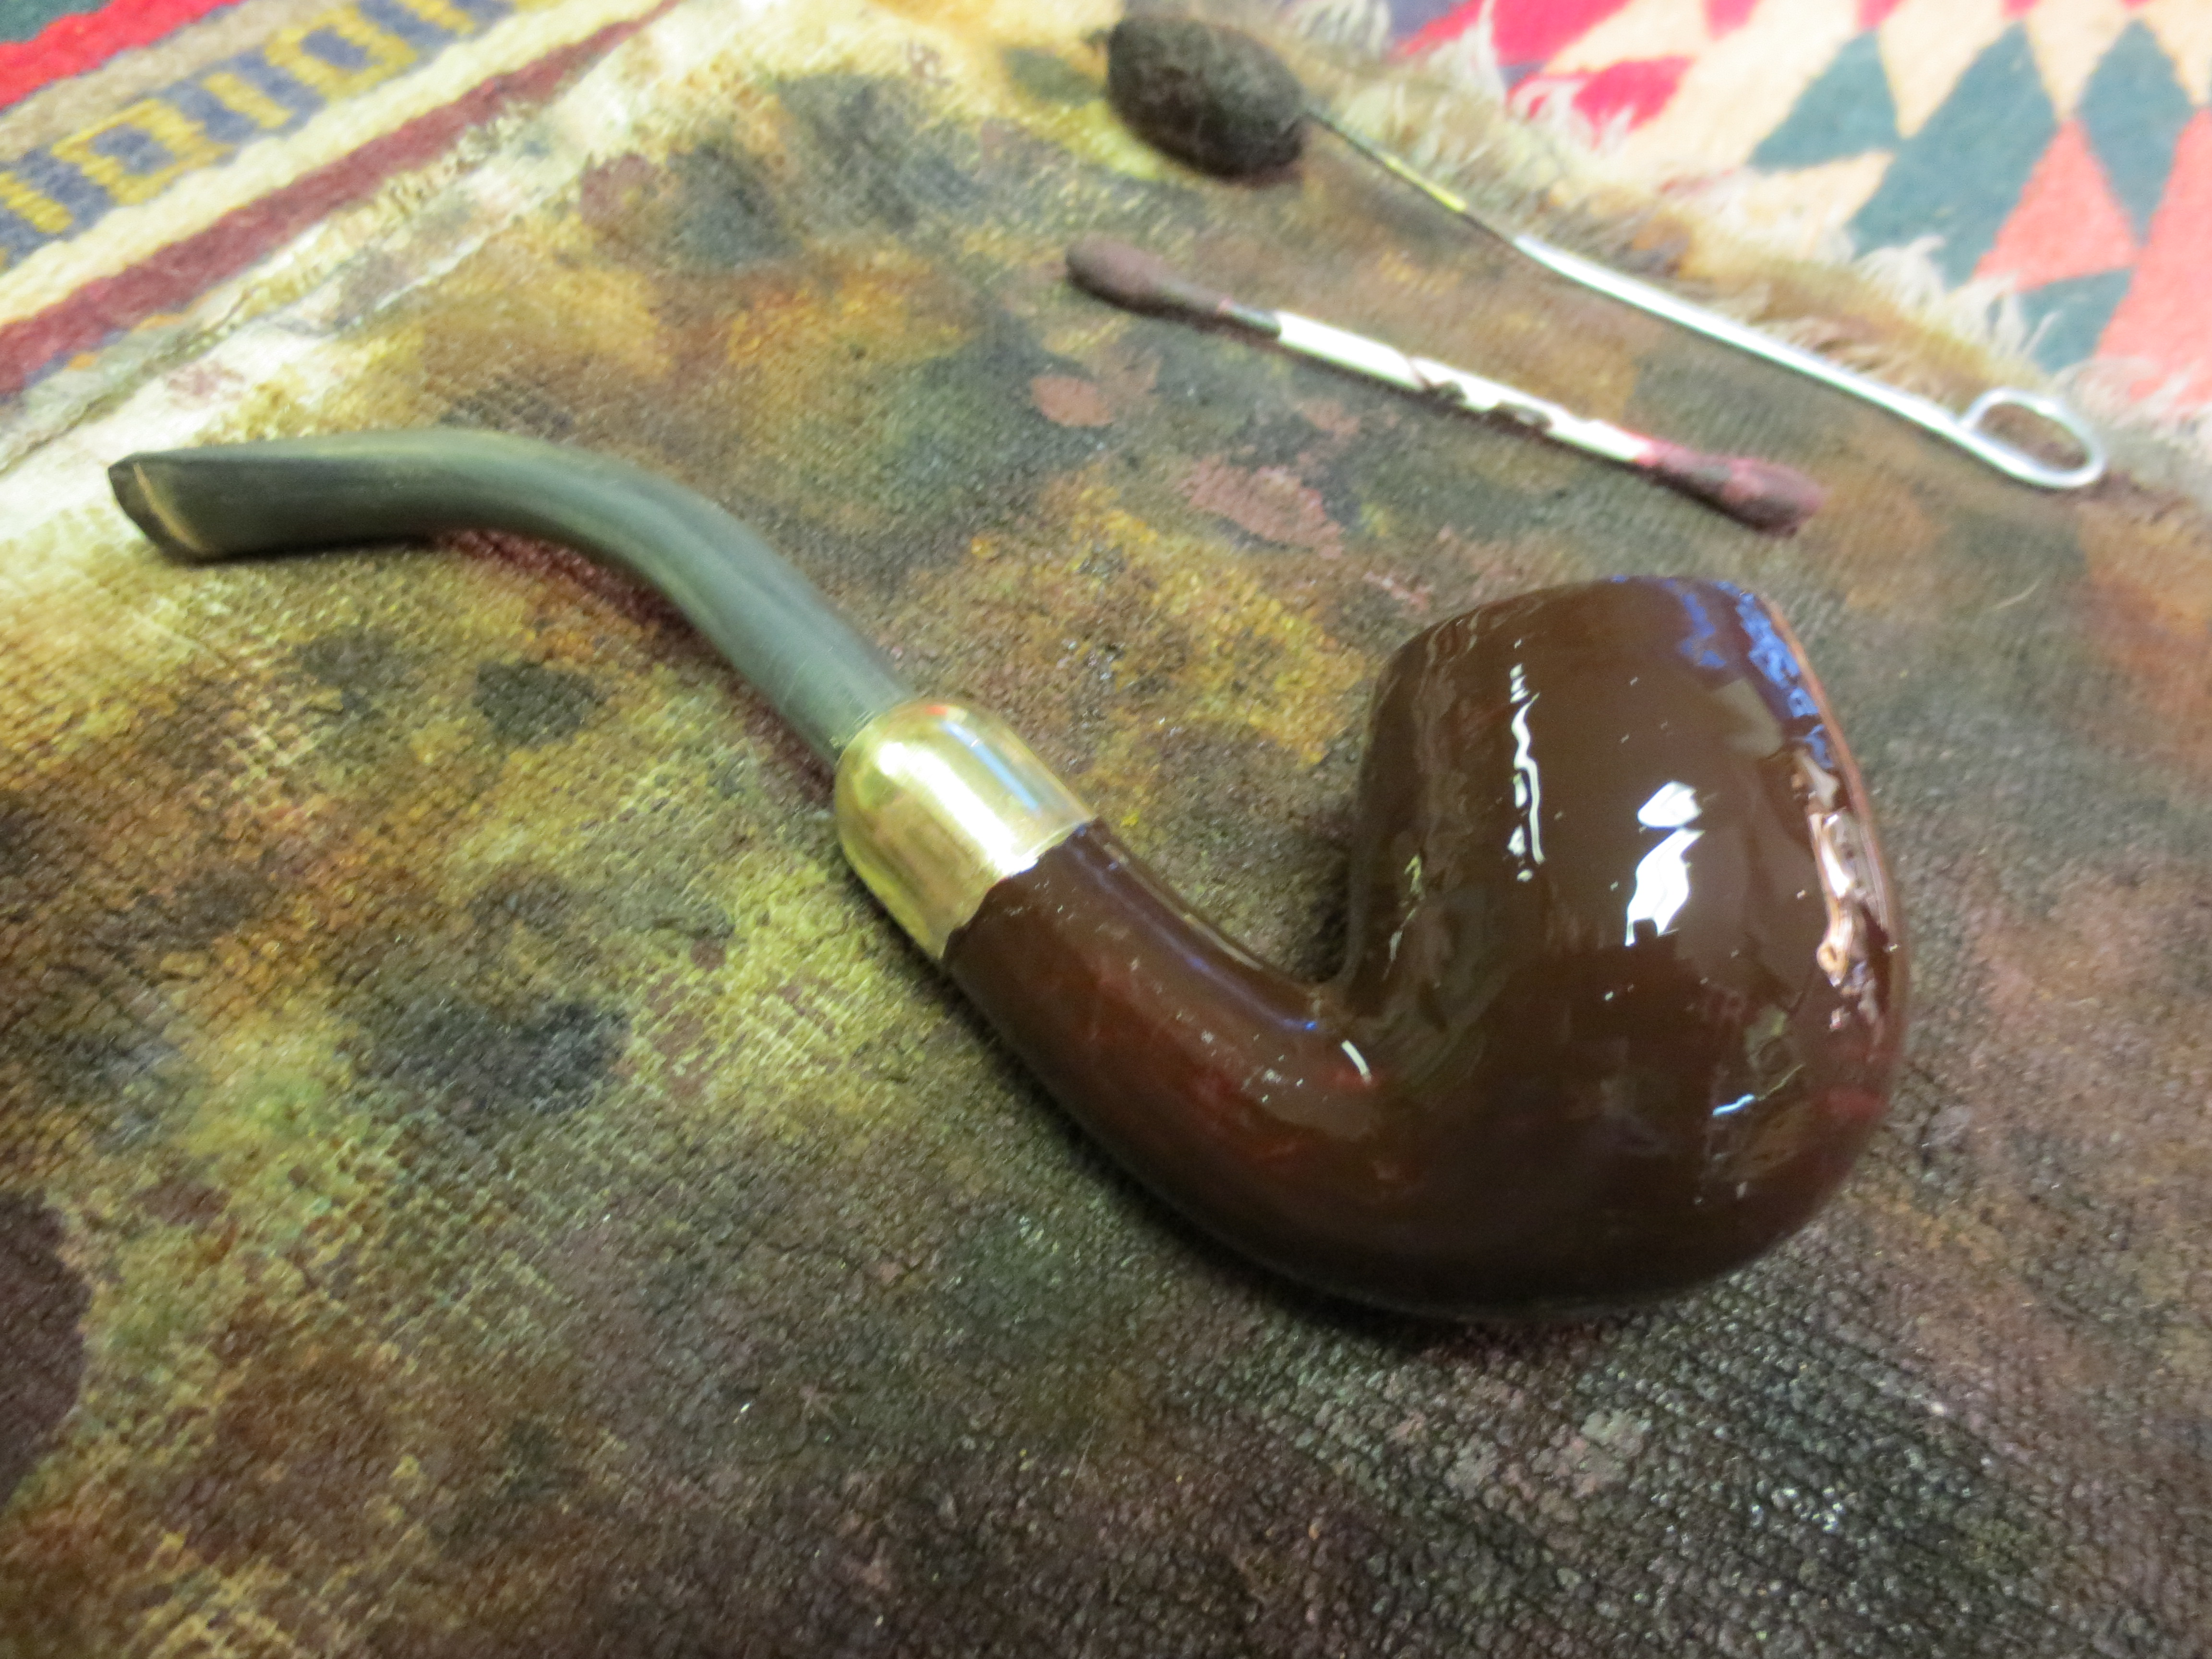
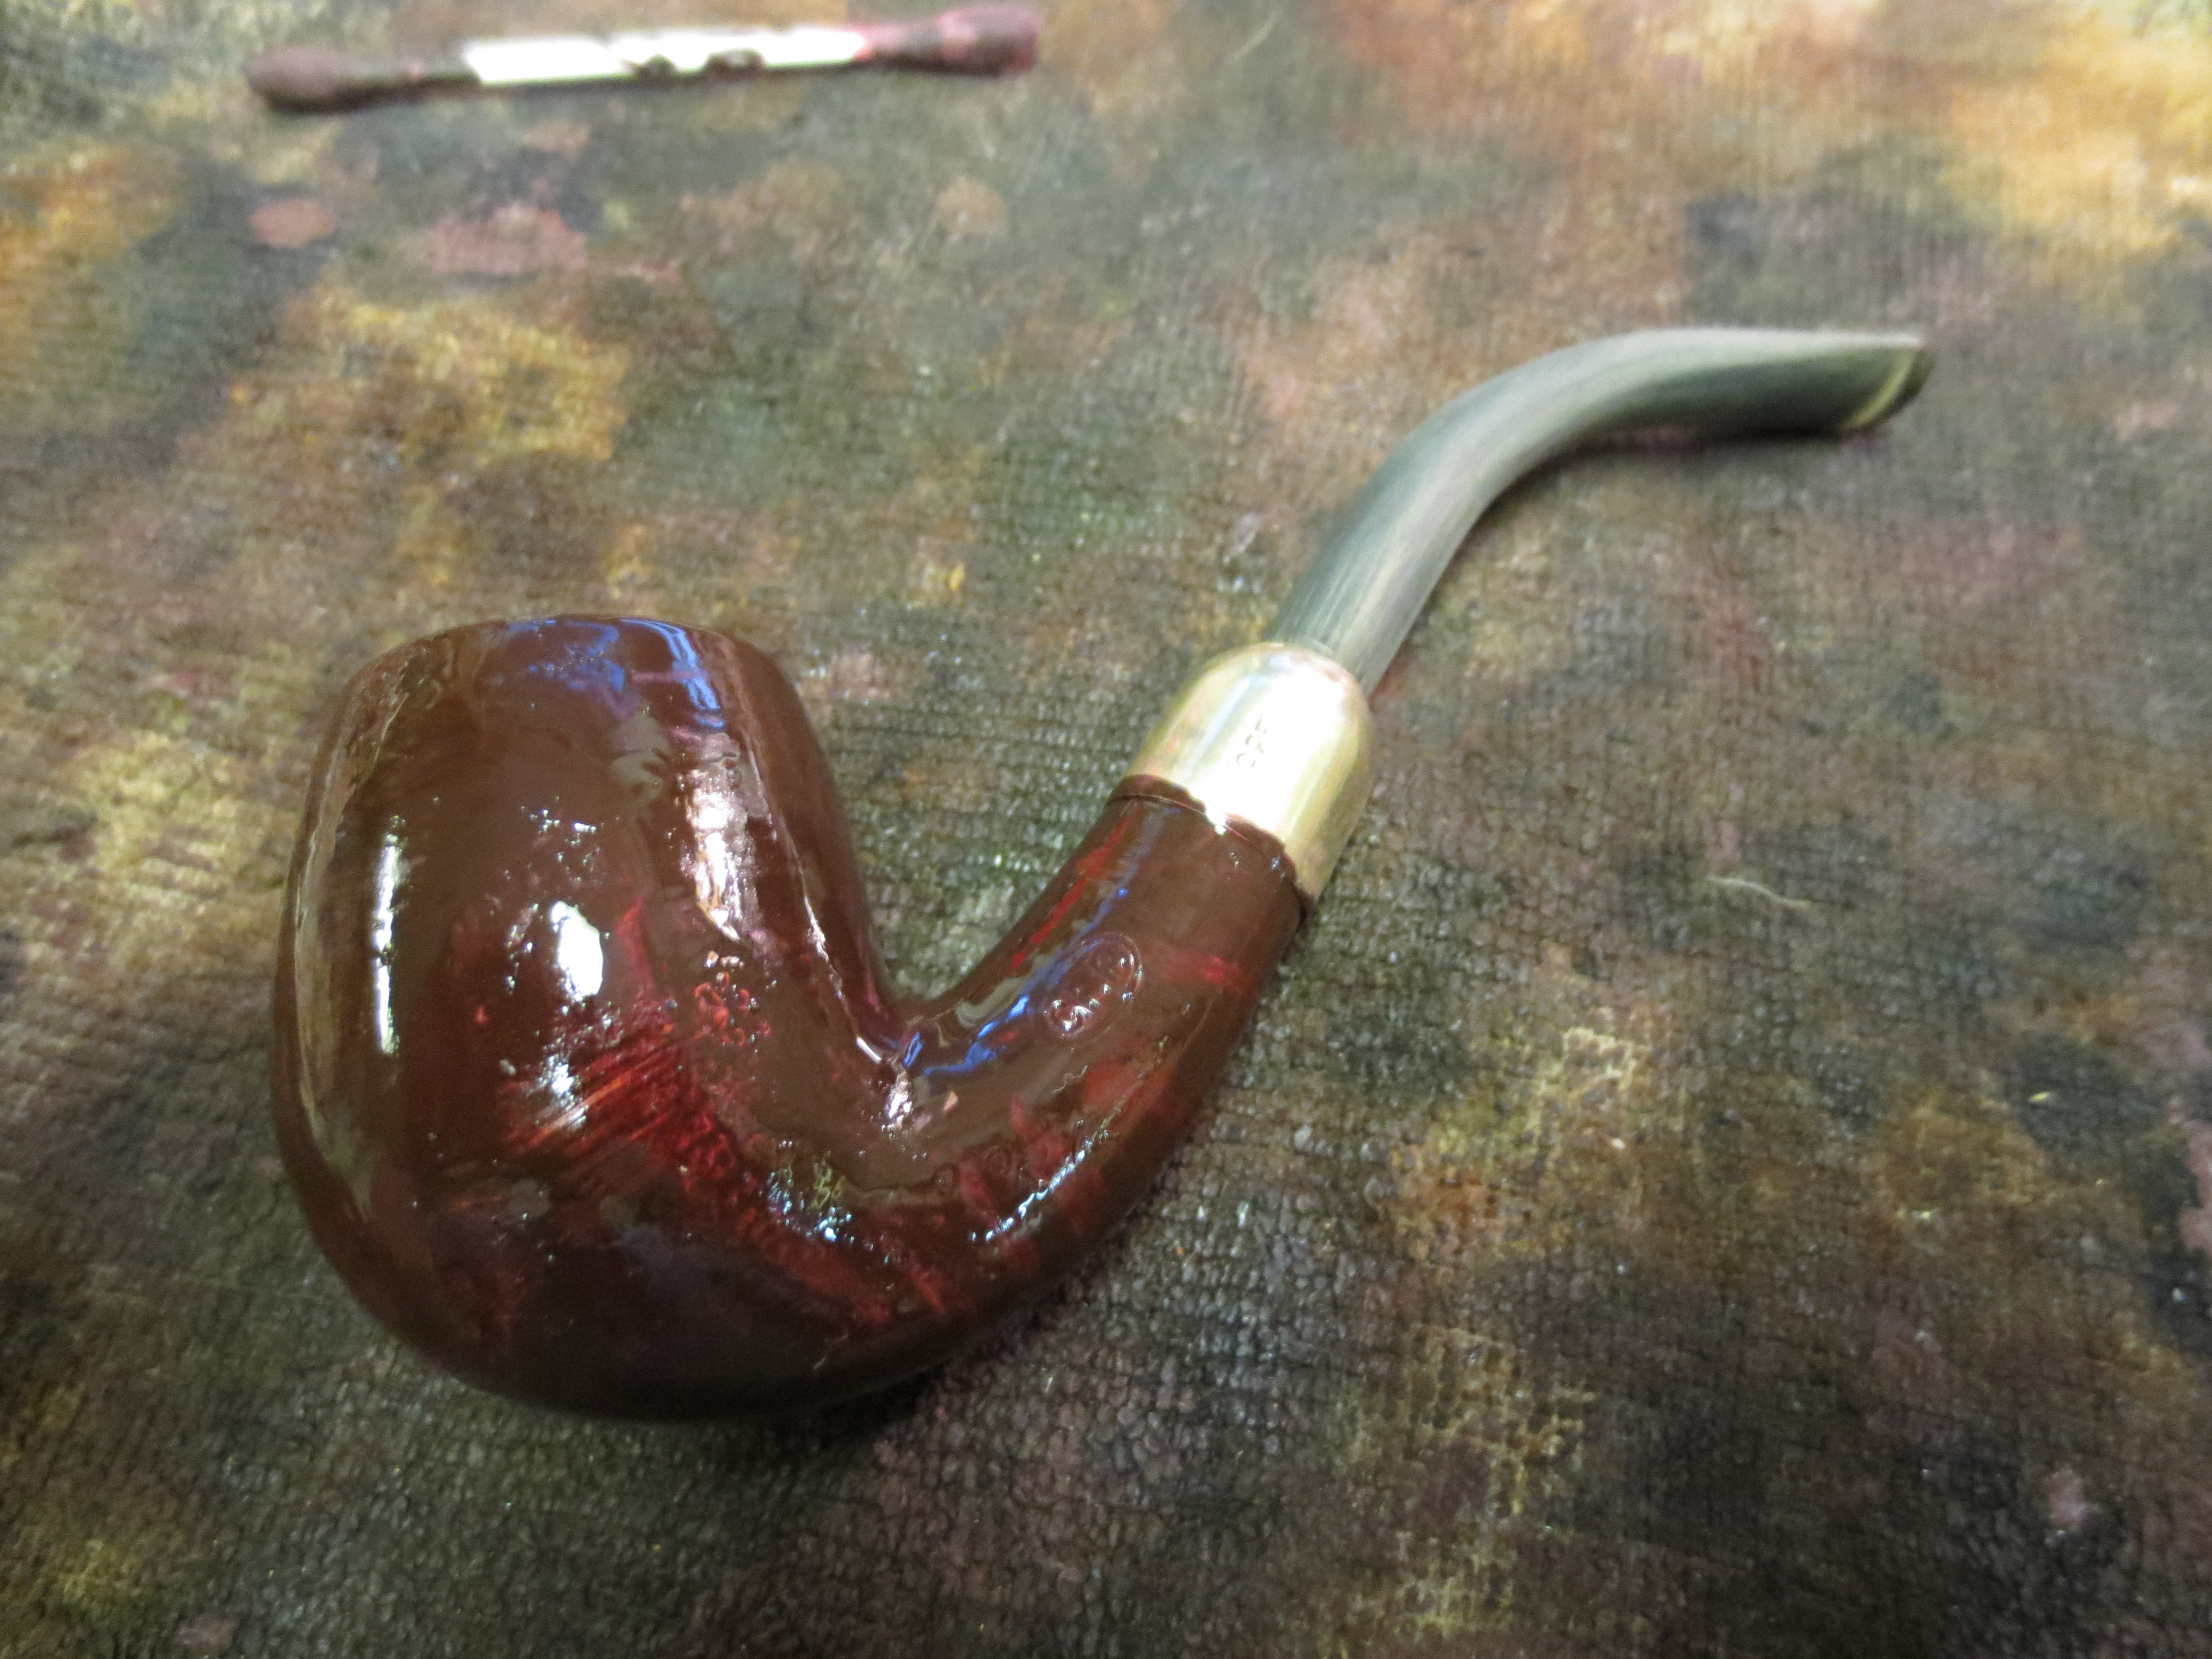
This is the second CPF pipe bowl that was in the lot from EBay. It is a billiard and it was in very rough shape at first glance. It is an old timer. The rim cover and the band were badly oxidized to the point of being crusty with oxidation and a greenish hue. They were also rough to the touch which led me to believe that they were pitted underneath all of the oxidation. It came stemless but I found a stem of the proper age in my can of stems. The finish was rough but there were no deep dings or dents. There was a deep, almost black darkening around the bowl just under the rim cap. The darkening was such that made me think that the oxidation had oozed into the briar and would be interesting to remove from the finish. The same was true of the area around the shank cap. The rim cap originally had a hinged lid on it but that was gone. The shank cap was also loose and when I touched it, it came off. The briar underneath was thick with a reddish coloured glue but was also free of cracks or fissures. It was intact. After the initial examination I came to see that underneath the grime there was a pretty nice piece of briar. The first series of three photos shows the state of the pipe when I took it to my work bench to begin working late yesterday afternoon.

ImageImageImage

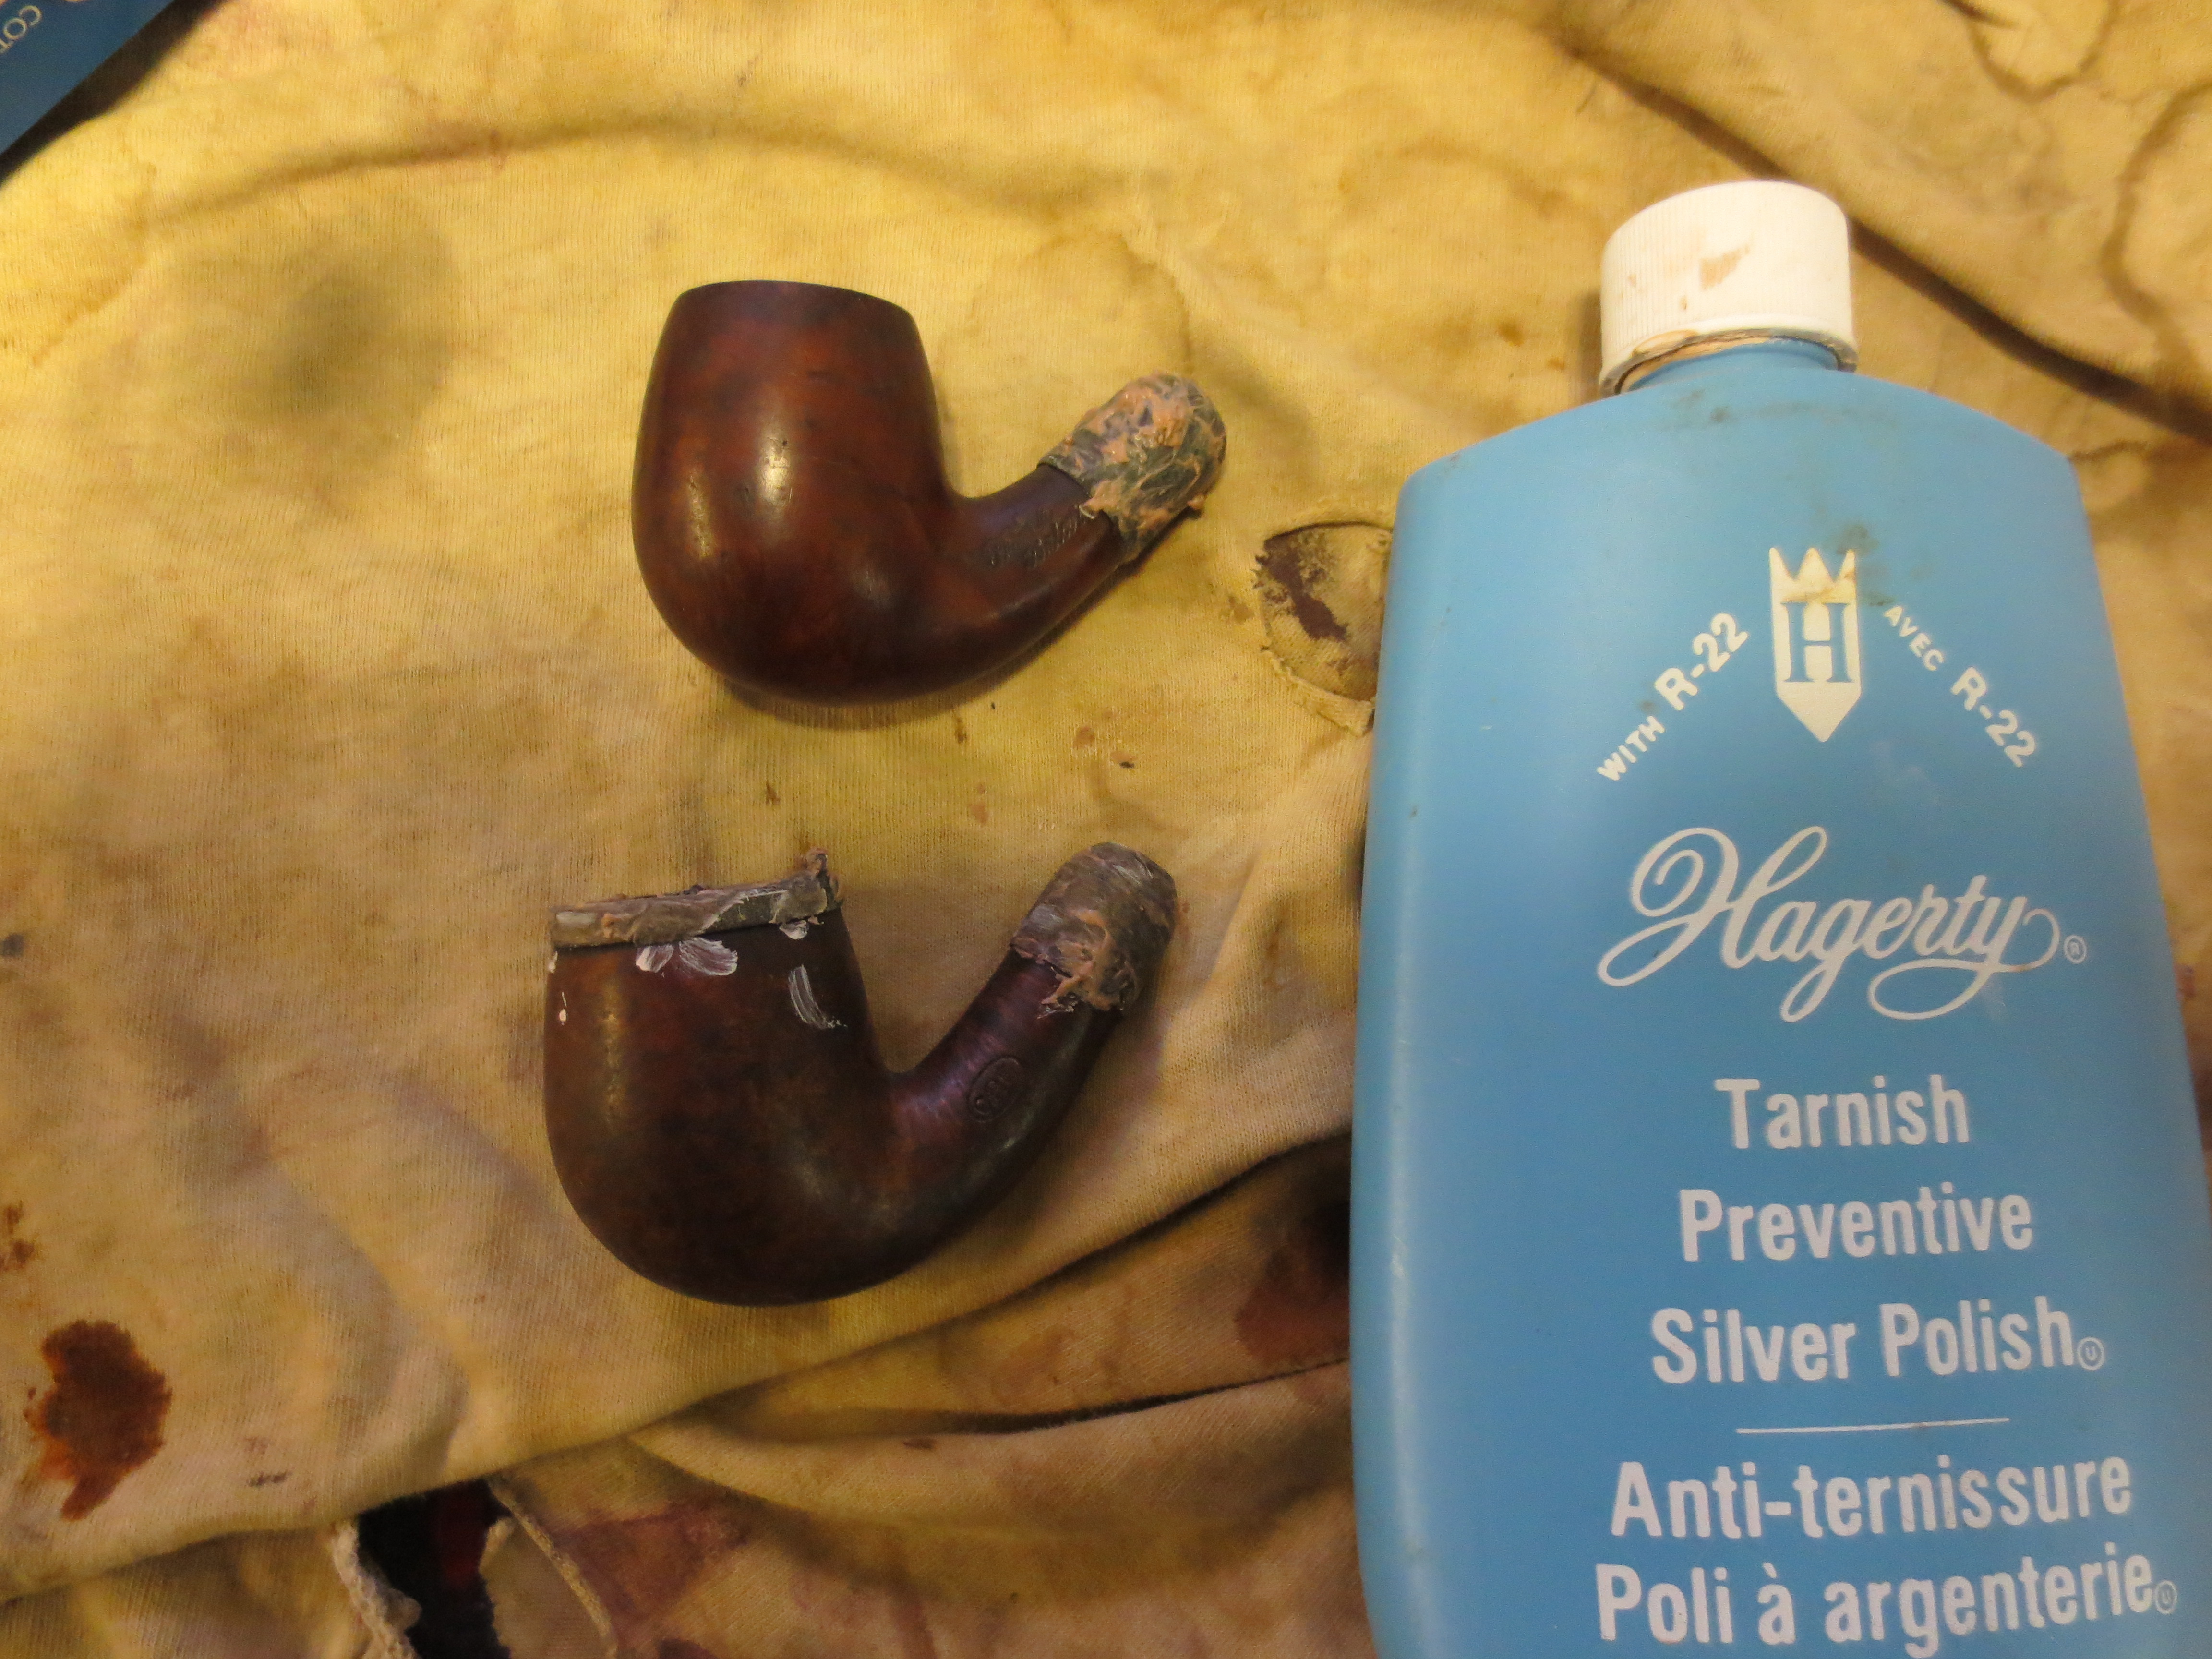
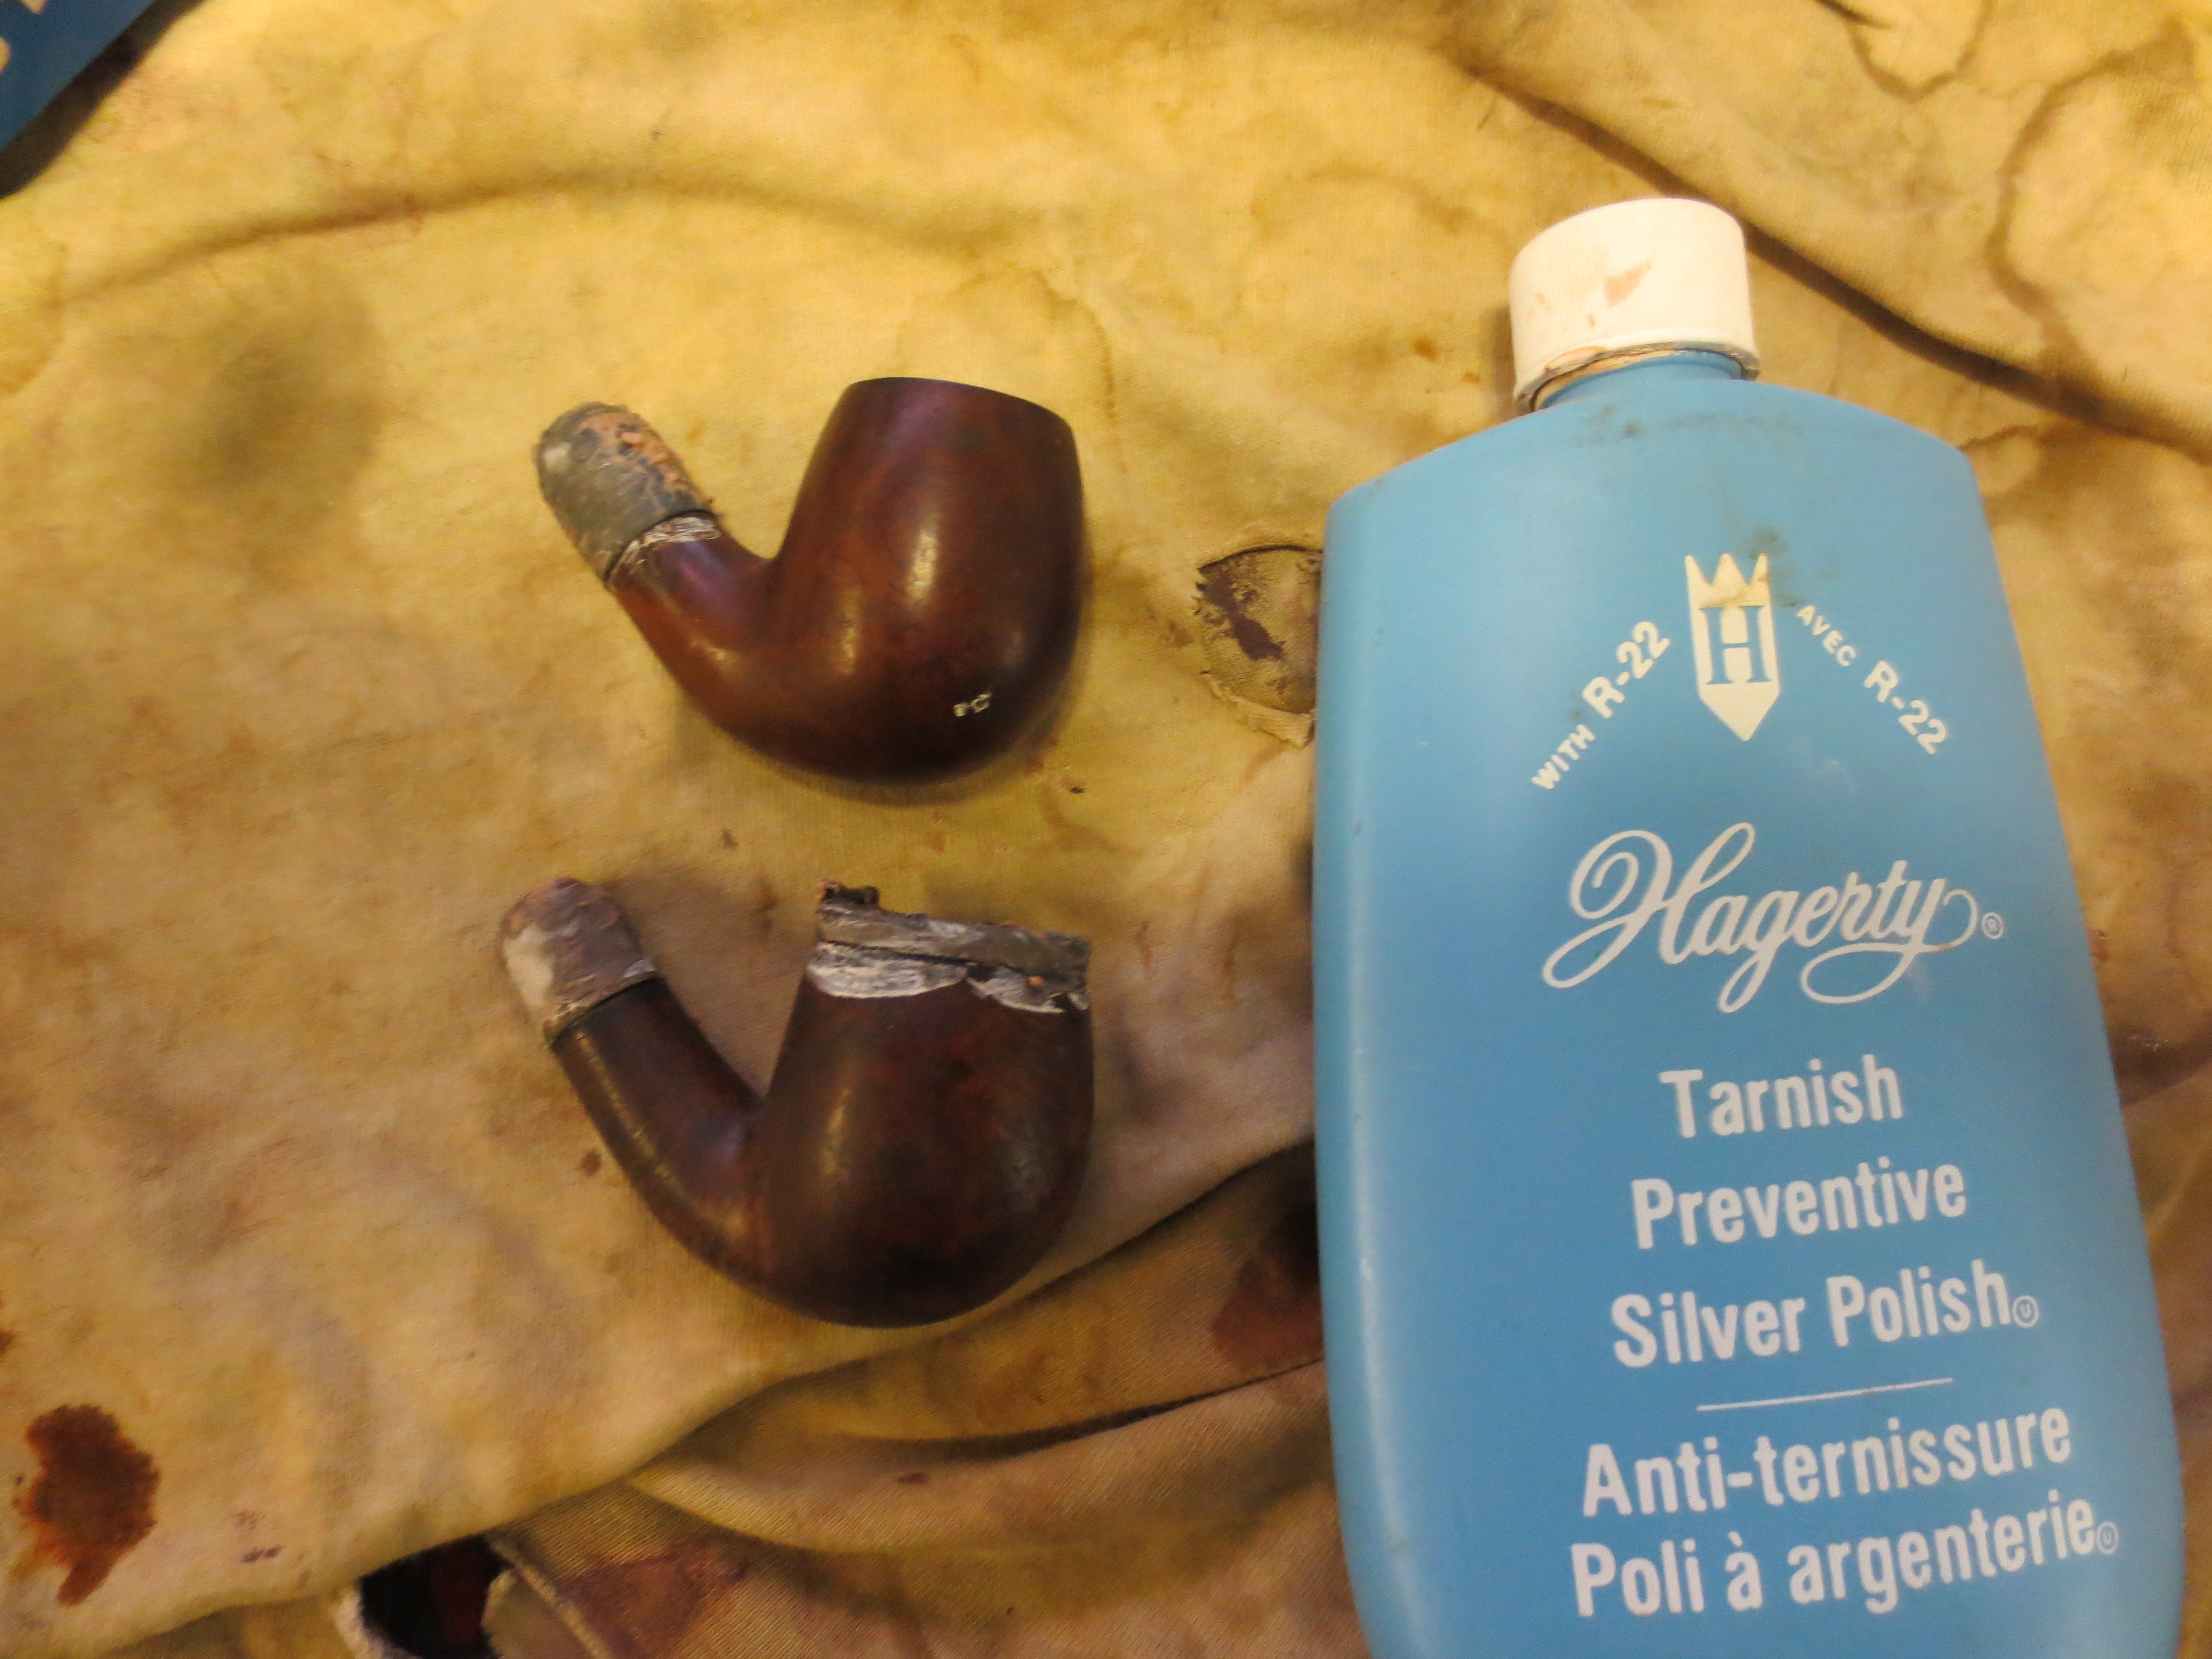
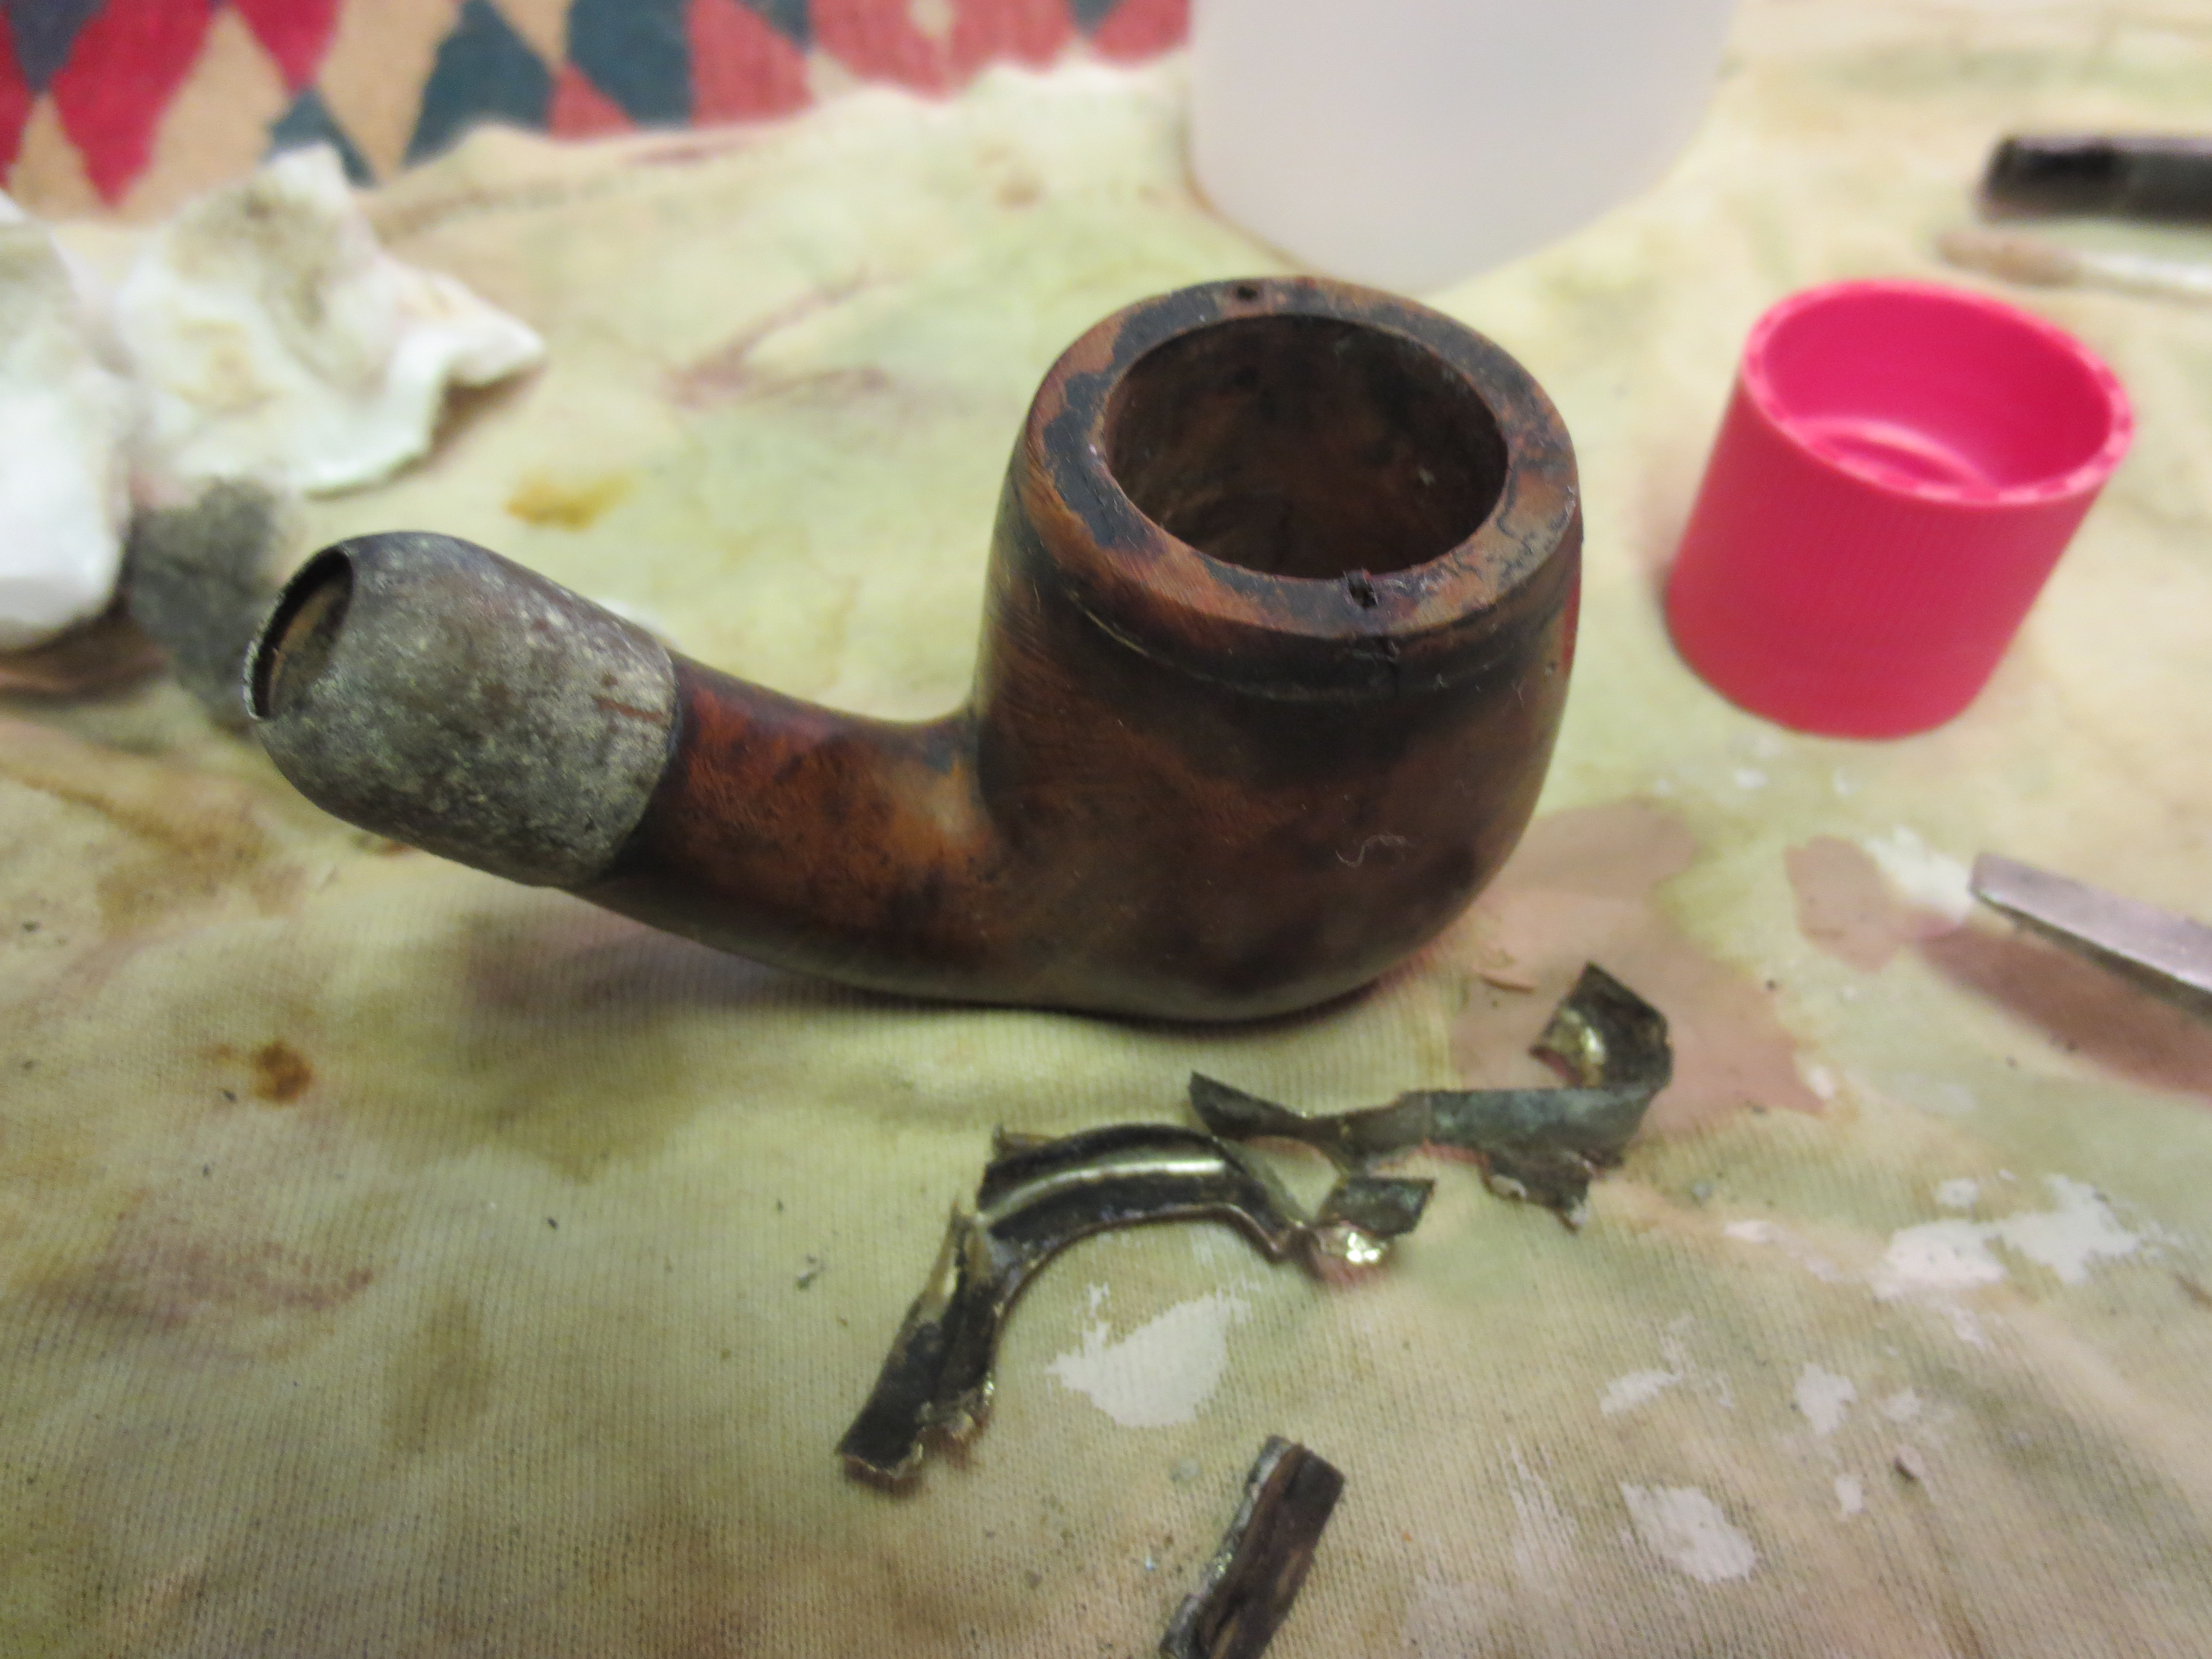
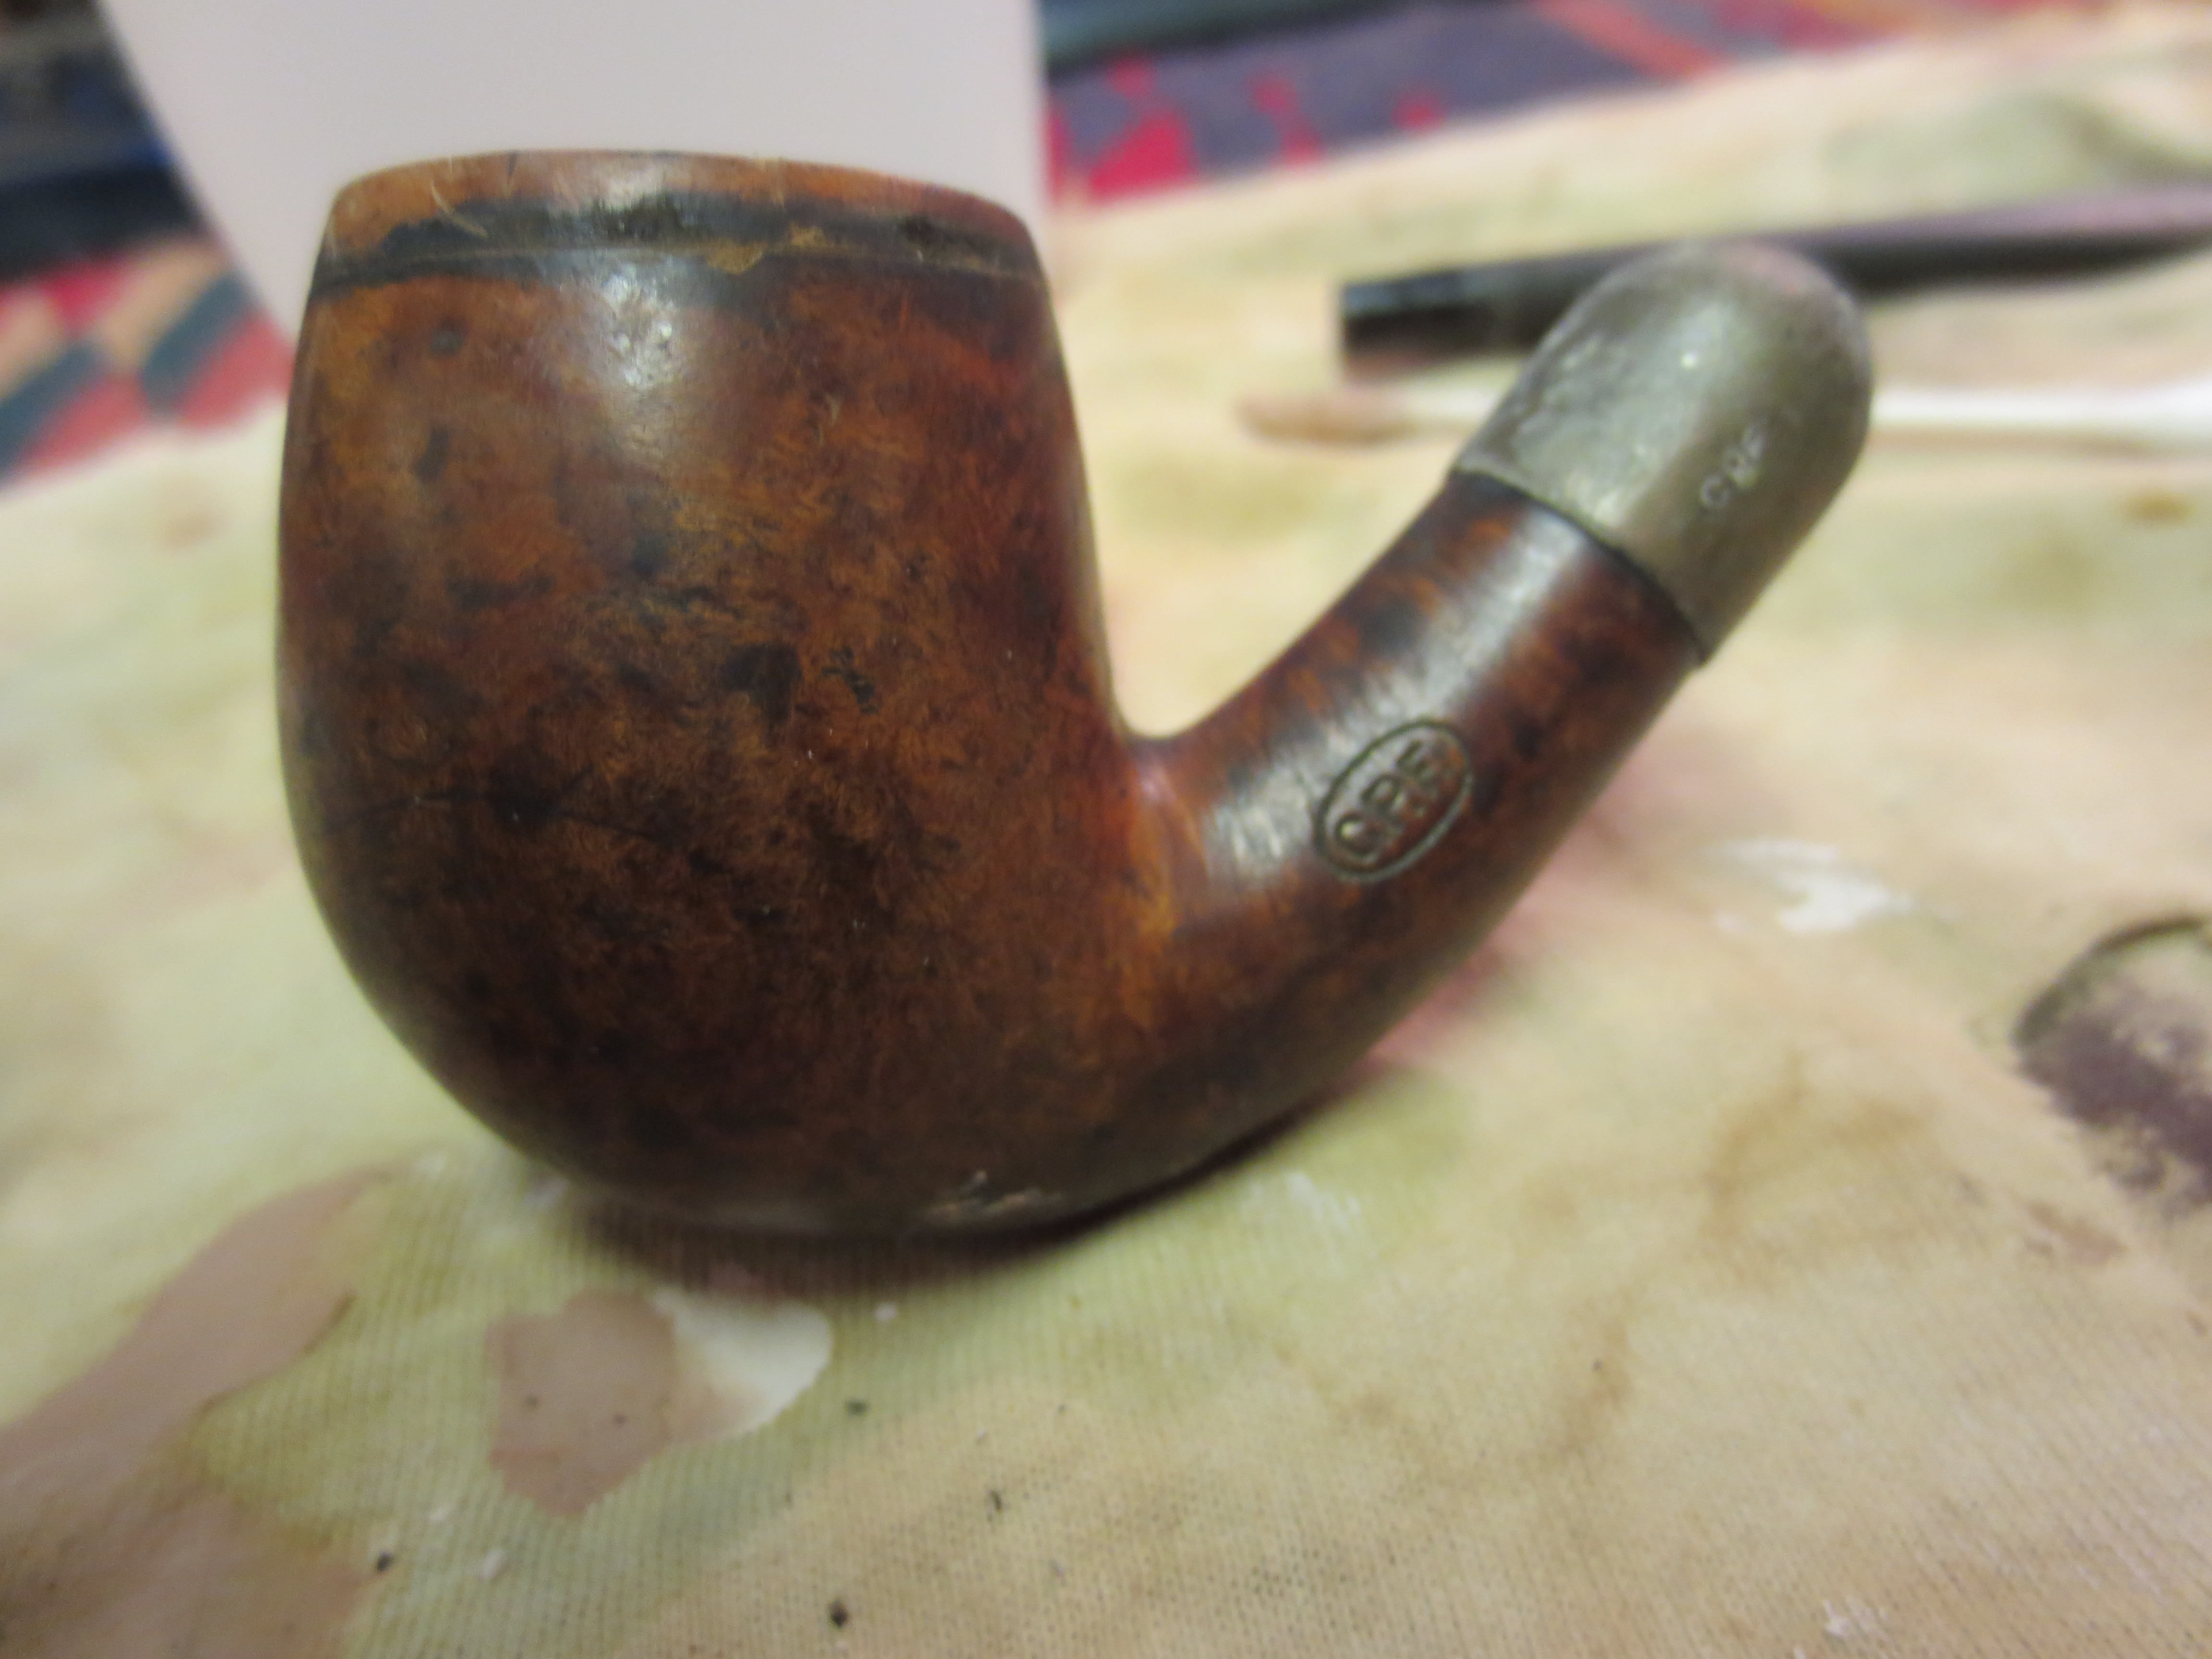
I decided to work on the oxidation on the shank cap and the rim cap. I wanted to see if either one was redeemable. I used a jeweler’s tarnish remover called Hagerty to work on the finish of both. I applied it with a cotton swab and scrubbed it with that until it was dry. Then I wiped it off with a cotton pad. In doing this I saw that the rim cap and the shank cap were both brass. The rim cap had two tears or cracks in it around the hinge that showed up once it was clean. The next two photos show the tarnish remover on the rim and shank caps.

ImageImage

After the initial cleaning of the two I decided to remove the cracked rim cap. This was not as easy as it appears in the photos as it was nailed to the rim and also was pretty tightly bonded with the tars and oils of the tobacco. I used a pair of needle nose pliers and a flat blade screw driver to lift the edge of the cap. I began at the hinge and lifted it from there. It came off with a bit of work and broke at the two nails that held it to the rim mid bowl on each side. The back half of the cap came off in one piece. I was able to lift the front edge carefully using the flat blade of the screw driver to pry the edge and work my way to the front. The nail on the right side came out with the cap while the one on the left side was stuck. I used the flat blade of the screwdriver to lift it from the surface of the rim without scarring the rim and pulled it out with the pliers. Underneath the rim surface was actually smooth and had a slight caking of oils that would come off easily. The two nail holes would need to be filled. The one on the right side of the bowl had been put in at an angle and would take a little more work to repair. The first picture below shows the torn rim cap on the work table next to the pipe bowl. The holes and the state of the rim are also clearly visible. The second picture shows the darkening that seeped down the edges of the bowl from underneath the rim cap.

ImageImage

I used briar dust and superglue to fill the two nail holes. It took several applications to get a smooth and even surface. I packed some briar dust into the nail hole with my dental pick and my finger. I wanted the briar dust to fill the holes so I tamped them down with the dental pick. Then I dripped in the superglue to bind the briar dust to the surrounding area. The first photo below shows the top of the rim after briar dust superglue patch has been done.

Image

After patching the nail holes I worked on the stain line around the bowl. I removed the finish from the bowl with a cotton pad soaked with acetone. I continued to wipe it down until the finish was gone. After that I sanded it with a medium grit sanding sponge. The next six photos show the sanding process with the sponge. I also sanded the end cap with the sponge being careful around the CPF stamping that I had found under the oxidation.

ImageImageImageImageImageImage

The dark lines were better after the sanding but still very present. I was able to remove the indentation in the briar from the metal cap to a large degree but the black was stubborn. I decided to soak the bowl in an alcohol bath to see what would come out. I took the shank cap off to work on it while I left the bowl in the bath for about an hour. I was able to remove much of the oxidation on the shank cap. I scrubbed it with the tarnish remover and then sanded it with the micromesh sanding pads using 1500-2400 grit pads.

Image

Once I remove it from the bath I dried it off and the lines were lighter than before. I sanded the bowl some more with the sanding sponge and glued the shank cap on with white glue. I wait to glue it on until I am done with the alcohol and acetone as I found out the hard way the glue is dissolved and has to be redone. After that I reinserted the stem and set up my heat gun to bend the stem to the correct angles. The next four photos show the bending of the stem from its beginning to the final look after bending.

ImageImageImageImage

I took it back to the work table and did some more sanding on the bowl especially working on the surface around the top sides near the rim. The black line was stubborn. I wiped it down with white vinegar to see if it would lift any of the stain as I remembered reading about that in an old book on furniture repair on how to remove dark rings from the wood. I also wet a cotton pad with bleach and wiped down the area as well. The result of all that work is evident in the two photos below. It was not going to come out so I sanded it with 1800-3600 grit micromesh sanding pads and then wiped it down with an alcohol dampened cotton pad to remove the surface dust and prepared to stain it. The two photos below show the bowl ready to stain. (Incidentally note the shine on the shank cap. It cleaned up amazingly well.)

ImageImage

I applied an oxblood thick aniline stain for the first coat. I flamed it and reapplied it and flamed it a second time (the first two photos below show the staining of the bowl with the oxblood stain). I then buffed it off to see what I had to work with. The black lines still showed so I restained the bowl around the top edge to see if I could darken that area and mask the black (photos three and four show this process).

ImageImageImageImage

I buffed it a second time to see where I was at with the staining. You can see from the next two photos the effect of that restaining around the top of the bowl. It did indeed darken the edge but the line was still visible and I did not like the look of the dark edge. So I buffed it yet again to see if I could smooth out that look a bit more.

ImageImage

I was not happy with the finished look after buffing. The darkening around the edge still showed both in the top edge of the bowl and around the end cap. I decided to restain the bowl with a dark brown aniline stain. So I applied the stain, flamed it and restained and flamed it a second time. The next two photos show the pipe after the stain had been flamed and had dried.

ImageImage

I buffed it to see how the second stain had covered the darkening around the top edge and near the shank cap. I was pleased by the overall look now. It was still there for sure but it certainly was less visible and blended in well with the finish. The next four photos show the pipe after restaining and buffing.

ImageImageImageImage

I set the bowl aside and worked on the stem. I sanded it with micromesh sanding pads 1500 – 12,000 grit to polish the stem. I put the stem back in the bowl and then took the pipe to the buffer and gave the entire pipe a buff with White Diamond and then gave both the stem and bowl multiple coats of carnauba. The finished pipe is picture below. It came out very well and the black line around the top edge seems to be less visible. The pipe is restored to a bit of its former glory!

ImageImageImageImage

No Rounded Shoulders – Keeping Sharp Edges on a Pipe Stem


One of my pet peeves in the realm of refurbished estate pipes is rounded shoulders on the tenon end of the pipe stem where it meets the shank of a pipe. A second one that is nearly as irritating is rounded edges on the button to the point where it has lost all definition. When the pipe was finished and left the factory the transition between the shank and stem was smooth. The edge of the stem was sharp and crisp and the joint was unnoticeable to the touch. I have gotten pickier now in my choice of estates. I would rather pick up a pipe that is in rough shape and needs work than one that has rounded shoulders. Early in my refurbishing days I did not pay attention to this and was guilty of rounding the shoulders. Even in some of the pipes that I have carved in years past I rounded the shoulders through carelessly sanding the stem while it was off of the pipe. Over the years through the helpful critiques of others I have come to see the error and am now very careful in proceeding with stem refurbishing. I decided to write about the error itself and its causes in order to help others avoid this mistake. There are multiple ways to cause the rounding of shoulders and buttons. I want to write about the ones I am guilty of and how I have corrected the errors.
One of the most frequent errors is to over buff the pipe stem to bring it back to black. While the oxidation is removed and the stem shines, the edges are lost. The crisp sharp lines of the pipe are destroyed. I remember working the stems against the buffing wheel with brown and red Tripoli to get rid of the oxidation. I buffed almost indiscriminately on my quest to remove the greenish brown. The sad thing was I also rounded edges, button and sharp angles. I remember buffing stems without the pipe attached and when they were good and black, buffing them with carnauba. They sure shone but the pristine angles were forever gone.

Once the error of buffing the oxidation away and losing the shape of the pipe stem had been pointed out to me I began to search for new ways of removing the oxidation without damaging the edges of the stem and button. My quest took me to the second method that I used – to sand the stem with varying grits of sandpaper. At first glance, this method seemed better than buffing as it was easier to maintain the edges. On another level, however, it was just as bad in that it changed the shape of the stem. Again, I learned the hard way, thinking I could maintain the sharp edges; I sanded the stem while it was removed from the pipe. This stemmed from my fear of damaging the finish and shape of the shank. In doing this my track record was better and over 50% of the stems retained sharp edges. I was better in maintaining the integrity of the button and its edges with this method. But because I knew better than to damage the edges I looked for a different method that would minimize damage to the stem even more.
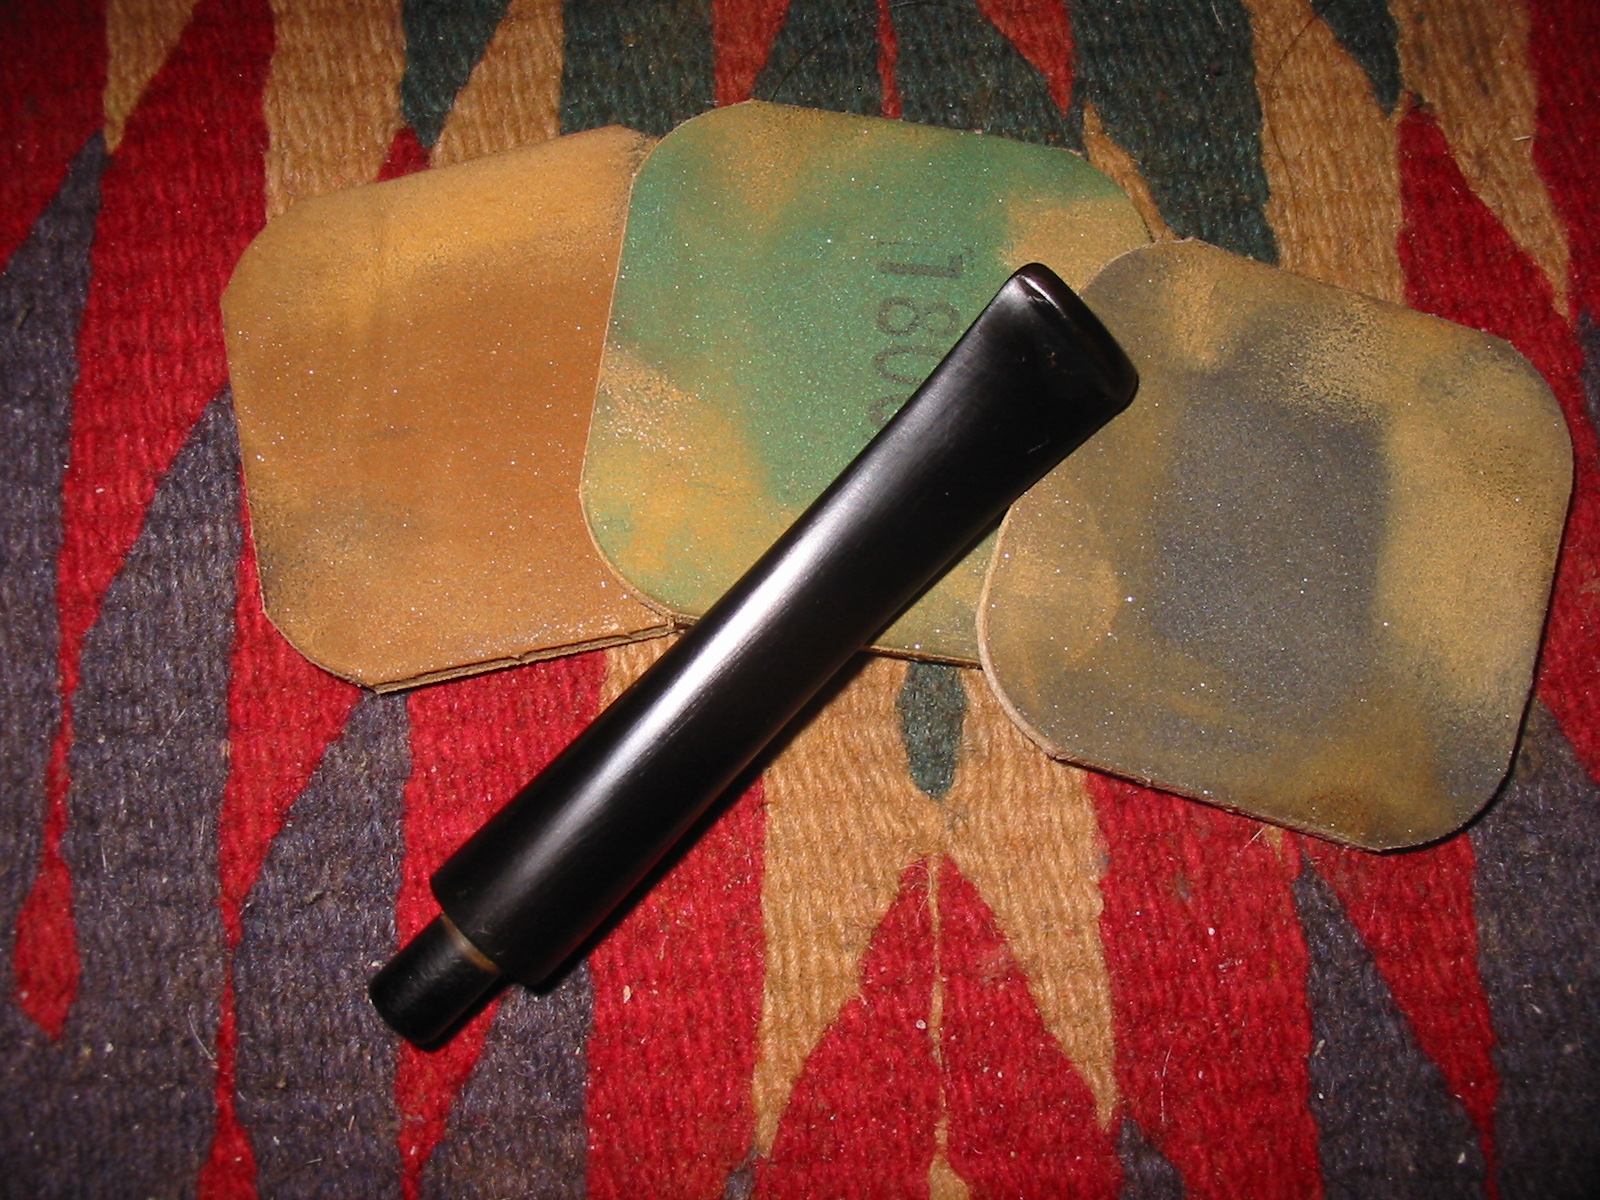
My third experiment in removing oxidation involved bleaching the stem.  I filled a container with bleach and placed the stem in it for a soak. I tried straight undiluted bleach and bleach diluted 50% with water. I left them in for short periods of time in both solutions. I found that it left the stem surface pitted and rough. It also affected the clean and sharp lines because the pits would also end up on the sharp edges. The only way I knew of removing the pitting and attaining a smooth finish afterward was by sanding with wet dry sand paper from 400-1200 grit. While this was more satisfactory in maintaining sharp and distinct as opposed to rounded shoulders it still was not exactly what I was looking for as it affected the finished look of the stem. Sanding the stem after bleaching still changed the overall profile. So the search went on.
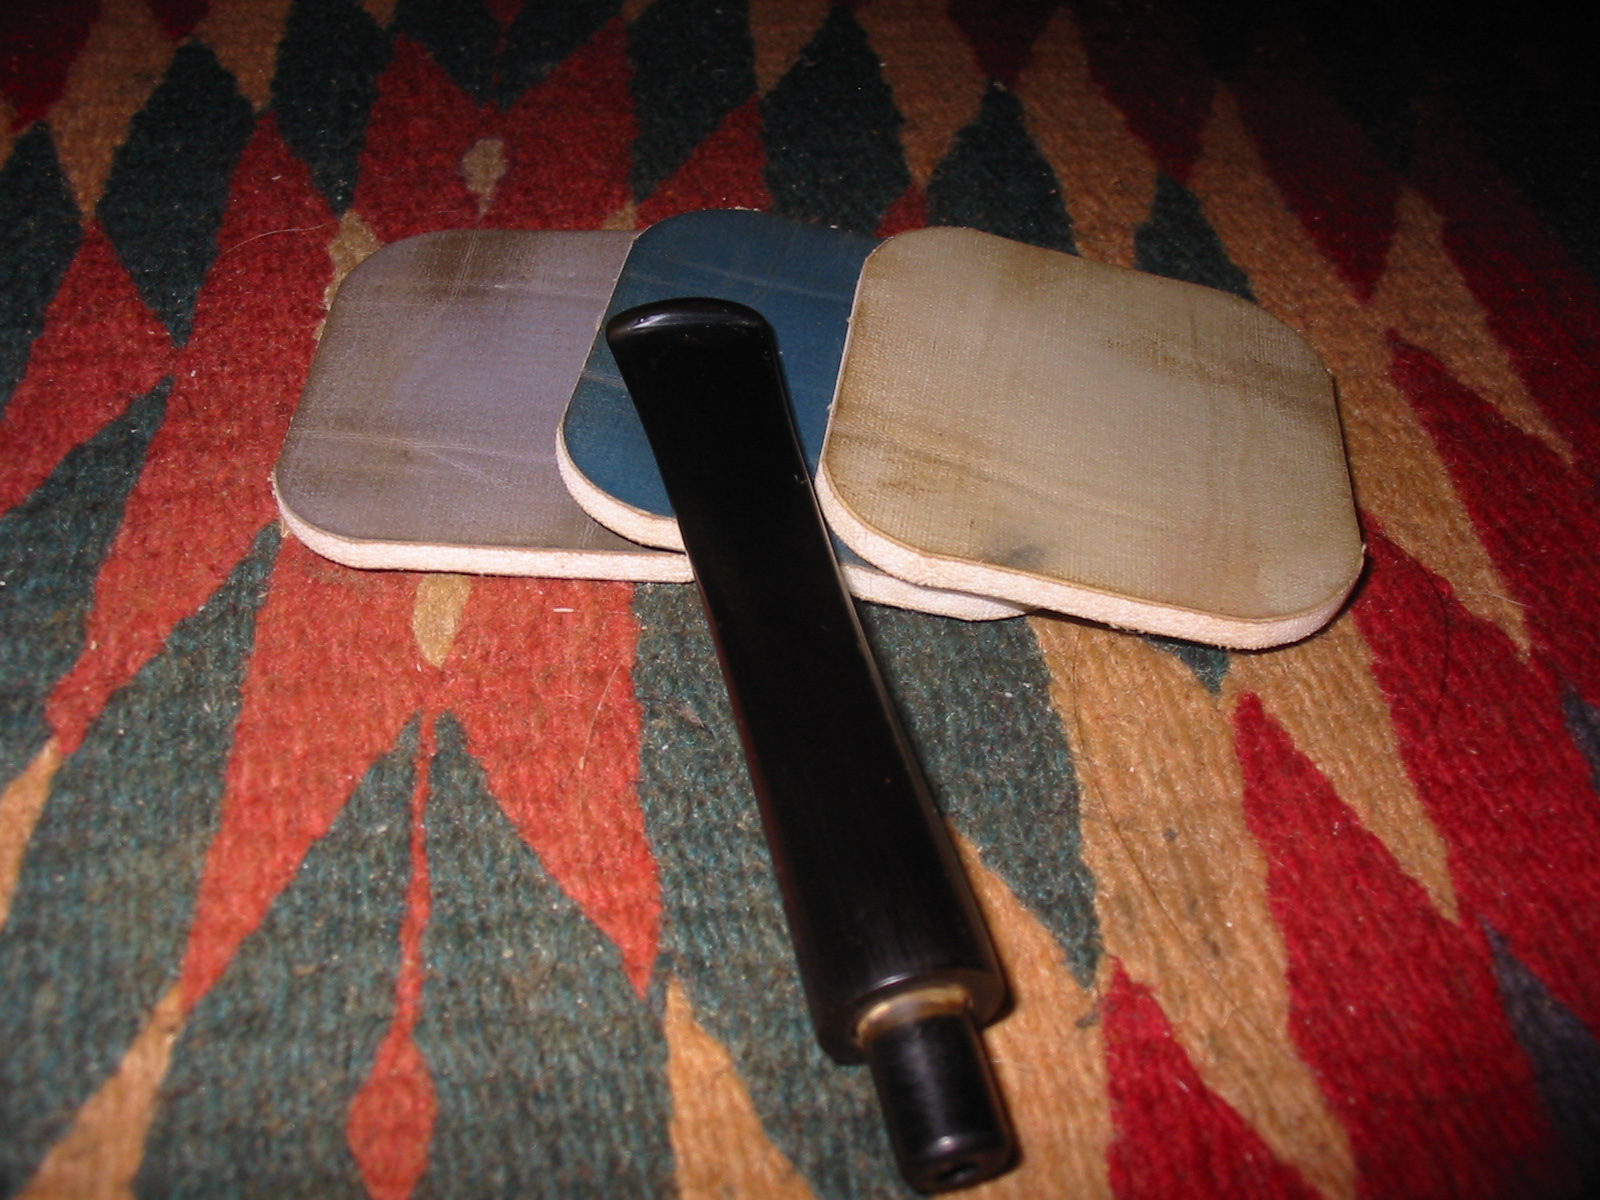
My fourth experiment involved soaking the stems in an Oxyclean solution. I had heard from a variety of people that this worked well and did not leave the stem pitted and rough when it was removed from the soak. I mixed the Oxyclean according to directions – a half scoop for a quart jar of warm water. I shook the jar to dissolve the Oxyclean and then placed the stems in the solution. I experimented with the time left in the solution – anywhere from 1-12 hours. Regardless of the amount of time left in the solution I found that the Oxyclean did not remove the oxidation but did soften it significantly. I learned from my experiments that it took over an hour of soaking to soften the oxidation. The longer soak did not significantly soften the oxidation more. When the stems were removed they were almost white from the work of the solution. I wiped them down with a cotton cloth to remove the surface oxidation that was on the surface and had been softened. I scrubbed it hard with the cloth and was able to remove a lot of the oxidation. However, there was still a remnant that had to be scrubbed or sanded. It is important to note that was less sanding of the stem involved with this method.

A fifth experiment happened accidentally. A friend of mine who does refurbishing as well was using the flame from a Bic lighter to lift tooth marks from a vulcanite stem. He found that the moving flame not only lifted the tooth marks but burned the oxidation. He tried moving the flame quickly over the length of the stem and it worked quite nicely. Many have wondered about heat damage and stems straightening from the heat but miss the point that the flame does not sit anywhere on the stem too long. The concept is to let the flame lick the surface of the stem and quickly paint the stem with the flame. I have experimented with this and found that it works very well in the crease along the button and on heavily oxidized stems. I have also used it after a pipe stem has soaked in Oxyclean and it works. To me the jury is still out on the long term effects of the method but it does work and does not damage the sharp edges or the profile of the stem. The two of us have done a lot of experimenting and talking through the process and continue to learn as we do it. I know others on the blog have experimented with the method as well and have had a variety of experiences with it.

Today, through my experimenting, I arrived at the point where I have combined several of the methods from my learning process described above. I use the Oxyclean soak and the micromesh sanding pads from 1500-12,000 grit to wet sand and dry sand the stems. I like the fact that they do not remove large amounts of material in the process of sanding the stem. Less frequently I have to use 320 grit or 400 grit wet dry sandpaper to work on heavy oxidation. That combination allows me to clean up the stem with minimal invasive action on the surface of the stem. I have added the use a plastic polish between the various grits of micromesh to further clean the stem. I do not finish the stem with the plastic polish but merely use it in the midst of the process. Finally for the tough areas I have used the Bic lighter to quickly move over areas that are hard to sand with the micromesh. With this combination of resources I am happy with the results I am getting on the stems.

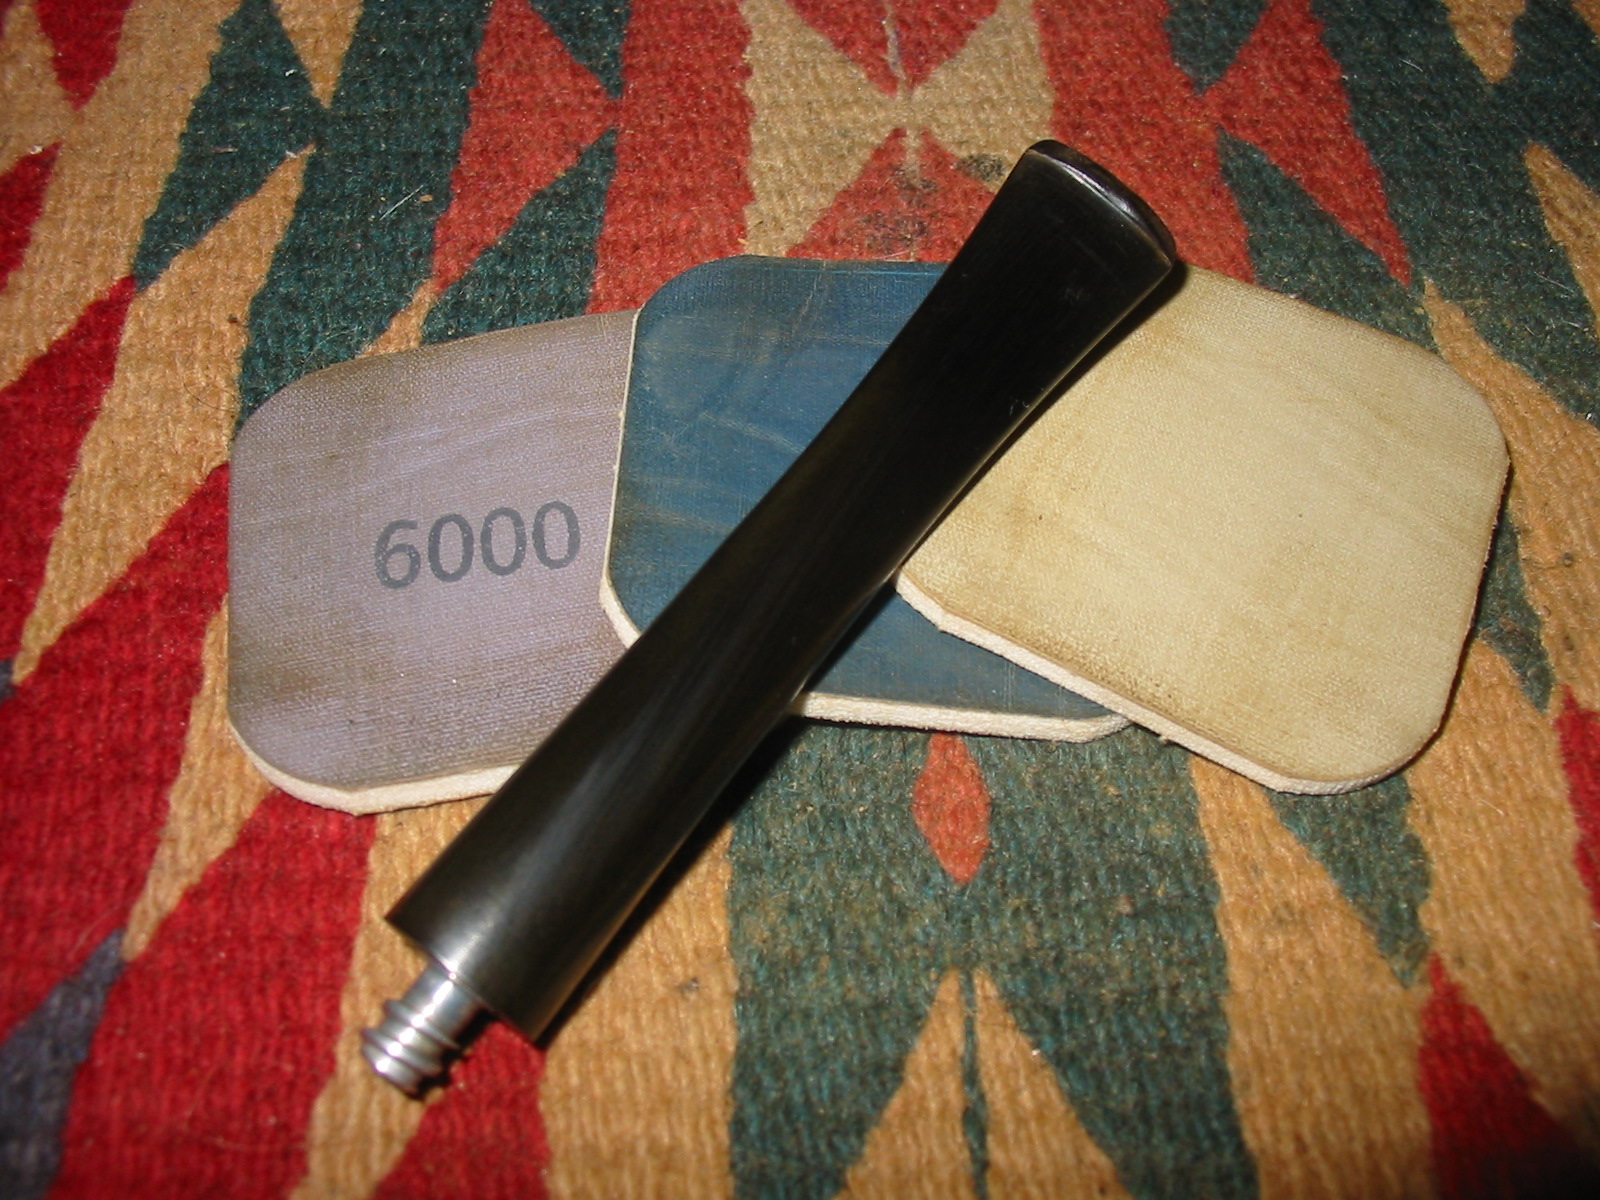
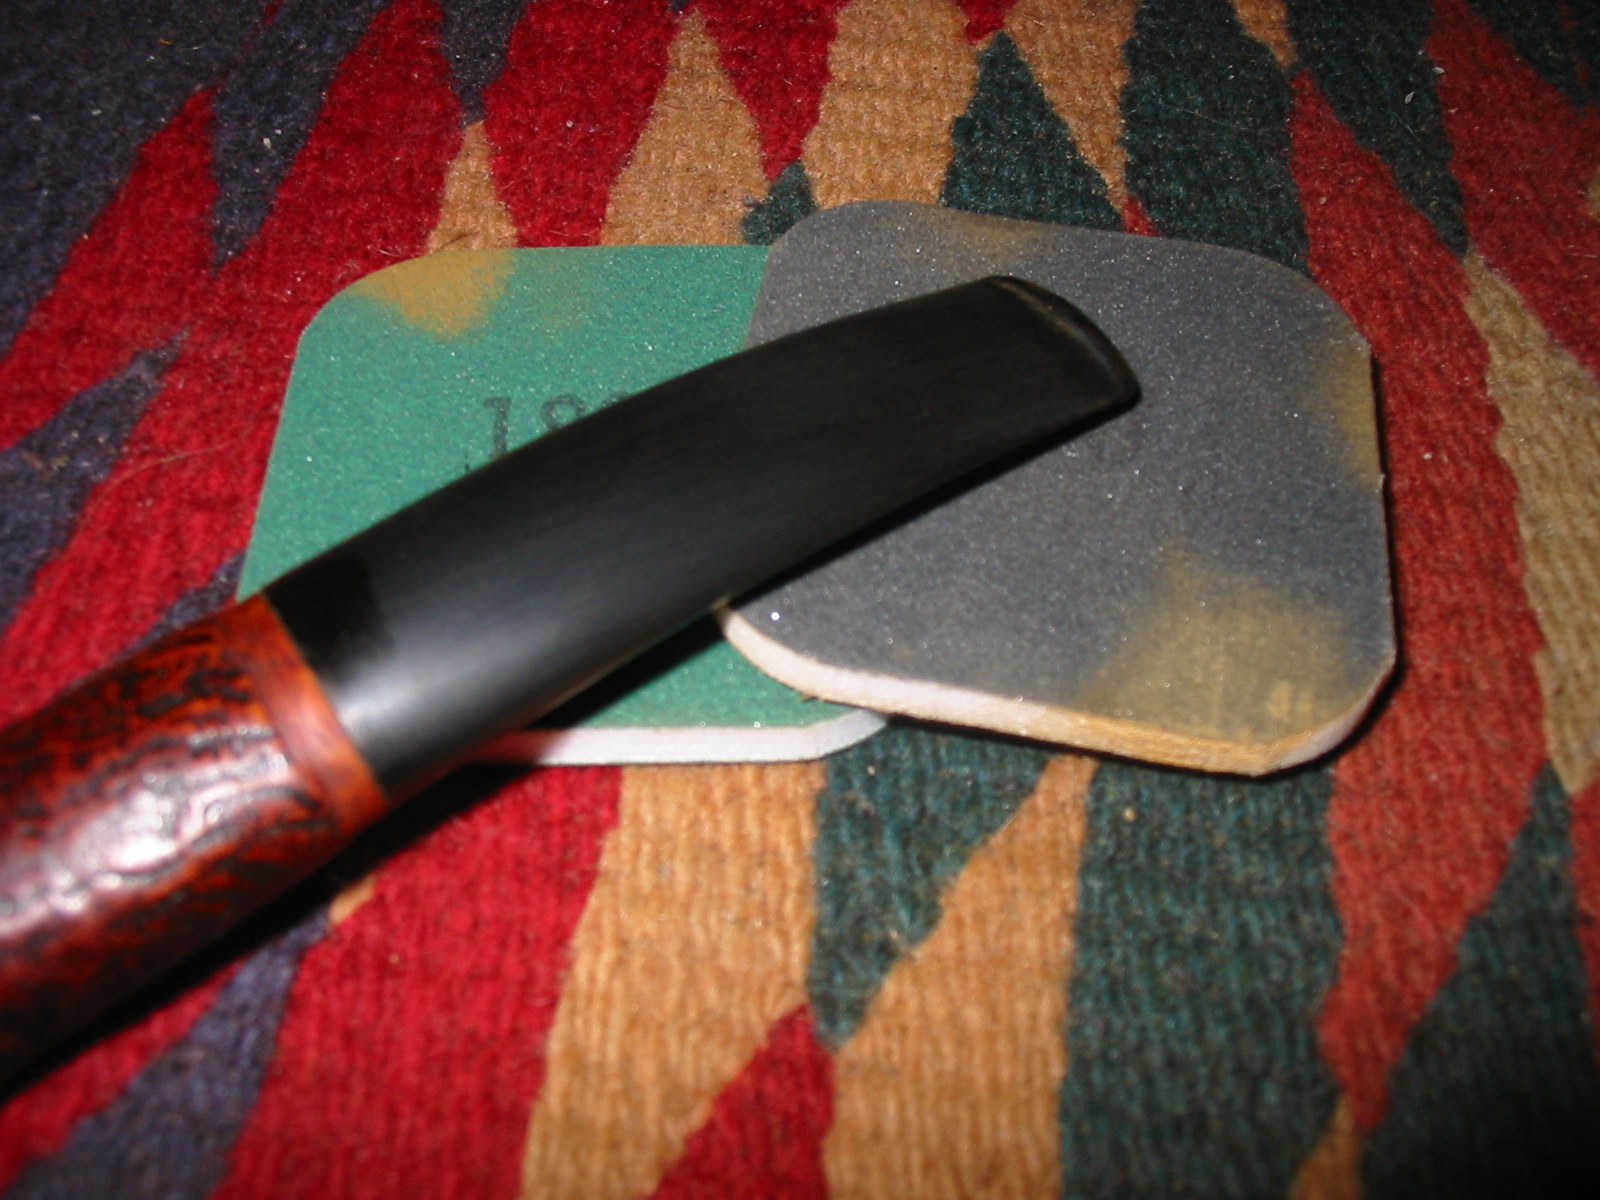
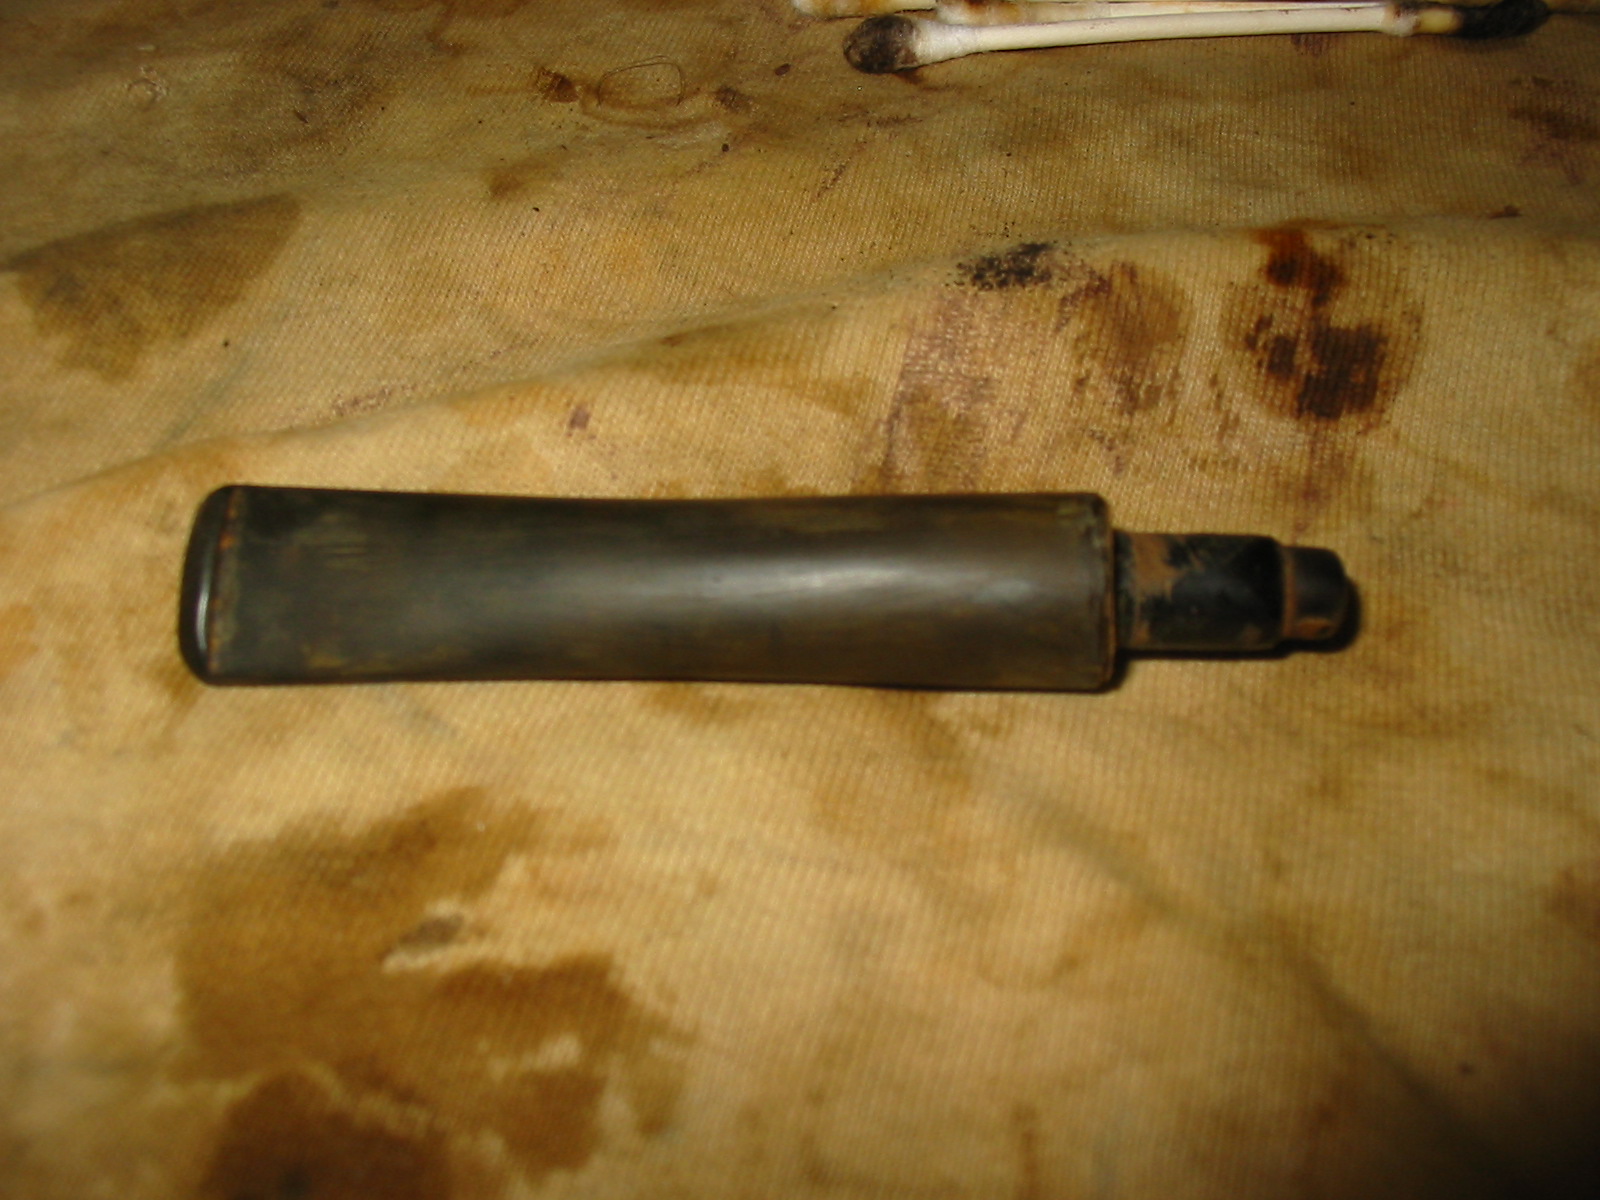
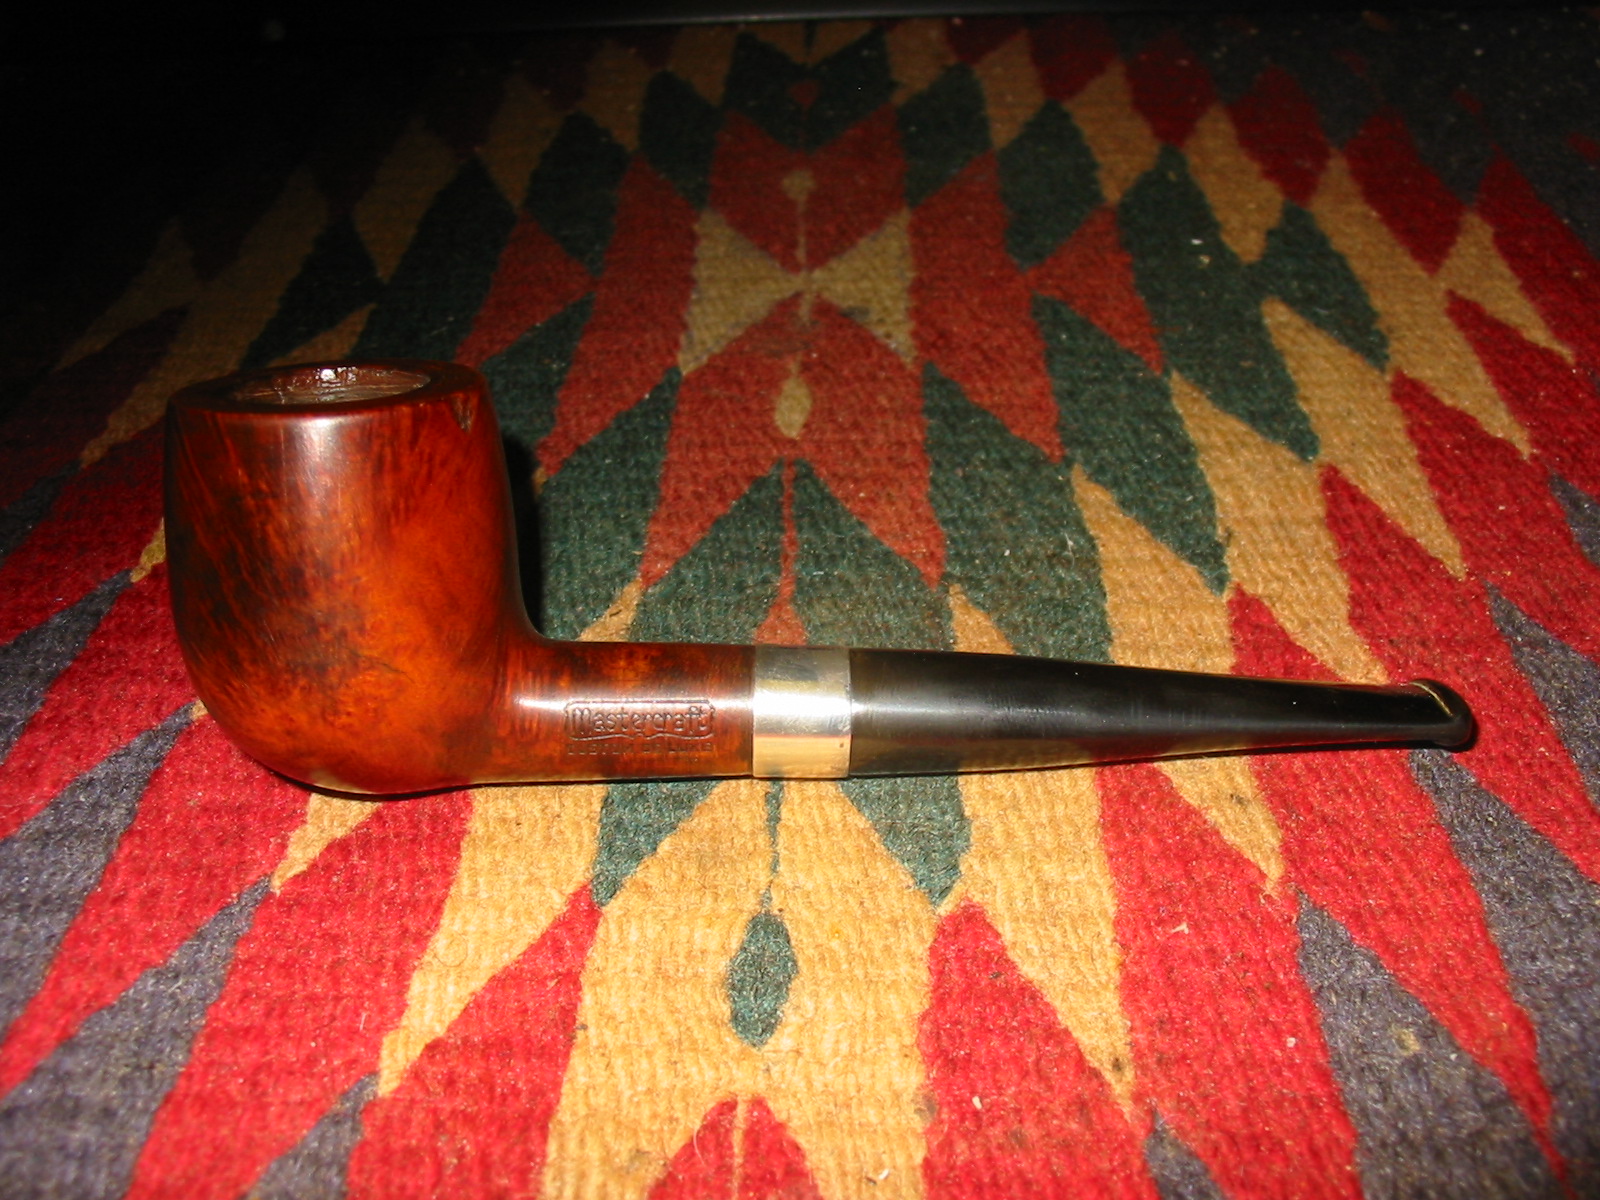
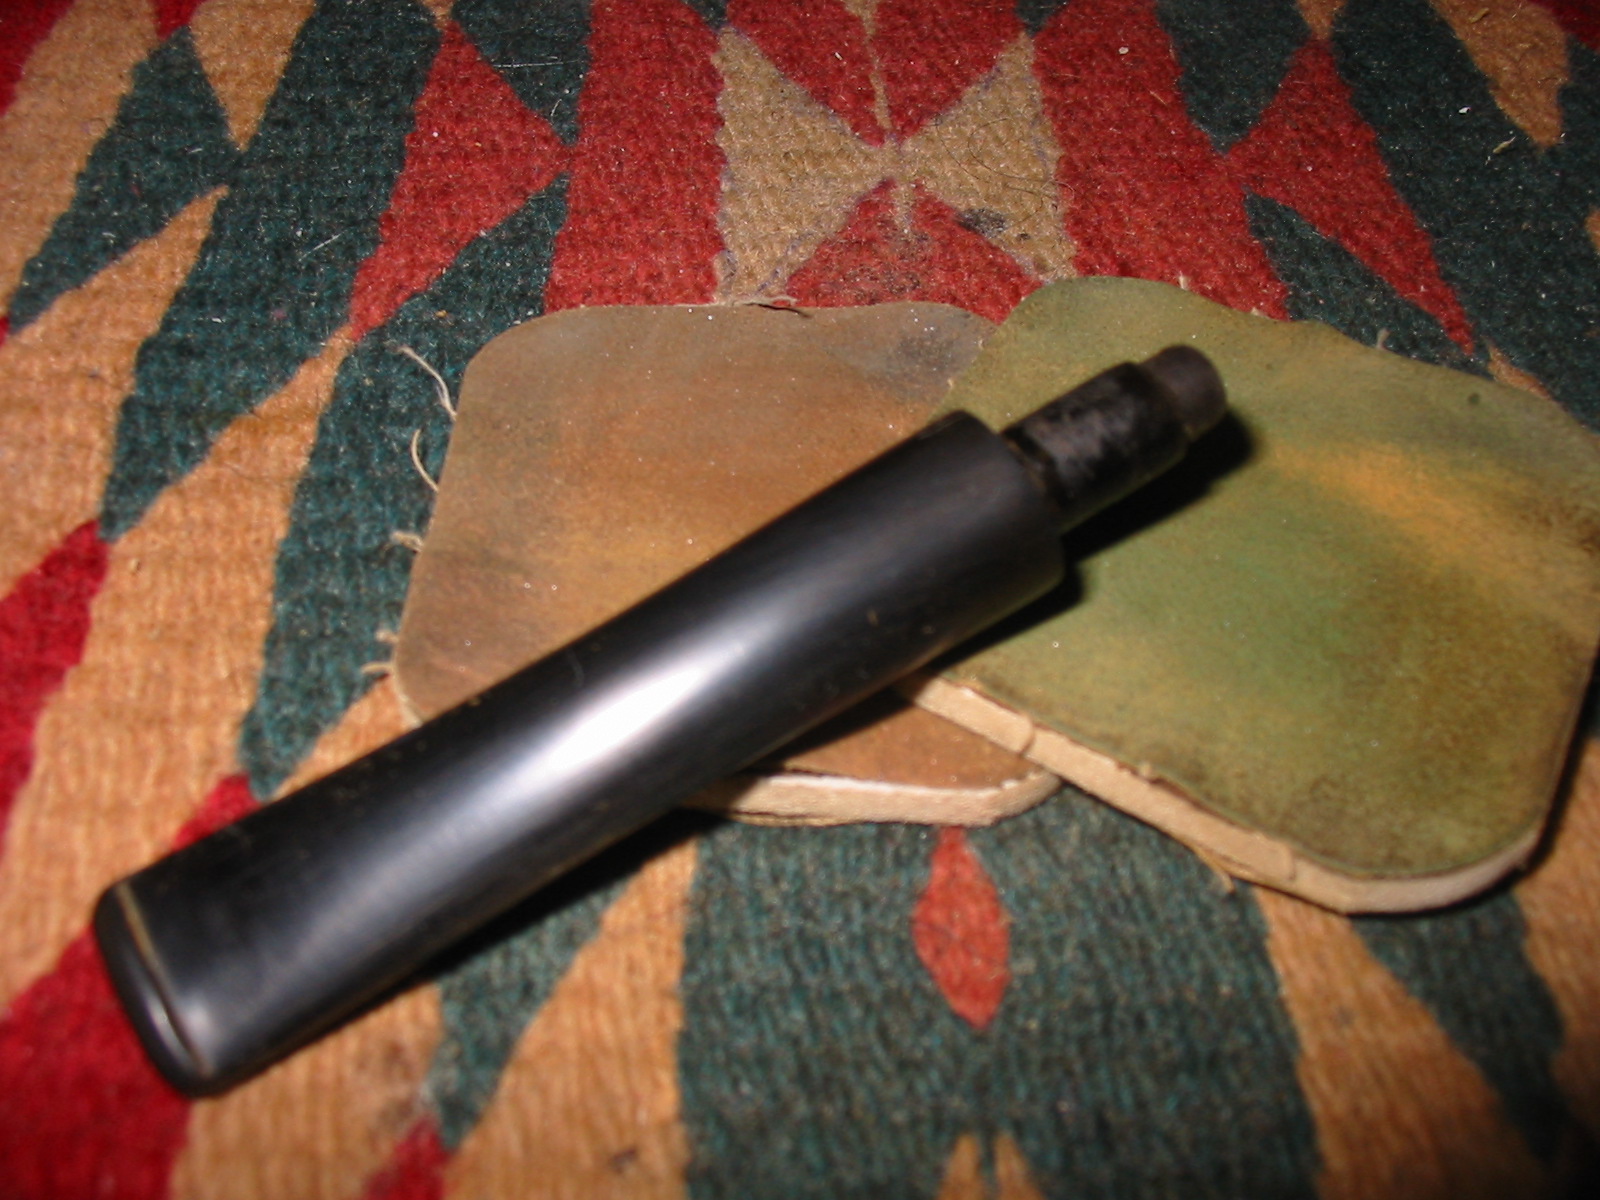
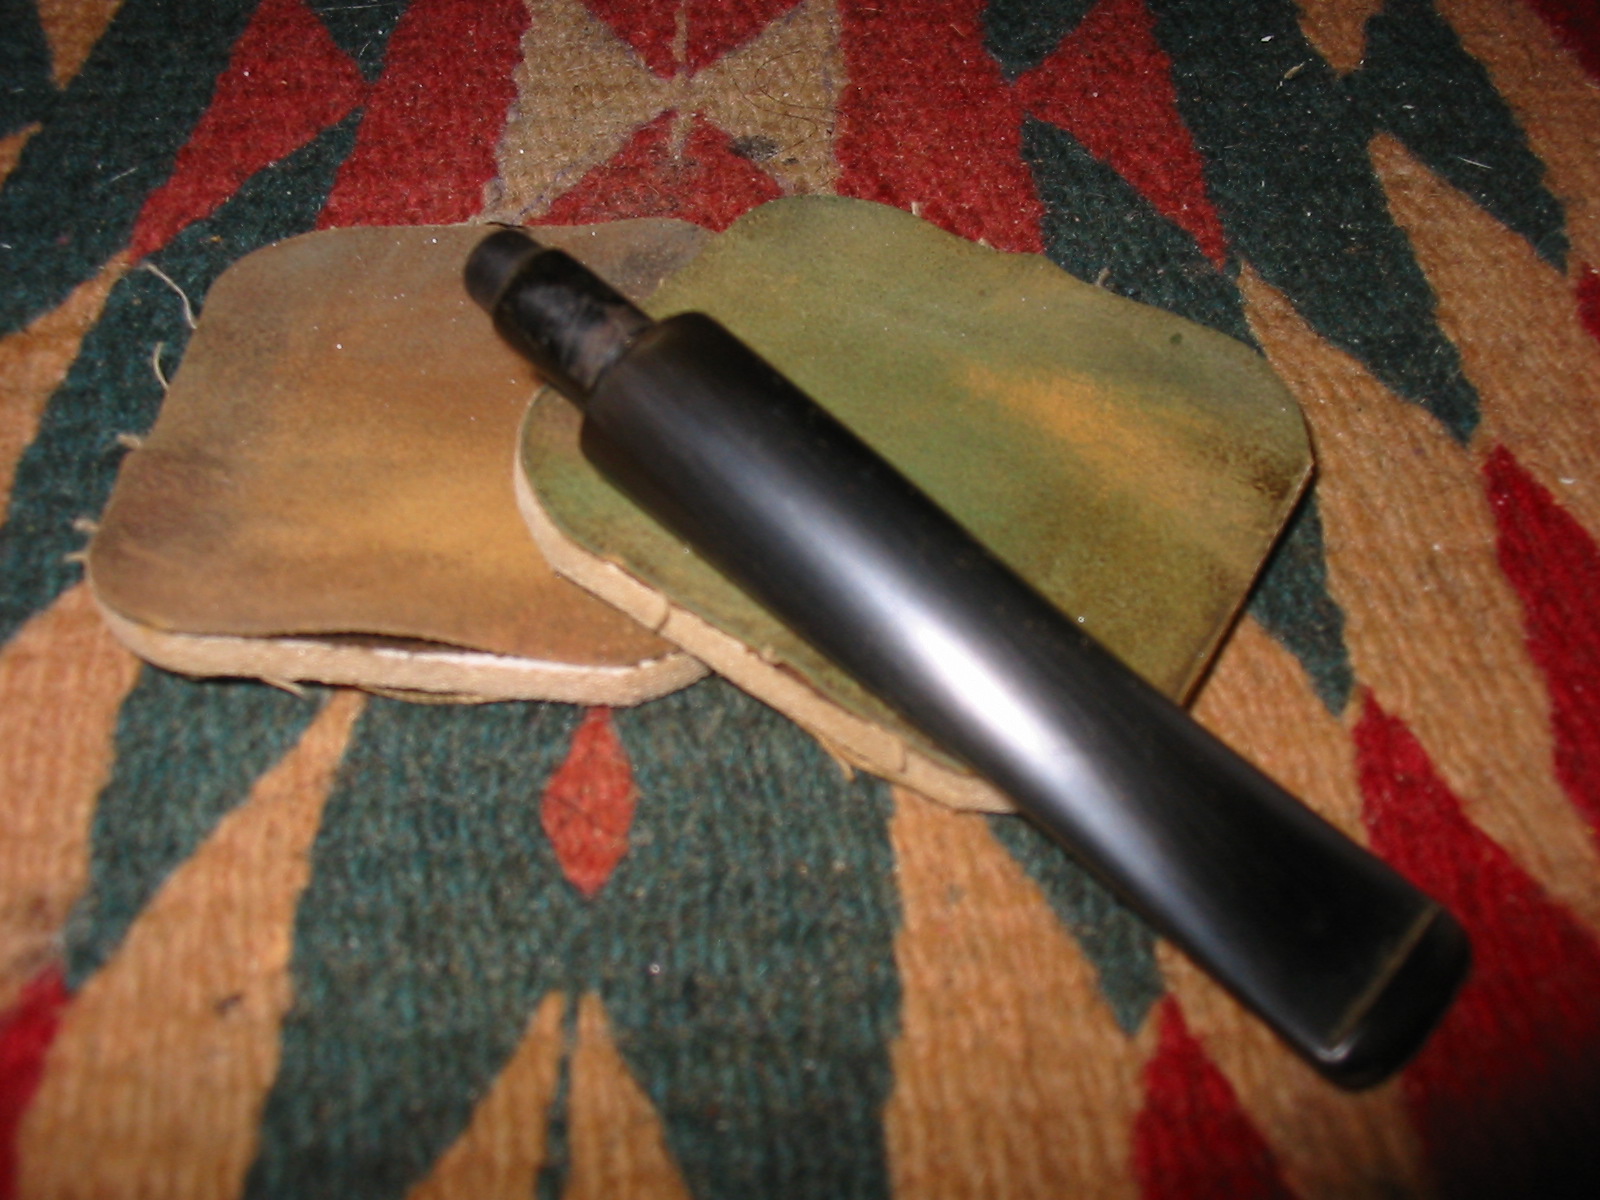
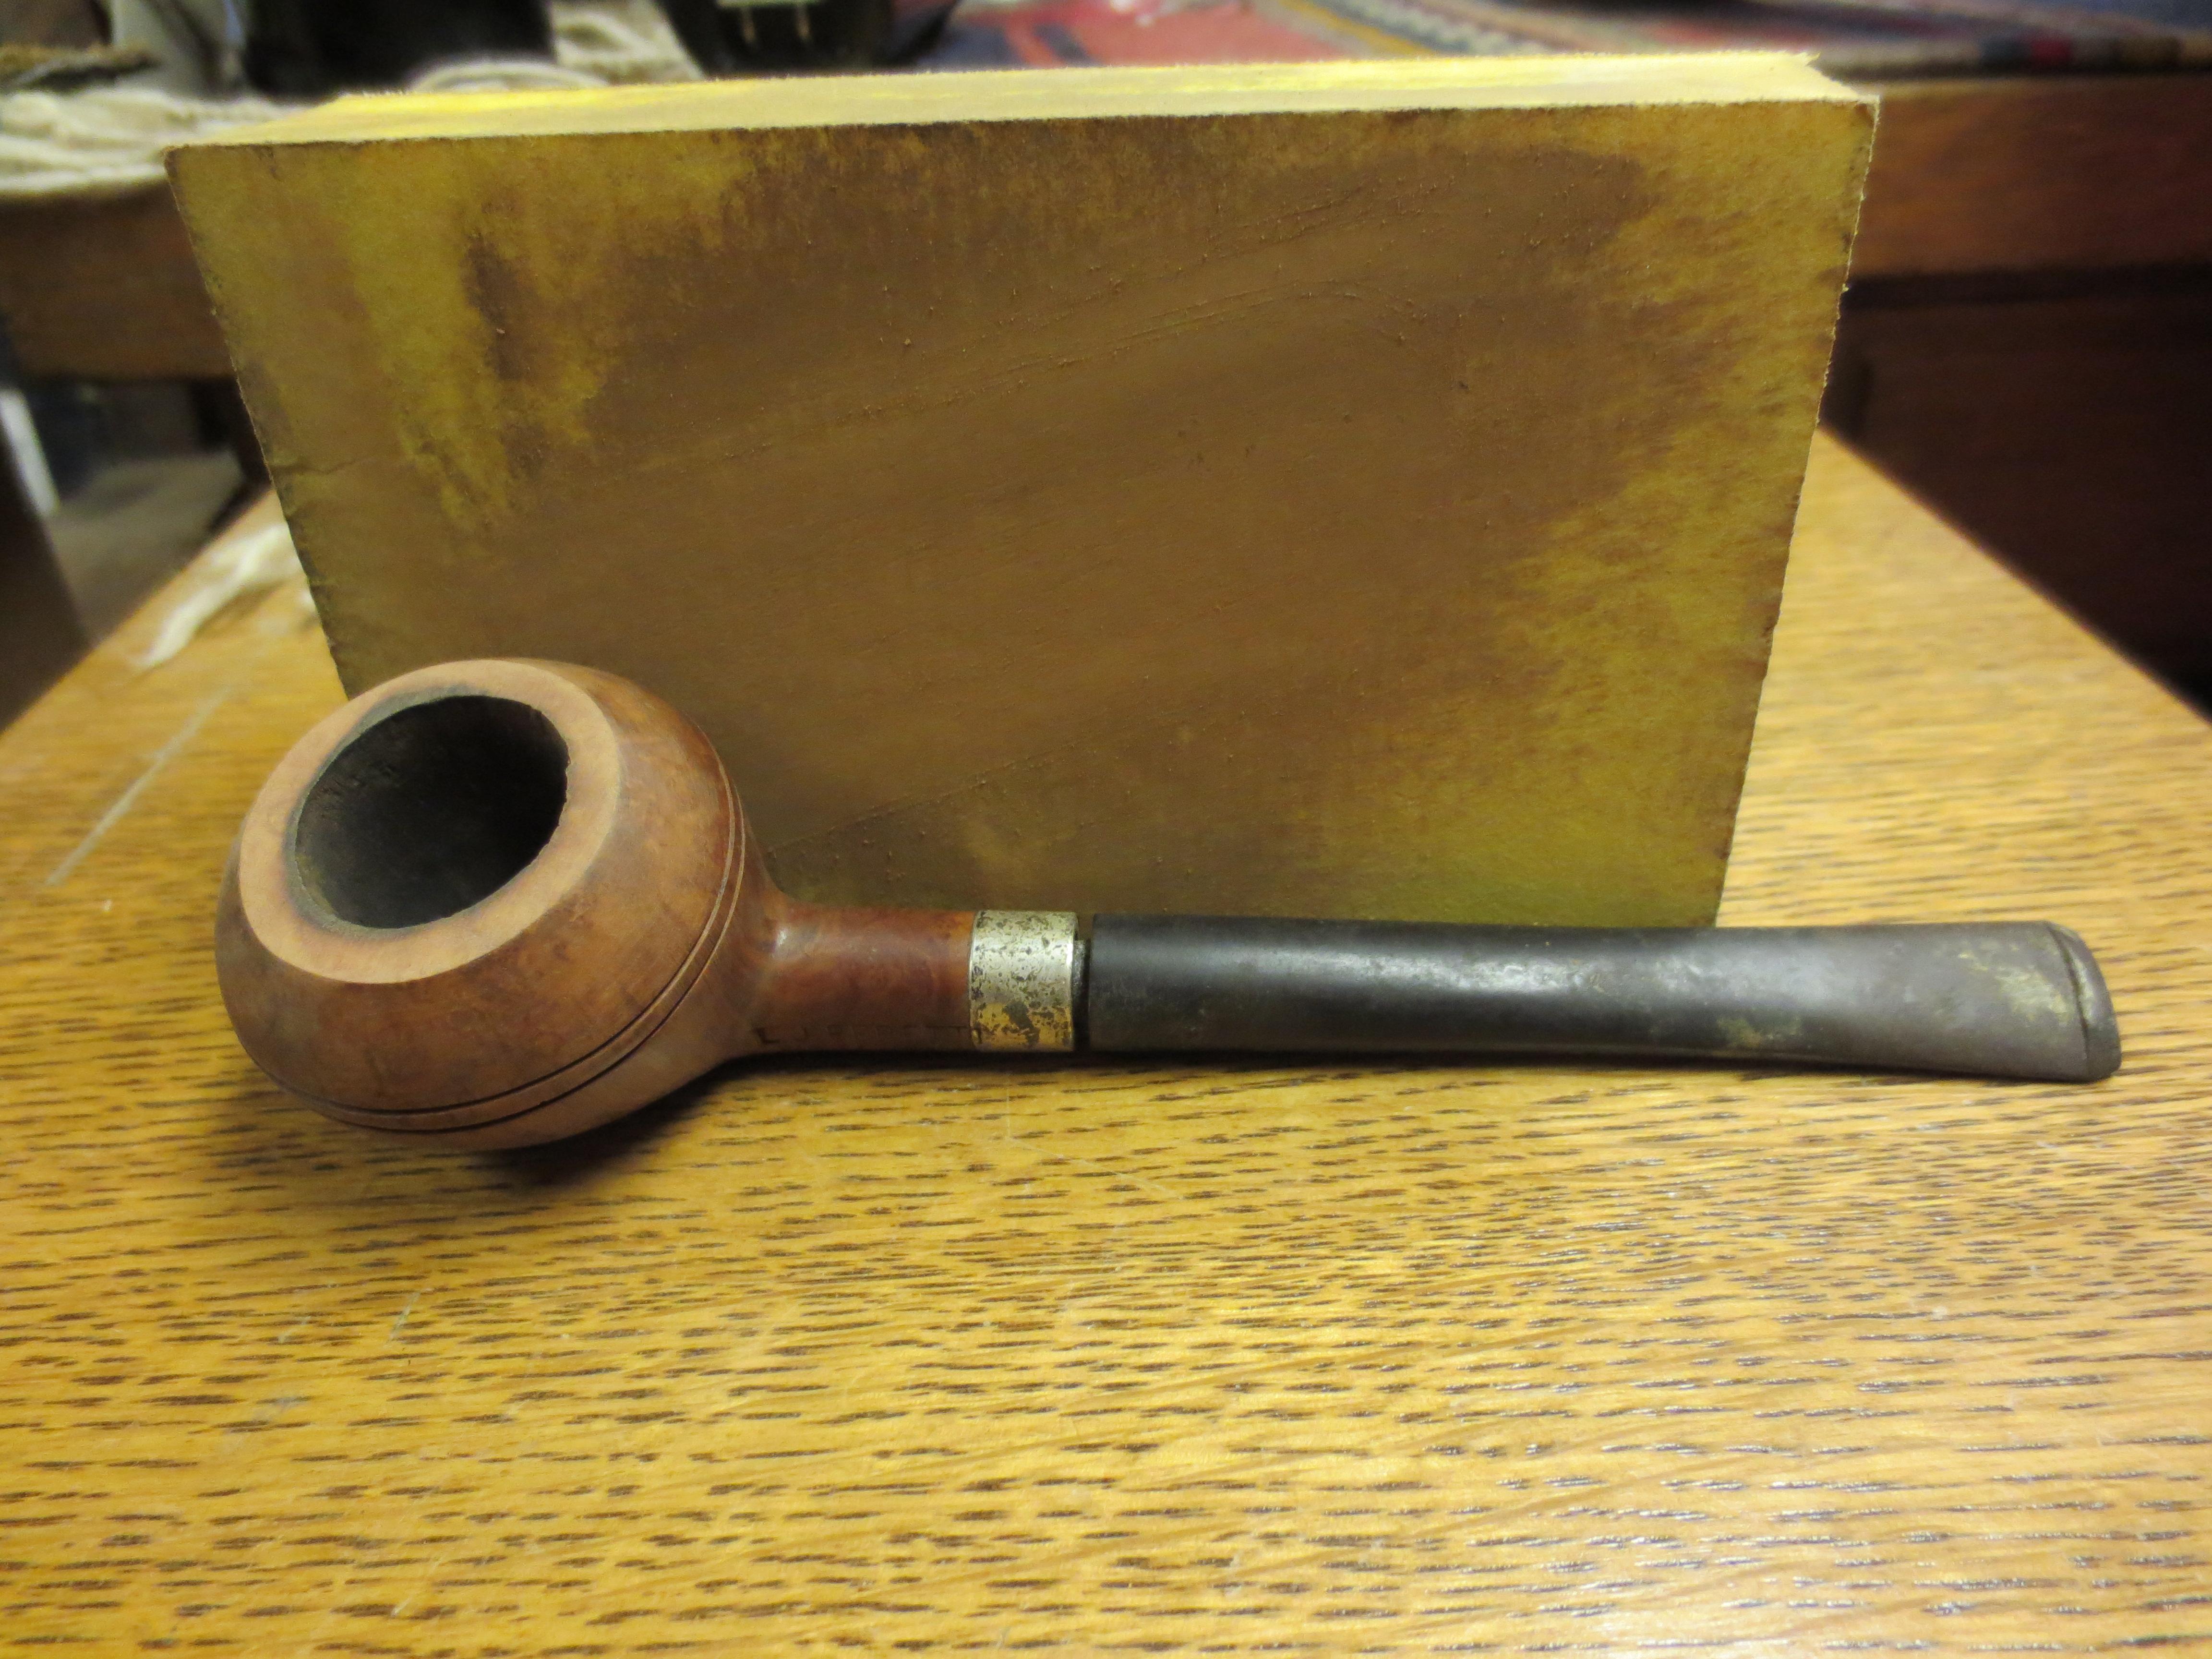
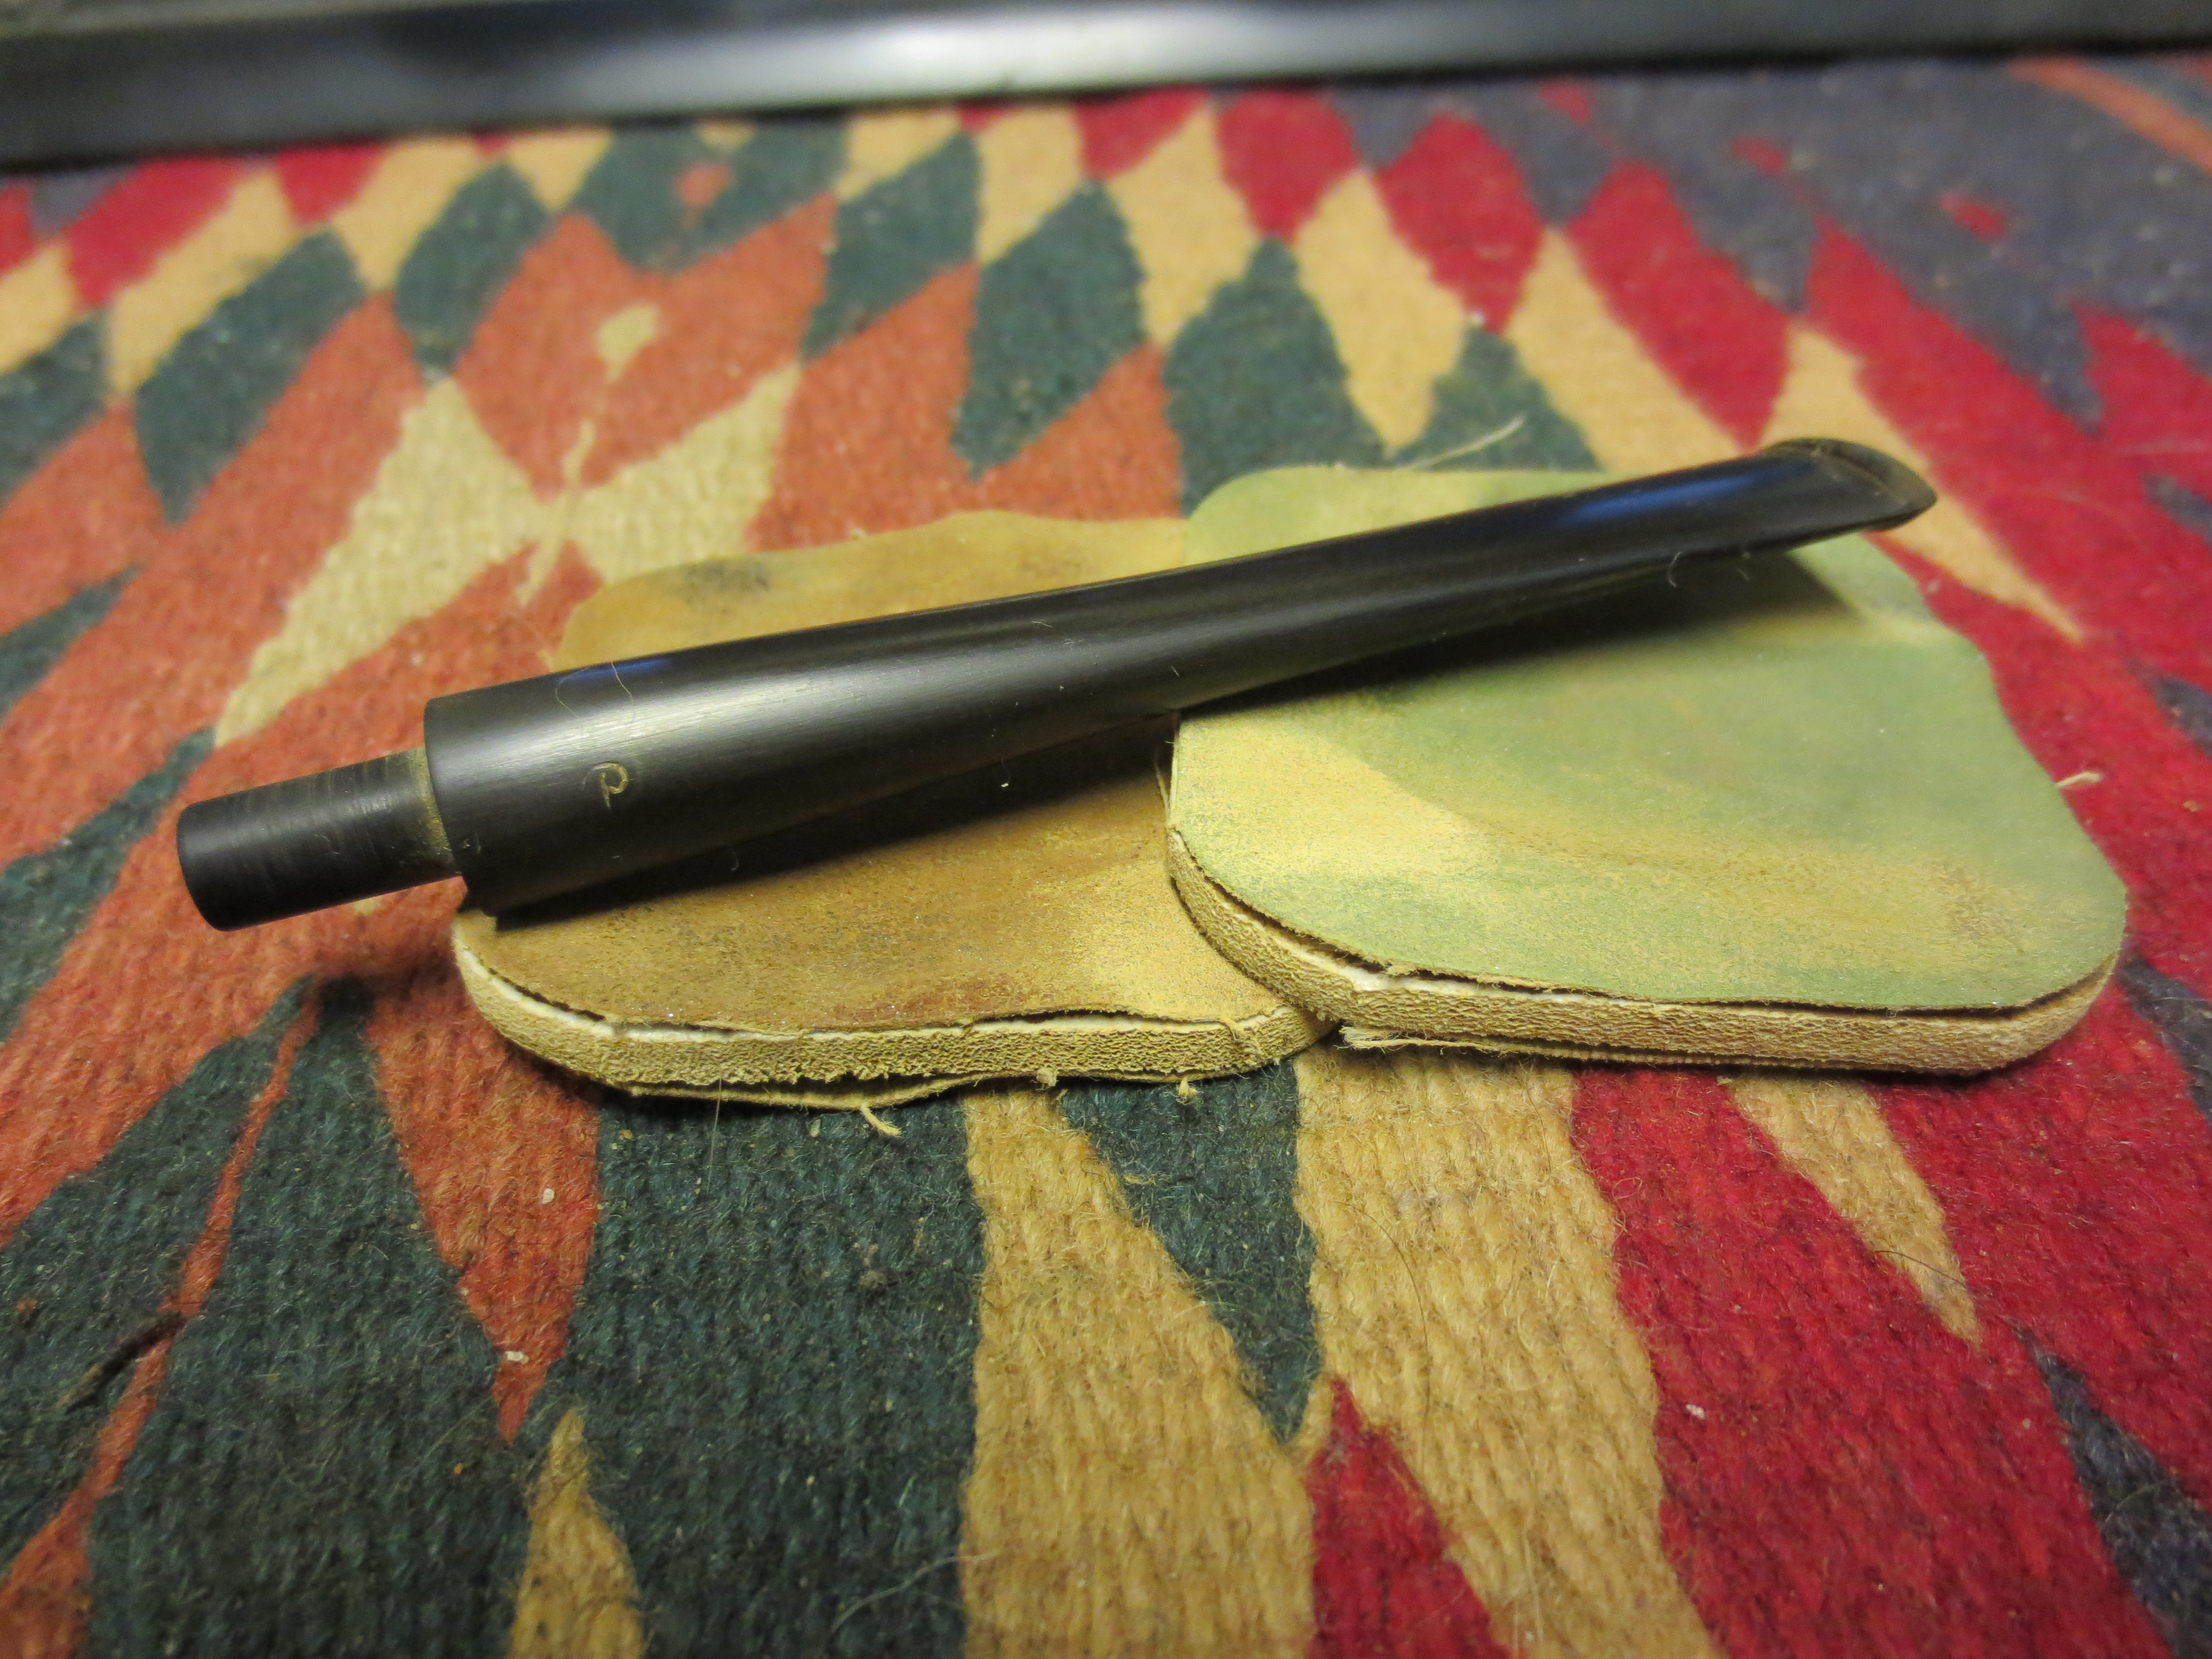
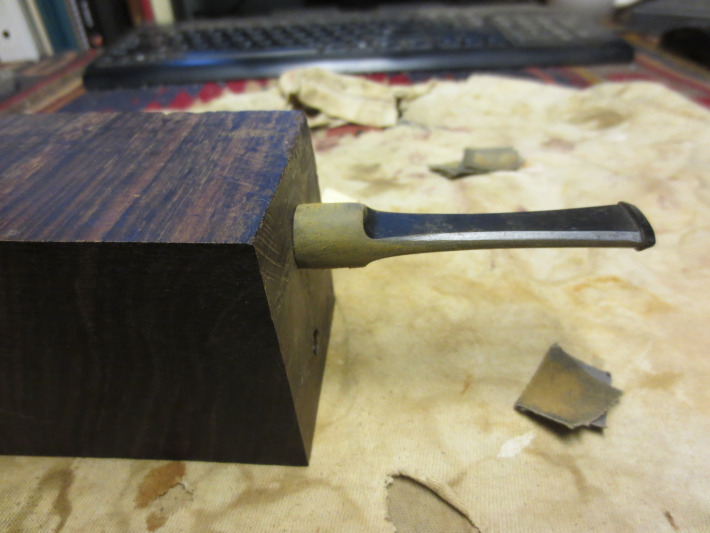
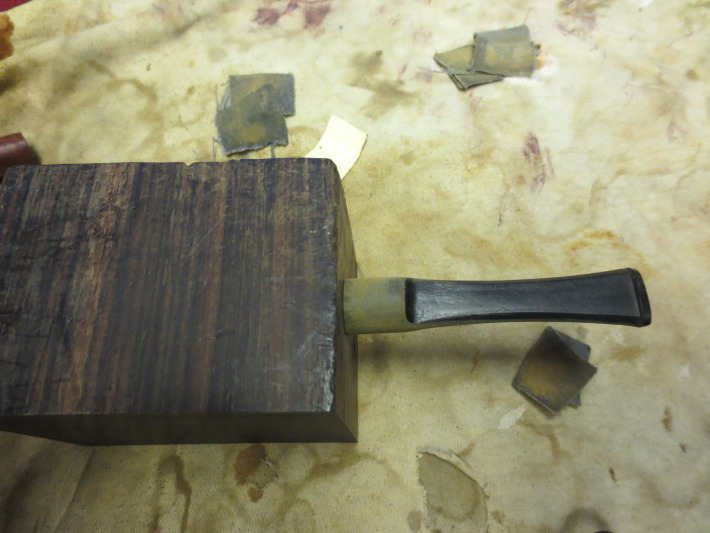
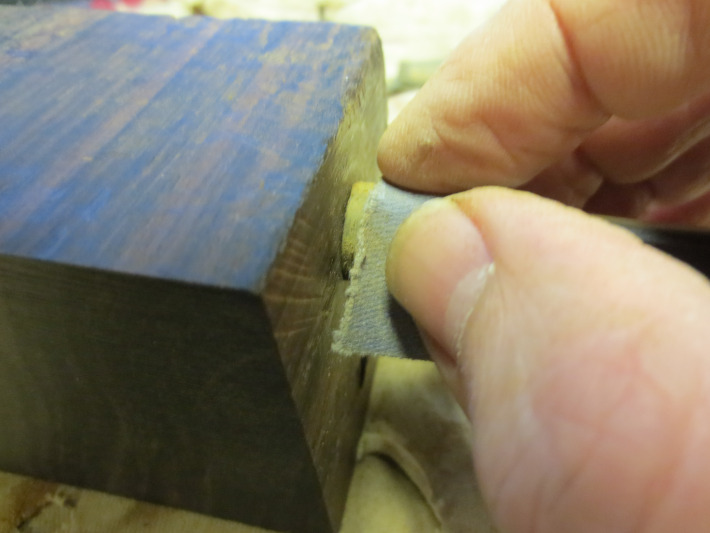
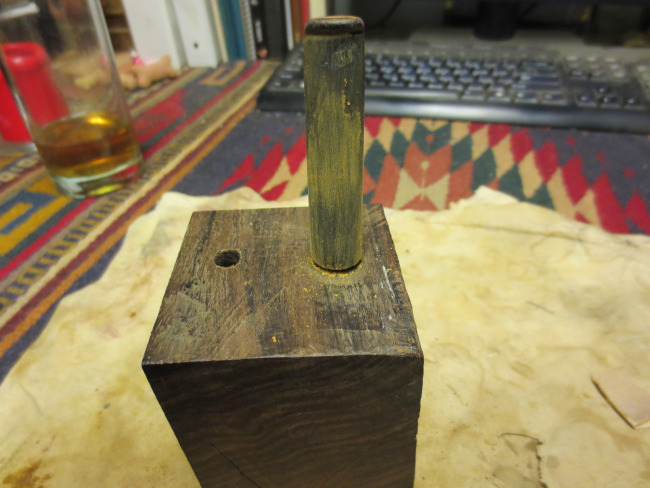
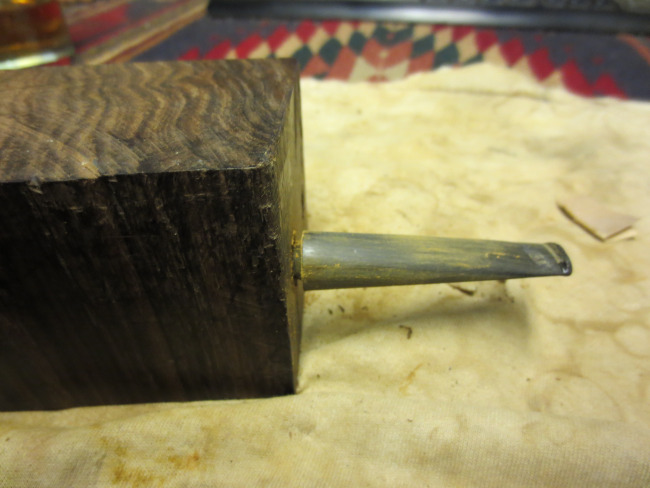
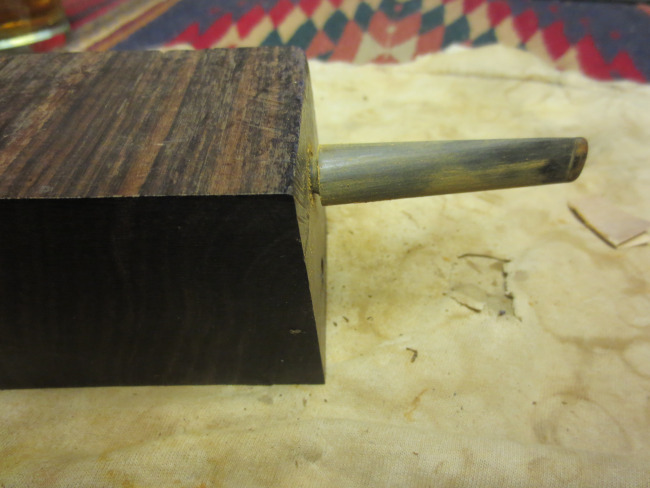
But, as always I am on the lookout and thinking of new tools or items that will make my job easier in the cleanup and refurbishing process. Some of my methods or ideas come through odd associations and a passing thought. I was looking at my drill bit keeper the other evening and noticing that the larger bit slots would work well as mortises for the tenons of the stems I was working on. My newest idea is in the design stages. But it is pretty simple. I want to cut a series of 4-5 inch lengths of 1 inch to 1 and ½ inch dowel. I want the doweling to be large enough that I can hold it in my hand while working on the stem or anchor it in a vice.I plan on drilling mortises for the standard tenon sizes into the ends (a different size on each end) of the dowel to accommodate the tenons while I work on the area of the joint of the stem and the shank. At least in theory it will give me a flat edge to push the stem against and allow me to work on the area of the stem that sits against the shank. I have not had time to hunt down some doweling yet but I have been using an ebony block that I have here to the same purpose. I drilled two mortises in the block that can accommodate two different tenon sizes. I also drilled them deep enough to allow the stem to sit flush against the block. I have used it now on two stem cleanups and it works really well. The only drawback that I find is the size of the block. I think the dowel will work better as I can hold it easily in my hand while I am working on the stem.I have included a few pictures of the block that I am currently using with two different styles and sizes of stems. Both stems fit well and the fit gave me a flat edge to work against while sanding the area where the stem meets the shank and keep the shoulders unharmed. I will post a follow-up with photos of the doweling when I have made those.

ImageImageImageImageImageImage